By Guy Rhueark
After learning to play Blood & Plunder and buying your first miniatures there are a wealth of strategies and tactics that not only make each game exciting moment to moment, but let you carry lessons you learn from one game to the next. Gameplay isn’t the only way to learn, though. You can read about battles from the 17th century, page through the rule book, and think about different ways to field your miniatures.
I am not a genius at Blood & Plunder or tactically minded in general, but I have spent time reading piratical histories and my rule book is well worn. I wanted to let people know what I’ve learned about this game, and encourage discussion about how we play.
I divide strategies and tactics in Blood & Plunder into three types. The first is what you prepare for before the game. The second is understanding how to use the rules to your advantage. The third is where you deploy your force and how you move them.
This first article is about preparing for a game and deciding what to bring.
How to Prepare Before a Game of Blood & Plunder
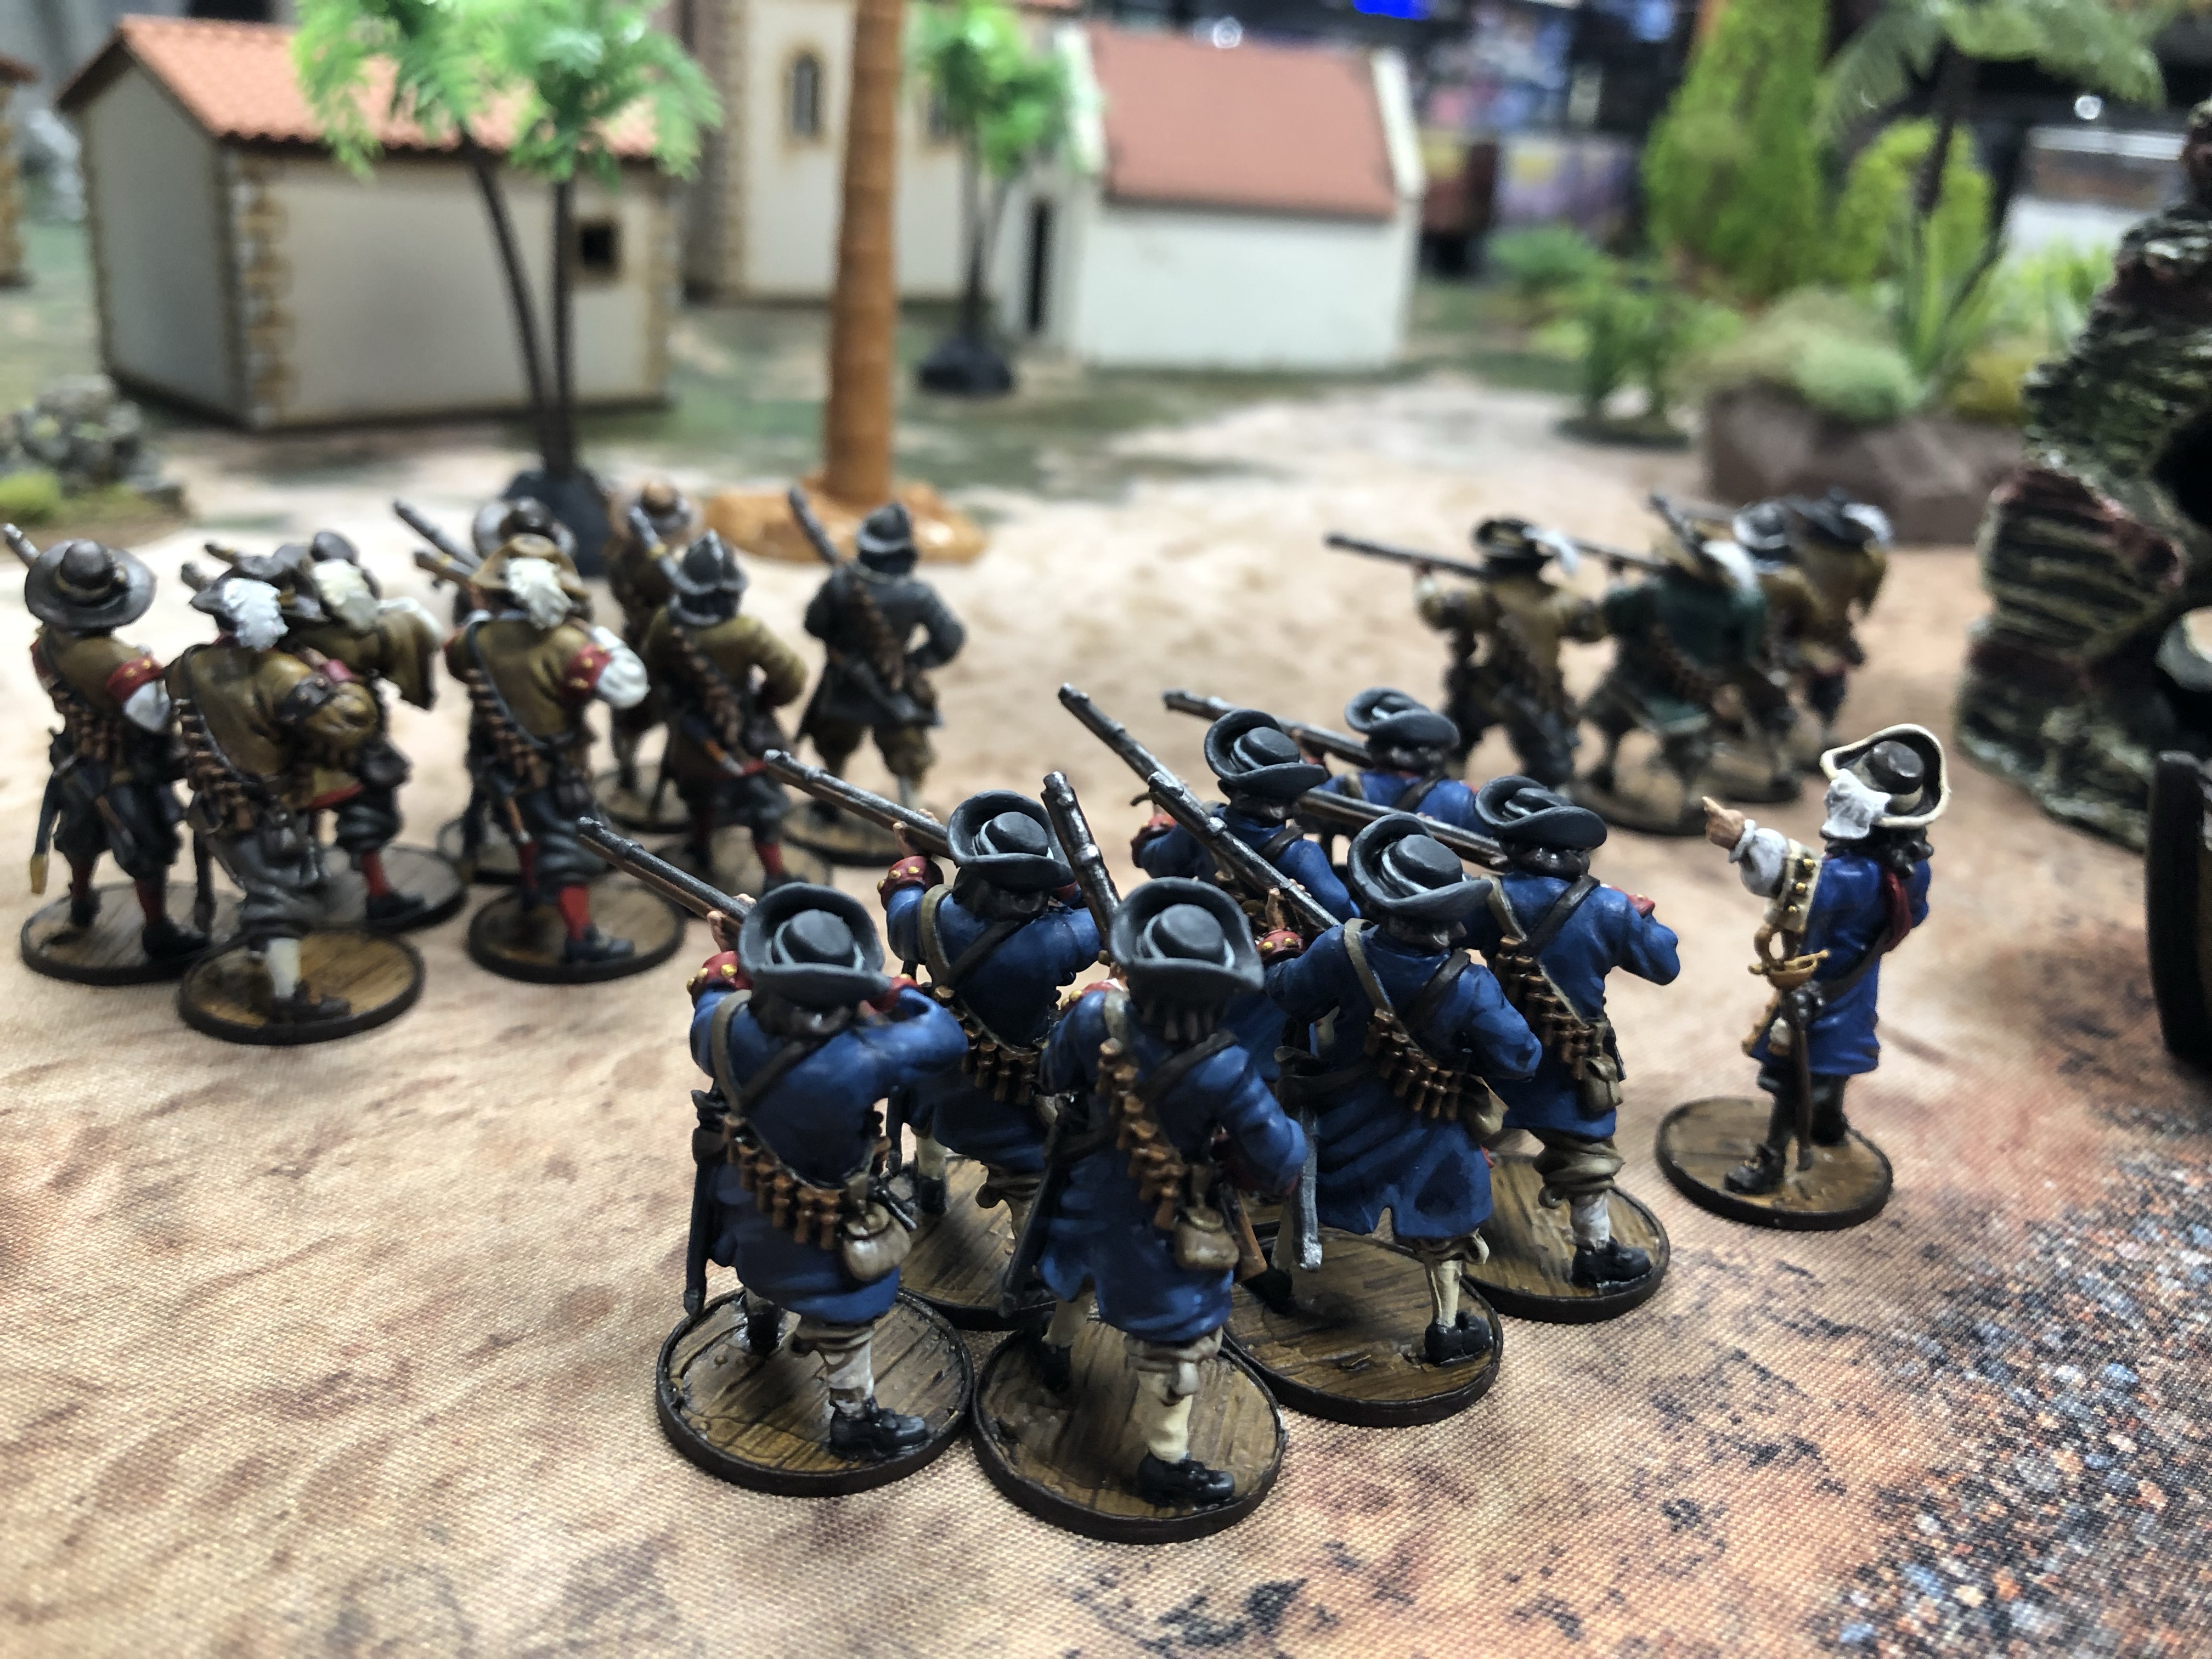
The most basic effect you can have on your games is with the units you decide to bring. Though often derided, list building can be a fun experience and something to do days or weeks before a game.
Decide On A List Concept for Your Force
Before making a list take a moment and decide what you want to do during the game. This can be something as simple as “I want to use these Freebooters I painted”, “I want to blow up a ship with cannons” or as complex as “I want to defend a 1’ x 3’ area against a ship and possibly ground forces while staying mobile enough to respond to hot spots”.

Choose Your Nation & Faction
After deciding what you want to do, the faction you are going to play should come easily, and is usually dictated by what models you have (more on that below).

Choose Your Commander
Once you have settled on a faction, choosing a commander is the easiest step. For most games, the generic 15 point Commander is the best choice, especially if they have Inspiring.
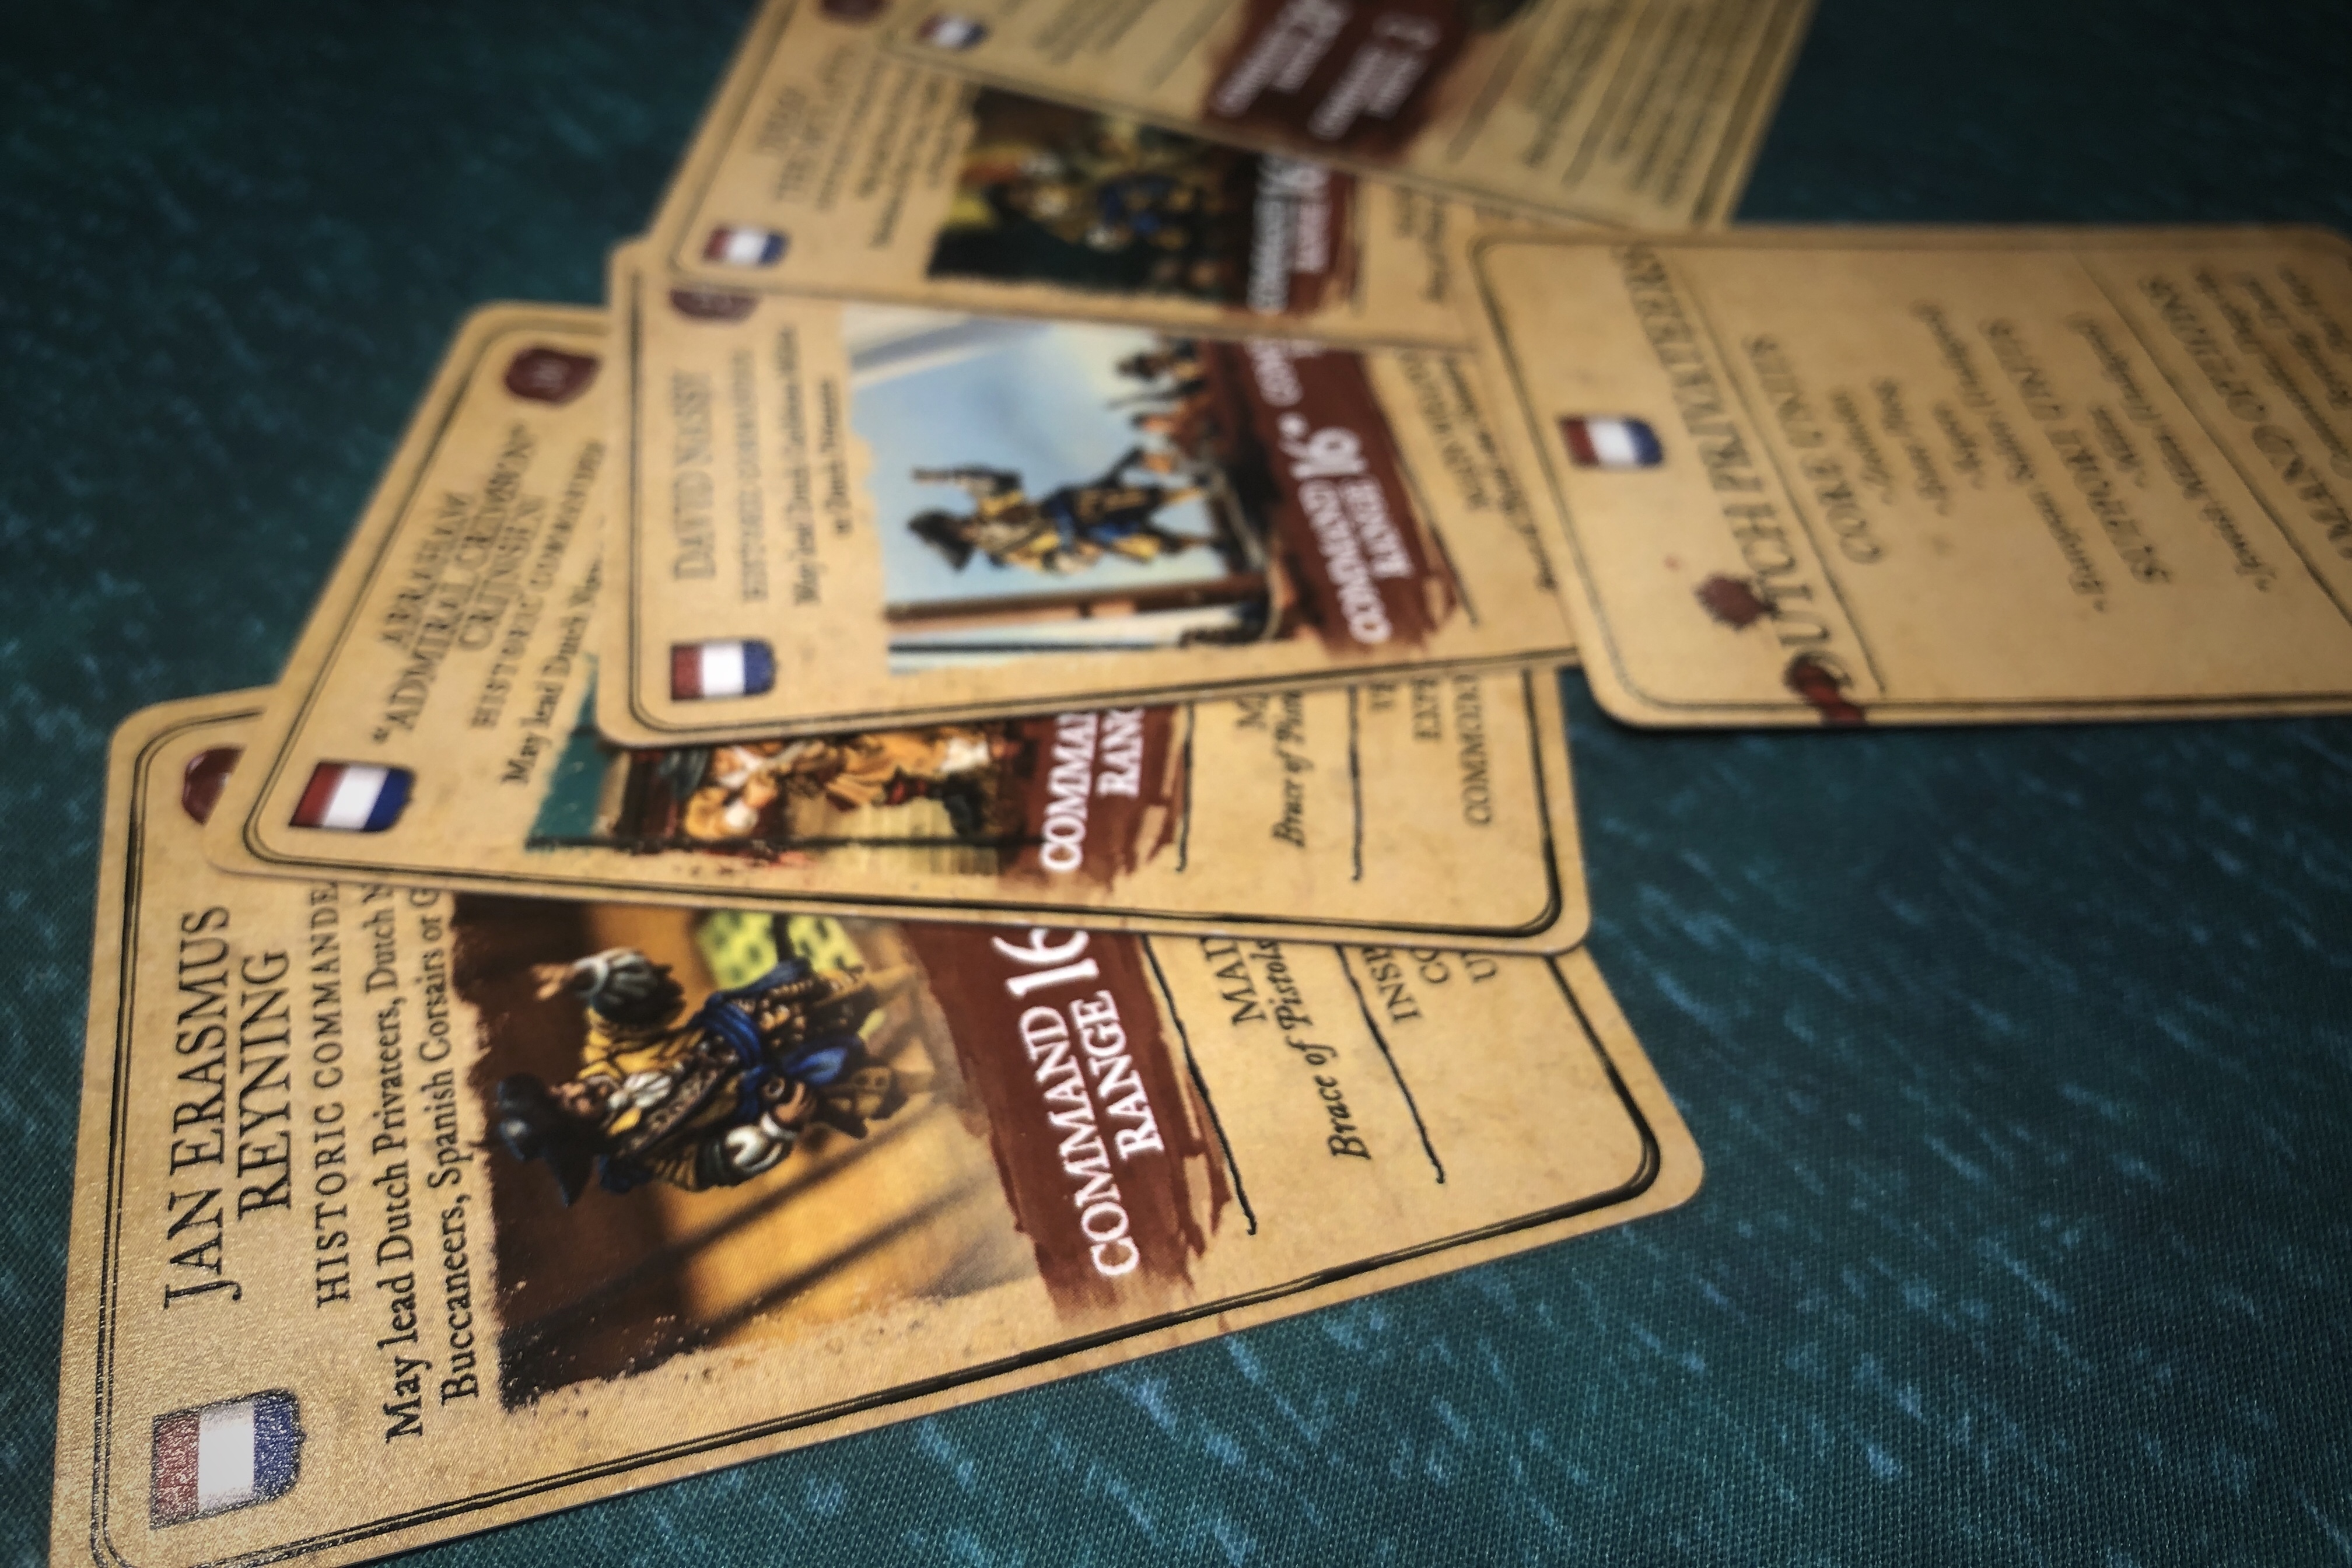
It doesn’t hurt to check out the historic commanders in your faction, and try them out at least once, hopefully to find a favorite that works with your play style.

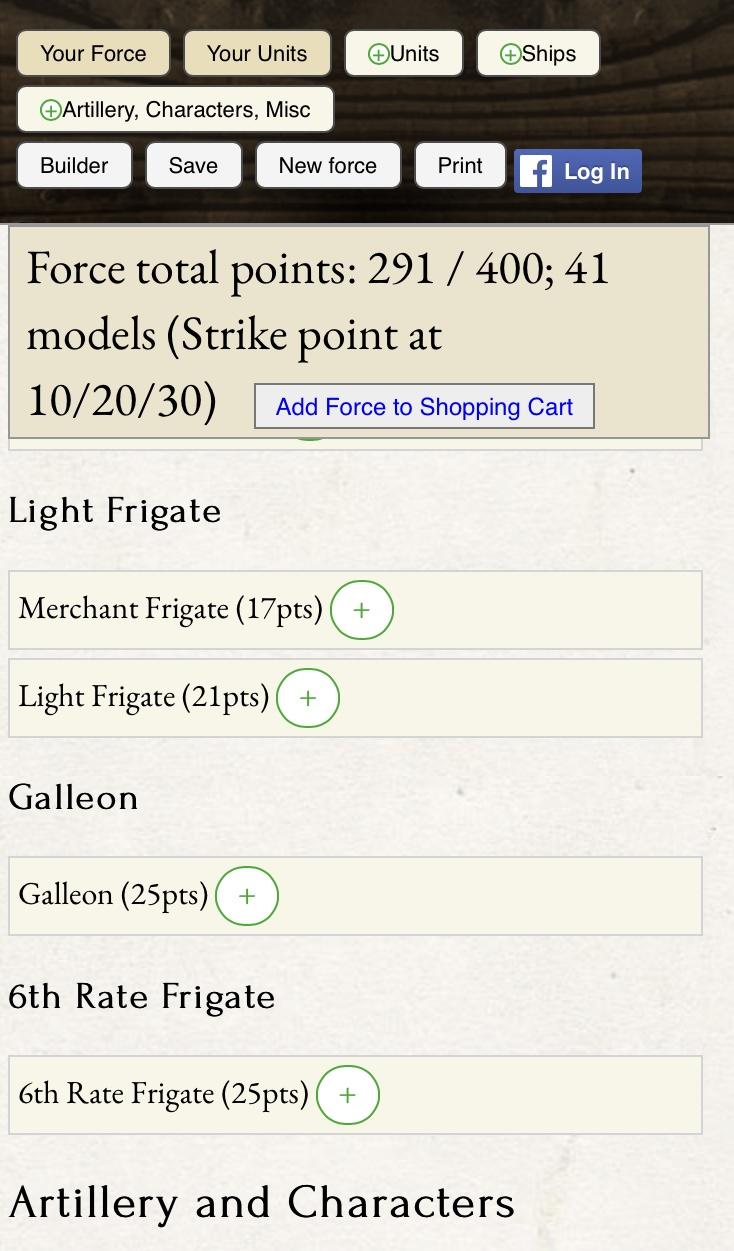
Isn’t it Important to Keep Track of Points?
I keep track of points on the Blood & Plunder force builder as I’m selecting things to let me know how many points I have left. I will often put everything I want onto a list even if it’s over on points. Then I can slowly trim it down later. The points you and your opponent decided on are the finish line, and it’s better to focus on what you want to play, and then make them work in the list.
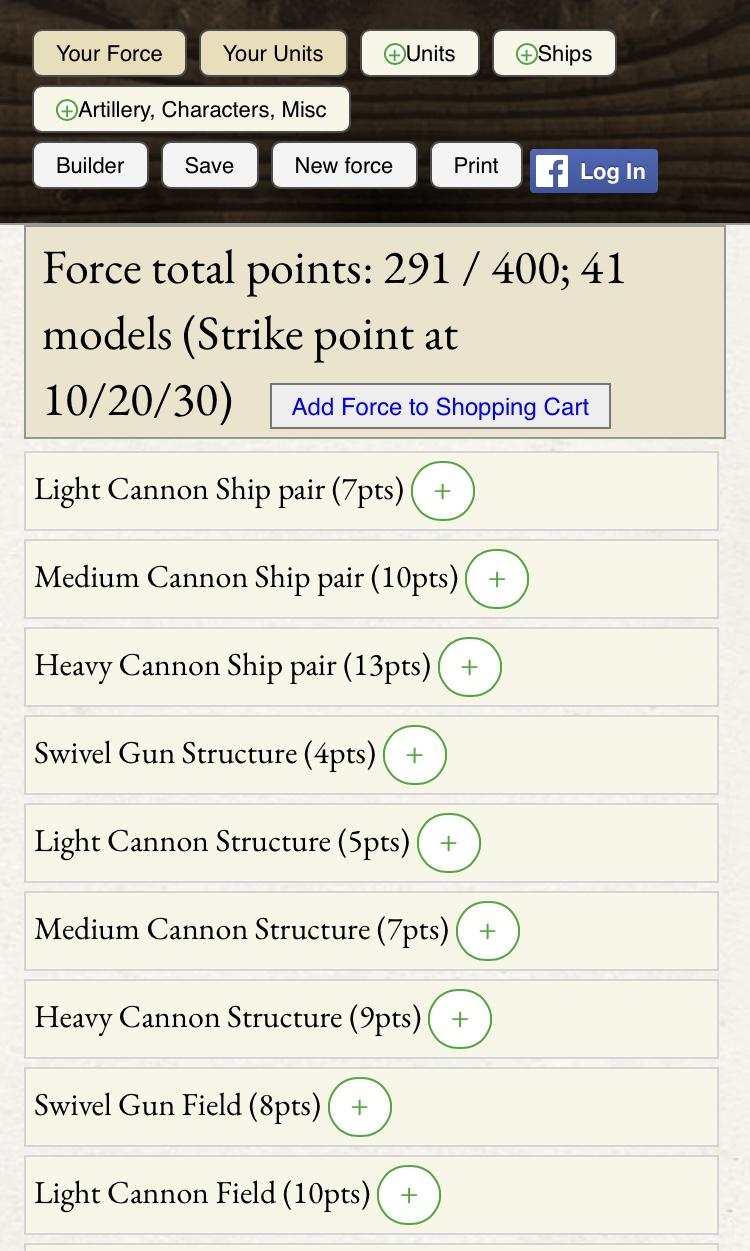
Adding Ships, Artillery, and Fortifications
If you are playing a sea game the next step should be to select a ship. As with factions, this is usually dictated by what ships you own, though it doesn’t hurt to look at the rigging variations. Most ship upgrades are not worth taking, or should be selected every time. For example, I always pay for reinforced bulkheads on a bark But I won’t pay for sweeps unless the ship moves 3” and I’m playing Corsarios.
Fortifications
Adding fortifications, if you are playing a Militia that can add them, should be done before you start adding units as well. As with ships, these really depend on what you have ready to play and what you want to use. Fortifications automatically make you the defender, and most scenarios favor the defender.

Don’t Forget the Cannons & Swivel Guns!
Ships and Foritifications don’t come auto equipped with weaponry. You have to pay the points to add them to your force.
Go ahead and buy the cannons and swivels you are going to want to crew at this point as well, as it gives you a nice goal. Medium cannons are always superior to light cannons, unless you are playing a 100-point game (or less). Which means, if you are going to add cannons to a ship or fort, do not be tempted to drop them to light cannons to save some points. Statistically, they are worth the points nearly every time!
Choosing Guns for Ships
If your ship has a deck with four swivel gun mounts, it’s a good idea to purchase swivels for that deck and crew them. Decks with only two swivel guns are less of a priority to man, as they take the same amount of time to load four, but only shoot half the dice. It is still a good plan to crew any swivel guns near the bow, even if it is only two. The “focsle” (aka forecastle) is usually the closest deck to your opponent and will be able to fire the most often during a game.
Adding Models & Units to Your Blood & Plunder Force
After that the next step is to choose the models and units that can get you to what you want. It’s usually best to start with your command unit. This unit will draw the most fire during a game, and is the most likely to use a command point each turn so it’s a good idea to invest heavily in this unit.

Go back to your list concept and look at what you wanted to do and the units that are available to you. If you want to focus on a support unit, choose that first and work backwards to find core units that can support them. If you have guns to man, start adding units to your ship to man them.
Blood & Plunder Unit Roles & Functions
If you are a little lost because of the wealth of options, the units in Blood & Plunder can be categorized into several roles. To help you understand what to expect from them, here are some roles I’ve used as basic terminology. You can also come up with your own names for them.
Sailors or Gunners
Any unit with Artillery Crew and Sailors and initially armed with a pistol. Most nationalities have their own version of this unit and they have a diverse number of options to fill several roles. These units work best on a ship running the guns, usually without pistols to save points.
Militia
Any musket armed unit that starts inexperienced and costs 3 or 4 points. Militia units were designed to be unreliable and usually have poor Resolve, a high Shoot skill or some other weakness. Militias usually have the special rule Drilled, but using it is often a trap with their bad action economy.

Professional Soldiers
Most units that cost 5 or 6 points. These units are always at least trained and come with several Special Rules. Unlike Militia, Professional units are designed to be reliable.
Elites
Very similar to Professionals, Elites are units that have been upgraded to Veteran, or come as Veterans, have a Shoot save of 6 or better and come with a musket or bow. Elites have the double distinction of being deadly and hard to kill at range and make the best command unit. Examples include Veteran Freebooters, Veteran Boucaniers, Veteran Black Caribs, or Veteran European Soldiers,
Brute Squad
A cheap land unit without any range weapons, that is intended to get into melee combat as quickly as possible. These are usually sailor units that I took away pistols from, but Lanceros and Warriors (without bows) also count.
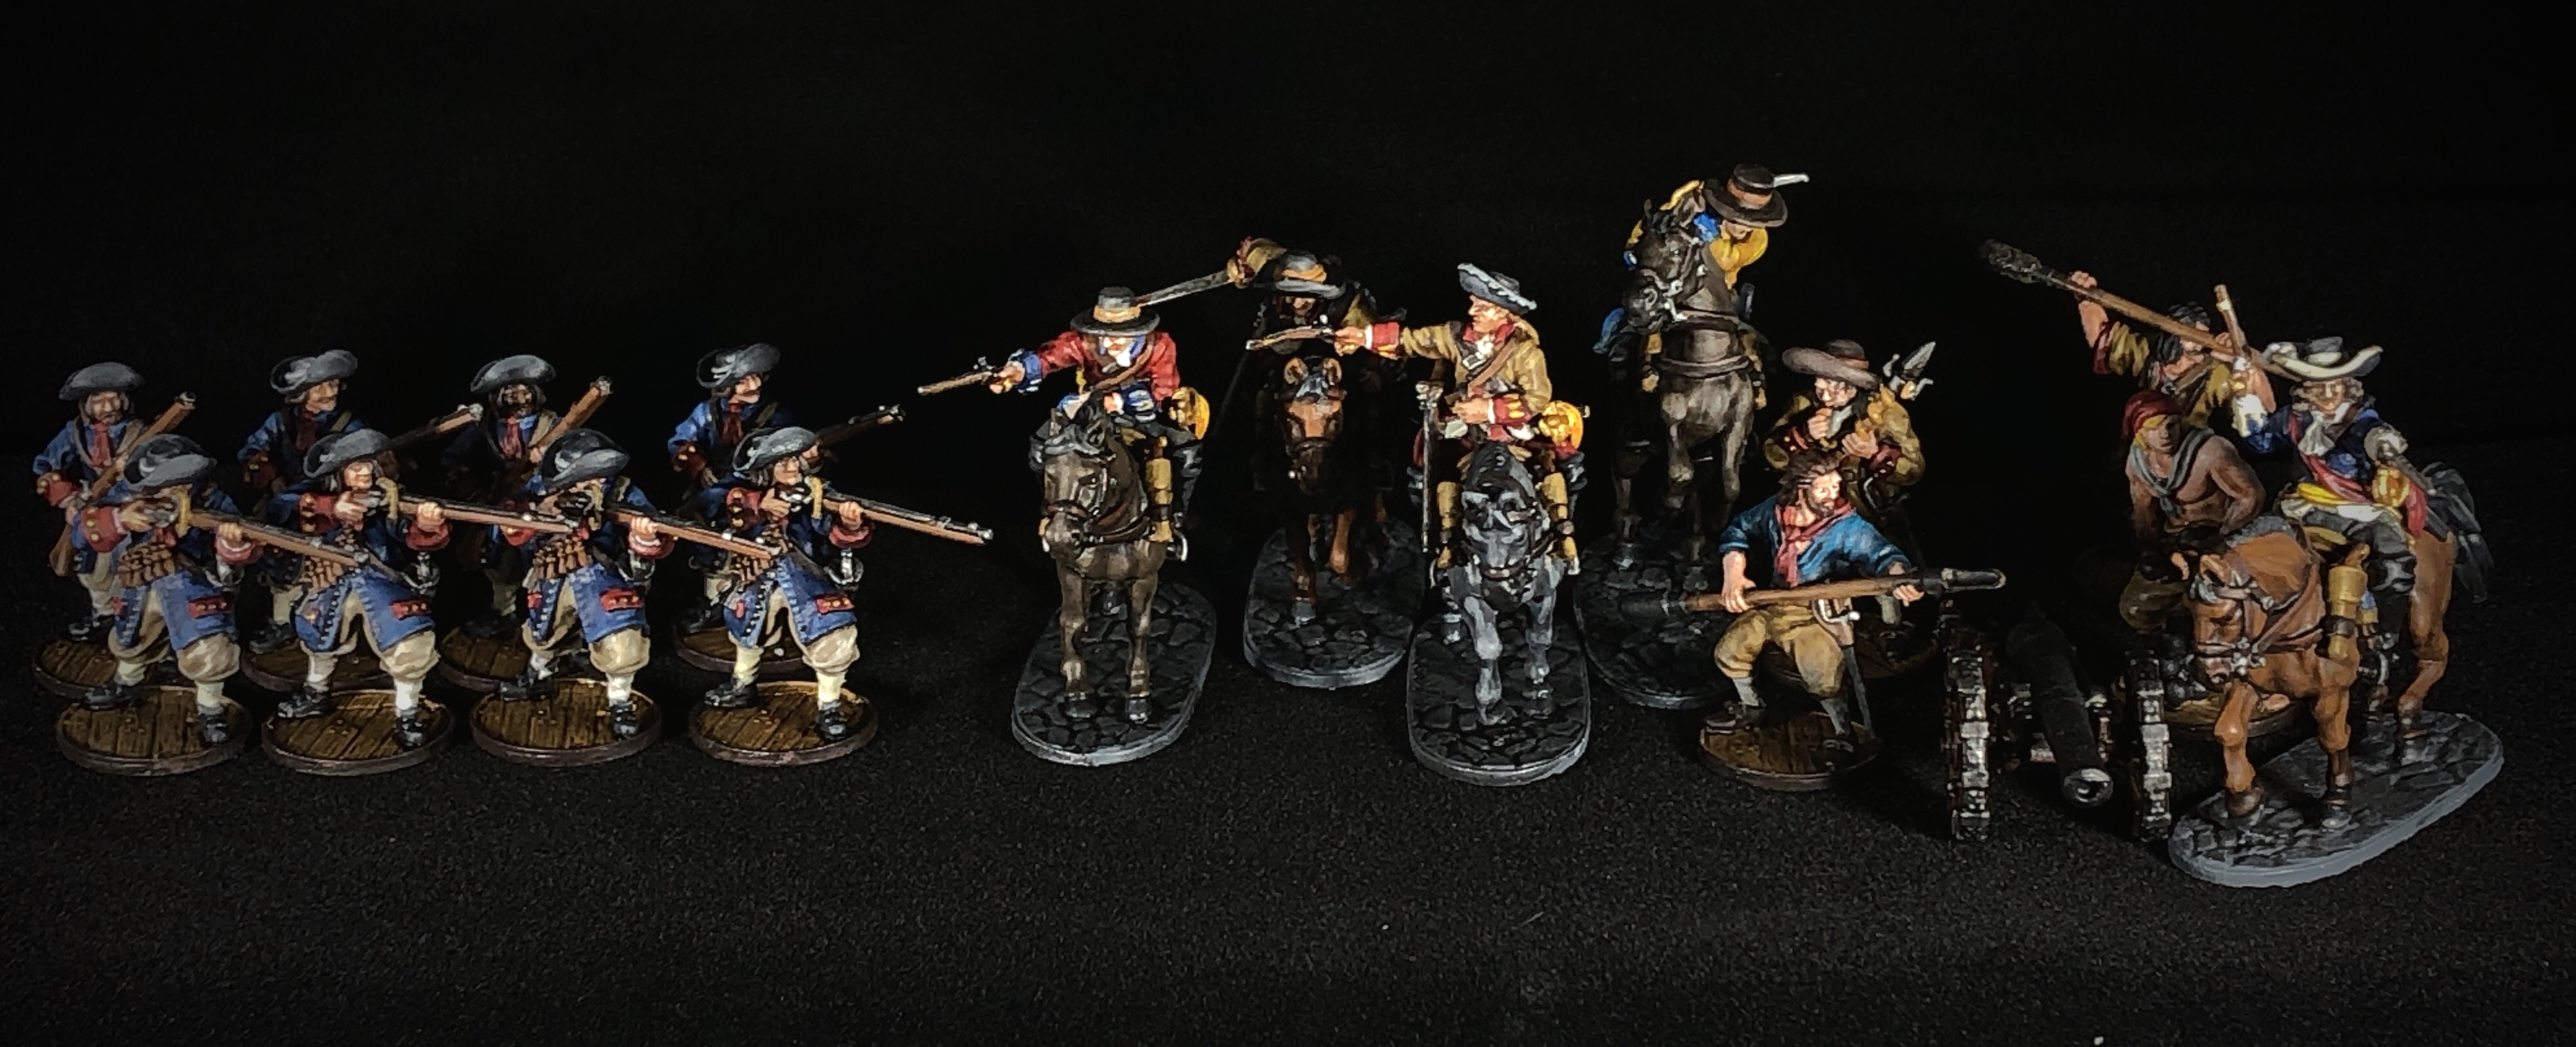
Cavalry Units
A unit on horseback. Cavalry is mostly unreliable, behaving like a highly mobile militia. They are also relatively rare; few factions can field them, and the models are a large time and money investment.

How to Select the Right Unit Size
Unless you are playing a 100-point or small game, try to have at least 8 models in a unit. There are specific reasons for a unit to be small, such as manning a fighting top or a field gun, but most units should have at least 8 models. This is because of the intersection of two problems. If a unit is hit more times than the number of models in it, all additional hits are automatic casualties, and you still need to roll saves for the regular hits. Fatigue is also lethal to small units, routing them (pulling them from the board) if they have twice as much fatigue as models.

Here’s an example of these rules interacting: 4 Boucaniers behind hard cover with one fatigue are hit by a volley of shots from 12 Milicianos. Amazingly, they score 5 hits. The Boucanier player rolls four saves, taking one automatic casualty, and makes all but one of them. So 2 Boucaniers are dead. Now they roll a resolve test on three dice, and fail all three. This brings their Fatigue up to 4 which causes the last 2 Boucaniers to run away, losing as many models to fatigue as they did to musket fire.

Artillery Unit Considerations
If you have a unit crewing field guns, cannons, or swivel guns, plan to include at least two extra models to account for casualties during the game. Add three or more extra if it is your only bank of guns, or if the crew will be the only unit on the deck. Targeting the gun crew is the best way to stop them from firing. Gun crews that drop below the crew minimum for artillery cannot reload the cannons as effectively.
Sea Game Unit Considerations

If you are playing a sea game, the optimum number of units for your ship is three. While 4 or more units is OK, three is the magic number because it allows you to move before, after, or during each unit’s activation, and makes your ship feel nimble compared to an opponent with more cards. I will go over these advantages and others related to having less cards at sea in a later article.
If you are not piloting a ship, you want to be drawing as large of a hand as you can each turn.

Running smaller units has the risks I outlined, but gives you more cards each turn. The opposing pressure to this is that large groups have a number of advantages; they maximize your command point impact and have better survivability, but you will draw fewer cards each turn. The average you want for land games is about 4 or 5 units but more is always better. I usually settle on one max size unit and 2 or more other units of at least 8 models.
Adding Characters & Fighting Men
Once you know what units you want to bring and have an idea of their size, it’s time to consider adding some characters. The first thing you want to do is count how many units you have and subtract from it the number of command points your commander has. This new number is how many characters you should add. As an example, let’s say you are using the experienced commander, and you have three units. In this example, the number of characters you should consider adding is 1.

are located at the very bottom of the list.
Characters introduced in No Peace Beyond the Line expansion rulebook can be sorted into a hierarchy. There are also a number of Character Models available on Firelock Games to add some flavor to your miniatures collection.
Fighting Men and Character List Building Suggestions
Below I will discuss the pros and cons and my ranking of special characters, and the order you should consider adding them to your force.

Grizzled Veteran
S Tier: The Grizzled Veteran character is very good and should usually be the first choice to add to your force. The combination of Tough and command point rally is very strong. The fact this character can also be added to any unit puts it over the top.
Son of Neptune
A Tier:This character is almost the same as the Grizzled Veteran and is better in some lists. The only problem is that this character has to be attached to sailors.
Officer
A Tier: Even at 8 points, the officer can be a bargain with its “always on” command point. It is better to give a unit of 8 models an Officer than upgrade them to veteran, and you gain the bonus of not automatically losing when taking a Strike Test if your commander dies.

Master Gunner
A Tier: The Master Gunner does three things for the gun crew you attach it to and should be an auto include for gunships. Even in smaller sea games, with field artillery, or in a fortification, this character will help you fire the guns every turn and make them hit more often.
Carpenter
B Tier: Lucky hits and critical hits can cripple a ship. The Carpenter counters cannon heavy lists that cause these problems by designating a unit that can fix them and should be considered for most 300 point (or above) sea games. The problem with the carpenter is that in smaller games or with two deck ships it is usually better to have another model in an unassigned unit because you can’t use the carpenters command point on an assigned unit, and your commander can already tell your repair crew to repair.
Local Guide
B Tier: This is the best non-combatant character and is unique in that she gives Quick and Scouts to all units within 4” of her instead of just the unit she is attached to. This is the only current way for most units to get Quick and Scouts and combines great with Militia and Elites alike by letting them stay in cover and focus on shooting. This character should only be considered for land games and you need to plan to keep your units close to each other.
Musician
B Tier: This is the cheapest Fighting Man Character, and should only be considered if your commander’s unit is Militia or Sailors and does not have Inspiring. That being said, the musician makes its way onto several lists, especially sea games of all sizes, and some smaller games. The main downside of this character is that being a musician means they lose any weapons they might have had and you don’t often want to pay 6 points for a Freebooter just to take away their buccaneer gun and give them a bugle.
Captured Merchant
C Tier: While useful to protect your command unit, the Captured Merchant can also be a liability in close games. The problems with this model is that he costs 10 points, doesn’t work against cannons, and gives you a strike point if lost.
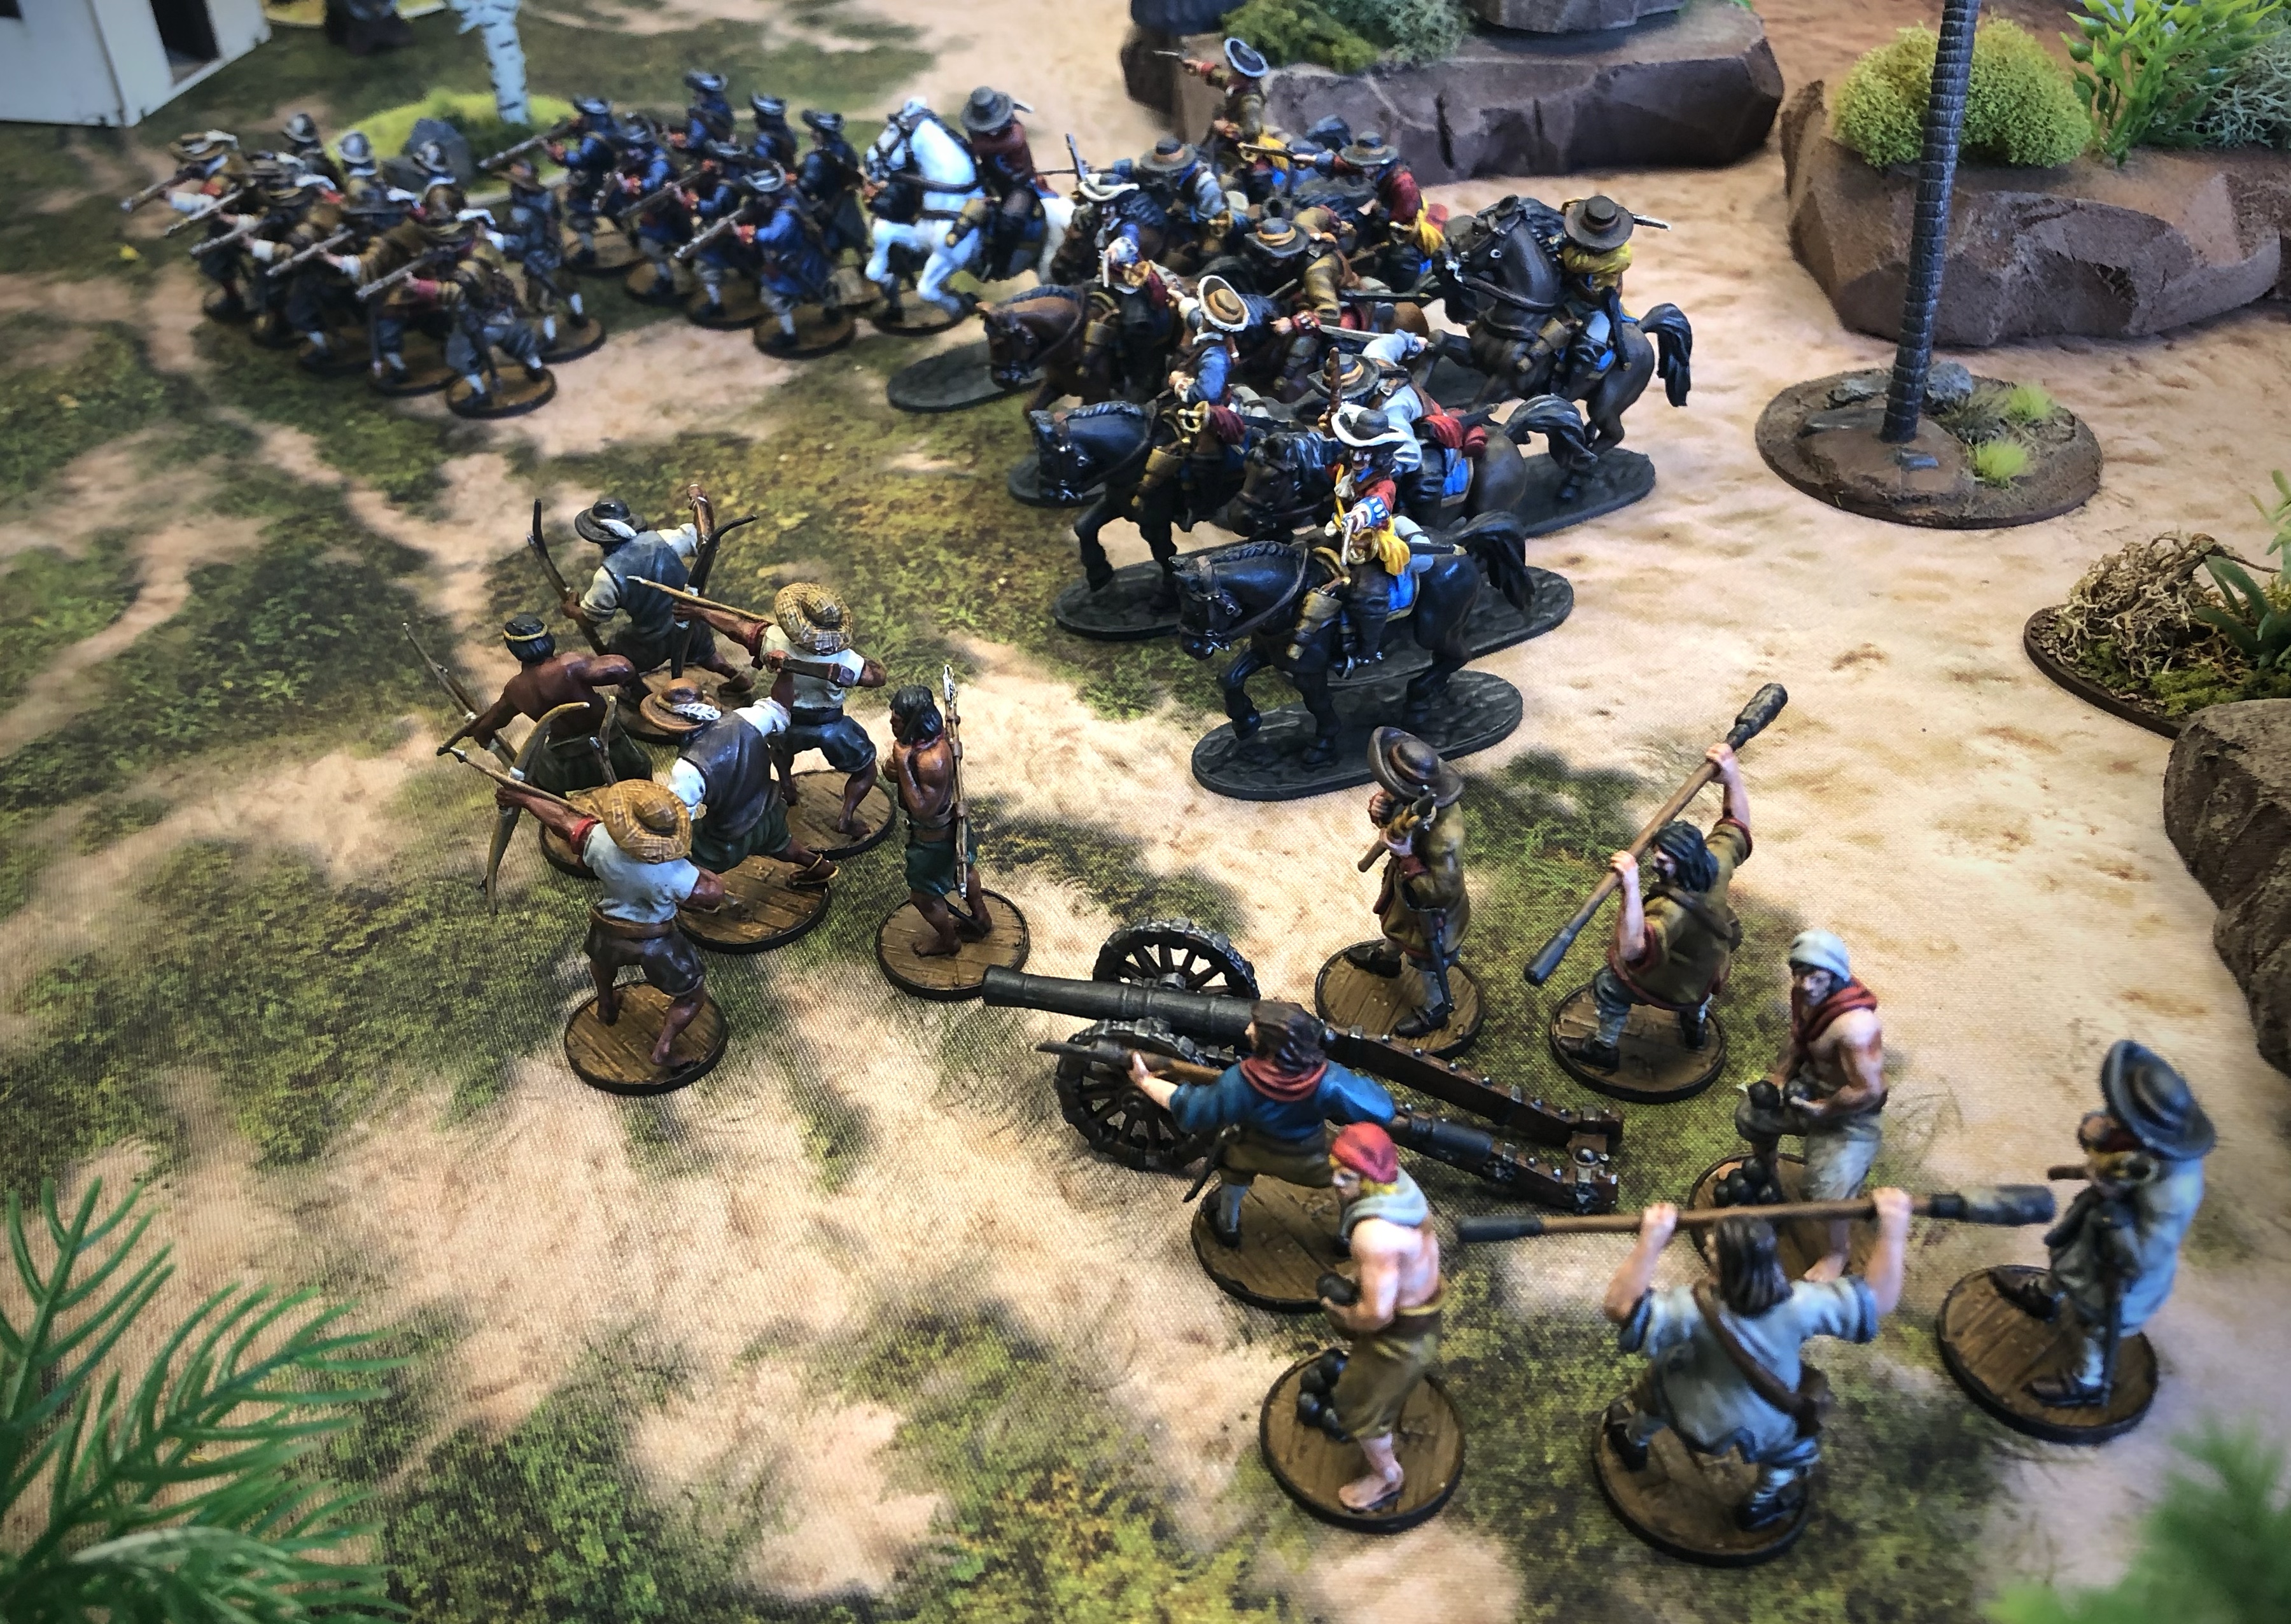
Standard Bearer
C Tier: The Standard Bearer is meant to pair with the musician and shares the purpose of making your commander better. Just like the musician, you only want to make Sailors and Militia into Standard Bearers because of the expense. This character competes with the Grizzled Veteran and Son of Neptune as all three cost 3 points and give a command point that can only be used as a rally, but the Standard Bearer is the worst of the three.
Sailing Master
C Tier: I want to like the Sailing Master but his ability is too unreliable. Upgrading the unit to expert sailors is useful, but Son of Neptune does that as well, and a free rally is more useful than a free advanced maneuver.
Spiritual Leader
C Tier: Truthfully I have not used the Spiritual Leader often. A single extra fortune for 7 points is not bad and the model can soak up a hit once you run out of Fortune. This character doesn’t make it on many of my lists unless my commander has Lucky.

Reformado
D Tier: When I first read what the Reformado does I was excited. This seemed like a mini Officer and a great asset on a ship. In practice, the Reformado doesn’t get a lot of chances to use its command point. Usually this character will use its command point only once in a game. The final nail in the coffin for me is that the Reformado can’t be in the units that he would benefit the most; pikemen, Lanceros, and most mounted units.
Sharpshooter
D Tier: Unless you really need Marksmen, the Sharpshooter is not a good choice. 4 points is expensive for a character, especially one that doesn’t have any command points, and even when the Sharpshooter does hit with his attack, the opponent still gets a save on 9-10.
Spy
D Tier: I think the Spy was intended as a counter to Native lists that rely on Lay in Wait. In other games, strategies like Lay in Wait, called Deep Strike, have led to toxic metas. Blood & Plunder doesn’t have this problem and if it ever does, the Spy is still 7 points, only works half the time, and the only other ability is equivalent to a Fortune. Take the Spiritual Leader first.

Ship’s Pilot
D Tier: Very rarely useful and not worth 7 points. Maybe one of the only ways to give a native unit Sailors but still not worth 7 points.
If you want to learn more check out this entire Character Model Analysis article with Joseph’s analysis.
Different Types of Blood & Plunder Force Lists
There are a wide variety of types of lists you can build for your games. These are a few categories and ways to group your forces that I would suggest.
Common Blood & Plunder Force Lists
Here are some basic concepts for lists that you might see or fight against:
All Professional Force
This is one of the more common force varieties with a list full of Freebooters, Soldaten, or other 6-point models.
Brethren of the Coast example full of high-powered 6-7 point models
Single Elite or Professional Unit supported by Militia
The command unit is usually a large unit with several militia units nearby to use command points on.
French Caribbean Militia example with a large unit of Veteran Boucaniers supported by some militia and a brute squad.
Militia Swarm
This isn’t as common of a force because of the large number of models needed, but it is used and can be dangerous. Swarms can quickly overwhelm fatigued units in melee.

Scottish Militia example with 60 militia and cavalry models in groups of 11-8 models
Brute squad and professionals
Getting a brute square into melee at full strength takes a lot of work. One of the best ways to do that is by having equally threatening professionals covering the advance of the brute squad.
Black Caribs example including a large unit of Veteran African Warriors supported by plenty of archery.

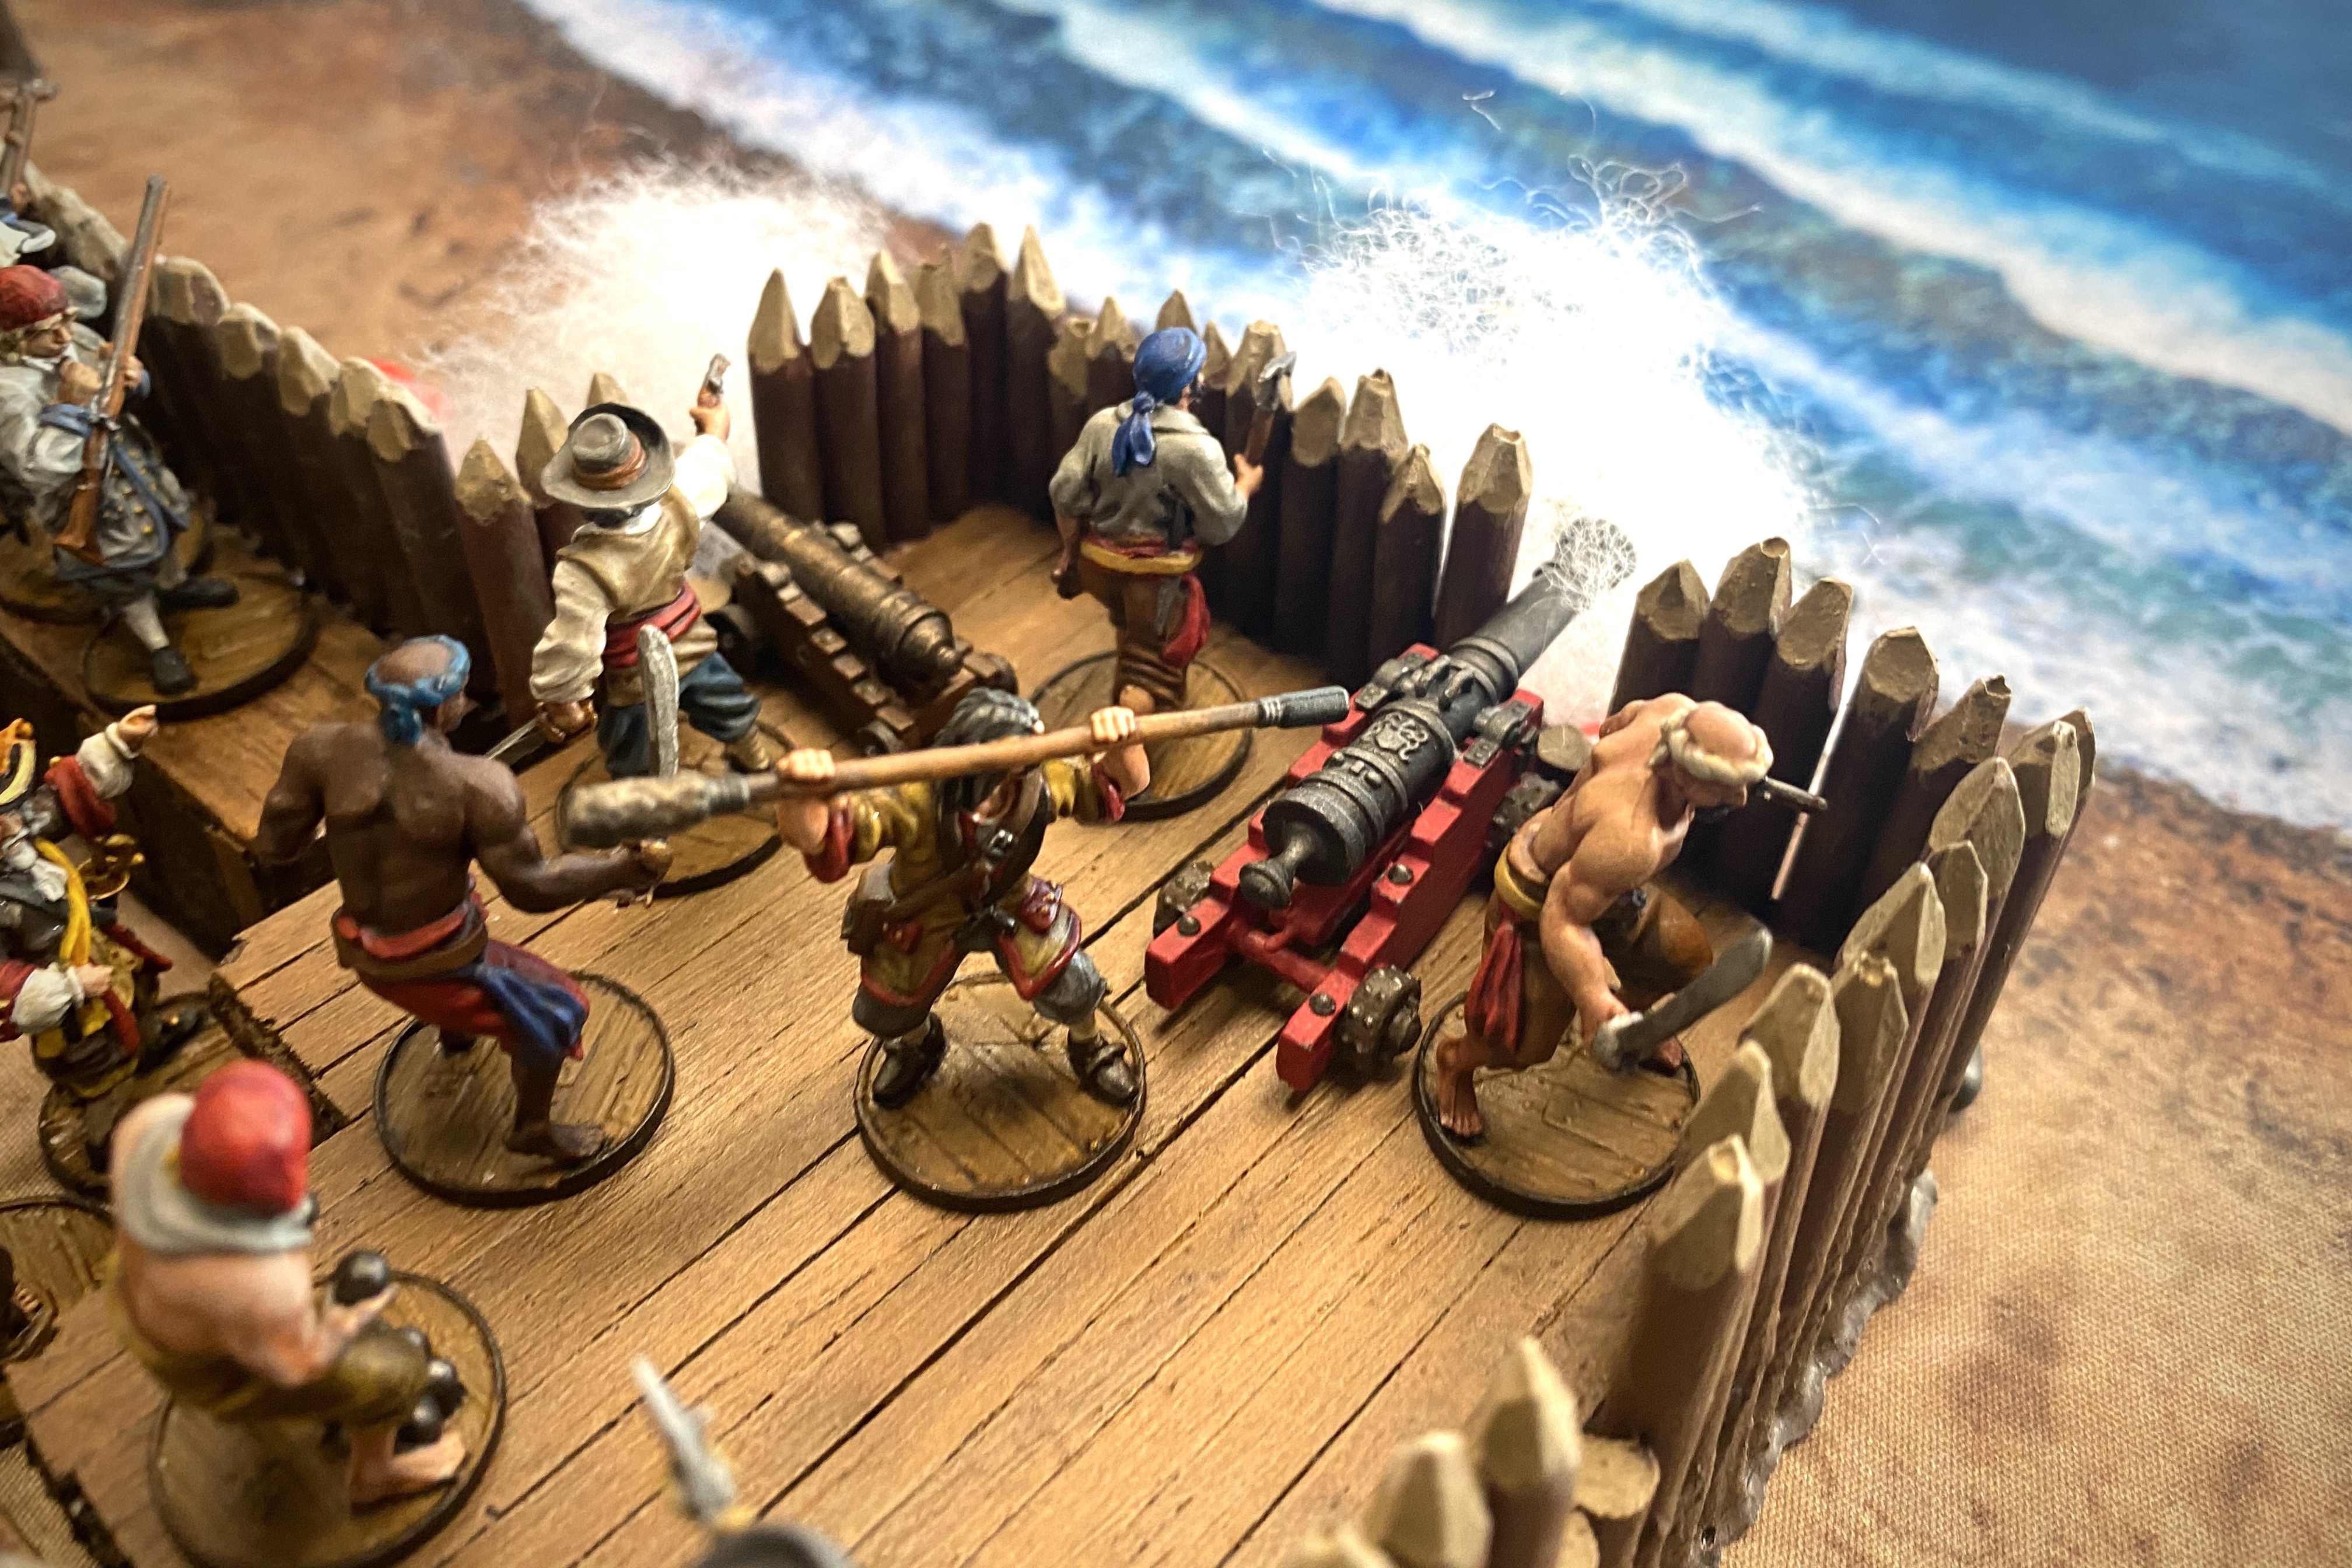
Full Variety Force Lists
This type of force takes a little bit of everything hoping to provide the right type of threat at the right time.
English Caribbean Militia example using Militia, a cannon, cavalry and Freebooters
Can You Use Proxy Models in Blood & Plunder?
If you play this game for fun it’s ok to try out different units and factions, even if you don’t have the exact models for the force. When you substitute a similarly armed models for the actual mini, this is called proxying. Testing out a faction through proxying with a friend can save you from buying into a faction you don’t like, or help you discover a new unit you need to get.
Additionally, according to Firelock Games official policy, you can use proxy miniatures in an official tournament to represent units and commanders. If playing a game that involves ships, only official Firelock Games models are allowed.
Proxying is even a necessary part of the game. Several units and characters exist that Firelock Games has not made a model for as of yet and it starts to look silly if you try to represent a standard bearer, musician and religious leader all with the Reformad figure.
Proxy Model Ettiquette and Suggestions
There is some etiquette you should follow when proxying. Don’t use a model as a proxy that you are also using in its regular unit. For example, using two Freebooters as Forlorn Hope, and then fielding Freebooters as well.
Before a game tell your opponent what you are proxying. This is usually best done when you are each sharing what you brought to the table and a good friend will remind you of any special rules you might have forgotten because you are not used to playing the unit.
Also, remember not to use proxies when running demos. To new players, a lot of Blood & Plunder units look identical, so it is helpful to have the same models as the book in front of them. Official events will usually have a rule against unit proxying, but might allow custom characters.
I also don’t use unique or “deadly” models as proxies. This includes models like Boucaniers, Enter Ploeg, Lanceros, and Forlorn Hope. These units can have a large effect on gameplay, and it’s important to me to maintain the visual language their models represent, on both sides.
Final Thoughts on Deciding What to Bring & List Building
This article about tactics isn’t meant to be the final word on these strategies, but the start of a conversation. If this gets you thinking, let me know. If you have an opinion or experience different from mine, let me know. The more we communicate about tactics in Blood & Plunder, the richer the game becomes.
If this article was helpful, press on and read part 2 of this Strategies and Tactics in Blood & Plunder series is geared toward playing the game. We’ll cover the game turn structure, how to best use your Actions, Strike Points, and risk management. Whether you are new to Blood & Plunder or war gaming veteran, we hope you’ll find something to help improve your gameplay skill.
Pingback: Battle Report: The Buccaneer’s Companion Scenario I – Portobello | Blood & Pigment
Pingback: Faction Overview – The French Buccaneers | Blood & Pigment
Pingback: Force Building IV: Building for Amphibious Games | Blood & Pigment
Pingback: Force Building I - Basics and Universal Guidelines - Blood & Pigment