Force building is a huge part of a miniatures game like Blood & Plunder and with the depth, variety and scope of this game, there is a lot to explore and absorb! It can be intimidating and overwhelming when first jumping into the game but it quickly becomes very interesting and satisfying and can even become somewhat of an obsession! In this article we’ll look at some basic concepts and guidelines for building a force and then this article will be followed up by three more articles looking at the specifics of building a force for land, sea or amphibious games.
I will try to lay out some of the basic rules for putting together a force, but I generally assume you have read the rule book and basically know how the game works. I will try to include definitions of rules that are mentioned etc. but this this article will be more helpful if you already know the basics of the game.
Before we dive in I have to mention the excellent Blood & Plunder Force Builder website. I can’t recommend it enough. You can spend a lot of time on there building armies and getting a feel for the various nations, factions and and units. You can learn a lot about the game just fiddling around with this army builder! All the example lists I’ve included in this article have been created on this awesome tool.
The Basics
In Blood & Plunder, forces are assembled using a point system where each model costs somewhere between 2 and 8 (sometimes more) points. Models are “purchased” in Units of varying size with a changing minimum and maximum model count depending on the point level of a game (see page 94 of the rule book). A force isn’t restricted to a minimum or maximum number of units but in the majority of games, you will see units with 3-6 units of 4-16 models each.
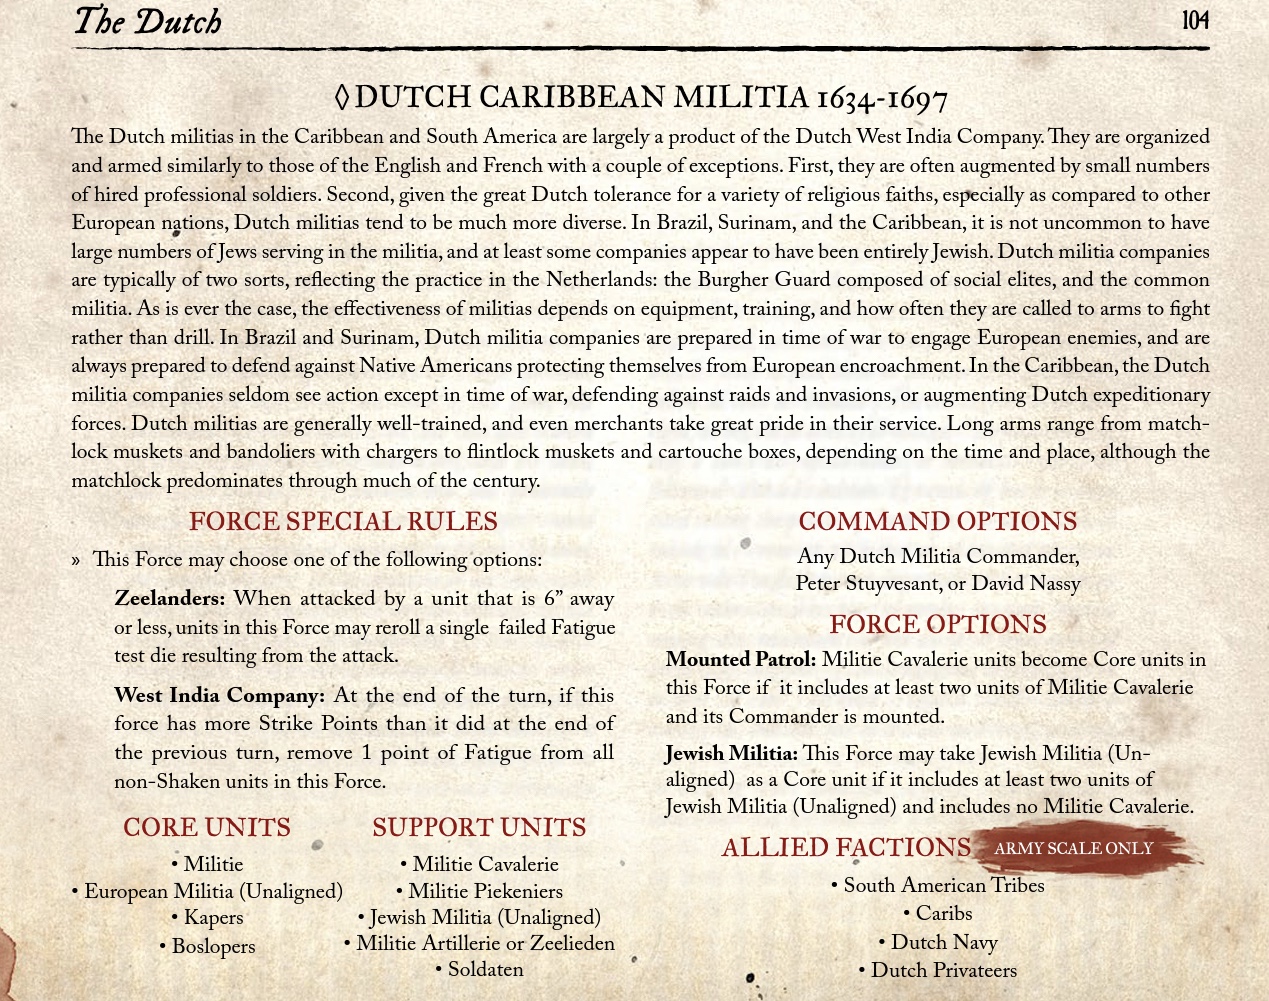
When selecting models and units, each faction has a list of Core Units and Support Units to select from. A force can use any number of Core units but it can only contain 1 Support unit for every 2 Core units in the force.
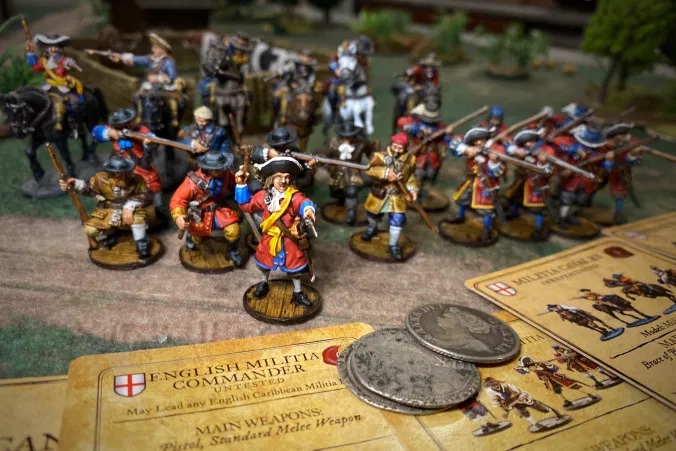
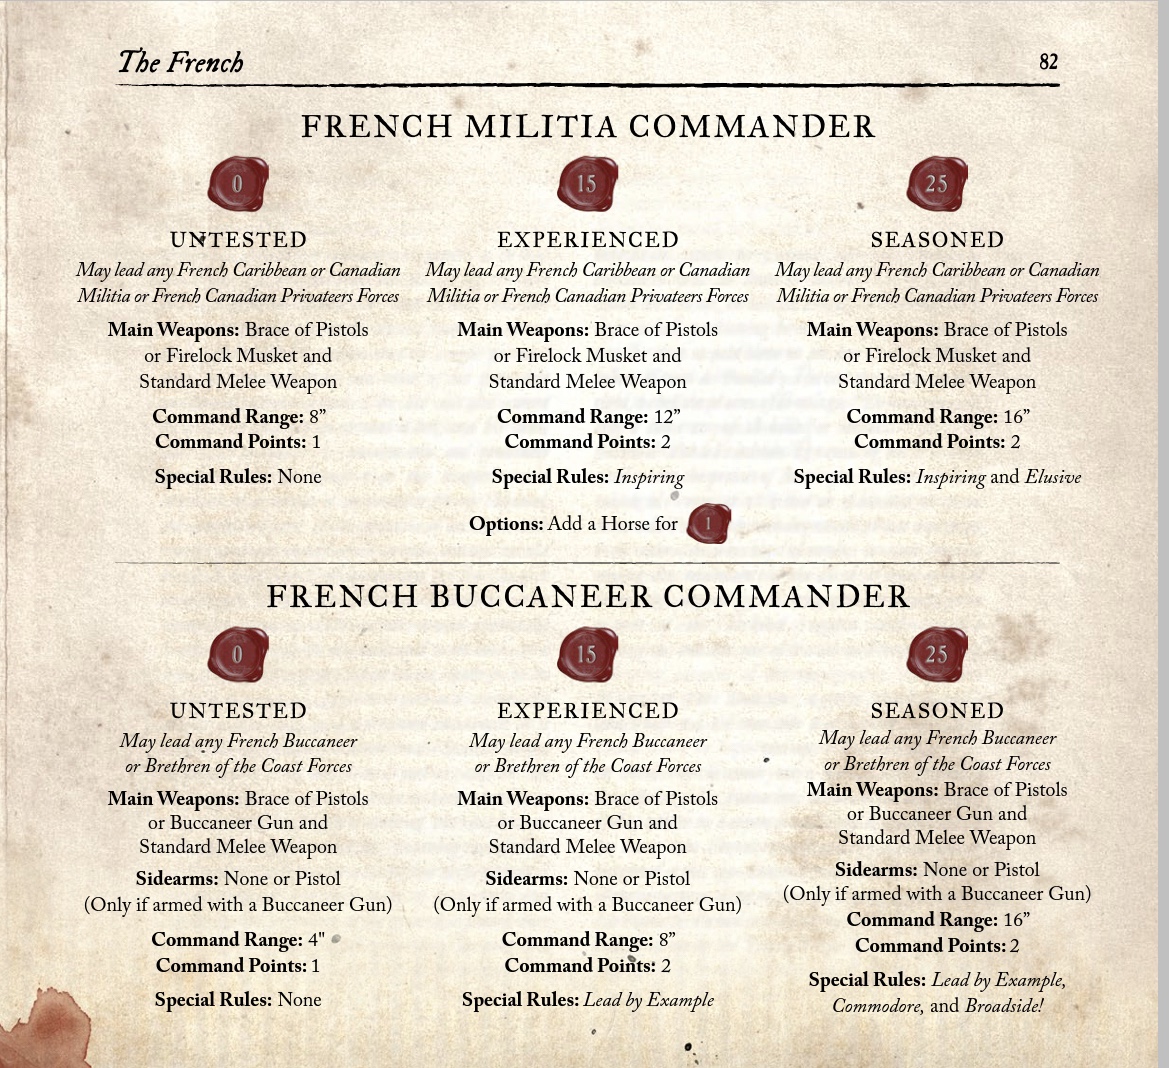
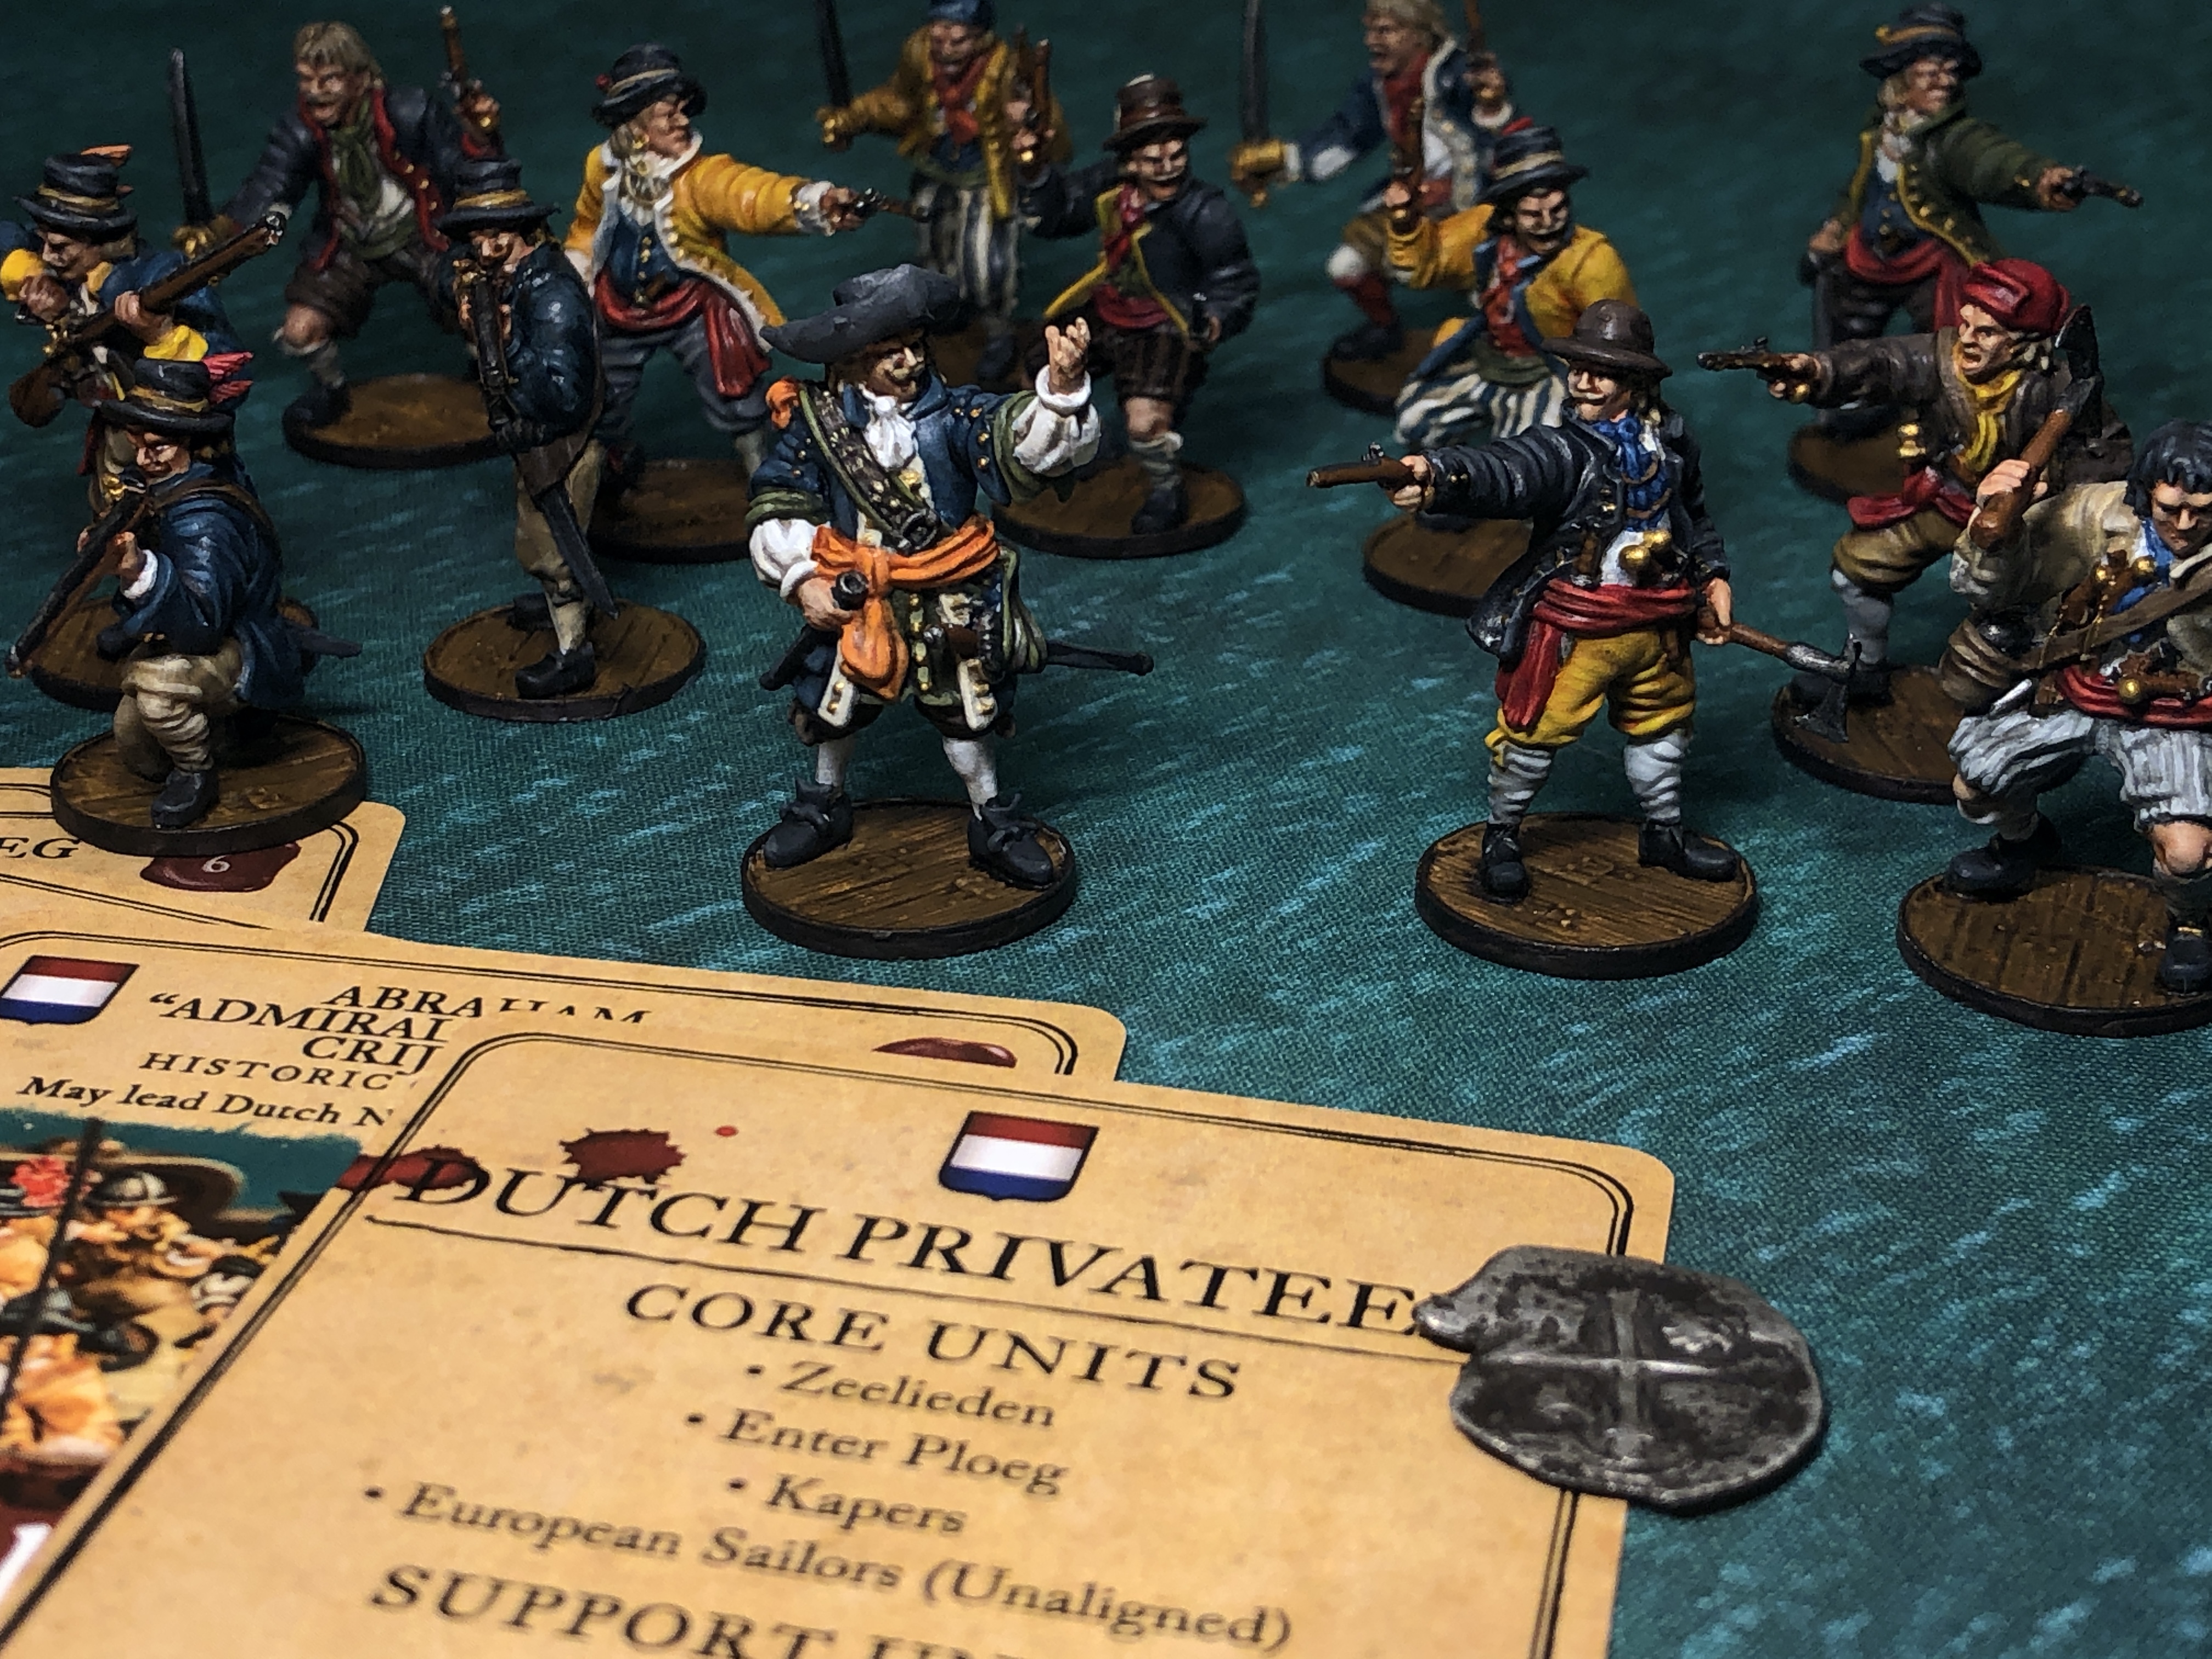
The other basic rule for putting a force together is you must include a (single) Commander which will be attached to one of your Core units. This Commander can range anywhere from a 0 cost Inexperienced Commander with very limited ability to a 20, 30 or even 40 point legendary commander which could define your entire force. The expanded rule set in No Peace Beyond the Line lets you add additional Characters to your force that function much like a junior commander, but they are optional and we will touch on them later.
Disclaimers
Blood & Plunder offers a wealth of different nations, factions and even options within factions and with such a wide variety of play styles available in the game, it’s slightly dangerous to offer basic force building guidelines. I will do my best to offer some general force building “rules” but understand that these rules are only guidelines if even that. They are made to be broken. I will be presenting ideas that I have seen work effectively and warning against practices that I have seen fail, but that doesn’t mean you can’t try anything you want to and that you won’t be able to make something work that I might advise against here. Build your force however you want and enjoy it!
But if you want some advice and some basic ideas to work from, read on!
General Tips
Force Composition
100 point forces generally use between 18-25 models, 200 point forces seem to be between 35-50 models and as you go higher those numbers can vary more and more depending on what kind of game you’re playing (including ships and cannons changes the math) and the faction you’re playing. A higher model count is an advantage since your enemy will be force to kill more of your men to force you to withdraw but the more models you stuff in to your force, the poorer quality they will generally be which means they will die easier! It’s an interesting balance.

- Try to round your model count up to a multiple of 4. You get a Strike Point for every full 25% of your force taken as casualties end if you’re at 35 models, you’ll be at 8 models per Strike but if you can push that to 36 models, that will force your enemy to kill 2 more models to give you that second Strike Point which can be crucial in a close game.
Unit Size & Quantity
The balance of small and big units is important.
More units provides more flexibility and tactical options with more activations cards. It also has the potential to put more Fatigue on the enemy units with more but smaller attacks. I find using many small units can be a useful tactic for factions that having strong Shoot Saves and can hide in cover. Natives are a perfect example as they can shoot a lot from cover and put down a lot of fatigue with smaller units.
But…. Smaller units tend to die fast and you can lose a lot of points of models really quickly. If a unit is reduced to one or 2 models, it has a high probability for fleeing the field from having twice as many Fatigue as models. That basically gives your opponent free kills.
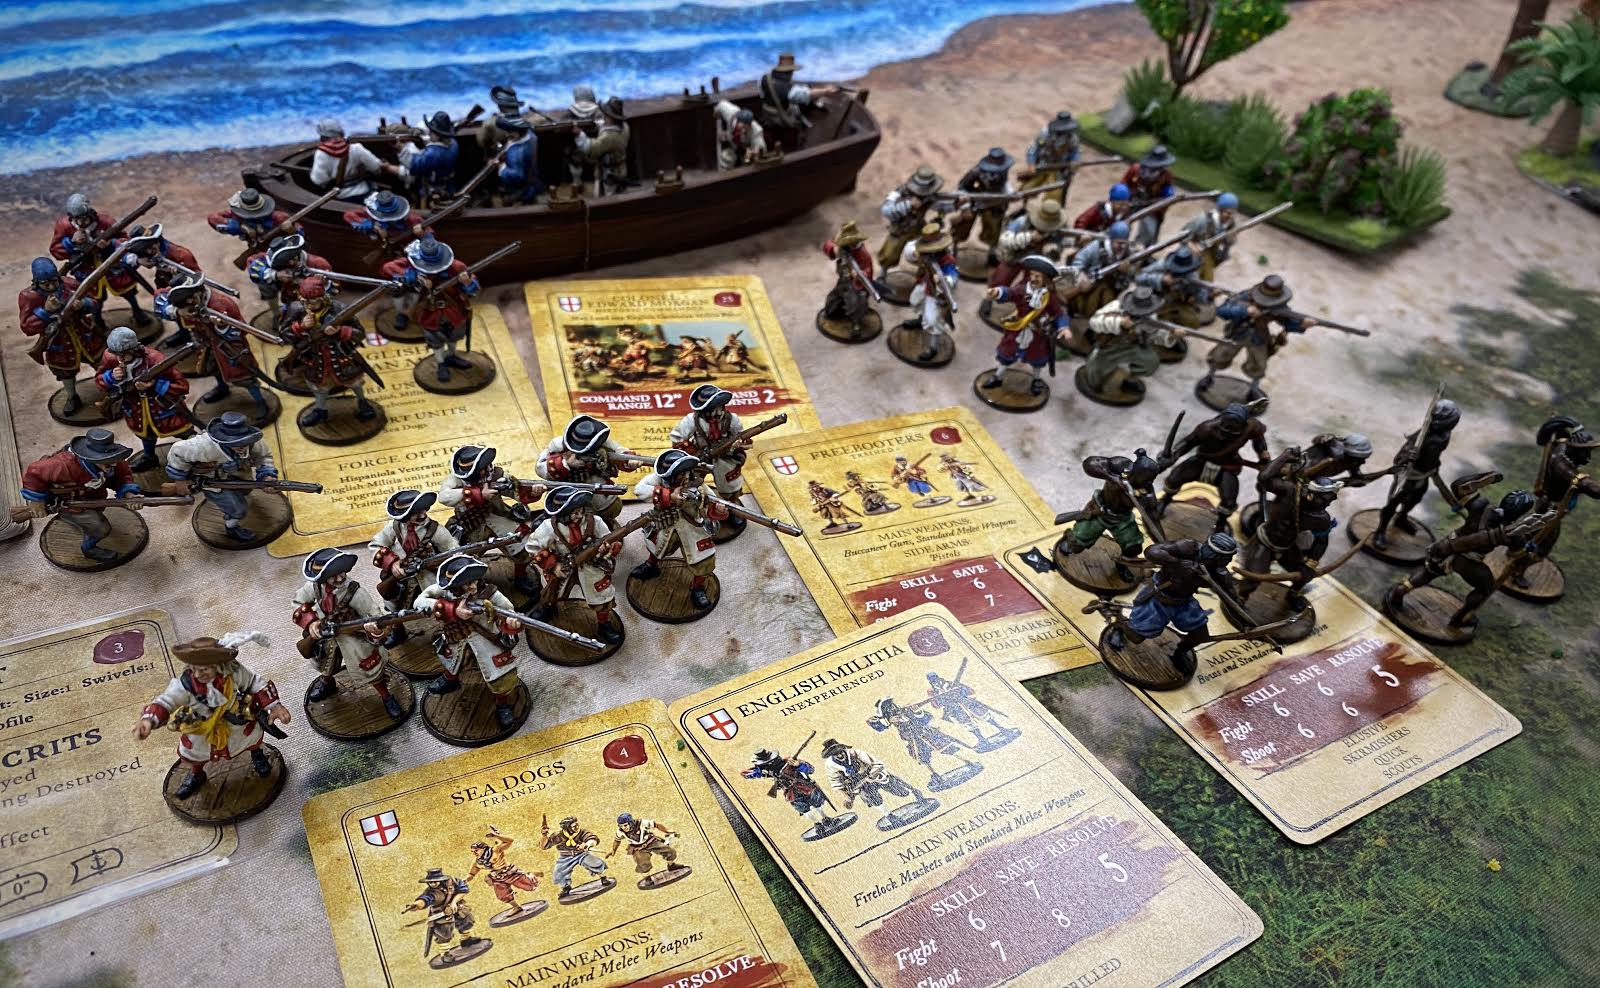
Larger units hit hard and can potentially destroy or route a smaller unit in a single shot. If you plan to engage in much melee combat, having at least one large unit with a good Fight Save can destroy several smaller enemy units. A large unit of a well rounded model like Flibustiers, Freebooters or one of the different Soldado/Infantrie/Soldat/Musketeer unit can be a great core of a force.
But… if you invest a large portion of you points in one or two large and the enemy is able to drop a lot of Fatigue on them and even make them Shaken, your lost opportunity on that unit is huge. With larger units, make sure you can manage your Fatigue efficiently through a Very Inspiring commander or a character like the Grizzled Veteran.
I find I try to use at least one unit near the maximum model count threshold (which changes according to the point total), a couple near the mid range, then one smaller unit but I pretty much never use a unit of less than 4 models in any game, and less than 5 models in a game of 150+ points. The tiny units are just too fragile.
Command Structure
I find I’m usually well served to spend 10-15% of my force points on a commander. This practically means I often use the free commander in games up to 100 points, the 15 point Experienced commander for most games from 100-200 points and a historical 25+ point commander for most games of more than 200 points.
Fatigue is bad. Include ways to manage Fatigue. You want to spend your game fighting and overcoming your enemy, not constantly rallying your men or watching your men run off the field. The basic Rally action is your standard way of taking Fatigue off your units but to be efficient you should really include something in your force that either removes Fatigue other ways or bolsters that basic Rally action.
The Inspiring ability is found on many commanders and it lets your re-roll any failed dice when attempting a Rally action during the commander’s activation. Fatigue is such an important part of the game that this rule is seen as one of the most powerful abilities a commander can have. Of course the upgraded version, Very Inspiring is even better, expanding those re-rolls to any time as long as the unit is within the commander’s command range. If you have a 5 Resolve, this re-roll changes your likelihood of Fatigue removal from 60% to 84% and at 6 Resolve it gets you to 75%.
Other ways to manage Fatigue include the Grizzled Veteran characters who grants his unit Tough (remove a Fatigue at the end of the activation if you didn’t take any Fatigue during the activation) which provides some passive Fatigue removal plus he gets a single Command Point to rally any unit within 3″. This character can help keep all that Fatigue off while still letting your Commander use his activation aggressively. The Grizzled Veteran is widely considered one of the best, if not the best character in the game. The Son of Neptune is another variant on the same idea but can only be used with units with certain sea-going rules.
Some factions grant Tough to all or some of their units and this can make special commander or characters less necessary. There are a lot of fun ways to get Fatigue off your units but you should include at least one boost in this area in pretty much any force. Factions with units with inferior Resolve (Spanish and French on land) really benefit from this.
Experience Levels
A mix of experience levels in your troops will make the best use of your initiative cards. Spades are good for Veteran and Inexperienced, Hearts are good for Trained, Diamonds are good for Veteran and Inexperienced and Clubs are good for Trained and Inexperienced troops. If you have all Trained models, you’ll be losing out on some of the power of Diamonds and Spades (to some extend). If you have all Veteran, you’ll be wasting some of that experience level whenever you play a Club or Heart.
It’s never a total waste bring highly trained units but having a mix is technically the most efficient way to build a force. I generally try to keep most of my force Trained but often add a single Veteran unit and/or one or two Inexperienced units, especially if I can get access to units with some action advantage like Quick, Skirmishers or Artillery Crew.
Special Abilities
Don’t load up on too many units that rely on a Spade to trigger a special ability. Many units have an ability that will trigger on a Spade and sometimes even a Heart initiative card. These make the units extra aggressive in most cases since they can activate quickly and still get a reasonable amount of actions or have some other perk go off. Flibustiers/Freebooters get a free Reload action through Fast Reload, Cavalry get an extra free Move from Quick, and various units can get an additional free Move through Skirmishers.
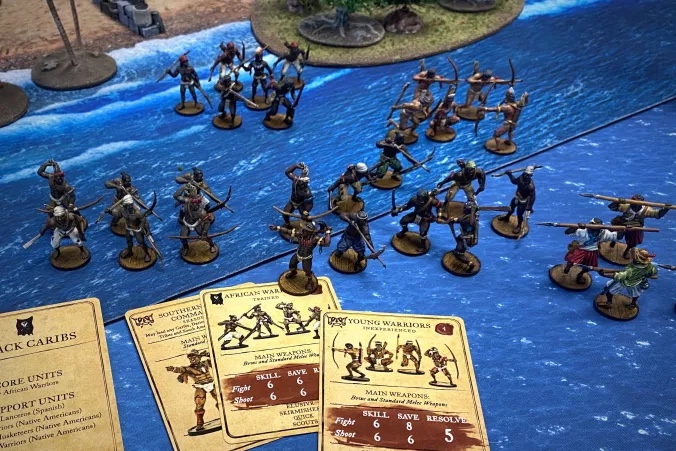
These are all great but if you fill your entire force with this kind of unit, you won’t be able to take advantage of those abilities more than about a third of the time. This is one of the weaknesses of the all cavalry force. They have great abilities but they only trigger on high initiative cards. Usually you’ll want some basic “meat and potatoes” units in your force as well to make good use of your lower initiative cards. Forces like the Black Caribs have to face this fact as well. Their only core unit has both Quick & Skirmishers but don’t rely on using that all the time when using this faction!
Command Points
Make sure you don’t overload your force with Command Points (commander plus characters). Each unit can only take one Command Point per turn so having 4 available CP and only 3 units to use them on would be wasteful.
Focus Your Build
Know what tactic you want to pursue and build to accordingly. The various scenarios won’t always be kind to your pet tactic, but you should have a basic plan of how you want to use your force before you even deploy it. Try to identify your faction’s strong points and build and play with those in mind.
Beware of Nickle and Diming Yourself to Death
Don’t spend too many of your points on extras and options for your force and units. Some factions have units that have lots of options to customize their units. Having these options is awesome and taking advantage of them can really strengthen your force but don’t fall to the temptation of buying all the options! You probably don’t need bayonets and grenades on your soldiers or bows and pistols and sidearm muskets on your African Warriors! I find this especially tempting on the Natives since they have some many interesting options! Decide what role each unit in your force will need to perform and equip them for that role. Having some flexibility is good so arming your melee Warriors with bows or a sidearm muskets is often a good choice but don’t load them up too heavily, Spread the points around between your units.
Don’t Invest Too Heavily in One Unit
Mitigate your risk by spreading your power out among your units. Be careful of investing too heavily in a single unit. If there’s a single unit that’s clearly the largest threat to my opponent, he can focus fire on that unit with everything he has and cripple it with Fatigue and I will lose a lot of the power of my force if I’m rallying that unit more than actually fighting with it. I like to have at least 2 units which can really threaten my enemy so they have to at least choose which one they want to focus on. Don’t put all your eggs in one basket. If you have a good way of keeping a huge and powerful unit safe and still be effective, it can be a powerhouse! A large unit can carry the day if used well and protected. Boucaniers set up in good cover are a good example. If they can stay well away from enemy units and set up in cover with their excellent Shoot Save, a large unit of them can dominate a battlefield with their murderous fire. Adding a Captured Merchant character to a large expensive unit can help keep that huge investment safe as well although it makes it even more expensive!
In our next article we’ll move to ideas for building lists for games specifically on land. Each theater has unique opportunities and challenges which encourage different choices in building a force and that keeps the game interesting!
I realize that there isn’t a lot of specifics in the material above and some of it is basic tactical common sense. We will get more specific in the next three articles.
You can also find more force building tips from Guy in his Force Building article in his Tactics and Strategies series.
Please chime in with general ideas you’ve found or discovered for building solid lists. Or take me to task if you think I’m wrong!
Next in this series is an article looking specifically at building for land games!
Additional Recommended Reading
- Force Building II – Building for Land Games
- Force Building III – Building for Sea Games
- Force Building IV – Building for Amphibious Games
- Check out an entire article on ways to use Fortune Points in Blood & Plunder
- Tips, Tricks & Tactics for gameplay from Guy
- Video discussion on Fatigue Management
Thank you for this. Very useful guidance.
Pingback: Force Building II: Building for Land Games | Blood & Pigment
Pingback: Force Building III: Building for Sea Games | Blood & Pigment
Pingback: Force Building IV: Building for Amphibious Games | Blood & Pigment
Pingback: Great Guns Sea Forces - Blood & Plunder Sea Force Building Pt 1 - Blood & Pigment
Pingback: Small Arms - Blood & Plunder Sea Tactics Pt 3 - Blood & Pigment
Pingback: Swivel Mania - Blood & Plunder Sea Tactics Pt 5 - Blood & Pigment