By Guy Rheuark
After learning to play Blood & Plunder and buying your first miniatures there are a wealth of strategies and tactics that not only make each game exciting from moment to moment but let you carry lessons you learn from one game to the next.
Gameplay isn’t the only way to learn, though. You can read about battles from the 17th century, page through the rule book, and think about different ways to field your miniatures.
I am not a genius at Blood & Plunder, or tactically minded in general, but I have spent time reading piratical histories and my rule book is well-worn. I wanted to let people know what I’ve learned about this game, and encourage discussion about how we play.
For me, strategies and tactics of how to play Blood & Plunder are divided into three types. The first is what you prepare for before the game. The second is understanding how to use the rules to your advantage. The third is where you deploy your force and how you move them.
This second article is about using the rules to your advantage. This will include the turn structure, action economy, ship movement, strike points, and special rule synergy.

What is using the rules to your advantage, and isn’t it cheating?
Rules are what make something a game, and understanding them is a way to get better at playing the game. Learning the rules is often an exciting part of a game. It’s how you affect what happens, through the choices you get to make. Rules also govern when the game will end, and who wins.
Blood & Plunder is a game played with dice, cards, miniatures, and a foundation of rules. Each of these elements have best practices that you can intuit. Such as a 6+ is easier to get on a D10 than a 7+. Or if you already played a King of Spades you can’t draw another one. Keeping units behind cover lets them use their better save.
You can then take it a step further and learn the best way to use the rules. Learning these things isn’t cheating.
Cheating in Blood & Plunder is fudging a dice roll. It is “forgetting” a rule that hurts you. Cheating is sneaking a peek at your opponent’s hand. It is also moving a ship or unit an extra 1”, or pulling it back as the opponent moves. There are lots of ways to cheat. People will sometimes cheat, and it’s usually not for a reason.
When I played as the DM in role-playing games in the past, I would ask my players not to cheat. I would then let them, my friends, know that if they really need to cheat if they need that win, to go ahead and cheat, but ask themselves why even play this game a game they have to cheat at.
The social contract of Blood & Plunder is not so forgiving. This is a game with no stakes on each game, other than honor and integrity. If you accidentally see your opponent’s hand, strike it from your mind.
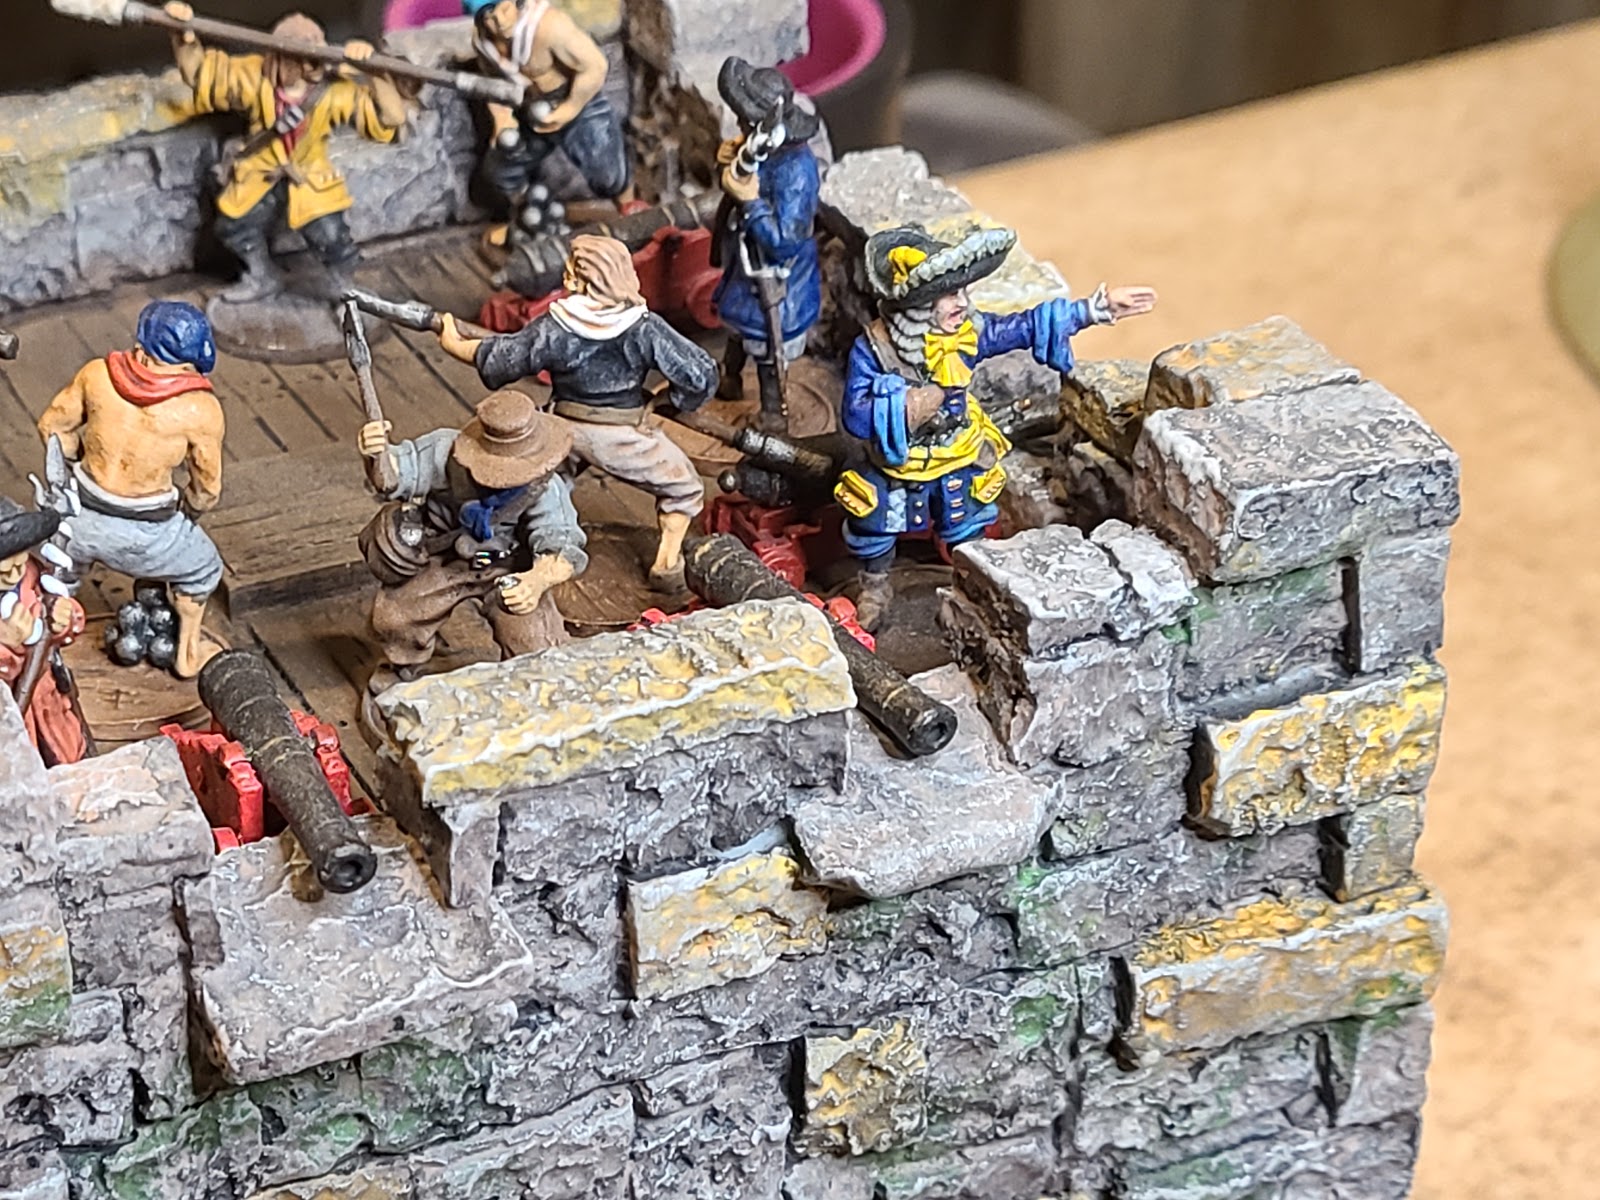
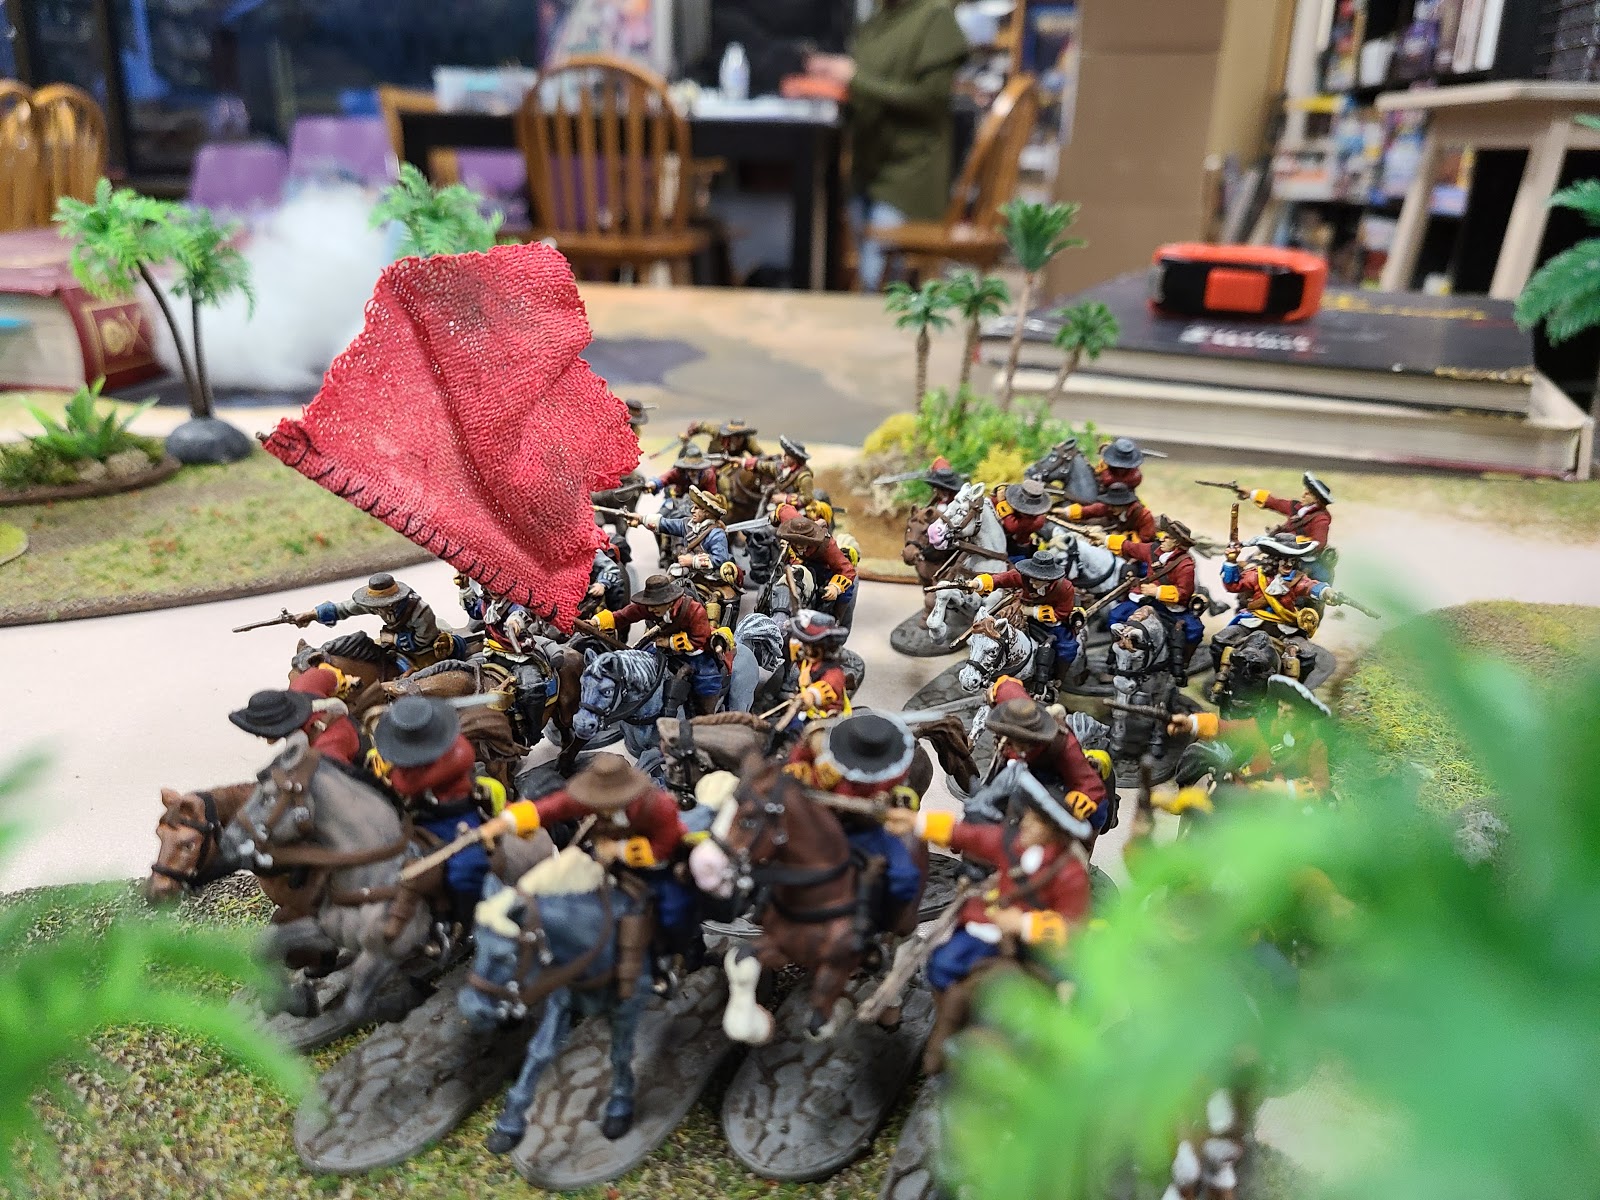
The Blood & Plunder Turn Structure
The activation deck, or deck of playing cards, is one of my favorite ways to determine initiative in a game. The basic strategy is obvious: fast cards let you go first, but slow cards let you do more. Ties are rare, and usually are a result of a race to go first at the beginning of a turn in the middle of a game.
The First Turn of the Game on Land
What’s a little less obvious is that you don’t want to go first at the beginning of the game. This is because of how ranged weapons work in the game. Every 4” moved towards the enemy drops the to-hit number with a musket by 1 for you AND your opponent. Both of your forces are the furthest away from each other as they might ever be after deployment. If you move 8” towards the opponent and shoot, then they move 8” closer and shoot, they got -4 off the number to hit to your -2.
The disadvantage of moving first is even more pronounced with ship combat. This is, because your entire force will usually move closer to the opponent. And because you have to move your ship with the first card you play that happens early on. Long-range cannon fire is rarely damaging and leaves you short of a broadside later in the game.

Someone needs to go first though. When fighting a land game, and having to go first, don’t run your units toward the opponent. Activate your furthest away units, or units that were deployed out of cover or in vulnerable positions. It is also prudent to move a unit into a position where it can take advantage of a command point after your opponent has moved closer.
The First Turn of the Game on A Ship
In ship combat, one of the best first moves is to move windward to claim the wind gauge. Turning is usually the best strategy, and being windward of opponents is one of the best ways to control the battle.
The First Turn Exceptions
There are exceptions to not wanting to go first. “Lay in Wait,” abilities start your unit prone, a vulnerable position to being charged. Some scenarios, like escort, make moving a huge priority because it can win you the game.
After getting into the game, as units move closer to each other, going first is usually the priority. Though, watch out for times when you would really like your opponent to move closer, and try letting them.
Having fewer units and thus fewer cards than your opponent is usually a disadvantage. It lets you pretend that you are going to play a card, only to pull it back as they are revealed. I call this a Ruse. Performing a Ruse is a good way to make your opponent commit to doing something before they want to. And will often lead to them activating units and doing nothing in the early game. Once the game is underway, a Ruse is less useful, as you will want to be the one to act, rather than responding only to your opponent.
Another way to use the turn structure of Blood & Plunder is to save your commander’s unit, or any big moves you plan to do, for the last card of a turn. This is really fun but risky, and means that your opponent will only have at most one unit that can activate. The next turn, you will want to activate the unit that you moved up with as high of a card as you can, effectively giving them two activations before most of your opponents units can respond.
This technique is often the best way to get melee units into melee. You may also push back the enemy line, especially if you are able to shake their command unit. The downside is when you don’t win initiative. Sacrificial pawns are not really a thing in Blood & Plunder. Because of how strike points are calculated.

Another thing to remember is that you can trade a fortune for a new hand whenever you want. Typically it is usually best to spend Fortune at the start of a turn, to give you a whole new hand. However, spending it later in the turn has its advantages as well. By delaying you can use a spade you had in your hand to win a critical face-off, and then throw away a handful of diamonds.
Using Ship Movement to Your Advantage in Blood & Plunder
Learning how ships move in this game is a joy. Ships have three important numbers for movement. How fast they are, how much they can turn, and their windward value. Using these three numbers, it is easy to grok how a ship will handle and to compare it to other ships.
The fastest ships go 5″. No ship as of yet goes 6″, but I’m sure one will in the future. All other ships go 4″, with only the longboat at 3″. All ships that go 5″ have a windward value of -2, and most have a turn value of 3″. Ships that go 4″ have a windward value between -2 and -0, and their turn value is between 2″ and 4″.
Ship Categories
This puts the available ships into three broad categories.
Fast Ships: These ships move 5″. When you play these ships, sail large as much as you can to take advantage of your speed.
Agile Ships: These ships move 4″, have a windward value of 0, and a turn value of 4″. When you play these ships, try to sail windward most of the time, to slow down any fast ships.
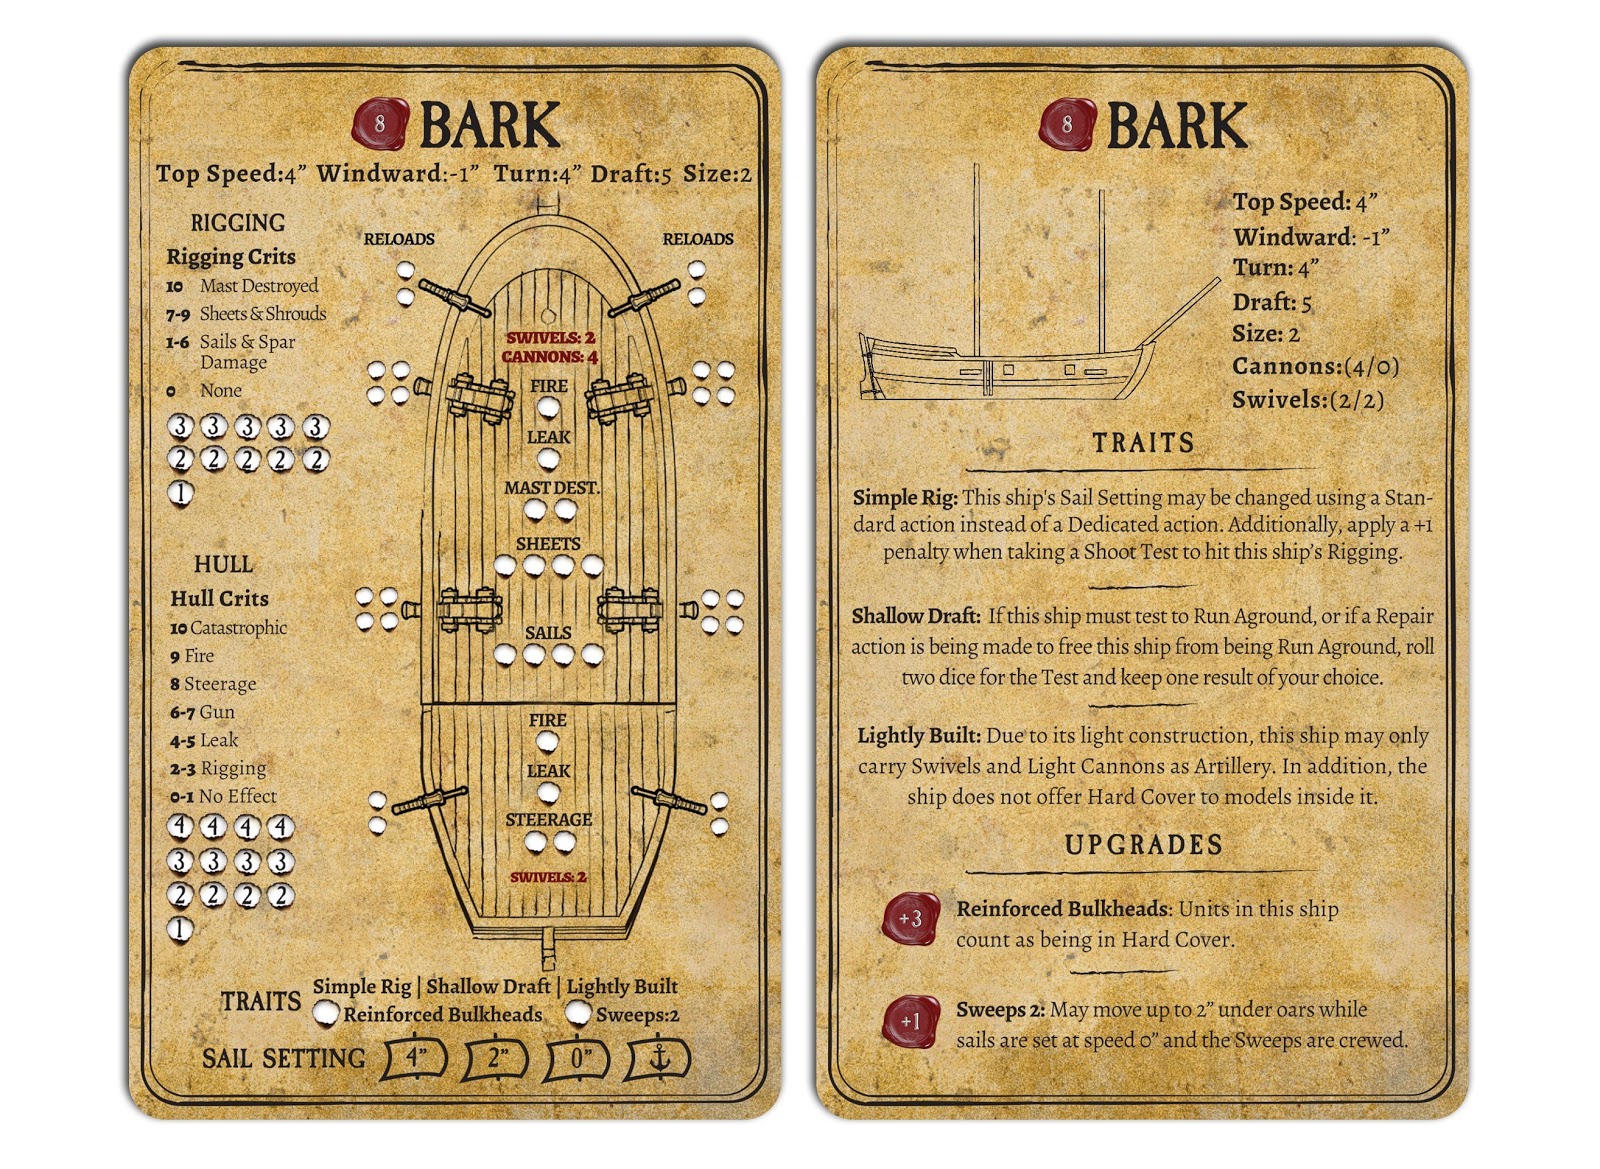
Specialized Ships: These ships are not fast or agile. They move 4″ or less, have a windward value of -1″ or more, and have a turn value of 4″ or less. It is hard to outmaneuver a fast or agile ship with a specialized ship. Specialized ships have different roles in the game, and include ships like the Galleon and Bark.
Fast ships really command the sea and open up lots of options when sailing. These are the best option for boarding ships and are also some of the best gunships. While you don’t want to spend most of the game windward, when you want to slow down, turning windward is better than dropping a sail setting.
Agile ships can use a technique I call an Easy Tack to cross the eye of the wind without any risk. T o perform an Easy Tack, sail windward as close to the eye of the wind as possible, up to the line that separates windward from the eye of the wind. Then, use your full 4″ turn to cross the eye of the wind. You will still have to use an advanced maneuver to Wear to escape the eye of the wind, but wearing has no downside to failing, so even units that are not sailors can attempt it.
With specialized ships, you need to lean into what makes the ship different. Most of the time it is cannon or swivel placement, traits, or upgrades.
Maximizing Movement by Using Turning With Ships
Ships have two other, somewhat secret, values that are important to ship movement. These are the placement of the skids and the width of the deck between the skids.
When I first started playing, I noticed that some ships seemed to corner sharper than other ships. I had the theory that it had something to do with where the skids are on a ship. One night, using an erasable mat typically used for RPGs, I drew out the position of the three ships I owned on the mat.
I was wrong about ships being able to corner sharply. Because each ship turns with the same maneuver tool, all ships have the same turn radius. What the placement of a skid does is determine how the ship is moved during a turn.
What a forward-placed skid does allow is a ship to Fishtail, swinging its stern outside of the path the bow took. This is useful with ships that have muskets, swivels, and guns in the stern because those arms can easily be brought to bear. And be closer than the bow was, through a well-executed turn.
A skid that is towards the middle of the ship follows a predictable path when turning. The stern will always be close to where the bow was after a turn.
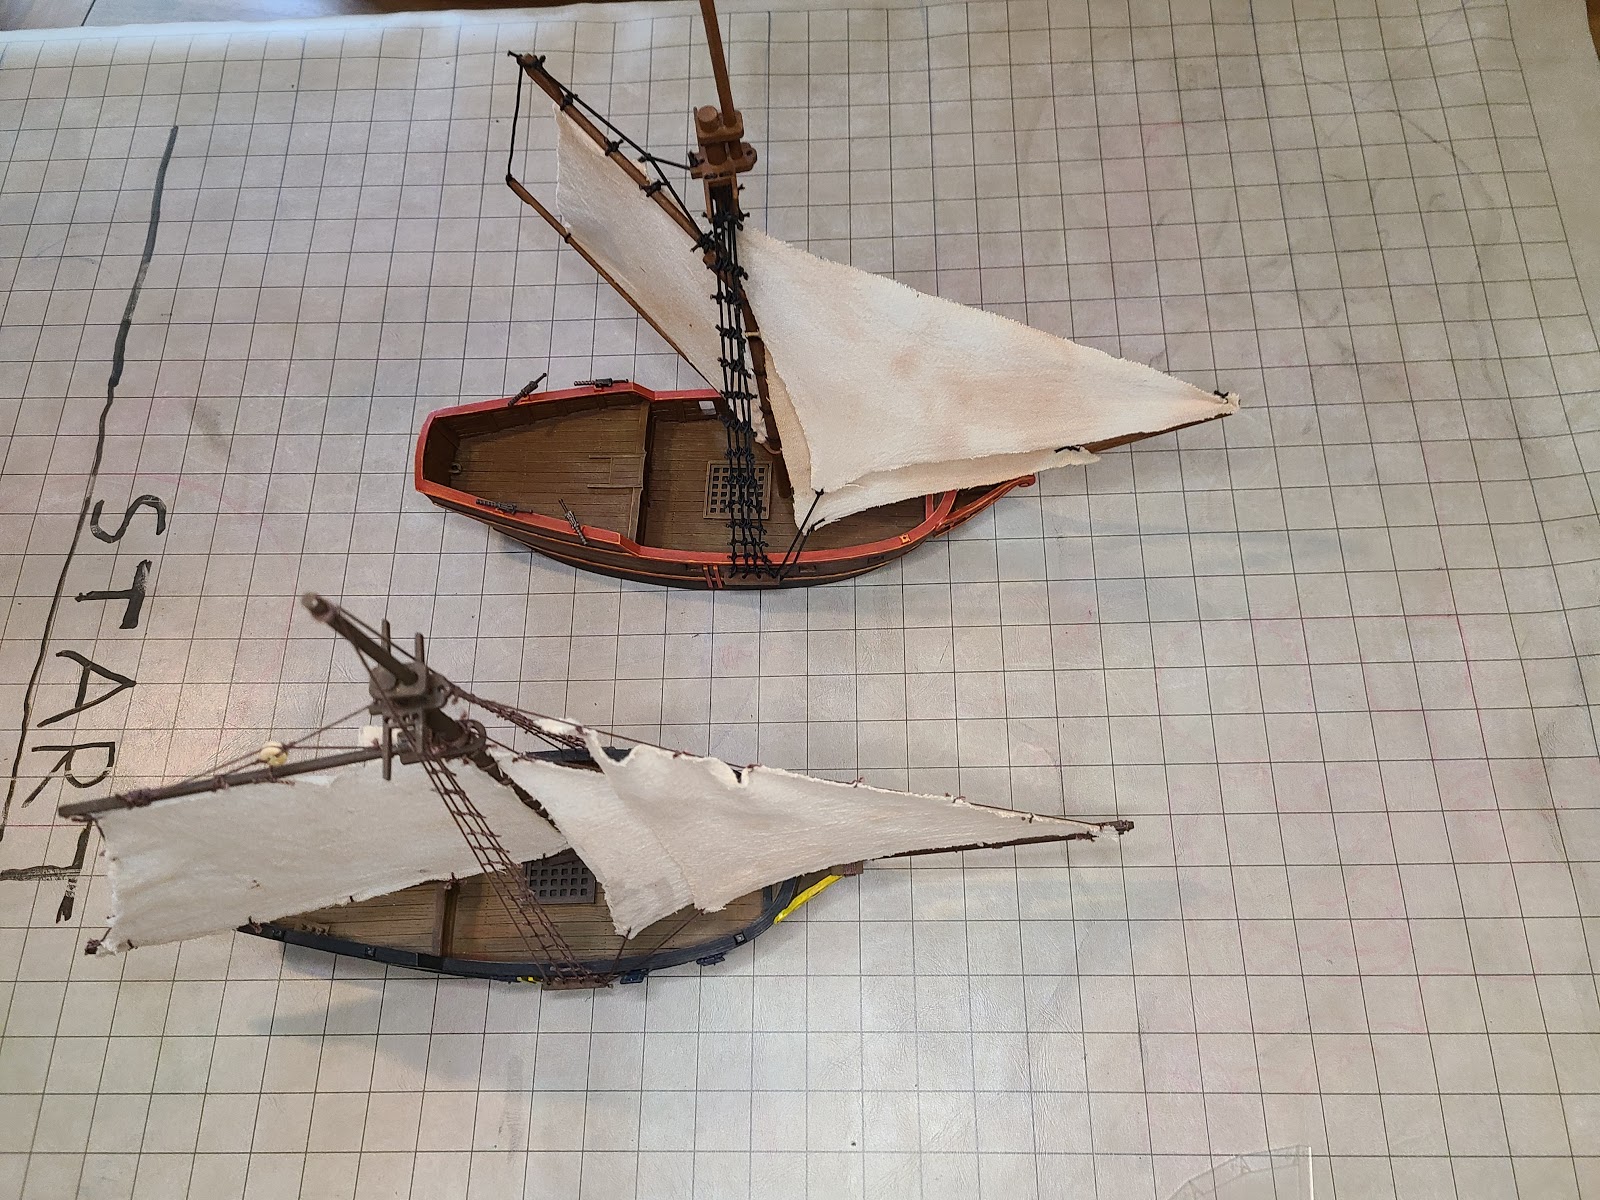
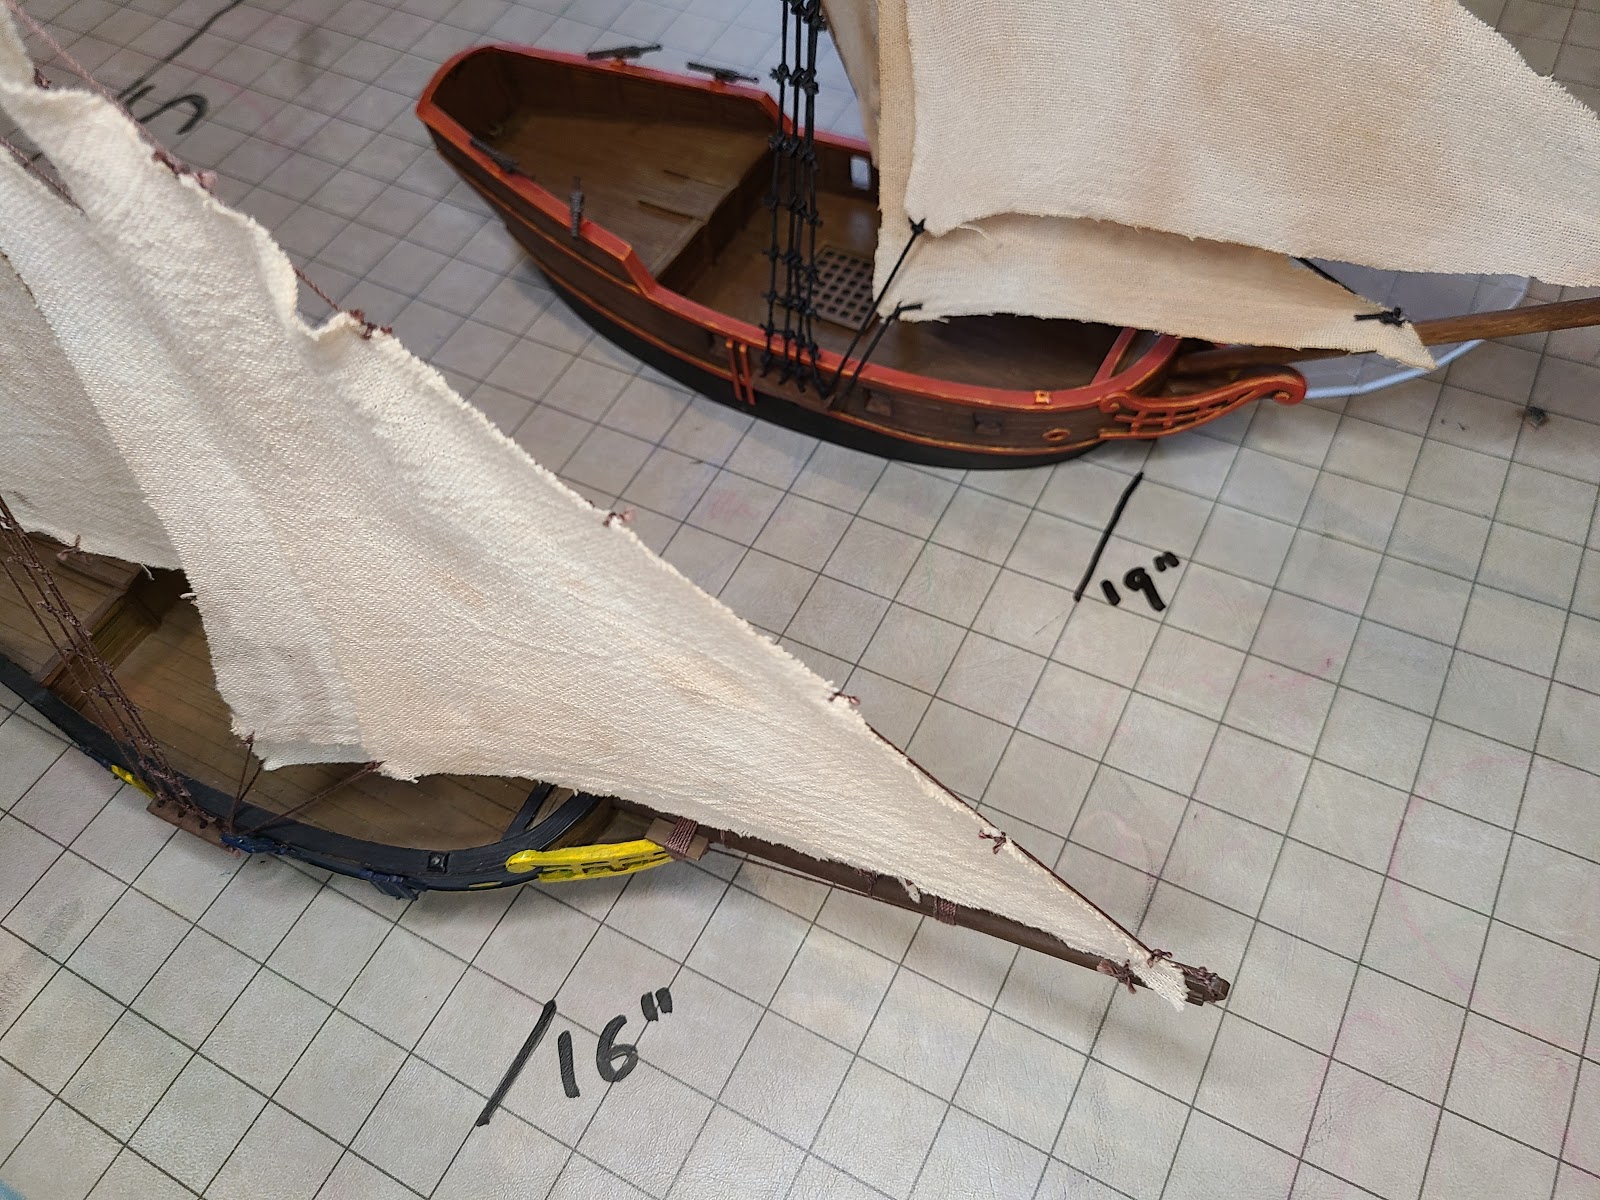
Two boats, the Canoa and Piragua, can be turned from anywhere along their side. This not only allows them to Fishtail but lets them be turned from the stern, letting the ship turn like it’s being skipped across the water. When turned from the stern, none of the boats ends up where the bow was, letting the units in the boat get as close to where the turn was pointed as possible.
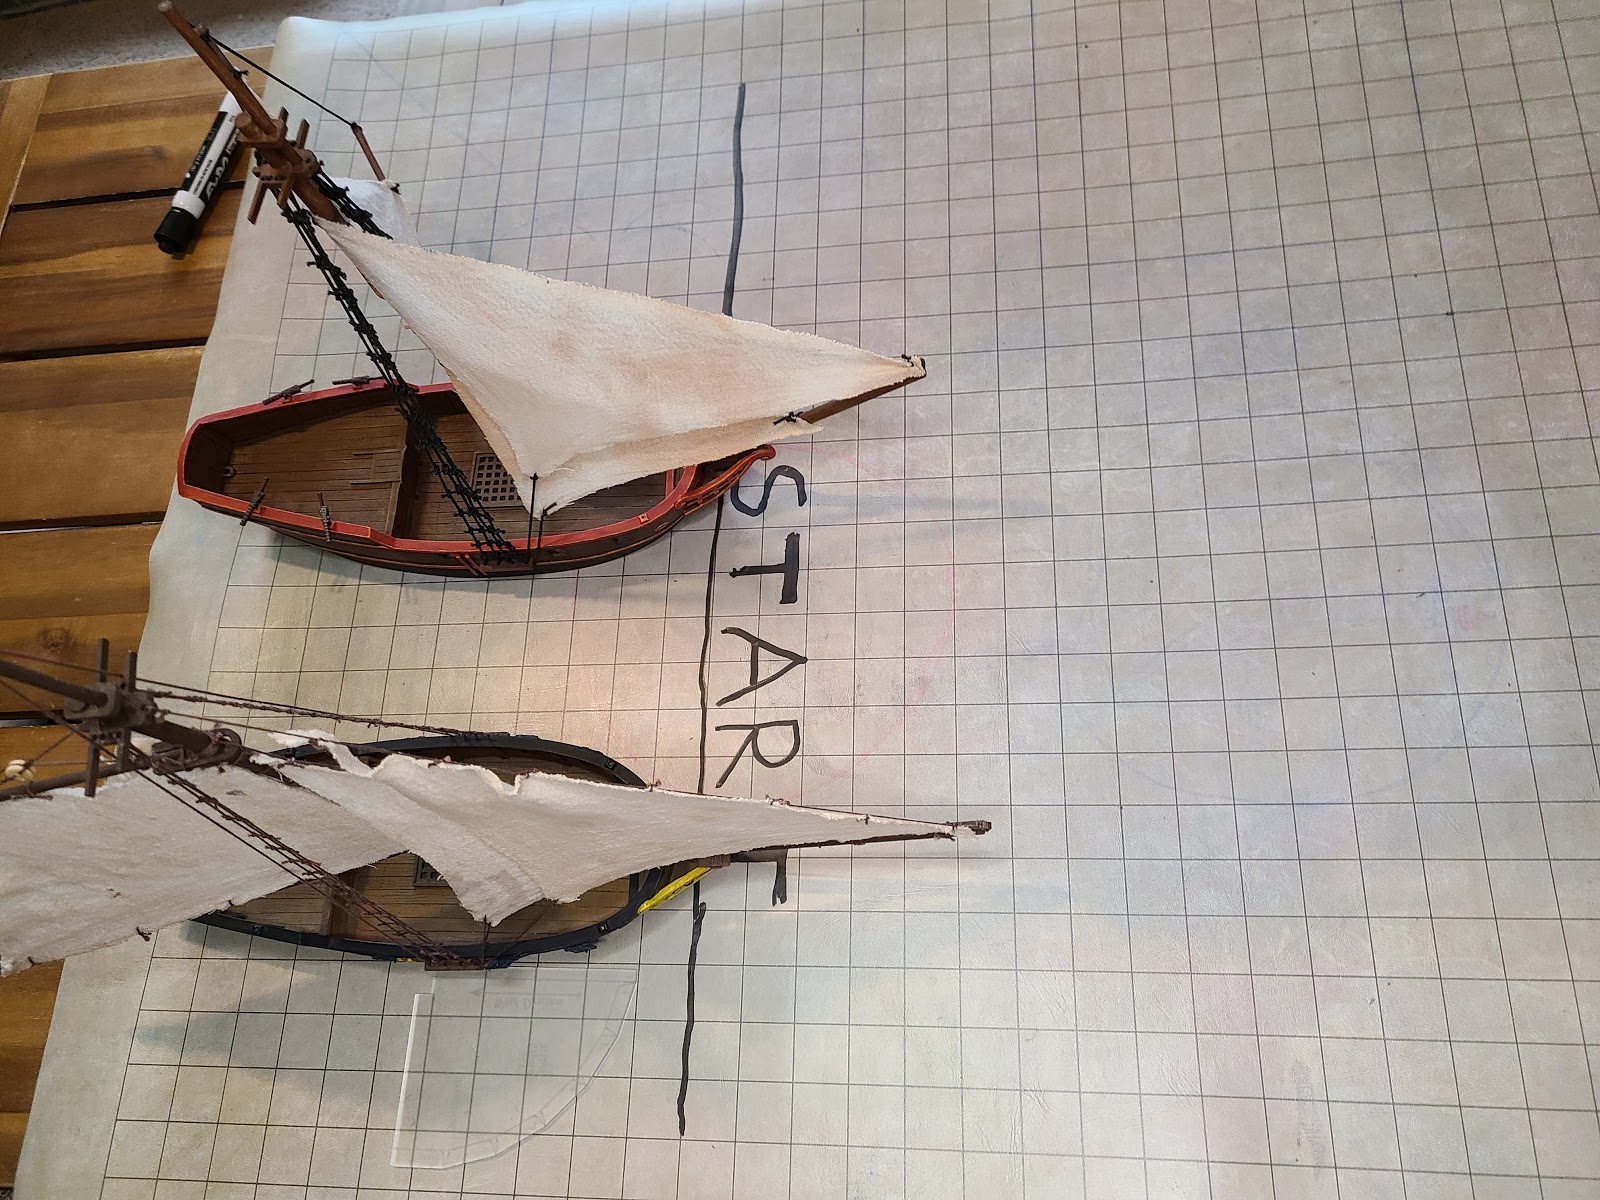
How to Use Multiple Skid Locations to Your Advantage
When steering ships and boats with multiple skid locations, it’s usually best to turn from a spot closest to the stern, to maximize the effect of the turn.

In this image, Canoa 1 turned 4″ from the middle, while Canoa 2 turned 4″ from the 1″ closest to the stern.
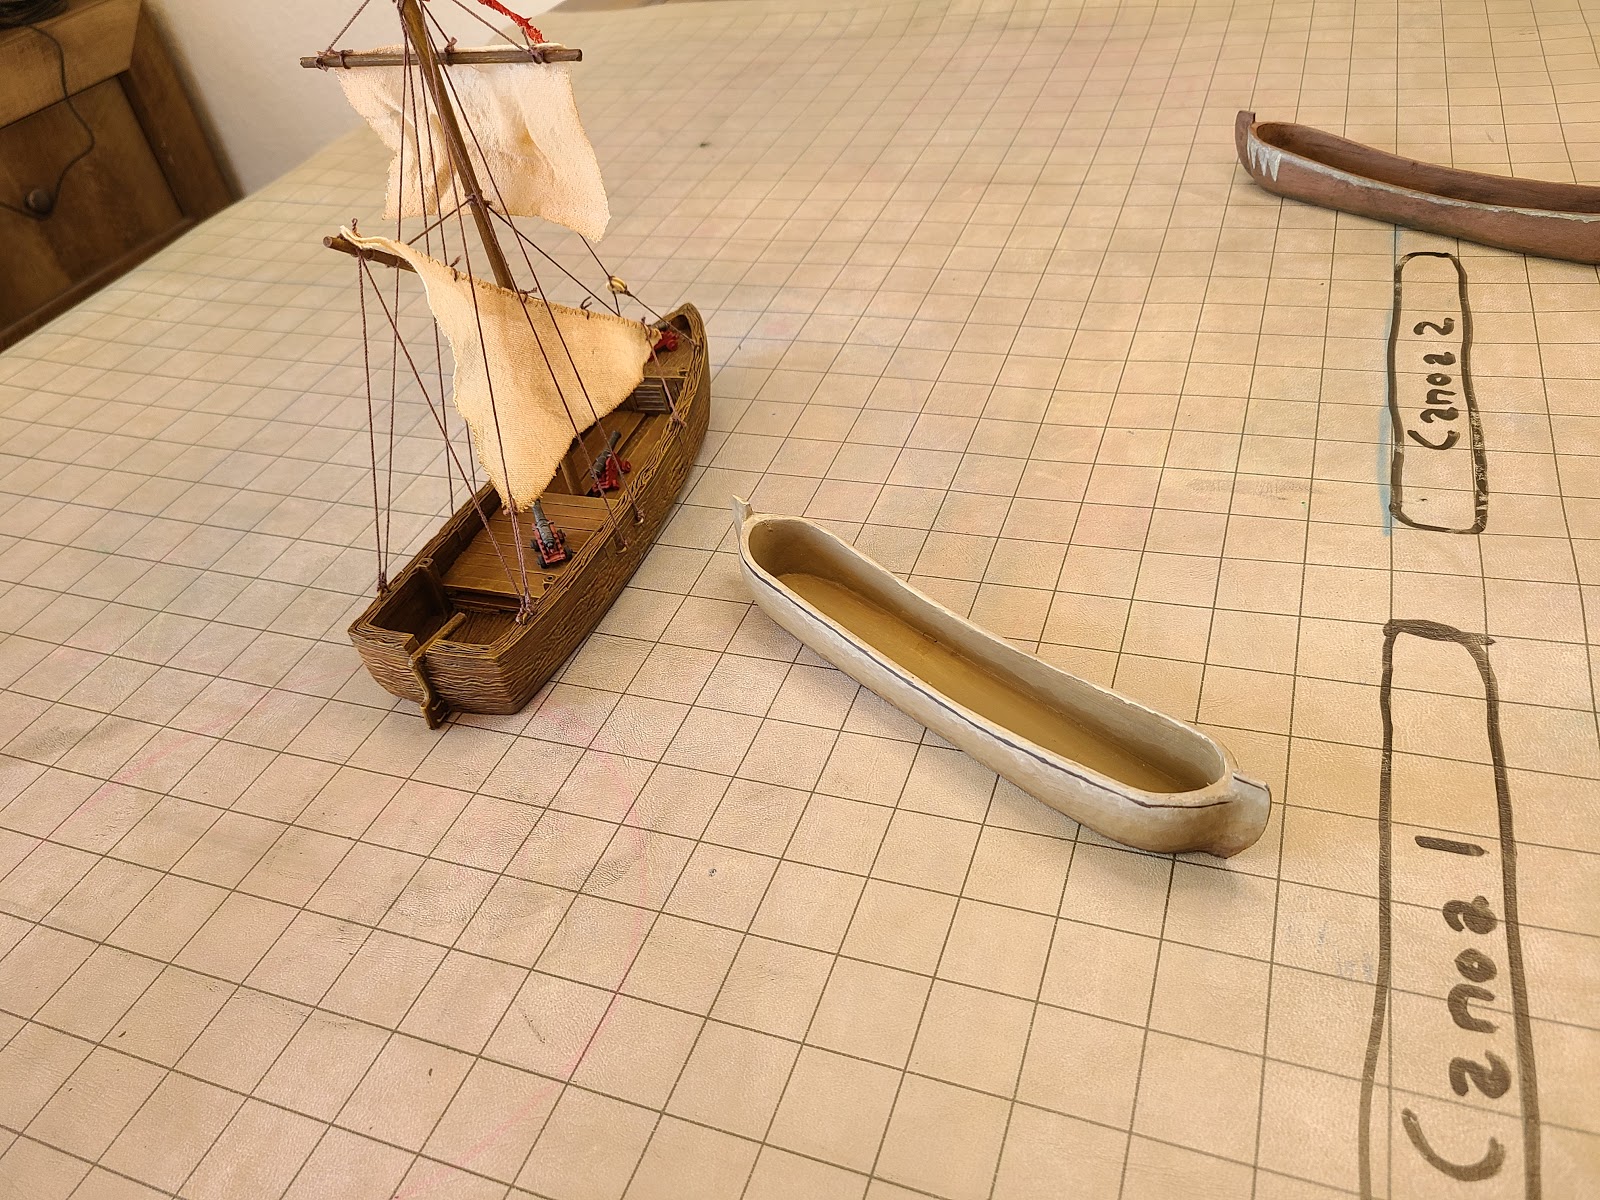
In this image, by turning 4″ from the stern, the Canoa was able to get within 1 ½” of the Piragua it was sailing parallel with, after starting 10″ away. The other Canoa, partially out of frame, turned 4″ from the 1″ closest to the bow, and looks like it just pivoted in place.
The other thing I found when experimenting with ships is that turning increases the distance a ship moves.
When a ship turns, you lock the turning tool to the skid on the side of the ship you are turning towards, and advance the ship along the flat edges, equal to the distance you want the ship to turn. During this turn, keep an eye on the skid on the opposite side. The outer skid moves a greater distance than the inner skid.
By turning from the skids, instead of a fixed point in the center of the ship, you add a portion of the width of the ship to the ship’s forward movement when making two alternating turns. The wider the ship is, the more it benefits from this product of geometry. Some ships benefit from this more than others. Agile ships, like the Tartana and Sloop, can usually gain 2” or more, and maintain their full speed when turning windward. When piloting most Fast Ships even slowing to 3” by turning windward on alternating turns is faster than maintaining a straight course.
Using this trick doesn’t break the game, as Blood & Plunder isn’t often a game about racing.
A Race Between Two Sloops
You can see from the images below how moving affects the overall distance covered by ships over the course of multiple move actions.

The first move

The second move

The third move
The final move
The sloop that went straight four times moved 16″
Action Economy in Blood & Plunder
Units get actions from three different places. The card they are activated with, a command point they can be given, and free actions from special rules.
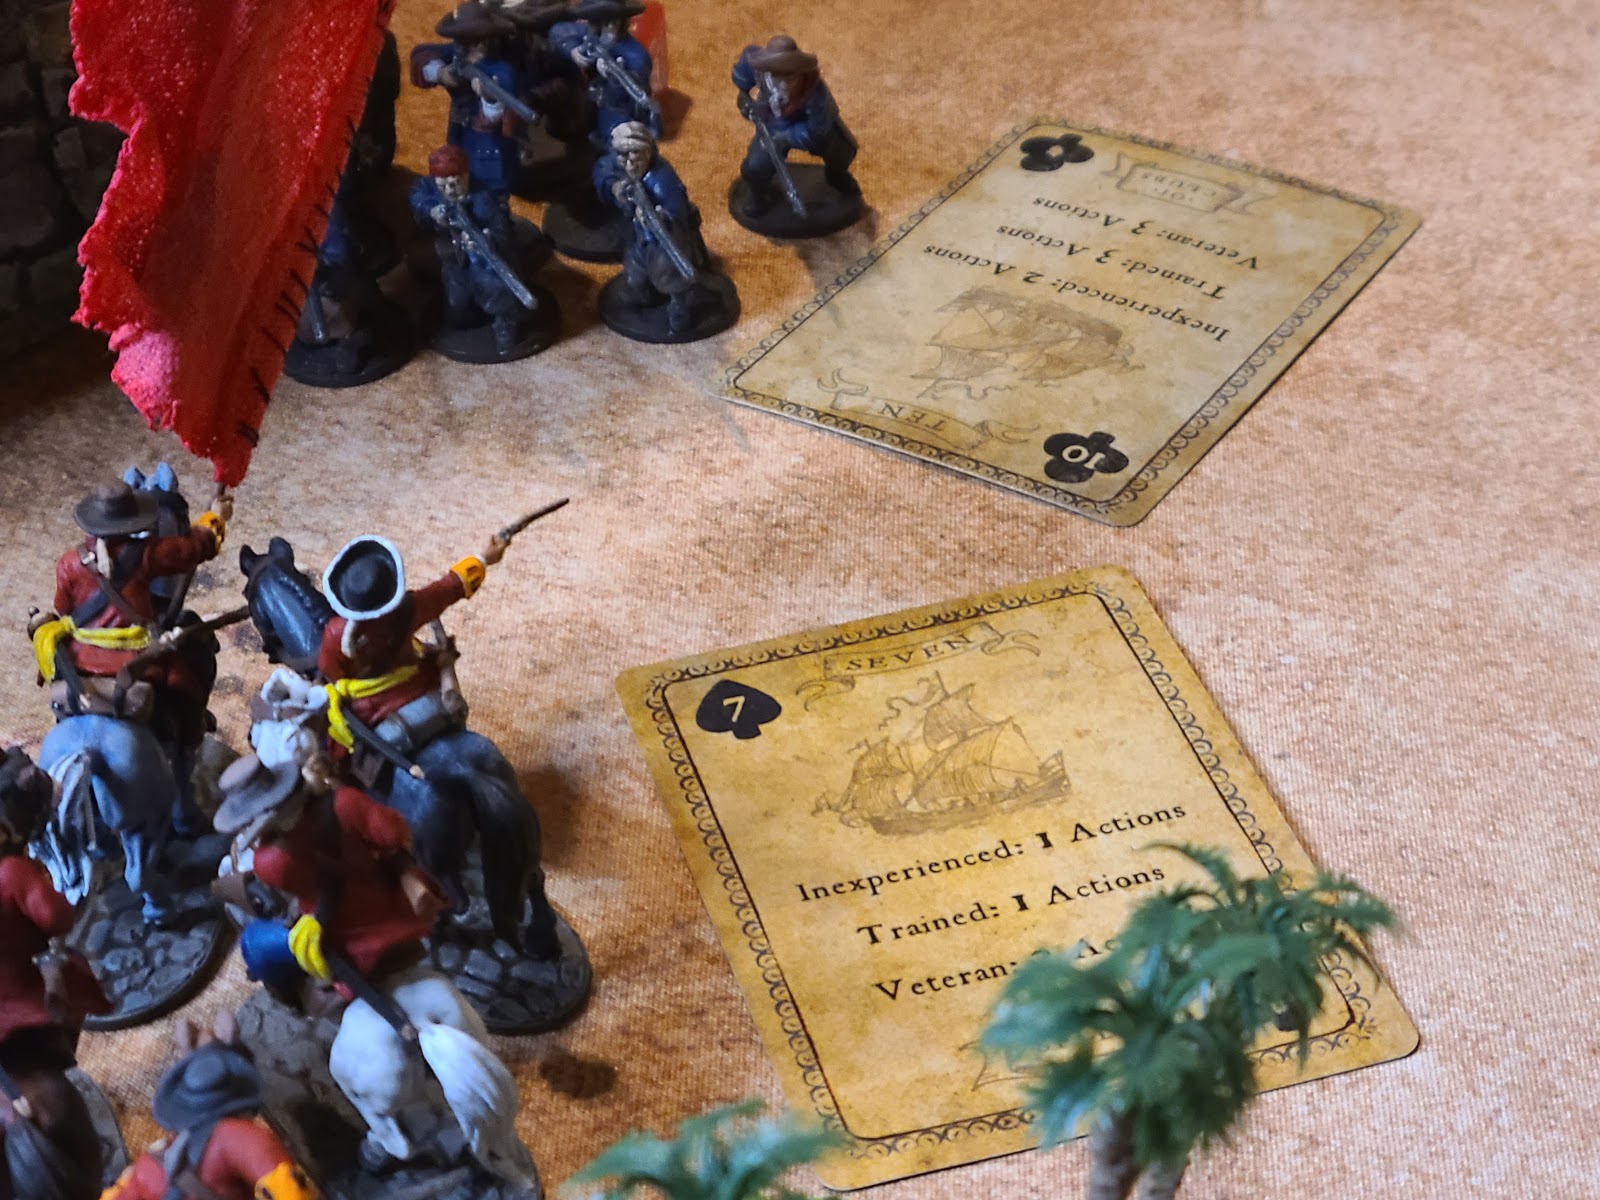
How Unit Training Levels Affect Actions
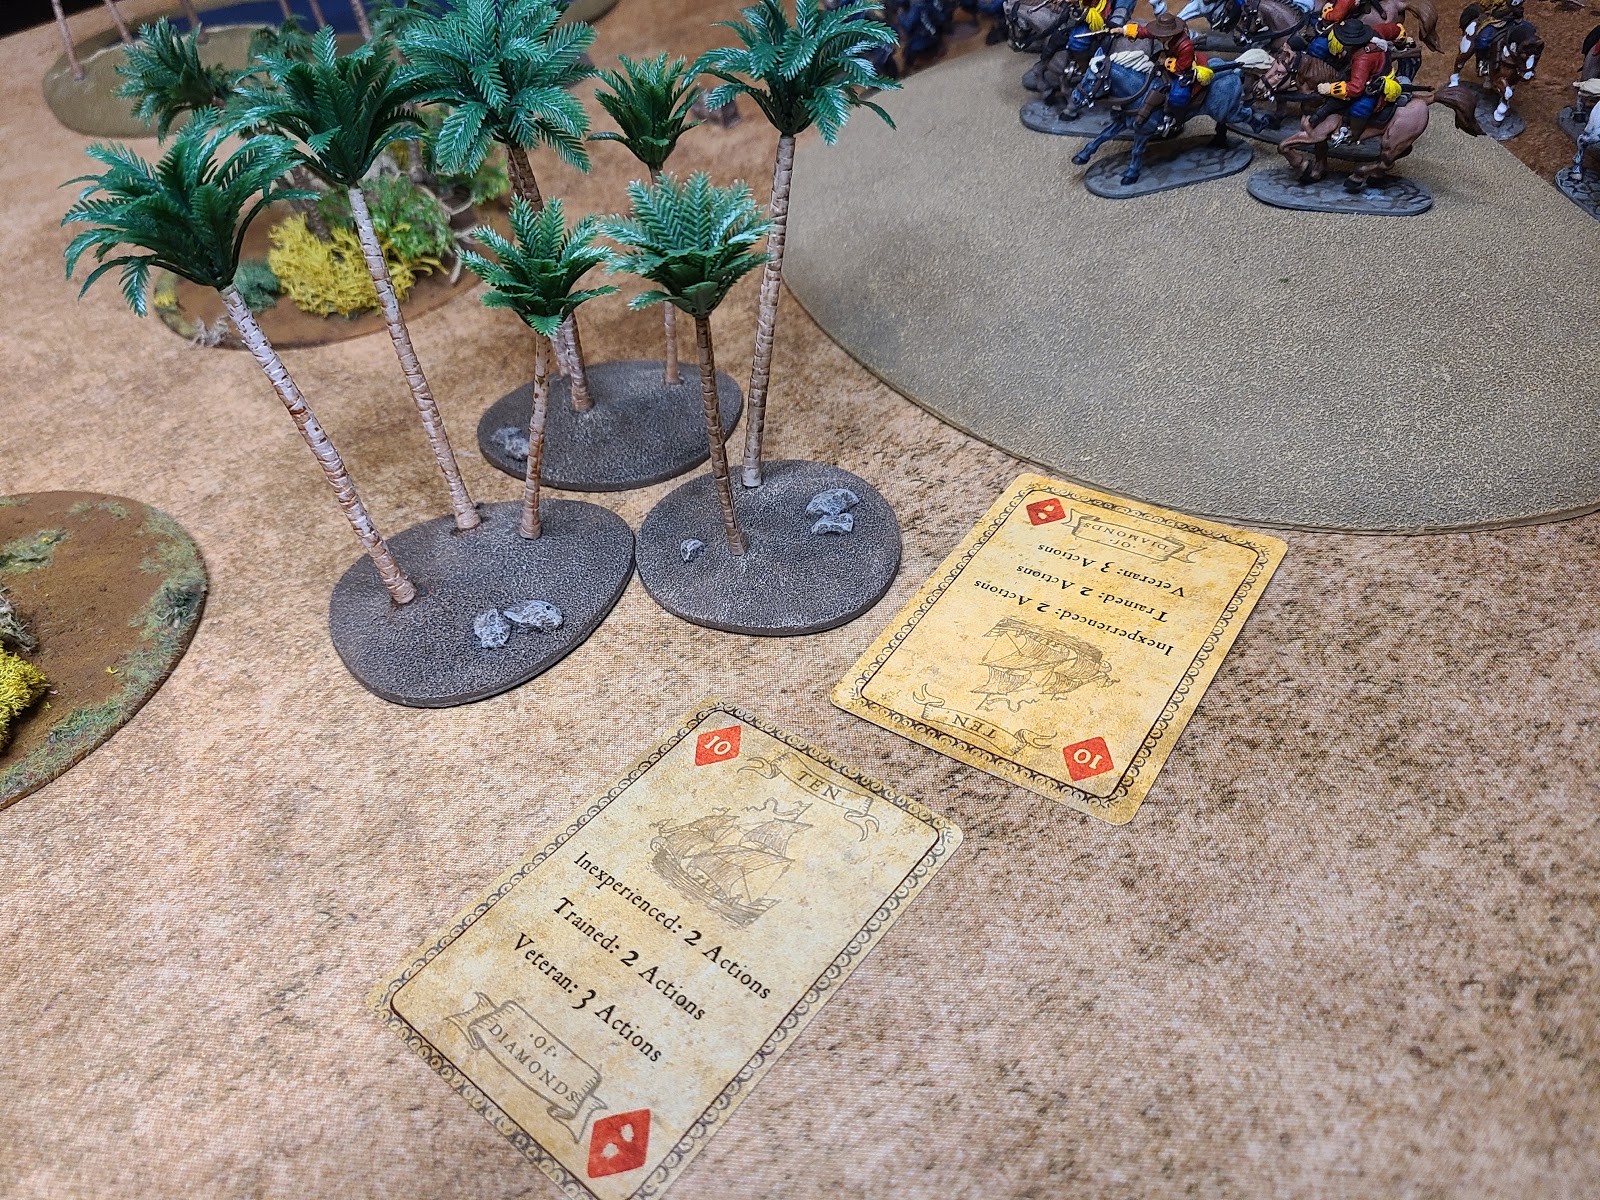
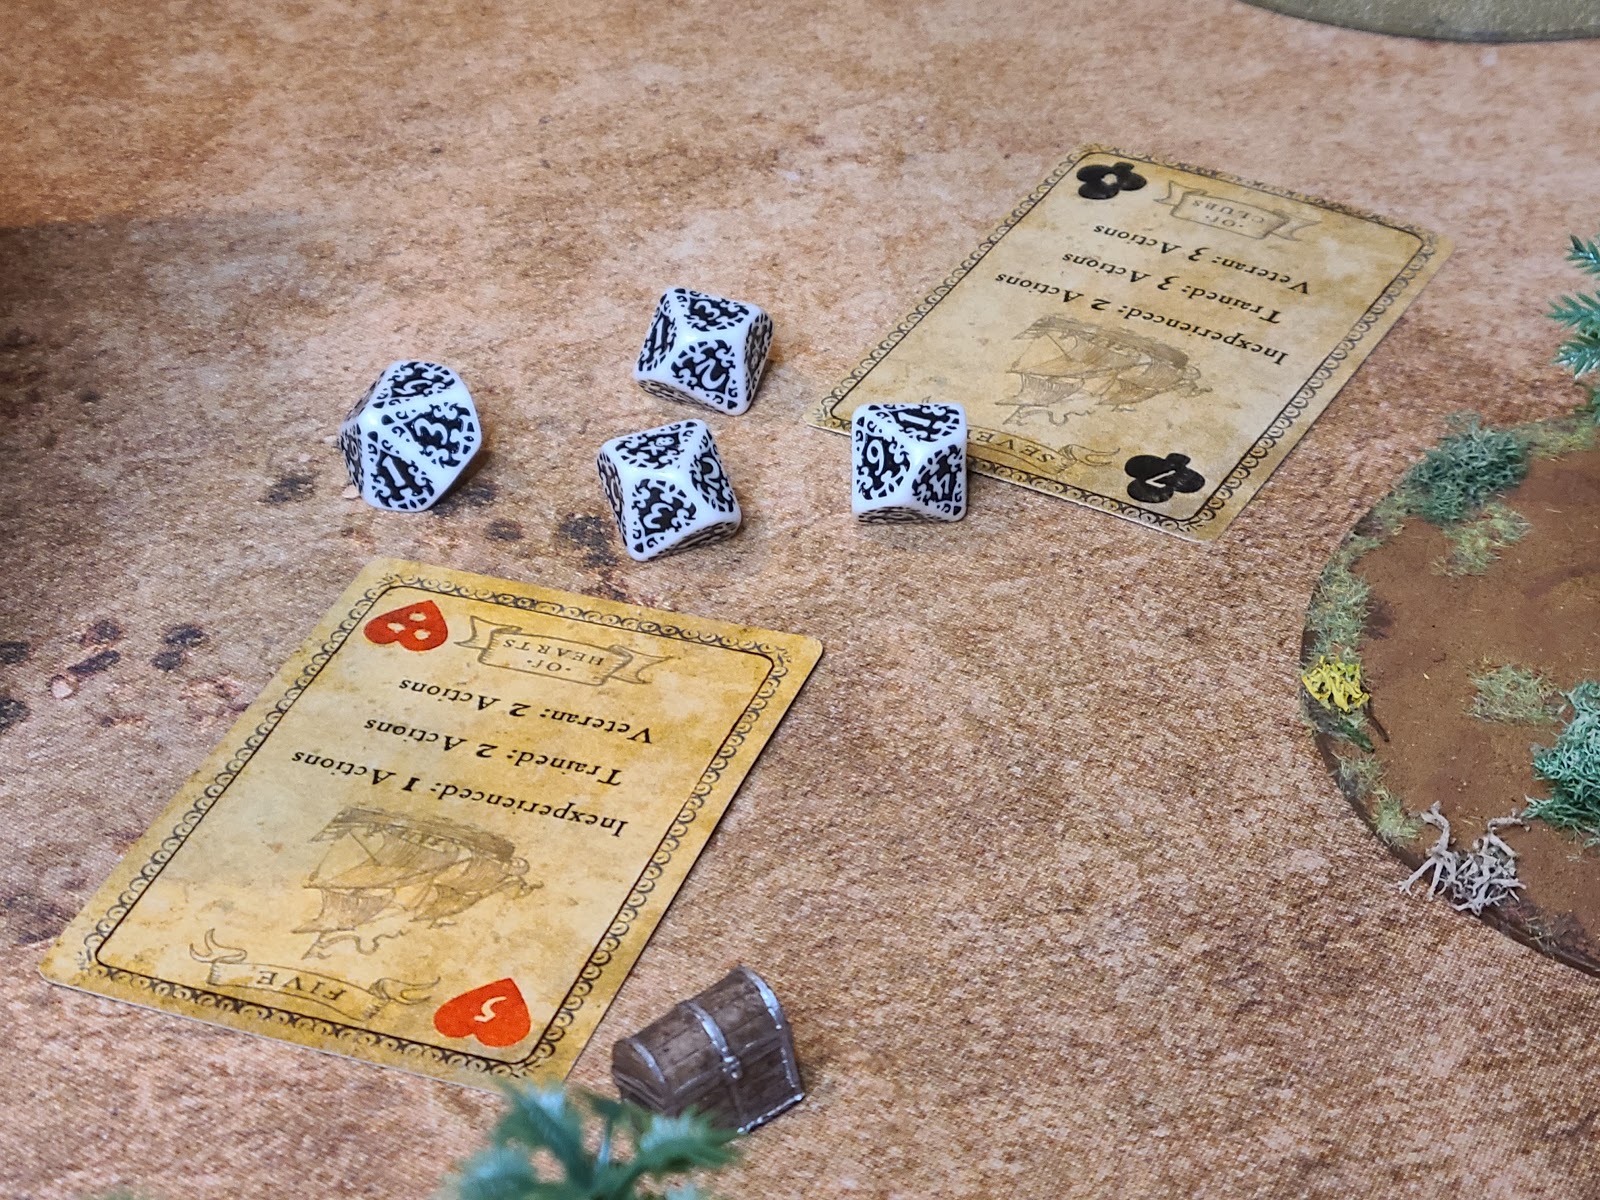
One of the basic functions of the game is giving units actions with cards. Units come with one of three training levels: inexperienced, trained, and veteran. When comparing these, a trained unit will receive 50% more actions than an inexperienced unit, and a veteran unit will receive 50% more actions than a trained unit. You control what card is given to each unit, however, and can maximize the actions each unit can get.
If you have veterans, the most valuable cards to them are Spades and Diamonds, though usually just Spades if you have a commander or character with them. Trained units want Hearts and Clubs, as they get the same number of actions as veterans on these cards. Inexperienced units do get the same number of actions on Spades and Diamonds as trained units, but they will be so action starved through a game that Clubs are perfectly fine, as long as you are not shooting with the club and poorly equipped. Because of these interactions, it’s good to have a variety of skill levels in your force, and feed each unit the card that gets them the most actions.
How to Best Use Command Points During Your Turn
Commanders and their command points are the most dynamic element of your force. By combining them with characters, each unit should have a command point to use each turn, like I talked about in my first Strategy and Tactics article. In this way, the most regular actions each unit can be given in a turn is four.
Free actions can come from a variety of special rules, faction abilities, equipment, and even events. These can give a unit more than four actions in one turn. Free actions from special rules are mostly limited to only activating on Spades or Hearts. The most common of these are Artillery crew and fast reload. Each of these give the unit a free reload action on a Spade. This makes some units hungry for Spades, such as cavalry with Quick and skirmishers.
Few units care as much about this action economy as Gunners. It takes five actions to fire a cannon and fully reload it. This means that, under the best of conditions and receiving four actions, Gunners will always carry an action “tax” forward to the next turn, and this “tax” compounds each time the cannon is fired. This is one of the reasons master gunners are so good; they ensure the attached unit gets four actions on a Heart; two from the card, a free action to reload, and a command action to reload.

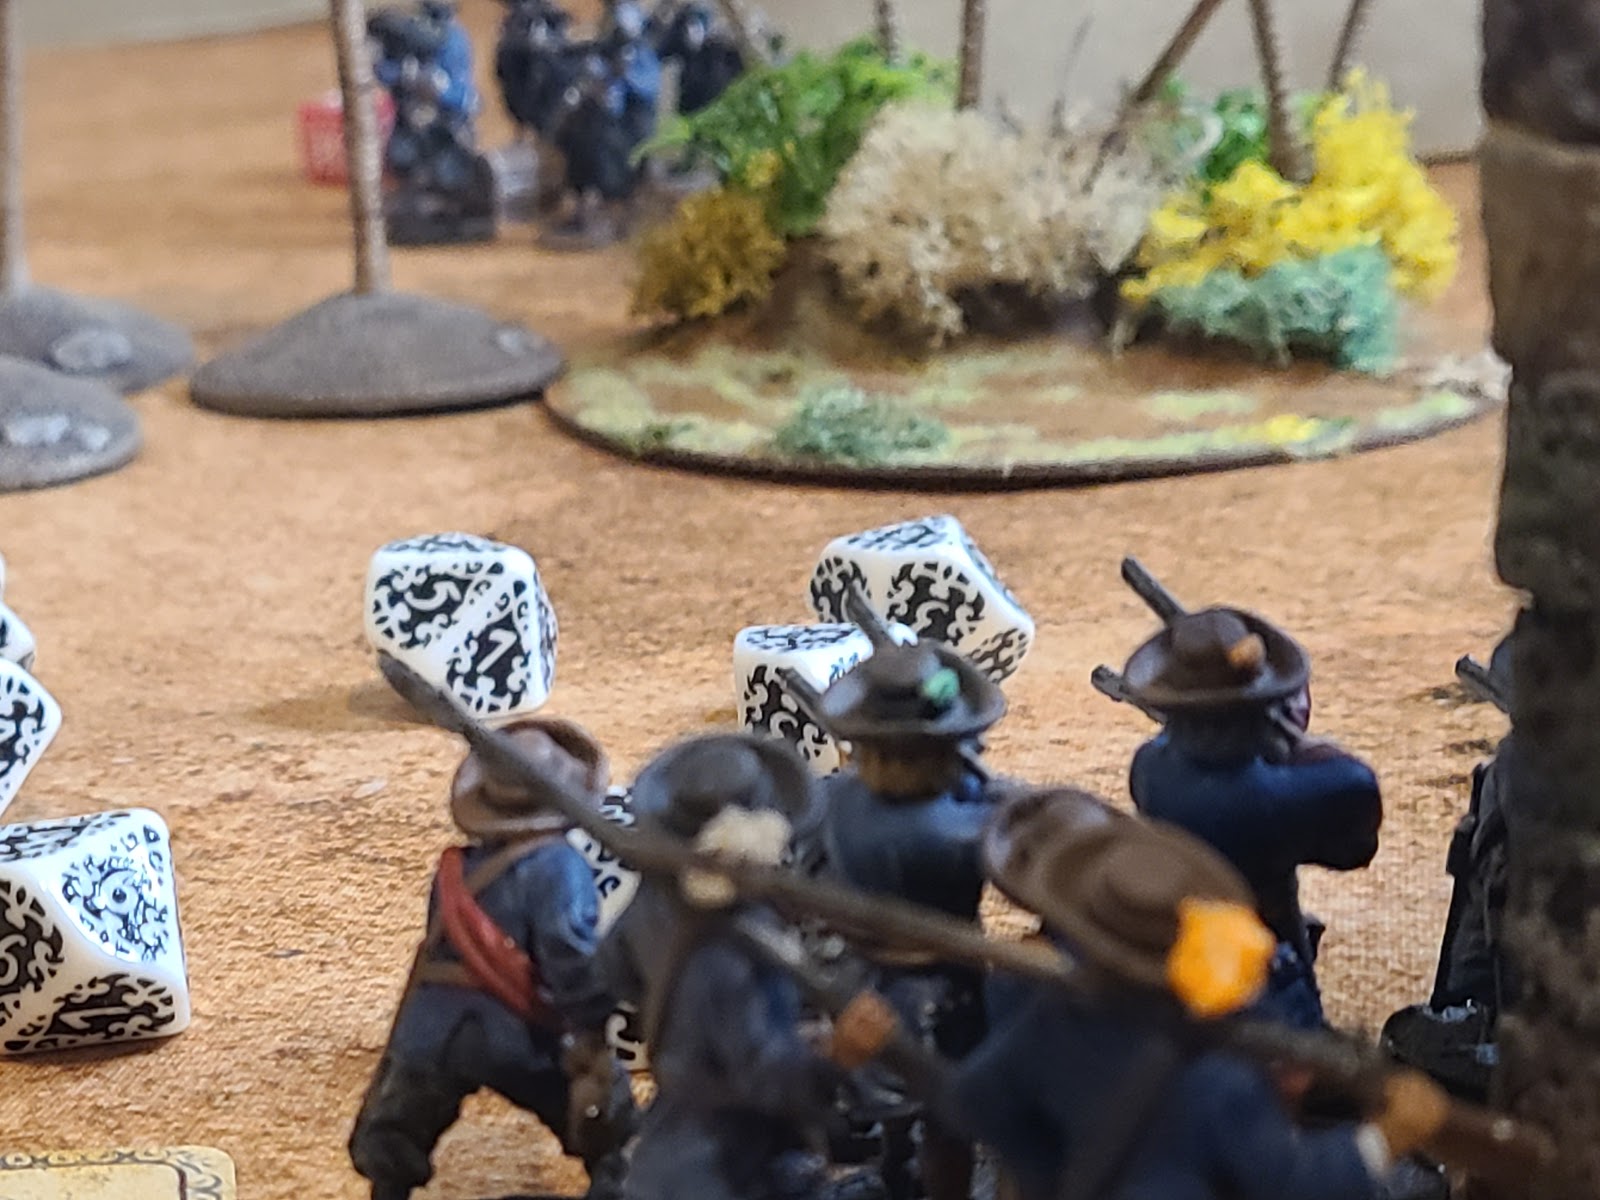
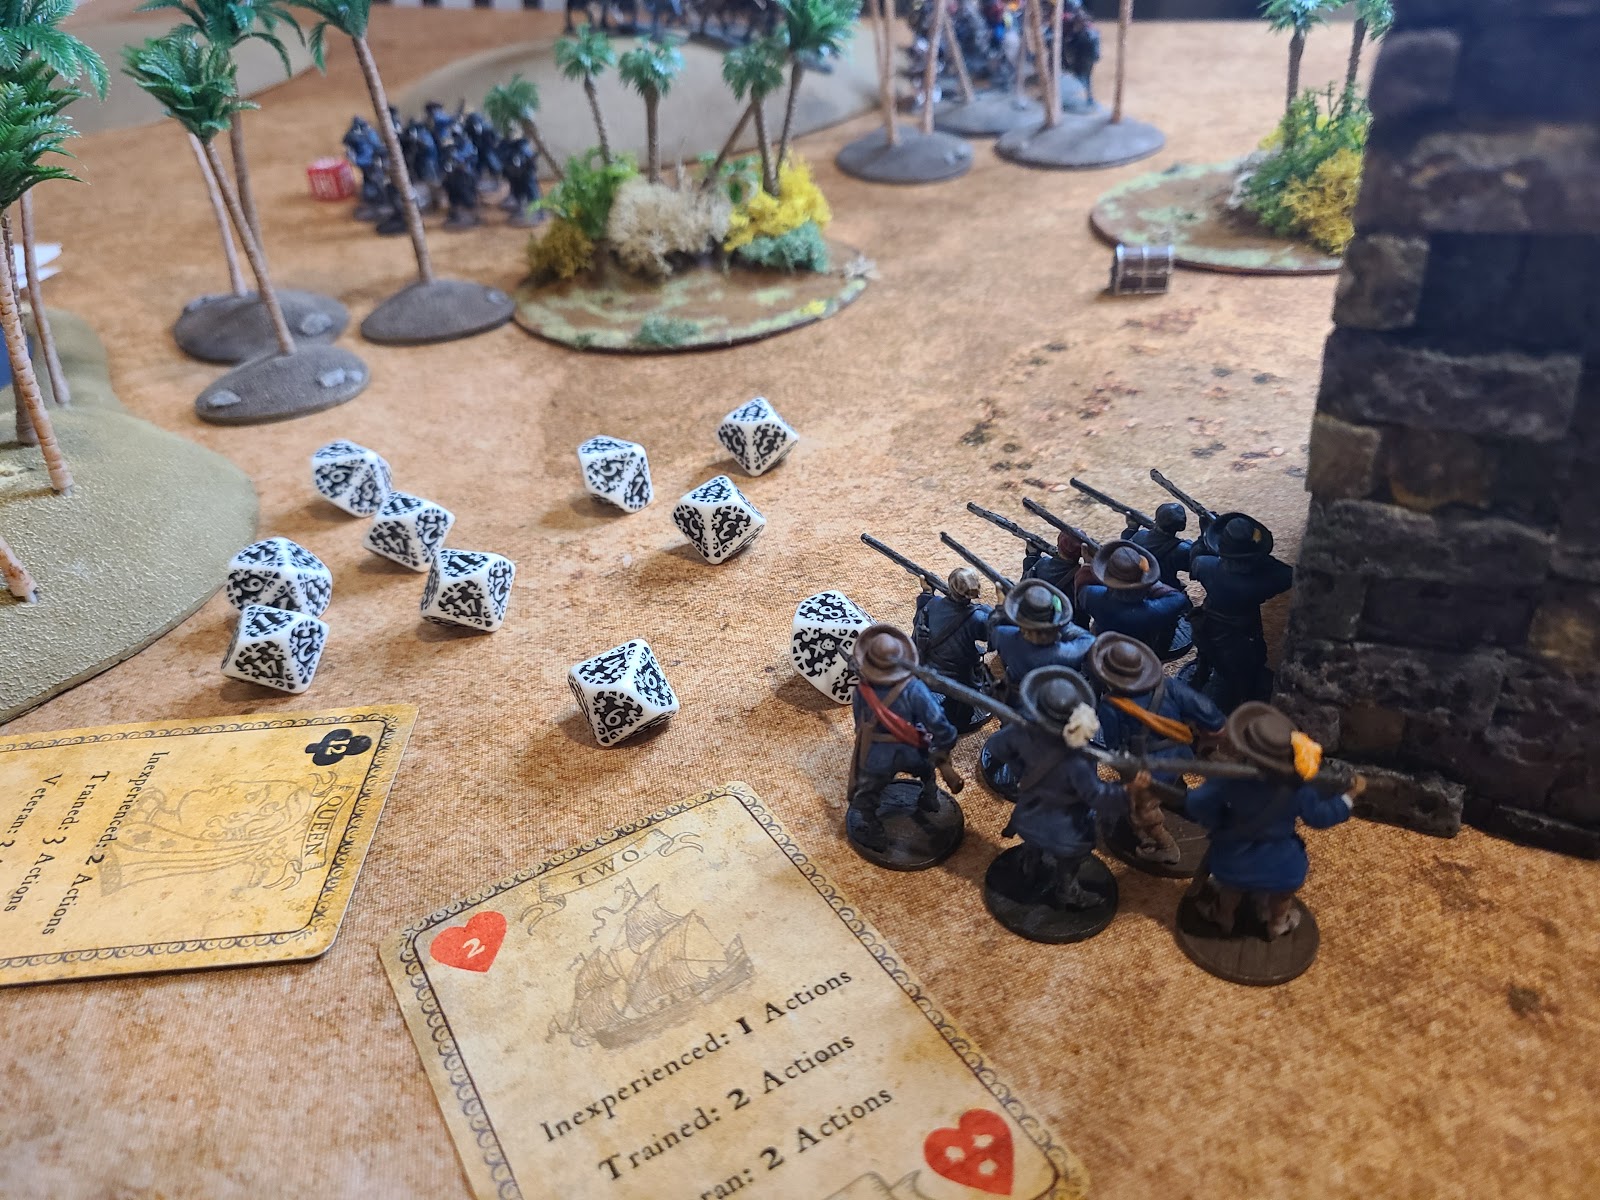
Units with muskets and swivel guns have an easier time, needing only three actions to fire and fully reload. This lets these units take shots in the early game, even with little chance of success, and have zero drawbacks.
Inexperienced units, units with Slow Reload, or units in the rain, will shoot muskets less often in a game. On average, during a land game, these units will shoot every other turn. Because of this, save your shots for when they count.
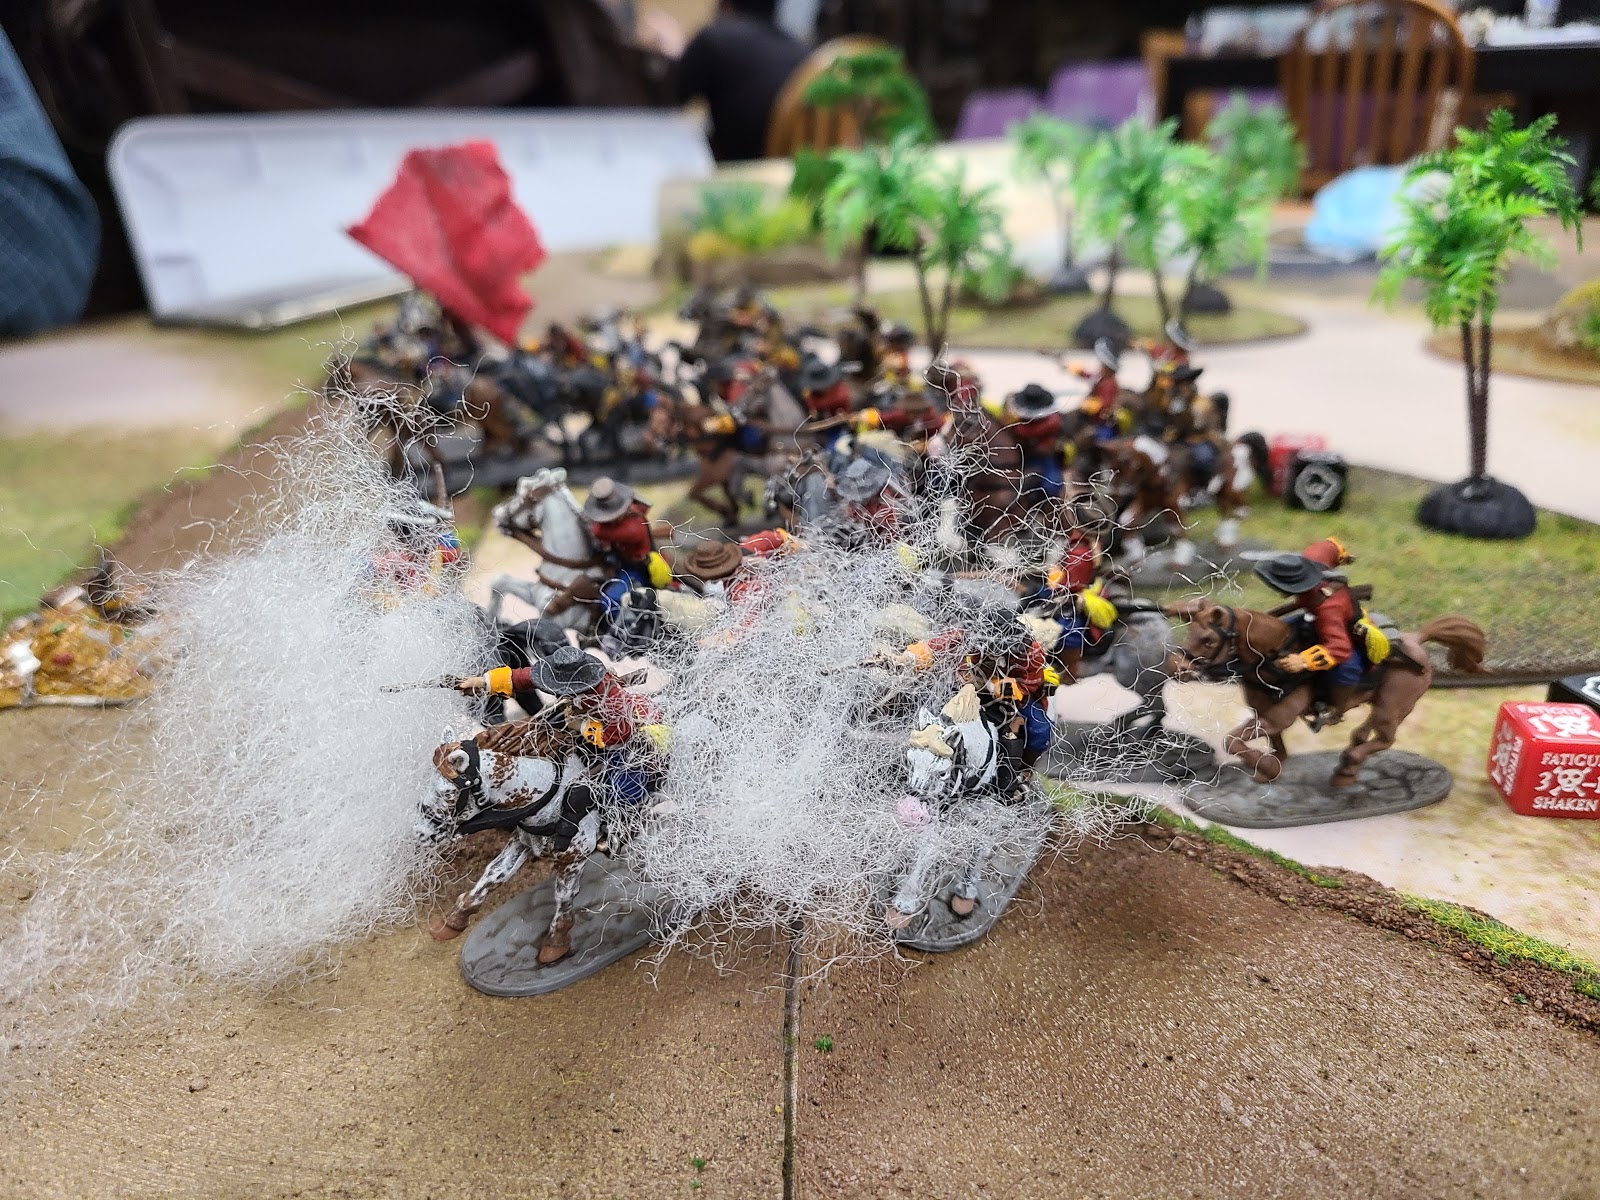
Strike Points, Winning, and Risk Management
Most games are won and lost through a strike test. Strike points come from a variety of sources. Most scenarios will give at most one strike point to either side for fulfilling a condition, though some only give a force a strike point after the game has ended. If you are sailing, losing half your ship’s hull or rigging fortitude, and the rare catastrophic hit, will also give you a strike point.
In each game, most of your strike points will come from casualties. This can lead you to believe that protecting your models is important. This isn’t really the case. Your models are the only way you enact your will on the game, and holding them back gives ground up to your opponent. Your models are going to get shot at, and some of them will get hit.
To maximize their chances of surviving, keep your units in cover. Even a unit half with 2 models in cover will increase its survivability (Core, page 54, Opposing Player Rolls Ranged Saves and Removes Casualties). If cover isn’t available where you need to have a unit, move at the end of your turn, and push for a high card for the next turn to get them into cover or into melee.
Casualties in Blood & plunder can have a snowball effect, as the more models you lose the less chances you will have to make your opponent lose models. To help counter this, when you have taken heavy casualties, have your models shoot the easy target. This might be a group of militia compared to professionals, or a closer target that has 2 reload compared to a further unit that is fully loaded.
I will go over movement and positioning, and attacking entrenched enemy units, in my third article.
How Ships Affect Strike Points
If you are playing a sea or amphibious game, damage to your ship is the next most common way to get strike points. You get a strike point when your hull or rigging fortitude is reduced to half. For all ships, half of its hull’s fortitude is two. Half of most ship’s rigging fortitude is one, except for the galleon and the 6th rate.
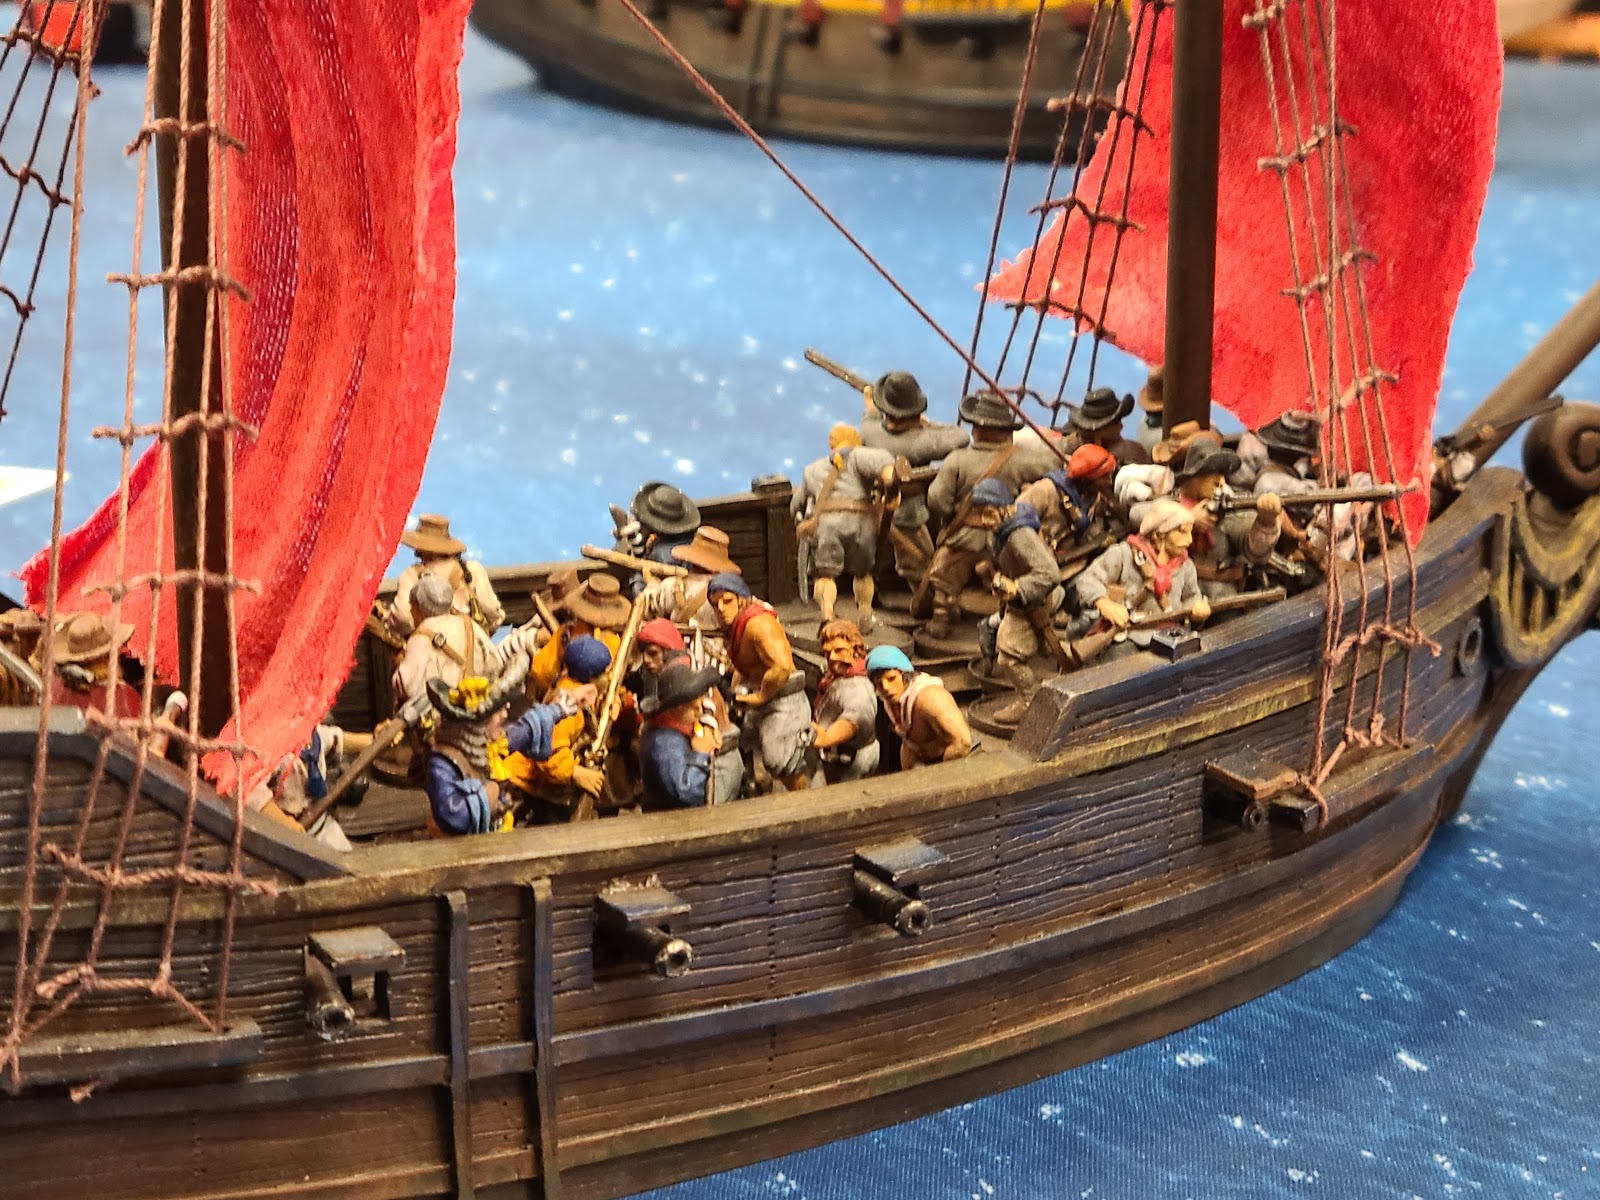
Like I said in the first tactics article, your ship choice is limited by what you own, and the hull integrity is not something that is often considered when making this choice. Some ships have a reputation for being tinder boxes. These are the Corvette, Bark, Tartana, and Privateer Sloop. All of these ships only take eight hits to have their fortitude reduced to two. The more fragile your ship, the more aggressive you need to be in taking out your opponents gun decks, or the quicker you need to board.
When you sit down to play someone, note who brought the most cannons. No one wants to bring cannons and not use them, and when both ships line up for broadsides, the one with the most cannons will have a chance to do the most damage.
The only current way to do damage to a ship is with cannons. Even though most rigging starts at less fortitude, you will want to target the hull in most cases. This is because it takes two hits to the rigging to cause one save to a unit on a deck (Core, page 90, Firing on the Rigging). Most units pass a save 50% of the time, so you will need to inflict four hits to the rigging to kill one model, on average. The lucky hit and critical hits for the hull are also more debilitating. Spars and shroud damage can mostly be ignored, while a fire or leak will need constant attention because they have a chance of sinking the ship.
One of the biggest exceptions to only targeting the hull with cannons is when your opponent puts any units in the fighting tops. Units in the tops do not get the bonus for Hard Cover. Units in the tops will have to make saves for every hit to the rigging on that deck, and then, the units on the deck below will then have to make a save for every two hits to the rigging (Core, page 90, Firing on the Rigging).
Going after the rigging can also be a good alternative when your opponent has a fortitude of 5 and/or heavily built, and you didn’t bring enough firepower to crack through it.

How Scenarios Affect Strike Points
The third most common way to get strike points is from scenarios. These strike points are outsized by strike points from casualties, because they are infrequent, and will often only apply by the third turn or later. It is worth mentioning that most scenarios only give one strike point, and are not cumulative. Most of the time you can partially ignore the objectives in favor of killing your opponents models. Don’t put one of your units in an unsupported forward position just because the scenario wants you to occupy a point. Move all your units towards the objective, and use them to suppress the opponent’s units.
The scenarios that you cannot partially ignore are the ones with instant win conditions. These scenarios change the dynamic by allowing you to push towards a victory at all costs. This also means that as the attacker in these, you have to make every step towards victory your opponent makes as hard as possible.
Maximizing Blood & Plunder Special Rule Synergy
Special rules are the things that make each unit and commander feel unique. Some special rules don’t really do that much, while others are the reason you play the unit. Several special rules work really well with each other, and good to keep an eye out for these combinations.
Here are a handful that I have found.
Elusive-Scouts or Quick-Elusive-Scouts
This is one of the more common and effective groups of special rules. Elusive is usually on units that already have a good save, and letting you move at full speed through terrain means that the unit should spend all of its time in a bush. Several units that have Elusive and Scouts also have Quick, letting you push the unit out first on a Spade. Also remember that hard cover, like from a low stone wall, works with Elusive, often pushing your save down to 4+.
Expertly Drilled-Ruthless or Poison Arrows-Ruthless or Terror-Ruthless
Ruthless is mostly terrible as the Spanish national Special Rule. Most of the time the units that have Ruthless have a worse resolve and shoot score than the units they are shooting at, meaning that when Ruthless “turns on” they become average shots. Playing units with Ruthless also means you need to make fatigue management a priority.
Expertly Drilled and Poison Arrows are good ways to pile fatigue on an opponents unit at range, and will help activate Ruthless. Terror, usually from a musician, works less well with Ruthless, as you only have the one chance to give a fatigue, but sometimes an enemy unit will carry that fatigue the whole game.
Commodore-Inspiring-Standard Bearer or Commodore-Very Inspiring-Standard Bearer
If you are playing a larger sea game with more than one ship, play a historic or seasoned commander with Commodore. All commanders with Commodore have a 12″ or 16″ Command Range, making their Command Range when they are active 24″ to 28″, or most of the board. Combine this with Inspiring, either naturally or from a Musician, and a Standard Bearer will let you shed piles of fatigue dice each of their activations, keeping your whole force fighting.
Expertly Drilled-Officer or Drilled-Officer or Marksmen-Officer
Expertly Drilled, Drilled, and Marksmen all reduce the number you need to hit at the cost of one or more actions. This makes reloading difficult, and can lead to only shooting every other turn. Put an Officer or Commander with the unit to give them the extra action they need to keep their guns firing. This is even better with Expertly Drilled, because when activated on a Spade or Heart, you can use the command point for a Dedicated Action. The shoot score will be the same, but any hits you inflict will give that extra resolve check.
Expert Artillery Crew-Expert Broadside-light cannons-Frigate
In most cases, medium cannons are superior to light cannons. They take the same amount of actions to reload, only cost 2 more points, and increase your firepower by 50%. There are instances where they are better, however. If you have access to Sea Dogs, Zeeliden, or other units with Expert Artillery crew, take a commander with Expert Broadside, and as many light cannons on your frigate as you can. Expert Broadside makes lucky hits a little more devastating, and a spread out crew means that your ship won’t have one gun deck for your opponent to focus on. Also, resolving a 1 for a lucky hit can be done before or after you apply the -1.
Afterword
This article about tactics isn’t meant to be the final word on these strategies, but the start of a conversation. If this gets you thinking, let me know. If you have an opinion or experience different from mine, let me know. The more we communicate about tactics in Blood & Plunder, the richer the game becomes.
If you missed it, be sure to check out my first Strategy & Tactics article: Deciding What to Bring to War and Making a List. It covers multiple suggestions on choosing the right units and how to prep for a fight before the start of the battle.
Another fantastic article! The turning section regarding canoas/piraguas was especially interesting. Makes them even more maneuverable!
Thanks, I’m glad you liked it. I had a lot of fun getting out my gridded mat to really see the difference.
Pingback: Strategies and Tactics in Blood & Plunder: Deciding What to Bring to War and Making a List - Blood & Pigment
Pingback: Great Guns - Blood & Plunder Sea Force Building Part 1
Pingback: Small Arms - Blood & Plunder Sea Tactics Pt 3 - Blood & Pigment