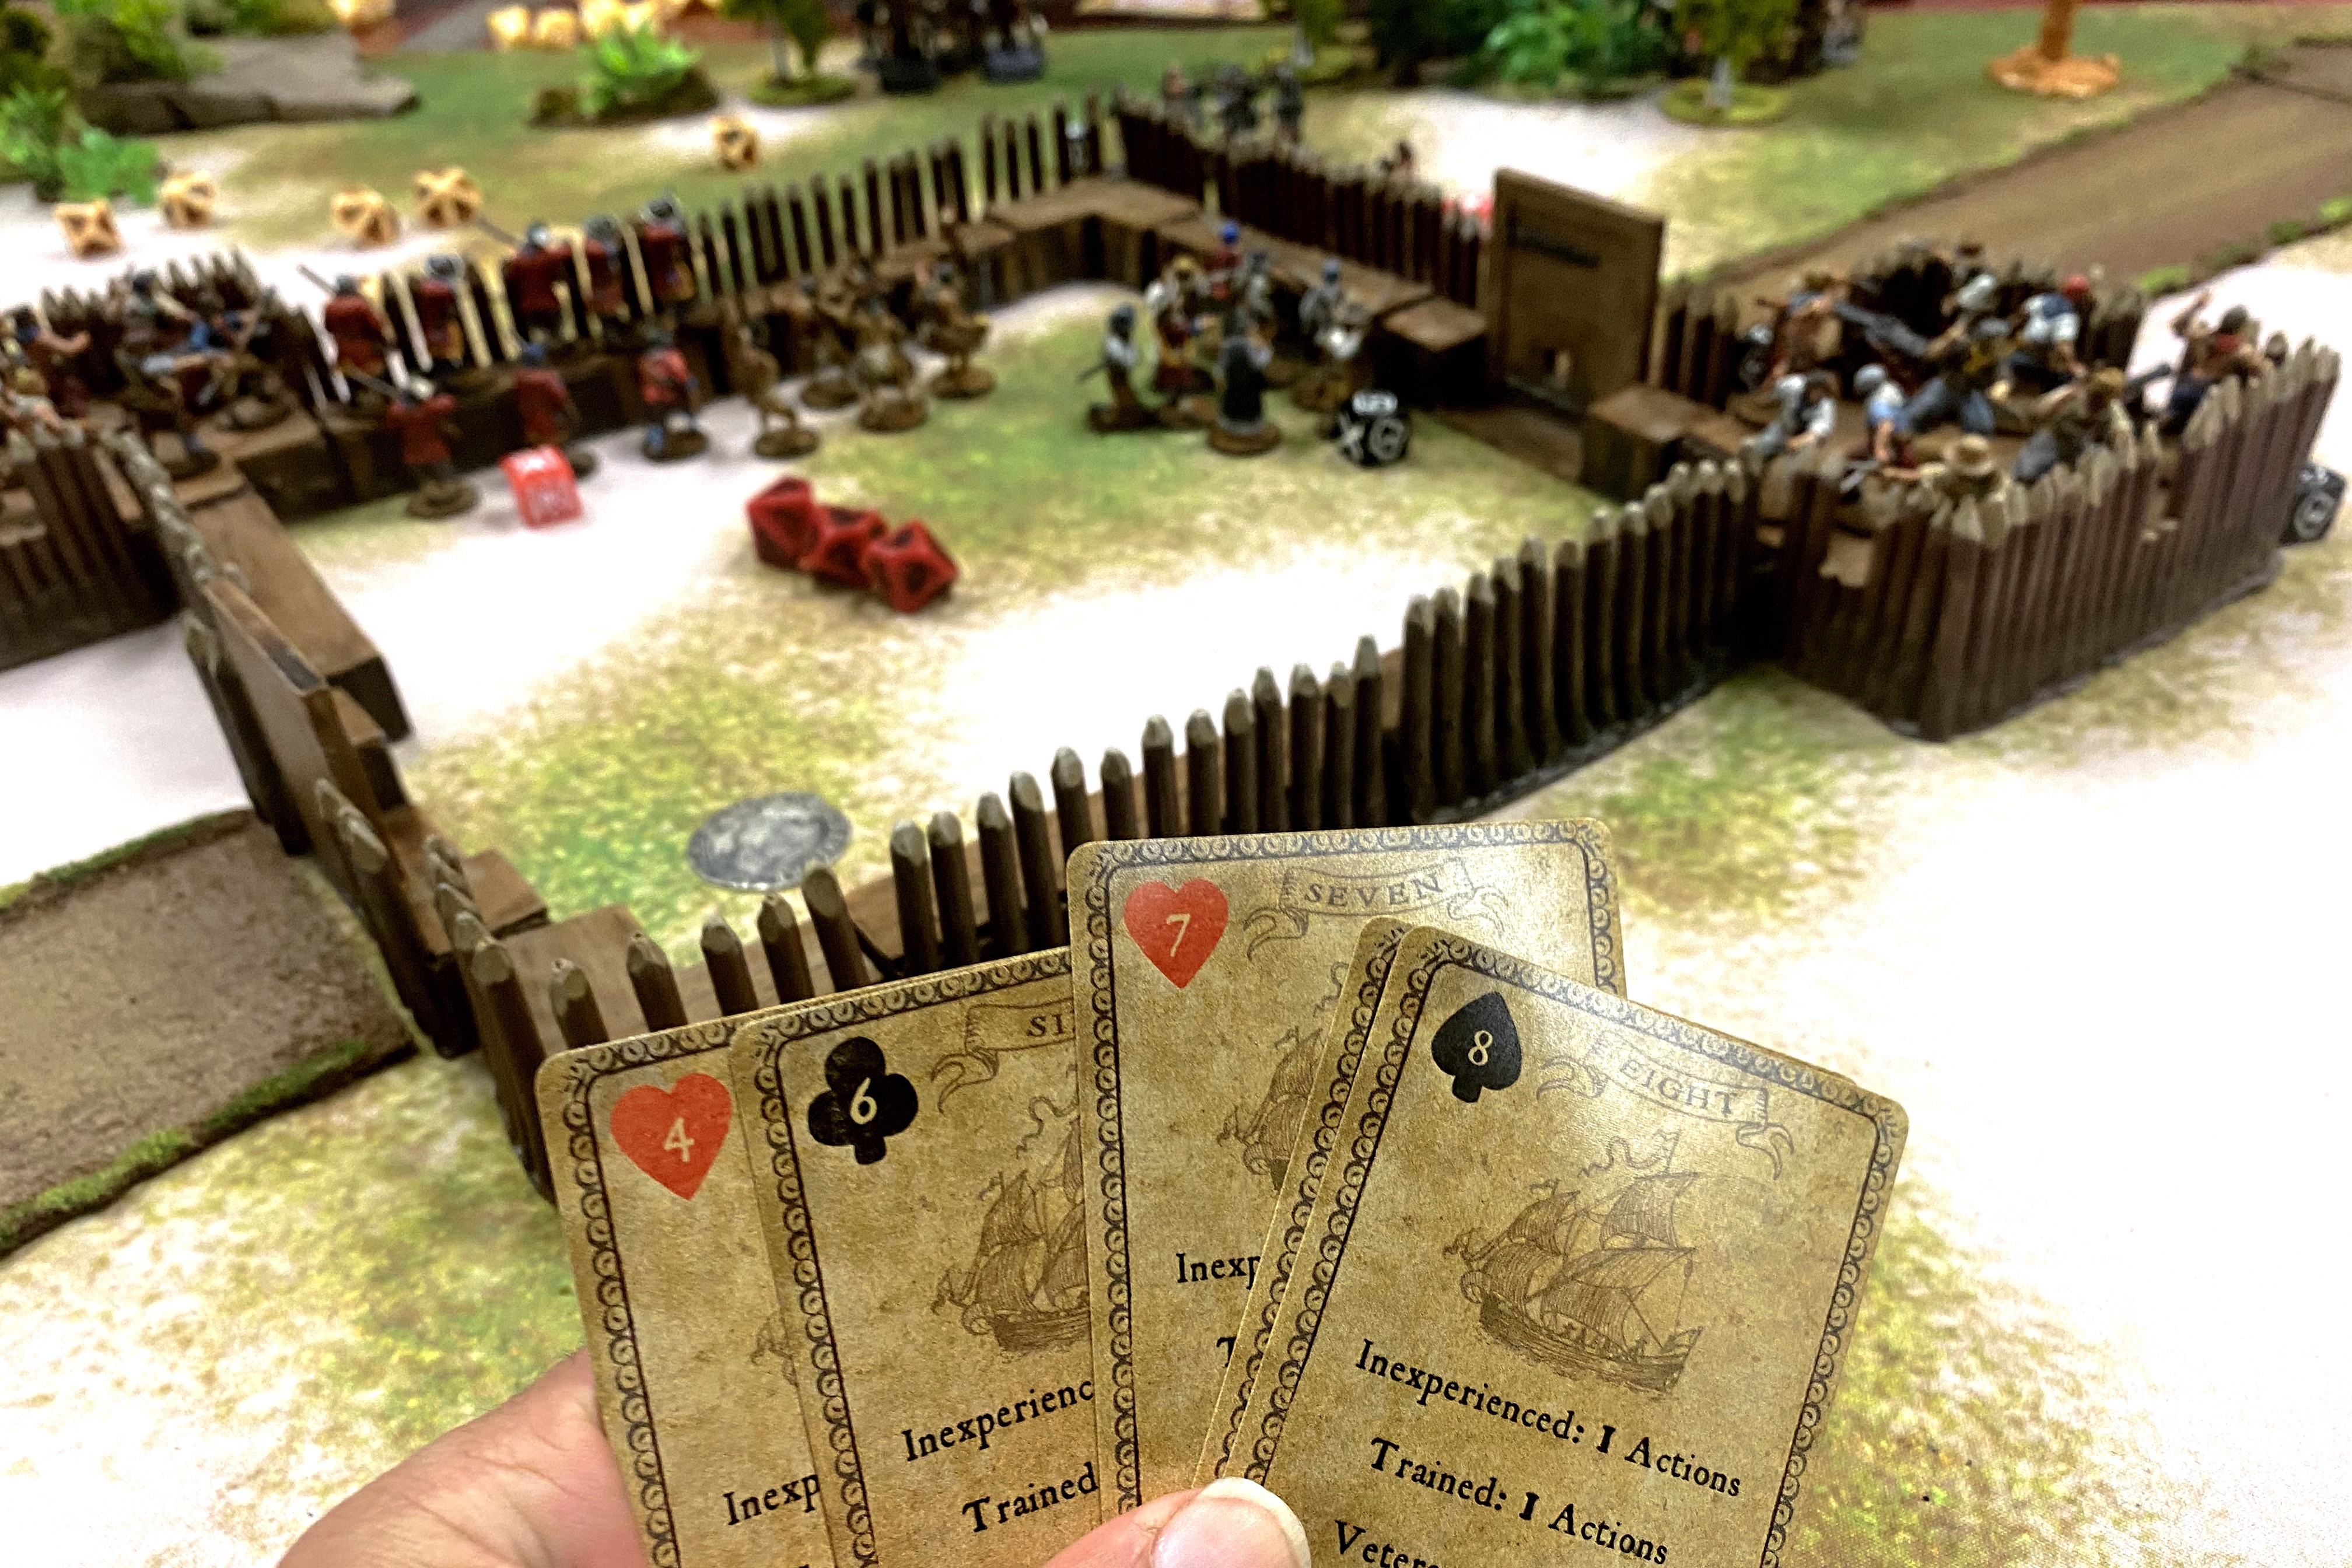
Here’s another fort report! This one was fast and brutal with less finesse or nuance. This was a 300 point game played with my friend Bryan and our local game store, Geeks & Games in Oregon City.
The Forces
I’ve had a lot of experience playing Spanish in the fort recently so this time I put together an English force to man the walls.

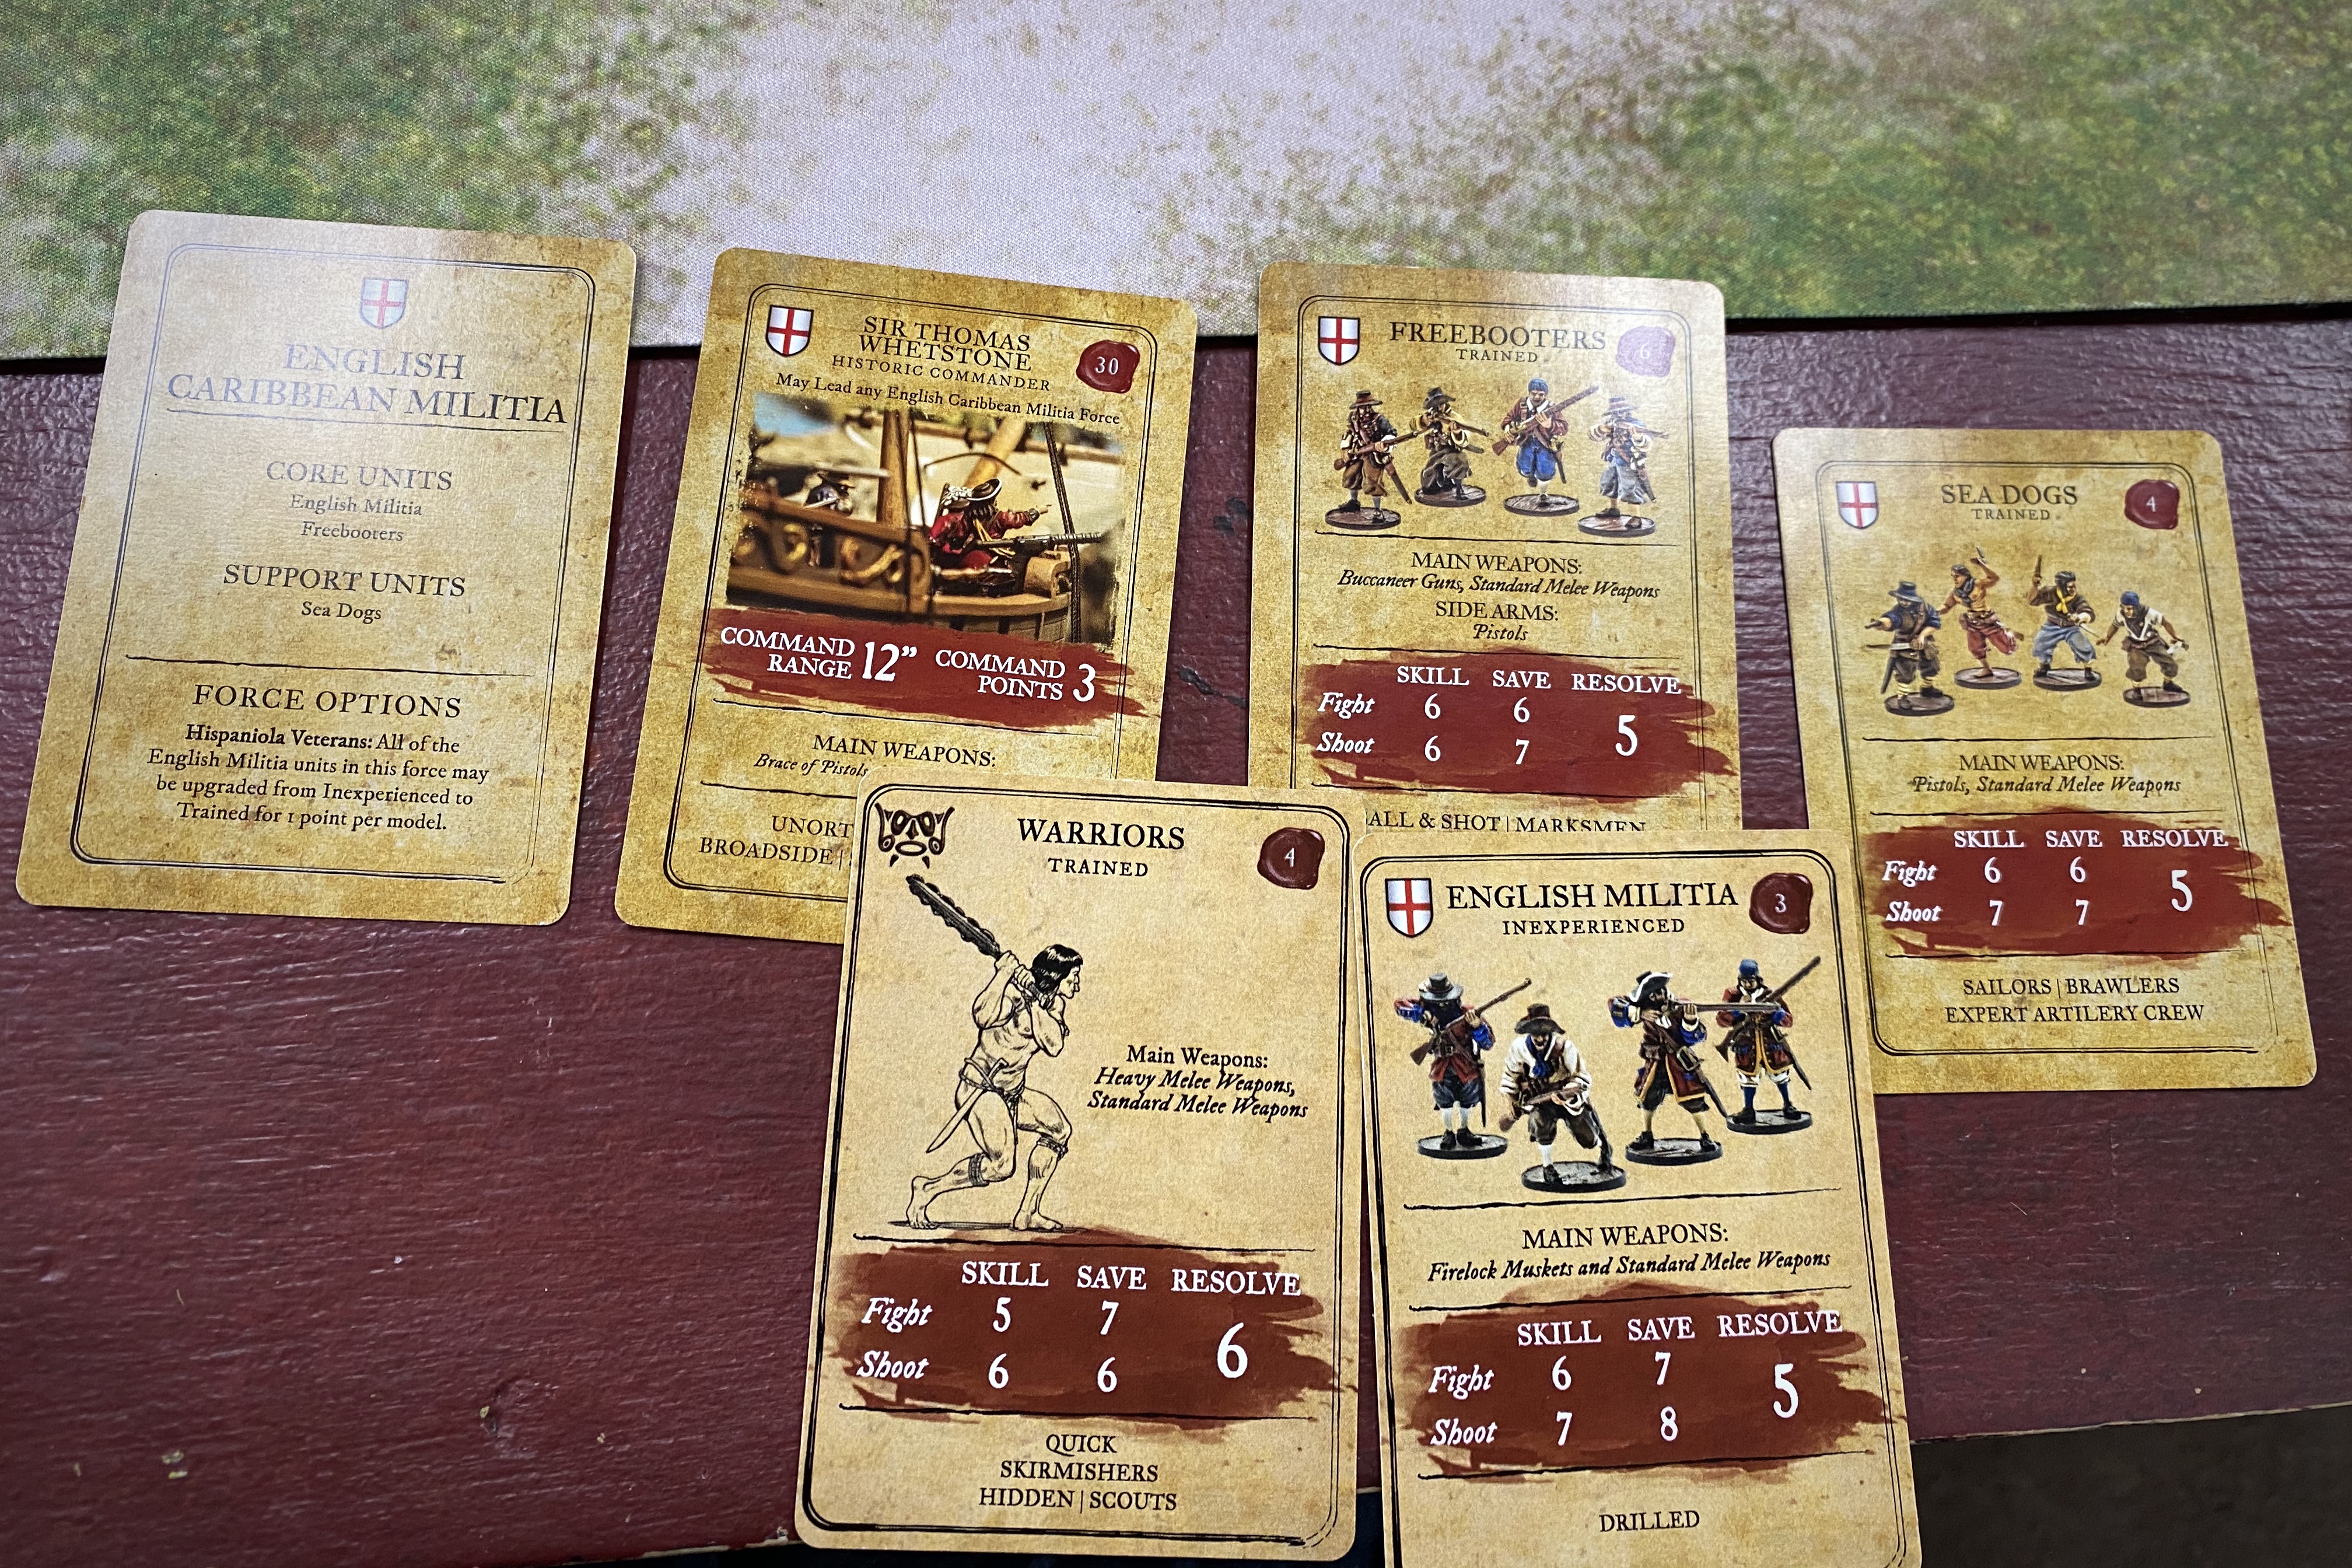
My English Caribbean Militia force contained:
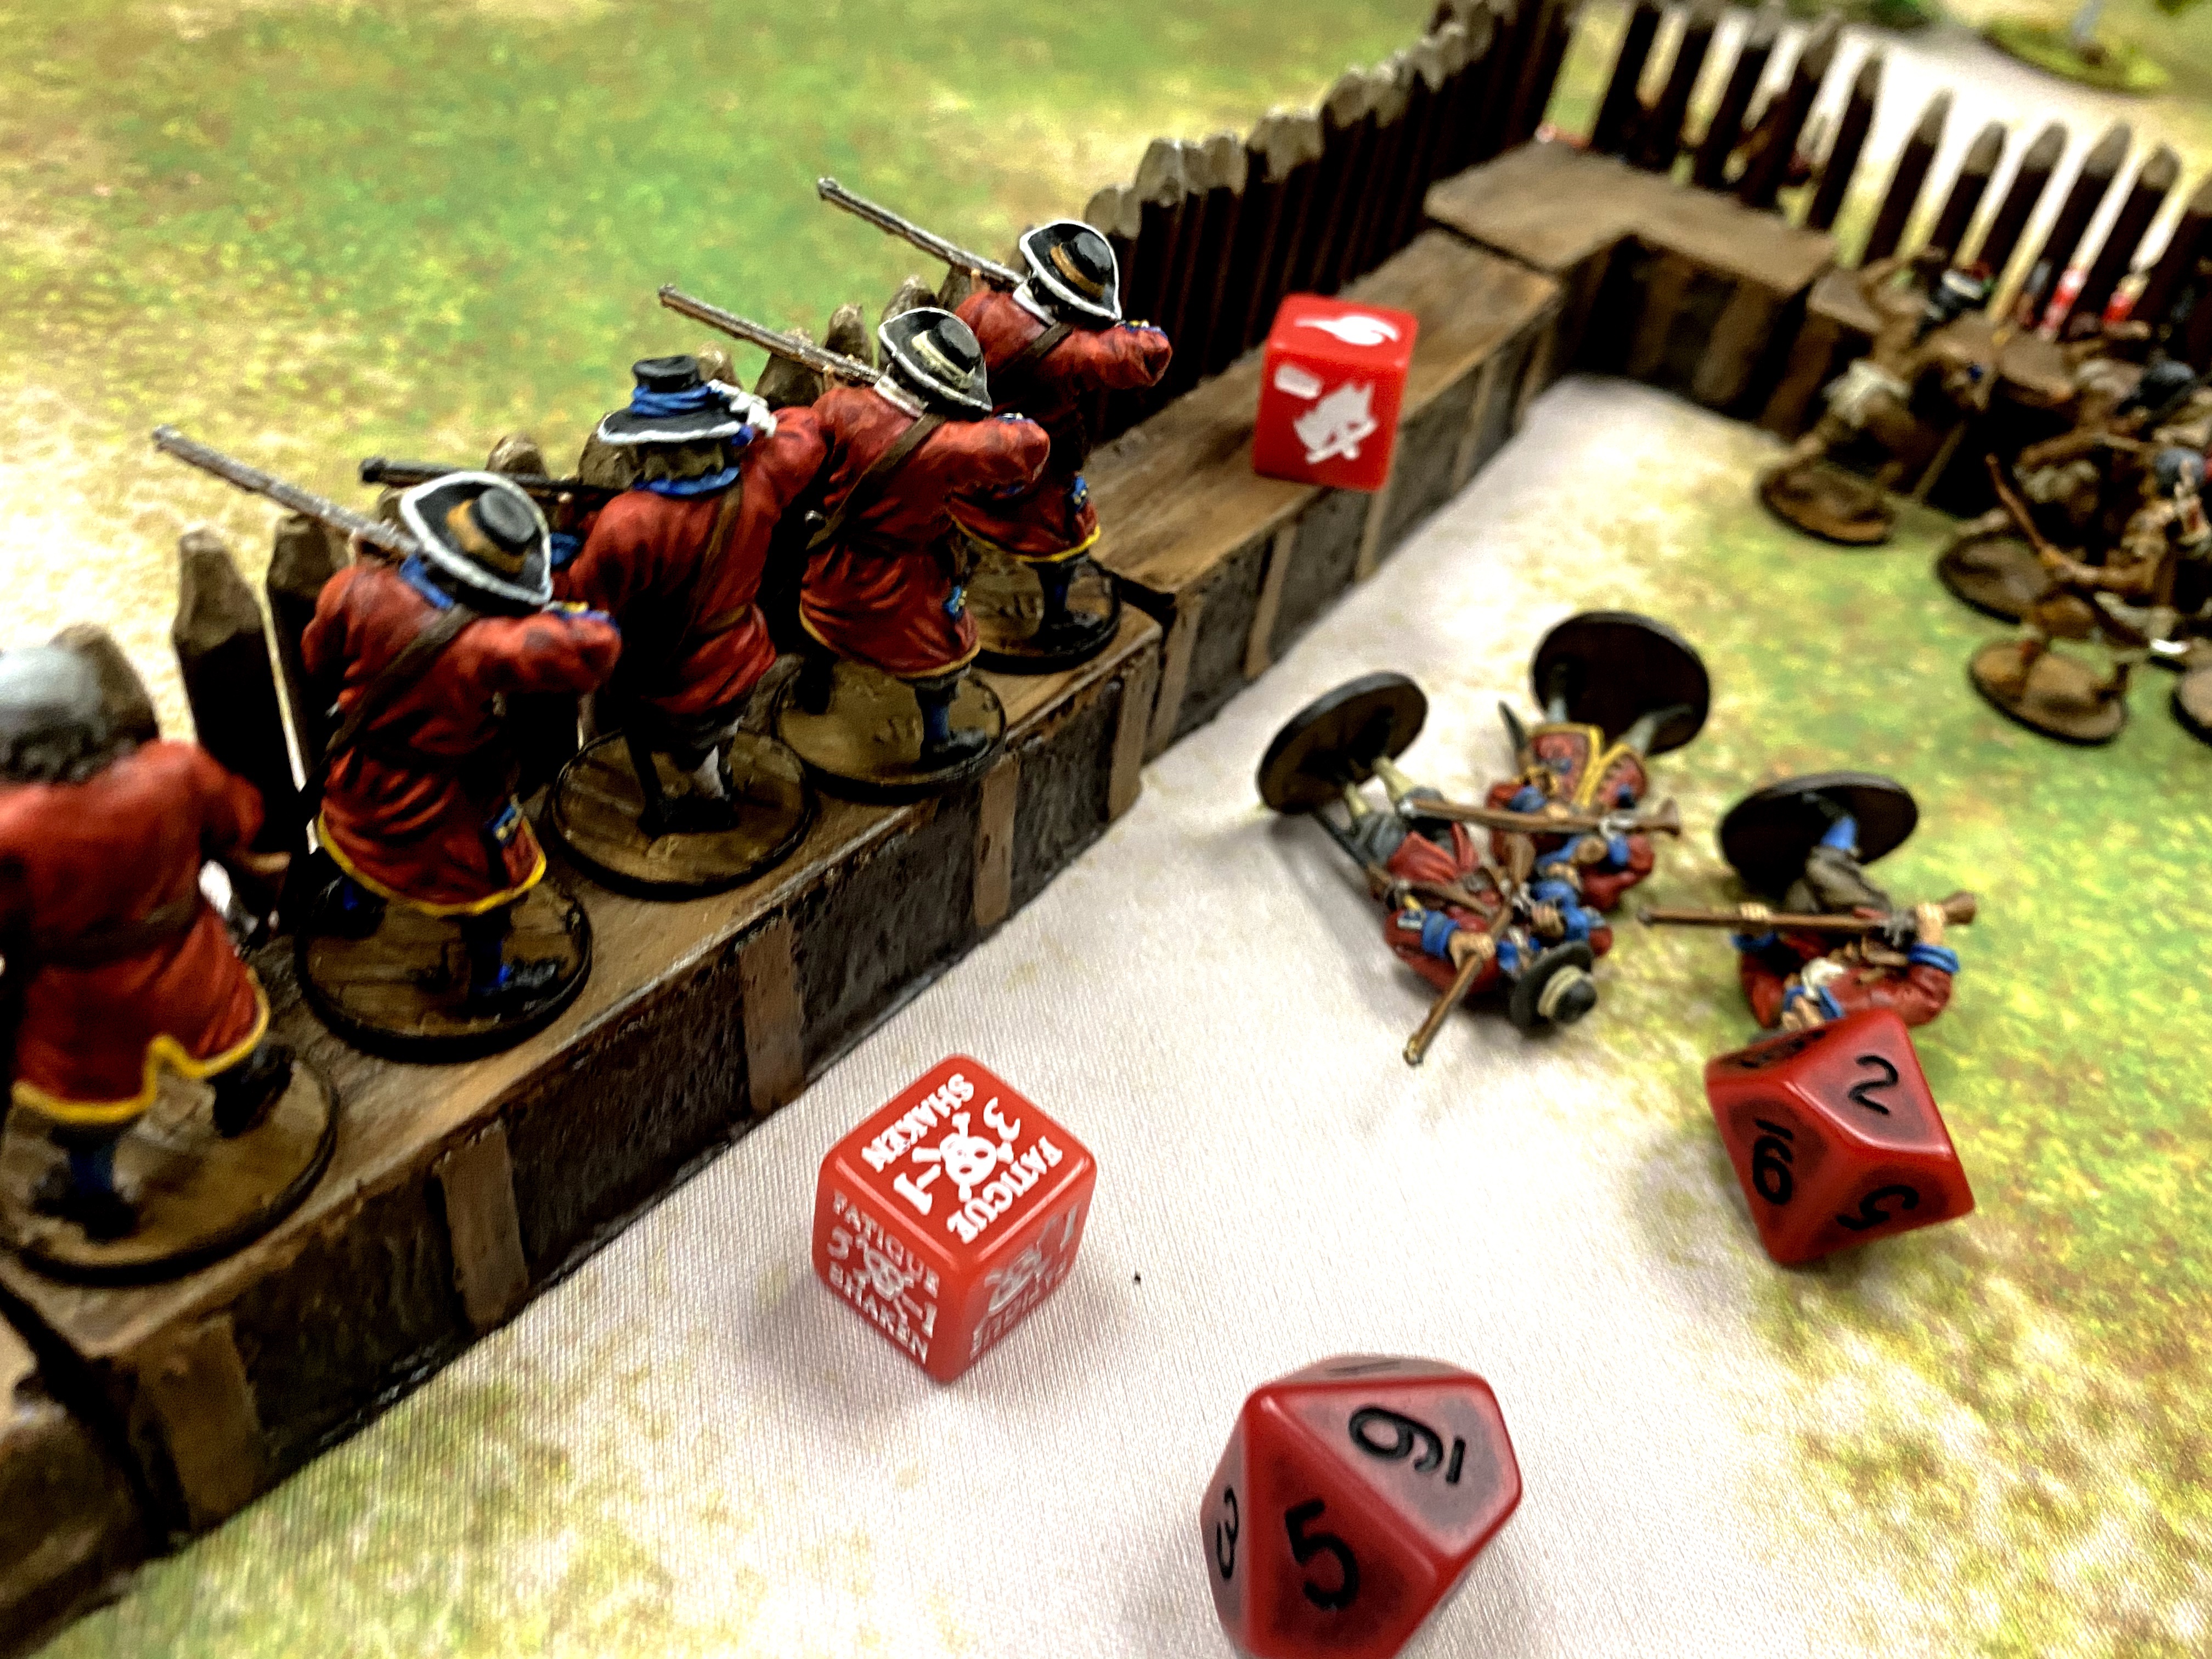
- 7 Freebooters with Sir Thomas Whetstone and a Spiritual Leader attached
- 8 Trained English Militia
- 6 Trained English Militia
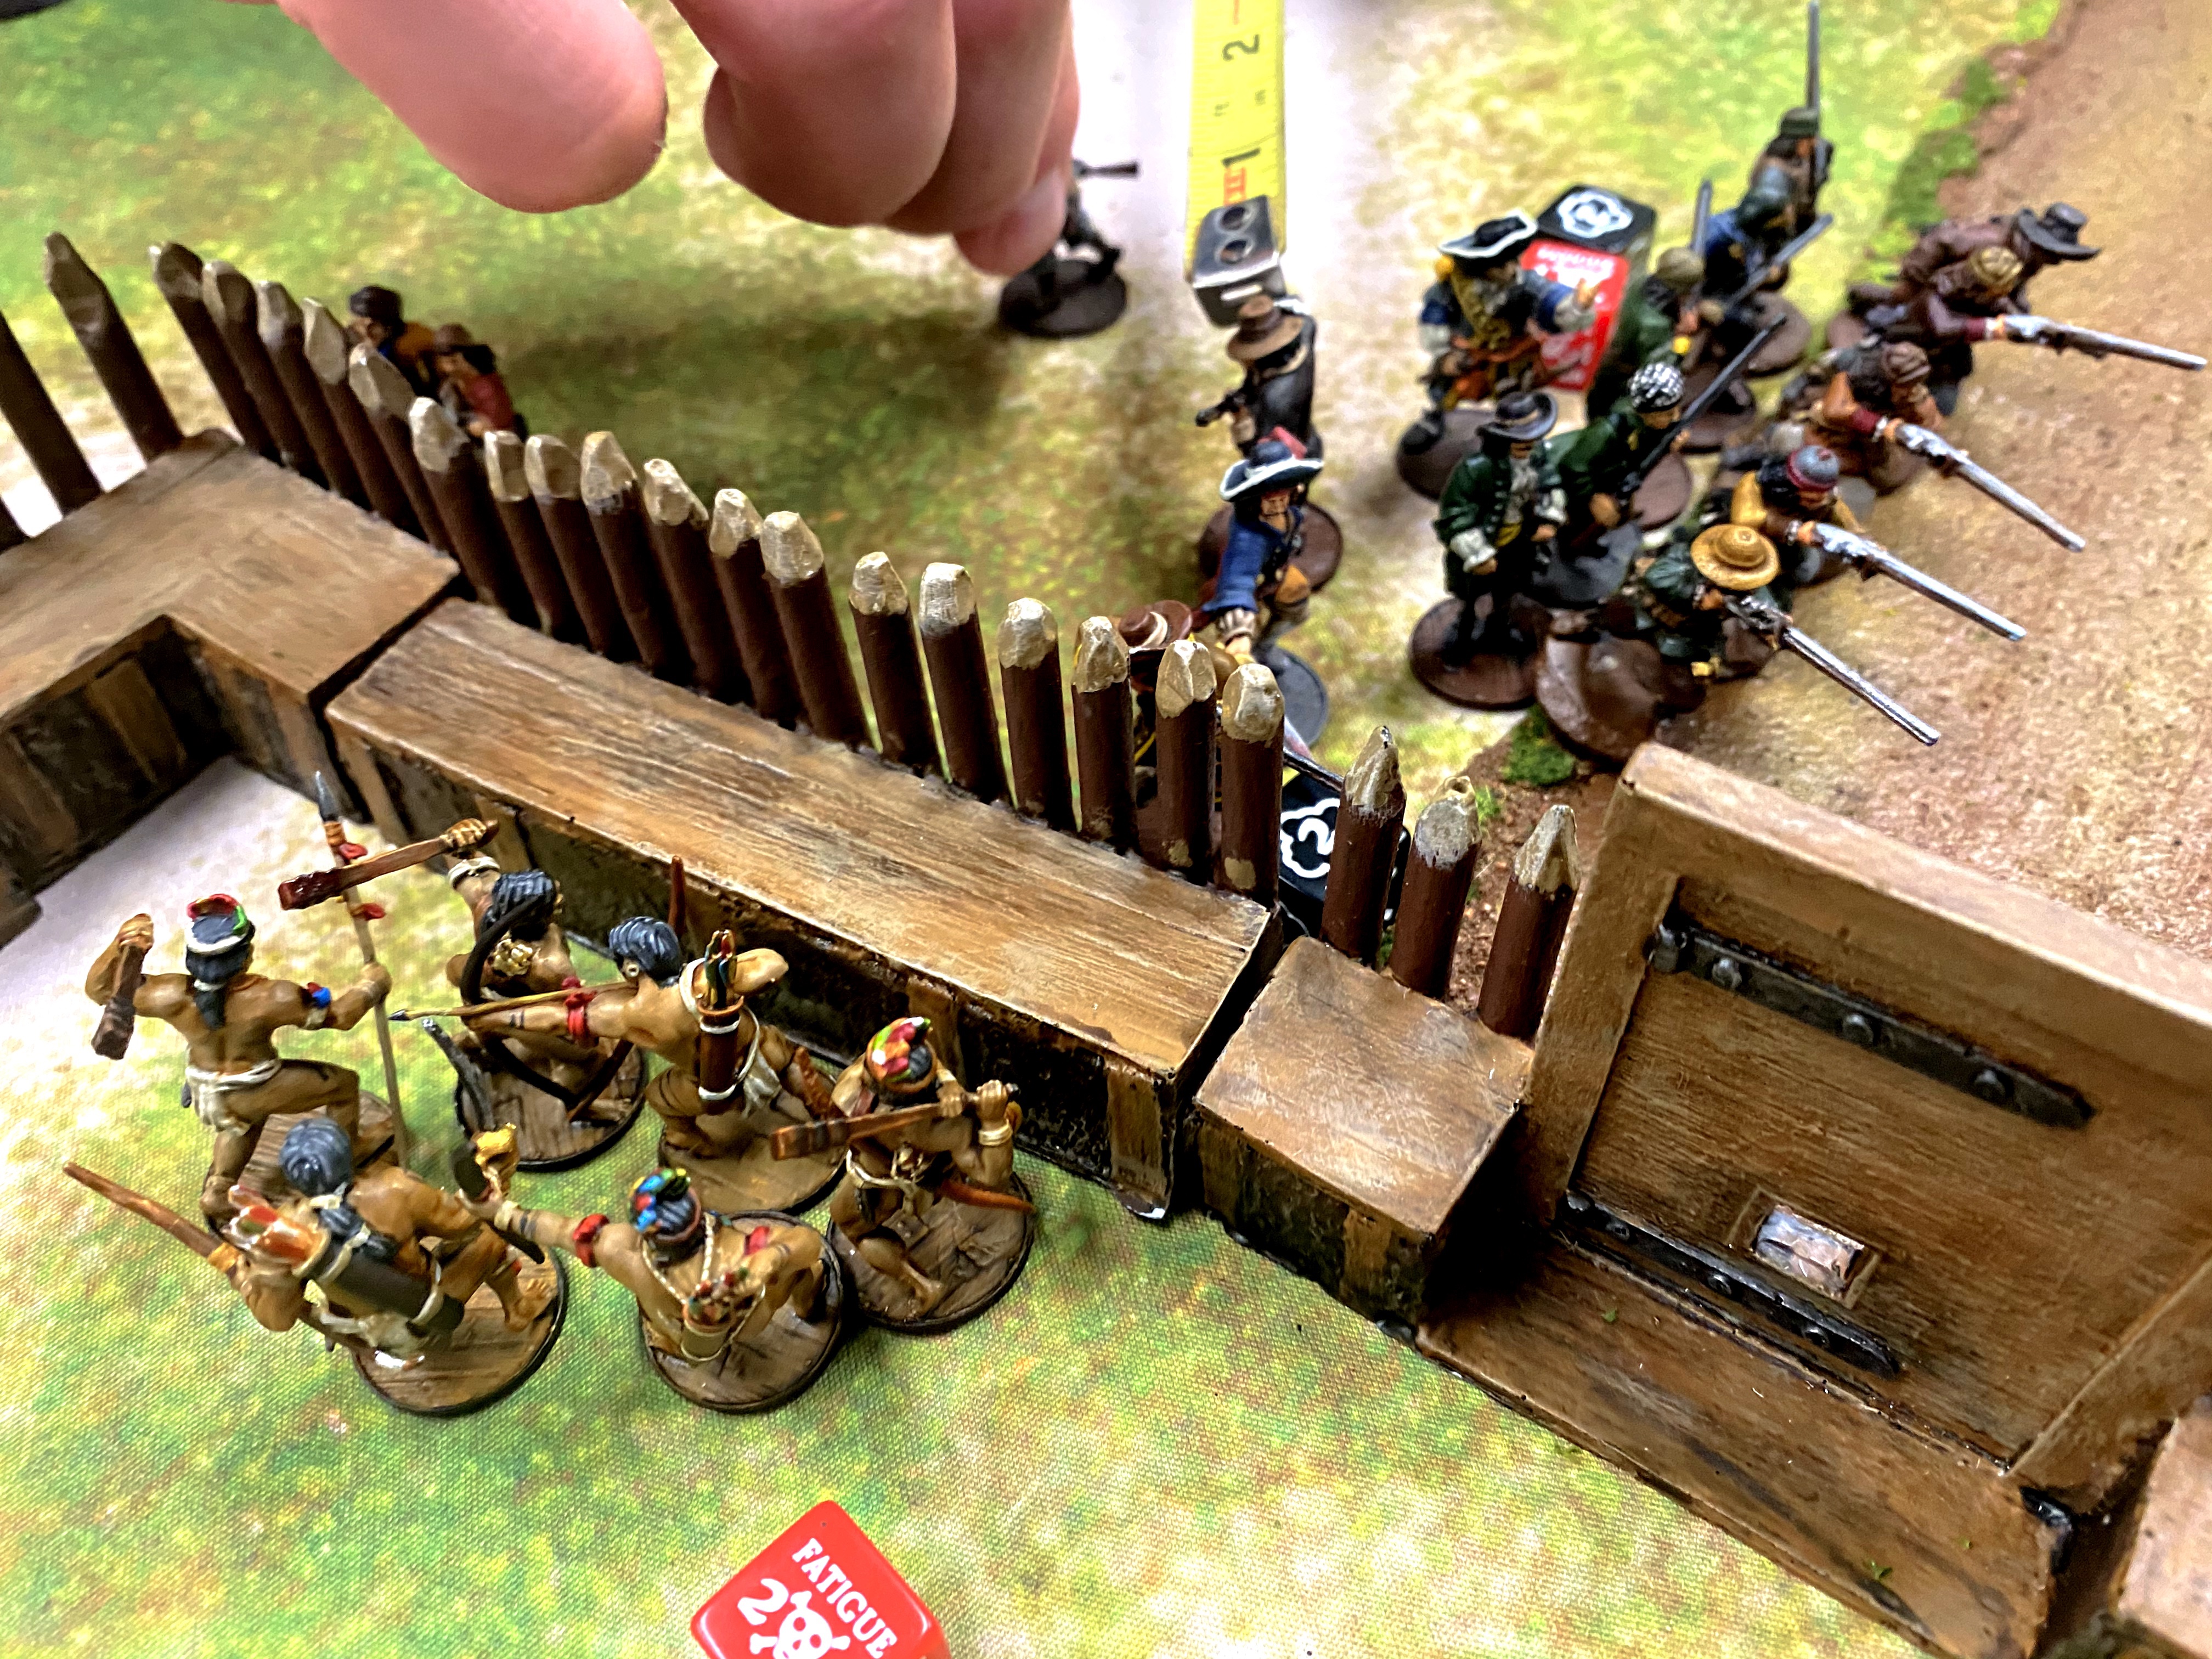
- 6 Warriors with bows
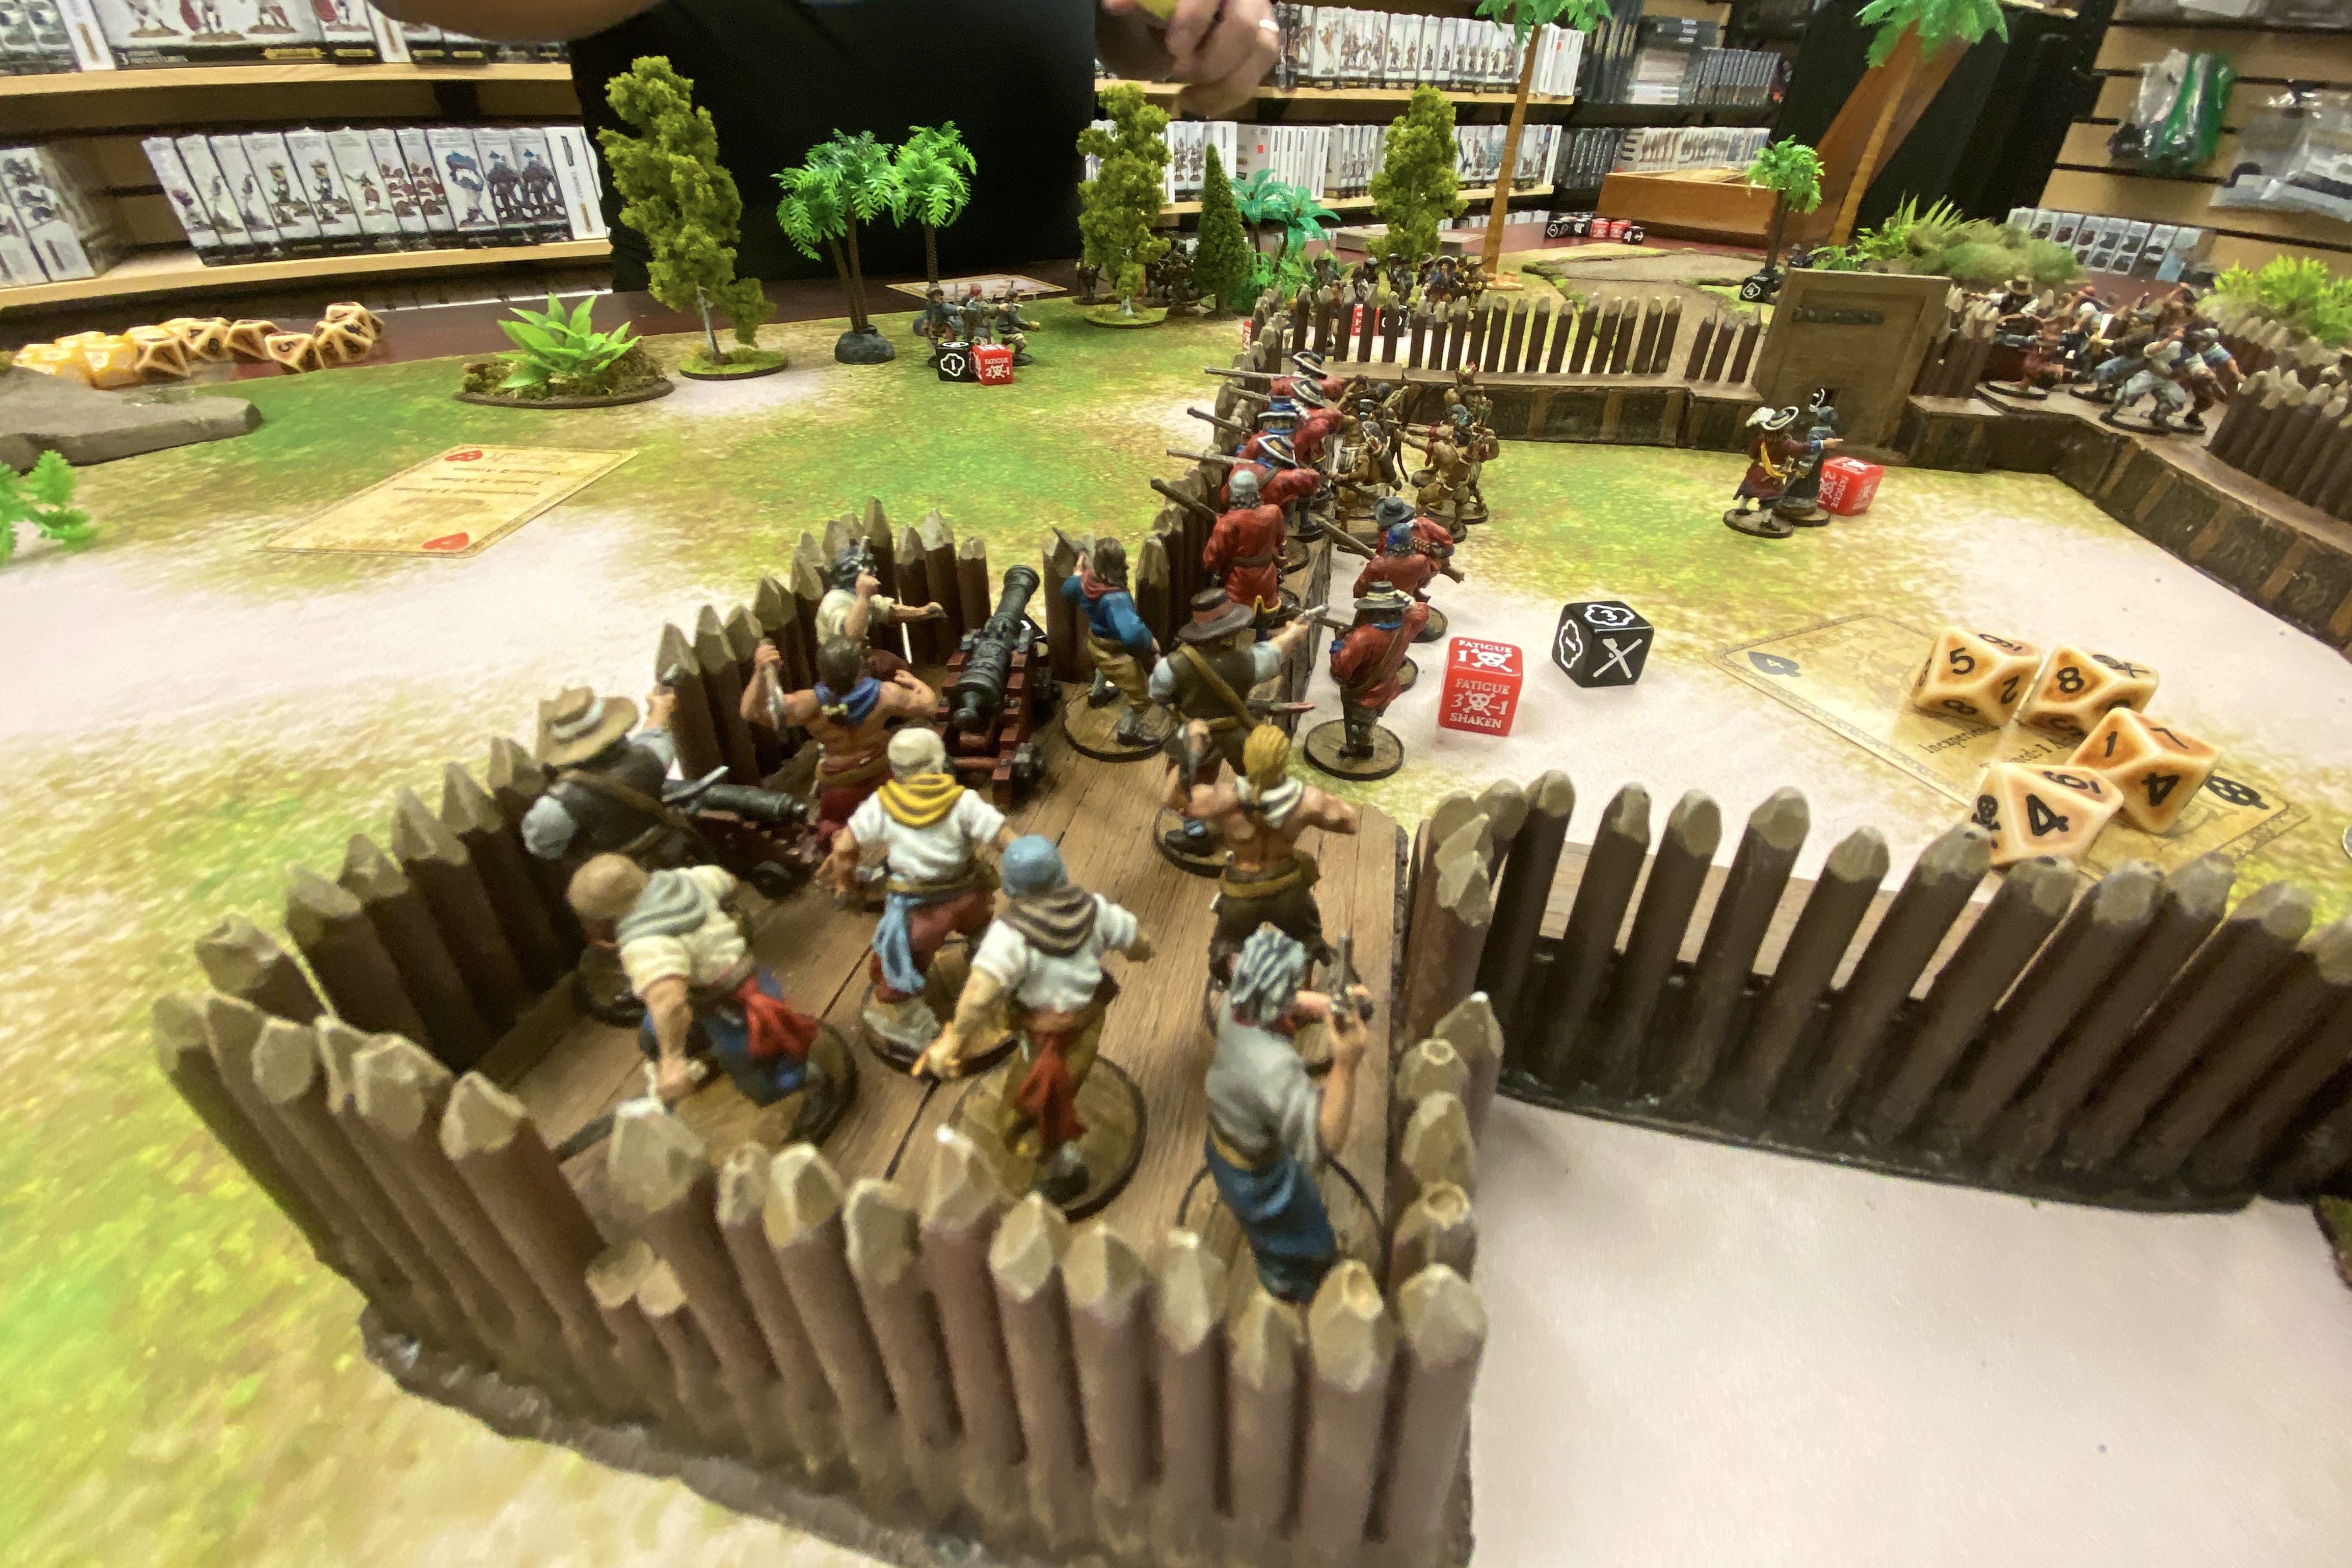
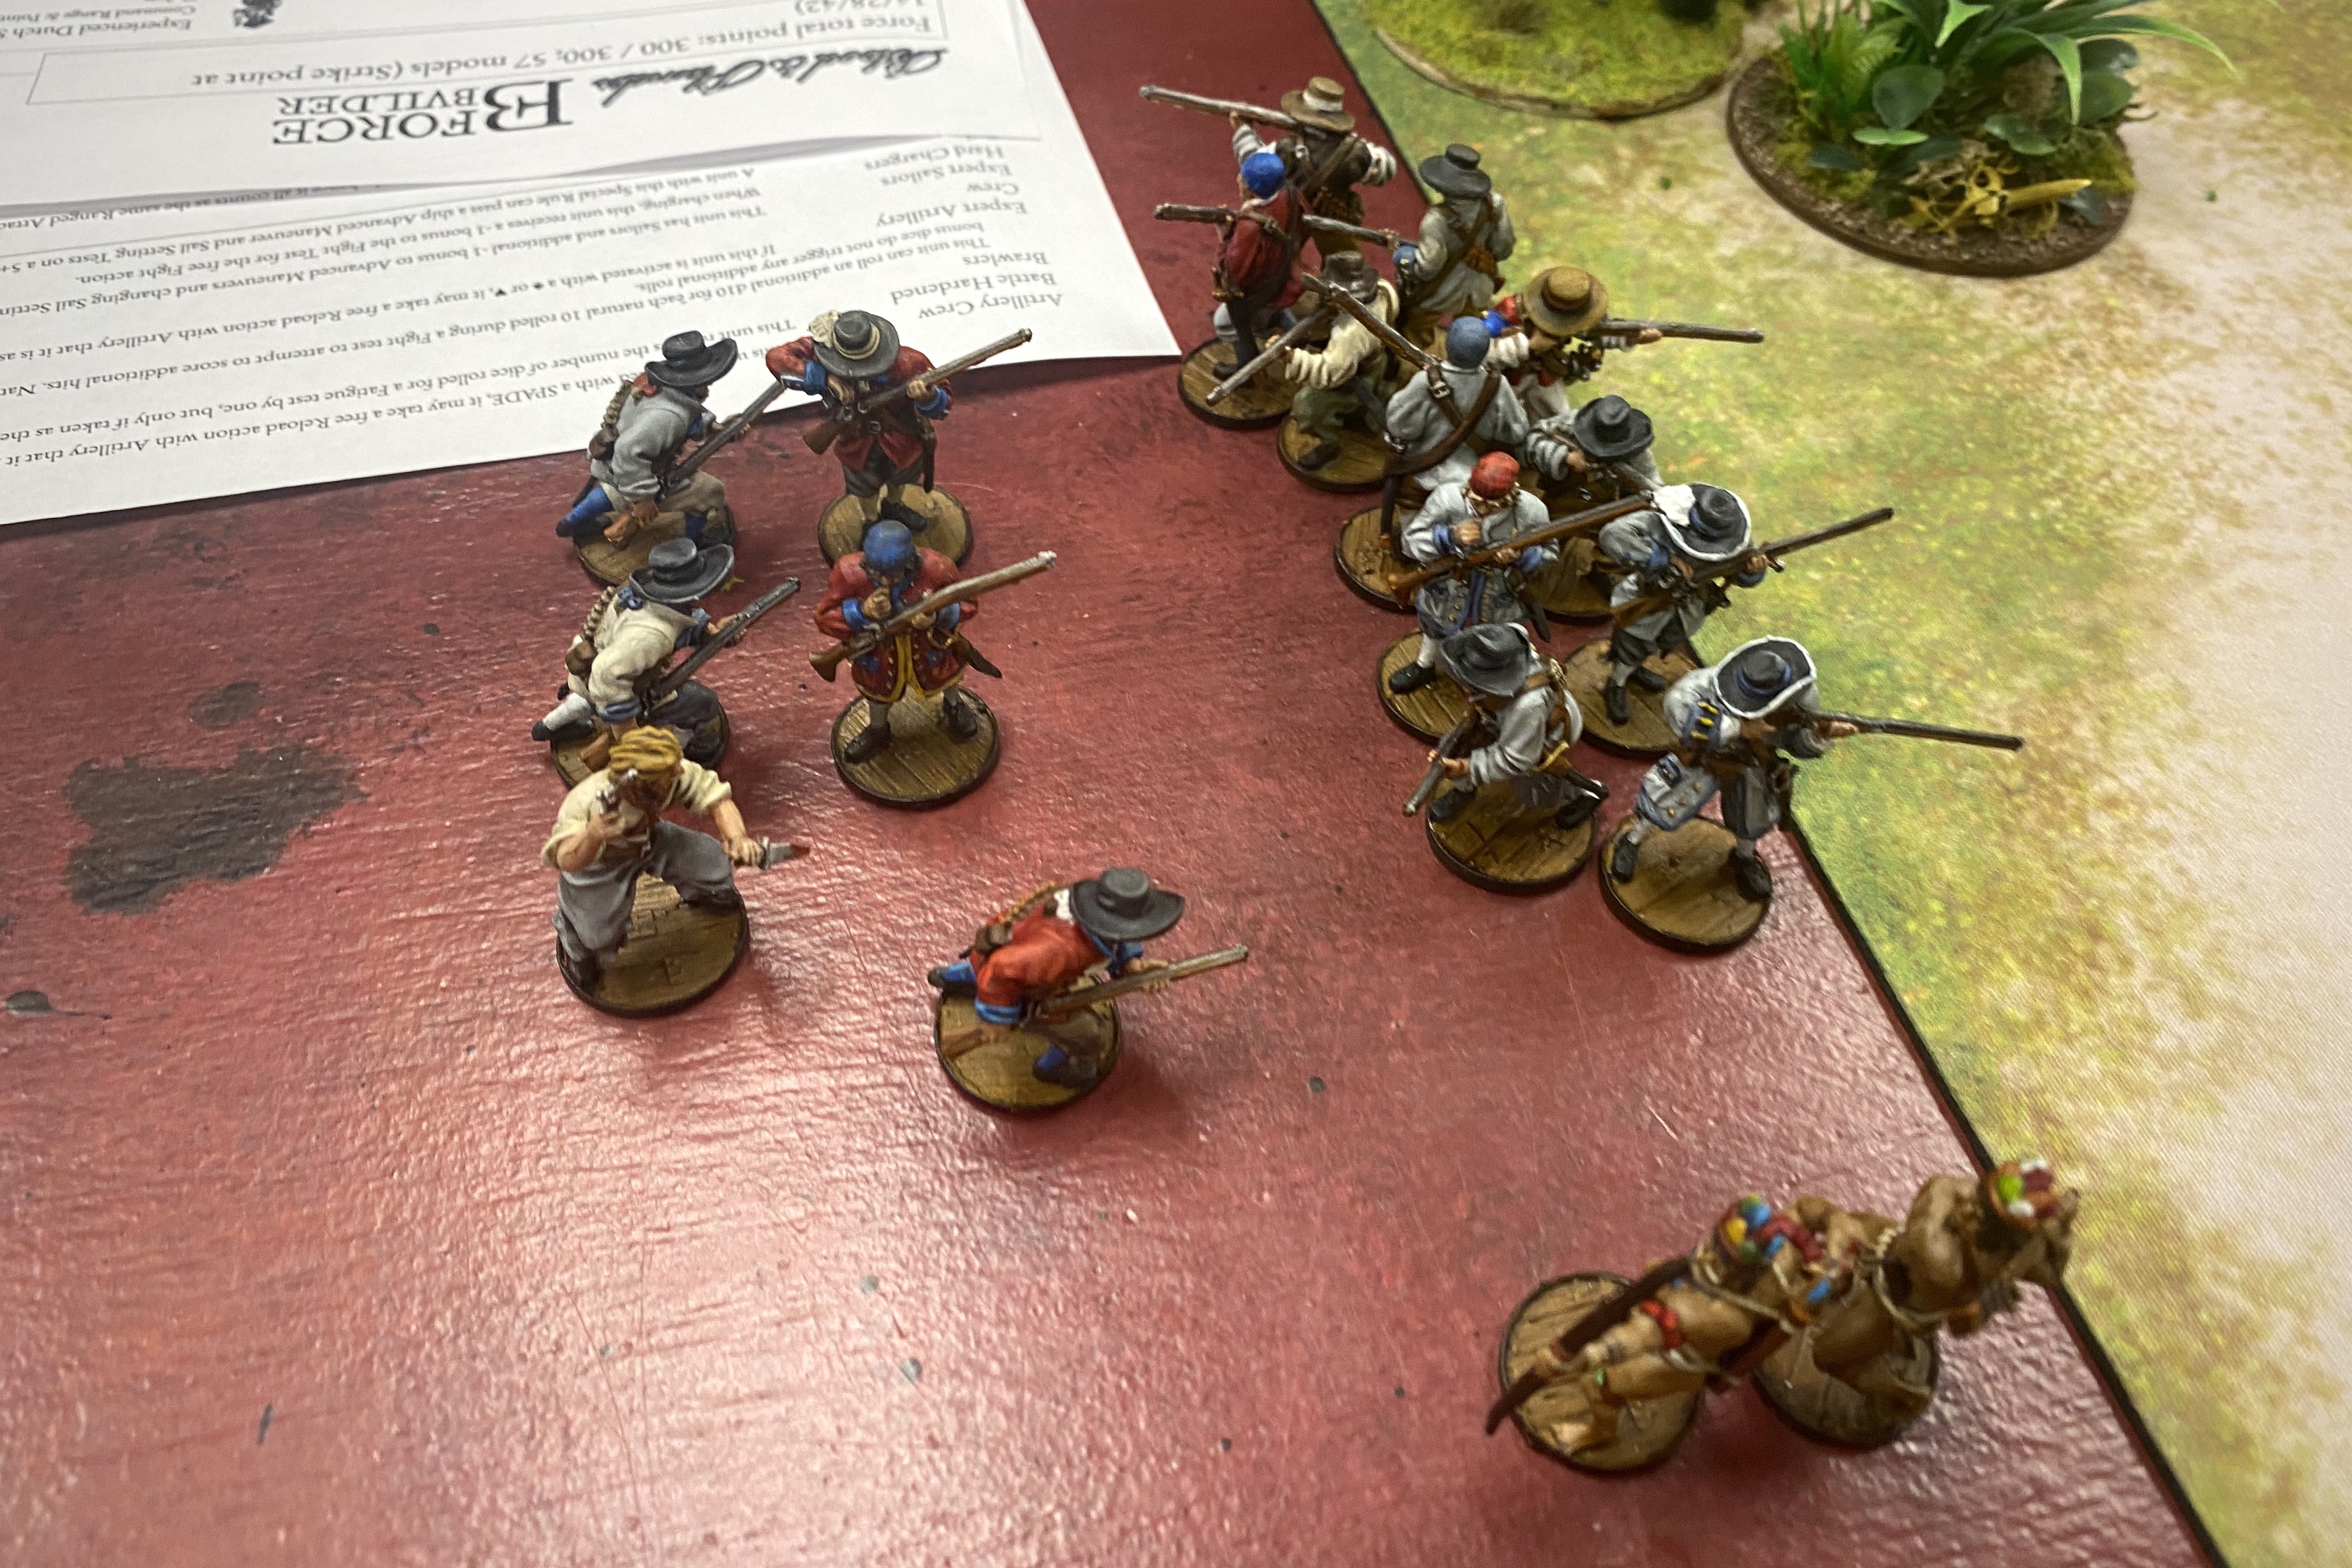
- 10 Sea Dogs without pistols with a Master Gunner
- 9 Sea Dogs without pistols
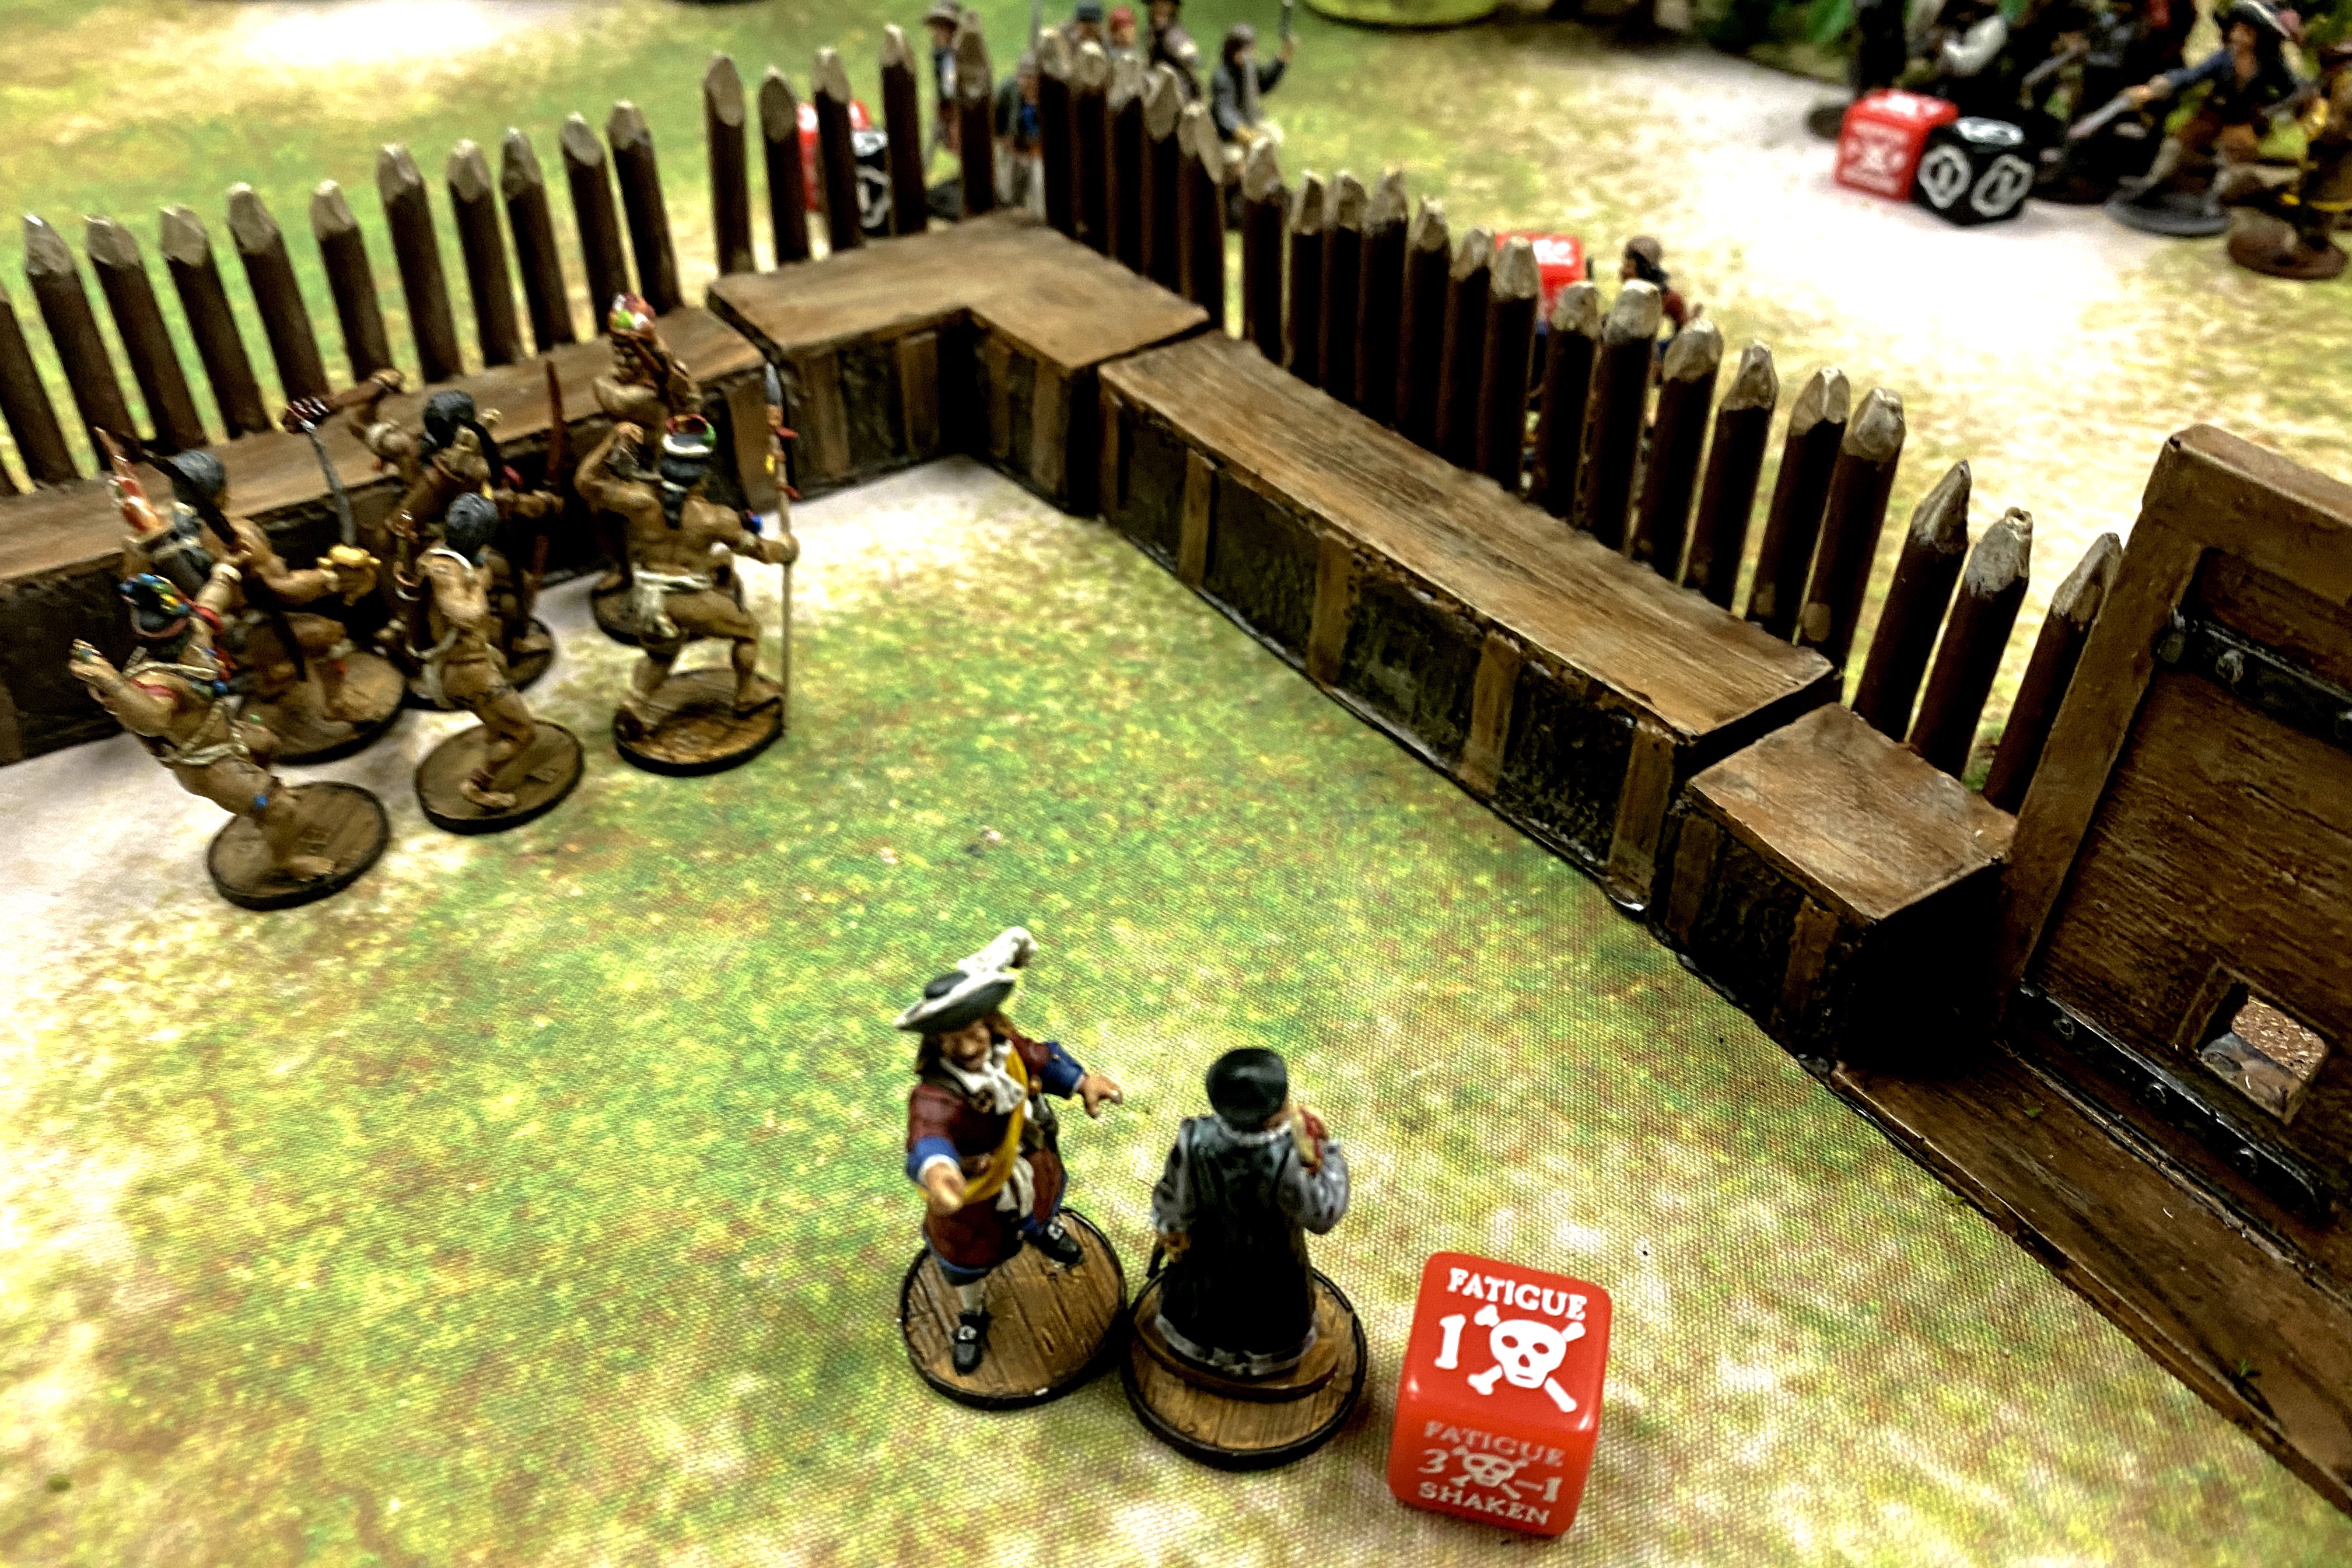
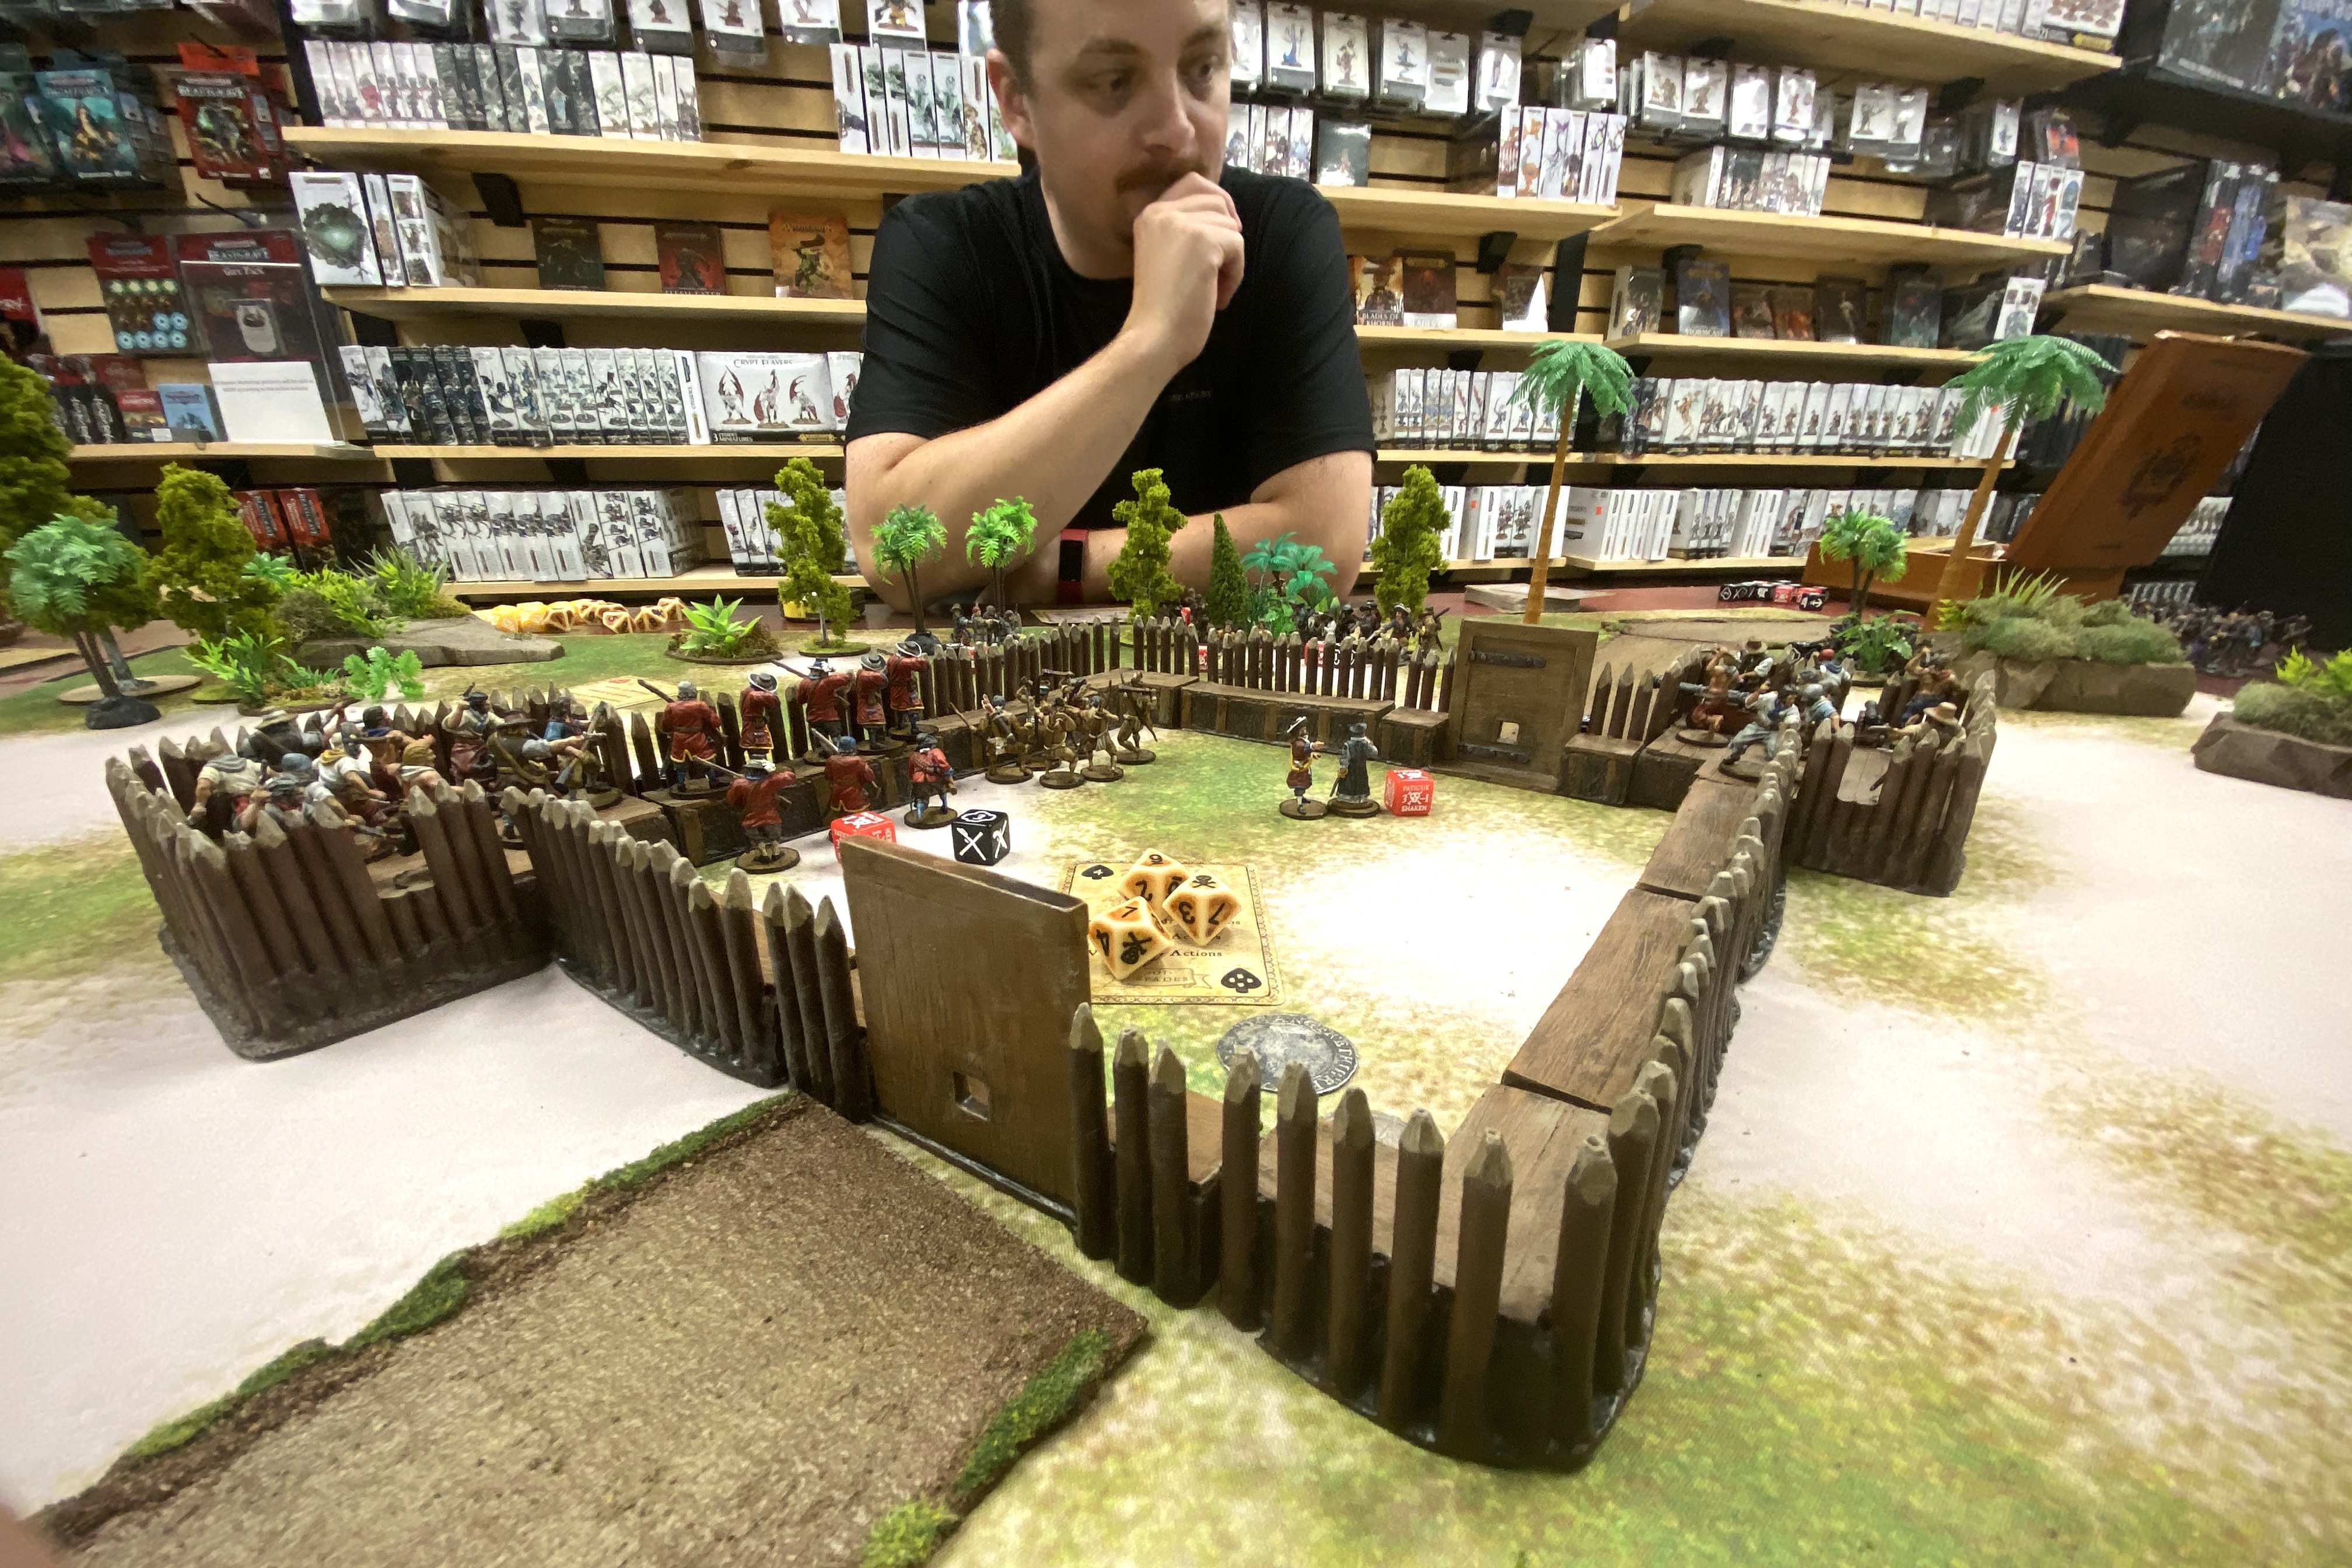
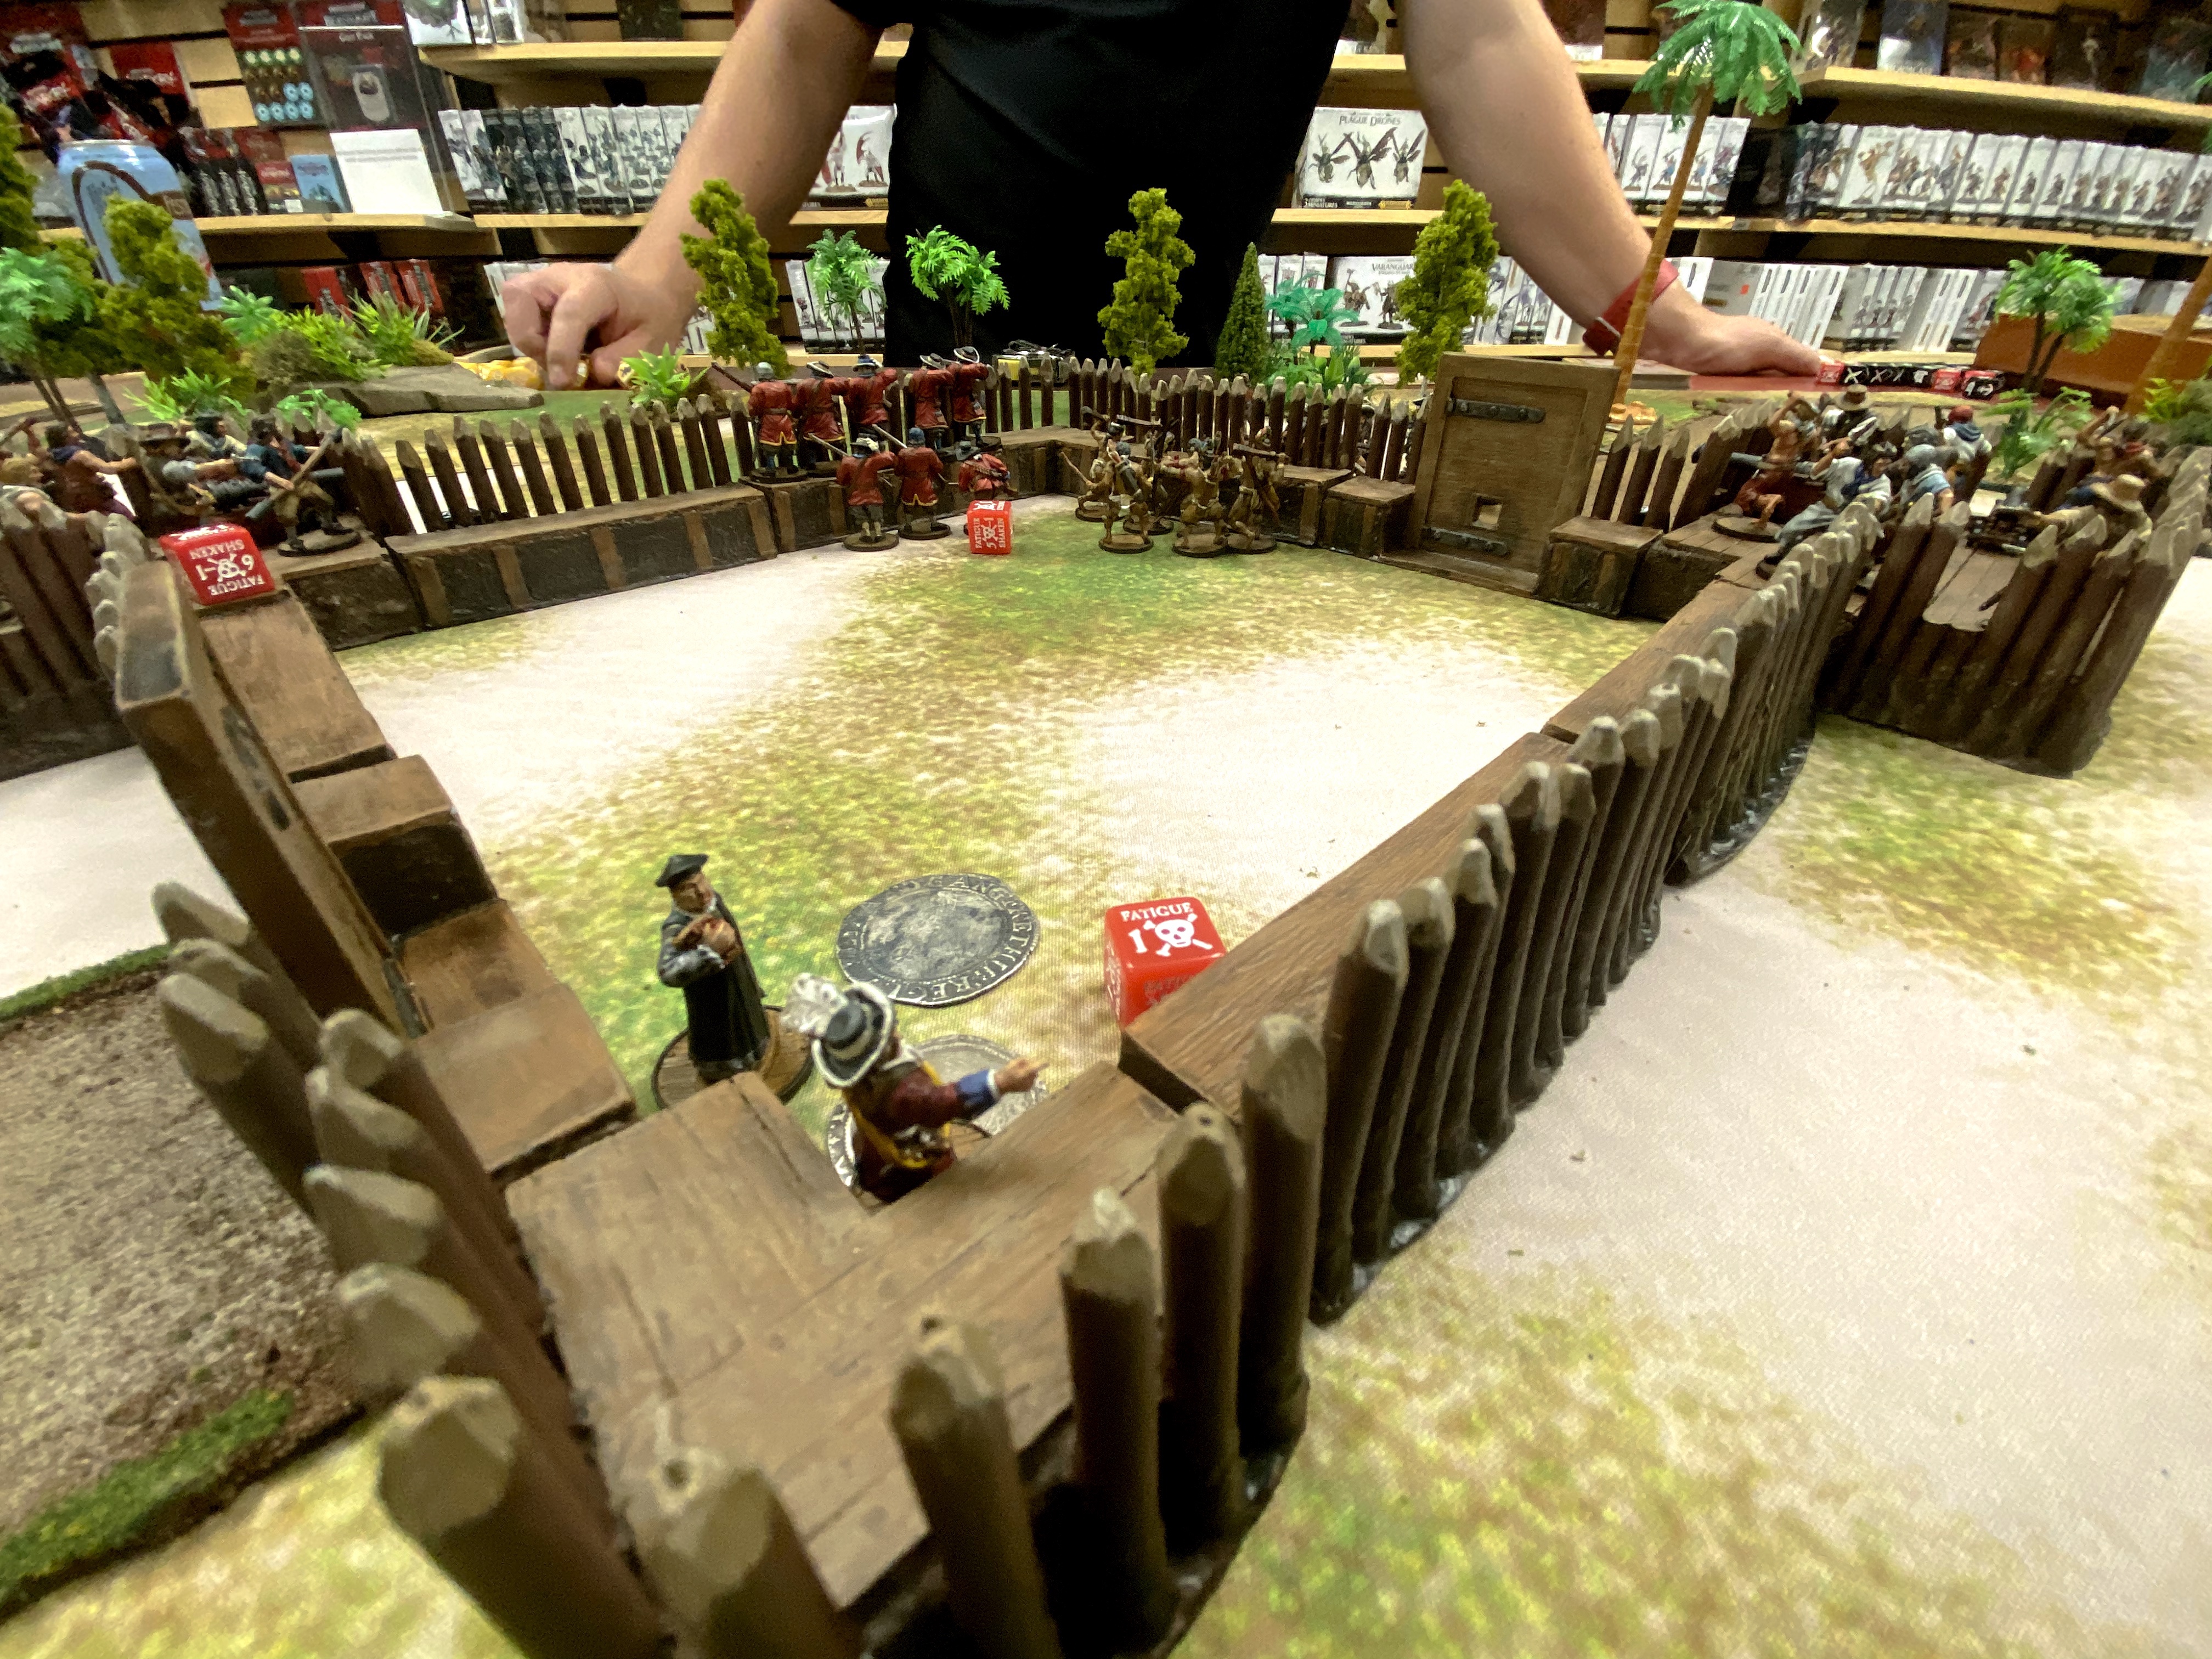
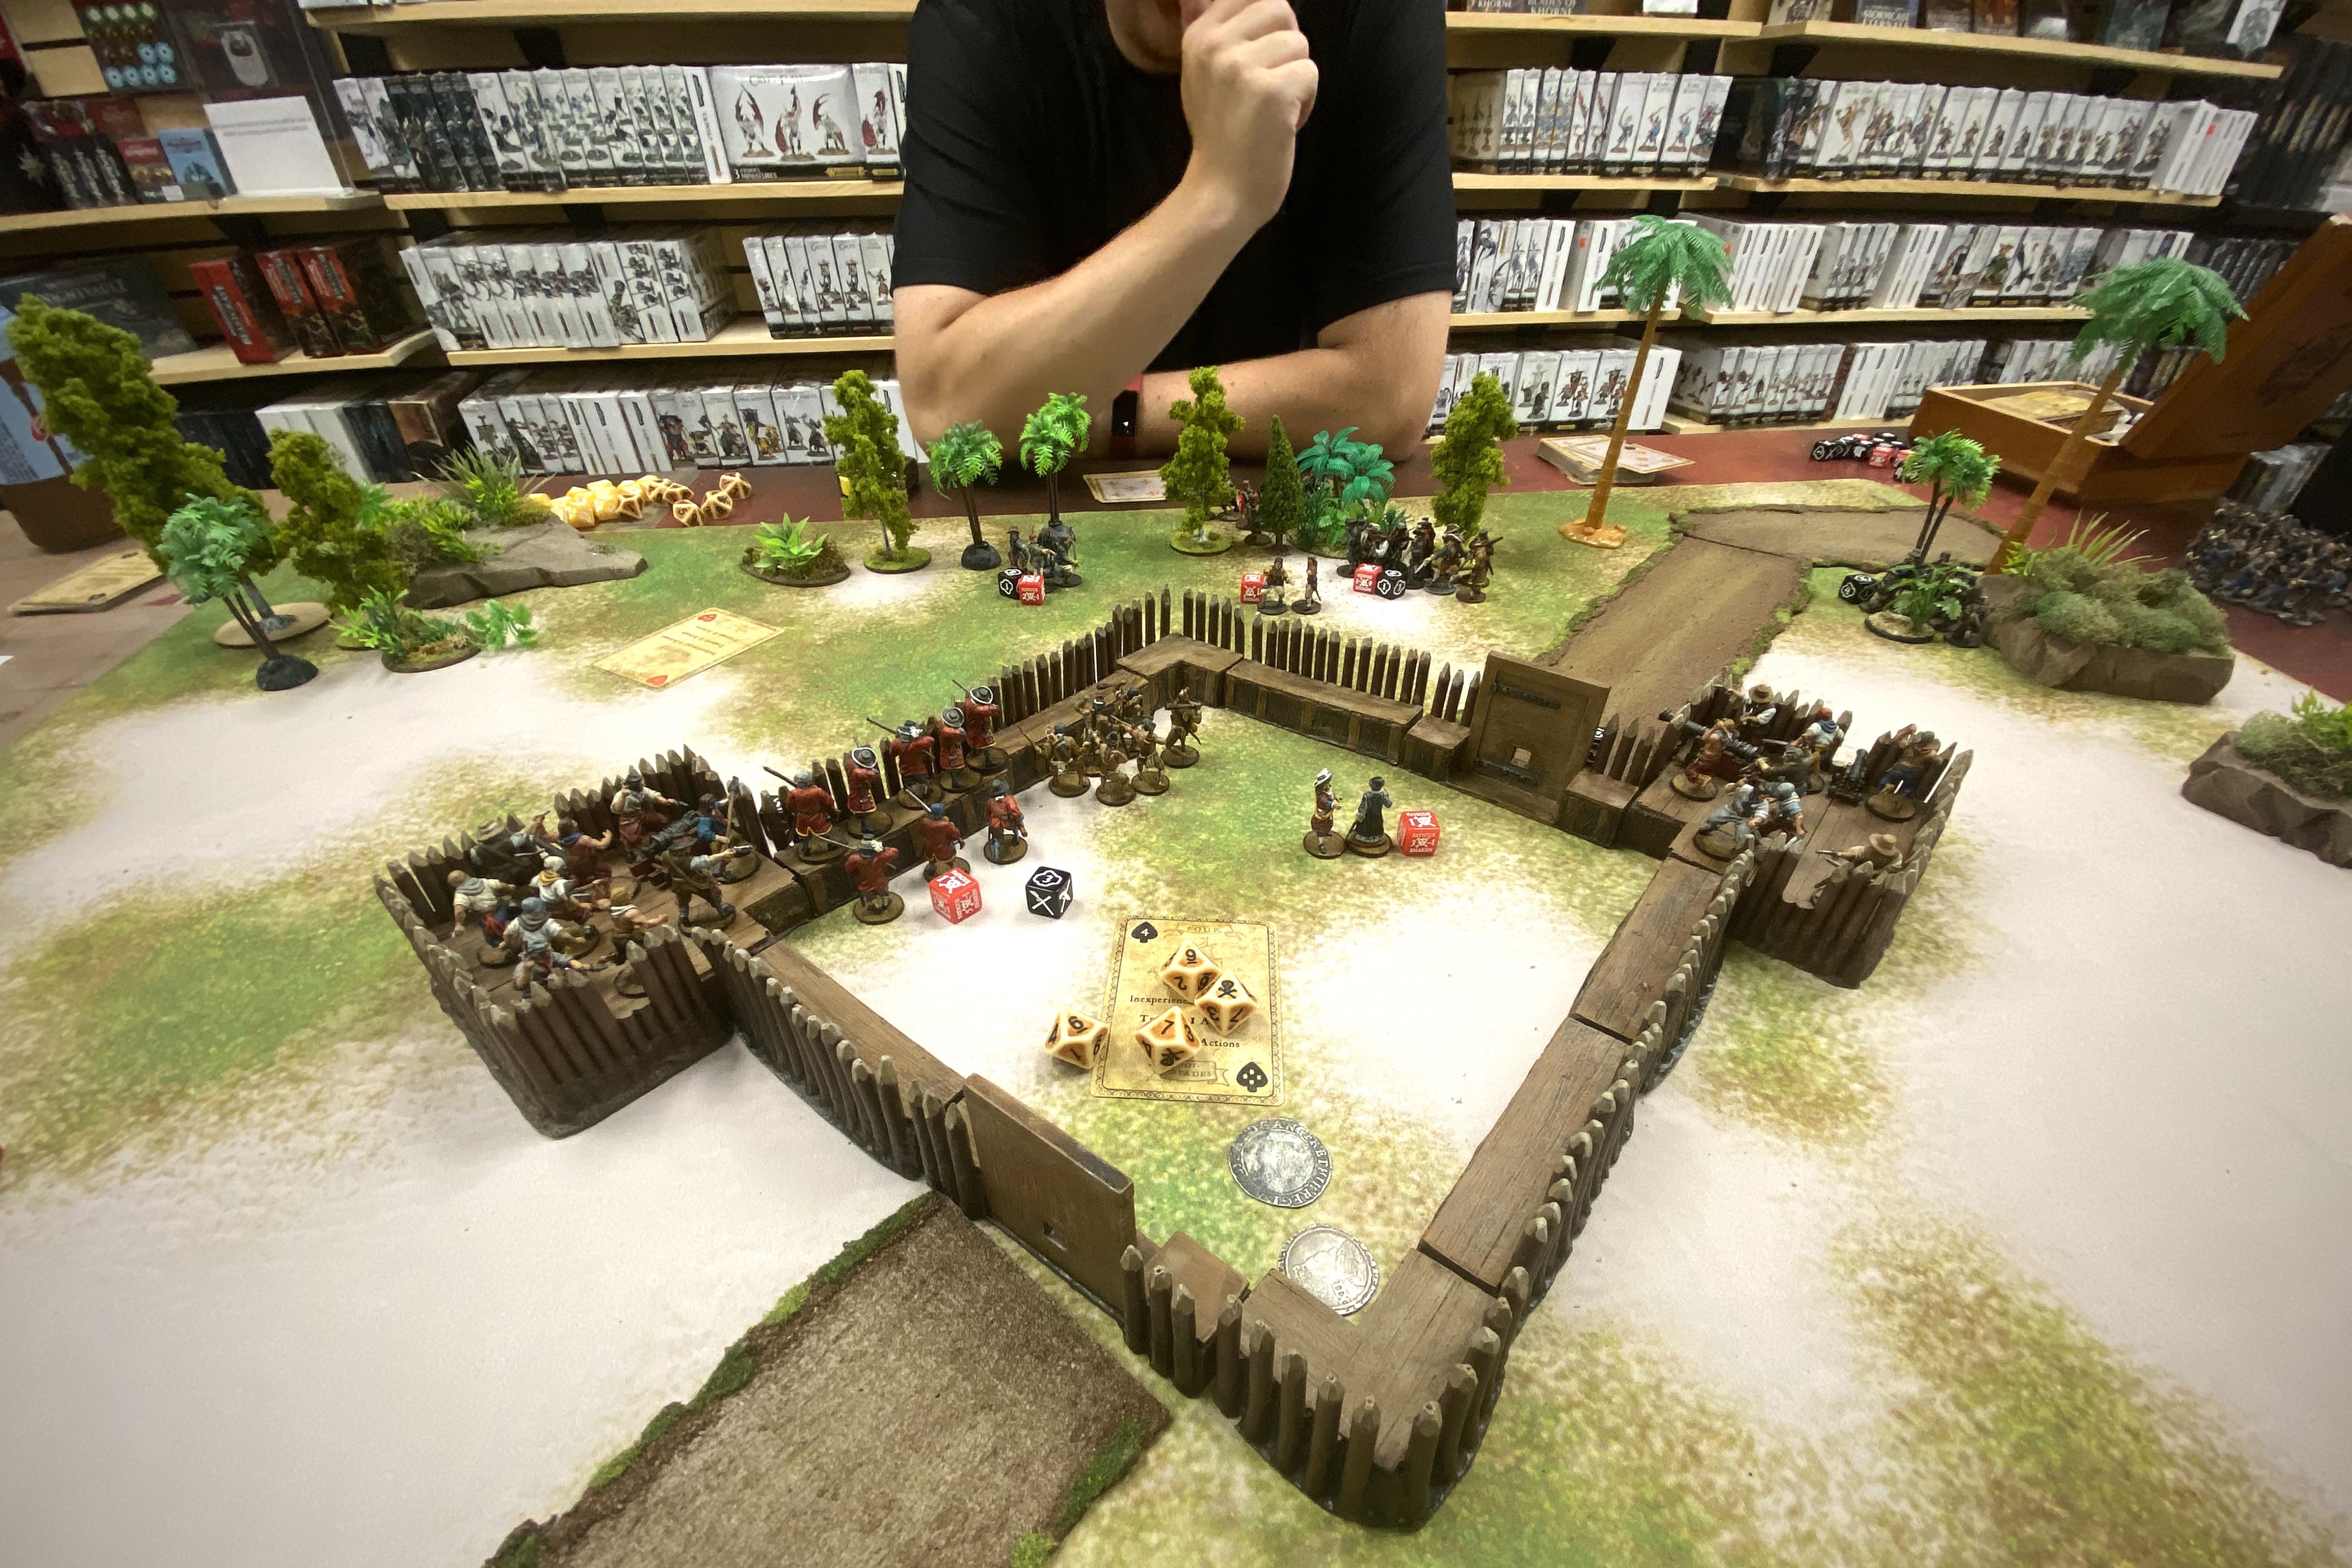
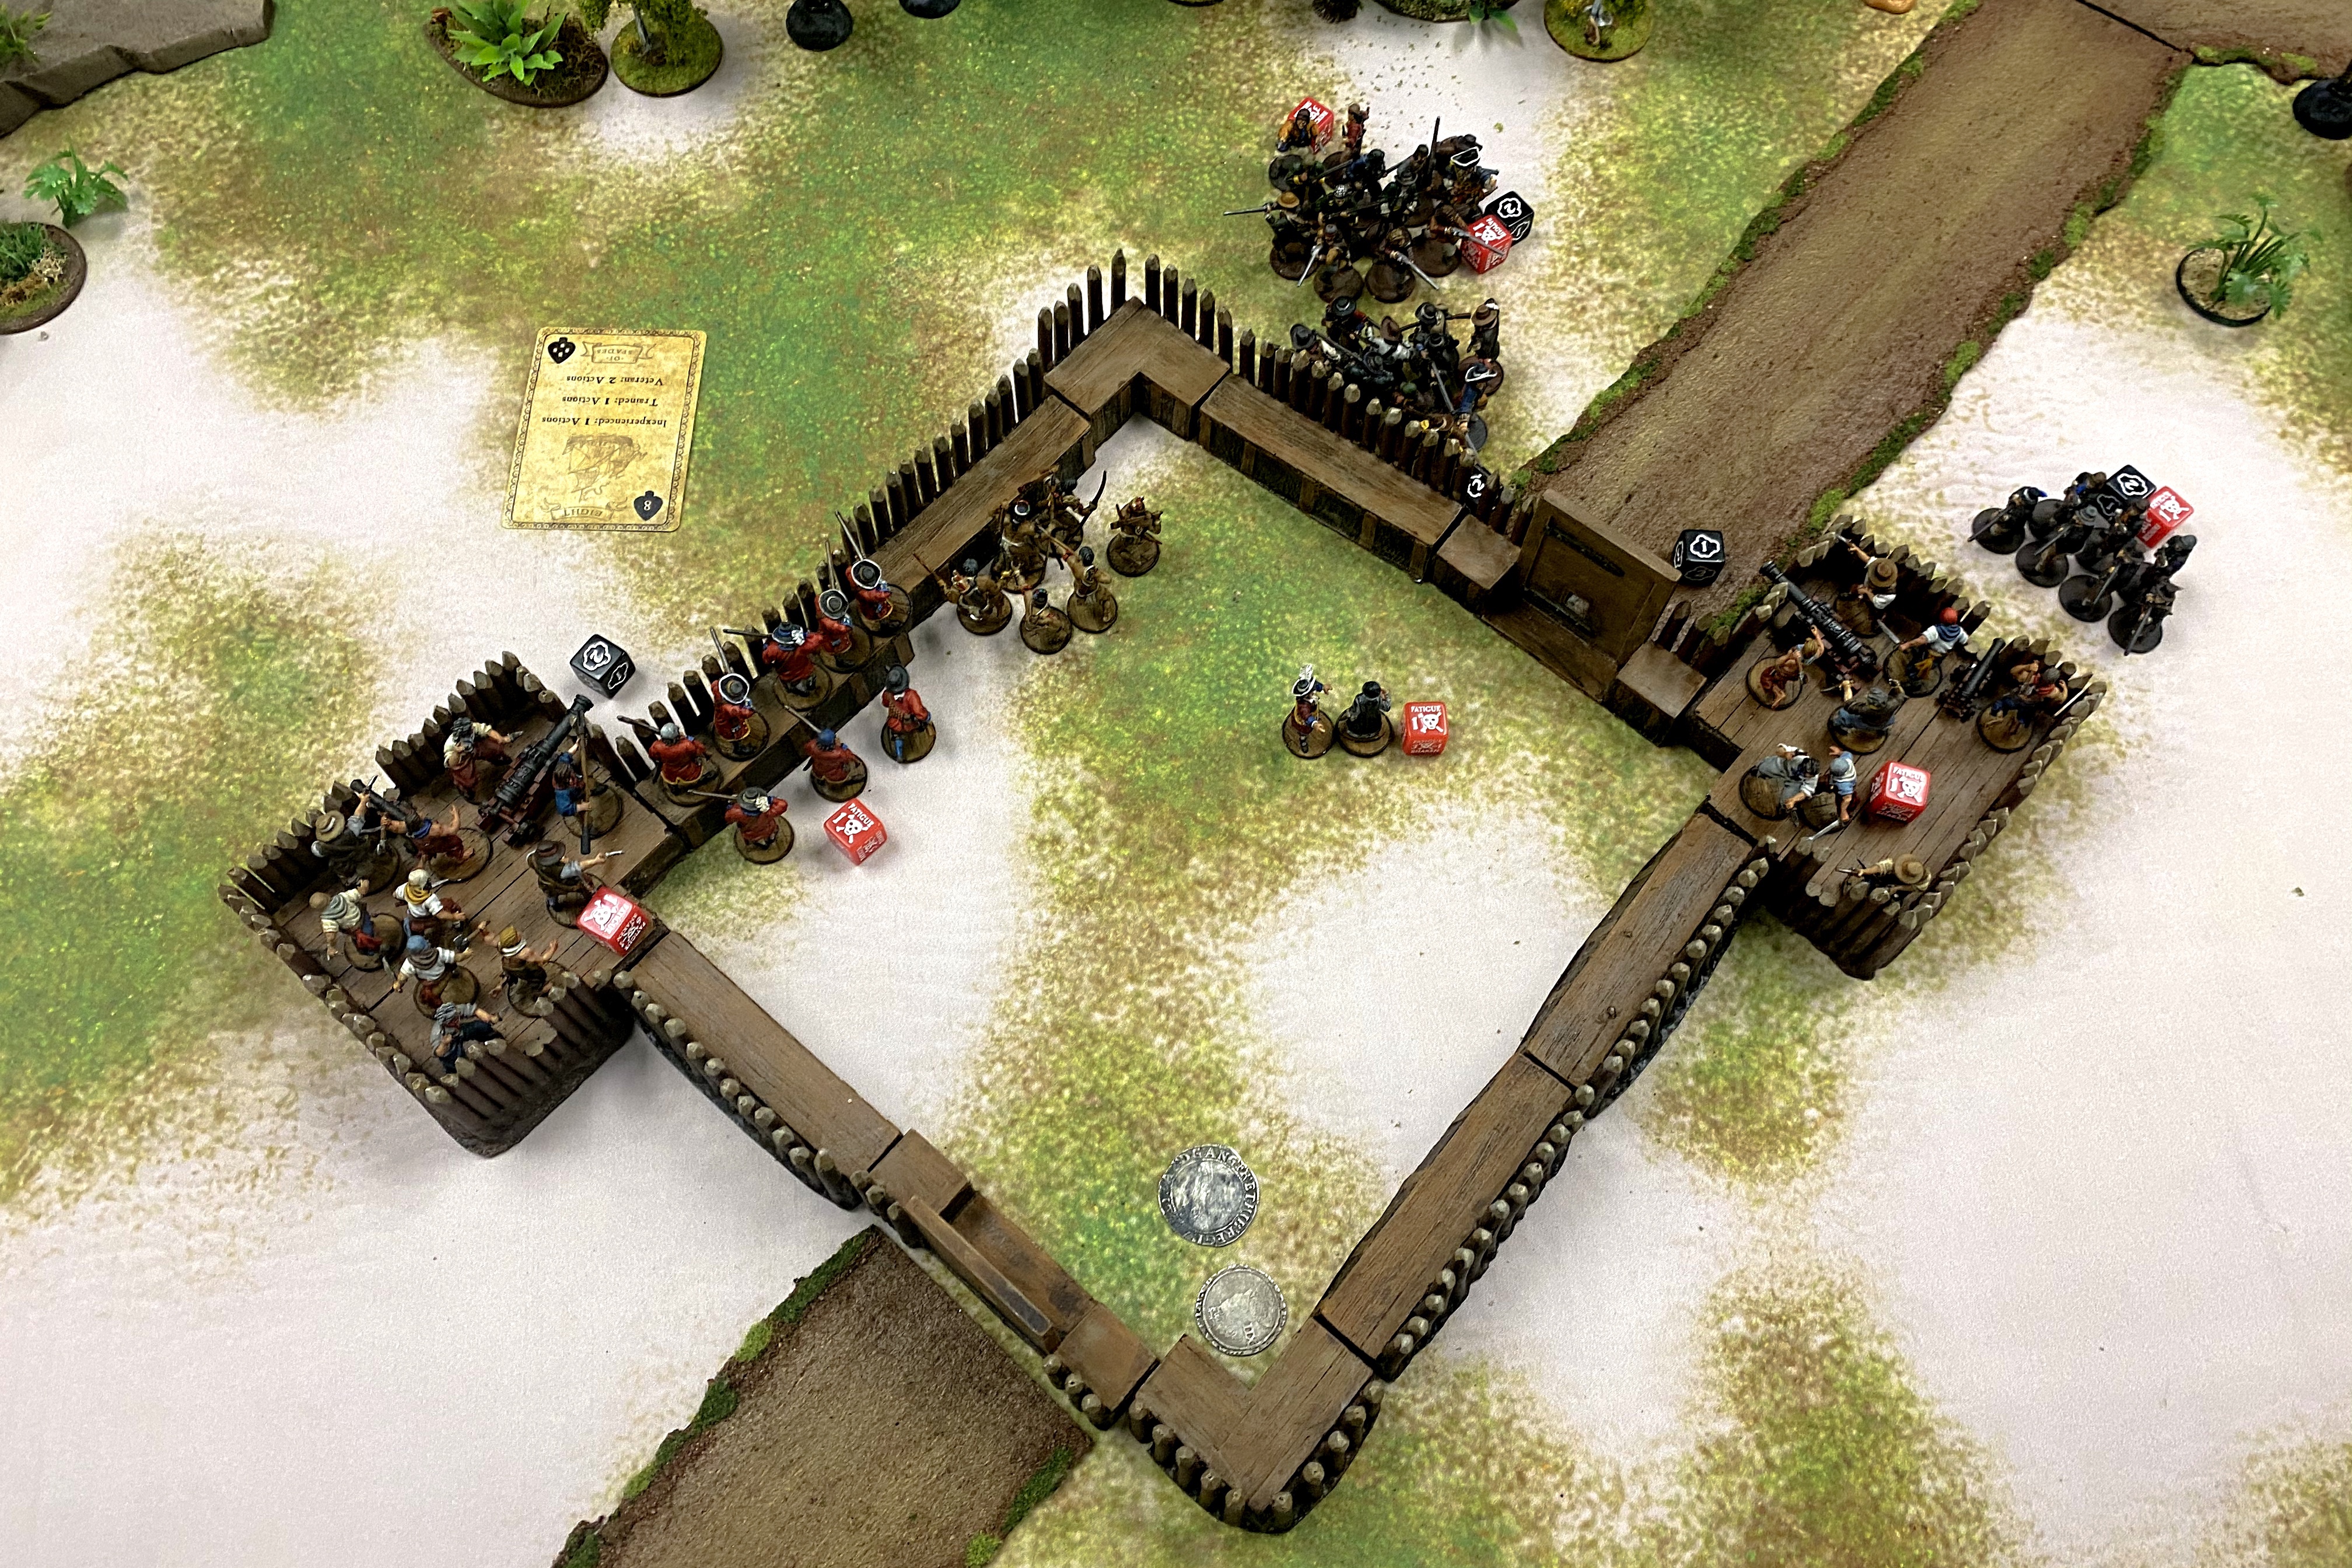
- A Closed Palisade Fort with 2 Bastions (10 walls x2 points, 2 bastions x5 points)
- Extra Defenses for the fort at 1 point per section
- 2 Heavy Cannons and 2 Light Cannons with Grapeshot
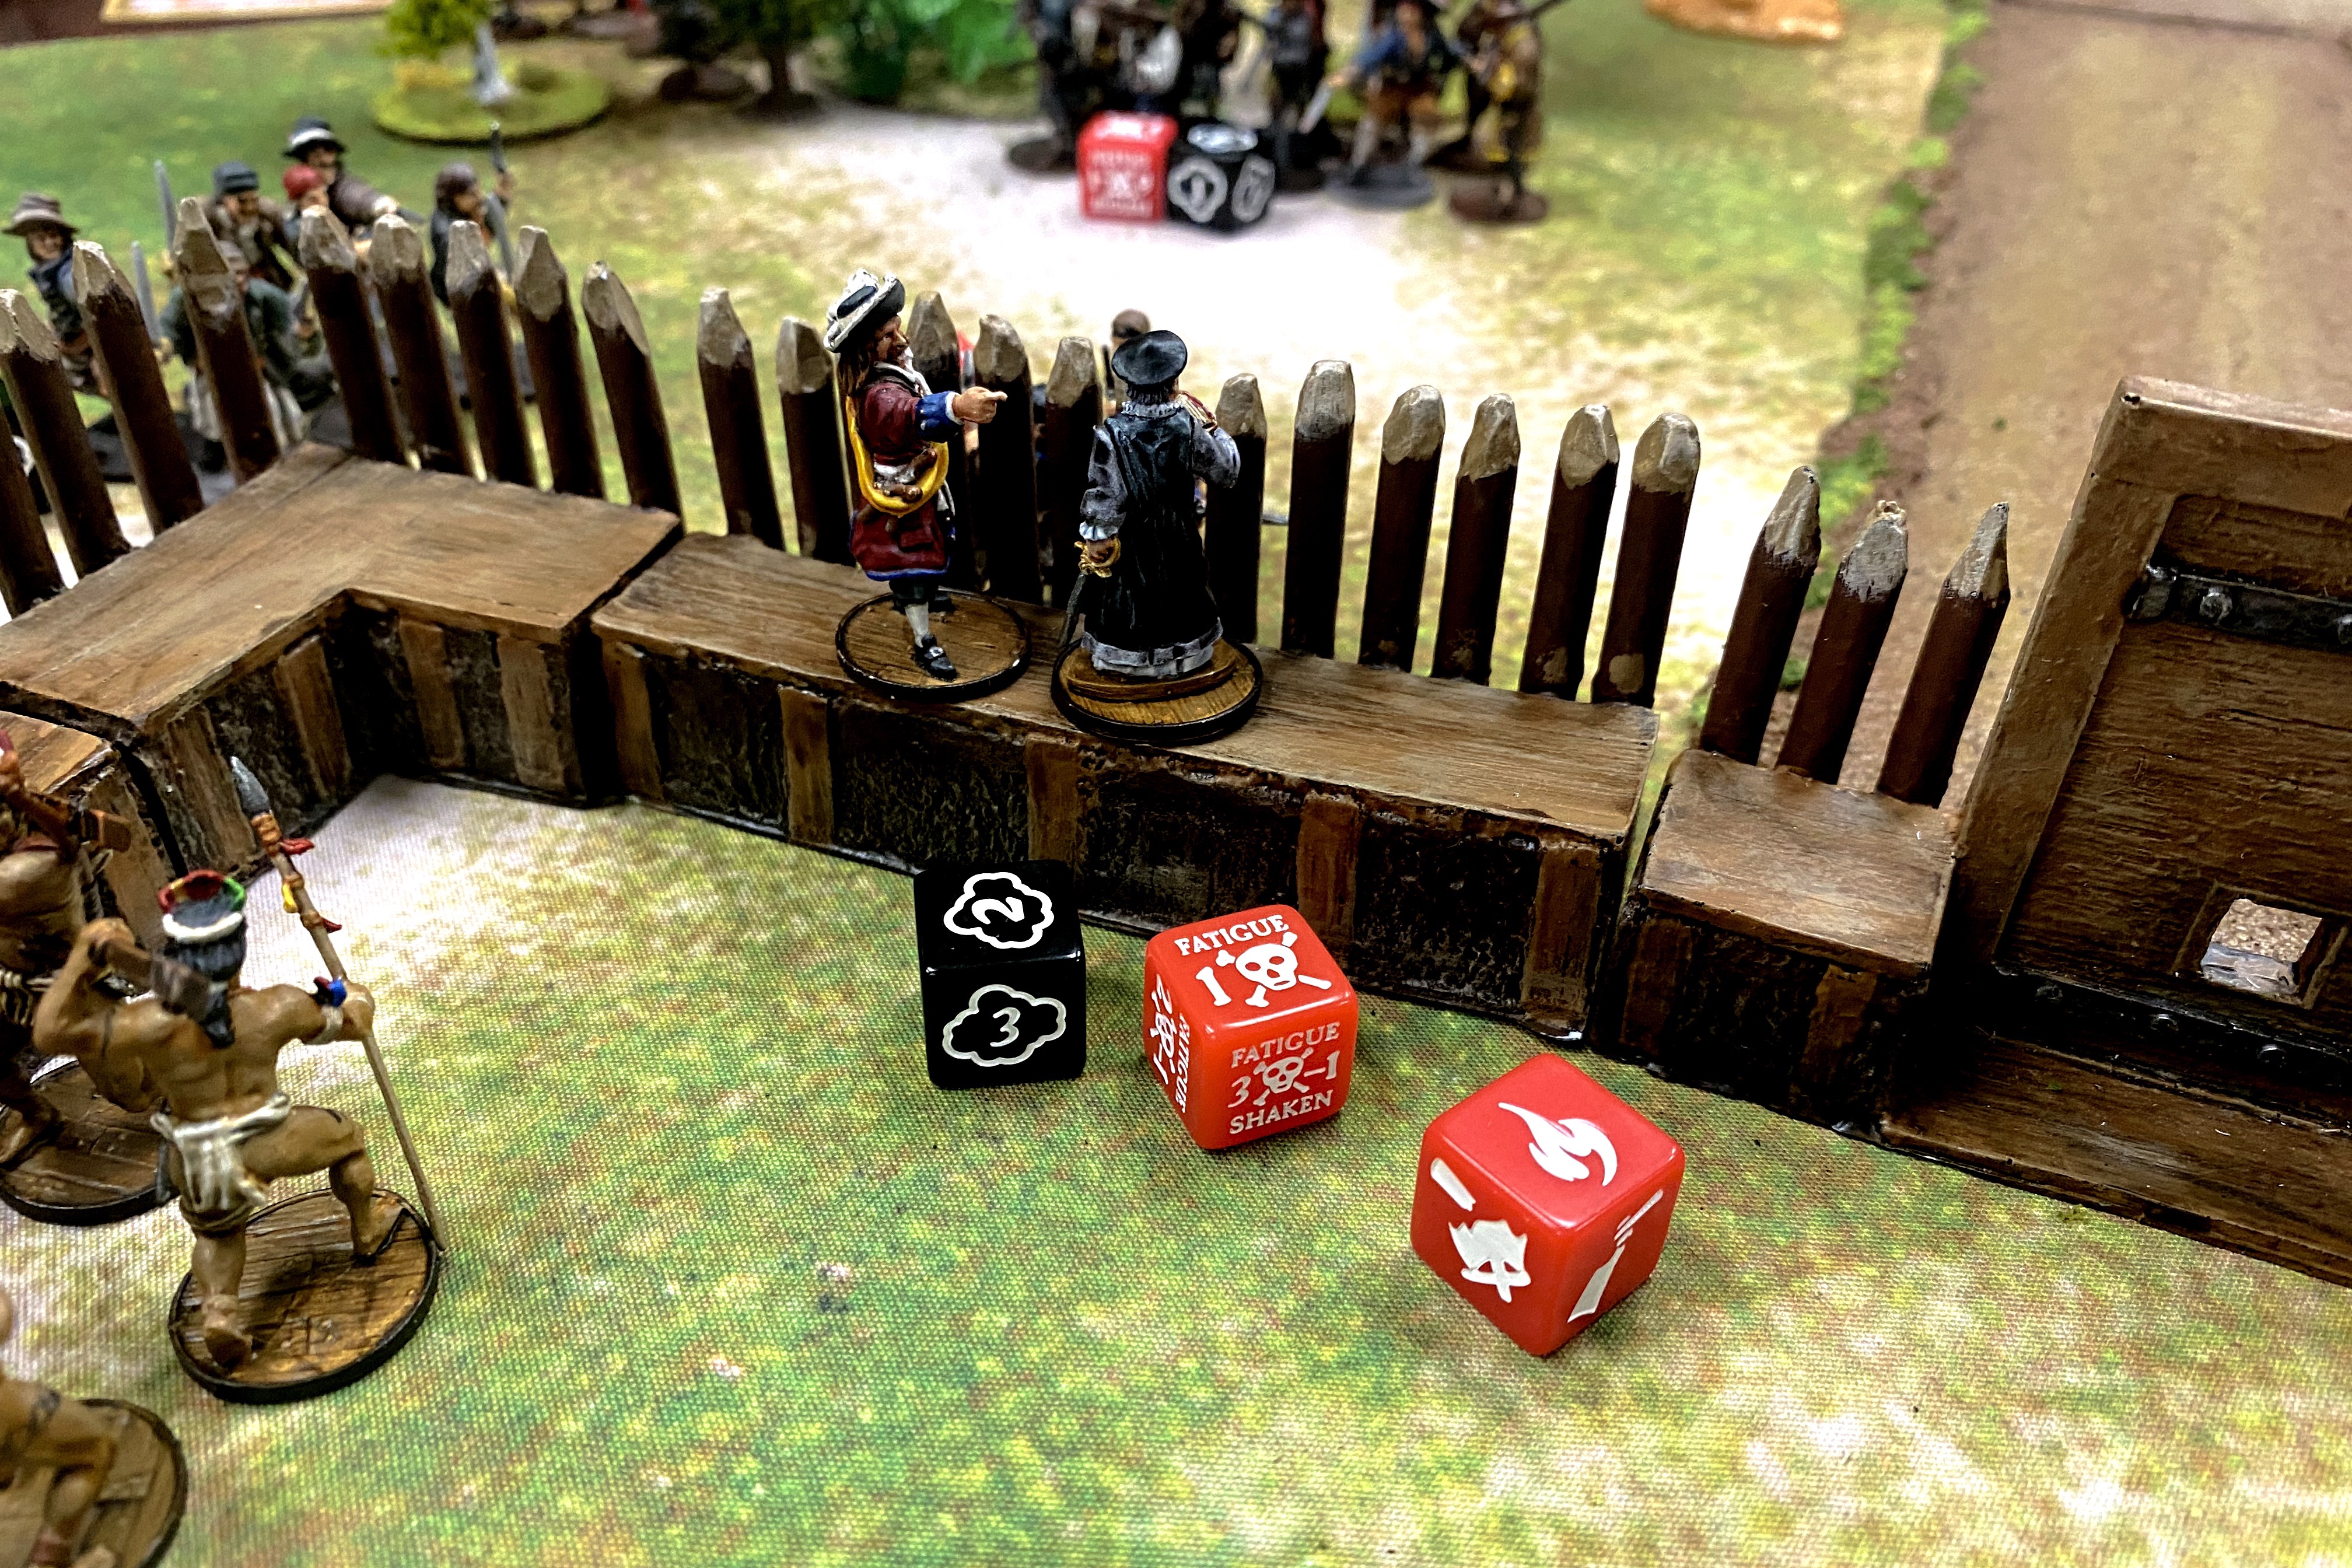
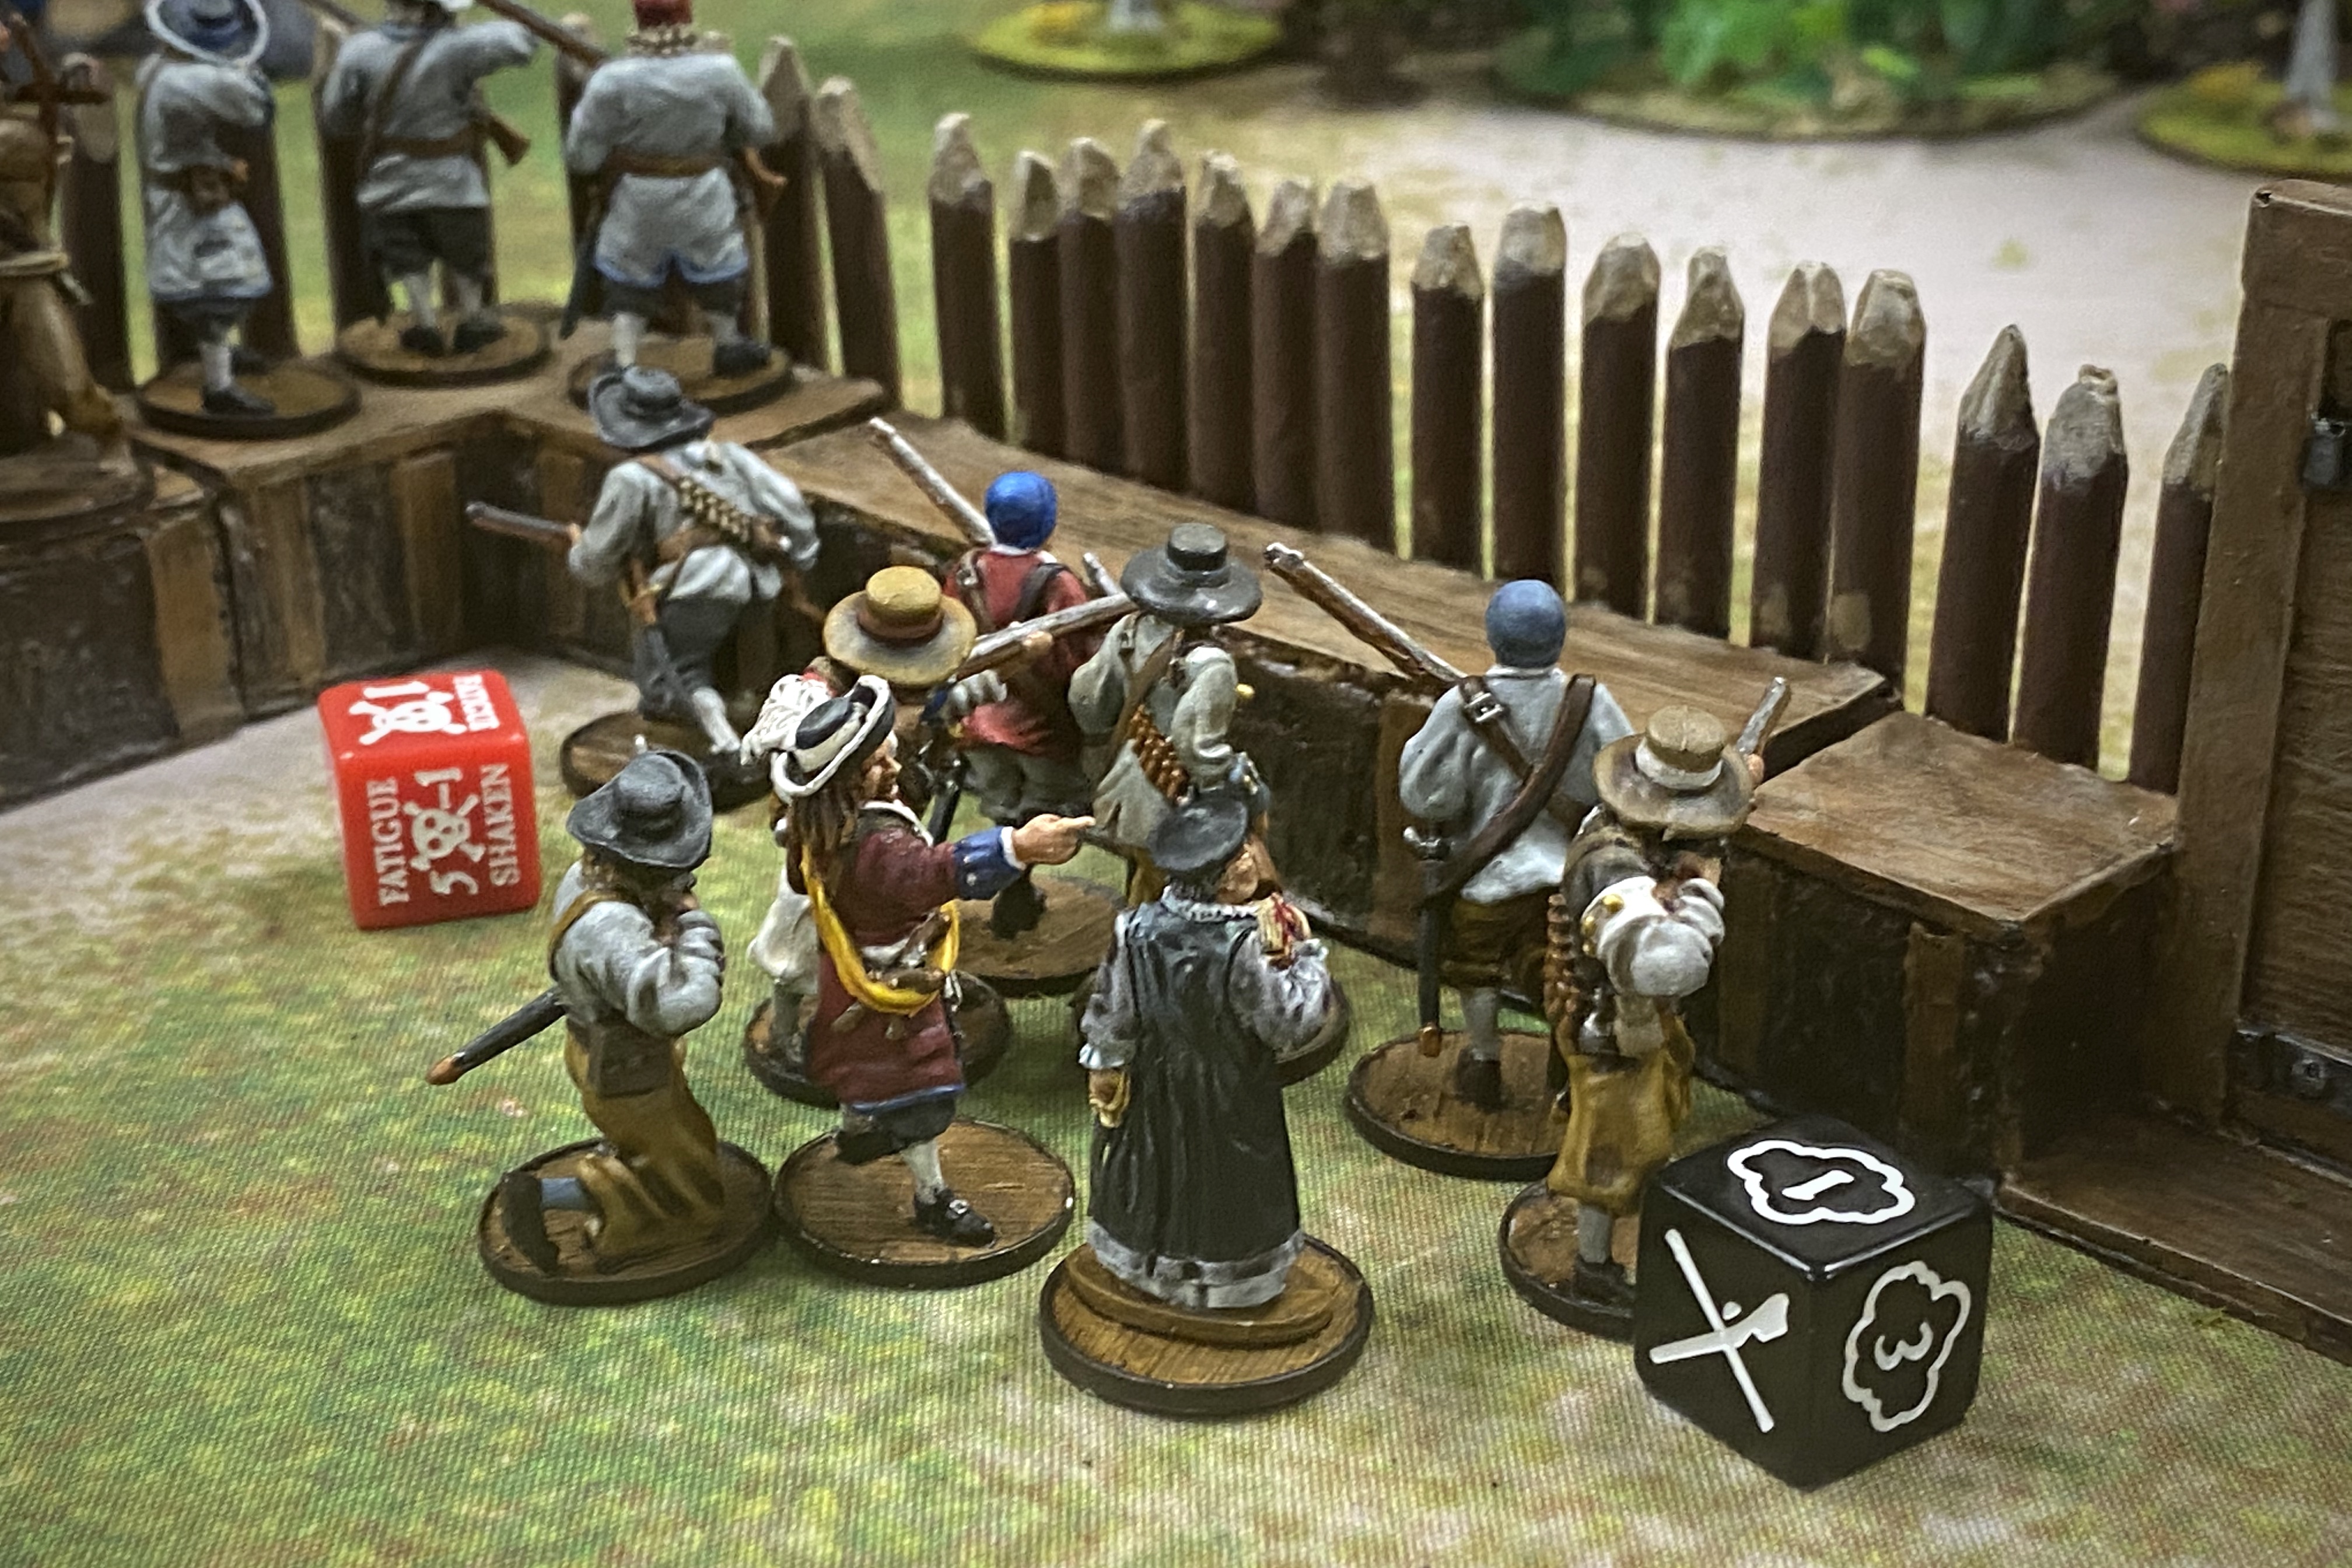
Sir Thomas Whetstone as a commander was a bit of a bold choice but with 3 command points and Inspiring and his Unorthodox Force rules, I thought I could make him worth it. He adds several units to the core unit column for his force including the Native Warrior unit I wanted to use. Broadside and Sailors were a bit of a waste but that’s OK. Having a complete fort gives and commander of a force an extra command point for Rally or Move actions so he would actually have 4 command points on his activation.
The Extra Defenses for the fort are a special rule that helps protect the defenders of a fort from an assault. For 1 point per wall section (defenses must be purchase for the entire fort or none at all), you get to re-roll Fight Saves on a charge equal to the current Fortitude of the wall section being charged. I had a feeling Bryan would want to storm the fort rather than snipe at me. And I was right!
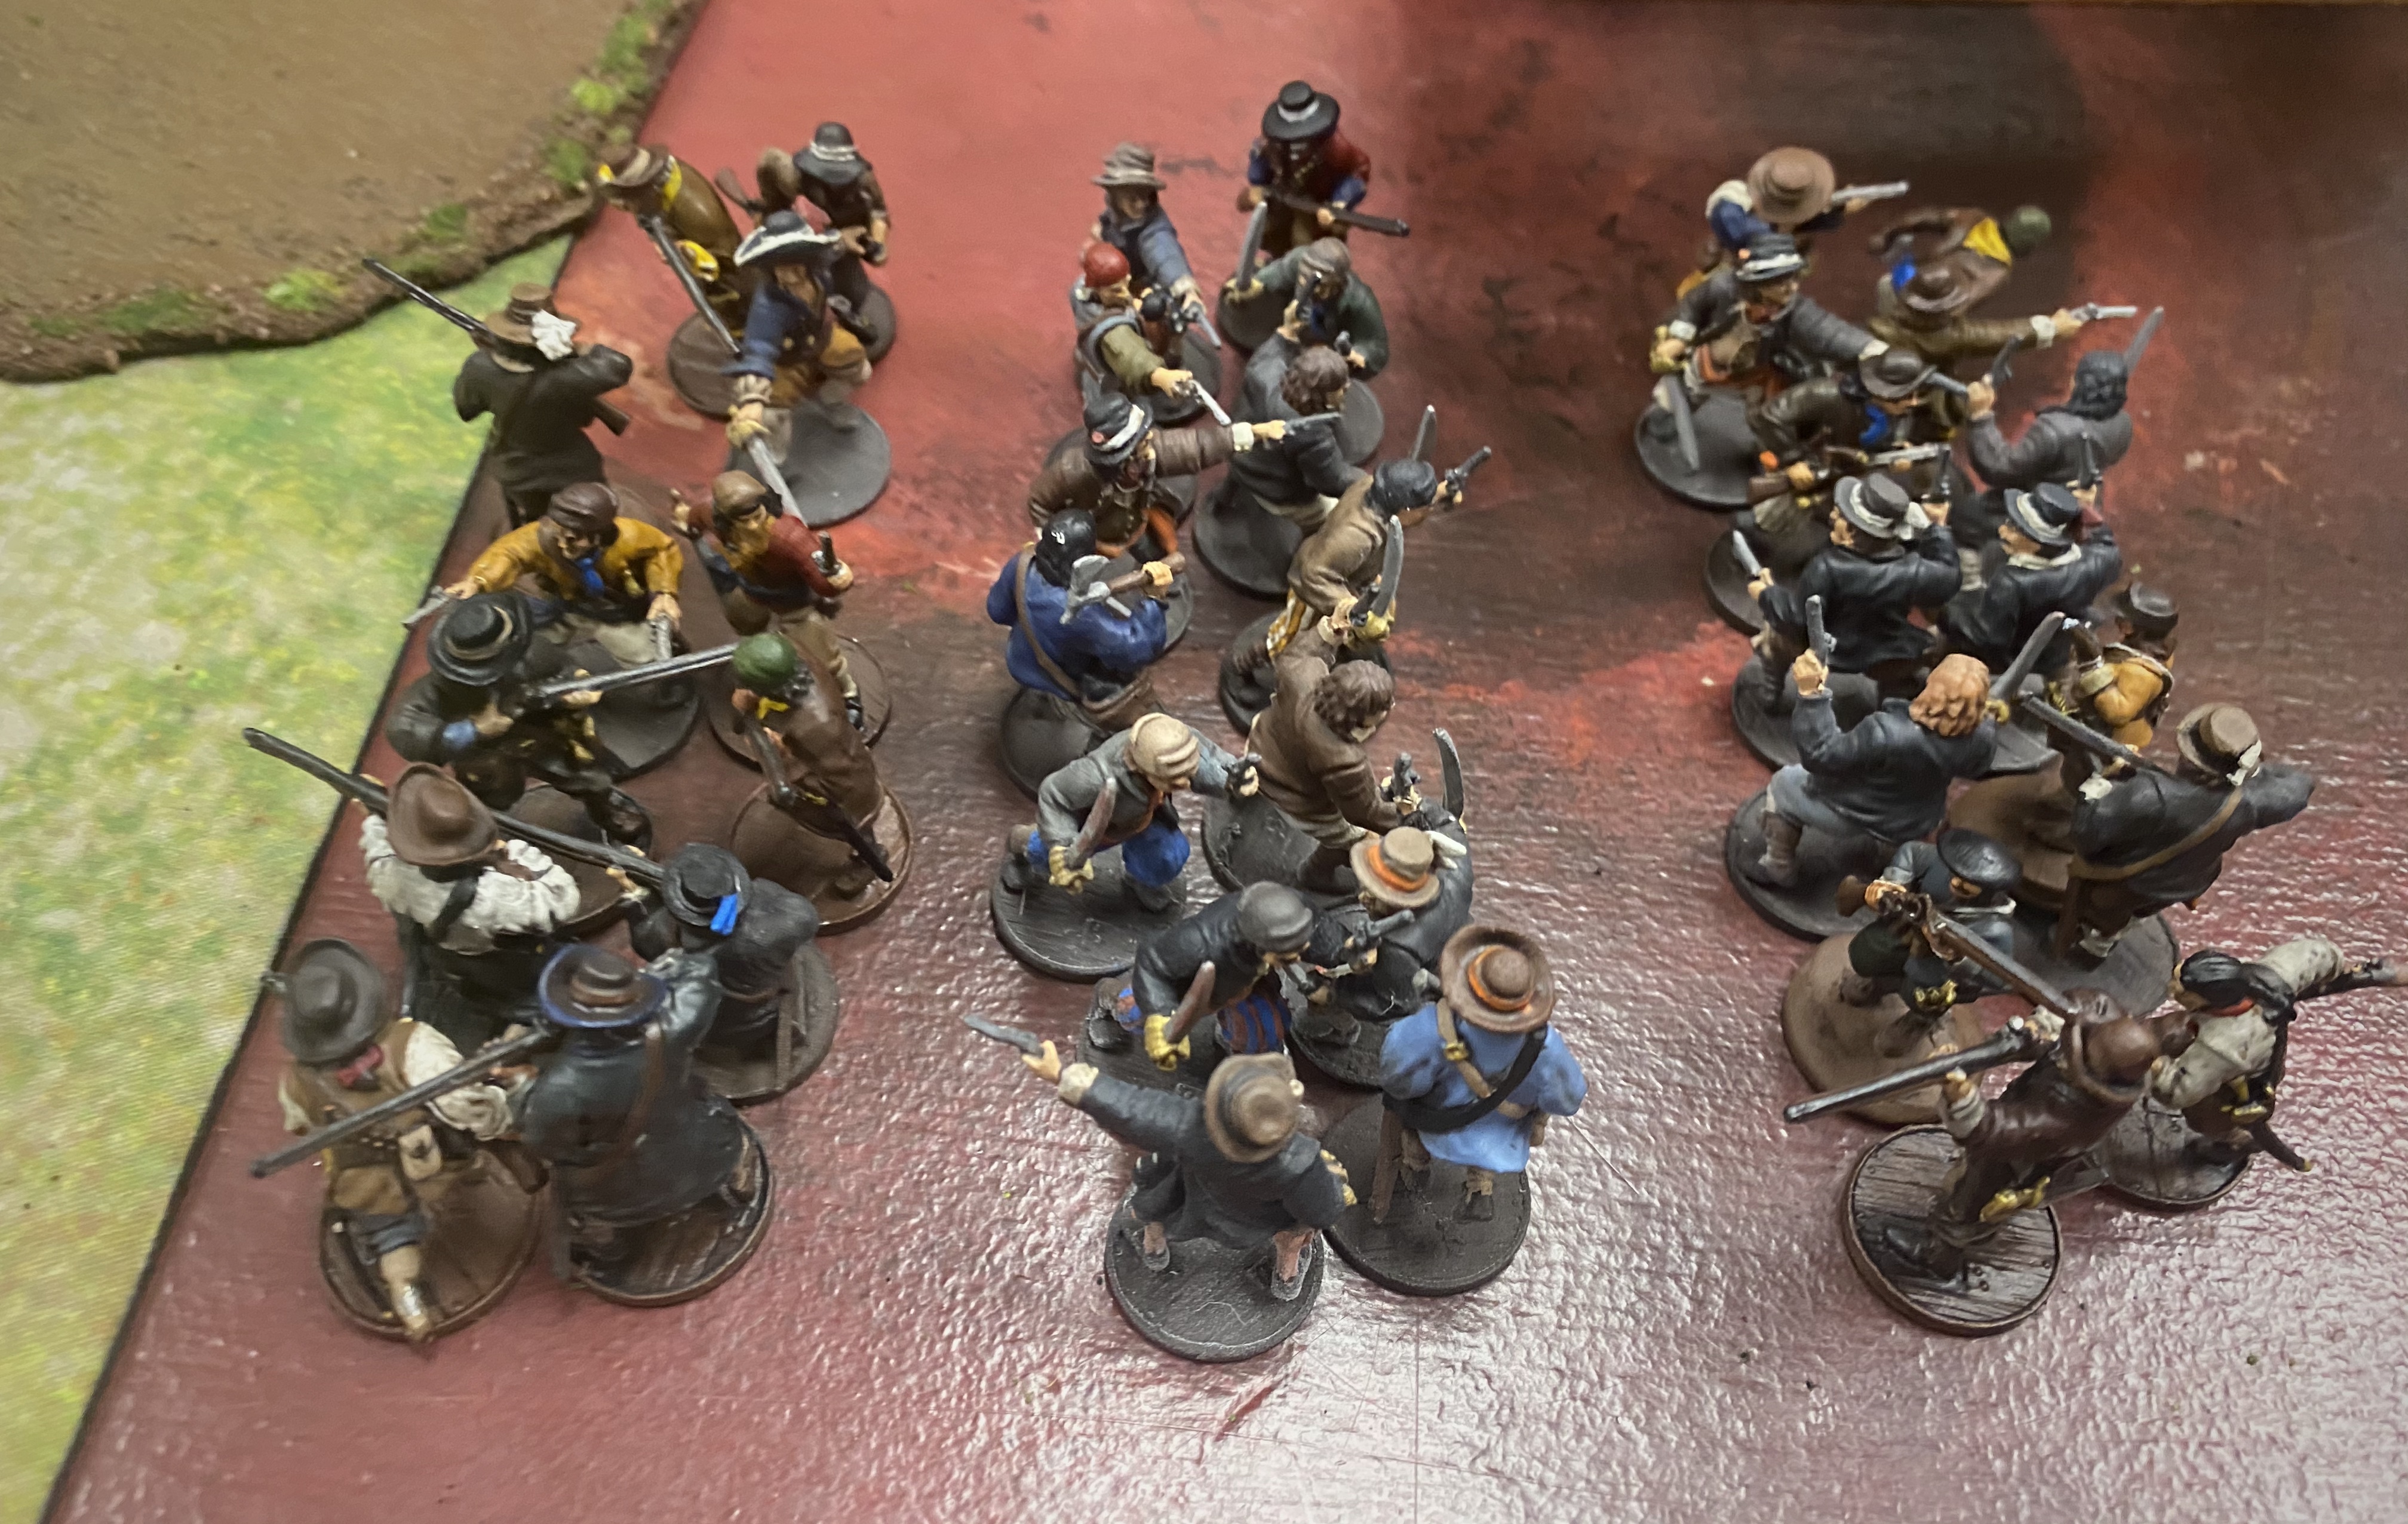
Bryan’s Dutch Privateer army included:
- 12 European Sailors with muskets, a Firepot with an Experienced Dutch Sea Commander and a Musician
- 12 European Sailors with muskets, a Firepot and an Officer
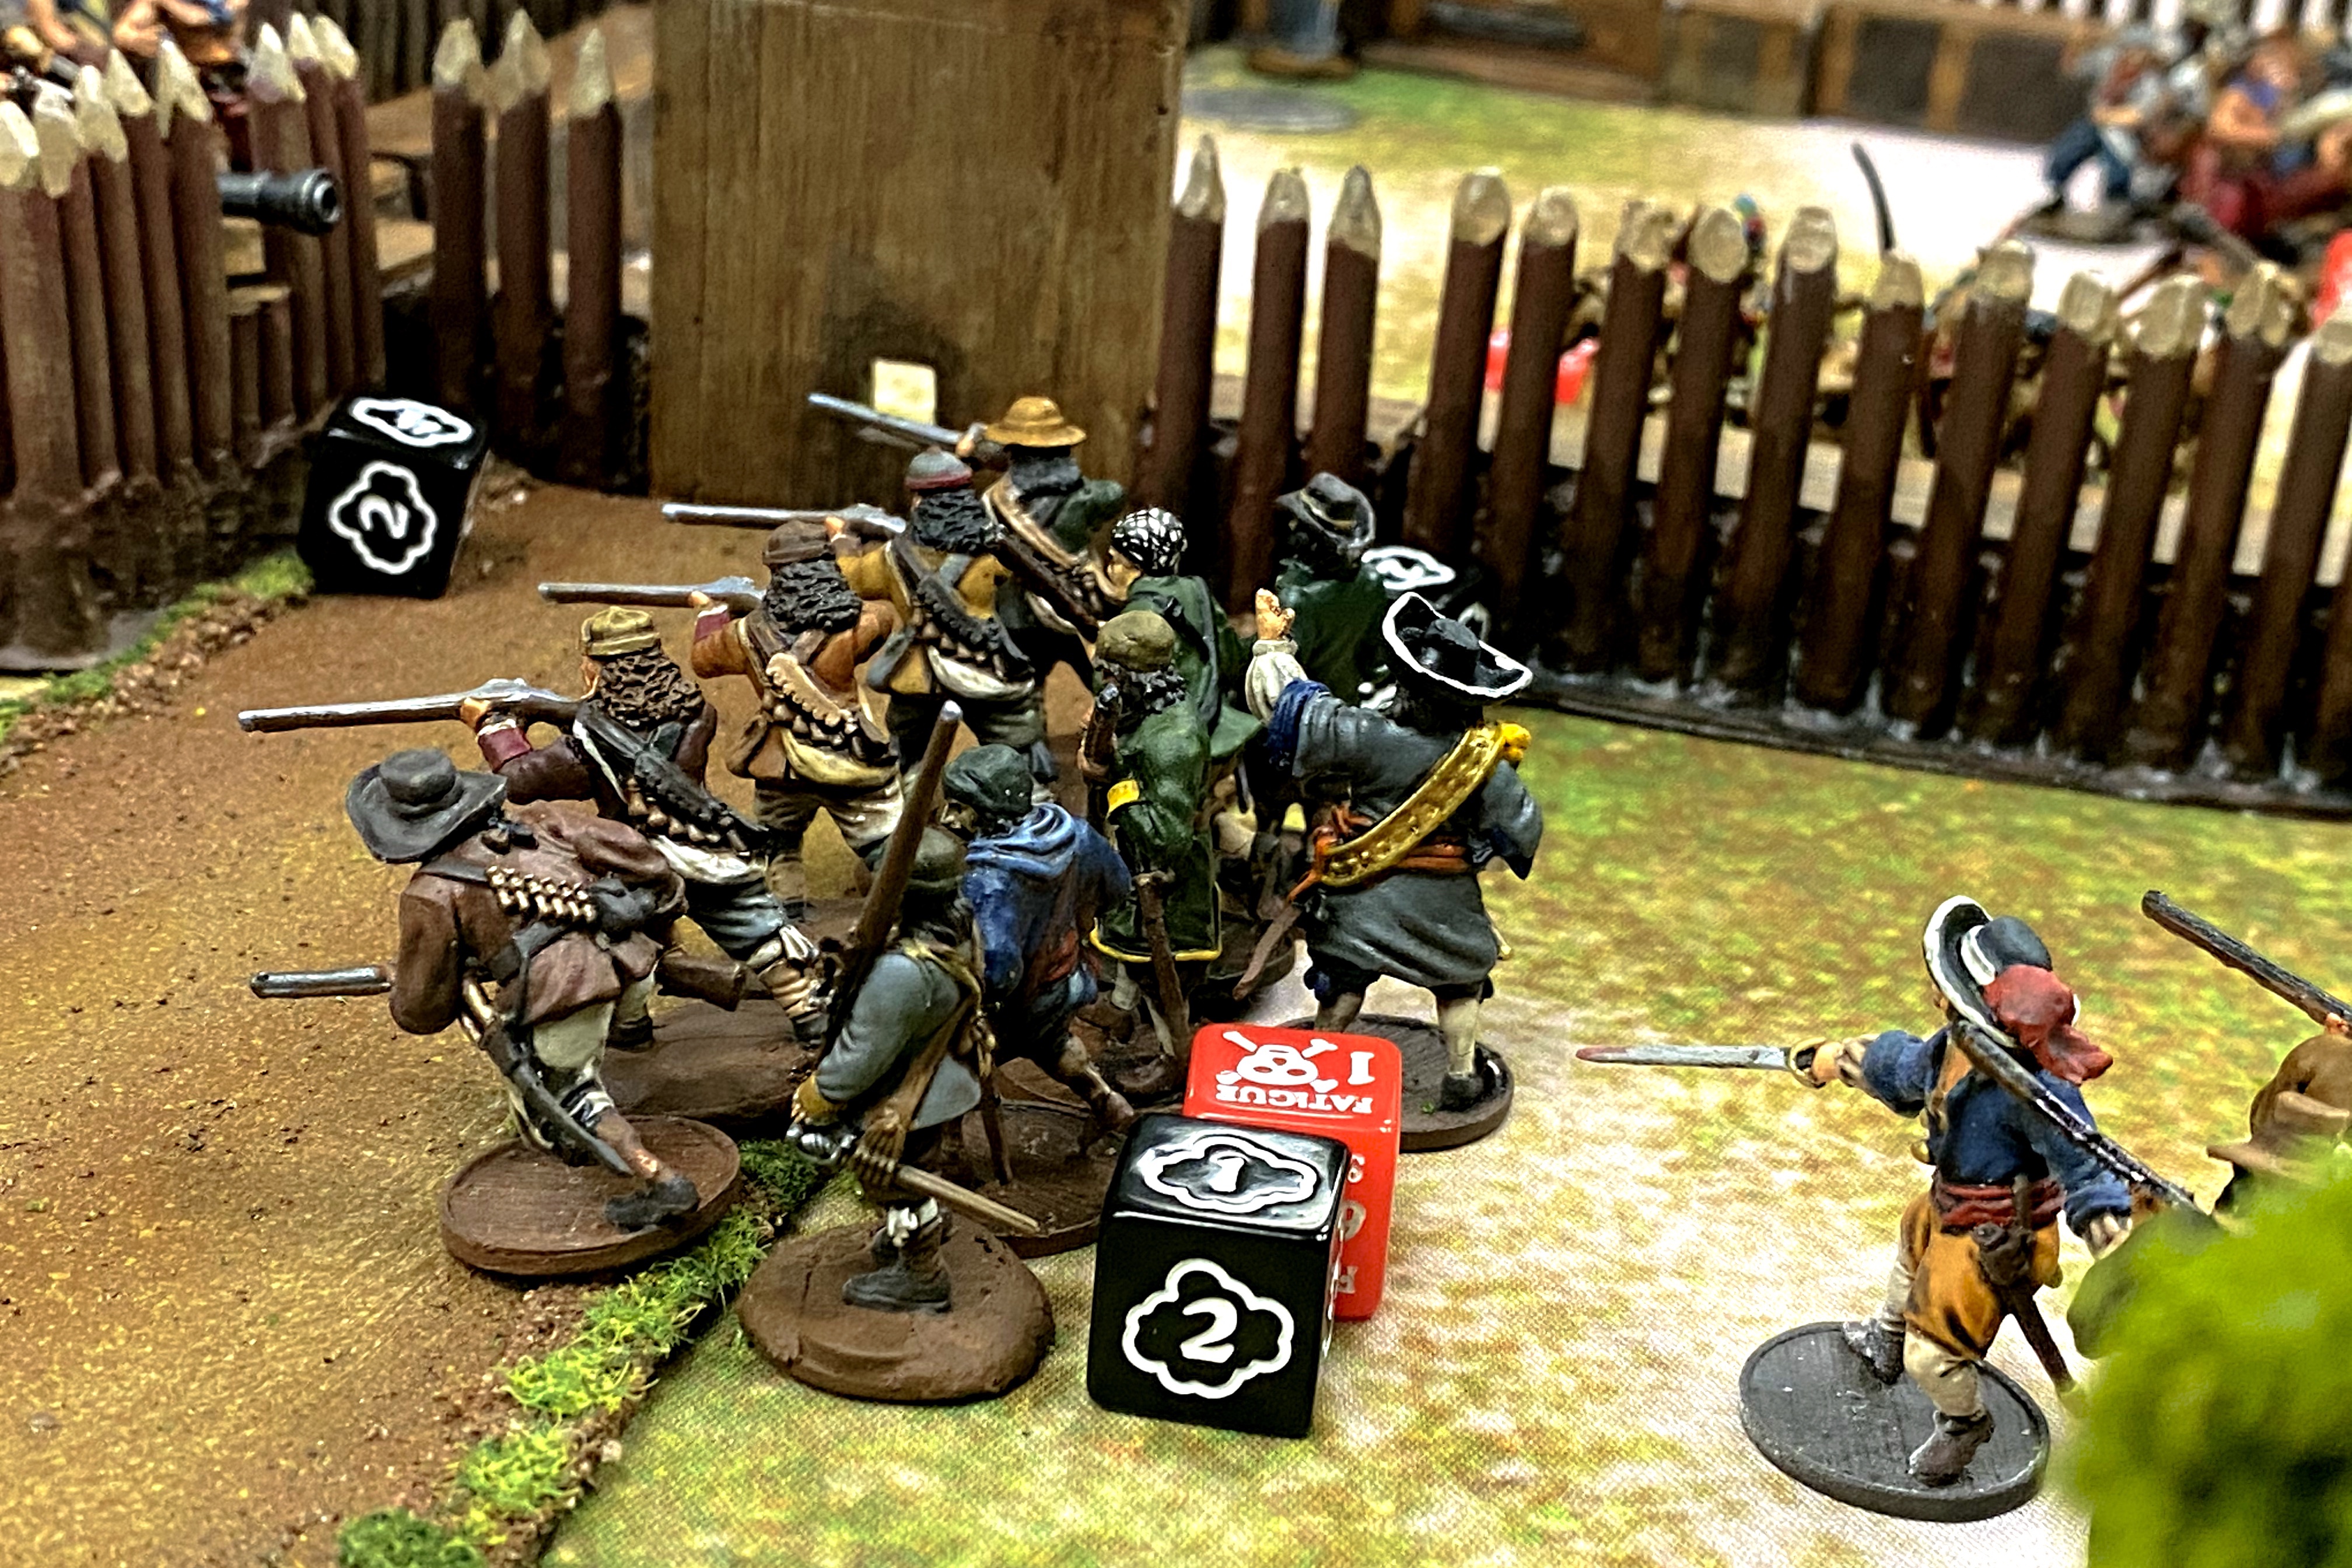
- 8 Enter Ploeg with a Grizzled Veteran and 2 Firepots
- 9 Kapers
- 8 Zeelieden with a Firepot and a Reformado
- 8 Zeelieden with a Firepot
Plenty of muskets, melee ability and so many Firepots! I’ve never seen so many Firepots in one army!
The Scenario
Bryan really just wanted to focus on fighting the fort so we selected a scenario that would let it be the centerpiece of the battle.
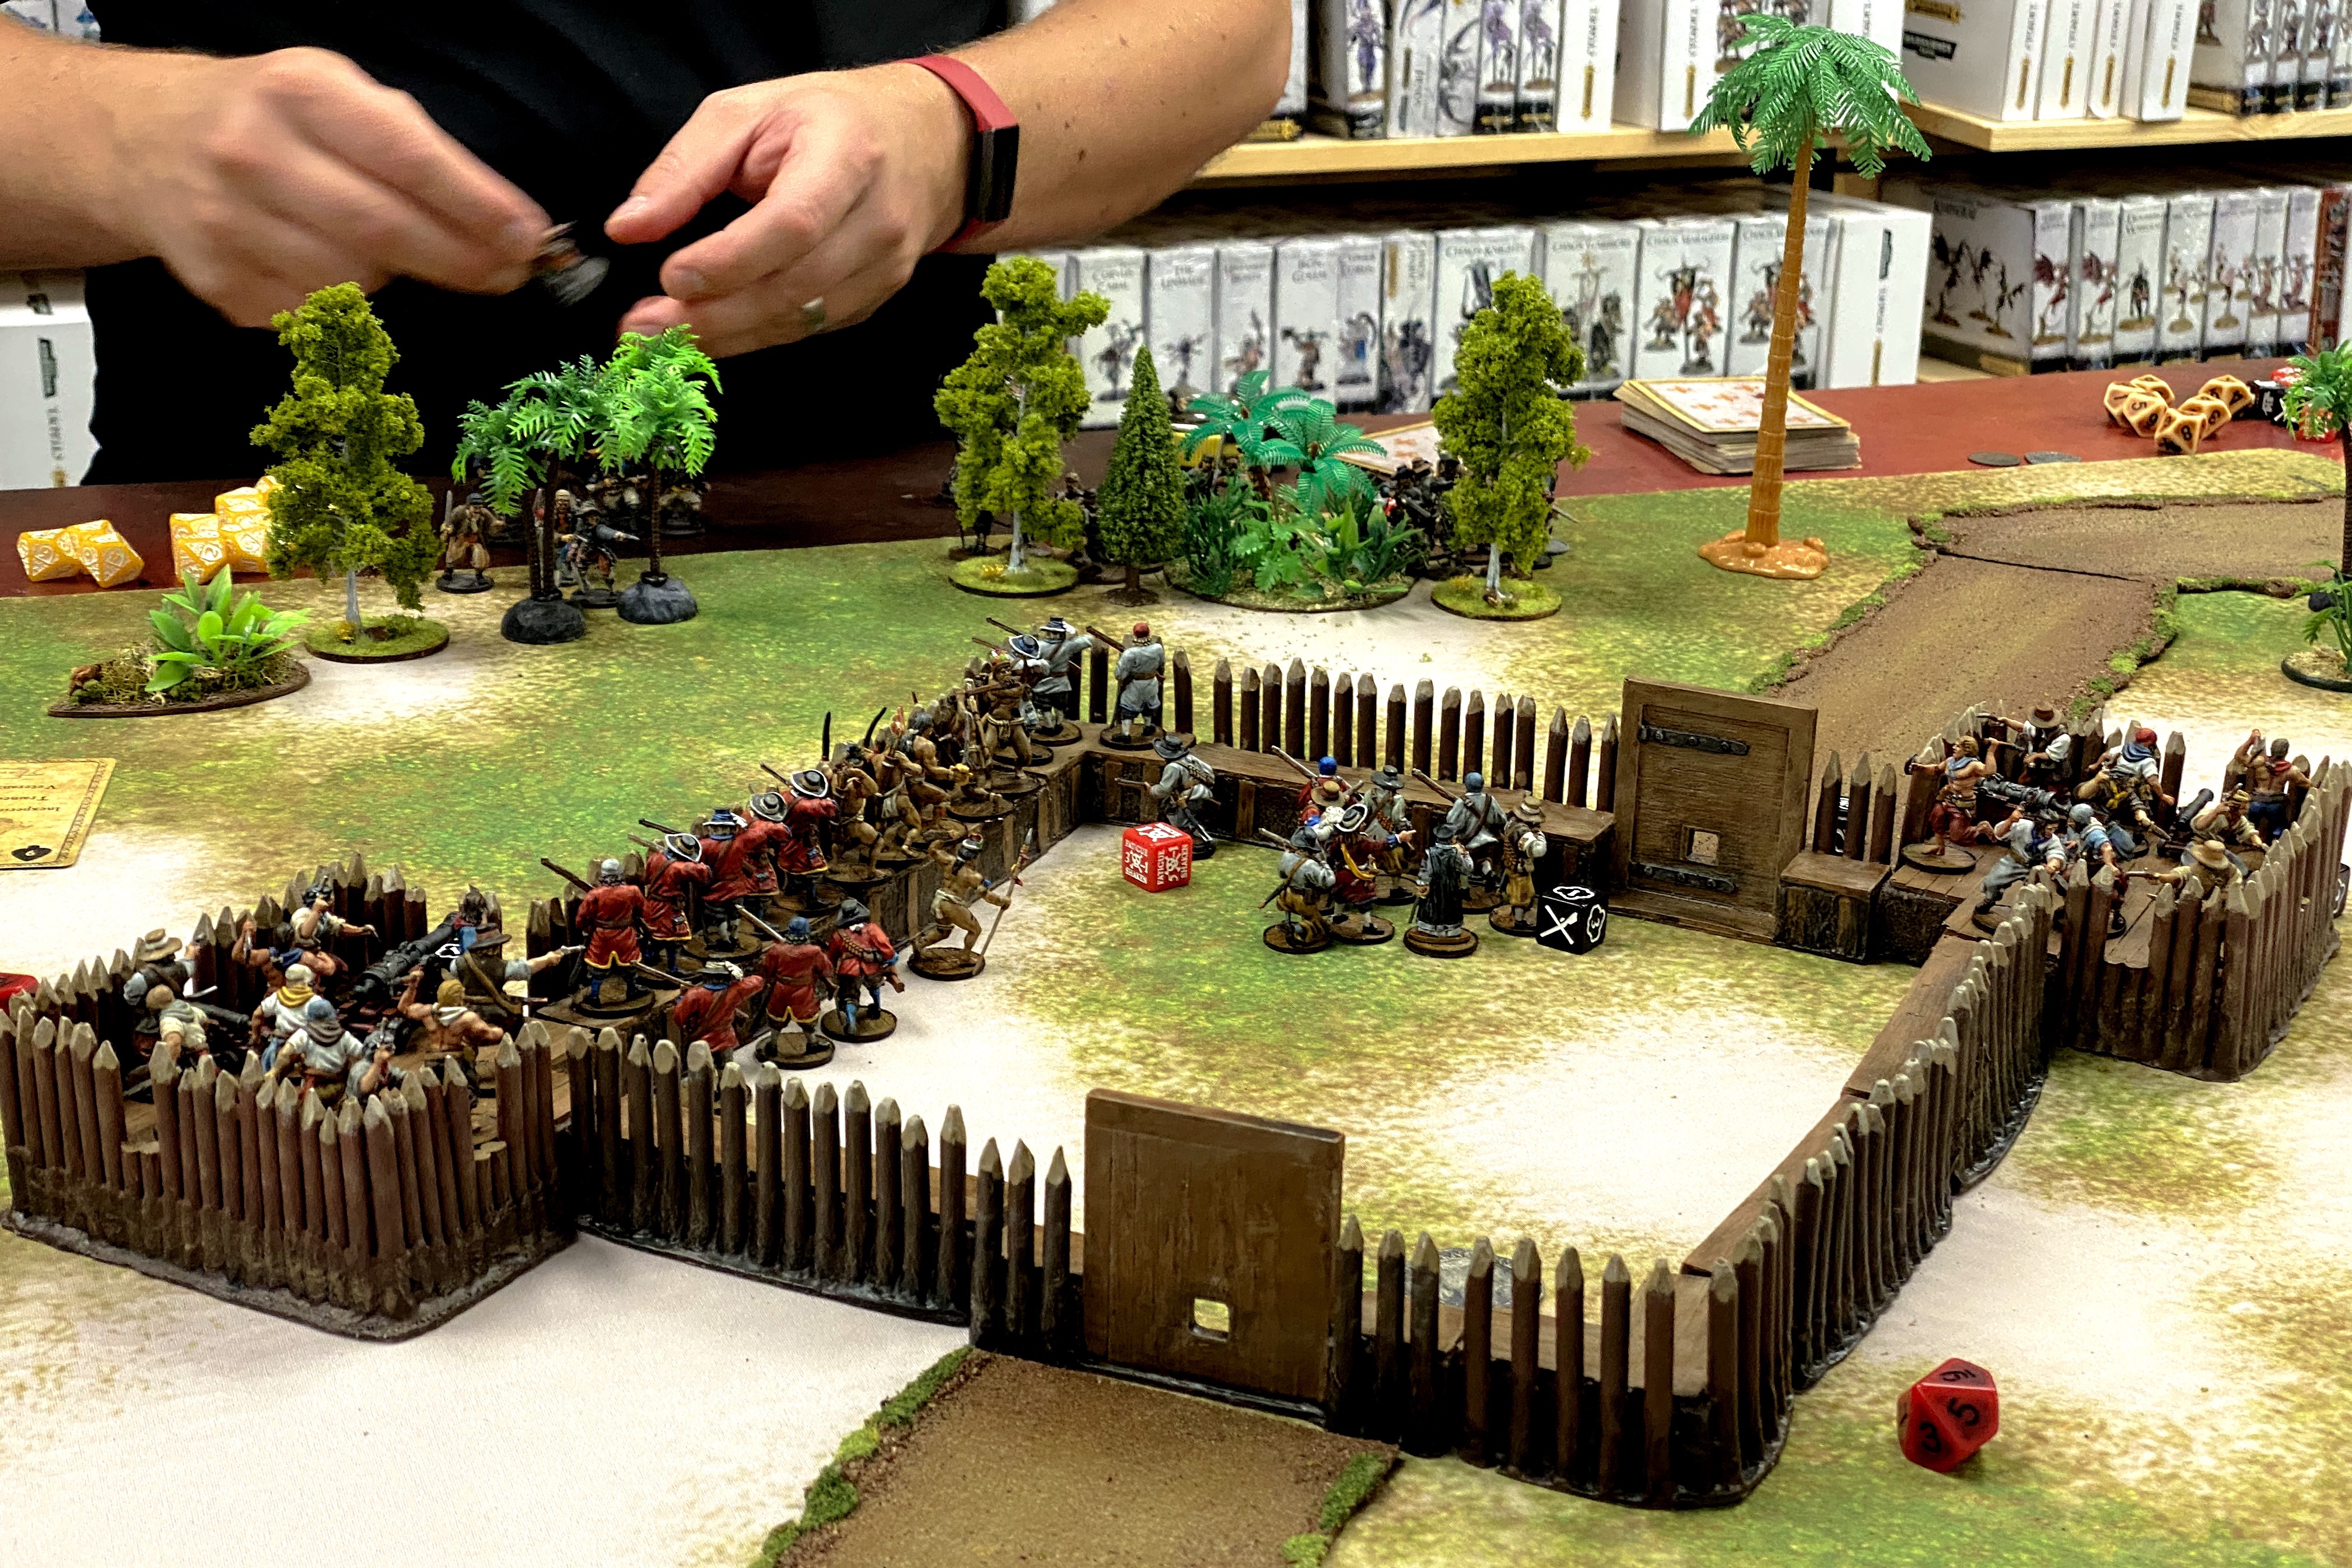
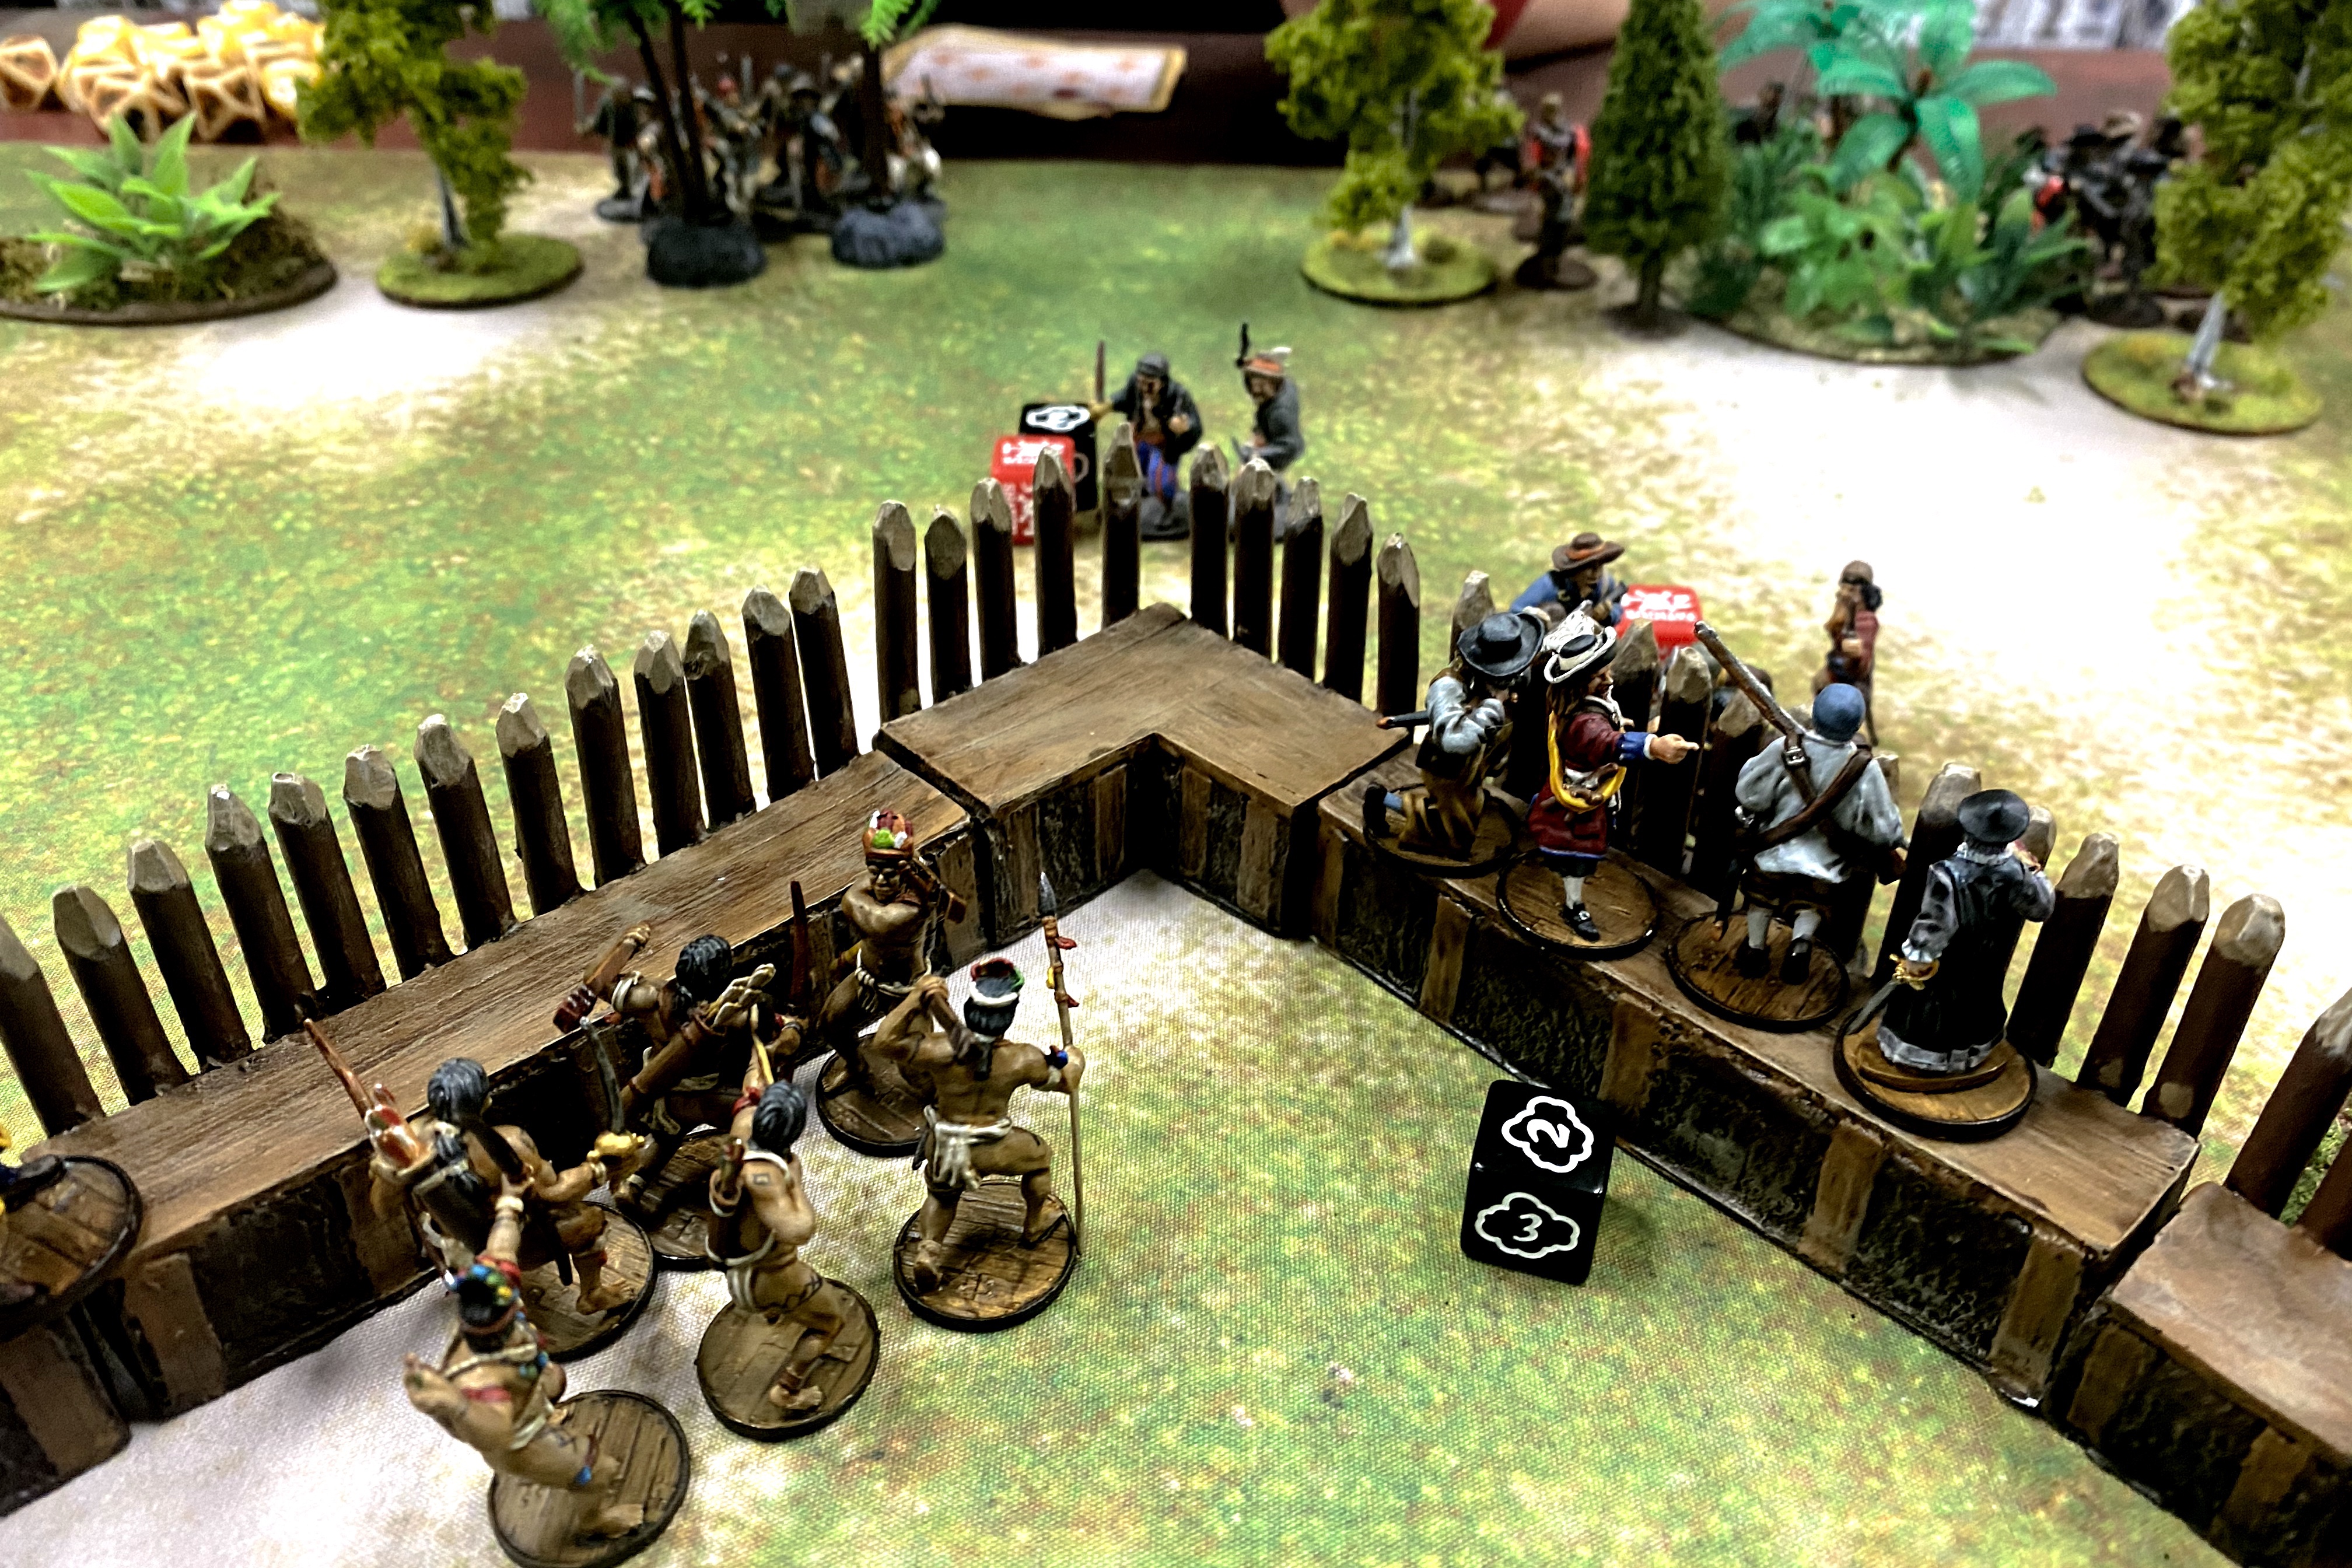
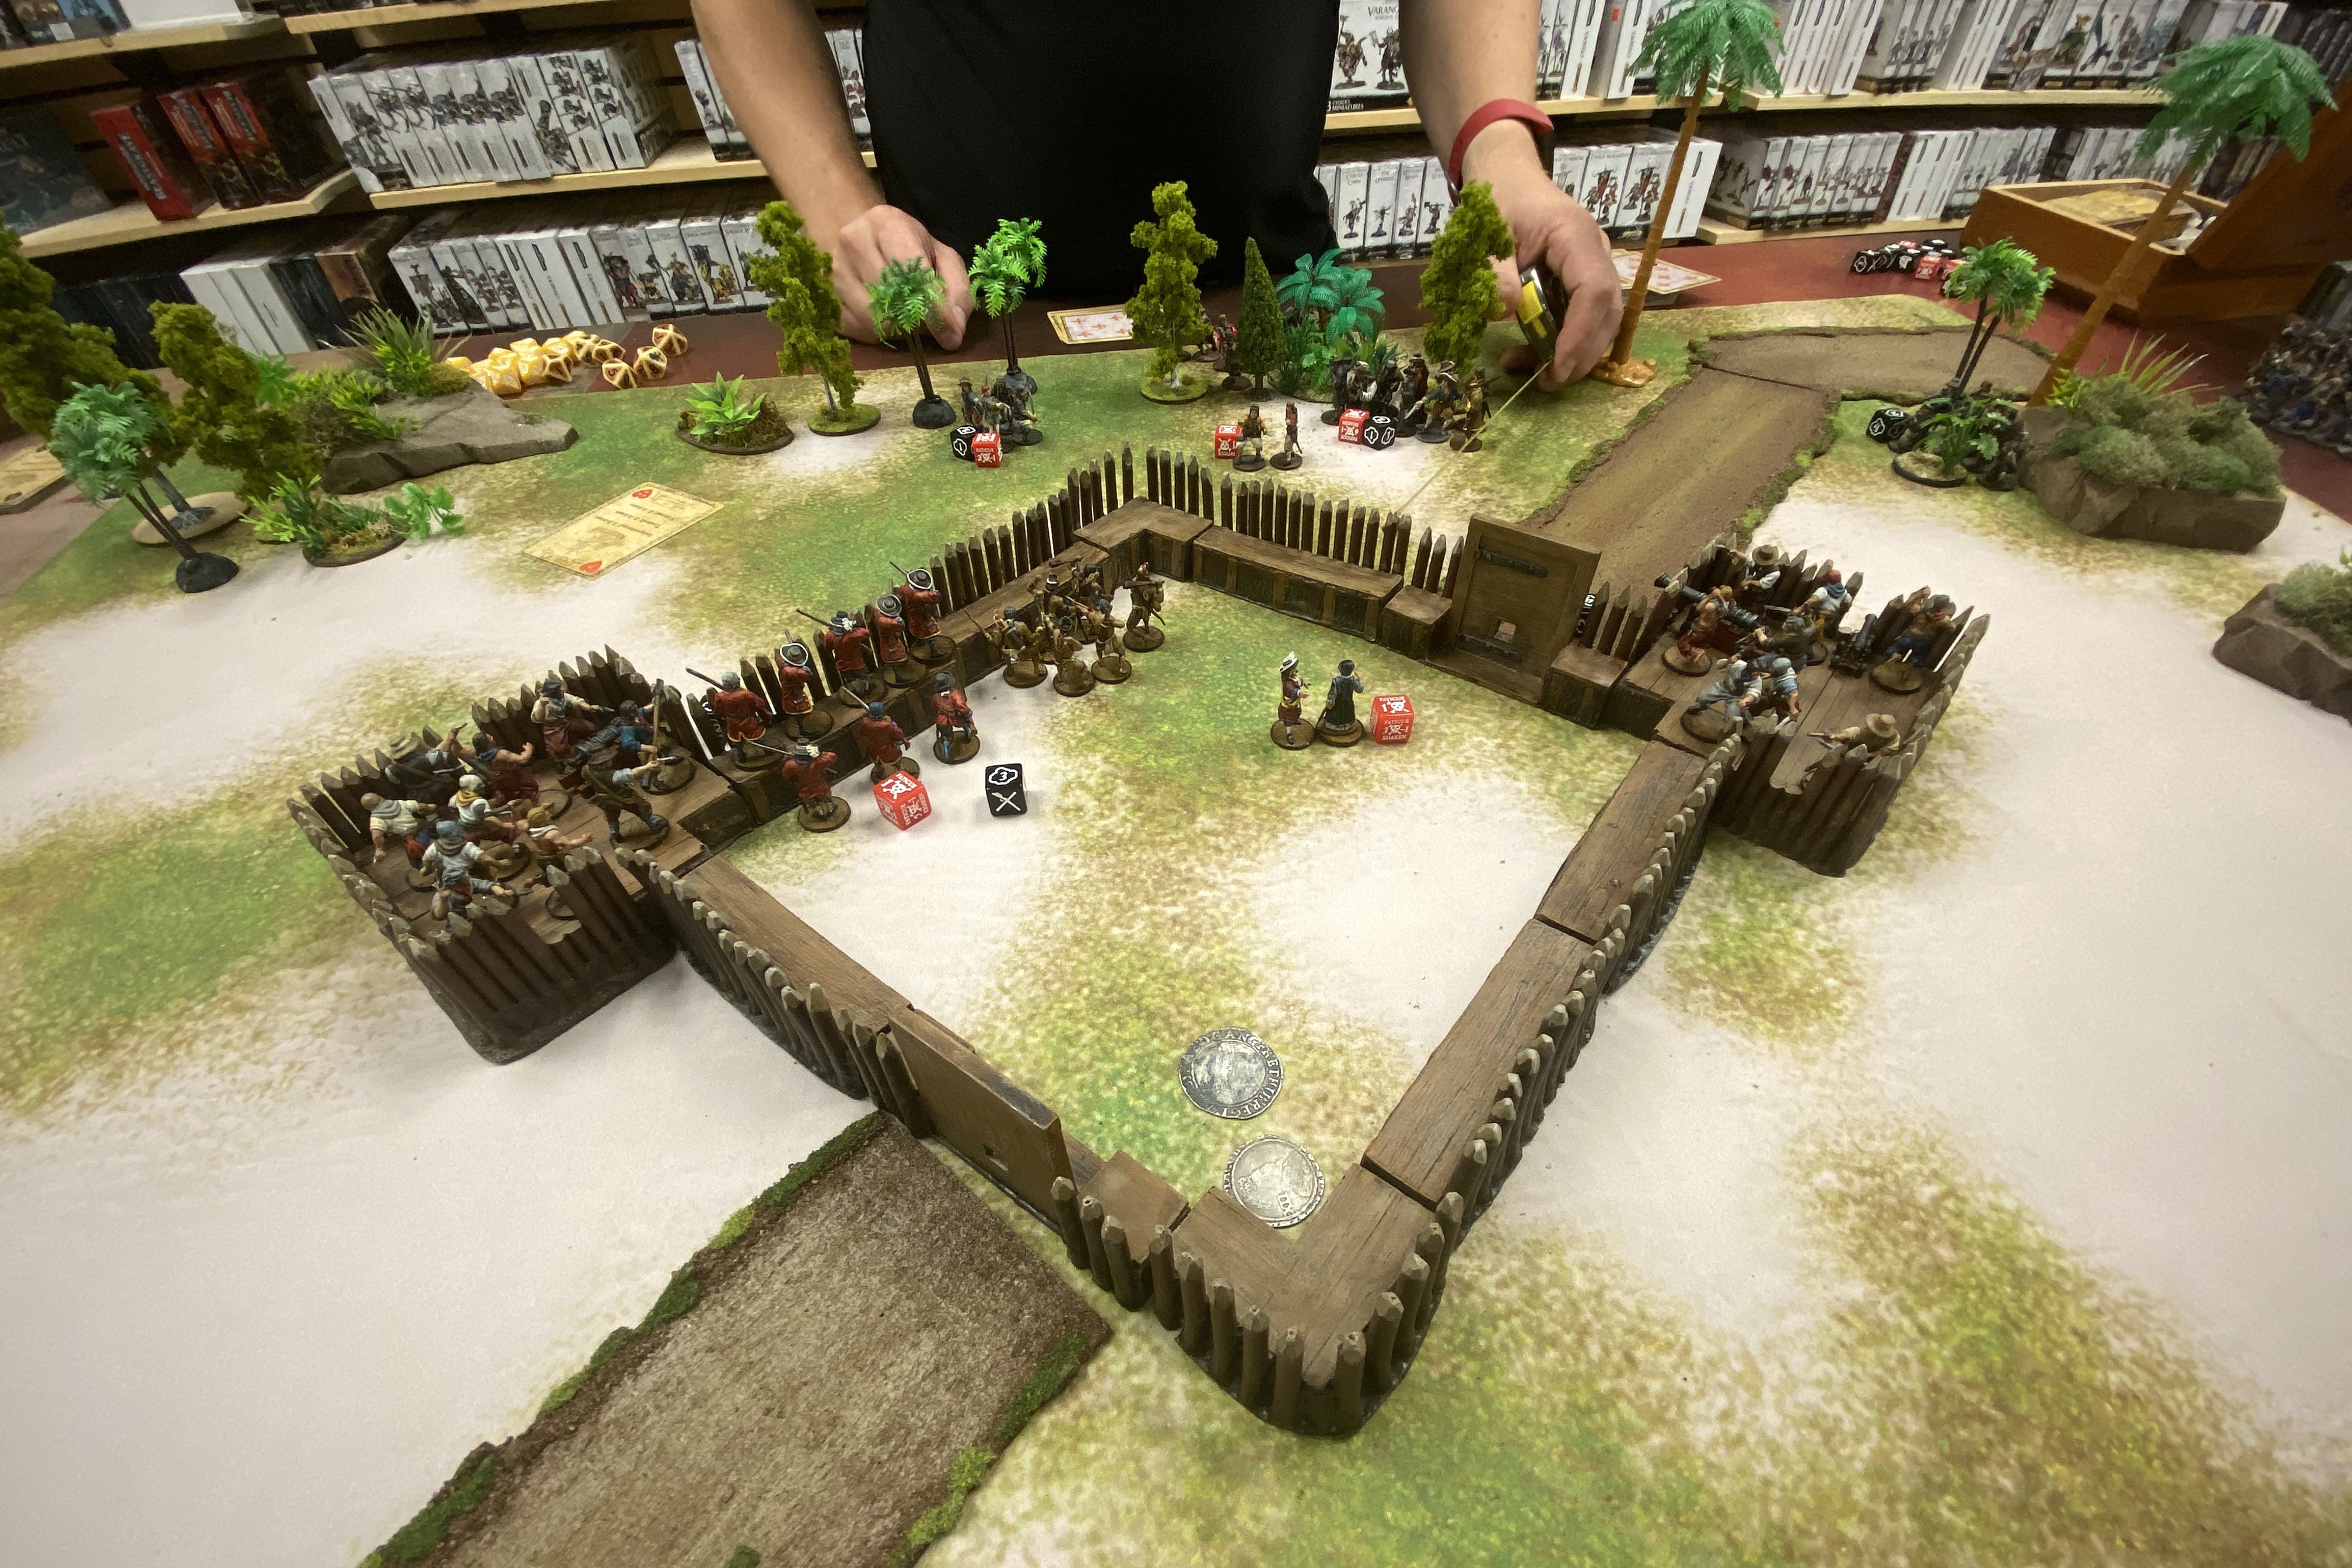
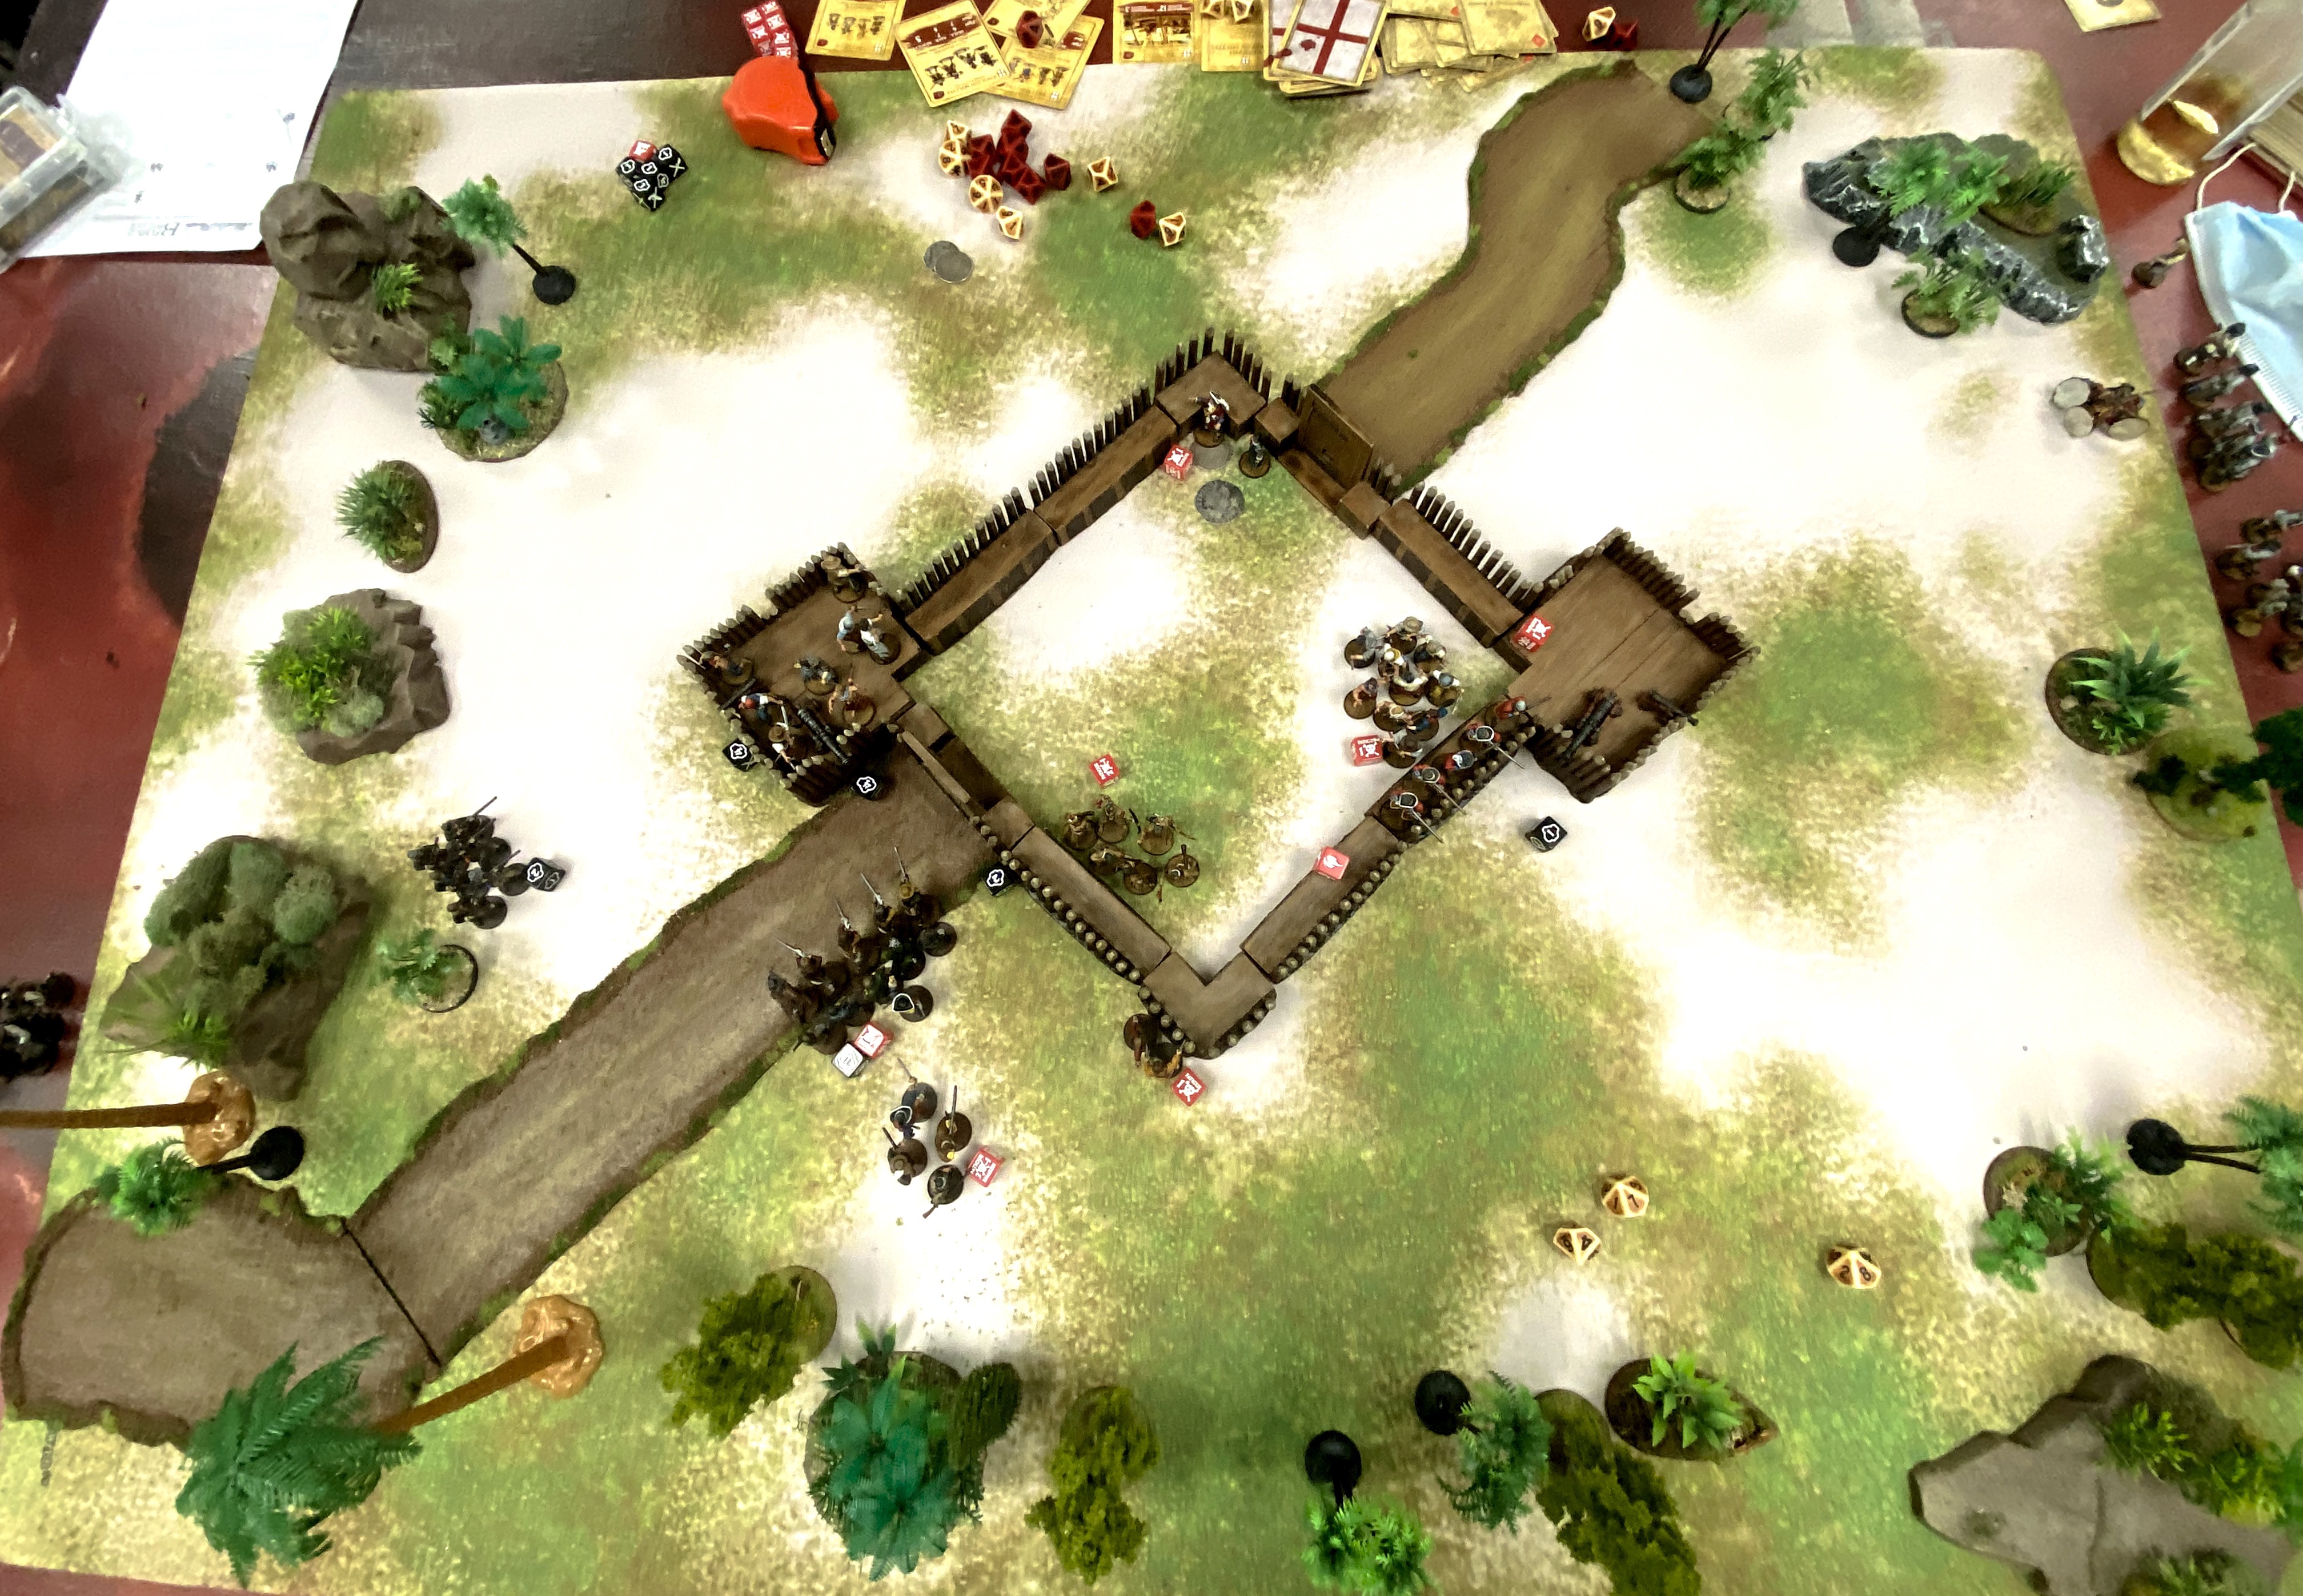
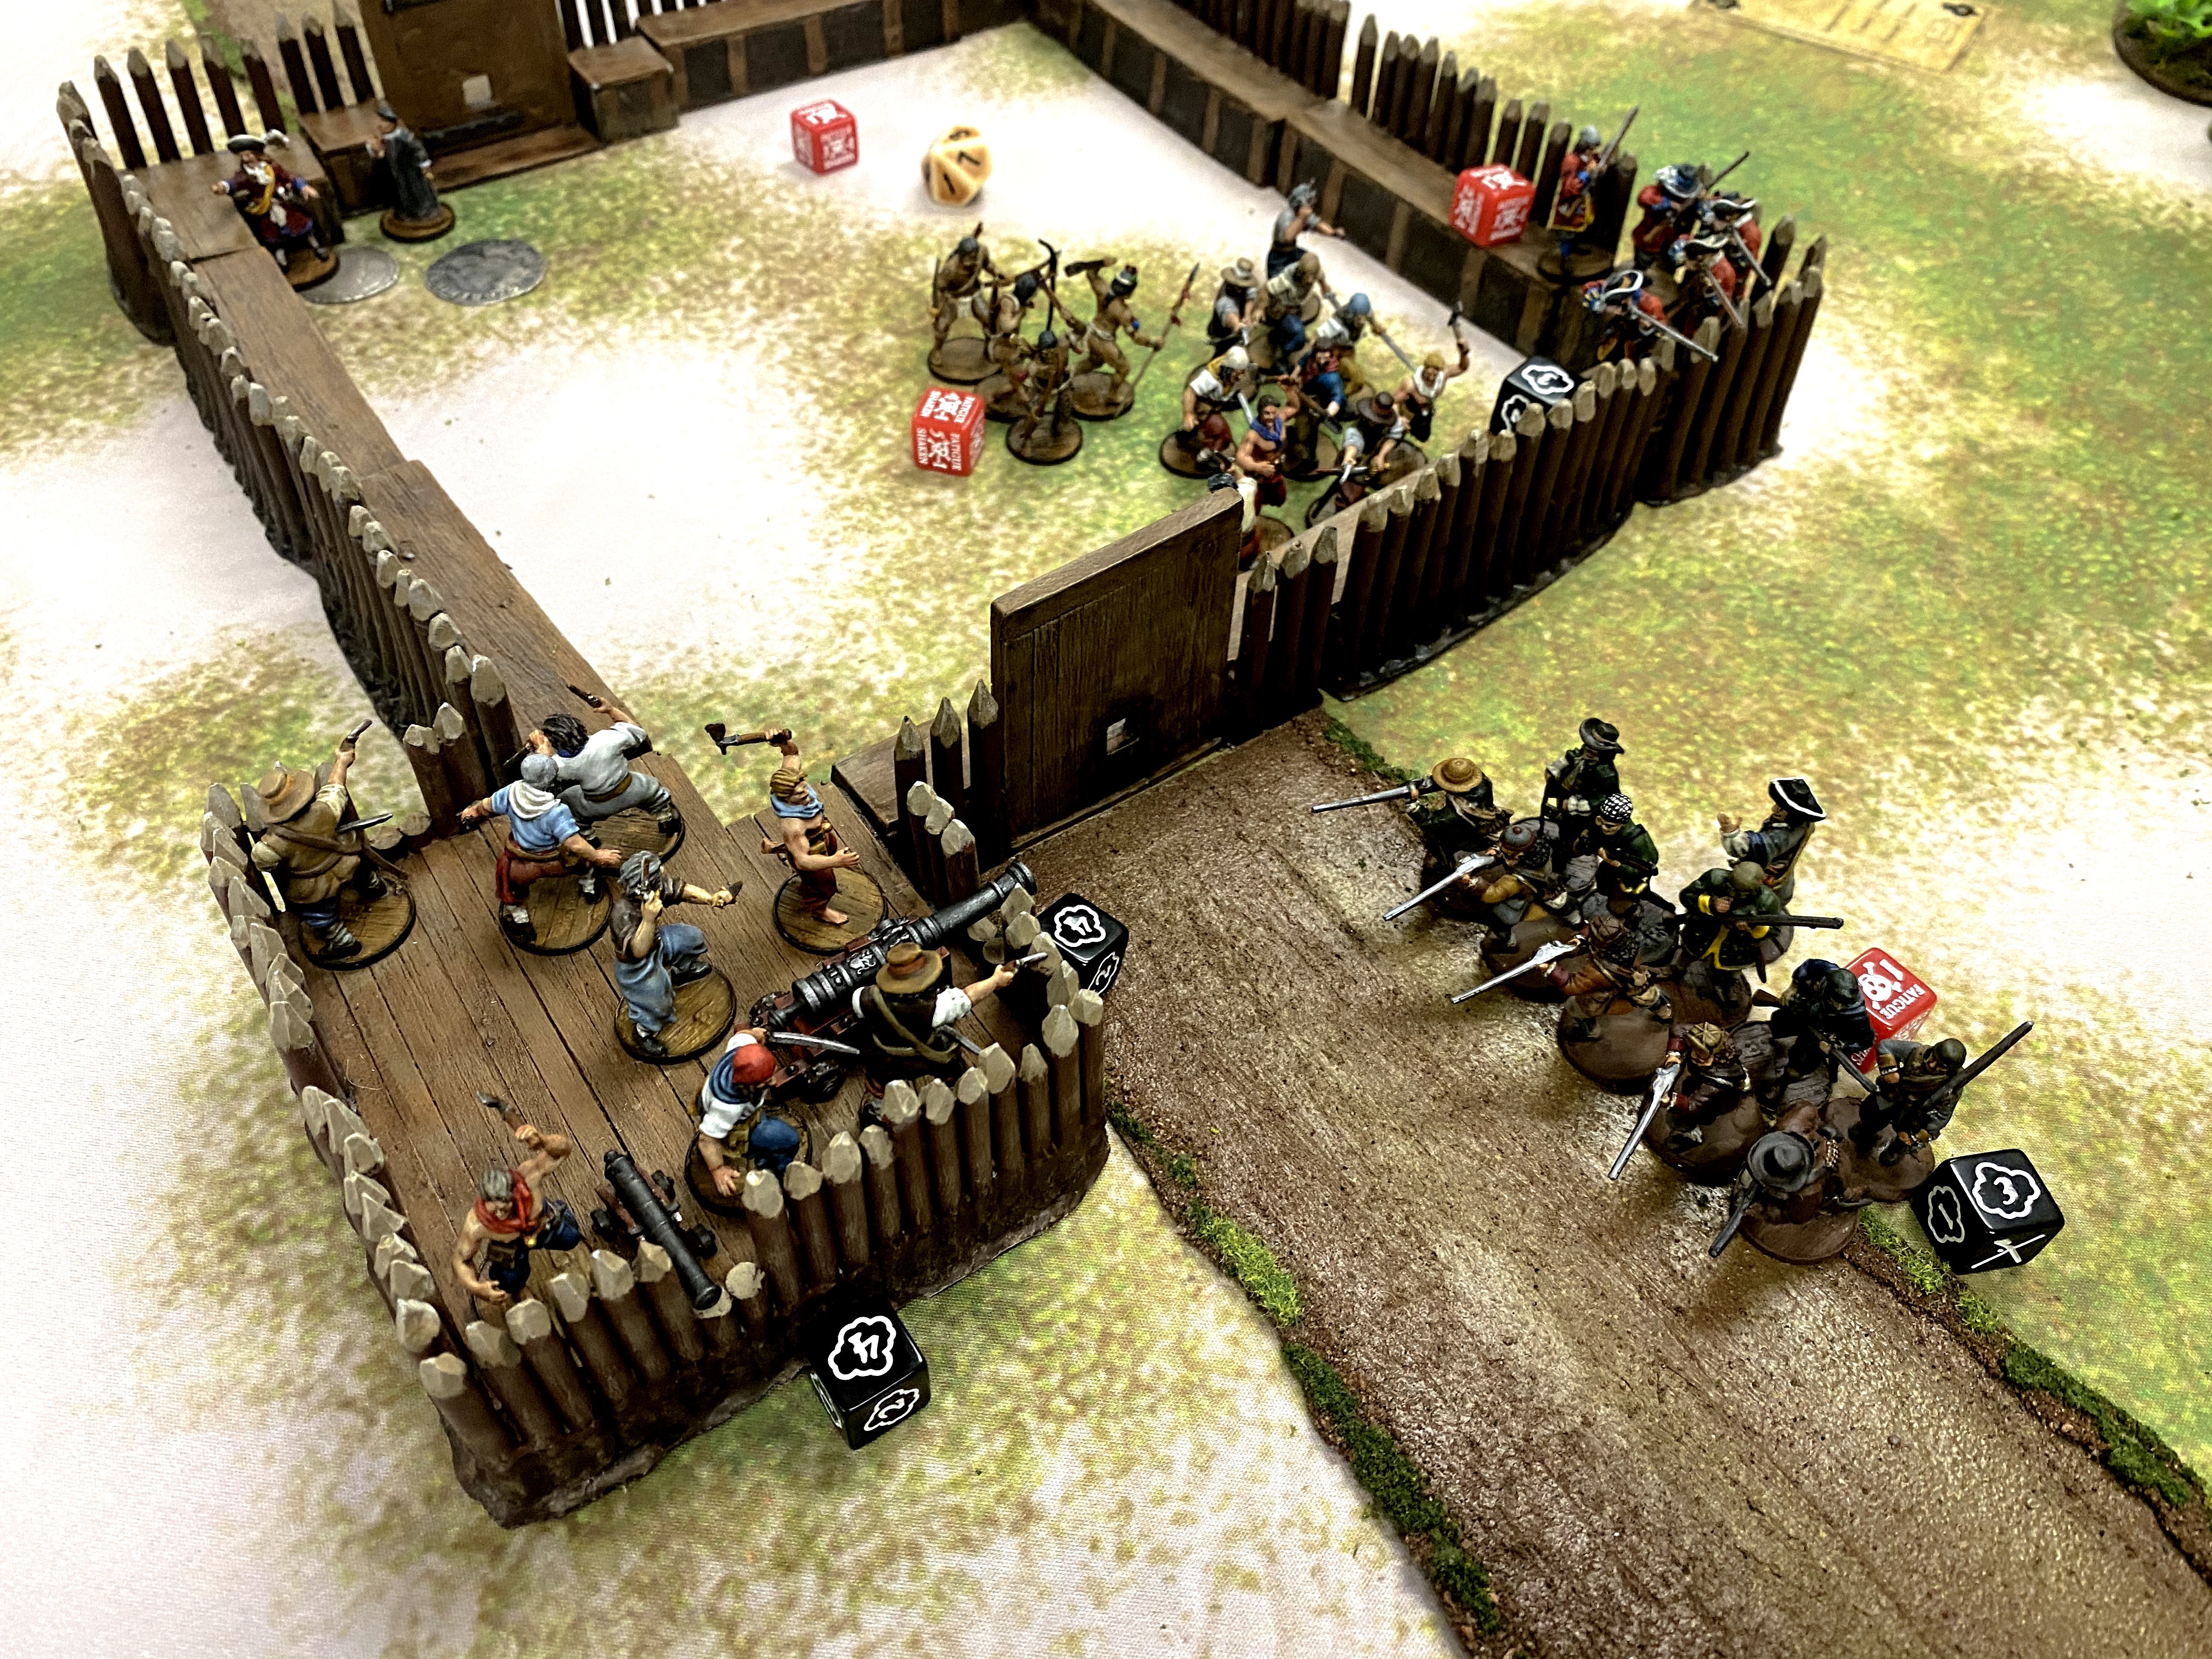
With some modifications, we used Raze from No Peace Beyond the Line. I placed the Fort in the middle of the board and counted the two Bastions as the objective buildings.

In addition to taking a Strike Point if my Bastion was captured, this scenario would give me a Strike Point if any Bastion was burning. Bryan’s Dutch would take a Strike if they failed to have a Bastion burning or destroyed by the end of turn 3.
We significantly altered the scenario setup to make the fort work. I set up all my troops in the fort in the exact center of the board. Bryan’s troops got to enter the board on turn 1.
The Dutch musician made me roll for Terror on all my units but only 1 unit of militia took Fatigue. Stout English men!
The Game
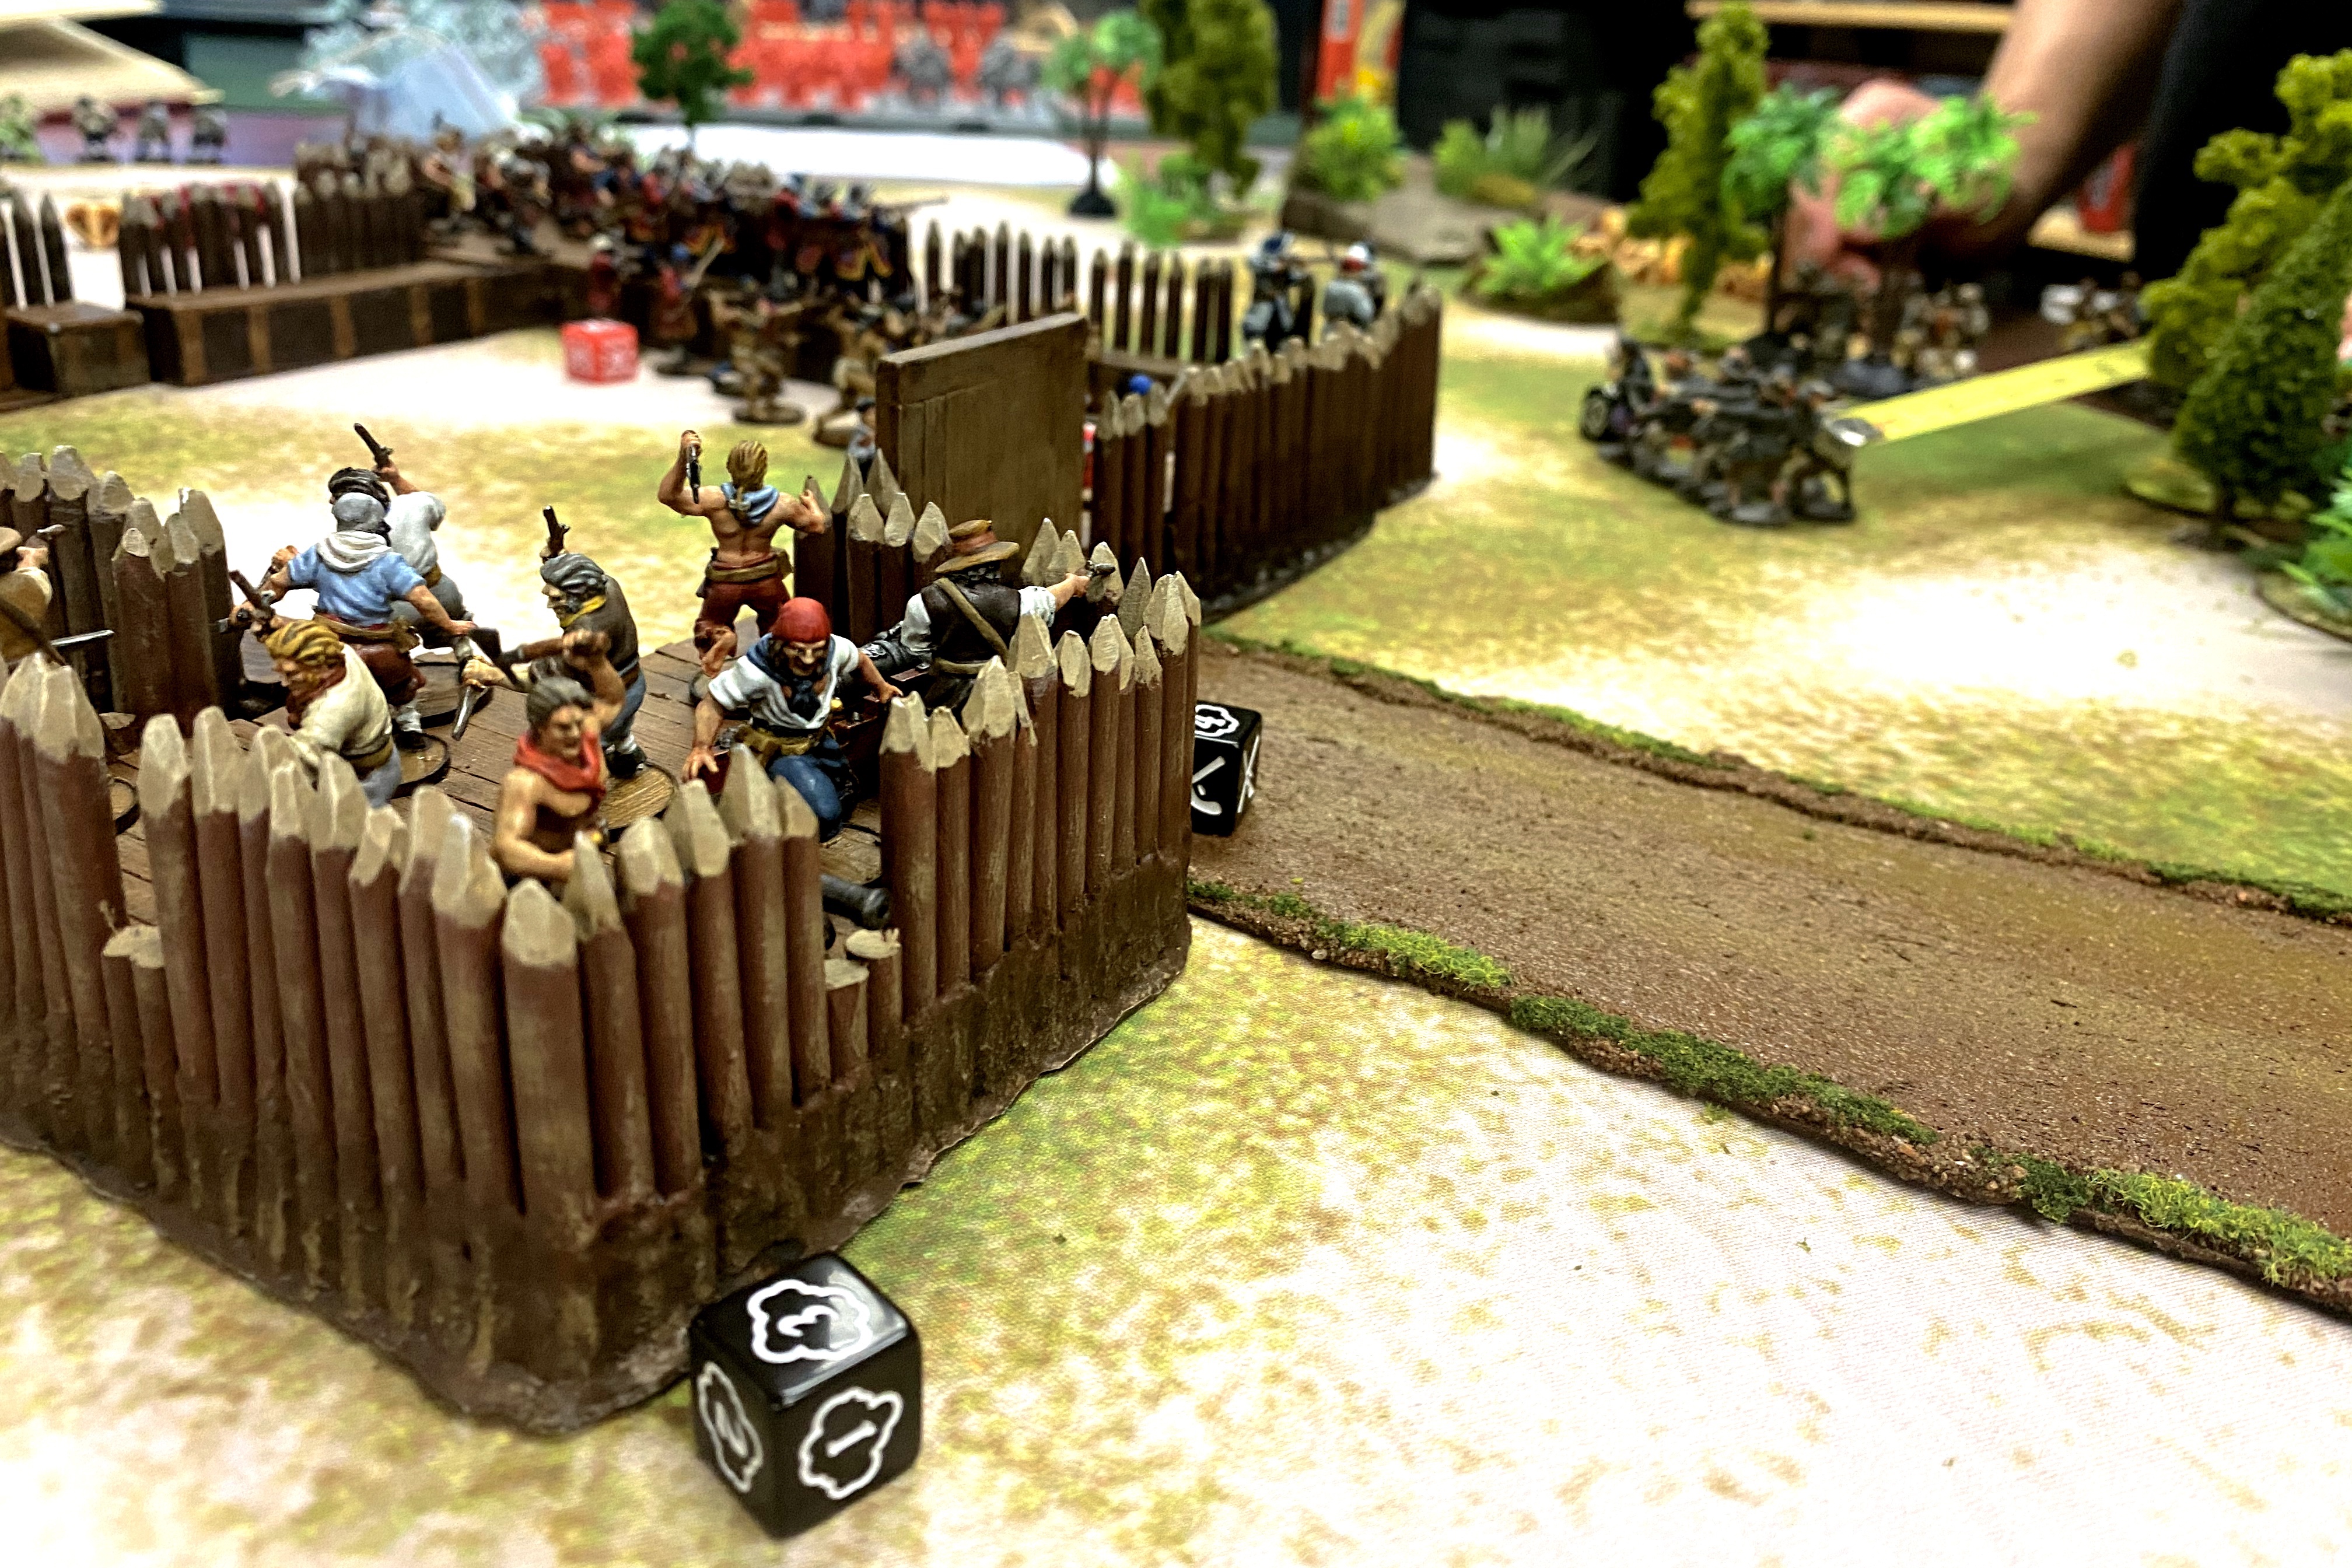
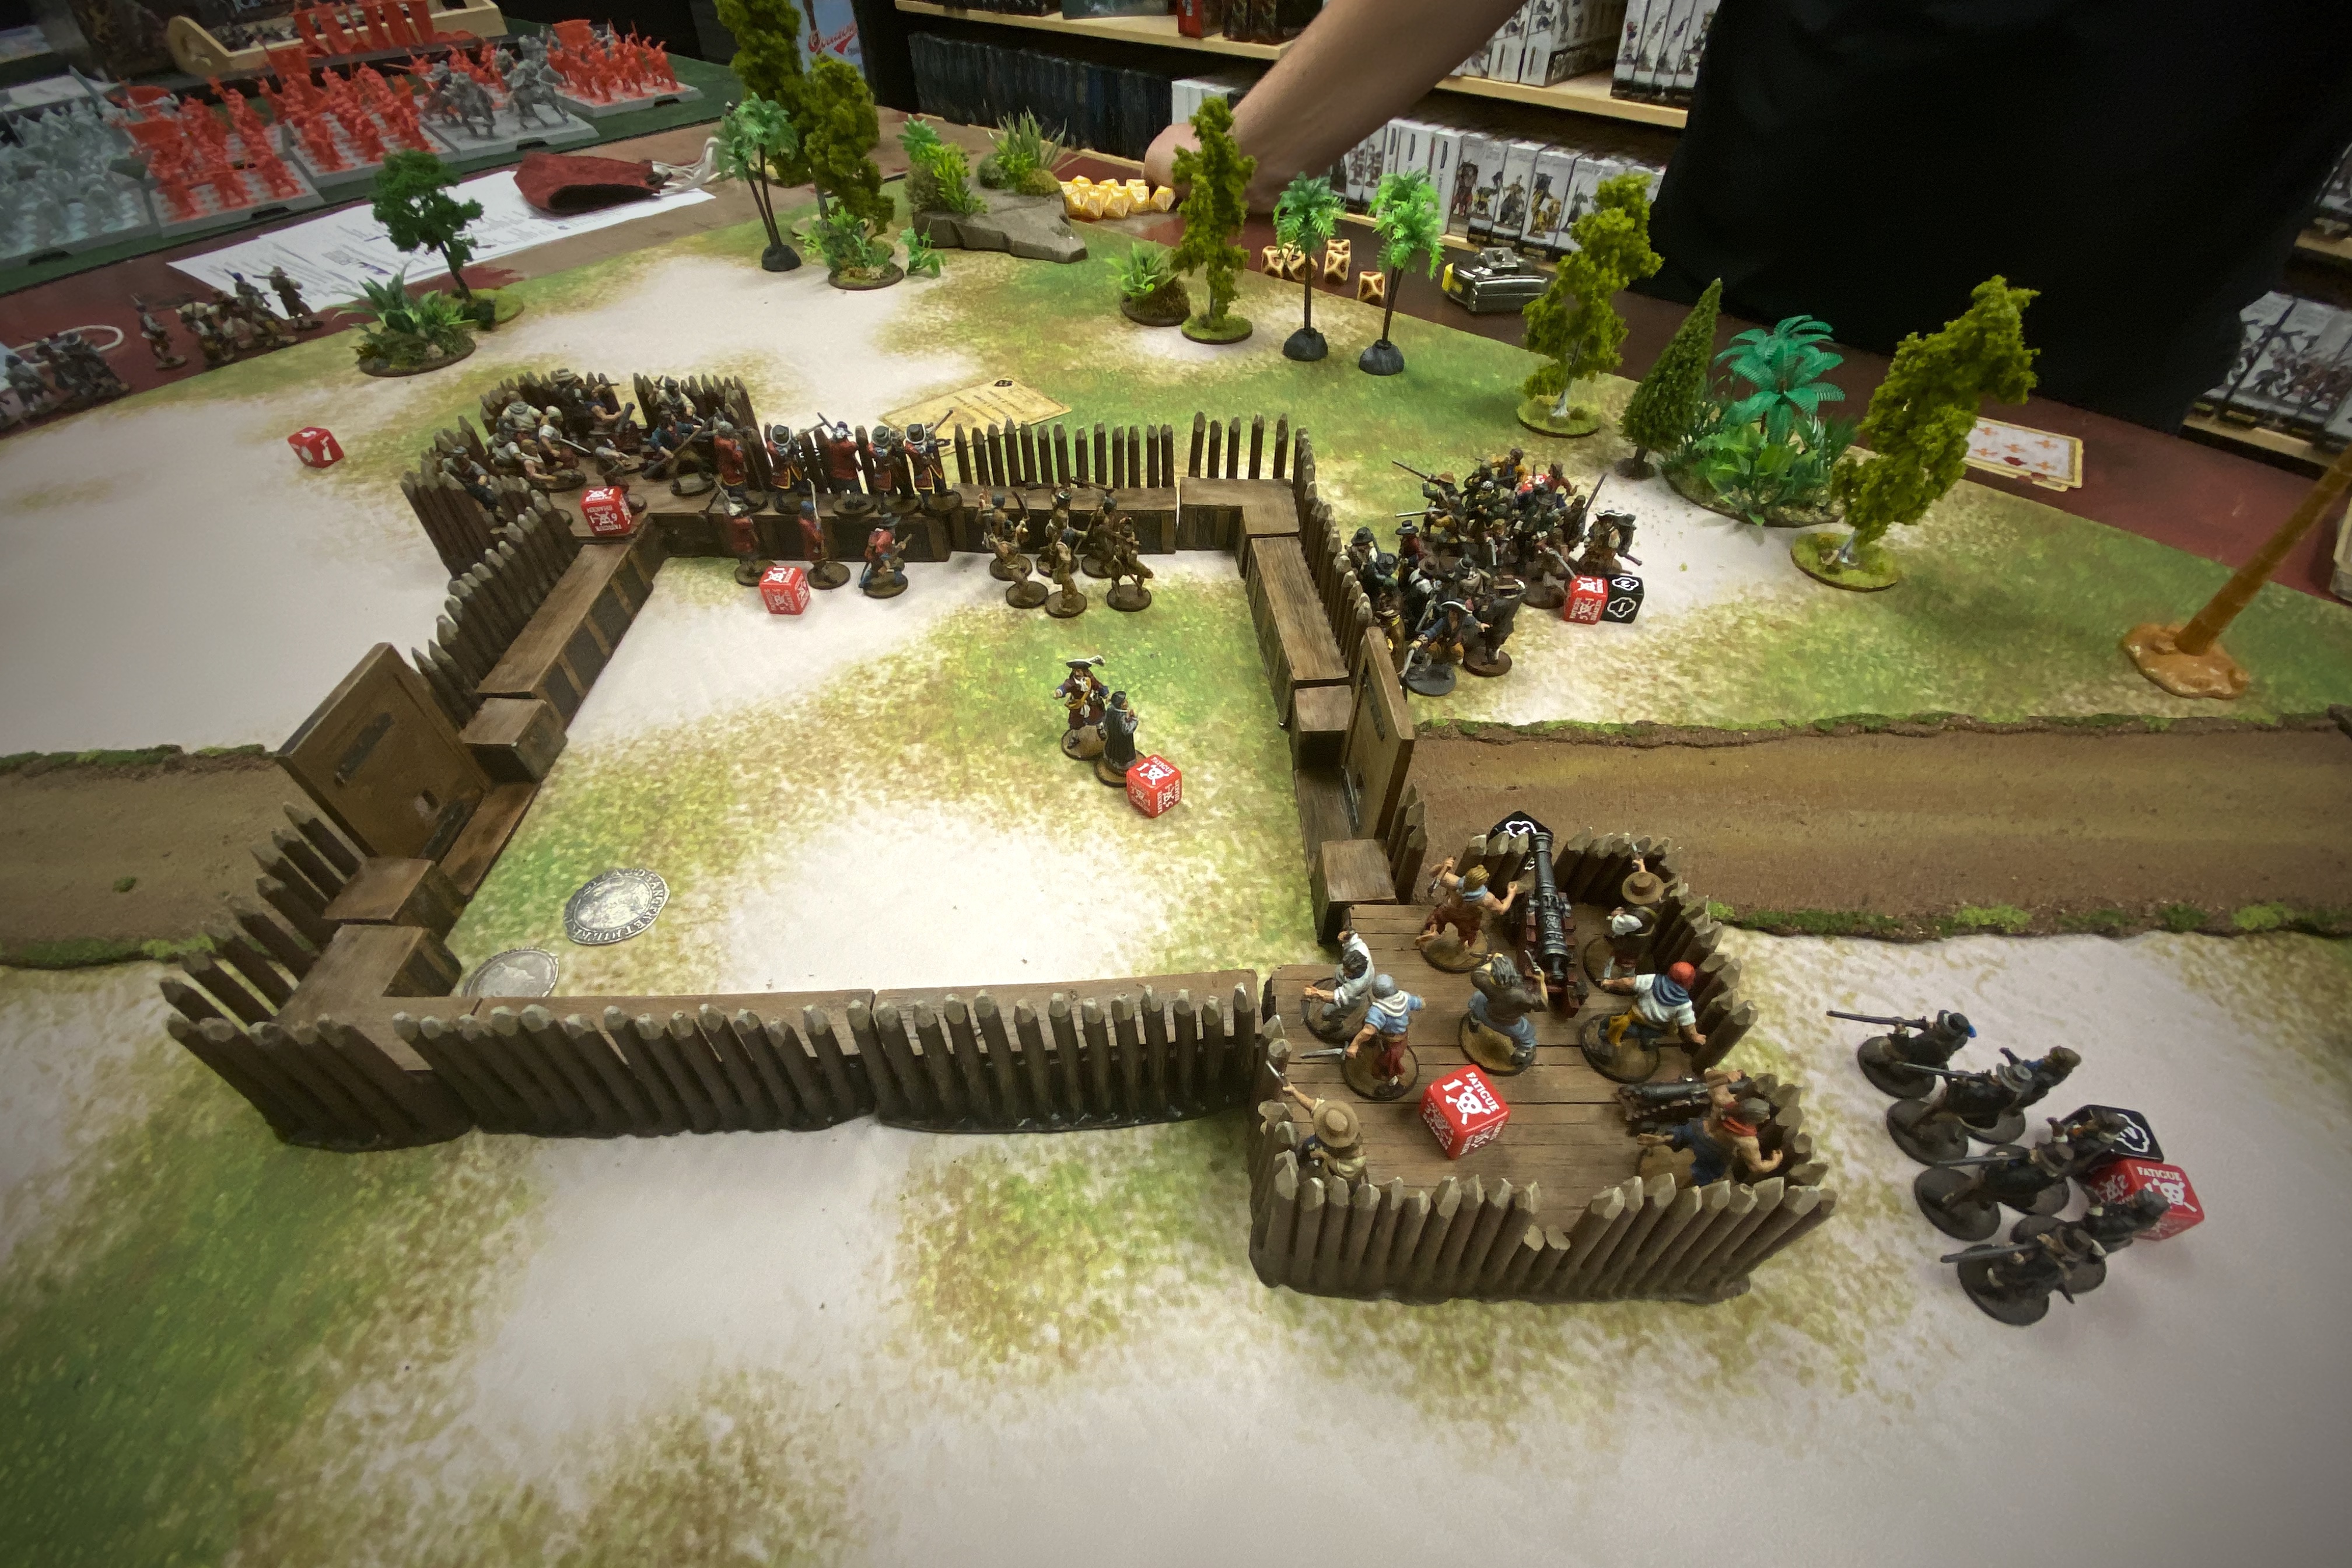
Bryan started the assault a bit slow bringing in the Kapers around my Right flank. I had no other targets for the first activation so I fired off a Light Cannon with grapeshot at the Kapers a long range and managed to draw first blood.
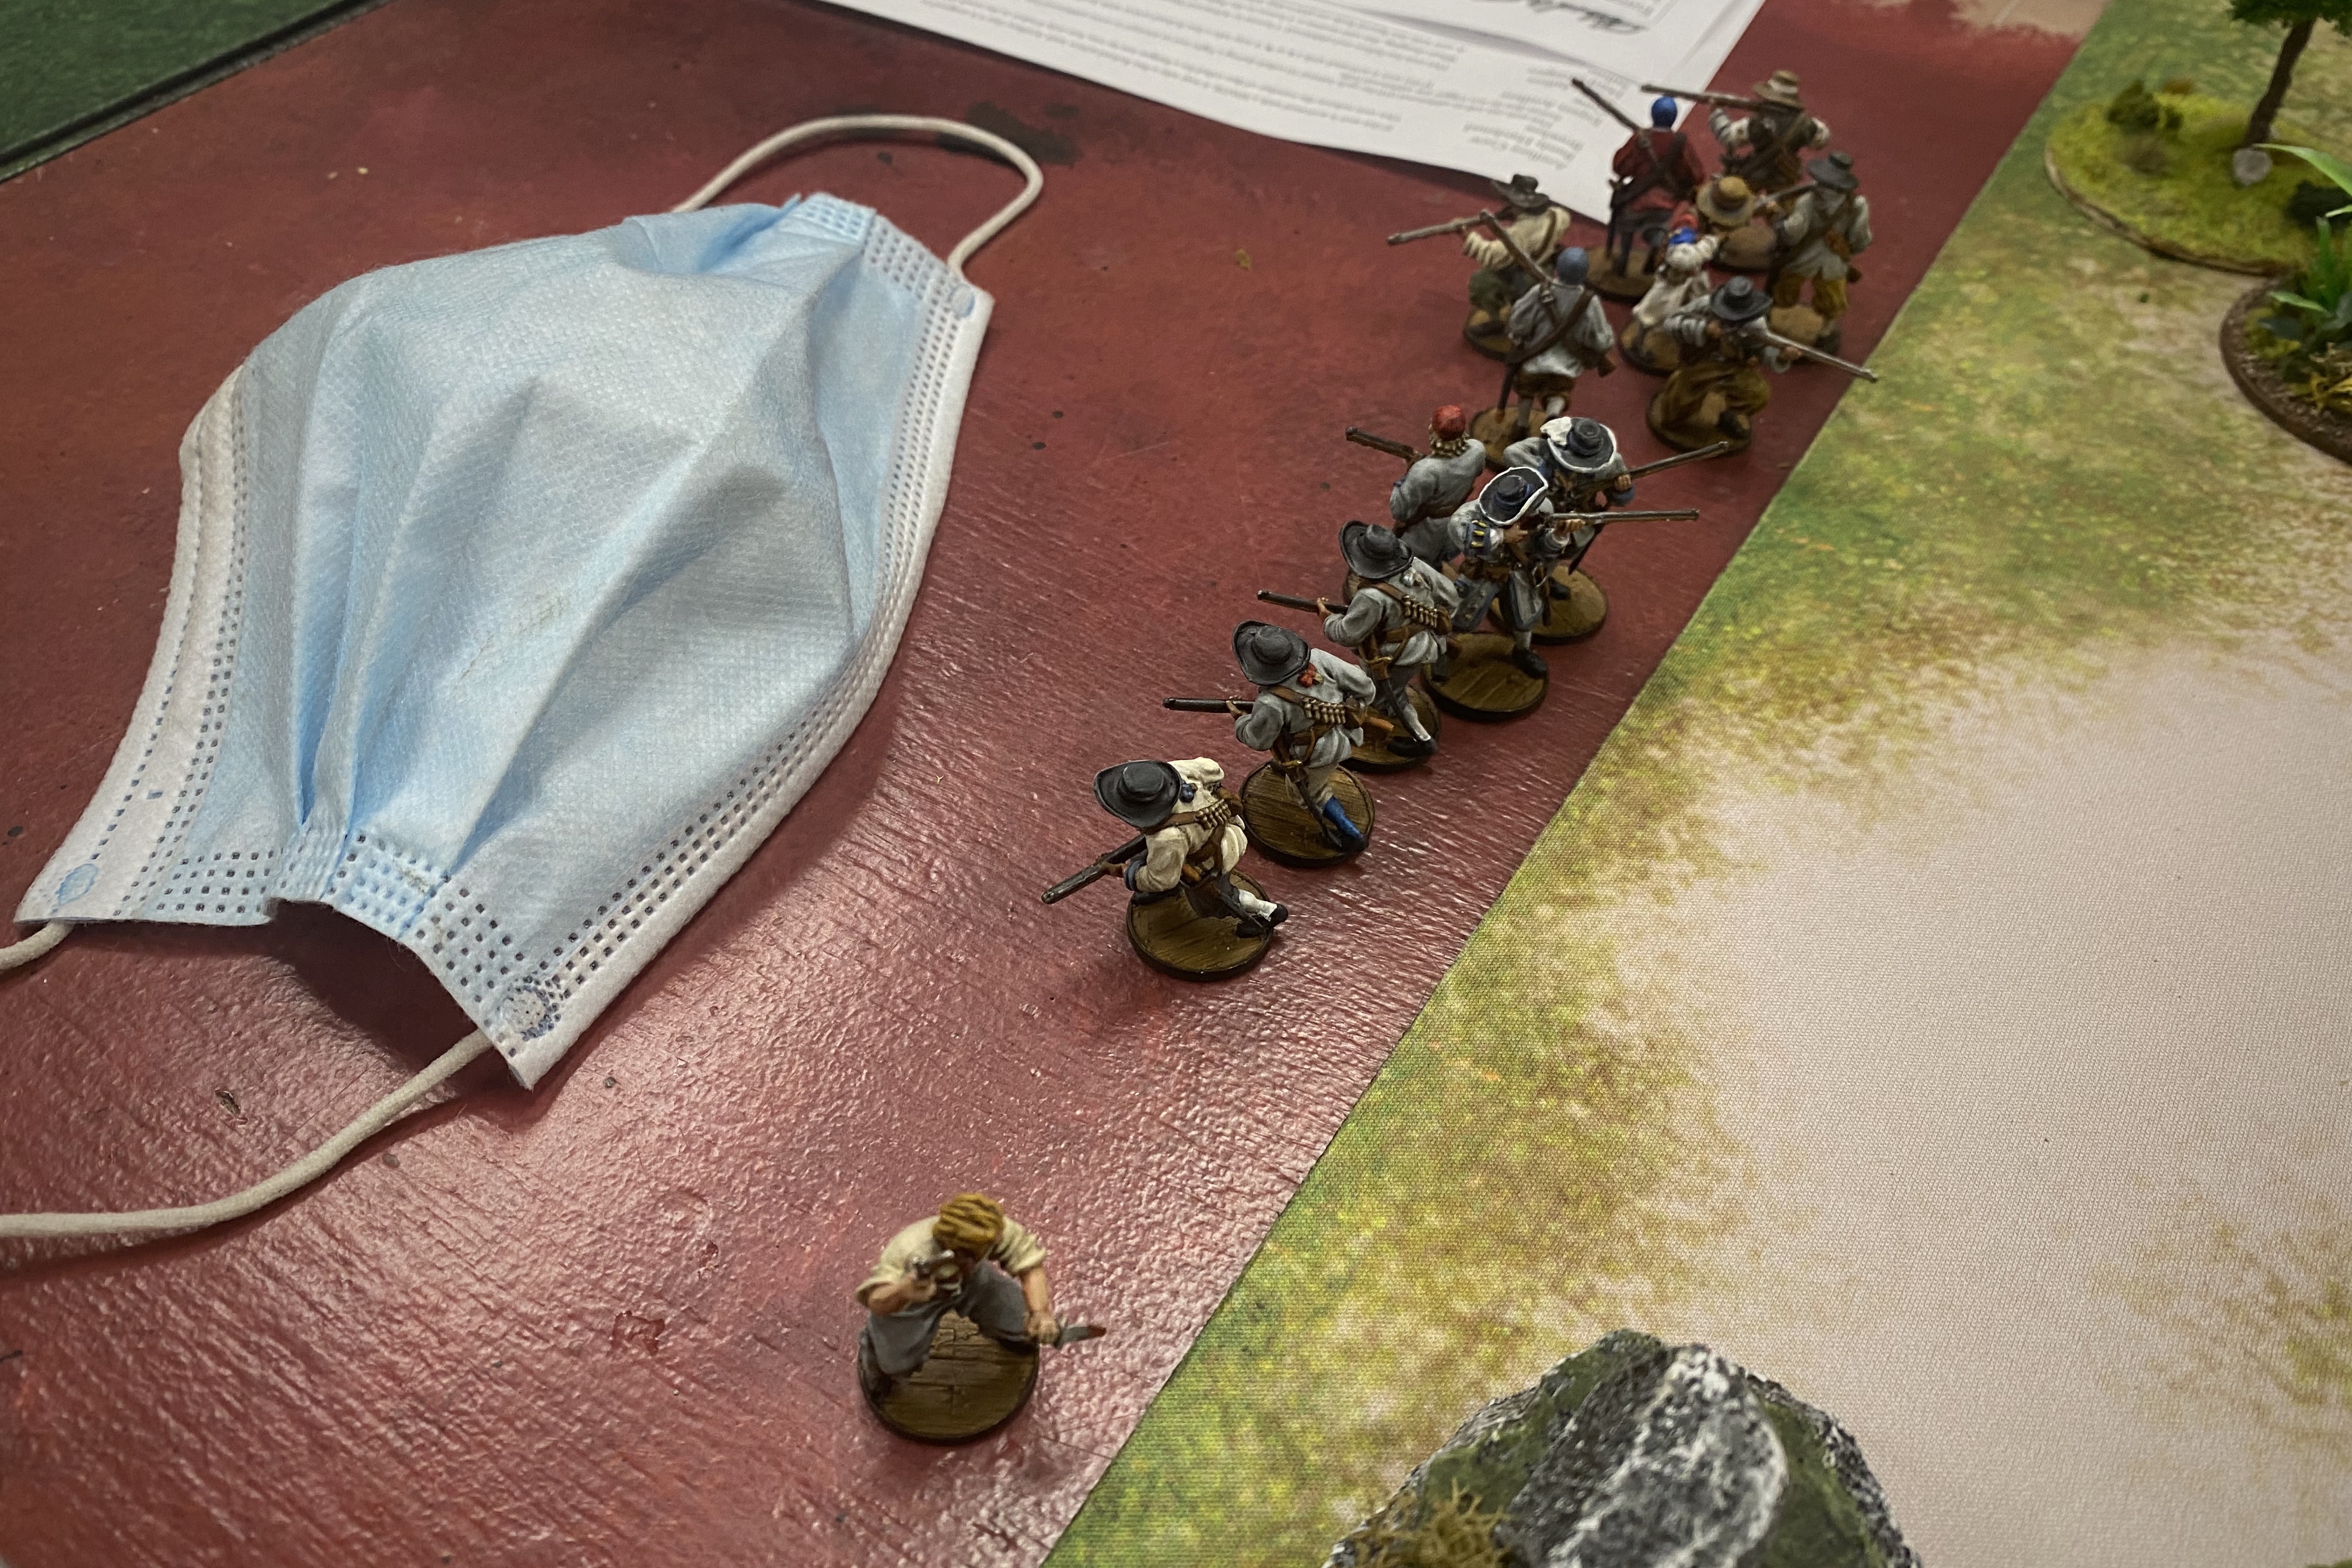
Next came the massive units of European Sailors with muskets and they targeted my command unit with devastating effect.

I was able to use my faction ability to re-roll failed Fatigue and Rally tests but it didn’t help as much as I hoped. My poor Freebooters took several casualties on the first turn and I wished I had put my 30 point commander in a larger unit!
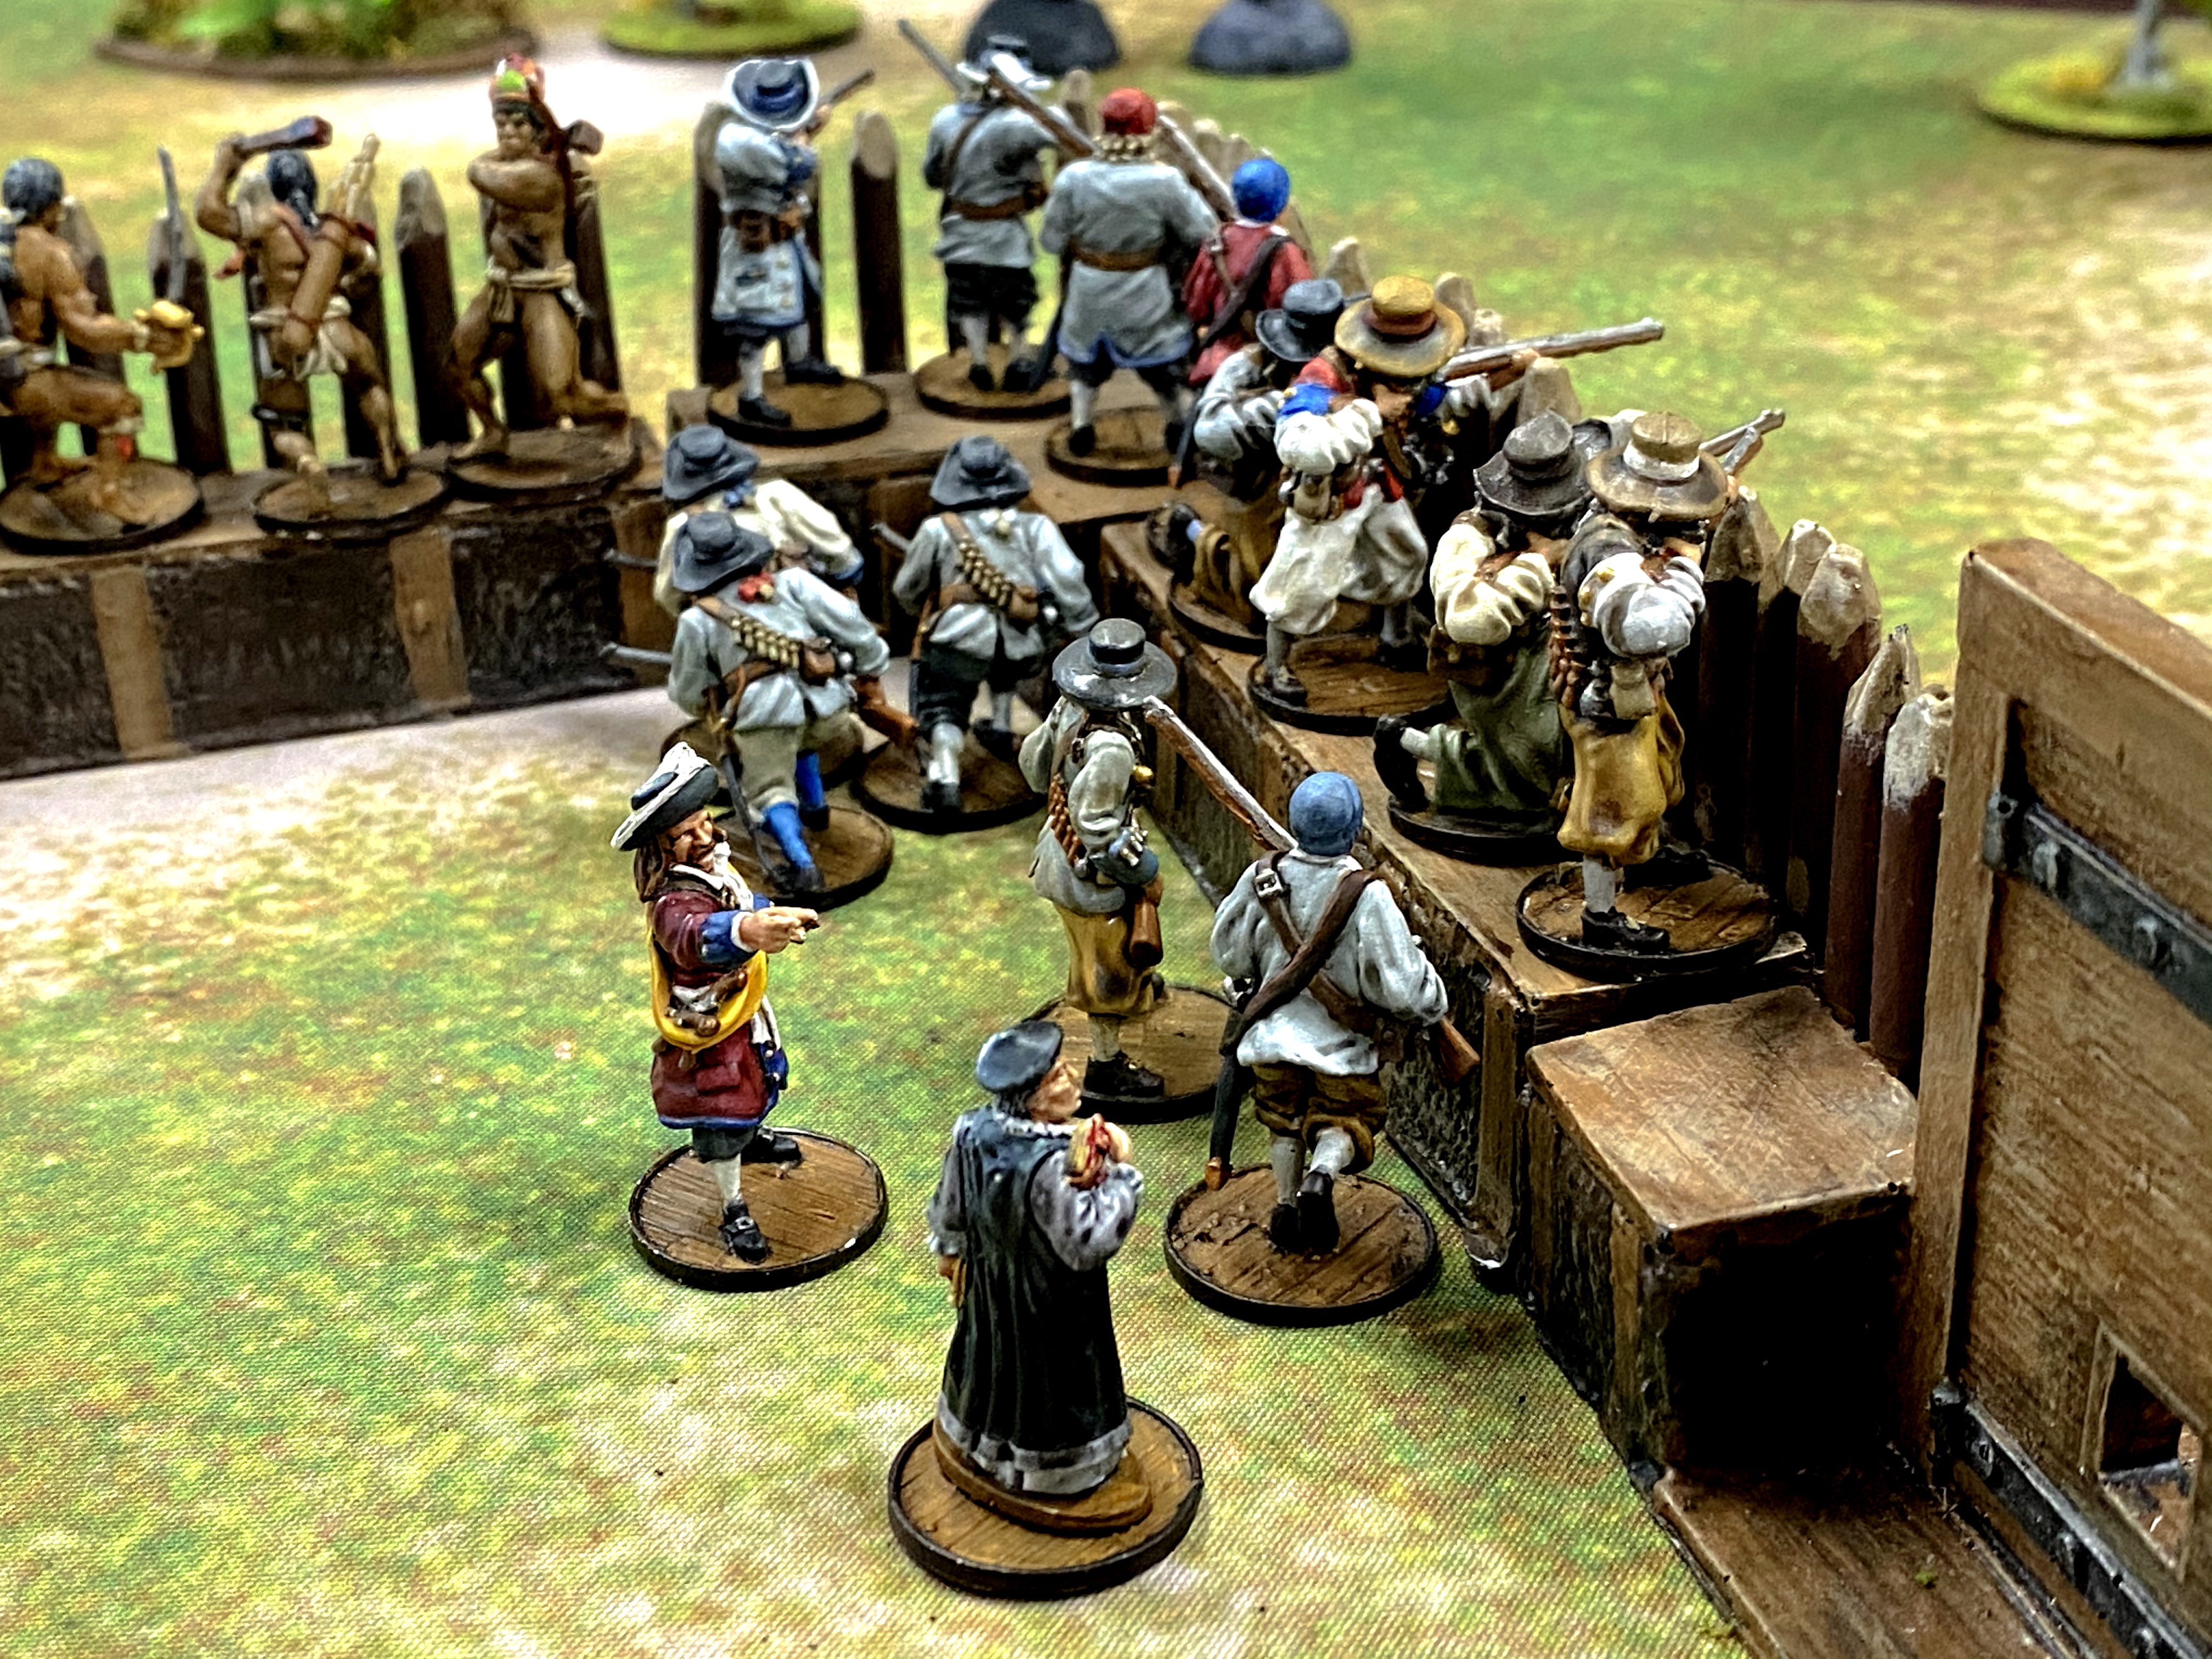
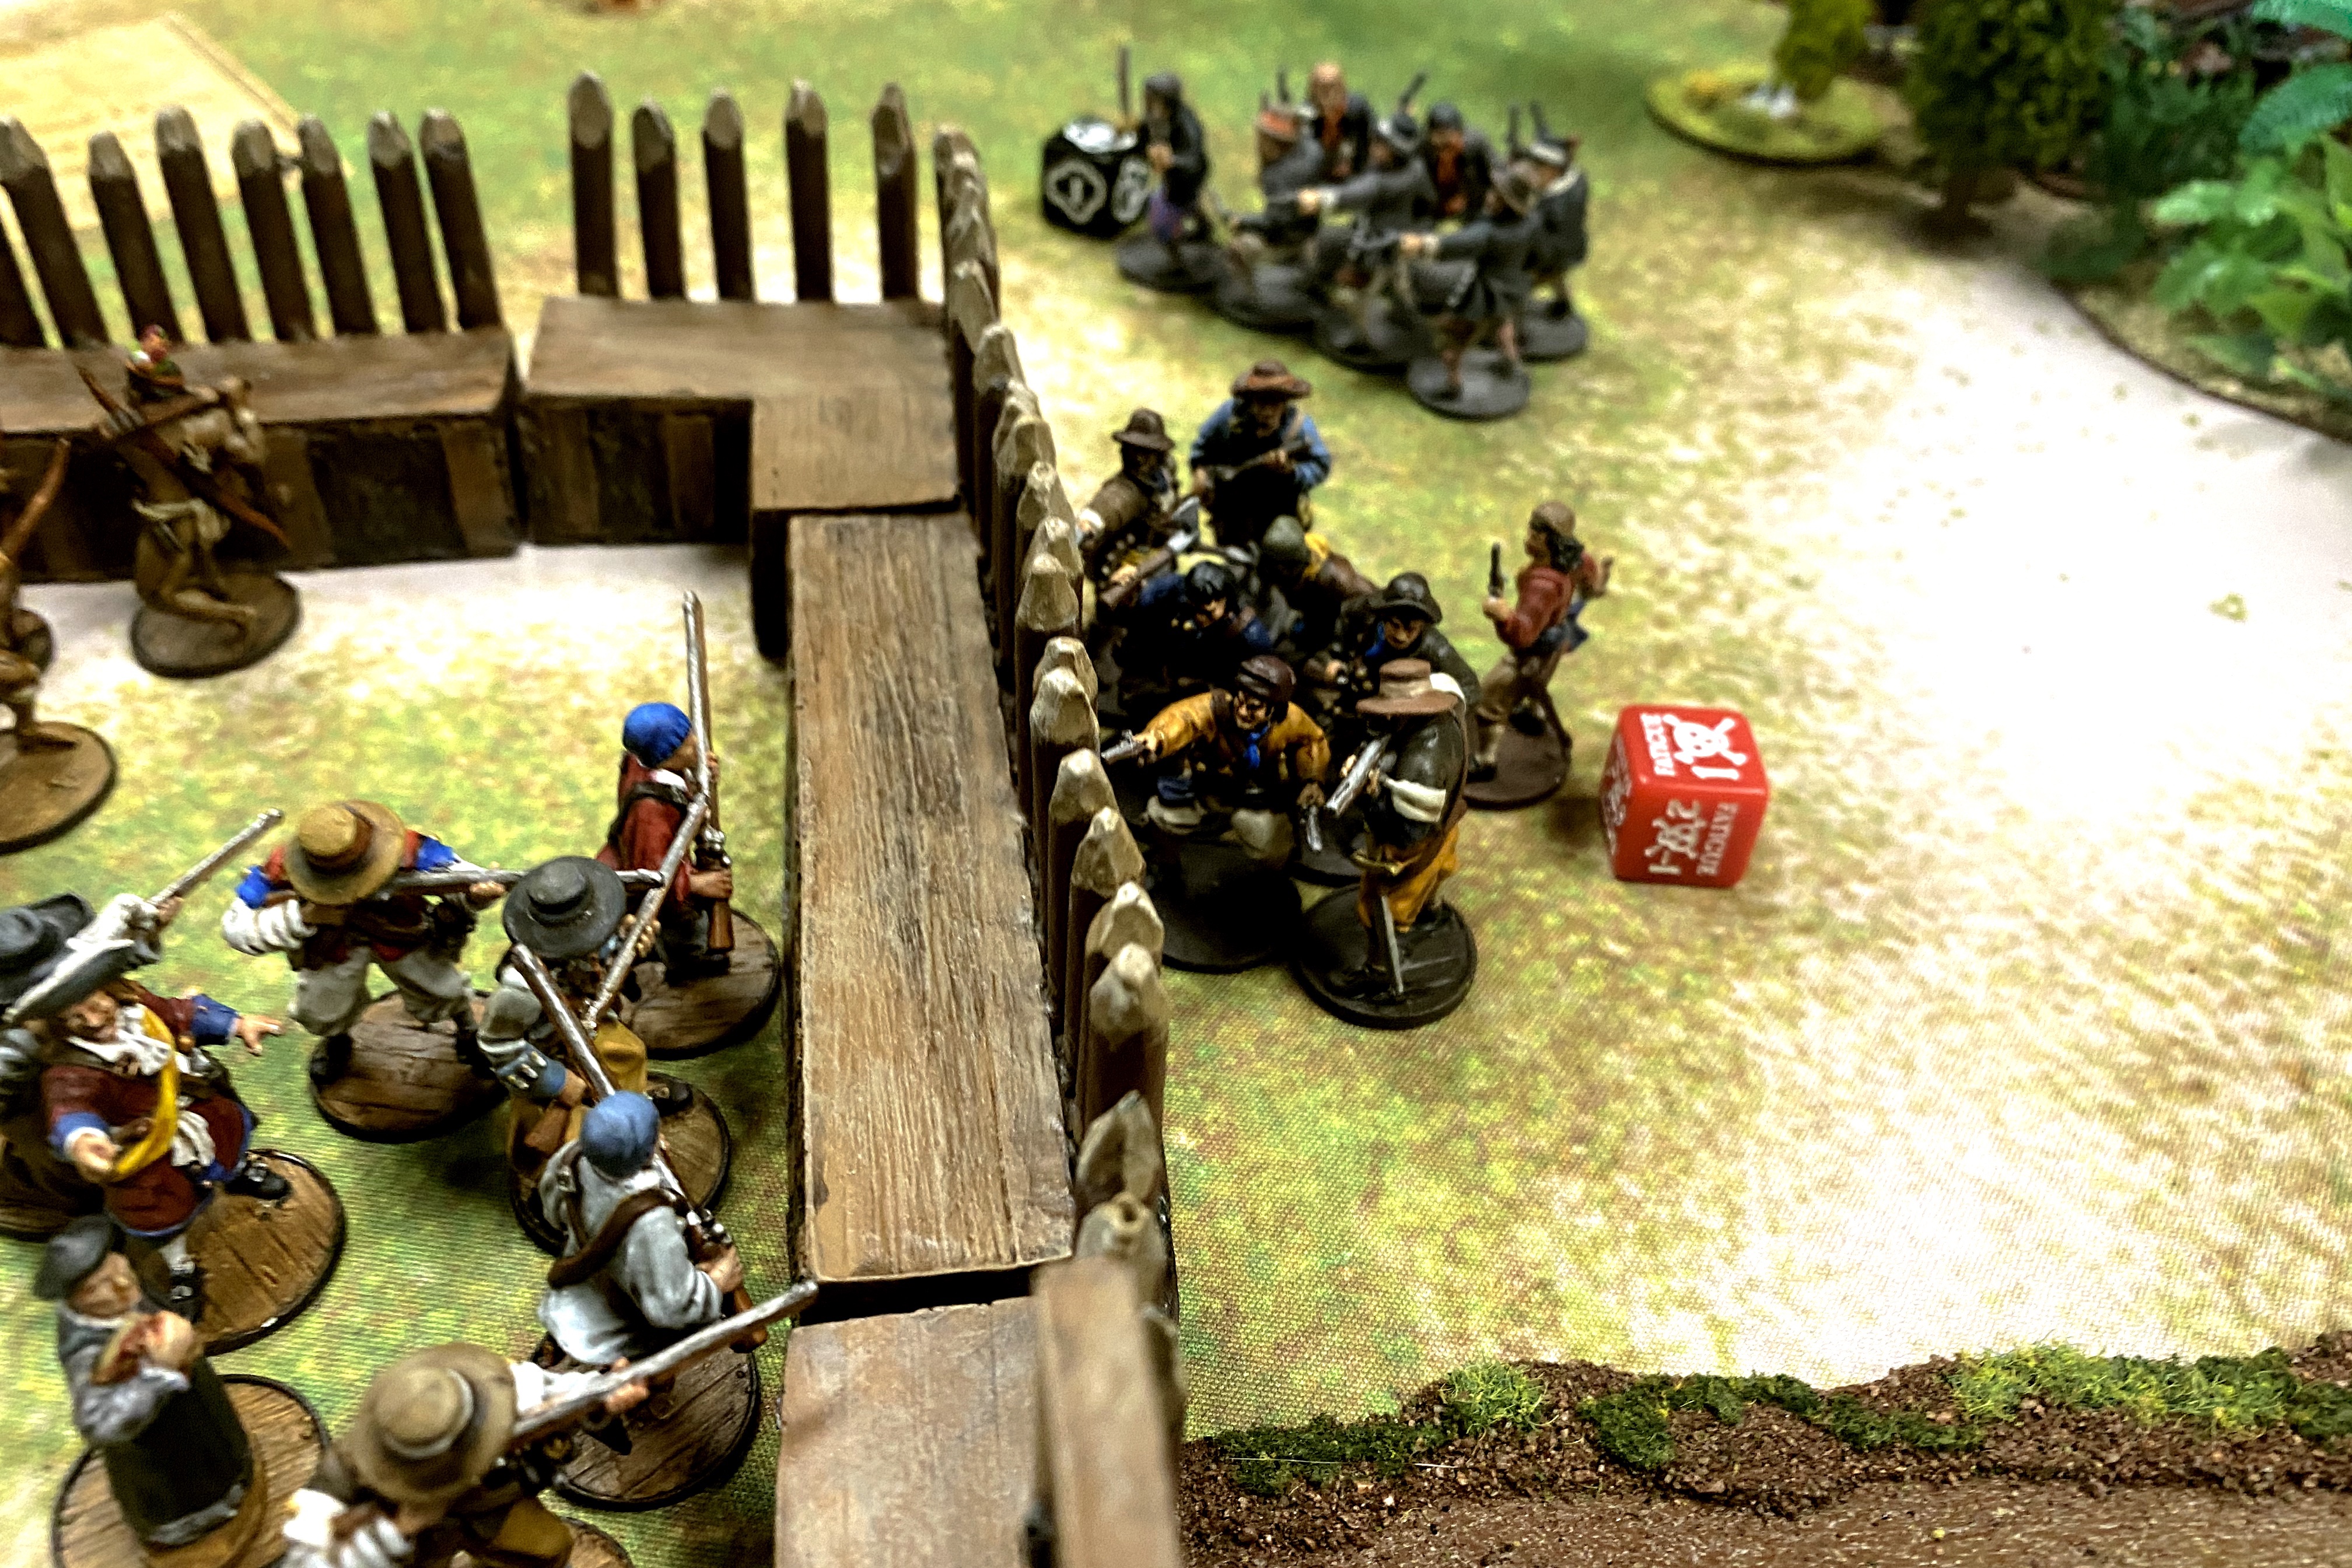
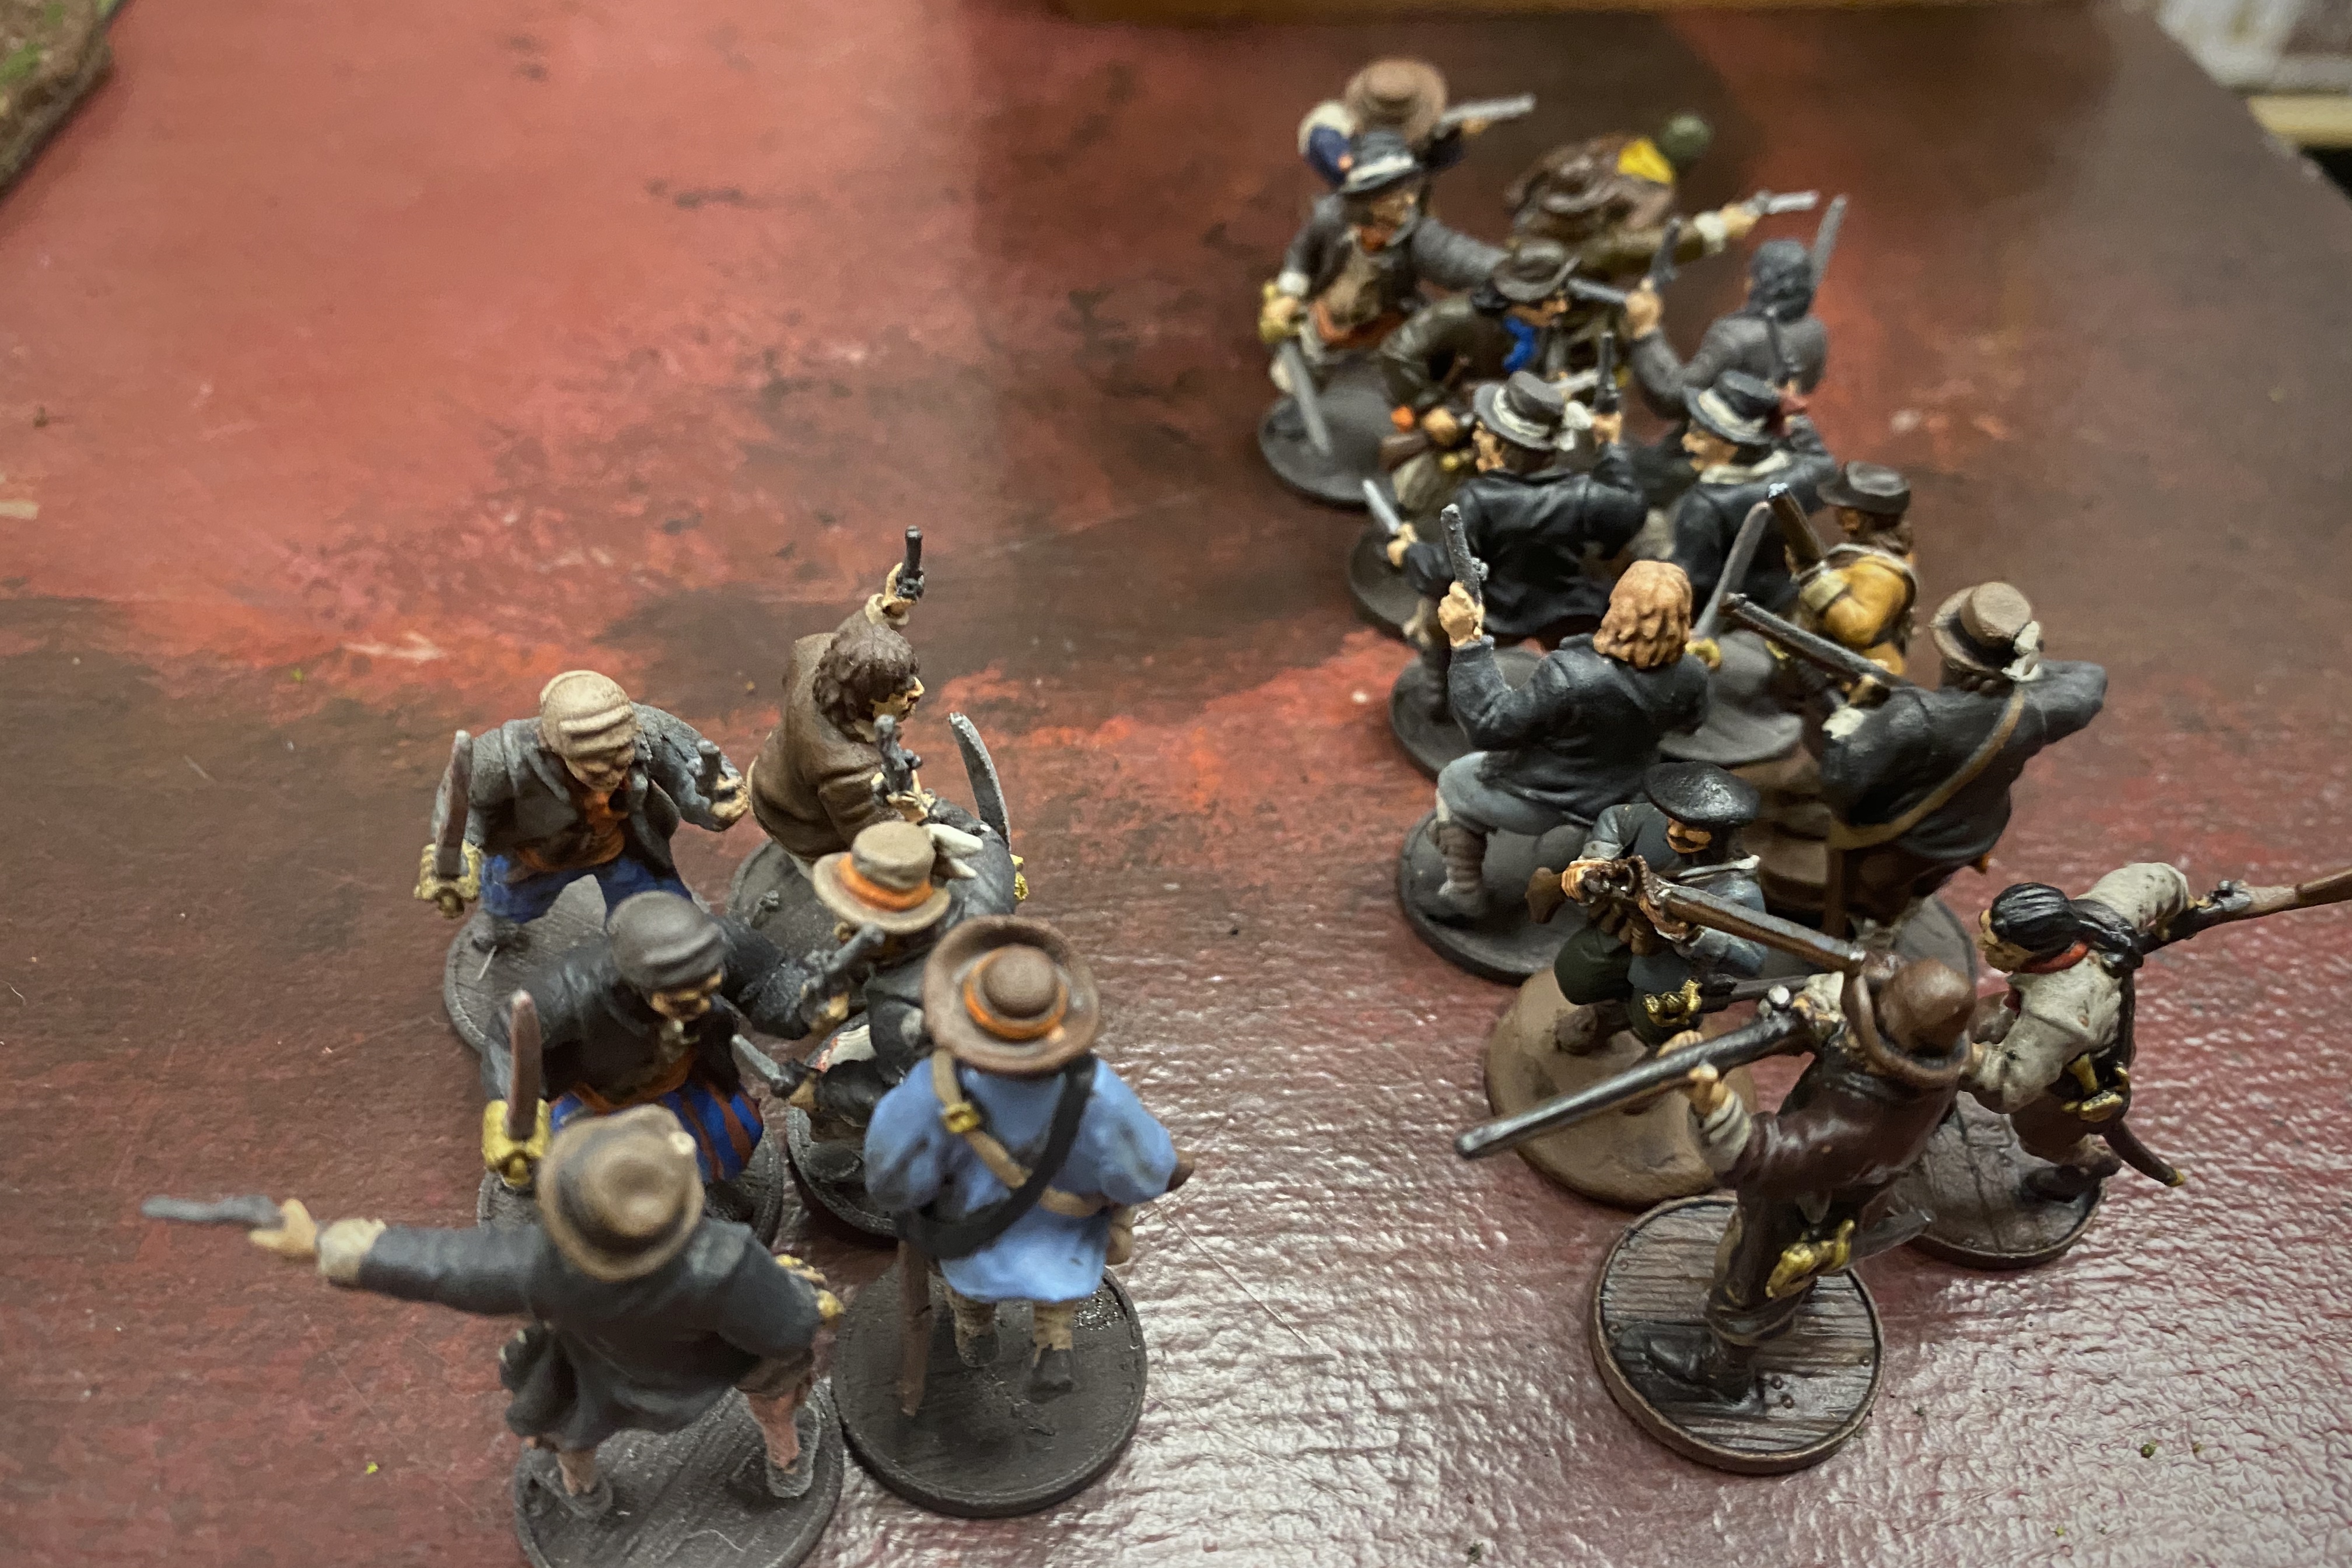
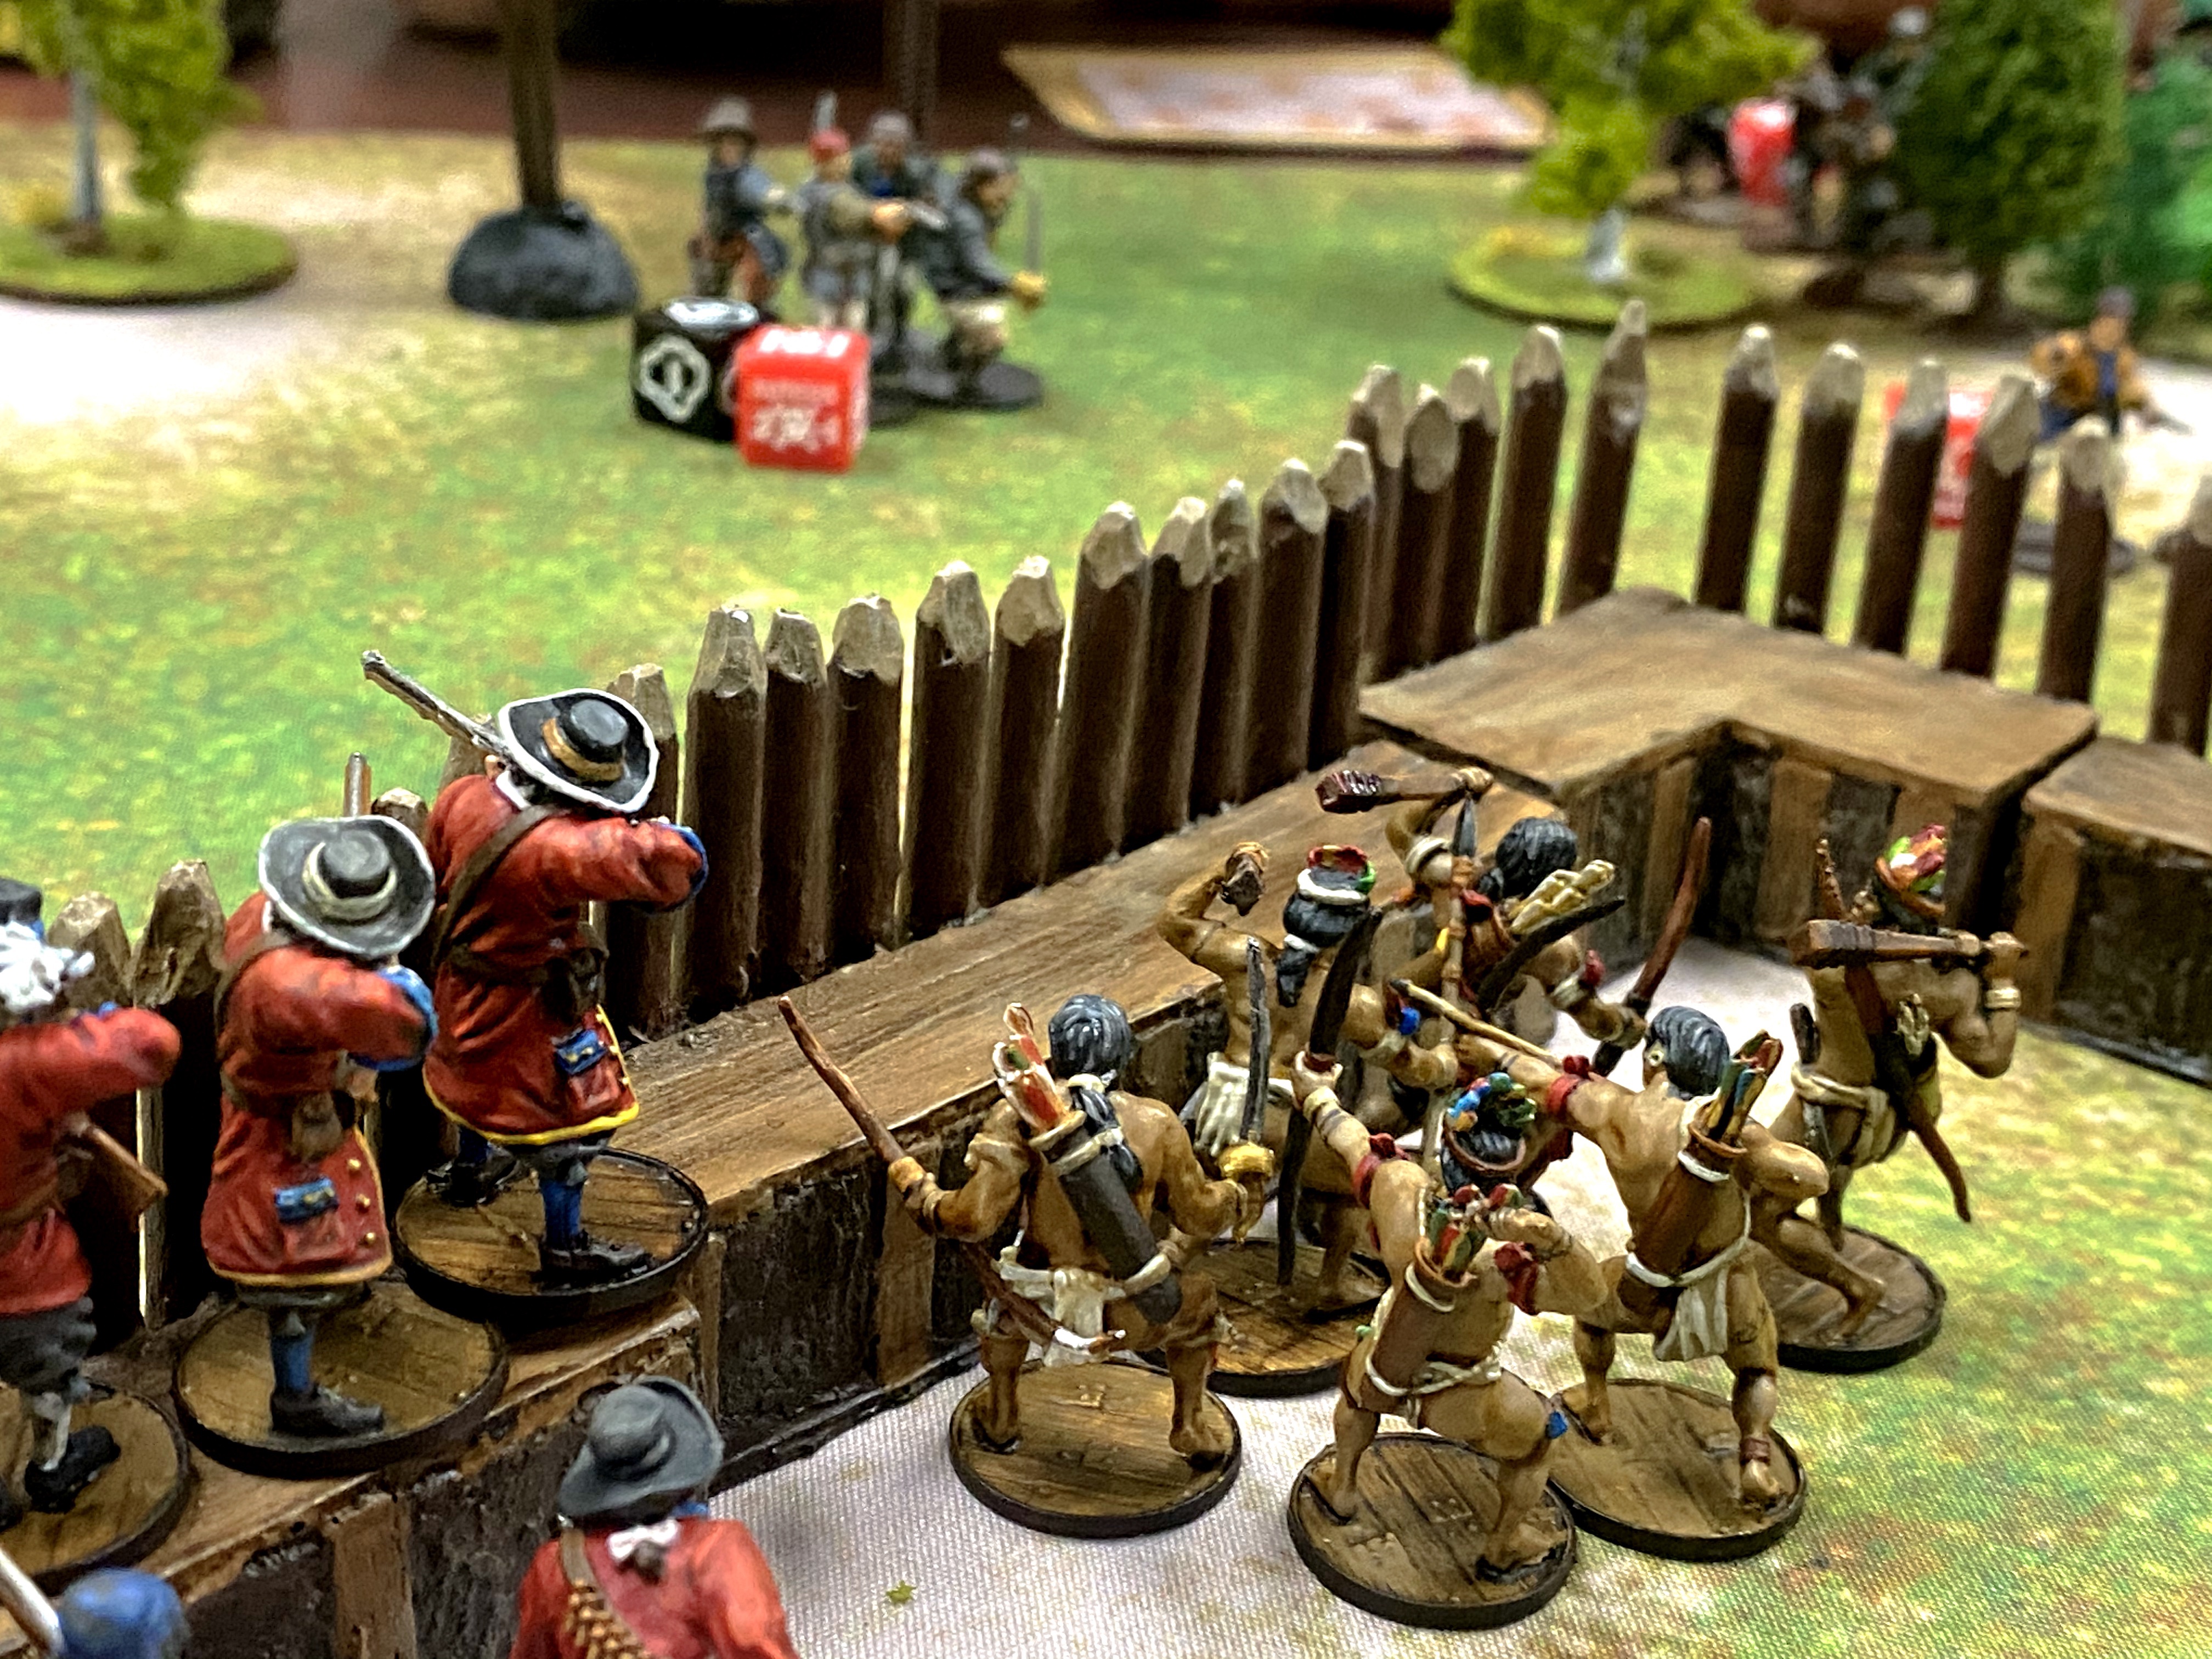
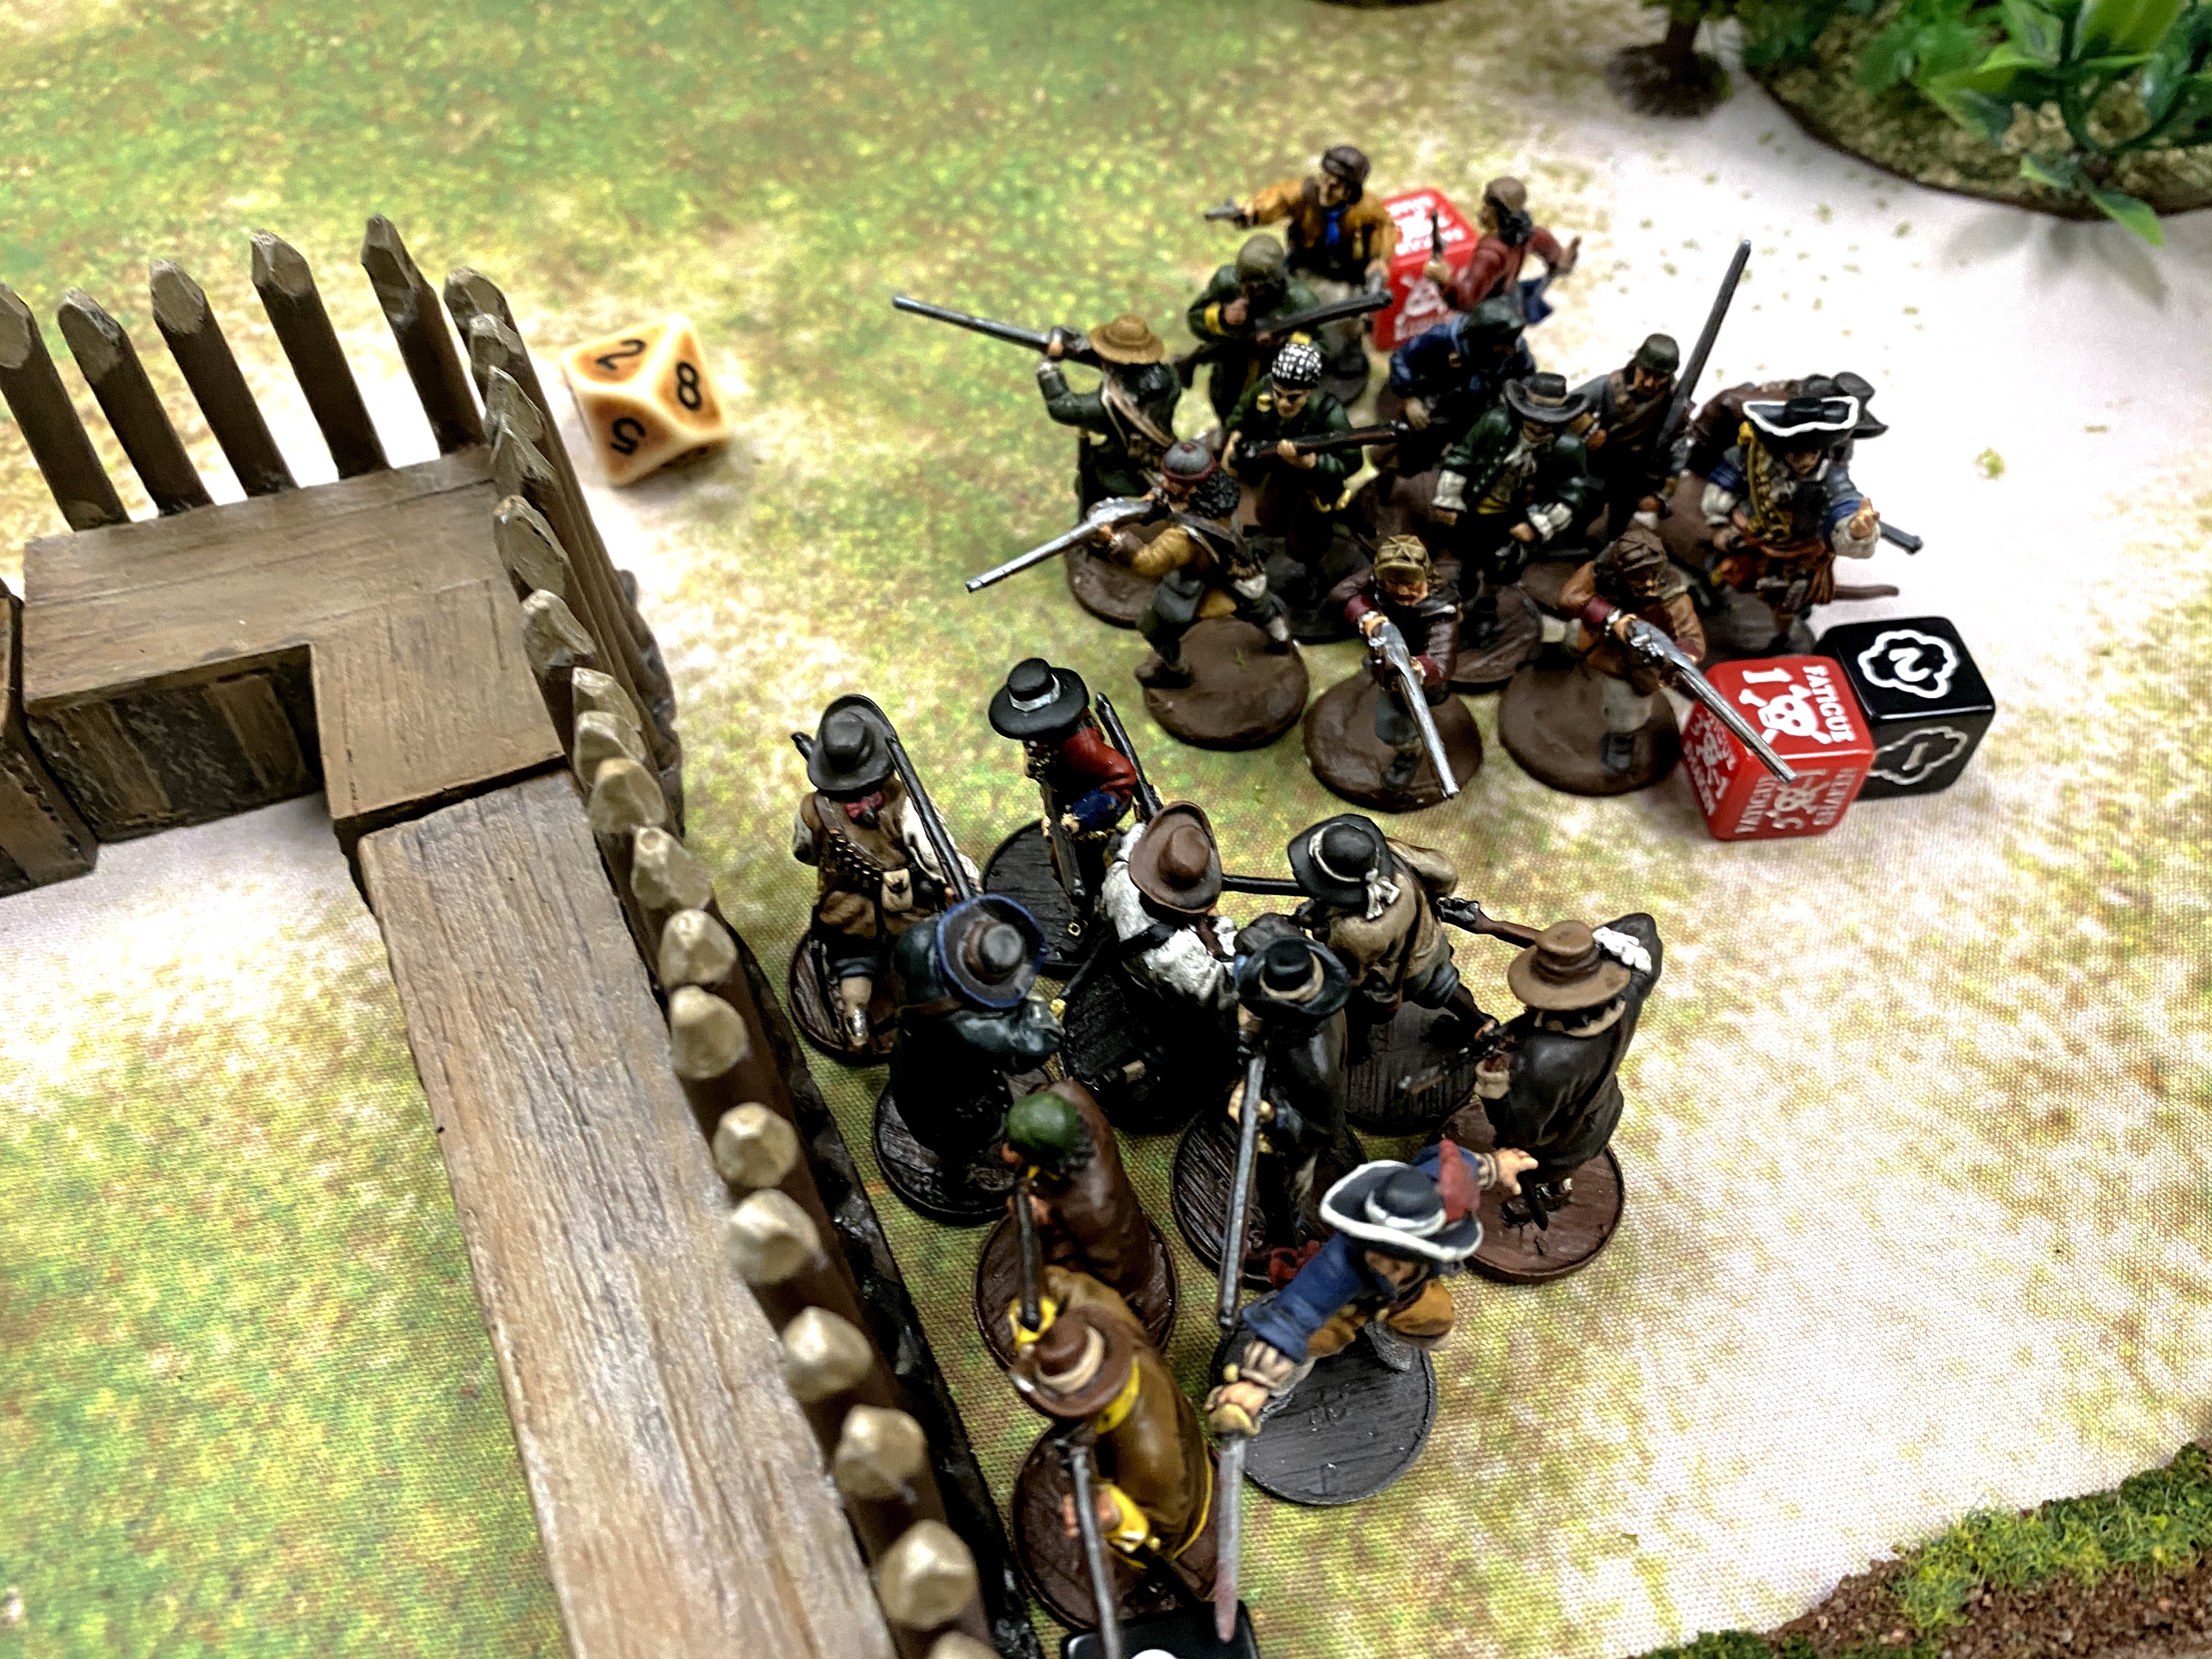
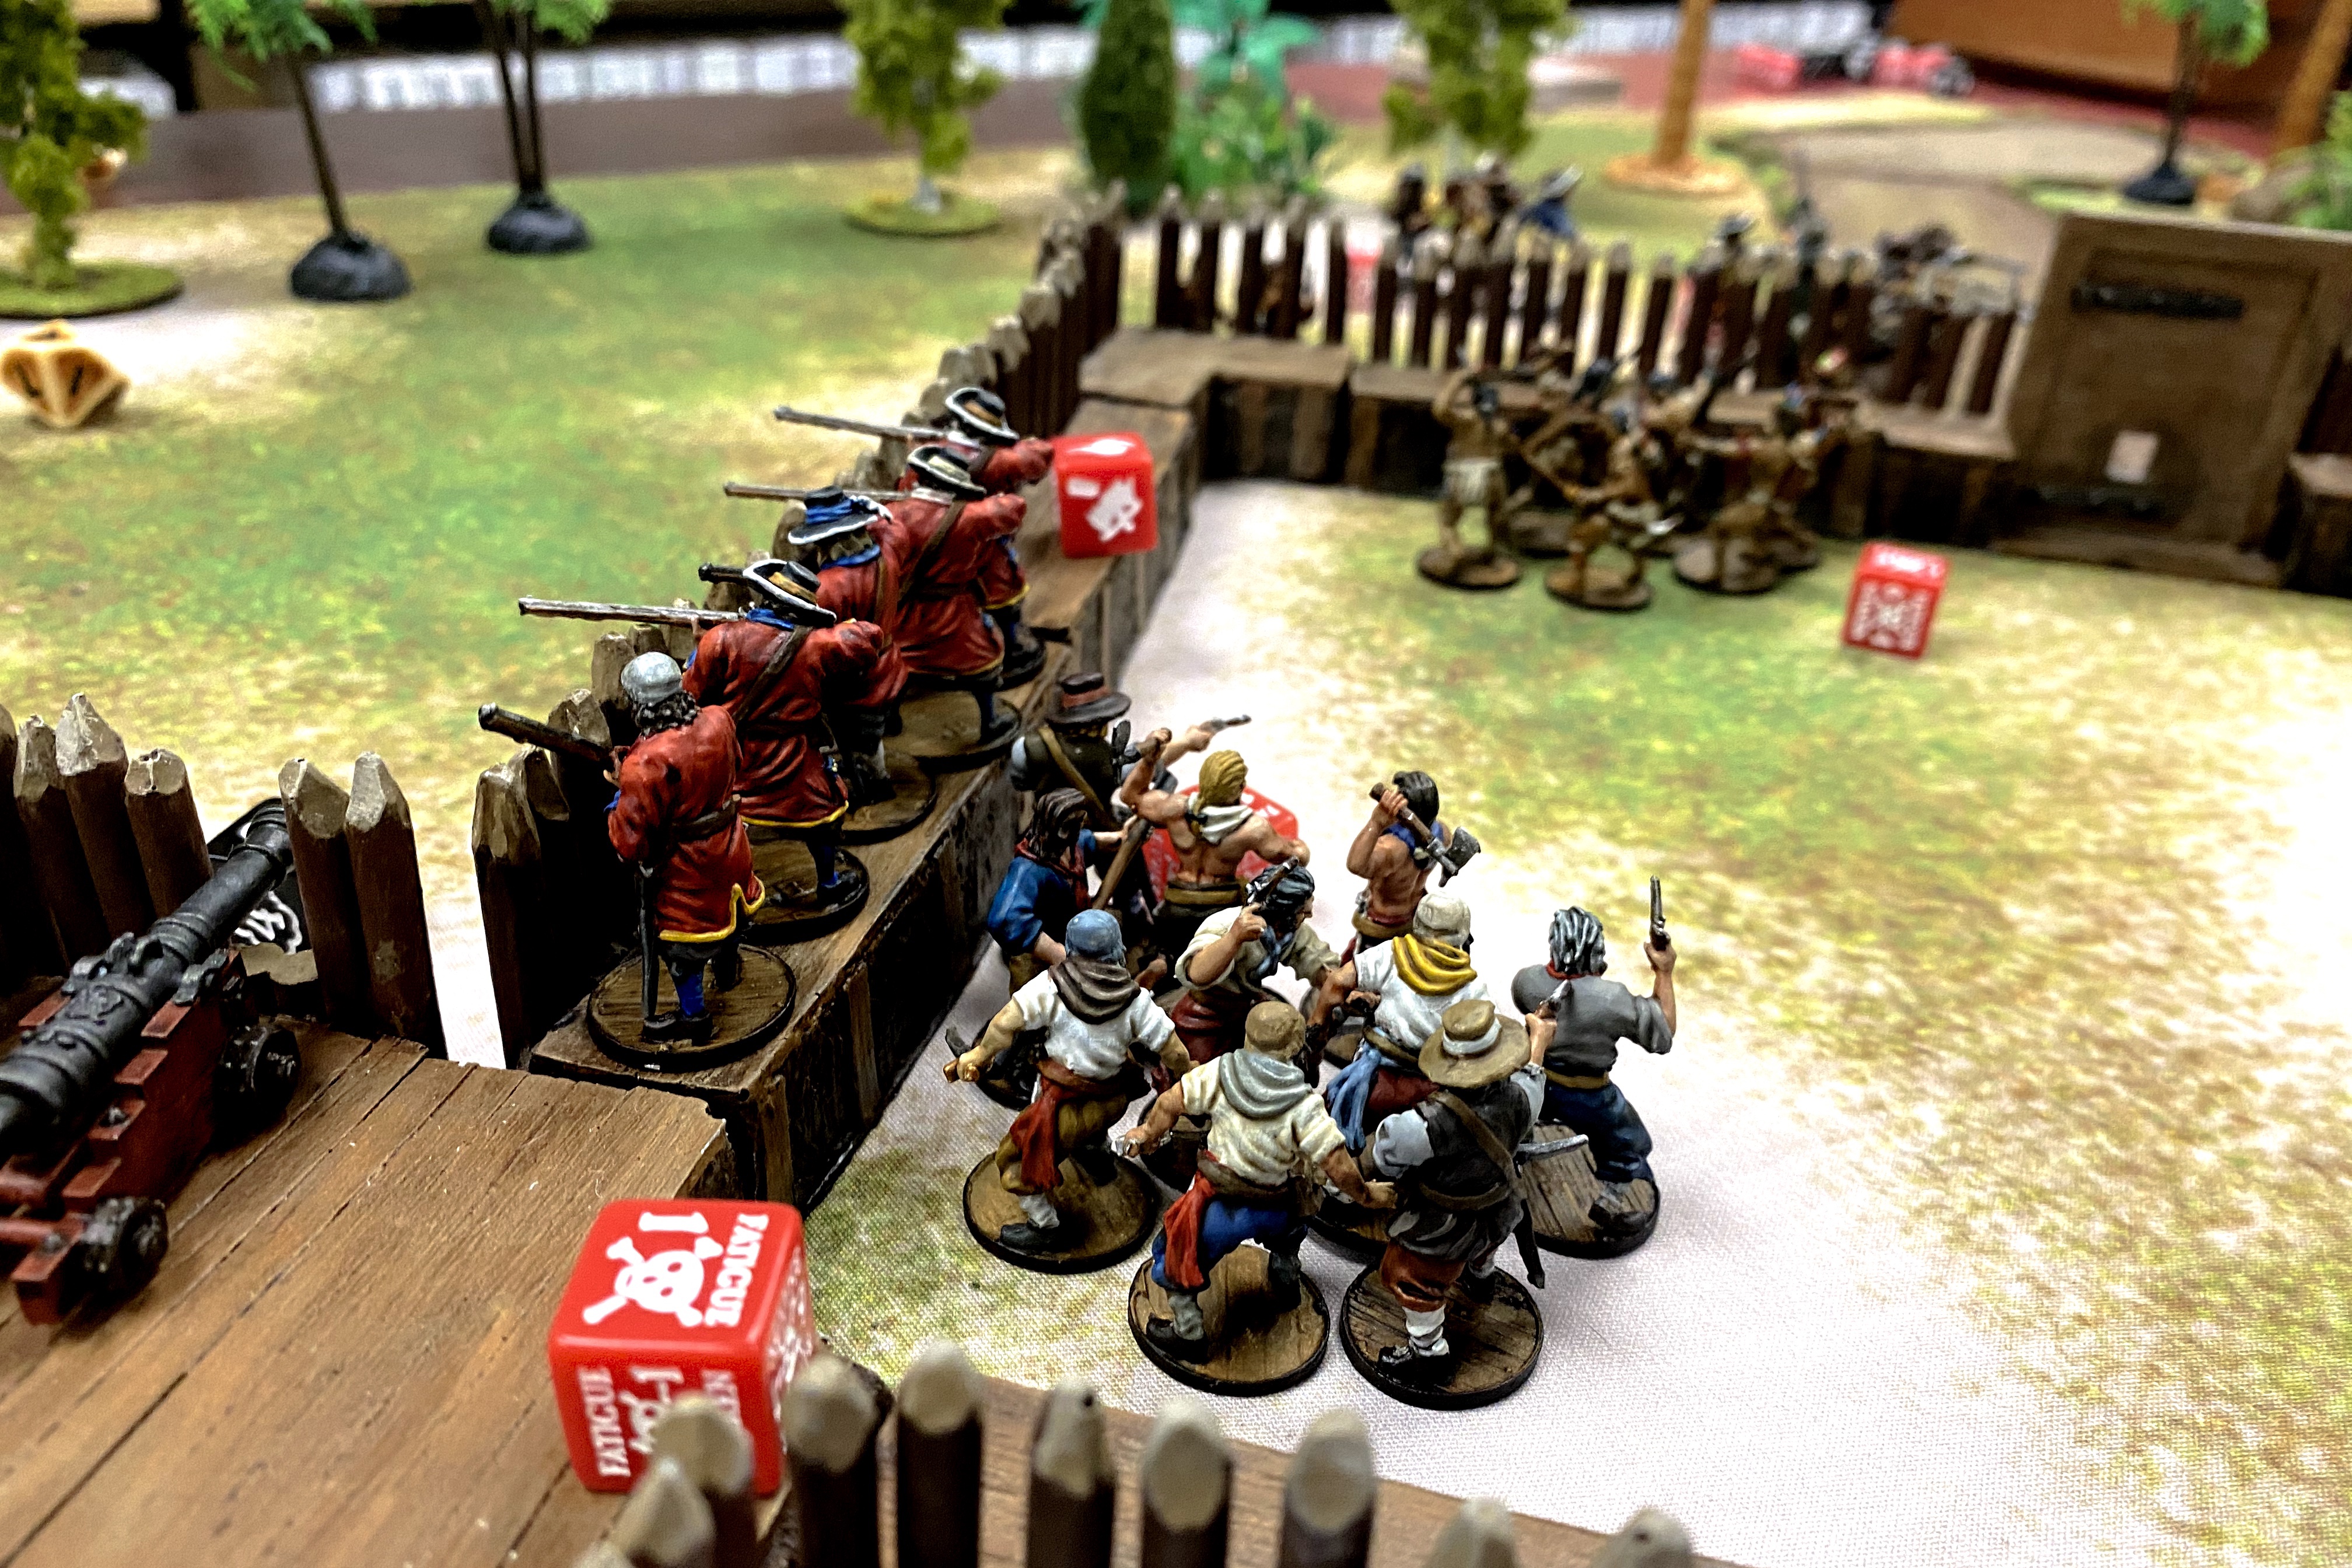
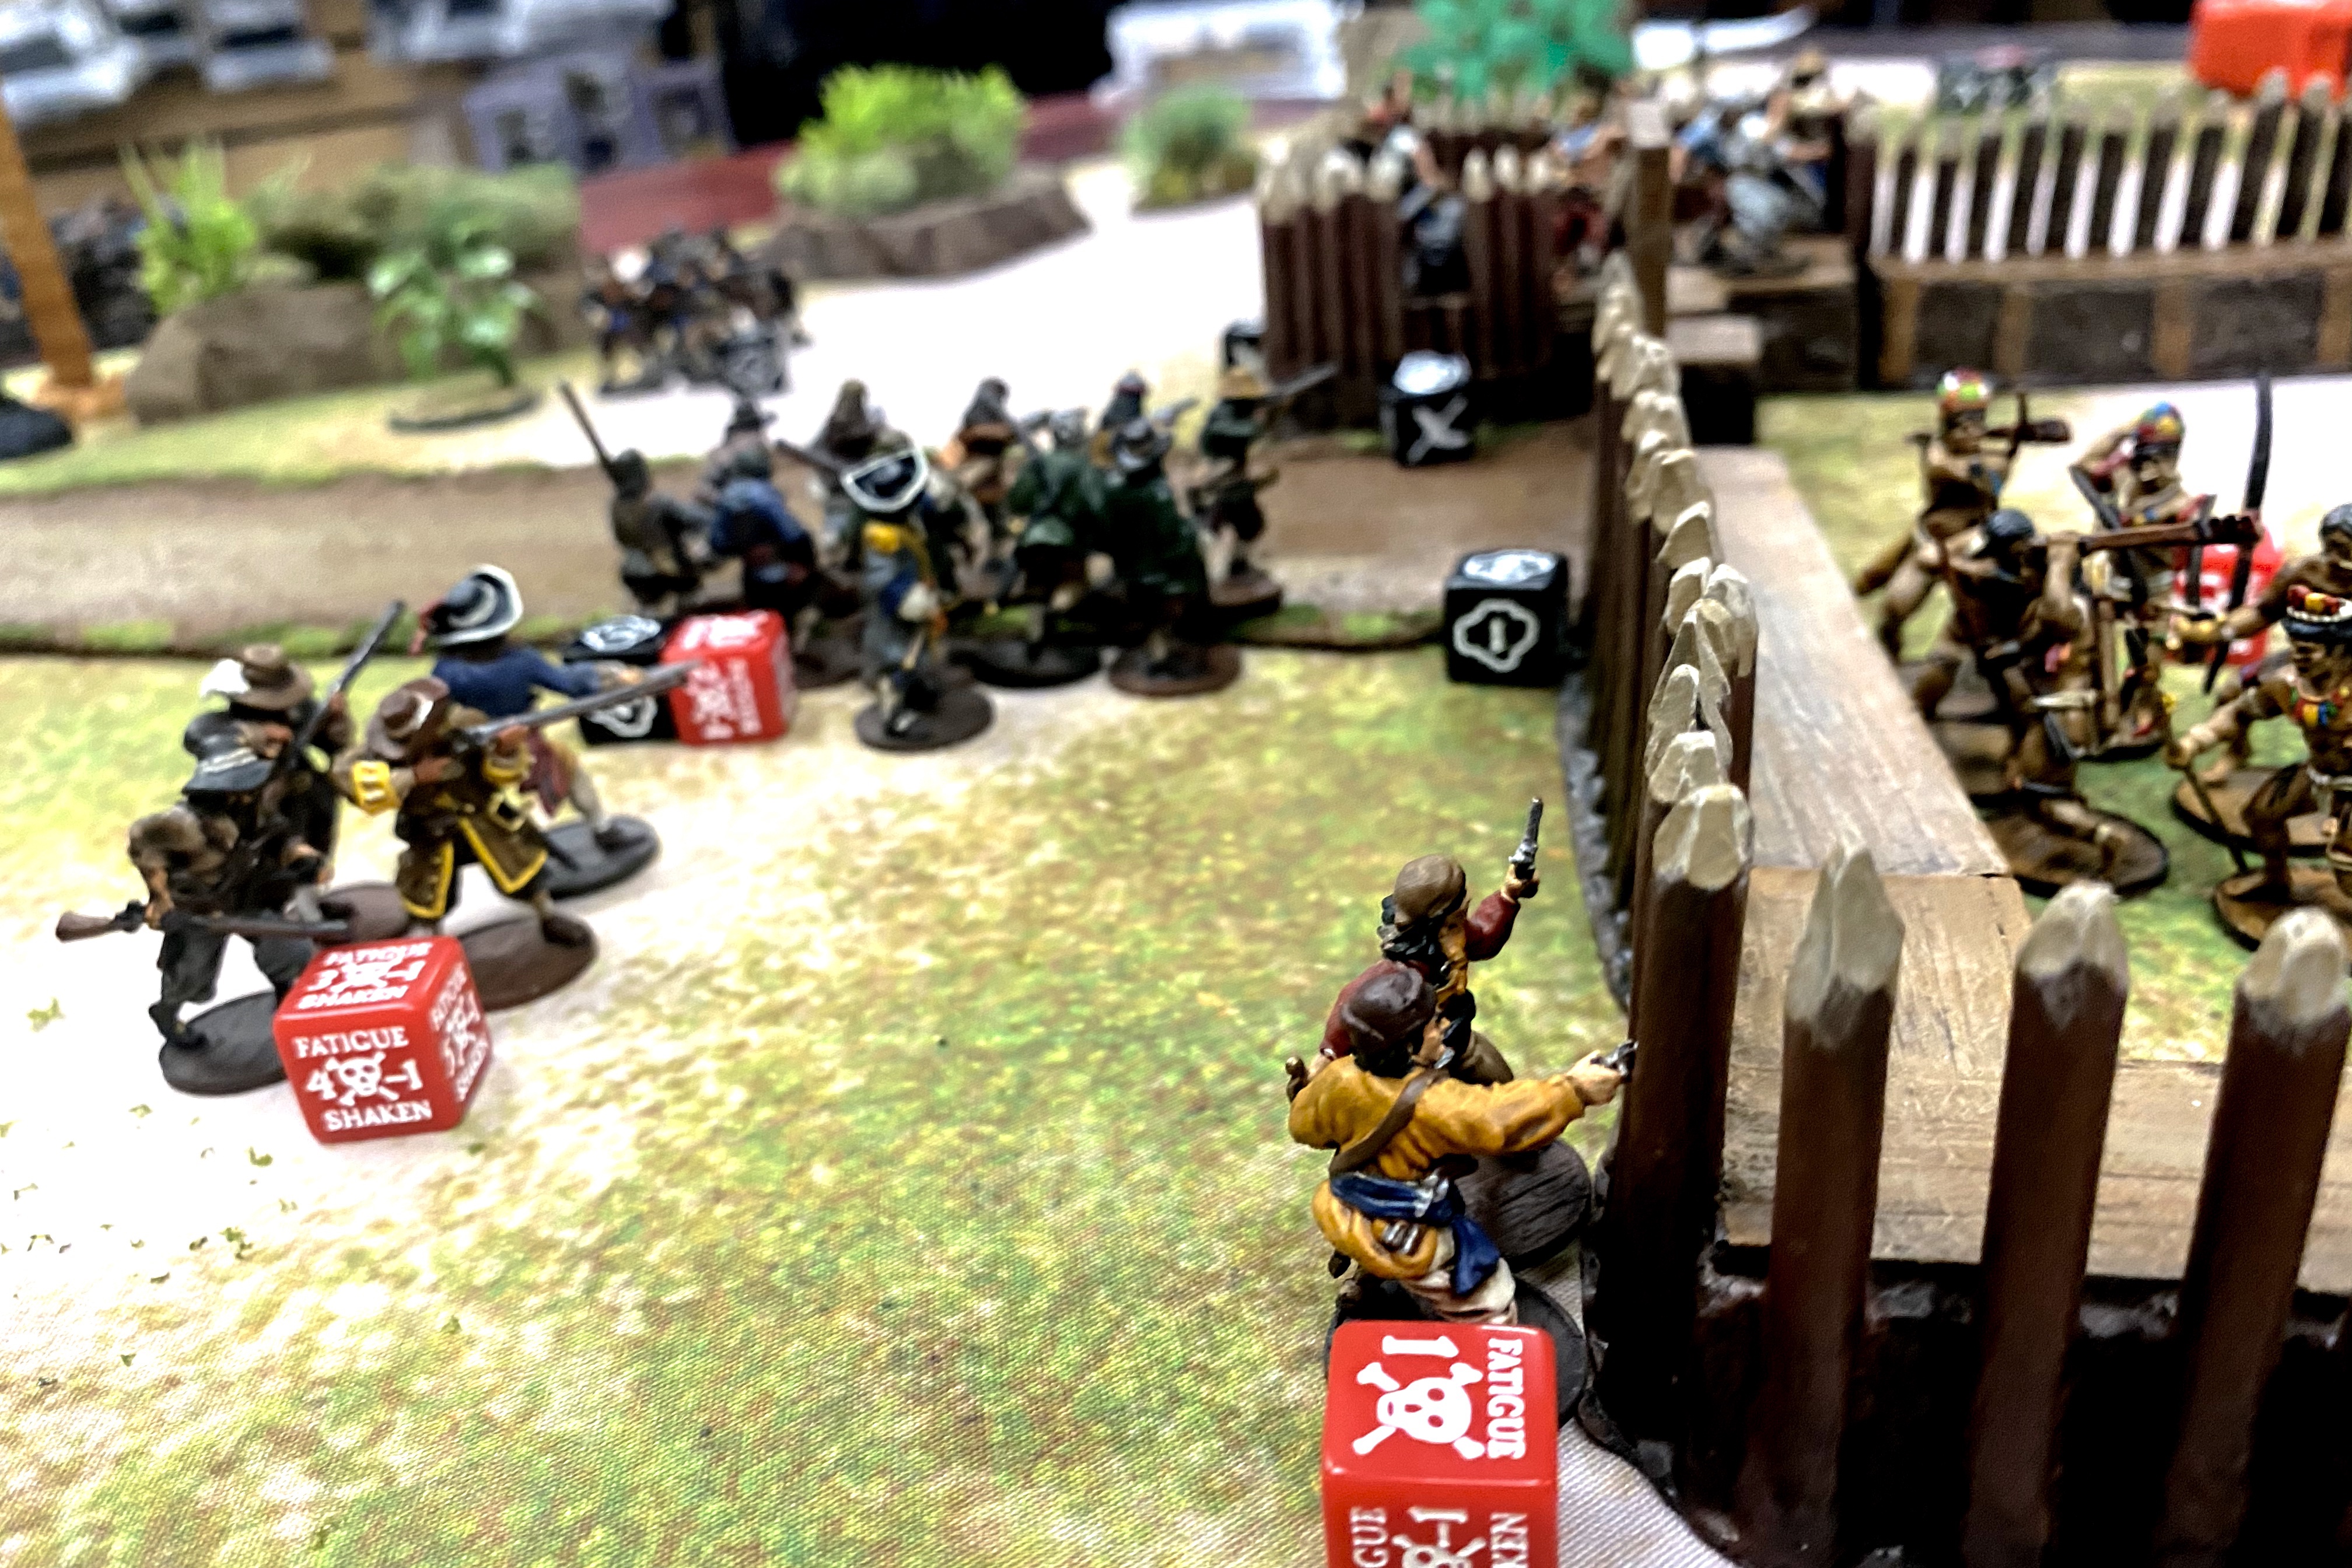
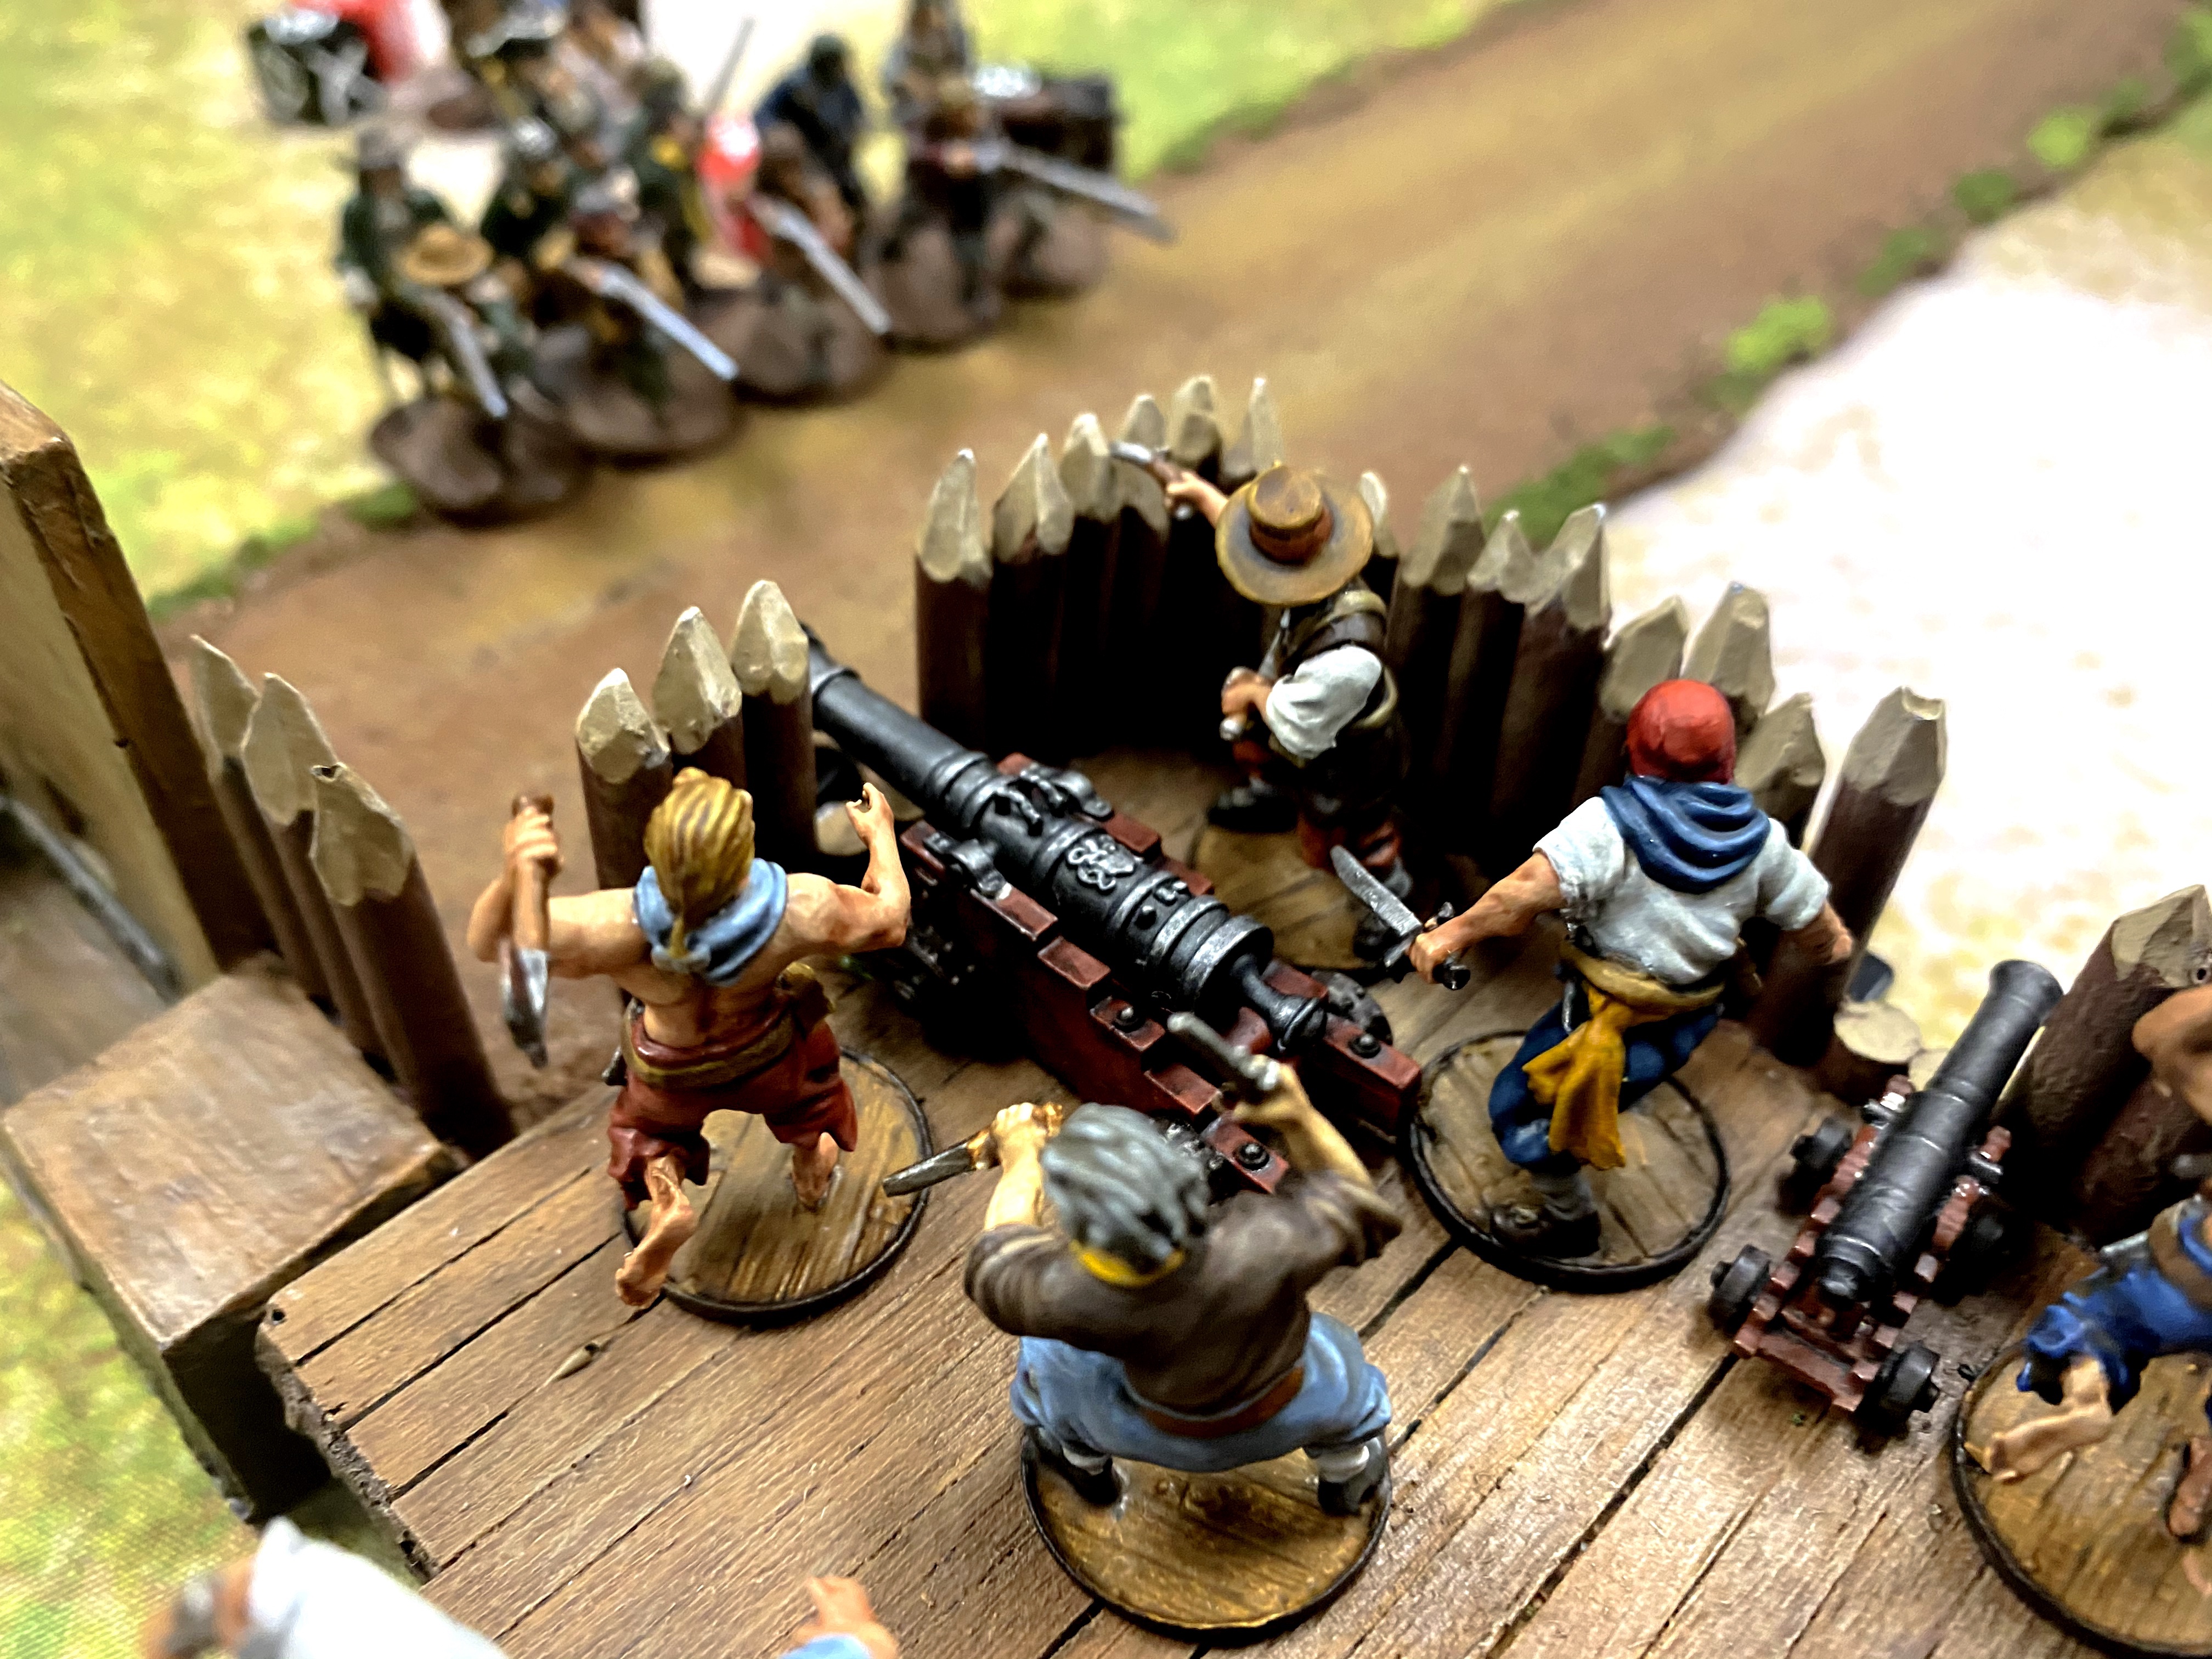
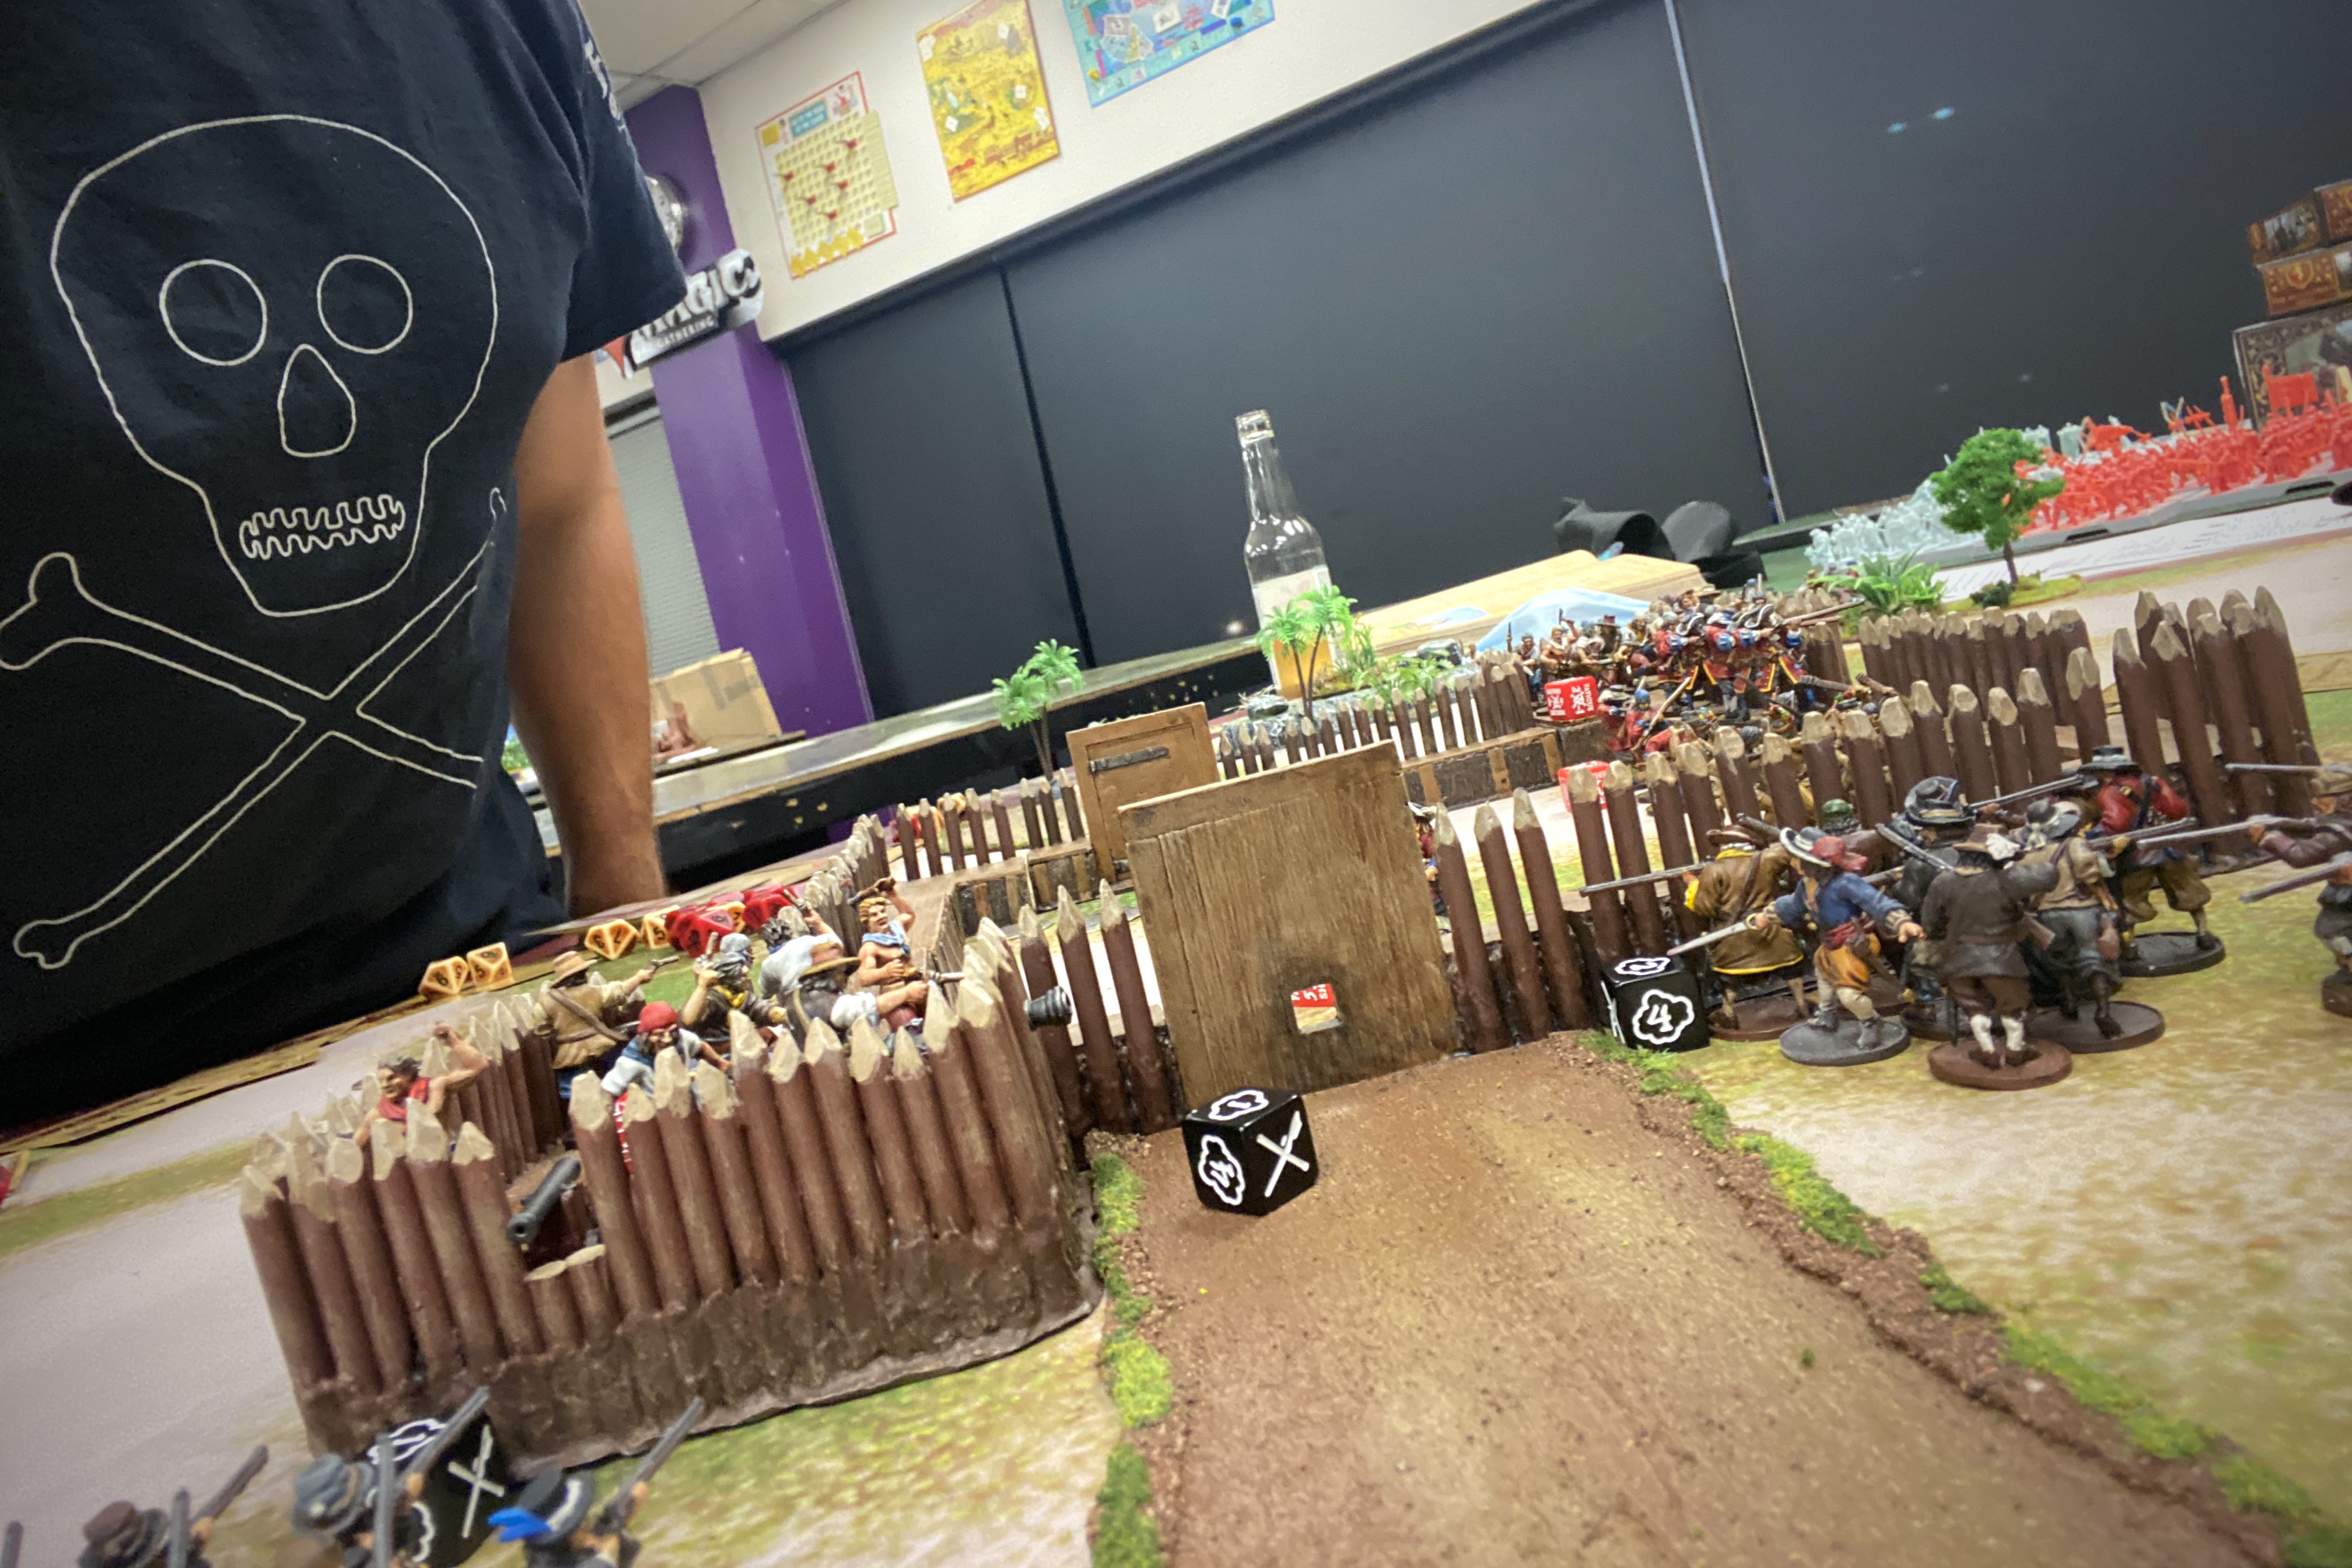
Then came the Zeelieden! An 8″ move got them within 5″ of the wall and over the walls went the Firepots! The Dutch weren’t wasting any time. Head on assault!
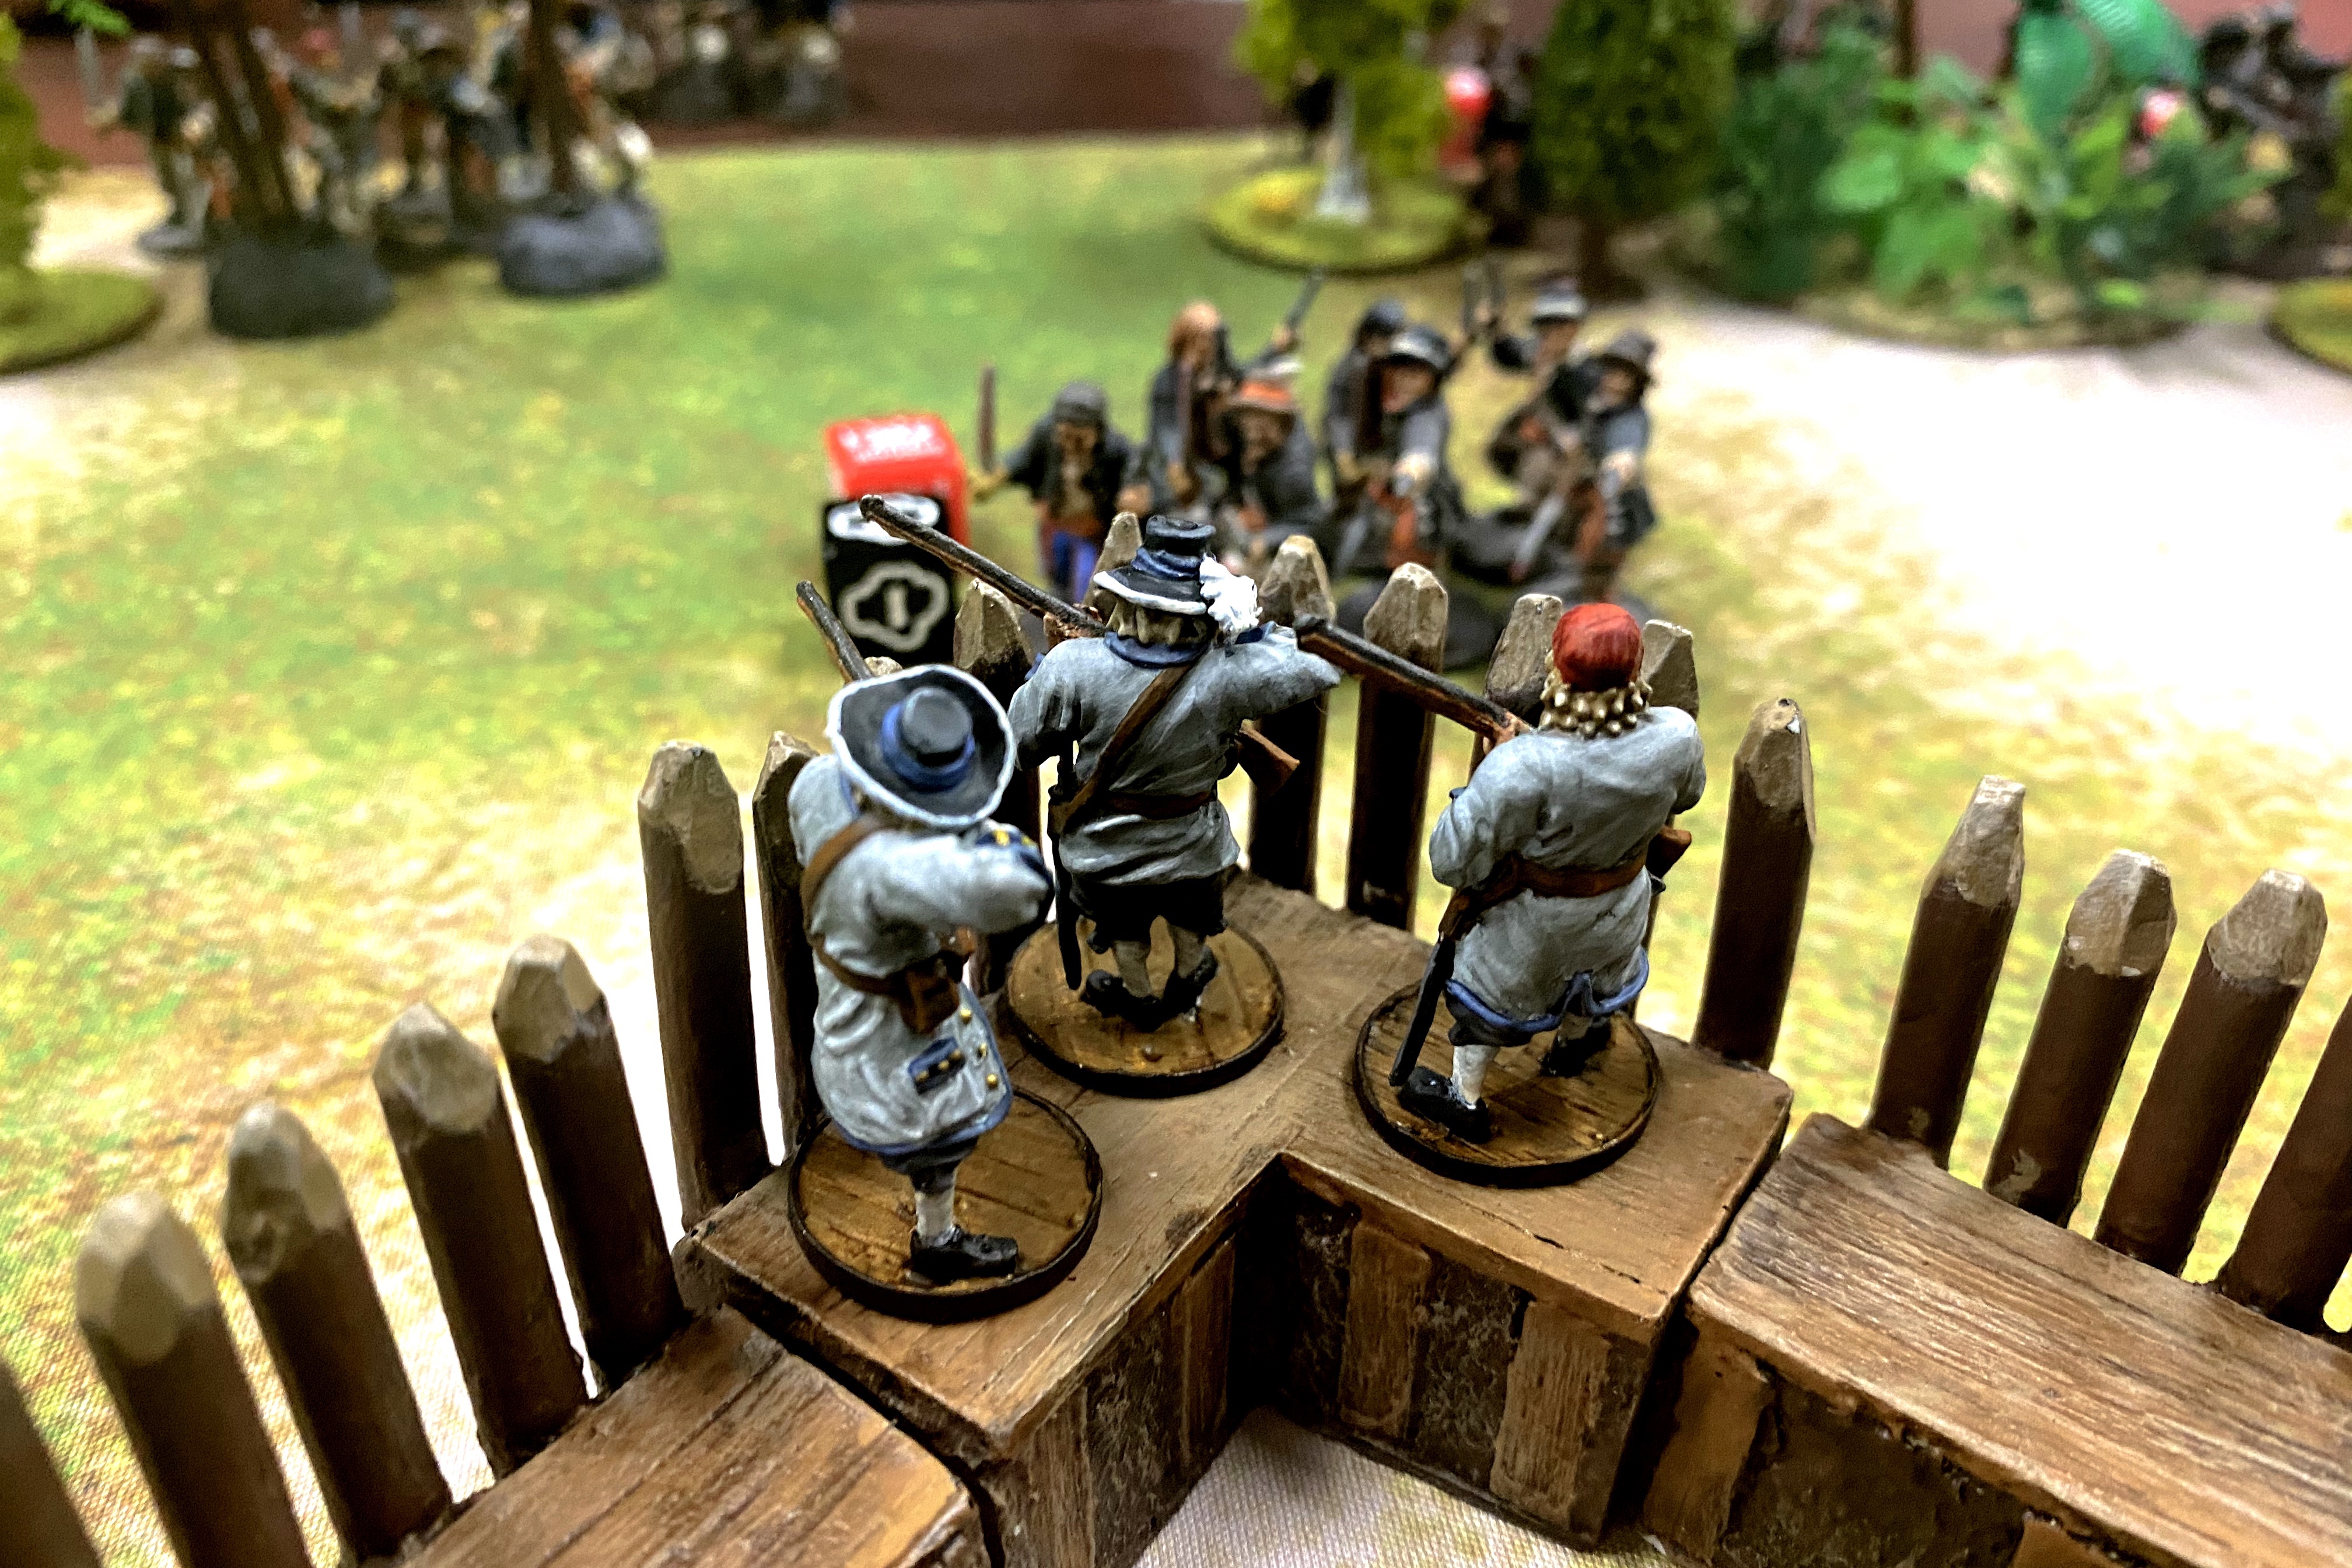
The first wave of brave Dutchmen fired their pistols and threw their Firepot at the unit of militia that was already scared by the musician. That unit took a beating the first turn and was down to 3/6 models right away! The Firepot failed to kill anyone and also failed to start the fort on fire.
My commander’s activation was a lot of fun with the full 4 Command Points.I had plenty of rallying to do but I also used a point to have the crew that had already fired on the Kapers to fire their loaded Heavy Cannon at the bold Zeelieden. A Heavy Cannon with grapeshot is no joke. The vanguard of the Dutch assault force fell back.
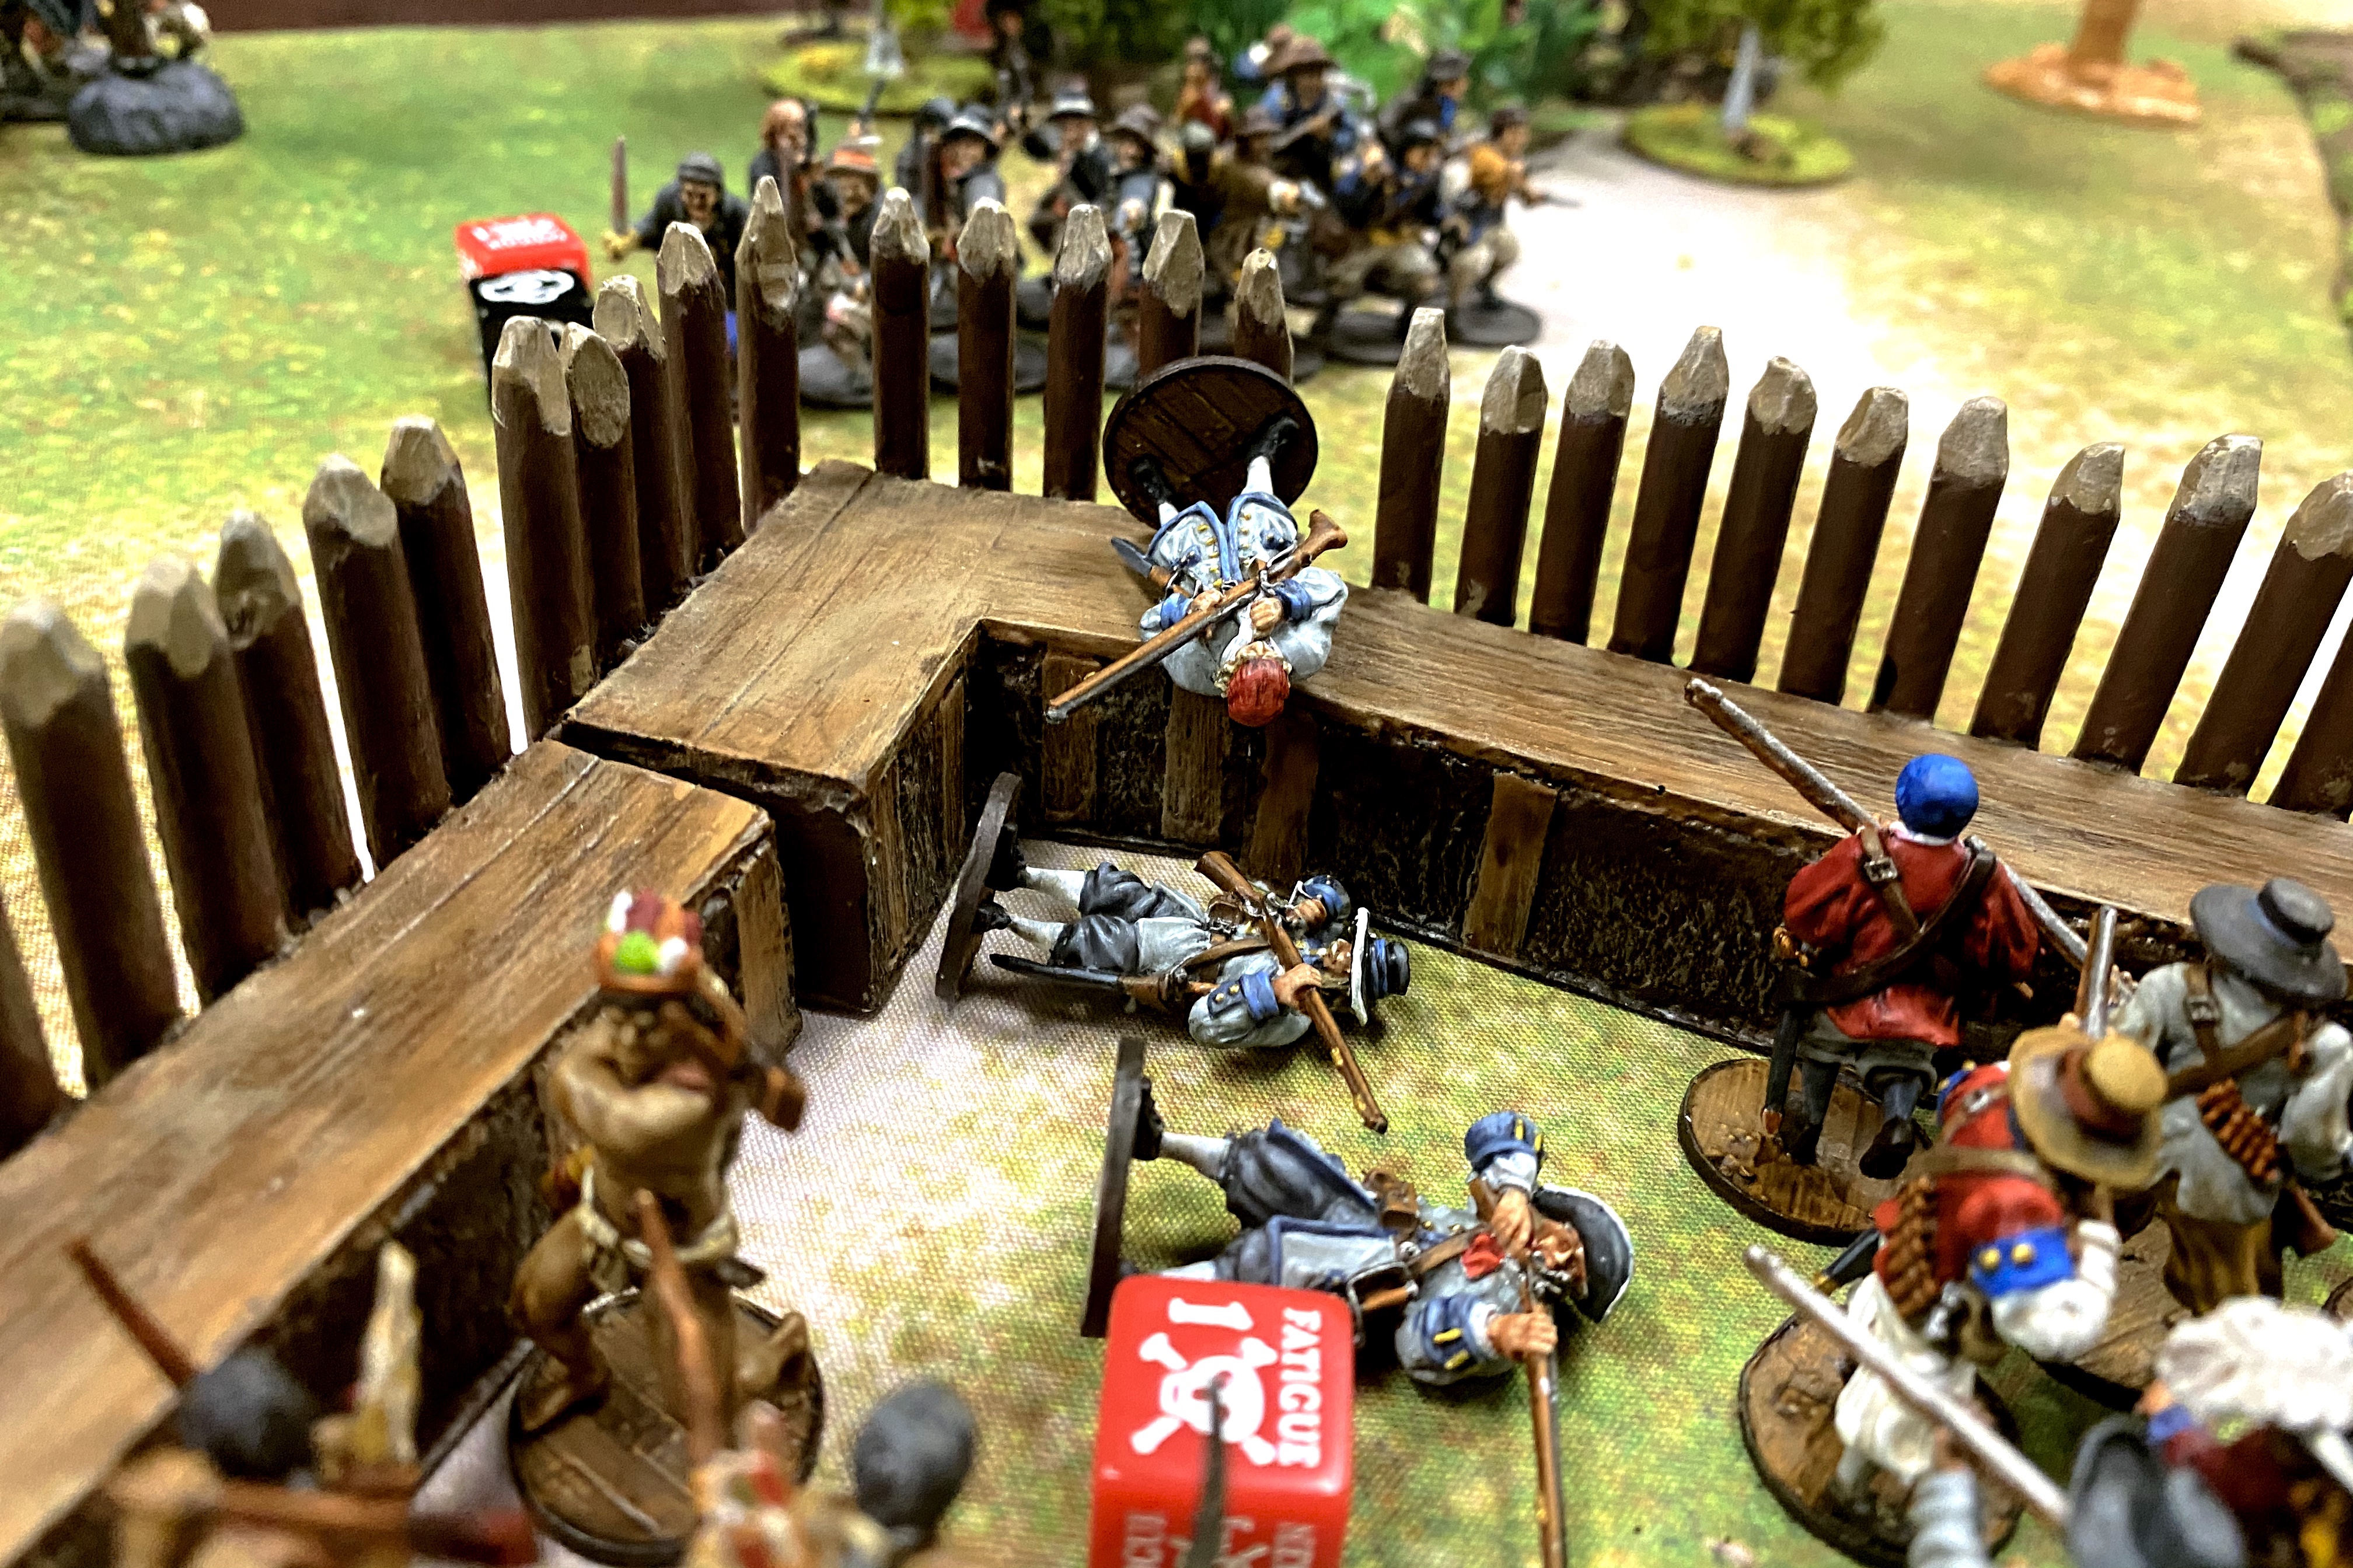
But they were immediately replaced by another larger and more deadly attack force! Enter Ploeg and Zeelieden moved up and attacked with pistols and Firepots, destroying the poor scared militia unit and further battering the Freebooter command unit. I took the command unit off the walls to protect it but the explosives can go right over the wall! No fair!
Turn 2
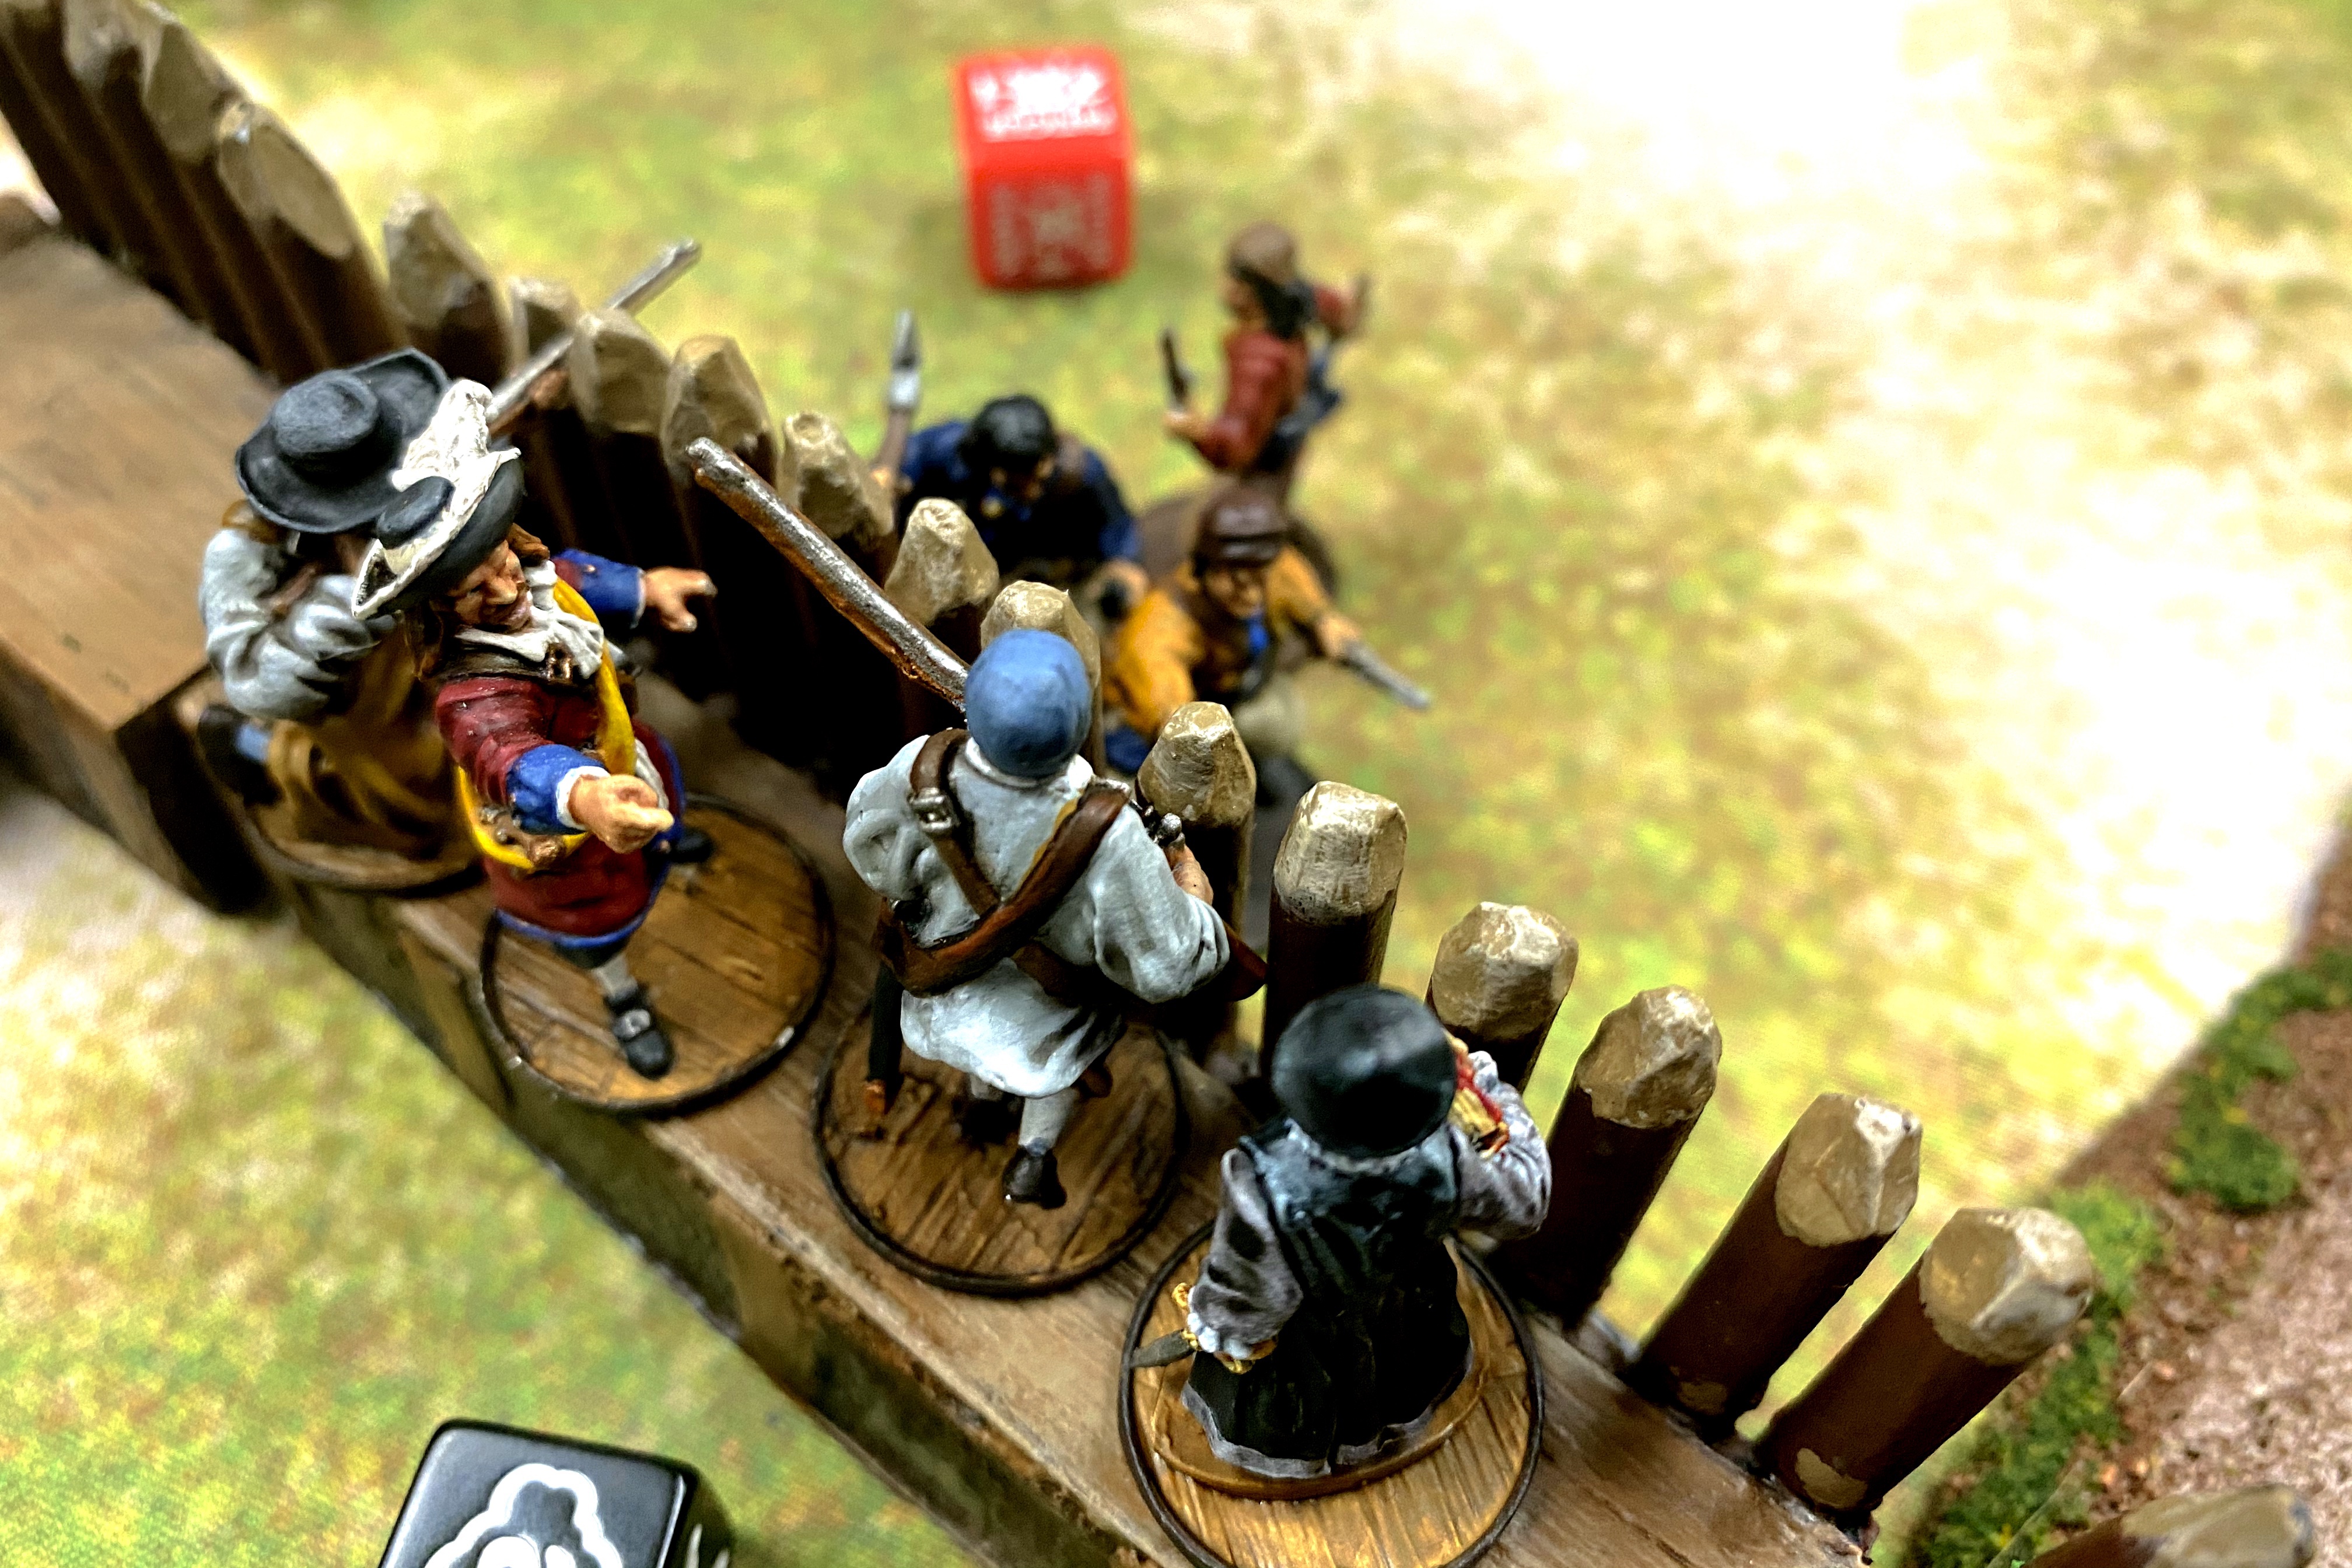
The Enter Ploeg moved up and threw Firepots over the walls again on my poor command unit leaving me with only 2 of the original 7 Freebooters in addition to Whetstone and the Spiritual Leader.
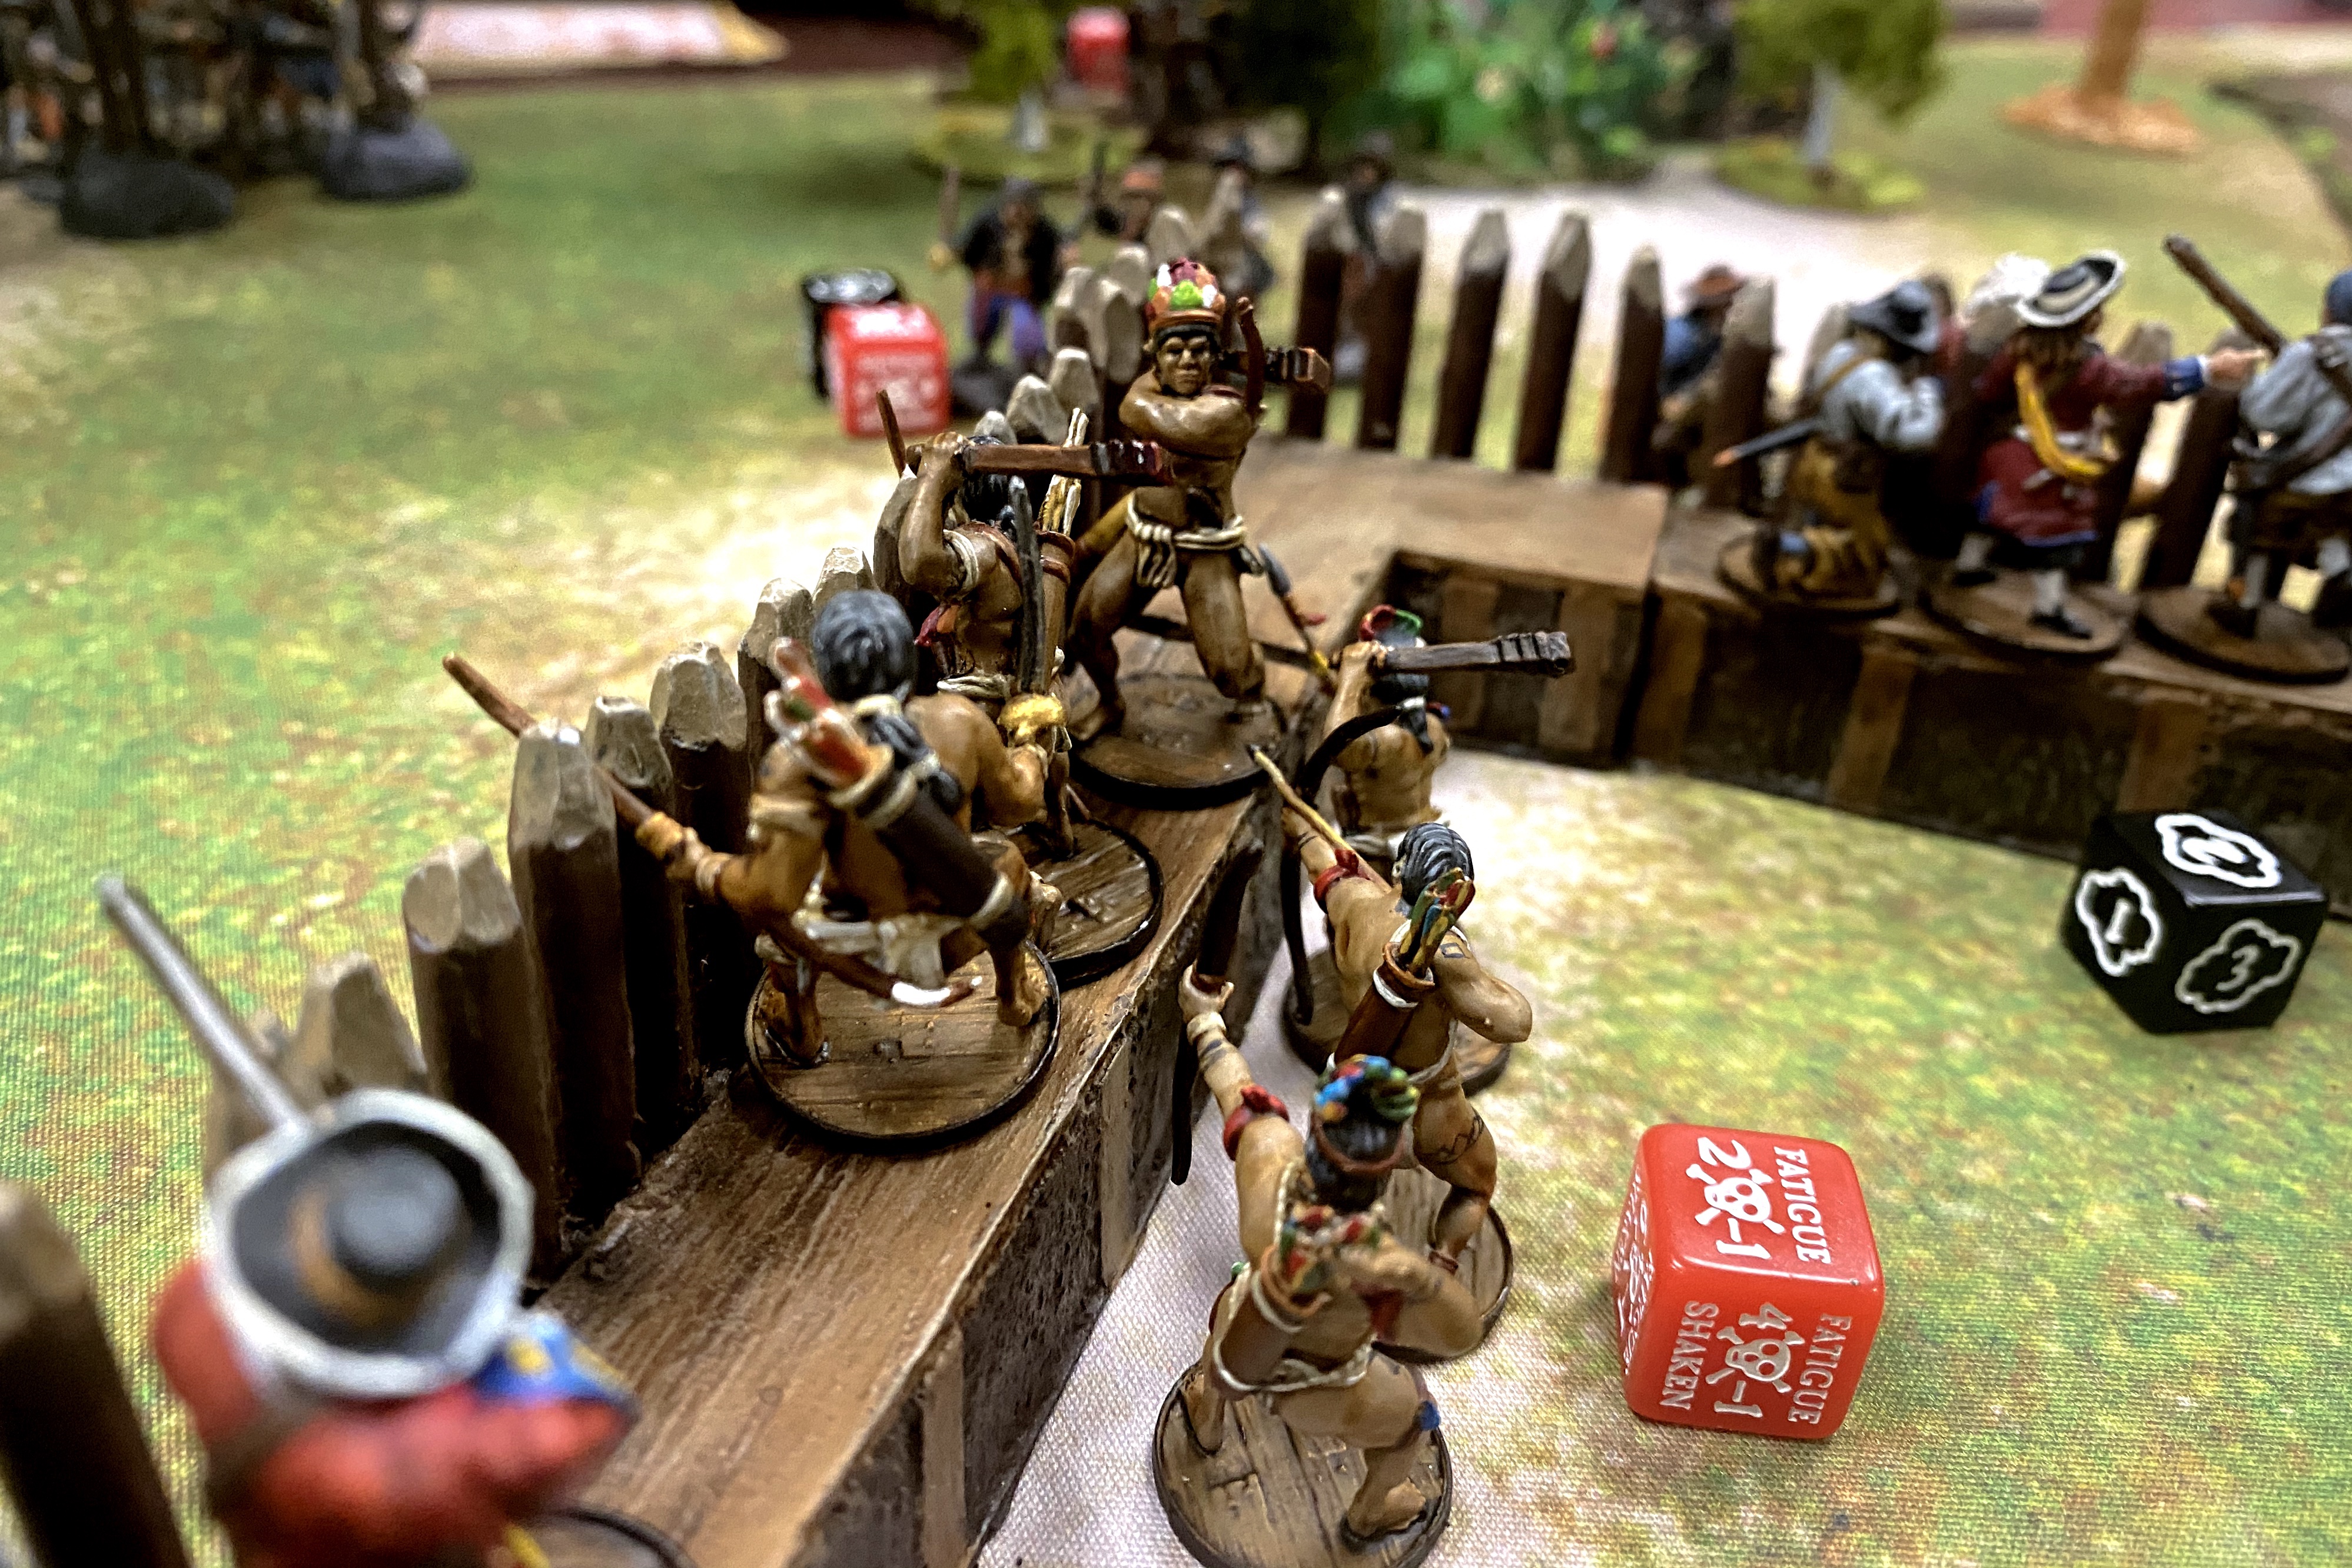
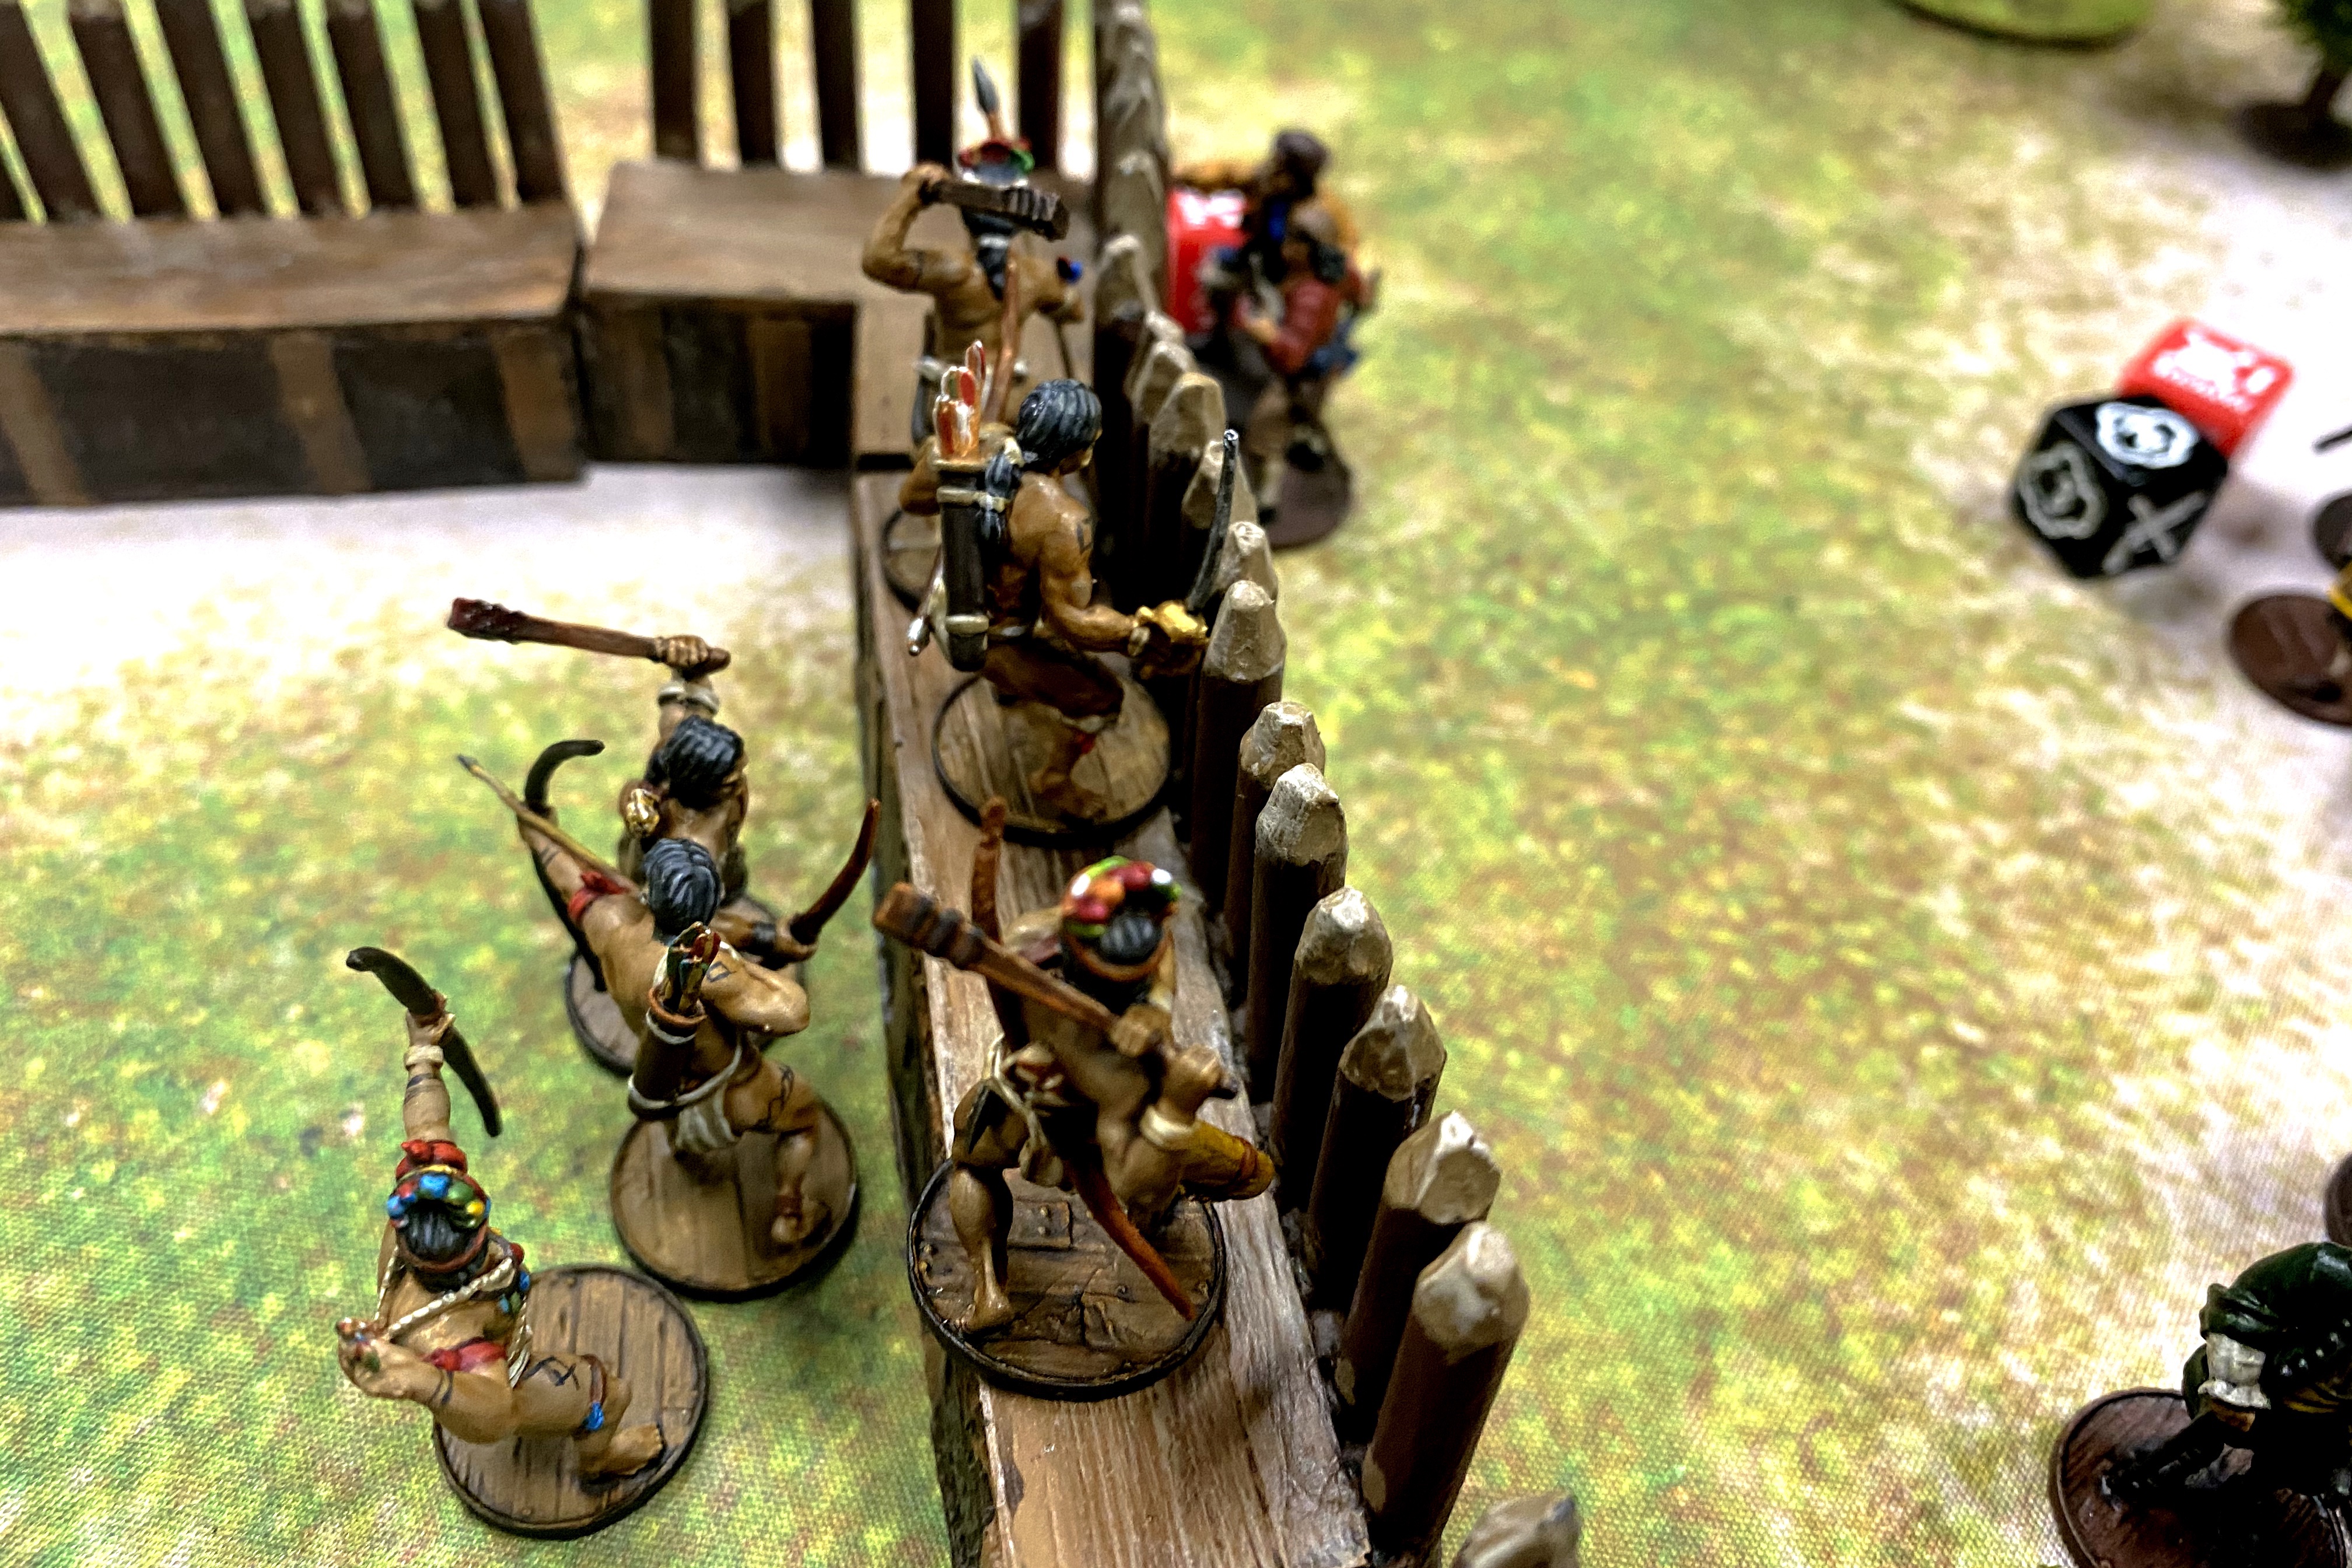
With the enemy out the open, the Warriors with bows had a field day. On a Spade, I would move them on to the parapet with Quick, shoot, then push to shoot again (taking 2 Fatigue, one for shooting twice and one for pushing), then use Skirmishers to pull them back off the wall so they wouldn’t get hit so hard. I had to use a Command Point every turn to rally them but it seemed to be worth it!
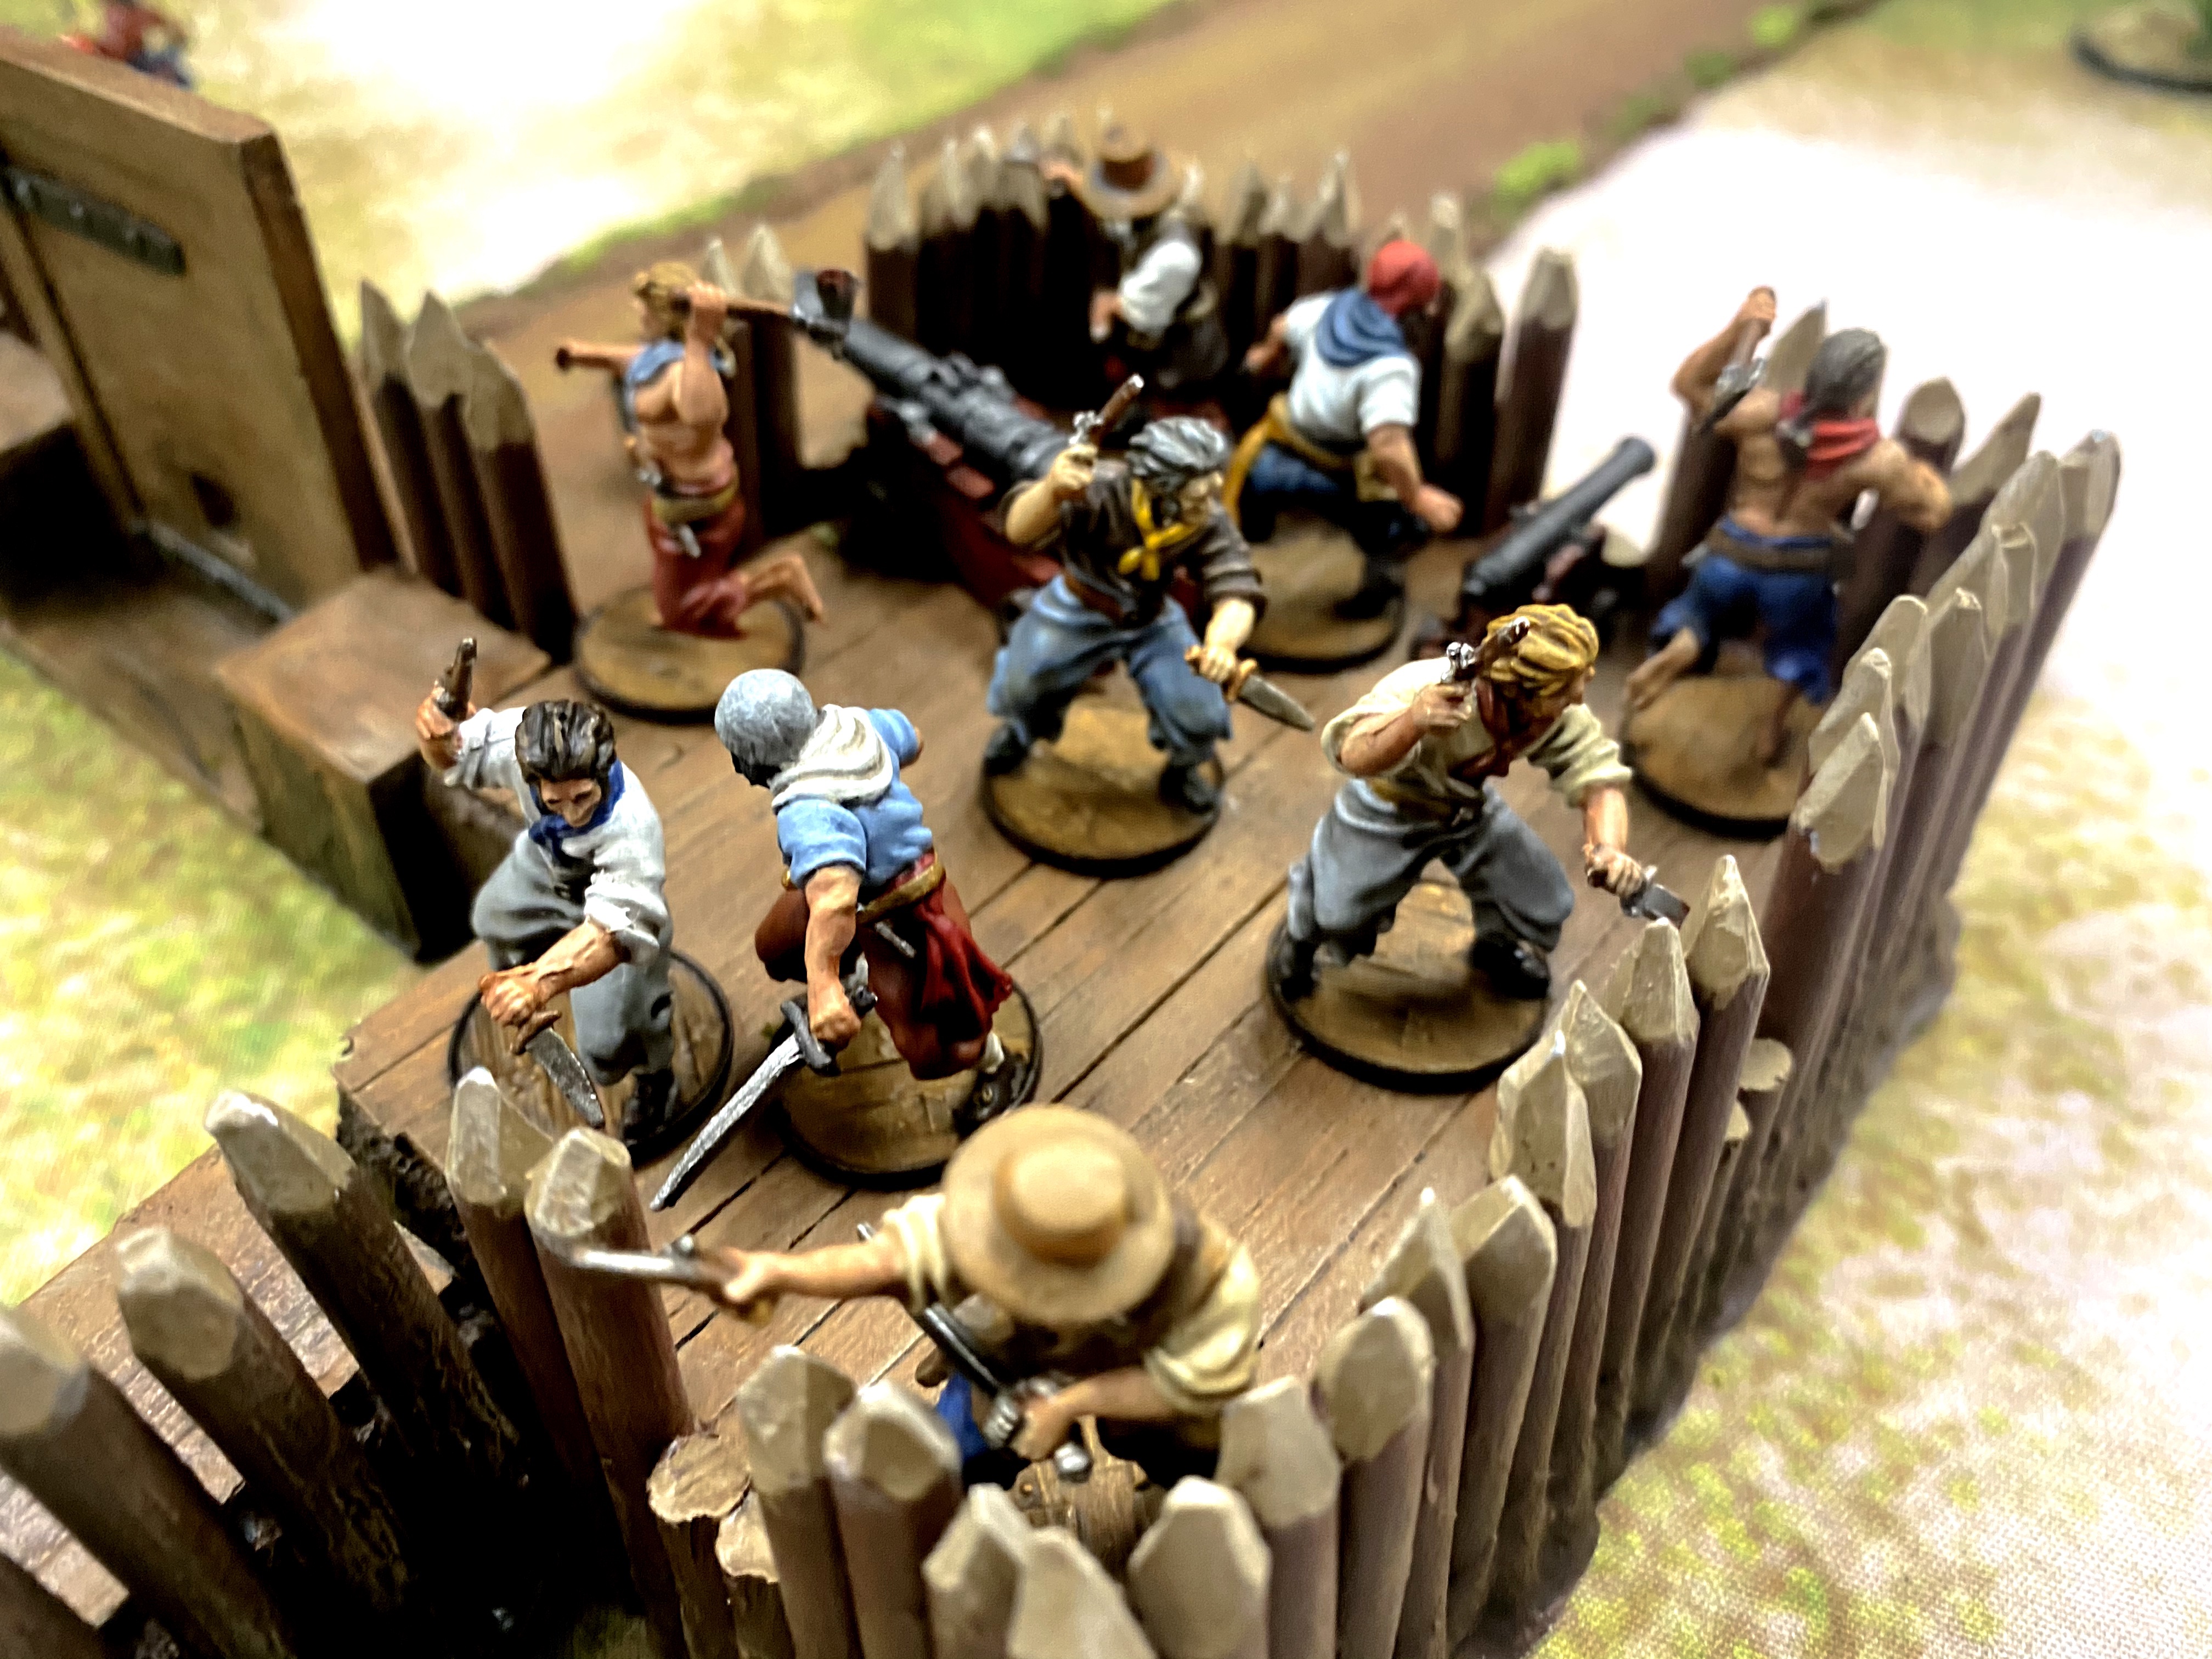
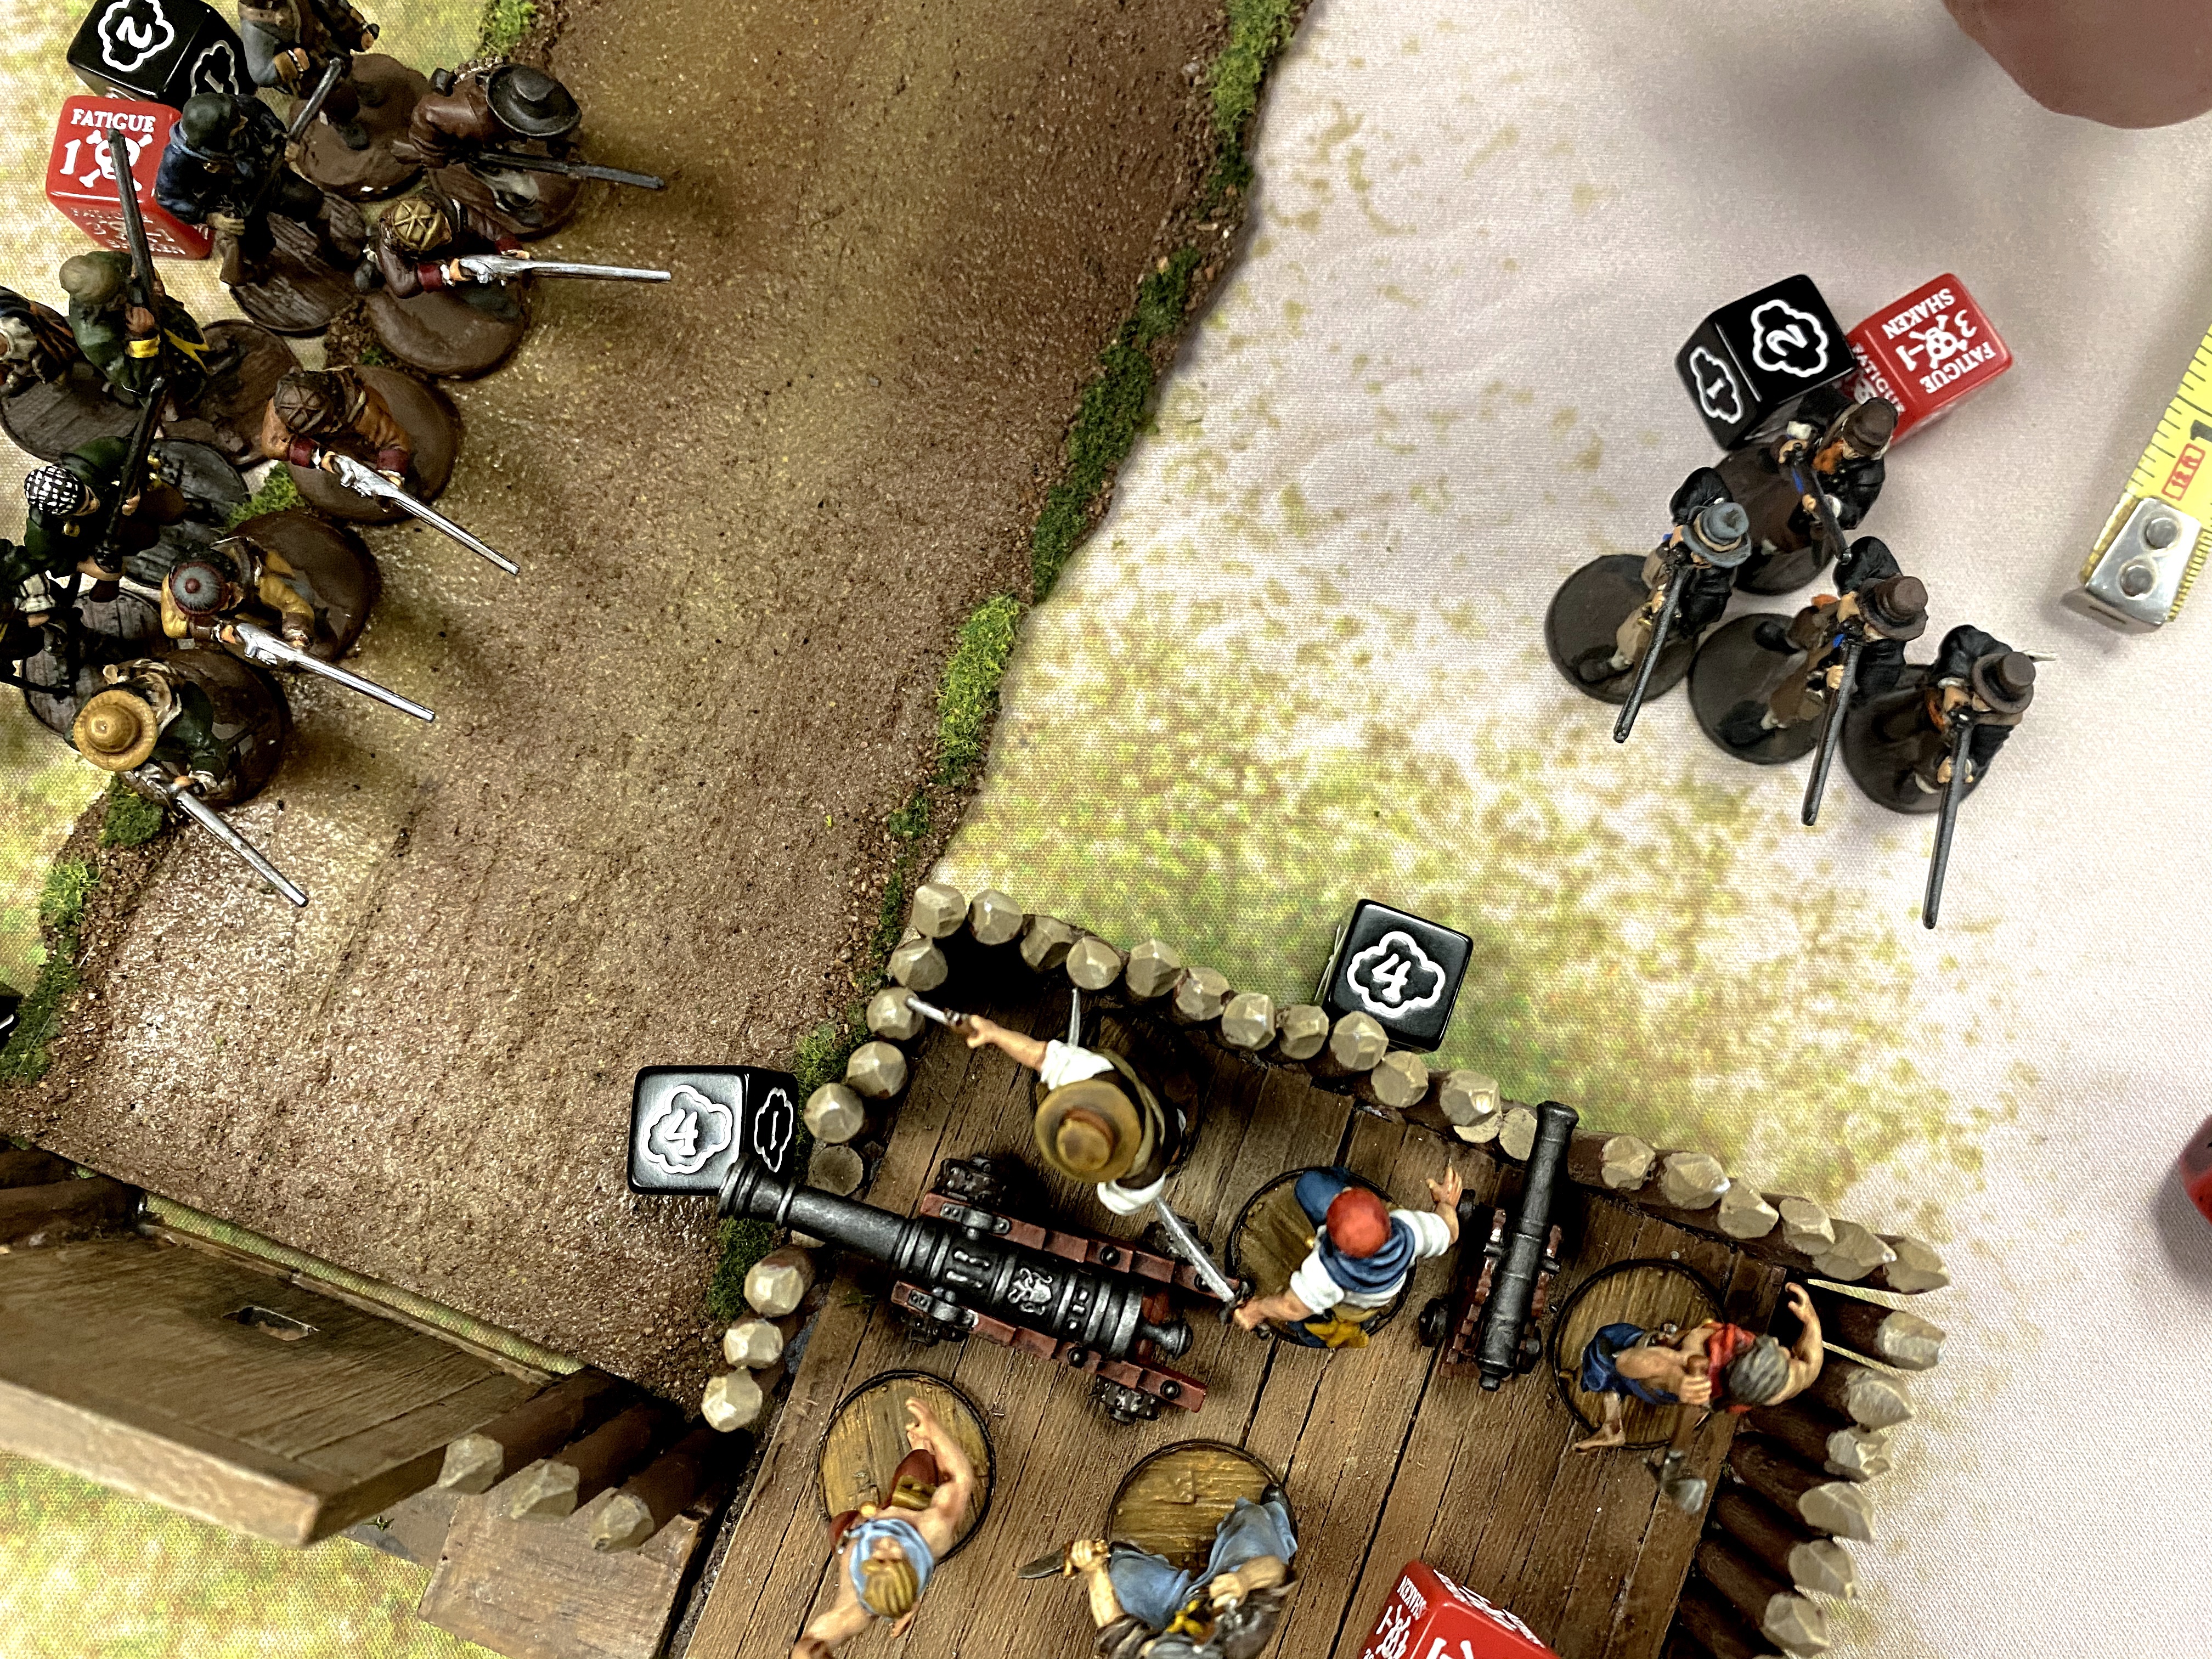
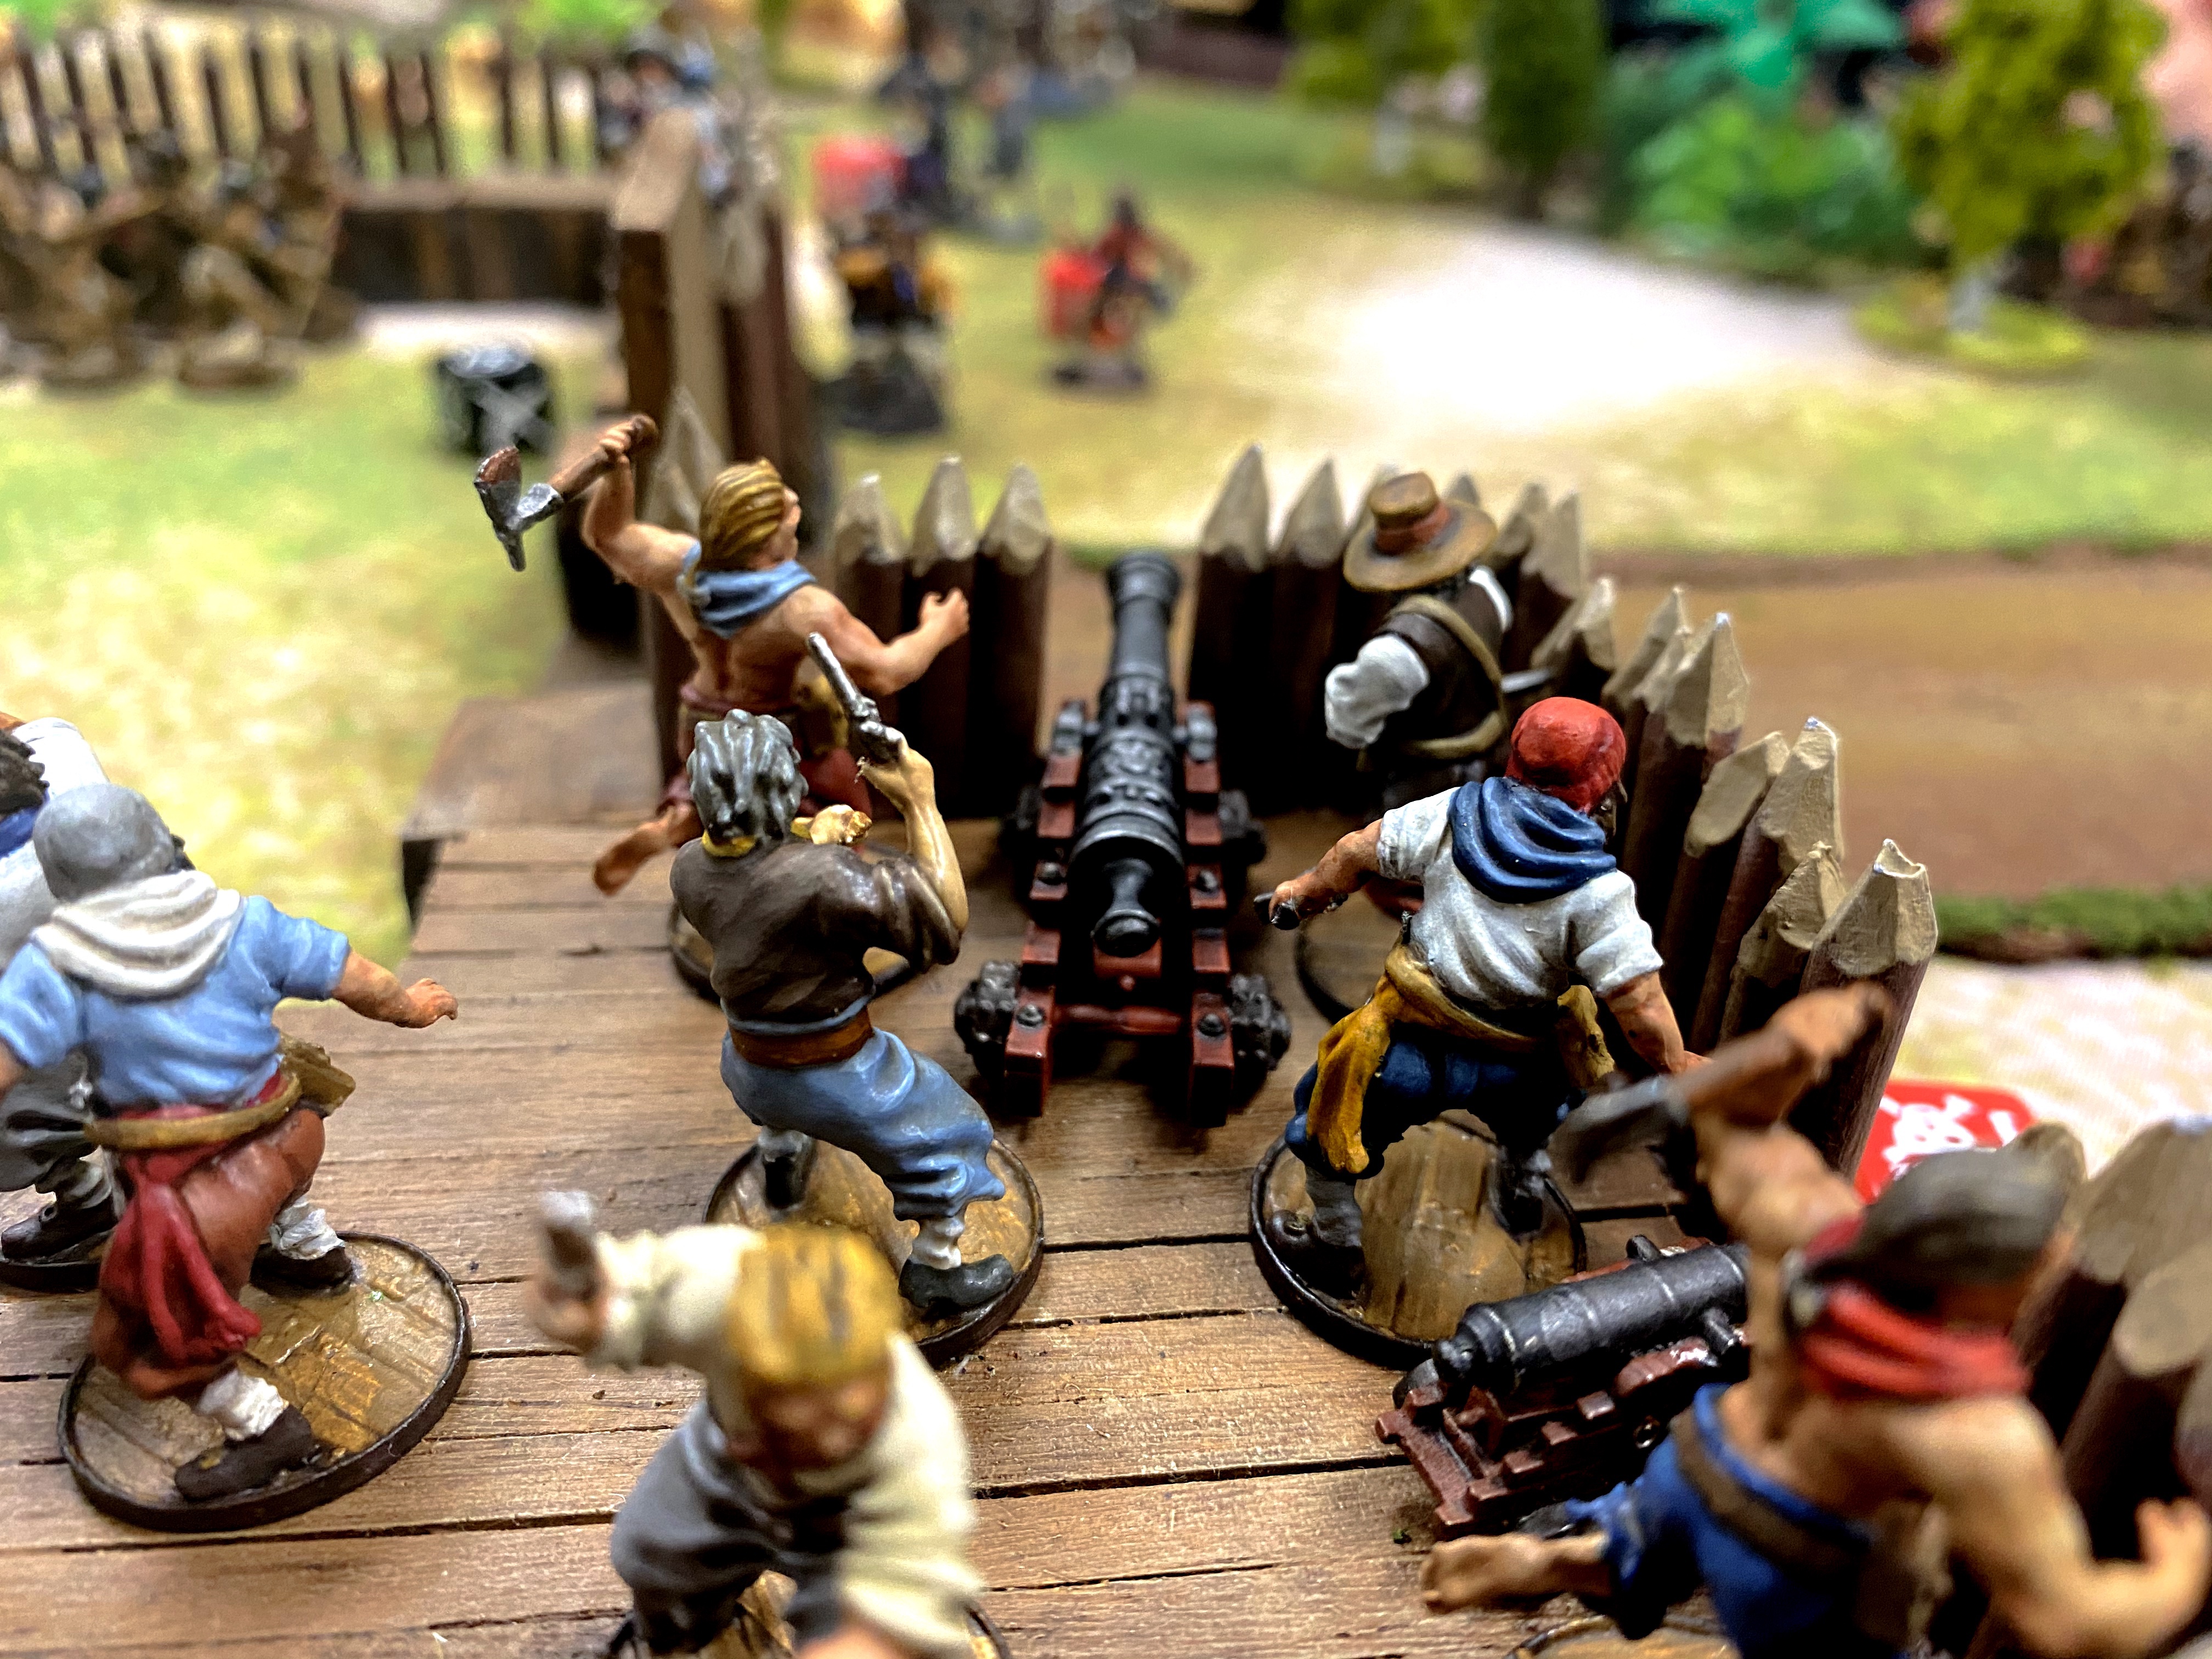
The Sea Dogs in the bastion reloaded but having fired their two guns on separate activations, they never really got the guns synced up again. Having two guns in a structure that point in different directions feels very different than just shooting broadsides out of a ship.
I was able to destroy one unit of Zeelieden and seriously whittle down the other unit and the Enter Pleog but the Firepots kept coming! Bryan threw them the dangerous way with only 1 action but for the first couple turns, he got lucky and didn’t get any misfires. He also didn’t get many kills with them and my fort stubbornly refused to catch fire.
The Enter Ploeg and my command unit exchanged fire on the wall and the dice favored me! The Firepots again failed to set the fort on fire and I killed some more Enter Ploeg until there were only 3 left.
Then up came the second wave! The massive units of 16 European Sailors with muskets came on and fired a volley. The first volley missed entirely and a Fortune Point only increased it by one success! My command unit had no business still being on the table, let alone remaining unshaken! Whetstone got incredibly lucky.
The Firepot attack killed the last remaining Freebooter. The unit was down to the commander and Spiritual Leader!
It also set the wall on fire! Whetstone stood firm with only 1 Fatigue but he was in such danger!
The fire didn’t spread at the end of turn 2. We tallied casualties and it was already a bloody mess!
The Dutch had already taken 20 casualties of their original 48 models.
My English had taken 14 casualties of their original 48.
Turn 3
A weather event on turn 3 brought on some Light Rain that gave every unit an extra reload marker when the fired a gunpowder weapon. This wasn’t great for my cannons, militia or Bryan’s European Sailors, but the Brace of Pistols and Firepots didn’t care and neither did the Warriors with bows!

I was lucky to draw the 13 of Spades this round so I could get my poor commander out of harm’s way before he was destroyed. I used one of his Command Points on his own unit and they were miraculously able to put out the fire before moving off the wall.
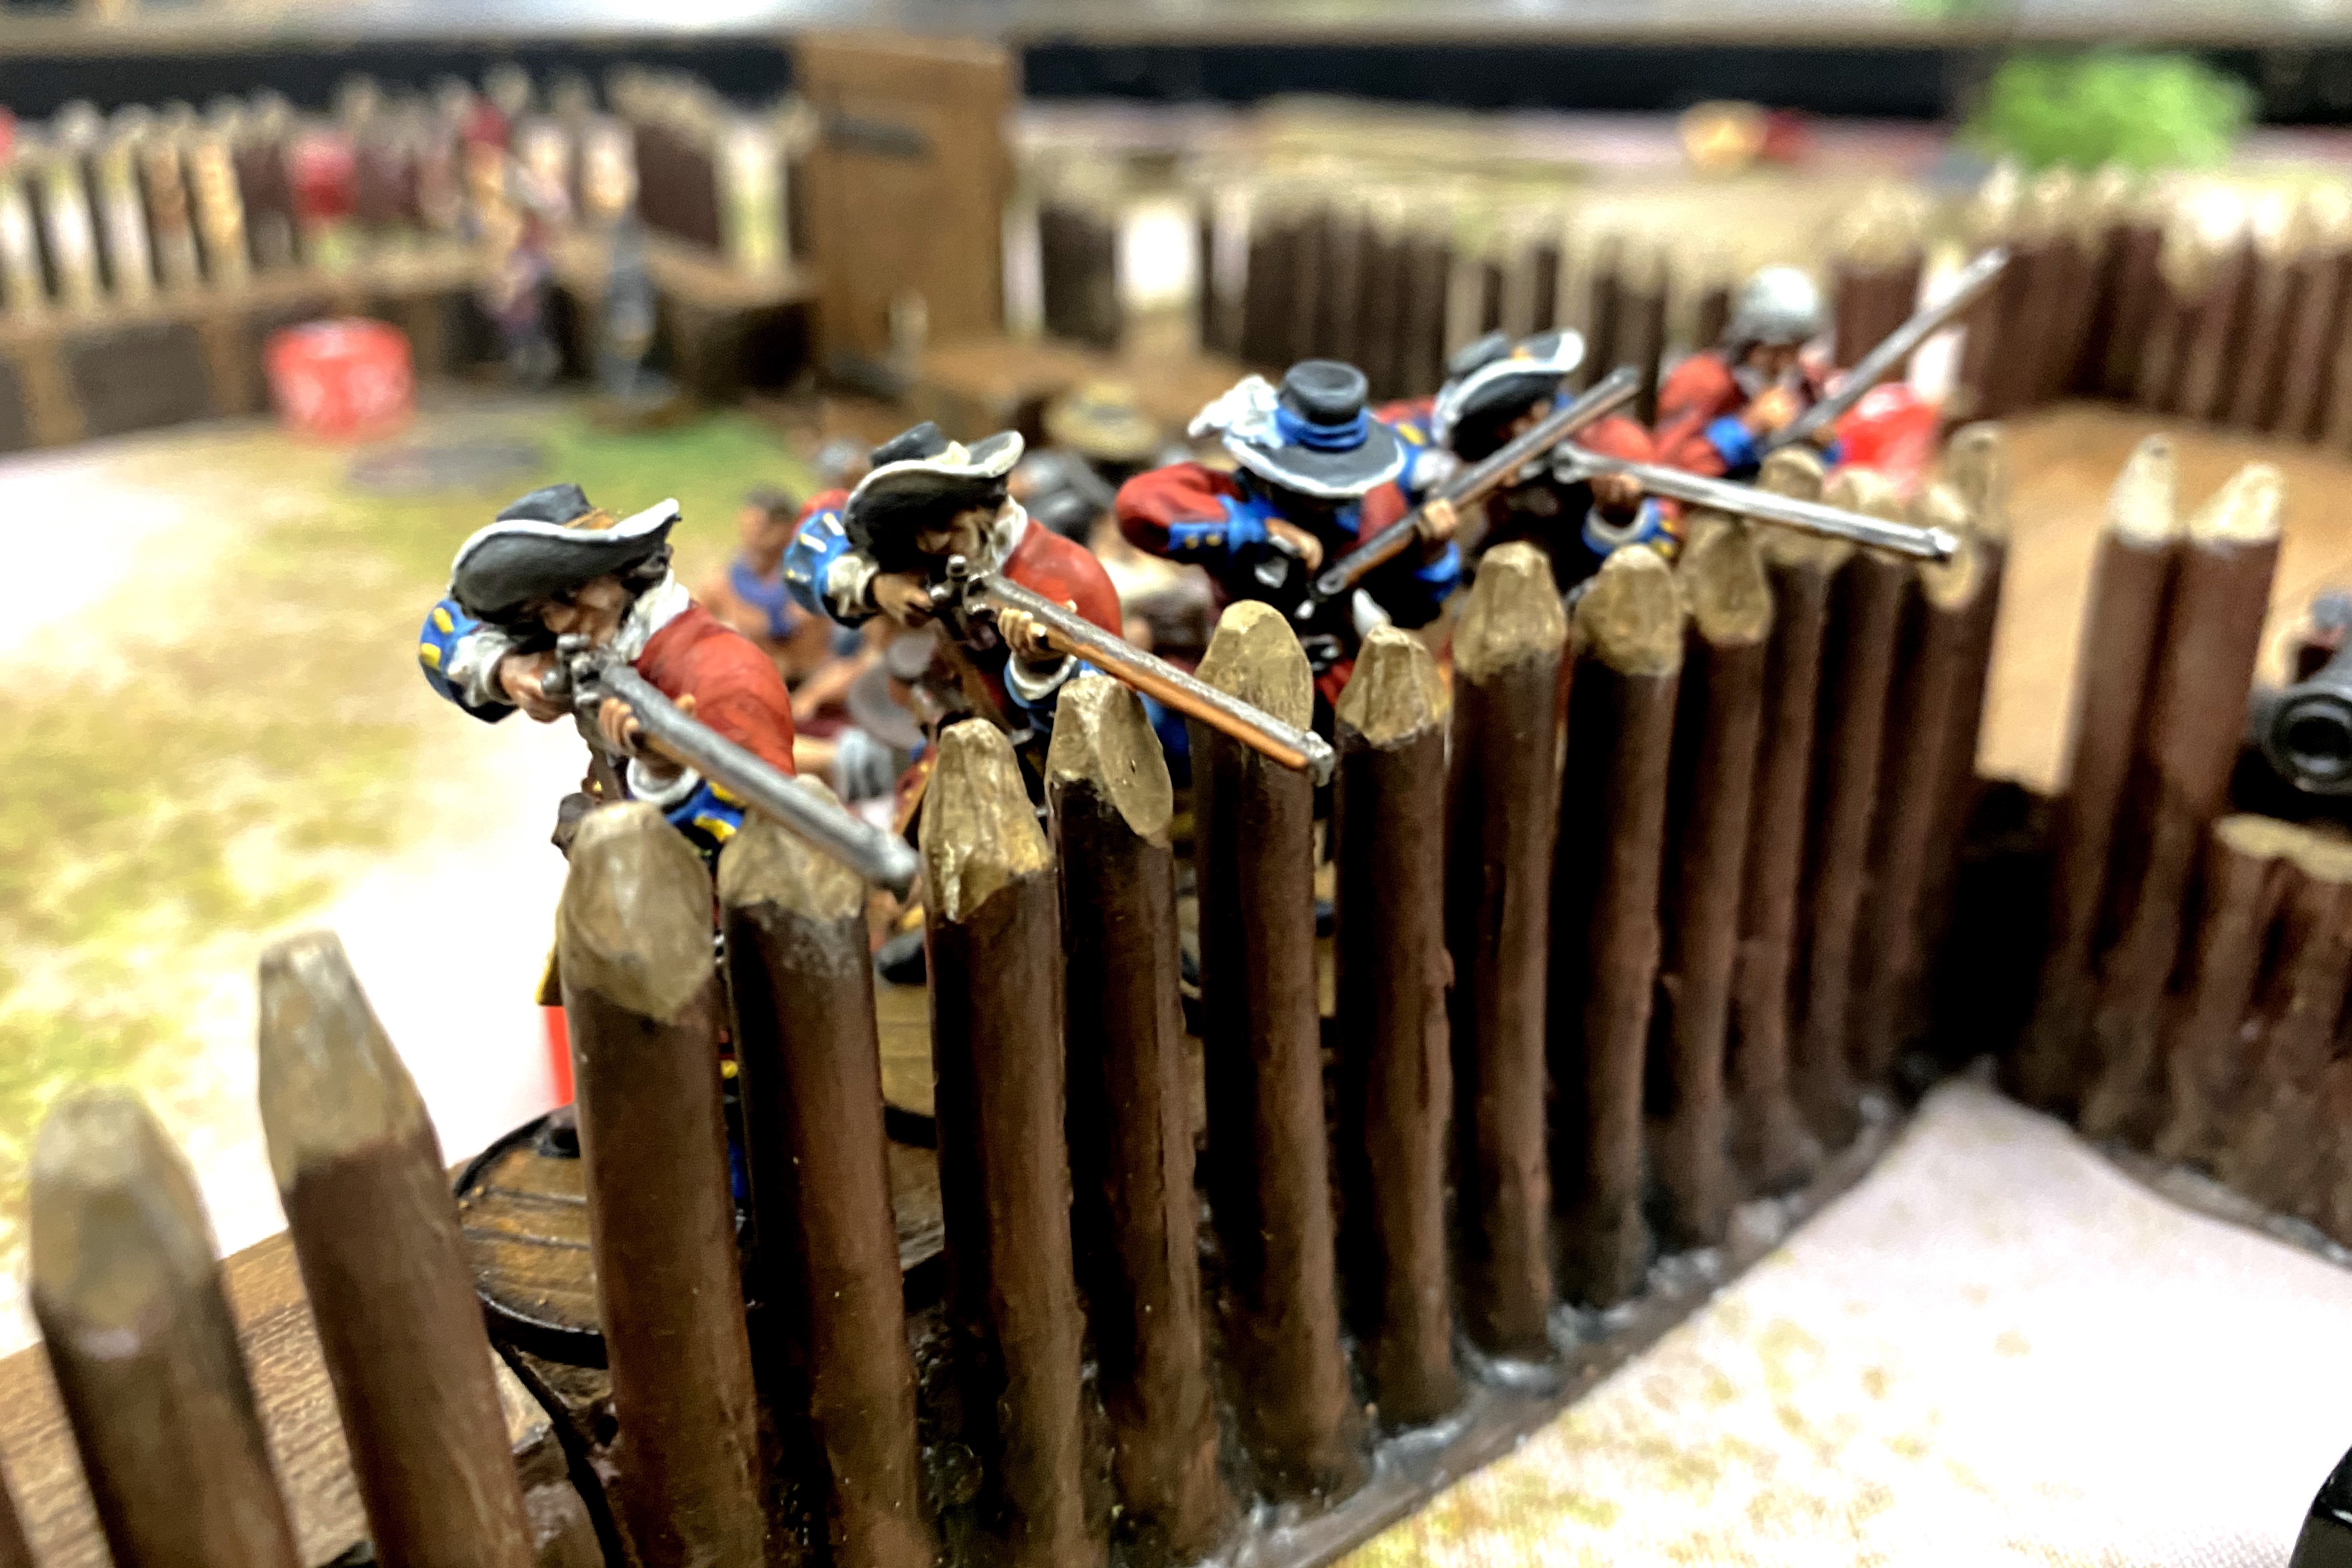
My second unit of English Militia fired another volley, blunting the Zeeliden’s attack but taking 3 reloads, it would take them another turn and a half to be able to fire again!

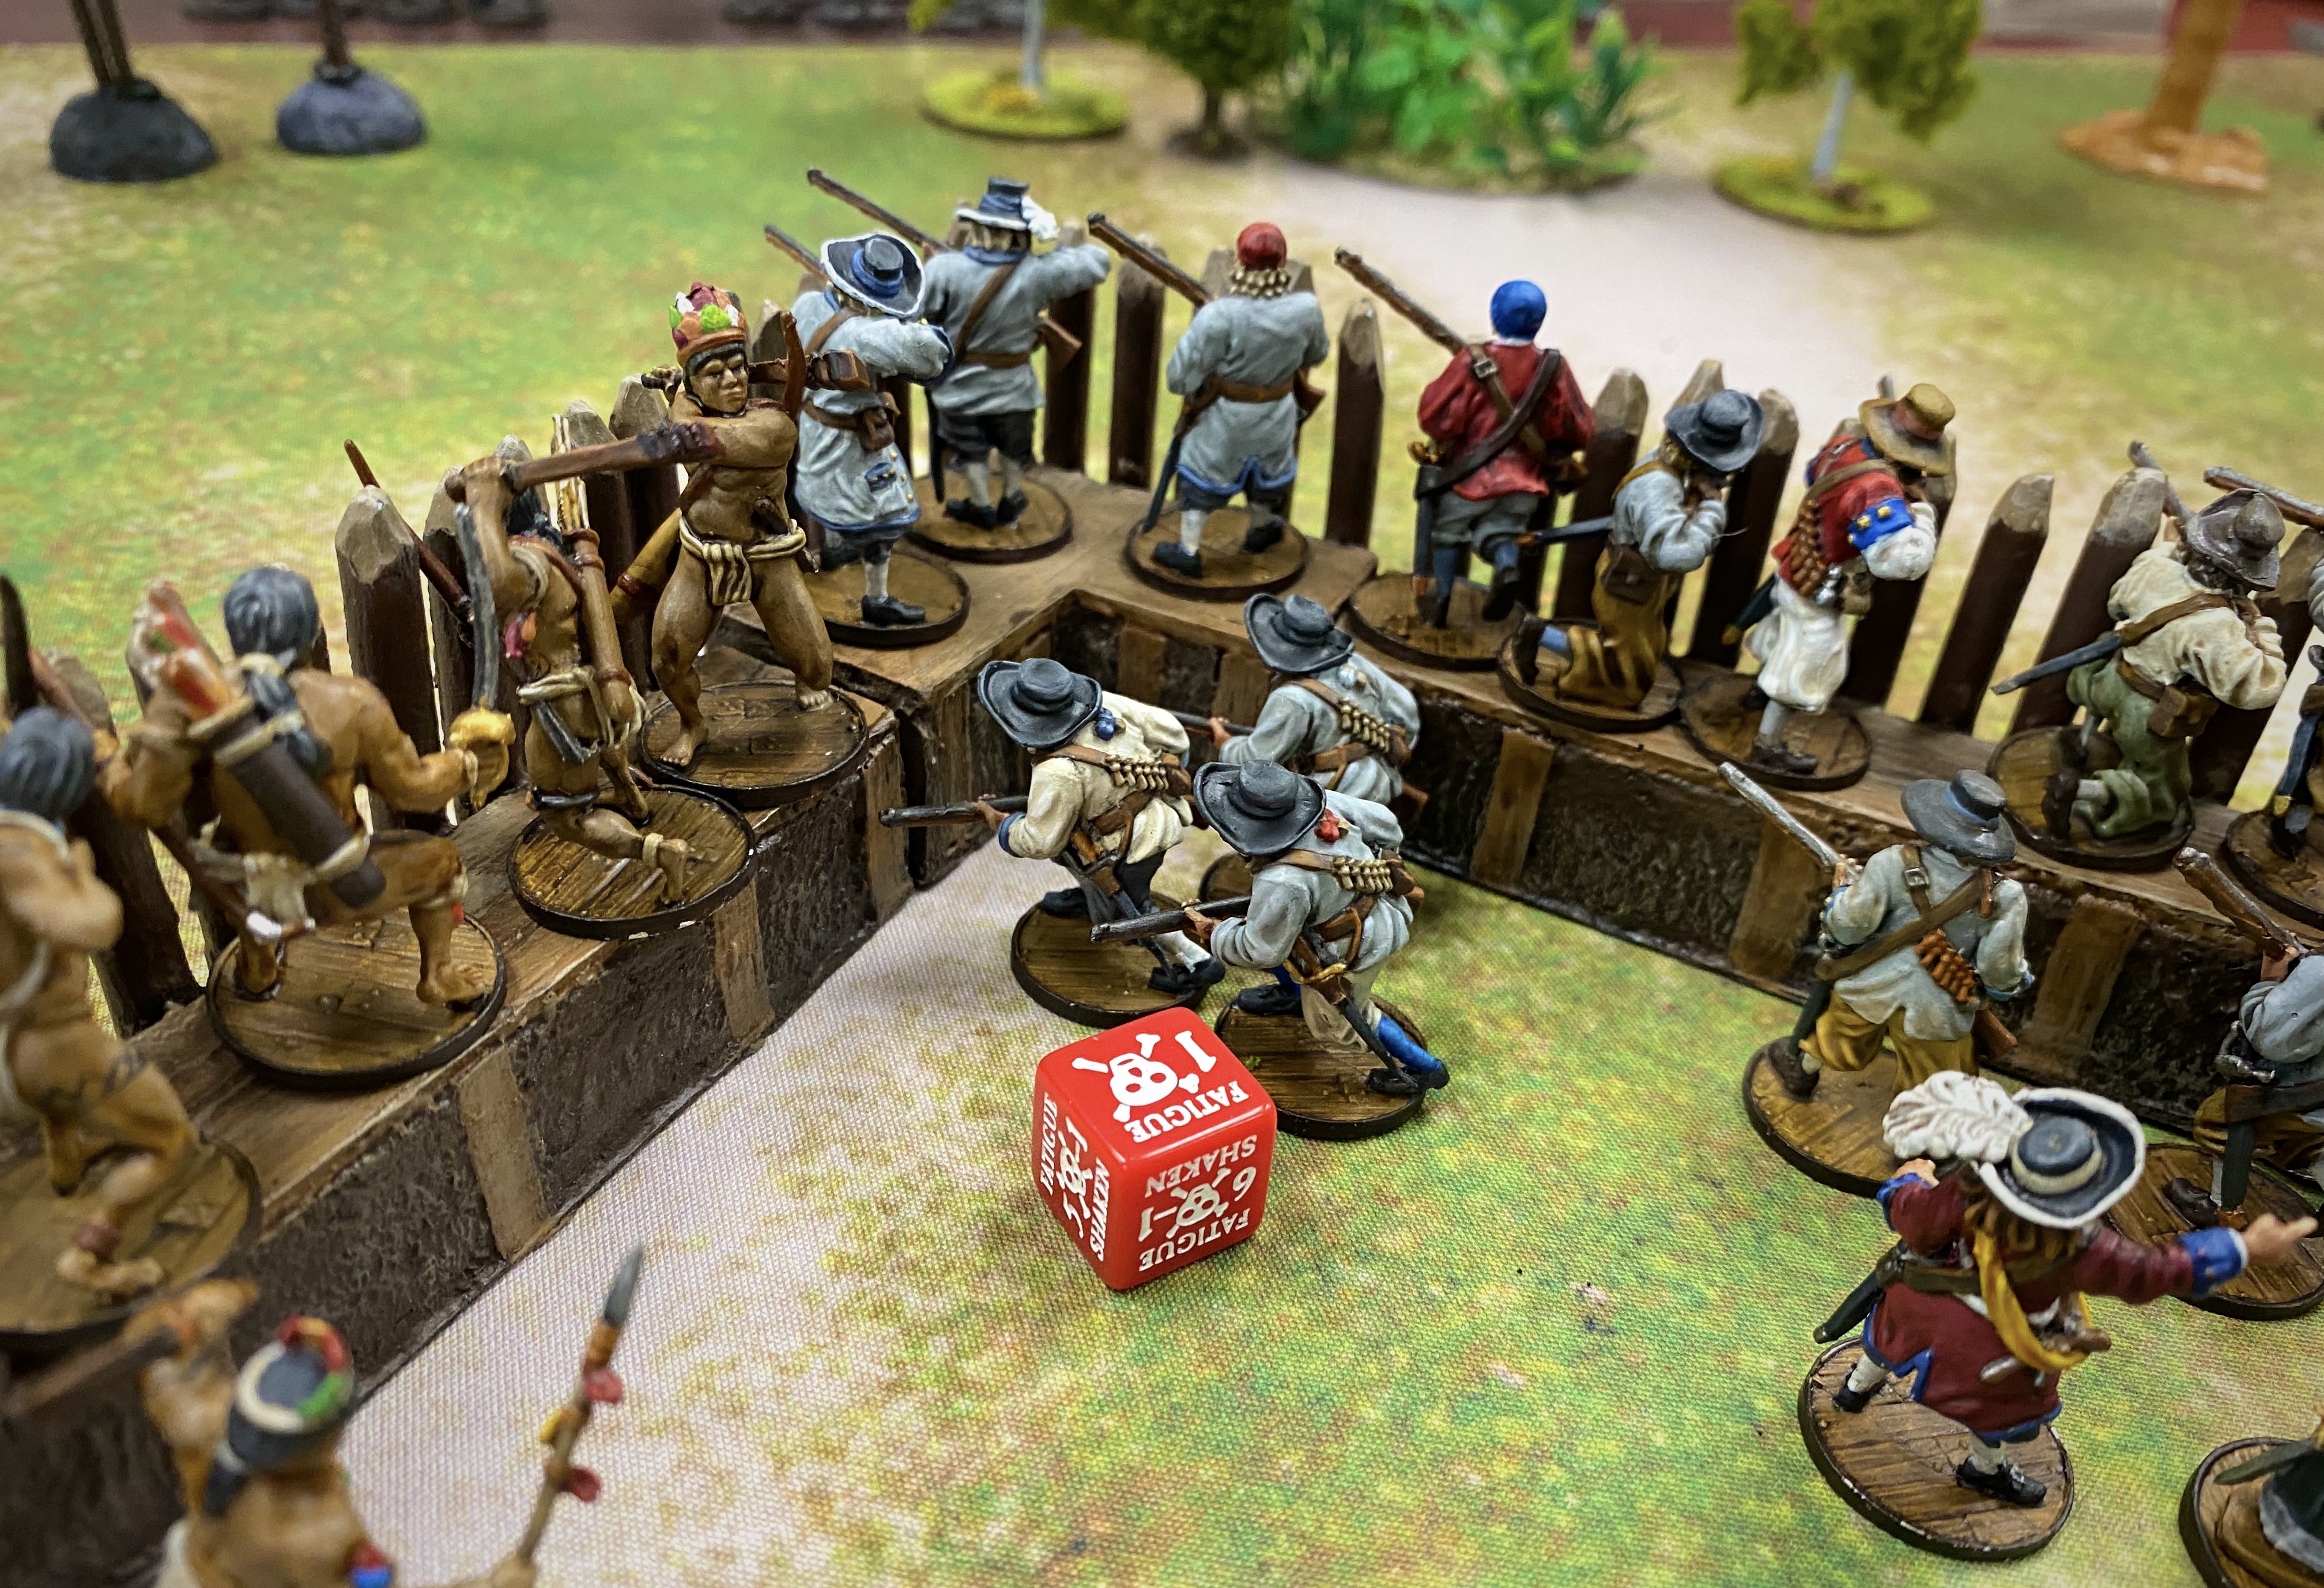
At this point, the Dutch assault team started to get careless with their explosives and they started to blow up in their own hands! After no issues on the first two turns, Bryan rolled two 1’s with the Enter Ploeg’s Firepots which ended up killing one of his own men and forcing them to retreat. This was a lucky break for me because I basically only had the Warriors and the unloaded militia unit on the walls to hold back the assault.
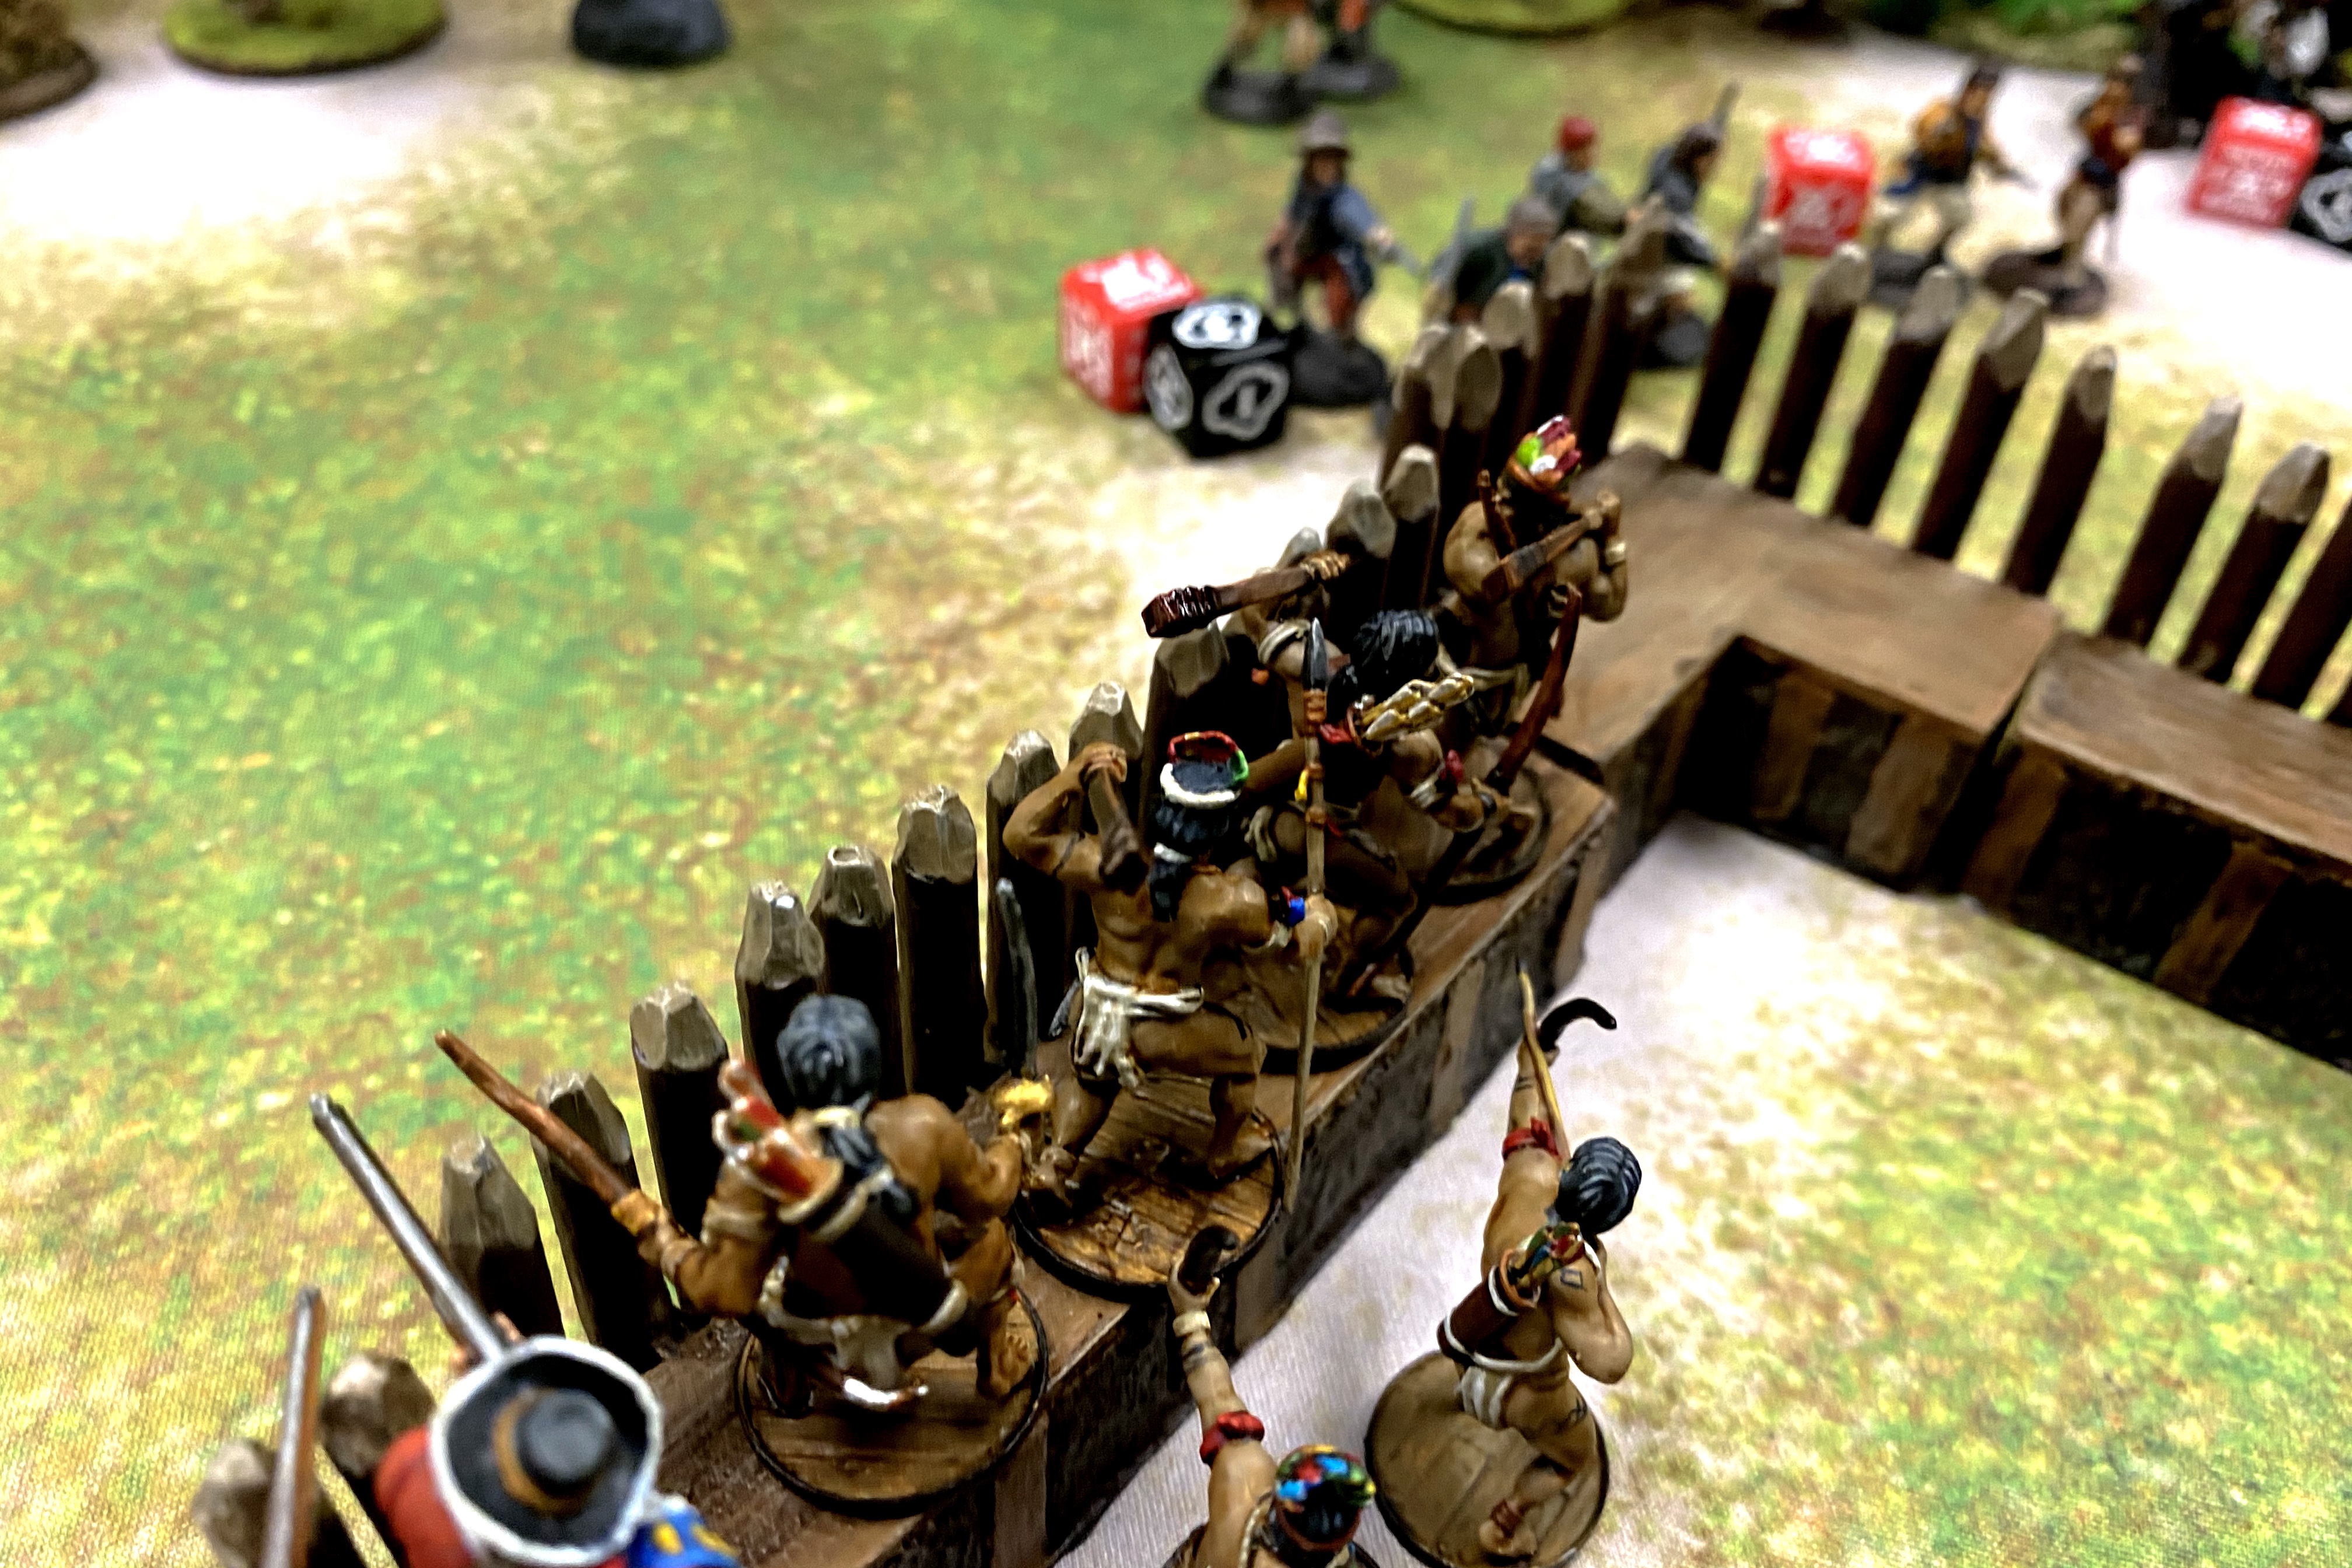
In a cruel twist of fate, the Zeelieden rolled a misfire on their single Firepot as well! The Warriors did their Quick/Shoot/Push Shoot/Skirmishers trick again and forced the last unit of Zeelieden to fall back.
 Things were looking slightly up for me. I had beat back the main assault team but the two large units of Sailors with muskets hadn’t put their entire weight into the assault yet.
My Commander survived against all odds and my cannon crews hadn’t really been targeted at all yet so they could provide a strong melee counterattack if the walls were breached. But my ranged defenses were severely depleted with only 2 of my original 4 ranged units functional.
The Dutch had lost most of their storming party but they still had their two extremely large units left along with a nearly fresh unit of Kapers on my flank.
Neither side had to roll for a Strike on turn 3 in spite of Bryan taking a Strike for not having one of my bastions on fire so we moved to turn 4.
The Dutch were close to 50% casualties which would have forced them to take a Strike Test!
Turn 4
With my muskets unloaded and my Freebooters dead, I was relying on my cannons and bows to keep me in the game.
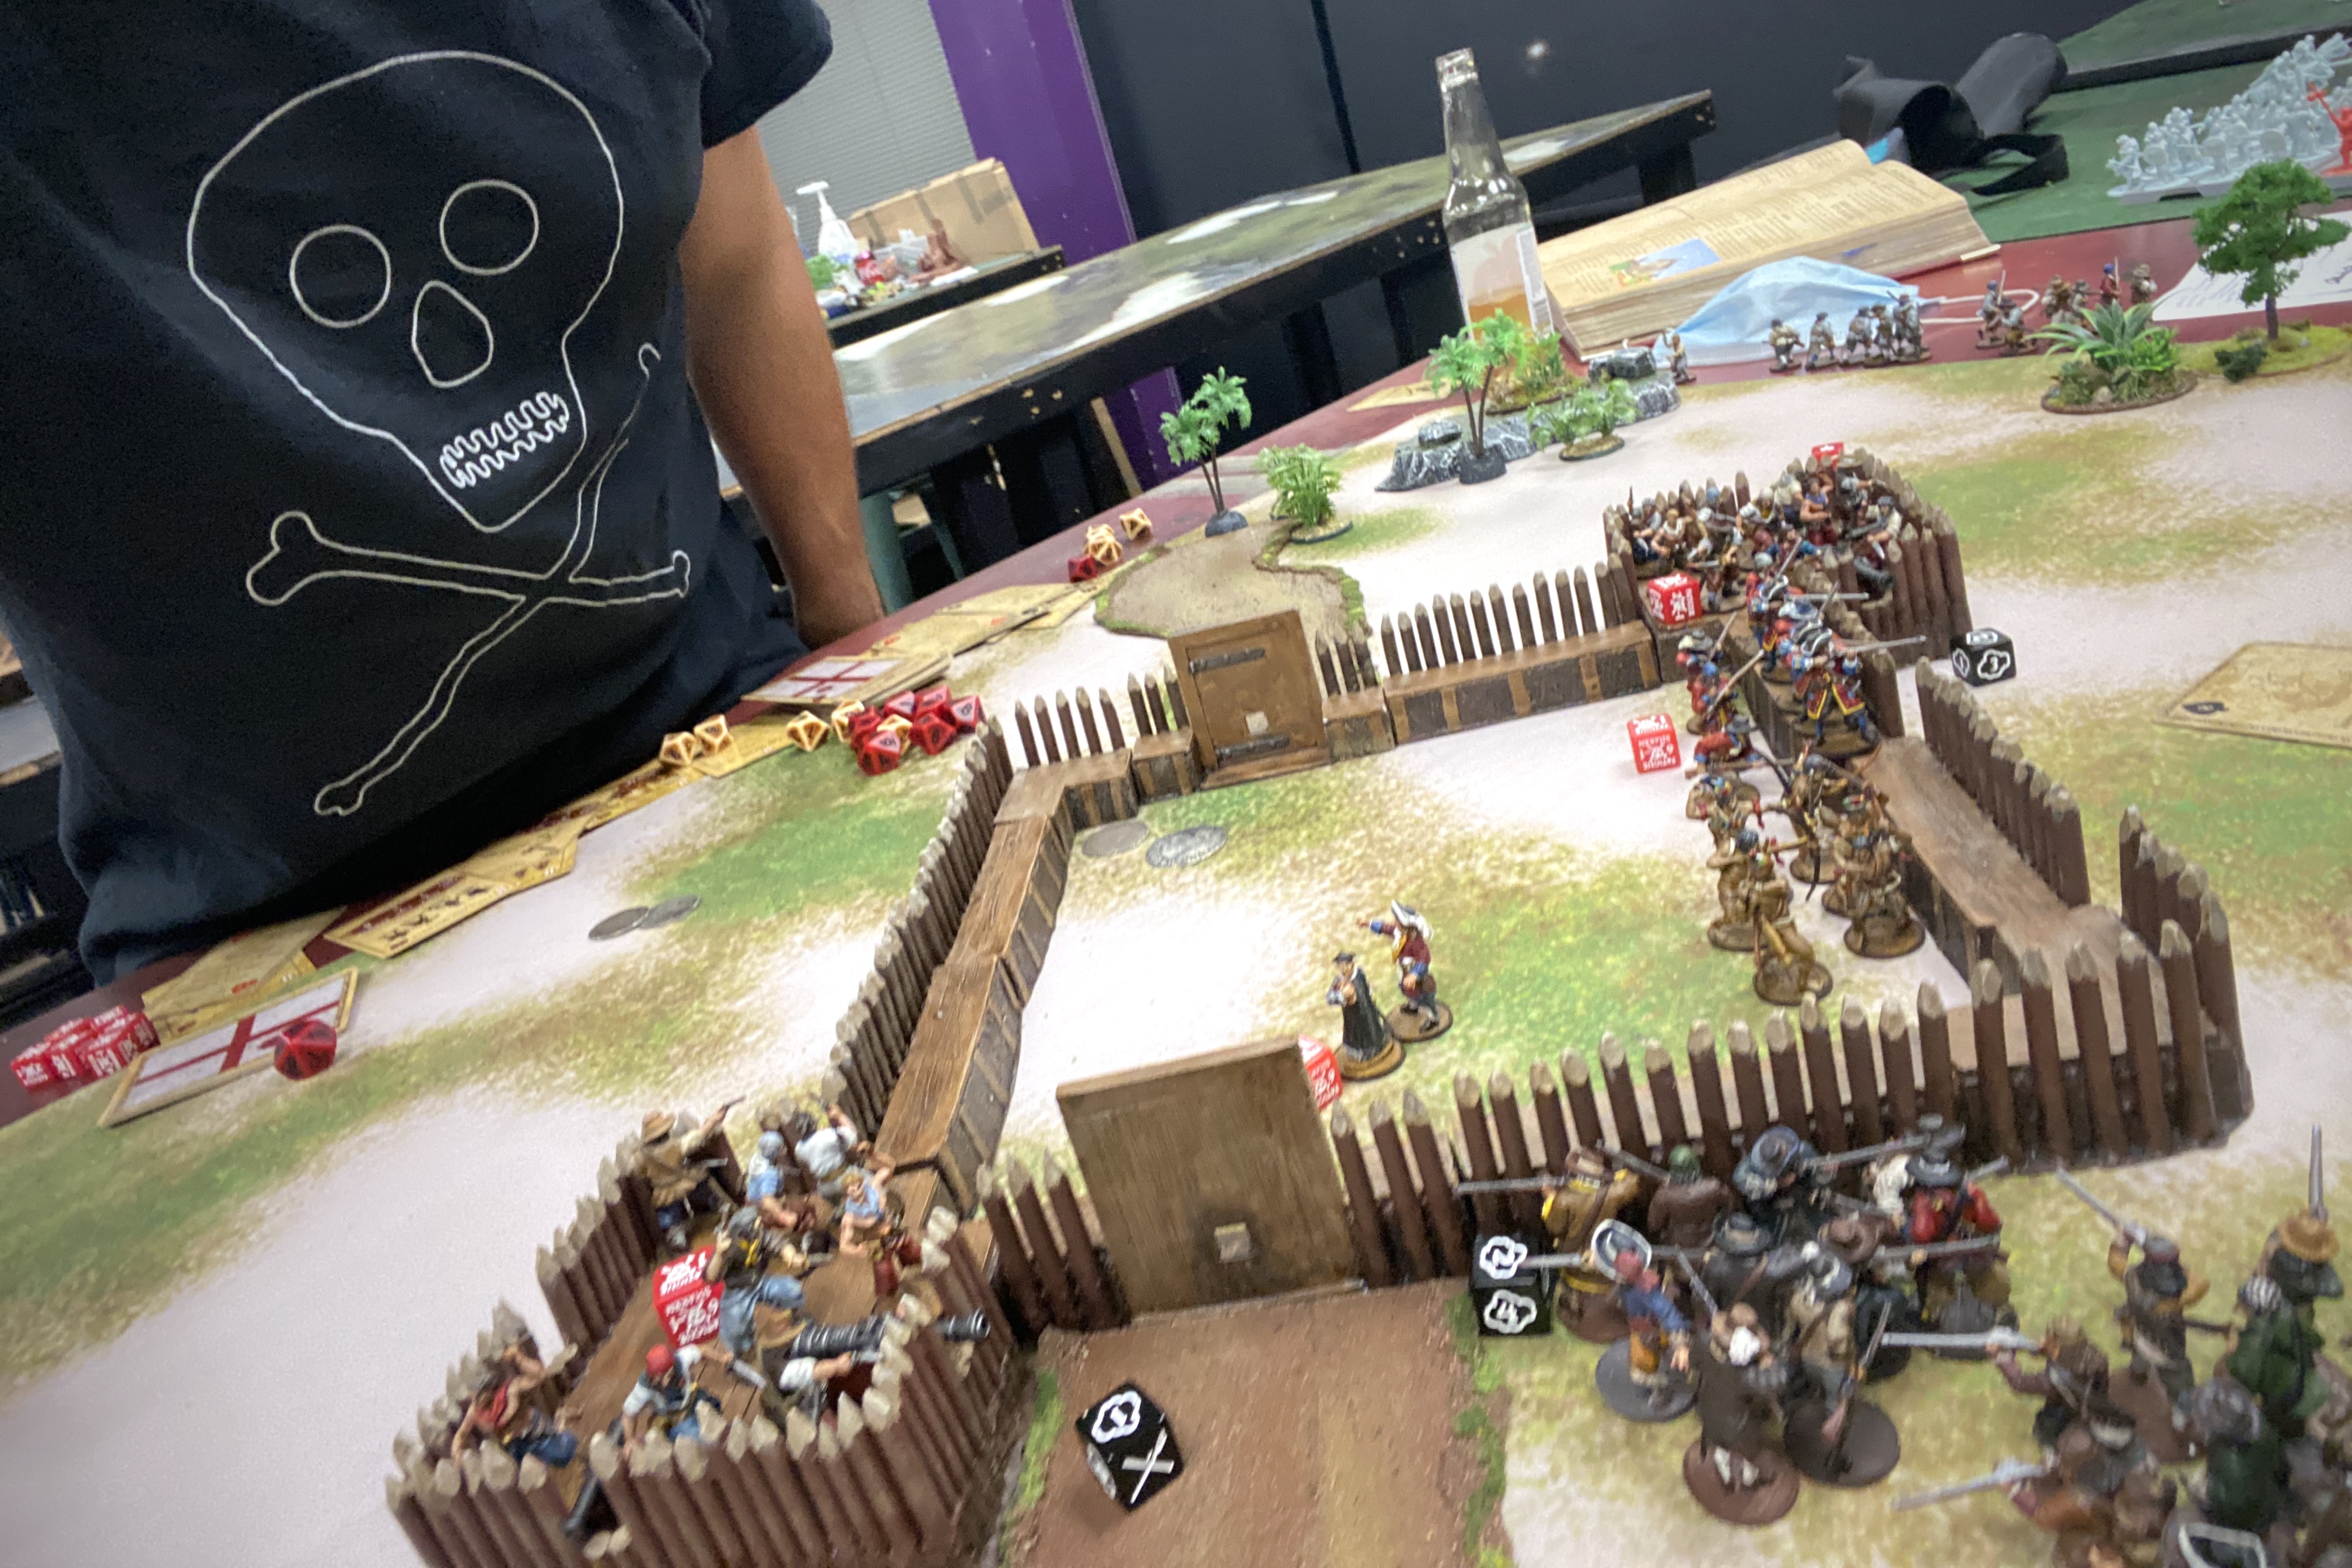
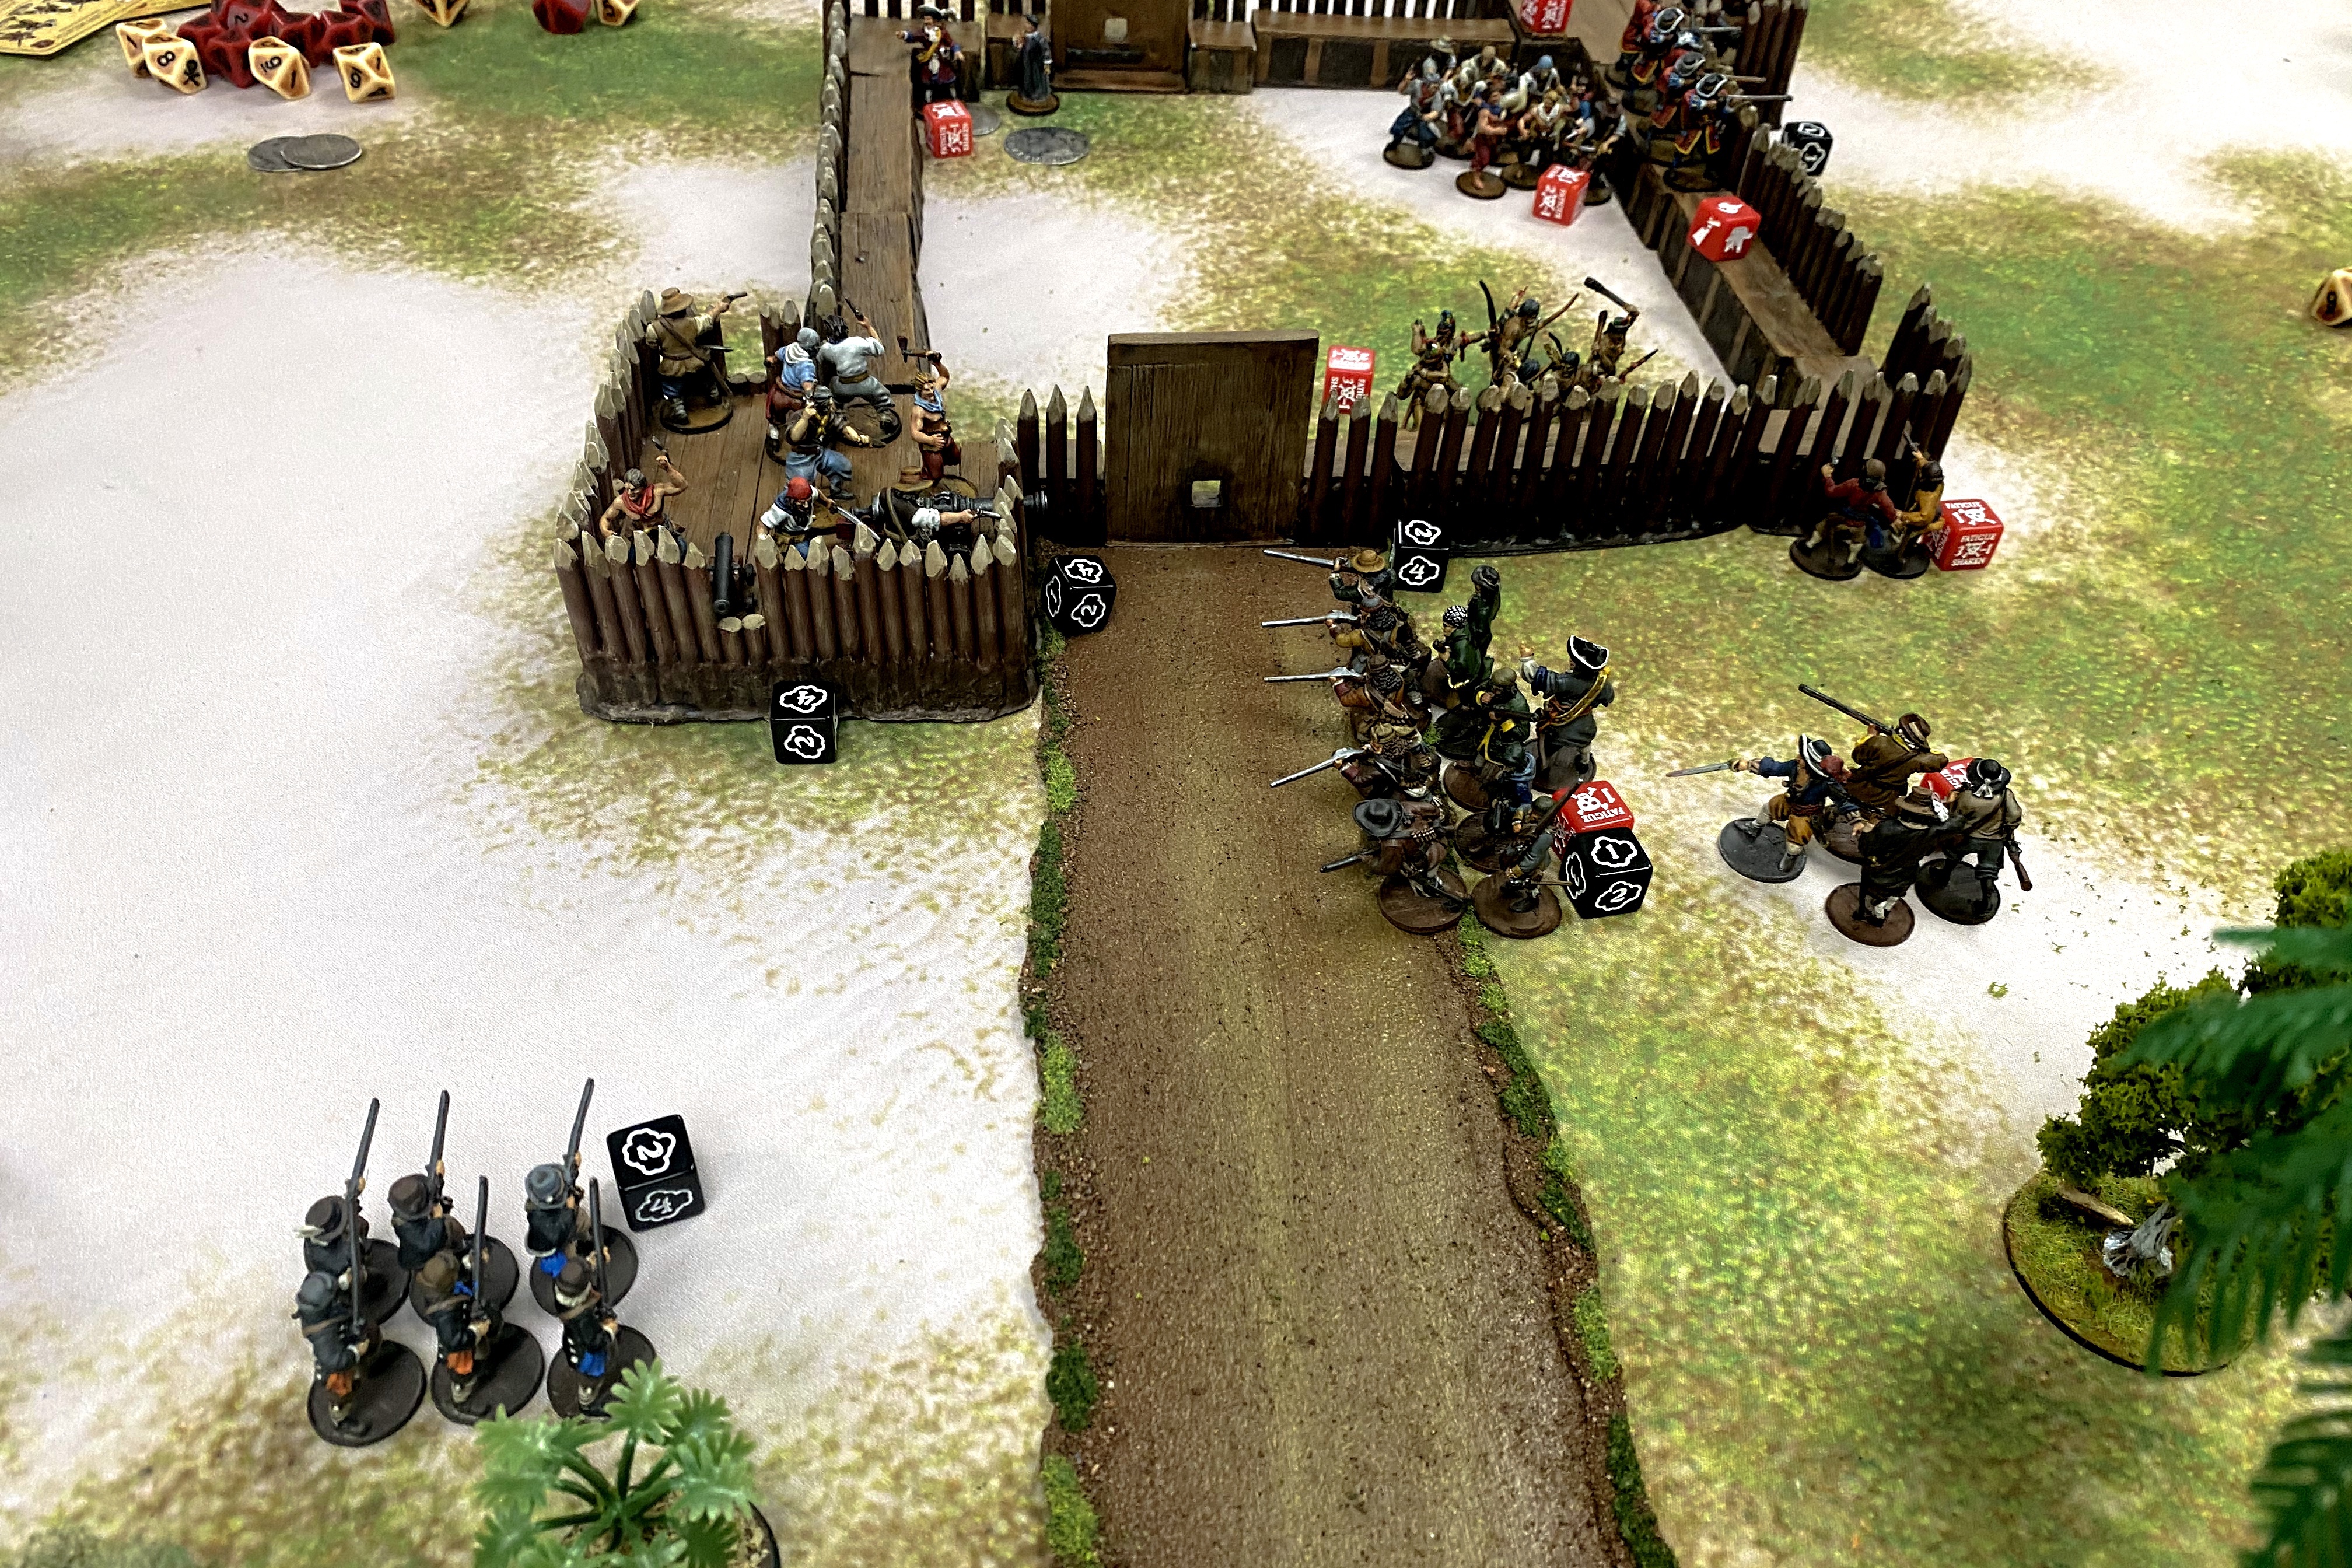
The mass of grumpy Dutchmen were literally at my gates! This was a crucial moment. If his Firepots did their job and disrupted my cannon crew, I would be in big trouble. If was able to fire those big cannons into the face of the oncoming Dutch, they might not be able to recover.

I bit the bullet and played a Heart instead of my Spade for the first activation because I knew I could get off some deadly cannon shots if I could just survive the flurry of Firepots I knew would be coming down on my head if Bryan’s Dutch went first.
Bryan had the Spade so I had to suffer through another batch of Firepots but the Dutch luck tanked again and they didn’t hurt too much. It was kind of incredible that out of the 12+ Firepots thrown through the game, only 2 Fires were started over the course of the entire game! Pretty rough luck. My crucial crew of Sea Dogs did take a casualty and a point of Fatigue but I could still carry out my plan. I was able to get a free reload with the Expert Artillery Crew to finish loading my last cannon in the bastion, then fire first the Heavy Cannon on the Dutch unit with the Officer (De Graff model), then the Light Cannon on the Kapers on the other side of the bastion. At point blank range on both cannons, they hit hard and while the European Sailors held firm, the Kapers were shaken.
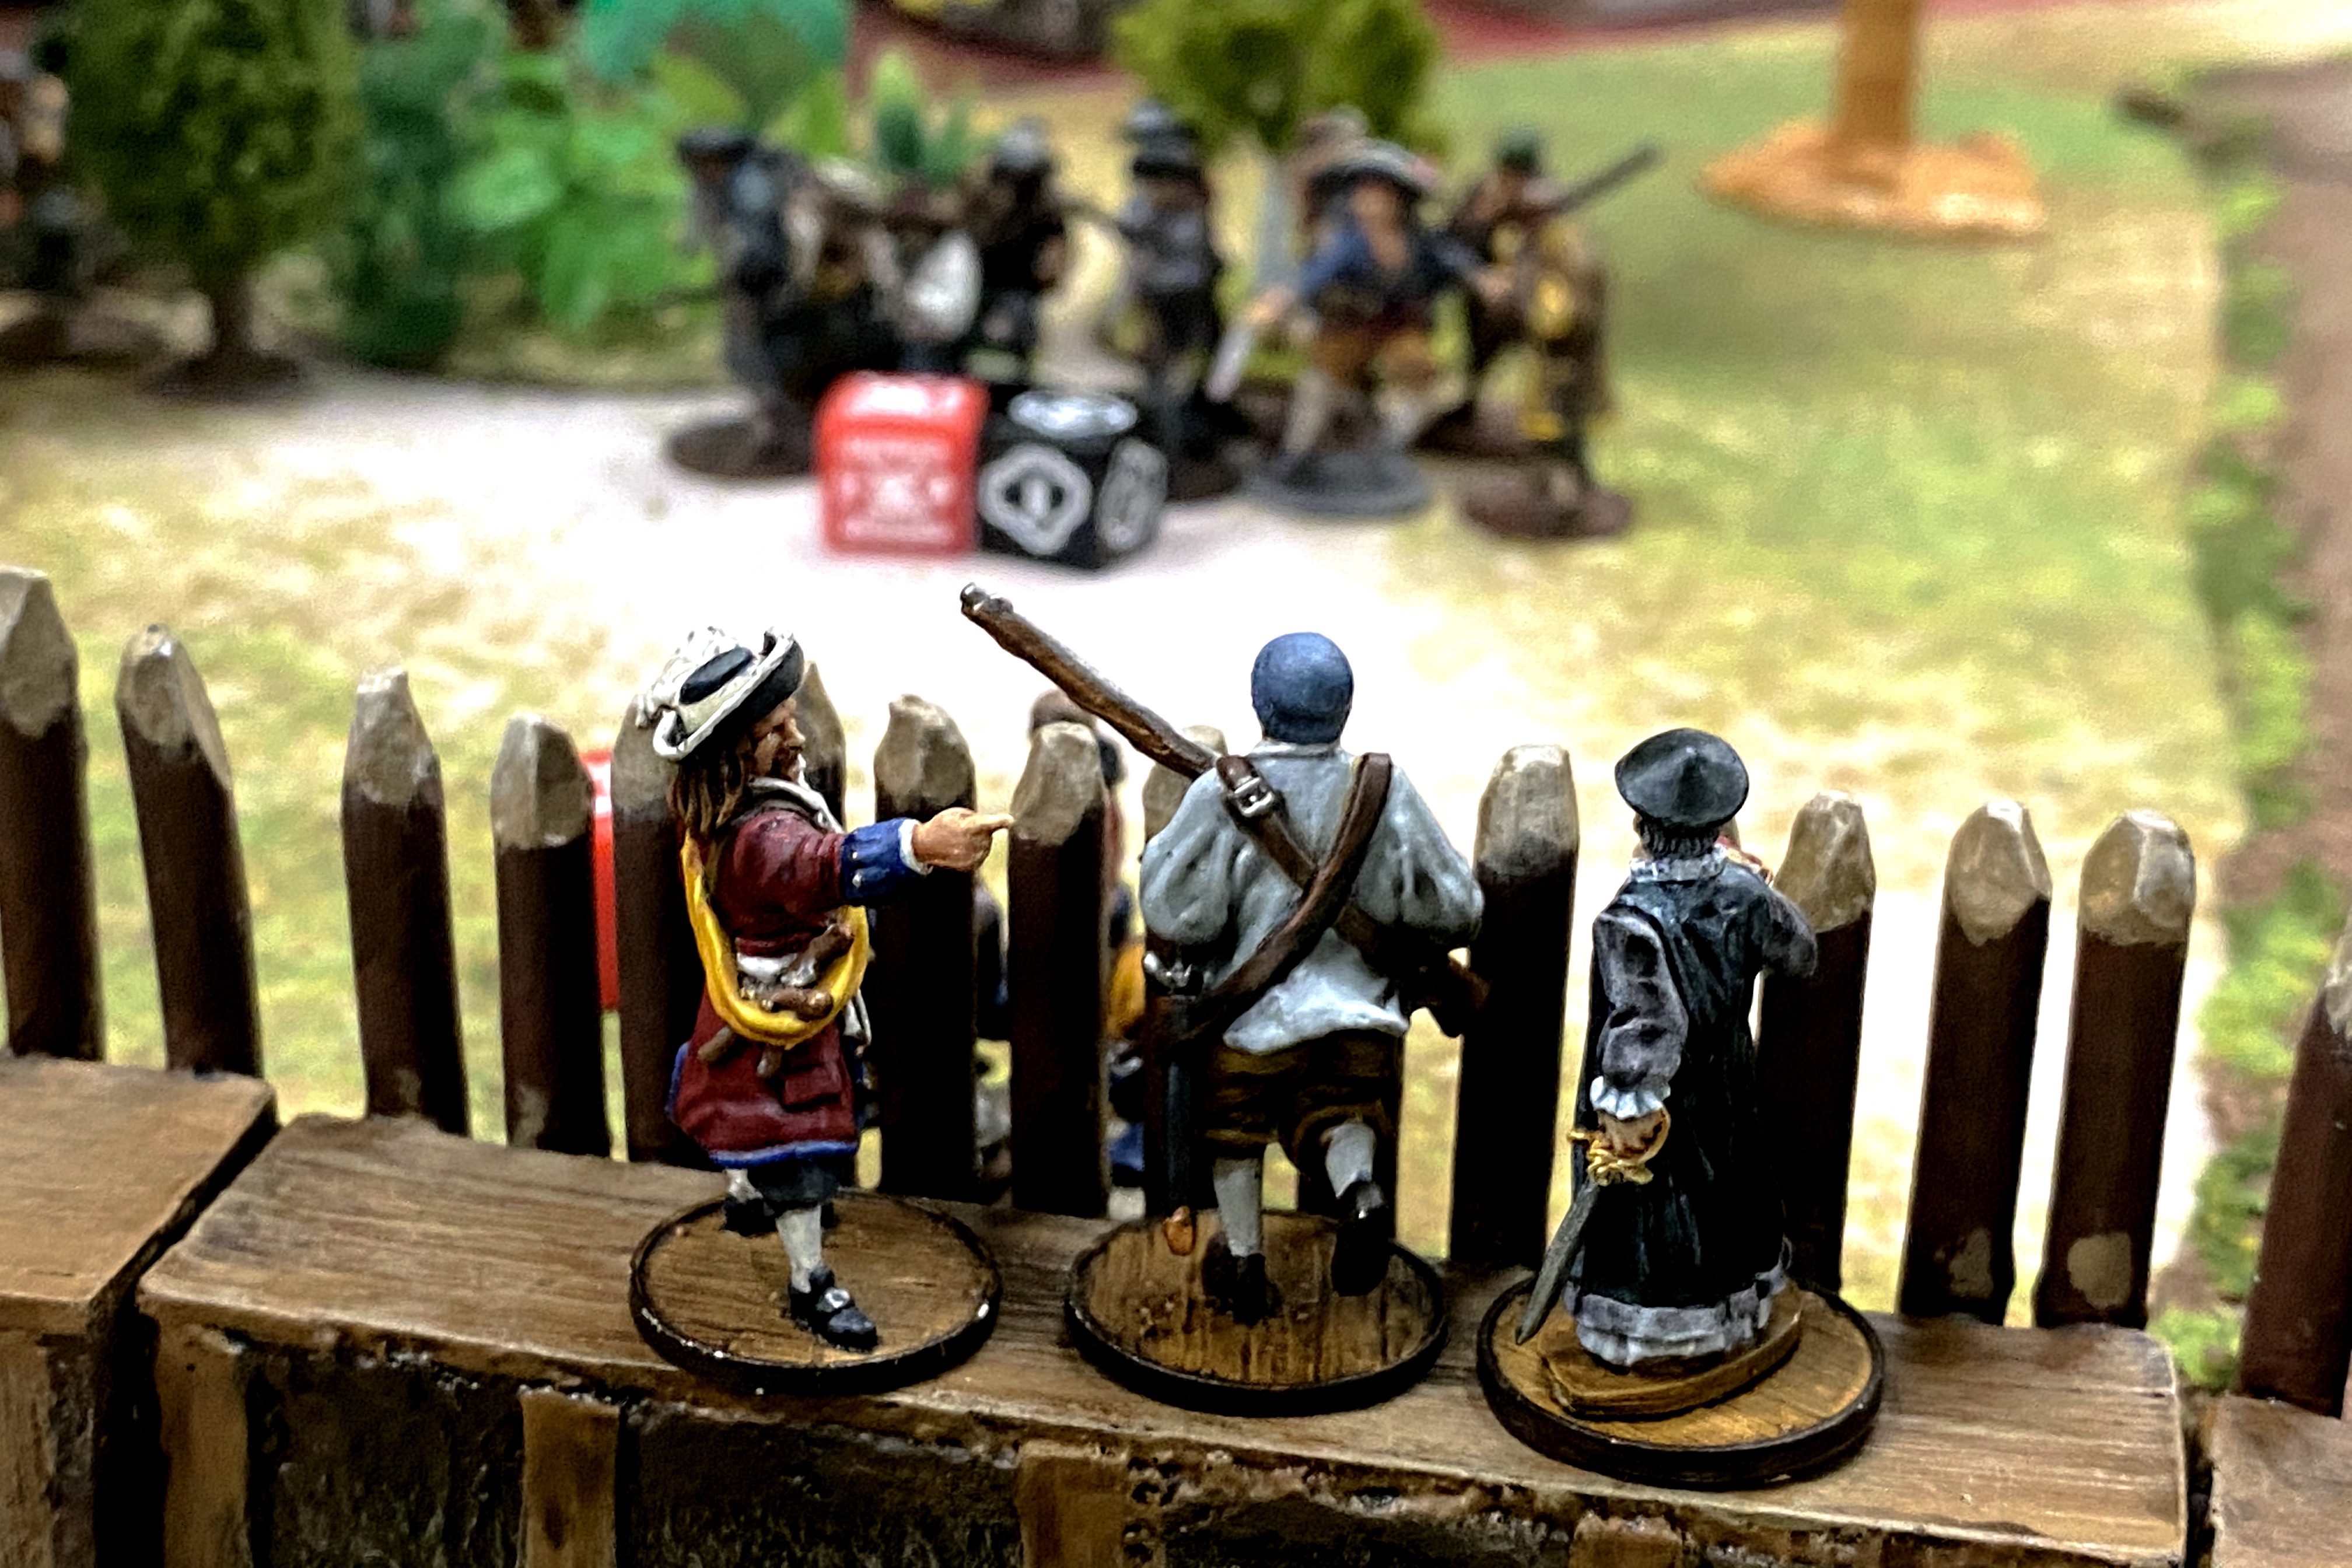
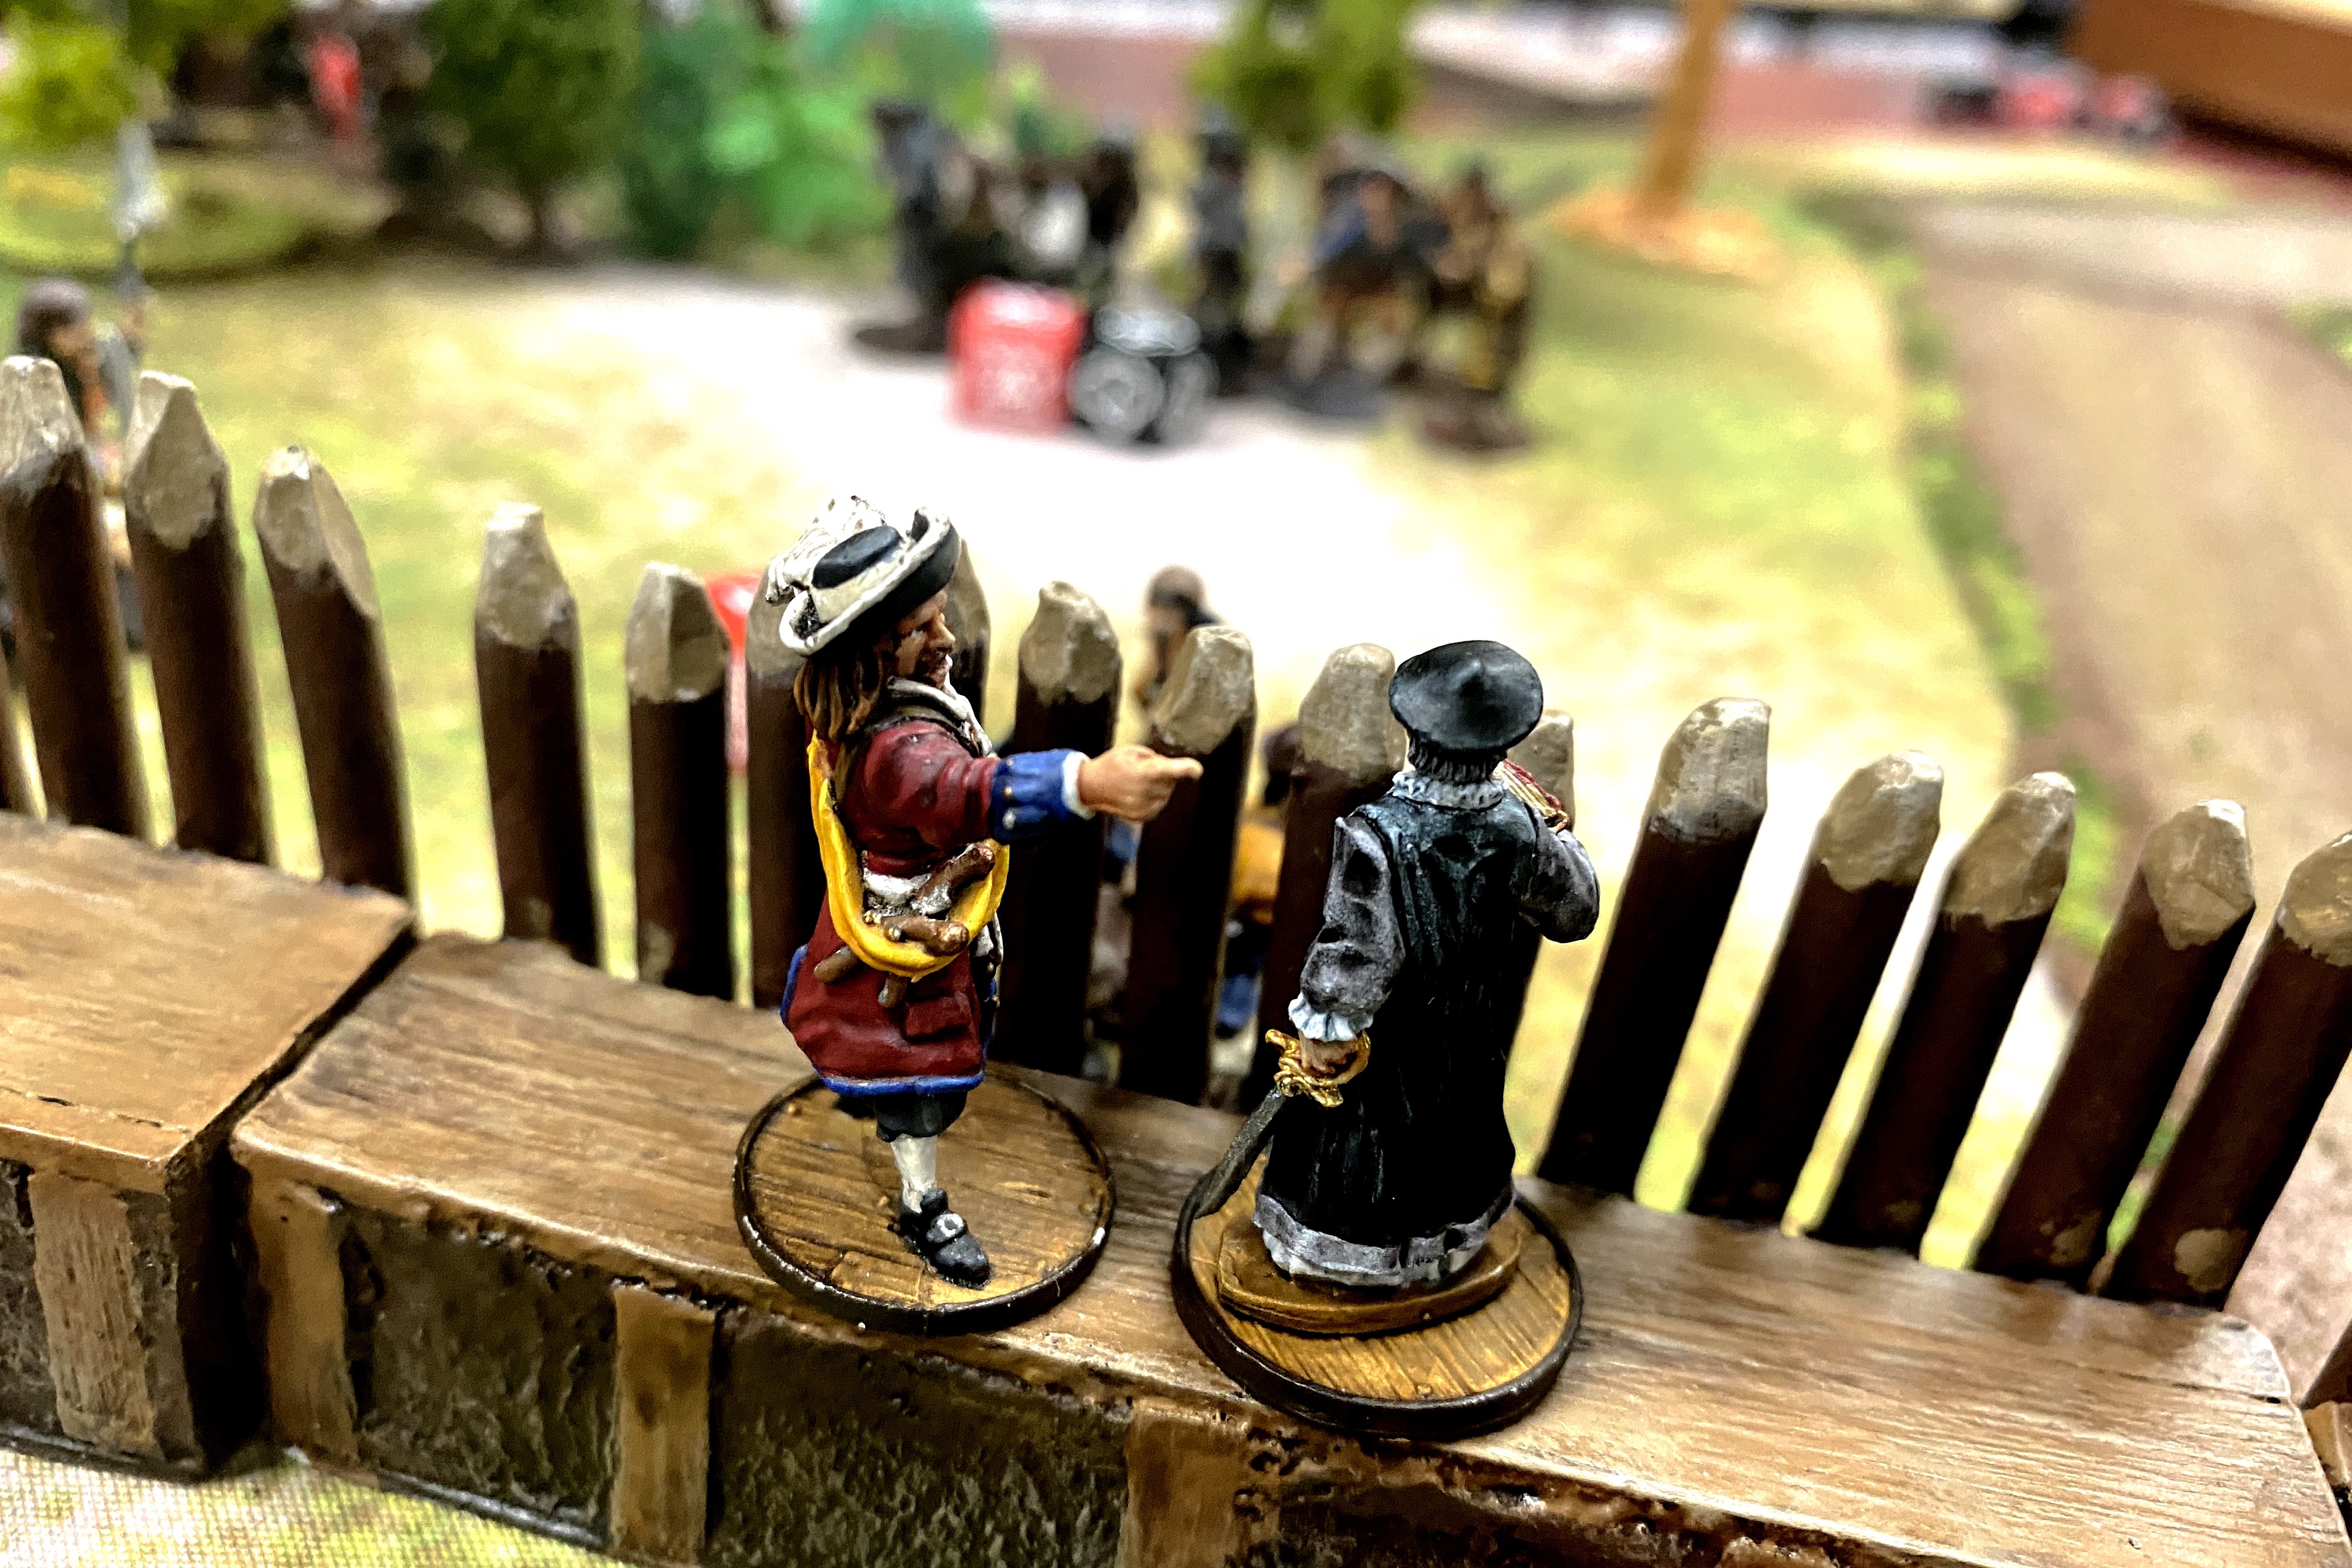
Whetstone and the Spiritual Leader retreated to the far corner of the fort where they could “effectively direct and observe” the battle.
The tough Enter Ploeg came back! Their two Firepots finally hit home and took out 3 Militia models and left them shaken and the wall on fire.
The Dutch Officer’s unit rallied and came back for more!
With all the action on the one side of my fort, I took the Sea Dogs off the far side cannons and moved them over to provide a melee counterattack if necessary. Even without pistols, 10 Sea Dogs with Brawlers is a decent melee force!
At the end of the 4th turn, the Dutch had 3 Strike Points to my 1 so Bryan rolled and passed a Strike Test.
The defenders were beat up and diminished but the wall still stood between my men and the attackers. That Dedicated Charge action over the walls combined with the Extra Defenses that would nerf his attack by letting me re-roll Fight Saves was a big deterrent.
The Attackers still had a couple strong units, especially the Command Unit which was still larger than any of my units even started! But having to reload and shoot in the open (and rain) or make that dreaded charge over the walls put them in a hard tactical situation.
The two Enter Ploeg with the Firepots were still alive and causing me trouble!
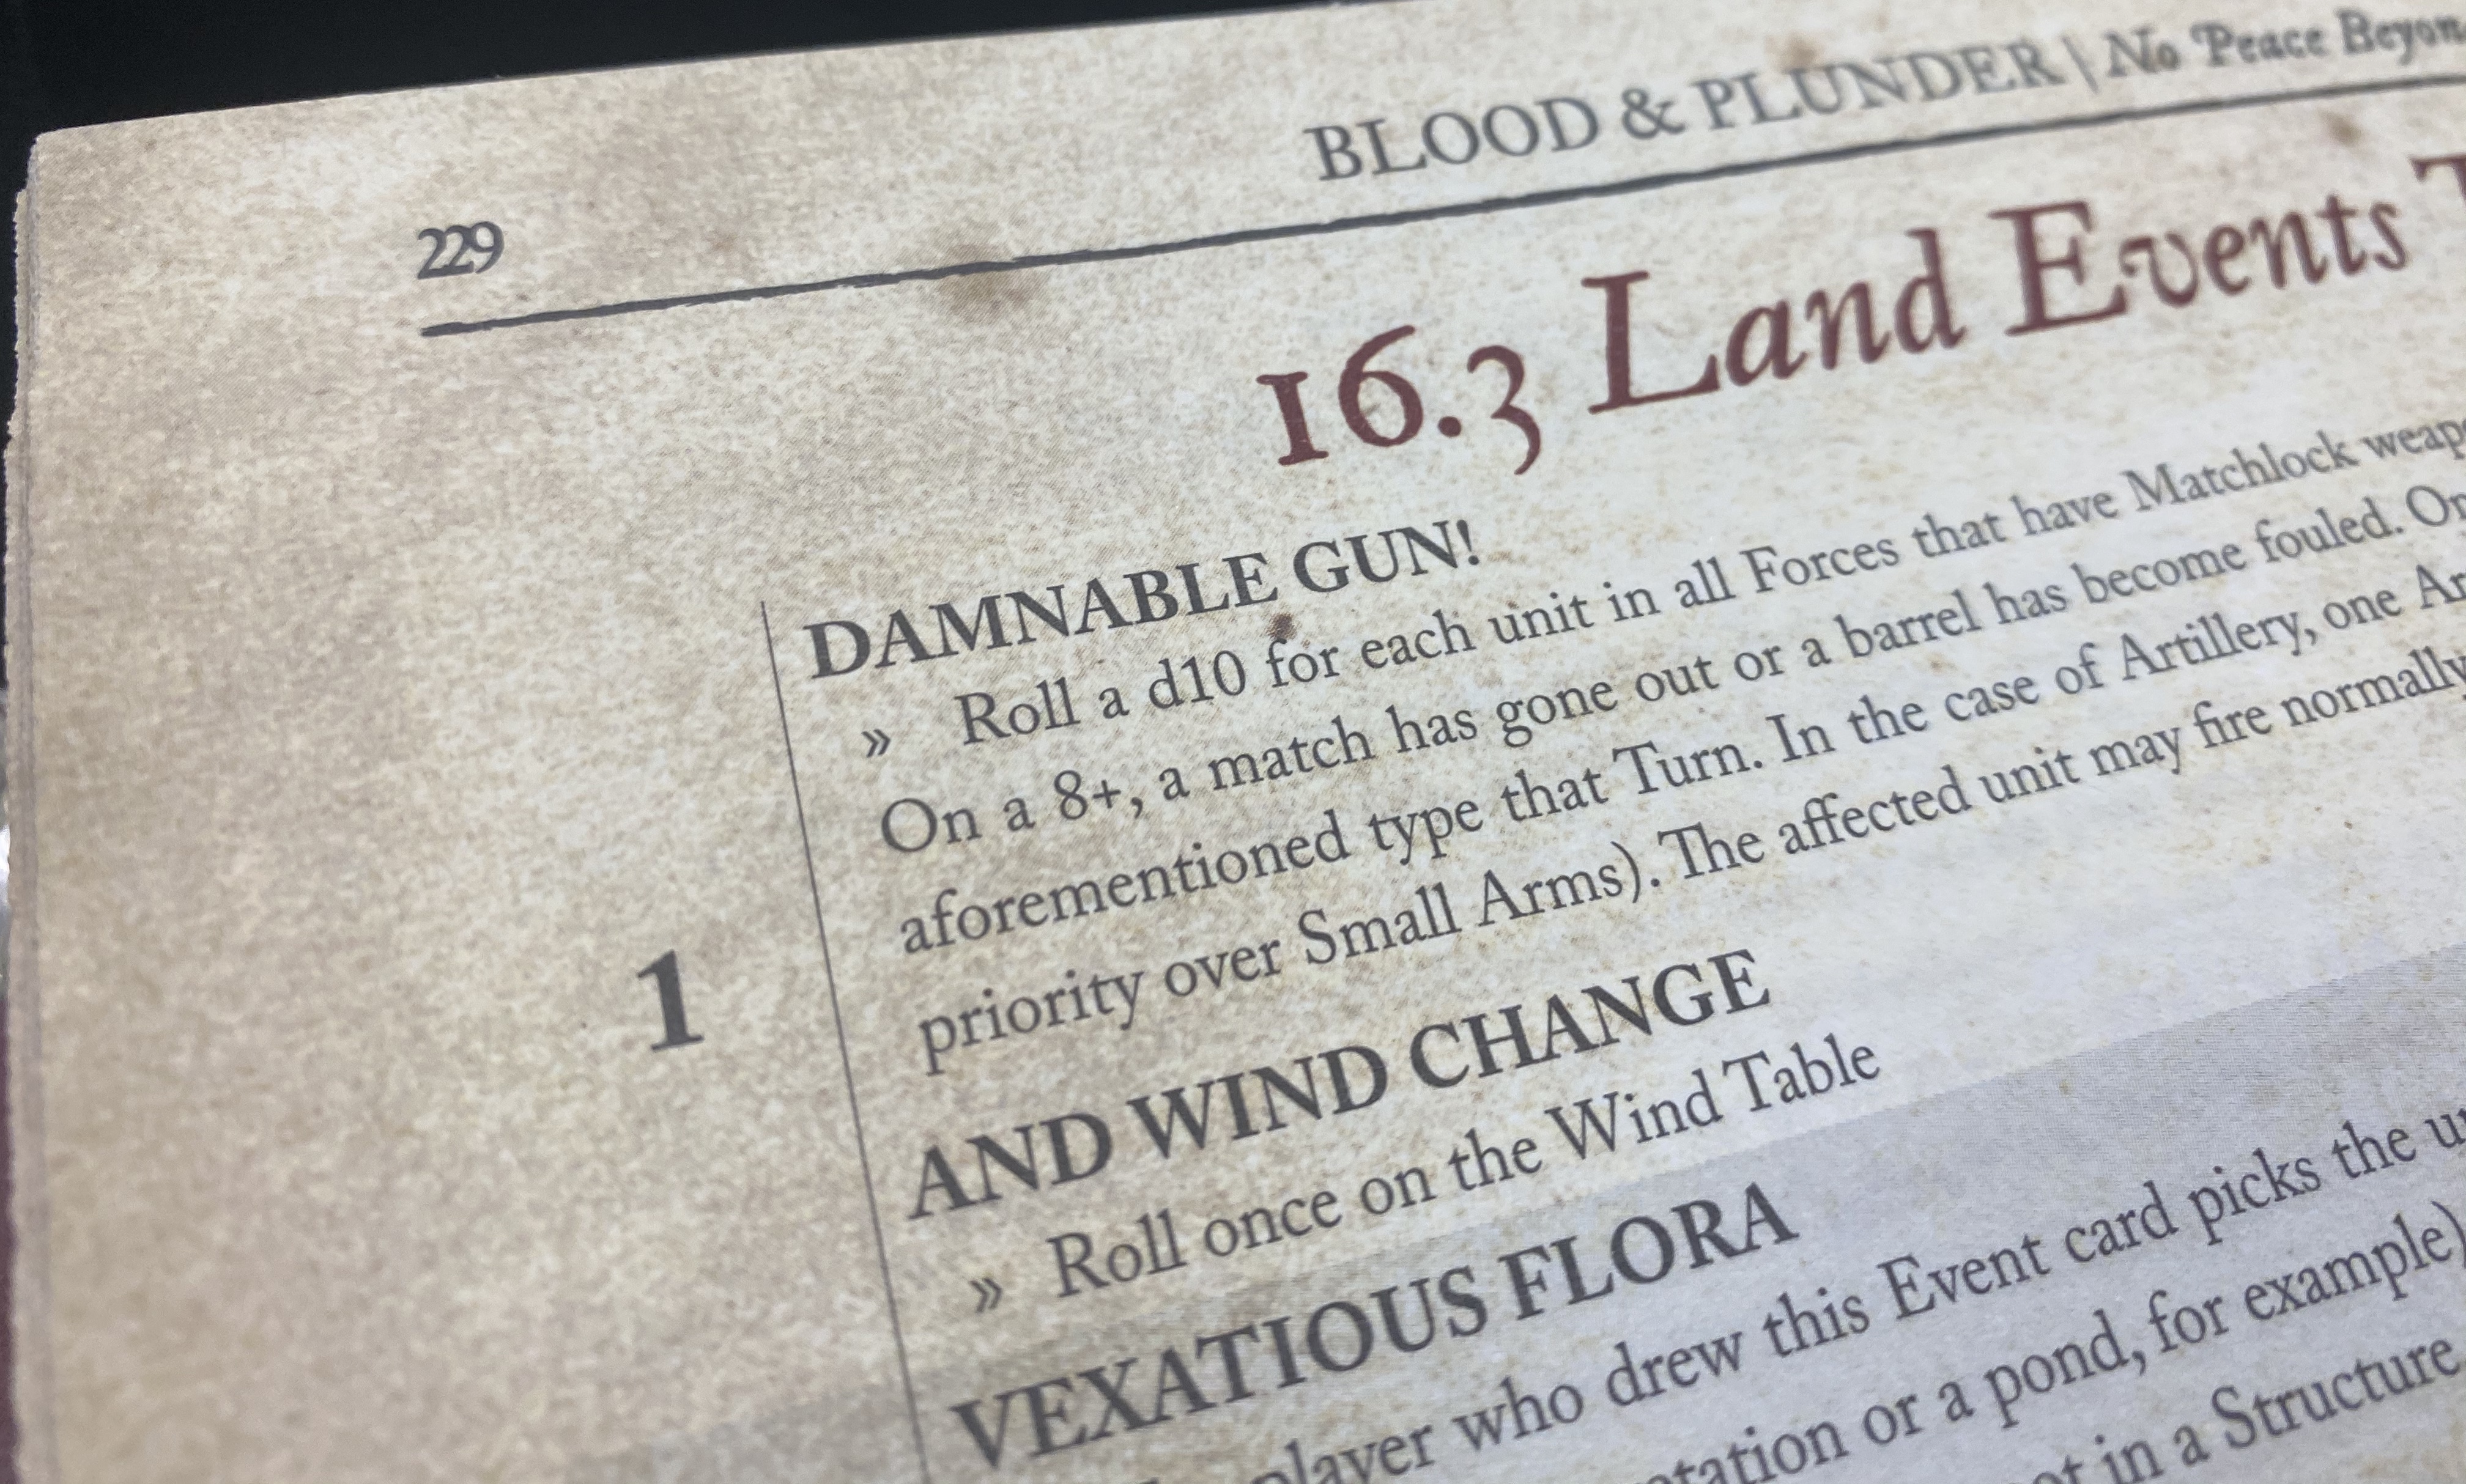
Turn 5 gave us the Damnable Gun even which only effected one unit. By this time, Explosives and arrows were doing the majority of the damage and melee more likely to decide the battle anyway.
I got my Militia back in the action as part of Whetstone’s big activation of rally and move commands.
With 5 reloads on the cannons from the shot in the rain, I rallied the Sea Dogs and took them off the cannons so they’d be ready to fight if needed.
One last Quick/Shoot/Push Shoot/Skirmisher activation for the Warriors!
They killed the last two Enter Ploeg and forced the smaller unit of Zeelieden to retreat.

But that confounded Officer rallied them and had revenge with those Firepots sailing straight over the wall that should have protected them!

I had survived another turn! The Dutch still had some dangerous strength but they’d taken so many casualties that they had to take another Strike Test at the end of turn 5.
The Strike test failed and the game was over.
The Dutch had taken 40 casualties to 20 English dead.
Post Game Thoughts
- This was a close game! Closer than the casualties made it look. After my Freebooters were neutralized, and I lost an entire unit of Militia I was getting very worried. I expected a unit to come over the walls on turn 2 or 3 and I was relieved when it didn’t happen. I’m not sure what would have happened if the fight had come inside the fort. It would have become even bloodier, that’s for sure!
- I think I spent too many points on extra options. I felt short handed after losing a few men. I needed more defenders! I spent 30 on my commander, 30 for the fort itself and another 12 for the extra defenses, 7 for the Spiritual Leader, 4 for the Master Gunner and 32 for the cannons (counting grapeshot). That’s 115 points before I even started paying for models! I like the extra fun stuff but I got to keep my spending down! I guess most of those expenses paid off during the game. It’s hard to know how much value the Extra Defenses had because the functioned more as a deterrent than anything else. How would the game have looked if I didn’t have them? I’m not sorry I spent the 30 on the commander as he was able to get a pretty wrecked army back into shape pretty much every turn. Can’t complain about 4 command points!
- If I’m going to pay 30 points for a commander (and another 7 for a Spiritual Leader), I need to protect him better! I put him with my “best unit” but the numbers were just too low. And being in a structure like the fort, it’s easy for anyone and everyone to target a unit on the walls. It became clear pretty fast I needed to either keep the commander back or put him in a much larger unit so he wasn’t in peril of dying just because of “reasonable” casualties.
- Sea Dogs without pistols for 3 points are a much, much better way to run cannons than the Militia Artillery Crew unit. If you upgrade the Artillery Crew unit to Trained, the cost the same 3 points as Sea Dogs but the Sea Dogs are so much more useful in combat and they have Expert Artillery Crew instead of Artillery Crew. Using that Heart with 2 actions and the free action really makes those cannons work!

- I love Heavy Cannons. I love the model and I love throwing 5 grapeshot dice at my enemy at close range! They are so slow to reload, and they might not be the most efficient firepower, but they are sure fun when they hit. With 10 Sea Dogs for 30 points and a Light and Heavy Cannon with Grapeshot for 16 points in a Bastion worth 5 points, that comes out to…51 points for 8 ranged dice with a shoot score of 4 that take 4 reloads. Not particularly efficient, especially considering they have limited cones of fire, can’t fire both cannons at once and are assigned so they are ripe targets for a unopposed charge. But they were fun and since they looked slightly less dangerous than my other standard troops, they didn’t get much attention from the enemy guns and were able to fire their guns in relative peace. I would say more than 50% of the damage I inflicted on the Dutch was from the cannons.
- Explosives are a lot of fun. Even when you’re getting attacked by them! Misfiring explosives have made some of the most memorable game moments for me. Bryan rolling two 1’s on his misfire test with his Enter Ploeg was a memorable moment in this game! He spent all his Fortune early trying to keep momentum in the first couple turns, but its pretty dicey throwing that many Firepots with no Fortune to keep you safe from misfires. The first couple turns had a perfect Firepot record, then the last half of the game he had some really terrible luck with them blowing up in his face. He also had some bad luck with the Firpots failing to set the fort in fire. He threw a ton of Firepots through this game and only two ever made fires. And I got lucky and put them out on the first attempt in both cases.

- I think Bryan had a good force for the job and a good basic tactic but Lady Luck had no mercy in this game. If he hadn’t blown himself up so much, and if his Firepots had done their job properly and set my fort on fire and if my commander had died like he should have, the game would have gone very differently. Just killing my commander would have seriously hampered my defensive efforts. Looking back I can speculate that putting some more fire down on the Sea Dogs might have been helpful so the cannons didn’t fire on men in the open so much. His list had plenty of options for vaulting over the wall with a good commander, an Officer and a Reformado. The large units with muskets supporting the brute squads made up a solid force for storming this kind of fortification. The Dutch just need some new dice!
- I think I could have saved some points by making my fort smaller. I used two wall sections between corners/bastions but I didn’t really need all that space for this size of game. I think I could have done with with a single wall section between corners and that would have saved me 12 points which I could have used to buy more Freebooters for my command unit! You don’t really need a huge fort unless you’re playing 400+ points and even then, larger doesn’t necessarily mean better. If you heave enough units to man all the walls, it helps bring more guns to bear on the enemy, but in this case, I had more walls than men which just gave opportunities for the enemy to climb an undefended portion of the palisade.
- The Native Warriors were kind a surprise success in the fort. The game rules that allows the fort owner to clear any area terrain within 8″ of the fort means enemies don’t get decent saves as they approach, even against bows! Their ability to shoot fast and move on and off the walls so quickly made them really valuable. They have a great Fight score to they can counterattack if the enemy every makes it inside the fort and they have a good basic Shoot Save which is improved by the hard cover of the wall. I considered them a very valuable unit and it made my expensive commander feel a little more worthwhile.
- Whetstone is a very interesting commander and really makes the English Caribbean Militia more fun to play. I recently wrote an overview of the whole faction which you can find here and keep a lookout for a full article on the Dutch factions releasing in the near future!
I realize I’ve written a good number of reports with the fort now but I hope you readers aren’t totally sick of this style of game. I’ve noticed that the fort has won in most cases of a real “player vs player” games but I was able to beat it several times in a solo setting. But I guess I lost once in a solo game as well so…. I’m hoping that means it’s reasonably balanced in the game.
While the rules for the Palisade Fort haven’t been officially published, we got to release the Beta rules a while back and you can find them here. They don’t include the bastions at this point because they still aren’t available for purchase, but rules for the basic fort are out there for everyone now!
Thanks to Bryan for a good game and thanks to you for stopping by the blog and reading!
Great Battle Report. Those are some really large forces you are playing with.
This is a bit on the larger size. We use 200 points as our standard land game size but we went a little larger this time.
I don’t see the Bastions on the Firelock site, are these from another company?
They are Firelock but they aren’t seeking them yet. 🙁 they’ve had some issues with resin casting and had to delay full scale production of the bastions for a while. It’s frustrating for them and us!