I’ve been doing a few games with the Palisade Fort recently and in this solitaire game, I test it in an amphibious scenario where it has to go up against a ship that can bring more cannons to bear on it. I increased the game size to 250 and used a much larger version of the fort with basically twice as many pieces as my last test battle.
The Forces
For the defending force controlled by the AI, I built a Spanish Militia force using the La Florida variation of the faction so I could utilize the Soldados and Warrior Archers.
The defending force contained:
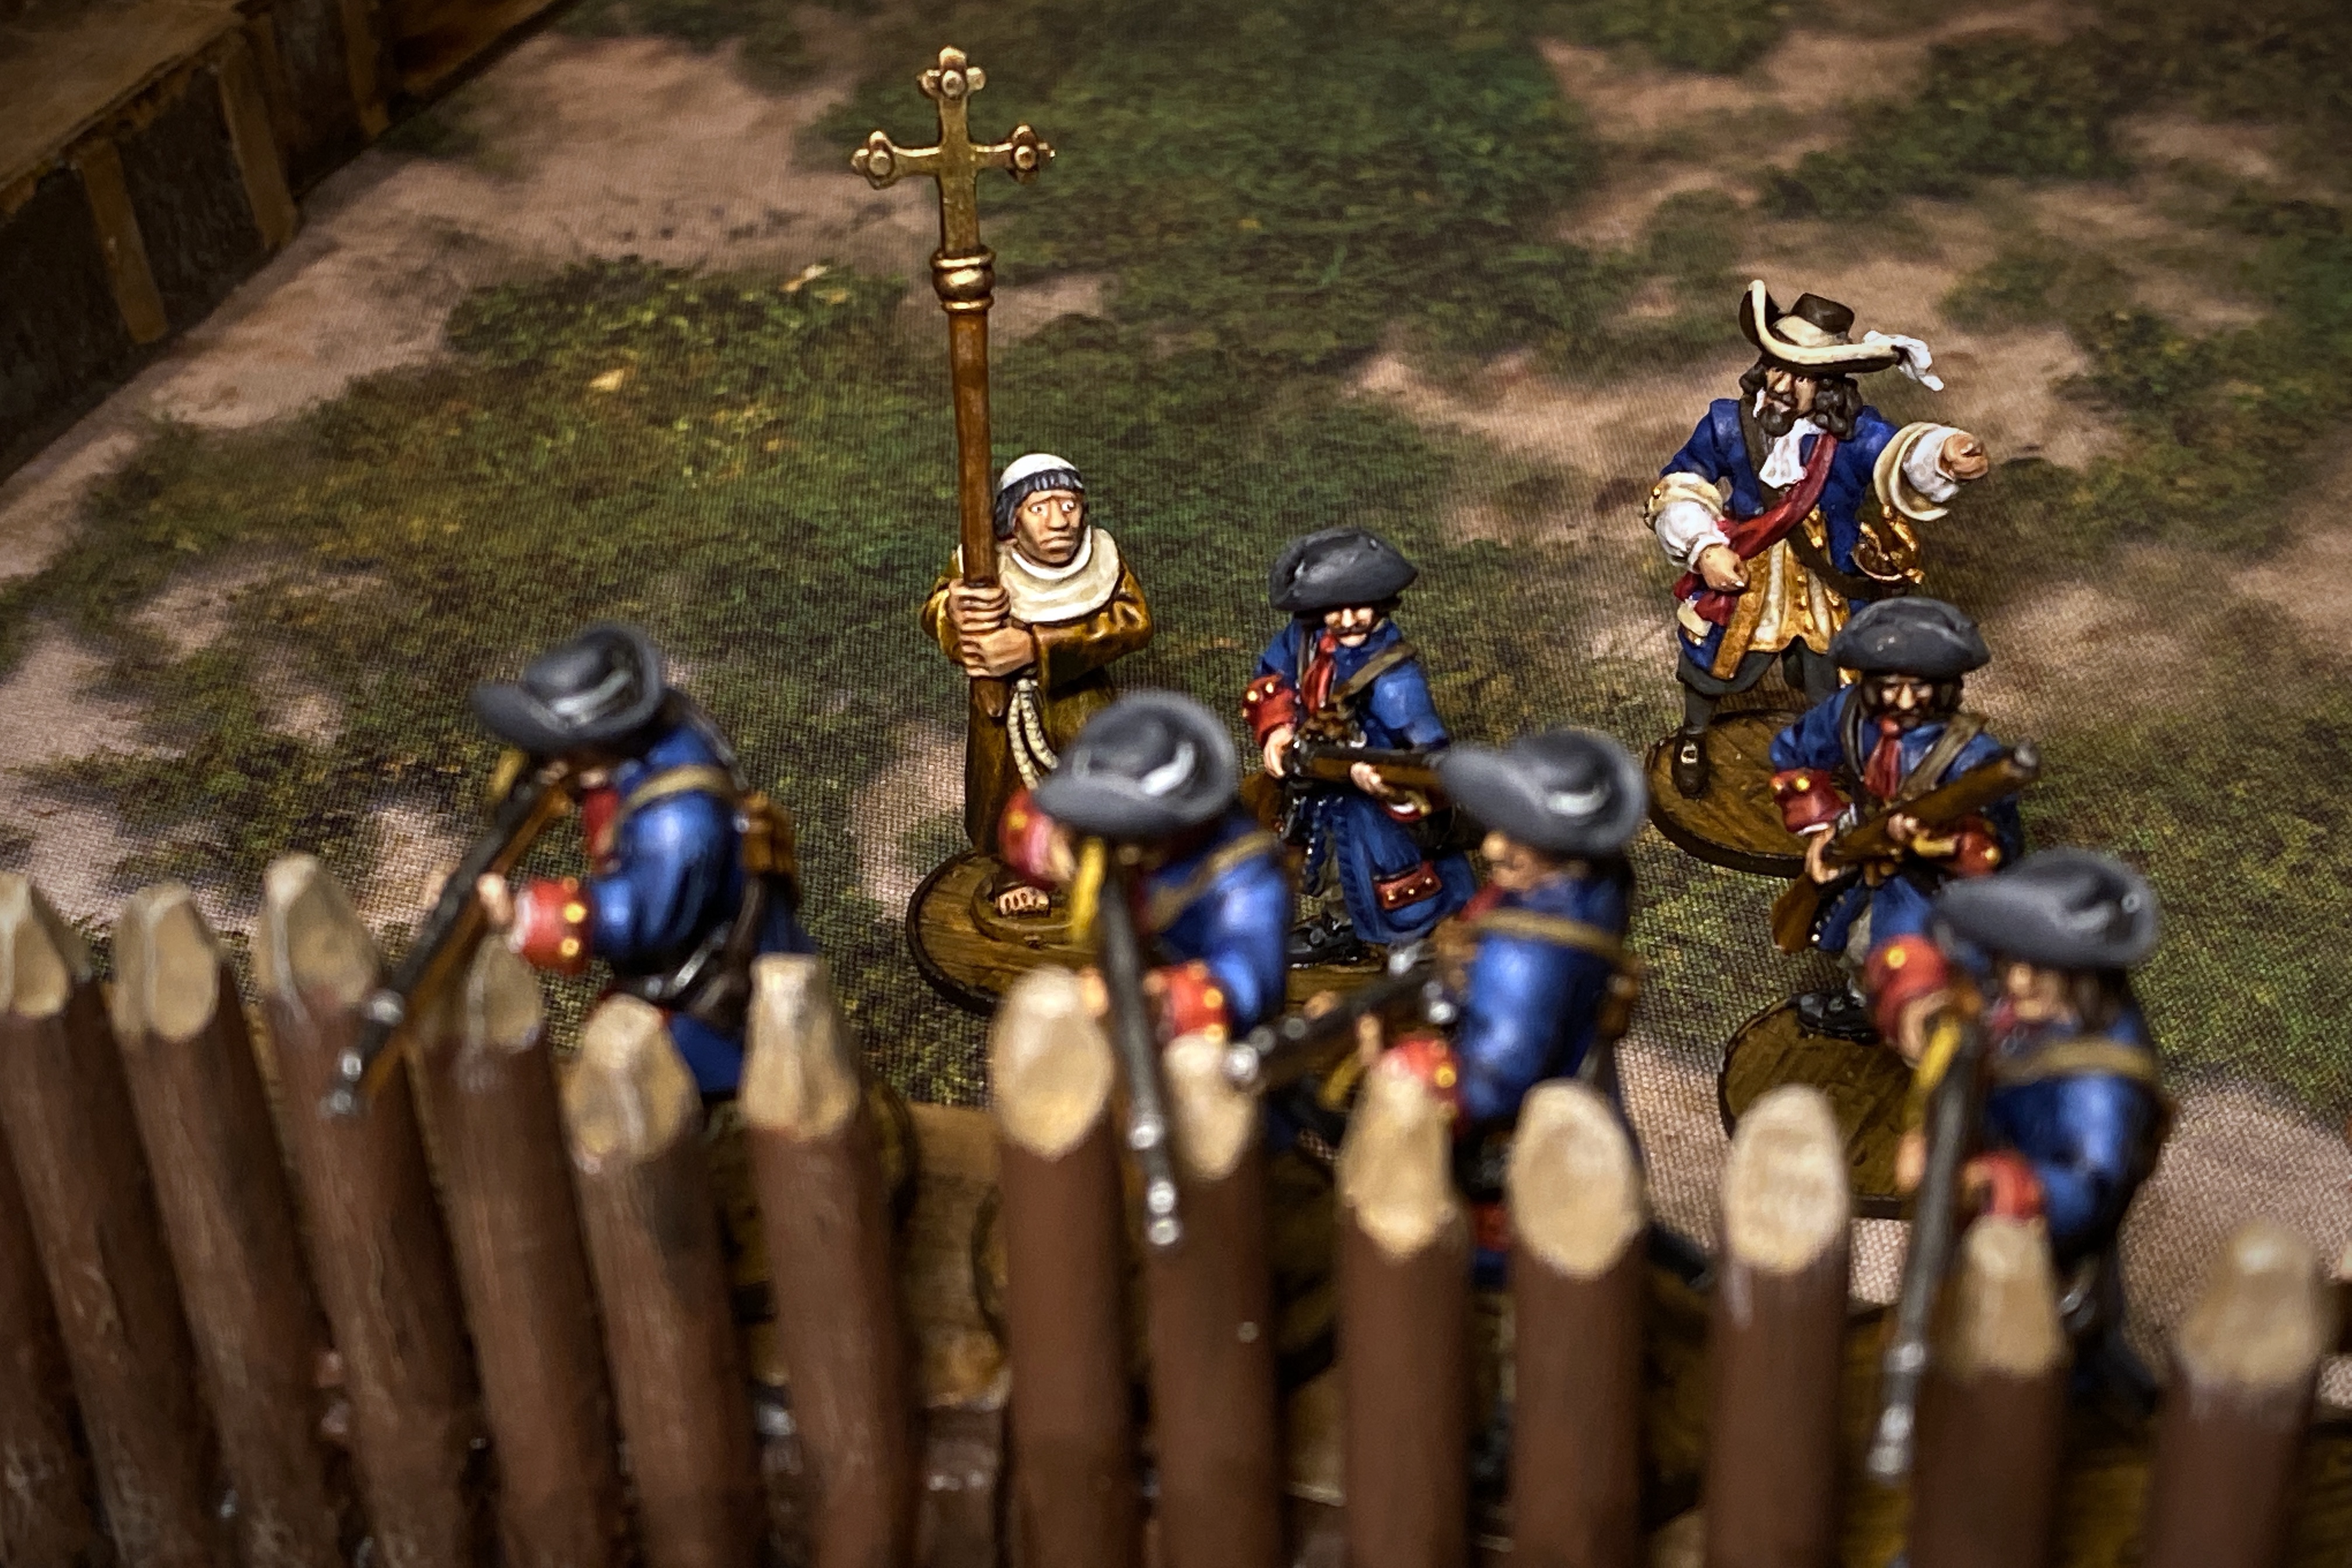
- 8 Soldados with an Experienced Spanish Militia Commander attached and a Spiritual Leader character.
- 6 Hostigadores with a Grizzled Veteran
- 6 Hostigadores
- 6 Trained Milicianos Artilleros assigned to a Heavy Cannon with a Master Gunner
- 6 Trianed Milicianos Artilleros assigned to a Heavy Cannon
- 5 Warrior Archers
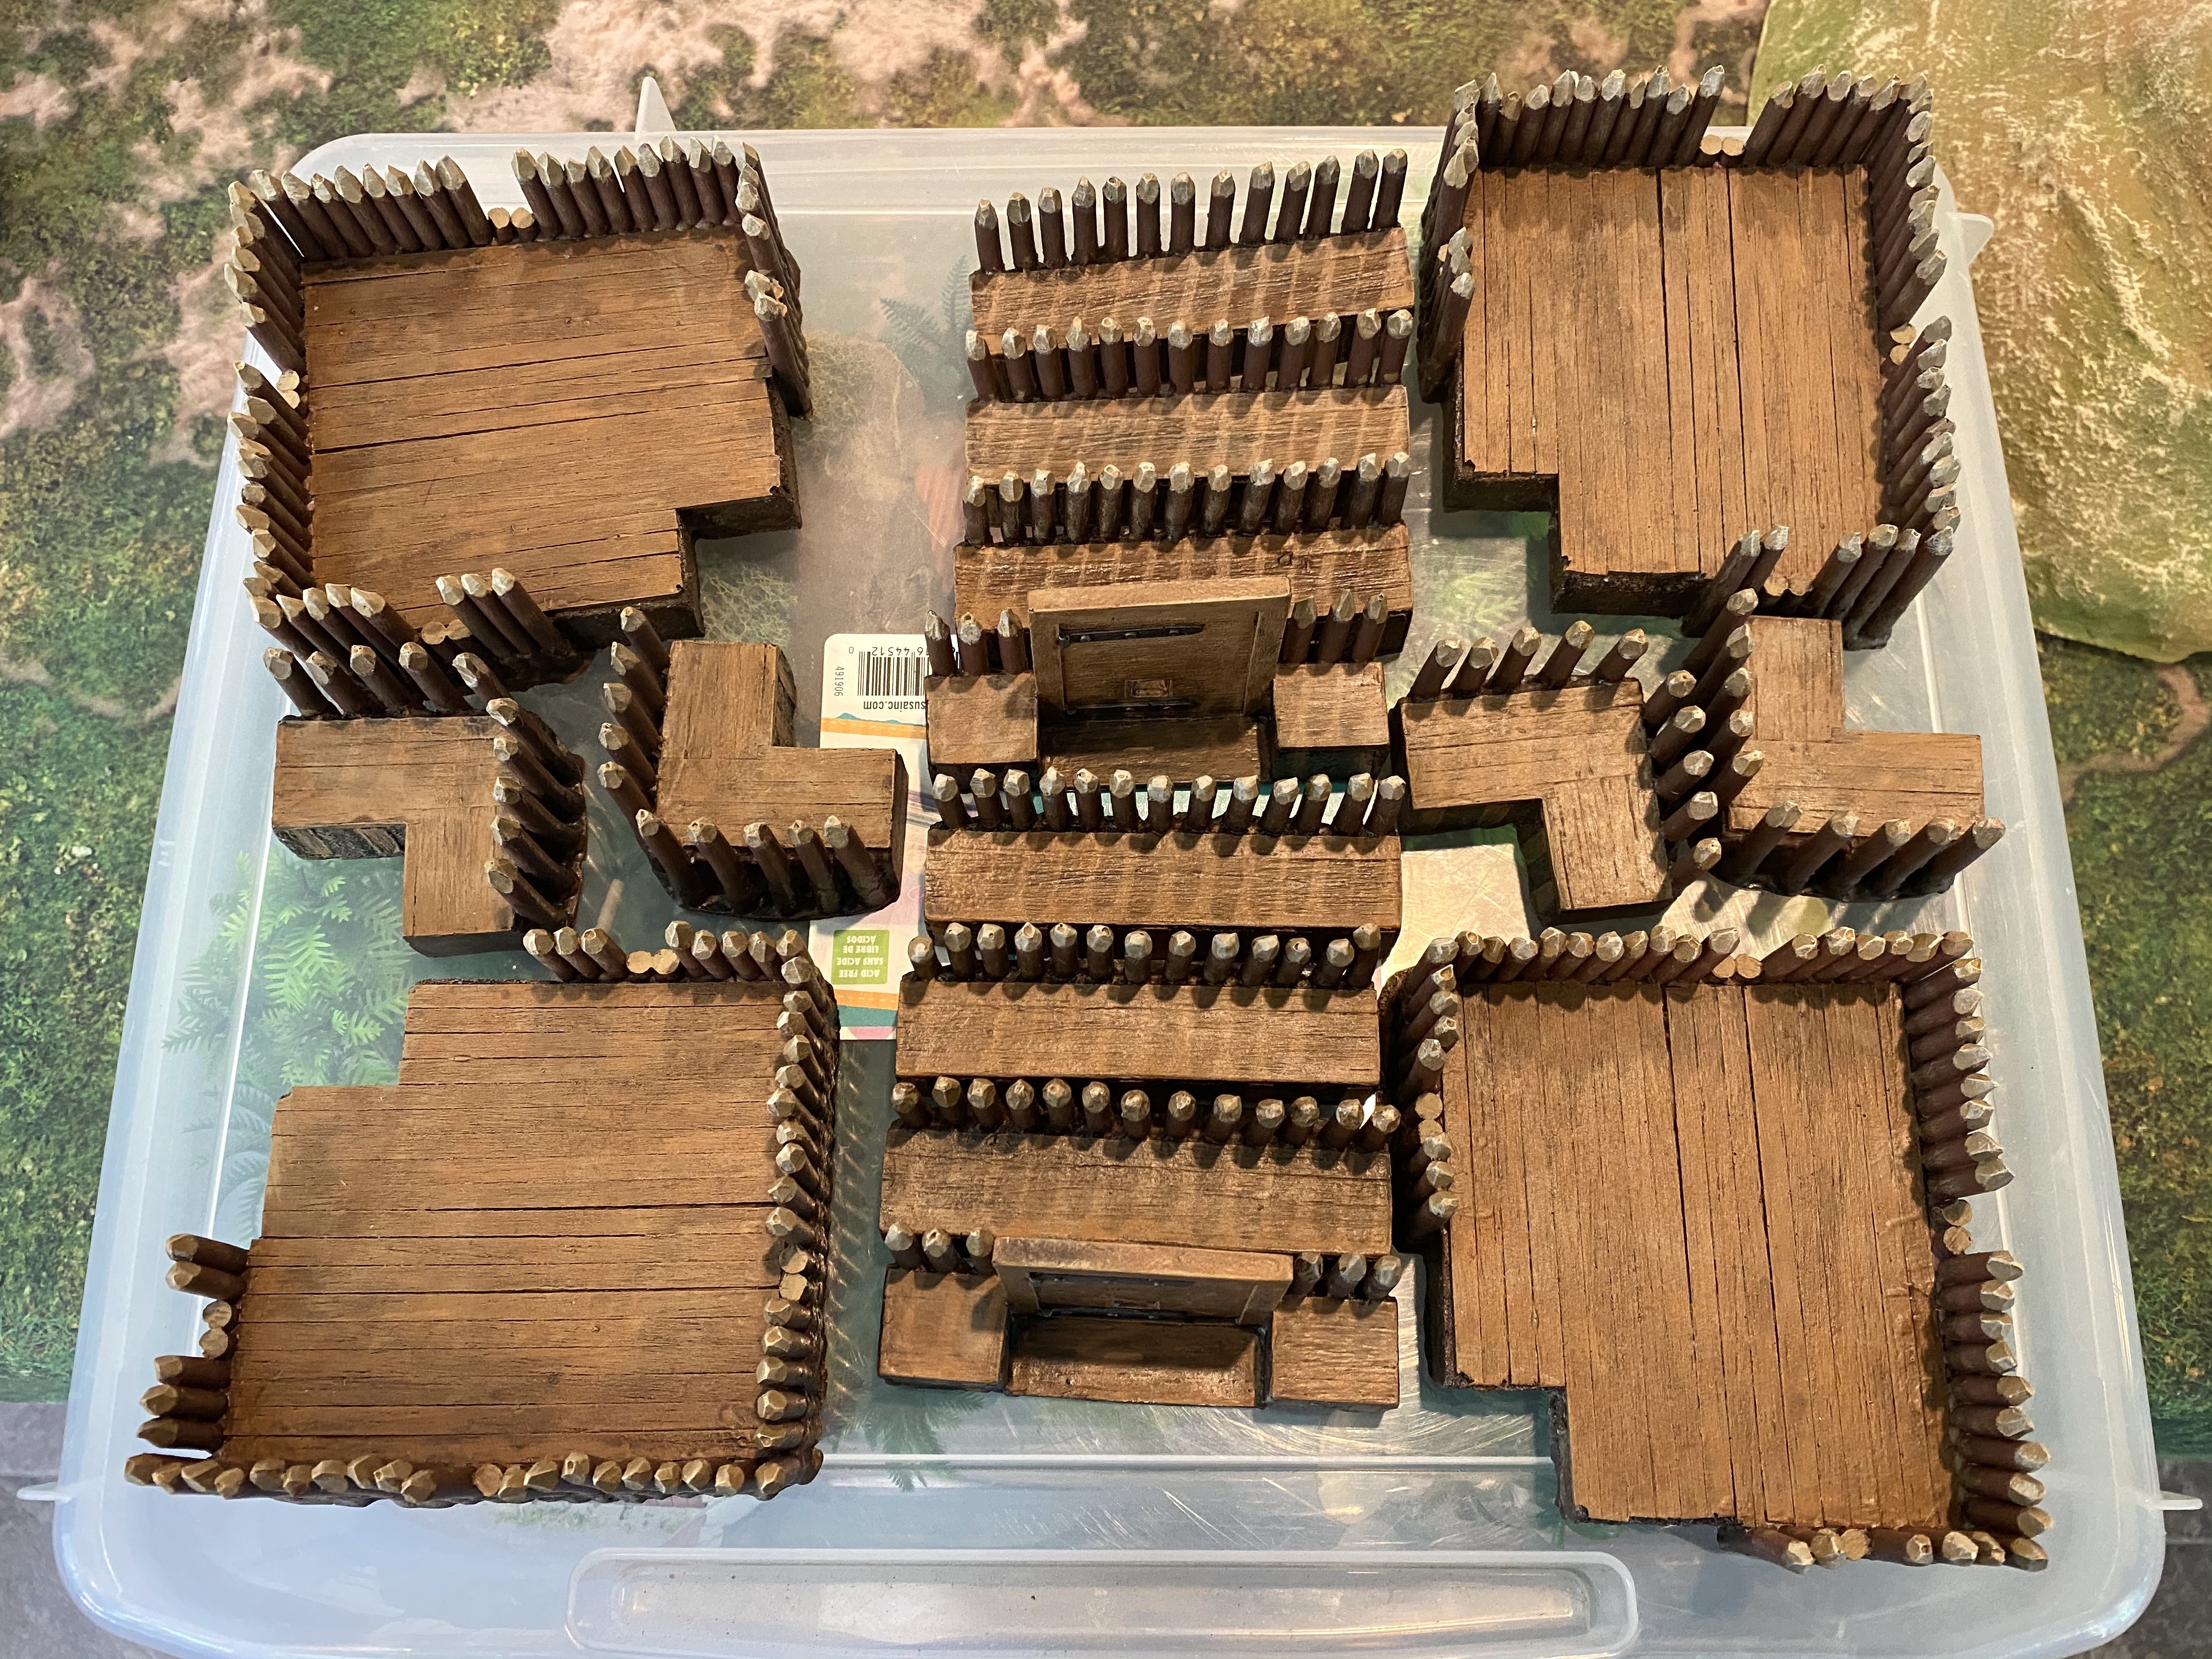
- 4 Wooden Palisade Bastions at 4 points each and 8 Wood Palisade Walls at 2 points each.
- 2 Light Cannons
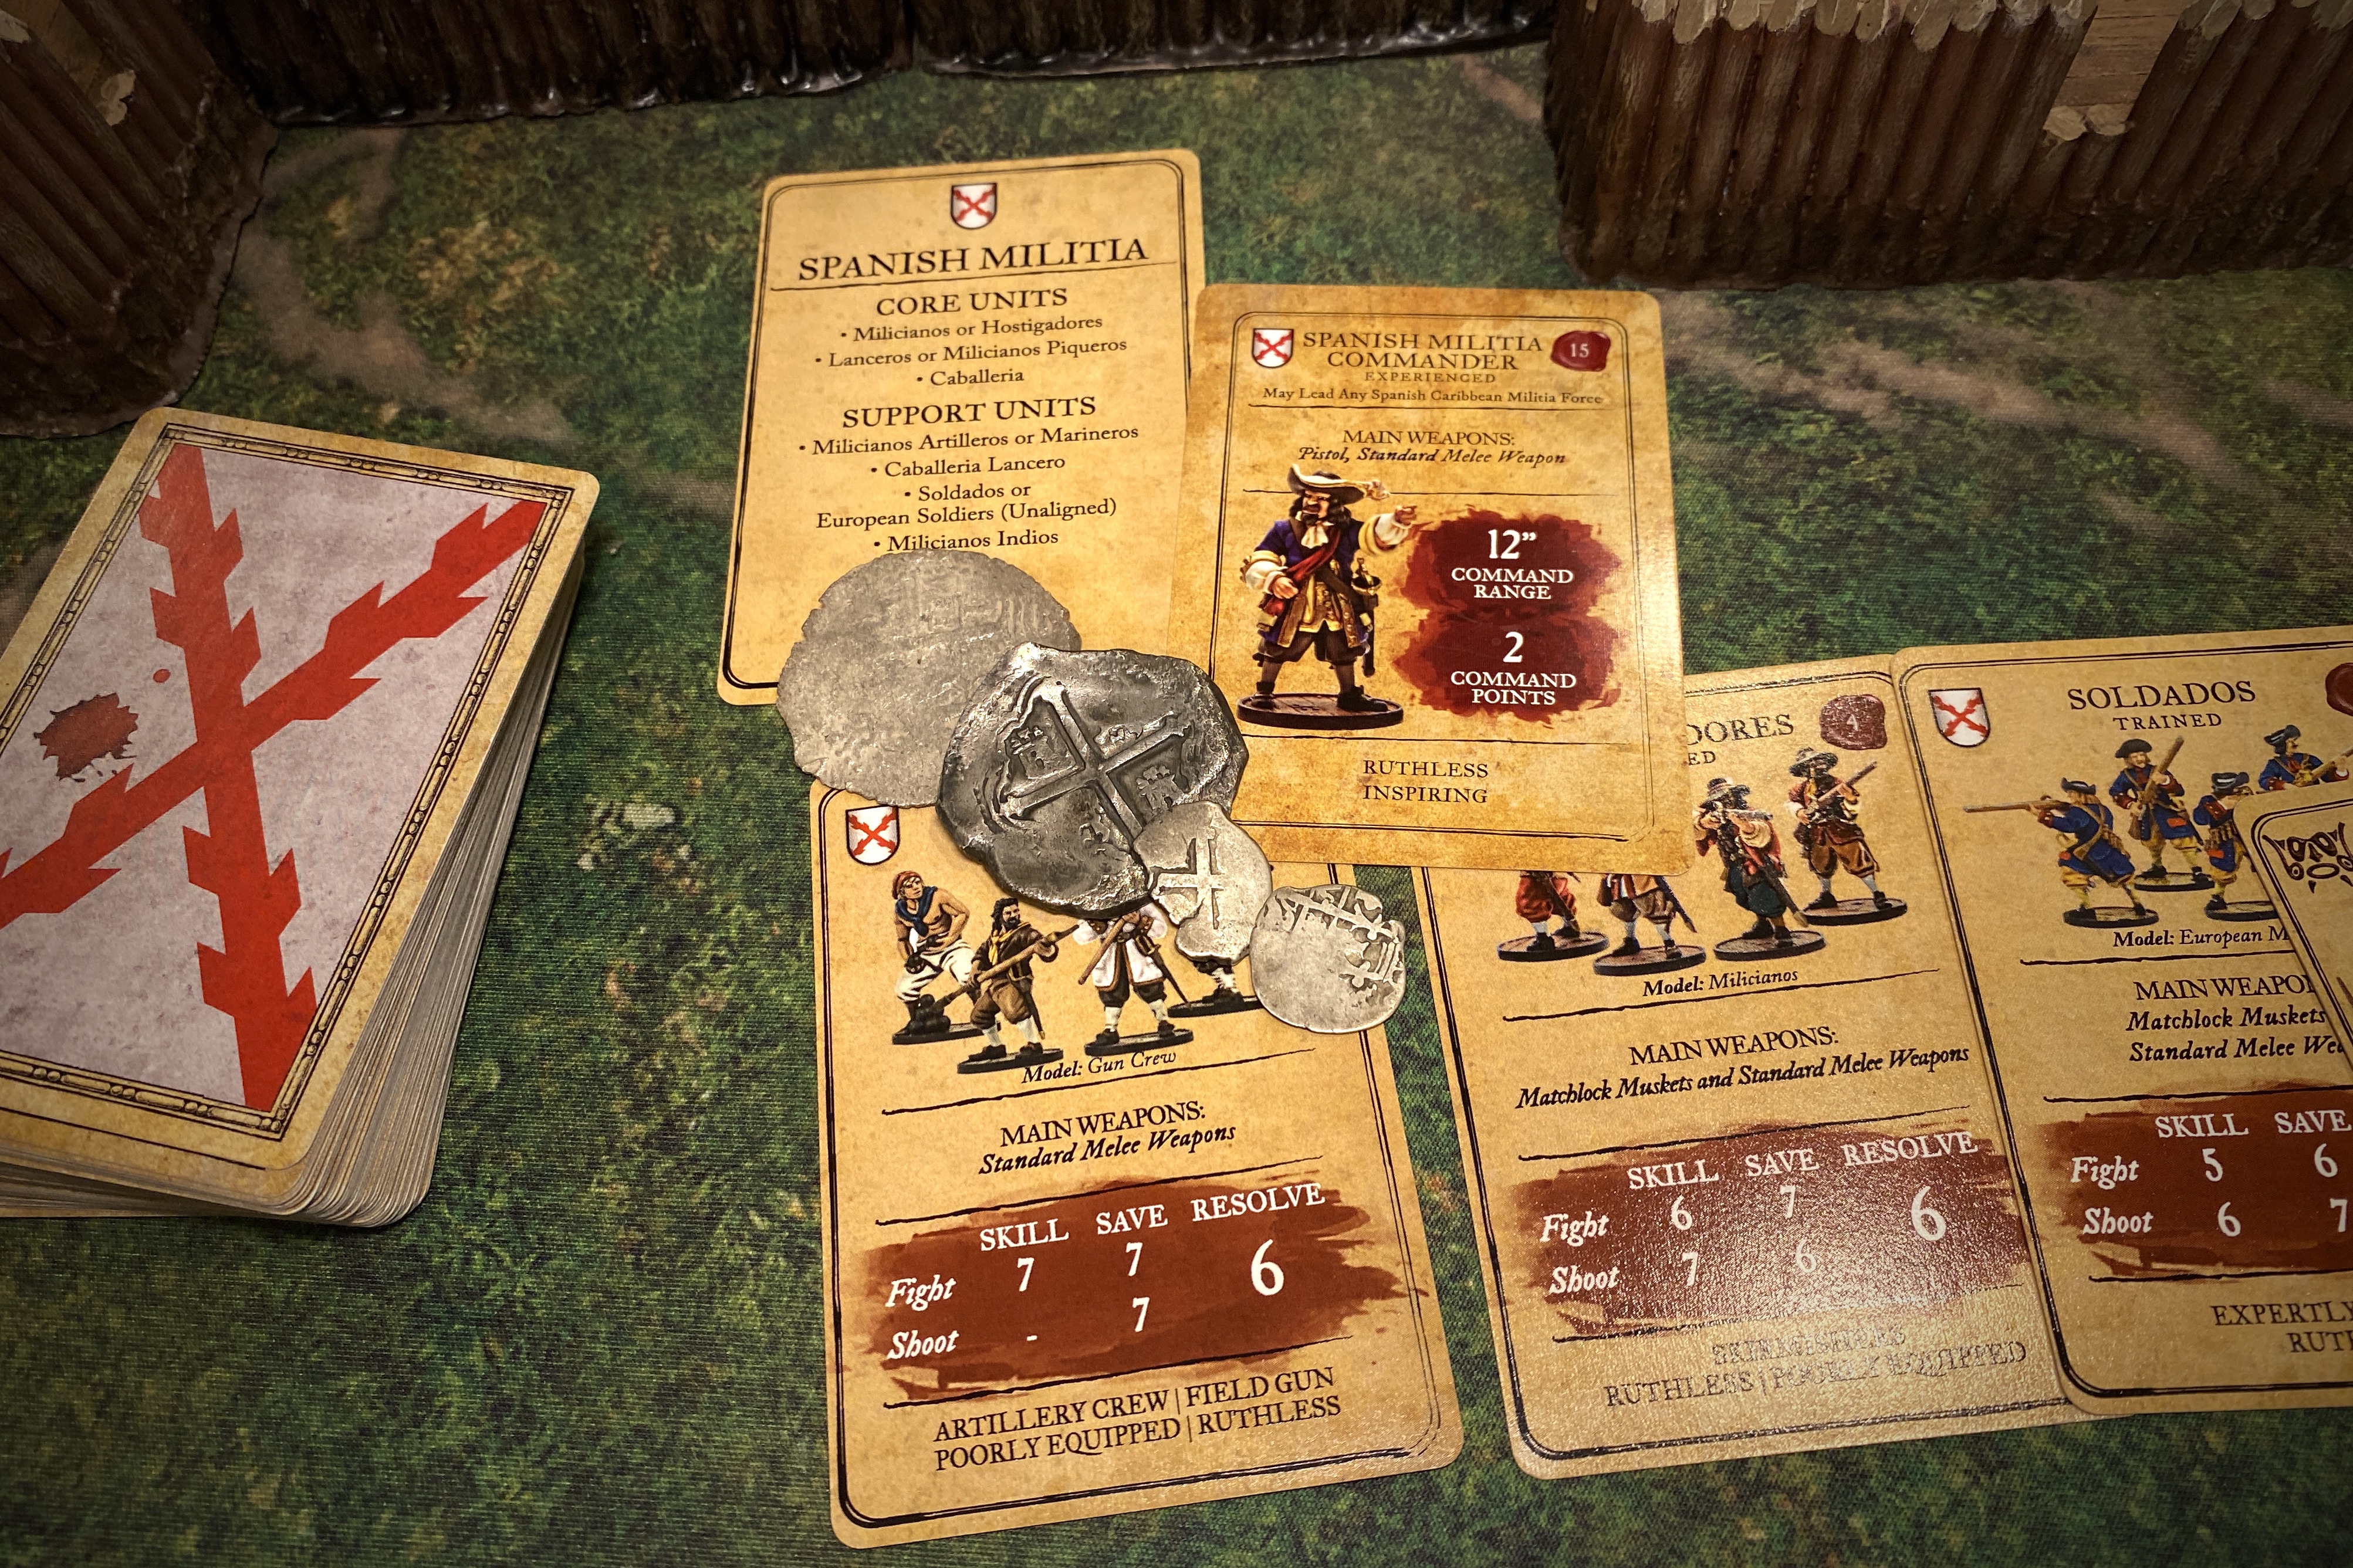
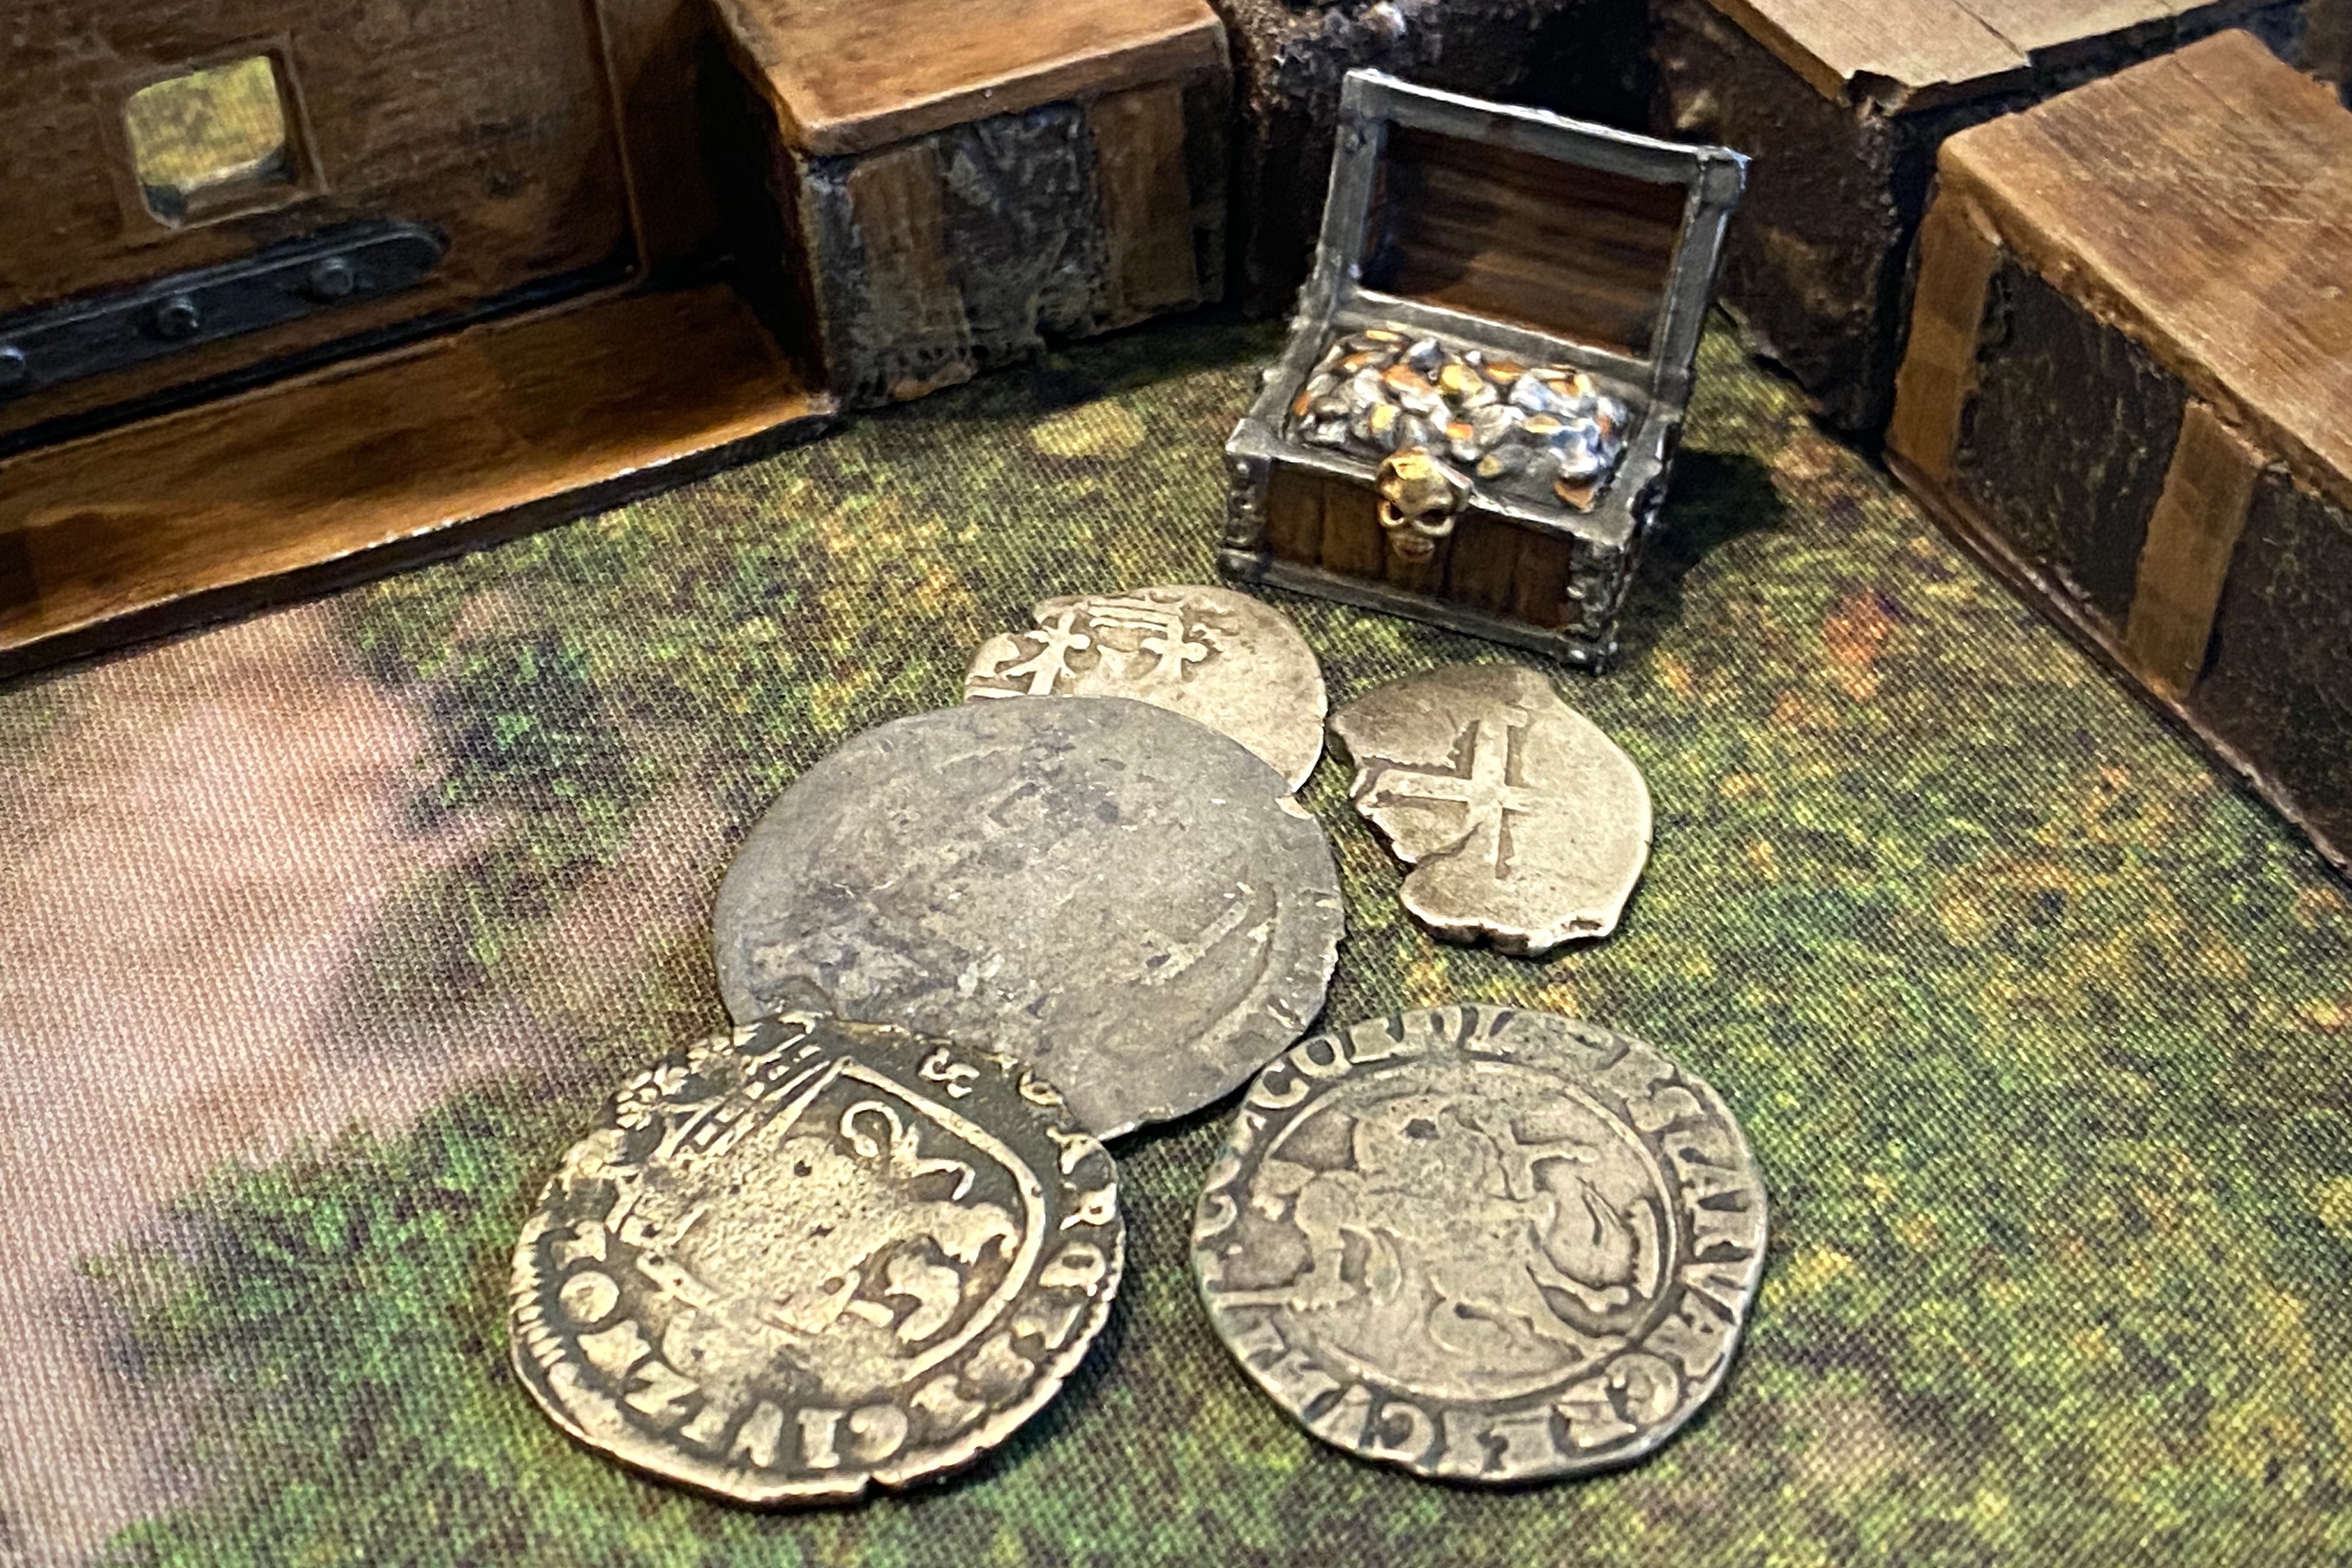
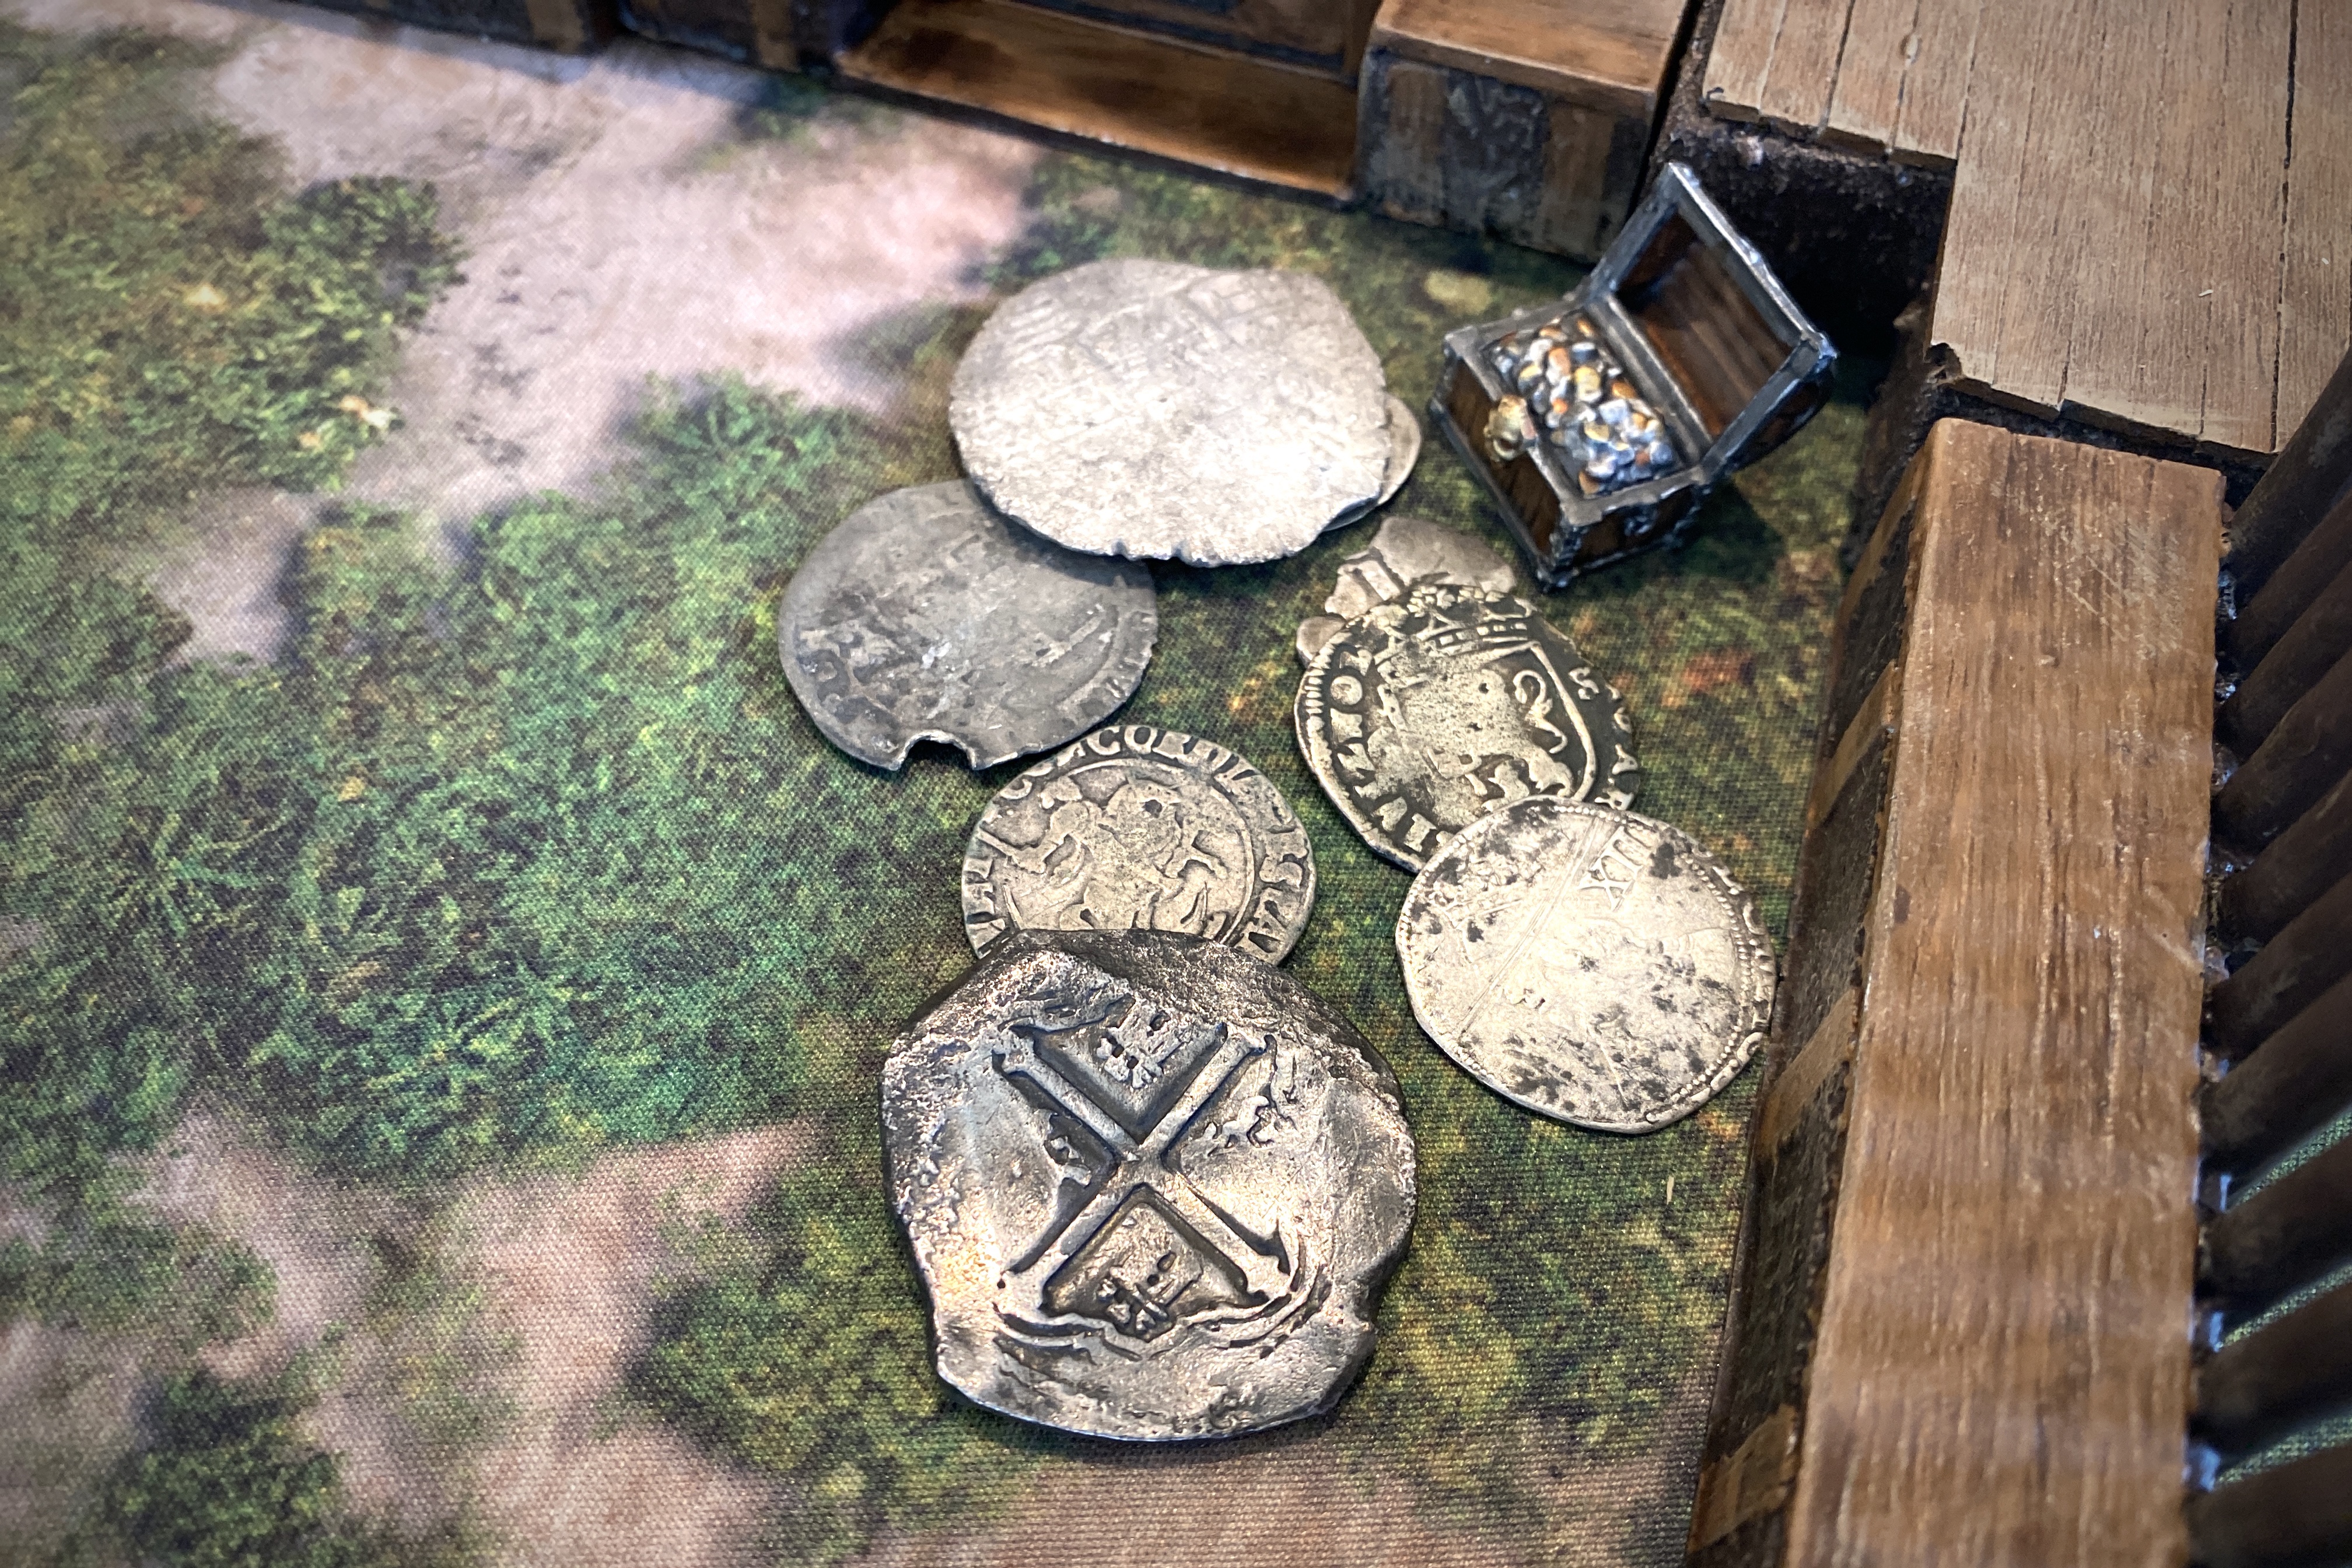
Genuine Spanish treasure
The solitaire rules suggest not using Fortune Points but I wanted to use my Spiritual Leader and my cool historical coins so I decided to go ahead and use Fortune for this game.
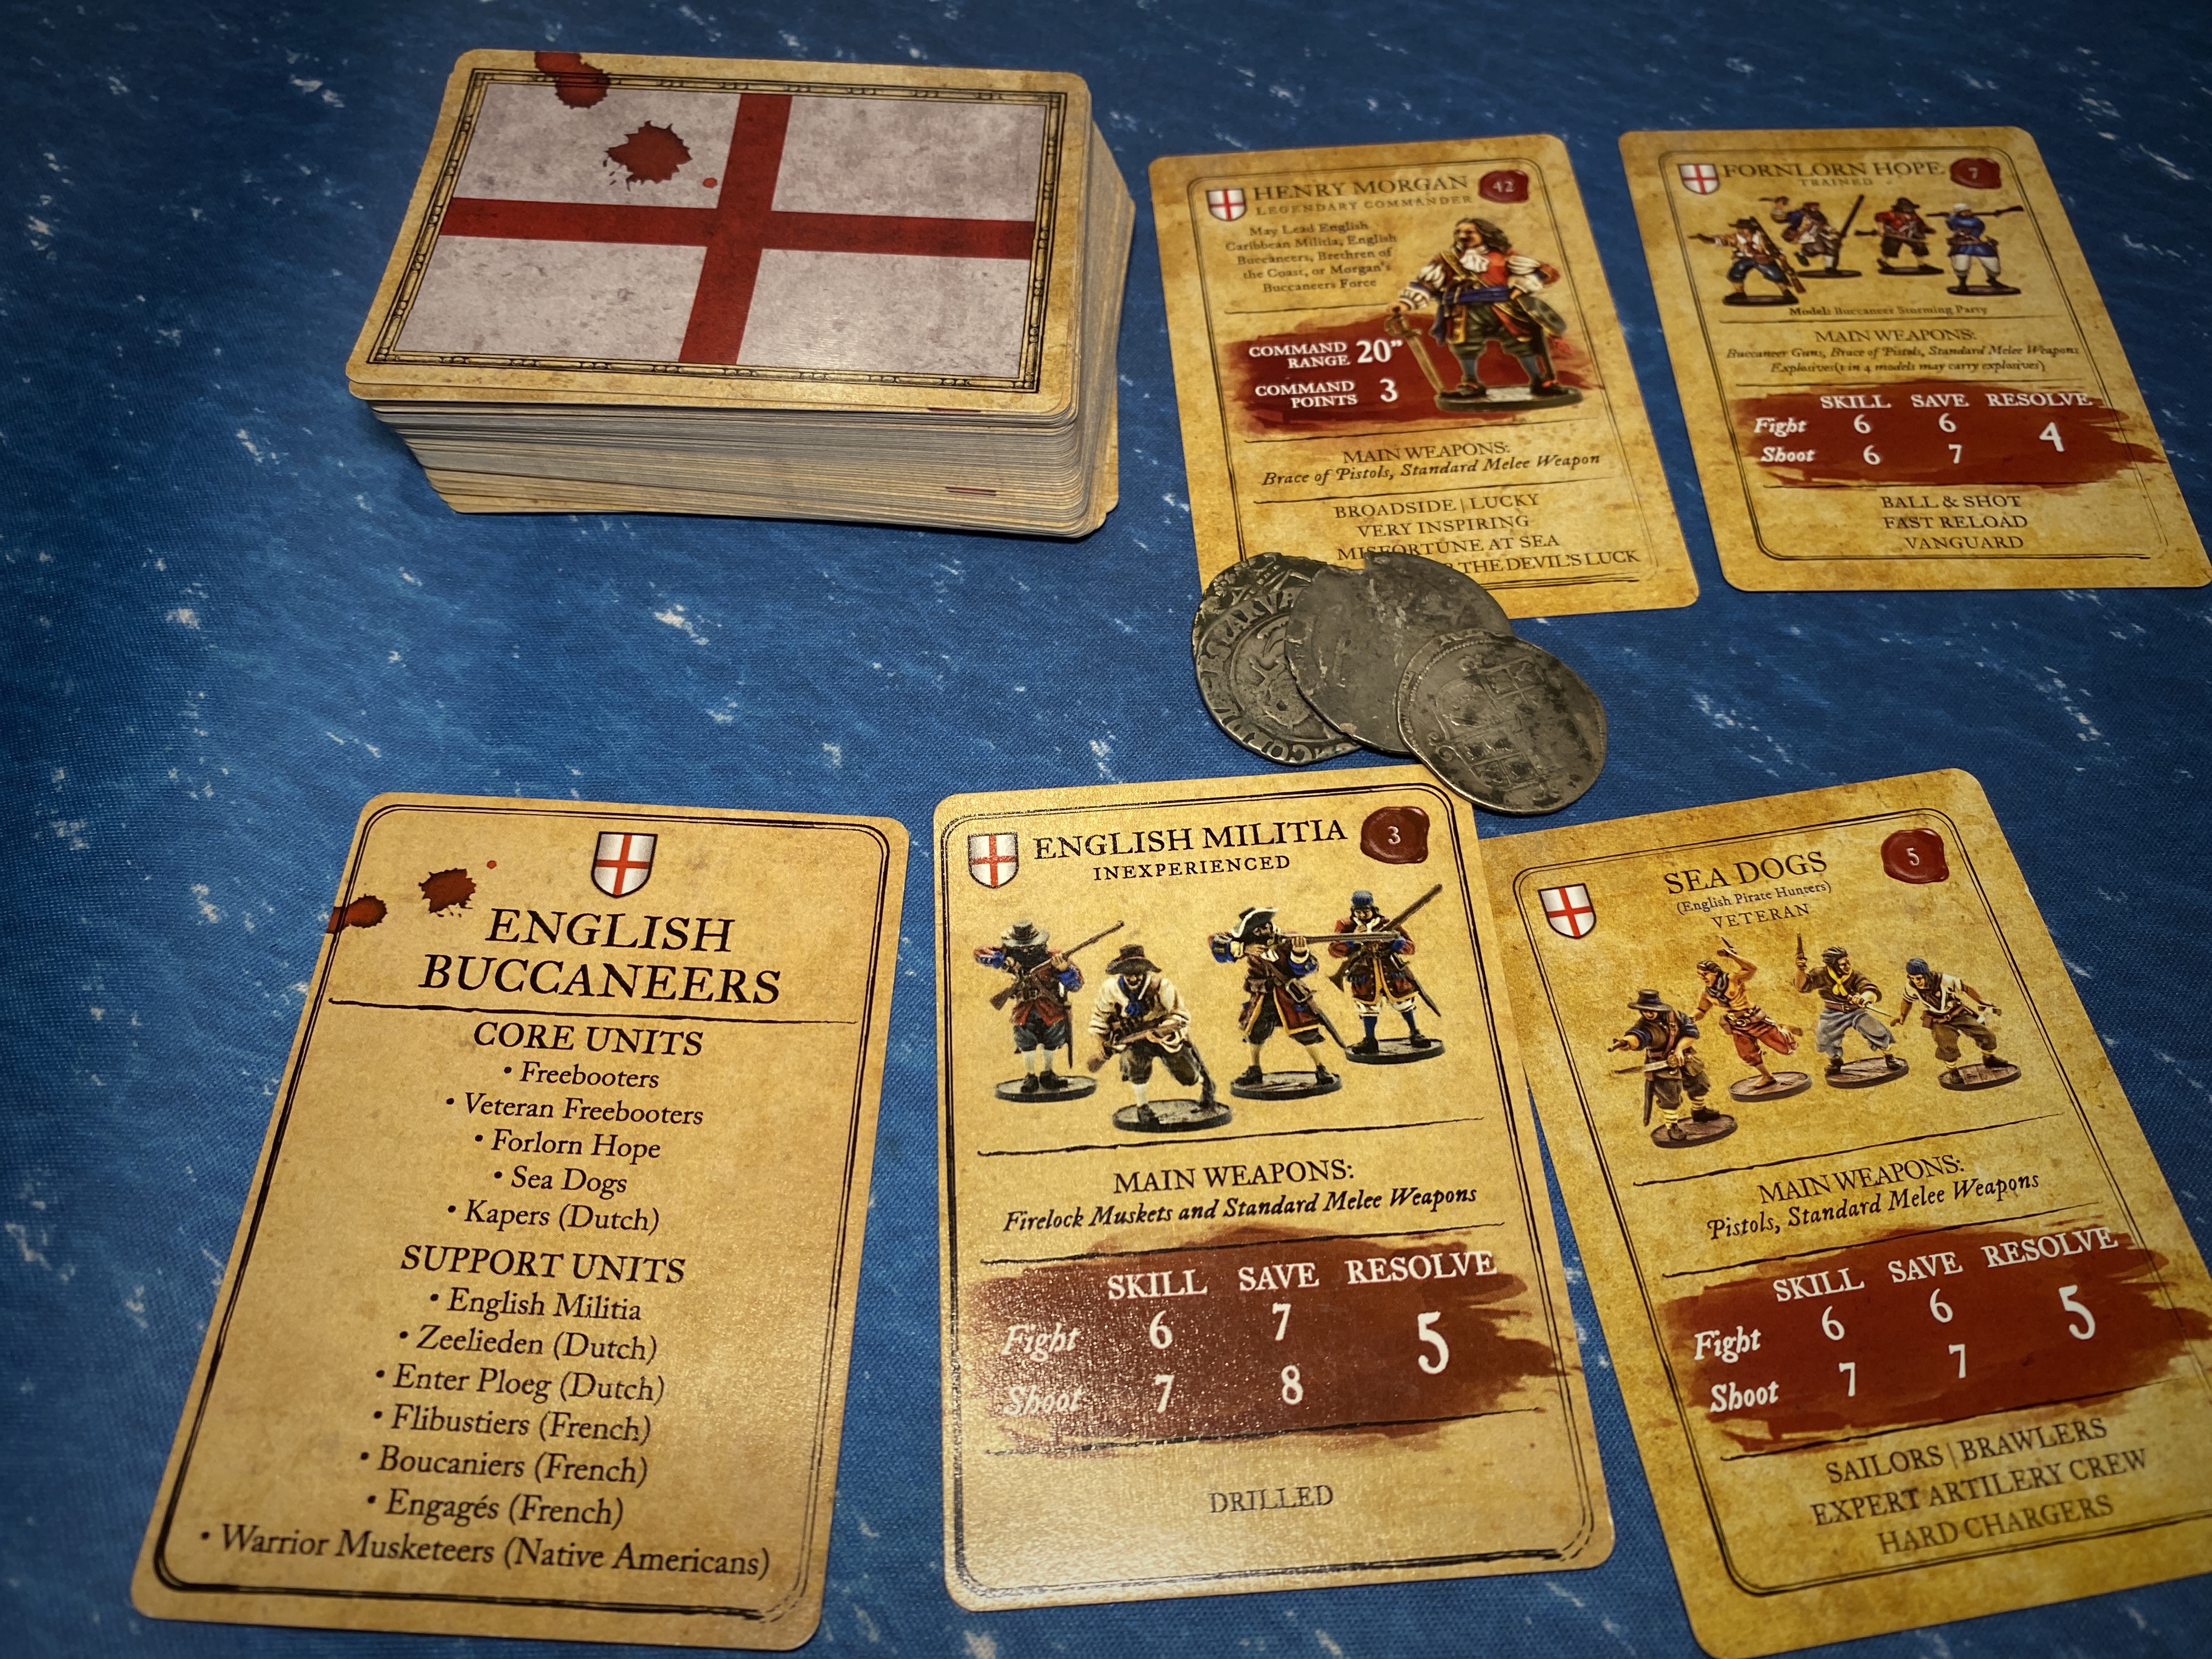
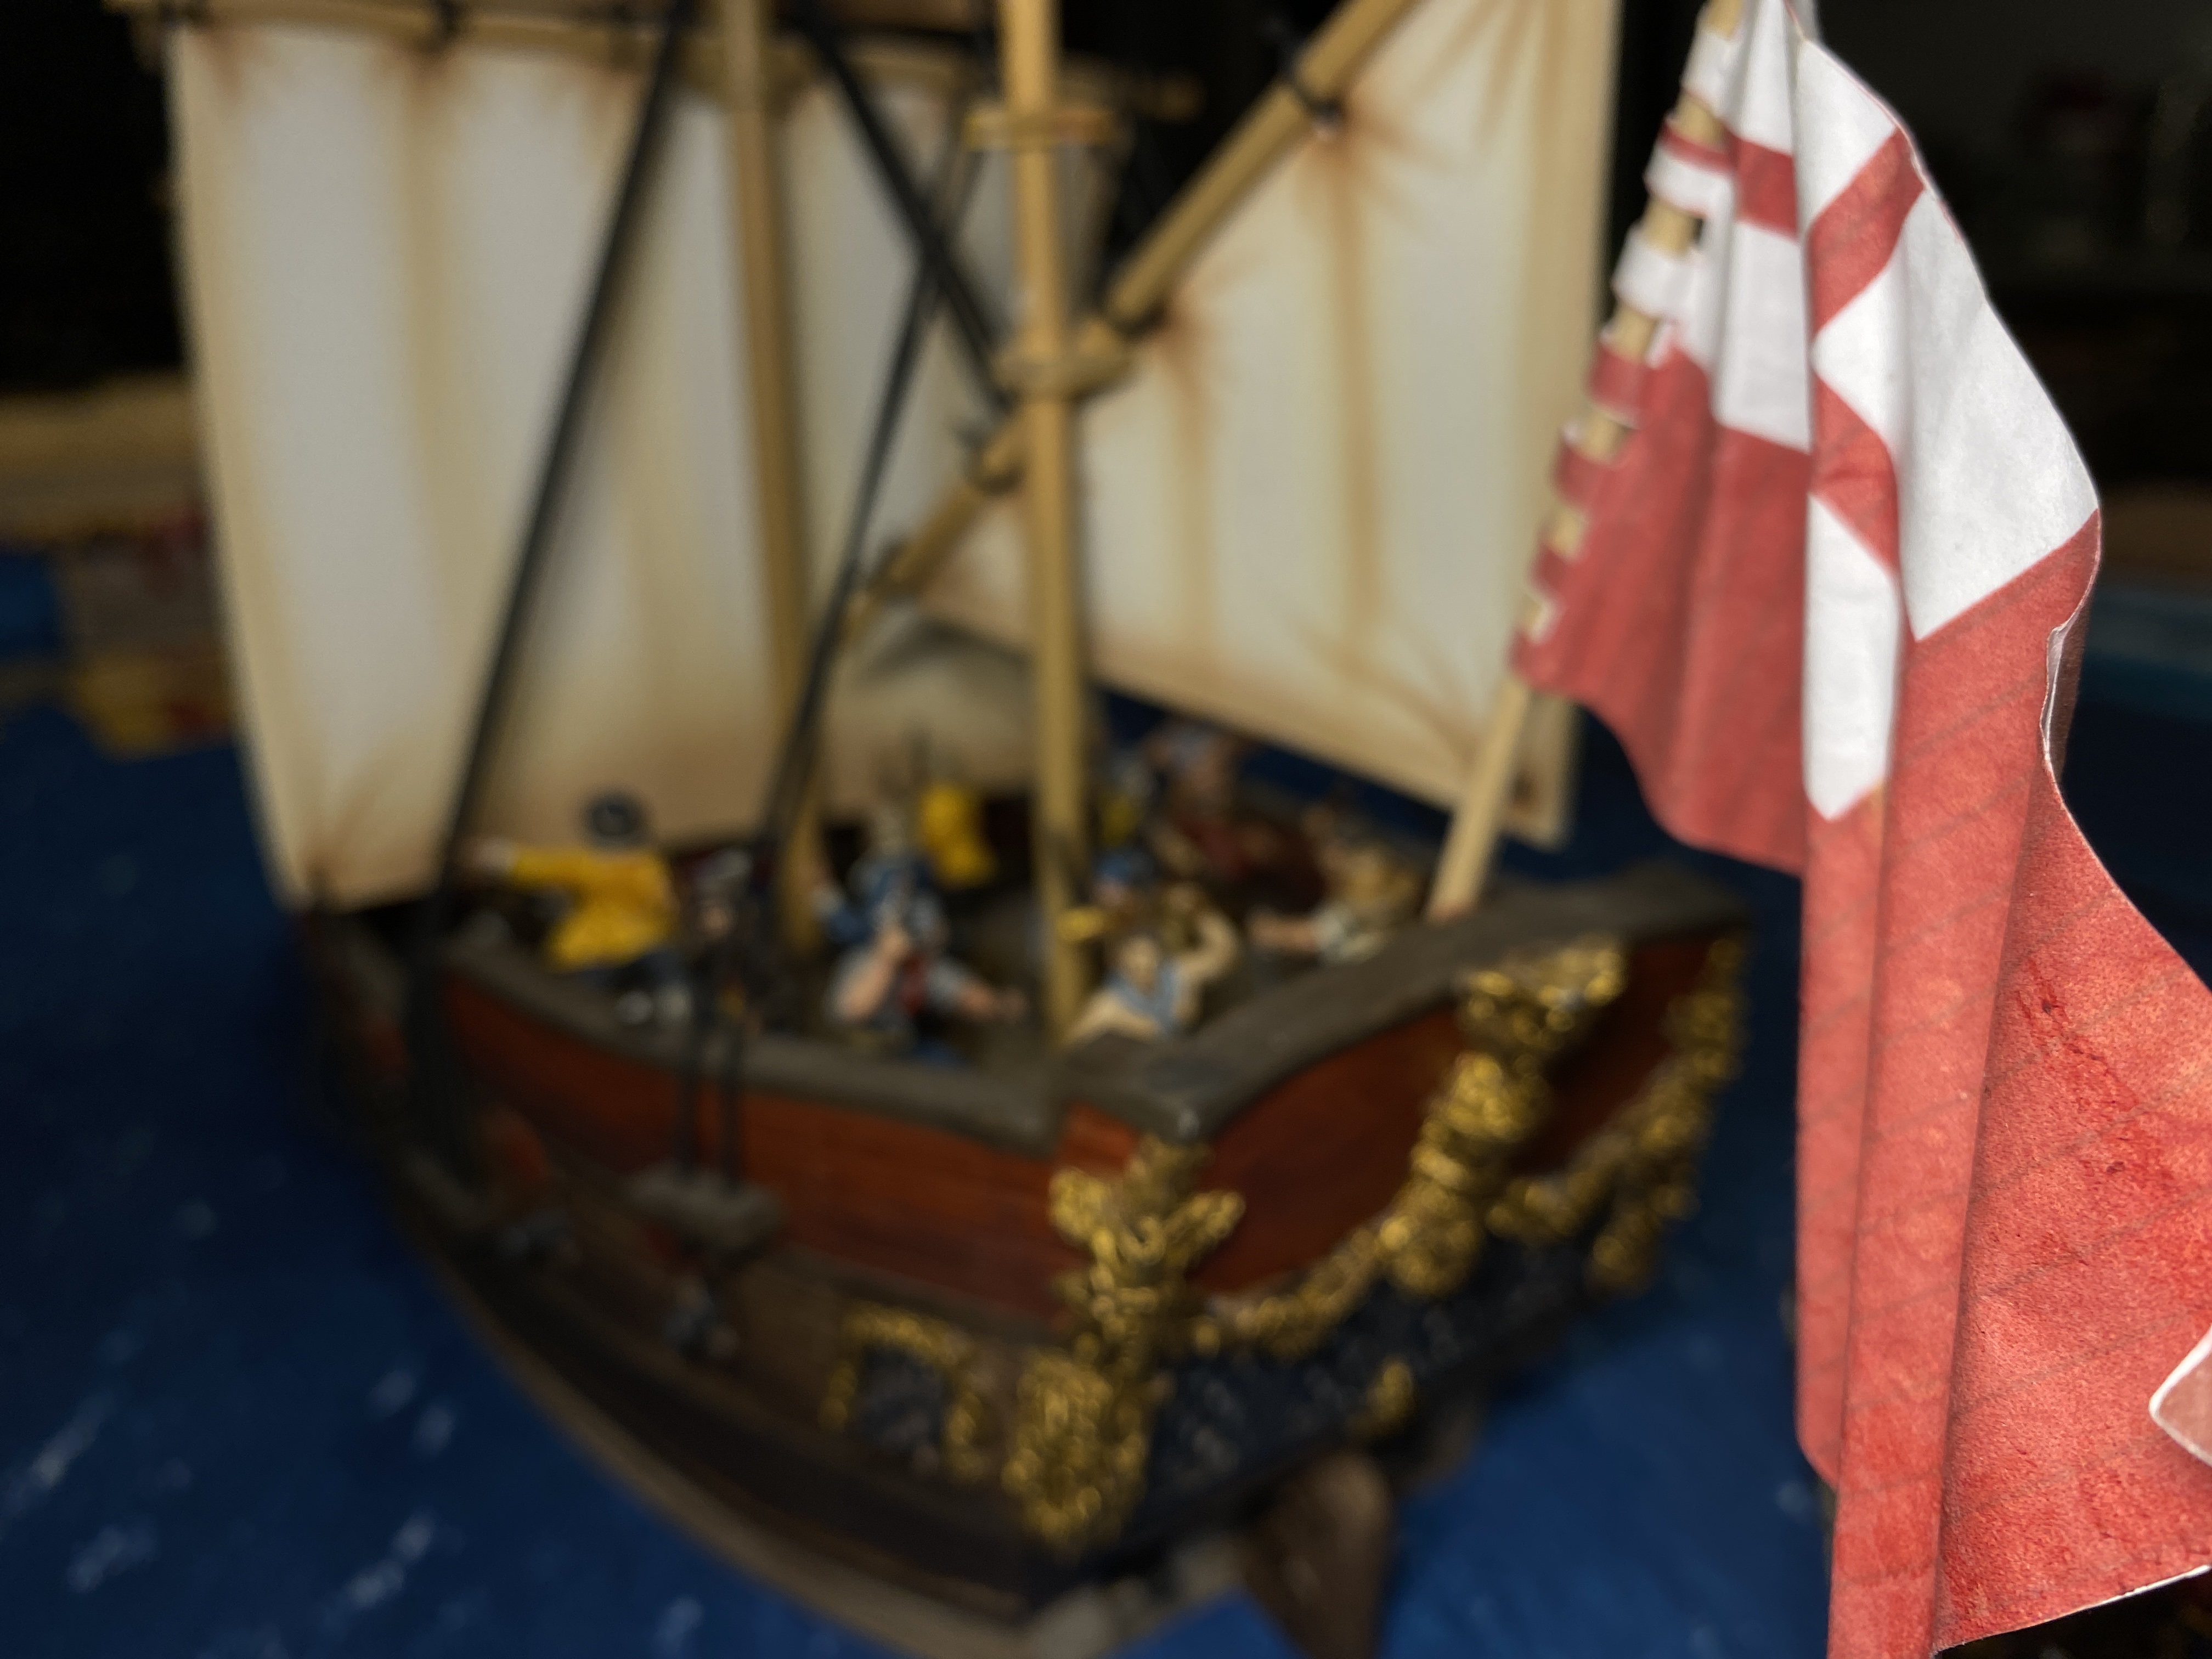
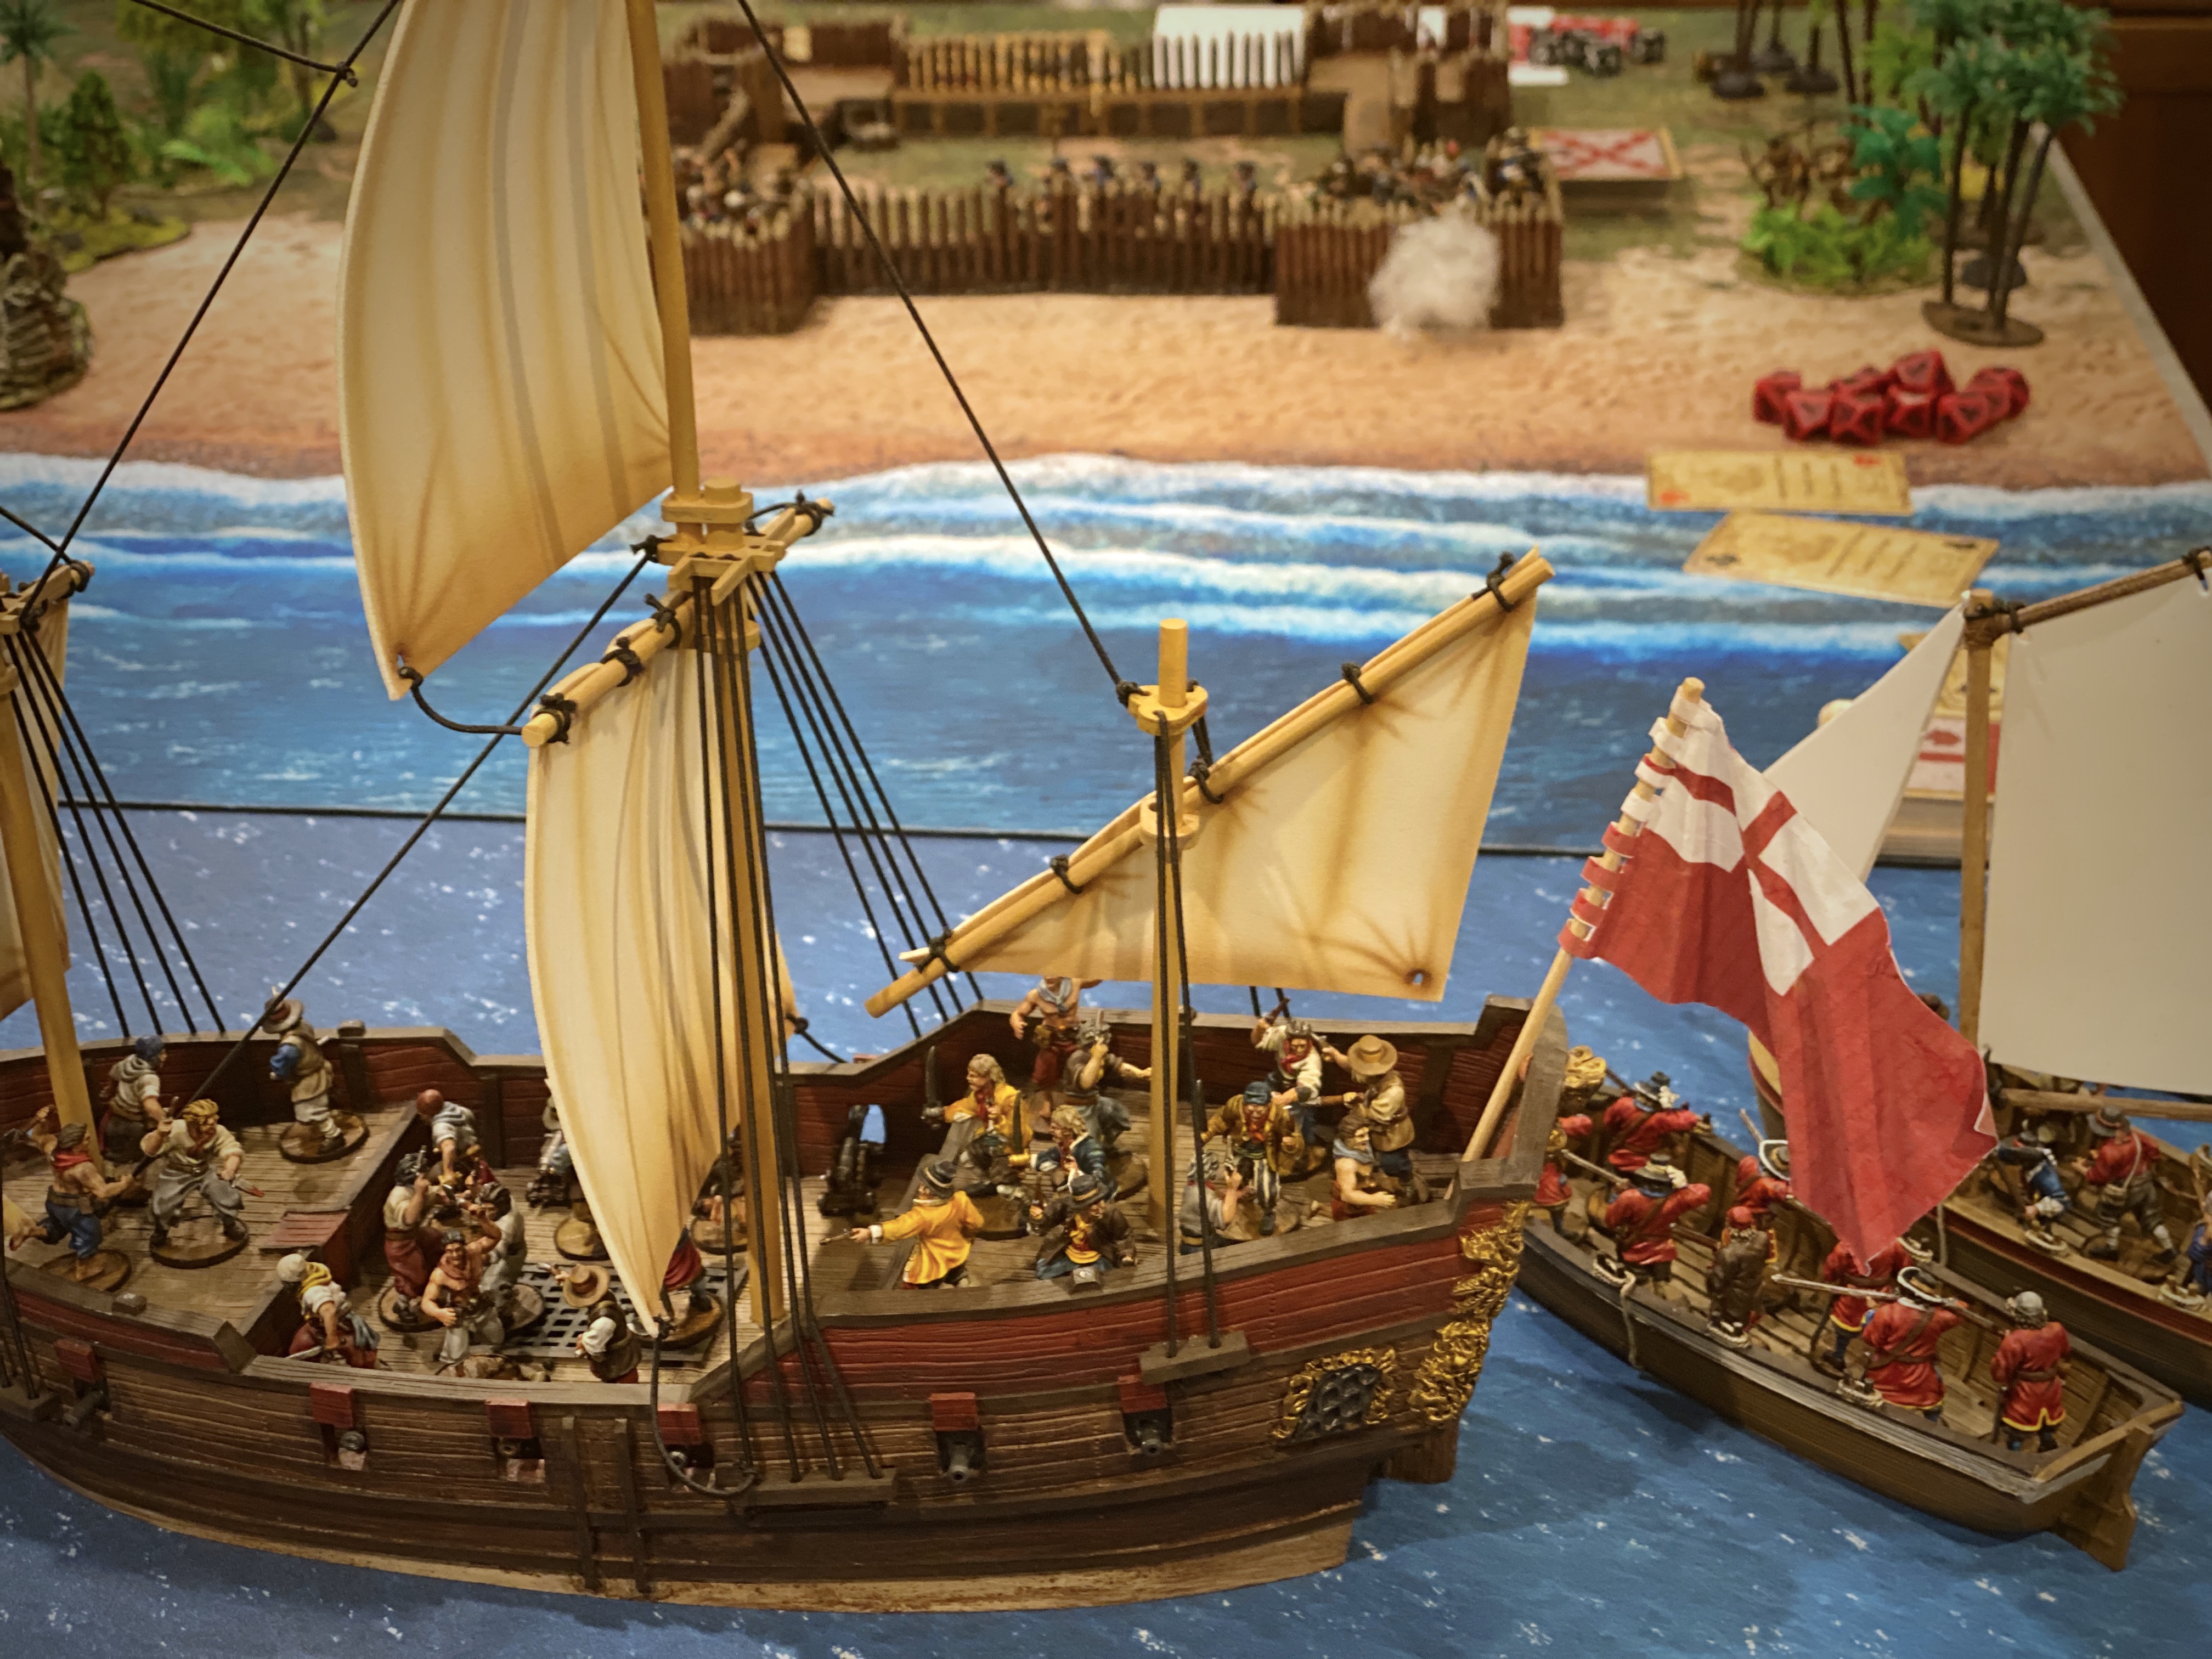
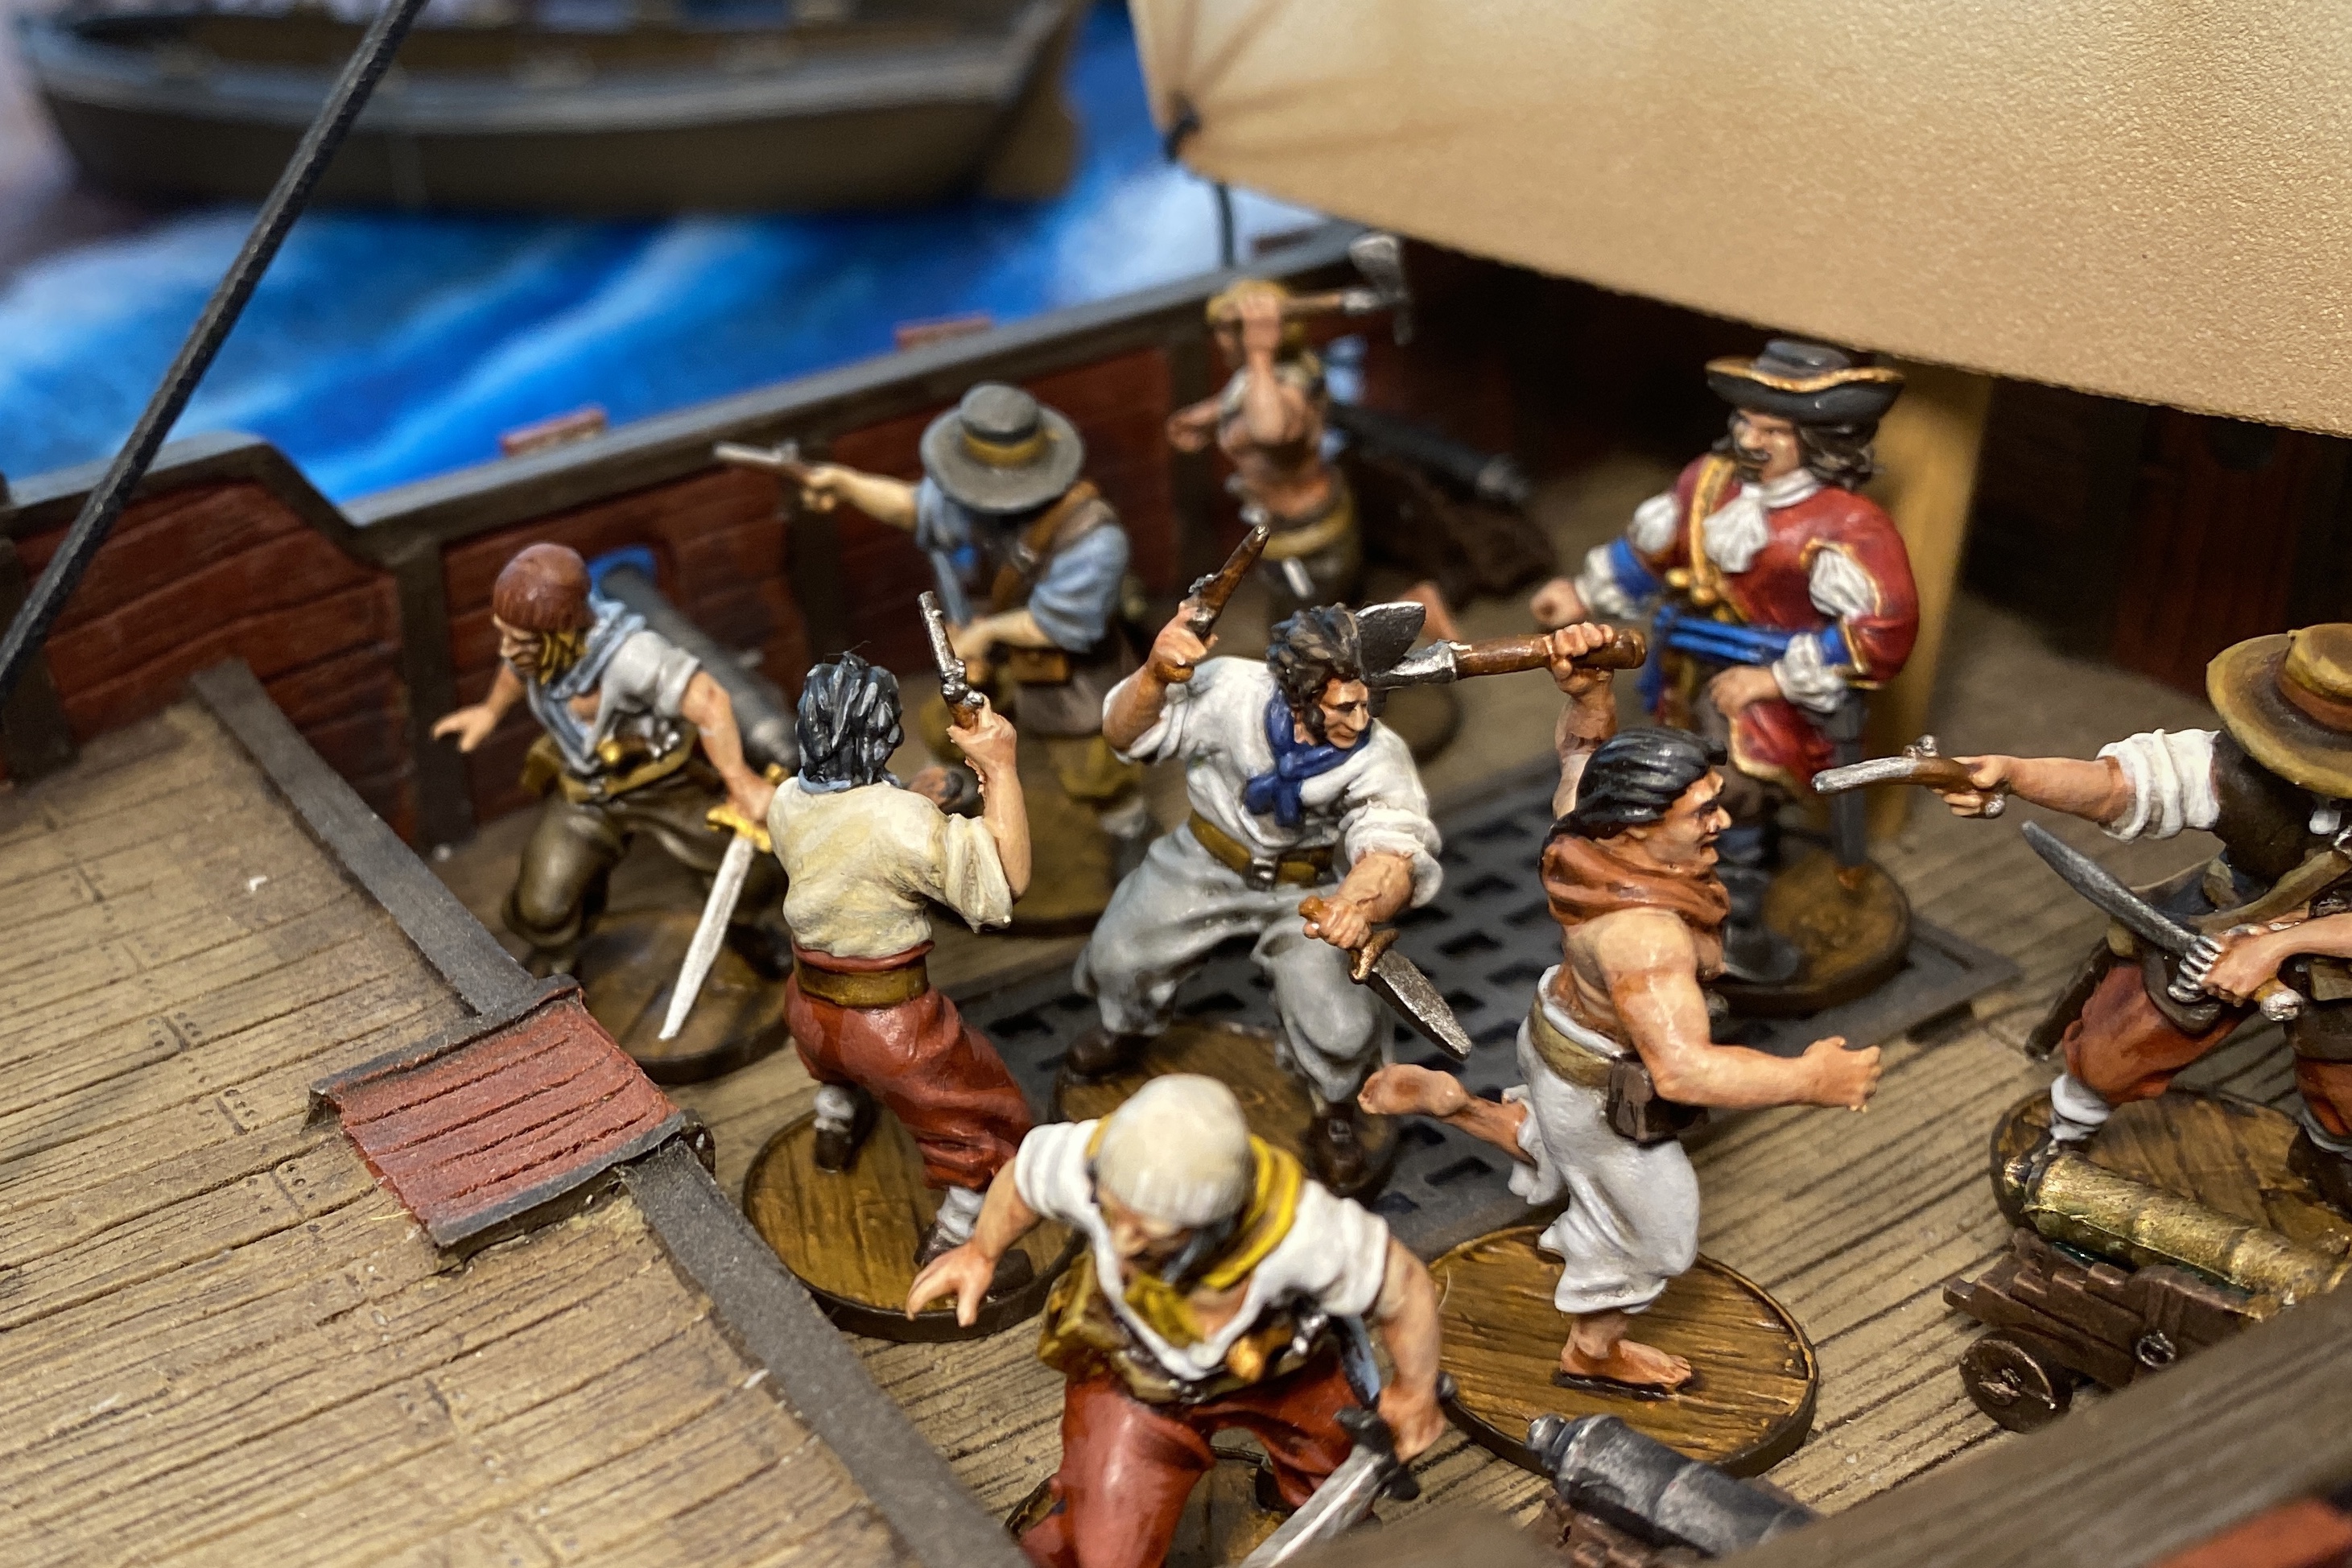
I used Henry Morgan to lead the English Buccaneer attack force. I chose this faction so I could use the Forlorn hope as a landing party but still use Sea Dogs for cannon crew.
It was a bit of trick building this force and ultimately, I think I could have done better.

The 250 point English Buccaneer attack force contained:
- 7 Sea Dogs without pistols assigned to the 3 mid deck light cannons with Henry Morgan attached
- 5 Sea Dogs without pistols assigned to the 2 stern light cannons
- 4 Sea Dogs without pistols assigned to the forward light cannon with a Master Gunner attached
- 4 Zeelieden without pistols
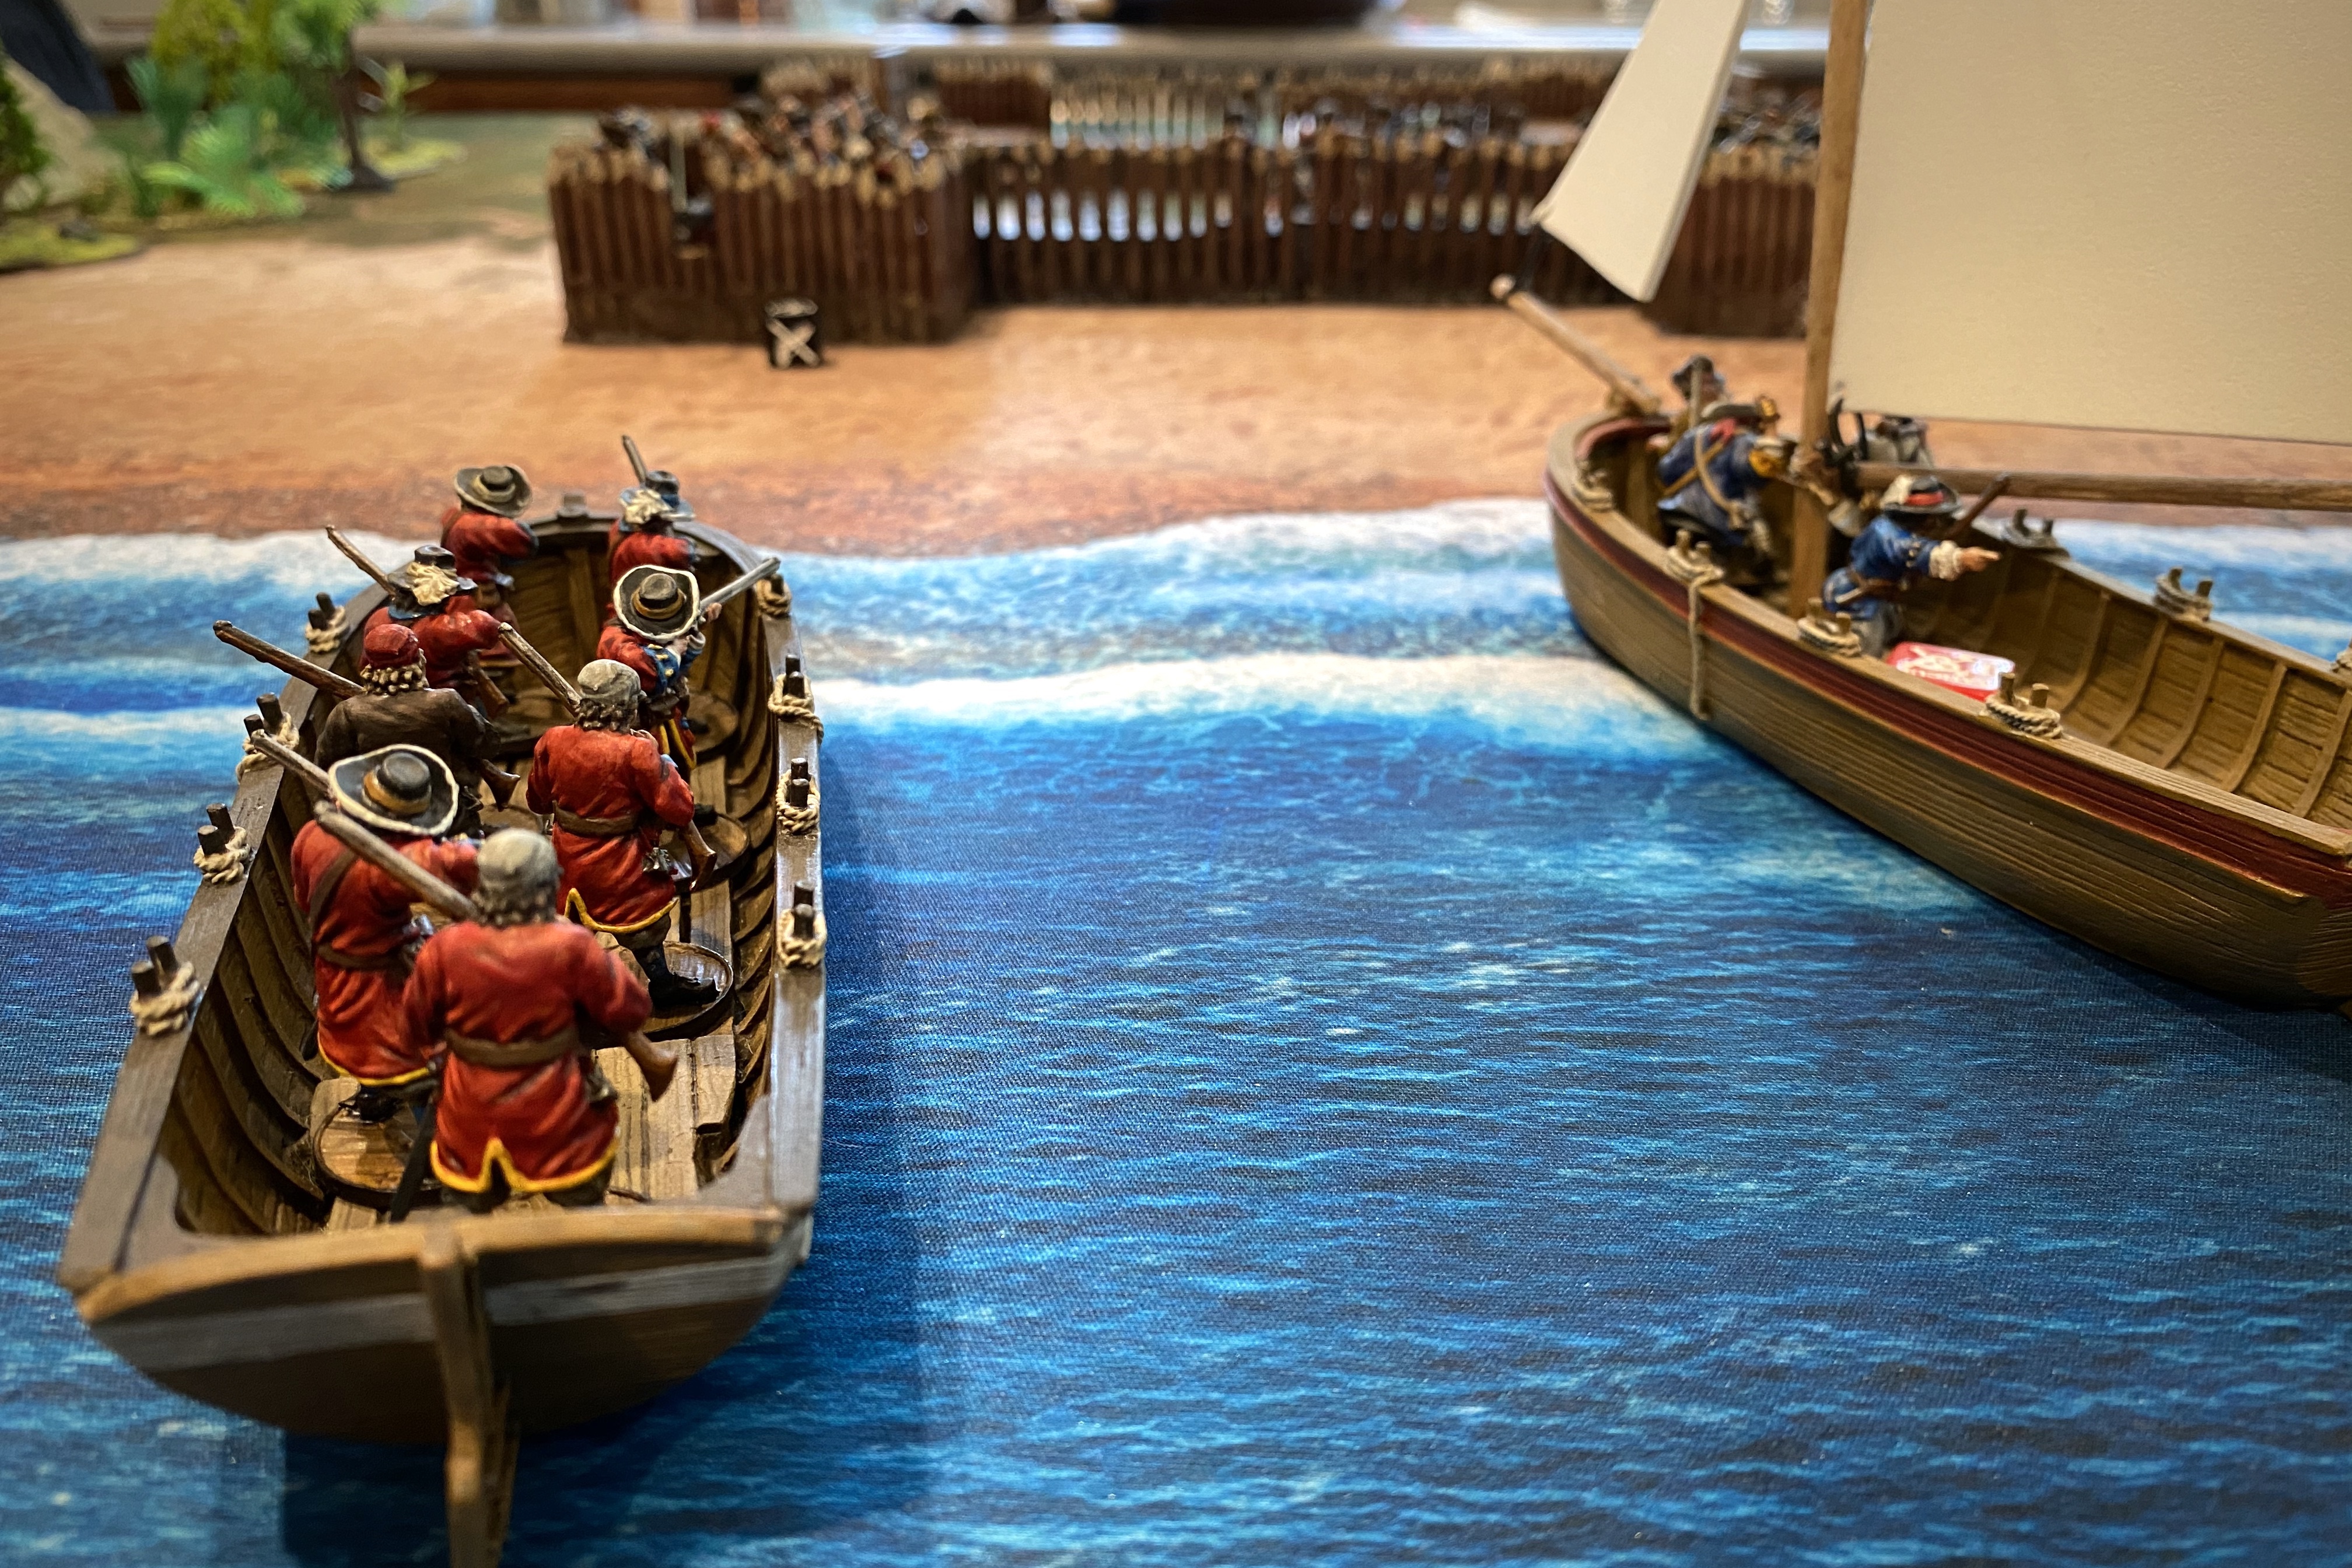
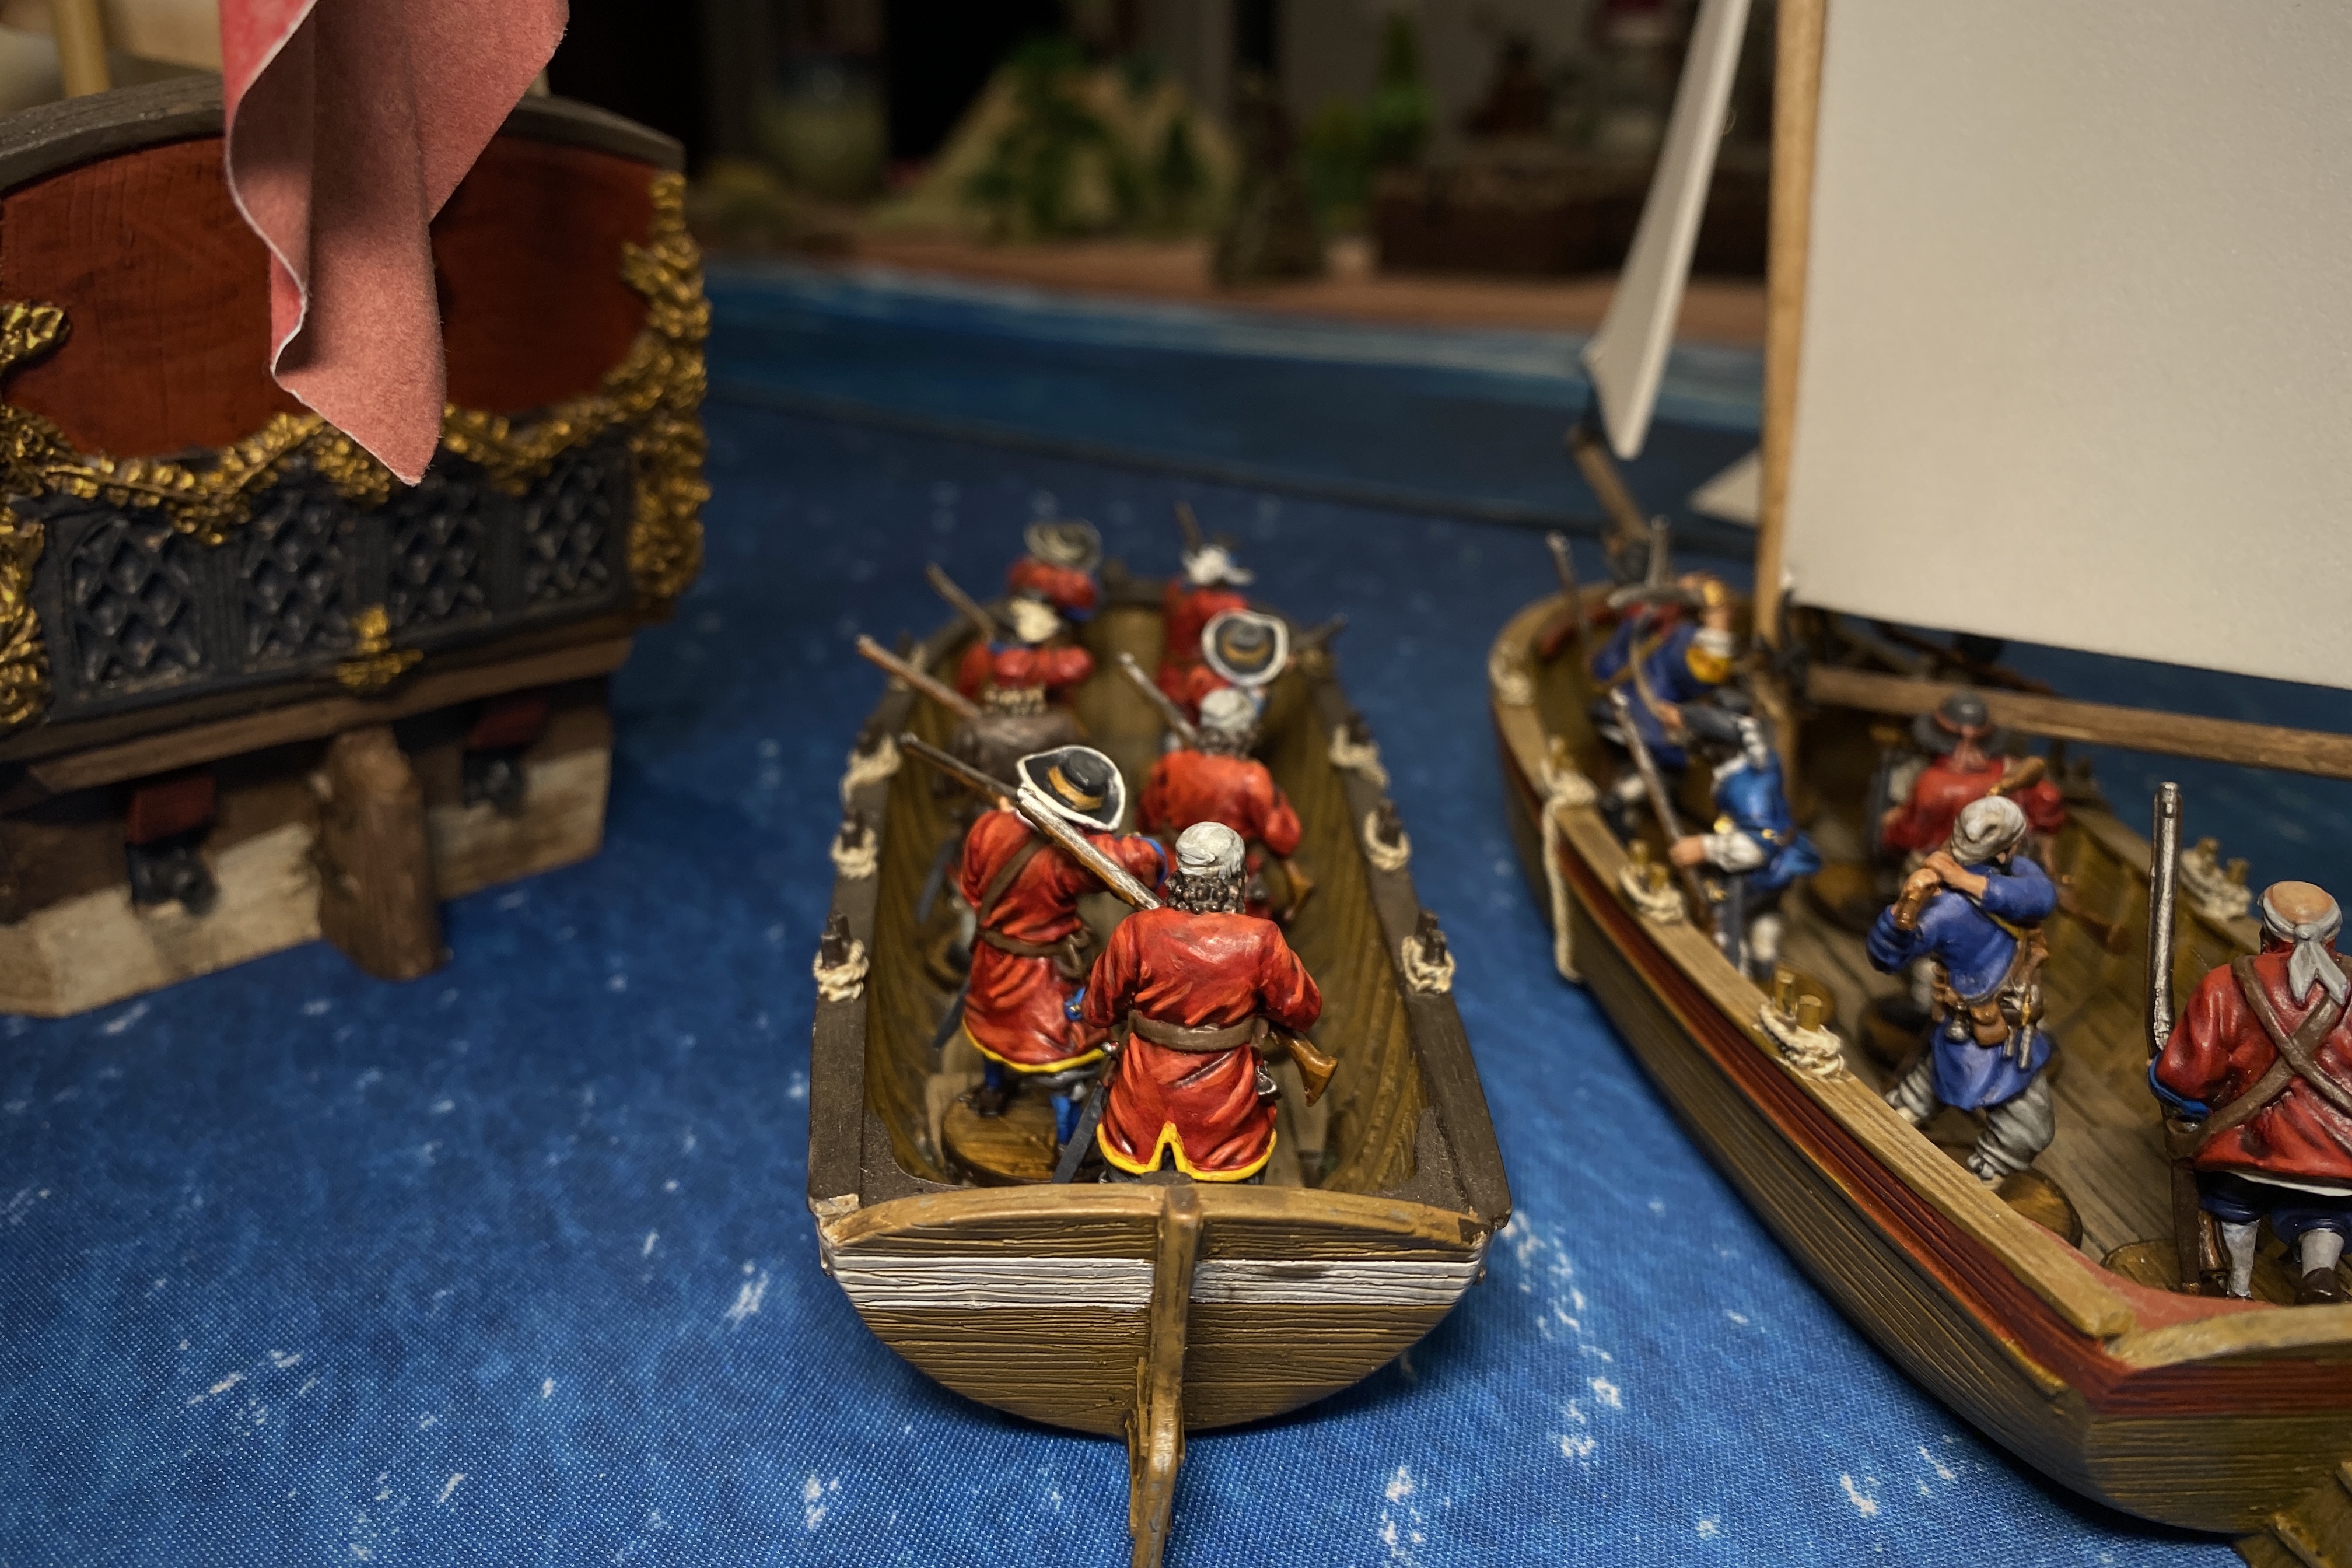
- 8 English Militia in a Longboat
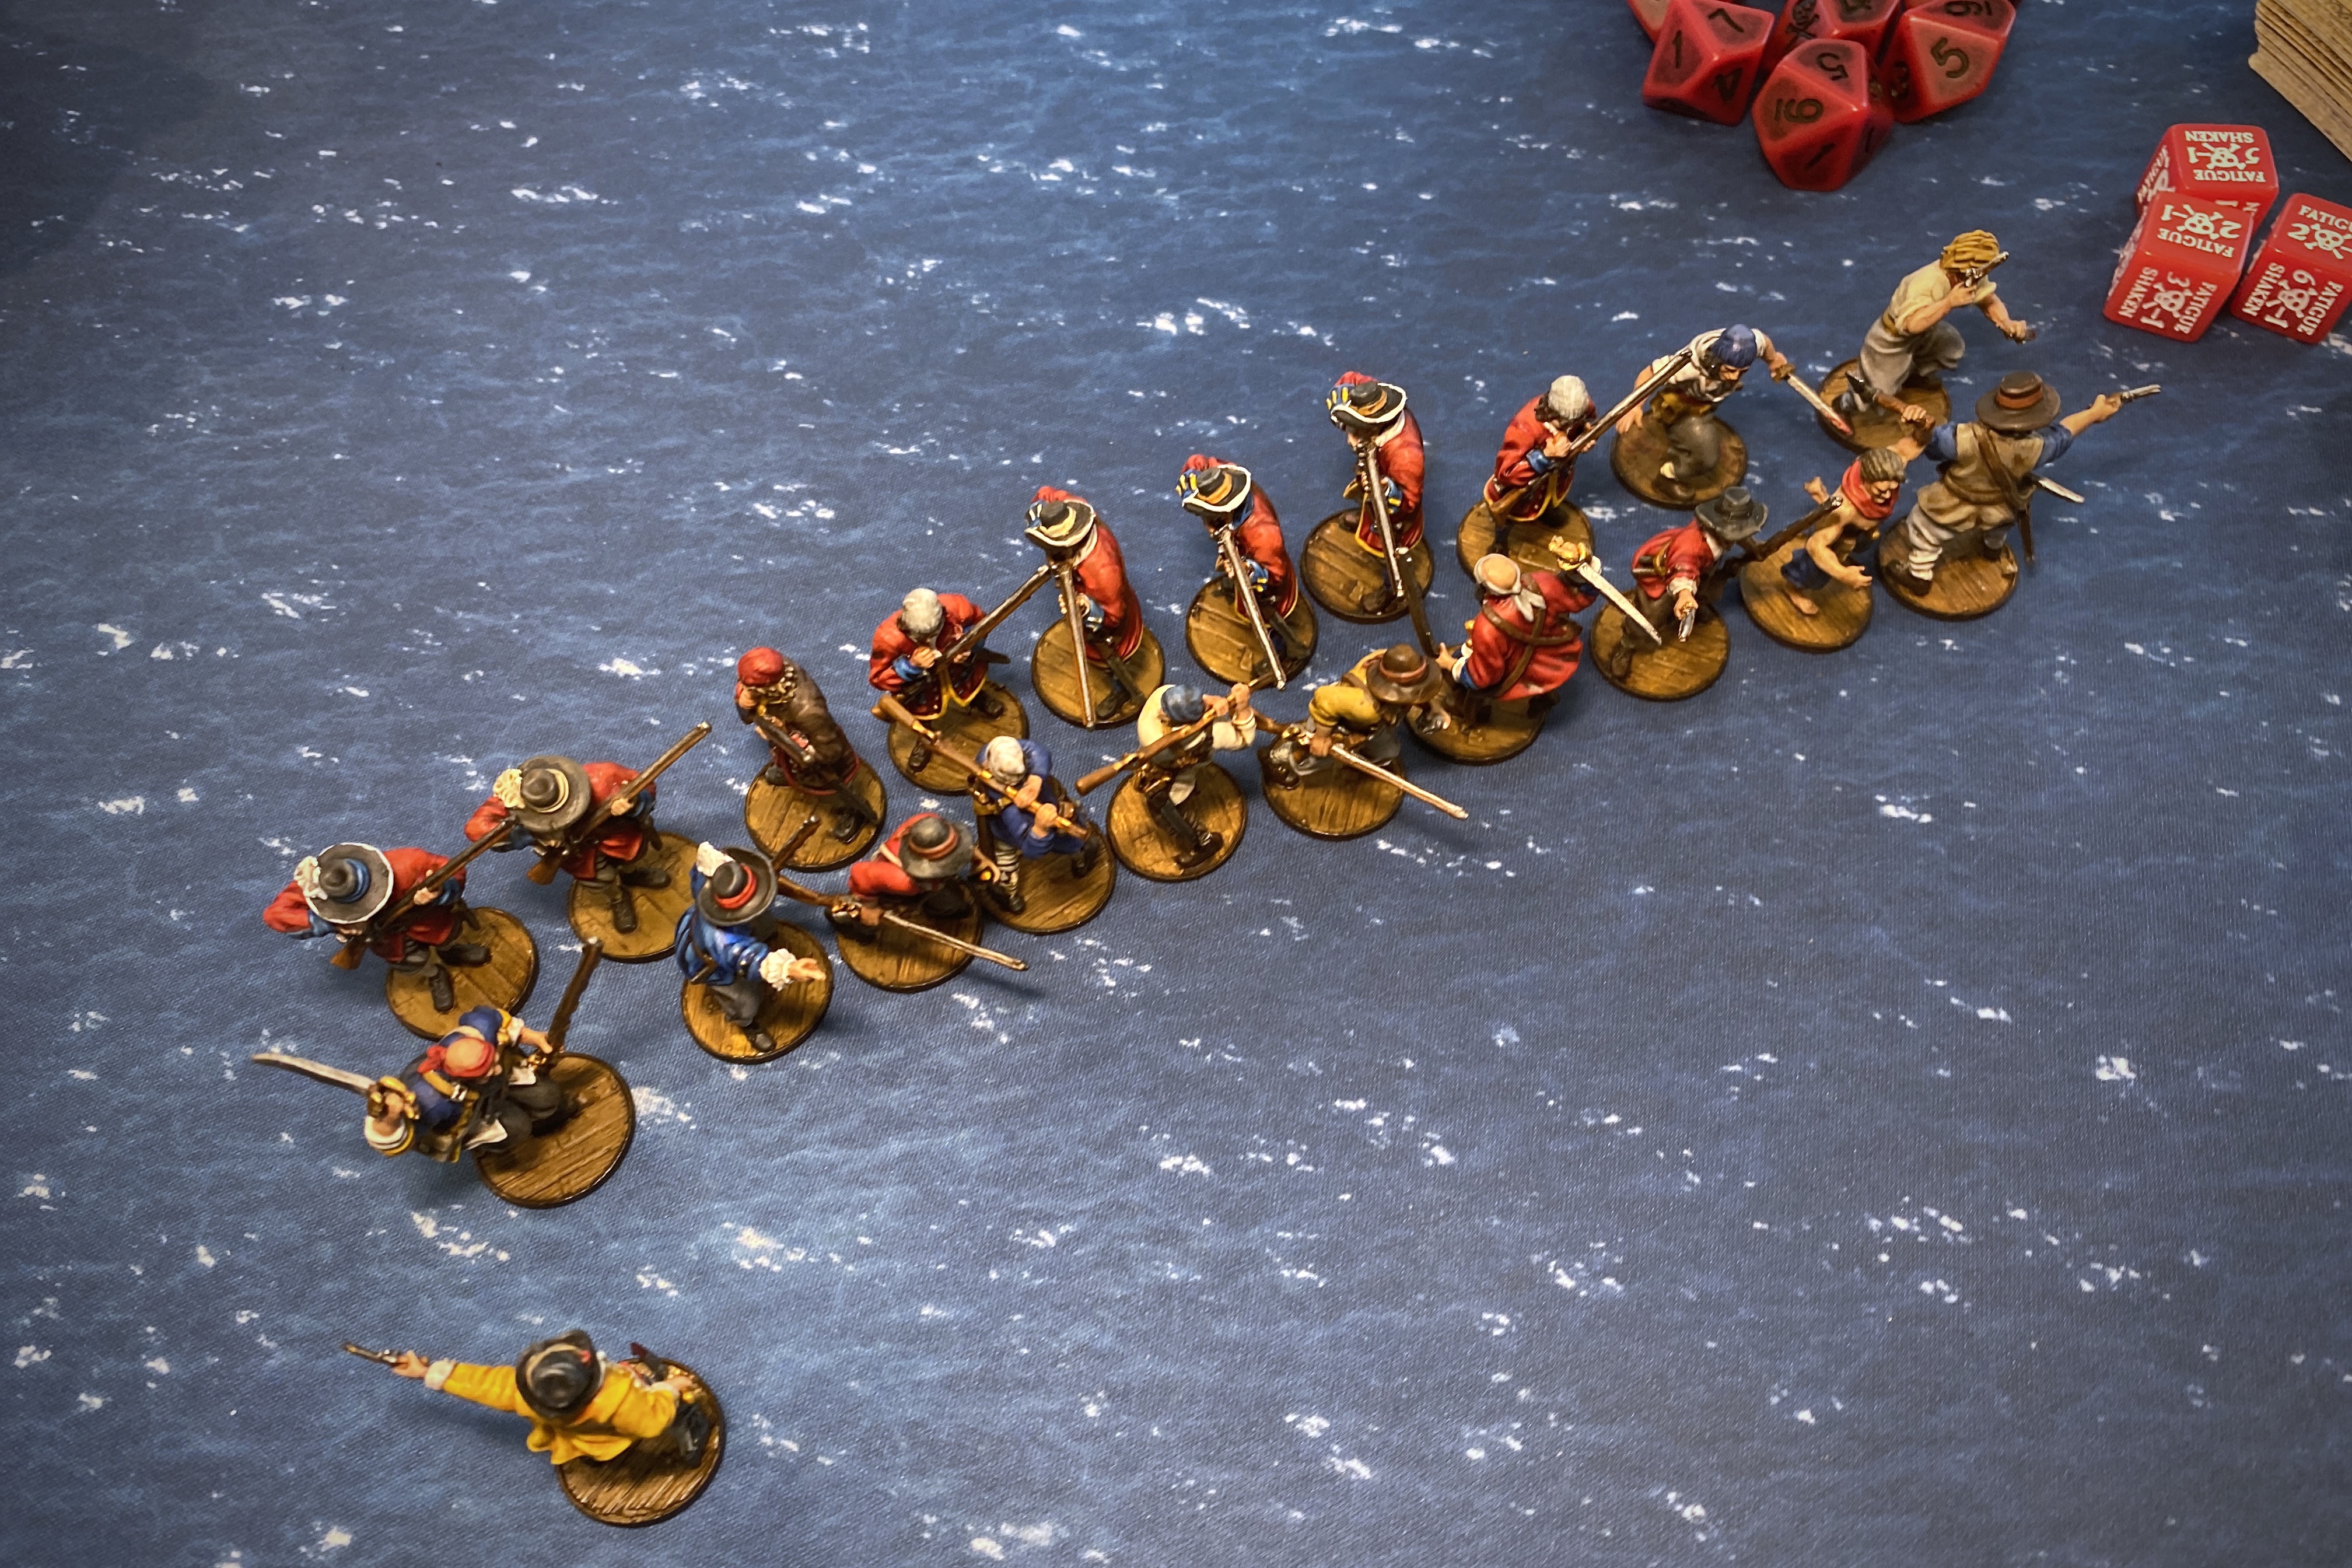
- 8 Forlorn Hope in a Longboat
- A Light Frigate
I wanted to test the Fortitude of the fort vs a ship but I was also trying to create a decent landing party.

The Scenario
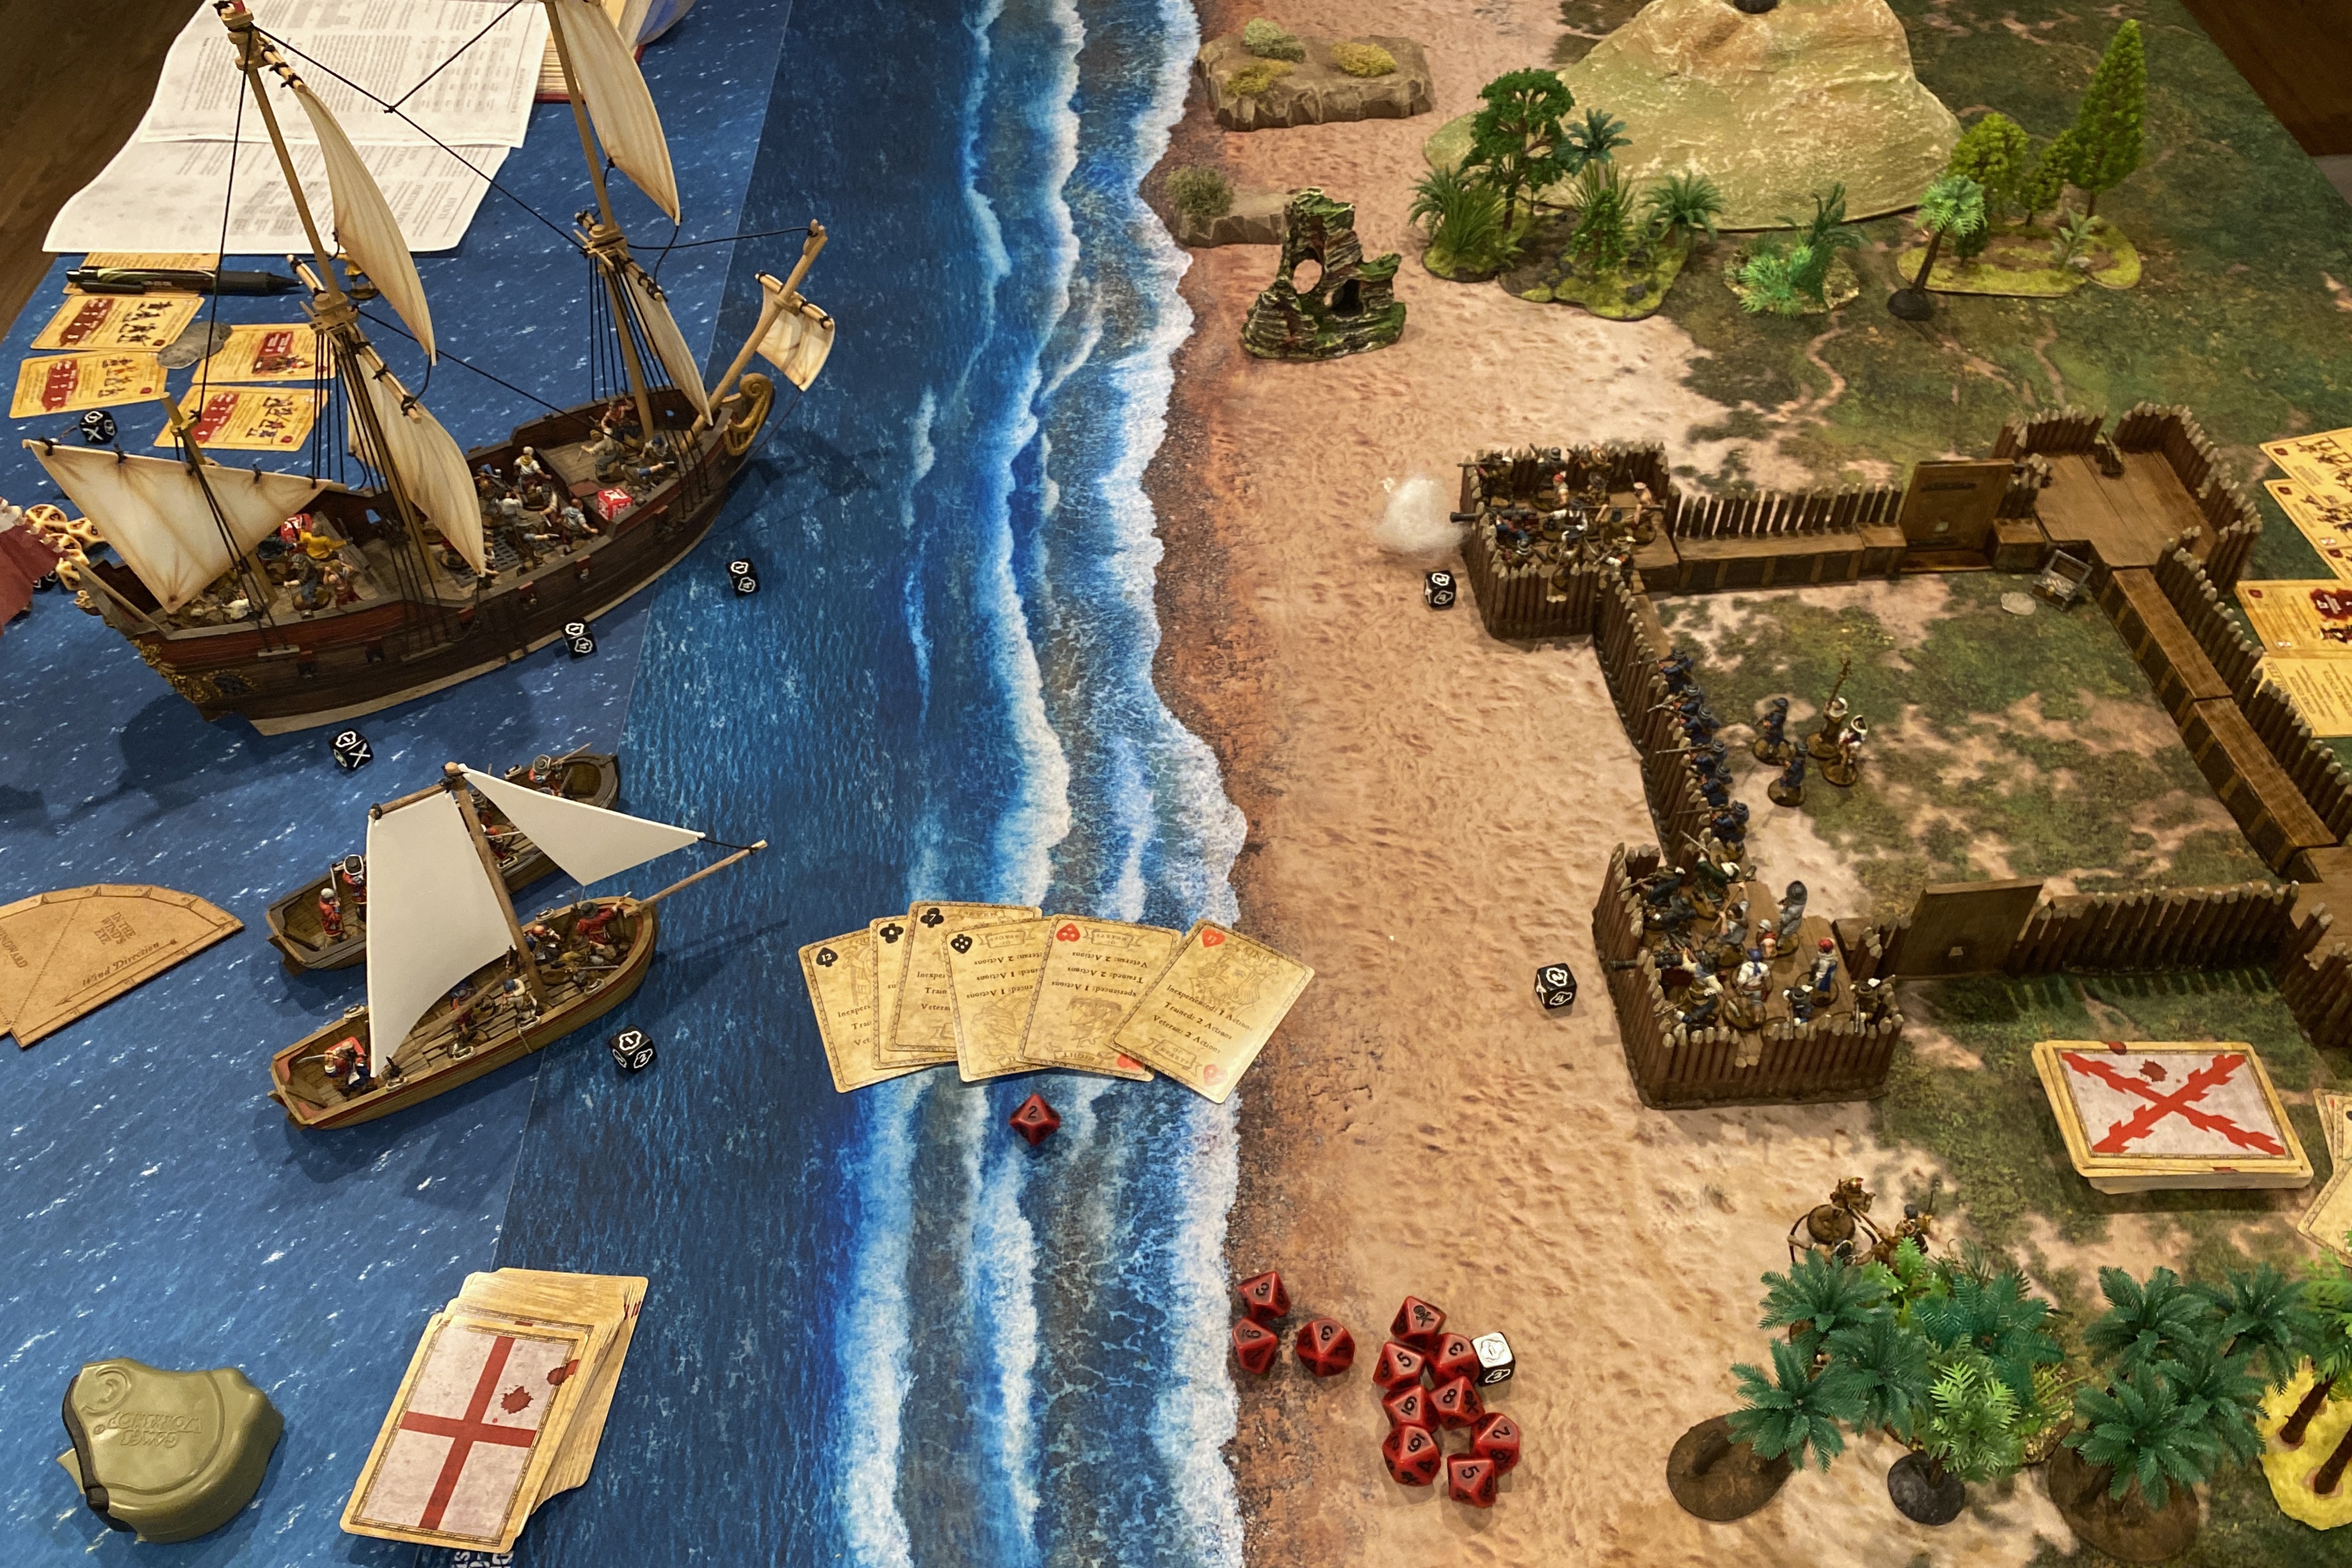
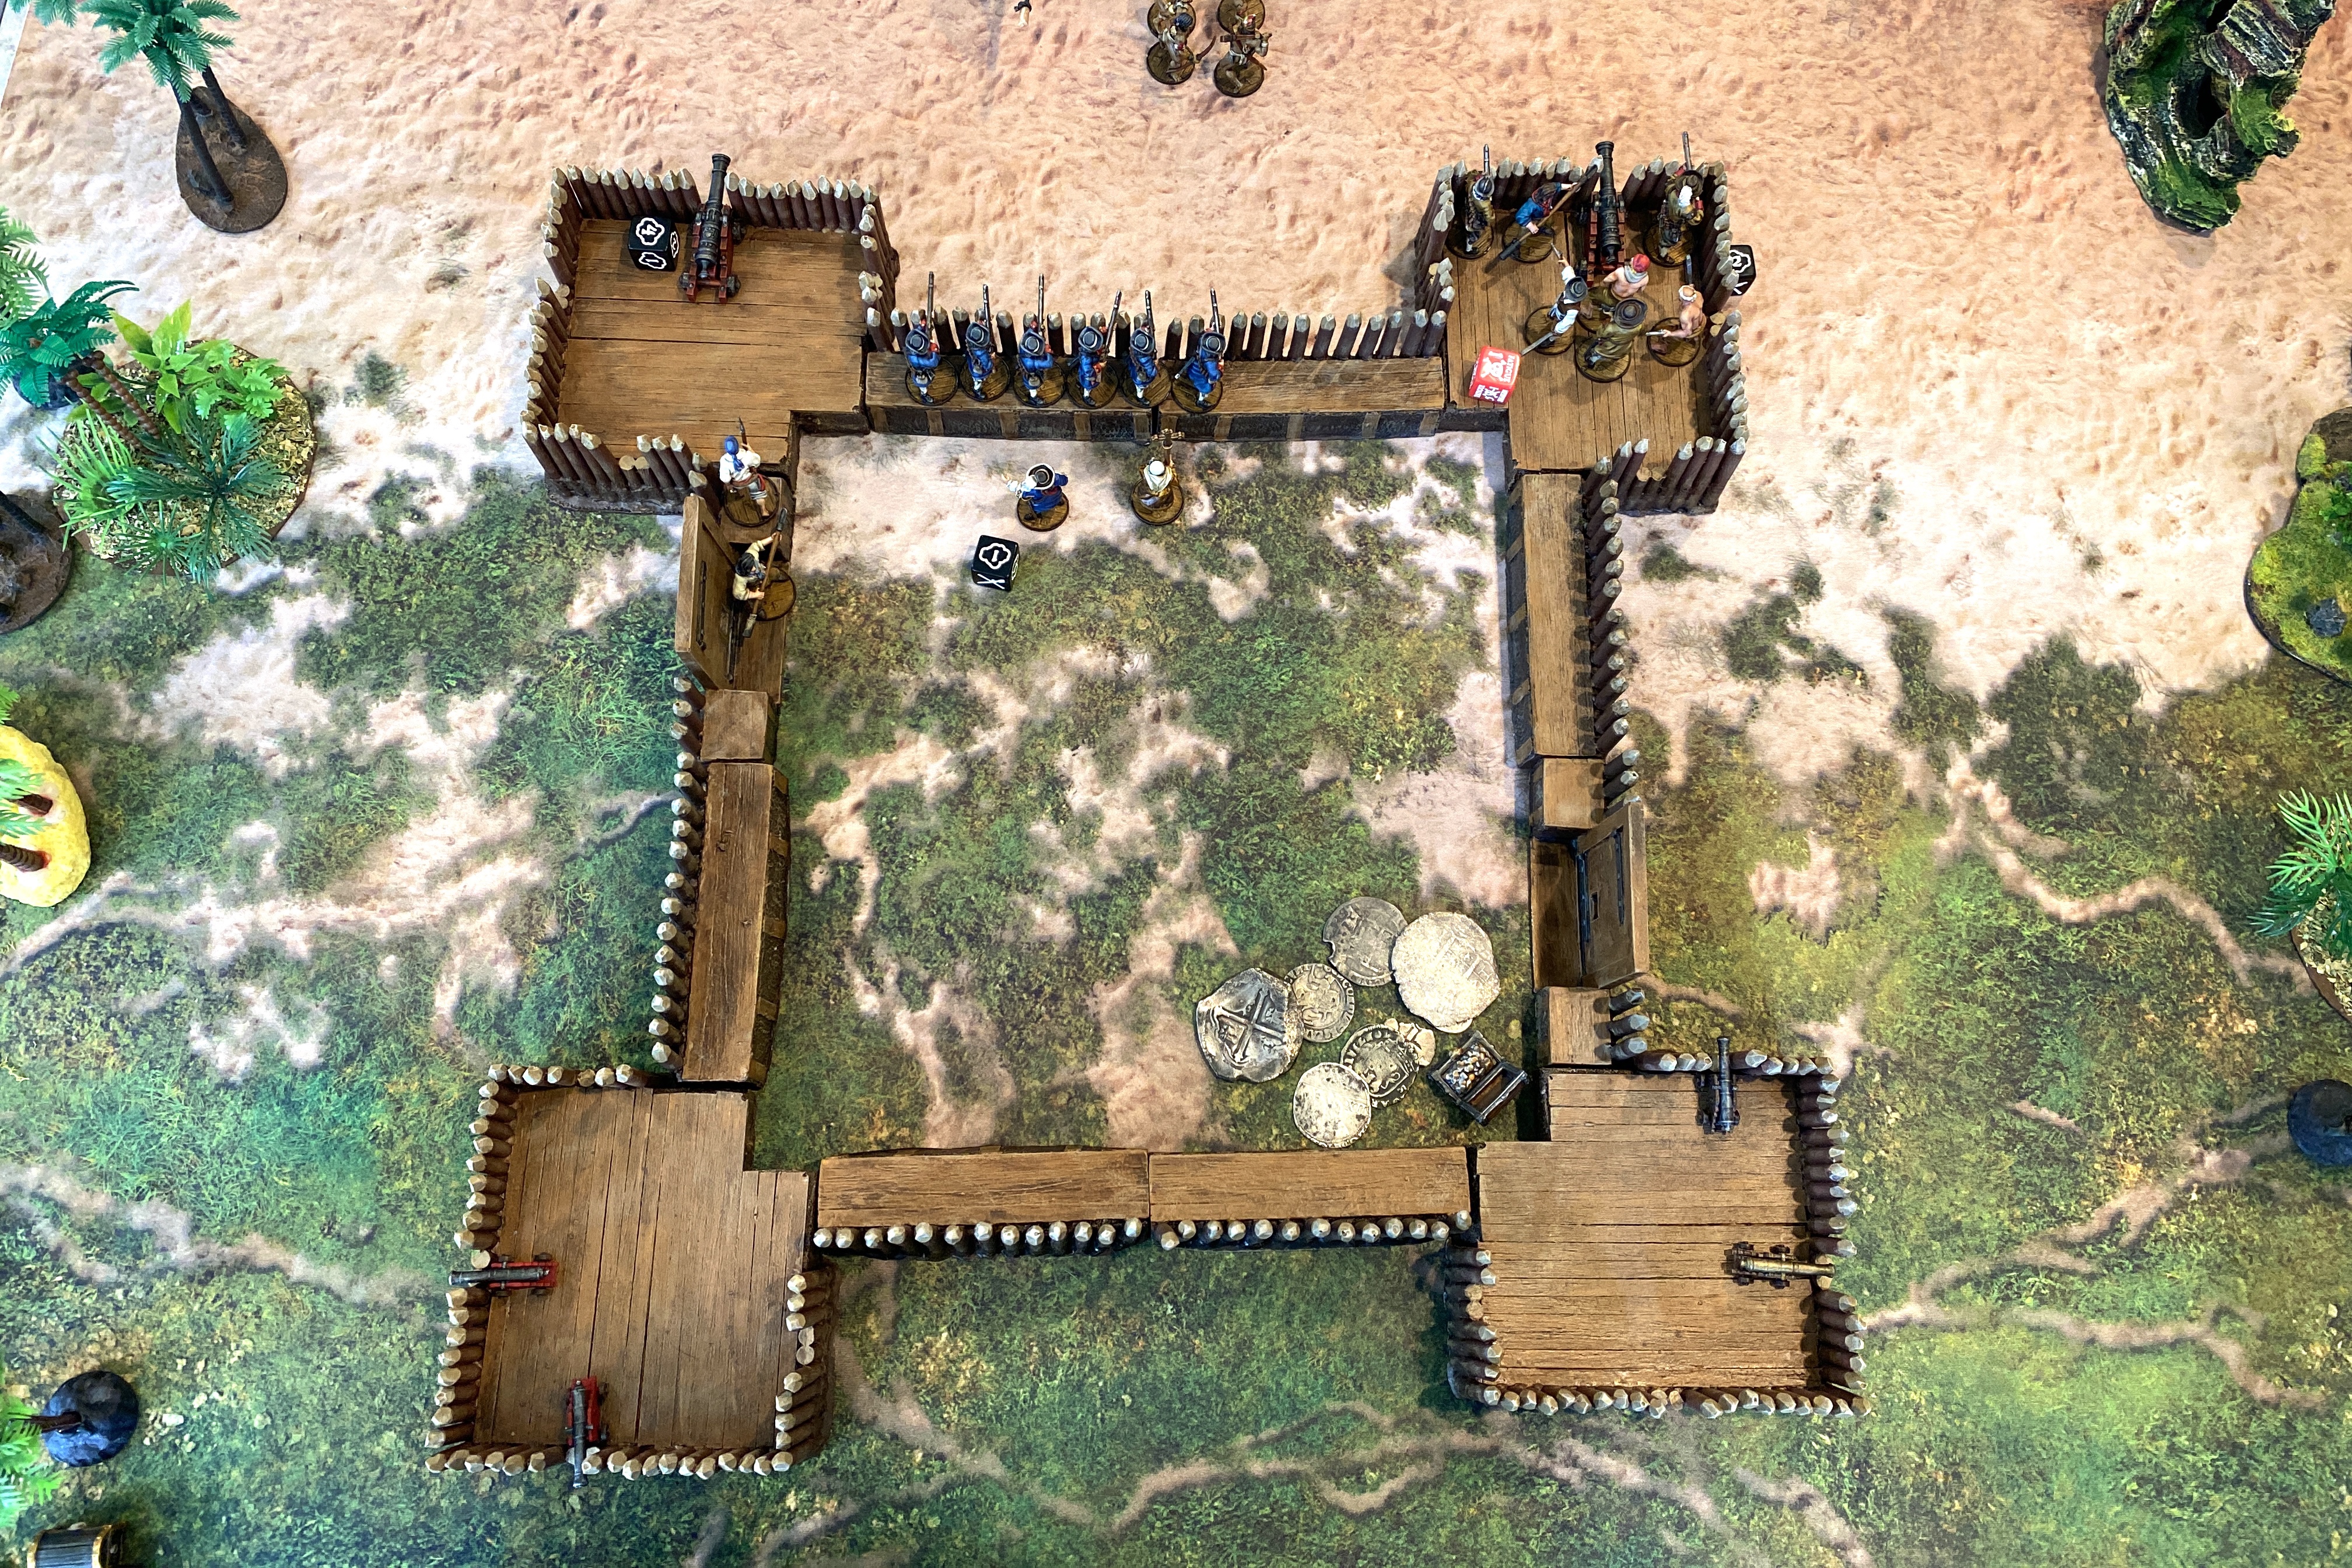
I used the Raid scenario from the core rule book and placed a objective marker in the fort and one in one of the back corners.
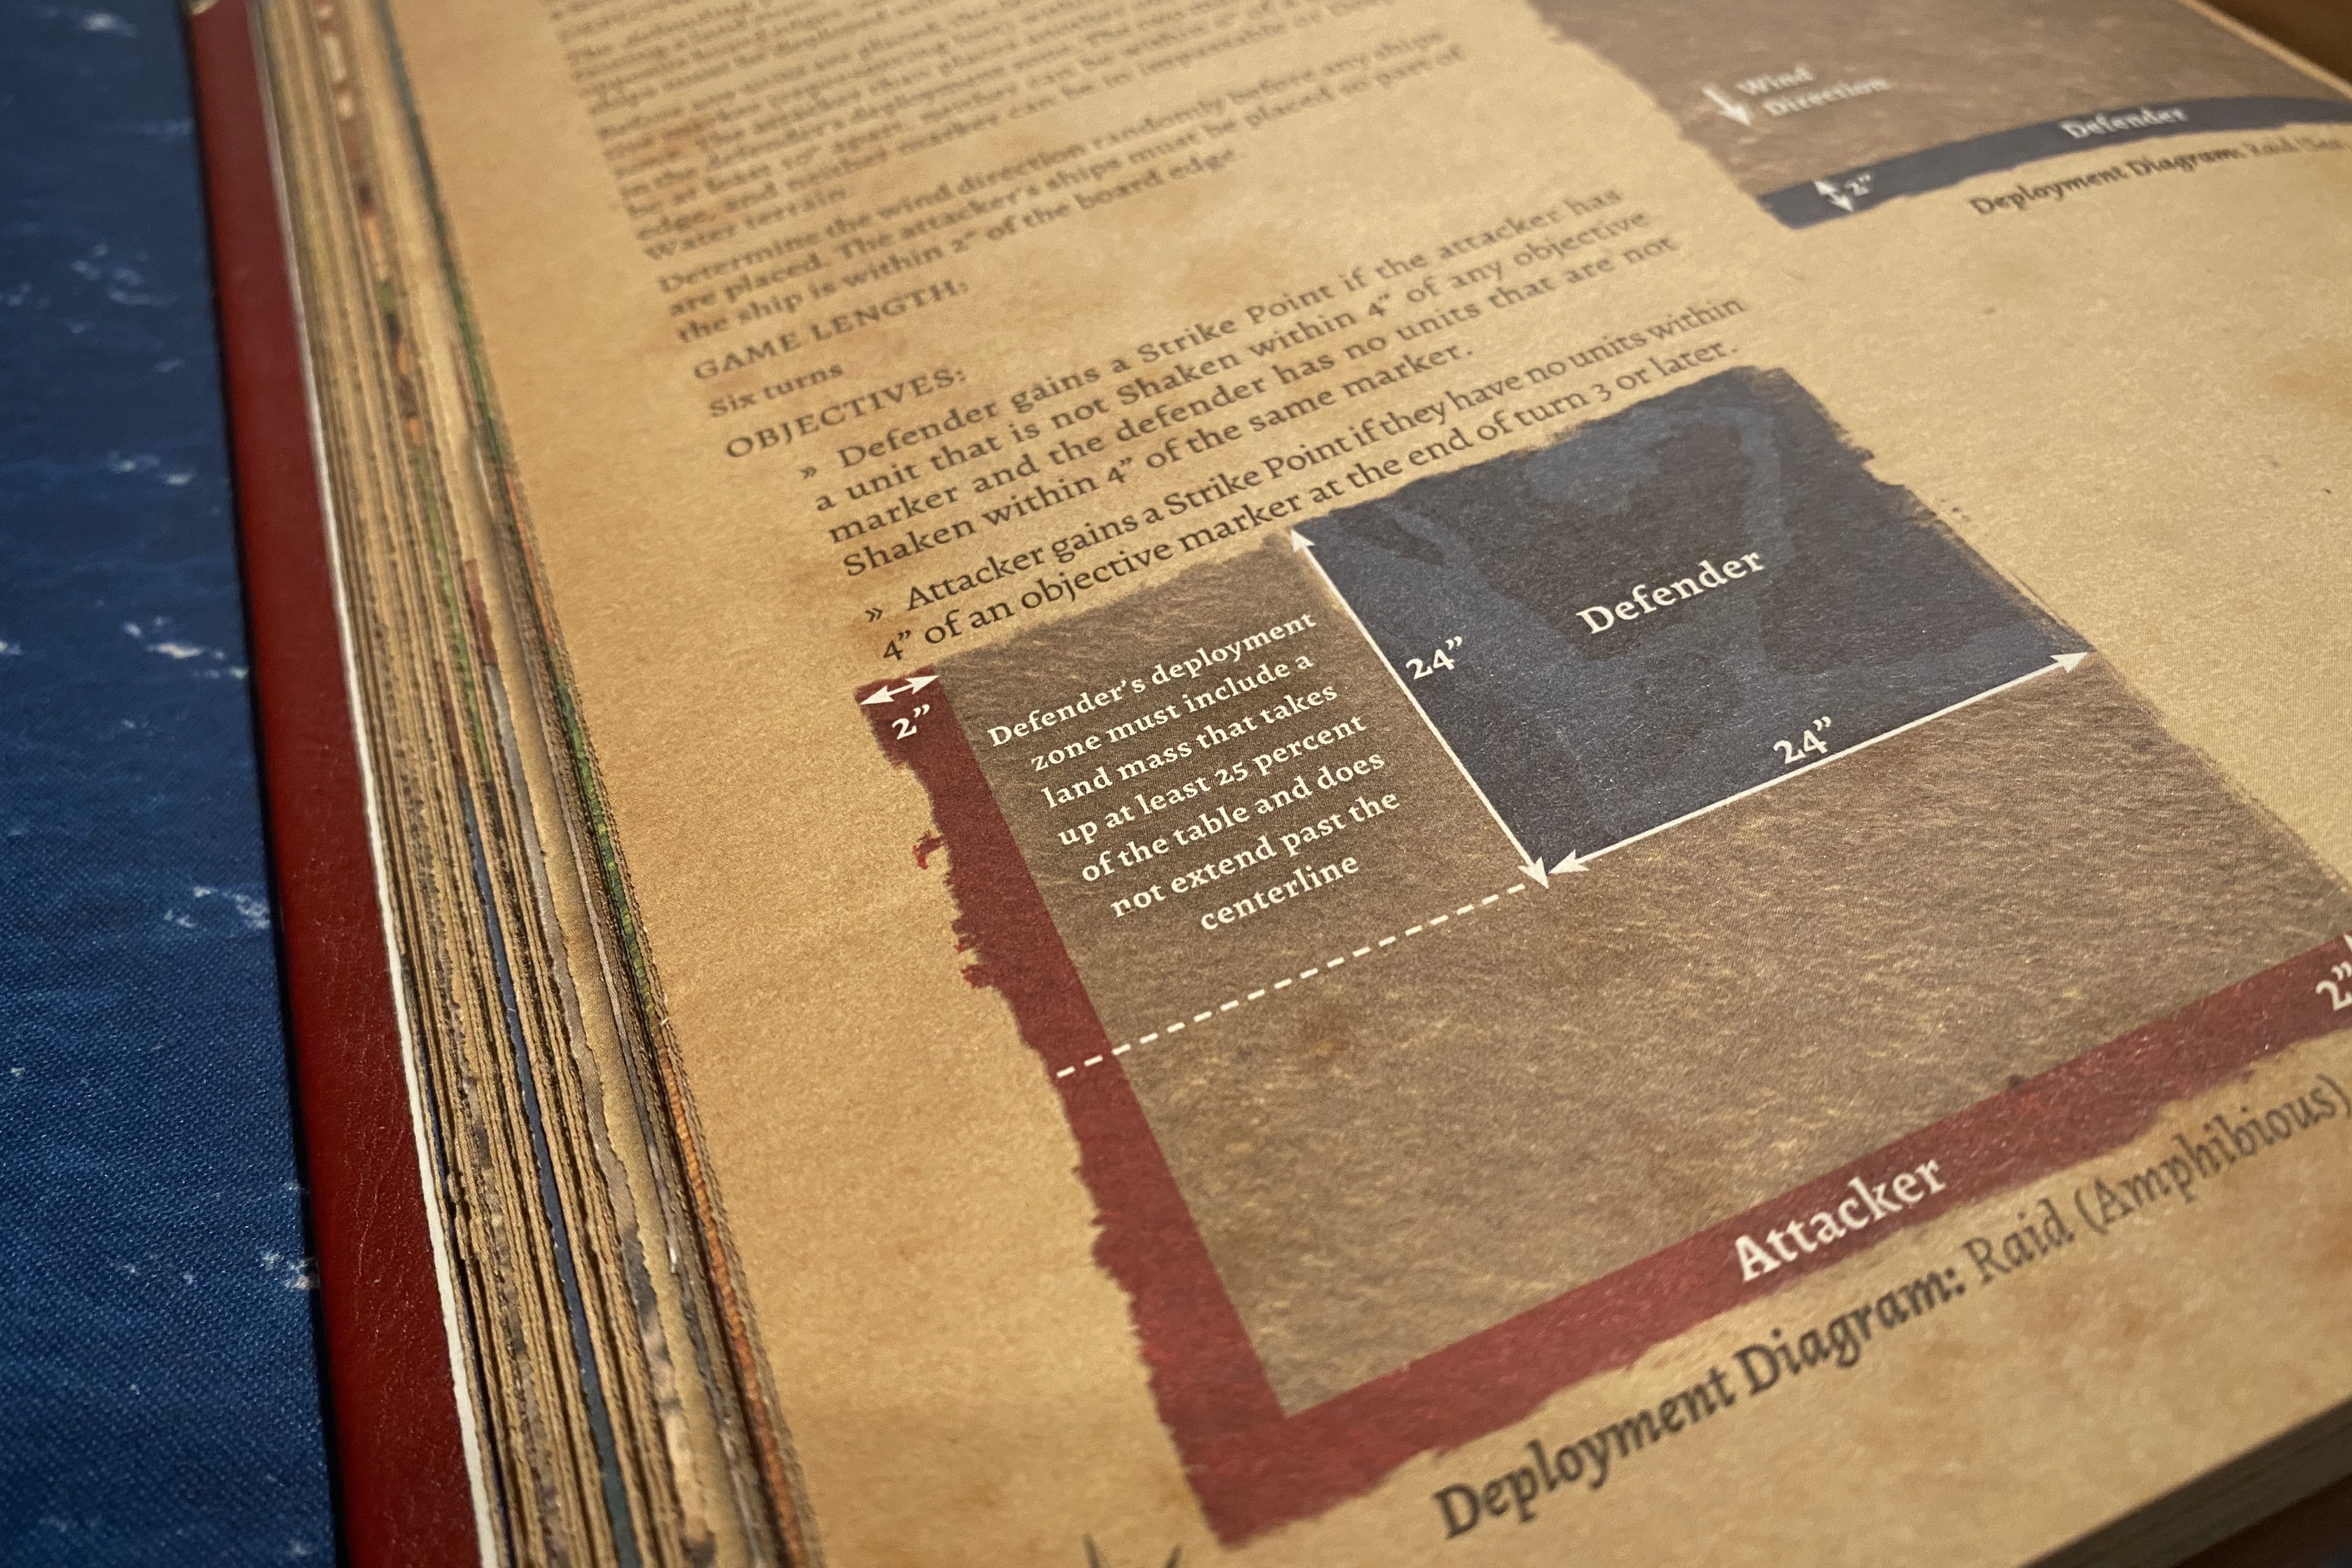
For the amphibious version of this scenario, the Attacker will take a Strike Point if they fail to get a unit on land by the end of turn 3. The Defender will take a Strike Point if the Attacker has control of an objective and the Attacker gets a Strike Point if they don’t have a unit within 4″ of an objective by the end of turn 3.
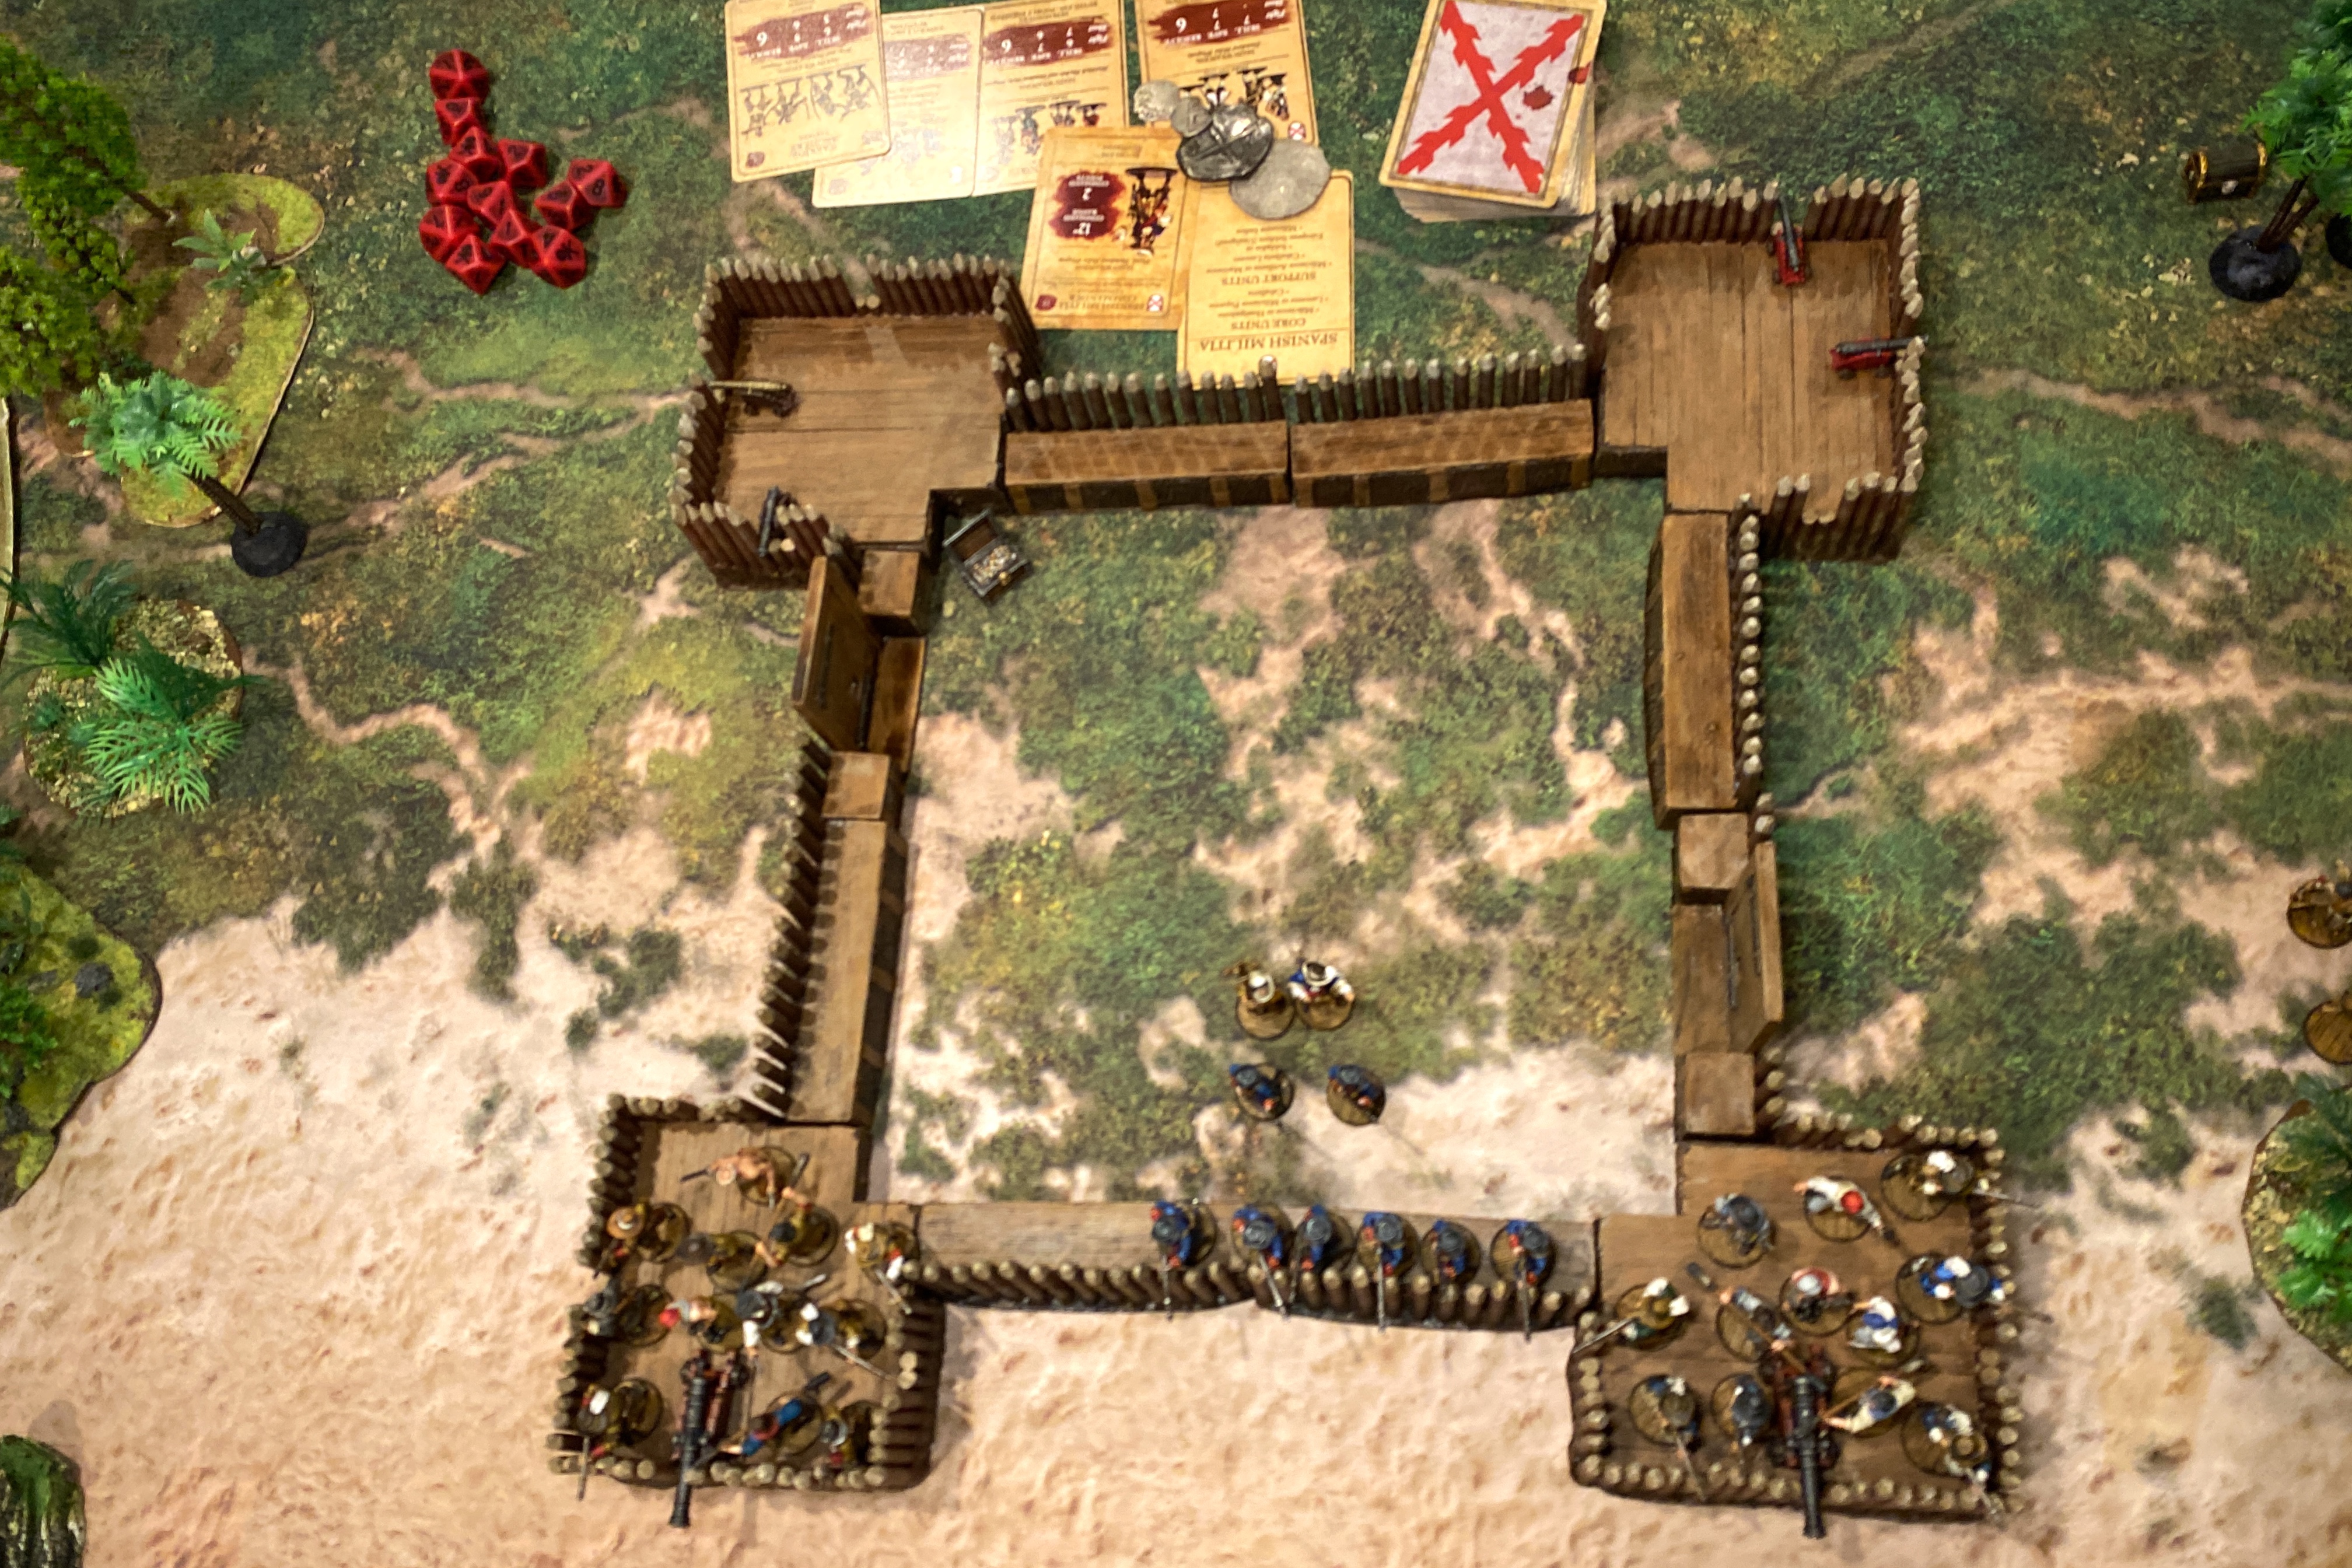
You can see the treasure chest objective in the upper left corner of the fort and the upper right of this picture near the trees.
I think this is hard scenario for the Attacker and fort won’t make it any easier!
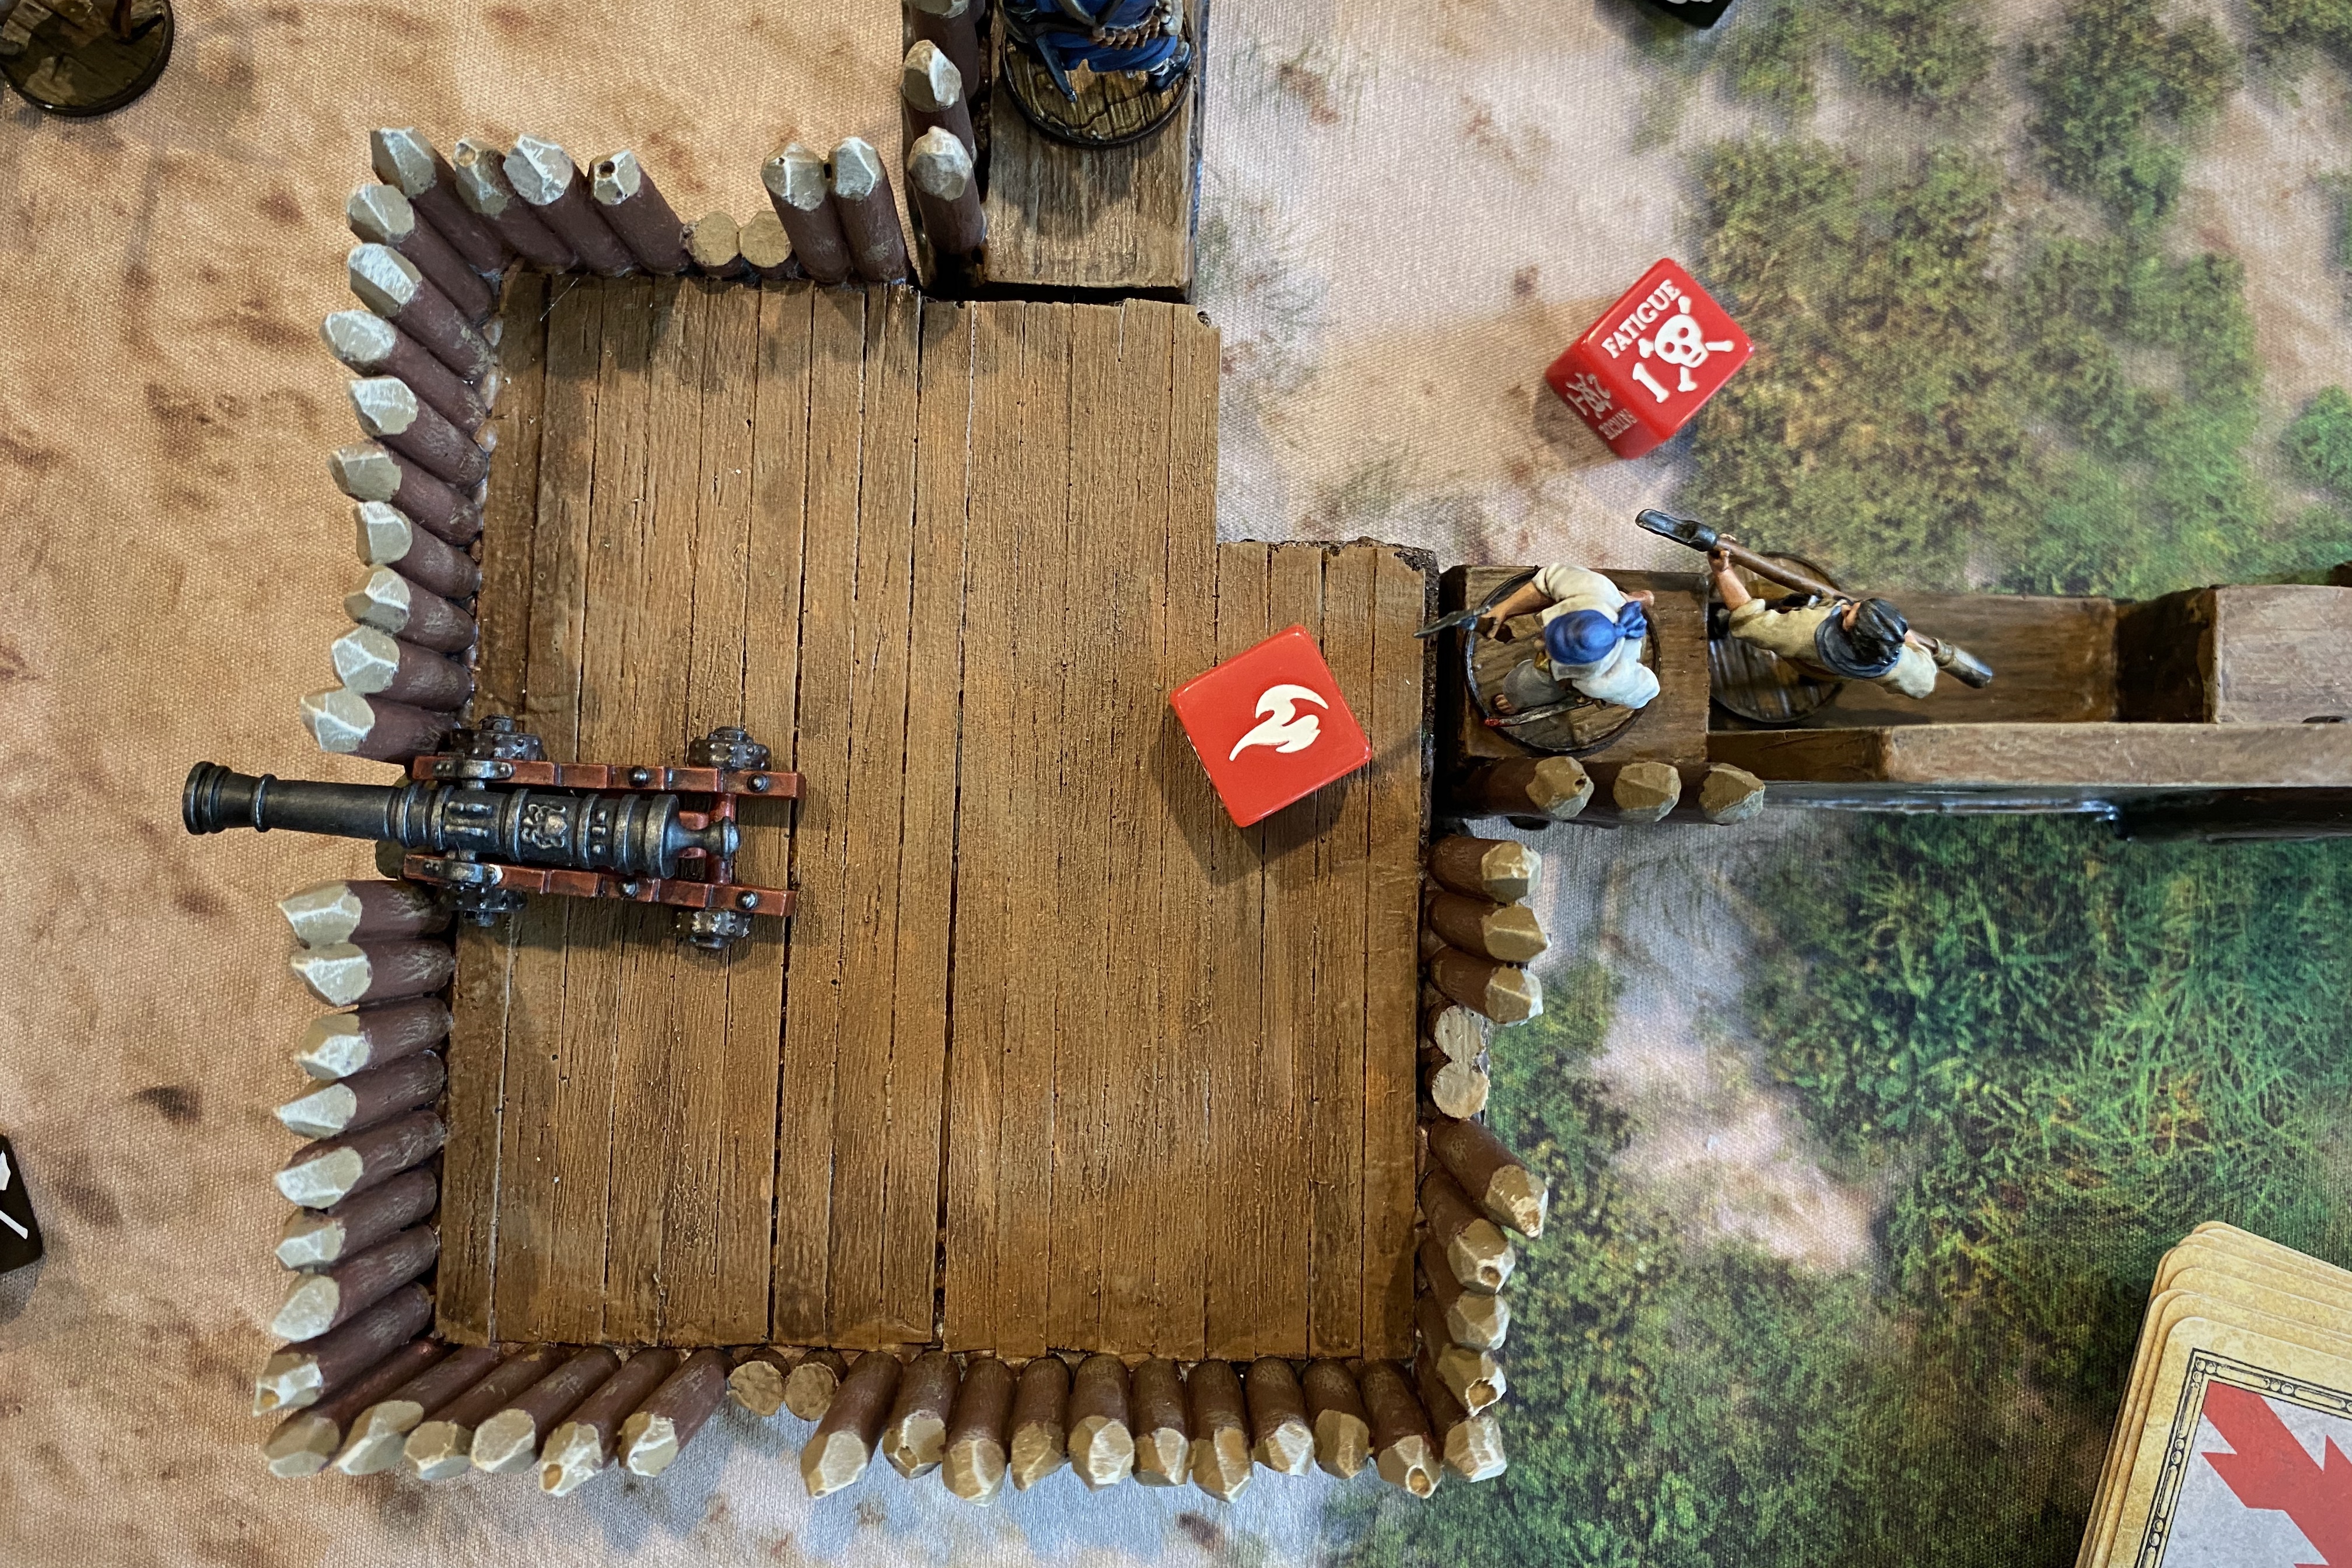
The stats I used for the fort were 3/4 for the walls and 4/4 for the bastions.

The AI Player
I again used the new Firelock solitaire system as a guide for the AI player but I must confess I didn’t play it strictly and sometimes I just did the smart thing for the Spanish player without consulting the charts. Most of the time it would be the same result.
If I had played it strictly, sometimes I would have needed to roll a die to see which unit randomly activated next, but I chose the smartest unit to activate next instead.
The AI system is fine and good but I tend to use it a little loosely.
The Game
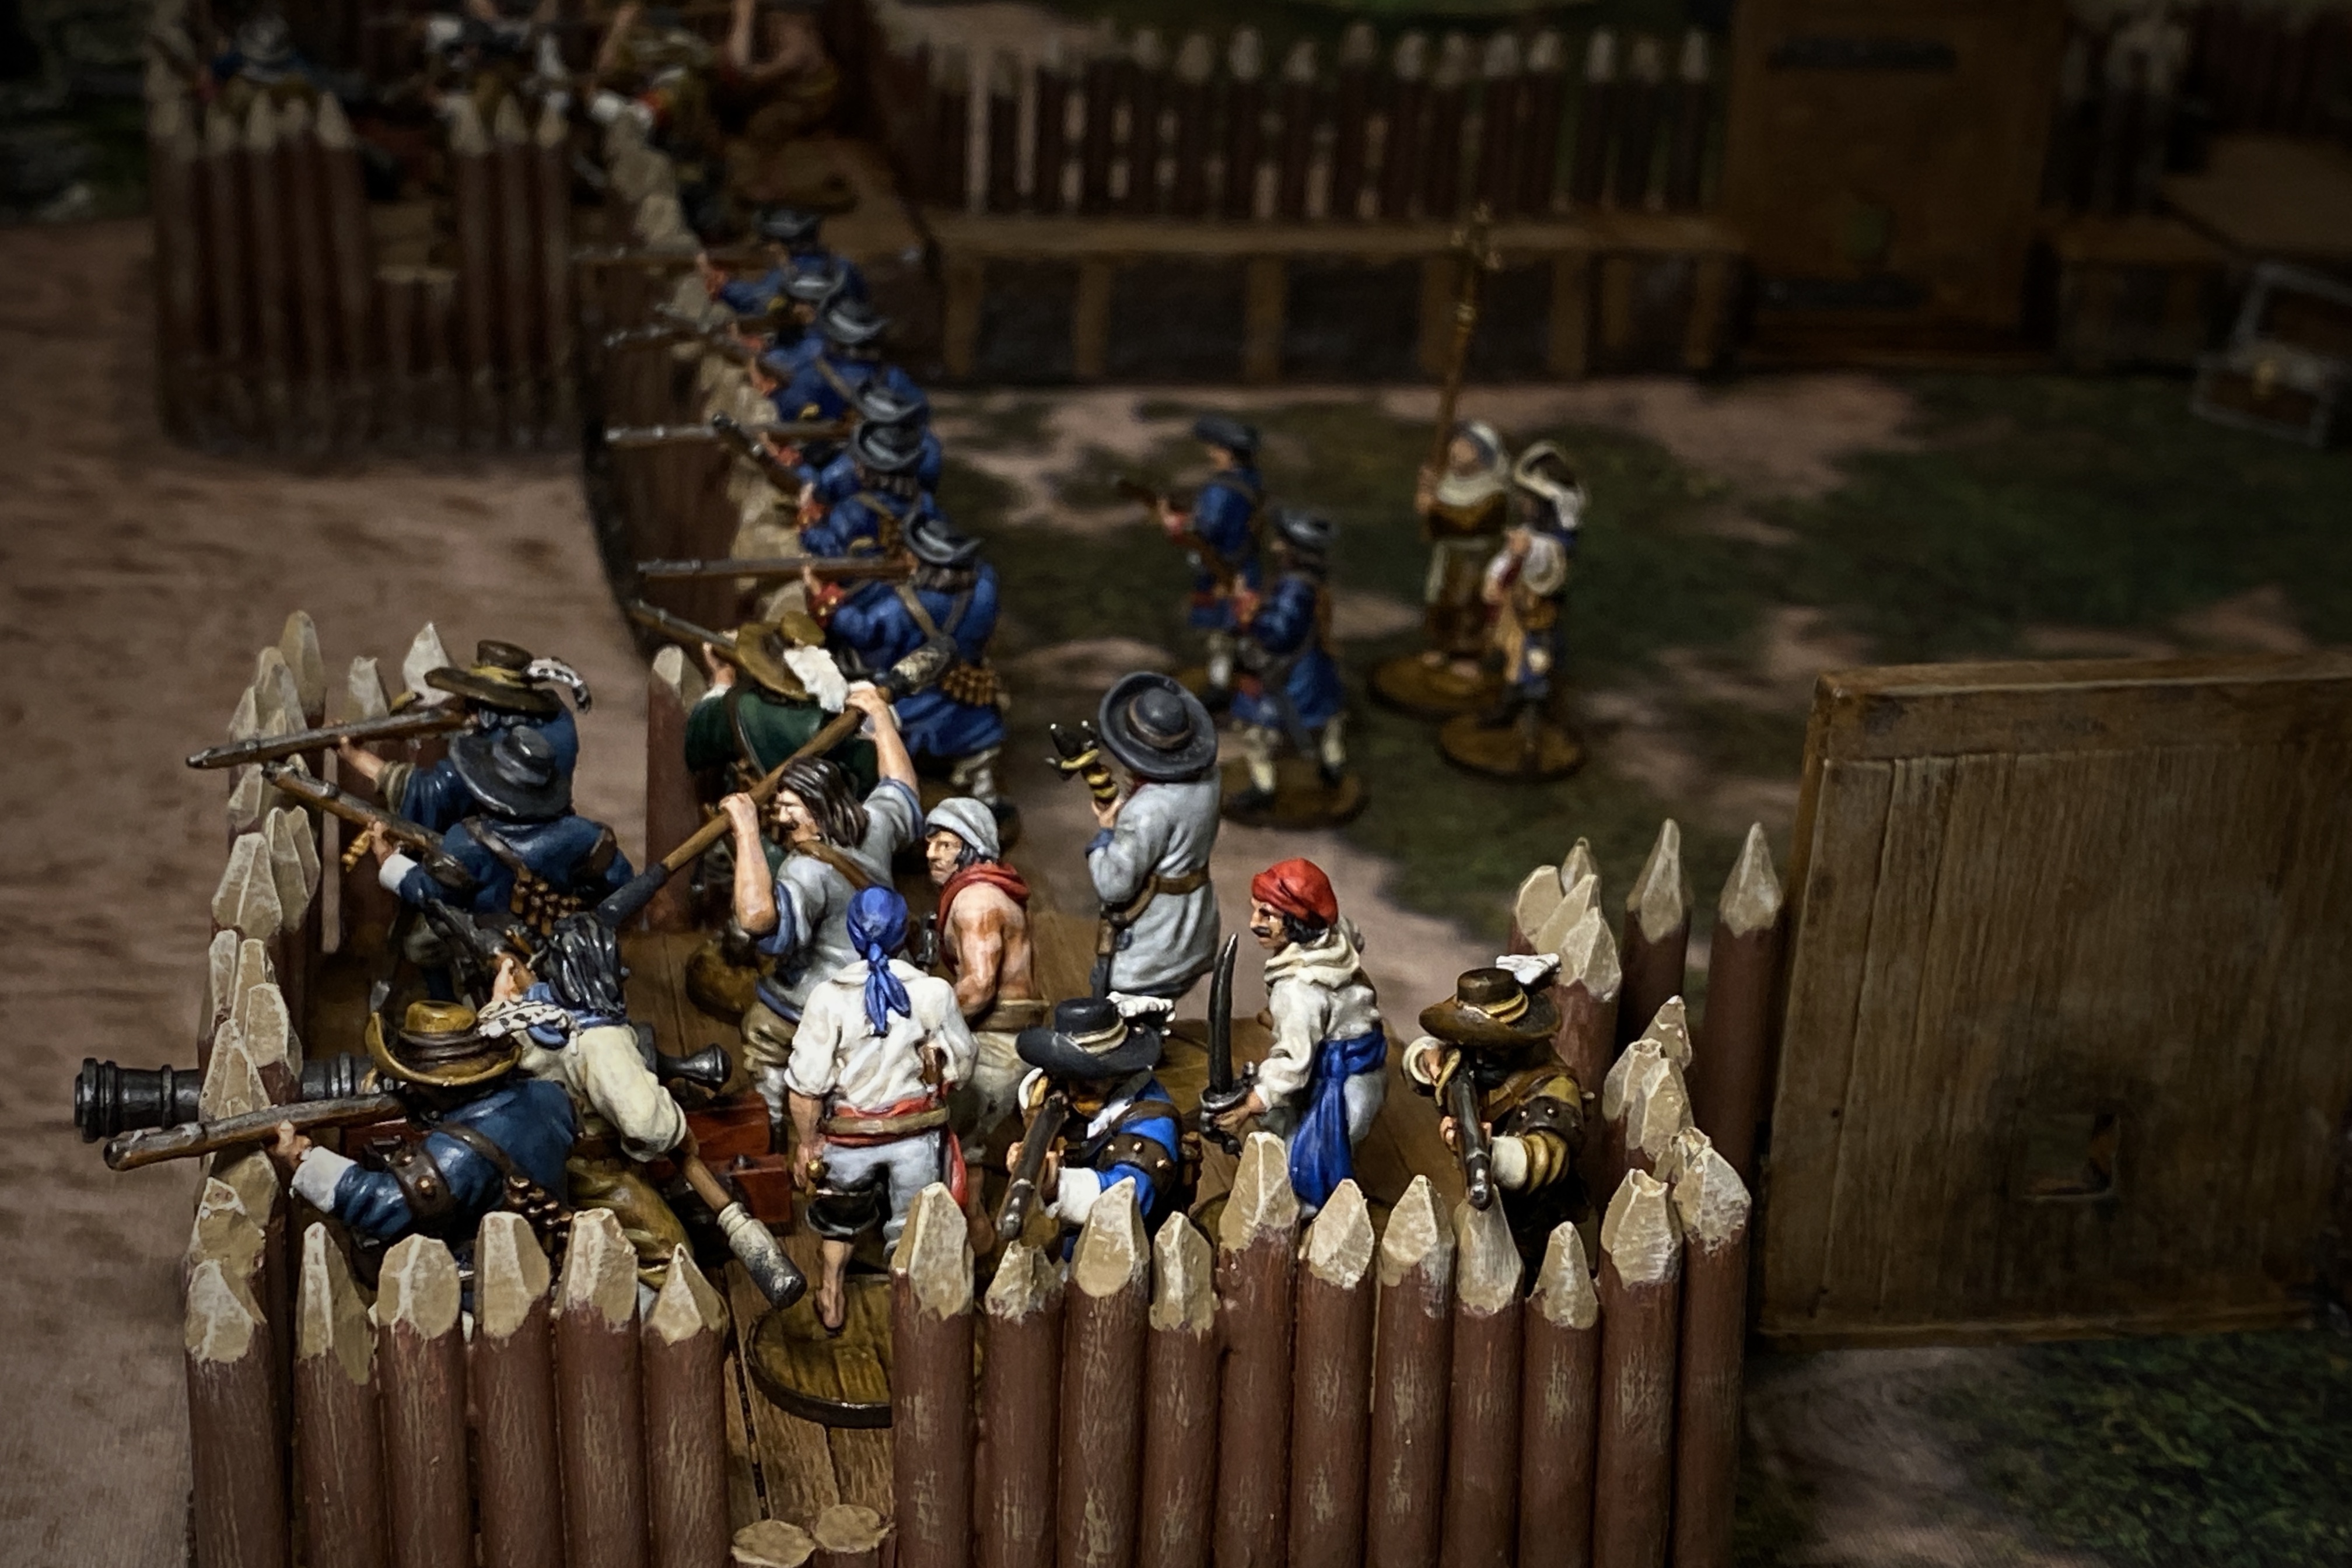
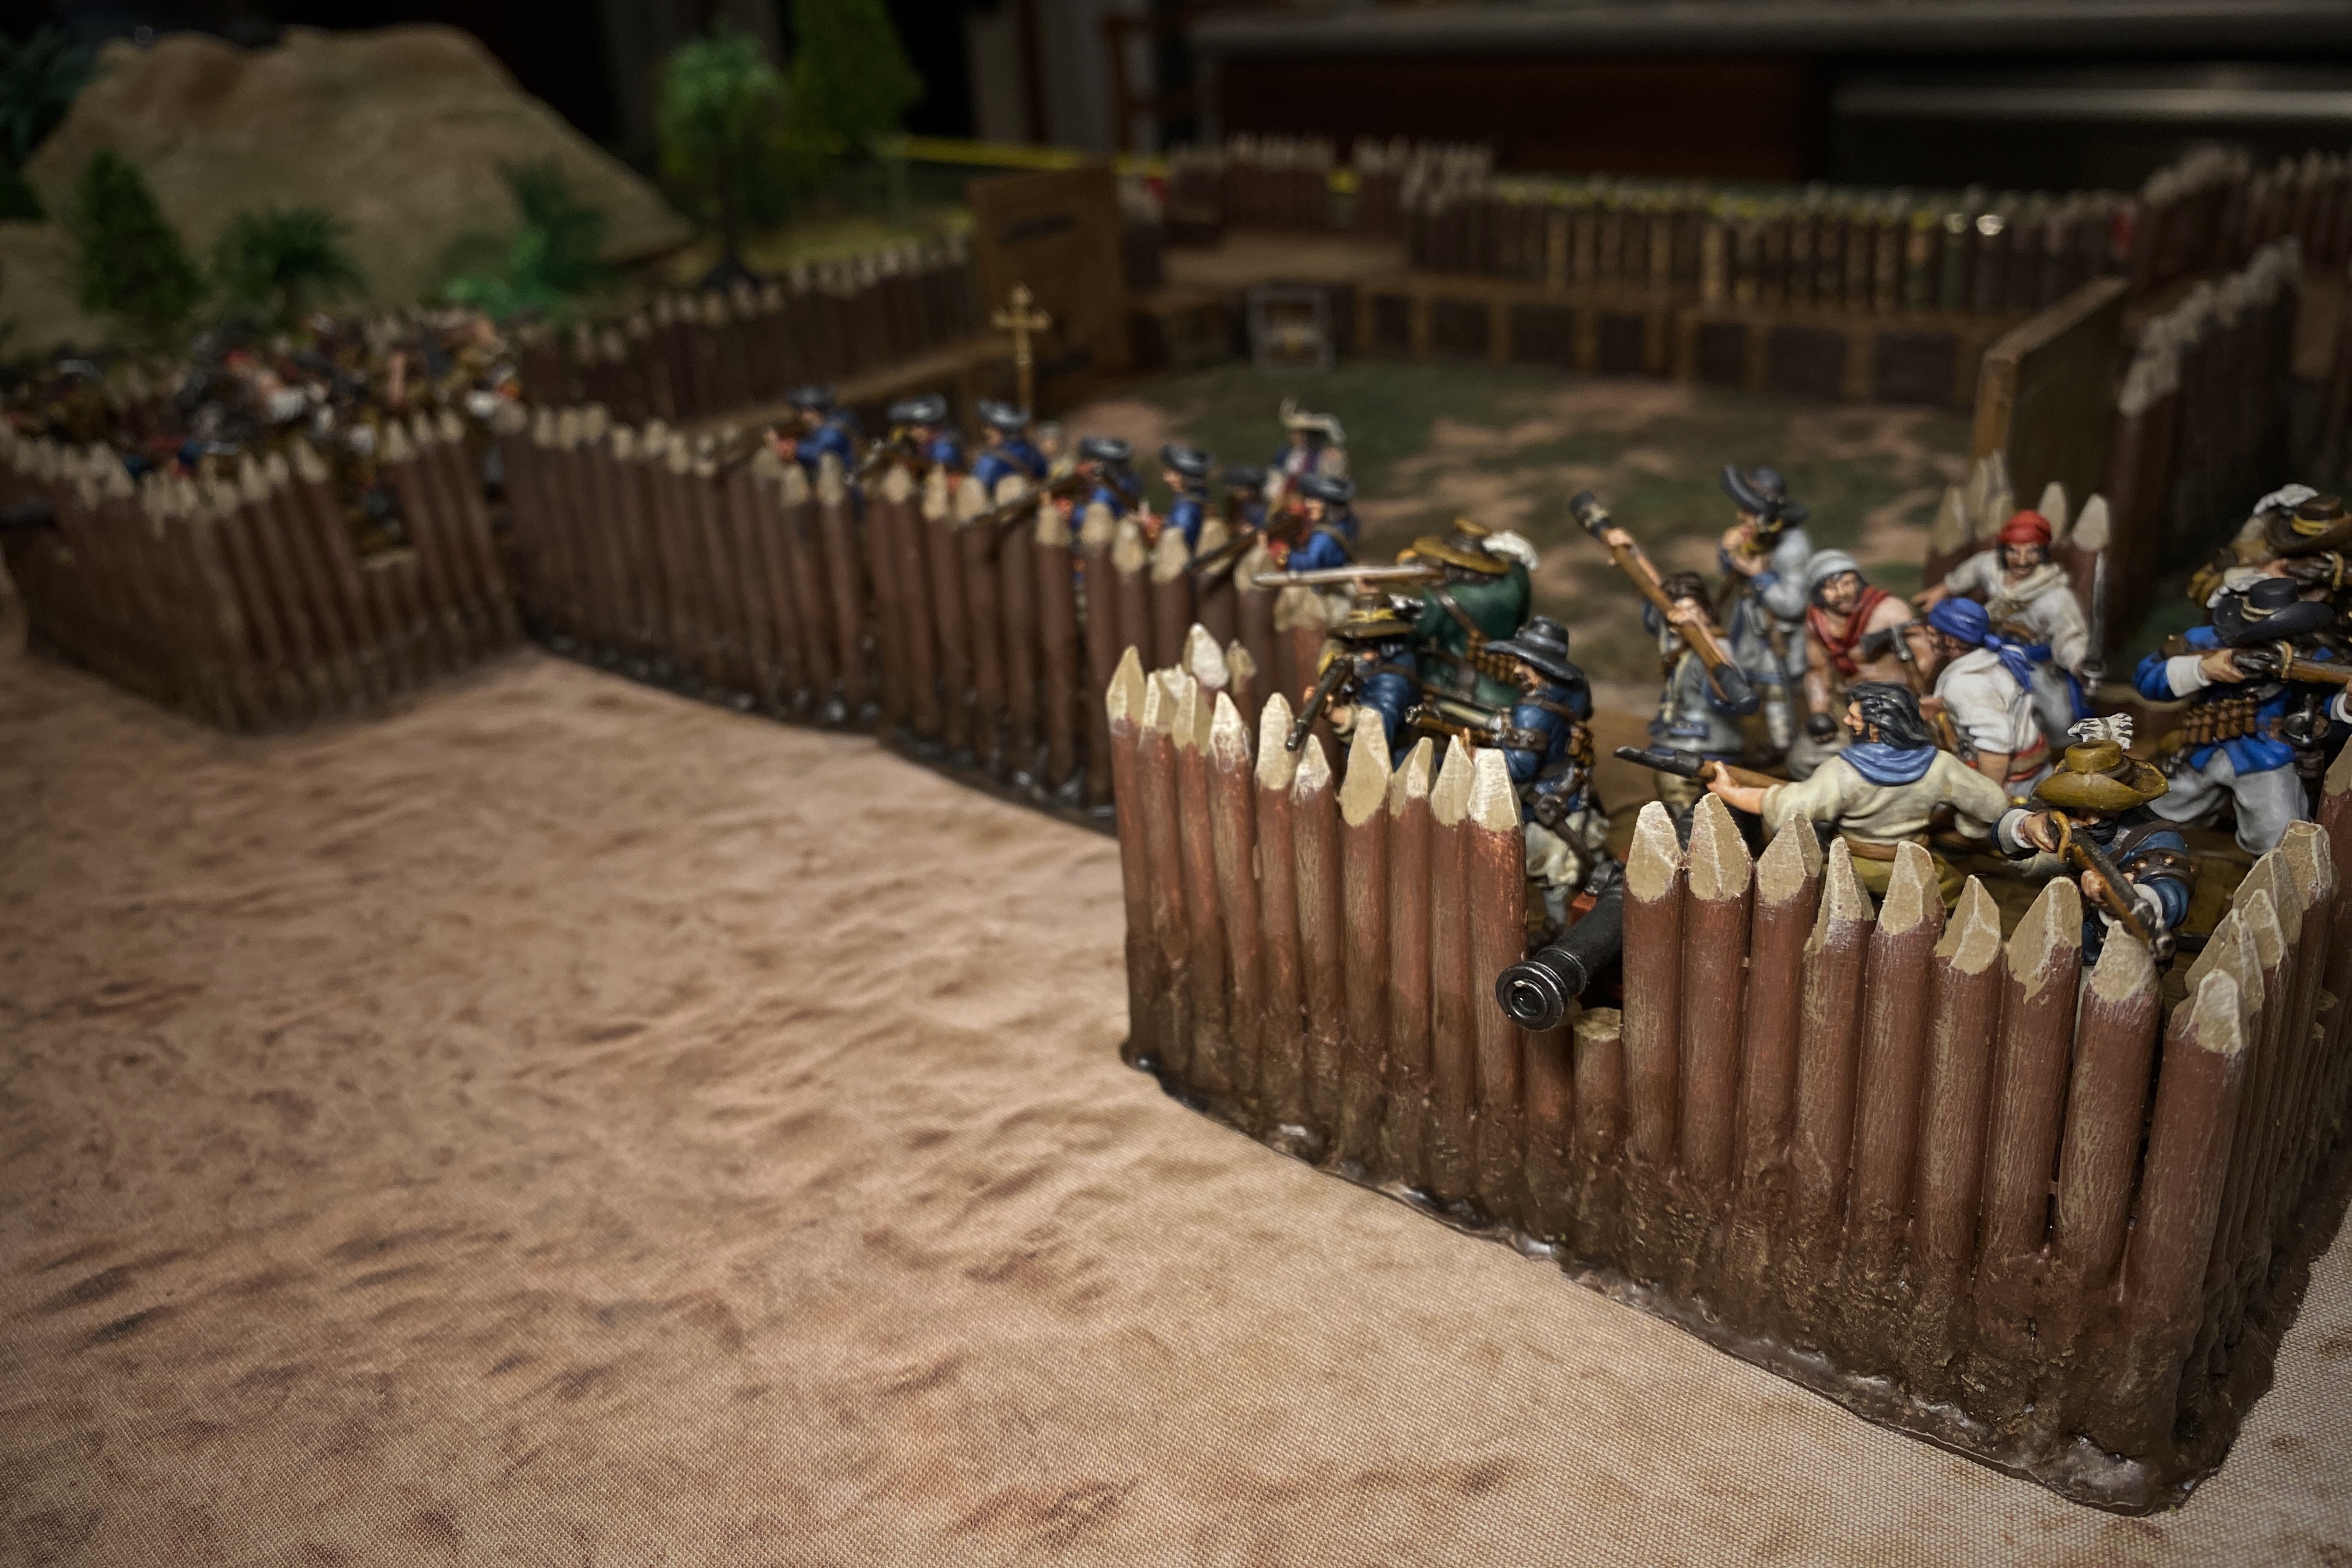
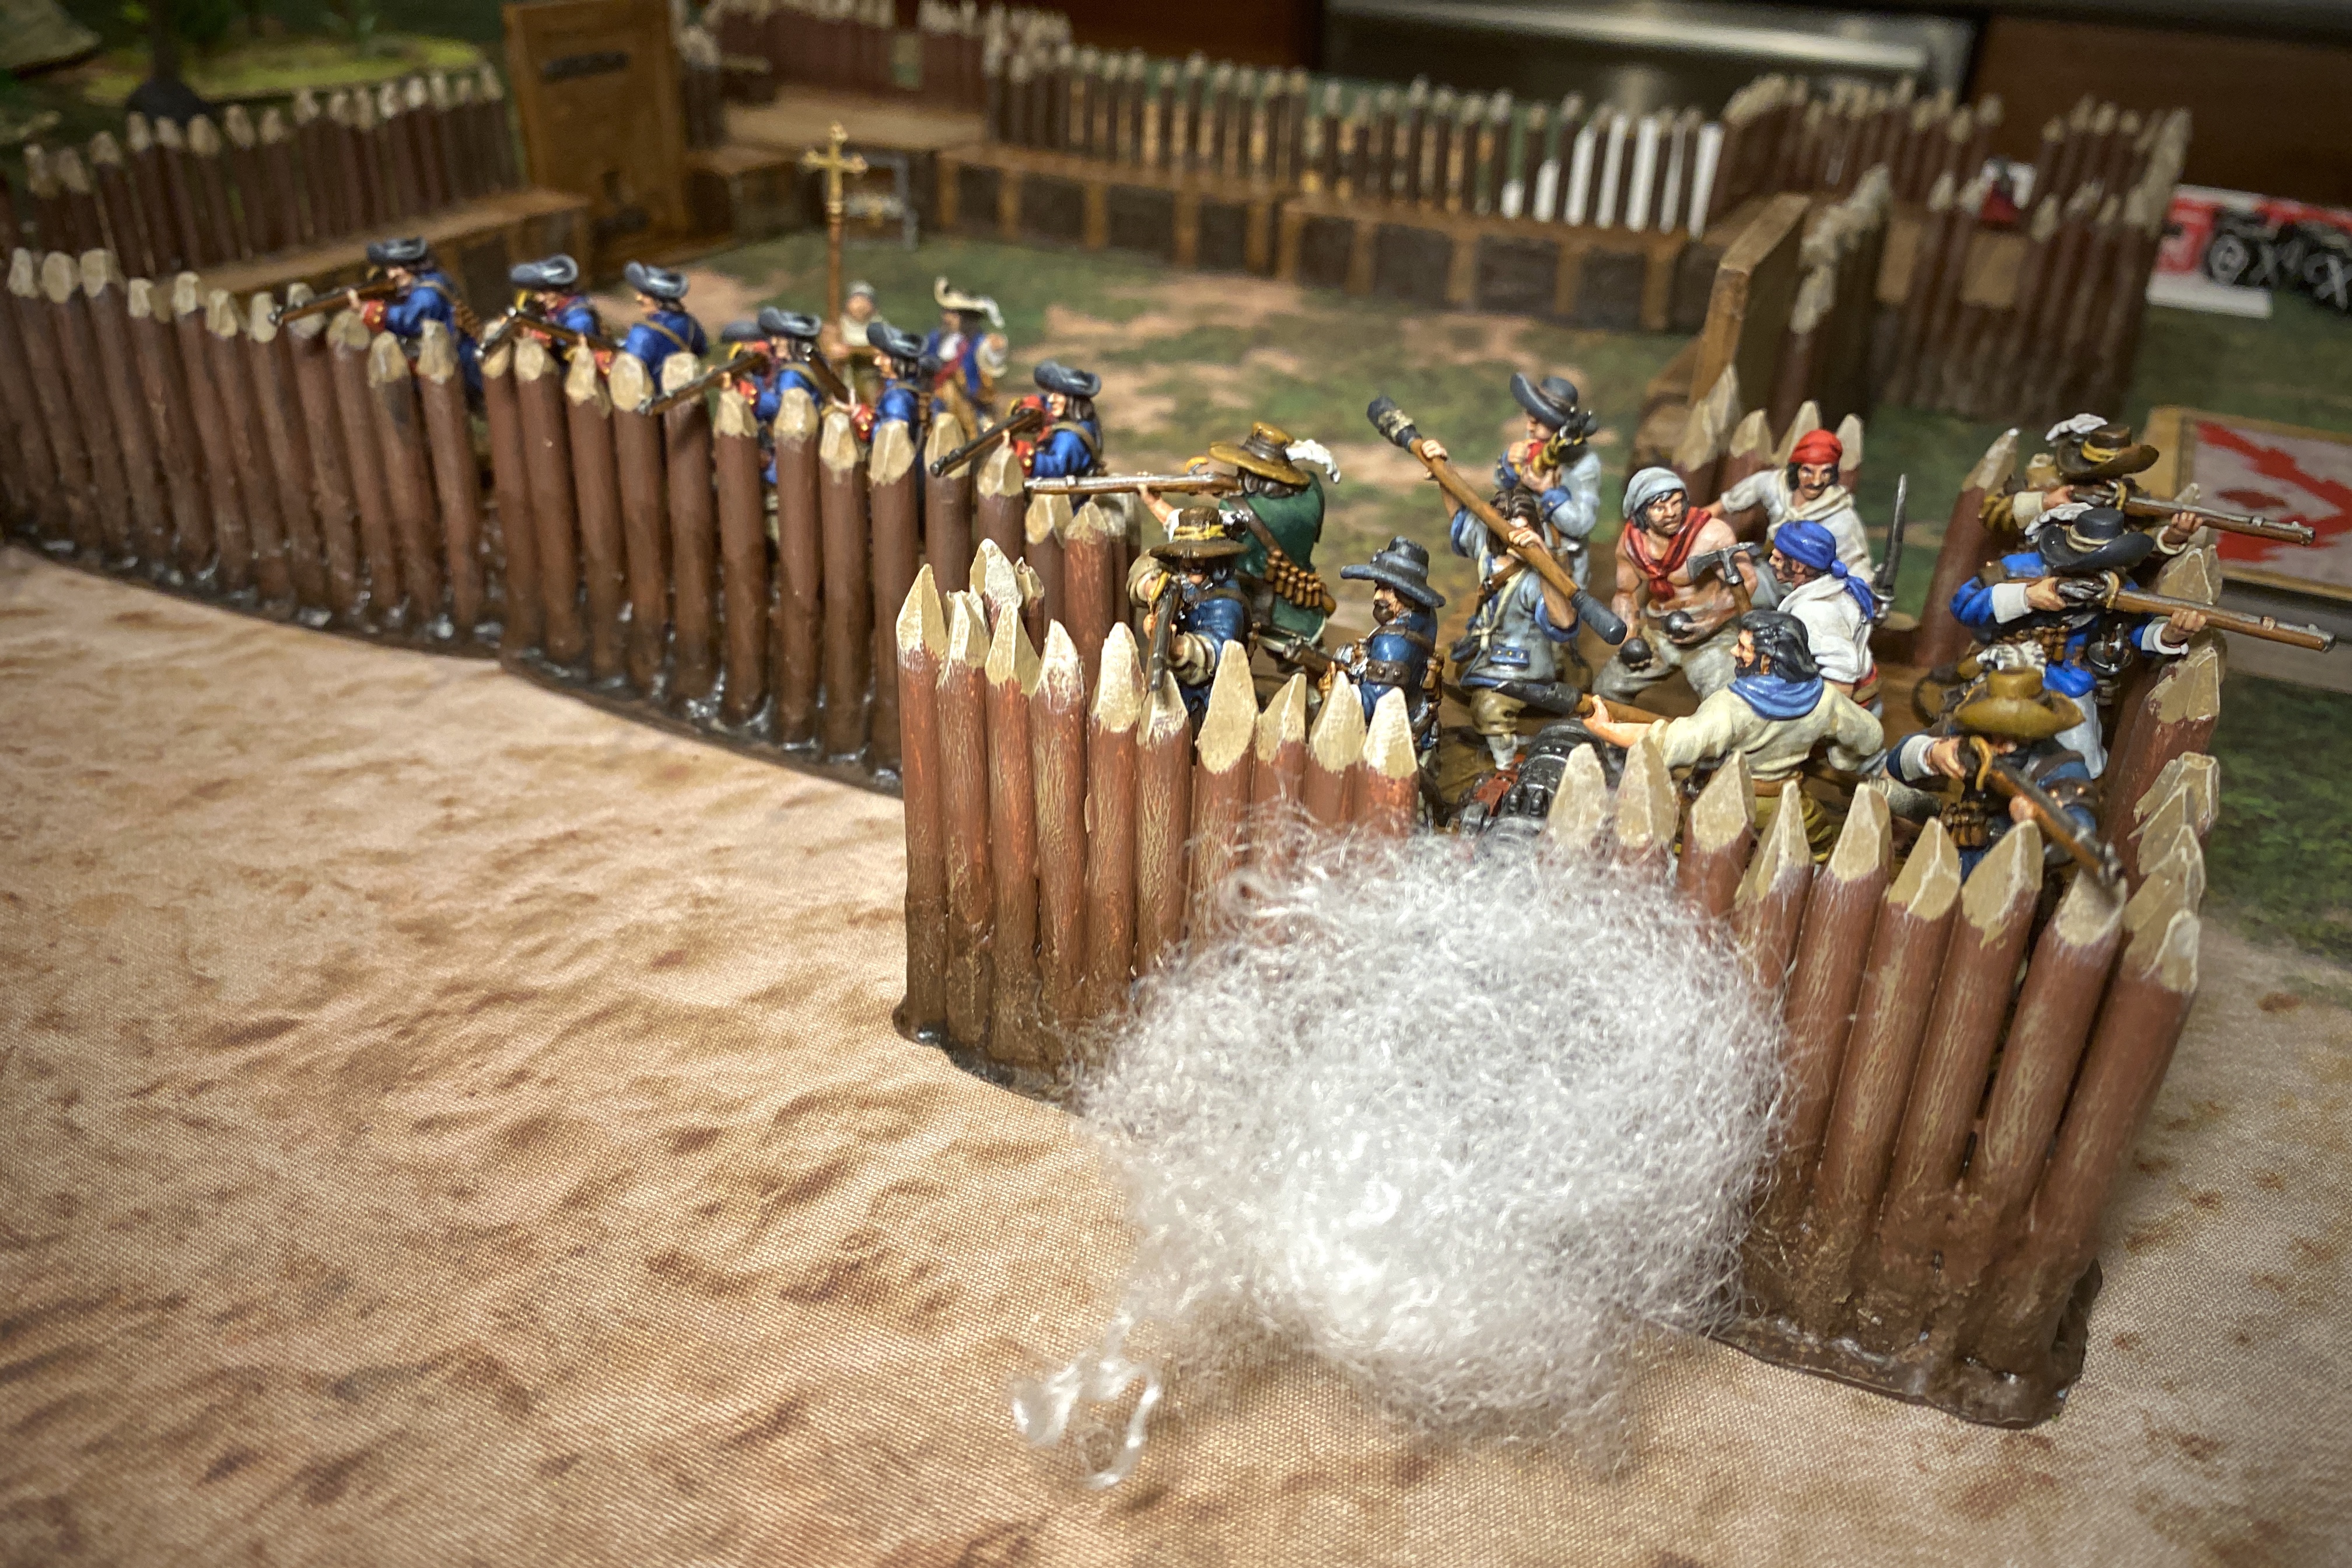
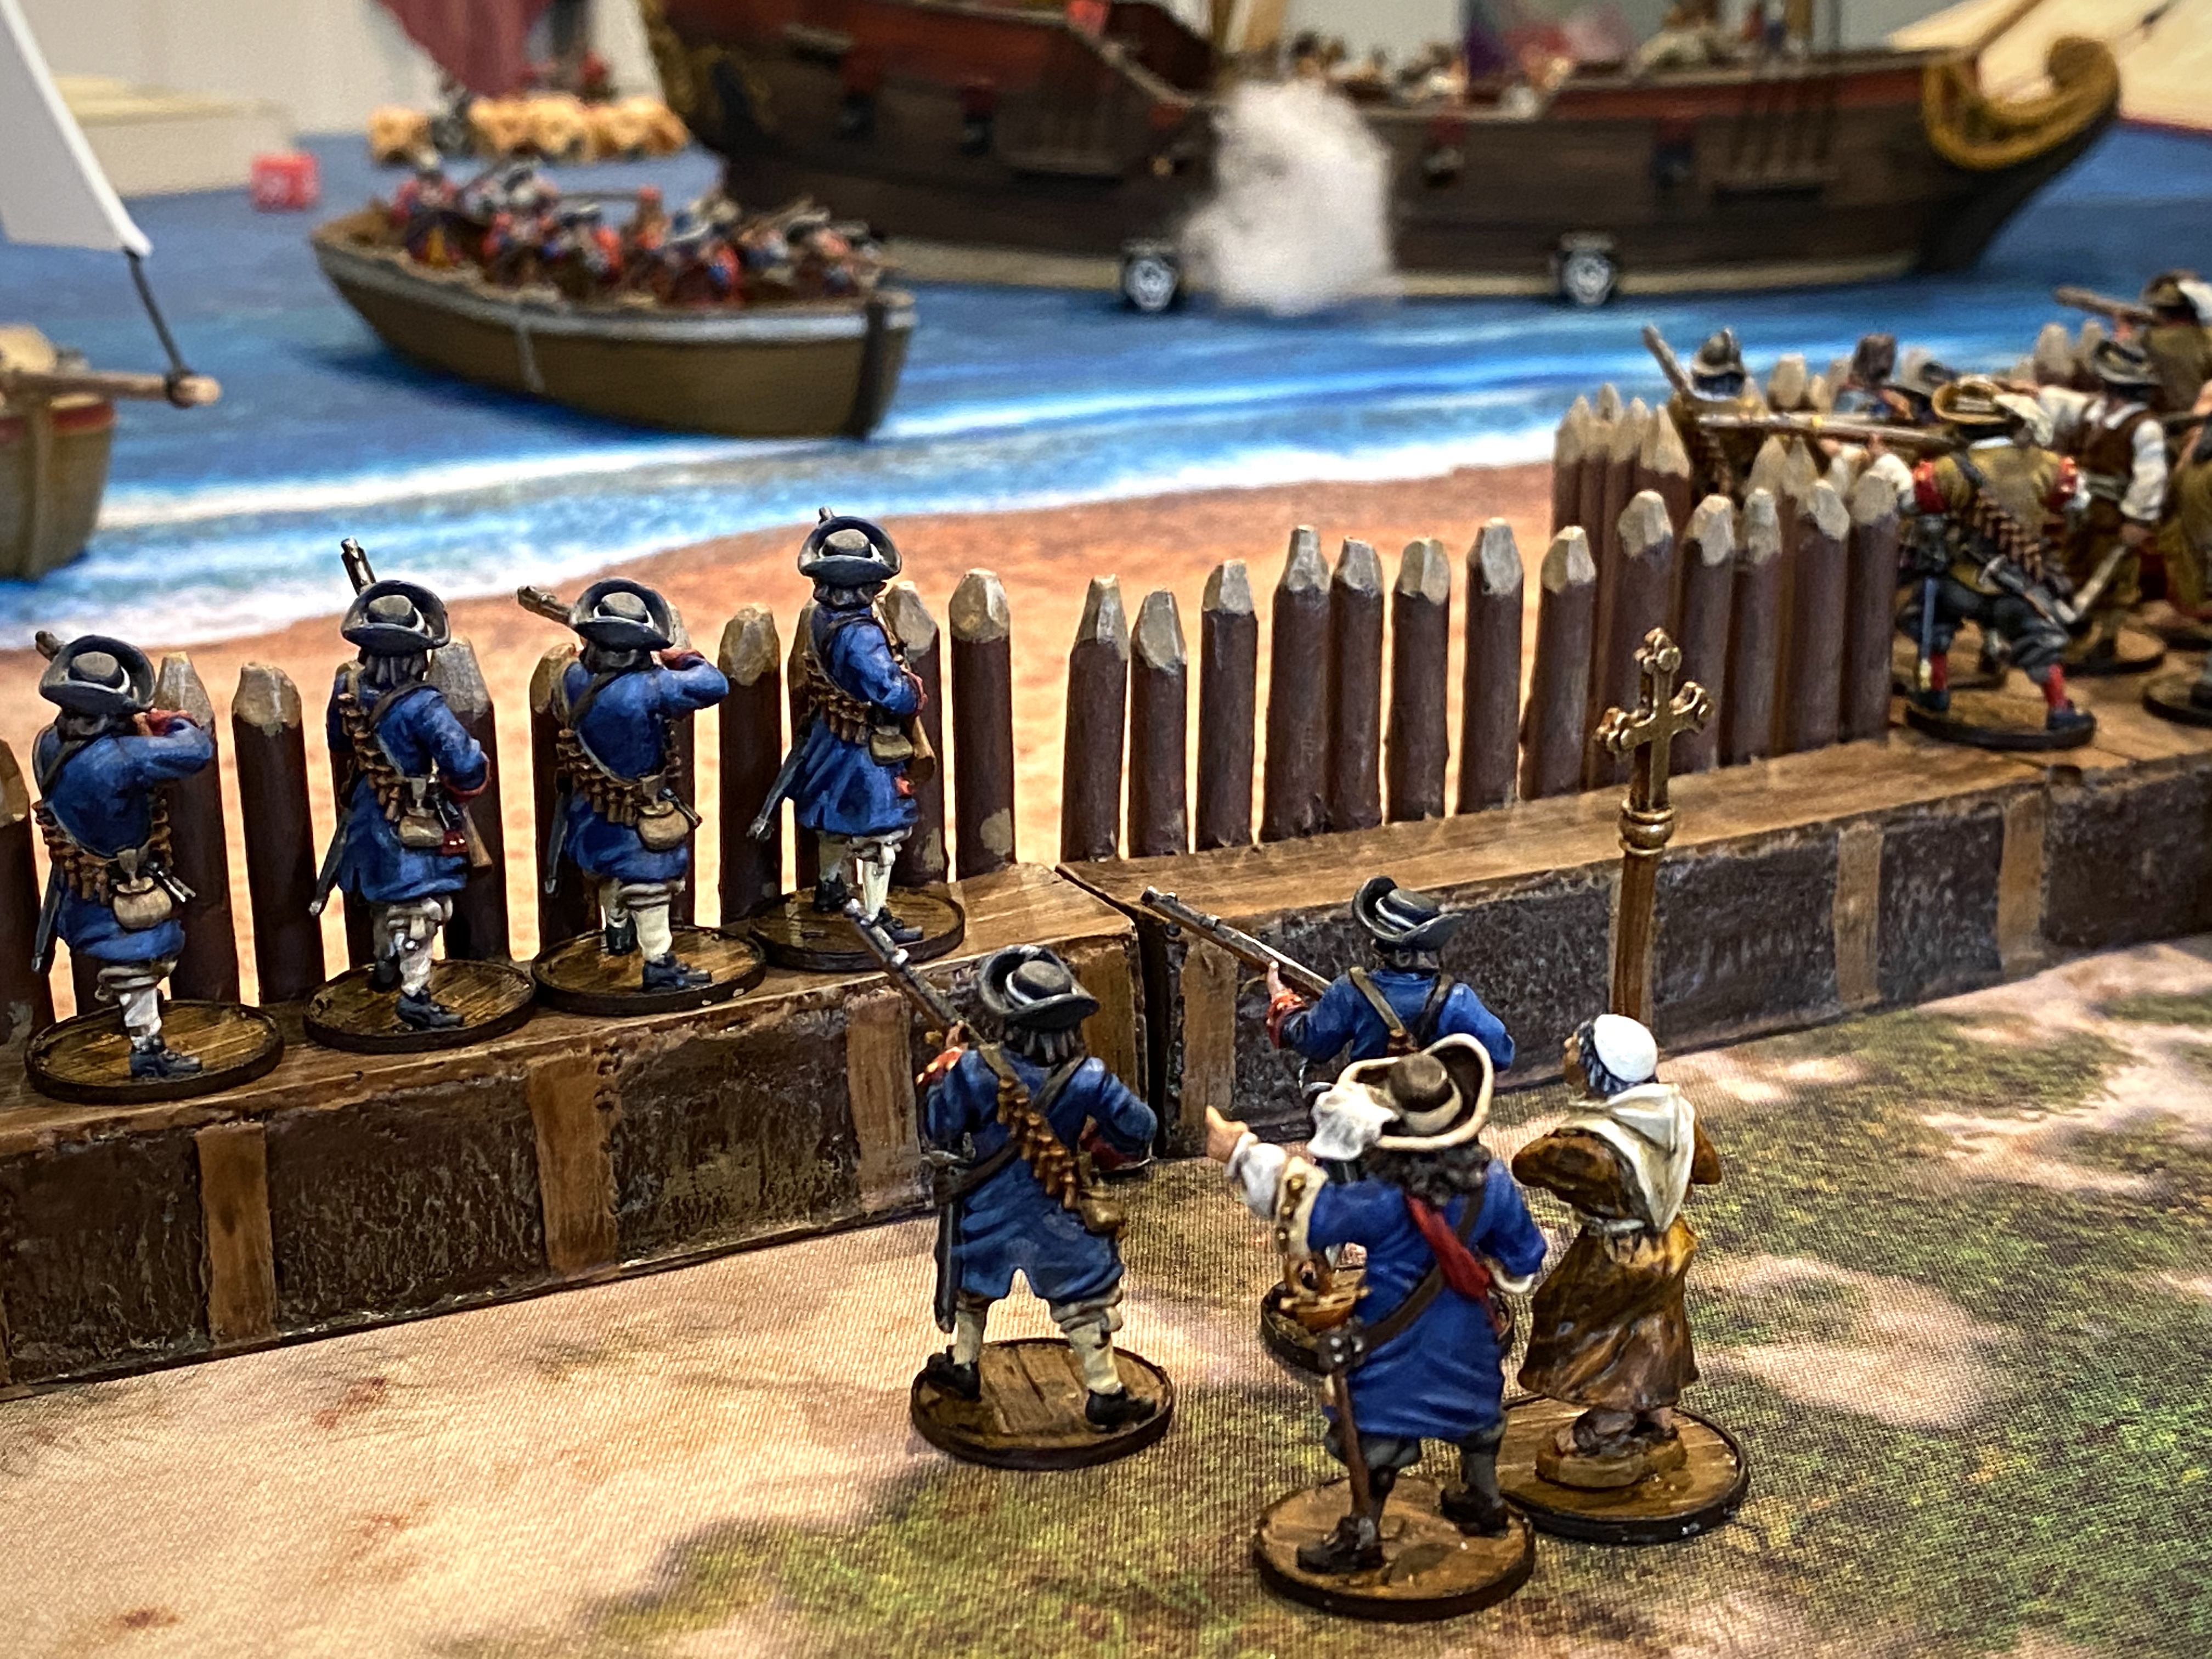
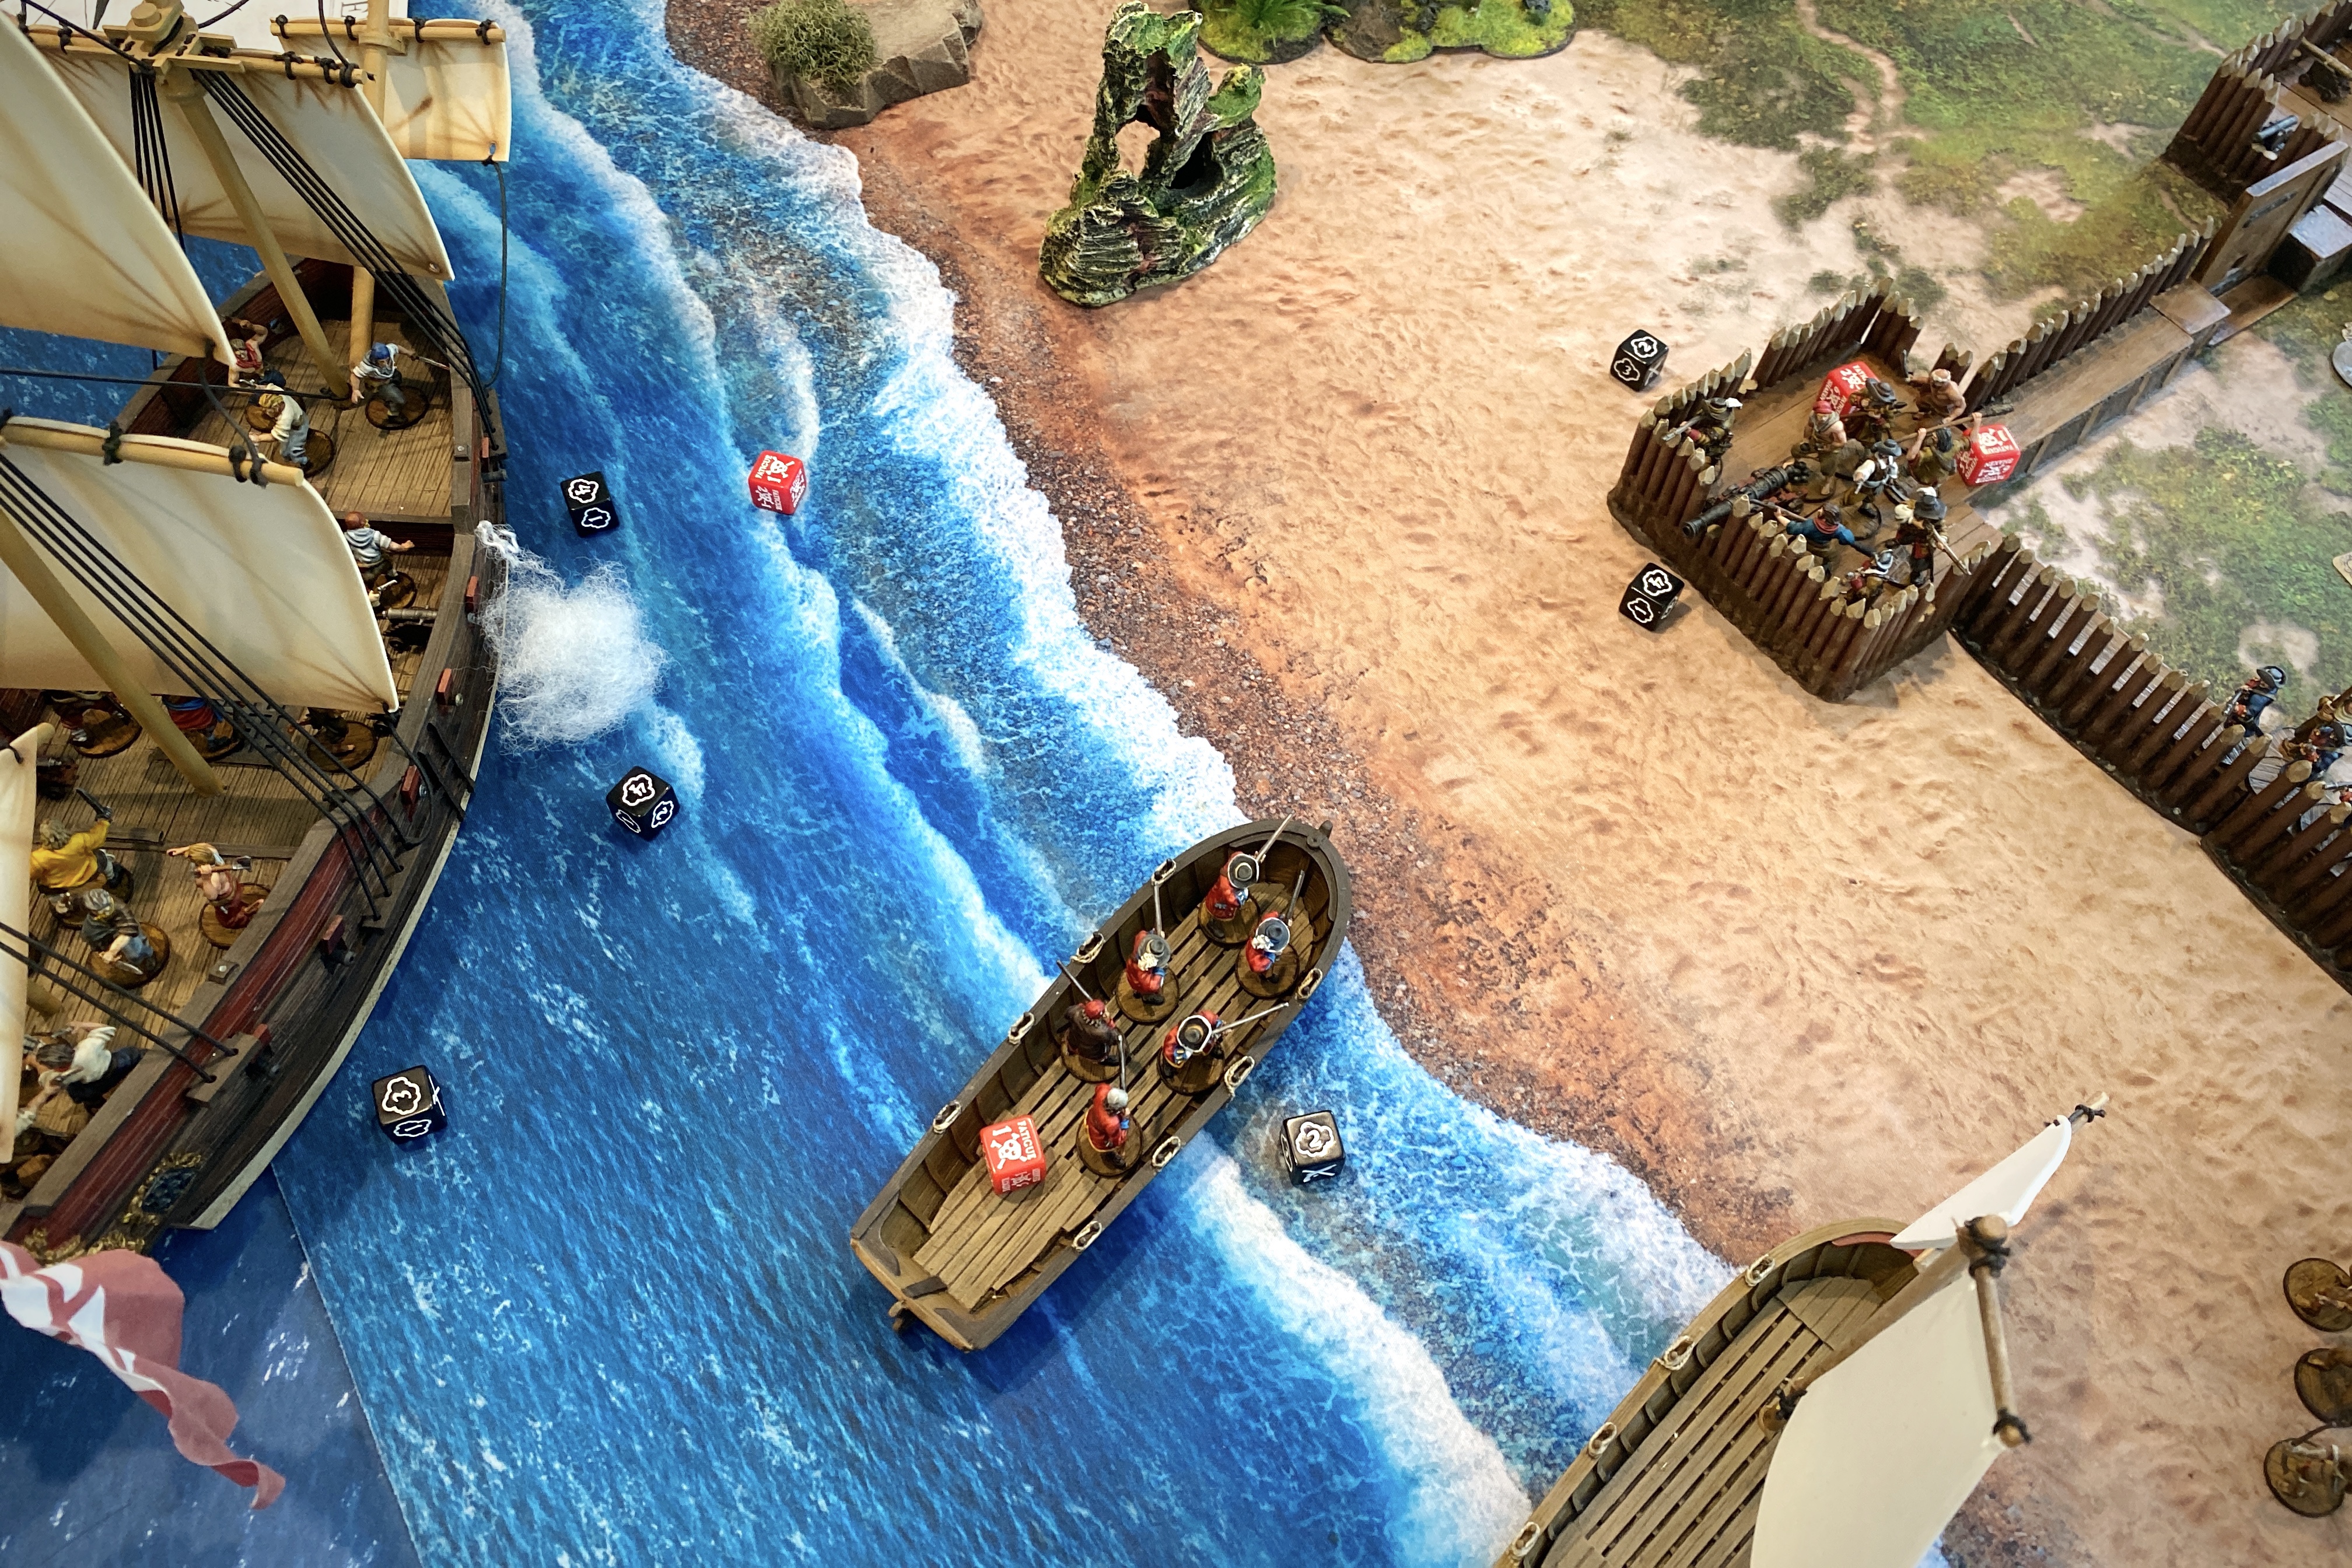
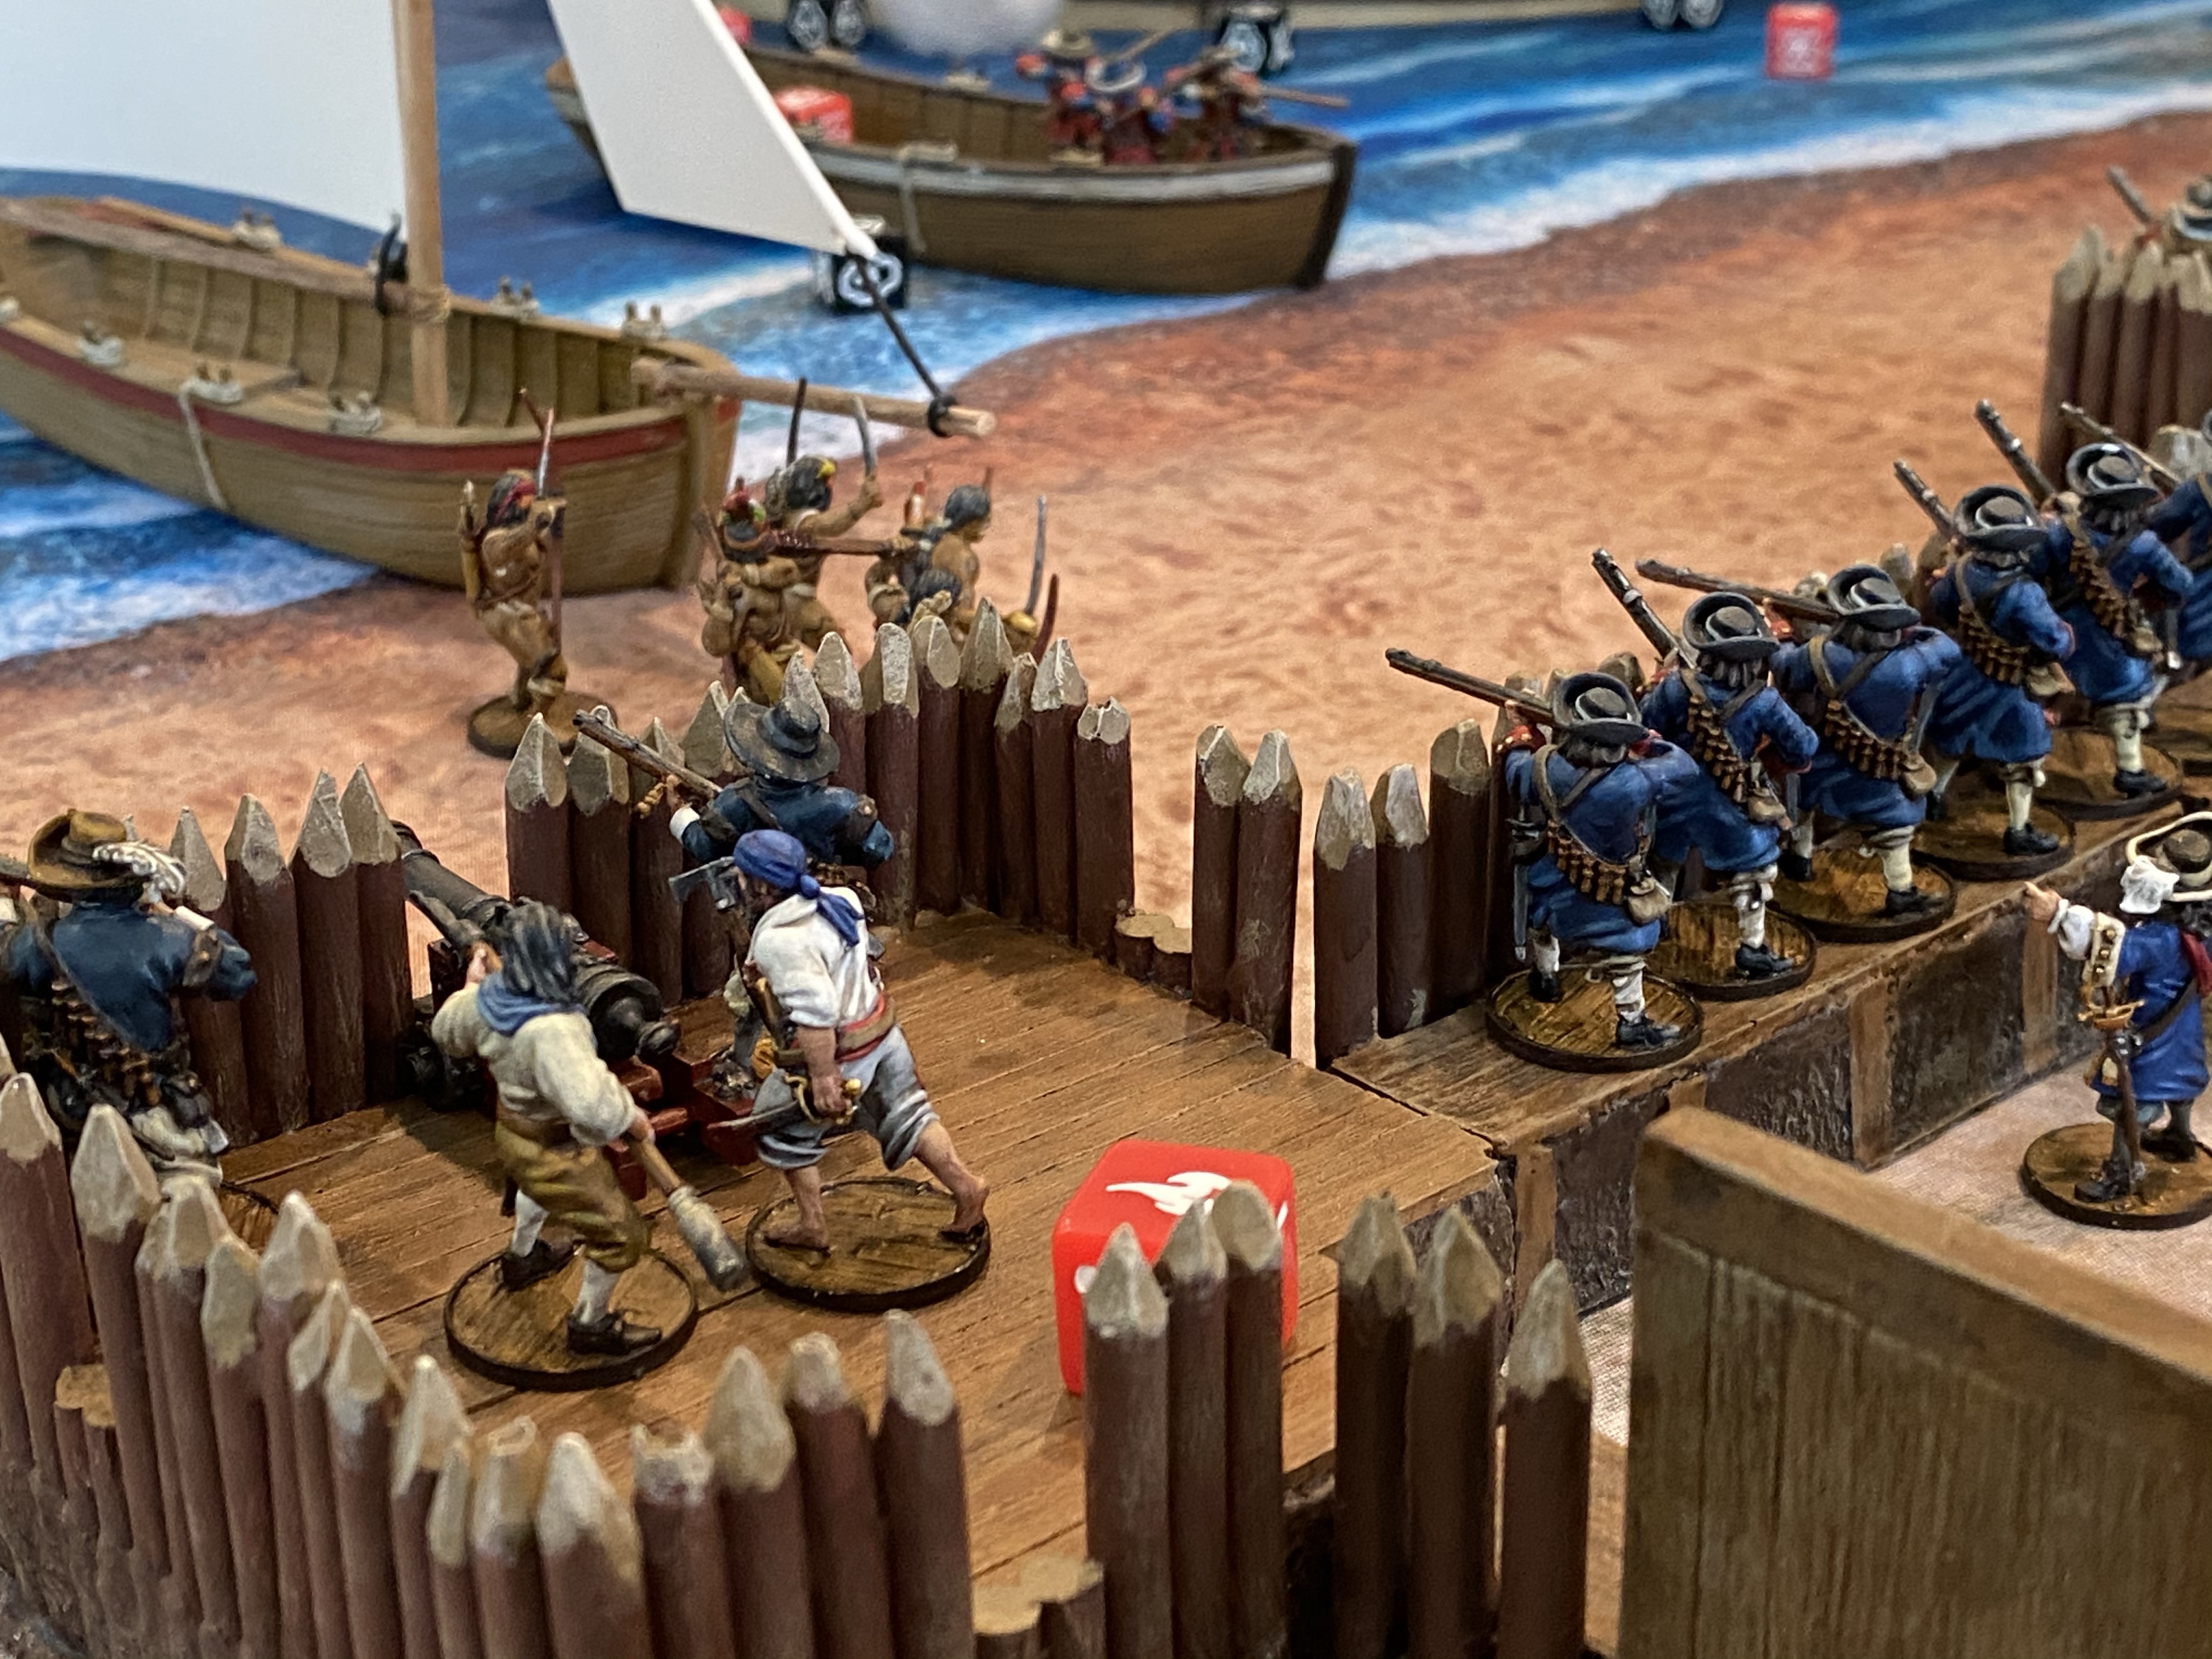
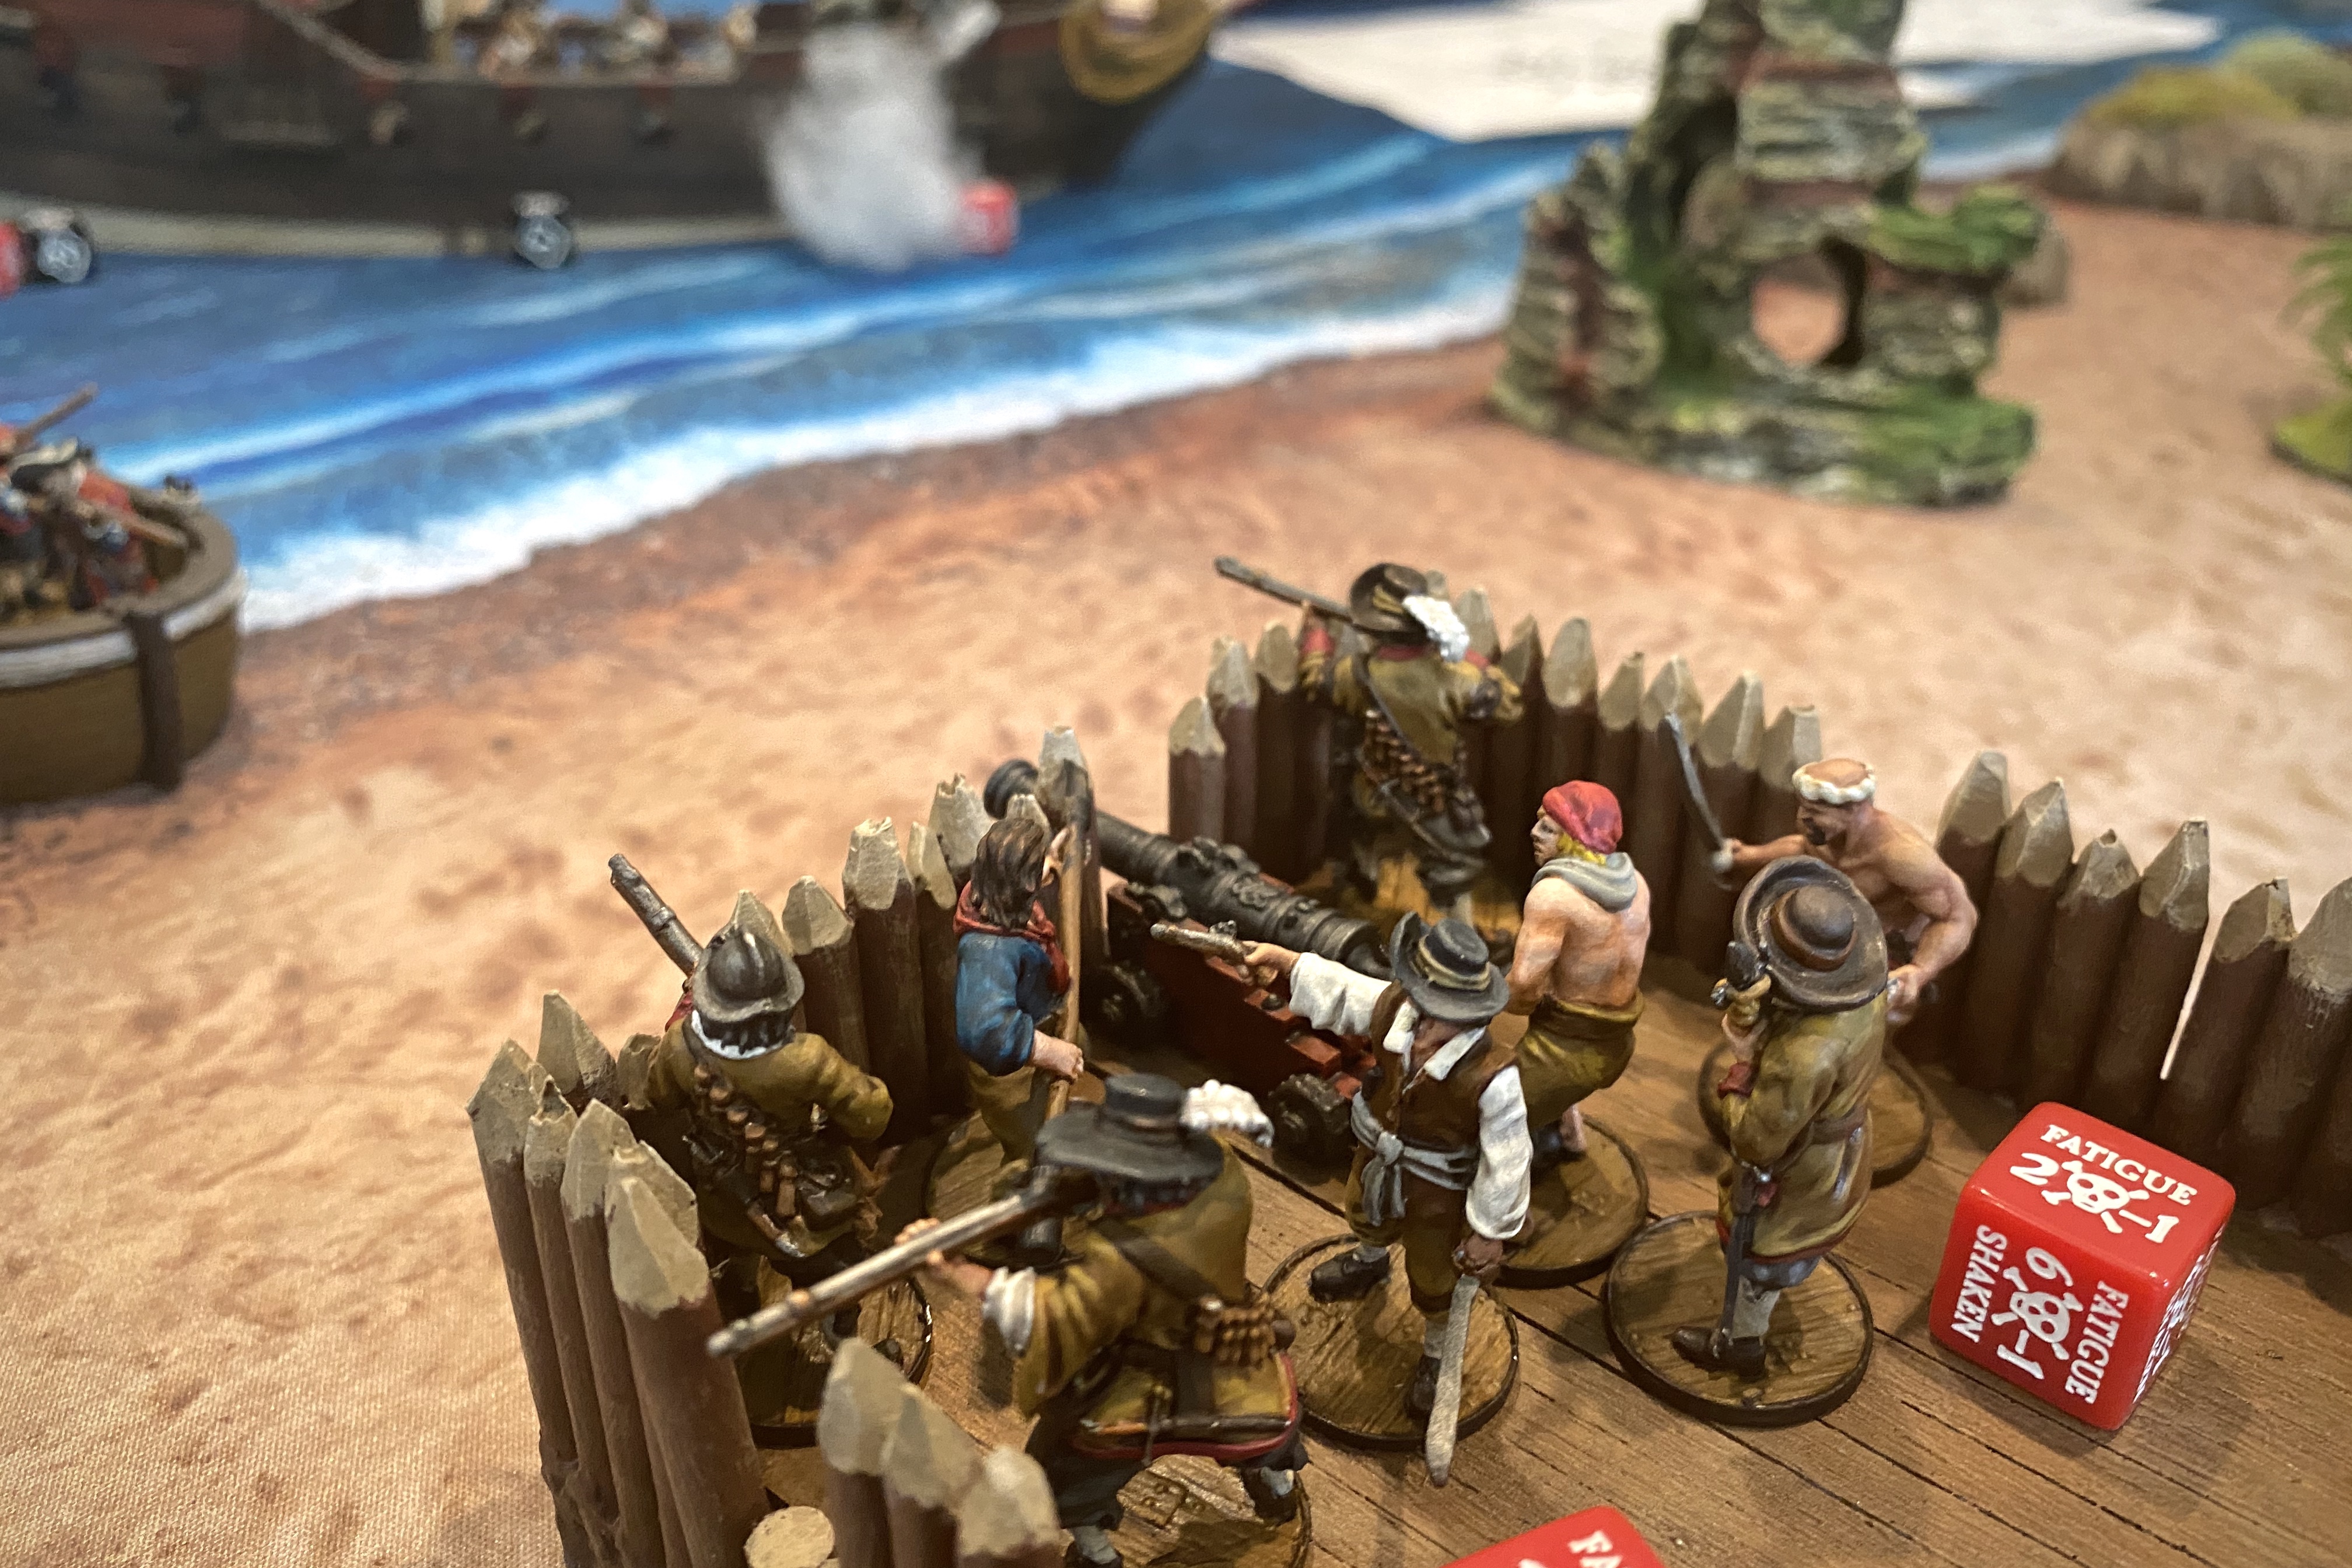
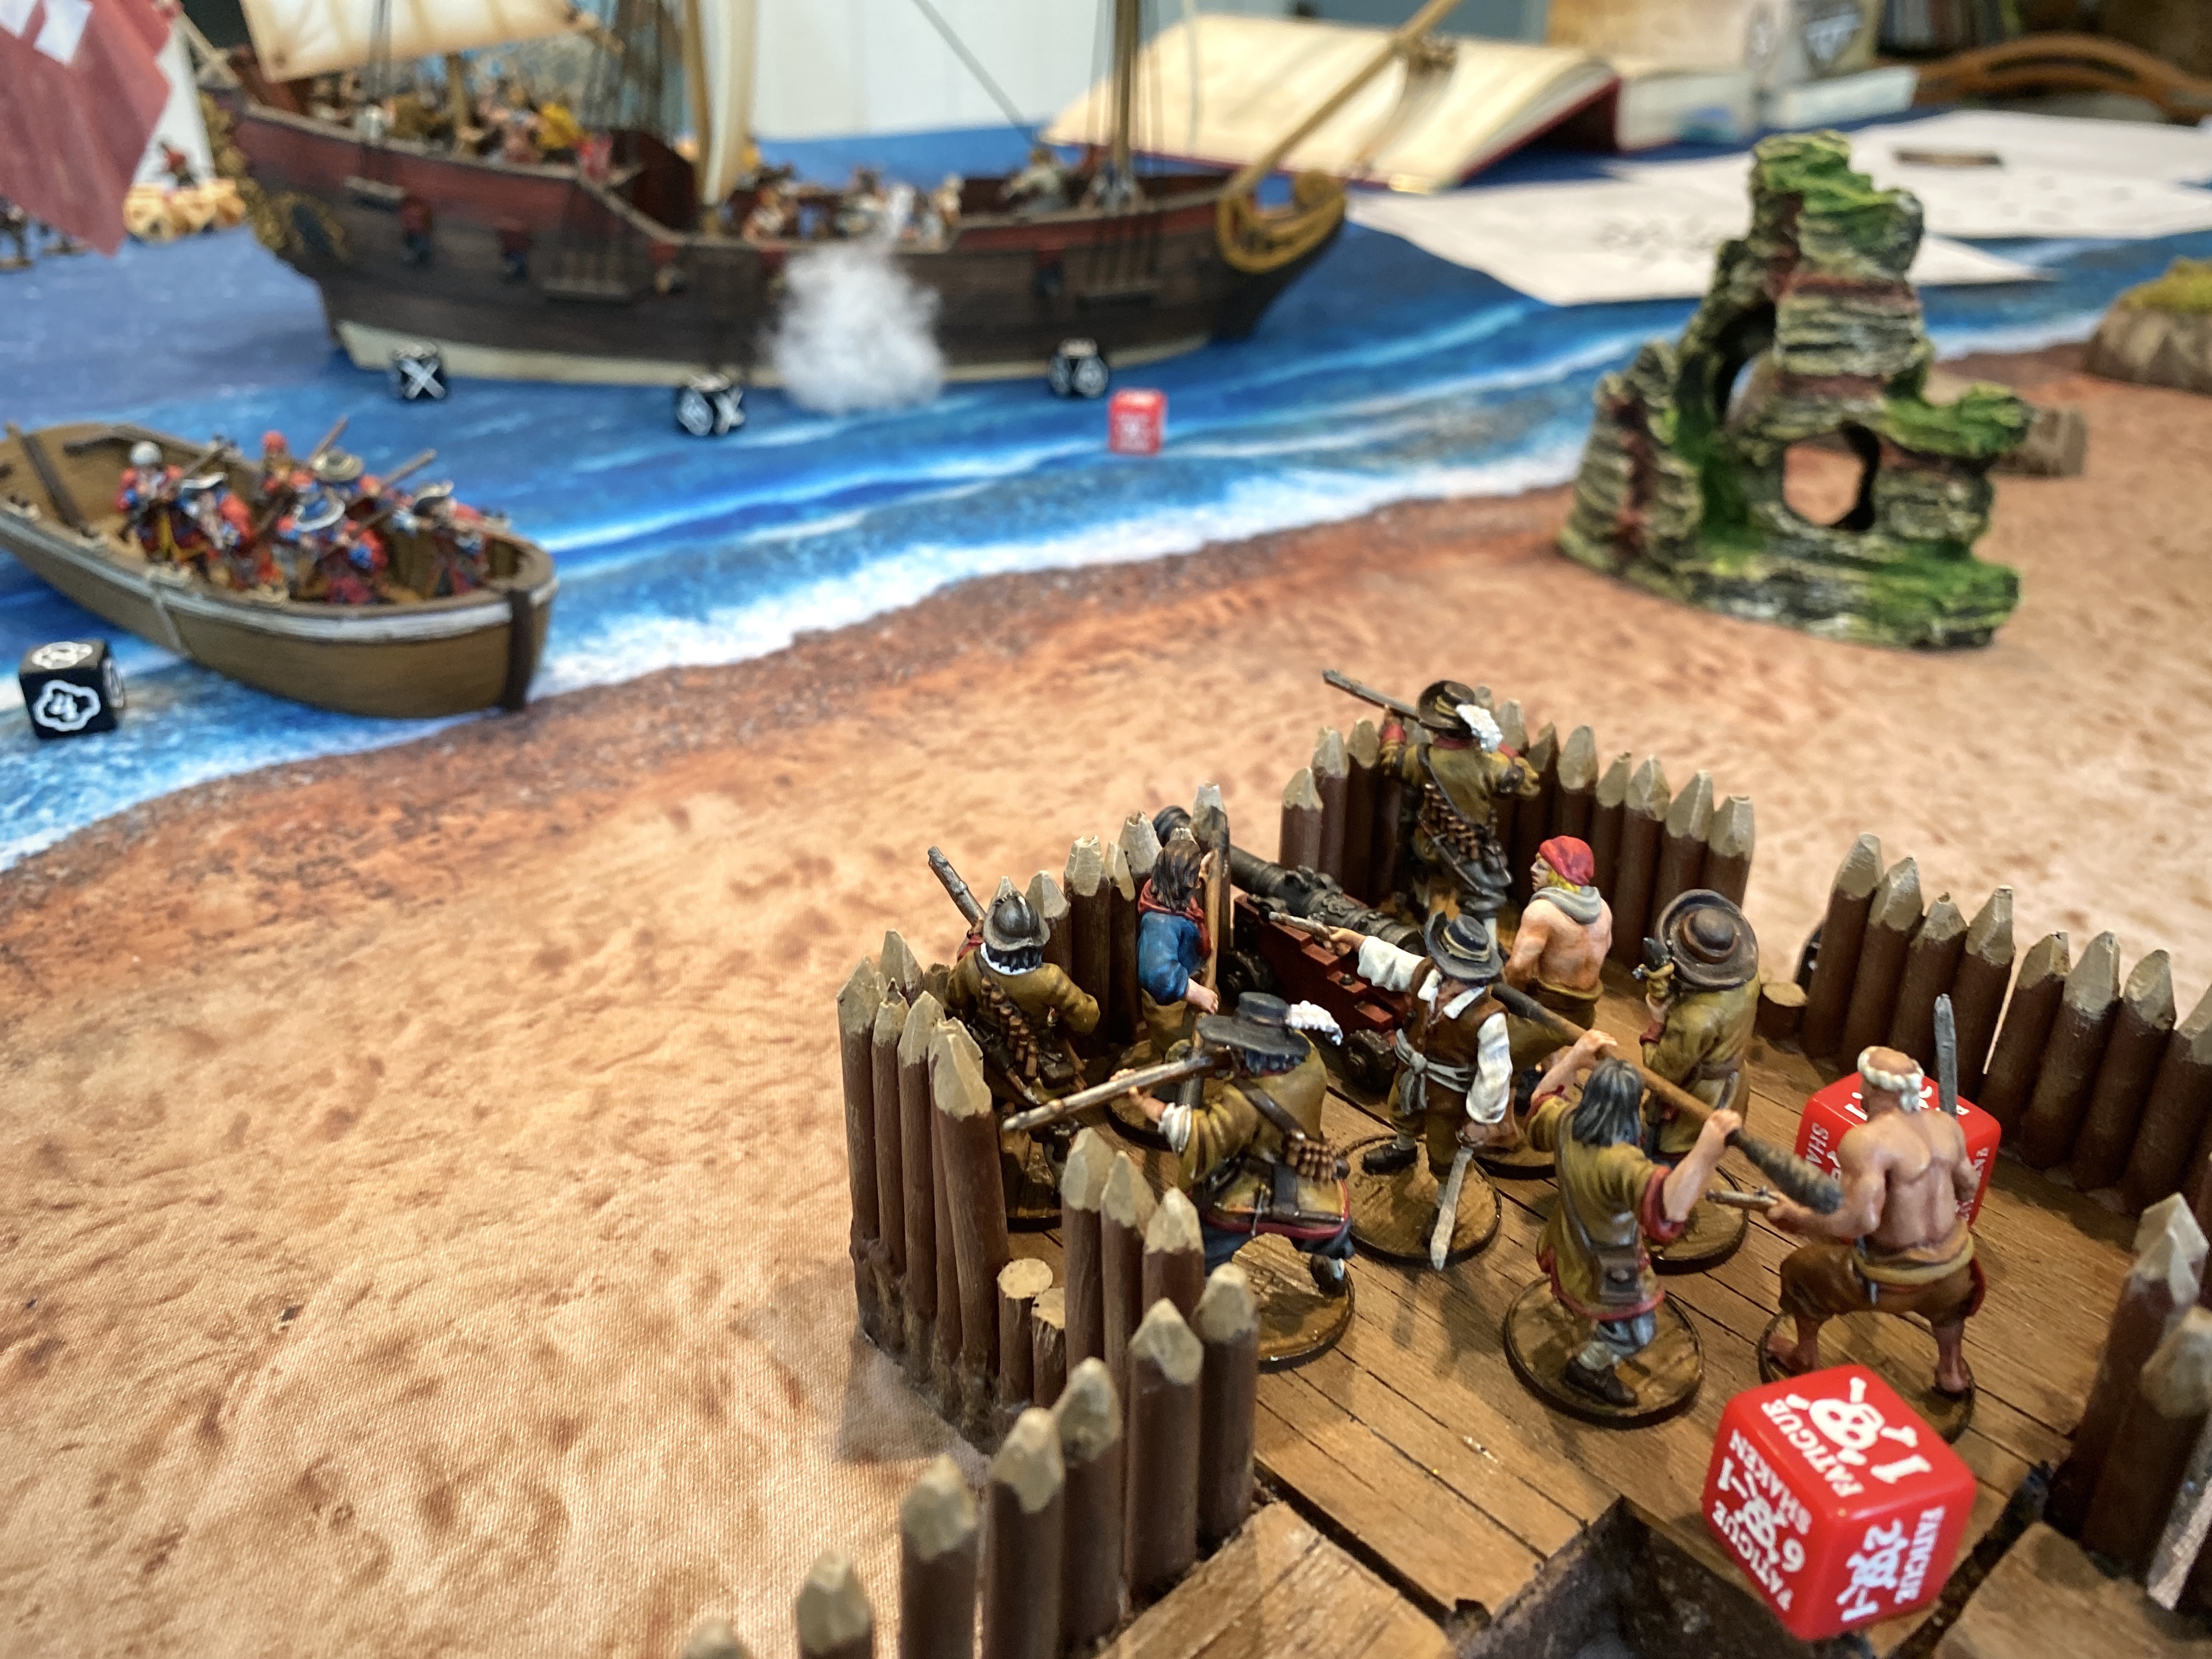
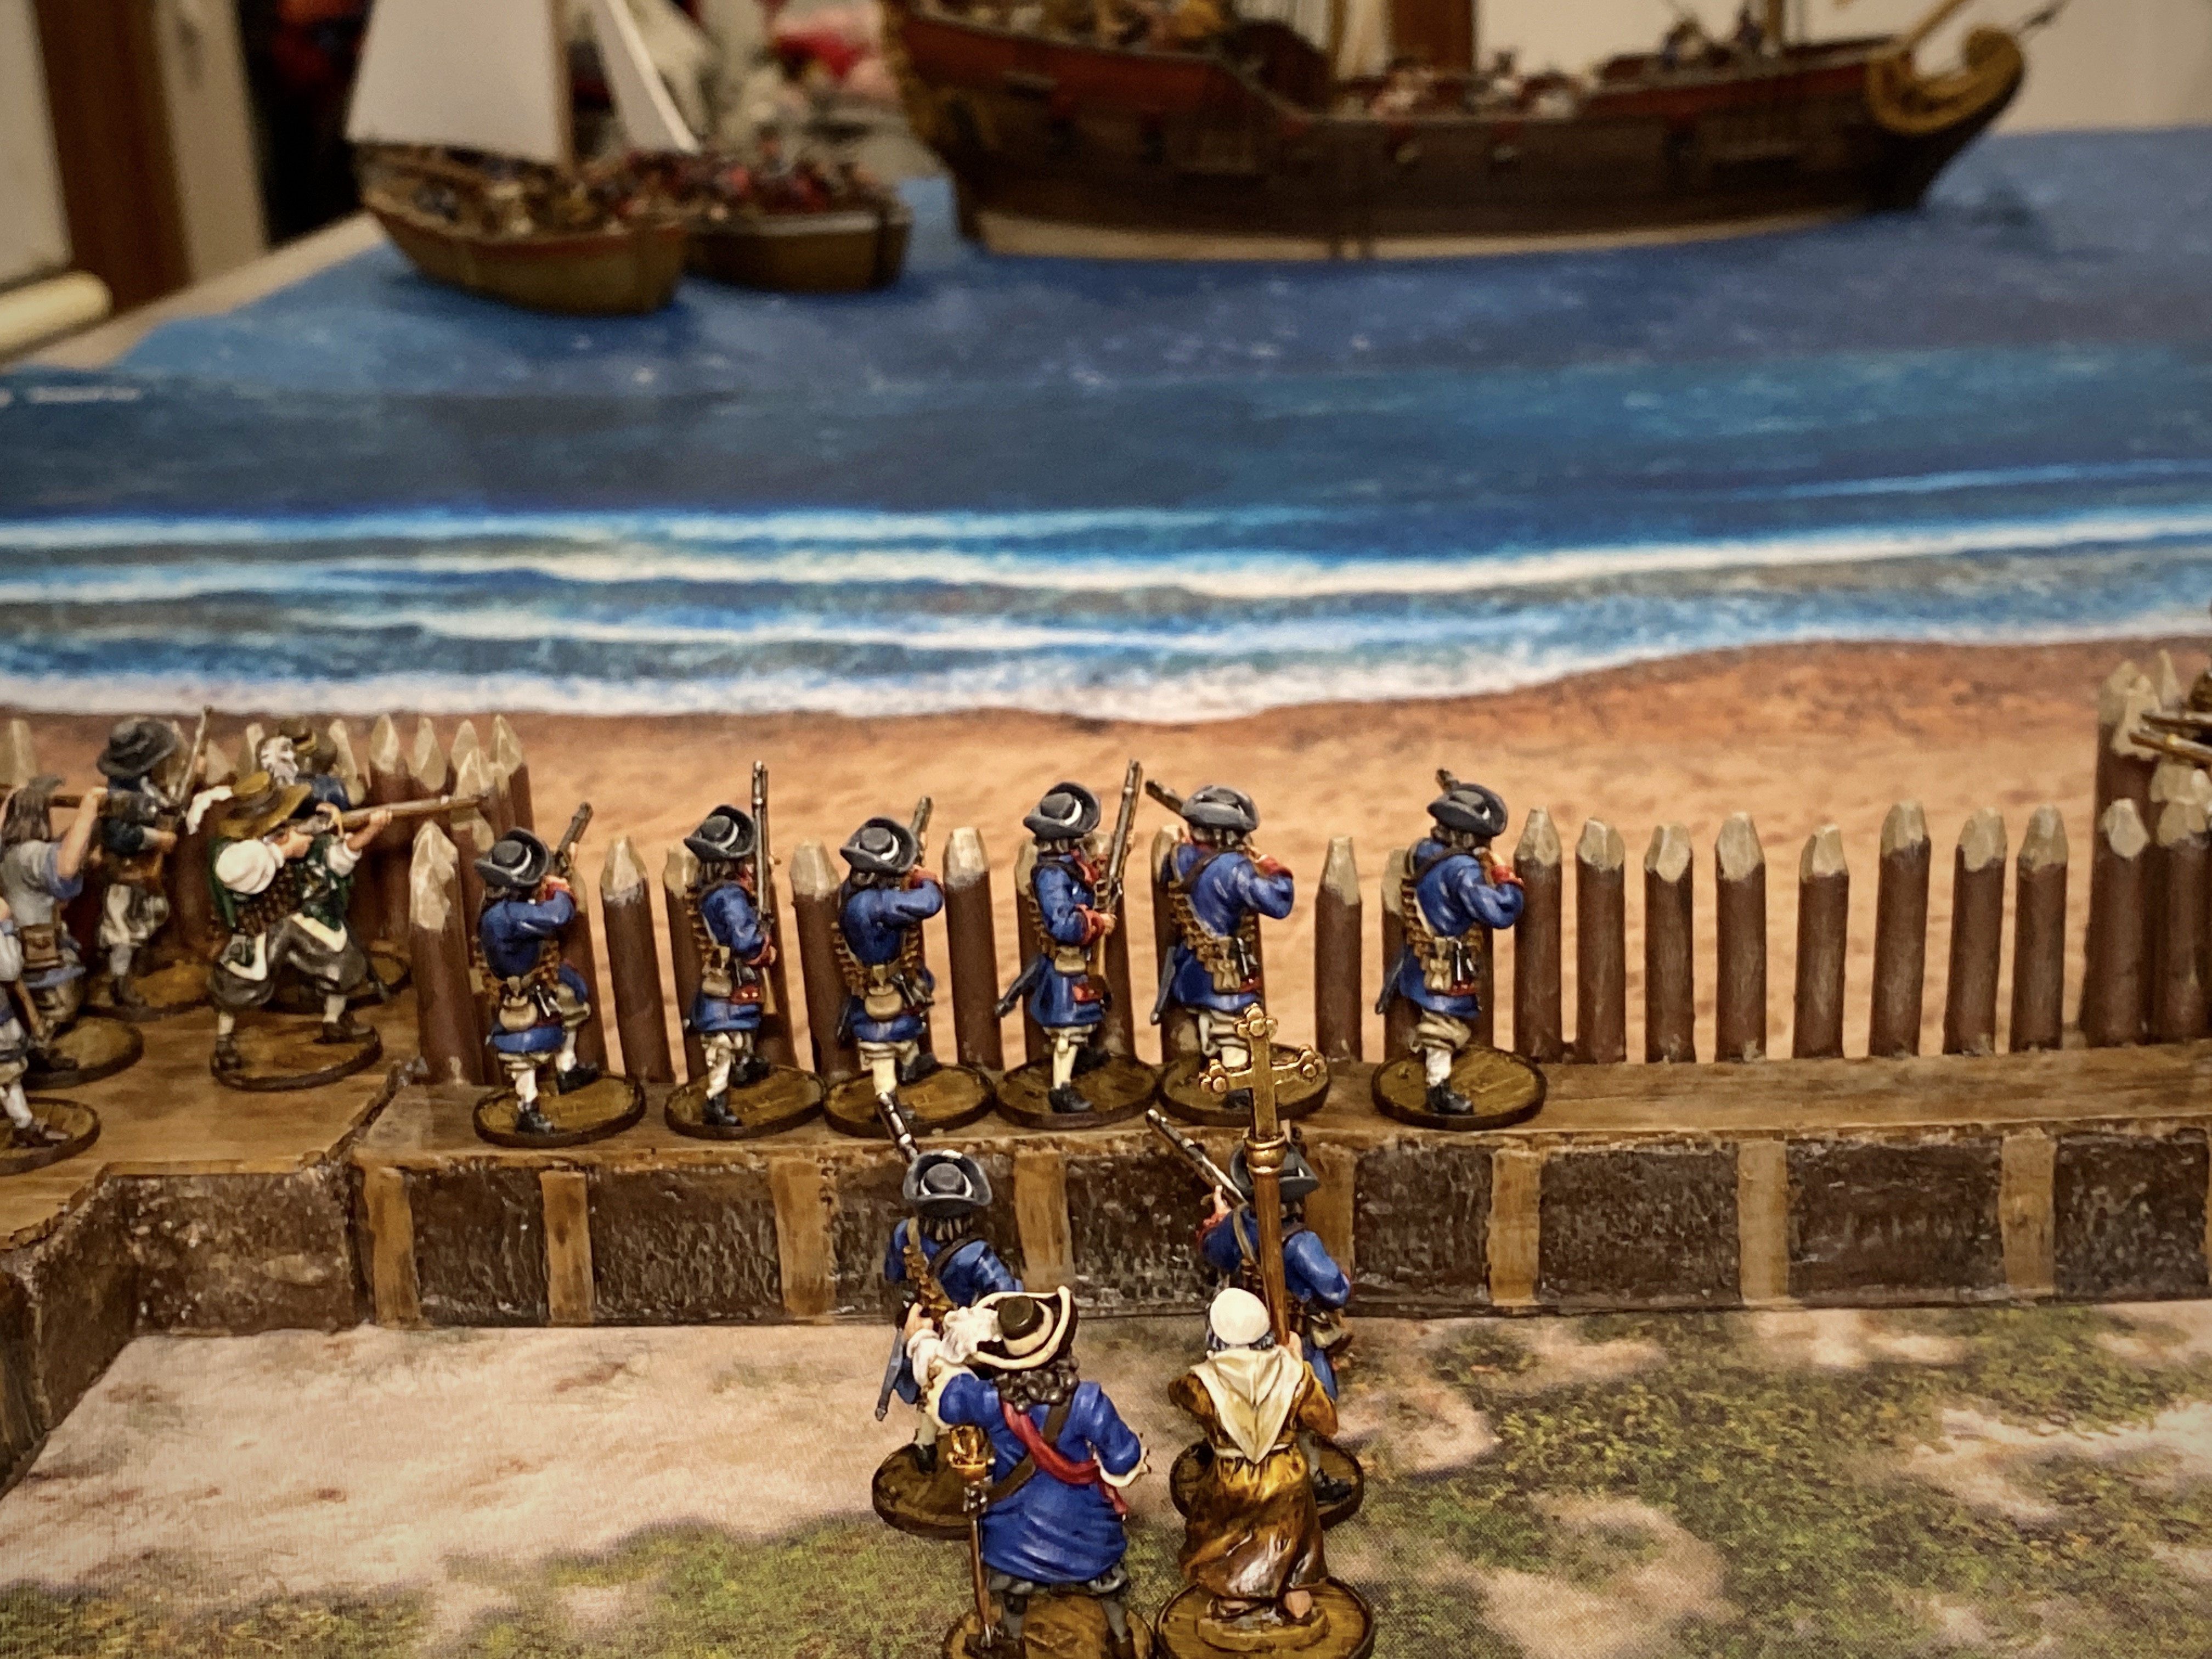
I deployed the Spanish in the fort with a unit of Hostigadores in both forward bastions along with an artillery crew on each cannon and the unit of Soldados in the center. The Warrior Archers deployed in the trees to the left of the fort, planning to harass any attempted landing force.
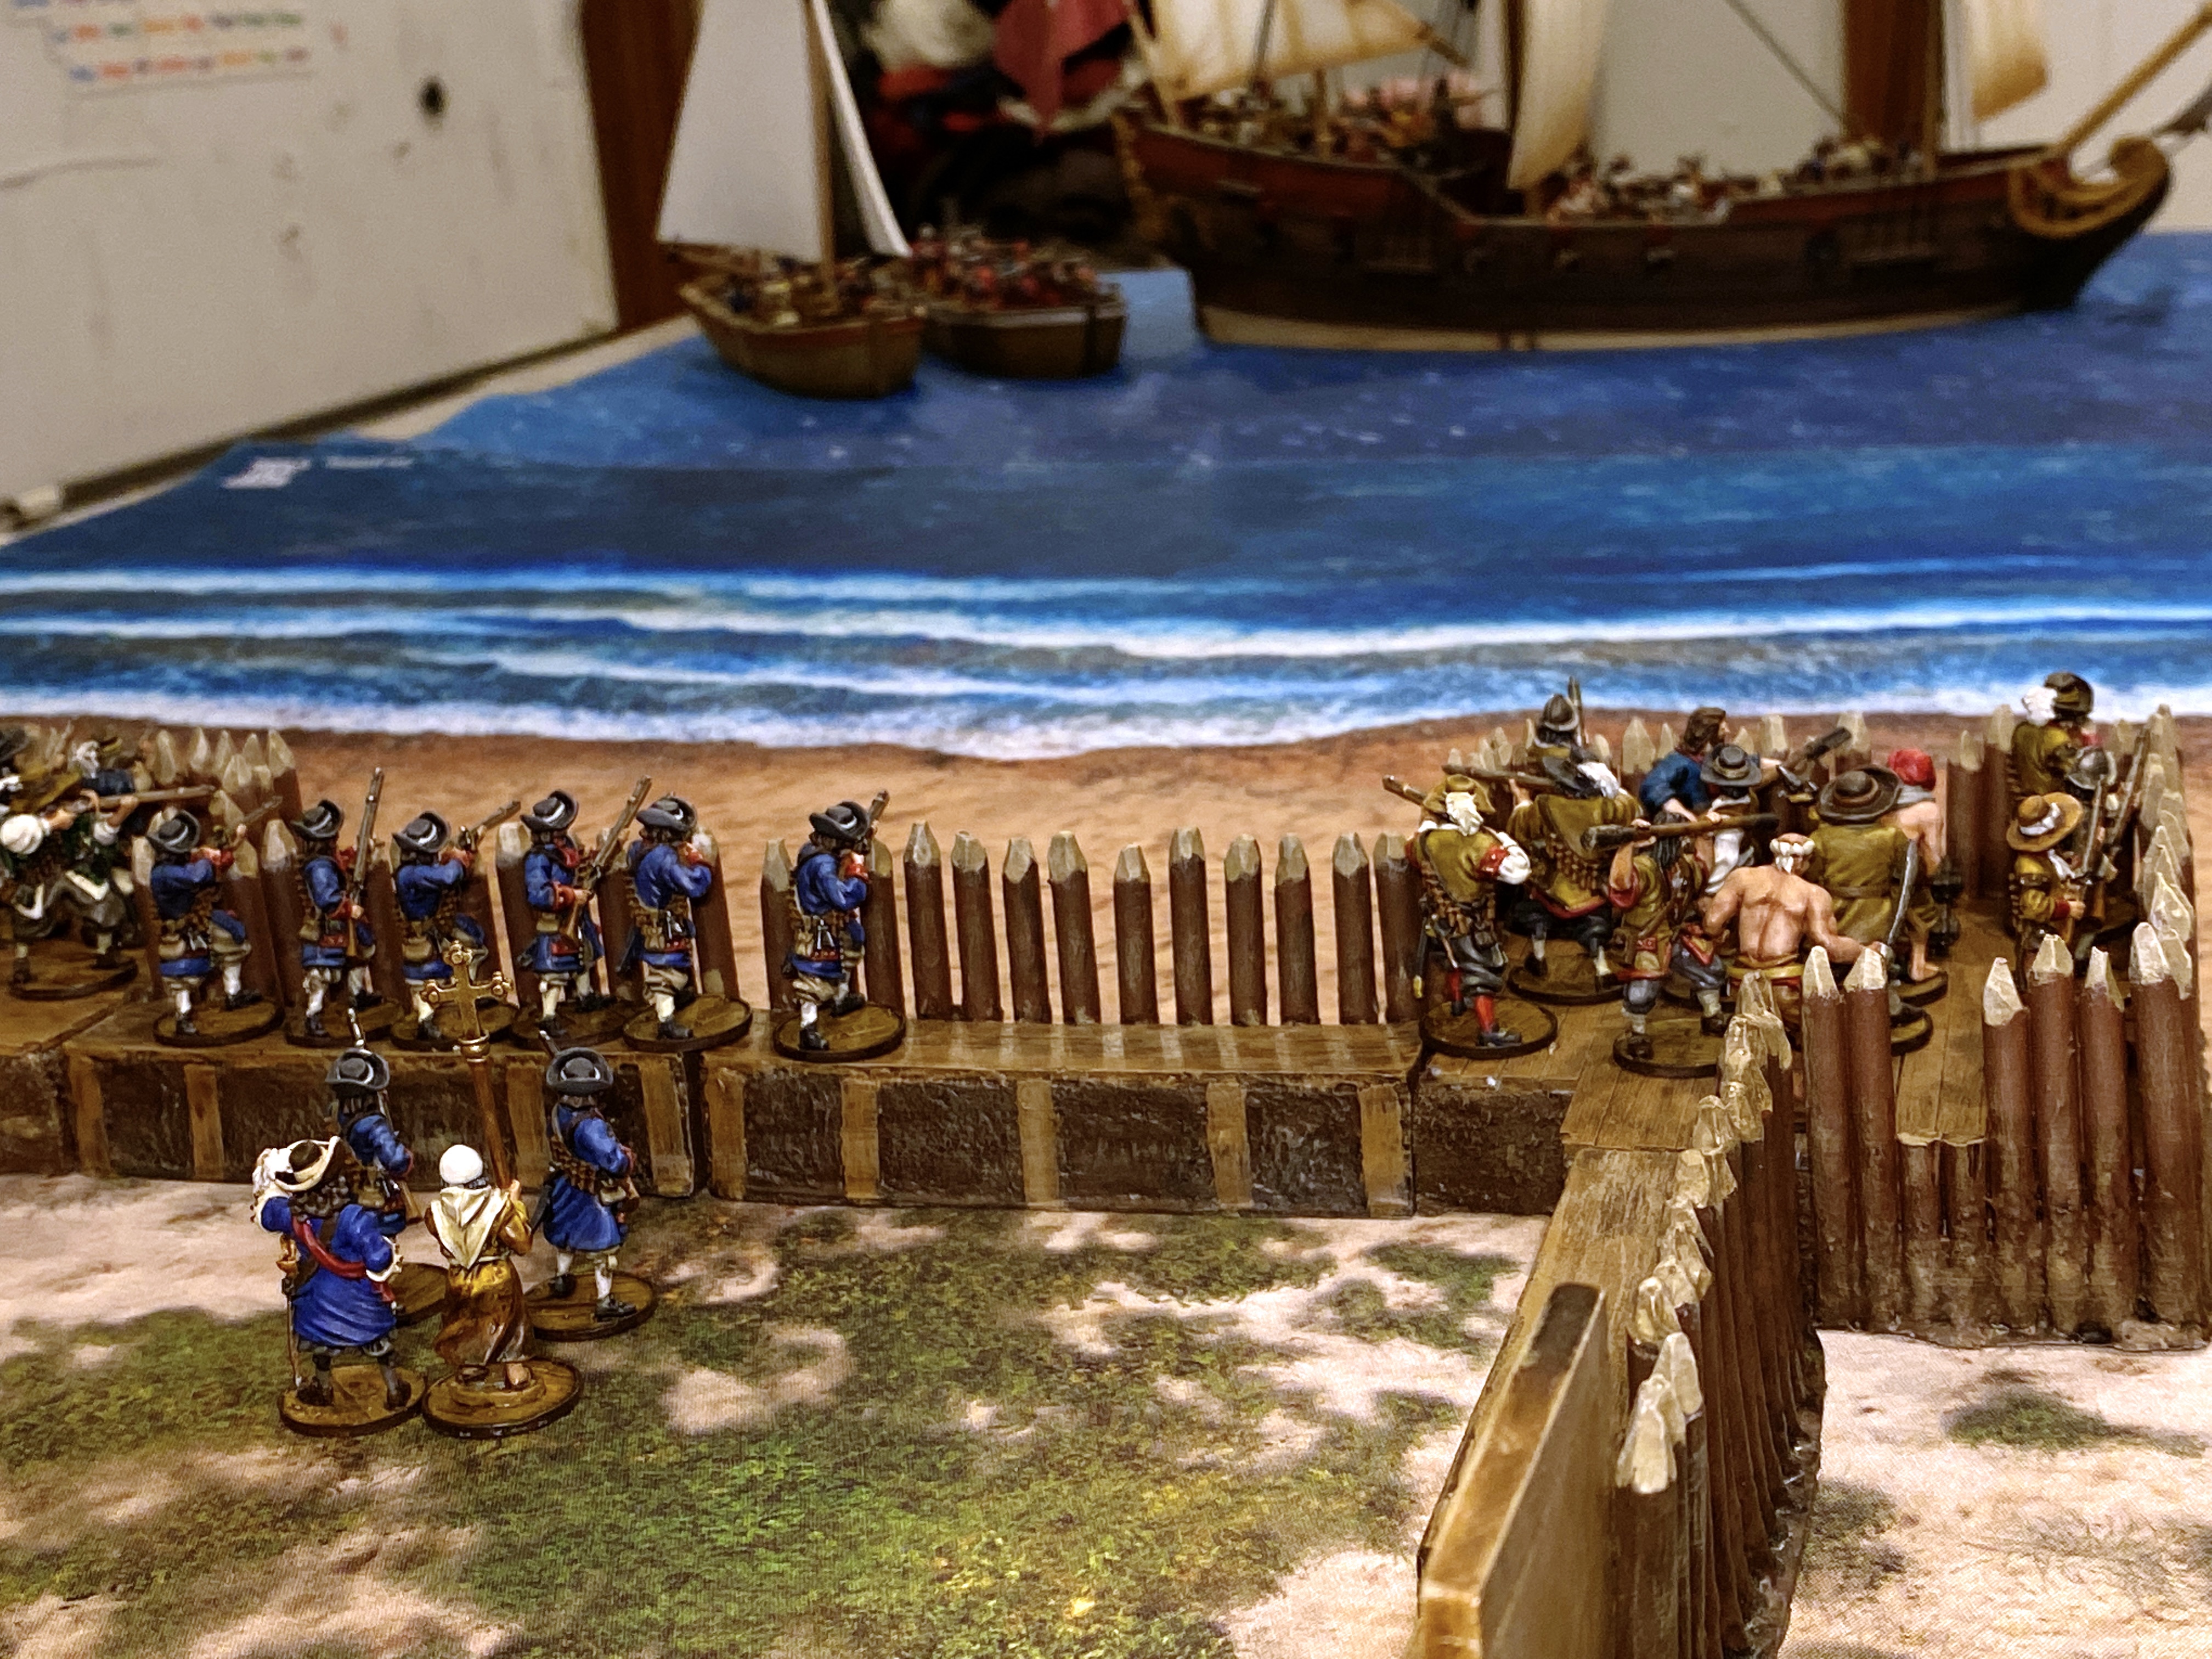
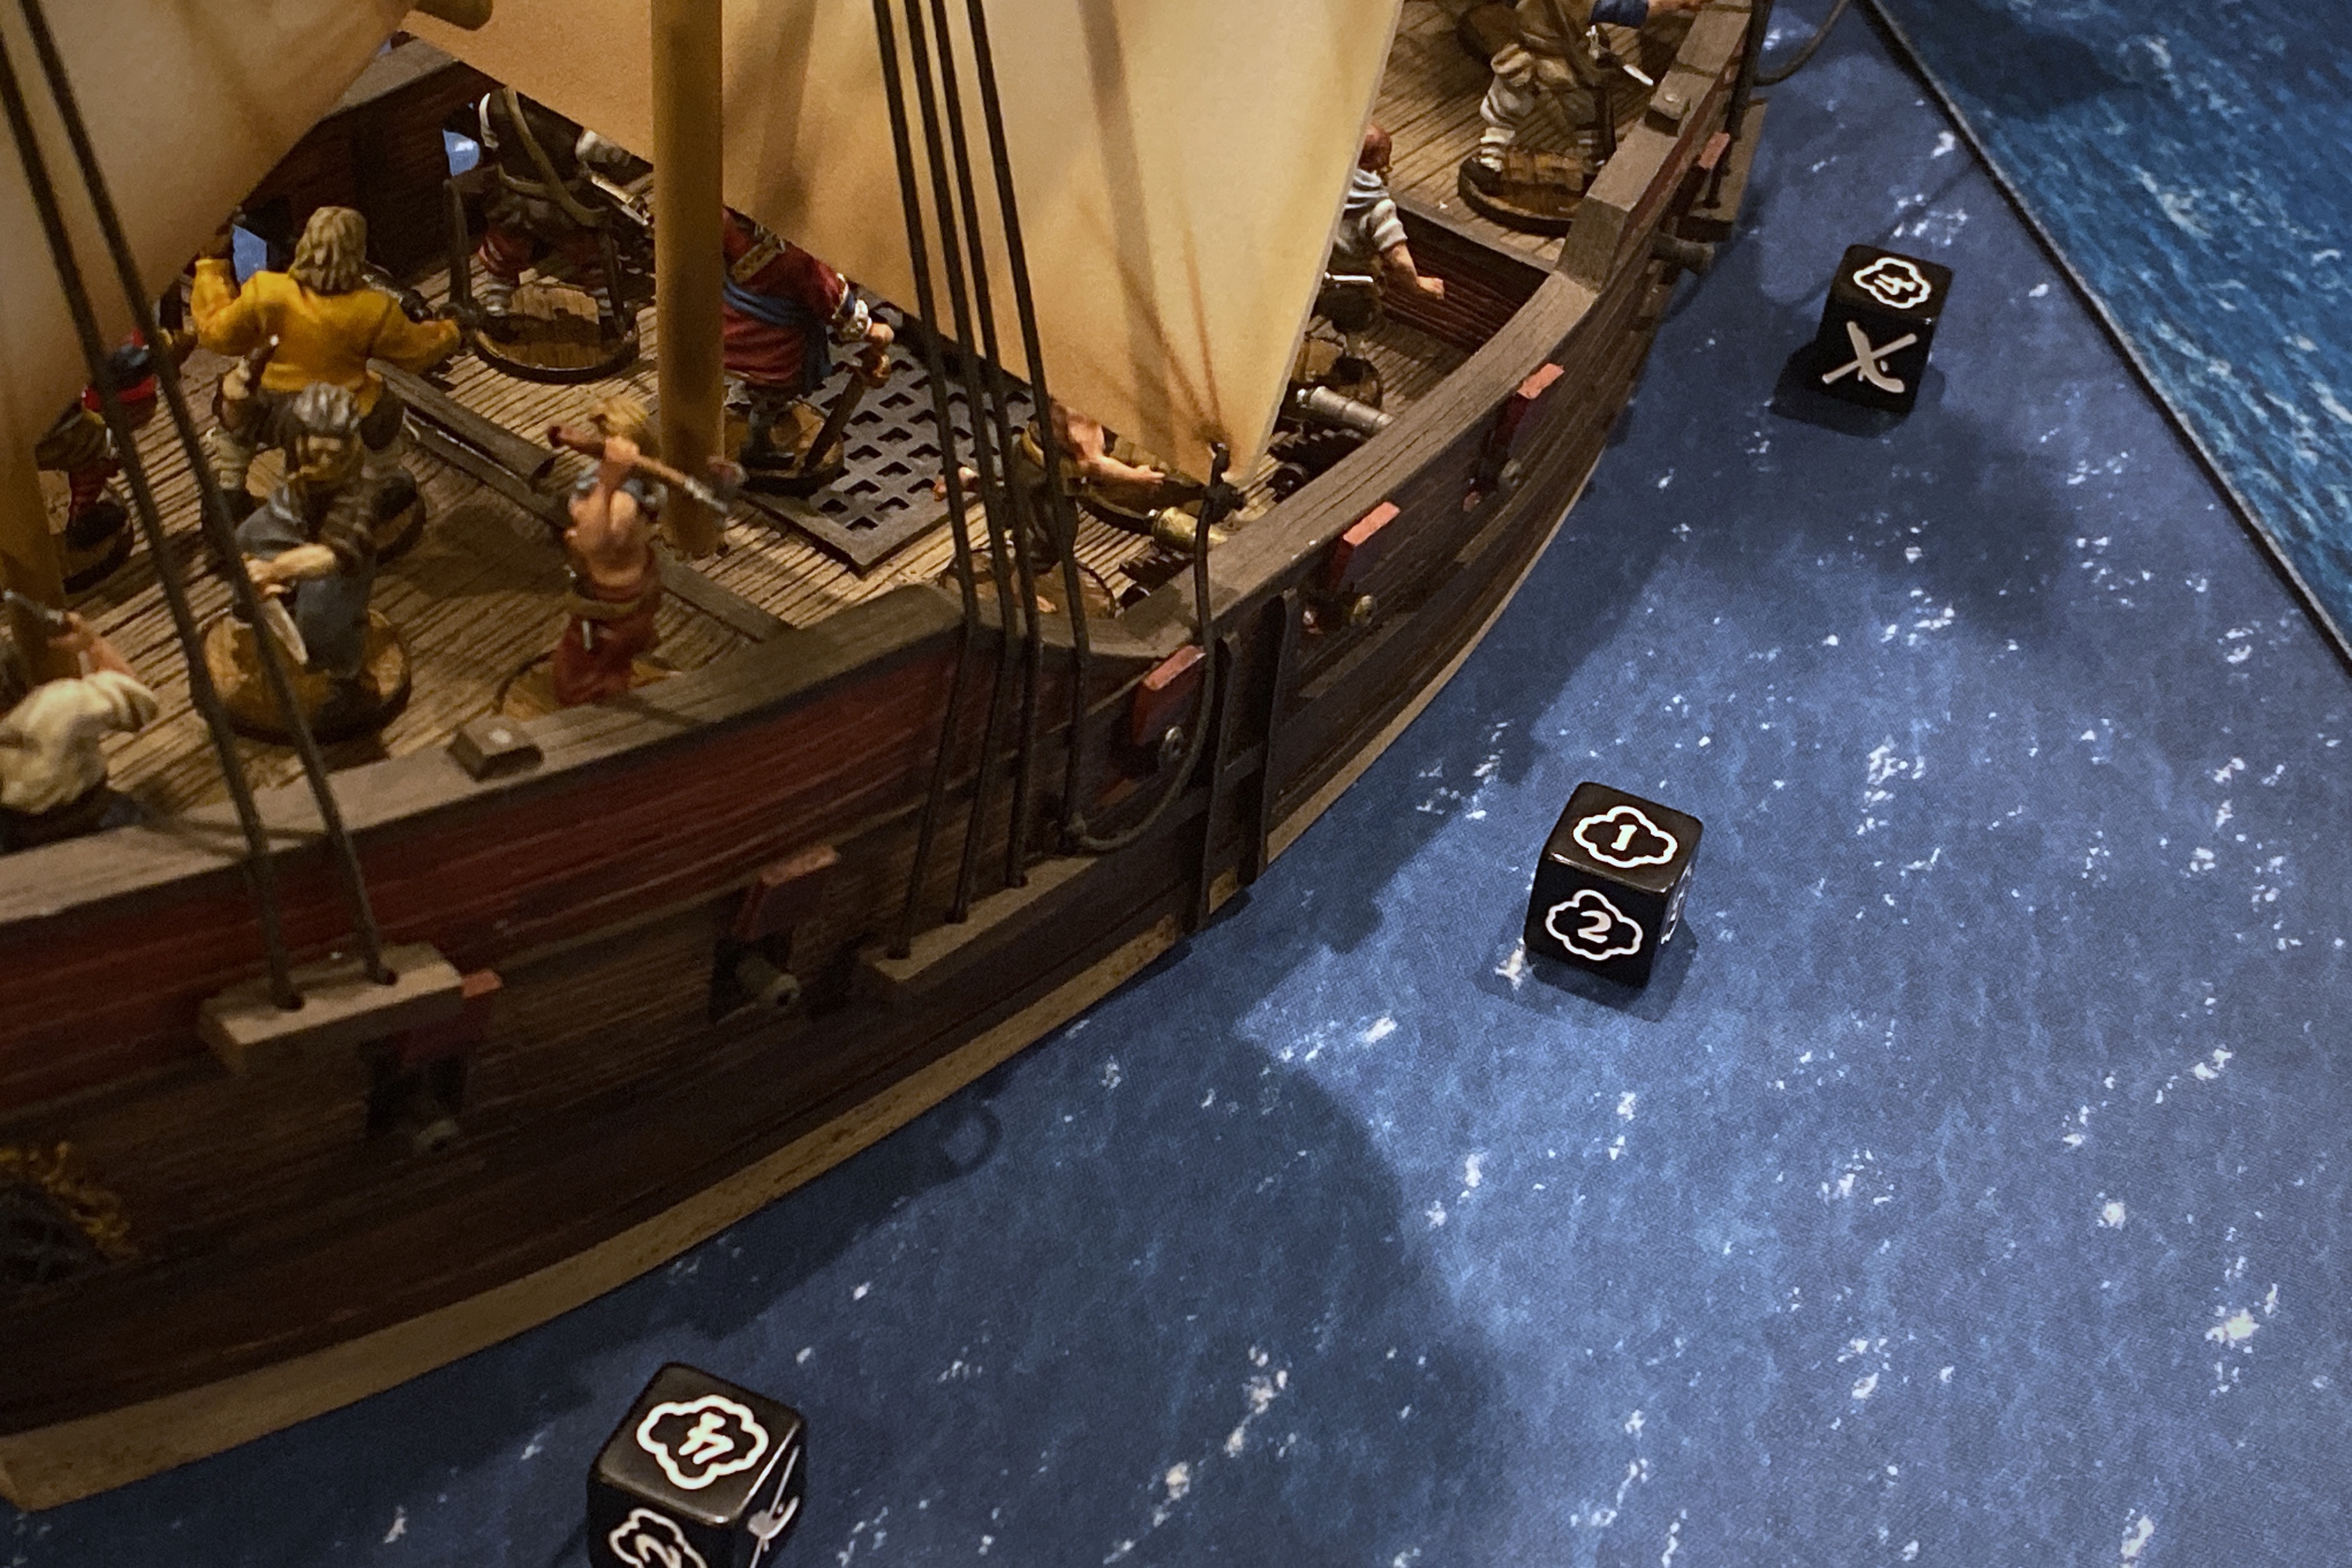
I placed the English vessels 2″ from the opposite side of the 4×4 play space. While the distance doesn’t look that large, a full 24″ brings the number you need to get hits on either the fort or ship up to 10’s so I knew I would have to close the distance with the ship to do any good.
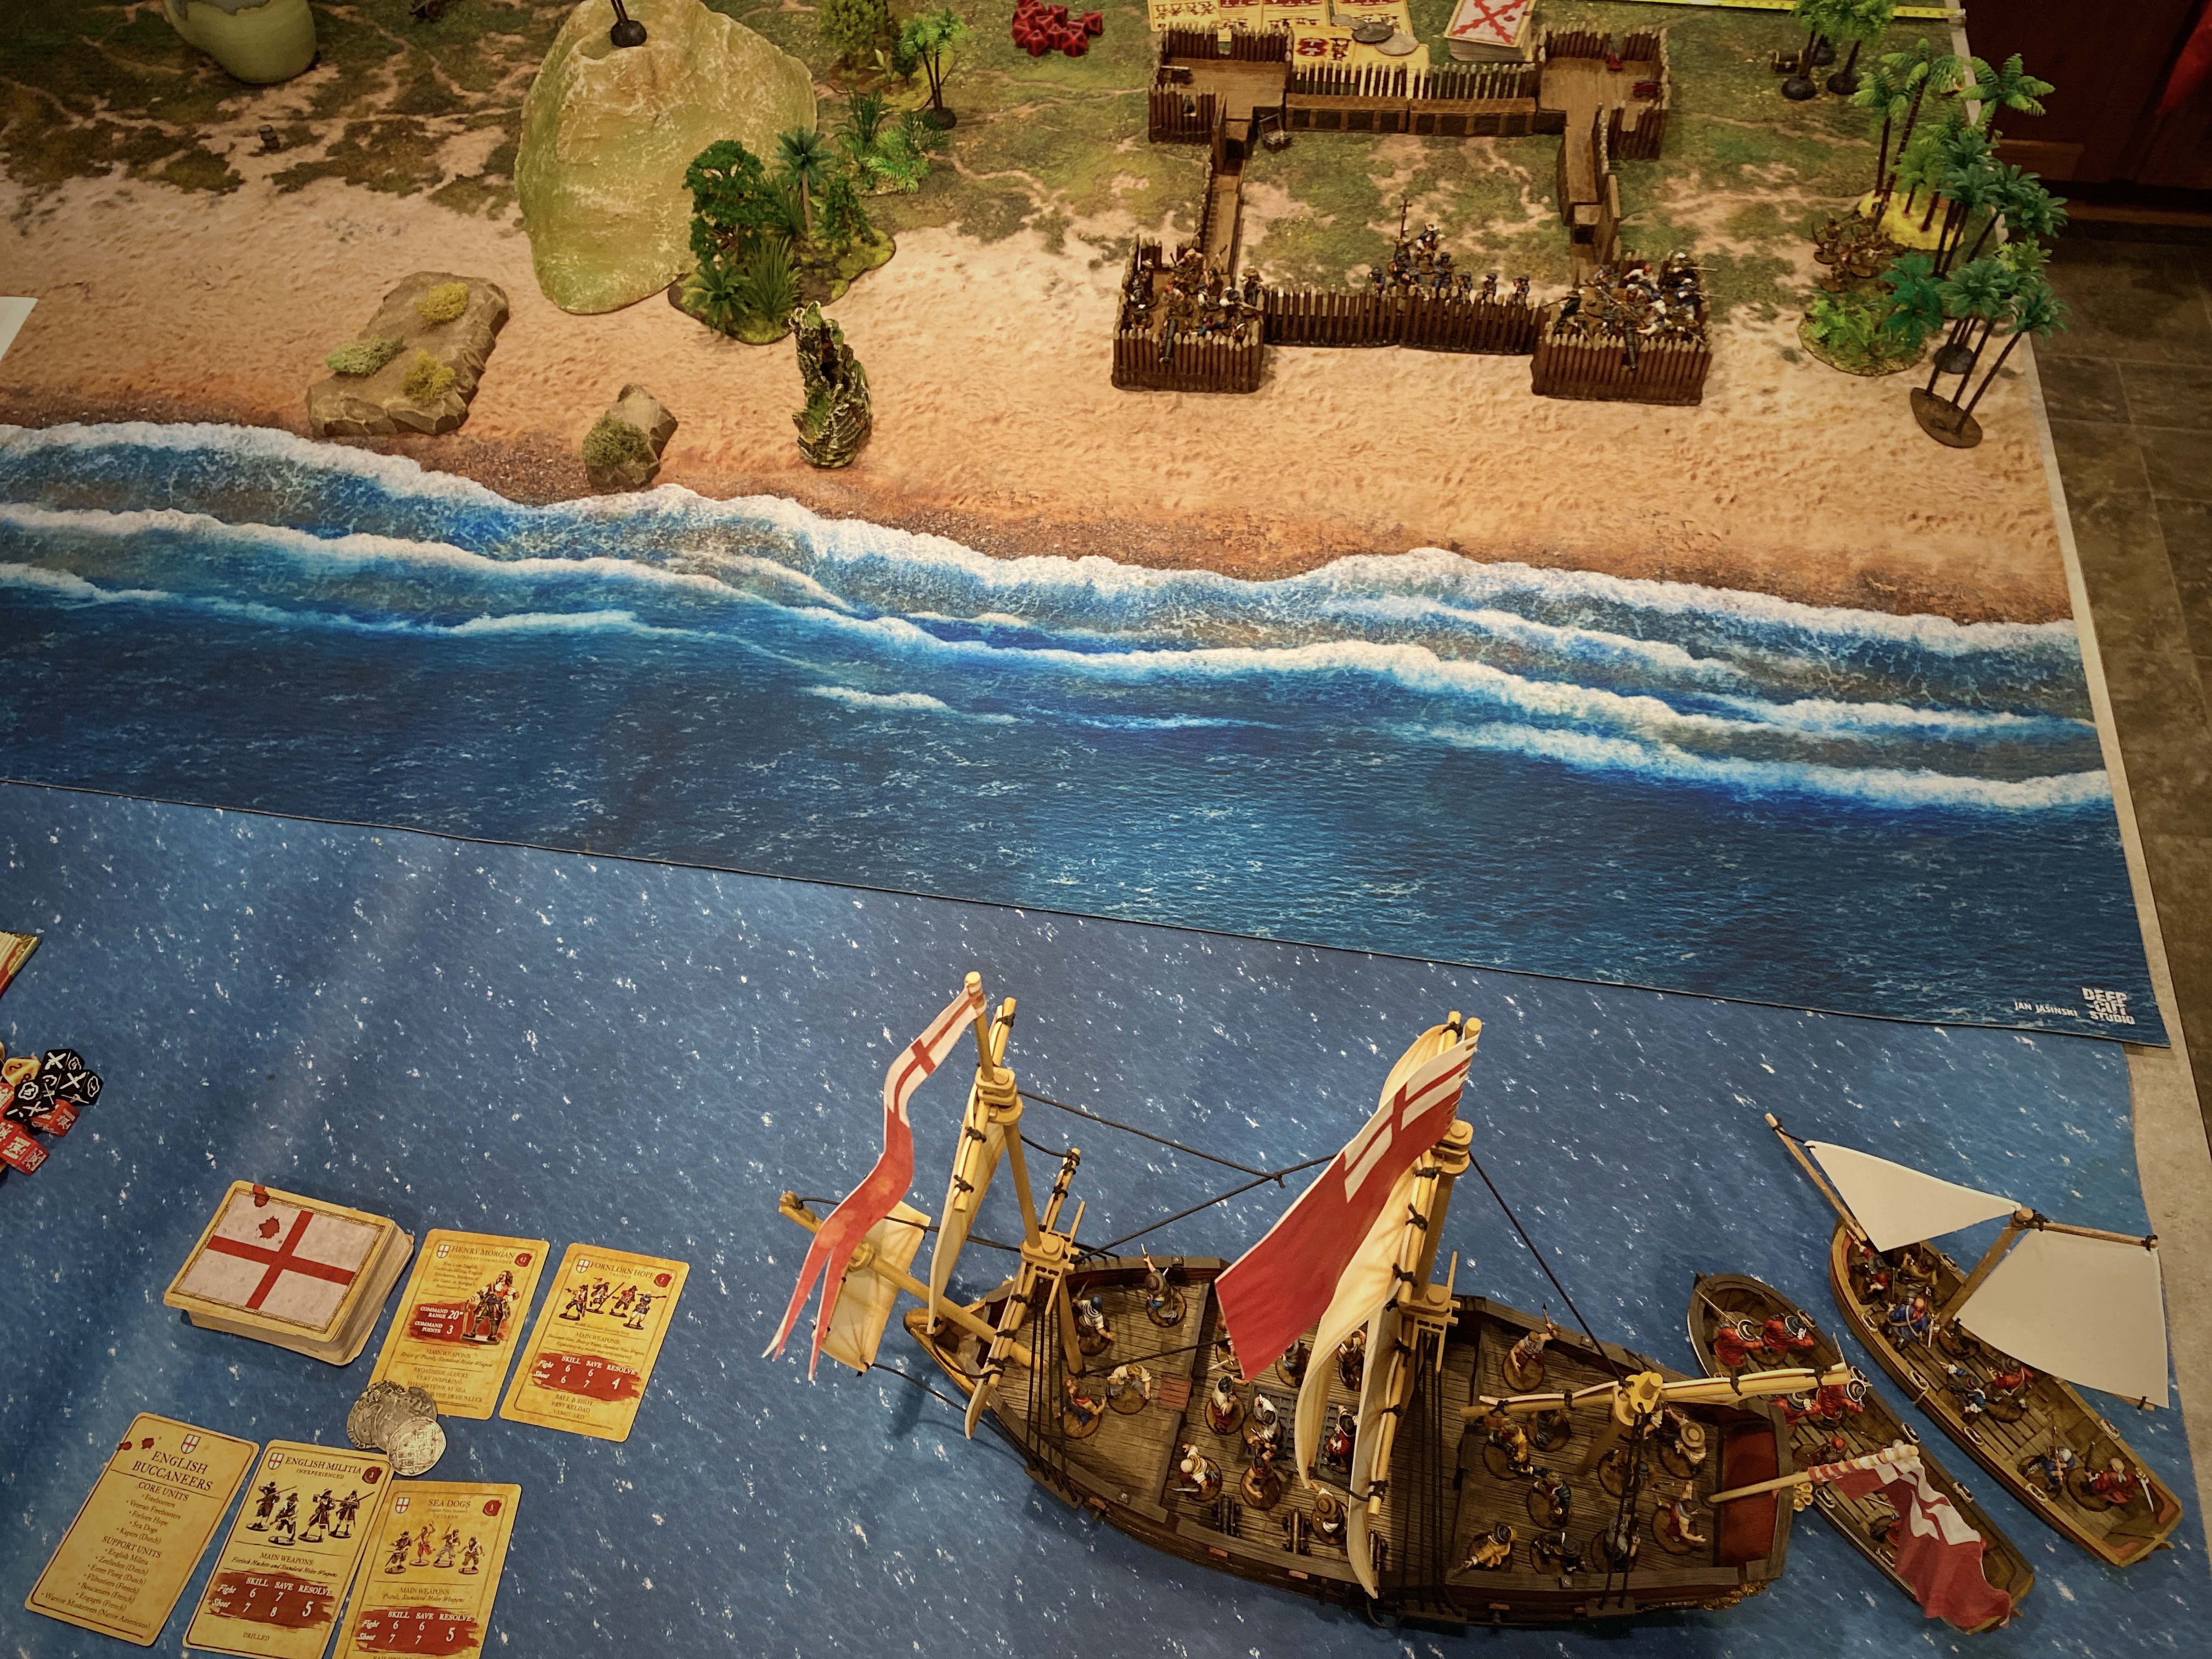
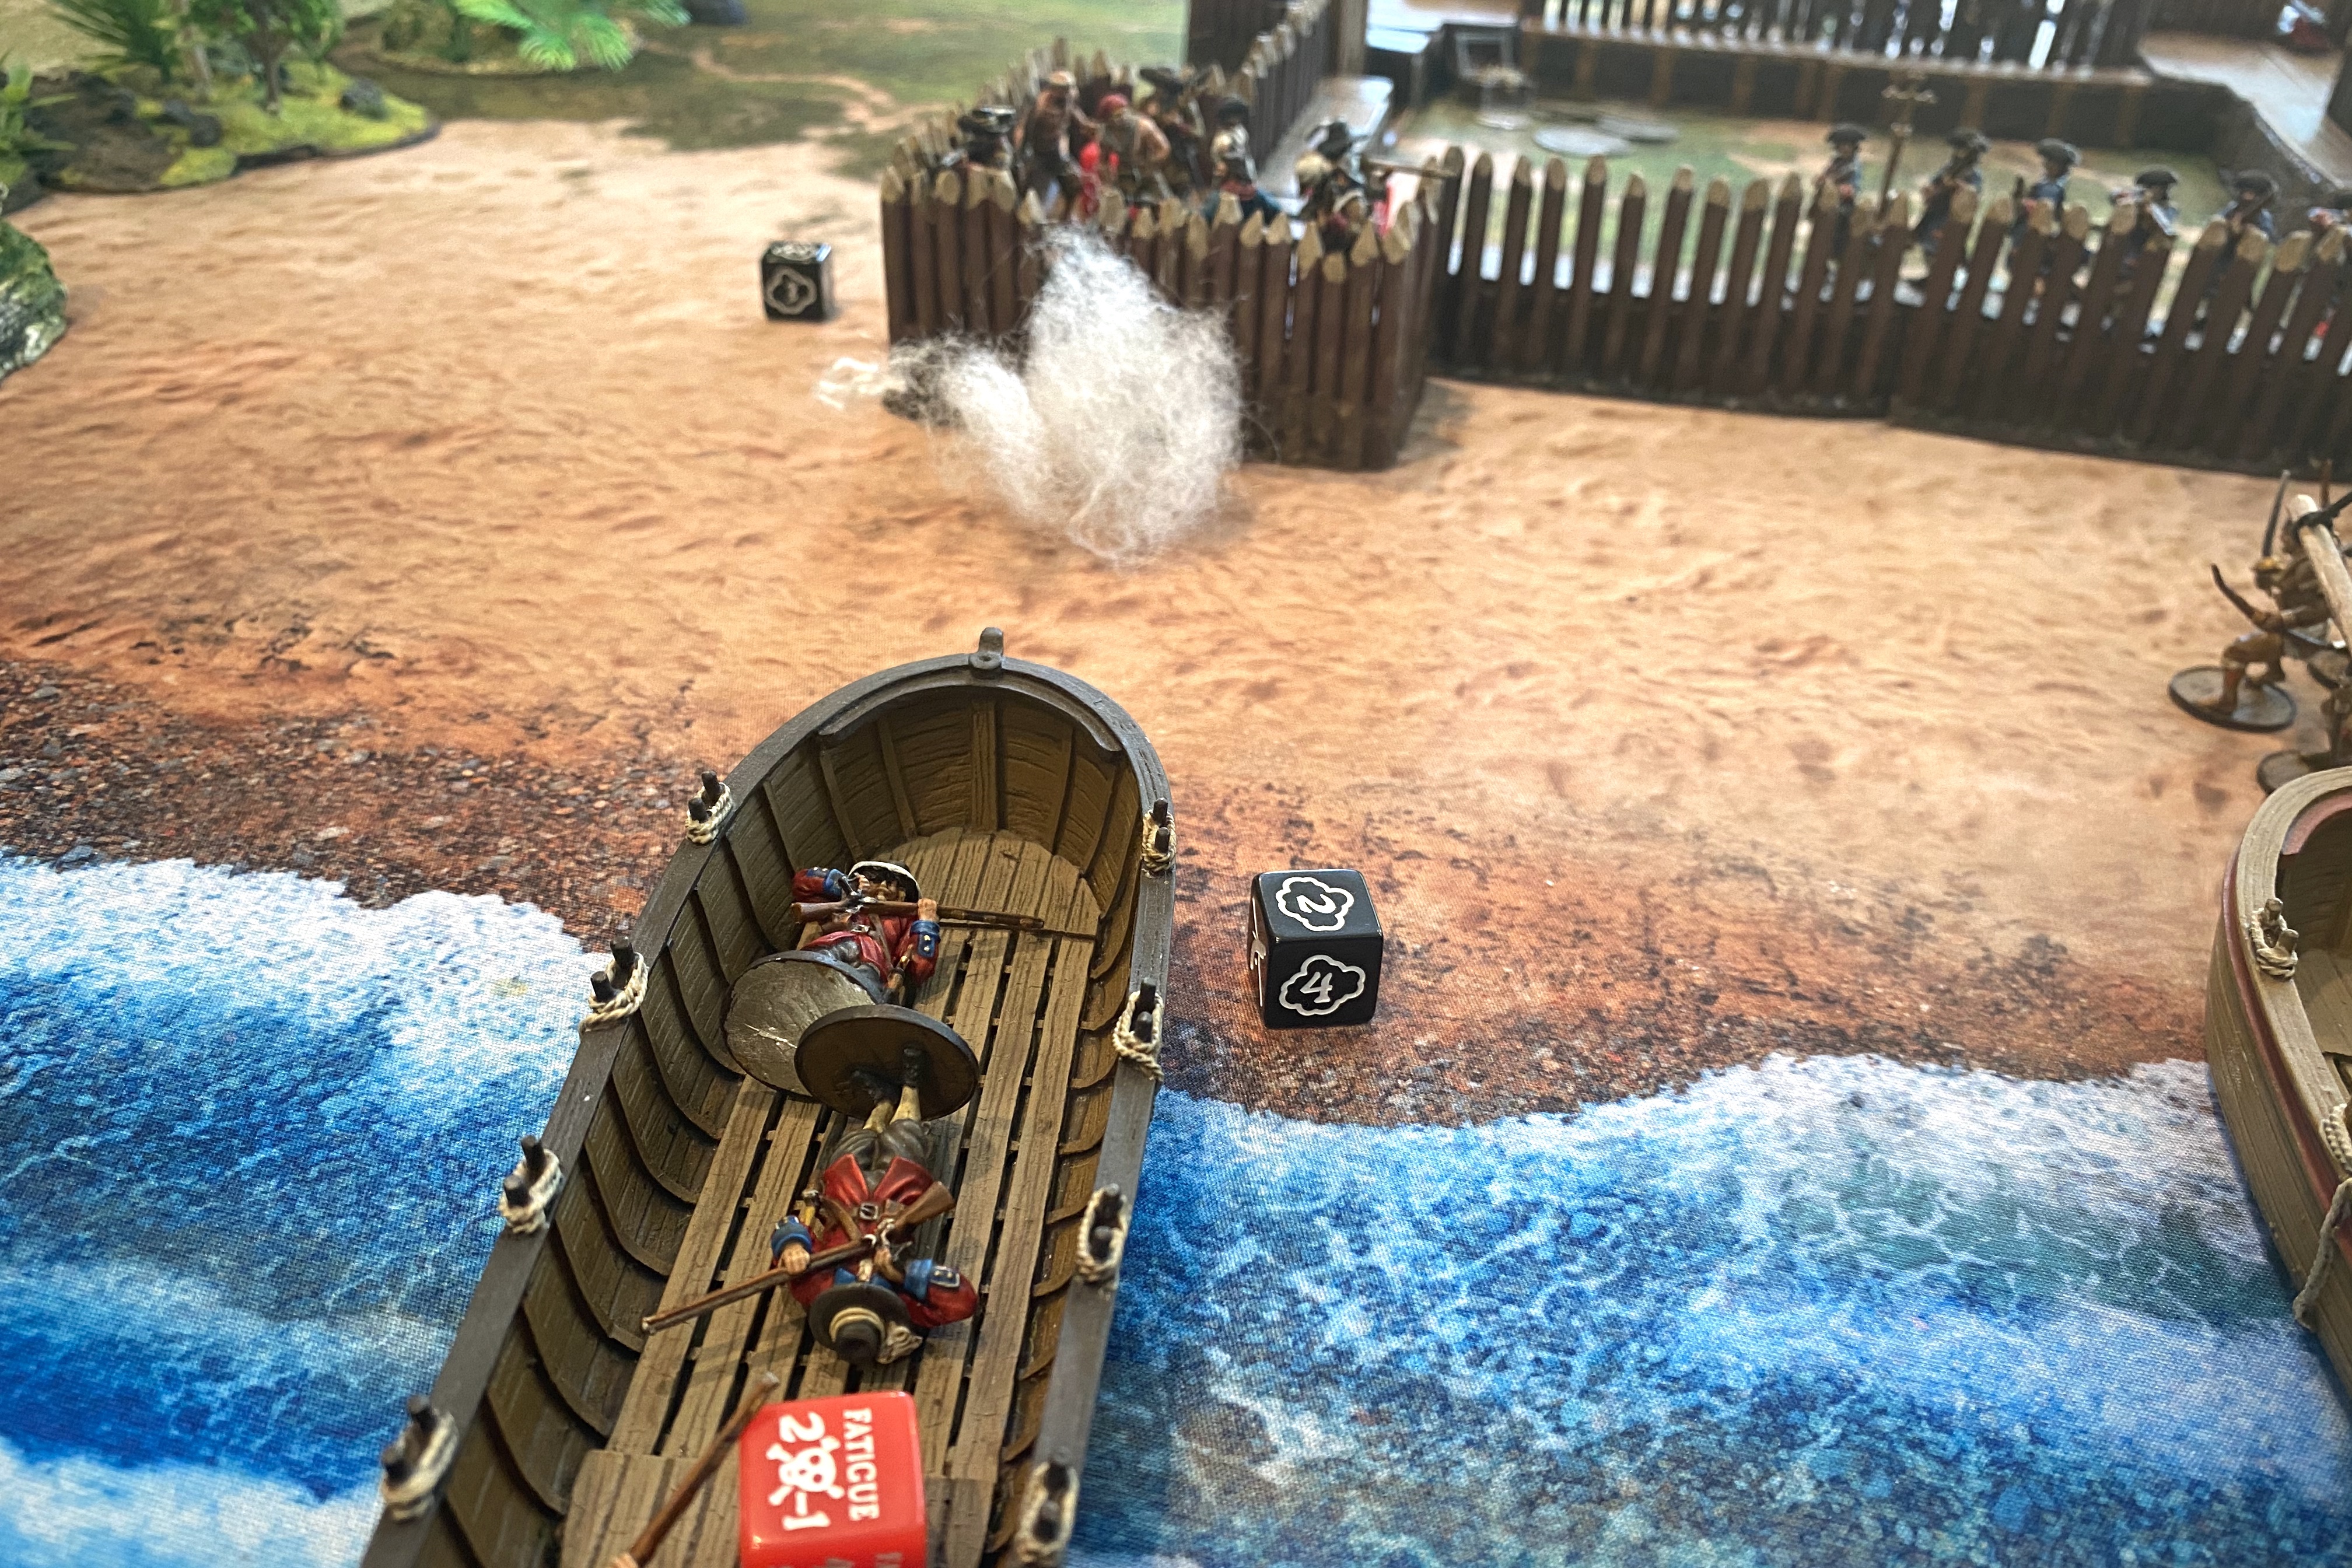
I put the two longboats right behind the Frigate, aimed towards the land. I’ve been too slow getting to land before so I wanted to be all prepped to hit the beaches!
The game started with some long range cannon shots. The Spanish leftmost heavy cannon bit a dent in the Frigate.
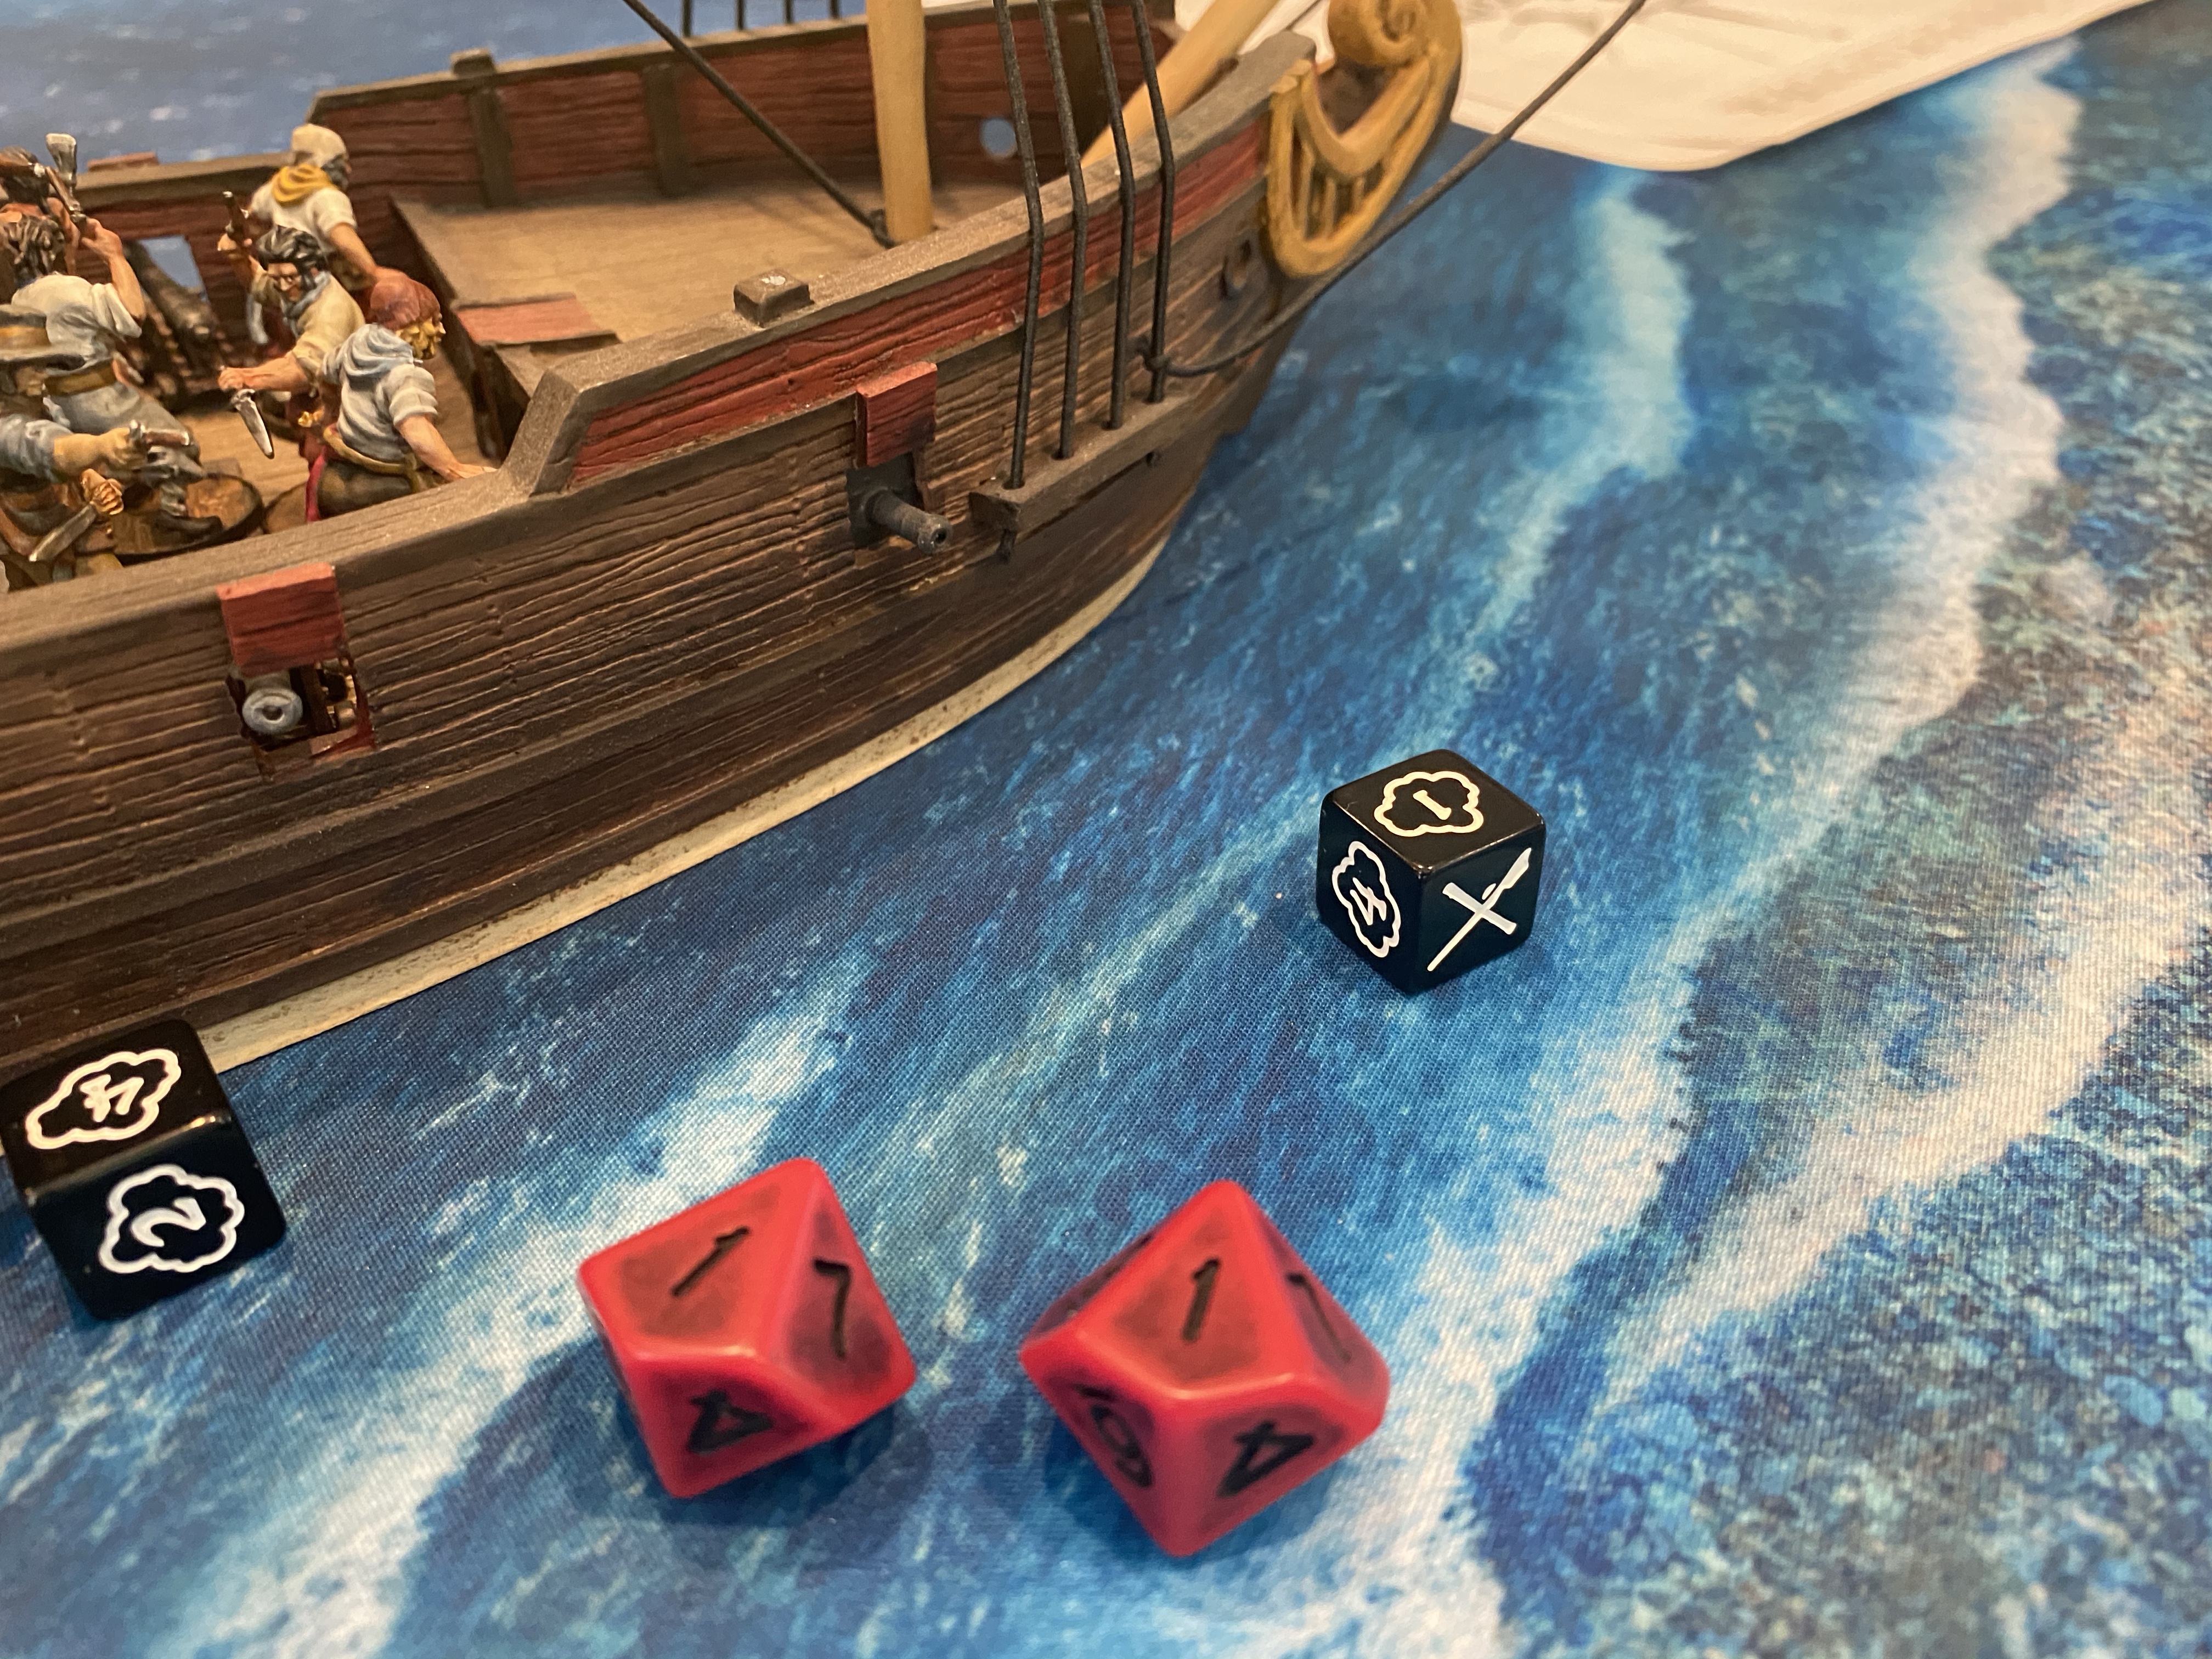
Morgan fired off an entire broadside of 6 guns, but even 3 of them hitting, it didn’t do any damage at all!
The English angled in for closer ships while the longboats headed for land while firing their muskets.

The rightmost heavy cannon in the fort failed to make contact, even with the Master Gunner. The Spiritual Leader strongly exhorted them to try again but they proceeded to roll a second 1 for the ranging shot! Obviously not a very devout gun crew…

Real Spanish treasure for my Fortune Points
The first round ended with a couple English casualties but no real damage to speak of within the fort. The extra rally action for the commander helped keep all guns working at peace efficiency.
Turn 2 let the cannons fire again. This time the Spanish lucky lefty cannon hit the longboat with the Forlorn Hope in it and took out two models. I hate to see those 7 point models go!
The English frigate managed to get much closer and lower sail to 1″ by the end of the second turn (with the help of a Lucky Hit from the Spanish cannons). The longboats were ready to hit the sand at the beginning of turn 3. I think there were 5 English and only 1 Spanish casualty by the end of the second round. So far my Light Cannons were not doing nearly what I needed them to do to that fort. Meanwhile the Heavy Cannons inside the fort were really doing damage nearly every time they shot.

I was playing late at night at this point and I paused the game here and continued it the next day.
The English drew the Battle Forged event on turn 3 which gave the Forlorn Hope Veteran status for the turn very fortuitous!
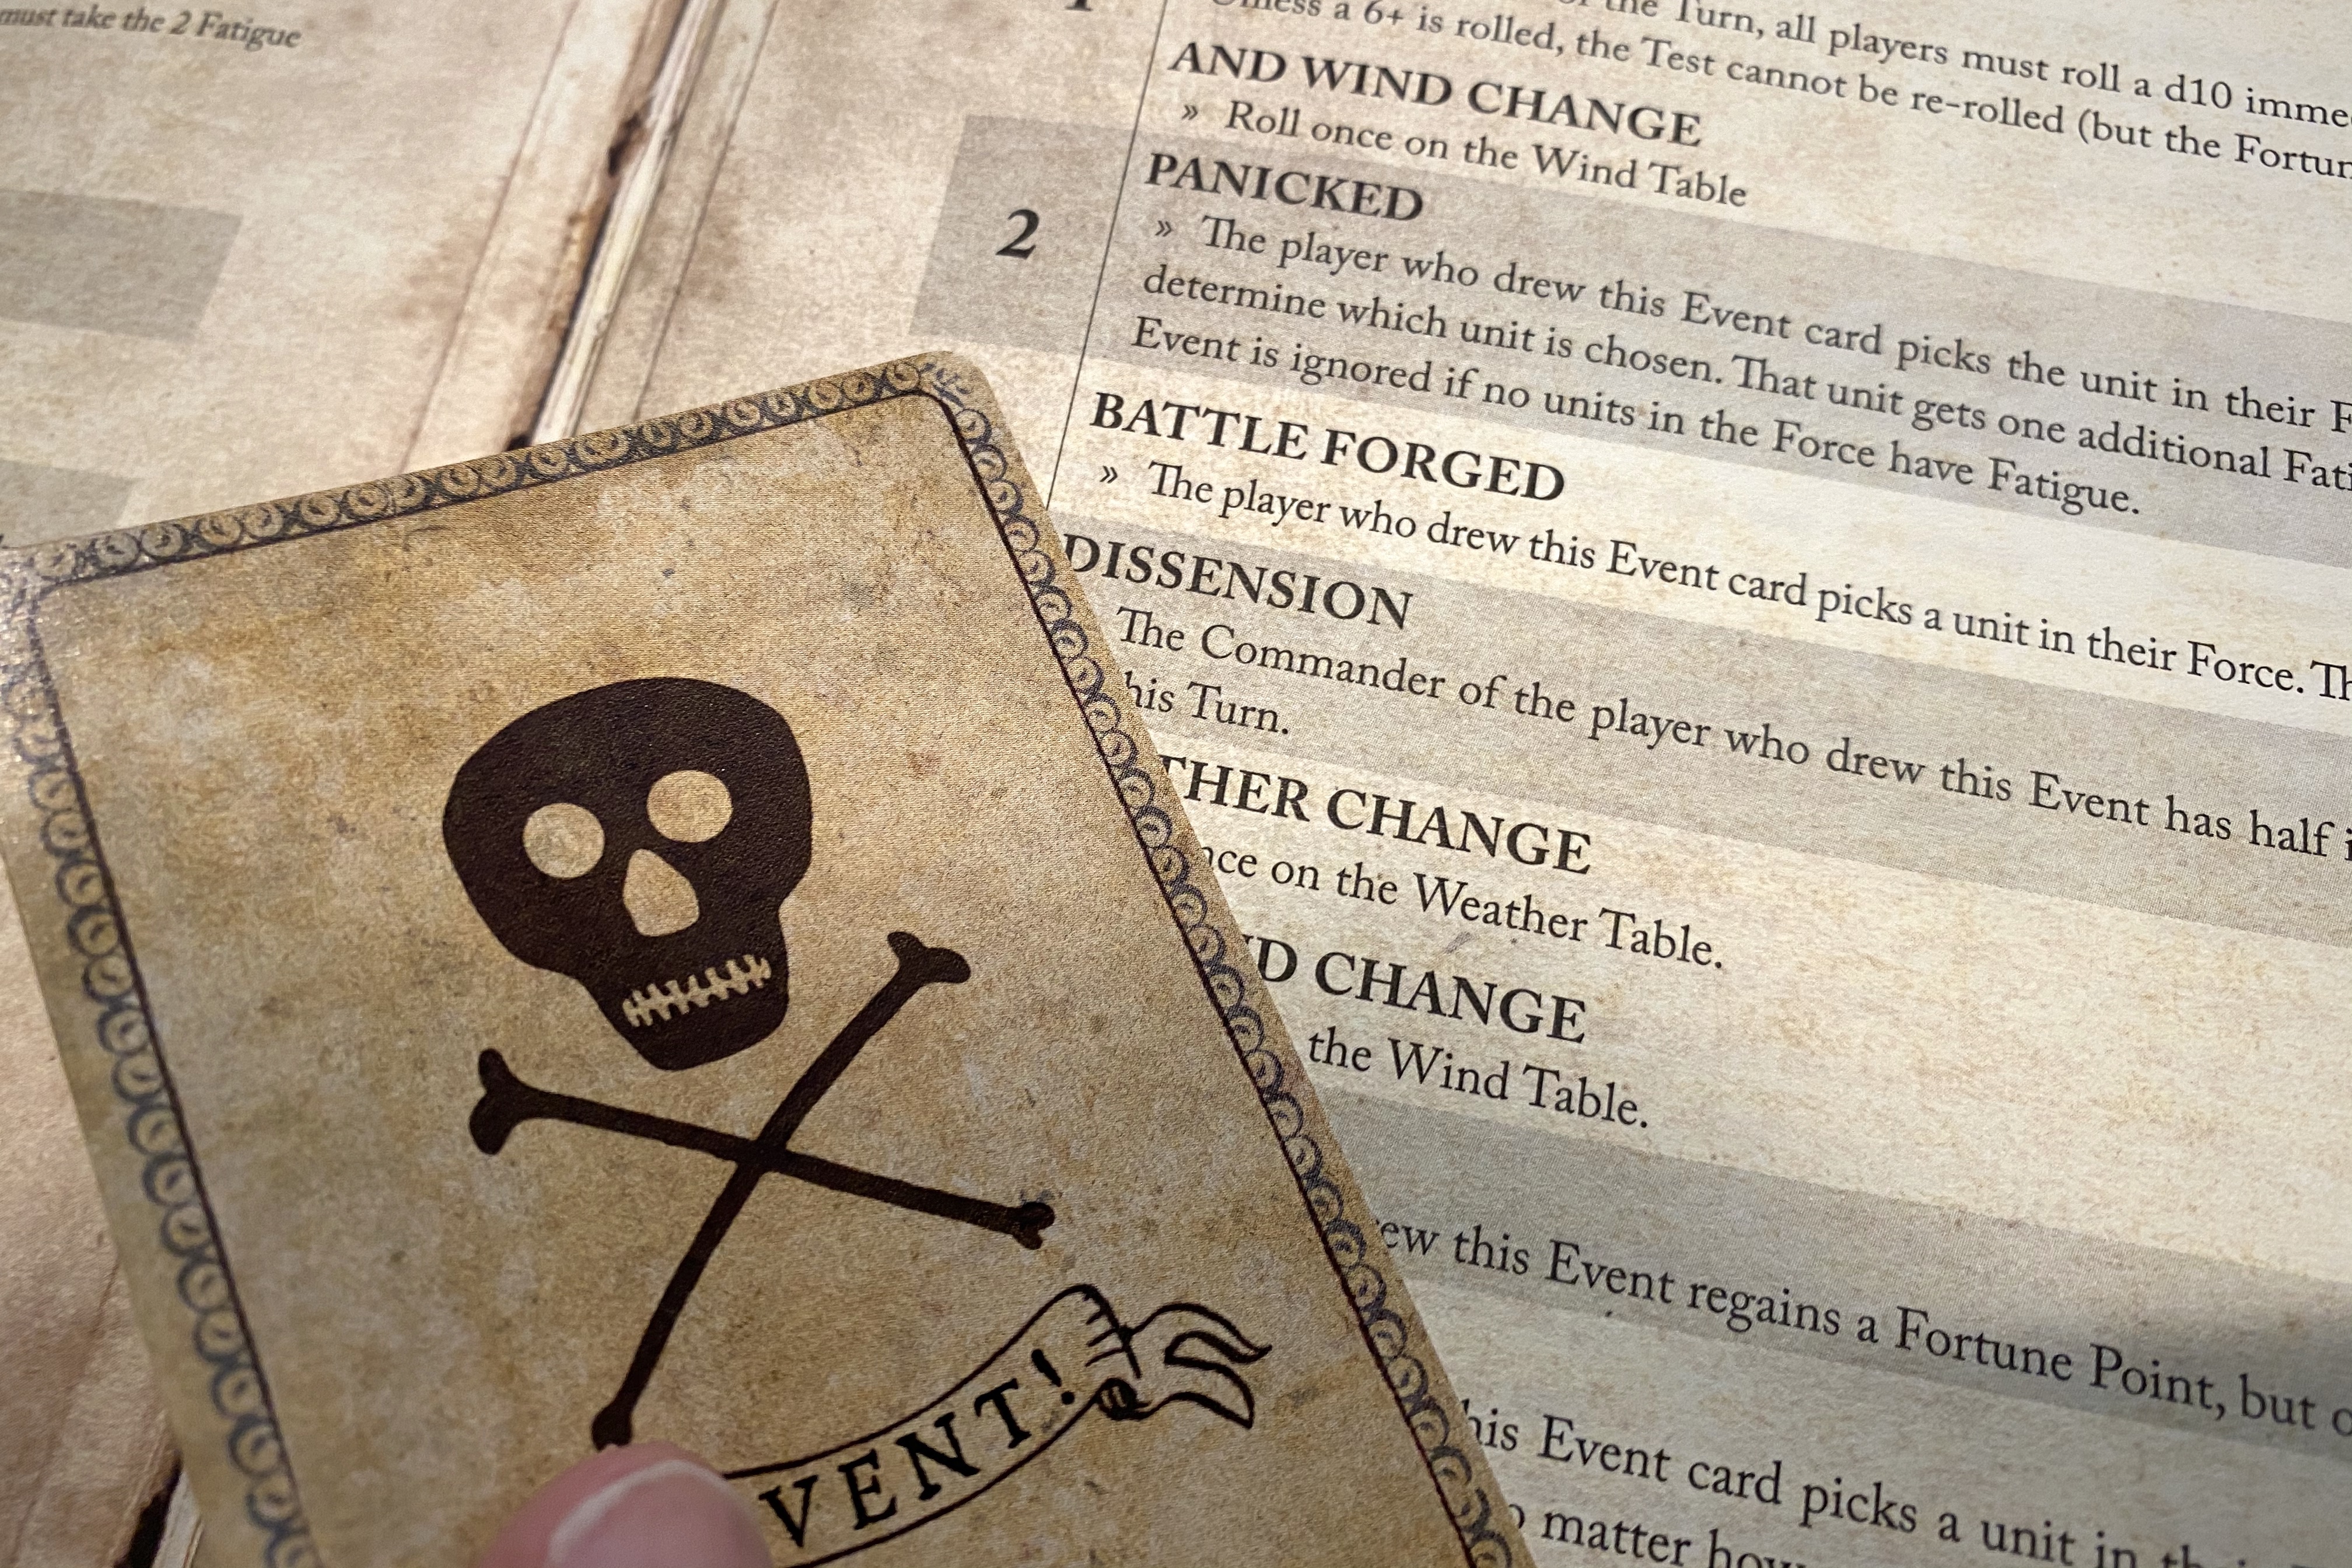
This was the big turn for the landing party! I needed to be on the land mass by the end of turn 3! Unfortunately, they were basically storming a fresh fort as the Frigate had really failed to cause any havoc within the palisade. But orders are orders and they were there to fulfill their mission!
By the start of the third turn the English has already used 3/4 Fortune Points and the Spanish AI had used 2/4. Most fortune was used trying to increase the amount of damage caused by cannon fire.
The English fired their main deck of guns once more in an attempt to soften up the fort for the Forlorn Hope.
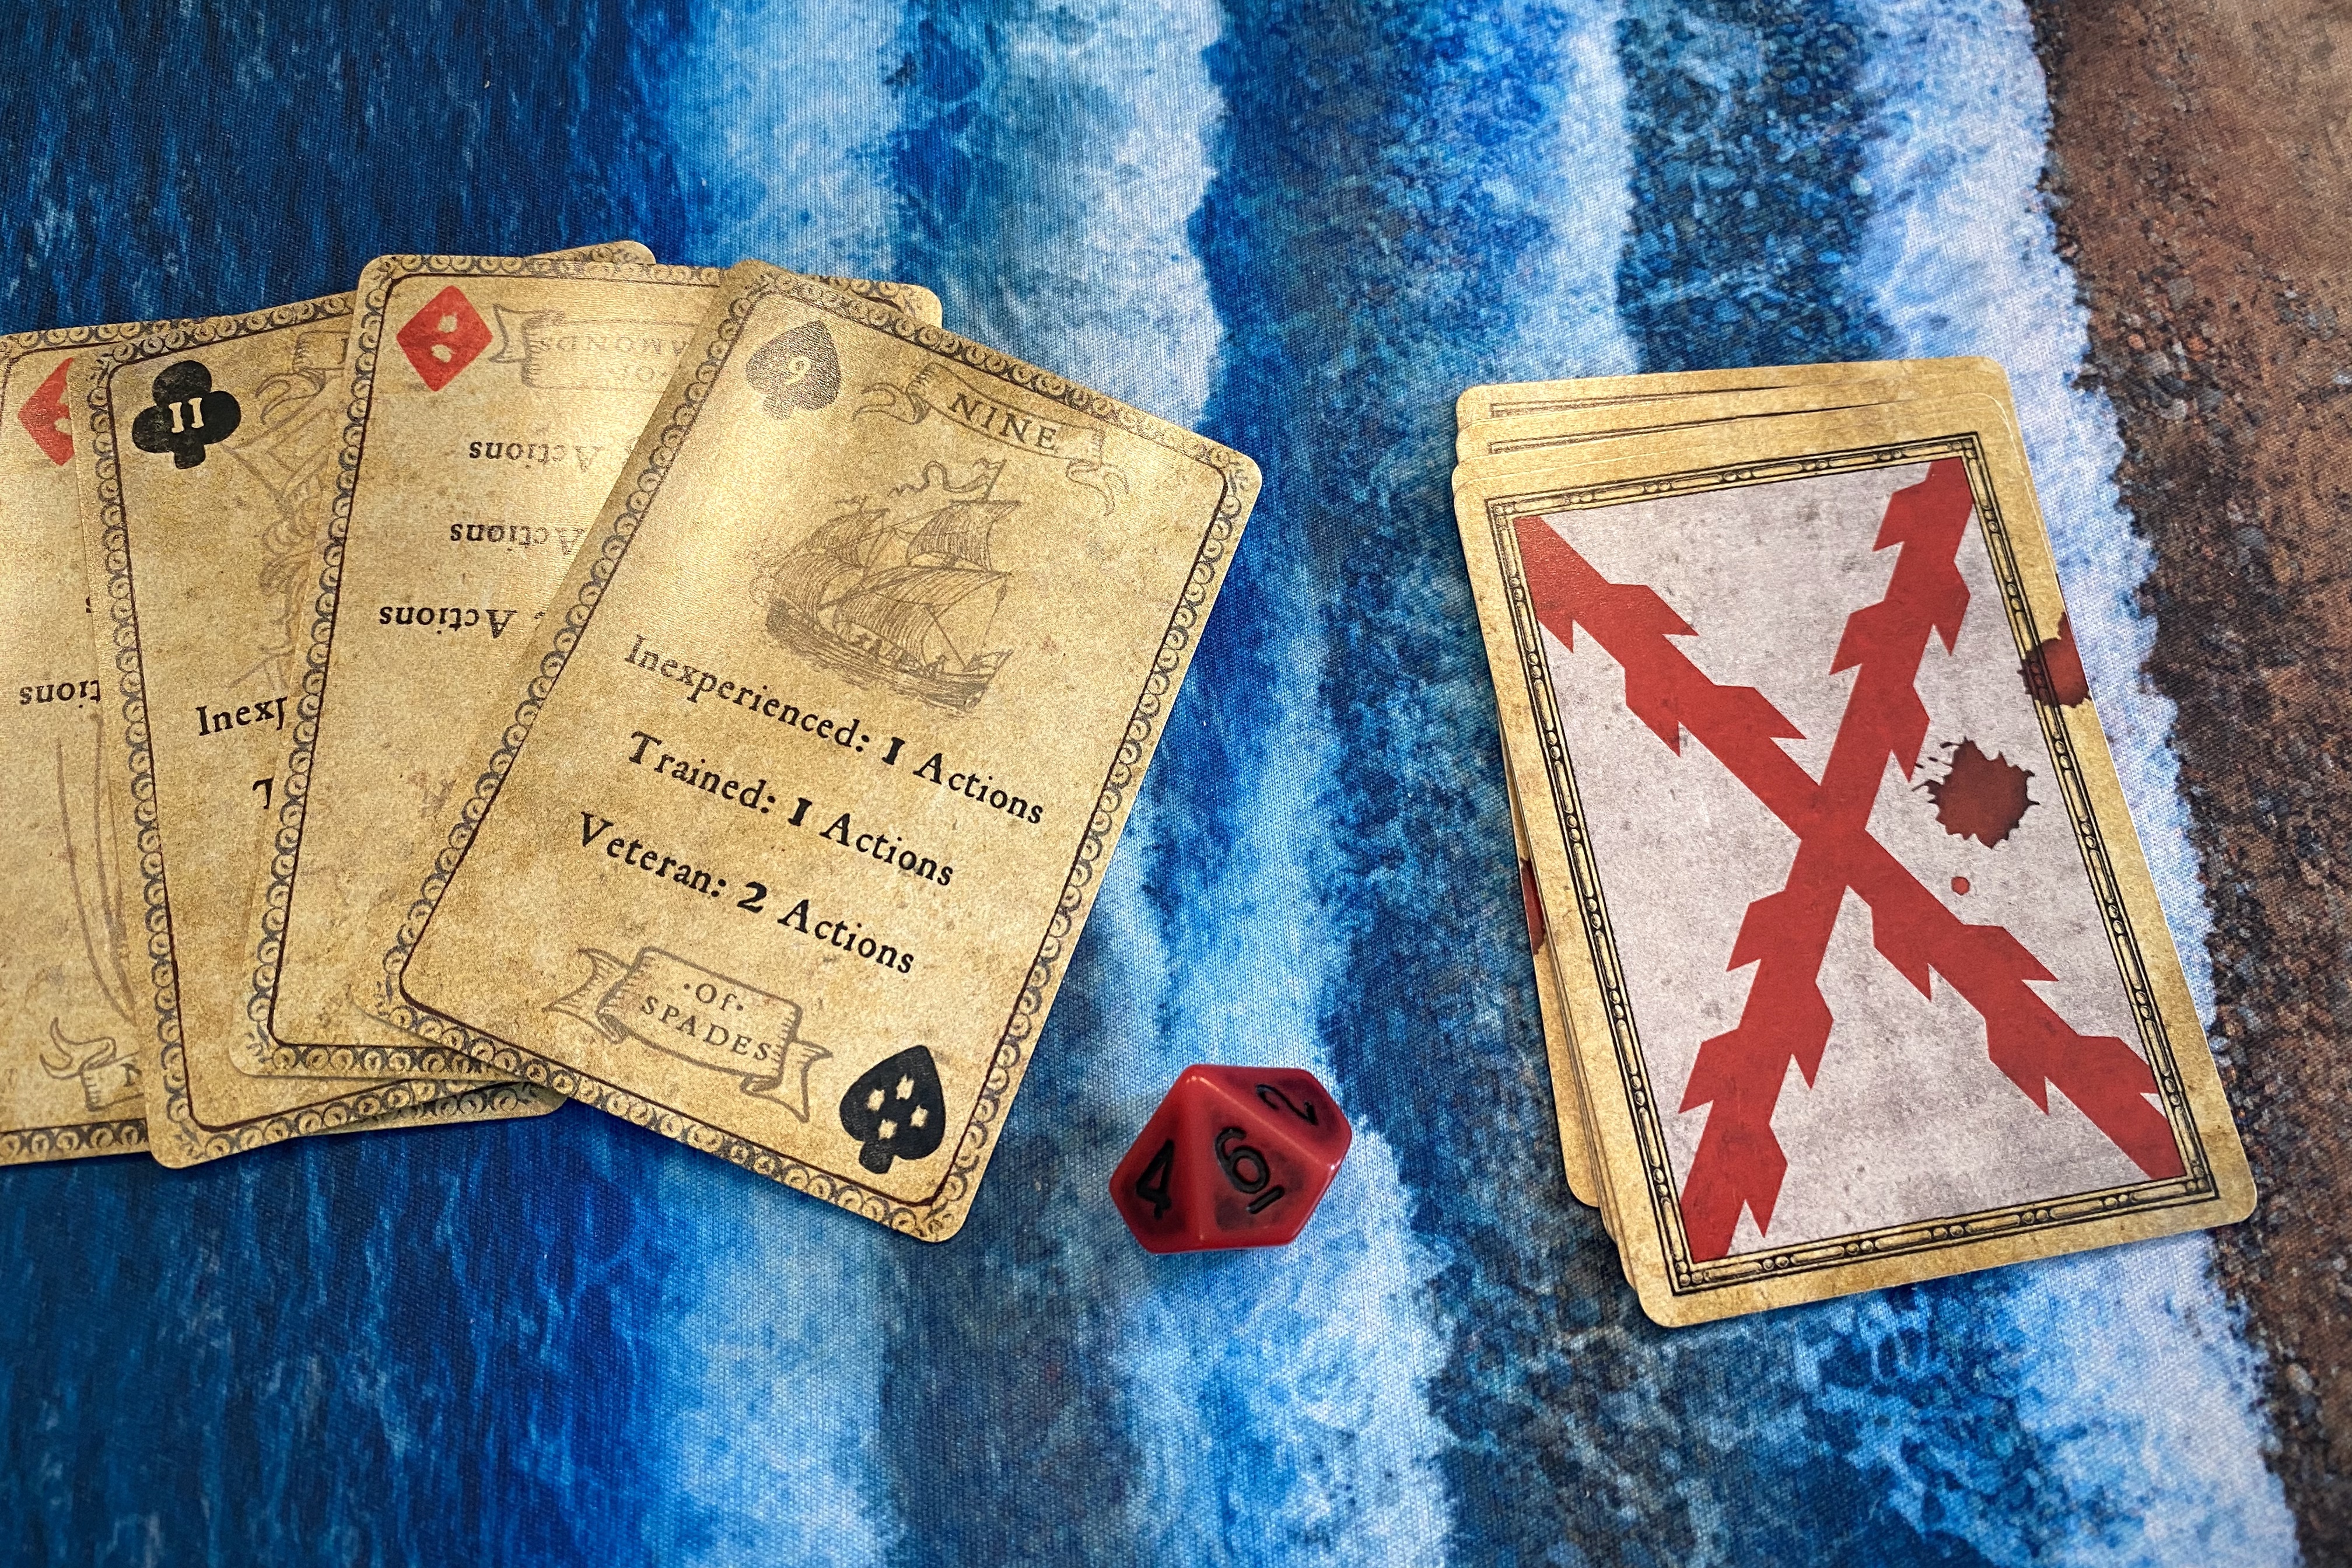
The Forlorn Hope were getting targeted so they had to make their move. They activated on a Diamond to get their 3 actions since the event had brought them up to Veteran for the turn.
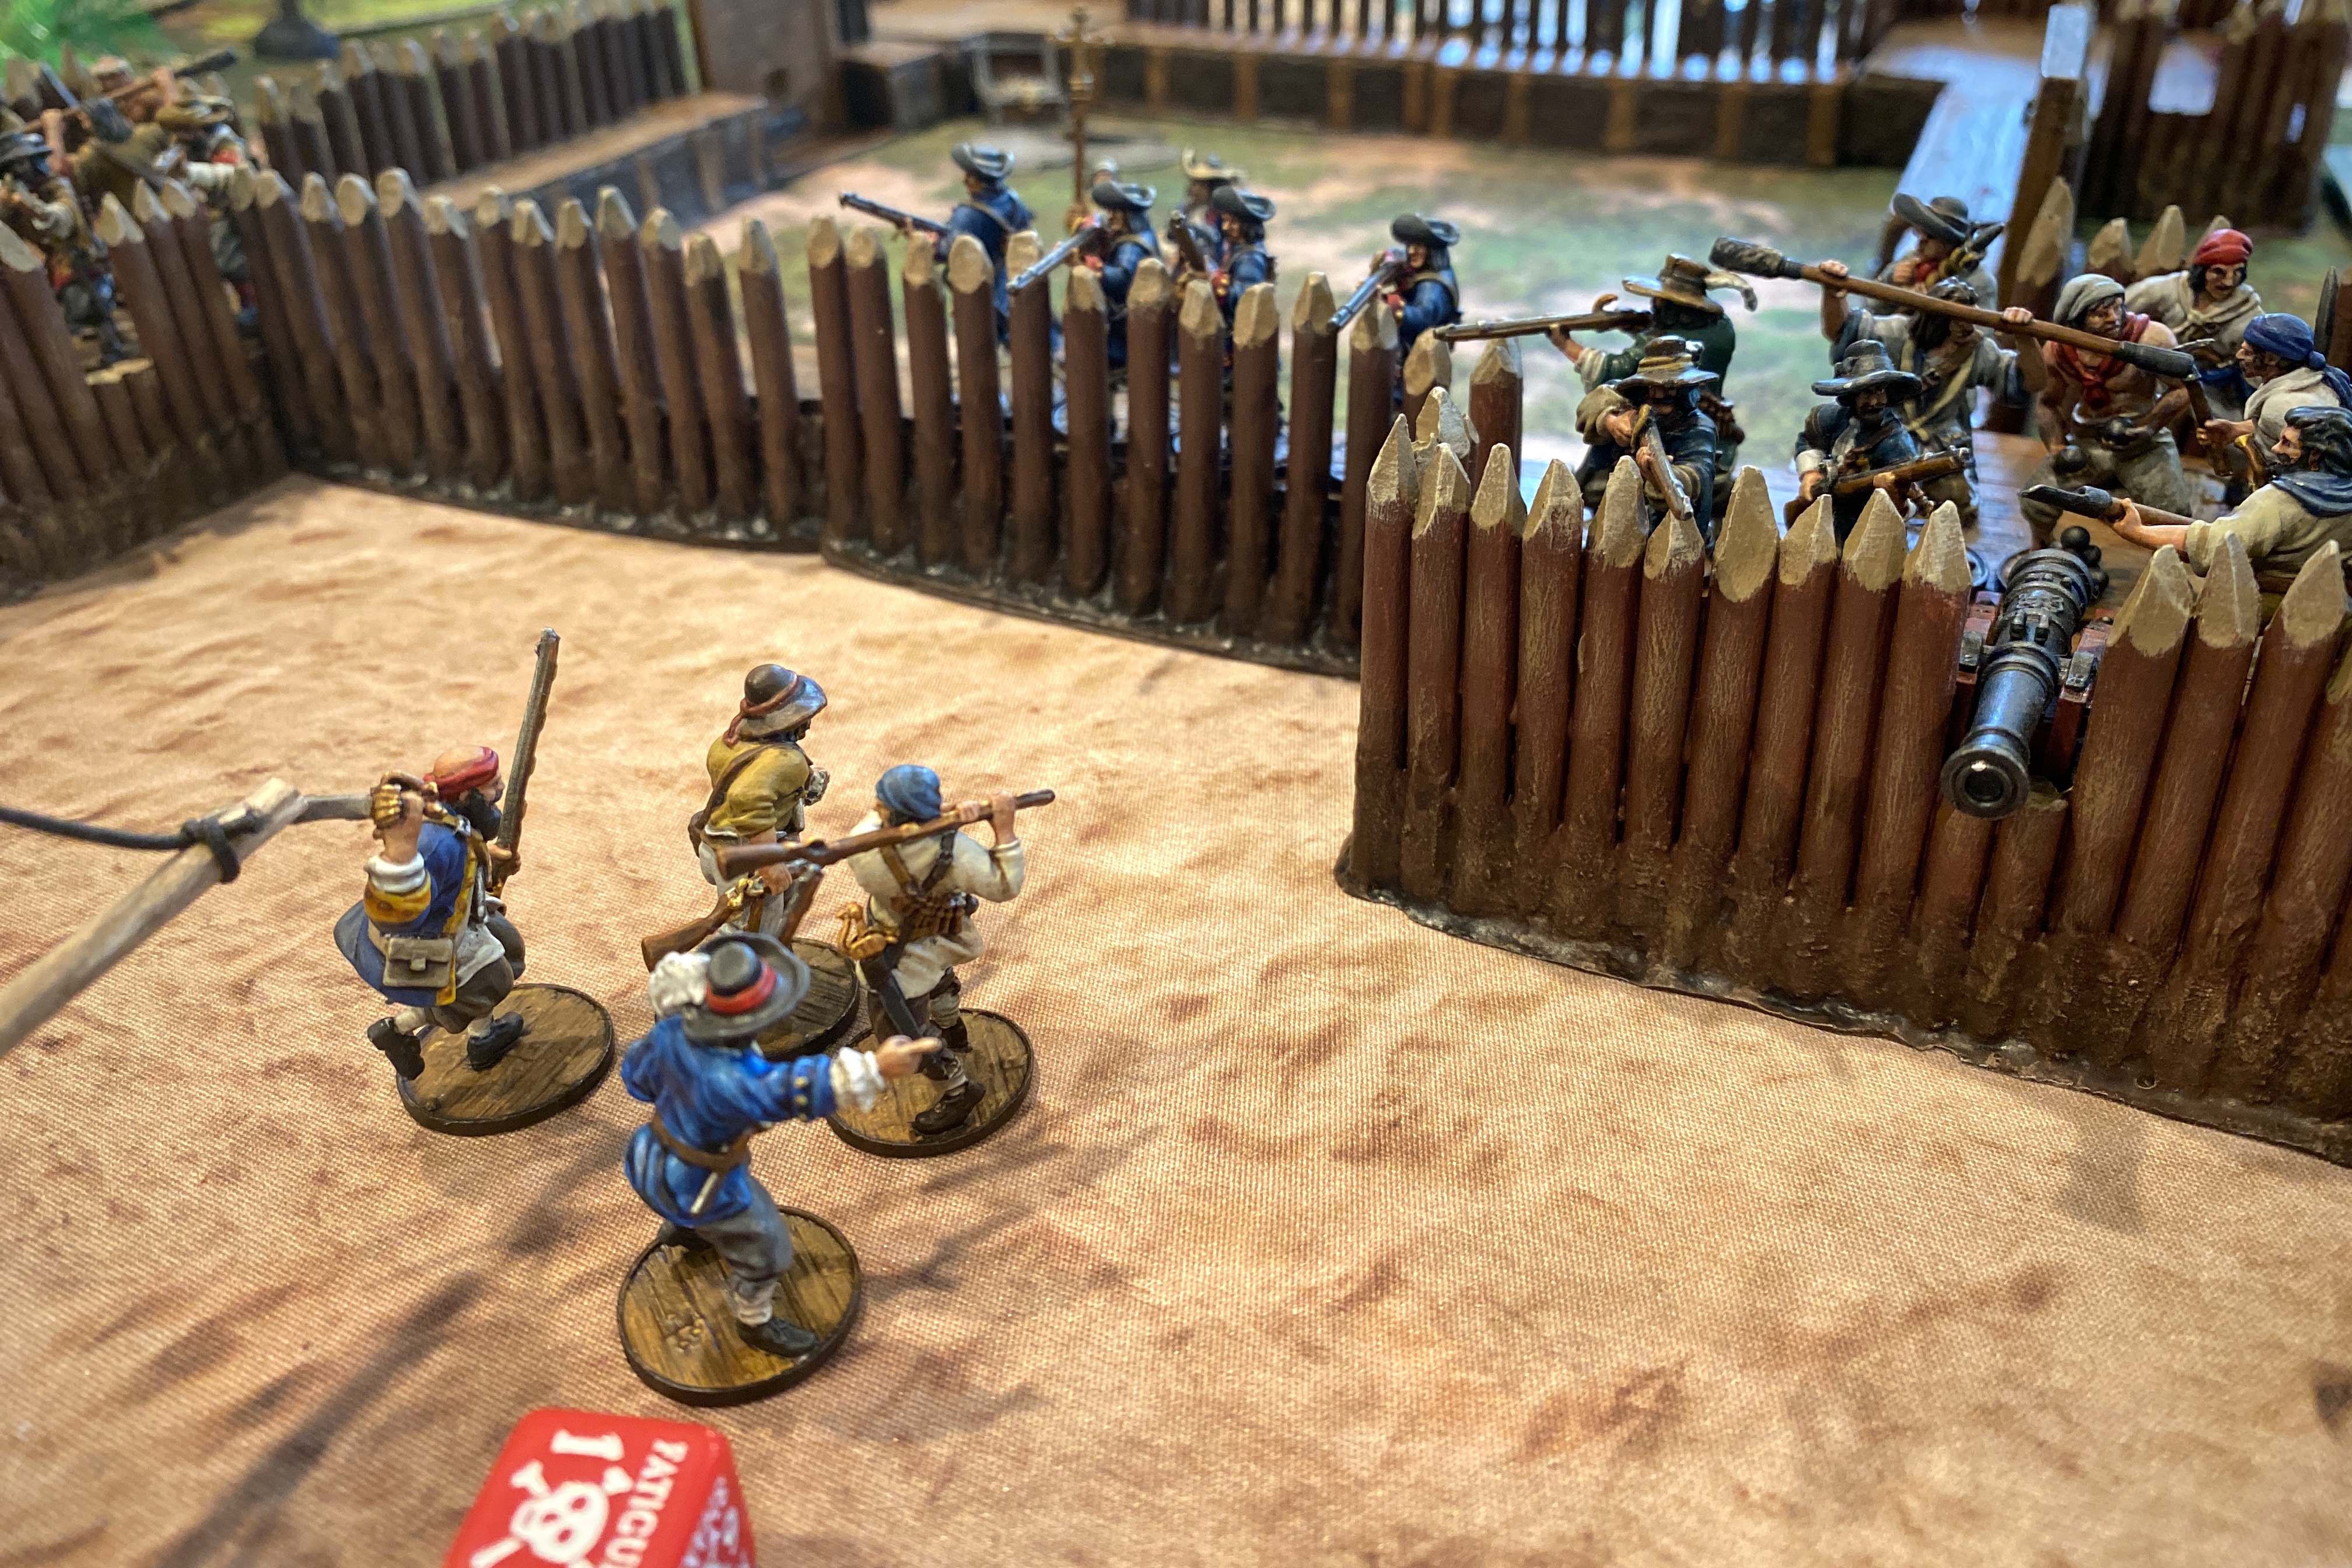
They did a move action, then threw grenados (the dangerous way) and shot their brace of pistols twice into the left bastion.

The first round rolled really well and took out 4 models with 6 hits.
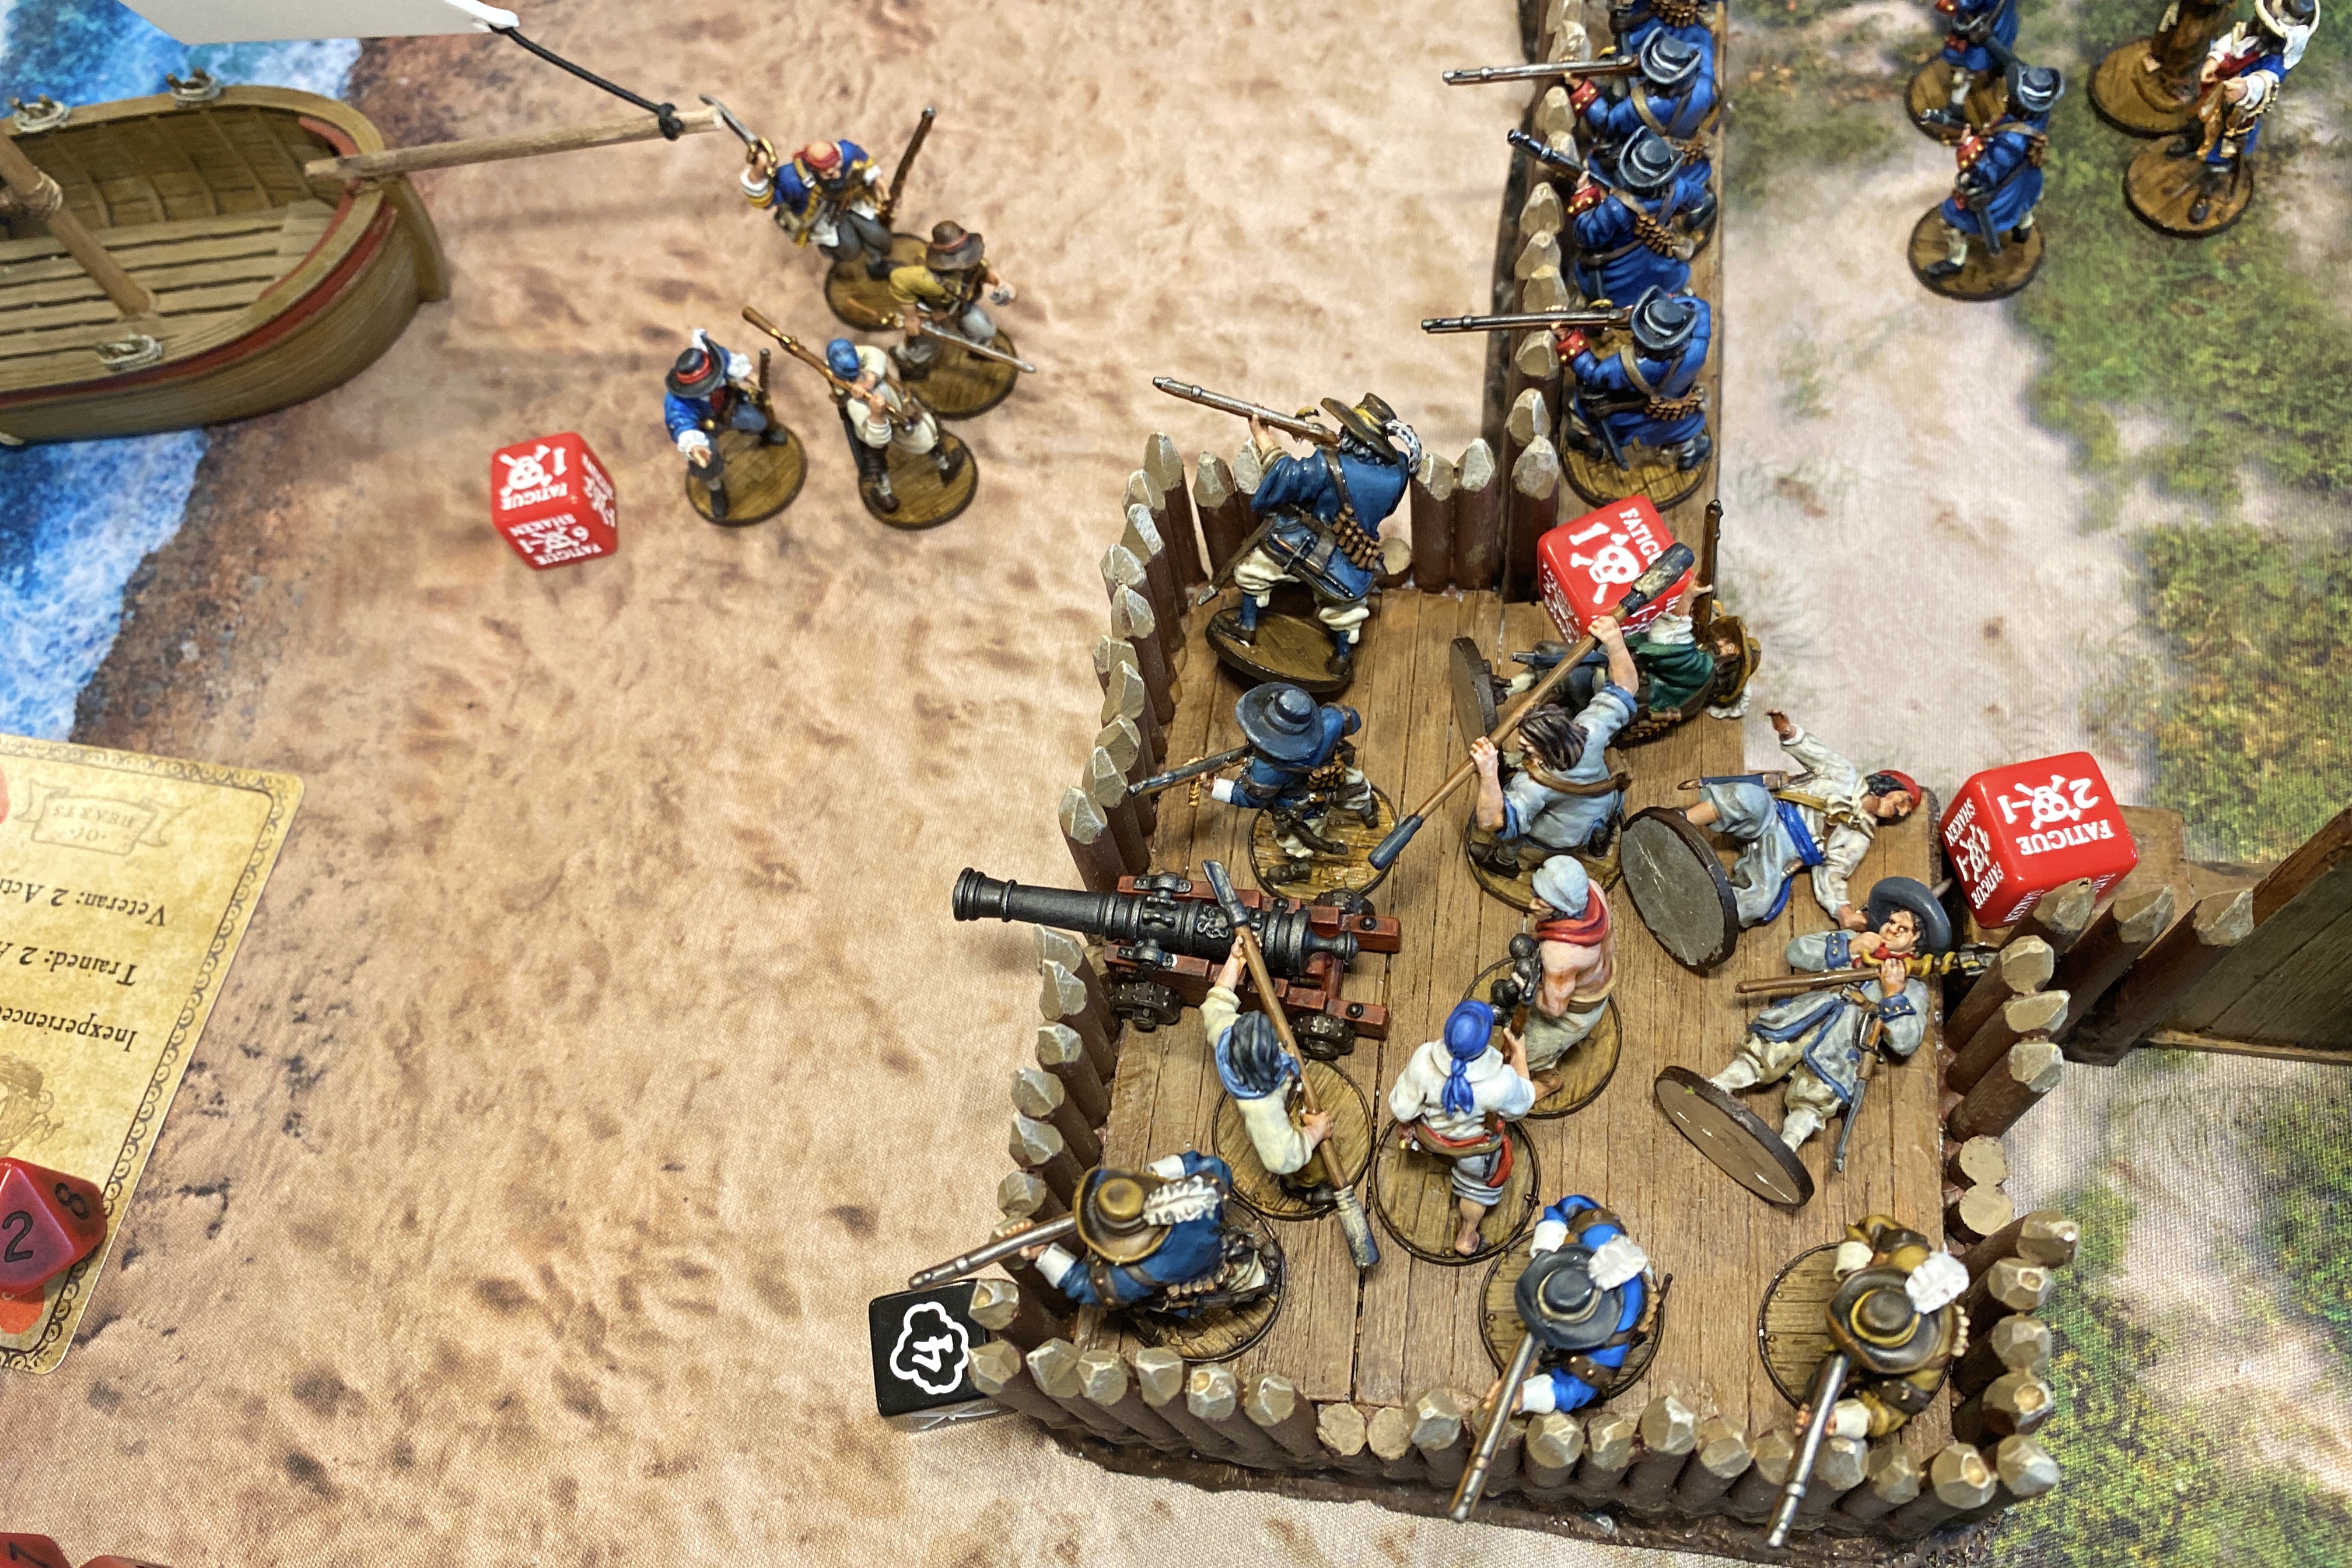
The second attack left both defending units at 2 models each which effectively stopped that Heavy Cannon.
The Soldados proceeded to fire back with a Drilled/Ruthless volley at nearly point blank range. Their target number to hit got all the way down to 3 and they massacred the remaining Forlorn Hope.
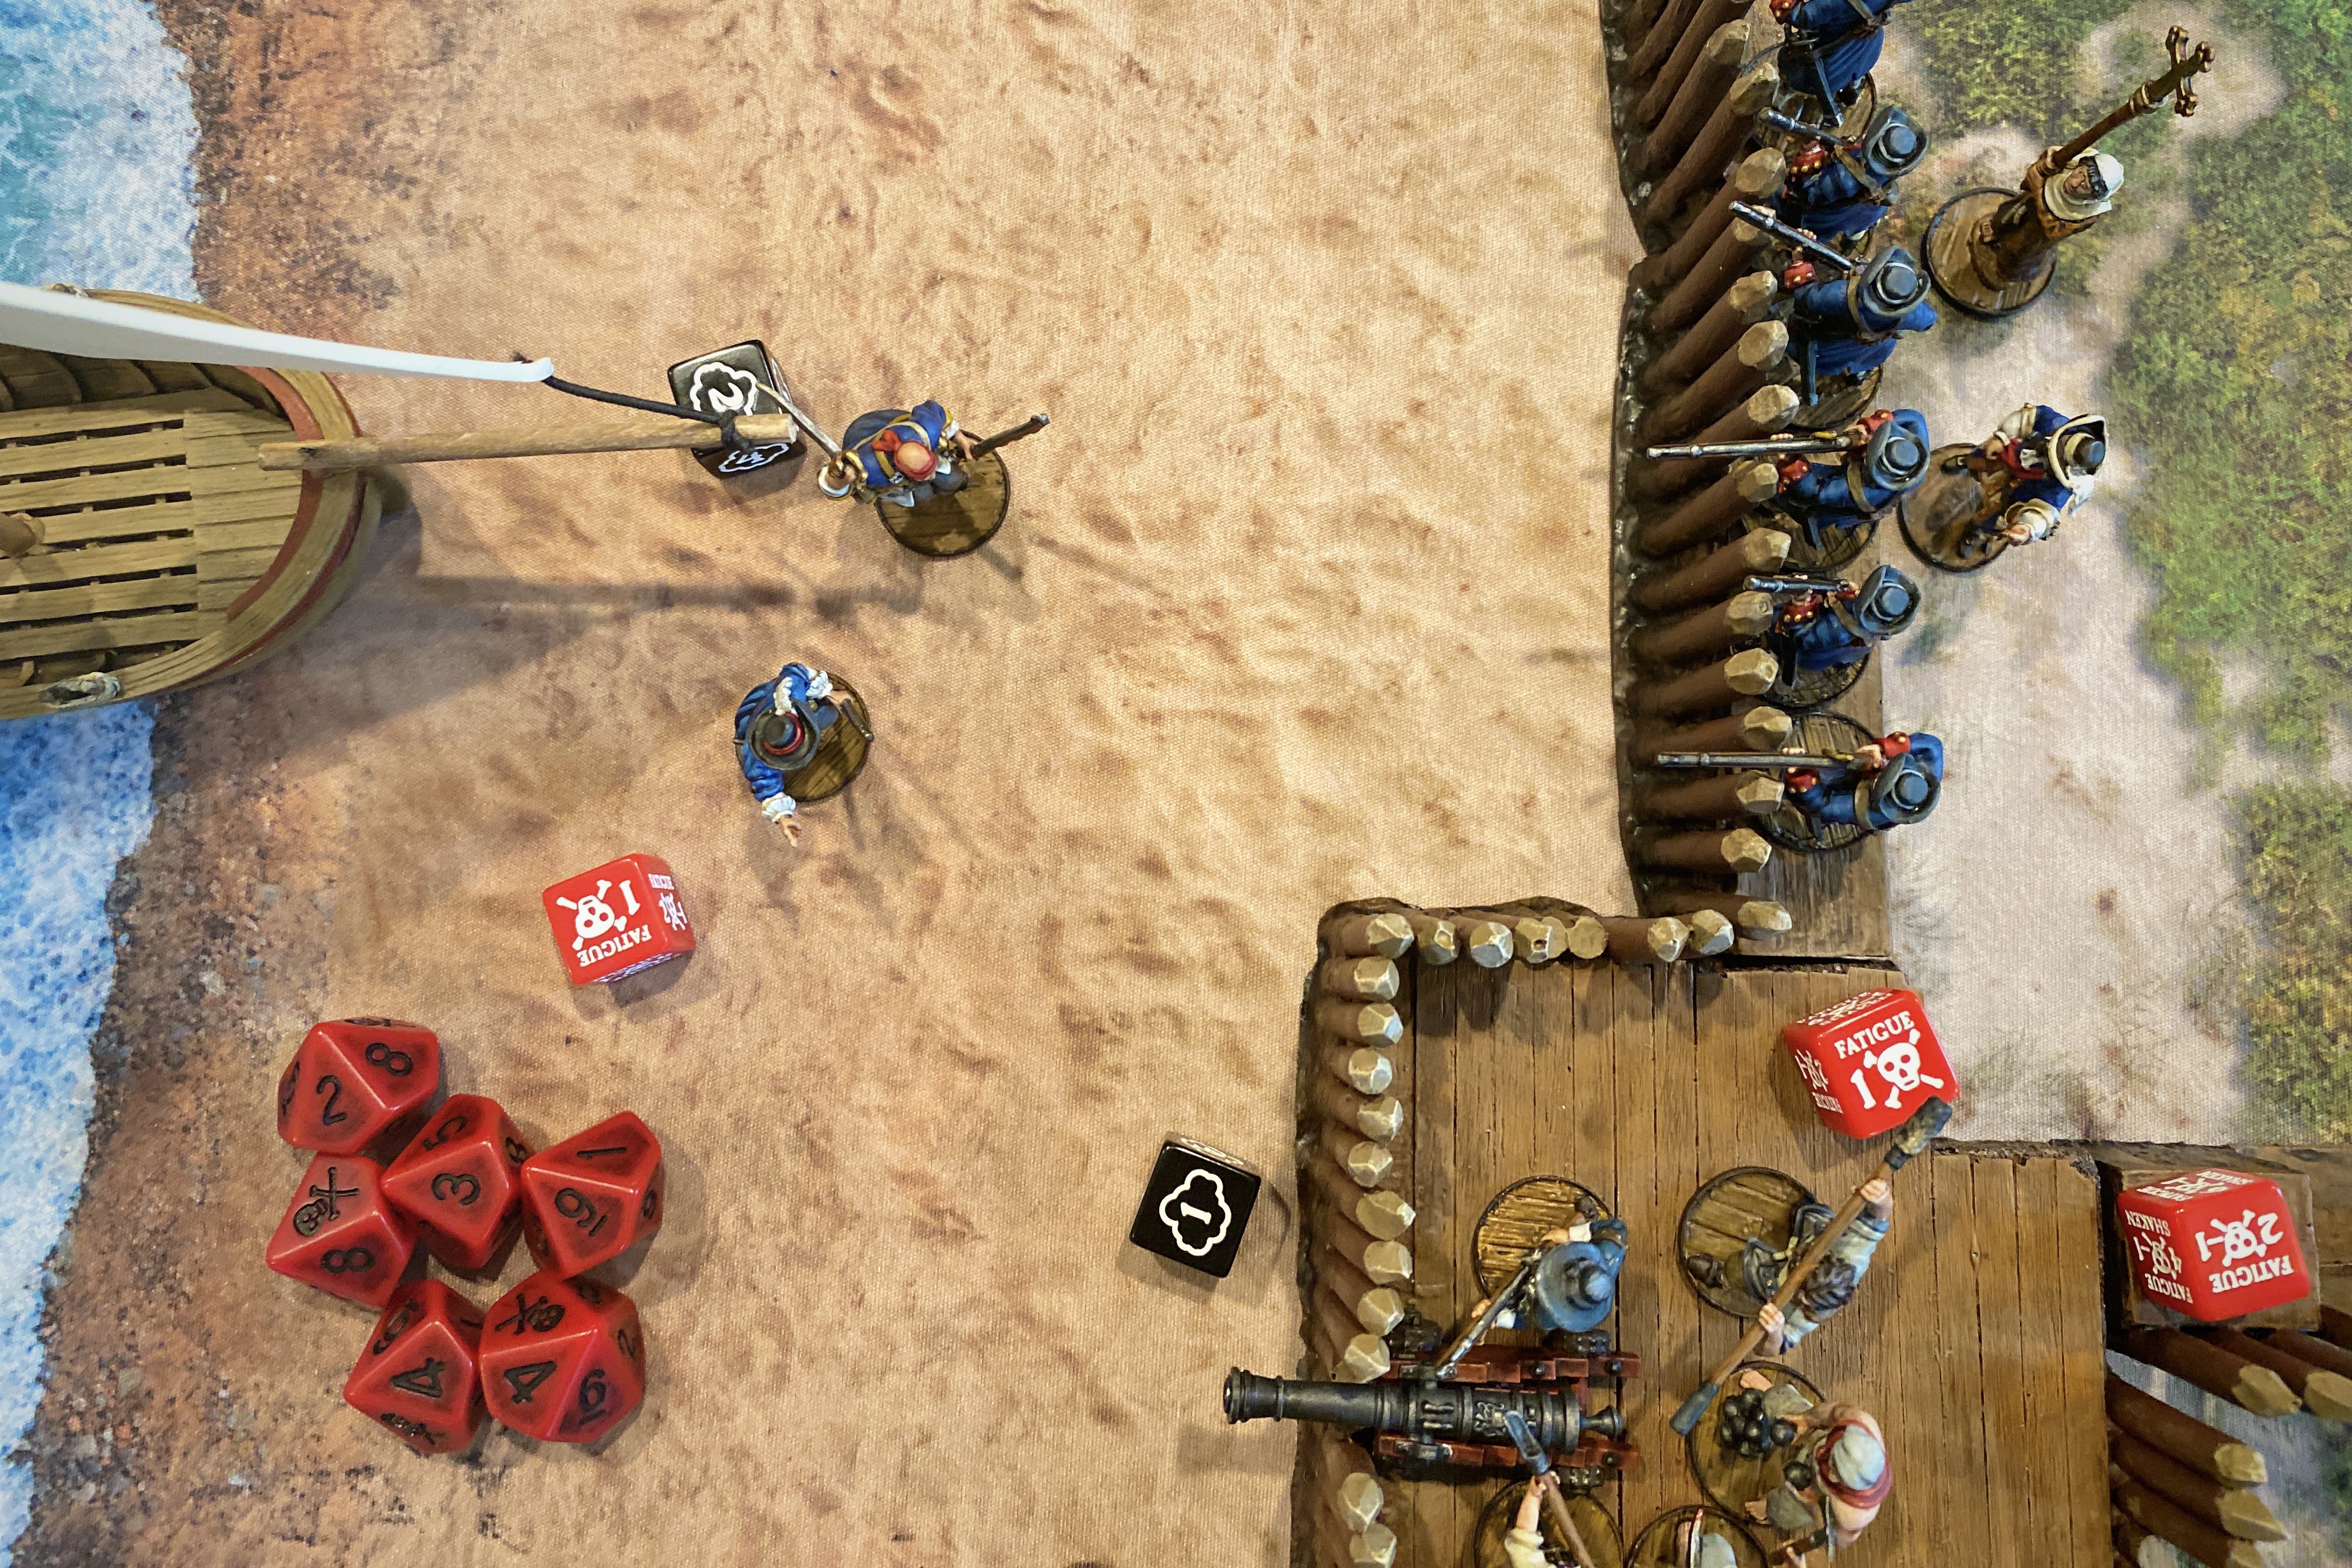
Now the English Militia became the target for the defenders and they started to get whittled down.
Another cannon shot from the Frigate finally got a Lucky Hit on the battered left bastion and caught it on fire! That’s the kind of result I was looking for on turn 1 or 2.

The Warrior Archers rushed out on to the beach and peppered the incoming Militia with arrows taking some down while still in the boat but their English moral held!
Turn four was less eventful while the cannons worked to reload and the last couple cannon crew left the bastion and tried to put out the fire.
The English were at one Strike Point for casualties and one point for not being on land but the Spanish had one Strike for casualties so the game continued although the English prospects were looking bad.
By turn 5 both forces were down a unit.
Henry Morgan spent his last fortune point trying to get his cannons to make contact. Lucky was nice but it made me spend his Fortune faster. I always got 1 more success when I used a Fortune point, but never the dramatic reversal of fortune you hope for. Partly, I just wasn’t rolling enough dice with those tiny Light Cannons!
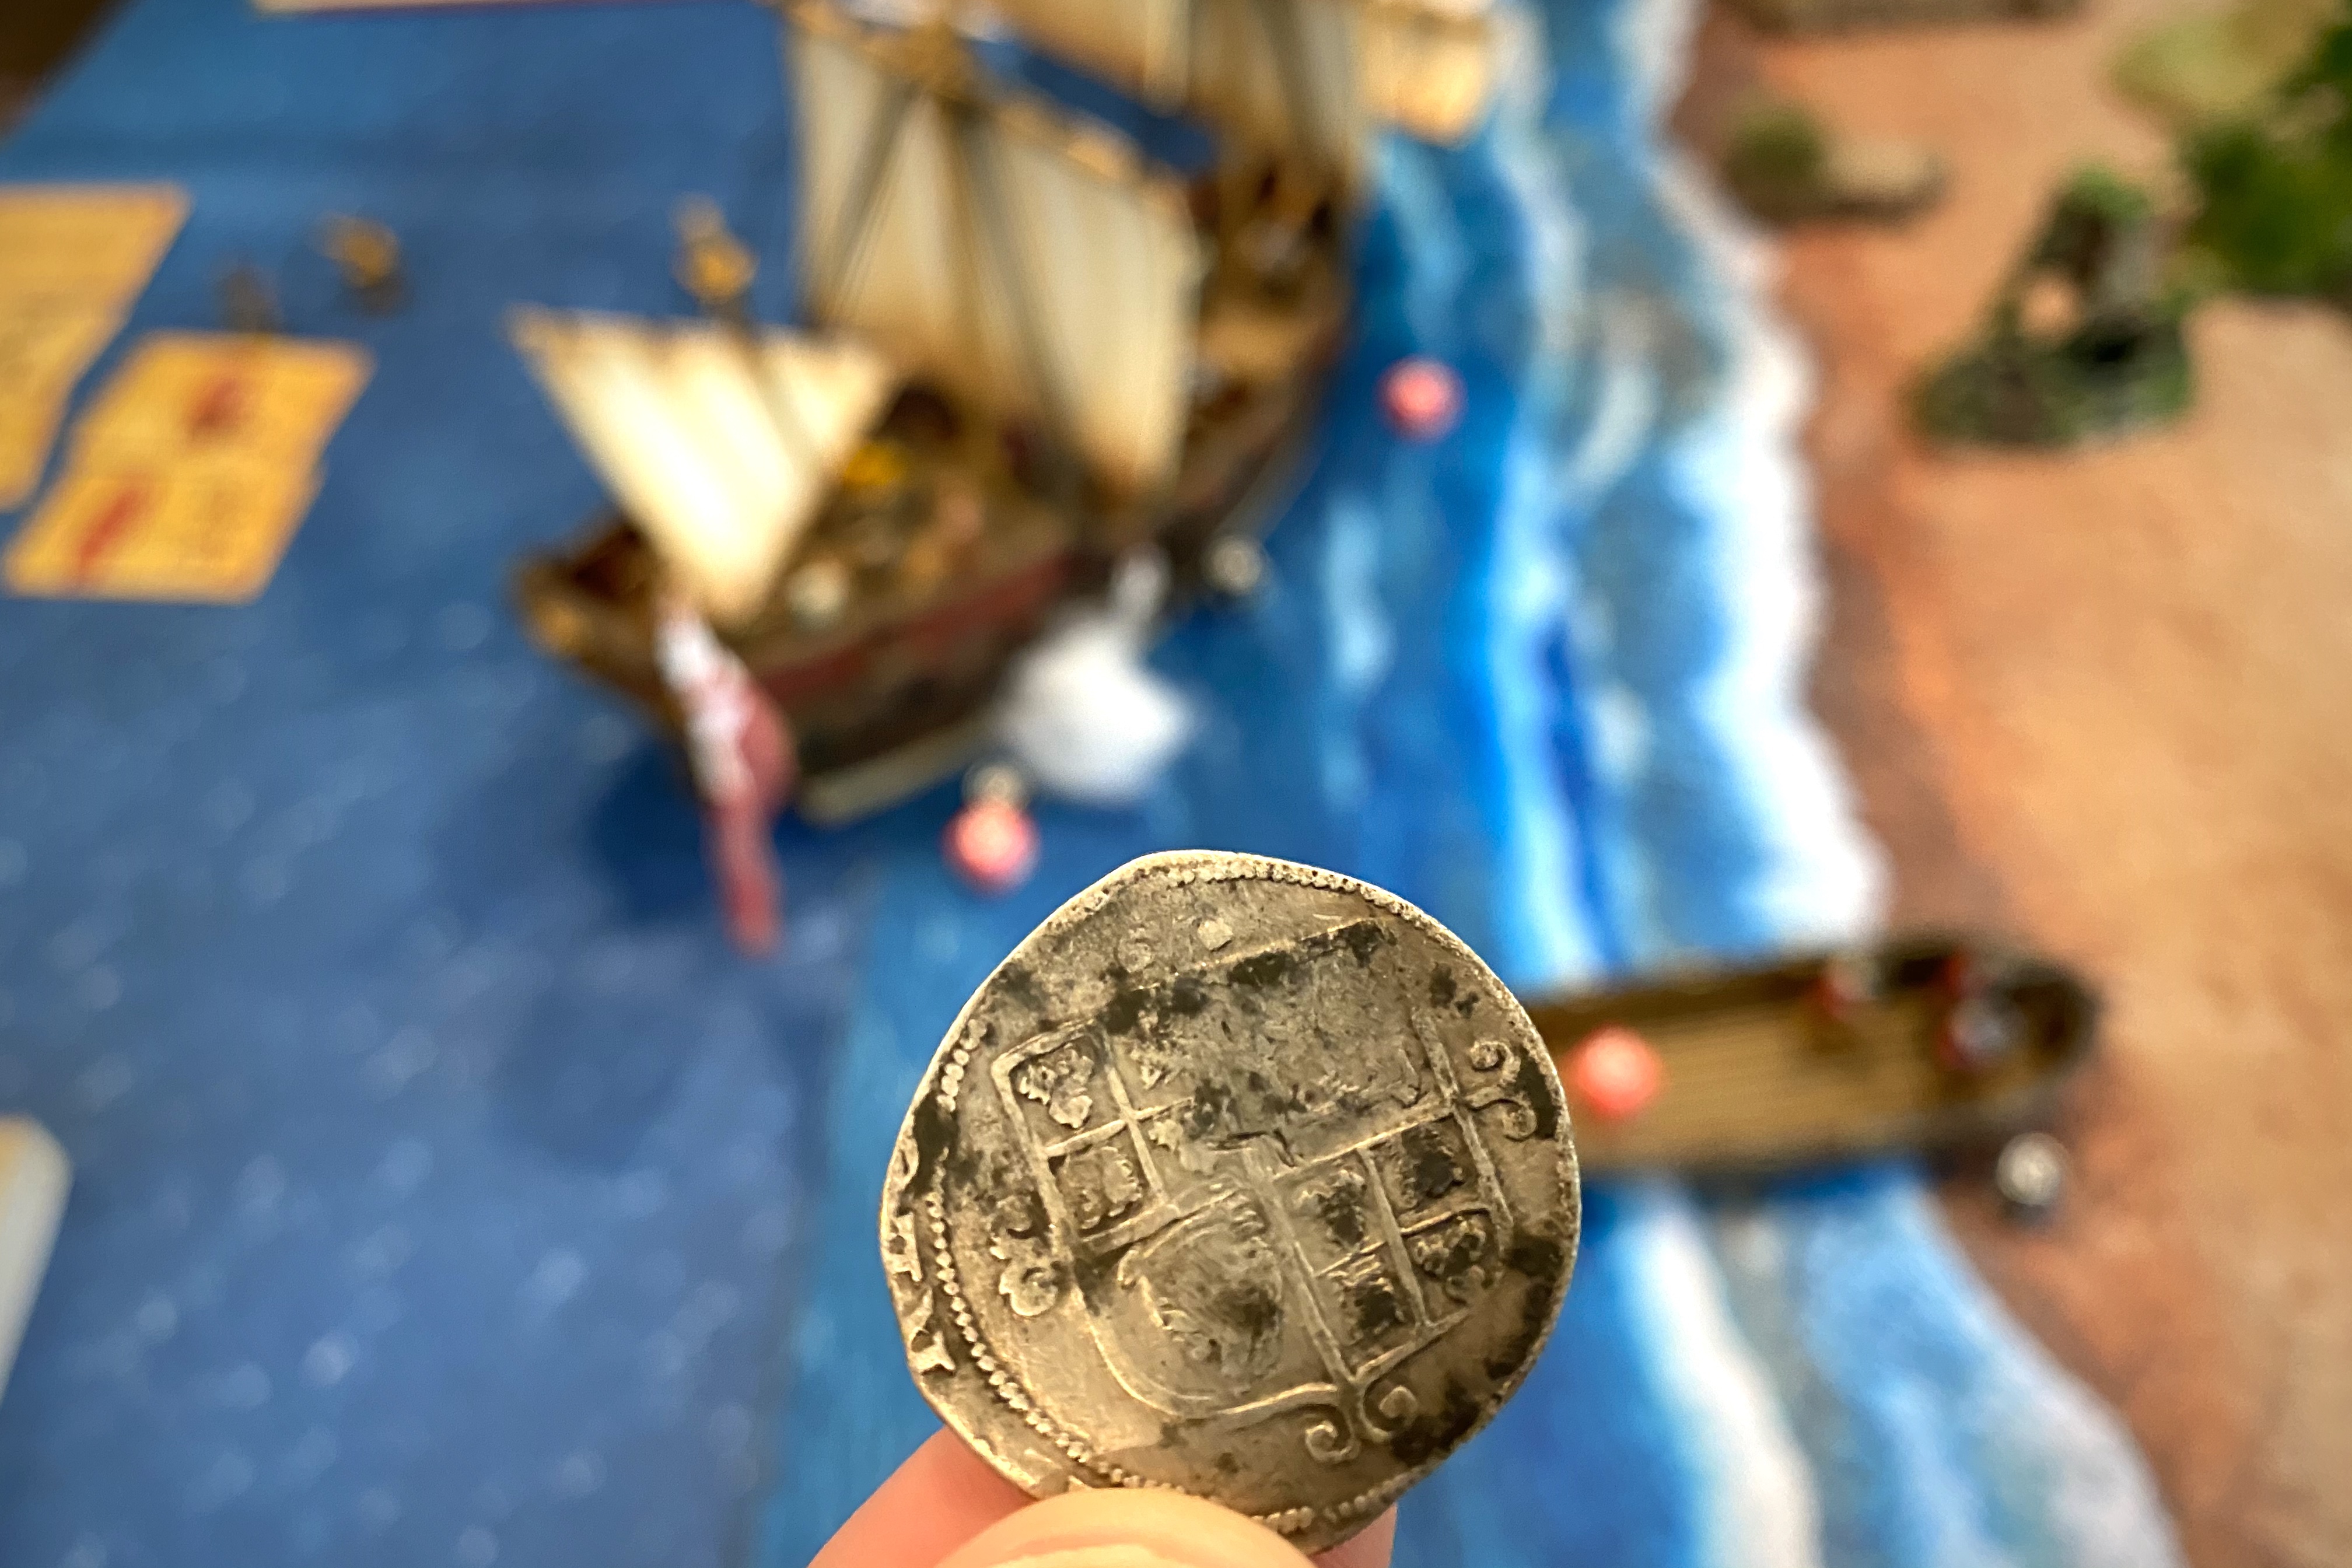
17th Century English Shilling
The English still had a chance if they could suppress the units in the bastion so the Militia could charge. But that didn’t work!
The Heavy Cannon fire straight into the just beached longboat and destroyed the last of the landing party.
By the end of turn 5 the English had suffered 18/40 casualties vs the Spanish 16/39 models. The English still had one 2 Strikes to 1 for the Spanish so the game went on to turn 6.
I squeezed a couple more shots out of my ship’s cannons but they mocked me with two 1’s after a single canon made contact. Salt in the wound.
That single Heavy Cannon score another hit on the Frigate, taking out a couple Zelieden and pushing the English up to 3 Strike Points.

The final Strike Point count was:
- 1 Spanish Strike Point for 16/39 casualties
- 2 English Strike Points for 19/40 casualties and 1 Strike Point for failing to be on land
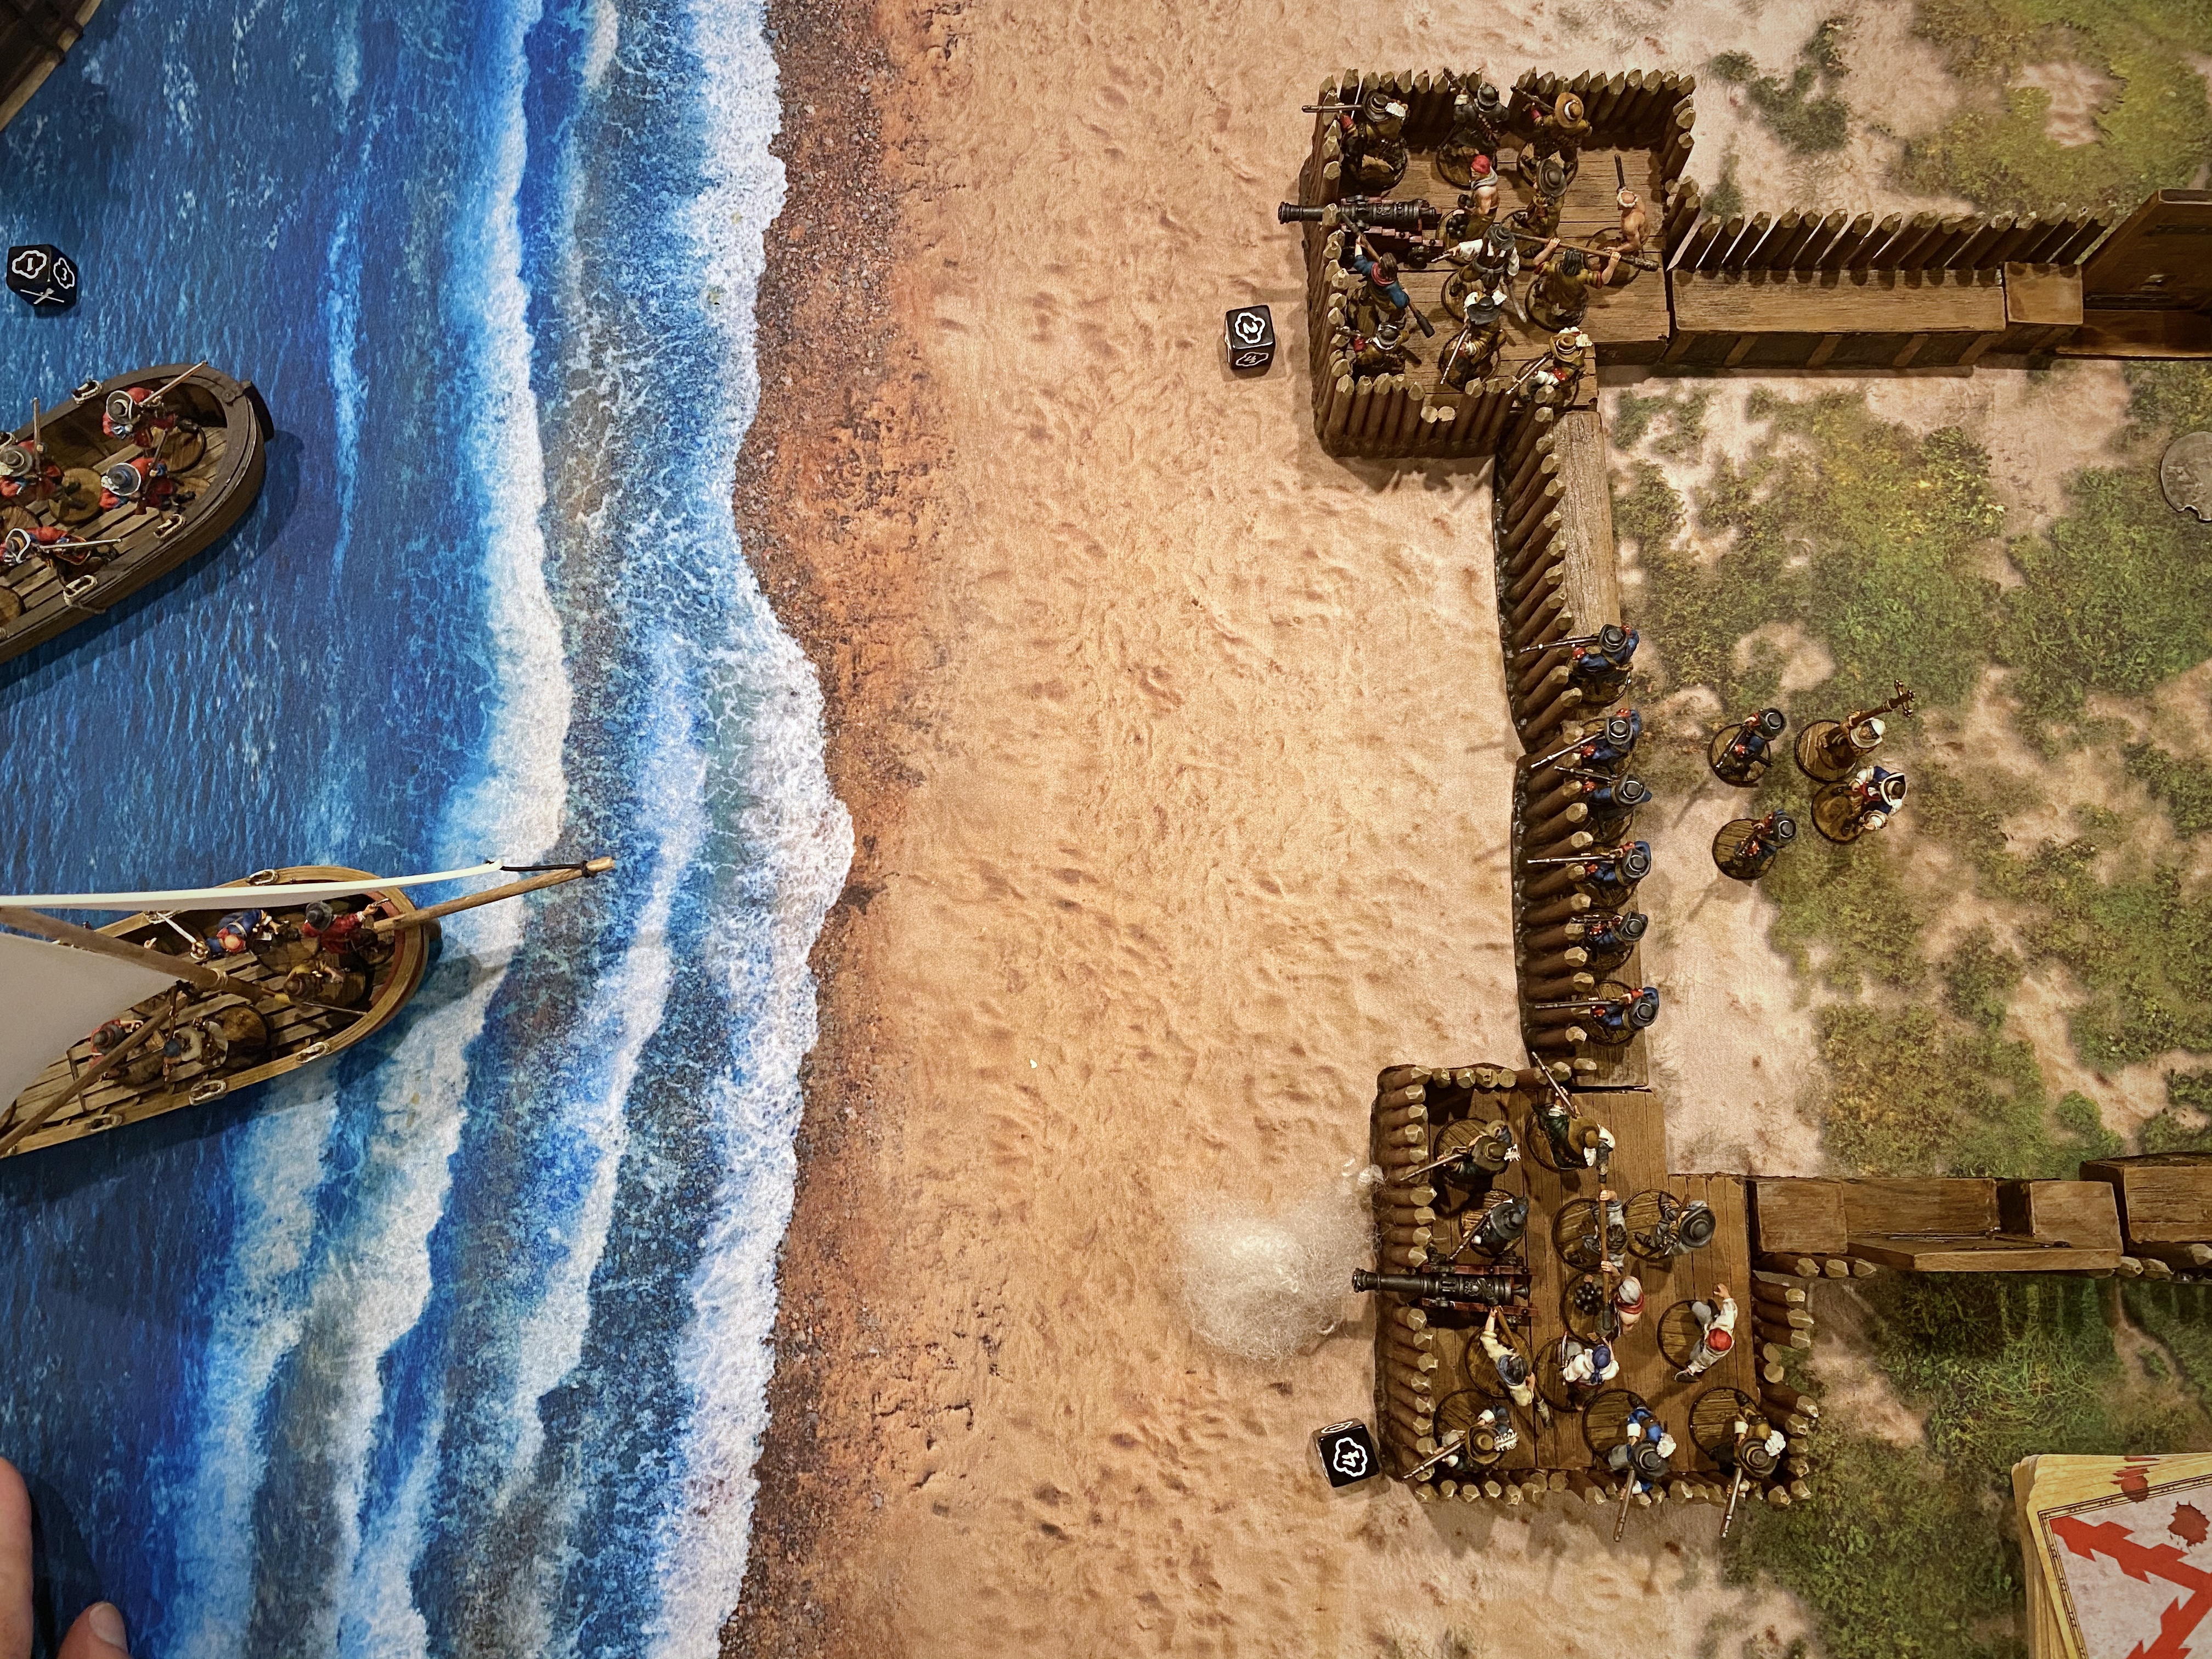
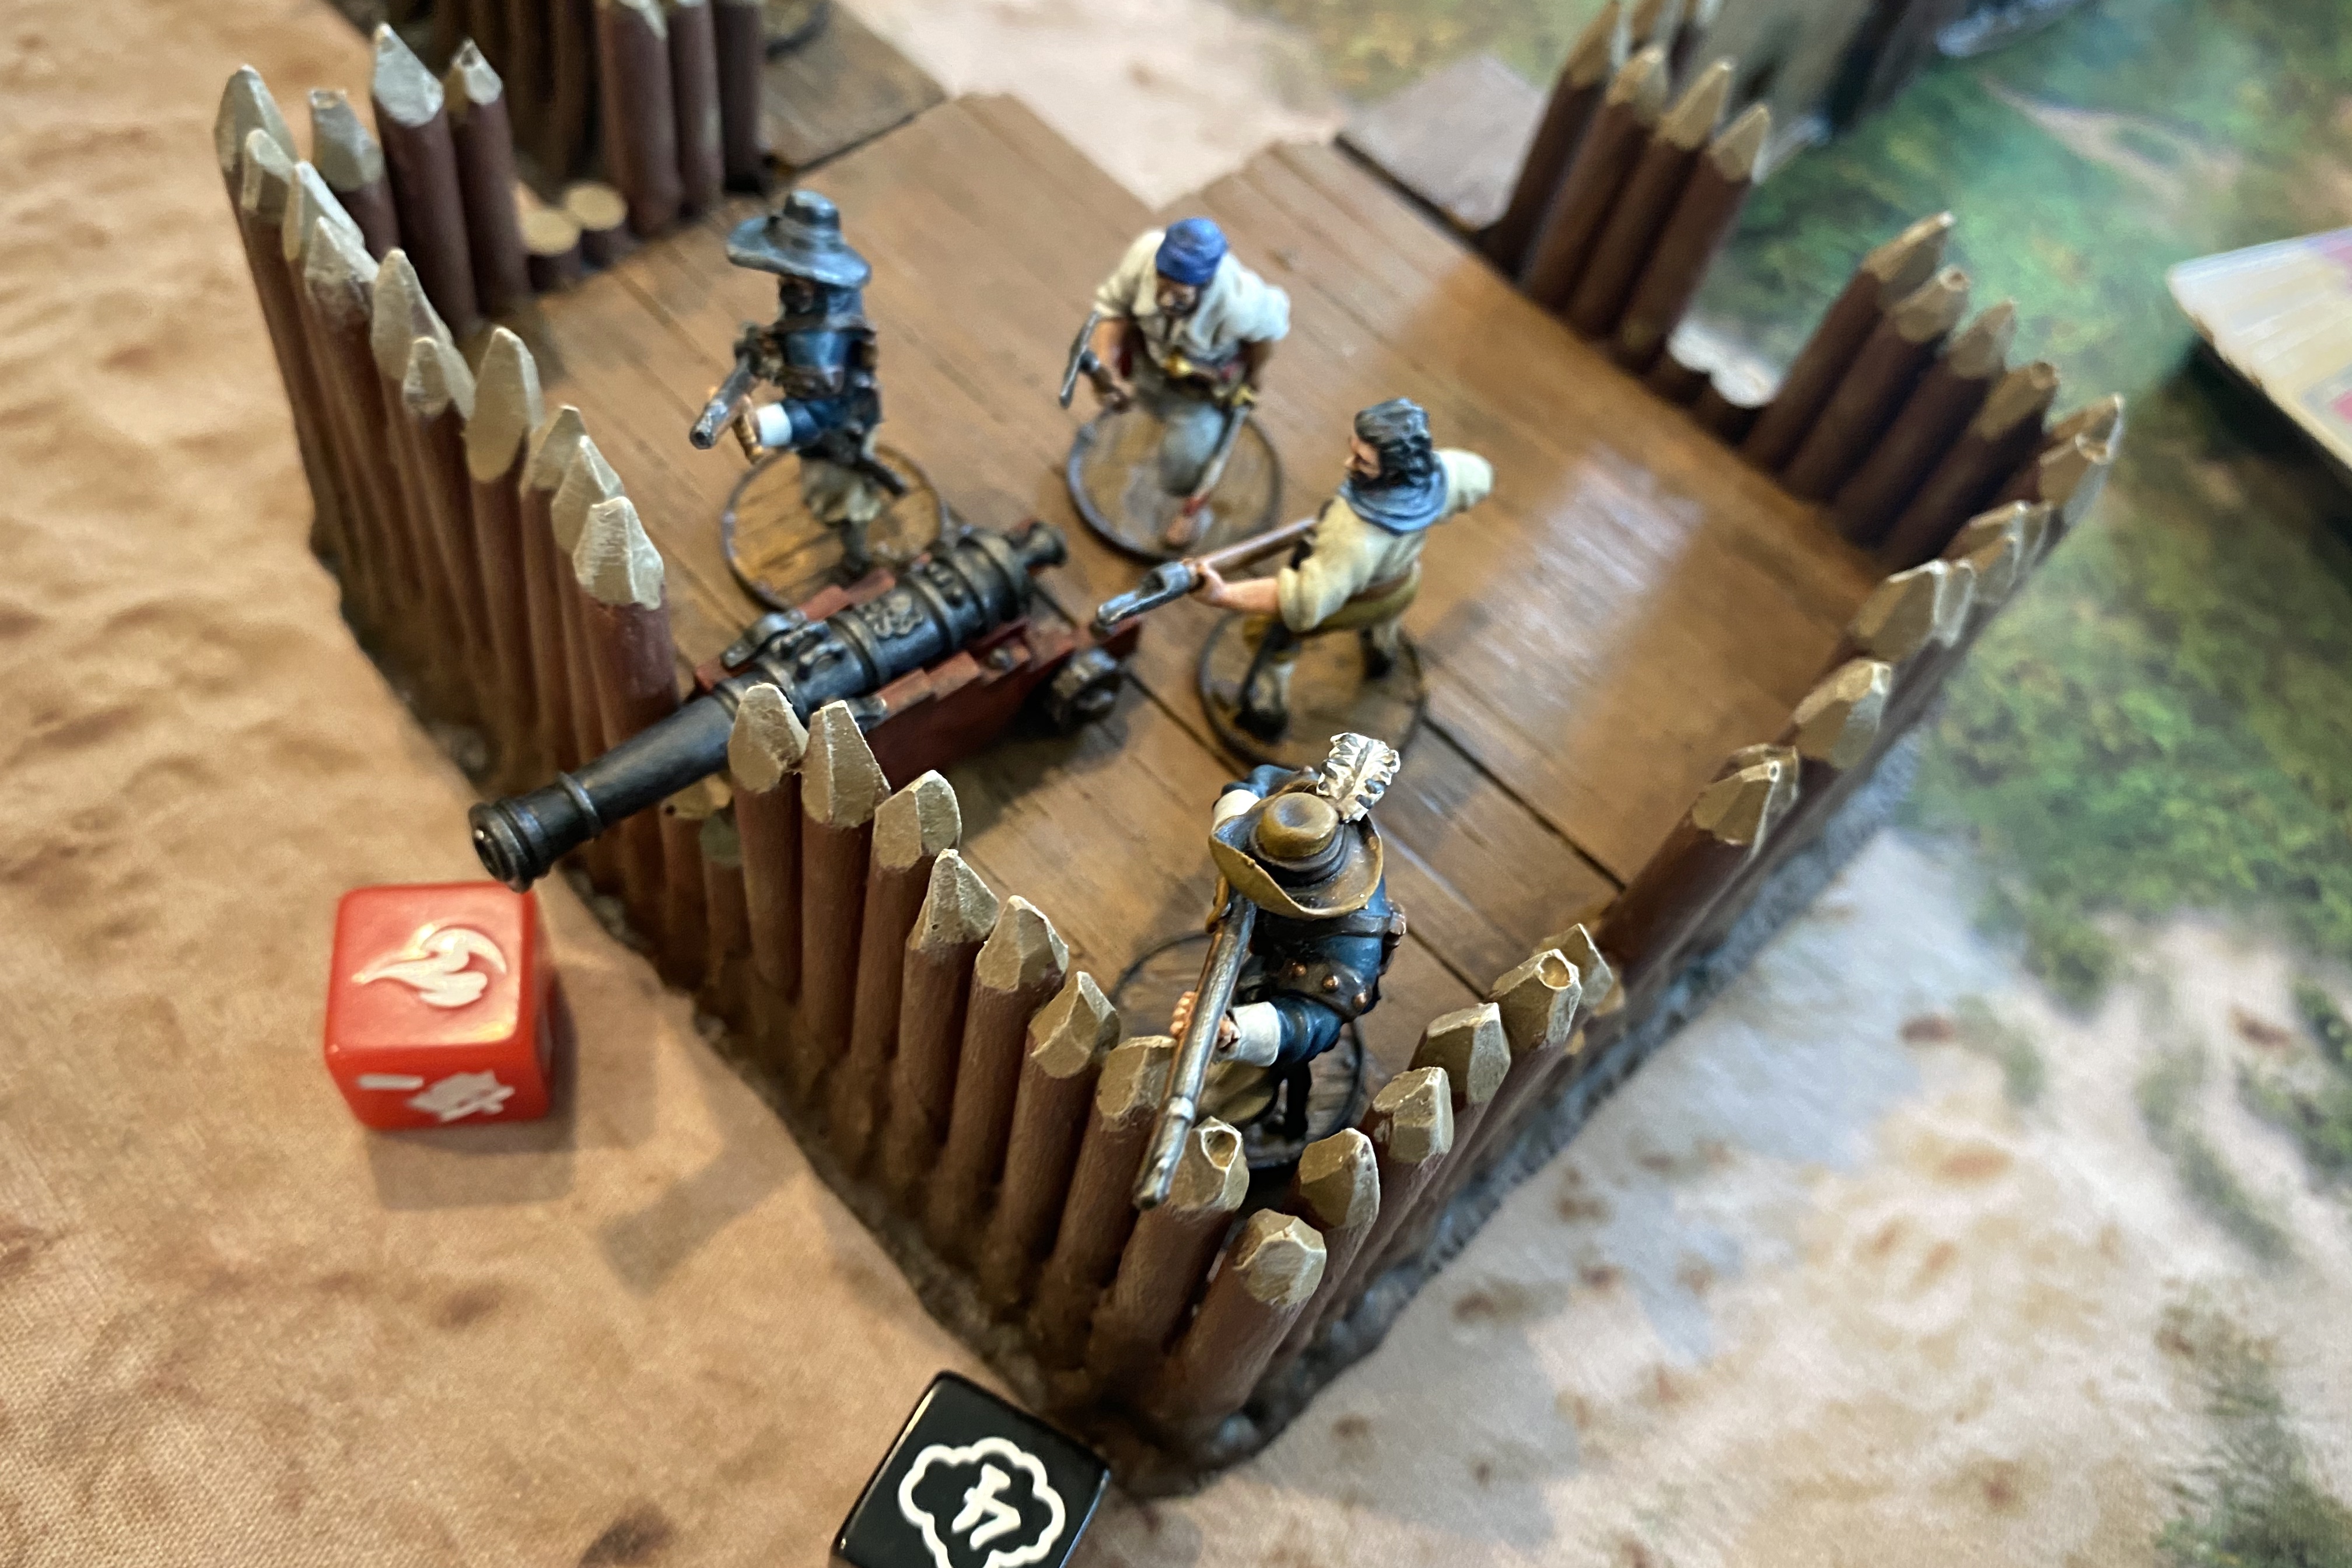
The Palisade Fort suffered a total of 12 damage across three different sections.
The left Bastion was basically depopulated but the right one was still strong and there was no real way for the English troops to get to land.
Post Game Thoughts
- Well that wasn’t easy for my English! Ouch. Beat by the AI! I think the root of my loss was a lack of commitment to either the bombardment or landing party. I tried to do both and neither was good enough to do it’s job. I guess if I did it again I would upgrade my guns to Medium Cannons and then launch my landing party later in the game, using some troops for both cannon crew and landing party. I would have missed the turn 3 timer for getting on land, but I might not have lost nearly as men getting them to shore if my early bombardment had been more effective.
- The fort was excellent here. Hard cover, ideal placement to defend and a solid platform for cannons. It was worth the 32 points I paid for the structure. I cost 11 more than a Frigate and while it has a lower Fortitude, it has so many sections that it actually has way more hitpoints that a ship and the critical hits don’t tend to be as painful as they are in a ship.
- It was more difficult than I anticipated to focus fire from my ship on one area of the fort. When I had a chance to broadside, not all decks could could target the same section of fort which meant I wasn’t getting the crits even if I got the hits needed. Then I had to keep moving my ship which mean I might not necessarily be able to hit the same section again with my cannons. And I had to have an entire sailor unit to manage my speed and bring the ship to anchor! It’s impossible to really move closer to the fort and still present the broadside to fire so I kind of came in at an angle so I could fire, move closer, and turn to fire again. In spite of having relatively few “HP,” the fort was difficult to actually destroy from the water.
- I like Fortune Points in a game. It feels so bad when you roll a miserable roll and have no option for trying again. I can see why they are excluded from the official solo rules, but as long as you use them “fairly” for the AI, I think they fit in if you want them.
- Morgan was fine here but it probably would have been better for me to buy a cheaper commander and spend more on men and cannons. His extra Fortune and Lucky ability were nice, but I’m not sure he provided 27 more points than the 15 point generic commander. Broadside didn’t even help through the course of this game. His personal faction ability pushes him over the top as an amazing commander, but he doesn’t have access to any cheap artillery crew as a core unit. I guess I could have used Kapers as artillery crew then used them as landing party as well.
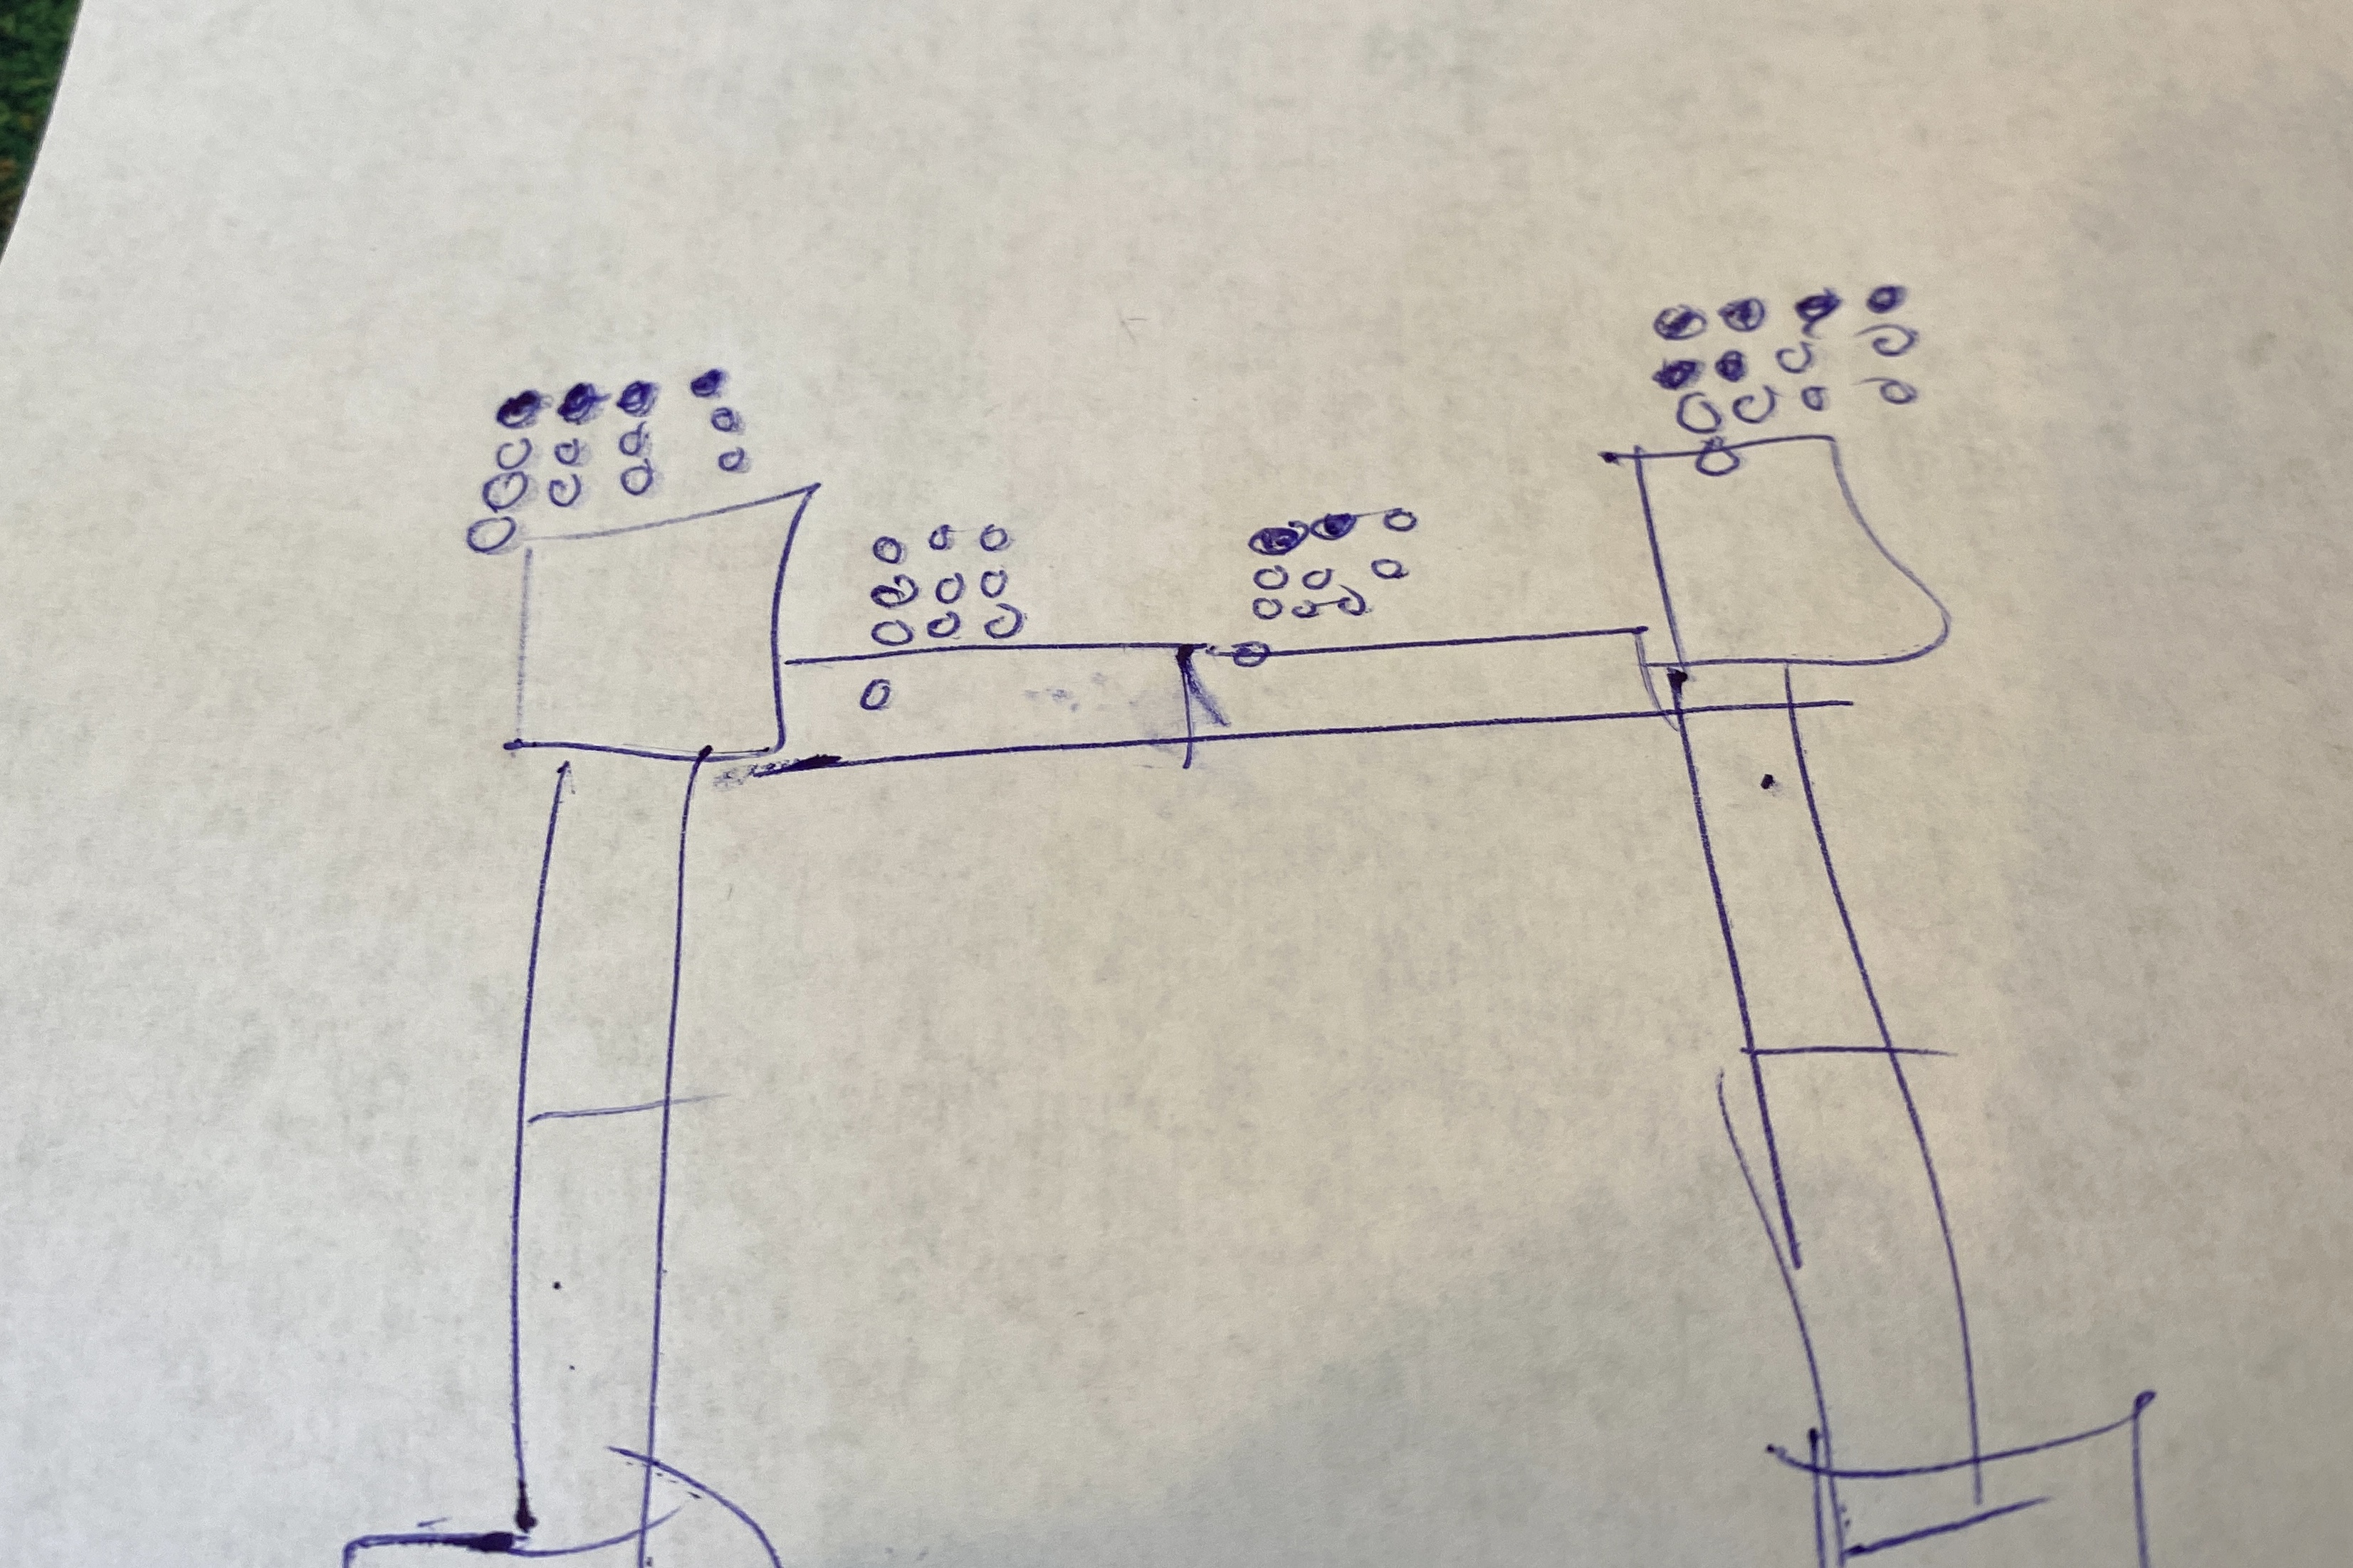
- I used more fort pieces than I needed. This was a 250 point game and those 39 Spanish models were swimming in that 32 point fort. I didn’t need those two back bastions unless the invasion force landed on a far corner and marched to the back of the fort, but I guess I just wanted to see the whole fort on the table after painting all those blasted little pointed logs! I probably could have used 2 bastions, 2 standard corners and 4 straight pieces instead of 8 and still fit all those models inside. But I wanted the eye candy! The diamond shaped fort with a bastion on opposite ends seems like a nice, cheaper setup (I used the diamond shape in this battle report).
That’s it! Thanks for reading. Let me know if you have any comment on tactics for assaulting a fort like this from the sea. It seems pretty tricky.
I’ve been working hard on painting up an entire army worth of the Black Carib faction so I’ll likely be doing some battle reports with them soon.
Hi! Love seeing amphibious games get attention; seem like the best of both worlds of Blood & Plunder.
Any advice on list building/tactics/terrain for these? Could probably do a whole article about this aspect of the game.
Excellent idea! I’ll get some more amphibious games under my belt and then make a post. Thanks for the idea!