Intro
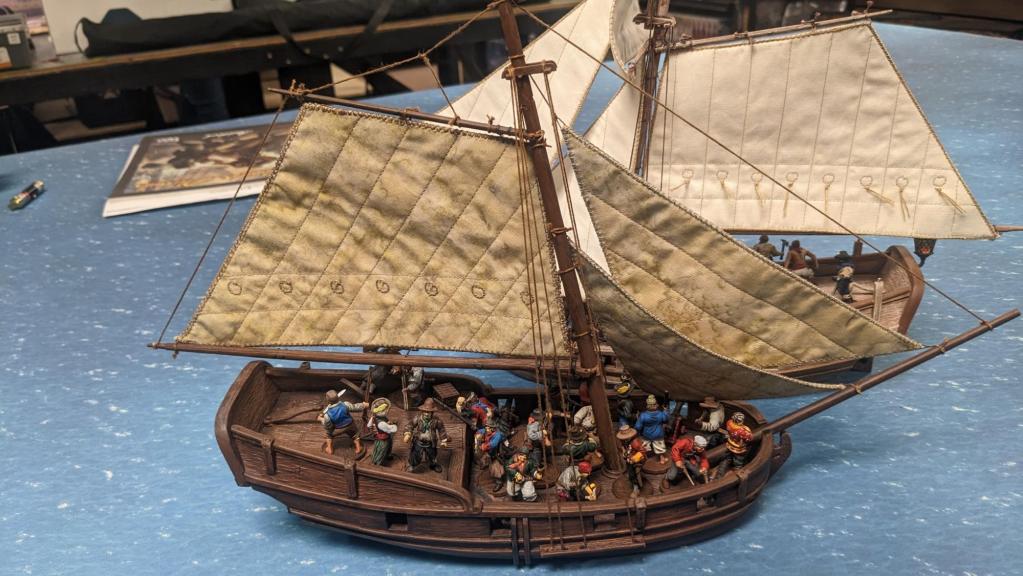
Sails are one of the most striking parts of a Blood & Plunder model ship. They add detail and purpose to the masts, and elevate the whole model to something that looks like it could sail. I believe a Blood & Plunder ship isn’t done until it has sails.
I used to make sails out of flour sack cloth, and have a guide to make these sails at this link. I now help make and sell quilted sails through Seamons’ Quality Sails (Check them out here). This detailedguide is mostly about attaching these quilted sails to a Bermuda Sloop, however it can also be used for attaching paper sails from Firelock Games (found here), sails you made yourself, or other sails you might have.

Step 1: Materials Needed

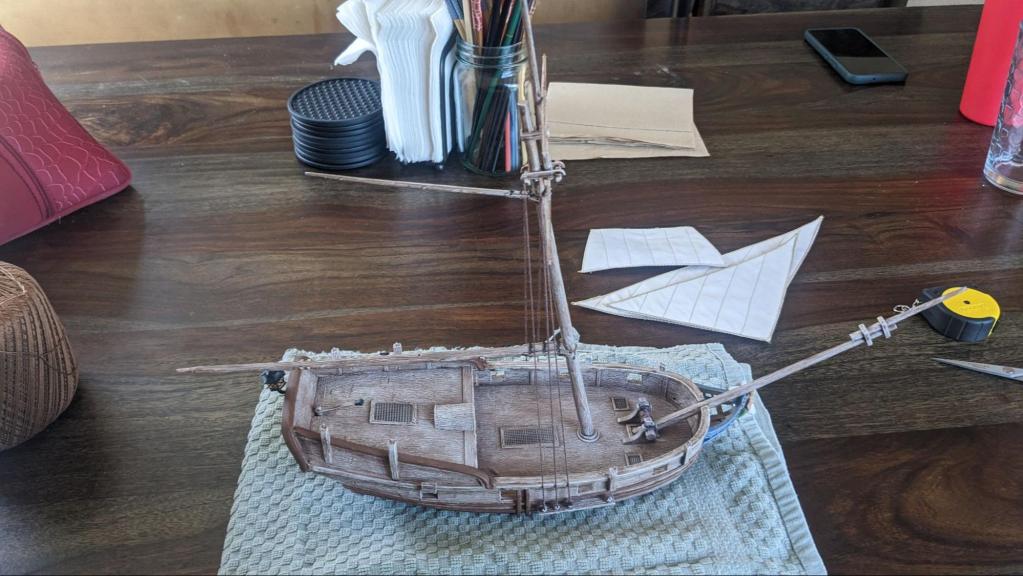
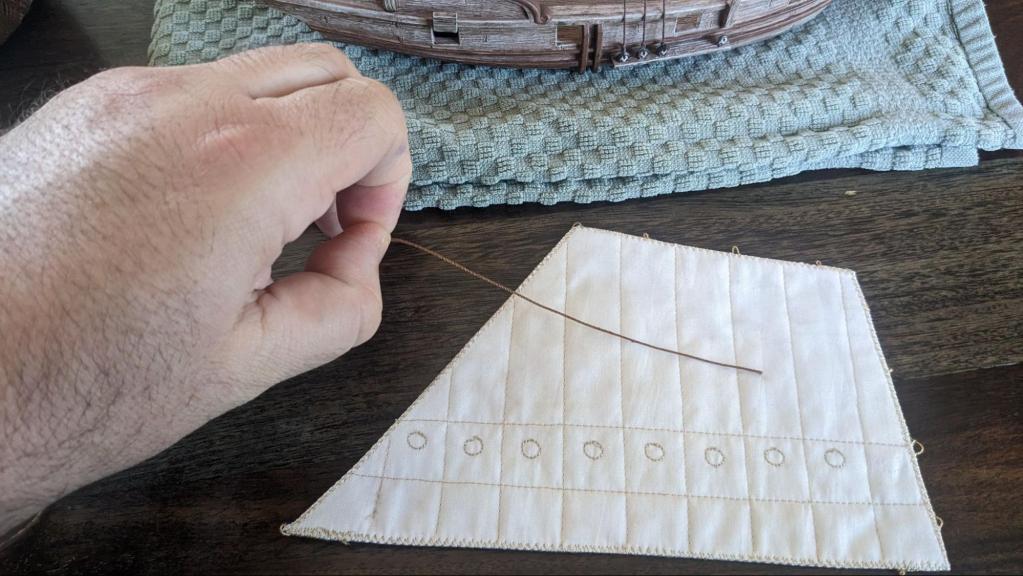
Before you attach any sails to your ship look at the sails you have and size up where they go. The Bermuda Sloop and Balandra use the same hull and because of this have similar sails. The main difference is that the Bermuda Sloop has a square top sail, and the Balandra usually does not. Here are the names we will use for these sails and a description.
Bermuda Sloop and Balandra Sails
Jib Sail: The largest triangular sail. This sails is the most forward and attaches to the mast (the post in the middle of the ship), the bowsprit (the spar on the front of the ship), and one of the channels (the planks on the ships side).
Stay Sail: The smaller triangular sail. This sail is placed under the Jib, and attaches to about the same places.
Gaff: This large rectangular sail. This sail attaches to the back of the mast, the gaff spar (the top rear facing spar), and the boom (the low rear facing spar).
Top Sail: The small trapezoid sail. This attaches to the two spars at the top of the mast. This is only used by the Bermuda Sloop and Balandra’s with the Top Sail upgrade.
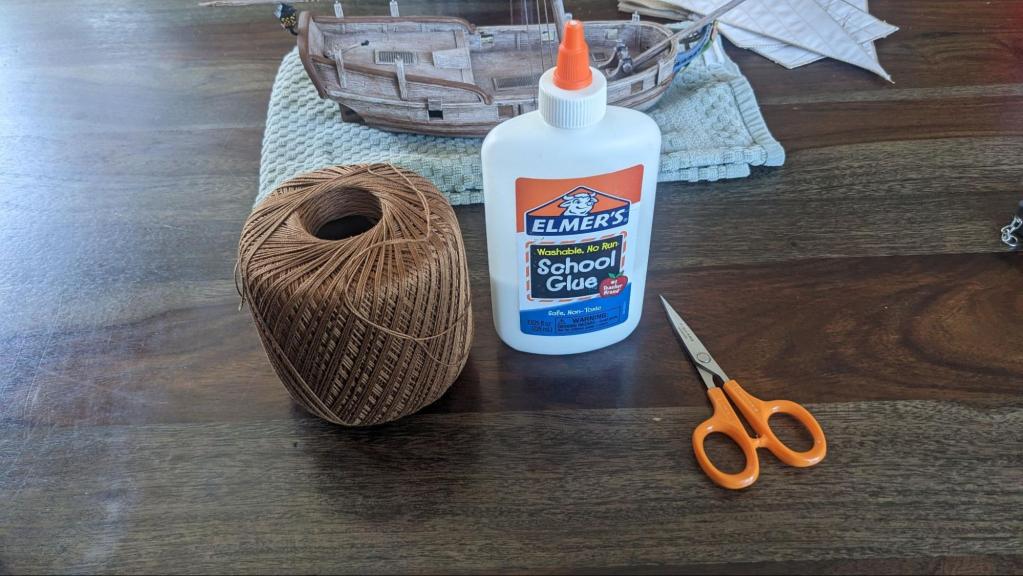
Before attaching your sails you also have to assemble some tools and materials. You need some type of line. Most people use elastic rigging for Blood & Plunder, because that is what the resin hulls come with, it looks good, and is very forgiving. I use crochet thread for about the same reasons in this guide, but this guide will work for elastic as well.
I use white glue (PVA glue) to seal my knots. For a number of reasons you want to avoid Cyanoacrylate glue with sails on a painted ship. White glue dries clear, and offers enough resistance that the sails will not undo themselves with light handling.
You will also need scissors to cut your lines. When using scissors on sails and rigging, always check the path of the blade before cutting to make sure it doesn’t cut anything you don’t want cut.
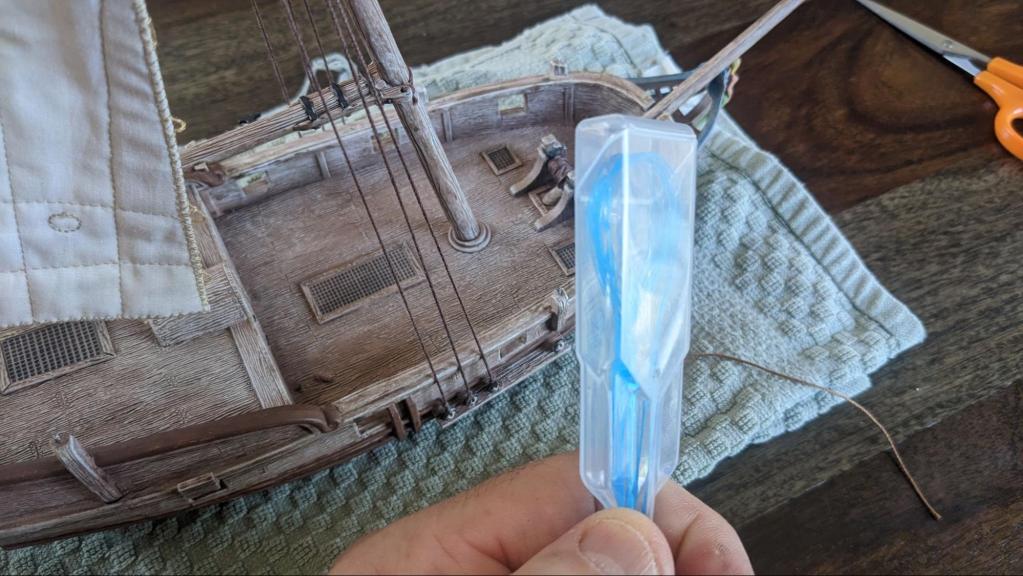
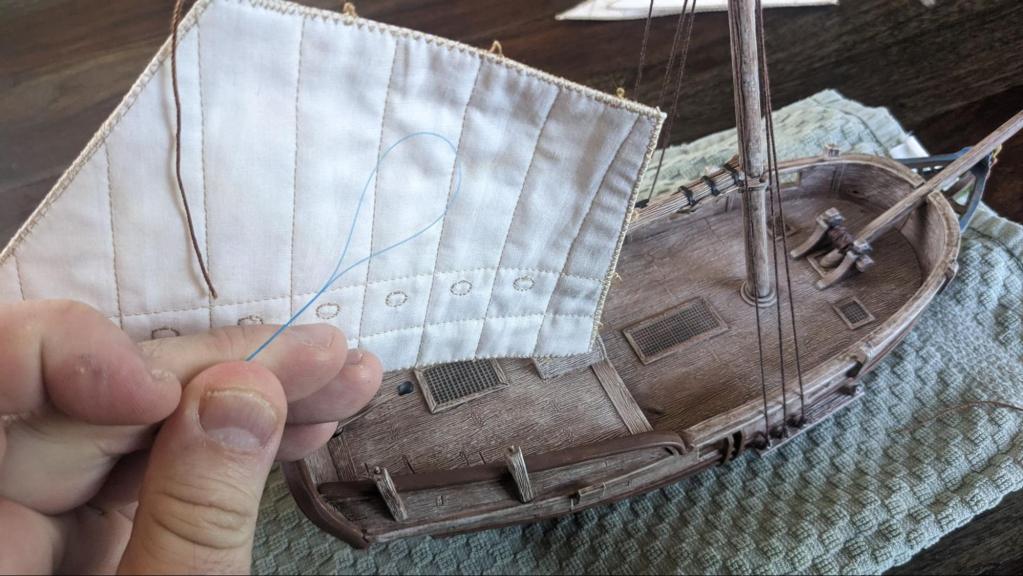
The last tool is optional. Floss threaders are a handy tool to have when you need to pass a line through a small opening, such as the channels, crosstree, and sails.
The last thing you need is your ship. I like to complete the standing rigging before attaching any sails. For the Bermuda Sloop and Balandra that is the shrouds (the rigging from the channels to the top of the mast), and the rigging for the Gaff spar.
Step 2: The Gaff
I like starting with the Gaff because it is the largest sail and has the most attachment points.
Measure out several inches of line for your first tie on. I’ve learned that it is better to have too much than too little.

Start with the rear most corner of the Gaff, and thread the attachment point.

Tie the sail to the end of the top spar and tighten it.
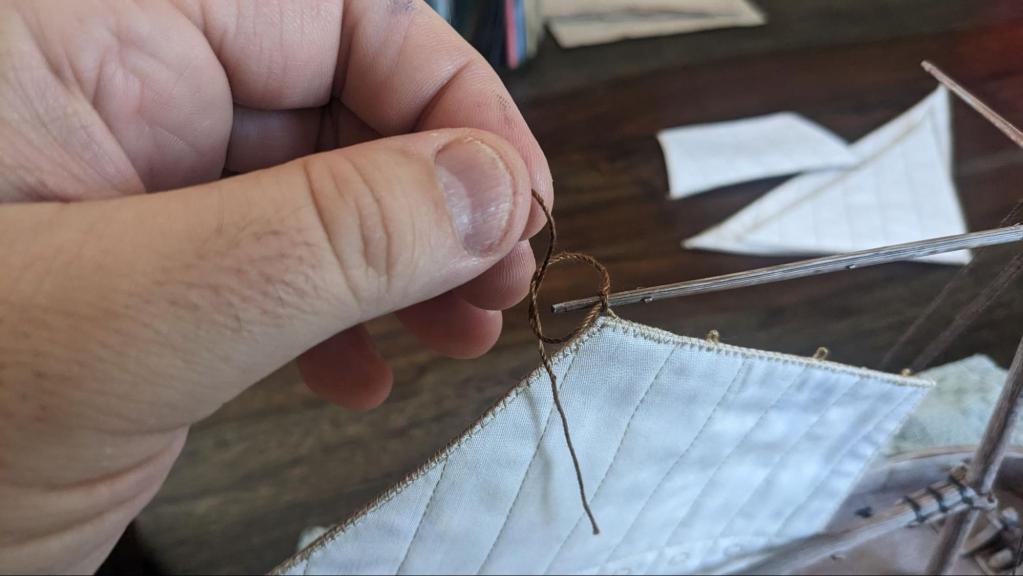
I try using square knots for most of my simple knots. This photo is of a granny knot, and I untied it after taking this picture. Make sure that your knots are tight and keep the sail close to the spar.
For ease of use I used a Floss Threader here on the attachment points.

Now that the sail is hanging thread the top attachment point closest to the mast. Tie it to the Gaff spar.

Now that the Gaff sail is hanging by two points, thread the two middle attachment points and attach them to the gaff spar. At this point do not glue or cut these knots. You are going to handle the gaff sail a bit more, and an unglue uncut knot is easier to repair.
Tie the rear most attachment point to the Gaff boom.

Next thread the top attachment point that is next to the mast.

Pull the Gaff sail into place by pulling the line around the mast.
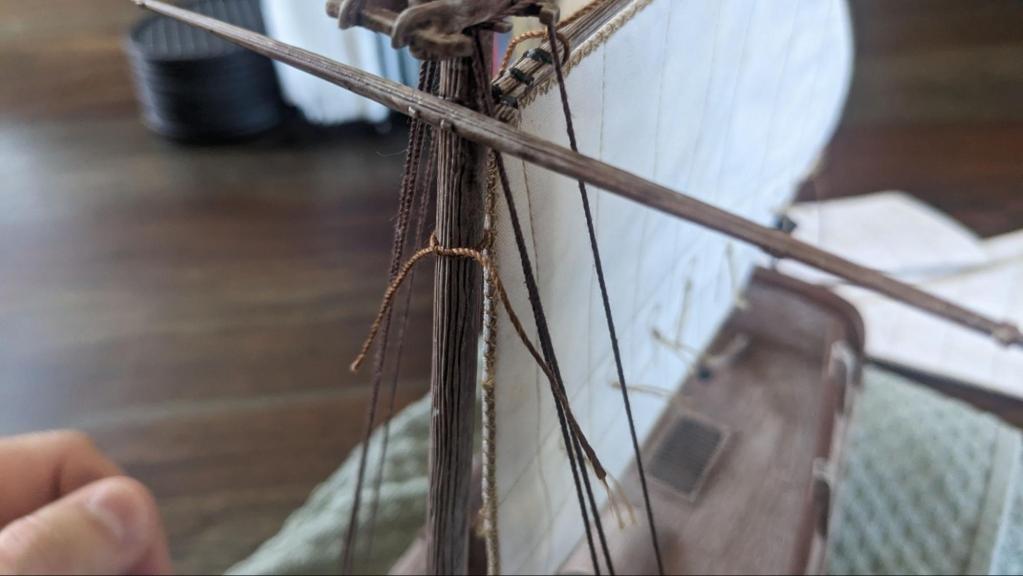
Tie another square knot to secure the line and the sails position. Orient the knot so it is facing the bow of the ship.
Finish off the rest of the attachment points around the mast.

Now it is time to move on to gluing. I use the tip of the glue bottle as an applicator to put little beads of glue on each knot. You can also make a little pool of glue on a nonporous surface and use a small utility brush to add glue to each knot.

After adding glue to the knot I like working it in with my fingers. This is also a good chance to position the knots where you want them, usually straight up.
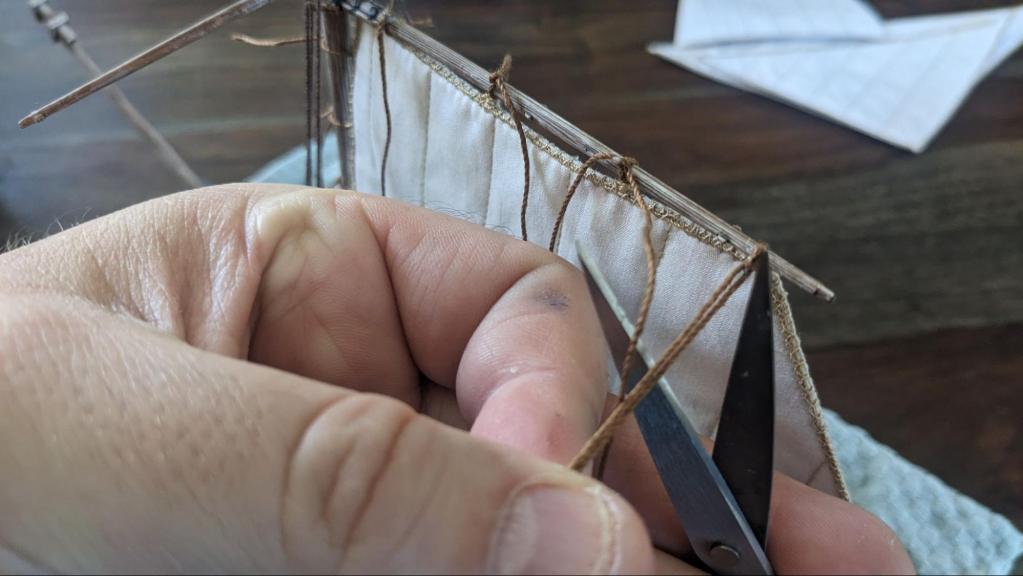
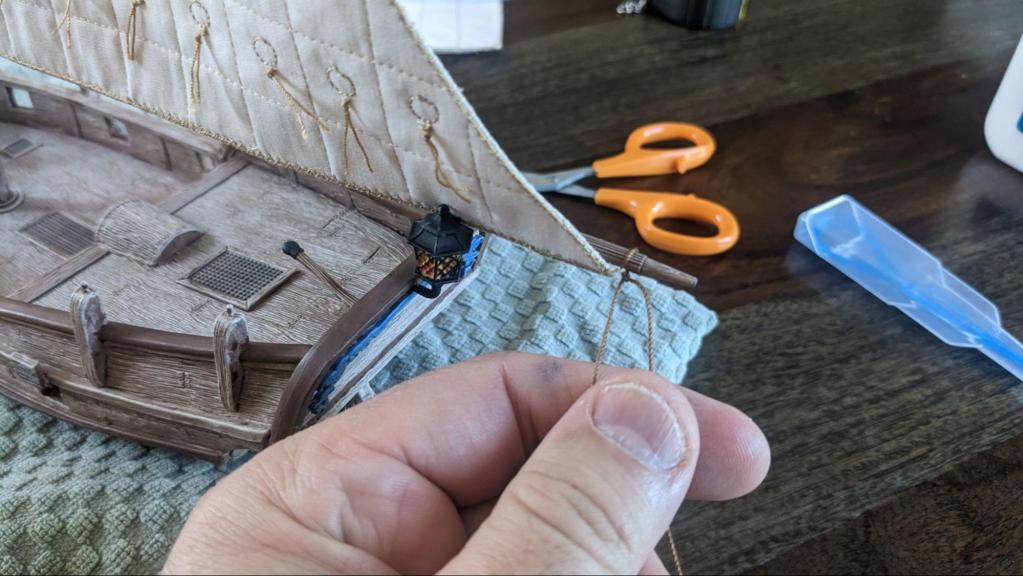
After the glue has dried or while it is drying, trim the lines. Like I said at the beginning, check the path of the blade before cutting anything. I have cut shrouds while trimming sail lines before. In this picture I am going to accidentally cut the line next to it.
Try making each tie 2-3 mm long.

Once you are done with one finish up the rest of the ties on the top of the mast. Then move on to the other knots.
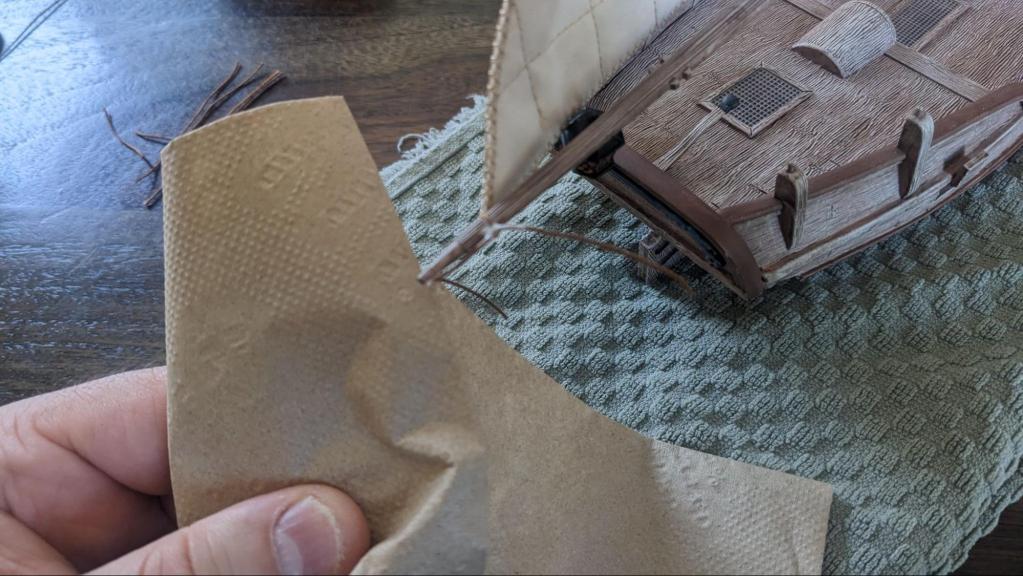
Have some sort of napkin or cloth handy incase you apply too much glue, and also to clean your fingers after touching glue.
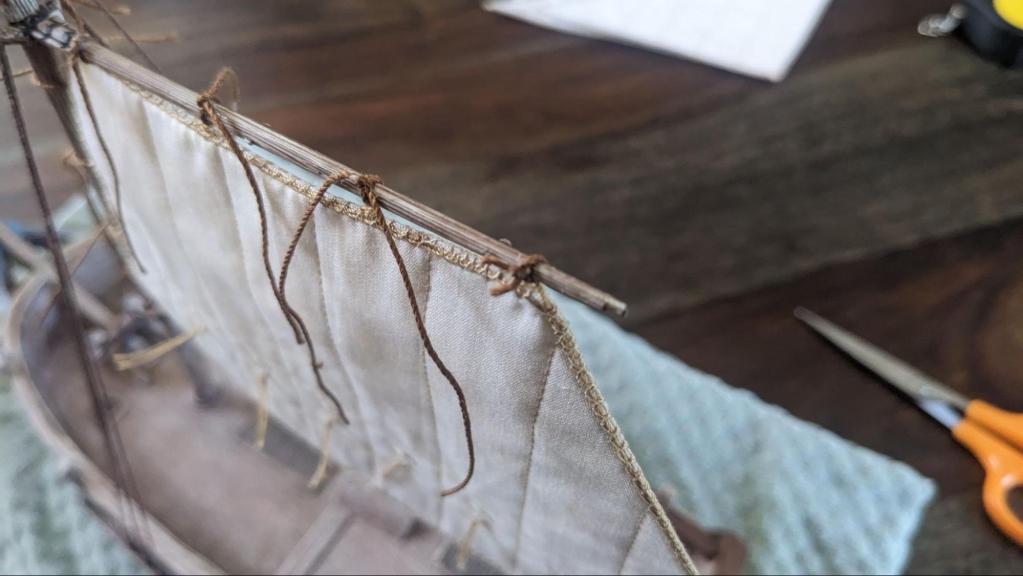
The gaff boom knot can be set up or down. After you glue it, trim the line.

Add extra glue to the mast knots to keep them in place on the mast.

Trim the knots on the mast after setting the glue.
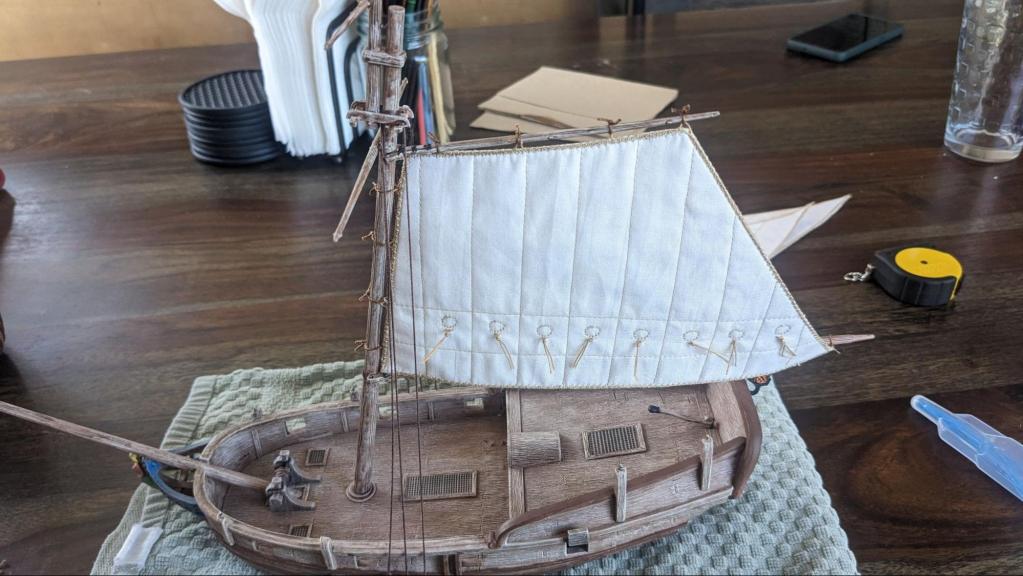
The Gaff Sail is now complete.
Step 3: The Top Sail
The next three sails use the same knot tying, gluing, and trimming techniques as the Gaff.
If your ship doesn’t have a Top Sail skip this step.
For the square top sail, thread all the top attachment points before attaching the sail. This is because handling the sail too much has a chance of loosening the knots.
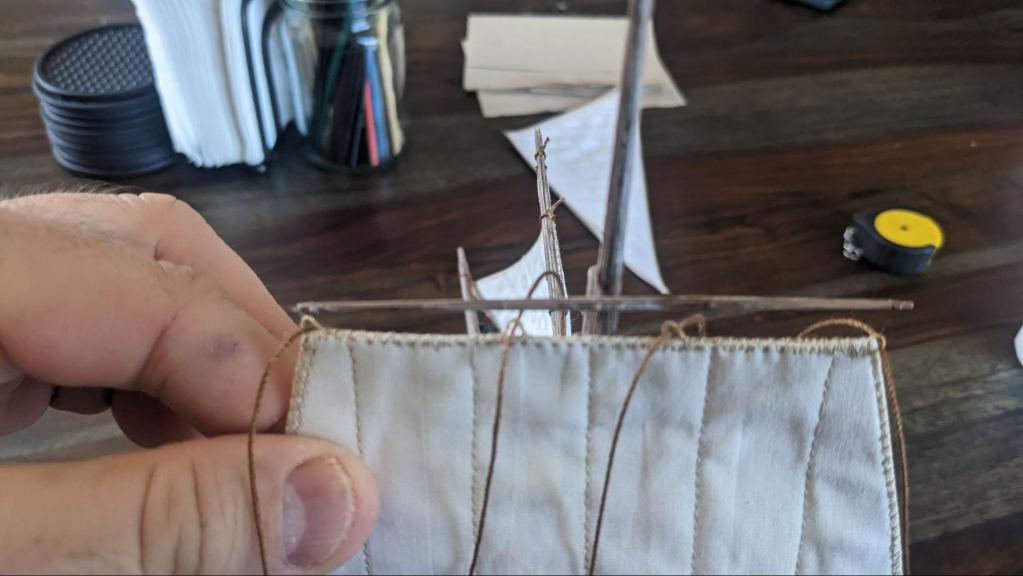
The Top Sail is also prone to slipping off the edge of the spar. Line up the Top Sail, and look at where you are going to put the sail.
Tie one of the middle attachment points first.

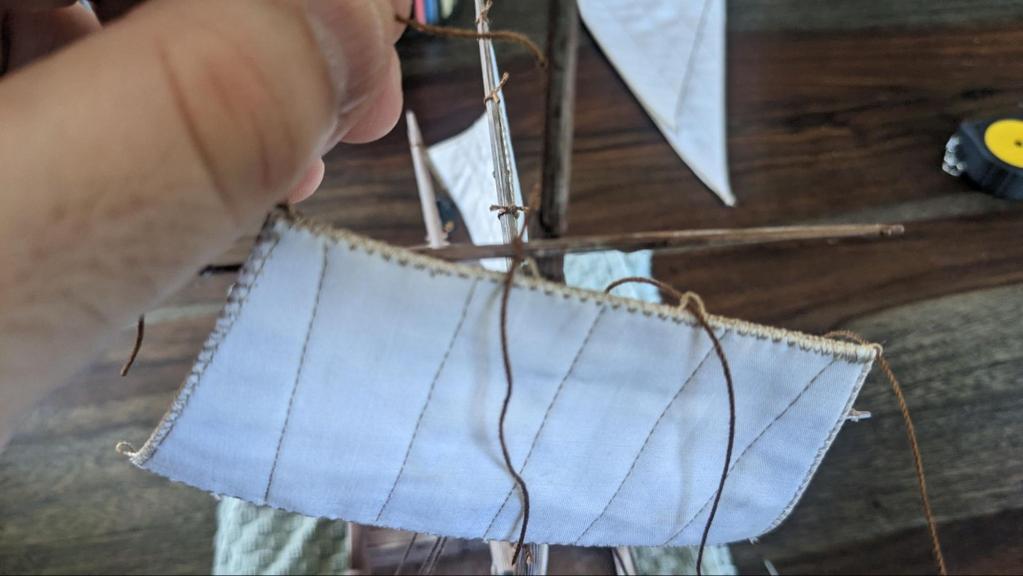
Then attach both of the middle attachment points.

Finish off the rest of the top attachment points and make sure they are secure.

Move on to the bottom attachment points next. The sail will curl a little bit.

Once the sail is on the spars glue and cut the lines. The Top Sail is now done.
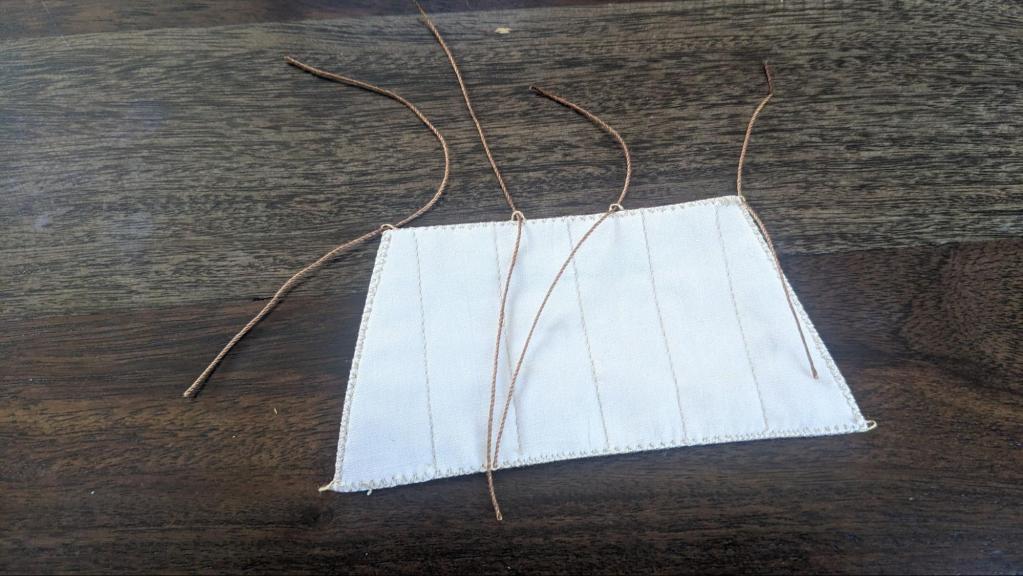
Step 4: The Stay Sail and the Jib
Thread the top attachment point of the Stay Sail.

Tie the Stay Sail to the Mast above the Gaff spar but below the cross tree (the horizontal planks that crown the mast). Then thread the font attachment point of the Stay Sail and tie it to the bowsprit, stretching it as far as you can, making the sail taut.
Thread the last attachment point on the Stay Sail. then stretch it to a channel of your choice and tie it in the same way you would to a spar. You can also tie a knot to the attachment point, and pull a single line to the channel.

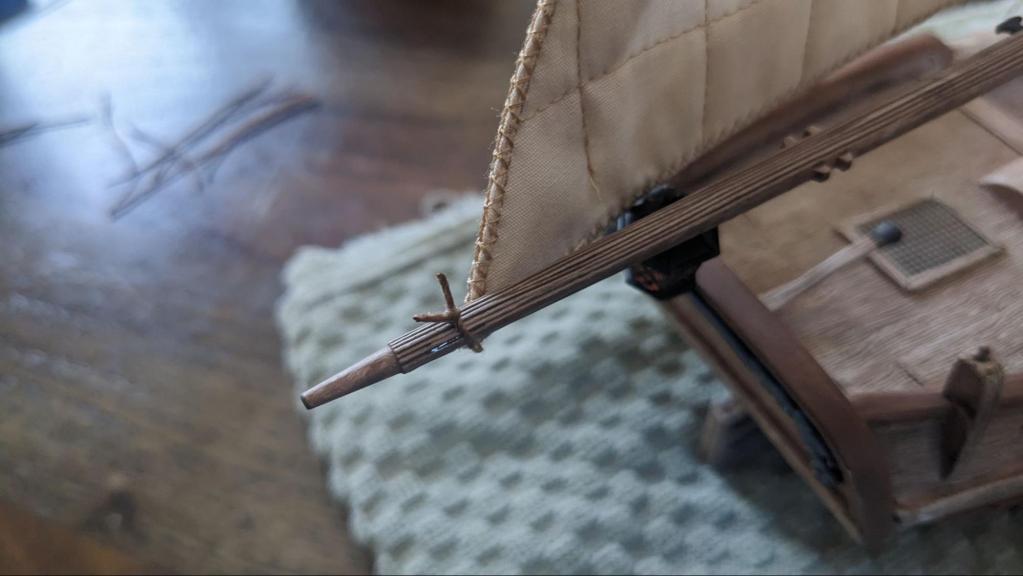
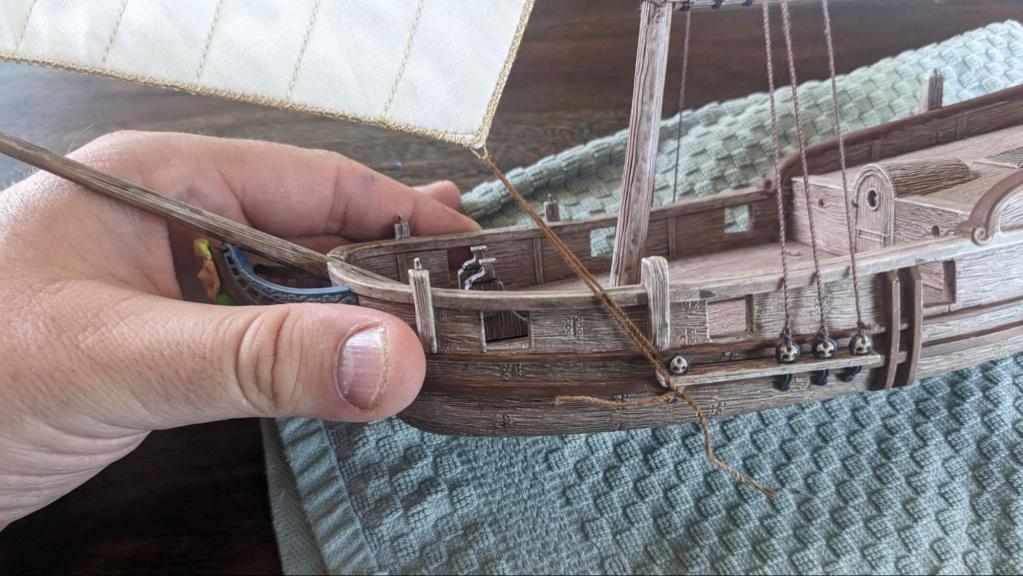
For the Jib, connect it to the flagstaff, above the Top Sail if your ship has one.
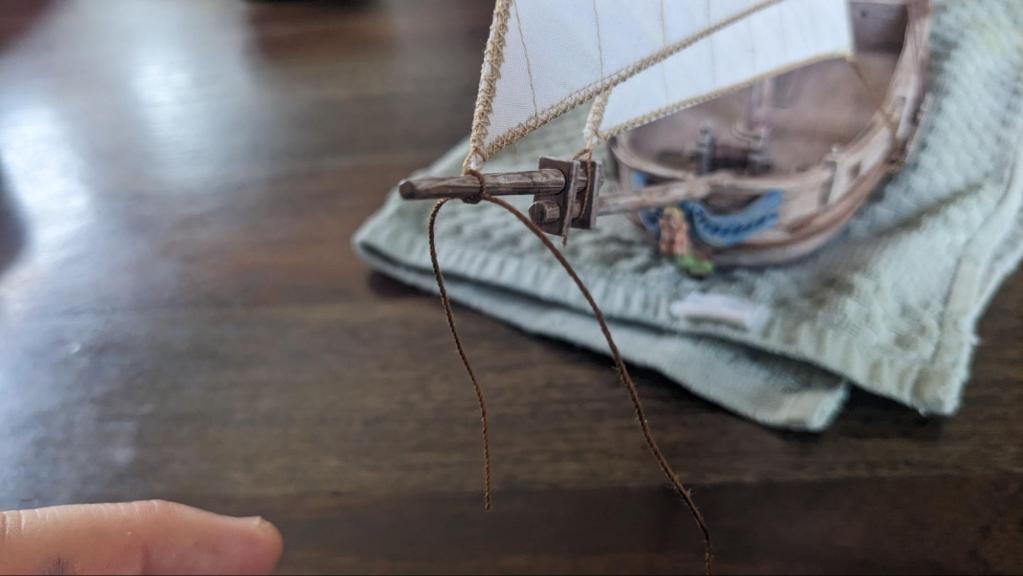
For Bermuda Sloops you will want to pull the Jib to the forward most spot on the extended bowsprit. These ships look great with oversized sails. If you are rigging the Balandra you can be more conservative with the Jib placement.

Tie the last corner of the Jib to the same place as the Stay Sail. The two foresails should be layered.
After that last knot, glue and trim all the knots on the Foresails.
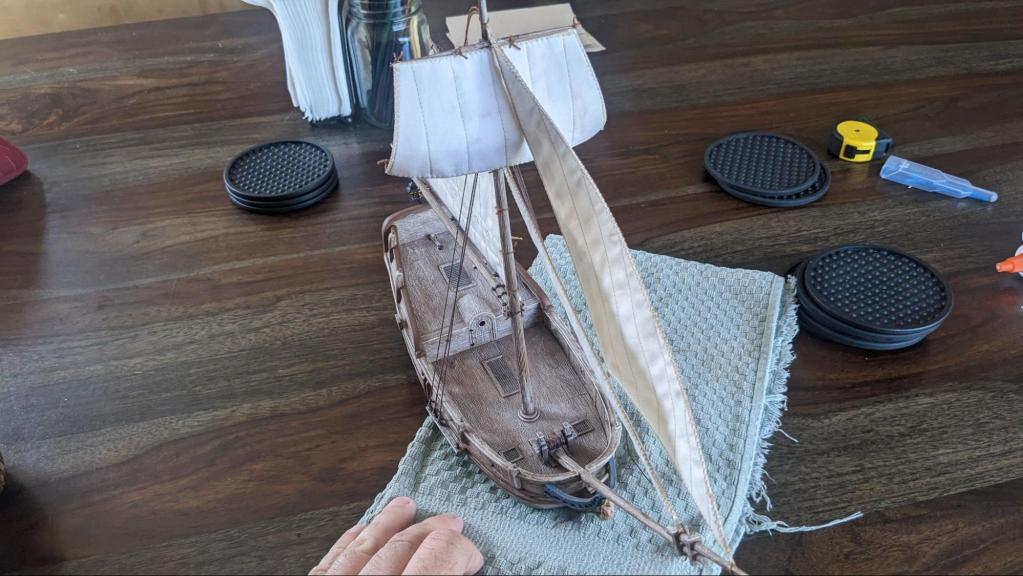
I like bending the Jib a little bit so it looks like it’s catching some wind.
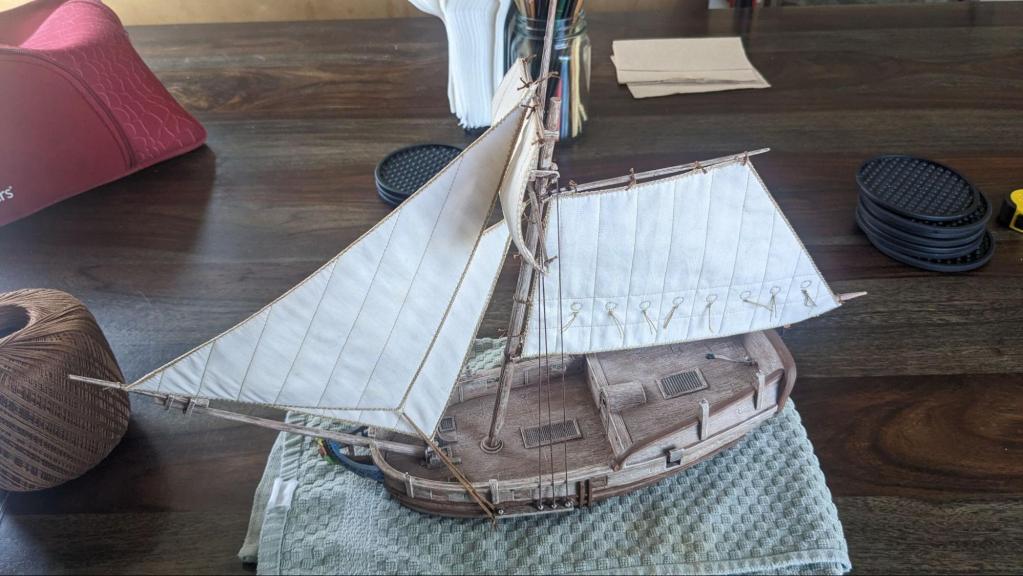
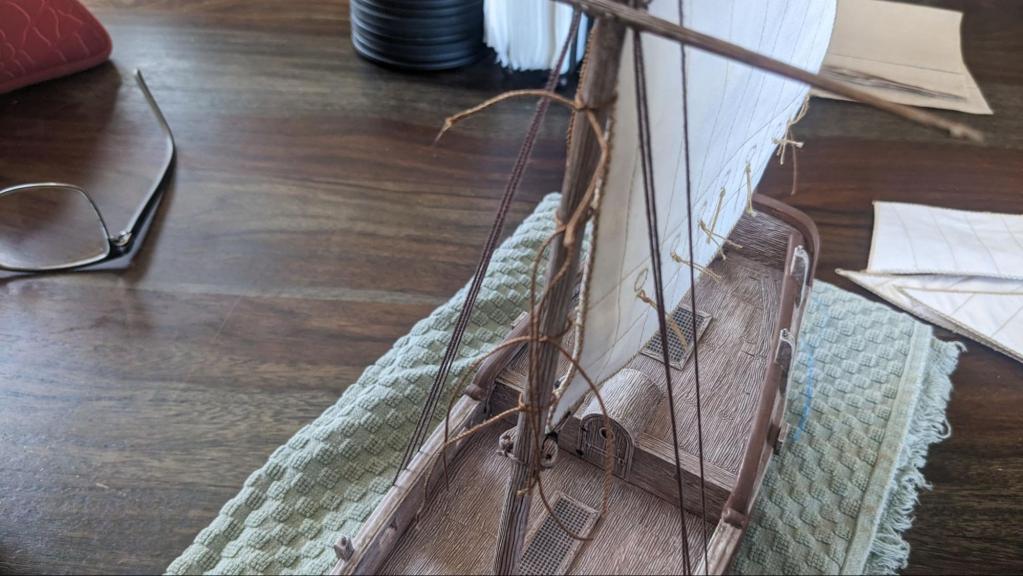
Conclusion
Your Sloop is now done!

Take a moment to admire the job you just did! Now that you have completed a Sloop you can use these same techniques on most types of sails you would want to attach to any ship.
Article and Ships by Guy Rheuark