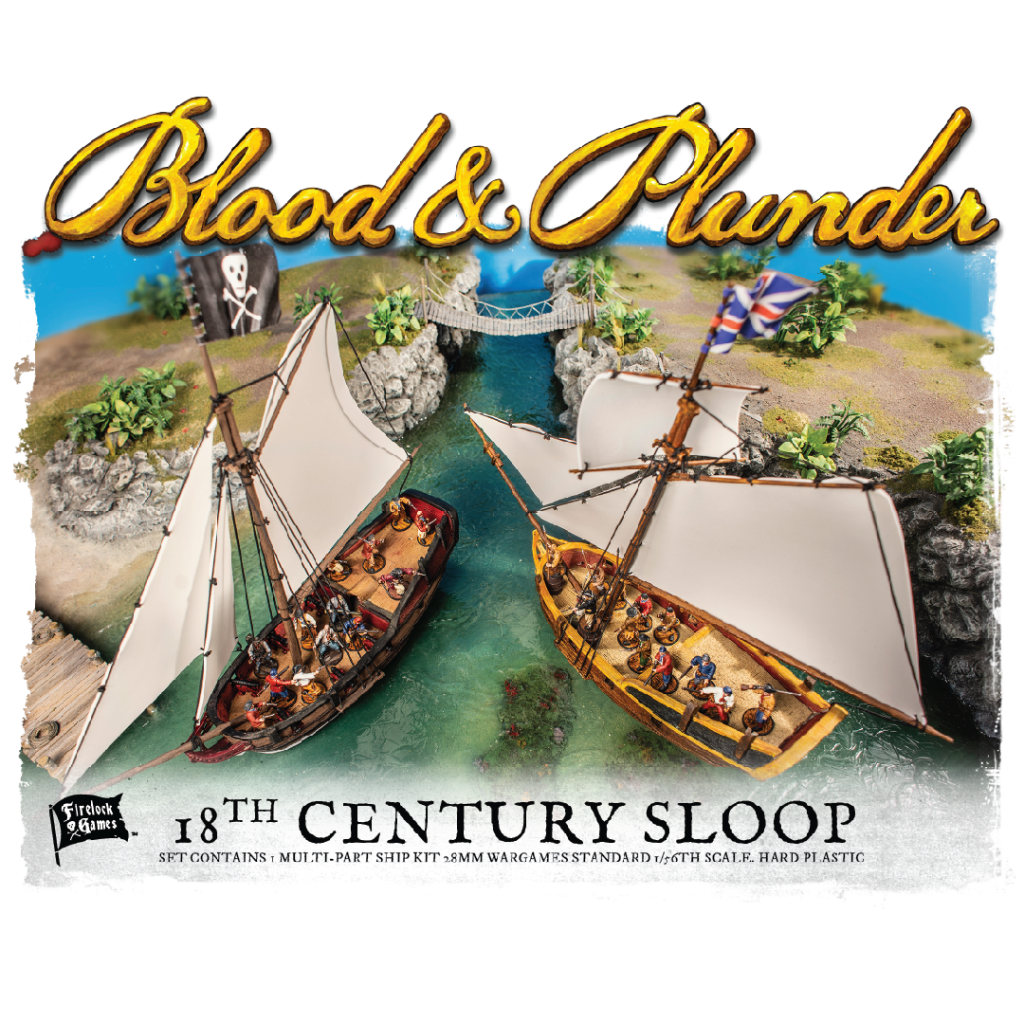
It always feels good to finish up a Blood & Plunder ship project. This particular project has been languishing for months but I finally finished painting and rigging the Bermuda Sloop from the Blood & Plunder Starter Set that was assembled in our instructional video on YouTube (which has become our most-watched video!).
In this post, we’ll look at the paint job on this Bermuda Sloop, give some details on colors and techniques used, check out the sails I used from Seamons’ Quality Sails, and provide a list of additional resources for building, painting, rigging, and playing the Bermuda Sloop in Blood & Plunder.
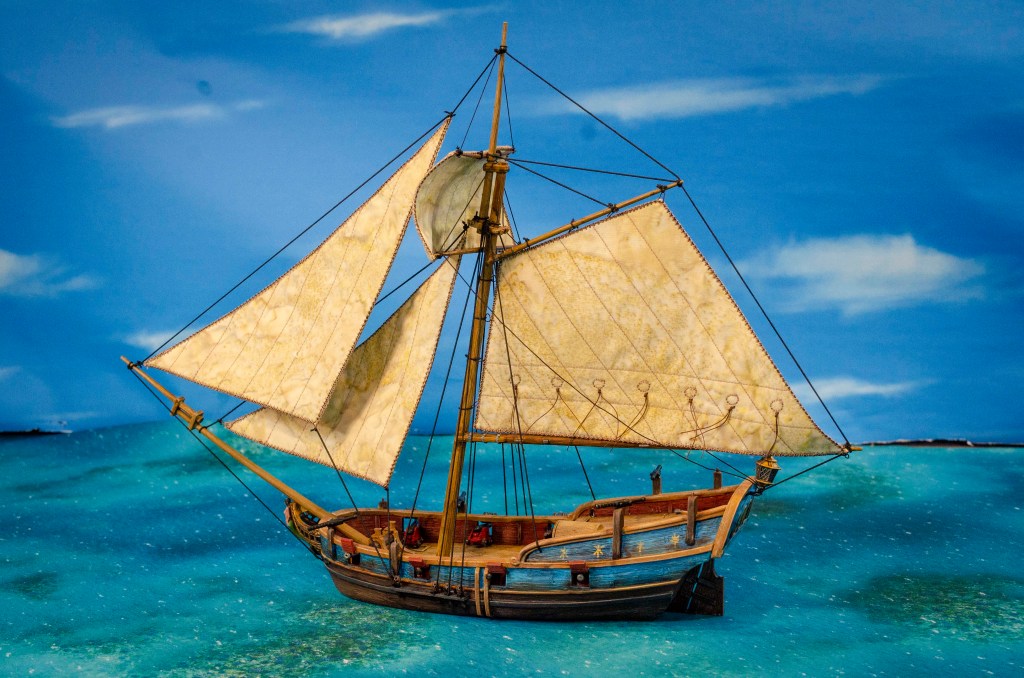
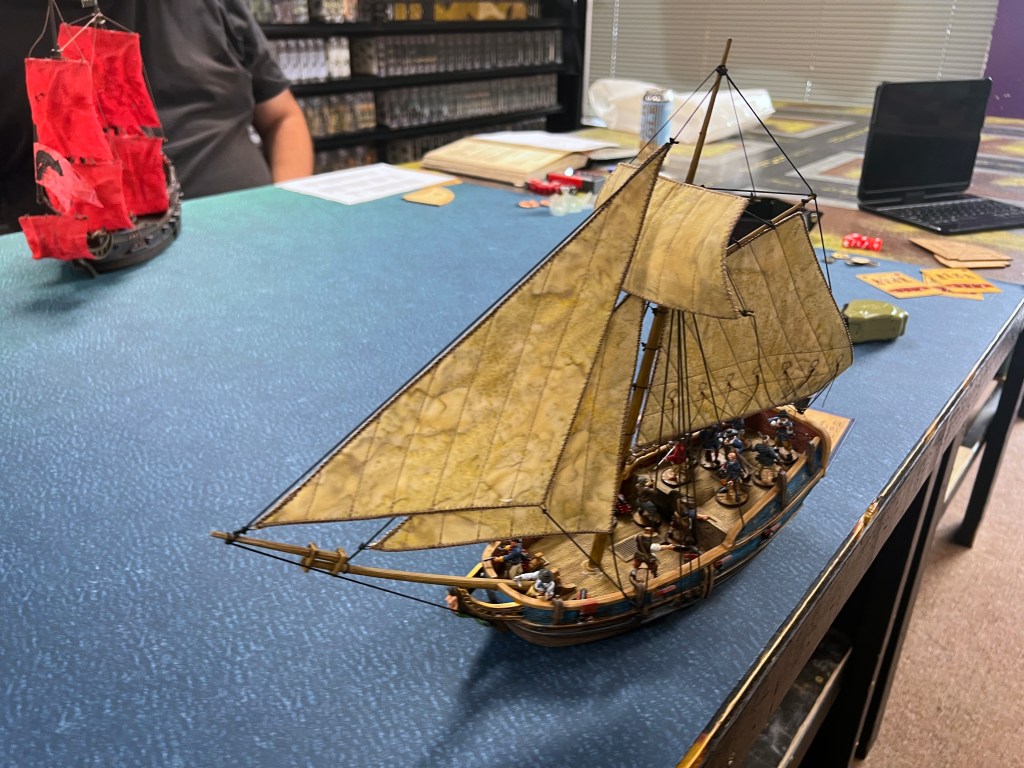
Blood & Plunder Bermuda Sloop
You have a couple of choices when you assemble the 18th century sloop kit. Let’s first look at the model options used here.
I made one small alteration by raising the angle of the gaff for the main sail just a little bit.

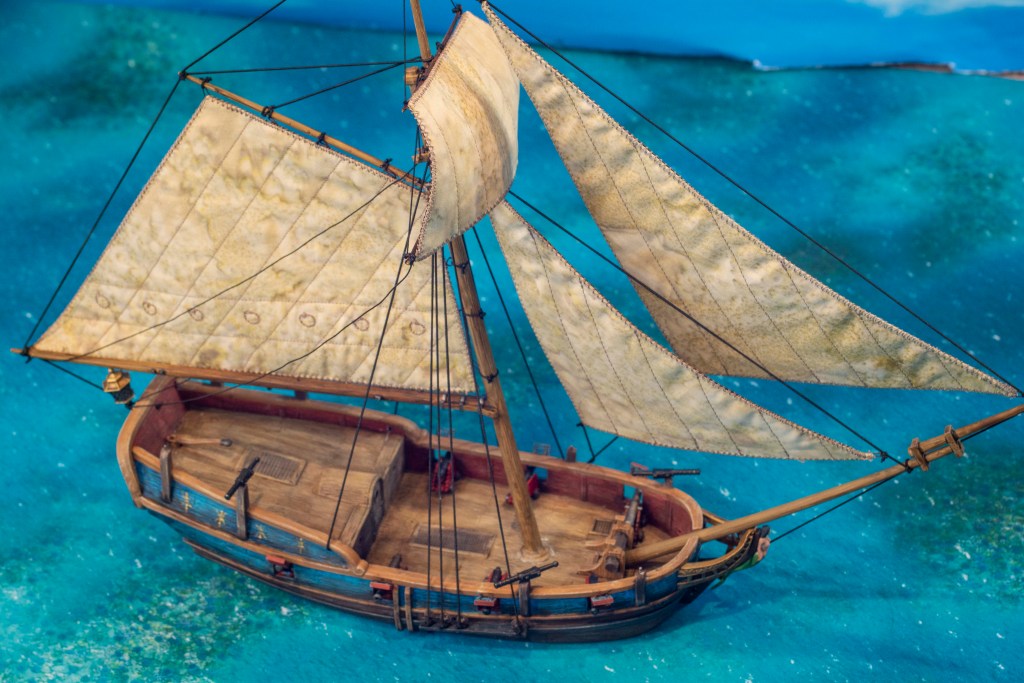
This build is the “Bermuda Sloop” version of the kit, as opposed to the Balandra version. I used the extended bowsprit, the spars for the topsail, and the fancier beakhead with the figurehead.

The figurehead featuring some color, but minimal detail. Lazy pirates.
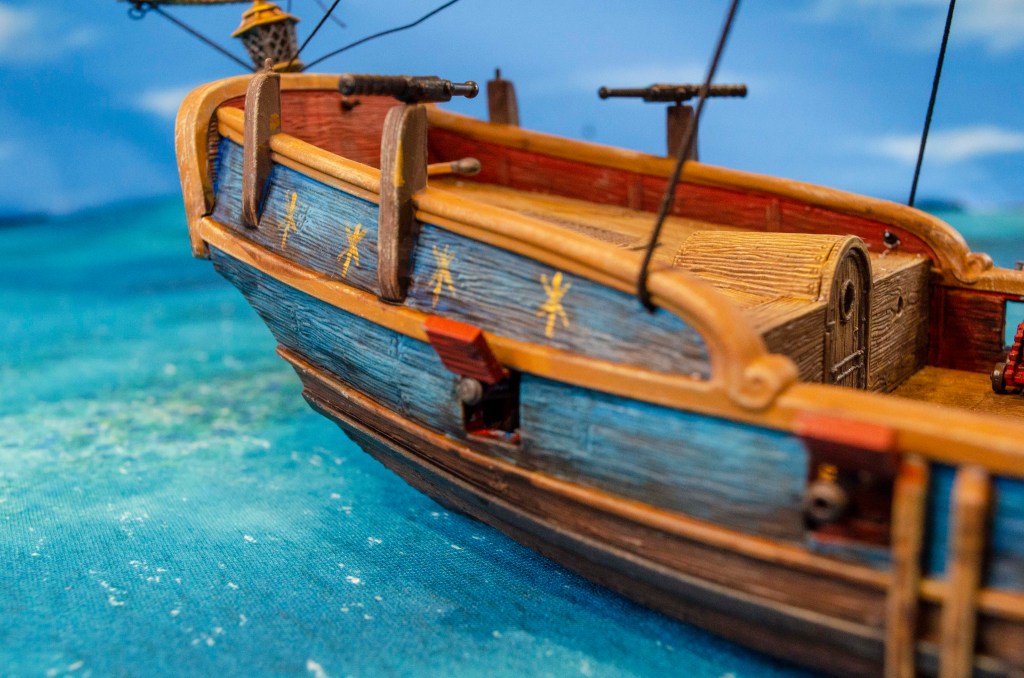
I chose to use the gun port hatches and the winch in the bow of the ship and the lantern on the stern. The only thing I left off was the optional bilge pumps.

And I chose to use the false windows on the stern of the ship rather than the nameplate.
Painting the Bermuda Sloop
This paint job is a little outlandish and outside my normal wheelhouse. I’ve painted a lot of ships in basic browns with one color accent and I decided it was time for a bit of a fancier ship.
I used this art plate of Black Bart’s Royal Fortune from the New Vanguard book on Pirate ships as inspiration.

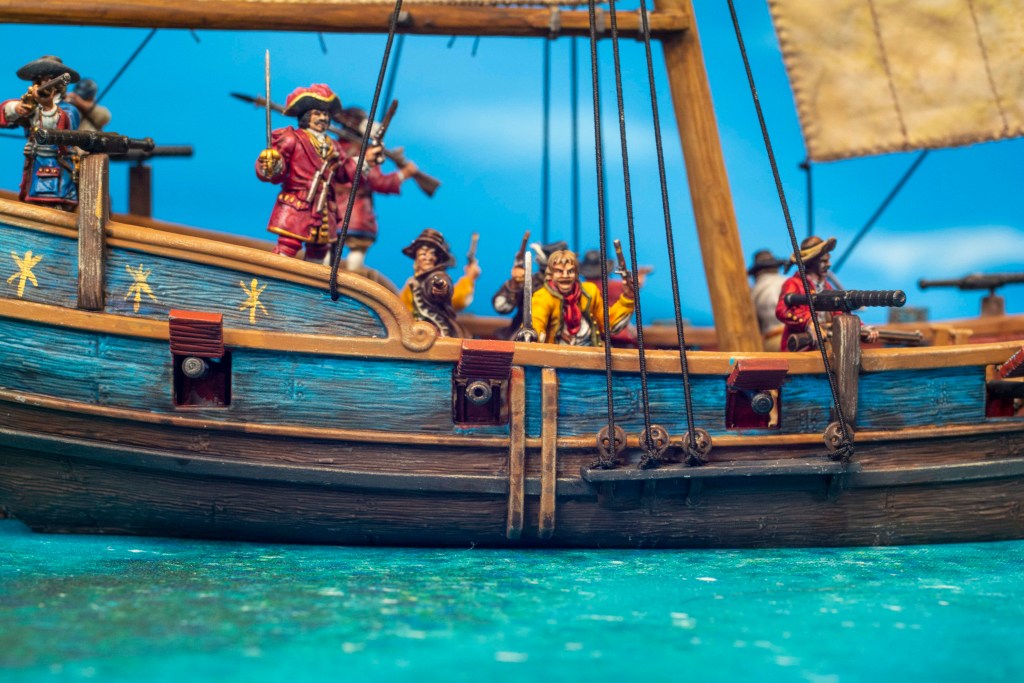
This is a much larger ship, but I stole the color scheme of blue, red, and gold over a plain wood hull.

I used a variety of painting methods, all in an effort to produce a decent result quickly.
Base Colors
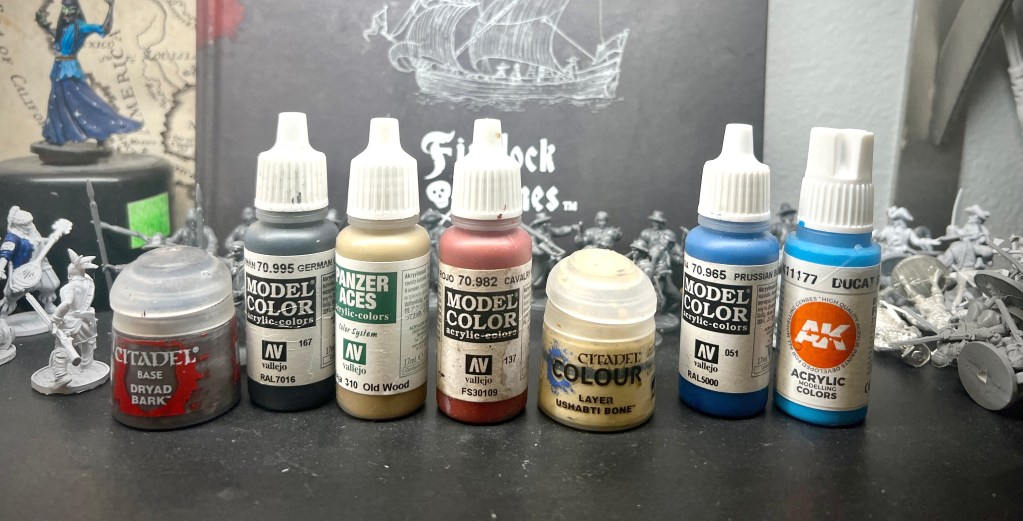
For my base colors, I used:
- Dryad Bark for the lower part of the hull
- German Grey on the horizontal strips and chainplates on the hull
- Old Wood for the decks, masts, and trim on the bulwarks
- Cavalry Brown (dark red) for the interior of bulwarks and gun hatches
- Ushabti Bone to drybrush all Old Wood portions
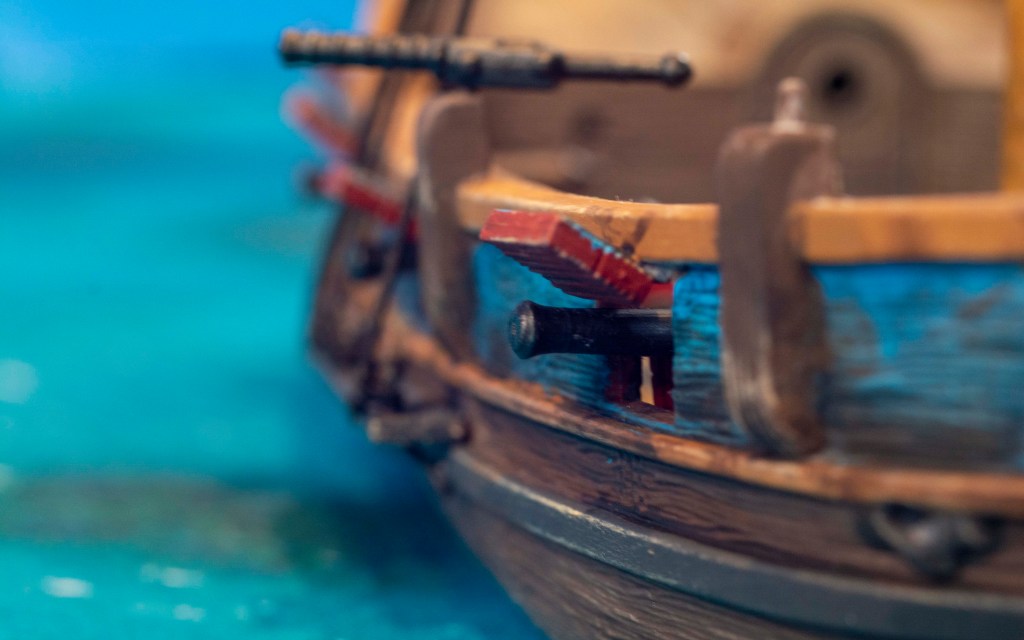
- Prussian Blue for the upper exterior of the hull
- Ducat Blue as a heavy drybrush over the Prussian Blue
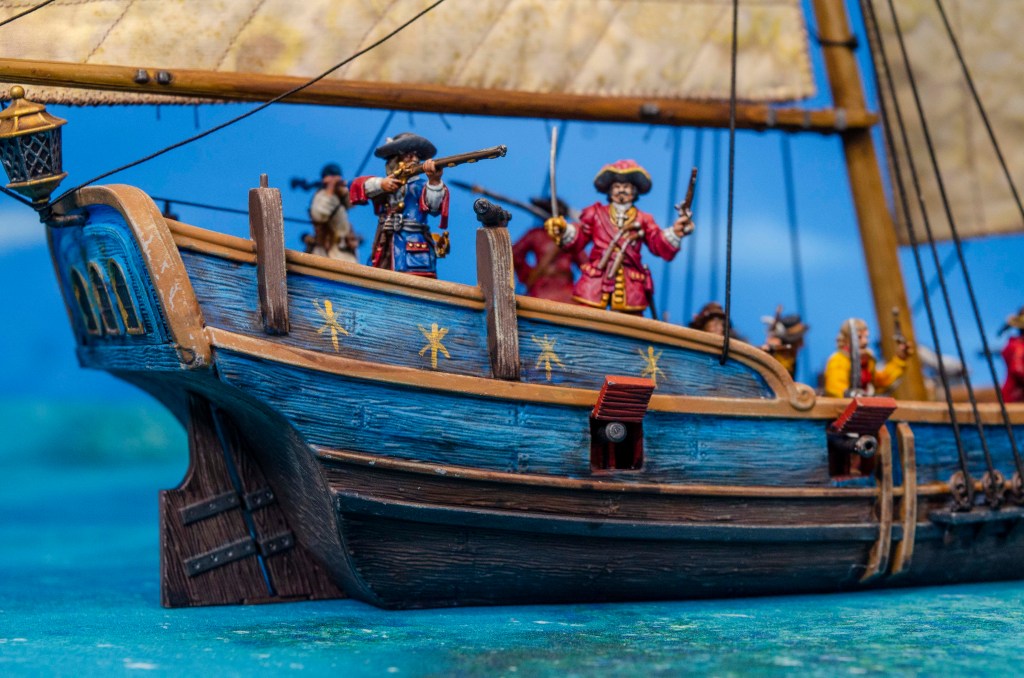
Additional accent colors include a Steel color for windows, rudder, and lantern, and a Brass/Gold for the “rudimentary star” ornaments on the hull, the beakhead, and lantern.
Washes
For washes I used GW’s Citadel line, employing their blue, red, and brown on most of the ship.

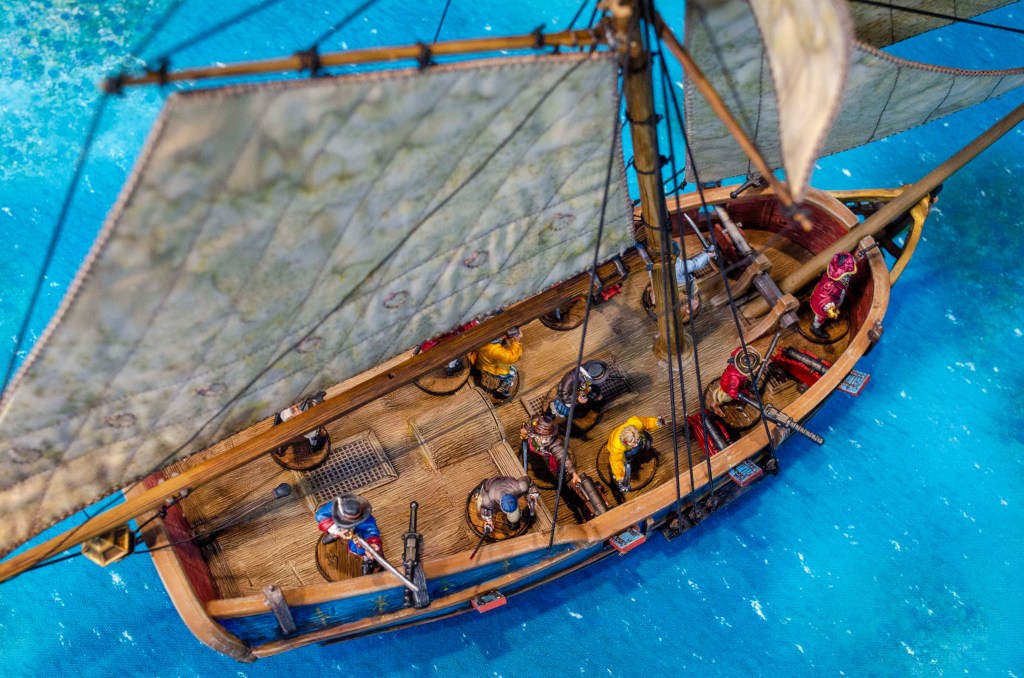
For these gratings I finally got smart and just painted it all German Grey, then drybrushed my wood color over the top. On the decking I went over the main areas with a couple different rounds of washes, using extra at the edges and where great guns would sit. I used some of the lighter brown contrast paints to pick out individual boards on the deck to provide some subtle variations (technique stolen from Tyler at Dead Man’s Chest), but my final drybrush helped blend things together nicely.

Weathering
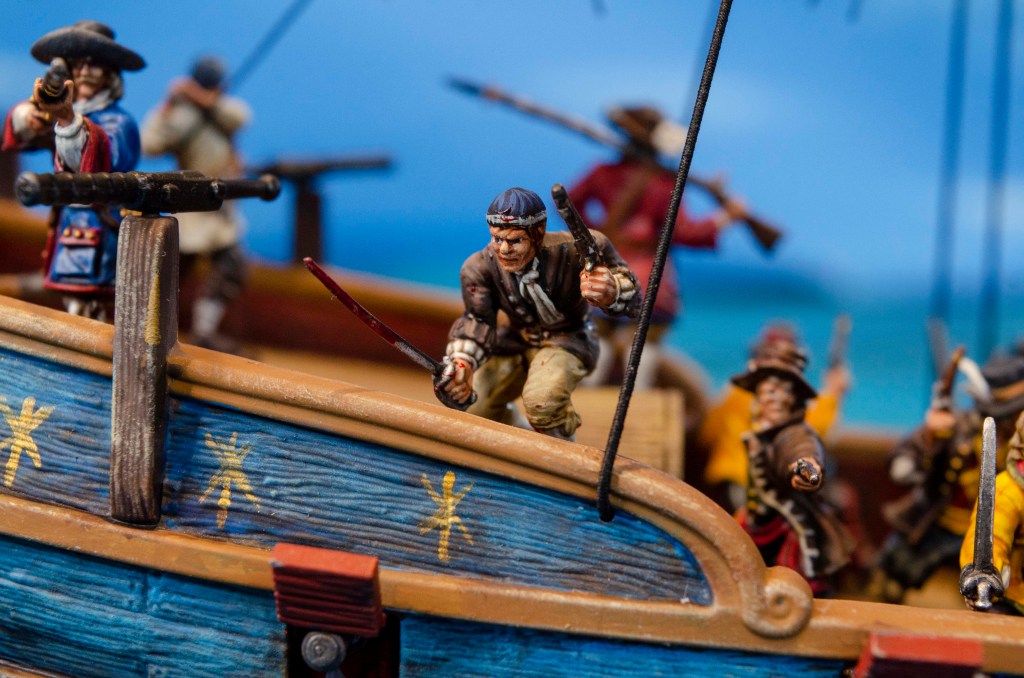
I employed some heavier but very basic weathering techniques on this model. After applying my base colors and basic washes, I did some patchy drybrush applications of a medium and light brown, especially targeting the blue exterior areas. I neatened up a little with the lighter shade of blue, then smoothed it out with brown washes, focusing on the lower parts of each section.
My goal was a semi-fancy paint job that had been neglected a little and become pretty dirty. Weathering is also pretty helpful in covering up flaws and messy spots!
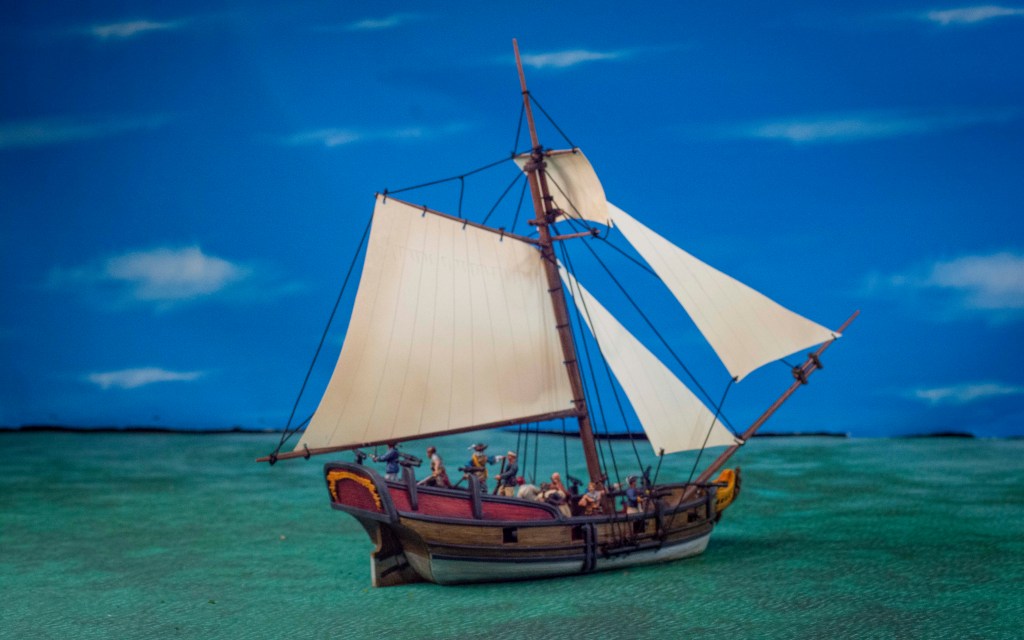
Sails for the Bermuda Sloop
For this ship, I purchased a set of Seamons’ Quality Sails. There are many options out there for purchasing or creating your own sails for your Blood & Plunder ship, and I chose to spoil myself this time! Mary Seamons, mother of our own author Guy Rheuark, is a legendary quilter and has labored to make some really fine cloth sails. You can read more about her sails and see more examples here.
Using two layers of cloth, plus a layer of shaping material in between, these cloth sails have some body to them without being puffy or hard to manage.
She offers a couple different materials and this set features the grubbier “harbor worn” style with some staining. I decided I prefer the whiter material, but the dirtier version actually works pretty well with this weathered paint job.

The reefing points are optional.
Rigging the Bermuda Sloop
The Sail Templates PDF in Firelock’s Downloads section has a basic rigging guide.
This rigging scheme is pretty basic and can be rigged up in less than an hour if your decent with string and knots.

I chose to add some more rigging, using images from Ian McLaughlin’s excellent book, The Sloop of War: 1650-1763.

I used mostly .8mm black elastic thread for all the rigging on this ship, with some thinner thread used for the loose portions.

Lennarth Petersson’s book, Rigging Period Fore-and-Aft Ships also has some really great detailed images that I used as inspiration.
This ship has about twice the rigging you actually need to keep the sails on. The extra backstays etc make it a little harder to get models in and out of the ship during a game, so proceed with caution. You should choose your own balance point of realism and functionality.

This rigging job probably took about 2.5 hours and used nothing but overhand and double overhand knots.
To secure the backstays and other various running lines, I simple drilled a small hole in the bulwark, threaded the elastic line through, tied a knot to stop it from coming out and trimmed it close to the knot.
Final Thoughts on the Bermuda Sloop
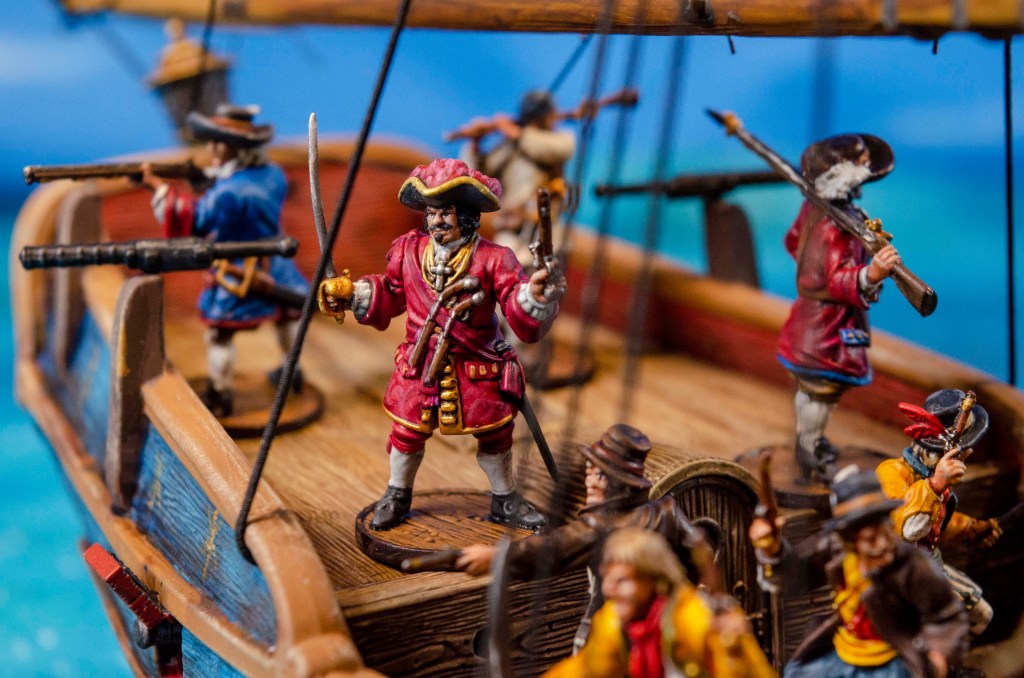
I’m thrilled to have a second plastic sloop painted and rigged and ready for my pirate crew. This Sloop kit has been a lot of fun to work with and I’m making plans to start a simpler, basic plain Balandra build for my next ship.

Blood & Plunder ships can be as big or small of projects as you like. For this project I chose to use quick and dirty painting methods, but spend a little more time on the rigging, mostly to stretch myself. Rigging is a huge world I don’t know a lot about but I’m picking up a little!
This plastic 18th century sloop kit is considerably more flexible than the original resin sloop and you can’t argue with the cheaper price point.

If you’ve picked up one of these sloops or have a couple from the Blackbeard vs Maynard 2 Player Starter Set, it’s time to bust out that kit and build it up! It’s a great hobby project and it’s a really great little ship for your sea games of Blood & Plunder. Below are a bunch of great resources that can further inspire you!
Additional Bermuda Sloop Resources
- 18th Century Bermuda Sloop Kit – $39
- Assembling 18th Century Sloop Video
- Blood & Plunder Sloop Painting Tutorial Video from OnTableTop
- Rigging a Blood & Plunder Brigantine Video
- Blood & Plunder Bark Painting Tutorial Video from The Plunder Den
- Collection of Painting Guide for Blood & Plunder
- Bermuda Sloop Overview Article
- Leopards of the Seas – Bermuda Sloops in the Golden Age of Piracy
Article and ship by Joseph Forster
Gorgeous work!
Pingback: Bermuda Sloop Ship Review Video - Blood & Pigment
Pingback: Blood and Plunder Ship Overview- The Barco Luengo - Blood & Pigment