There are many ways to build a force in Blood & Plunder. In this series, we’ve identified 6 different styles of forces people build for sea games and we’re going to look at each one individually. The 6 types of sea forces this series covers include:
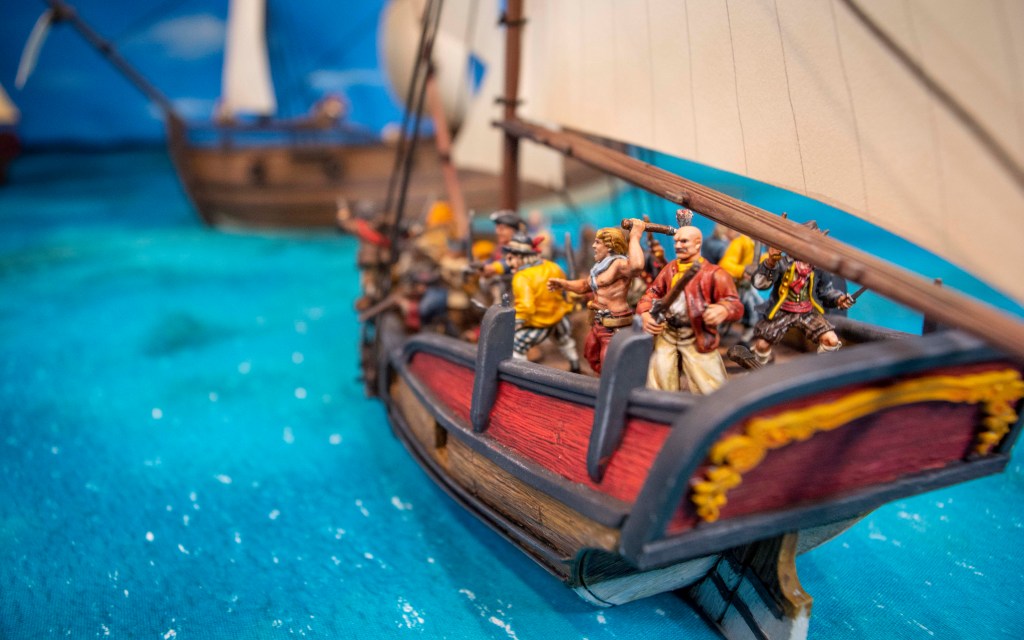
Fast Boarding Builds
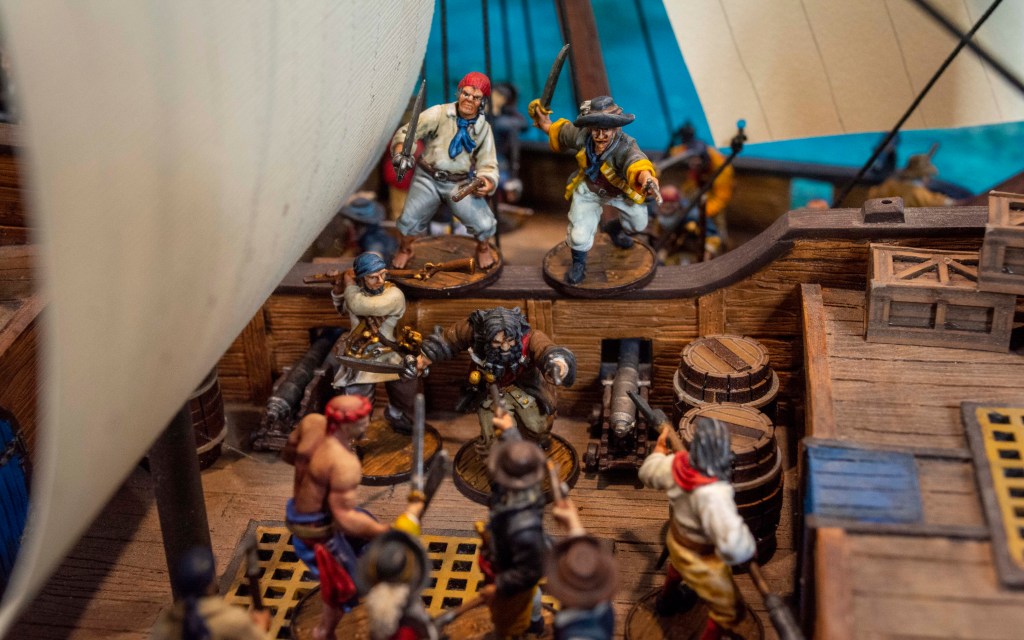
Nobody tell Joseph, but this is Dan and I’ve hijacked this article in our sea force building series! Boarding is a very “High Risk/High Reward” style of play! This is what I would consider the second most common way to play games of Blood and Plunder at sea.

Basic Elements of the Fast Boarding Build
With the advent of Raise the Black more tools were added to the Boarding playstyle, but there are still some common tenants an aspiring boarder should keep in mind:
- Fast and maneuverable ship – The sooner you can catch the enemy to board the better.
- High model count – You will take casualties as you close on the enemy so you need more bodies.
- Characters to provide flexible boarding options (e.g. Sharp-Eyed Lookout, Reformado, QuarterMasters, Officers, Grizzled Vets)
- No, or very few cannons – Cannons take a lot of points and models to man.
- Brace of Pistols on units – This lets you skip reloads and shoot faster at the close ranges used in boarding. It also helps in melee.
- Stink Pots on units (For me, this is mandatory – more on that later)
- Special Rules that facilitate boarding: Hard Chargers and Ruthless.
Fast Boarding Strengths
As mentioned before, boarding is very High Risk/High Reward. The advantage of boarding is that it can be played well at all point levels. It is also versatile enough to deal with opponents of multiple list types!
Is your opponent cowering behind those pesky guns? Sail creatively and deny them the ability to fire those guns and then chop their (usually) pistol-less crew to pieces!
Did your fore decide to bring lots of muskets? Use some Swivel Guns to lay on fatigue and suppress those guns!
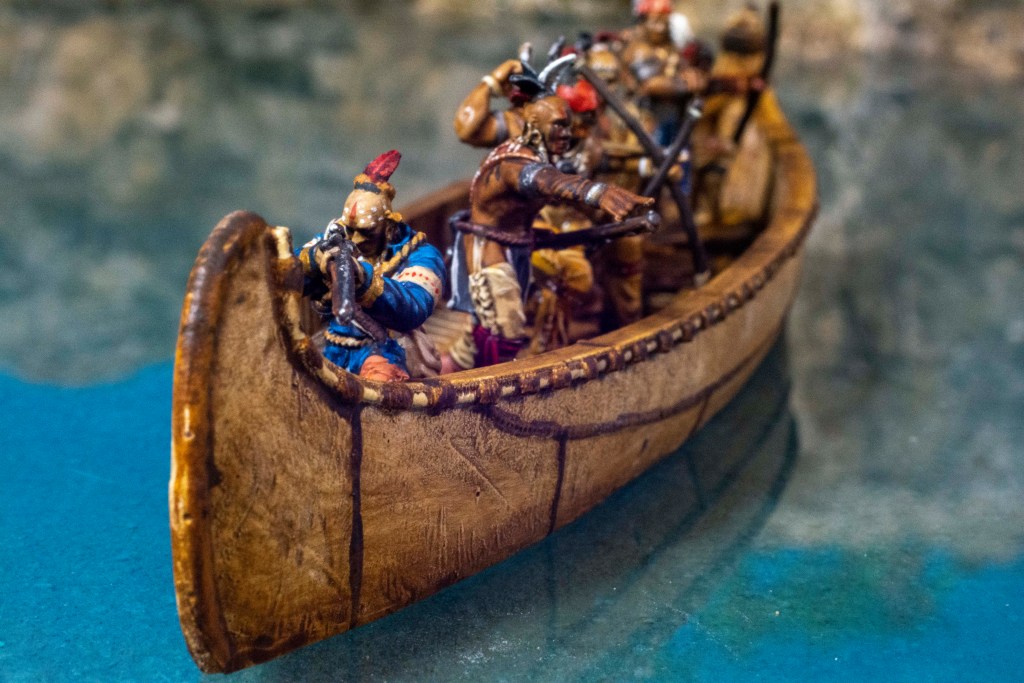
Did your local Native American Player bring lots of boats? Prioritize the boat containing the enemy’s Commander, and then mop up the rest (swivels also help here too!)!
Fast Boarding Weaknesses
Boarding is a bit trickier to play than Cannon Lists. Since the wonderful folks over at Firelock Games gave the Artillery Rules an update/upgrade, it makes positioning and seamanship very important. While your opponent can just sail in a straight line or start sailing downwind to expose their other broadside, you have to deploy creatively and try to predict where your opponent will move. If you miscalculate, chances are you’ll end up with lots of dead sailors and a few more holes in your ship than anticipated. If you start downwind, you’ll need to know how to sail upwind in order to get to your opponent. Since you’ll want to spend more points on a crew, you will have far fewer ranged options to respond to your opponent’s cannons as well.
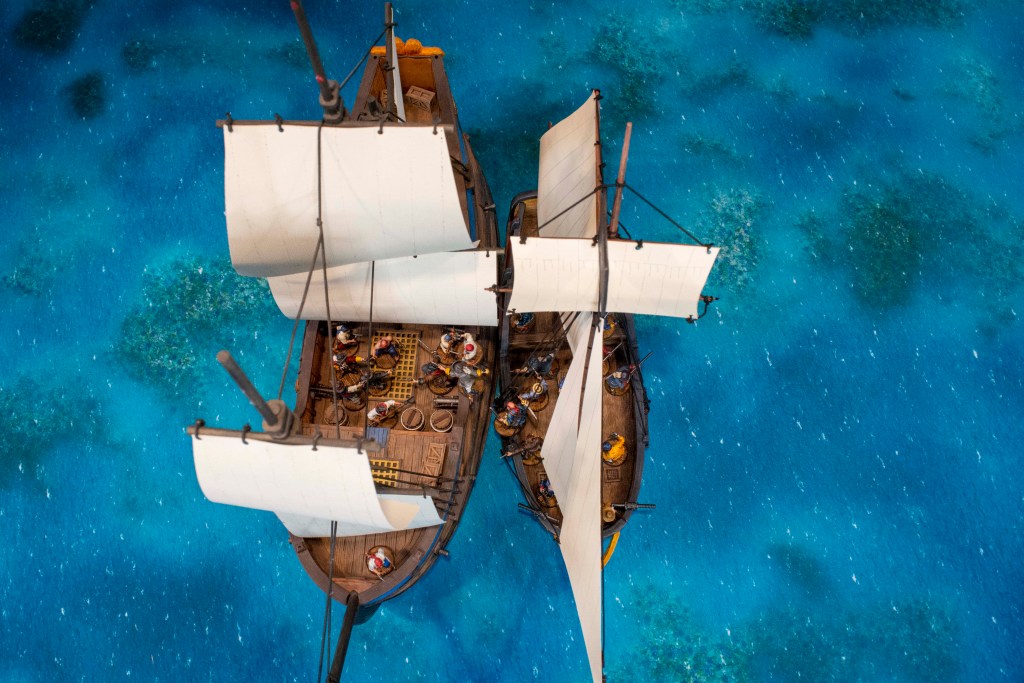
Common Ship Types for Boarding Builds
The type of ship you take for a Boarding List is crucial. You will need both speed and maneuverability to try and get within those crucial three inches needed to throw grapples.
In smaller games under 200 points, the Sloop, Corvette, Balandra, Bermuda Sloop, and Privateer Sloop are all great options. In these matches, you are unlikely to encounter larger ships due to their points cost. If you believe you are going to be the defender, the Tartana works as well. Like the Sloop, the Tartana, has a -0″ Windward Value, making sailing upwind easier.
At the 200-point+ mark, the Bermuda Sloop, Privateer Sloop, Tartana, and Corvette become risky as there’s a good chance your opponent can bring enough guns to deal massive damage as you close. The Light Frigate, Merchant Frigate, 6th Rate Frigate, Brigantine, Sloop of War, Privateer Brigantine, and Privateer Fluyt are better options. These ships offer good speed, durability, and solid options for swivels.
In my opinion, taking the Freshly Careened Hull Ship Upgrade released in the Raise the Black expansion is a must. This gives you 1 free movement at your ship’s highest sail setting (disregarding the Swift Special Rule or the Sailing Master Character) after deployment but before cards are drawn. That 4-5″ can make a big difference in getting closer to your opponent. Crafty players can also use this as part of a ruse to trick an opponent. If you deploy first you can set your ship at an angle that isn’t your intended path, misleading your opponent. Then with your free movement, you immediately use it to turn and set a new course
Boarding Strategies and Suggestions
- When building a Boarding List, it may be tempting to forego all ranged options in favor of more crew. DO NOT DO THIS! You will need to suppress the most dangerous deck on your opponent’s ship before you attack by inflicting Fatigue. Firing shots into a deck reduces the number of defenders making boarding easier. A ship with 4+ swivel guns in game 200 points or above can help even the odds as you close in. At least one unit with muskets is also helpful. If this unit can take bayonets, that’s a win-win, because you can shoot while you close and then fix bayonets in Melee.
- While at range, target your enemy’s cannon crews with swivels and muskets. If you inflict enough Fatigue that they become Shaken, they can’t fire their big guns. Also consider targeting an opponent’s particularly good melee unit waiting for you to reduce their numbers before Melee happens.
- Bring as many models as you can to help overcome your opponent once the pistols are firing and the swords are swinging. The 4-point sailor model for your favorite sea faction is a solid core boarders. They can also man the swivel guns until you get within grappling range.
- A dedicated boarding unit can be considered in mid to large-size games. The Enter Ploeg are a fine choice for this. In my opinion, they are the best boarding unit in the game point based on point value. Other options include: the Forlorn Hope, Les Enfant Perdue, Able Seamen, or Marins Basque.
- One or more of your units needs Stink Pots. While it takes two actions to throw safely, dropping a stinkpot onto the enemy deck will prevent any Defensive Fire if you were unable to stack two fatigue onto the unit before boarding. Keep in mind that if your opponent has multiple units on one deck, this makes it so none of their units can defensive fire.
- Firepots are universally good options across all kinds of opponents from Cannon Lists to Boat Lists. Fire causes an enemy to use actions to fight fires or risk damage to their ships or Fatigue on their units. If you get lucky when throwing Firepots and if you score enough hits they will start sinking if the fire spreads at the end of the round! It’s a long shot so I’d count this as a bonus and not a reliable strategy unless you give all your units Firepots.
Things to Avoid
- If your chosen ship has the option for Bow Chasers, ignore them. In my experience, they are not worth the effort or points. Historically they would be good for attacking while actually chasing your opponents down over long distances. For Blood & Plunder, games occur in 6 short turns where you have already closed on your opponent.
- Do your best to try not to deploy downwind. If you have to sail upwind toward your opponent you will be slower and it will take longer to close on your enemy. Consider spending four points on the Sharp-Eyed Lookout Character. This will allow a re-roll for your own die, or make your opponent re-roll theirs when determining the Attacker/Defender!
- You may be tempted to take Grenados, but I would only advise this if you *really* trust your dice and have units that can take explosives for every 4 models. Grenados can kill models more reliably than Firepots, but if a Firepot sets that deck on fire, you cannot use your pistols in close combat as this is considered a Shoot action.
- Don’t be too quick to remove pistols from models to go to standard Melee weapons only. Pistols can give you a quick shot before you charge if you think you can inflict enough Fatigue to make the enemy Shaken. They can be used for Defensive Attacks if your opponent manages to board you first. And if still loaded when you charge, they also give you a reroll on any dice when engaging in a Fight Action.
Strong Factions for Fast Boarding Builds
Faction Choice is important when planning to play a Boarding List. The main thing you will want to do is make sure you secure your role of attacker or defender. Most “aggressive” Factions will have a +2 or more to determine the role of the attacker, some even have a +4. To try and make absolutely sure of your role, you can either predetermine the attacker and defender with your opponent. From there, you want to make sure the Faction you’ve chosen has a core of sailors. If your favorite land Faction has a Force Option is to make sailors a Core Unit, that will be a huge help!

Faction rules that grant units abilities like Hard Chargers, Ruthless are excellent. Or factions that allow you to re-roll a Grapple Test are solid choices as well.
For easy reference, I’ve compiled a list for Premier Boarding Factions below (these aren’t in any kind of order). They are separated by nationality, and like with Cannon Lists, most Native American Factions will be discussed in the section under Boat Lists).
English
- British Privateers (RtB)
- English Pirate Hunters (NPBtL)
- New England Privateers (FotF)
- Maynard’s Pirate Hunters (RtB)
French
- Filibustiers De Graff (NPBtL)
- French Buccaneers (Core, NPBtL)
- French Canadian Privateers (FotF, RtB)
- French Privateers (RtB)
- French Royal Navy (NPBtL, RtB)
- Iberville’s Expeditionary Force (FotF)
Spanish
- Armada de Barlovento (NPBtL)
- Guarda Costas (Core, NPBtL, RtB)
- Juan Corso’s Corsairs (NPBtL)
- Los Corsarios de Pardal (Core, NPBtL)
- Ostend Privateers (NPBtL)
- Pargo’s Marineros (RtB)
- Spanish Armada (RtB)
- Spanish Corsairs (NPBtL)
Dutch
- Dutch Marine (RtB)
- Dutch Navy (NPBtL)
- Dutch Privateers (NPBtL)
- Heyn’s Commissievaarders (NPBtL)
Pirates
- Blackbeard’s Men (RtB)
- Caesar’s Men (RtB)
- Golden Age Pirates (RtB)
- The Flying Gang (RtB)
- Brethren of the Coast (Core, NPBtL)
- Pirates (NPBtL)
- The Last Buccaneers (RtB)
Native Americans
- Wabanaki (FotF, RtB)
- Iroquois (FotF, RtB)
- Northeastern Woodland Tribes (FotF, RtB)
Core = Core Rules; FotF = FIre on the Frontier; NPBtL = No Peace Beyond the Line; RtB = Raise the Black;
Strong Commanders for Fast Boarding Lists
When choosing a Commander for a Boarding List, there are a few key things to look out for. First off you want a decent command range so you can command several units to board simultaneously if possible. The second thing to look for are rules like Cold Blooded, Bold, Elan, Inspiring, Very Inspiring, and Aggressive Commander. You will want Inspiring or Very Inspiring to help manage fatigue. Nothing destroys a good boarding action like getting chased back to your own ship and being forced to spend a turn Rallying!
Medium Cost (11-25)
- Blas Miguel (25)
- Robert Searle (25)
- Experienced Southern Tribes (15)
- Captain Tabary (25)
- Charles Vane (18)
- Black Caesar (22)
- Any Experienced Standard Commander with good boarding rules.
High Cost (26+)
- Juan Corso (35)
- Pierre Lemoyne d’Iberville (30)
- Piet Heyn (40)
- King Golden Cap (34)
- Blackbeard (32)
- Woodes Rogers (32)
- Caesar of Echota (26)
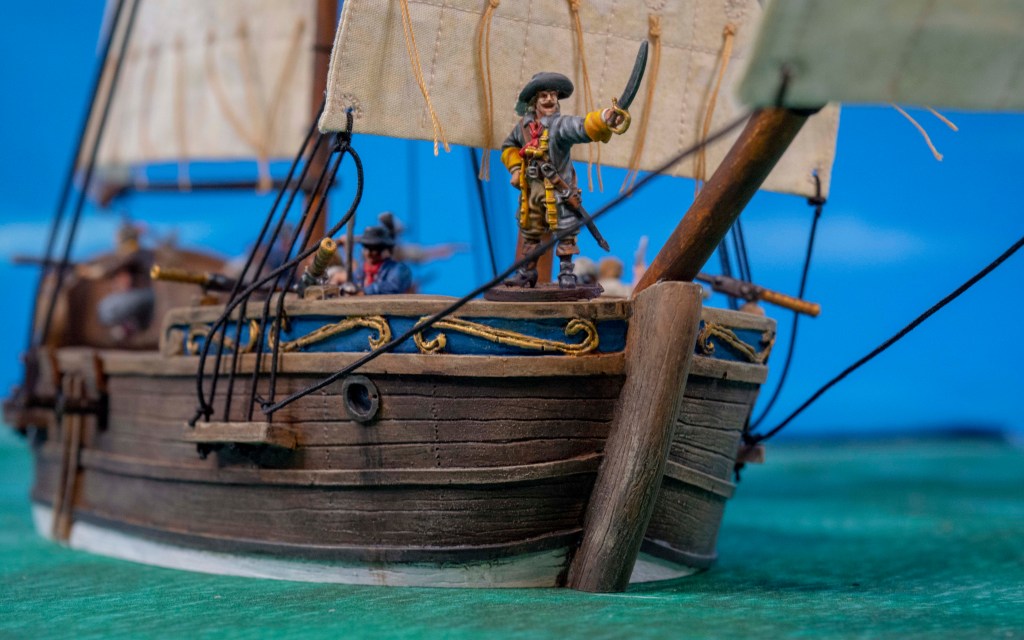
Examples of Fast Boarding Forces
Dutch Boarding Brig

This list is for non-pirate nations where the standard sailor unit is 4 point each. This privateer brigantine has the Freshly Careened Hull Upgrade for a free move after deployment and is speed 5 when Large so long as there is a unit assigned to the sheets and shrouds. Pick the unit of Zeeliden with no pistols to handle this requirement. The European Sailors with Muskets and a Sharpshooter are meant to go on the front of the ship, where you would use them to try and suppress any swivels while moving in.
The goal is to fly in while taking as few casualties as possible. The Commander should have Cold-Blooded to help your charging units once you board. The Reformado will also help you get an extra Grapple throw if you fail the first time. The unit of Zeeliden without pistols may seem odd, but serve as a block of men you can charge with, and while they don’t have pistols, hitting on 5s due to Hard Chargers and possibly 4s when the Commander uses Cold-Blooded on them to charge a unit with more fatigue can be devastating.
Flying Gang Boarding Balandra
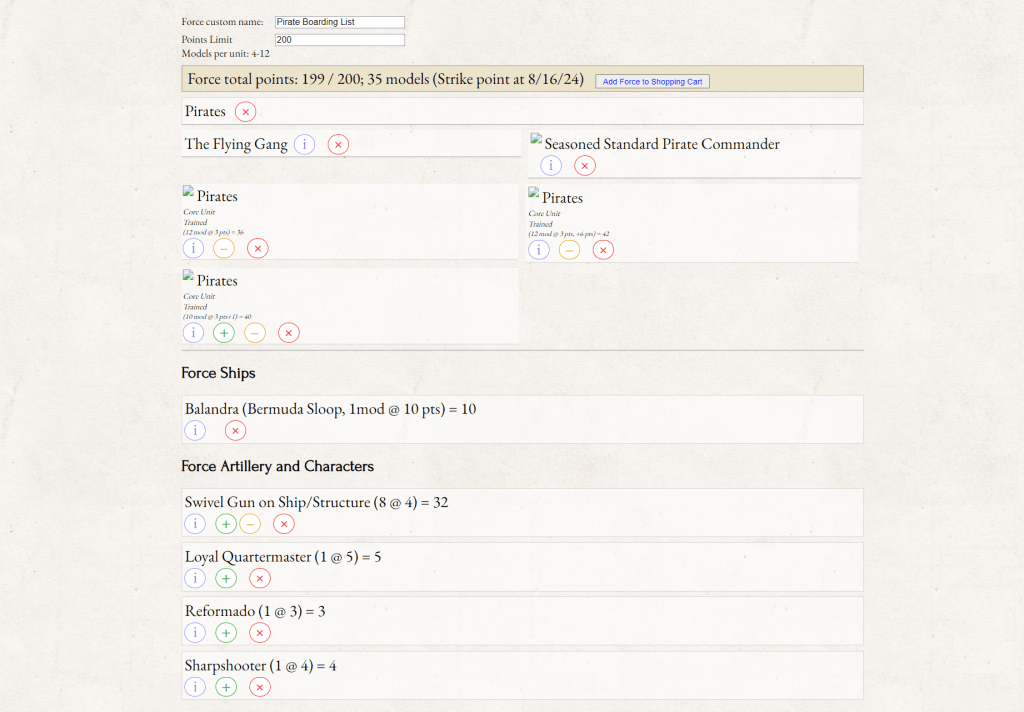
For the Pirate Nationality, they have a distinct advantage in numbers because the standard Pirate model is 3 points. This allows for more creativity with list-building! The Commander has Broadside! and Lucky in order to maximize the effectiveness of the 8 Swivel Gun broadside that should soften up your opponent before getting into close action, and Lucky will help if your Fortune Coins aren’t doing so hot.
I chose a Balandra because the Flying Gang aren’t always a guarantee to be the attacker since they have no bonus to the dice roll. This means you need to be able to take a ship that can sail upwind. The Balandra also has the same fortitude as the Sloop but has more swivels to soften things up before you board.
I maxed out the ship capacity as much as I could at 36 models to help keep my model count high. A Loyal Quartermaster and a Reformado character help get additional Grapple Tests. A Sharpshooter can help the Pirates with Buccaneer Guns hit as you close in.
If you are unlucky enough to be the Defender, try to deploy Windward and catch your opponent upwind while making sure to choose a deck to focus your fire on. The main thing to remember is to hop off your swivels before you Grapple board to use as many actions to attack as possible! It only costs 1 Action to hop off so it’s often wise to unleash a final deadly broadside of 24 dice and then take a single action to un-assign rather than reload.
Fast Boarding and the 5 Core Scenarios
Author’s Note: I will mainly be talking about these scenarios using ships. If you bring a boarding list full of boats, the wind matters less and opens up more shenanigans like moving directly upwind as the Defender. Please note this when reading these breakdowns and adjust your strategy accordingly!
- Breakthrough: Boarding lists are made to be the Attacker in this scenario. A fast ship will be able to close quickly and allow you to grapple and board with ease. You should be able to get within 8″ of your opponent’s ship by turn 3 or 4, especially if you take Freshly Careened Hull for that free move after deployment. If you roll terrible and are the defender, your only hope is to close and make your opponent strike through casualties. You could always just use your speed and sail downwind, but that essentially makes the game boring and ends it before it begins (and is not a good way to make friends or retain players!)
- Raid: The deployment for this scenario is almost exactly the same for Breakthrough, just with the defender getting 2″ instead of 6. This is essentially a rinse and repeat for the Attacker; use Freshly Careened Hull for that free move after deployment, and close quickly using swivels and/or muskets to soften up a deck to board and take the opponent’s ship. For the Defender, use those same Muskets and/or Swivels to soften up the Attacker. If you brought a ship with a Windward Value on 0, sail upwind and take pot shots until you’re ready to turn the tables on the Attacker.
- Control the Field: The deployment for Control the Field is the same for Breakthrough, the only difference is that the Defender’s Board Edge is impassible. For the Attacker, you have two waves to tackle this scenario: Stay upwind and pelt the Defender with swivels and muskets and board, or just throw caution to the wind and close quickly and chop heads. For the Defender, the best Strategy is to mimic what I mentioned in the Raid Section: Maneuver upwind of your opponent while taking the mightiest of pot shots, then, once you are upwind, close and finish the job with cutlasses, pistols, and explosives!
- Take and Hold: This scenario can be a bit tricky. It has both Attacker and Defender deploying parallel to each other, with the wind going parallel as well. This scenario favors those who wish to hide behind their wooden hulls and deal damage from afar. However, you are made a stronger stuff, and will need to be tricky to overcome this cowardly tactic! Your opponent on turn 1 whether you’re the attacker or defender will be rolling 7s to hit you with cannons, and 10s to hit you with muskets (special characters and rules like strict will modify this!). The trick here is to let your opponent waste their turn firing and then turn towards them, using the Wearing Advanced Maneuver to get an extra inch on your turns, and try to cut in behind them. This will force your foe to take one of two actions: they will either turn towards you to maximize their broadsides, or keep moving forward since the wind in this scenario doesn’t facilitate Tacking to present another broadside. If your foe turns towards you (even if they do it on turn 1!) Try to stay in front of their bow as you close. Make them work hard to present those guns while you once again pepper them with shot from swivels and/or muskets. Once you’ve softened ’em up, close and make your sailors work for a living! This works for both the Attacker and the Defender in this scenario. Freshly Careened Hull is optional here as well, as that movement may dictate what your opponent decides to do. Try and predict how they will move to assure victory.
- Encounter: Encounter is a Boarding List’s bread and butter. Deployment has both Attacker and Defender facing towards each other and the wind is blowing across both ships. If you are playing with a 6th Rate Frigate, take the Freshly Careened Hull and claim that extra 5″ movement, as moving up to 20″ before turn 2 will allow you to get close, regardless of what your opponent has planned. The Defender will have to move to present guns if they want to try and hit you before you board, or they will sail straight and try to get you with a full broadside. You will need to plan accordingly. Let your opponent move first and see where they go. If your ship ahs bow chasers, utilize them and try to weaken up the front deck and board from there if possible. Ships with a Windward Value of 0 will allow for more maneuverability, and to possibly never present a target for cannon lists. This works even better if you are the Defender, as you can move downwind with impunity (The Sharp-eyed lookout character can help with this) and with less fancy maneuvering.
Article by Dan
Additional Content Suggestions
Product Recommendation
- 18th Century Sloop Kit (Can build the Bermuda Sloop or the Balandra)
- Blackbeard Vs. Maynard 2-Player Starter Kit
Pingback: Small Arms - Blood & Plunder Sea Tactics Pt 3 - Blood & Pigment
Pingback: Great Guns - Blood & Plunder Sea Force Building Part 1
Pingback: Adepticon 2023 Blood & Plunder Tournament Report
Pingback: Low Profile Boats - Blood & Plunder Sea Tactics Pt 4
Pingback: 18th Century Bermuda Sloop - Blood & Plunder Ship Overview
Pingback: Swivel Mania - Blood & Plunder Sea Tactics Pt 5 - Blood & Pigment
Pingback: Balanced Sea Forces - Blood & Plunder Sea Tactics Pt 6 - Blood & Pigment
Pingback: "Pirate Flame Throwers" Firepot Tournament Force - AdeptiCon '24
Pingback: 6th Rate Frigate - Blood & Plunder Ship Overview - Blood & Pigment
Pingback: 2025 Adepticon Sea Tournament - Blood & Pigment
Pingback: Boarding Actions & Climbing - You're Doing it Wrong! (maybe)