By Dan Carlson
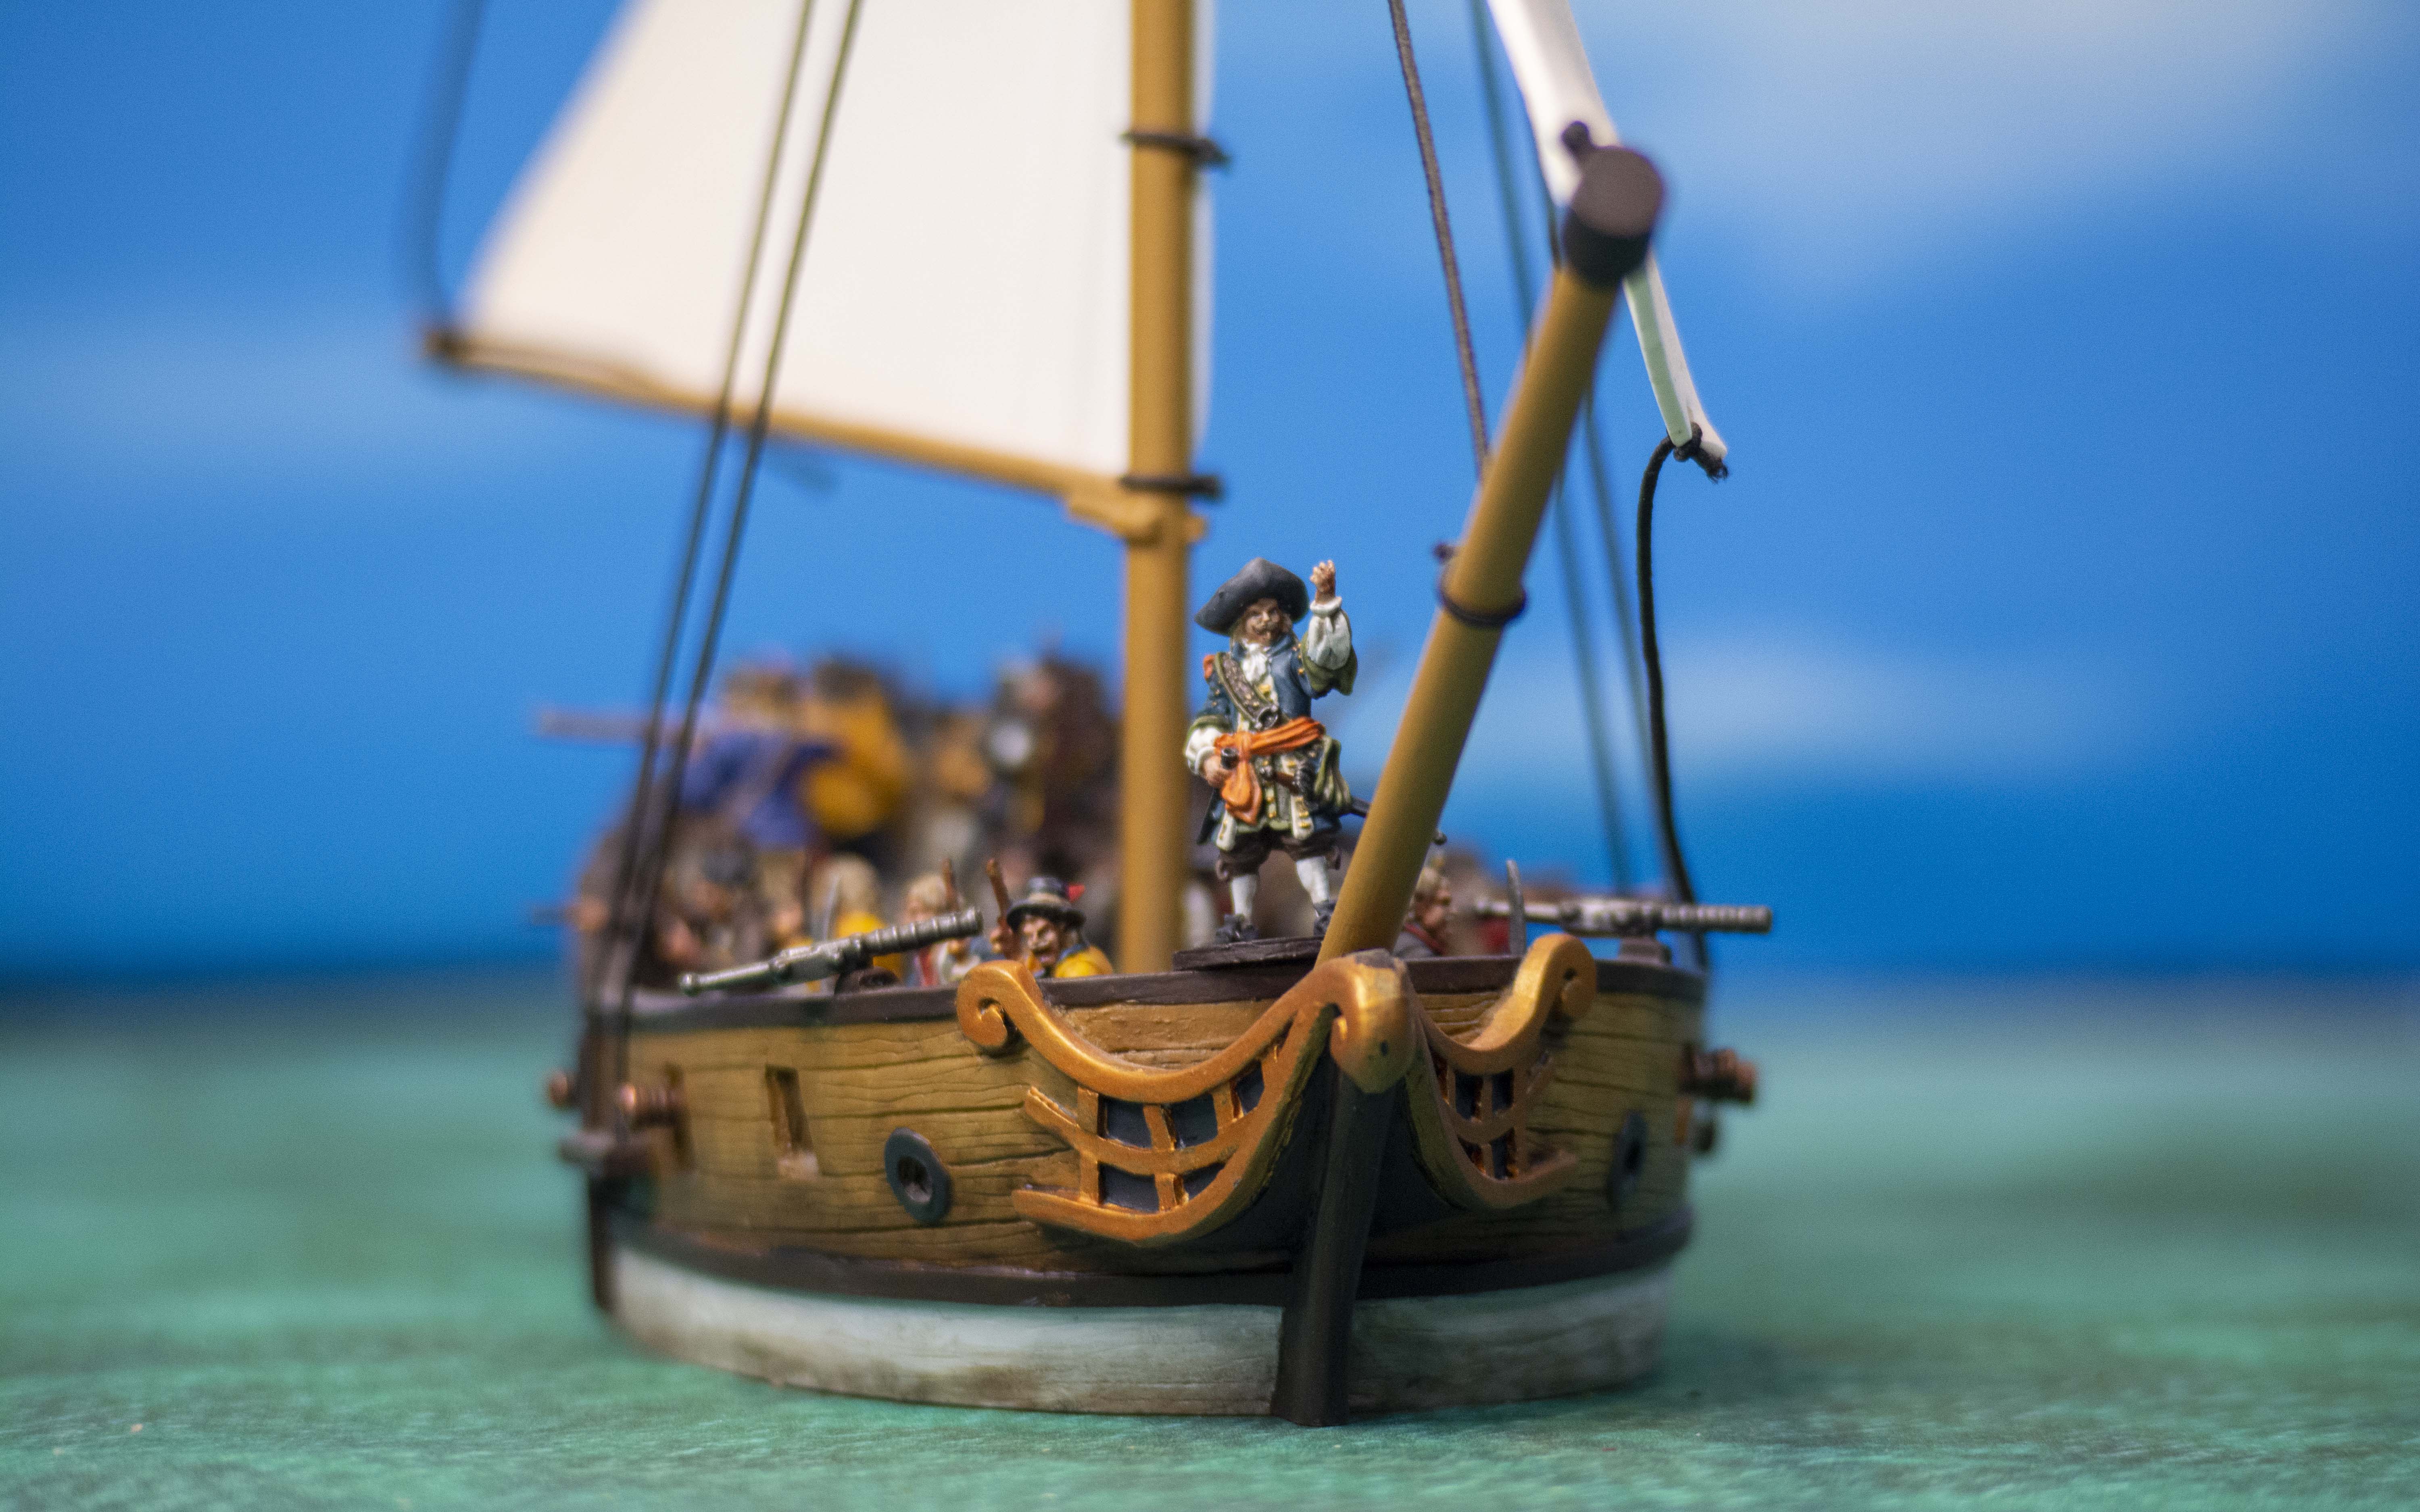
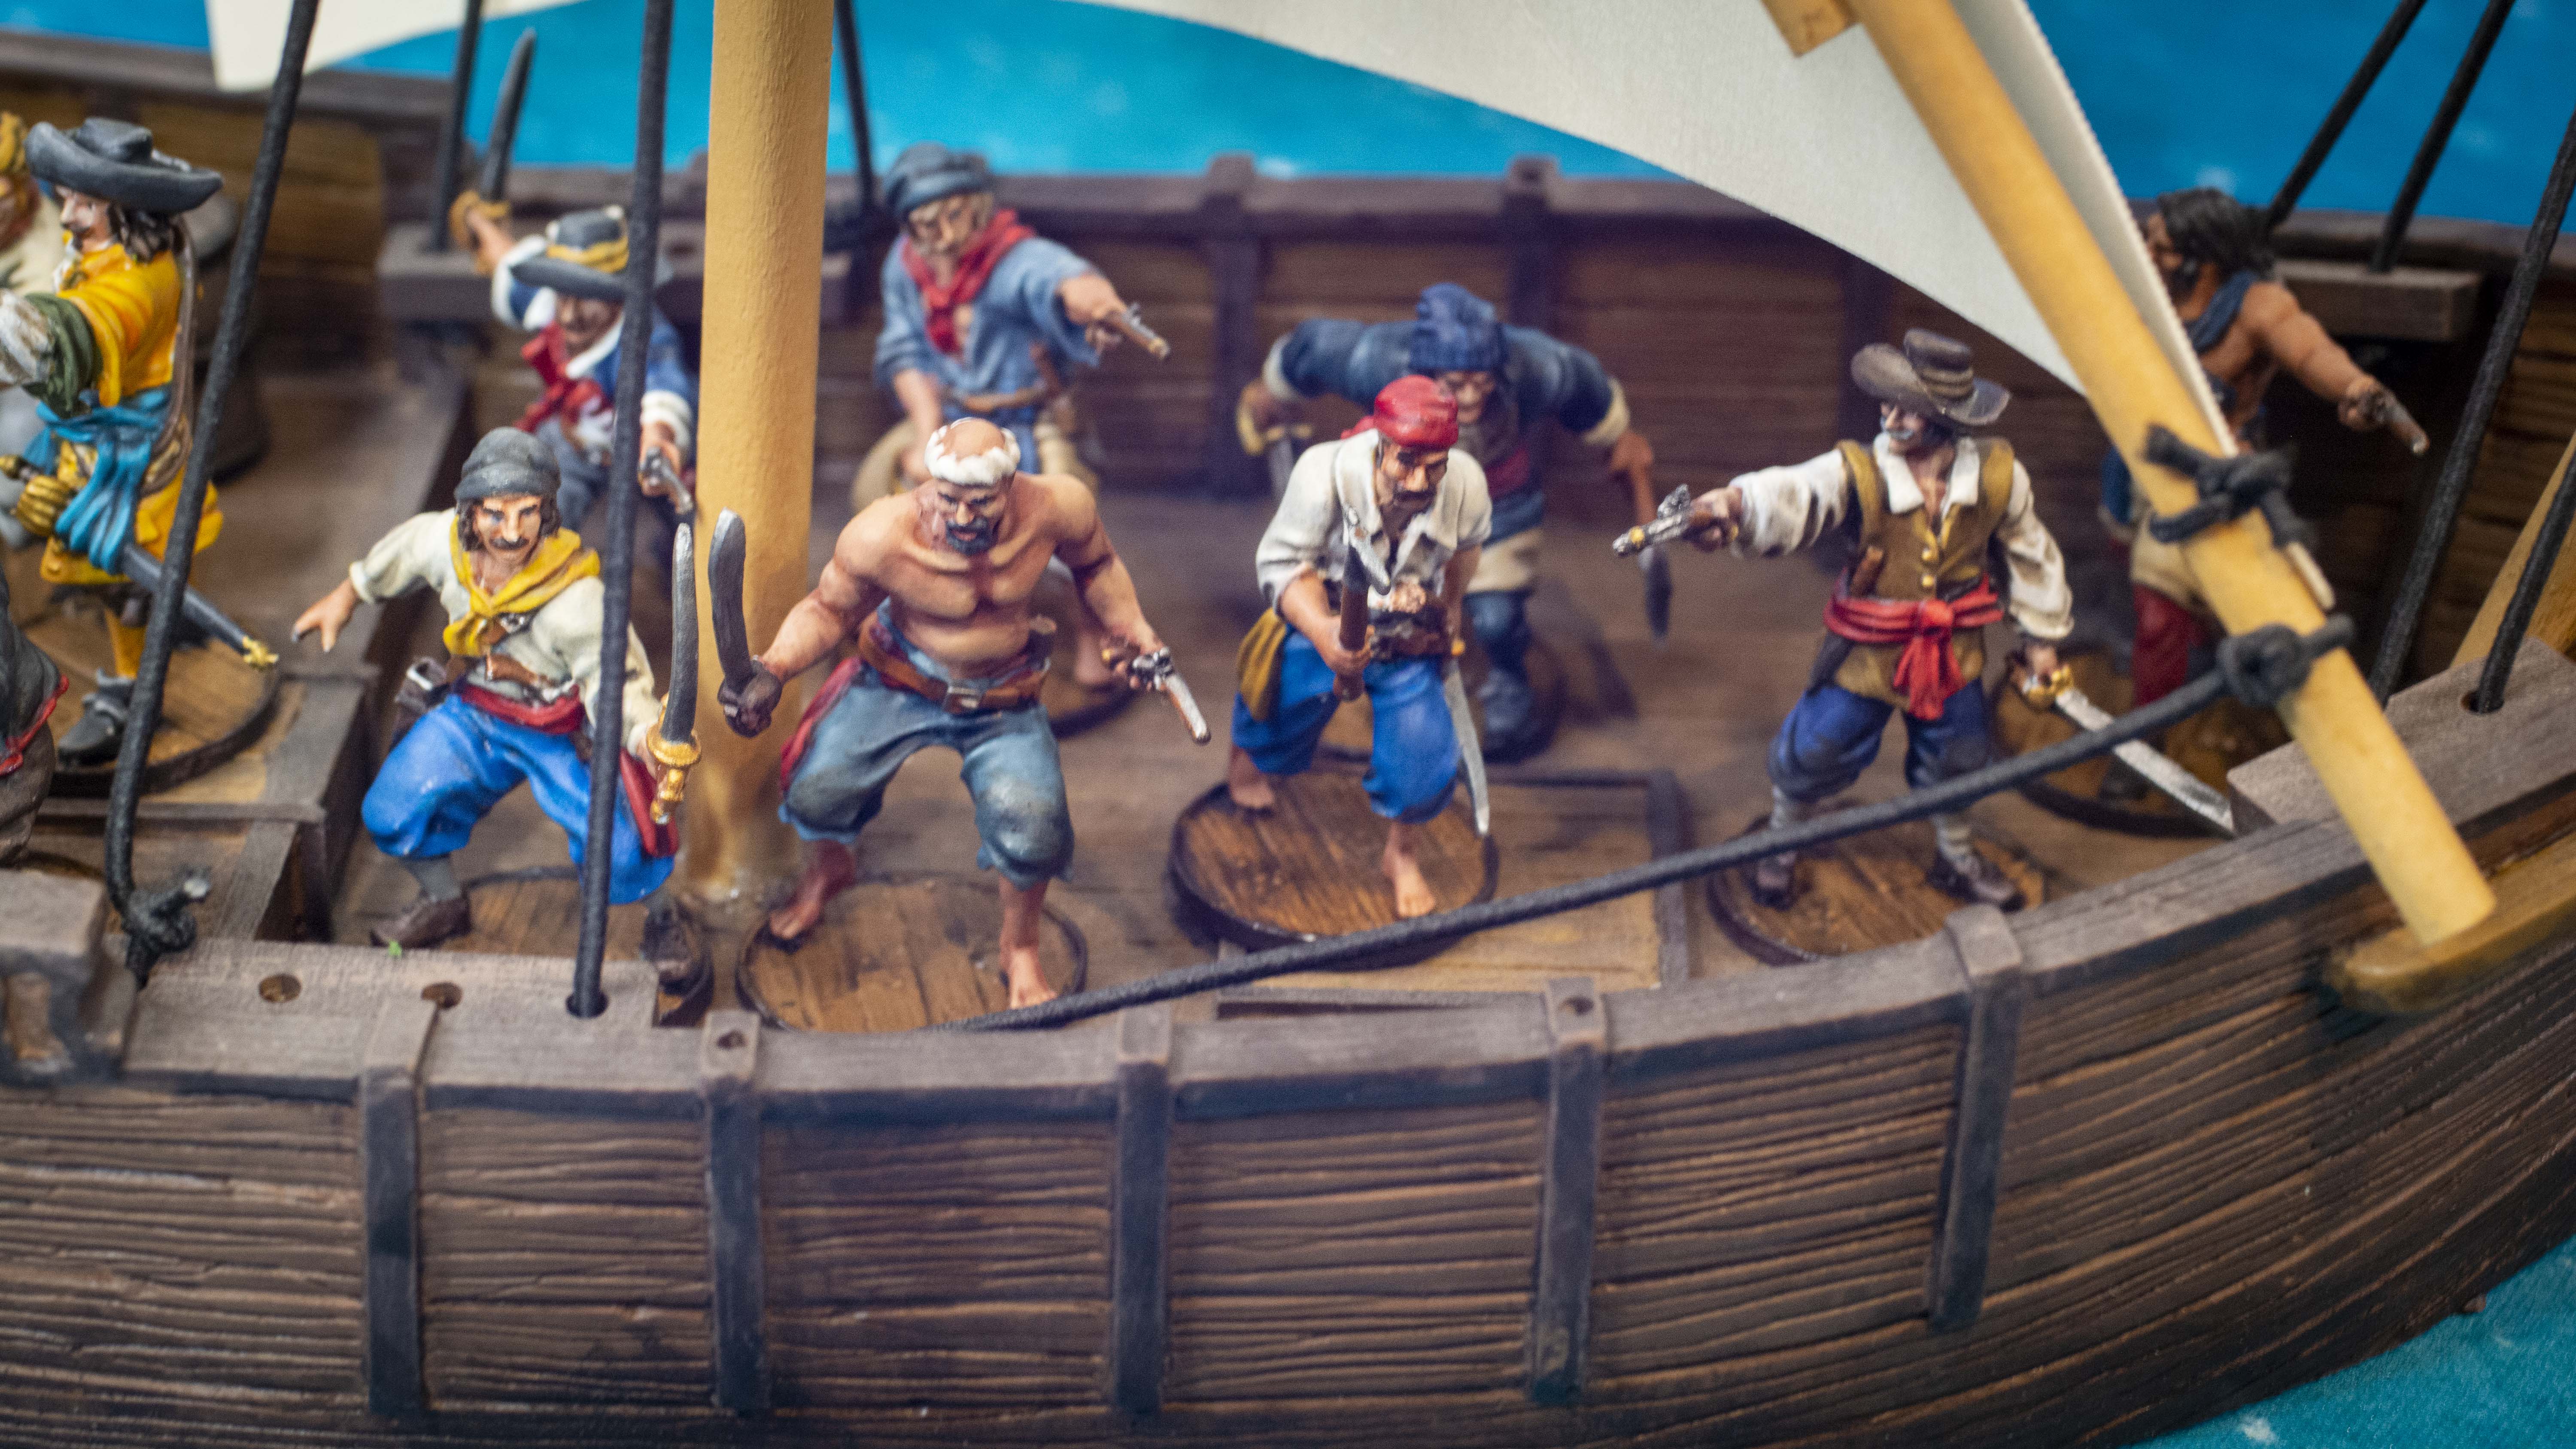
Ahoy there mateys! The Boyar of the Brethren had noticed that despite the absolute treasure trove of articles we have available, we don’t currently have one on the original Pirates of the Caribbean! So today we are going to remedy that! Grab your cutlass, eye patch, hat, and get ready to take some prizes!
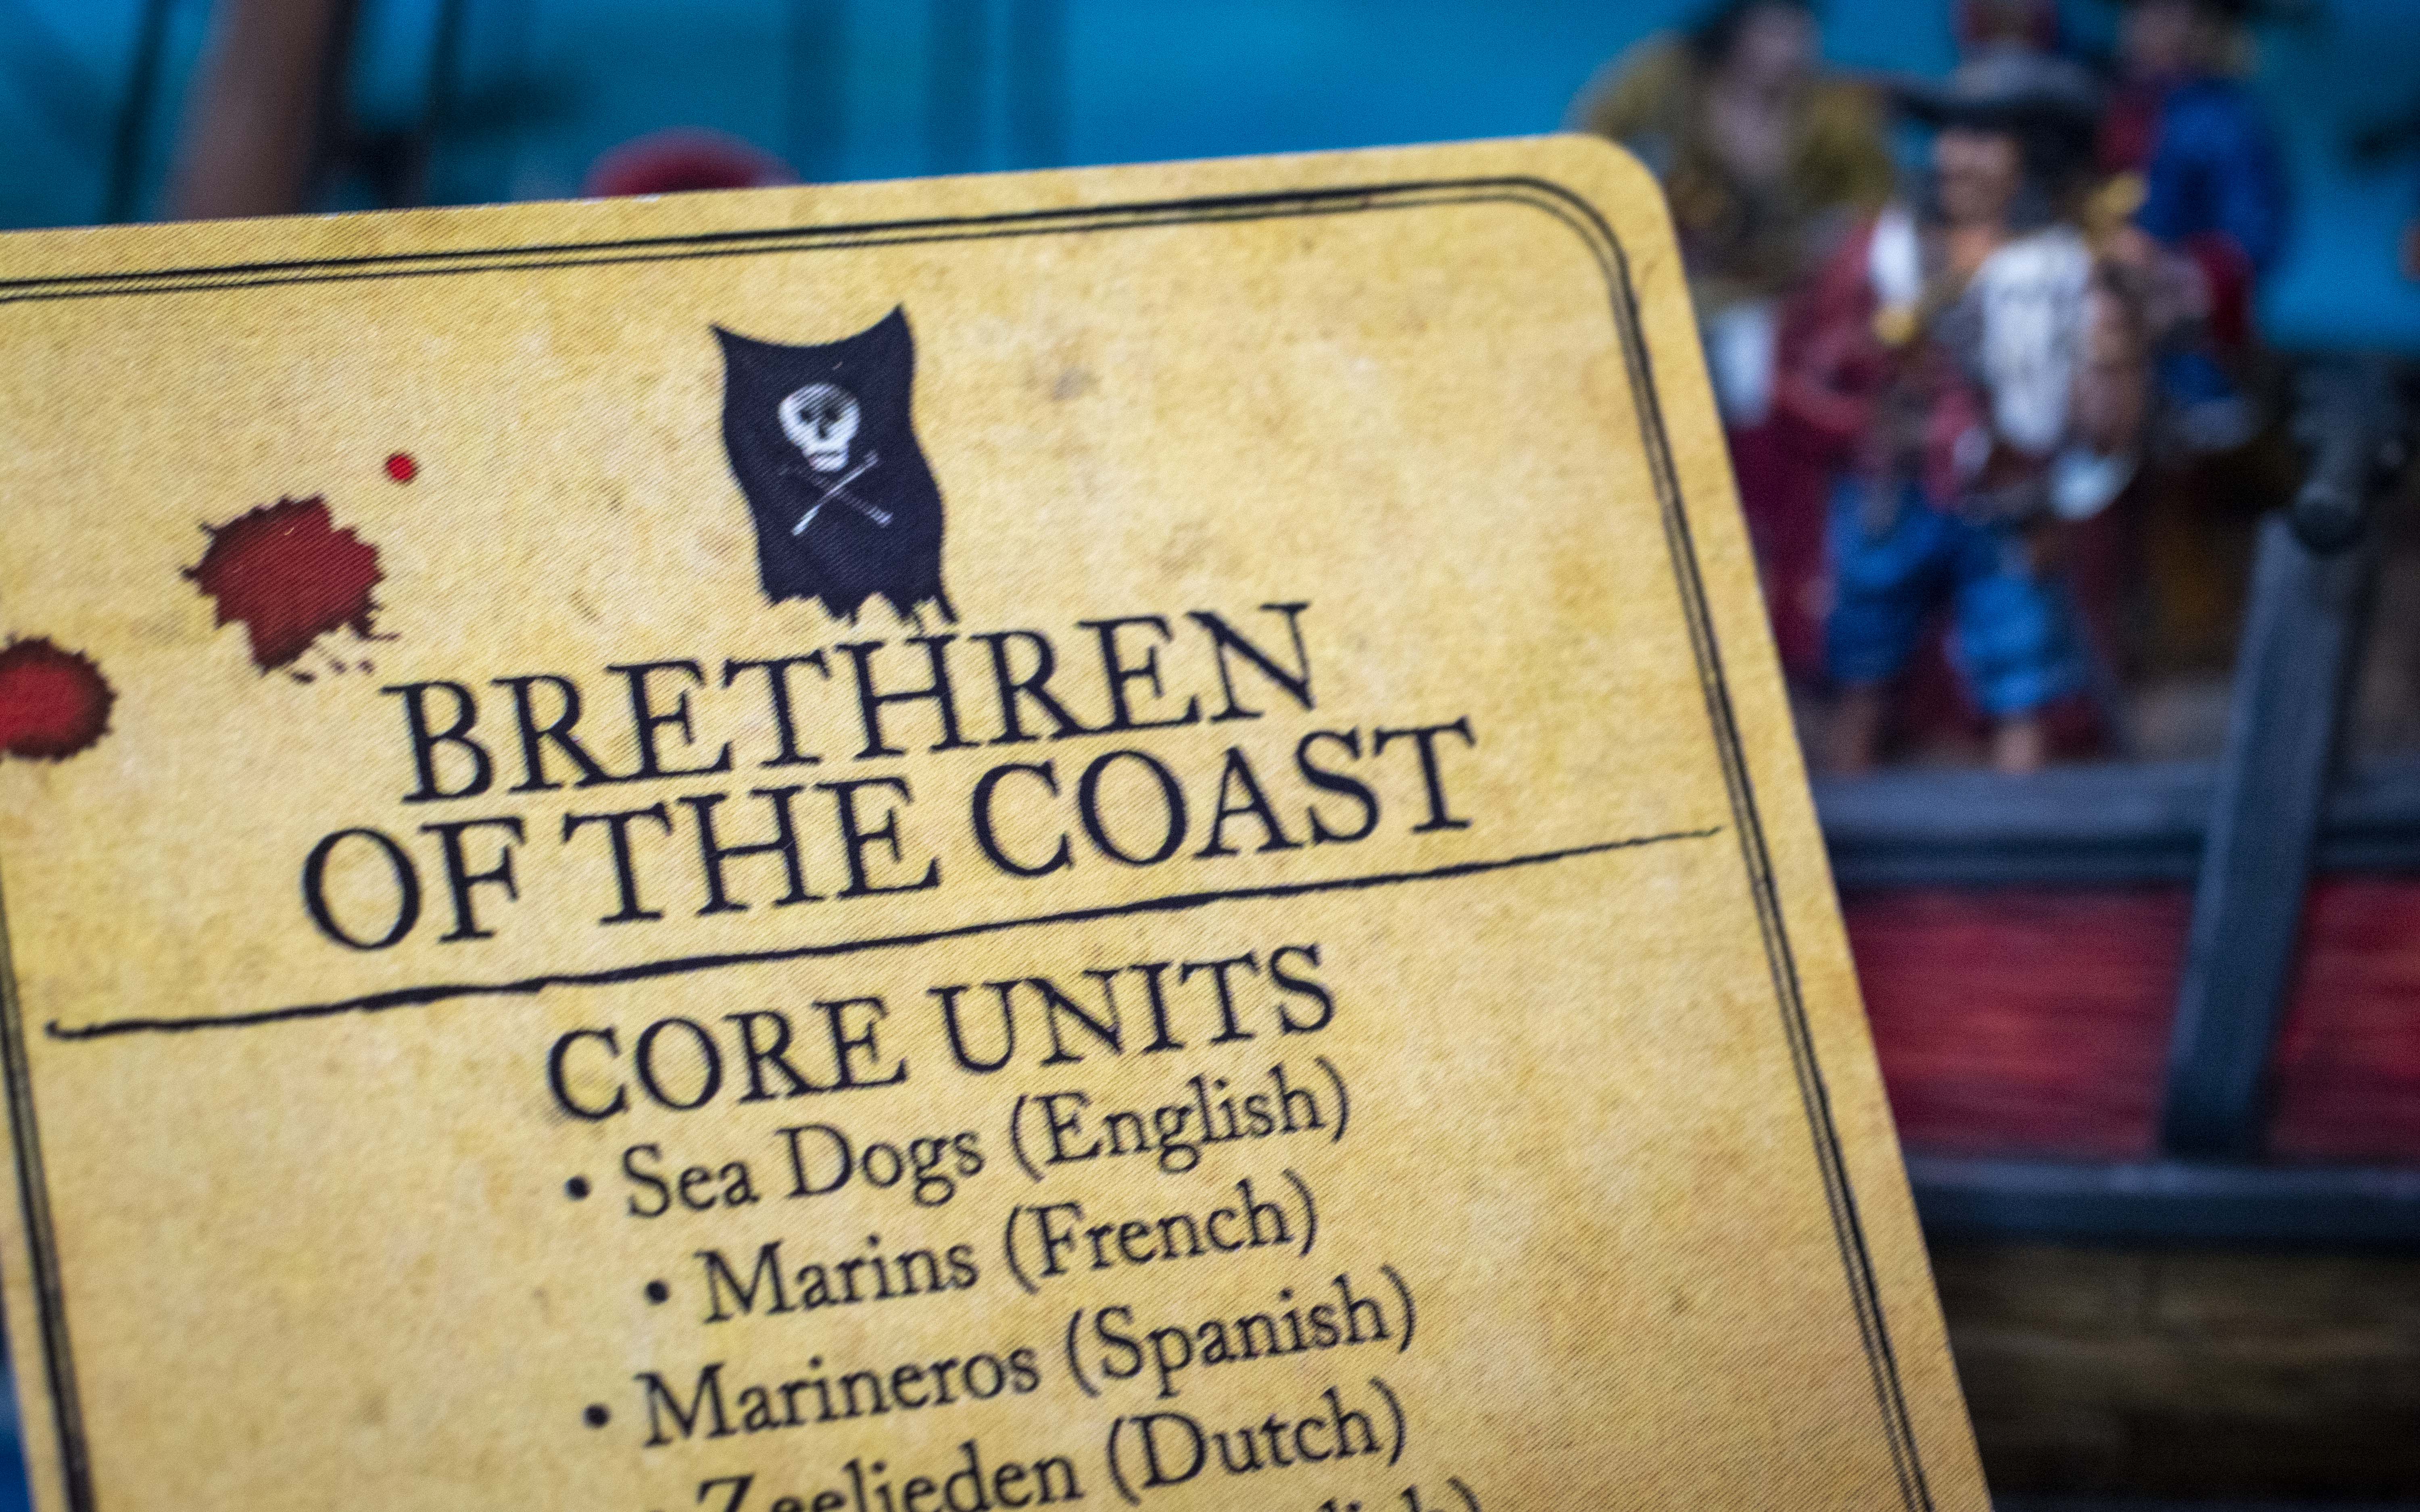
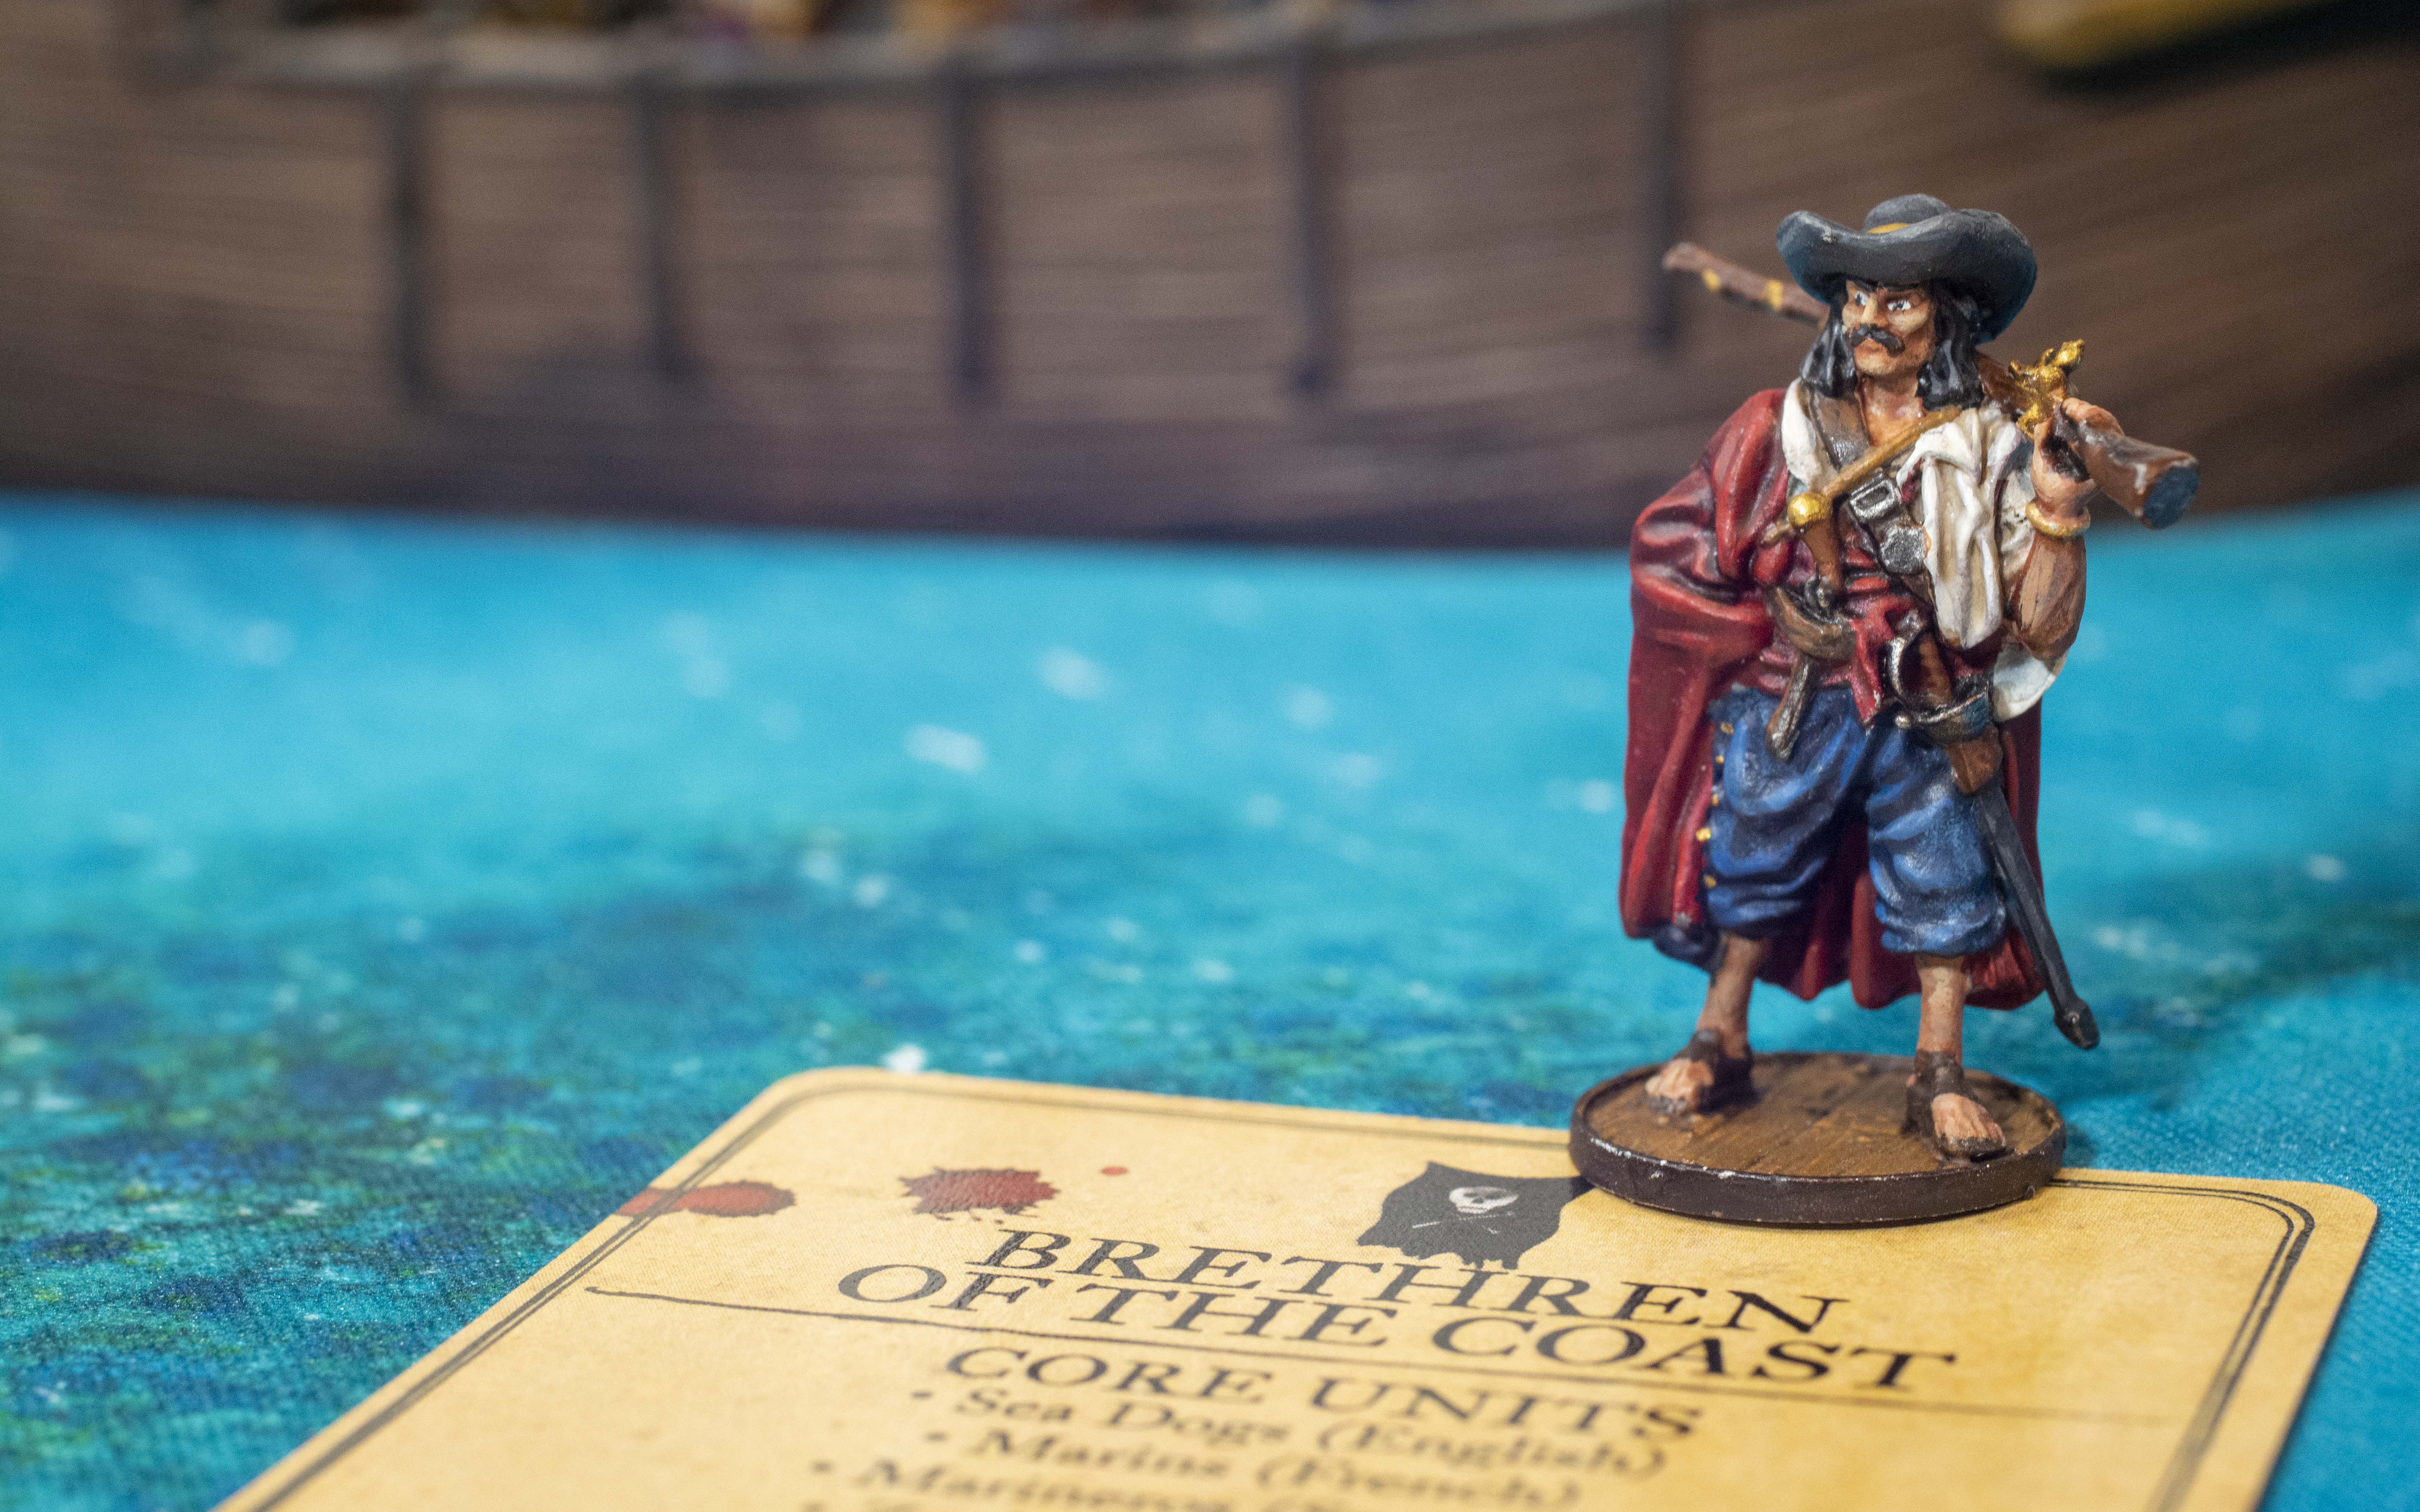
The Brethren of the Coast are the cultural melting pot of all the buccaneer factions in the game. They feature units from all the other nationalities except for the Natives (except for one Commander, but we’ll get here!). This means that you have an abundance of units to choose from, and can choose the right unit for the right job!
Faction Rules

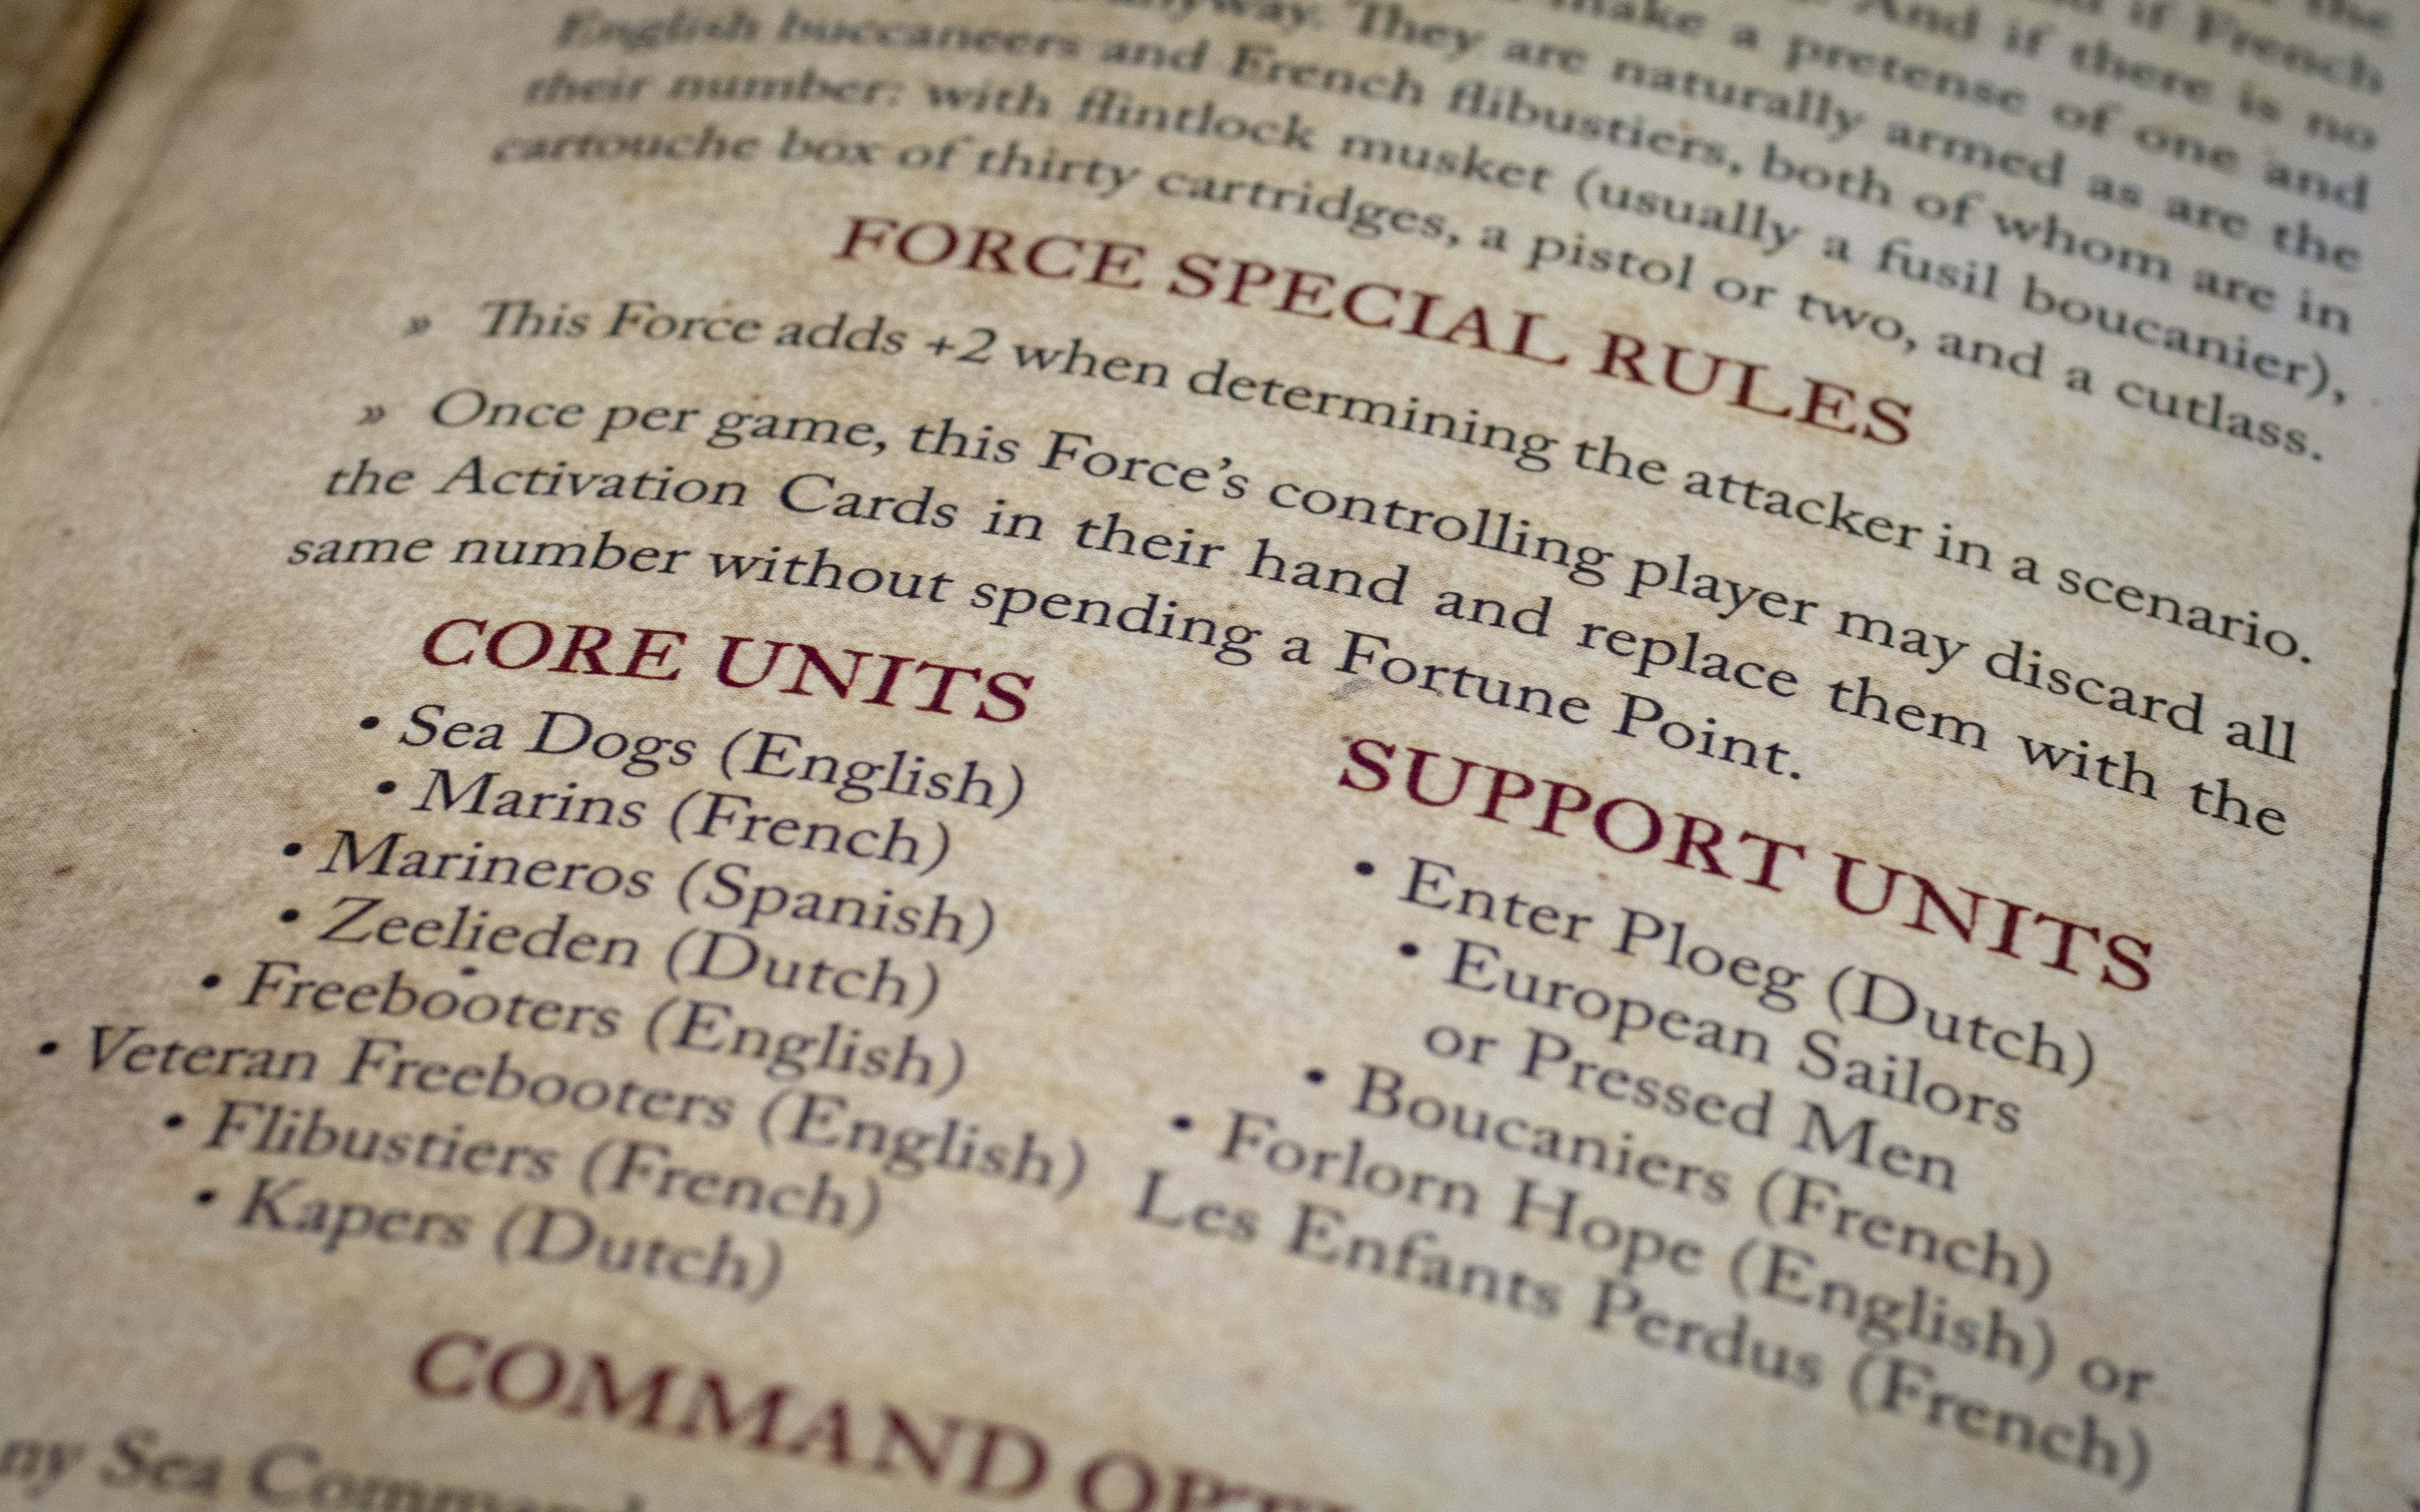
The Brethren of the Coast come with the standard fare for a buccaneering faction. They have a +2 bonus to determining the attacker in a scenario and can discard all their activation cards for free once per game. However, they have two options you can choose to take. If you plan on running a boarding list, you can take Grapeshot for free! However, your Force may only fire Grapeshot from its cannons for the duration of the game. The other option is a bit odd. It’s called “Varied Experience” and allows all core units to either be upgraded one experience level for +1 point per model or any Core unit can be down-graded one experience level for -1 point per model. I find this to be marginally useful in smaller point games as it allows you to bring more minis, but otherwise I never use this nowadays.
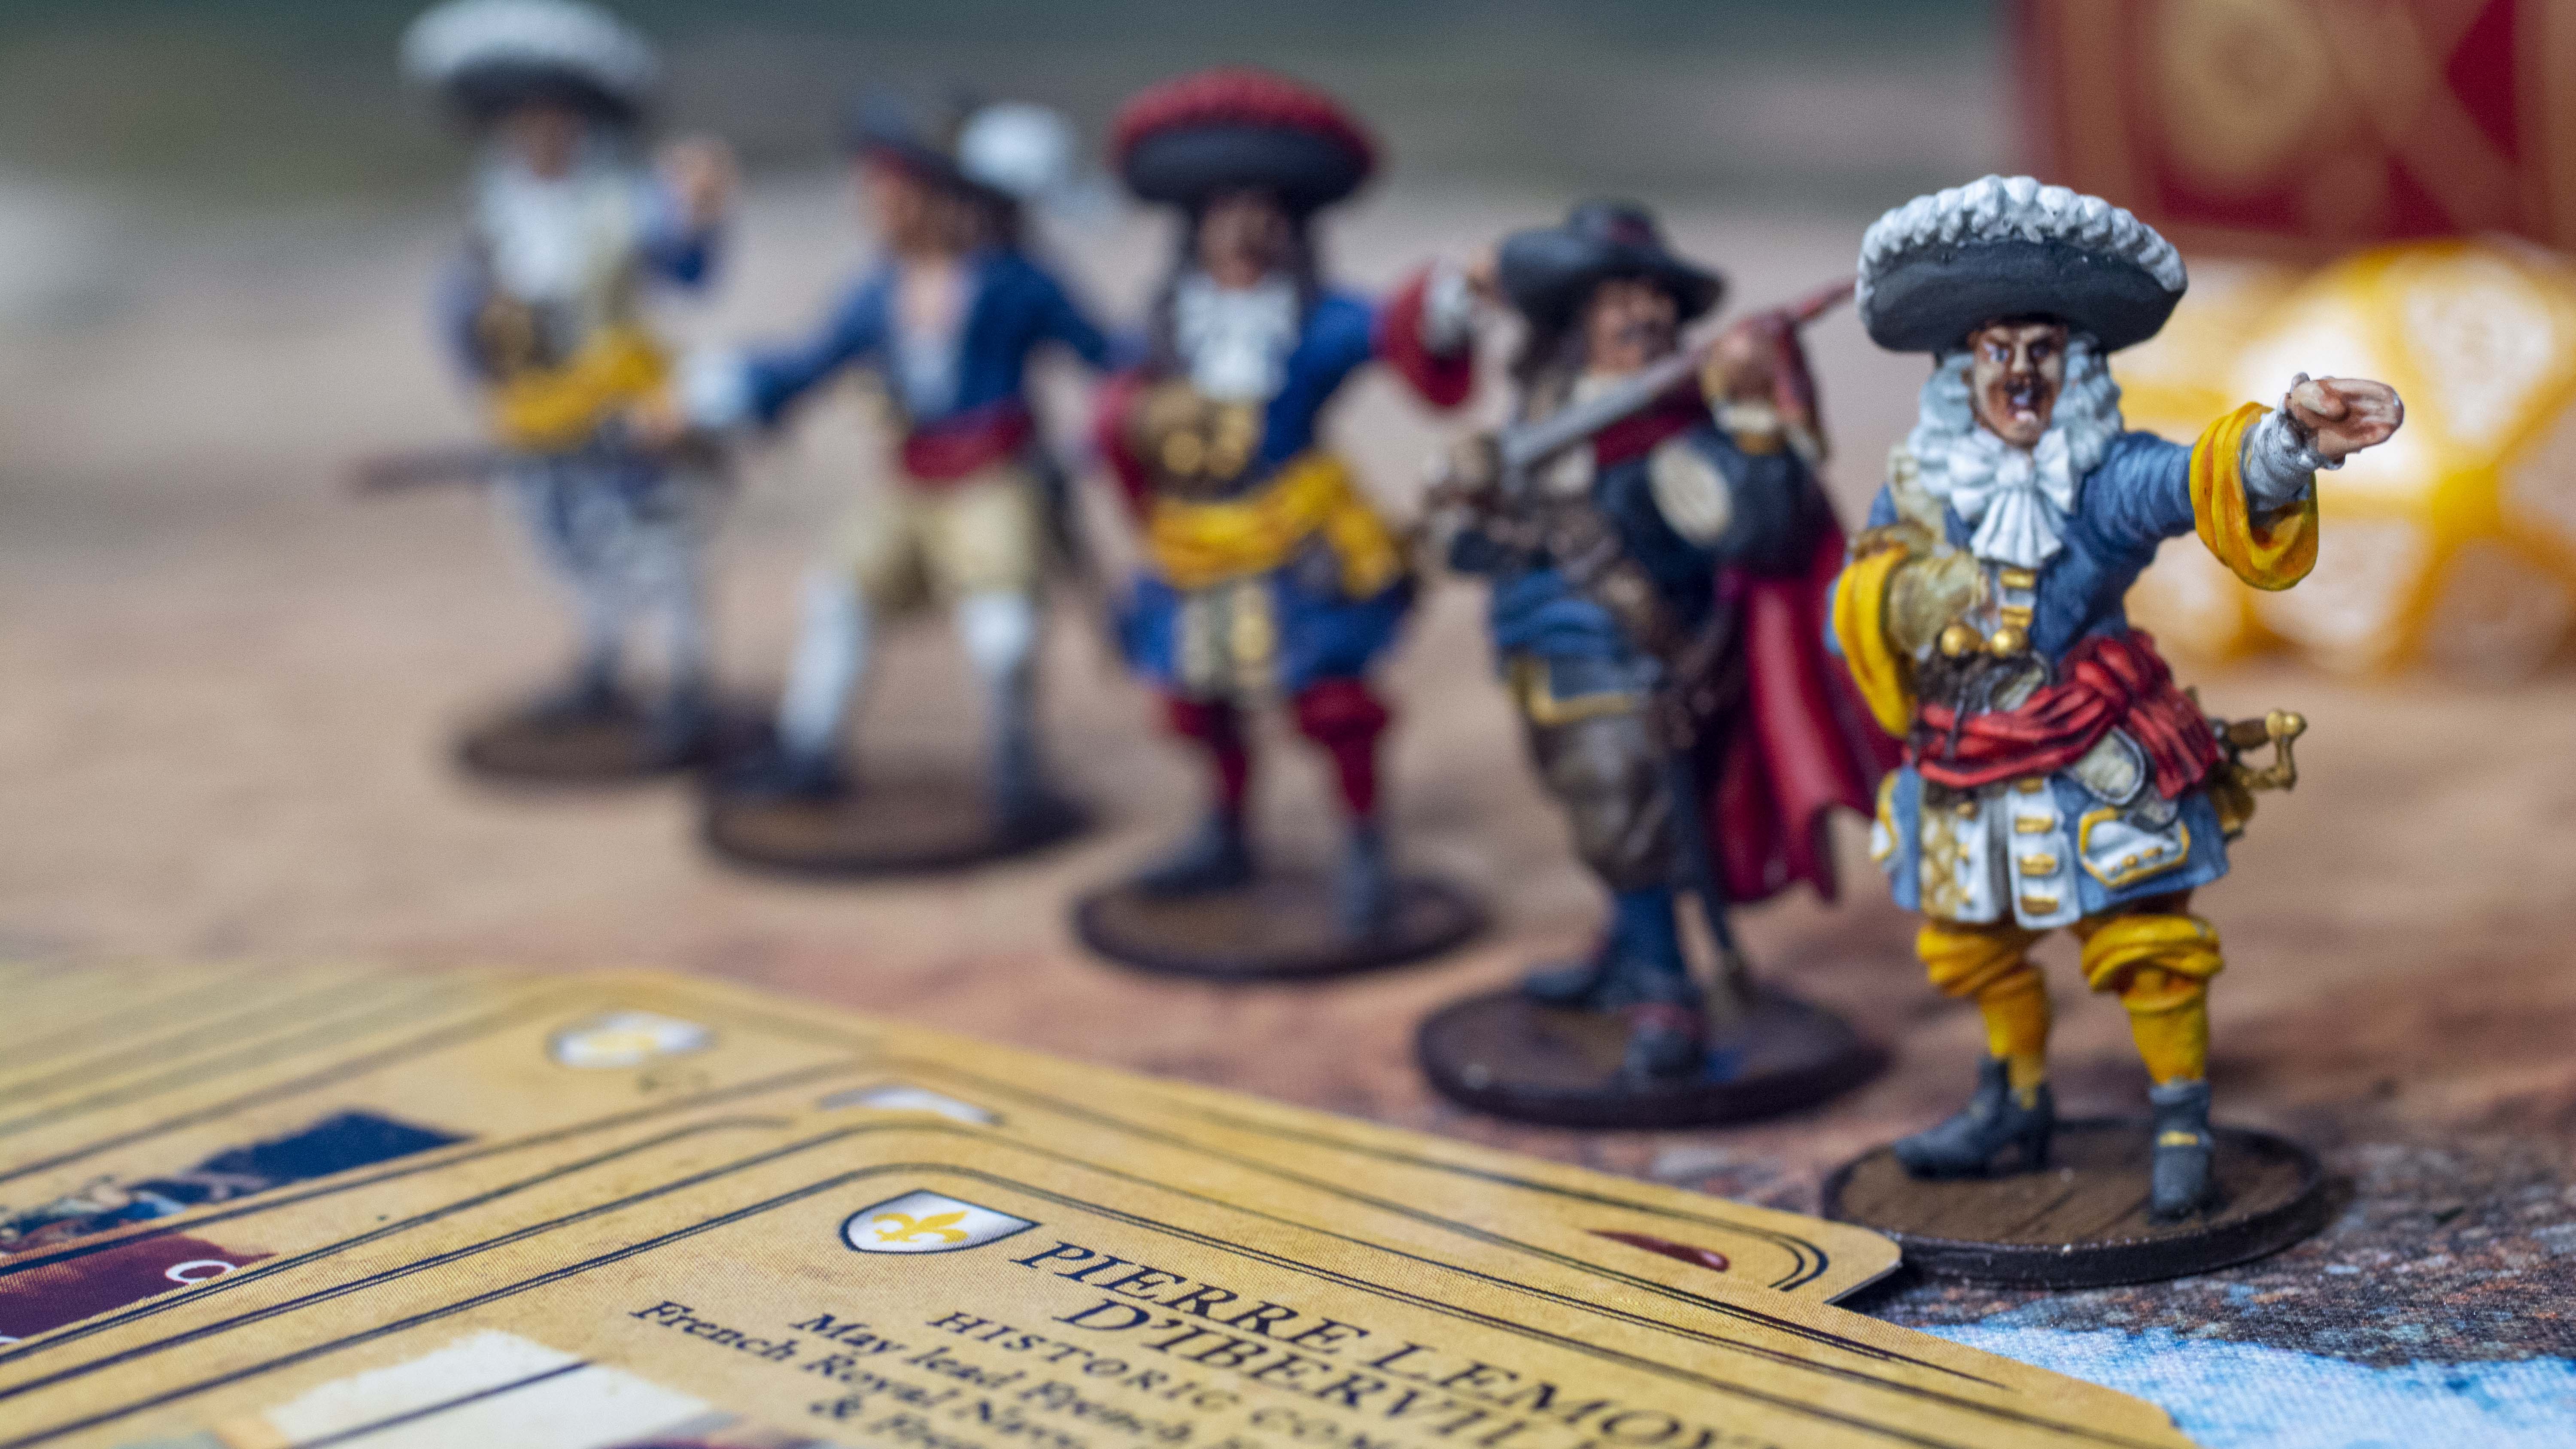
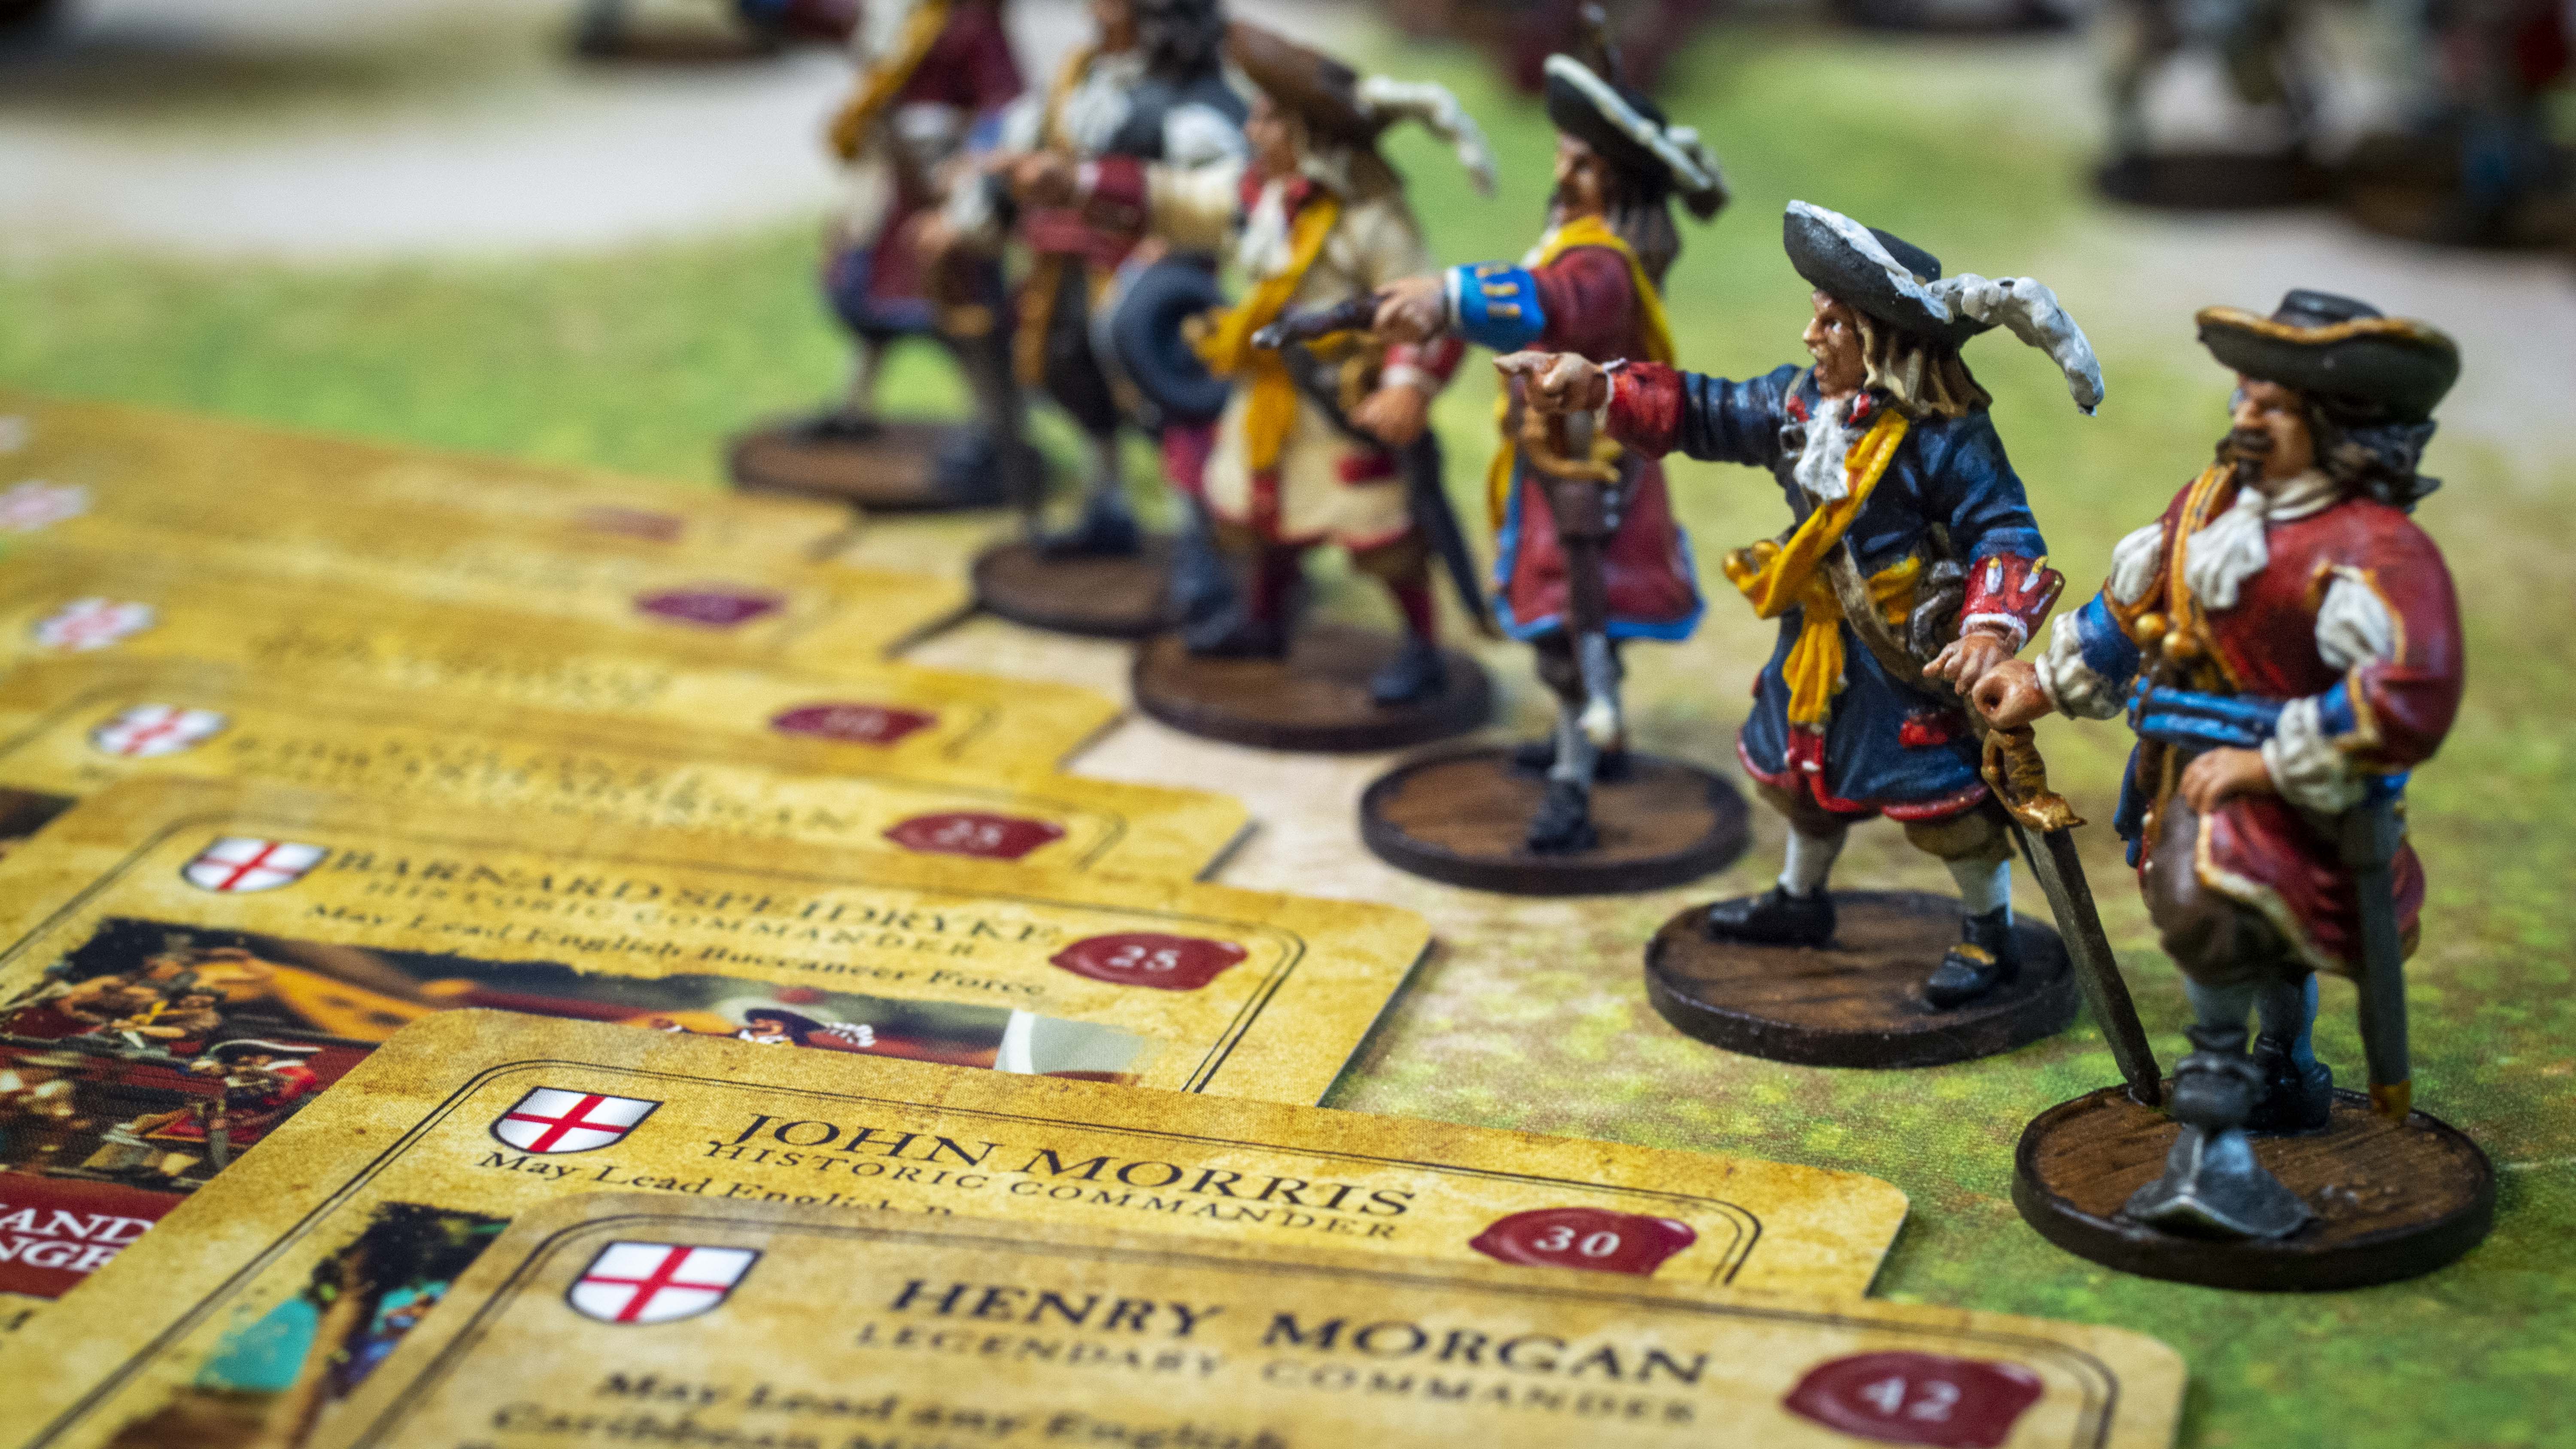
Command Options
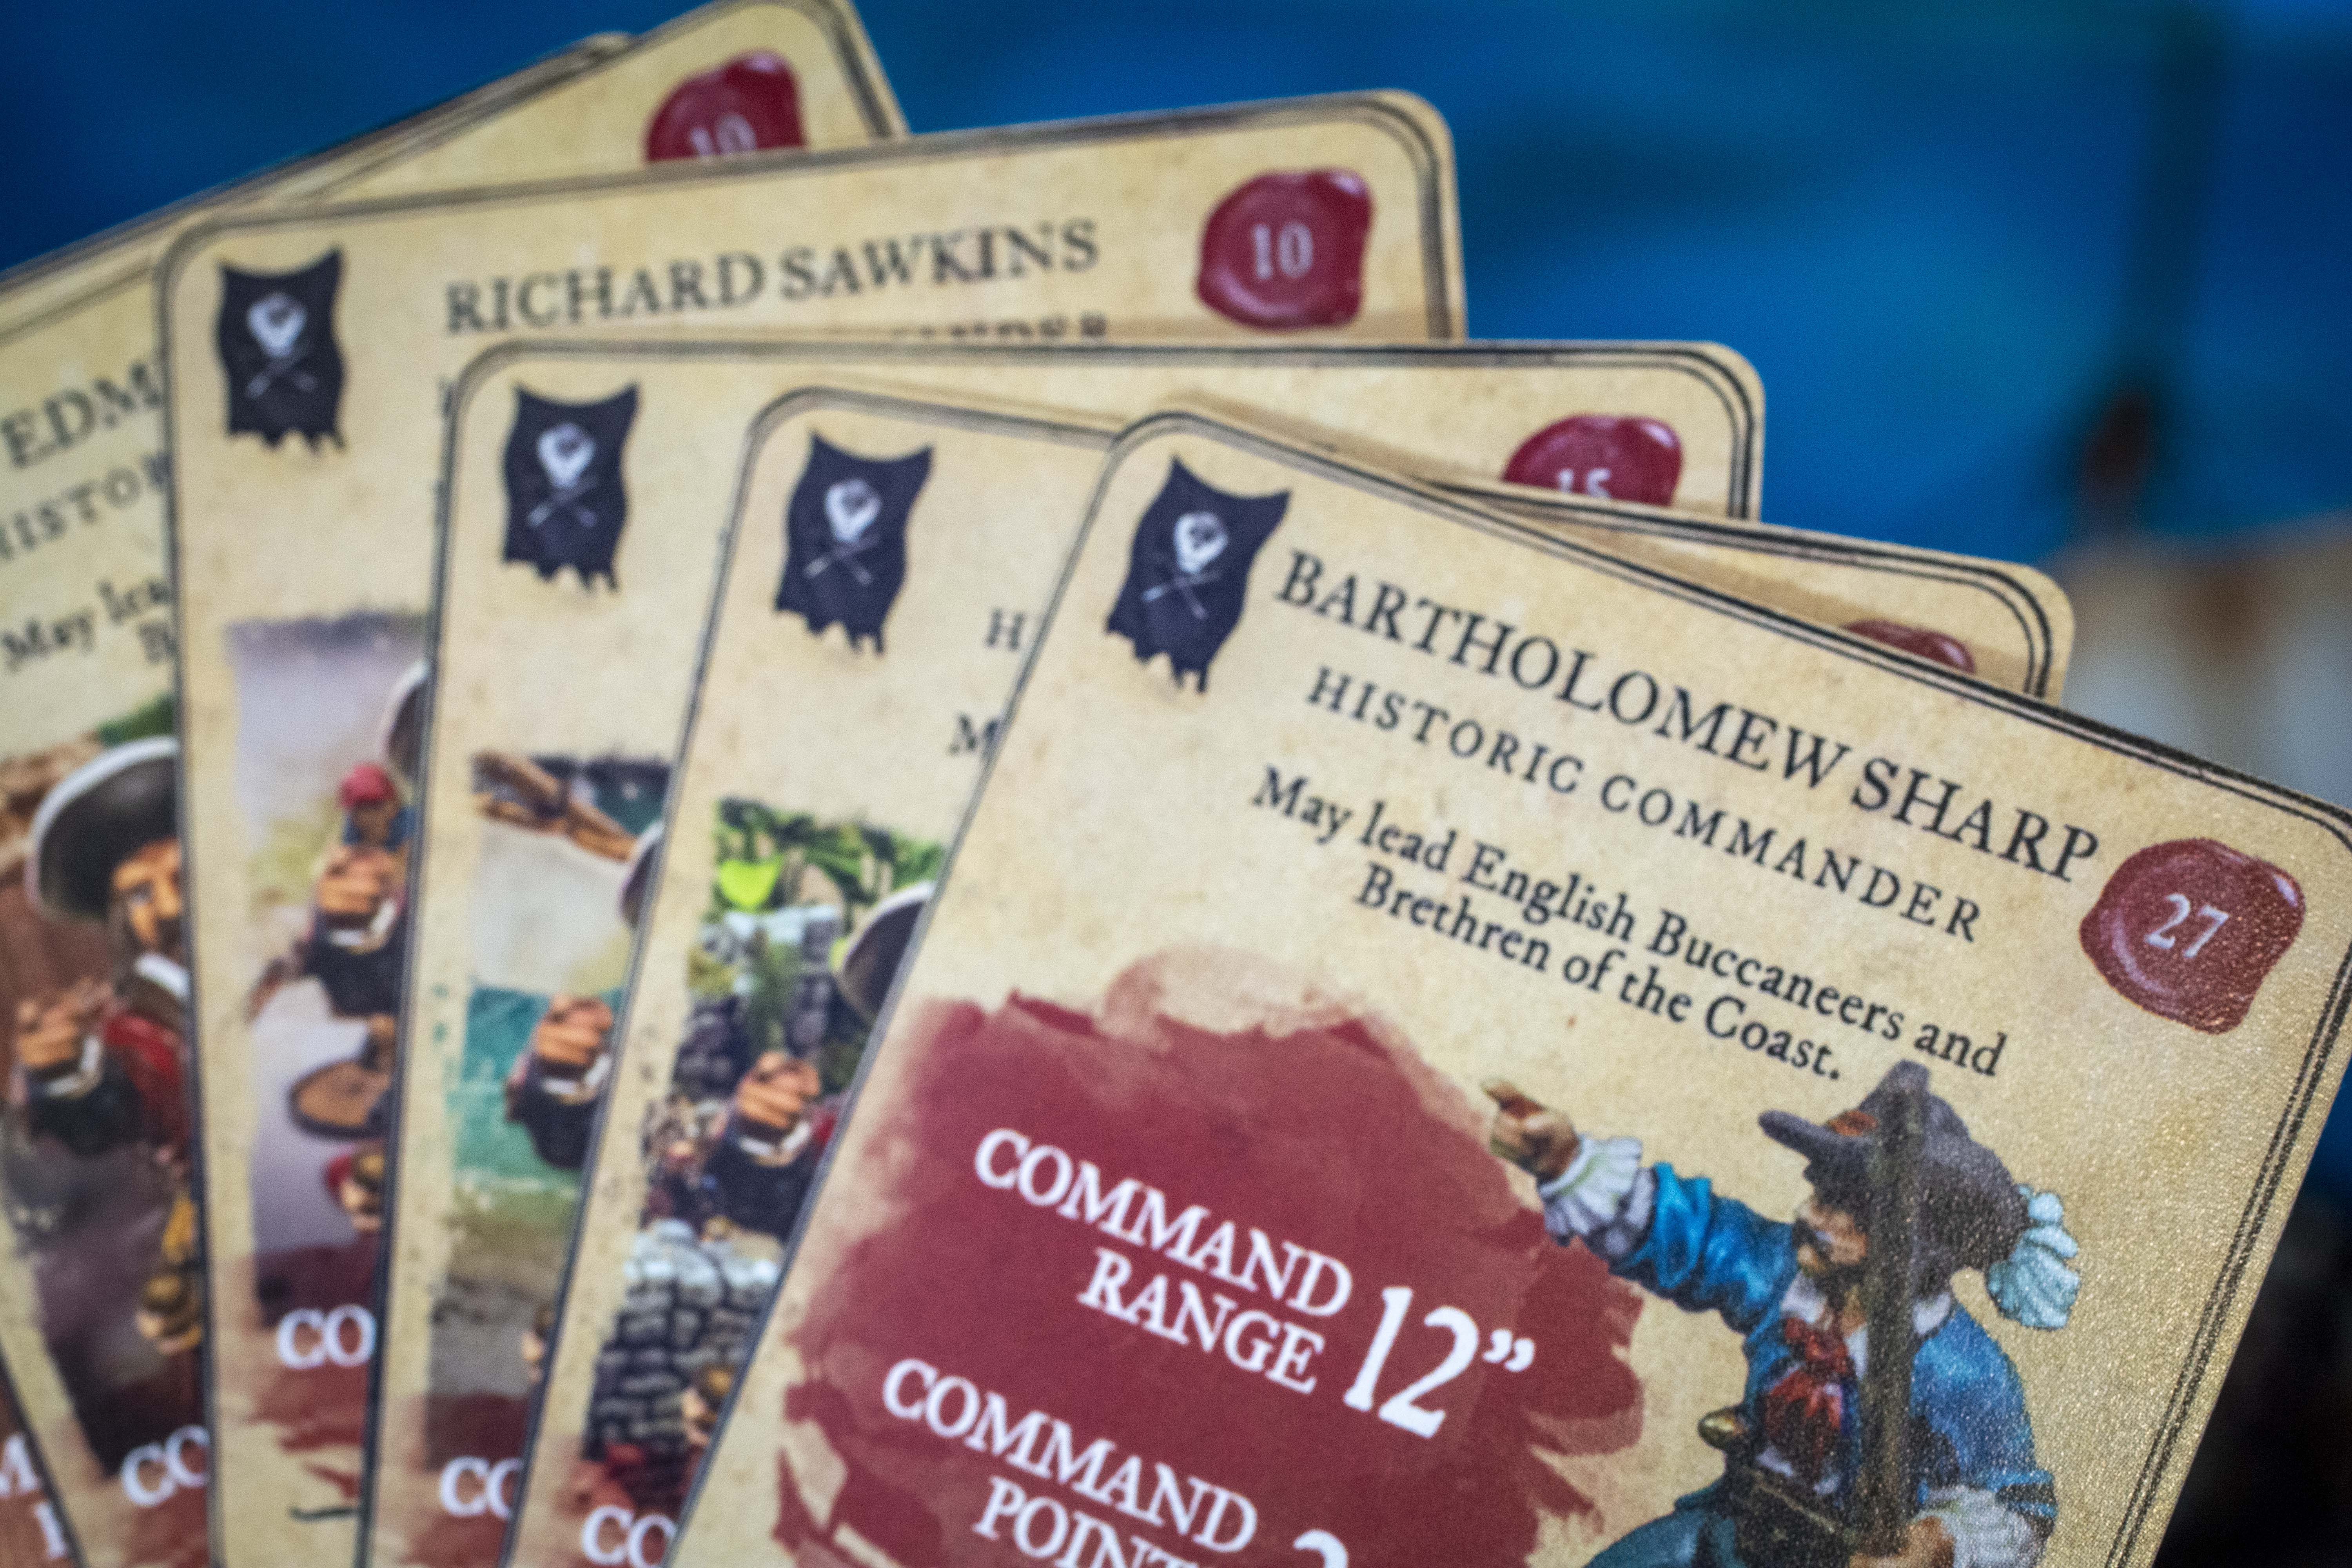
The Brethren of the Coast has a ton of command options, in fact, they have the most command options of any faction in the game! On top of being able to take French and English buccaneer commanders they have access to Sea Commanders, Monbars the Exterminator, Diego the Mulatto (No offense meant, this is his name historically and how he’s named in the game), William Kid, and Henry Morgan! What really tips the scales are the characters from the Organized Play Rules! These feature Bartholomew Sharp, John Coxon, Richard Sawkins, Peter Harris, John Watling, and Edmund Cook!
The English and French Buccaneer Commanders
Both the English and French Buccaneer Commanders have the same rules, but have a different equipment option. The English Buccaneer Commanders all come with Standard Melee Weapons and Brace of Pistols, but the French Variety can be equipped with a Buccaneer Gun. The Untested versions of the commanders come with no Special Rules and have a 4 inch Command Range with 1 command point. They are 0 points and are good for small games, but not much else. The Experienced versions have an 8 inch Command Range. two Command Points, and gain the Lead By Example Special Rule; this means that when the unit containing the commander causes an enemy unit to be removed from the game (by casualties or routing), all units in this commander’s force get to knock off a point of fatigue. They cost 15 points. These are a definite upgrade, but I’ll be honest, I have yet to get Lead By Example to activate as I typically keep my command unit back to issue orders. The Seasoned Versions of both the English and French Buccaneer Commanders clock in at 25 points and come with a 16 inch Command Range, 2 Command Points, and gain both the Broadside! and Commodore Special Rules in addition to Lead by Example. Broadside! allows all artillery fired during the commander’s activation to be treated as a single attack, which is fantastic for stacking damage and trying to get critical hits! Commodore is great if you’re running multiple ships as this adds an additional 12 inches to your command range when giving actions to units on other ships. The French Buccaneer Commander is a bit more versatile as he can be put with units with Buccaneer Guns, thus adding another model to make shooting attacks with. If you don’t plan on sticking him with a musket unit, The English Buccaneer Commander is just fine. (But the French Commander is strictly better. OVERPOWERED FREEEEENCH. Joseph here editing…)
The Sea Commanders were introduced in No Peace Beyond the Line, and offer a commander specifically kitted out for commanding a Sea Force. All 3 variants are armed with a standard melee weapon and Brace of Pistols. The Untested Sea Commander is the same as most free commanders in the game, with a 4 inch Command Range and 1 Command Point. They come with no Special Rules. The Experienced Sea Commander costs 15 points, has an 8 inch Command Range, 2 Command Points, and gains the Broadside! Special Rule. The Seasoned Variant costs 25 points, gains a 12 inch command range, the Commodore Special Rule, and the Inspiring Special Rule, which allows all friendly units within their Command Range to reroll any failed rally tests when the commander’s unit is active. The Seasoned Sea Commander retains the Broadside! Special Rule and the 2 command points.
While all 3 versions of the “vanilla” Commanders are similar, the French version adds versatility to land lists. They are all great to take at sea in their Experienced and Seasoned Versions, but will work best on Size 3 or smaller ships. With a total of 3 possible fire actions to give, they can’t take advantage of the size 4 ships like the 6th Rate Frigate and the Galleon.
Note: All the characters from the Organized Play documents feature the Shifting Command Special Rule, which allows a Commander to be taken as a Fighting Man for a reduced point cost in exchange for having no command range and 1 Command Point that can only be given to the unit they are attached to. They are also unable to act outside of their activation via a Command Point from the Force’s Commander. All of them are also equipped with a standard melee weapon and Brace of Pistols.
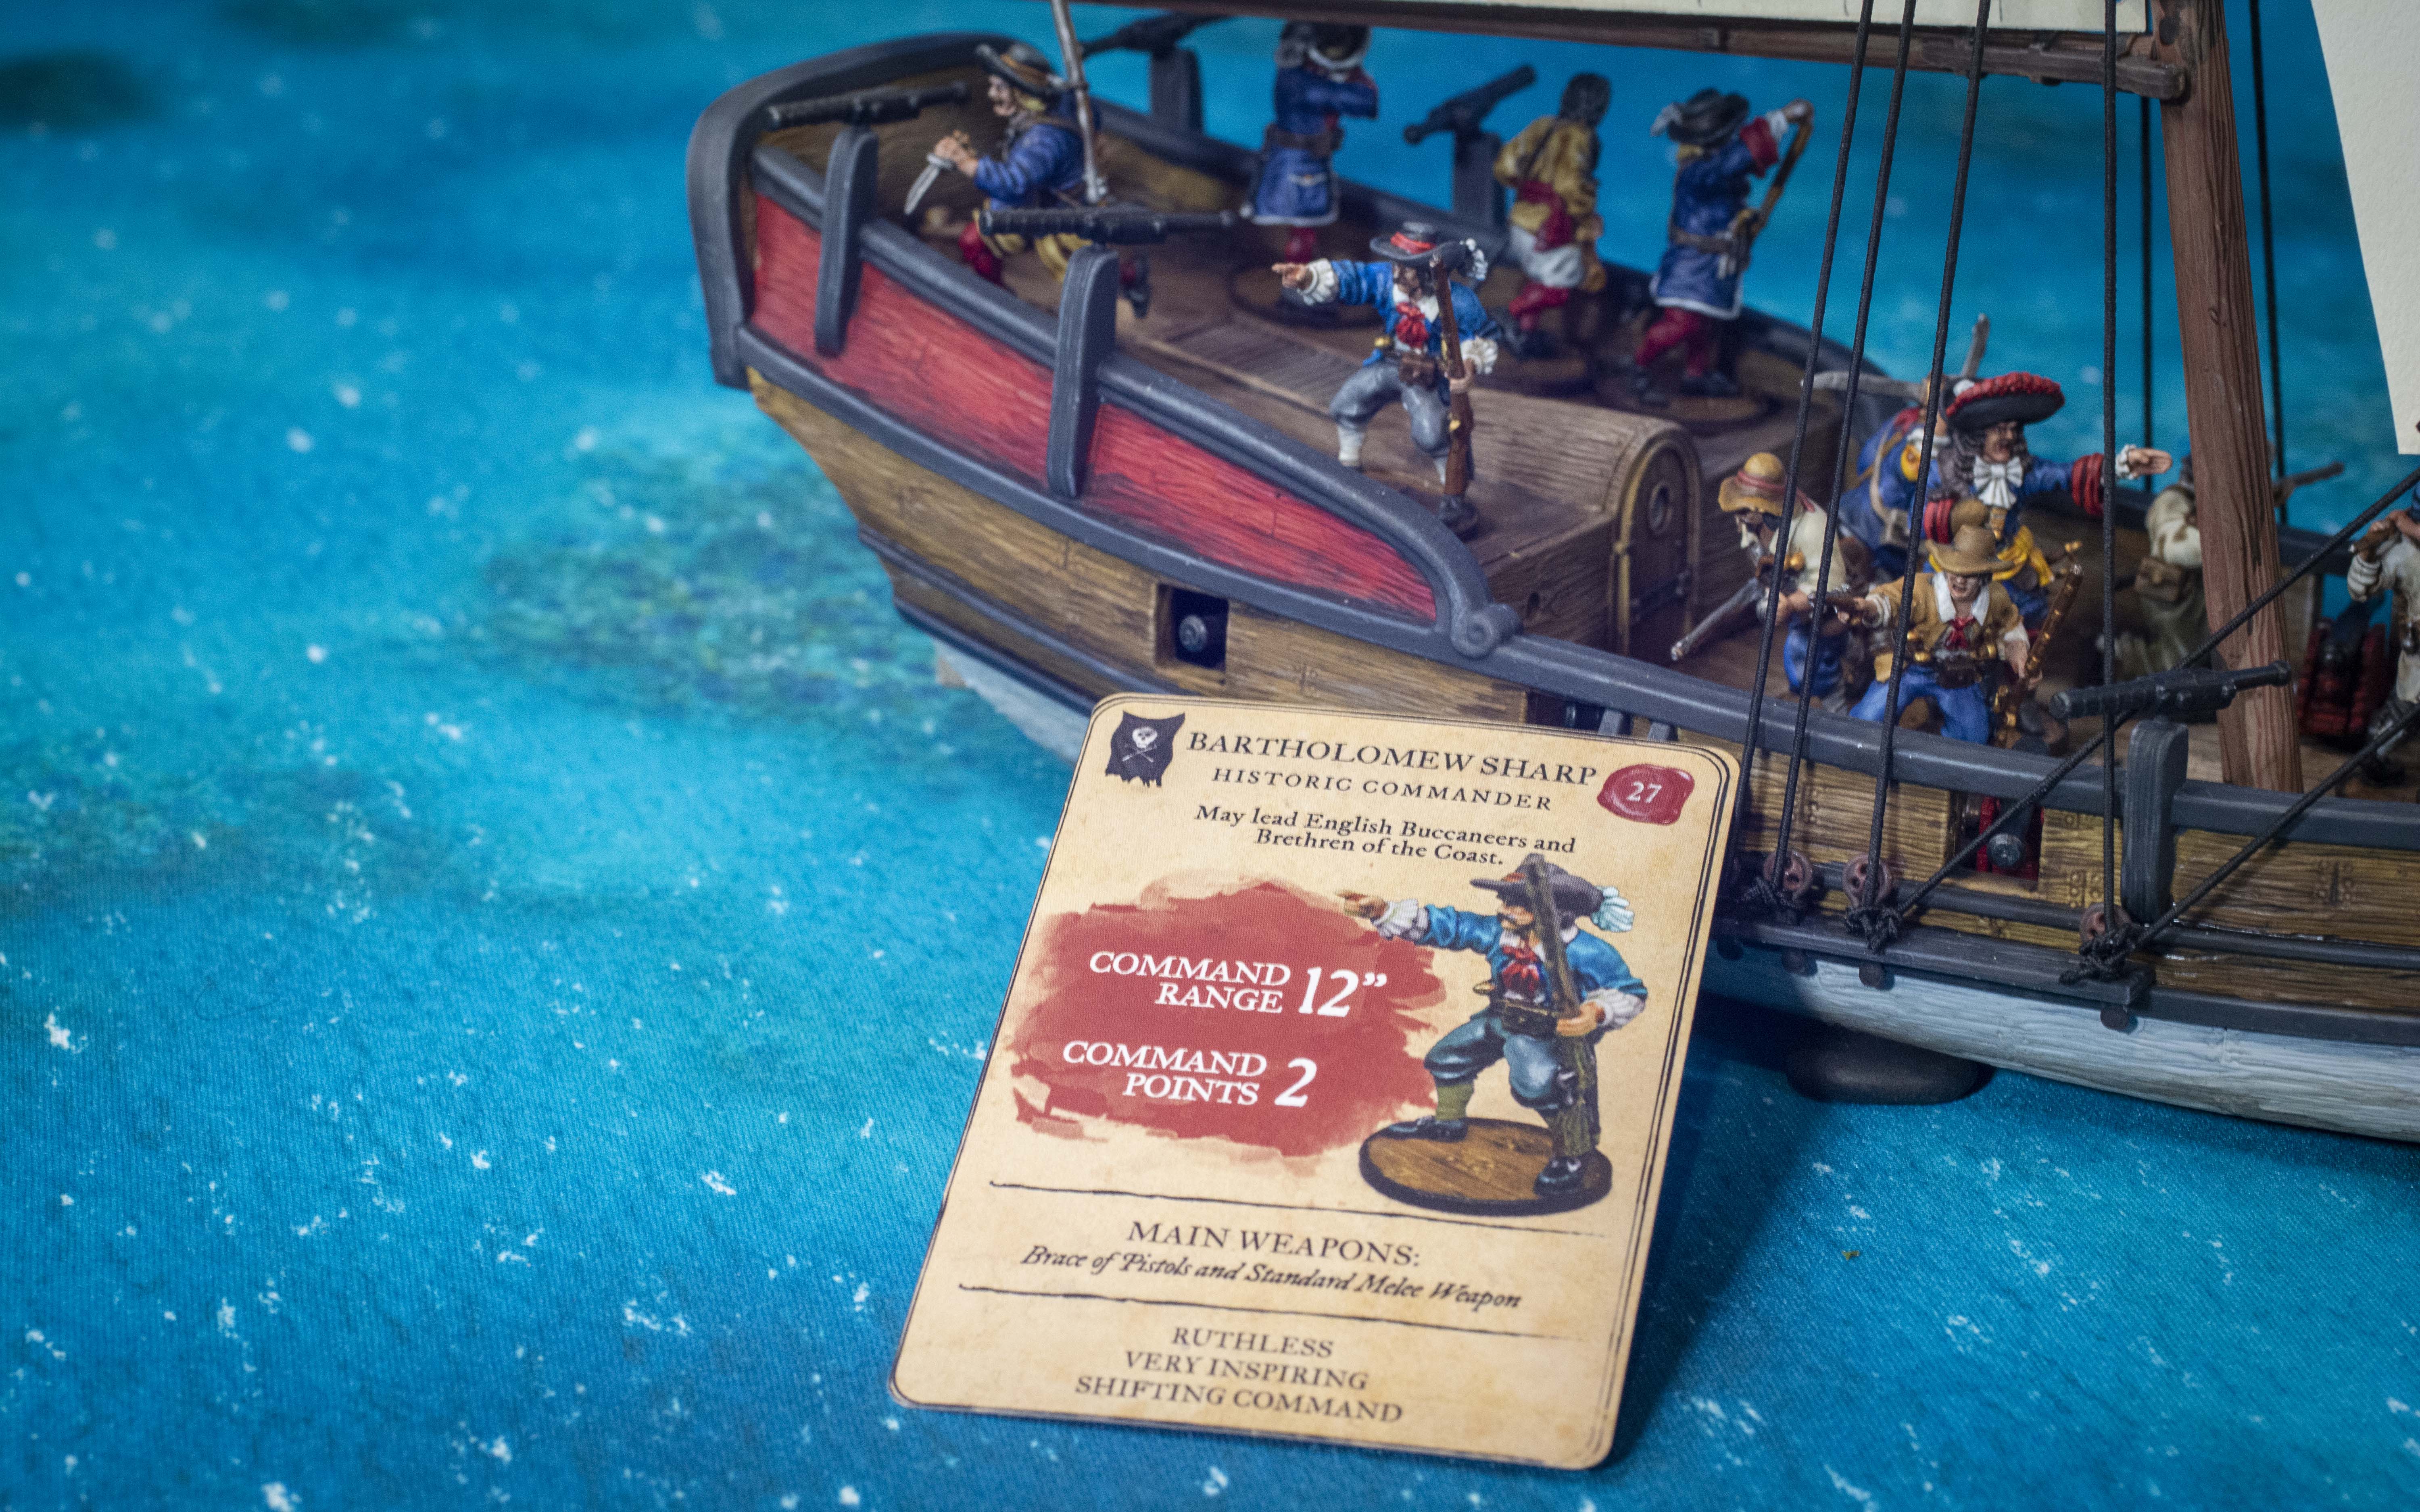
Bartholomew Sharp
Bartholomew Sharp costs 27 points (6 if he’s taken as a fighting man), had a 12” Command Range and 2 Command Points. He comes with The Ruthless and Very Inspiring Special Rules. Very Inspiring is a top tier rule as it allows all units within the commander’s command range to re-roll failed rally tests even when he isn’t active. It may seem odd at first, paying two more points for a commander that has less rules than the Seasoned unnamed commanders, but Very Inspiring is a definite upgrade. Ruthless allows you to gain a -1 bonus to Shoot Tests with Small Arms and Fight Tests against a unit that has more fatigue than the unit attacking said enemy unit. For best results, having him on a ship will help keep fatigue down and your units in good spirits. He’s not the best Named Commander, but he’s certainly not the worst.
Diego the Mulatto
Diego clocks in at 30 points, with a massive 16” Command Range and 3(!) Command Points. He retains the three rules from the Seasoned Buccaneer Commanders (Broadside!, Commodore, and Lead by Example) but gains Vendetta: Spanish and Very Inspiring. Vendetta allows all units in the force to reroll 1 failed Rally test die, but only if you are fighting against the Vendetta’s chosen nation (in this case, the filthy Spanish!). Due to his 3 Command Points and massive 16” Command Range, he can be used on a size 4 ship to fire all 4 decks at once! However, his high cost will restrict him to higher point games. Overall, a solid choice if you don’t want a vanilla commander.
Edmund Cook
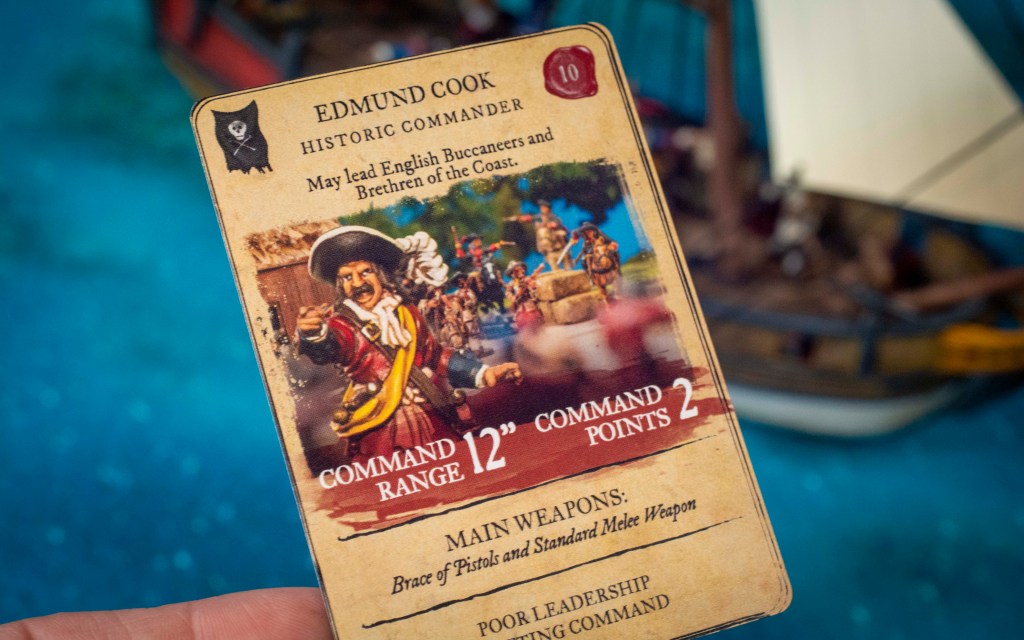
Edmund Cook costs 10 points (3 to take him as a Fighting Man), has a 12” Command Range and two Command Points. This is where the good news ends. He only has the Poor Leadership Special Rule, which means whenever he issues a command point the unit receiving it must pass a Rally test. If the unit fails, then the Command Point is wasted and the unit may not perform that action. While a 10 point commander may seem awesome with his Range and Command points, I would rather not let my dice decide if he gets to issue his Command Points or not.
Henry Morgan
Henry Morgan is a Legendary Commander best suited for Land games but can be taken at sea. He costs 42 points and has an incredible 20” Command Range and 3 Command points. He comes with the Broadside!, God’s Blessing or Devil’s Luck, Lucky, Very Inspiring, and Misfortune at Sea Special Rules. God’s Blessing or Devil’s Luck gives him 4 total Fortune points when starting a game and Lucky allows him to save a Fortune Point on a re-roll if the Fortune roll was worse than the original. Misfortune at Sea is a bit iffy, as he may not spend Fortune points to re-roll failed checks to Run Aground, attempt Repairs, Change Sail Settings or perform Advanced Maneuvers. While he may seem at home on a 6th Rate Frigate, bellowing for a broadside, I’ve most often seen him used on land. His command range usually allows him to bark at most of the Force, and those extra Fortune points really give him an edge over most other commanders. The detriment though is that 42 point cost. If you’re playing a 300 Point Game, he will fit right in. Anything lower, unless you’re running a themed list or attempting a historical recreation, and you’re trading a string commander for far less models on the board.
John Coxon

John Coxon is 25 points (4 as a Fighting Man) and has a 12” Command Range and 2 Command Points. He comes with the Inspiring and High Standing Special Rules. Inspiring is the lesser version of Very Inspiring, as it only allows units to re-roll failed rally tests if their unit is active. High Standing is a disadvantage, as it means the unit Coxon is attached to cannot benefit from the Elusive, Quick, Scout, Skirmisher, or Hidden Special Rules due to his arrogance. While he is fairly limited as a commander, paying 4 points for Inspiring as a Fighting Man can be helpful if you have 4 points you don’t know how to spend.
John Watling
John Watling is odd. He’s 15 points (3 as a Fighting Man), has a 12” Command Range and 2 Command Points, but has no special rules other than Shifting Command. While getting an extra command point at the same 15 Point price as the vanilla commanders, the lack of Special Rules kills it for me, he’s also worthless as a Fighting man due to lack of Special Rules.
Monbars the Exterminator
Monbars costs 25 points, has a 12” Command Range, and has 2 Command Points. He has the Ruthless, Broadside!, Lead by Example, Vendetta: Spanish, and Unorthodox Force Special Rules. His version of Unorthodox Force allows him to take Warrior Musketeers and Milicianos Indios as core units, which opens up some interesting list building possibilities. At the same price point as a Seasoned Commander but with less of a Range but a plethora of Special Rules, I’d say he’s a pretty solid choice if you want to play a little differently.
Peter Harris

Peter Harris clocks in at 14 points as a commander (3 as a fighting man) and has a 12” Command Range with 2 Command Points. His only Special Rule is Fated, which means he cannot use a Fortune Point to cheat death. Save yourself the points, don’t take him.
Richard Sawkins

Richard Sawkins is probably the “funnest” of all the organized playtest commanders. He comes in at just 10 points (3 as a fighting Man) with the standard 12” Command Range and 2 Command Points. What makes him fun is his Impulsive Special Rule! Essentially, if his unit is activated on a spade or a heart, he must shoot or charge an enemy unit within 8”. Here’s where it gets crazy: if the unit needs to throw grapples in order to charge, it may do so as a FREE action. While a free grapple check is nothing to scoff at, the rule is more for fun than for competitive play.
William Kidd

At long last we have reached the end of the commanders. William Kidd costs 32 points, has a 20” Command Range, 3 Command Points and comes loaded with the Expert Broadside, Strict, and Sailing Master Special Rules. Expert Broadside is the same as “Broadside!”, but if you roll a 1 on your Critical Hit or Lucky Hit die, it may be rerolled. This is great for annoying your opponent with small effects and then possibly not missing out on a good roll for those important Critical Hits! Strict is amazing, as it allows any unit that rolls a Test during Kidd’s activation may take a point of fatigue to get a -1 bonus to that test. Stack this with Broadside and you will increase the chances of doing some real damage…..unless you’re using Light Cannons against a Galleon. The Sailing Master Special Rule allows the unit with Kidd to spend an action to increase or decrease the ship’s speed by 1” on its next move only. However, if you go beyond your ship’s top speed you take a Critical Hit to the rigging. He’s a solid choice for a gunnery list in larger games, and stacking Strict with Expert Broadside can be especially brutal.
Core Units
The Core Units for the Brethren of the Coast are vast, so I’ve separated them into different categories: Sailors and Sailor Musketeers.
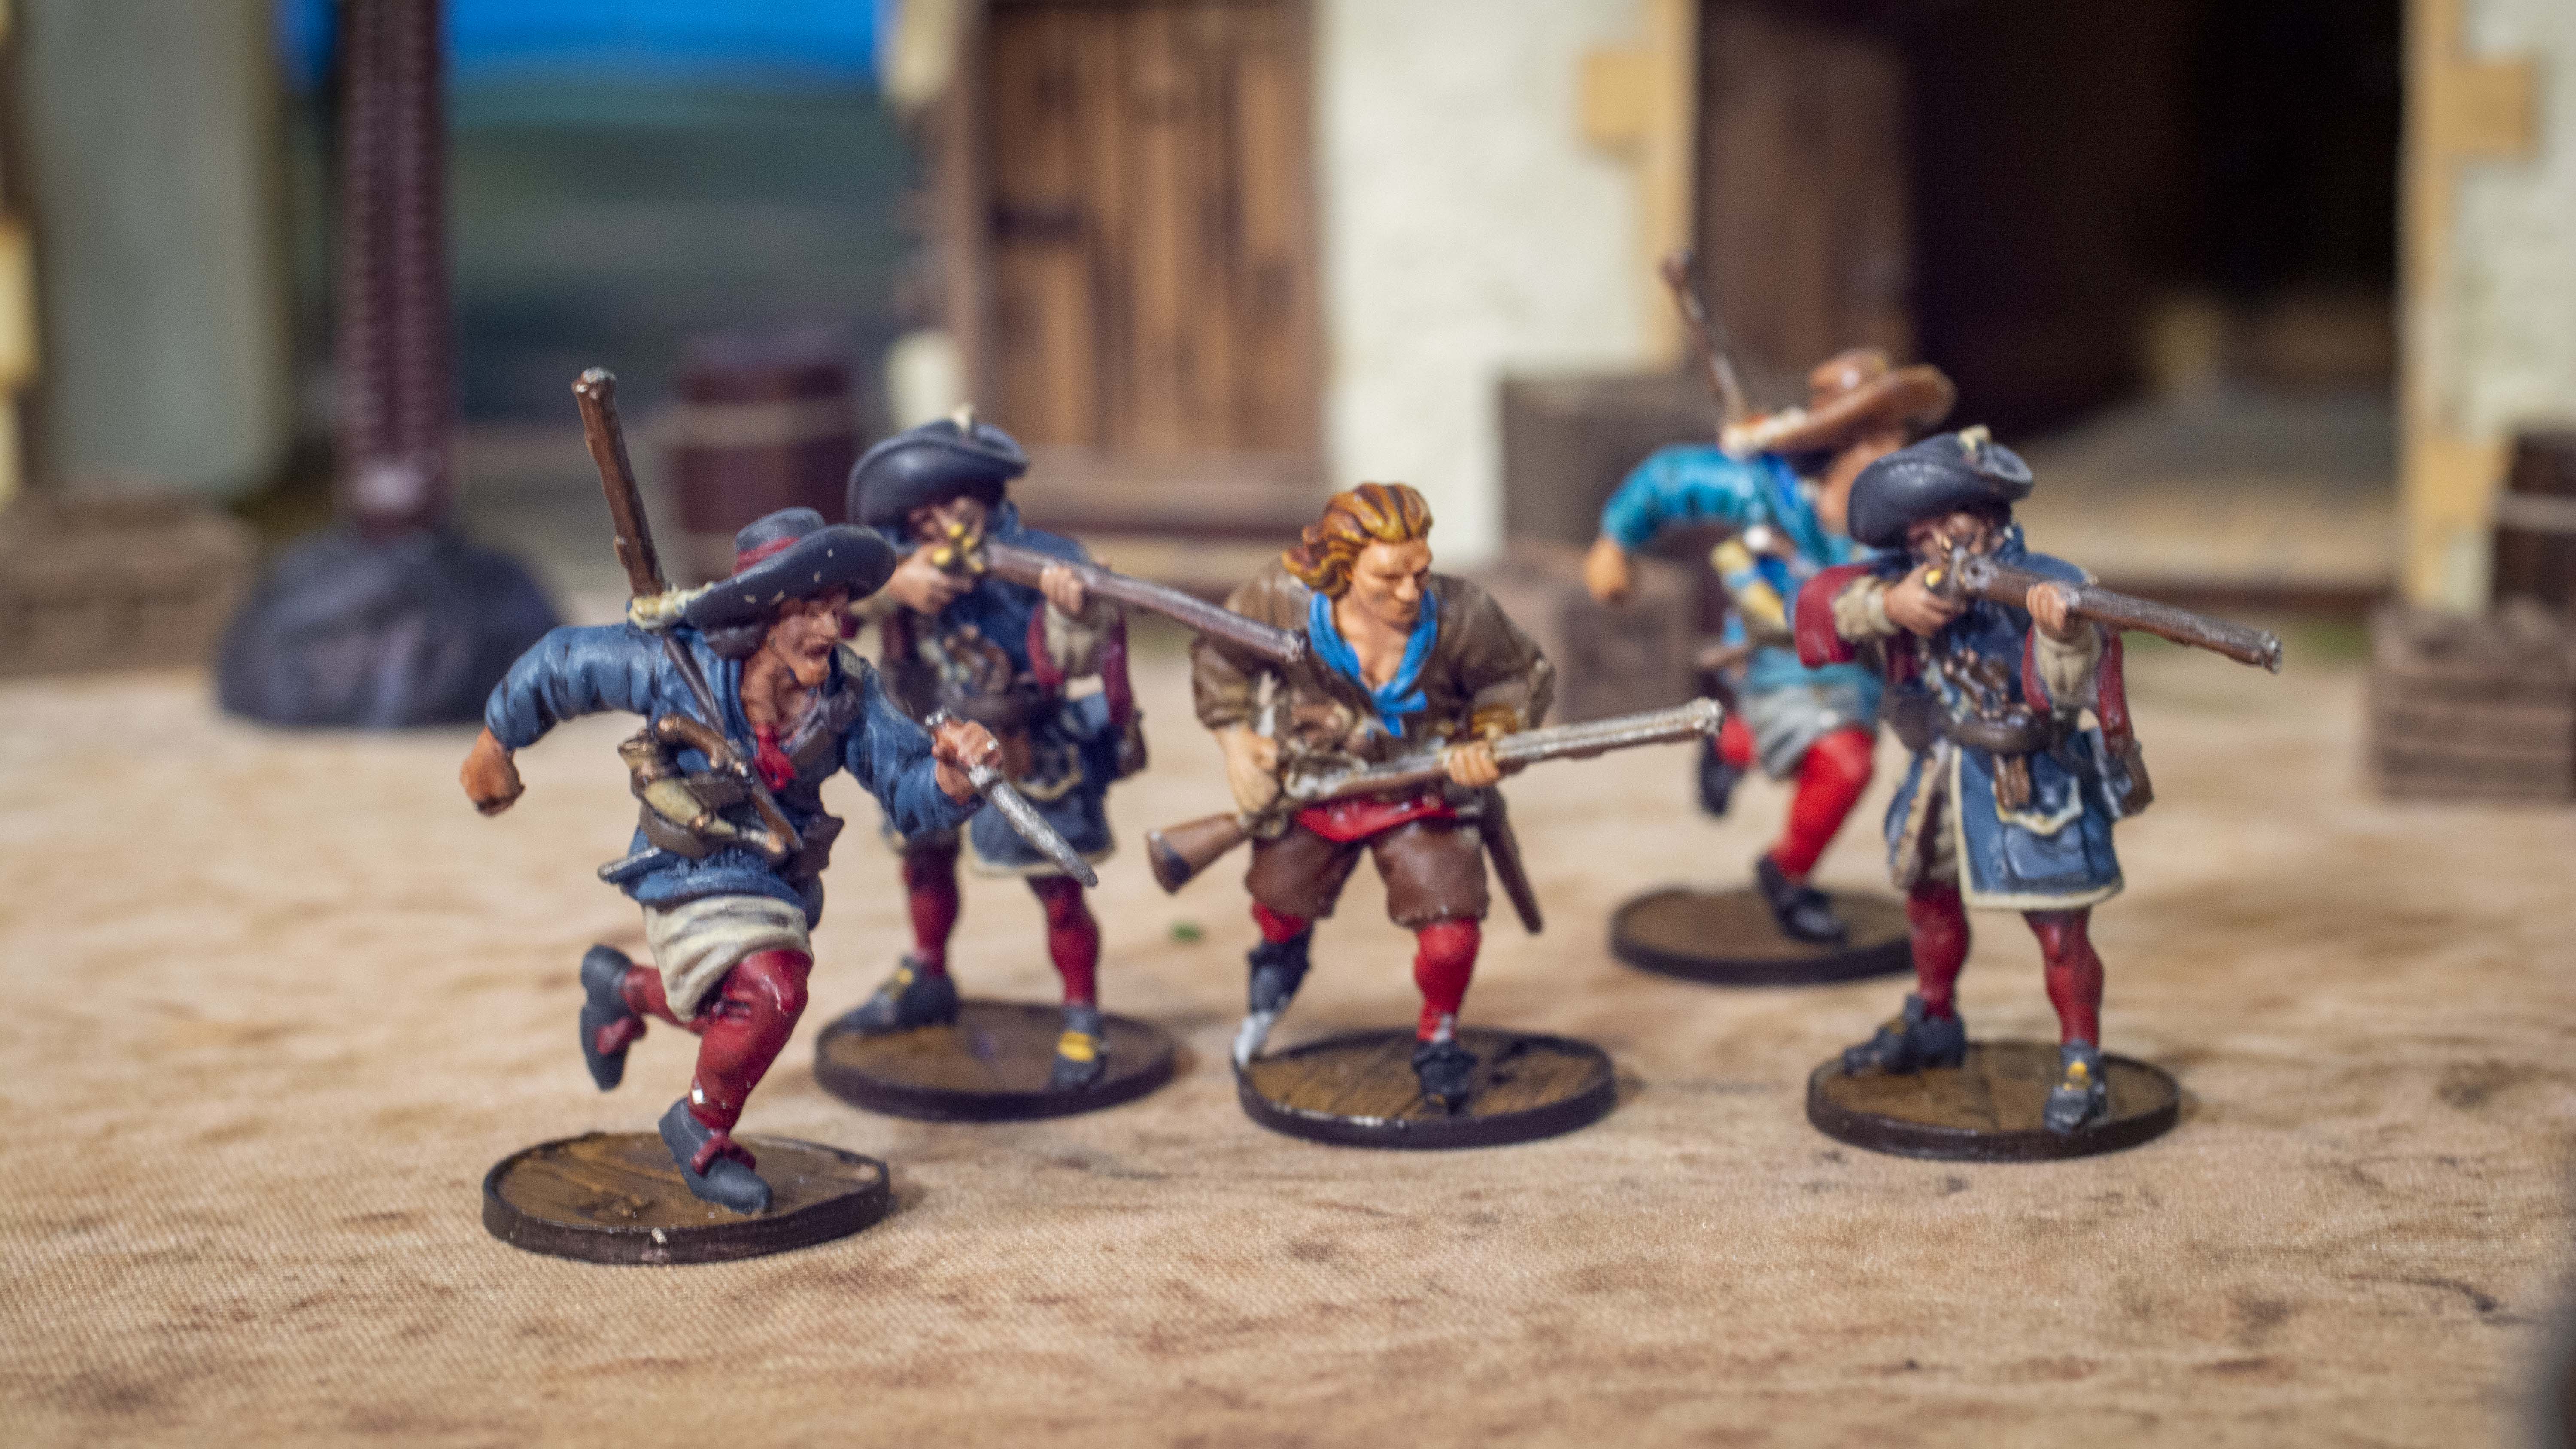
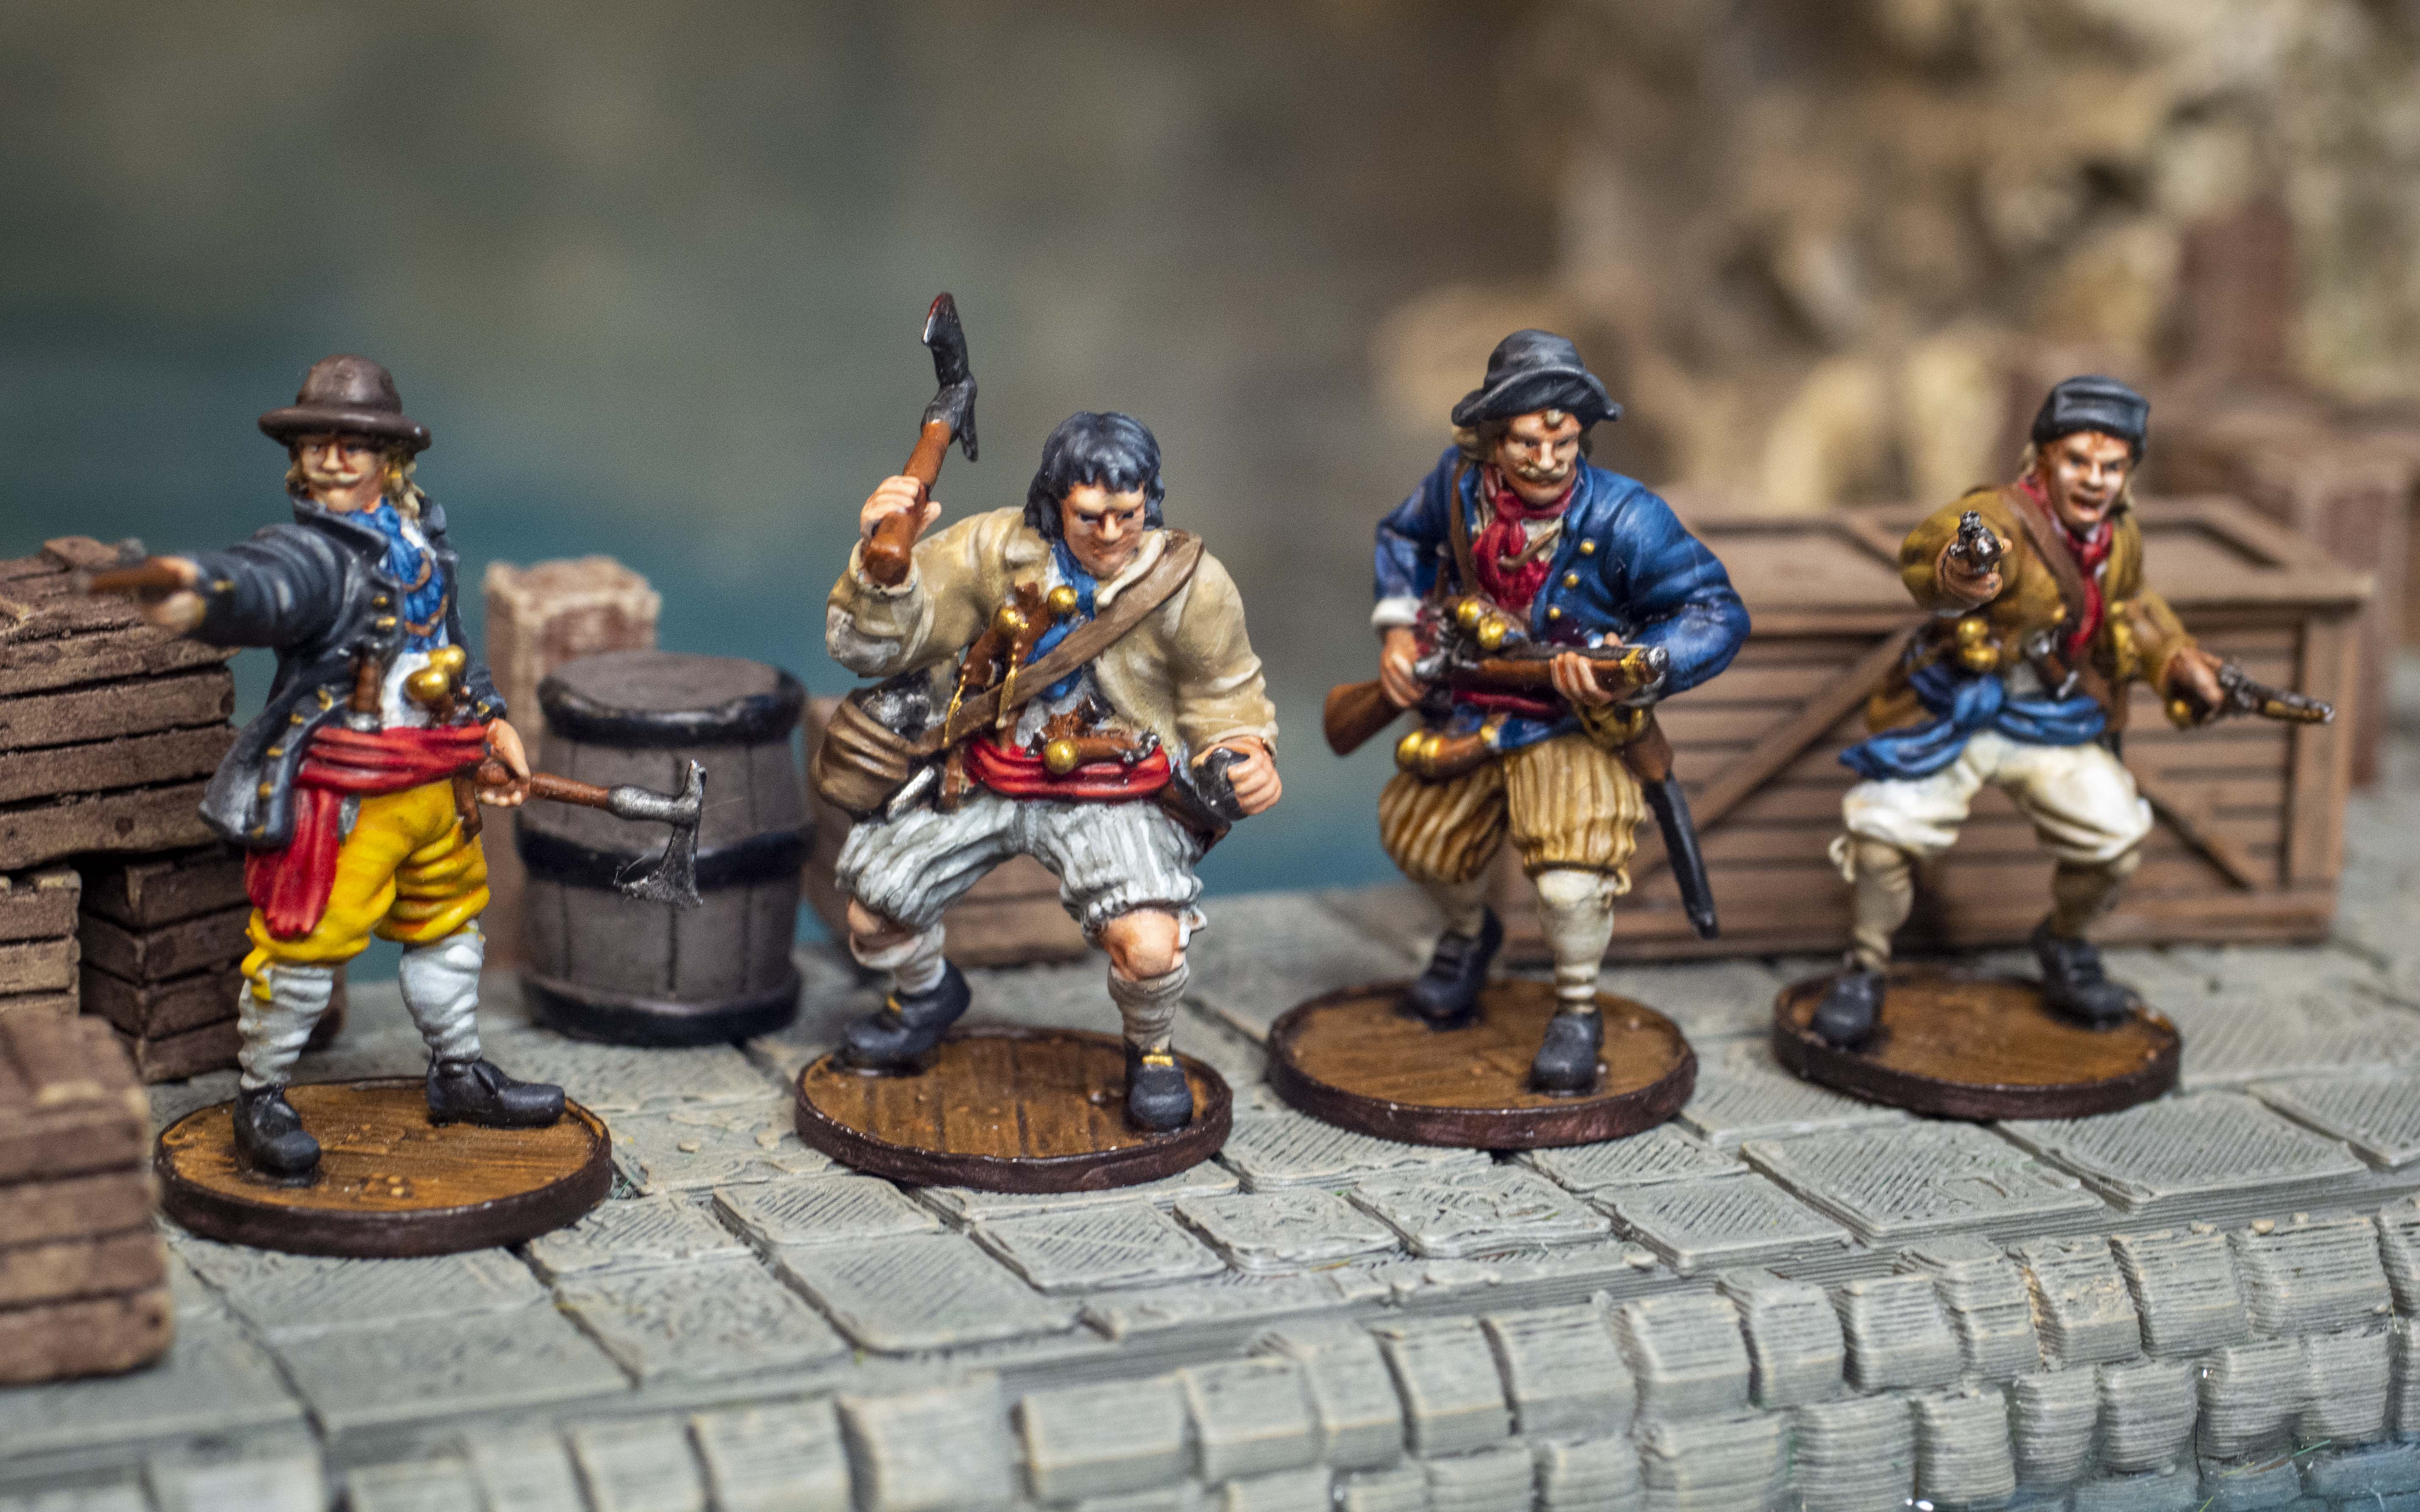
Sailors
With access to each sailor unit from each nationality, it allows you to kit out your Force as you see fit. We’ve covered these units multiple times on the blog, so I won’t spend too much time here and give a brief summary and best use for each unit. All these units come with a variation of the Sailors Special Rule, which allows a unit with said rule to pass any Advanced Maneuver or Sail Setting Test on a 5+, compared to the standard 7+. Unless noted otherwise, assume the unit has this rule. All the Sailor Units cost 4 points per model and have various upgrades and options to take as well.
Marineros
The Marineros are Spanish Sailors, and are best suited for close quarters combat. They have the Ruthless special Rule, which gives you a -1 bonus to any Shoot or Fight Test if the enemy unit has more fatigue than the unit with the Ruthless Special Rule. With their 5 Fight Score, if they charge a unit with more fatigue than them they will be hitting on 4s, which is fantastic (and if you use their pistols they get rerolls!) The Artillery Crew Special Rule allows the unit to get a free reload when activated on a spade, which helps with manning cannons. However, they also come with Poorly Equipped, which adds an additional reload market to small arms if the unit is activated on a club. I avoid using these guys as musket support specifically because of that rule. Compared to the other sailor units, they are okay, but are the only ones with a clearly disadvantageous Special Rule.
Marins
Marins are French Sailors who LIVE to board and spill blood with cutlasses, axes, pistol butts, belaying pins, and their enemy’s arm if it’s available. On top of the Sailors and Artillery Crew Special Rules, they have Hard Chargers, which gives them a -1 bonus to the free Fight action taken after they charge. Since their Fight Score is 5, this will drop it to a 4. These guys are excellent at boarding, but just okay as musket support or cannon crew.
Sea Dogs
eel
These Englishmen used to be the hotshots of the Sailor units. They come with the Sailors, Brawlers, and Expert Artillery Crew Special Rules. Brawlers make it so whenever they roll a Fight Test, any natural 10s generate an additional hit, which is okay but not as good as Hard Chargers .However, they make up for it with the Expert Artillery Crew Special Rule, which makes it so the unit gets a free Reload action when they activate on a spade OR a heart, which really helps them reload cannons quickly. These are more specialized sailors meant to man guns and only fight if needed. While they have a better fight save at a 6 as opposed to the Marineros’ and Marins’ 7, they will not hit as hard and are meant to hold the line as opposed to charge, in my opinion.
Zeelieden
Zeelieden are the best all-around sailor unit in the game as of this writing. They have Expert Artillery Crew, hard Chargers, and Expert Sailors. Expert Sailors drops that 5+ to a 4+ for Advanced Maneuvers and Sail Setting Tests and is useful for games where you need someone manning those sheets and shrouds. The Zeelieden can man guns reliably, board and attack reliably, and sail the ship reliably. While they don’t hit as hard on the charge as Marins and Marineros, they have better staying power with a 6 Fight Save. It’s usually better to take these guys as your cannon crew and use the Marins as a boarding party with the Zeelieden to back them up if you happen to get boarded.
All in all, the 4 sailor units allow you to create some flavor and choose how you want to play. Aggressive boarding lists will often see Marins and Zeelieden paired up, while cannon lists can take Sea Dogs and drop them to 3pts apiece by taking away their pistols. While all the units here can take muskets, they aren’t as good as their Musketeer counterparts and should only be given them if you have the points to spare.
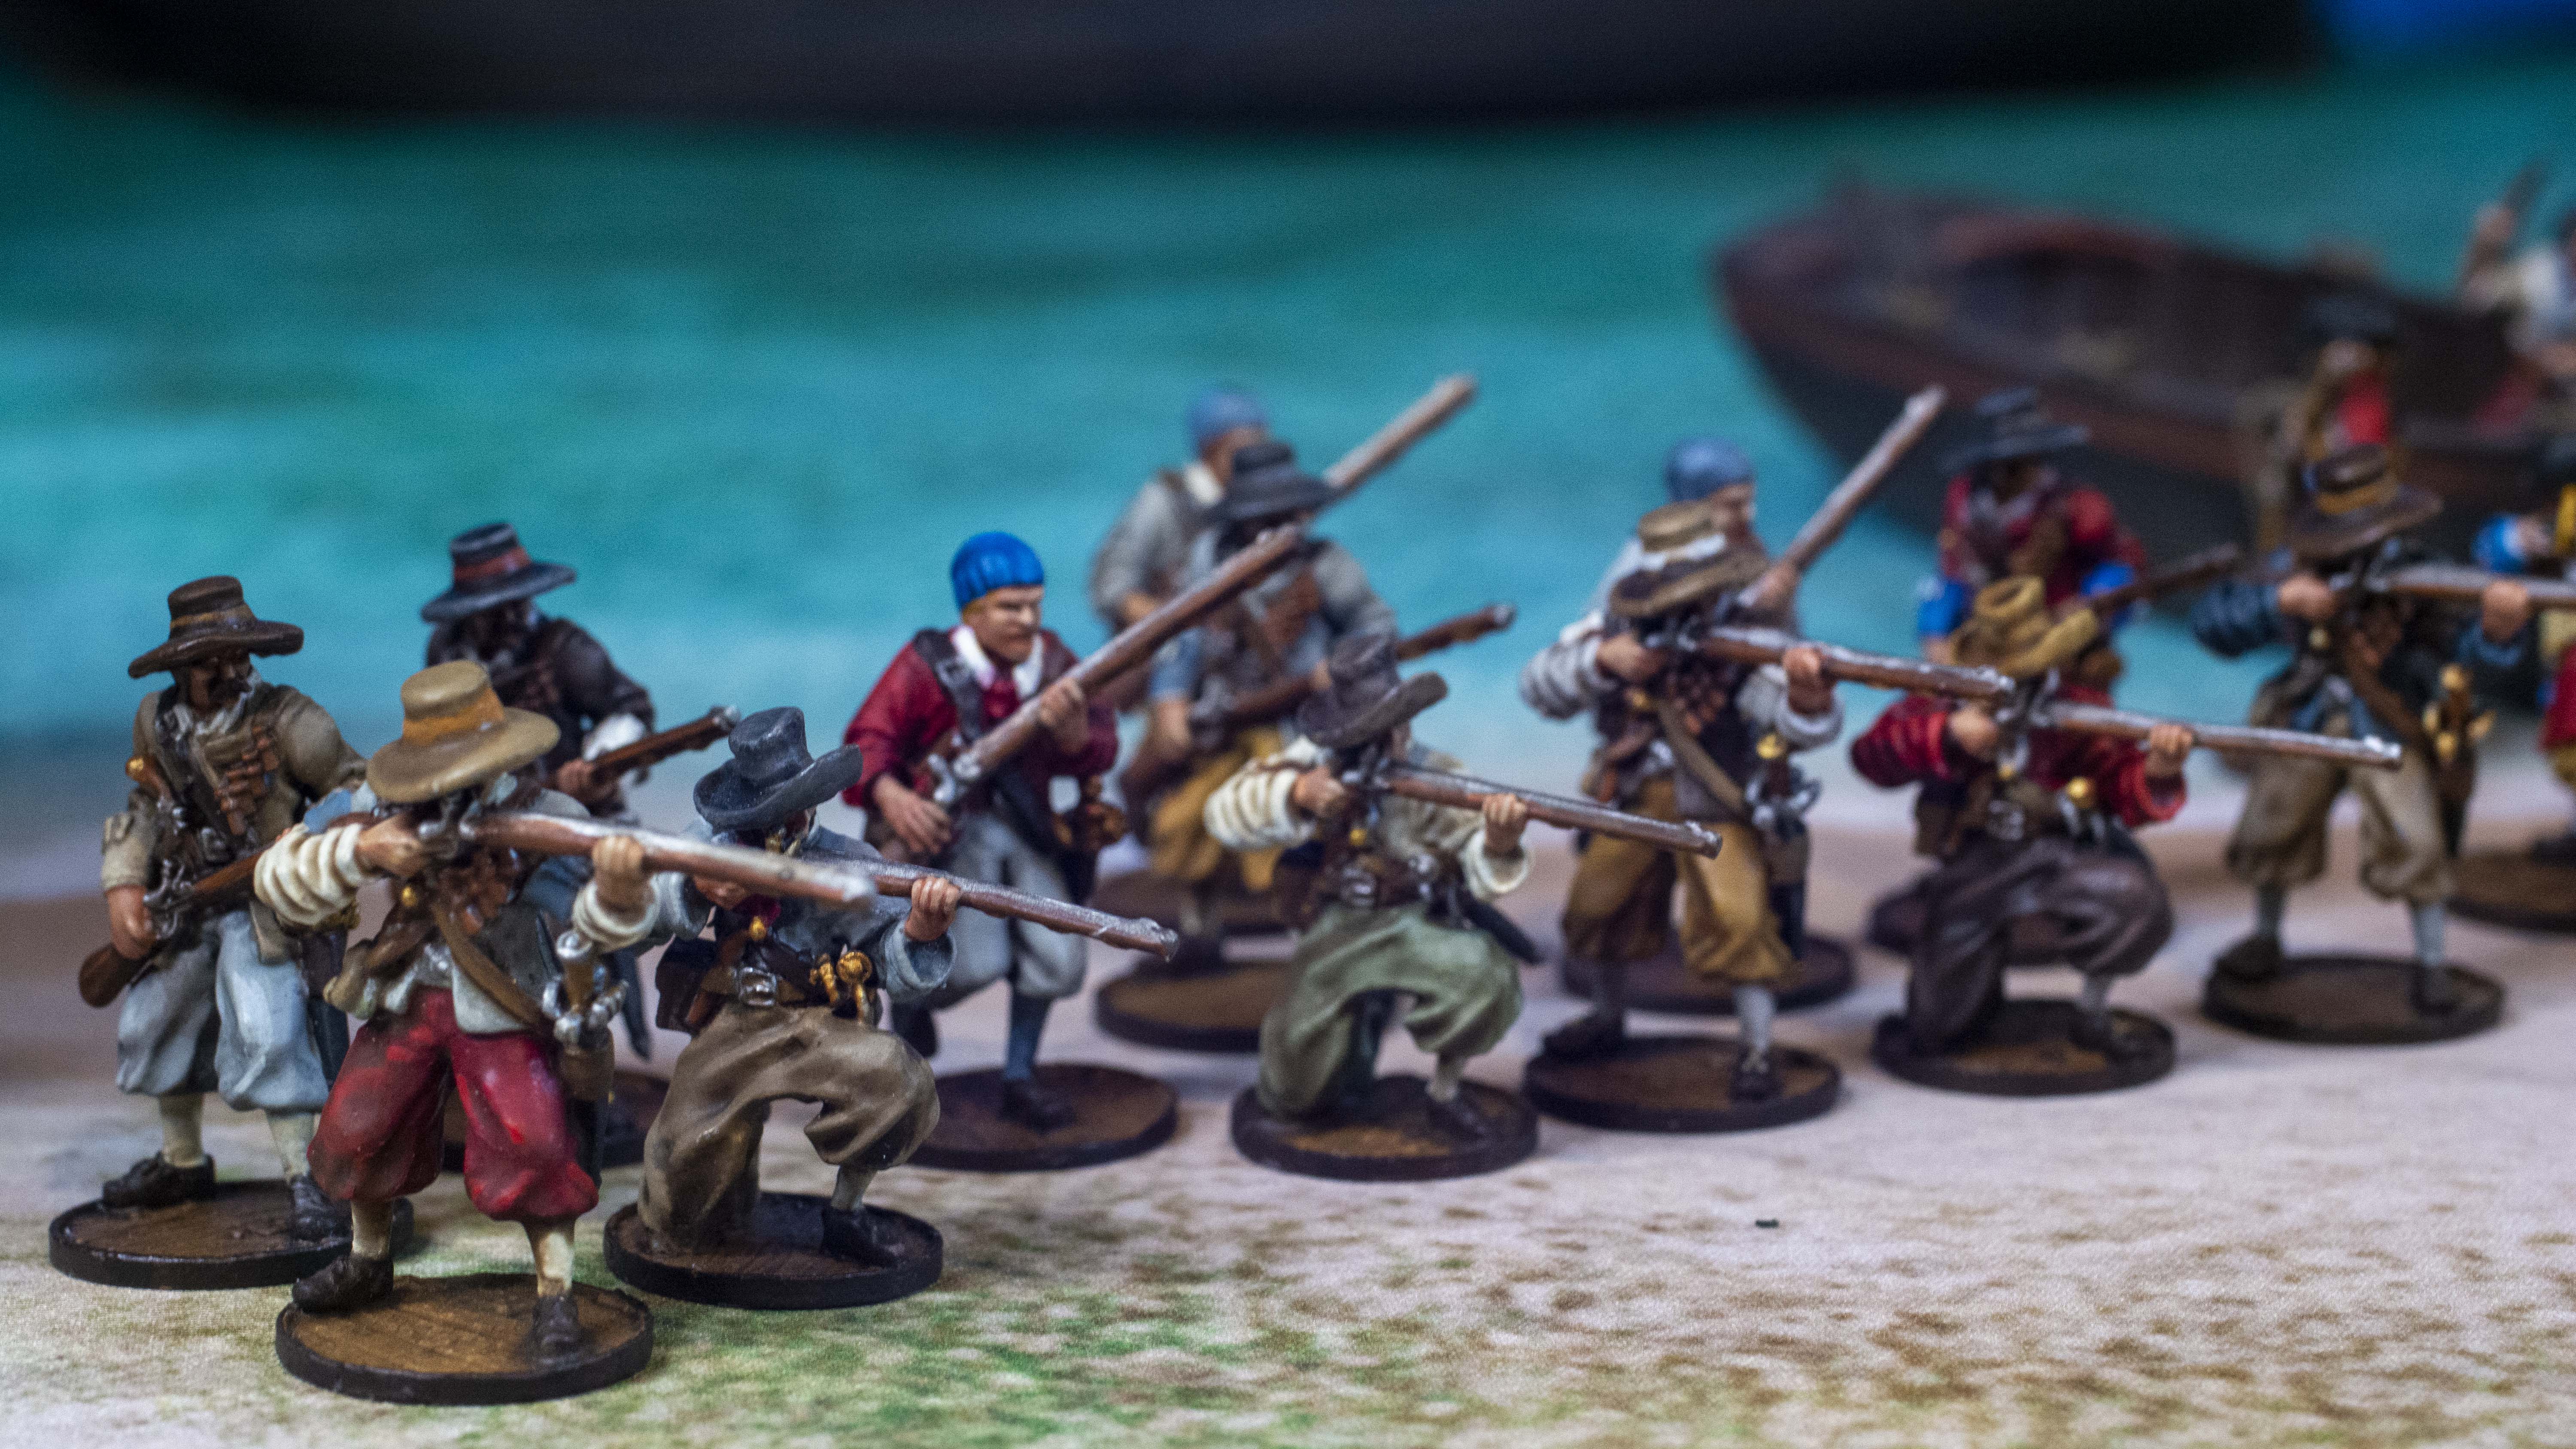
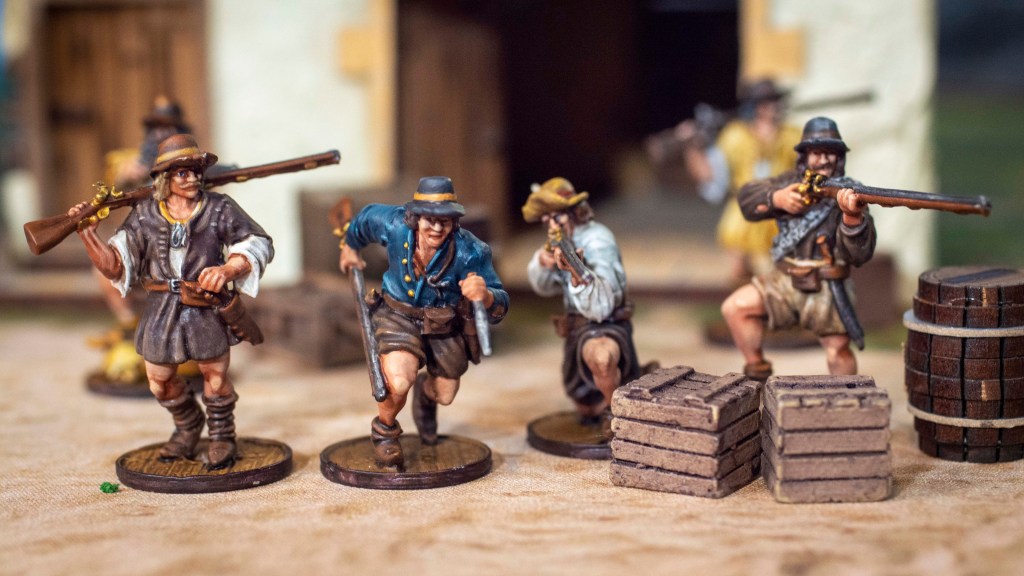
Sailor Musketeers
The Sailor Musketeers in the Core Units all come with the Ball and Shot (any natural 10s rolled when shooting at a target 12” away or less generate additional hits), Fast Reload (When the unit is activated on a spade, they get a free reload action with Small Arms so long as they aren’t engaged in melee combat), and the Sailors (except for Kapers but we’ll get there) Special Rules. All the Core Sailor Musketeer units also have a Resolve value of 5. These units are designed to be your medium to long range support, but each has its own pros and cons.
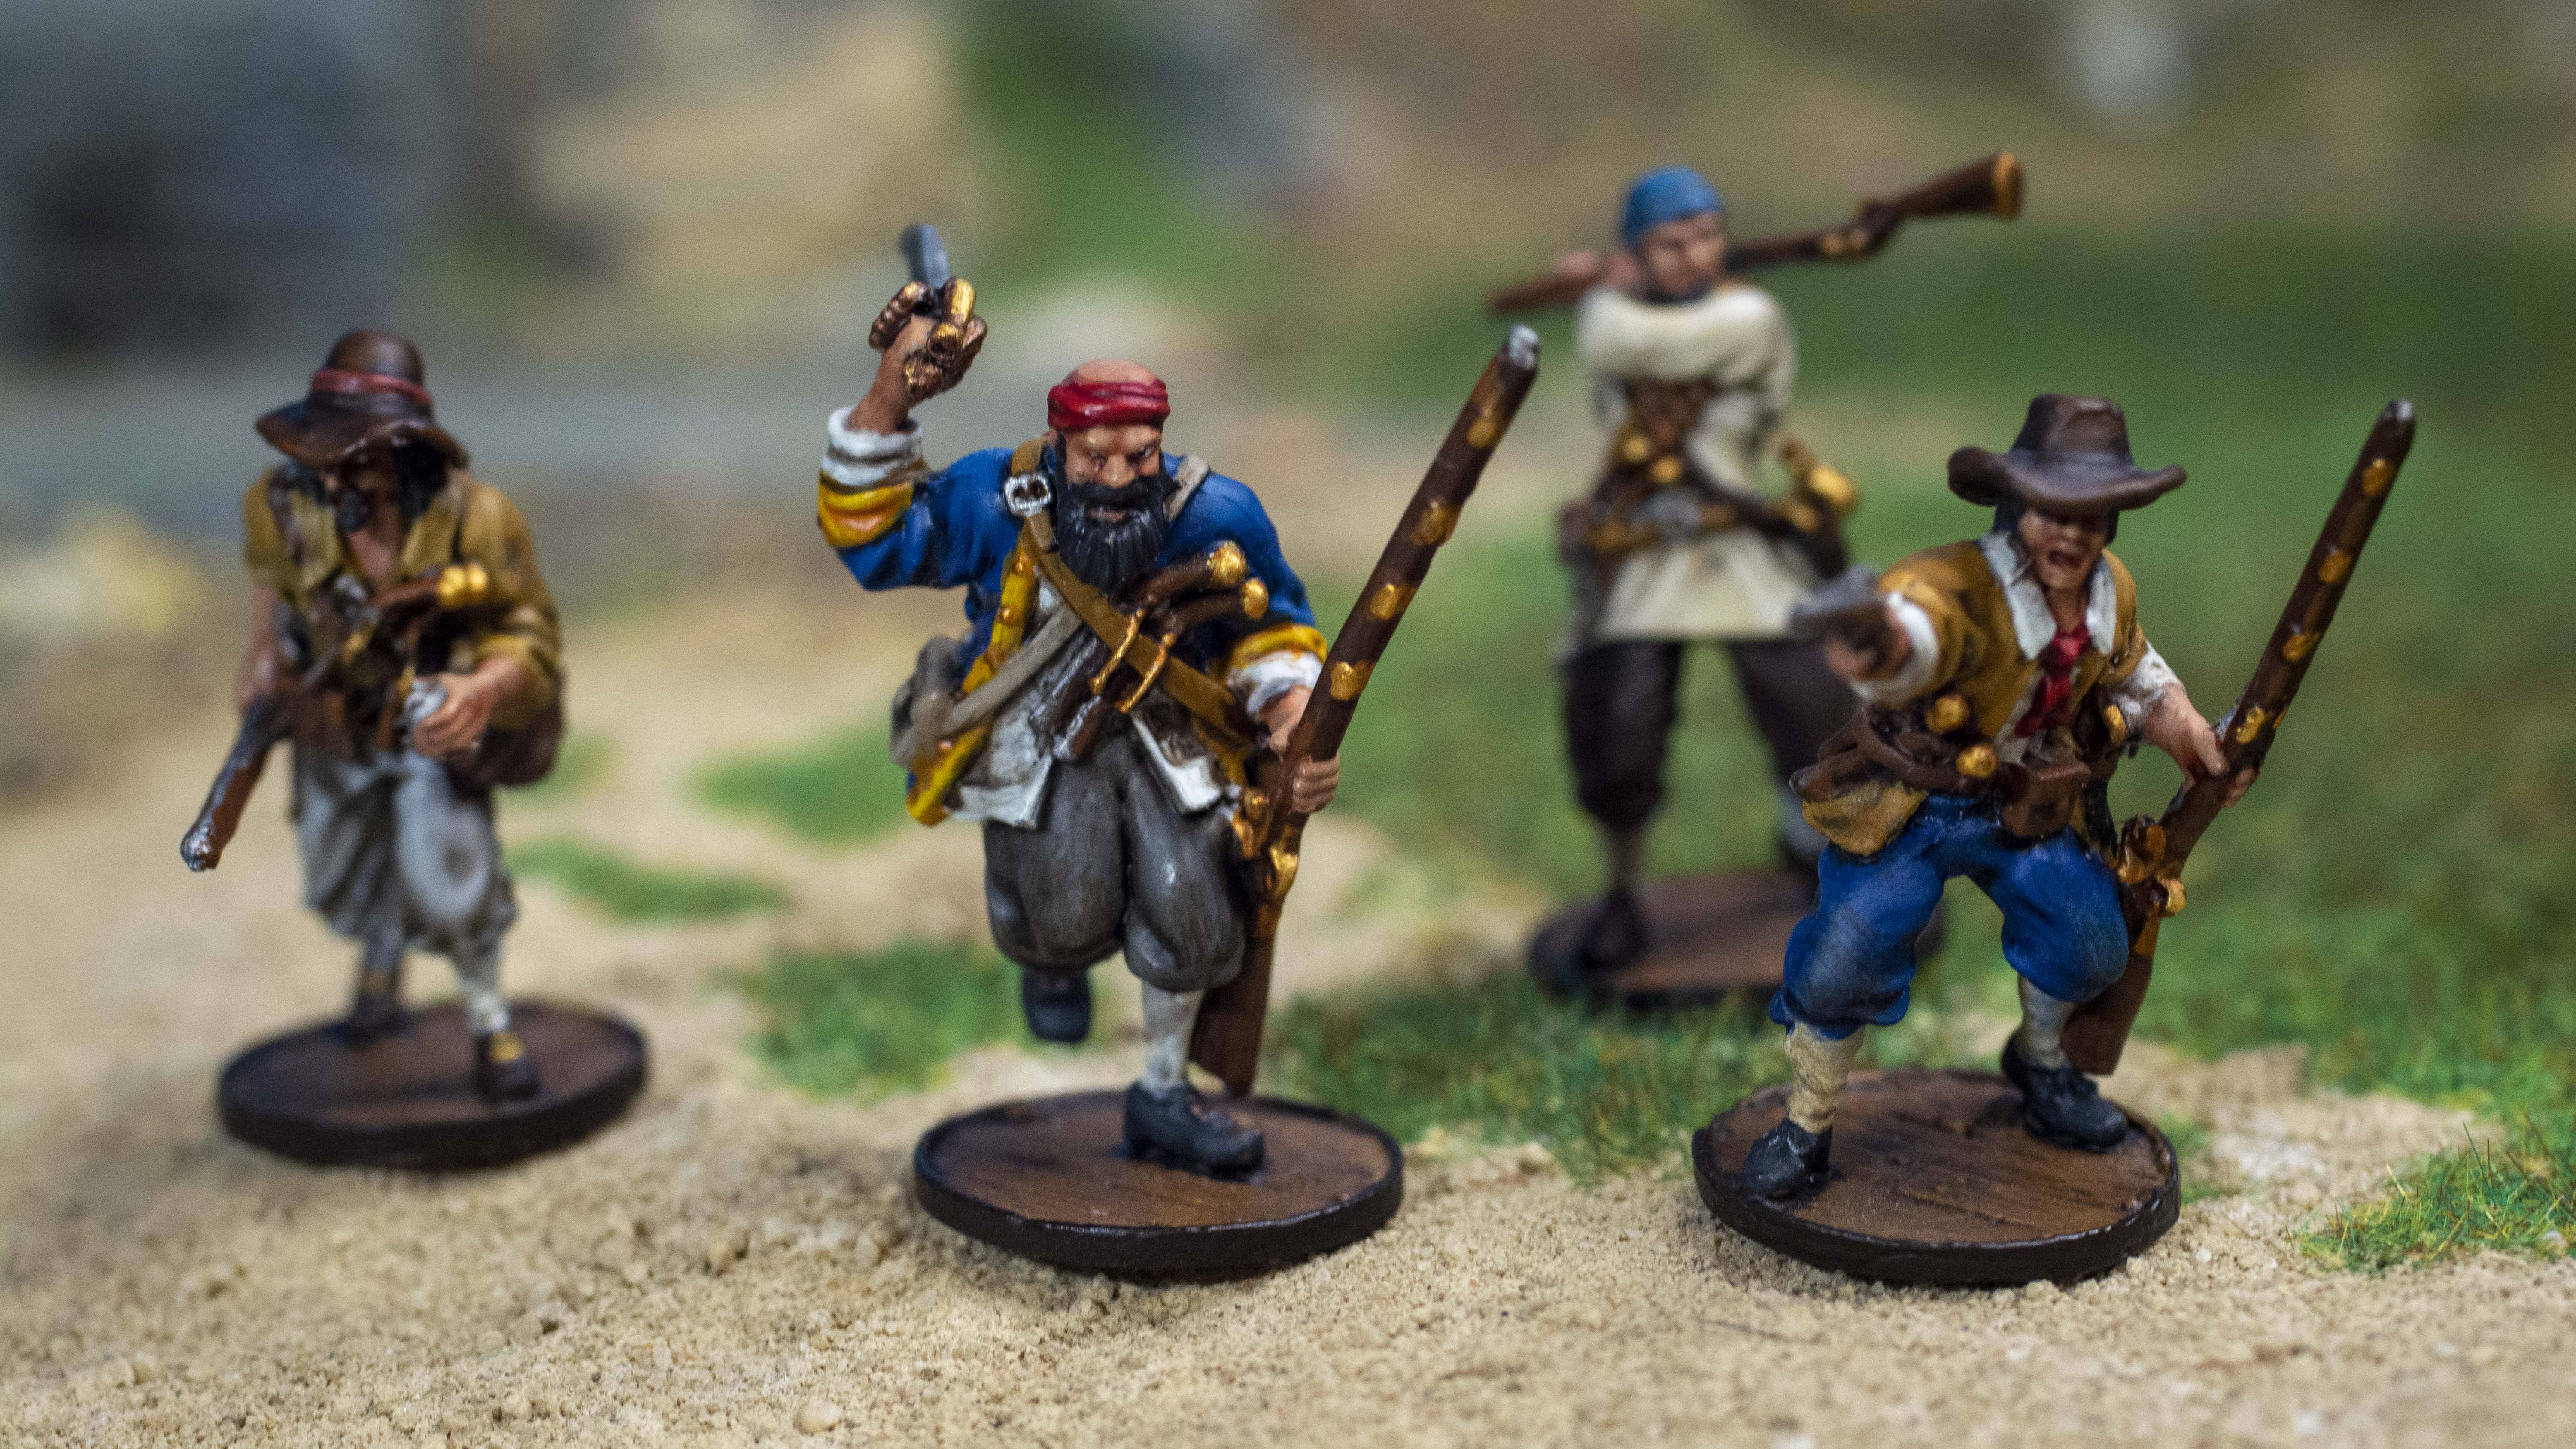
Flibustiers
The Filibustiers are a solid unit and an automatic inclusion in most of my forces. They come with Buccaneer Guns, Standard Melee Weapons, and the amazing Brace of Pistols; which allow you to use pistols in close combat without generating reload markers. At 6 points a model, they are a little pricey but they can equally do mid-range musket support and can serve as an excellent boarding party! When activated on a club, they can use their 3 actions to grapple an enemy ship, fire their muskets into any units on the opposing deck to try and stack up fatigue, and then Charge for maximum damage! Their only real weakness is that they are a glass cannon in that they are good at fighting with a 5 Fight score and the ability to reroll misses, if they don’t cause enough damage and the enemy gets to hit back, their 7 Fight save will only see you saving 40% of the time.
Freebooters
Freebooters are the go-to core unit if you’re looking at building a ranged list. On top of the three rules we discussed at the beginning of the section, they also come with the Marksmen special rule, which allows the unit to use two actions to shoot and recieve a -1 bonus to that Shoot test! While it makes longer shots easier to hit, Marksmen really hurts at closer ranges especially when combined with ball and shot. These guys are not suited for close combat, but they do have a pistol sidearm they can use once during a game, which helps. Like the Filibustiers, they cost 6 points a model, but chances are you’ll need a group of these guys to keep the fire on a ship you intend to board or a building you need to keep pinned down before charging in with melee units.
Veteran Freebooters

Veteran Freebooters are “Upgraded” Freebooters. What you get for a whopping 8 Points per model is Plug Bayonets, the Veteran level of experience, Plug Bayonets, and a better Shoot Save at 6+ instead of 7+. Besides the Shoot Save, you can accomplish the same kind of unit by simply upgrading regular freebooters to Veteran and giving them plug bayonets. While that Shoot Save seems tempting, its a ton of points to dump into a single unit. However, if you have the points available to take these guys instead of regular Freebooters, by all means take them. They also come with Marksmen but still have the same 6+ Shoot Score. All in all, I’d rather take a unit of Freebooters and just upgrade them to Veteran since I don’t plan on getting them into combat anyway.
Kapers

Kapers are the cheapest option here at 5 points per model, and are kind of a generalist unit. They have the same shoot score as their counterparts, but instead of Marksmen they come with the Brawler’s Special Rule (see the Sea Dogs entry above), and they don’t have Ball and Shot or Fast Reload. What they get instead is Artillery Crew and Expert Sailors. If you can’t afford a group of Freebooters, these guys can be pressed into service as a medium range musket unit, but are better suited for use on a ship with a “Privateer” rigging option as they can man the Sheets and Shrouds, and if combat happens they can simply hop off the Sheets and start shooting. Brawlers is better than nothing in melee, but these guys should only charge in support of another unit.
Support Units
The Brethren of the Coast have a wide Variety of Support units to pick from, and as with the Core units I’ve divided them up into categories to better define their roles.
Sailors
European Sailors

European Sailors are unique, in that they have a 6 Shoot Skill instead of the typical 7. This means that they make a great unit to give Muskets to if you need a good musket unit on the cheap. They have the Artillery Crew, Sailors, and Battle Hardened (This allows the unit to roll 1 less Fatigue die on a test but only if it’s the result of a fight action, to a minimum of 1) Special Rules. While they will have superior resolve checks in melee due to their 5 Resolve score and Battle Hardened, and they shoot better, these aren’t ideal for a support unit in my list unless you plan on bringing as many muskets as possible to the fight.
Pressed Men
Pressed men are the hoard unit for Brethren of The Coast. At a glance, they look terrible with a 7/8 Fight, 7/7 Shoot, and 7 Resolve, but they only cost 2 points per model. While they come with the Sailors Special Rule, I wouldn’t use them for such a job. Their best use is to hoard out an enemy unit by charging to support a more competent unit, or by giving them lances to help deter charges on your ship/building.
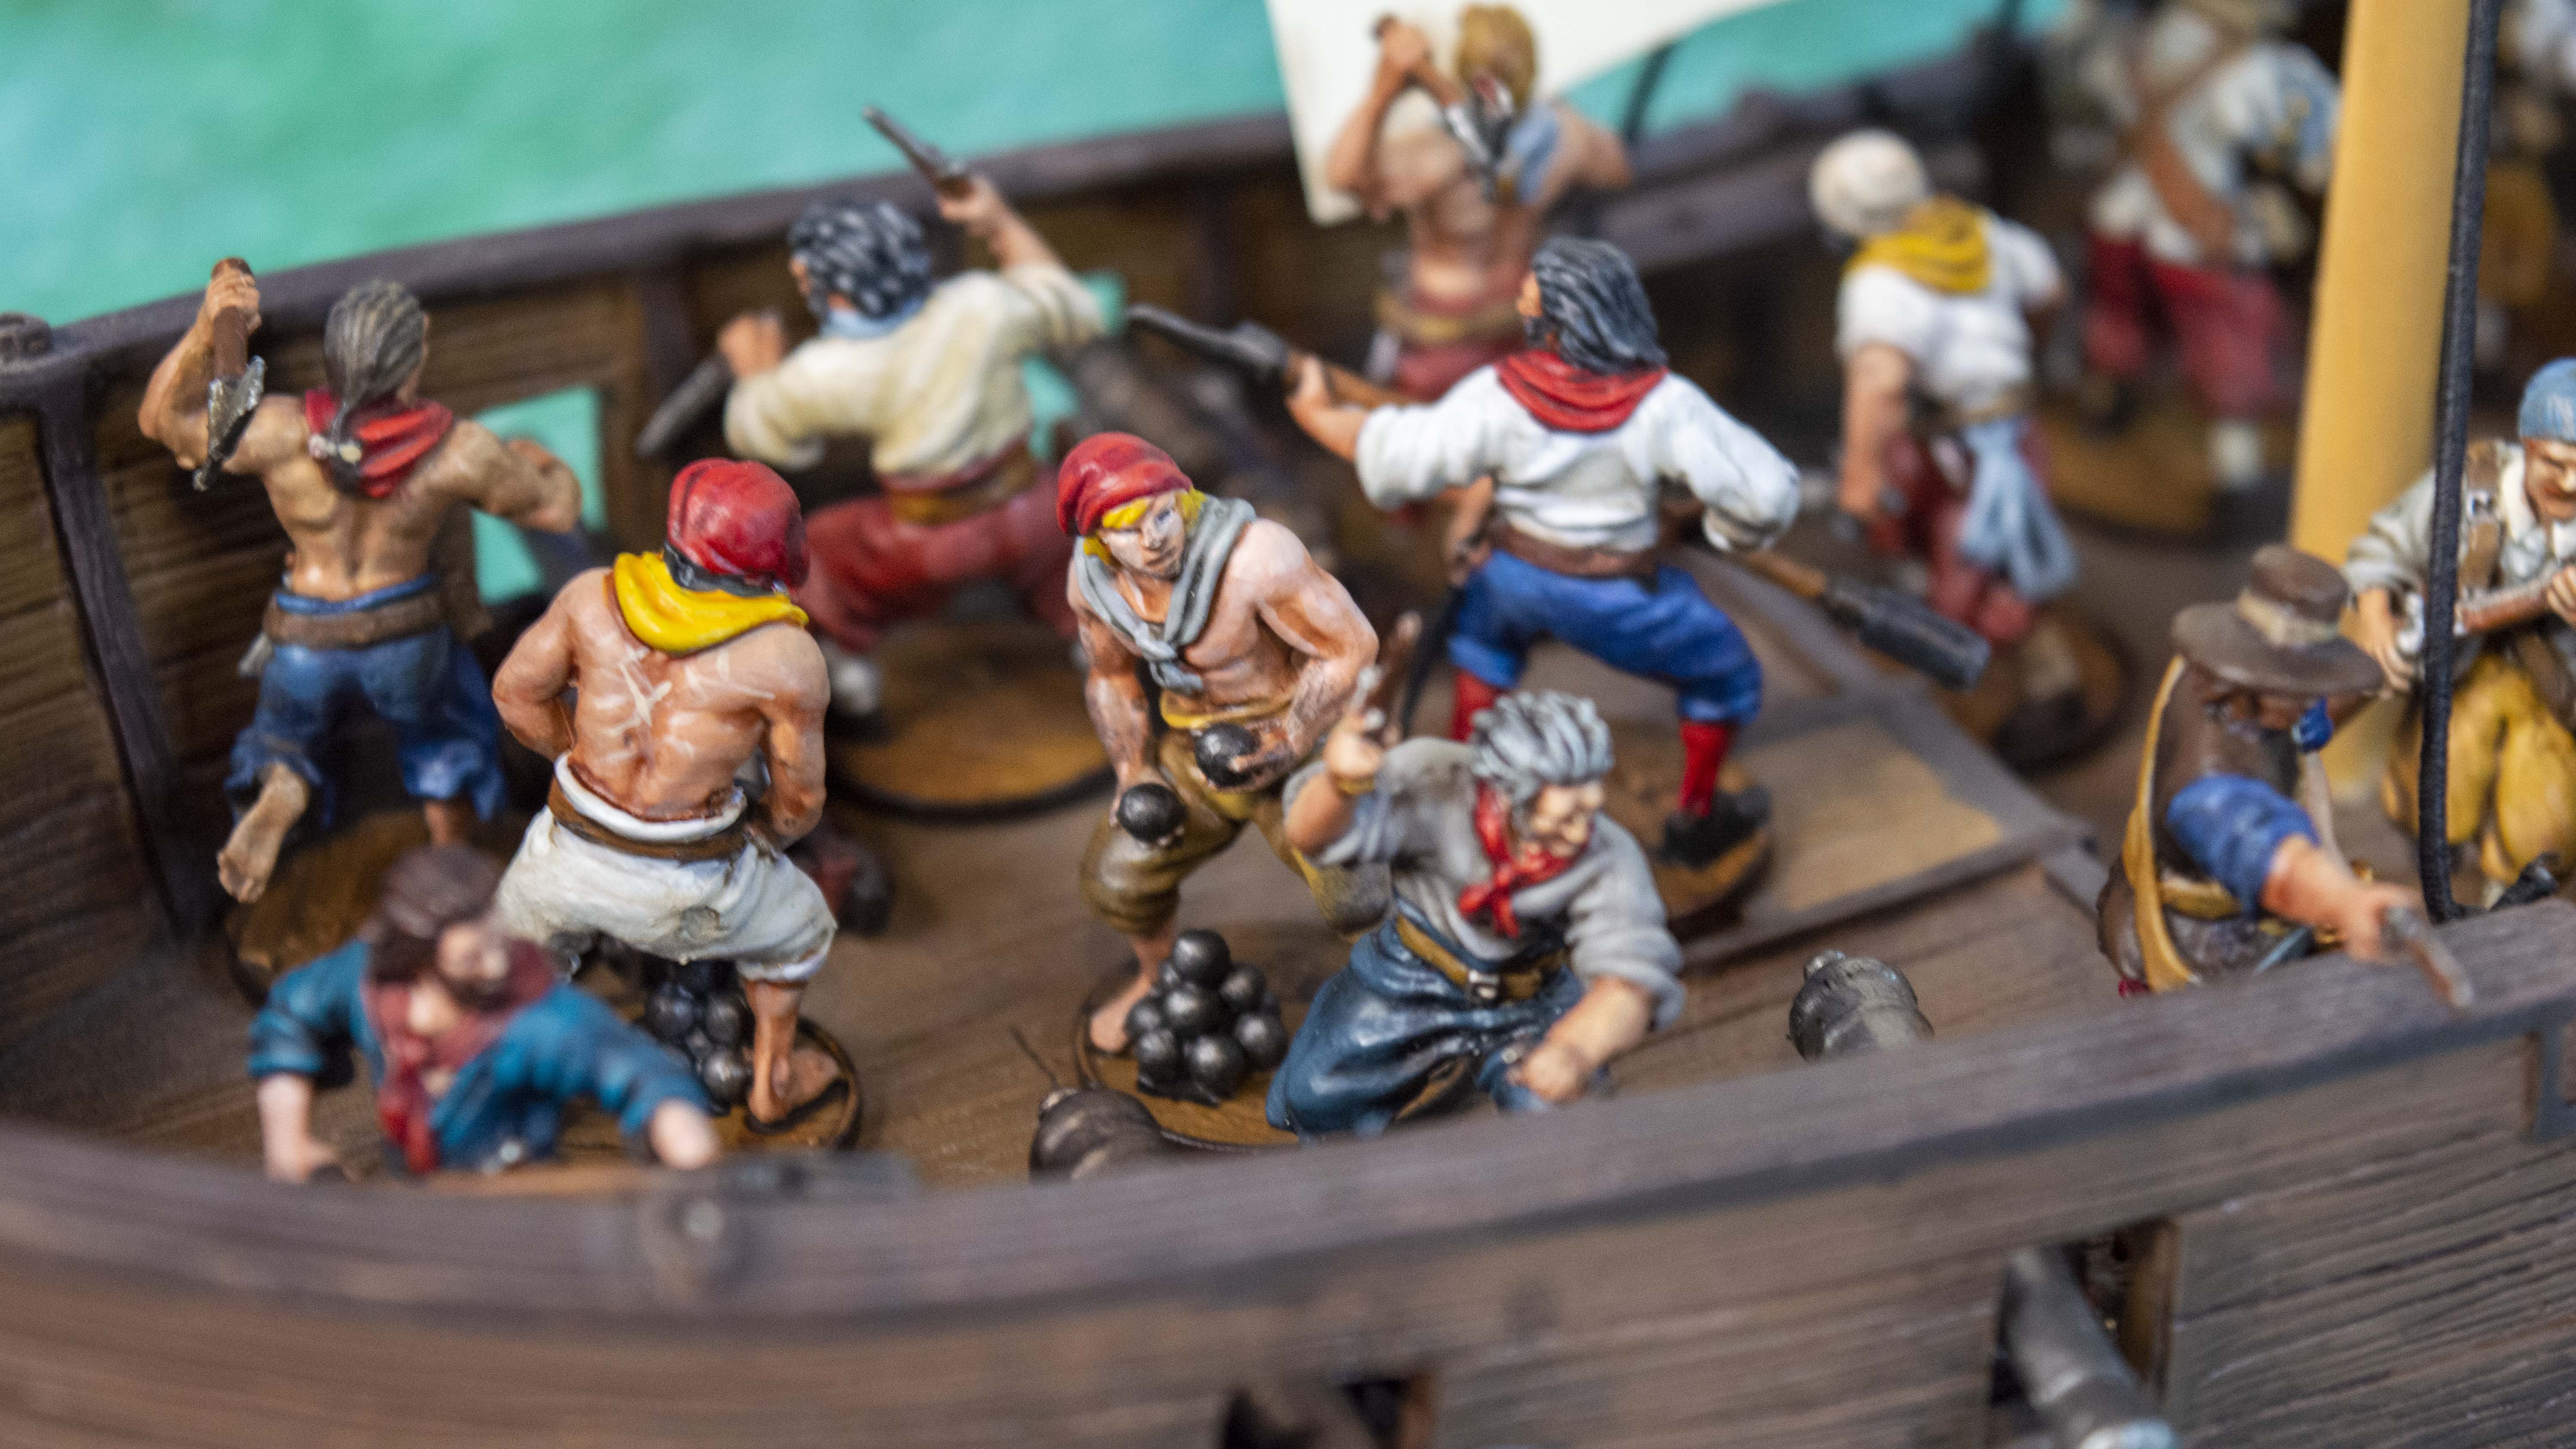
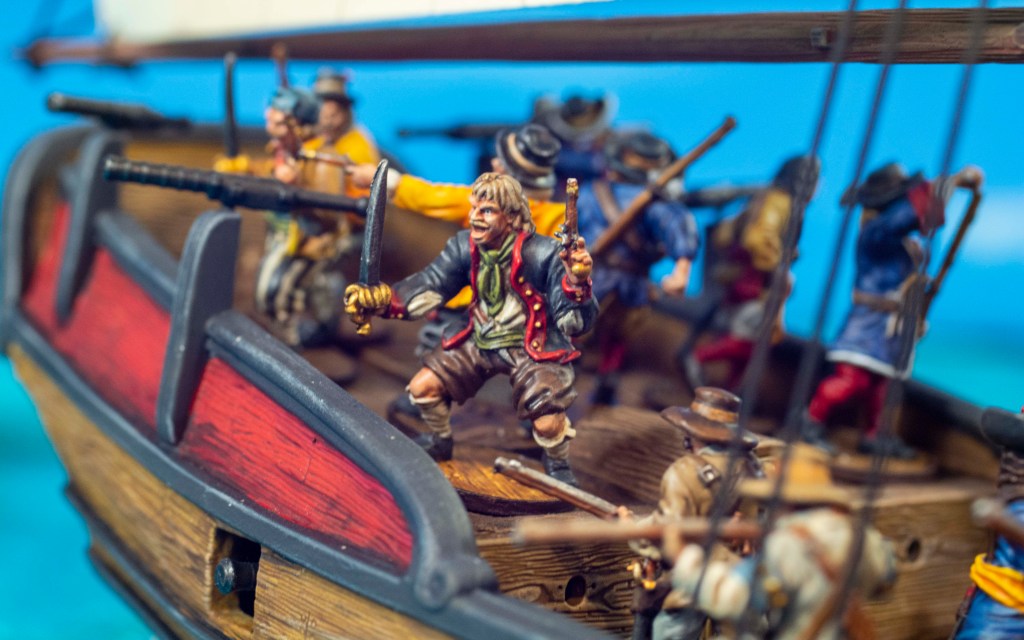
Boarding Parties
The Boarding Parties are dedicated melee and short range shooting units that should be the first to charge over the side during a boarding action or into a building. All the units in this section have a Resolve of 4.
Les Enfant Perdue

The less Enfant Perdue are France’s version of the Buccaneer Storming party, and they pack a punch! (Pay no attention to Joseph’s yelling of “Overpowered Freeeench!” in the background). At 6 points a model, they come armed to the teeth with Buccaneer Guns, Brace of Pistols, Standard Melee Weapons, and Limited Explosives! All at the Trained level of Experience! For Special Rules, they have Ball and Shot, Fast Reload, Vanguard (The unit gets a free move in the start phase before cards are drawn on the very first turn), and Tough (It may remove a point of Fatigue at the end of the activation if they did not Push or gain any fatigue during the activation). Limited Explosives means they have. They hit hard in melee with a 5 Fight Score, Shoot well with a 6, and their Resolve is a 4. However, Their saves are ABYSMAL at an 8 for both Fighting and Shooting. I rarely take these guys because if an enemy sees them, they will try to whittle them down as much as possible before they get to their intended target. While for people wanting to play a French Flavor, these will be your Go-To Boarding party, I’d use these guys to support a Flibustier or Marin charge so they don’t die if you roll terribly. If you have to charge first after you grapple the ship, fire the muskets first before charging and hope you get 2 fatigue stacked on the enemy unit so they can’t shoot back, or throw stinkpots before boarding so they can’t shoot back by default.
Forlorn Hope
The English Version of the Buccaneer Storming party is not just a carbon Copy of their French Counterparts. They cost two points more than the Les Enfant Perdue, but have a MUCH better fight save (6 vs an 8) and a respectable 7 Shoot save. They have the same Special Rules except for the Tough Special Rule, which may seem less powerful, but these guys are sturdier so giving them Tough would be overkill. They come with the same equipment, so the previous strategies apply for The Forlorn hope as it does for the Les Enfant Perdue, only chances are they won’t get wiped out if the enemy has a few models to hit back.
Enter Ploeg
The Enter Ploeg are, in my opinion, the superior to both the Forlorn Hope and Les Enfant Perdue. They have the same staying power as the Forlorn Hope but have the same 5 Fight Score as the Les Enfant Perdue! They cost 6 points per model and come as Veterans! They are pretty barebones coming with only Brace of Pistols and Melee Weapons, but 1 in 4 models may add a blunderbuss to their arsenal for free as well as Stink Pots or Firepots. Their special rules are kind of lackluster with Expert Artillery Crew and Expert Sailors. I often have these guys go prone until the ships are grappled, then pop up and swing over. The best tactic is to unload pistols and blunderbusses into an enemy unit, and/or throwing Stink pots over before charging to help whittle down the enemy as well as break line of sight to prevent defensive fire. Pairing these guys with a Grizzled Veteran will also keep fatigue off these guys.
Musketeers
Boucaniers
The Boucanier are the premier musket unit of the French Nationality, and the Brethren have access to them! They cost 7 points per model at the Trained experience level and have a dismal 7/7 Fight Score and Save, so keep these guys FAR outside of combat. They come equipped with a Buccaneer gun and Standard Melee Weapons. They have a 5/6 Shoot Score and Save, which is amazing. Their resolve is 6 so try to keep these guys around an Inspiring or Very inspiring Commander if you have one! They come with the Elusive (-1 bonus to cover its shoot save when not in a structure), Ball and Shot, Fast Reload, and Marksmen Special Rules. My best use for these guys is to put them in Fighting tops to rob your enemy of their cover in sea games. On land, they make good use of cover and are excellent (especially when paired with a sharpshooter) for harassing weak units from a distance. These are the best ranged unit in the game and are a must-have if creating a list based on musketry.
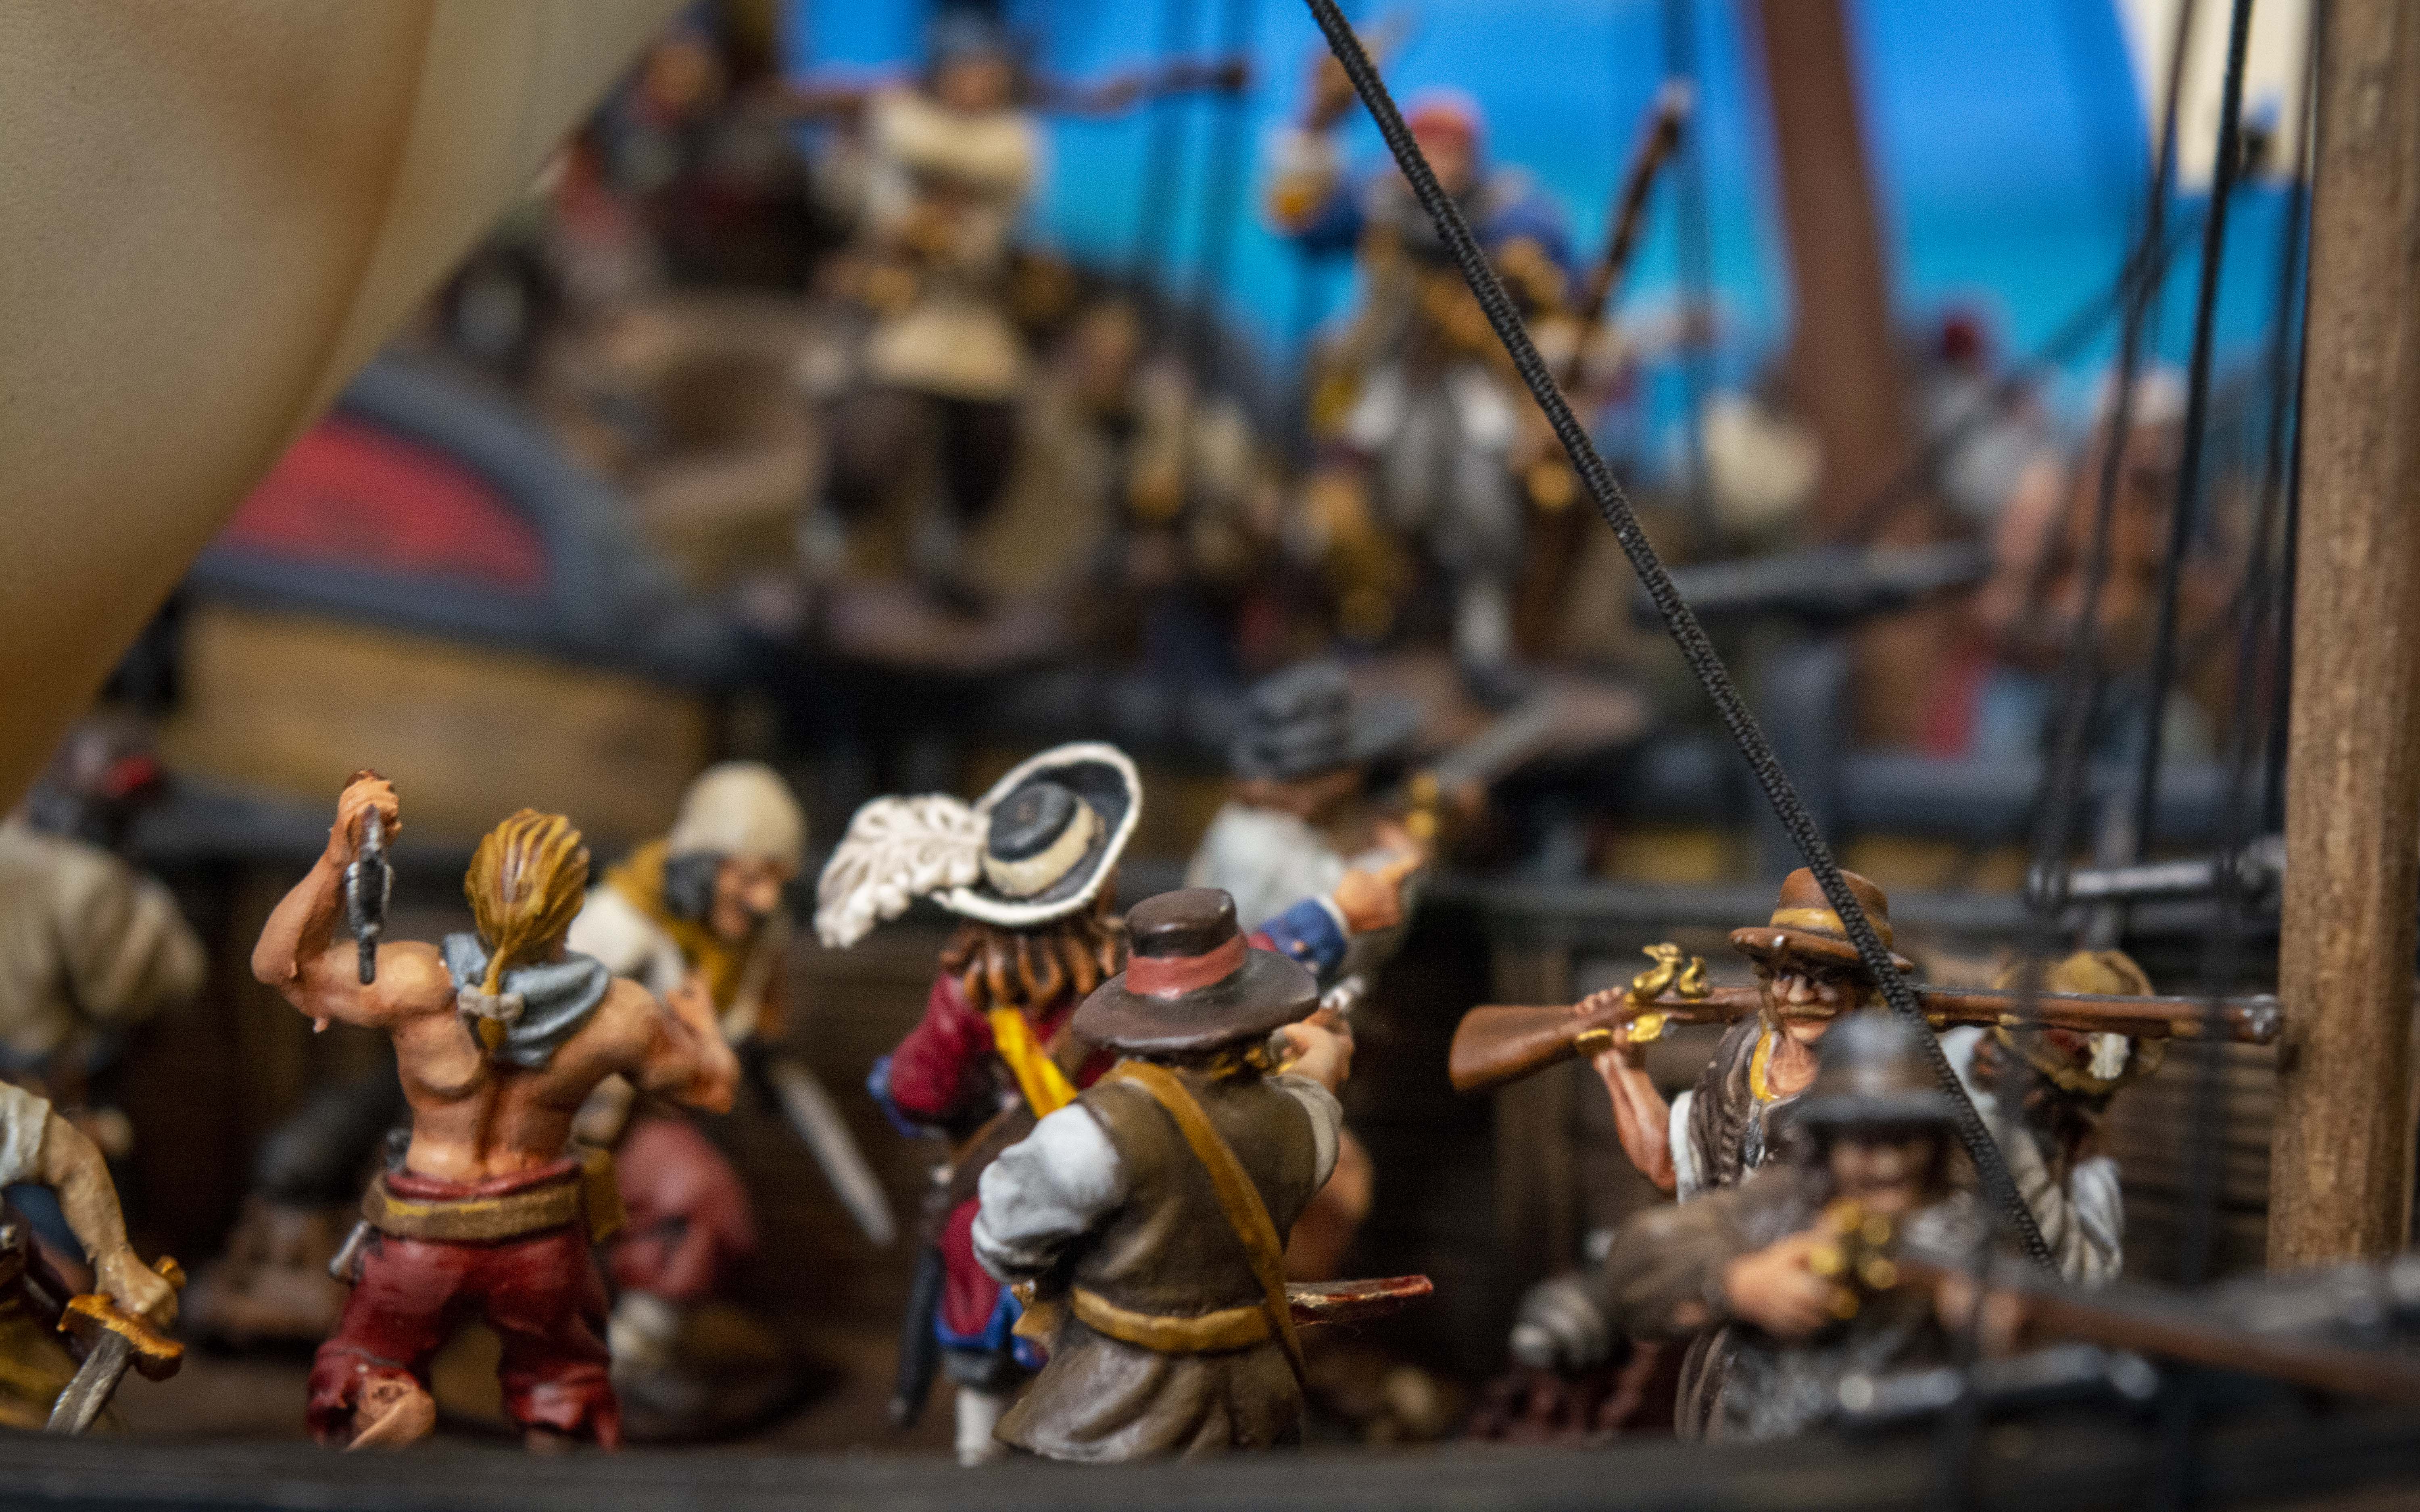
Tactics
The Brethren of the Coast, like the other Buccaneering Factions, can be playing at Sea and on Land effectively. They have a wide variety of list building options available, and reward creative gameplay. At Sea, it’ll come down to if you’d like to make a long-range gunnery and musketry style list or a cutthroat boarding list, and you should plan accordingly. While it’s possible to make a hybrid list, I find that they will do both but not as good as a dedicated list. For most cases, you’ll take Zeelieden for your artillery crew unless you take Sea Dogs and take away their pistols in order to drop them down to 3 points a model to buy more musket units. The wide variety of commanders offer plenty of different flavors as well! You can take two sloops with any commander with Commodore and use one to board while the other peppers the unfortunate enemy from afar, or be really mean and bring two gunnery ships or two boarding ships to really lay the hurt down. In larger games multiple ships sound cool, but if you have access to a Galleon you can really kit it out with a mean list liable to blow other ships out of the water! This works equally as well with a Stone Tower Fort as the access to awesome musketry units will make any opponent hard pressed to get close enough to the tower before being shot to pieces. As of this writing, they are the best of the “Pirate” factions due to their versatility and wide variety of available units.

Lists
Brethren Corvette (150pts): (Freebooters go in the Fighting Tops)
Two Sloop Boarding List (300pts)
Brethren Light Frigate (300pts)

Conclusion
All in all, the Brethren of the Coast is a good jumping off point if none of the other Nationalities tickle your fancy. The ability to play on Land and Sea competently is a huge boon, as most factions can usually do one or the other. The key strength of the Brethren is their versatility! As mentioned before, the sheer amount of options in the Brethren’s toolkit is astounding and can often catch an opponent off guard if you build an unorthodox list. Here’s to those who choose to Raise the Black instead of being lackeys of the crown!
Pingback: Sharp Shooters - Blood & Pigment
Pingback: Fast Boarding - Blood & Plunder Sea Force Building Pt 2
Pingback: The Pirate Nationality and Factions - Blood & Pigment
Pingback: Muskets and Blades: The Winning List of the 2025 Adepticon Sea Tournament - Blood & Pigment
Pingback: Escape by Sea- Battle Report Video - Blood & Pigment
Pingback: Wait, Who's In Charge Here? – Garrett Swader's Adepticon 2026 Sea Tournament 2nd Place Force - Blood & Pigment