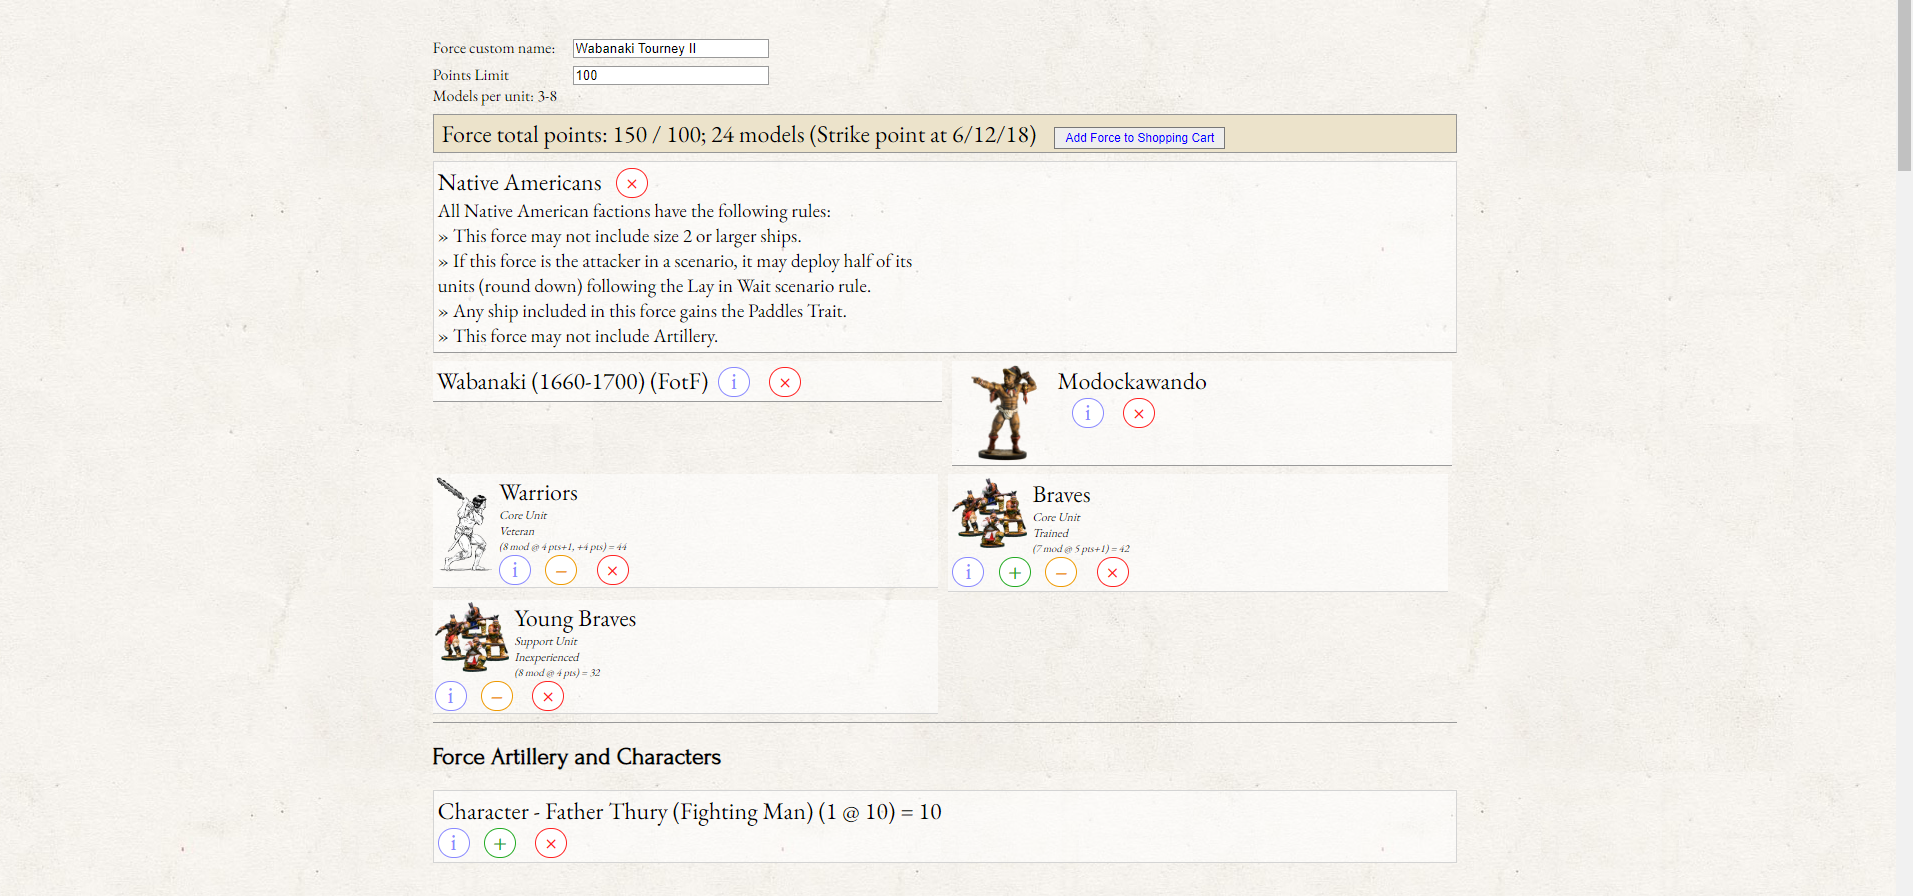
This is the Force I played and won with in the Historicon 2022 land tournament. It moves fast (especially on the first turn), hits hard, and has lots of Fortune.
Faction: Wabanaki (FotF)
Commander: Modockawando
Points: 150
Theater: Land
By Joseph Forster
Faction Rules
The Wabanaki from Fire on the Frontier get the Skirmishers and Vanguard Special Rules which both upgrade their movement. These two rules alone push this force into an aggressive play style in my opinion. They don’t have the +2 to the attacker roll like the Iroquois so they won’t be able to use that interesting Lay in Wait ability, but I play this as an aggressive raider list and these two rules help reinforce that strategy.

Commander
Modockawano is here mostly for the extra Fortune Point but his other rules help make the the Braves a solid unit. His Well Equipped rule makes firing muskets more effective since you can use clubs without penalty, and this Great Warrior make those muskets more accurate without having to use a Marksmen character and using two actions to fire with the Marksmen rule. At 22 points, he’s an investment, especially for not having any Fatigue management bonuses, but just that extra Fortune point alone, valued at around 7 points, make up the difference between a 15 point generic commander and Modockawando. This dude has a musket too which is always good!
A note on the Great Warrior ability: that bonus can be applied any time during the turn, as taught to me by Native expert Niguel Vega. You can use that bonus on a Ranged Save when being targeted, or a Fatigue Test when you’ve been shot as a defensive fire when you’re charging. Using it to make your musketry more accurate is a safe “default” use for it, but you can apply it to so many more tests, so try to think outside the box.
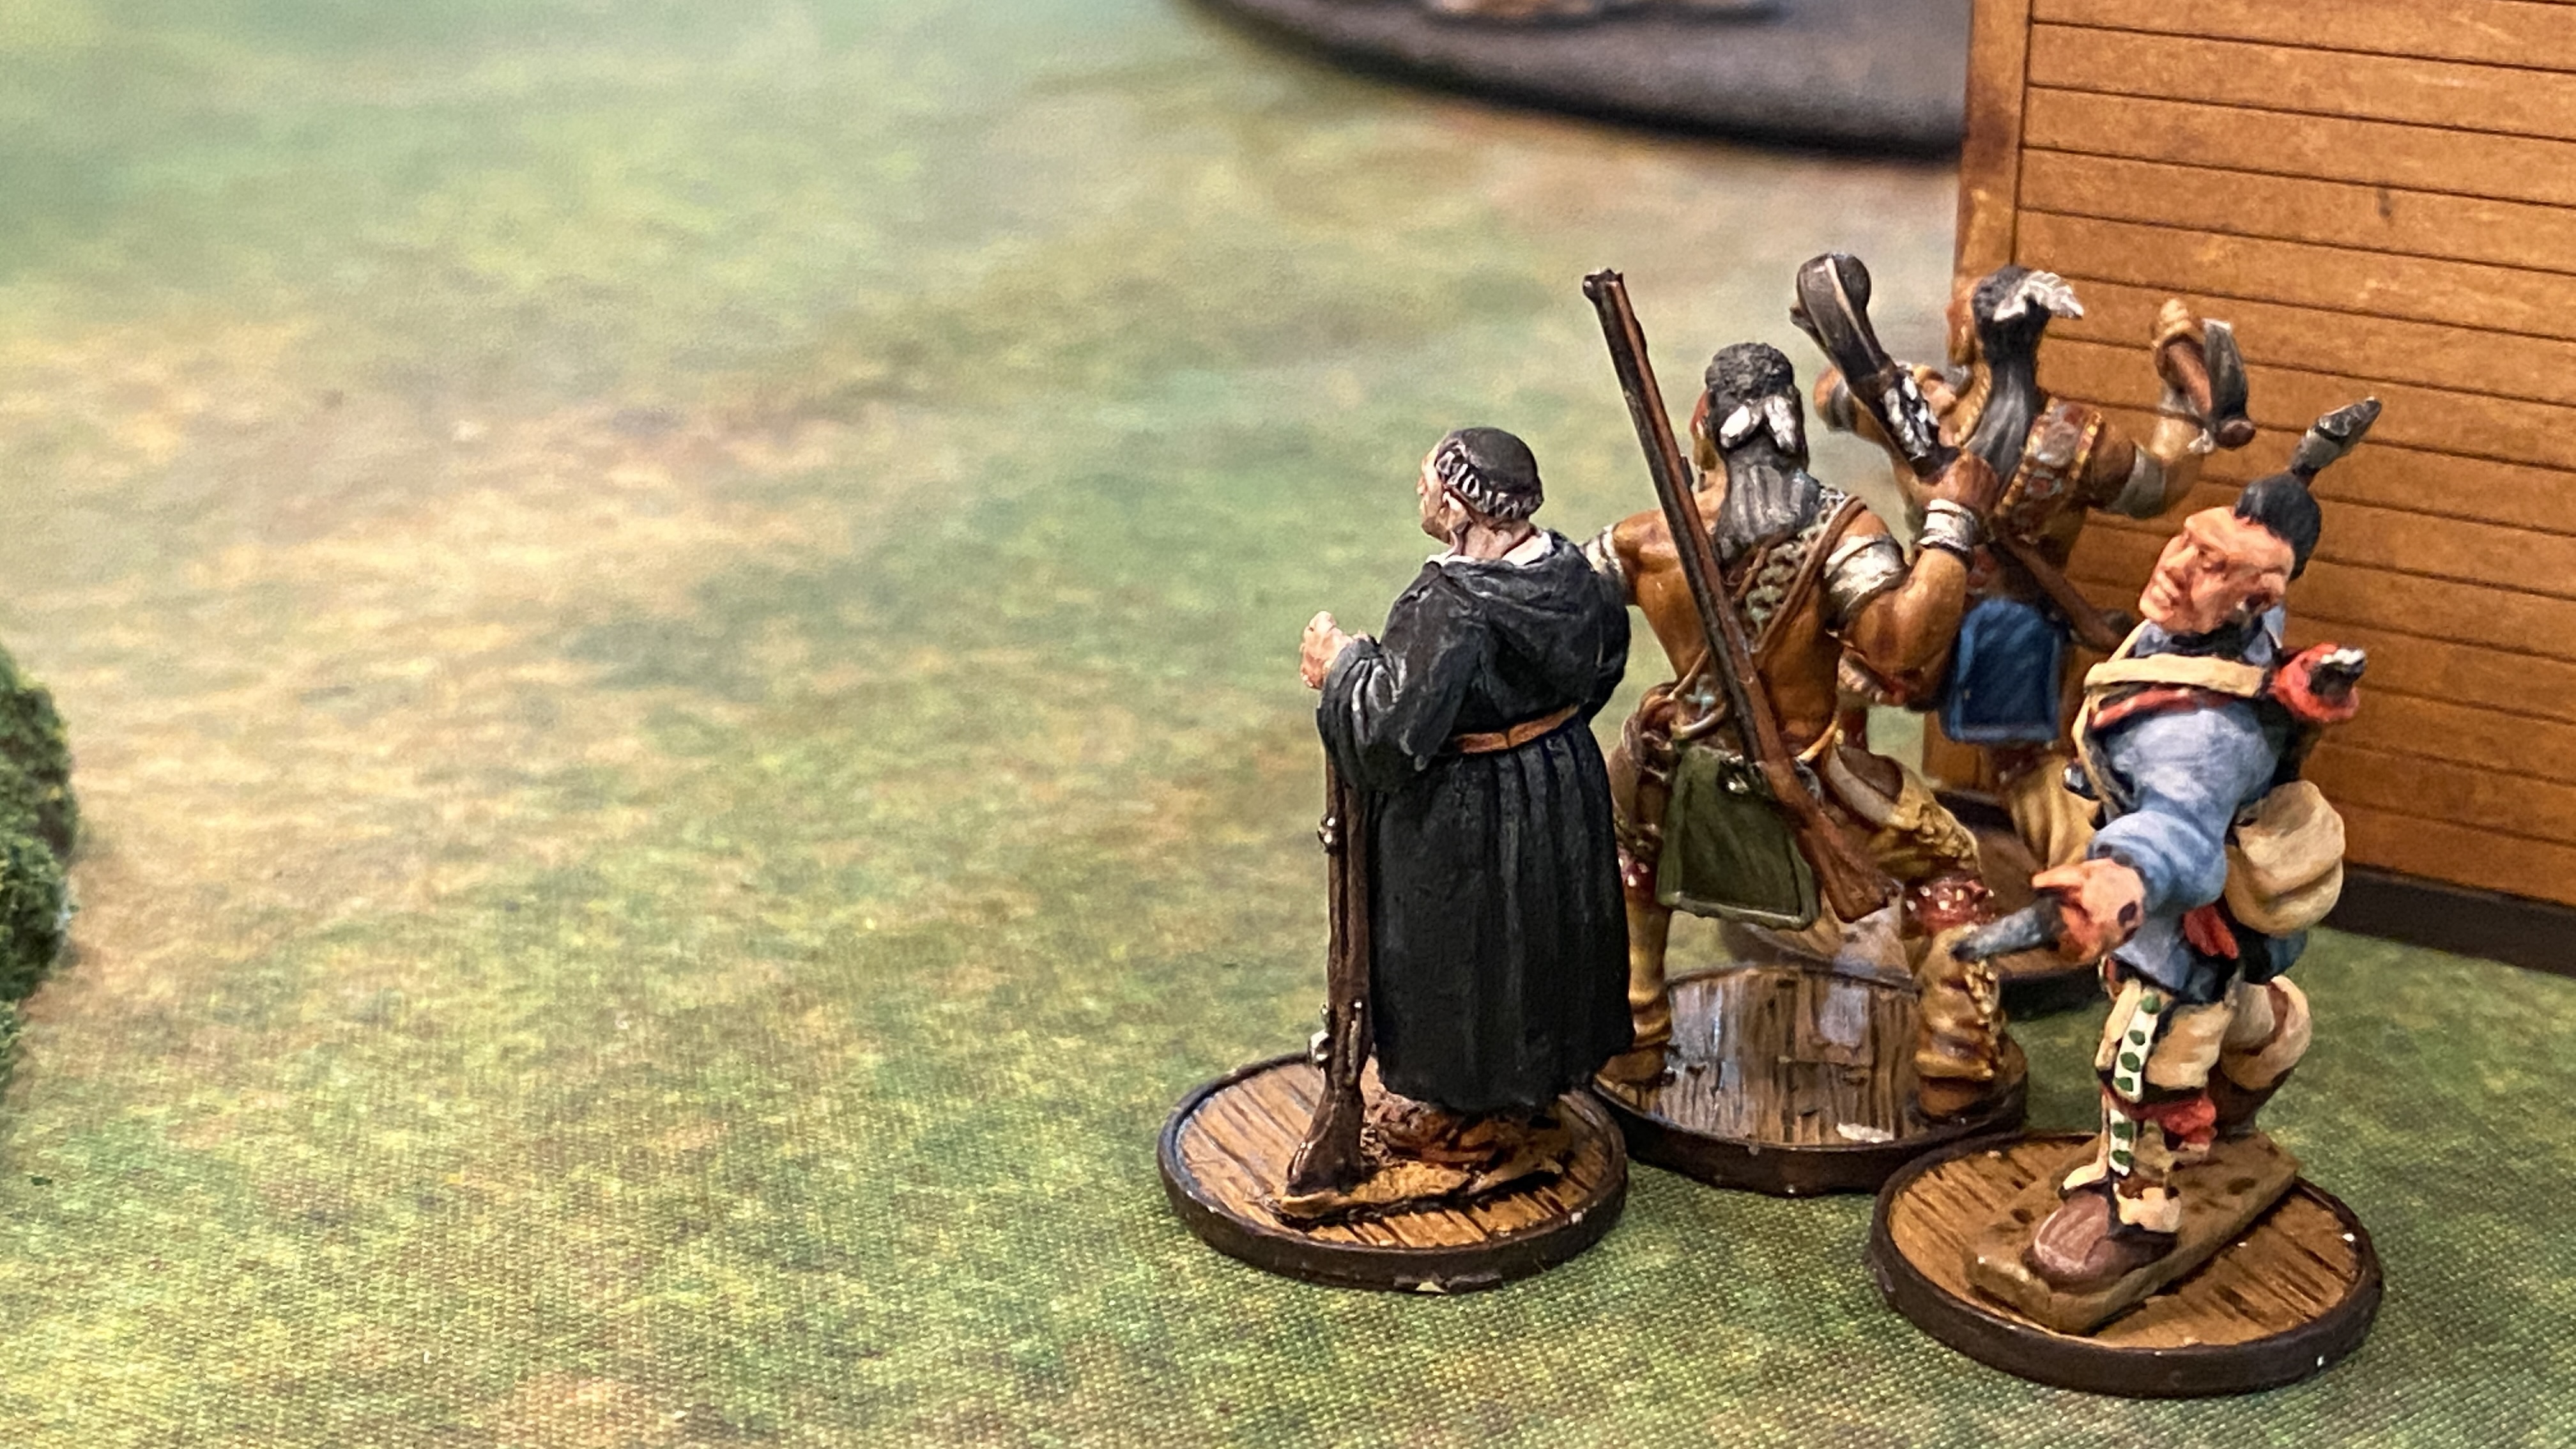
Characters
Father Thury gets attached to the unit of Veteran Warriors. He’s a Jesuit Priest but he’s also a real combatant so he gets that Fortune Point plus a flexible Command Point that can be used on anything. He’s like a combo of an Officer and Spiritual Leader character (but he’s lost the Strike Test ability from the Officer and the perks of being an Advisor from the Spiritual Leader). At 10 points, he’s not cheap and that brings the total “command investment” up to 32 points which is a good chunk of a 150 points list.
Units
Three units is pretty small for a 150 point force, but if each unit does it’s job, it can work well.
Braves
I attach Modockawando to the Braves and use that as my command unit. They are the stable core of the force and are the primary source of ranged firepower. With muskets and Well Equipped and Great Warrior, they can dish out pretty effective volleys. I try to keep them at least half loaded if there’s any enemy units within 12″ (or there’s enemy cavalry anywhere on the board).
With the Hard Chargers rule, these guys aren’t bad running into melee, but without extra melee weapons, that’s not their forte.
Being Trained, this unit does well being activated with Hearts or Clubs.

Warriors
This is your offensive weapon. These guys will be splitting heads (if everything goes according to plan). Warriors are a great unit! I have them loaded with Thrown Weapons (free exchange from Heavy Melee Weapons), a sidearm musket for 4pts (this keeps them safe from an unexpected charge or gives them a chance to soften up an enemy before a charge), upgraded to Veteran, and I have Father Thury lead the unit. That’s a 54 point unit, but these guys can do work! The unit comes with Quick, Skirmishers, Scouts and Hidden and the Faction rules add Vanguard. This unit loves to be activated on a Spade. As a veteran unit, you get two actions on a Spade, plus the Quick move, plus Father Thury’s Command Point. Layer Vanguard on top and for a mere 1 Fatigue, this unit can launch itself 20″ from the scenario deployment zone before the end of turn 1! Or 24″ if you really wanted to maximize and take 2 Fatigue (commander gives the command point to move, then the unit pushes for a third action on a Spade activation=CP/quick/move/move/move/vanguard, resulting in 2 Fatigue). All that goodness for only 5 points a model (plus the 14 for muskets and Thury)!

Melee is where this unit wins games. With that kind of range, you can usually take a unit by surprise unless your opponent is playing very carefully. As soon as you see a unit with no way to make a defensive fire, make the “necessary calculations.” Once you get within charging range, make careful plans on how you want to approach the melee. With Skirmishers, if activated on a Spade (default) or Heart, you can actually disengage after a charge, regardless of if they become Shaken or not. With Thrown Weapons, a Charge is actually much more effective than a Fight action. So it’s actually very feasible to “double tap” with this unit. Charge, Skirmish back, then Charge again with those Thrown Weapons triggering again. It’s truly diabolical. And if you decide not to Charge again, you can always use Thury’s Command Point to do another Fight action while already in a brawl. Just remember to take the Fatigue for fighting twice (in either case).
By leveraging the Free Actions, plus the Command Point on Father Thury, you can accomplish a lot in one activation with these guys. You need to do damage with this unit, because they other two units don’t have the same offensive ability.

Young Braves
This is a small and fragile unit, but I find it very valuable to have a unit with bows on the board. You can always make a shot, and you can always make a Defensive Fire against charging unit (as long as you manage your Fatigue). I like having a unit with 5 Resolve on the table as well. I try to keep this unit relatively close to my Command unit so it can both help protect it from enemy Charges, and benefit from a Command Point arrow volley every turn as well. At Inexperienced and lacking Quick, this isn’t the speediest of units. The Skirmishers faction rule barely even helps since you have to Push to get two actions on a Spade or Heart in the first place!
This unit’s ability to make a crucial defensive fire and not have to worry about reloads has won me games. I always like to have a few bows around.
This unit is best activated with a Diamond.

Fortune Points
This force starts with a crazy 5 Fortune Points! With the focus on melee attacks for actually winning games, I find myself burning these for an advantageous hand before that crucial turn. I’ve spent 4 Fortune discarding my hand before. And it was worth it. But that’s a fun part of this list! Do whatever you like to do with Fortune, but remember, you can dig, dig, dig into that deck for a high Spade if that’s what is going to win the game. I guess that’s many prayers to the Great Spirit.
 Wampum beads for Fortune Points
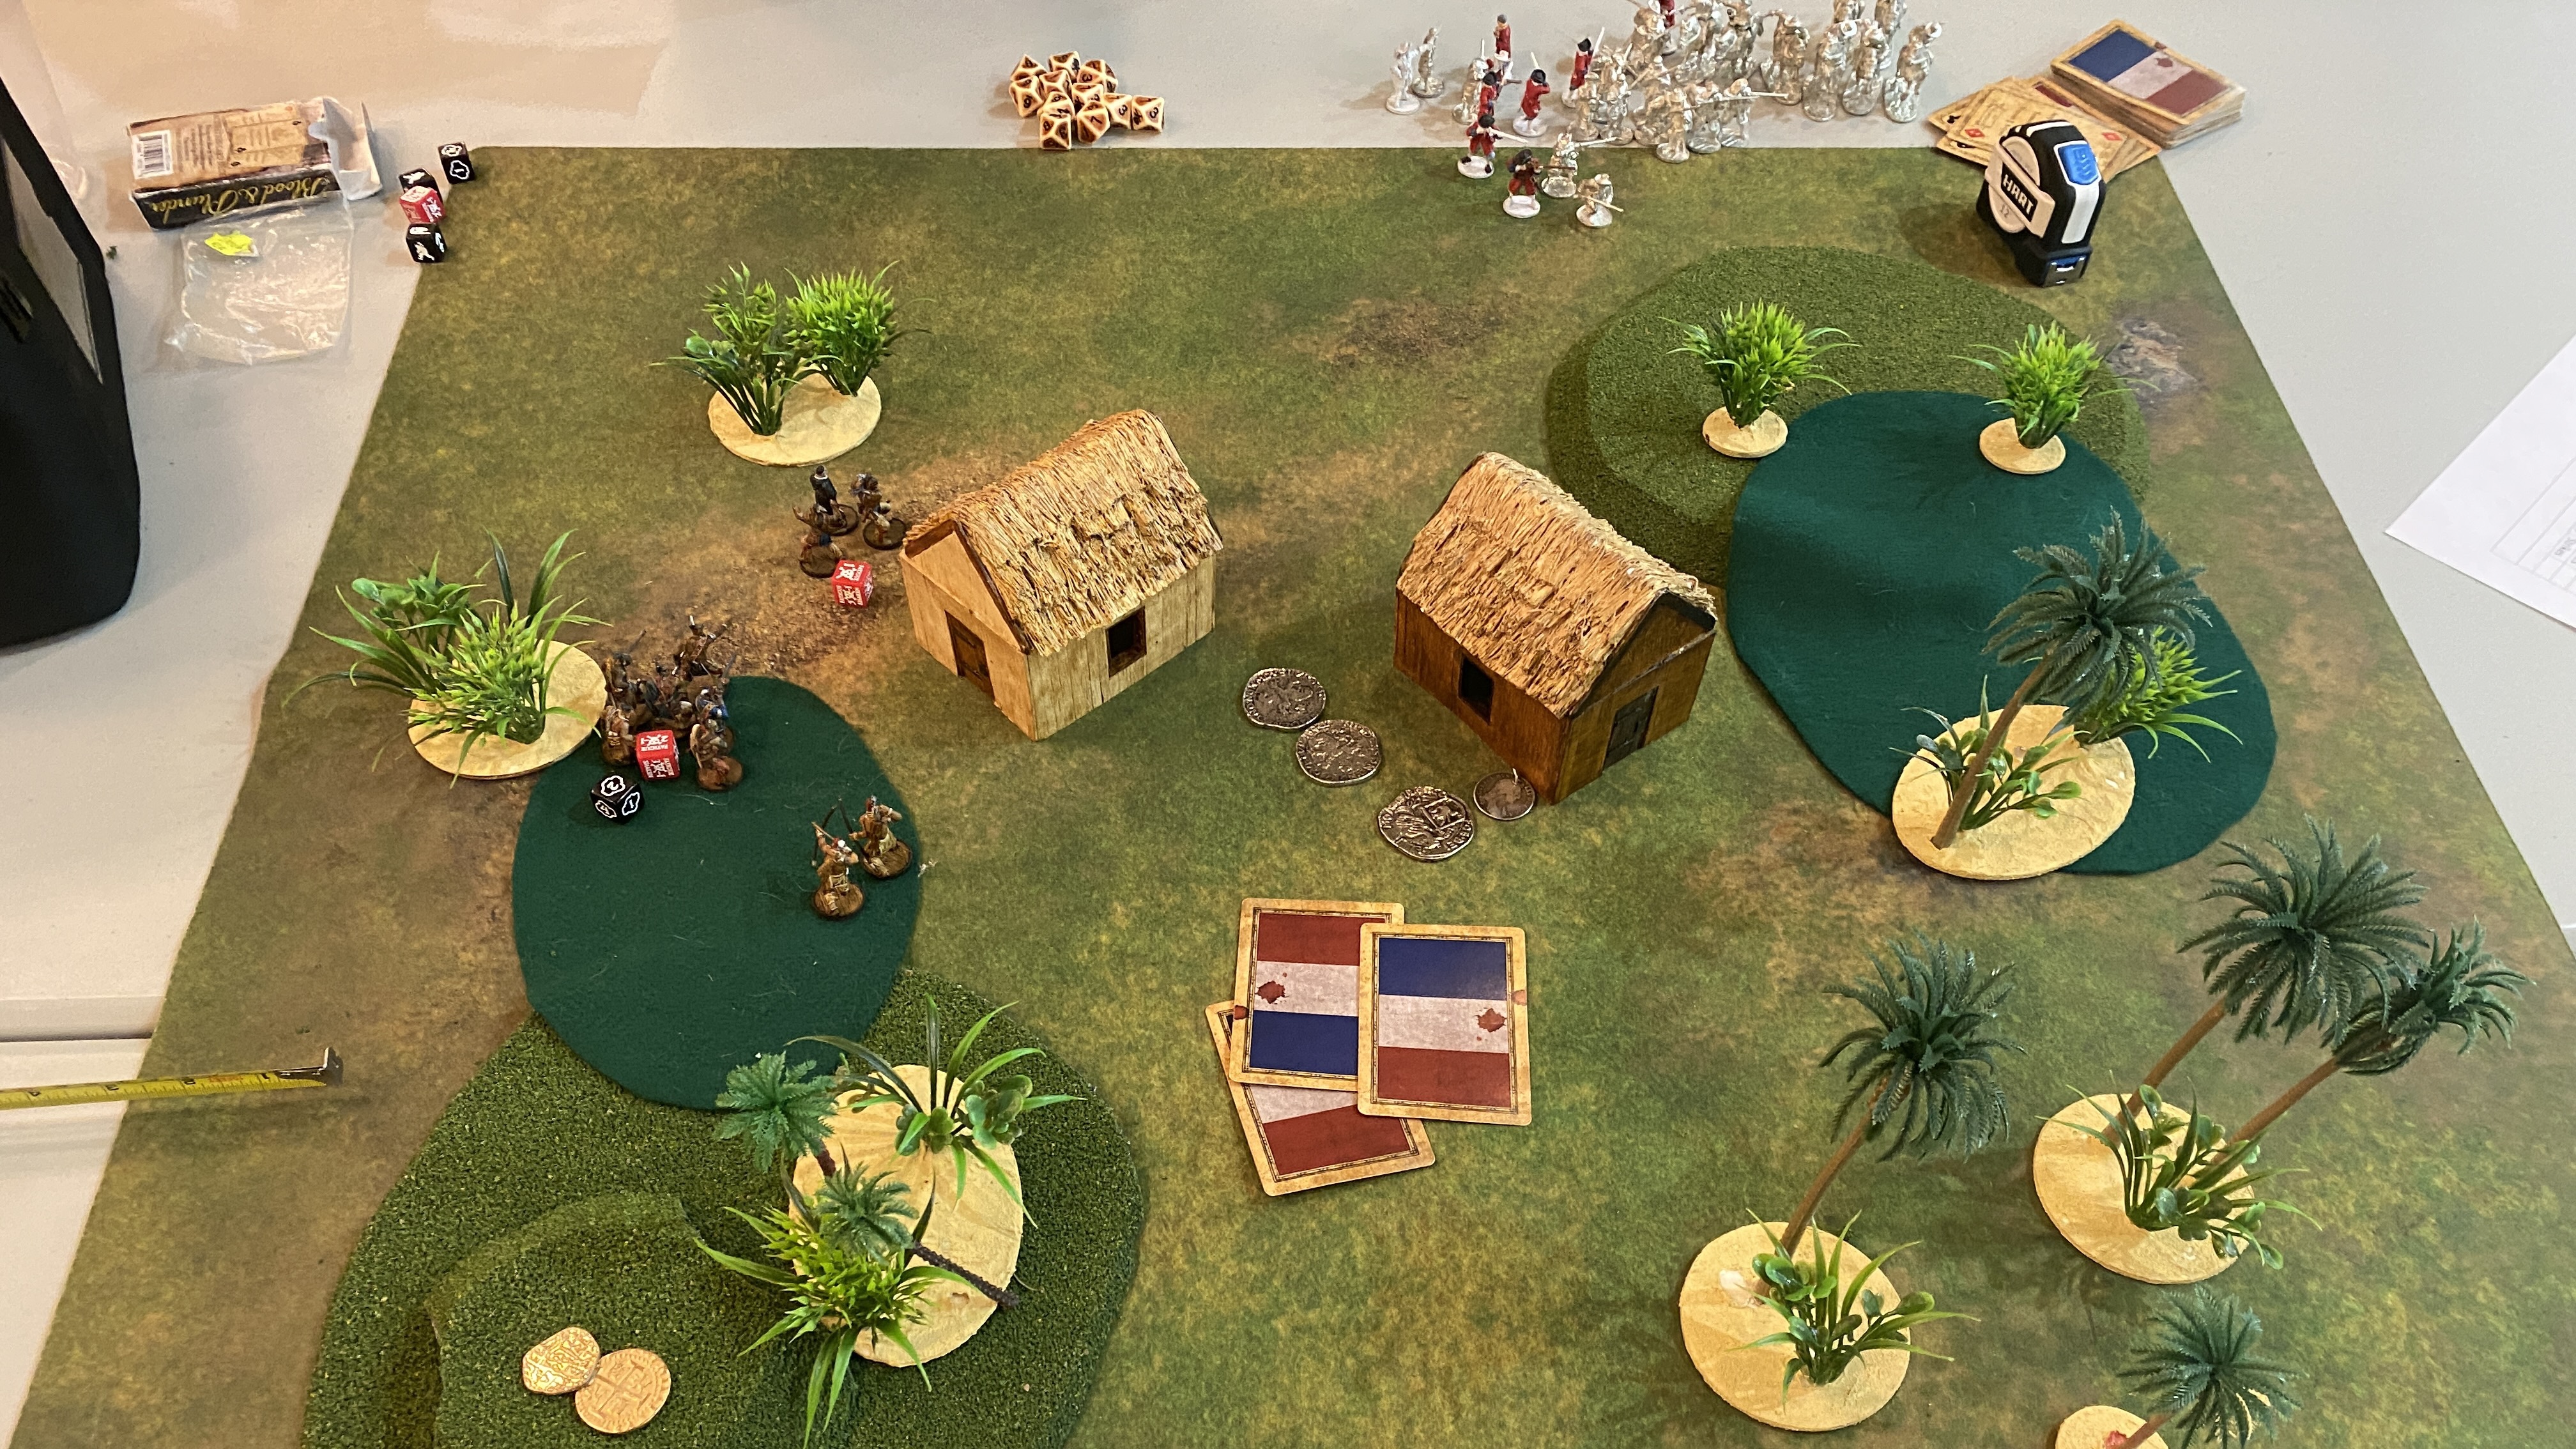
Force Tactics
I try to move the Braves and Young Braves up together, maintaining a distance of just over 12″ from the enemy if I can so I can benefit from the Hidden rule. If I can use Great Warrior and force them to grapple with Hidden, then their 6 Shoot units are hitting on 10’s and I’m hitting on 8’s. If I can keep the hit ration at 1:3, I can do that all day long. Send Father Thury’s Warriors up one of the flanks. Once there’s some Fatigue down, or their units become separated, send in the Warriors to take out a unit, then try to Skirmish that unit back into (relative) safety. If you have a chance to take out the enemy’s command unit, sacrificing that unit of Warriors can be totally worth it. A force will often fold once it’s lost its commander.
Be ruthless. This list rewards careful, but aggressive play. There’s lot to keep track of, but I find it very enjoyable.
Pingback: Fire on the Frontier - Blood & Plunder Expansion Book Review - Blood & Pigment