By Guy Rheuark
A Record of the Brave Spanish Militia of Portobello Fighting the Cruel English Buccaneers
I had an opportunity to start a play through part of The Buccaneers Companion, Firelock Games 2020 organized play expansion with Joseph Forster.
It is exciting to play as the Spanish in this campaign. Historically they lost every battle. I like the idea of alternative histories though, and planned on giving no quarter in each game.
The Spanish Force

- Experienced Spanish Militia Commander
- 8 Milicianos
- 8 Milicianos
- 8 Milicianos
- 8 Milicianos
- 5 Caballeria
- 8 Lanceros
- 4 Milicianos Artilleros
- Light Cannon on Field Carriage
This historic list that I played was very familiar, as it is half of a recent Spanish Horde list I made. It has four units of 8 Milicianos at the force of the defense. The Lanceros are a great melee brute squad to take advantage of any opening the Milicianos create. Caballeria are about the same, with just a little bit more reach. The light cannon discourages my opponent from hiding in any building. The only change I would make to this list would be to spend the last point on grapeshot for the cannon, as the list is only 199 points.
The Buccaneer Force
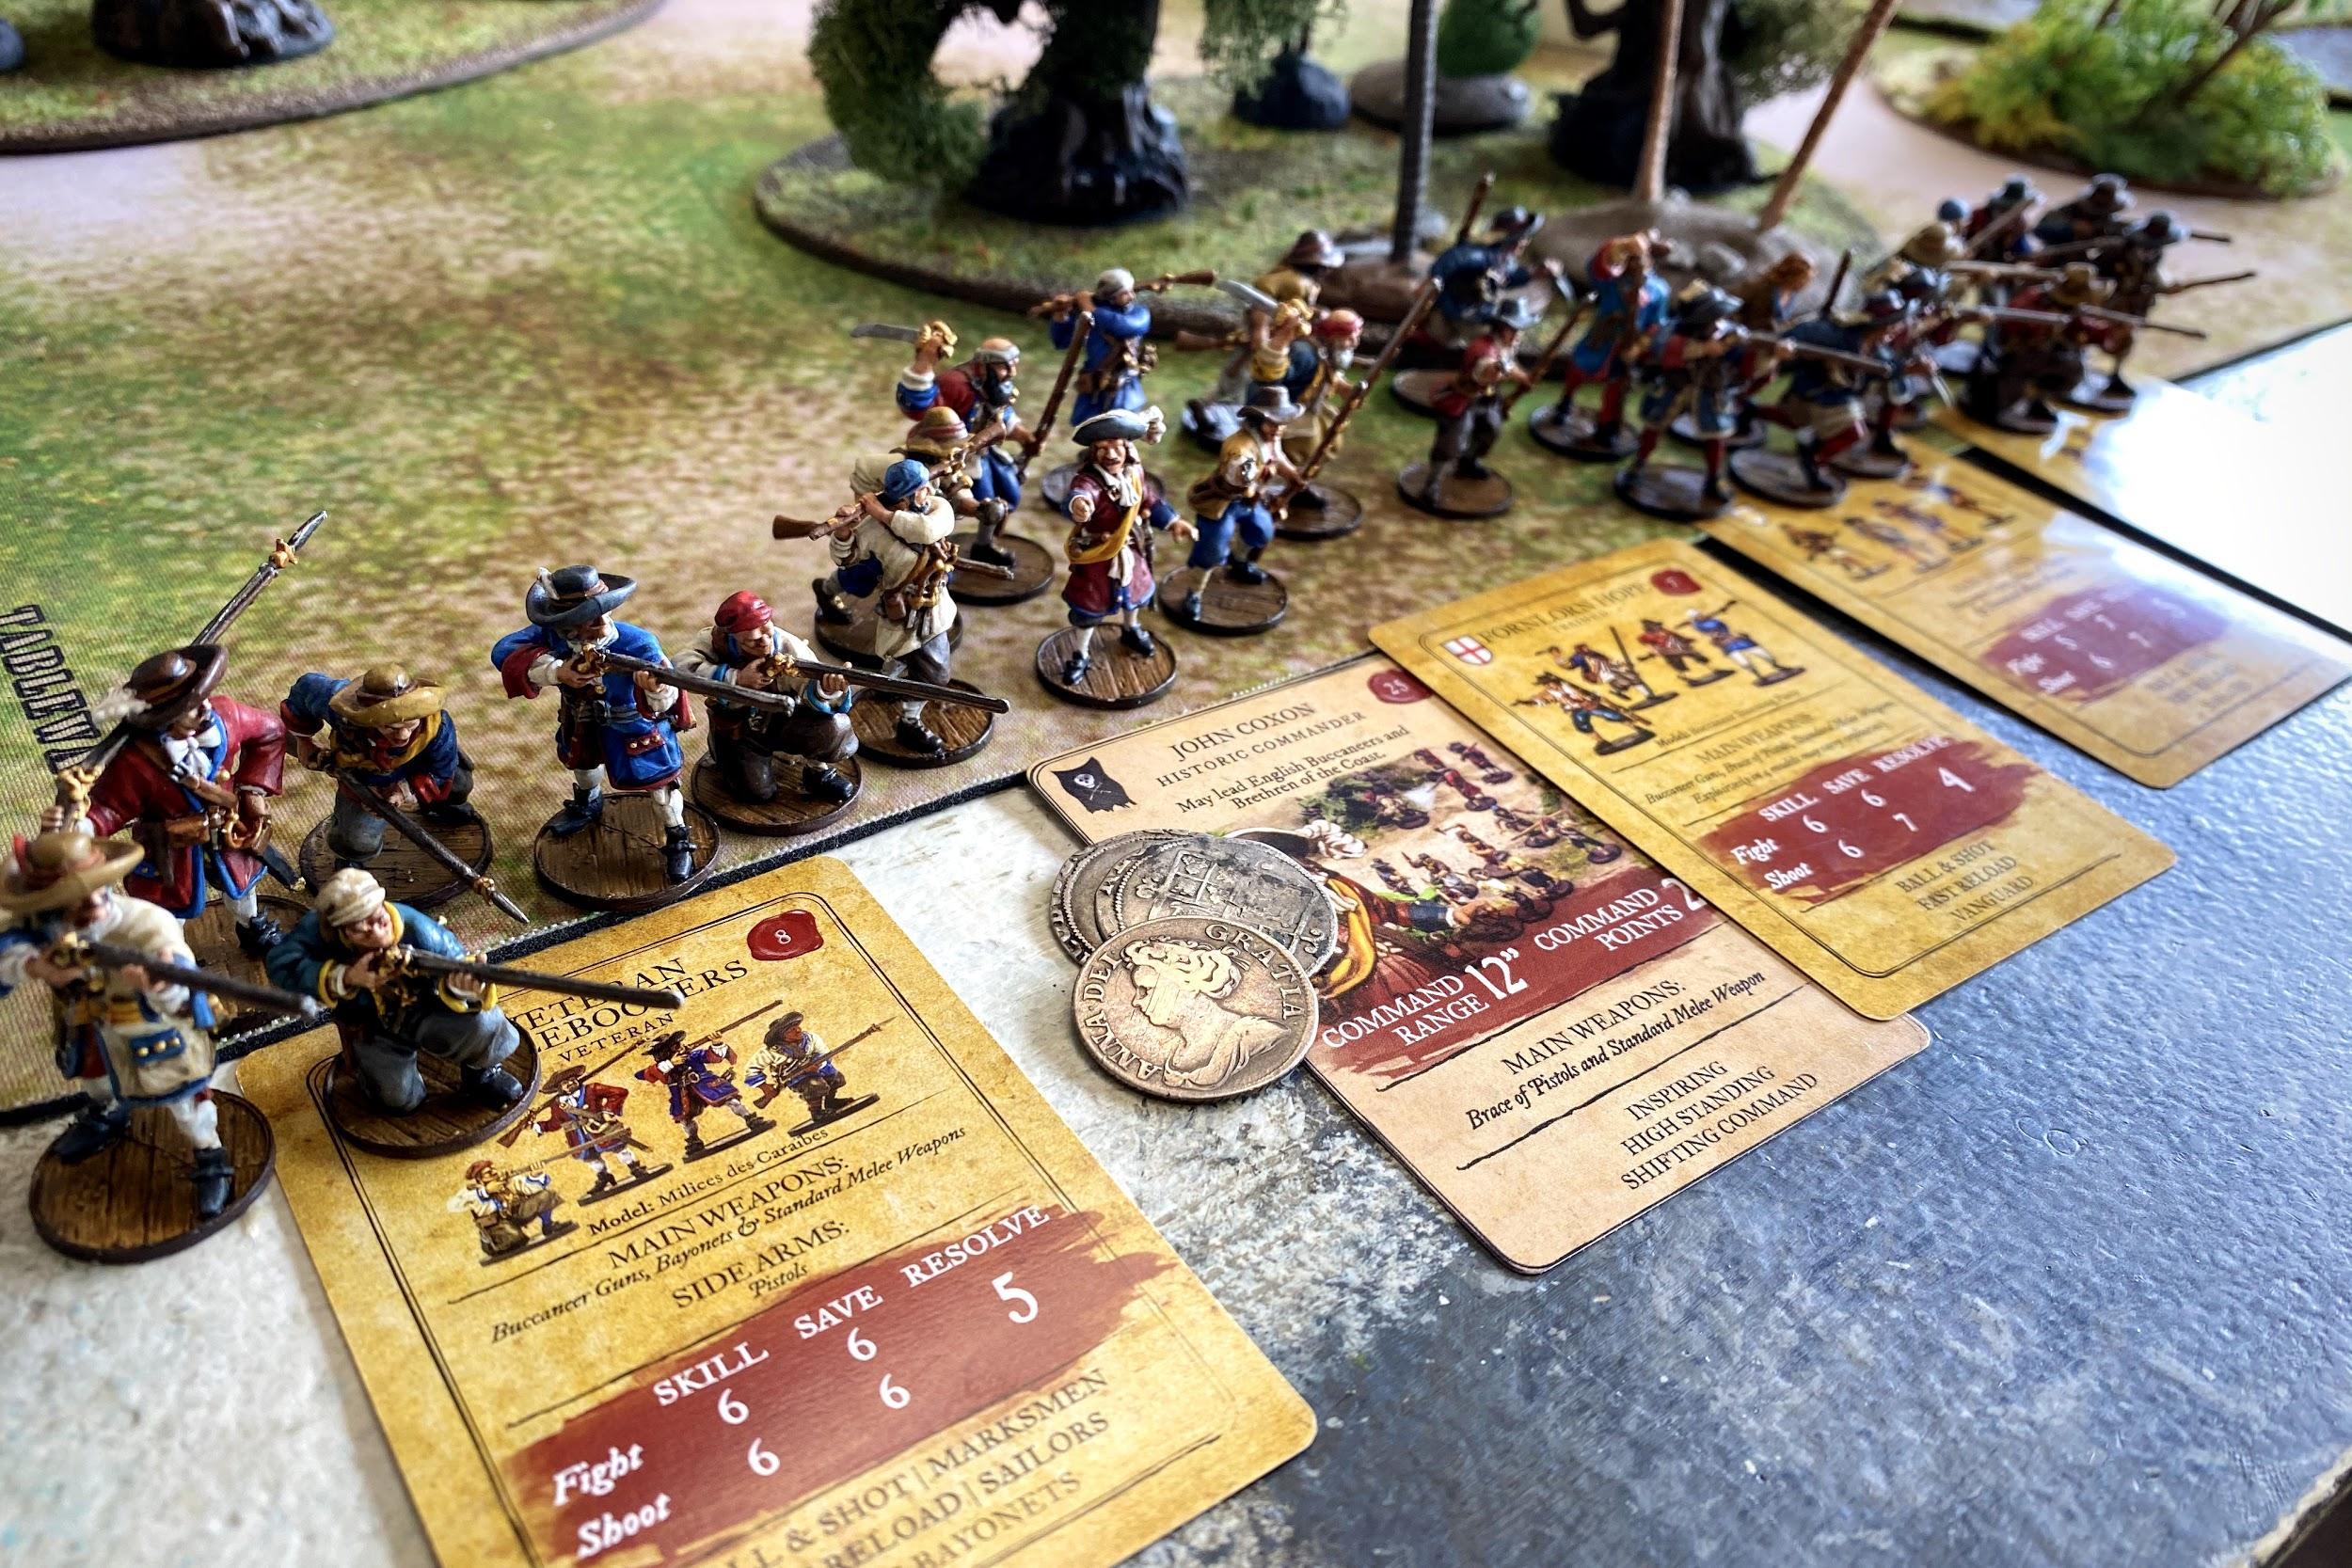
- John Coxson
- 6 Veteran Freebooters
- 8 Forlorn Hope
- 6 Freebooters
- 6 Flibustiers
The historic list provided for the English Buccaneers is all professionals and elites. Every model costs at least 6 points. This force is outnumbered almost 2 to 1 and takes a Strike Point for every 6 casualties. The unit of Forlorn Hope, Flibustiers, Freebooters, and Veteran Freebooters fill the same roles of skilled musketry. All of them have Ball & Shot and Quick Reload, and a shoot score of 6. They are best slowly advancing and keeping all units close together. The Forlorn Hope is the best unit to attach the commander to, as it has 8 models in it.
John Coxson is an underwhelming Commander. For 25 points he has 2 command points, Inspiring, High Standing, and Shifting Command. The generic Seasoned English Buccaneer Commander is better than him, and his abilities are the same as my 15 point Experienced Spanish Militia Commander.
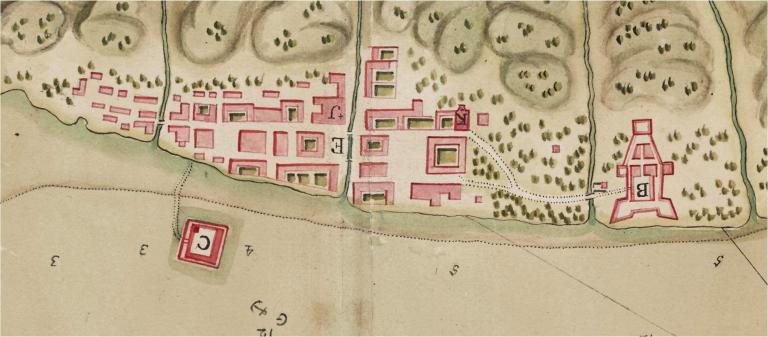
The Scenario – Portobello
The Buccaneers Companion uses a modified version of Plunder, from No Peace Beyond the Line as the first mission of the campaign.
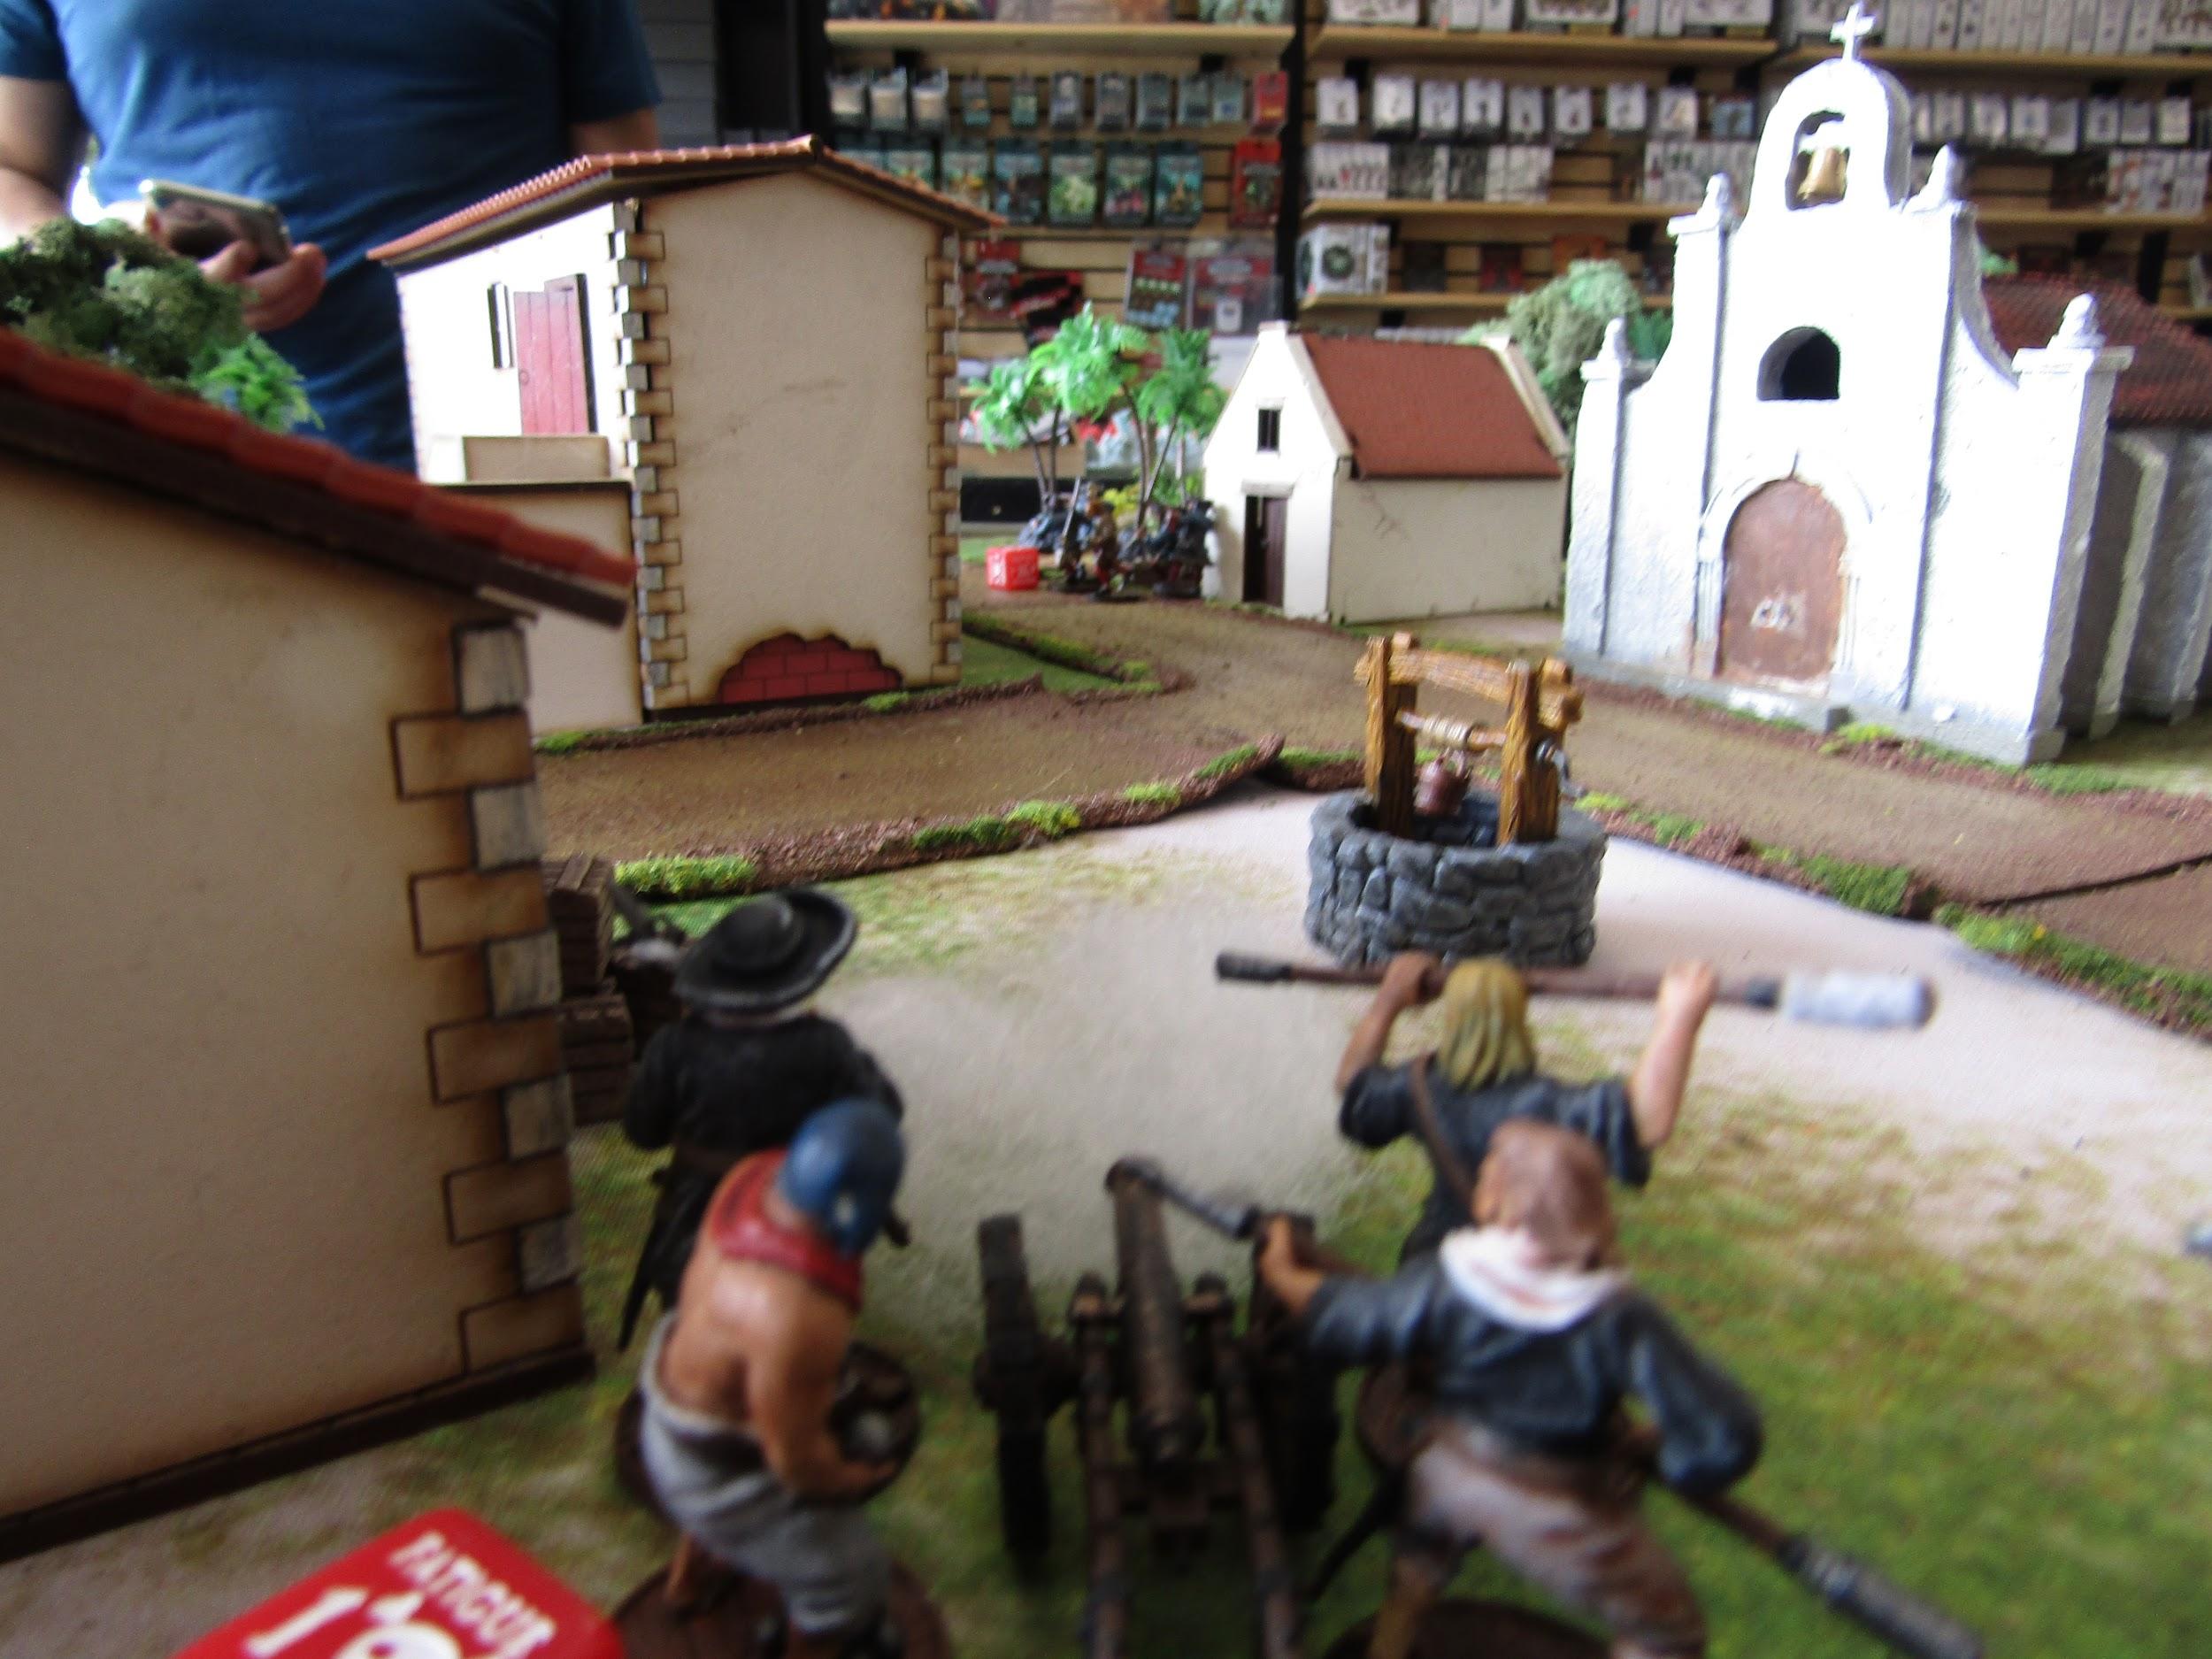
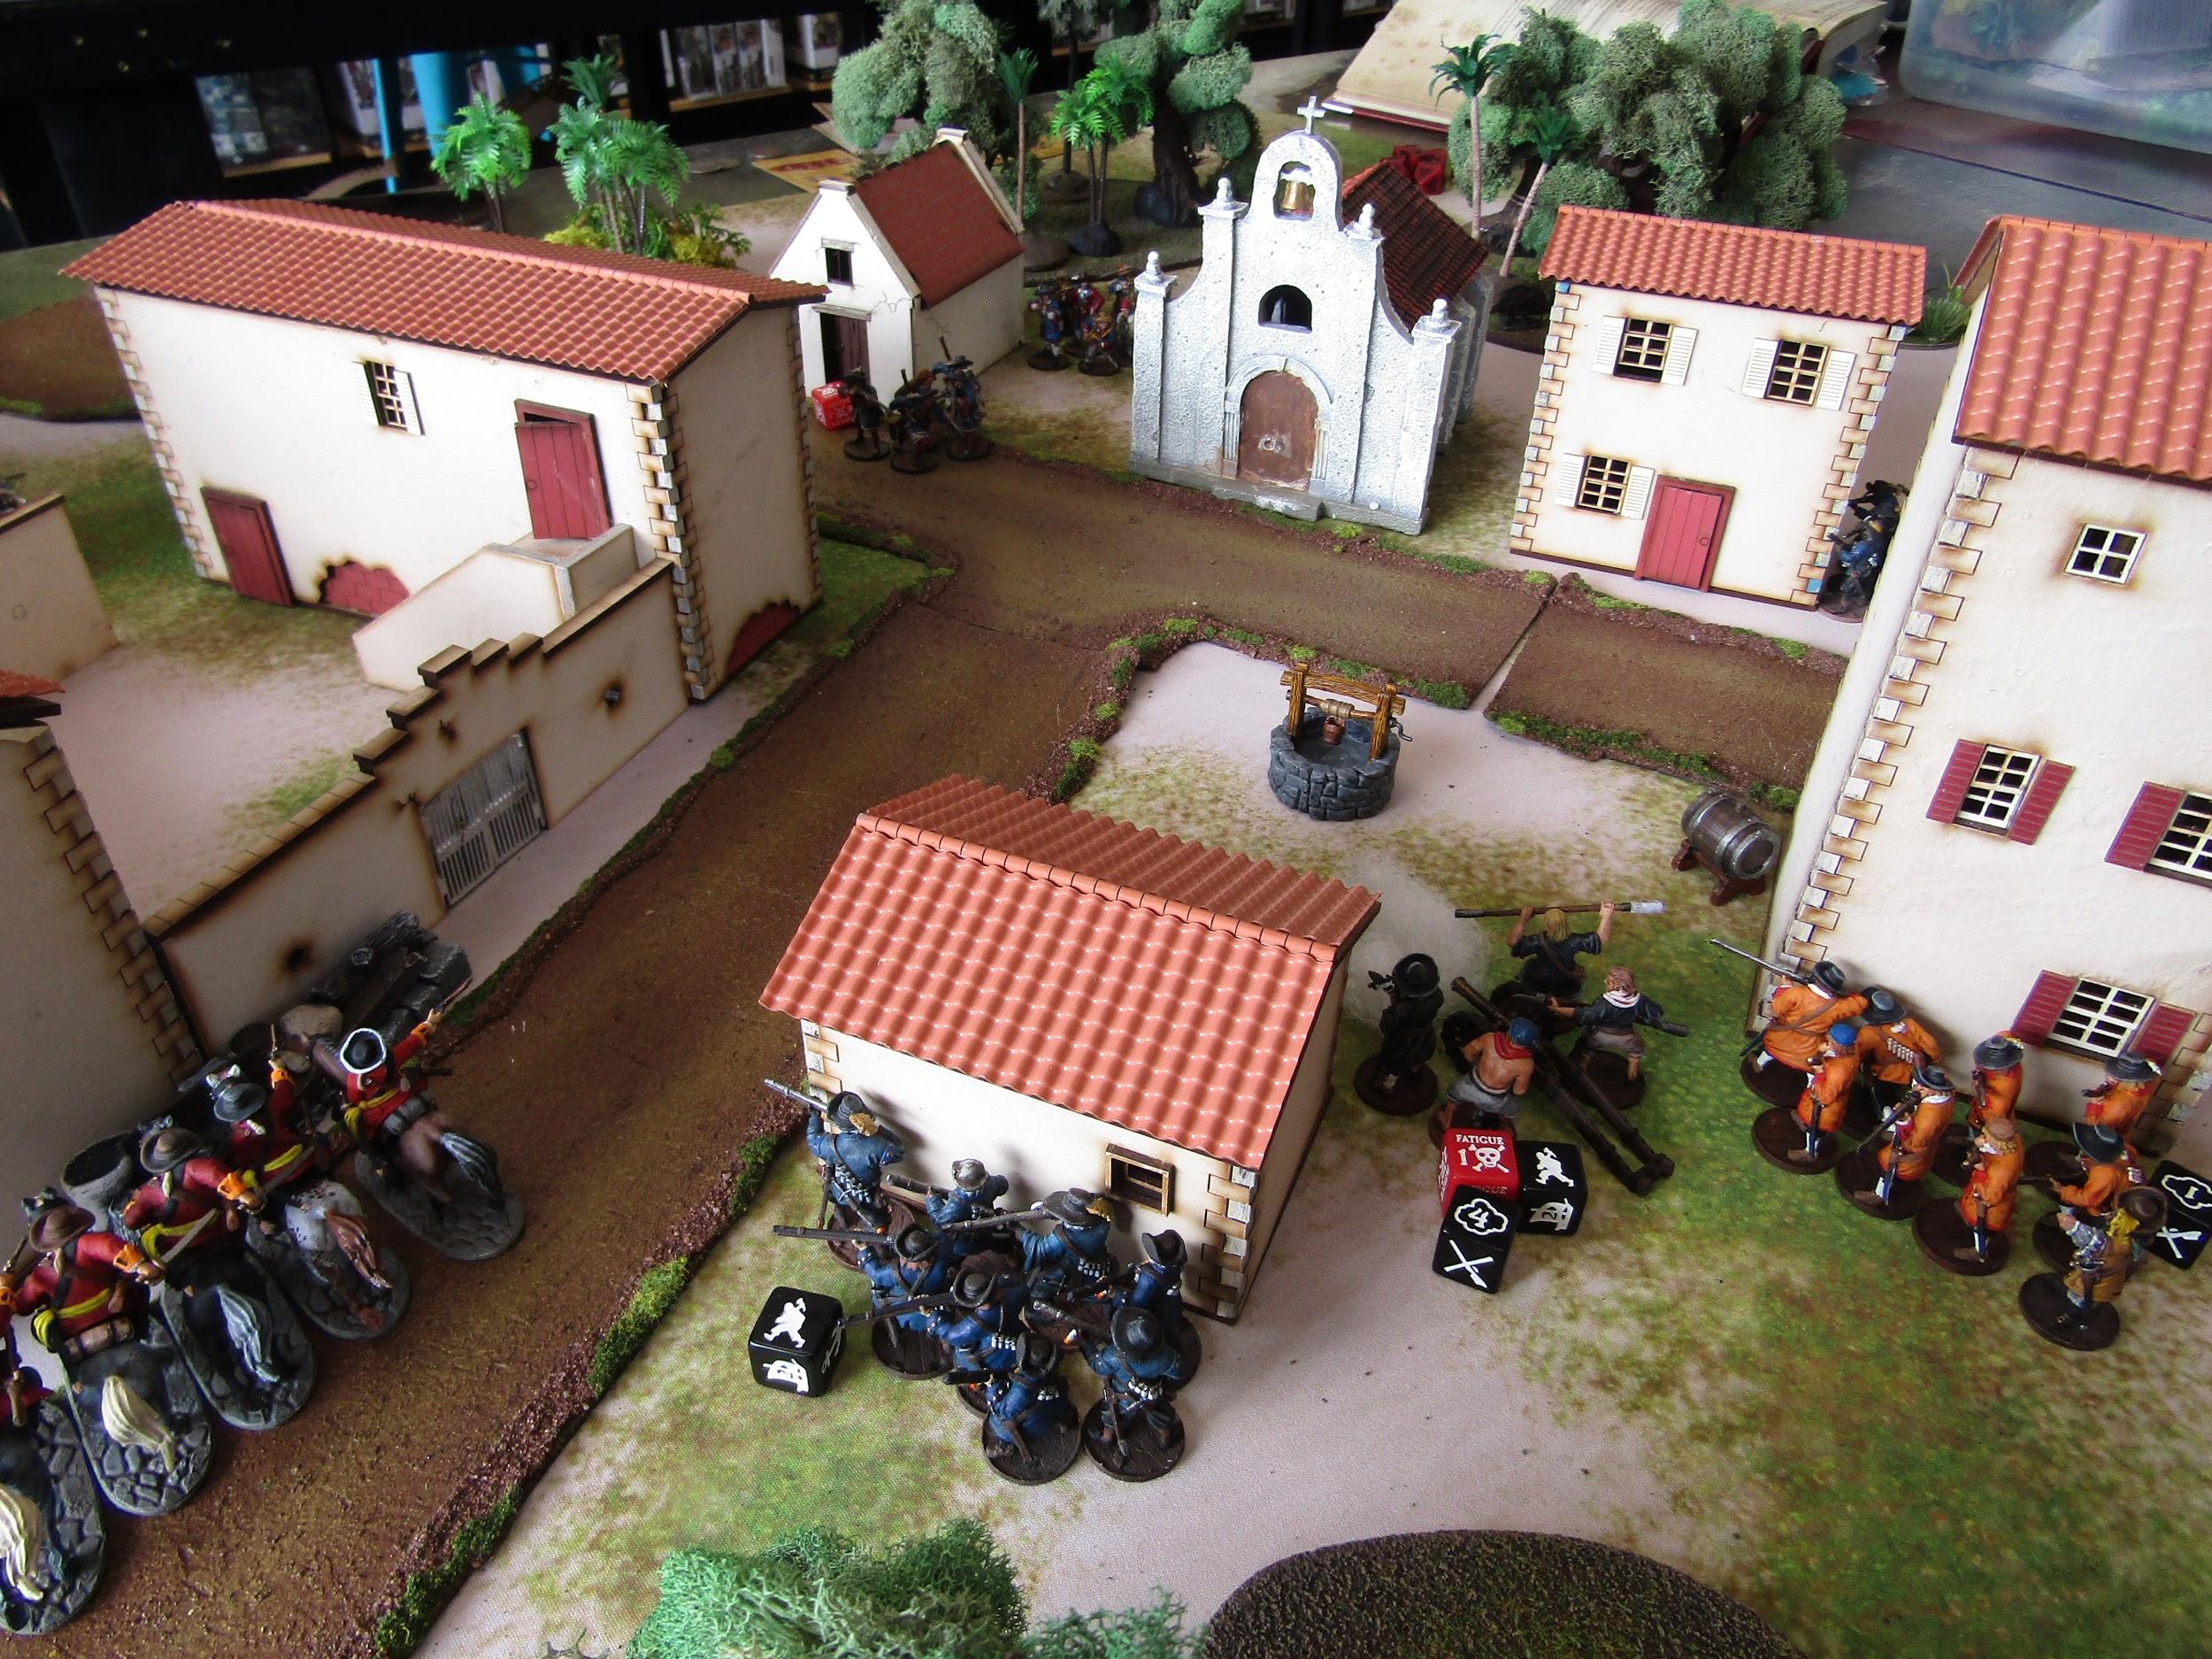
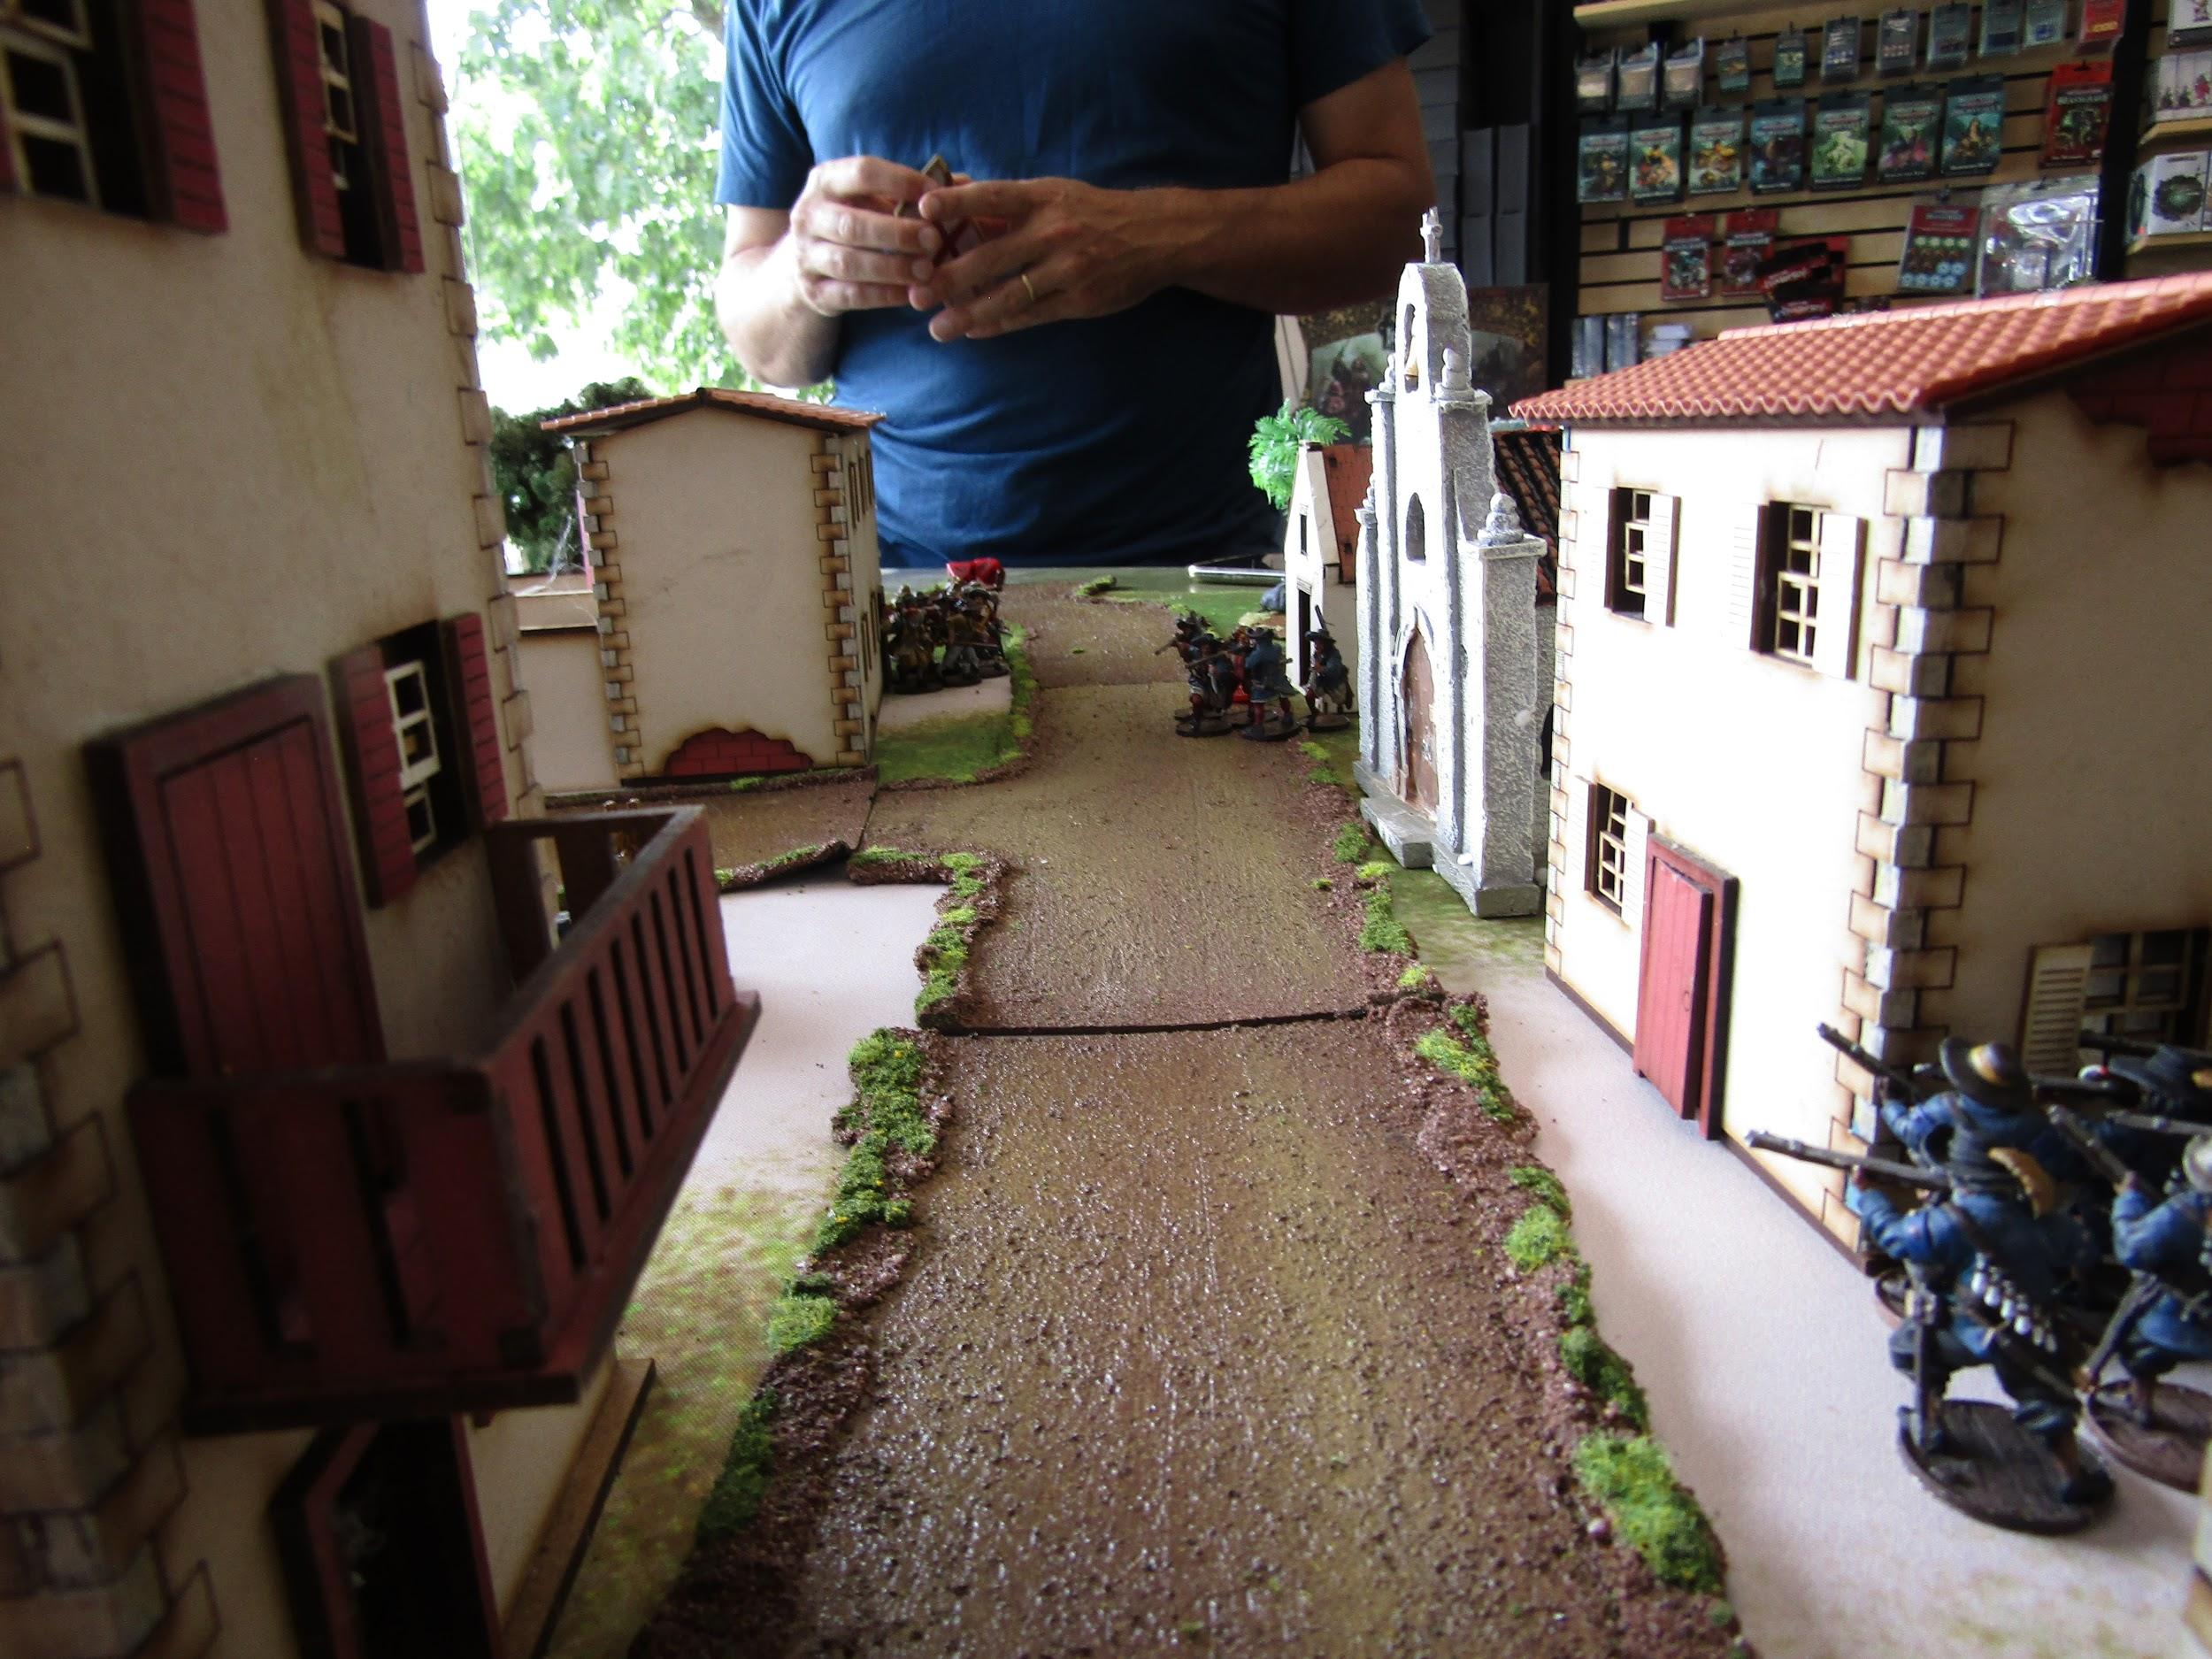
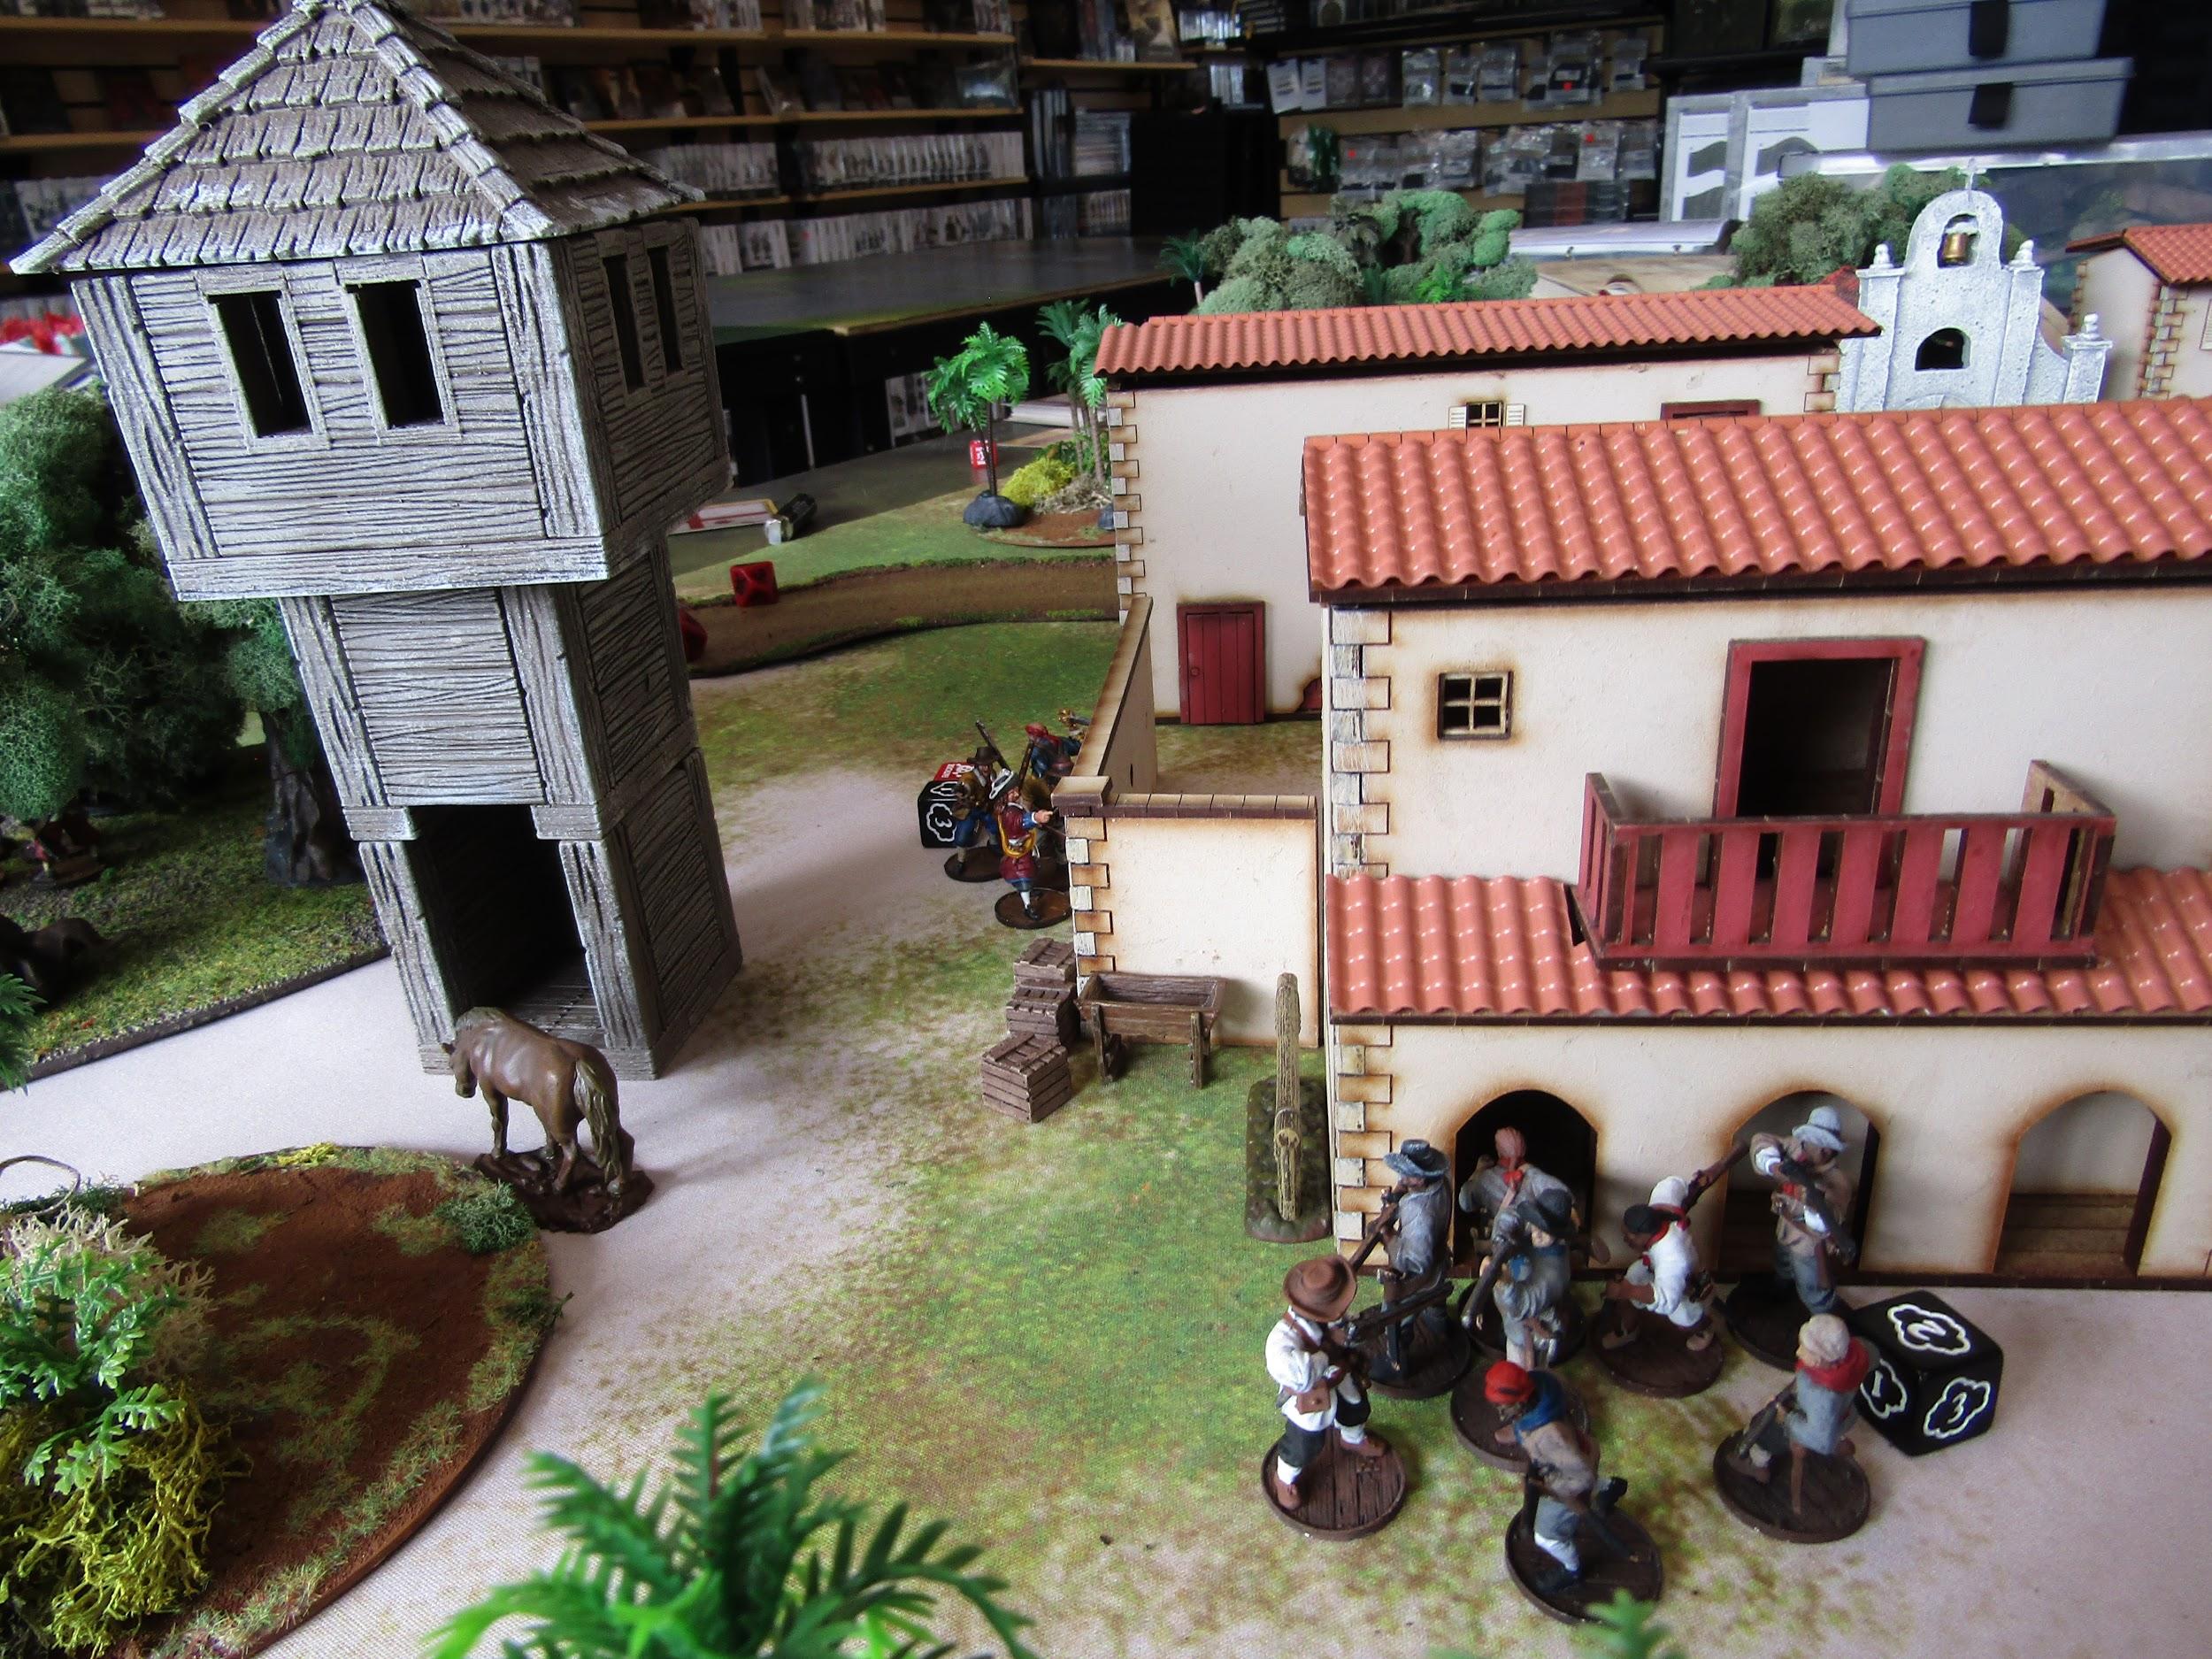
Joseph got to the store before me and set up a nice Spanish town, with dirt roads and a church.
I hadn’t played a city fight in a while. For the uninitiated, getting in buildings is often a death trap, even with the hard cover bonus. On the other hand, buildings are great at blocking sight lines, and are fun to fight around.
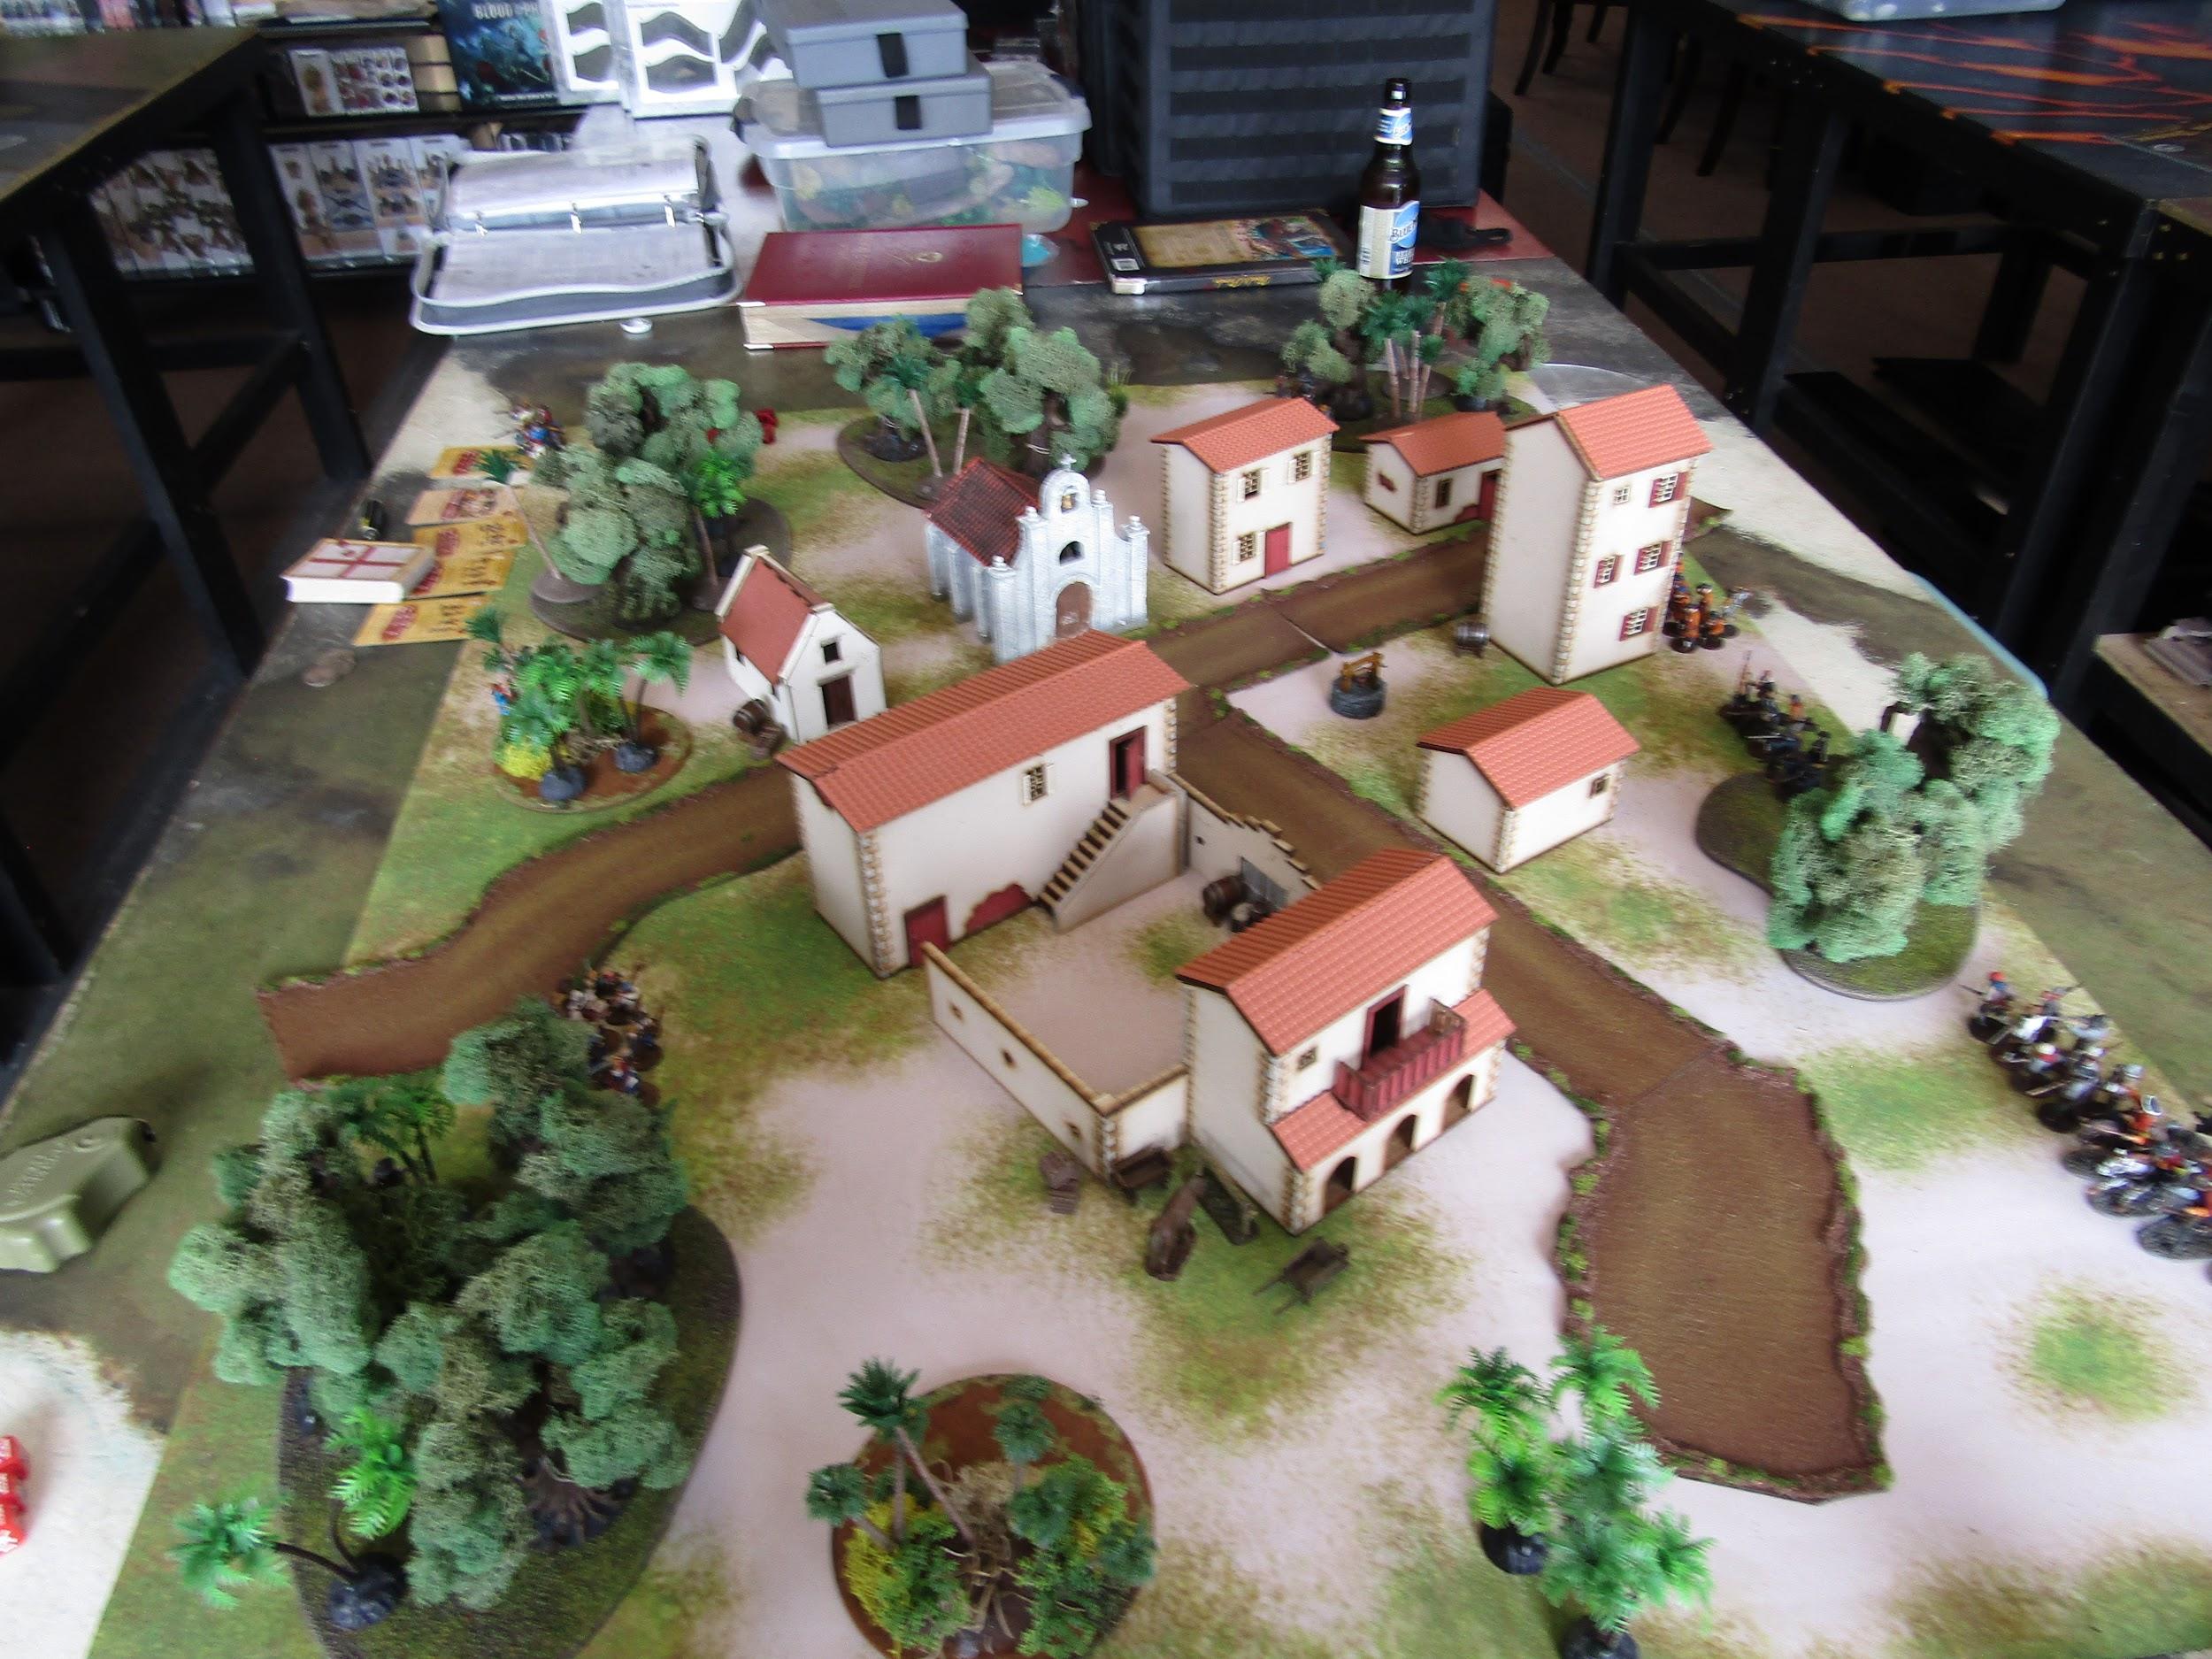
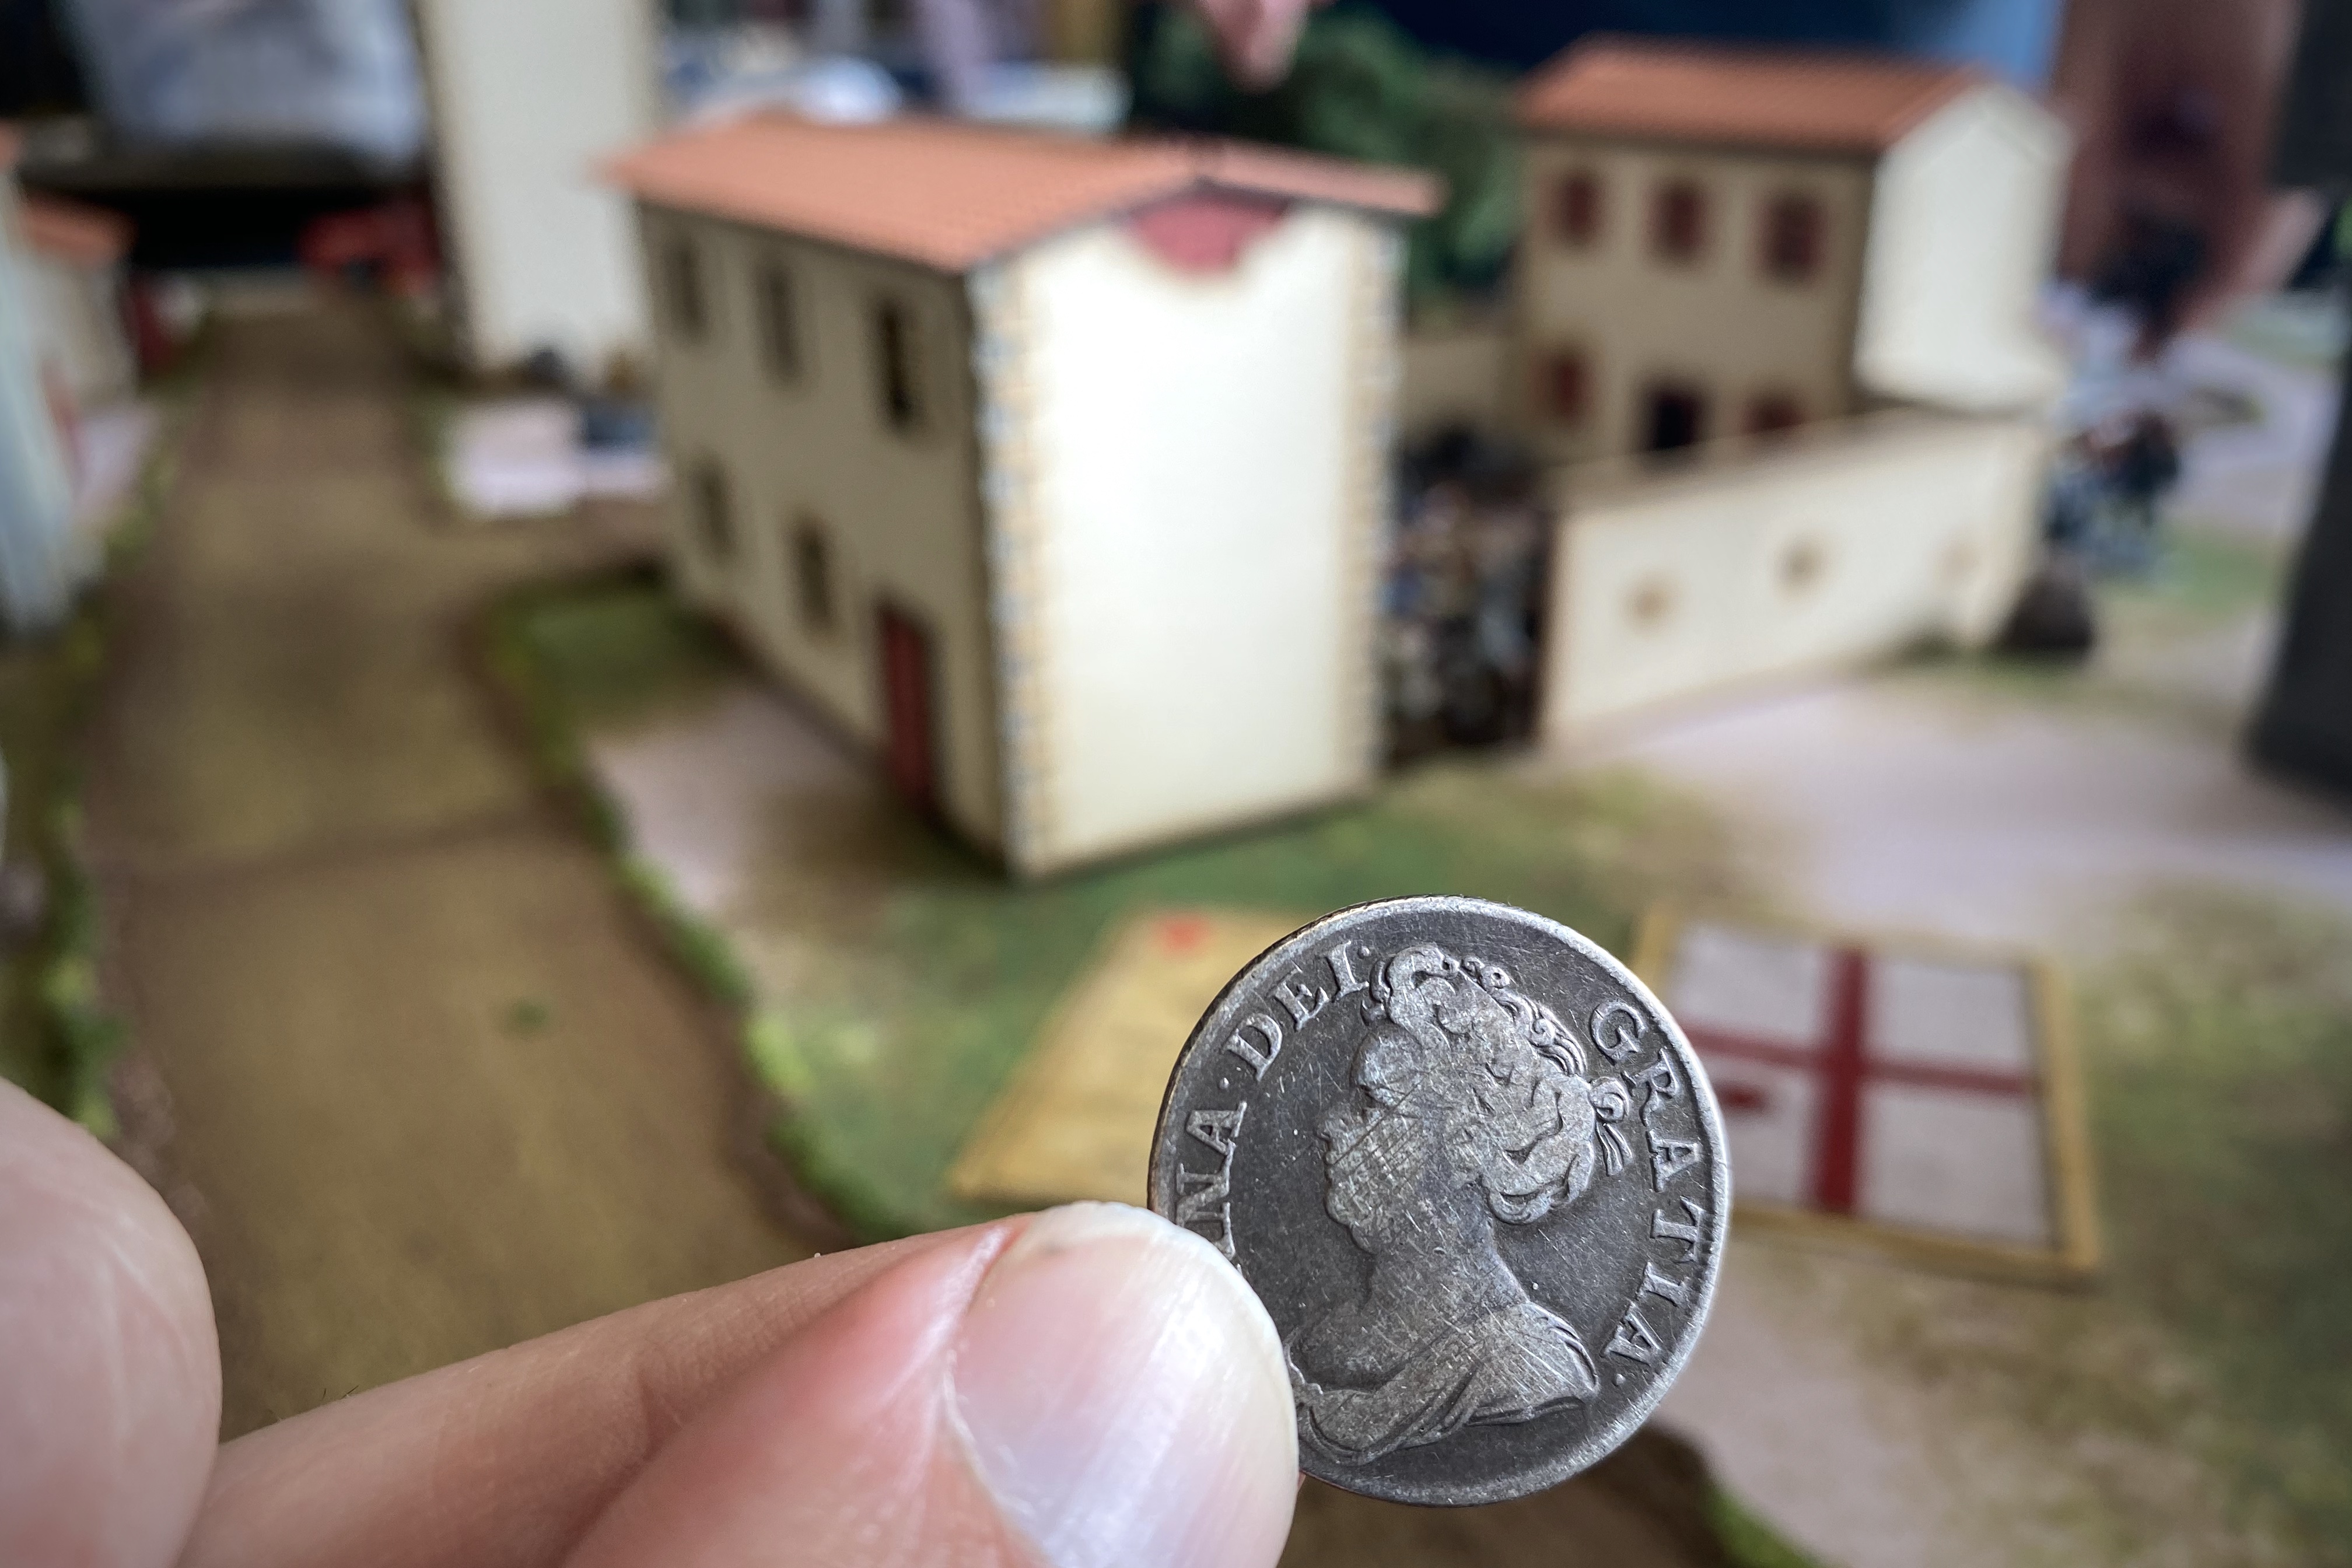
This scenario has us fighting to claim a prize that the defenders secretly place in one of two buildings. We chose the church and the outer two story building as the buildings the prize can be in. I placed a coin in one of the buildings as the prize instead of writing down the location, and we were ready to deploy.
Turn 1
Even though I knew where the prize was, I didn’t want to give it away, so I deployed to defend both buildings. I placed my cavalry on my left flank and my Lanceros were laying in wait on the right flank.
The English’s three units deployed mostly in the center, with the Flibustiers on the center right. His Veteran Freebooters were held in reserve.
During the first few activations of the first turn we were mainly pushing our units into position. Starting about 24” away from each other on this crowded of a board meant none of our units could fire on each other without some maneuvering.
For the first three activations, The English held their cards back since I had three more units then they did. I slowly moved up my inexperienced Militia and placed my cannon so it could shoot down the center street.
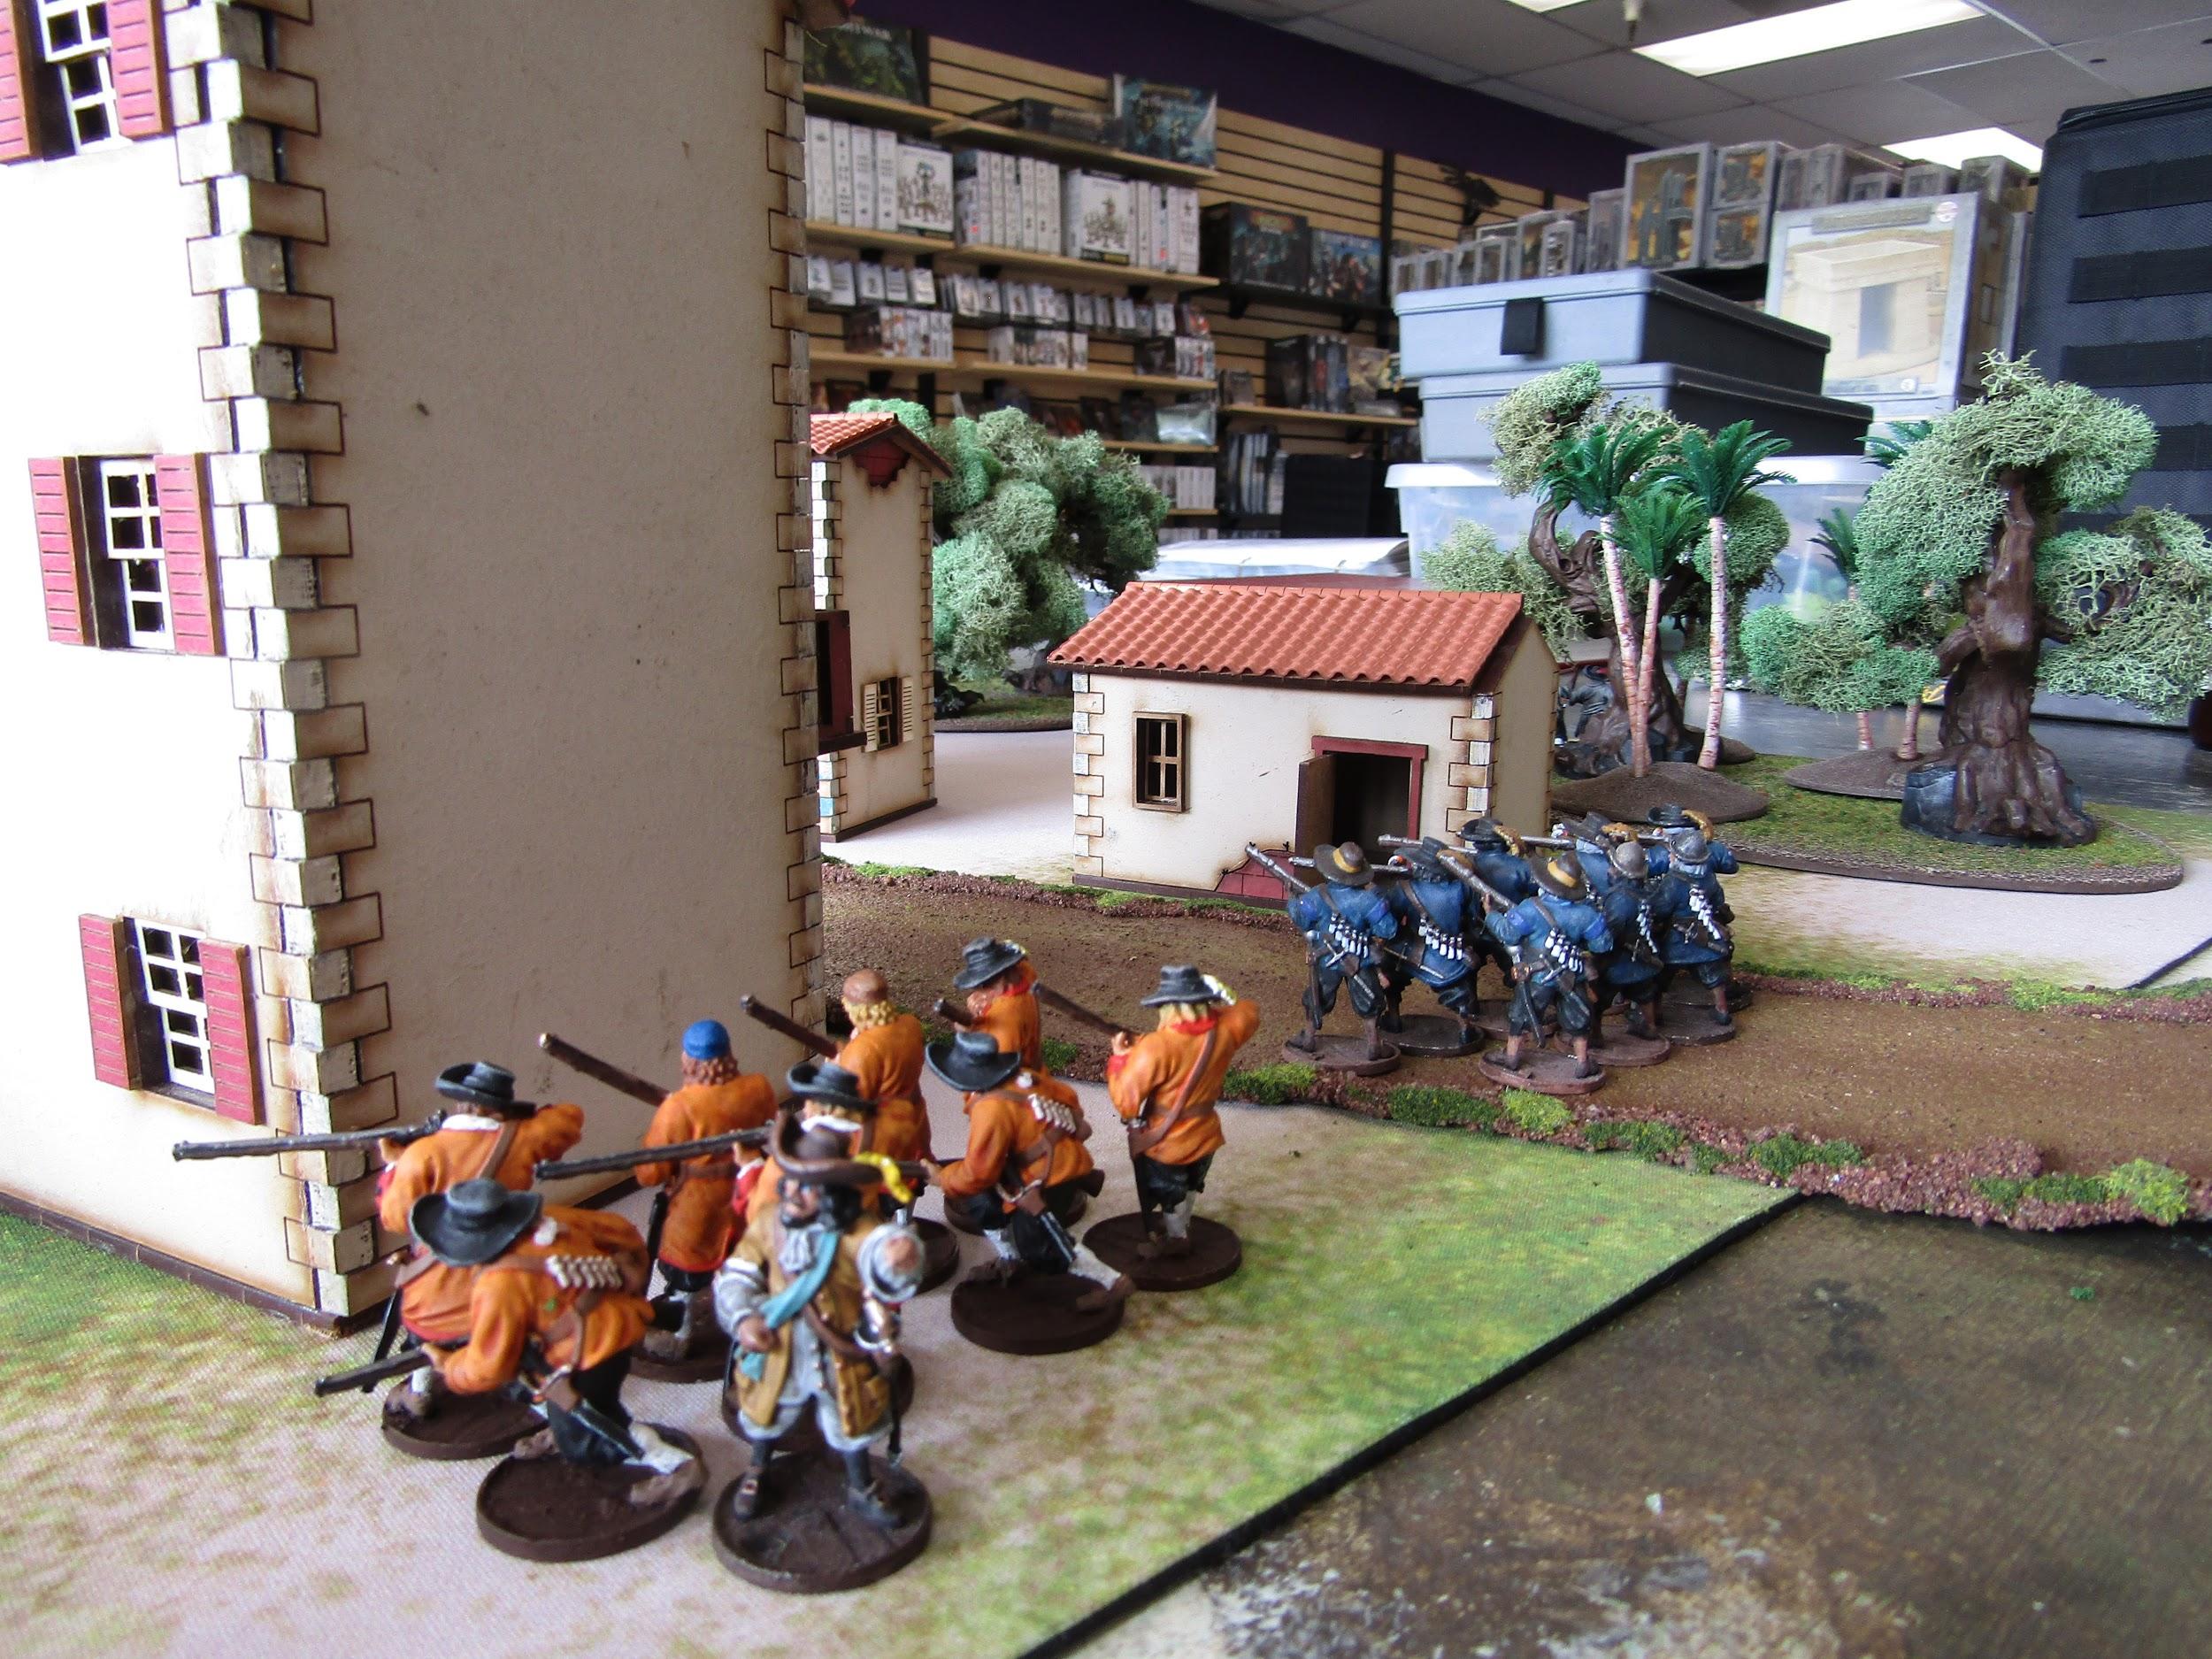
With the last few activations of turn one, things started to move quickly. The unit of 6 Flibustiers moved onto the street in the direction of the church. I had one of my units of Milicianos move behind the buildings towards them. Then, with the next activation my Spanish Commander ordered the cannon to fire on the exposed Flibustiers.
I scored with only a 5, sending a round shot straight through a Flibustier’s chest. My command unit moved towards the center of the table to try supporting my split forces, and took a half shot at the same Flibustiers, scoring no hits.
The Forlorn Hope commanded by John Coxson pushed towards the center of the table as well with the 6 Freebooters on the other side of the building. John Coxson then used a command point to have the Flibustiers move toward the church.
Turn 2
On the first activation of the second turn, the Flibustiers ran into the church, hoping desperately to find the prize. All the effort though was for naught as the prize had been in the two story villa house the entire time!

Out of breath from pushing to get into the church, the five remaining Flibustiers braved the door and prepared for the worst. They did not have to wait long.

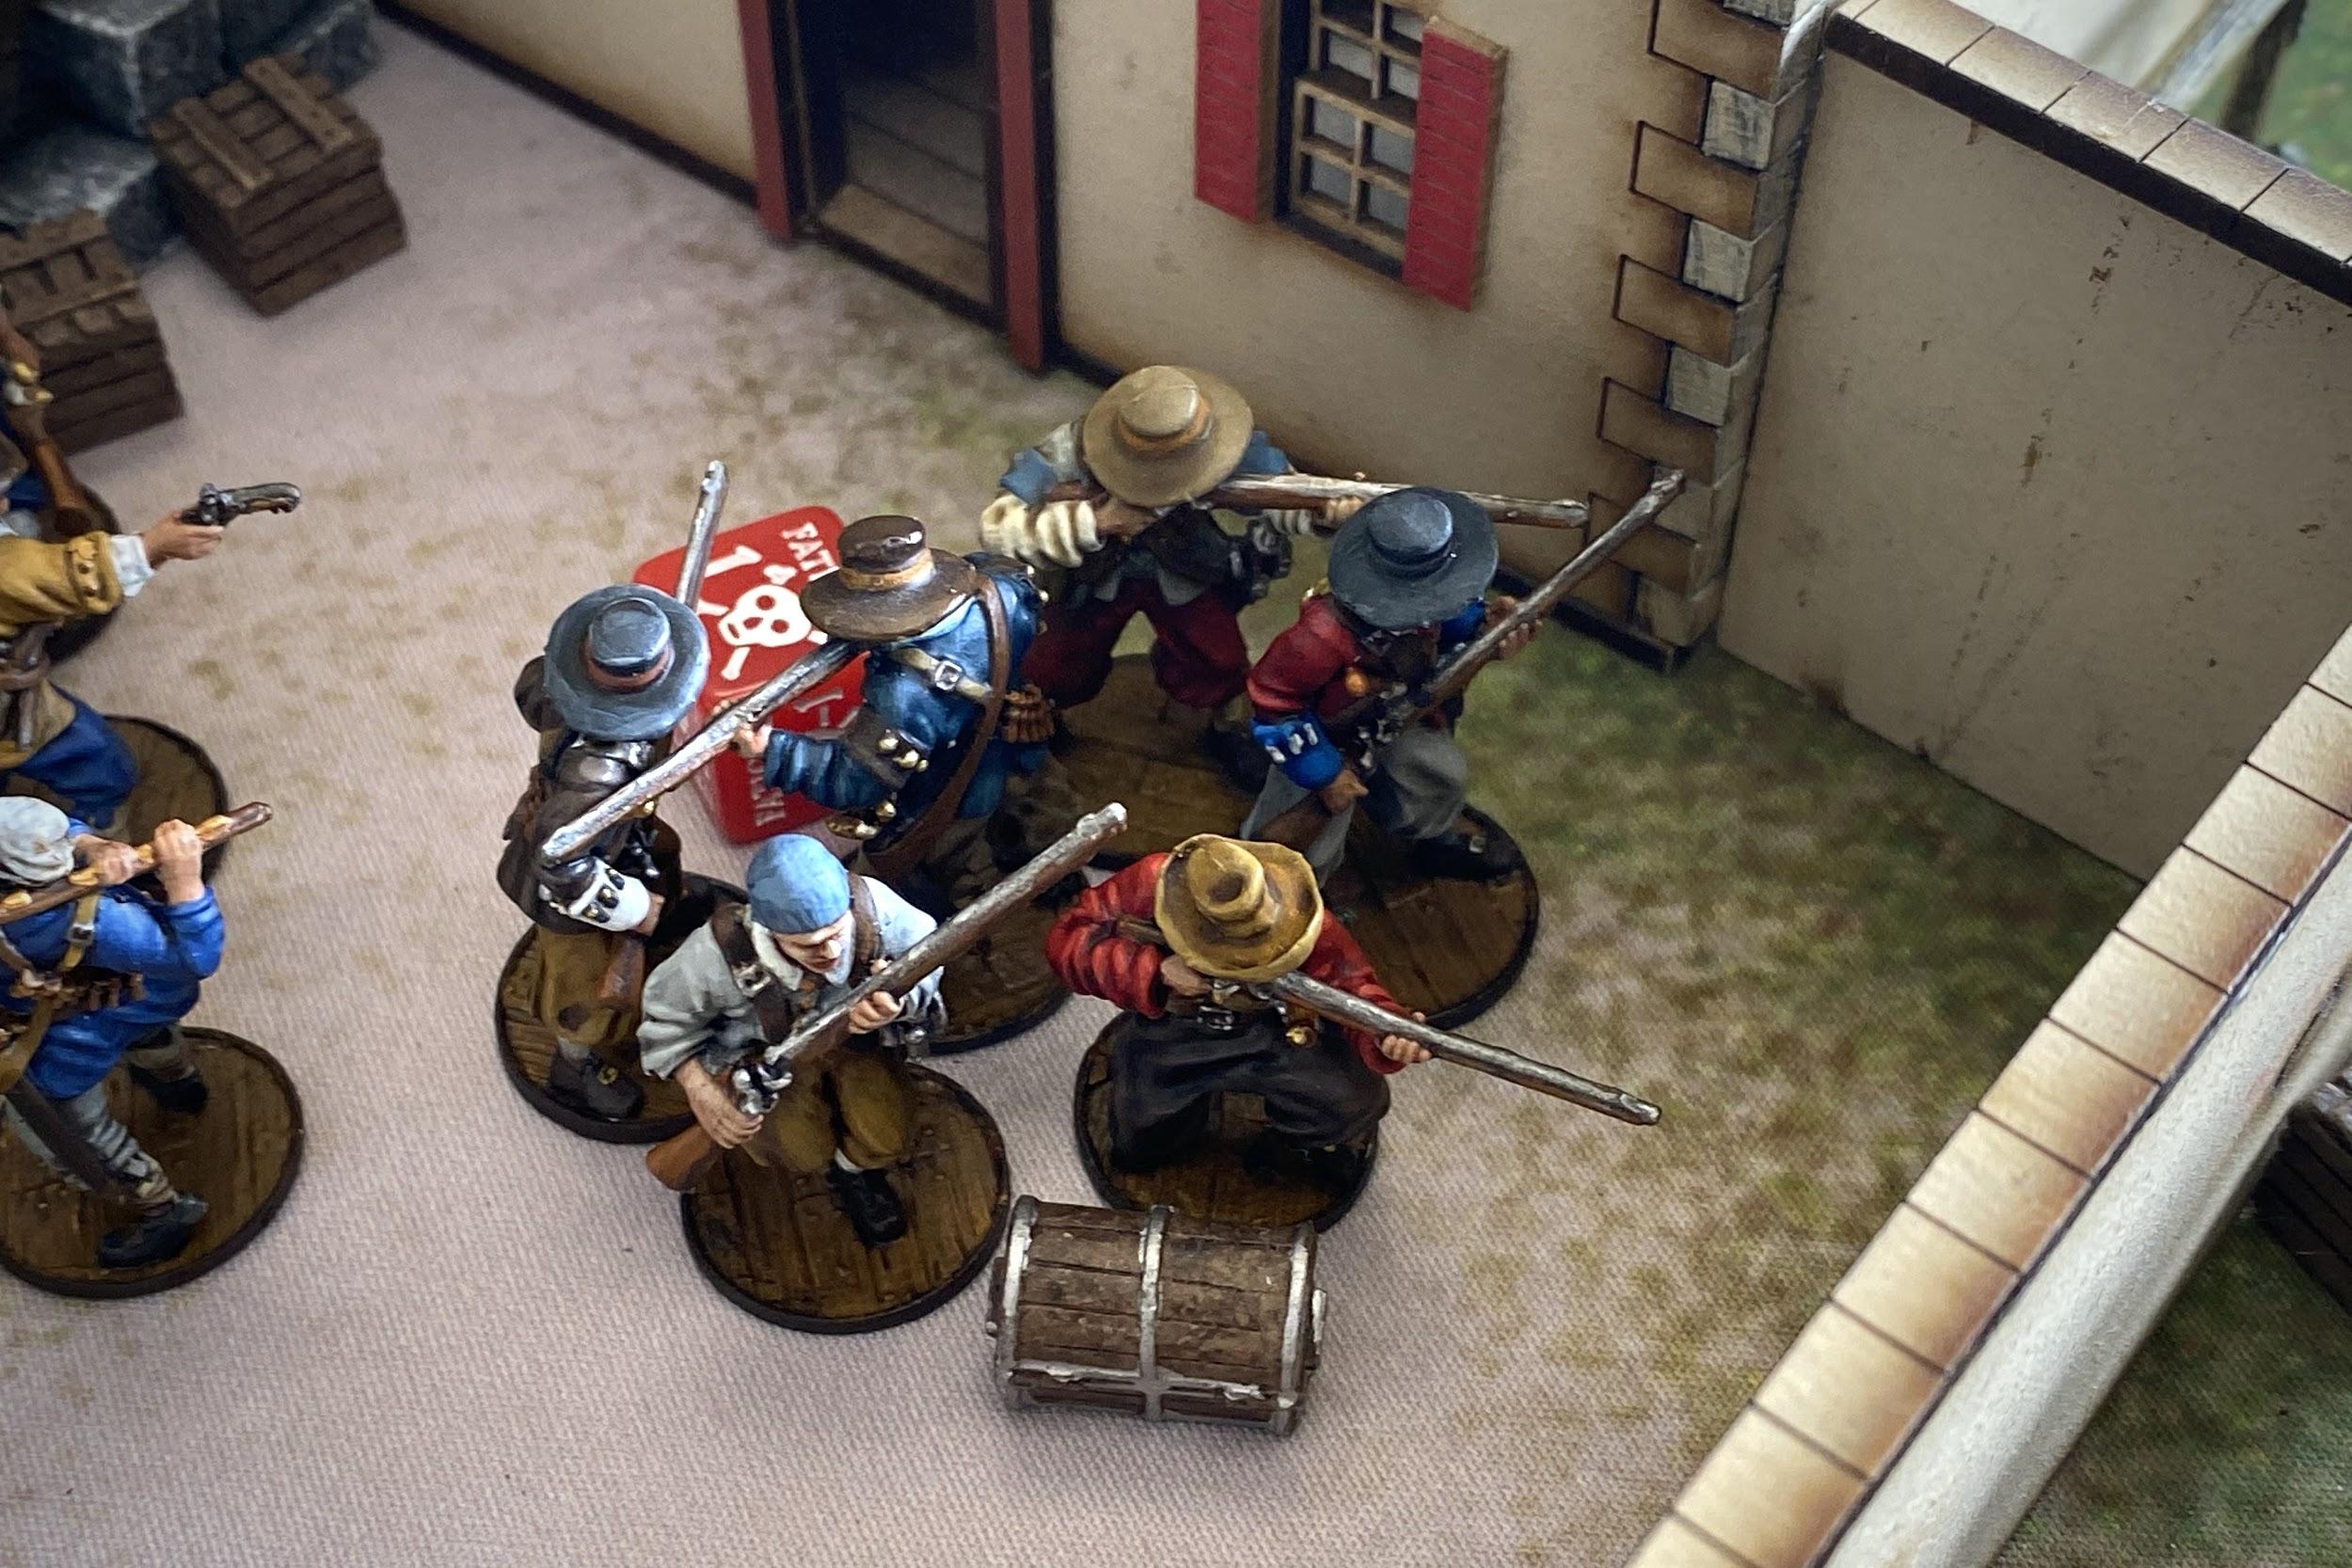
My unit of 8 Milicianos moved around the building under 4” from the church and fired through the windows. Even hiding behind the hard stucco walls wasn’t enough to stop the musket volley. Three Flibustiers died, and the other two fled in terror.
With a grim determination, the Freebooters moved closer to the two story villa. John Coxson waited to make his move.

As the Spanish I had to play a game of cat and other cat that has more men. I slowly moved my commander up. He ordered the cannon reloaded and a unit of Millicianos closer to the villa’s courtyard, while his own unit of Millicianos reloaded their muskets.
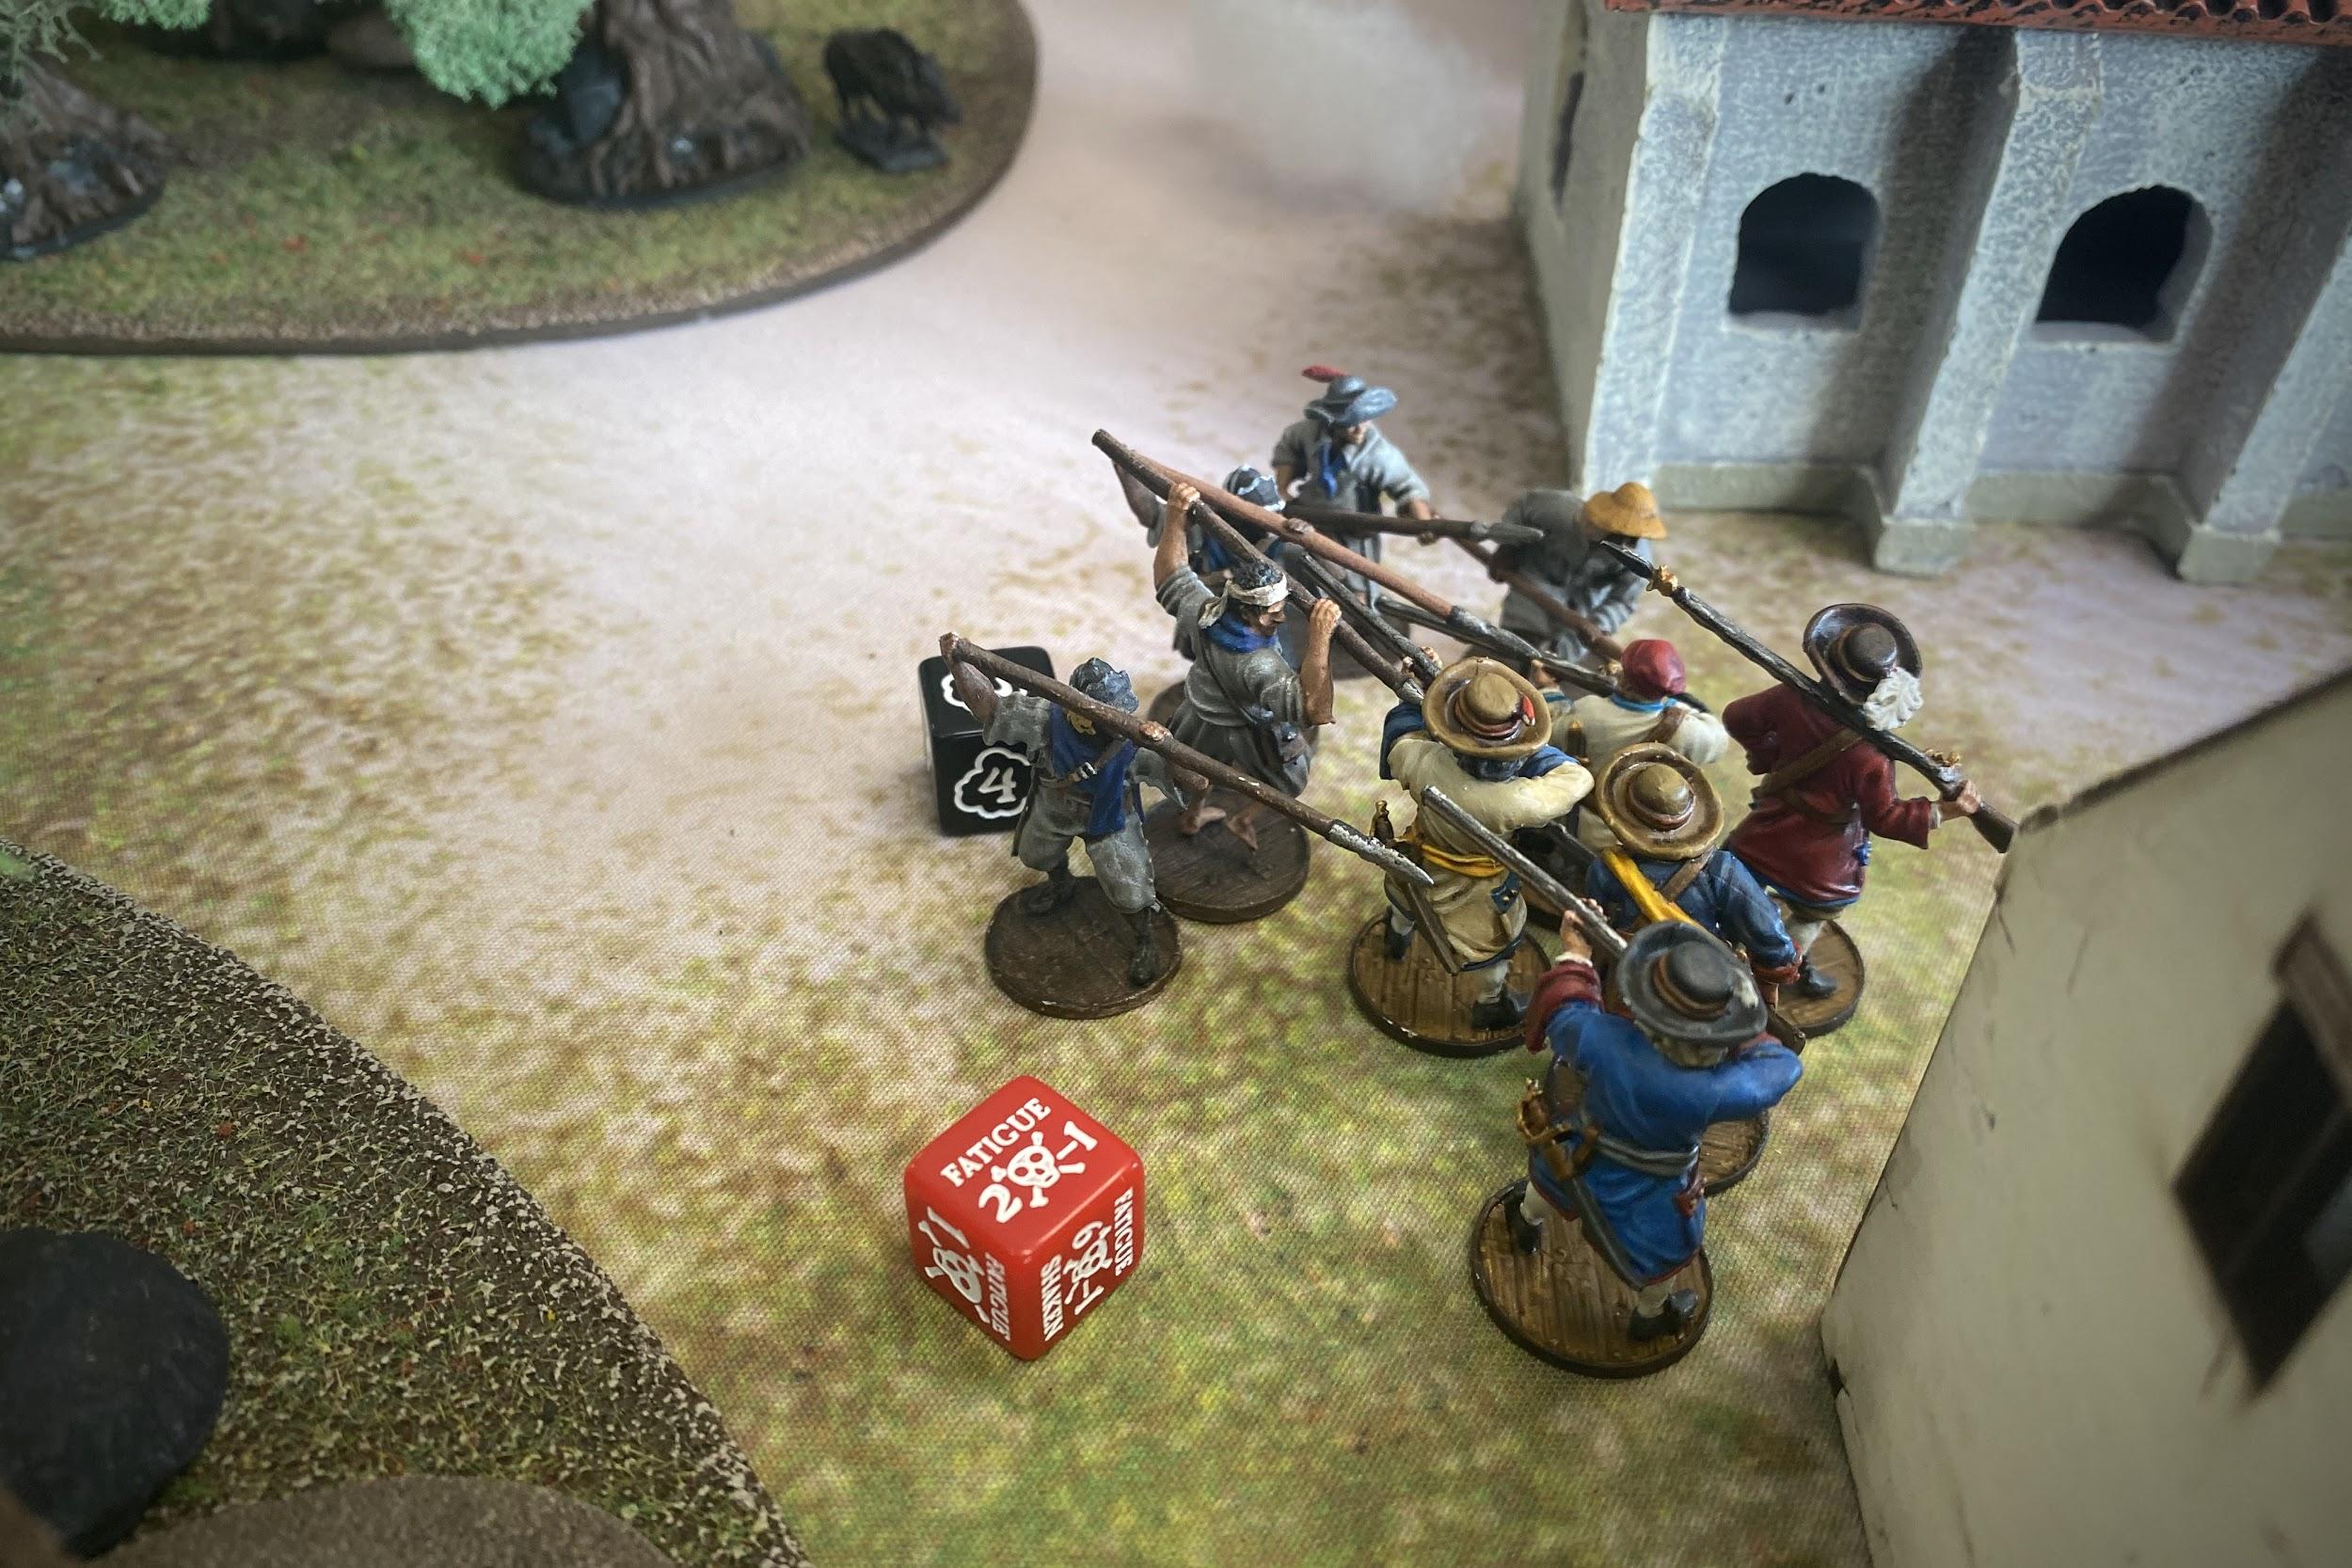
In the next instant, tragedy broke. The right flank Veteran Freebooters that I had forgotten about moved in forward to take revenge for the fallen Flibustiers.

Three Millicianos died in the attack, and the rest of the unit fled. My Lanceros that I had moved up watched helplessly.
It was during the next activation that John Coxson did something unexpected. He and his Forlorn Hope dove through the building, emerging from the door on the other side. He ordered the Freebooters to come up right behind him. Suddenly I had only a sturdy Spanish wall between fifteen pirates and me.
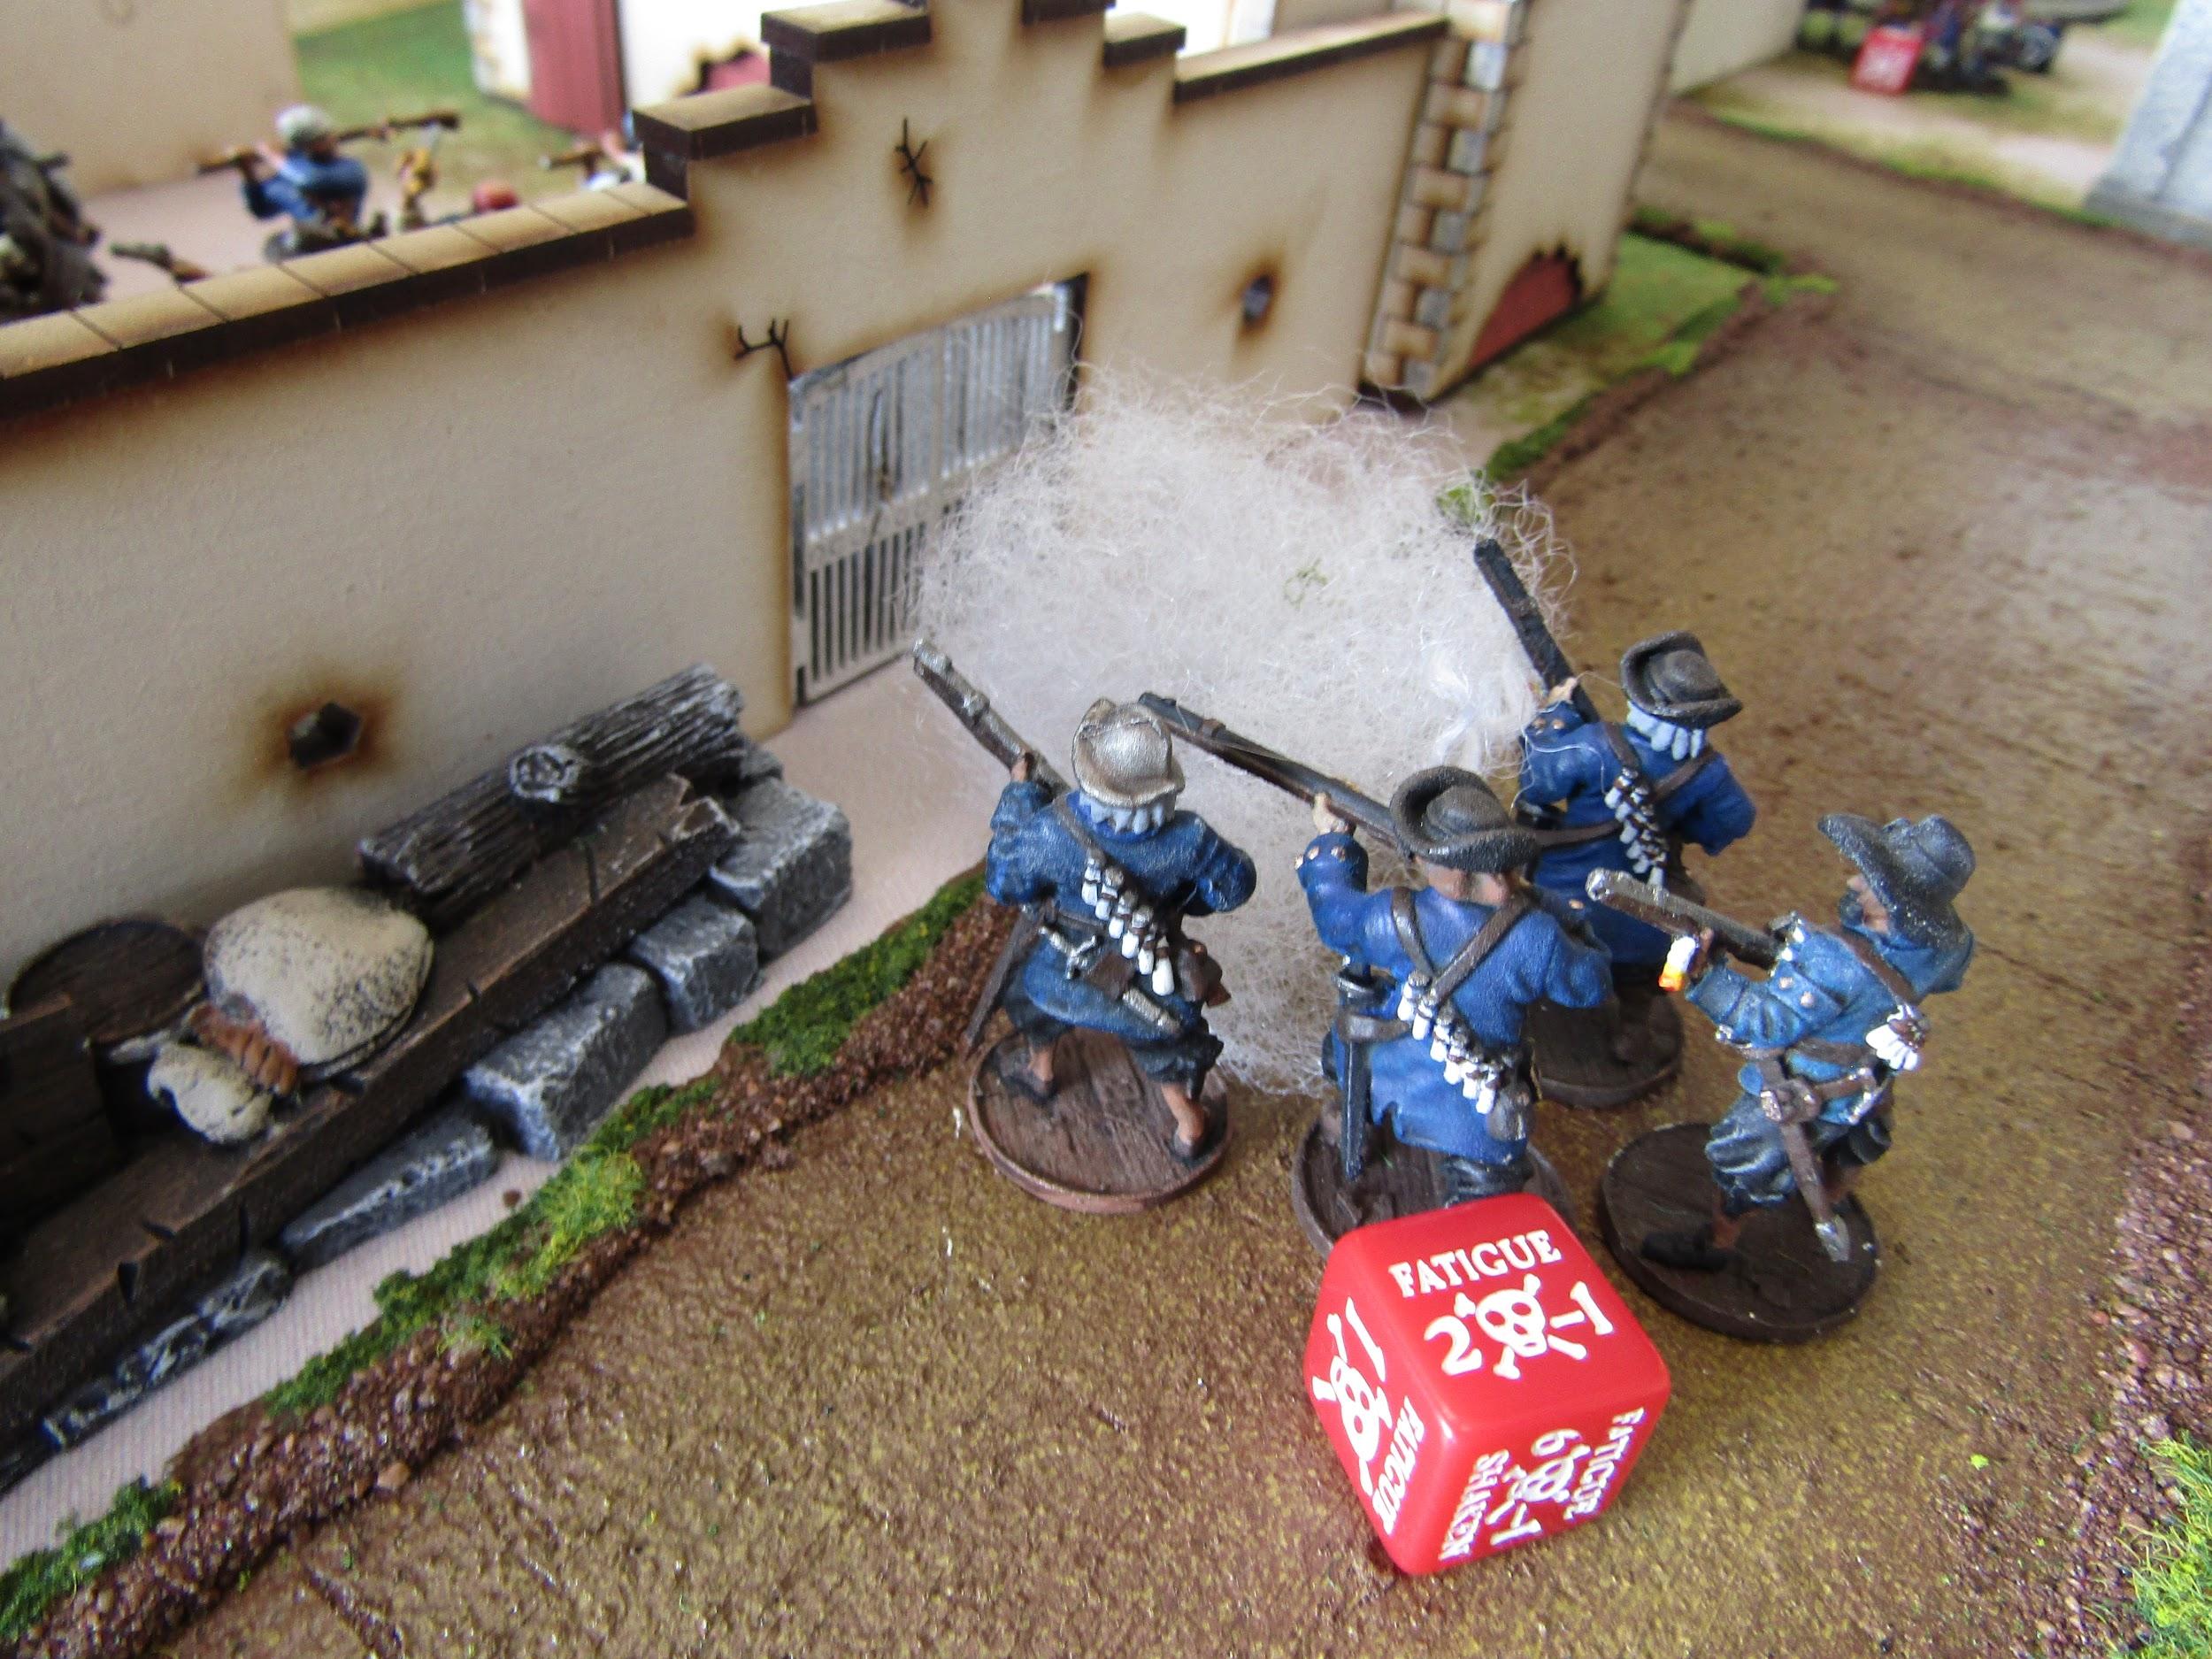
We quickly decided that only four models could shoot through the wood gate at a time. John Coxson ordered the Forlorn Hope to half fire, and scored only two hits, killing only one Milliciano.

I still had seven of my Millicianos though. I had them return half fire through the barrier, but failed to get any hits.

The Freebooters then sprung forward to claim the prize in the two story villa, even though I had half the building surrounded by Militia! Not wanting to repeat the Flibustiers error, the Freebooters pushed to exit the building.
At the end of the turn, after the English had exhausted all of their activations, I slowly moved my remaining units around the exterior of the courtyard to try cutting off any escape routes.

Turn 3
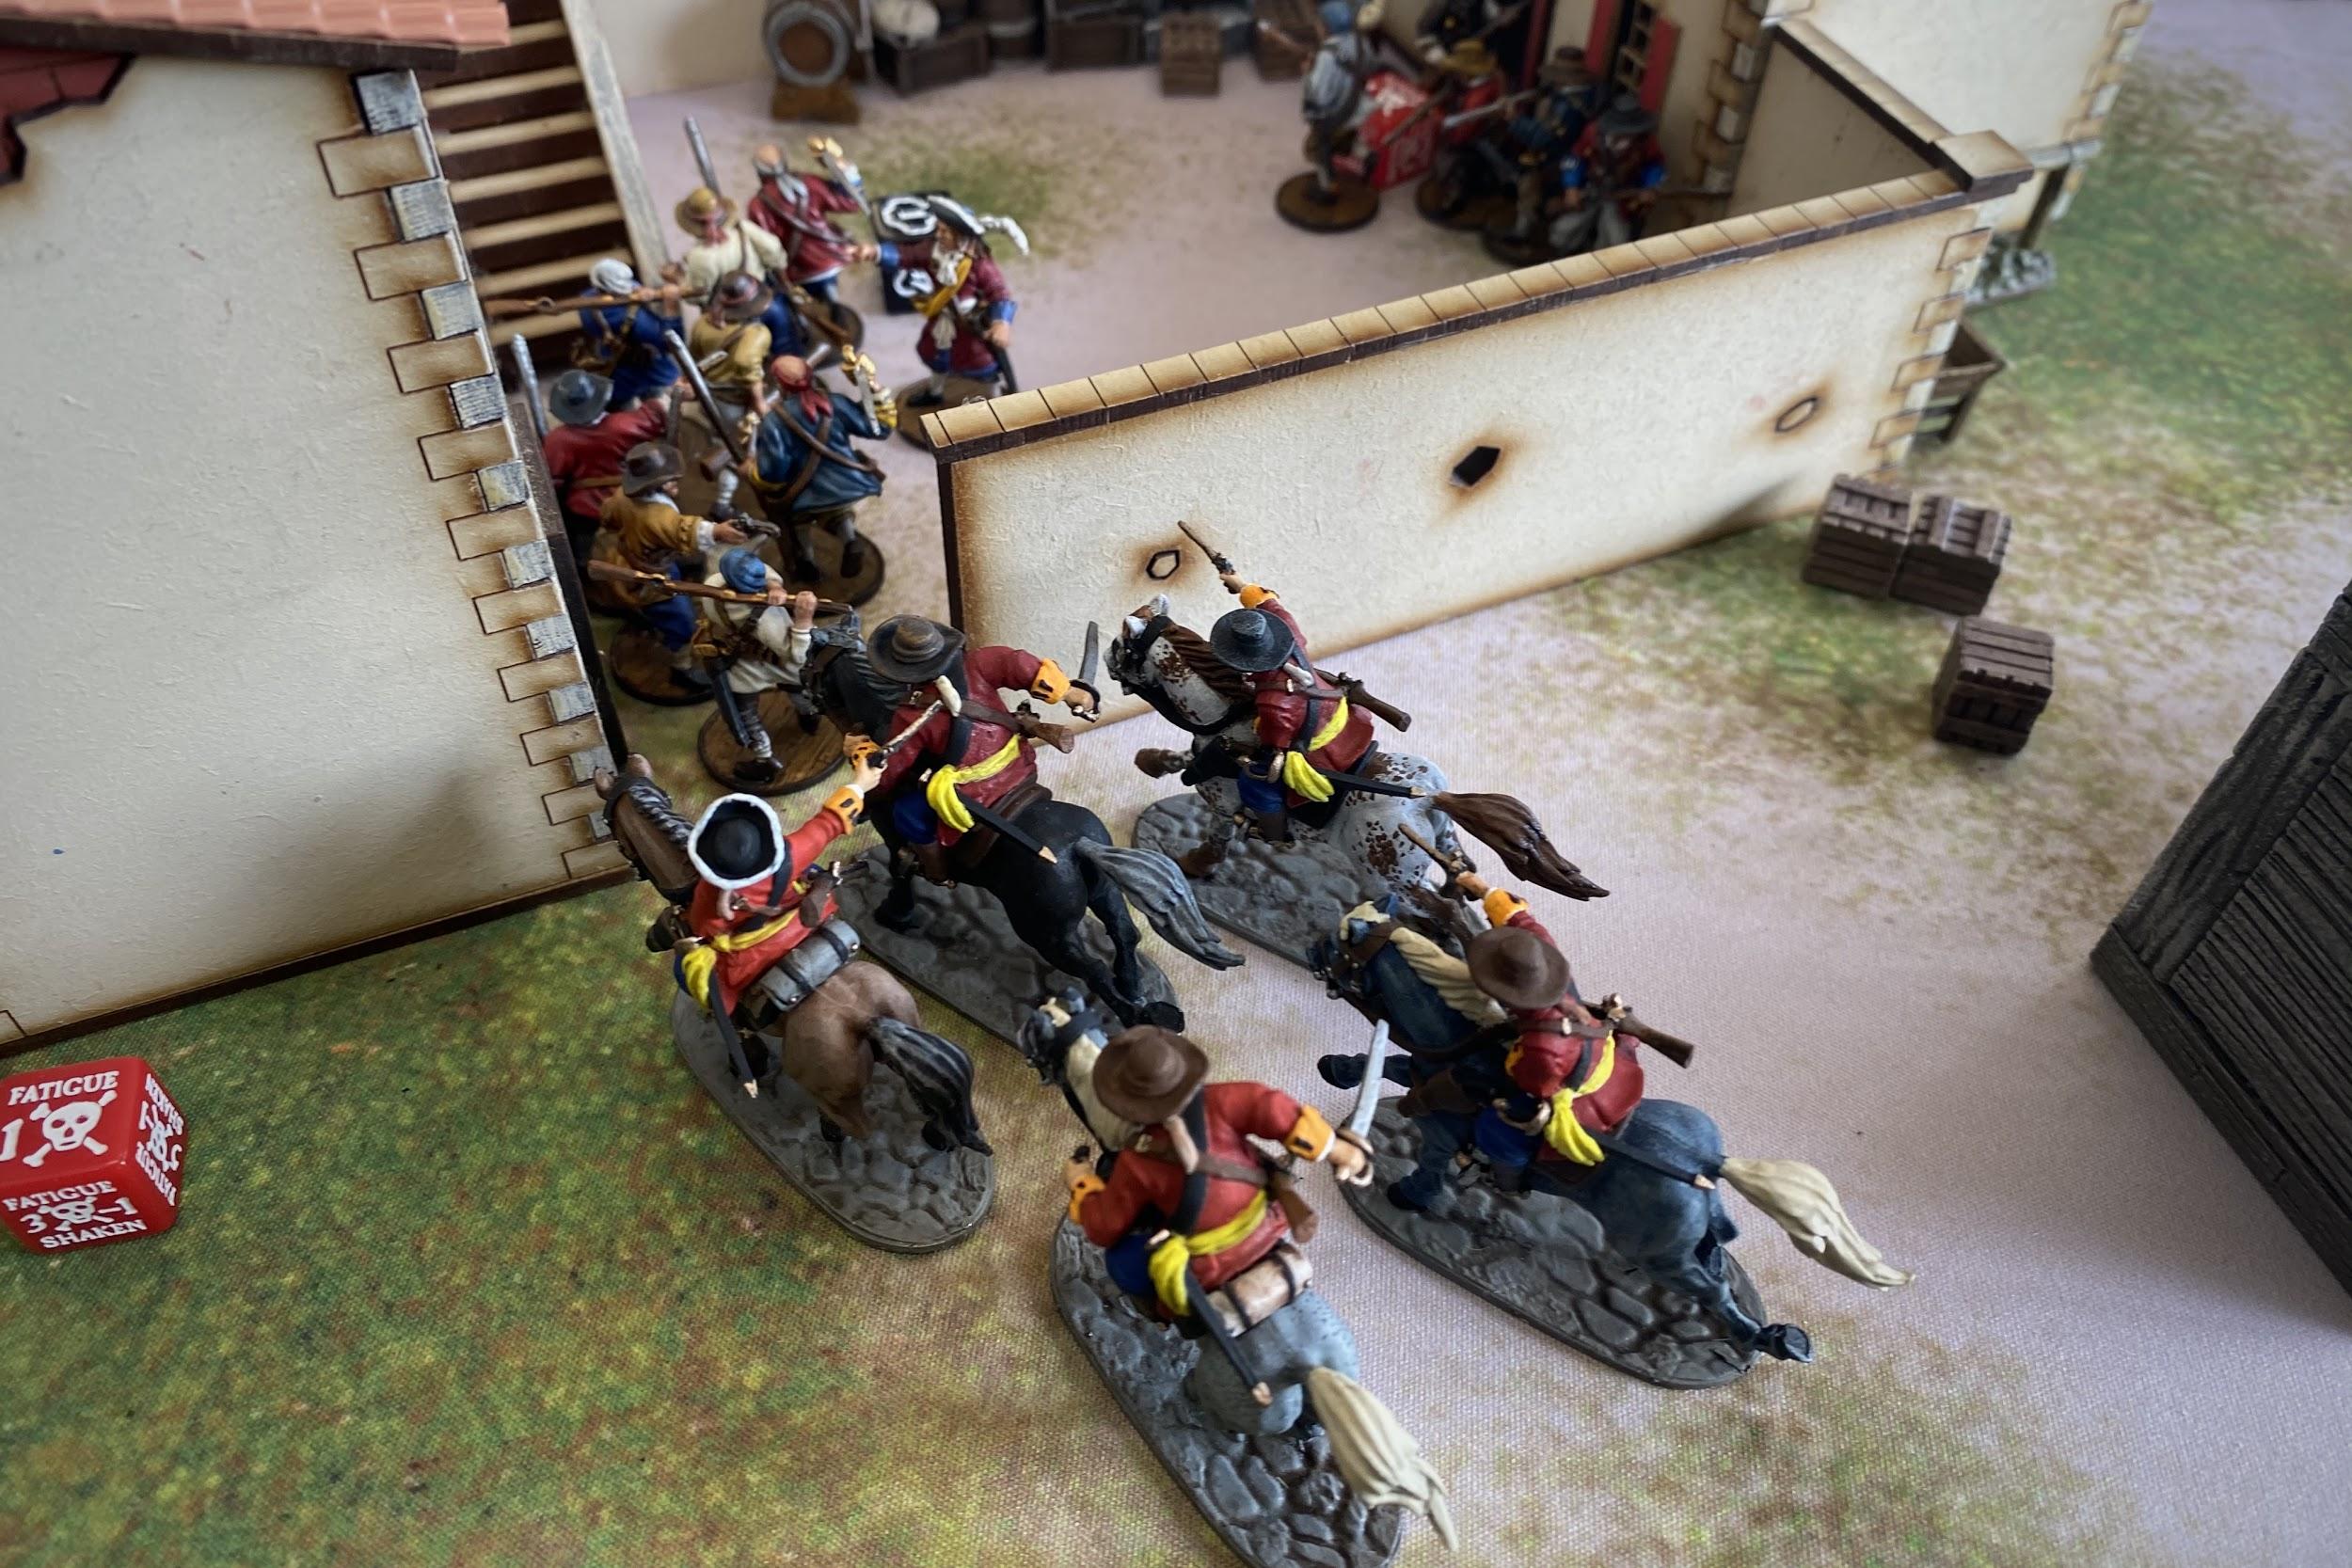
Trying desperately to stop the prize from leaving the courtyard, I played a high spade and won the first activation of turn three. With my cavalry in a precarious position next to a building near Freebooters, I charged the Forlorn Hope.
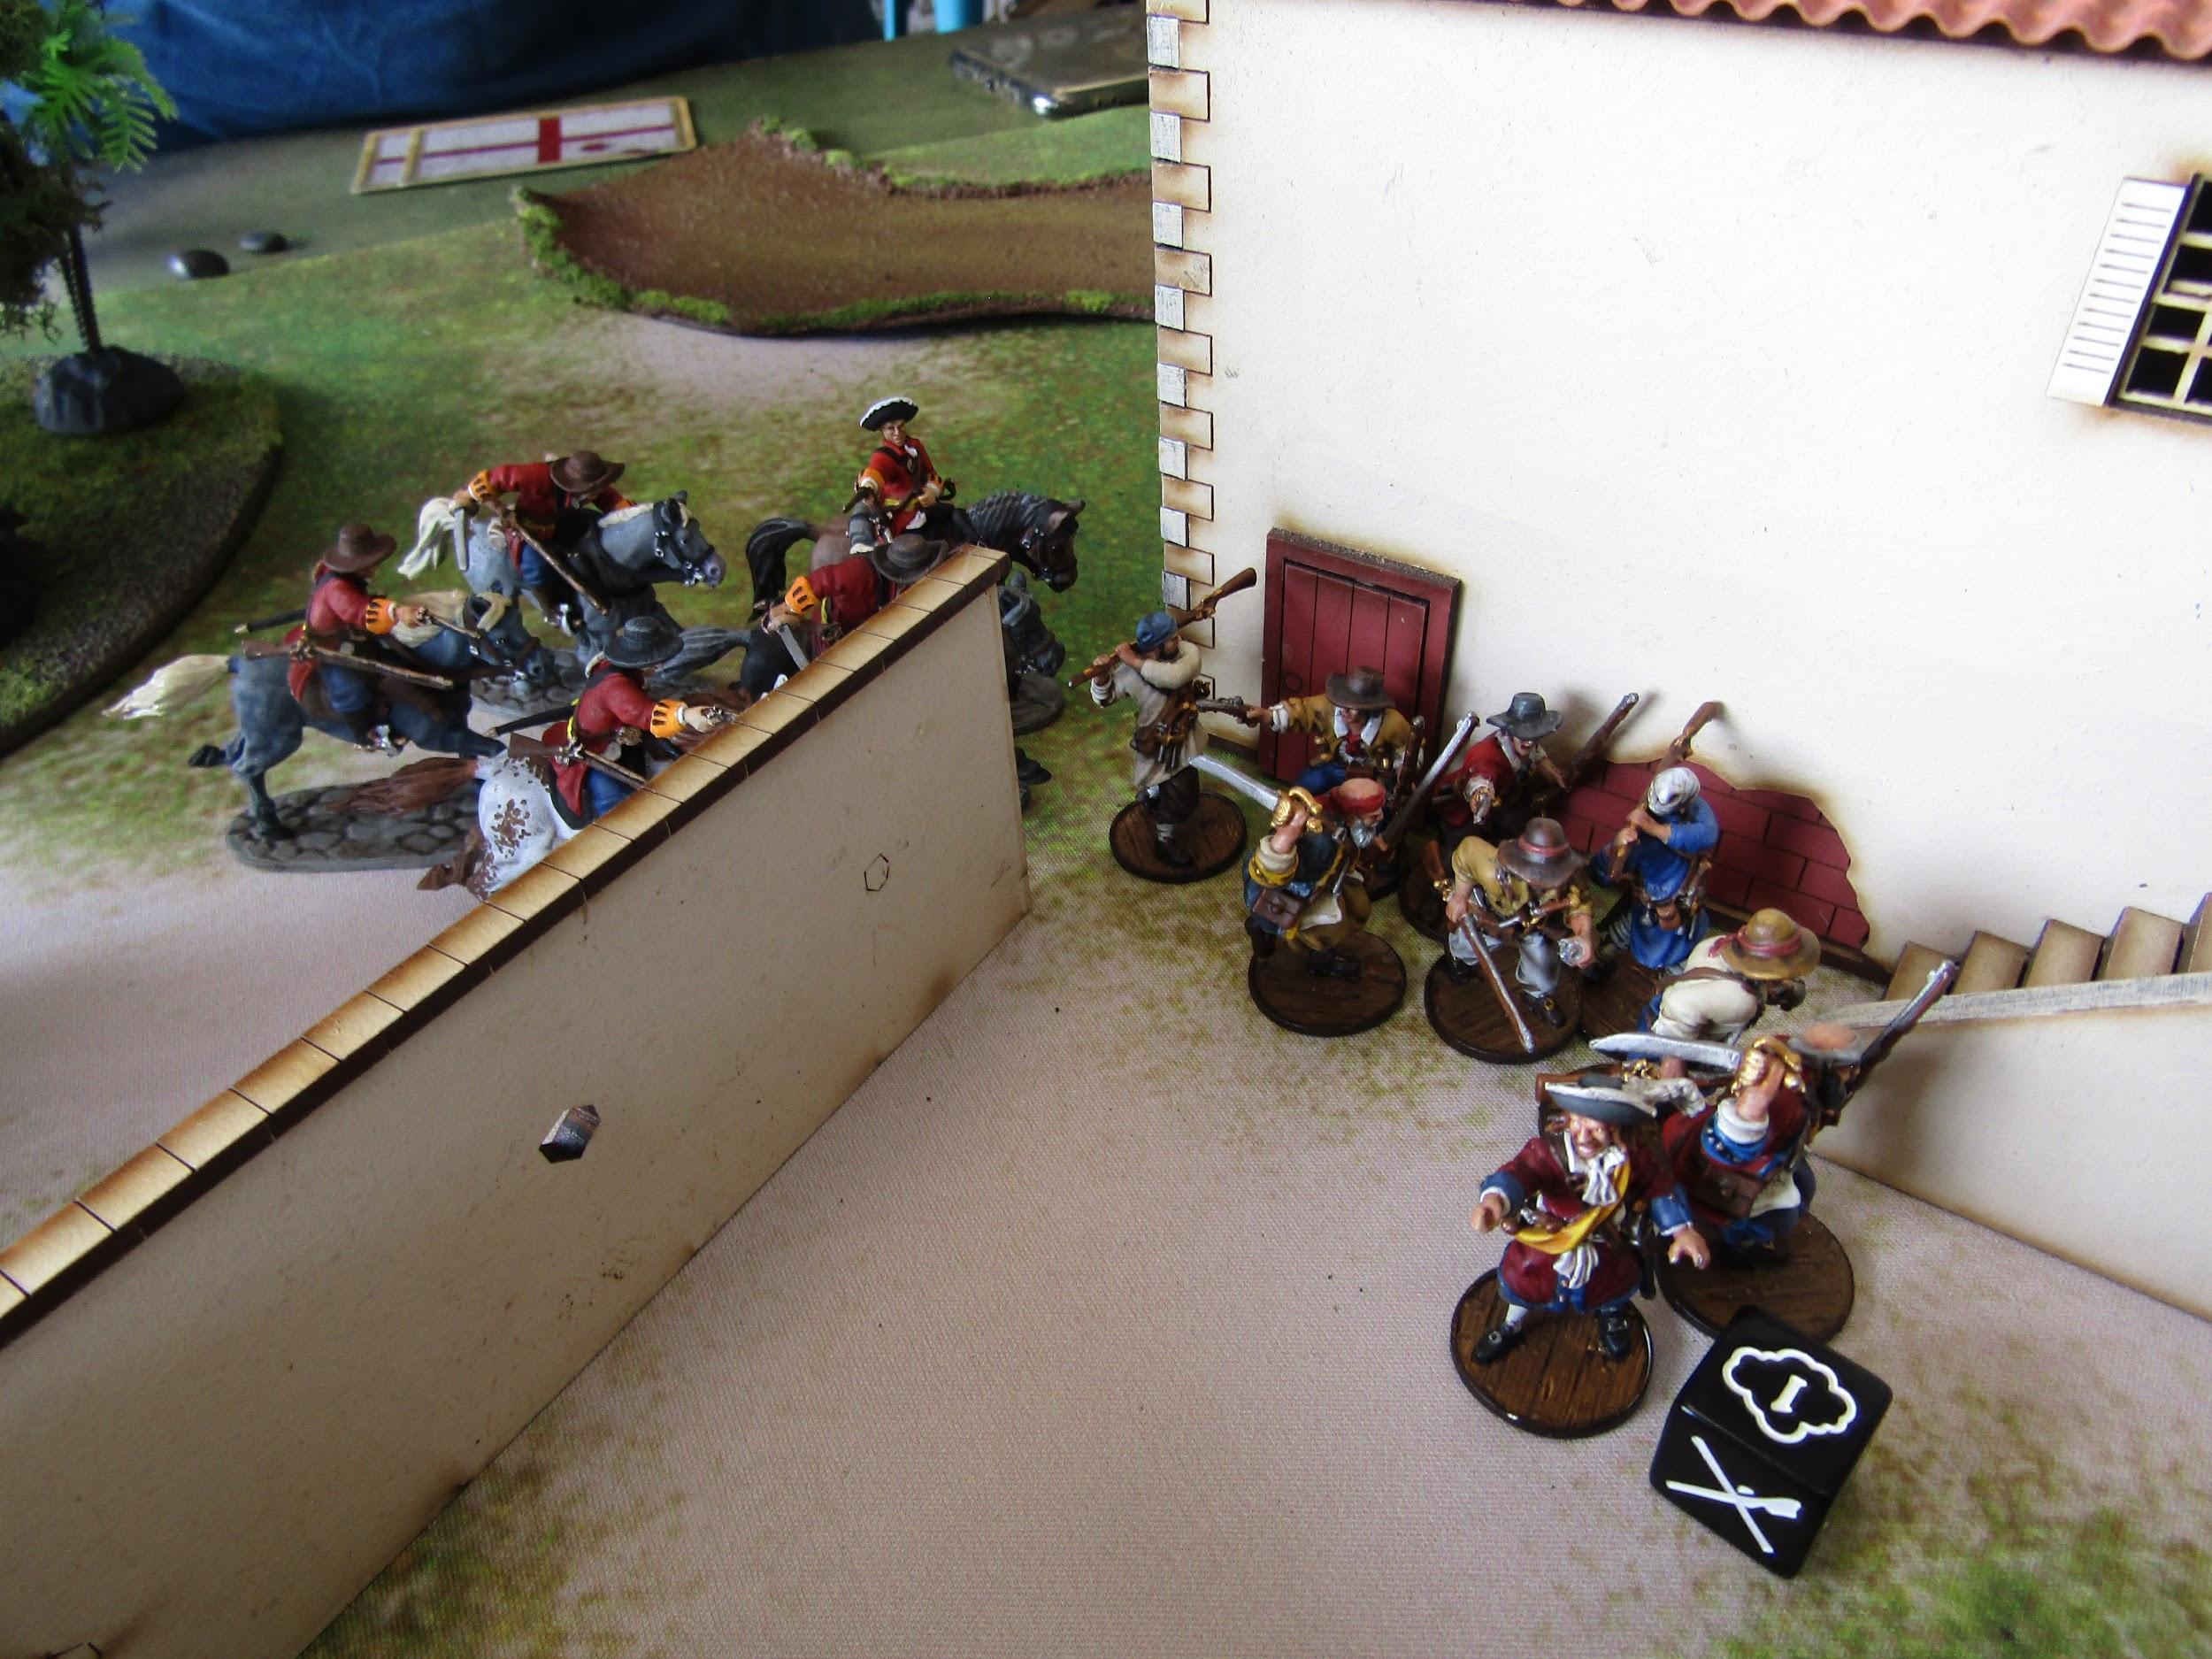
The Forlorn Hope pulled their pistols to meet my charge, laying low three Caballeria, and breaking the charge. I should have used pistols!
The Freebooters then moved further away from the building with the prize in tow.
Trying to make up for lost momentum, I won the next initiative and had my Lanceros sprint towards the unprepared Veteran Freebooters. They each drew a pistol and fired at my Lanceros, killing three of them. They held strong though, and finished the charge! Three more English died.
After losing more allies, John Coxson and his men rushed forward to the courtyard gate and fired a half shot through to the Milicianos on the other side, killing one. He ordered the Freebooters to make an escape while they can.

Seeing the Forlorn Hope still in the courtyard, I moved my newly recruited Milicianos into the two story villa and had them fire through the windows at the fleeing Freebooters, killing two!
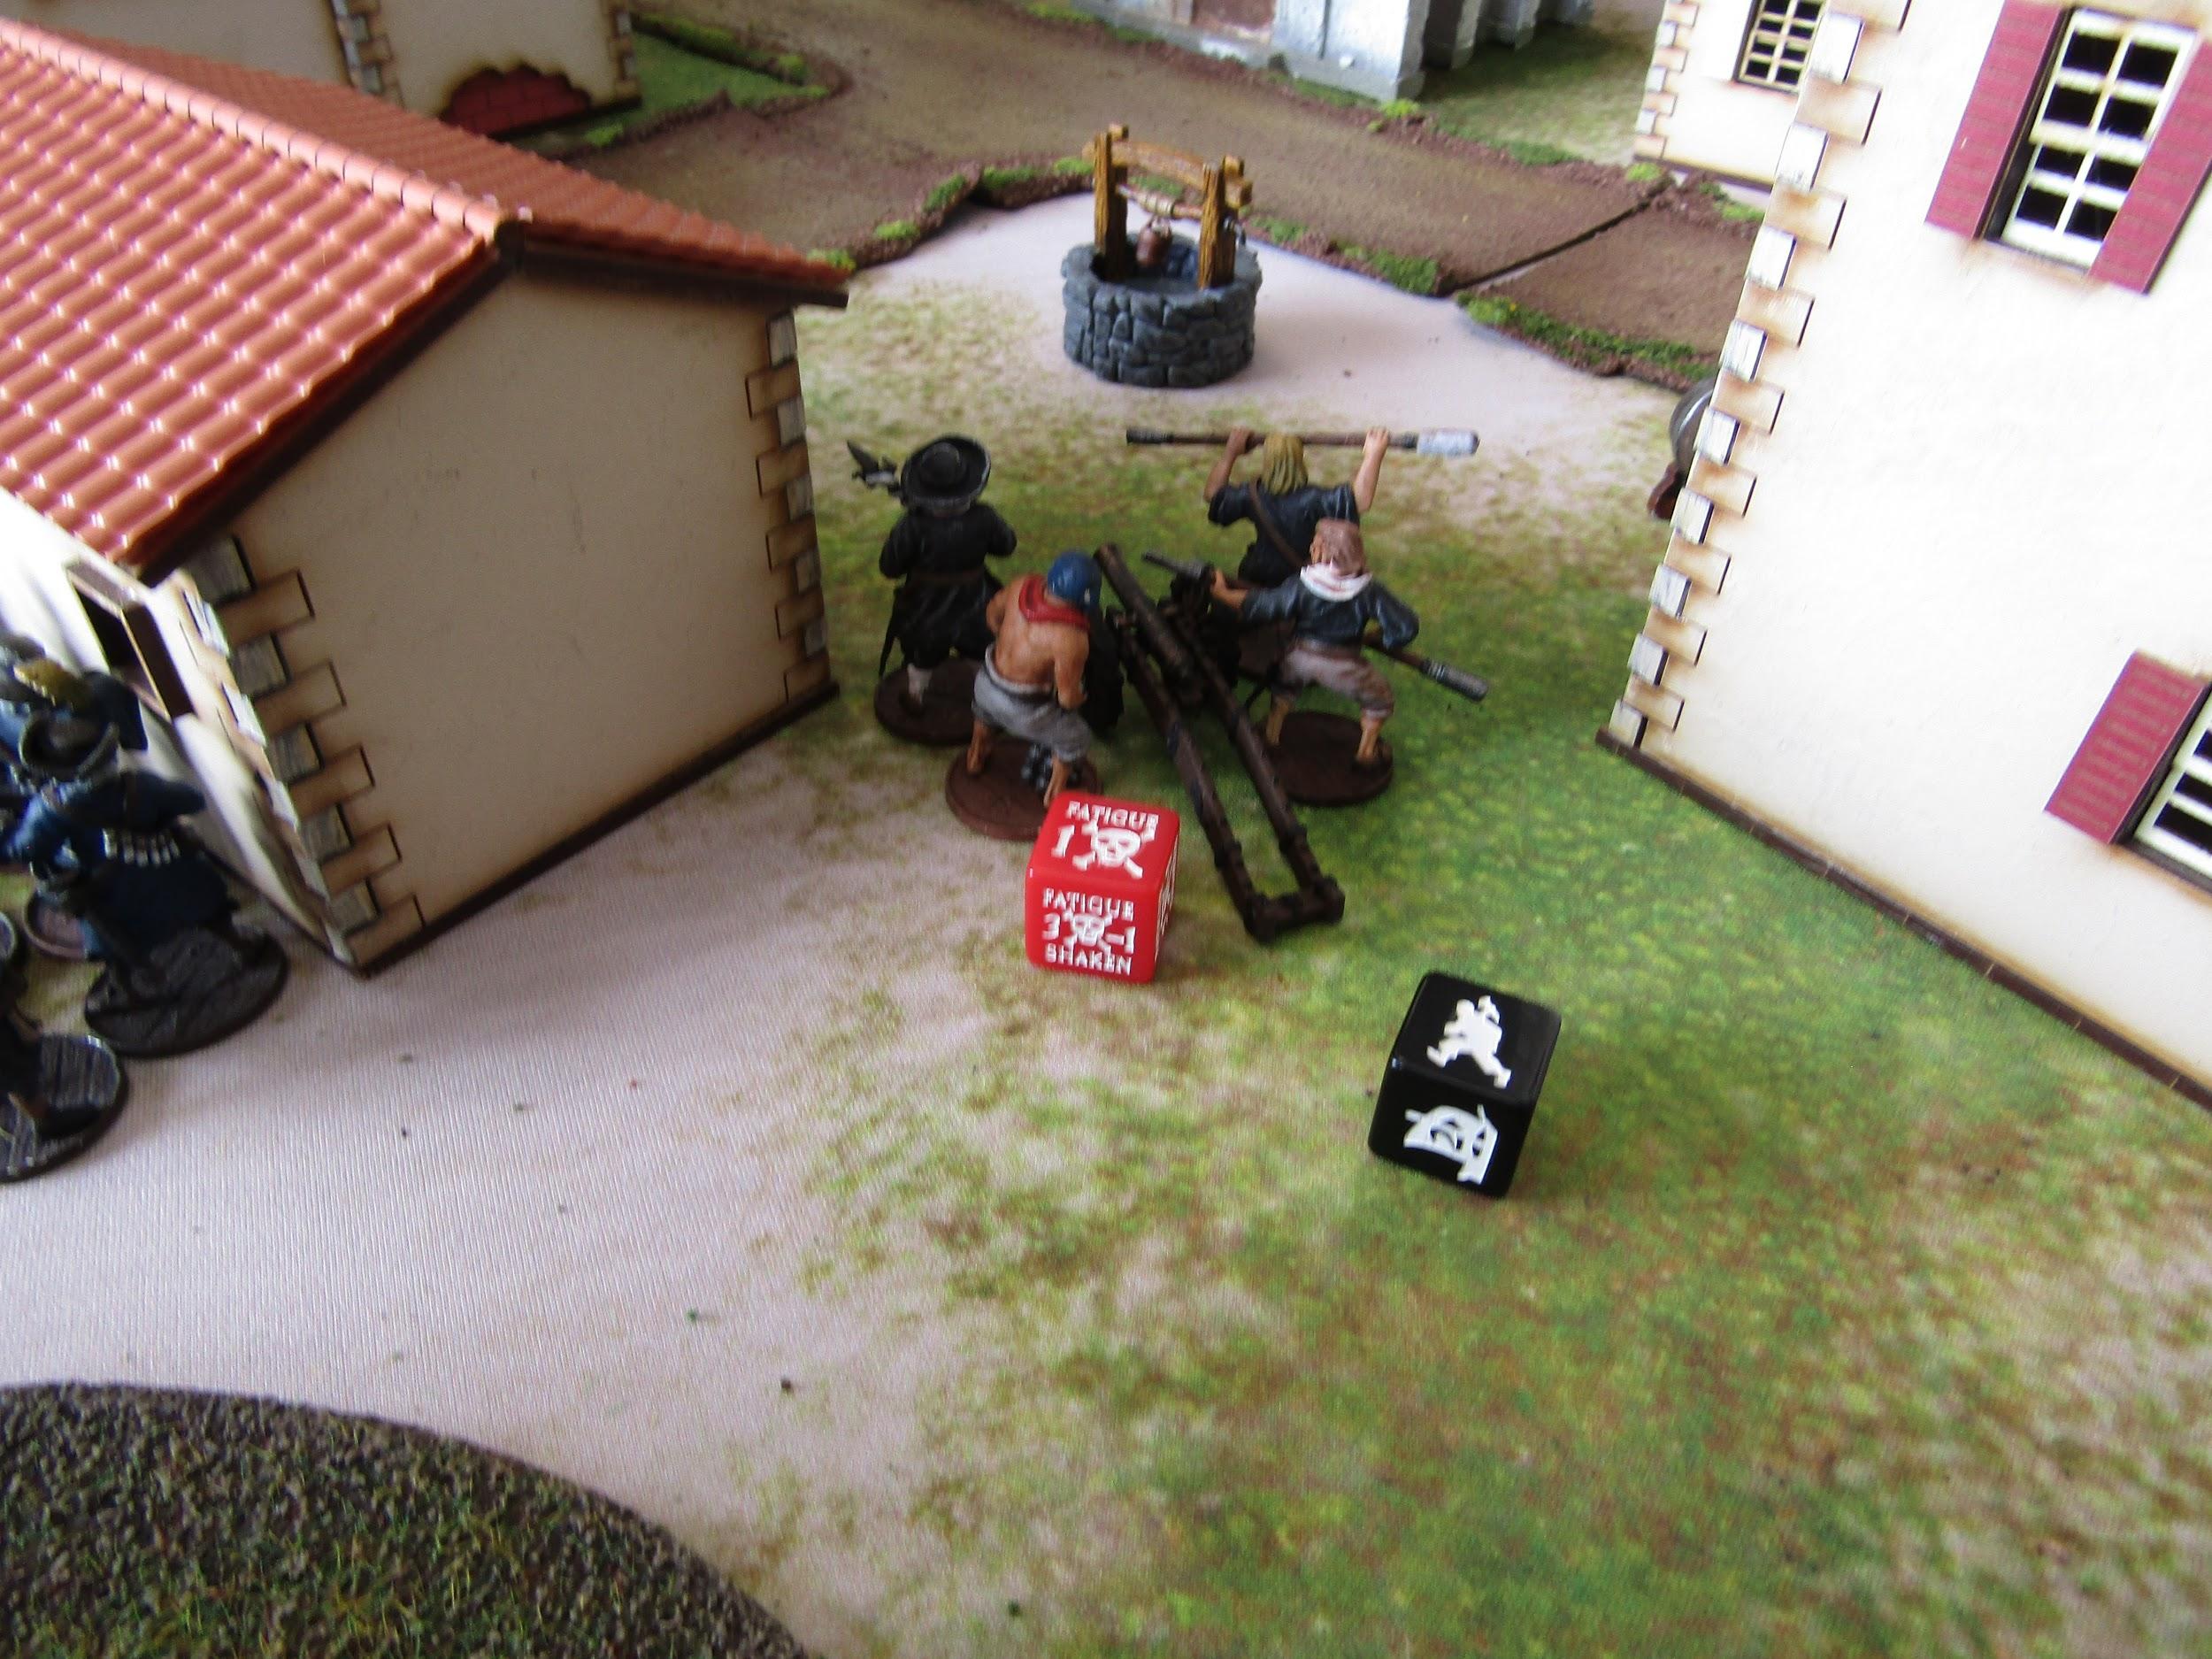
I spent the rest of my activations reloading the small field cannon fully, and rallying my fleeing Milicianos. My commander slowly moved into position and told his men and the nearby Millicianos to reload.
Turn 4
In a wild gambit, John Coxson burst through the courtyard gate, killing and scattering the five remaining Millicianos before him and firing a volley at my command unit. Only one brave Millicianos died, and the rest held their ground. The Forlorn Hope escaped back to the safety of the courtyard.
Unperturbed, I ordered my light cannon fired at the Forlorn Hope, killing one outright and causing the rest to flee to the back of the courtyard.

The Freebooters saw the writing on the wall and escaped to a nearby thicket, while my newly recruited Millicianos exited the two story villa and reloaded once.

My Lanceros finished off the Veteran Freebooters while the nearby Millicianos desperately looked for action.

I had my commander move up to the gate and fire another half shot through, killing more Forlorn Hope, and sending them further away.
Turn 5
With the English down to only two cards, I easily won initiative. Moving through the gun smoke chared gate, my command unit shot at point blank range. Without anything to hide behind, two more Forlorn Hope died. John Coxson regained his men’s morale and had them hide behind the courtyard wall.

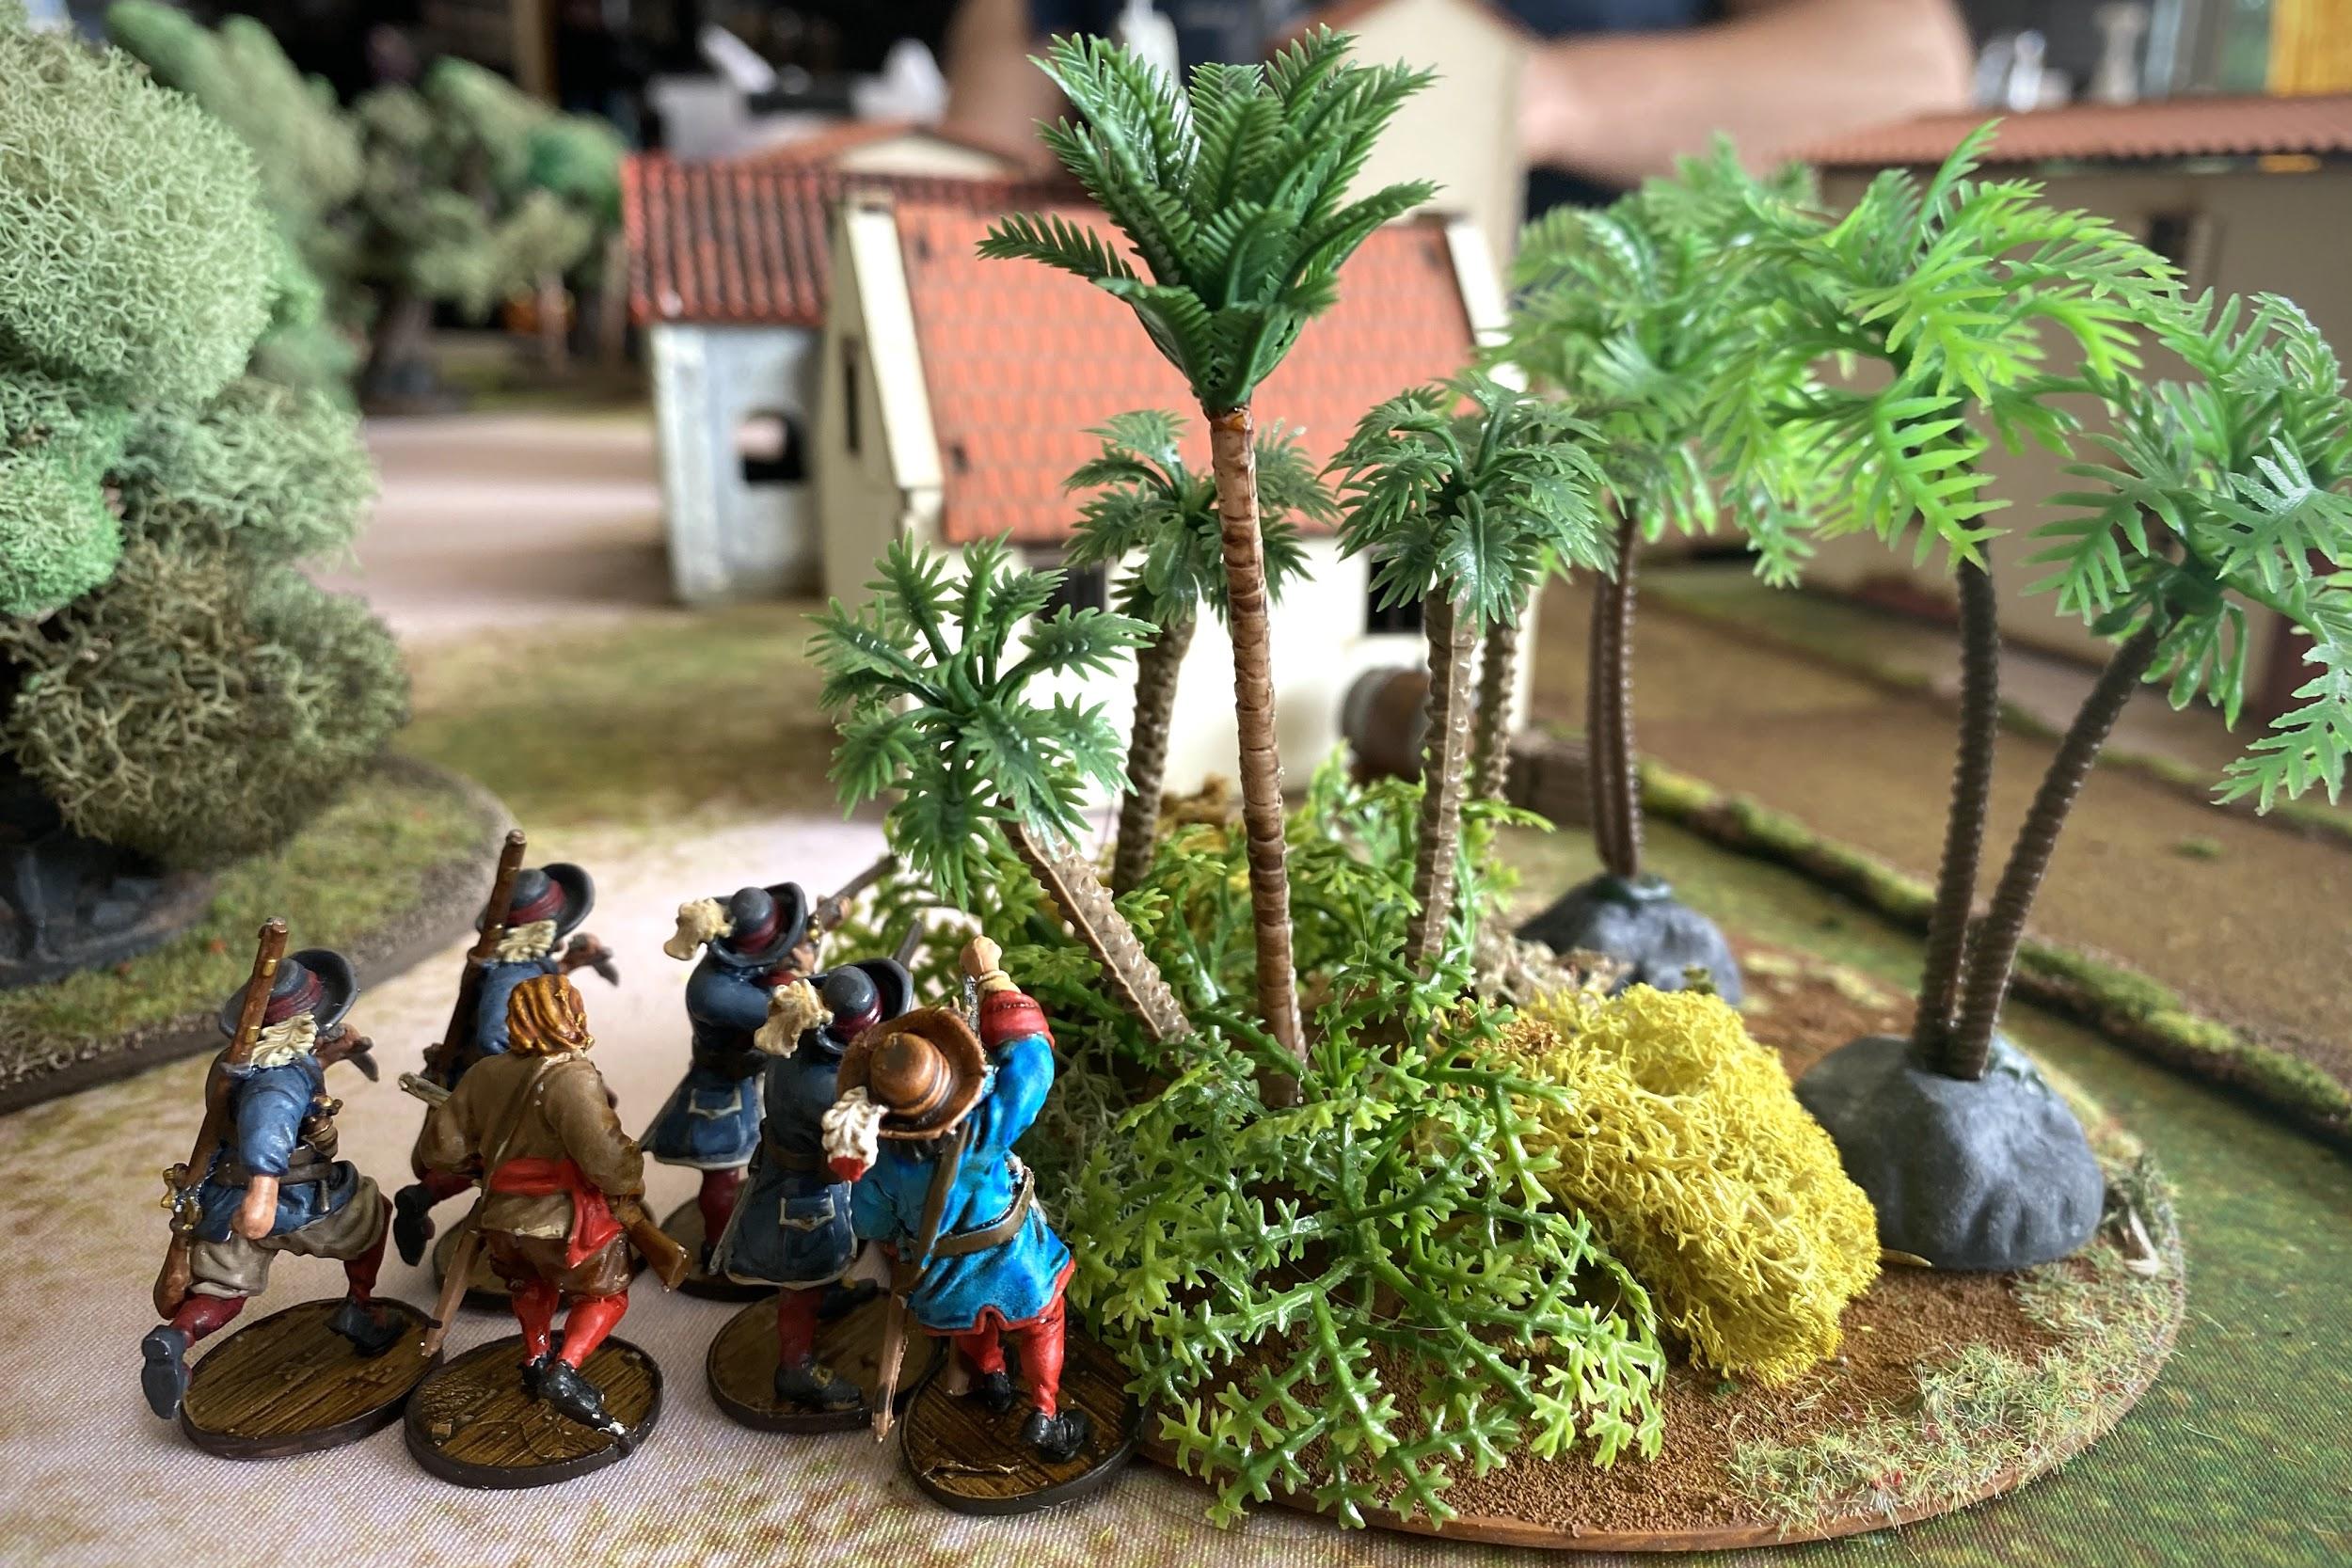
The Freebooters in the thicket shot at the faraway Milicianos, then moved further into the bush.

I struggled to get more units in position to do something. Everyone was inexperienced and seemed as slow as molasses as I tried to regain the prize.
Turn 6
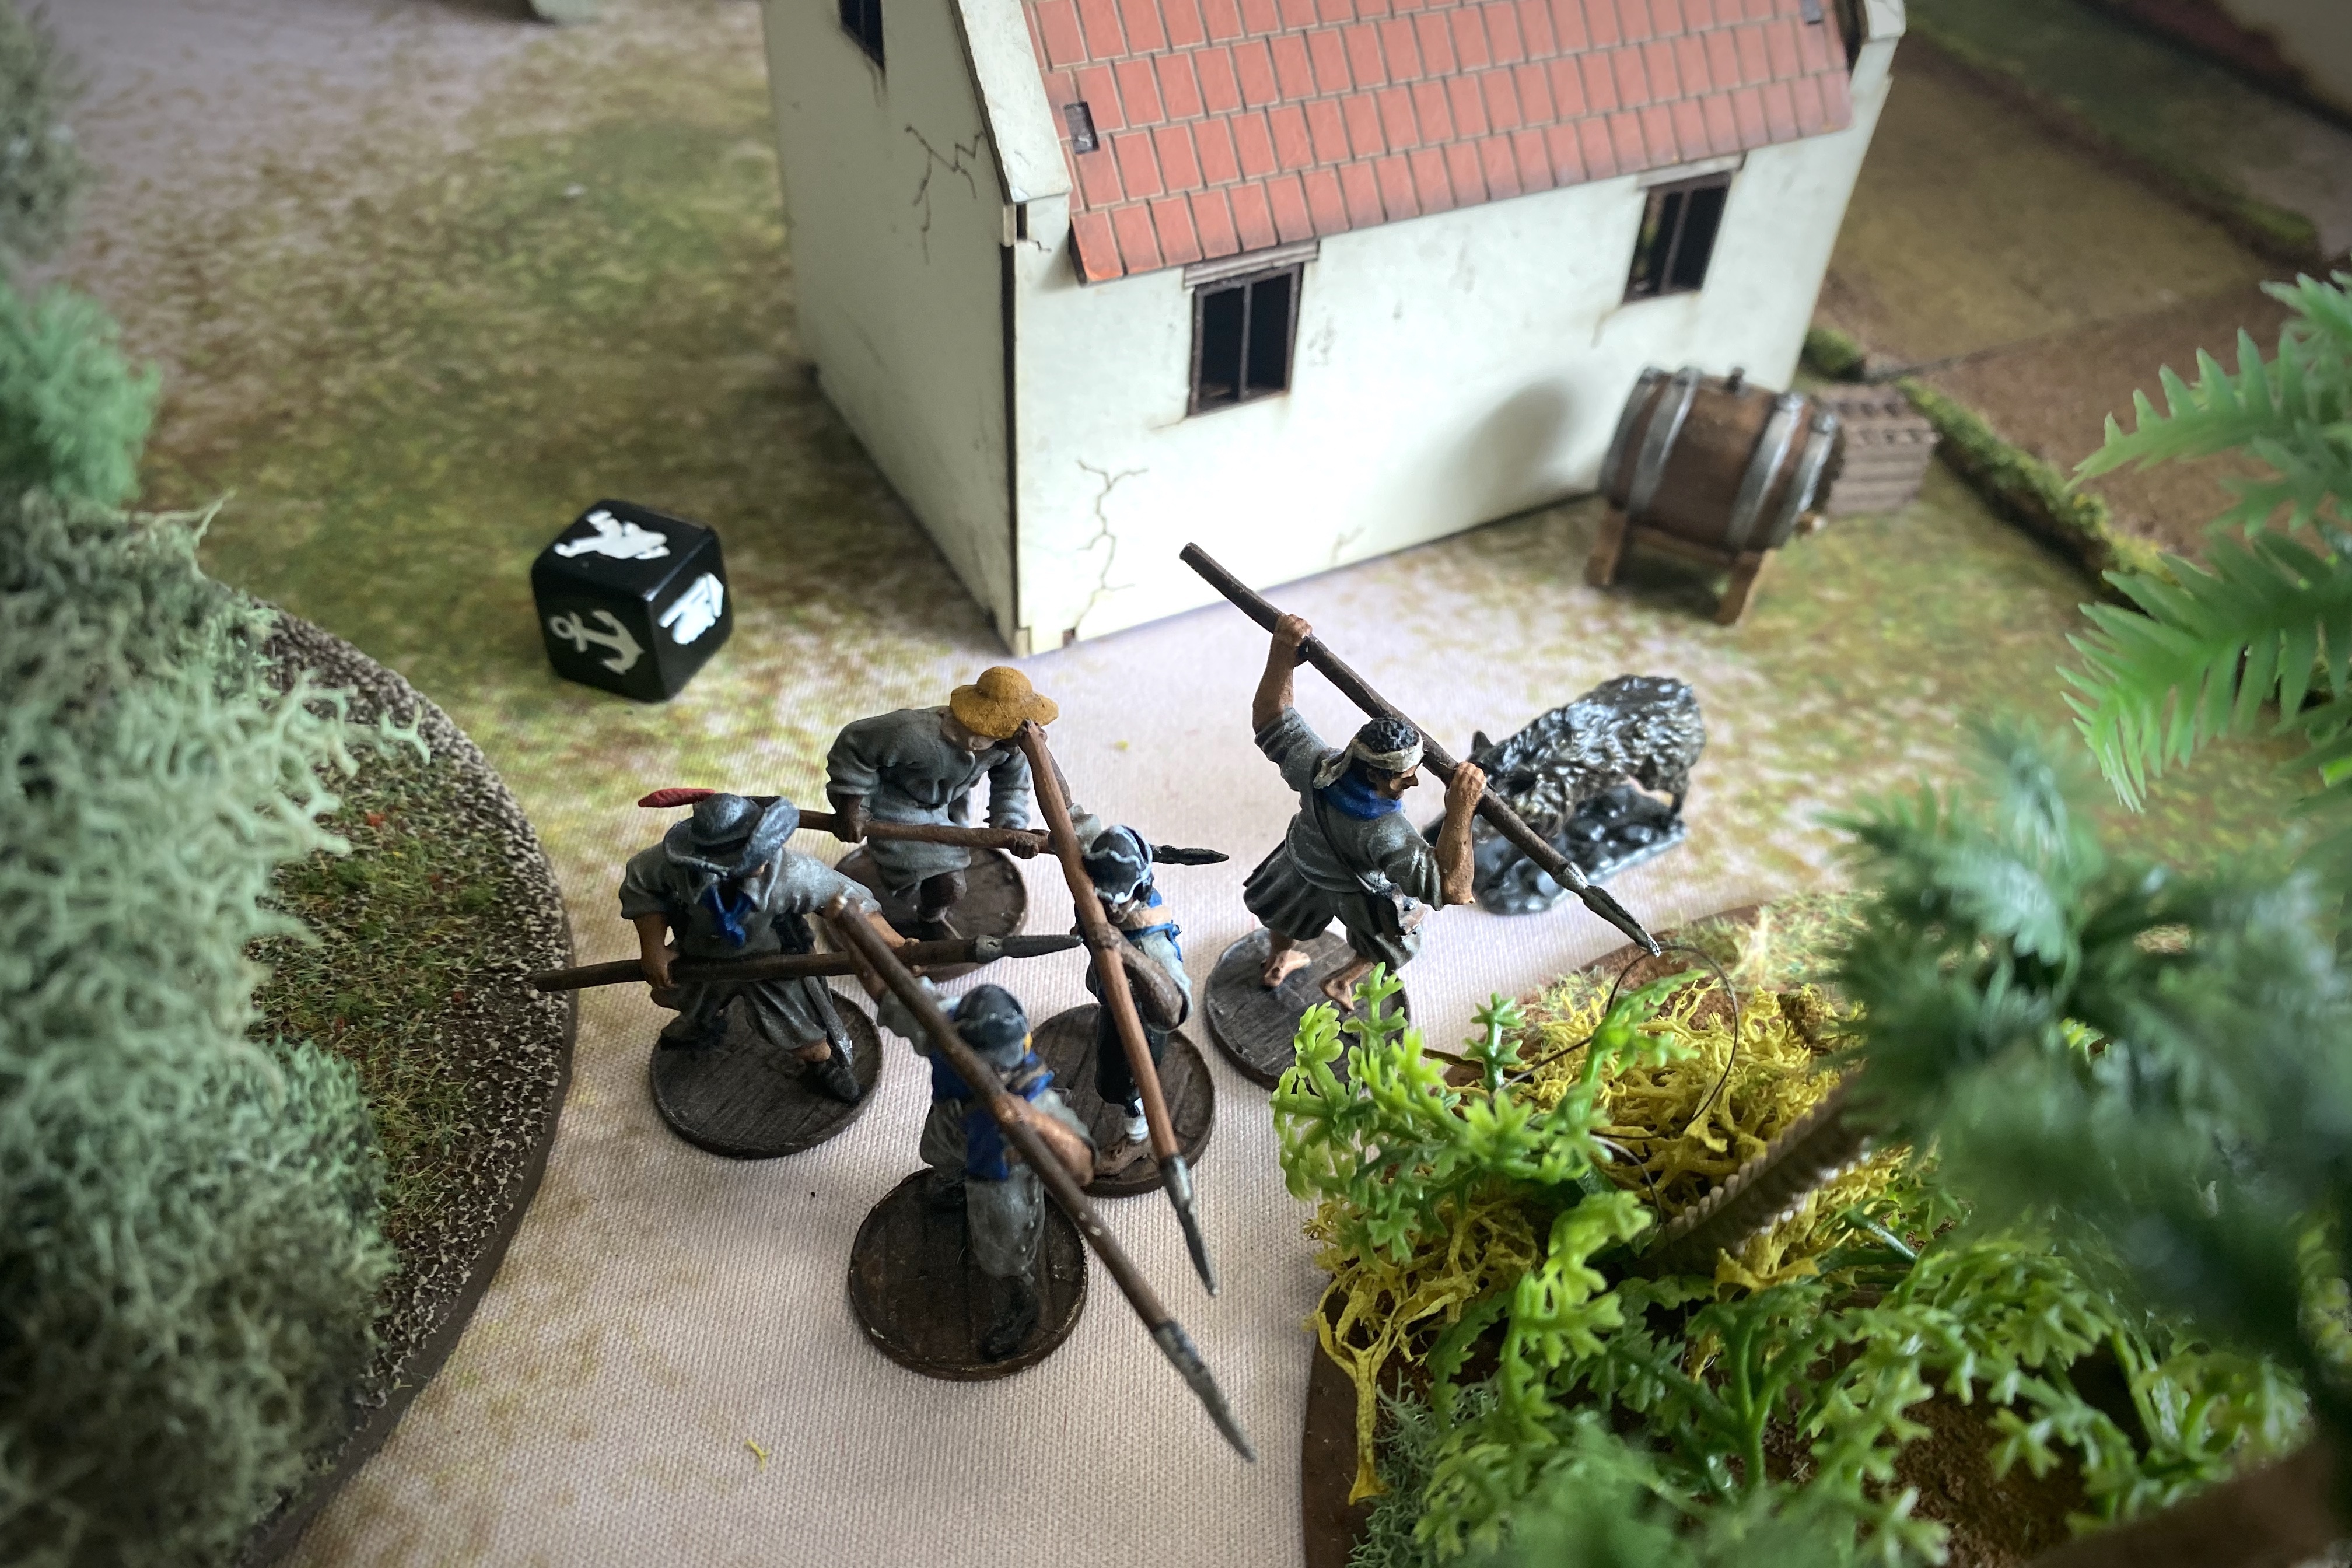
Suddenly, a wild boar attacked my Lanceros! Just as they were in range to charge the Freebooters! The brave Spanish warriors held it at bay, but were spooked and had to move away from the cover they were in.

Using the opportunity, John Coxson ordered one grenadoe thrown over the wall, while he aimed his pistol through a hole. Another Milicianos died and the blast knocked the unit prone.
Nearby my new recruits exploded from around the building into a charge over the dead and dying Caballeria. English Pistols would not save the day this time!

As the sun was setting, the dastardly John Coxson drew his last breath at the end of Spanish steel.
The remaining Freebooters, seeing this happen so close, quietly slinked away with the loot.
Post Game Thoughts
I had played this scenario before, but as the English, and knew it was going to be a hard fight for them. I told Joseph before the game about my experience being overrun. When I tried this scenario, I stayed in a large group in cover near my deployment area and ignored the objective while trying to focus fire on the nearest Spanish.
It is the scenario objective as much as the lopsided forces that work against the Buccaneers. Actions spent moving towards objectives are actions that could have been spent firing and reloading. Joseph split his forces and rushed both objectives, and was successful at claiming the objective at the cost of most of his force.
In my recent article about tactics I discussed the double threat that small units face. In this game the six model Flibustier unit and six model Veteran Freebooter unit were unable to survive taking casualties twice. I believe that if each of these units had just 2 more models, they would not have been eliminated so quickly.
The difference between my 65 Millicianos horde list and this varied list was amazing. Those 100 points of melee units and a cannon allowed me to coordinate a better control area then I did against King Golden Cap.
Forlorn Hope are really good at what they do. Grenadoes, a brace of pistols and a musket are a frightening combination. It is 2020, and Forlorn Hope are still good.
Post game I like to consider what might be the optimal strategy for the losing side, even if it wouldn’t make a “fun” game. In this game and the previous game I played, melee or close range attacks are what caused the most English casualties. Given the force compositions, I think the optimal strategy is still keeping all units very close to each other in cover to maximize defensive attacks, but I’m open to other suggestions.

I am getting a little tired of playing so many inexperienced units. My units of Millicianos fired an average of 1.5 times over the course of the game. I have found, through previous games, that you need to make each Milicianos shot count, as they might not get another one. Trained units, without poorly equipped, can take shots when they have one.
Thanks to Joseph for setting up the game before I got there, and playing a great game! Let me know if you have played any of the Buccaneer’s Companion scenarios, and what you think about them. Thanks for reading.
Pingback: Battle Report: The Buccaneer’s Companion Scenario II – The Navio de Aviso | Blood & Pigment
Pingback: Battle Report: The Buccaneer’s Companion Scenario III – The Battle of El Real Santa Maria | Blood & Pigment
Pingback: Battle Report: Buccaneer's Companion Scenario IV - The Battle of Perico - Blood & Pigment
Pingback: Battle Report: Buccaneer's Companion Scenario V - La Serena - Blood & Pigment
Pingback: Battle Report: The Buccaneer’s Companion Scenario III - The Battle of El Real Santa Maria - Blood & Pigment