This is the second game in the set of 6 historical scenarios released by Firelock Games as an Organized Play kit in the first quarter of 2020. You can find a battle report on the first scenario here. I’m playing this campaign with my friend Guy who will be contributing Battle Reports on some of these as well. I played as the English Buccaneer Forces and he played as the Spanish defenders.

The Scenario
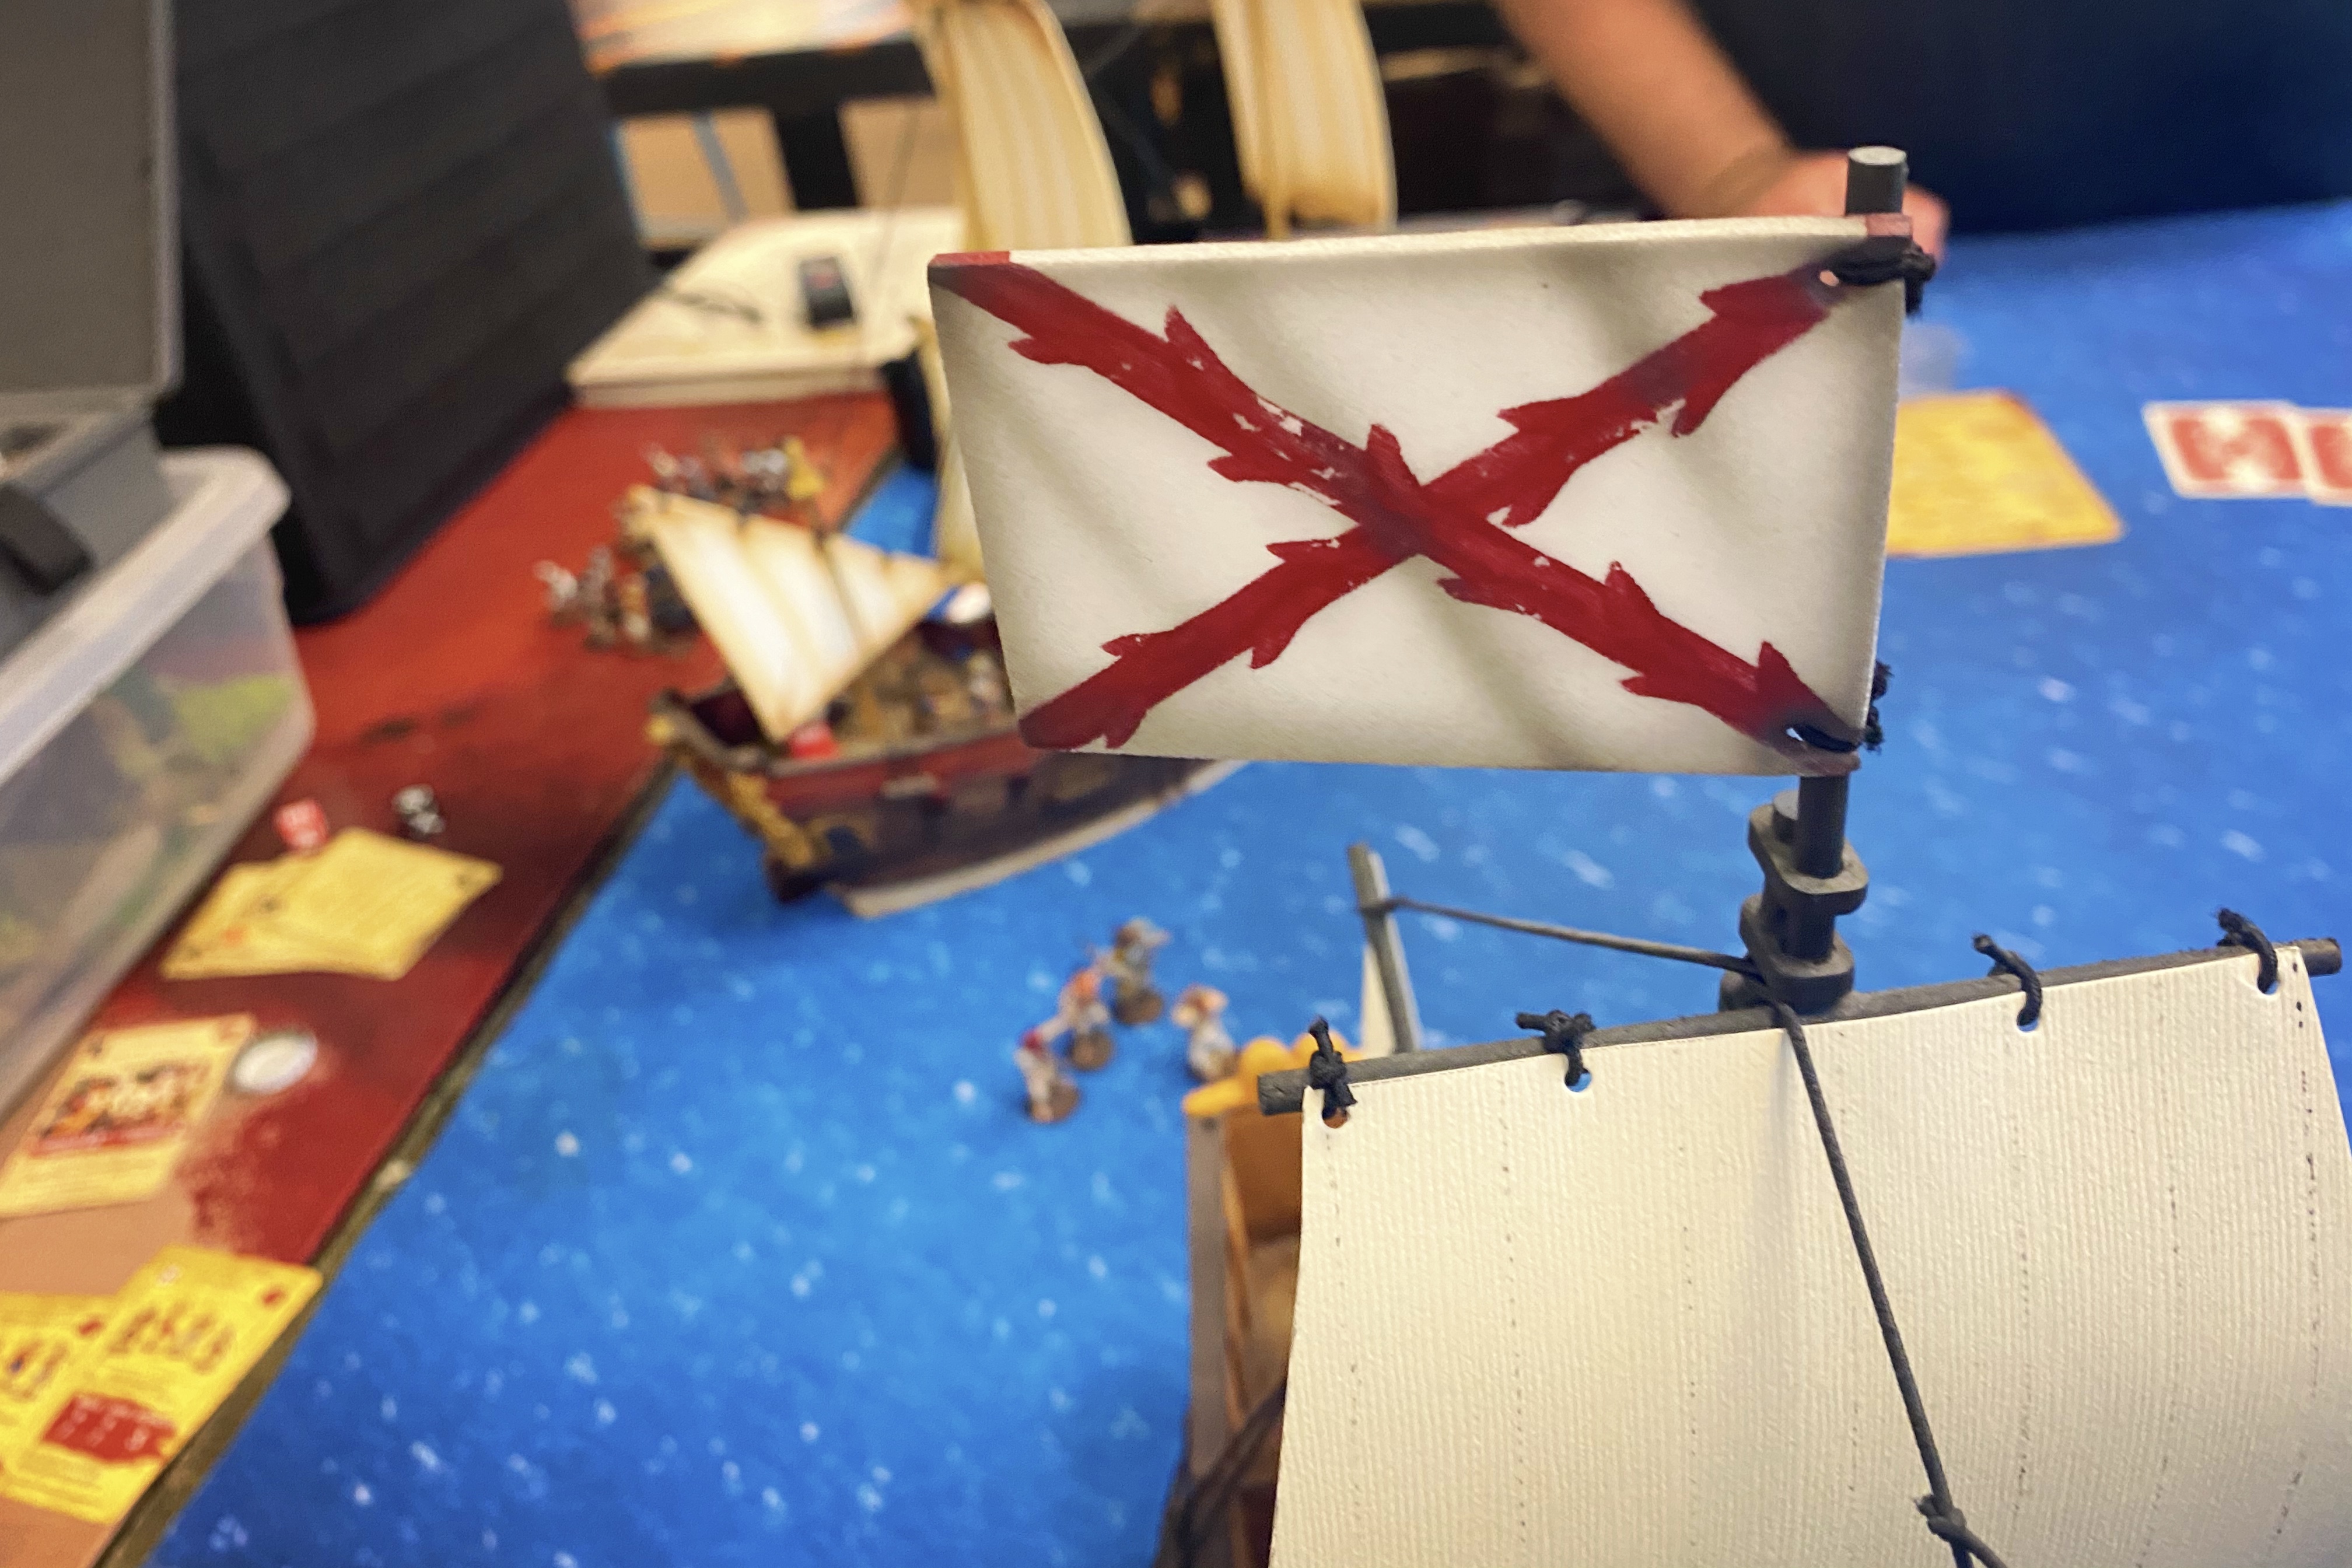
This is a unique scenario, entirely different than the 10 difference scenario included in the core rules and No Peace Beyond the Line. This scenario is designed to represent the sea encounter between the English Buccaneer force and a Spanish dispatch ship, the Santa Rosa after the raid on Portobello. You can read some details on that encounter here in on the Firelock games website. Basically, one smaller English ship stumbles across a larger Spanish vessel and engages it in small arms fire until a larger English Frigate under John Coxon’s command reinforces the small sloop and together they board and captured the Spanish “advice ship” with minimal casualties.

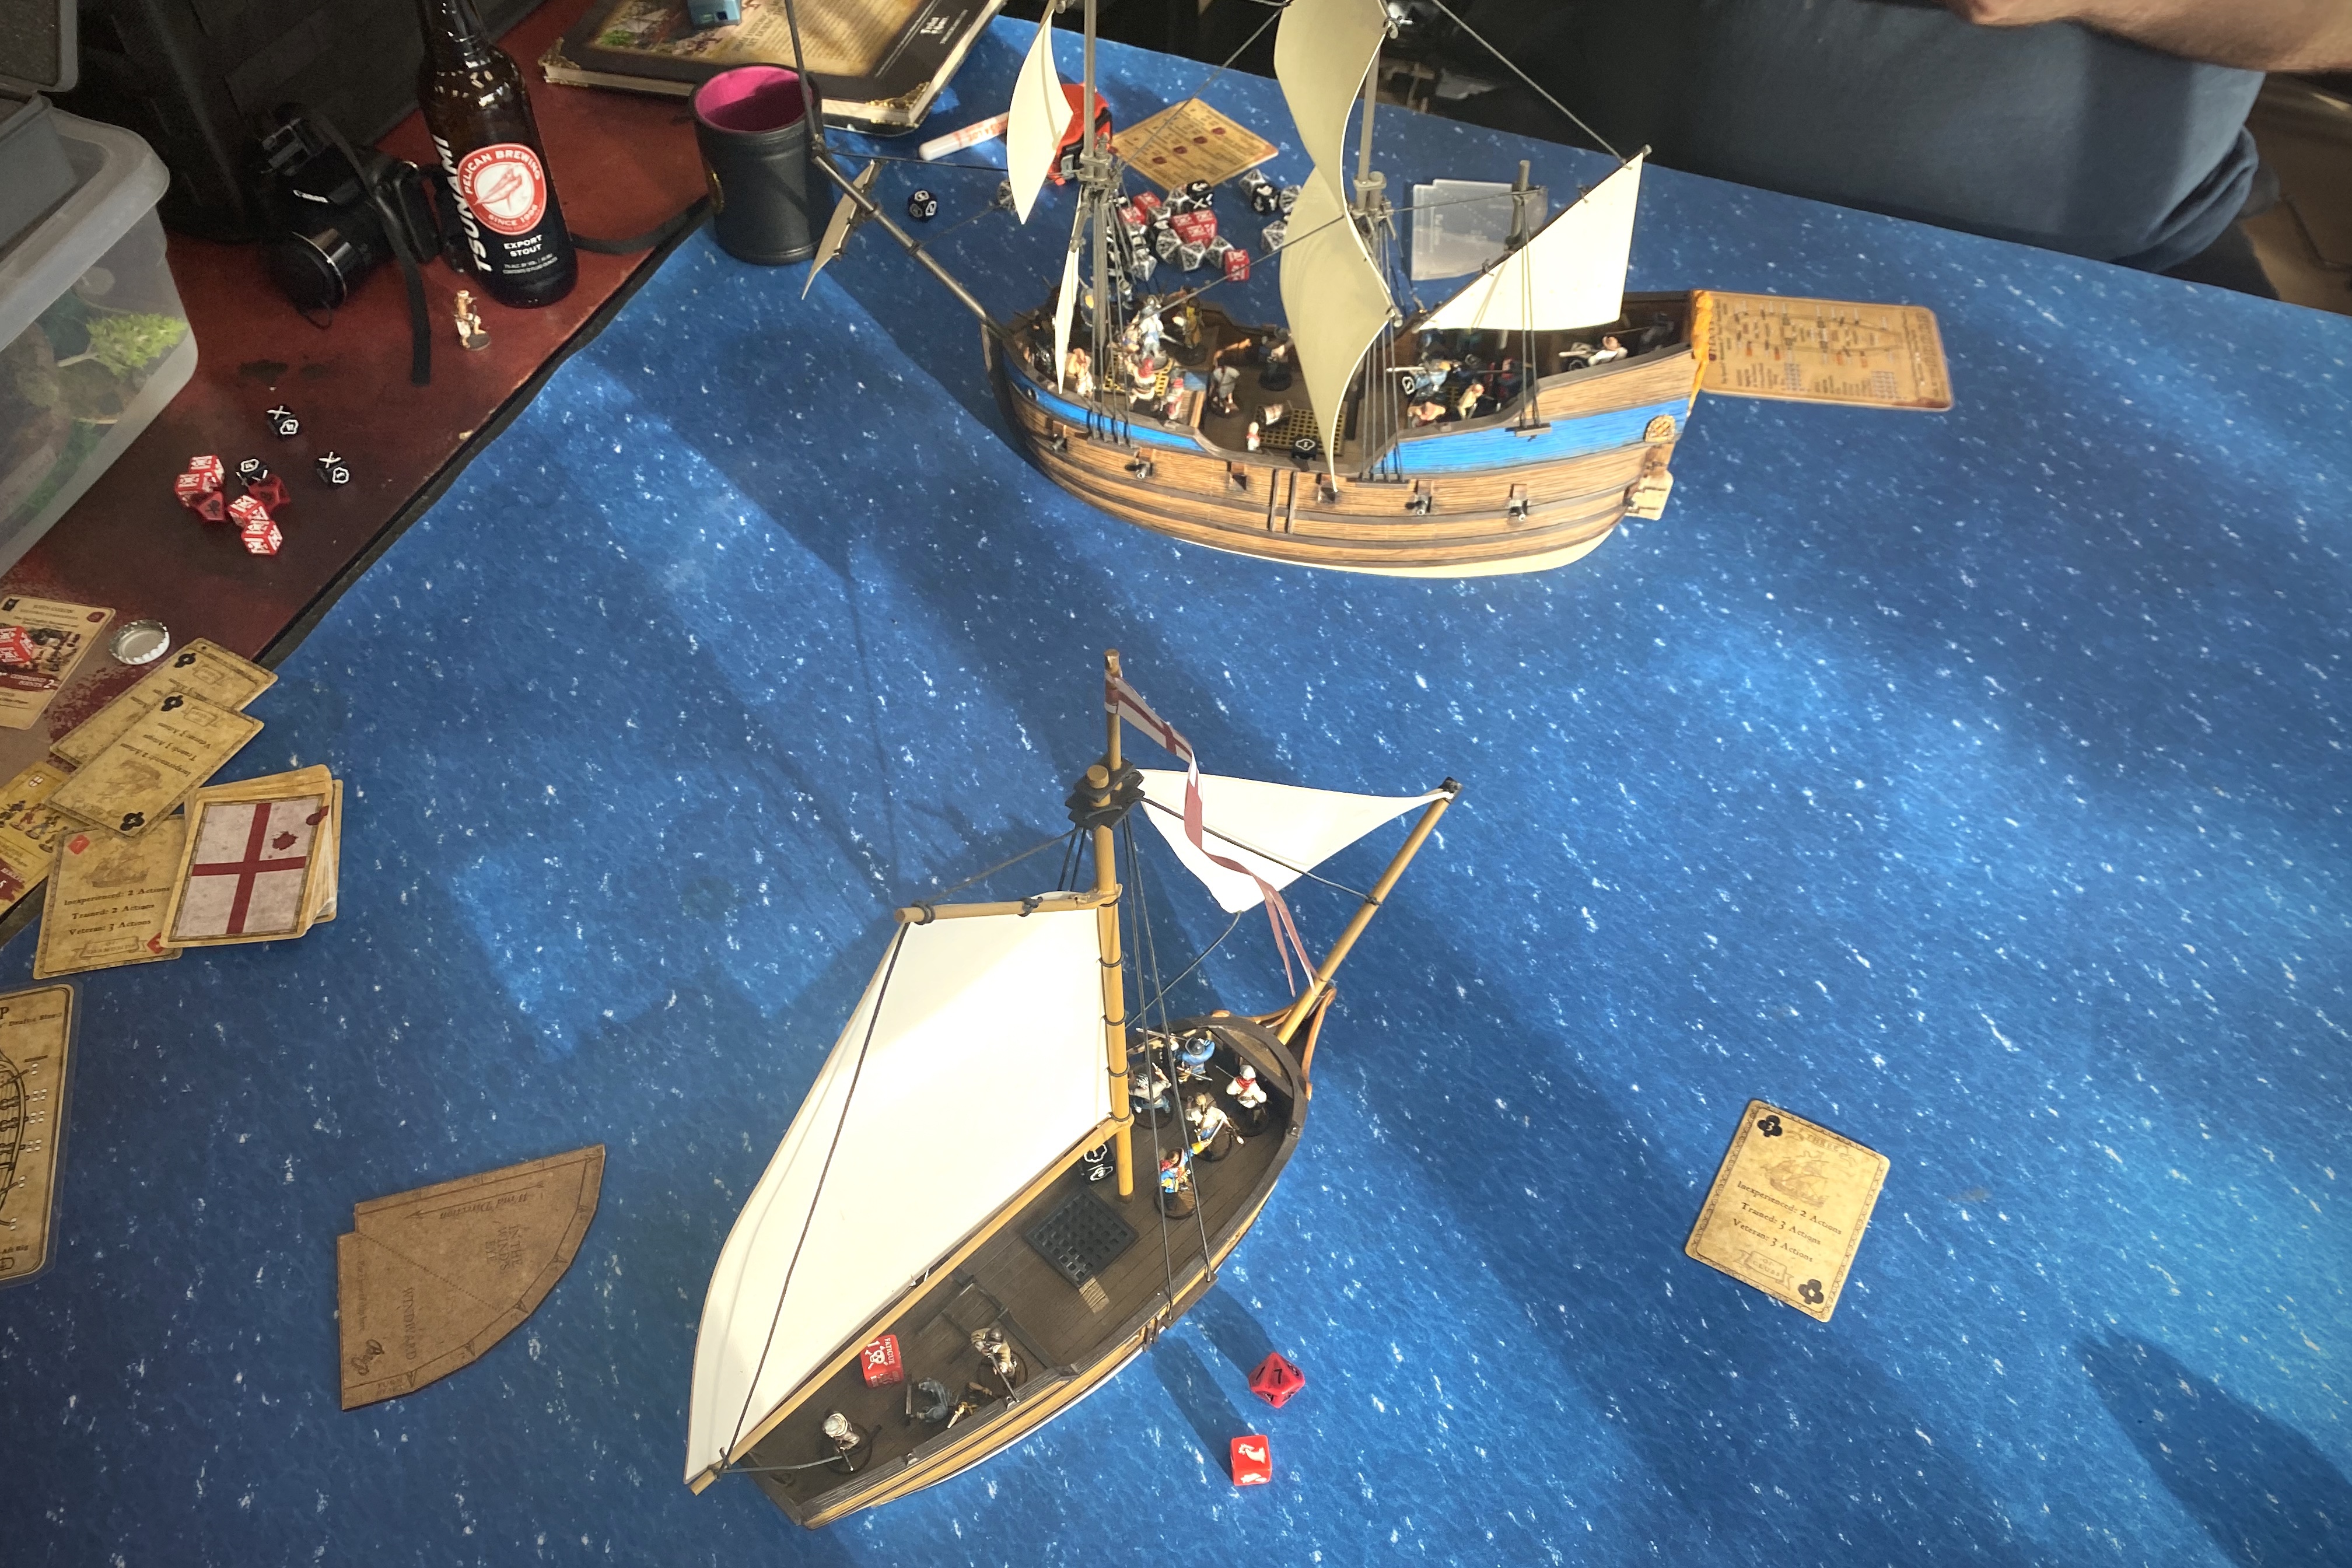
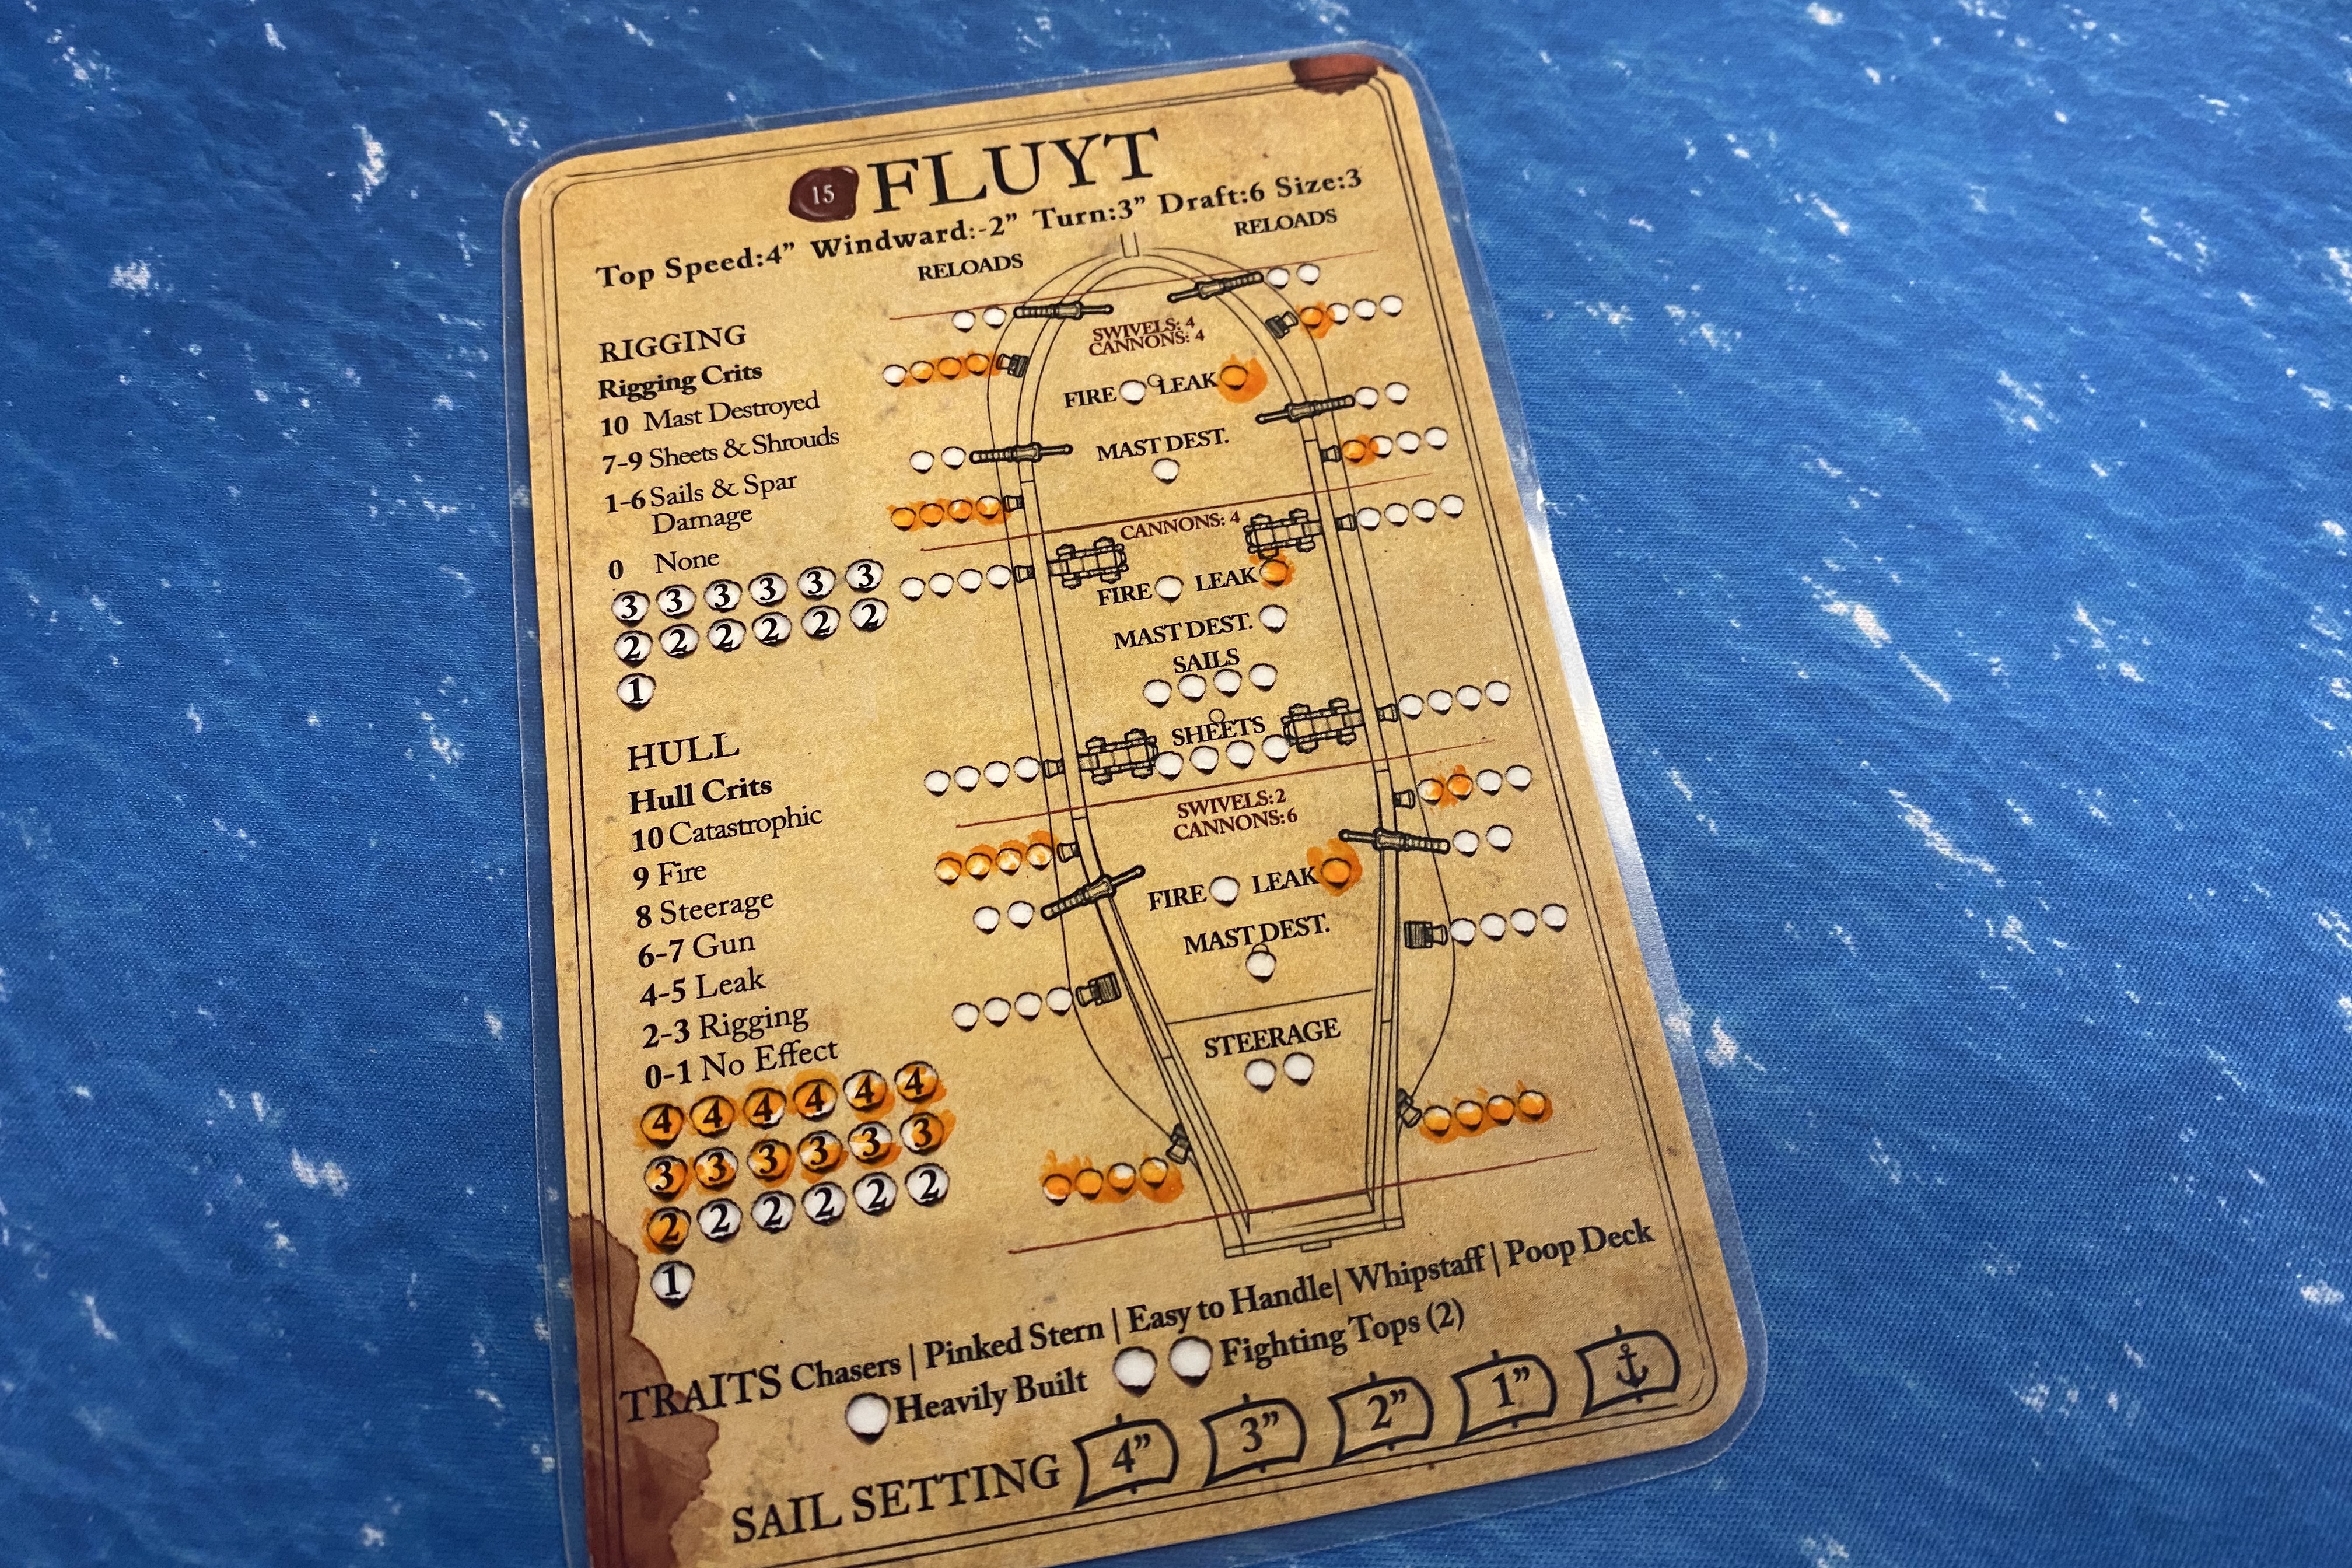
To represent that encounter, this scenario starts with a 200 point Spanish Fluyt on the board vs a very lightly armed English Sloop. This first asymmetric fight lasts until turn 4 when a 200+ point English Frigate shows up! At that point, it’s the Spanish turn to be outnumbered.
The Spanish defender wins if they destroy, depopulate or capture the English Sloop any time during the first four turns or last until the end of the game with more than half the original Fortitude remaining on the Fluyt. The English immediately attacker win if they can capture, destroy or depopulate the Fluyt at any time during the game.
The Forces

Each of these Organized Play scenarios comes with a pair of suggested historical forces you can use along with some guidelines if you would like to create your own forces. We went ahead and used the suggested historical forces for this game. These forces are a little different than the standard forces I would usually create for myself and we thought it would be good to try these scenarios with the forces they were designed with.
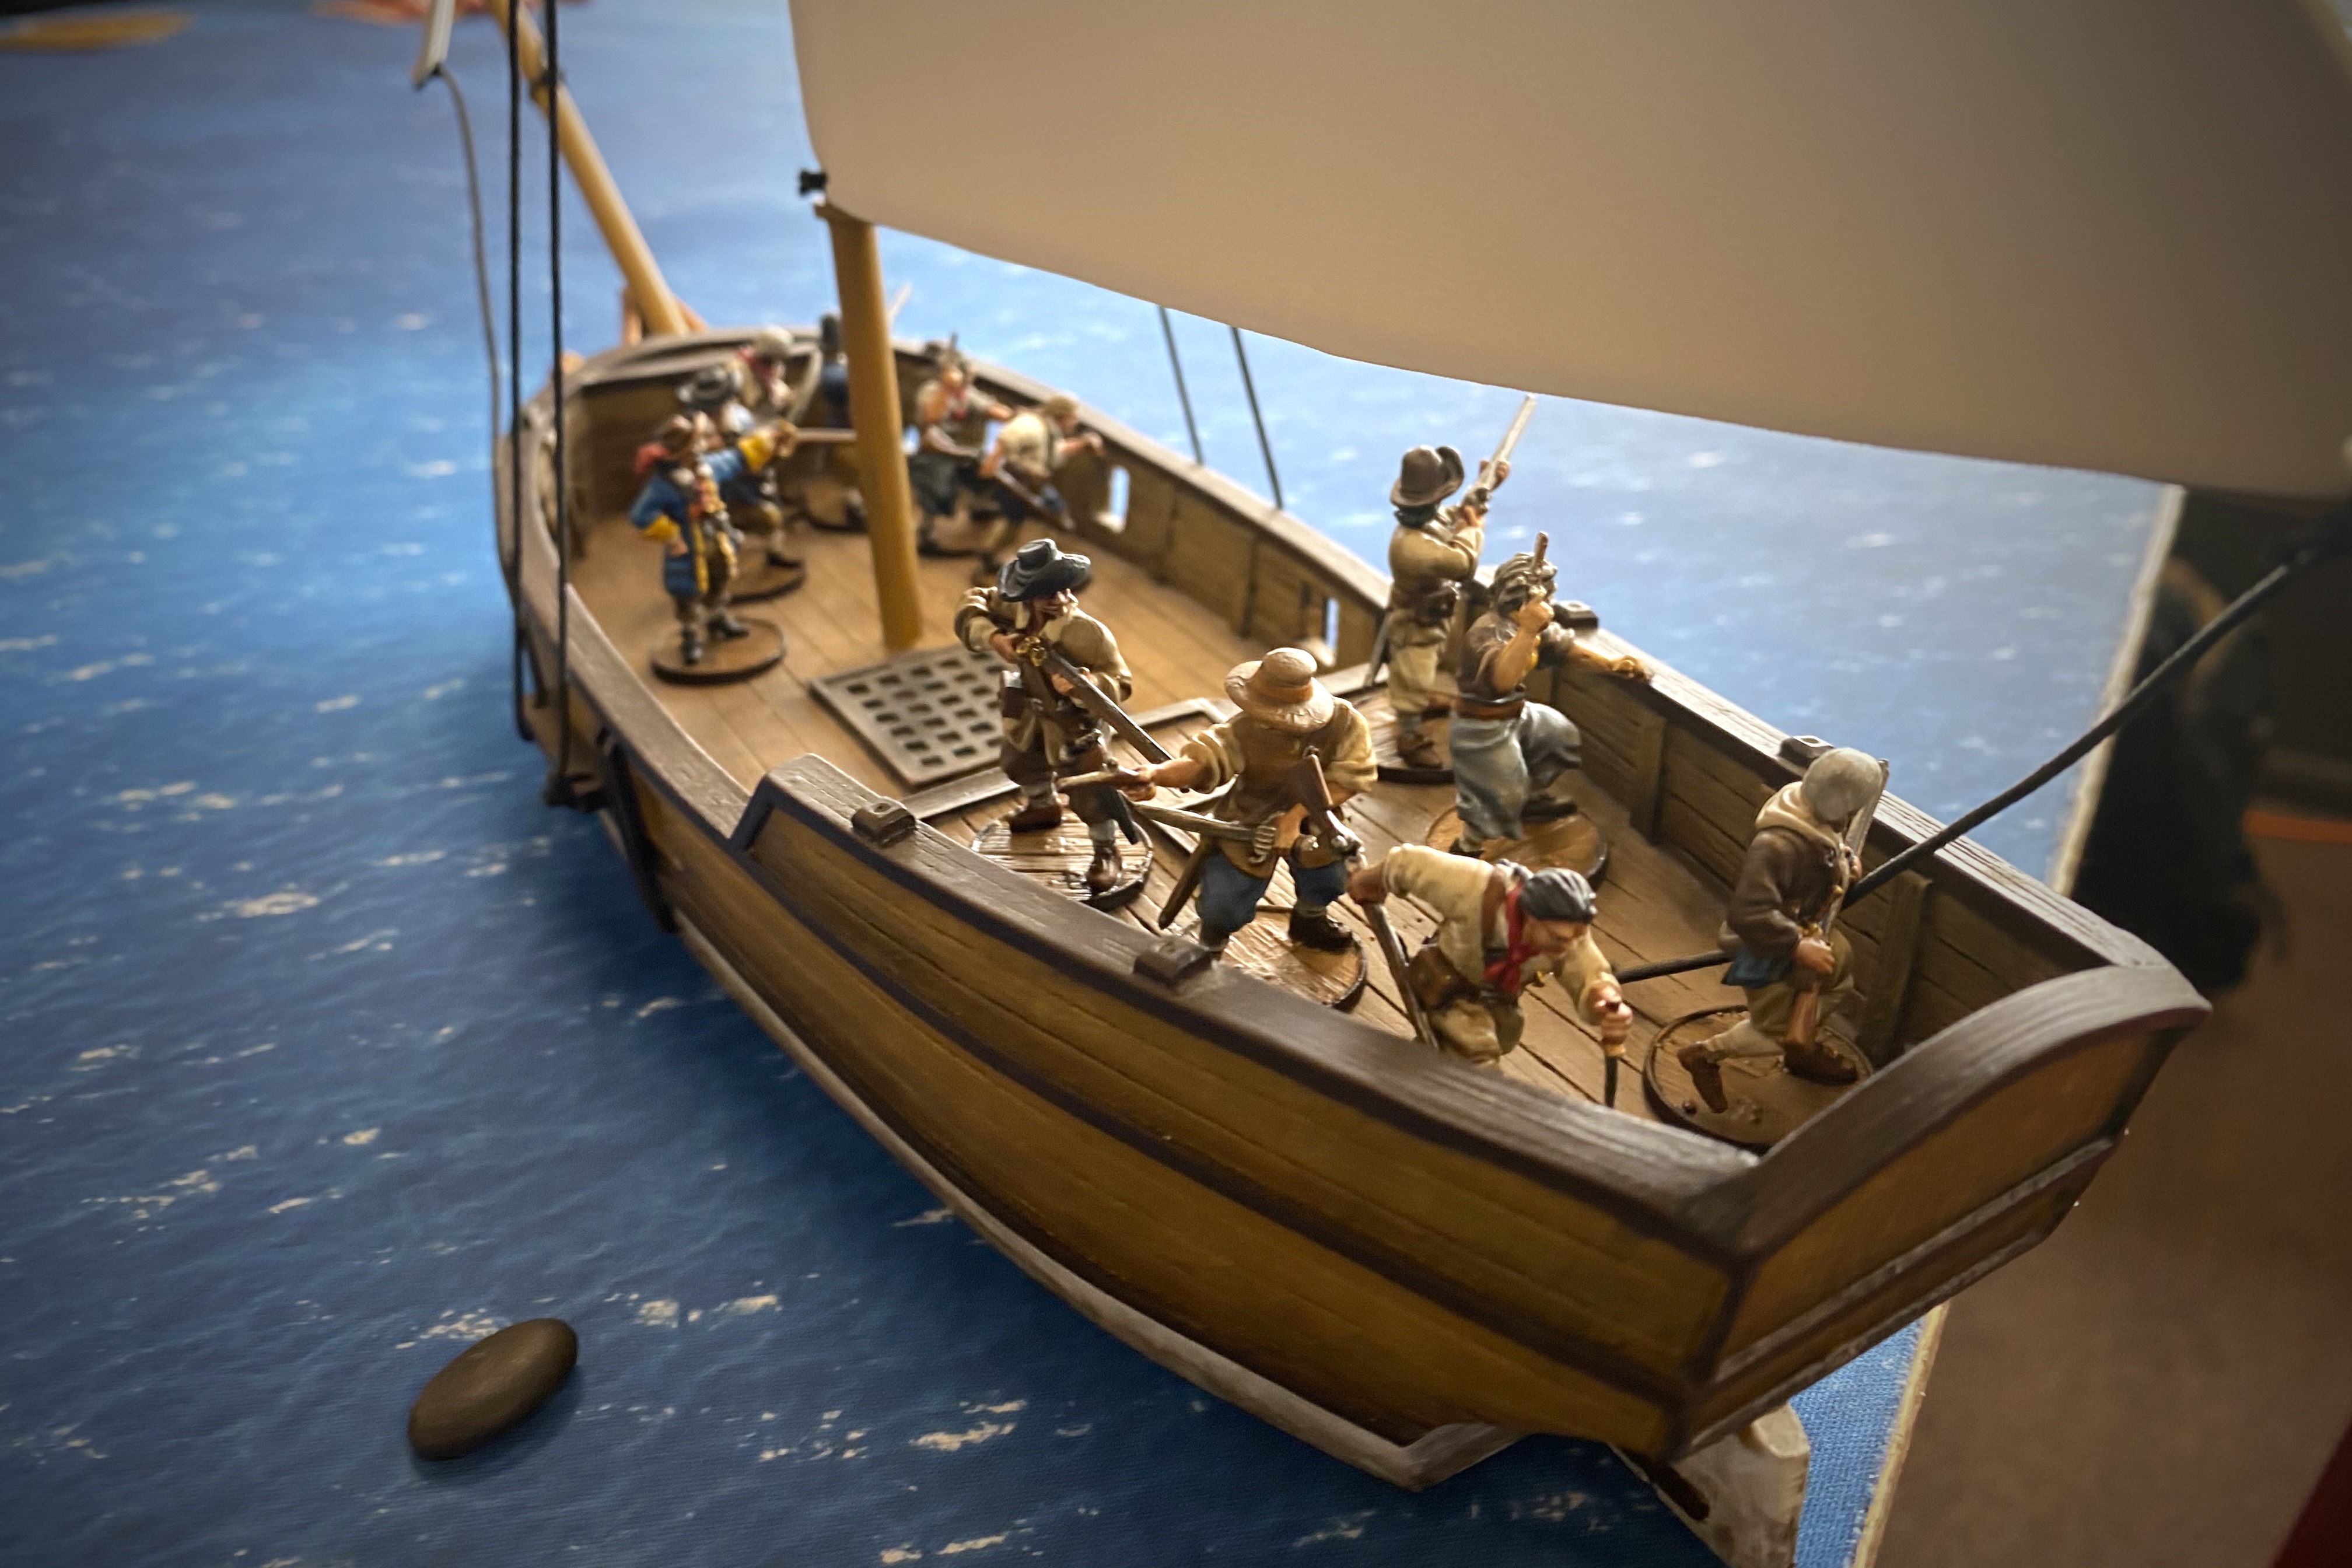
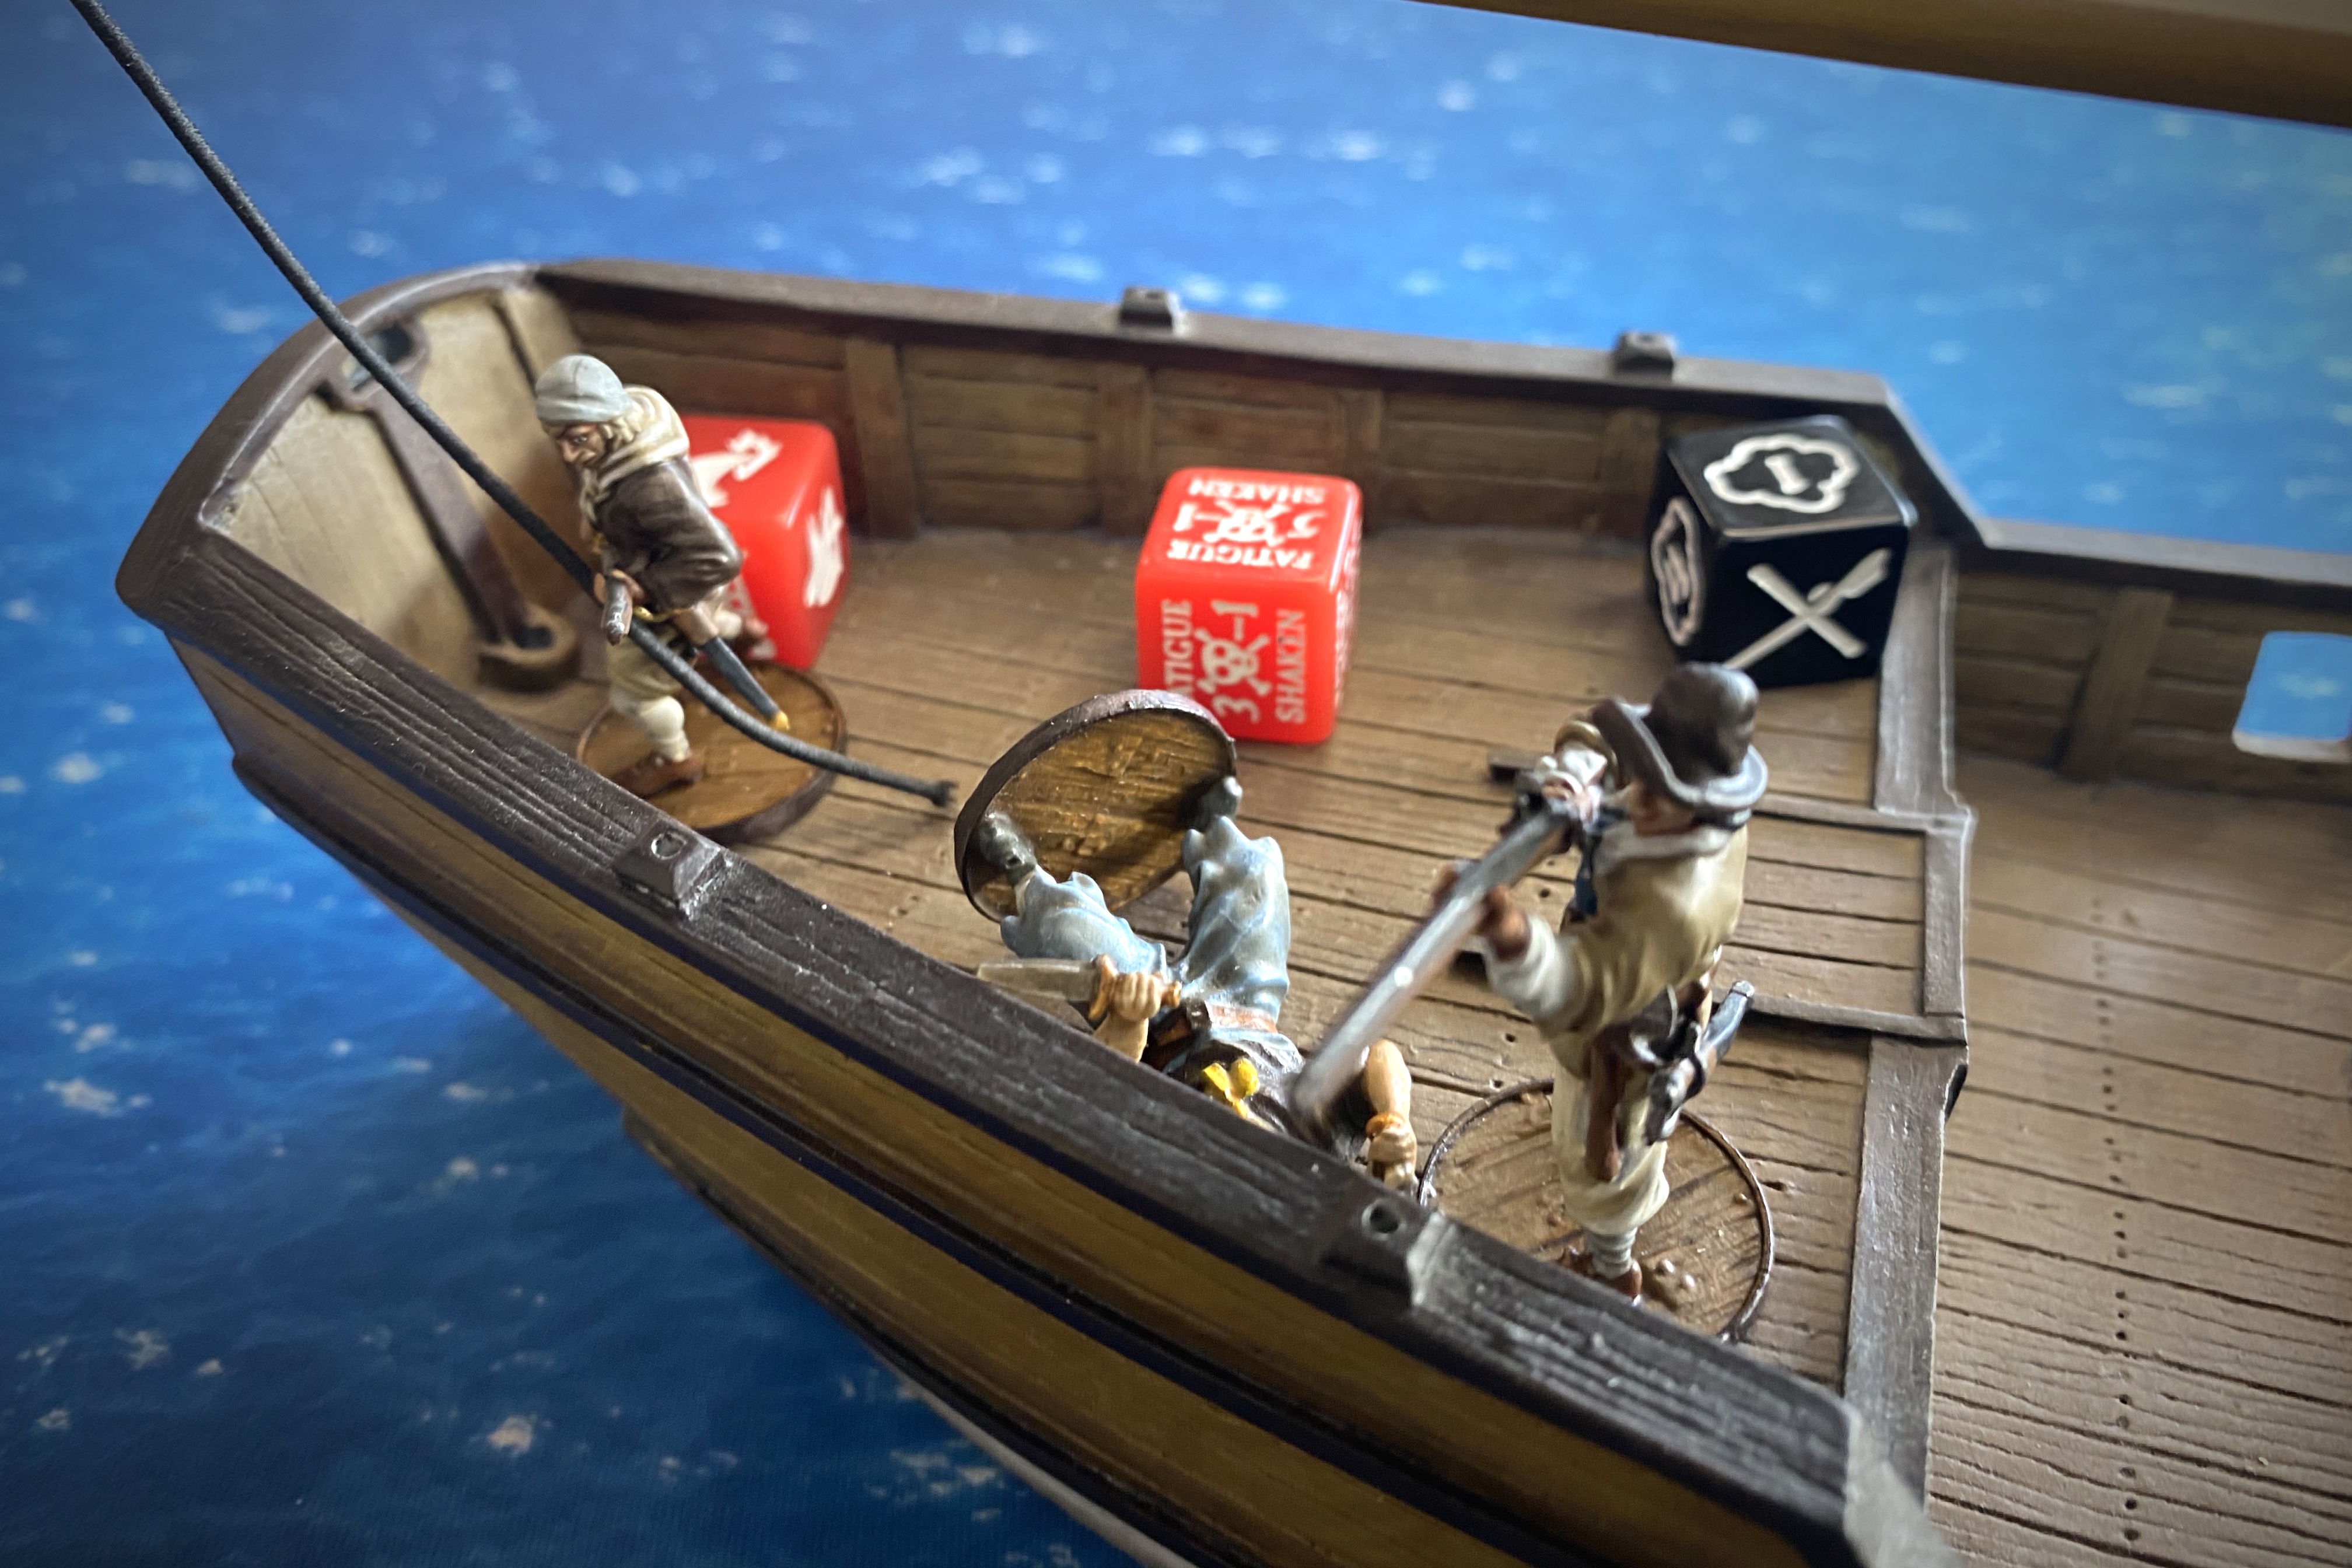
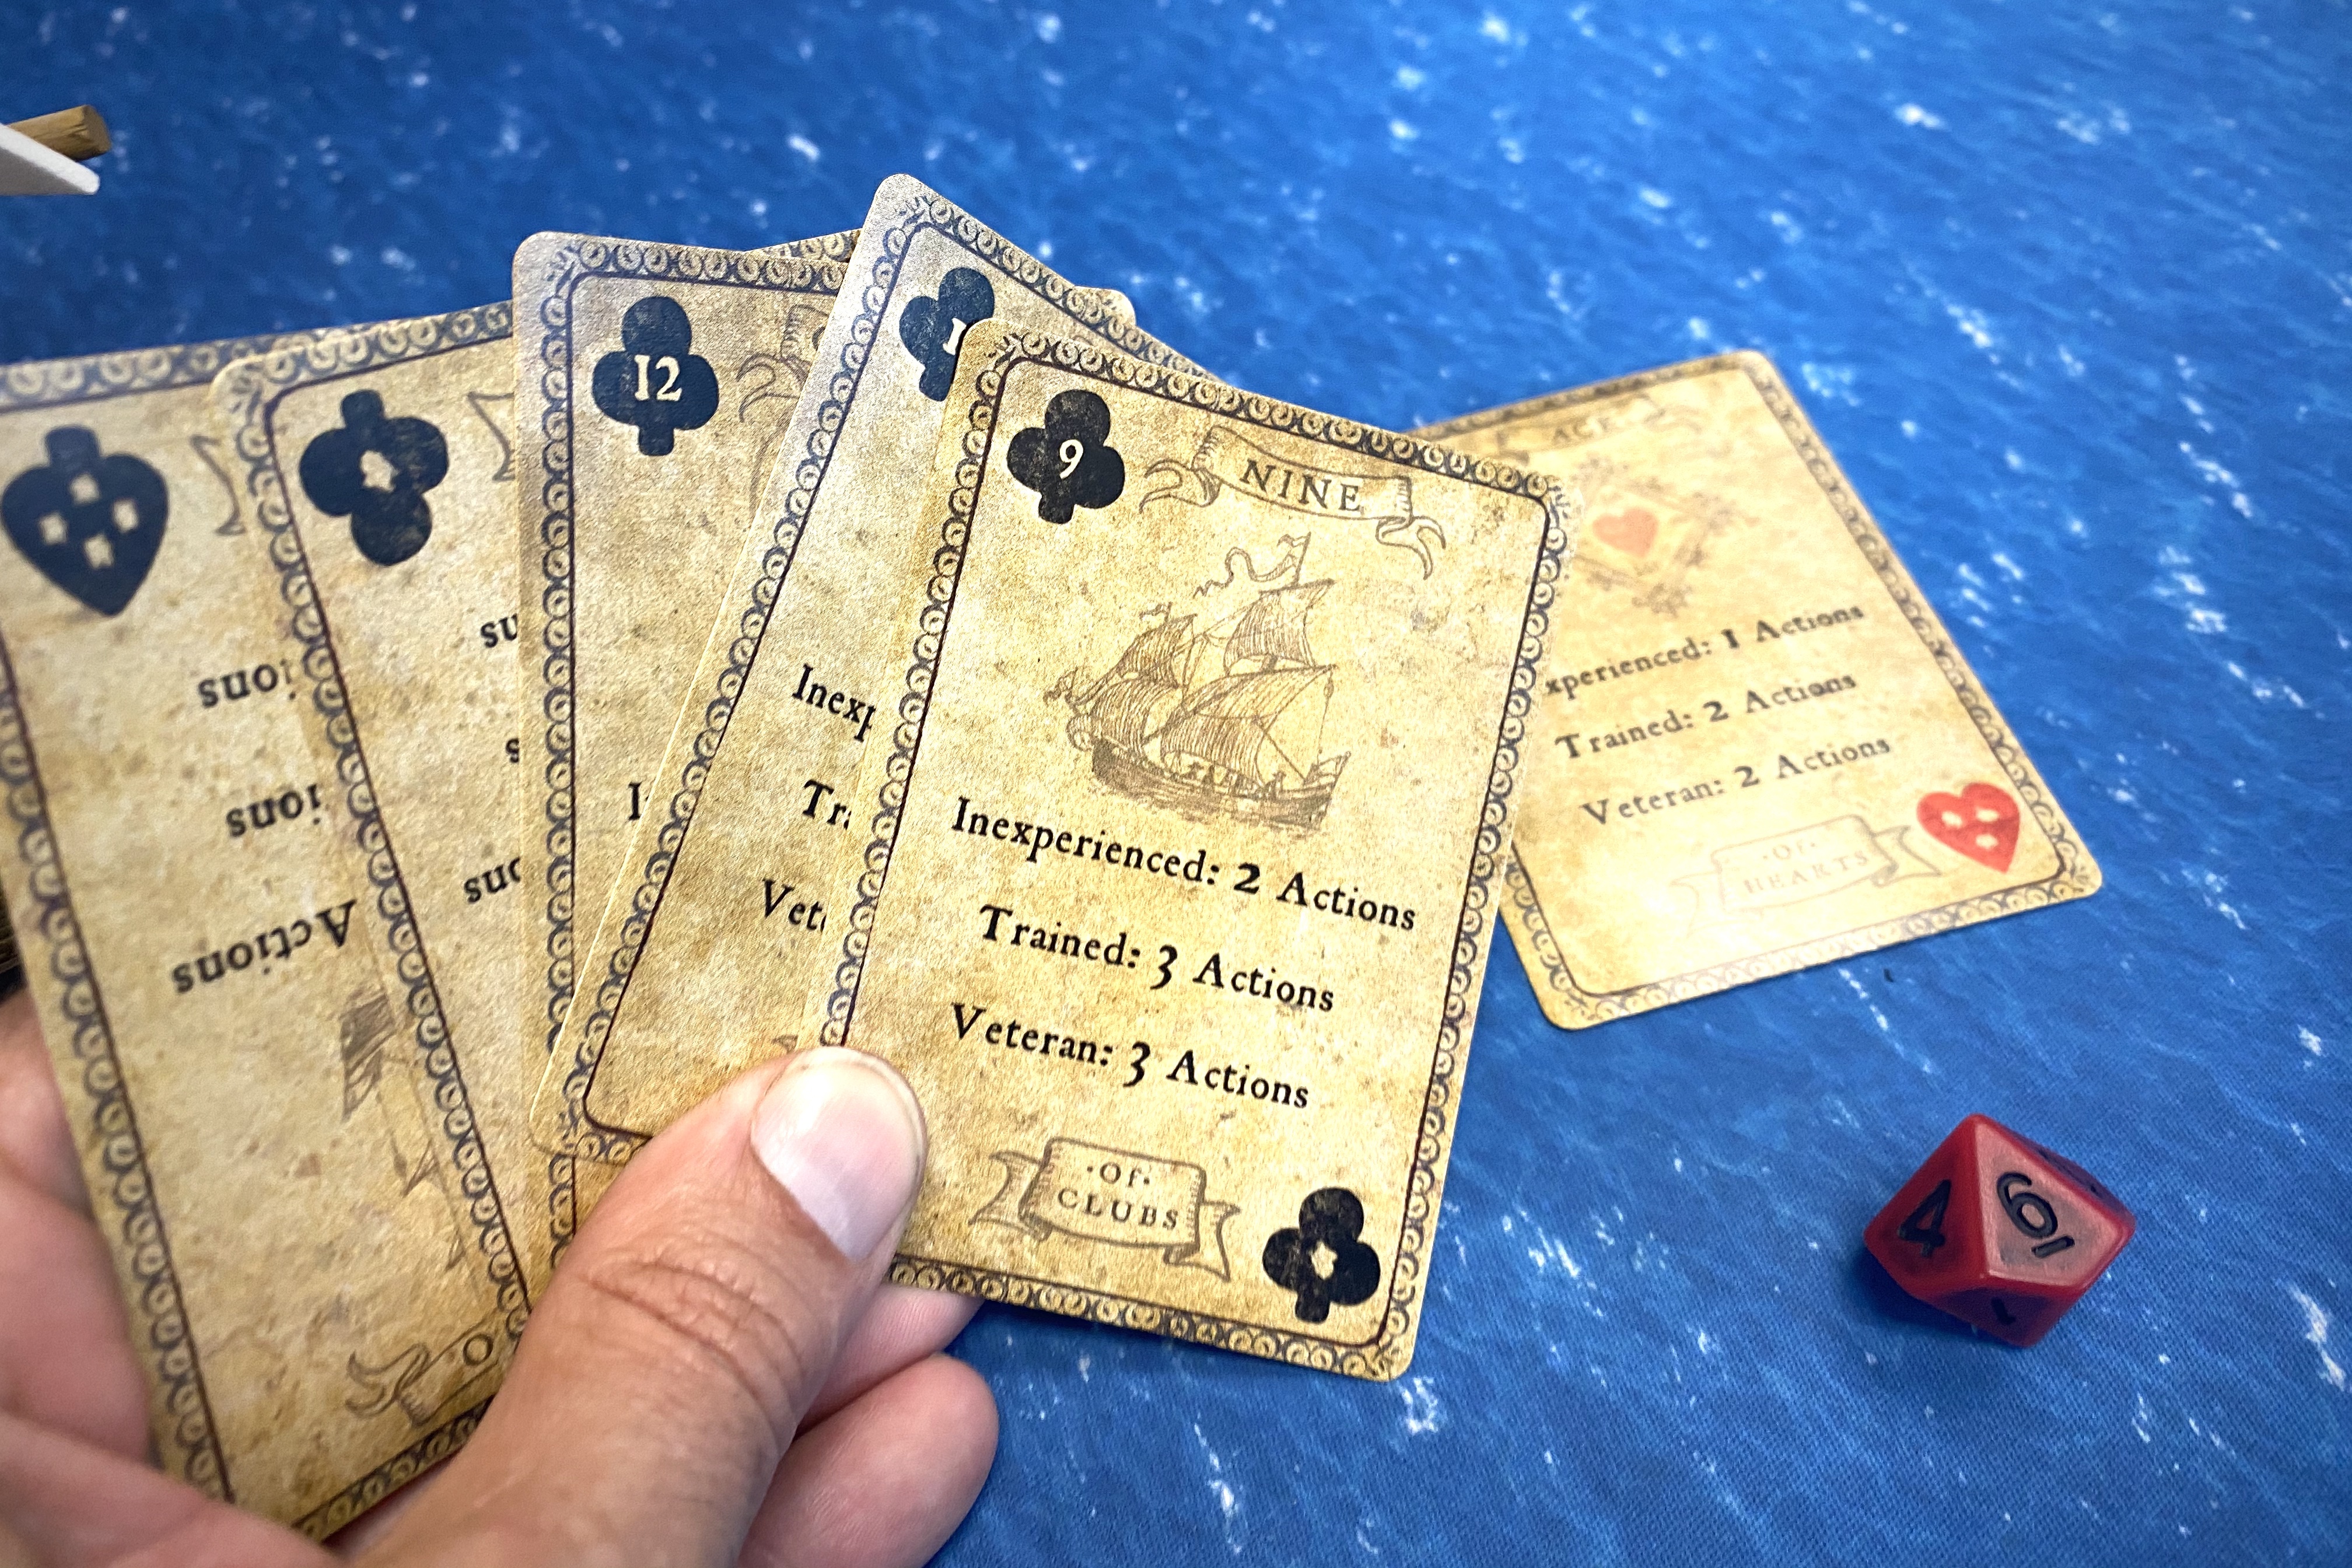
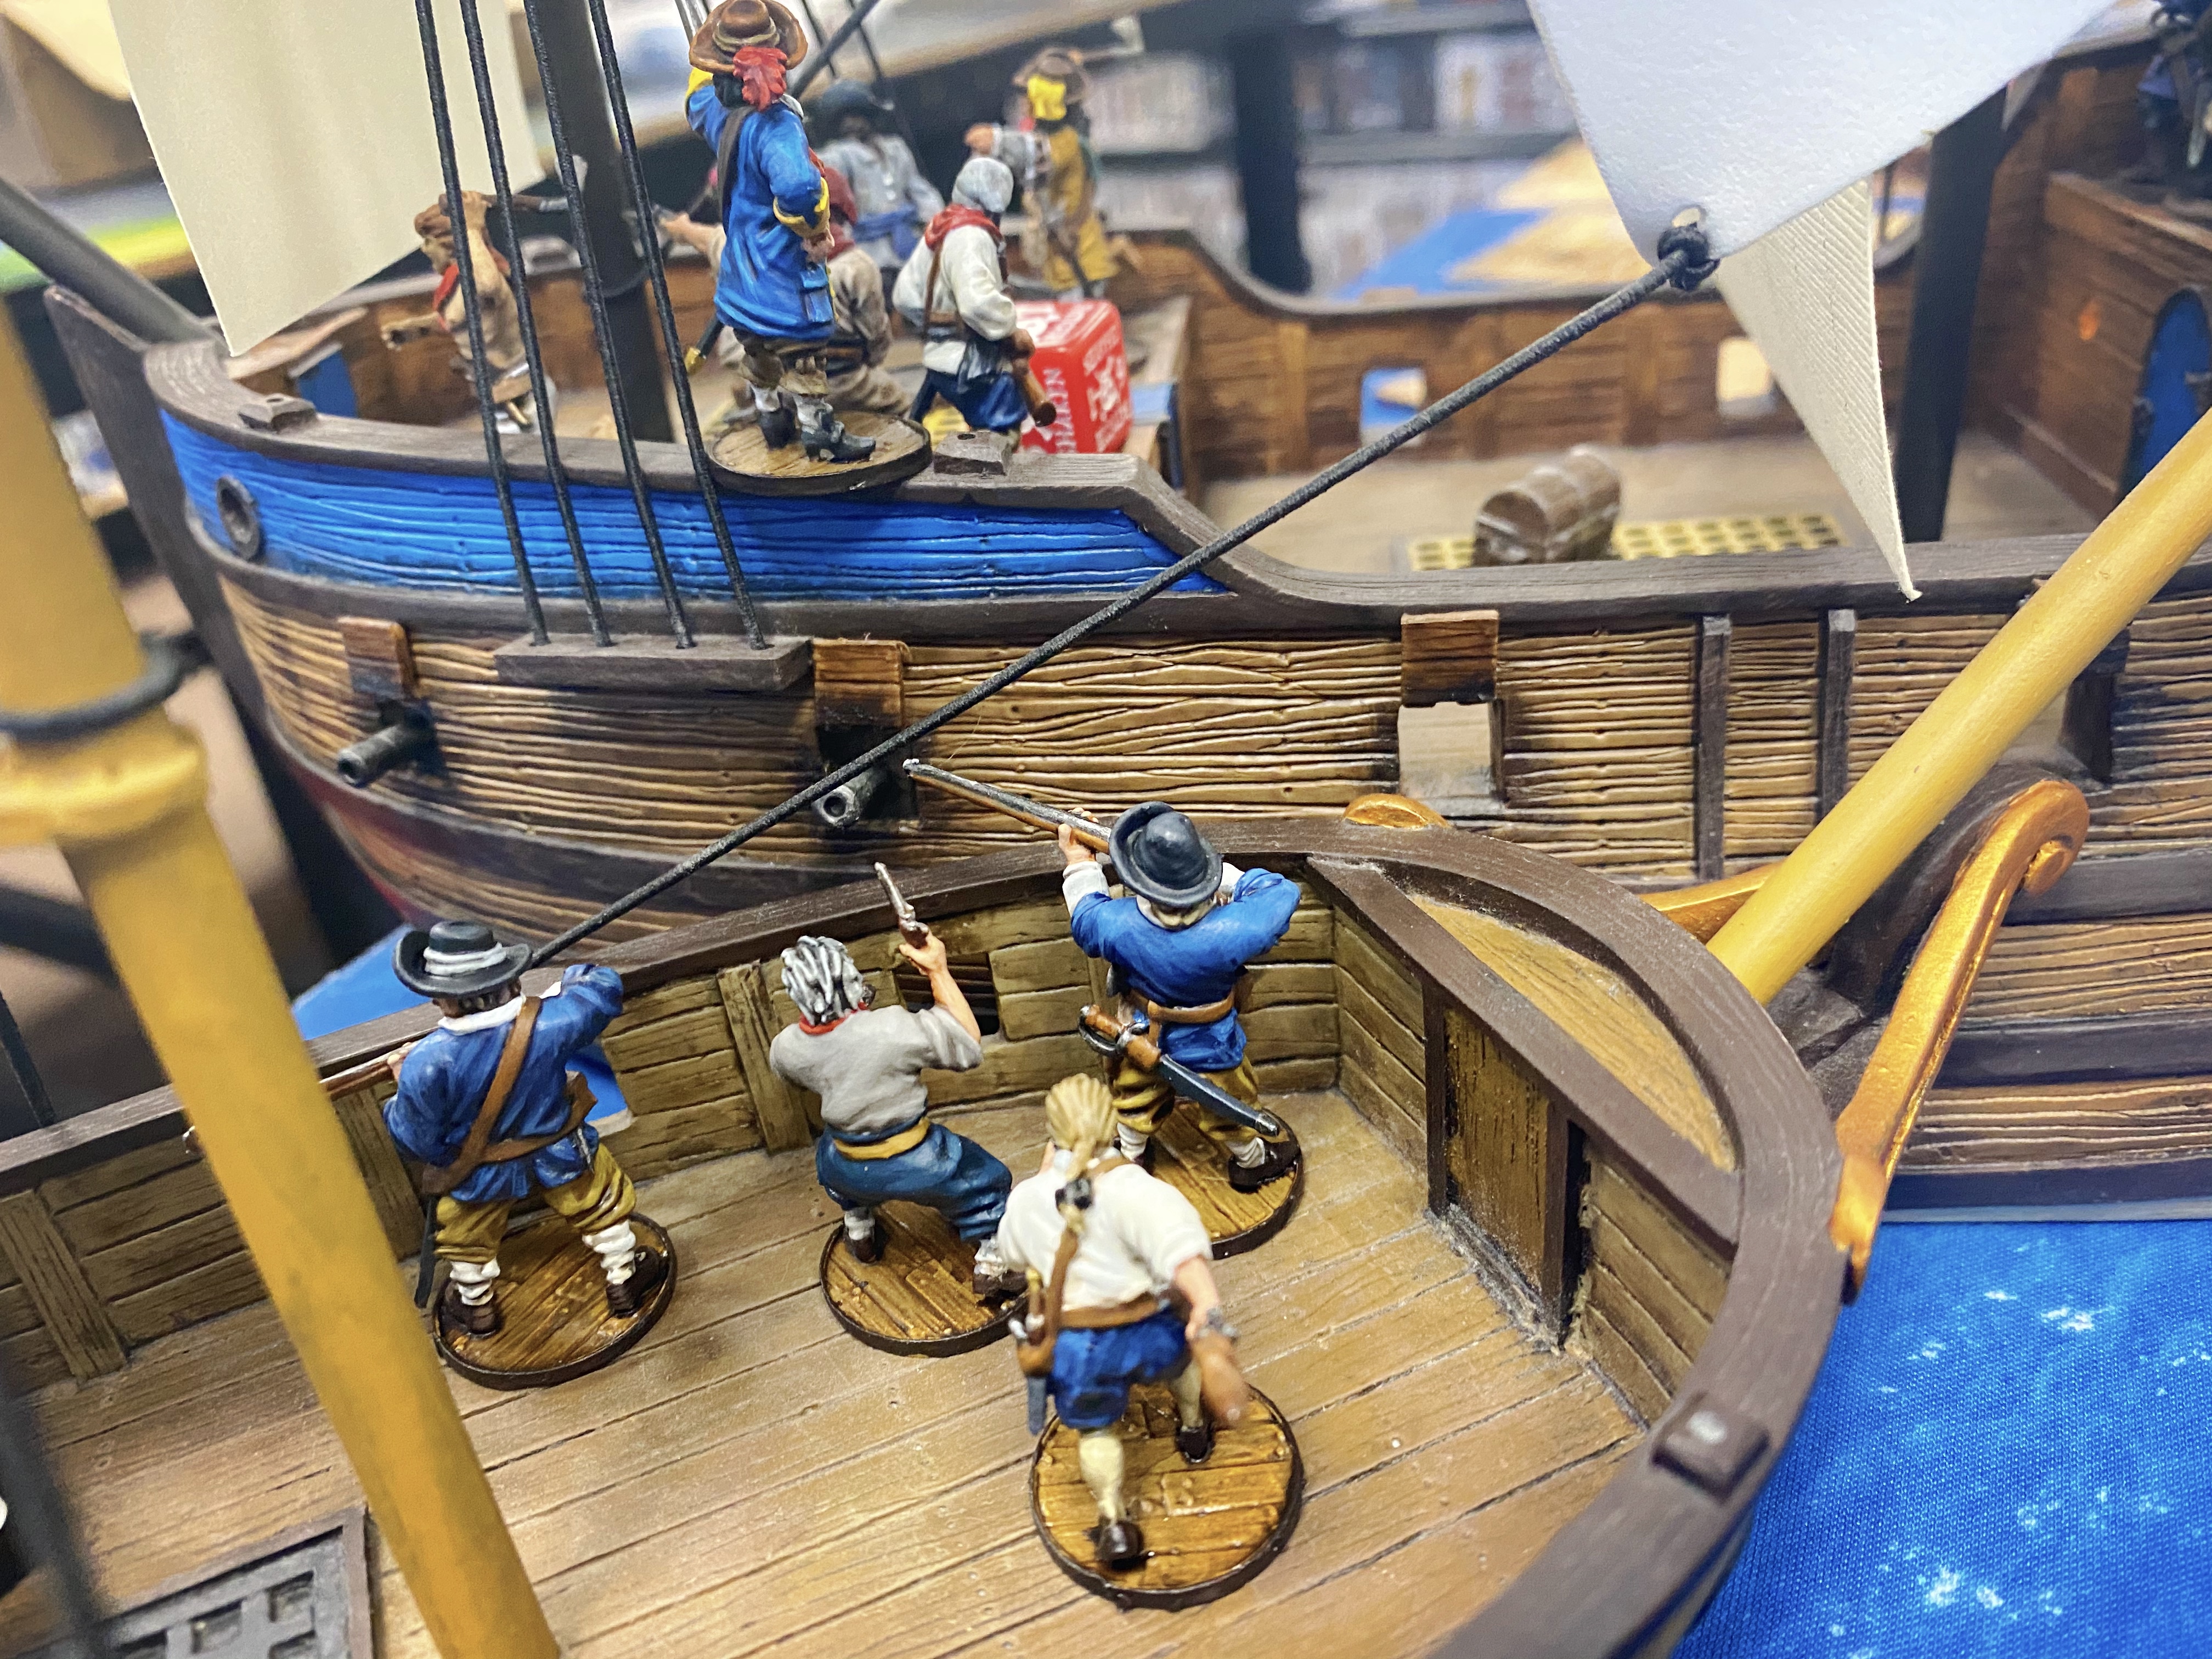
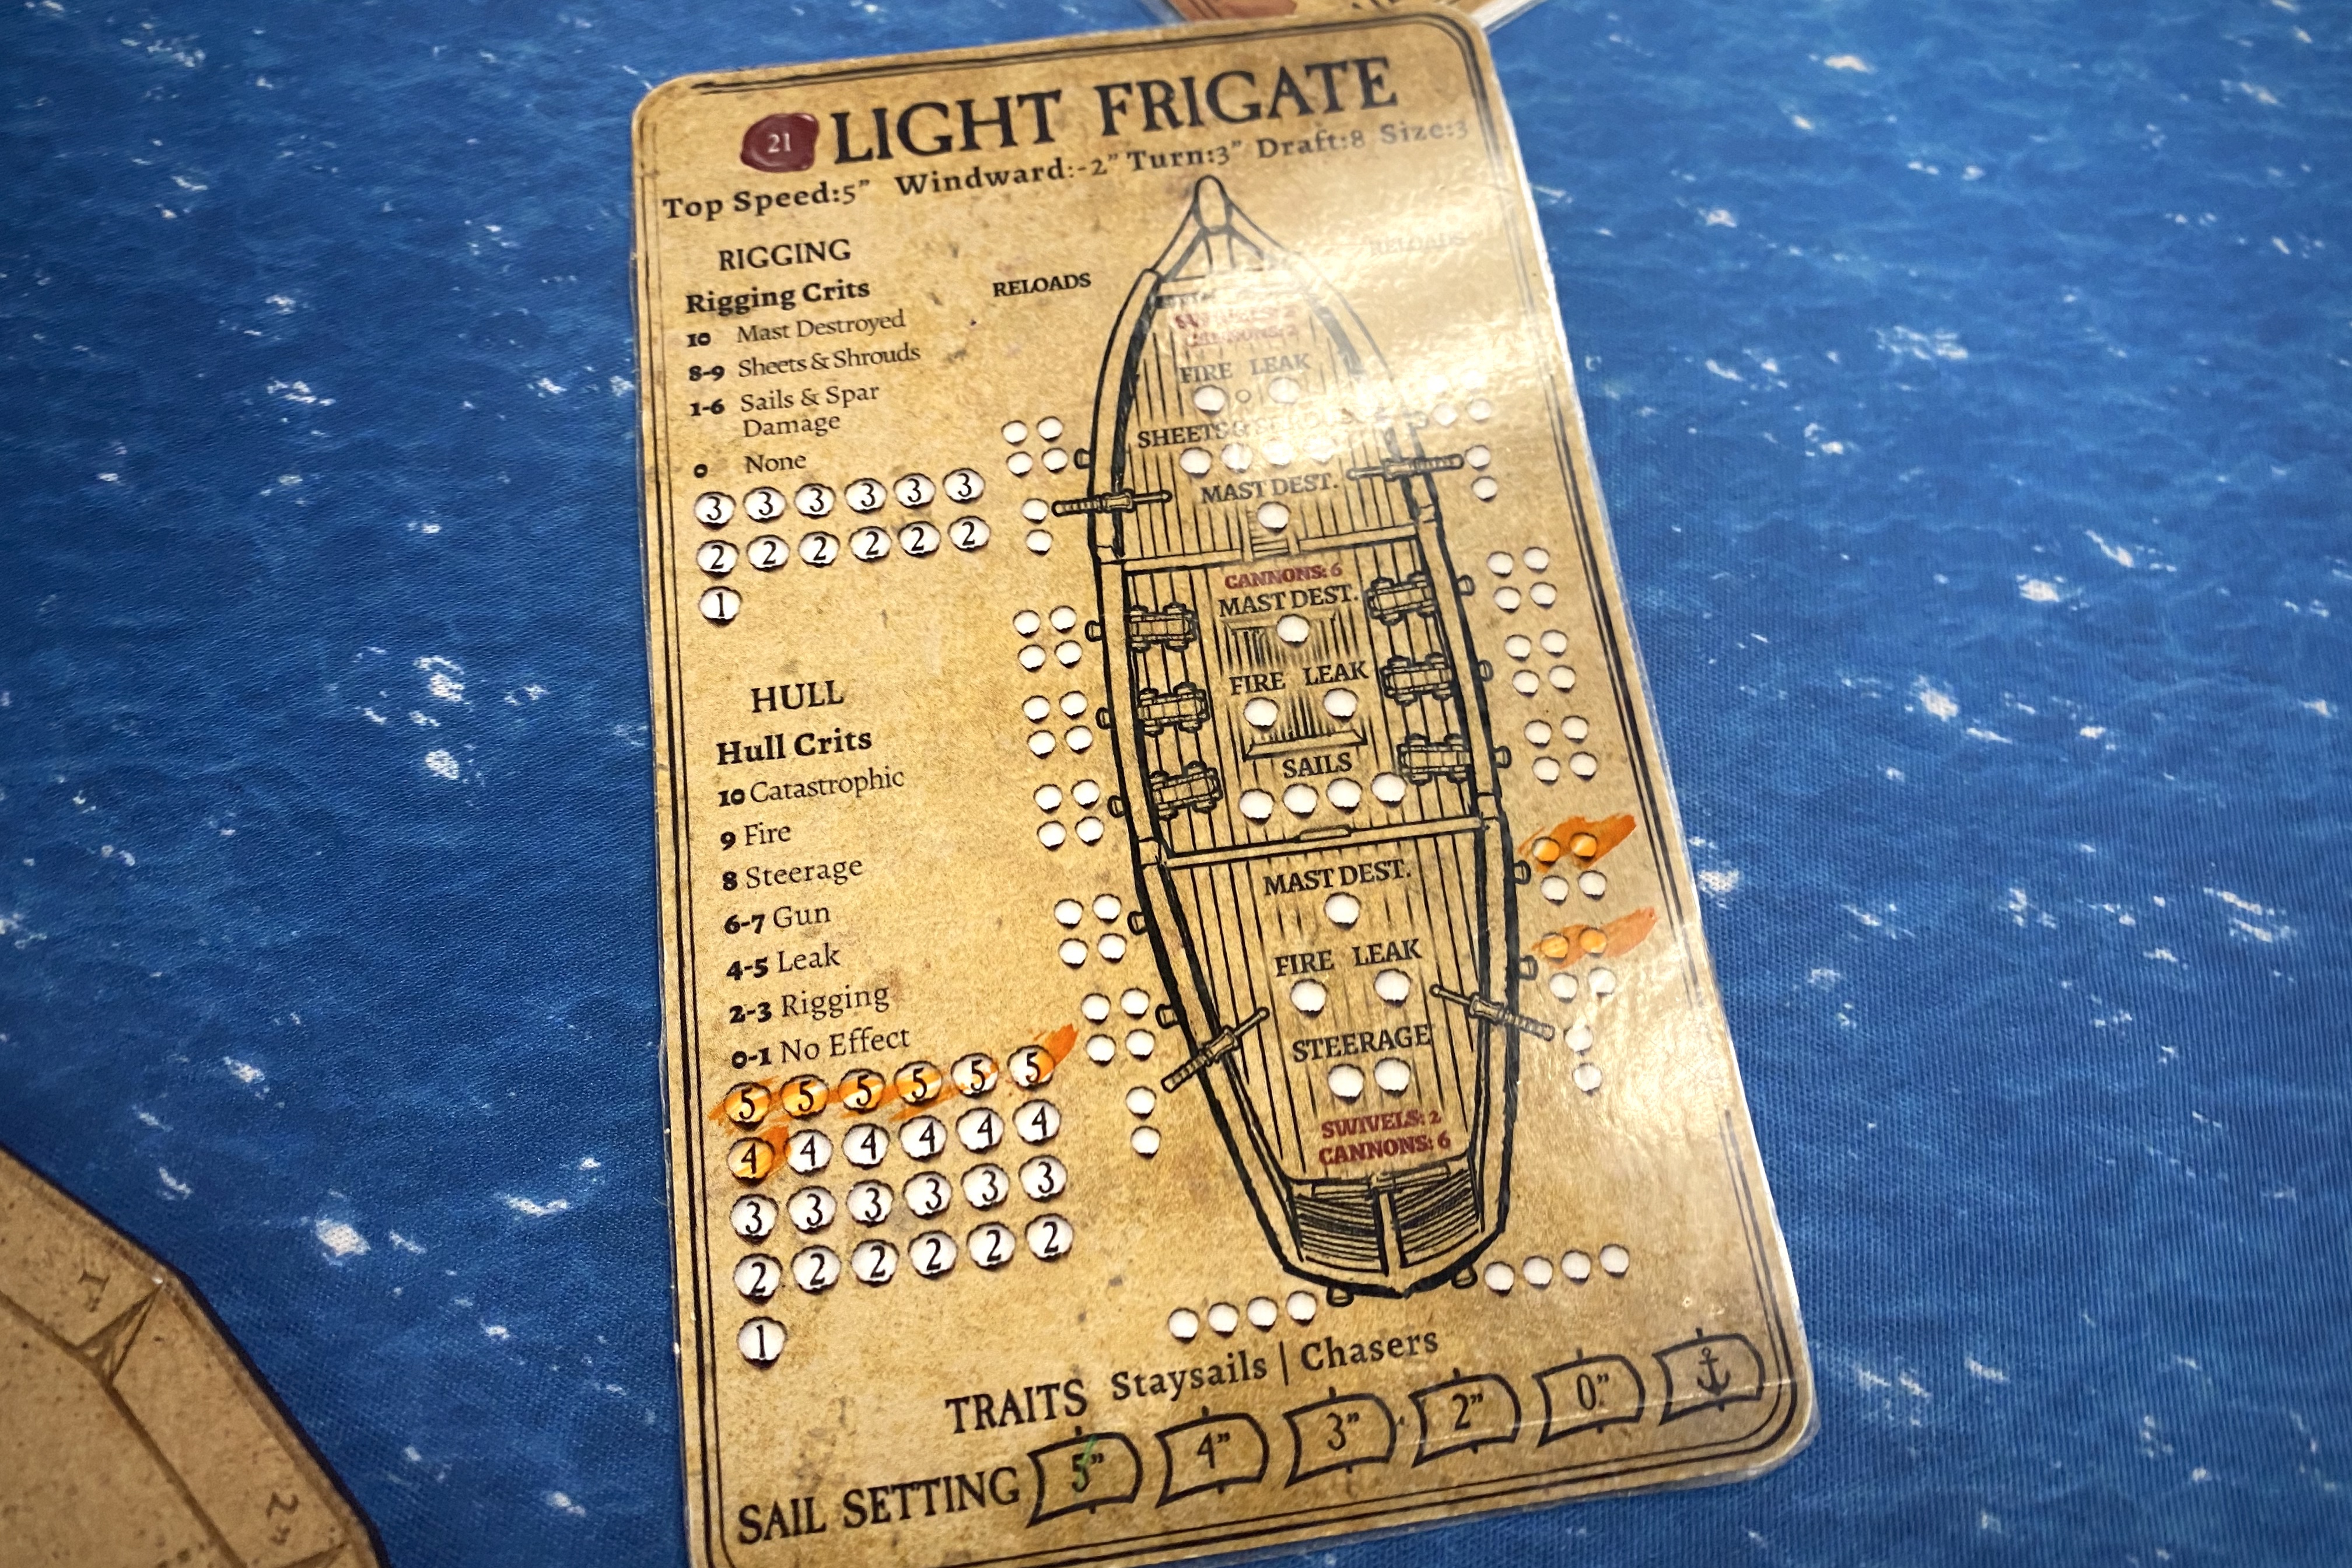
I took the English side as I did in the first scenario. I was a bit shocked to discover how weak my opening Sloop actually was! On the Sloop I got 2 units of 6 Sea Dogs with muskets and one of them had a model upgraded to an Officer. Twelve men with a 7 Shoot skill in a Sloop for 3 turns!
John Coxon commands the fleet but won’t enter the table until turn 4 on the Frigate. Since I was able to capture the treasure in a timely manner in the first scenario, this scenario gave him a perk that upgraded his Inspiring ability to the much better Very Inspiring. Coxon actually died in the first scenario so I can only assume this is Zombie Coxon in this scenario. I was excited about Very Inspiring Zombie Coxon until I realized he wouldn’t even be on the table until turn 4….

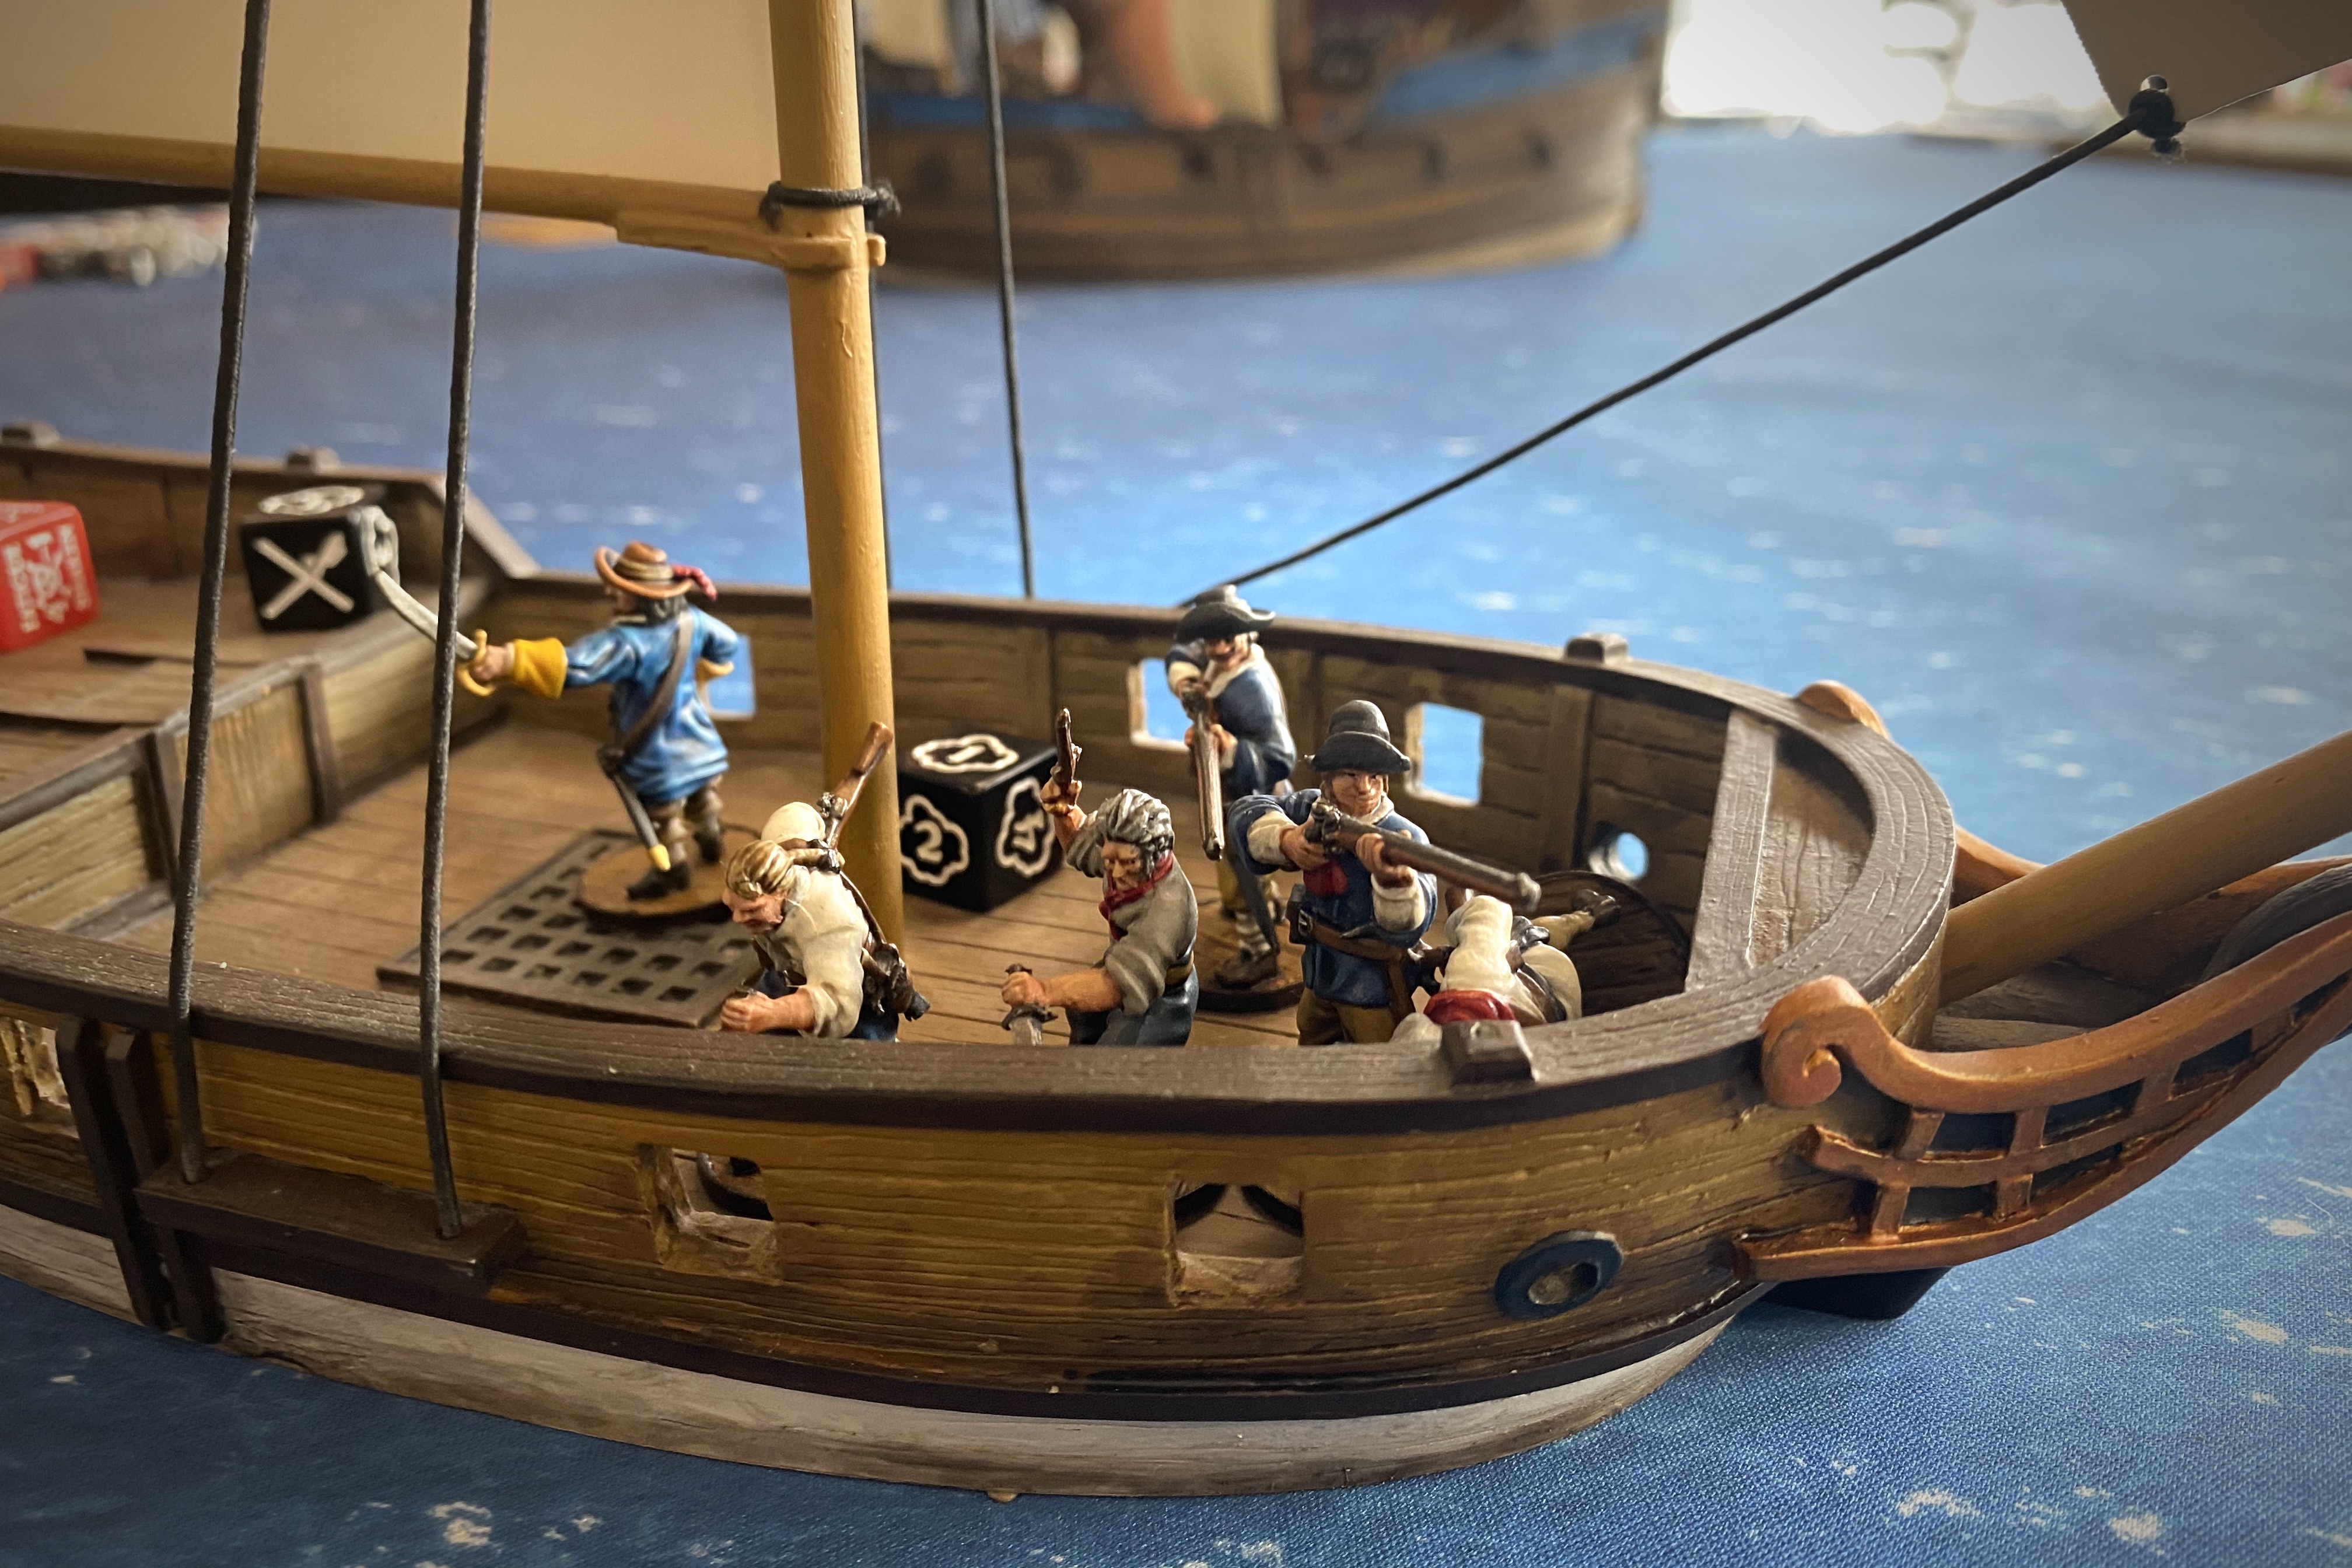
Up against this 70 point English ship the Spanish had a 200 point Fluyt with 2 pairs of minimally manned Medium Cannons, 2 units of 5 Soldados and 2 small units of 4 Marineros with muskets. In addition to being threatened by a decent broadside of 4 Medium Cannons, my English were solidly outgunned by the Spanish musketry.
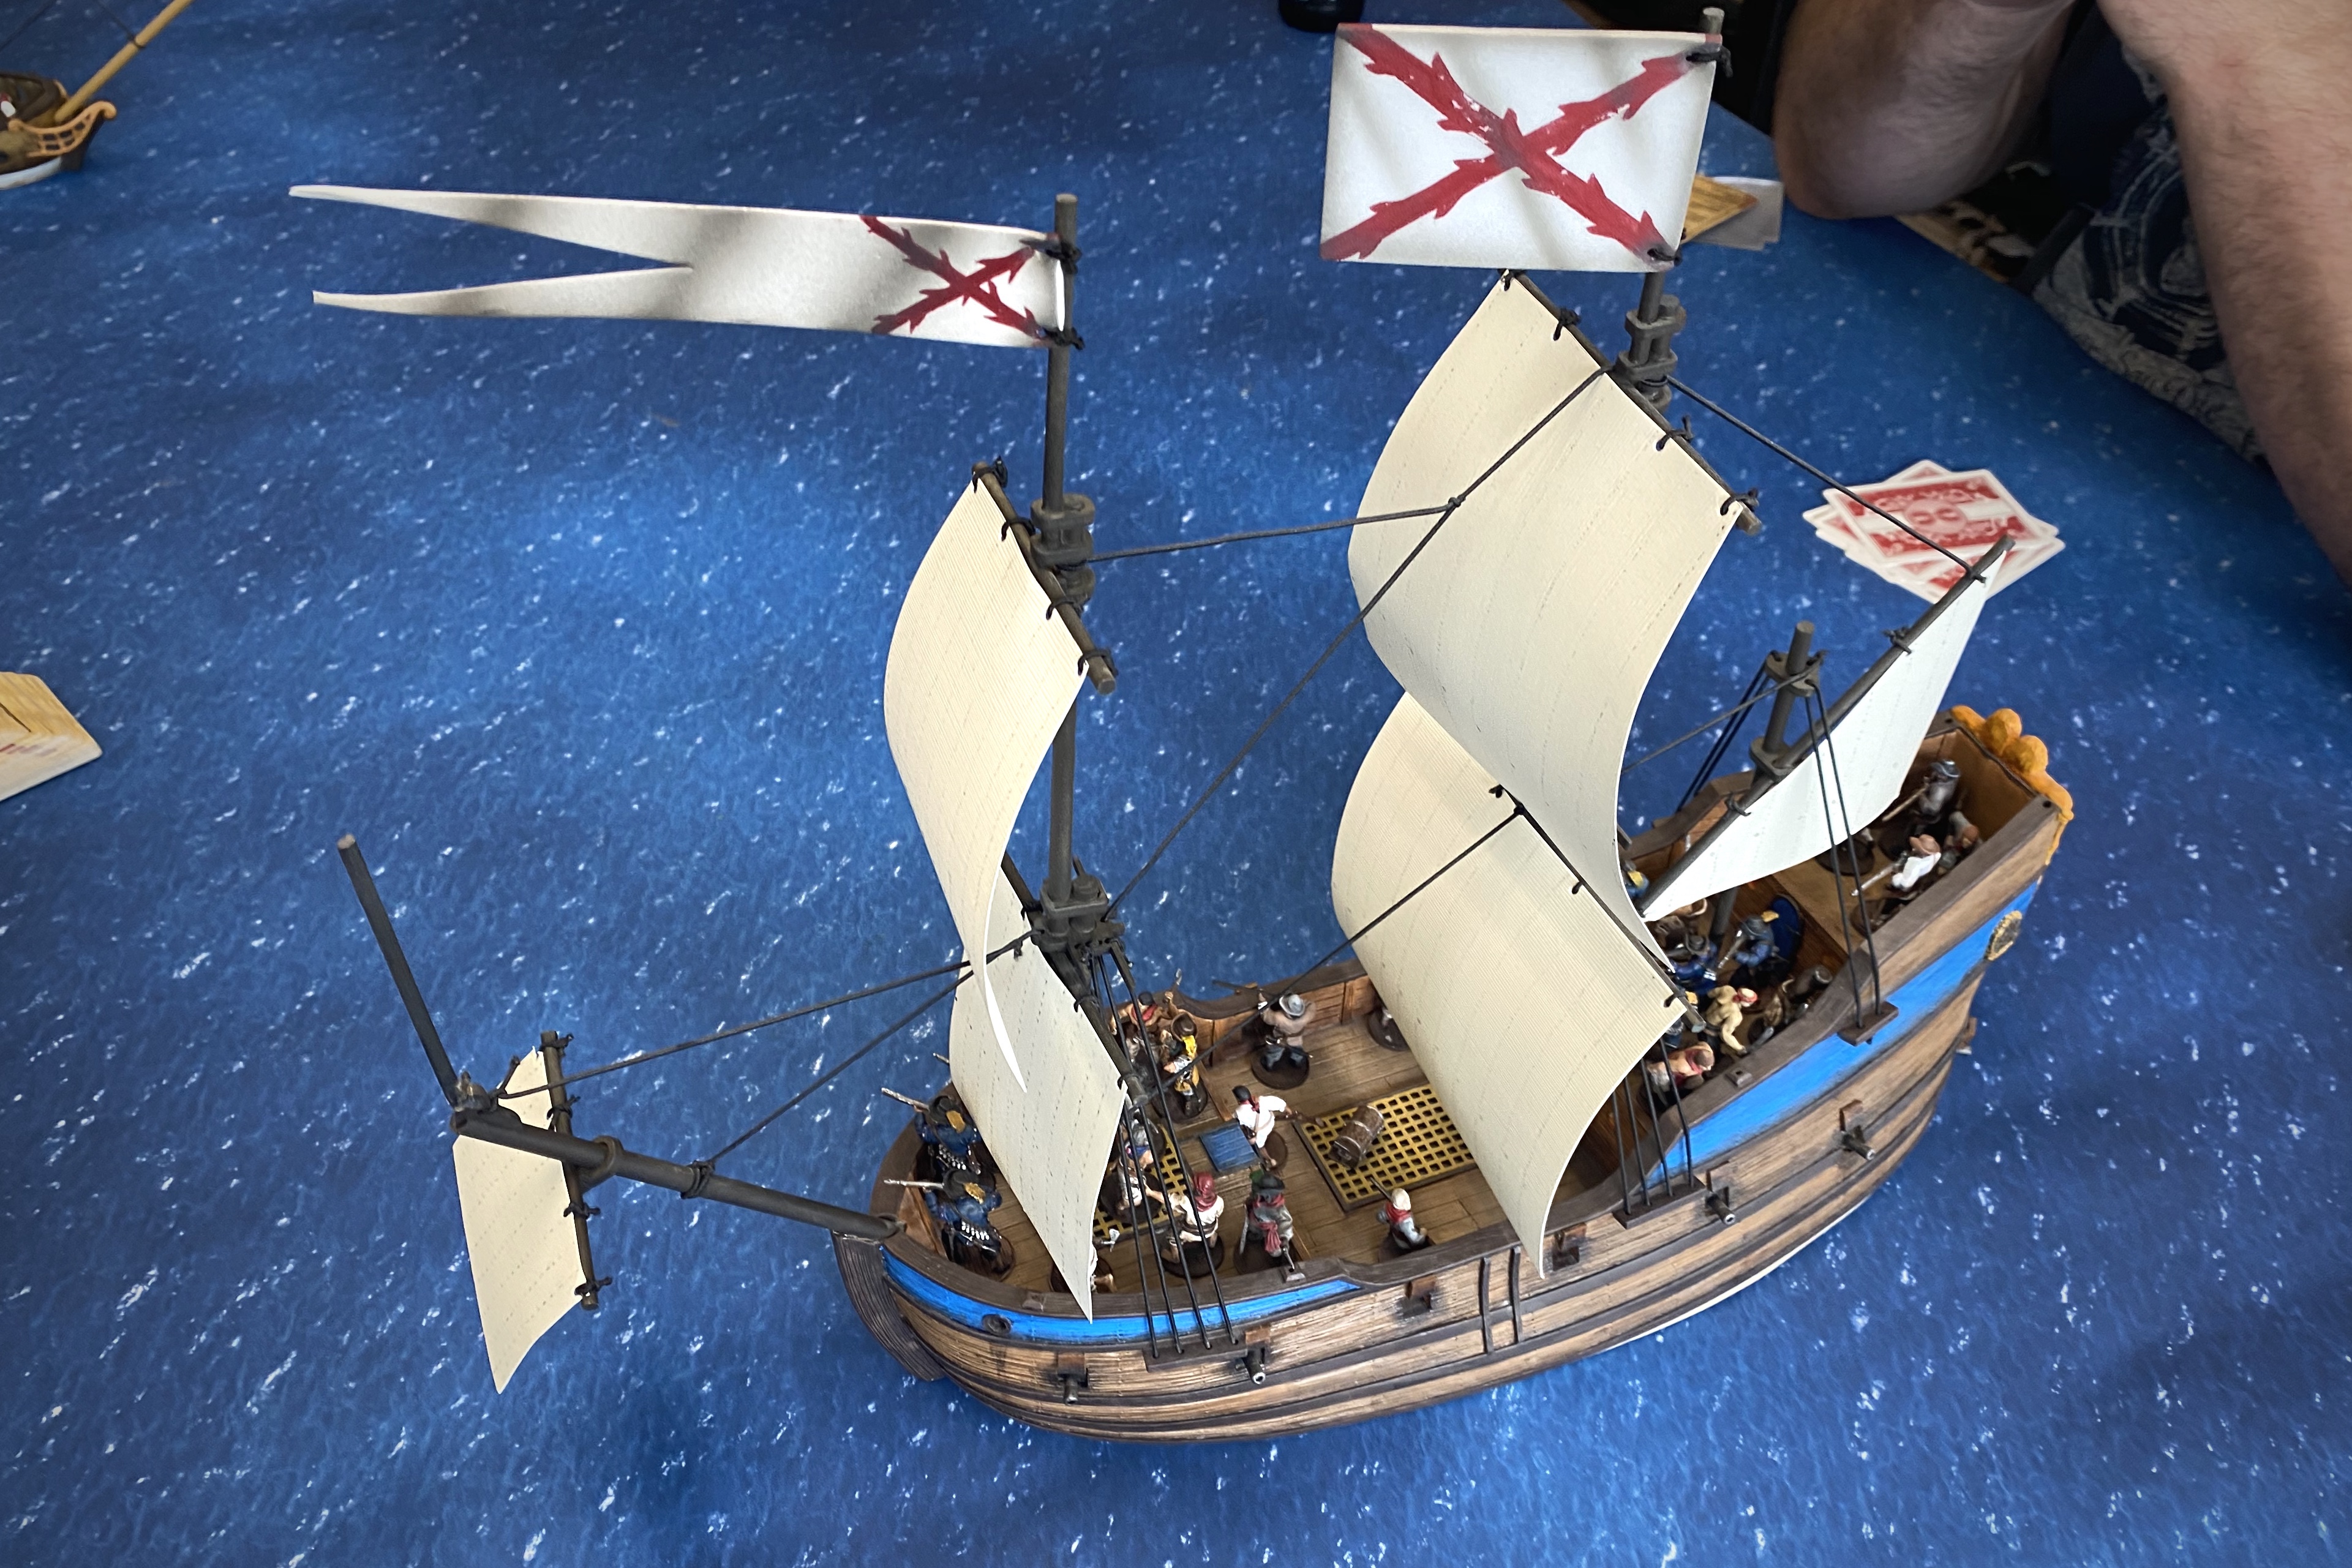
In spite of being almost 3x the starting English strength, the Spanish list had some glaring weaknesses. The two groups of cannon crew were a mere 6 models so if either took a single casualty, it would reduce the unit to less than the minimum size to crew the two pairs of Medium Cannons which would effectively cut cannon firepower in half. Guy took a tiny liberty with the force list and put his commander with one of the cannon crews effectively expanding it to 7 models so it wasn’t so fragile. He put that larger unit of cannon crew on the front deck with a unit of Soldados, a unit of Marineros with muskets on the main deck, the other unit of Soldados and the 6 man cannon crew on the third deck and the final unit of Marineros with muskets on the poop deck subsection.
It appeared my task for the first half of the game would be to simply stay alive until help arrived in the form of the 220 point Frigate. I didn’t see a way for 12 Sea Dogs with muskets to compete with that Spanish force. Better to keep heads down and try to avoid the broadside arch and survive!
The Game
The scenario specifies a 4’x4′ board and we used the central 4′ of a 6’x4′ mat so we wouldn’t have to scroll so soon/often.
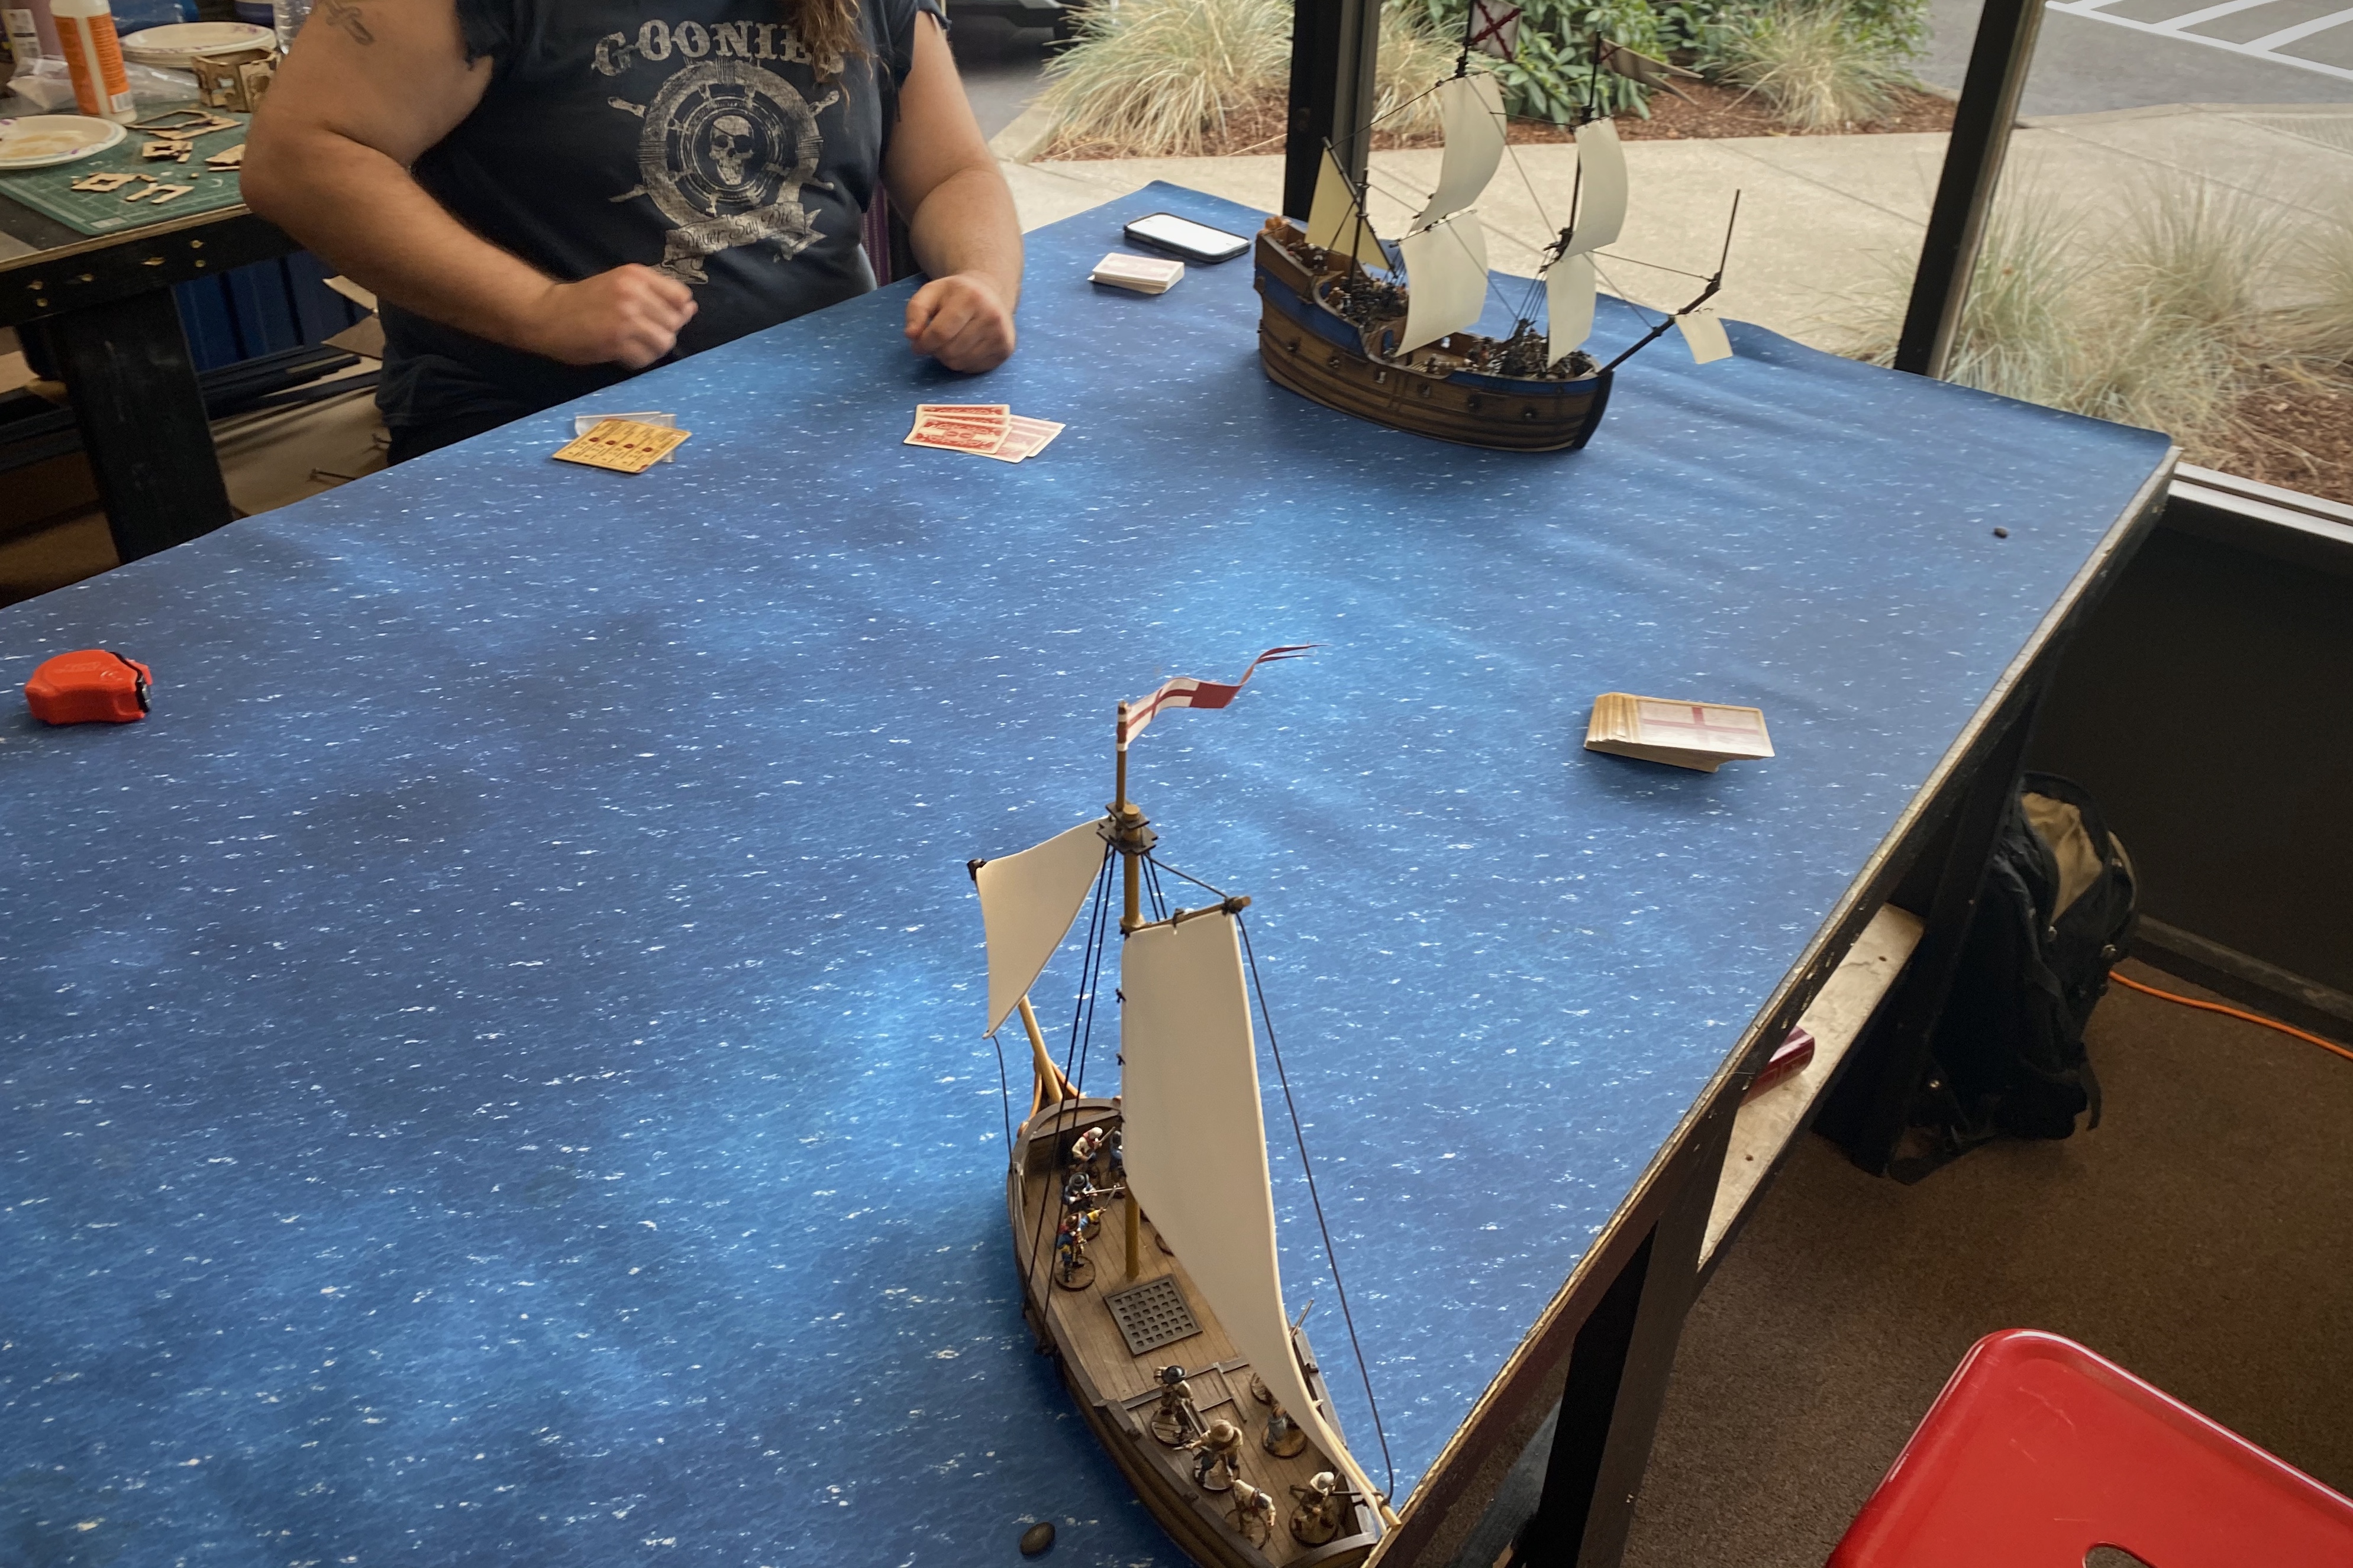
We set up the Fluyt per the scenario instructions with the weather gauge advantage with the wind abeam. I placed my Sloop as far away as I could! Stay away! The setup diagram example has the Sloop much closer to the Fluyt but there was no way I was going to place there since the instructions only specified within 6′ of the Attacker’s board edge. No point in being close to a force nearly 3x my size!

We drew our cards and the game was on it’s way! Drawing my cards I faced the brutal reality that I only got to draw 2 cards… This meant that I could only my ship twice during the turn and then move the third time as residual movement at the end of the turn. Not a huge deal, but it meant I couldn’t respond quickly or efficiently to Spanish maneuvering. And if I couldn’t respond very quickly, that meant I could get hit with those cannons and that was kind of big deal! I was already hyperventilating at this point in the game (not really).

This Officer is looking much bolder than I was feeling….

I ended up passing for the first several activations since I had 2 cards to the 6 in Guy’s hand. The Fluyt turned hard right away to close some of the distance between us on the first turn (which pushed it’s stern over the edge of the original 4′ board which made us glad we had situated the play area in the center of the game mat).

Guy’s Fluyt turned hard twice before I even moved my ship.
The Spanish Cannons all fired on turn 1 but only one deck made contact and it only applied 2 damage and killed one model.

I fired volleys of firelock muskets as soon as I was within the 24″ inch extended range band. But no hits… Sometimes I did half fire shots so I would be well prepared if I screwed up my sailing and ended up getting boarded.

I considered laying all my men down to provide better cover but I was too tempted by the prospect of getting a lucky kill on the fragile cannon crew and effectively knocking out a cannon early on. But I didn’t get any hits.

Turn 2 I realized I could have been sailing downwind rather than upwind when I started the game… Technically I could have abused the “Hidden Reef” rule on page [NEED PAGE] and sailed off the 4’x4′ board turn 1 and cause trouble for the Fluyt but that’s just gaming the system…. More on that later.

I headed downwind to try to keep distance between my fragile Sloop and the Spanish. The Sloop is a faster ship in most circumstances but in a downwind race, the Sloop doesn’t have anything on the Fluyt. In fact, if they Fluyt leverages it’s width through turns, it could potentially outpace the Sloop!

I couldn’t entirely keep out of the Spanish broadside arch so I took some fire but at least I managed to keep the distance reasonable so my ship didn’t disintegrate.

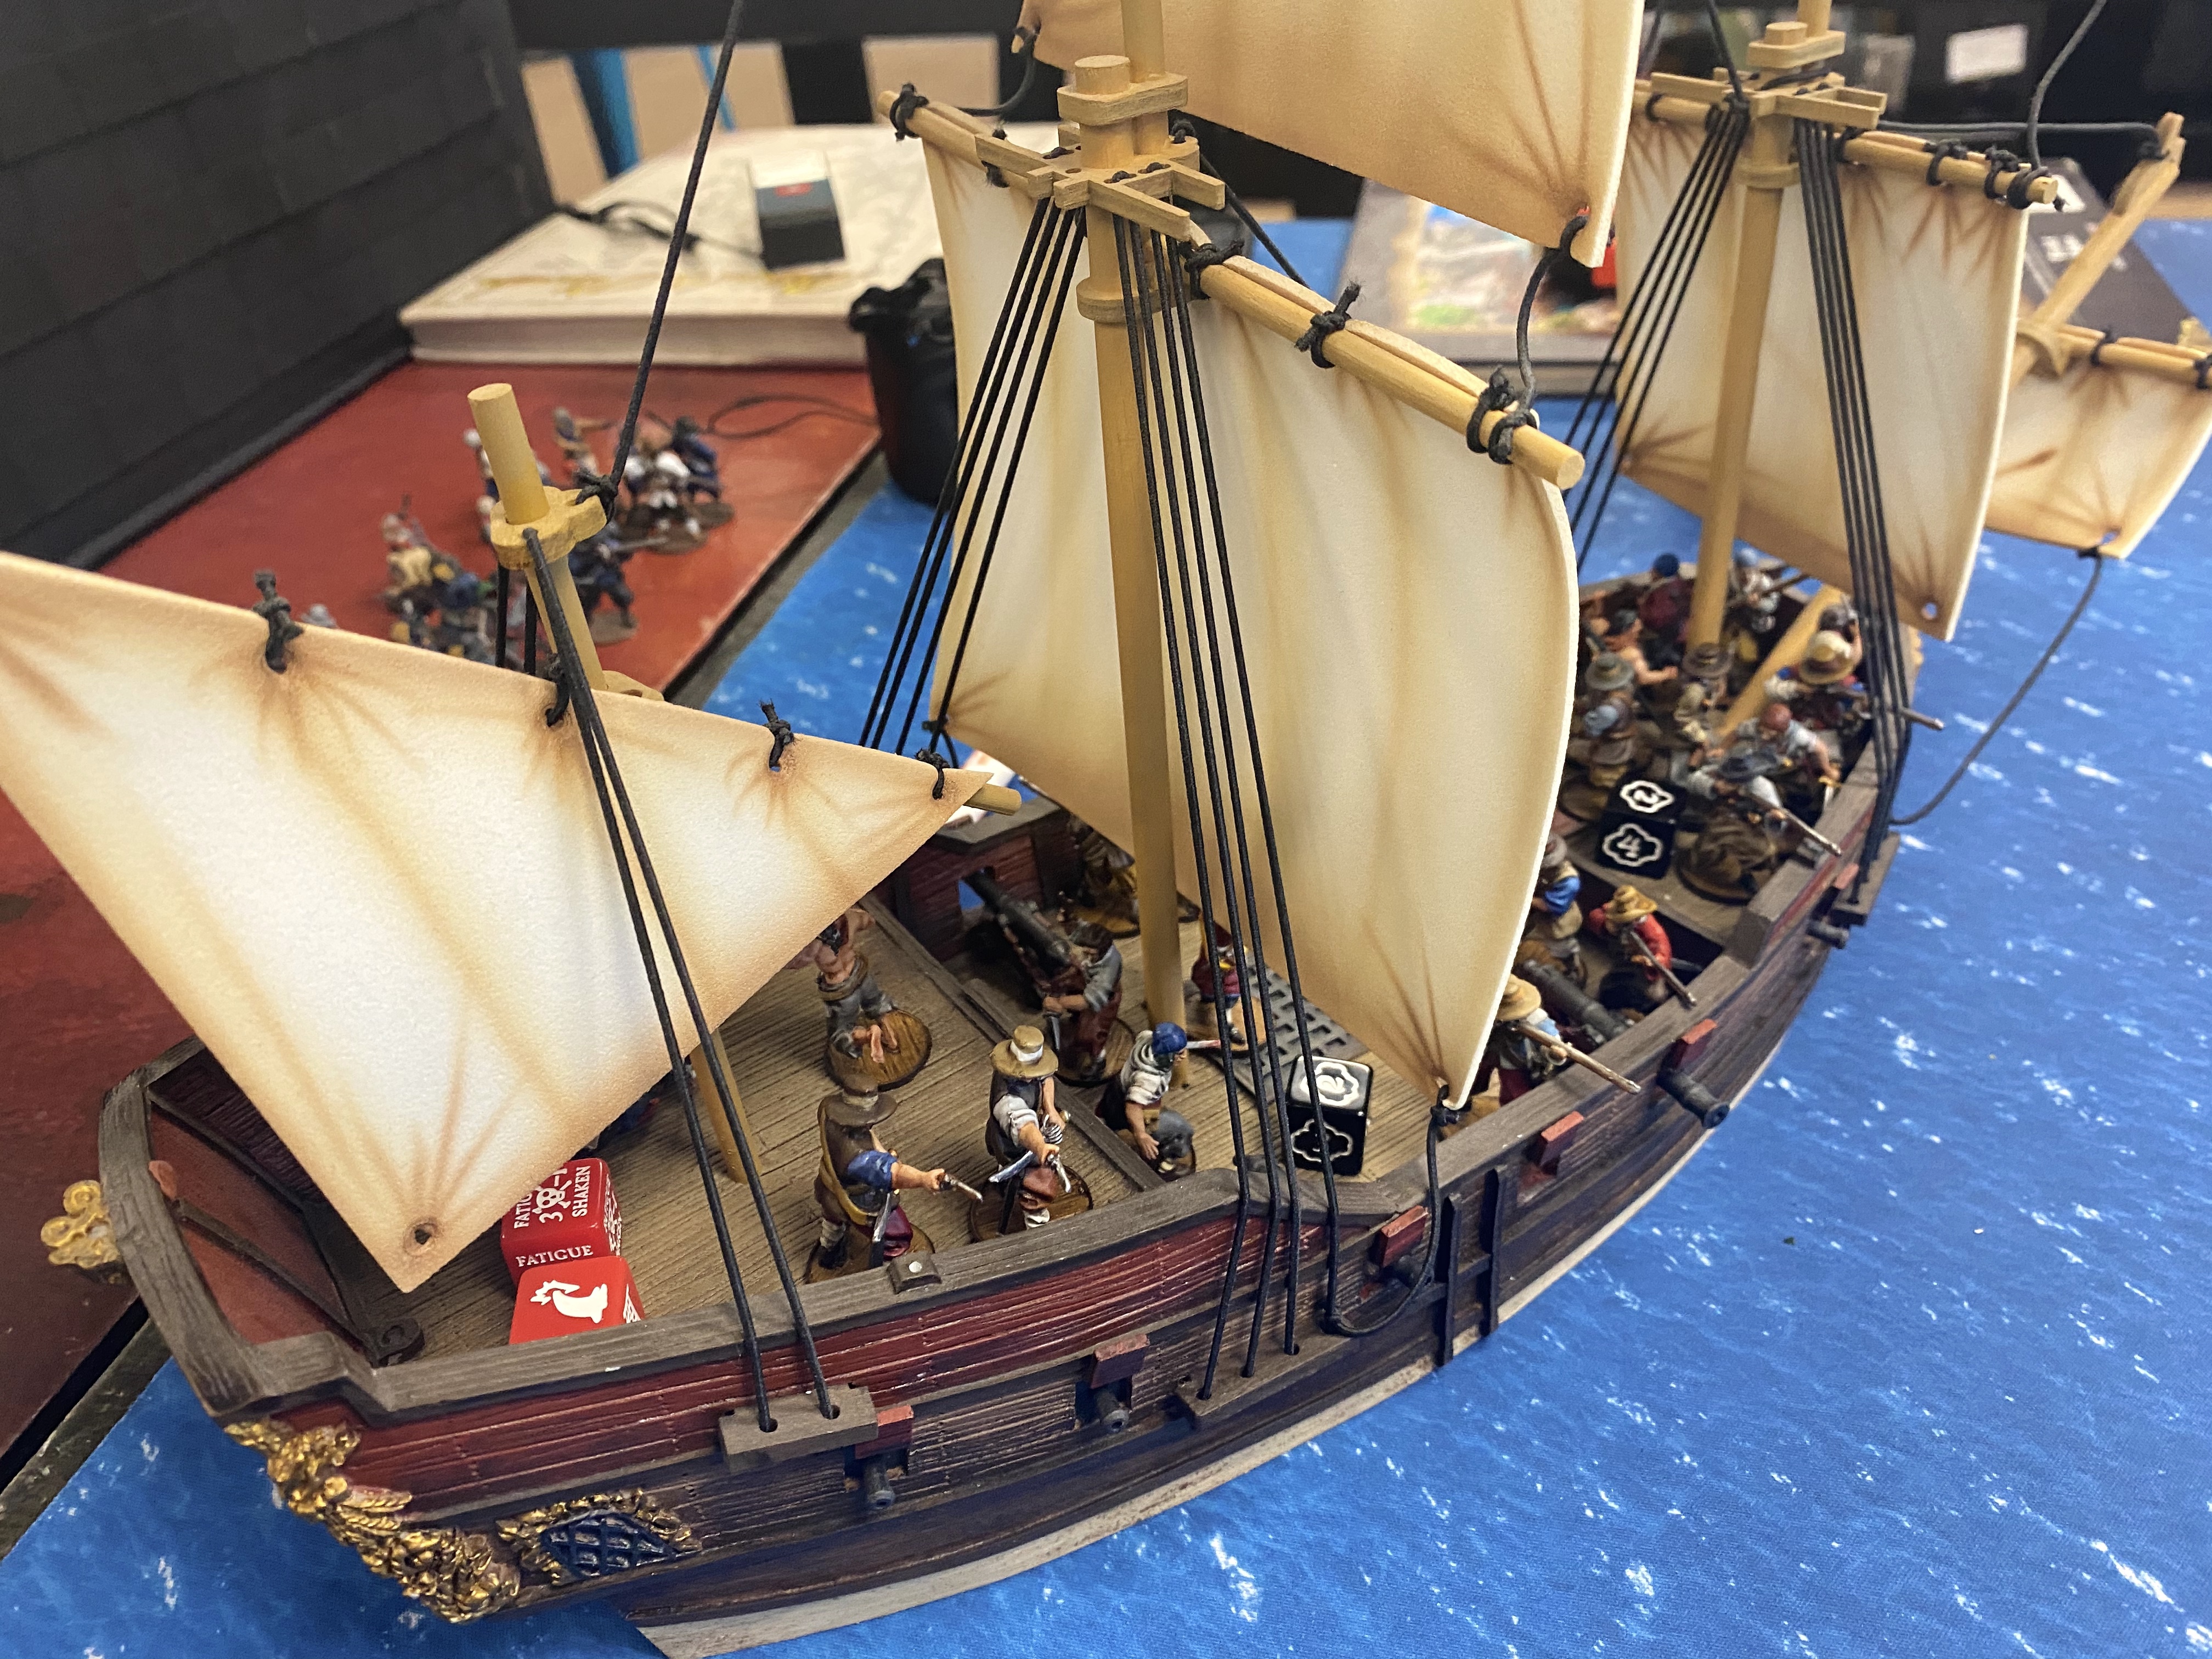
One set of cannons missed altogether but the other pair was more effective and between that shot and some small arms fire, including some Expertly Drilled volleys, one of my units of Sea Dogs was down to half strength with 3 Fatigue halfway through turn 2. I also got a Leak Lucky Hit on the back deck!
I fired my muskets as able but failed to get even one kill over the first 3 turns.
I tried to repair the Leak on turn 2 and failed but at least the attempt stopped the leak from potentially spreading.

Turn 3 I started with my bow nearly straight into the wind so I had to Wear away from the wind. Wearing is almost a joke in a Sloop since you have a turn value of 4″ anyway… Having that Officer for Dedicated actions did help a lot though!
I used the bear up (but now rallied) unit of Sea Dogs to try to fix the Leak again.
I used a Club with a full 3 actions to reduce my target number to 5. I needed this Leak fixed! I rolled a 7 at the end of turn 3 and got my ship fixed up.

I had survived the first 3 turns! Through a combination of bad Spanish luck with their cannons and cowardly sailing, I had only taken 2 damage on the hull of my Sloop. It was a stressful 3 turns but I didn’t take the cannon-beating I was fearing.
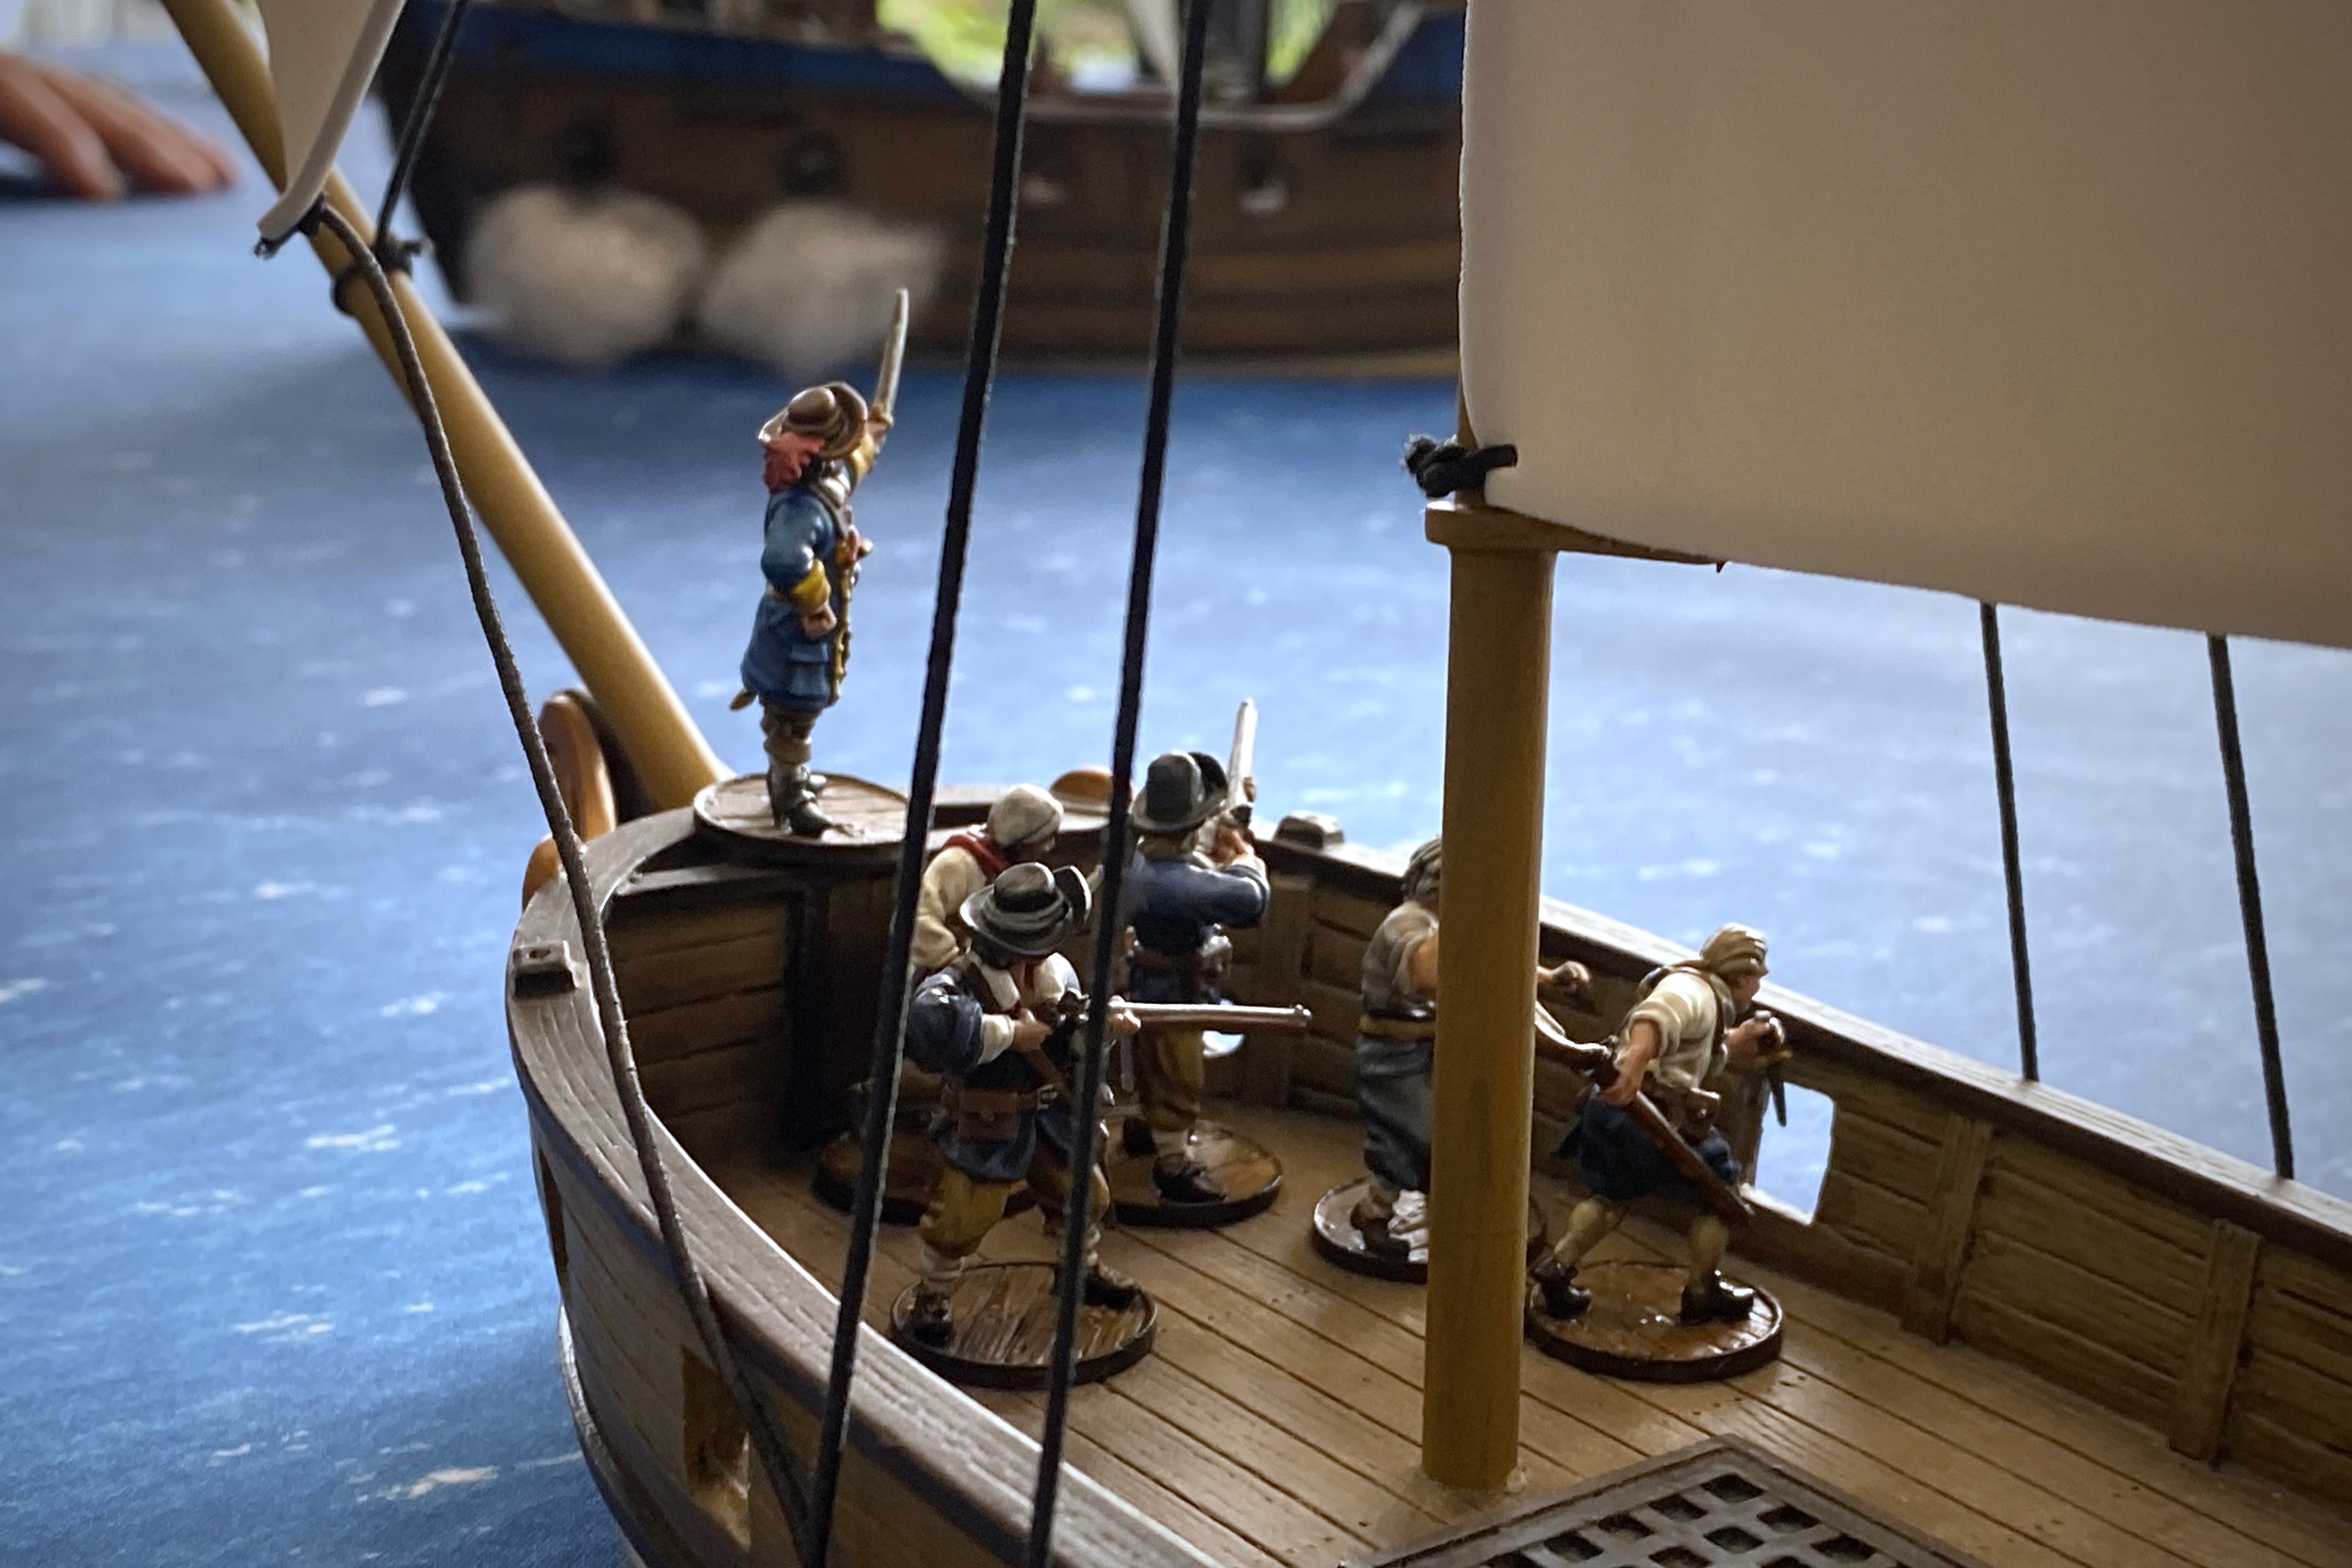
The rules simply state “On turn 4, the Frigate and its crew may enter from any board edge on the Attacker’s half of the board.” “Entering the board” can be used in some powerful ways. In this case, I had the chance to place my ship basically right in front of the Spanish Fluyt in a raking position and rake from bow to stern if I could get the right imitative card. I’ve been on the receiving of these sudden and treacherous placements enough that I didn’t want to do that. A ship magically appearing is nasty enough and letting it maneuver into an advantageous position while invisible just doesn’t seem right. I did place it near the Fluyt, but not in the raking position that could have been catastrophic.

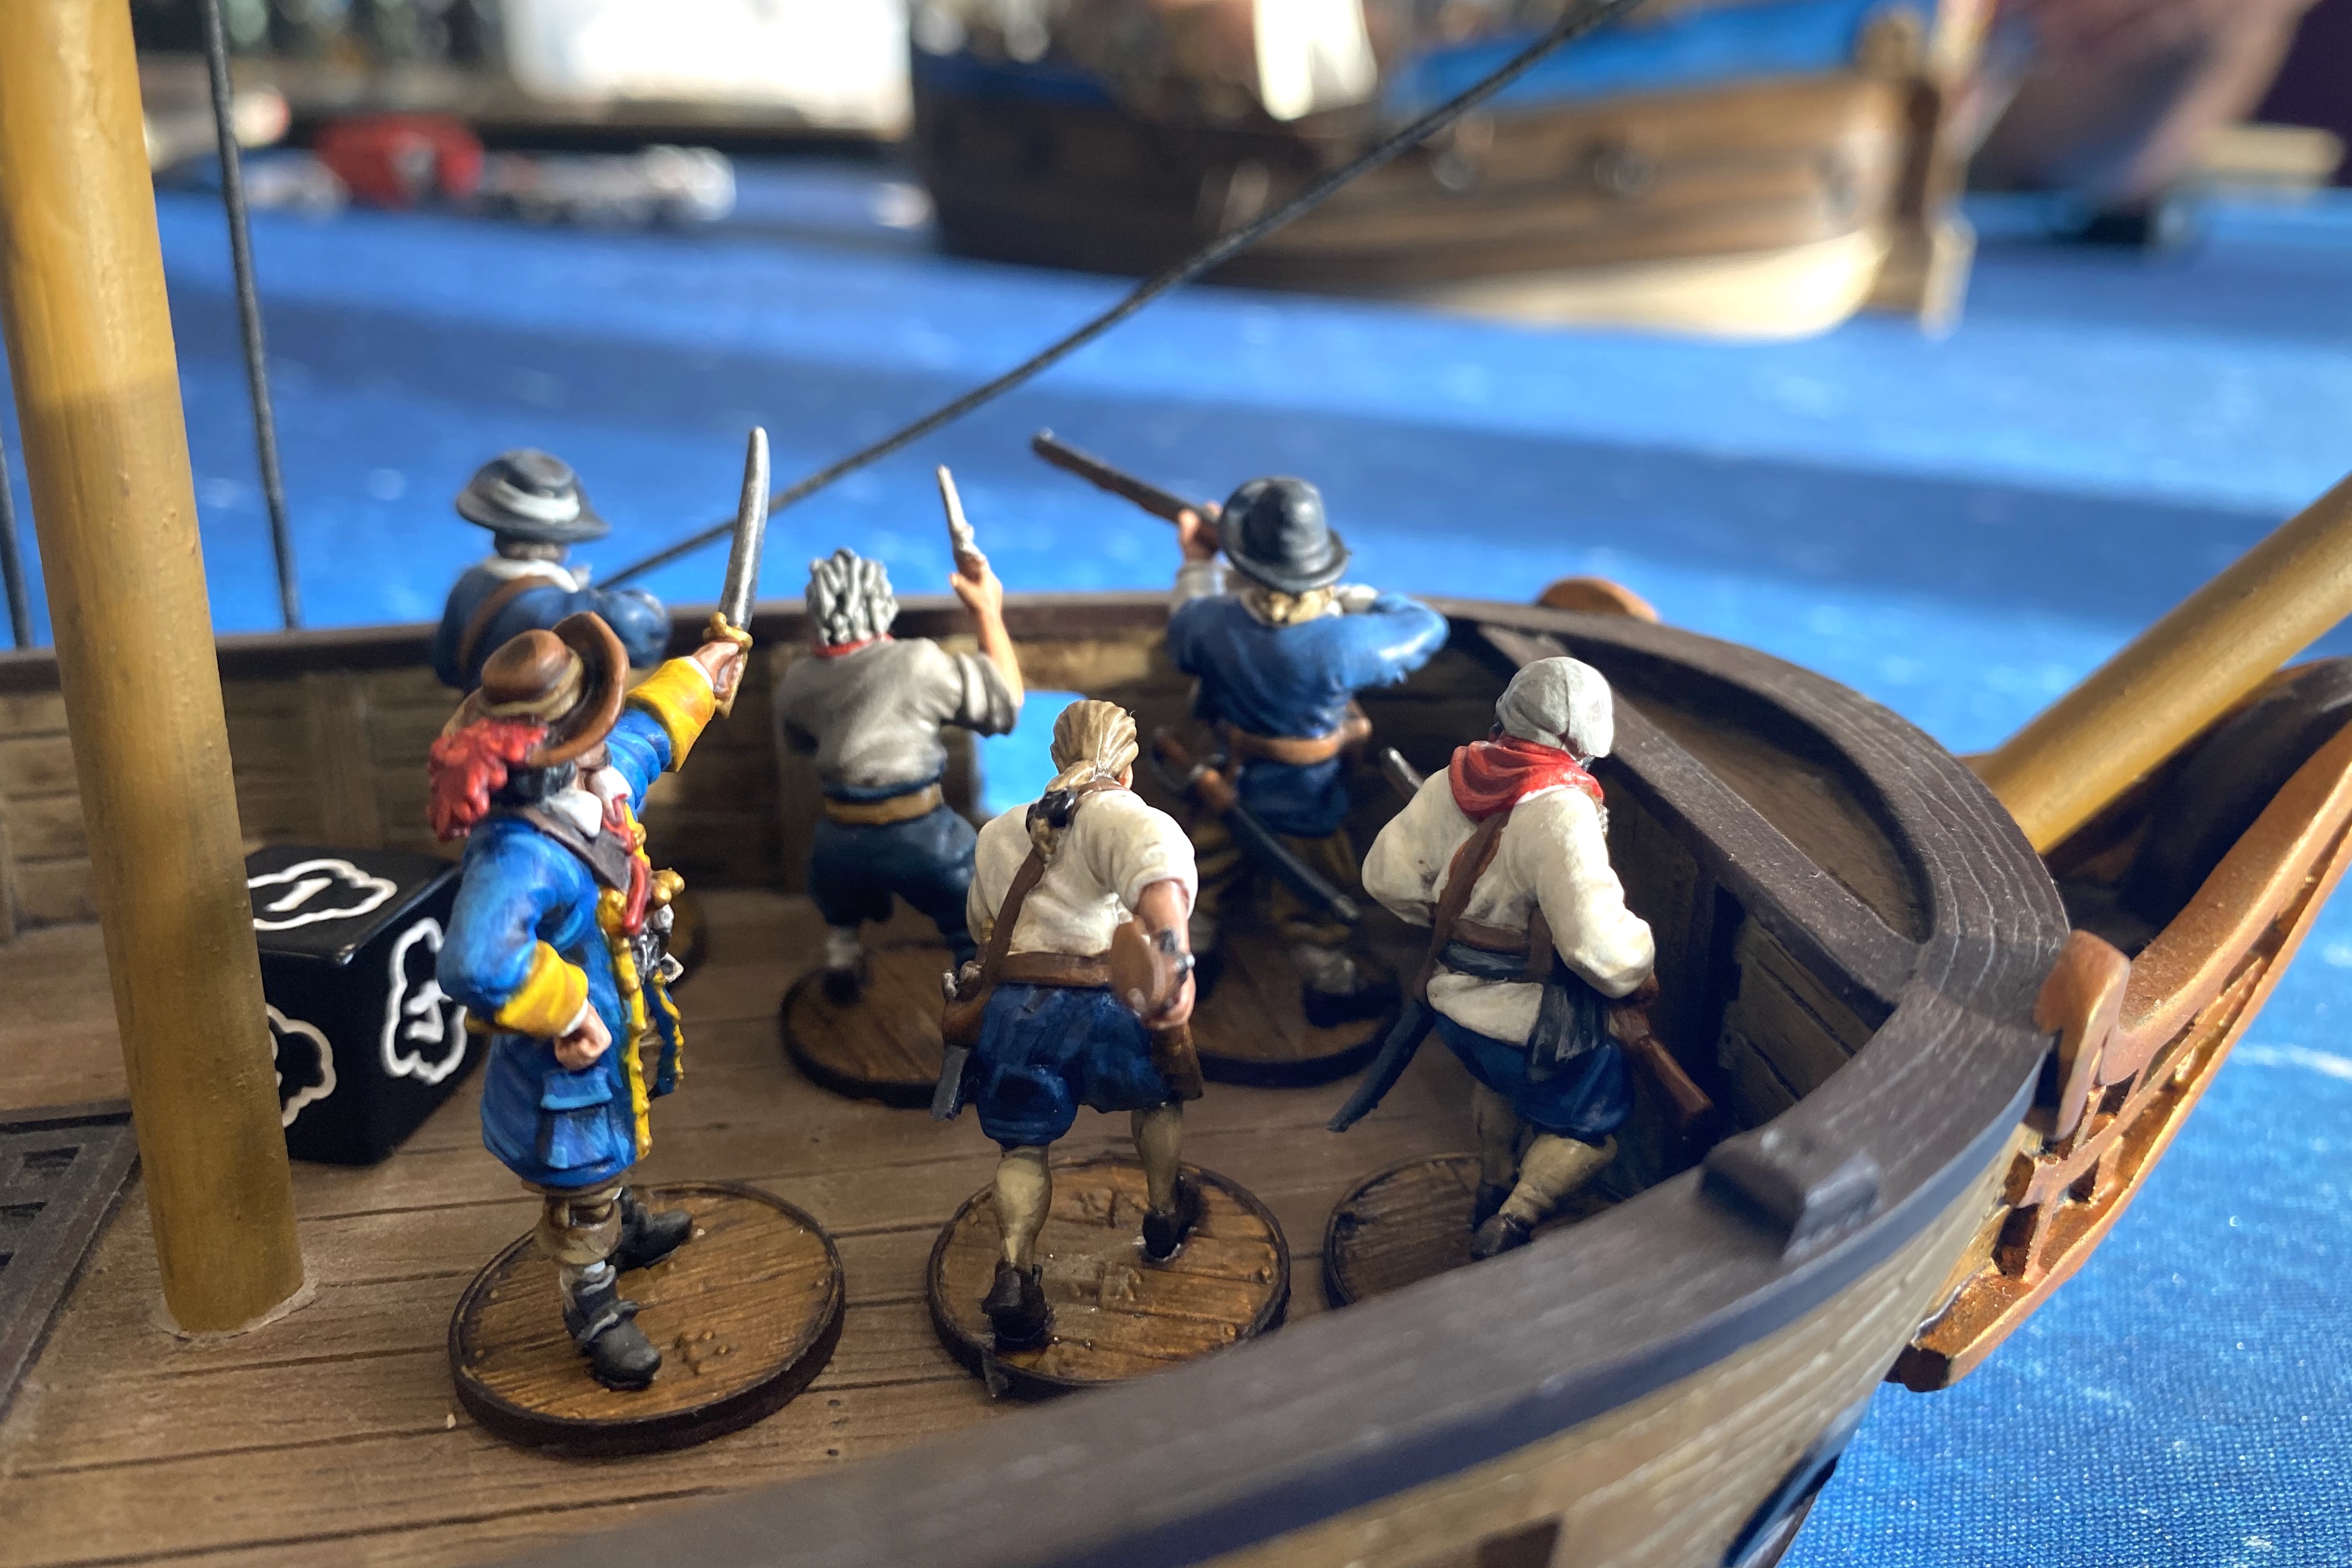
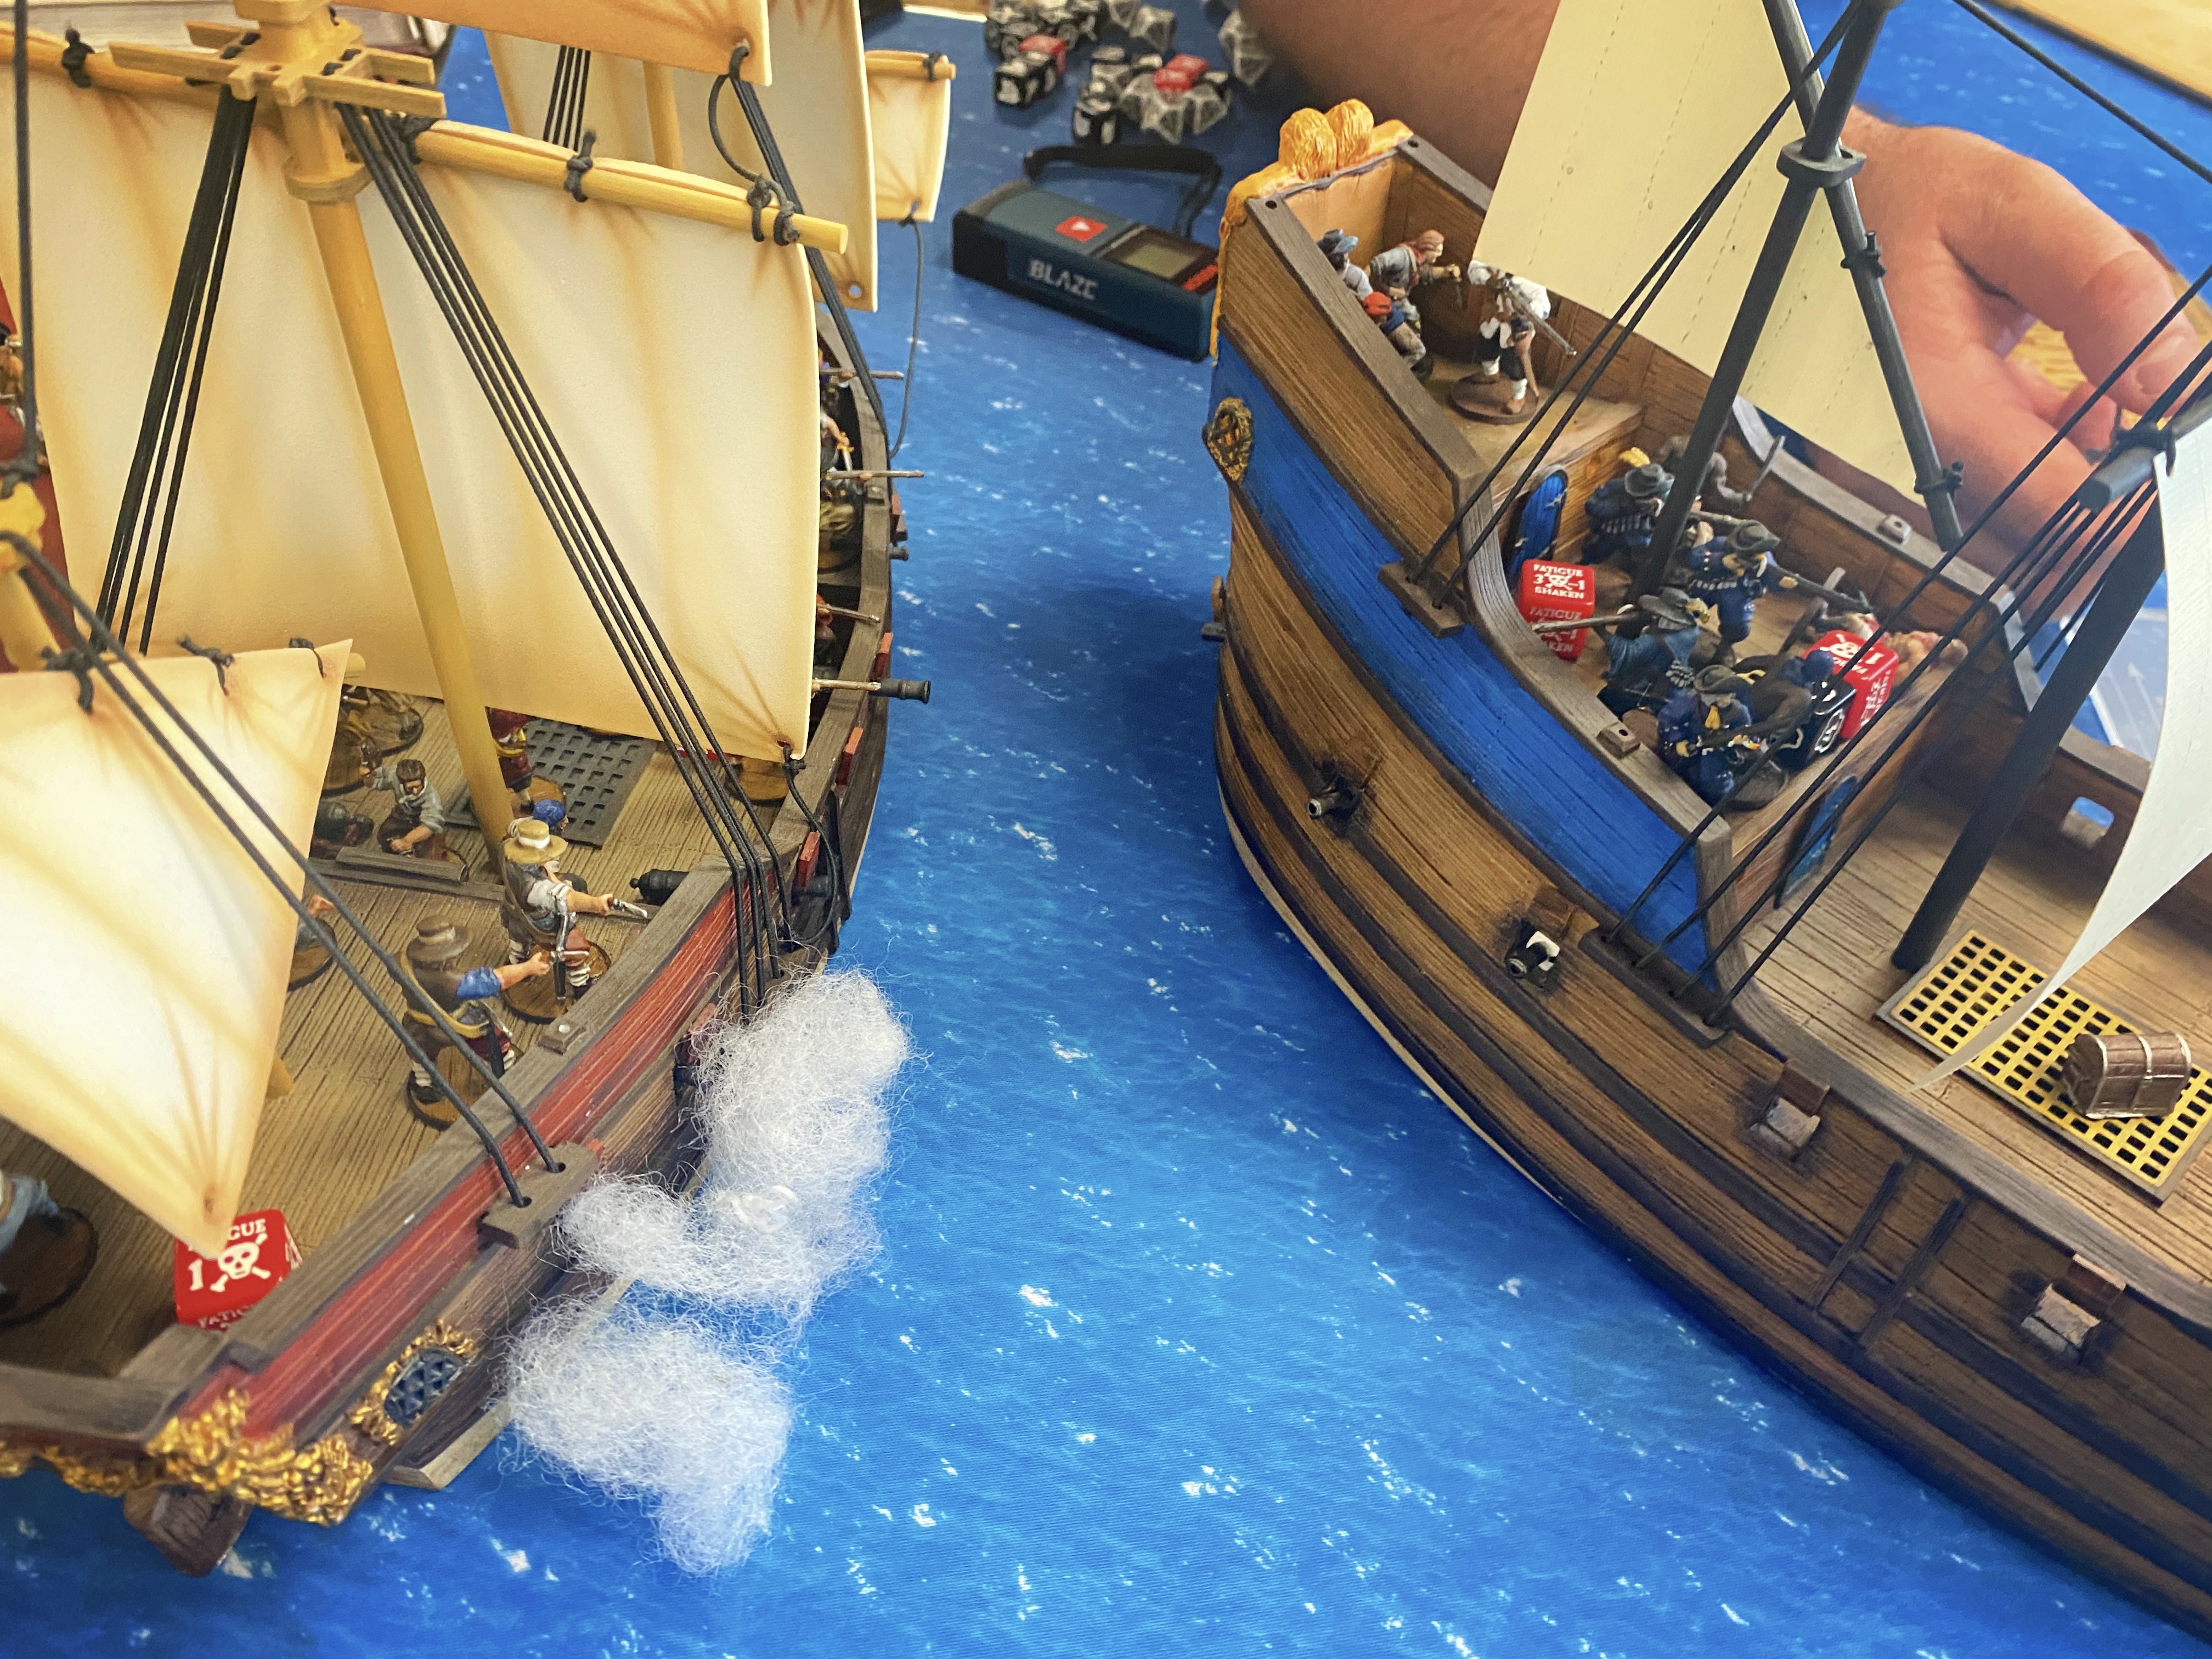
It was rough on for the Spanish as it was! After placing my frigate I drew my hand of 7 cards (much more enjoyable than 2!) and I felt confident I could do well with the 13 of Spades. At less than 12″ I activated Zombie Coxon who was attached to a unit of Freebooters. Cannons at less than 12″ are deadly! Or should be! I got 1 damage on my first pair of cannons and used a Fortune to reroll to get 4 damage and a Lucky Leak.

My second pair of Medium Guns scored 2 hits and a lucky Hit Fire. Leak and Fire is a nasty combo! This was all targeting the front deck is the Fluyt which contained the Spanish Commander but even with all those hits, only 1 Marinero was killed and with the commander present, the minimum crew requirements were still met! I really wanted to knock out a gun!
That 13 of Spades was very fortuitous! Firing off my 220 point Frigate at close range before Guy’s Spanish had time to react was a huge game changer. The Fire and Leak dramatically reduced the efficiency of the Spanish cannons for a turn as they repaired.
The Spanish returned fire in spite of the damage and got some good hits on my crew, killing a Sea Dog on my main deck and knocking out one of my precious guns! My Sloop took all of turn 4 to cross the eye of the wind and recuperate a little.
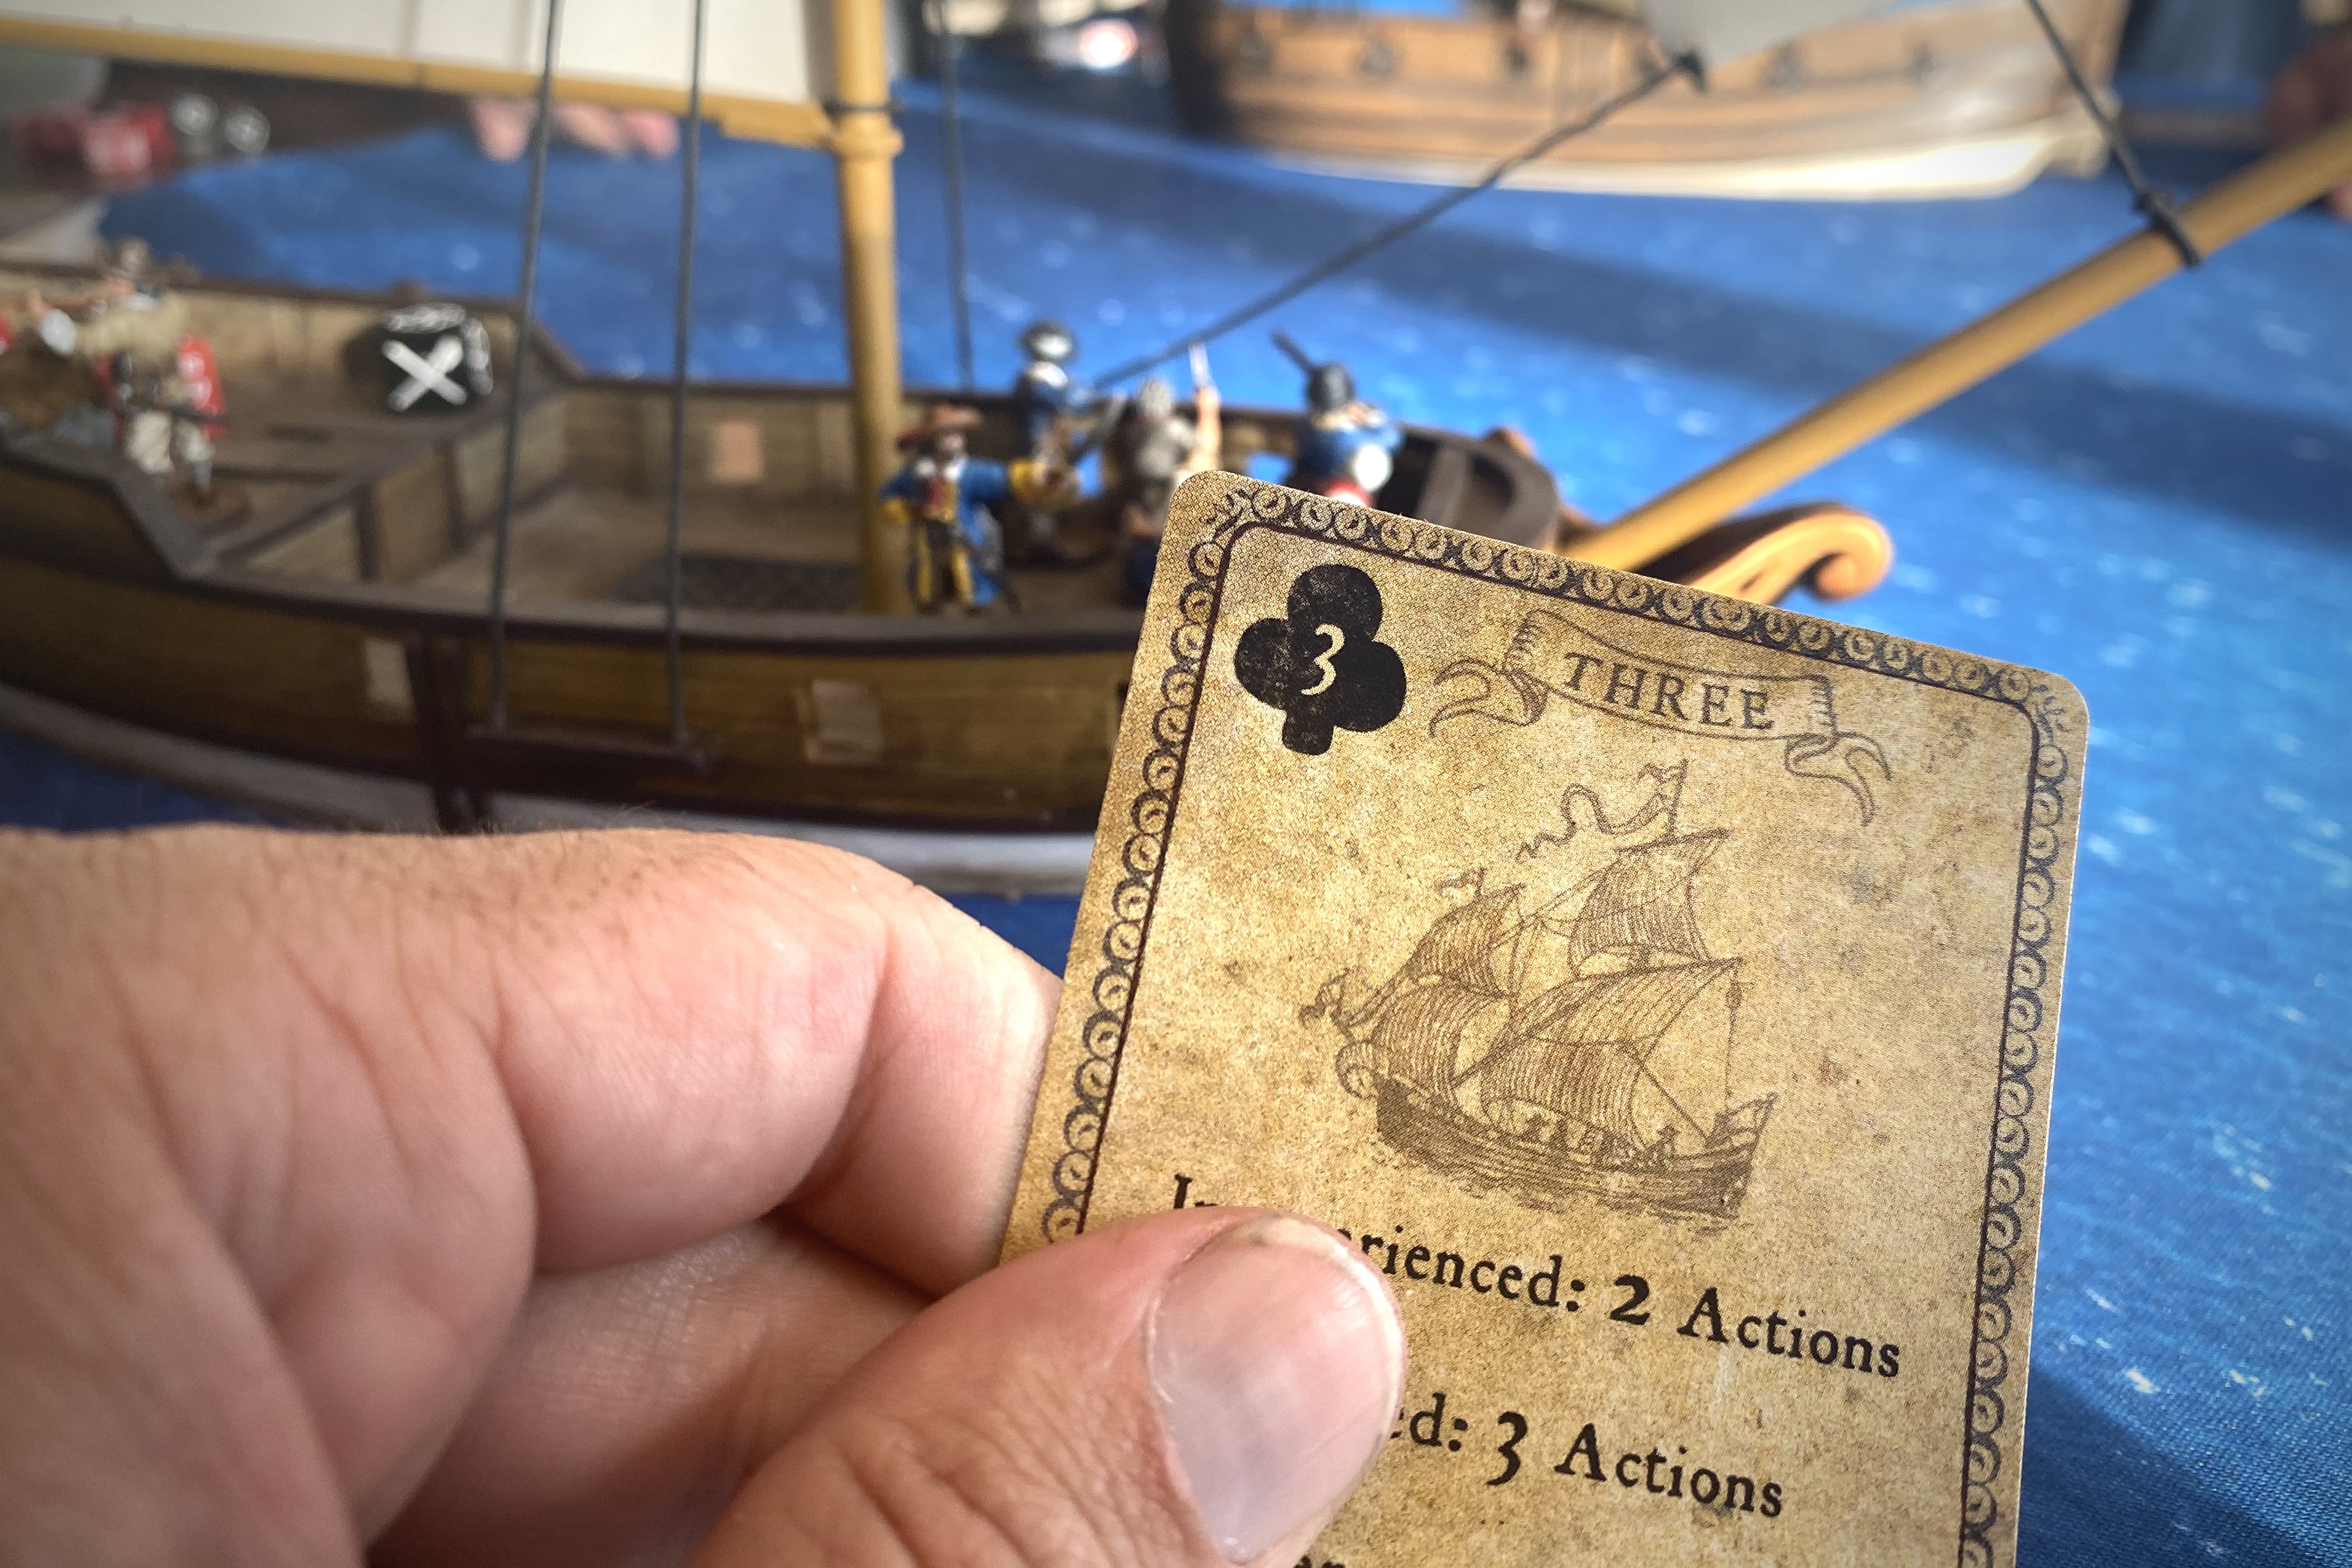
We both played a 7 of Spades on turn 5 and had to roll off for another important initiative.

I won the roll off and got to fire my cannons first again! With the Fortitude down to 3 and being at less than 8″, these cannons hit hard! This shot from the Frigate’s stern eliminated the Marineros with muskets on the Fluyt’s main deck and gave the Fluyt a genuine Critical Hit. A 10! Catastrophic damage! This caused a leak and the additional Critical Hit came up as another leak so each deck had a leak!
This was really the beginning of the end for the Spanish. If they had taken the first shot they might have been able to further break up my gun crew and minimize the incoming damage. But this shot gave them a strike for the catastrophic damage, a Strike for having a ship below half Fortitude and got the Fluyt out of the potential Spanish win condition.
The Spanish guns kept firing but they had the bad luck to roll a 1 on one of the ranging shots. In spite of the major damage on the Fluyt the English Frigate sustained more hits and was reduced to 4 Fortitude.
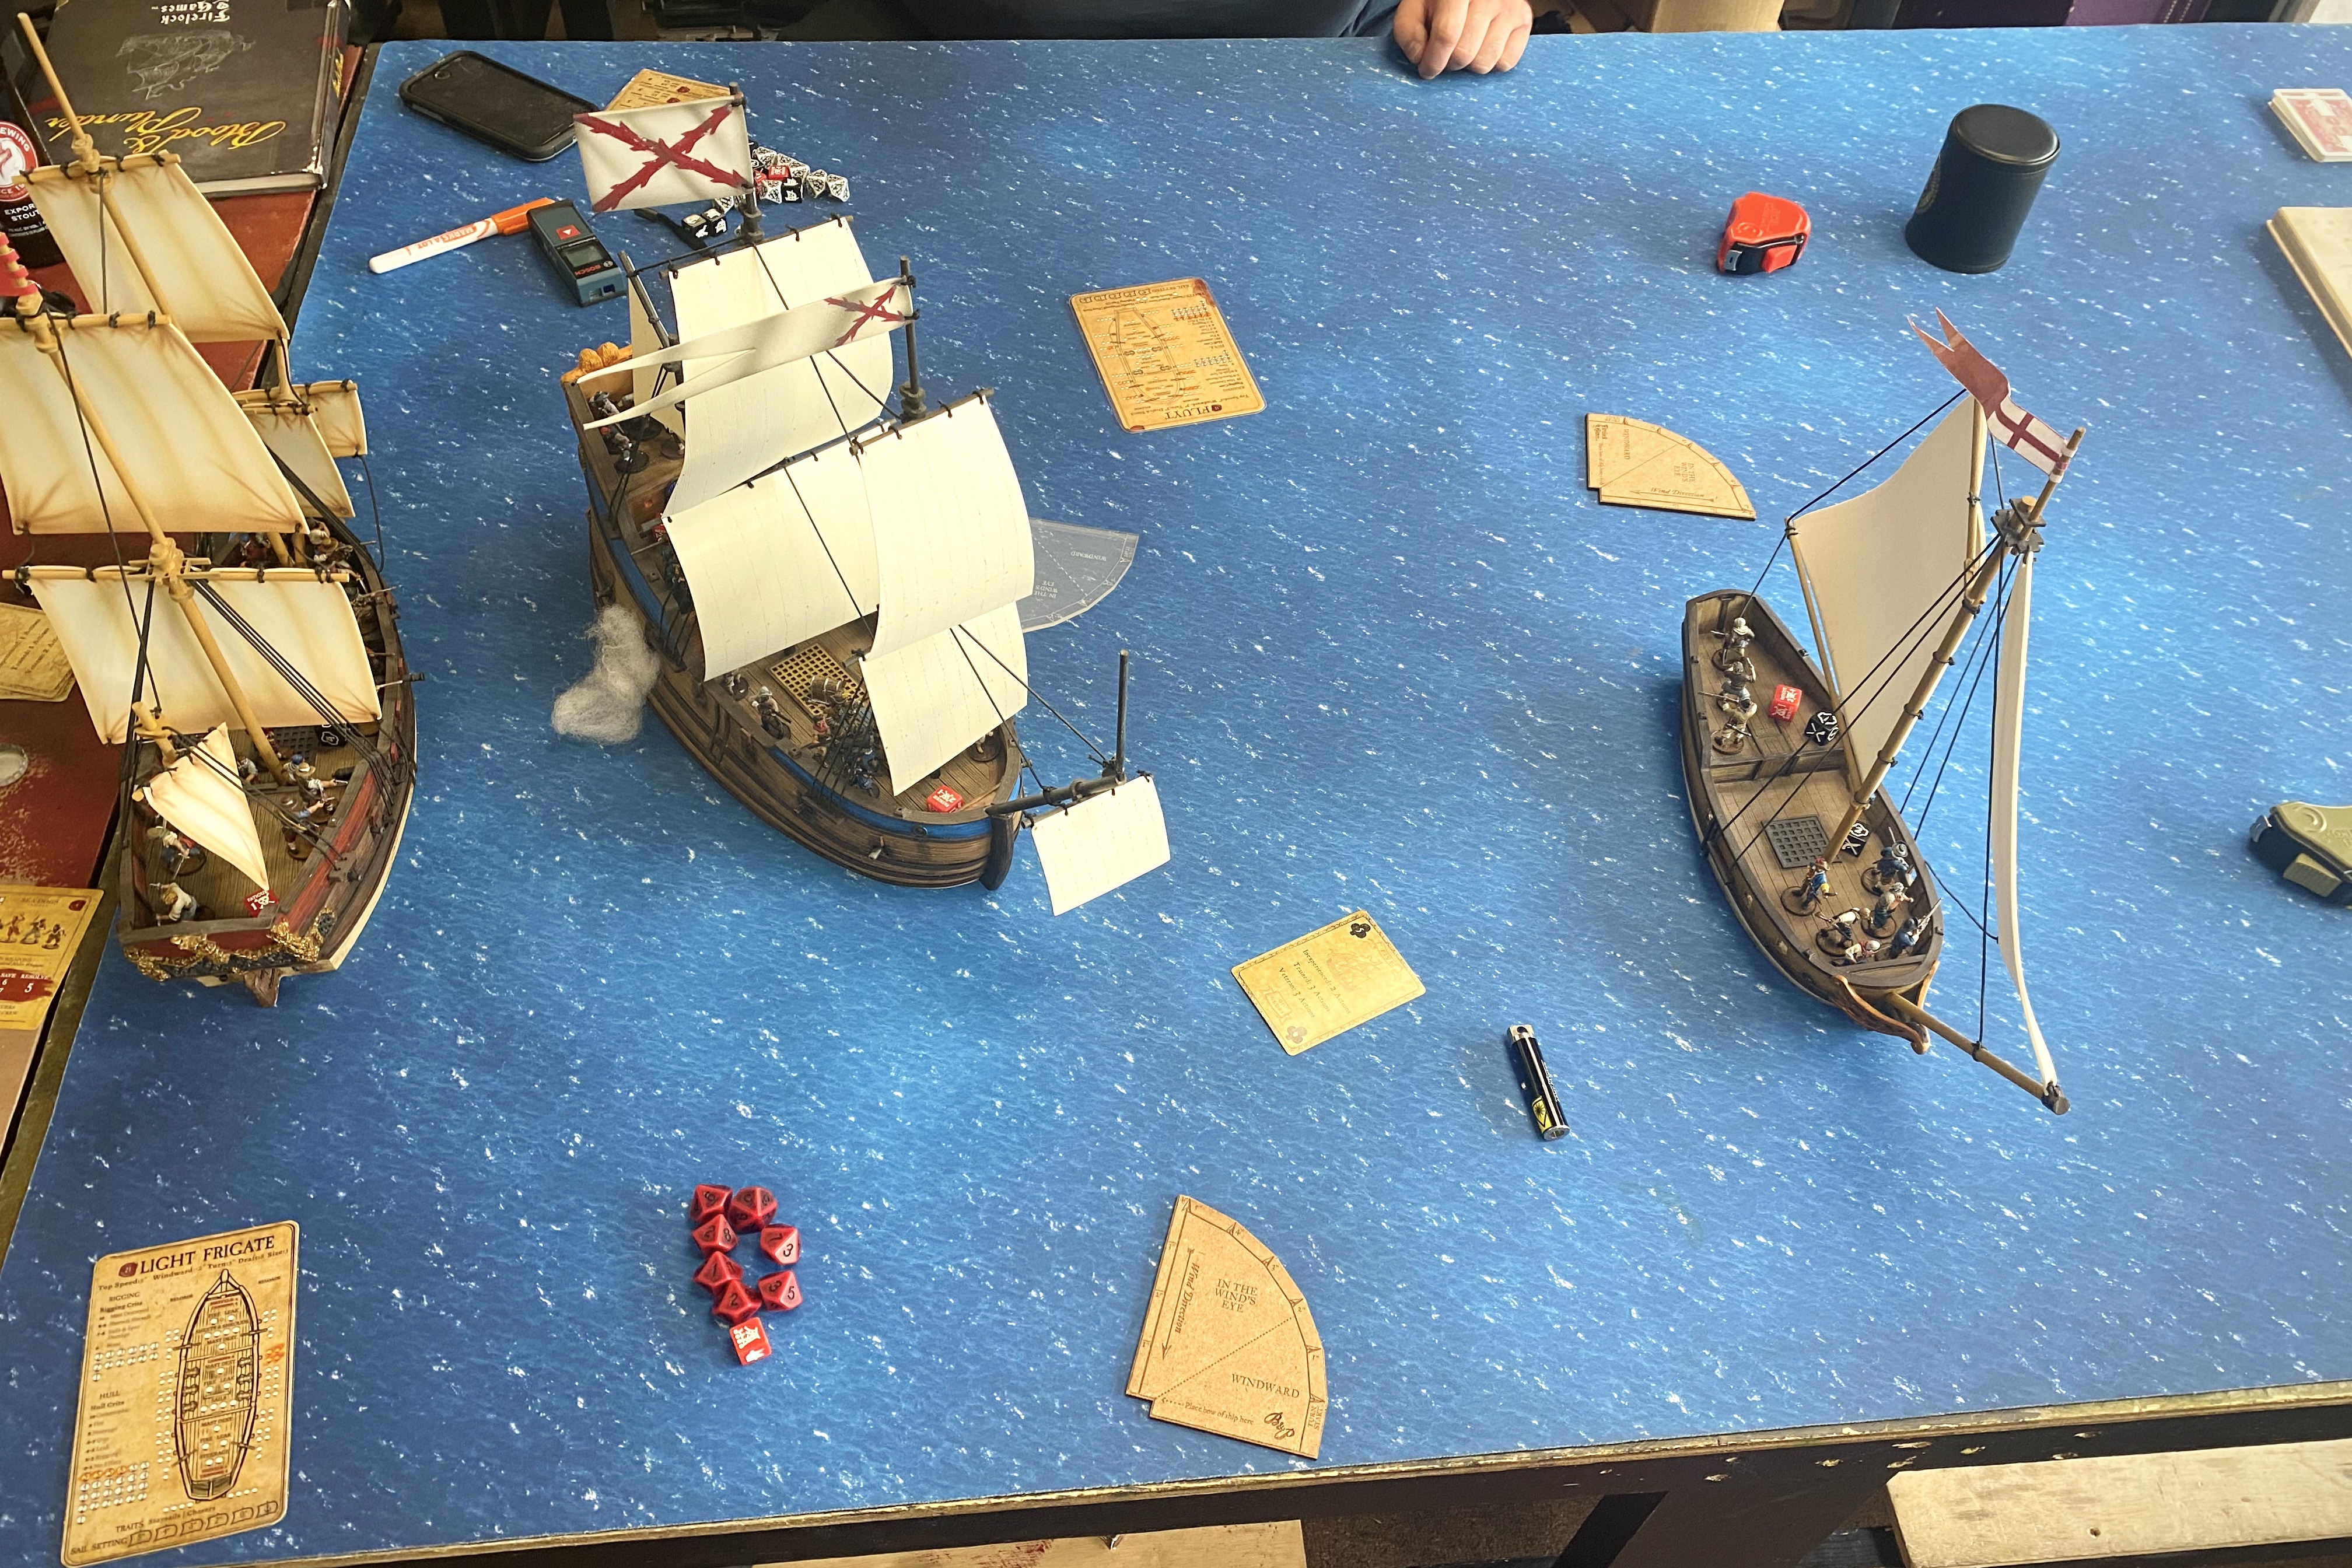
The Sea Dogs on the Sloop finally got some shots off on turn 5 and applied a bit of Fatigue to the battered Fluyt. Guy started to sail his Fluyt to towards my side of the board which forced my Frigate to attempt to cross the wind or scroll the board and take a wide turn down wind to pursue.
Guy managed to fix one of the 3 Leaks on his ship so only 2 had the possibility of spreading but neither did. The ship was still floating!
At the end of turn 5 we tallied the Strike Points:
- With only 8 casualties of 42 models, my English still didn’t have a Strike Point.
- The Spanish had 1 Strike for the Catastrophic Damage critical, another Strike for the Fluyt being below half off its hull value and 2 more for 50% casualties.
With 4 Strike Points, Guy rolled a Strike Test but his commander stubbornly refused to quit!
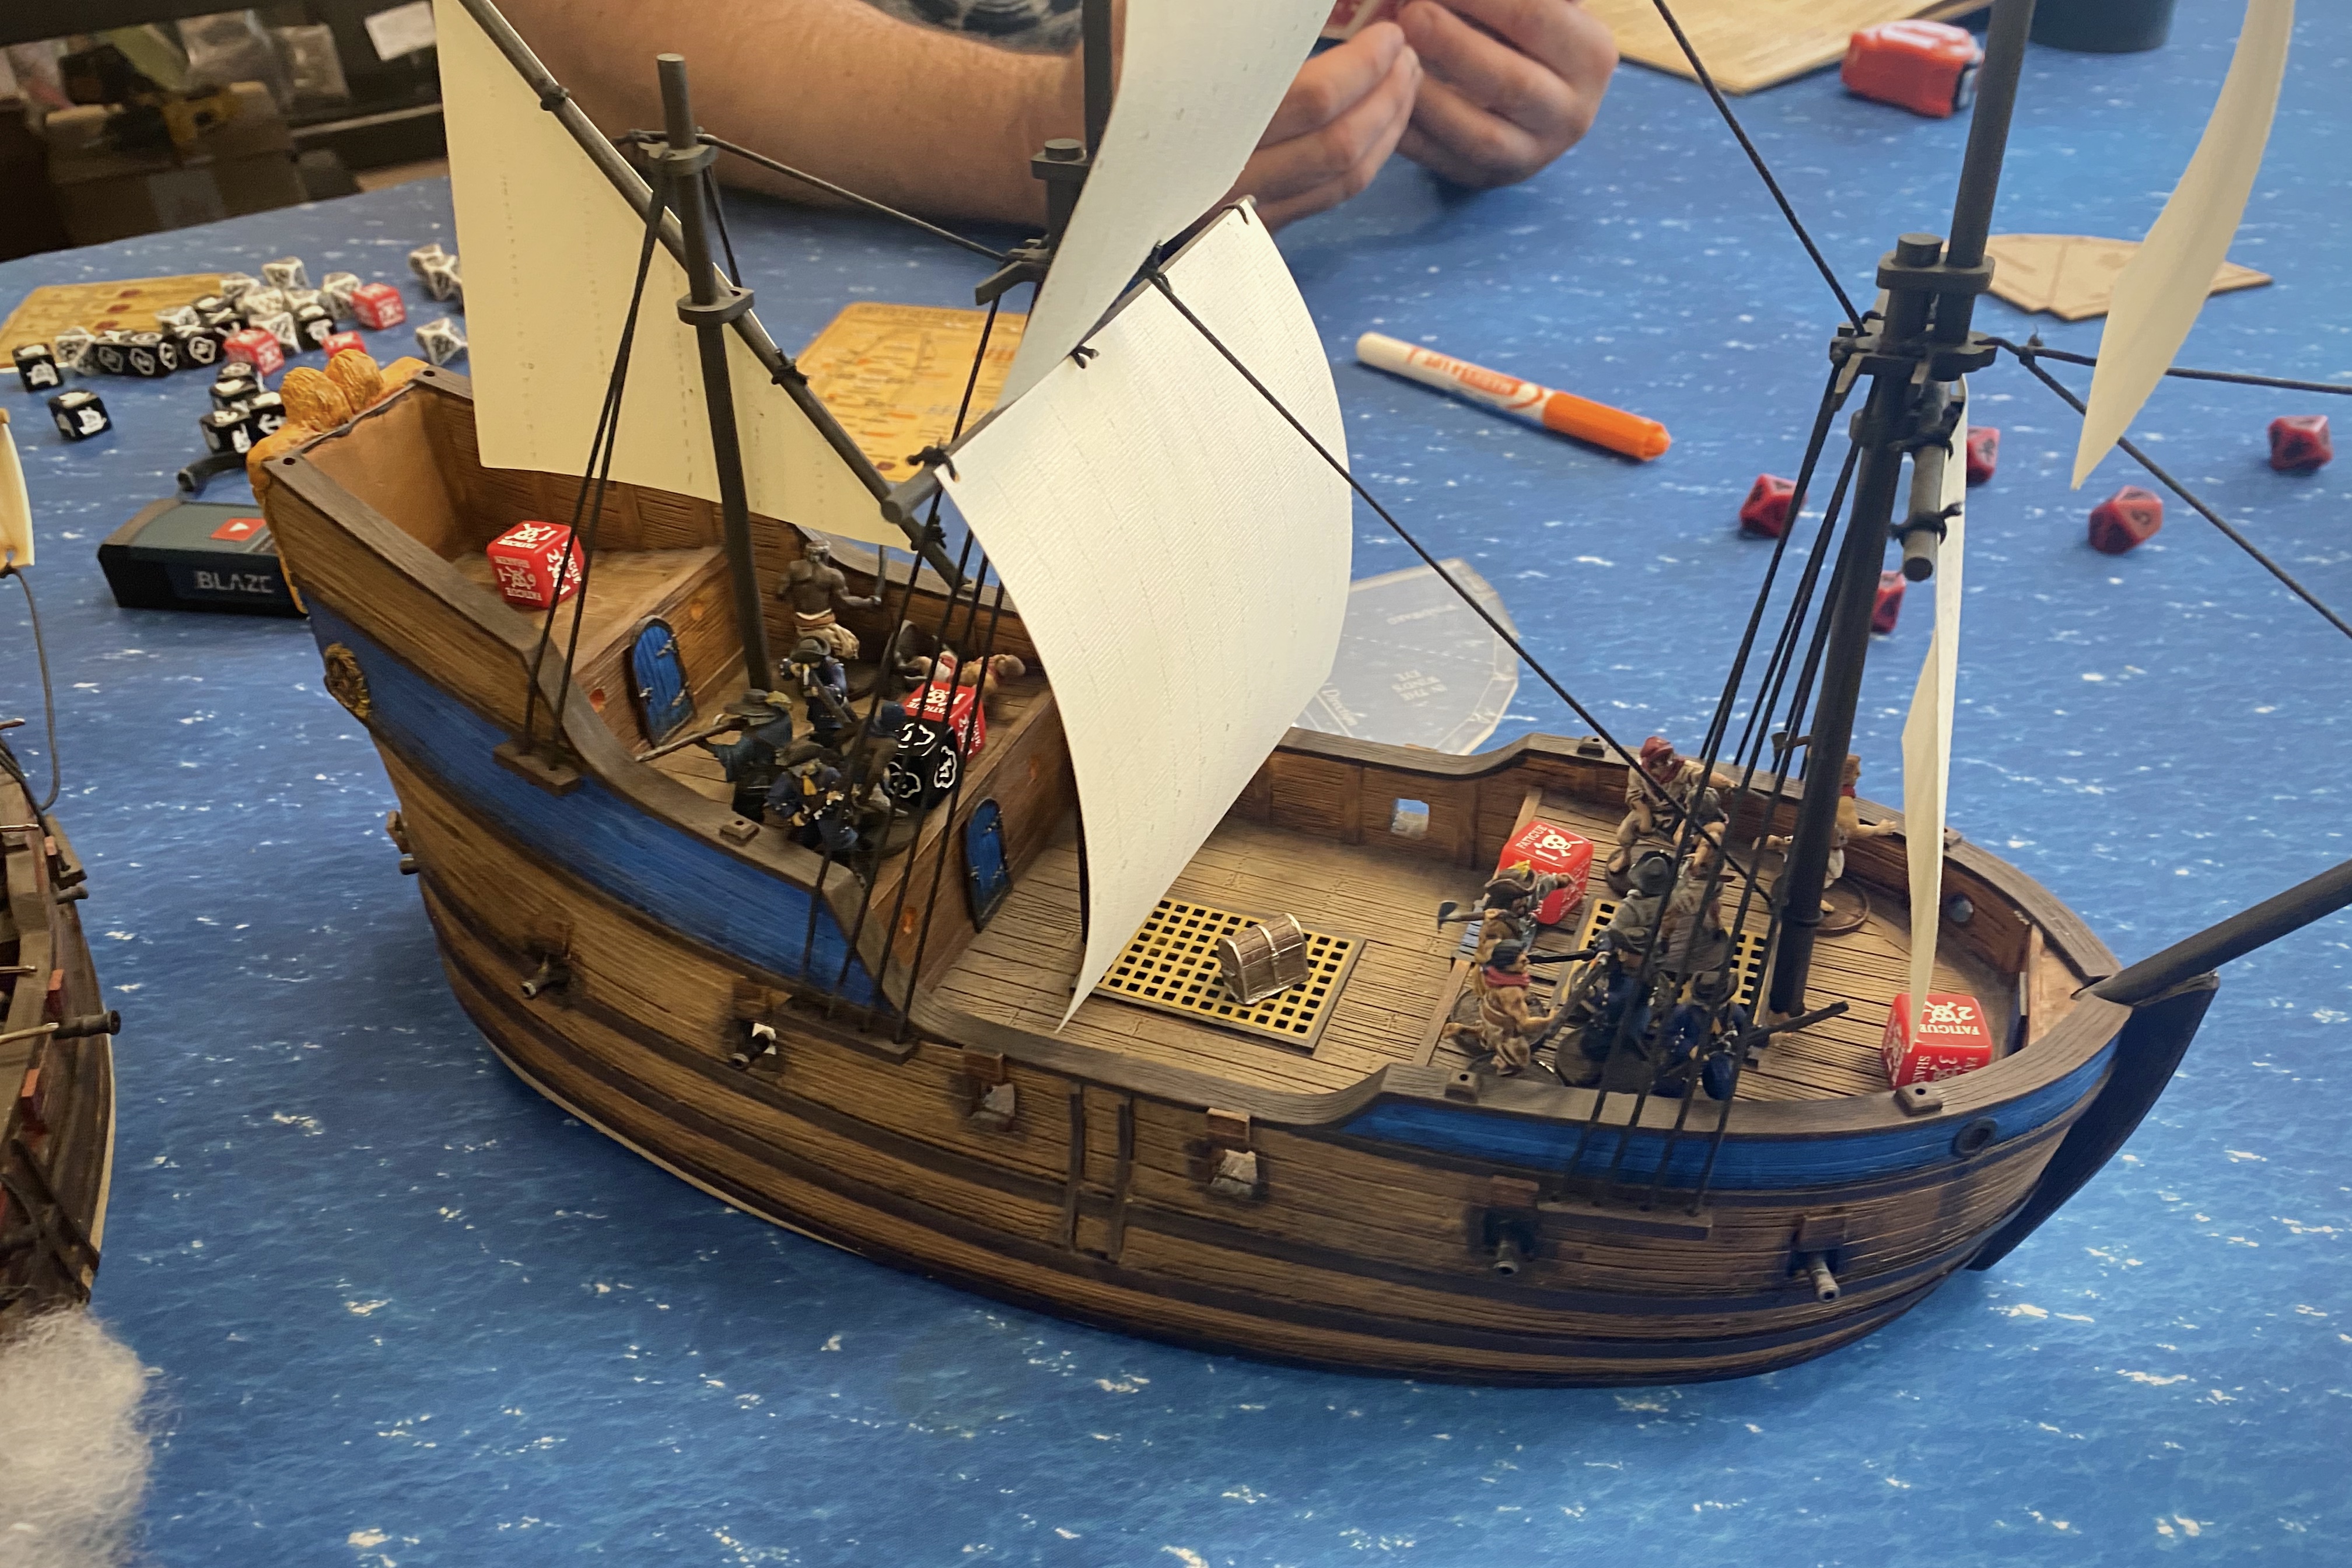
So we continued to turn 6! At this point Guy was only drawing 3 cards to my 7. Guy took the initiative and made good use of his stern chasers! He lined up a perfect shot on the Frigate which was making it’s way into the wind and got a couple hits in further messing up my main deck’s cannon crew!
But now the time had come for the mouse of a Sloop to get its revenge!
I made a successful grapple, then charge with my second action. The Spanish command unit broke and retreated the main deck.

The Officer proved his quality by providing a Command Point to do another Dedicated Fight action to finish off that unit leaving only 2 smaller units in the poop deck.

At this point we called the game. With only a few Spanish left, the outcome of the game was decided at this point.

The Spanish had a total of 21 casualties and the English took 7 casualties.,

Post Game Thoughts
- This was a strange game. Very lopsided with the advantage switching halfway through the game. It’s a fun idea! The first half was just a cat and mouse game with the Sloop doing all it could to get away from the stronger Fluyt. I broadside with decent dice results could have been disastrous and if boarded, the Sloop’s crew had no chance of defending vs the quantity and quality of troops on the Fluyt. Then on turn 4 the tables turned and the Spanish were suddenly outnumbered 1.5 to 1 with the Frigate showing up right new to the Fluyt and causing havoc. In general I like asymmetry in games but this might have been more than enough. The Sloop certainly wasn’t competitive with Fluyt in a meaningful way. I was surprised to see that there was a reward in the next scenario if the English capture the Fluyt before the end of turn 3. You get a reward if you capture the well-armed 200 point Fluyt with 56 points of Sea Dogs. I don’t see that happening. I did the math and each unit of 6 Sea Dogs would have to kill 5 Spanish on every activation in the first 3 turns to clear that ship. That would truly be impressive!

- Then when the Frigate showed up, it had the advantage of being fresh and choosing its placement which is a big deal! I also got lucky with that 10 critical hit! I think it was still a competitive game until that moment.
- I went into this game with fear and trepidation fully expecting my Sloop to get destroyed and I was pleasantly surprised. The dice gods betrayed the Spanish cannons and the Sloop survived.
- I’m not sure it was the fairest of games but it was entertaining. I think it could be made “more fair” by adding another unit to the starting English Sloop. Moving one of the units of Freebooters from the Frigate to the Sloop would have made a huge difference. That would have let the Sloop have more control of movement during the first few turns instead of being forced to use a residual movement at the end of a turn. It would have also given the English some small arms that were a little more threatening than the Sea Dogs’ muskets. Some swivel guns on the Sloop would have helped a lot as well. Sea Dogs are great on the cannons but they are not good with muskets and they aren’t that scary in melee either.

- If we were to play it again with the historical forces, I would probably tweak the cannon crews a little to make those cannons a little more reliable. Both sides have the goal of either destroying or reducing the enemy’s ship to half Fortitude. Having skeleton crews on your cannons means that if you lose one man, you’re cannon firepower goes down by a full 25%. I would be happy to take pistols off all the 6 model cannon crews on both ships and add another 2 models. While assigned to the cannons their pistols won’t do a bit of good anyway so I find it much more reliable to reduced their cost to 3 points and add a couple more models to keep the cannons going longer when casualties start to mount. 8 men on two medium cannons is much more comfortable than the minimum of 6. Guy was smart to move his commander to the artillery crew he knew would be taking hits. It kept that gun going through most of the game. That unit was truly unbreakable! I shot at is so many times but they would make their Save nearly every time! Heroes of Spain, every man.
- Guy kept his cannons firing very efficiently but both of us missed the Master Gunner. Getting that extra reload every turn on whichever deck needs it is a big help. If you play “perfectly” you can keep your cannons firing every turn for 4 turns with a Master Gunner around. Without that extra action and Expertly Artillery Crew on the Marineros, it was not possible to get the same value out of those important cannons.
- Knowing I only had 3 turns to use the Frigate, I pushed several of the units to get extra actions and fire as fast as possible while I was close to the Fluyt. It came back to bite me a little on the last turn or so, but by that time the game was decided so I didn’t feel bad about pushing them. It’s always a hard decision. If I push to get that fire again sooner, I could really gain the upper hand, but if I push and then get hit, my men will be nearly/completely useless next turn! Hard decisions! But I do like to push…

- Zombie Coxon’s Very Inspiring bonus ability didn’t do much… Coming in fresh on turn 4 meant I could push my men on the Frigate and try to ignore the Fatigue. I think I only rallied anyone on the Frigate once.

- This game could be very different by building your own forces using the basic guidelines. It doesn’t specify how many points can be devoted to the English Sloop vs Frigate. The only limitation is that the Sloop can’t have artillery (which also covers Swivel Guns). If you loaded that Sloop with 120-180 points of Freebooters, Veteran Freebooters or Boucaniers, that first half could be a very different game. The Sloop would still have to duck and dodge those cannons and hope it didn’t get hit, but their muskets would at least be bit of a threat to the Spanish.
- The Fluyt isn’t the strongest ship in Blood & Plunder but it functioned well in this game. It inspired me to try to work it into a list of my own again soon.

Thanks for reading! We plan to continue the Buccaneer’s Companion campaign but we might create our own forces using the history as a guide. The next scenario is a land game using some fortifications and we’ve decided to do it a 500 point Army Scale level to get it closer to the true number of men actually involved.
Look for the return of Zombie Coxson soon!
Thanks to Guy for playing a good game and being a good sport in spite of the catastrophic damage and thanks to Mr Nate Zettle for creating these scenarios!
Pingback: Battle Report: The Buccaneer’s Companion Scenario III – The Battle of El Real Santa Maria | Blood & Pigment
Pingback: Buccaneer’s Companion Vol. 1 Review | Blood & Pigment
Pingback: Battle Report: Buccaneer's Companion Scenario IV - The Battle of Perico - Blood & Pigment