After playing a quick 2-turn game pitting the Natives vs the French Buccaneers, Bryan and I decided to play again but I would swap out my Natives for a 200 point Guarda Costas Force.
The Forces
Bryan ran essentially the same French Buccaneer Force as the last game except he swapped out the Carpenter for a Grizzled Veteran which turned out to be unfortunate.

Bryan’s French Buccaneer Force consisted of:
- A unit of 10 Flibustiers with Alexandre Bras de Fer (Iron Arm) as a commander
- A unit of 6 Flibustiers
- A unit of 6 Kapers
- A unit of 6 Marins with no pistol with a Master Gunner attached
- A Sailing Master, Reformado and Grizzled Veteran, each attached to one of the units, but I’m not sure how they were attached.
- A Corvette with two Swivel Guns in the front

Iron Arm is a fantastic commander for the French Buccaneers. For only 5 points more than the generic Experienced commander you get Lucky and Inspiring, both very useful abilities.
I hadn’t prepared a list for this game so I just grabbed one from my pre-built forces on the Force Builder.
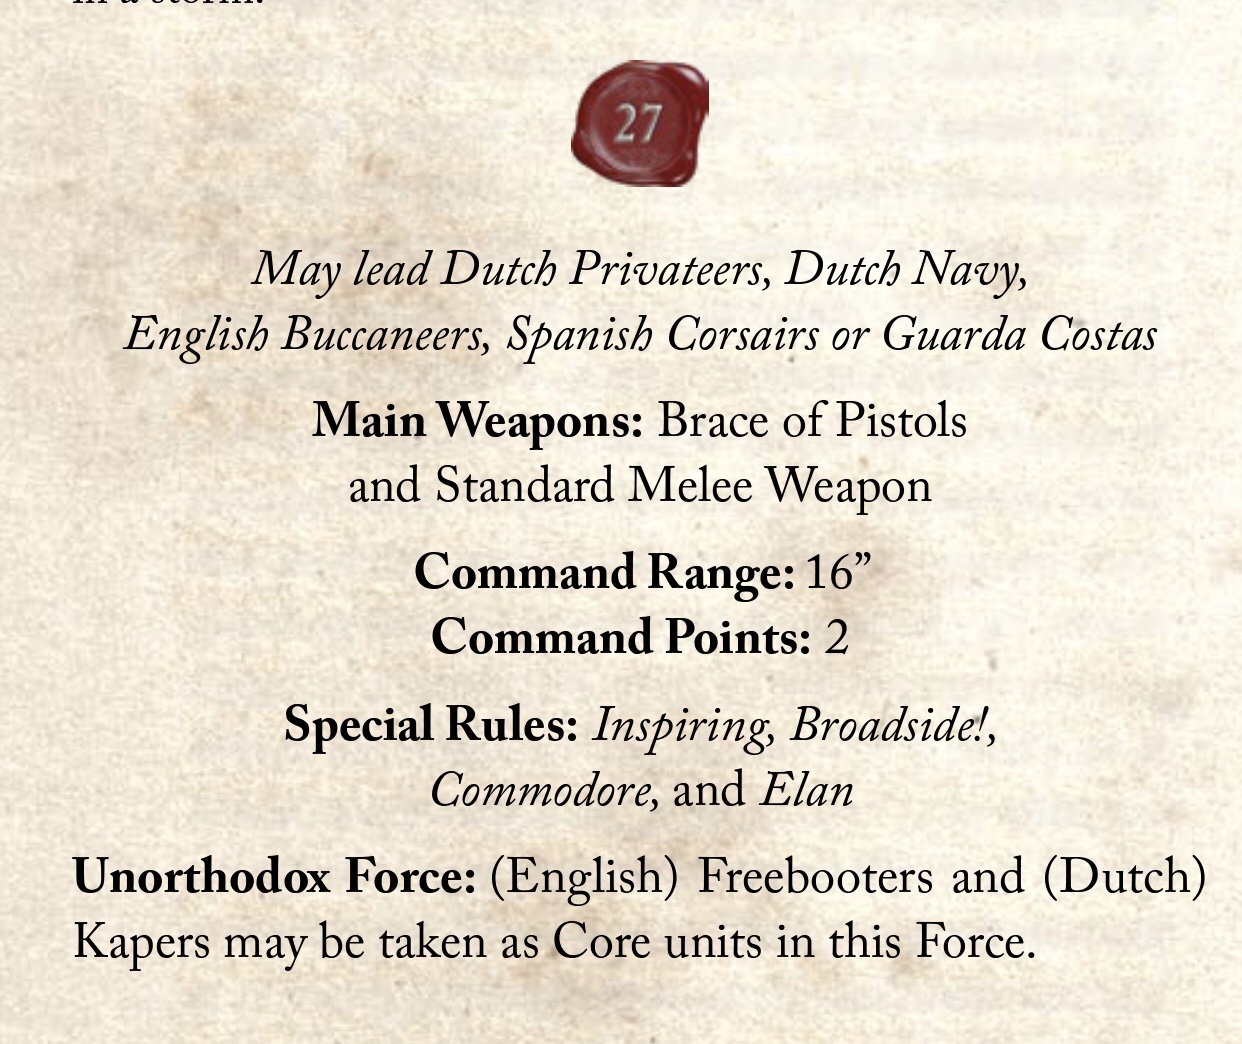
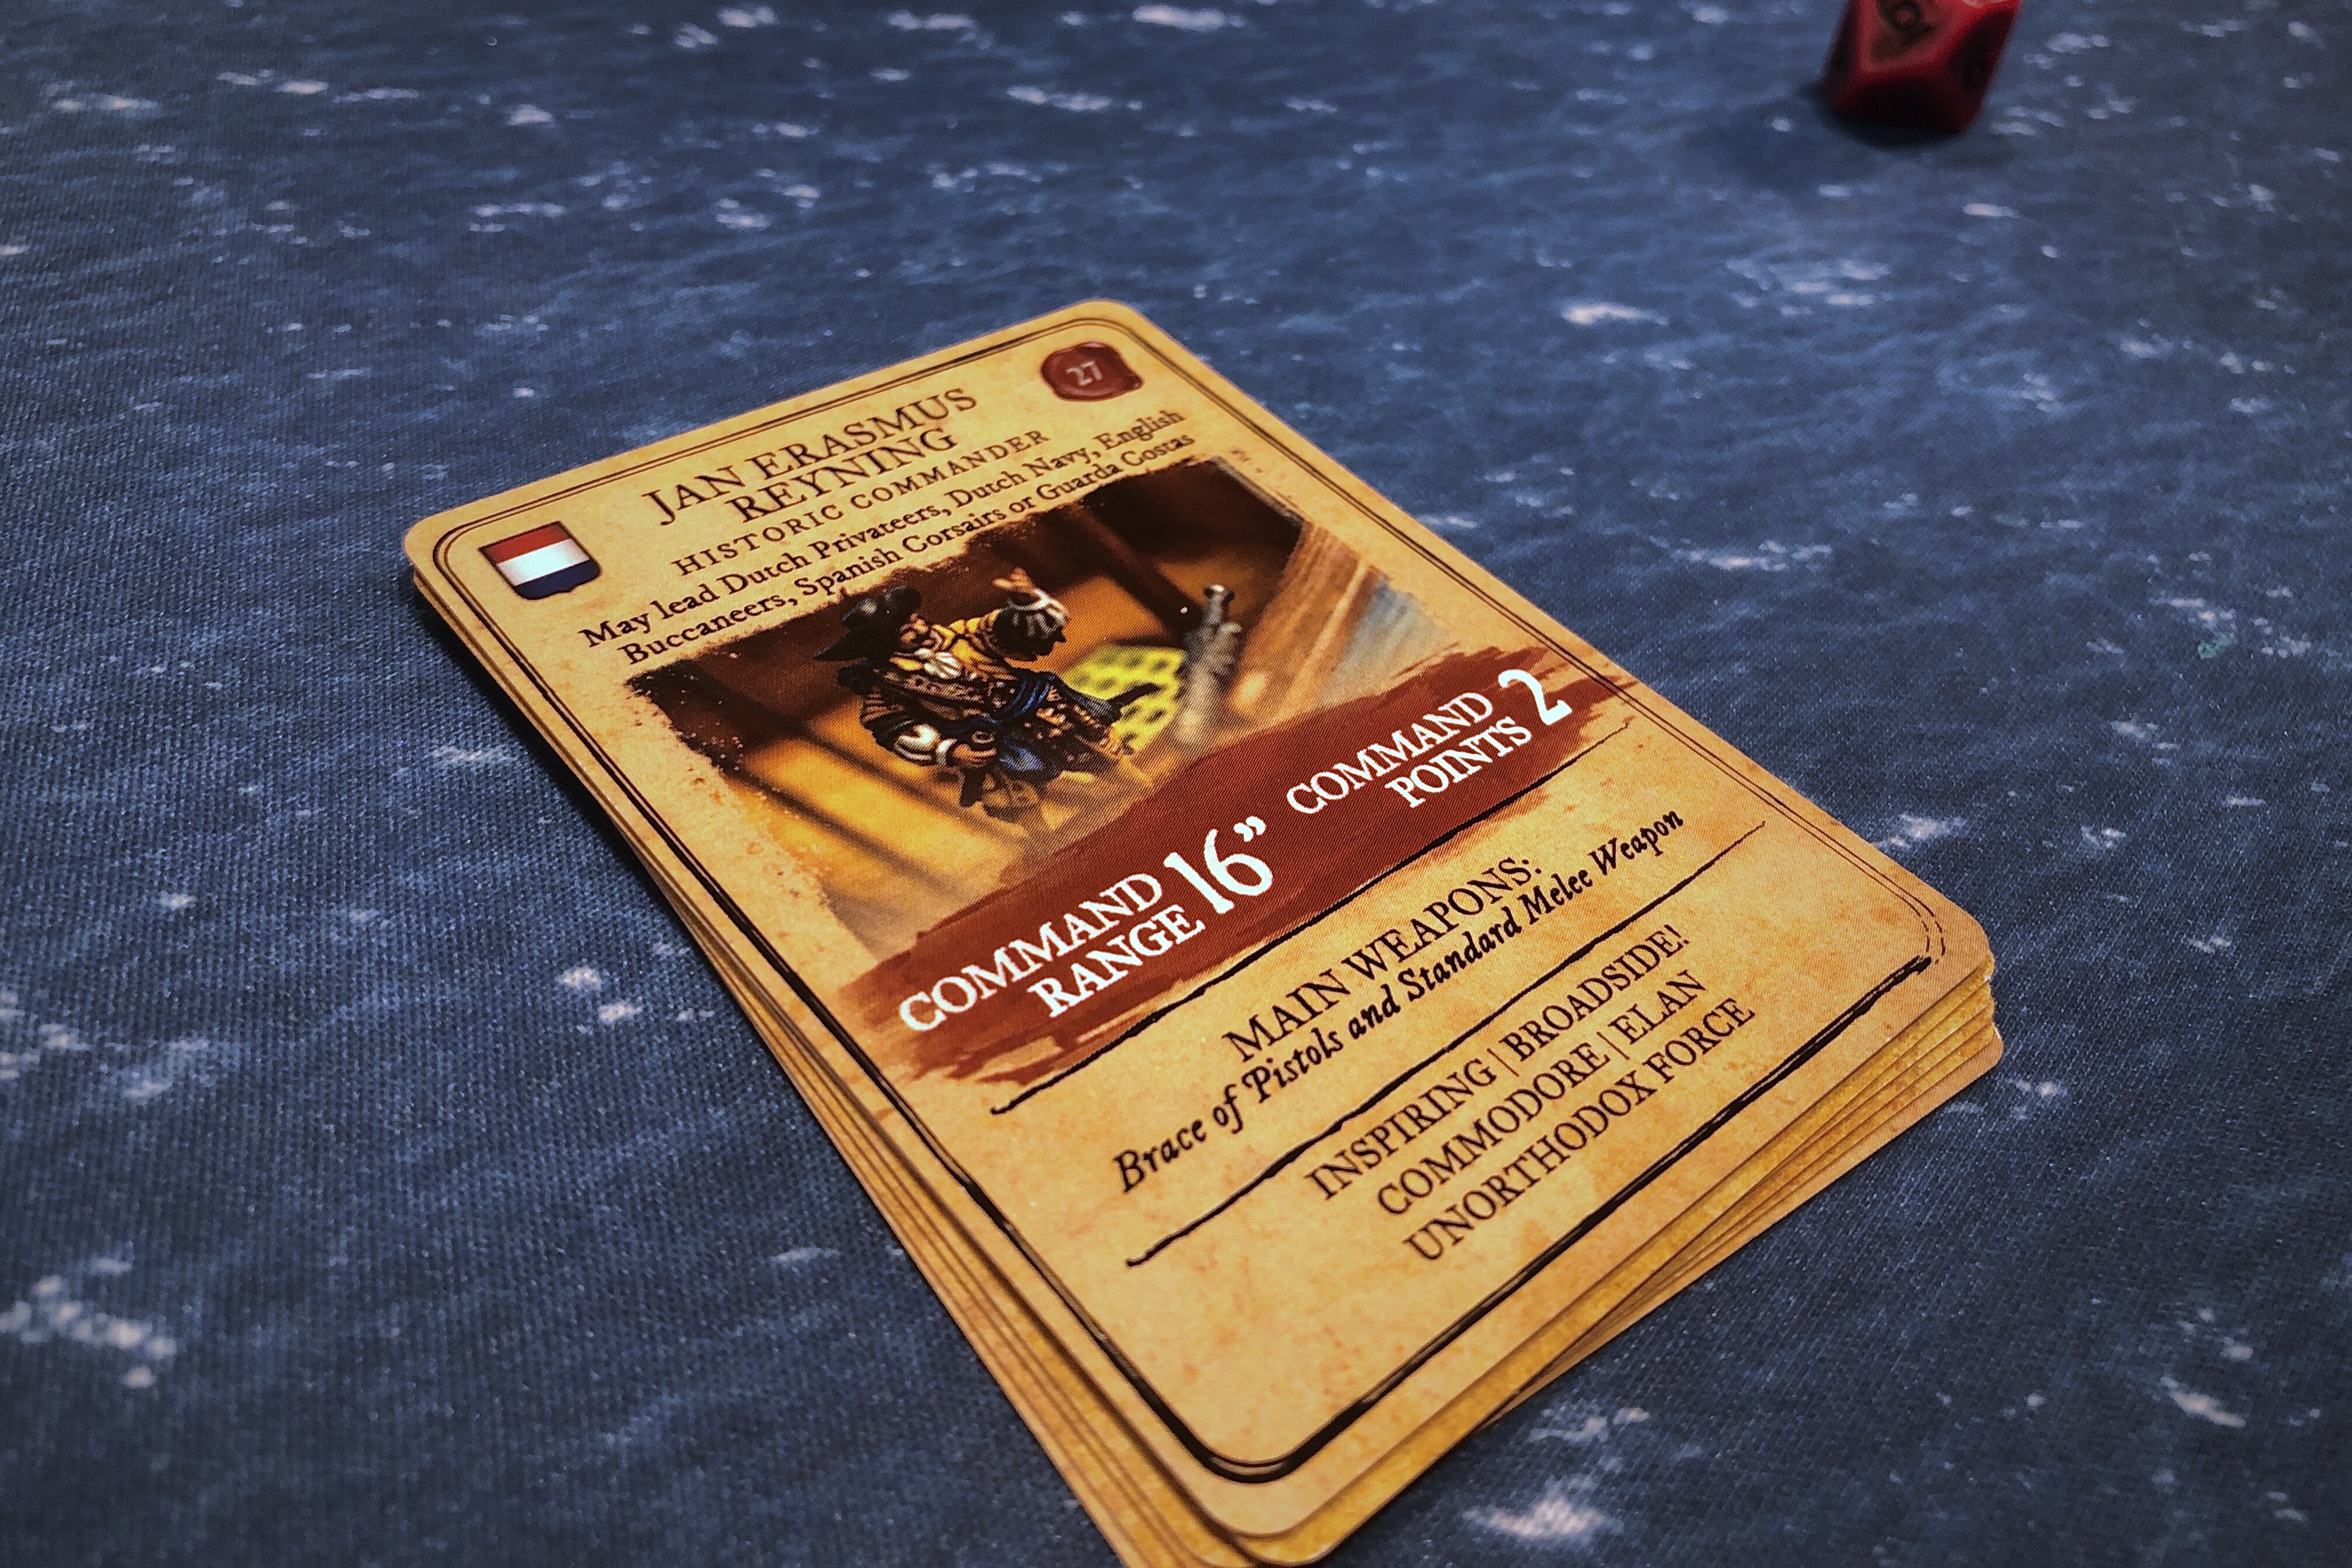
I picked this Force just because I’ve been wanting to try Reyning and I haven’t played my Brigantine for over a year and I needed to play it again!

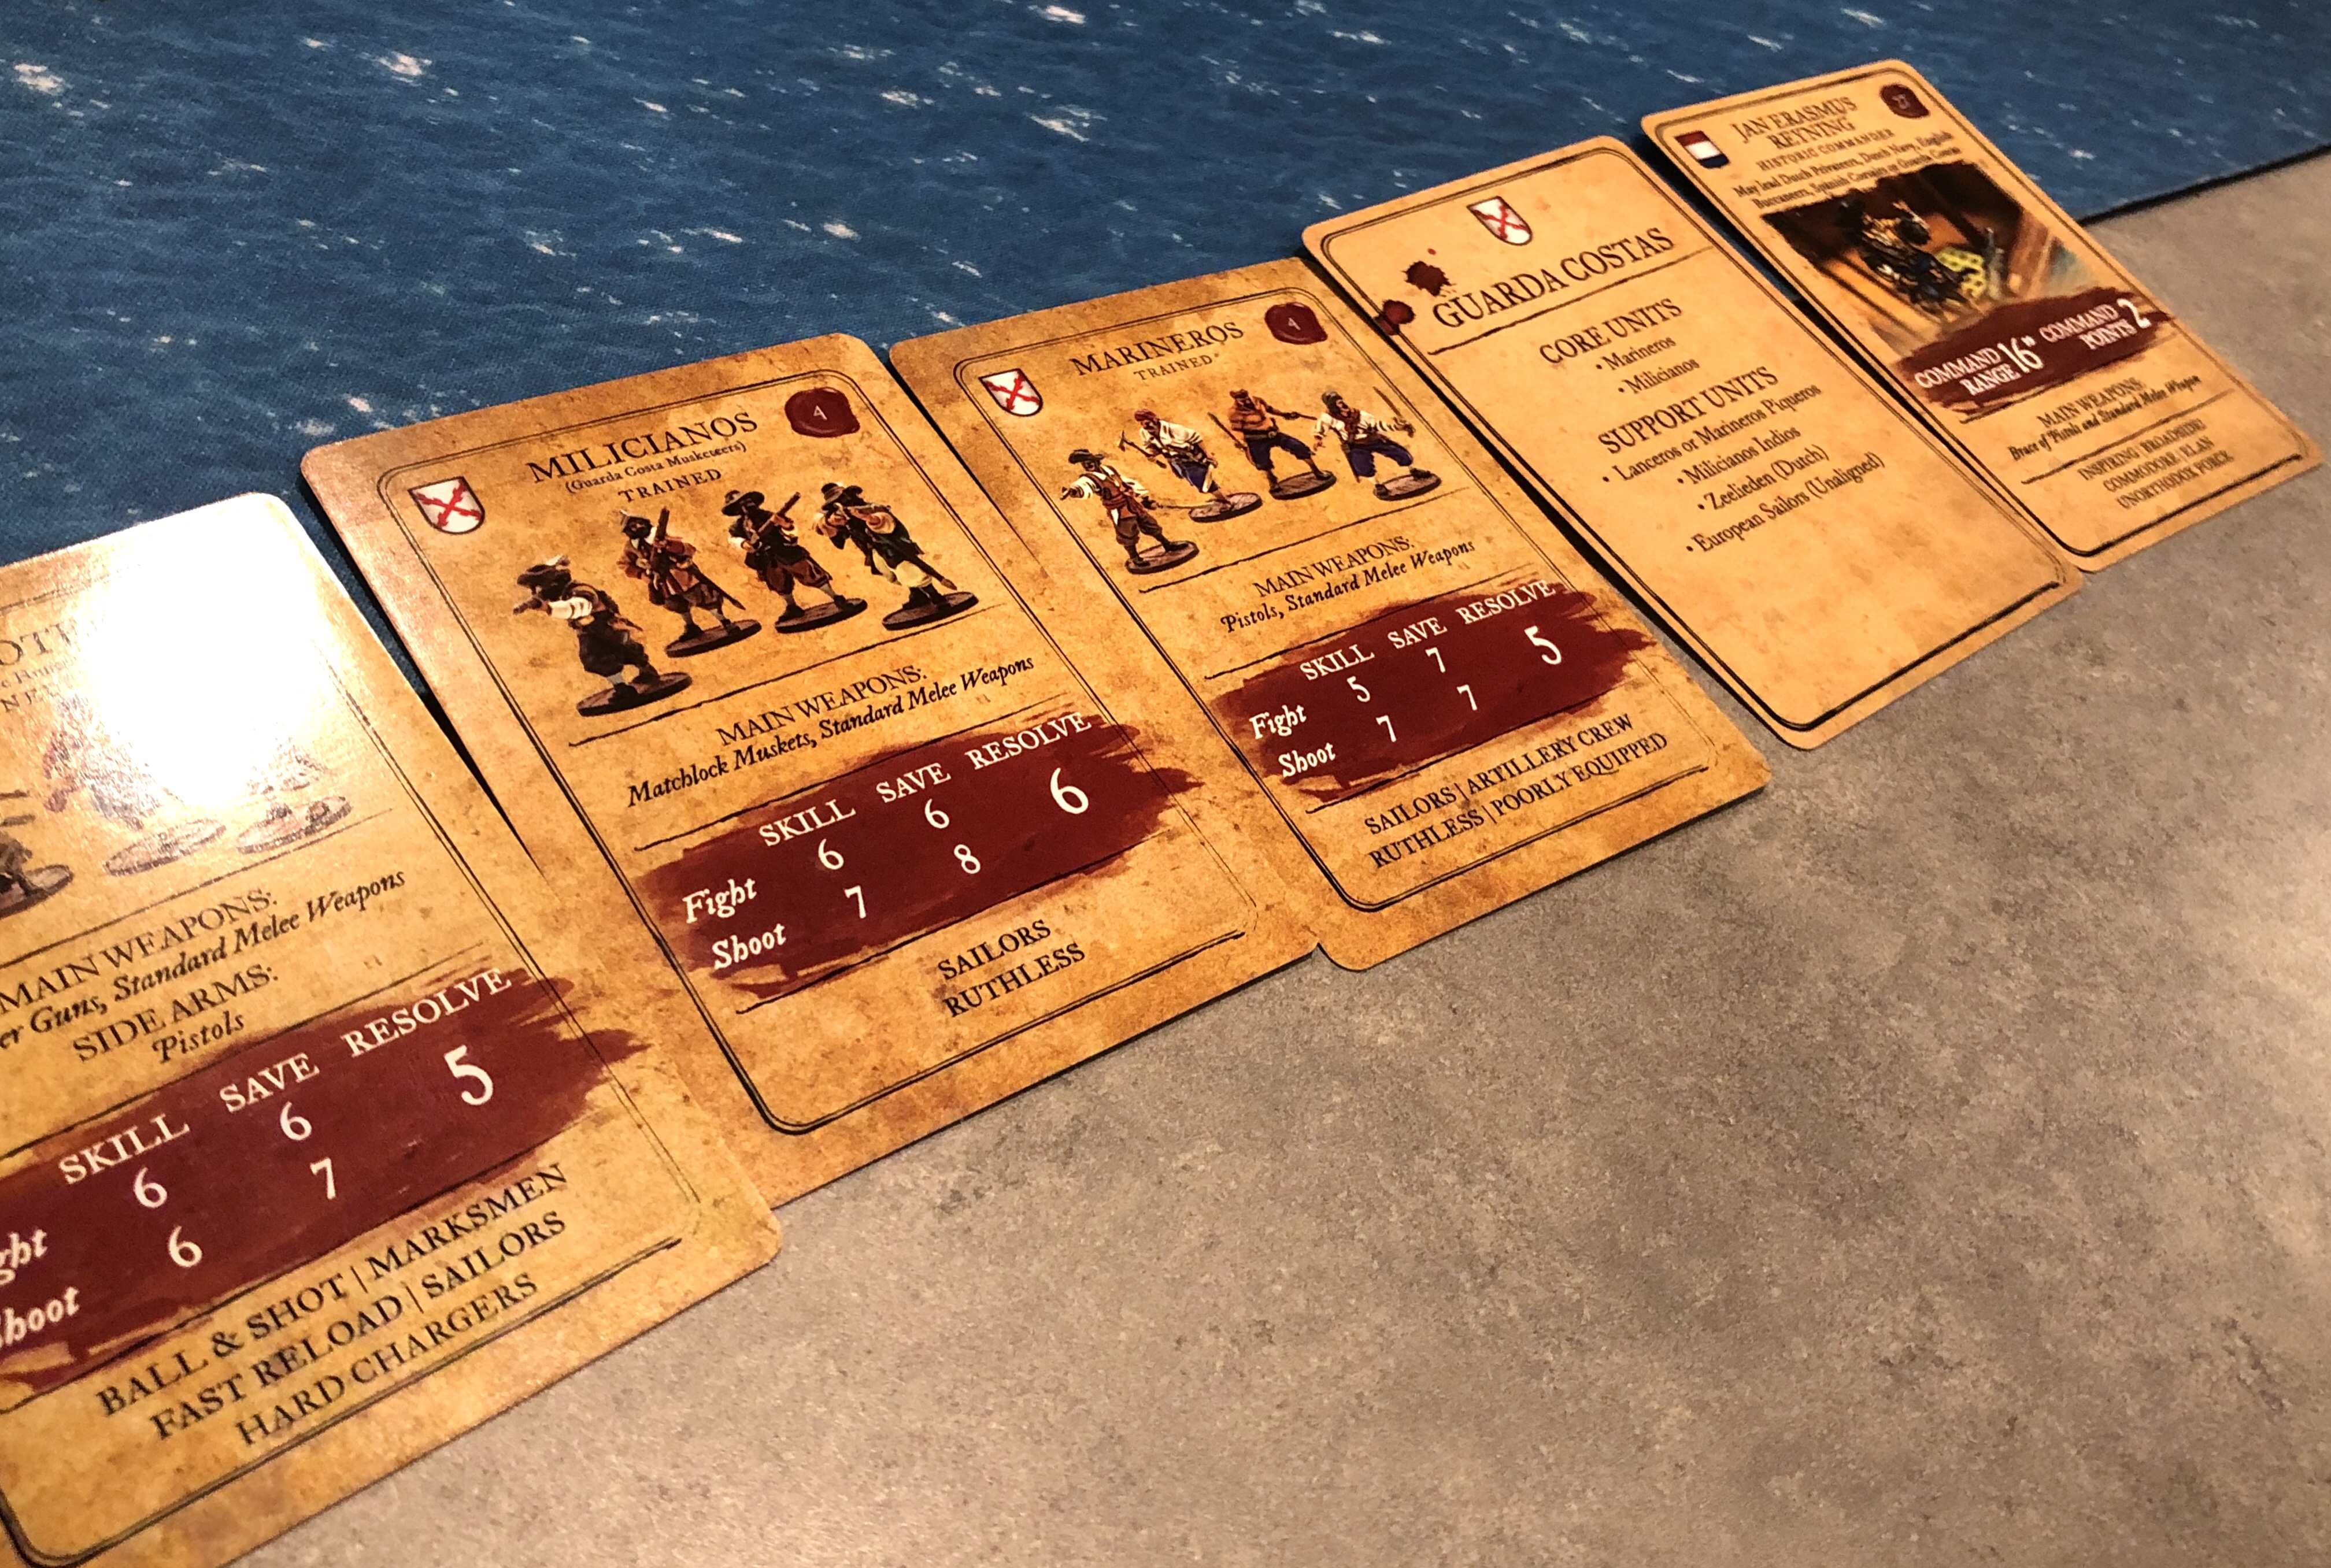
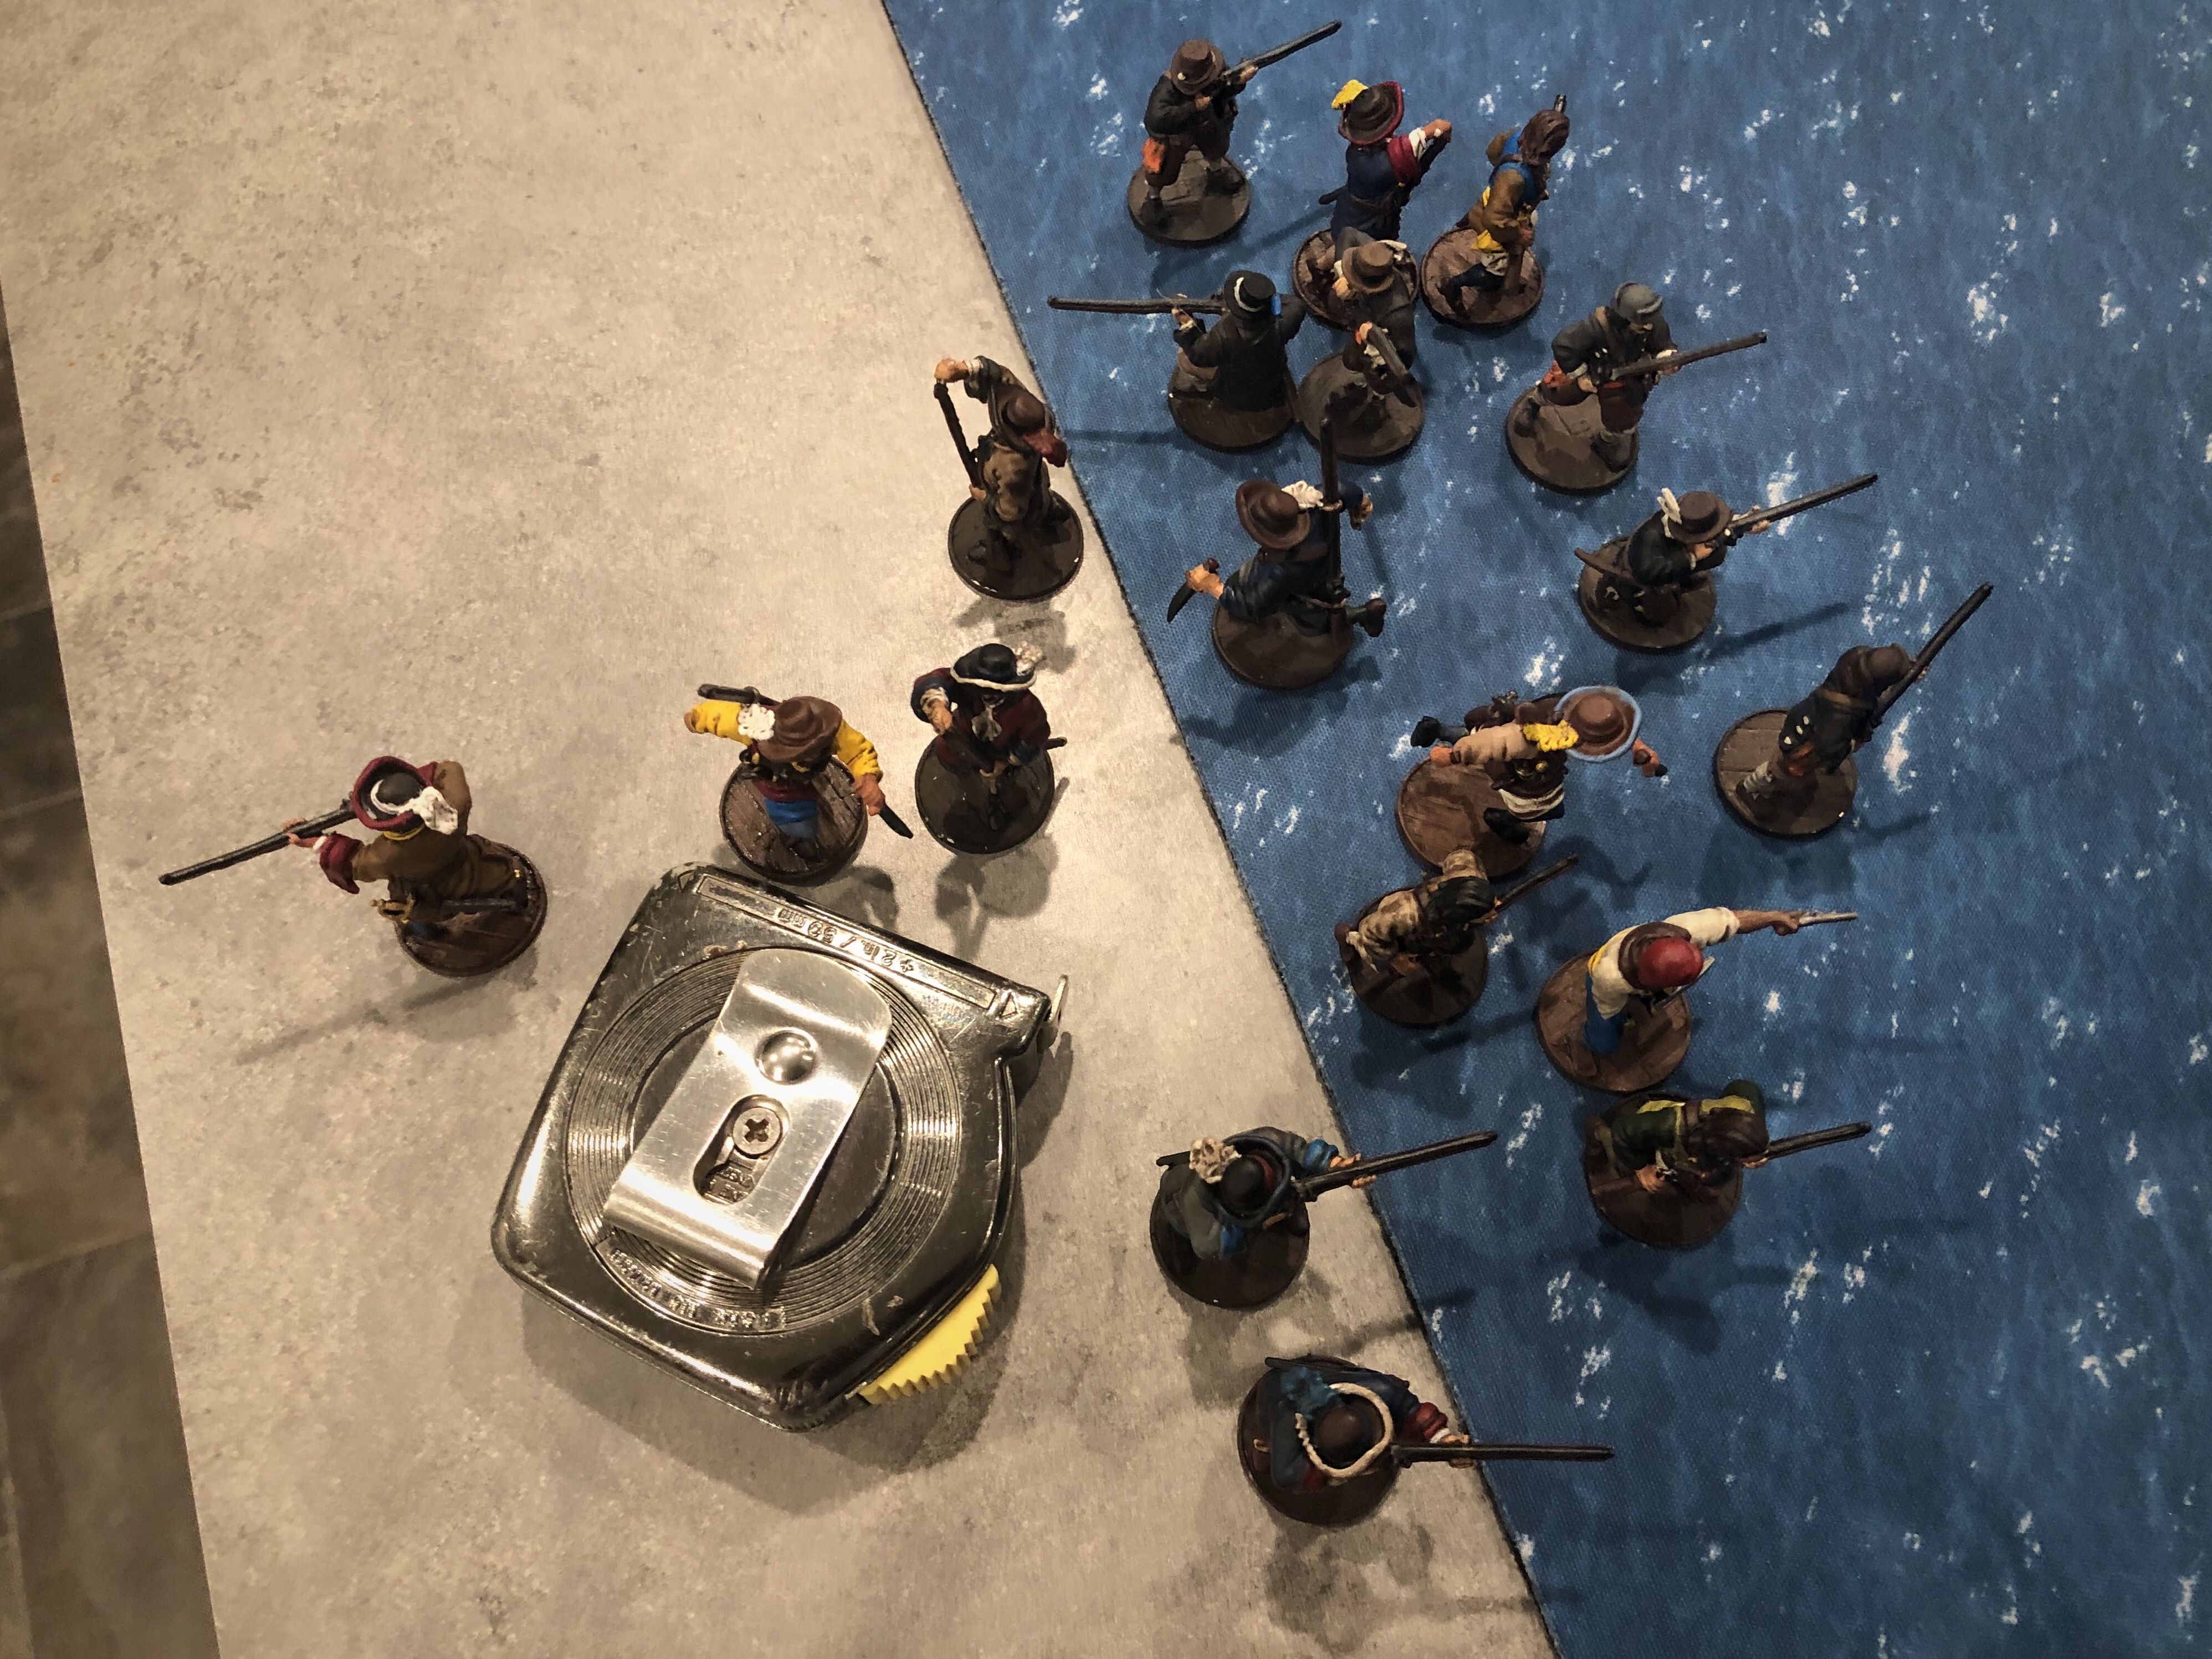
My Guarda Costas Force included:
- 5 Freebooters with Jan Erasmus Reyning attached
- 8 Trained Milicianos with Son of Neptune attached (Guarda Costas takes away Drilled and grants Sailors to the Milicianos)
- 8 Marineros with no pistols and a Master Gunner attached
- 8 Marineros with no pistols
- 4 pairs of Medium Cannons
- Brigantine

I’ve not used Reyning before. I like his ability to bring Kapers and Freebooters along to any of the many forces he can command. Inspiring and Broadside are excellent but not unusual and Elan is very handy when it’s needed, but I don’t find it comes into play a lot in my games.
Reyning’s other strength lies in his 16″ command radius combined with Commodore, but they won’t come into play in this 200 point game.
Looking back, I may have been better off paying just 15 for the standard Experienced Spanish Commander but it’s fun to use these historical figures.
The Scenario
Our scenario came up as Breakthrough.
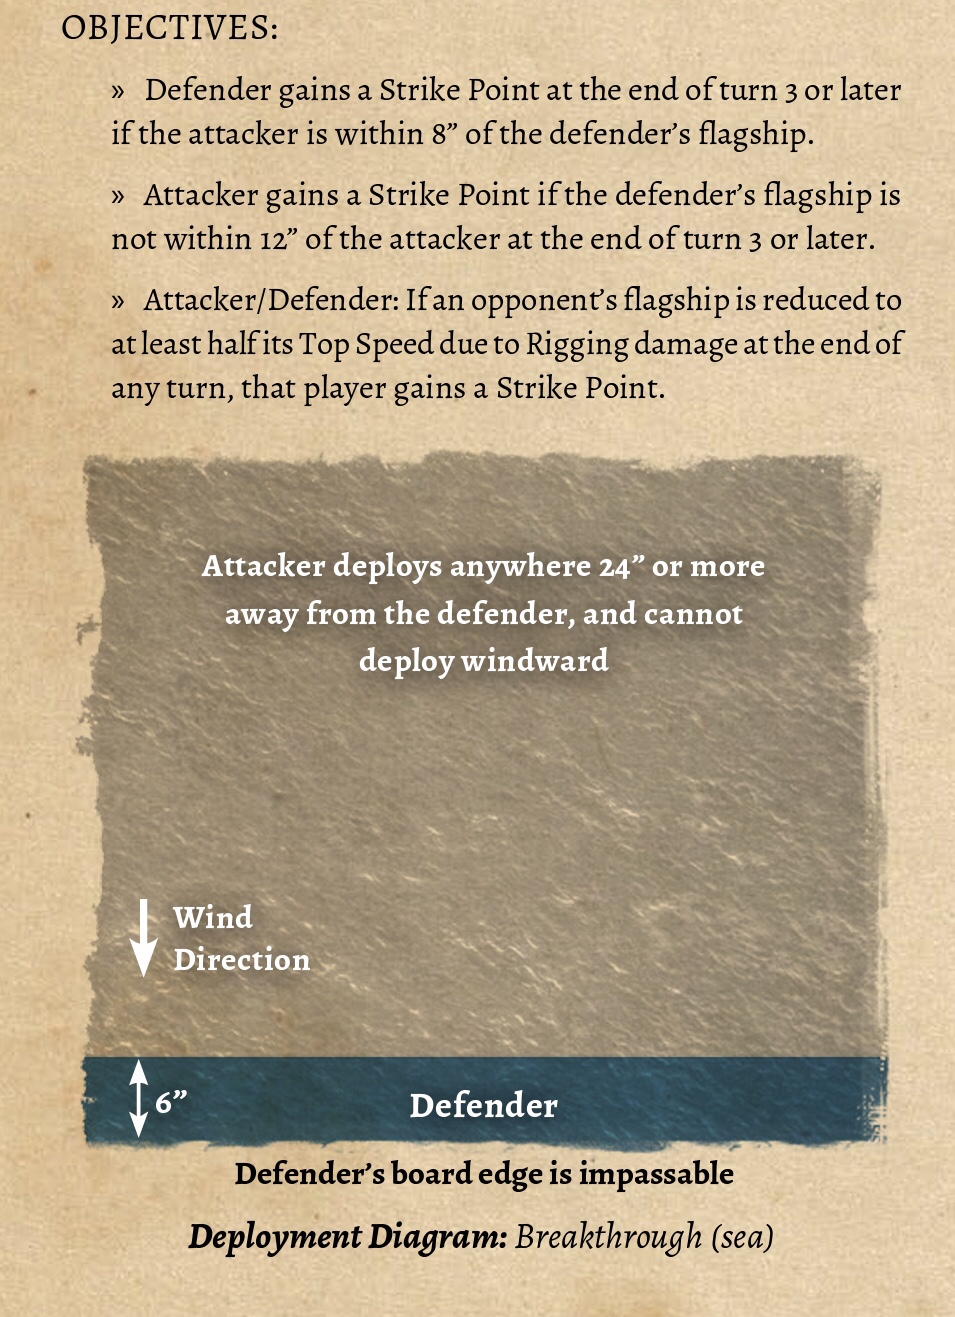
This rewards the Attacker for catching up to and being close the Defender and rewards the Defender for keeping the Attacker at least 12″ away.
The Defenders board edge is impassable and the wind is set up blowing towards that edge which makes it fair so the Defender cant just turn and run for the entire game.

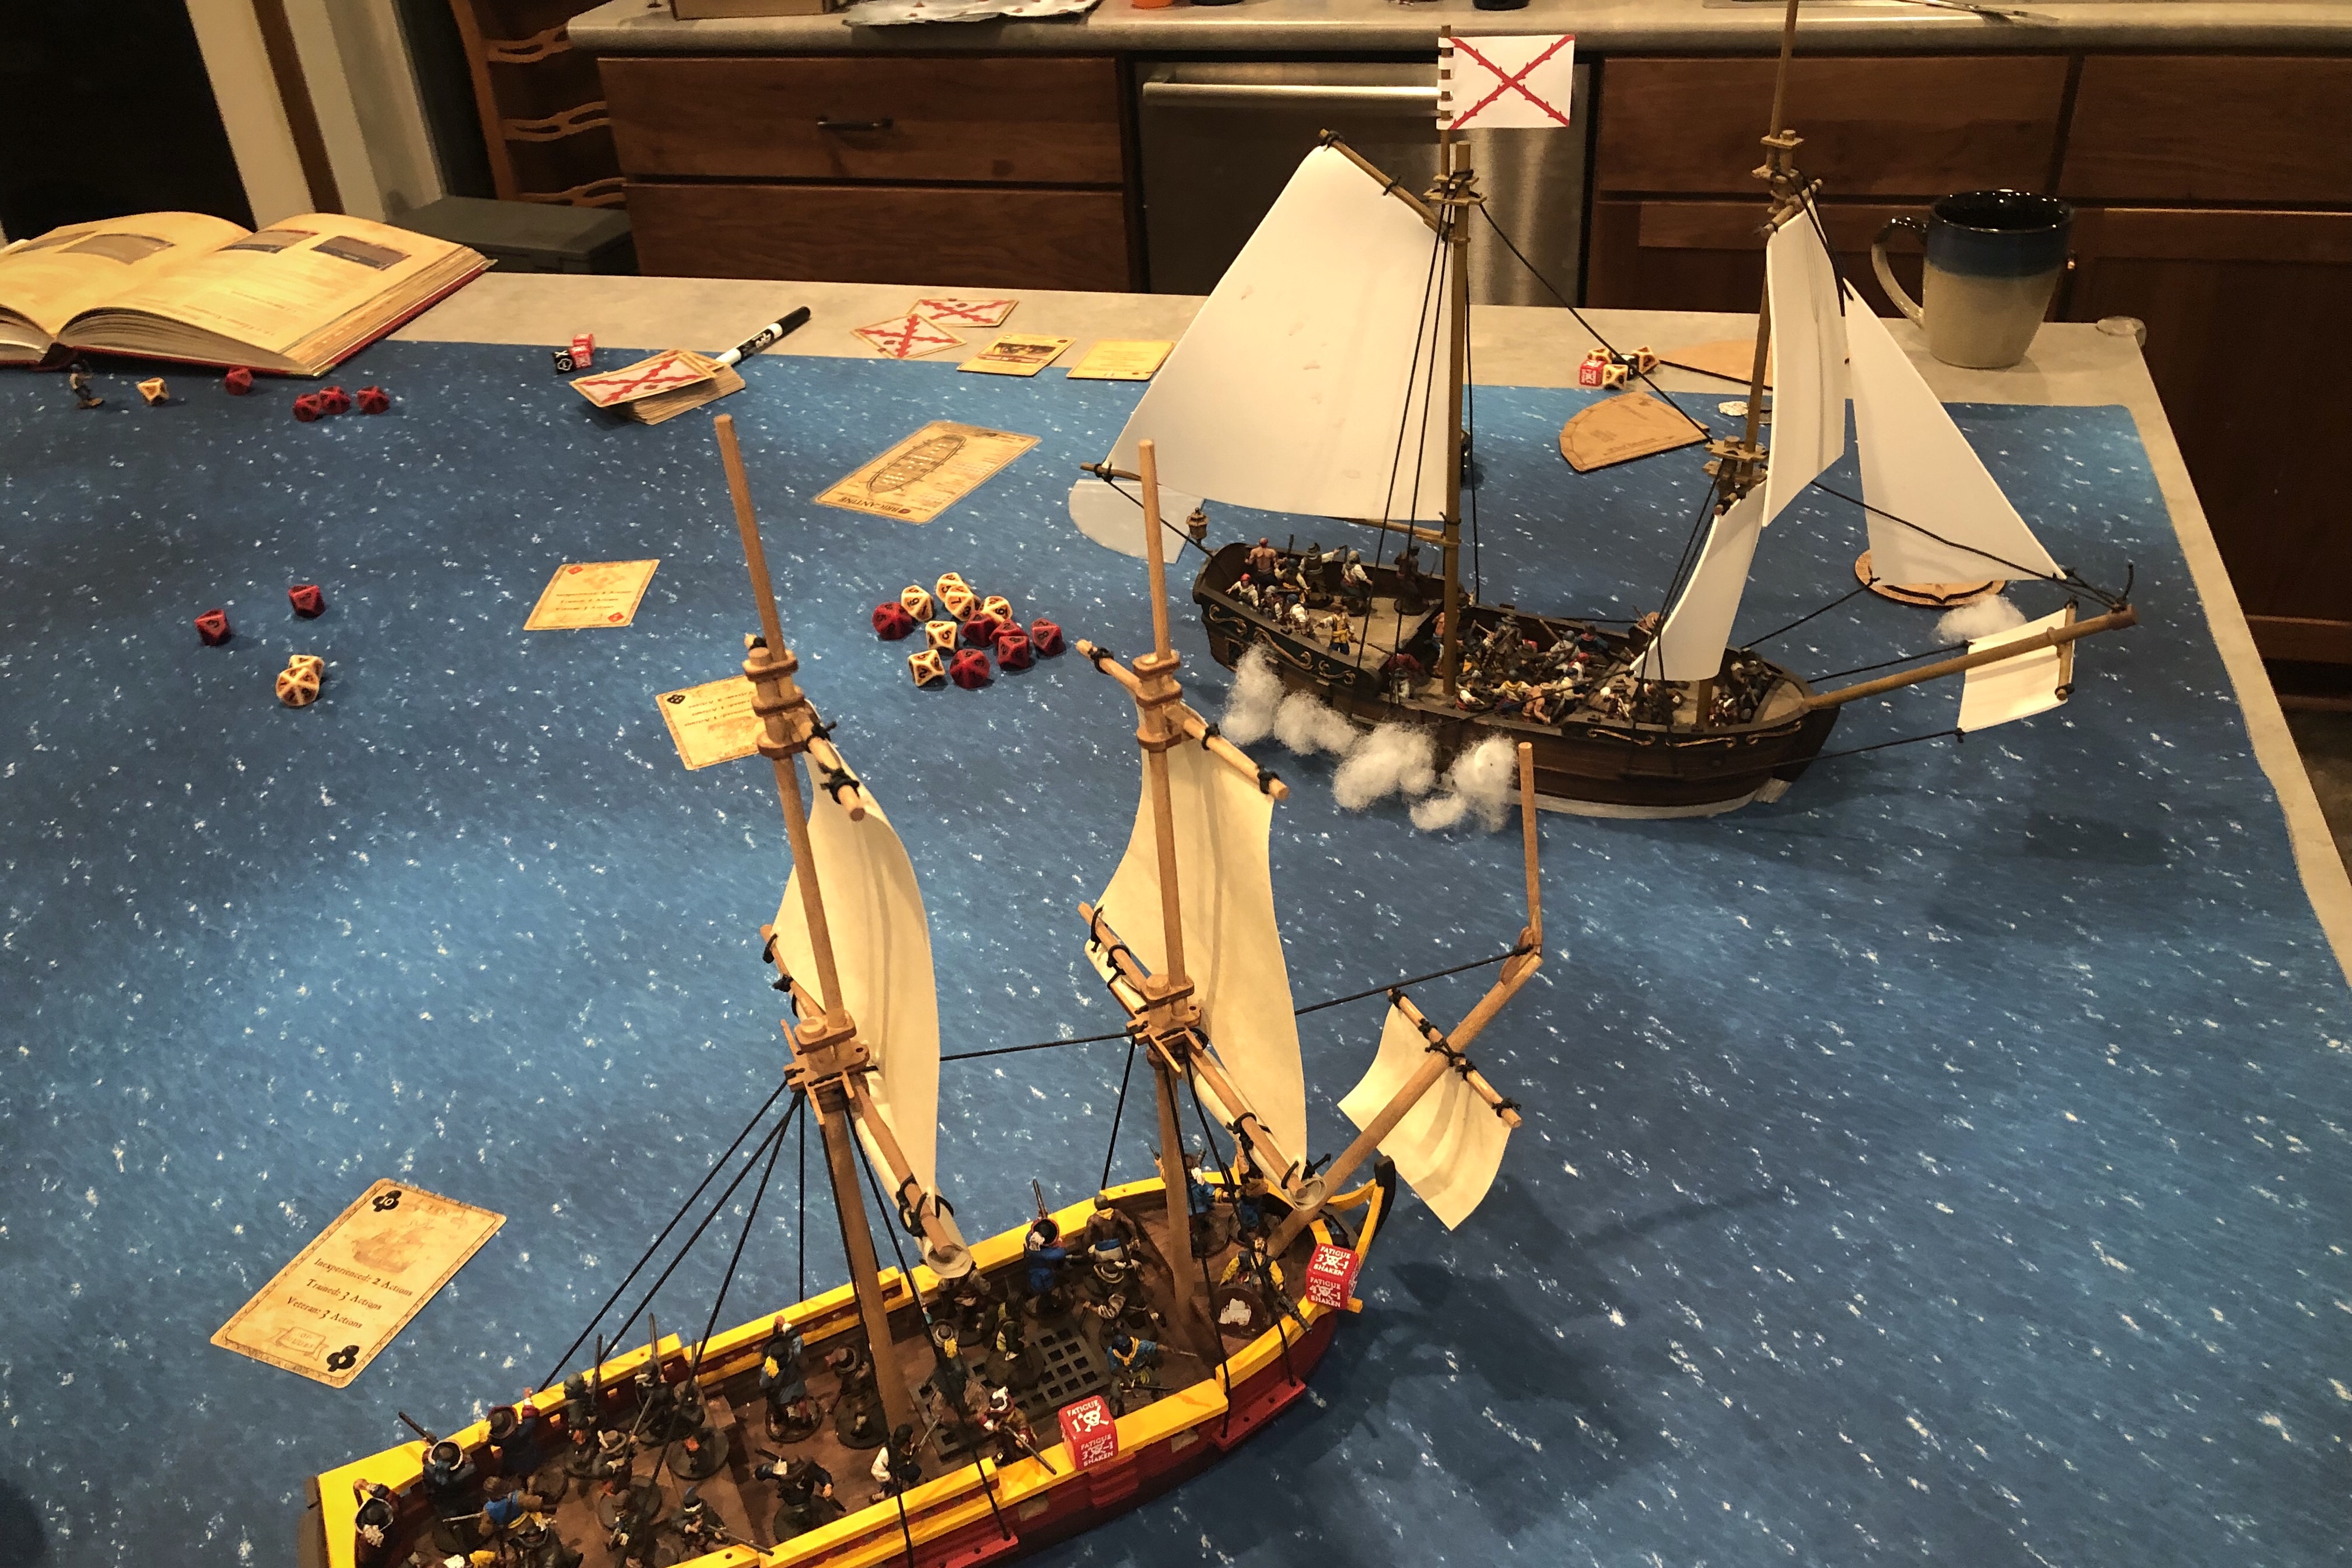
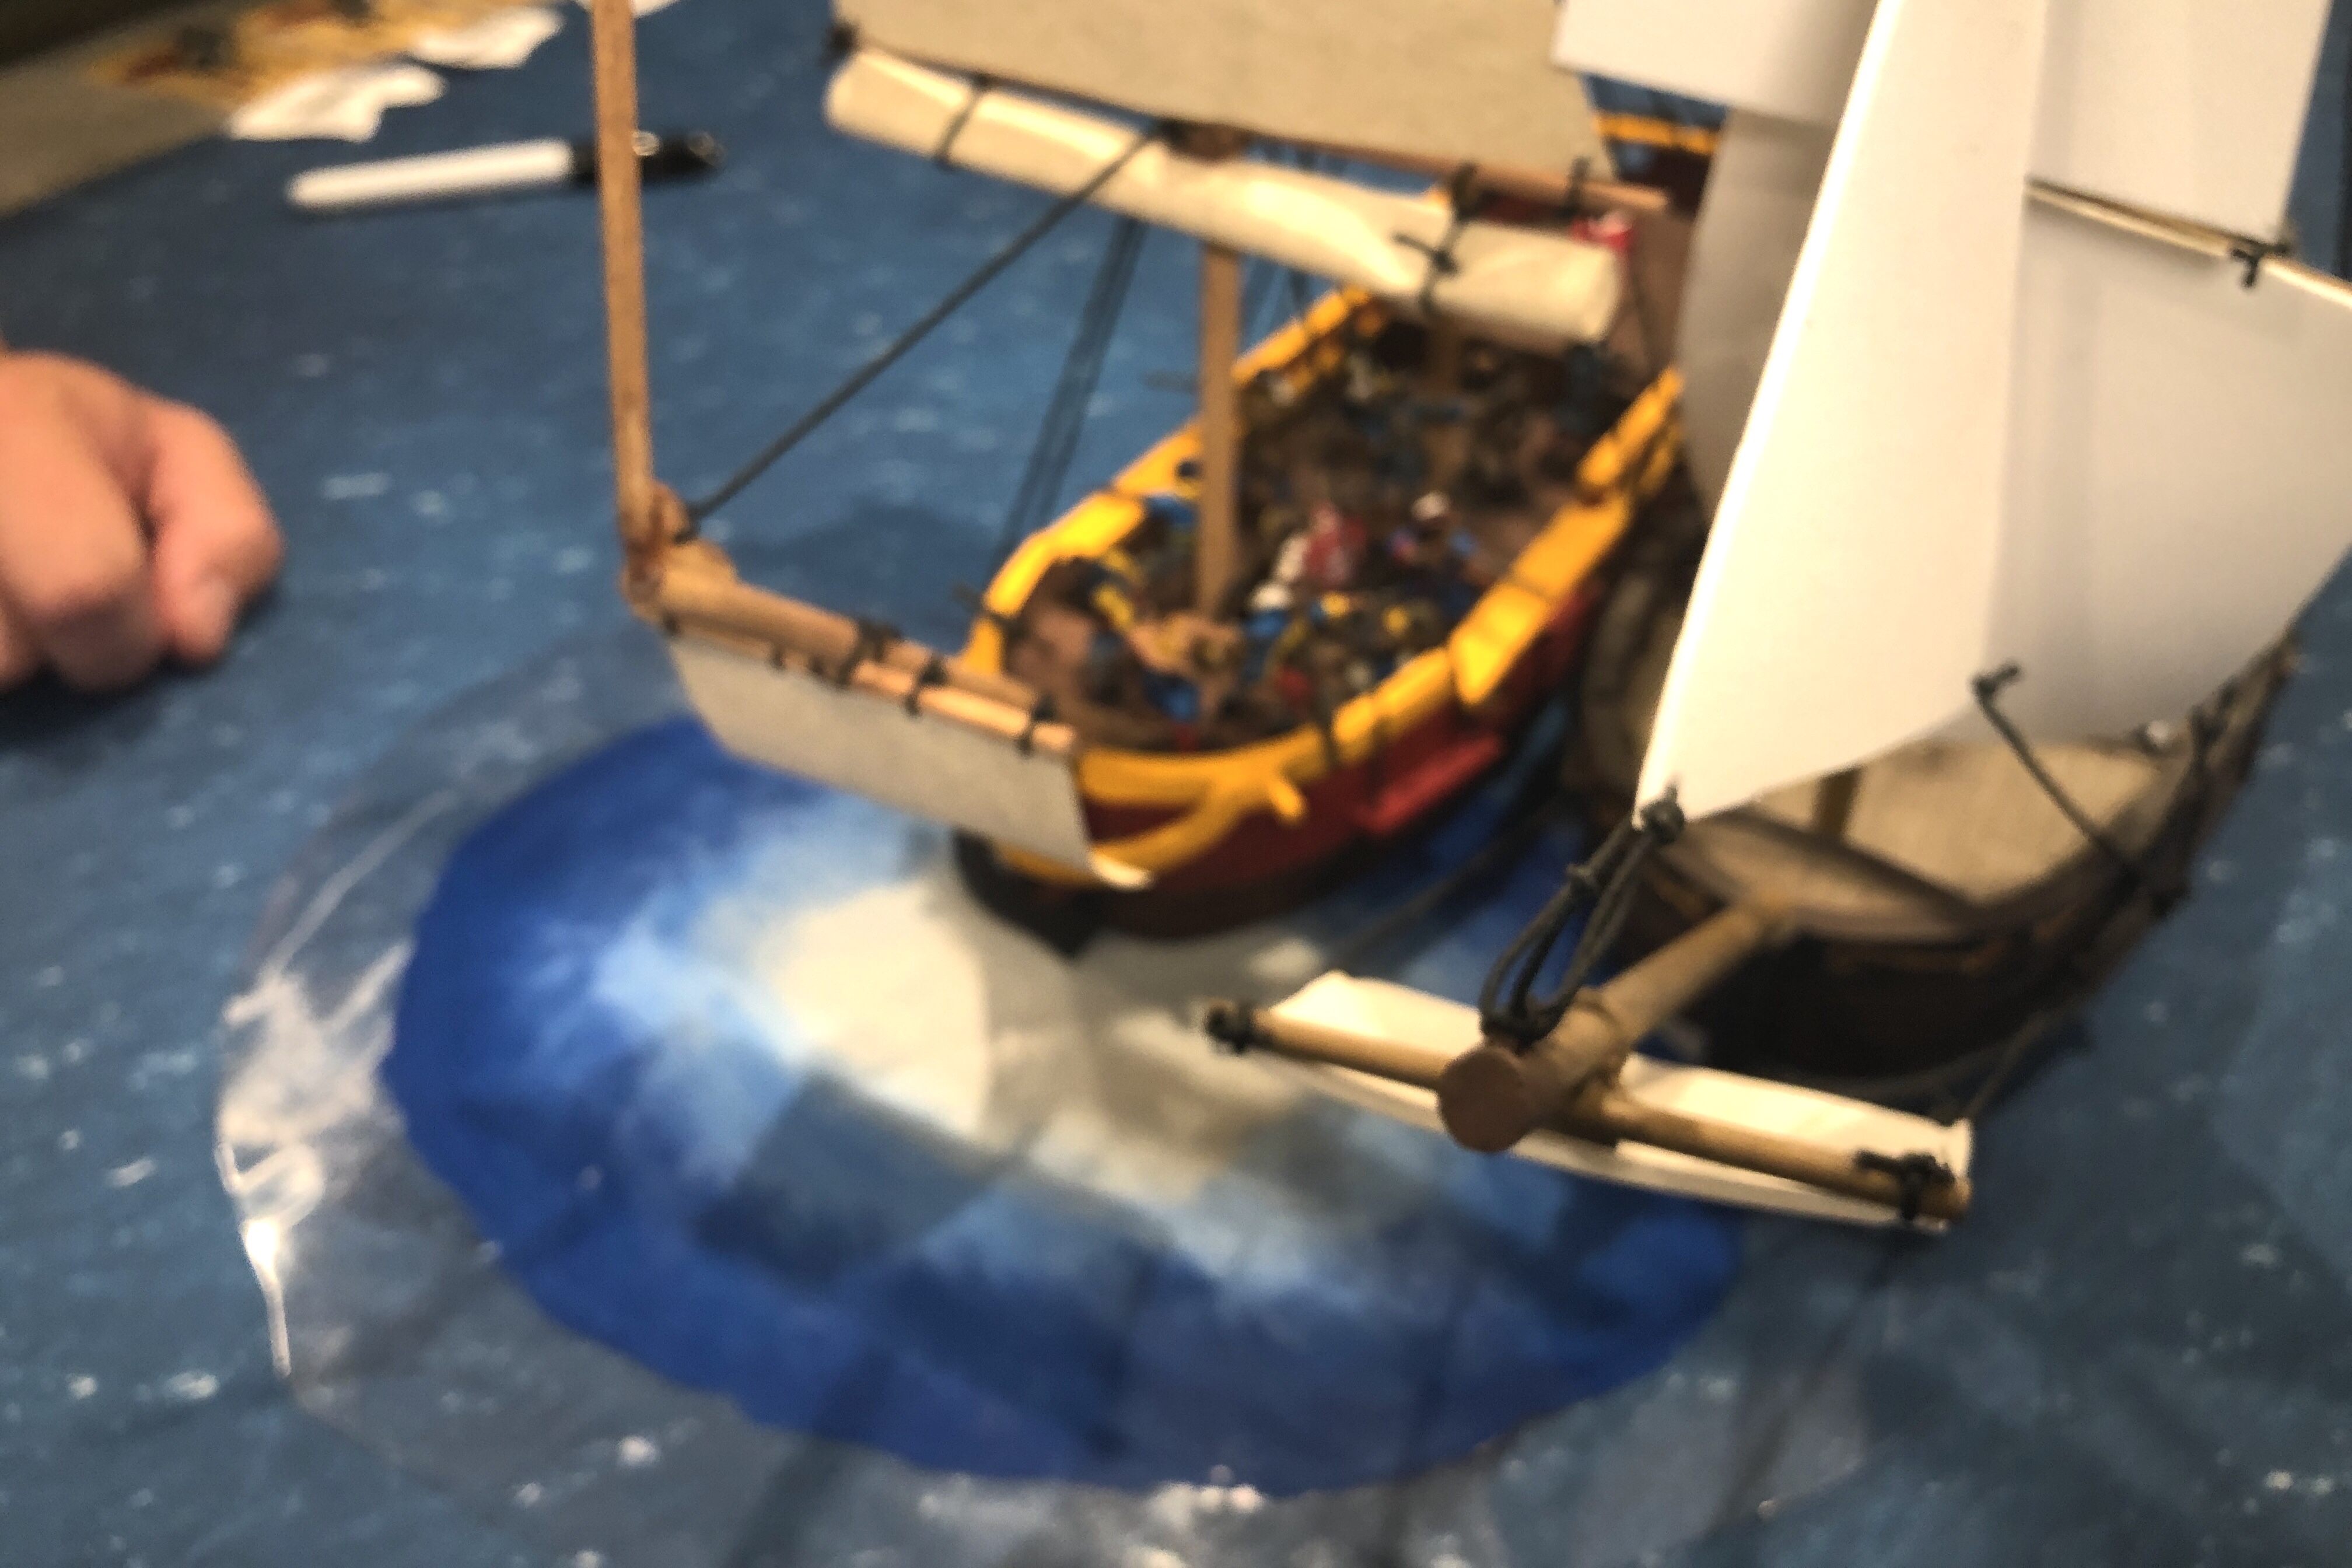
I rolled high and my Guarda Costas became the attacking force. Bryan set up his French Corvette along the back of the board and I set up my Brigantine 24″ away and slightly ahead of his ship. The wind was abeam both of our ships.
The Game
Starting at 24″ away usually means potshots with muskets on the first activation. Both my Milicianos and Bryan’s Flibustiers were fairly ineffective but I applied 1 Fatigue to the Marins. We both turned towards each other to close the distance. I wanted to catch him for the scenario benefit and I think Bryan wanted to close and board me and make use of all those crazy Frenchmen with their Braces of Pistols!
On the second activation I moved in closer and angled my ship for a broadside.

My four medium cannons hit hard and I think I got 5 hits on his ship with no Lucky or Critical hits. I was disappointed to not score any Lucky Hits, but 5 damage caused the hull was “a good start.” Bryan saved well and didn’t take too many casualties from the opening broadside.

My Milicianos took some casualties as we closed to nearly grappling range by the end of turn 1!
The French has some Fatigue and my cannons were mostly reloaded going into turn 2.

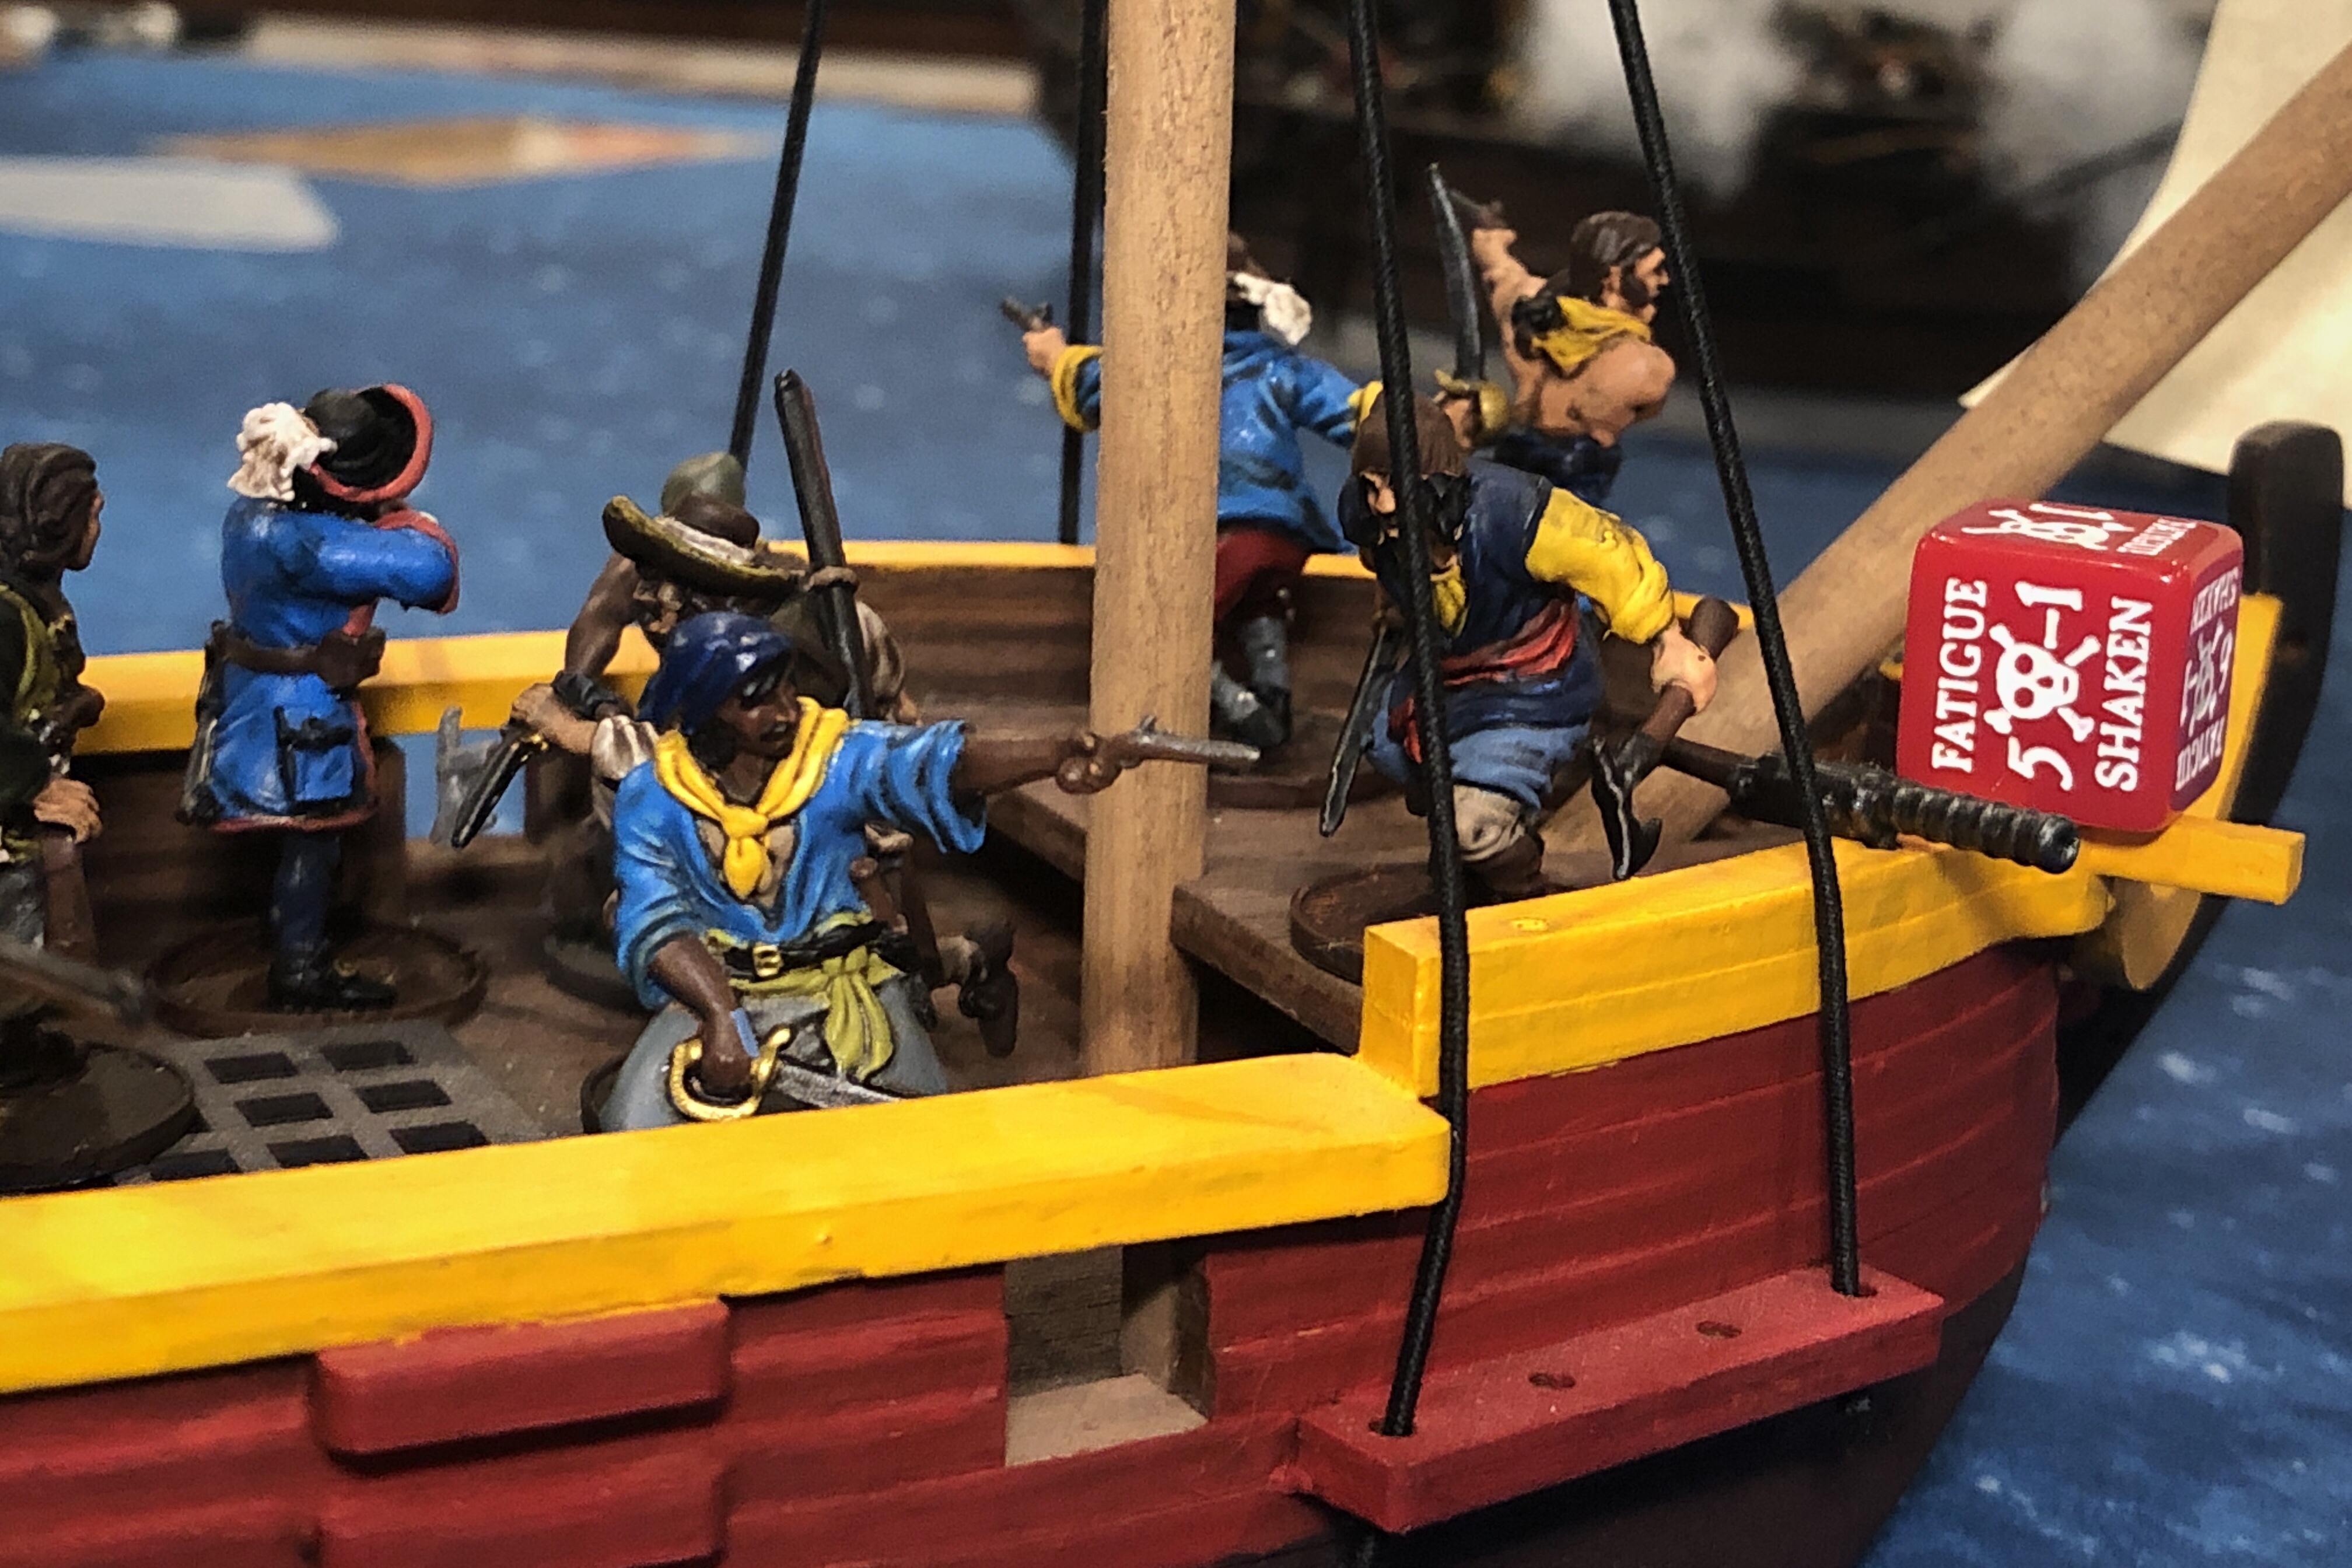
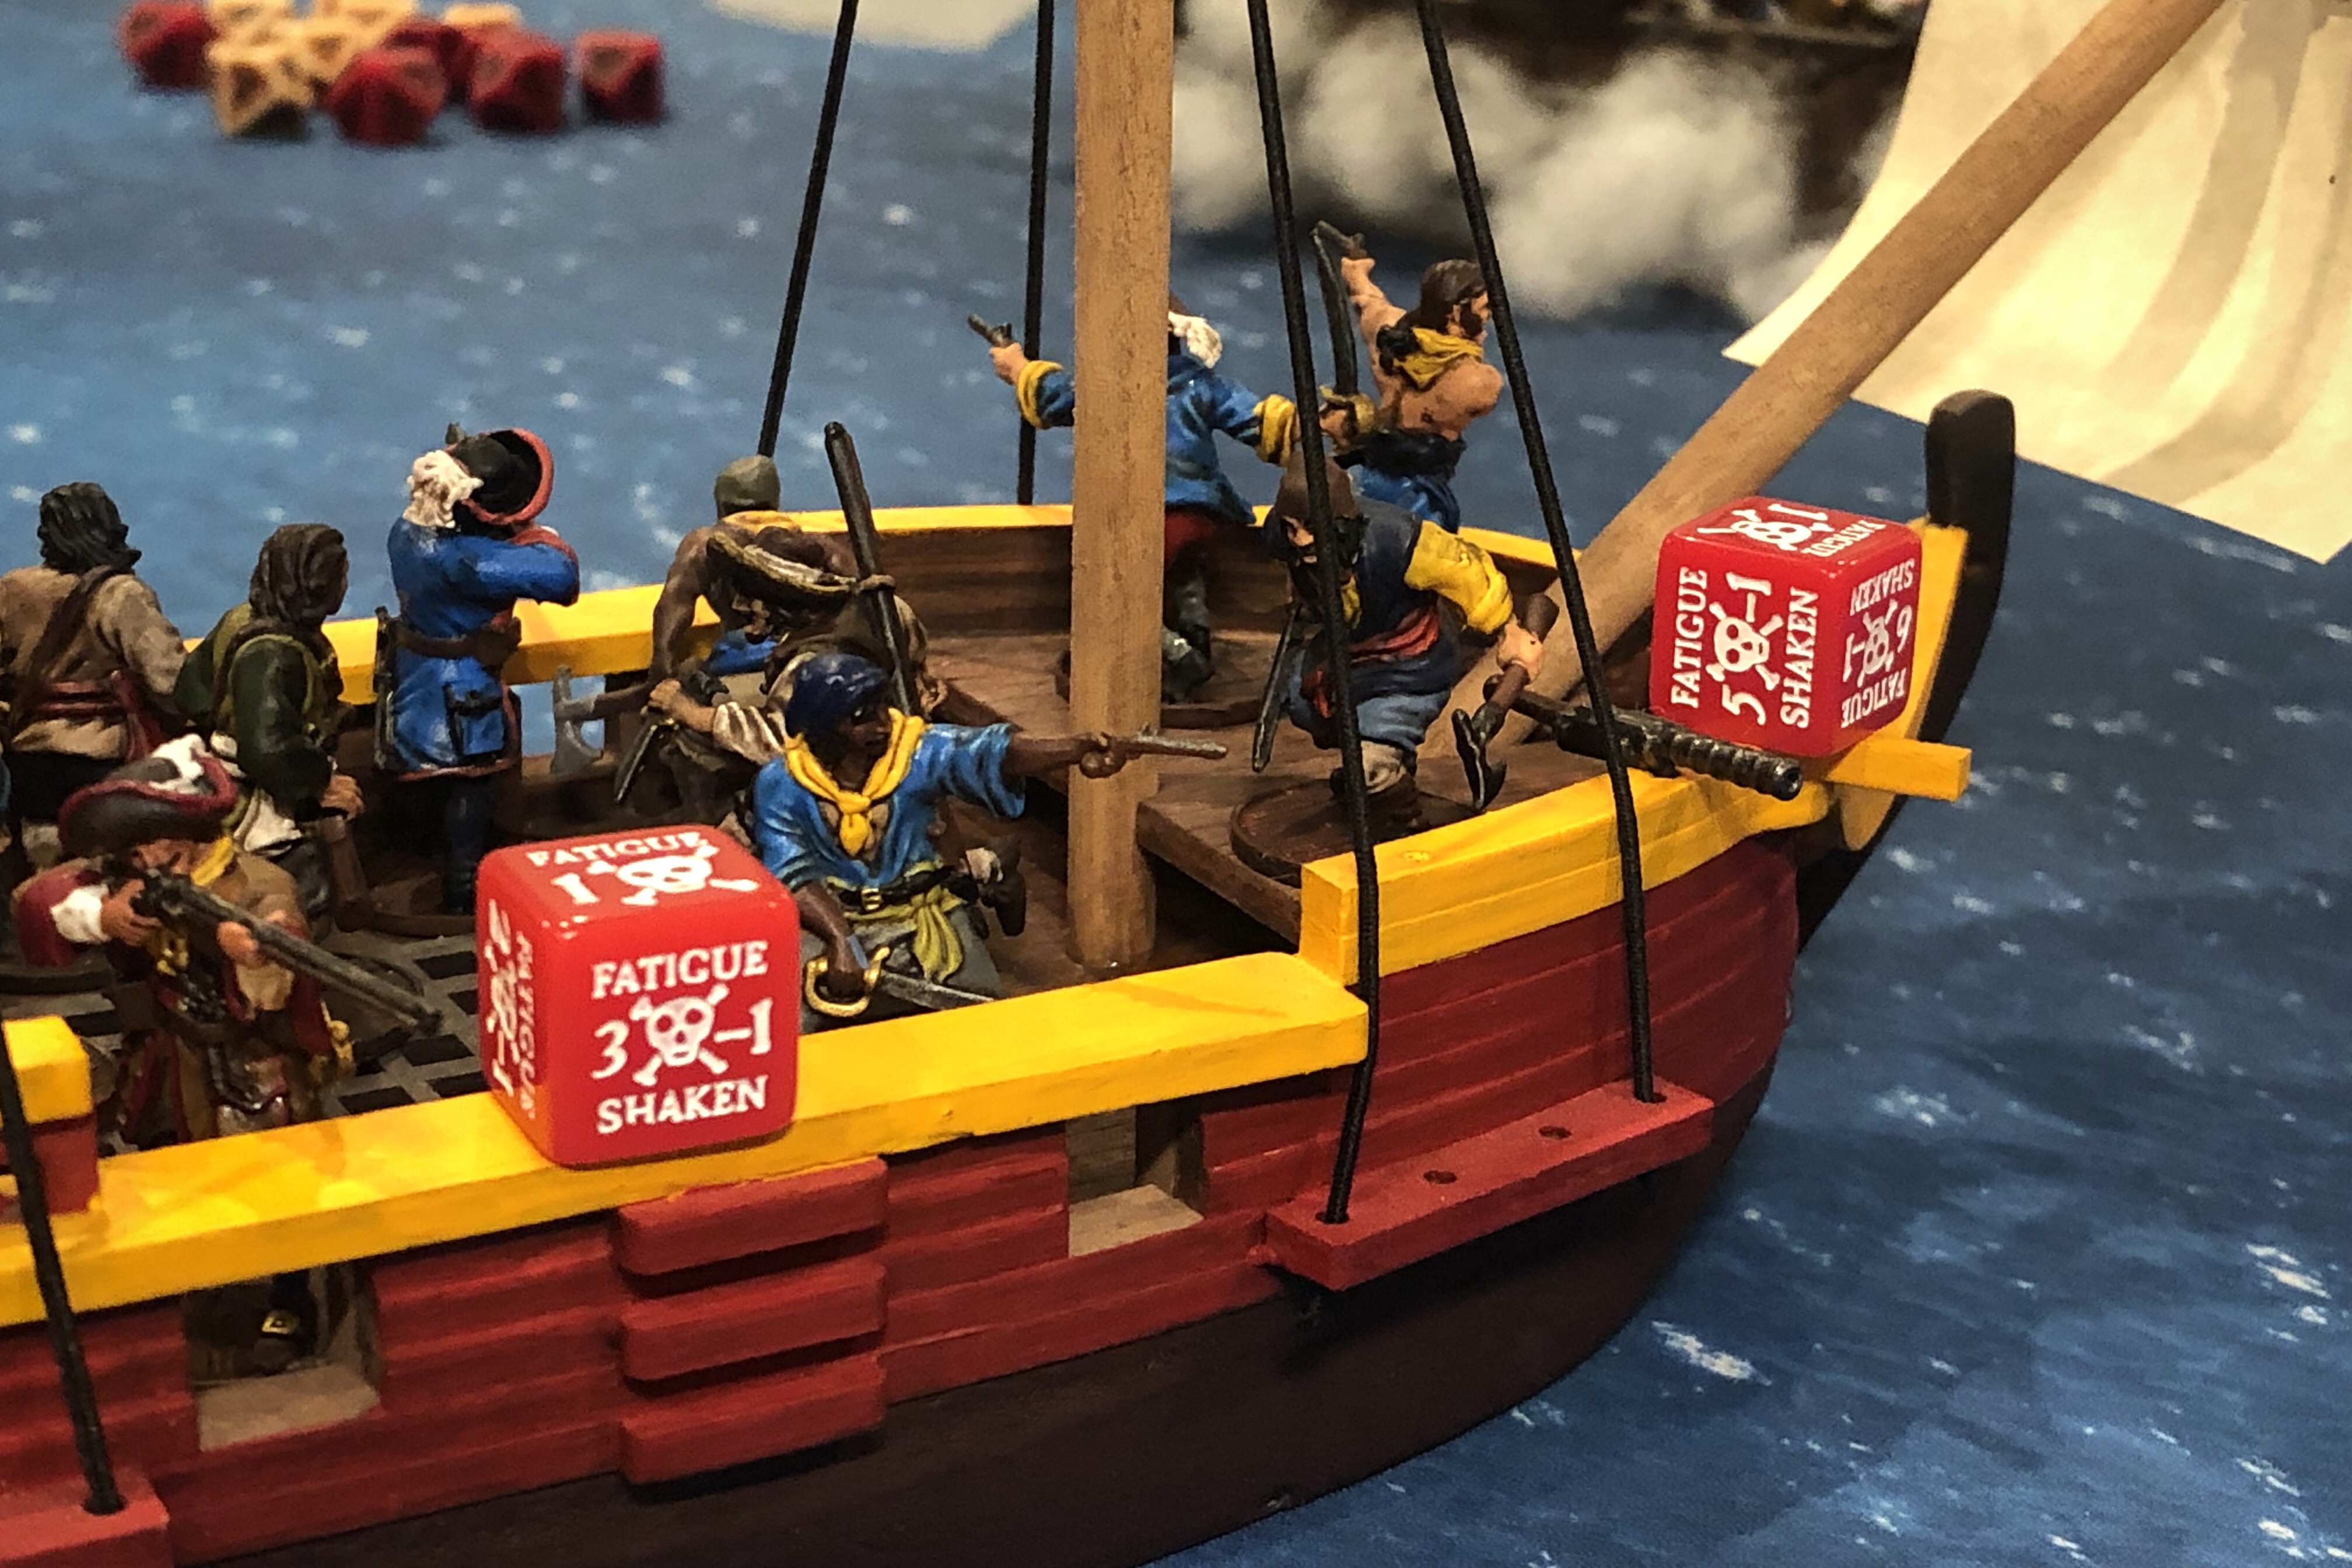
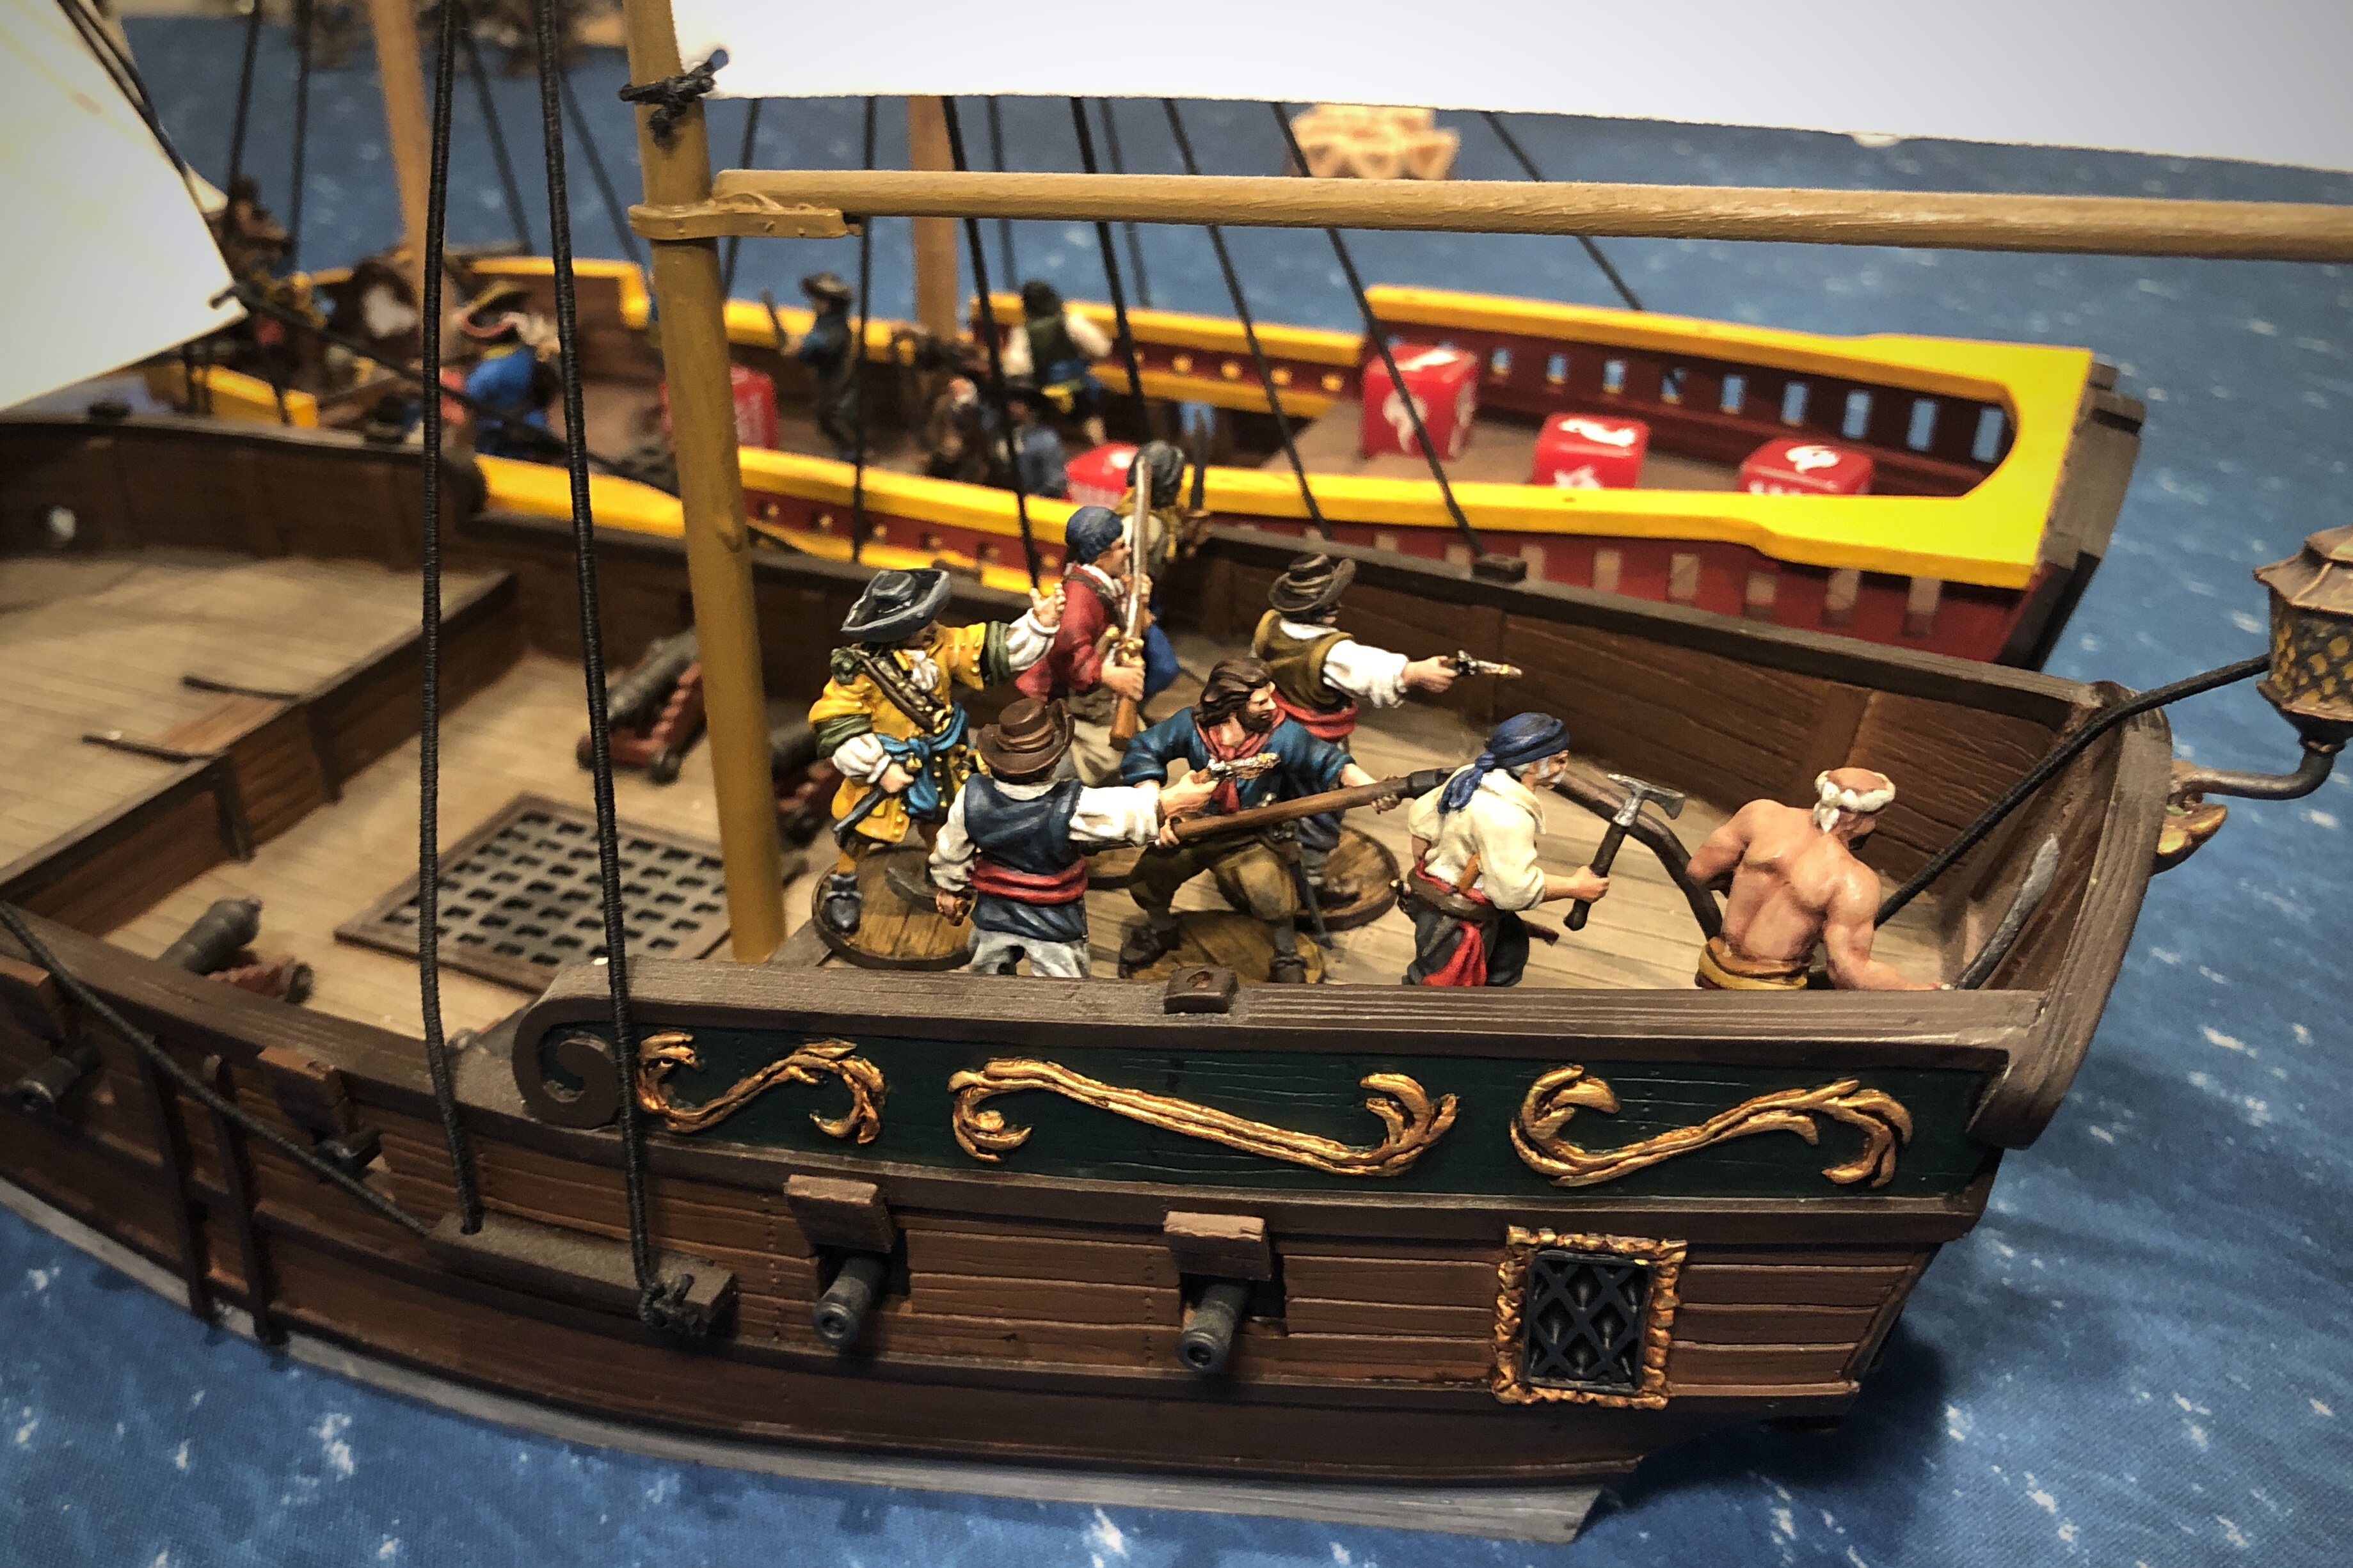
After our first moves of turn 2, our ships were extremely close and exchanging nasty small arms fire while I tried to finish reloading my cannons.
Iron Arm’s Flibustiers hit my Milicianos hard and I lost 5 after spending a Fortune Point on the Save roll!

I’m beating his ship up but taking more casualties at this point.
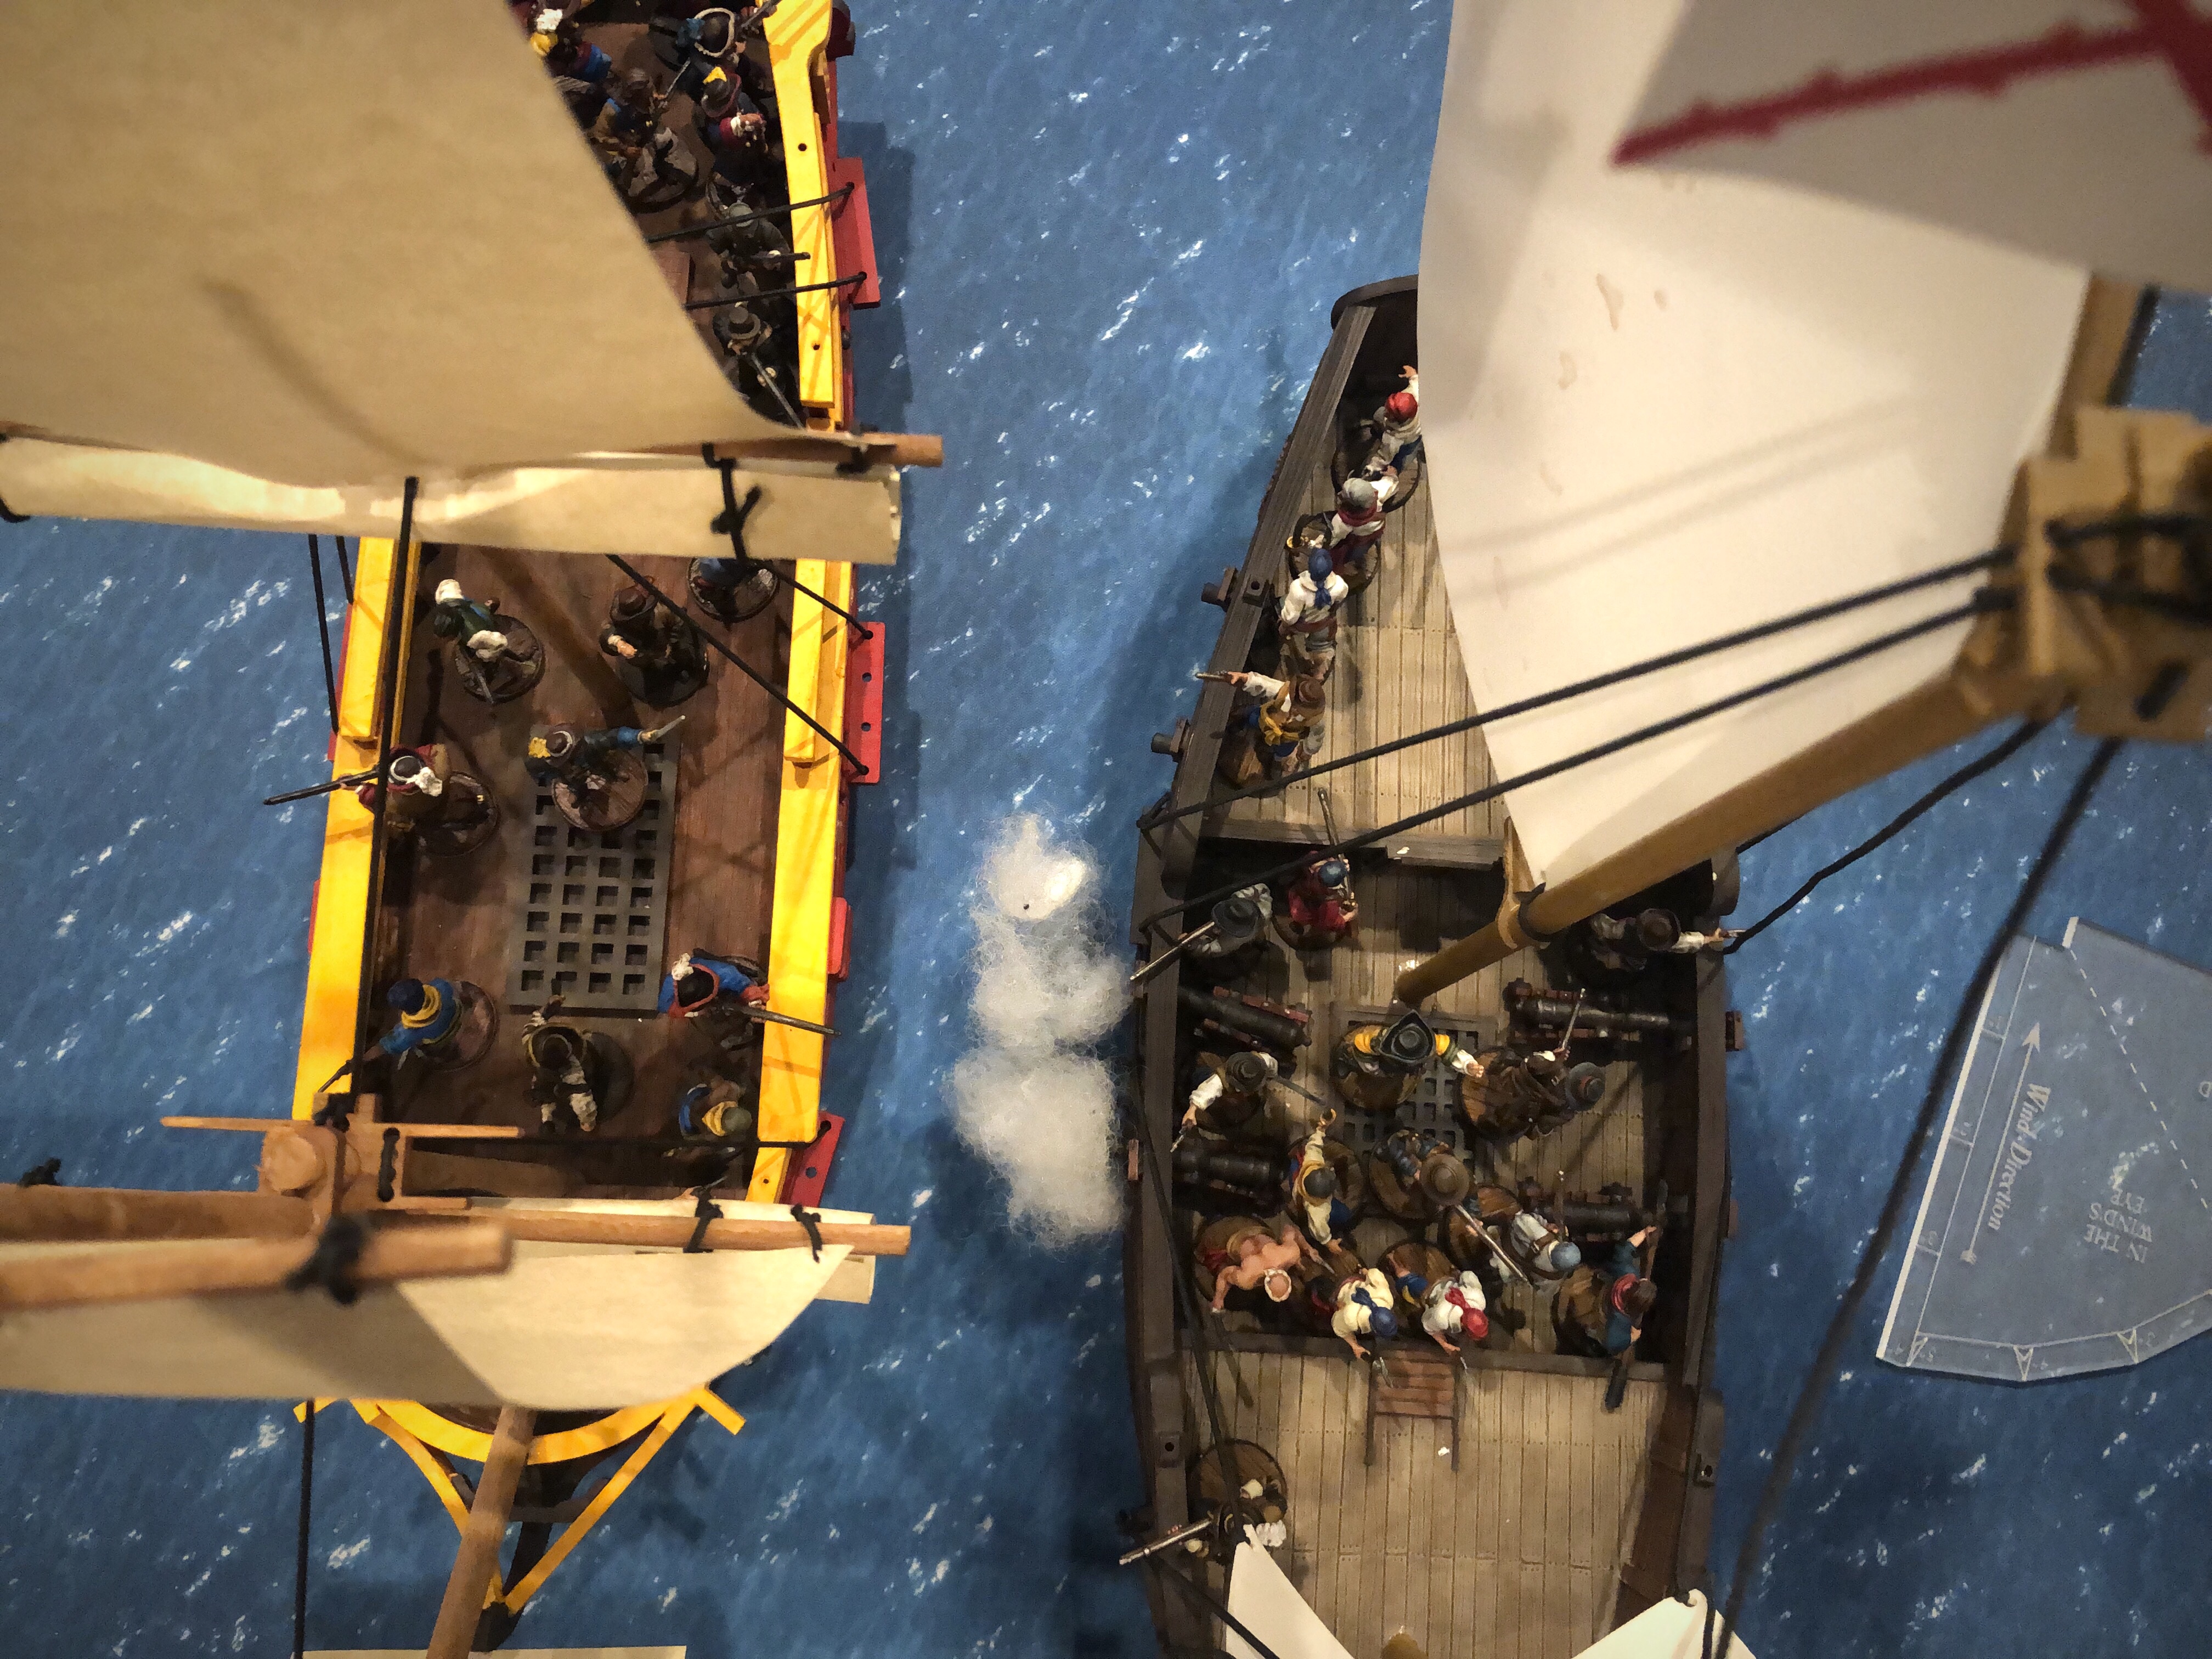
Over the course of turn 2 I fired off the middle guns again.

And the back guns! I took down some Frenchmen but not nearly enough for comfort!

After firing all my cannons twice, the Corvette was down to its minimum 1 Fortitude but I only managed to get a Steerage crit on it!
I think we both used our commanders to clean up Fatigue during turn 2.
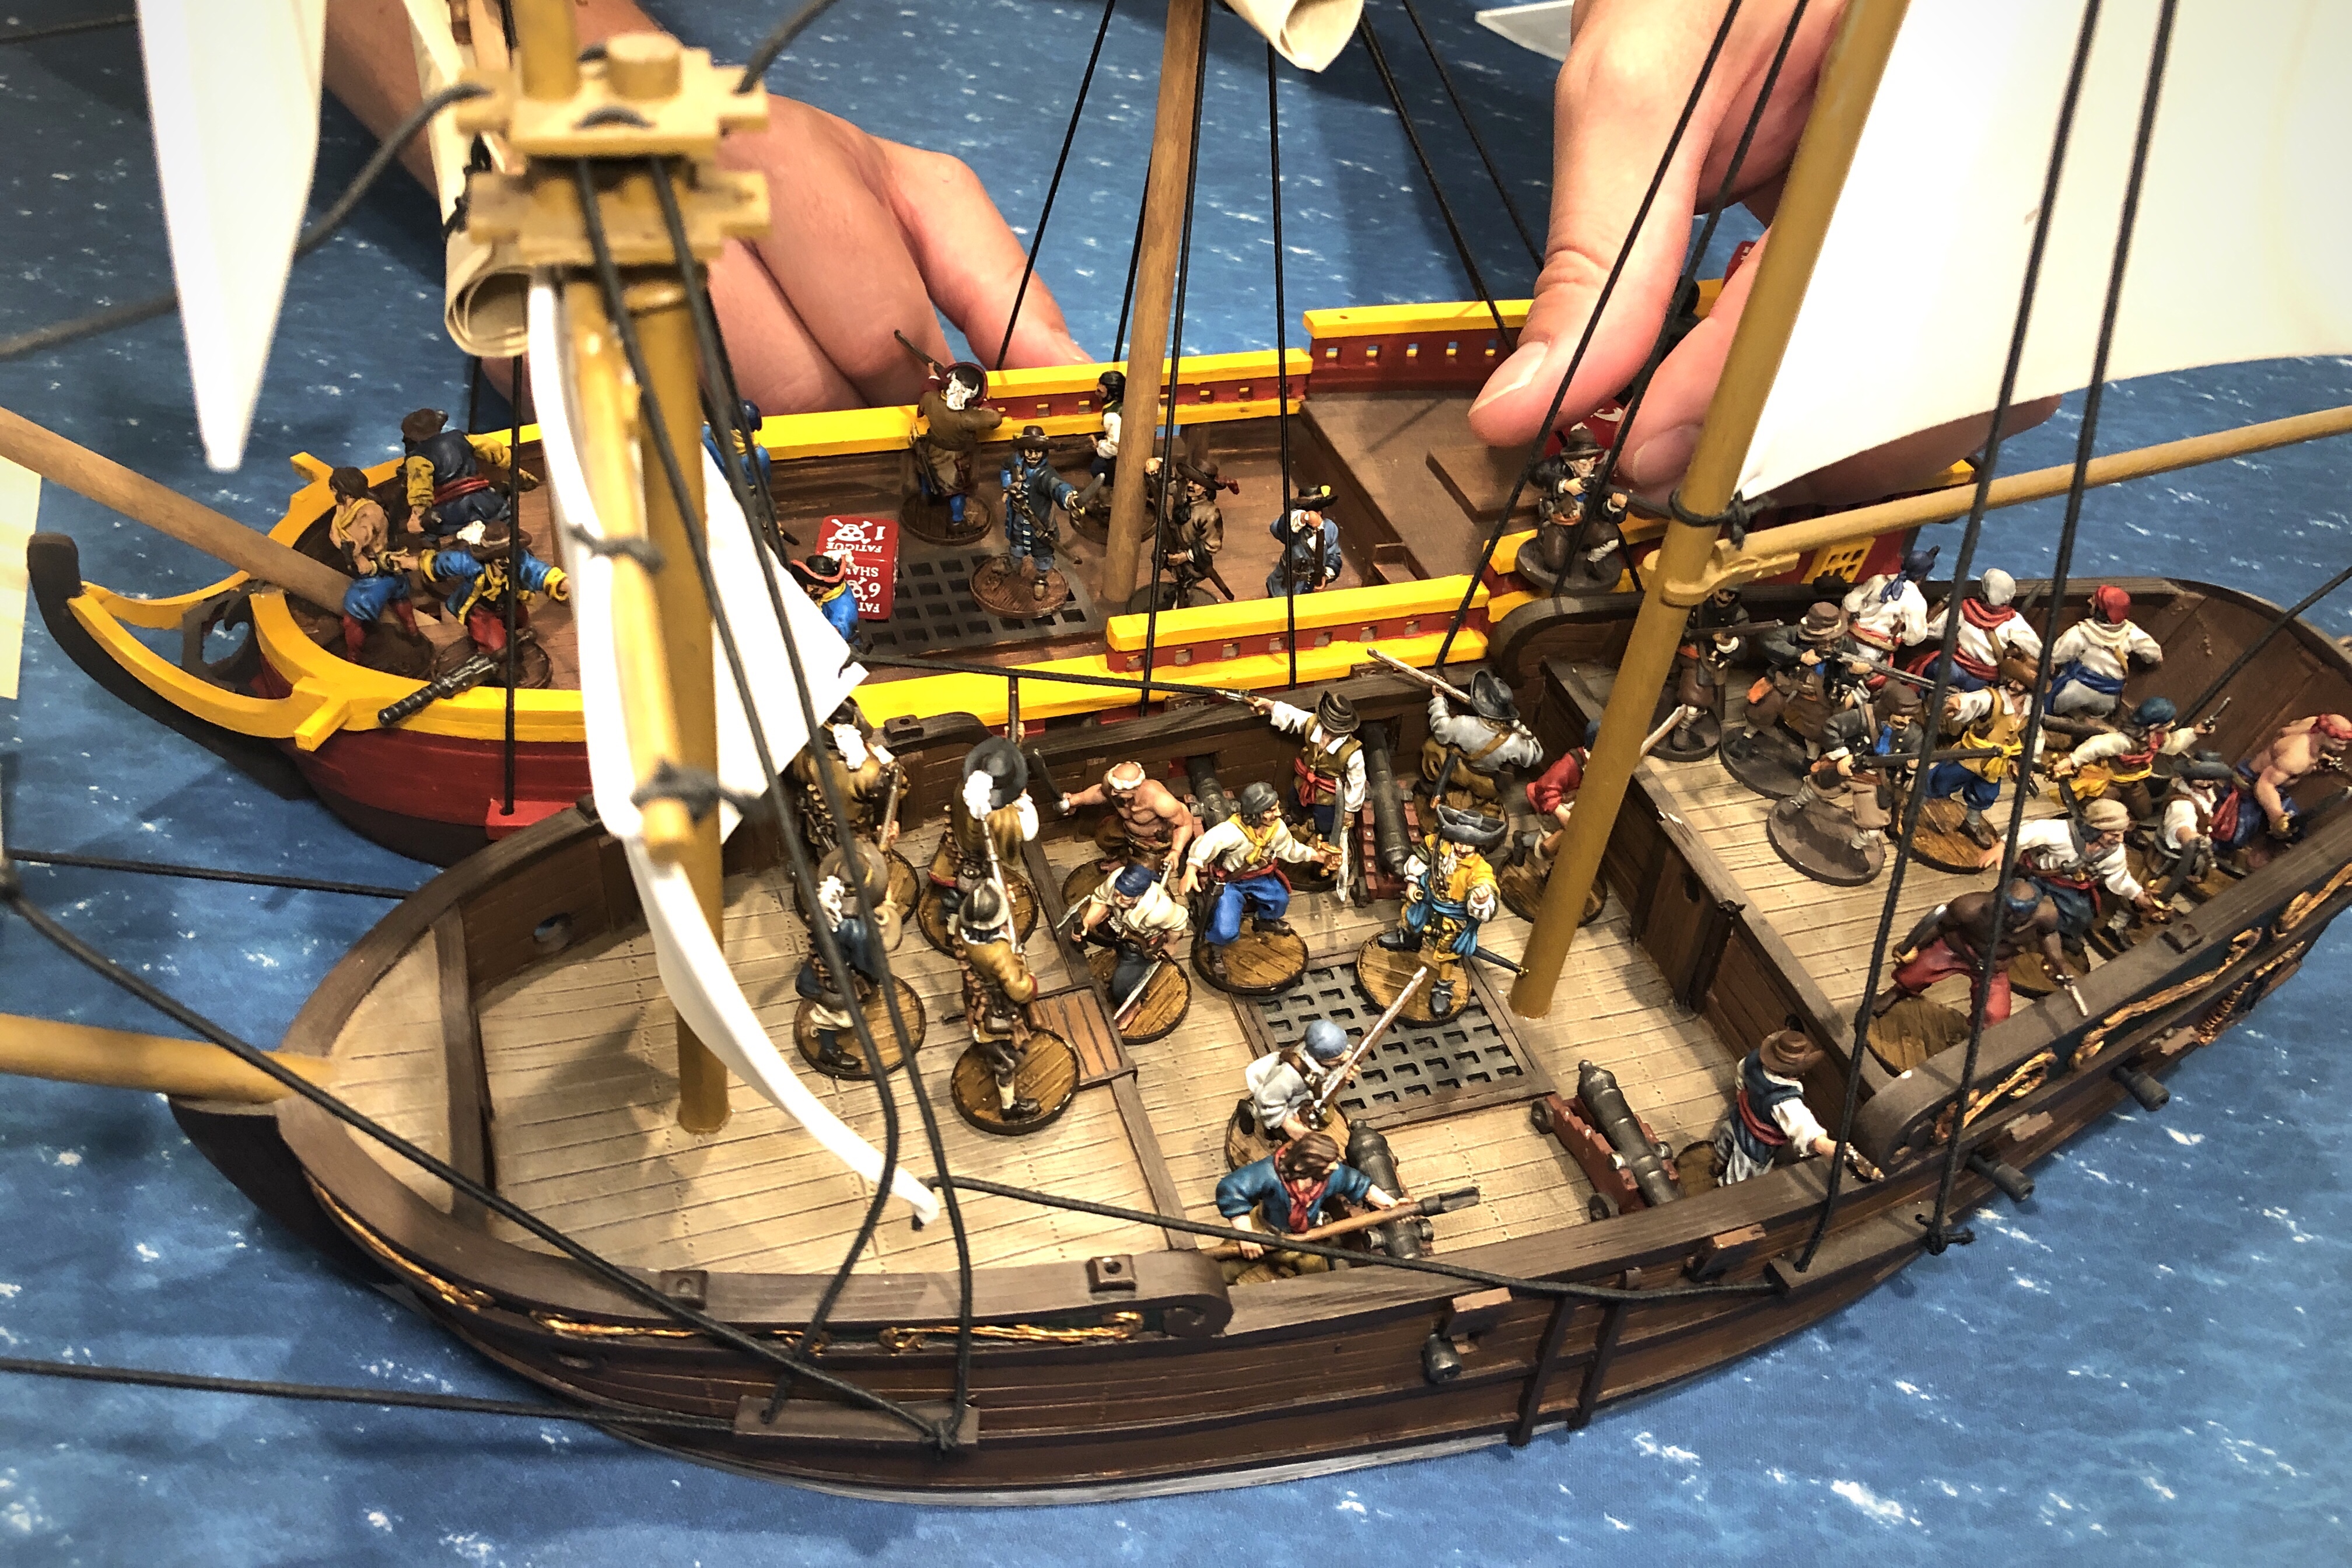
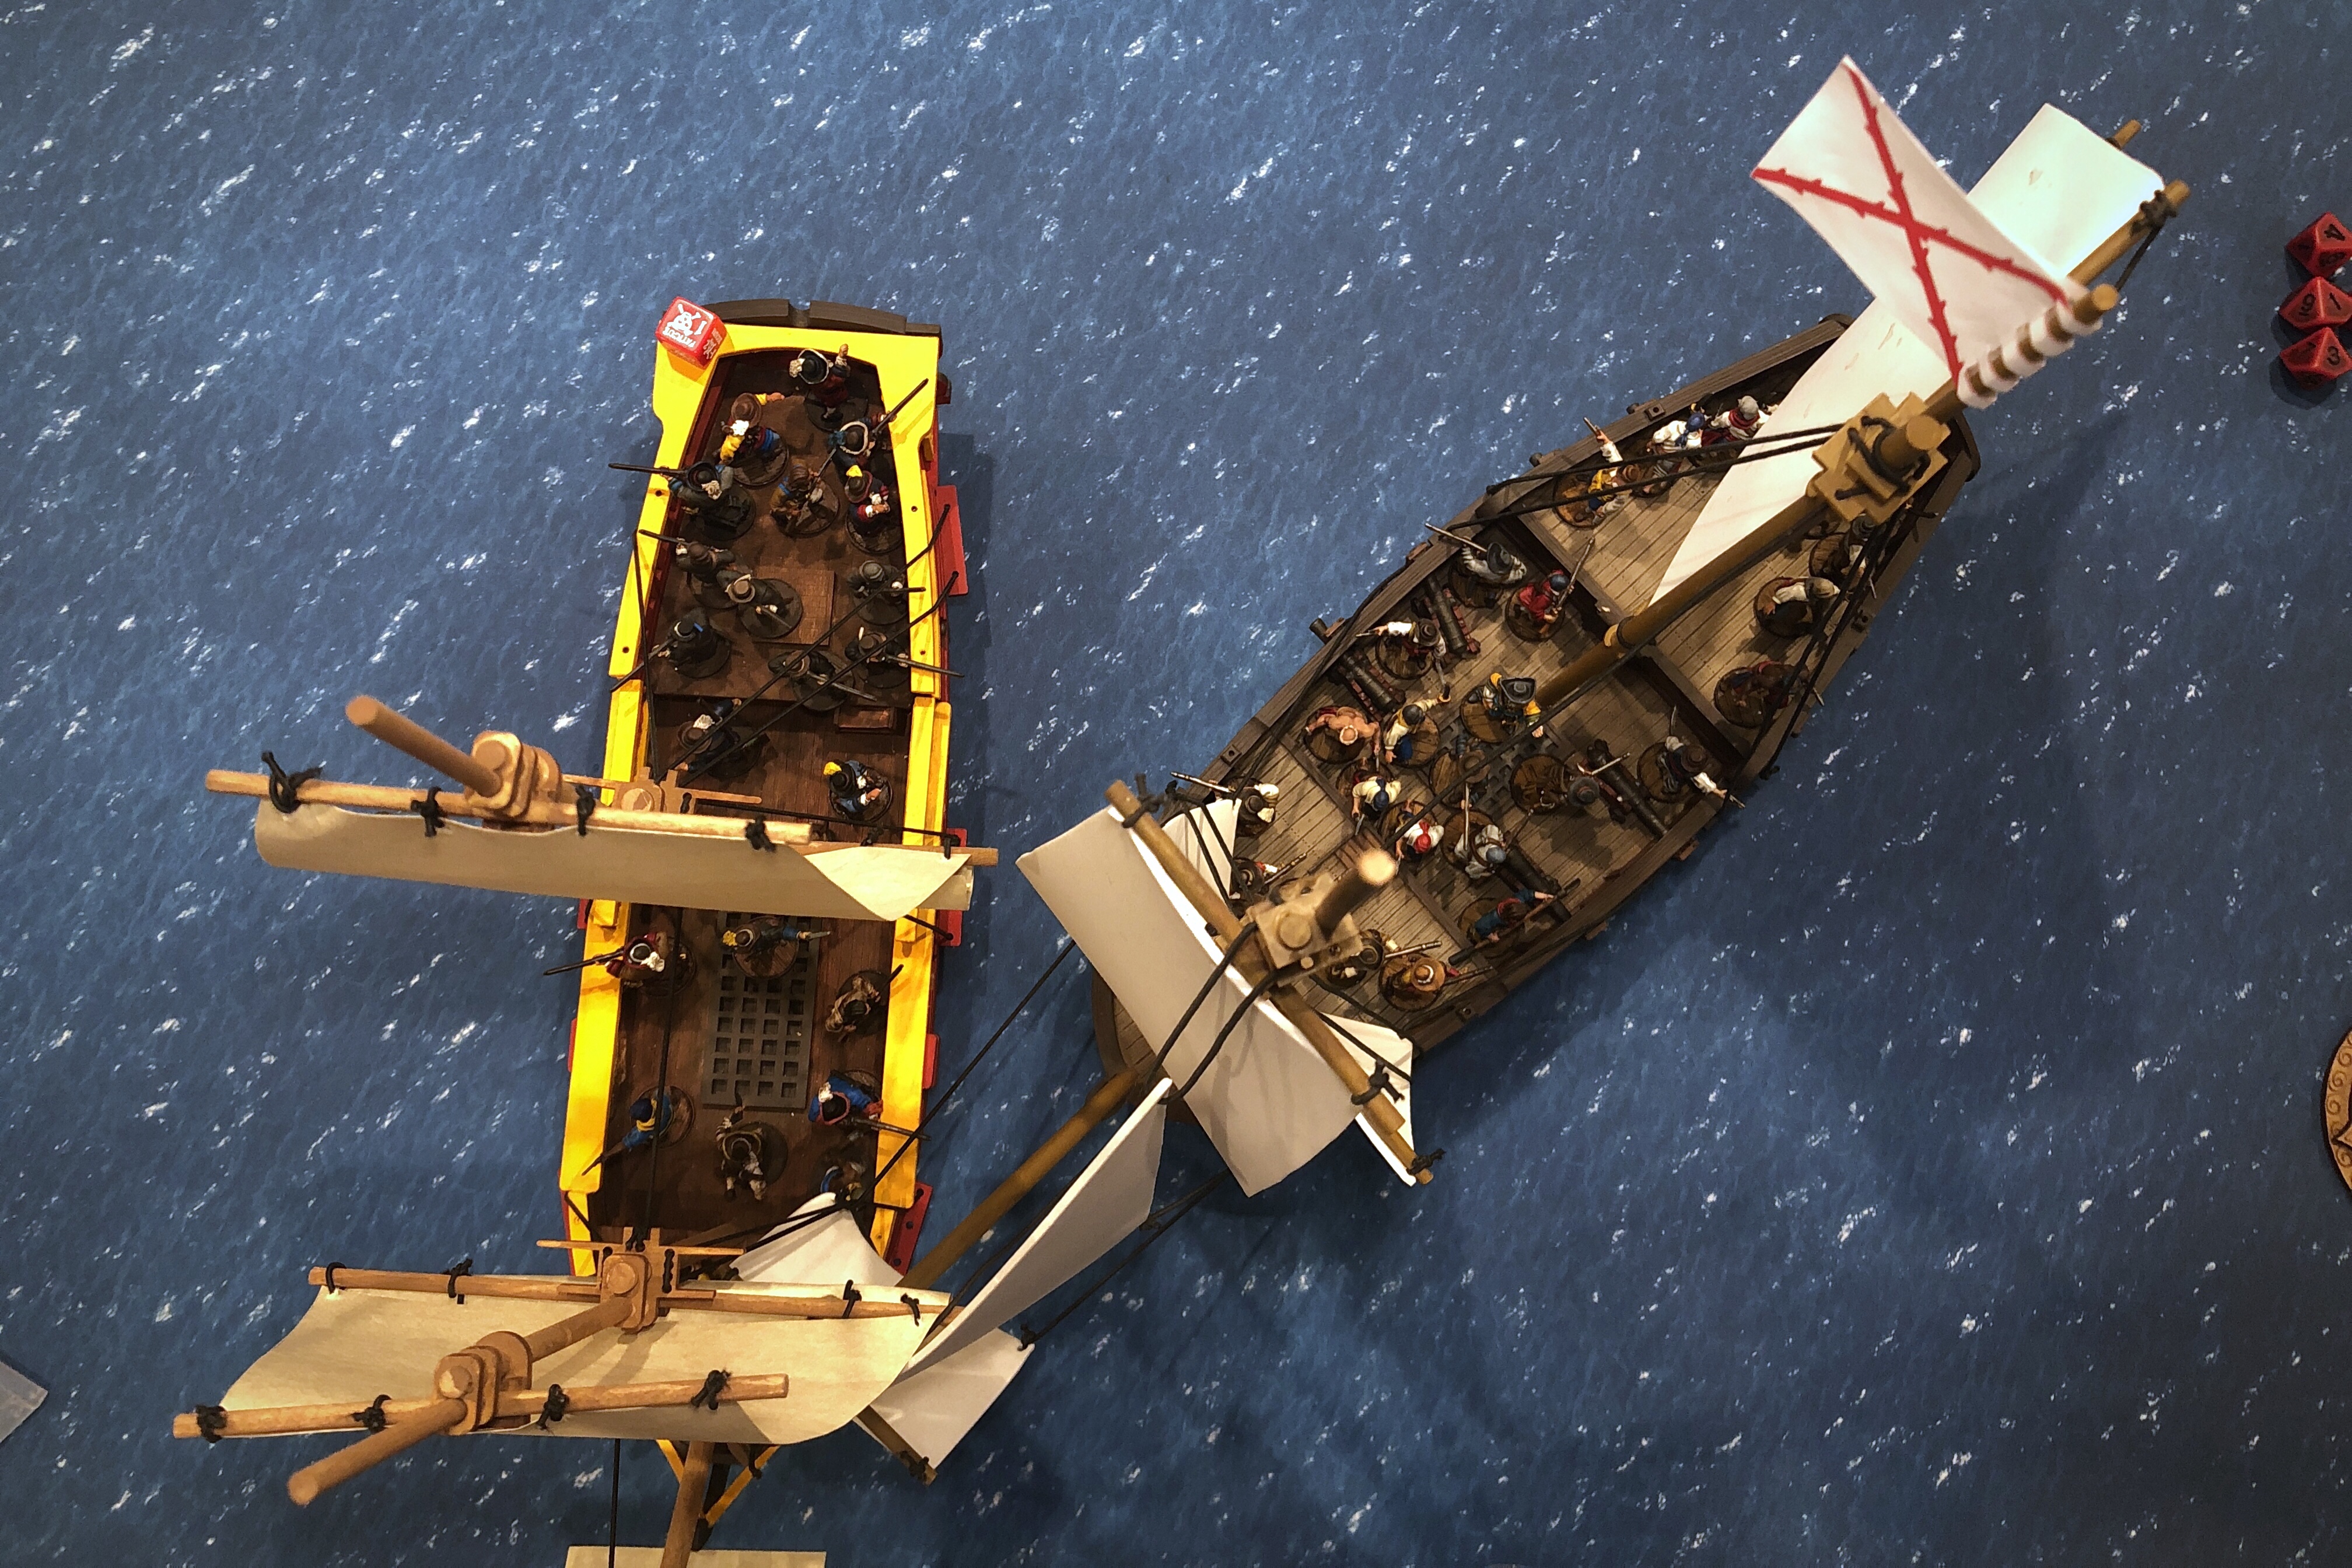
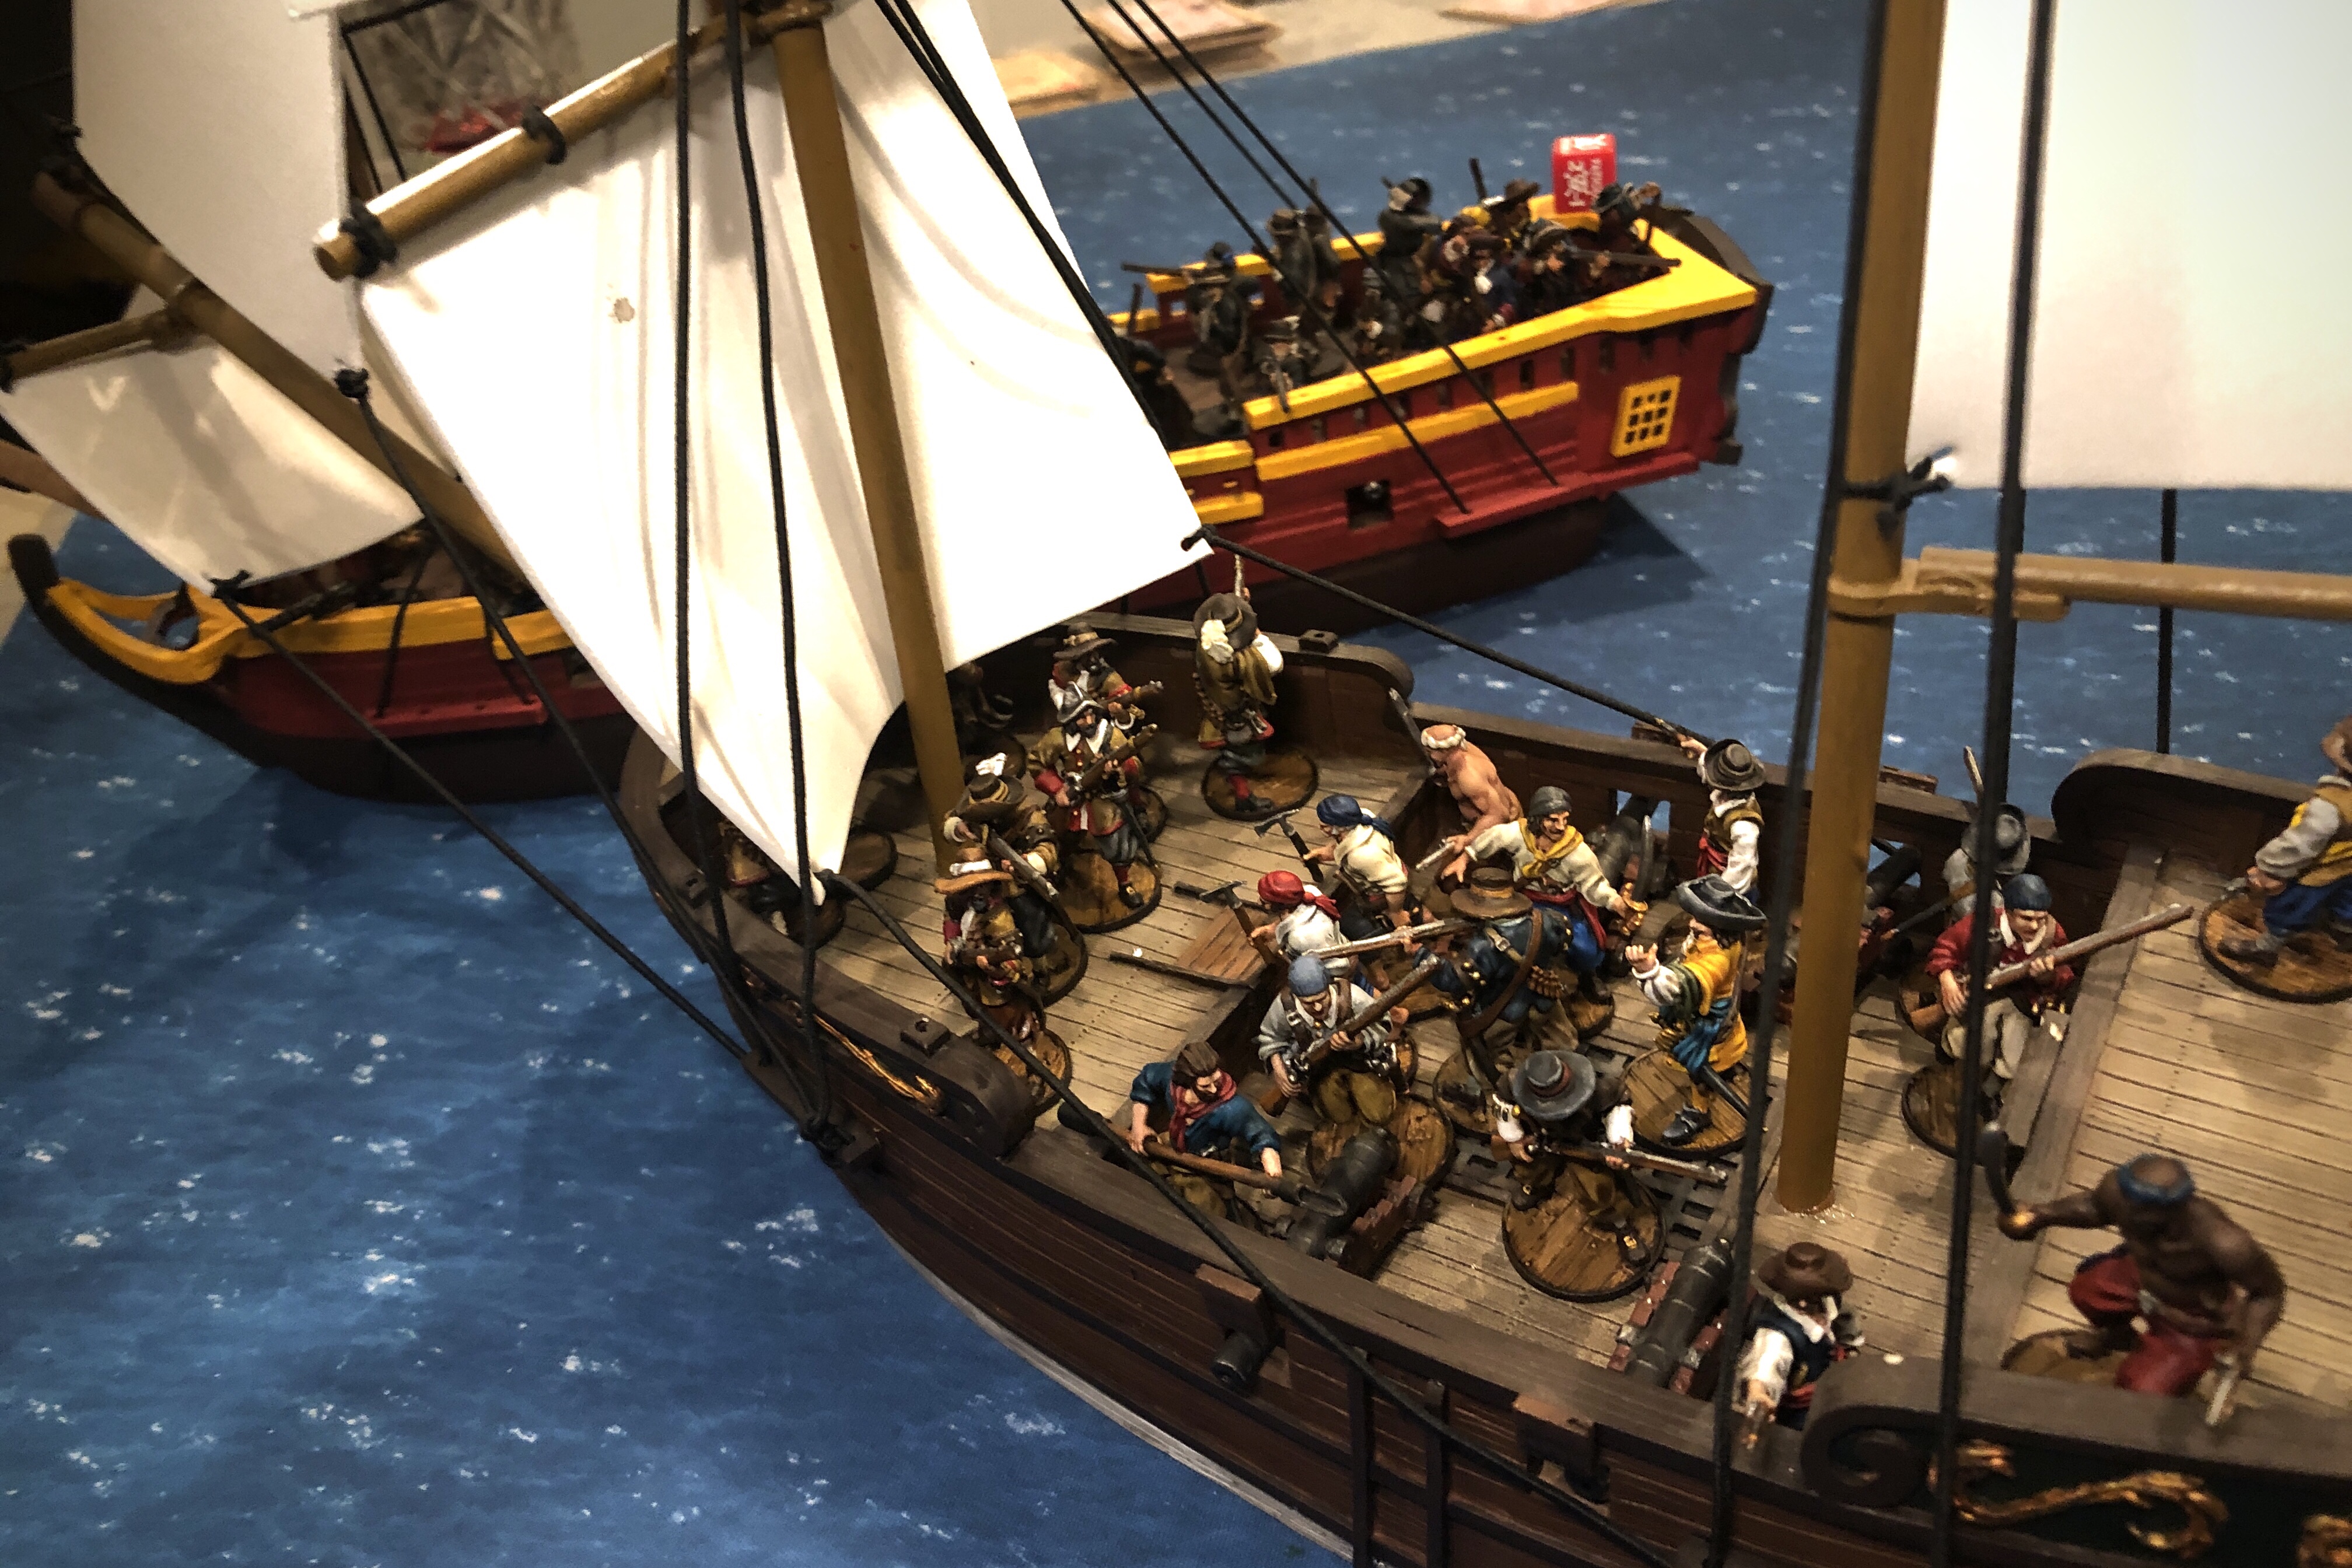
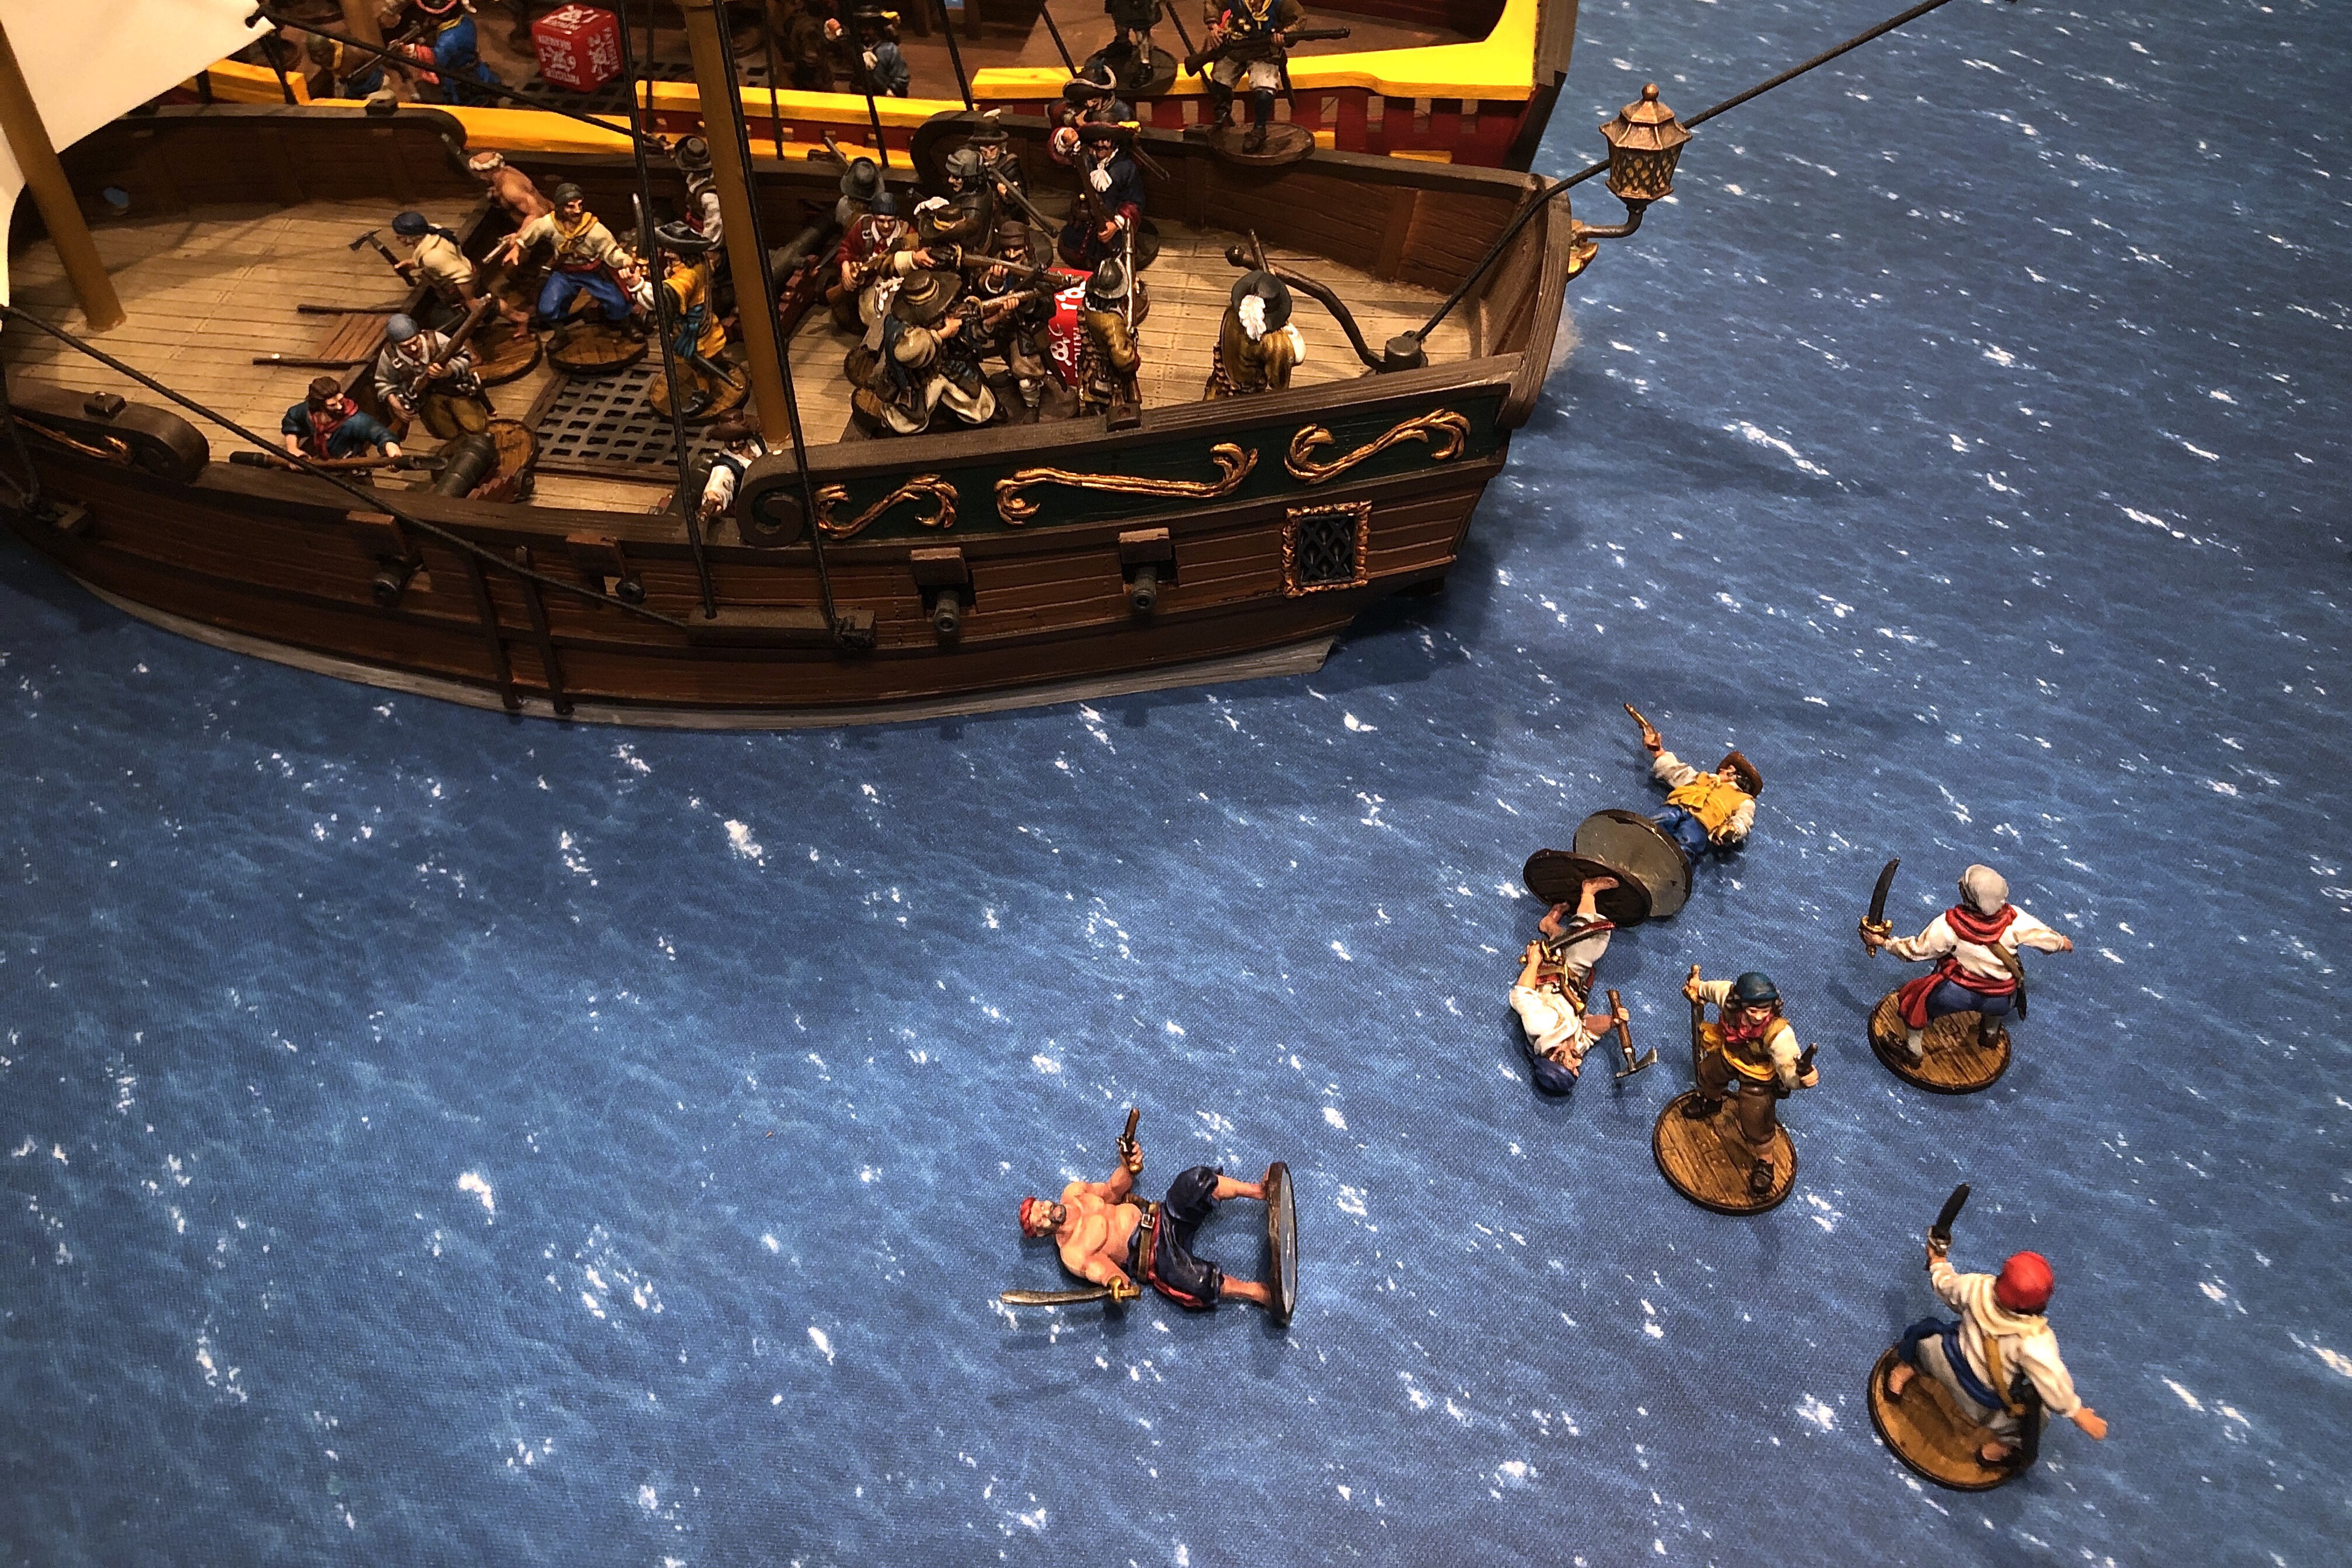
Their shop was breaking apart but the French were undaunted! They grappled my ship and boarded the rear deck, much to the discomfort of the defenseless Marineros!
Reyning called out to the oncoming Kapers in their native language but on they came!
My Marineros held after the initial charge.
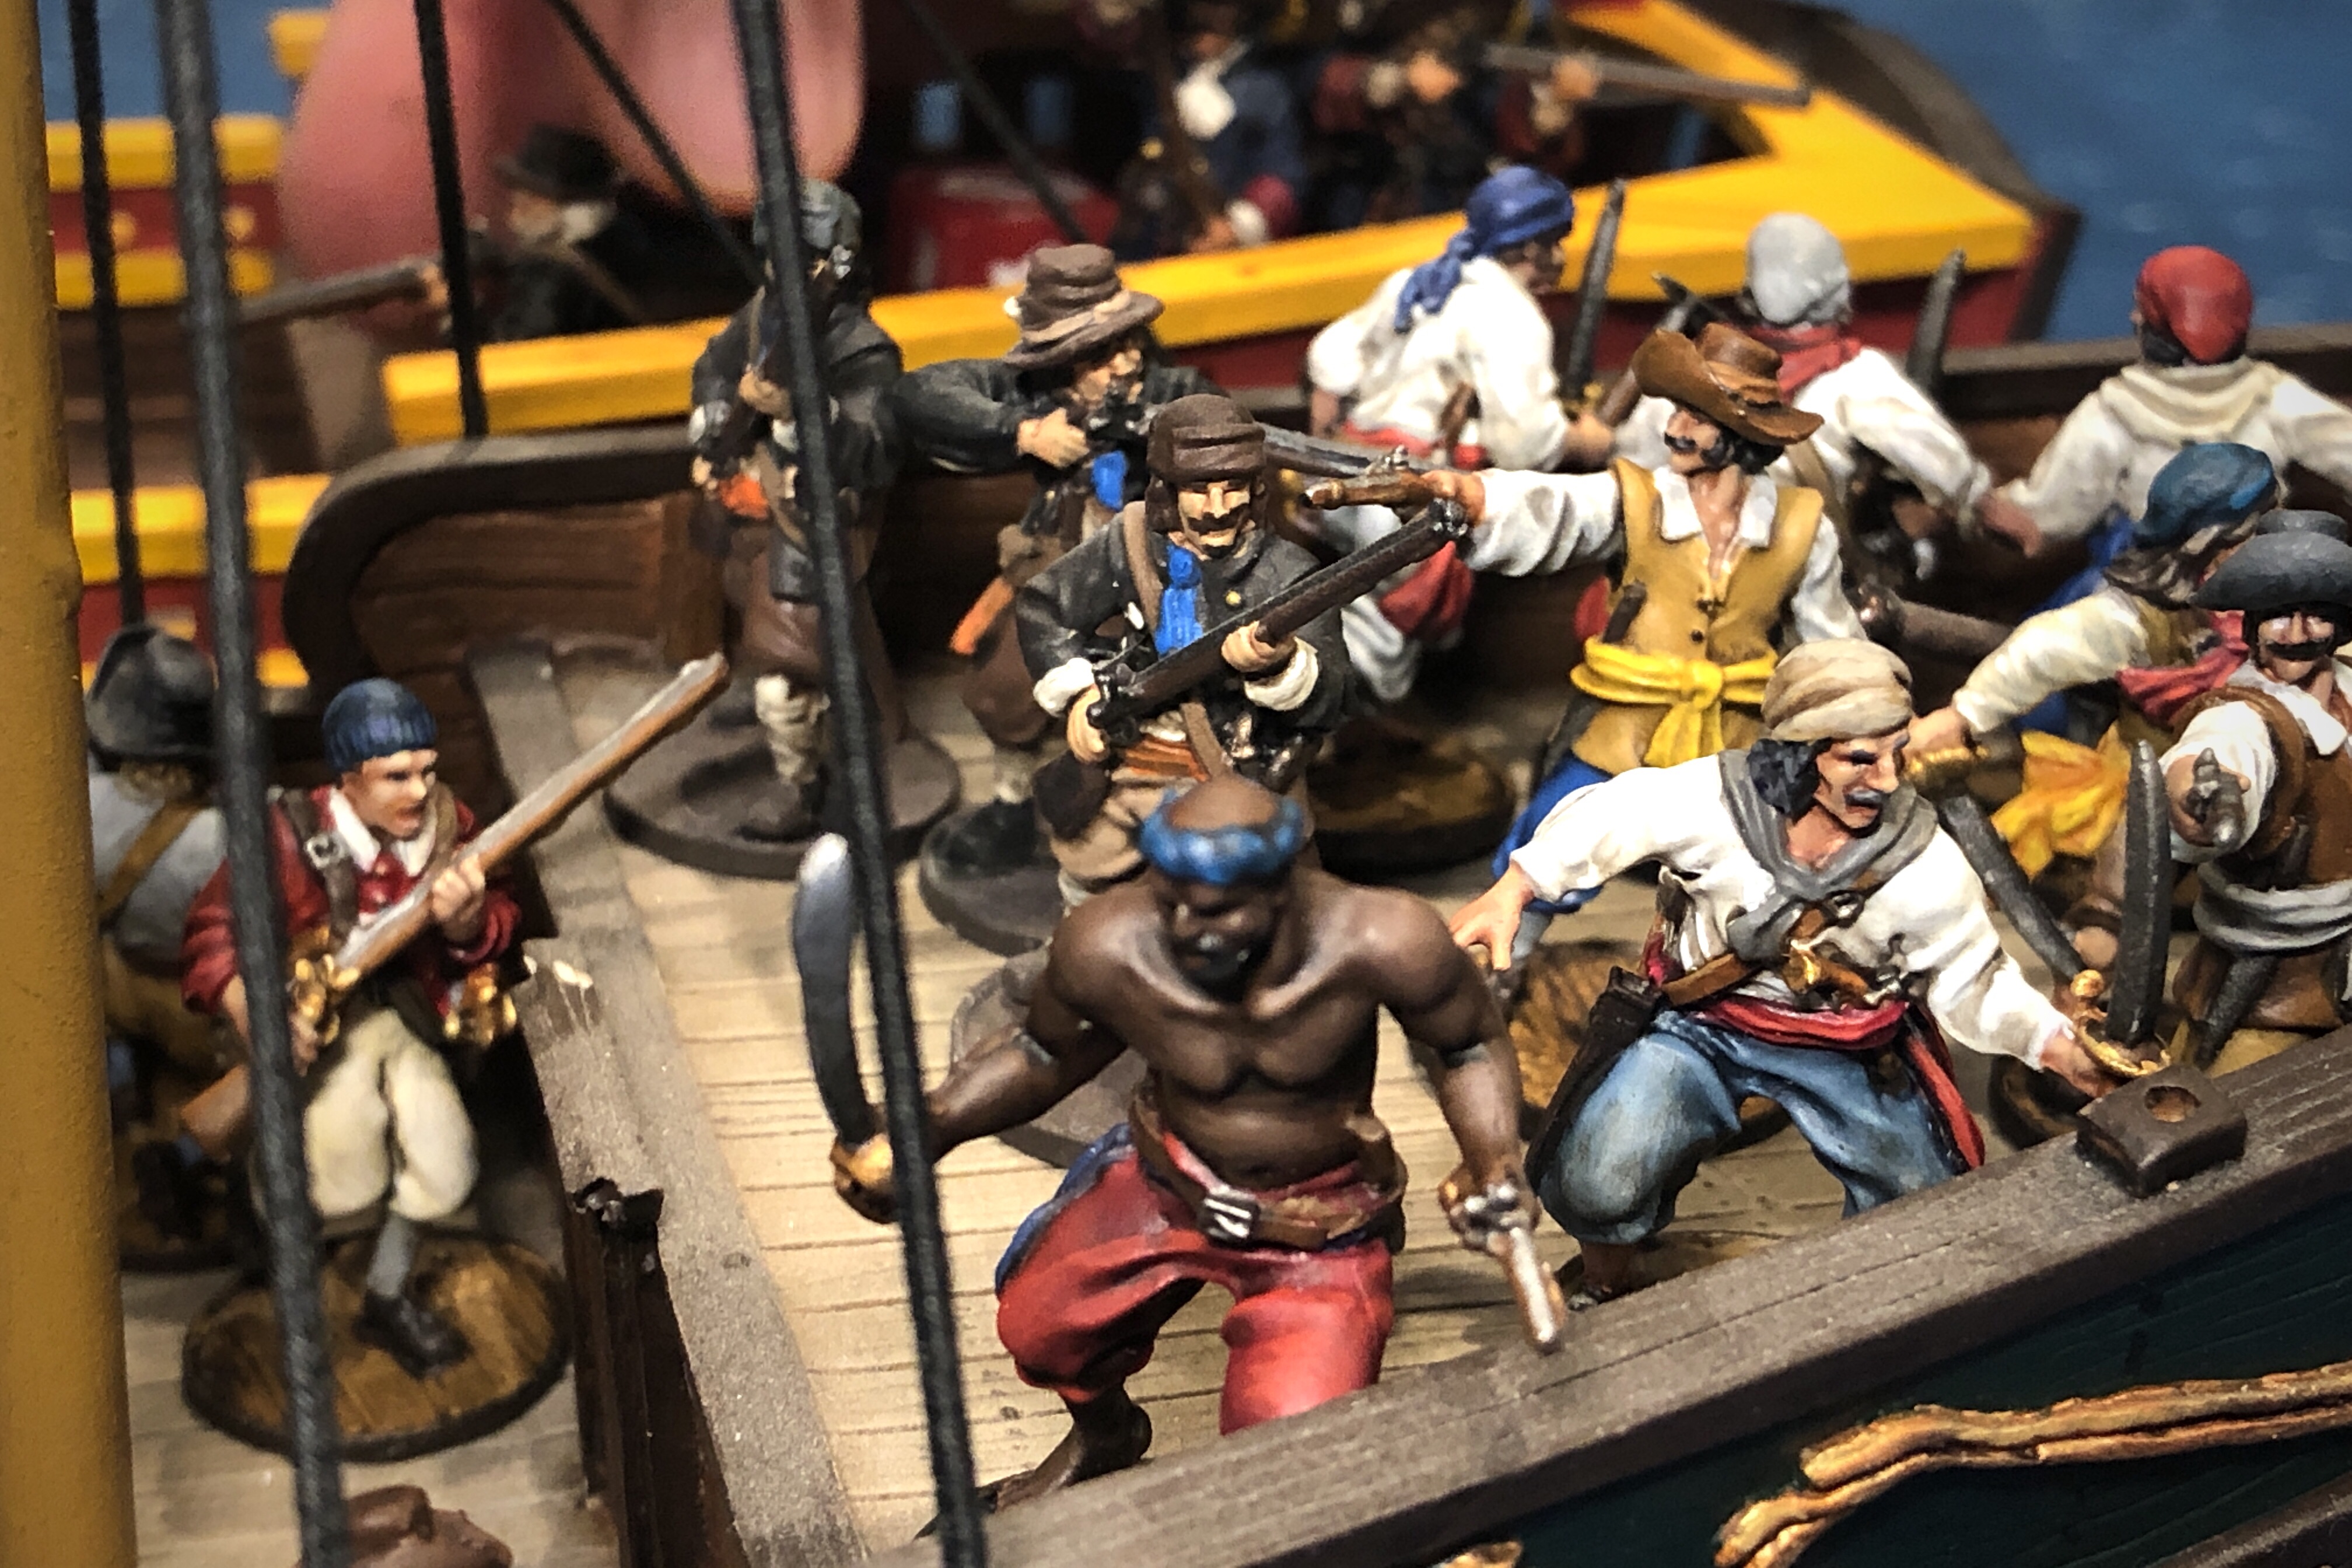
My three remaining Milicianos charge across the center deck to assist in the melee but the Kapers didn’t budge.
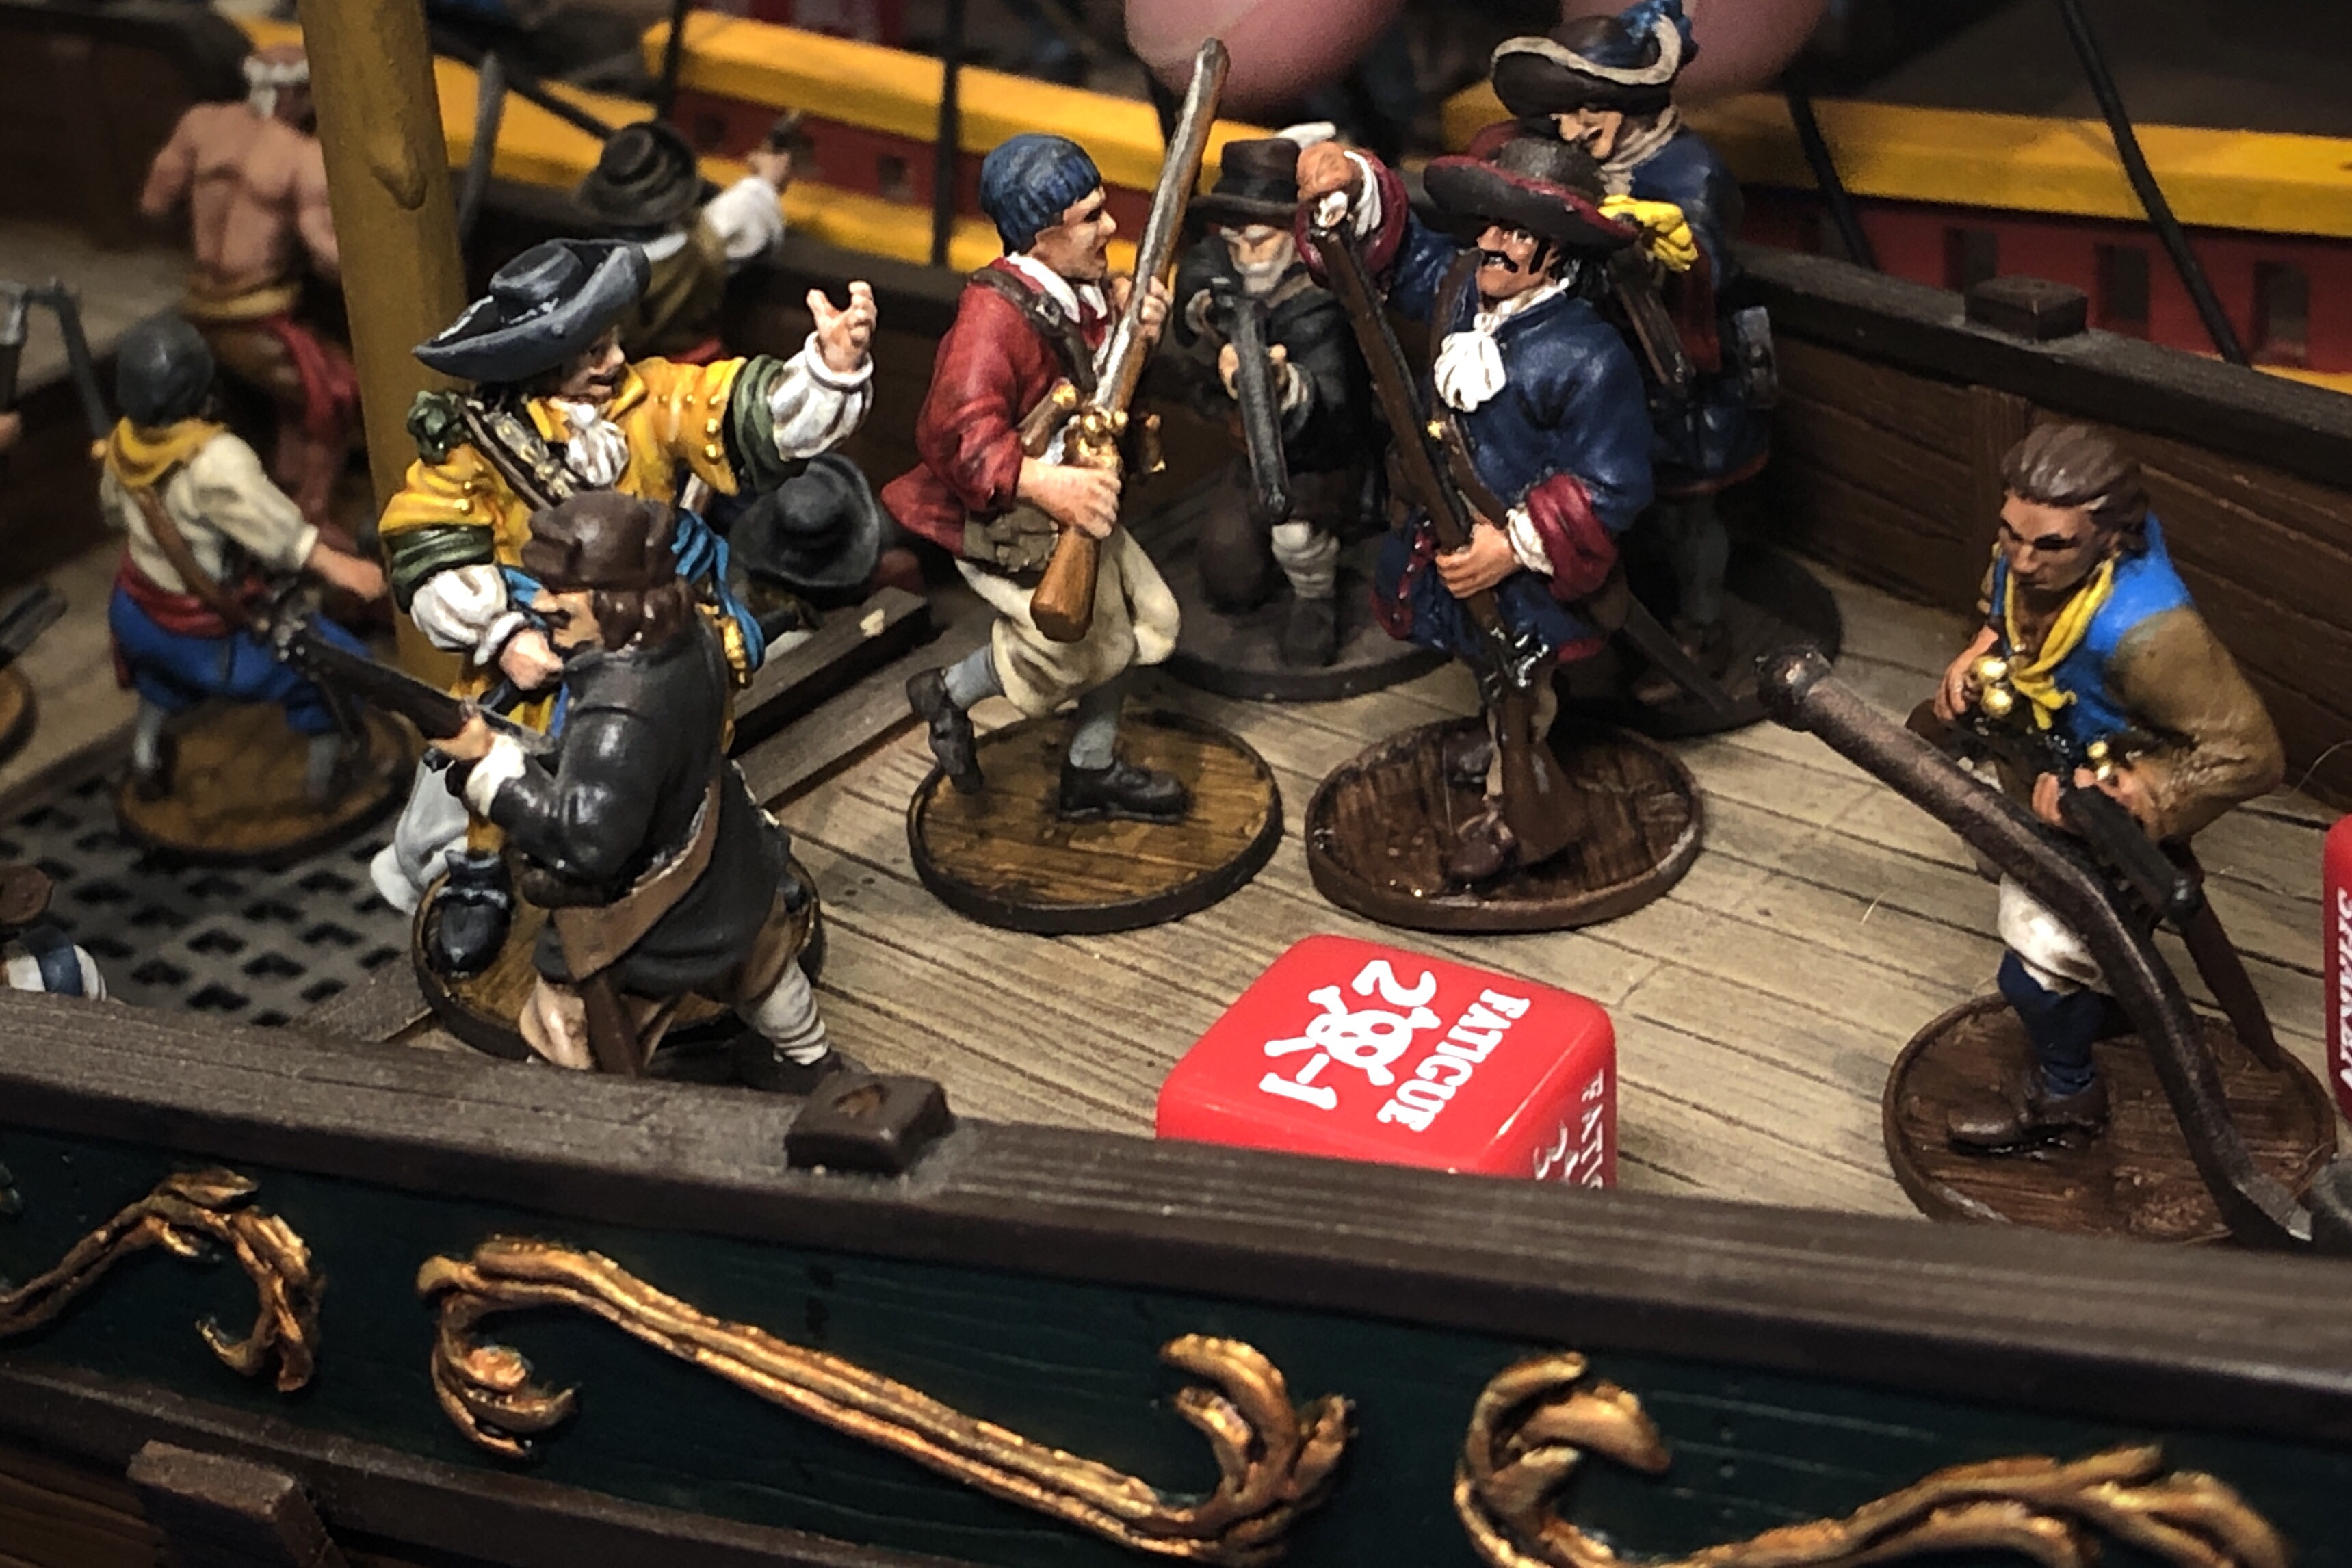
Next came the Flibustiers with their pistols and they shot down every one of my Marineros while the Milicianos miraculously survived.
Things weren’t looking so good for Captain Reyning!

Going into turn 4 Bryan drew the “Submerged Hazard” event and we had to place a shoal marker under his ship. Unfortunately for me, that effected my ship as well. Being grappled together, we were only drifting which meant that we had to roll for running aground 3 times per turn until we drifted out of the shoal!

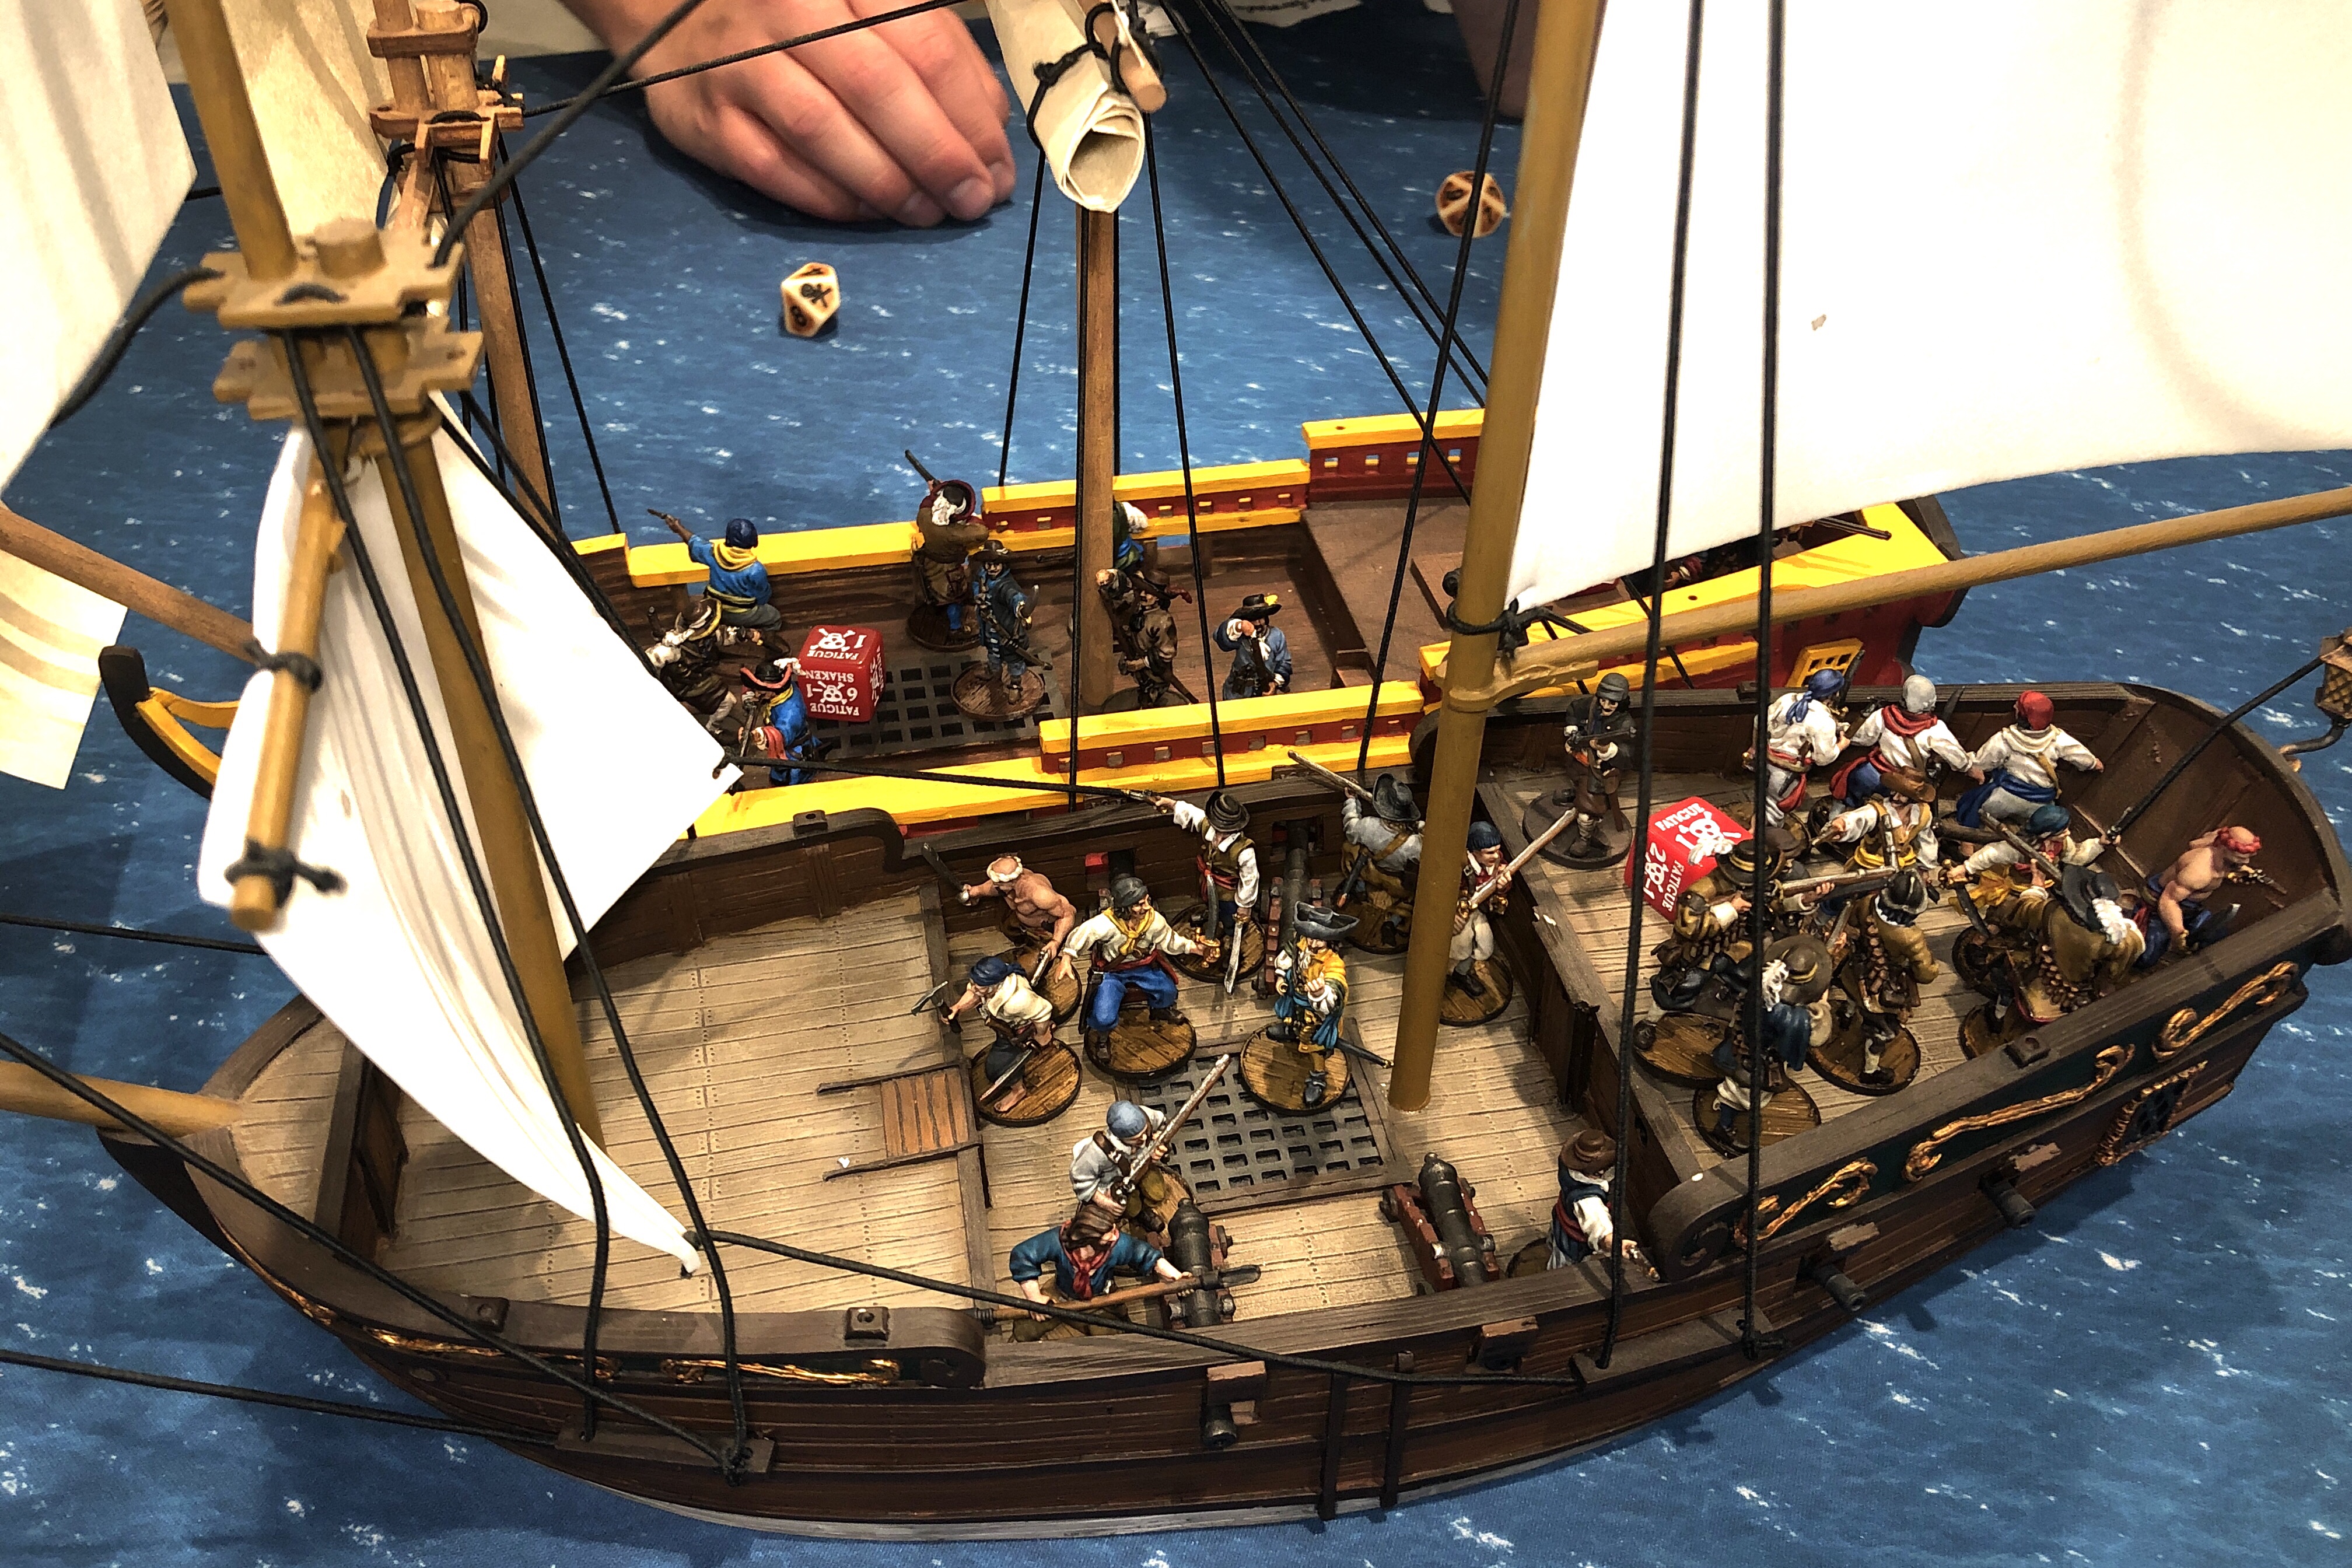
The melee on my back deck started chewing up units at this point. As tough as Milicianos are in melee, they couldn’t survive 6-5 hits when they only had 3 models left. Flibustiers don’t play nice.
With only two remaining Freebooters, Reyning joined the fray and routed the Kapers while the Flibustiers stayed engaged. With his command points, Reyning Fought again and then used Elan to command the Marineros to finish reloading their cannons.

I was lucky to still have 6 Marineros to reload both cannons! I fired the midship guns again into the battered Corvette. Shooting a ship that’s already reduced to 1 Fortitude is fun.. I finally got my Critical Hits! I applied a Fire, Leak and Steerage critical to the pile of splinters formerly known as the Corvette.
With Draft Values of 6, both our ships had a good chance of not beaching on the shoals. We both passed the first two checks but on the third check of turn 4 we both failed and beached our ships! With reduced crew and being engaged in a deadly melee battle, our ships would stay this way for the rest of the game.

Crew reduced to less than 50%, both ships grounded and the Corvette threatening to break apart, we moved to round 5!

With my acommander in danger I really wanted to get initiative here so I used my final Fortune to draw a new hand looking for a Spade but Bryan had a 9 to my 8!

Reyning and his two Freebooters barely survived the Flibustier pistols in melee and on my activation, I was able to abandon my guns with the Marineros (using a Standard action per the update) and charge, eliminating the Flibustiers. My ship was finally French-free!
The French had to focus on putting out their fires before they could push their offensive again.

Bryan rolled for his Fire spreading and it spread to my ship! We kind of had a rules conundrum here. The Corvette was out of decks for the fire to spread to but it was grappled with mine. The back decks were grappled but the fire spread in the front of his Corvette. Does the Corvette blow up, or does the fire spread to my ship? We weren’t sure so we had it spread to my front deck. [Update: we played this correctly. Confirmed by Mike Tunez.)

At the end of turn 5 we calculated Strike Points:
- My Spanish had 3 Strikes for 23/30 casualties and 1 Strike Point for a grounded ship.
- The French had 2 Strikes for 19/29 casualties, a Strike for being Grounded, a Strike for my ship being close to the French (per Scenario their) and a Strike for a ship being reduced to less than 50% health.
With Strike Points standing at 4 to 5, we continued to turn 6!

Iron Arm was able to put out the fire in the forward deck of the Corvette then fire muskets into my back deck, killing poor captain Reyning!

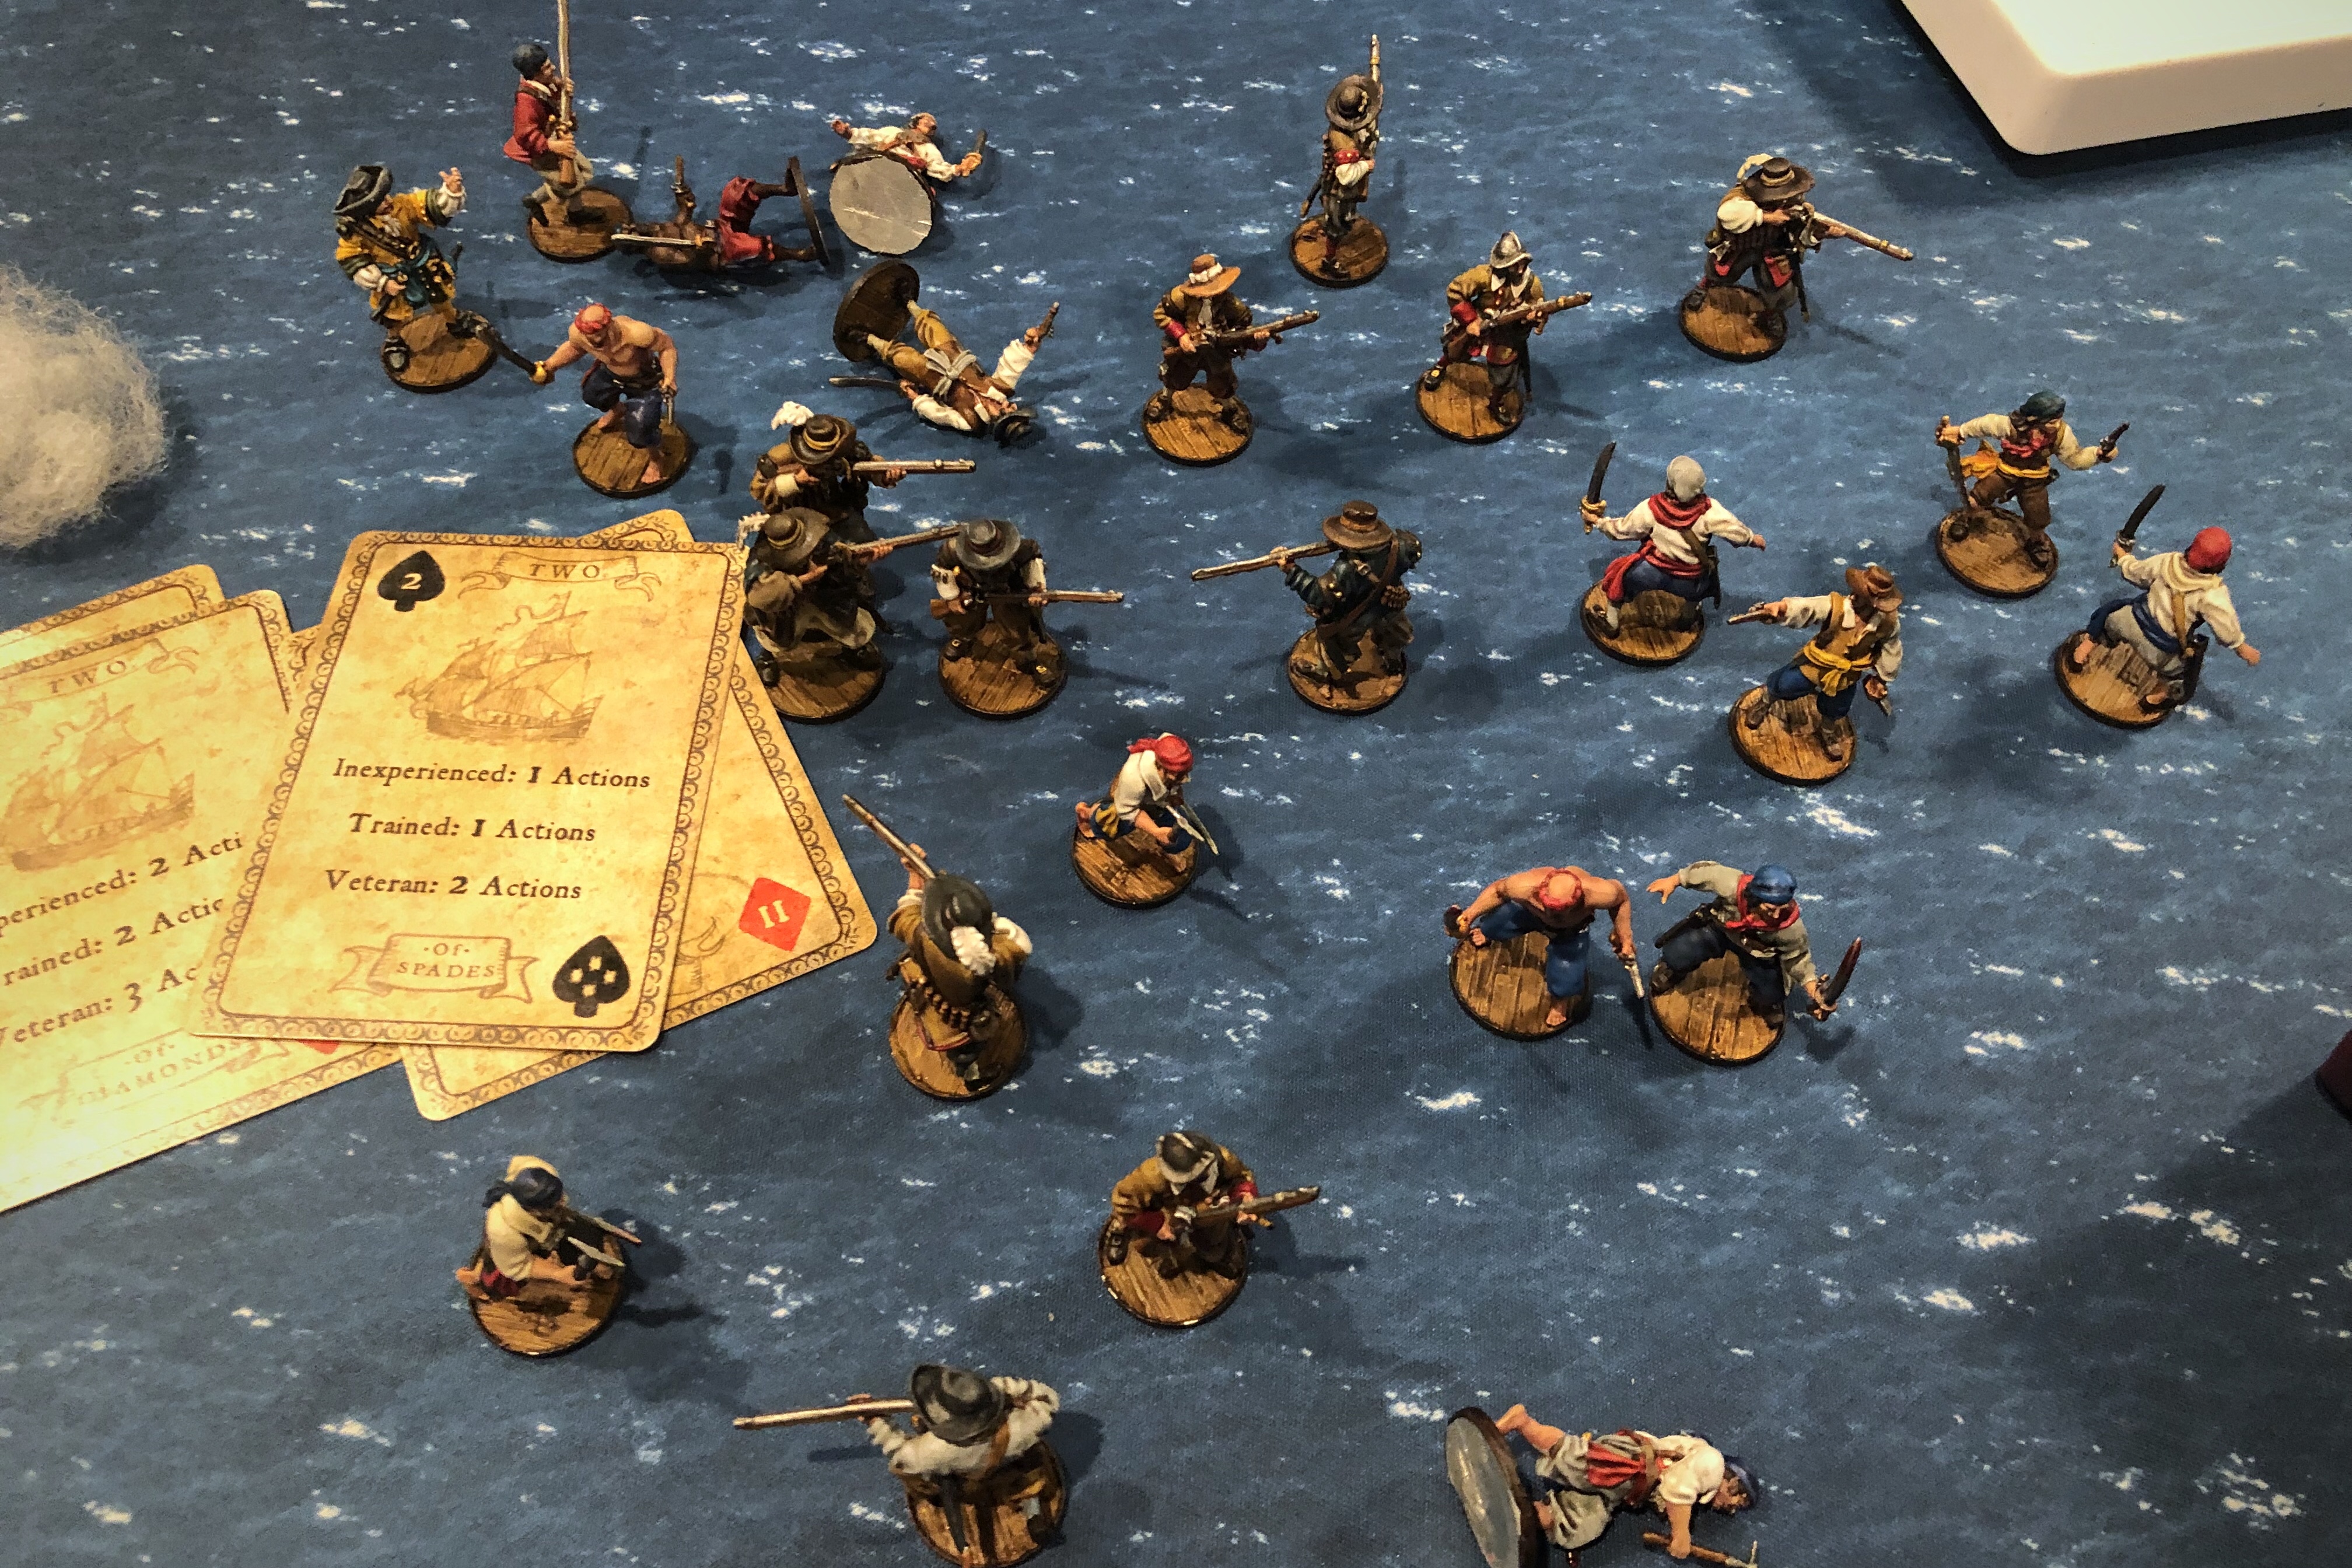
Beached and with no ability to cut grapples and flee, the desperate Marineros charged into the splintery inferno of the Corvette and into the French Flibustiers. That was my last chance but the French didn’t break.

The Marins countercharged and killed all of my men, ending the game. Iron Arm boarded my ship and after putting out the fire, hauling down the straining sails, and dislodging the Brigantine from the shoal, he sailed away with his prize and skeleton crew while the hull of the Corvette disintegrated on the shoal. I’m guessing it was easy to free the Brig from the shoal after pushing all the dead bodies overboard!

That was a good game! It came down to the last few actions. That shoal made it a do-or-die scenario at the end. No escaping!
All the Spanish are dead.
19/29 dead Frenchmen.
Post Game Thoughts
- What a game! That was a desperate fight. It was fun seeing asymmetric forces fight such an evenly matched battle. This battle is confirmation that the new cannon costs are more appropriate. I came in with 4 medium cannons vs a fragile ship and still lost. If I had scored meaningful Lucky/Critical hits earlier, I may have done better but as it was, the French came straight at me and were able to use their strengths to carry the day in spite of their ship disintegrating beneath them. For a while, cannons were pretty much dropped in my local “meta” since they did so little damage before the ships got close enough to make small arms more efficient.
- The Scenario encouraged me as the Attacker to get close to the Defender but I bet I would have done better to stay away, or at least out of boarding range, for a couple more turns. If I could have fired two full broadsides before worrying getting boarded, I might have done better. Depriving the Flibustiers of the opportunity to use those Brace of Pistols would have been smart.
- Reyning is a fun commander, especially since he expands the possible unit choices for restricted factions like Guarda Costas. While he was decent here, I think he would shine in a larger game with more vessels on the board. That 28″ range makes me want to have him lead a Spanish Corsairs list in Piraguas. I really should have either dropped the Milicianos to add 5 more Freebooters to Reyning’s command group or dropped the Freebooters all together and attached him to a larger unit of Milicianos. It was foolish to only have 5 models in the command group, especially with a 27 point commander.
- Iron Arm is a great commander! Lucky came in to play multiple times and helped the French make good use of their Fortune. It helped models survive those cannon shots. If I ever get my French Force painted, I’ll be using this commander. A great deal for 20 points.
- I really like the new event tables in No Peace Beyond the Line. Having that shoal pop up changed the game and felt real. The original event table is fine, but it’s fun having events that are more appropriate to land and sea games. So crazy that we both beached our ships at the same time!
- This game showcased both the brutality of the Flibustiers and the sturdiness of the Freebooters and Dutch models. You wouldn’t think the difference of one on a stat or two would make such a difference but it does! Those Kapers and Freebooters just wouldn’t die until the Flibustiers whittled them down to just a few models. Freebooters and Flibustiers are similar in a lot of ways but they both have their distinct character and that makes for amazing game play.

- The new 4-point cost for Swivels evens things out. While they costed 2 points, they were auto-includes in pretty much every naval force we played with. Now, you have to really consider the cost. I didn’t bring any and Bryan only brought 2. It’s fun to use the 5 and 6 cost models and not feel bad as 3 point sailors blast them away with rapid-fire swivels. That errata document has done good things for the game.
- I don’t think we made any big mistakes in this game but on writing this I realized I never used my Son of Neptune. I wasted both Tough and the extra Rally every turn! I don’t think Bryan ever used his Reformado either. As the evening wears on and the grog (wine) bottle empties, you start to miss things. Having unique models for your characters really helps me remember to use them.

Thanks to Bryan for a good game. Jan Erasmus Reyning will be back for more
Excellent battle report. Really love the cinematic feel of the game, and the fact its ship to ship. Just spoiled by the French victory, as I always play Spanish….