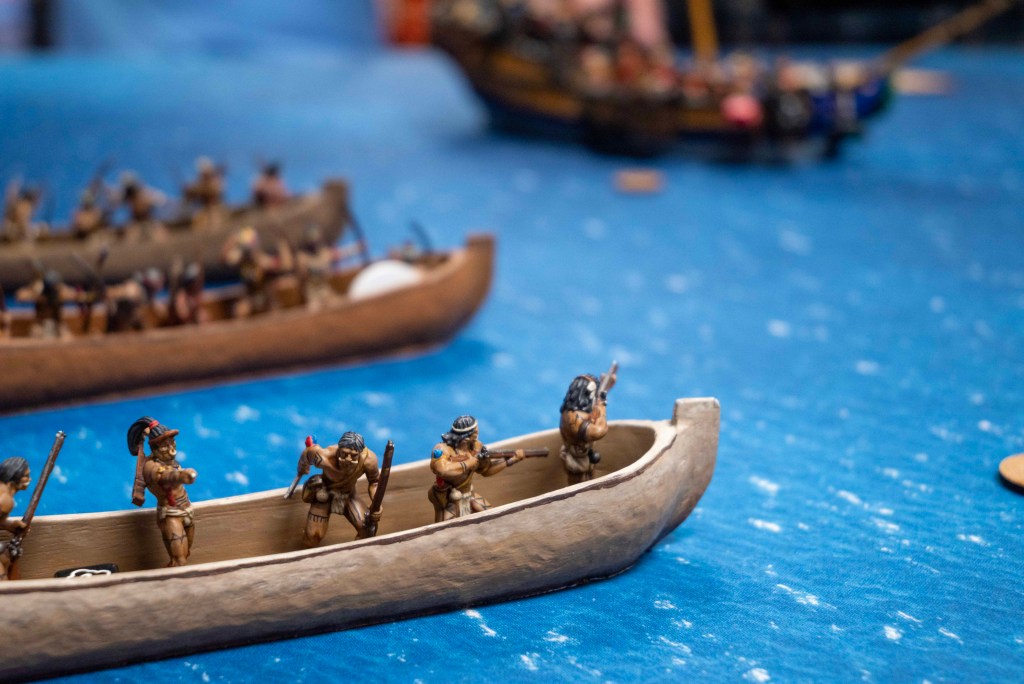
I hadn’t played any Native American Factions in a game at sea for while, so I recently ran out the generic “Caribbean Tribes” in a 150 point casual game at my game store with Riley. Here’s a quick battle report of that game of Search & Recover at Sea.

The Forces
The current “tournament meta” is 250pts for sea games right now, but we scaled it back all the way to 150 for a shorter game. 150 is tight, but you still have a lot of options, and they game plays really well with at this point level.
Caribbean Tribes
I chose the Caribbean Tribes Faction as I’m gearing up to write a review article for this Faction. They are a good balanced mix of strengths and weaknesses that make the Native Americans so interesting in Blood & Plunder.
This Faction isn’t the best at sea, but it has both the Rain of Arrows ability available to its units, and the dreaded and rare Poisoned Arrows option that can be added to units for +3pts. These two abilities can be pretty deadly but they are counterbalanced in this faction by the debilitating The Sound of Thunder Special Rule that forces extra dice on Fatigue tests when hit by gunpowder weapons.
Here’s the list I put together at 150pts:
- Seasoned Native American Standard Commander
- Special Rules – Great Warrior and Savvy
- 7 Warrior Archers
- Poisoned Arrows, Sidearm Musket, War Captains Upgrade
- 8 Young Warriors
- Poisoned Arrows, Grizzled Veteran Character
- 6 Warrior Musketeers
- Veteran Upgrade, Sharpshooter
- 3 Canoa
There’s some great combos in there, and some real weaknesses I tried to compensate for.
The Great Warrior Archers with a Sidearm Musket are pretty murderous, and the Savvy rule removes the potential of extra Fatigue from The Sound of Thunder. The Poisoned Arrows forces enemies to reroll one successful die on each Fatigue test produced by those nasty arrows. I’m relying on the Rain of Arrows to produce enough hits with this unit that I will get some kills past that difficult combination of the Bow -3 Save, and Hard Cover from ships at sea.
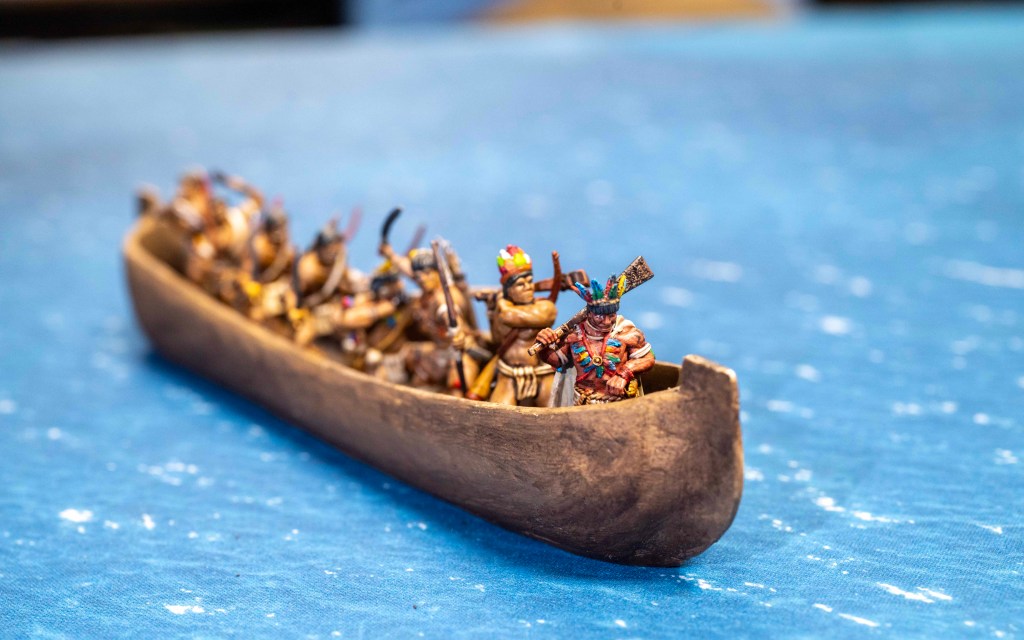
The Young Warriors are just a lot of bodies with Poisoned Arrows to drop Fatigue. I put the Grizzled Veteran with them so Tough will trigger more often with their solid Resolve of 5. And he can throw a Command Point to the Commander’s unit to keep Fatigue off them.
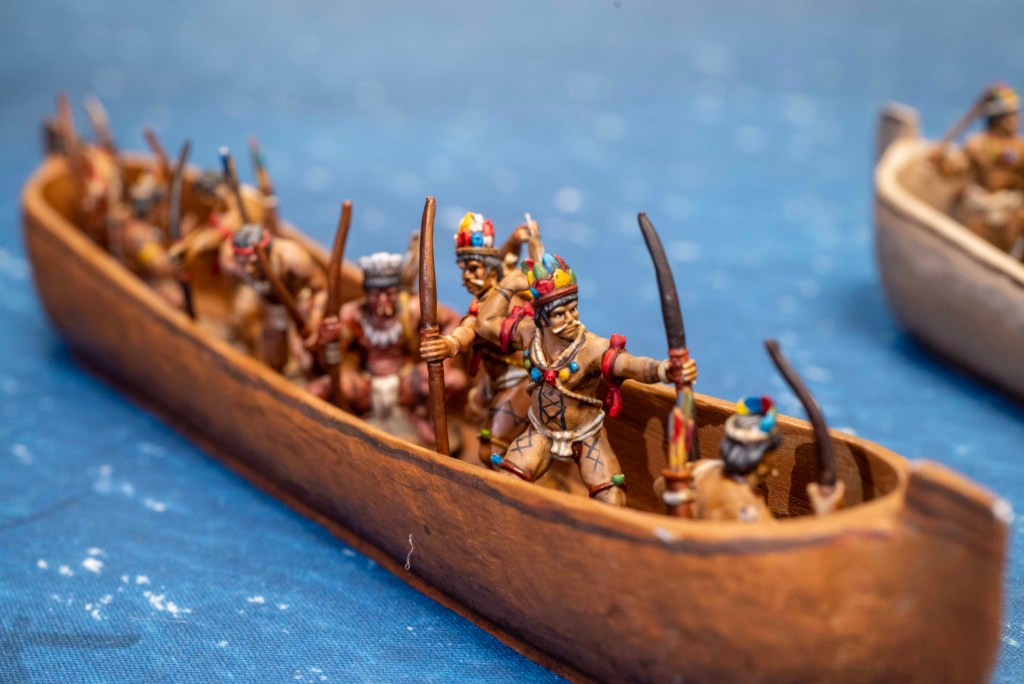
The Warrior Musketeers are a dubious choice, but I like having some more solid killing power at sea where bows can struggle. At Veteran, they can reliably get 3 Actions plus a Command Point every turn which keeps them firing as long as they don’t get bogged down with Fatigue. That Slow Reload is nasty! I put a Sharpshooter on the unit more for the “no cover” effect on his single die than the Marksmen and Deadeye abilities.

The list is really heavy on Commanders and Equipment considering it’s only 150 points, but they’re all bringing real value. I almost went with the Experienced instead of Seasoned Commander, but I really wanted the 12″ Command Range in a game a sea. At only 22 models, it isn’t a large Force, even for this point level.
British Privateers
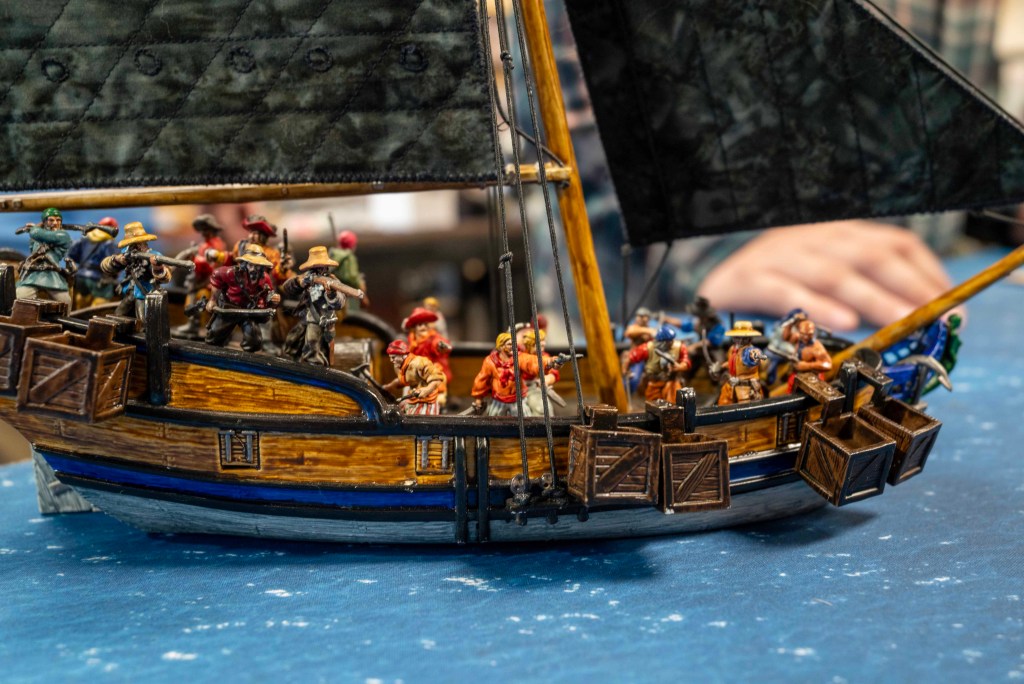
Riley chose the British Privateer Faction, sailing a Bermuda Sloop.
- Read Elding
- Very Inspiring and Felicitous
- 8 Jamaican Privateers
- 6 Able Seamen
- 6 Sea Dogs
- Brace of Pistols
- Bermuda Sloop
- 2 Pairs Swivel Guns
Read Elding is an expensive commander, but has some awesome rules! Very Inspiring is a good hard counter to my Poisoned Arrows and Felicitous can end up granting several more Fortune Tokens over the course of the game if played aggressively. 28 points is a lot in a 150 point game, he’s still a good (and “rumor has it” he’s getting a price reduction in the next printing of Raise the Black).
The British Privateers Faction grants Hard Chargers to all 3 units in Riley’s Force here. Hard Chargers is a great rule for English units since they get it to combo it with the Brawlers rule as well. Stacked with pistol re-rolls on Fight tests and this is a nasty, nasty melee force!
The Able Seamen are very durable on a ship with their 6 Shoot Save and 4 Resolve. With the Reinforced Bulkheads on the Bermuda Sloop, Able Seamen will save on a 2+ vs archers.
This Force has lots of great melee power, and short ranged attacks, but not a lot for long range attacks against the Native canoes.
The Scenario
We rolled for a random scenario and came up with Search & Recover scenario from No Peace Beyond the Line expansion. This gives you a very definite objective that doesn’t focus just killing the other team, but it can be a little swingy. But we hadn’t played it in a while so we went for it!

In this scenario, players are searching for a valuable floating objective marker at sea. Three markers are placed face down, but only one is worth anything!

The floating objectives must be successfully grappled to to reveal and (hopefully) claim.
We deployed with parts of our ships within 8″ of the board corners. After deployment, we set up the three objectives on the board, one more central, and two on the sides of the board.

The Game – Search & Recover at Sea
Here are the highlights of the game, turn by turn.
Turn 1
With our ships so far apart, most of the first turn was spent moving towards the middle of the board.

My Natives utilized the Canoa’s Paddles Trait, moving only 3″ every move, but still having the freedom to do other actions during activations.
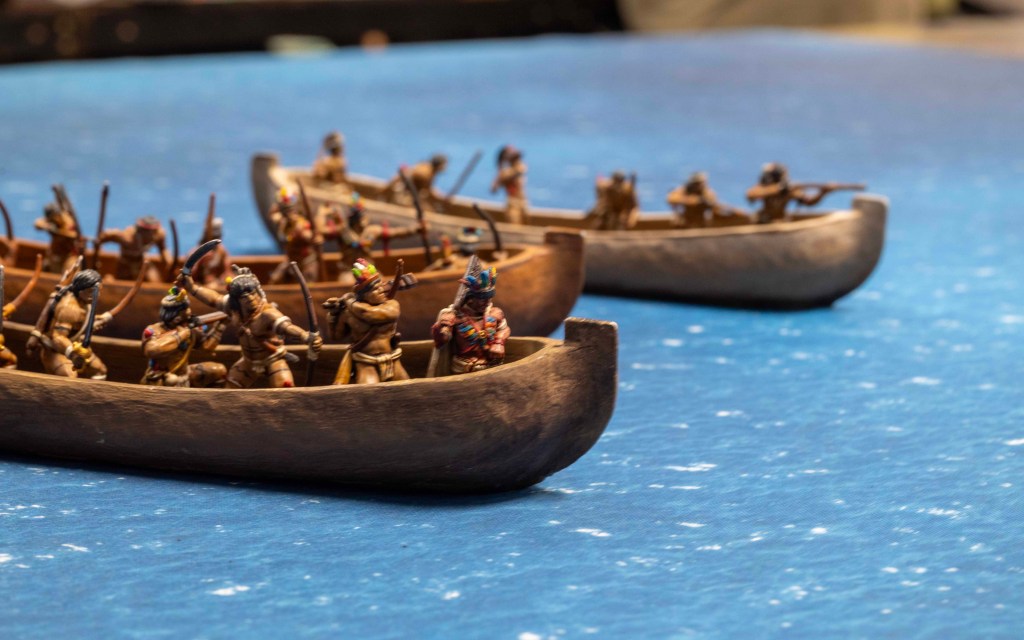
Riley’s Privateers started at a low sail setting, but increased it to 3″ on the first activation.

By the end of the first turn, after 3 moves, each, we were close enough that we could hit each other with small arms.

The Privateers let off a warning shot with their starboard swivel guns, but didn’t get any hits while looking for 10’s. The Warrior Archers, using their Great Warrior bonus, let off a “Rain of Arrows” volley that landed 7 hits out of 8 dice!
Targeting the sloops main deck, hits were taking on both the Able Seamen and Sea Dogs. After one Fortune spent, only 1 casualty was taken from the 7 hits, but the turn ended with the Sea Dogs sitting at 2 Fatigue. The Poisoned Arrows failed to get any Fatigue on those tough Able Seamen.
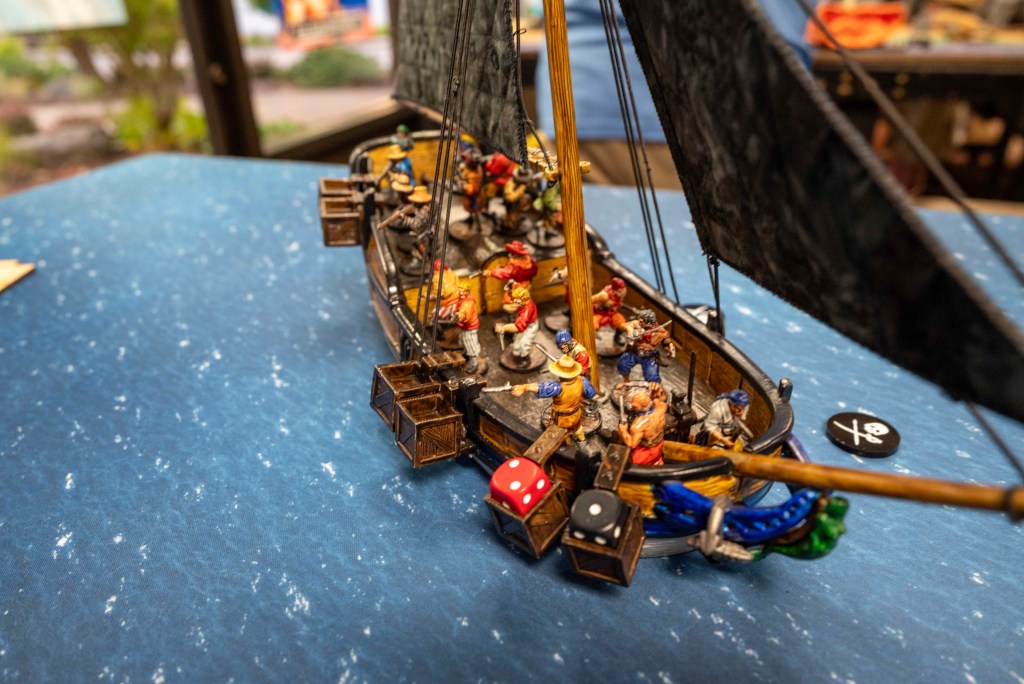
Turn 2
I liked seeing a high initiative card in my hand on turn 2. High initiative is typical strong with Natives as you can throw more arrows and try to deprive the enemy of more actions!

The British Privateers had their ship up to 4″ speed and approached the first Objective token early in turn 2.

But it was not the prize!

My Warrior Musketeers nabbed the Objective on my side of the board with a successful Grapple action. But it was not the prize either!
My Archers and Young Warriors dump some more arrows on the Sloop, but the British are tied up either changing sail, rallying, or grappling during most of this turn.
At the end of turn 2, there is only one objective left and we all know it is the prize. But it is closer to Riley’s side of the board, and his ship is significantly faster than my Canoa under Paddle power.

Turn 3
I’m not very happy with my activation cards on turn 3. No Diamonds or Clubs for extra actions.

But we’re getting close enough to actually engage in some deadly ranged attacks. It’s time to use the Warrior Archers’ musket sidearm!

Sidearm Muskets can be pretty deadly when fired by Warrior Archers combined with the Great Warrior ability. Now those Muskets have a base Shoot of 4! At a little less than 8″, I fire the 8 muskets with a target number of 5!

And score 6 hits on Read Elding’s Command Unit of Jamaican Privateers in the stern! And these are no wimpy arrows with low killing power. With a brutally bad Save roll, Riley used his last Fortune Point to re roll but it came up terrible again!

Five fails drops that unit to 4 models, counting Read Elding, the Commander. Devastating for the British, but they still have speed on their side!

And they are fast approaching the last Objective!

A successful Grapple and the British have claimed the Prize! My Natives have done well in the combat so far, but with this Objective in their British hands, Strike Points are still close to equal!
Now my Natives have to catch that sloop and board her, OR shoot everything off the decks and that’s hard to do with only bows!

With a careful management of Activation Cards, I was able to catch up with the sloop, but failed to actually Grapple with the Young Warriors. A Command Point to Grapple? Still no go!
Turn 4
This hand is more to my liking! But it meant The British pulled away on the first activation!

This entire turn was supremely frustrating for my Natives! I’d finally succeed a Grapple Test, then I couldn’t board, and the British would cut grapples, sending my Canoa back 3″! Next Canoa Grappled on 2nd or 3rd attempt, then get my grapples cut again!
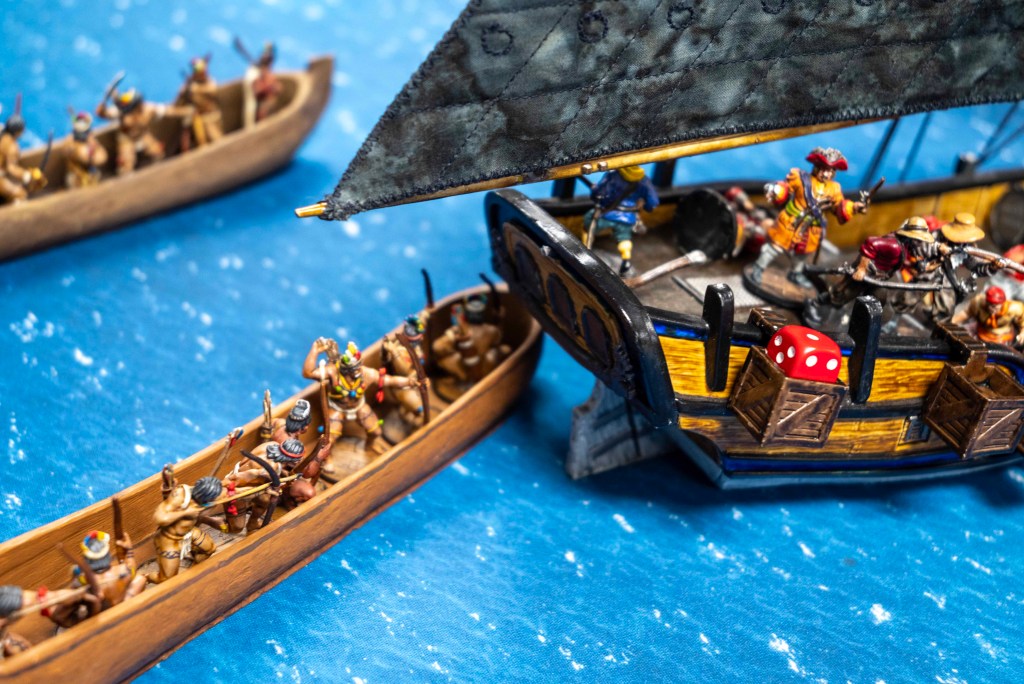
My Warrior Archers kept pecking away at the crew with reliable volleys of arrows with great results. With all British Fortune spent, any subpar Save rolls had to be accepted which can really hurt.
Turn 5
I finally got my unit of Young Warriors on deck, eliminating the Jamaican Privateers along with Read Elding. But, those nasty Able Seamen blasted me with their pistols at close range, sending my unit back over the side. Then they cut Grapples again!
My Young Warriors ended up Shaken and their Canoa fell behind without the benefit of Paddles.
But I finally got my Command Unit of Warrior Archers into play, using the Command Point to accomplish the Charge. With a Great Warrior bonus on my Fight, the Able Seamen finally went down.

But then here come the Sea Dogs with Brace of Pistols and my Warrior Archers are Shaken and back in the Canoa! Cut Grapples and the Sloop is getting away again! There’s only a small handful of British left, but they have the prize and they’re getting away!

Turn 6
With more units Shaken, my Paddle speed is suffering, but with only 1 unit, Riley is forced to wait until the end of the turn to take his 2nd and 3rd move as Residual Movement! Now is my chance to close the distance!
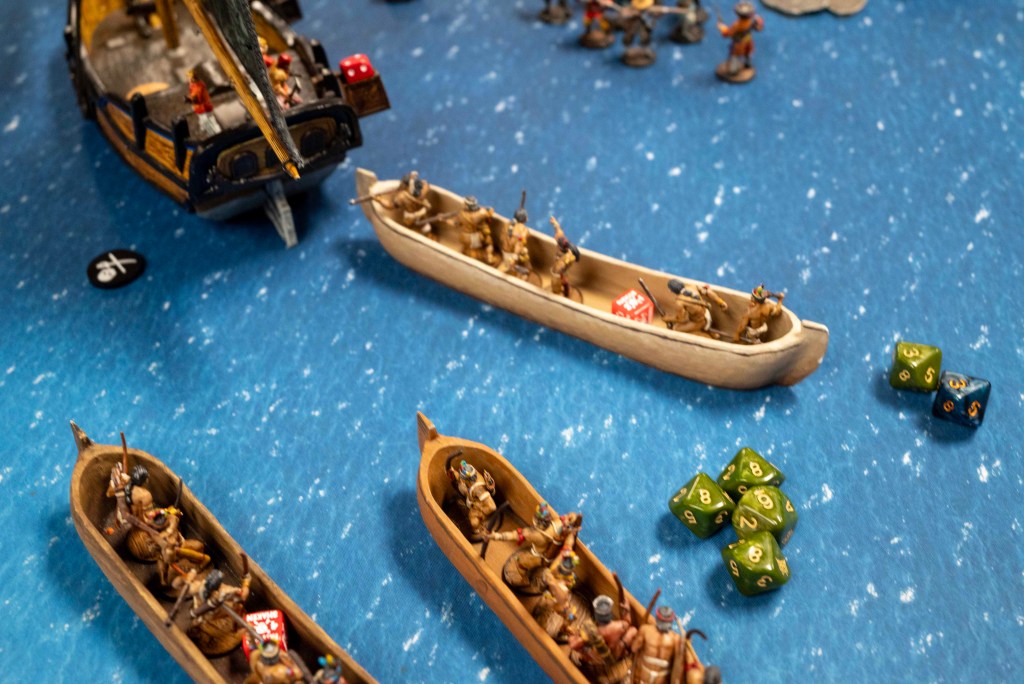
There are three Sea Dogs left. My Warrior Musketeers move into close range and score 4 hits at close range. Riley finally throws a “decent” save with 2/3 dice coming up as successes, but that’s still 2 casualties from a 3 man unit. The final model routs with too much Fatigue.

The game ends with a Native victory, but Riley scored a moral victory as I was unable to claim the prize before the end of the game.

Post Game Analysis
Here are some lessons we took away from the game.
- Don’t overplay the Objective. Riley commented that he probably spent too many actions focusing on the Objective at the expense of throwing dice at my Natives. This is a hard balance to strike, especially when you’re losing actions to Fatigue from those Poisoned Arrows. But in this case, targeting my units with The Sound of Thunder a little more often would have likely slowed my Natives down in a significant way.
- Boarding a ship from a Boat is hard! With speed and height in the Ship’s favor, it takes a lot of work and a little luck. And it’s so frustrating when you finally get grappled and then the grapples are just cut! Over and over again!
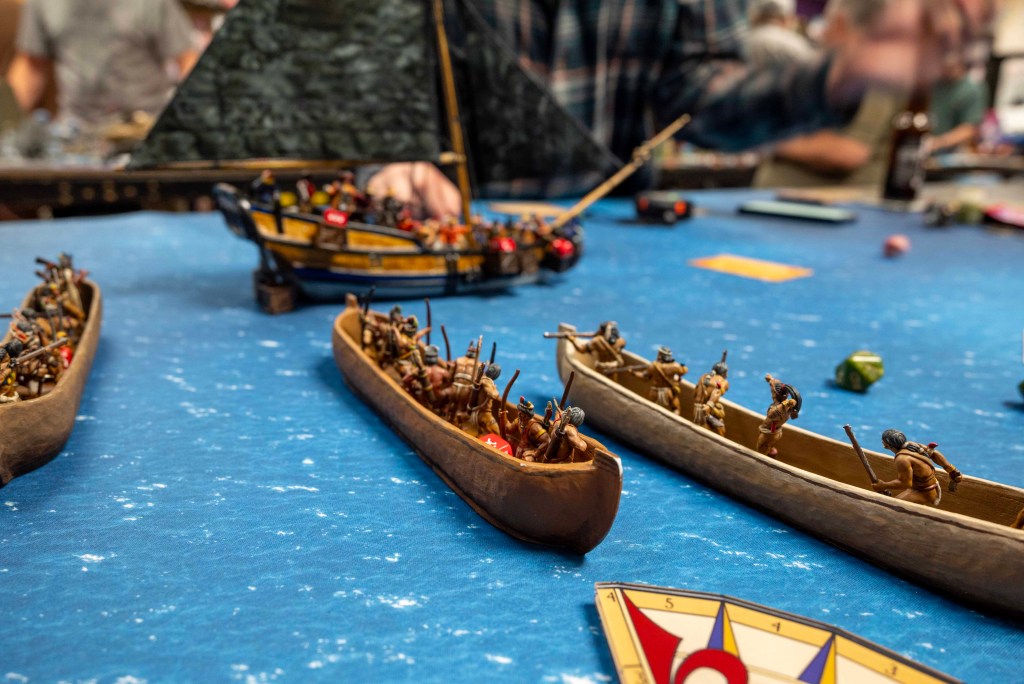
- Warriors Archers are a great unit. The 5 Shoot Skill on the unit makes it worthwhile, then you start adding little perks and they just accomplish a lot! Add Great Warrior. Now you can shoot at a base of 4. Add Rain of Arrows, now you can combine two actions into one big attack, scoring more hits while not suffering the Fatigue for shooting twice. Add Poisoned Arrows and now those Shoot actions are generating more Fatigue. Add a Sidearm Musket, and now you have a solid “kill shot” at some point in the game. They do have weaknesses though. Their melee stats are not good and their Resolve of 6 makes it more challenging to remove Fatigue once it lands. And they do end up costing a lot with all those perks. Base of 5pts, +1pt for Great Warrior, +4pts for that sidearm musket, +3pts for Poisoned Arrows, and then 20pts for the Commander that grants Great Warrior and Savvy (which removed The Sound of Thunder) and that unit of 7 models and Commander ends up costing 69 points! That’s nearly half of the force points right there in the one unit.
- The Shoot of 7 on those Jamaican Privateers was a little short compared to the longer range of the Warrior Archers. At 12″ the Privateers were only scoring hits on 10’s while my Archers were scoring hits on 7’s! And then once the Fatigue started hitting, and the Reloads had to be removed, the Archers had a heyday.
- The British were set up well for melee, but overall their ranged attacks were insufficient to counter the Caribbean Tribes in this case. With 1 unit of Jamaican Privateers, and 2 Swivel Guns as the only Ranged options at over 8″, it just wasn’t a lot of dice until the vessels were grappled. Once it was a battle of melee stats, the Brits were doing great! They drove me back several times, even when outnumbered.

- I’m still unsure on the value of Warrior Musketeers. I feel they are necessary for killing power, but they are so slow! I upgraded them to Veteran and gave them a Sharpshooter. The unit of 6 models cost 34 points. They ate a Command Point every turn and I tried to activate them with a Diamond or Club every turn (or Push them if I didn’t have one) so they could shoot every turn. It was work, but they did OK.
- I like the Sharpshooter again. Niguel has won me over. Even if you don’t use the Marksmen or Deadeye abilities, that single die with no cover can make a significant difference, especially at sea when units are constantly in Heavy Cover.
- Felicitous is good! Fresh Fortune every turn! But it is also a bit dangerous. It incentives you to spend all your Fortune early in the game so you get more benefit from getting more Fortune on subsequent turns. But, if you only have the one at the start of the turn, then you need to spend it, you’re out for the rest of the turn. This hit hard when Riley had to spend a Fortune on a bad Save roll , they later in the turn turn his Commander went down and there was no Fortune left to Cheat Death.

- Blood & Plunder plays great at lower point levels like 150 at sea. Both our forces were below the 25 models that you would typically get in a “starter set.” But this was a full fledged game with plenty going on.
- The Able Seamen unit is awesome. 6 Shoot Save and 4 Resolve made them so difficult to touch in any way! And they wrecked once they got into melee with Hard Changers and Brawlers and Brace of Pistols.
Final Thoughts
Thanks for checking out this after action report! We enjoyed and highly recommend the Search and Recover scenario at Sea. It puts a little more focus on the objective which is rare in the Blood & Plunder scenarios at Sea.

Additional Recommended Reading
- Battle Reports on Blood & Pigment
- Spice up your Plundering with Jason Klotz’s Pillage & Plunder rules to add interest to your buildings and objectives.
- Search & Recover scenario battle report also featuring the Caribbean Tribes
- Articles related to the Caribbean Tribes Faction
- Articles related to the British Privateer Faction