There is a growing group of folks connecting to play Blood & Plunder and Oak & Iron on Tabletop Simulator. This is only made possible by the hard work for community members. Mirlmage on Discord has done some work on this project and provided this helpful guide for setting up games of Blood & Plunder on Tabletop Simulator.
For a basic intro to playing Blood & Plunder on Tabletop Simulator, check out this tutorial written by William Oakley.
- TS, launch single player, load Dred’s B&P mod
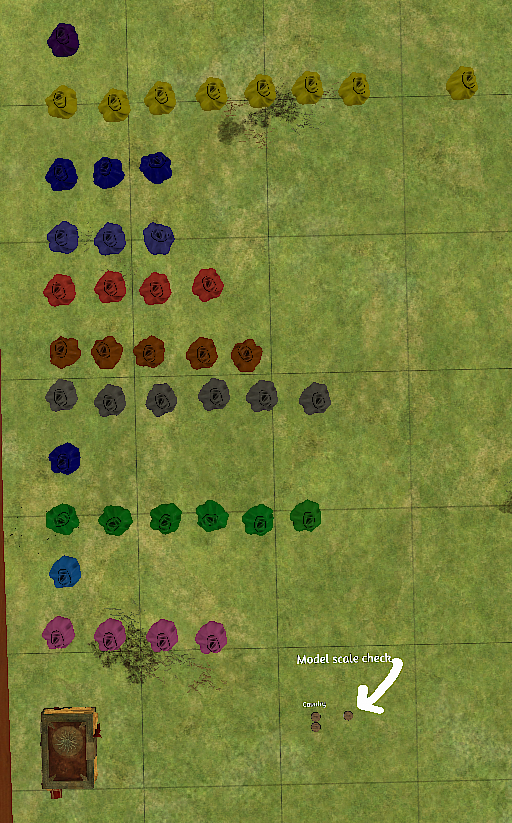
- Find the baggies on the table that you will need and move them all towards a clear area in the middle. The mod has assets organized by nation, but each baggie has the cross-nation units that can happen in each nation in it (example: Dutch Boslopers are also in the English baggie). The Mod also provides assets for the following (they are labeled if you hover over them):
- Weather Effects (Purple)
- Nations (Yellow)
- Ships (Dark Blue)
- Aquatic terrain (Blue-Gray)
- Buildings (Red)
- Miscellaneous (people made) Land terrain (Brown)
- Miscellaneous (nature made) Land terrain (Gray)
- Water terrain (Dark Blue)
- Agriculture and plant terrain (Green)
- Waterways terrain (Blue)
- 2D and 3D Maps (Pink)
- There is also a Model Scale check and Book of Play Items for dice and tokens.

- To Start building your list
- Right click and search for the models you need. For this example I will be creating a Pirate Force.
- Pull out one model for each unit you need and drag them to a clear area of the board. Please note: When you drag an asset from a bag, it will no longer be in the bag. It is best to copy the asset (ctrl c) and paste (ctrl v) it onto the board.
Also note: If your list requires ships with cannons, it may be better to track cannons separately.
Also also note: Commanders are in another bag within the Nationality bag. The bag will have to be dragged out before opening.


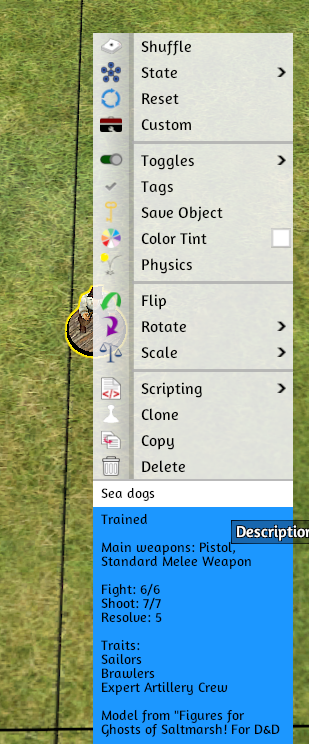
- If you hover over a model it will list its base stats. Update the experience level, equipment, and traits to match what you chose for your list. You can do this by right clicking the model and changing the description.
Note: If you have specialist models with different equipment from the rest of the unit, that will be mentioned later on.
By adjusting the description of the model before you “clone”, the description will be the same for each cloned model.- Adjust the Experience Level
- Update Equipment and arms
- Include any information you may want to include on the unit (example: Commander or character traits if the commander or a character will be attached to this unit, force-wide trait changes, etc).
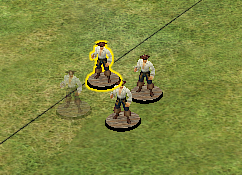
- Clone the models for each unit you are going to have by right-clicking the model and selecting “ Clone”. A white pawn will appear with your cursor click the table for as many models as you need. You may also use ctrl c (copy) and ctrl v (paste) onto the board.
- When you press the Clone function a cursor will appear and you can click how many times you wish to clone the model. Note: Any description from step 4 will also be cloned when hovering over a model. This is why it is essential to edit the description before this step.


- Adjust the description on any models that have taken special equipment or weapons. To easily spot them, also choose “Color Tint” from the right click menu and make them a different color. Stay consistent with your coloring from unit to unit. Once you have chosen a color, hit “apply”.
Note: Not all models support this Color Tint function and you may need to find another method to indicate the speciality.
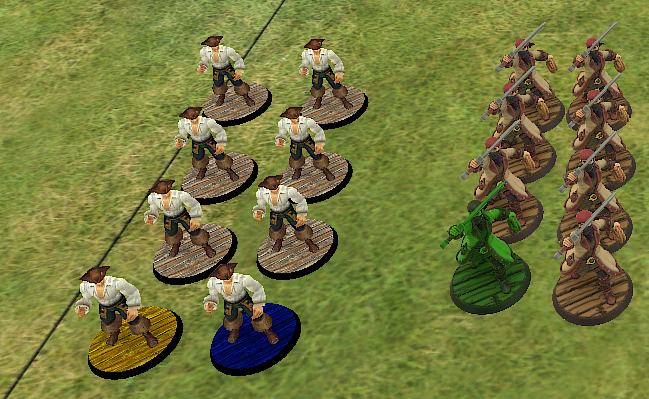
In this example I have indicated a Blunderbuss with Blue and a Stinkpot with Yellow. A model with both is Green.
- Spawn index cards for whatever notes you need or what you want to take track of (Strike point counts, special rules, etc.). It might be good to have an extra note card as a spare.
- Select “Objects” at the top of your Table Top Simulator Screen
- Select Components
- Select Tools
- Select Note Card
- A white pawn will appear with the cursor, click the table for how many notecards you would like.

- Spawn an activation deck and any special tokens that you will need using the “BnP play items” book. You may want to include your starting fortune tokens; choose the gold or silver coin, pull it out of the book, and then clone it as many times as you need. Note: You may not need all of the tools provided here as they may already be in the Game Mod.

- Select them all, and right click either the deck or the force index card, and pick “Save object”, and save this collection of assets with an appropriate name, to load in later.

- When you are ready place your models for your game simply select “Objects” on the top of your screen,
- Open Saved Objects
- Select what your saved object that you named in 9.
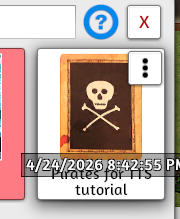
Click and drag the object to the board and it will land on the table.
Note: It is recommended to create subfolders in your Saved object so you can organize your files.
Also note: you may need to be Promoted by the game host to allow you to spawn in objects like your saved force!
Special thank you to Dred for making the TTS Mod and wlonk for editing this guide!