By Joseph Forster
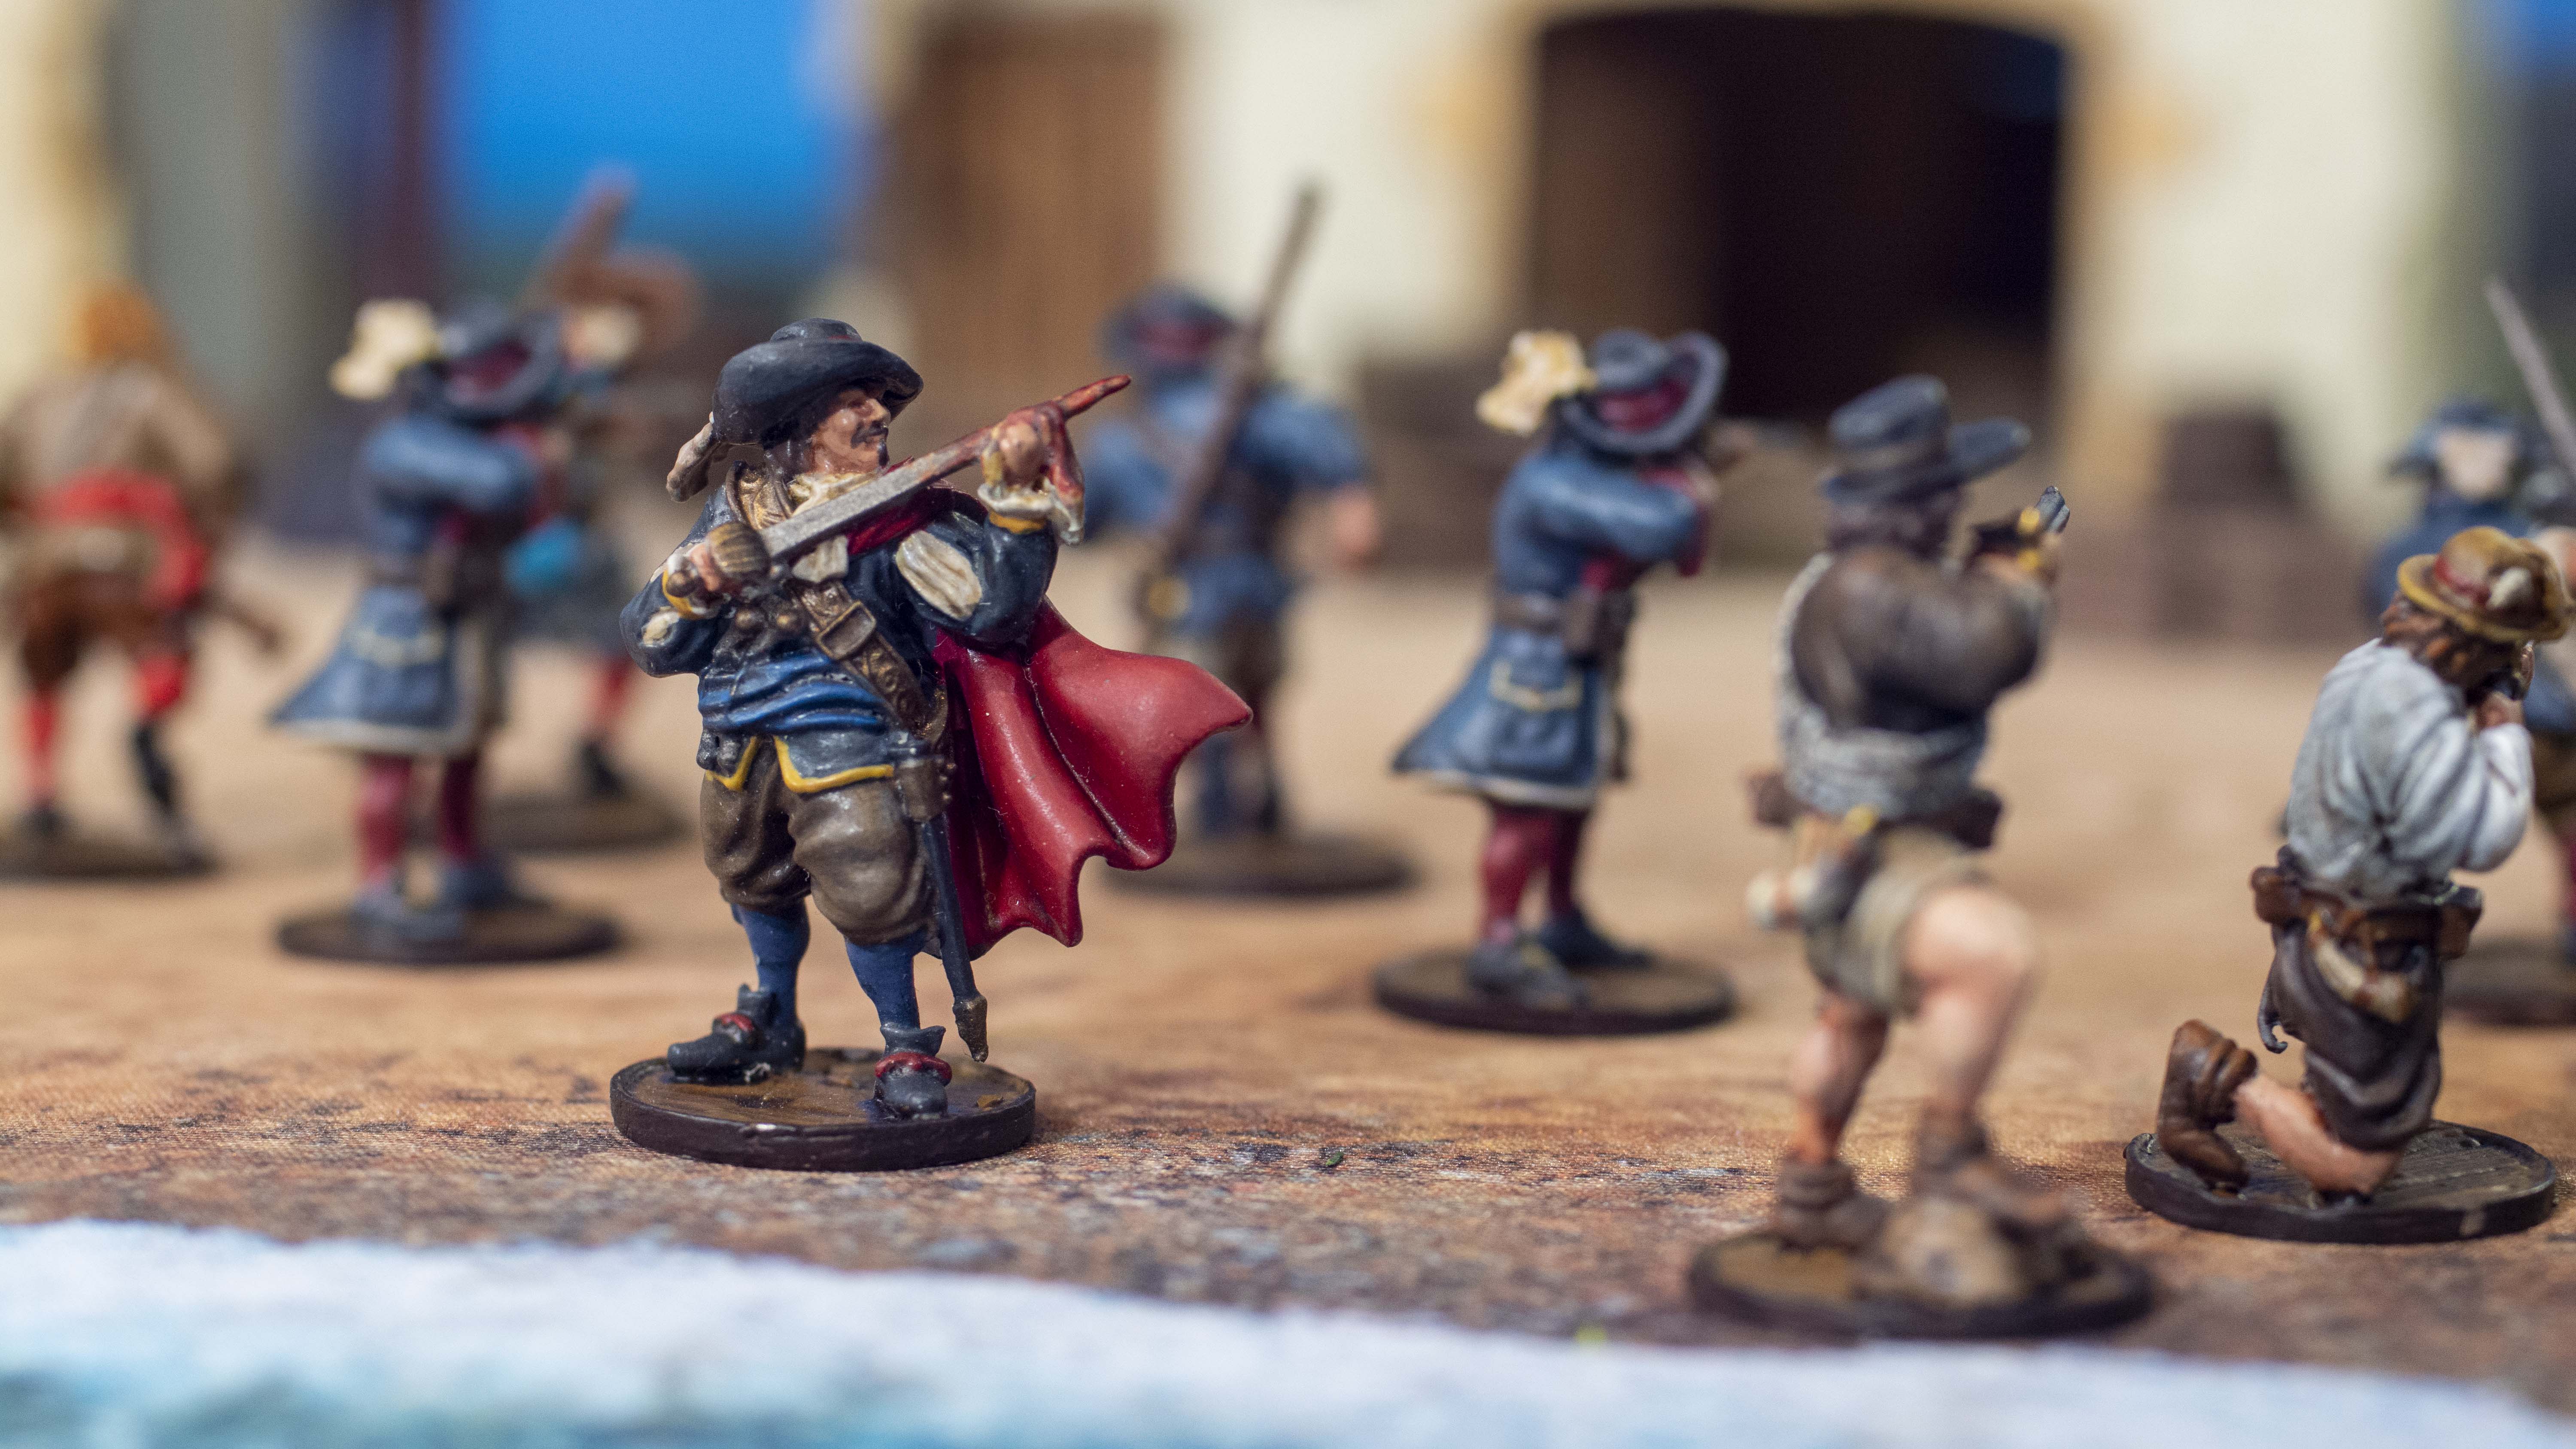
A big part of miniature gaming for me is how the game looks. The combination of attractive terrain, accurately sculpted minis, and painstaking paintjobs on those minis culminates in a immersive gaming experience. I enjoy capturing that experience through images. You can tell stories through images of a game, both through a series of pictures as part of a battle report or as a single cinematic image. At Blood & Pigment we have run photo contests before, and sharing images of games played is a big element of the currently running Summer of Plunder event. I’m not a professional photographer, but I wanted to share a couple ideas on how to take a decent pictures your games.
Here’s some advice in bullet point form:
- Camera: cell phones are usually very good, if you know how to use them.
- Lighting: use extra lights.
- Angle: Stay close and don’t take pictures from straight above.
- Background: Be mindful of what is beyond your subject.
- Focus: usually focus on the closest subject.
- Software: a little editing can make a huge difference.
I could end the article there, but then it would be uncharacteristically short for Blood & Pigment, so I’m going to hit each of these ideas again and unpack them a little.
Camera
Your cell phone camera is probably good enough. Most phone cameras are amazing compared to what people were working with 15 years ago. I’ve taken 100’s if not 1000’s of pictures for this blog with my iPhone camera! That being said, you might want to educate yourself on how your camera works and if there’s any settings that might make your pictures come out better. Being familiar with how to lock focus, increase/decrease exposure, zoom in and out, and change file type will be very helpful.

Two things cellphone cameras do really well is give you a very deep field of focus and give you very sharp images, even in less-than-ideal light settings. It’s kind of hard to get a bad shot with a phone camera!
Point and shoot and you’ll usually get a good, sharp image.

But, of course, you can spend more money and get a “real camera.”
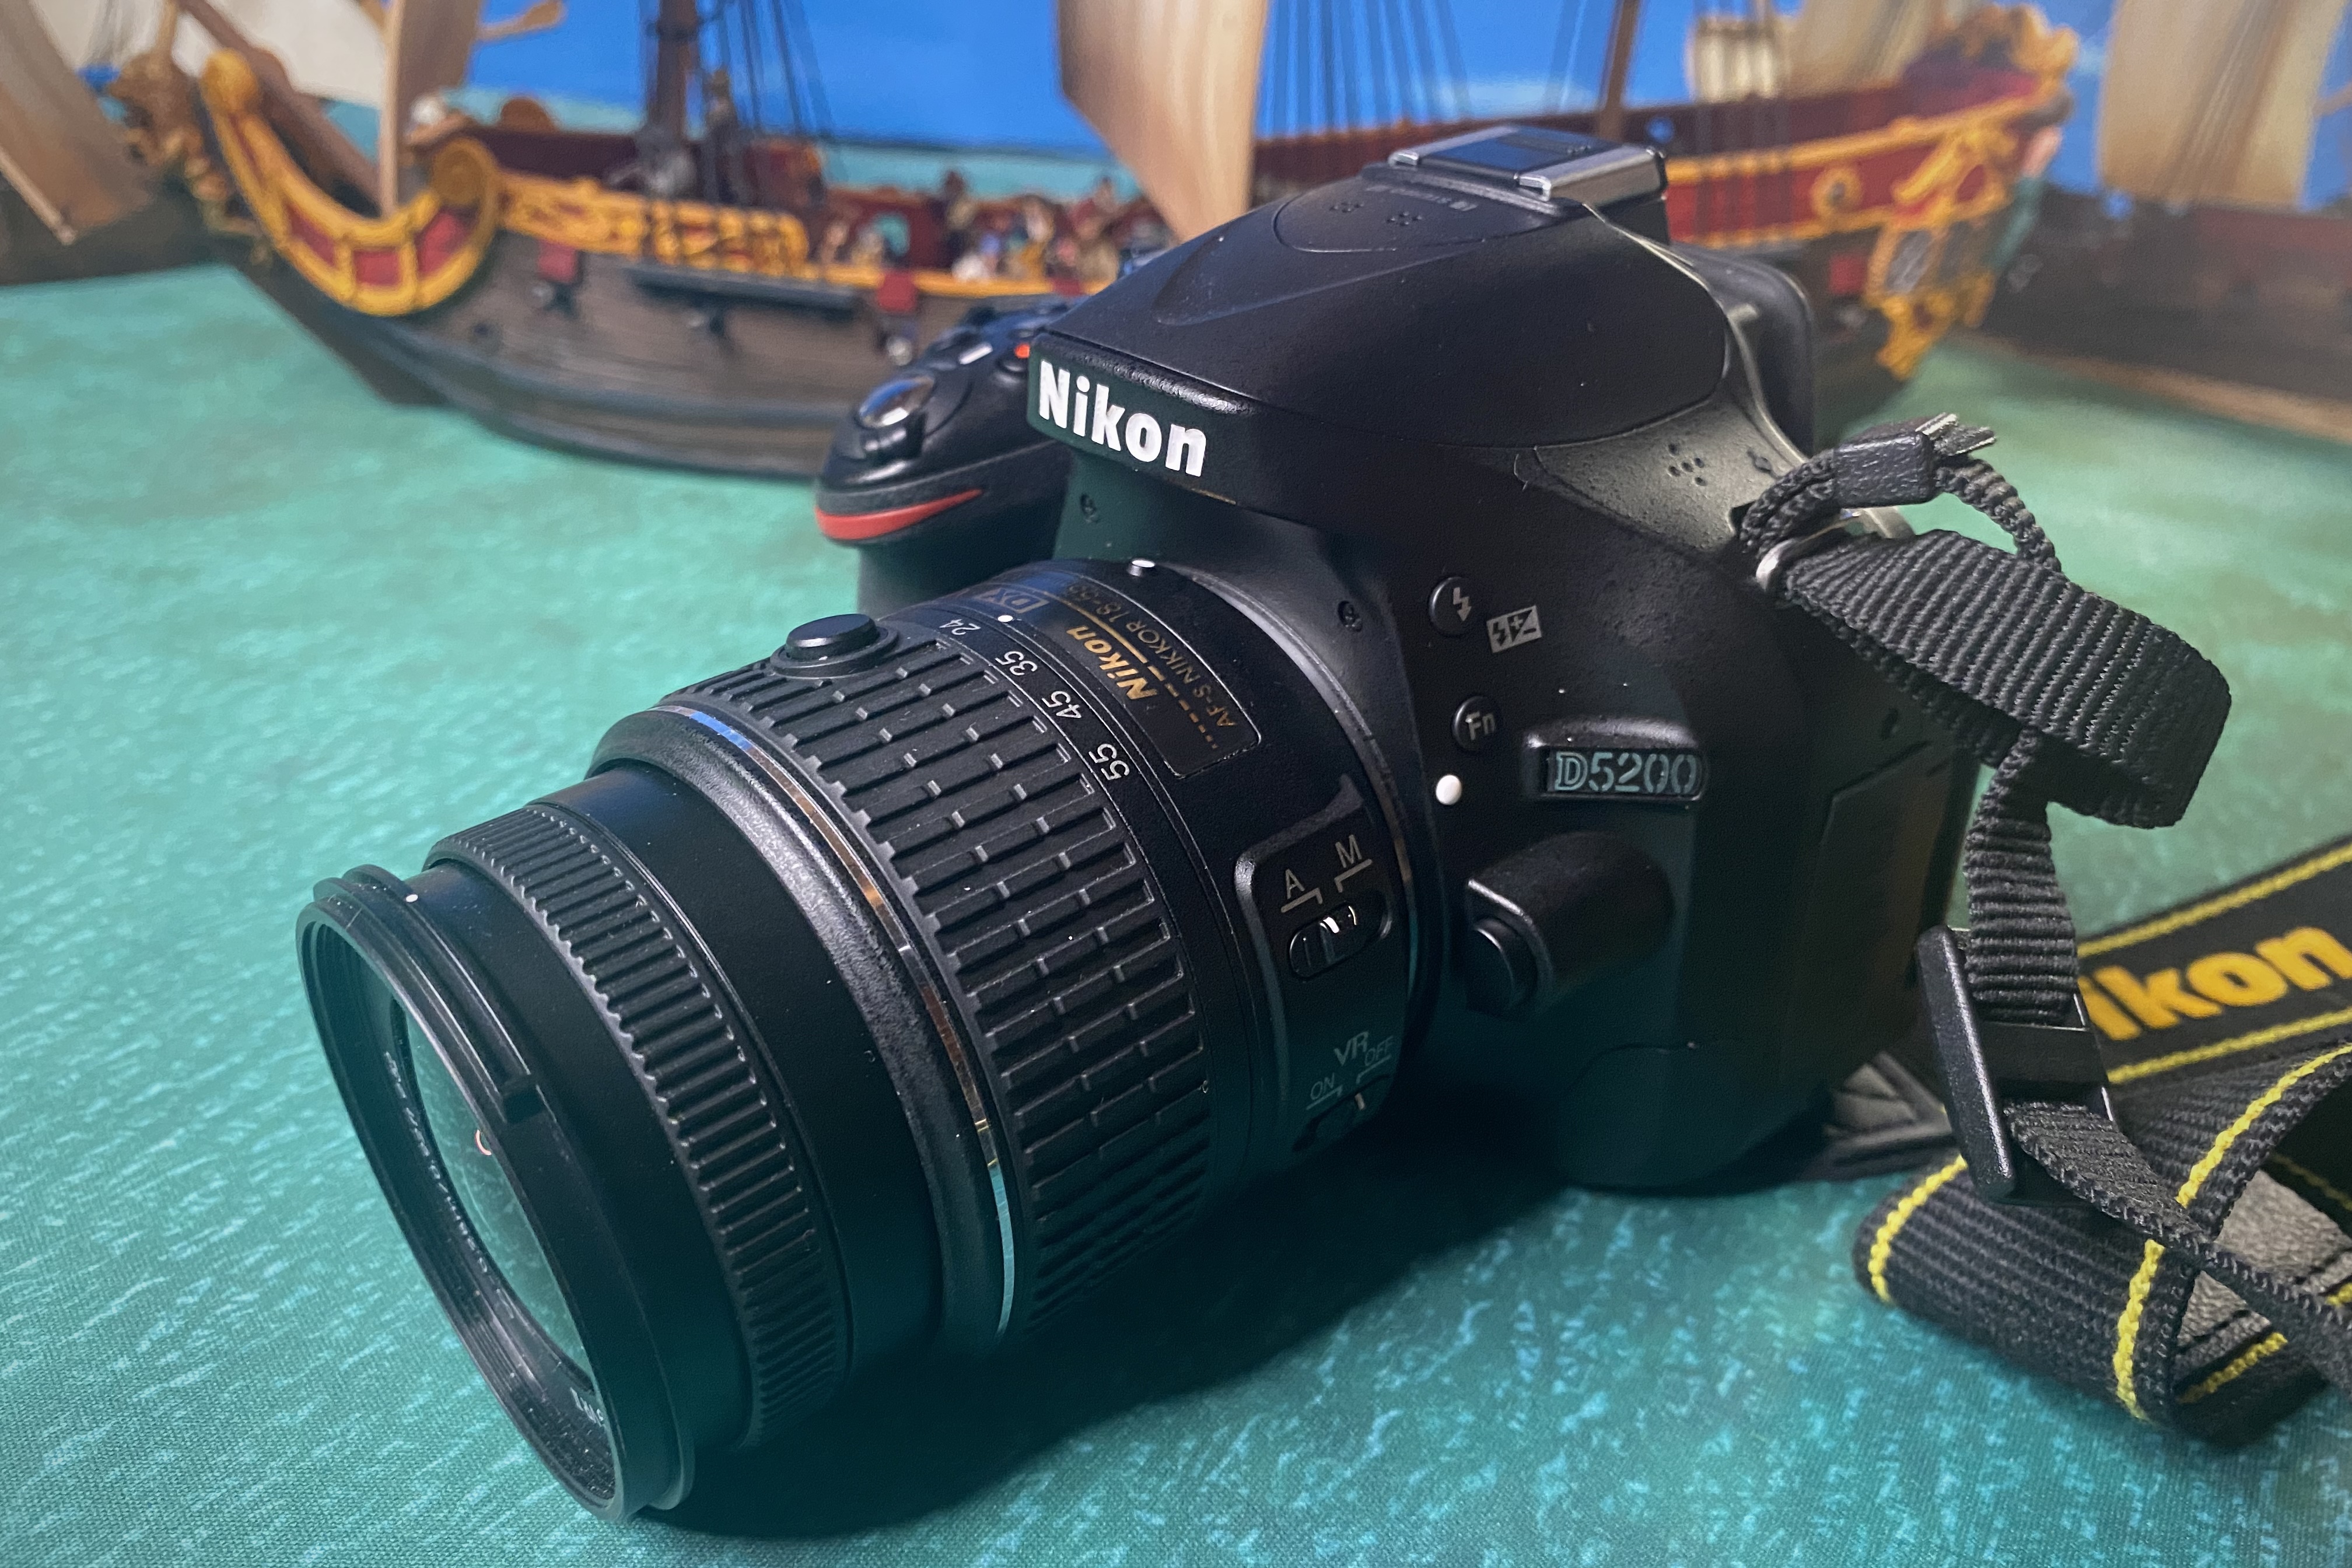
If you decide to use something like a DSLR, you might have some more control over your field of focus, but you’ll have a lot more settings to deal with, most notably balancing getting the shutter speed fast enough and the ISO at the right level so you’re getting really sharp images. You have to decide on a lens or two as well which can start to add up pretty quickly. I used an old Nikon D5200 for most of my photography. The D5200 came out new in 2012 and costs about $300 on eBay right now. The generic 28-85mm lens will get some great shots, but I picked up a macro lens that lets me get those really close up shots.
You can find some good deals on cameras on Facebook marketplace. If you’re willing to tolerate dealing with flaky people…
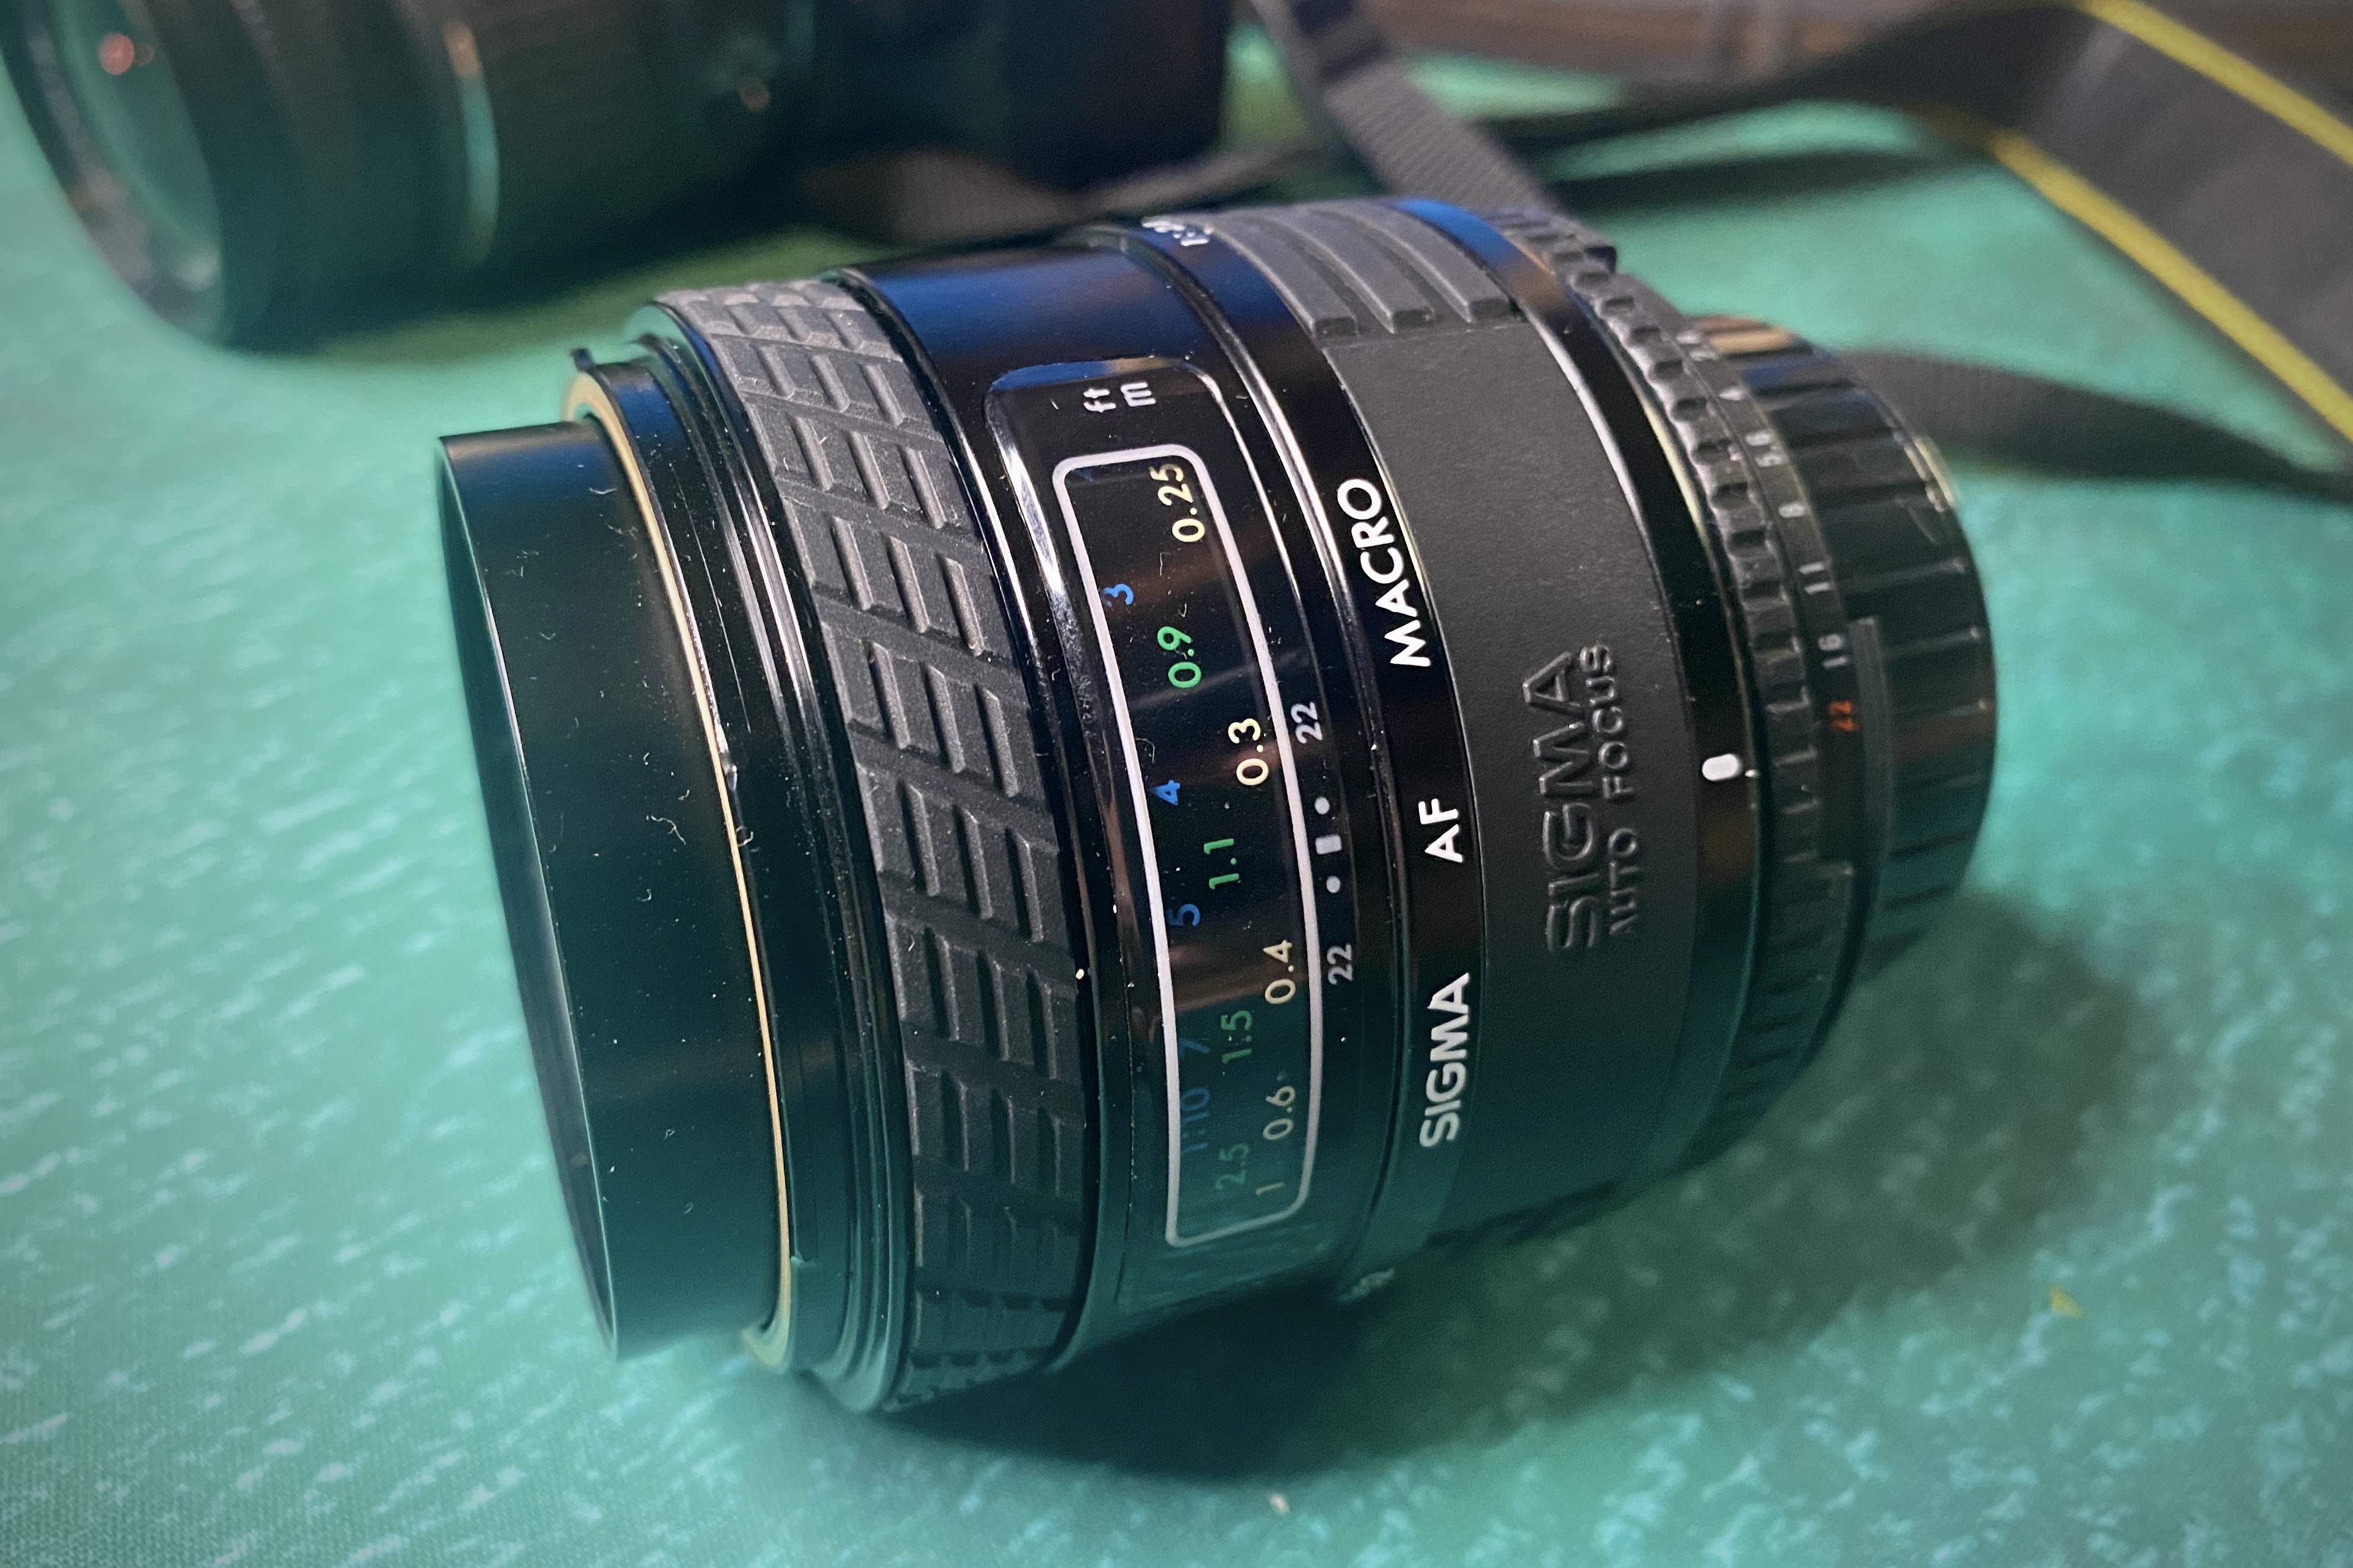
I love this macro lens.
Here’s some shots of a (messy) Zeeliden model for comparison:
This is as close as I can get with an iPhone camera without using the digital zoom (which quickly decreases quality).
This is as close as I can focus with a “standard” 28mm-80mm zoom lens on my DSLR.
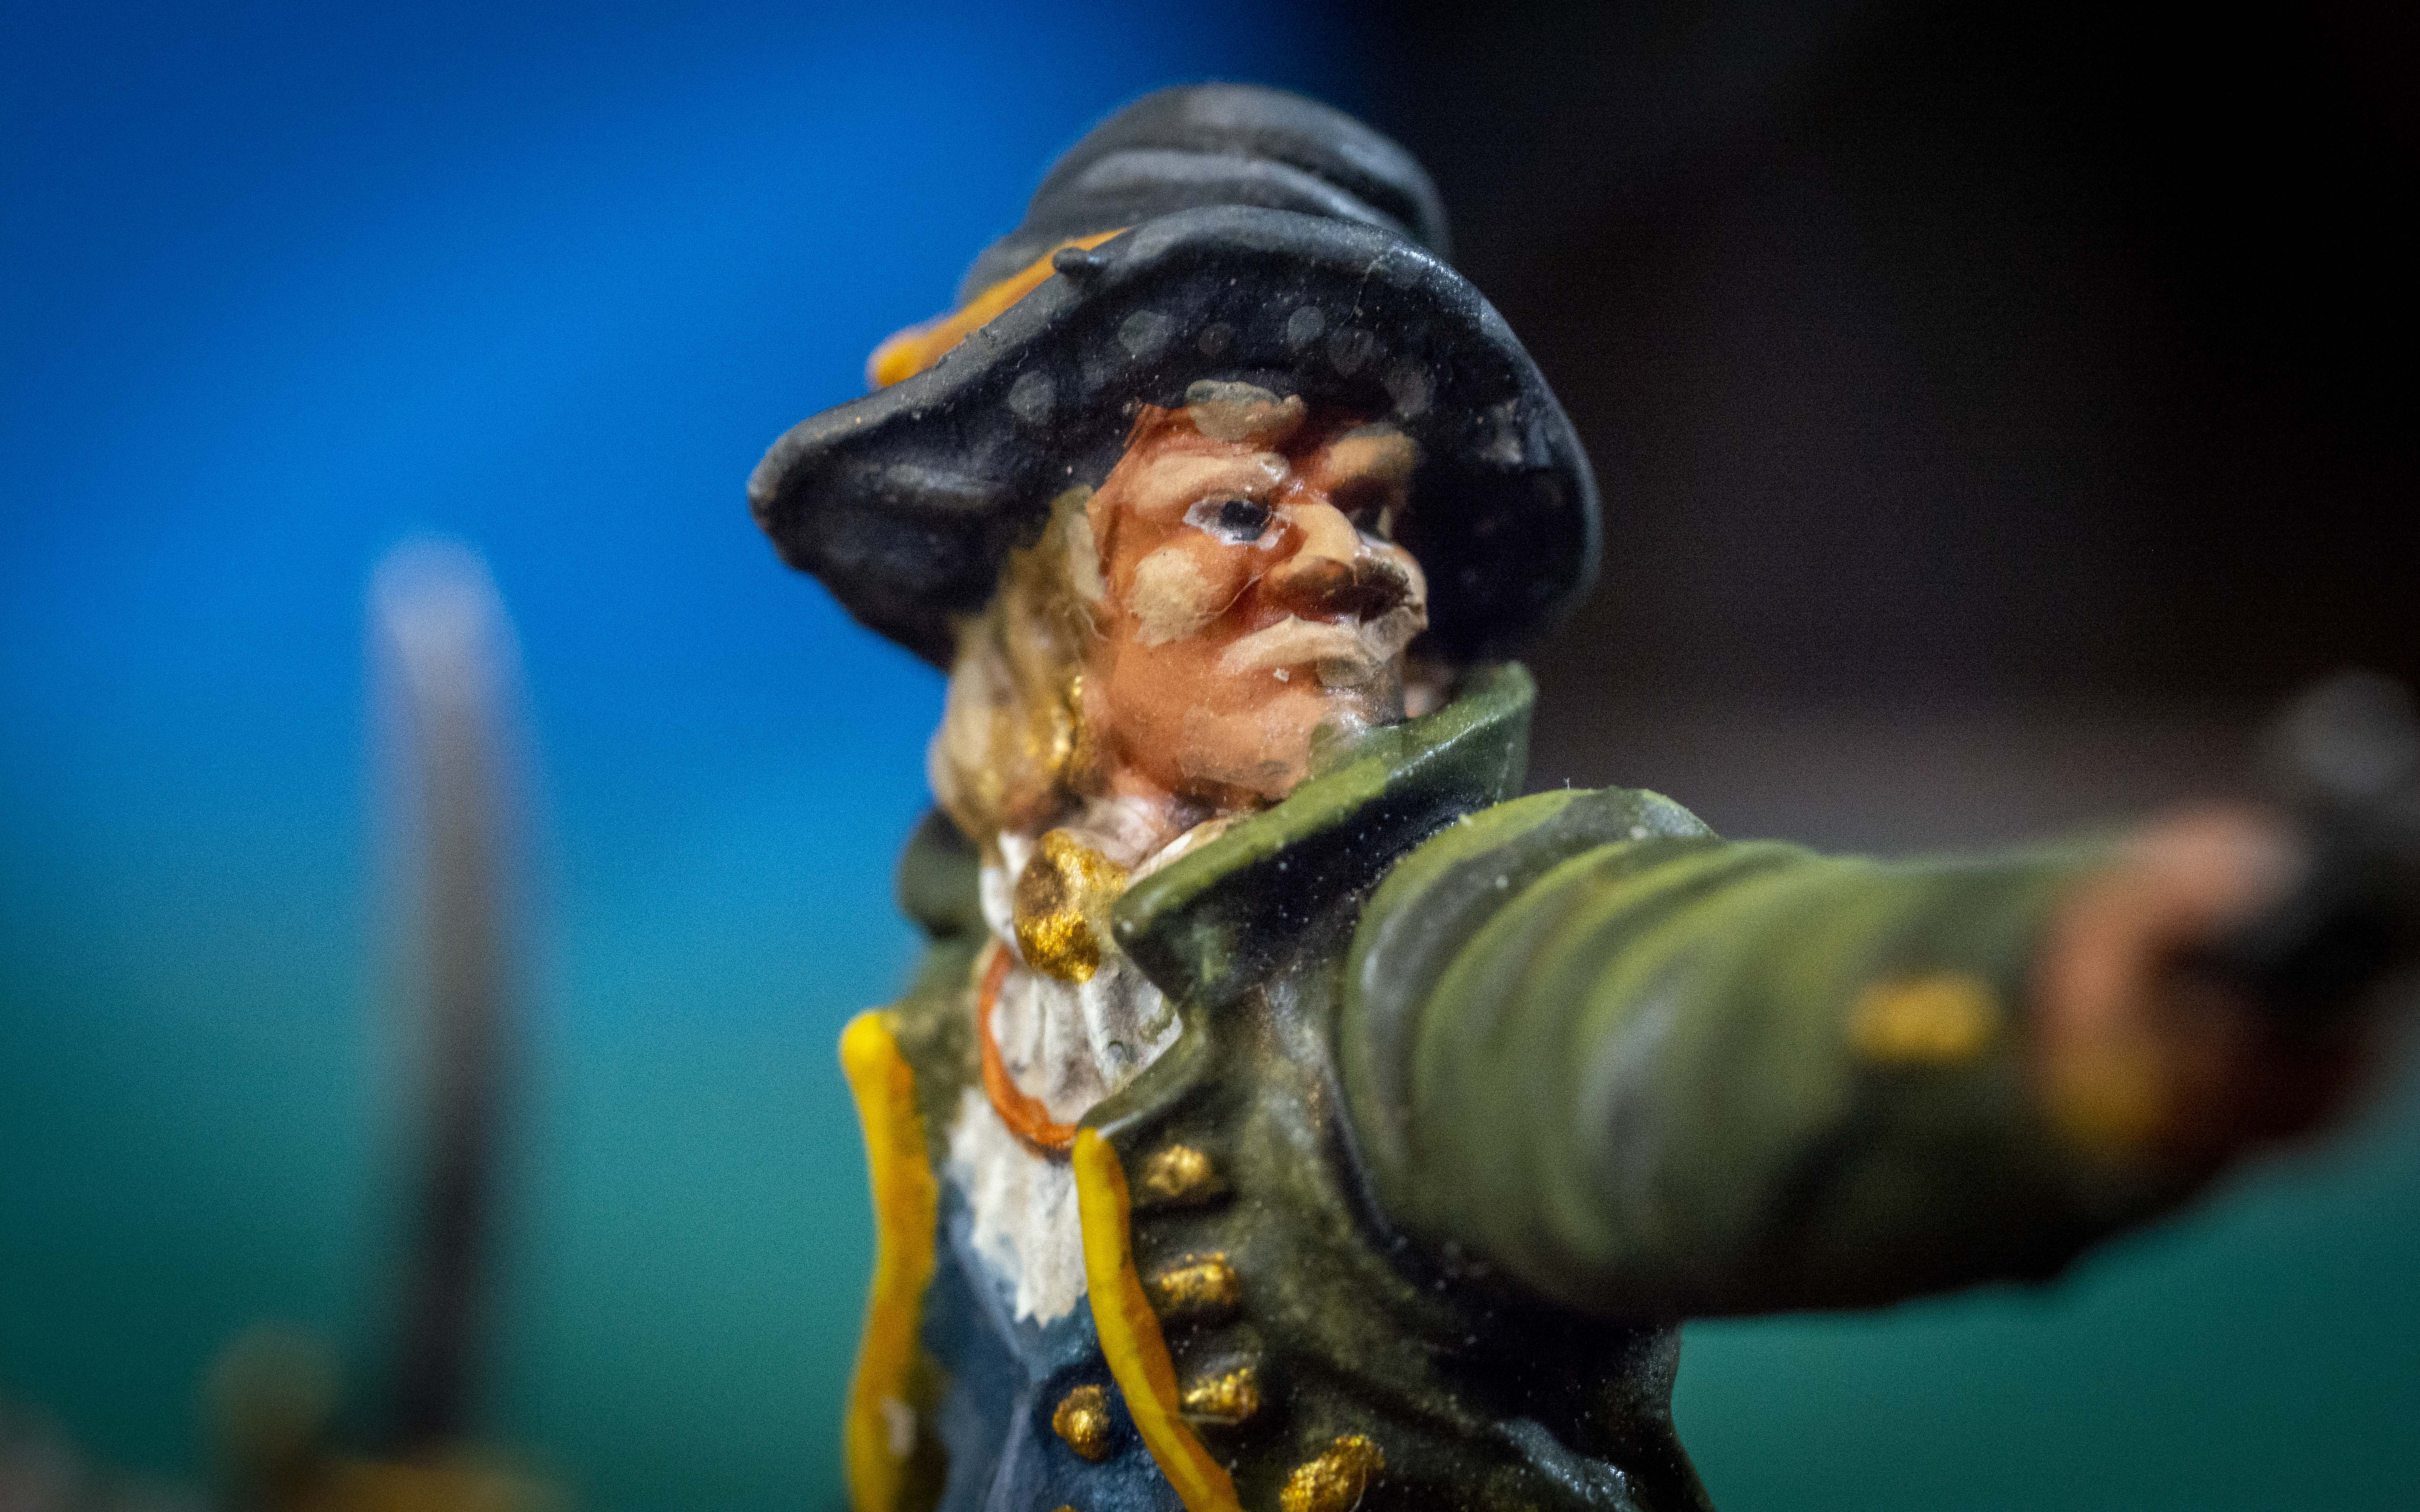
And this is as close as a true “macro” lens can focus on a DSLR. This model’s paint job doesn’t warrant such a close up shot… but you can see how the different lenses can make very different images.
Lighting
Lighting can really make or break a shot. You absolutely need some lighting coming from near where you’re shooting from. If the lighting is coming from beyond you, you’ll get a silhouette effect and won’t be able to see the miniature detail for lack of light. Ideally you want light from at least 2 angles (your point of view and from the side or beyond you) so you don’t have any real heavy shadow effect.
At least be conscious of where your light is coming from and try to photograph from a point where the light is helping your shot instead of hurting it. If I want good lighting for a photo shoot, I’ll set up three ring lights around my mat in a triangle.
Here’s some examples of the same shot with 1, 2 and 3 sources of light:

The image above has it’s primary light source coming from beyond the subject. You can see a bright “halo” effect around the edges of the models’ heads. there’s more light hitting the far side of the minis than the near side. Colors are yellowed and muted.

The image above has two light sources: one beyond and one from the same angle as the camera, slightly higher and to the Right. The colors are much more true and details are more visible. But there are pretty dark shadows on the Left of the models.

This image has 3 light sources, one beyond, one from the viewer’s perspective on the R and one from the viewer’s perspective on the Left. Here we have some shadows on the underside of the miniatures, but all the upper and side surfaces are visible and the color is good. This is clear, good lighting.
At home you can use lamps you have around the house, or you can go full nerd and get an “influencer” ring light. These are really helpful and you can pick one up for $30-$100, depending on how big you want. I have this 10″ ring light, but I ended up getting a heavier duty 18″ light as well which does a great job.

The main thing to remember here is you want a lot of light! More than you’d expect.
Another really useful tool for photography on the go is a battery powered, hand held light. You can light up your subject with one hand and take the photo with the other.
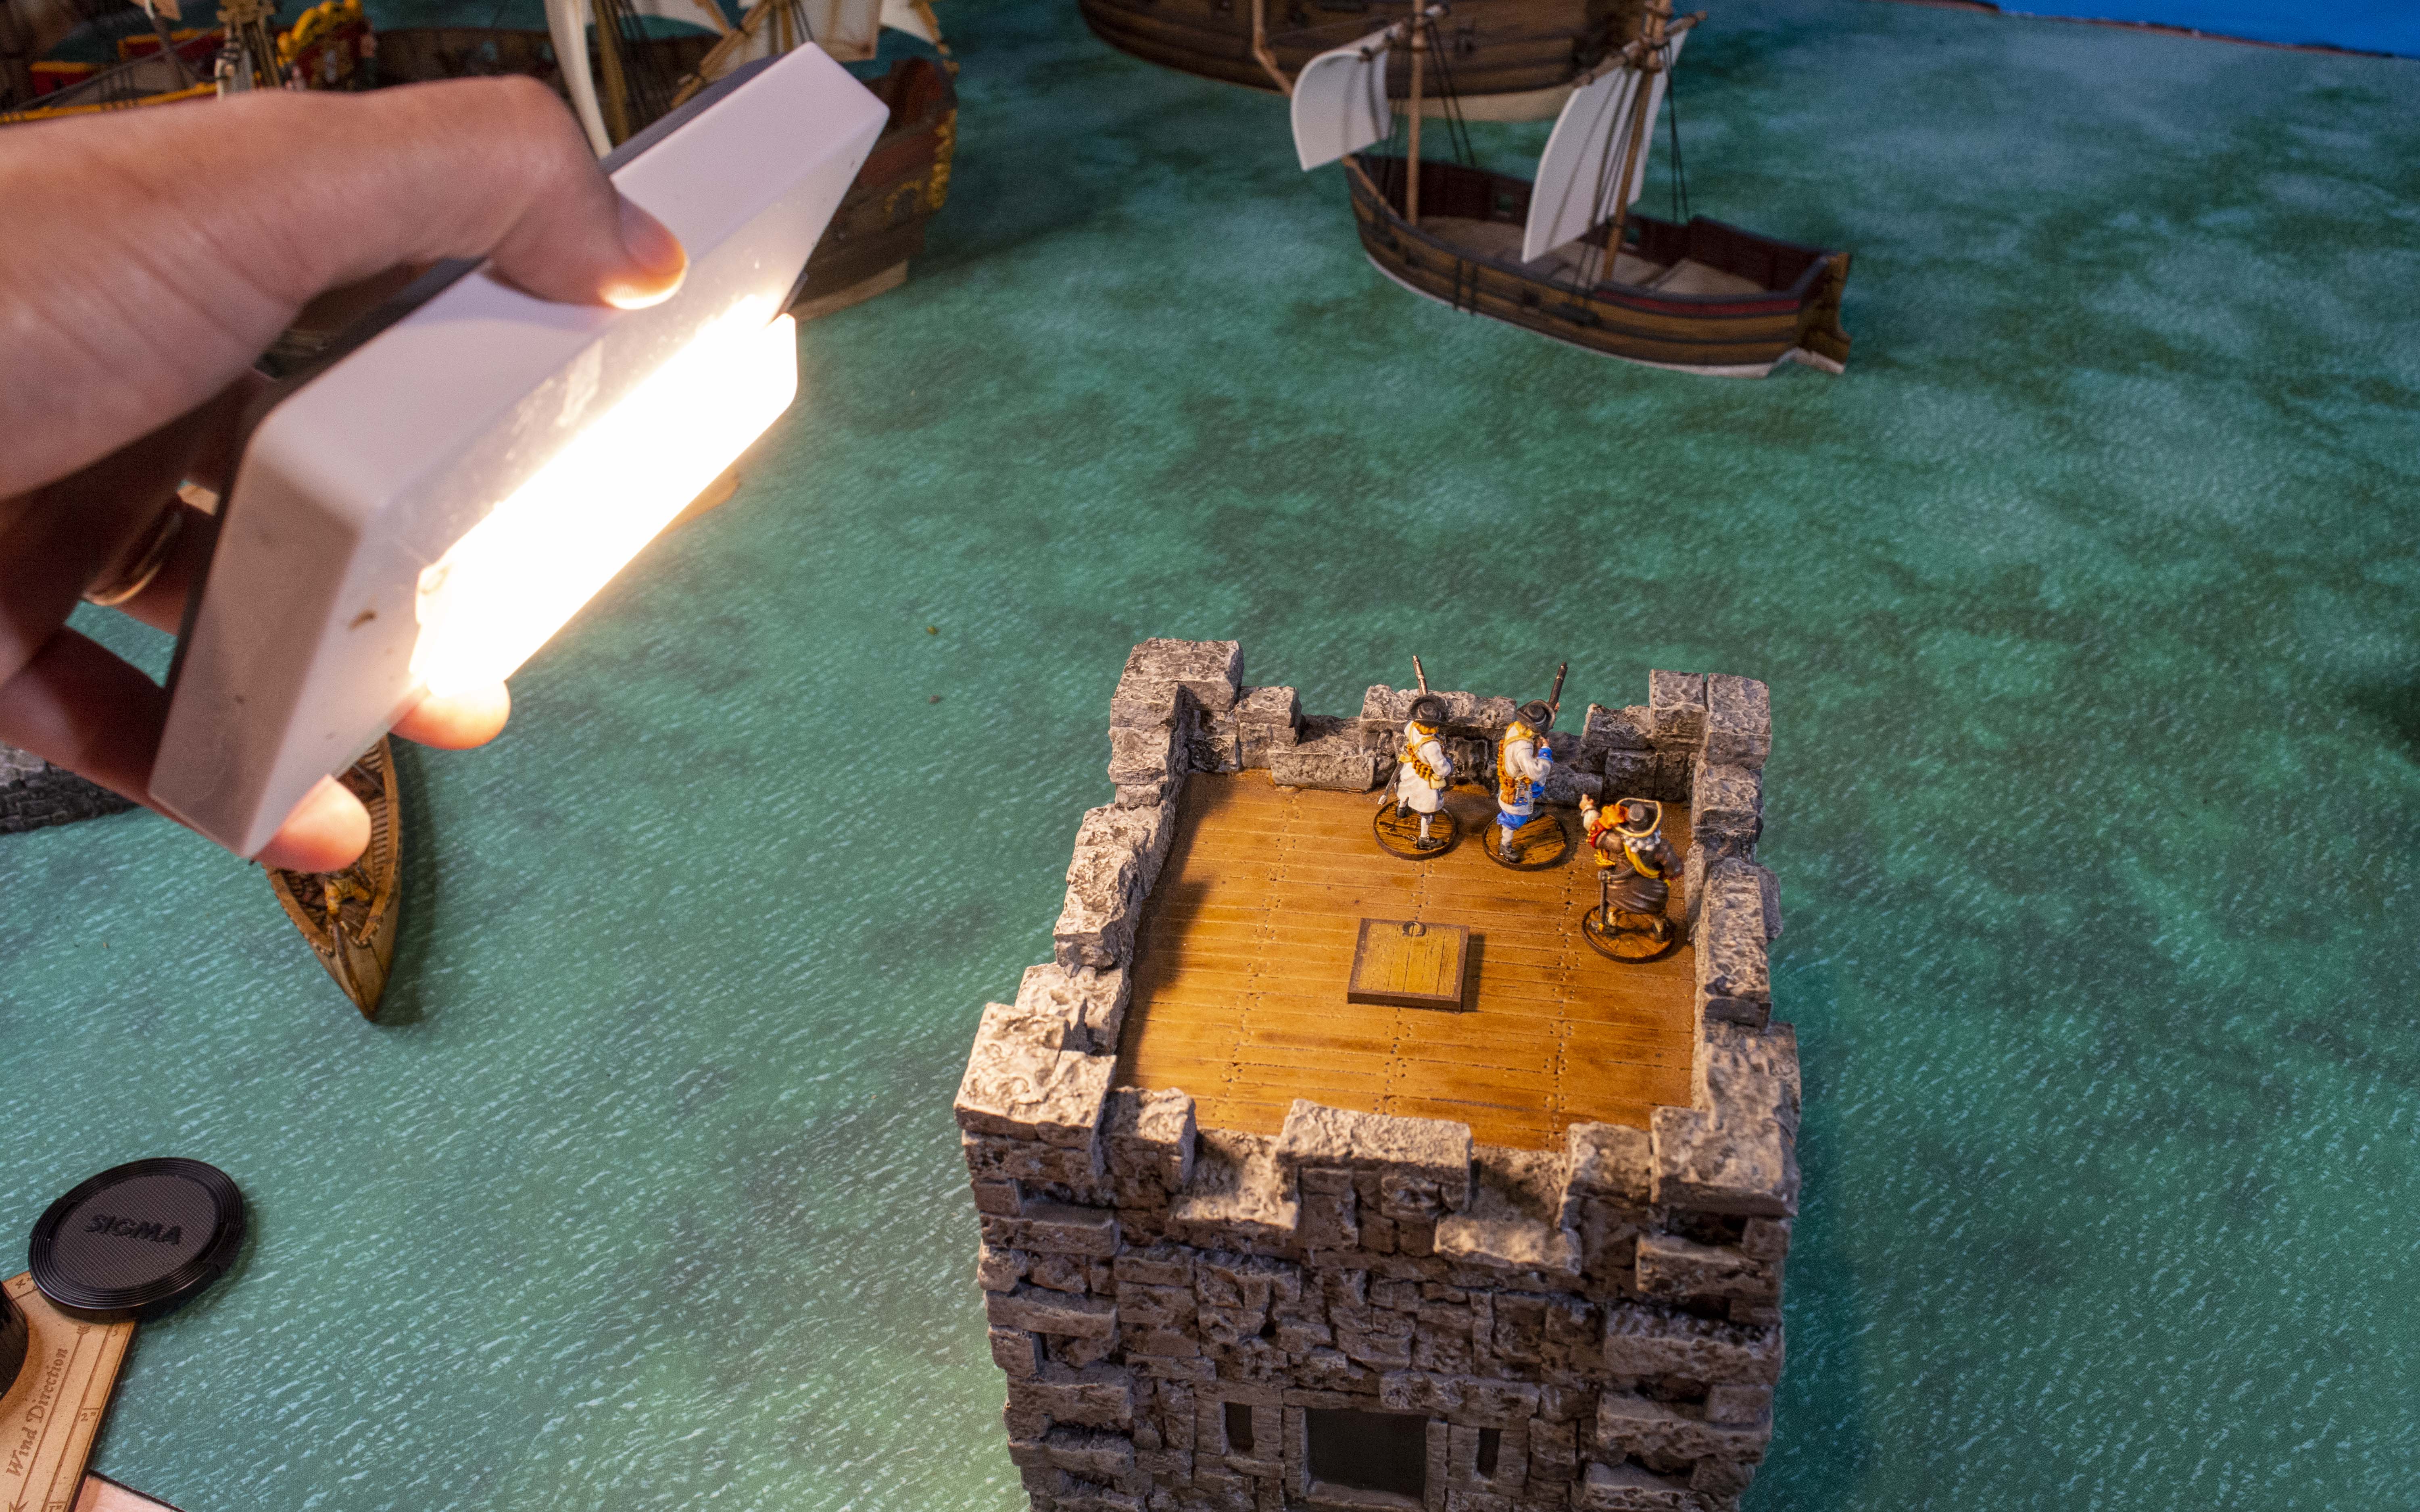
This $15 handheld light has been an awesome tool for me!
Background

Let’s talk background first. Sometimes you don’t have a lot of choice when it comes to background, especially if you’re playing a game at your local gaming store. Like as not the midsection of a portly Warhammer player will have to do. But if you’re wanting to take some nice pictures and you’re staging the shot, you do have some control. You can just hang up a piece of blue paper, or a poster of sky or clouds (I found some great rolls of sky paper at Hobby Lobby), or, as an enterprising player has done in the Summer of Plunder Campaign, you can paint up a background! Even if you don’t have a perfect background, something to cover the clutter of everyday life is nice.

Photo by Fiona de Both – 2022 Summer of Plunder Campaign.

At a gaming table at your local store, it can be easy to catch your opponent’s legs/pants/crotch area which is not great. You can’t really change the background when gaming at a store, but you can change your angle.
Angle
Here’s the same shot, but the the angle and field of view has been altered slightly so there is no background or unsightly trousers in the frame.
So you basically have options ranging from shooting straight down on the board from above, to shooting straight across the board from the side. The top-down shot will give you a bird’s eye, tactical/strategic flavor while the horizontal shot will give you a more cinematic feel. The top-down shot is easy to focus, but they end up all looking very similar pretty quickly, and you don’t get to see your nice minis. I like shooting horizontally zoomed up pretty close. That angle gets you right into the action and sucks you right in. Bringing your camera up to 30-60* up will get you good shots as well, and that can help hide unsightly backgrounds.
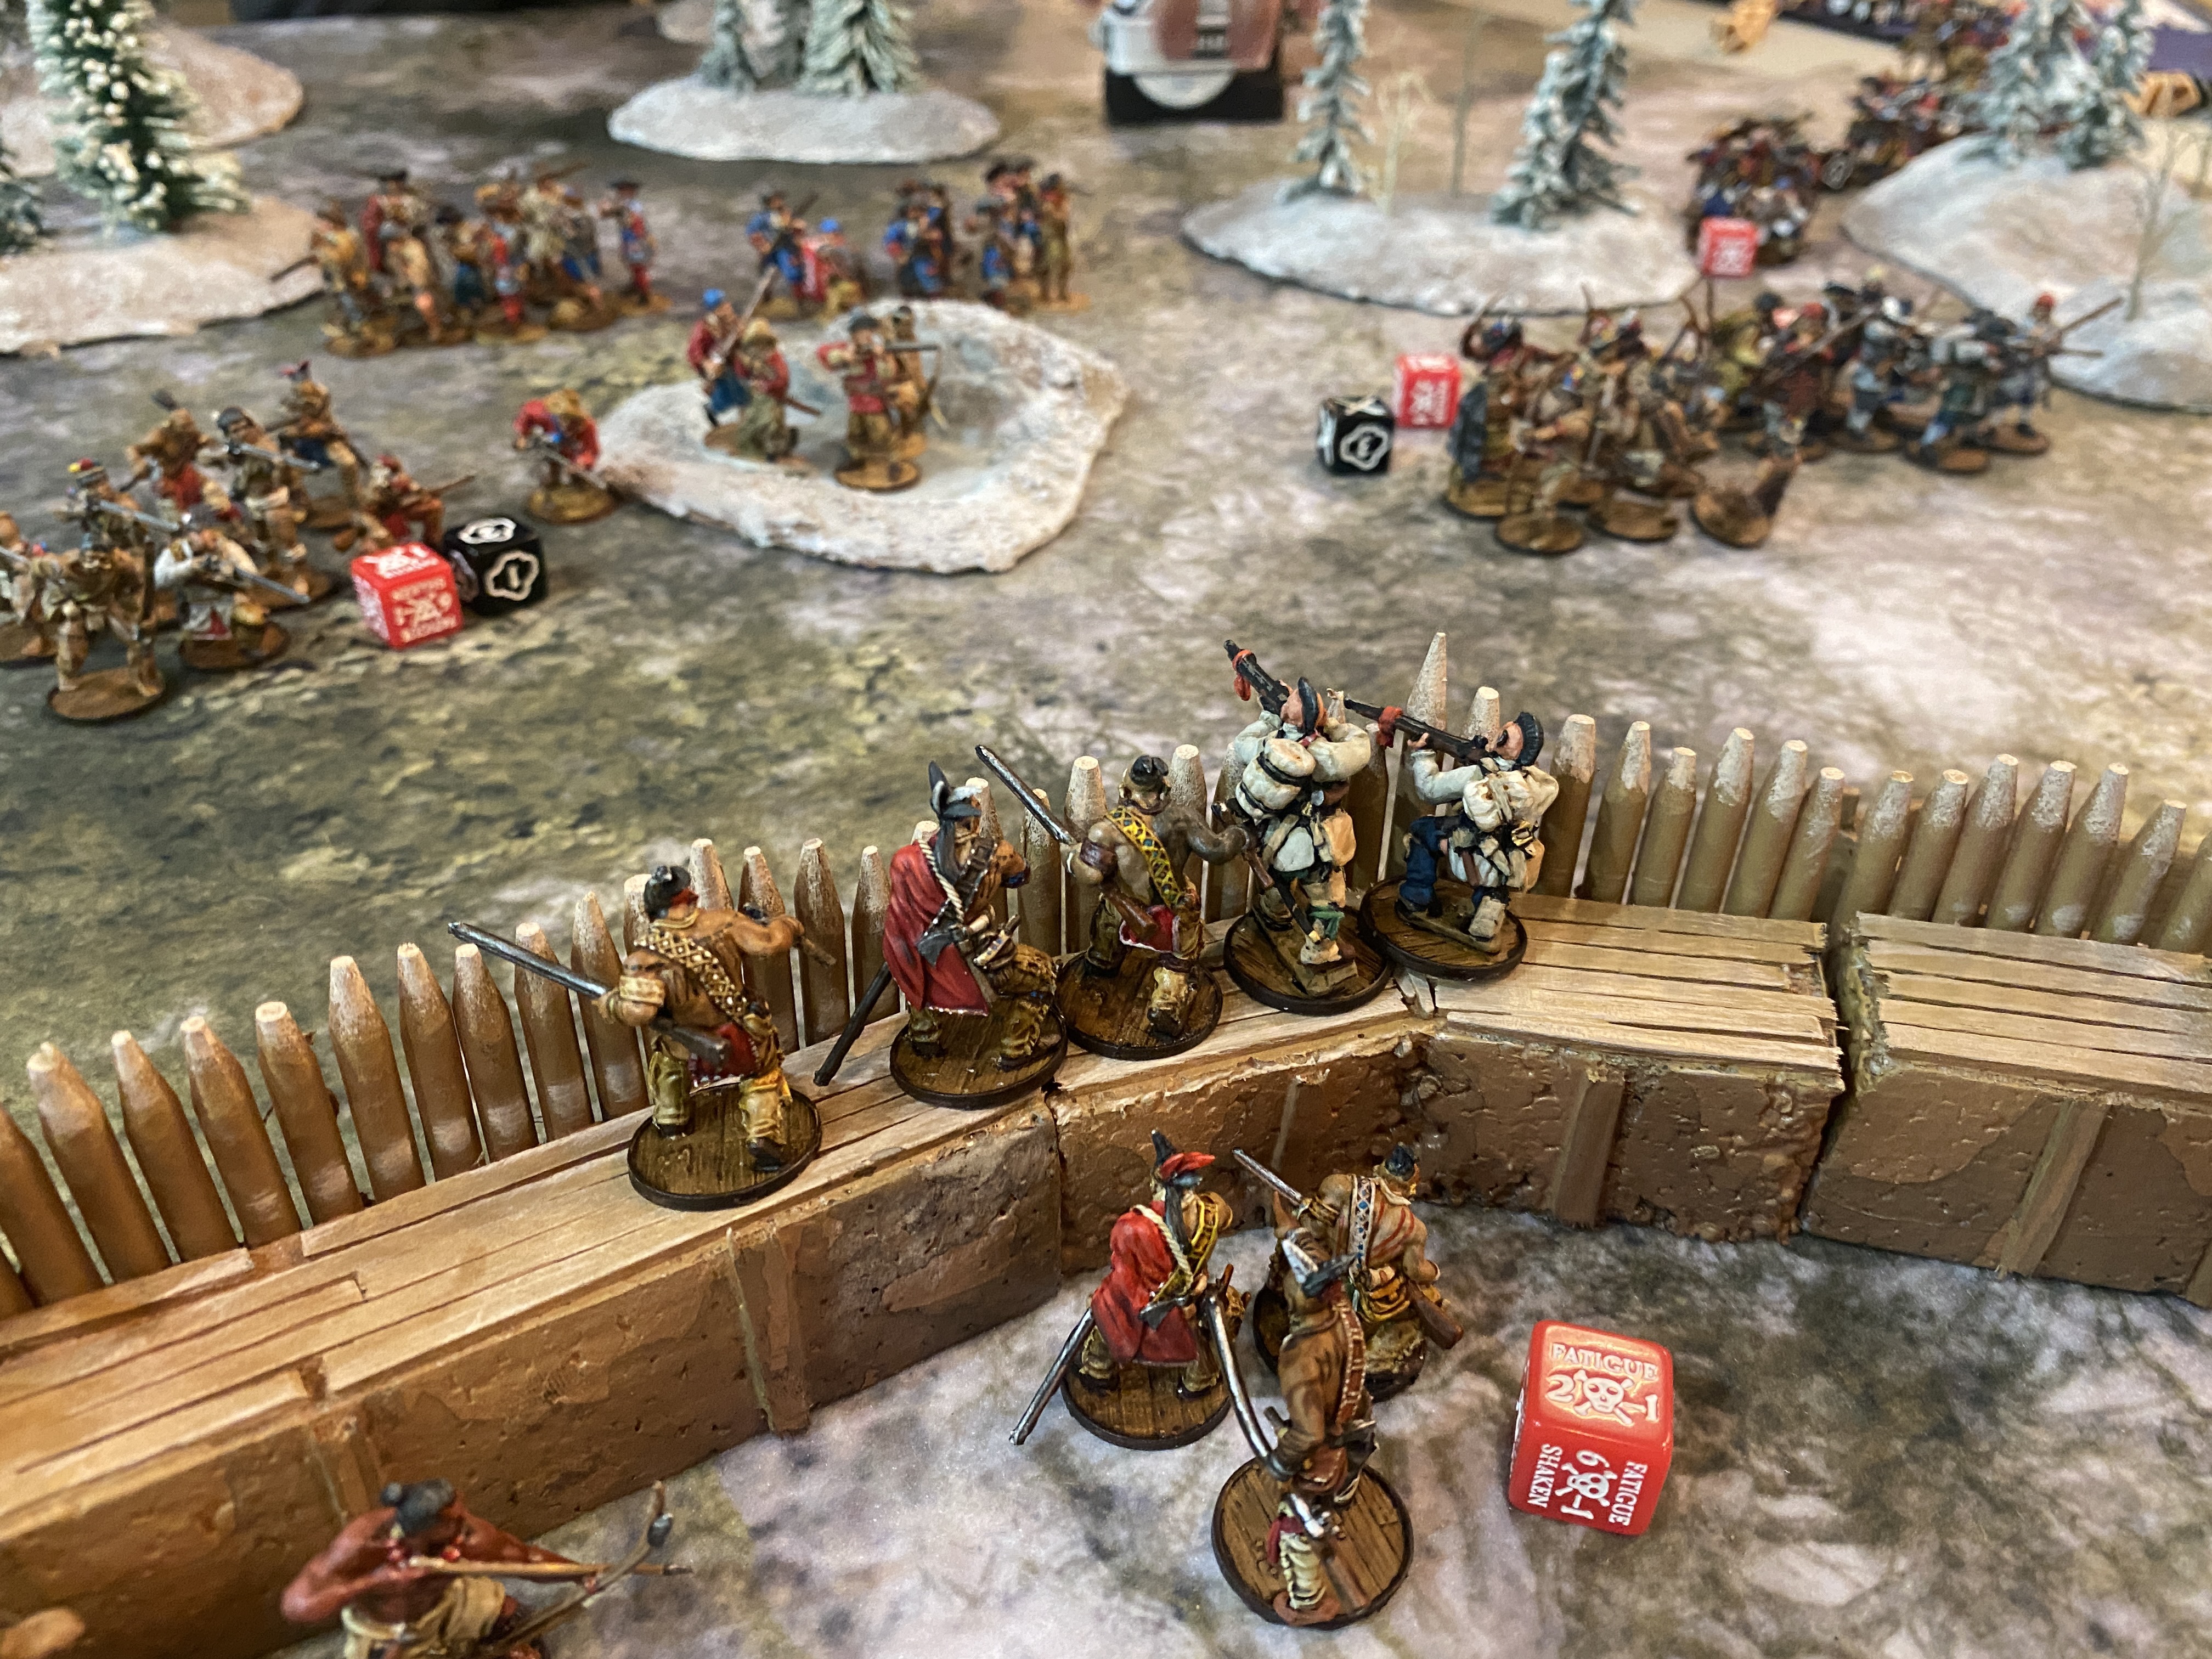
Here’s a sequence of shots from my iPhone taken from increasingly high angles.

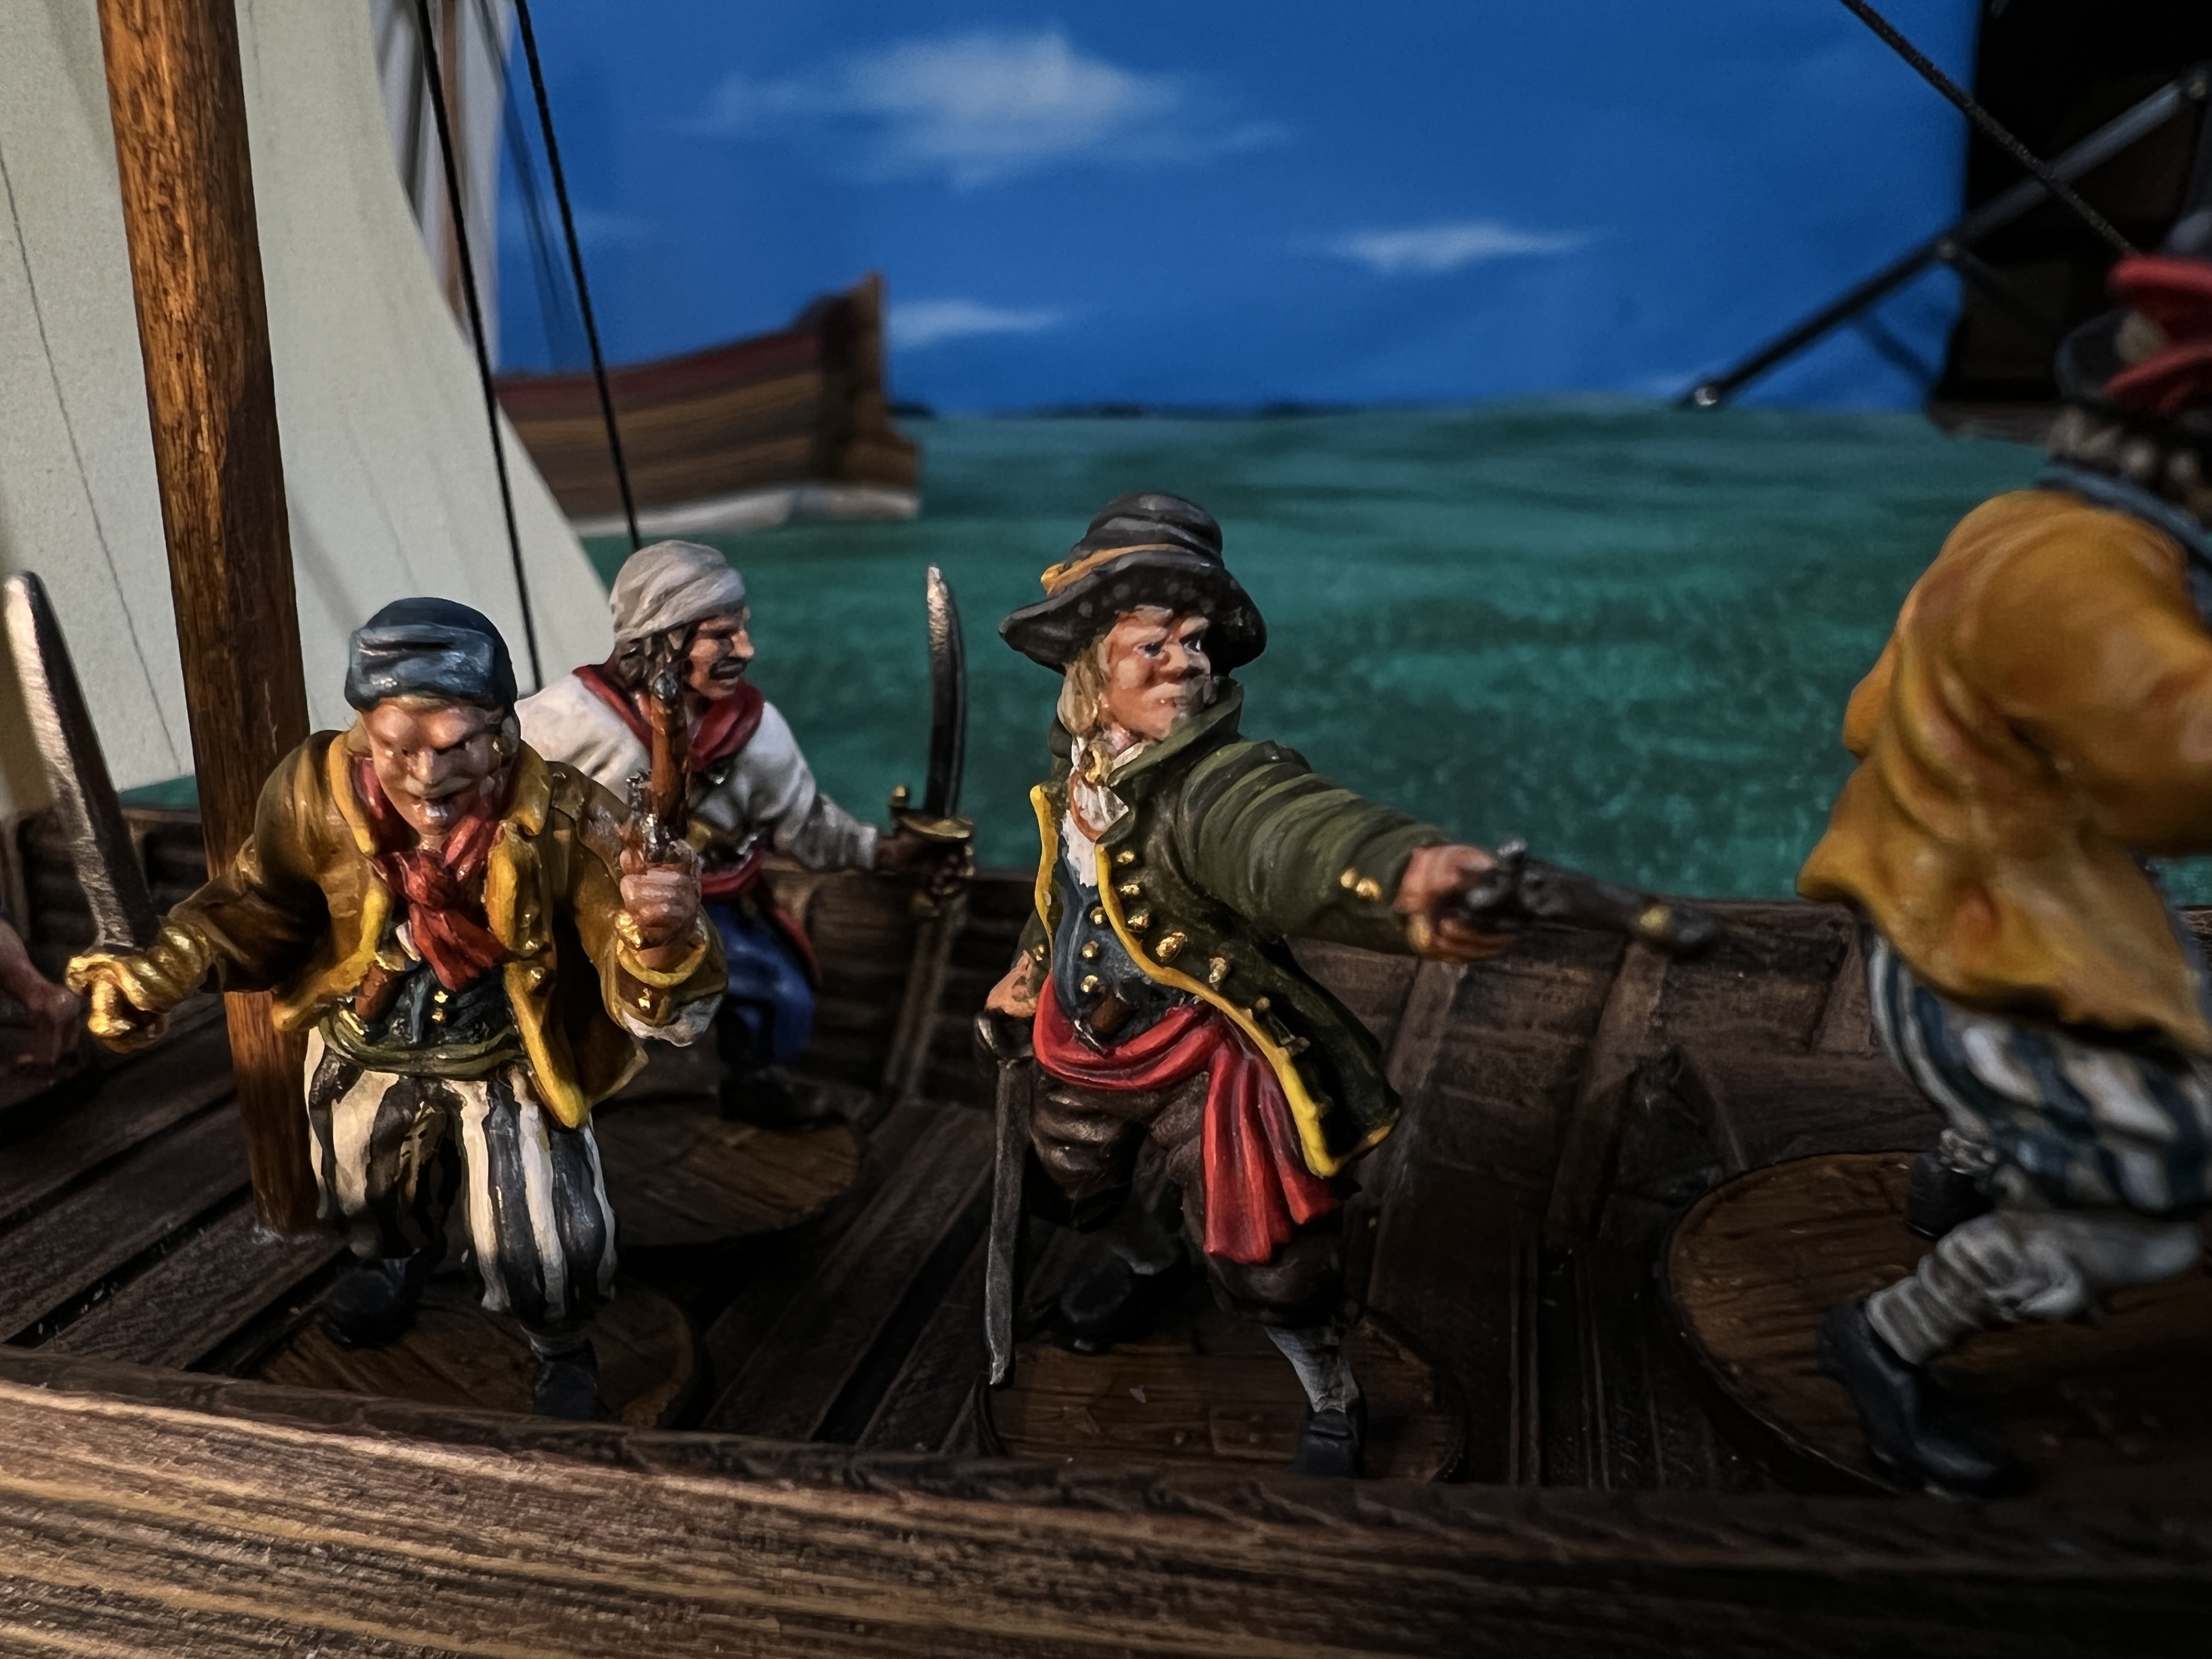
I like this very low angle. You get pulled into the action, seeing it from the men’s perspective.

At a little higher angle, you can still relate to their perspective, but you can see a little more of what’s going on.

Here at a higher and wider angle, I feel much more detached from the action.

And finally, from well above the battle board. I prefer closer and more horizontal unless I’m trying to document more precise troop locations.
Wide angle photos of the whole board can be nice, but I think the close up shots are more engaging.

This pulls me in!
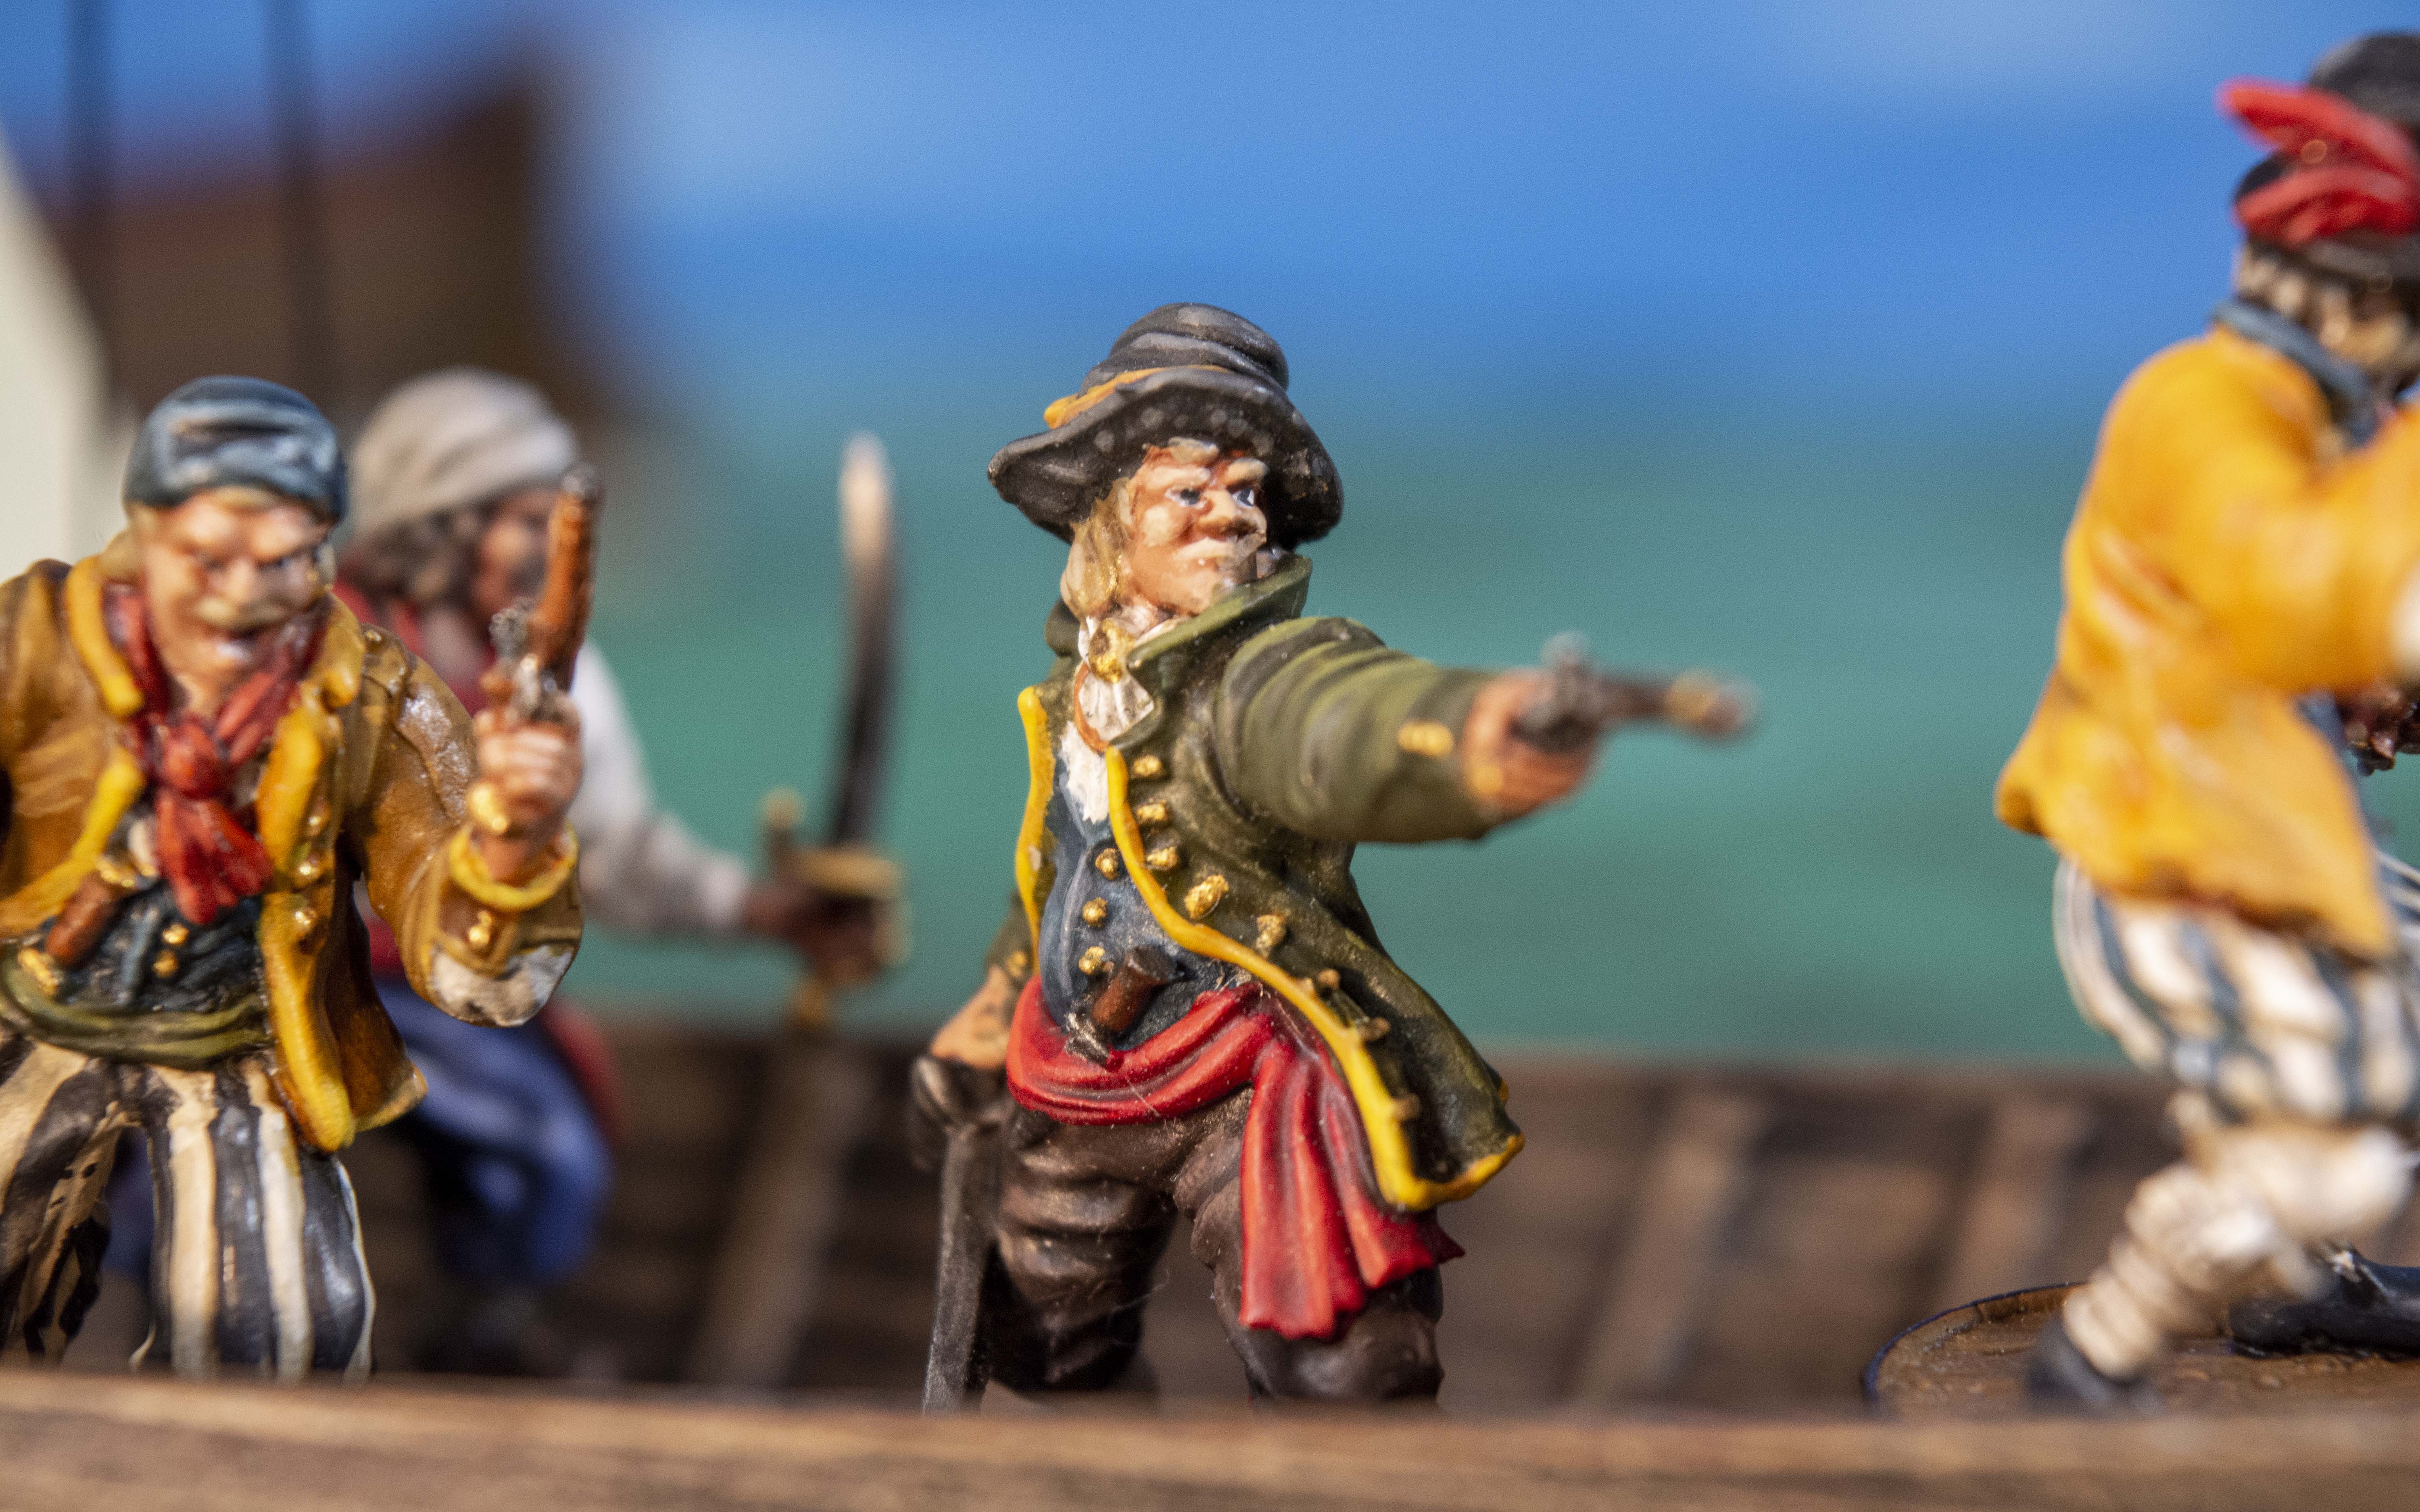
Focus
I have to address a pet peeve of mine. If you do take shots from down near the tabletop at a horizontal angle, be careful of where you’re actually focusing! In general, it seems best to focus on the subject that is closest. I’ve seen so many images where there’s big blurry miniatures right up front, then a super clear house or palm tree in the background. I don’t don’t want to see the palm tree! I want to see the action happening win the minis!

Focused on the Pikemen in the center of the field of view.

Focused on the natives in the front of the field of view. I much prefer the closest subject to be in focus.
If you take the extra second to make sure your camera has zeroed in on what you actually want to highlight, you’ll get way better images! Usually you can just tap the screen where you want to focus. If you’re having issues staying focused there, tap and hold the screen and it should lock the focus, then you can position your camera more precisely without losing that focus.

Some cameras just won’t focus very close. If that’s the case, don’t keep taking close up photos. Take it as close as it will focus, then crop the image if you want a closer shot.
If you have a DSLR or a sophisticated phone camera, you may be able to choose how deep you want your field of focus. With a phone camera, you sometimes have a “portrait” mode option that will limit the field of focus and blur out what is beyond that field. This can be great for bringing attention to one part of your image and reducing the “clutter.”
On a DSLR, you have to make this decision all the time by setting the f stop. The deeper your field of focus, the longer exposure time you need and the easier it is to get a blurry image because of a long exposure time (unless you’re using a tripod).

The image above has a shallow depth of focus. Using the 80mm lens on the DSLR, this image is taken at f/5 at 1/60s.

This is the same lens at the same zoom, but taken at f/22 at 1/25s. The pikemen are much easier to make out and the full canoe of natives is pretty well in focus.

A phone camera has a wider angle lens which lets more light in. Almost everything in this image is in focus! My computer lists this photo as using a 1.9mm lens at f/1.8 and 1/60s.
I like being able to control the field of focus so the eye can be directed to one area. Sometimes phone camera pictures are just “too much at once.”
Software
Sometimes just a couple quick editing tweaks can make a big difference. If you really want a striking image, there’s a few things you can easily try, without too much experience or trouble, that can improve your picture.
There are many free or affordable options for photo editing out there. I’ve tried several and the free ones often can do everything I need, but they have built enough annoyances into it to encourage you to buy a nicer version, I get fed up. I’ve settled on two programs, one for mobile and one for desktop.
For mobile, I use ProCamera. This app costs $15 on iOS right now. With it you can easily edit, crop, tough up and save images as different file types. It’s really a great app.

On desktop I use Adobe Bridge for photo editing. It’s a cheap and really, really easy program to use. The catch is that you need Photoshop to actually save the images after you edit them . I edit all images from my DSLR in Bridge, the export them through Photoshop. Trying to directly edit images in Photoshop is extremely slow and painful (at least for me).

Adobe Bridge
The main things I do in editing is adjust exposure and colors and then crop the image to a pleasing ratio. For YouTube work, I use the 16:9 ratio so the image will fill the entire screen. For blog work, I prefer the 16:10 ratio which is a little taller. Most images are taken at a 5:4 ration which feels really “fat” or “tubby.” You can use this opportunity to crop to remove any objectionable backgrounds as well.
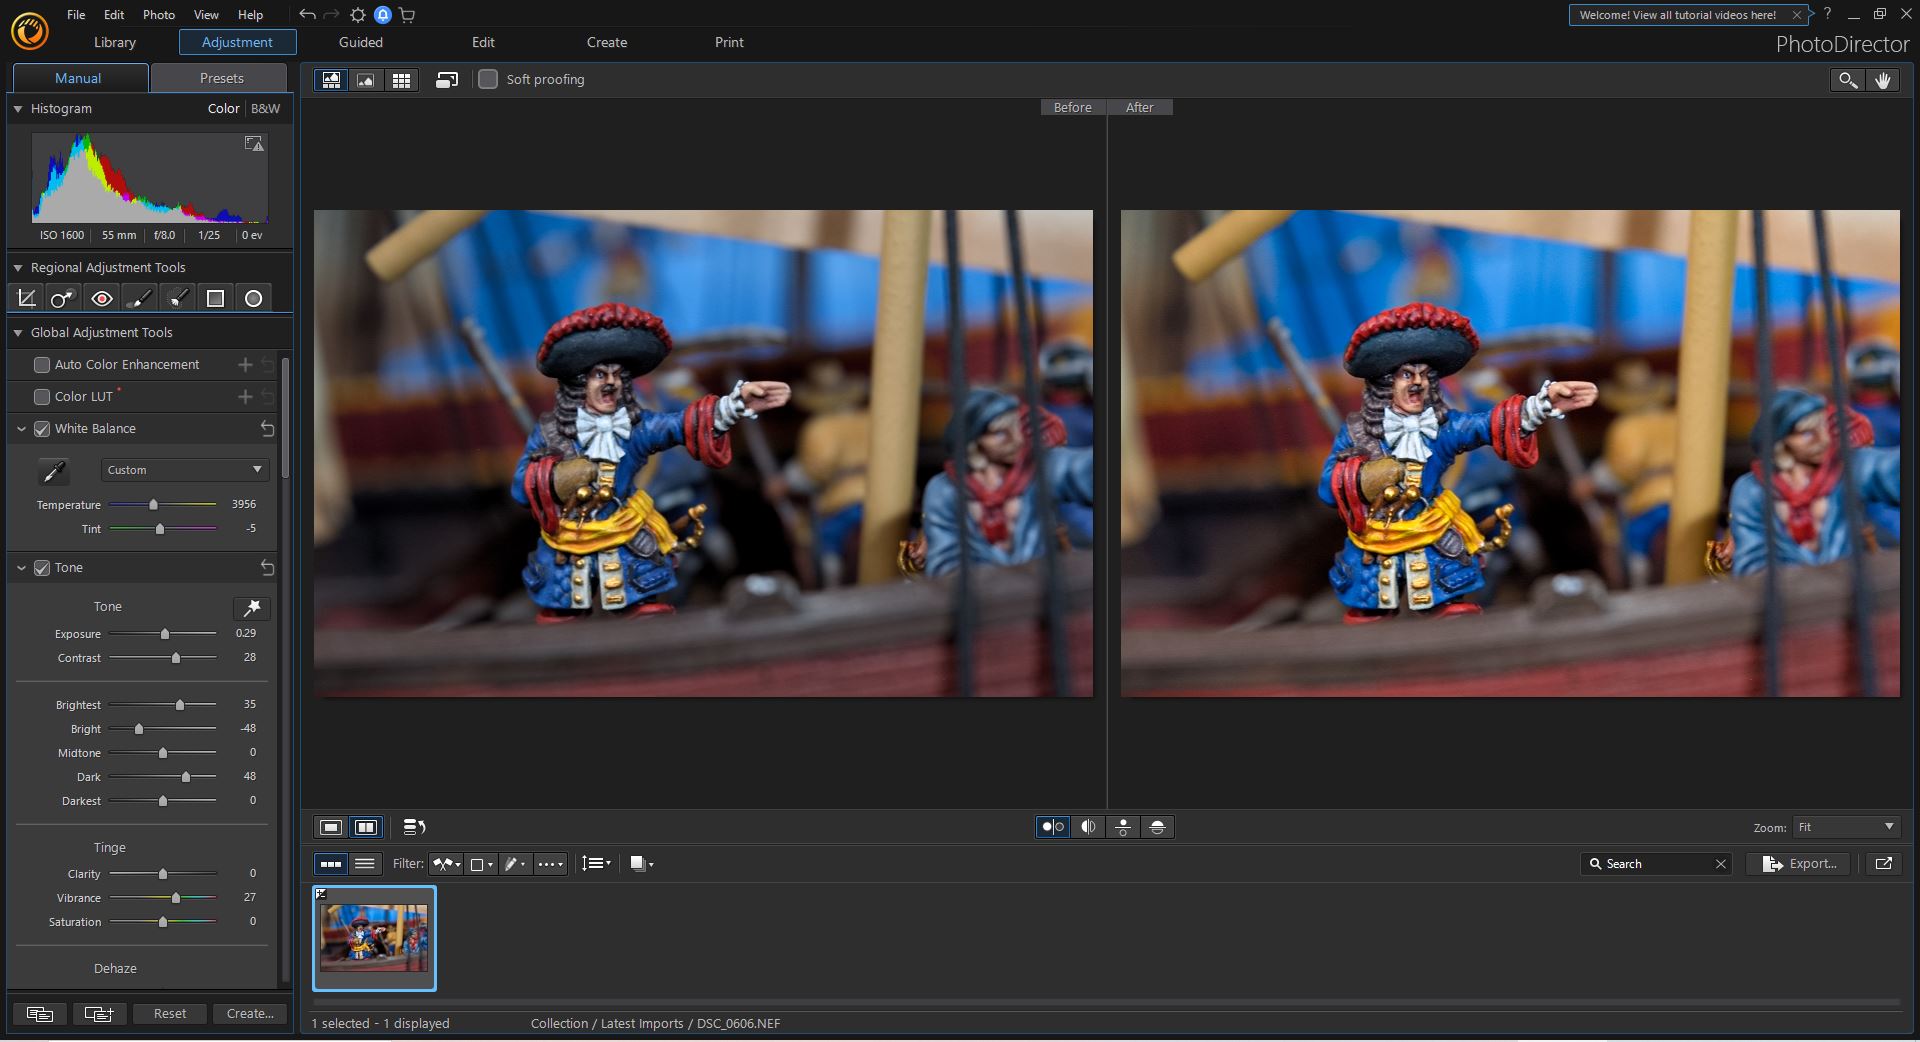
Photo Director Essential
I briefly toyed with a free program called Photo Director Essential while preparing for this article and it seemed to be high quality, produce good results, and feel remarkably similar to the Adobe products. GIMP Photo Editor and Pixlr are supposed to be decent free programs as well.
Conclusion
Well, that may be way more info than you really wanted. I’m not a pro, but I’ve picked up a few things while working on this blog that I hope can be helpful to you if you’re wanting to take compelling pictures of your tabletop games.
If you have any further tips or advice for taking good images, don’t hesitate to comment here on the blog or on Facebook or directly through the contact page.
Pingback: Week 11 Summer of Plunder Update - Blood & Pigment
Pingback: The 2024 Great Pirate Paint Off - Blood & Pigment
Pingback: Firelock Games Quartermaster Program Overview
Pingback: 2025 Great Pirate Paint Off - Blood & Plunder Painting Contest - Blood & Pigment