Painting and rigging a Bark or any miniature ship can be a daunting task, especially for beginners or those with limited painting experience. However, this painting guide offers a simple and time-efficient approach to achieving a respectable tabletop standard using minimal supplies. It is possible to complete a ship project in a single sitting, making it an accessible option for those looking to whip up a ship in an evening
Ships are a huge part of Blood & Plunder but they can be an intimidating hobby project, especially if you’re new to miniature gaming or don’t have a lot of painting experience. With resin hulls and wood and elastic rigging pieces, they aren’t your standard Games Workshop gaming miniature.
This painting guide is my attempt at painting up a ship at a respectable tabletop standard with minimal paints, equipment and time spent on the project. I did the entire project in one sitting and while that’s not a great way to do it, I wanted to see if it was possible. It is much better to let glue and coats of paint dry for much longer than I allowed here, but if you want to whip up a ship in an evening with only a handful of paints, it is possible!
I’m using (nearly exclusively) Citadel Contrast Paints for this project. They are a little expensive but they save you many steps and produce a nice finished product compared the amount of effort they require.
Before You Begin Rigging a Bark
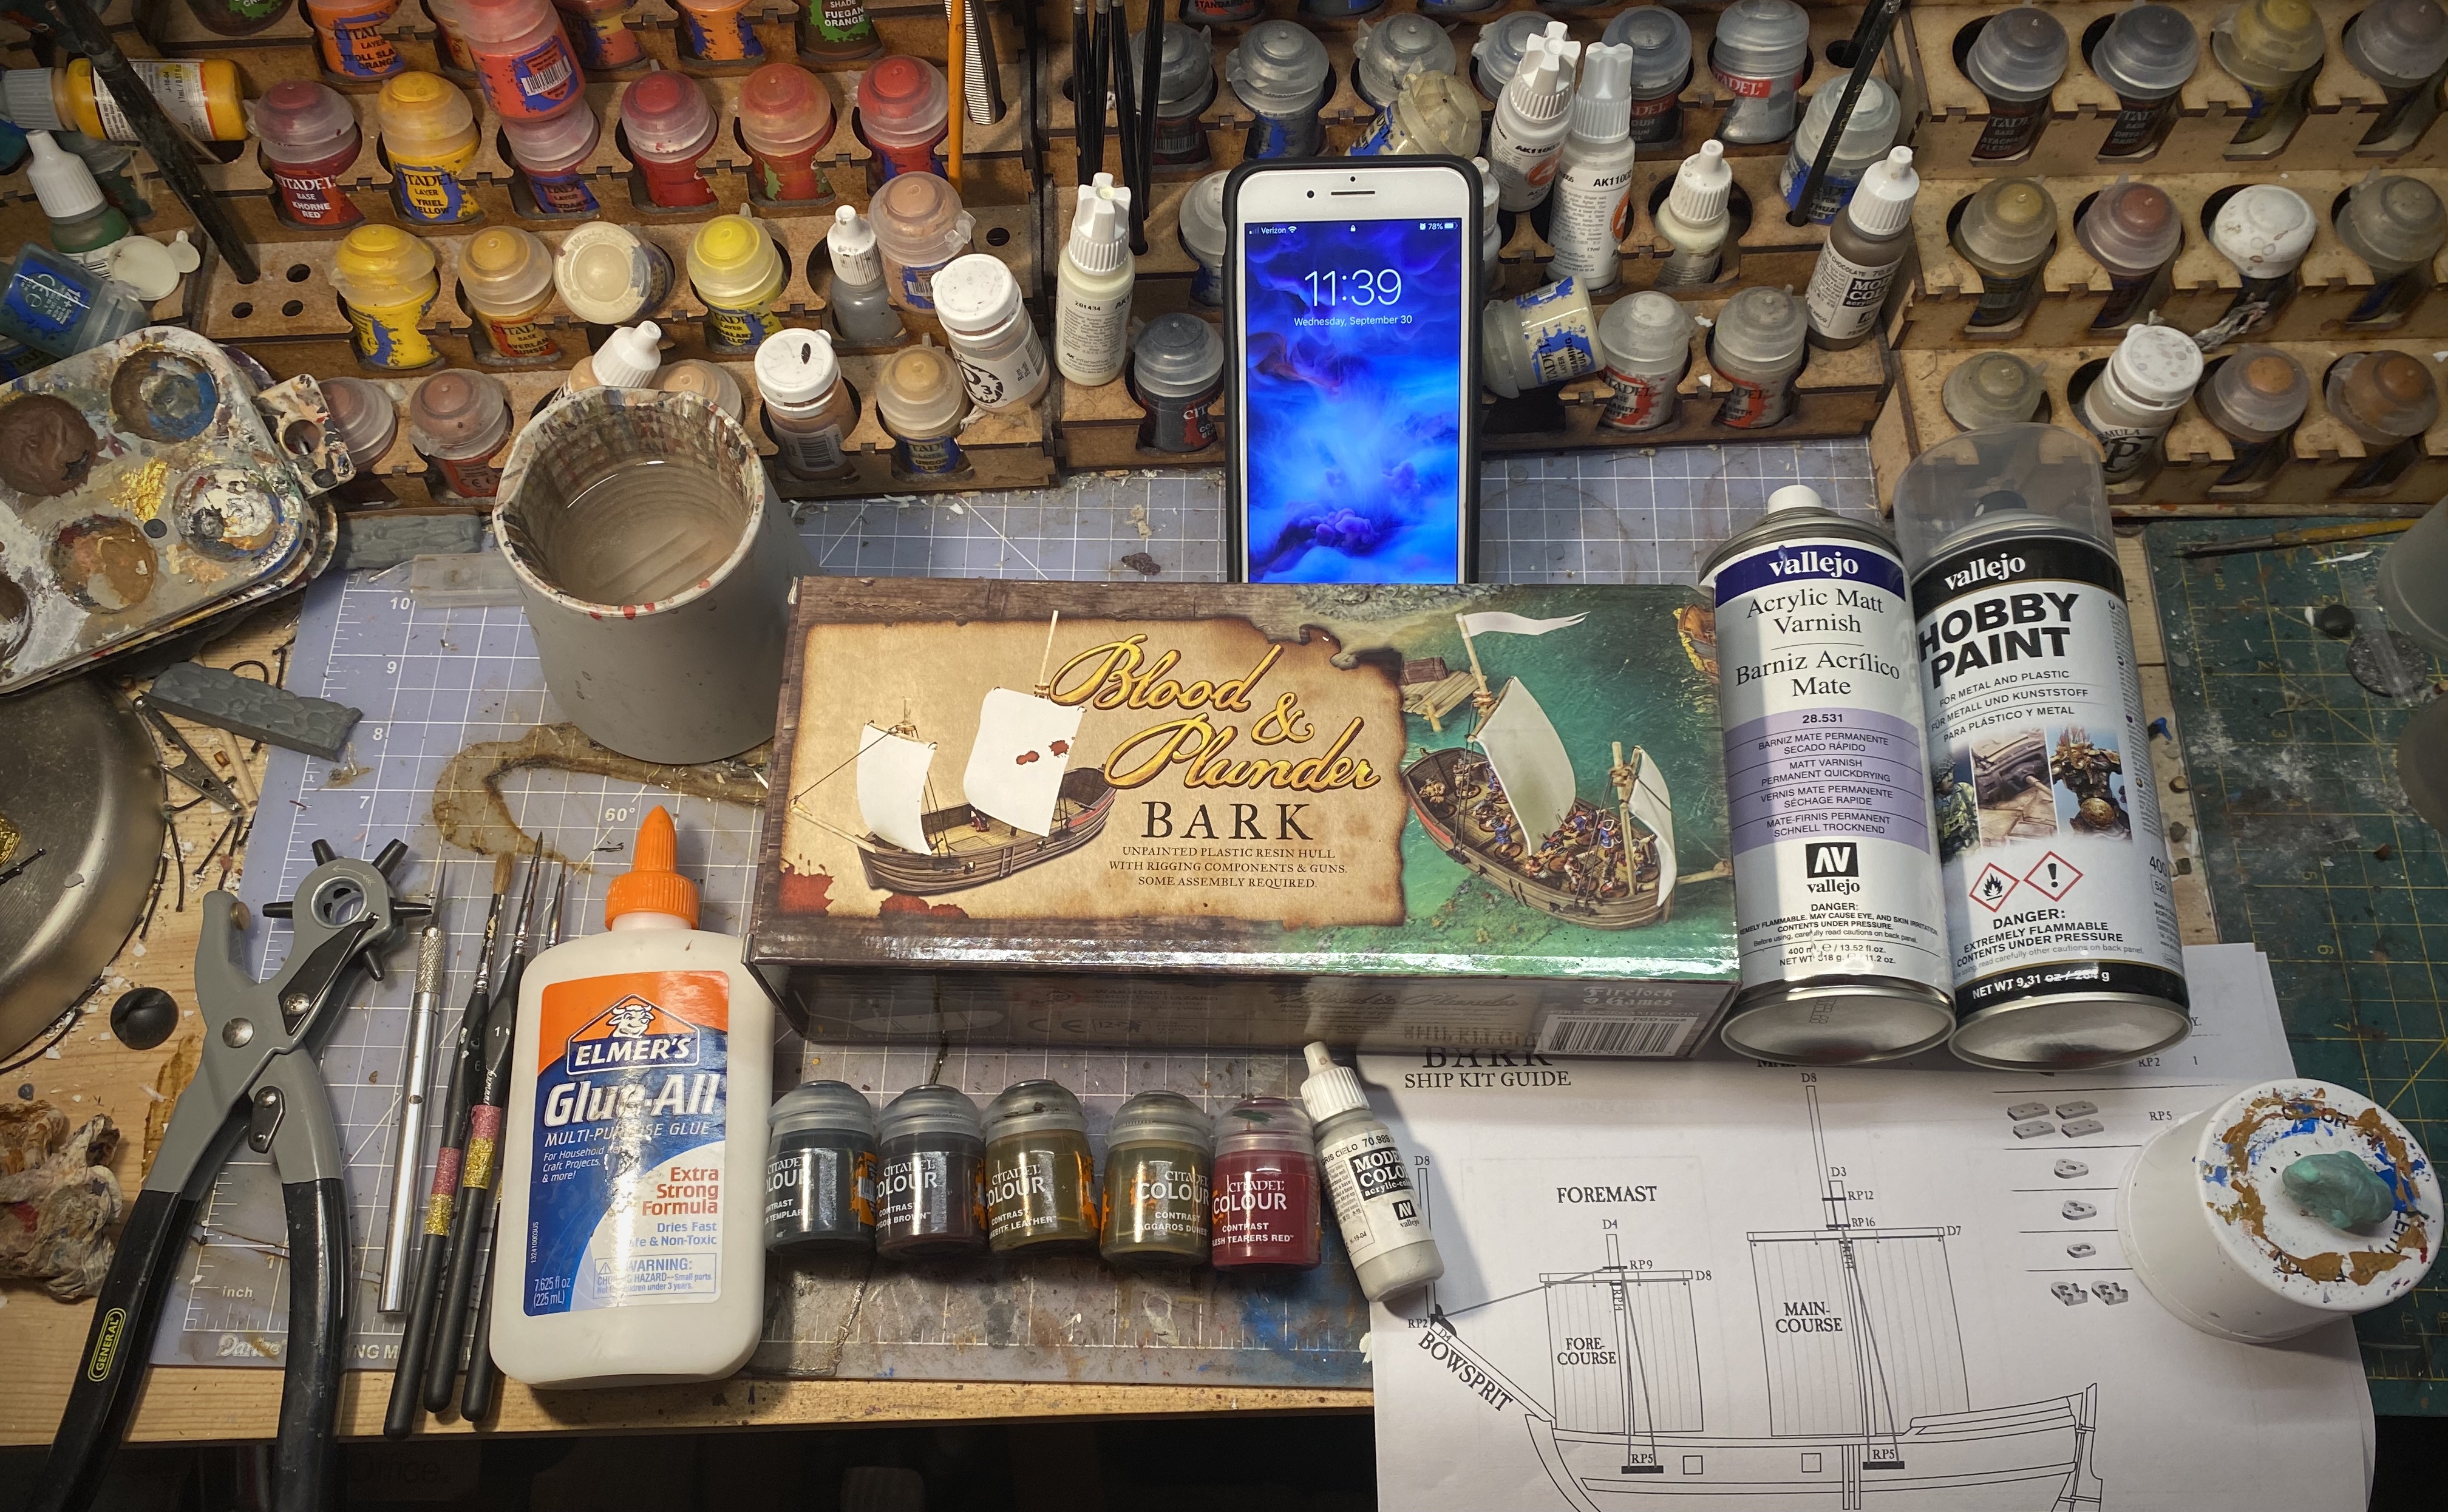
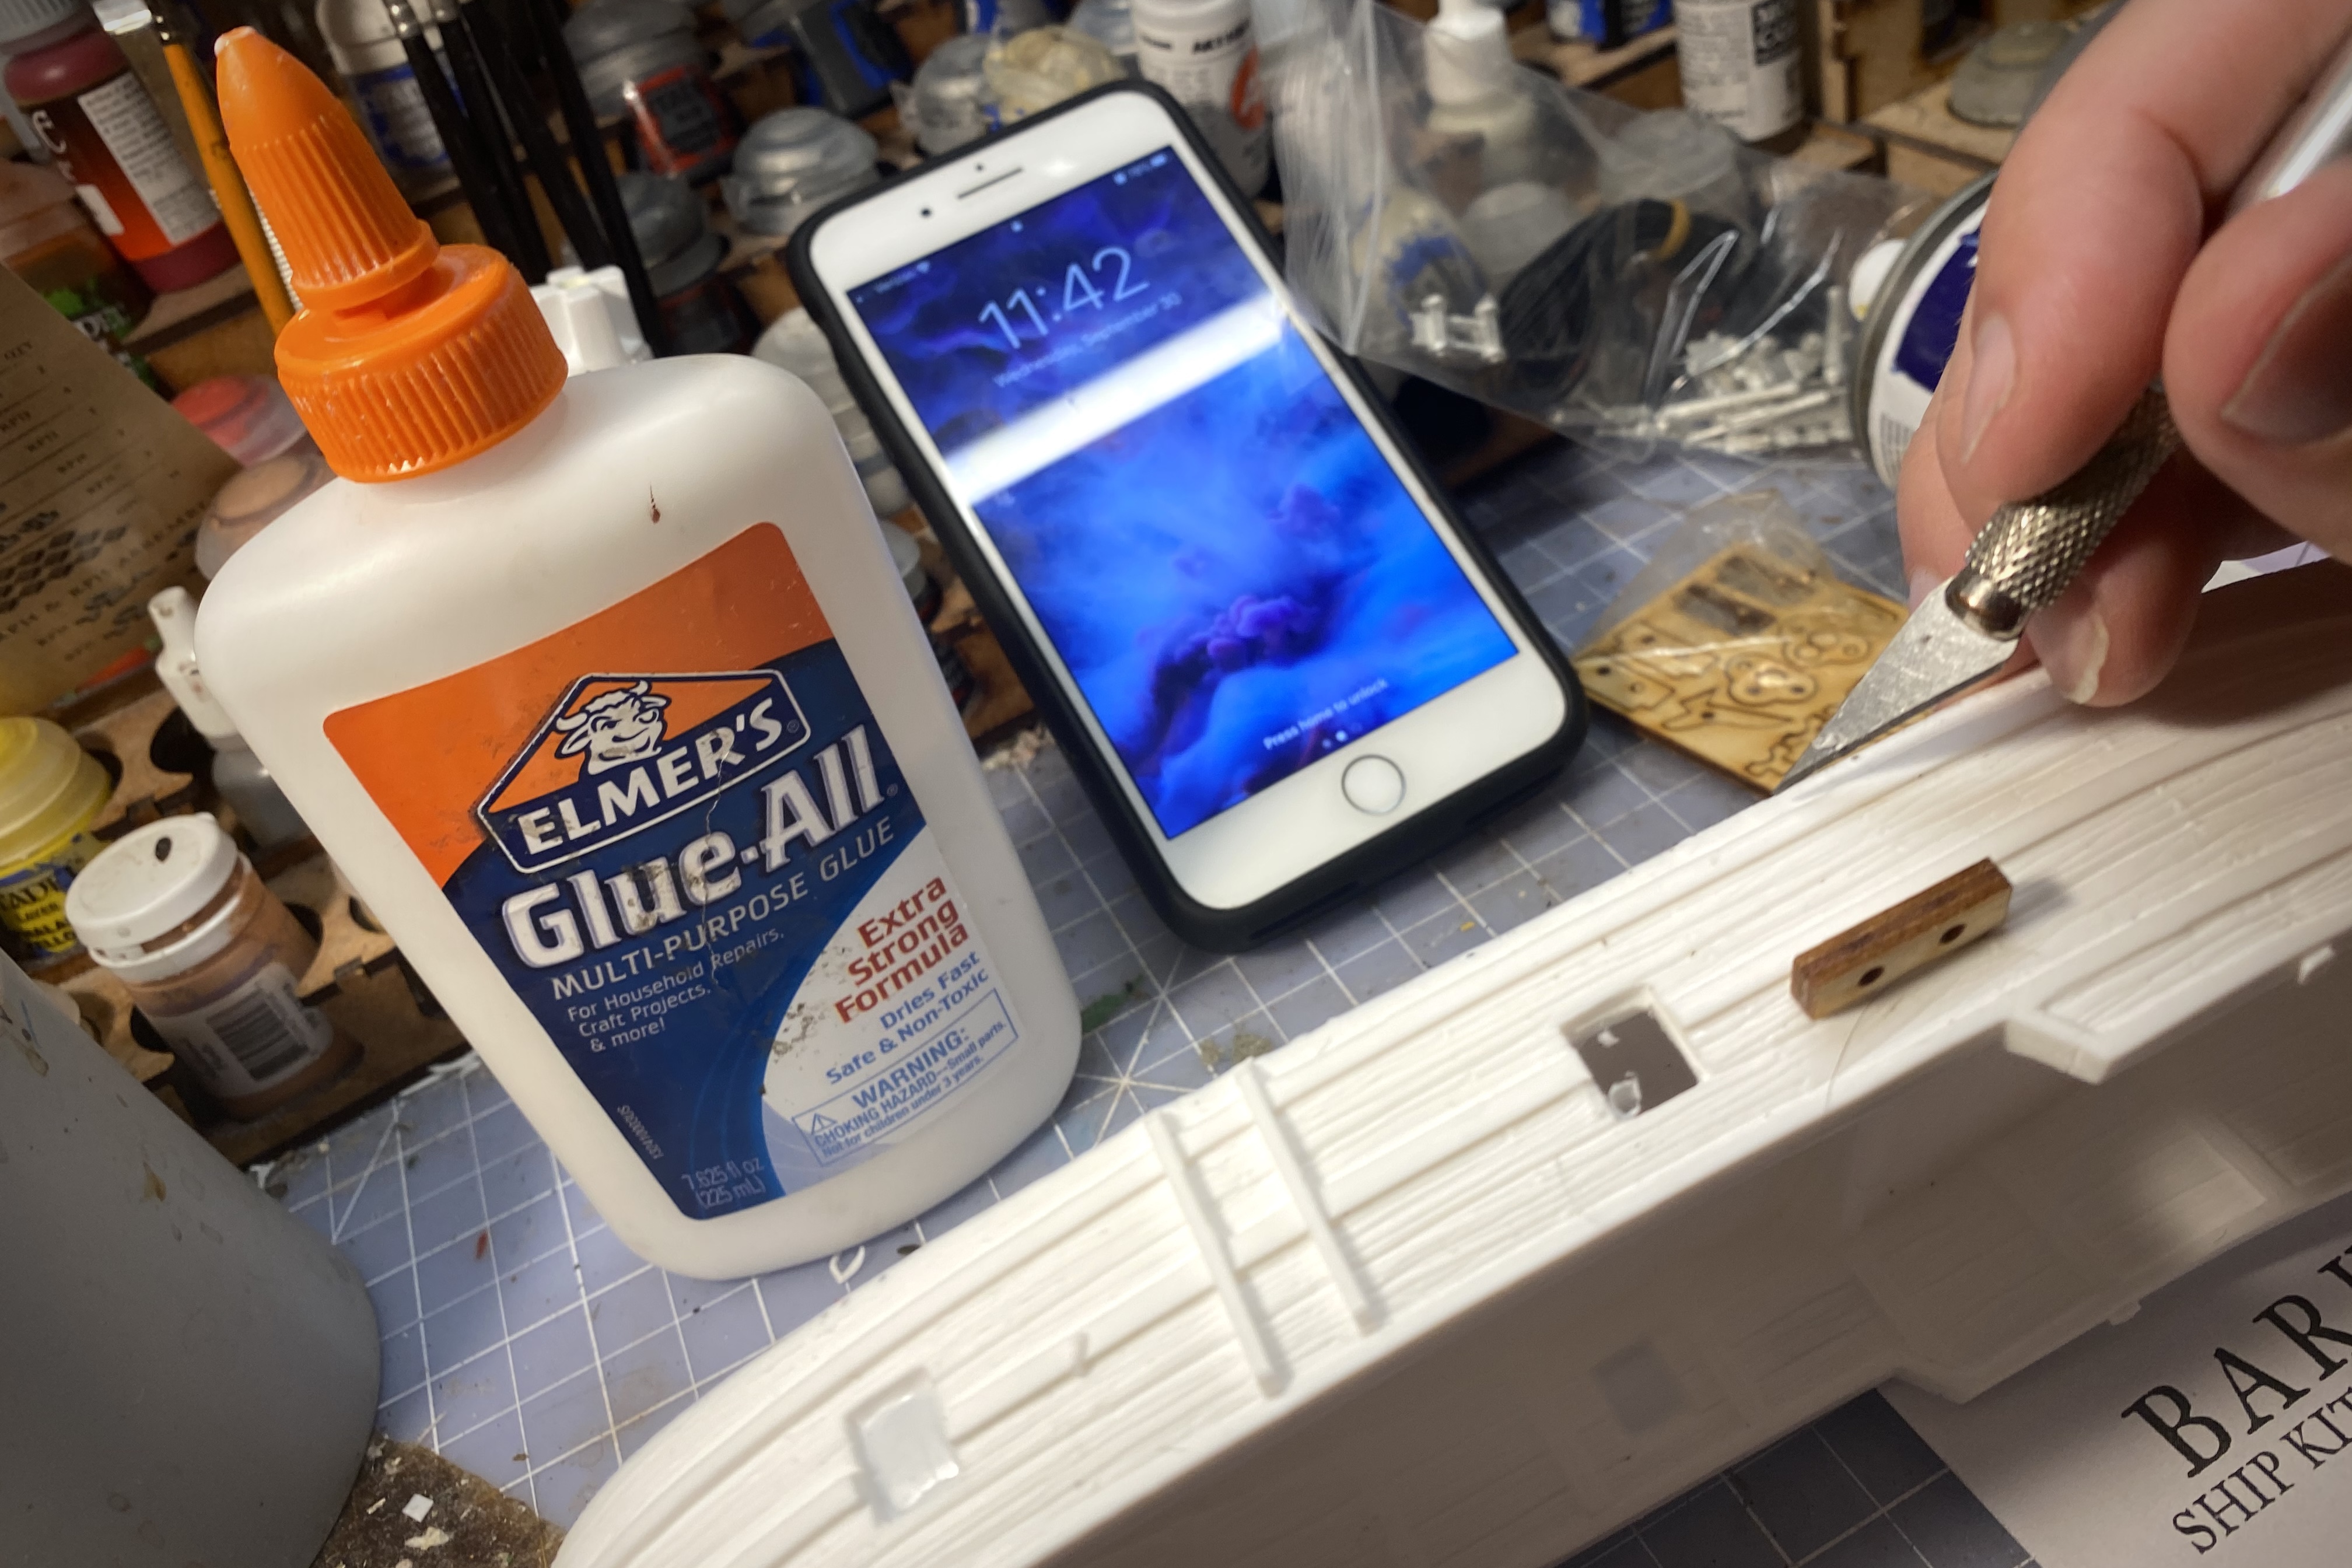
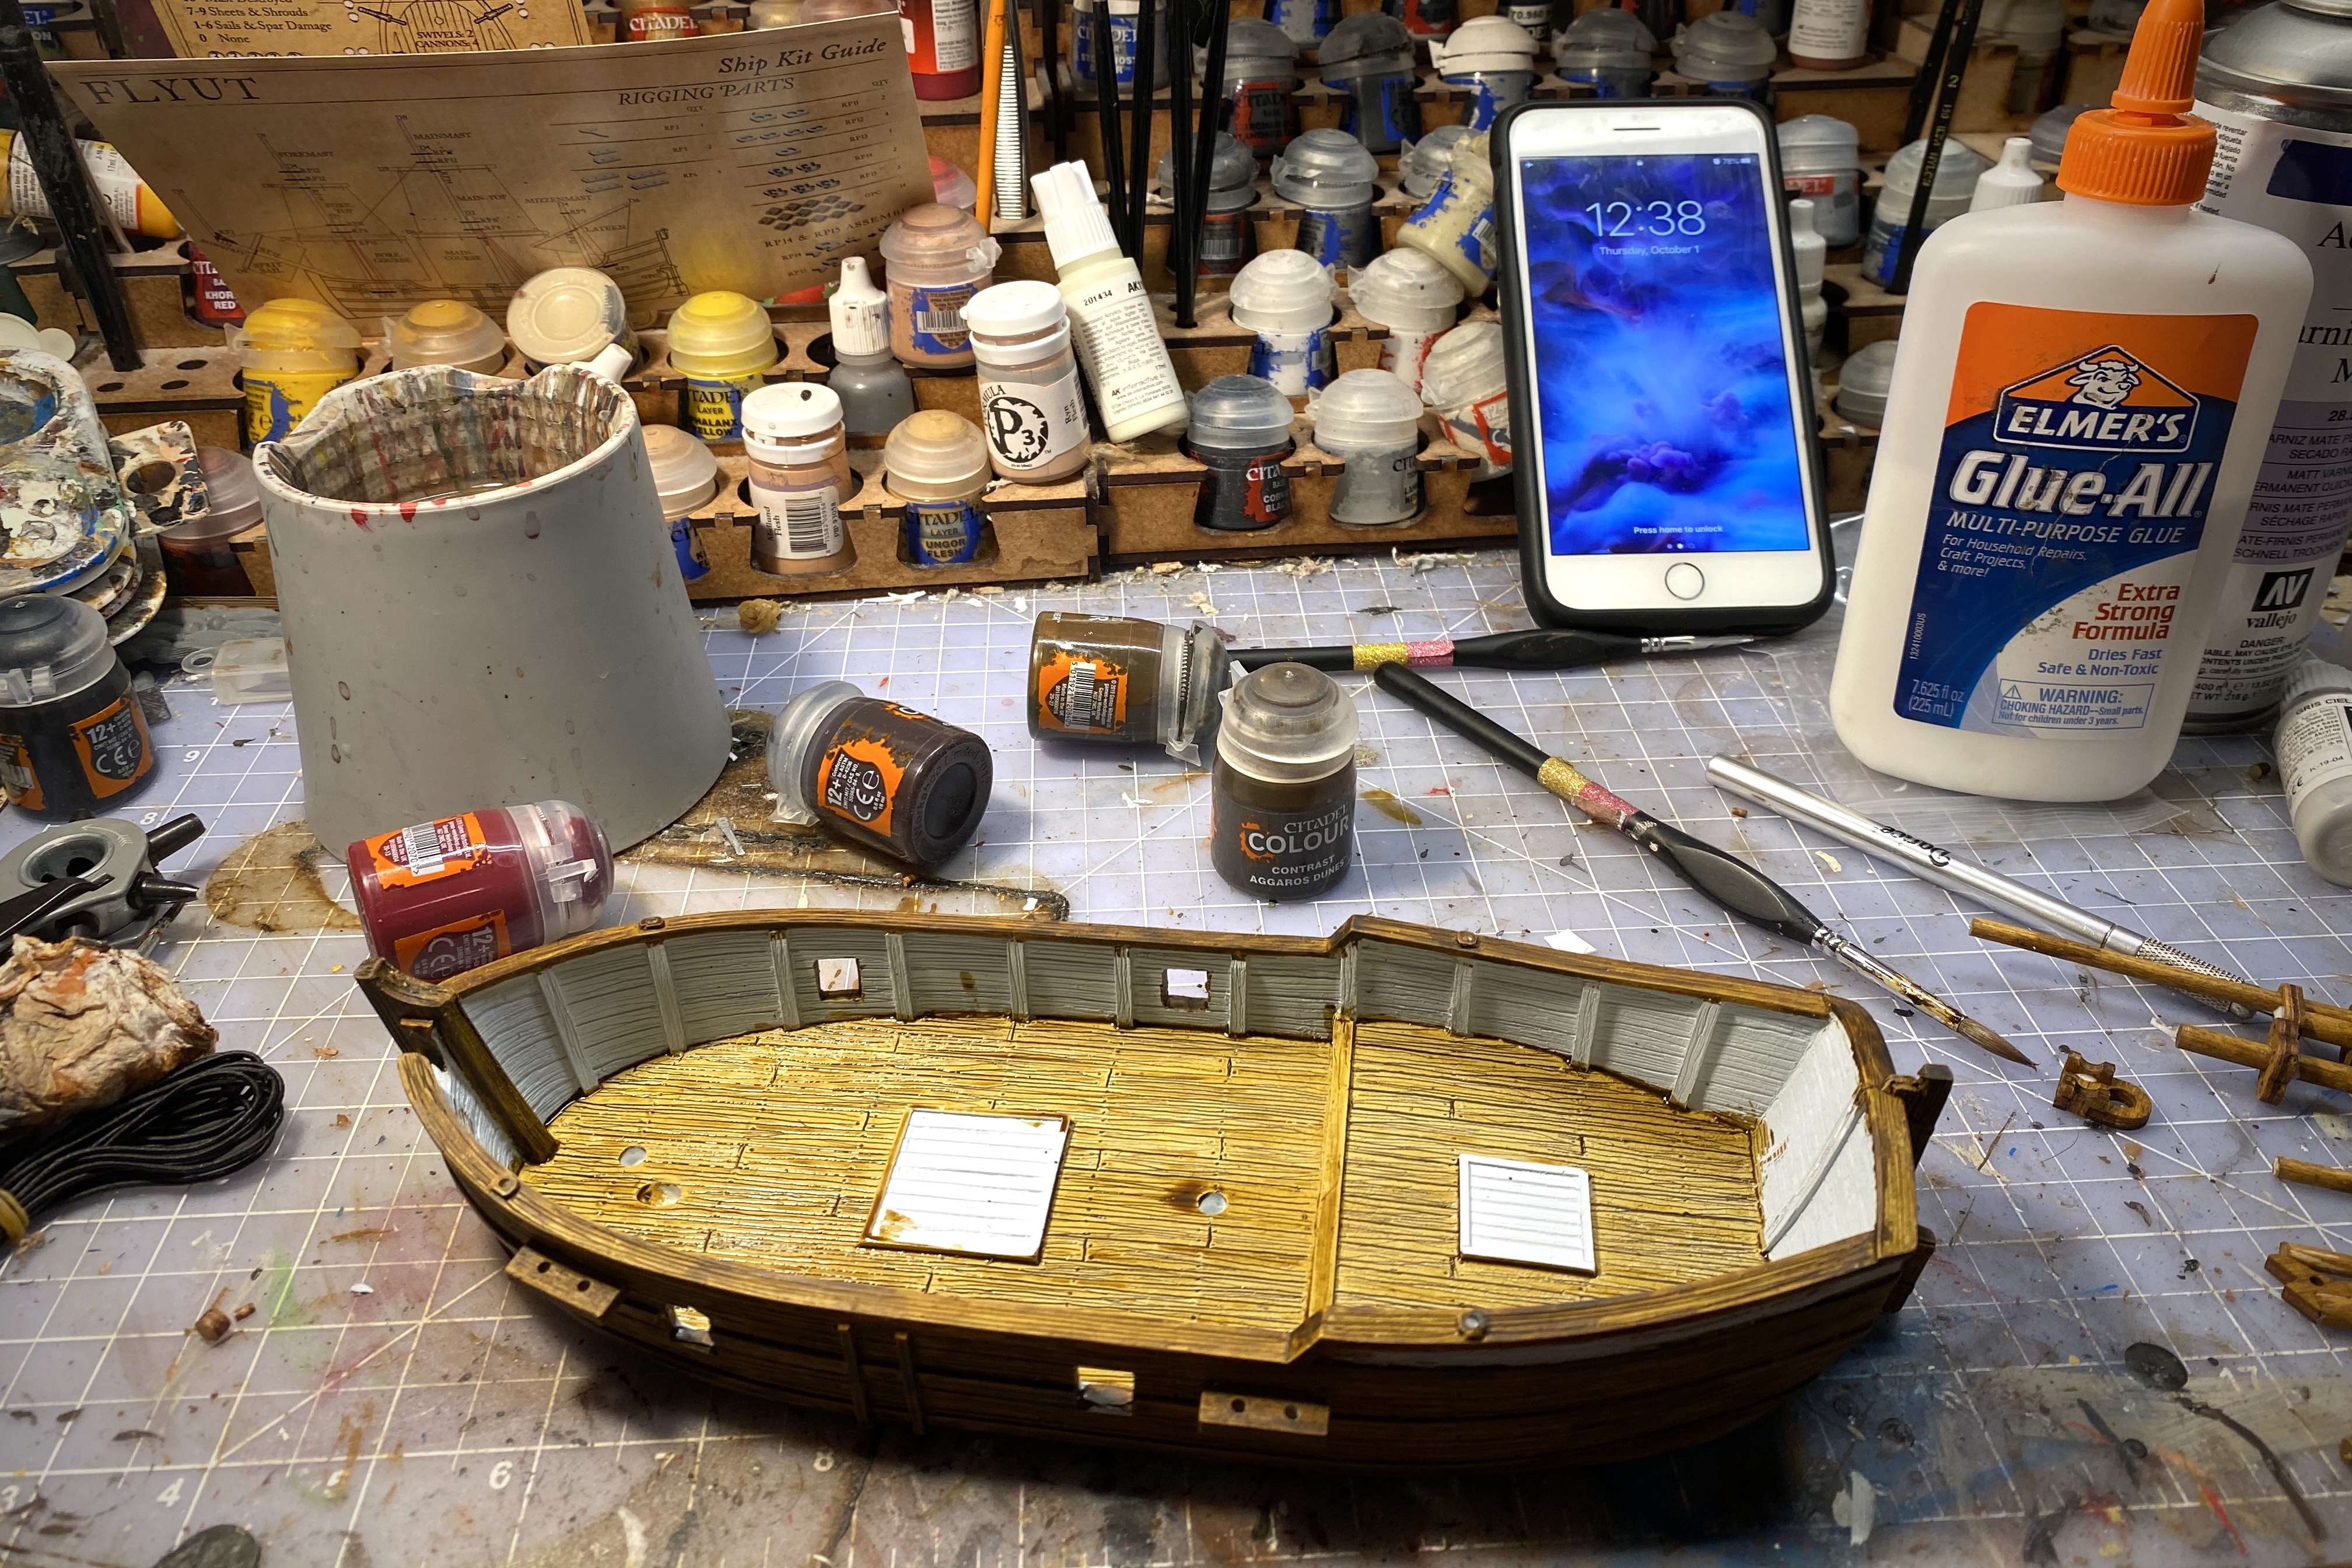
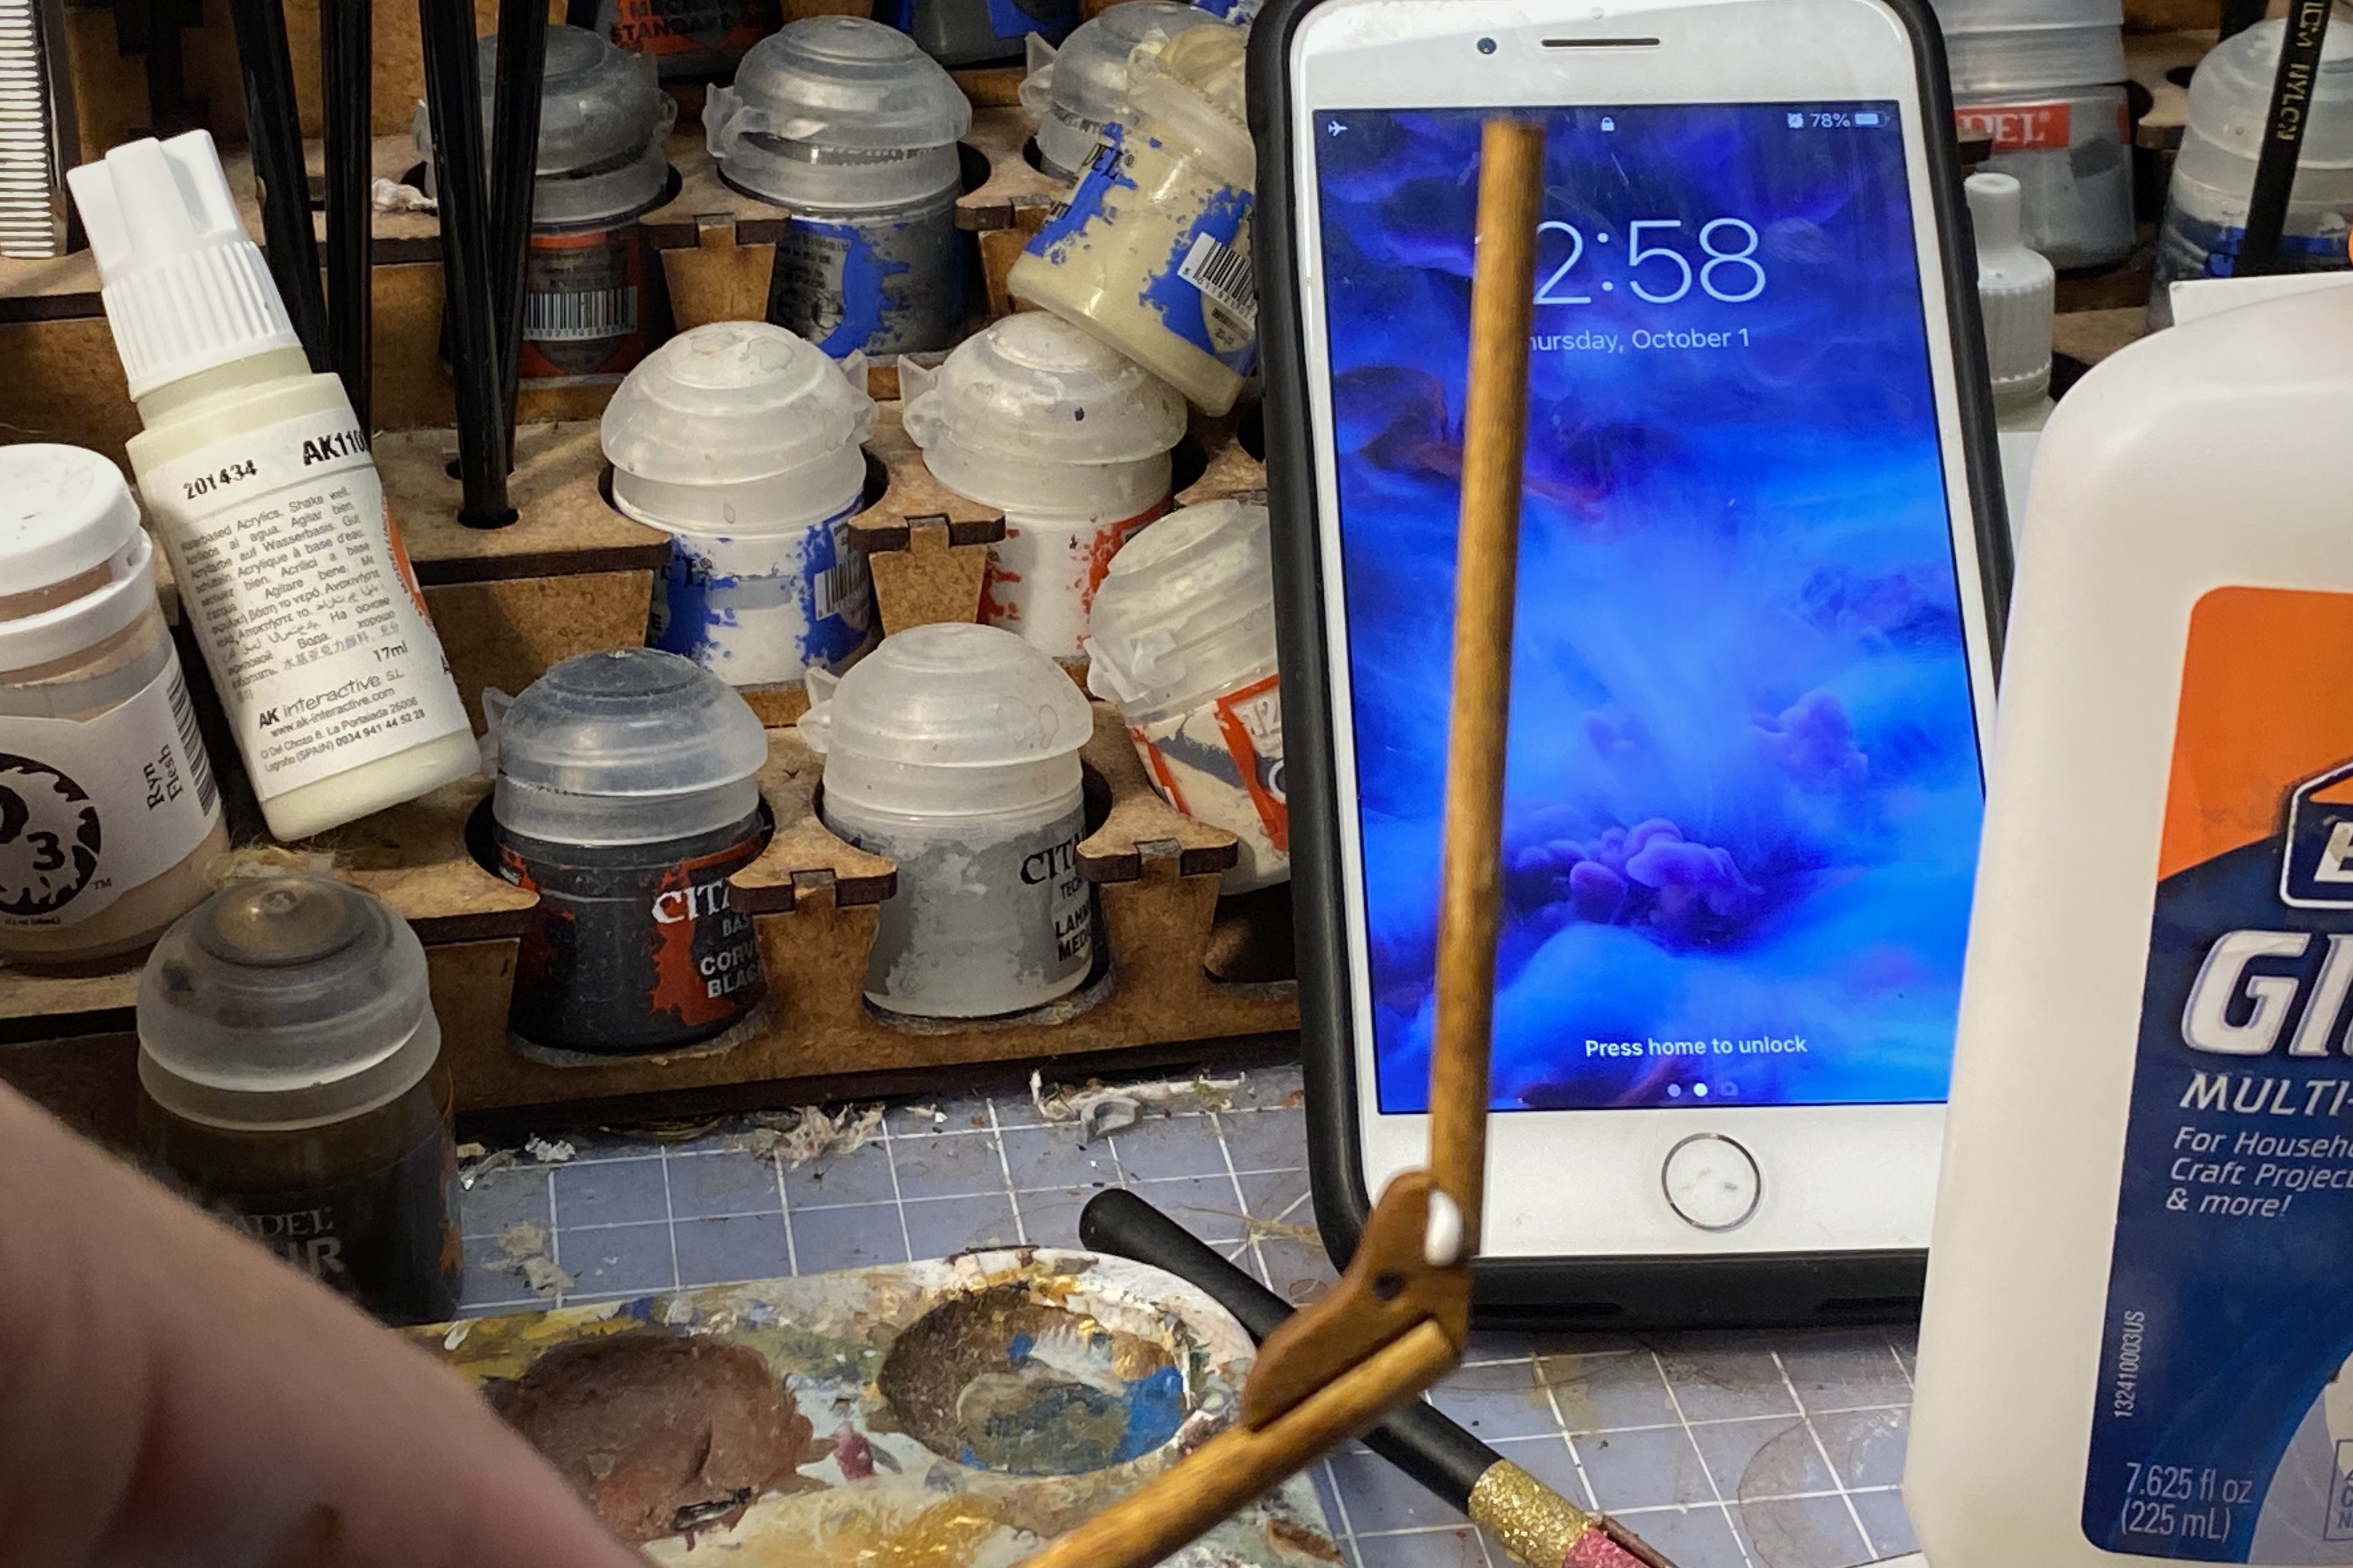
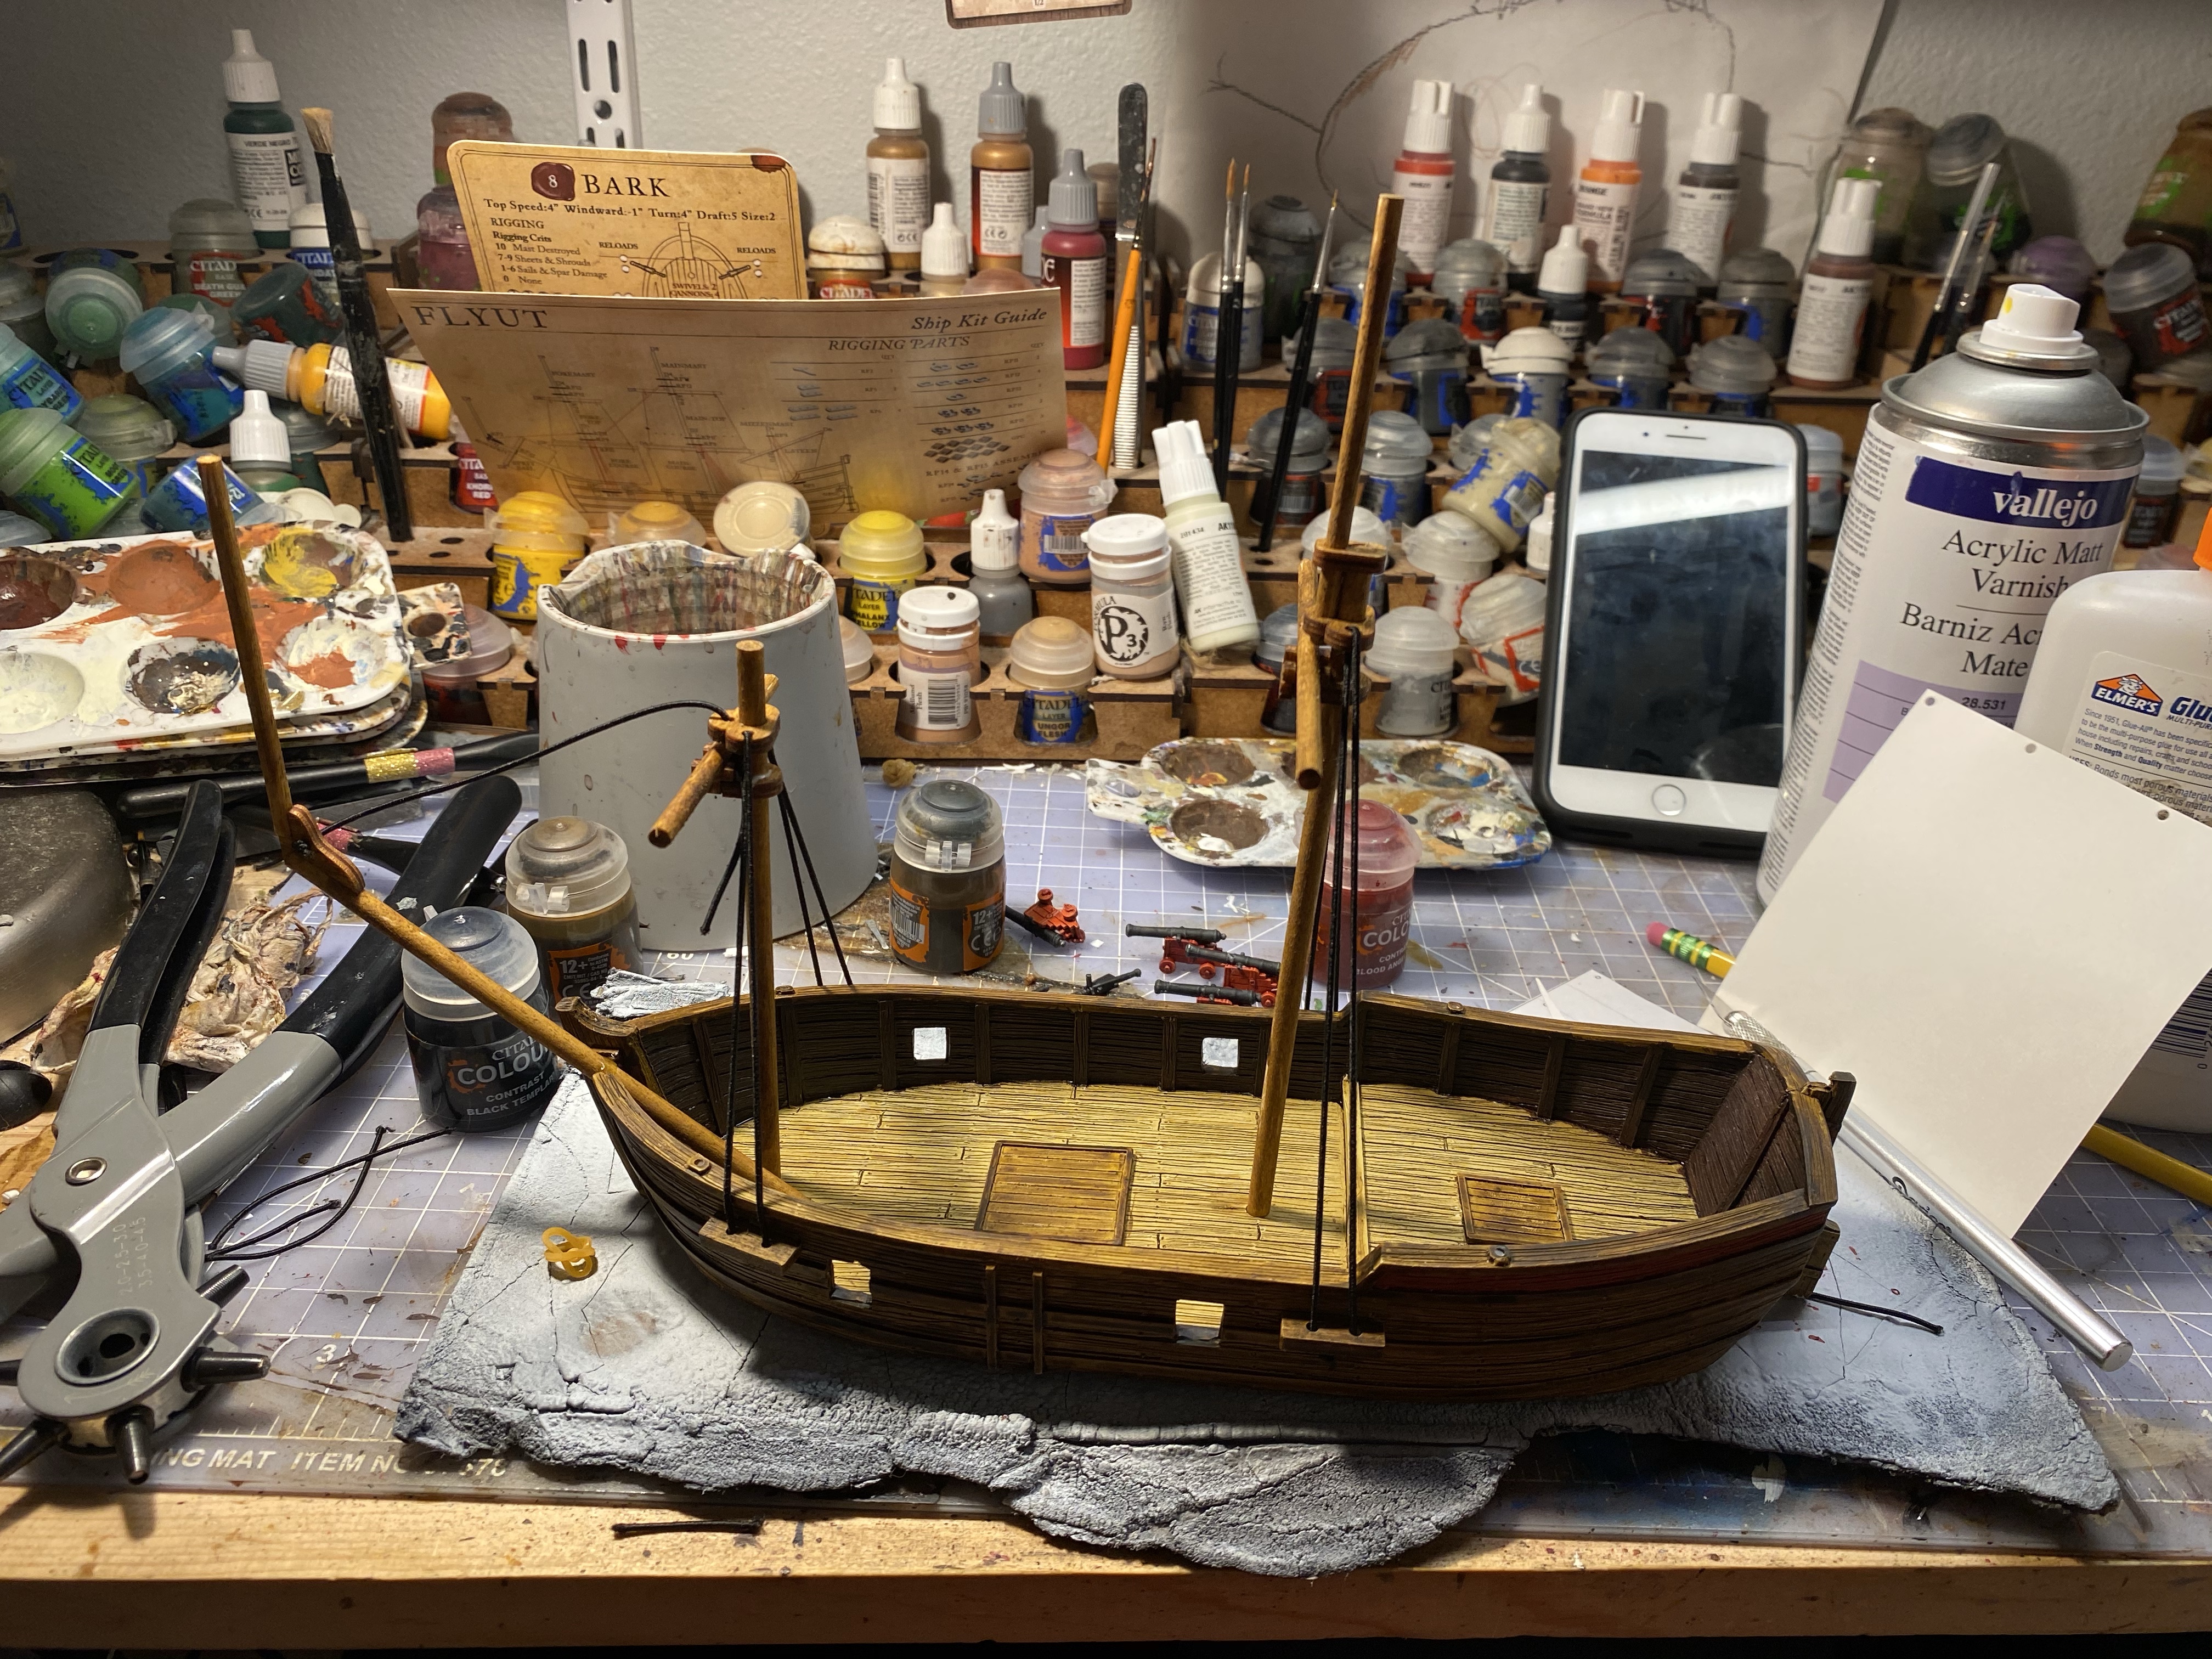
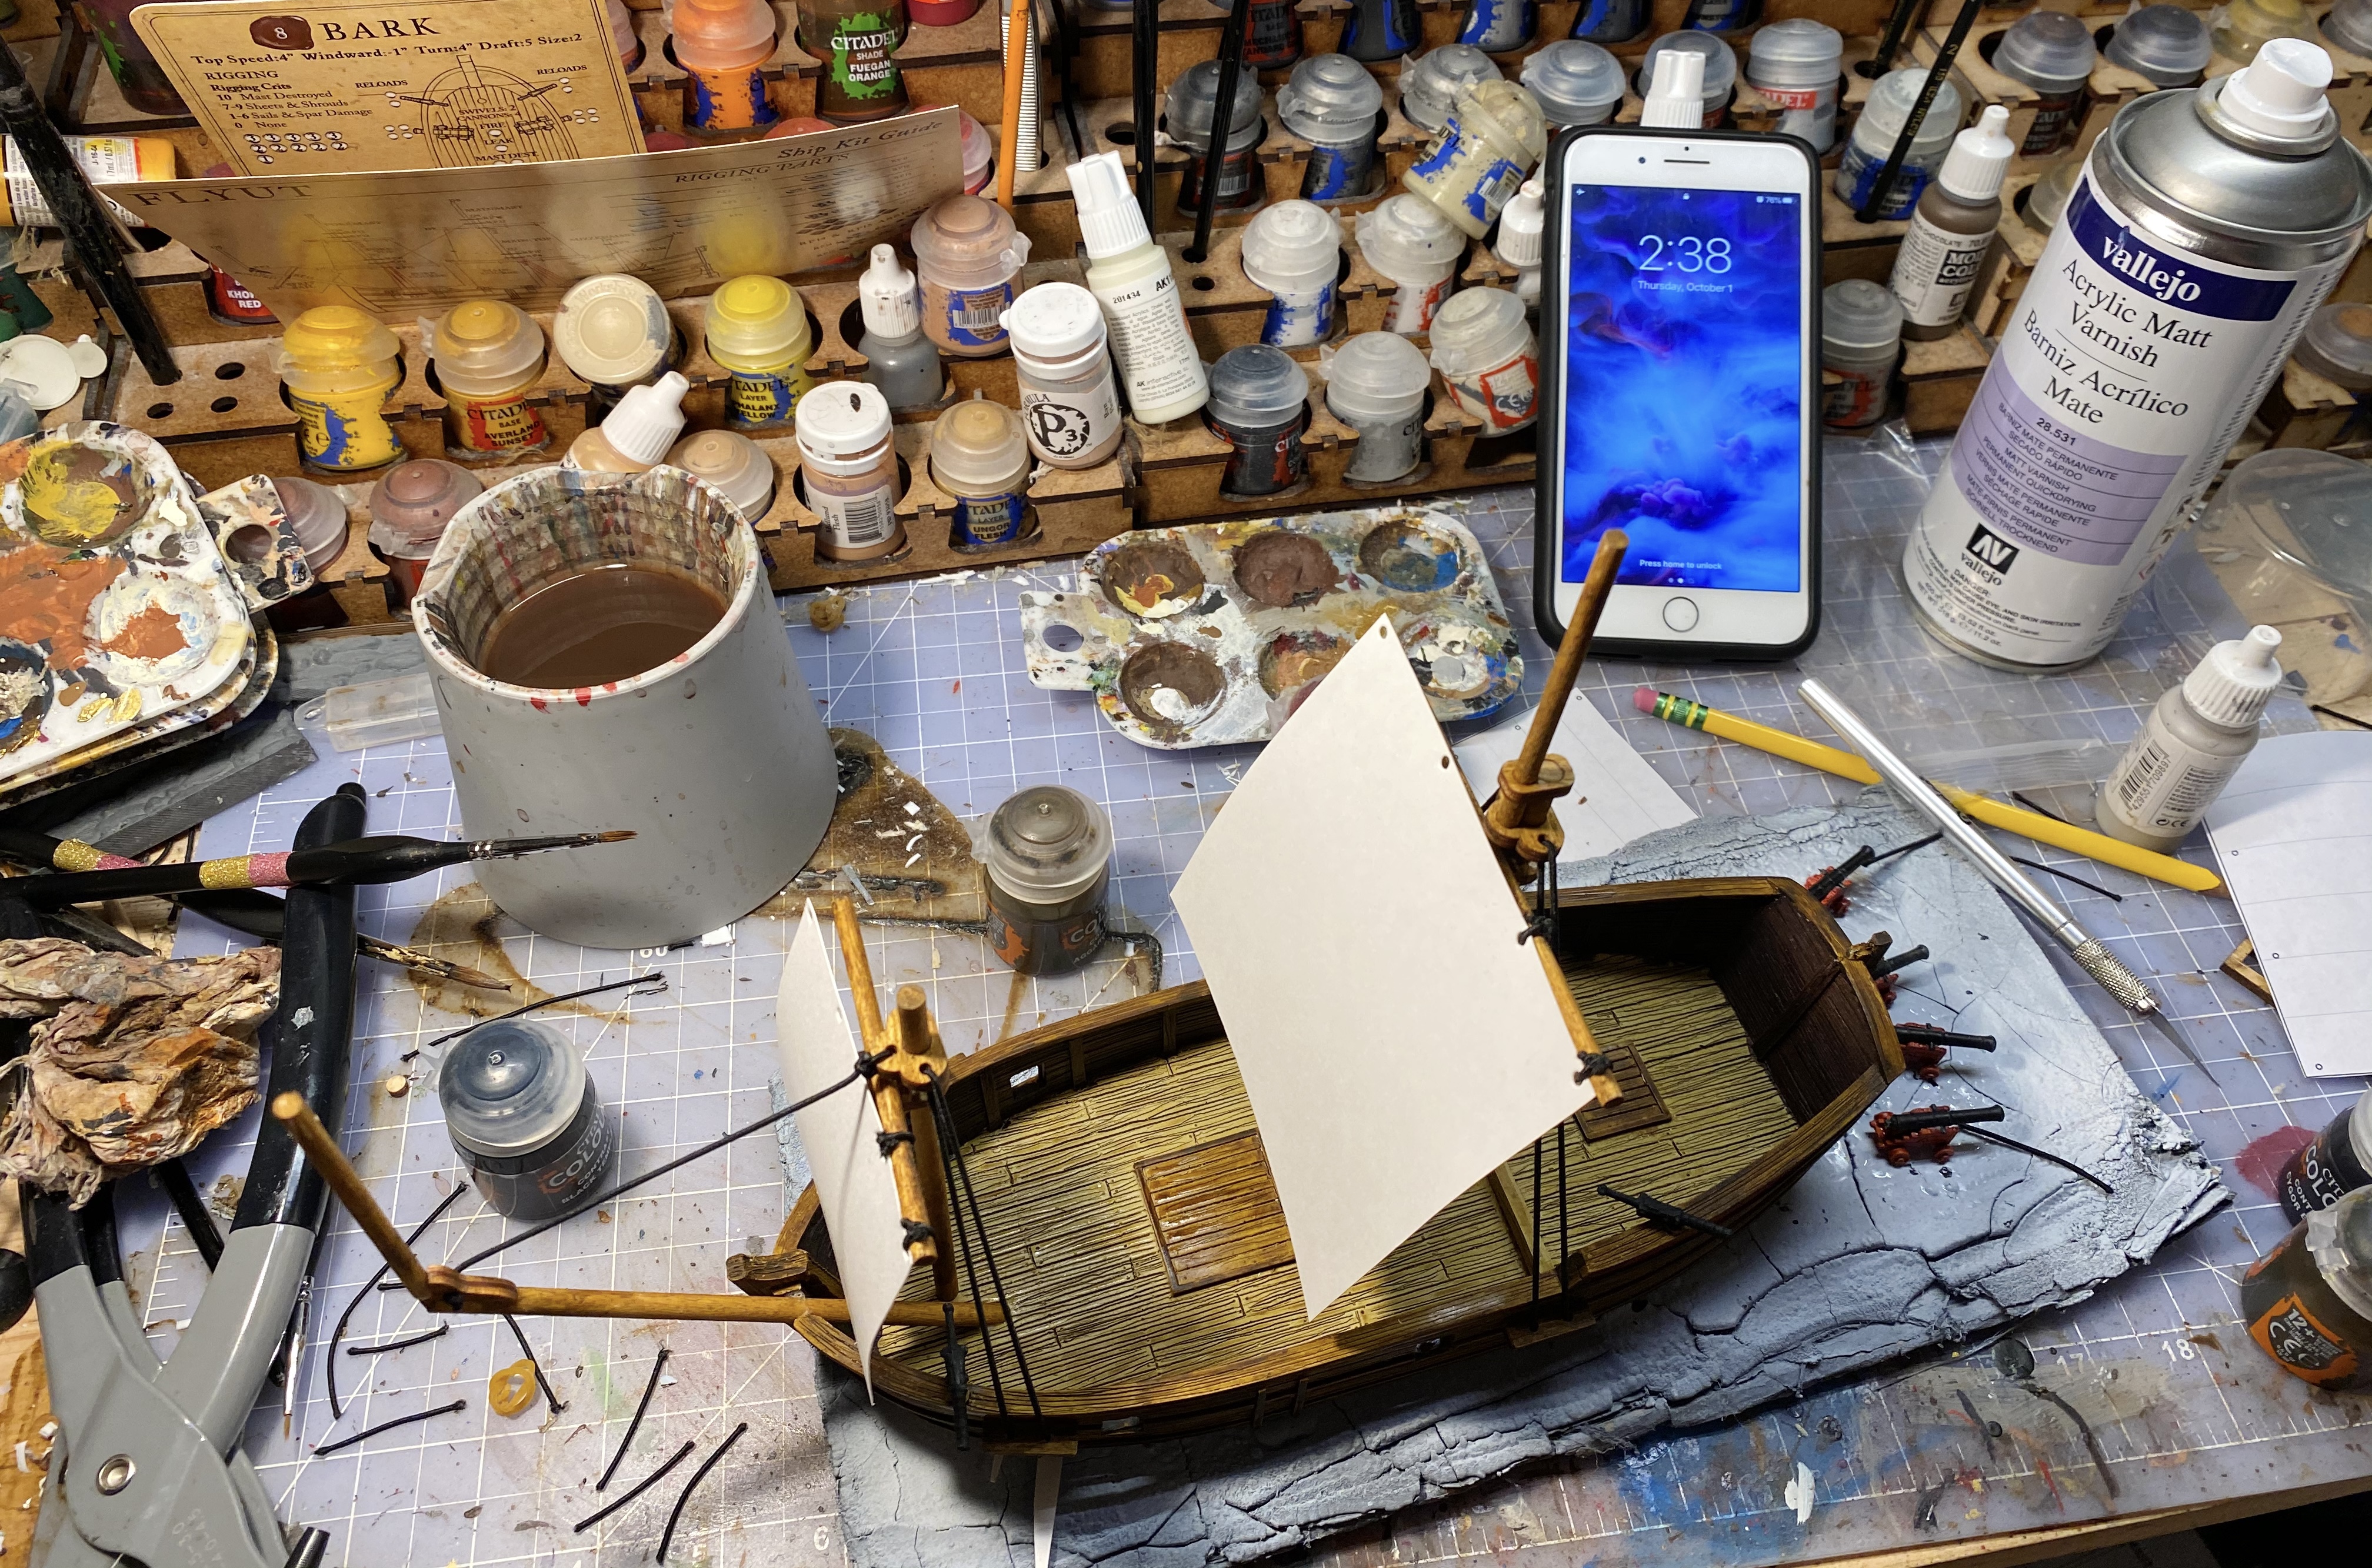
Here is the complete (except for sail paper) set of paints, supplies and tools I used to paint and rig this Bark.
Supplies:
- Bark from Firelock Games
- Rigging guide downloaded from Firelockgames.com
- Light ivory poster board for sails (29 cents at Hobby Lobby)
- White glue
Paints:
- Light grey spray primer
- Vallejo matte varnish spray
- Snakebite Leather Contrast Paint
- Aggaros Dune Contrast Paint
- Black Templar Contras Paint
- Cygor Brown Contrast Paint
- Blood Angels Red Contrast Paint
- Sky Grey Vallejo Paint
Tools
- Hobby knife
- Small, medium and large brush
- Hole punch pliers (optional)
I tried to do everything in a careful sequence here so parts had some time to dry but if you aren’t trying to do the project in a huge hurry, the order of how you approach various parts of the project is not as important. I tried to include a clock in every picture so you can get a good idea of how long each step takes.
You really should thoroughly wash and dry your resin hull before priming as well. I didn’t this time, just an experiment and it’s been fine so far. The primer stuck without any issue. We’ll see how it wears…

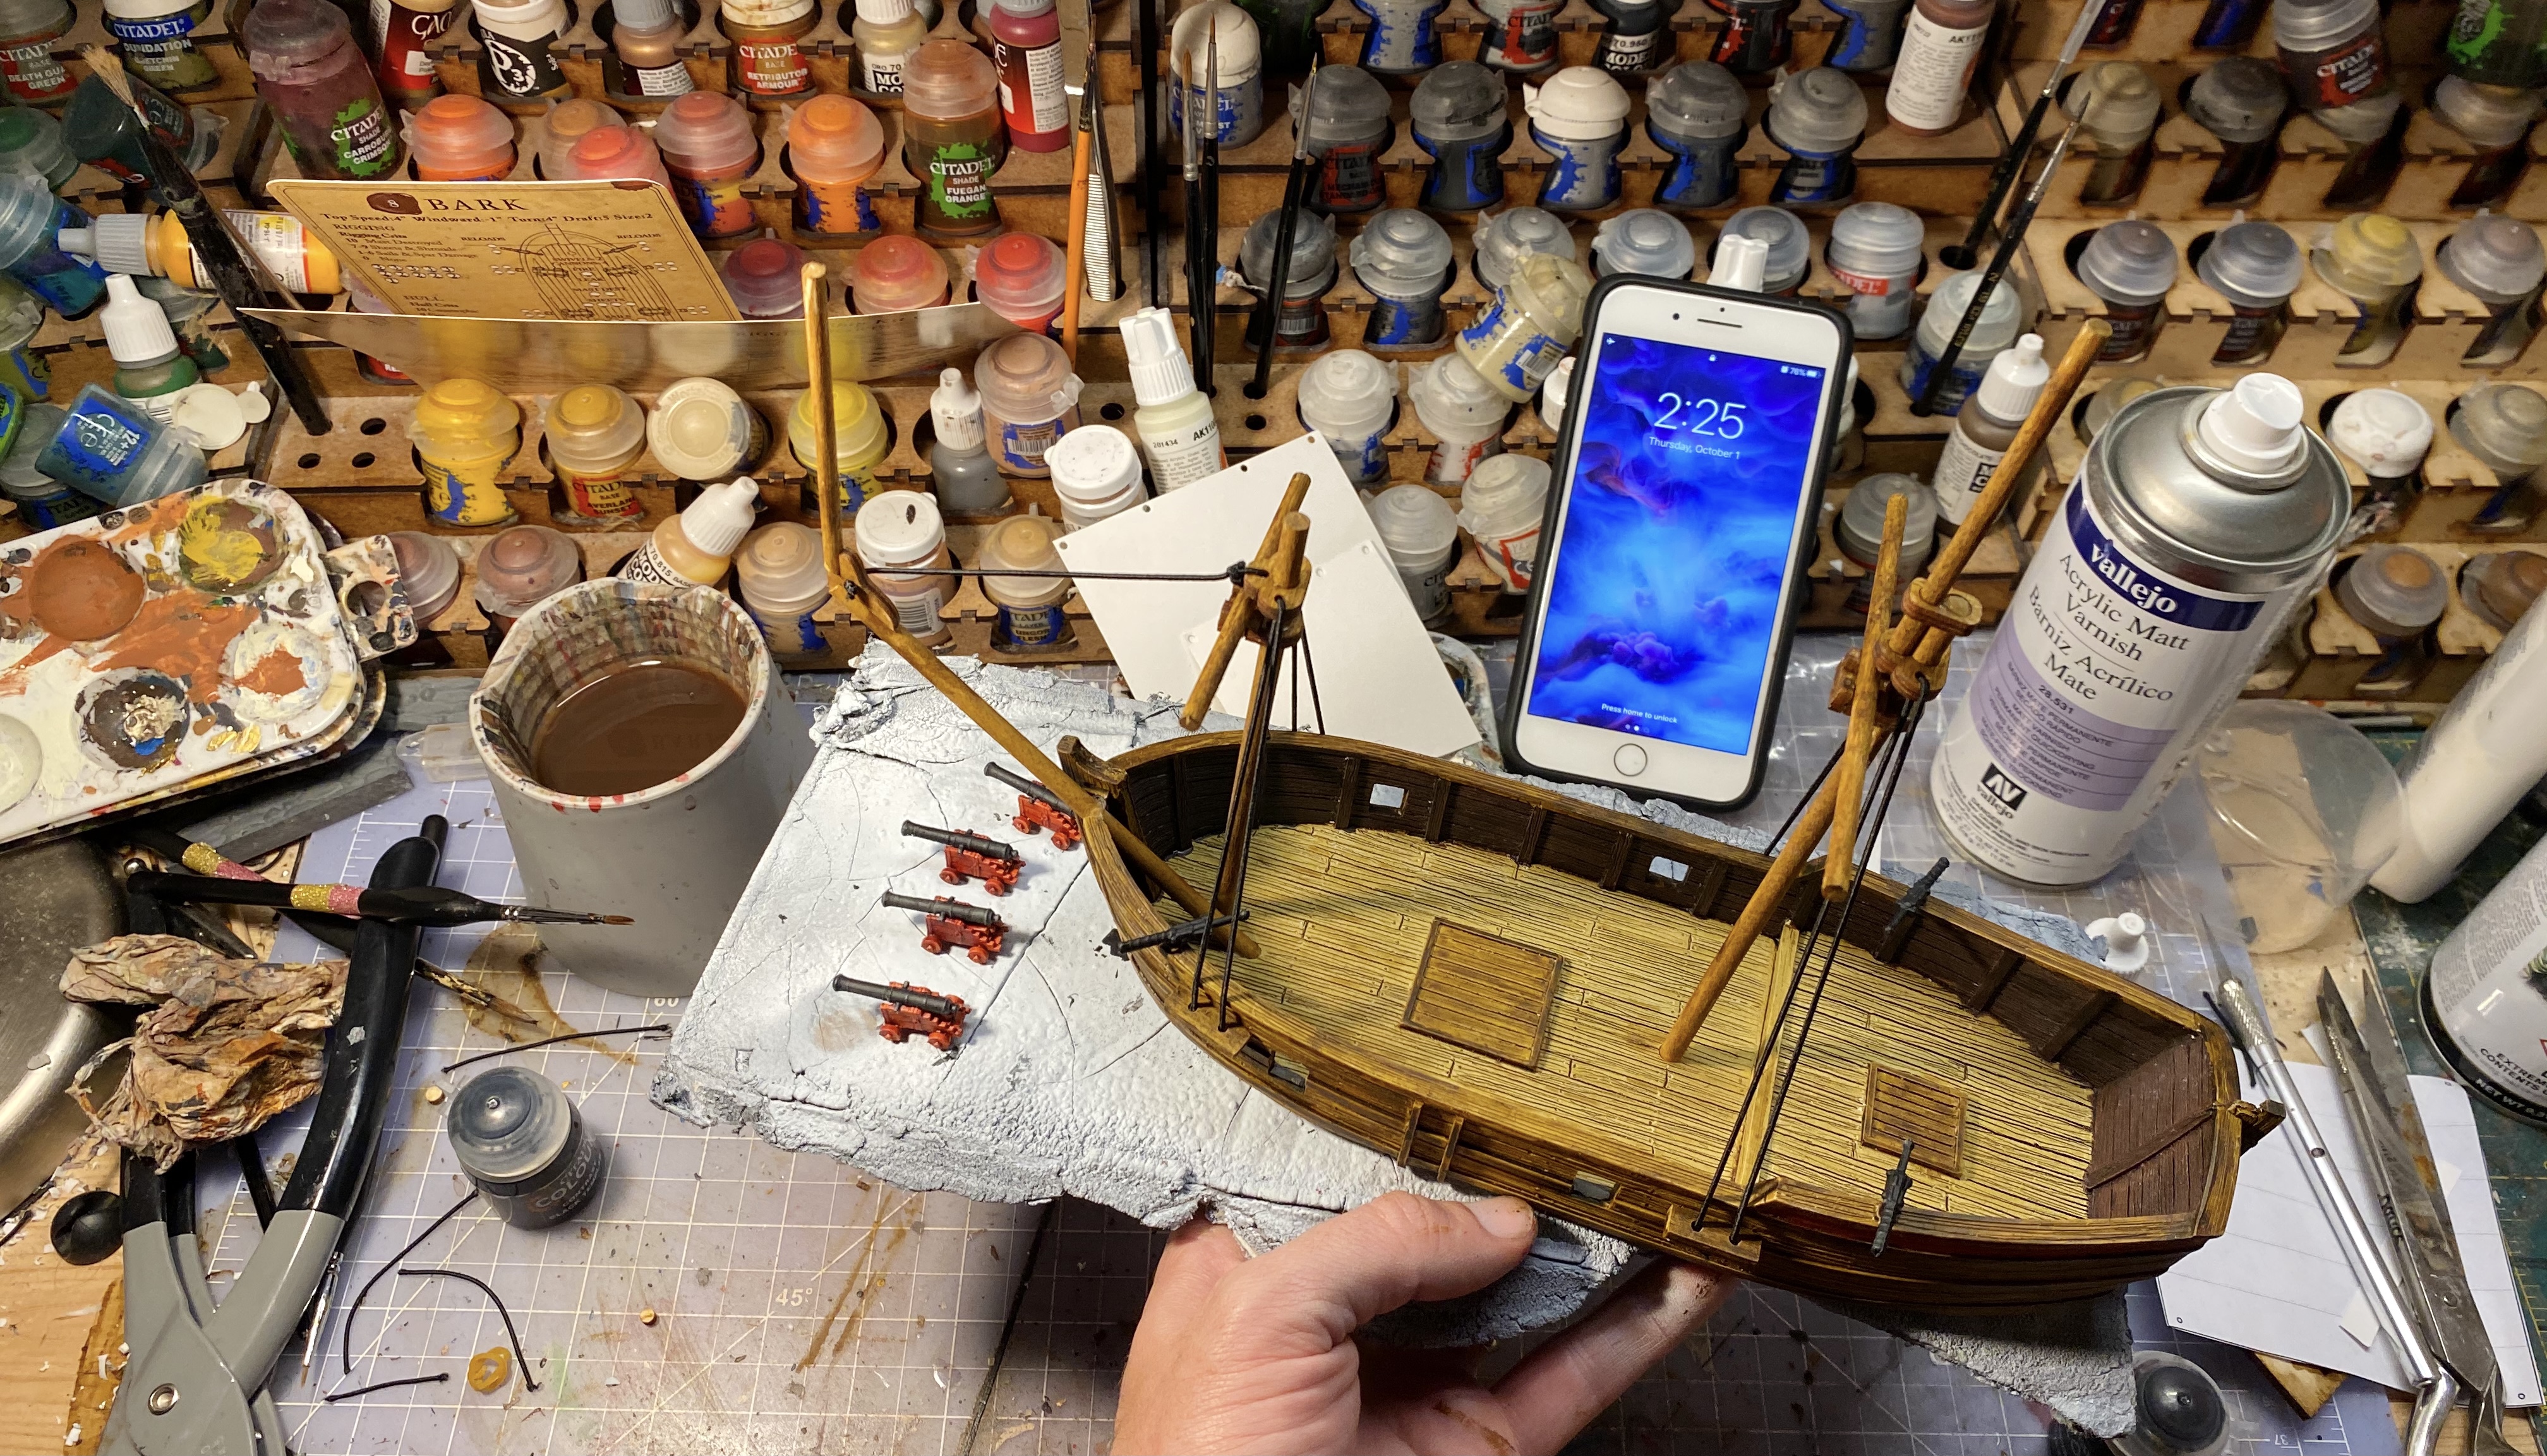
Here we go! I opened the box at 11:39 and worked pretty quickly.
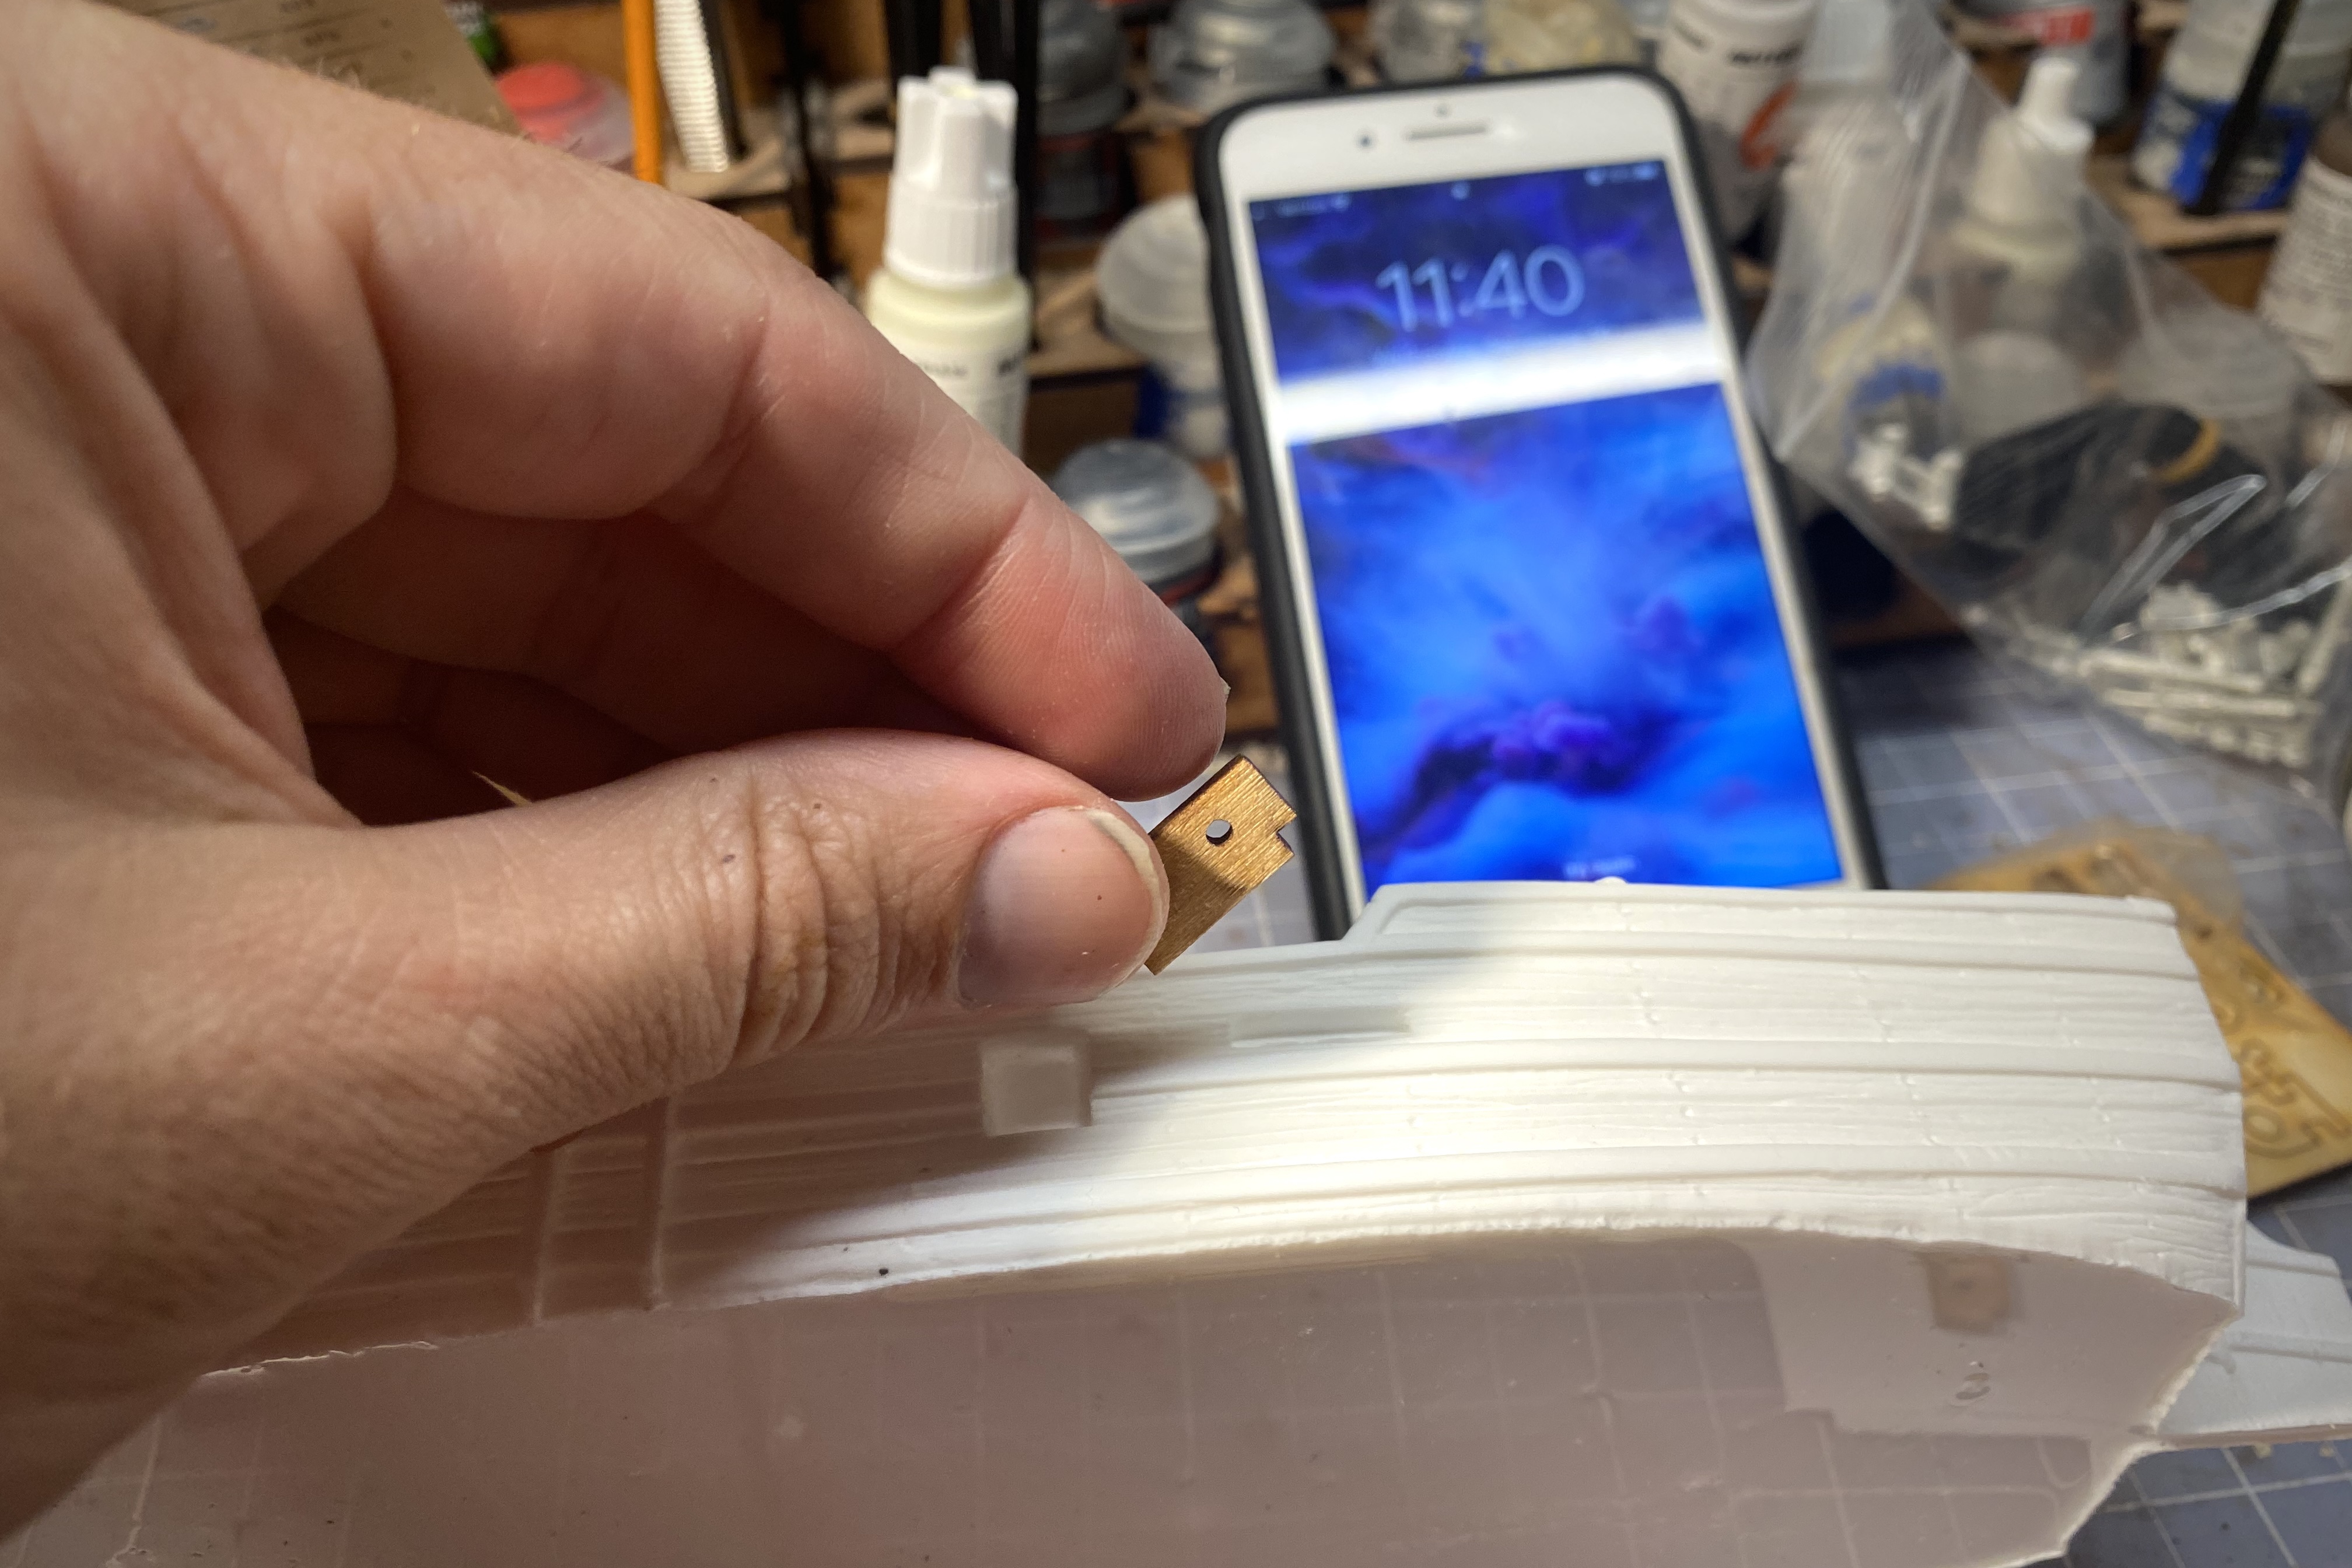
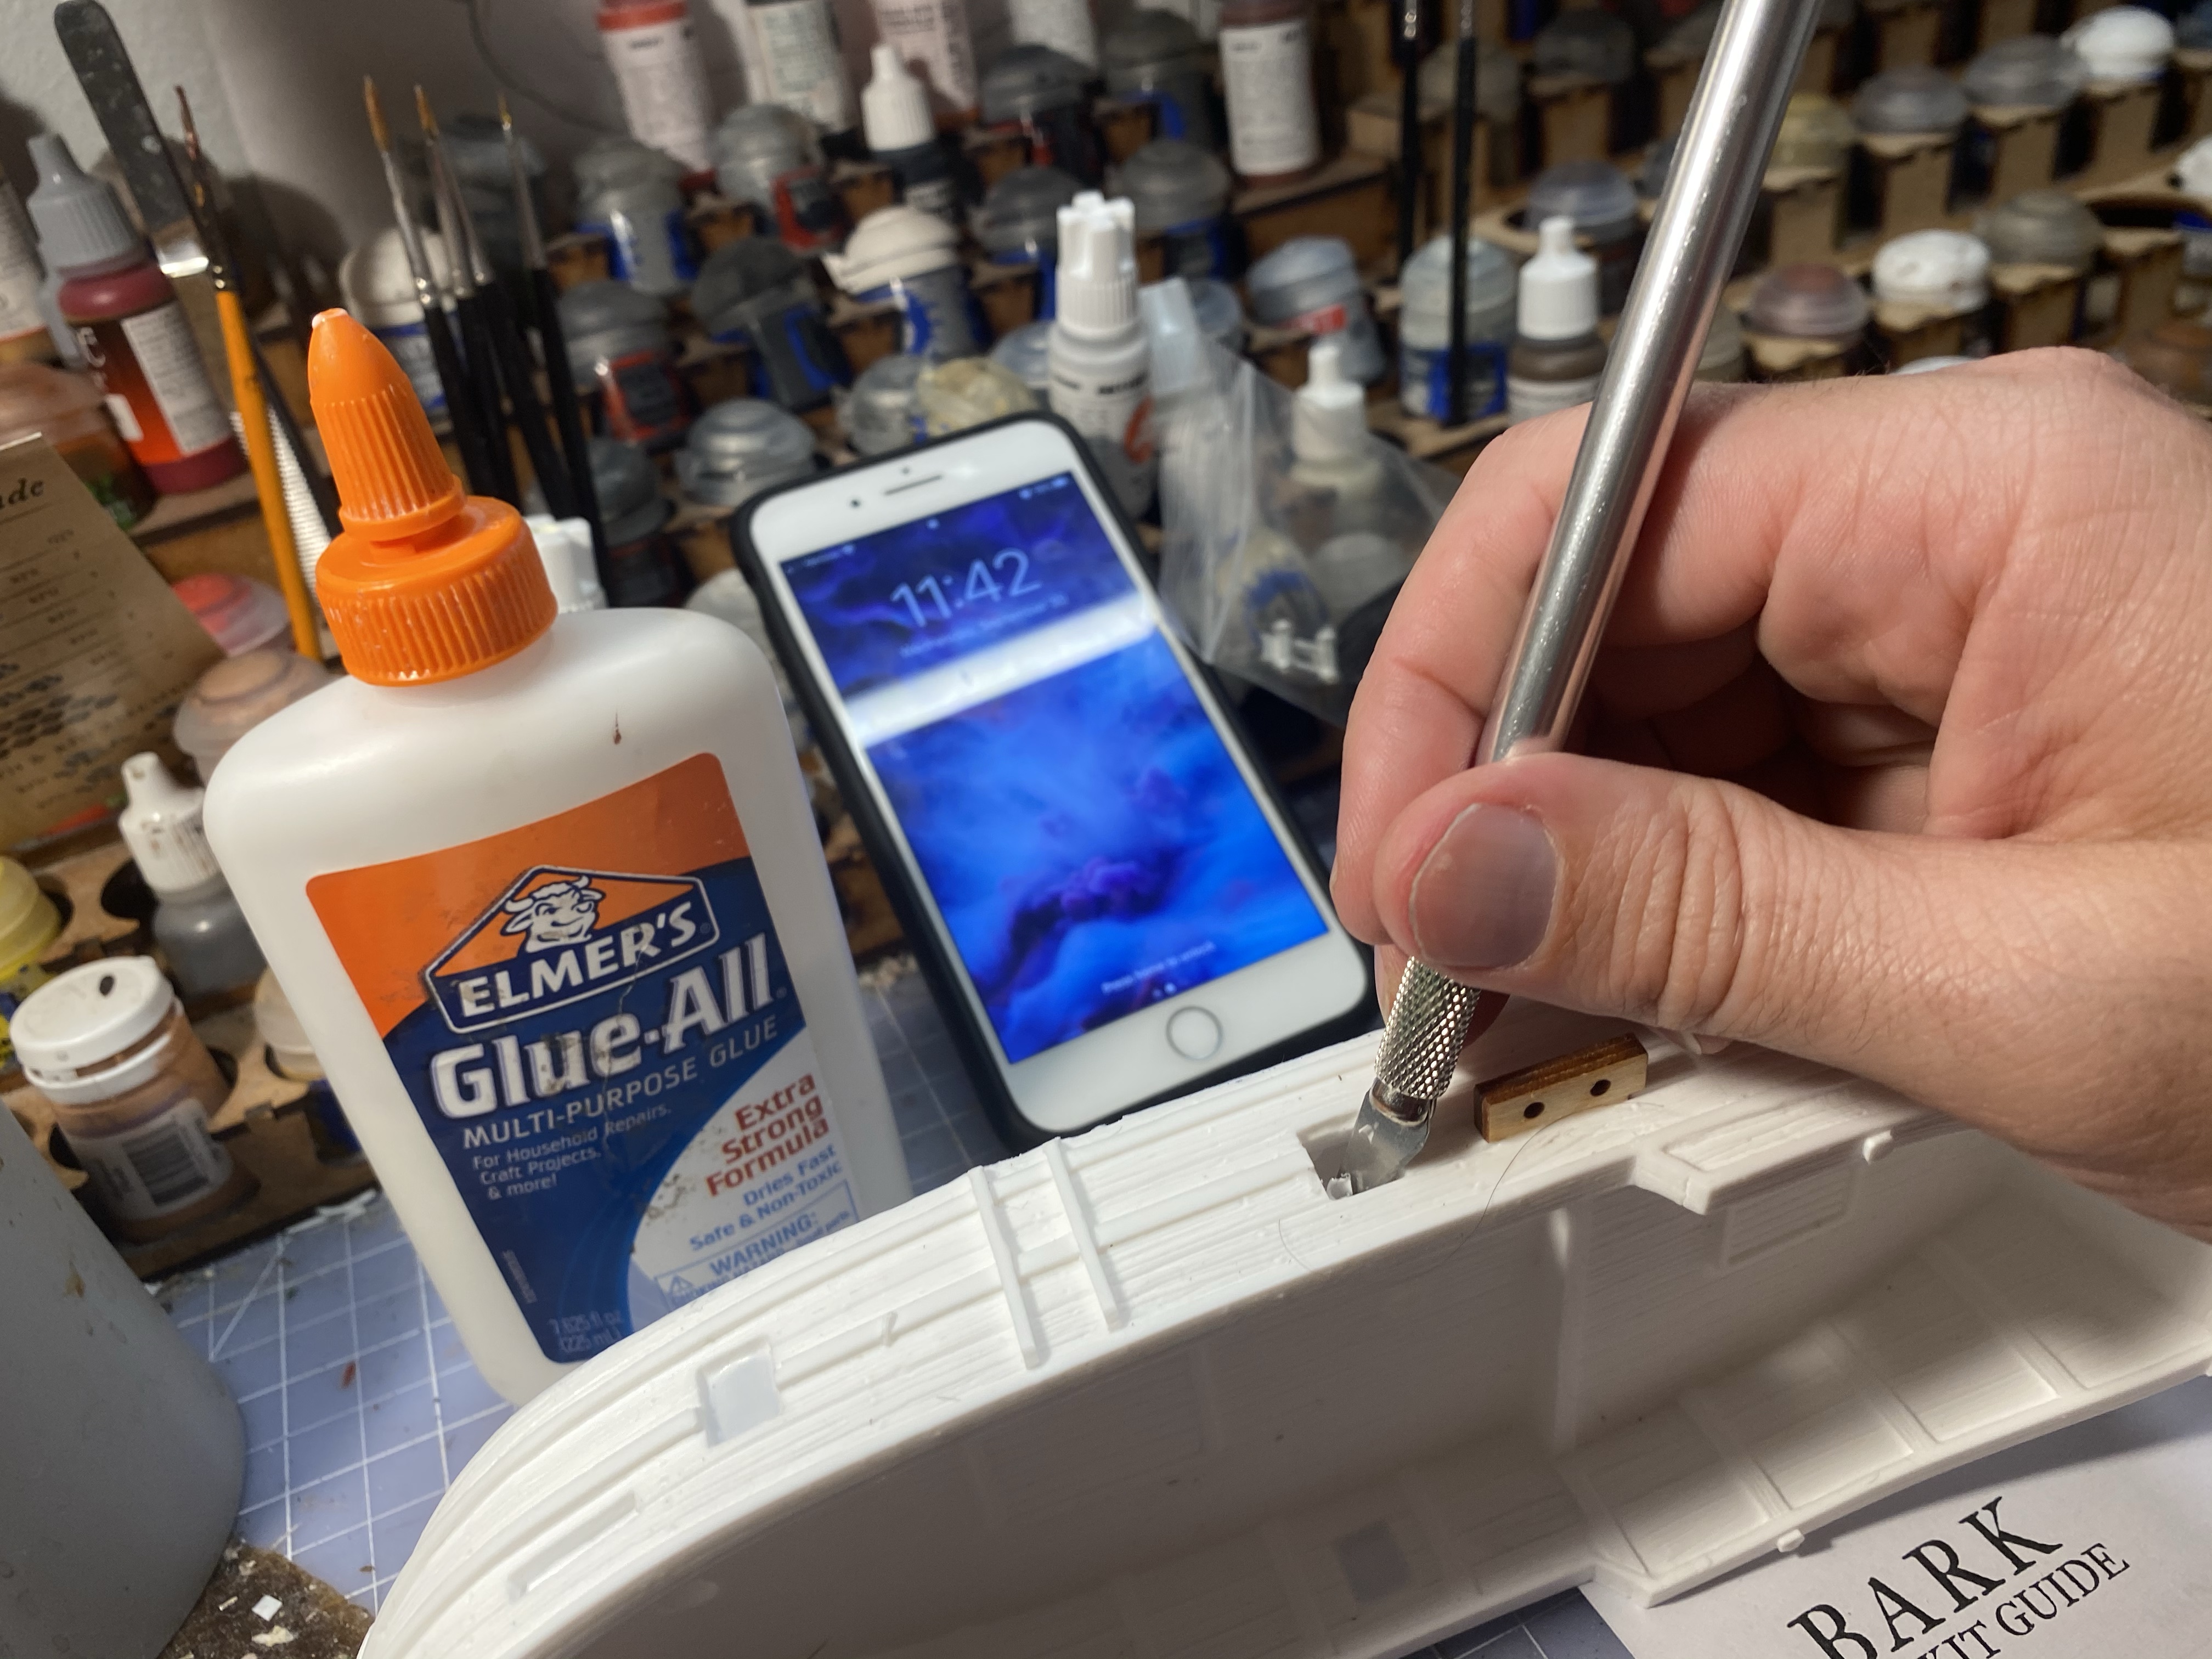
Step 1 – Glue the Chain Guards into the Hull
These fit fairly tightly so just put a little glue at the back of the piece of wood and push it in tightly. Dry fit it first to make sure it fits. Sometimes you have to shave it down a little. I did this first to give these pieces time to dry before rigging them in the same evening.
Step 2 – Clean Up the Hull with a Knife
The gun ports are the main project here. Cut out the thin film of resin and then shave the sides of the ports smooth.
I found a pretty nasty area on the stern above the tiller area. There can be some bad areas at the waterline as well you can either sand or shave down with a knife. I did all this work with a standard craft knife.
Step 3 – Prime the Hull
Prime with a light colored spray primer. I used a very light grey, I find that if I prime with white I have a hard time getting a good even coat over the white hull. But a light color is important to have under the GW Contrast Paints so don’t use a brown, black or dark grey.
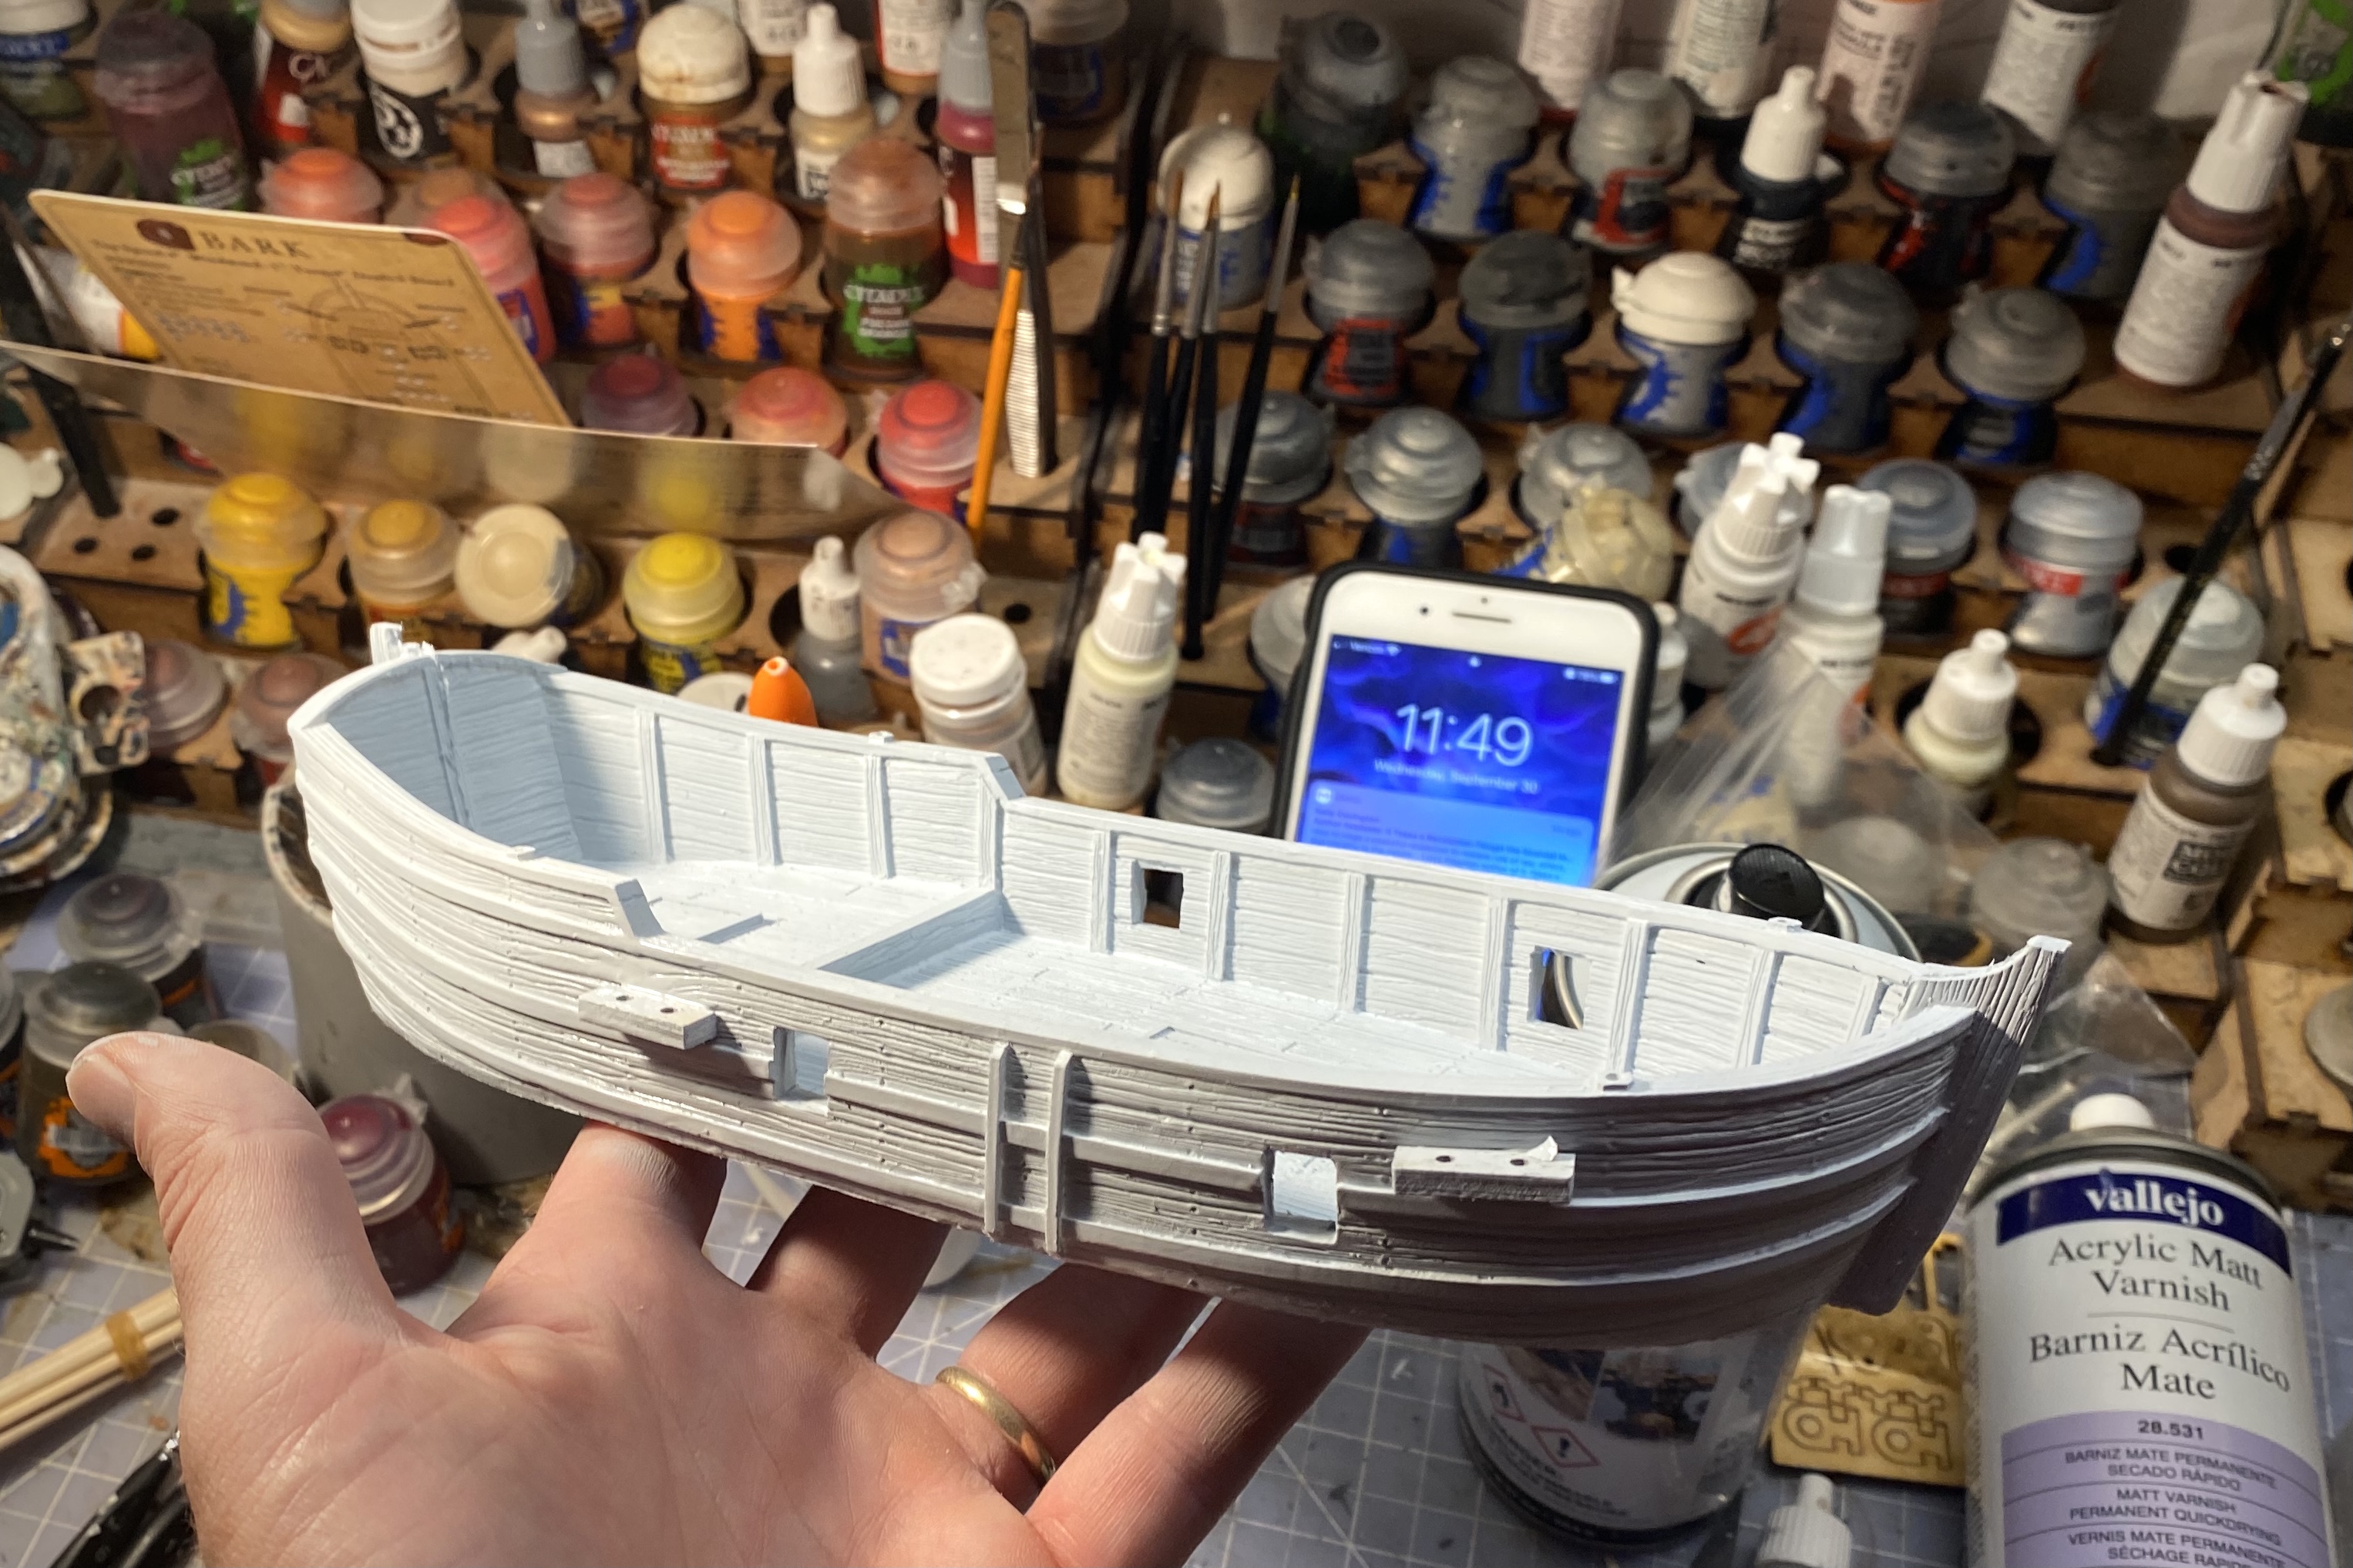
Make sure to get a good even coat all the way around and take special care to get both sides of every rib of the interior walls.
Step 4 – Stain the Masts
You can use a wash or stain but the Contrast Aggaros Dunes does a great job. Make sure to get the ends of each dowel as they can be easy to miss.

You can paint all the little extra pieces while still in the sprue since the edges are already dark from the laser cut.
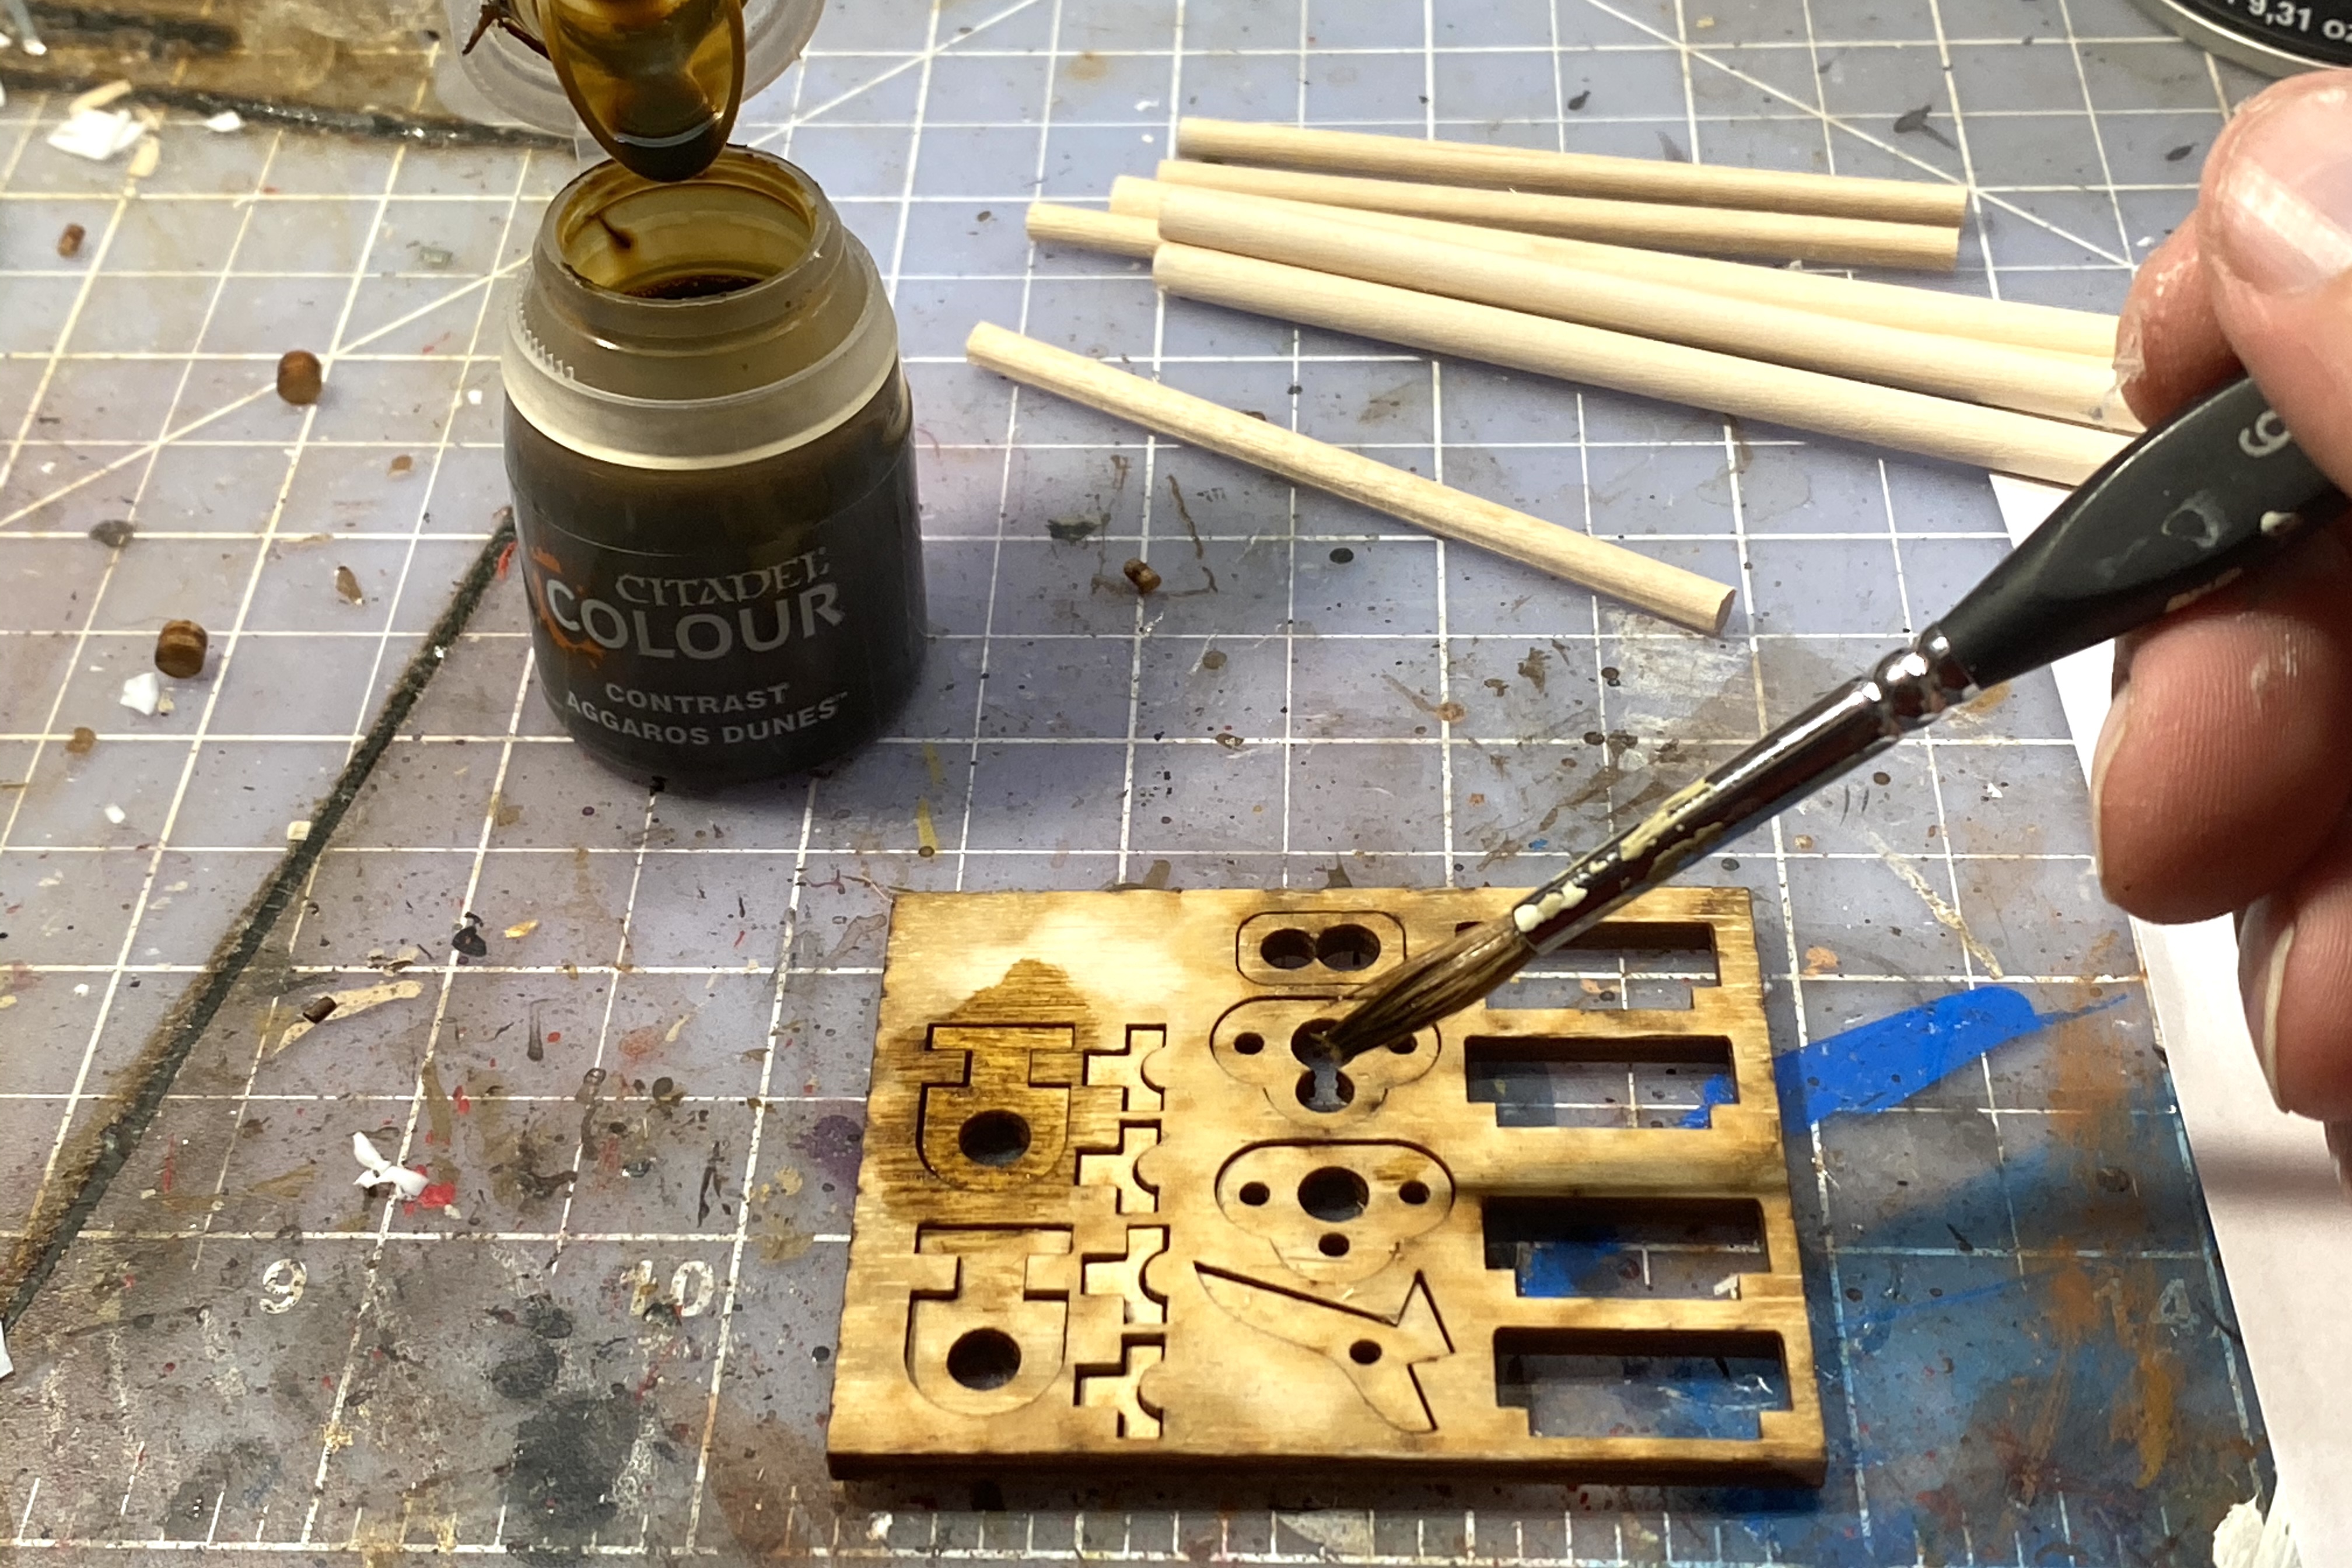
The paint soaks in fast so you can flip the sprue and do the other side right away. Leave the plastic on one side while doing the first side, then flip and peel off the second layer of plastic.

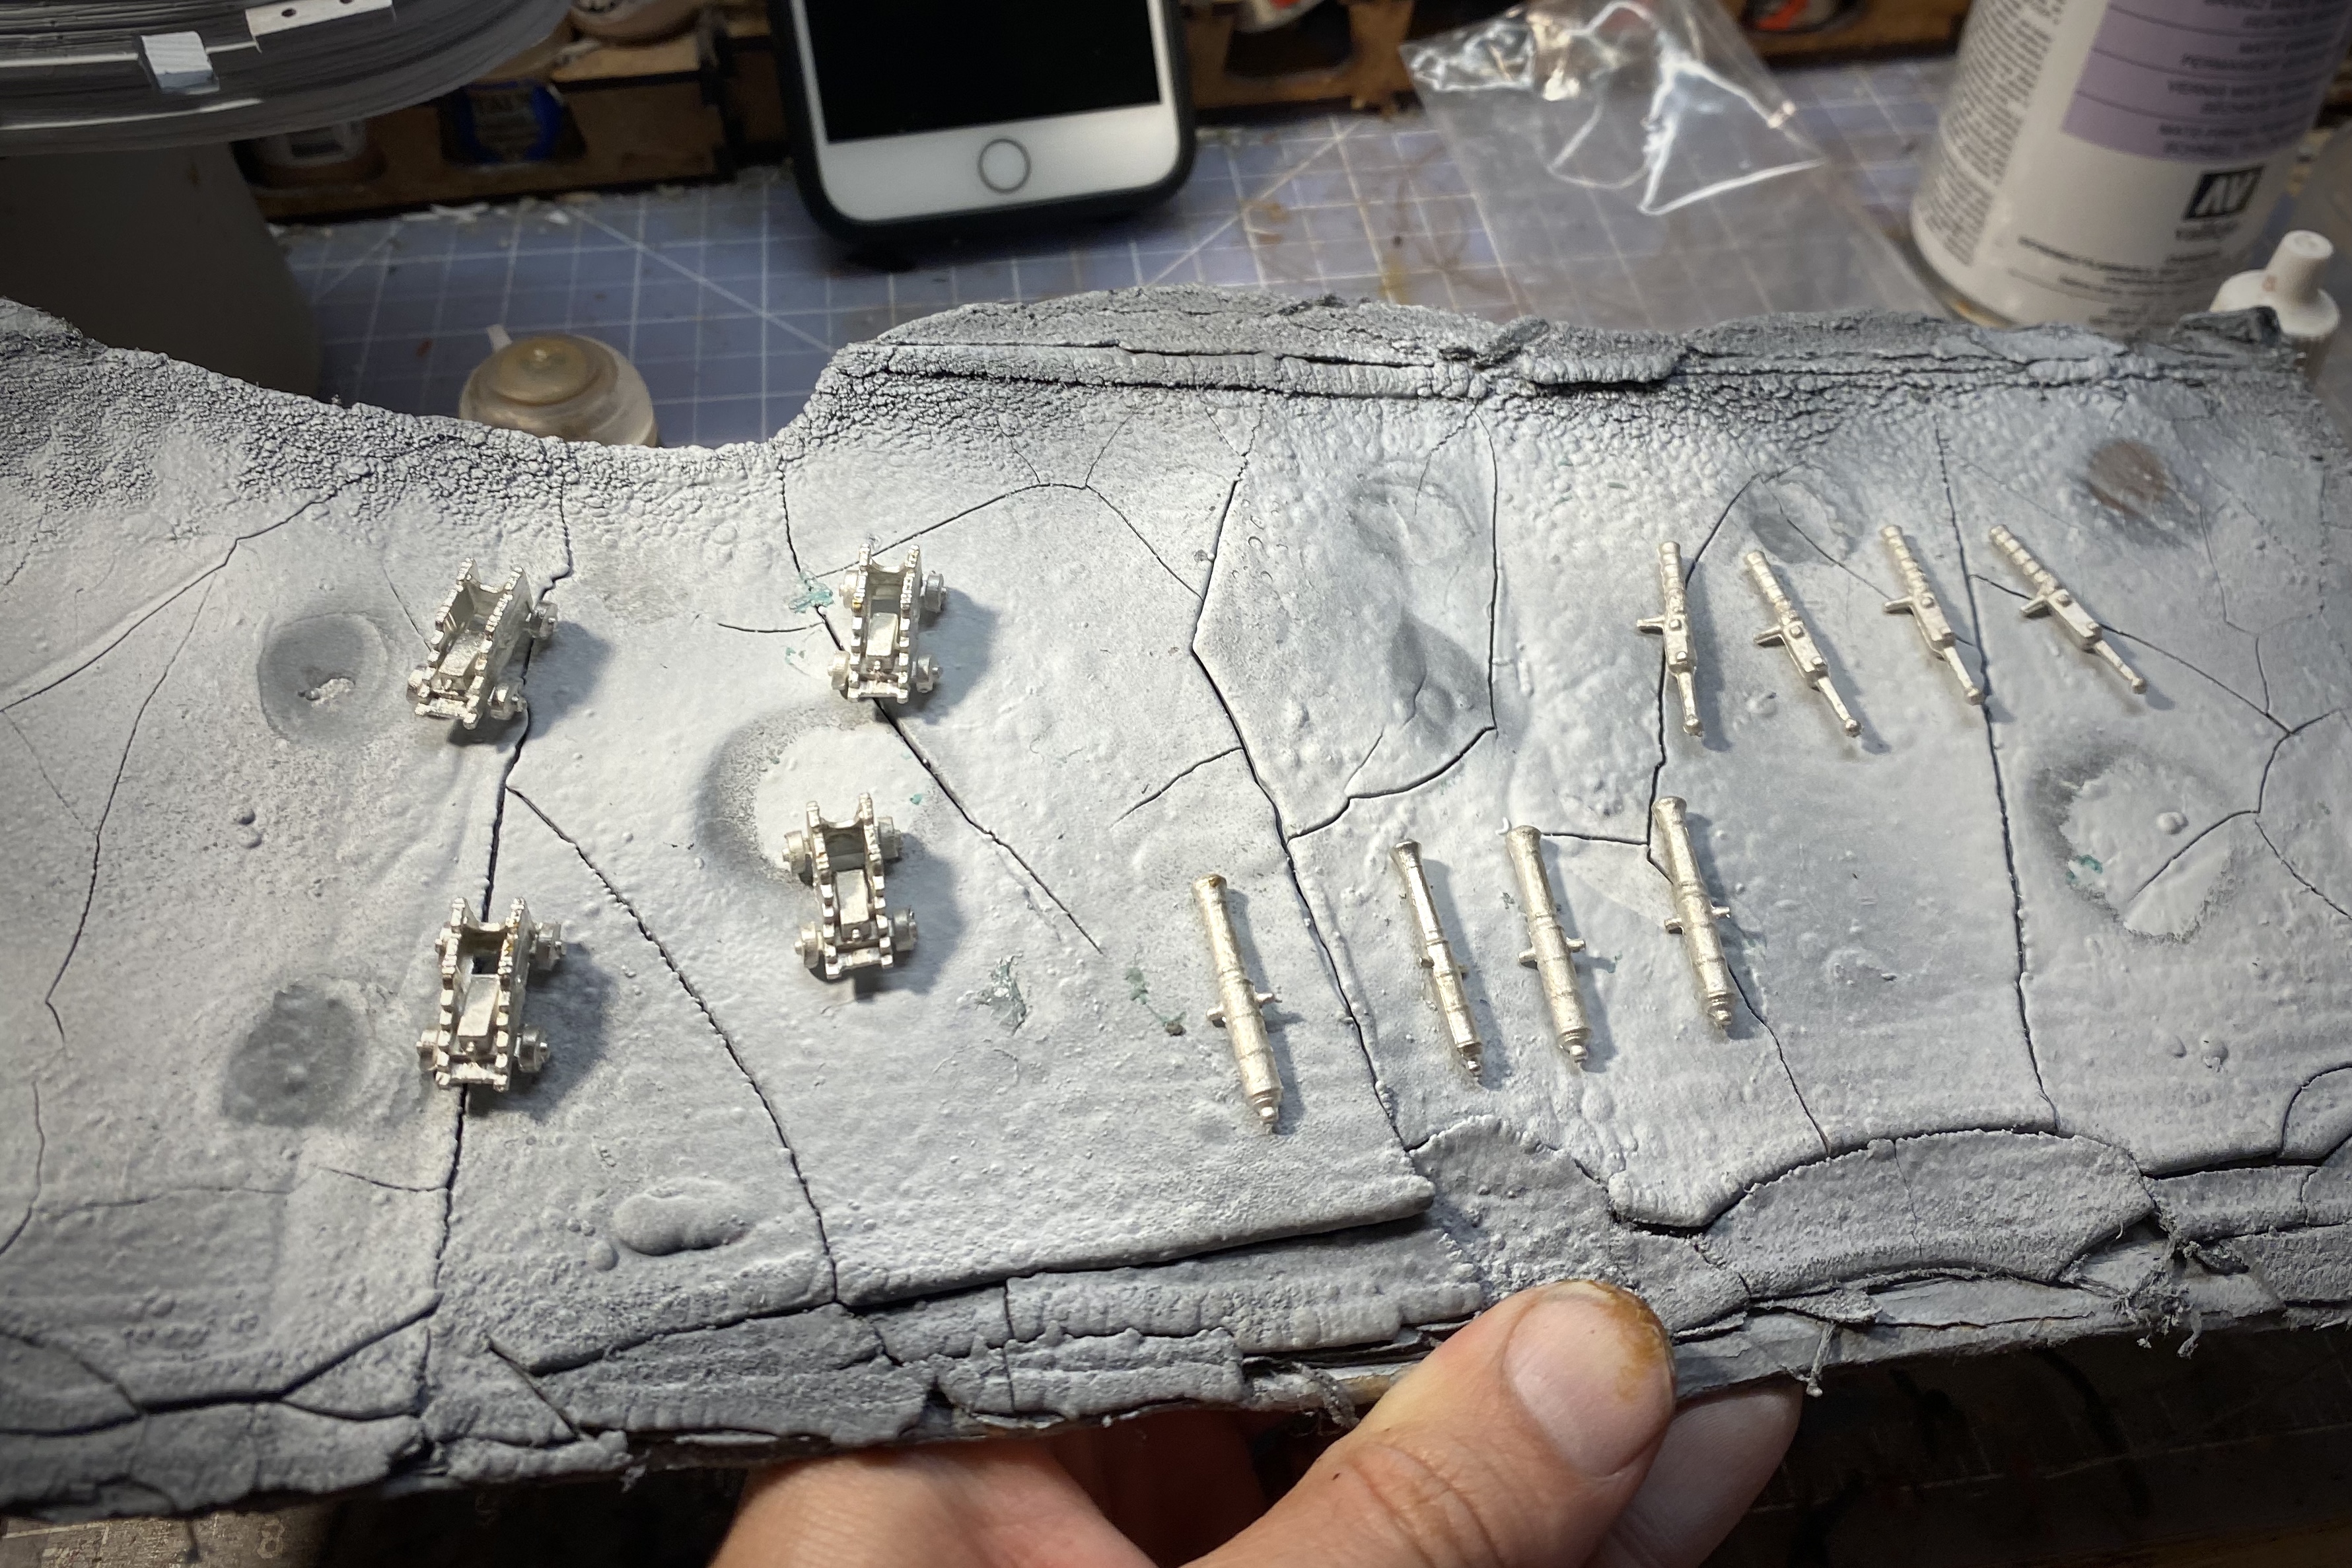
Step 5 – Clean Up the Cannons and Swivels
The cannons and carriages have a lot of flashing and mold lines on them. The cannon carriages are especially bad and you can take a lot of time on them if you really want to. Try not to obsess. Unless you like obsessing over this sort of thing!

I spent 6 minutes on them and they weren’t perfect but good enough!
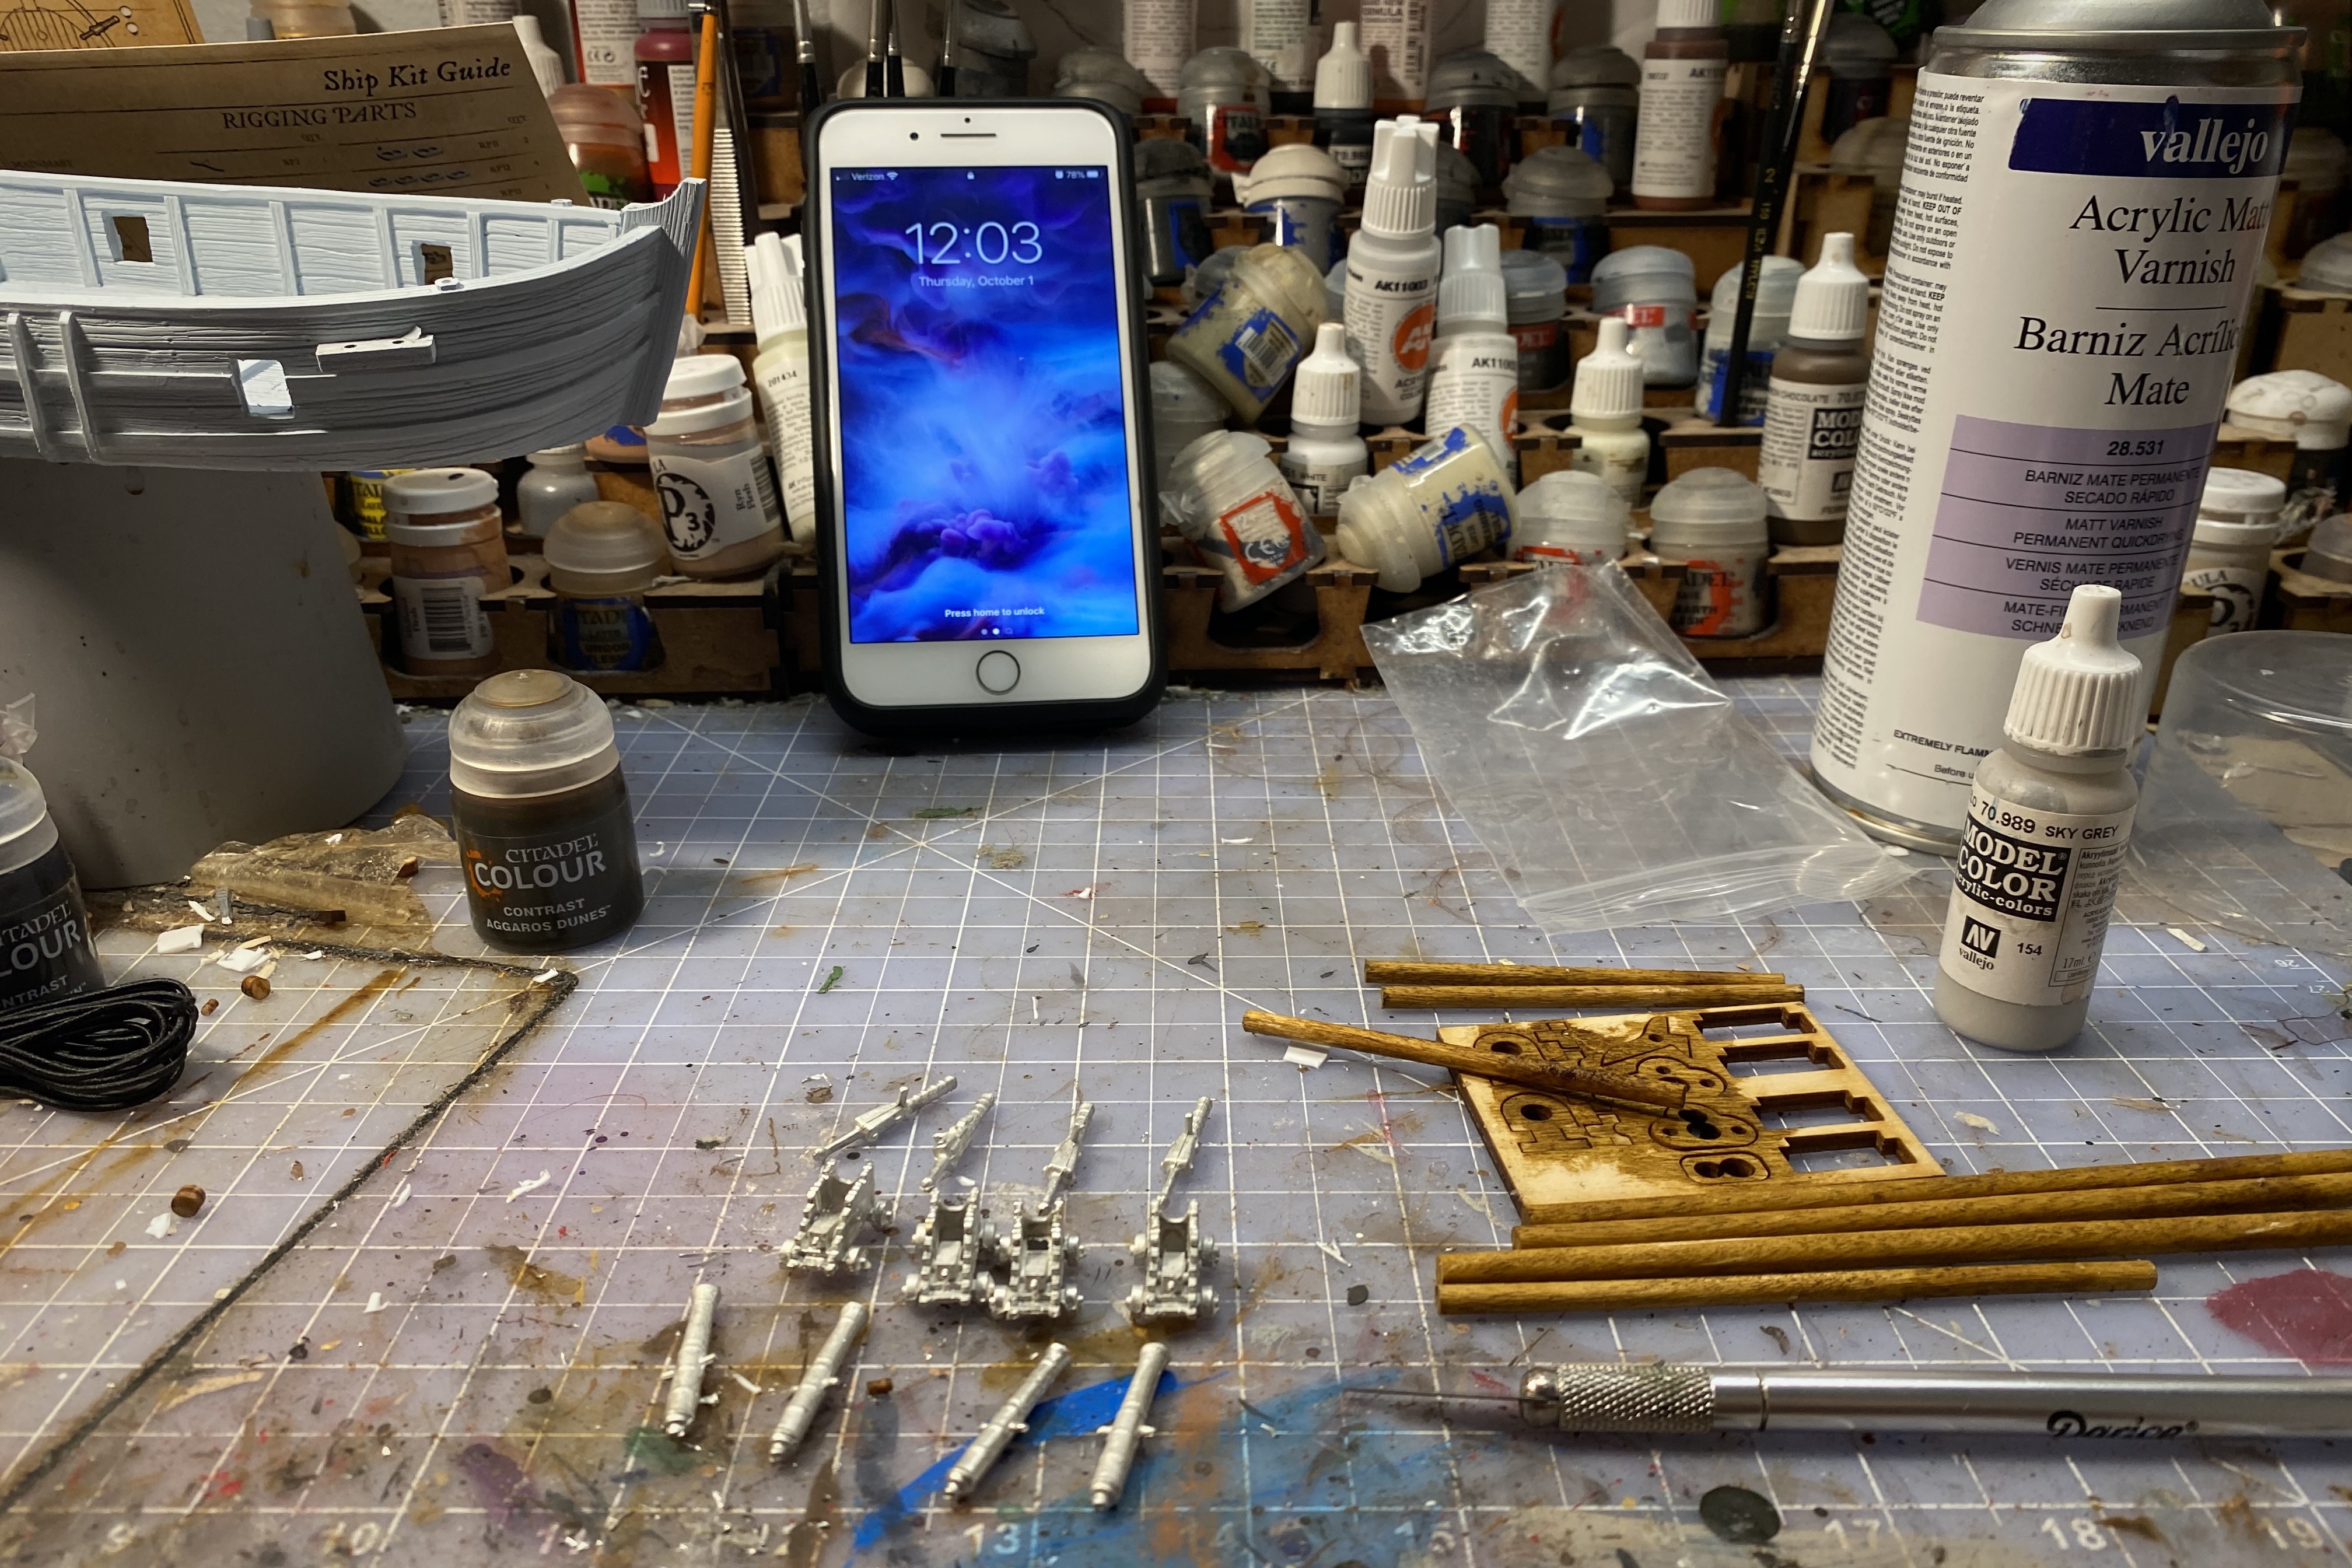
Step 6 – Prime the Cannons
This is a two step process. Spray one side now and let them dry. You will flip them and spray the other side later.
If you want to use gun port hatches, prime these now as well. I left them off this model. Historical sources indicate they weren’t that common on smaller ships like this and they’re a bit of a pain to glue to the hull!
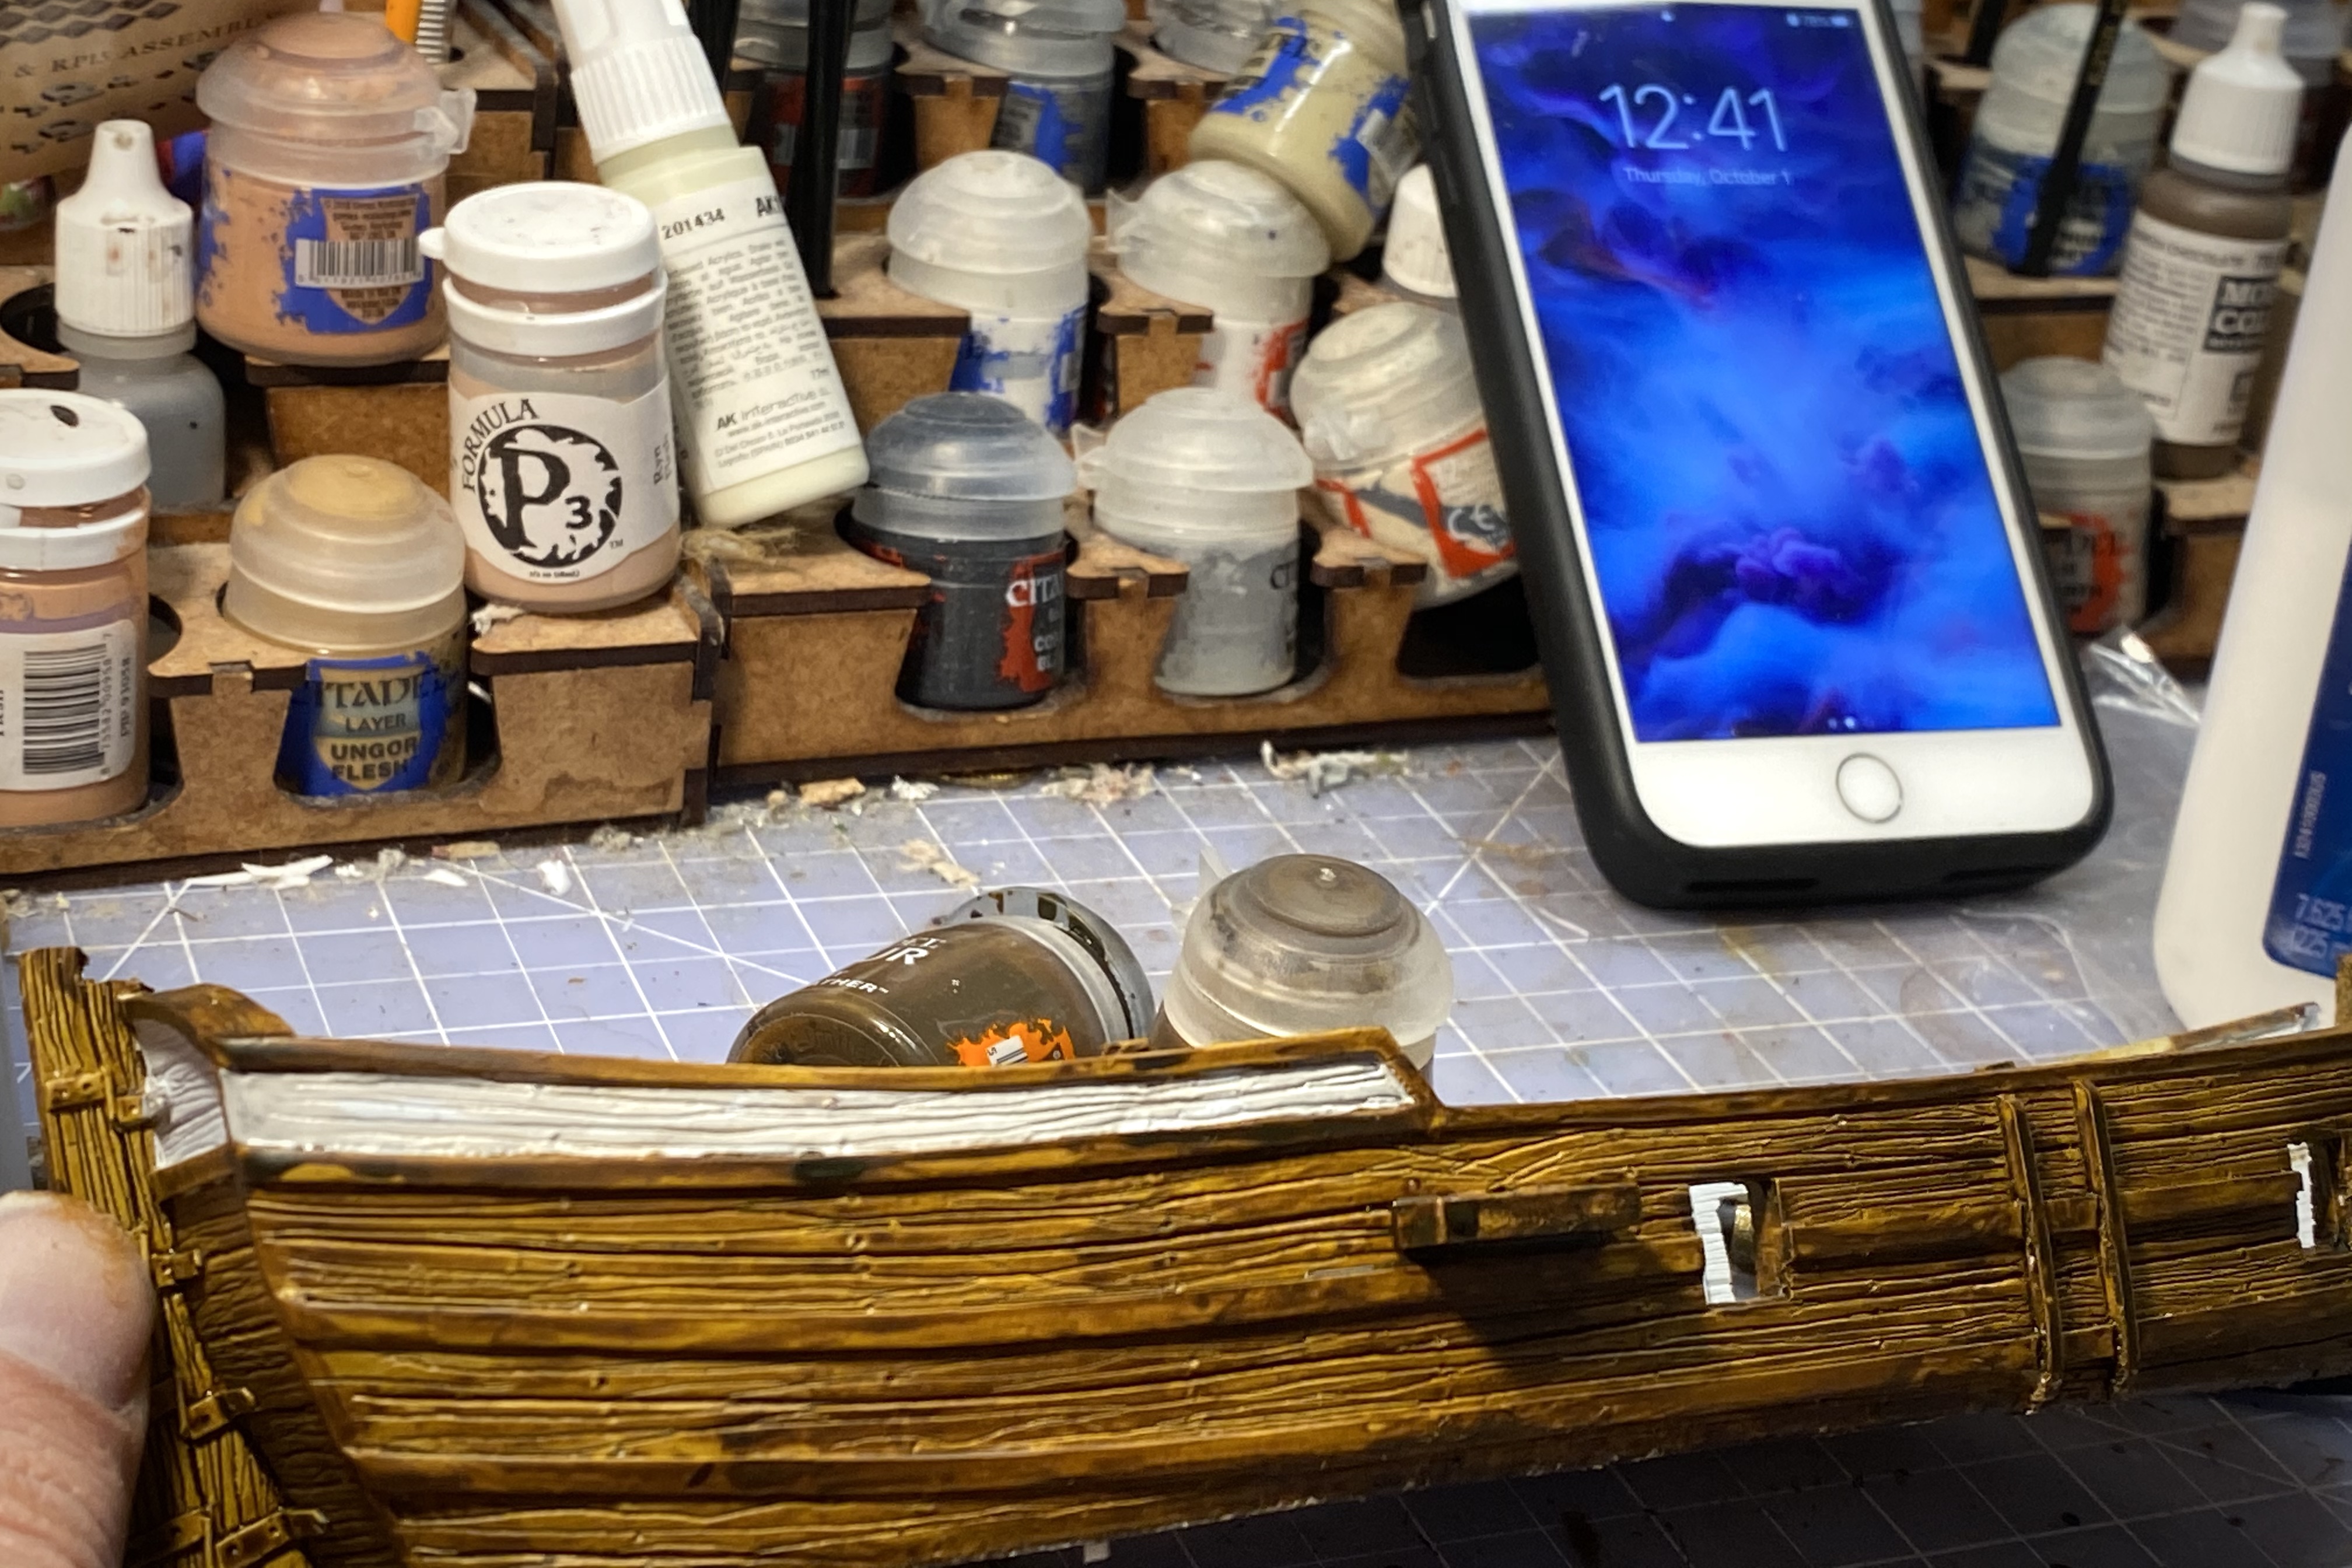
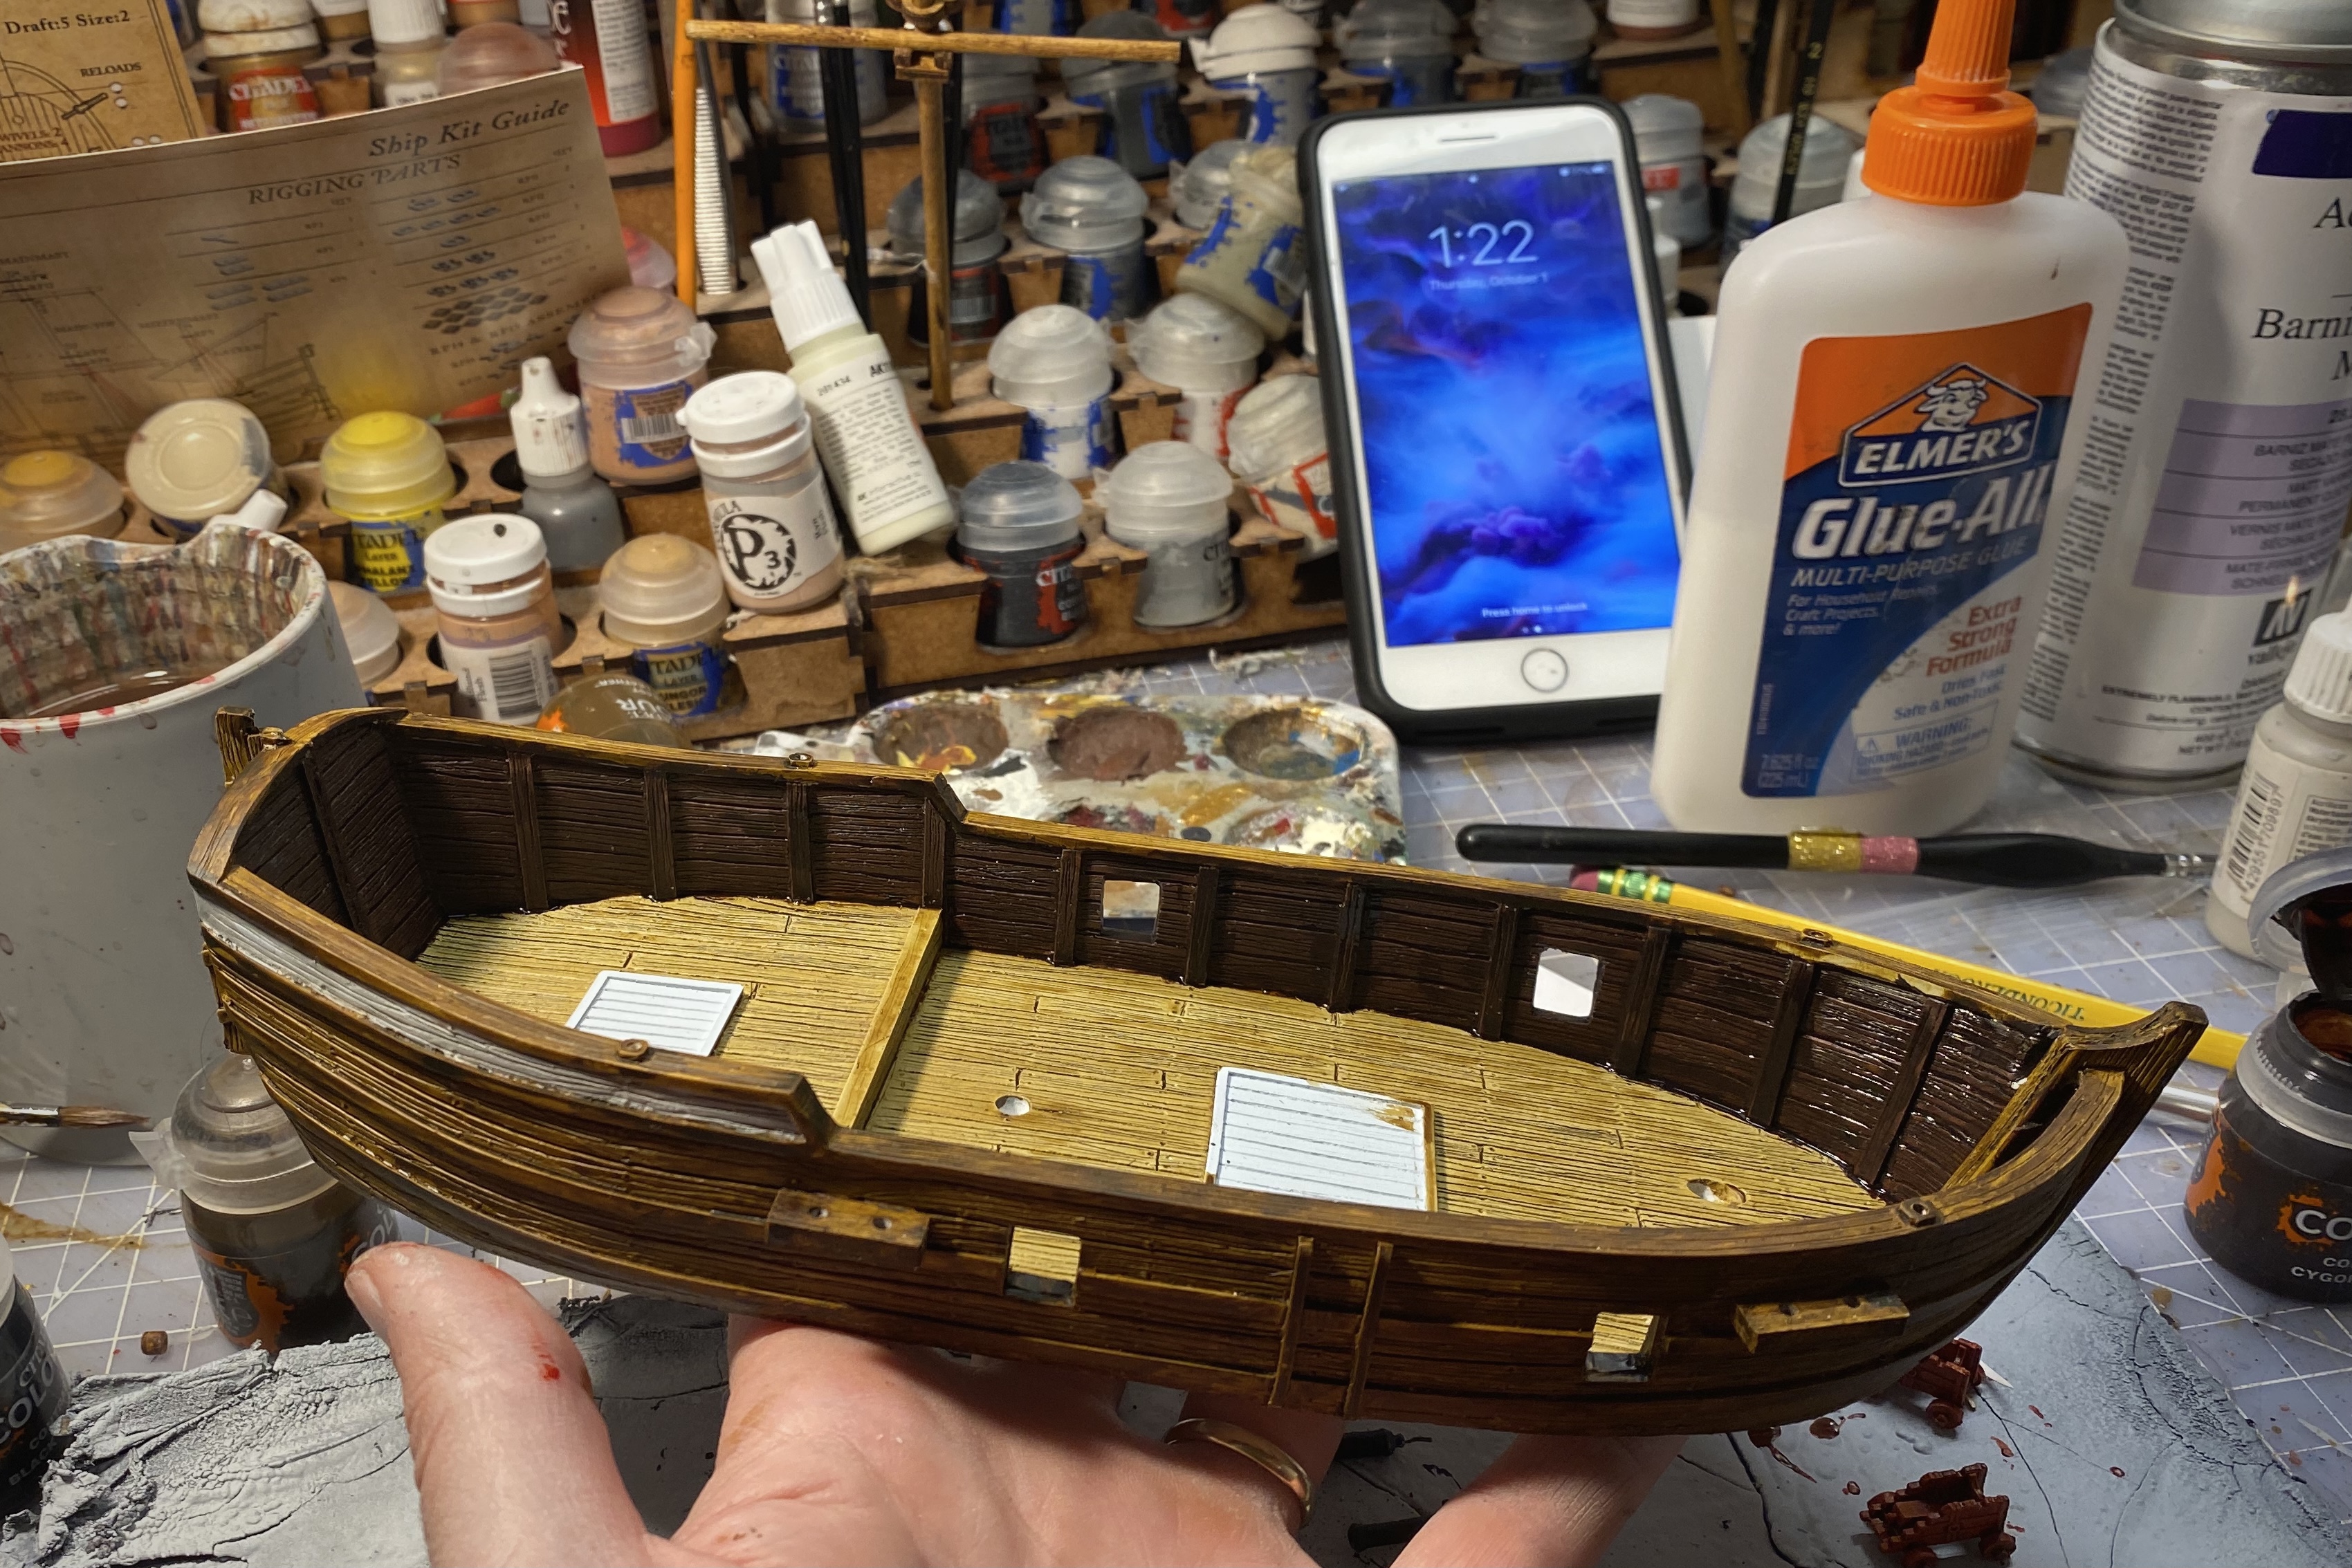
Step 7 – Paint the Hull Exterior
I made it super simple here and just used one color for the entire exterior. If you wanted to get fancy, you could use dark grey, dark brown or black for the horizontal ridges.
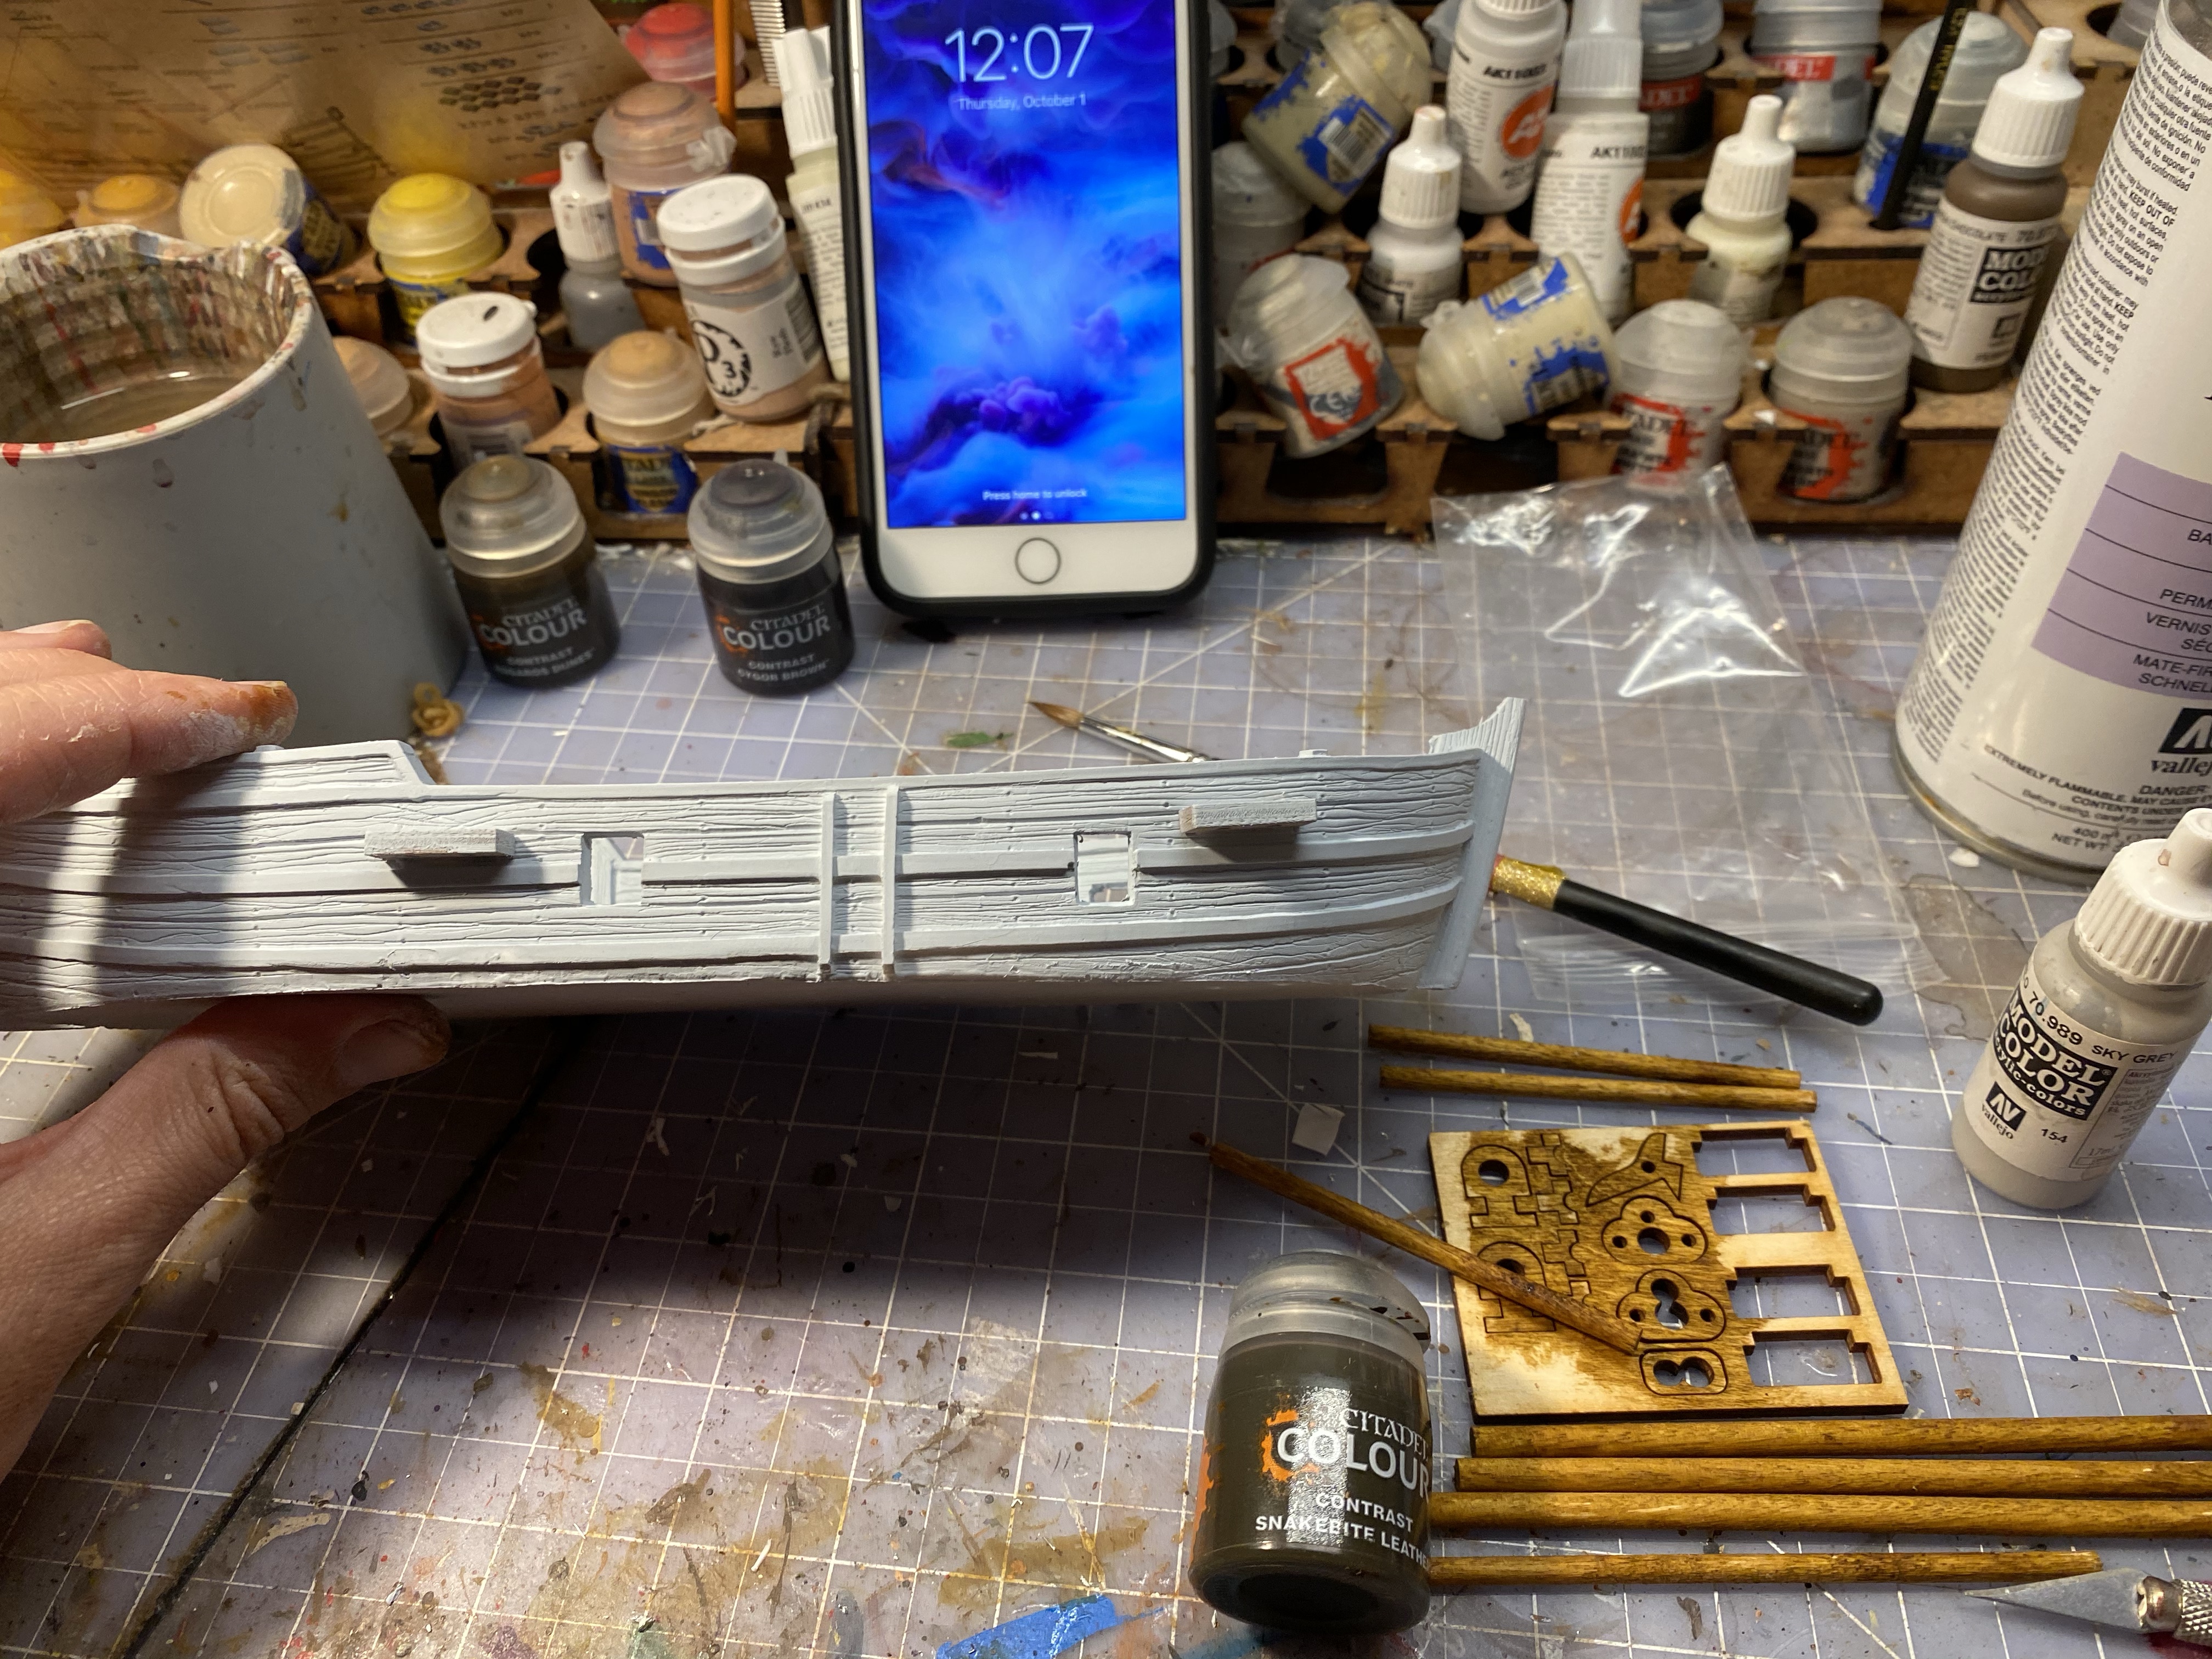
I used Snakebite Leather for the hull. Leave the panels on the stern clear for now so you can add some color later.

I used a large brush for most of the hull then swapped out for a small brush to do the edges near these panels. I made some messy mistakes here but I planned for that and we will touch it up later after this has dried. Contrast paints are hard to control and you always have to do some touch up on edges.

This took 16 minutes and the majority of the that time was spent being careful of where the paint stops along the interior rim. Don’t let too much paint pool in areas or you’ll get big dark smudges.
Step 8 – Finish Priming the Cannons
Flip all the swivels, cannon barrels and carriages and spray the opposite sides.
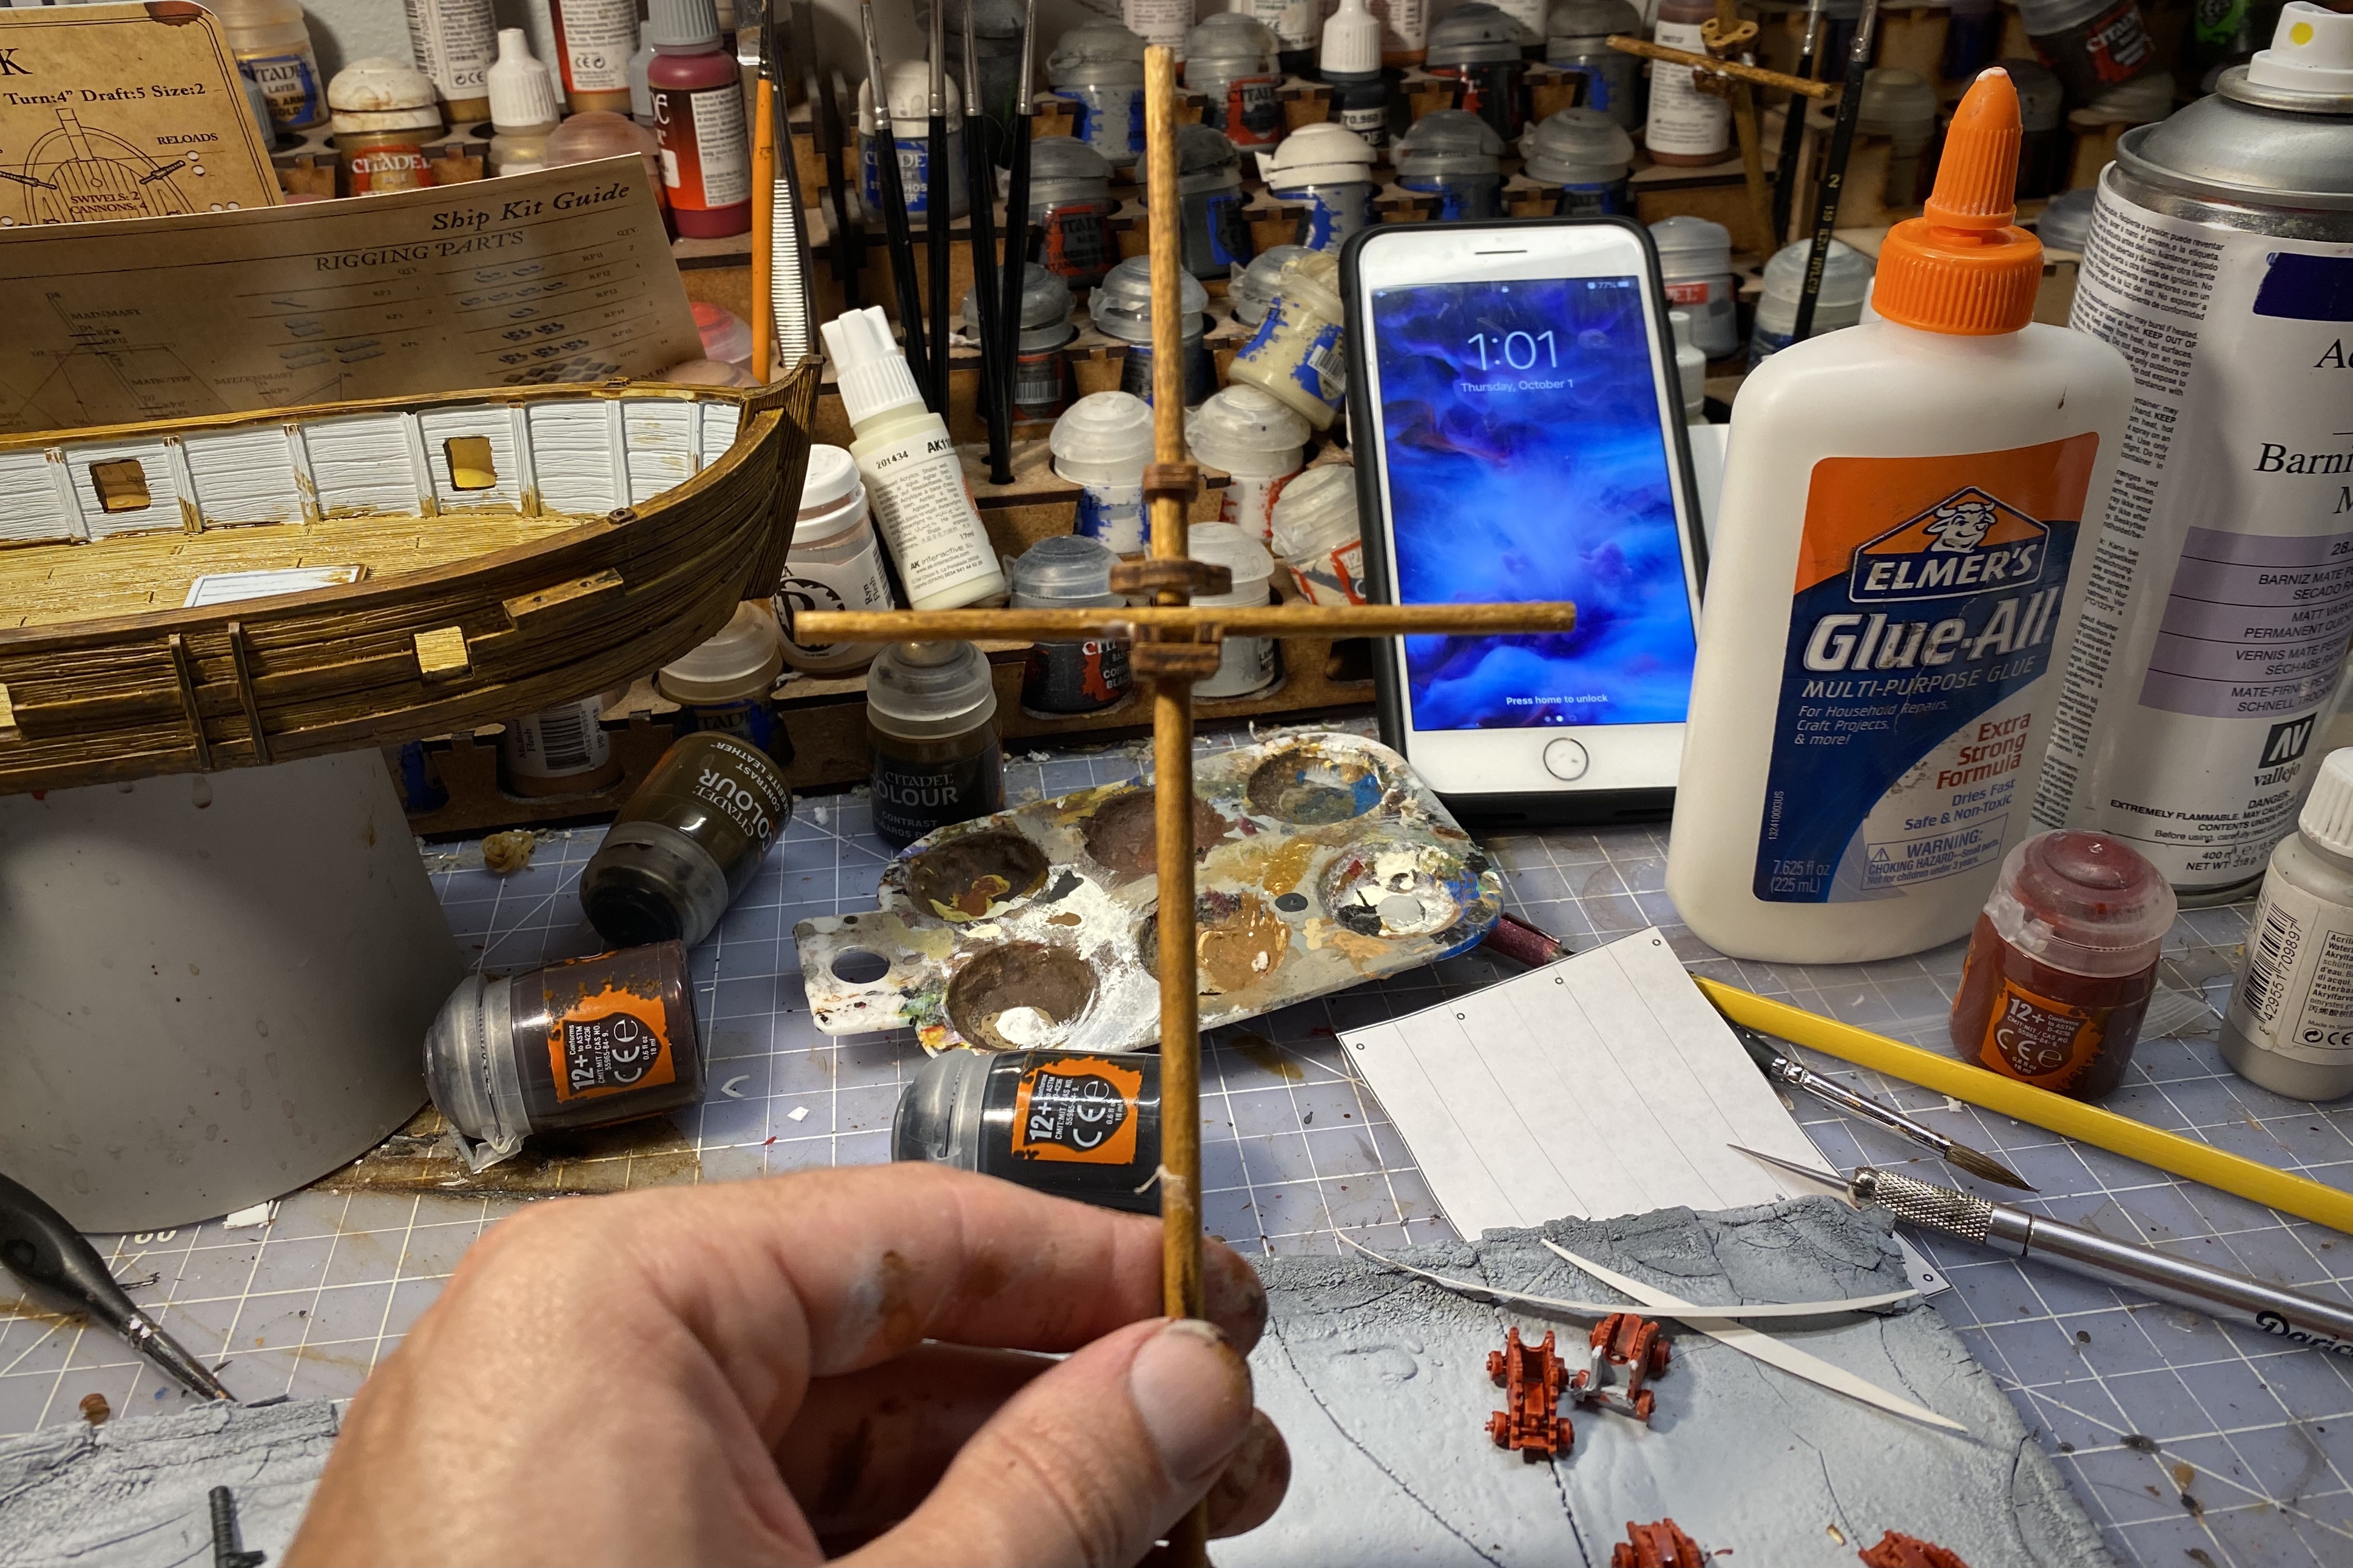
Step 9 – Assemble the Masts for the Bark
The contrast paint soaks into the wood fast. It would be better to wait longer but after 35 minutes they weren’t sticky so I forged ahead!
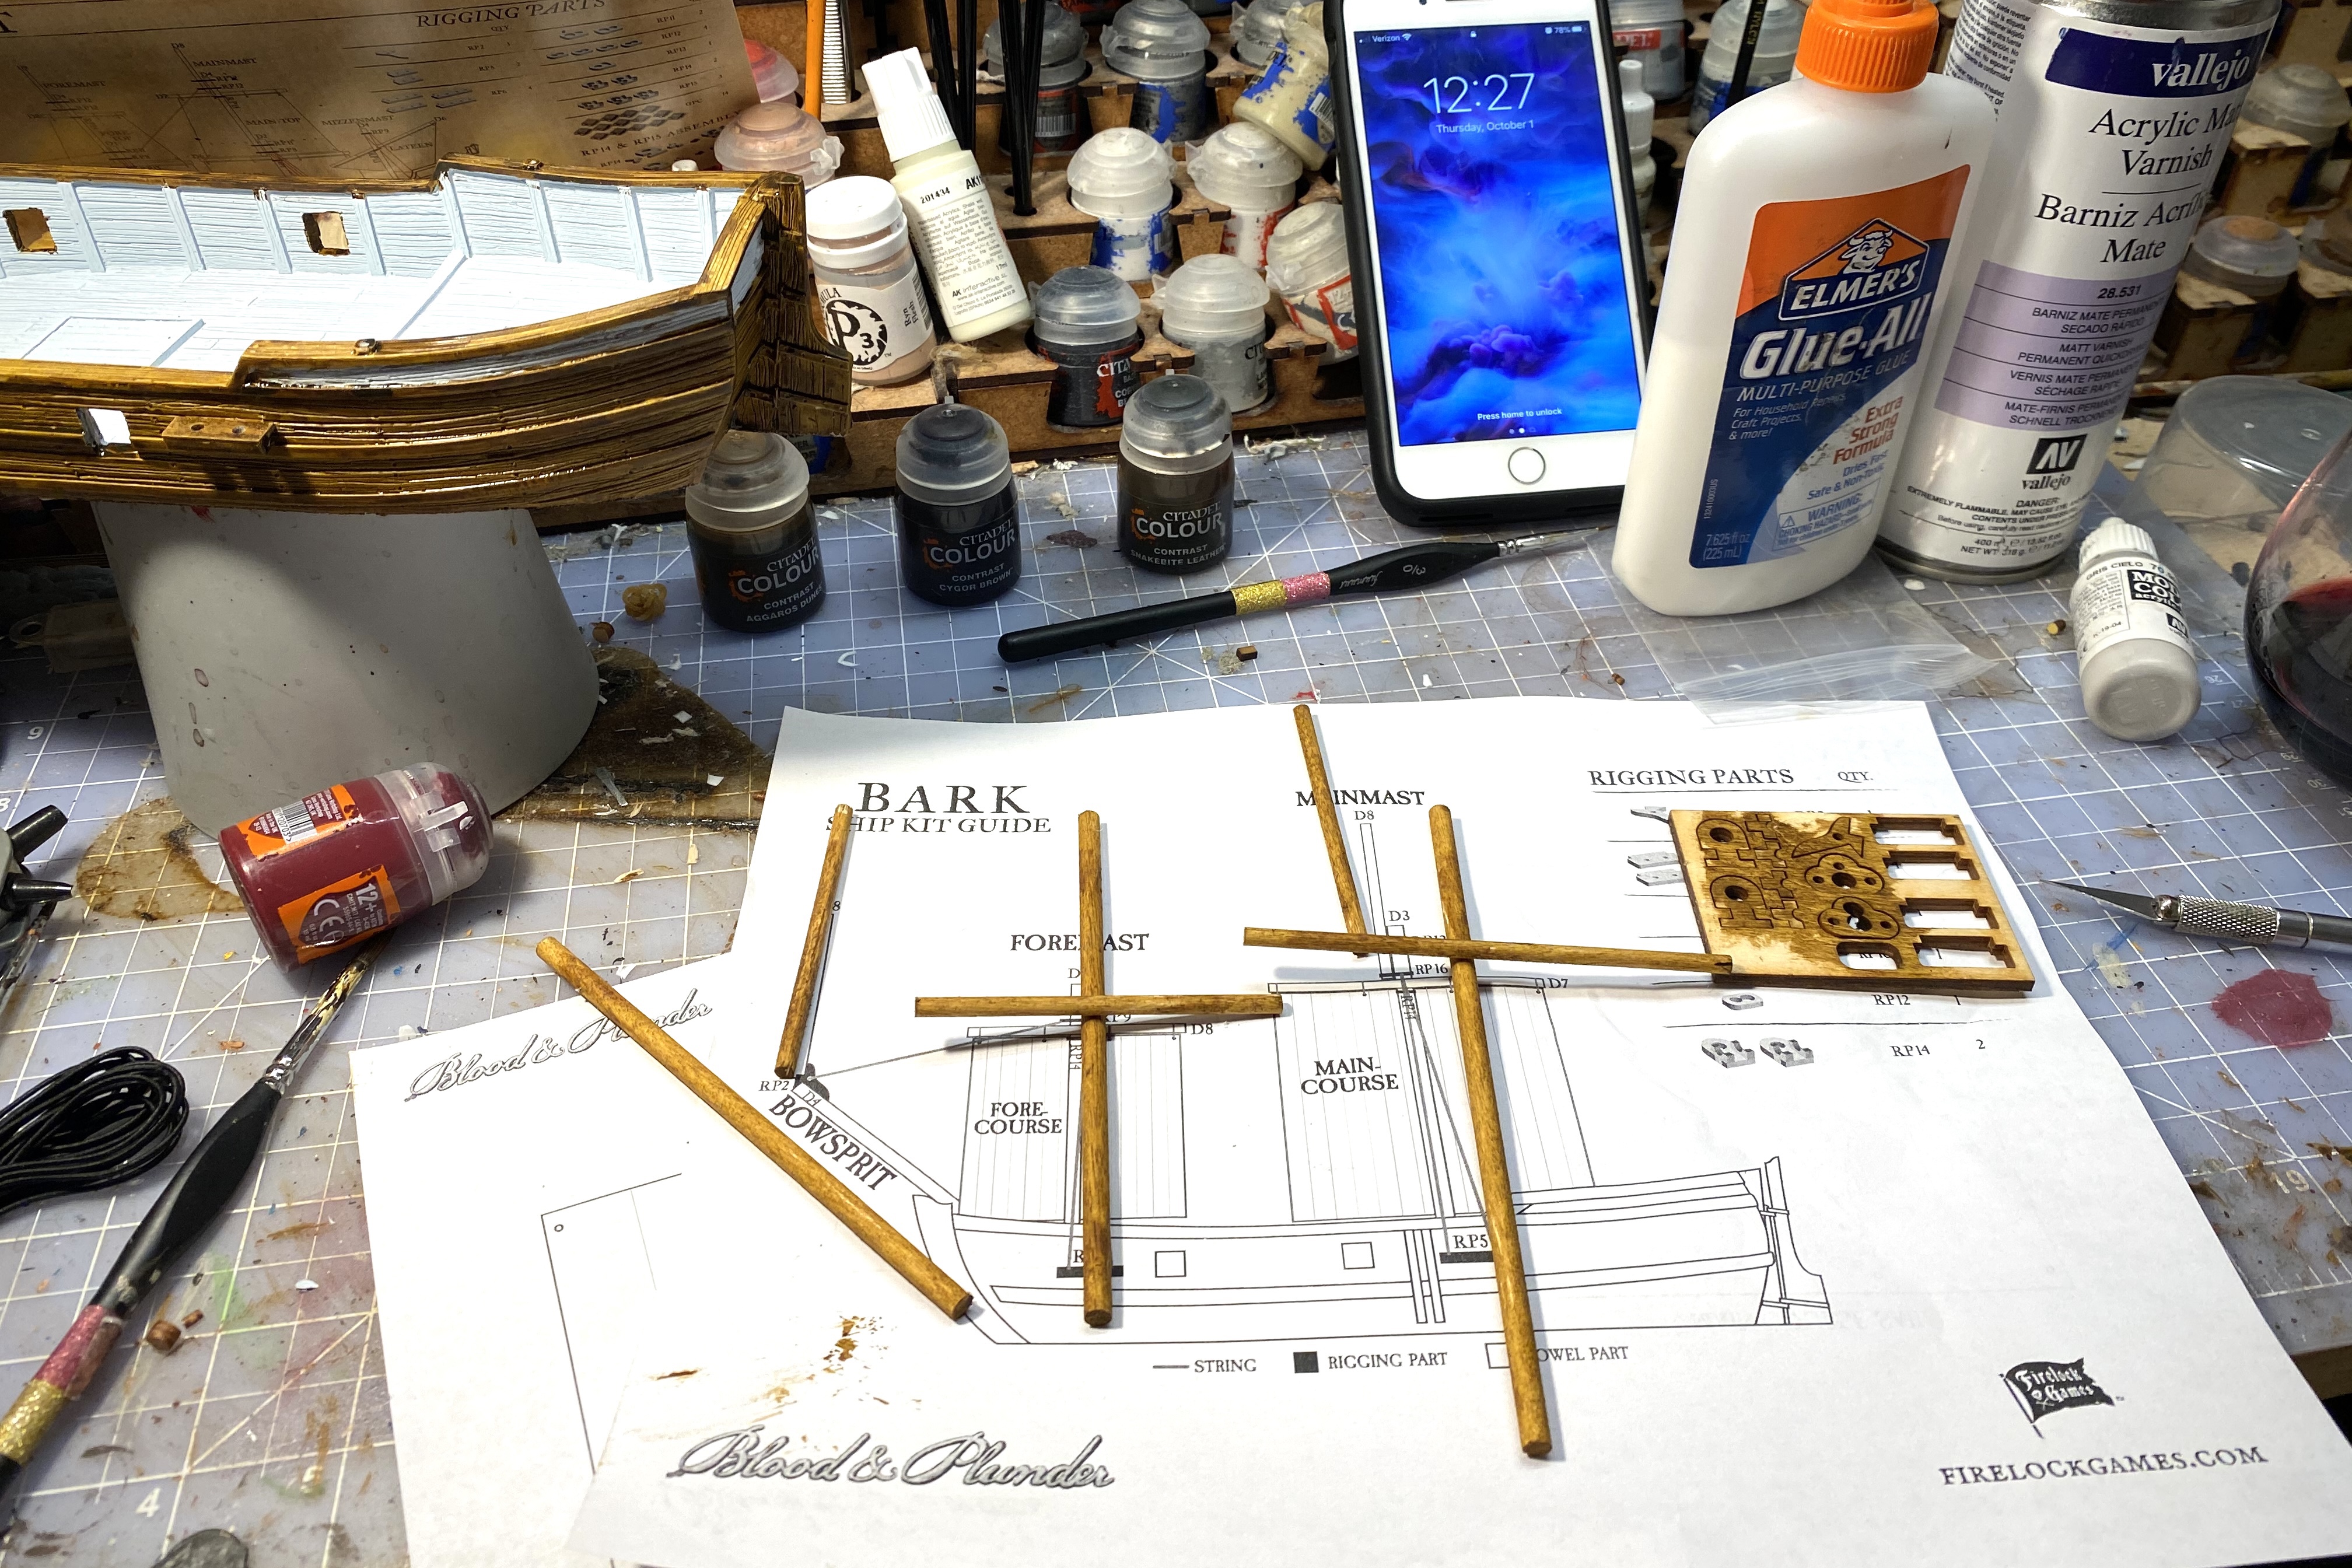
Some of the parts were a little tight so I used the knife to ream out the holes on a couple pieces. Just be careful not to exert too much pressure with the knife and split the pieces.
The bowsprit comes in three pieces. Don’t glue the vertical piece on the very end yet. Let the two other pieces bond first and we’ll come back to that tricky bit later.

You have to glue the 3 little pieces together that hold up the horizontal spars now, and you’ll attach the spars later. See picture above.
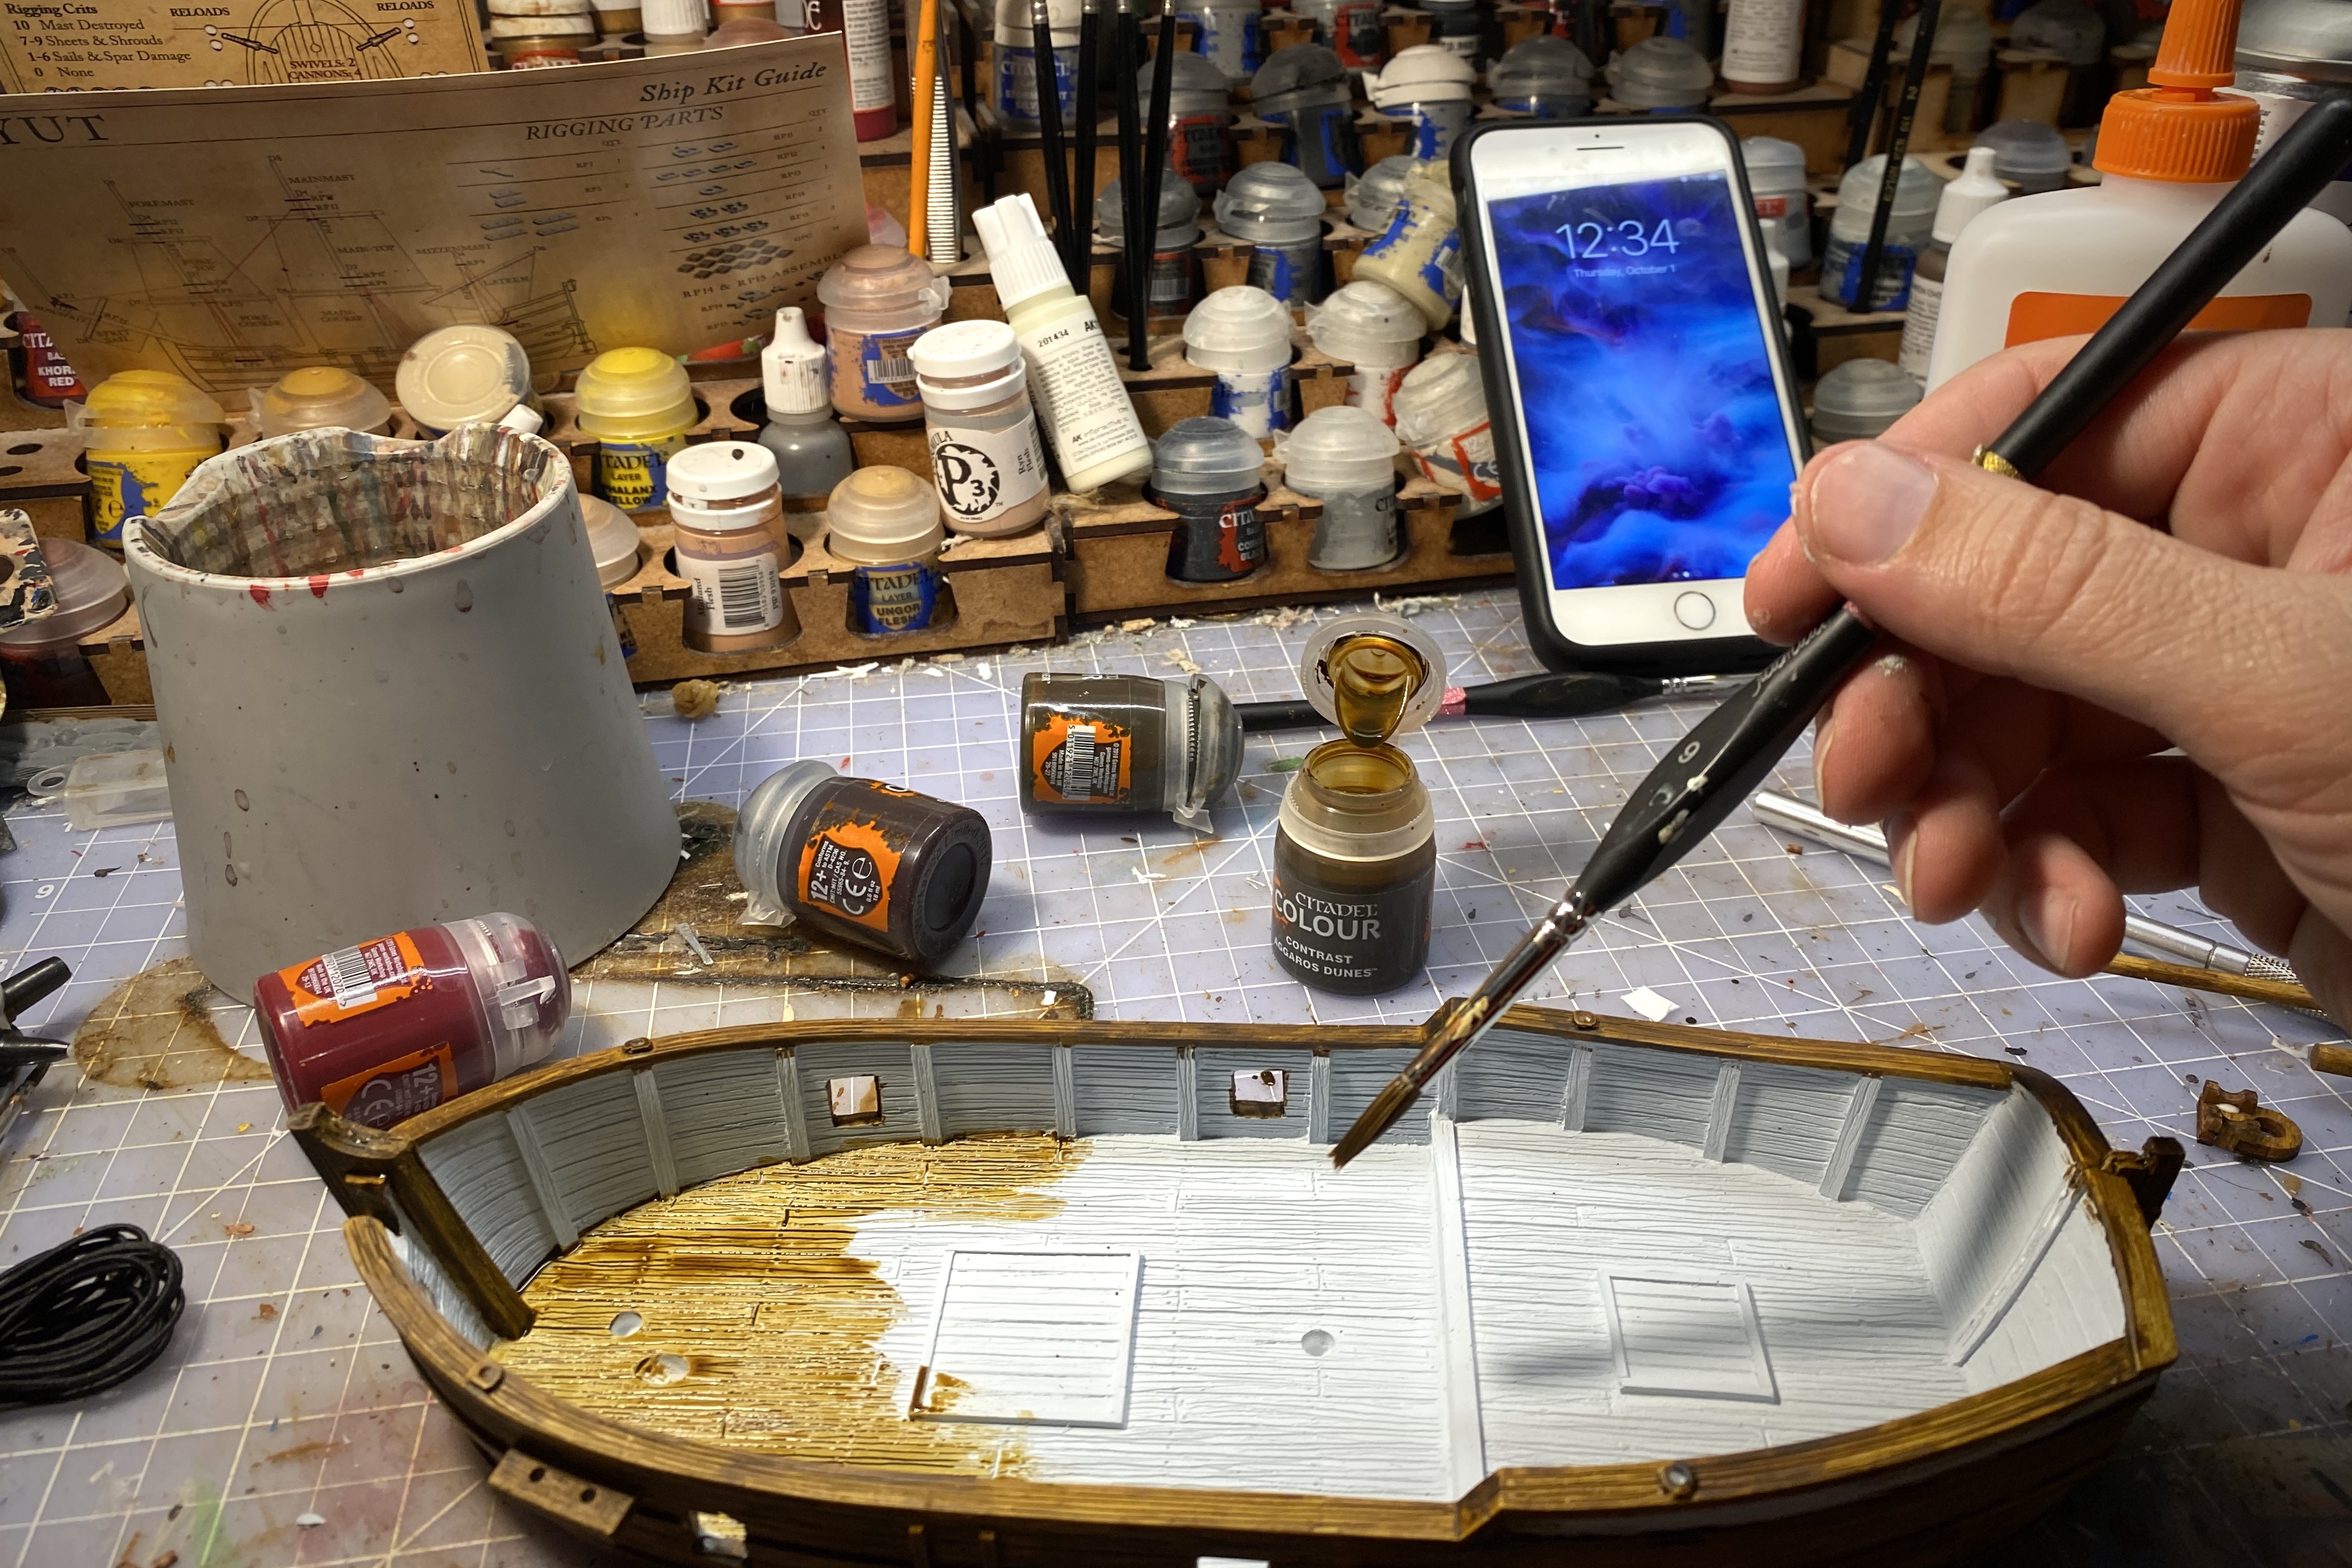
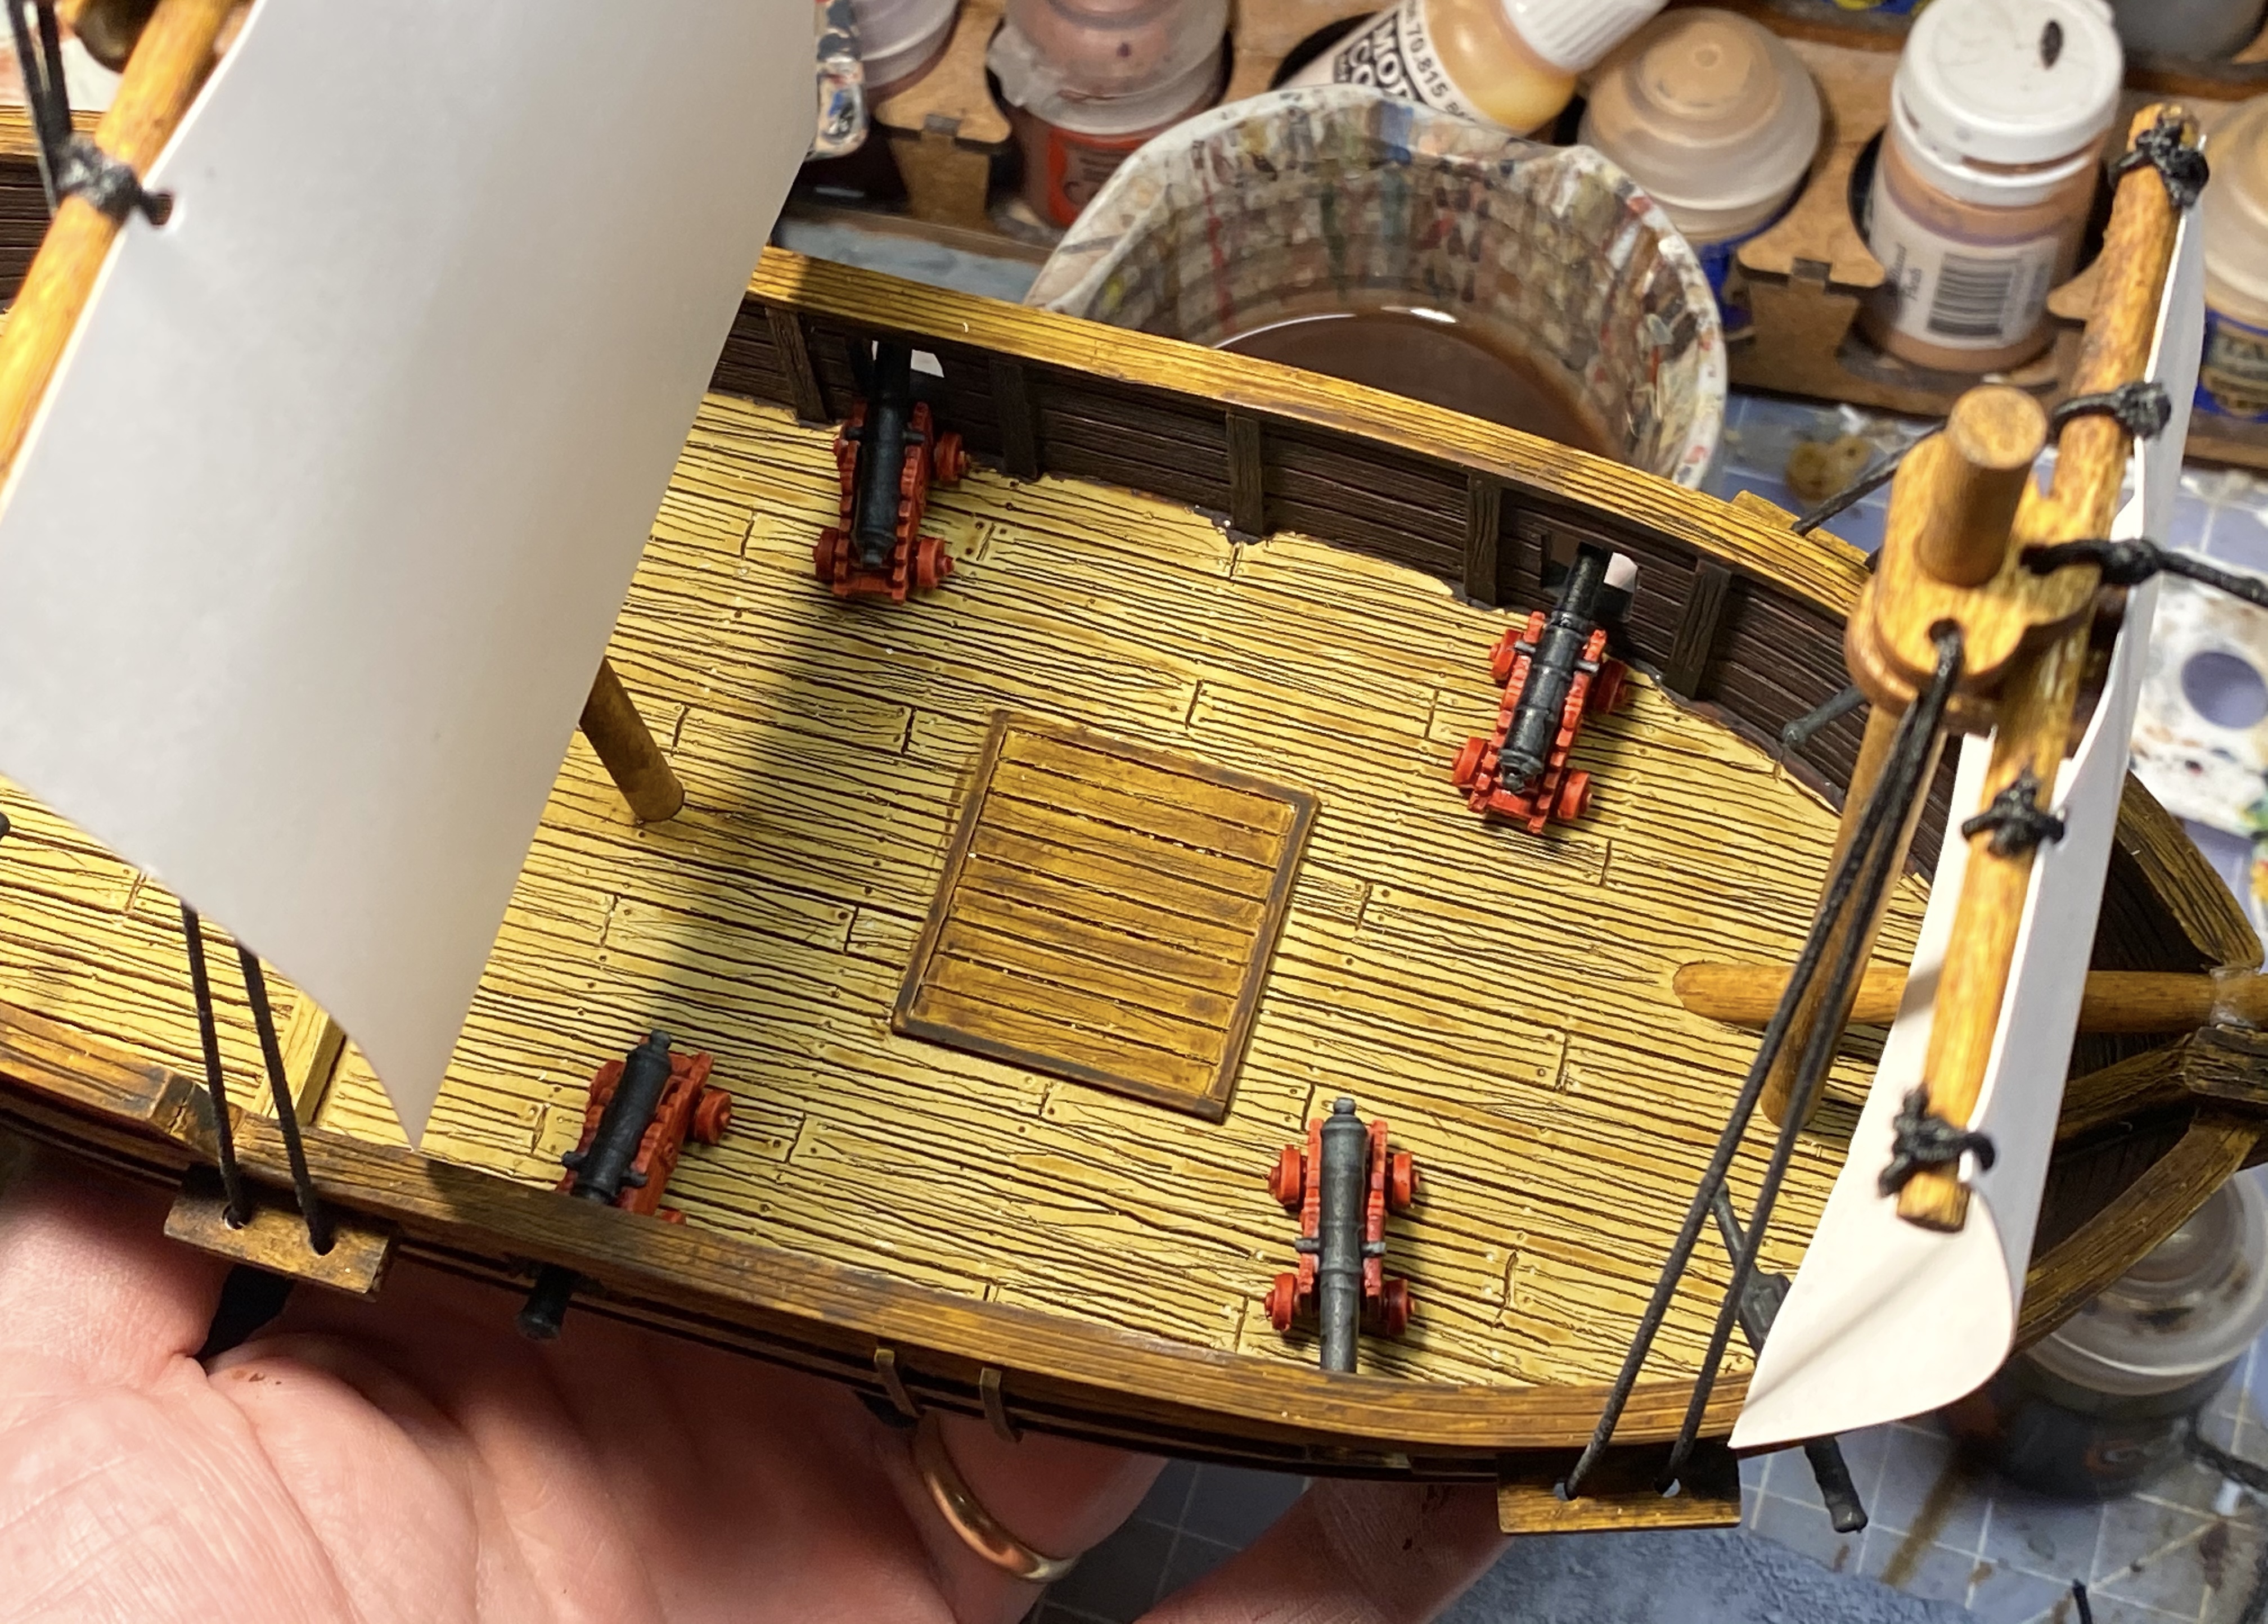
Step 10 – Paint the Deck
This was fast and easy. Use a large brush and spread a nice even coat of Aggaros Dunes over the deck. You can cover the hatches if you like but I left them white and came back to them later with Snakebite Leather.
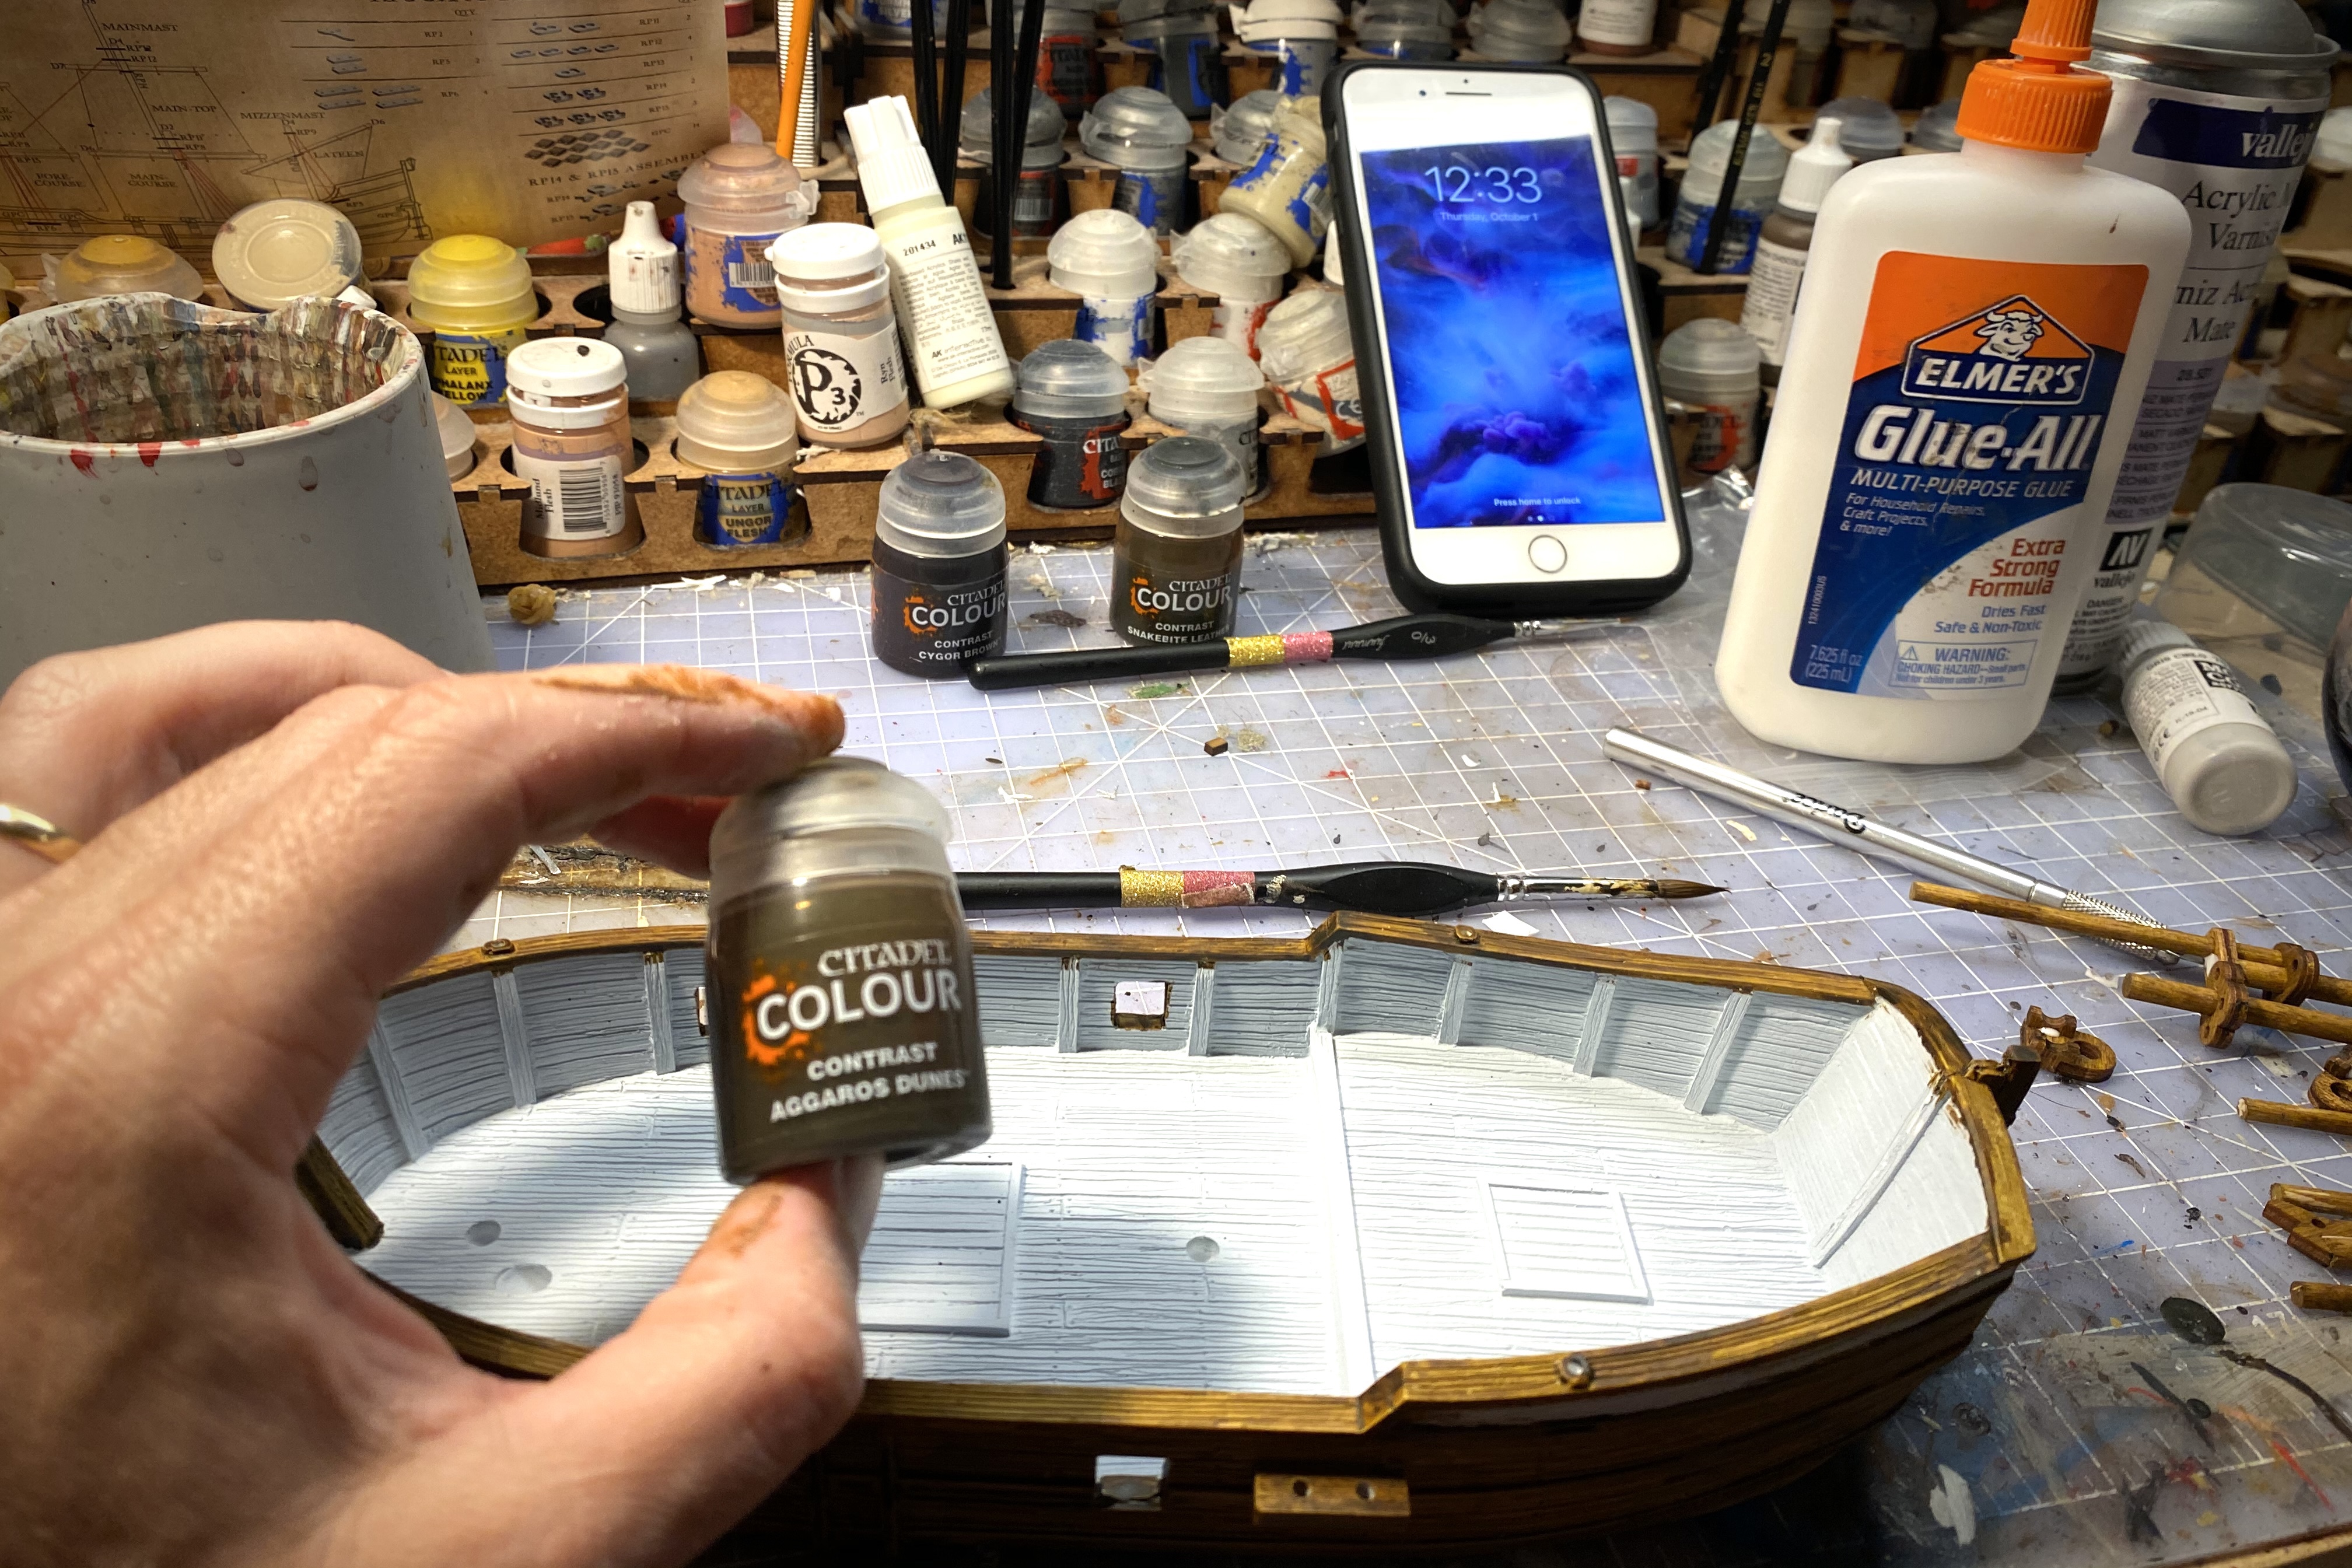
I find this paint to dry really nice and even so you don’t have to worry about blotches here are much as you do when painting the hull exterior.
5 minutes and done! We’re one hour in so far and we have our masts drying, the largest part of the hull and the deck painted and the cannons primed!
Step 11 – Touch Up Stern Panels
Paint over any brown bits on the panels on the side and back of the stern.

I used Vallejo Sky Grey but anything light will do. Just make it as even as you can.
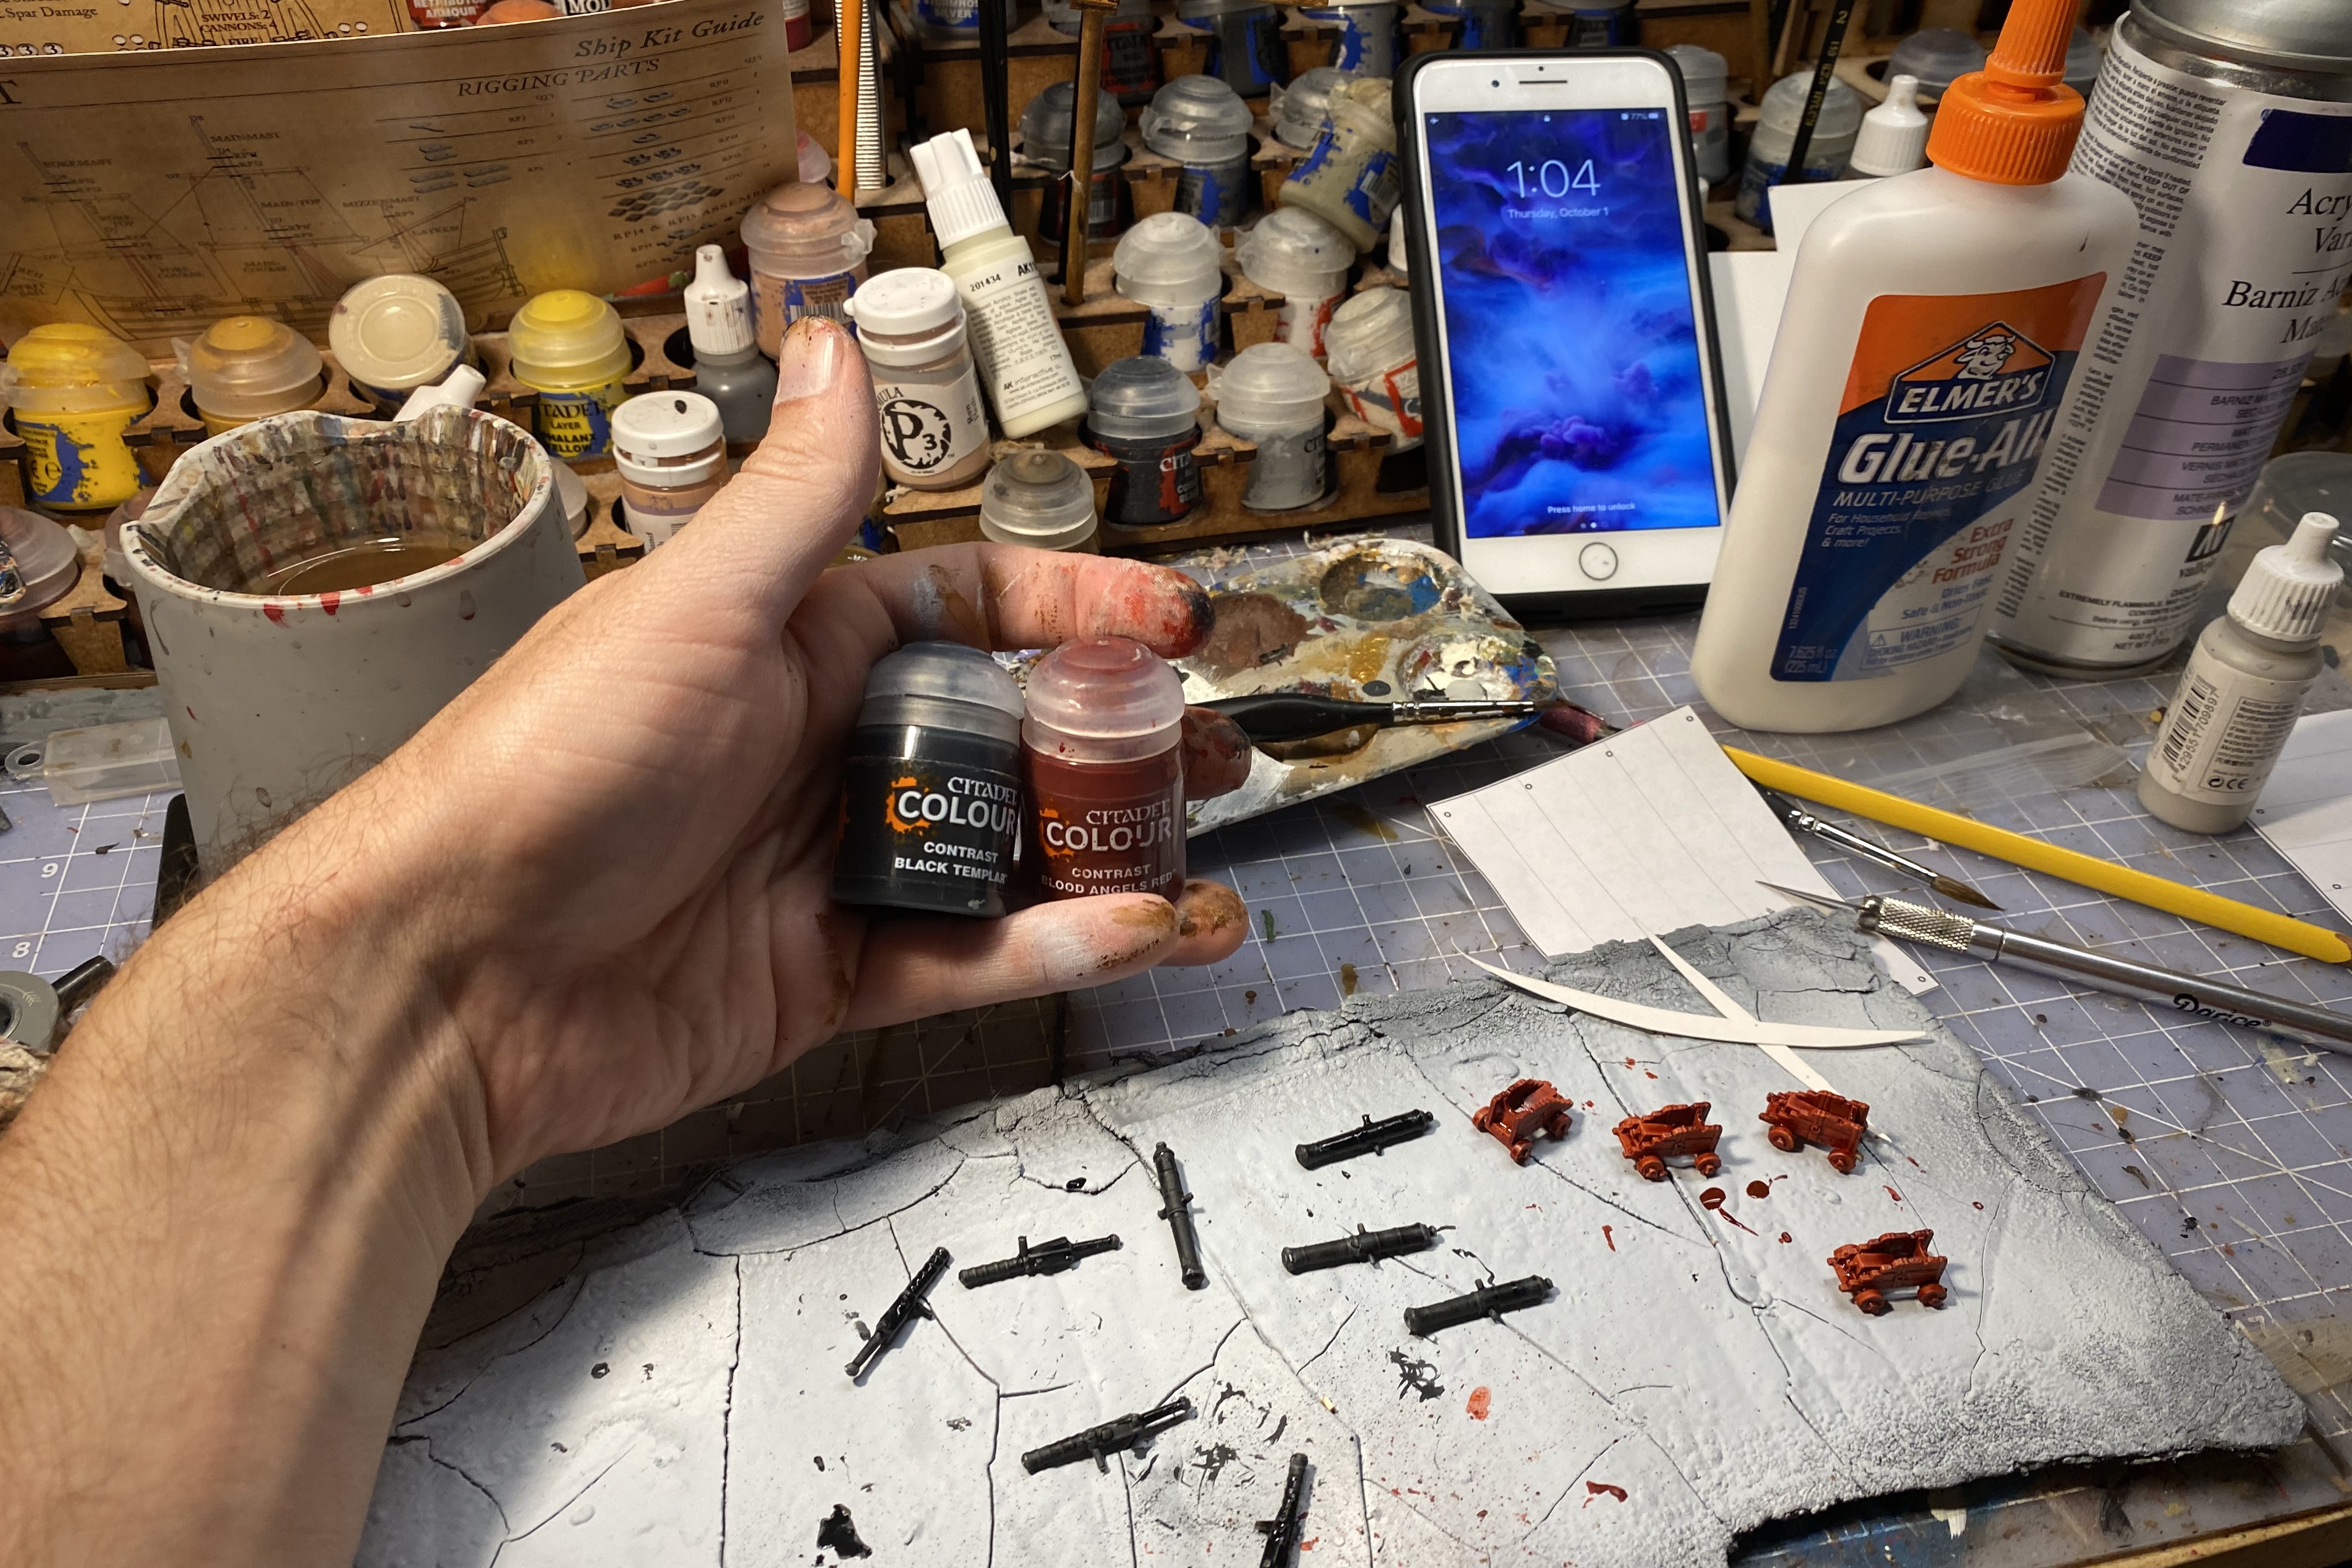
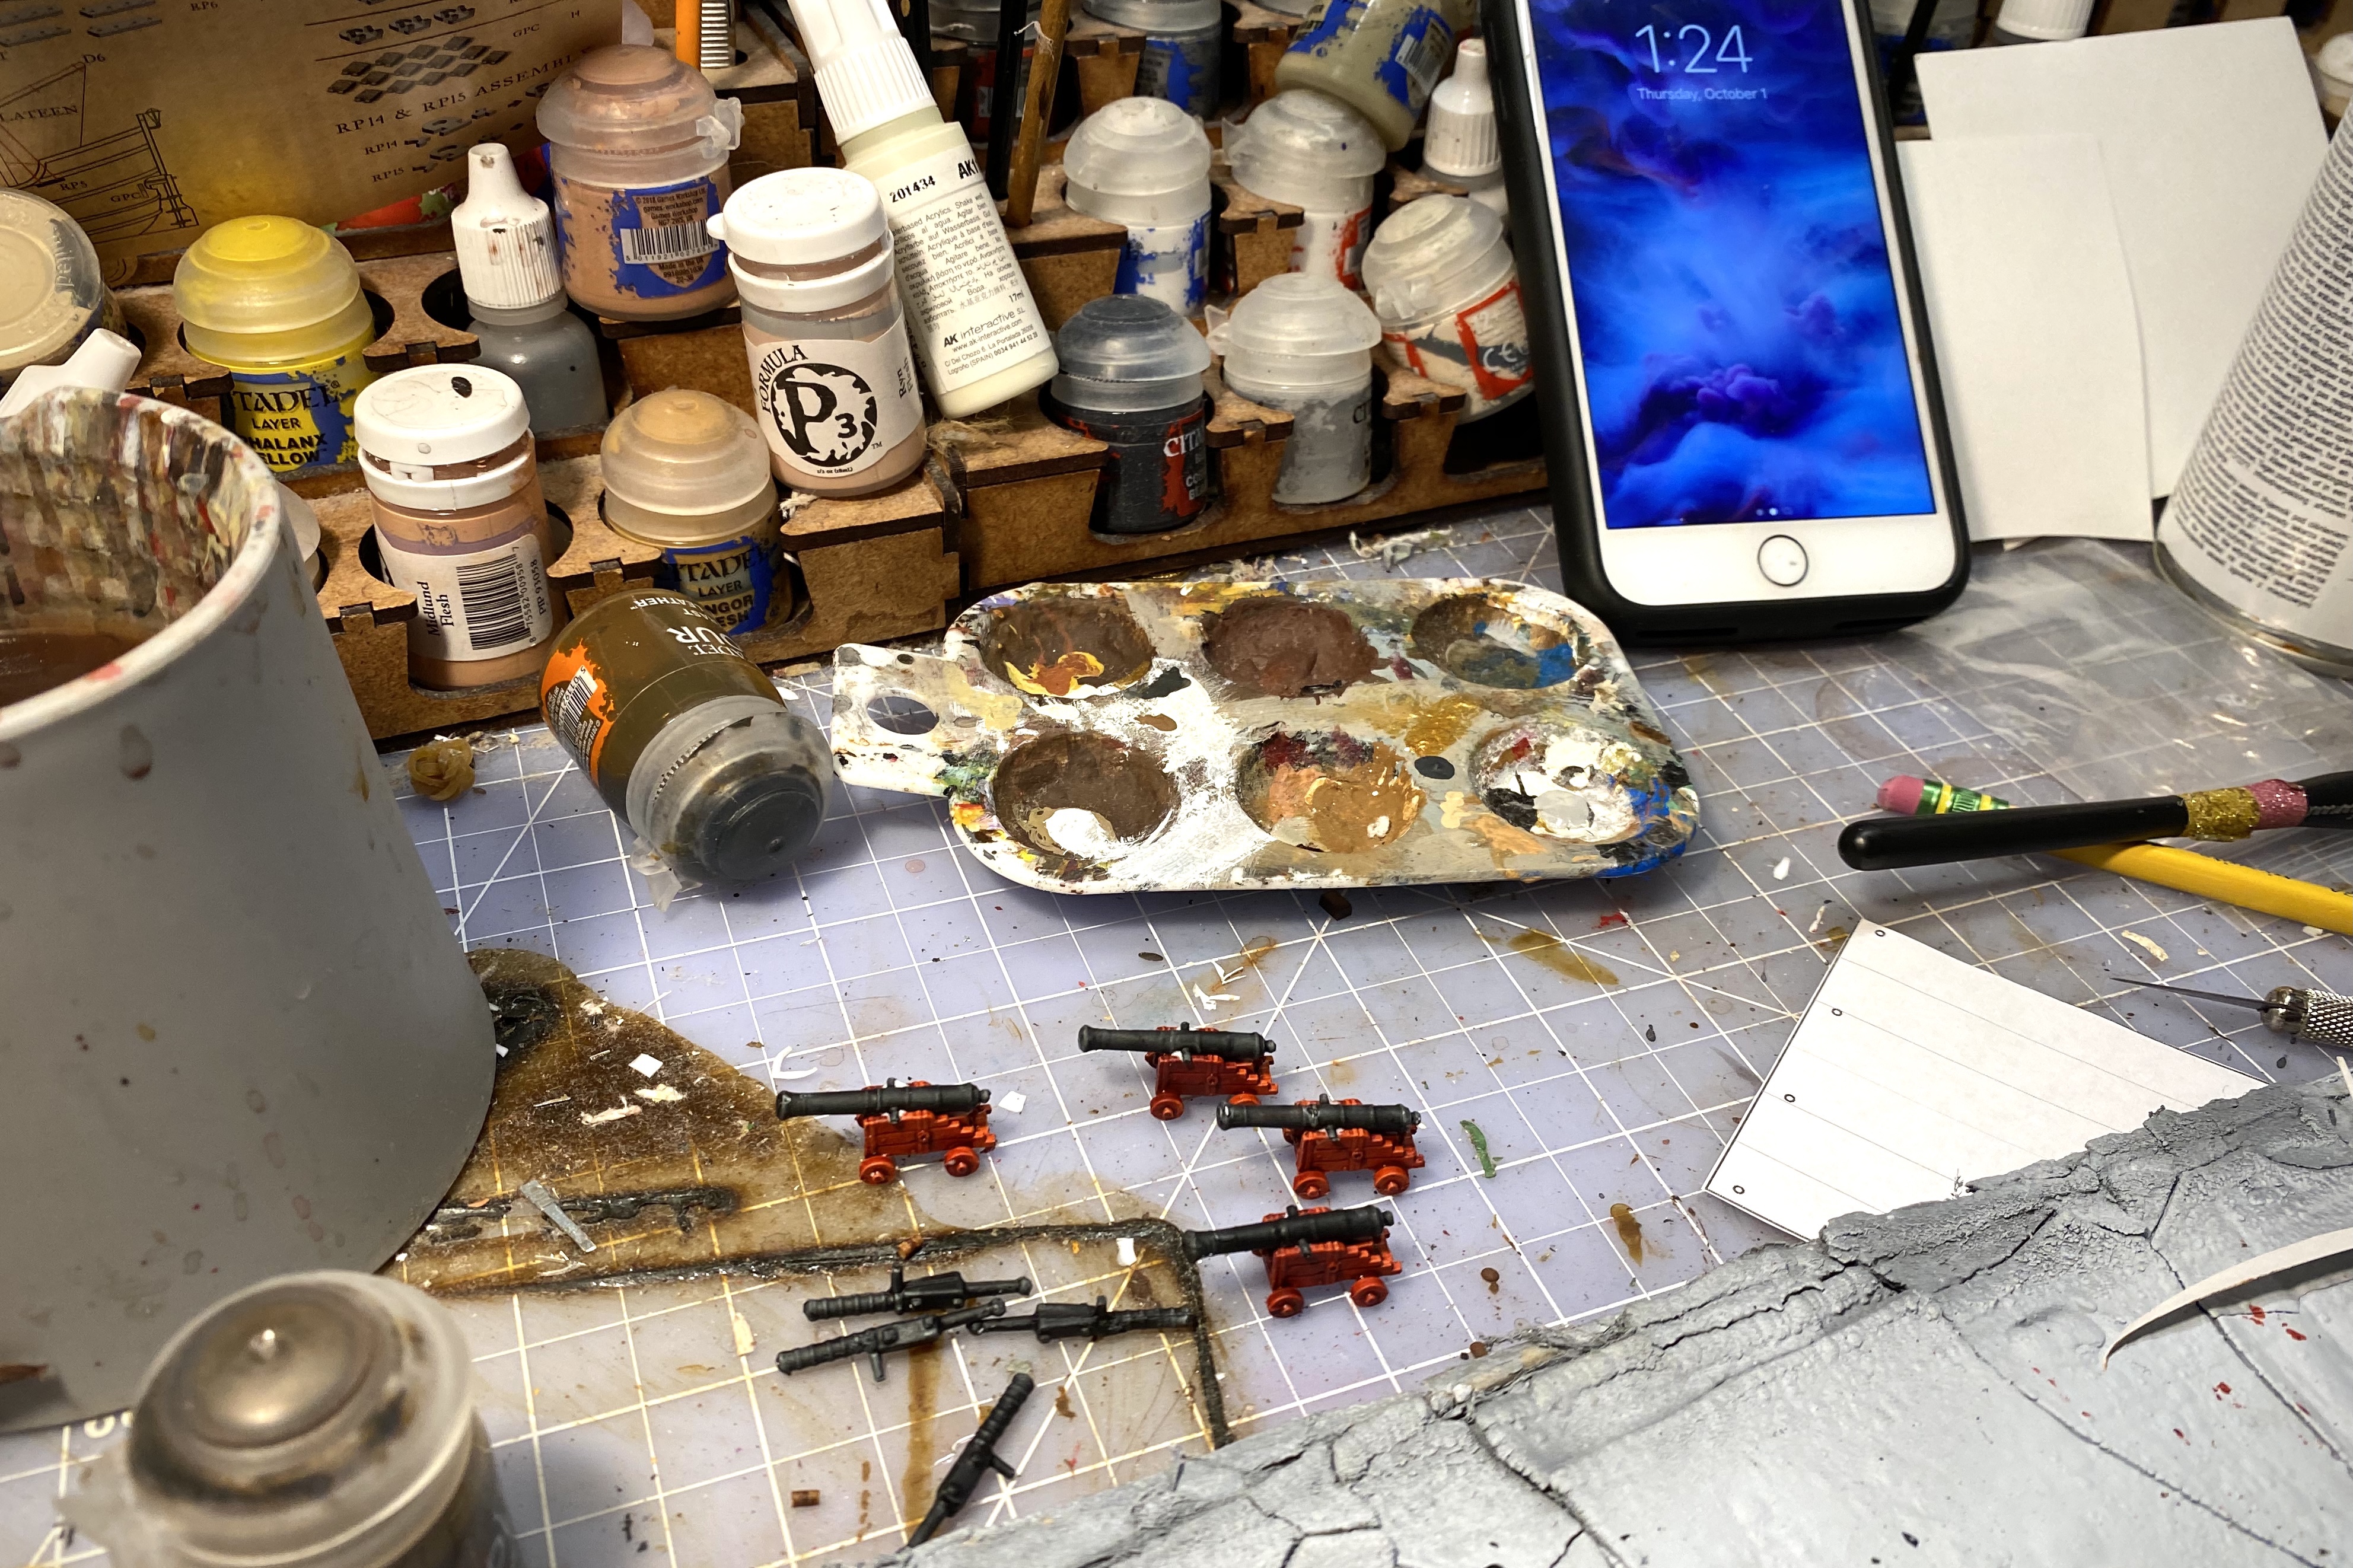
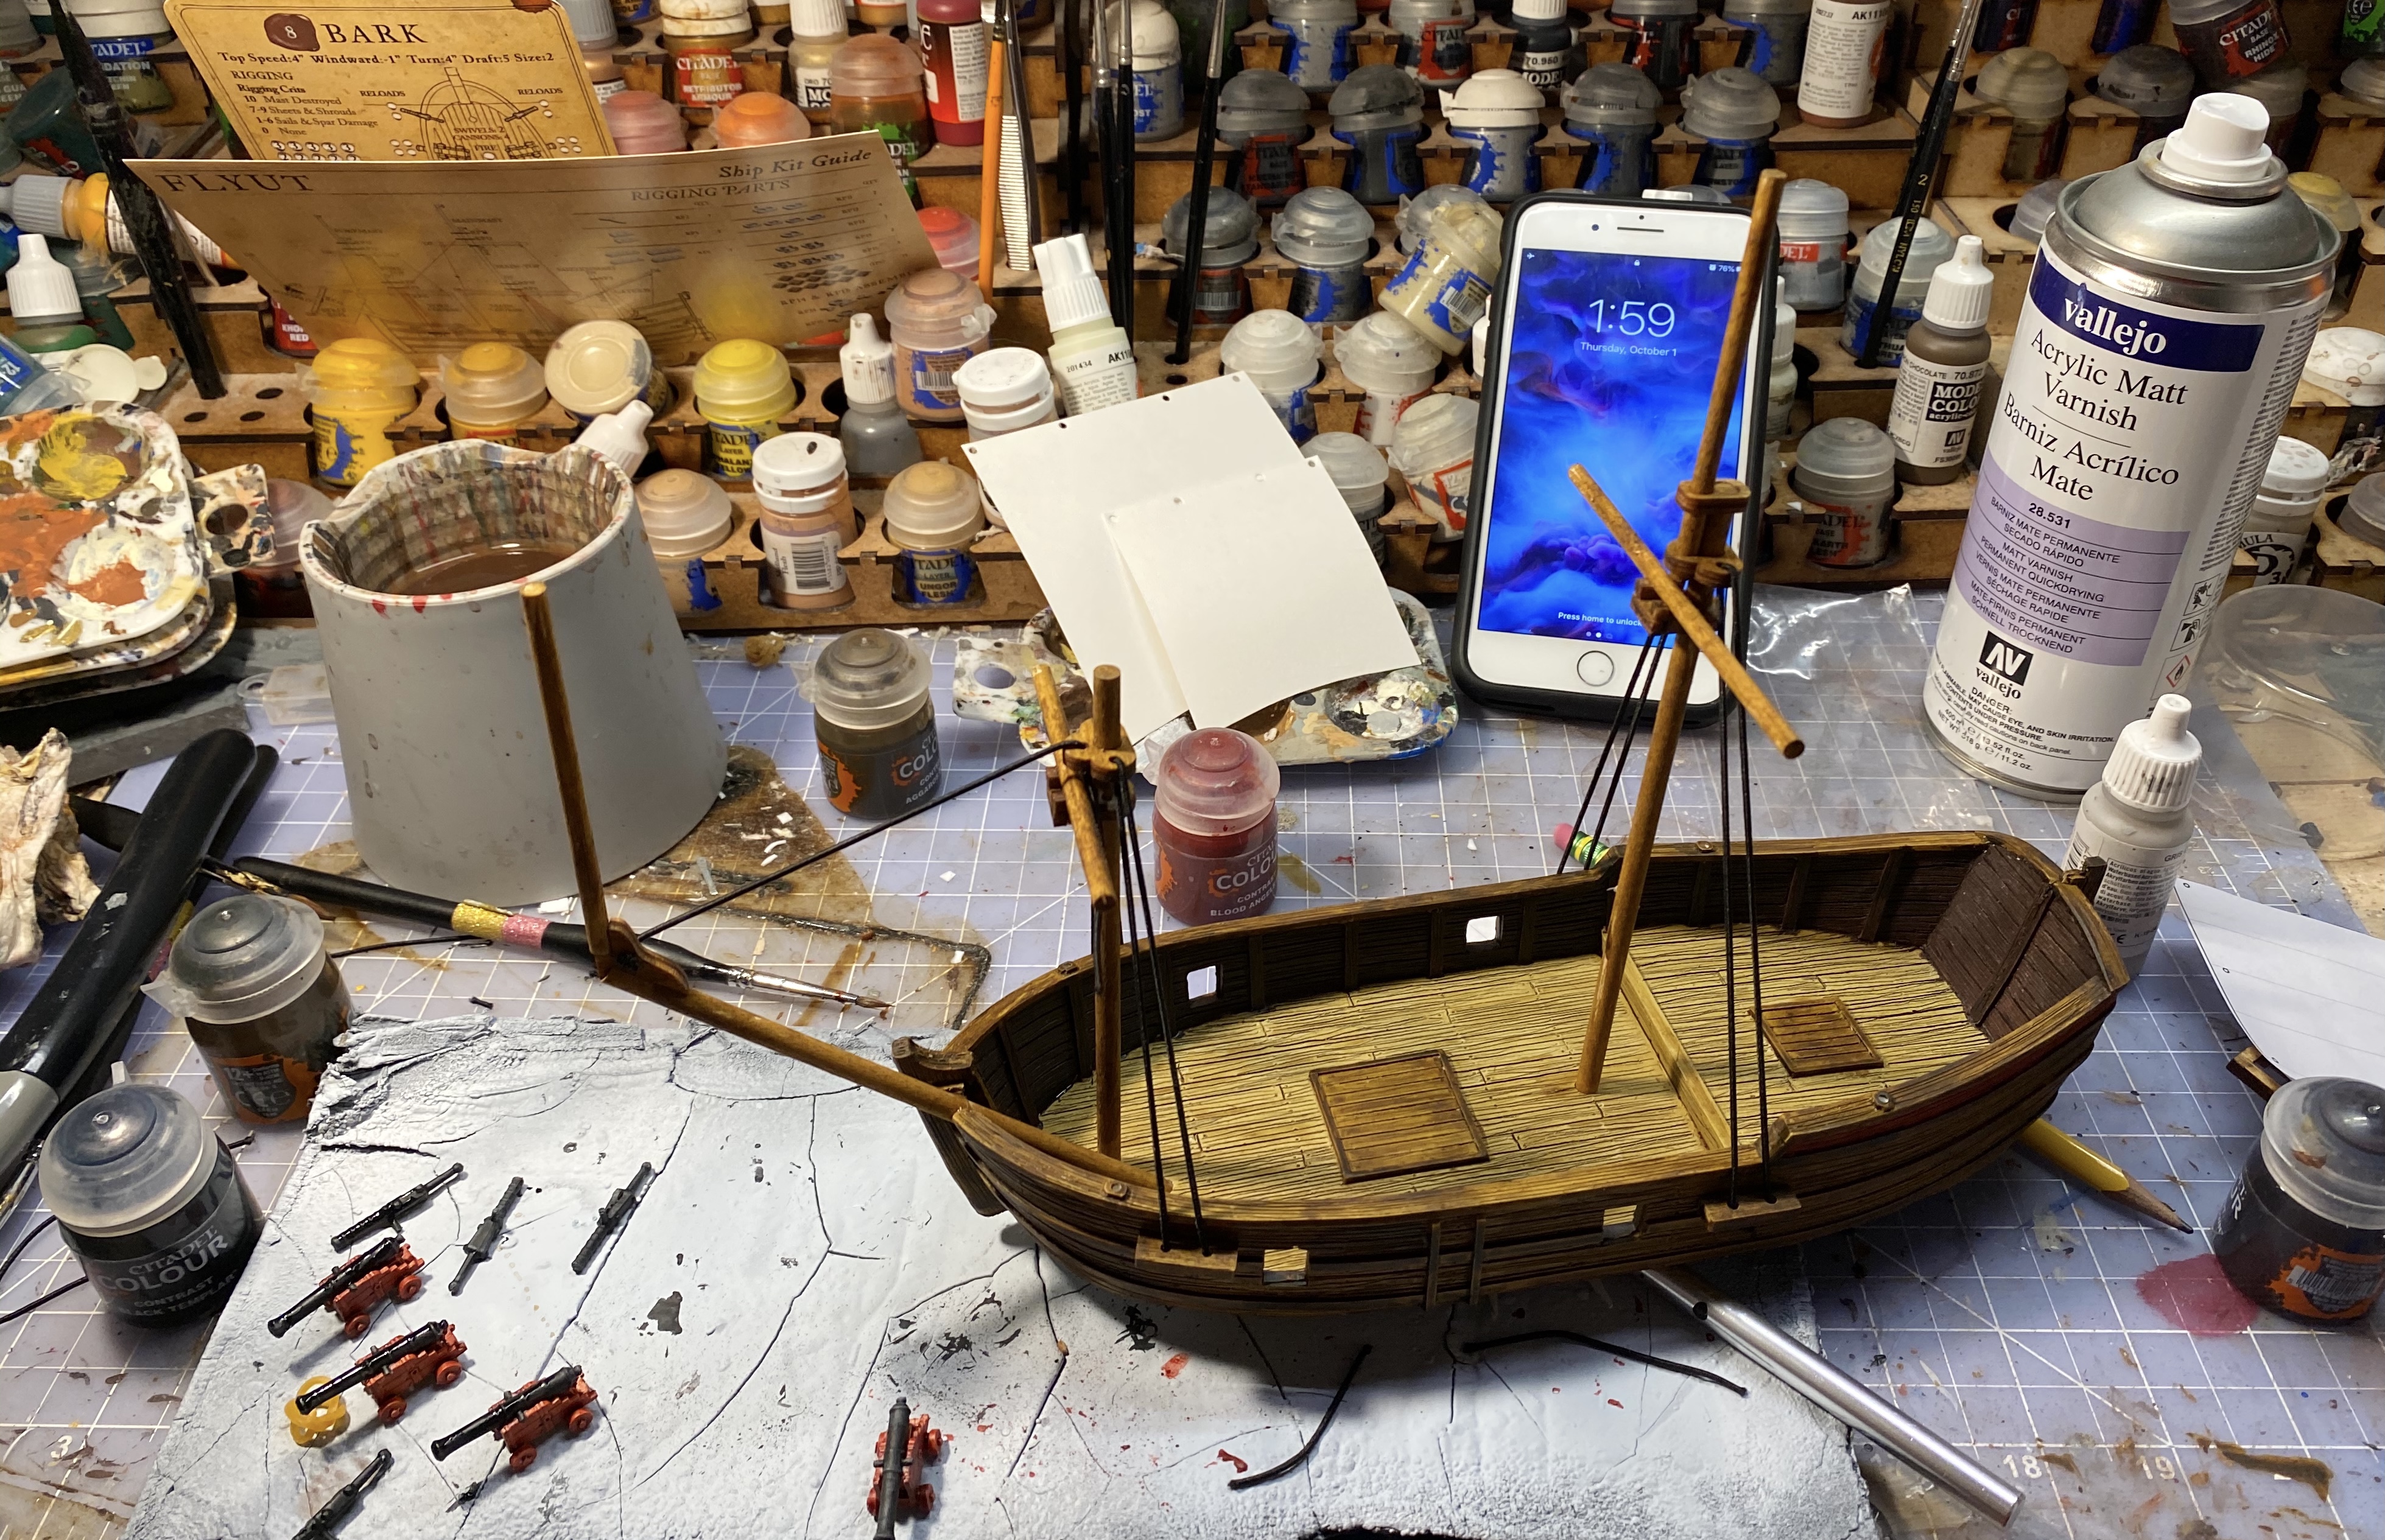
Step 12 – Paint the Cannons
I used Blood Angels Red for the cannon carriages. These little guys are tiny and annoying to paint. I did it in two steps. I simply held them with two fingers and painted everything I could and then came back to paint the rest a little later.

You’ll wear a glove on your non-dominant hand if you’re smart (I didn’t).
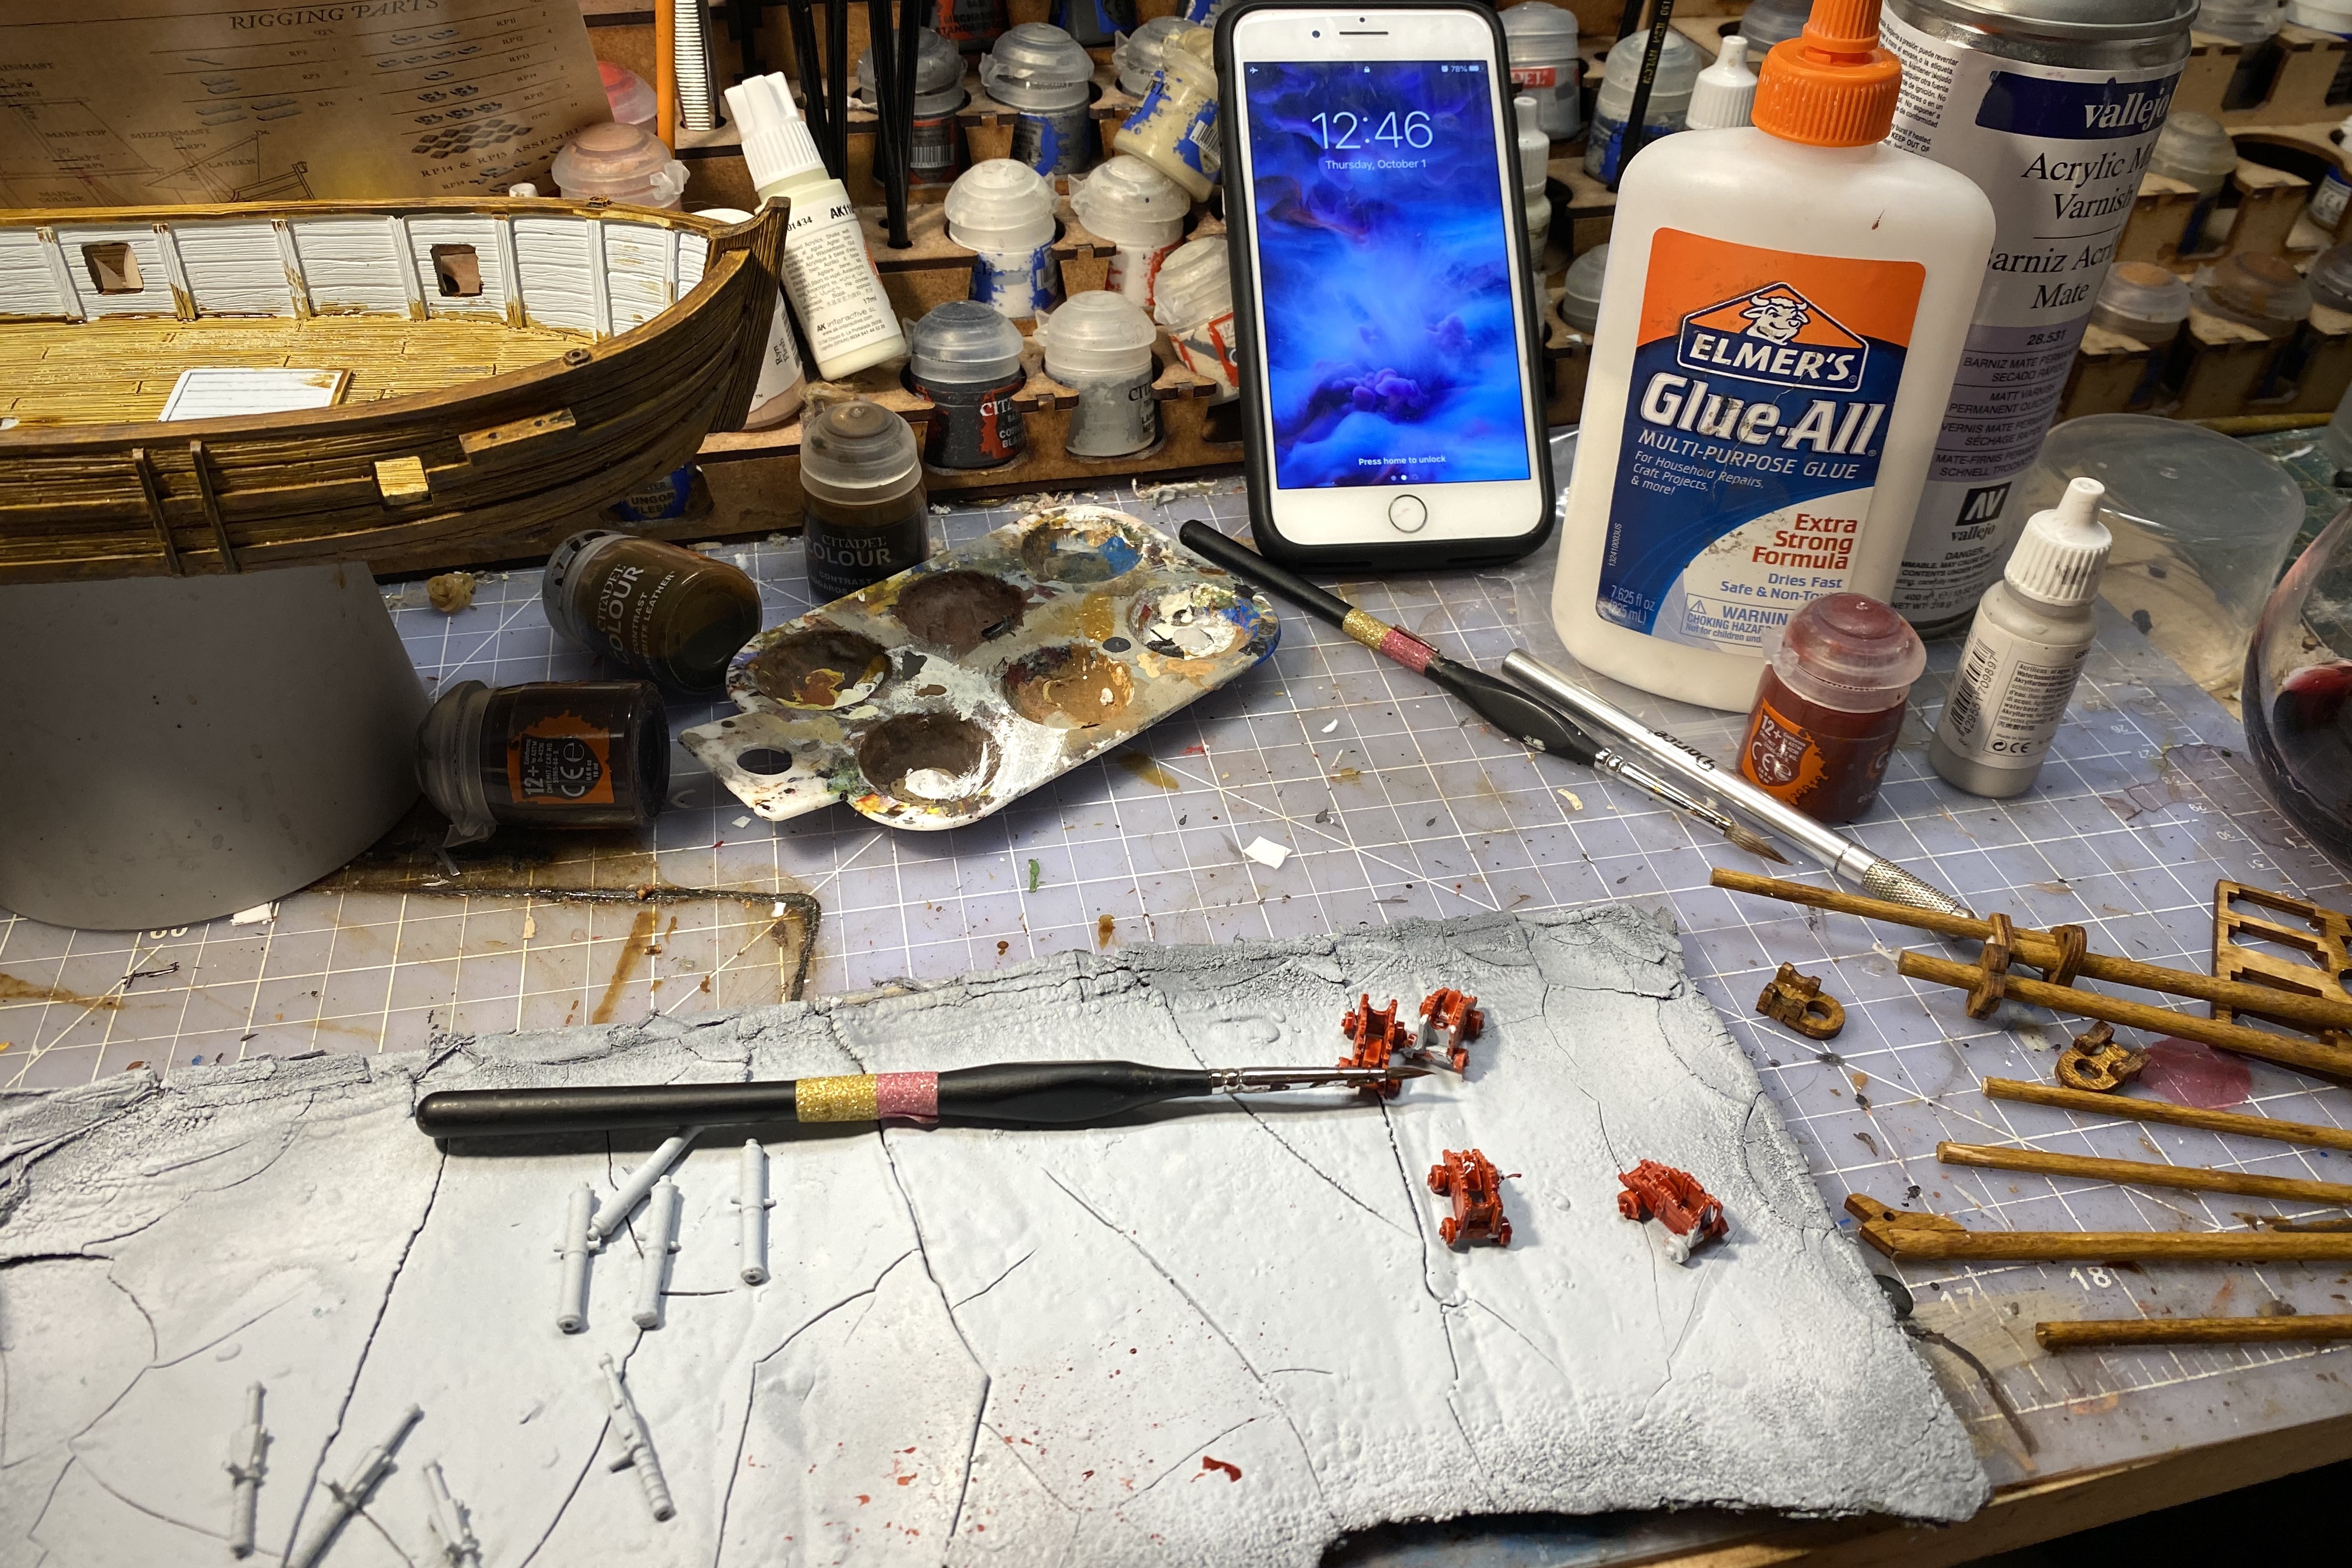
I used Black Templar for all the swivel guns and cannon barrels.
If you want to use gun port hatches, this would be the time to paint them as well.
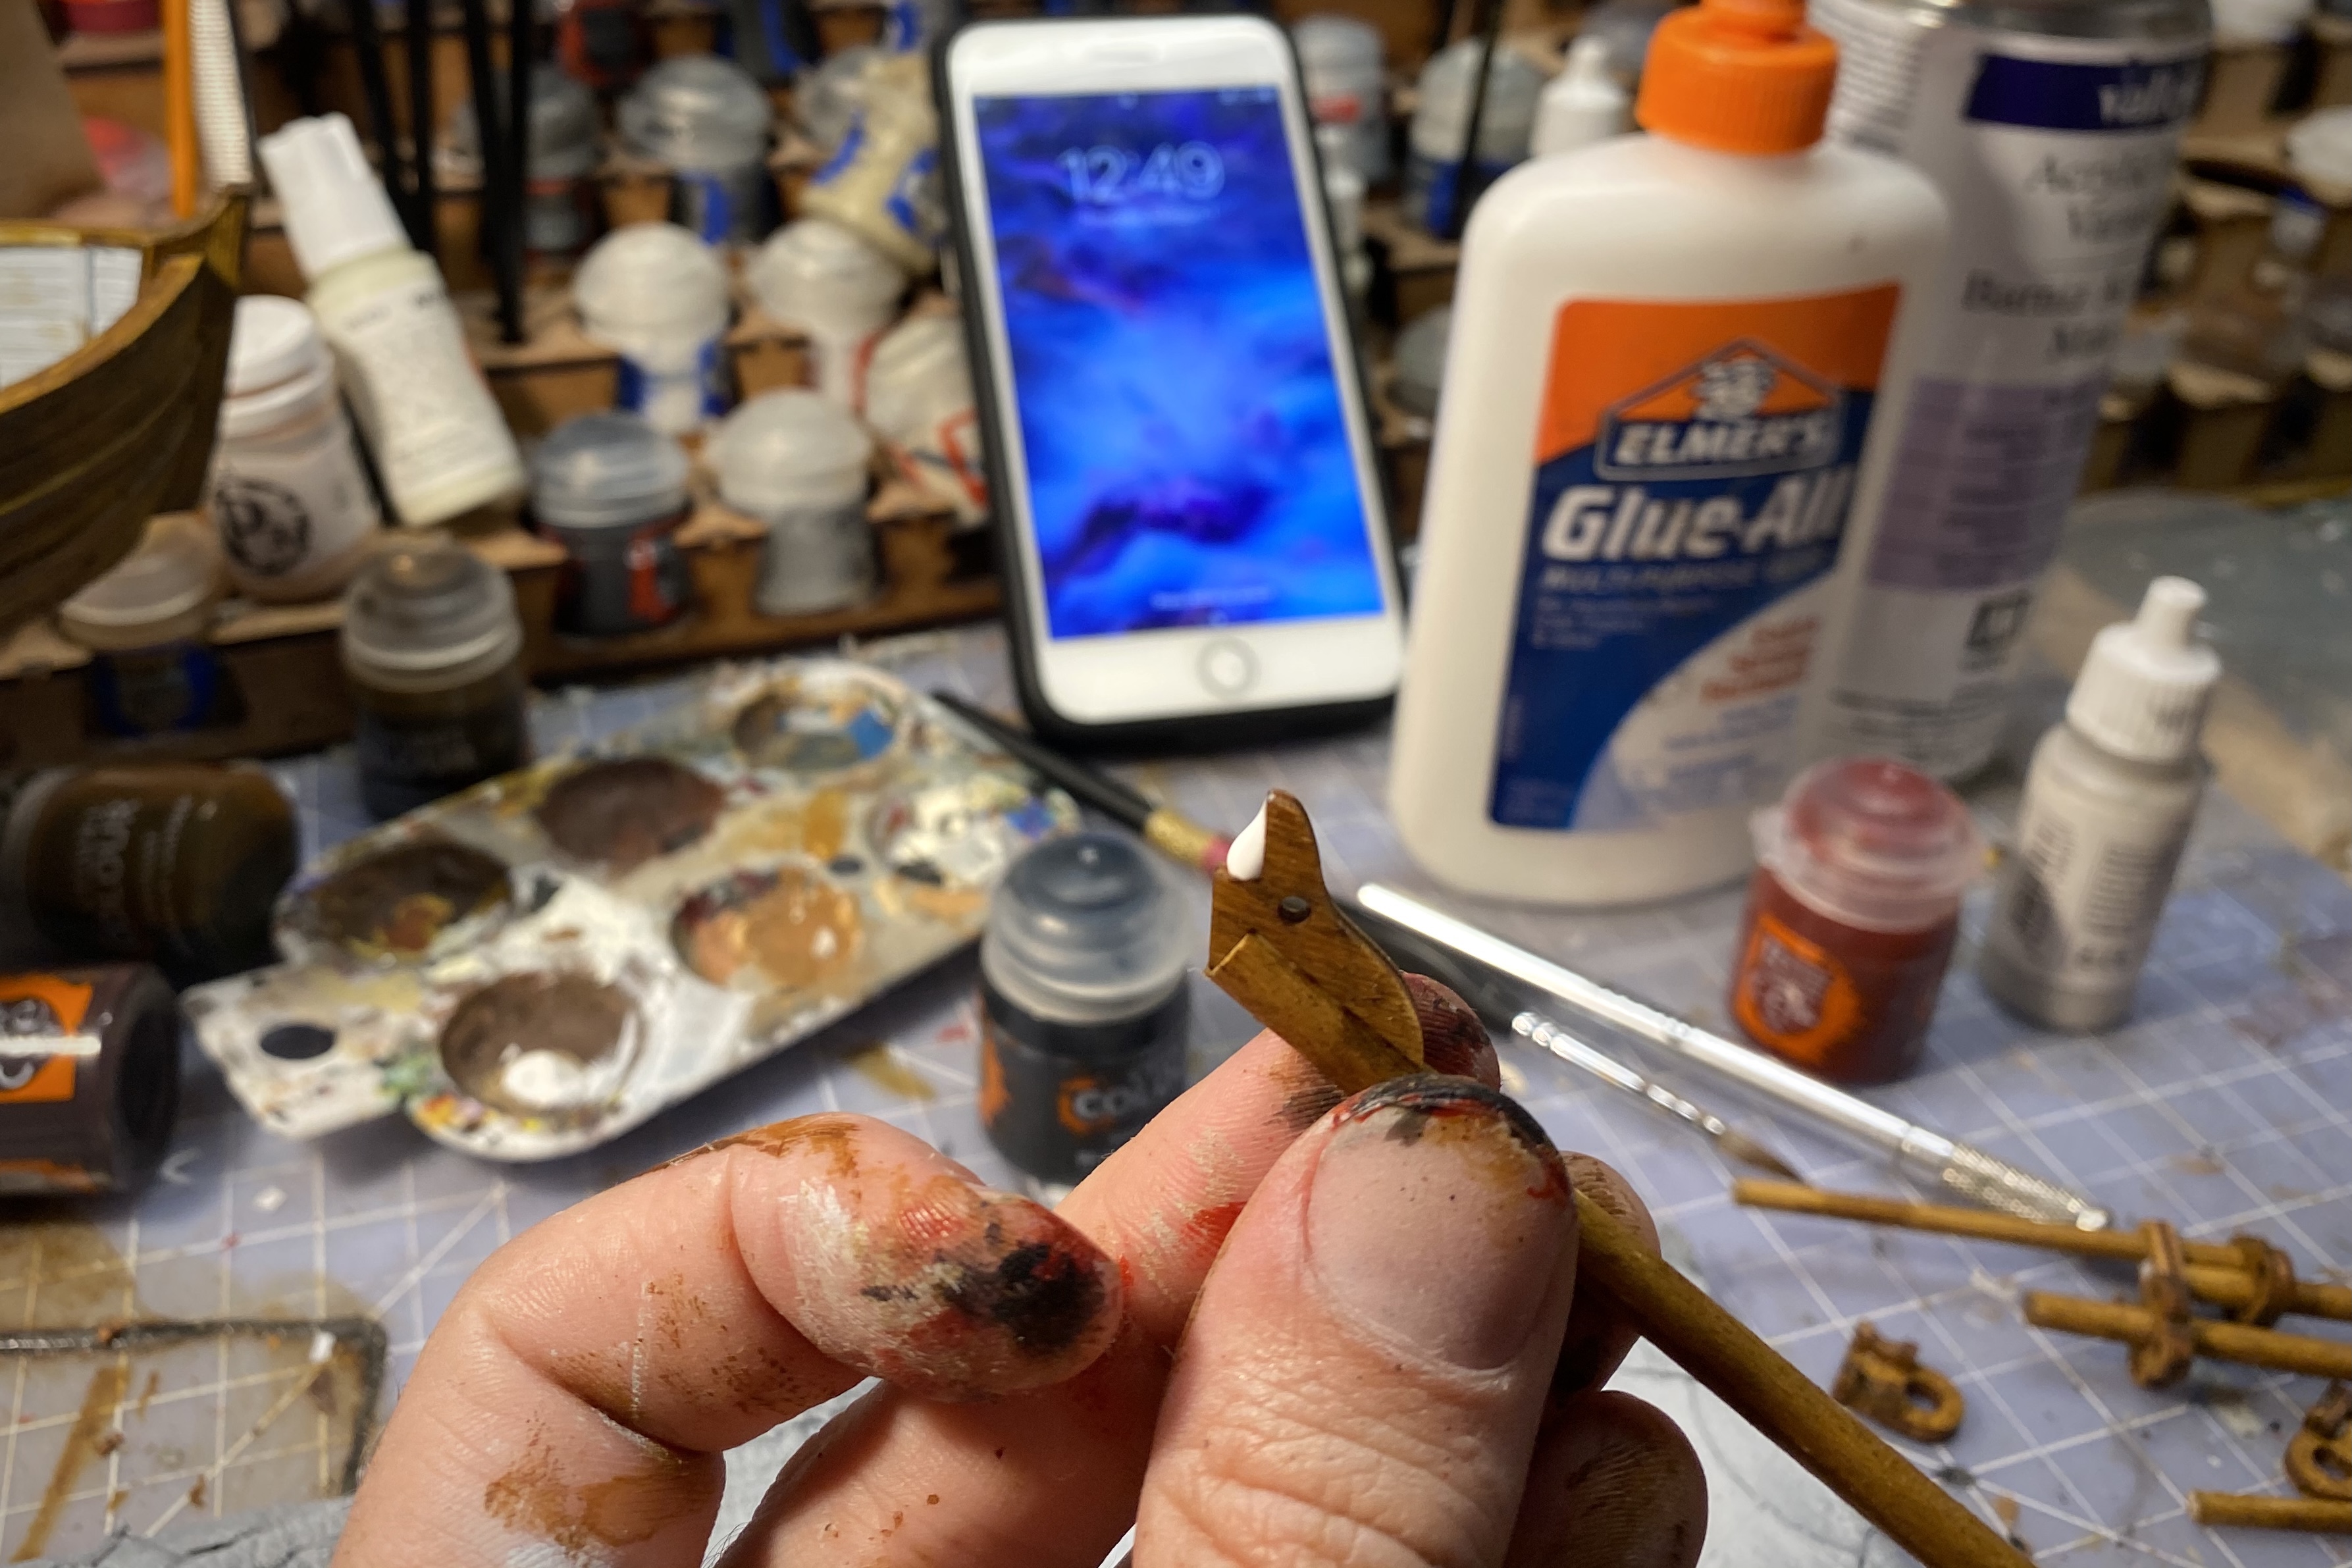
Step 13 – Finish the Bowsprit (almost)
Getting the vertical piece to stick to the bowsprit is tricky. I’m applying the glue now, then letting it set for a few minutes to get tacky, and we’ll put the pieces together in a bit. Just apply the glue and let it sit while we move one.
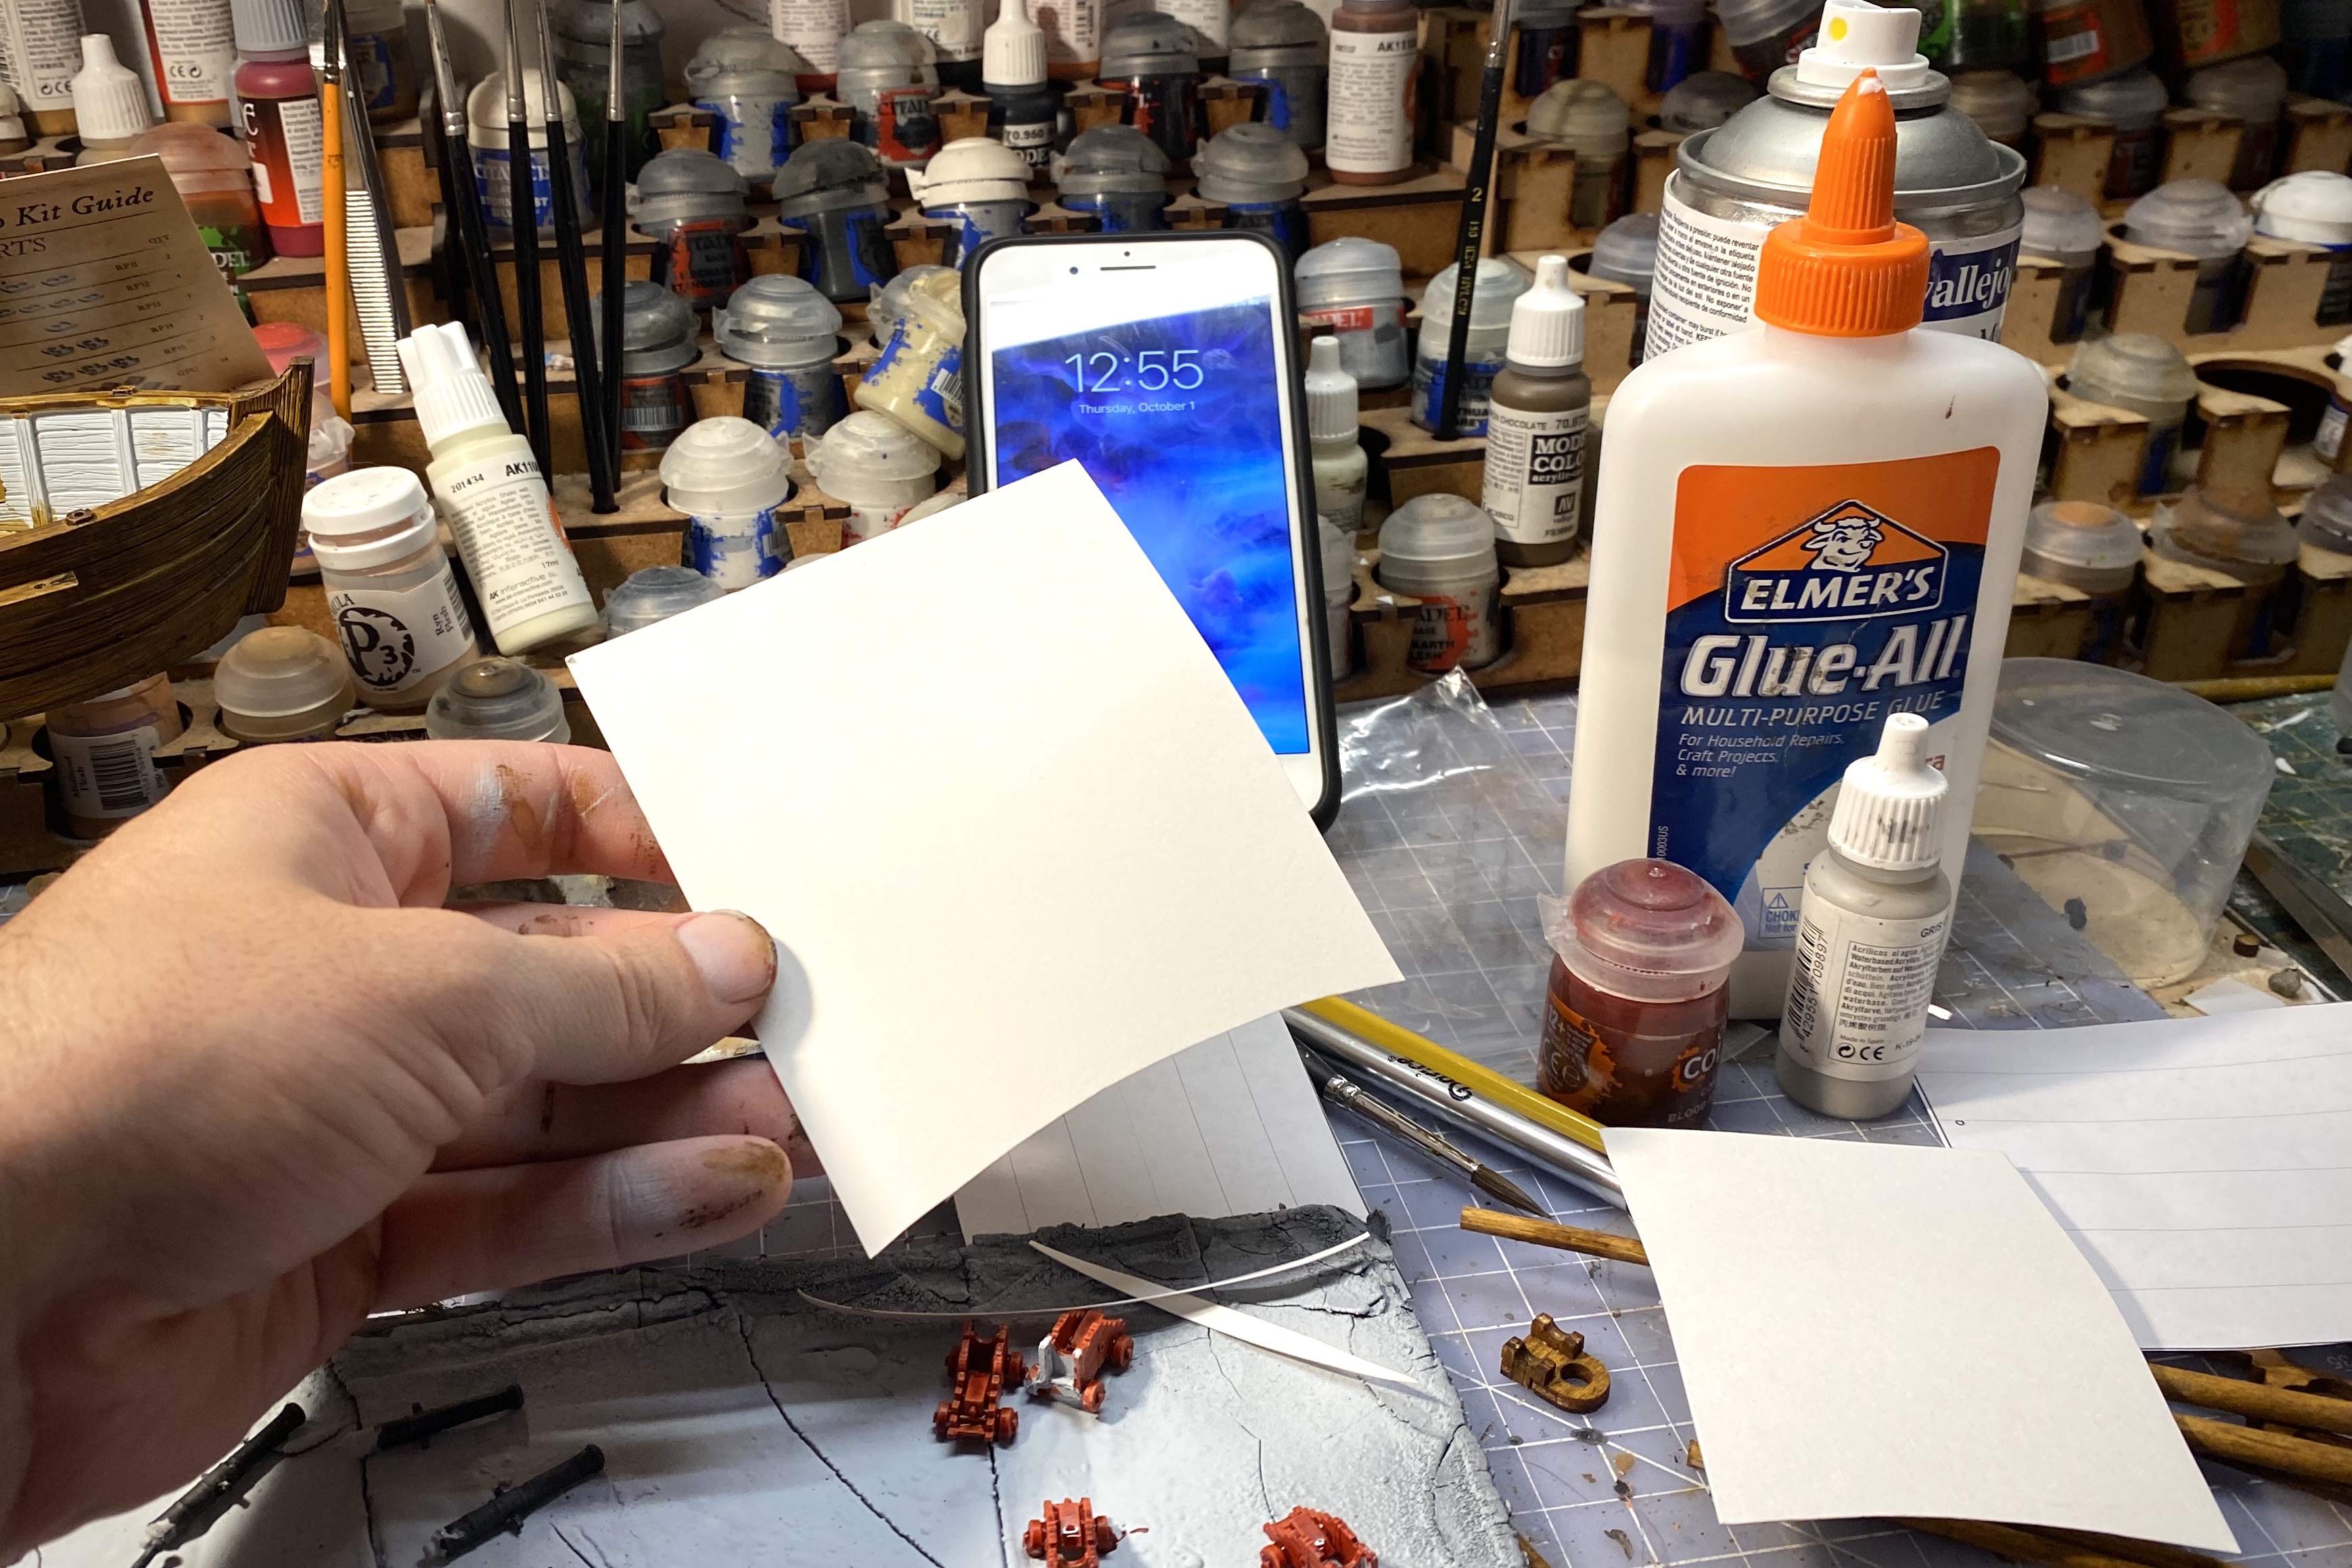
Step 14 – Prepare the Sails
The hull is still drying so we’ll prep the sails! You can print out the sail template on the Firelock Games download section here.

The absolutely simplest way is just print pages 2-3 of this sail document double sided on heavy paper and cut them out and use them. I didn’t have heavy paper that would work with my printer so I cut out these sails as templates.
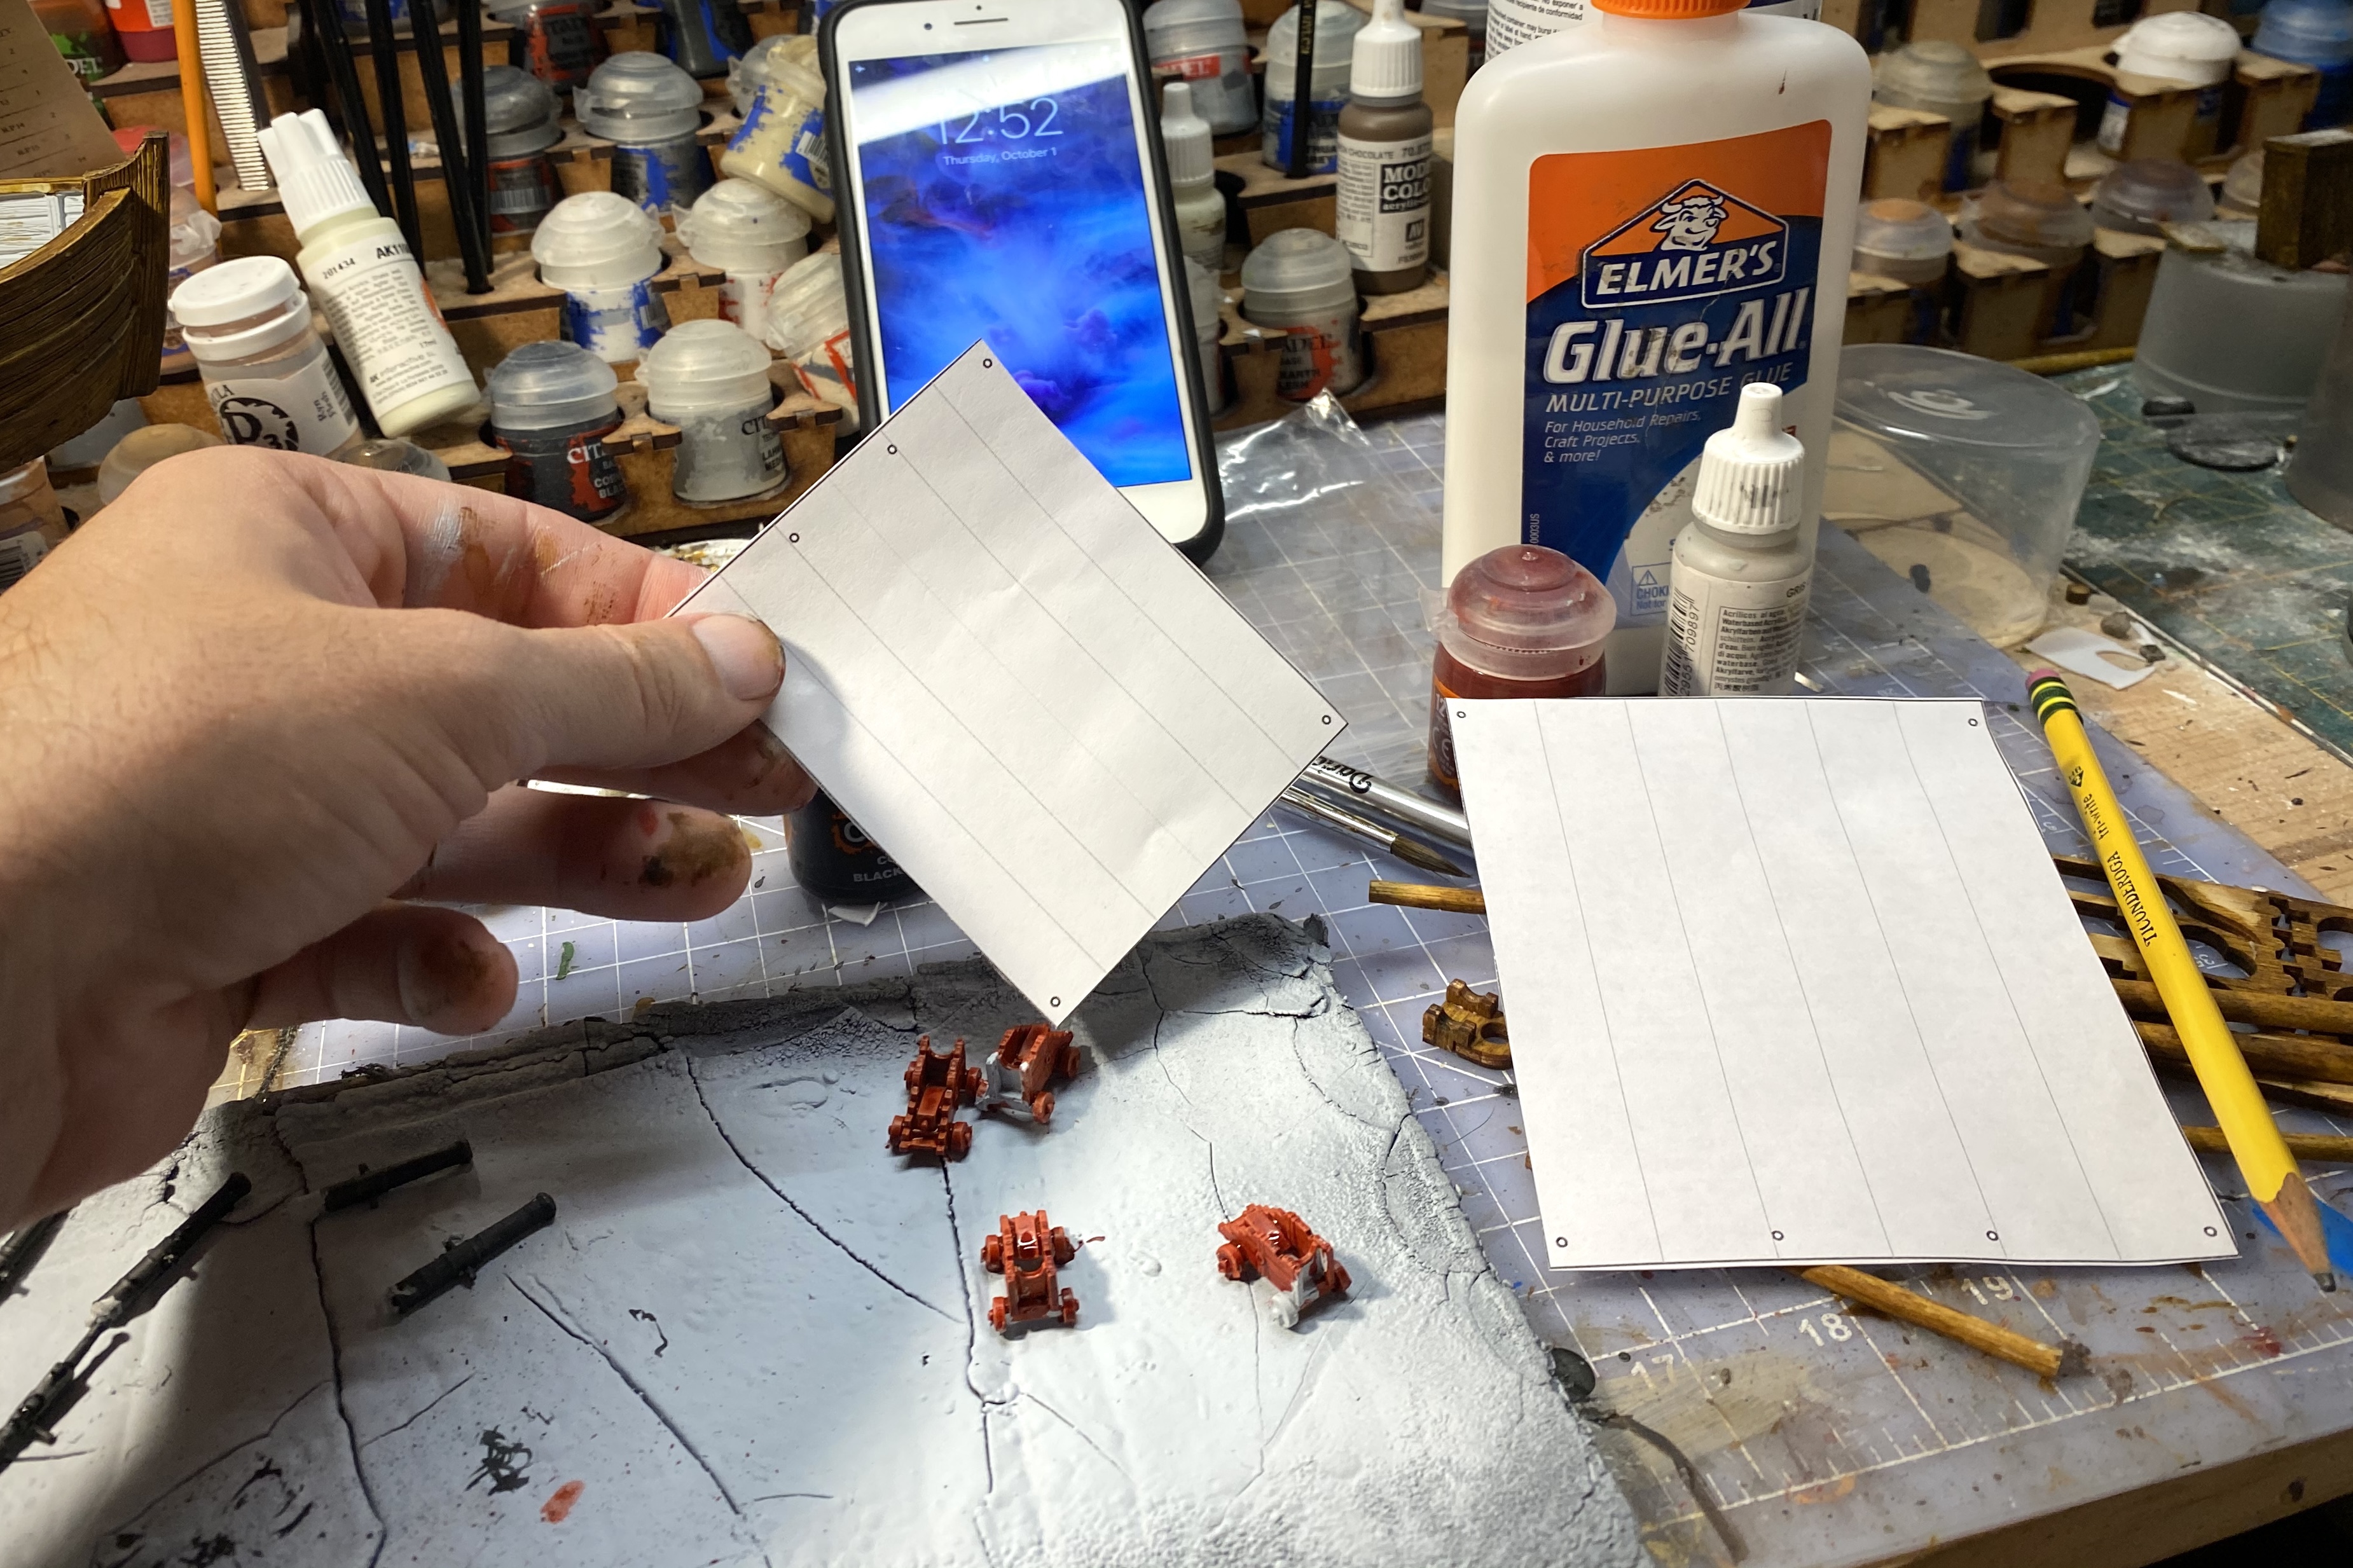
I then traced the size onto a sheet of 29 cent thin poster board (Hobby Lobby) and cut those out. Try to cut straight but don’t obsess yet. You’ll likely have to trim when after the masts are set.

I give the bottom some shape but you don’t need to.
You can also use sheets of flexible craft foam. Paper is the cheapest and simplist and you can find nice ivory or cream colors in the scrape book section of your local craft store. You can use a pen or pencil to add some vertical lines like the Firelock template has if you like. I went for simplicity and speed here and just used the plain ivory paper.
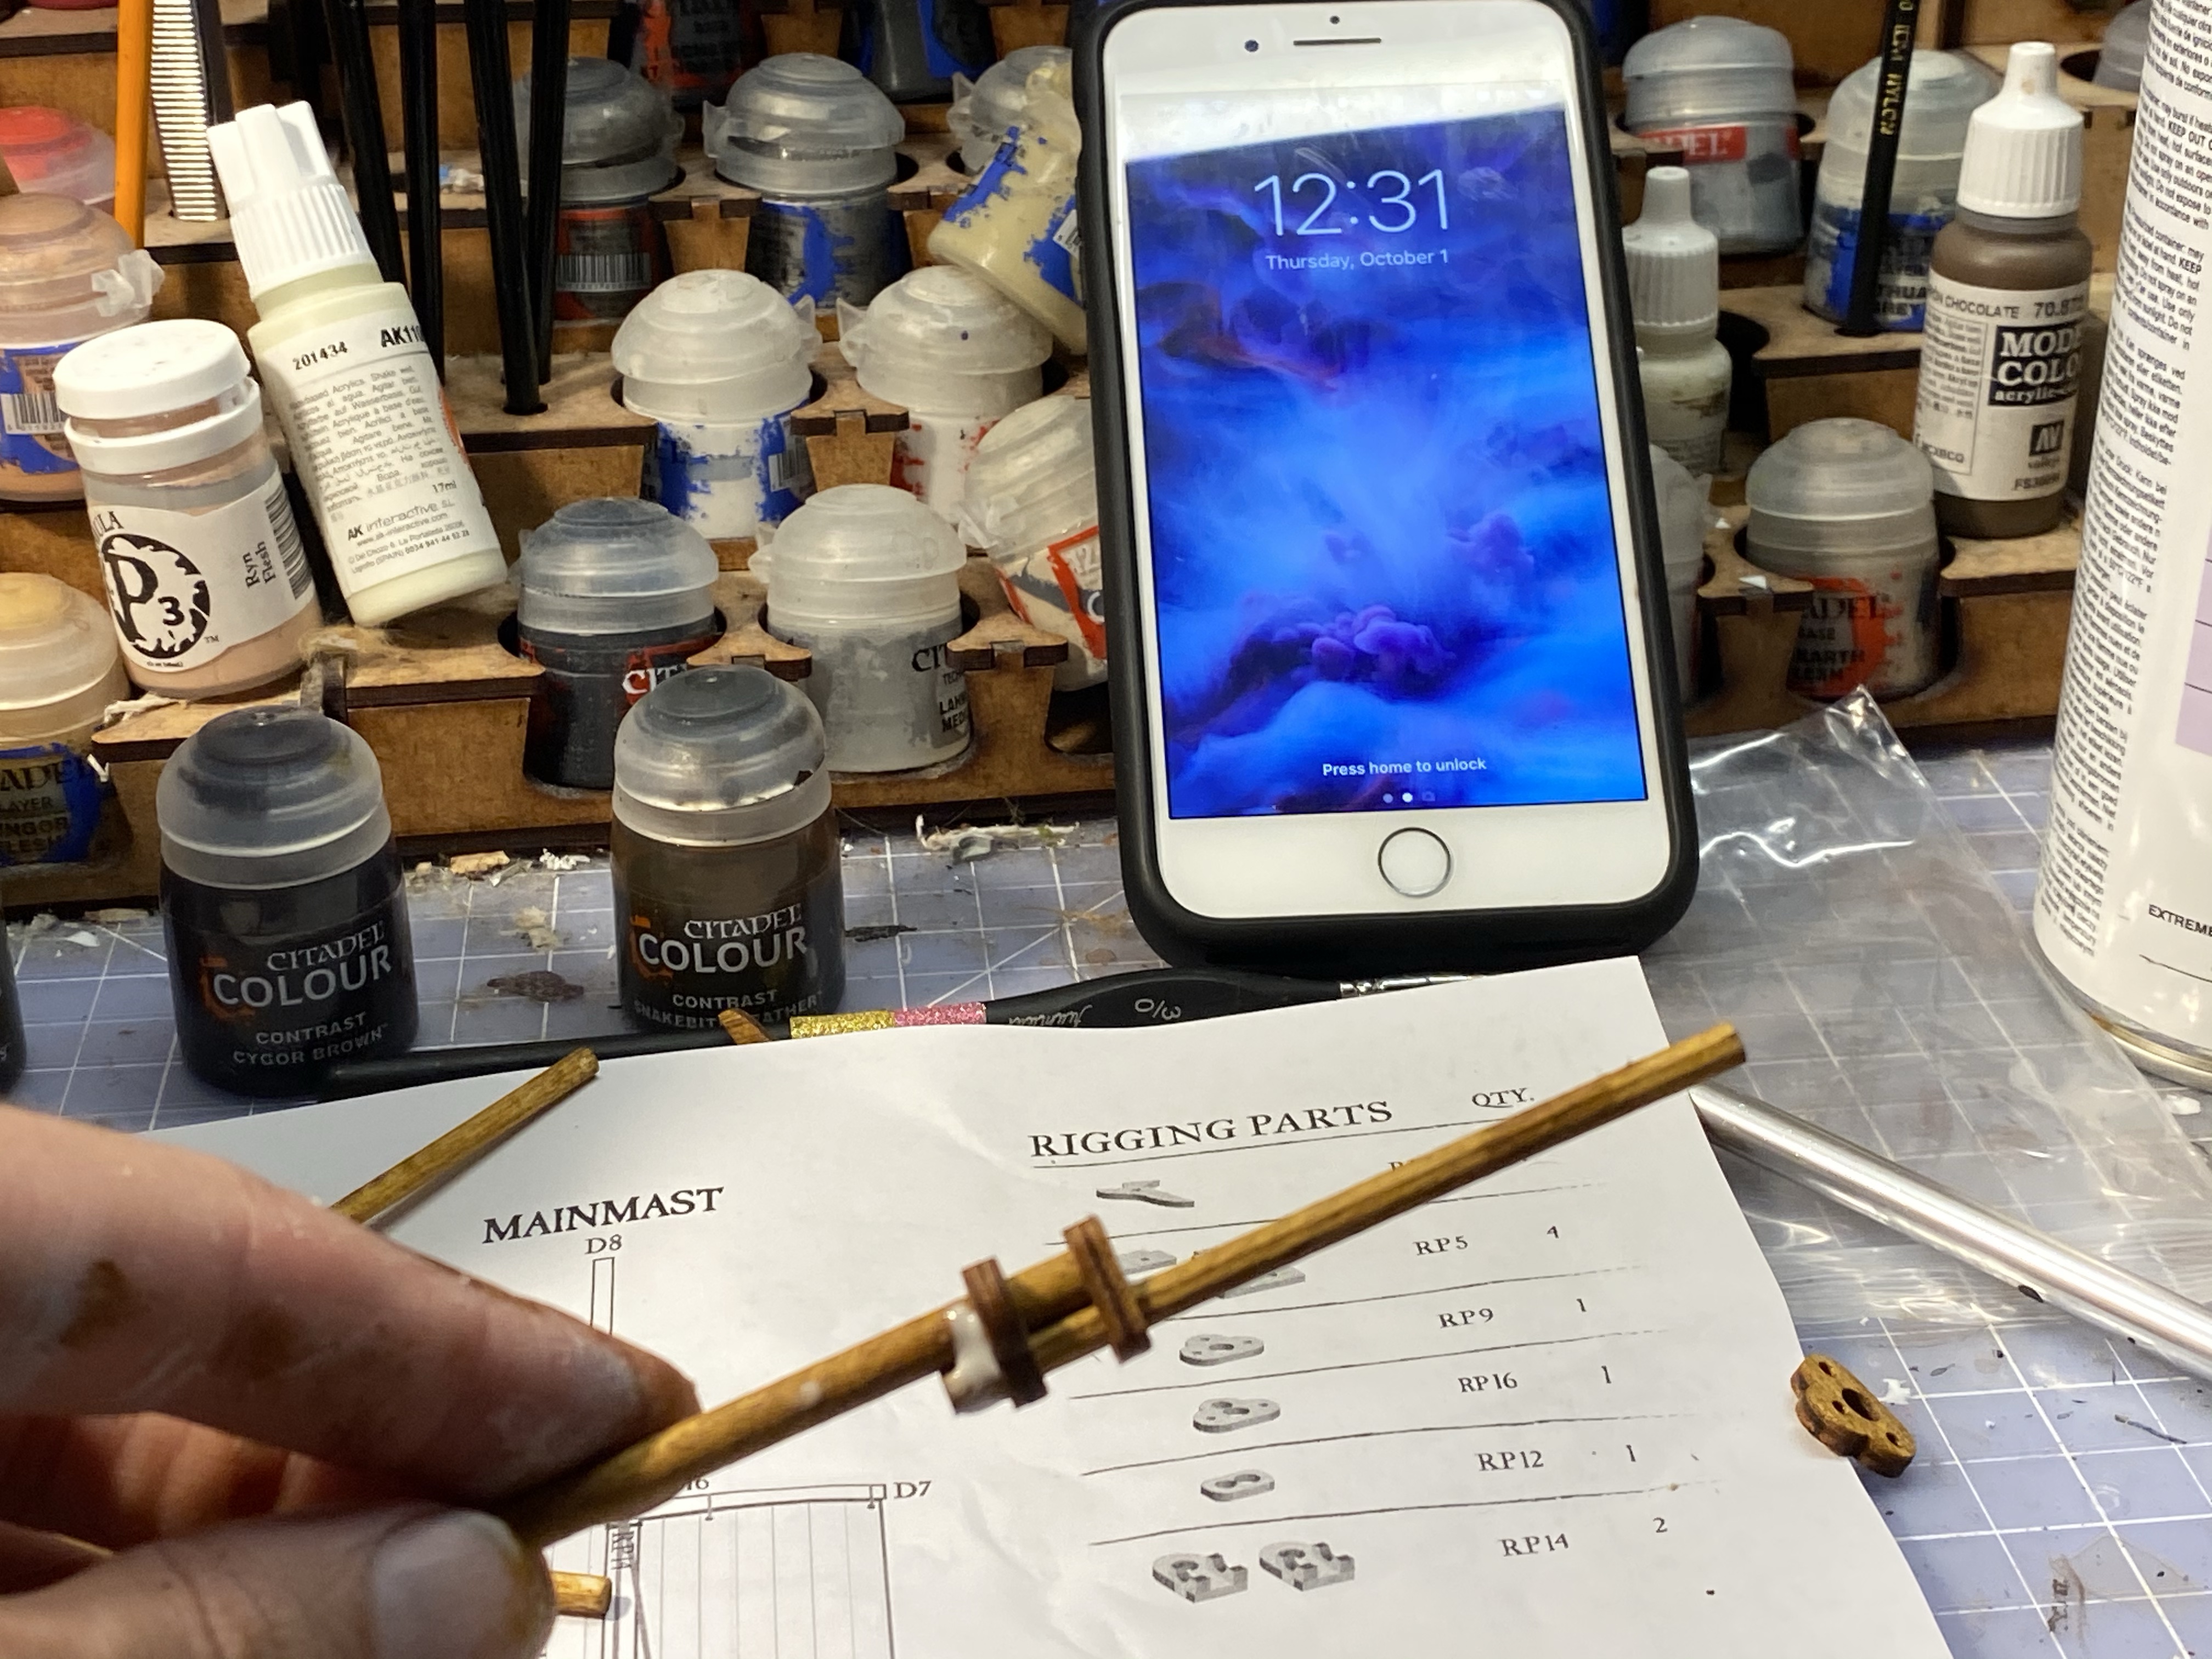
Step 15 – Attach the Spars and Finish the Bowsprit (for real this time)
You might have to resize these holes a little. Get the piece close to where you want it, apply some glue to the mast and then slide the piece over the glue.
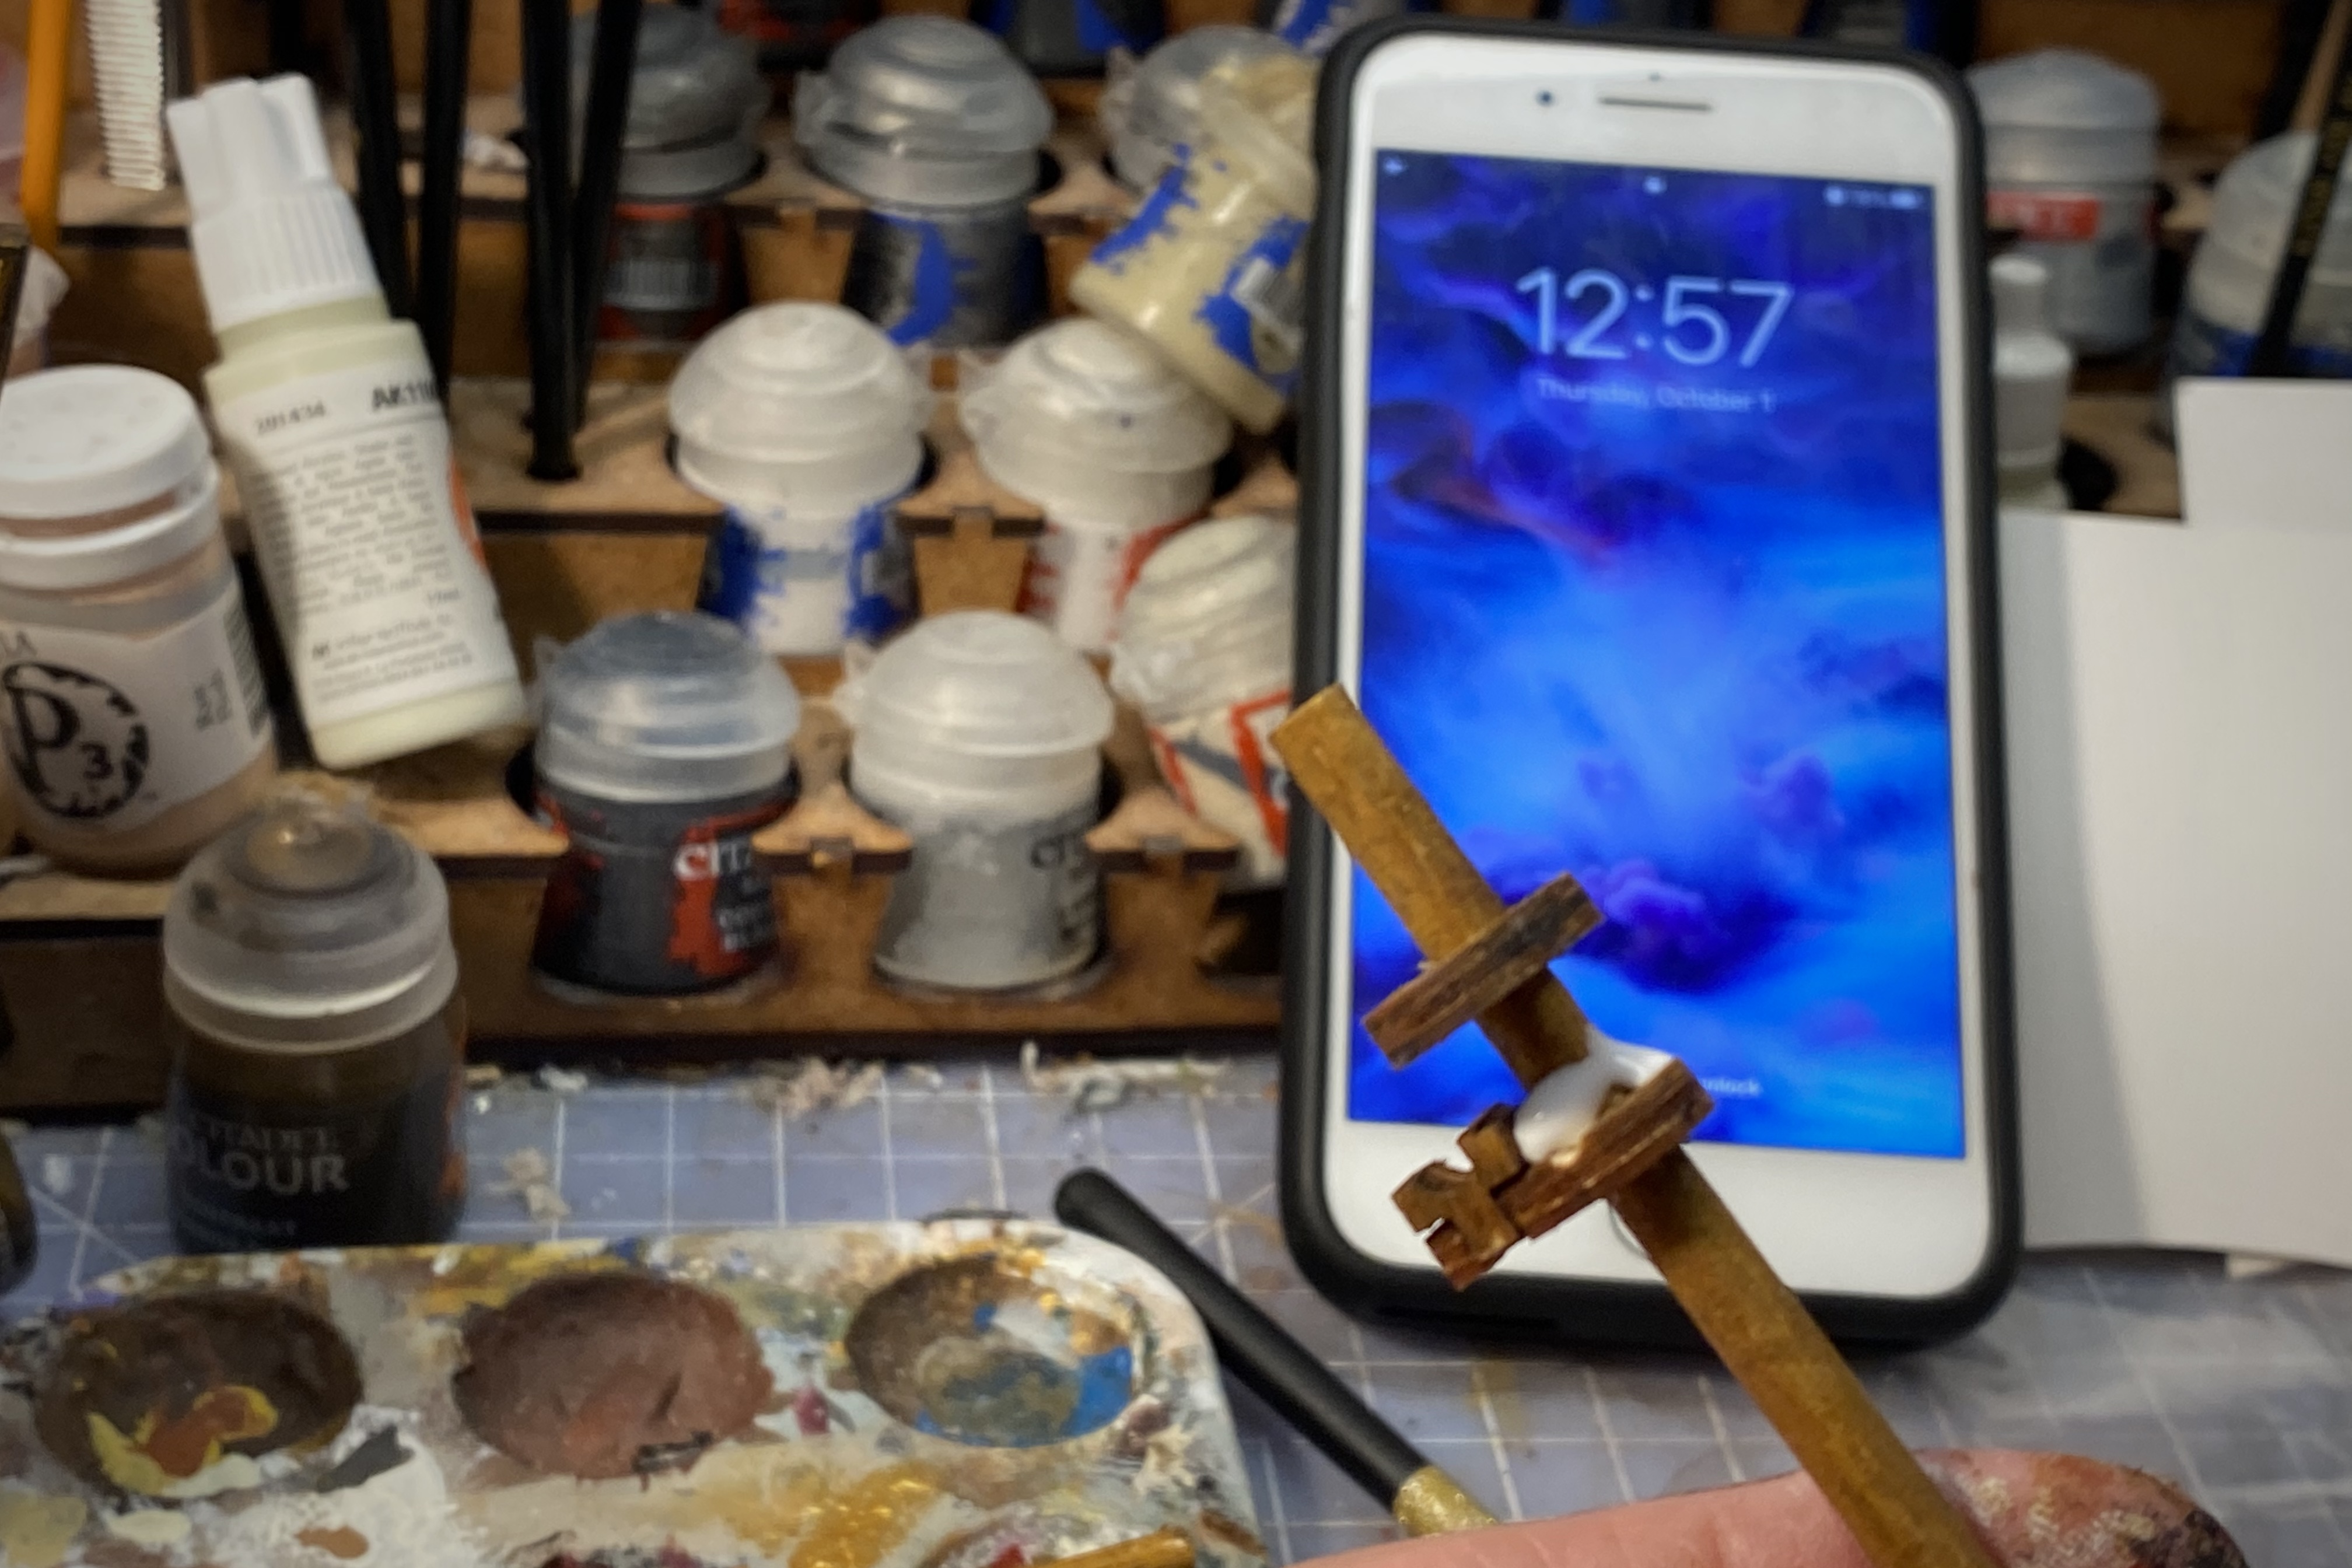
It’s now been 10 minutes since we applied the glue to the end of the bowsprit. It’s nice and tacky and you can attack the vertical flag staff bit. Find a way to balance the bowsprit so it doesn’t fall off while it dries.
Be careful to set the spars nice and straight while they dry.
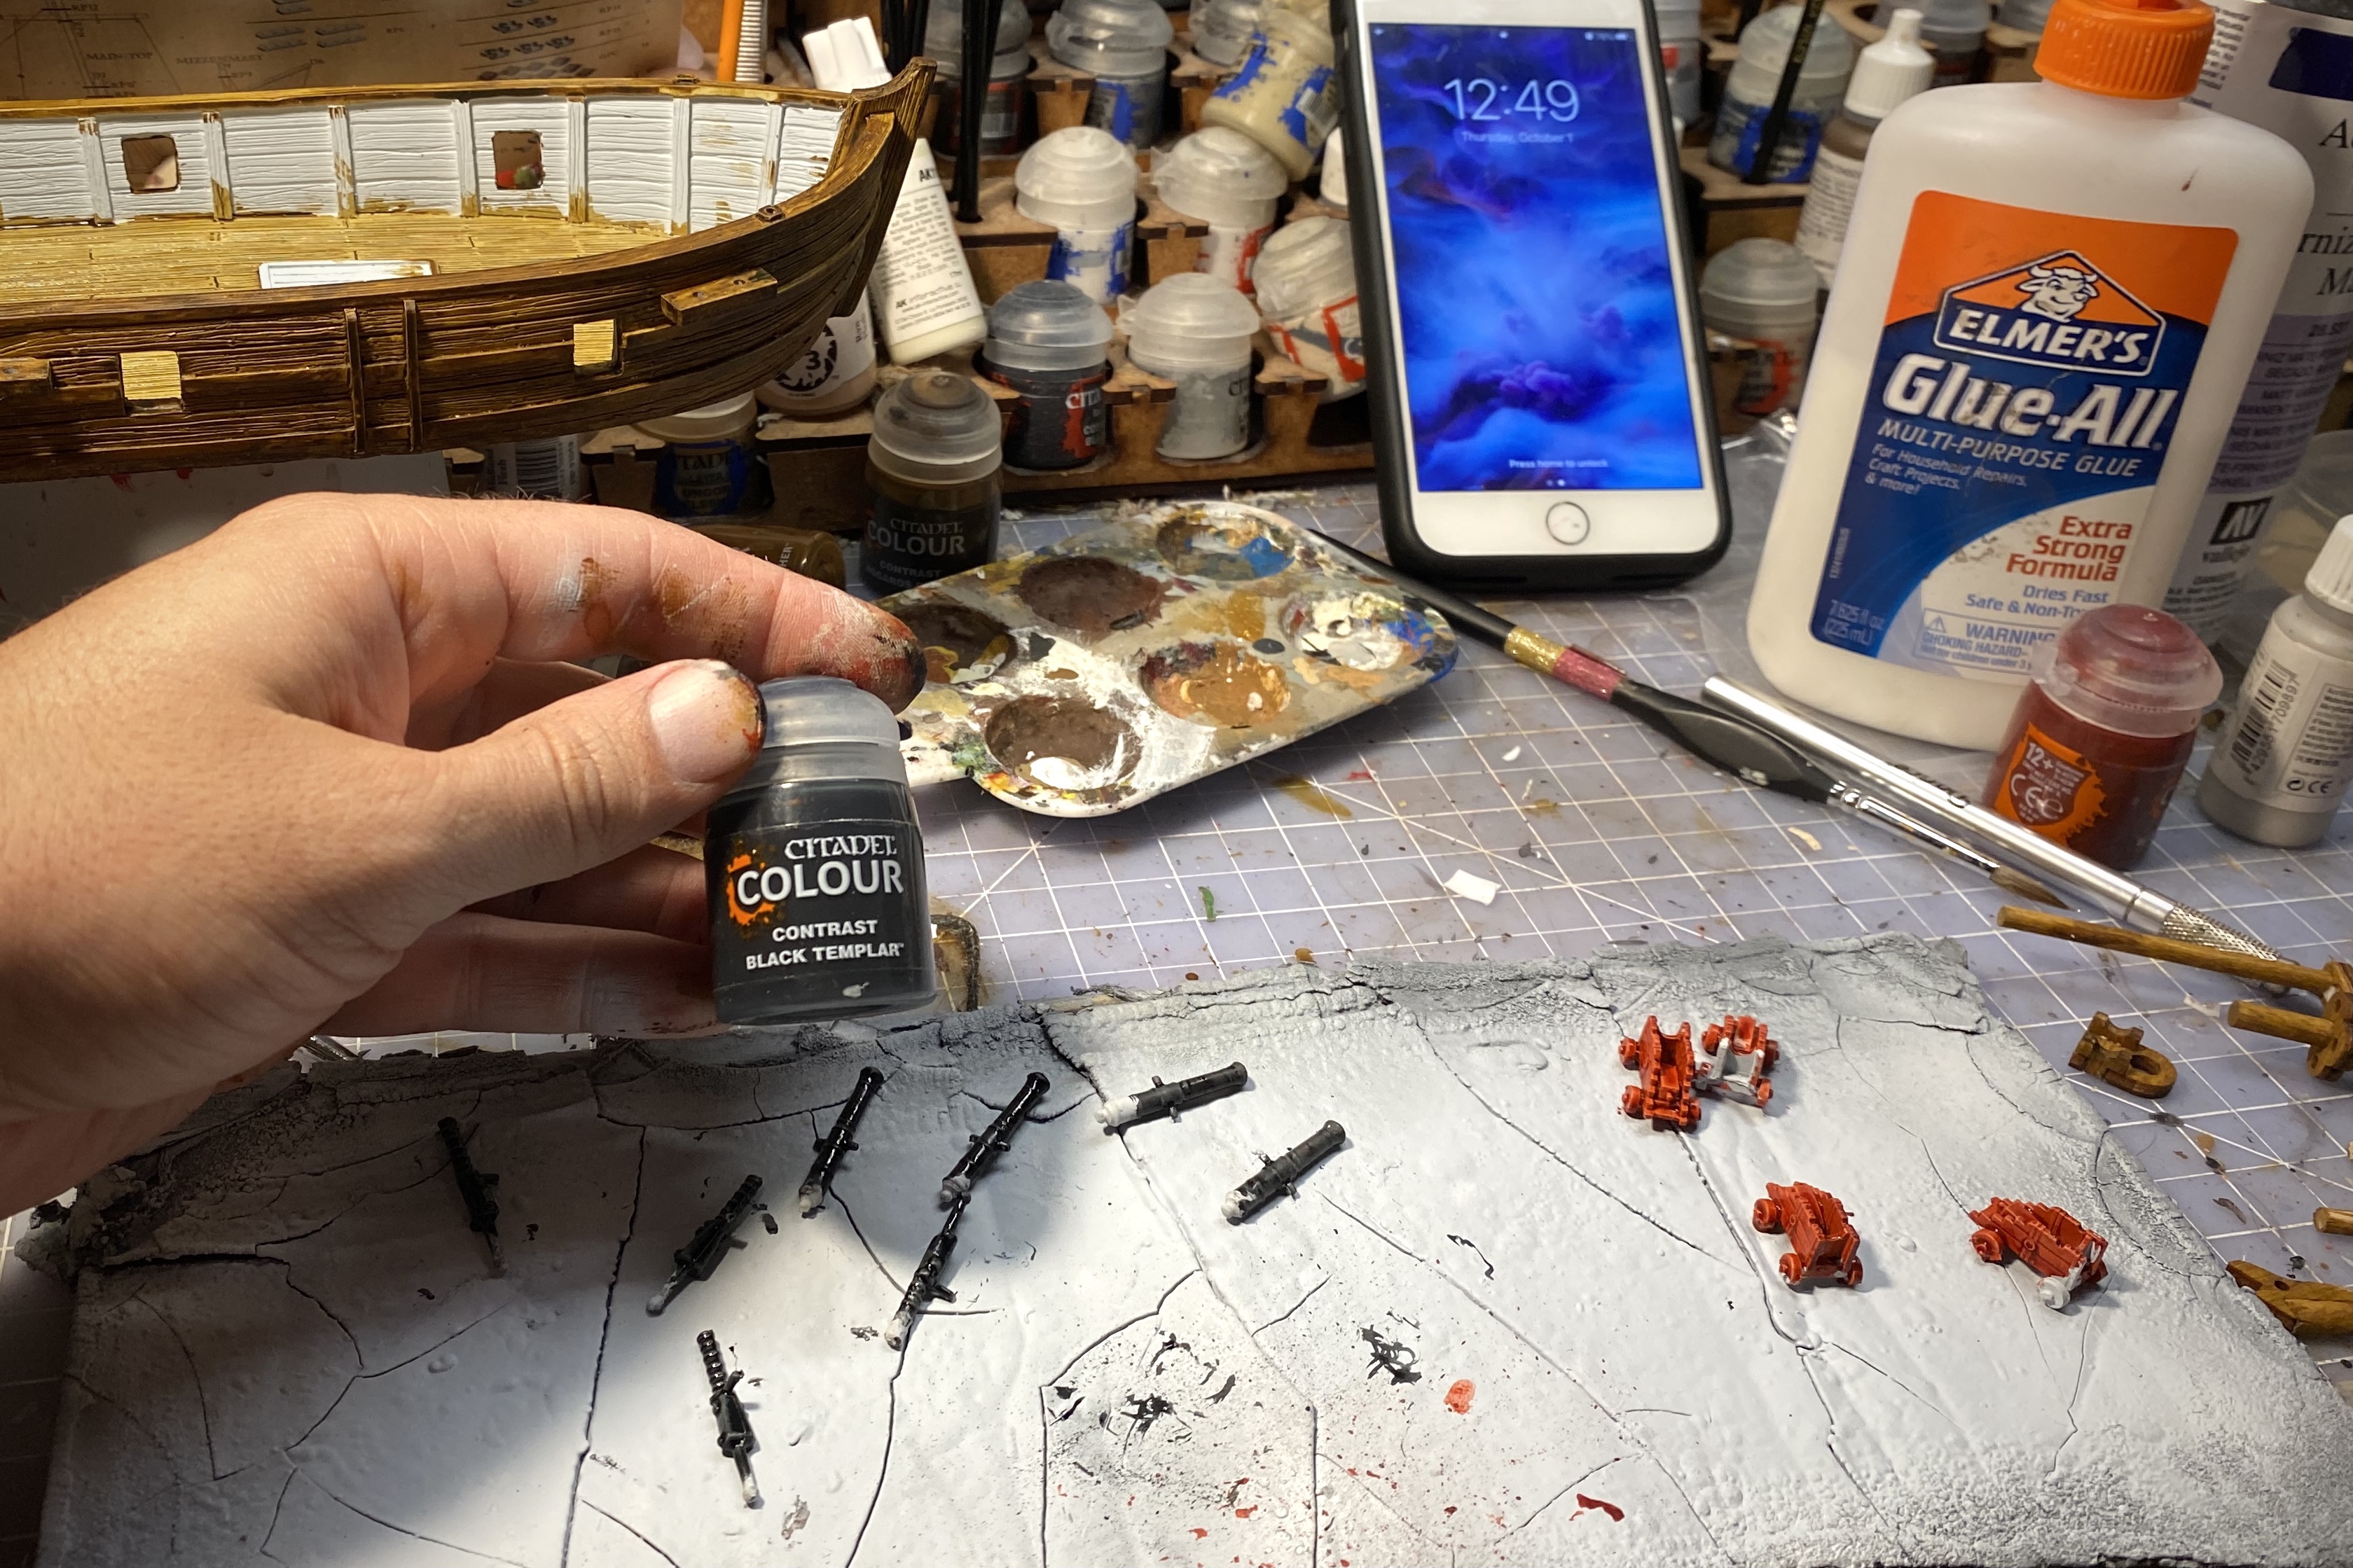
Step 16 – Finish the Cannons
Using the red and black, got back and complete the pieces of the cannons and carriages that couldn’t be hit on the first pass.
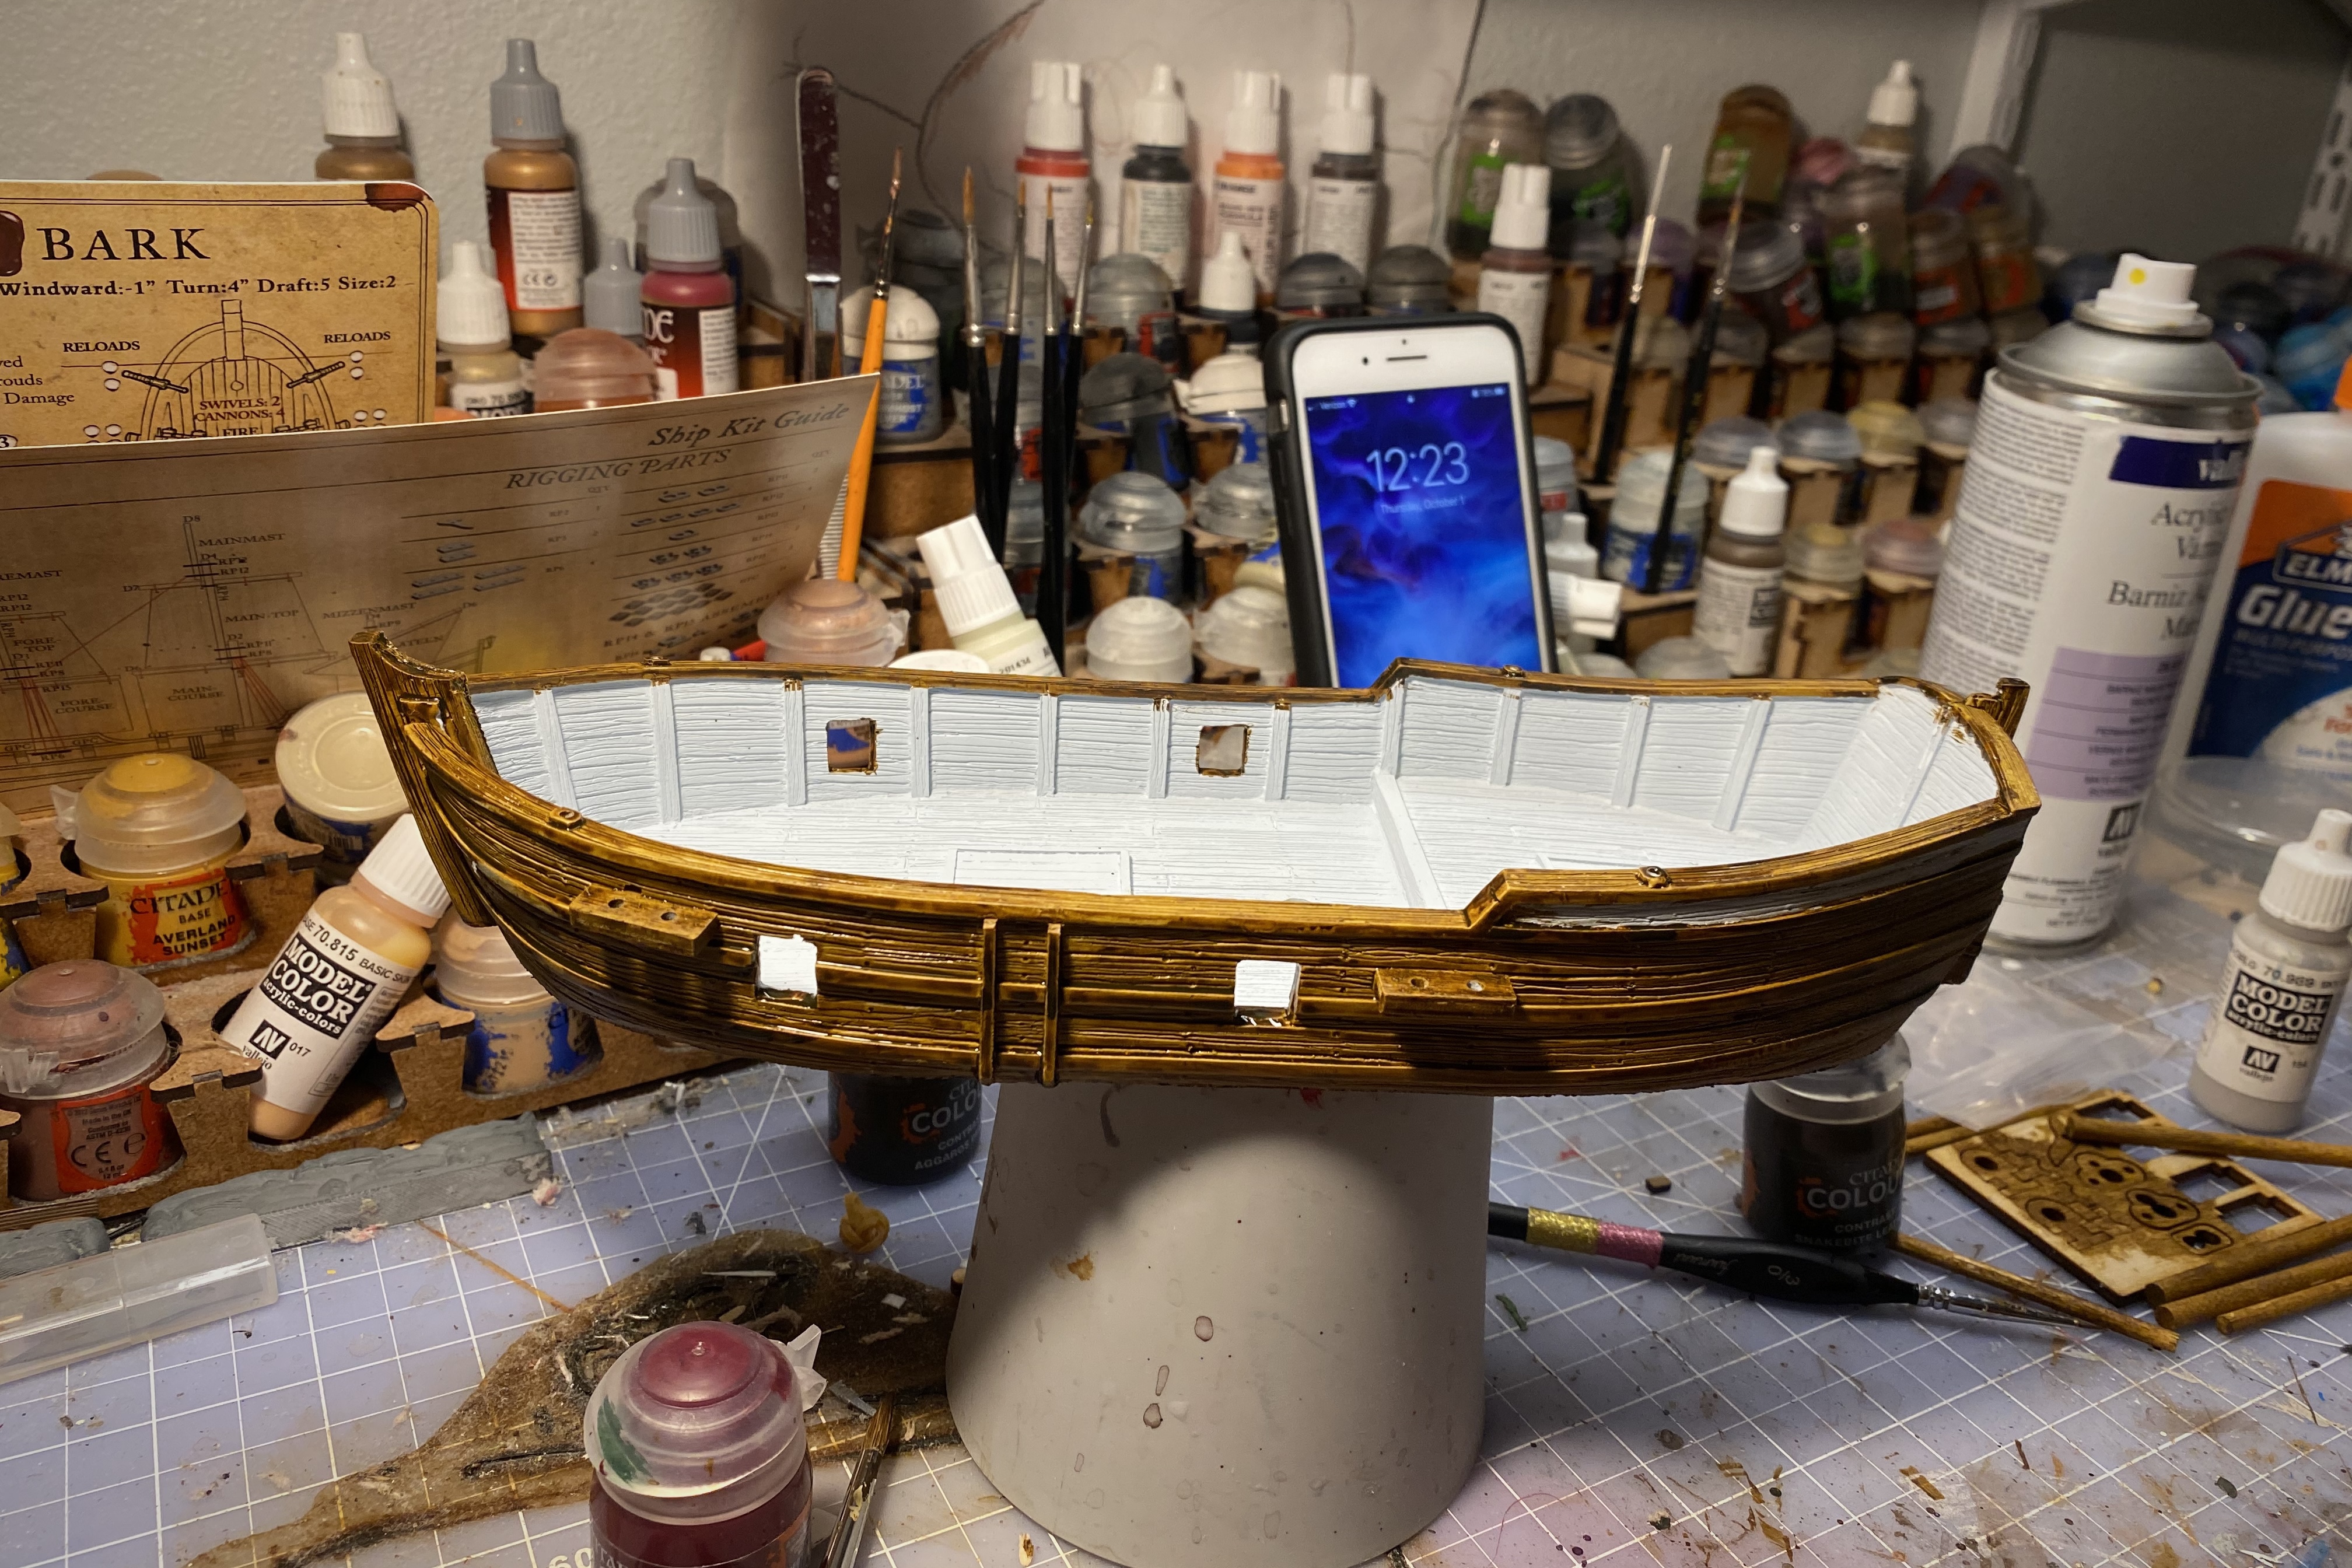
Step 17 – Paint the Interior Walls
This was the most time consuming step. Getting an even coat without letting it bleed onto the deck was difficult. Painting both sides of every rib took a long time!
I used Cygor Brown here which is much darker than the exterior Snakebite Leather. You could concievably swap sections and do the exterior dark and the enterior light, or save money and do both areas the same color!
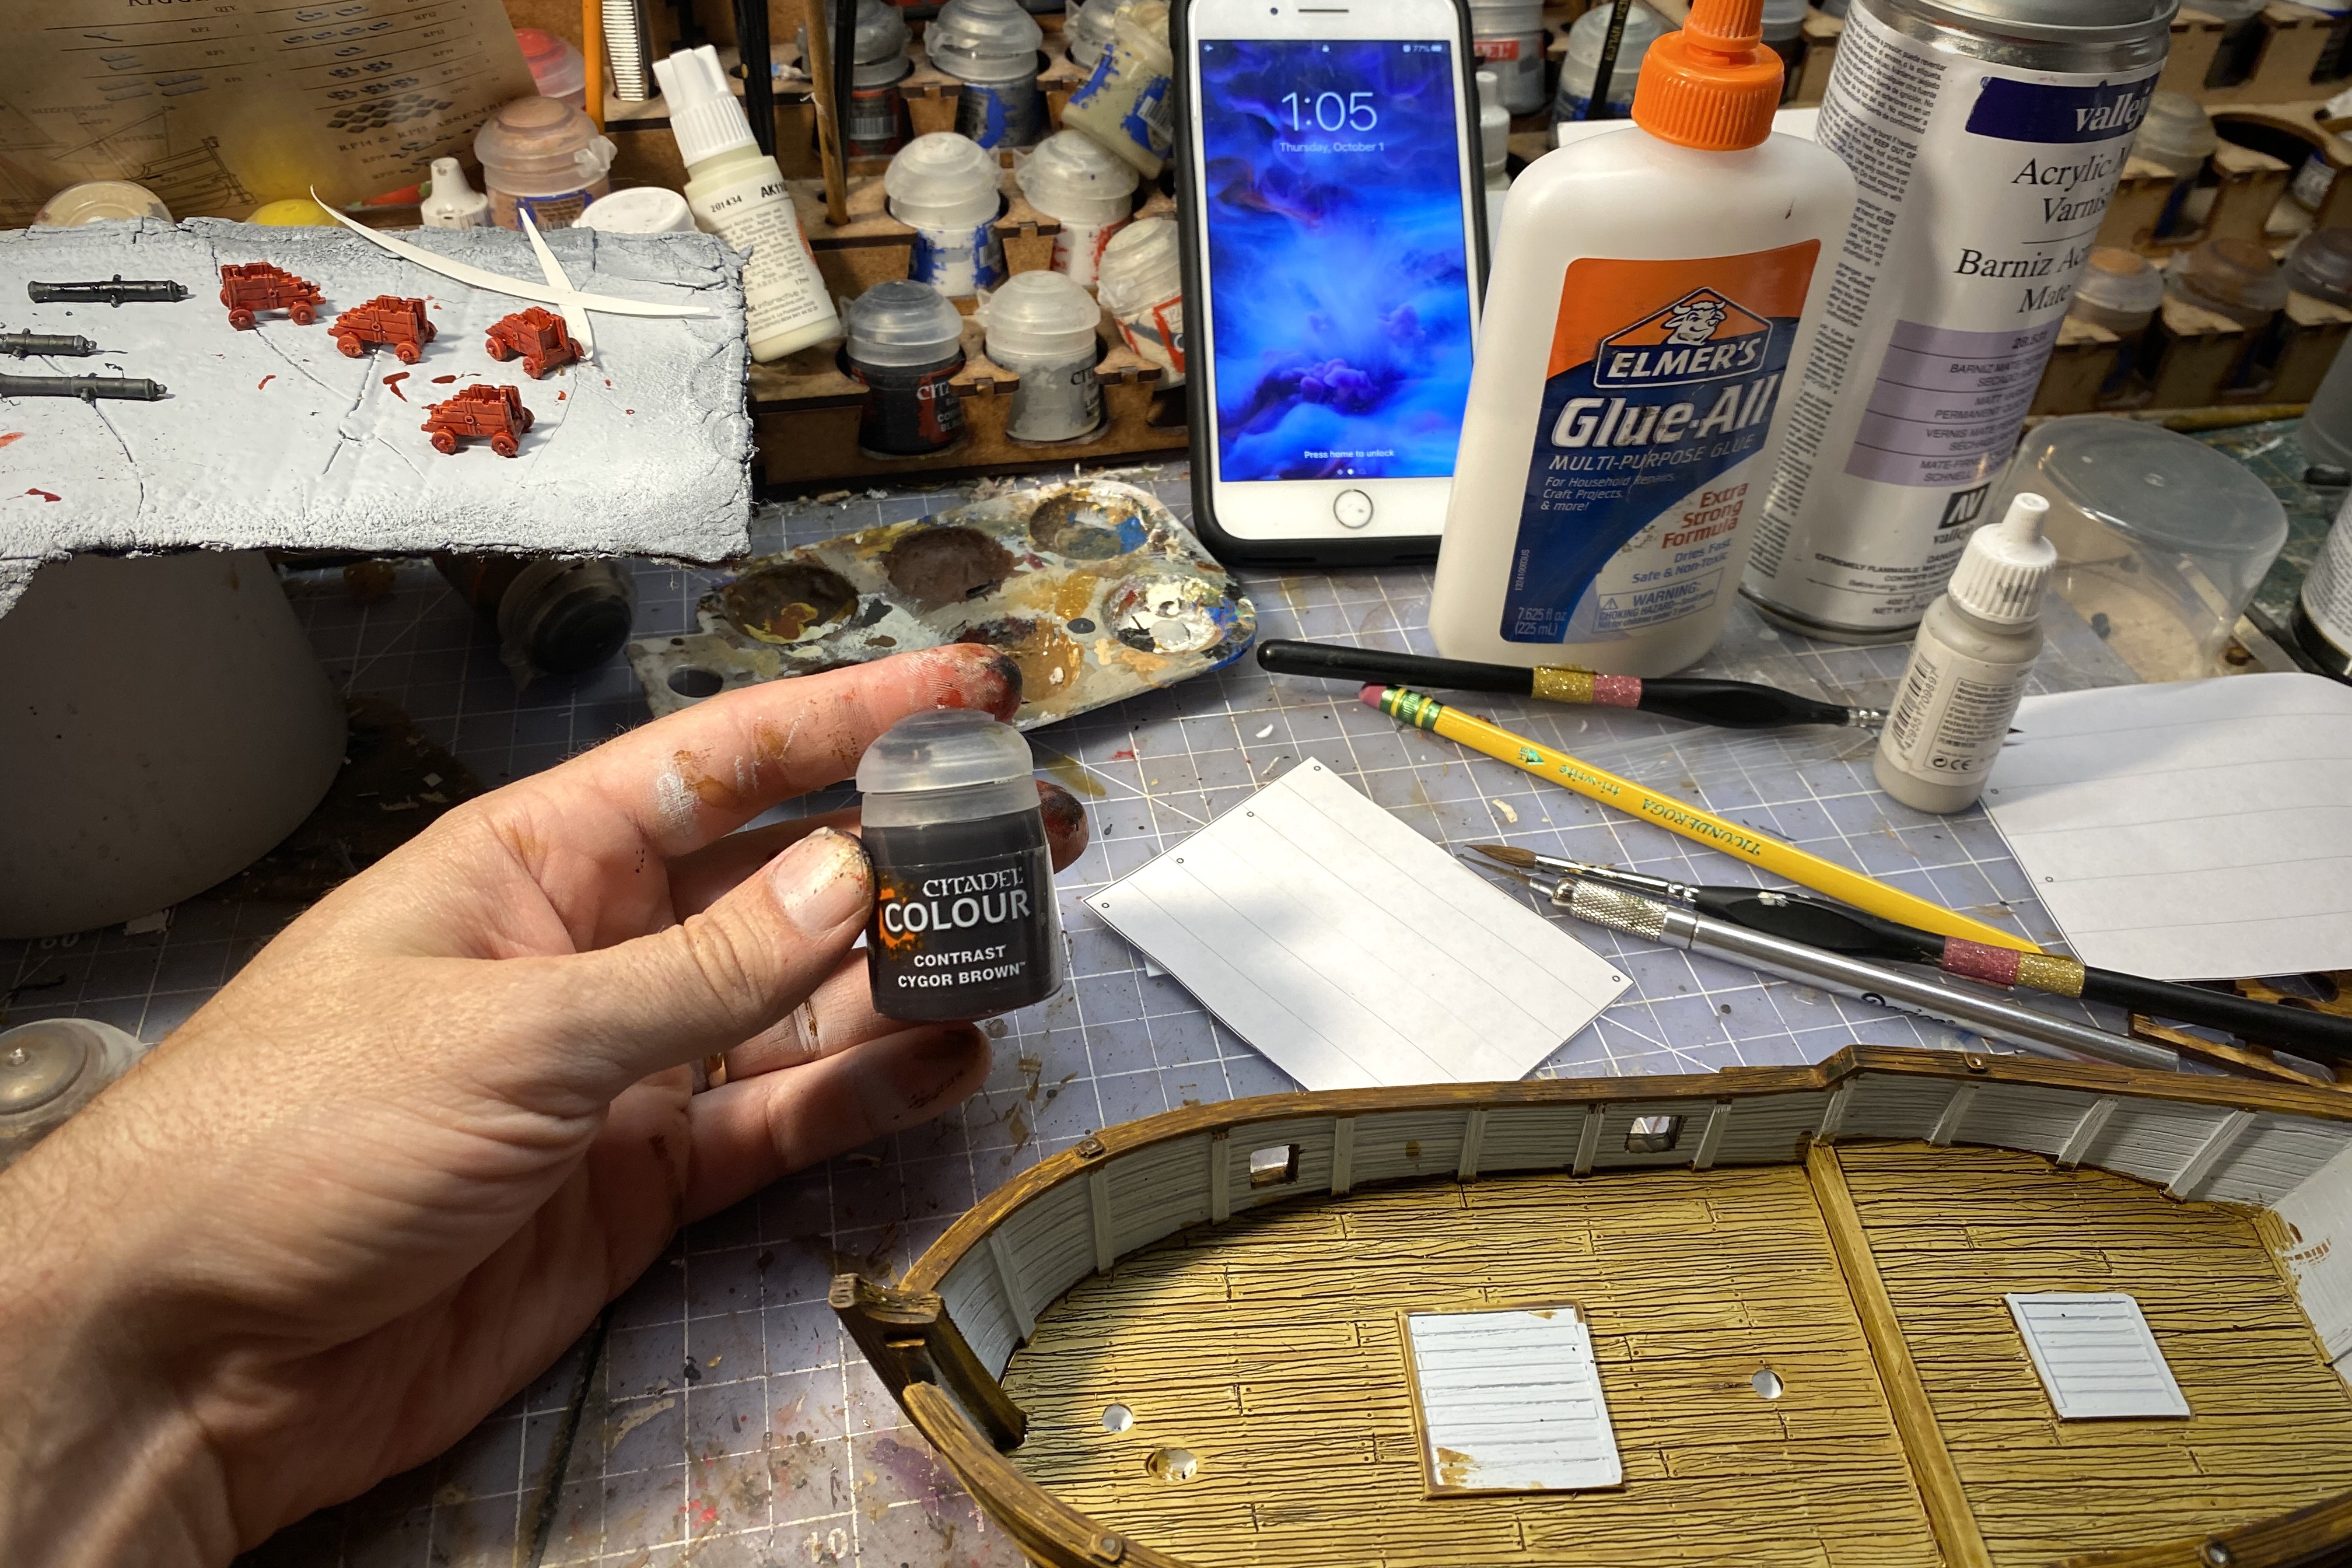
This took me 17 minutes!
I let this dry upside down so the thin paint didn’t pool near the deck and bleed into the light colored decking.

Step 18 – Assemble the Cannons
I put a drop of glue on both posts and two center contact points of each barrel.

One minute and done!
Step 19 – Paint the Deck Hatches
I used Snakebite Leather here again for the hatches. You could just paint them the same color as the decking but I find some contrast nice.
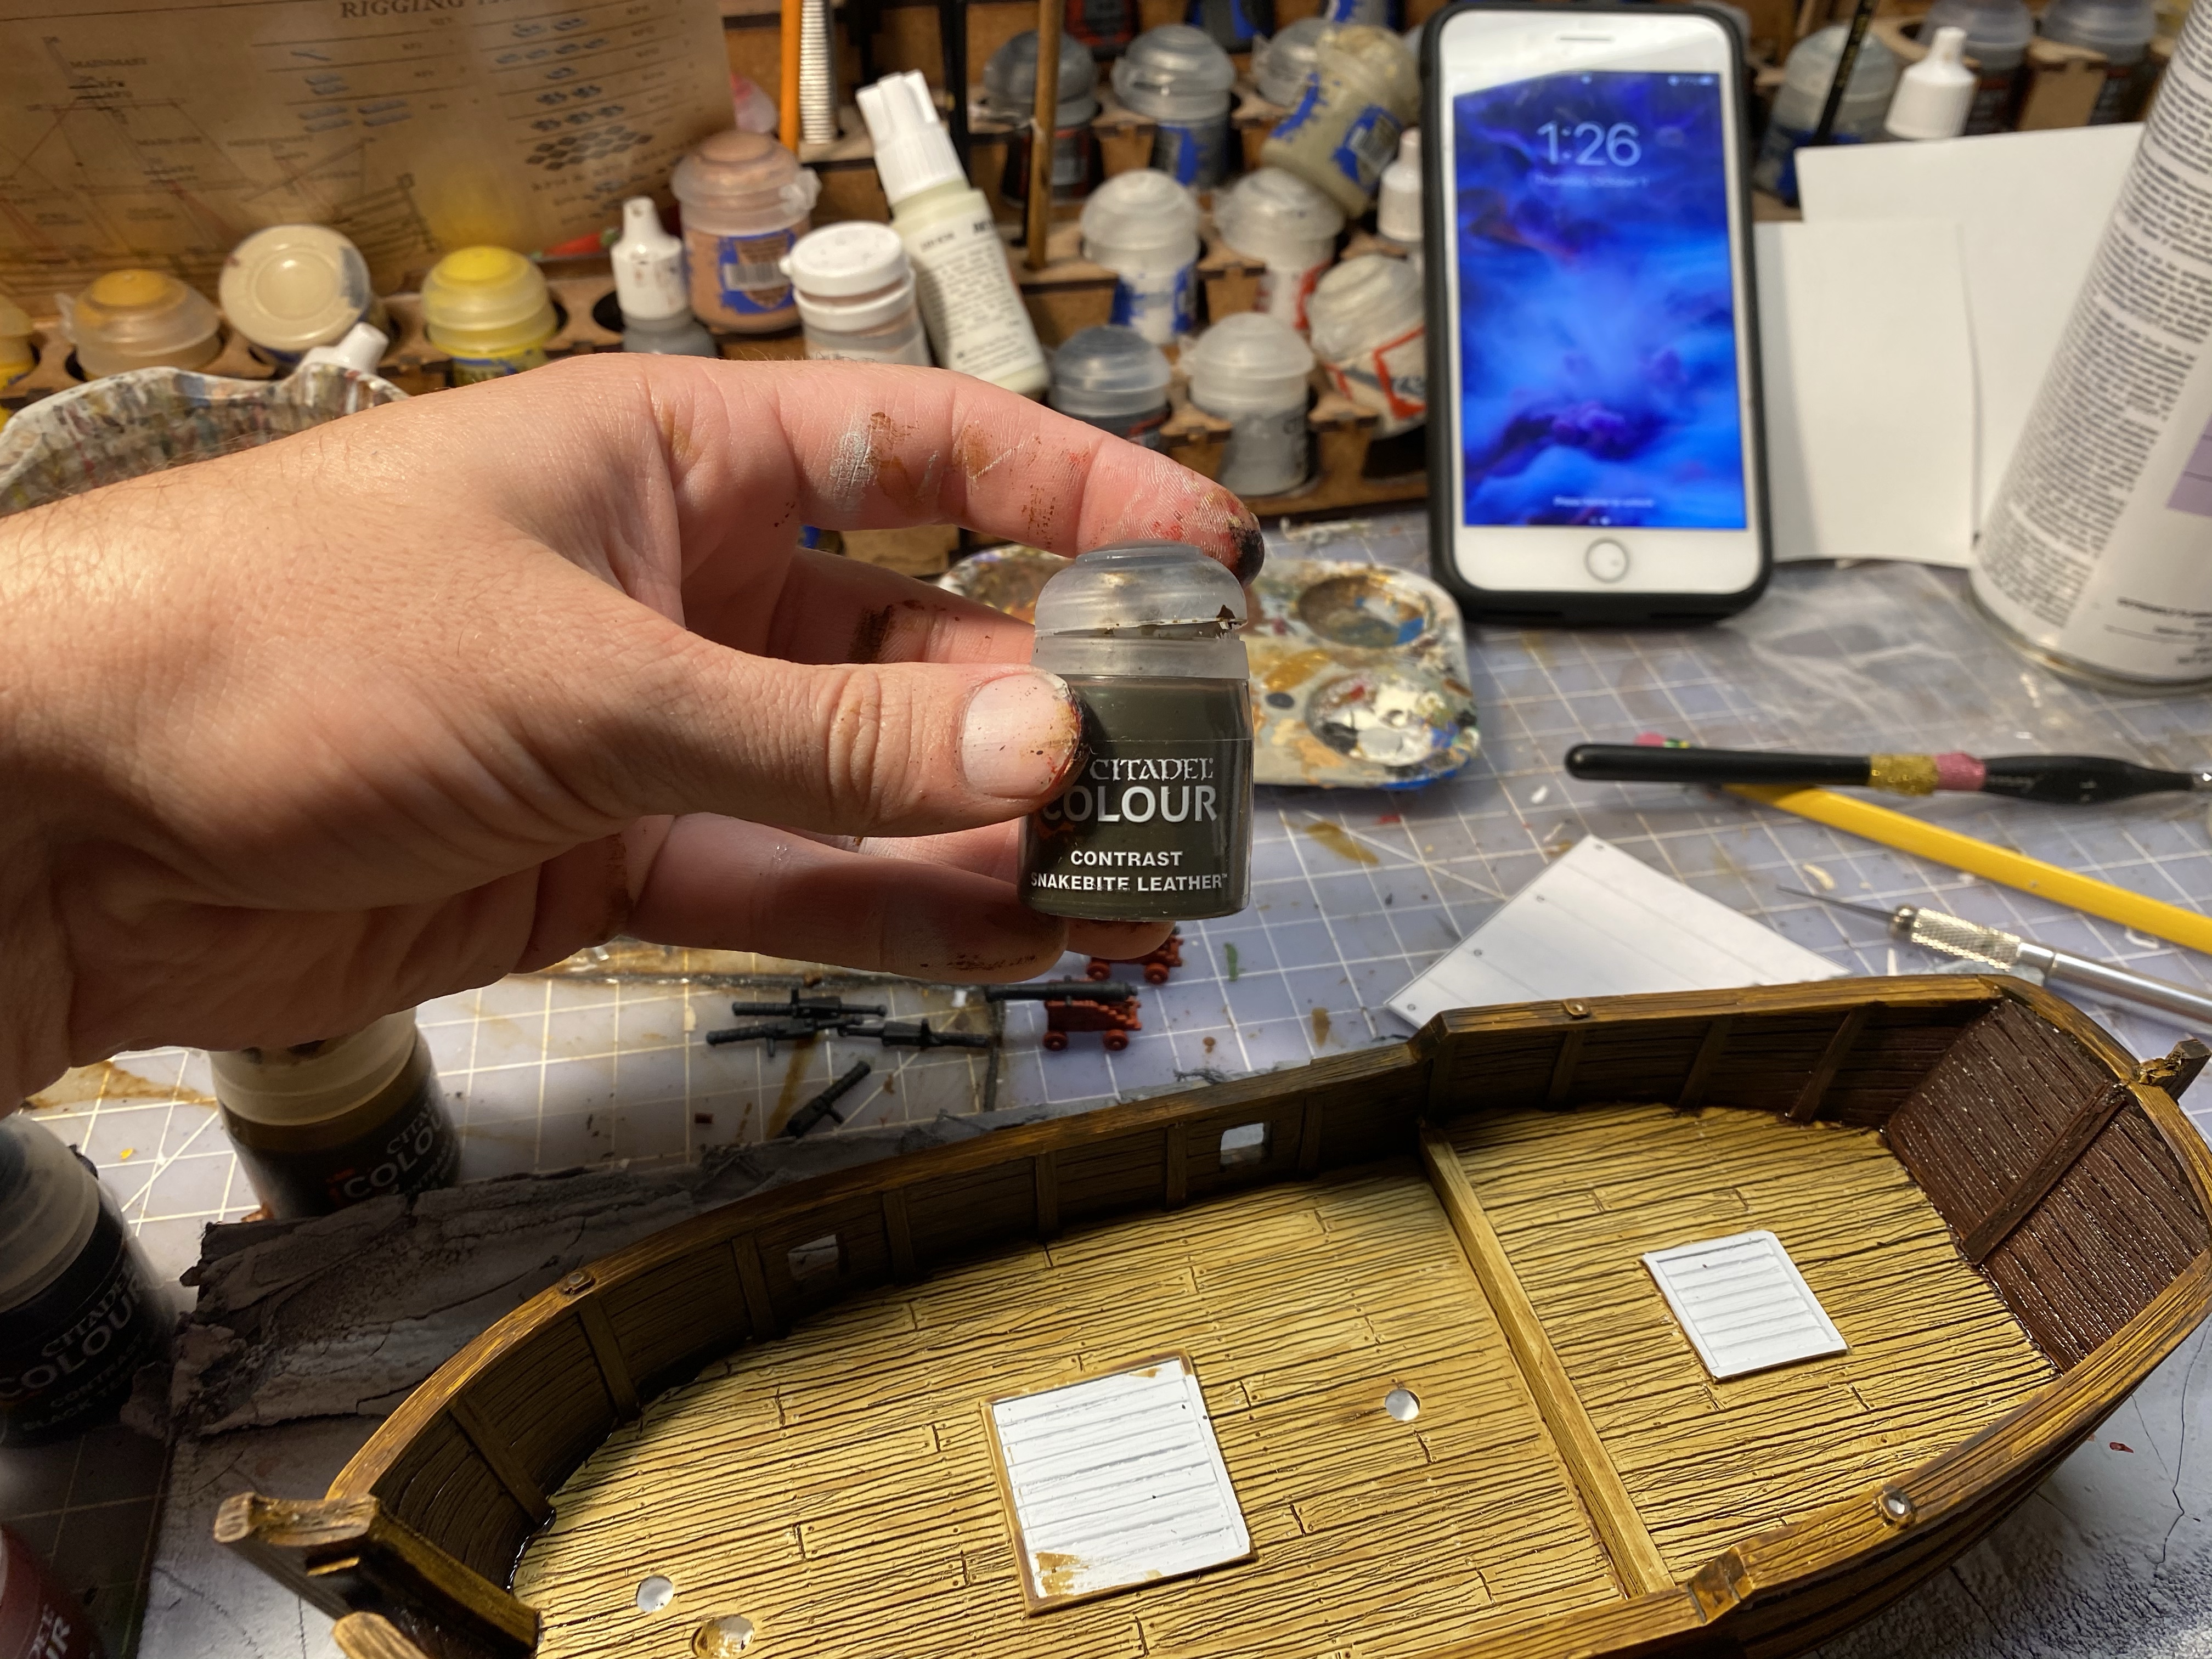
Use one of your smaller brushes for the edges where the hatch meets the deck. This takes a little care and time.
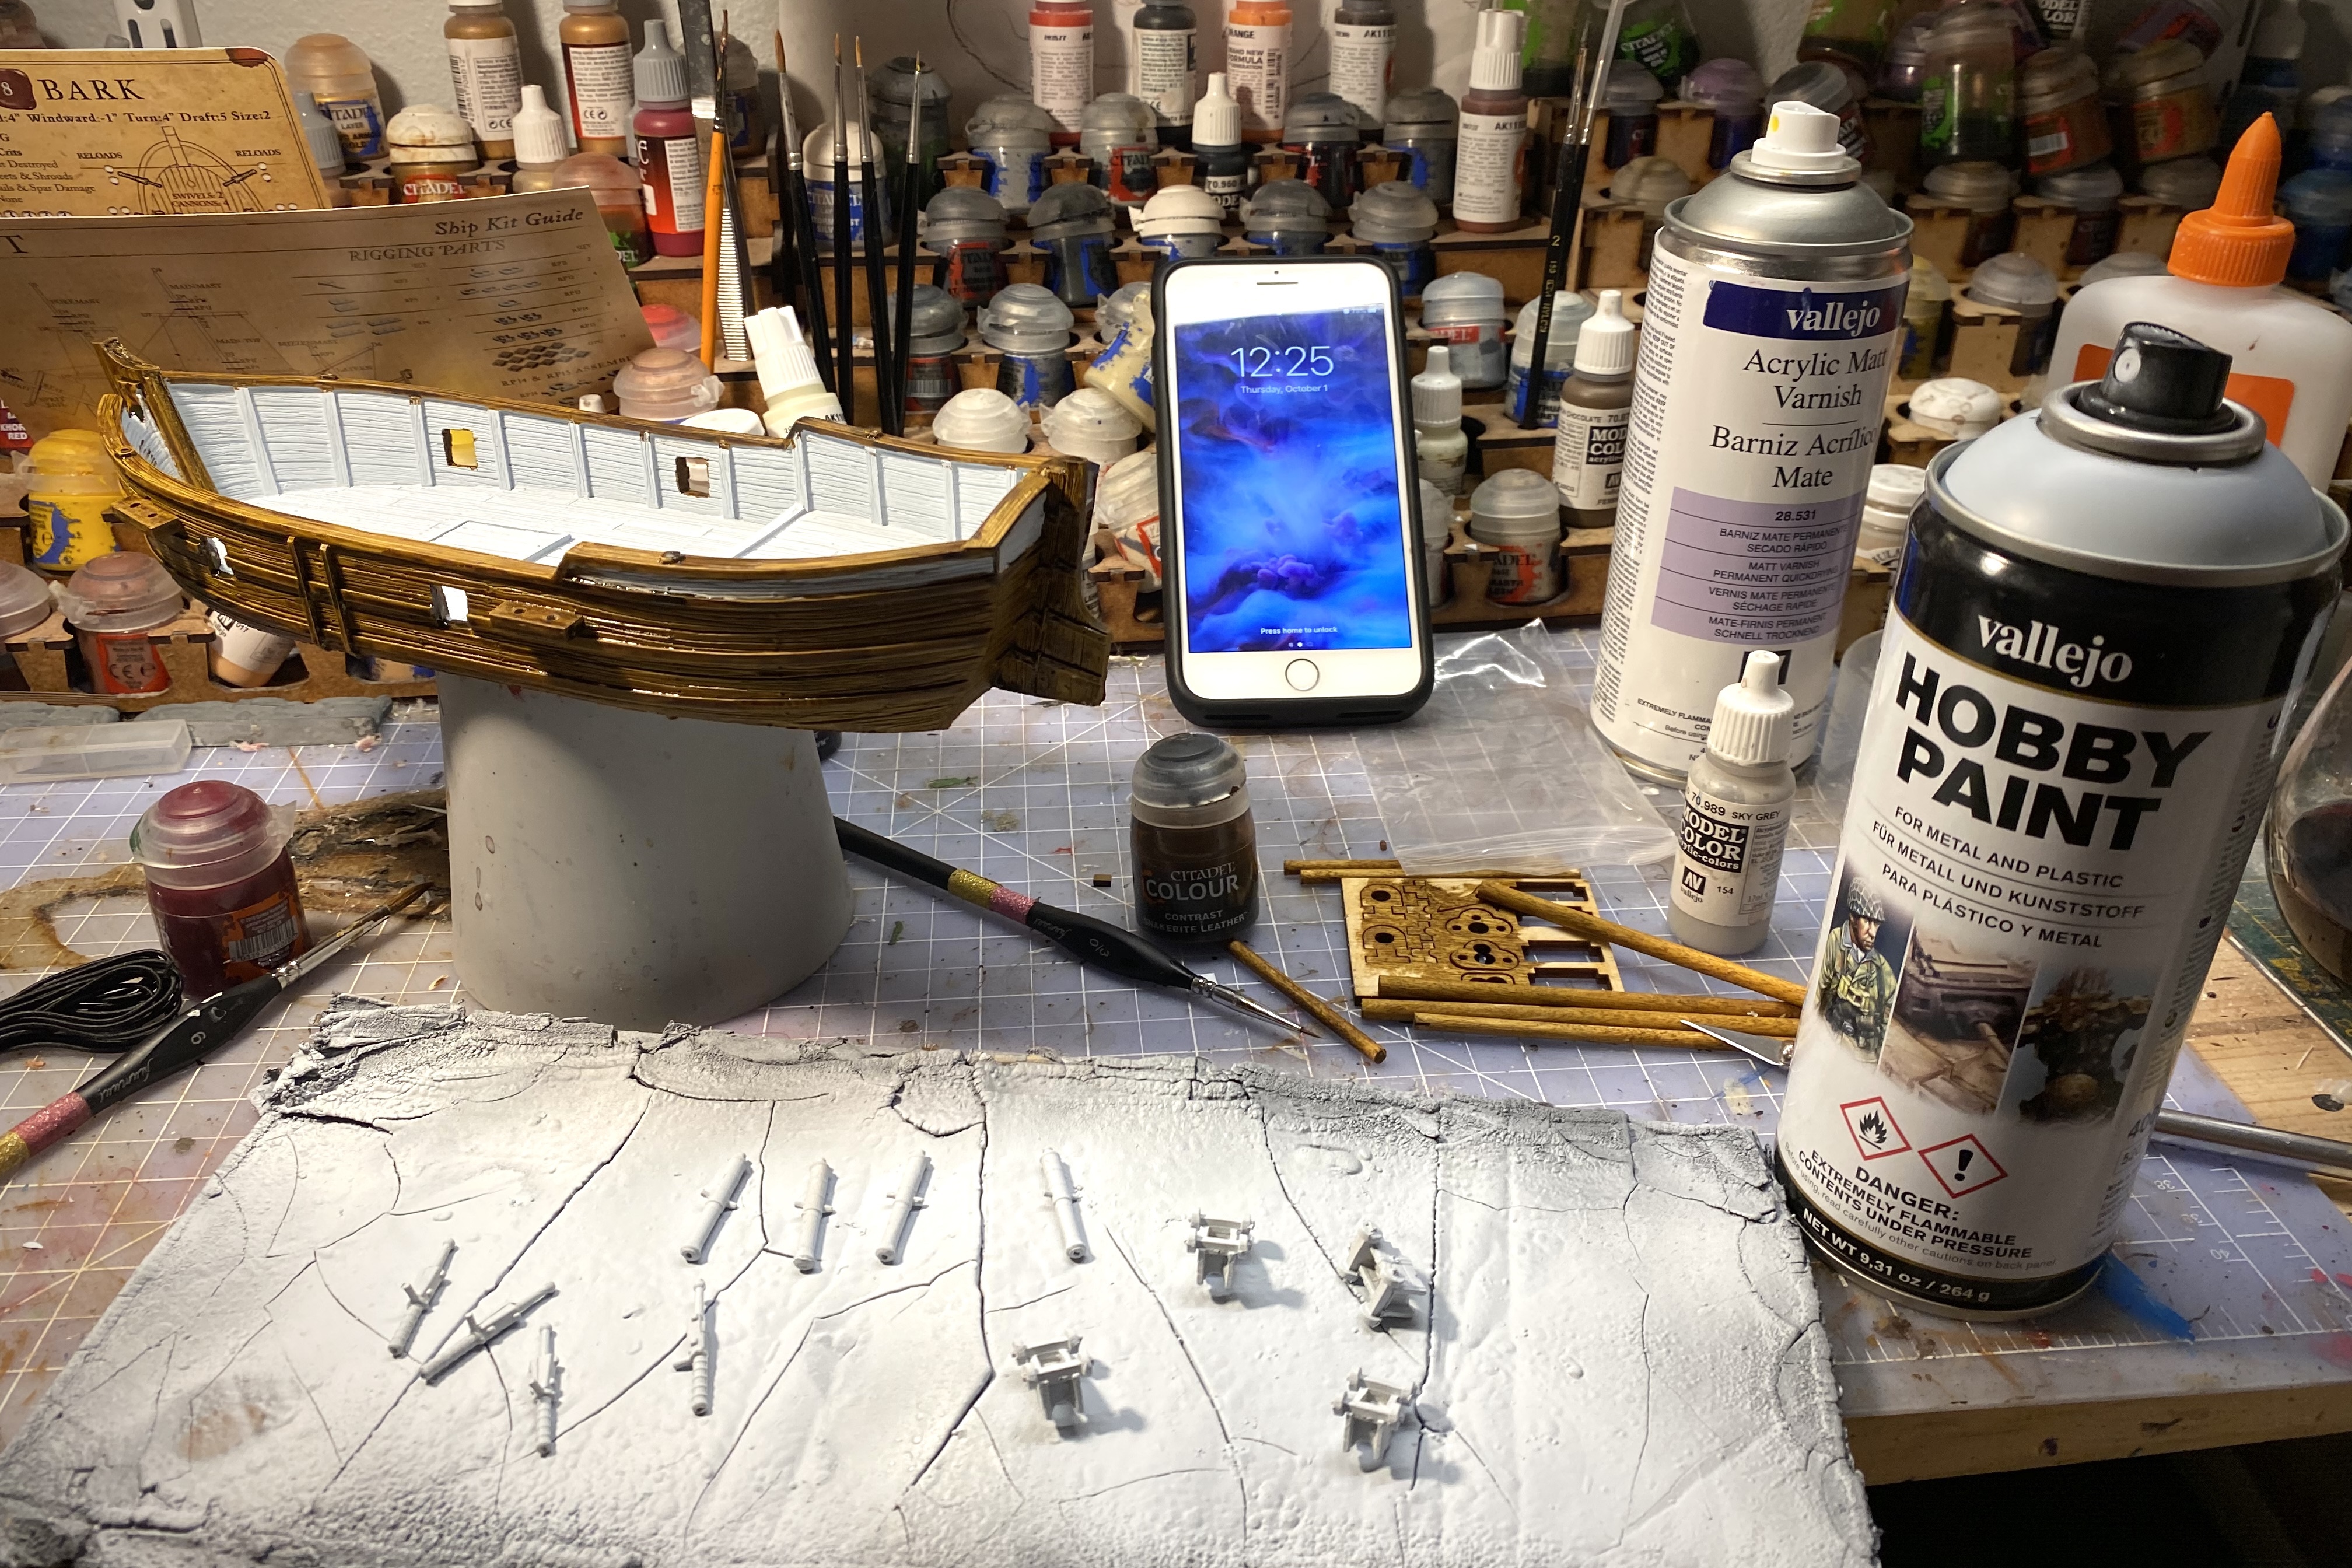
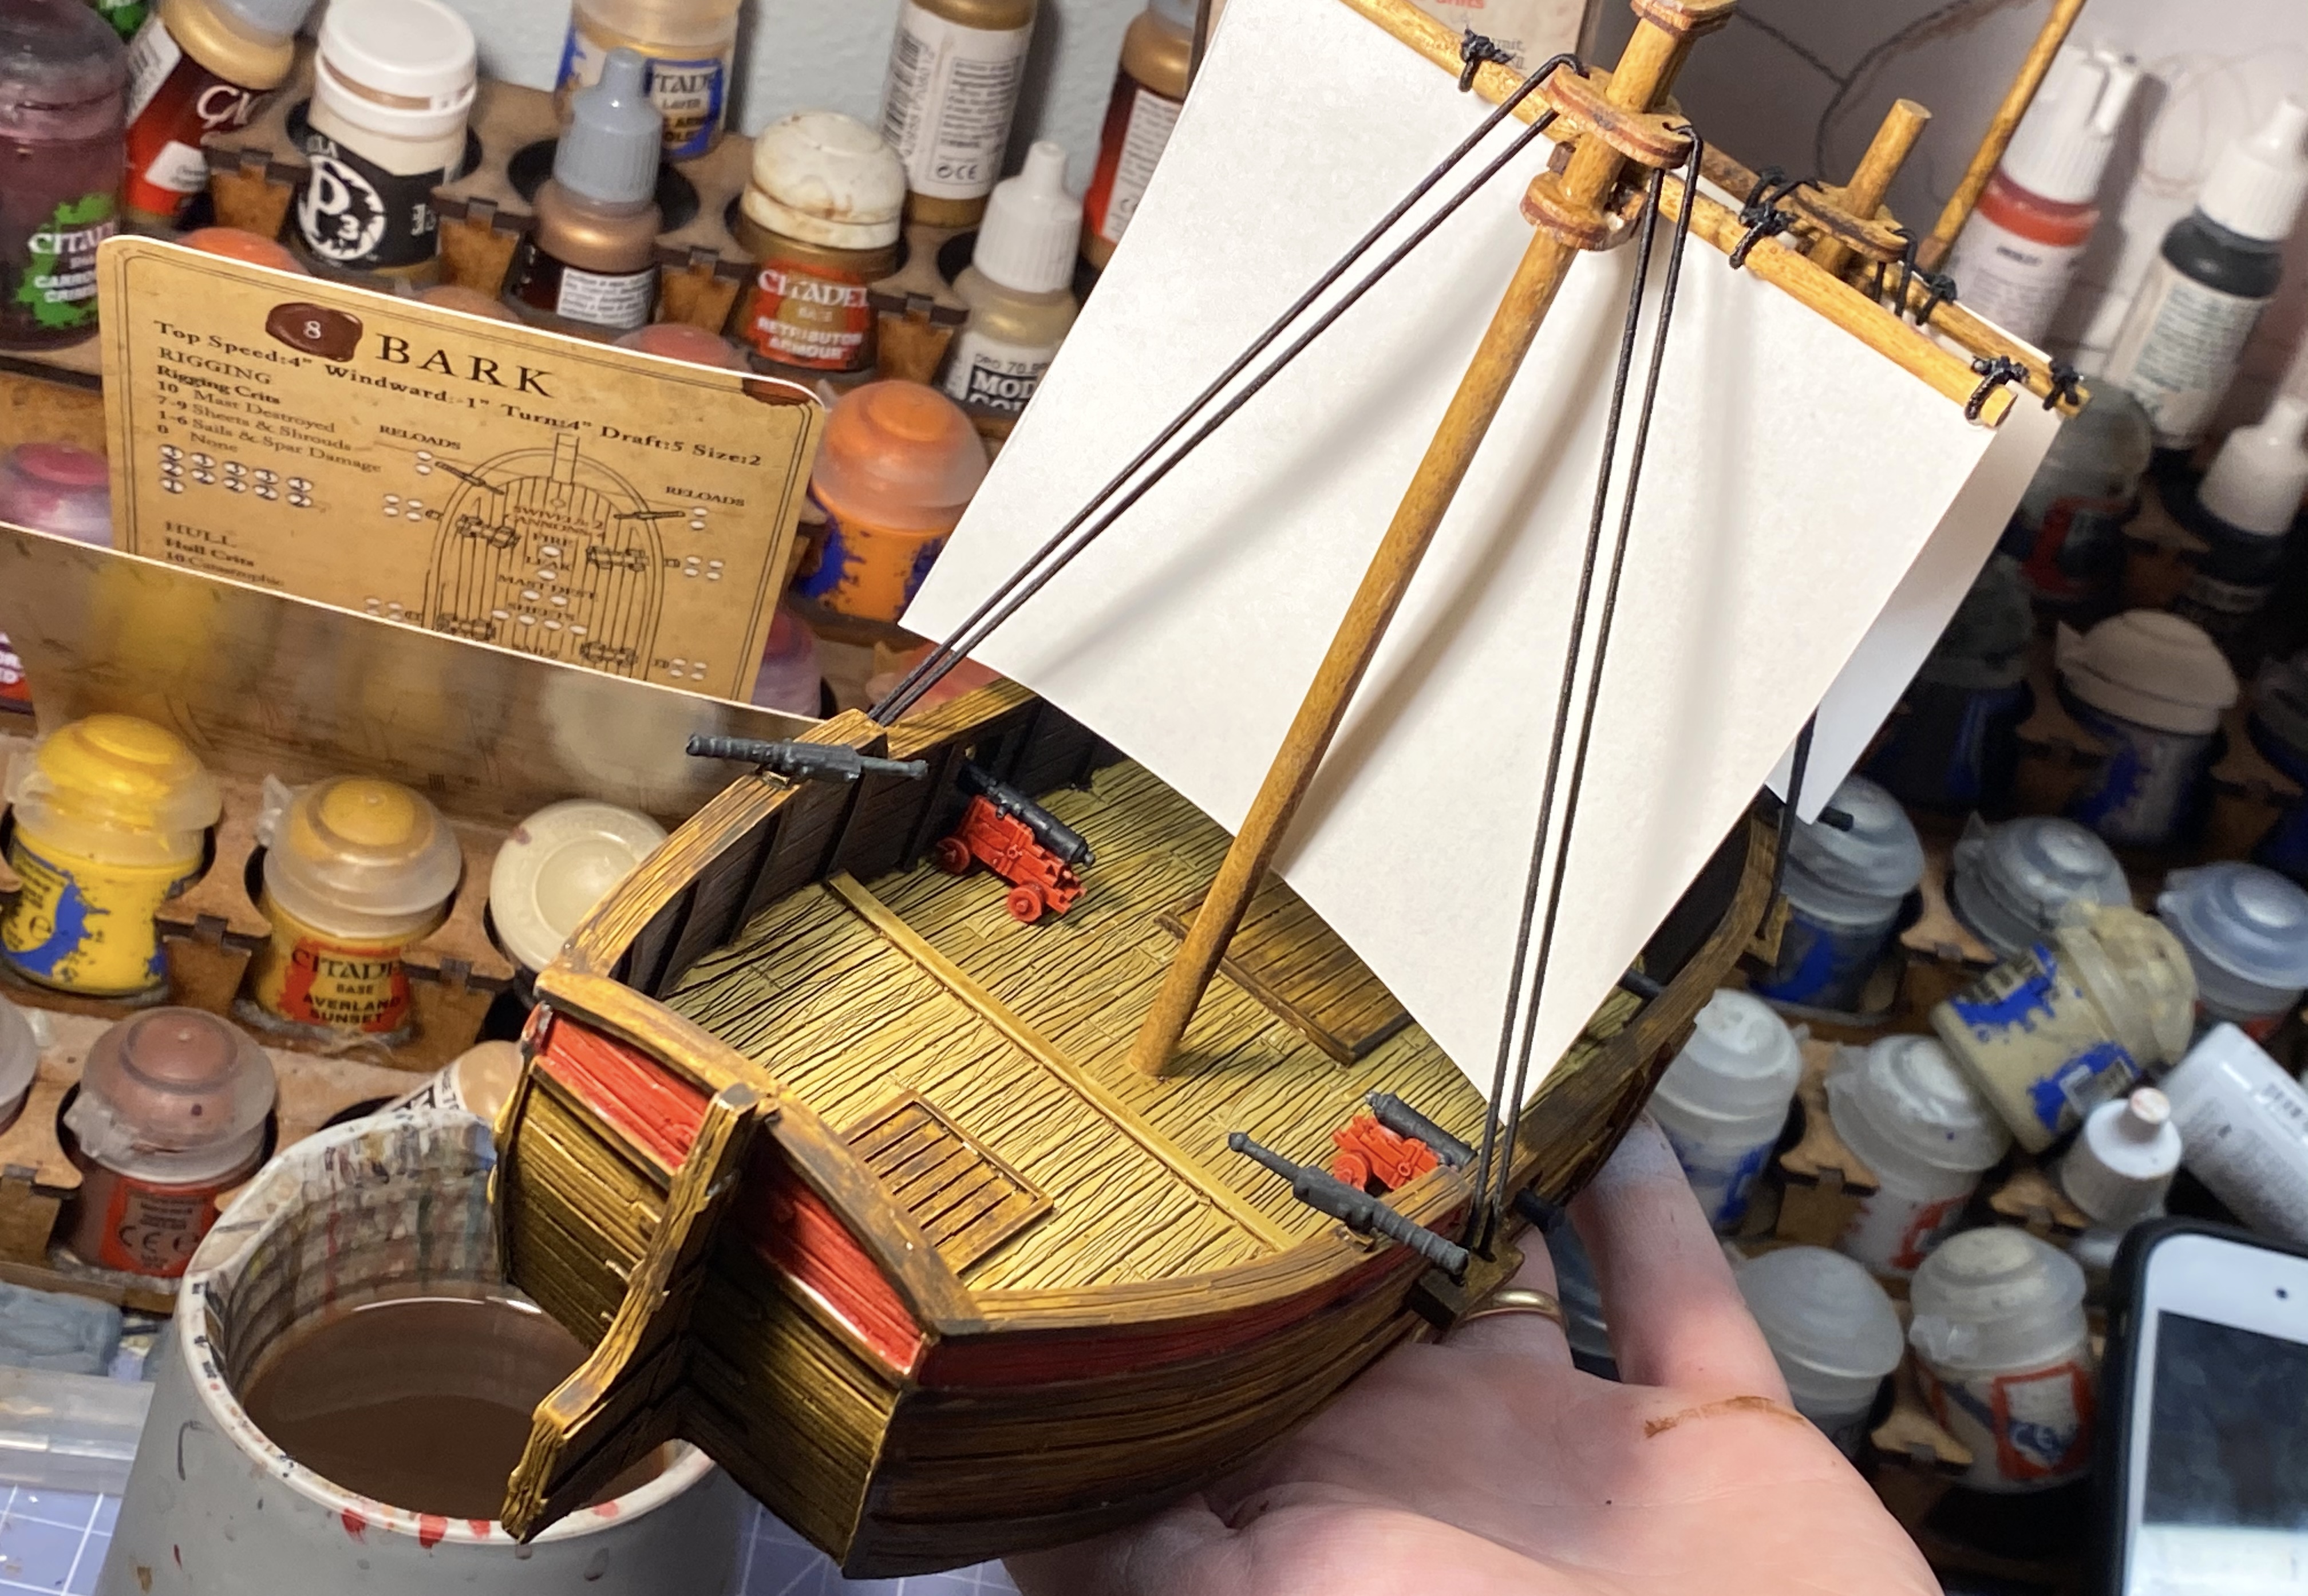
Step 20 – Paint the Stern Panels
I used the same red as I used on the cannon carriages here.

You can apply a couple coats in quick succession if you want a nice rich color.

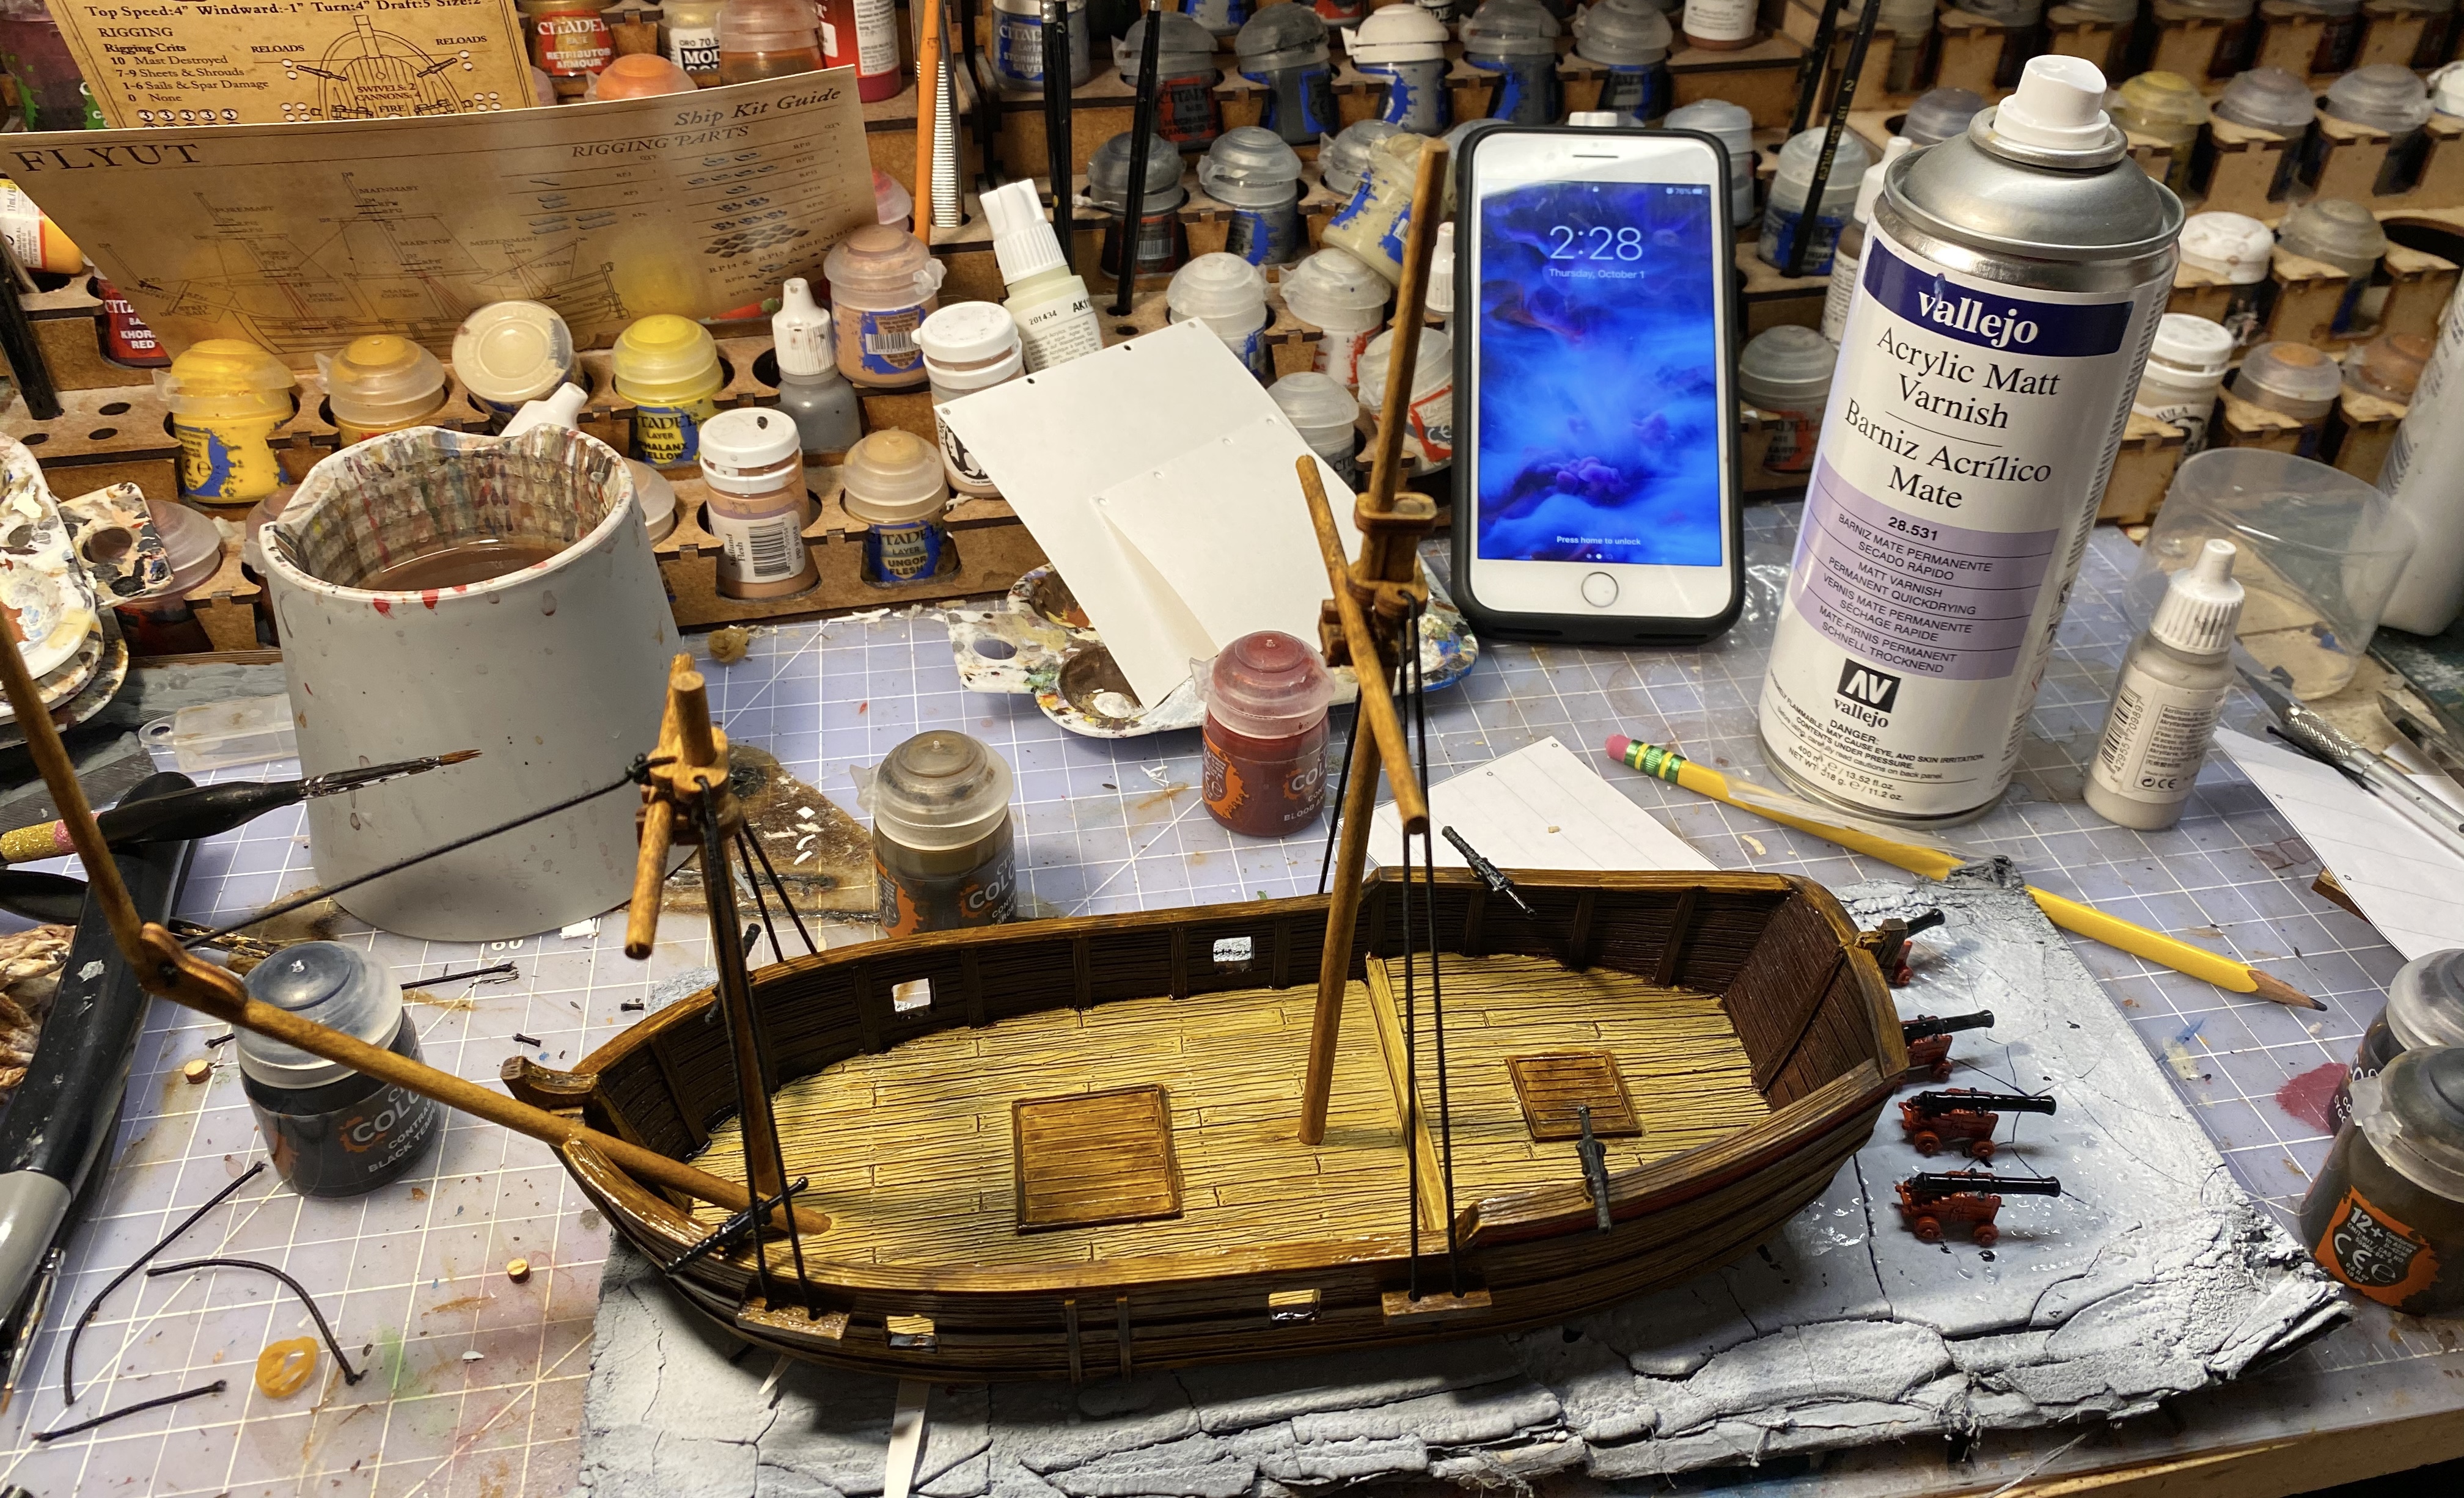
Step 21 – Fit the Masts for the Bark in place
You can just slide the two main masts in without glue but you’ll need to glue the bowsprit as the rigging puts upward pressure on it.
Put some glue on the end of the dowel and on the gap in the hull where the bowsprit locks into place.

Make sure everything lines up nice and straight.

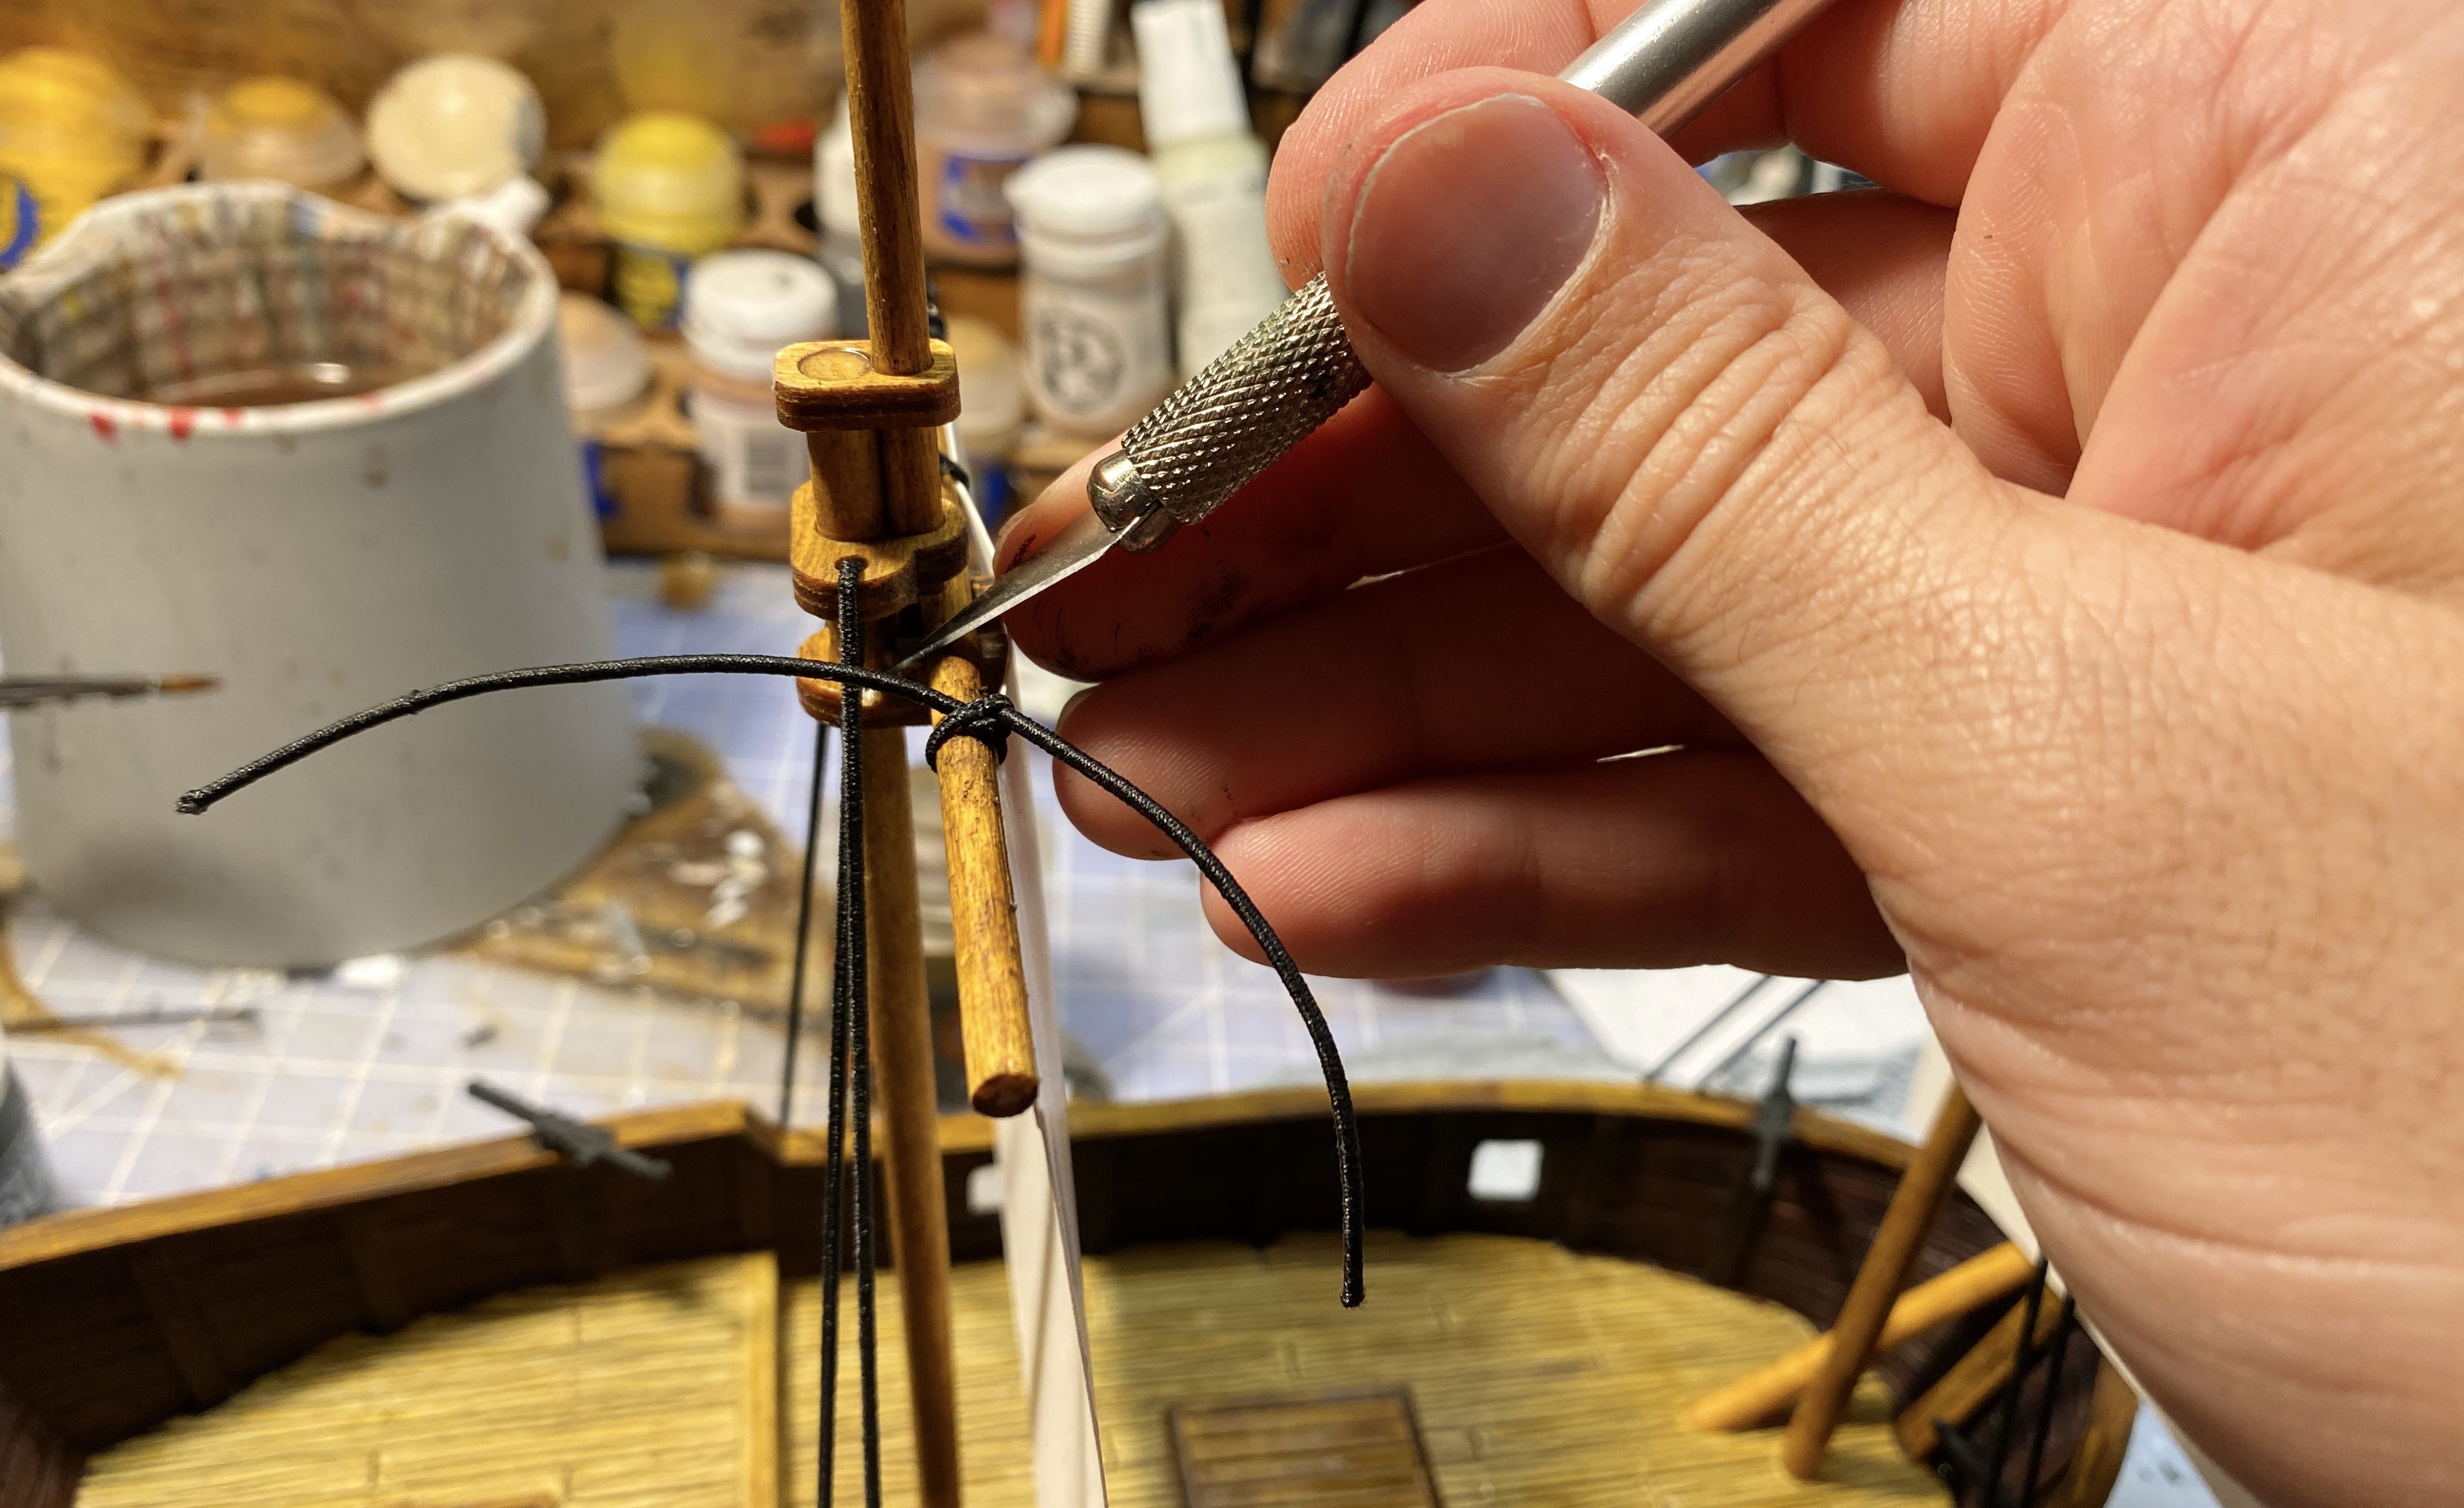
Step 22 – Start the Rigging
You could wait on this until after varnishing the hull but the varnish doesn’t do much to the elastic line so I went ahead and did it before varnish.

The rigging on the Bark is very simple and is ideal for a first rigging project. Simply thread the elastic line through the chainguard, up through the hole near the spar and back down through the other hole in the chain guard, pull it snug, tie a square knot and trim.

You can apply a drop of glue to secure the knot but if you pull it tight enough, the elastic thread will hold. I’ve never used glue on mine and they hold forever if you pull them snug.

You can trim the line pretty close if you’re knot is tight.

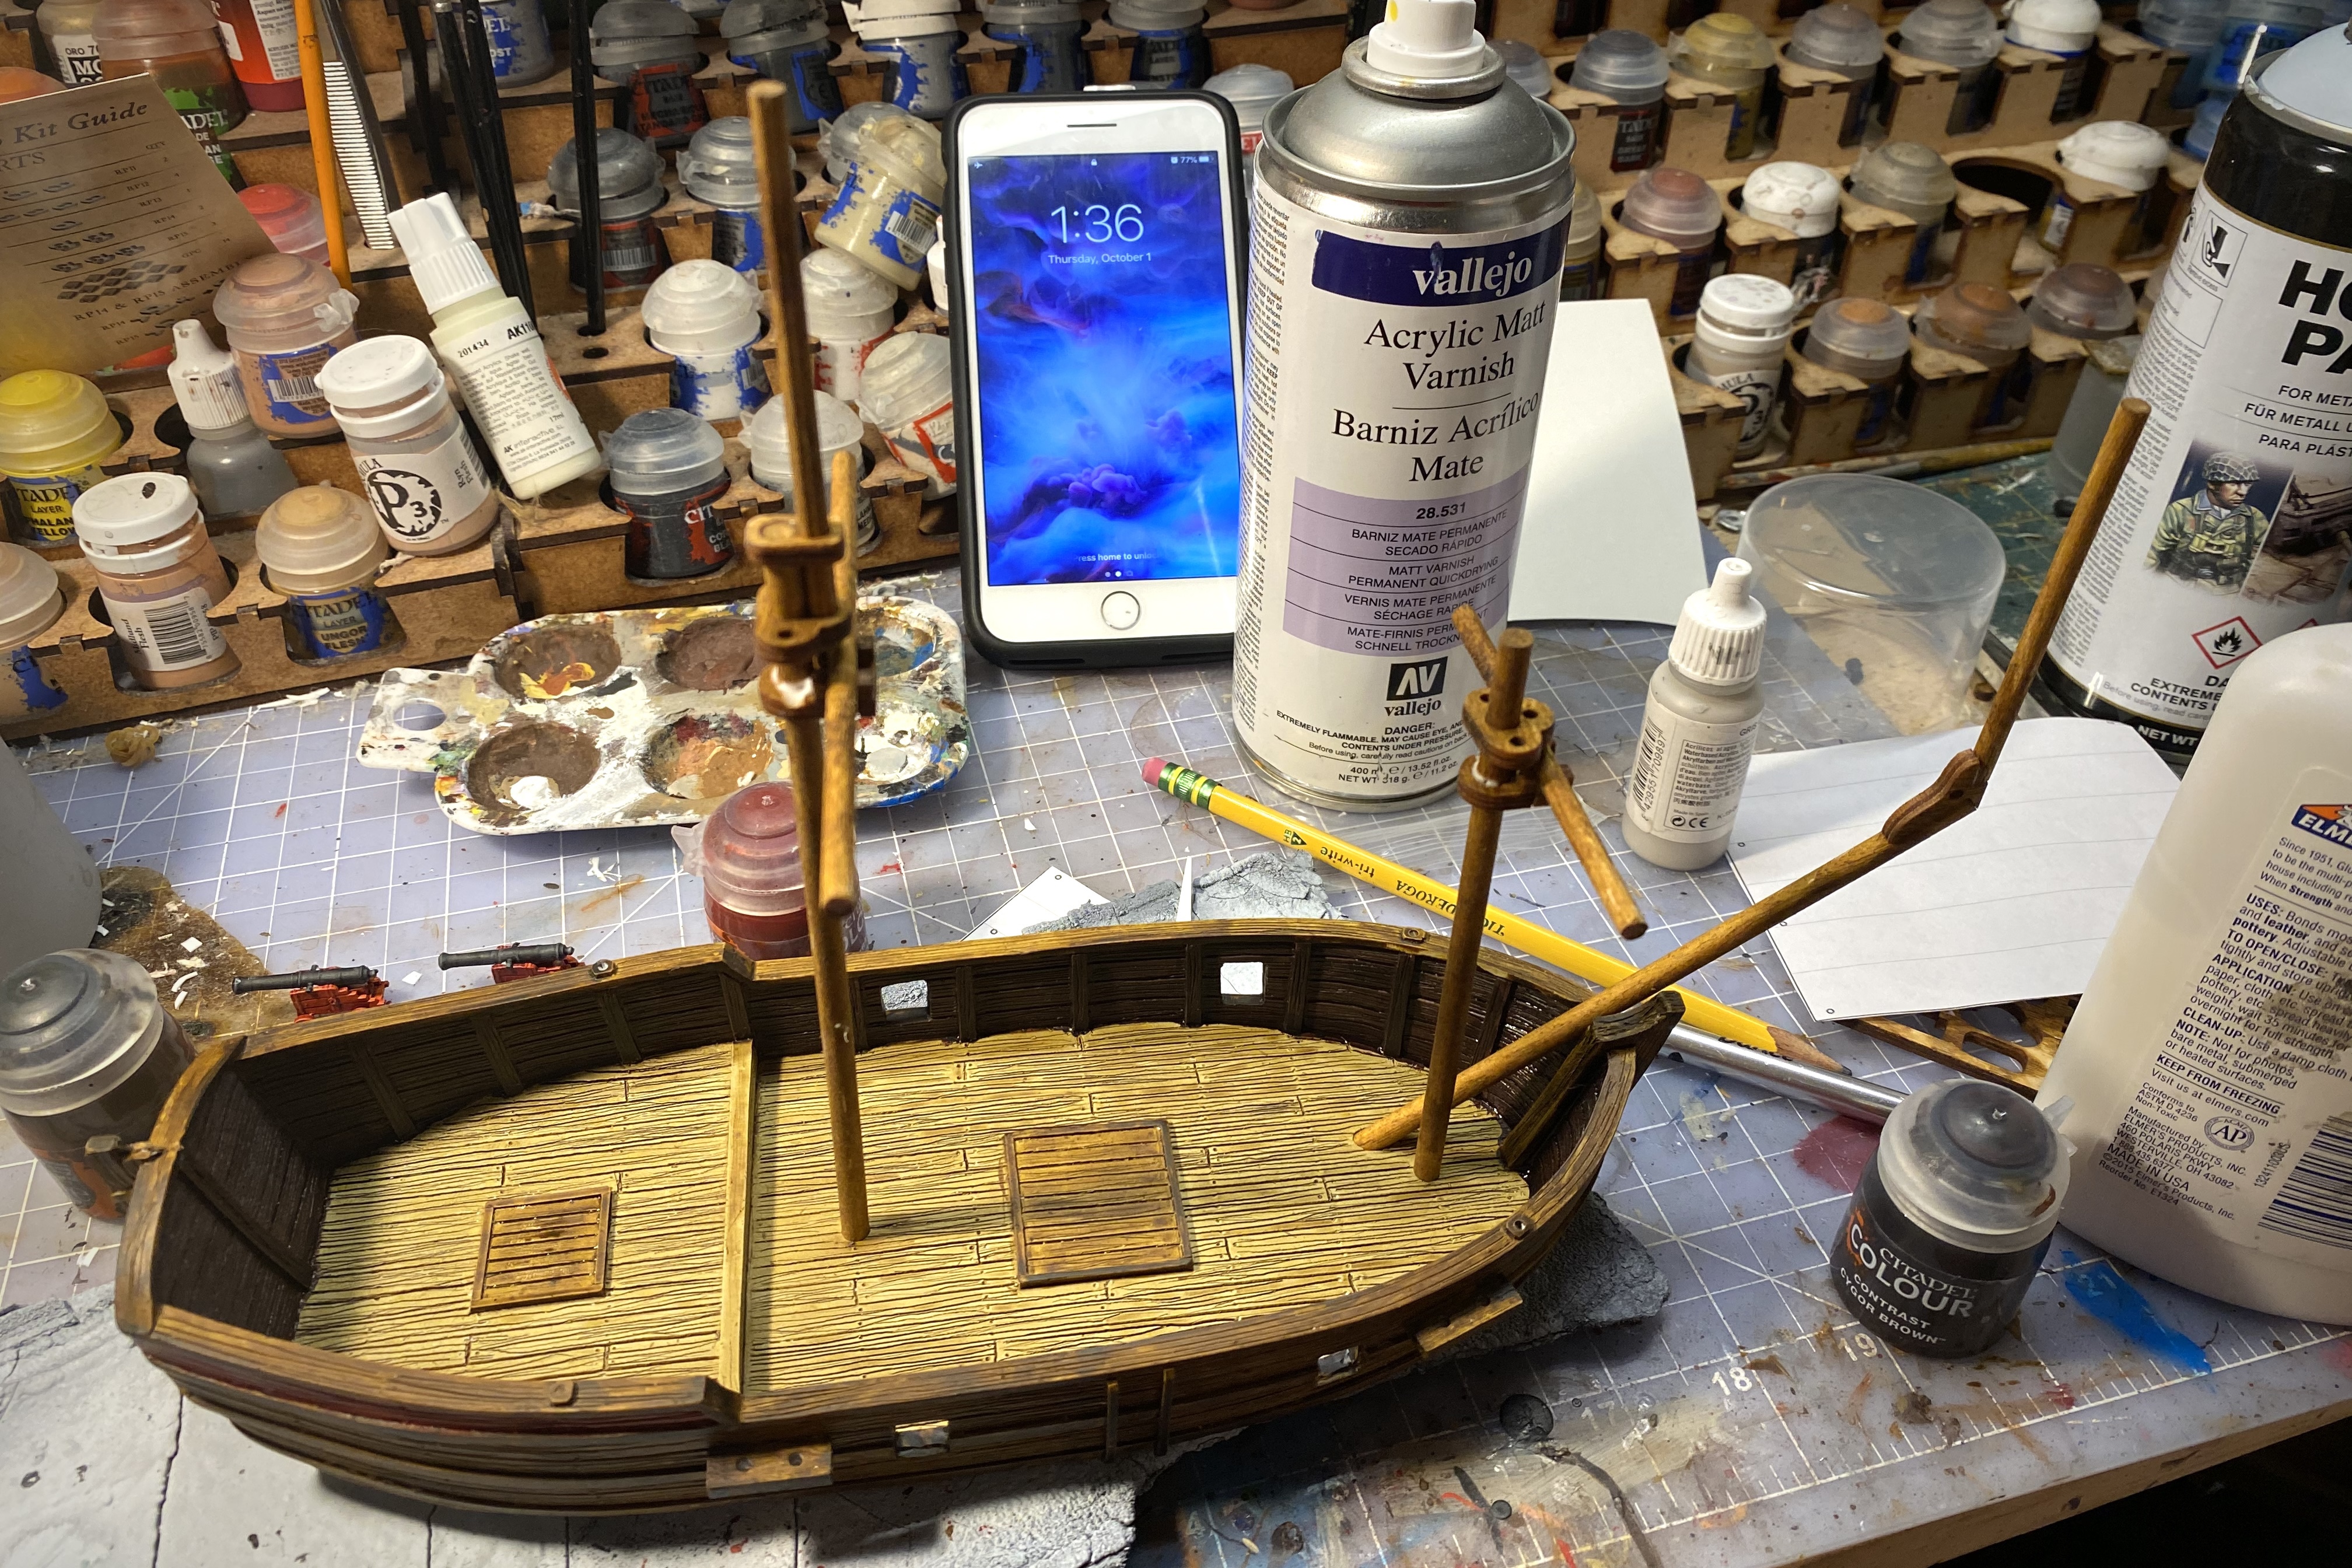
We’re two hours in and it looks like a ship!

The rigging for the whole ship only needs 5 lines. Four go from the chain guards to the main masts and one goes from the top of the front mast to the bowsprit. I prepared this line by making a knot thick enough to not pass through the hole but didn’t pull it tight yet as I wasn’t convinced the wooden parts had set enough yet.
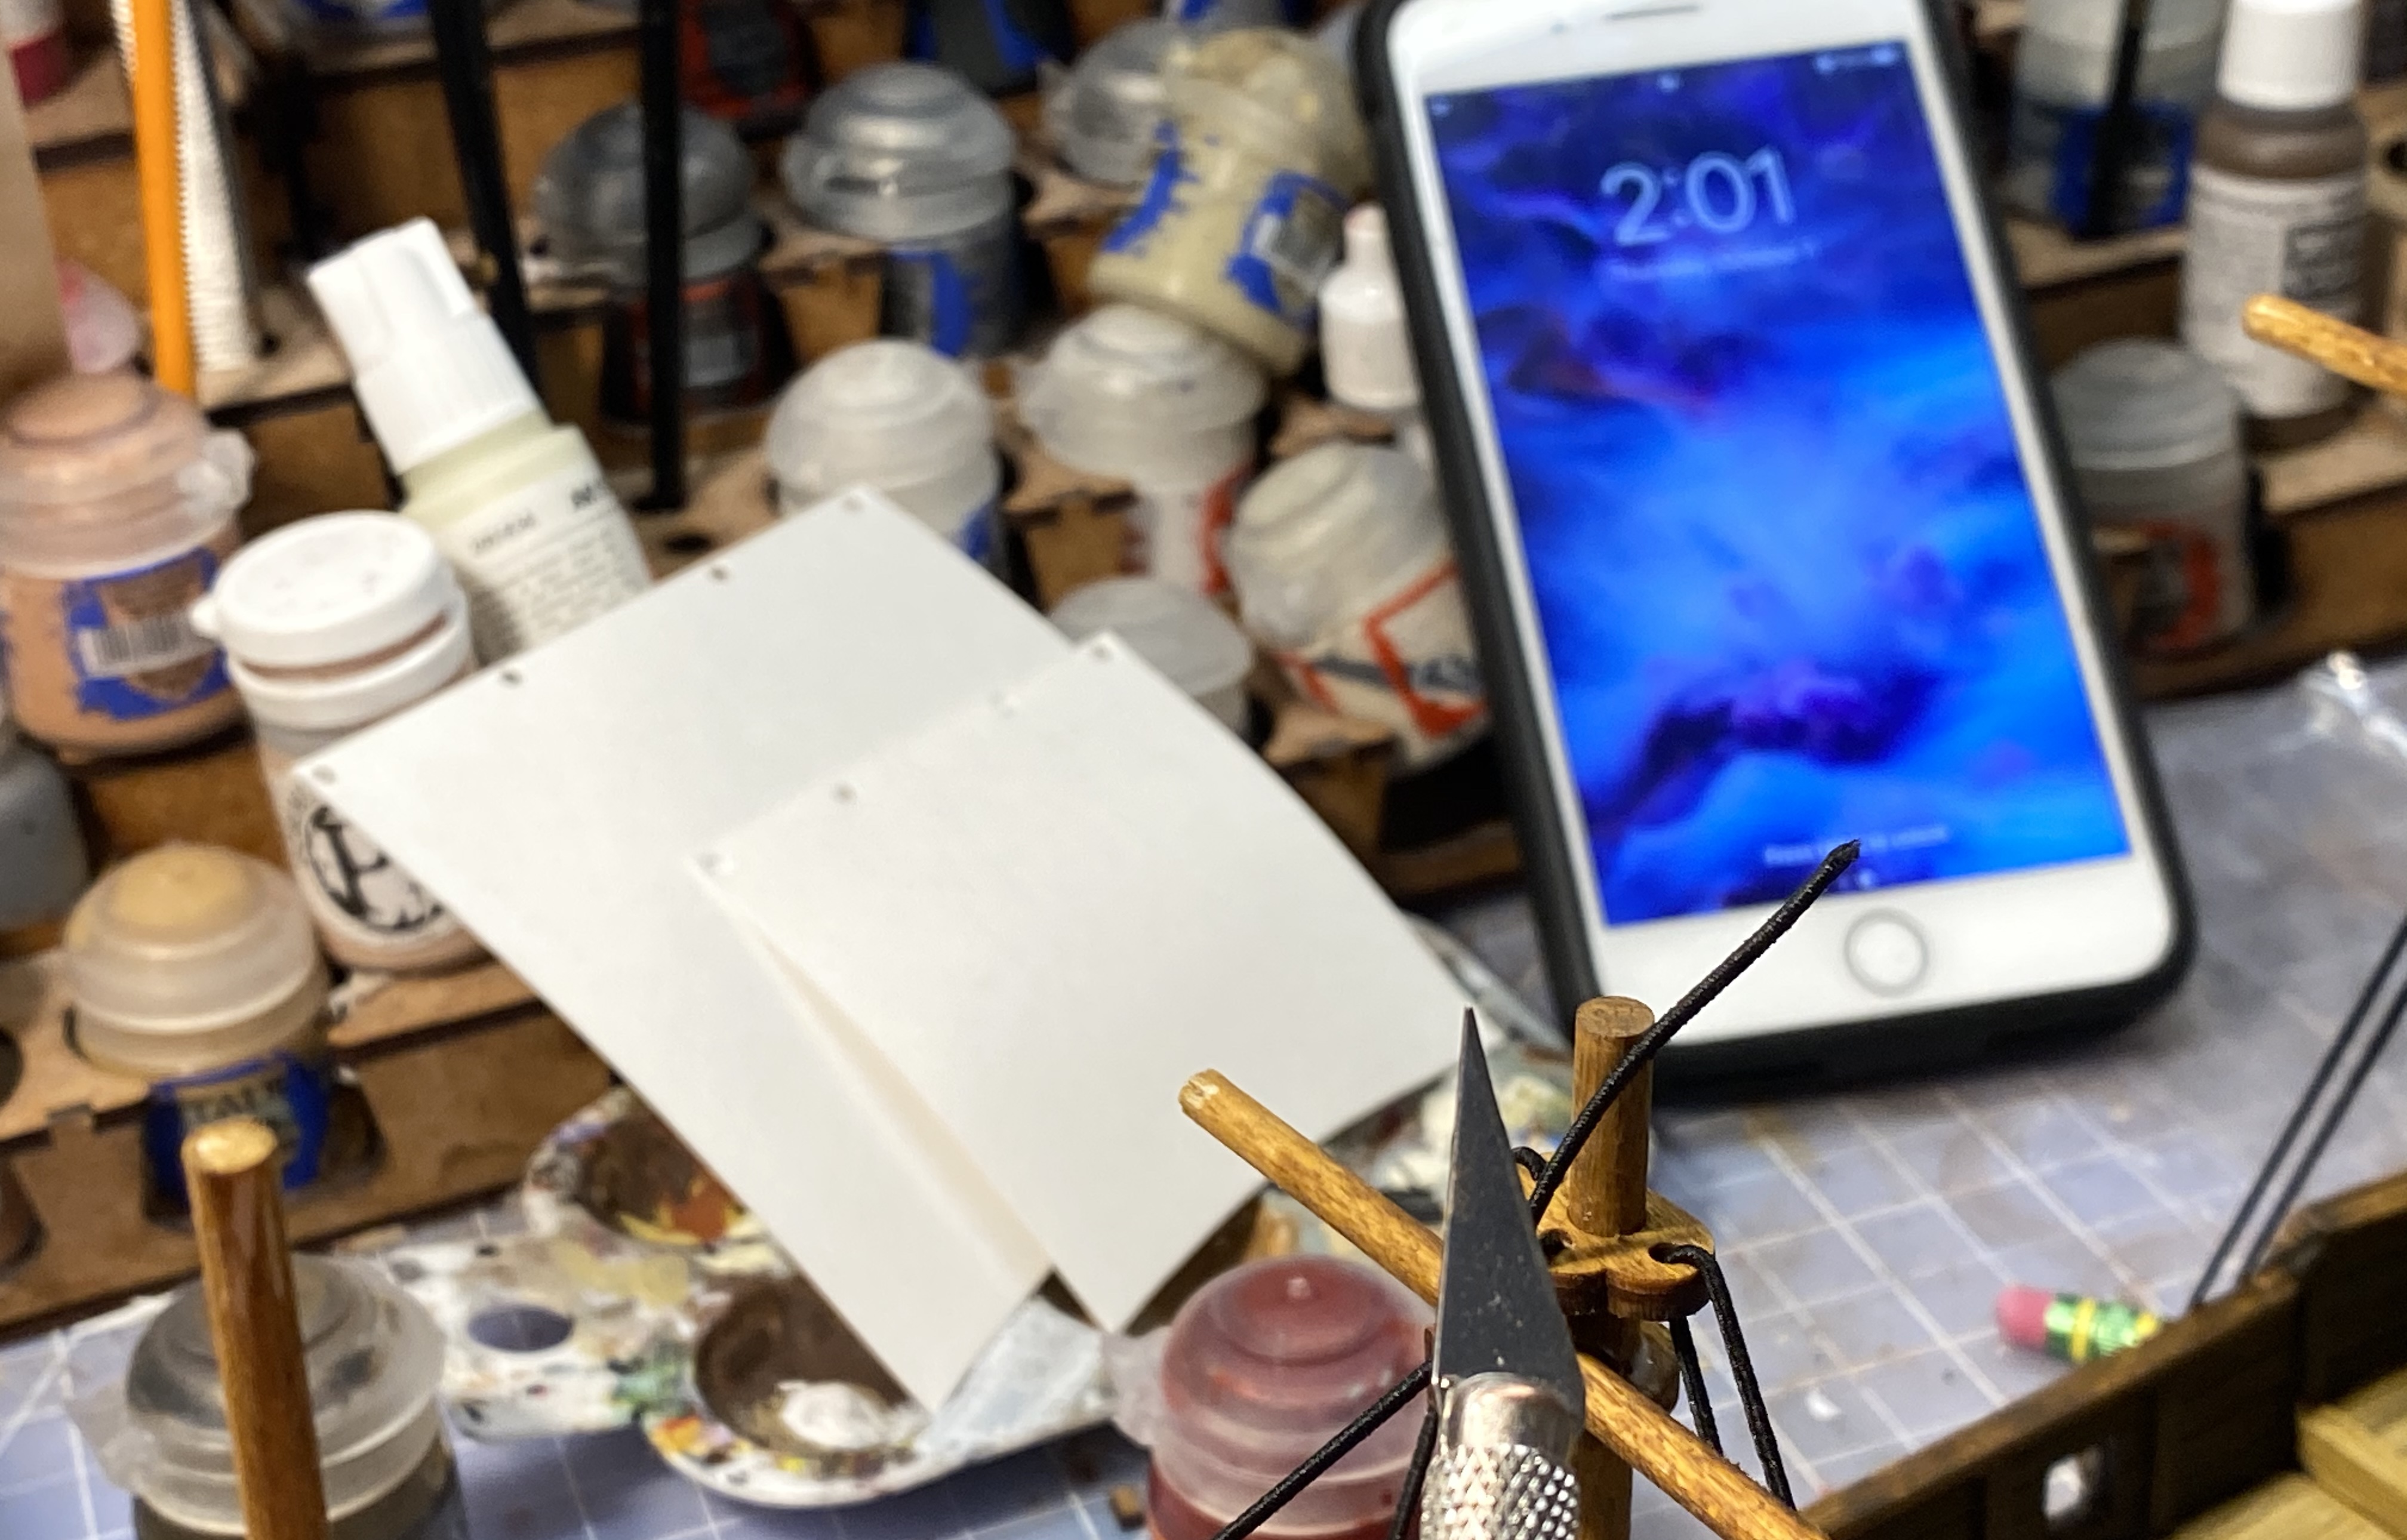
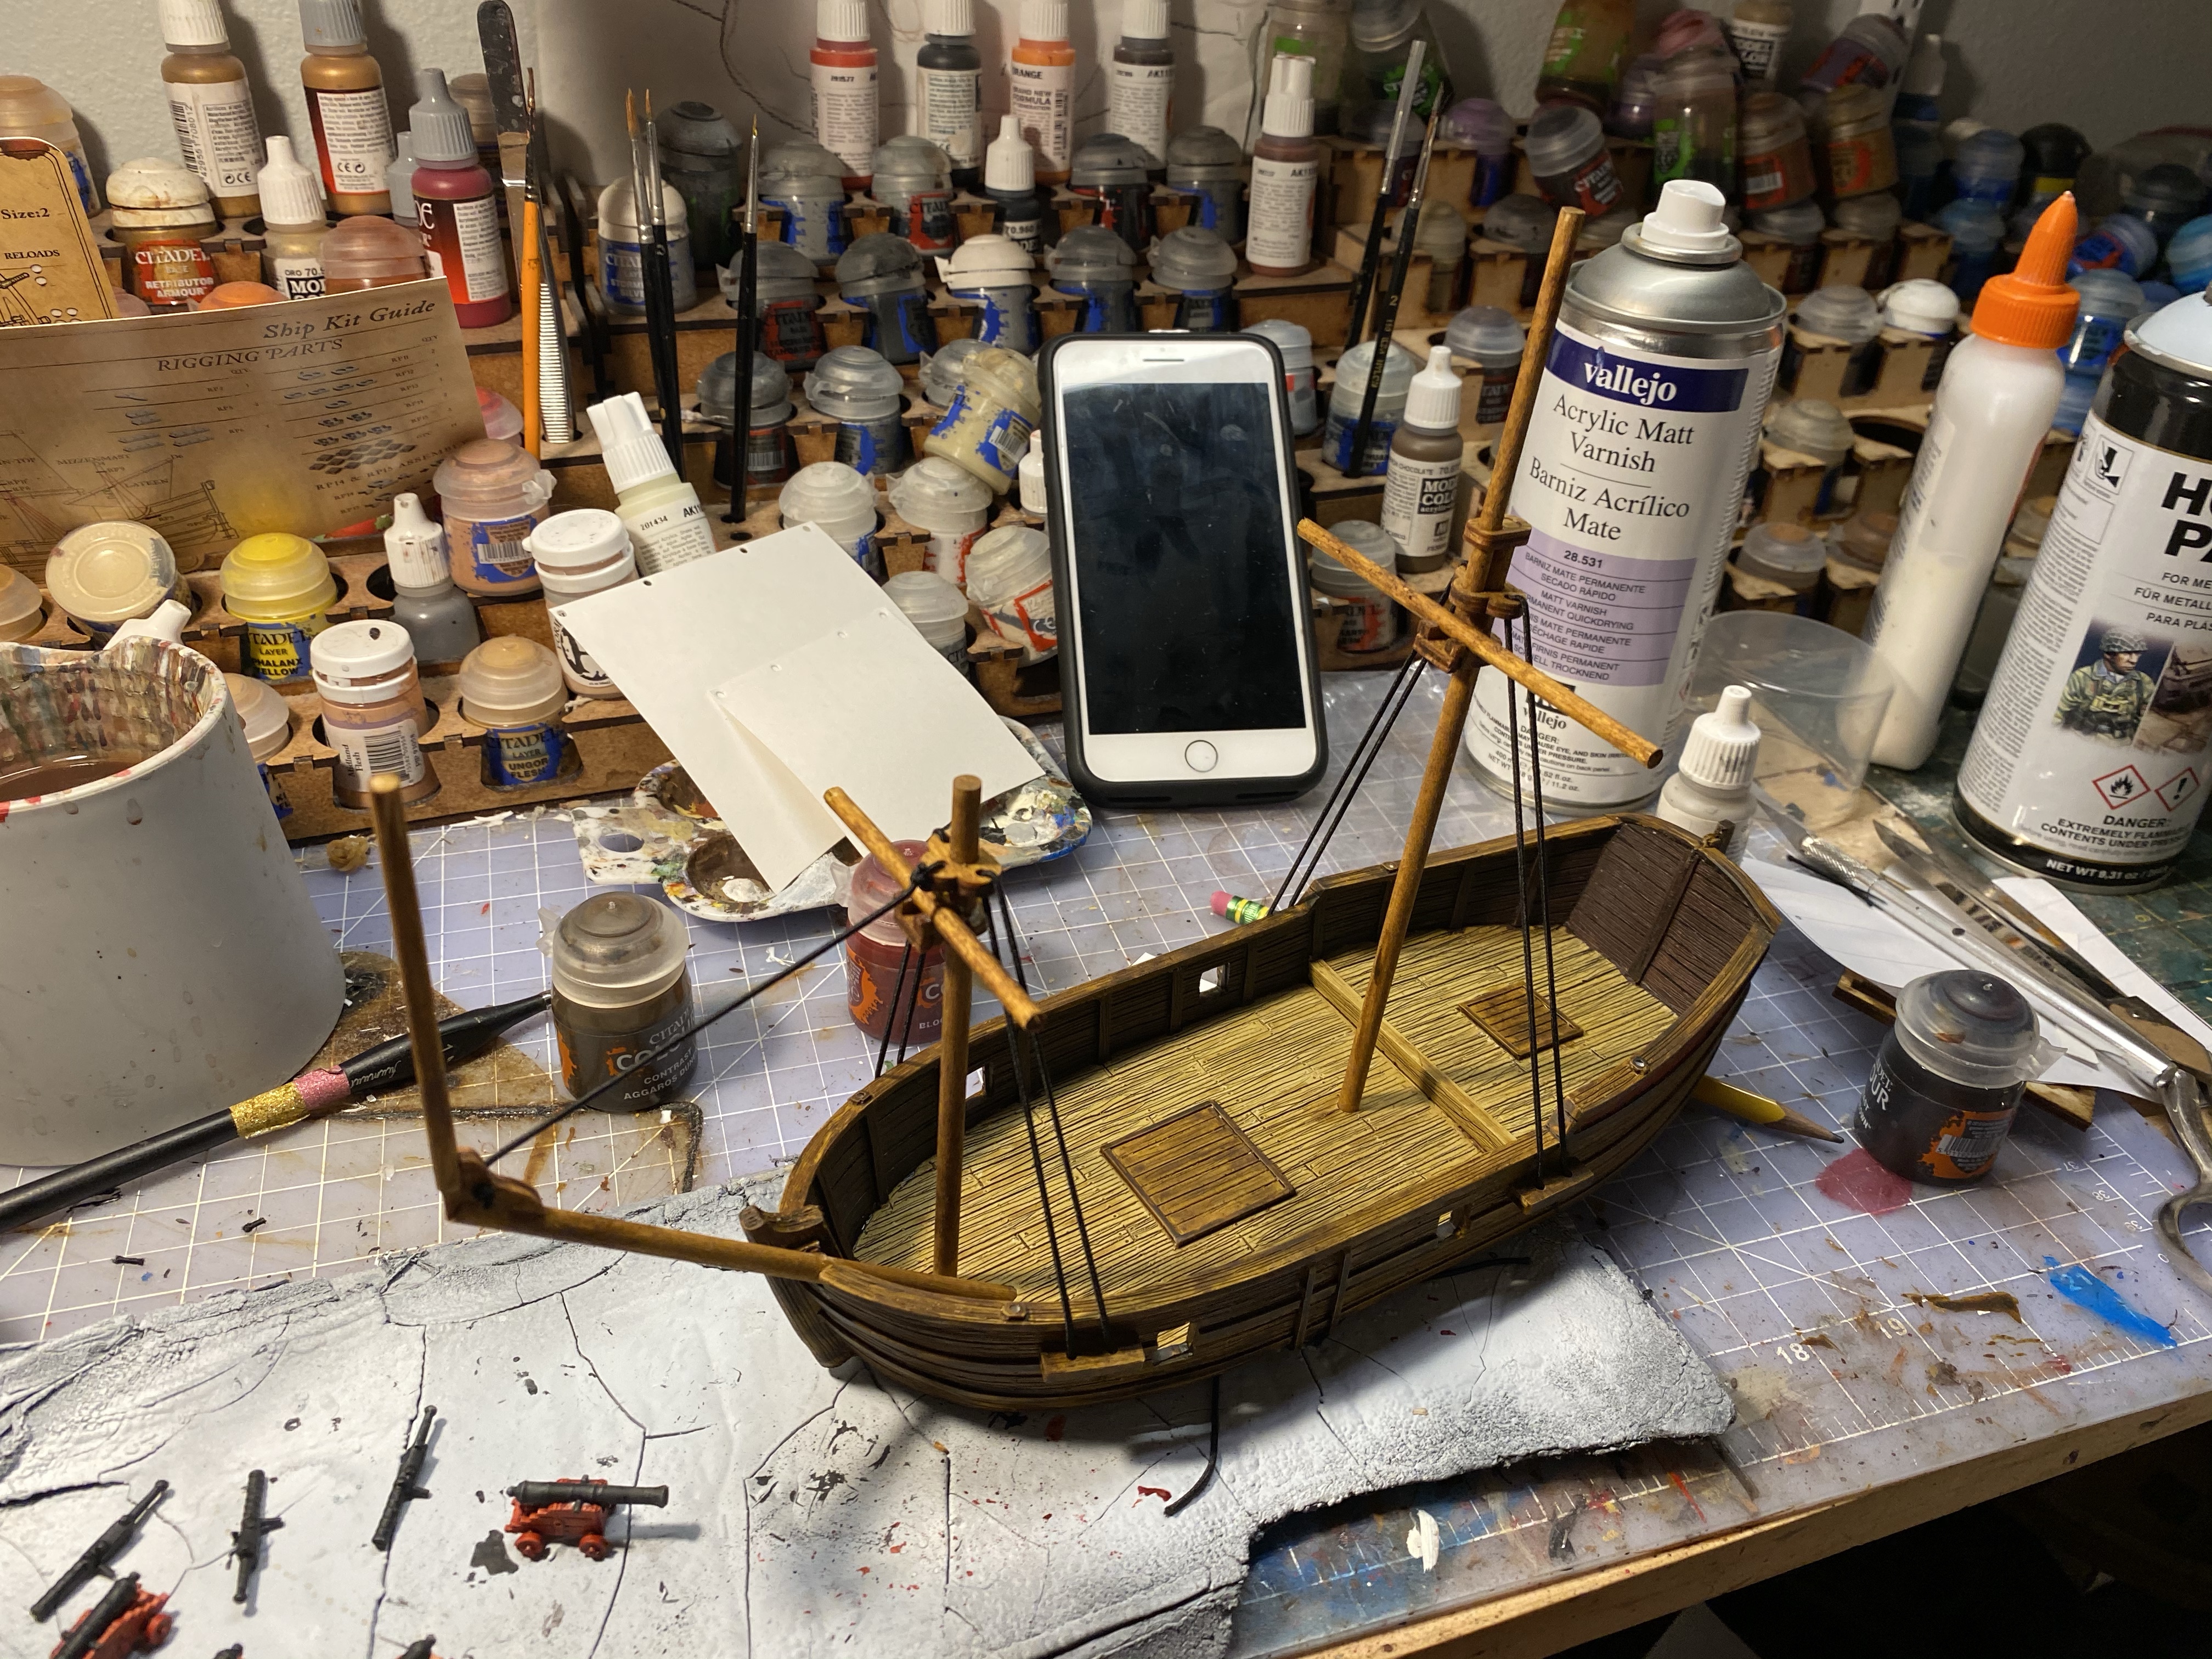
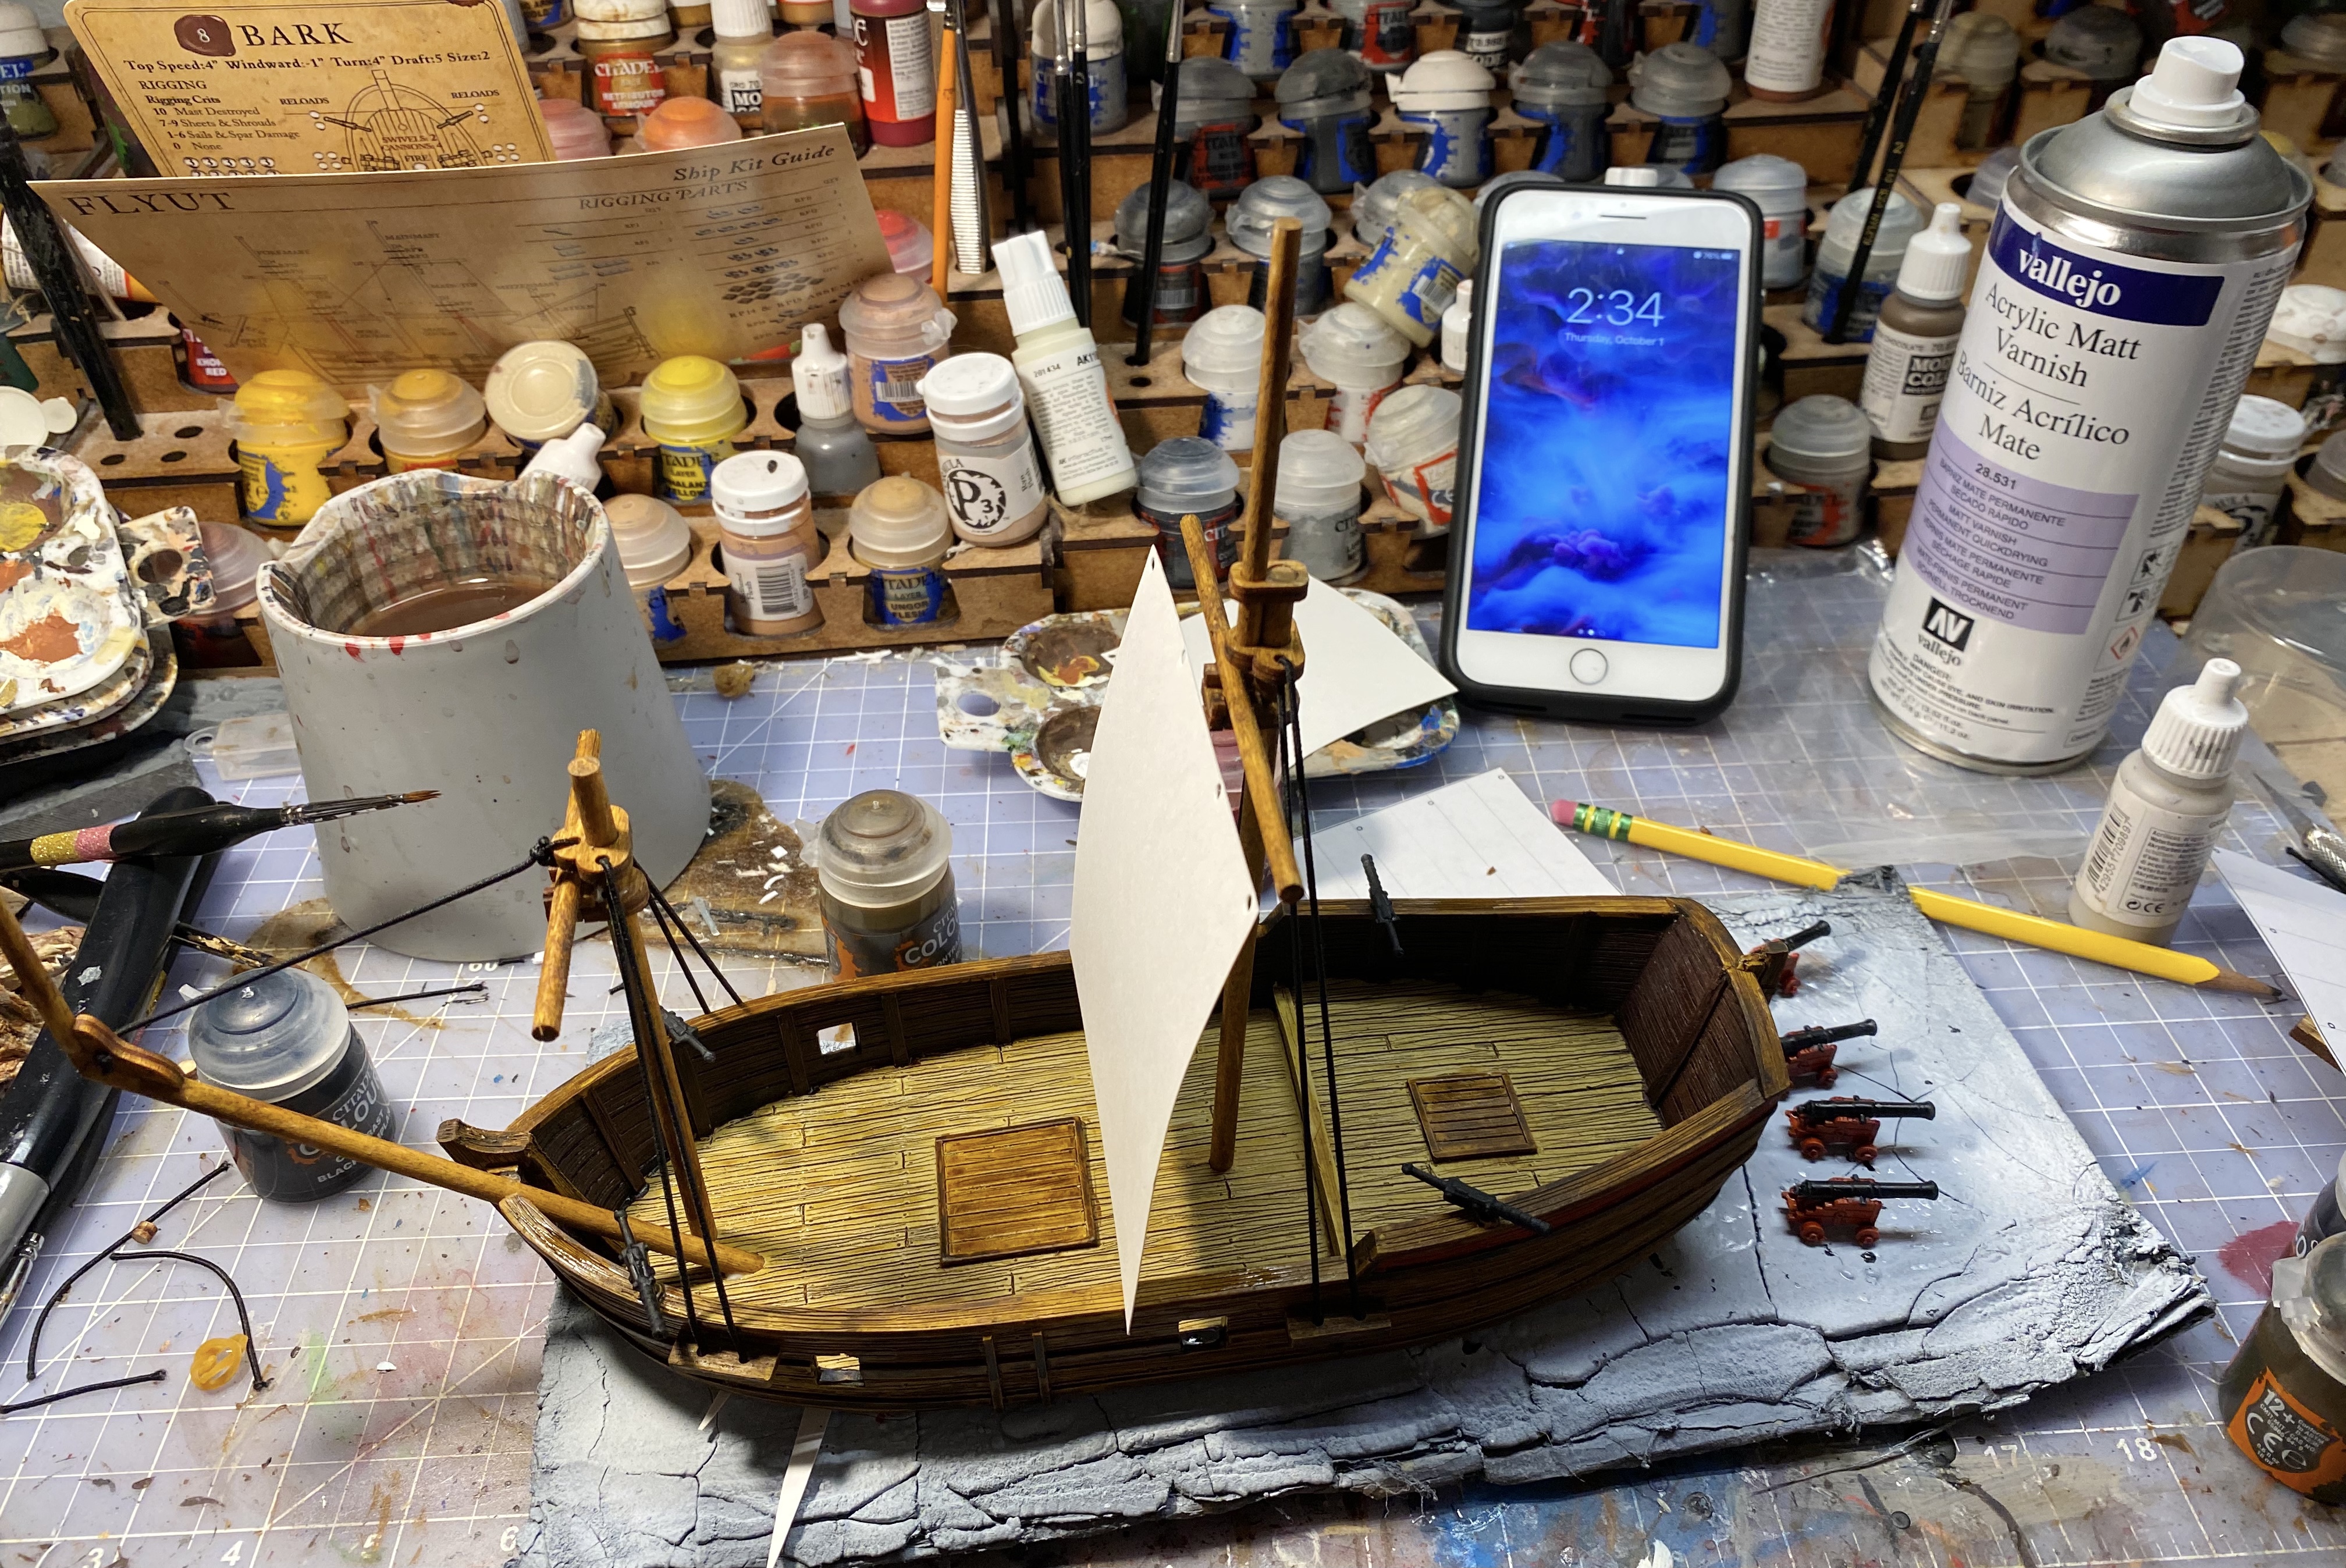
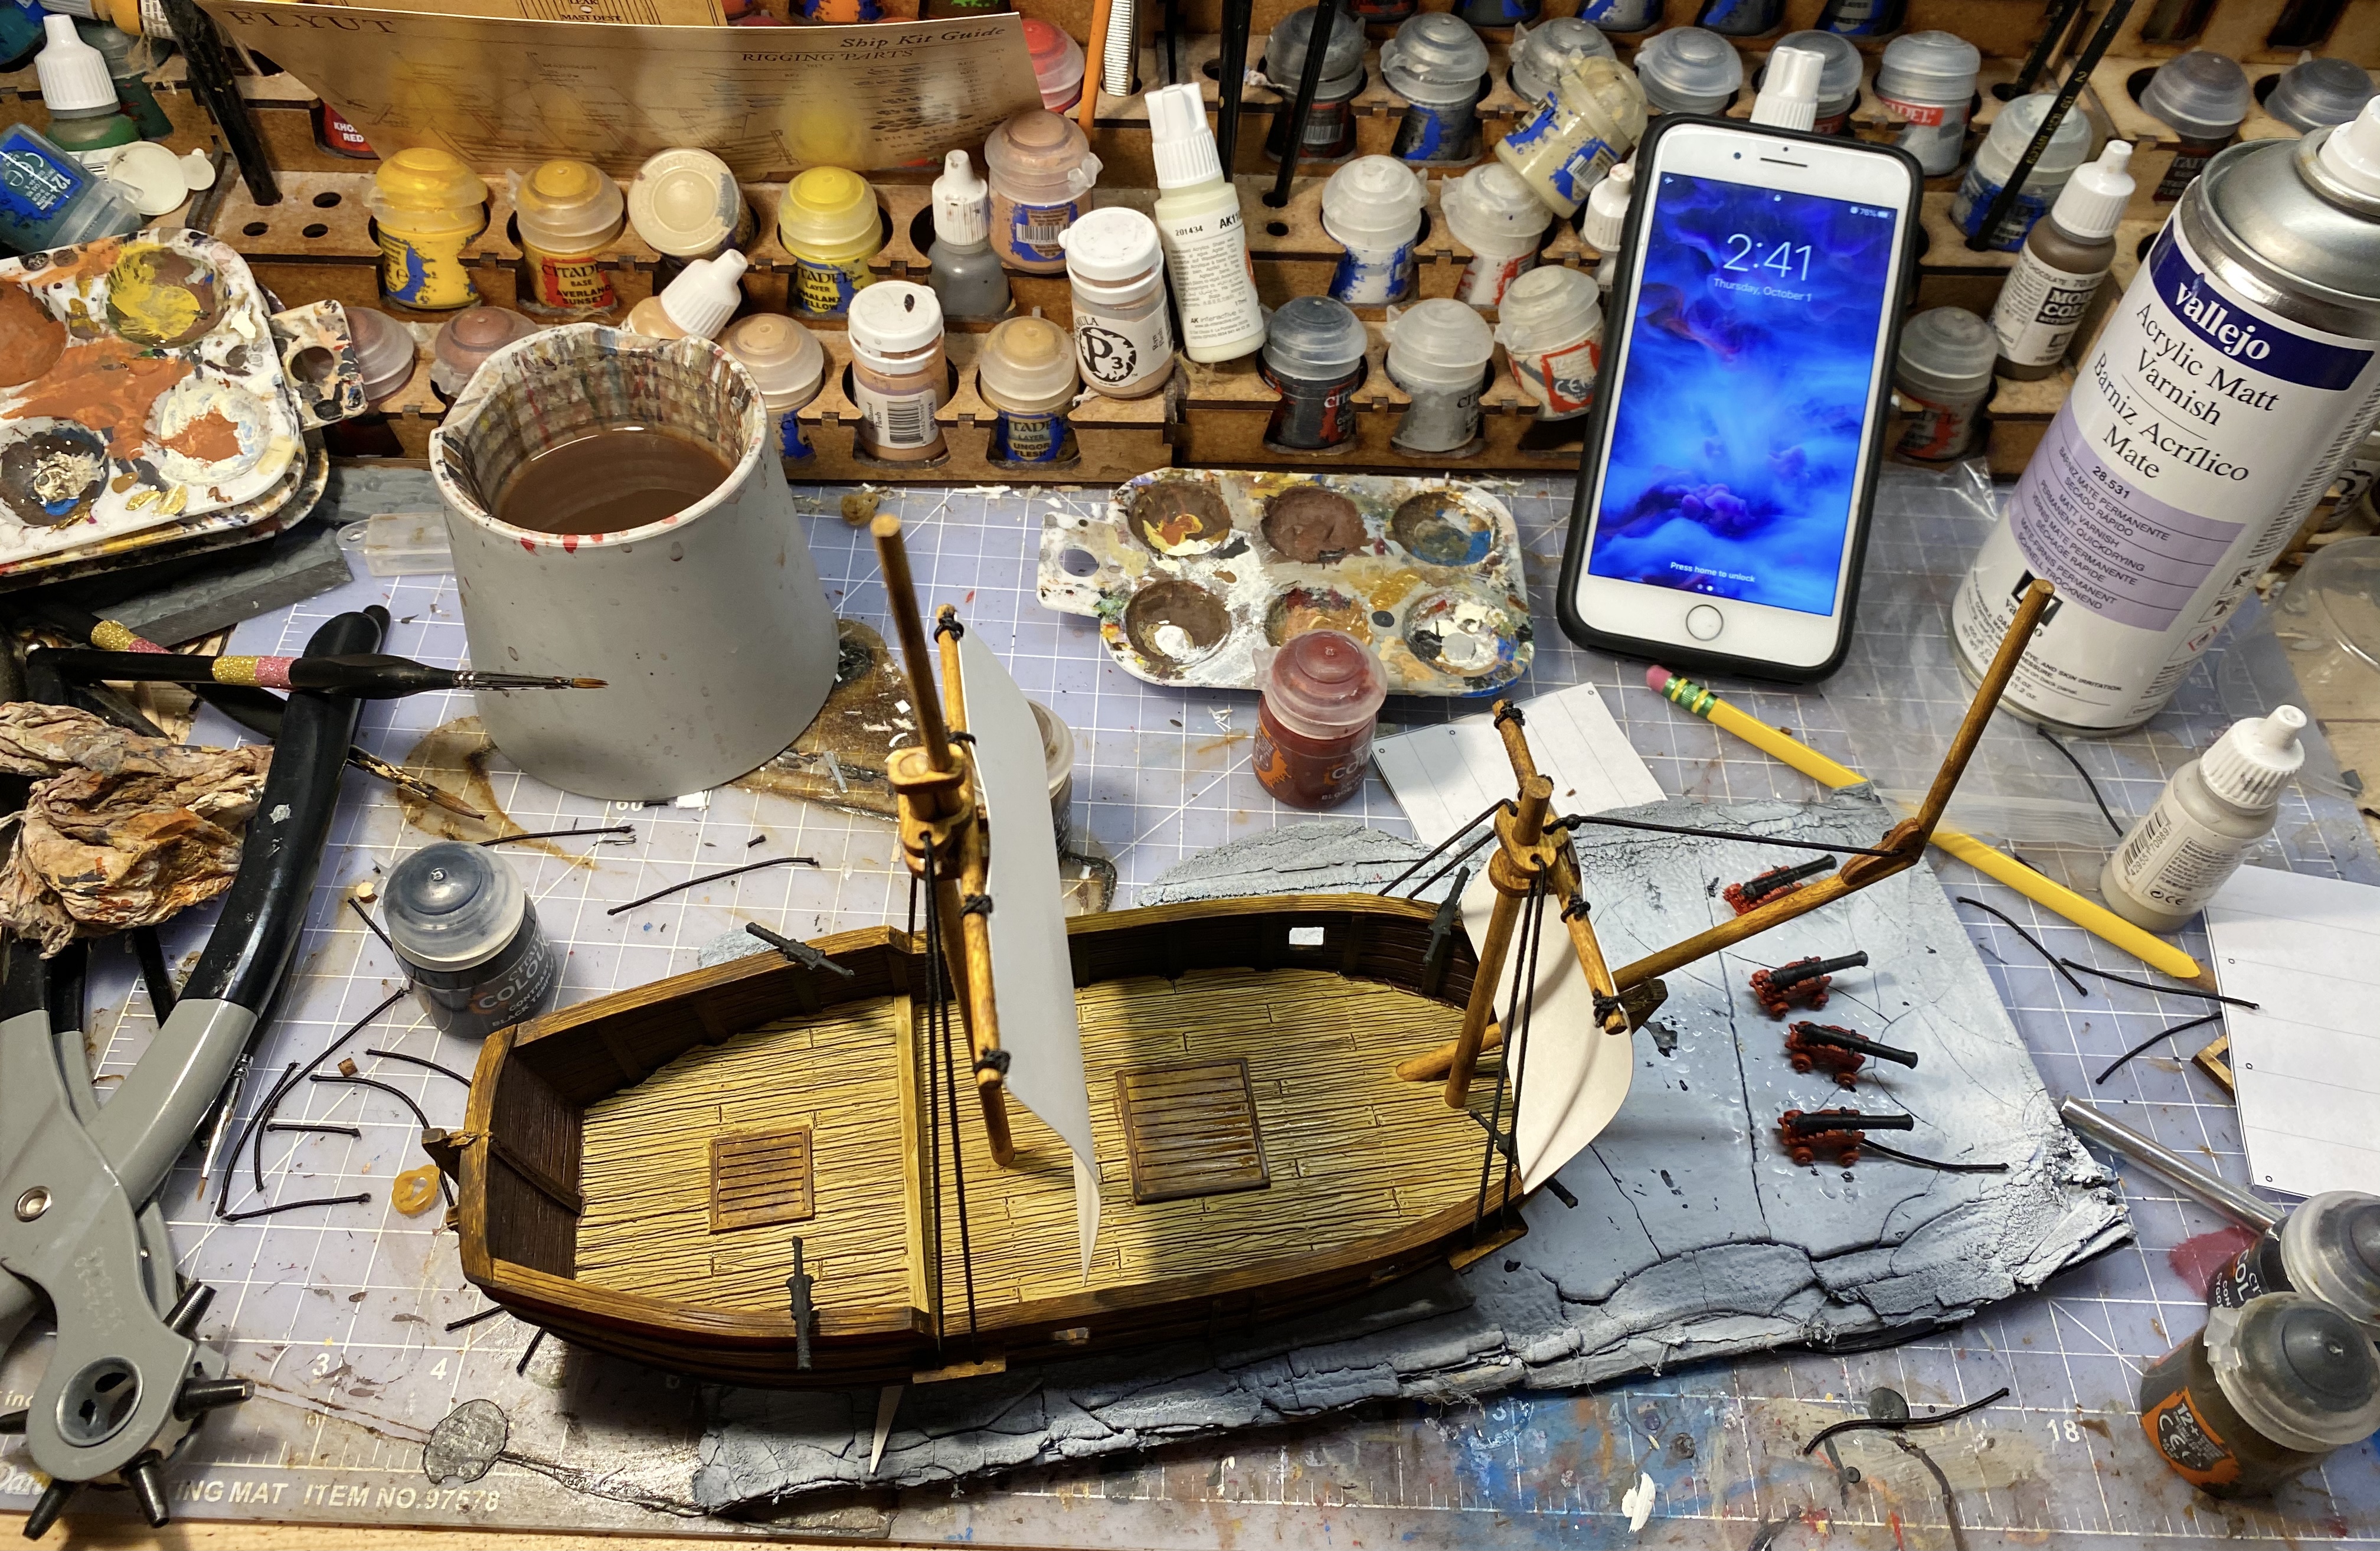
Step 23 – Trim the Sails
Put your sails in place and see if they need to be trimmed.

Mine were a little too large and I cut the top off straight.
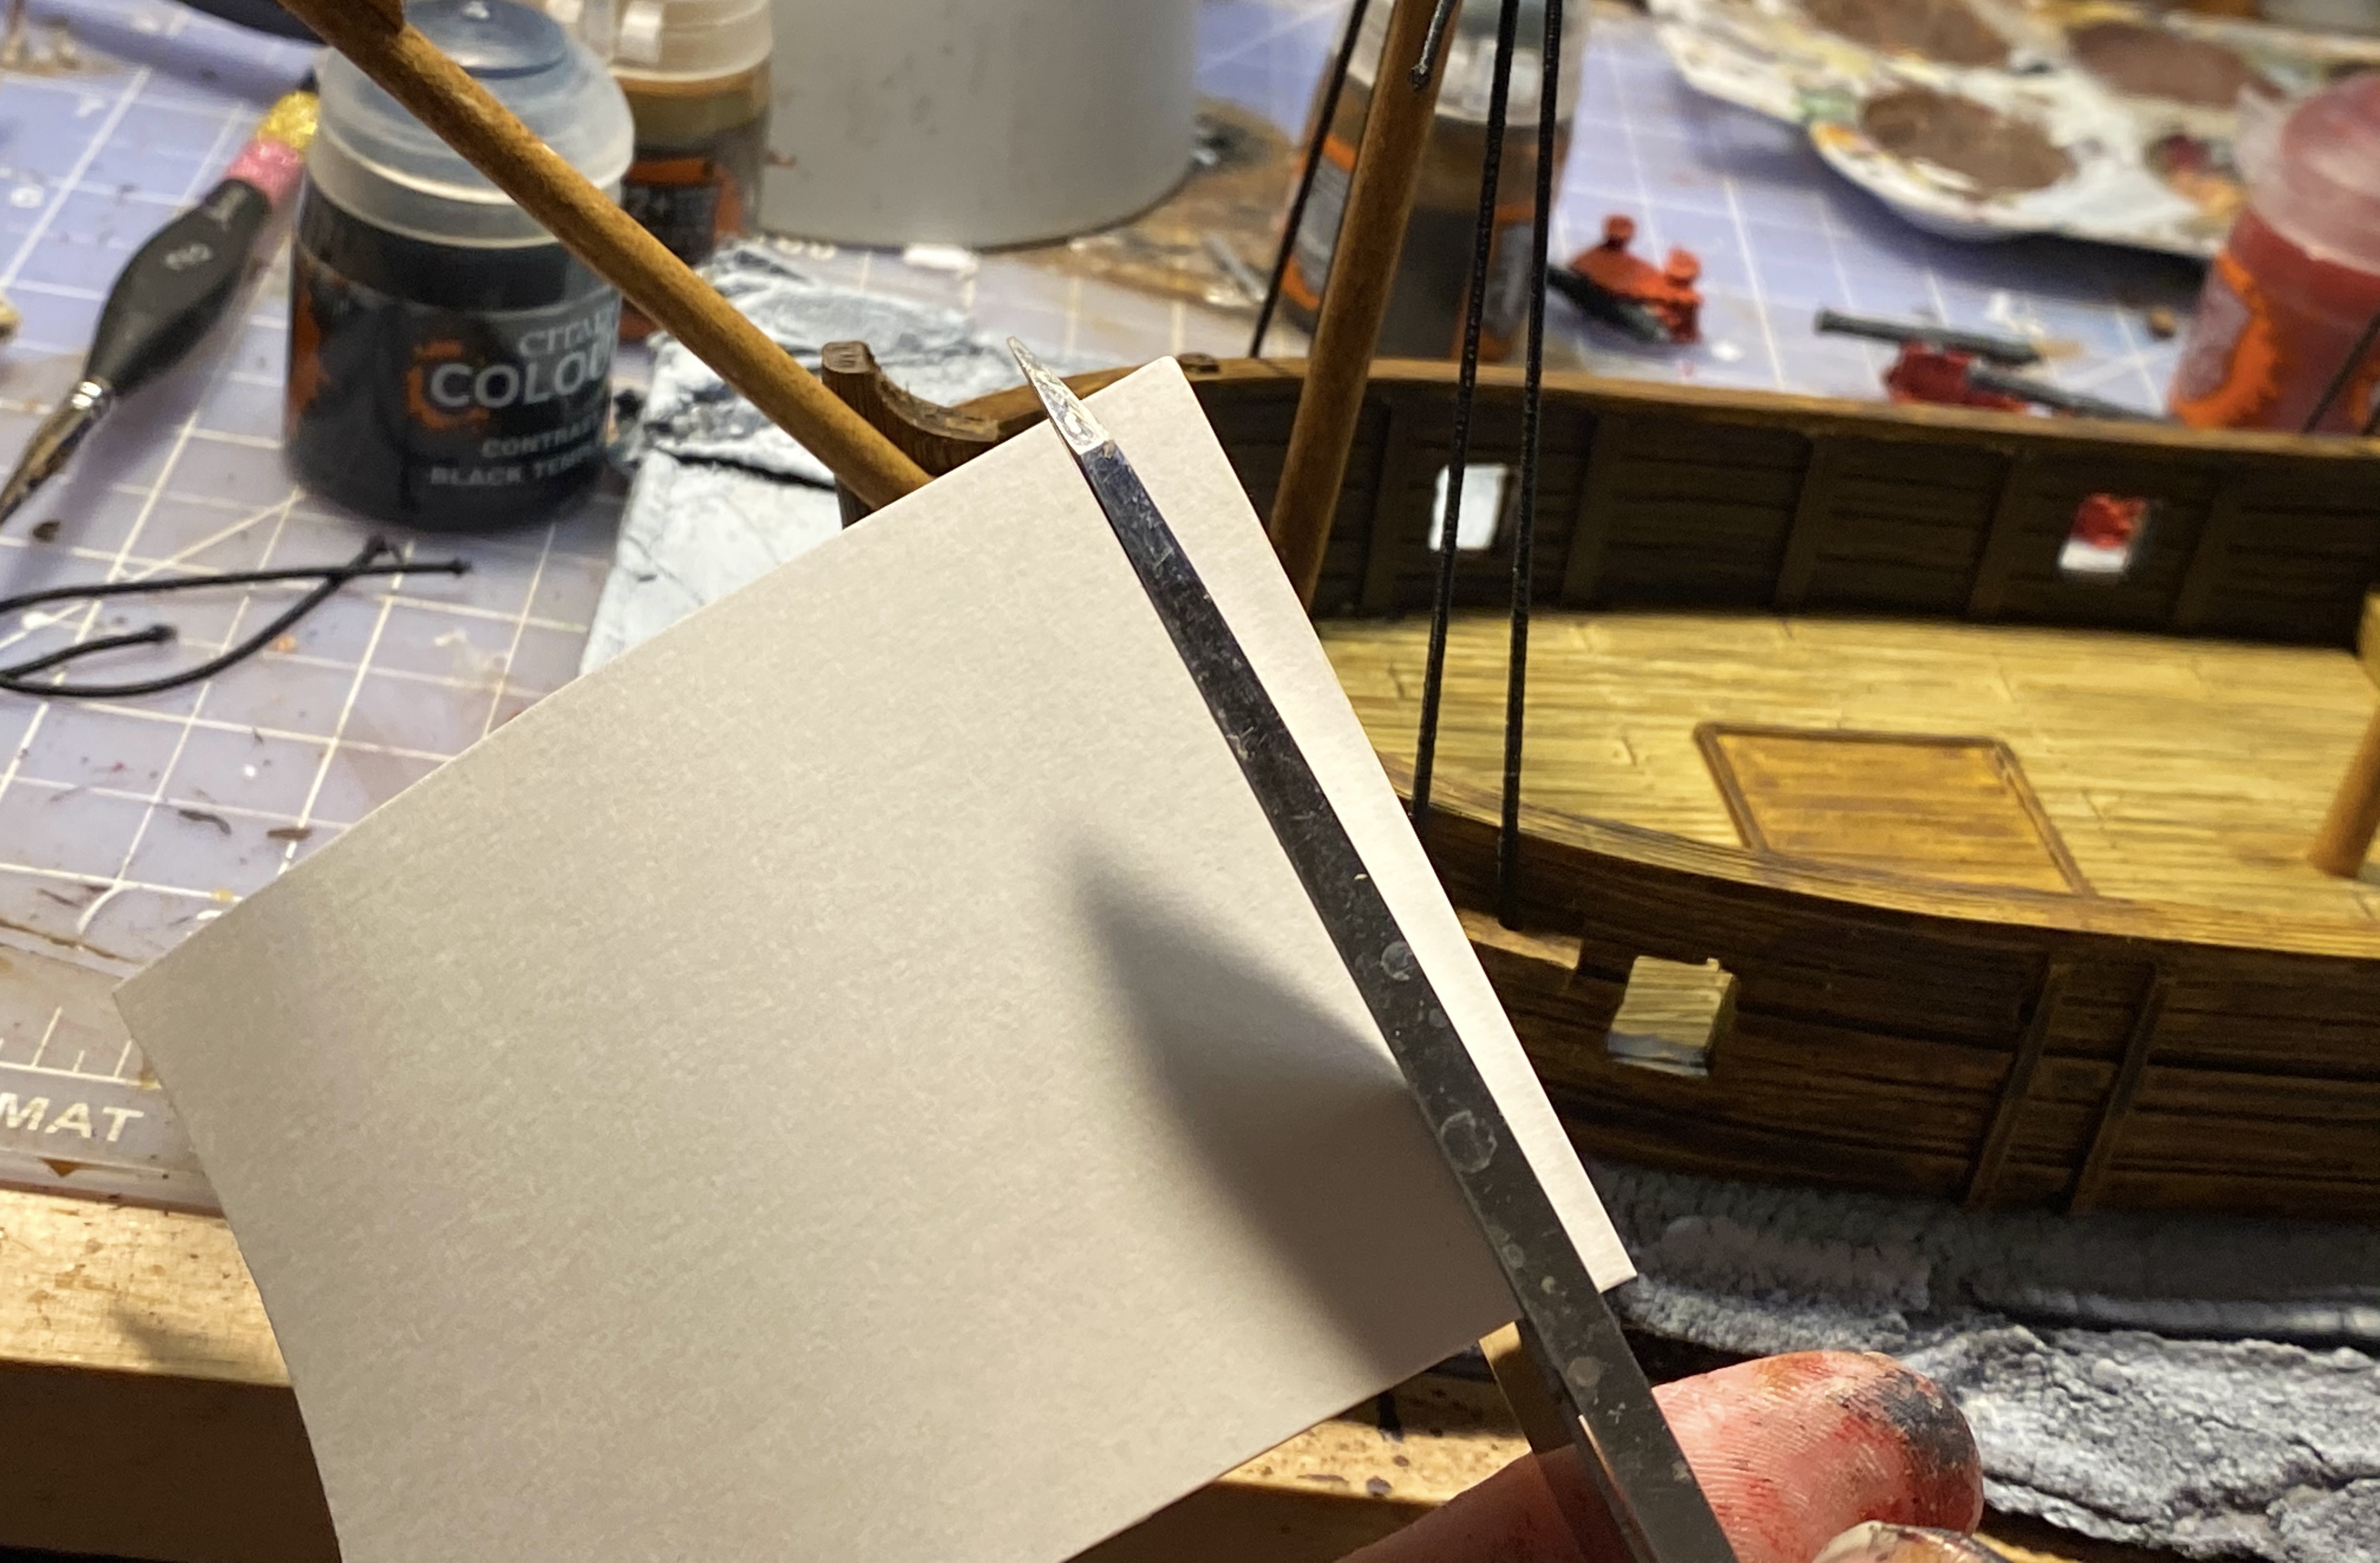
I then punched 4 holes in the top of each sail so they were ready to tie on to the spars later. I used a leather hold punch but you could use a needle or cut small hole with a knife.
Make sure the holes are spaced so they don’t interfere with the mast in the center.
It’s so close to finished!
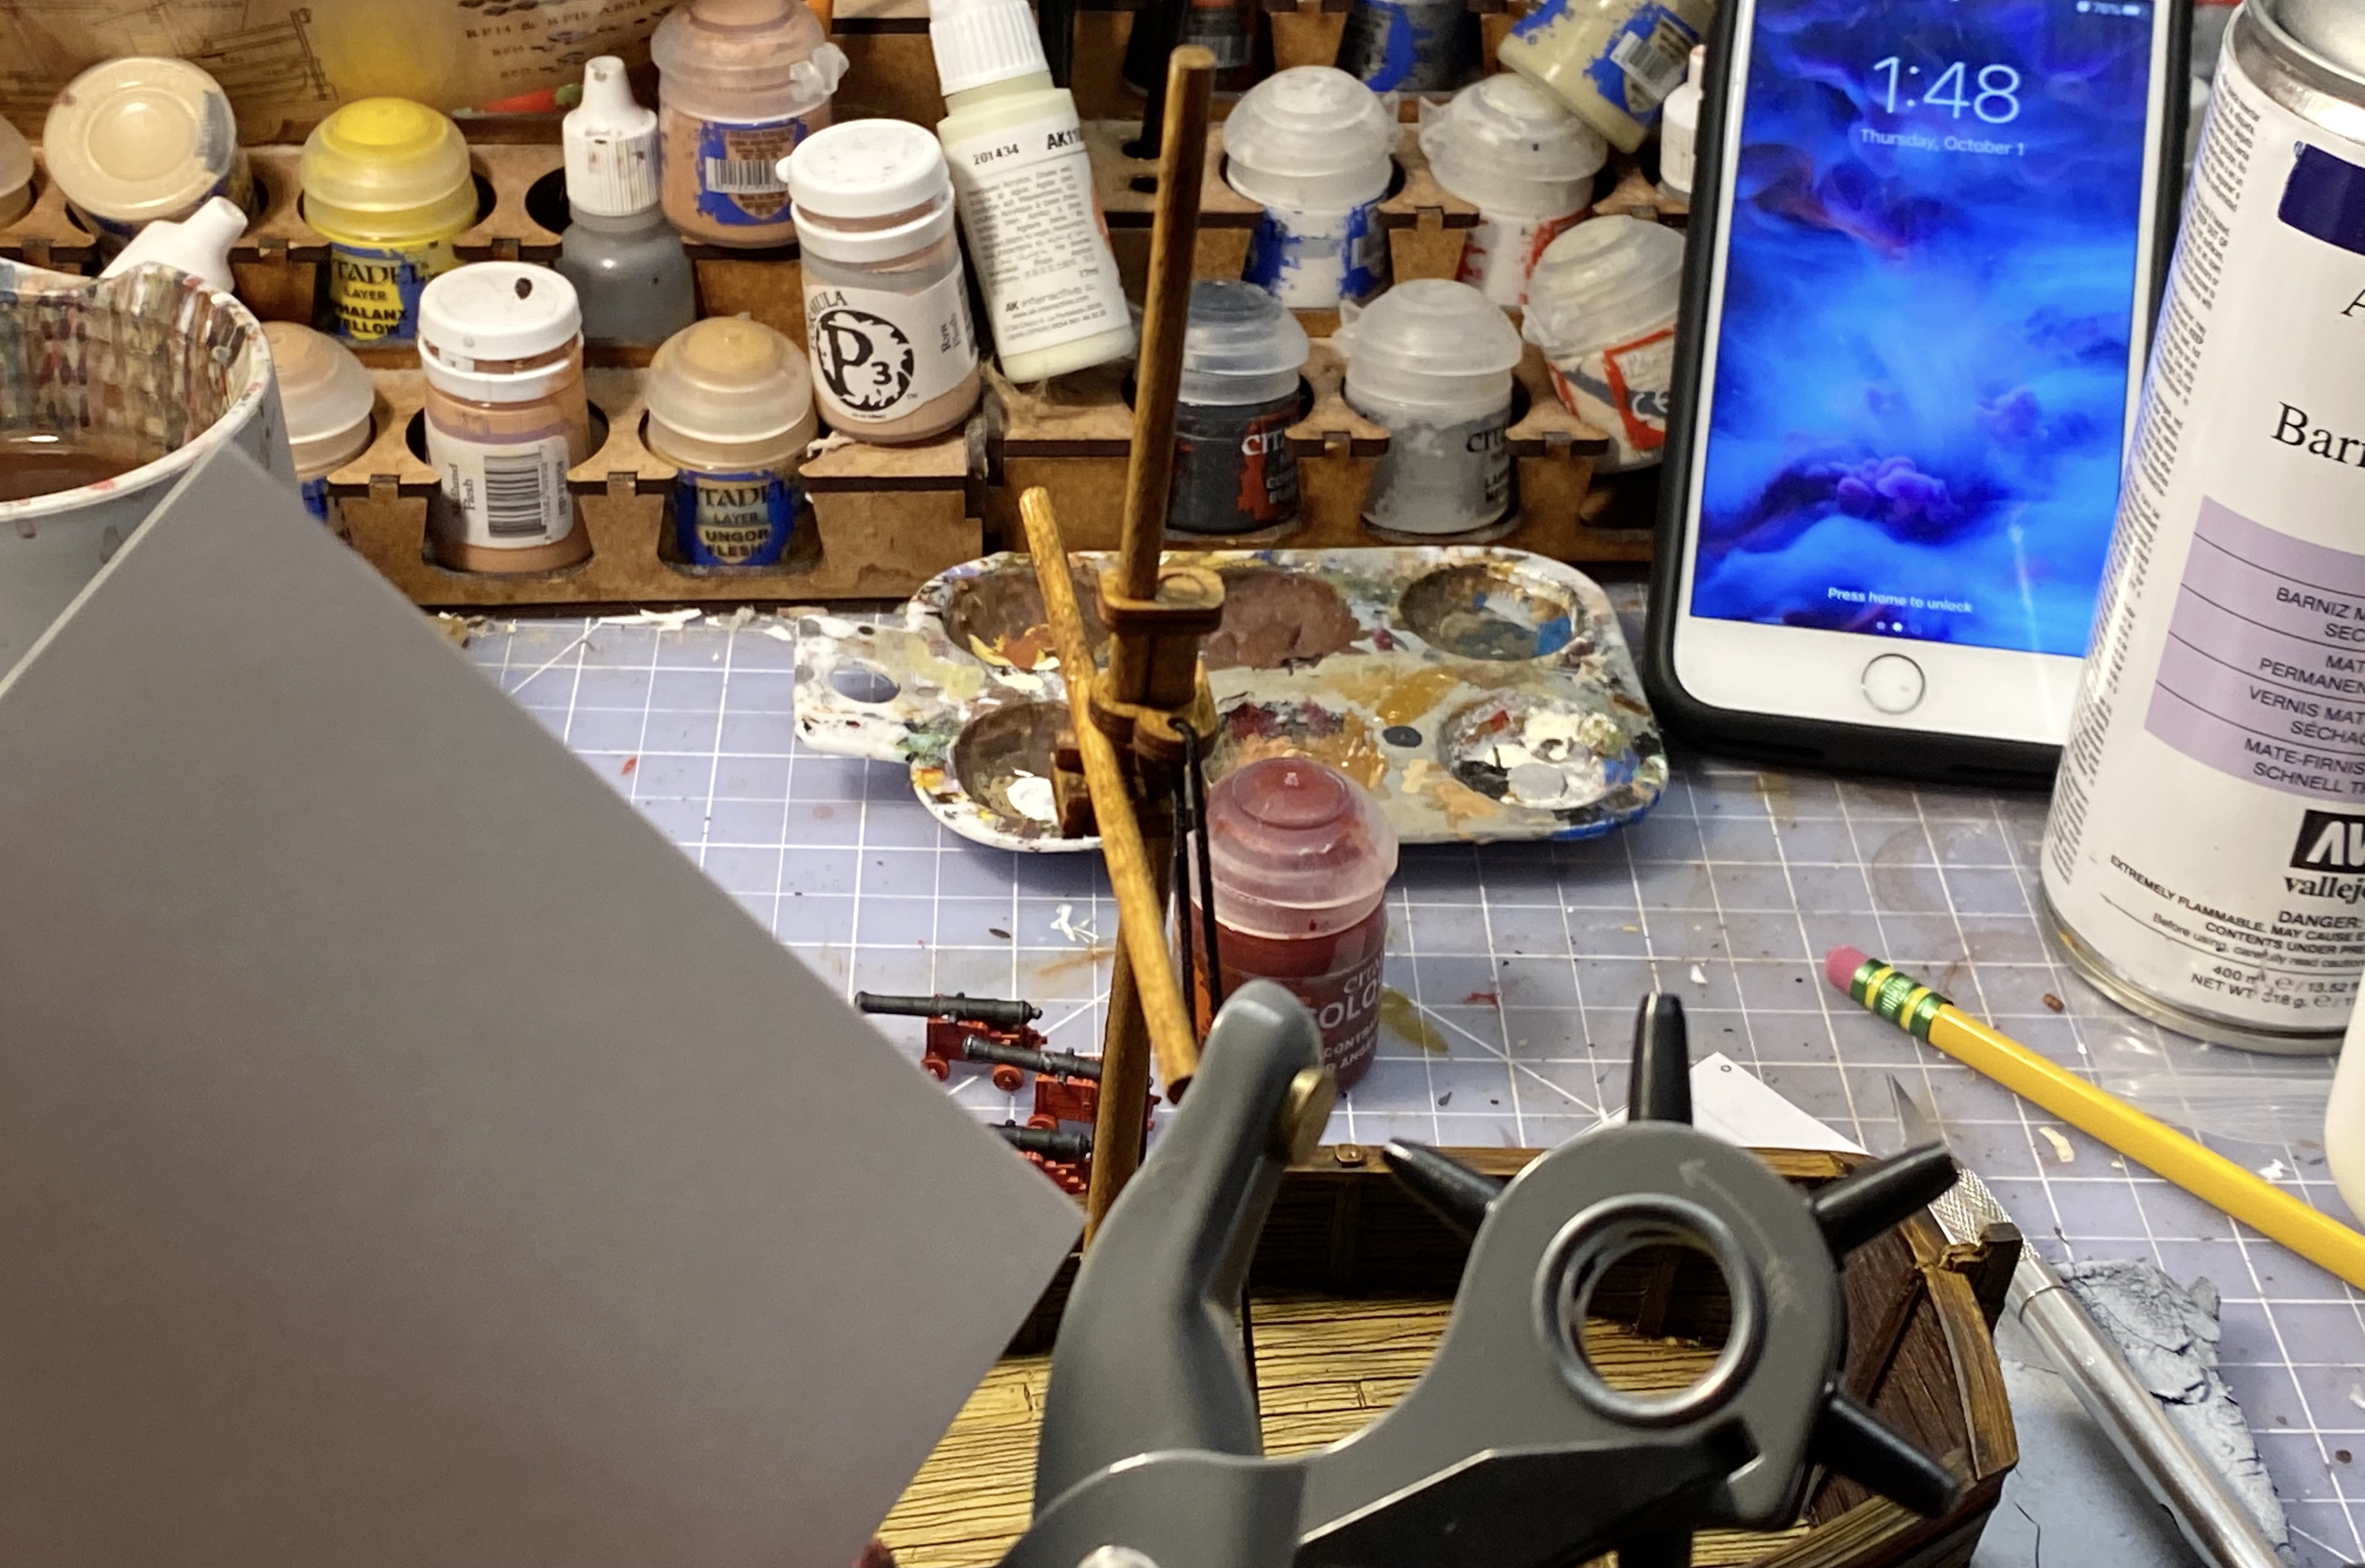
Step 24 – Touch up the Cannons if Necessary
At this point we’re stalling a bit to give the hull paint more time to dry. I went over my cannons again and found that there was some white peaking through here and there, especially at the mouth of the barrels.

Step 25 – Finish the Rigging and Touch up the Masts
The bowsprit felt stable so I went ahead and tied off the line from the mast to the end of the bowsprit. Be careful not to jostle that silly vertical piece at the end of the bowsprit! You don’t want to have to glue that again.
Tie and trim!
Assmbling the masts made some scratches in the paint so I touched them up with the Aggoros Dunes.

Step 26 – Let the Paint Dry
It’s ready for varnish now but some of the interior wall paint was still sticky so I took a break.
Call of Duty Mobile for 20 minutes.
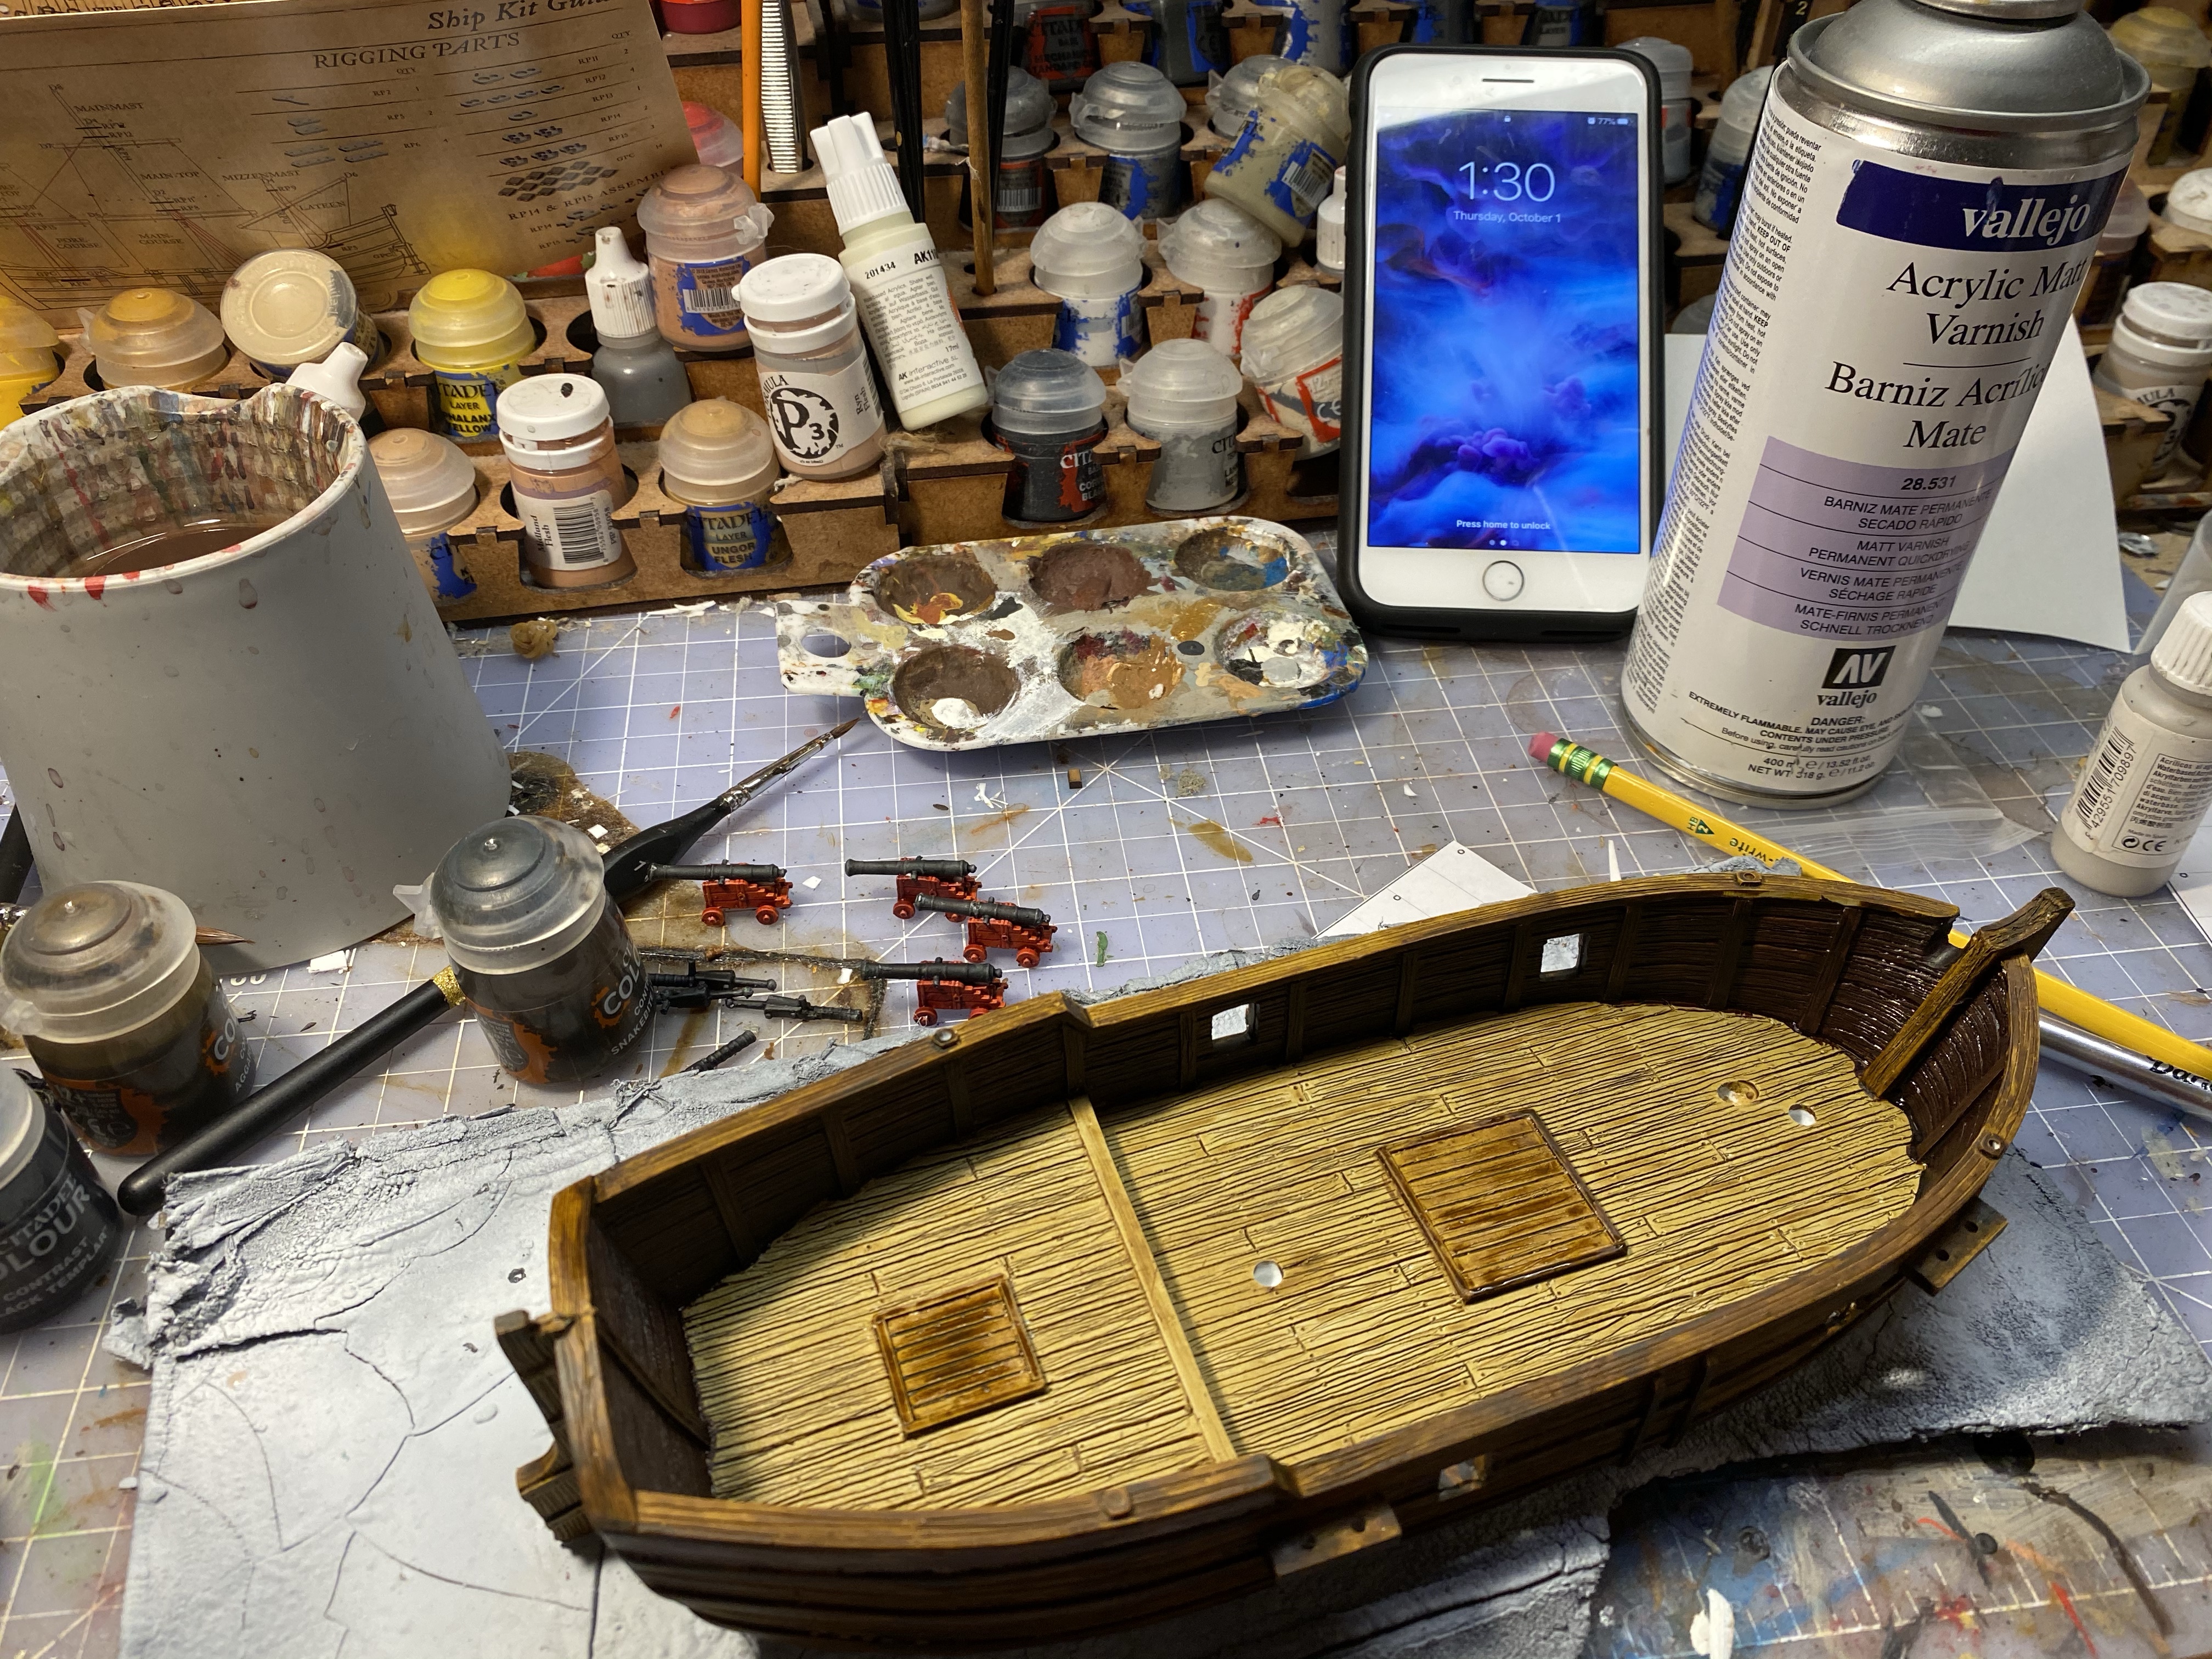
Step 27 – Varnish the Ship and Cannons
I put the swivel guns in place for this step.
Apply a spray varnish over the entire ship. I make sure to apply this generously to the deck since that’s where all the metal bases make contact with the ship.
I used Vallejo’s Acrylic Matt Varnish but army Painter and Testor both make fine varnishes as well.
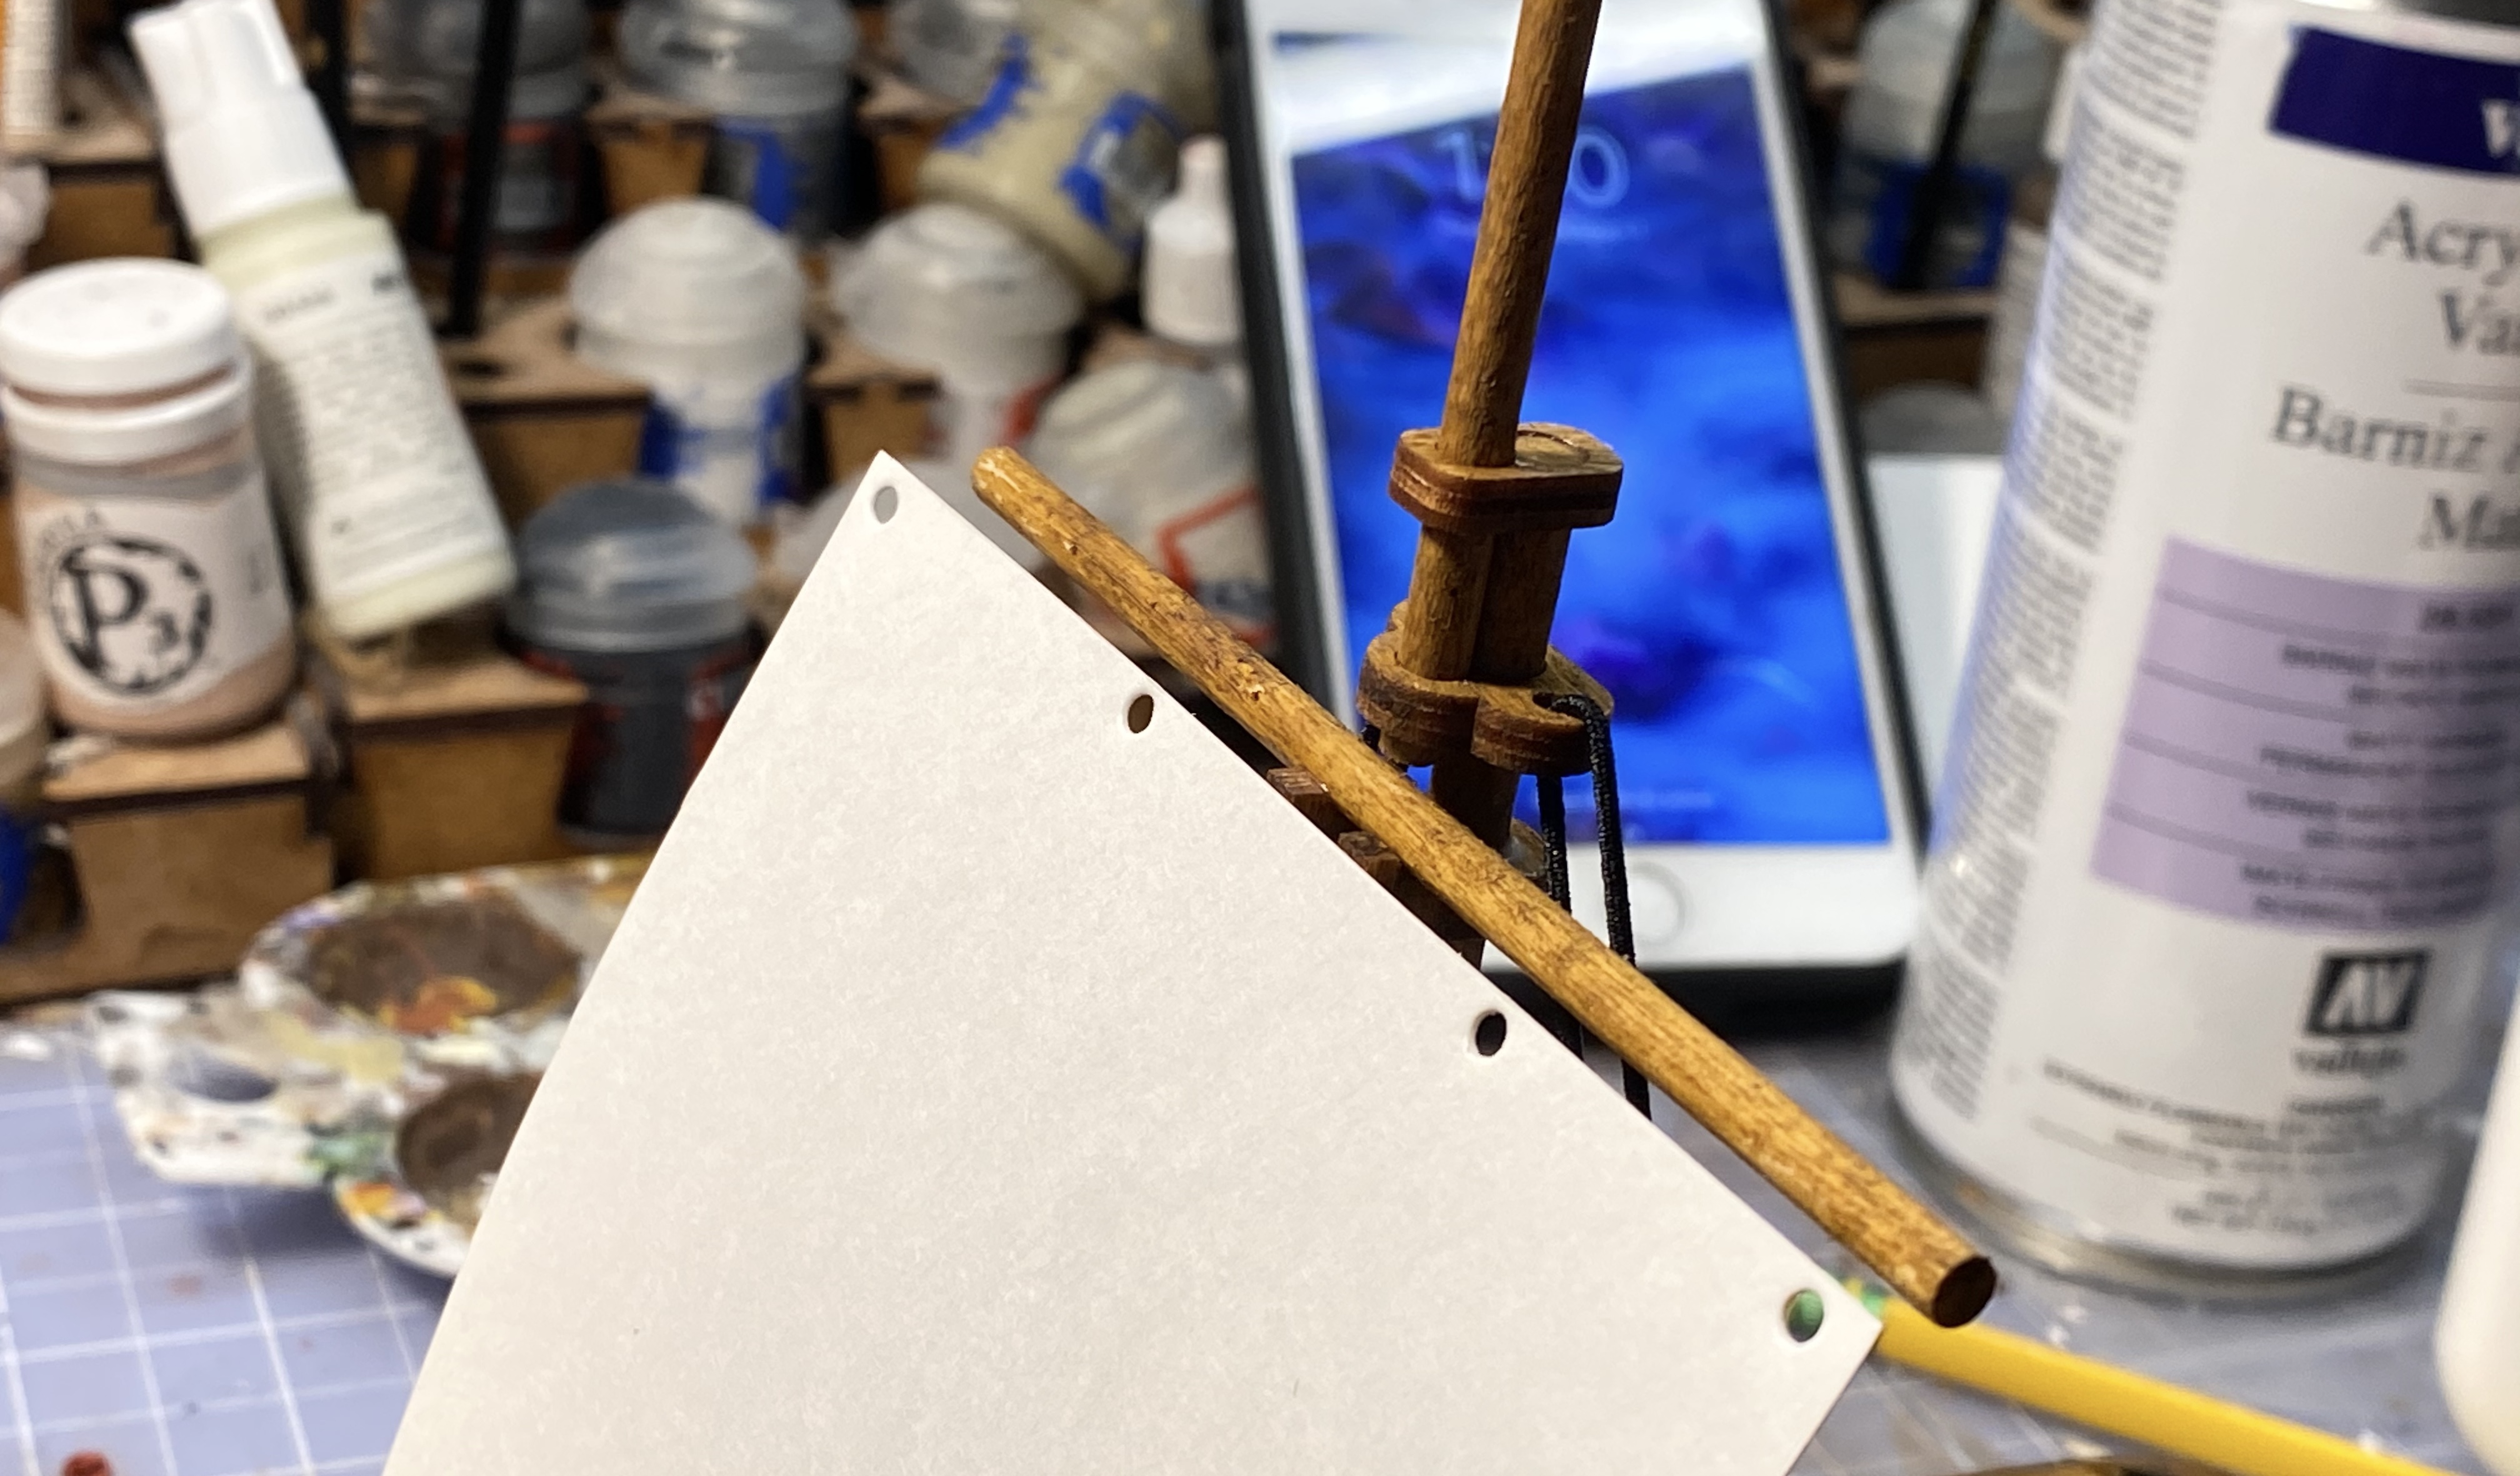
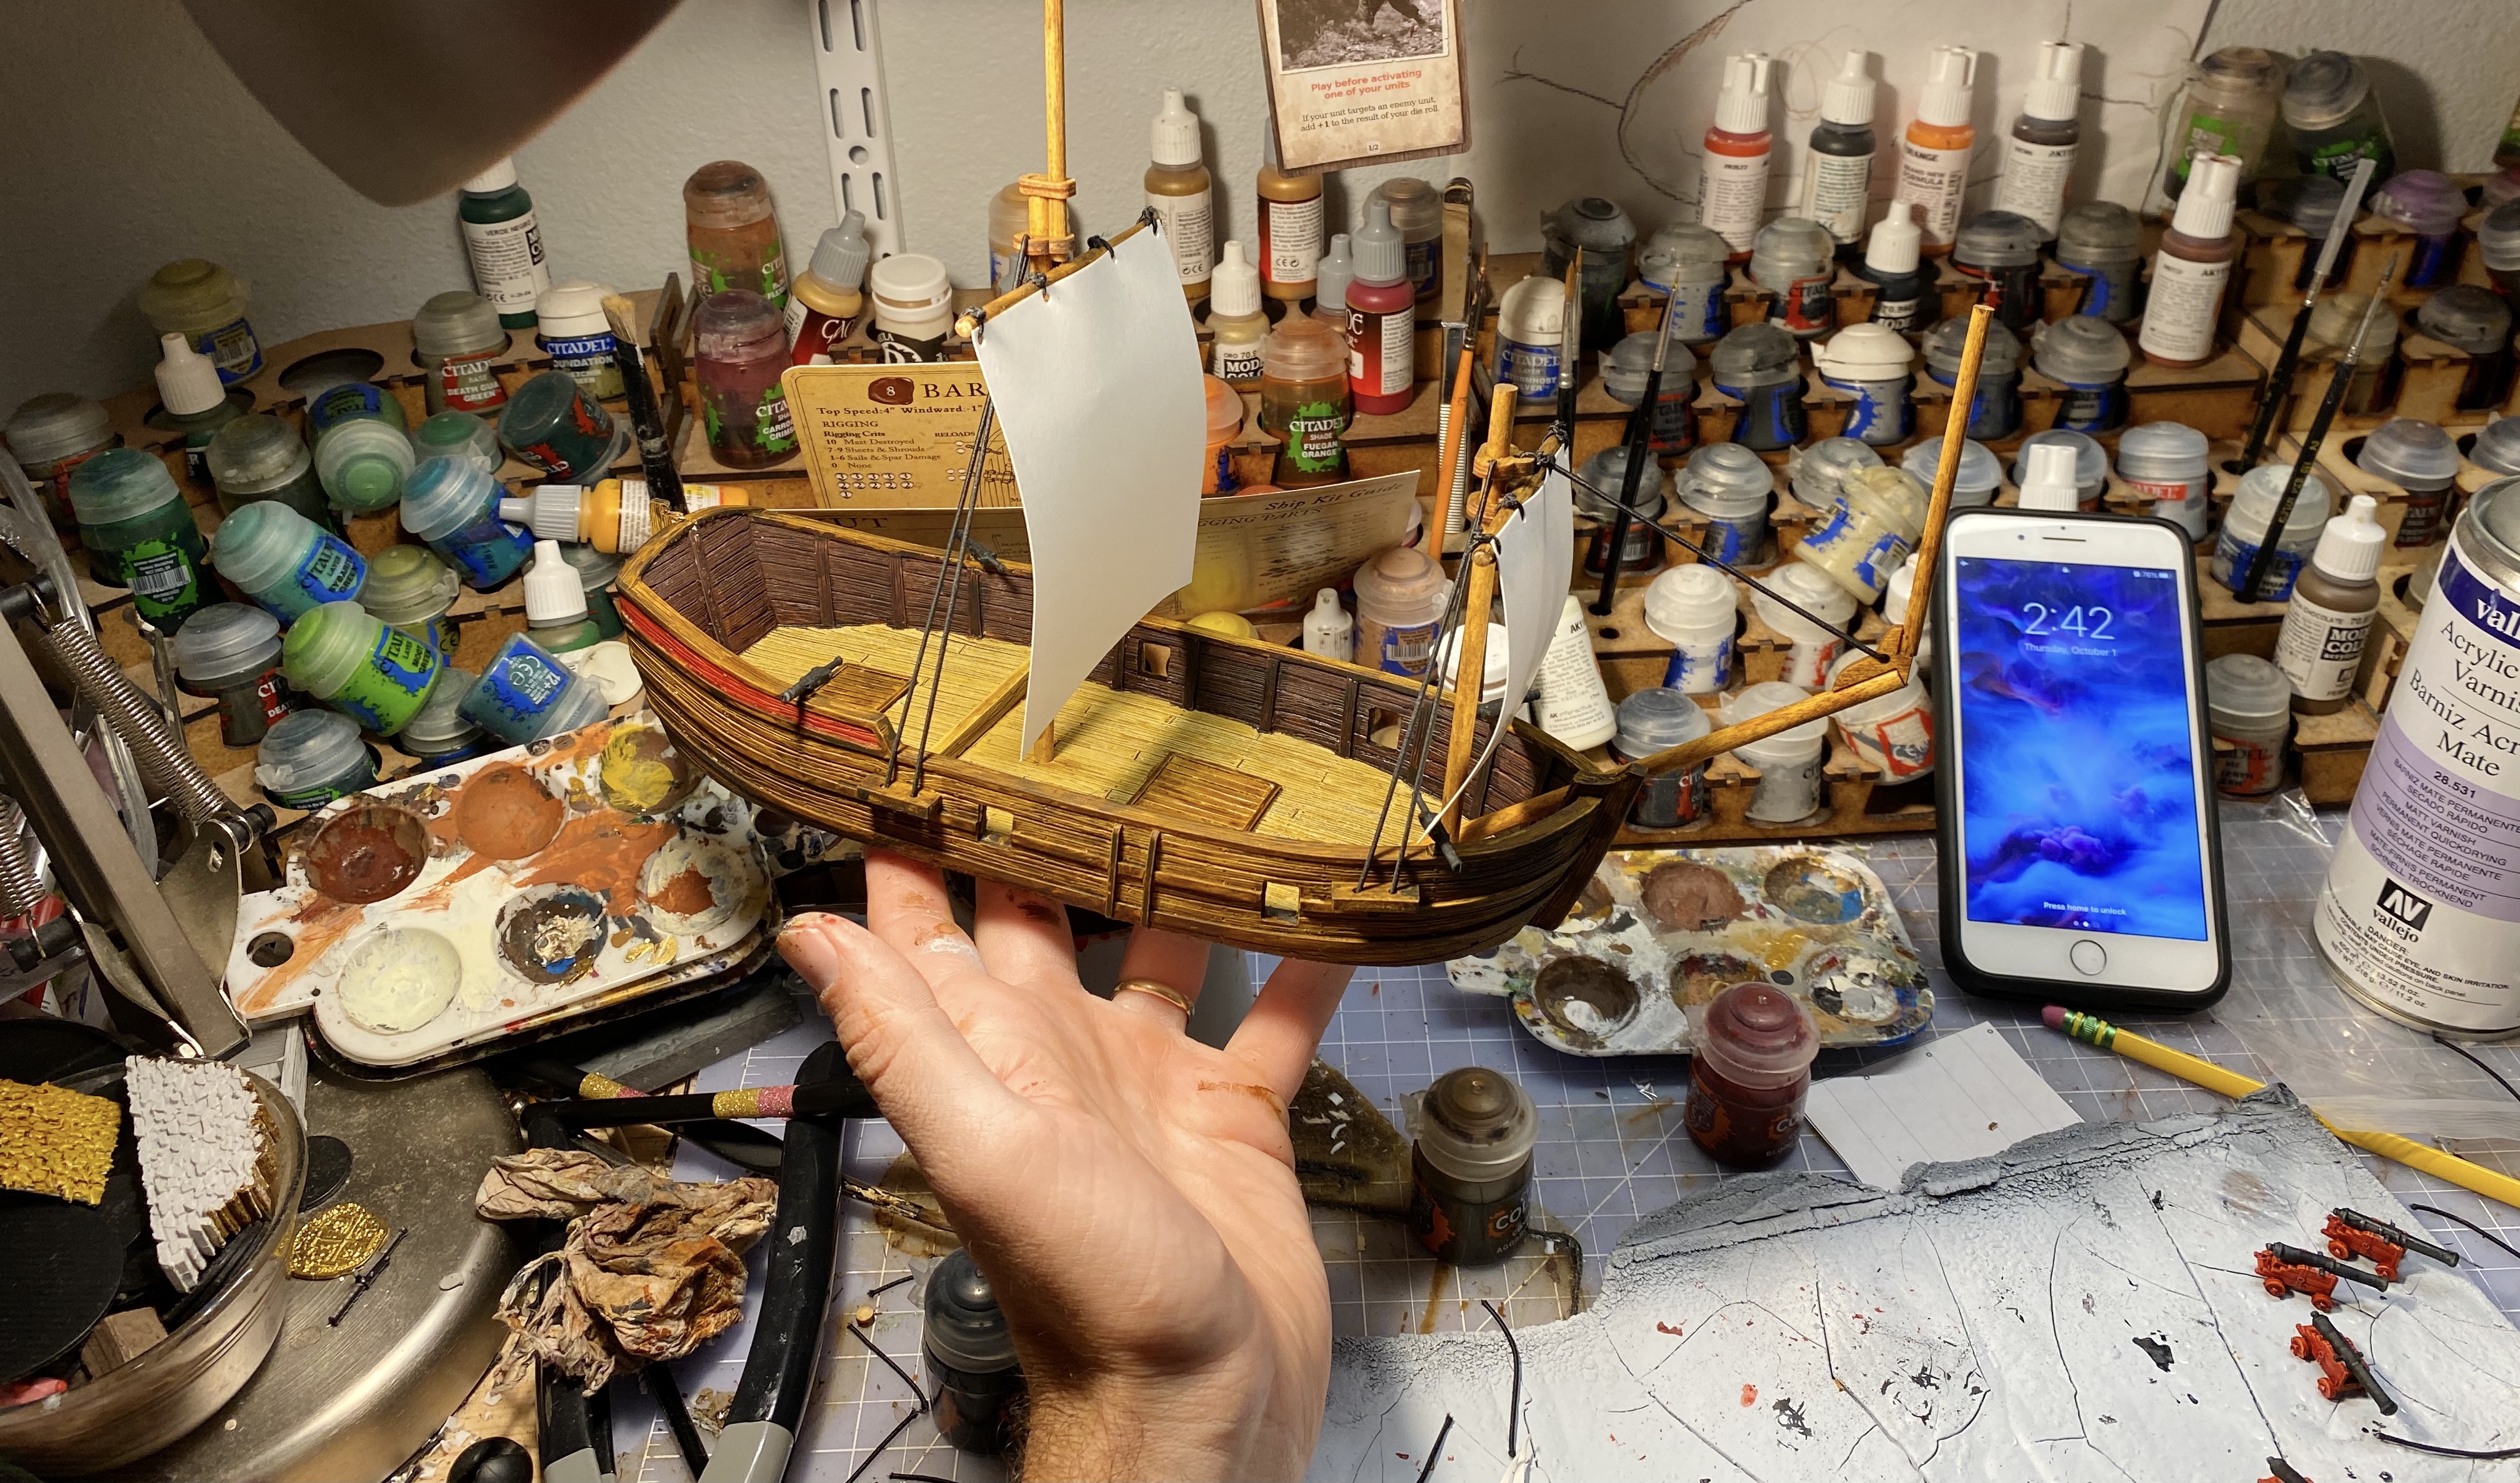
Step 28 – Attach the Sails
I let the ship sit for a little more than 5 minutes before proceeding. The hull wasn’t nearly dry but the masts had soaked it all up and were fine.
Using snug square knots, tie the sails to the spars.
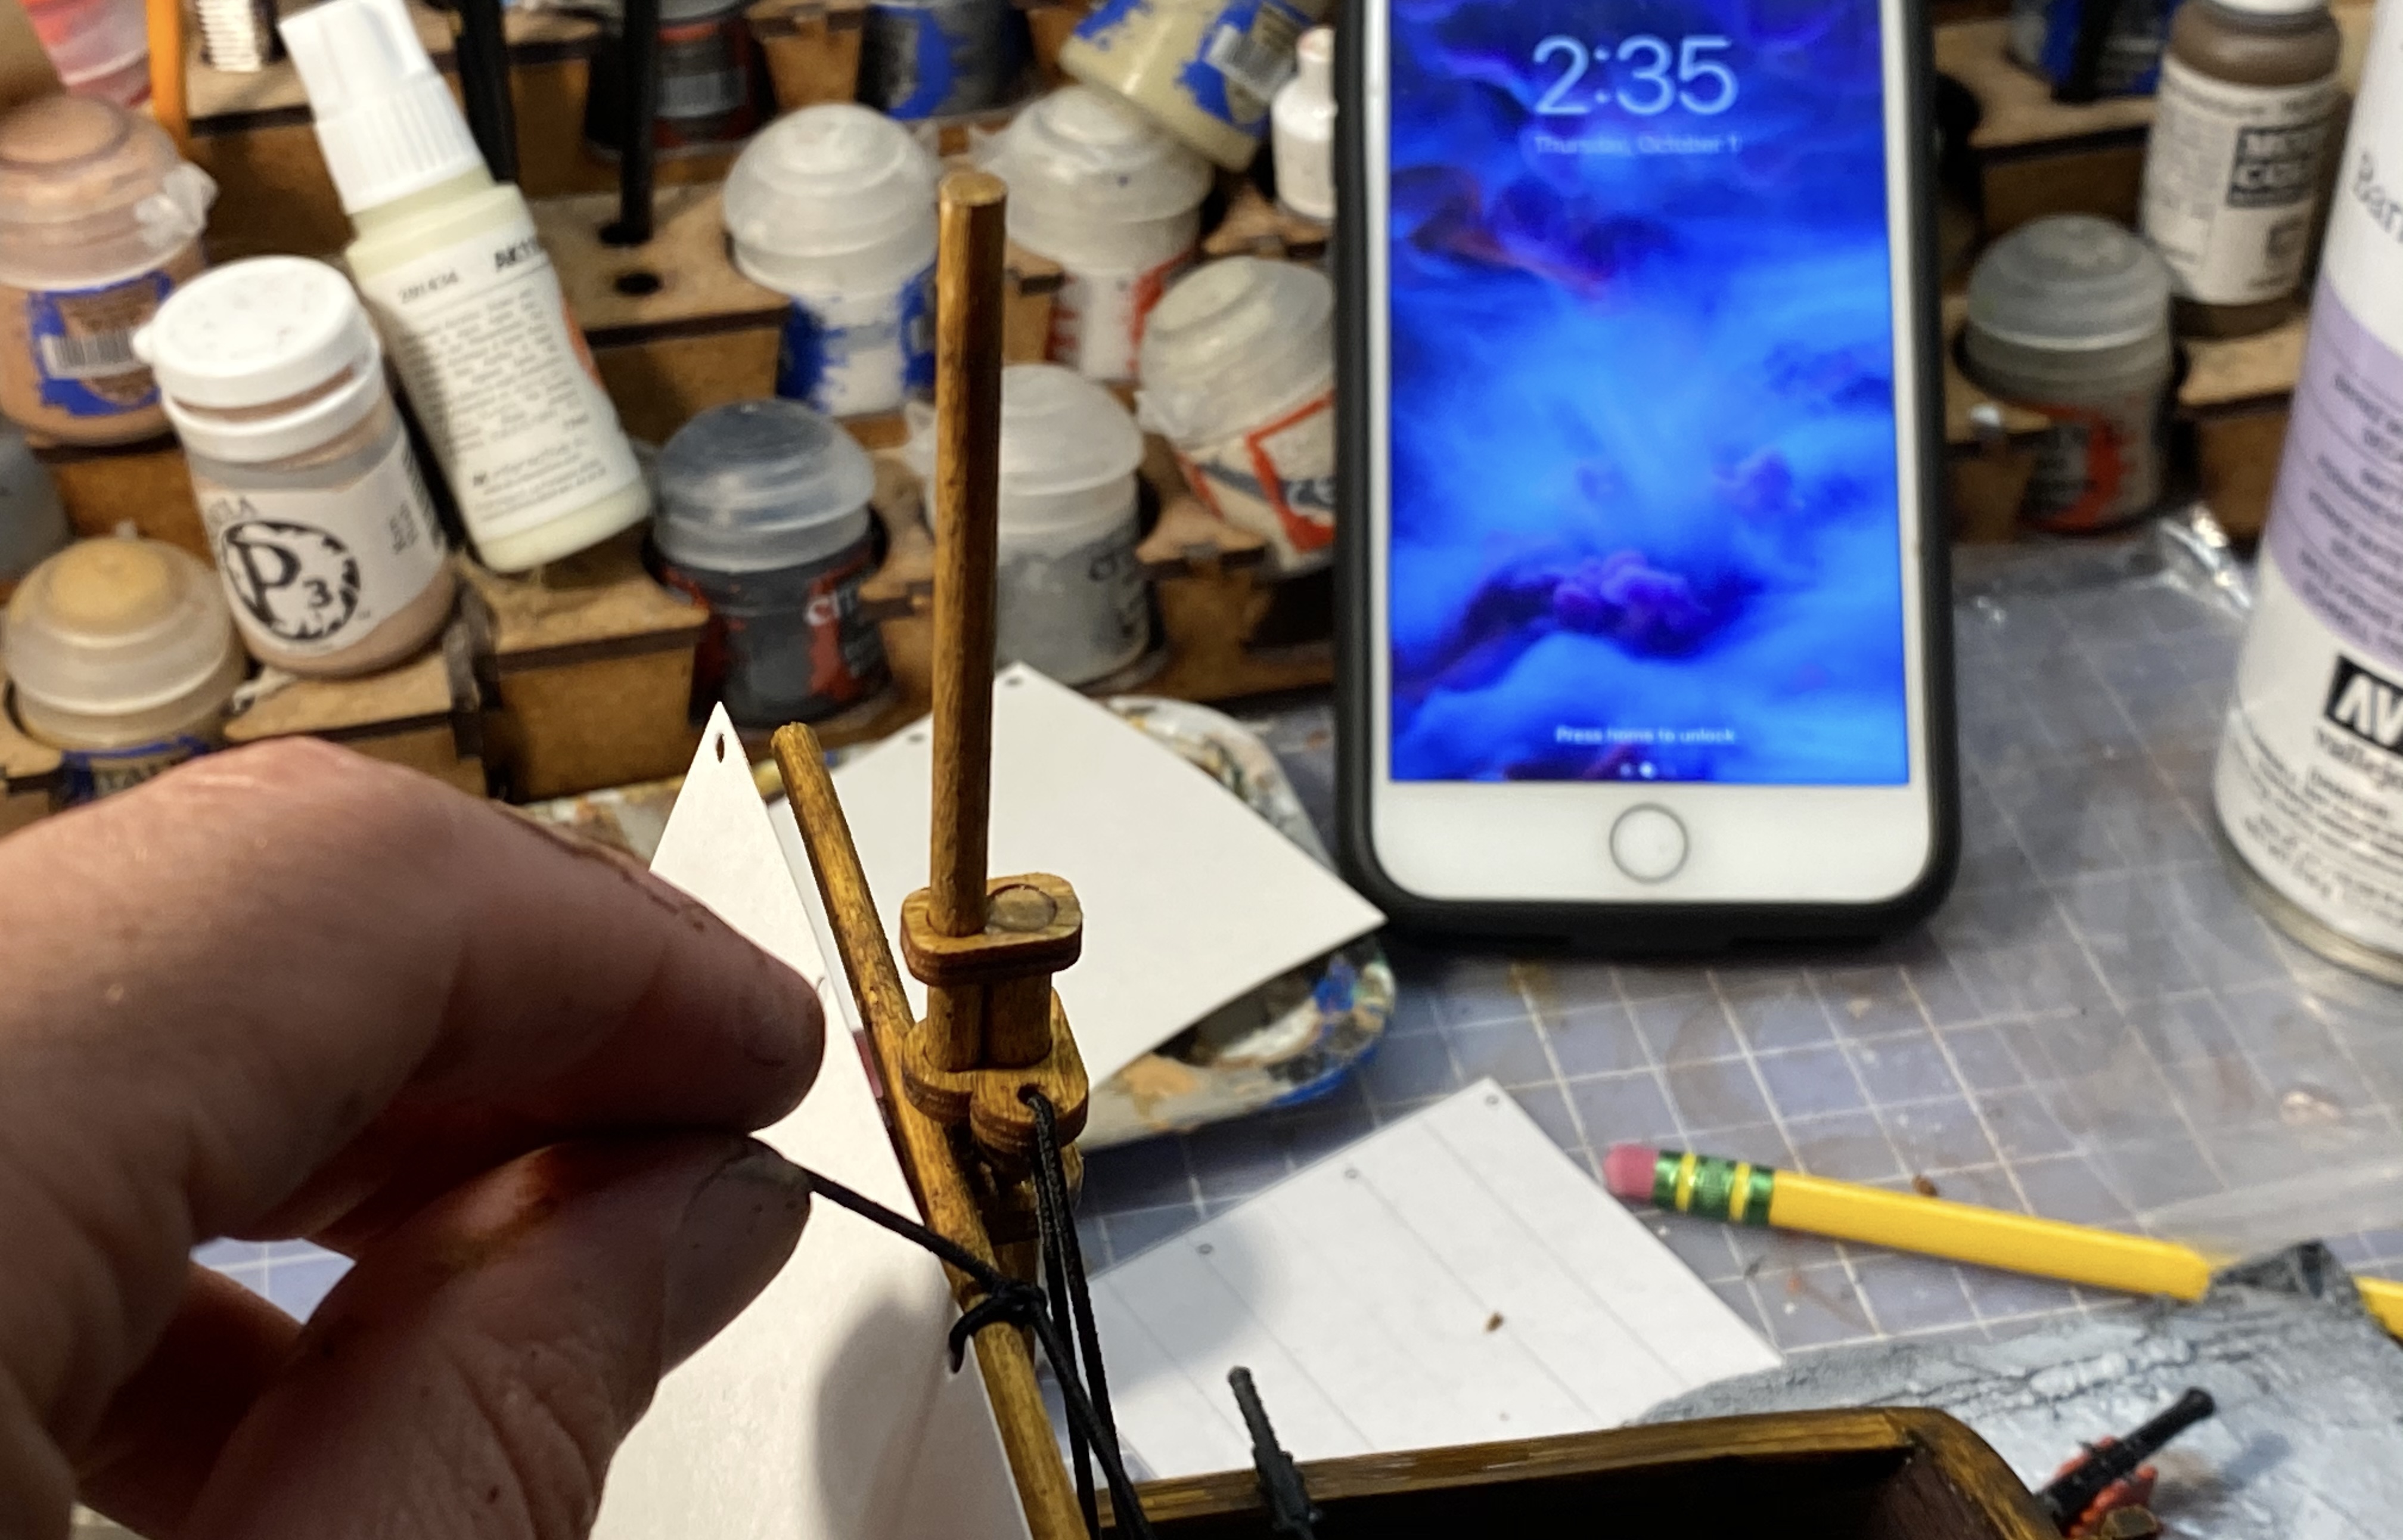
Pull the knots snugs and trim with your knife or scissors.
Tie the four knots on one side then flip the ship around to the other side.
Tie and trim again. I like to curl the paper a little to put a curve into the paper sail.
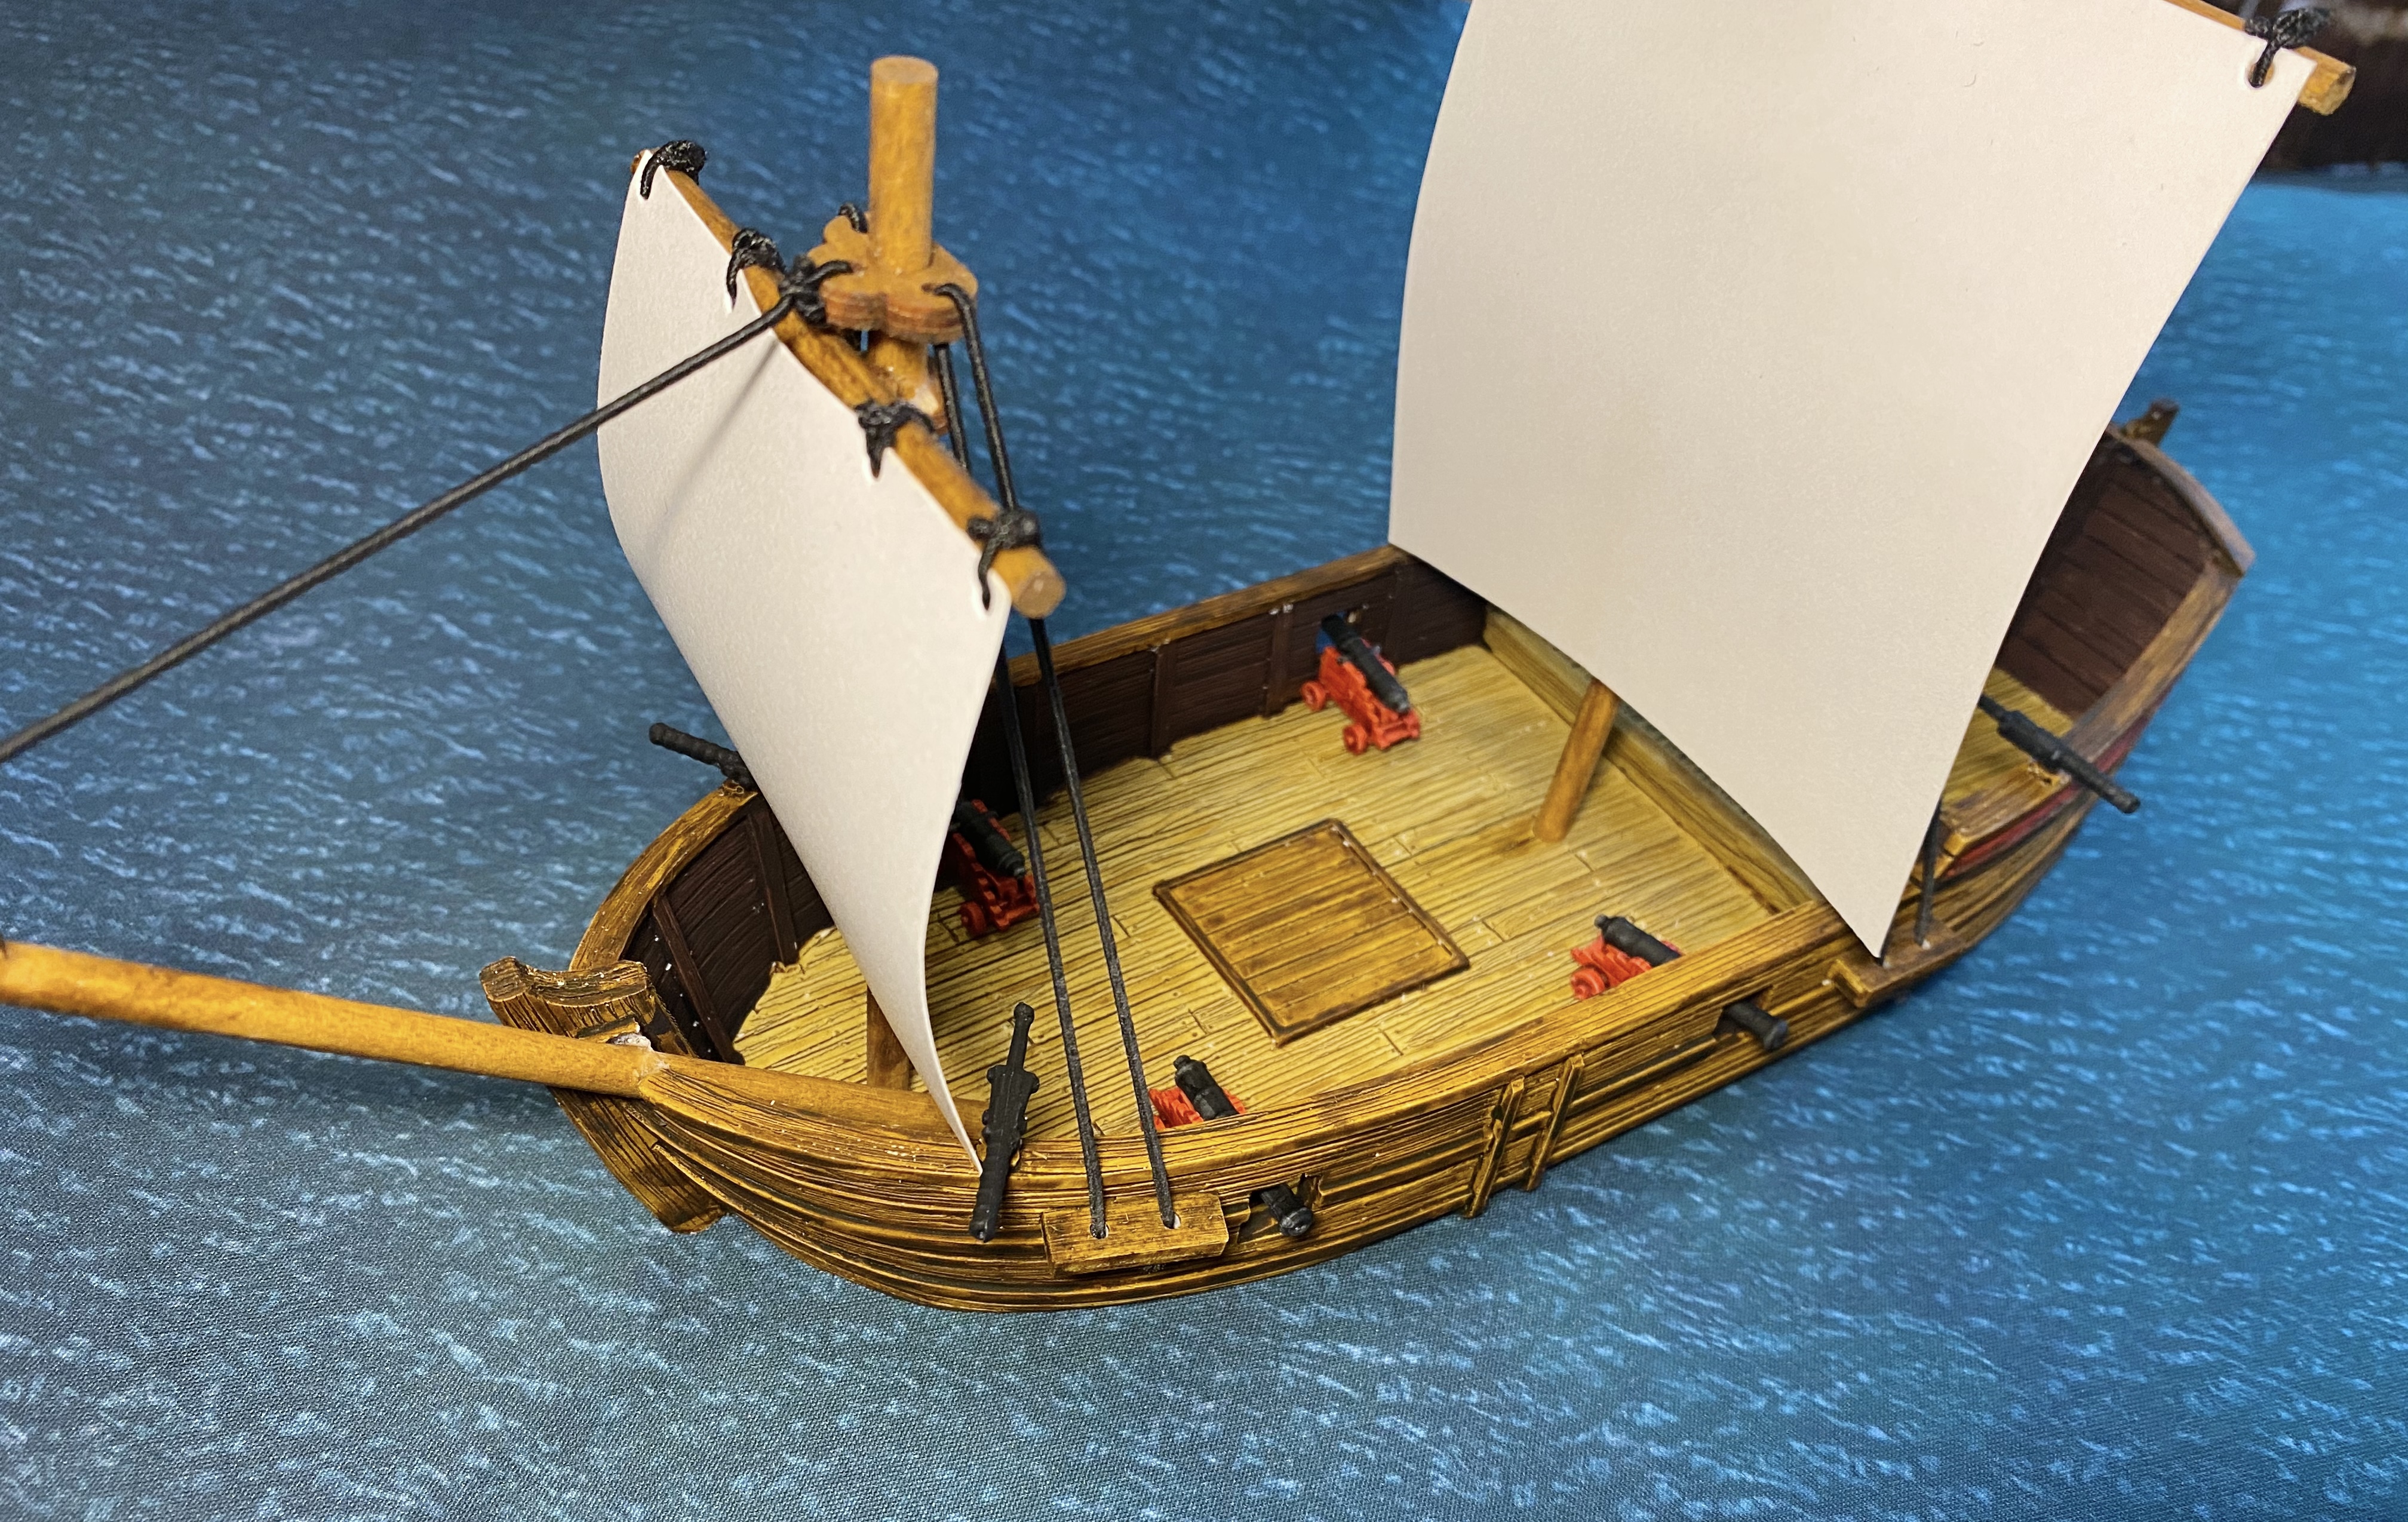
Step 29 – You’re Done! Go to Bed!

This ship needs to dry for a good while before actually using it or putting models on the deck, but it’s finished! That took 3 hours and 2 minutes from opening the box to complete.
Let me again emphasize that spreading this project out over a couple days is better so pieces and areas have more time to dry, but if you’re careful and do things in a smart order, you can storm through a ship in an evening!
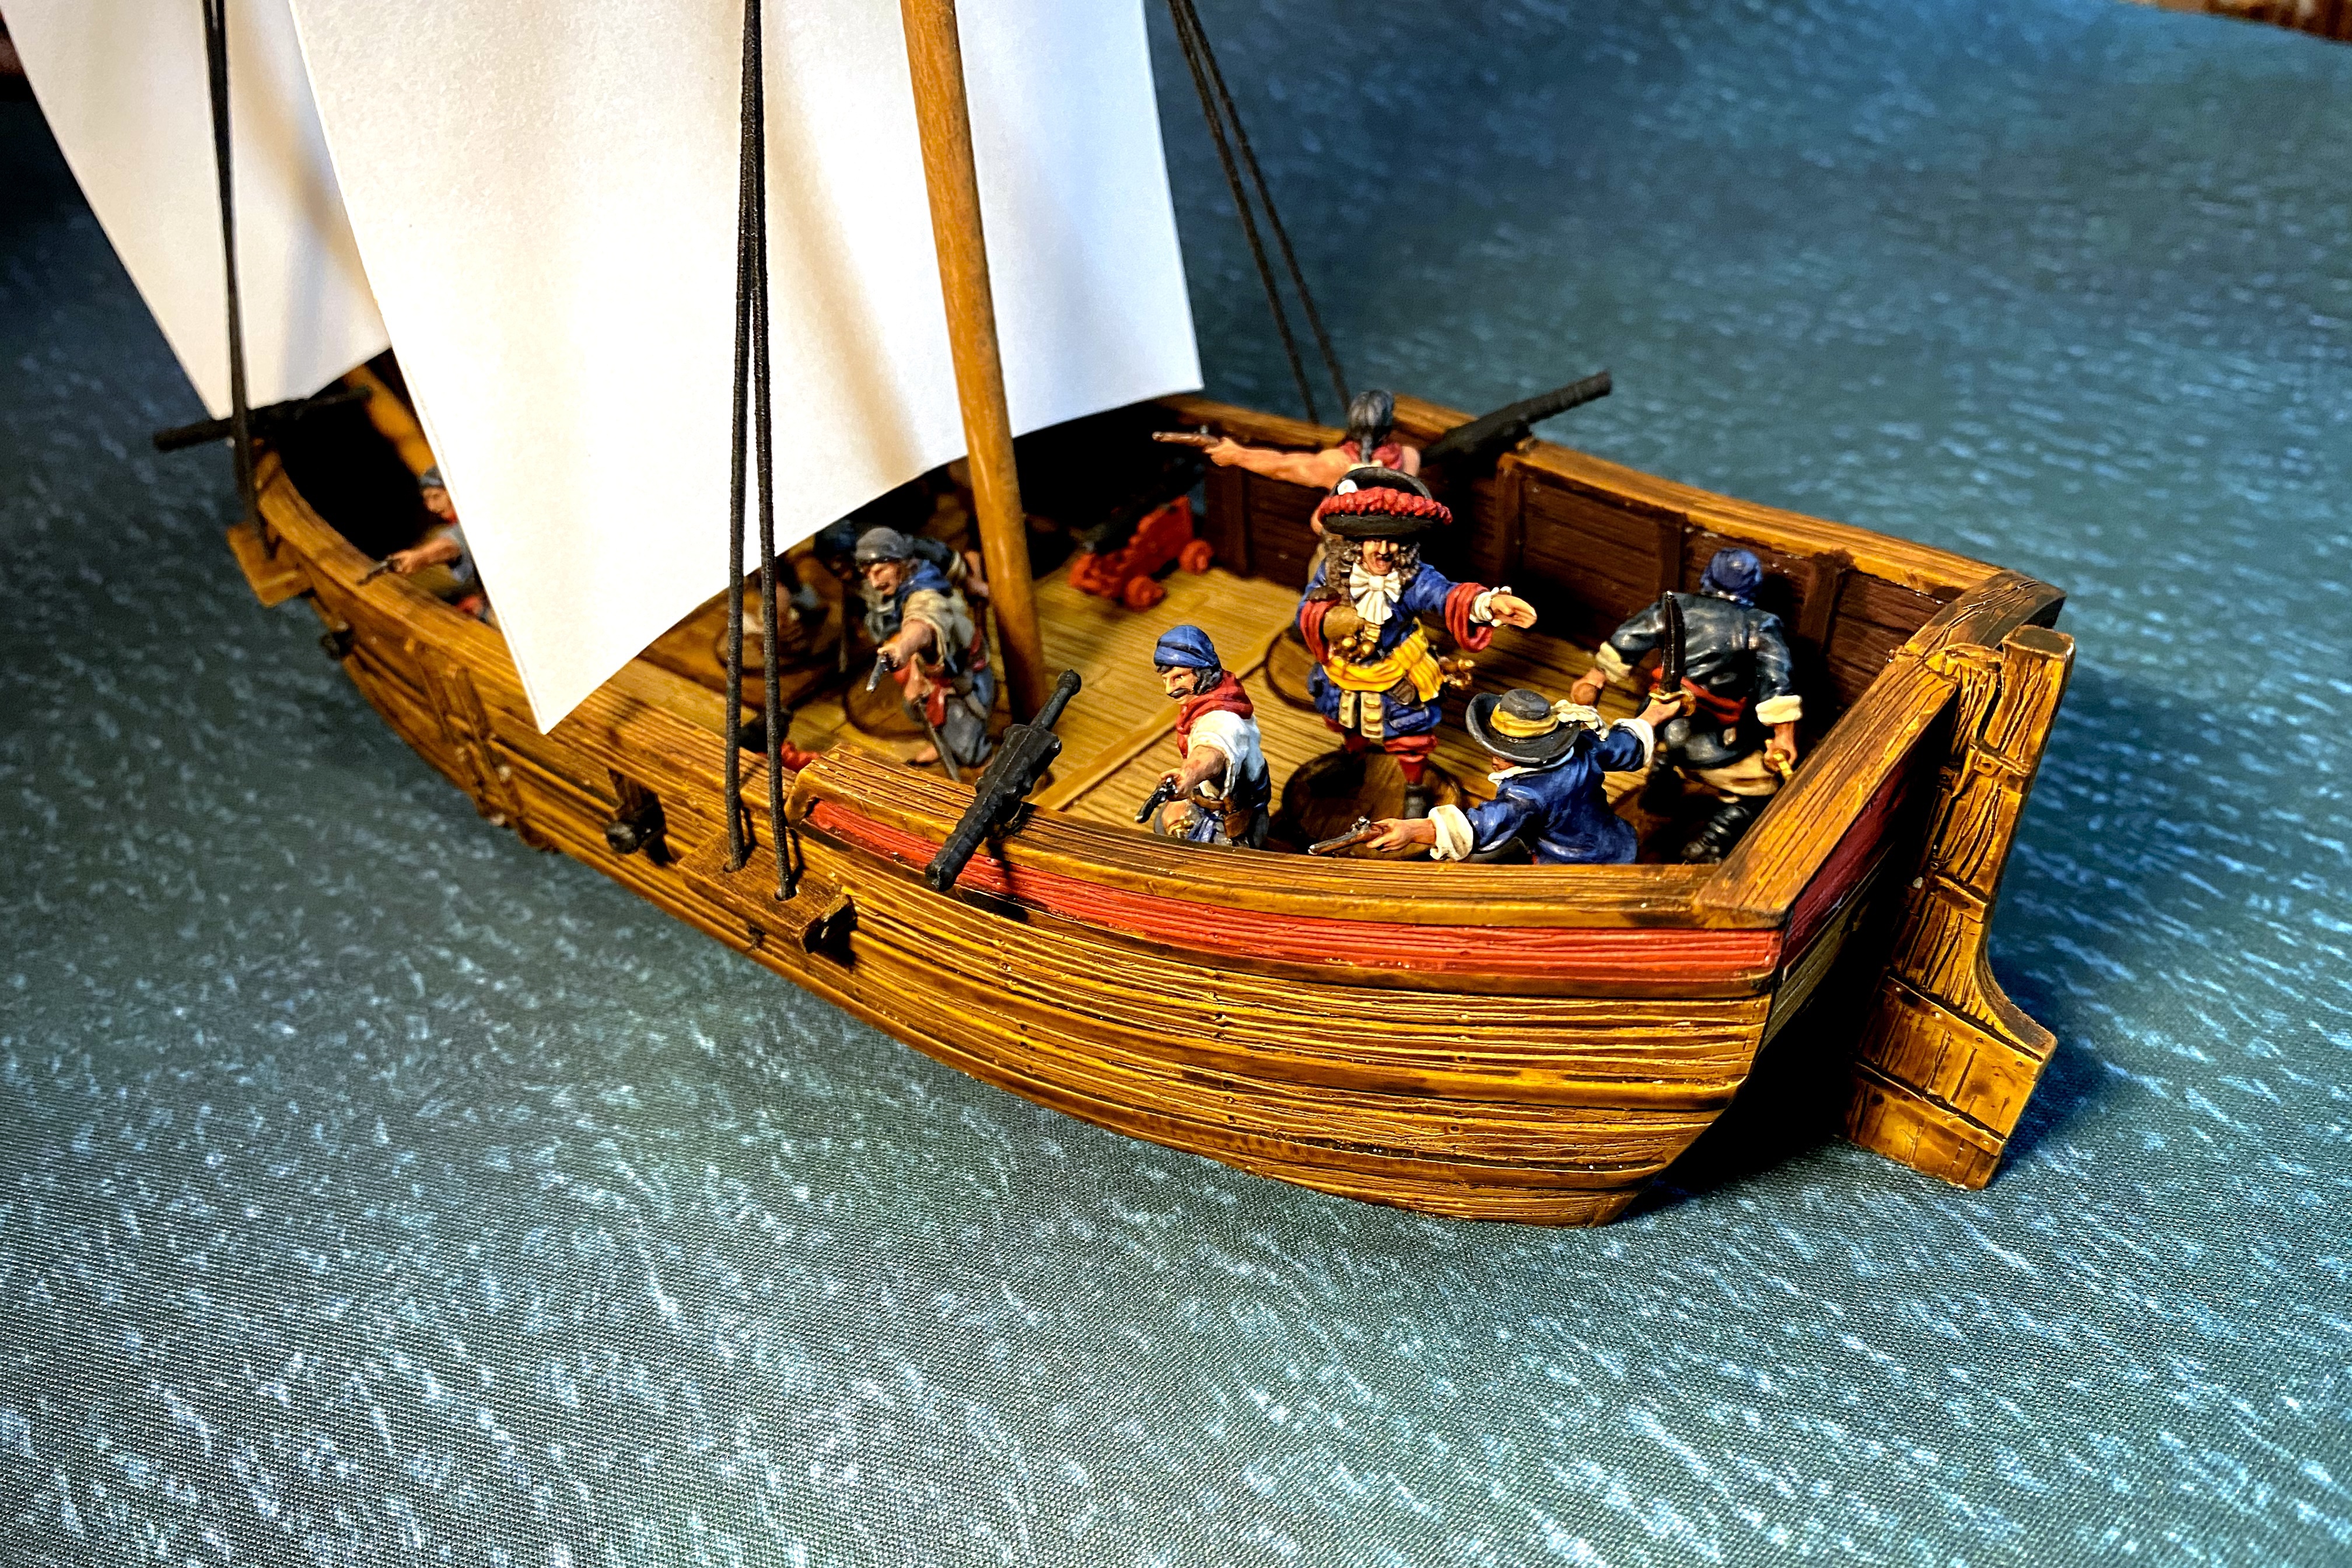
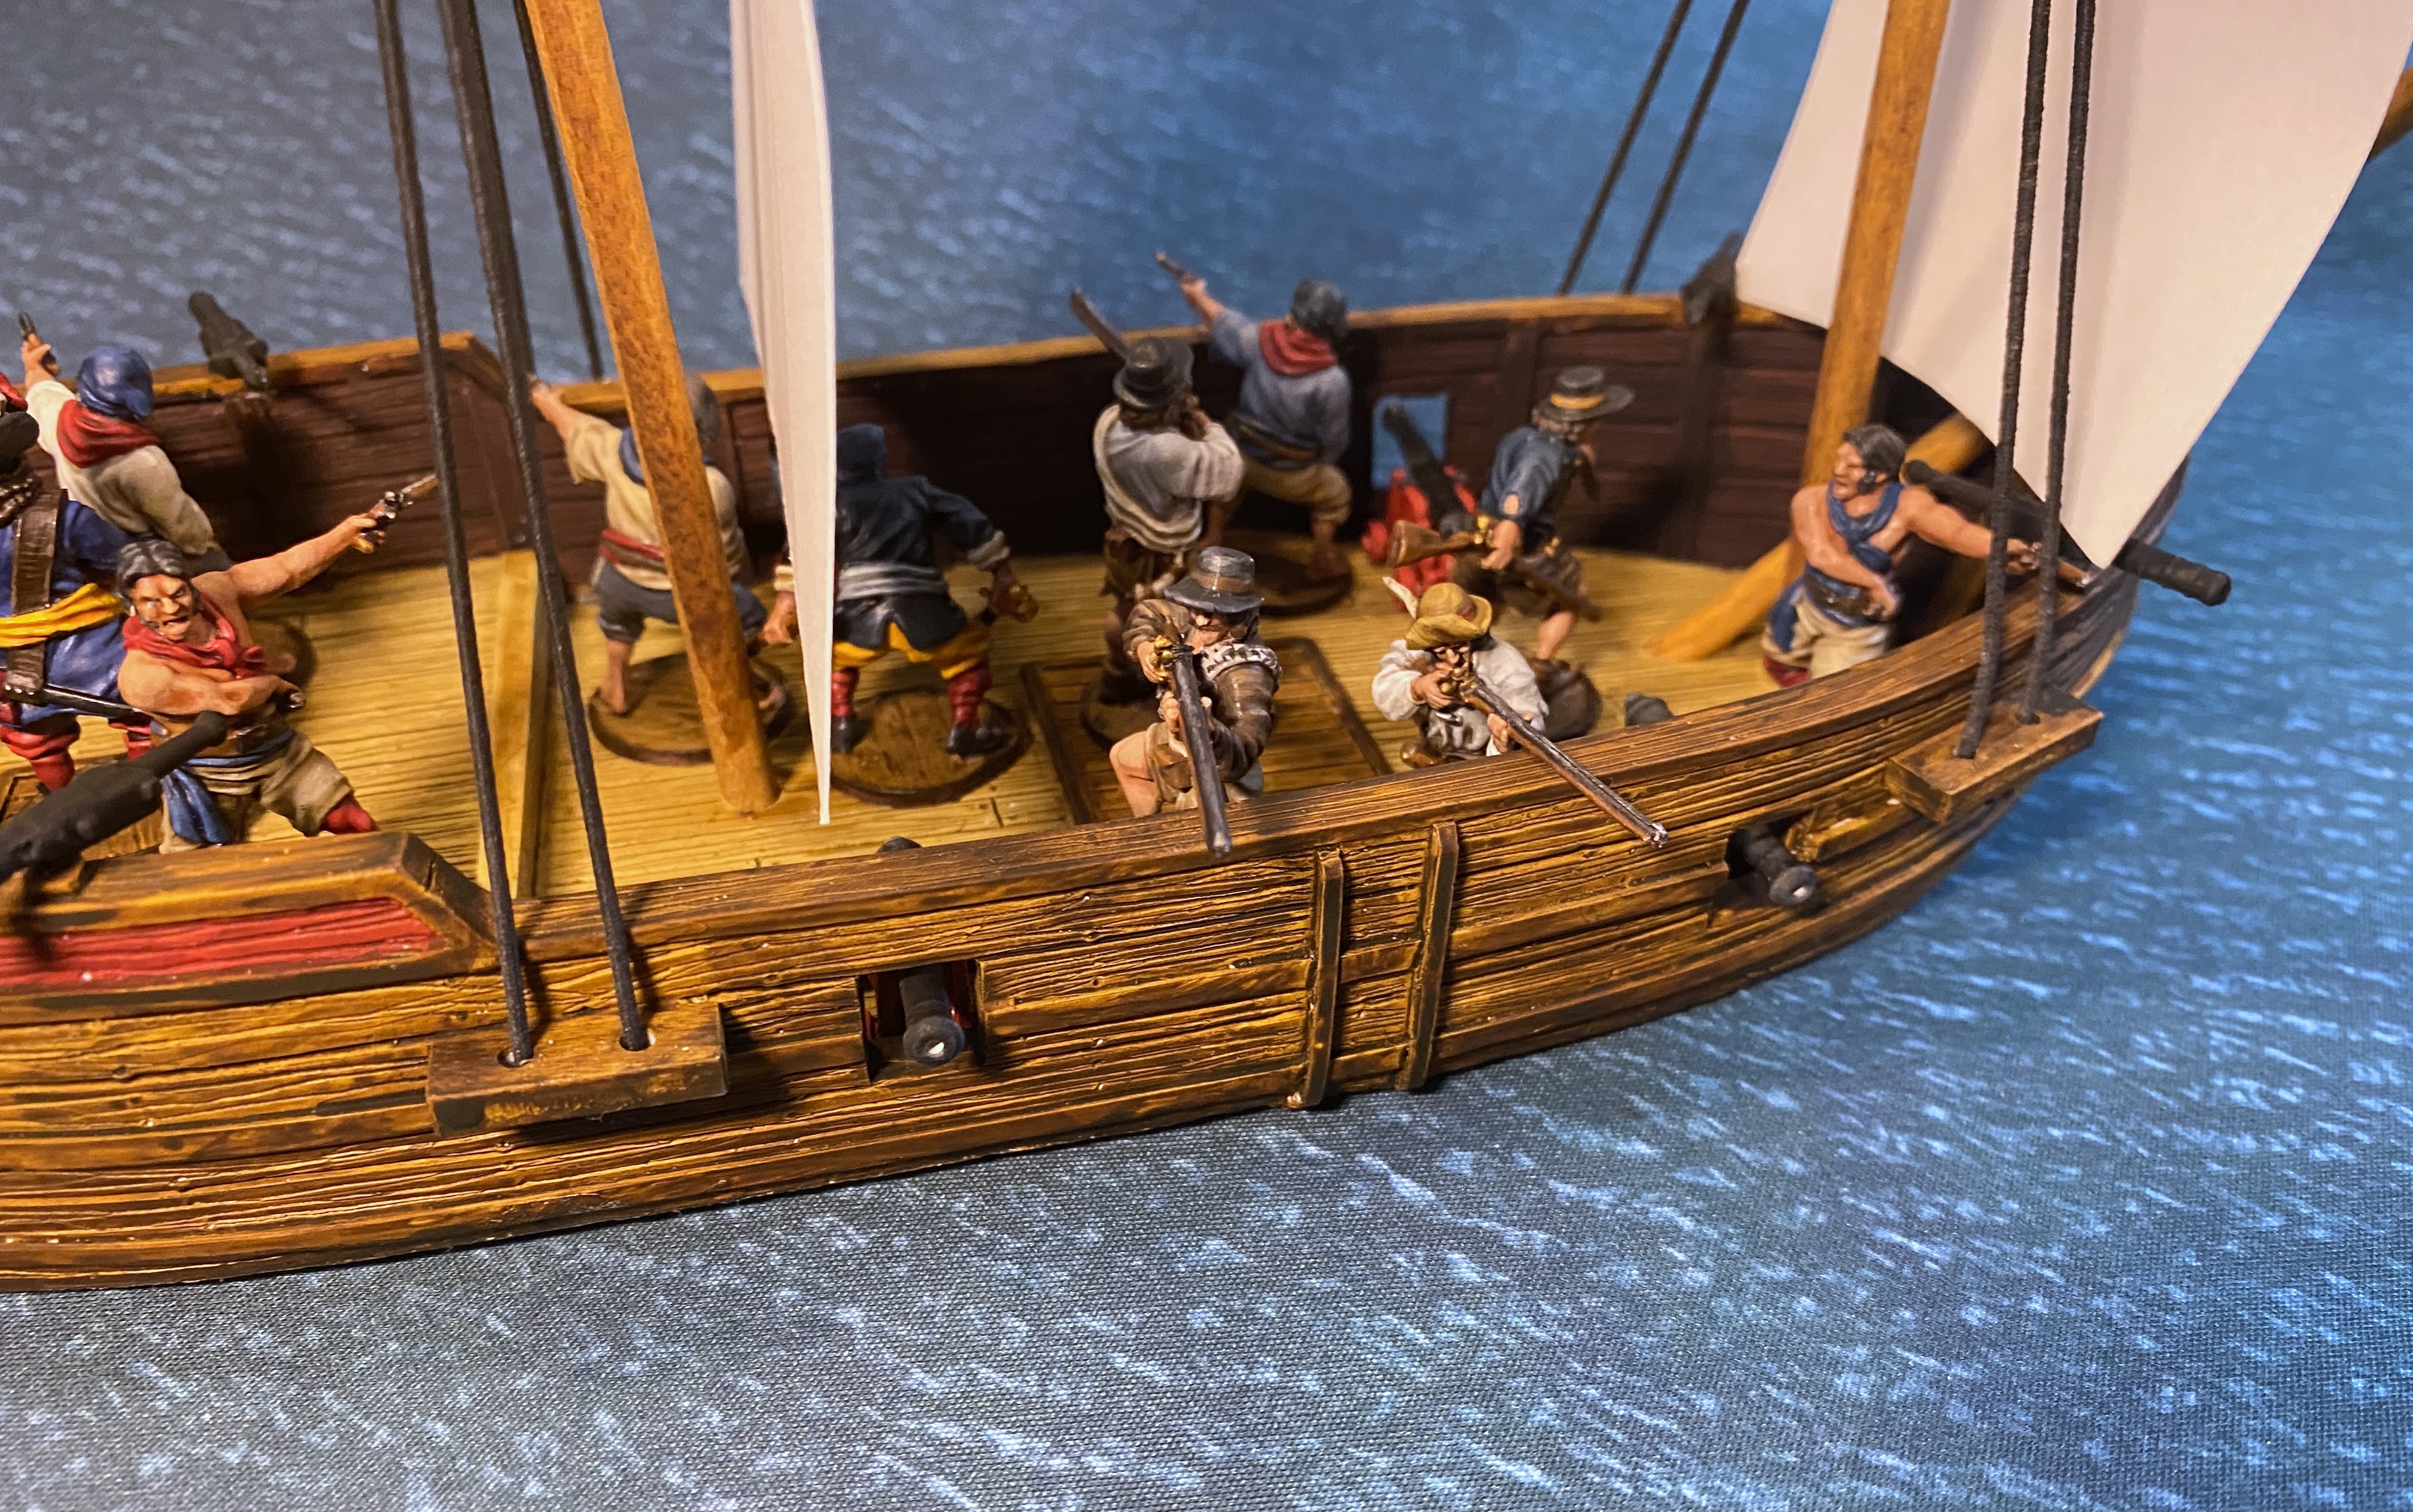
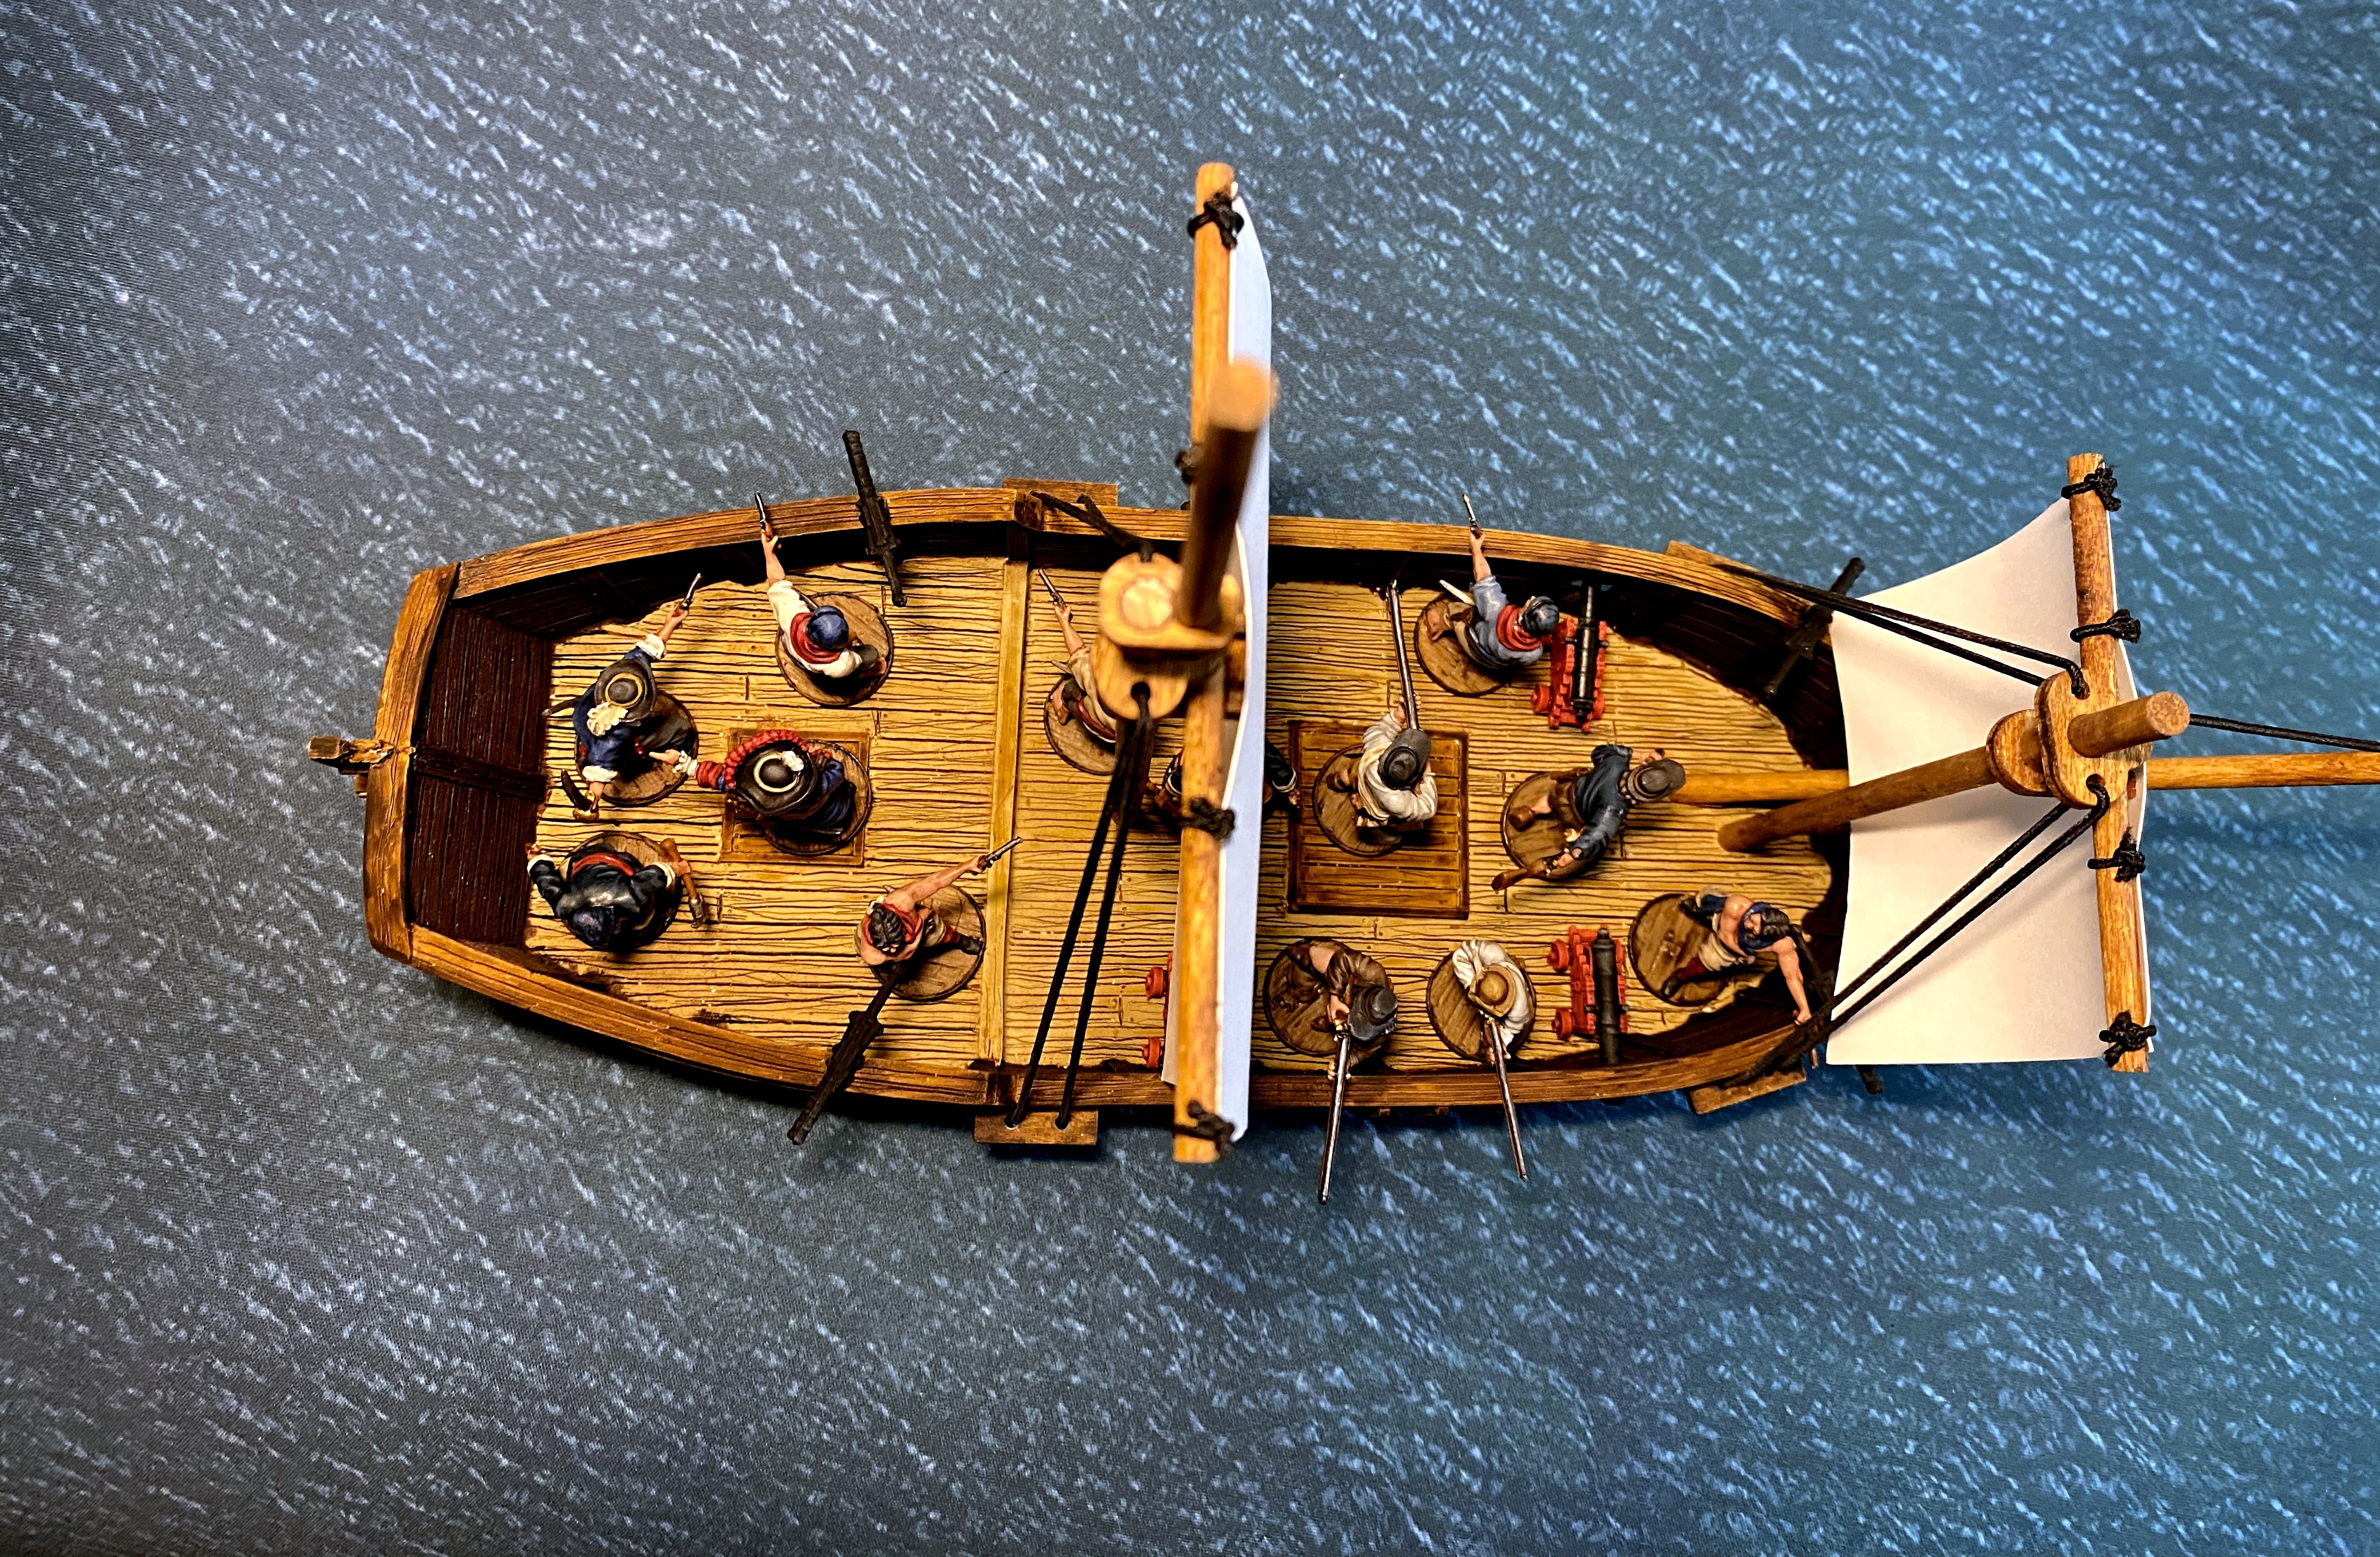
Those red cannons add some color!
With the two main masts loose in the hull, you can turn them a little during games as you cross the wind, or even take them out and put them flat for transport.
This is a very basic method for painting a ship and I hope it can be helpful for players who want a simple and affordable approach and aren’t sure where to start. For a much more refined approach that yields a more polished finished project, check out Guy’s Sloop Painting Guide.
I want to reiterate that painting an entire ship in an evening is not the best approach. Letting glue and paint dry longer is a better practice but I wanted to show that it was possible.

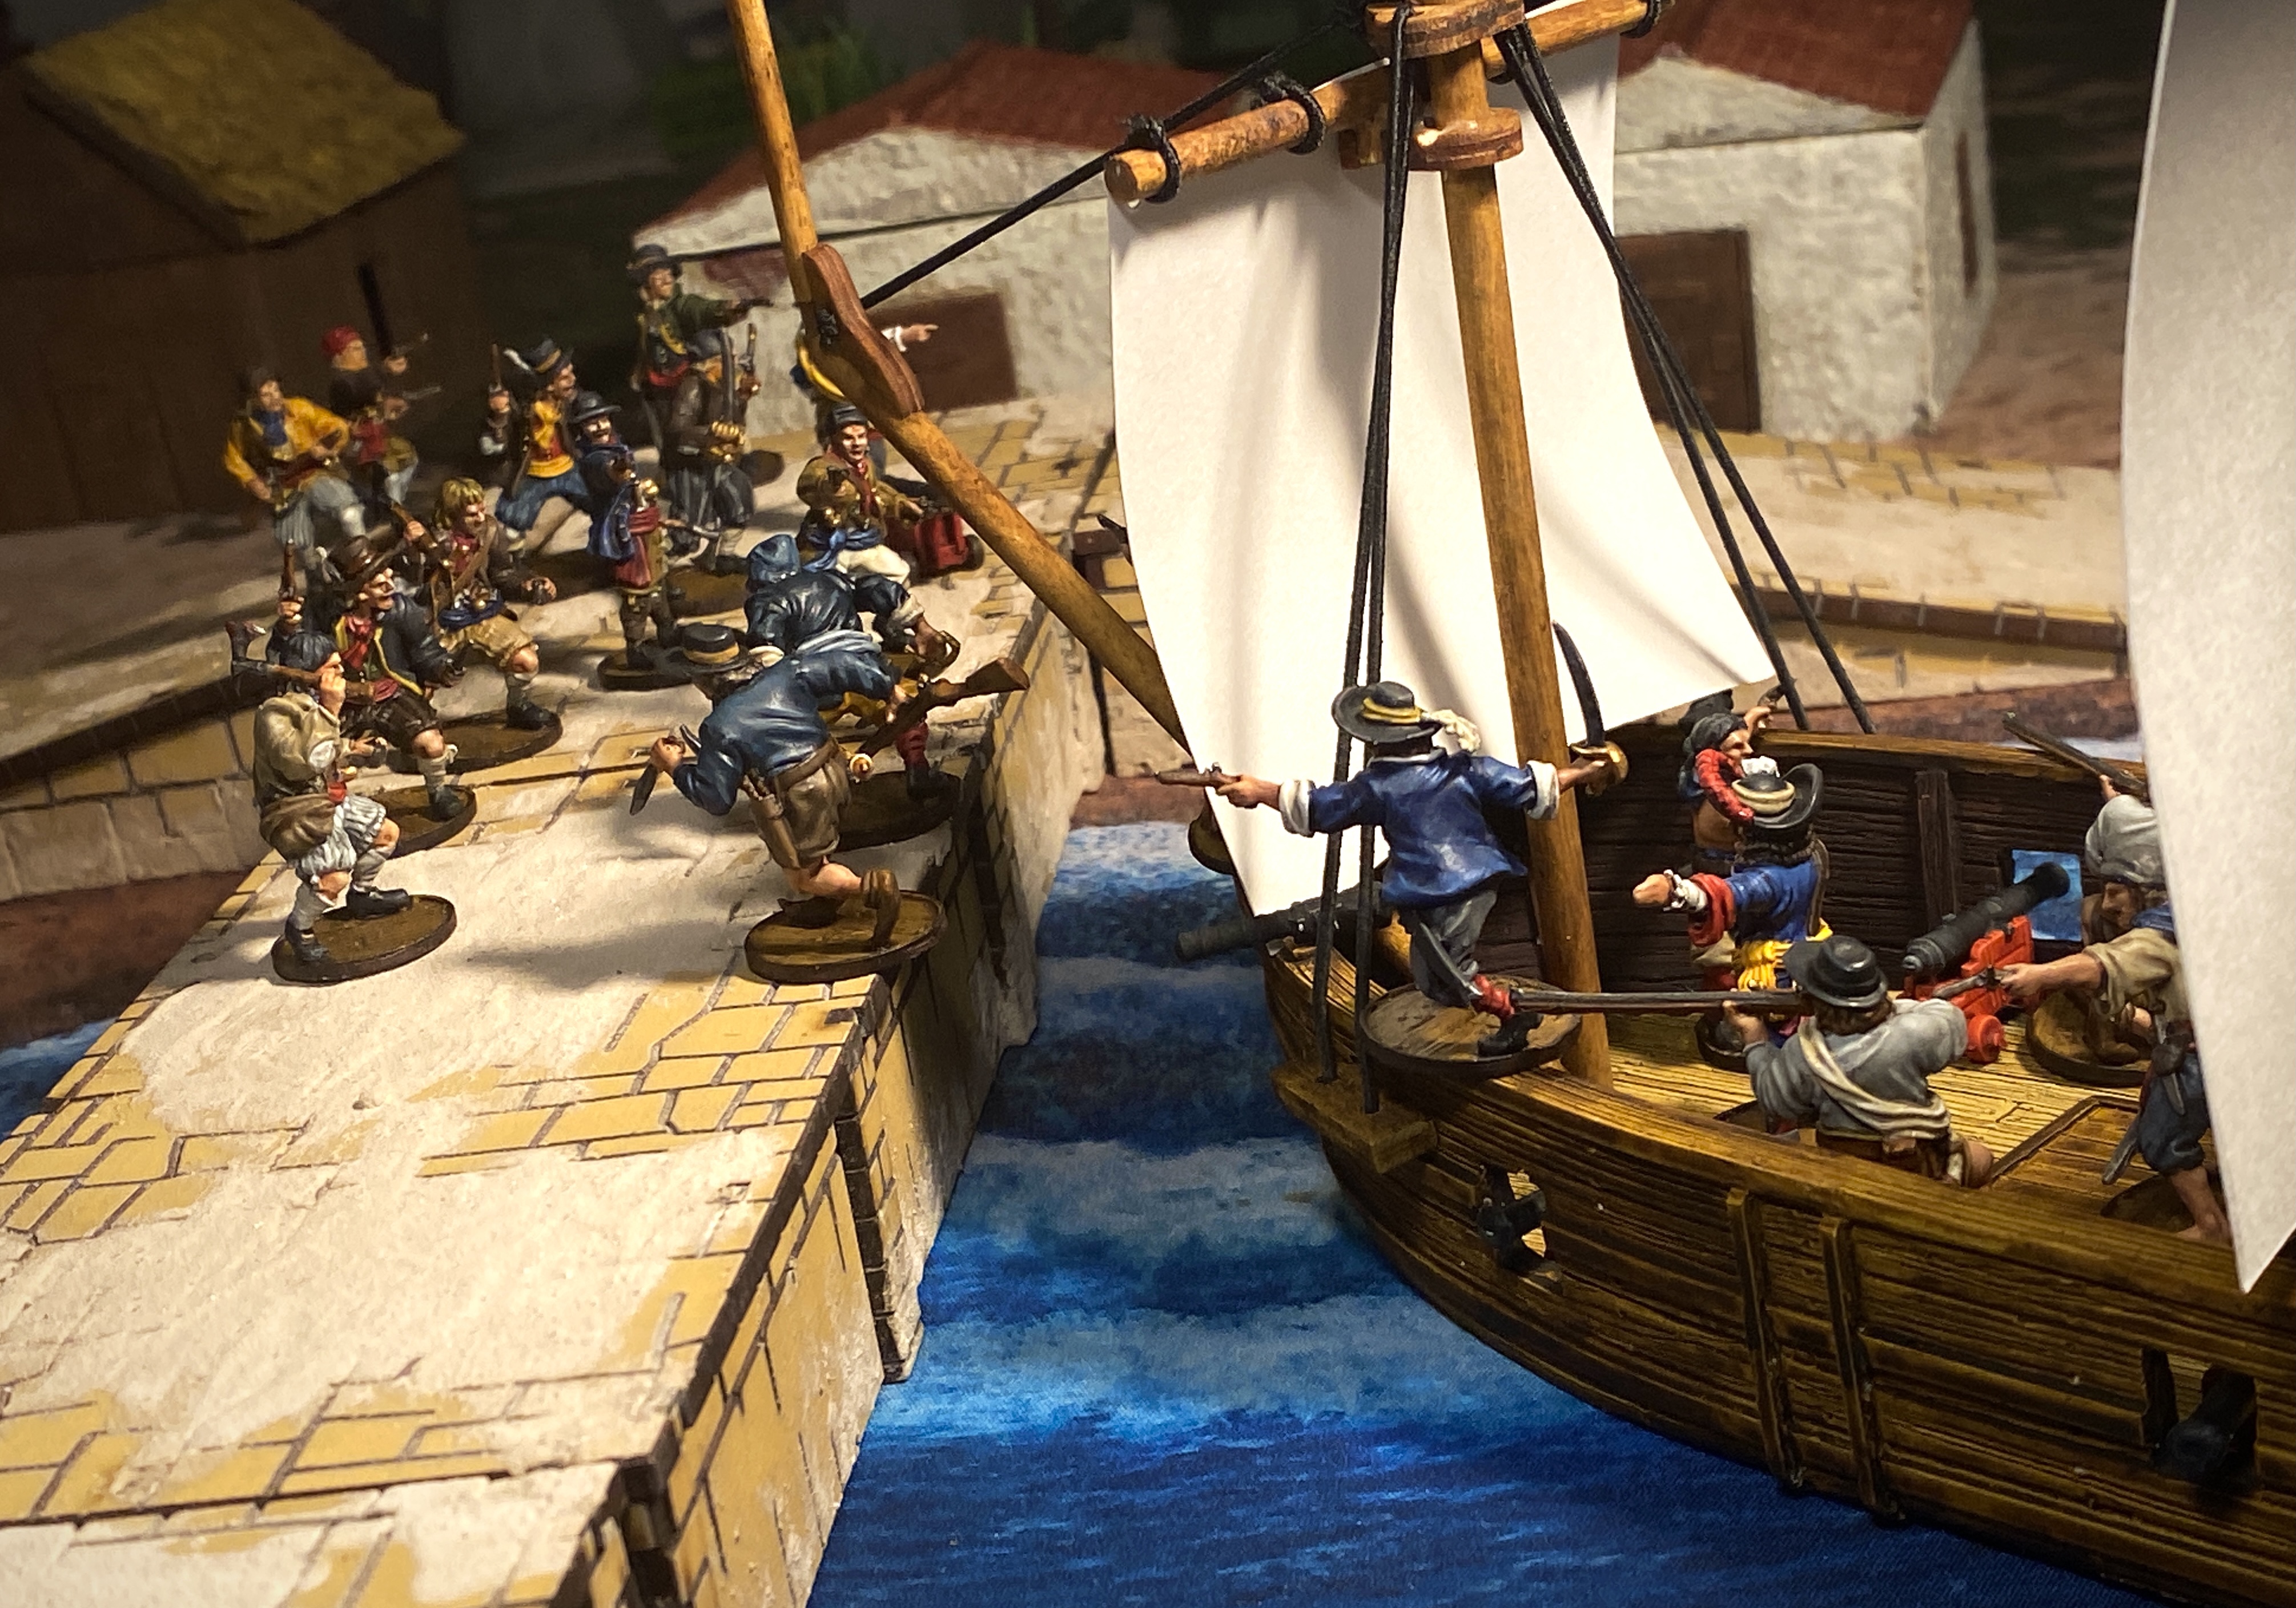
Drop some models into the ship and away you go!

If you look closely at these pictures you can see the rigging lines got a little cloudy from the varnish spray. It would be better to rig after varnish.
Thanks for reading! I hope you found something helpful here.
If you’re just starting out and have any questions at all, feel free to drop a comment here on the blog, on Facebook or through the Contact link.
Pingback: Blood & Plunder Painting Guides - Blood & Pigment
Pingback: 2024 Great Pirate Paint Off - Mid April Update - Blood & Pigment