Firelock Games has recently released several pieces of resin terrain and I’m starting to get some painted up. This is a quick review and painting tutorial for the Farmed Field piece that sells for $10.00.
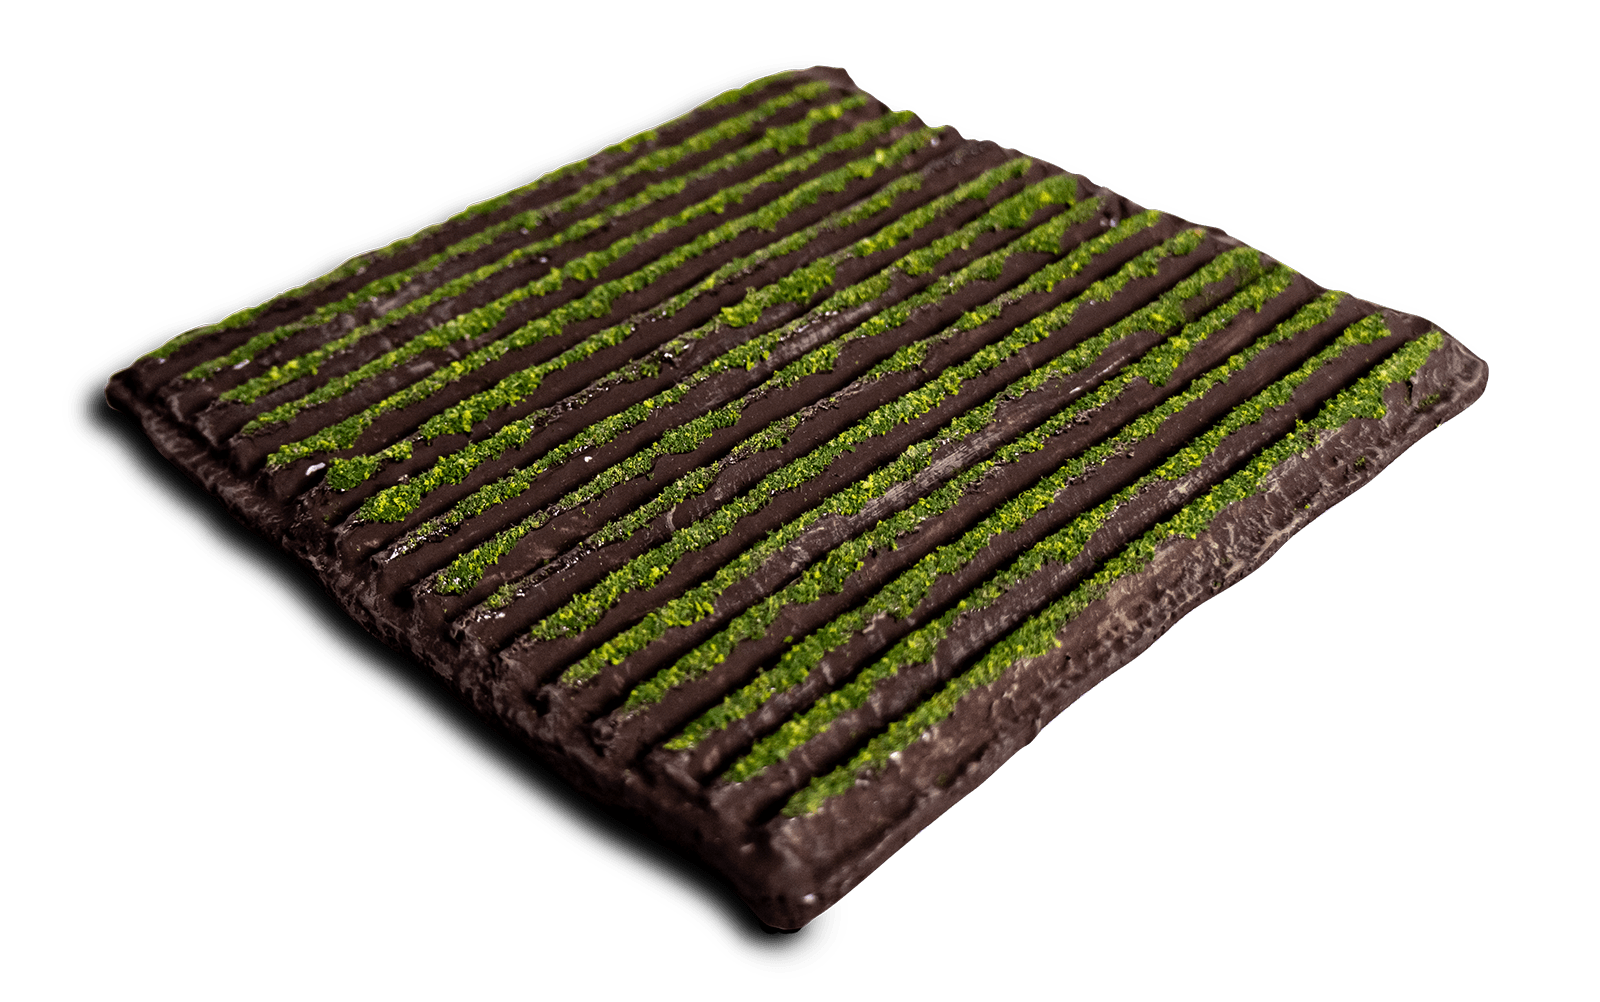
The painted example on the website looks fine. It looks like they primed and then brushed on a coat of Rhinox Hide and then glued lines of static grass on the mounds. I probably should do it simple like this but I decided to use a couple more colors to make the dirt look more interesting.
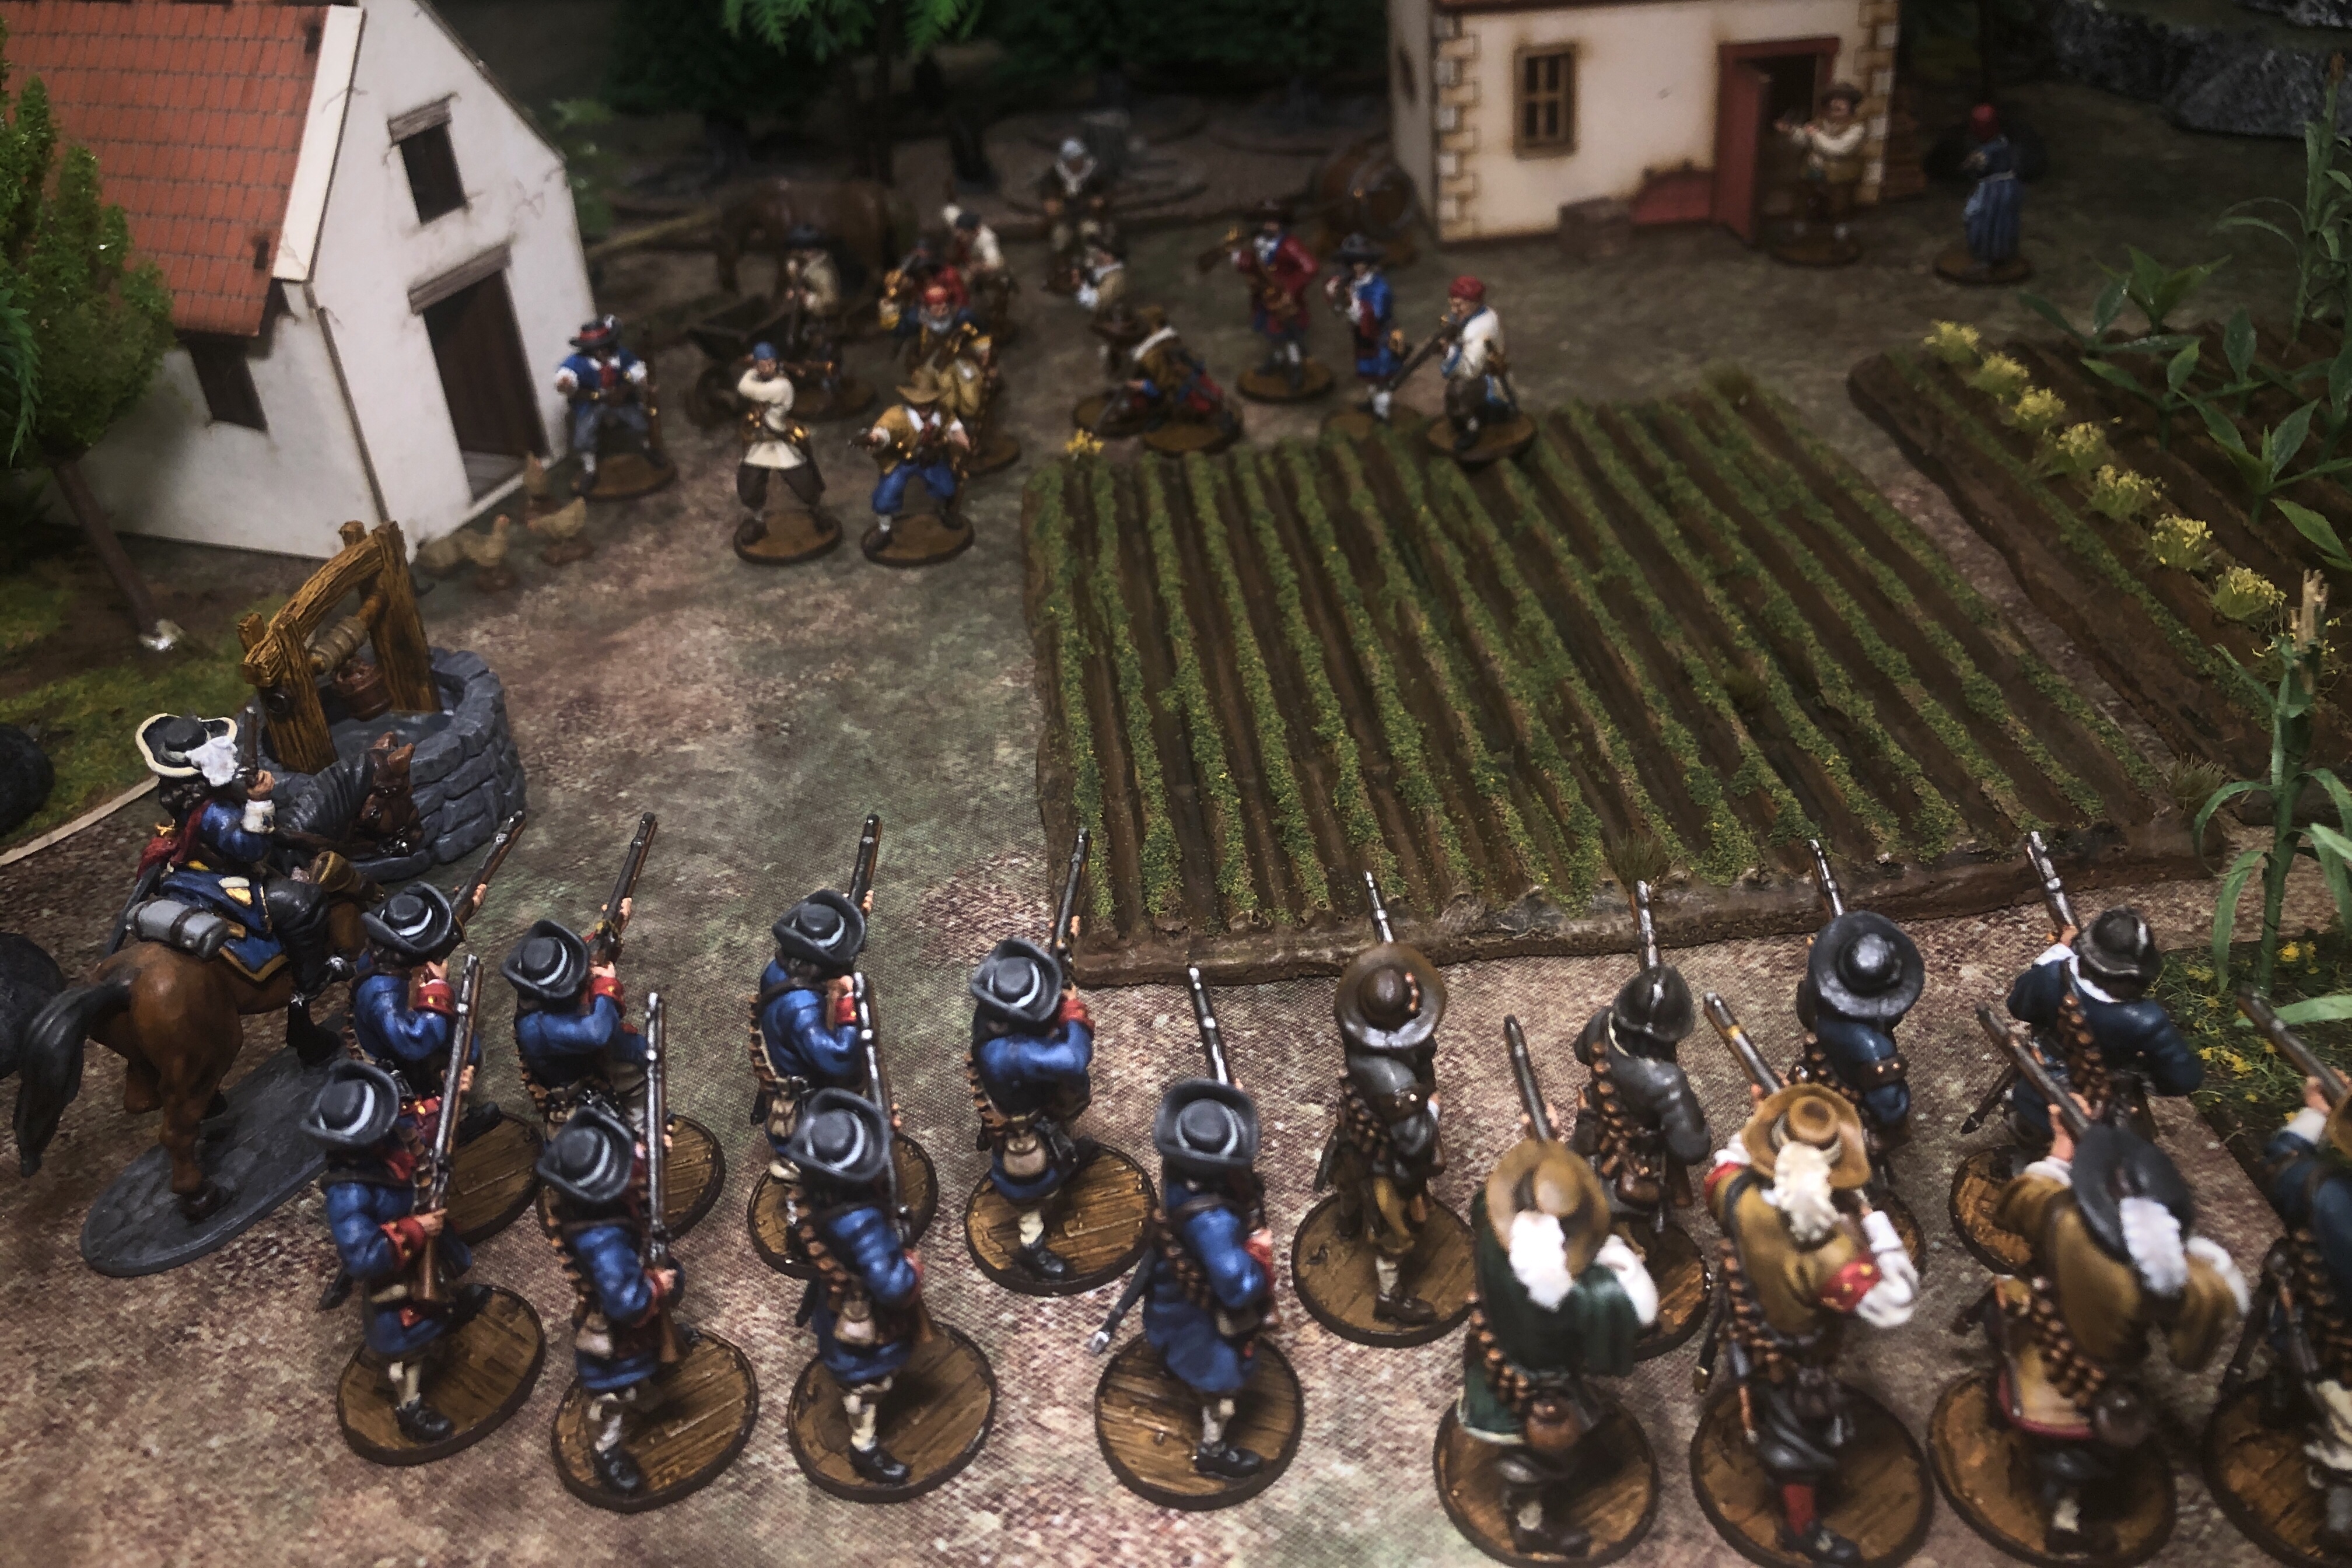
What I assume were the prototypes for this product at the GENCON tournament in 2018.
This is a pretty simple project. Here are the materials I used for the first Farmed Field in the post:

- 3 colors of brown paint
- Brown wash
- PVA glue
- Static grass
First I rinsed off the resin to make sure there wasn’t any oil or anything on it that would stop the paint from adhering. I could have cleaned up the edges a bit but it wasn’t too bad. Some areas were a little rough but not enough to worry about on a terrain piece representing dirt.
Next I primed the fields with a light brown. I would have used a darker brown but I had just finished my can and didn’t have another yet.
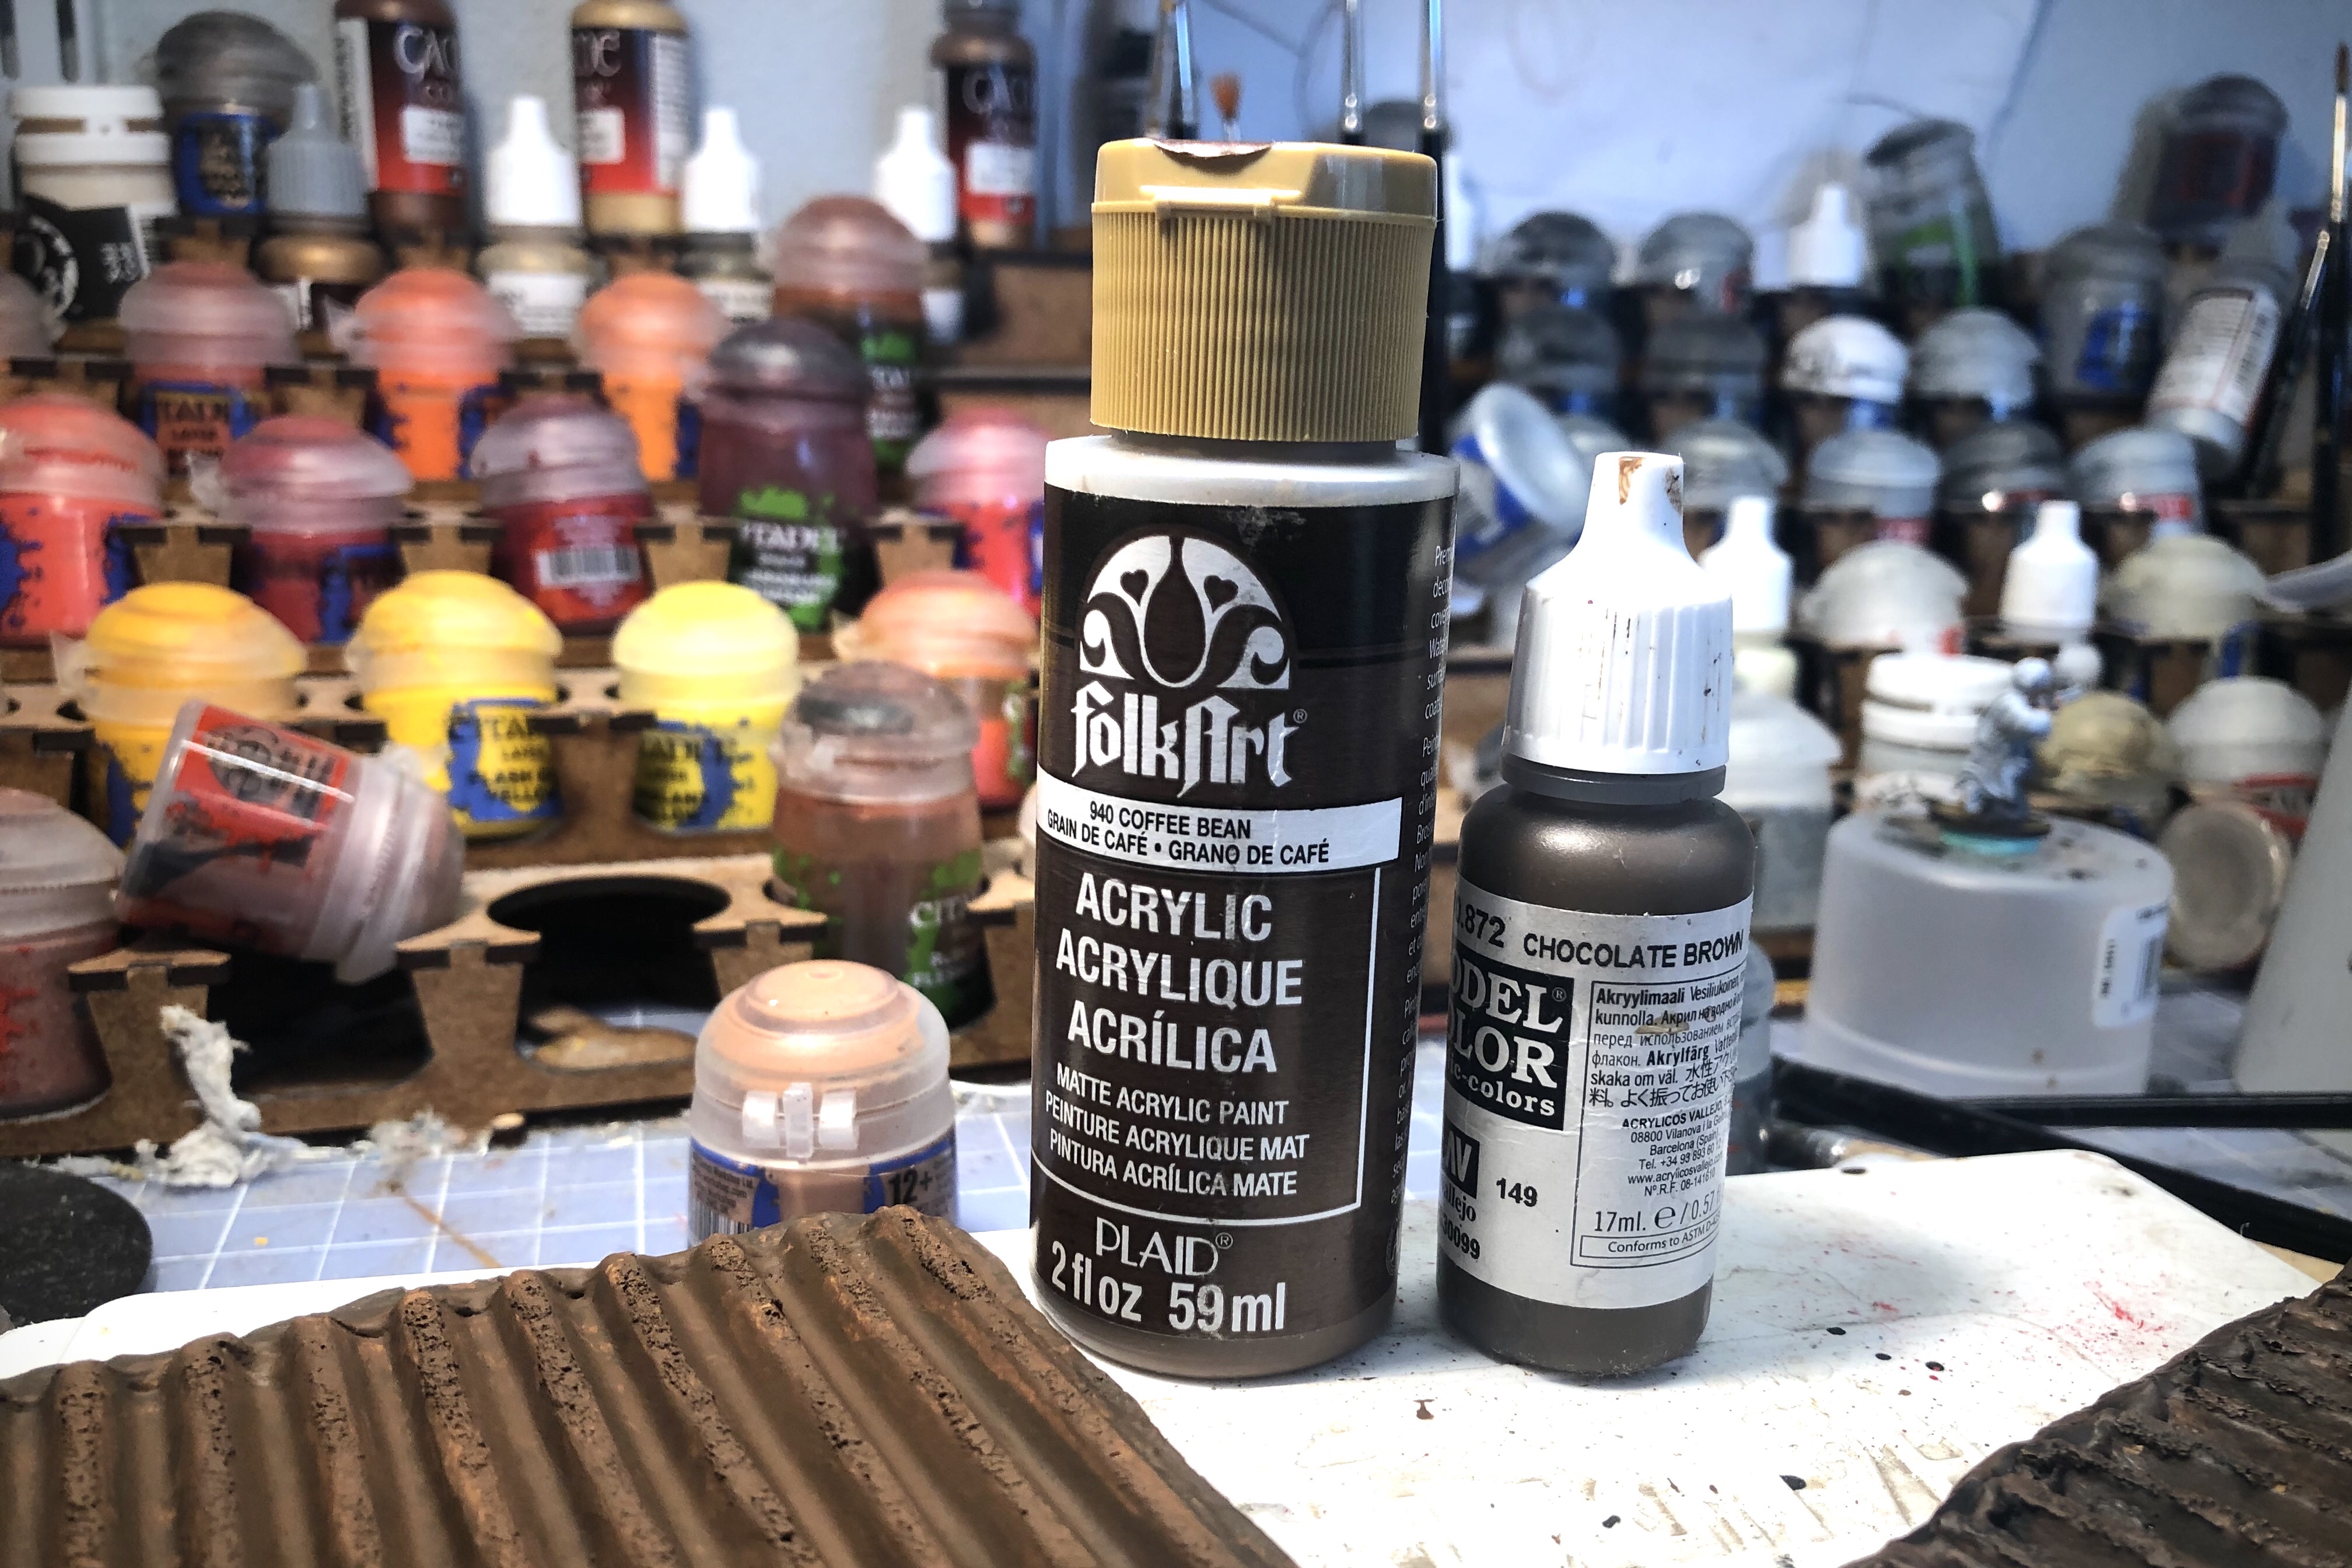
Next I put down a base color. I used a generic craft acrylic paint for this since it takes a good amount of paint and I’d rather not use the nicer expensive paint for large rough items like this. I used FolkArt Coffee Bean.
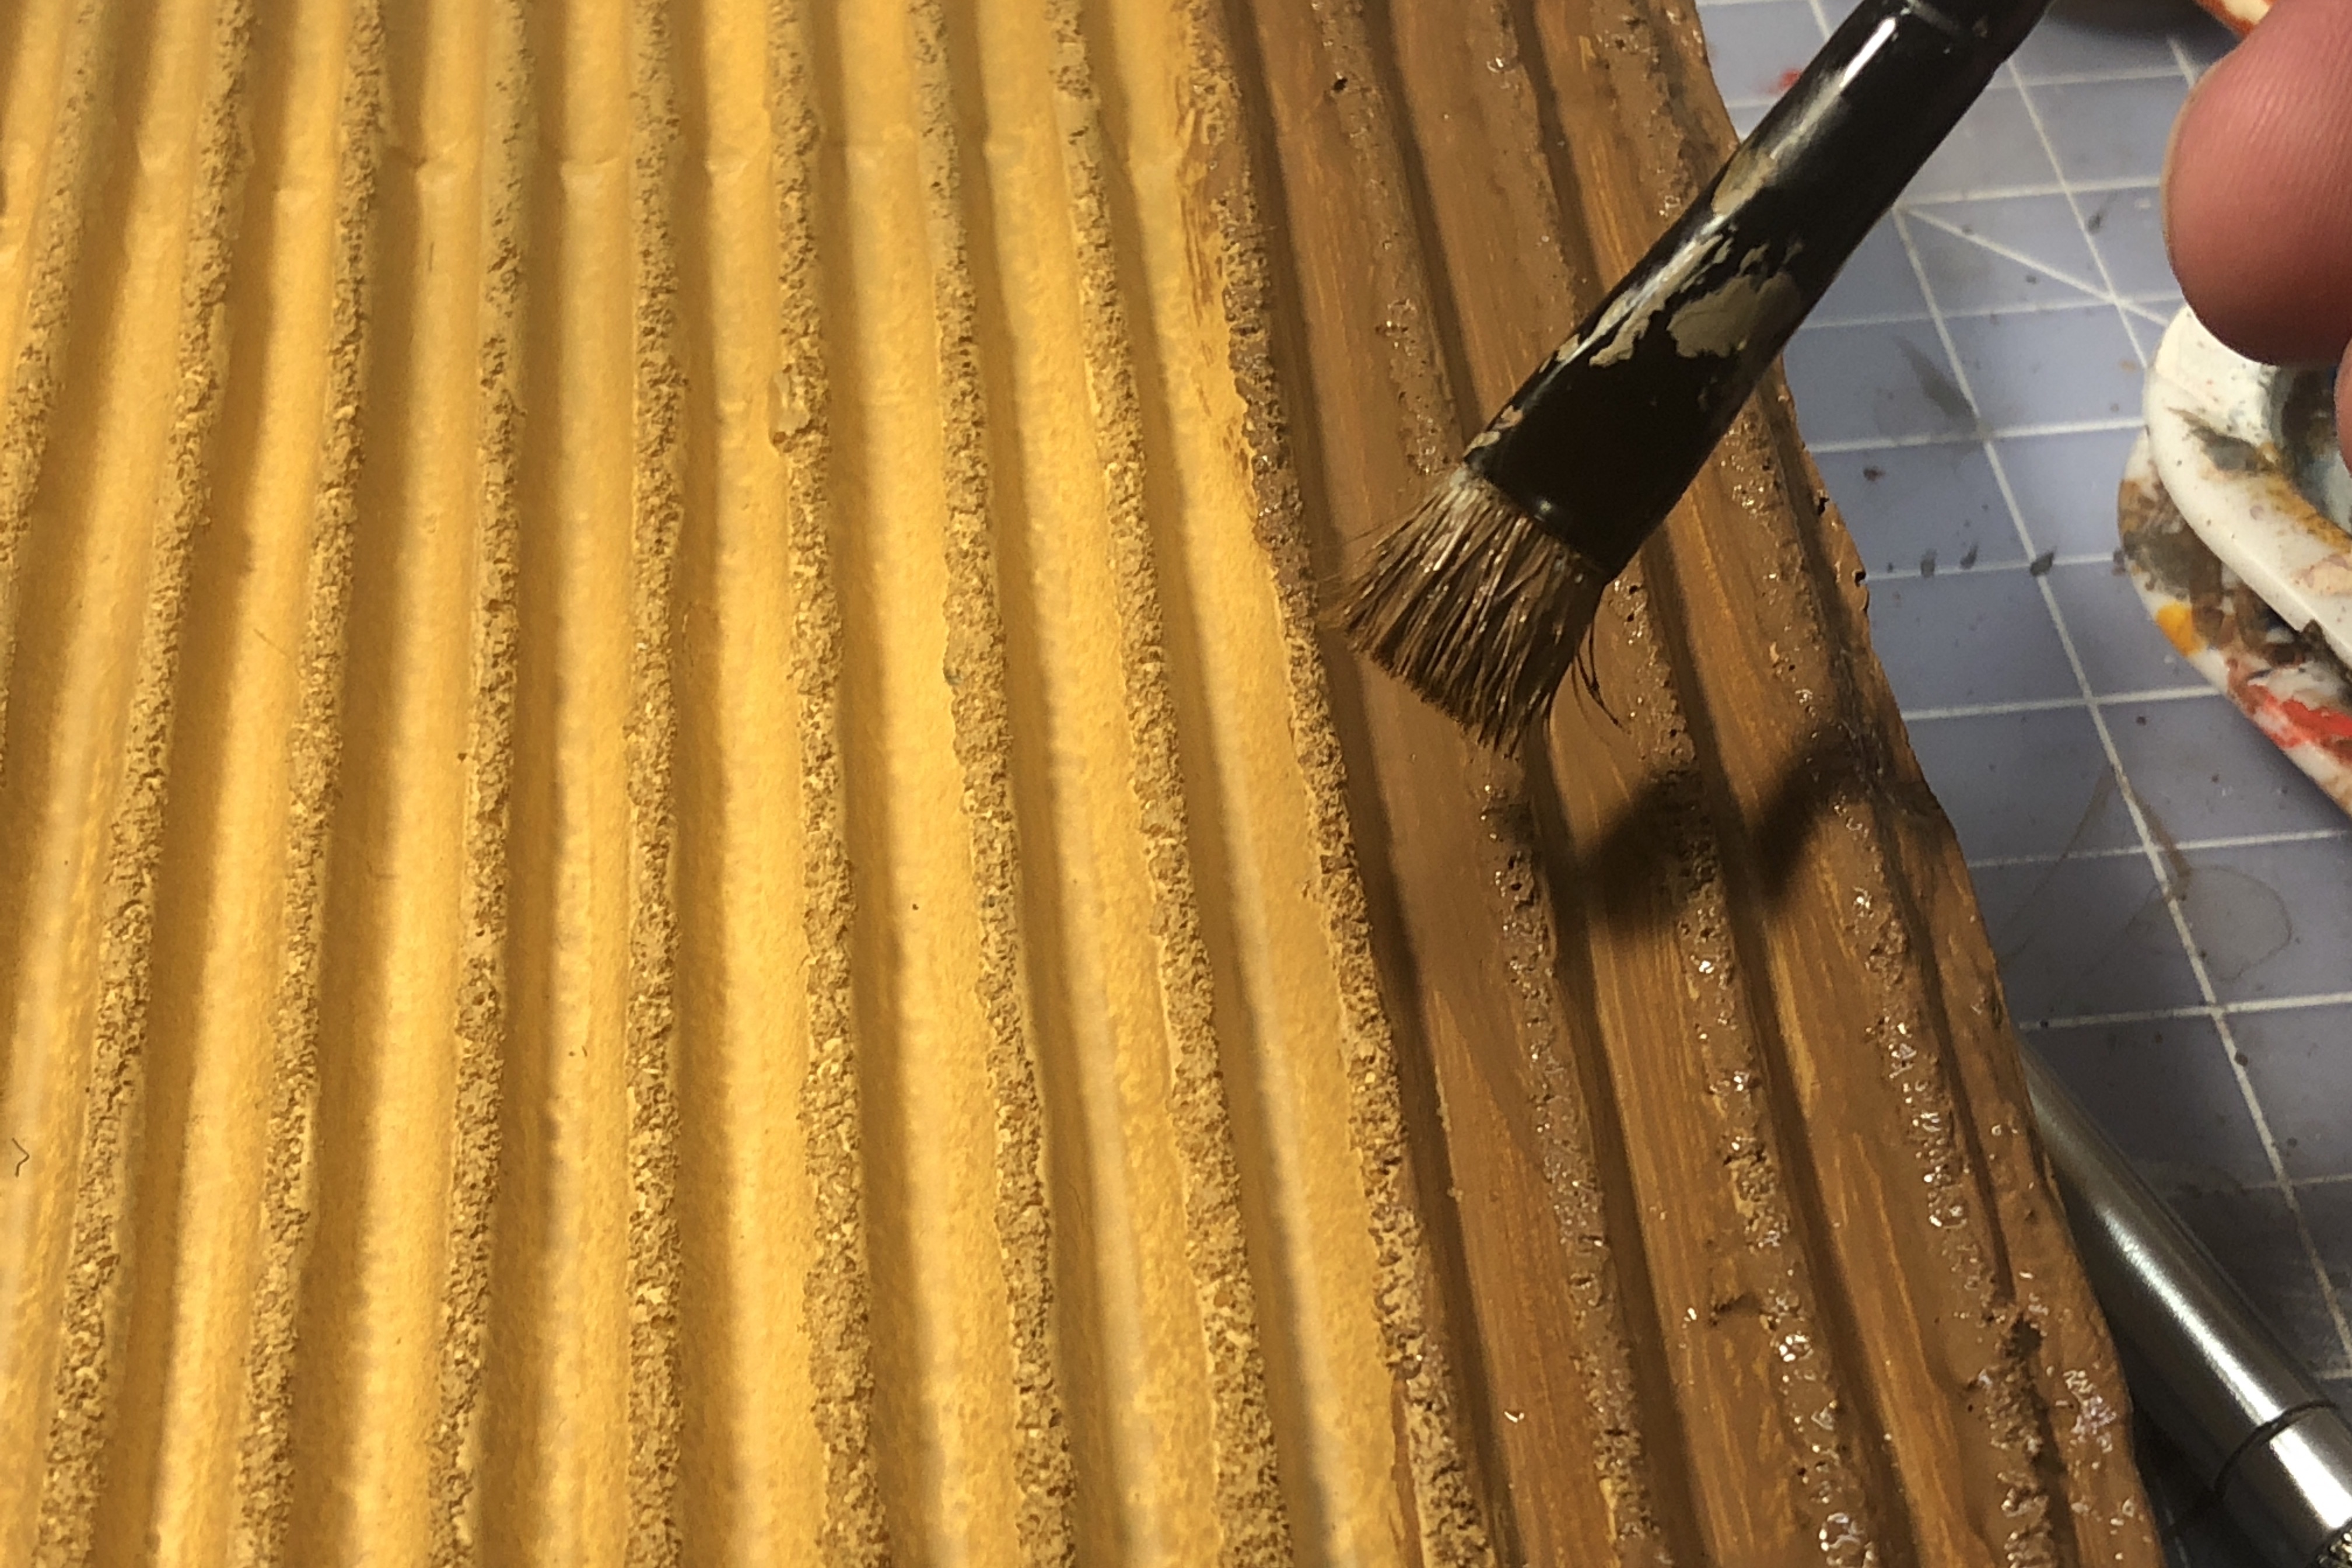
Then while it was still very wet I brushed in Vallejo Chocolate Brown between the rows. Coffee Bean and Chocolate. This is making me hungry.
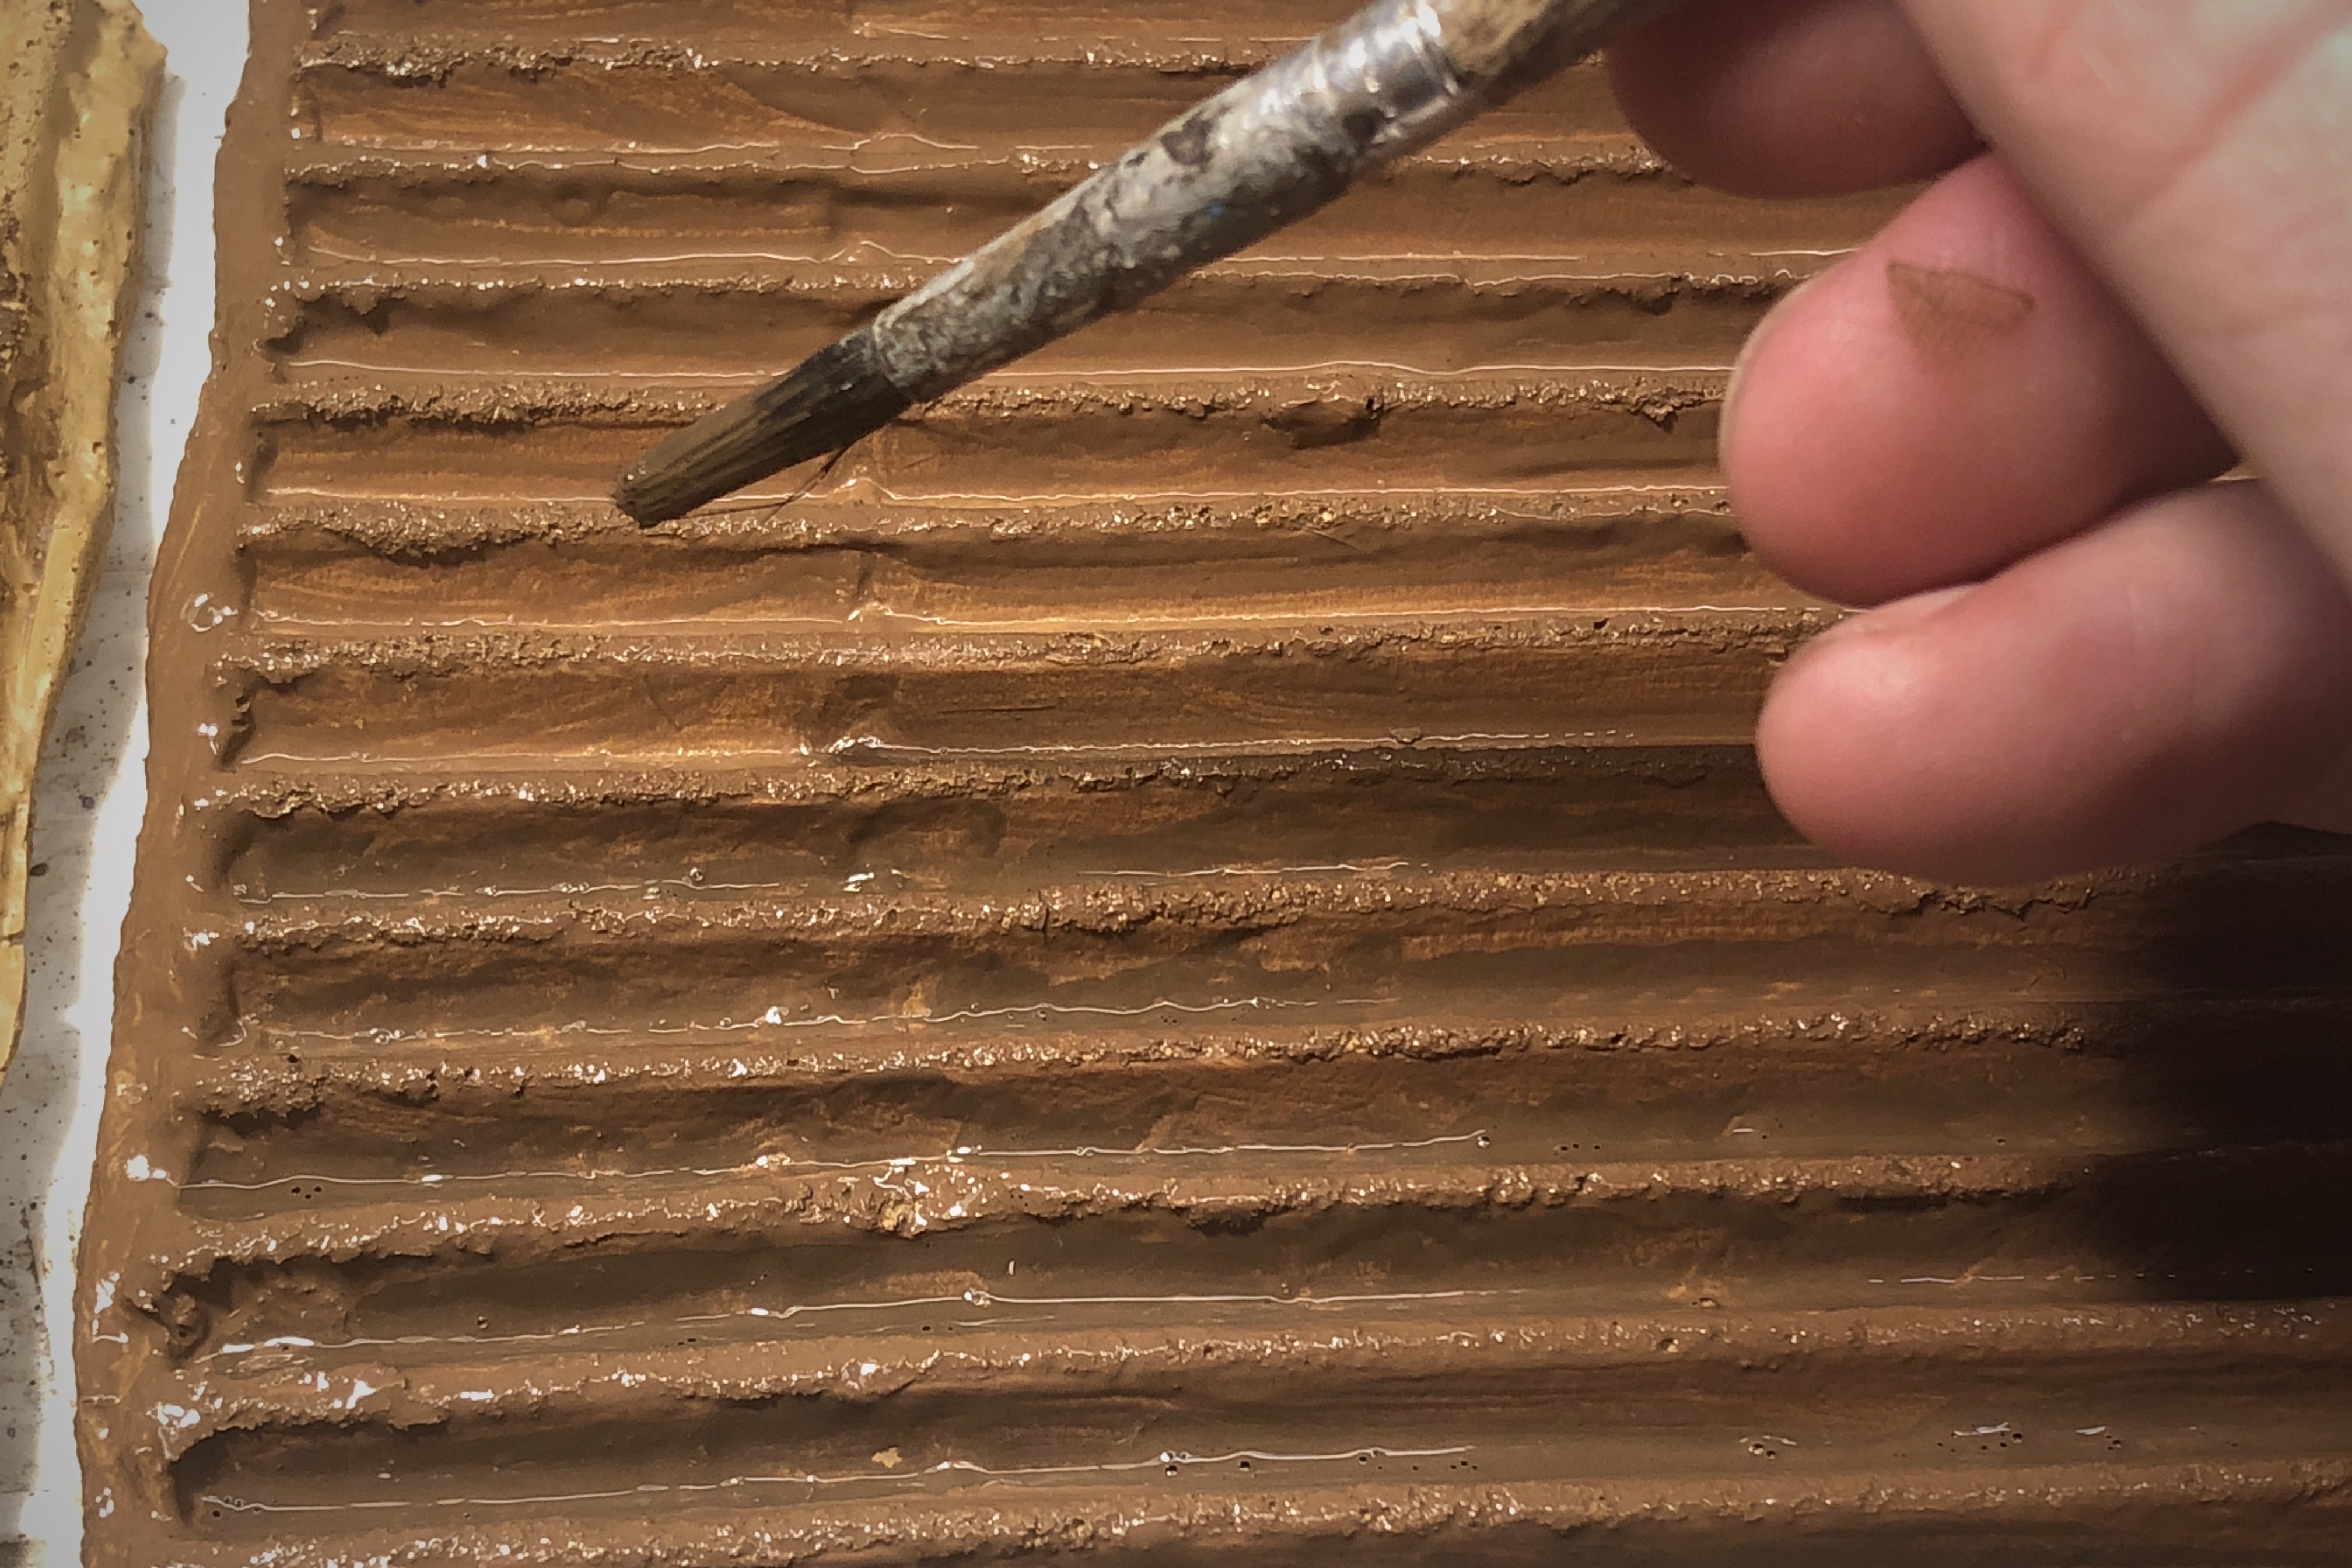
This gives it a richer look with darker areas between the rows where the soil would be wetter and lighter areas on top where it would be drier.

After all that wet sloppy paint dried I came back with a second coat of the Coffee Bean color and filled in some areas that were streaked.
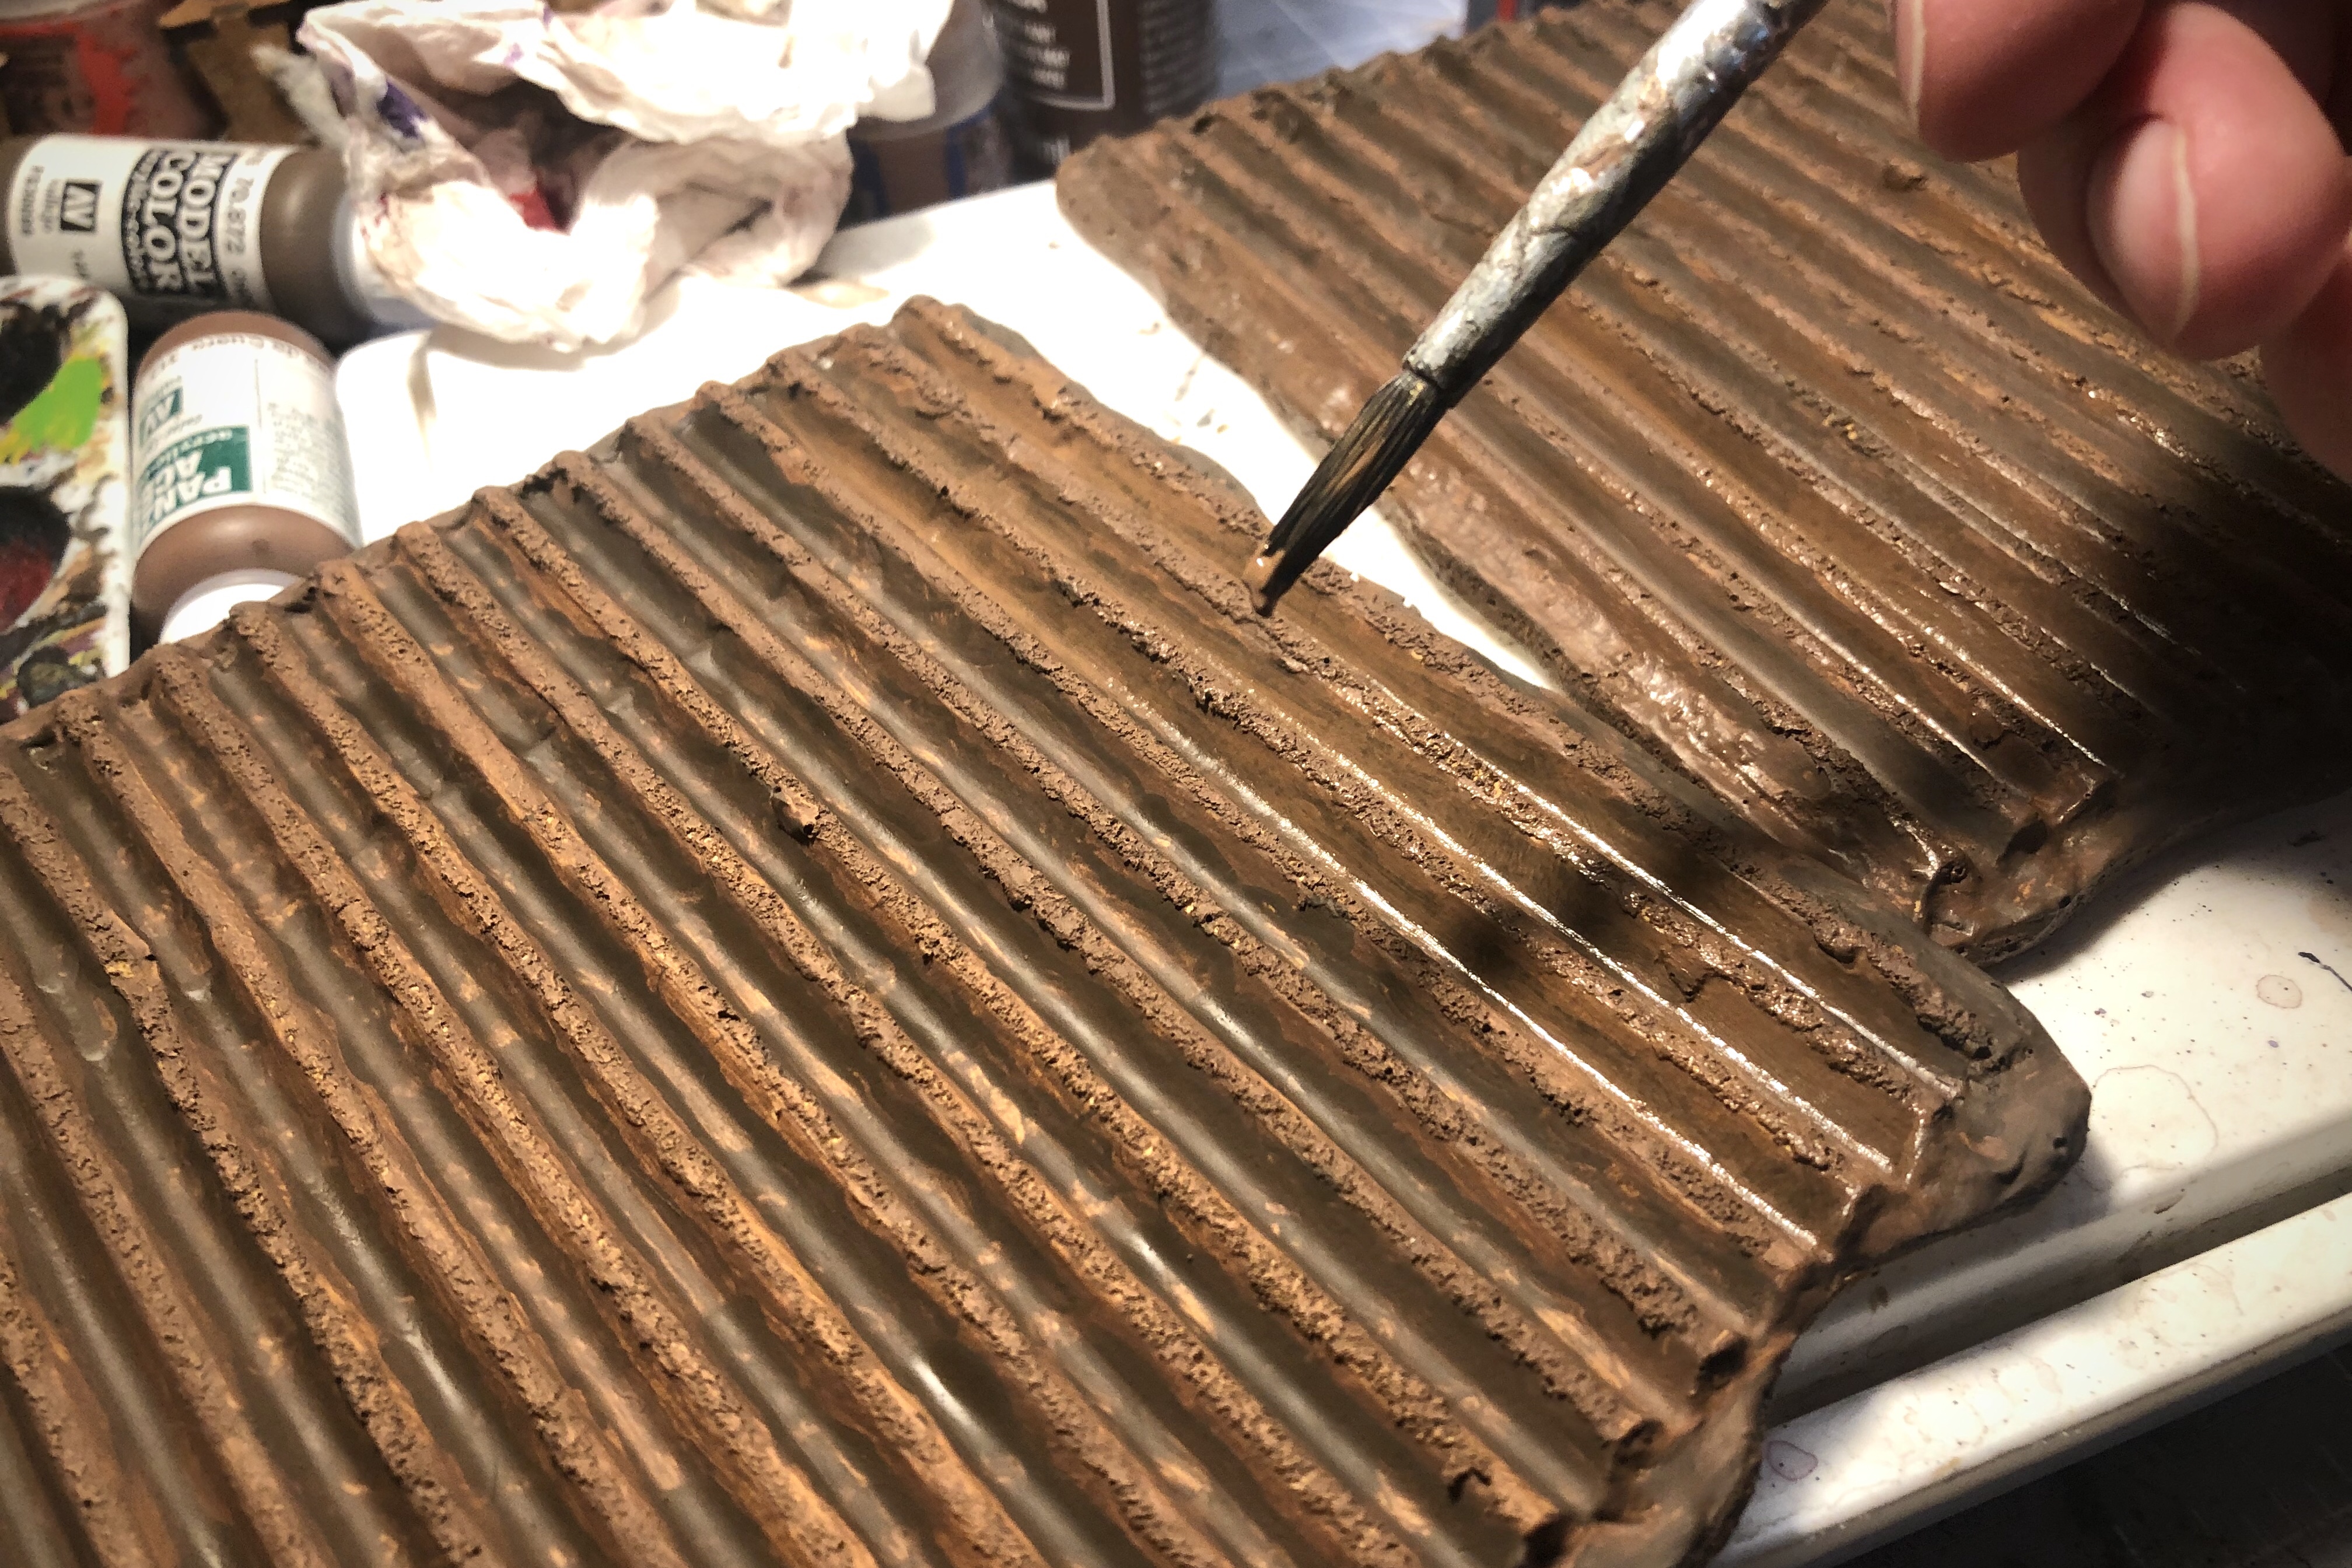
Next I put a brown wash over the entire piece. I used Agrax Earthshade but it’s takes a lot of wash so next time I’ll make my own cheap wash.
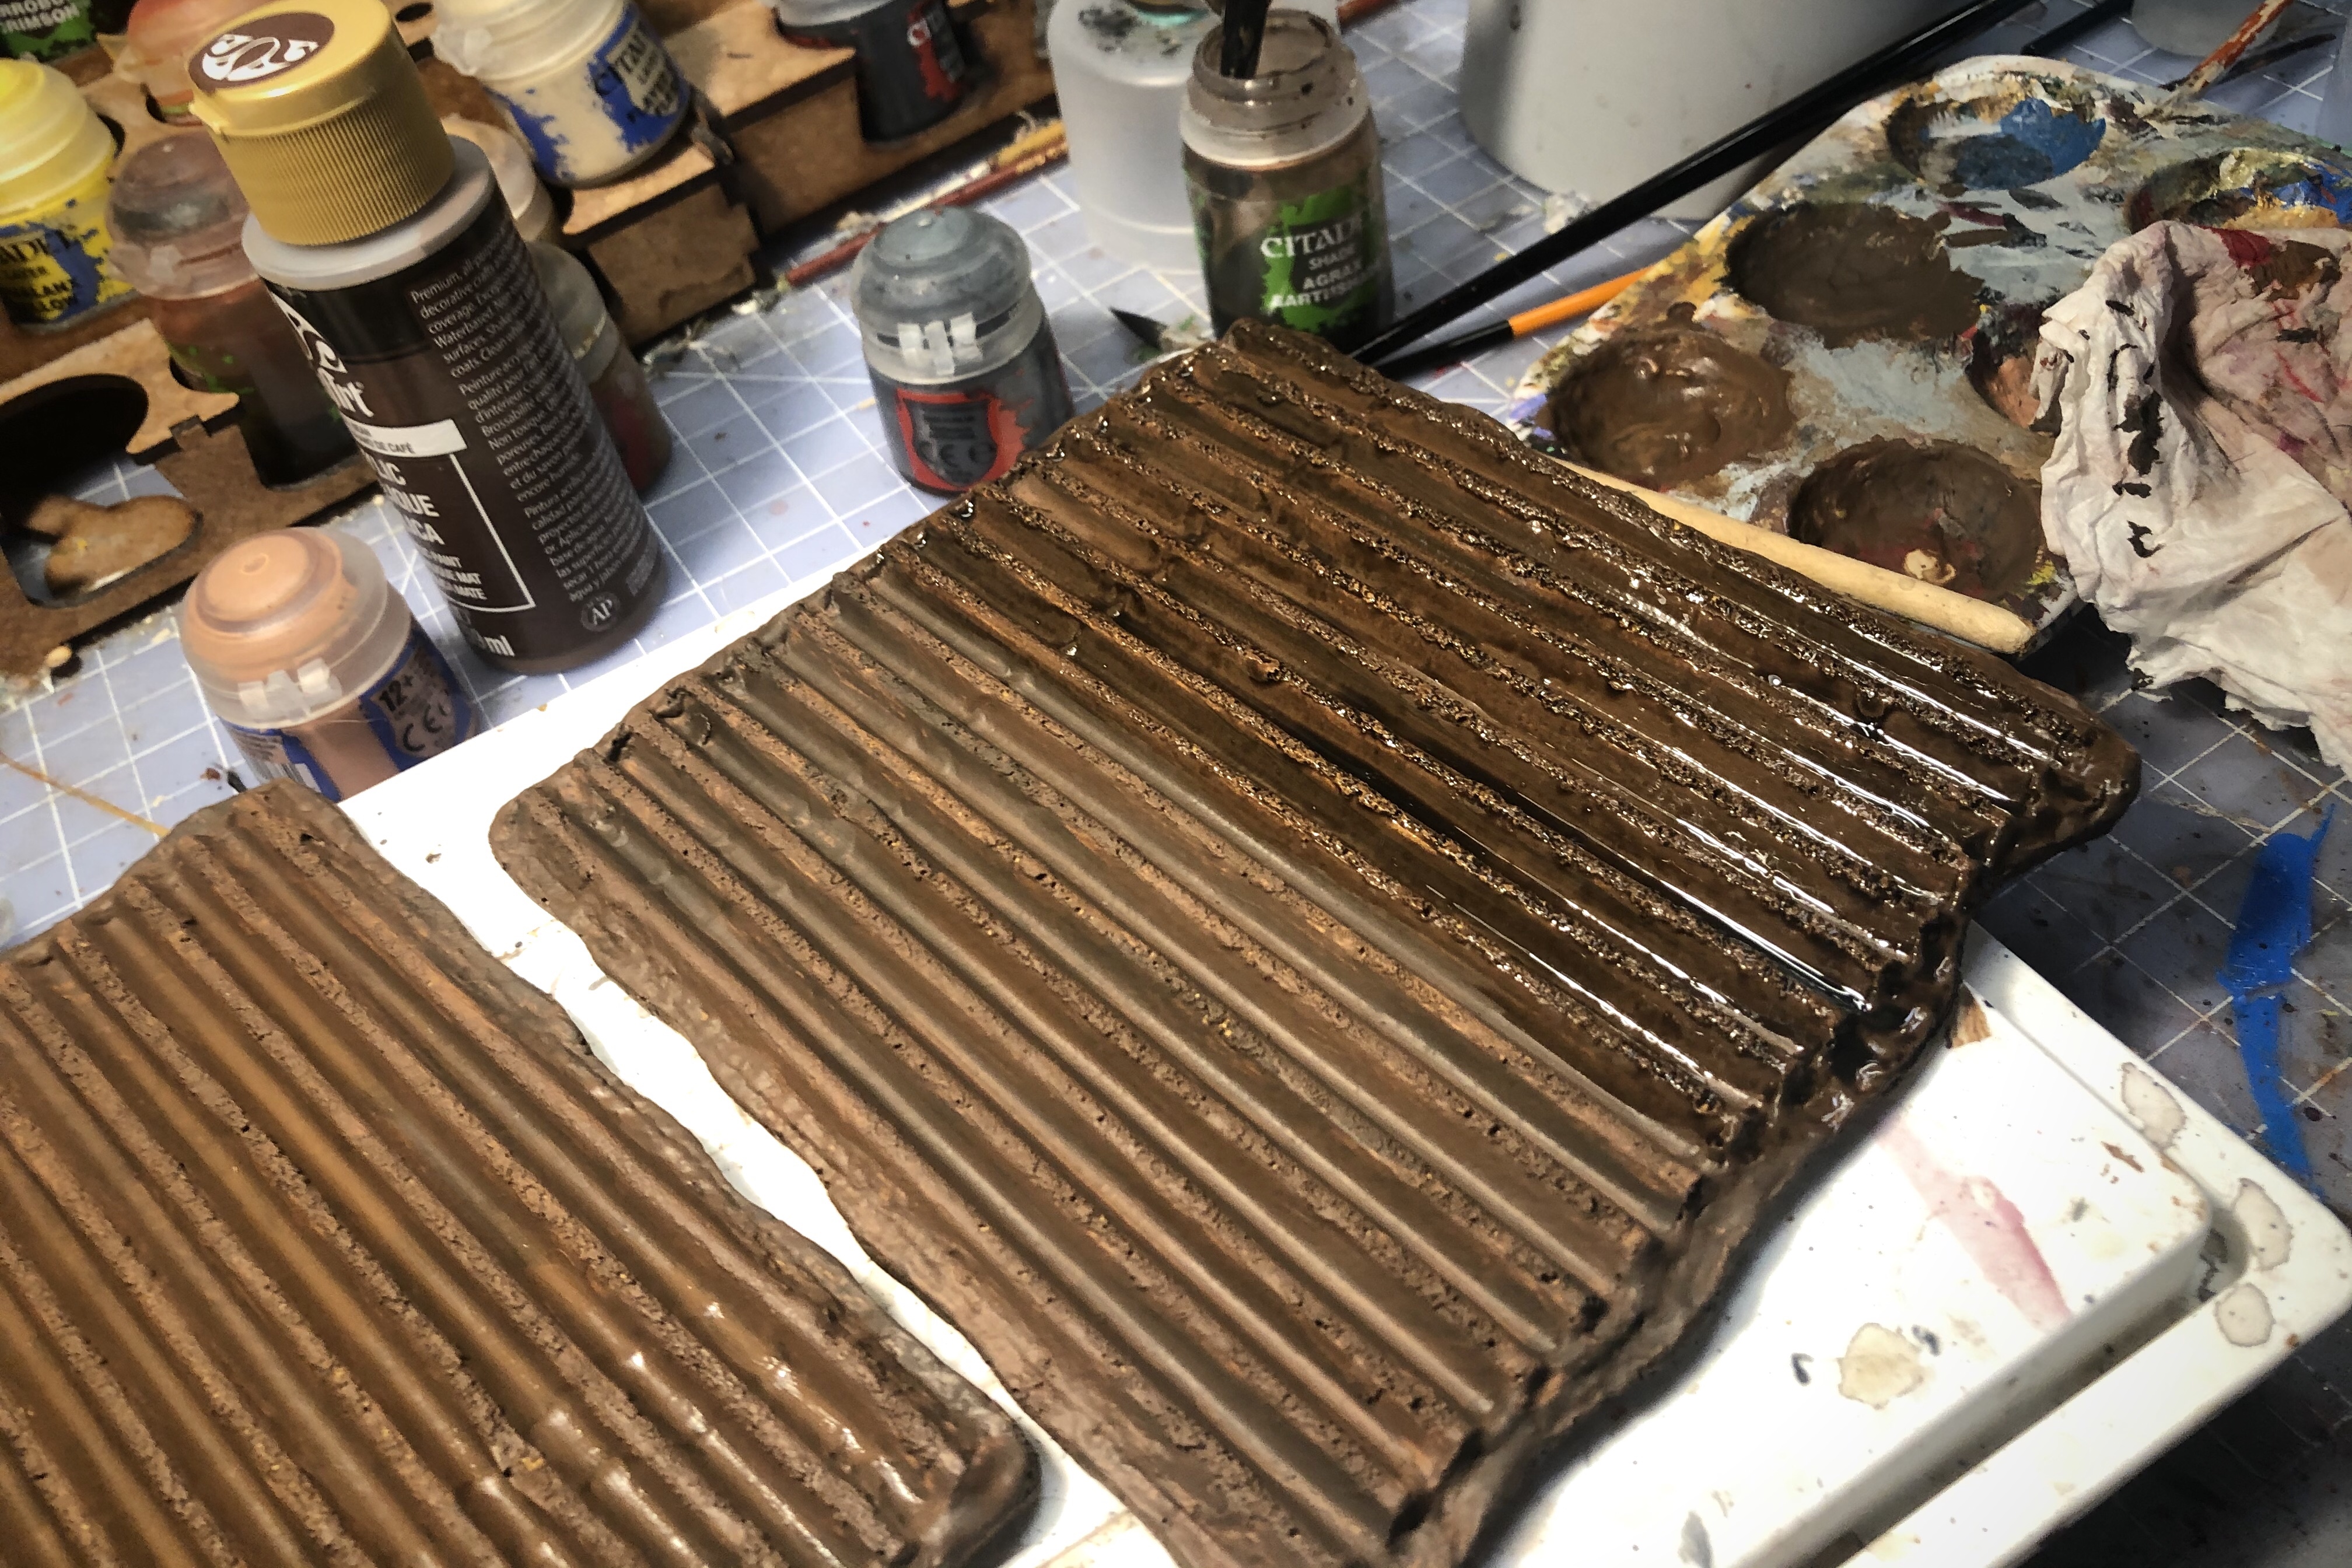
After the wash had completely dried I added a drybrush using XV-88.
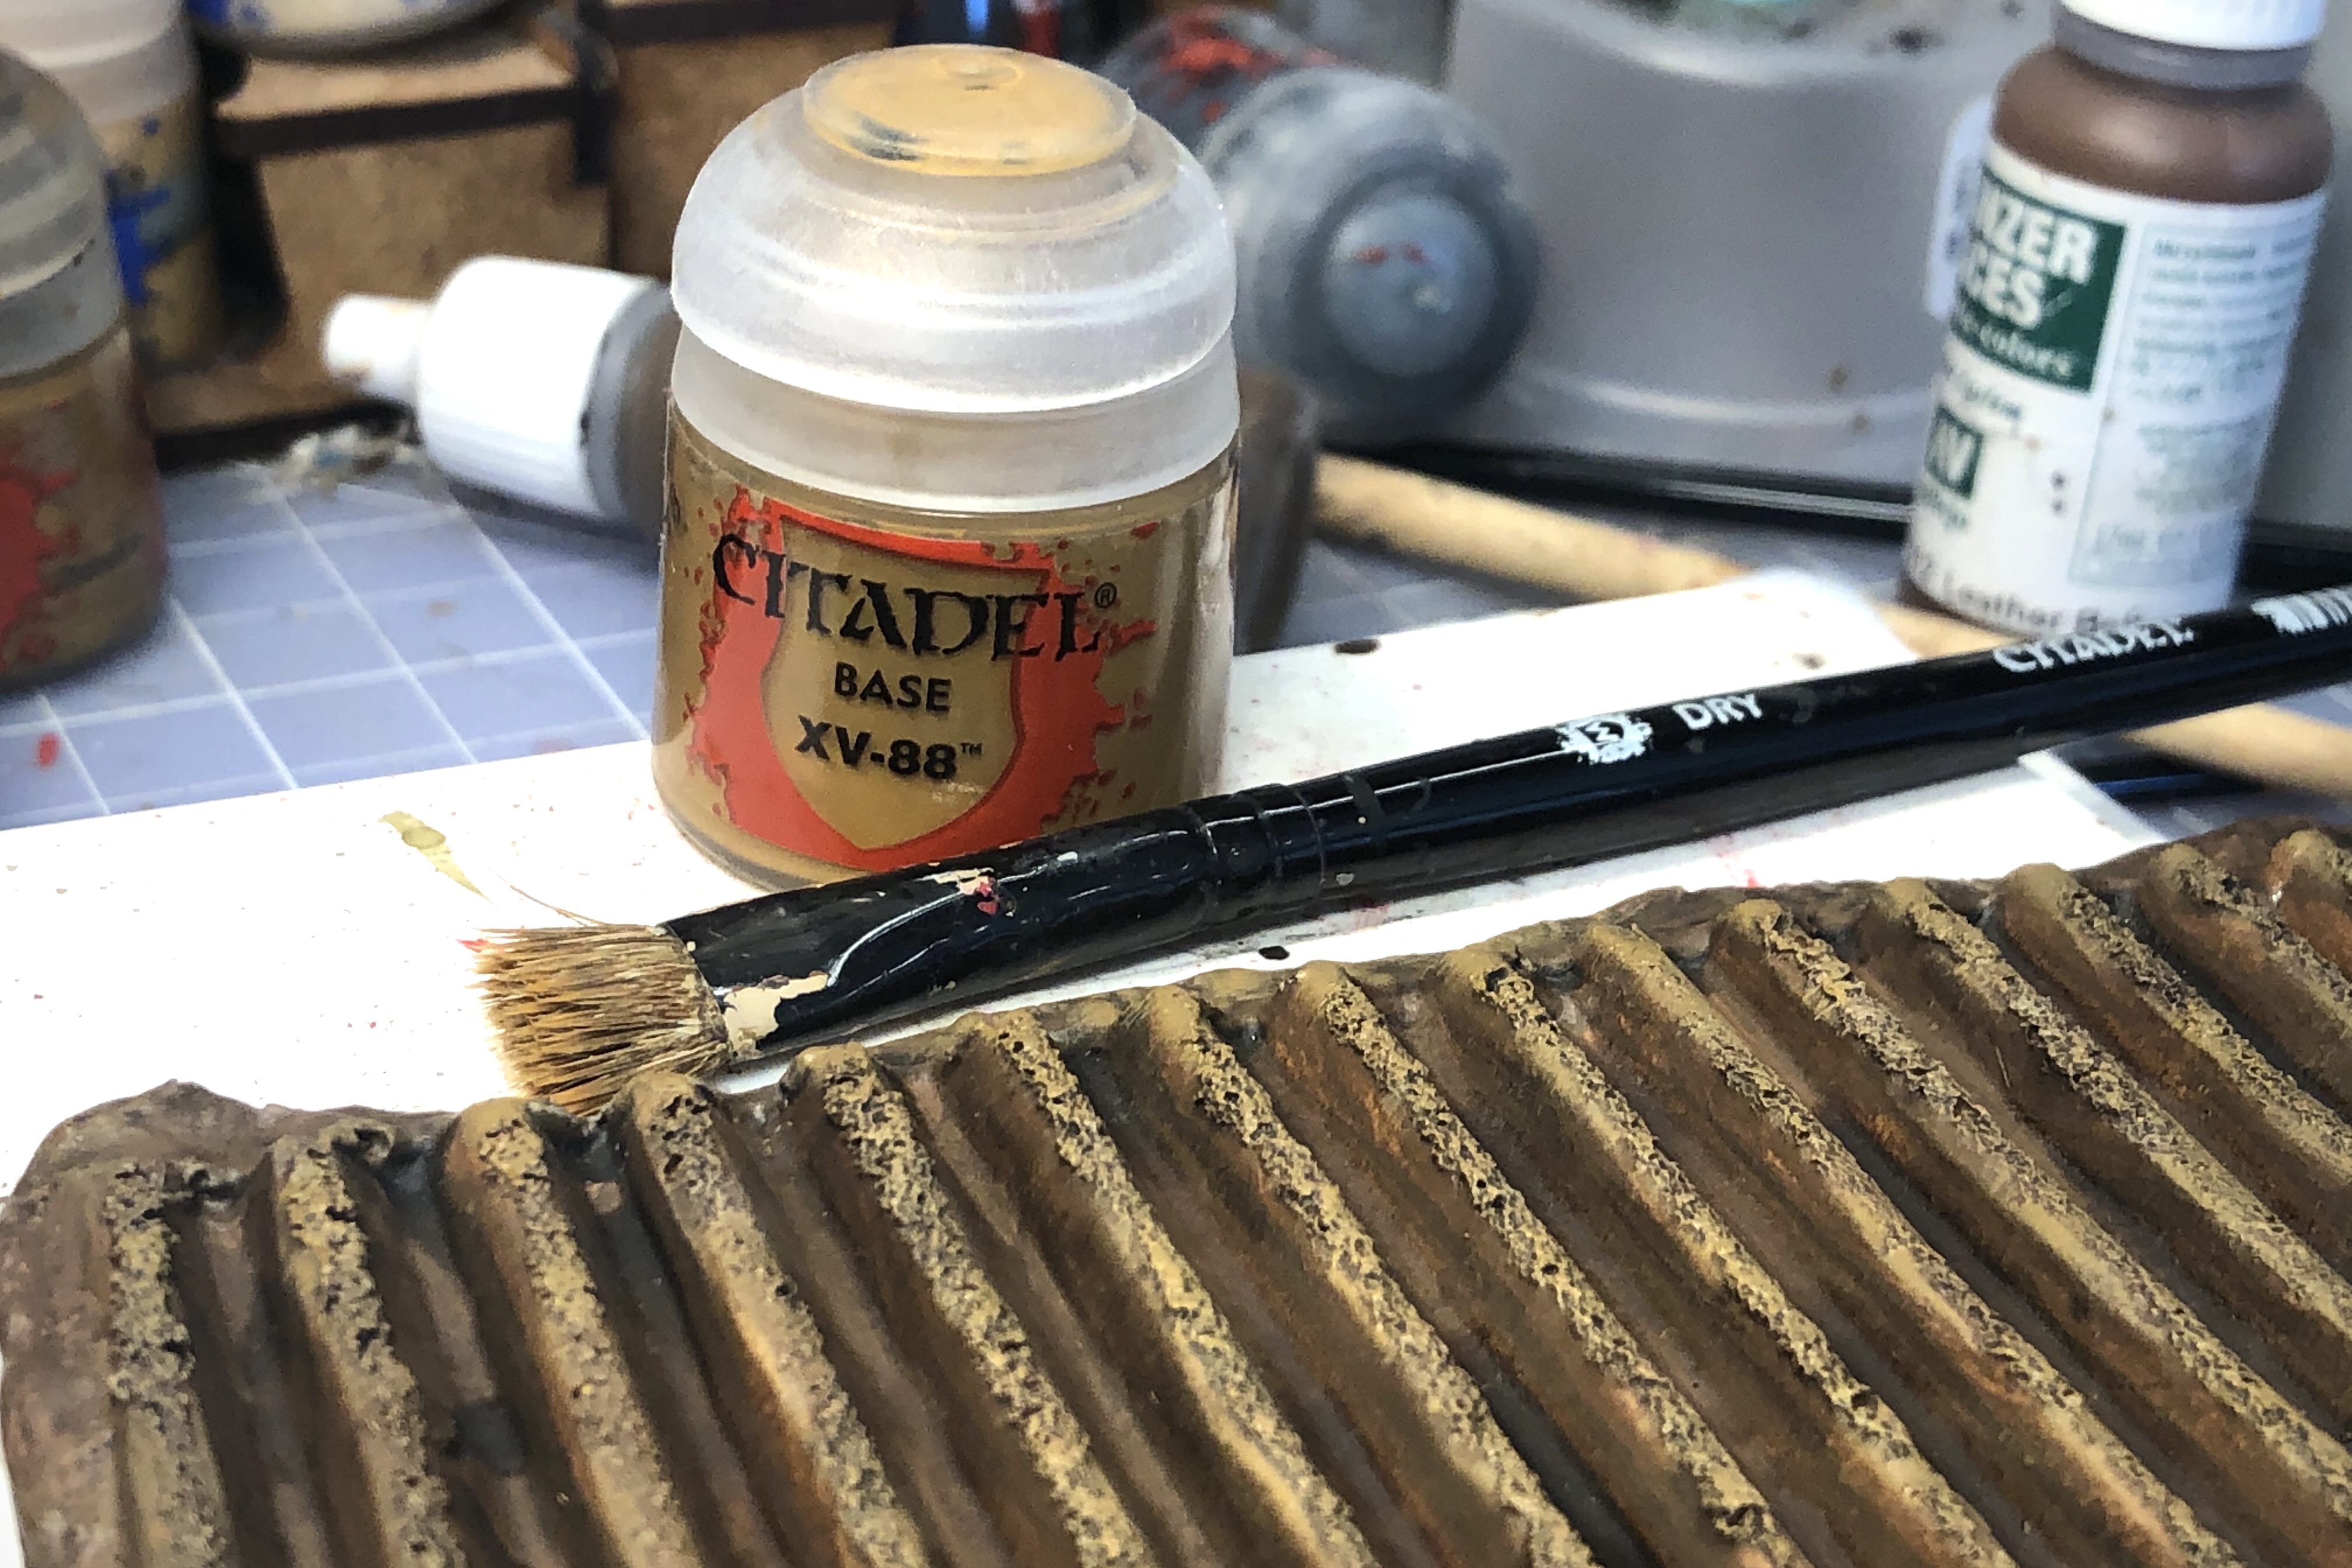
You can put this on as heavy or as light as you want but it gives it more depth and interest.
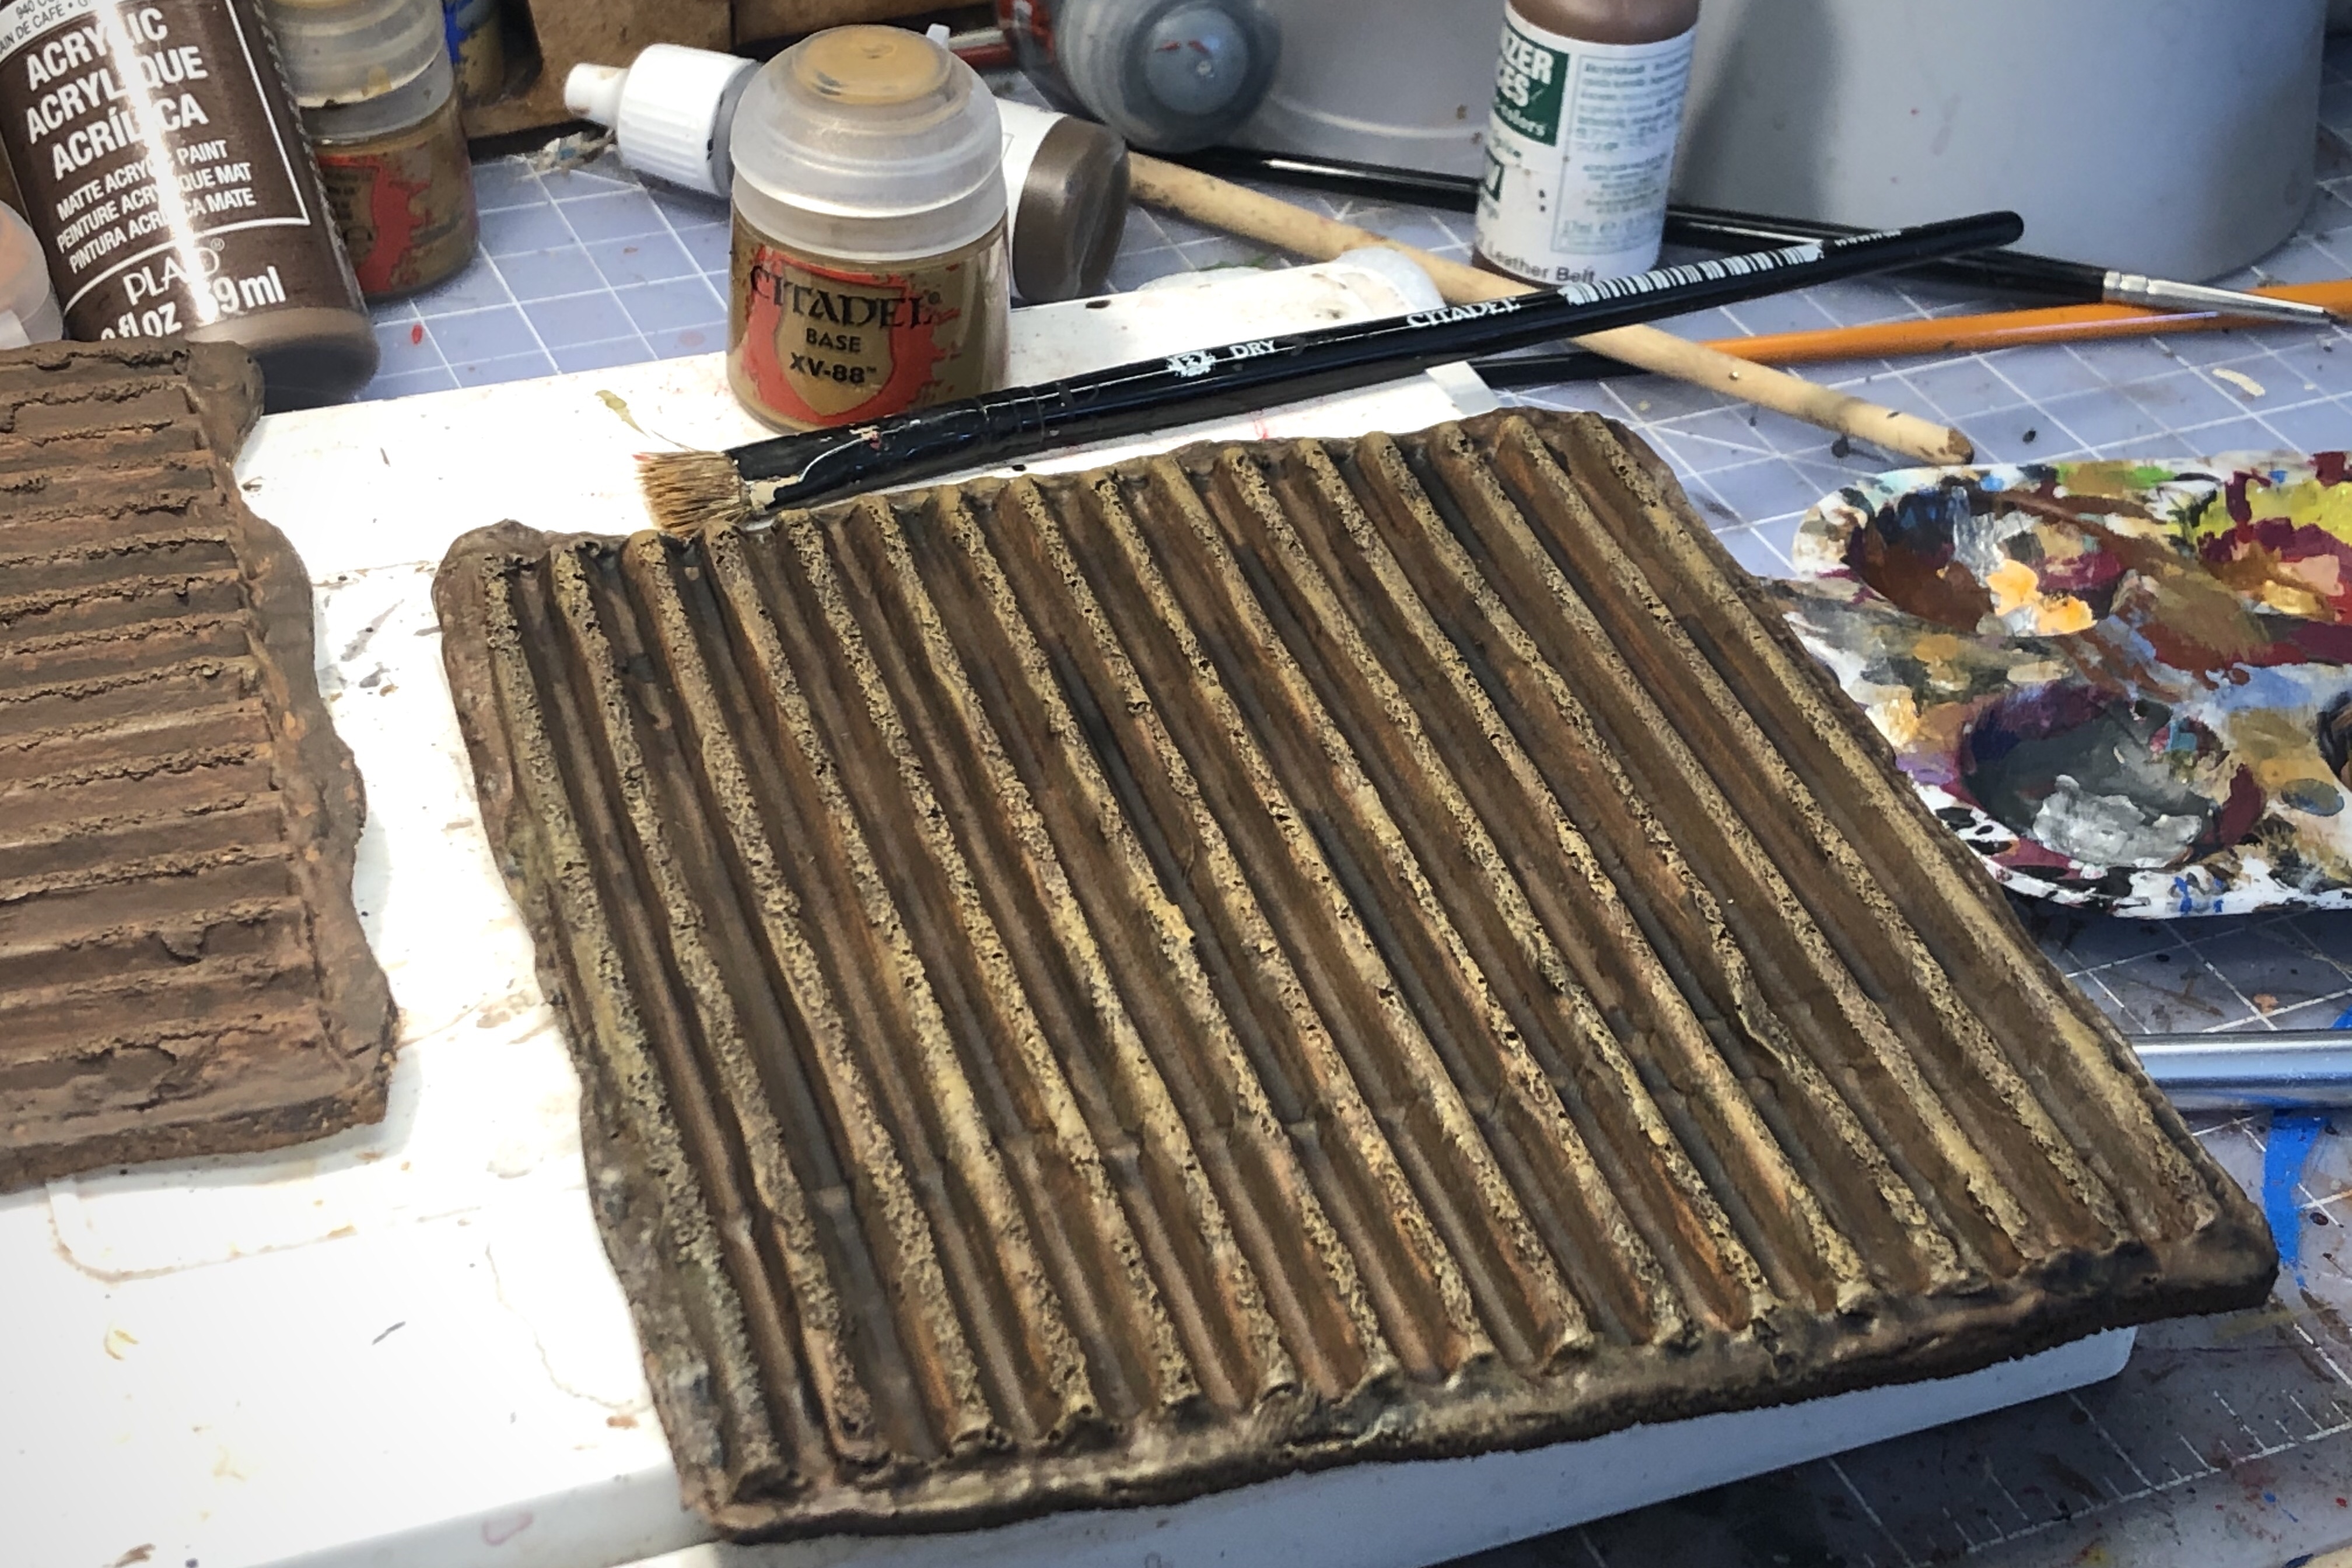
Next comes the messy part.
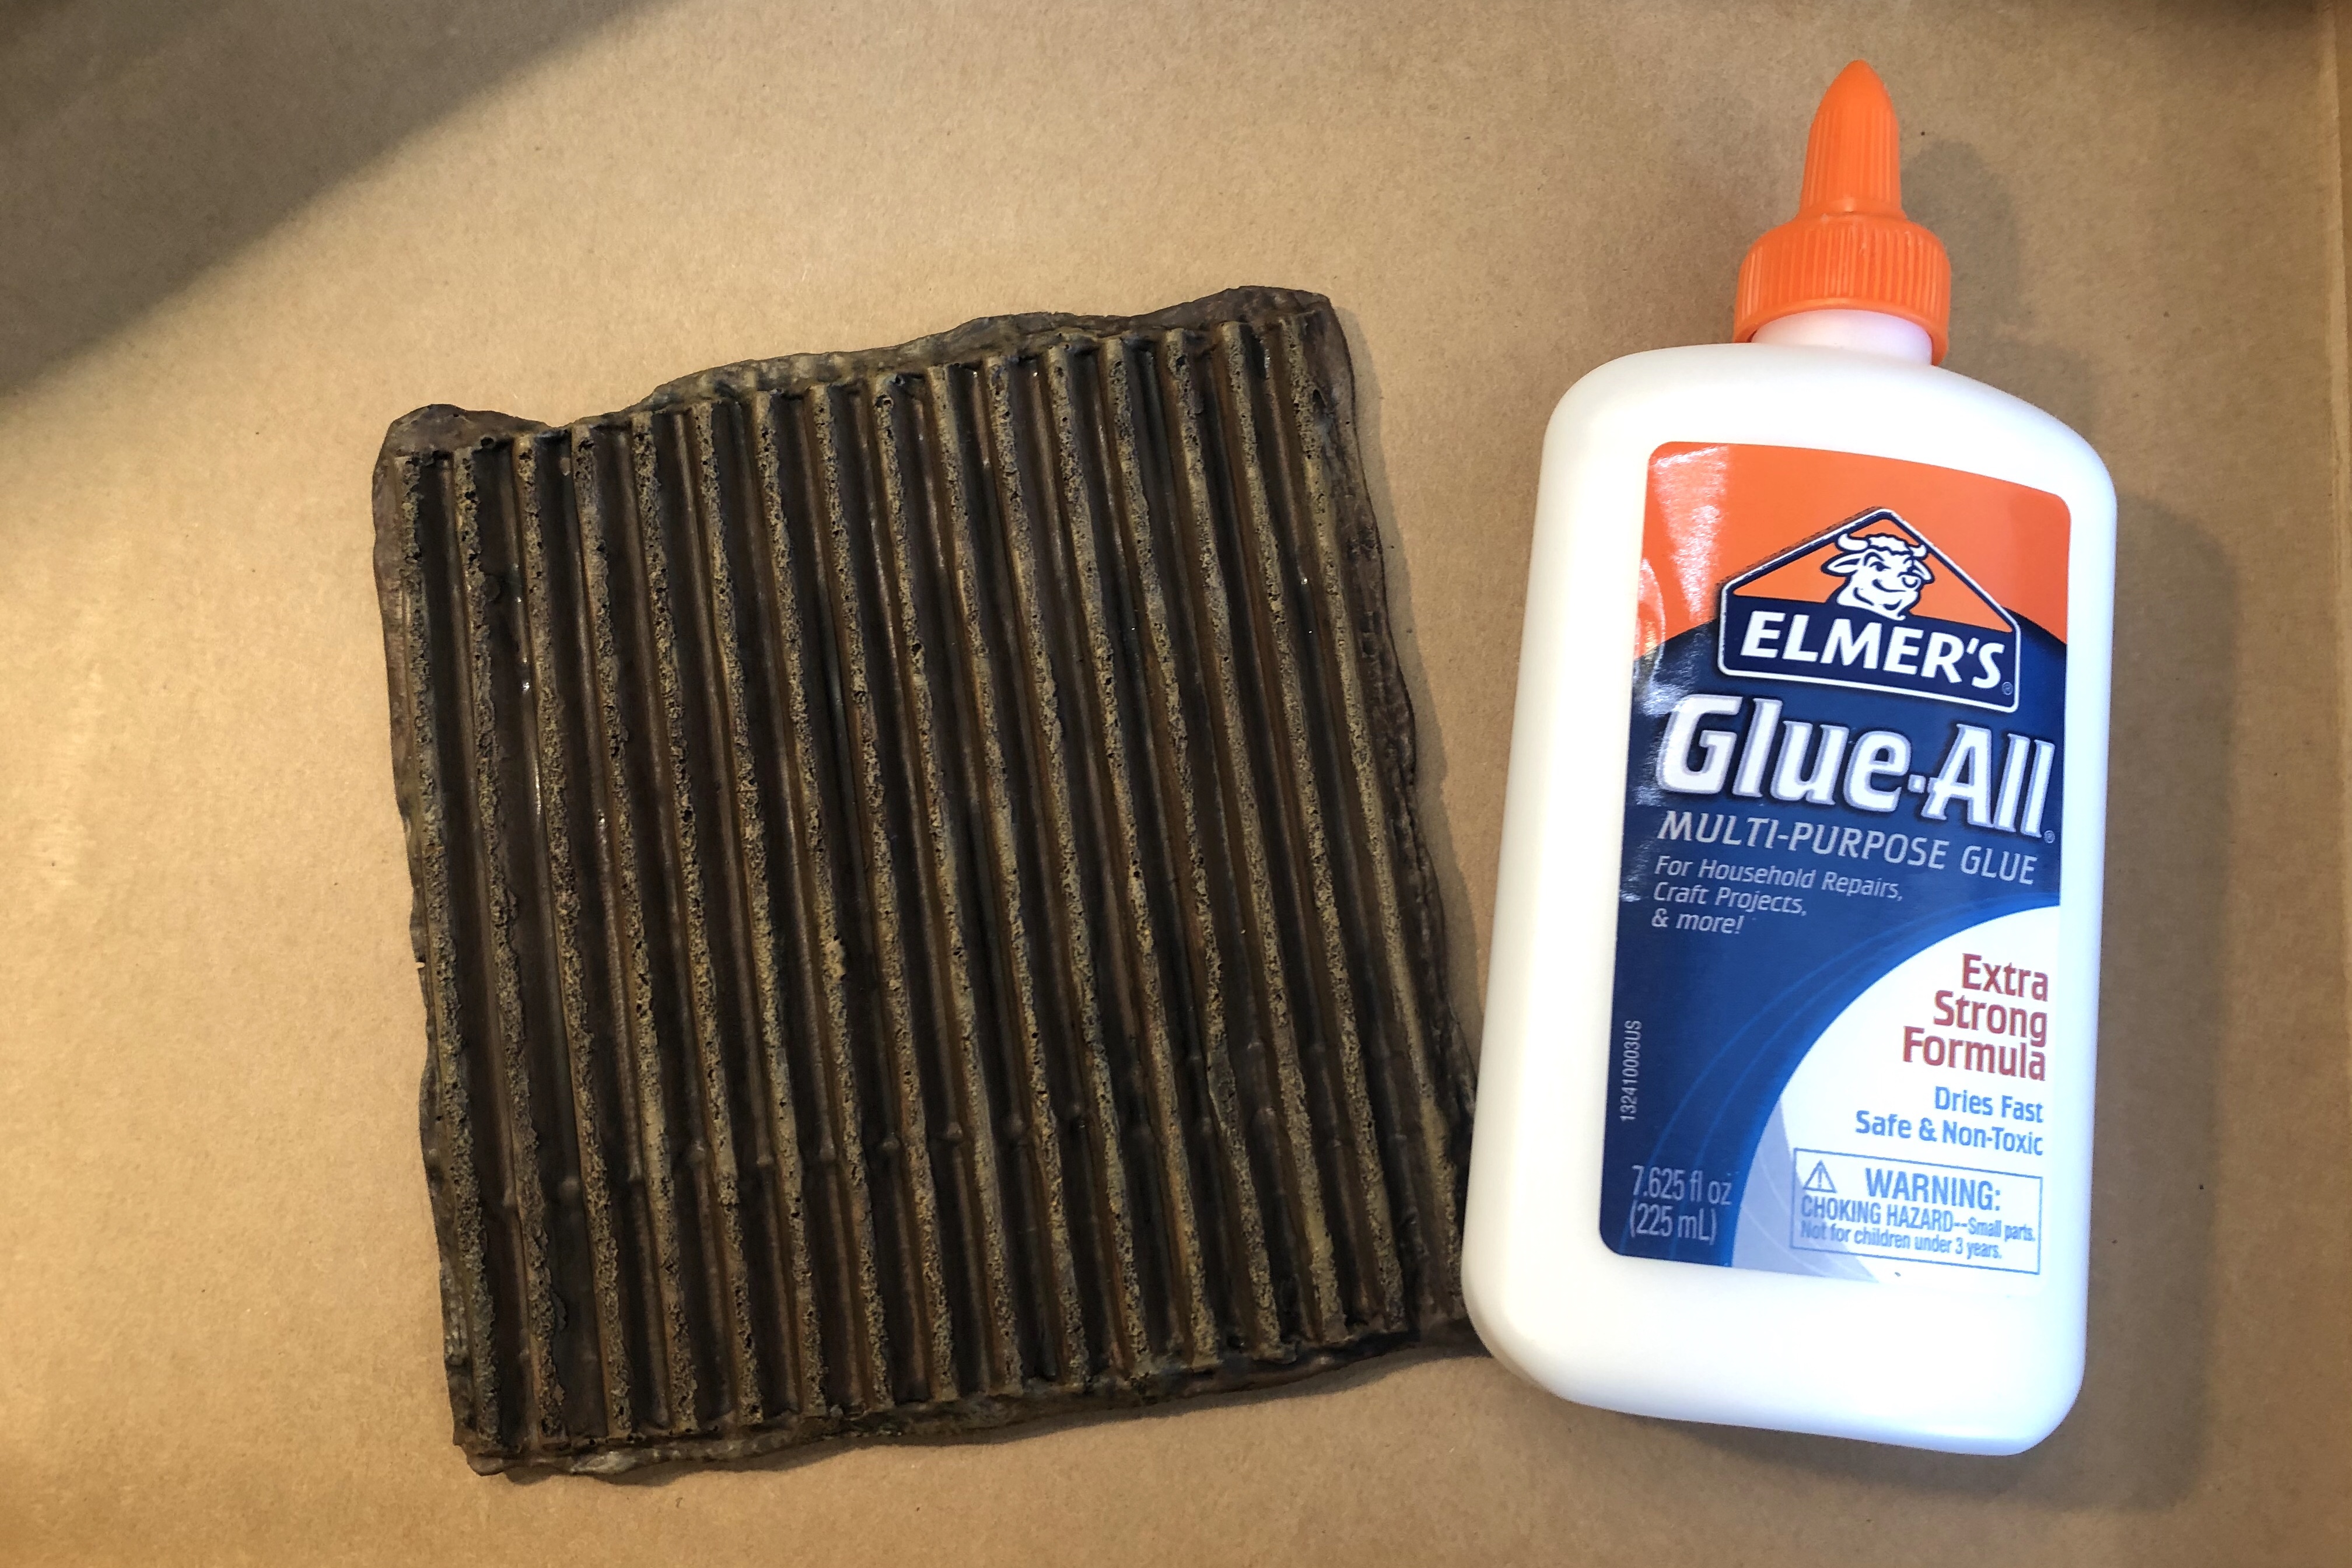
Put a thin line of glue over each raise row. If you put too much it will dribble into the furrows and make a mess.
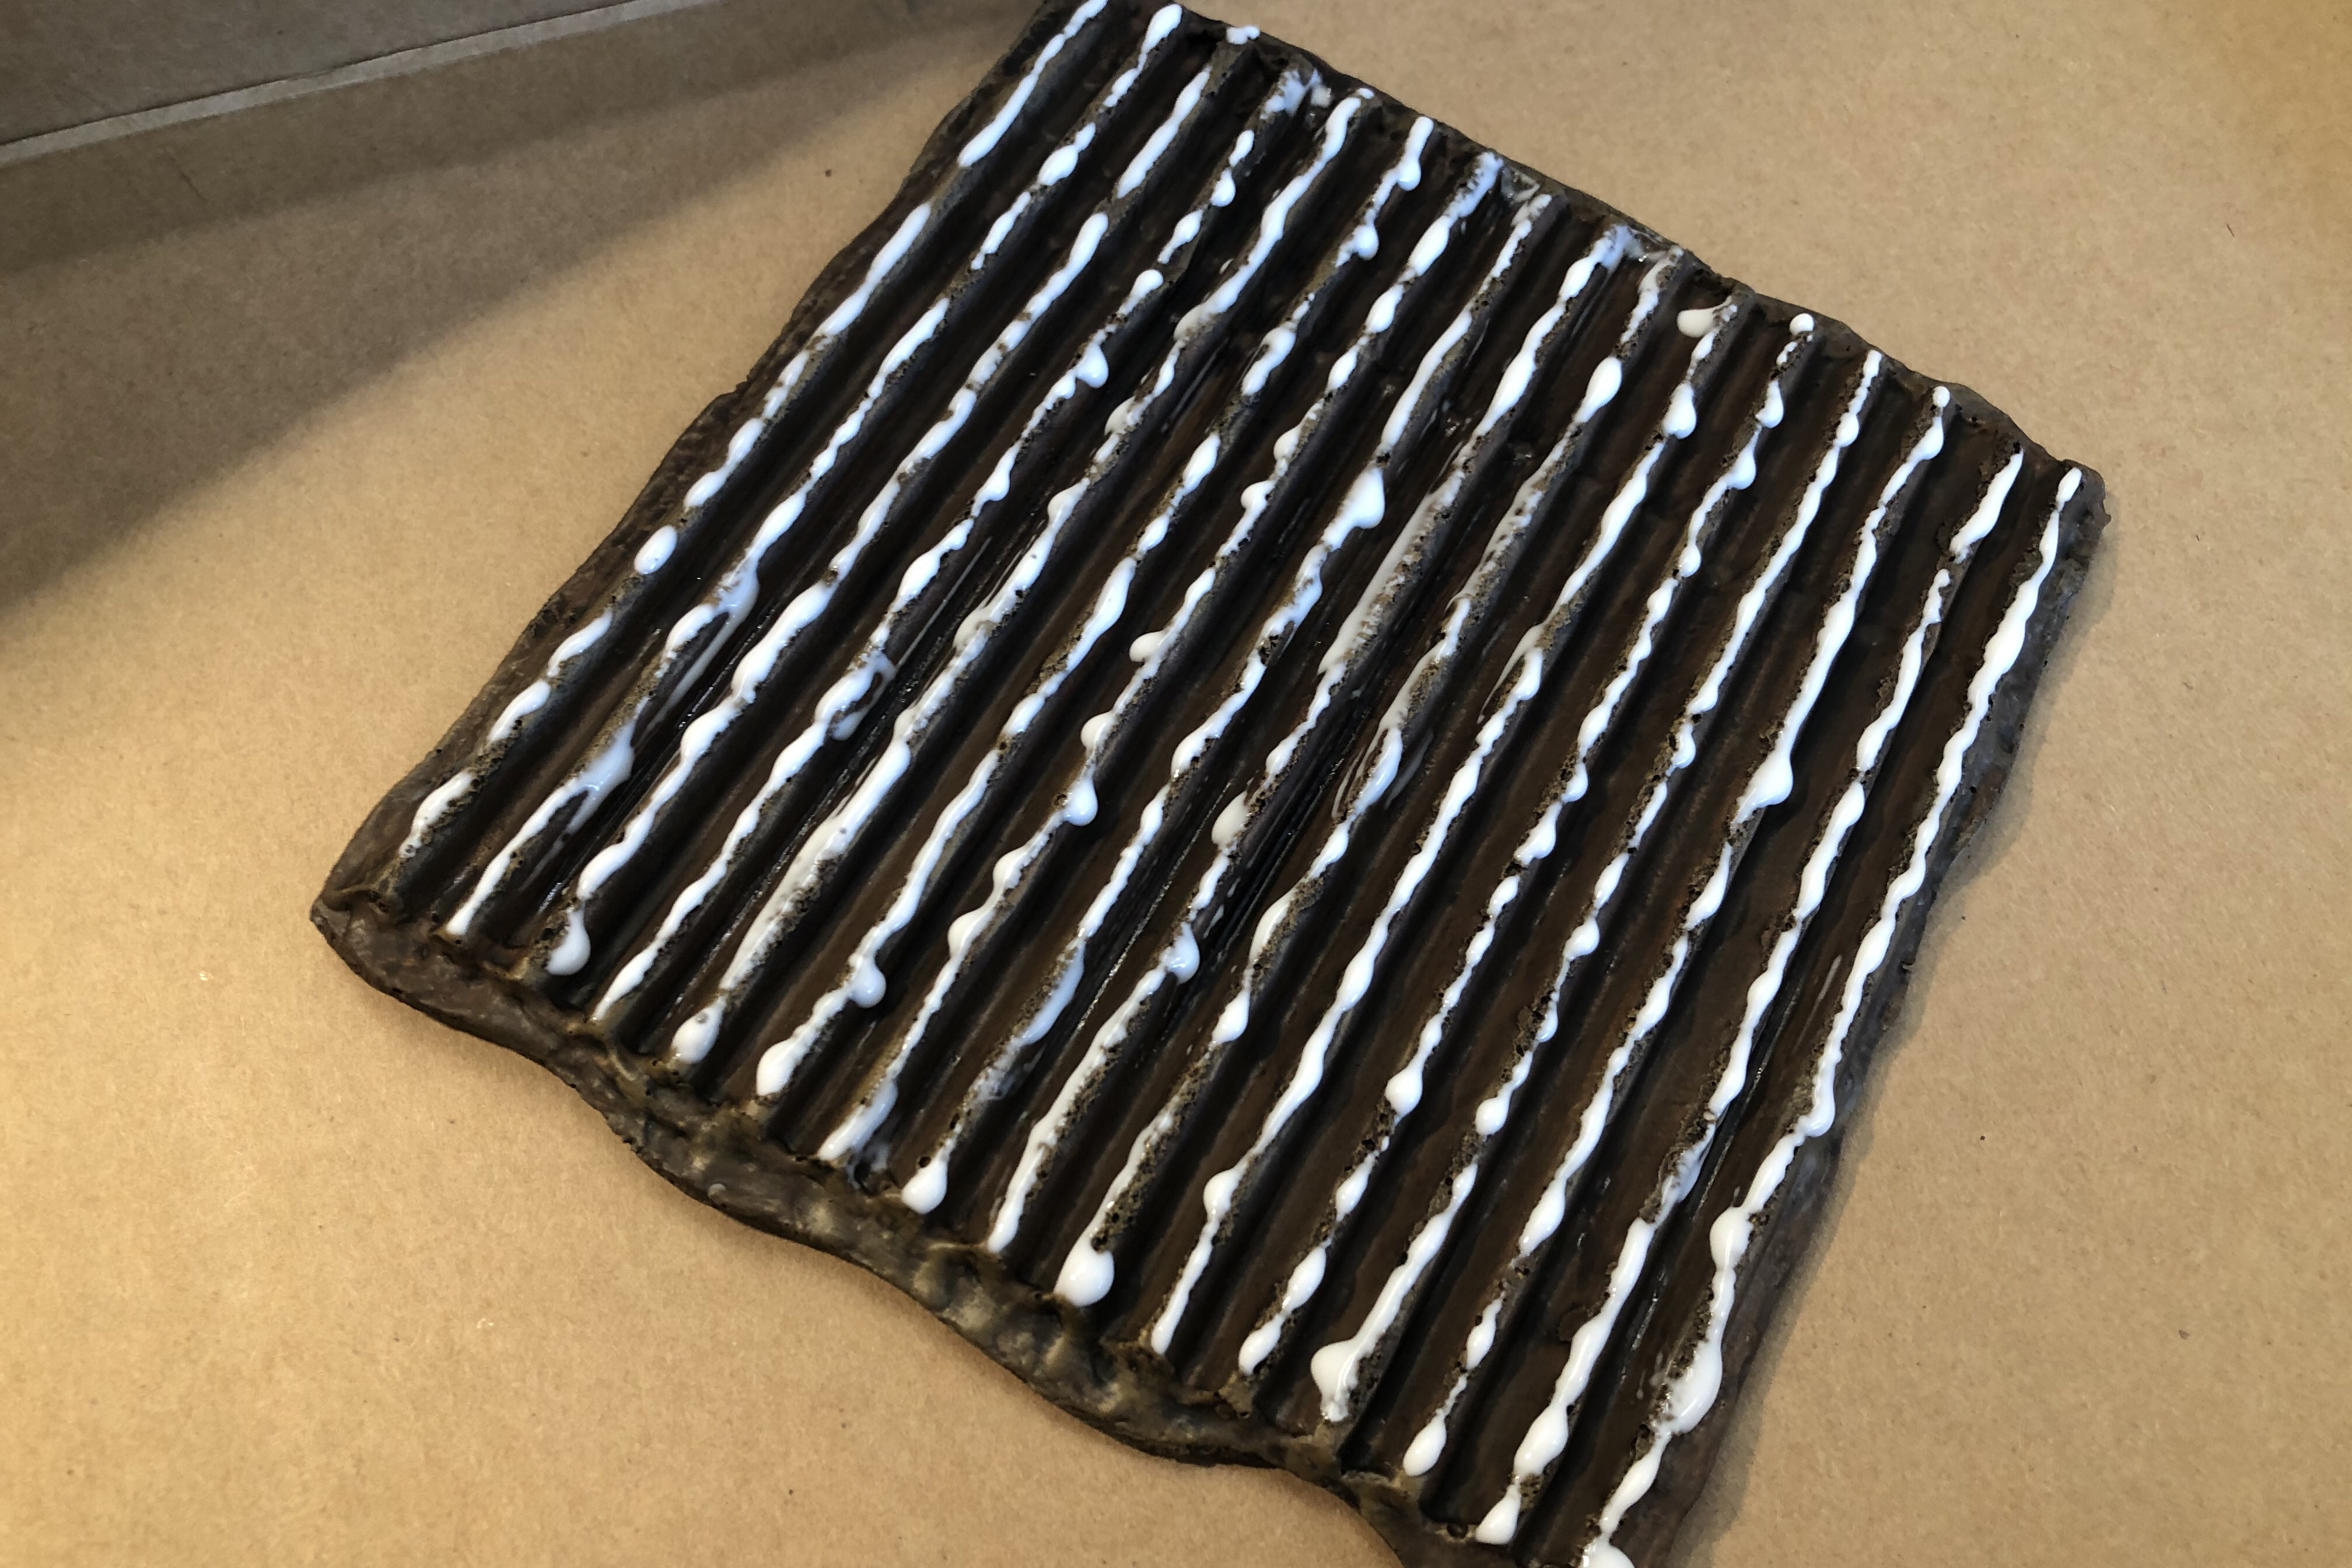
I was a little messy applying the glue and it cost me time later, rubbing grass out from between the rows.

Then I shook a generous amount of static grass over the entire piece. I used Woodland Scenic’s Blended Turf.
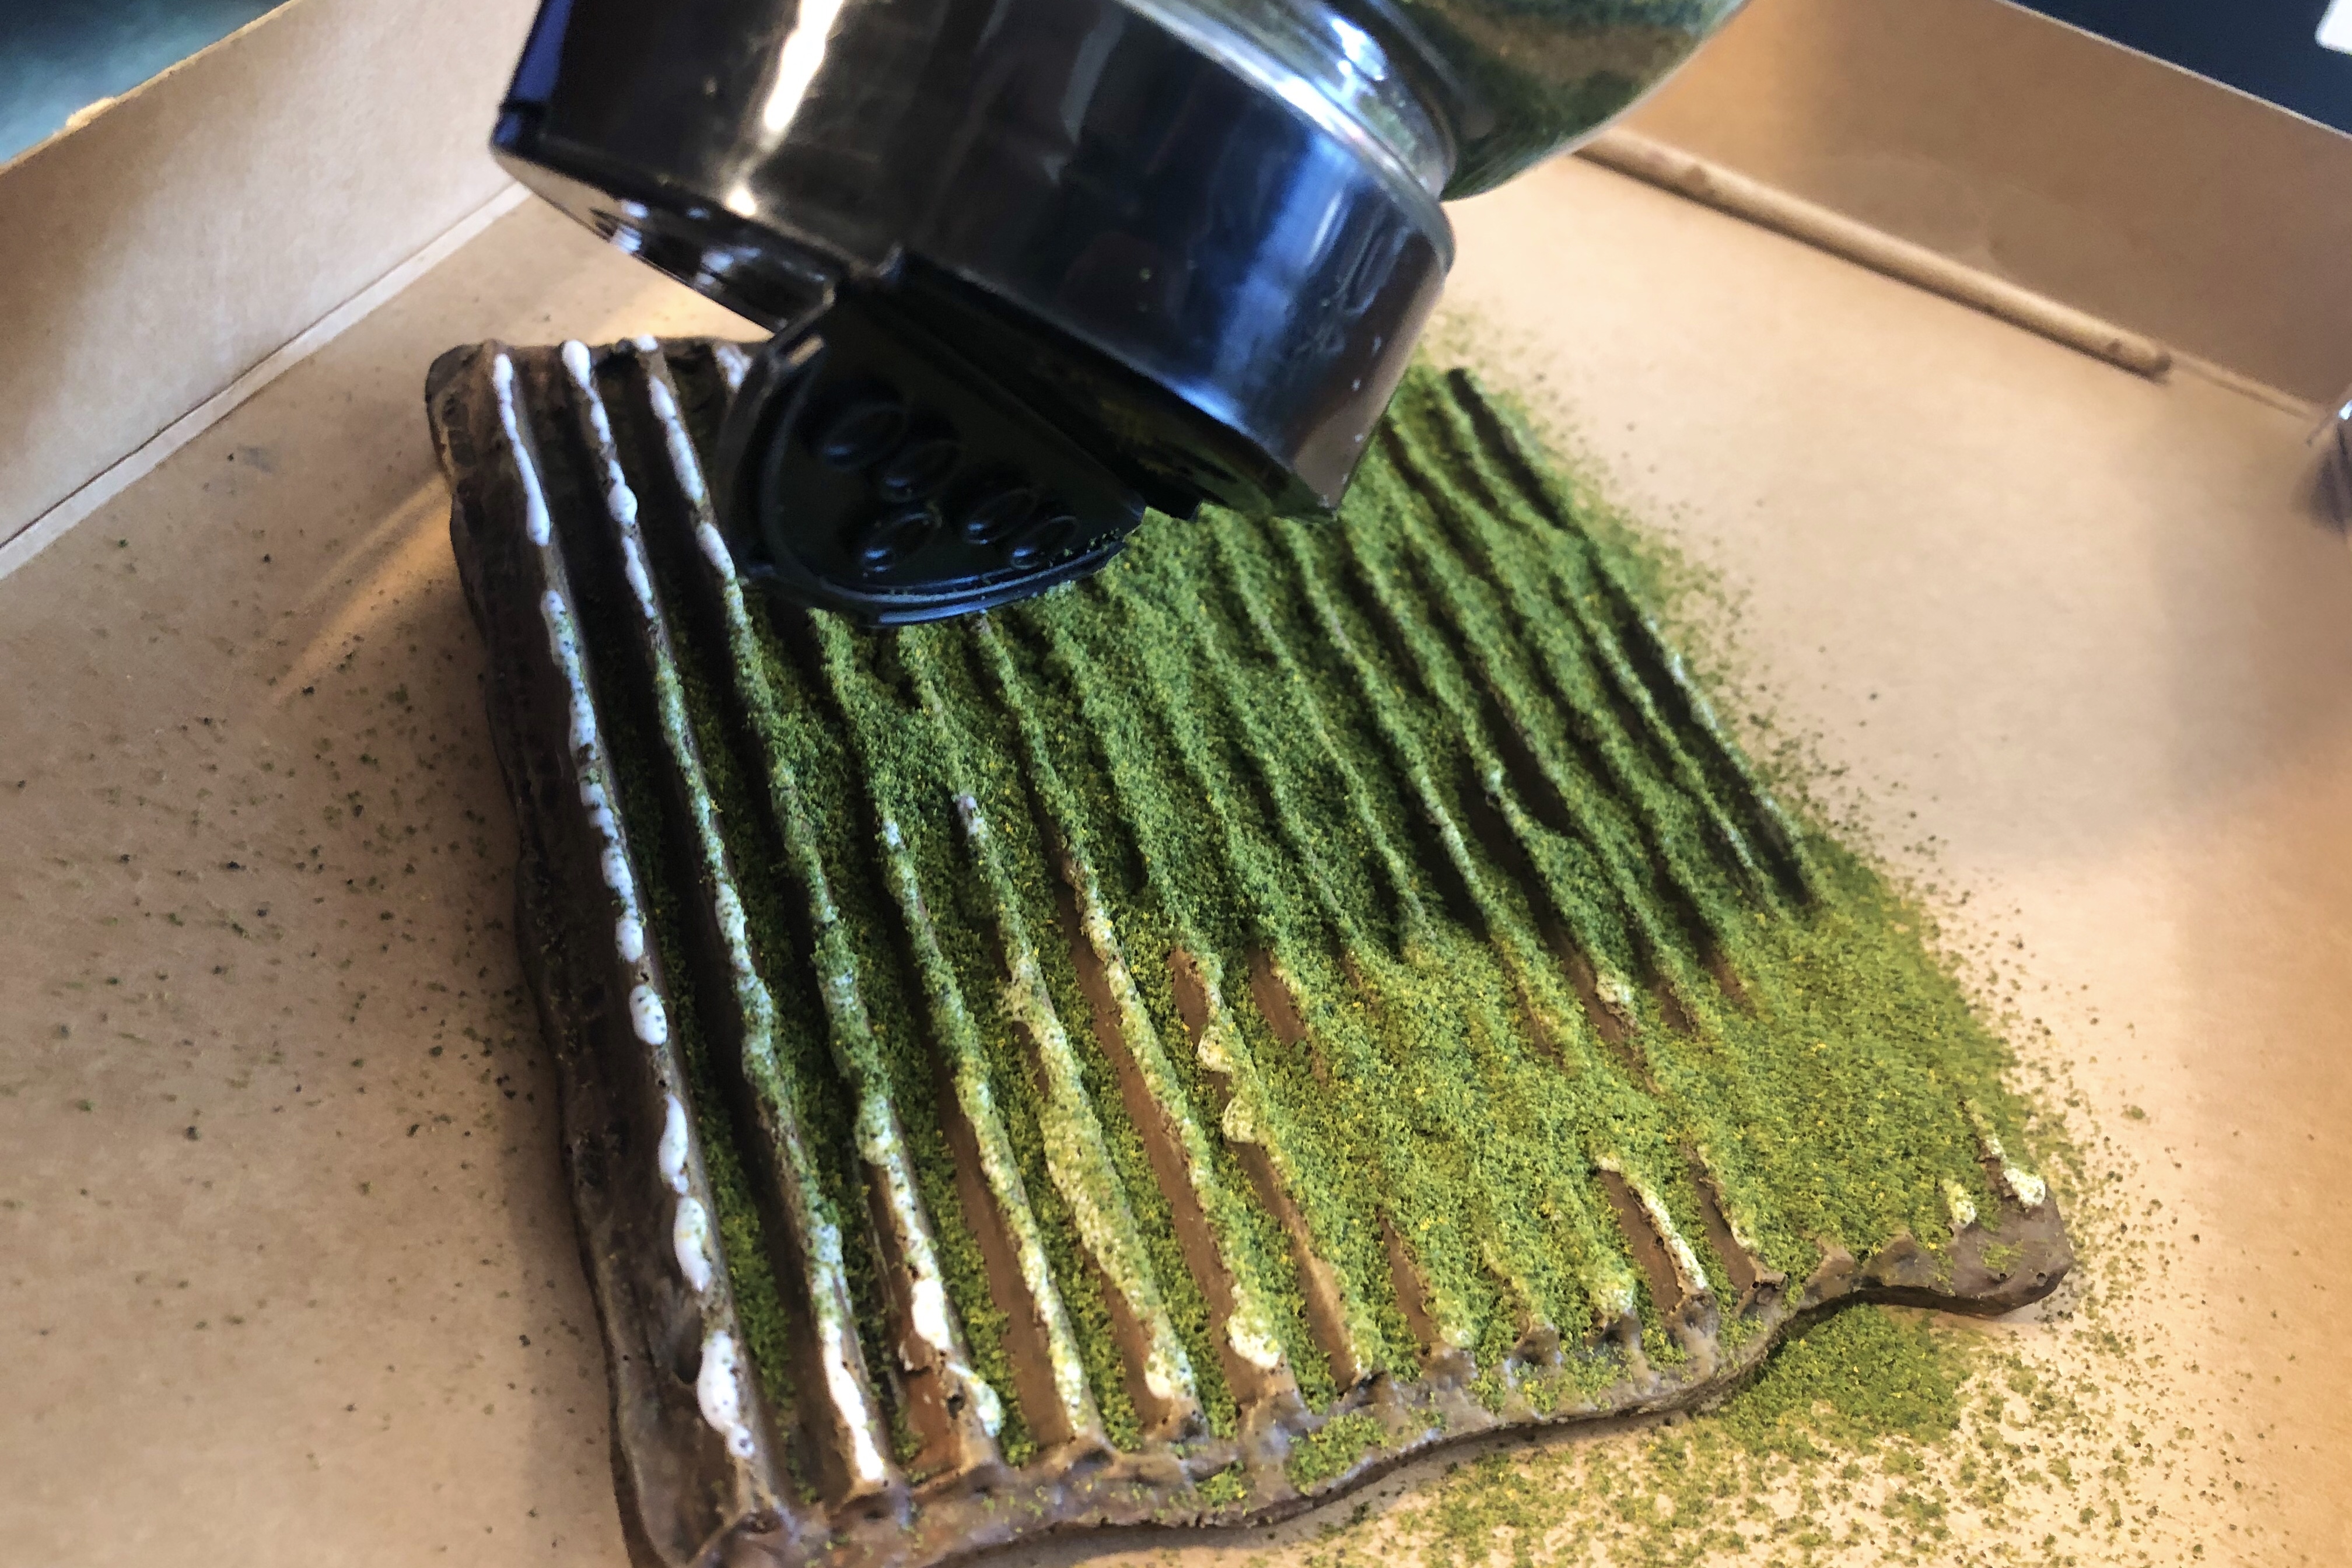
Make sure to do this in a box or some sort of enclosed space so you don’t make a mess and you can recoup the excess grass when you’re finished.
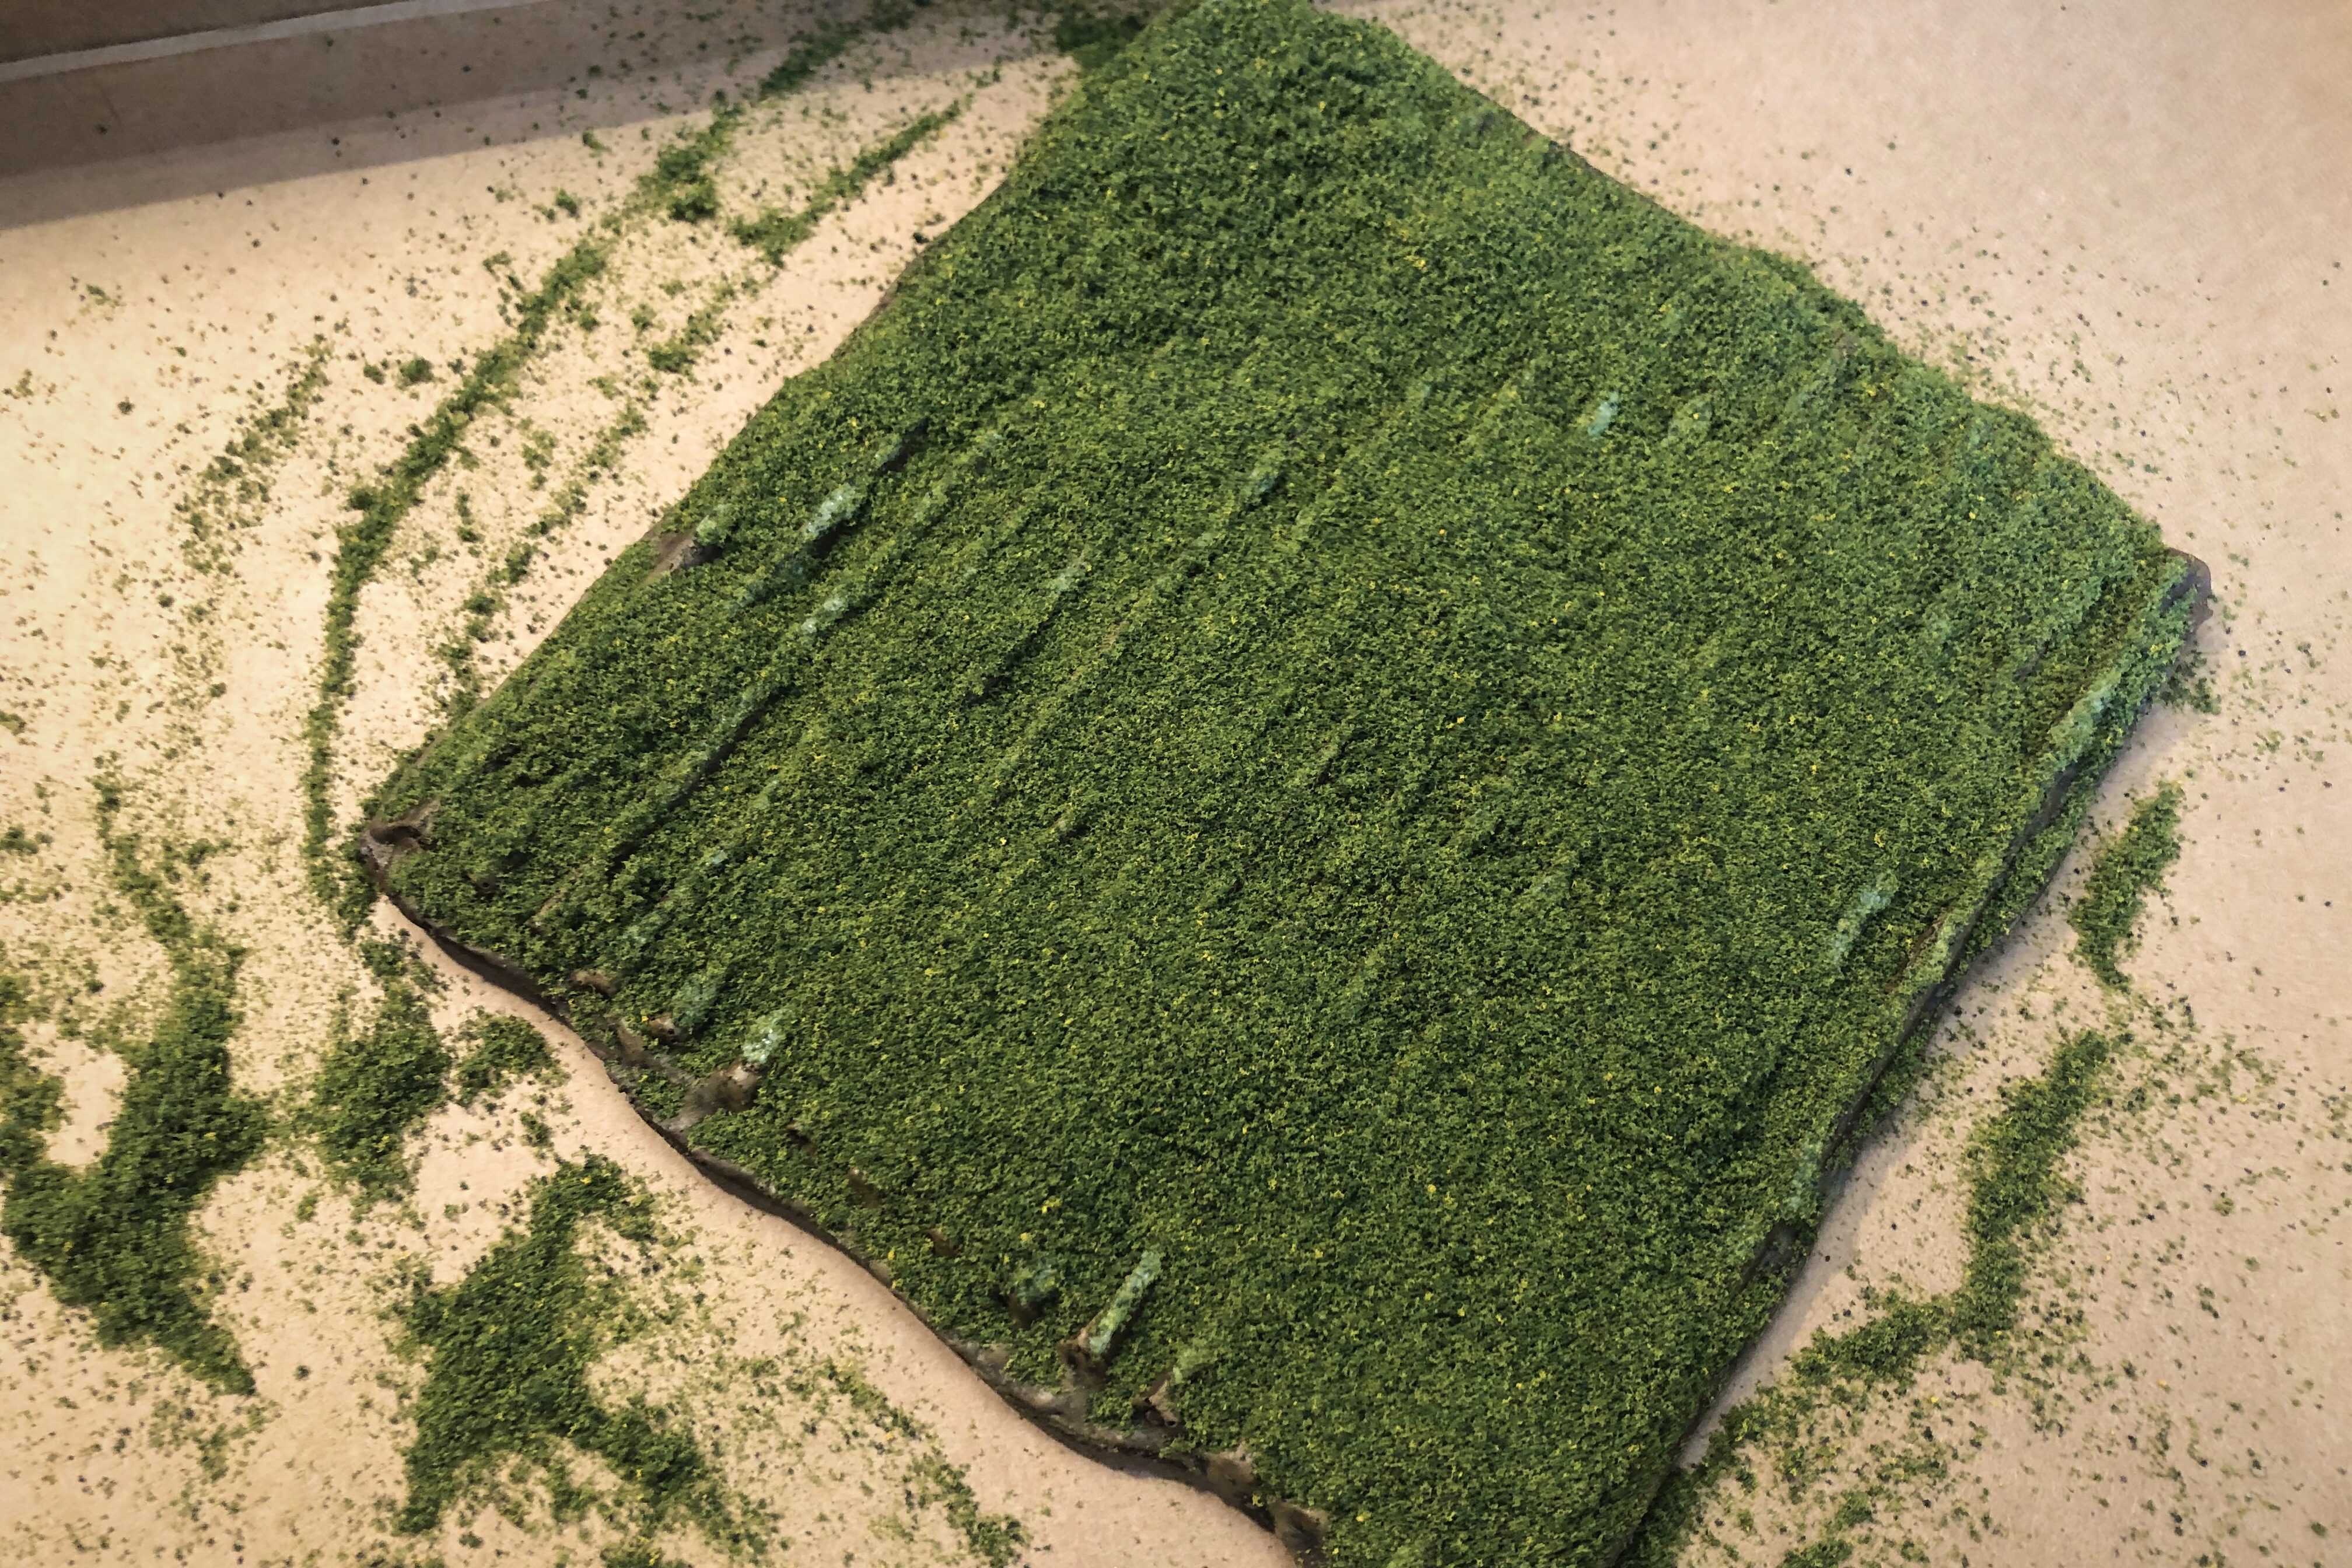
After it’s mostly dried you can shake off the excess. After it’s fully dried I brushed off the last extra with a brush.
It ended up looking a little sparse but that’s OK.
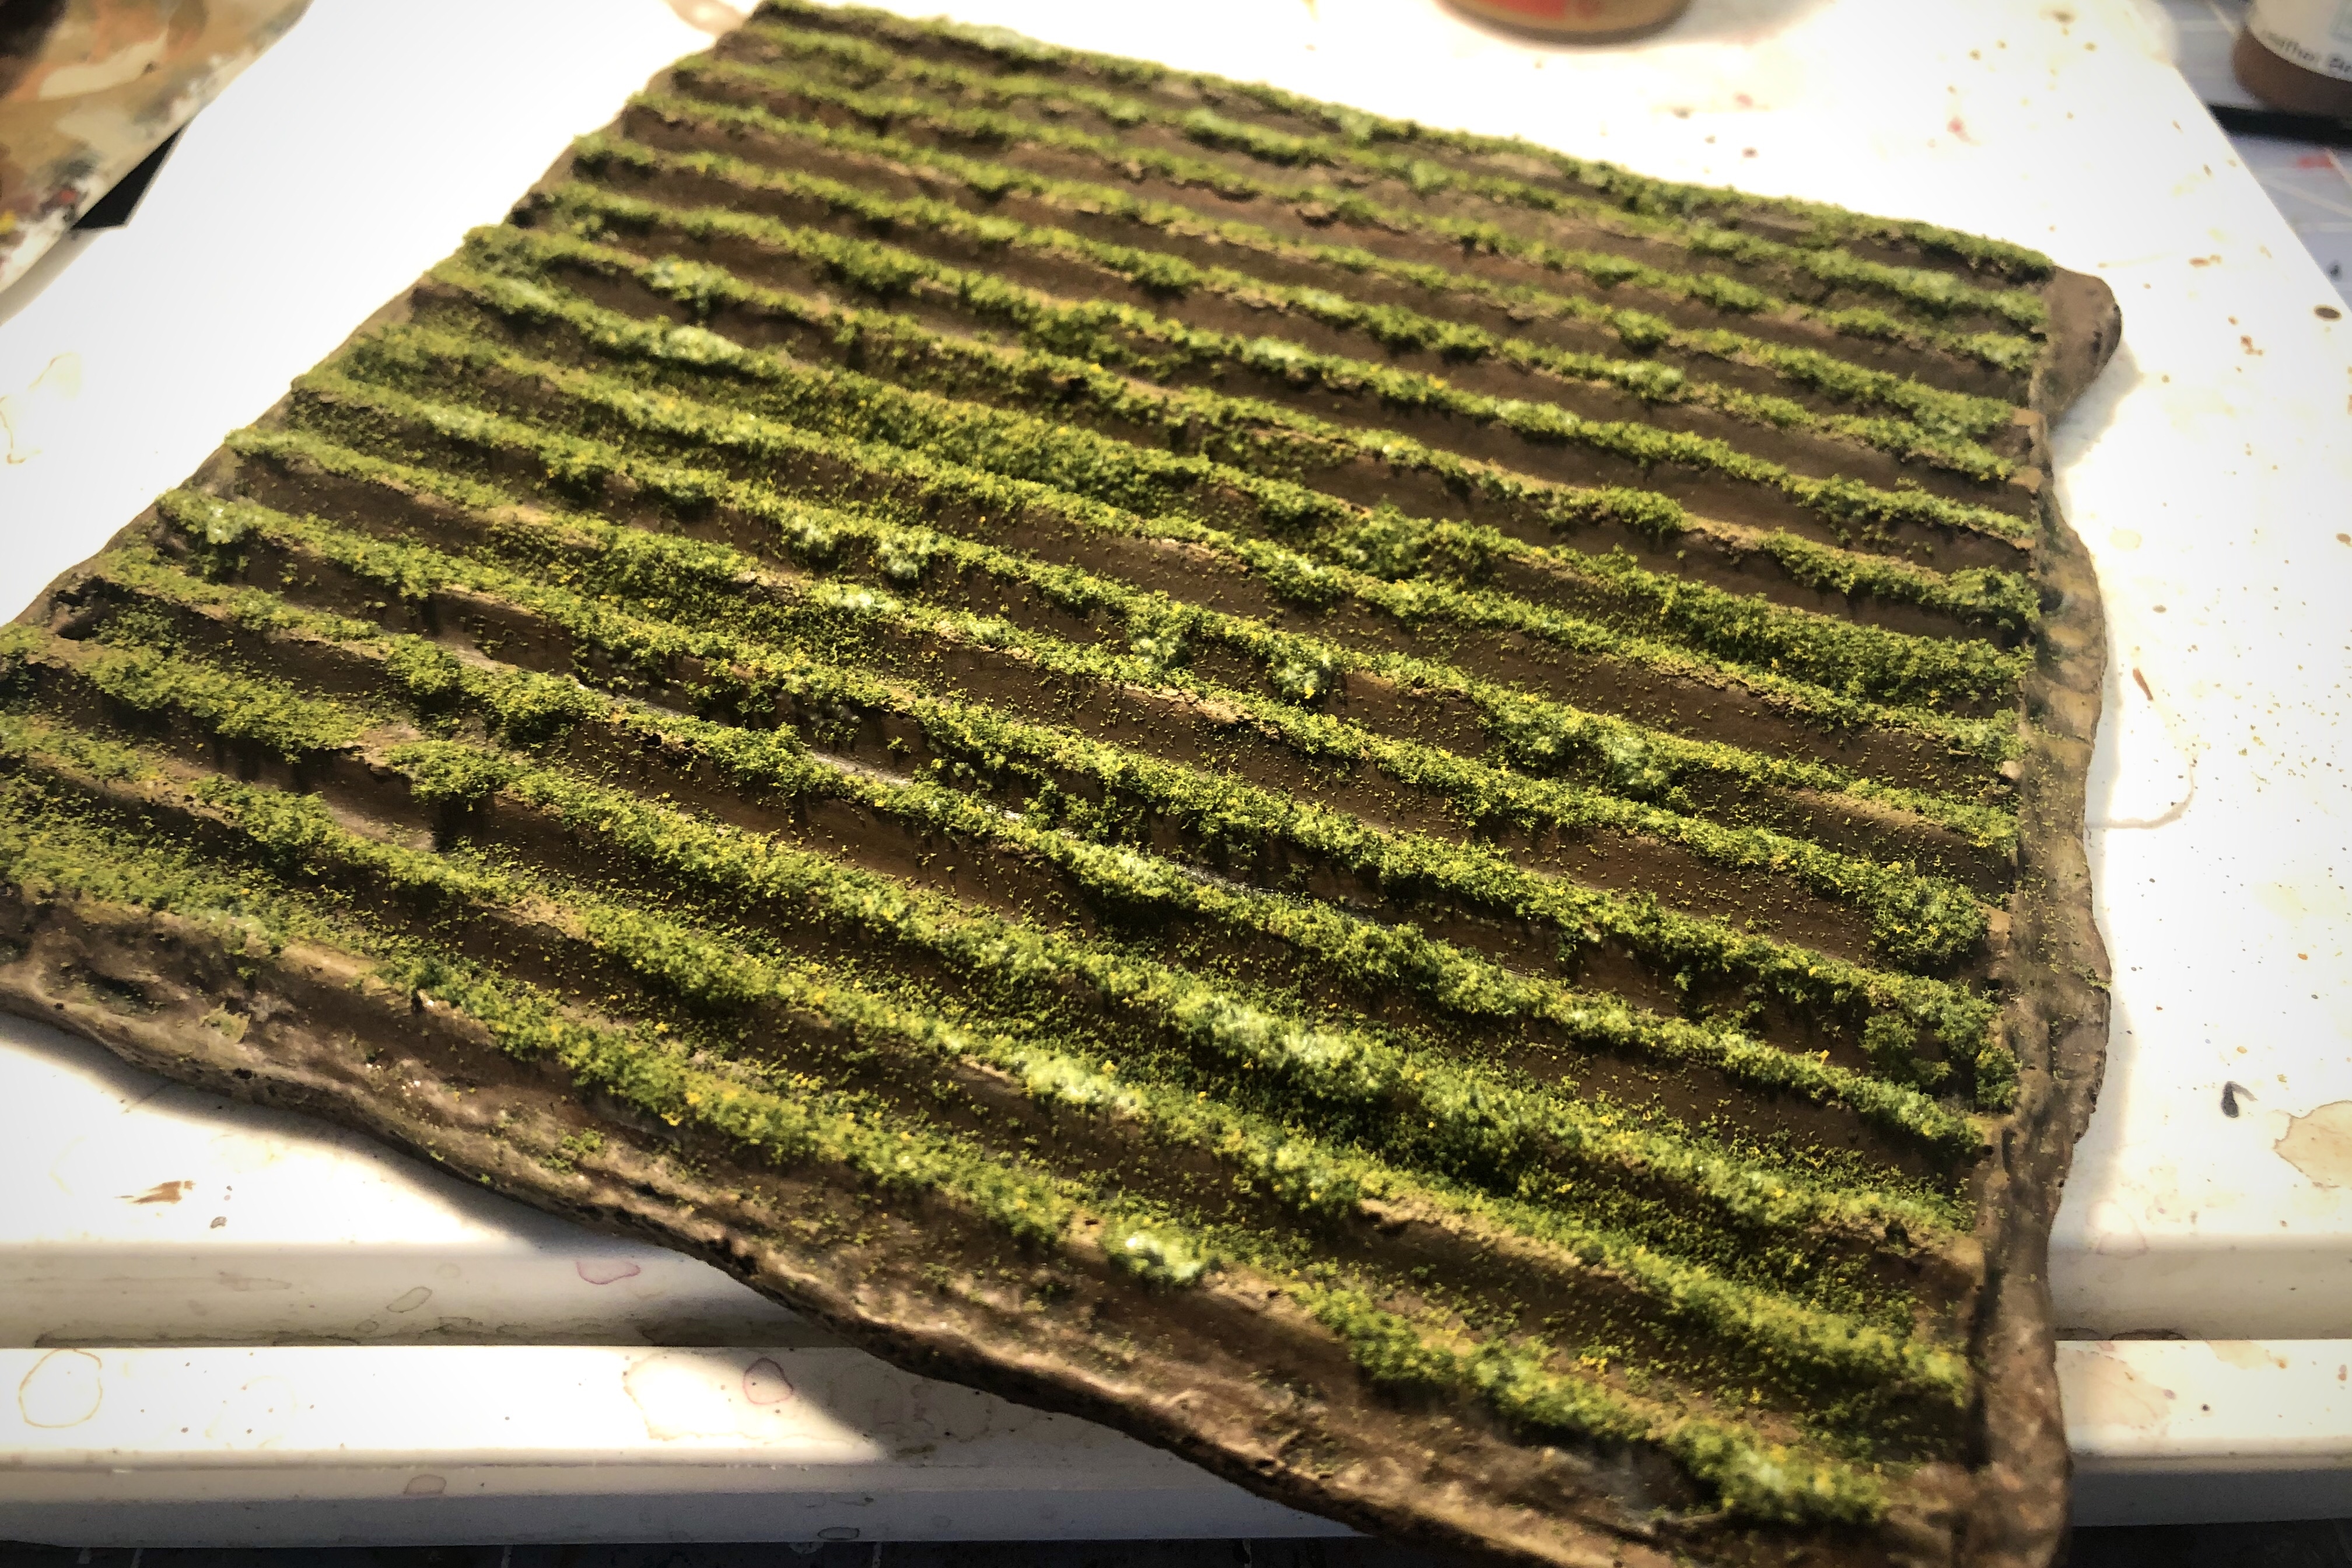
For a last optional touch, I added a couple of tufts of grass around the edges. Some weeds!
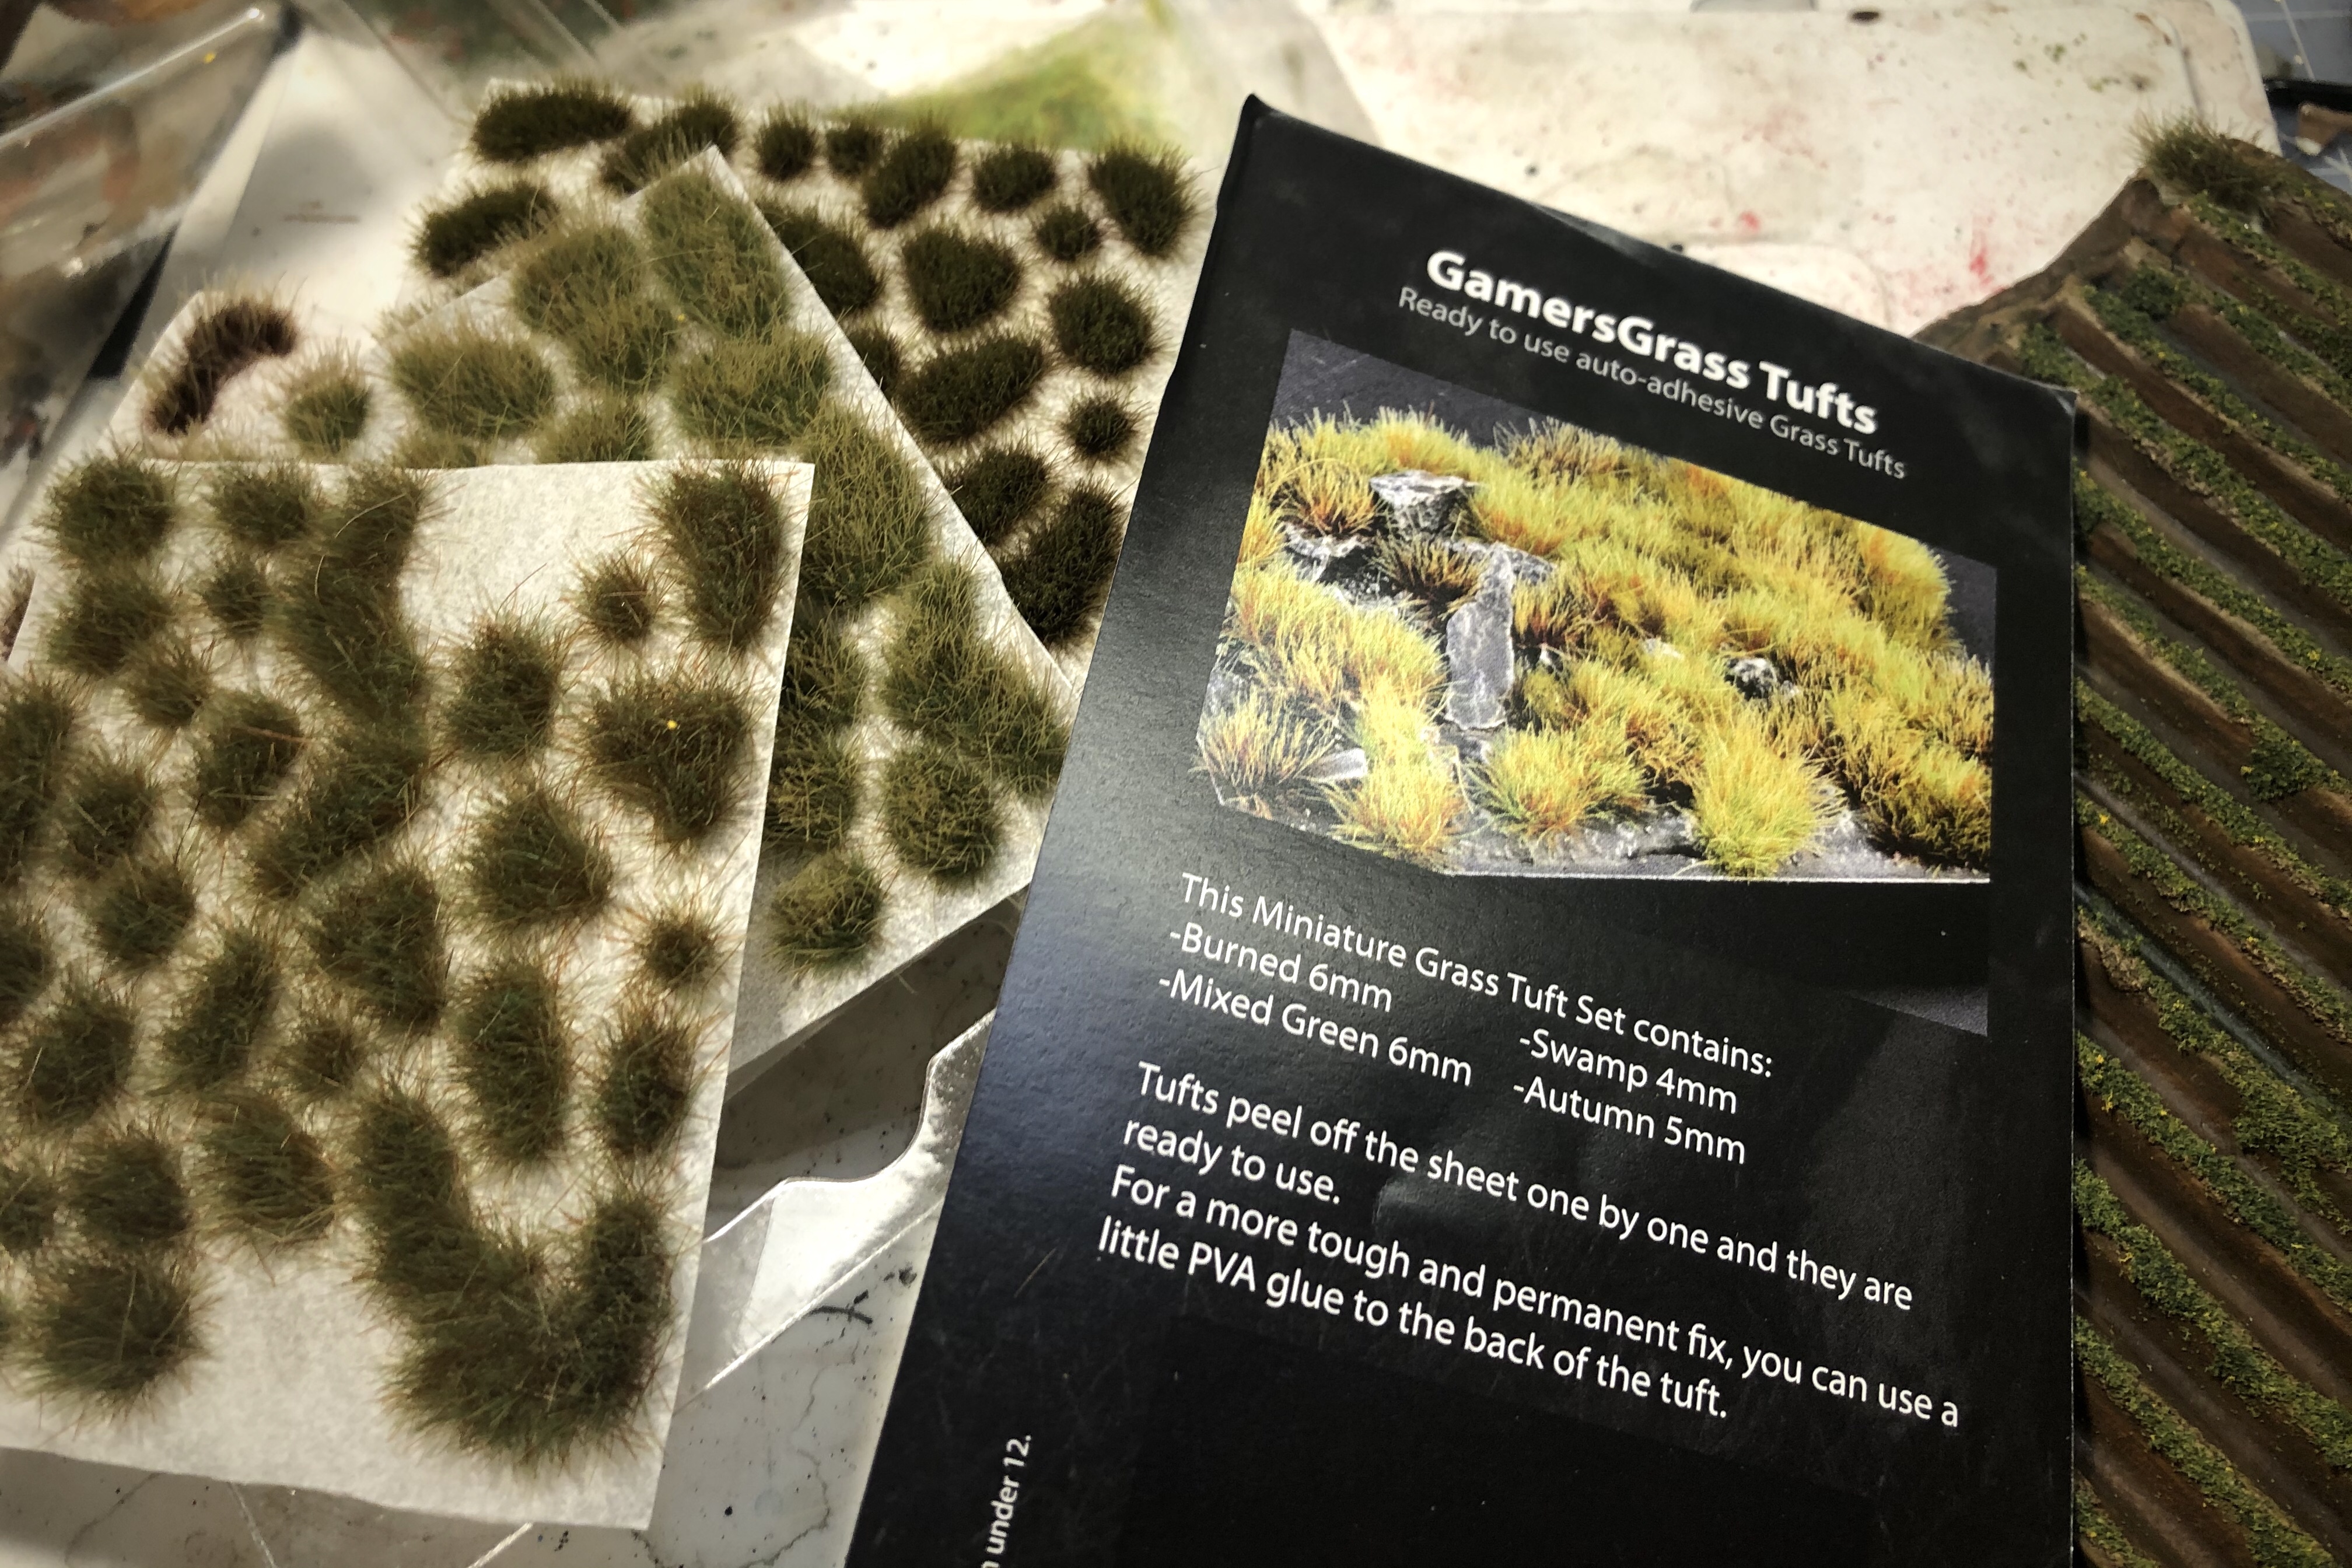
I like the GamersGrass Tufts but the Army Painter grass is pretty much the same.

I put a few tufts around the edges just to break things up and give it some interest.

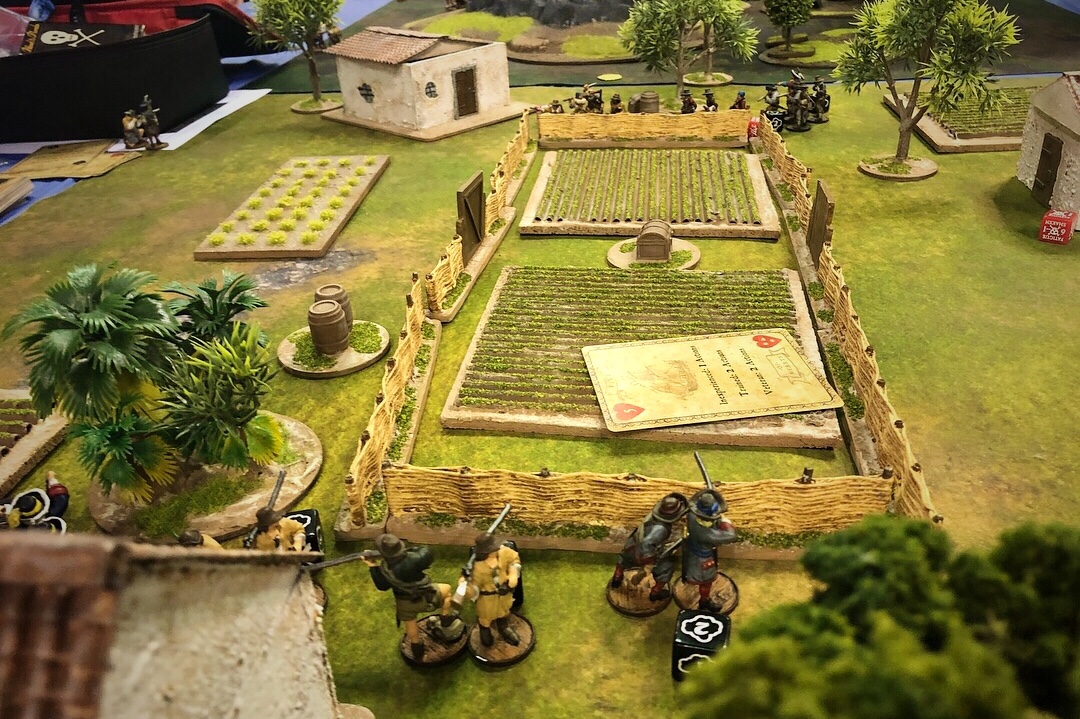
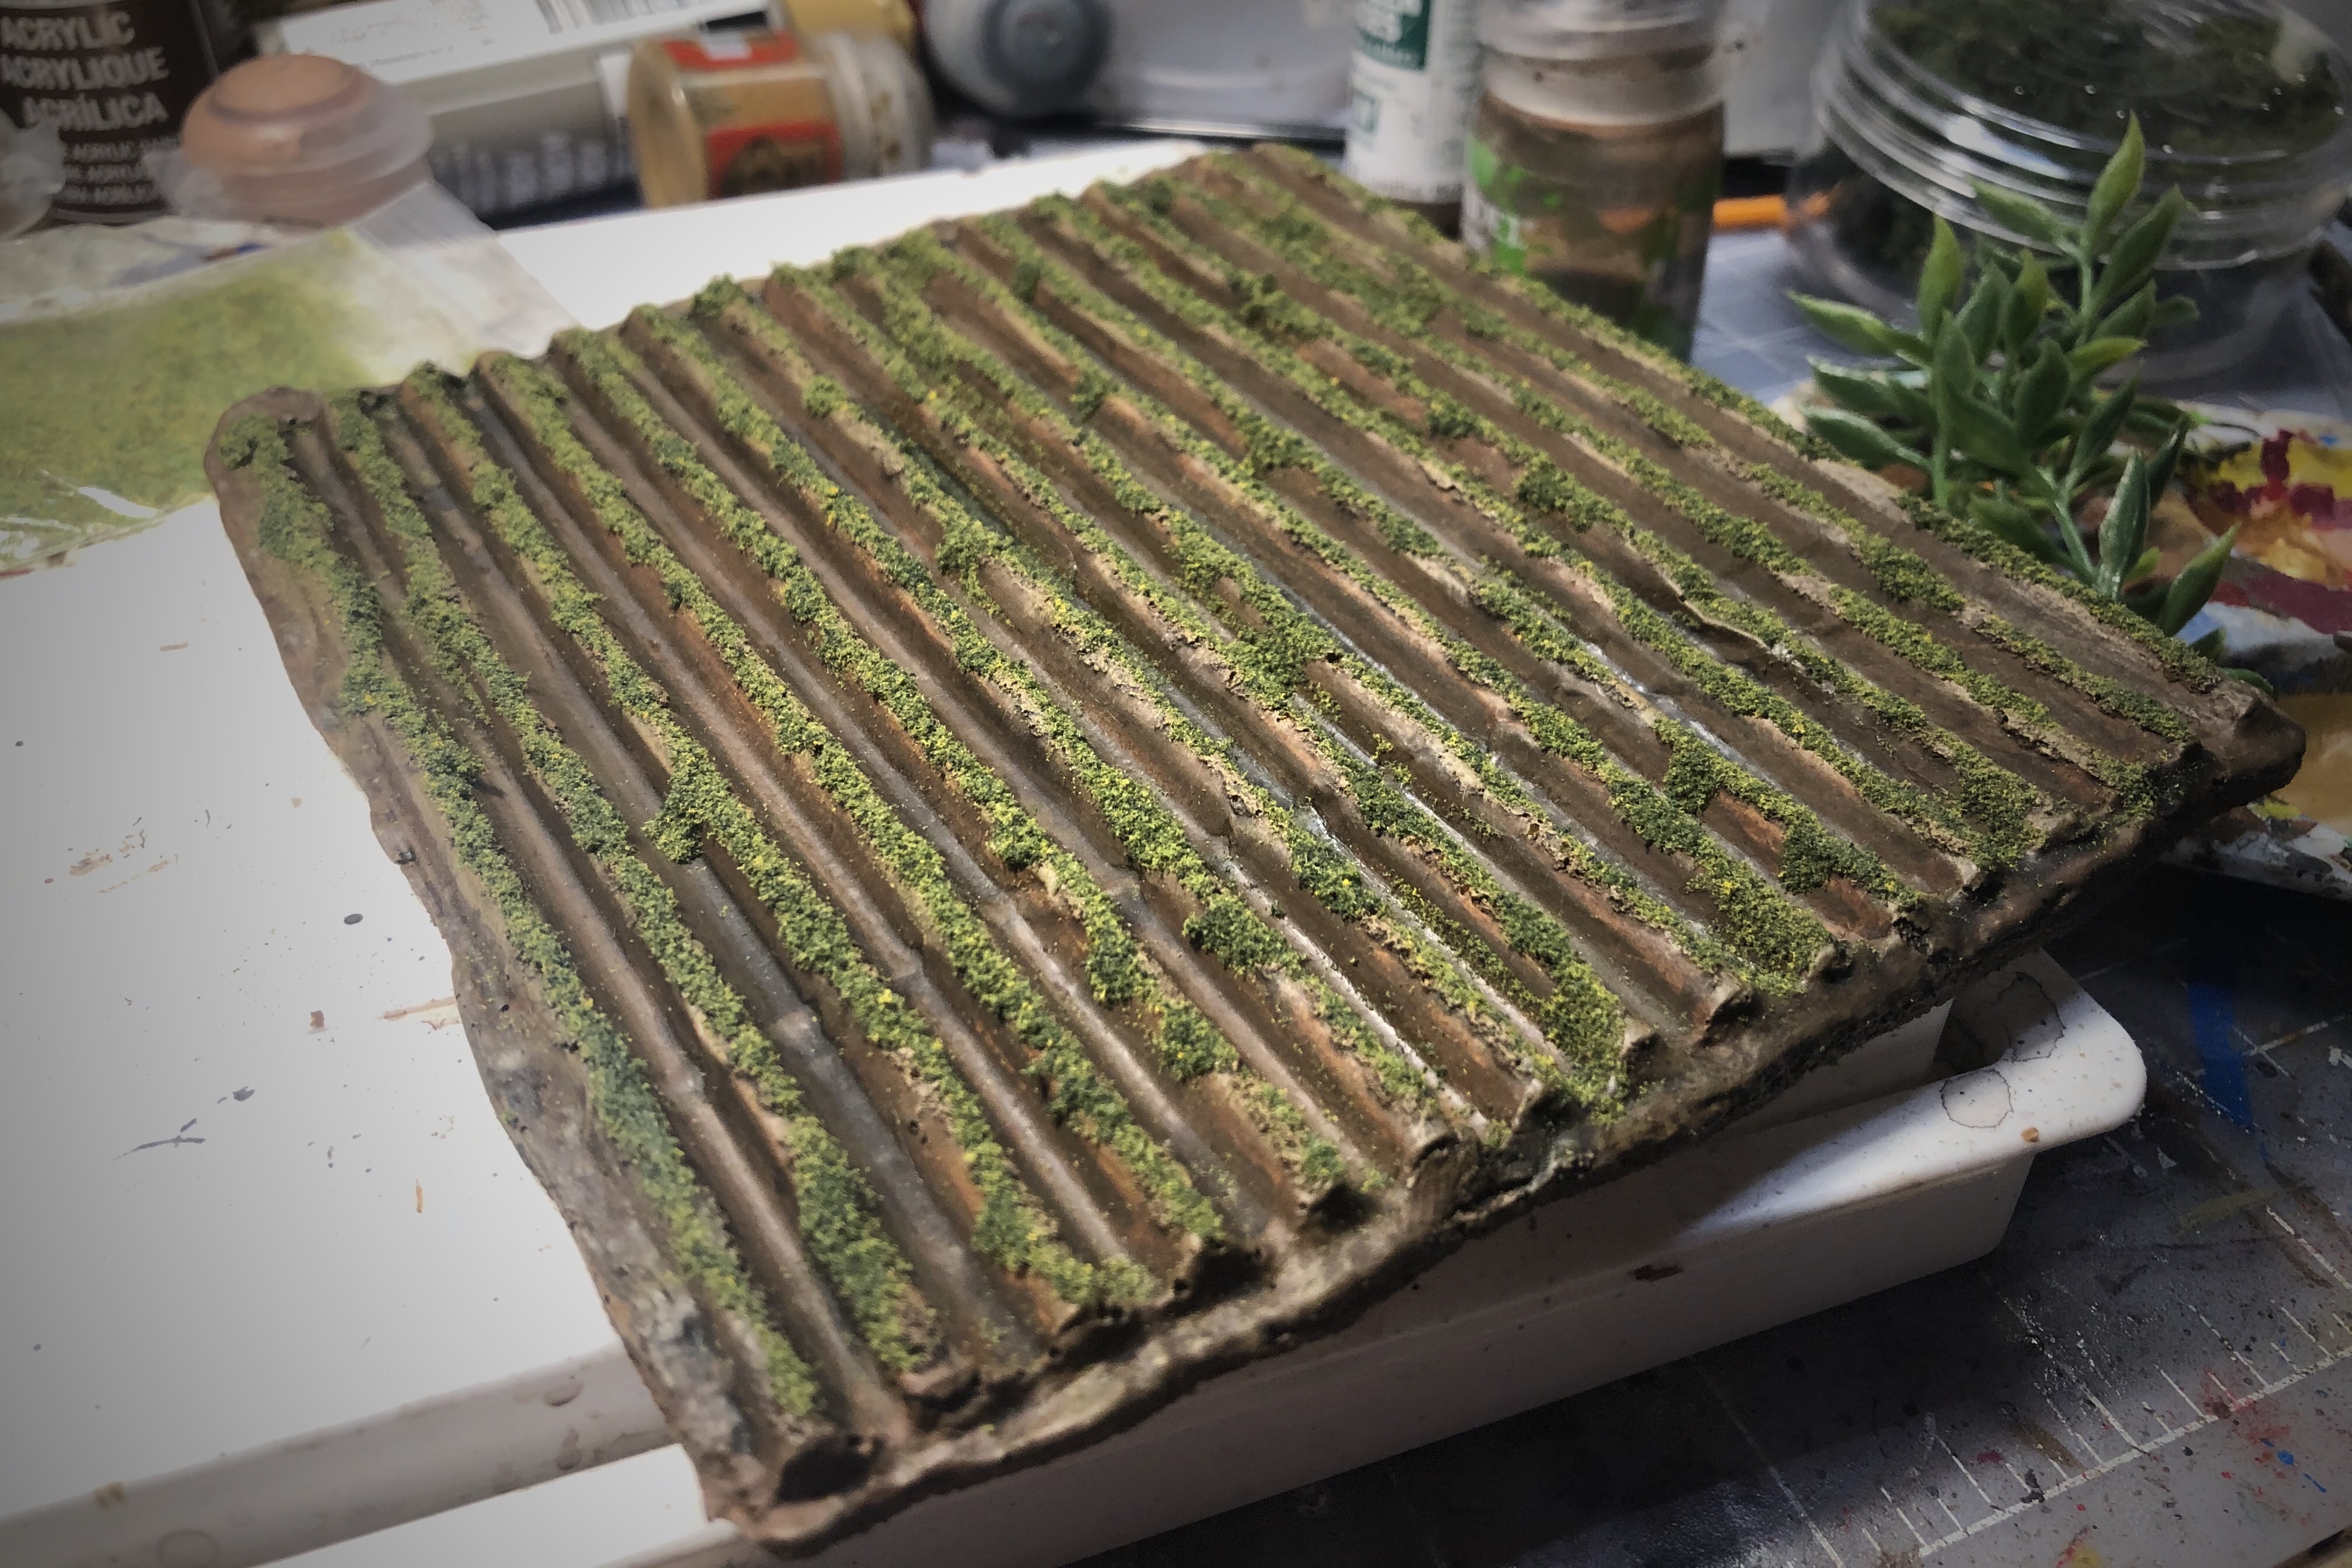
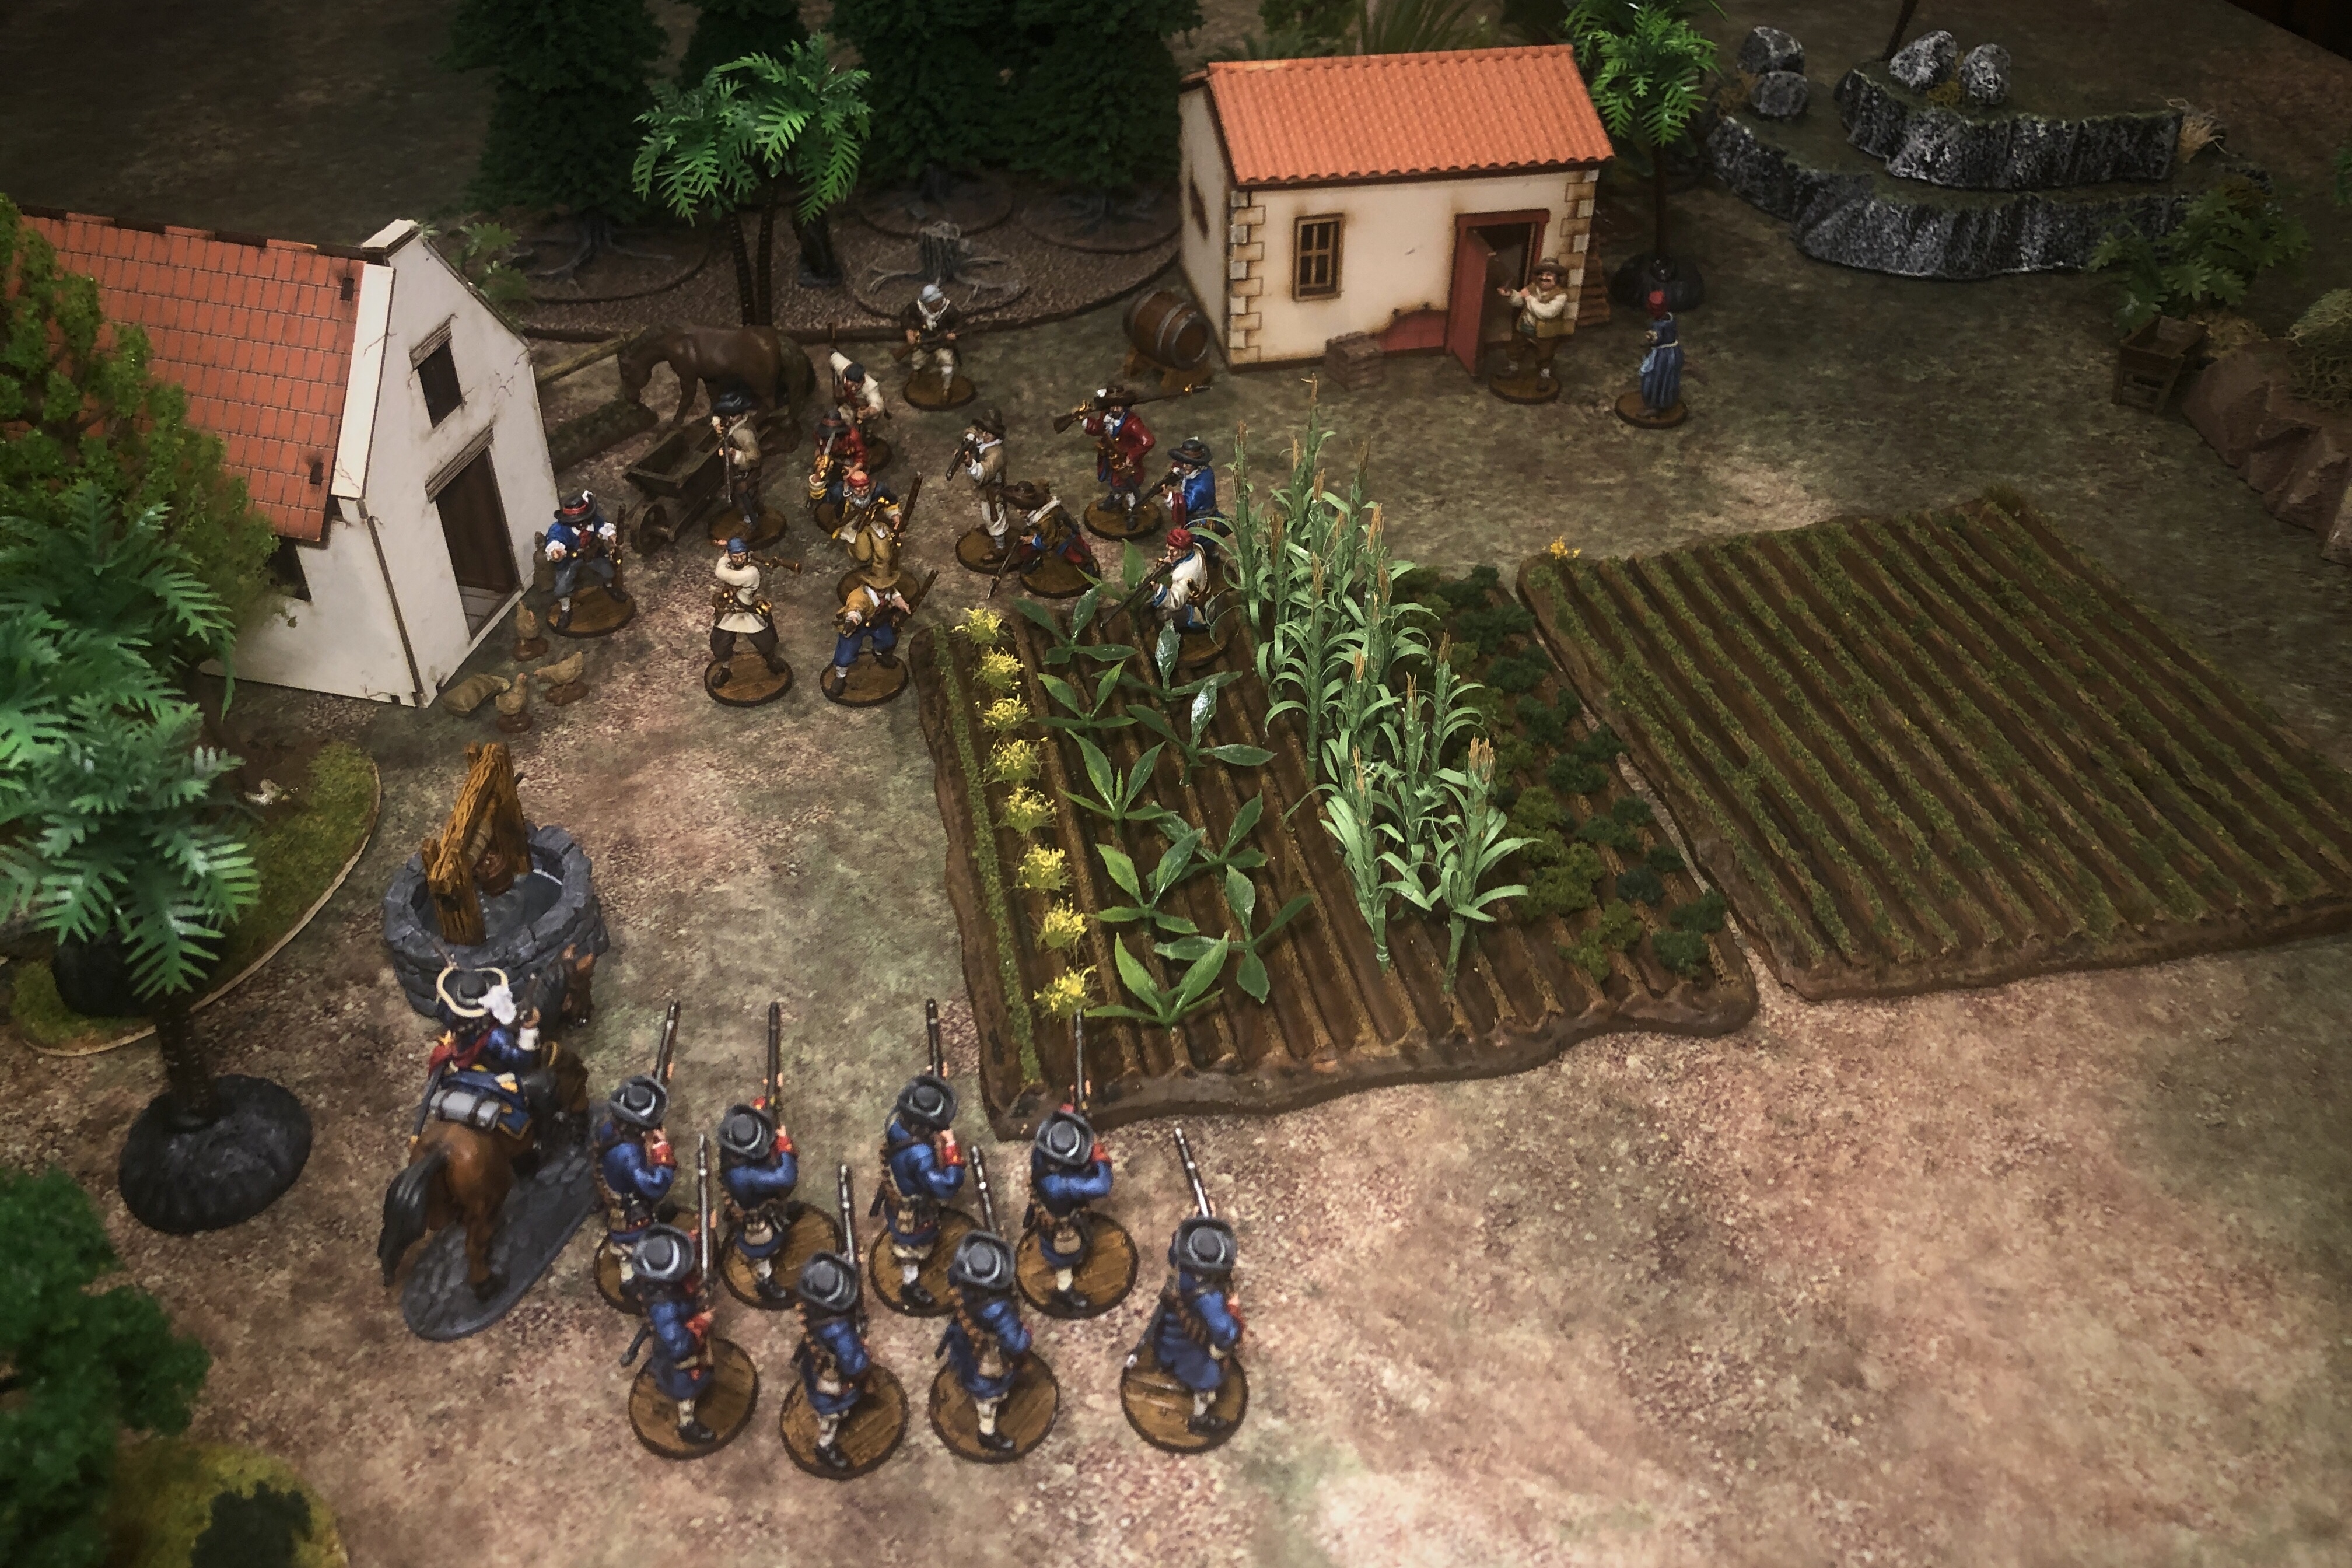
When the glue was dry I sprayed it with my Testors Flat Varnish and it was ready for the table! It’s a nice way to break up your battle area and it’s kind of unique in my terrain collection because it counts as rough terrain and imposes the -1″ movement penalty but it doesn’t provide any cover.

I got this on the table and it looked fine. Nothing fancy but a nice piece of terrain to add interest to a game.
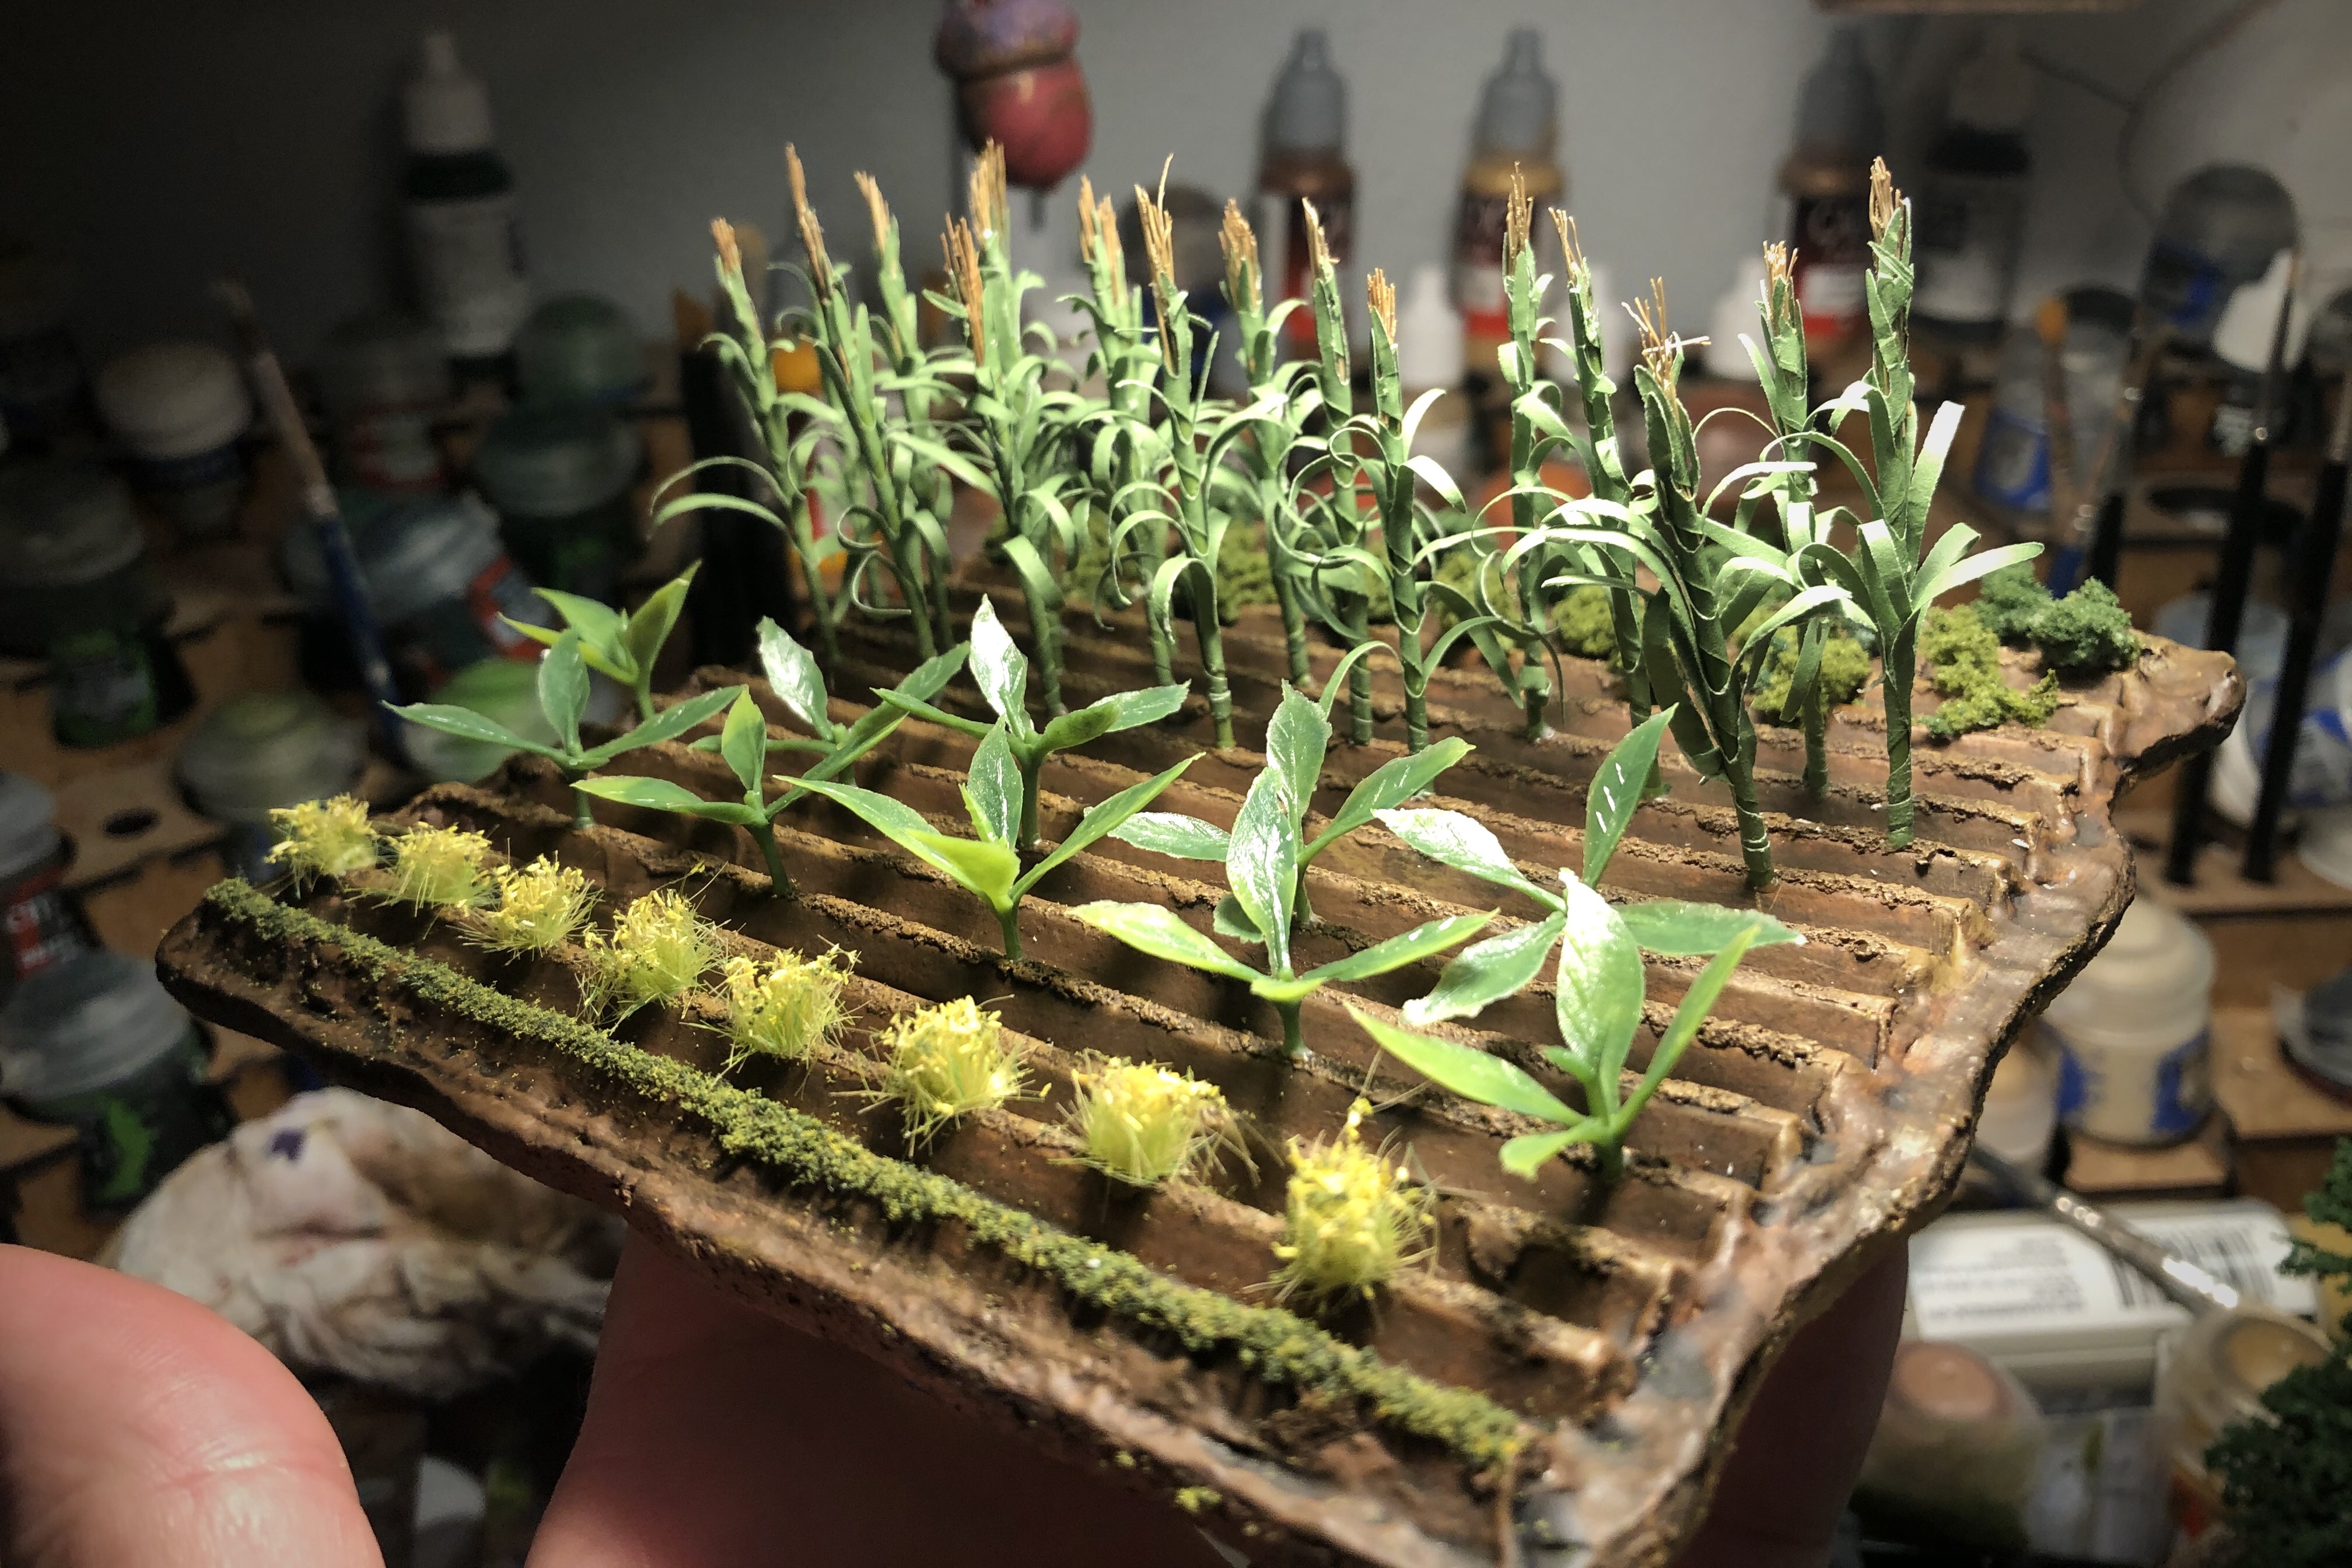
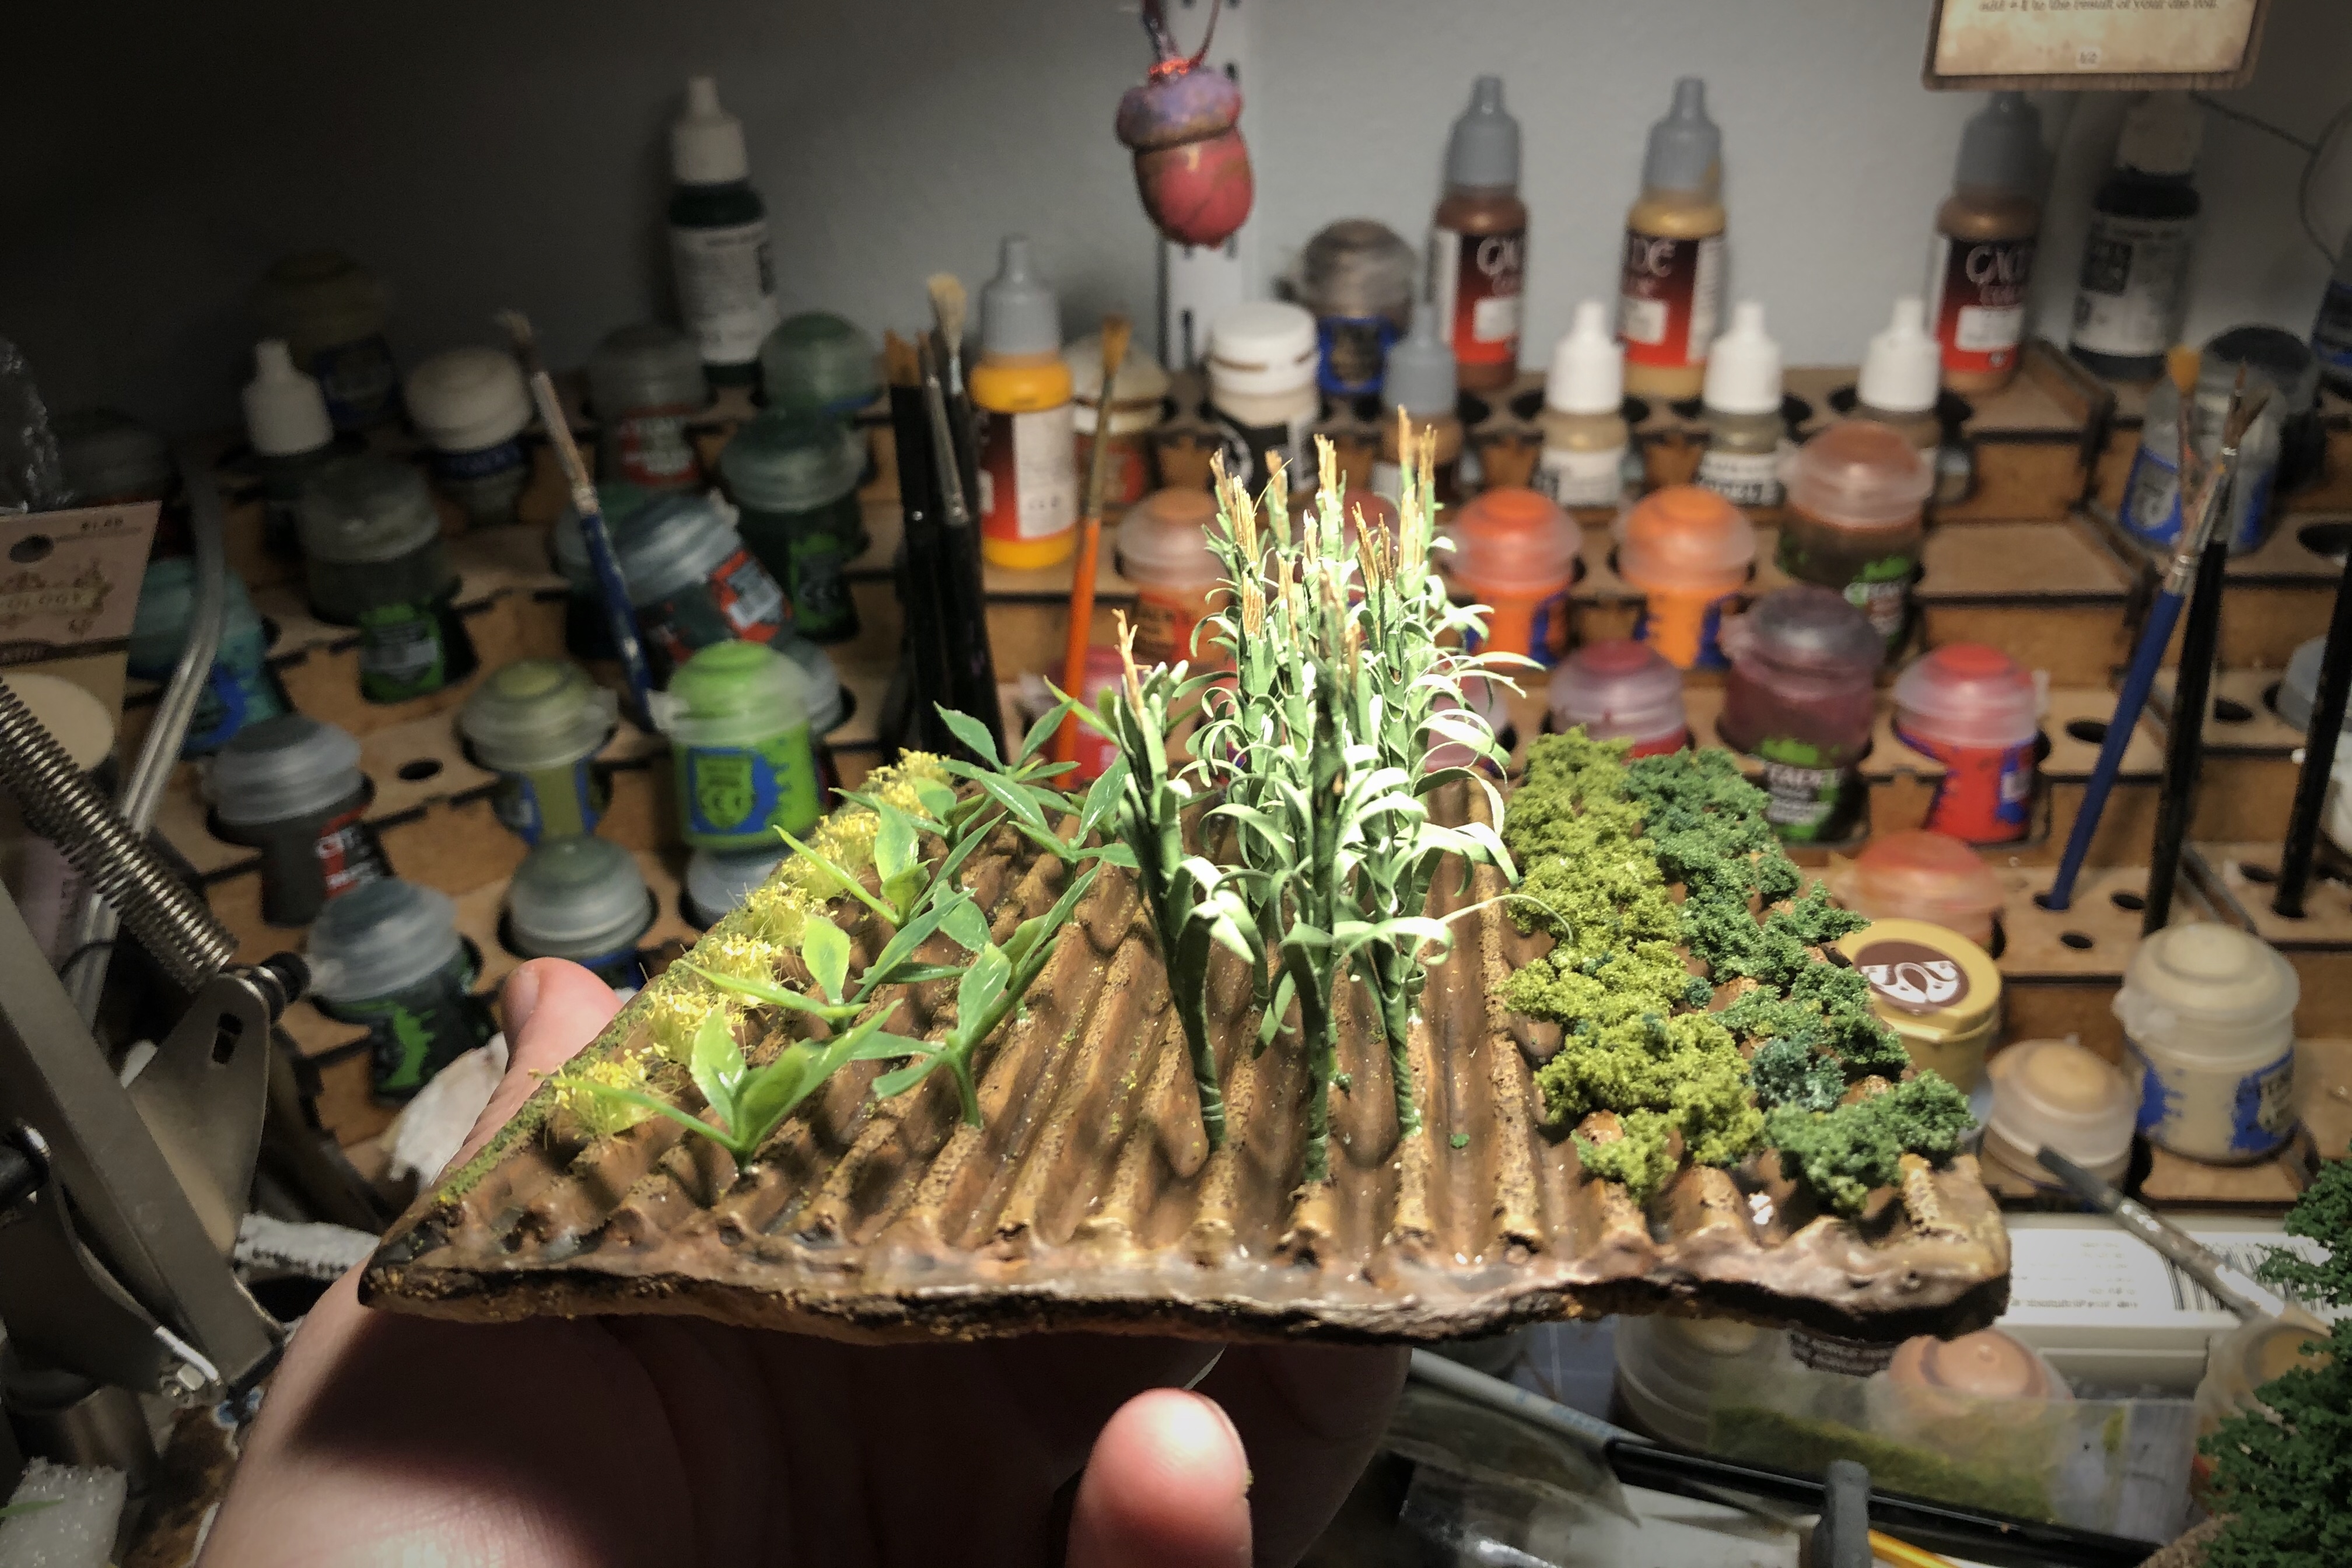
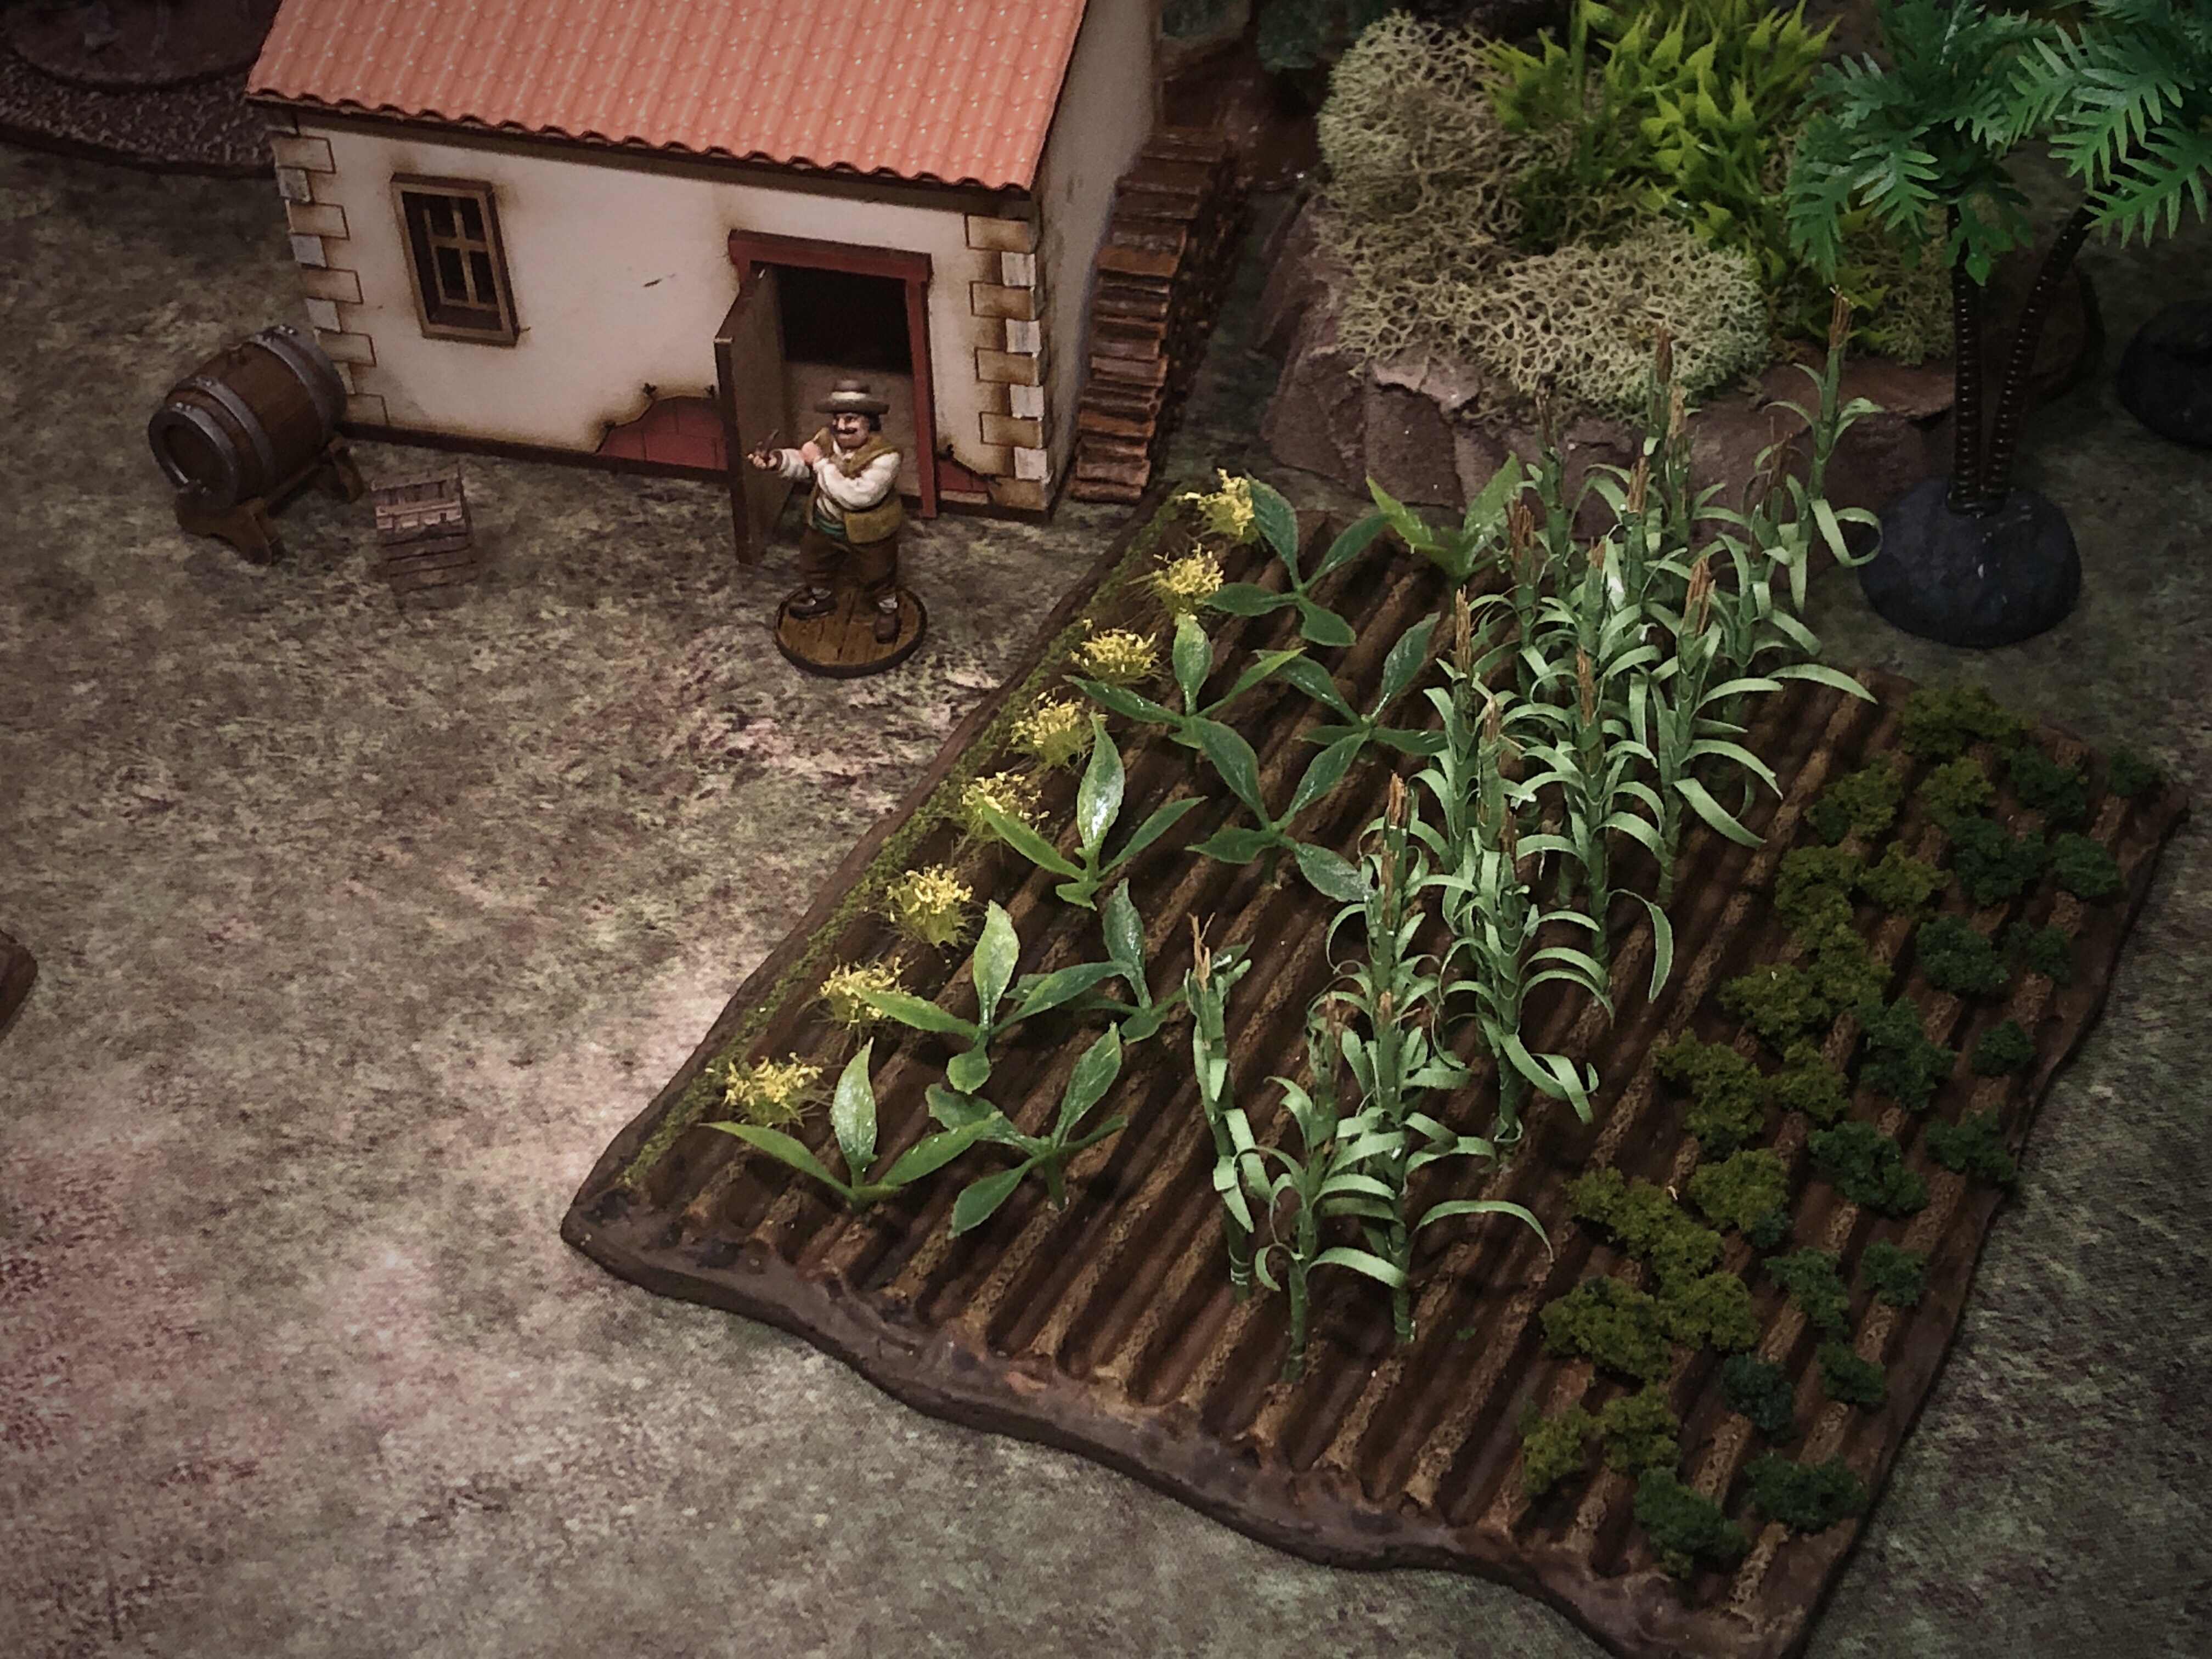
For my second Farmed Field I went a different direction and made it more like a kitchen garden with a variety of plants in it.
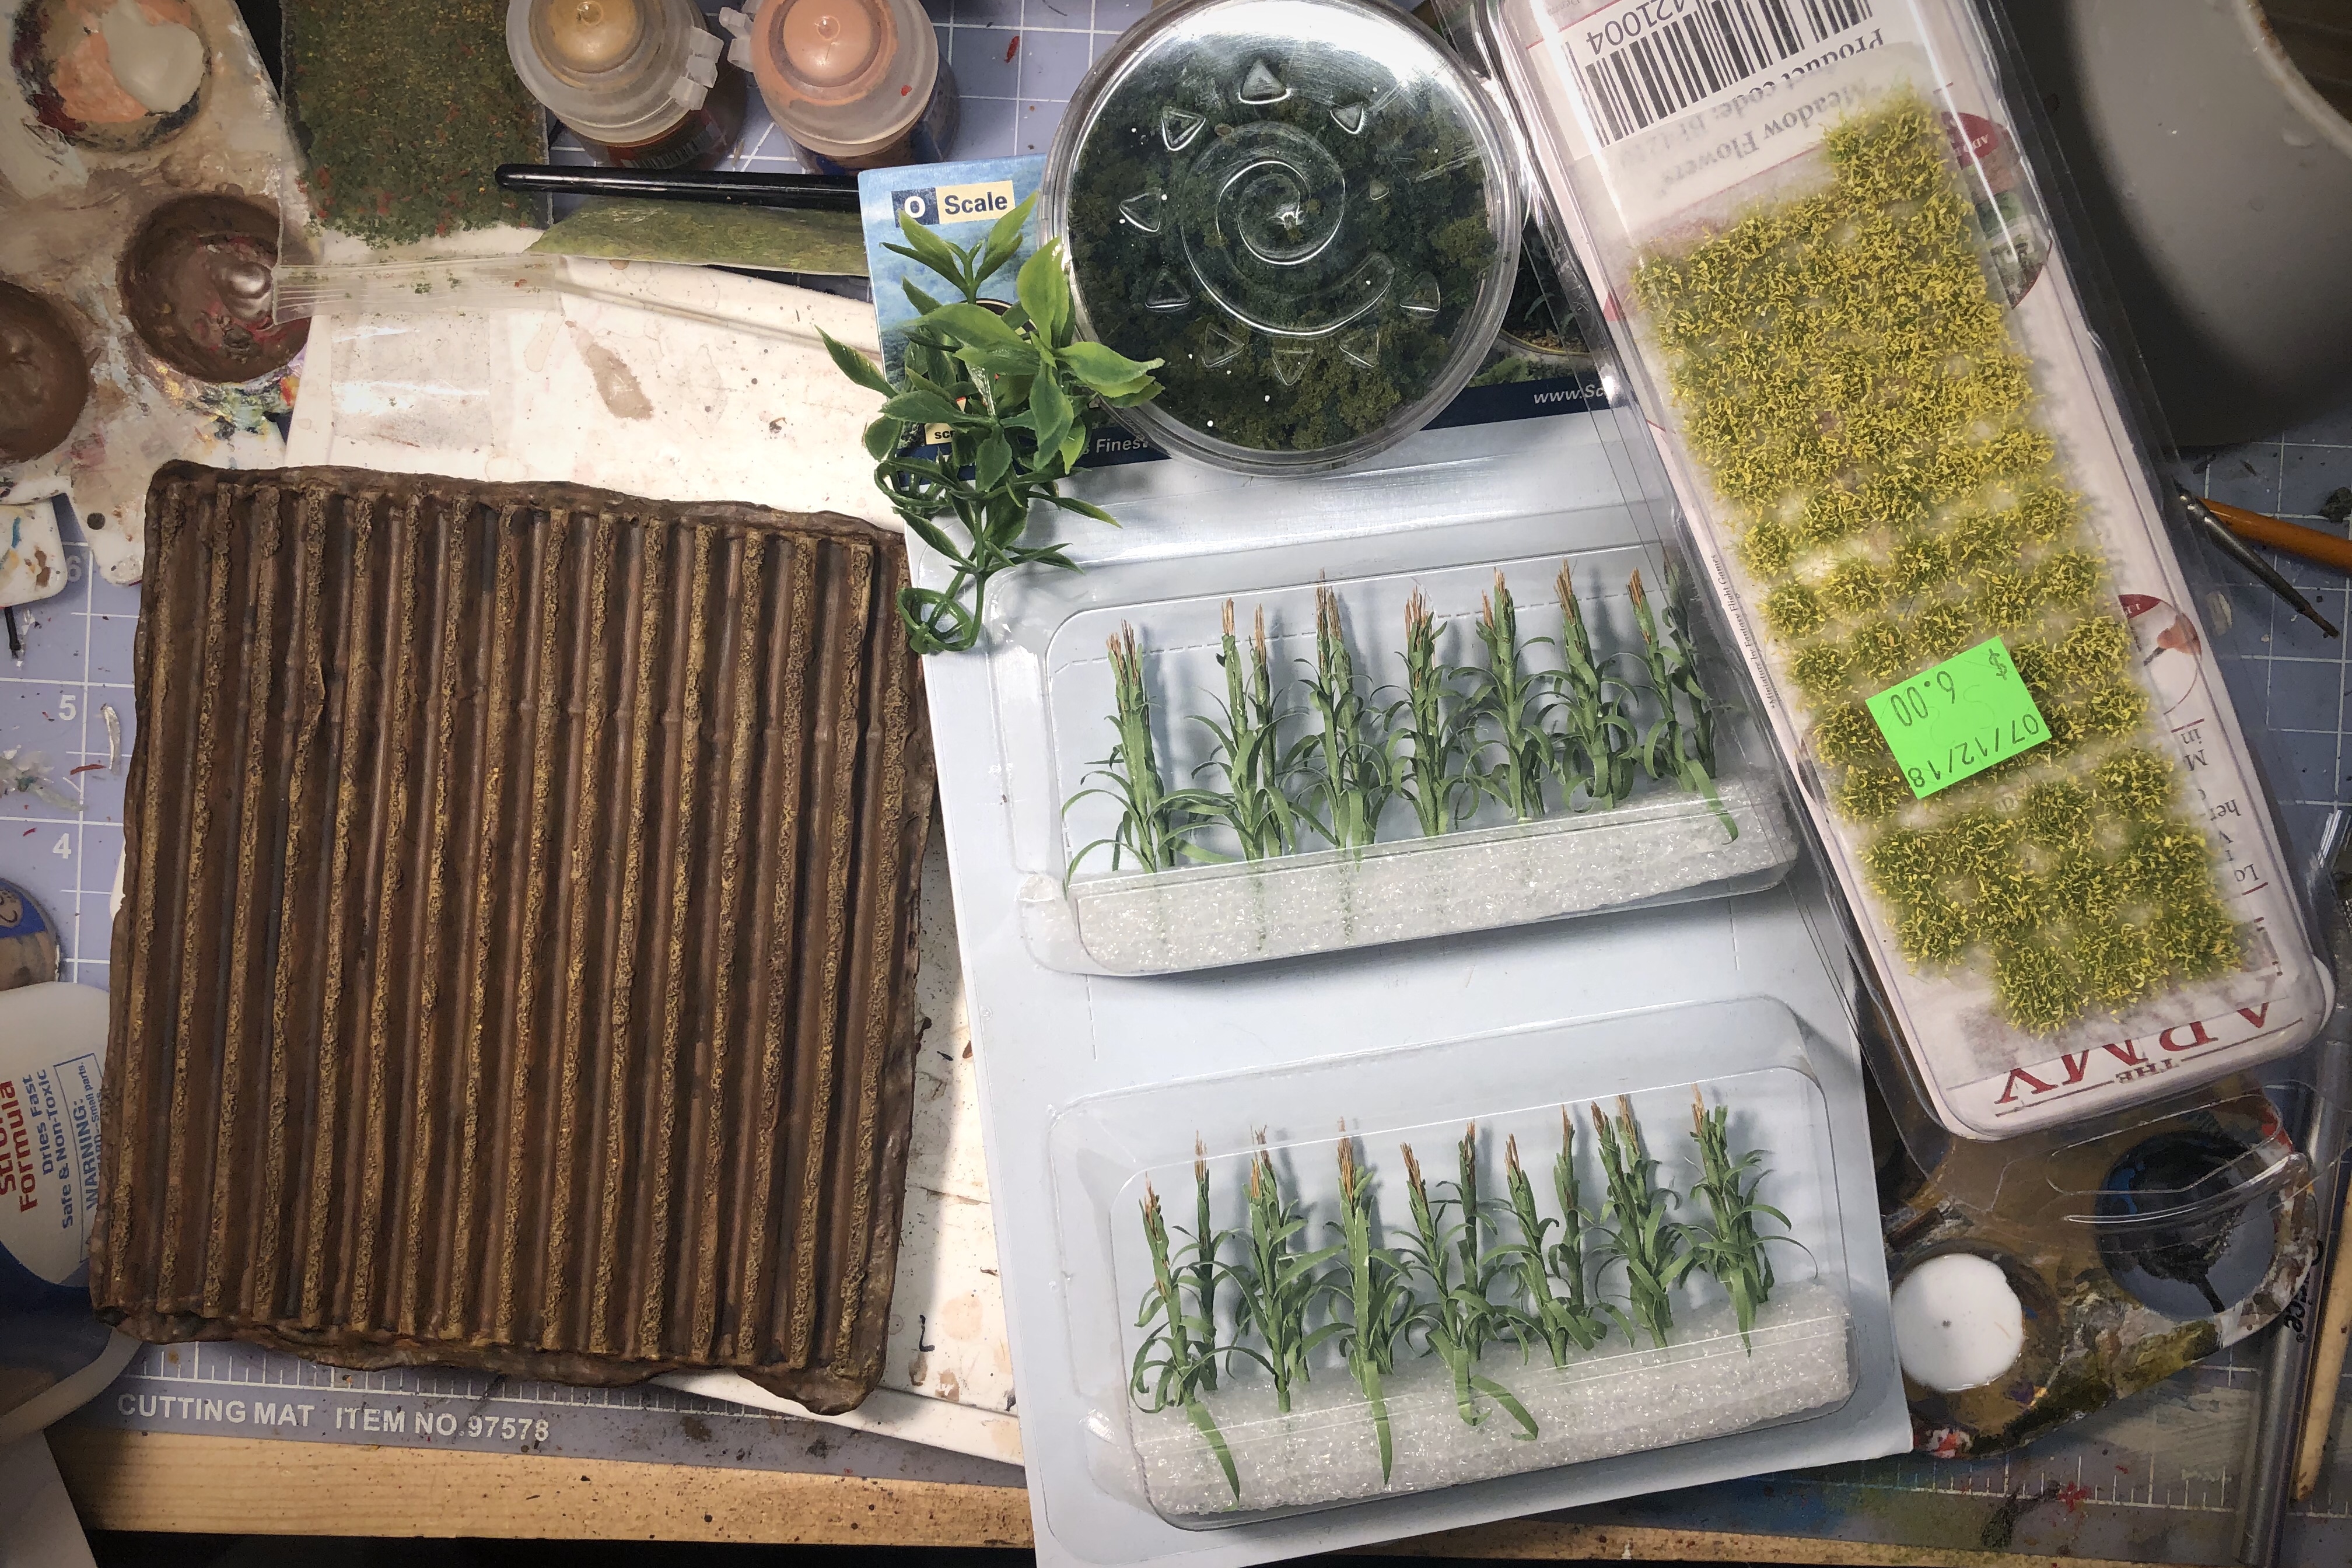
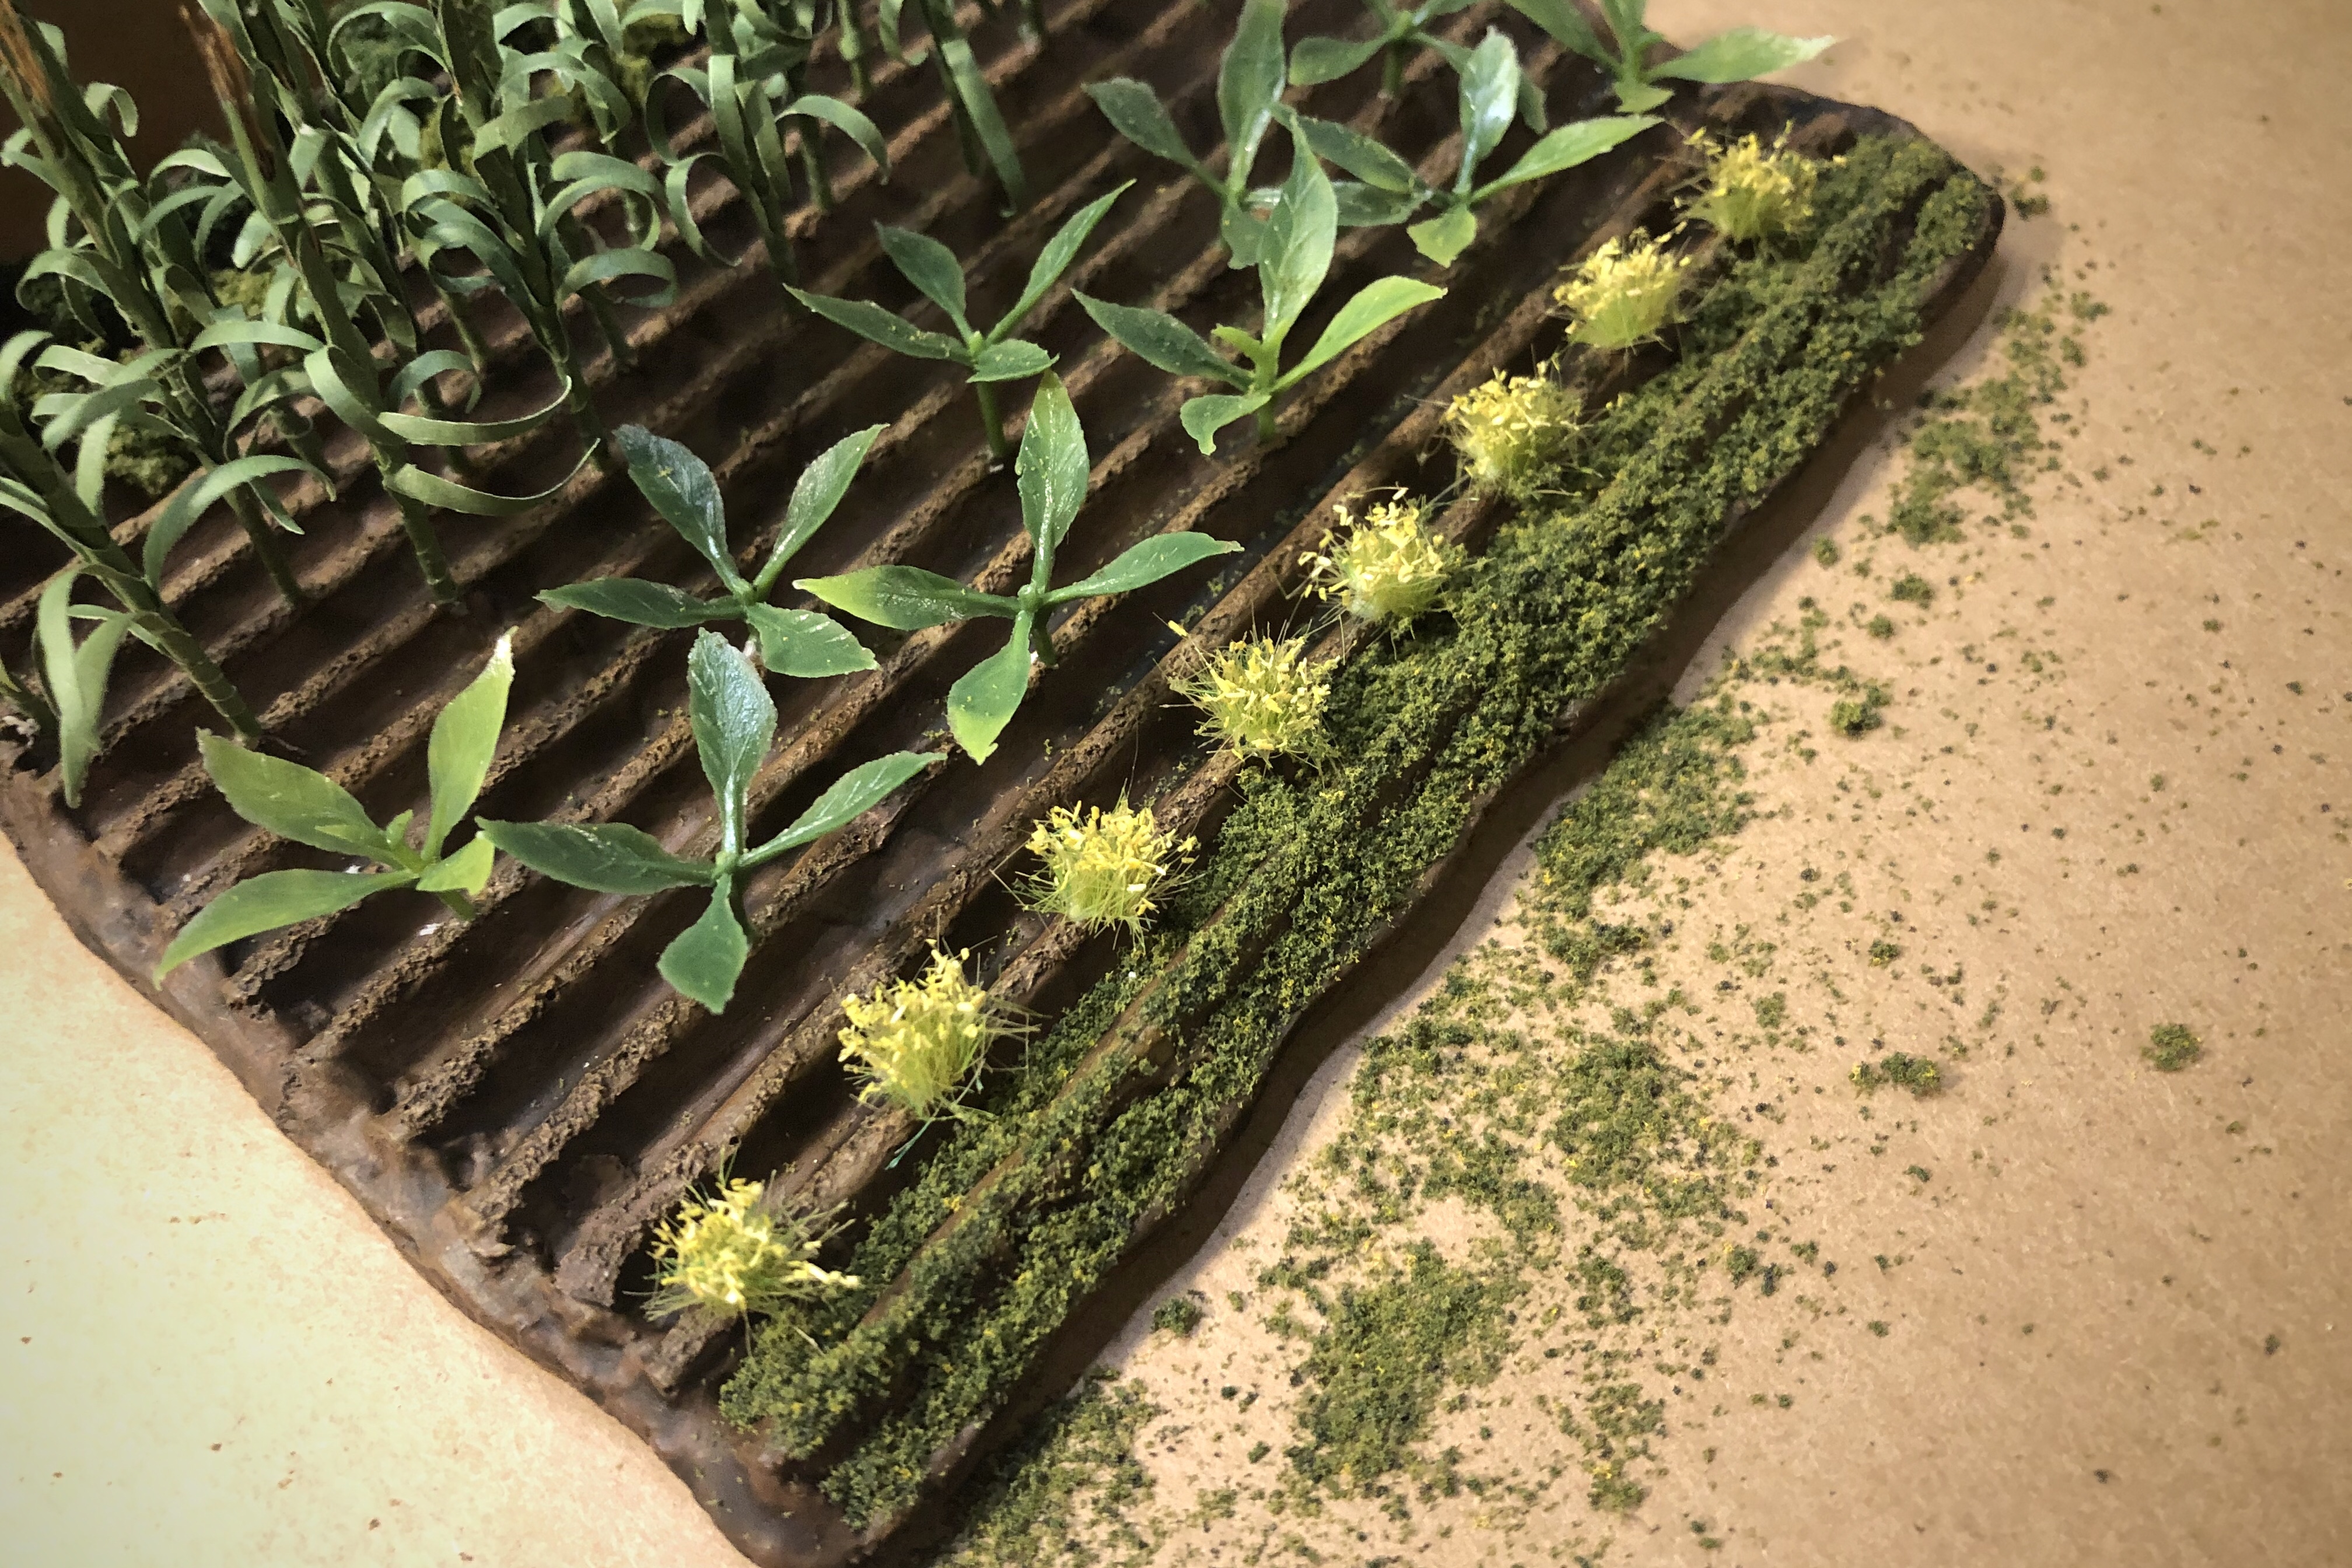
I painted it exactly the same and then attached a variety of plant products to it including cornstalks, some ornamental craft greenery, grass tufts and green flocking.
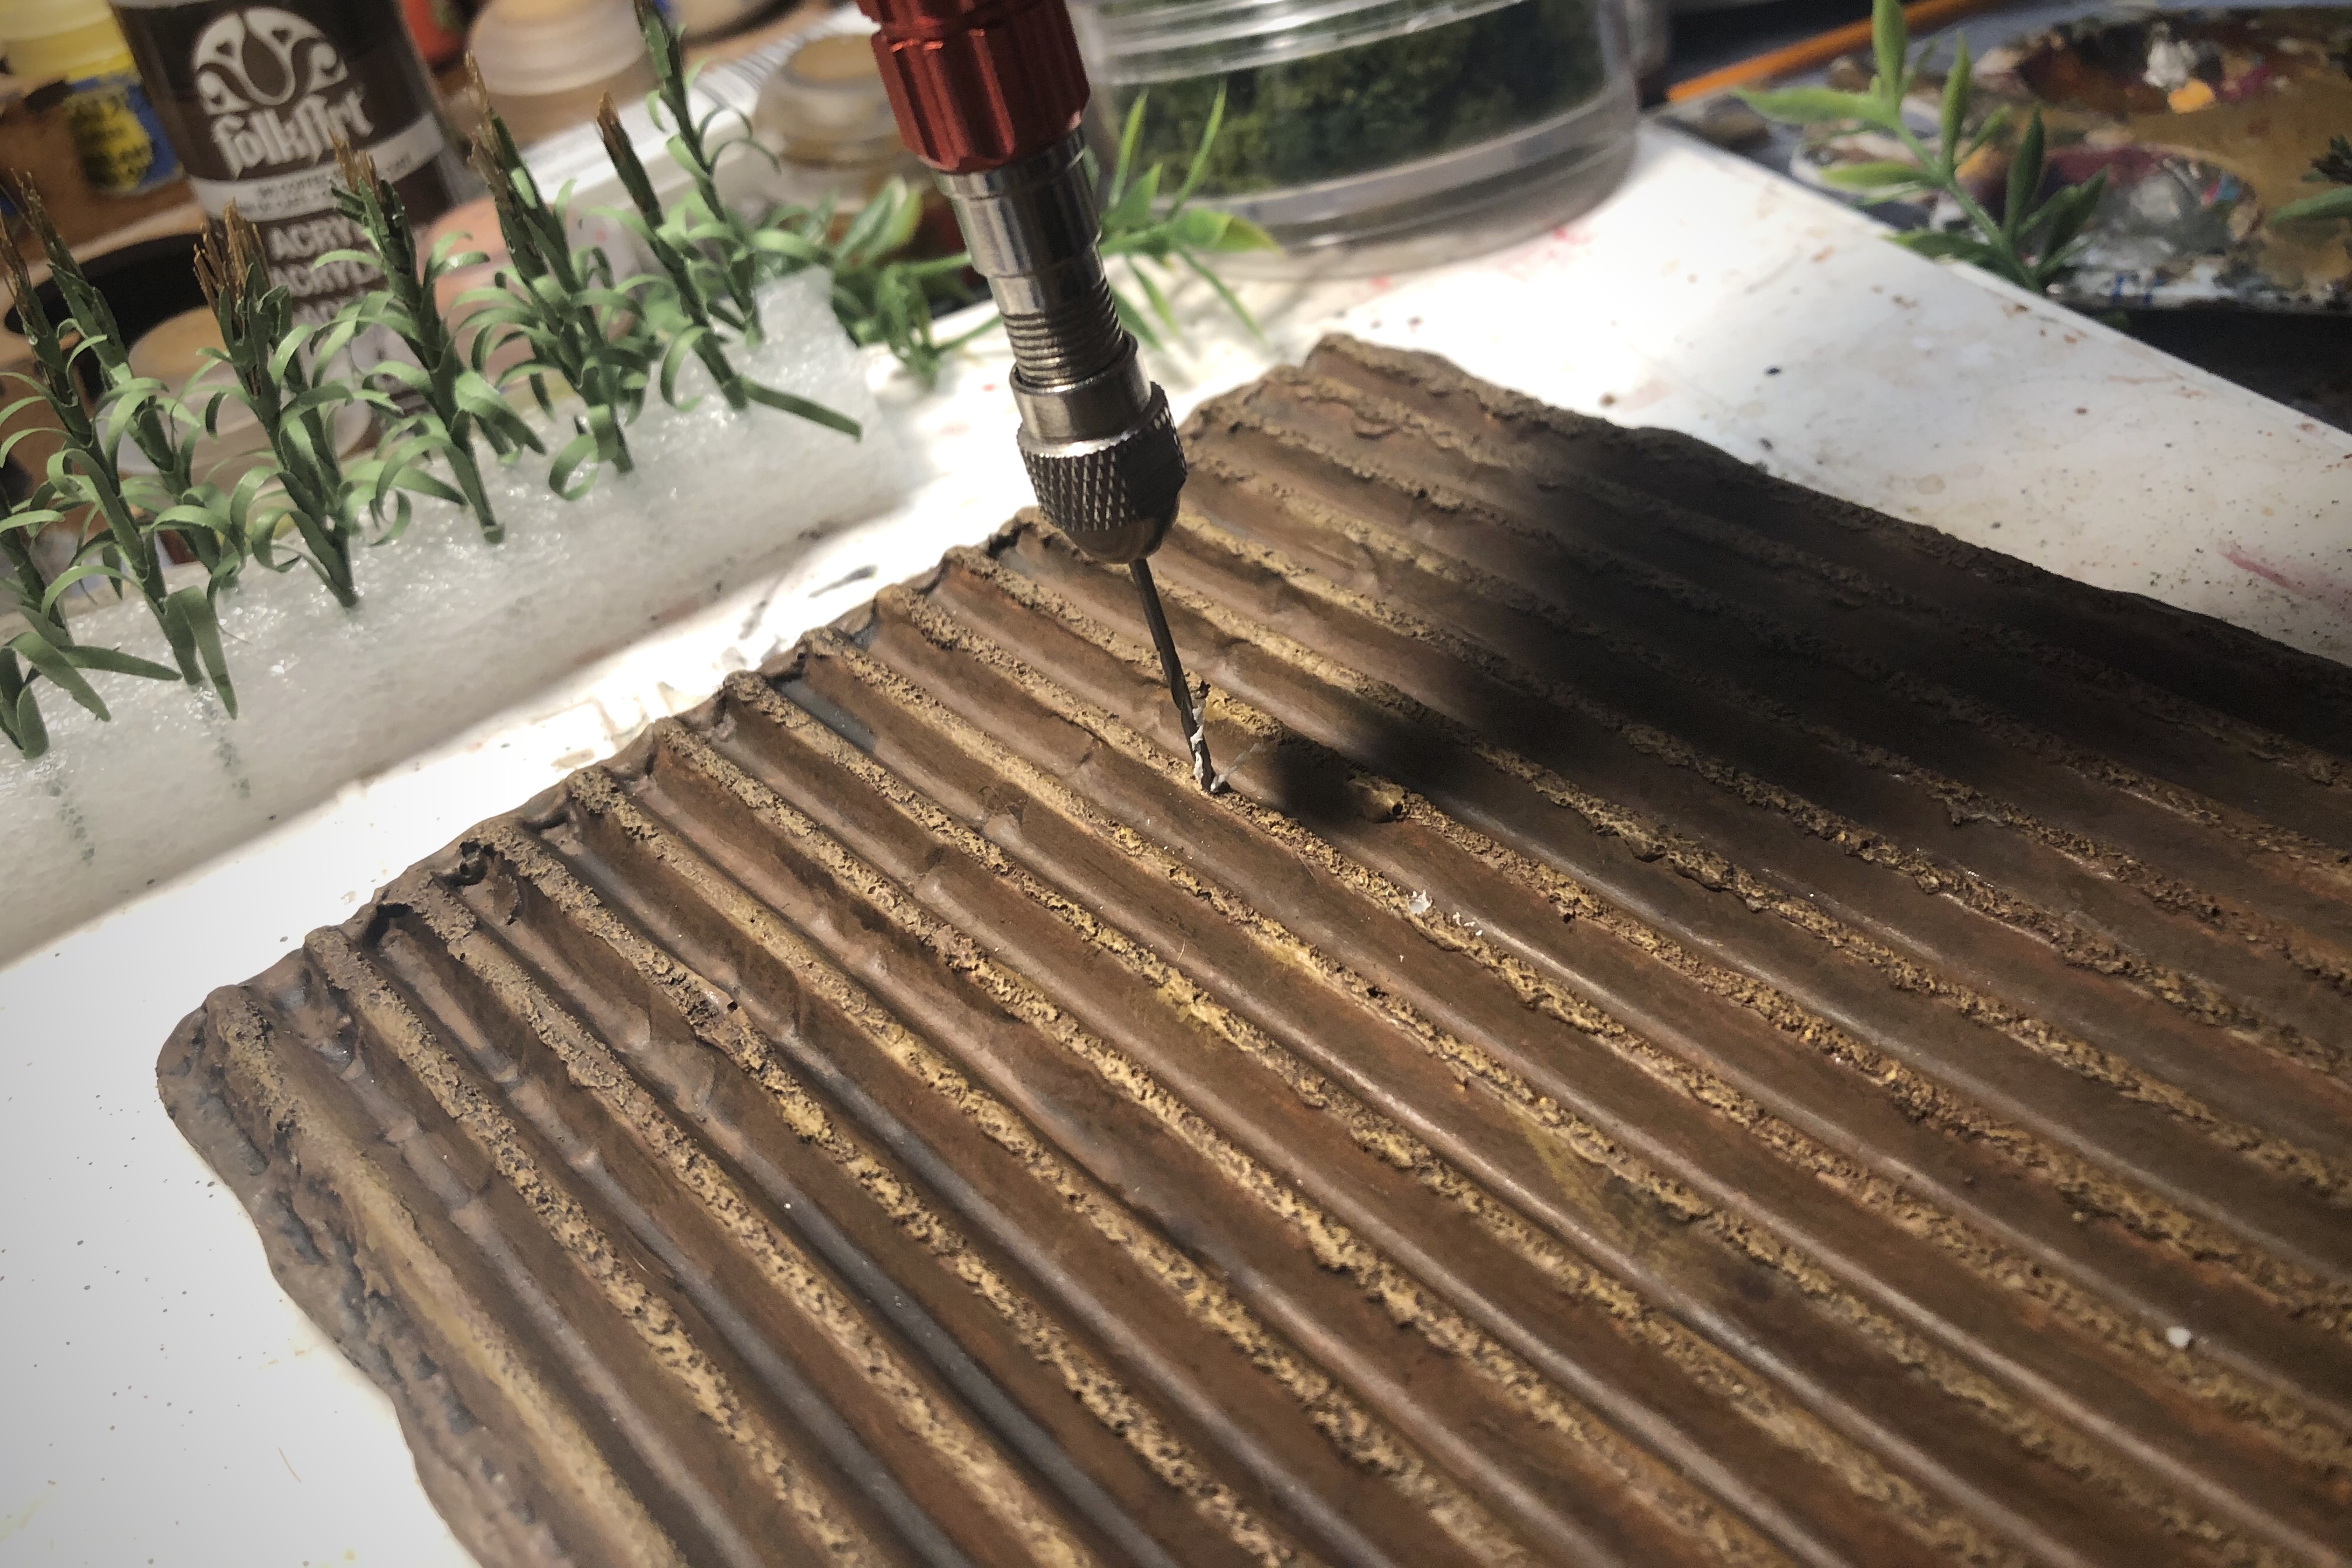
For the cornstalks I had to drill small holes into the resin and then glue the stalks into place. I did three rows of corn and then next to that I glued in two rows of broad leafed plants using these plastic plants I got at a craft store. I cut each plant into 3-4 segments to make them smaller.
f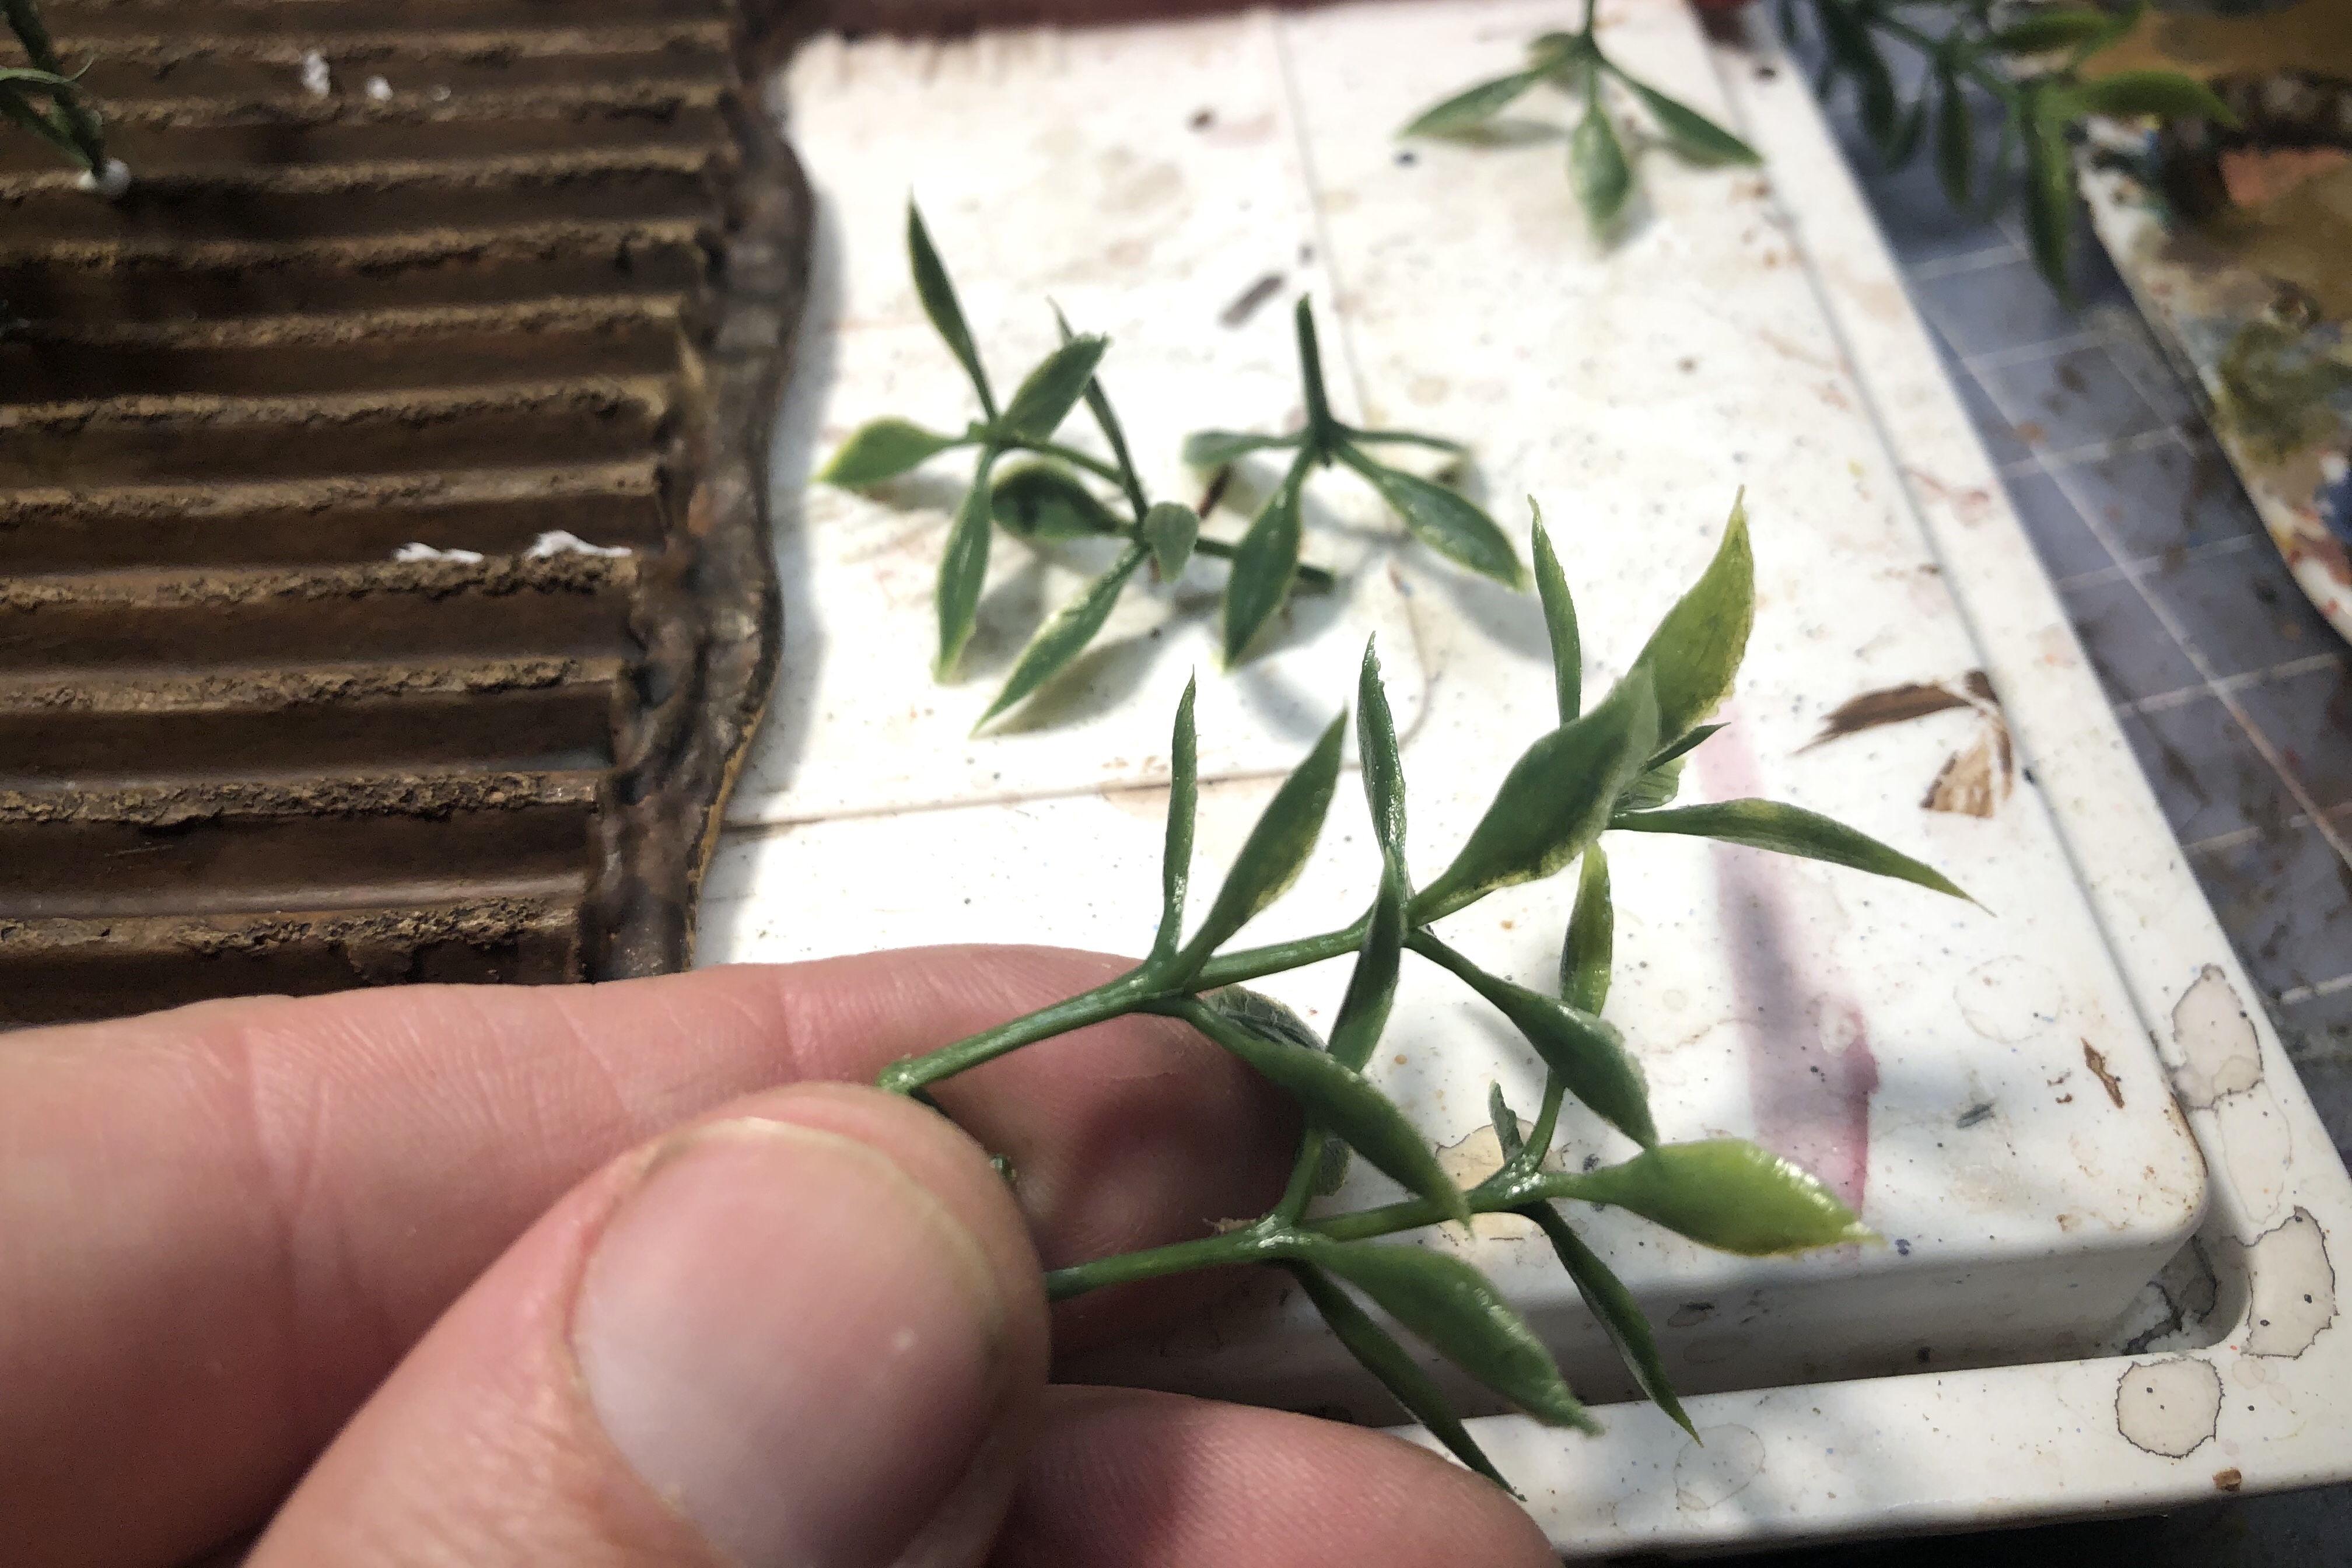
For the next four rows I used two different colors of “foliage bushes” from Gale Force Nine.

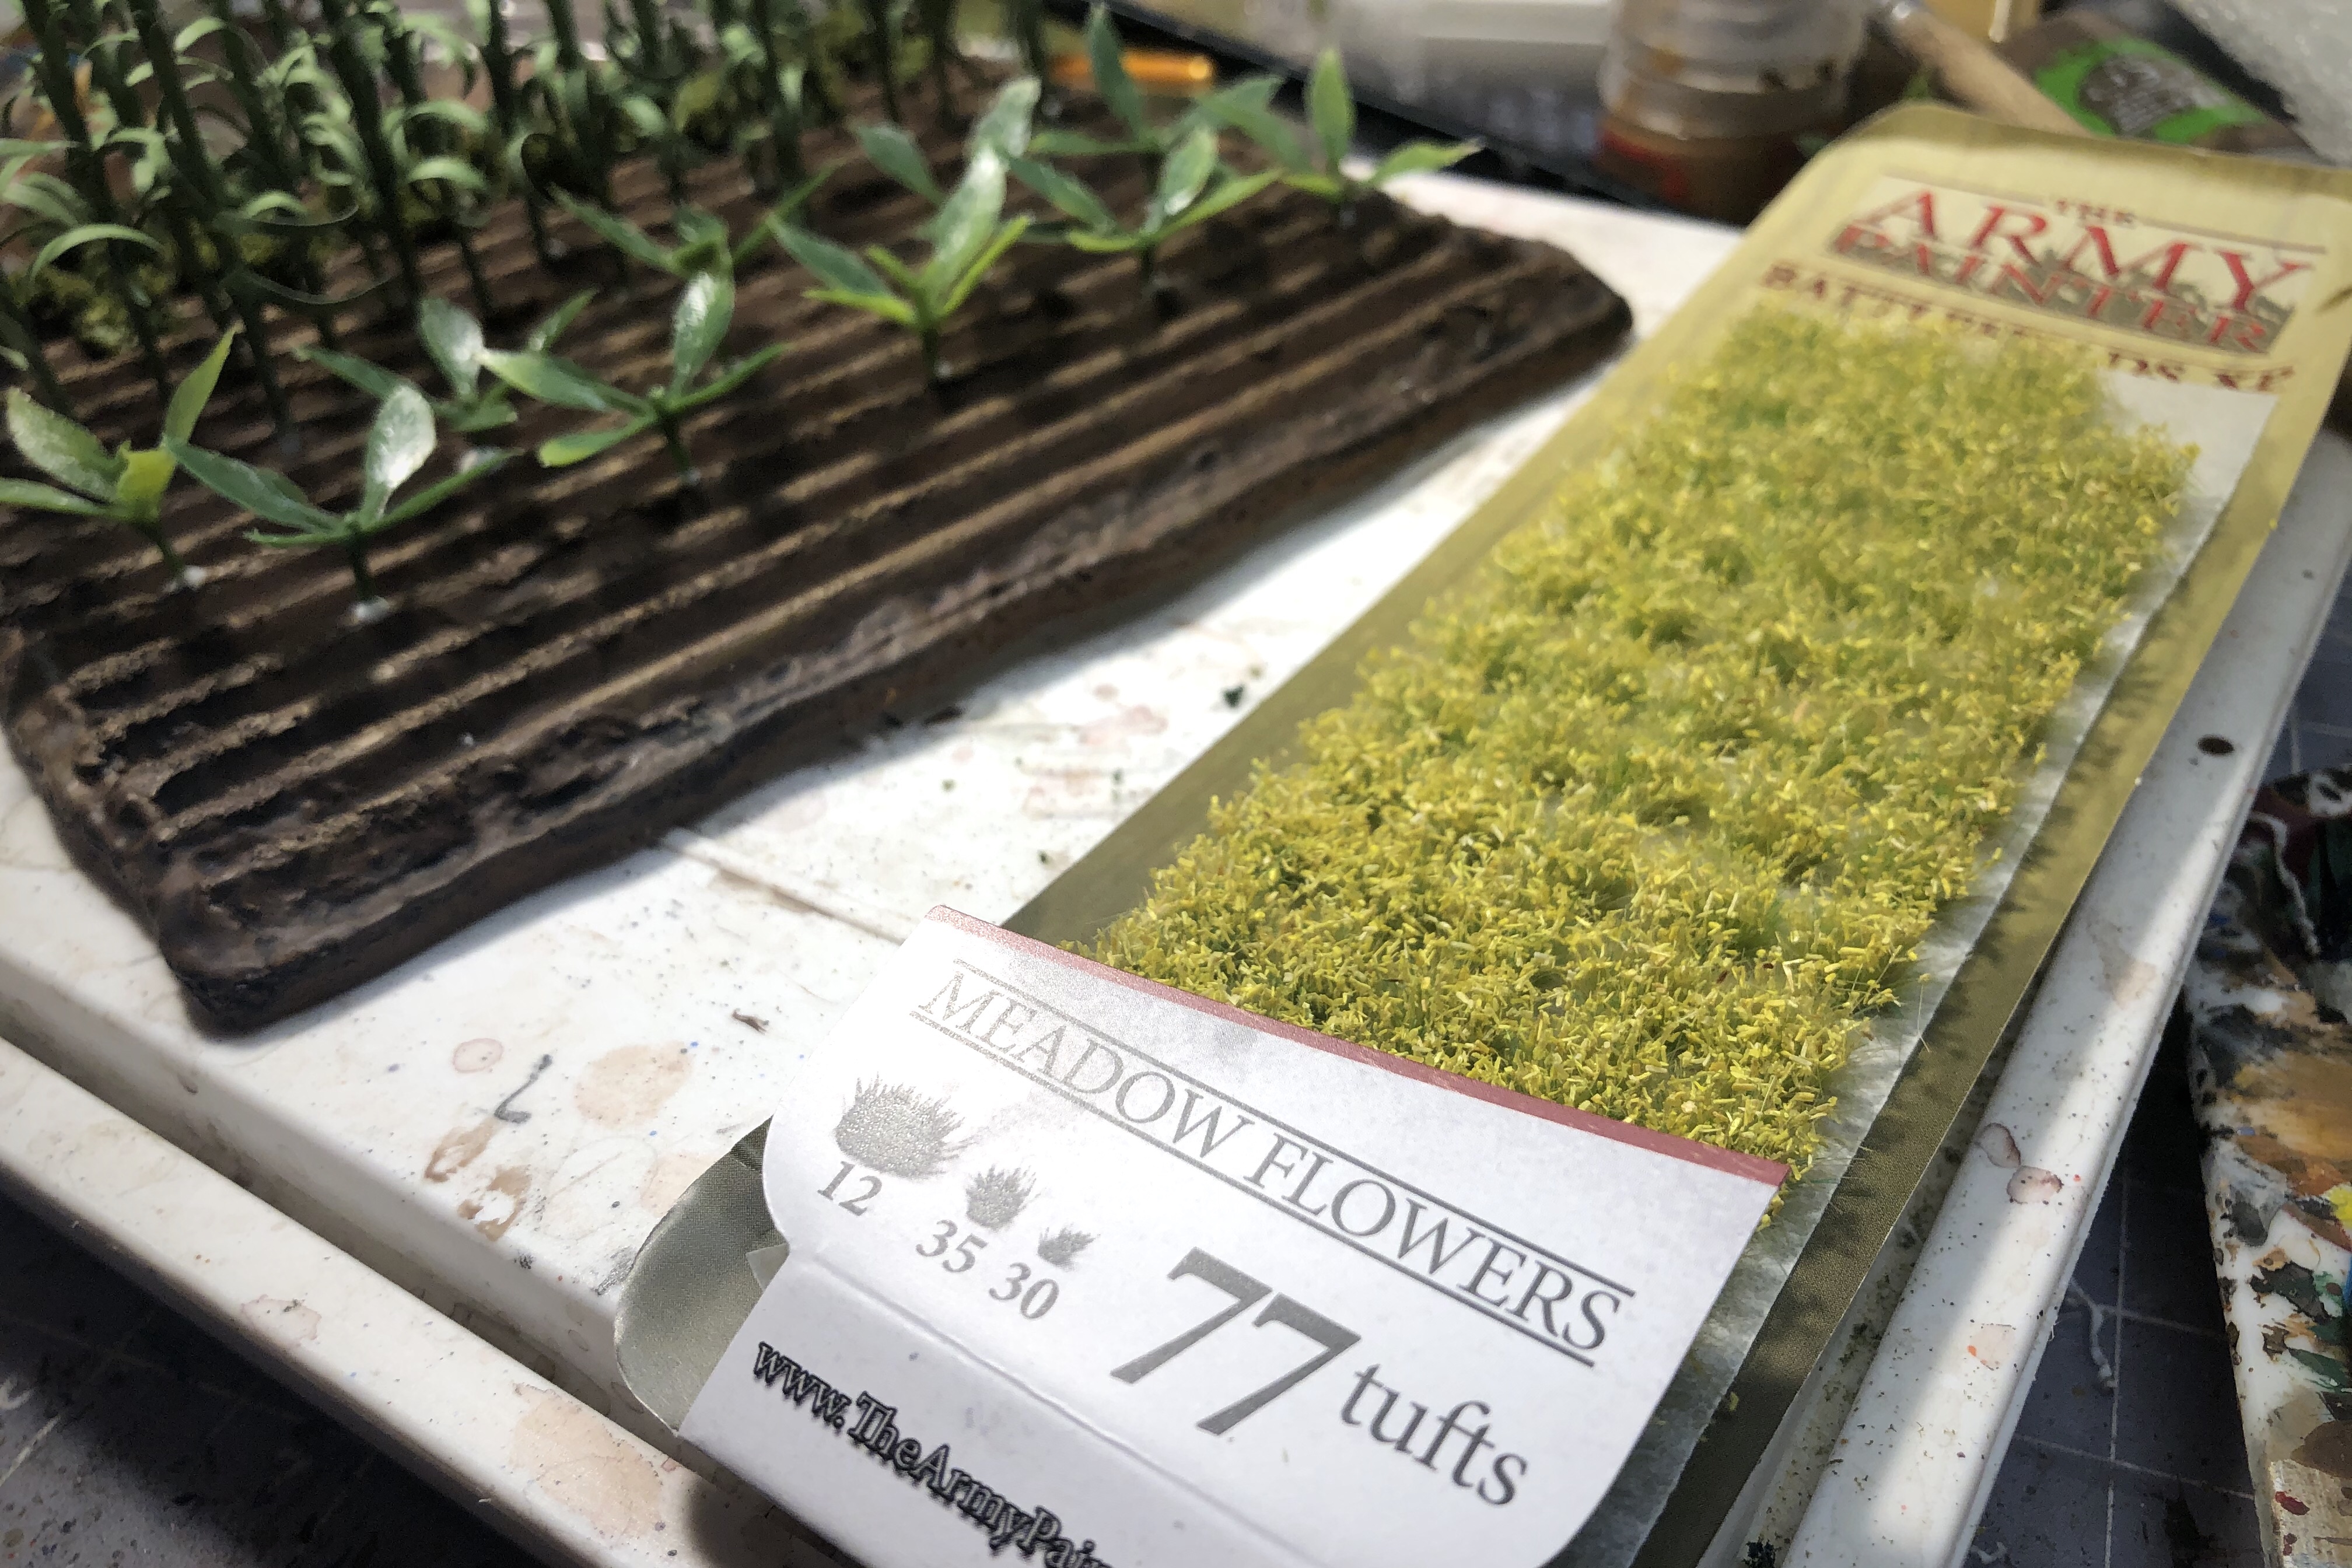
For the last two rows on the other side I used some Meadow Flower Tufts from Army Painters and finally one row of static grass, just like the first field.
I left some rows empty so it’s possible to slide models into those spaces.
A little more work and expense but I think it looks interesting!
The other way is easier but this was fun!
I sprayed this with my flat varnish and it’s ready for a game!

This farmer better harvest his broccoli before the Spanish march right through it!
Thanks for reading! You can find the resin model for this field at Firelock Games’ website and you can find most all the products I used at a game shop or Hobby Lobby.
Next on my terrain short list is the Pallisade Fort and then I think I need to paint this 6th Rate Frigate!
This is great! Mean ol’ pirates always trampling people’s crops!
Great post mate, I’m pretty impressed with what you have achieve here , so much so I might use some of your ideas down the track, thanks for sharing.
Pingback: Firelock Terrain – Village Bundle | Blood & Pigment