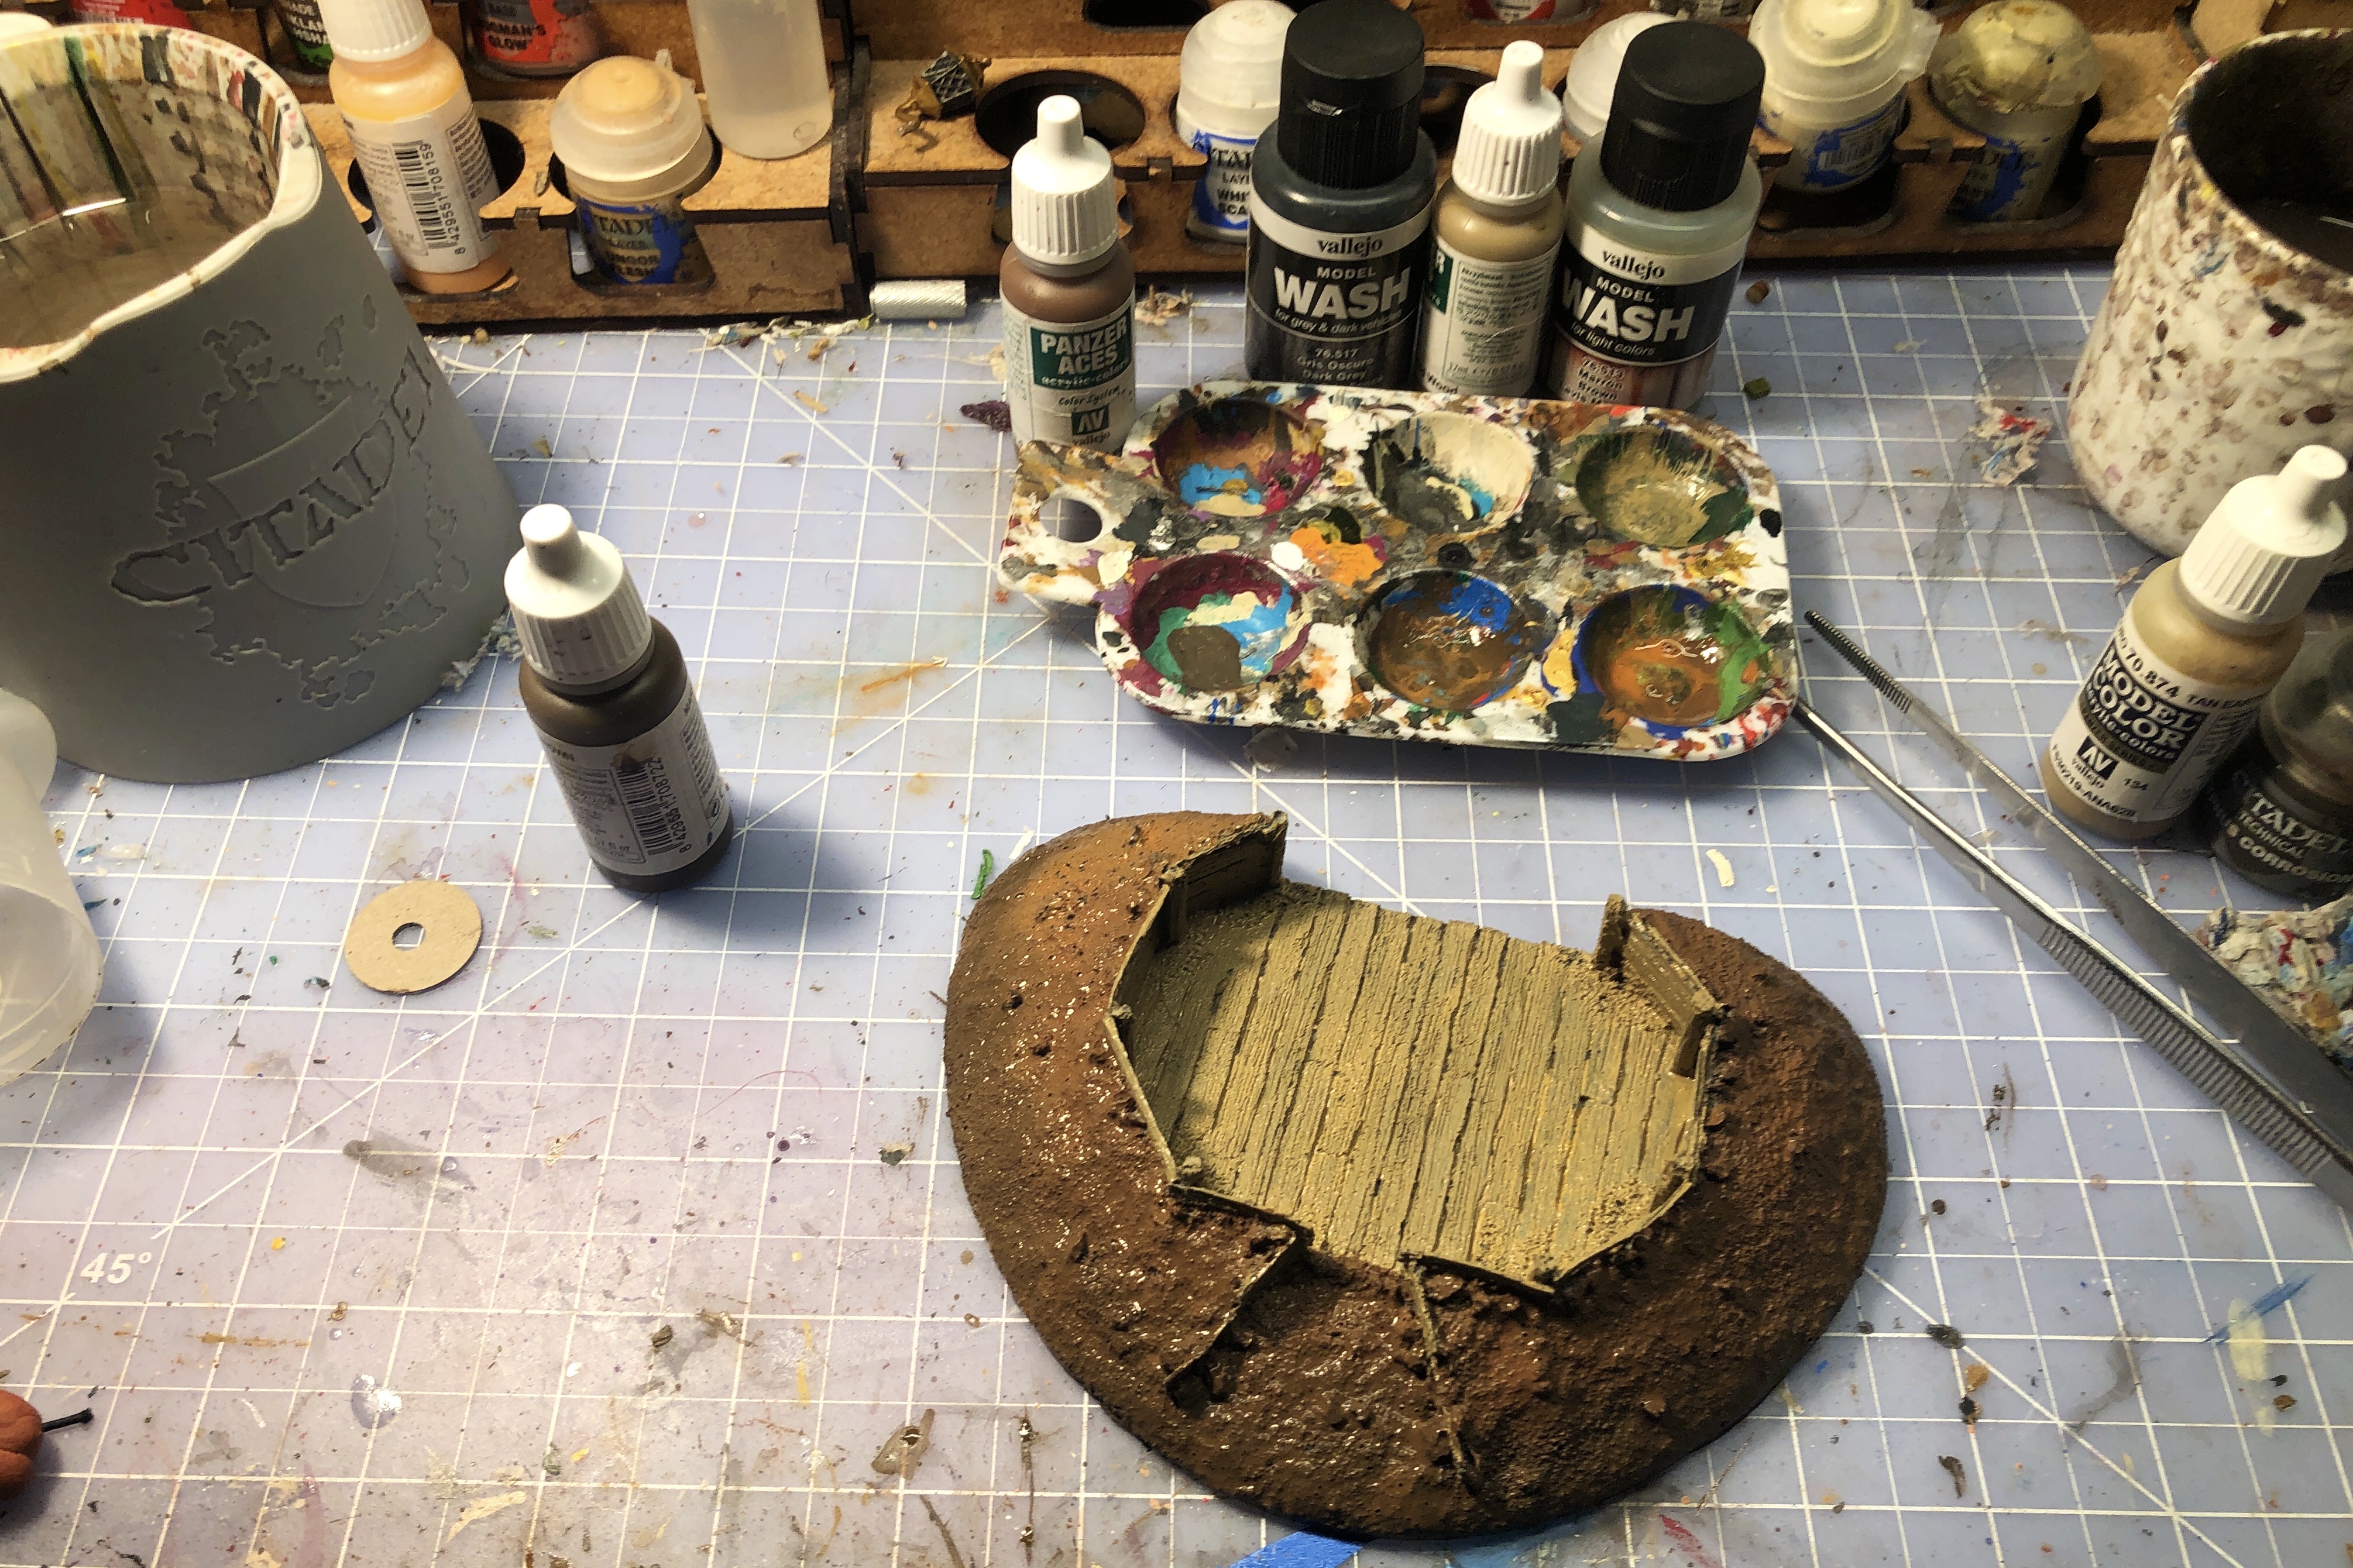
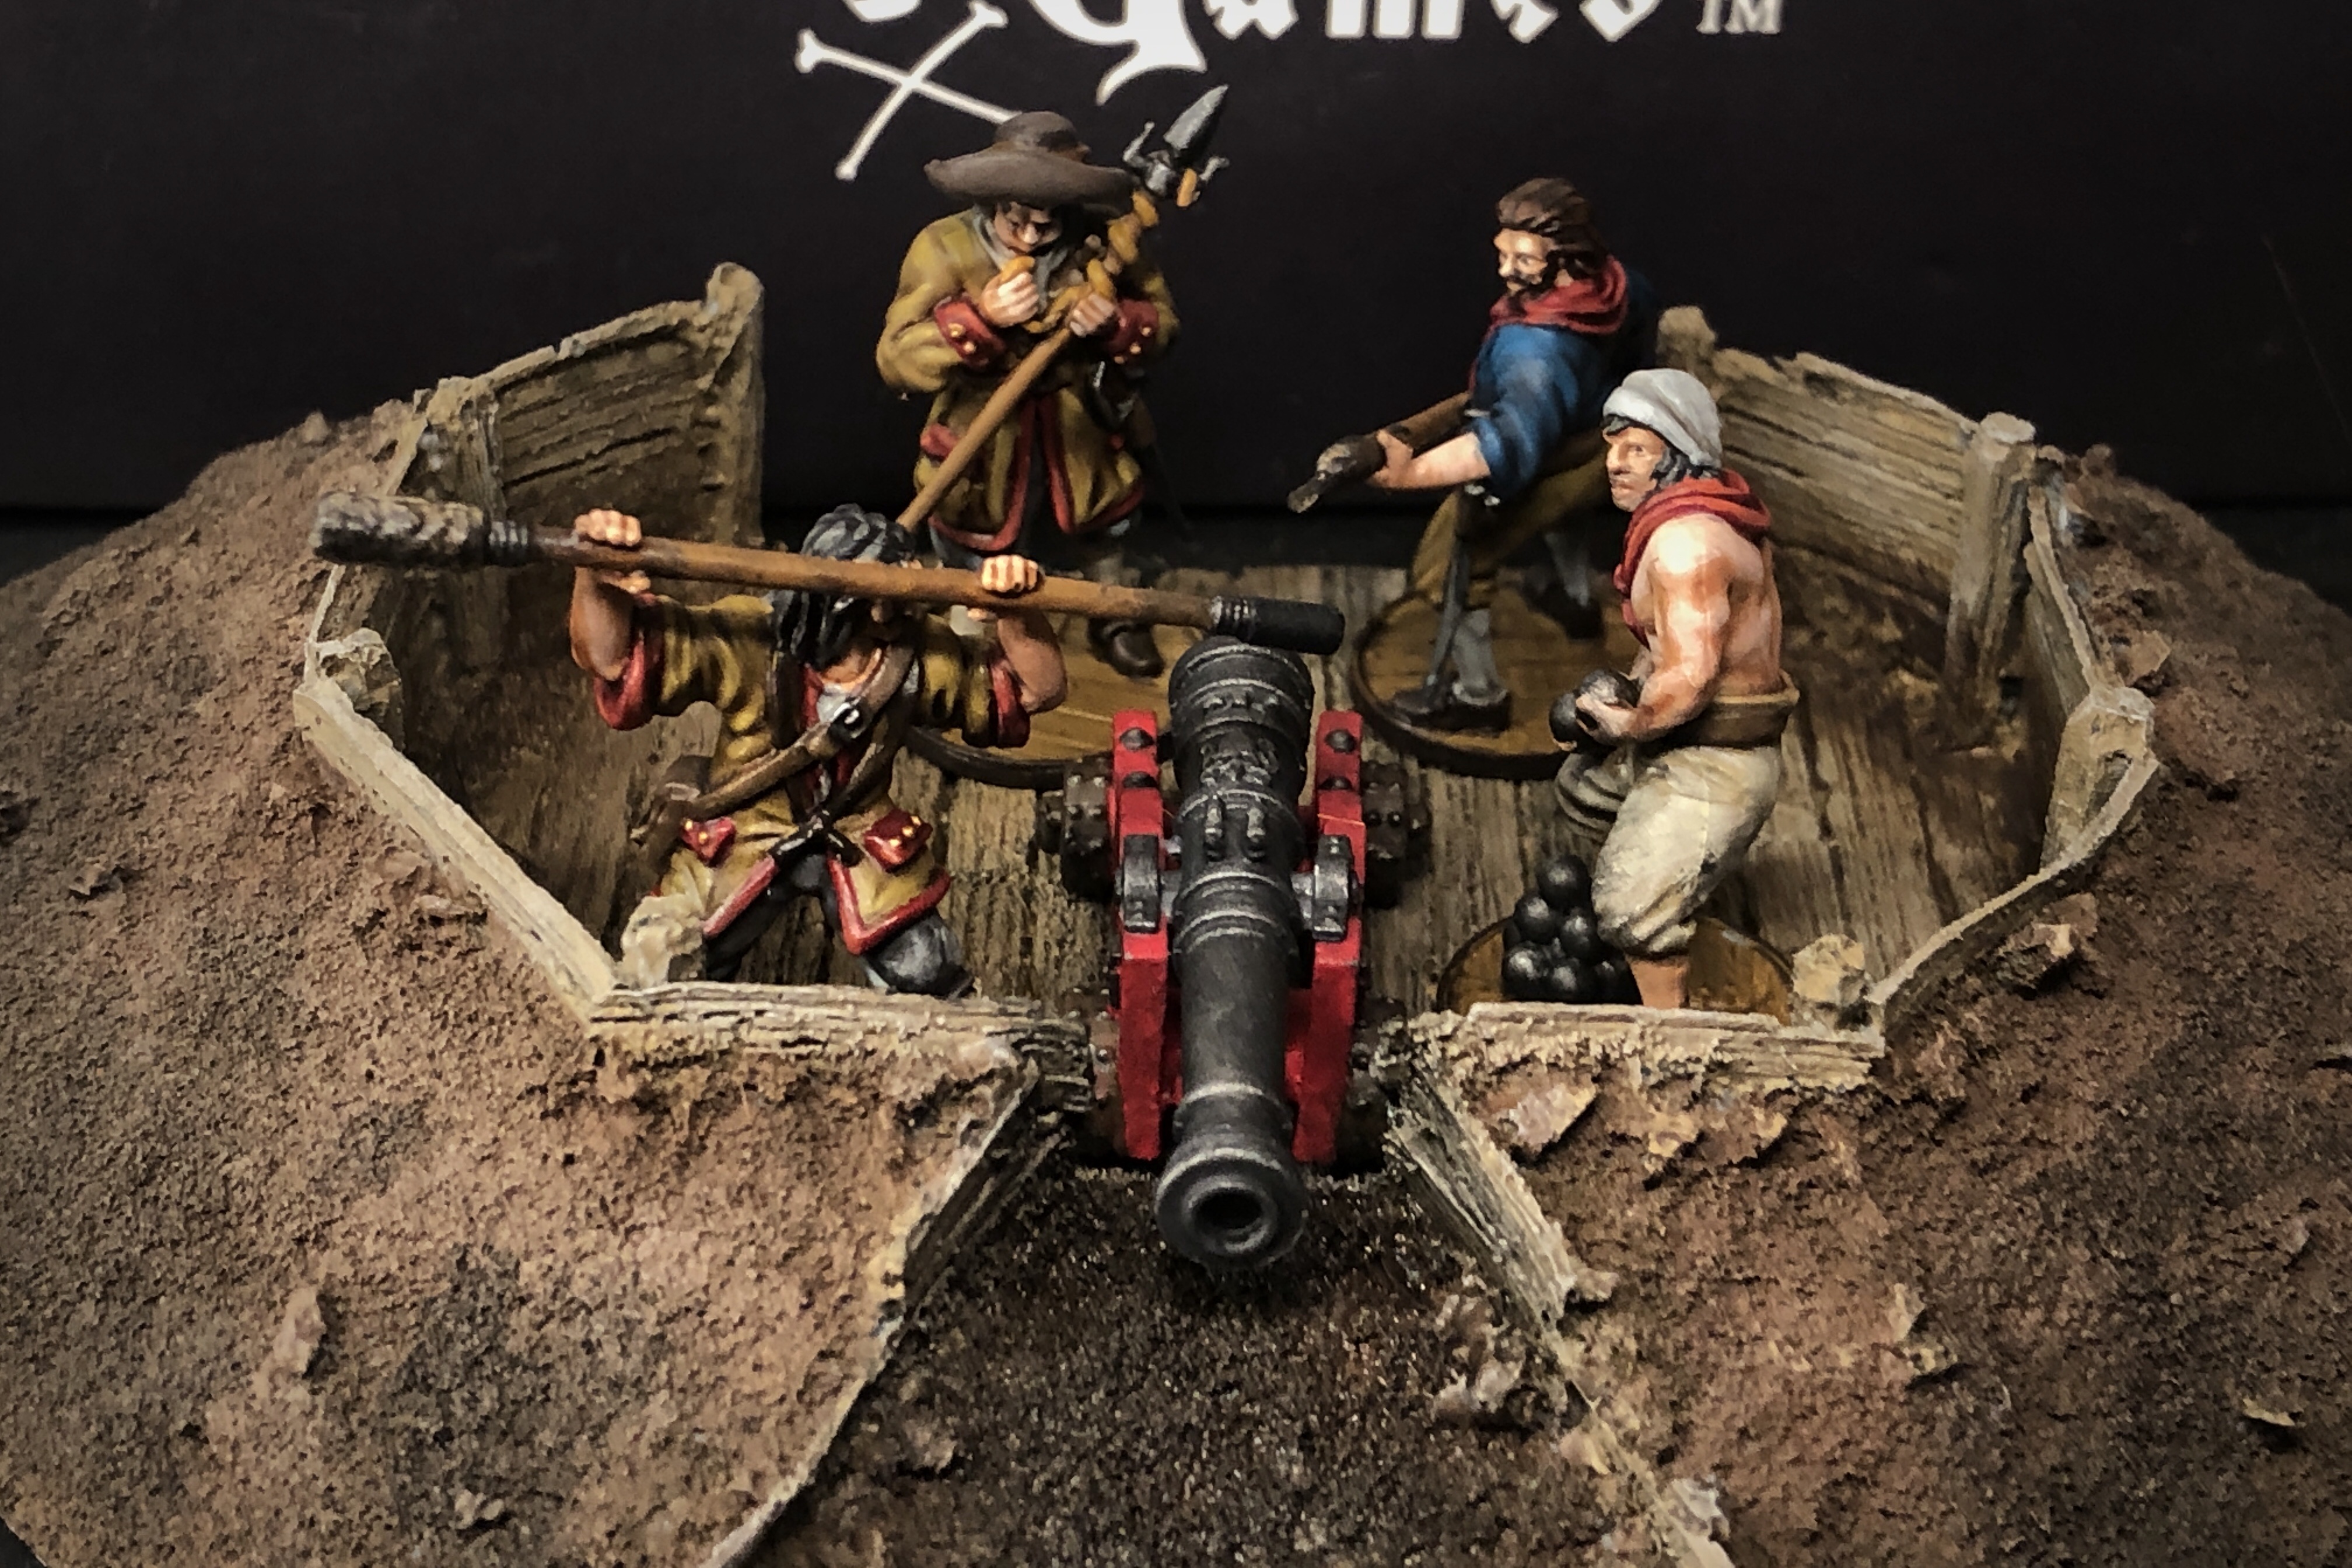
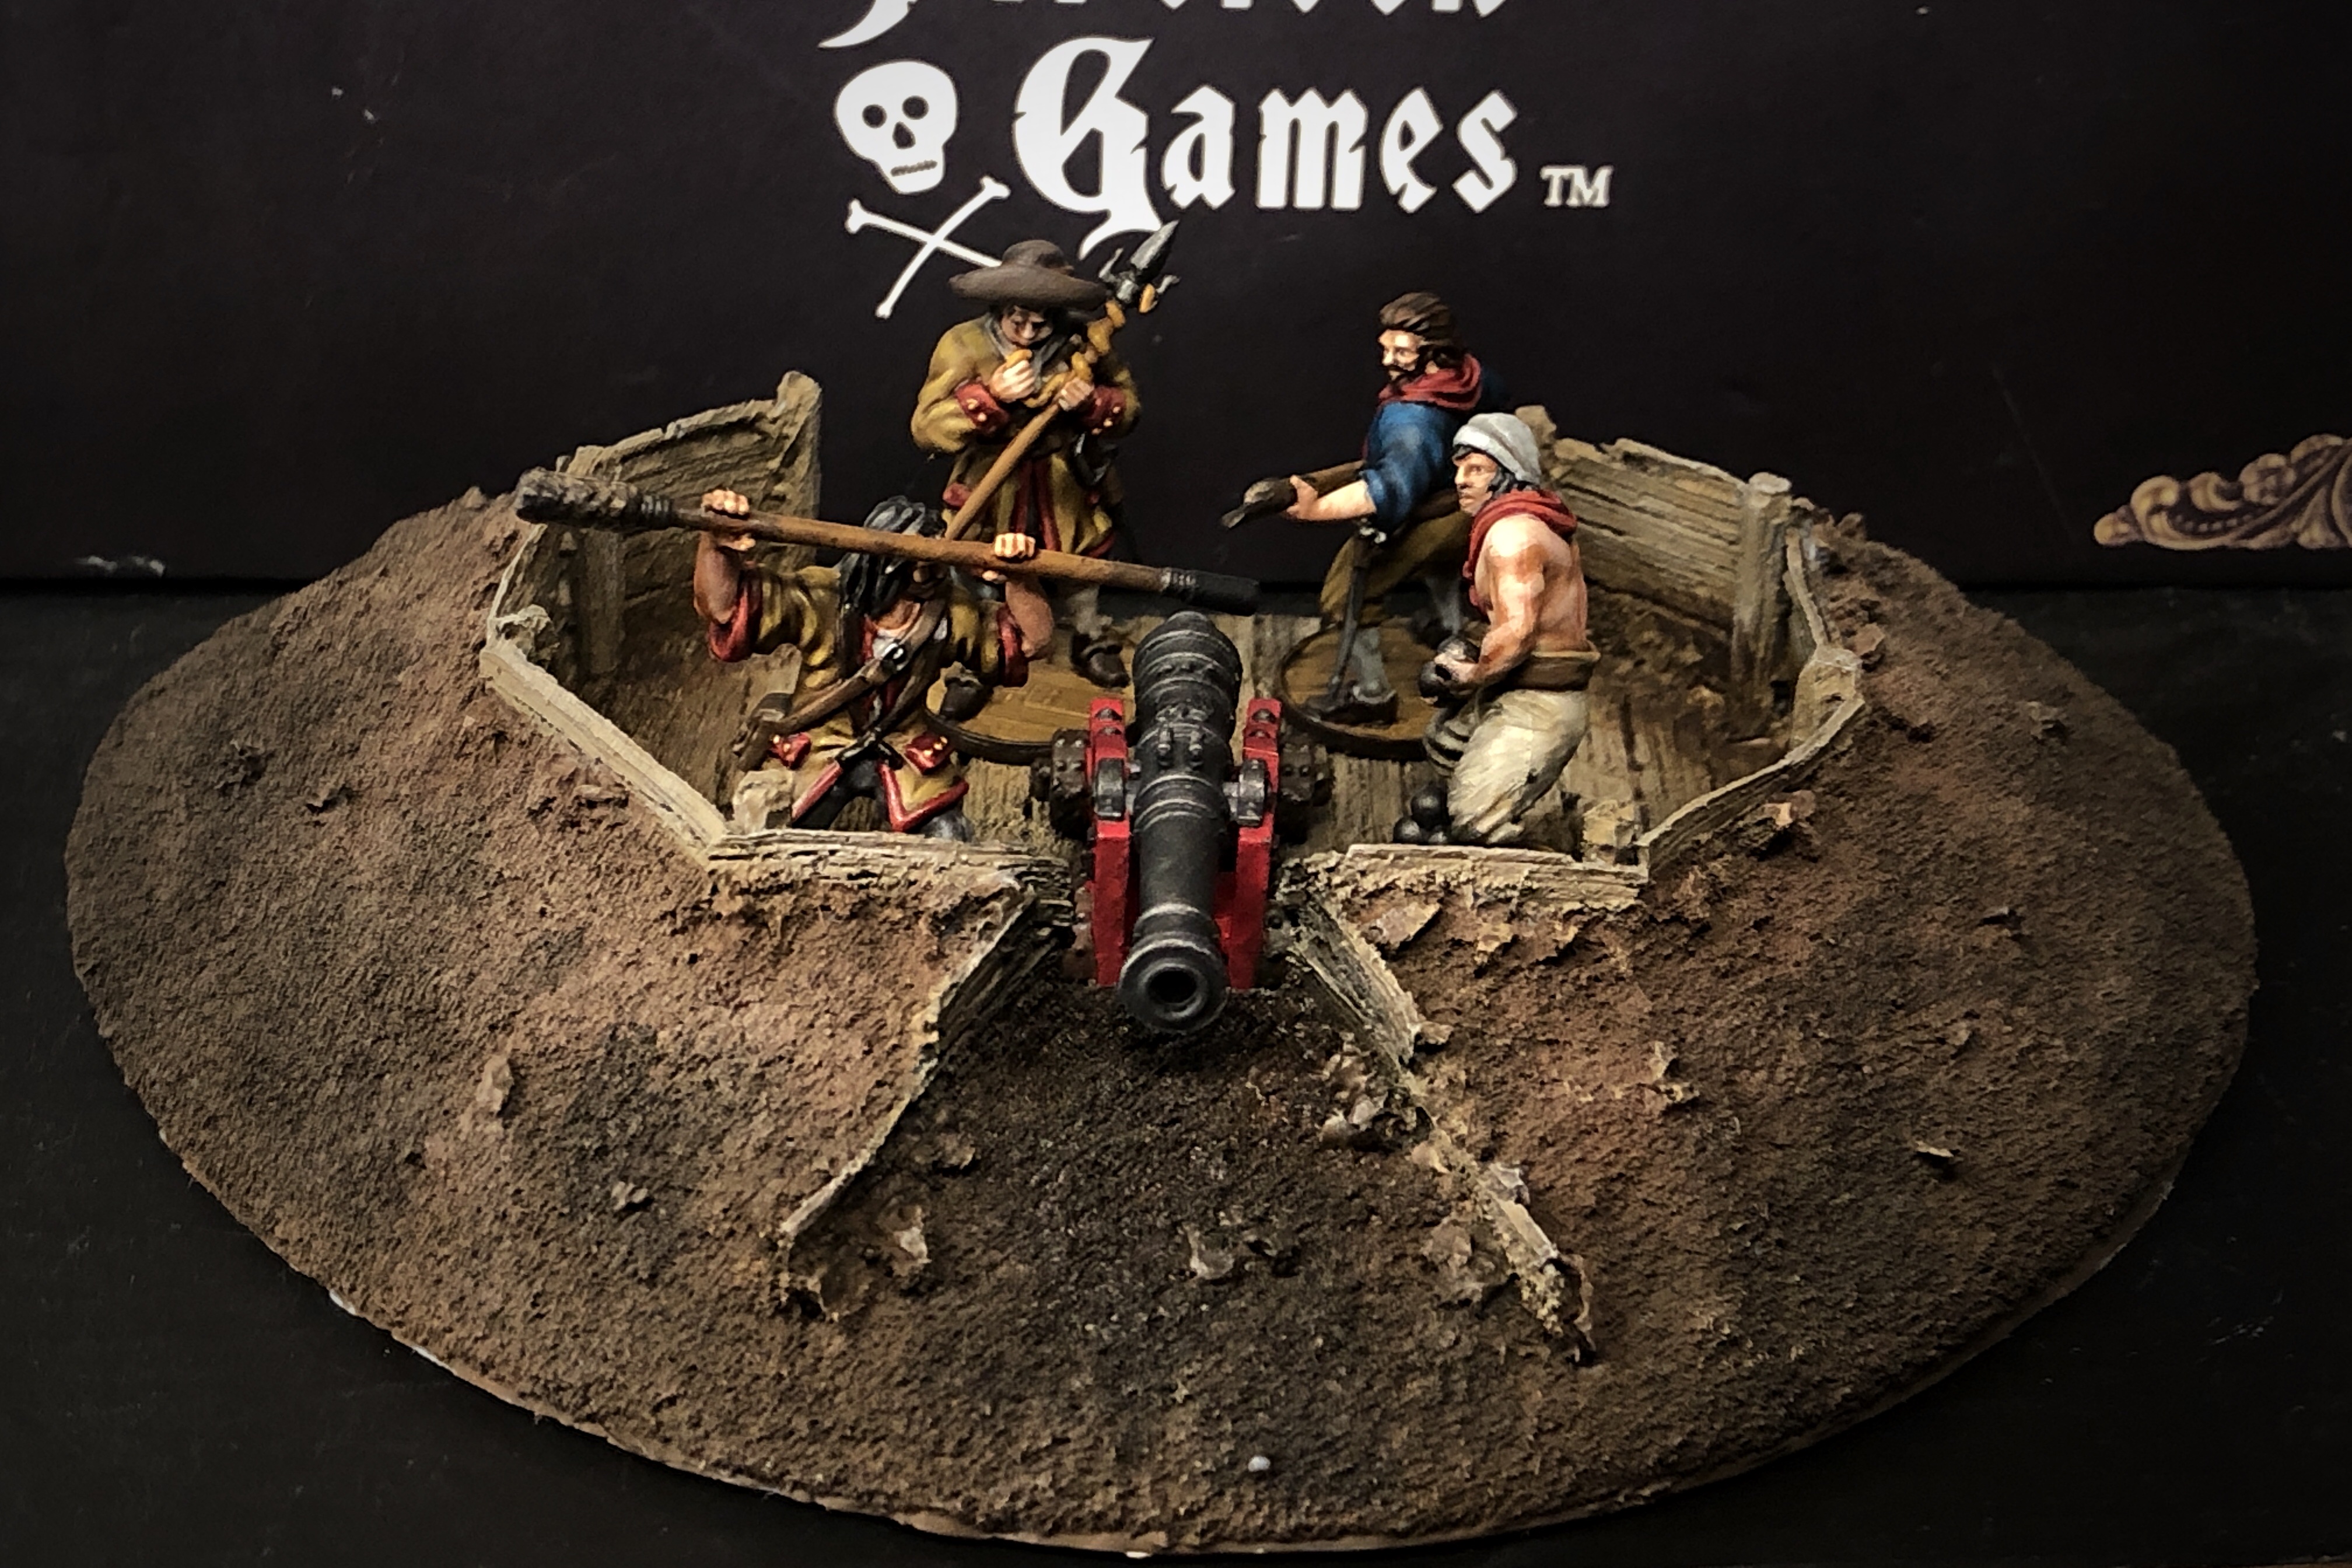
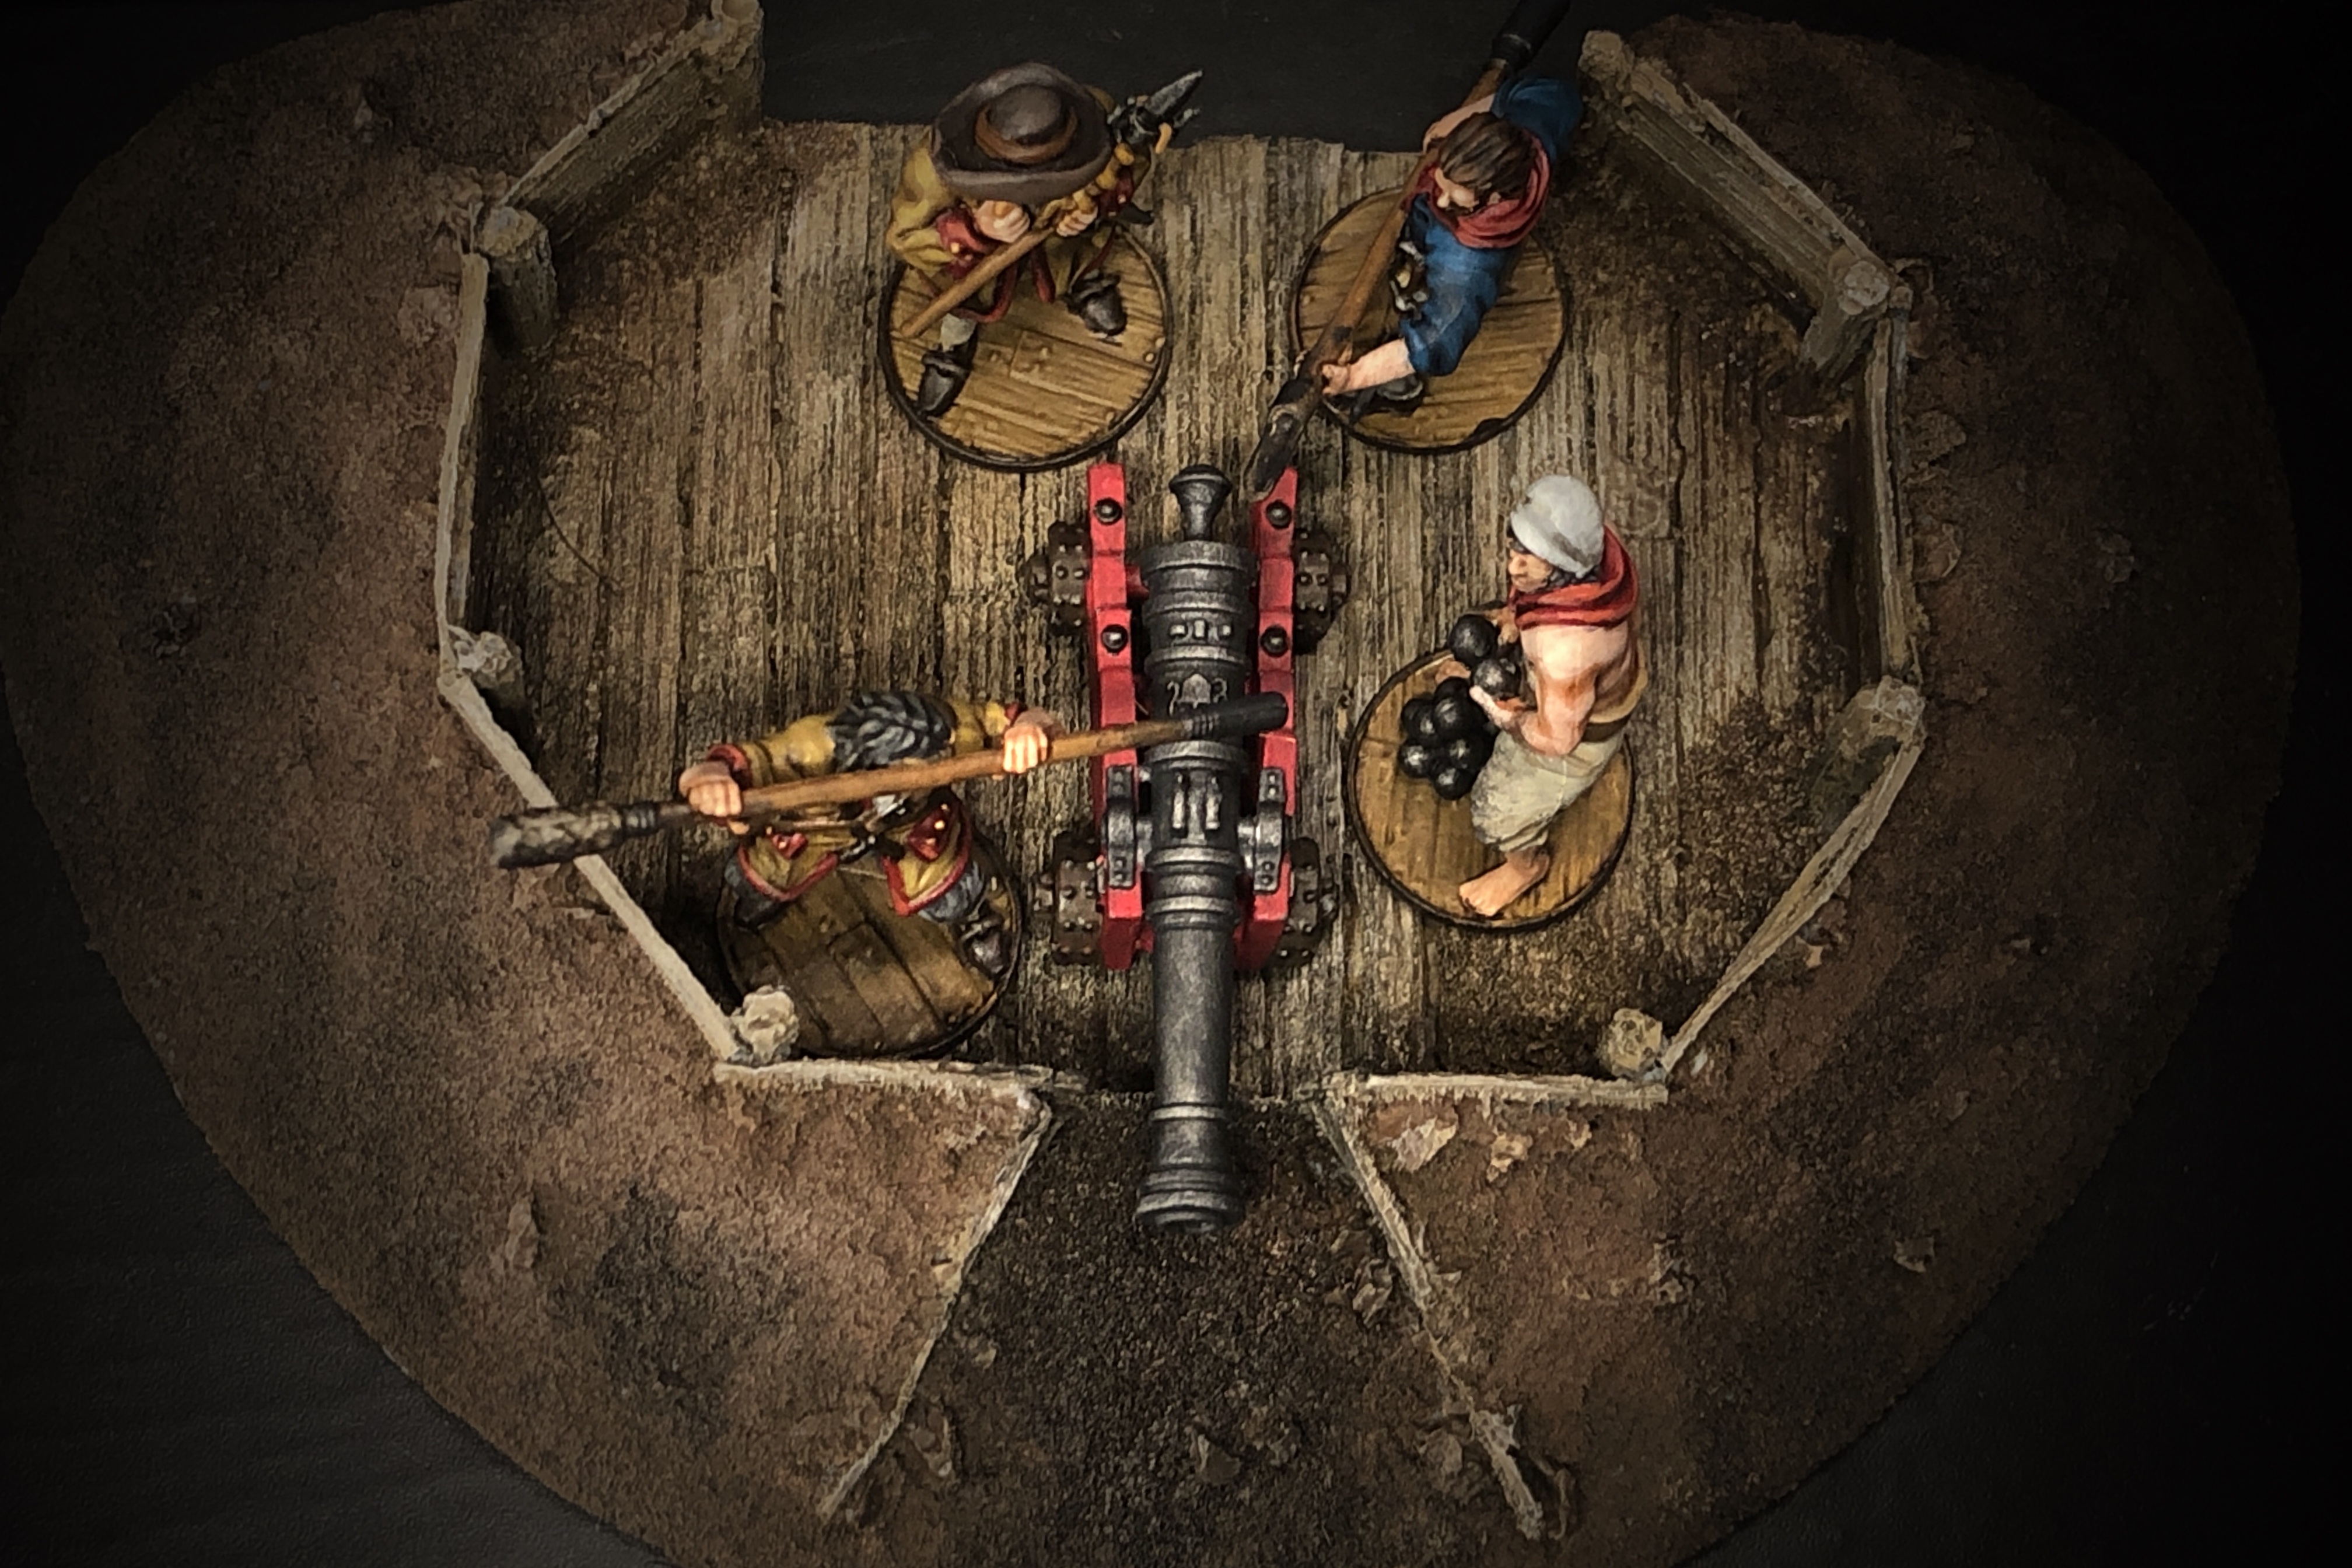
I’ve had a couple gun emplacements hanging around my painting desk for months now and it’s time to get them painted!
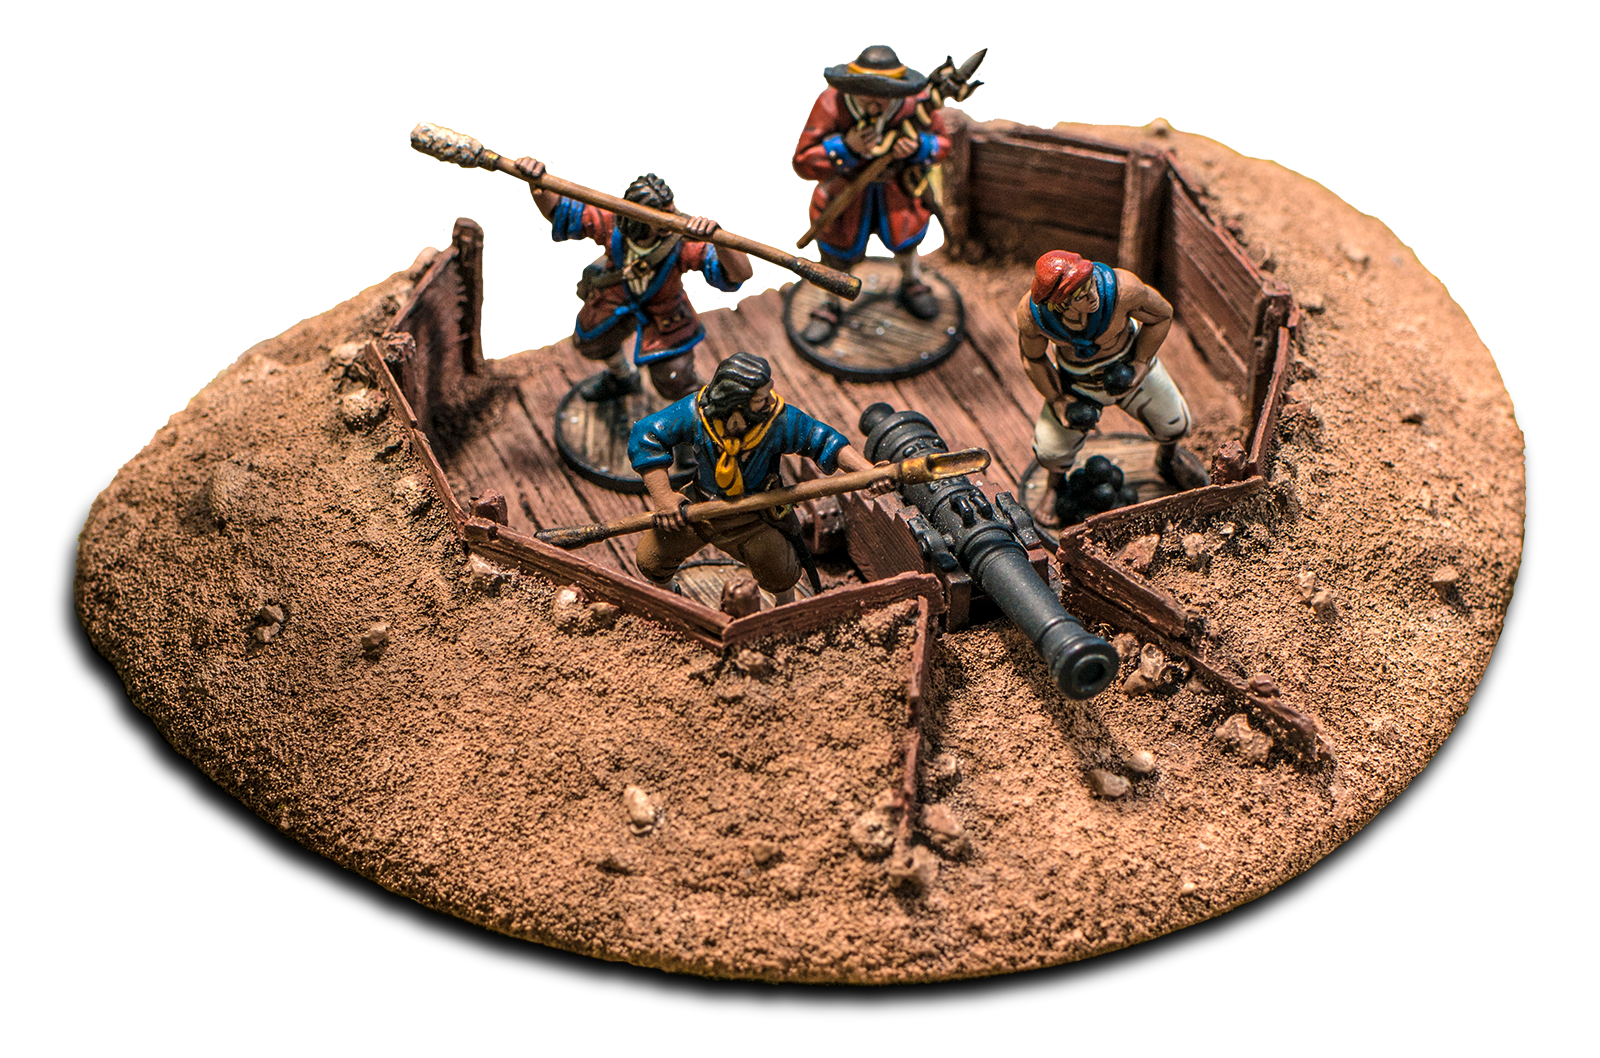
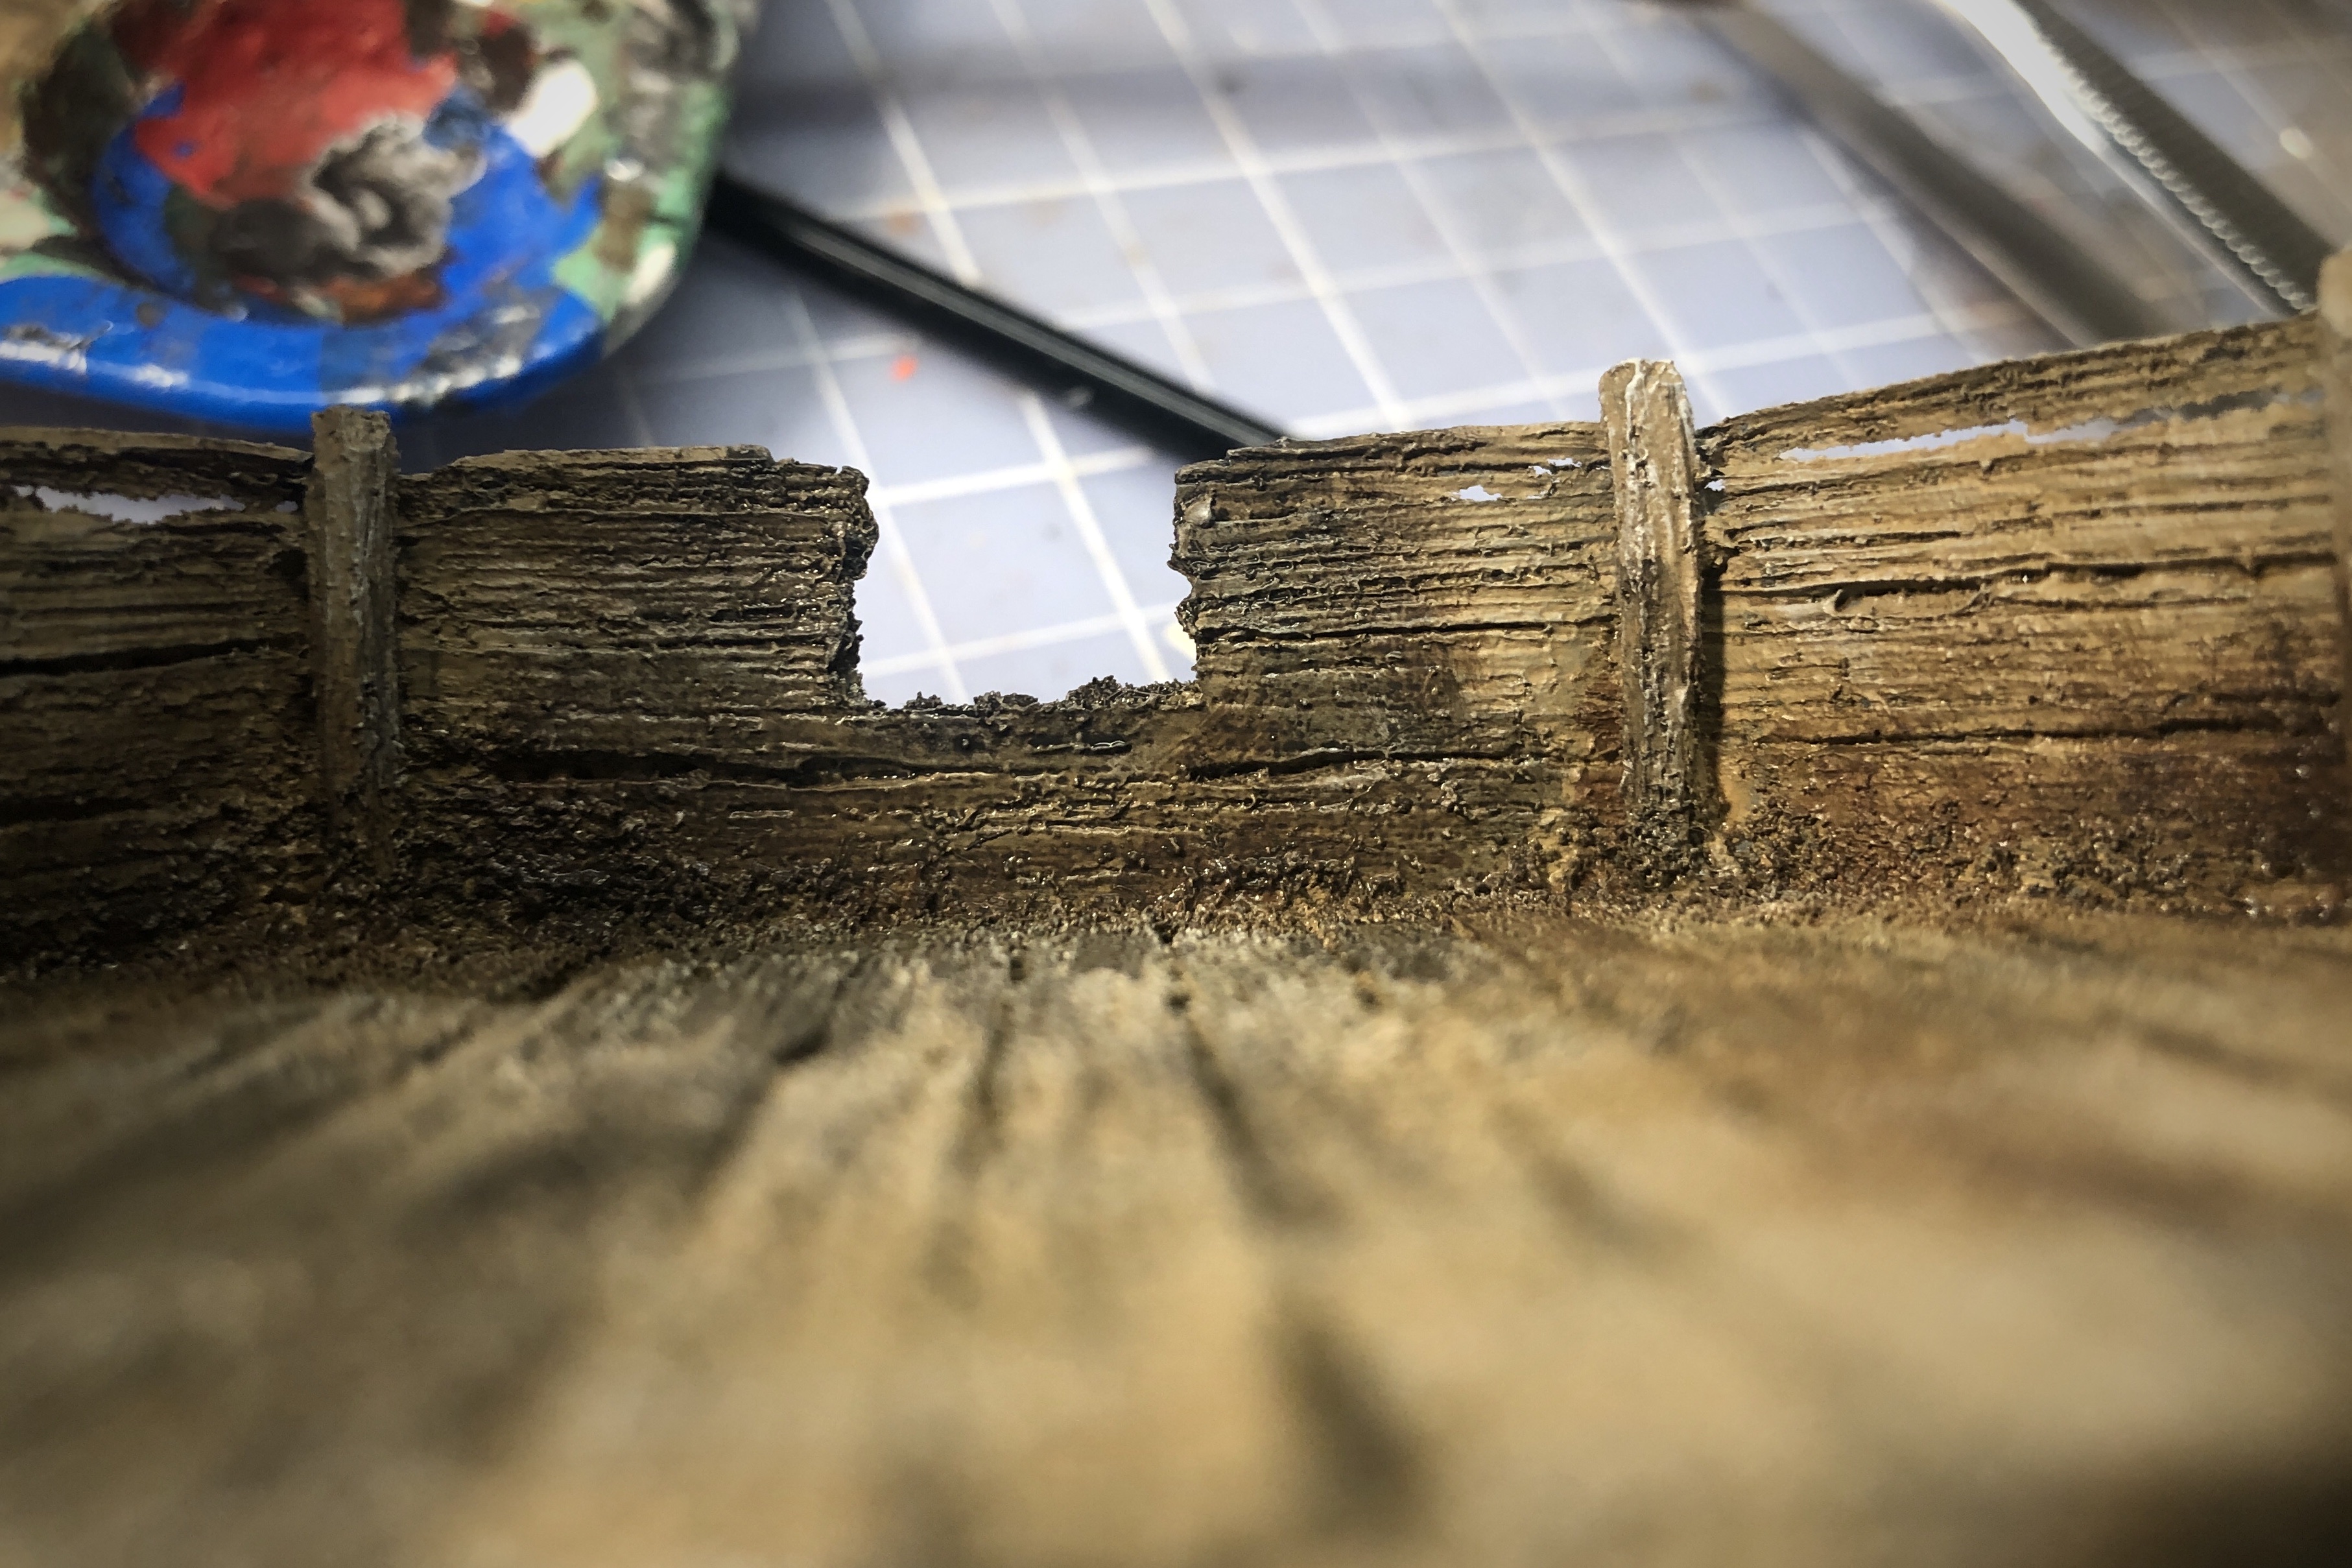
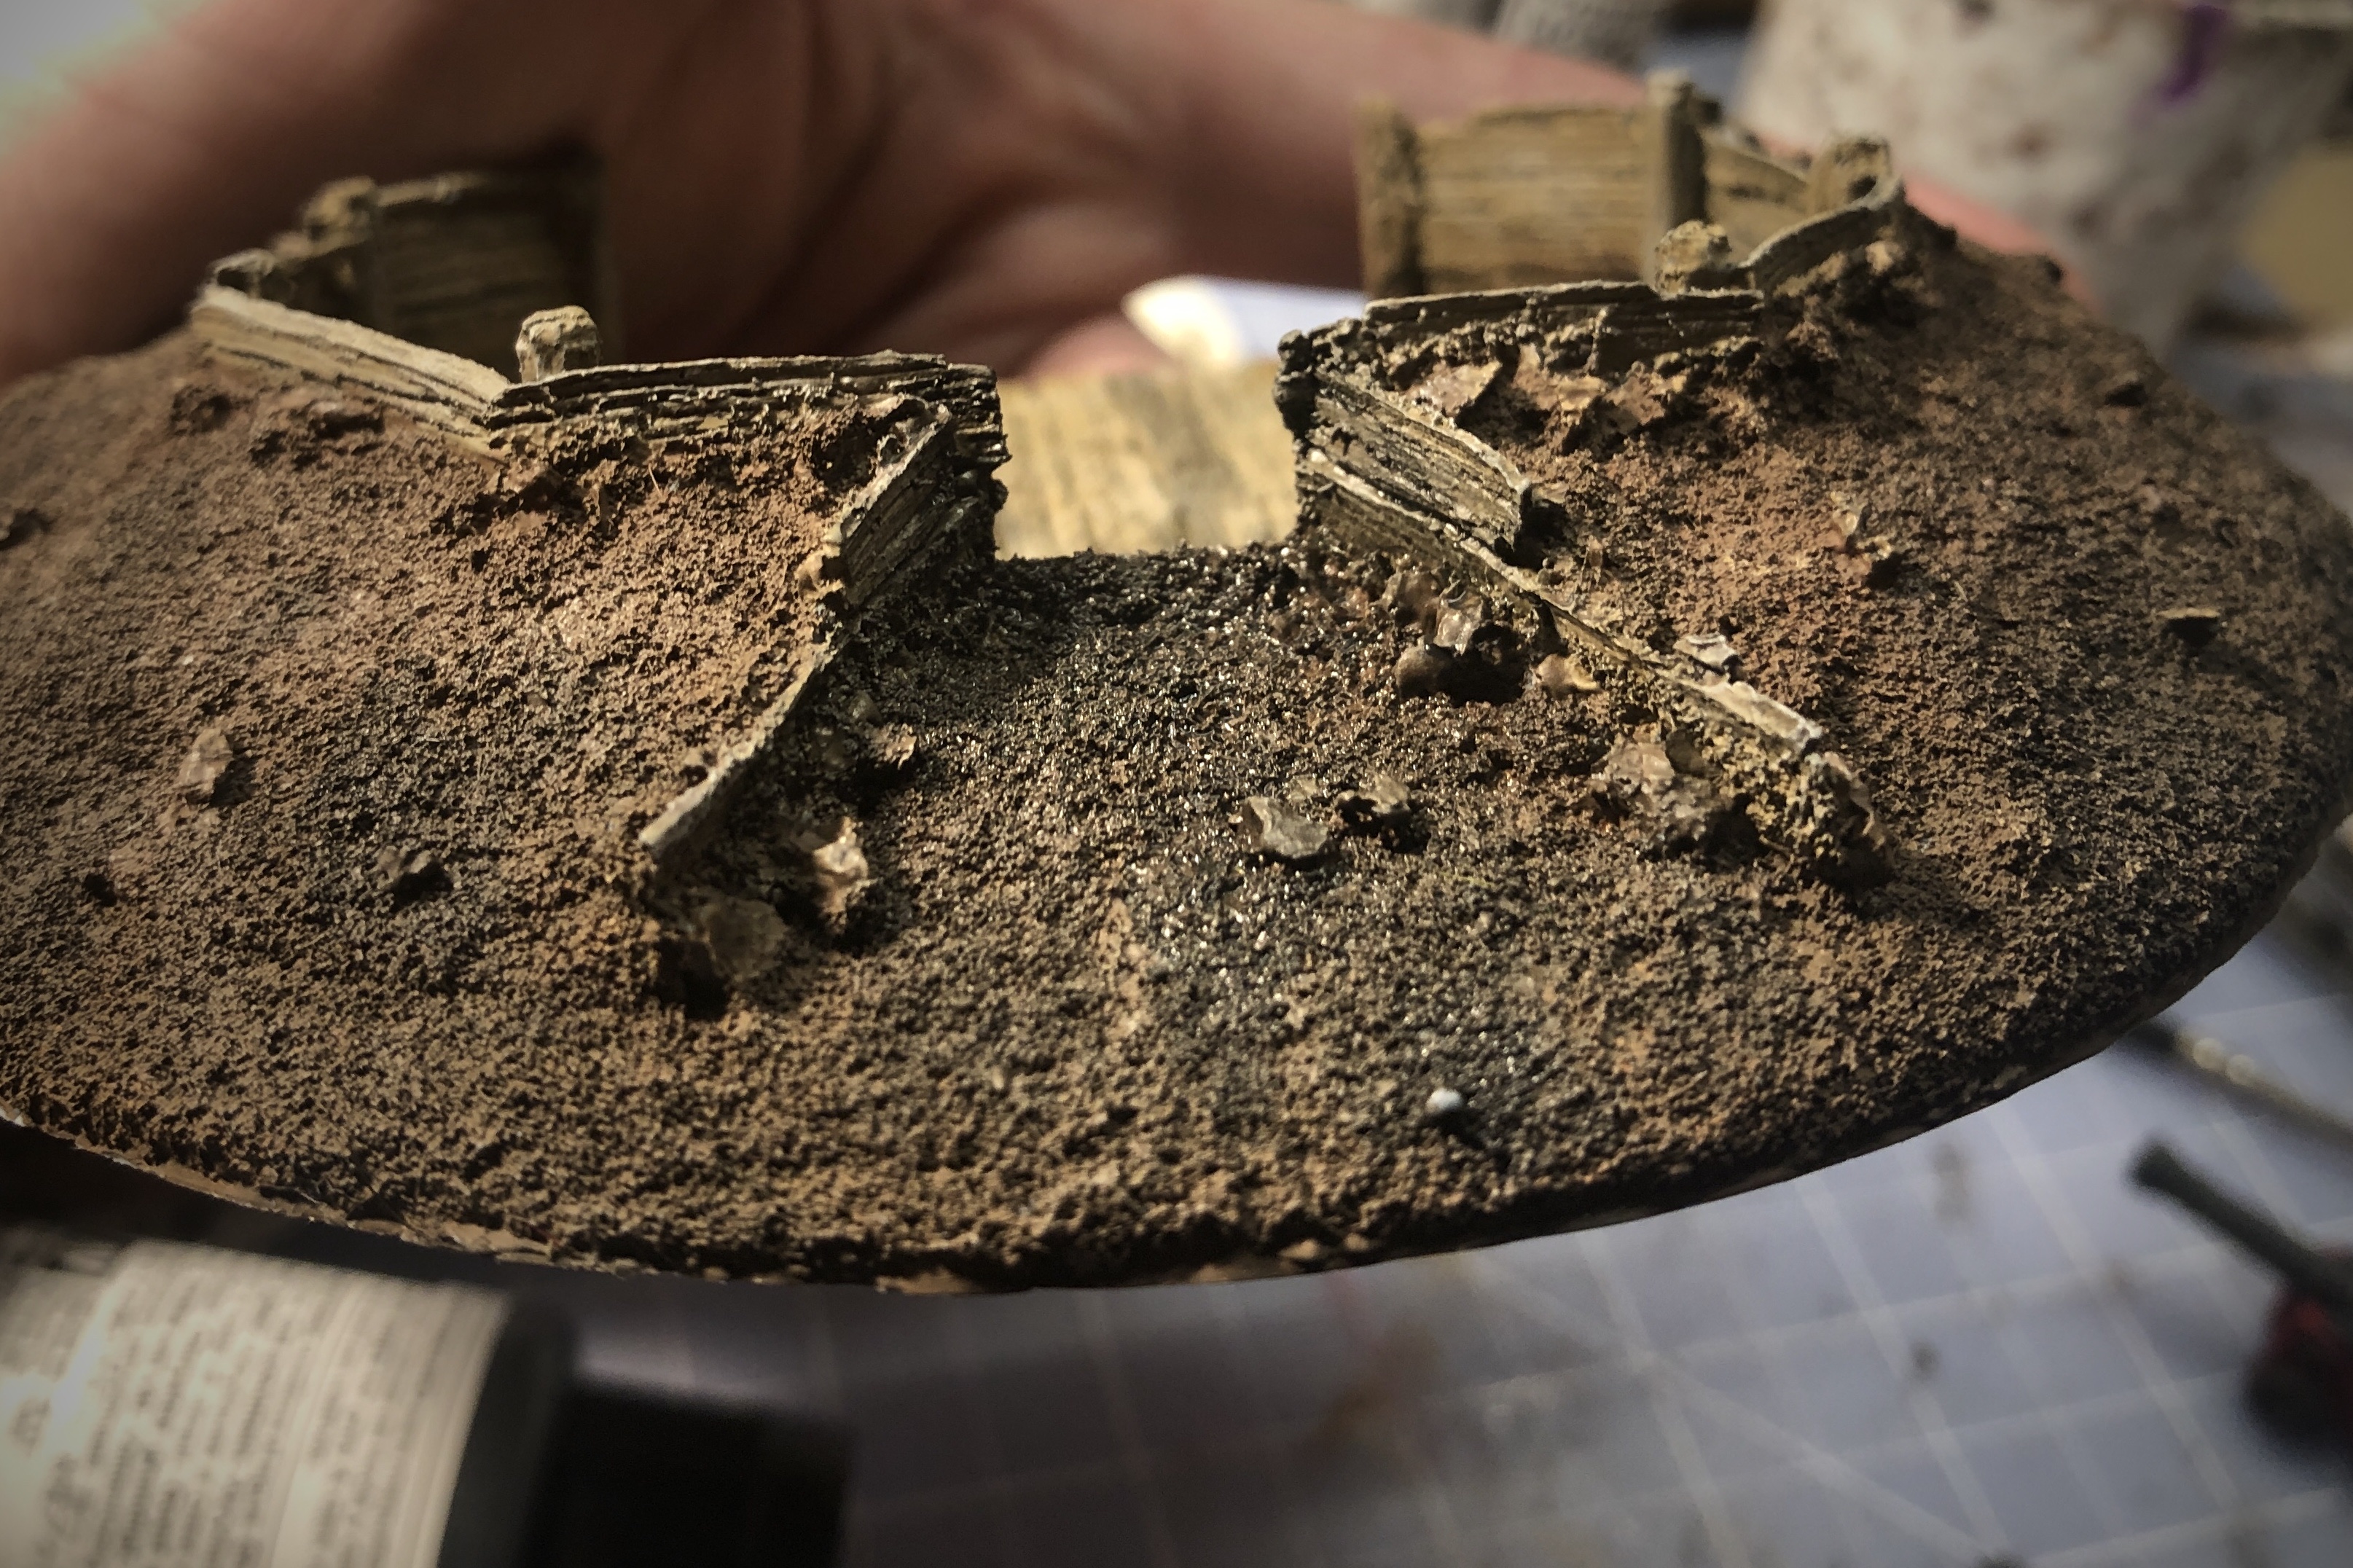
This is a resin terrain miniature piece from Firelock Games and it costs $20. I bought two of these terrain pieces and they are fine quality. They didn’t take any cleanup but I did notice the top boards on both pieces are so thin they barely hold together. Some paint made them a little more stable, but they almost paper then and some of them were disconnected at one end of the board or the other.
The painted example on the Firelock website is fairly simple and plain. Mine will be quick and simple but I put a few more colors and textures into it to make it look a little more weathered and interesting.
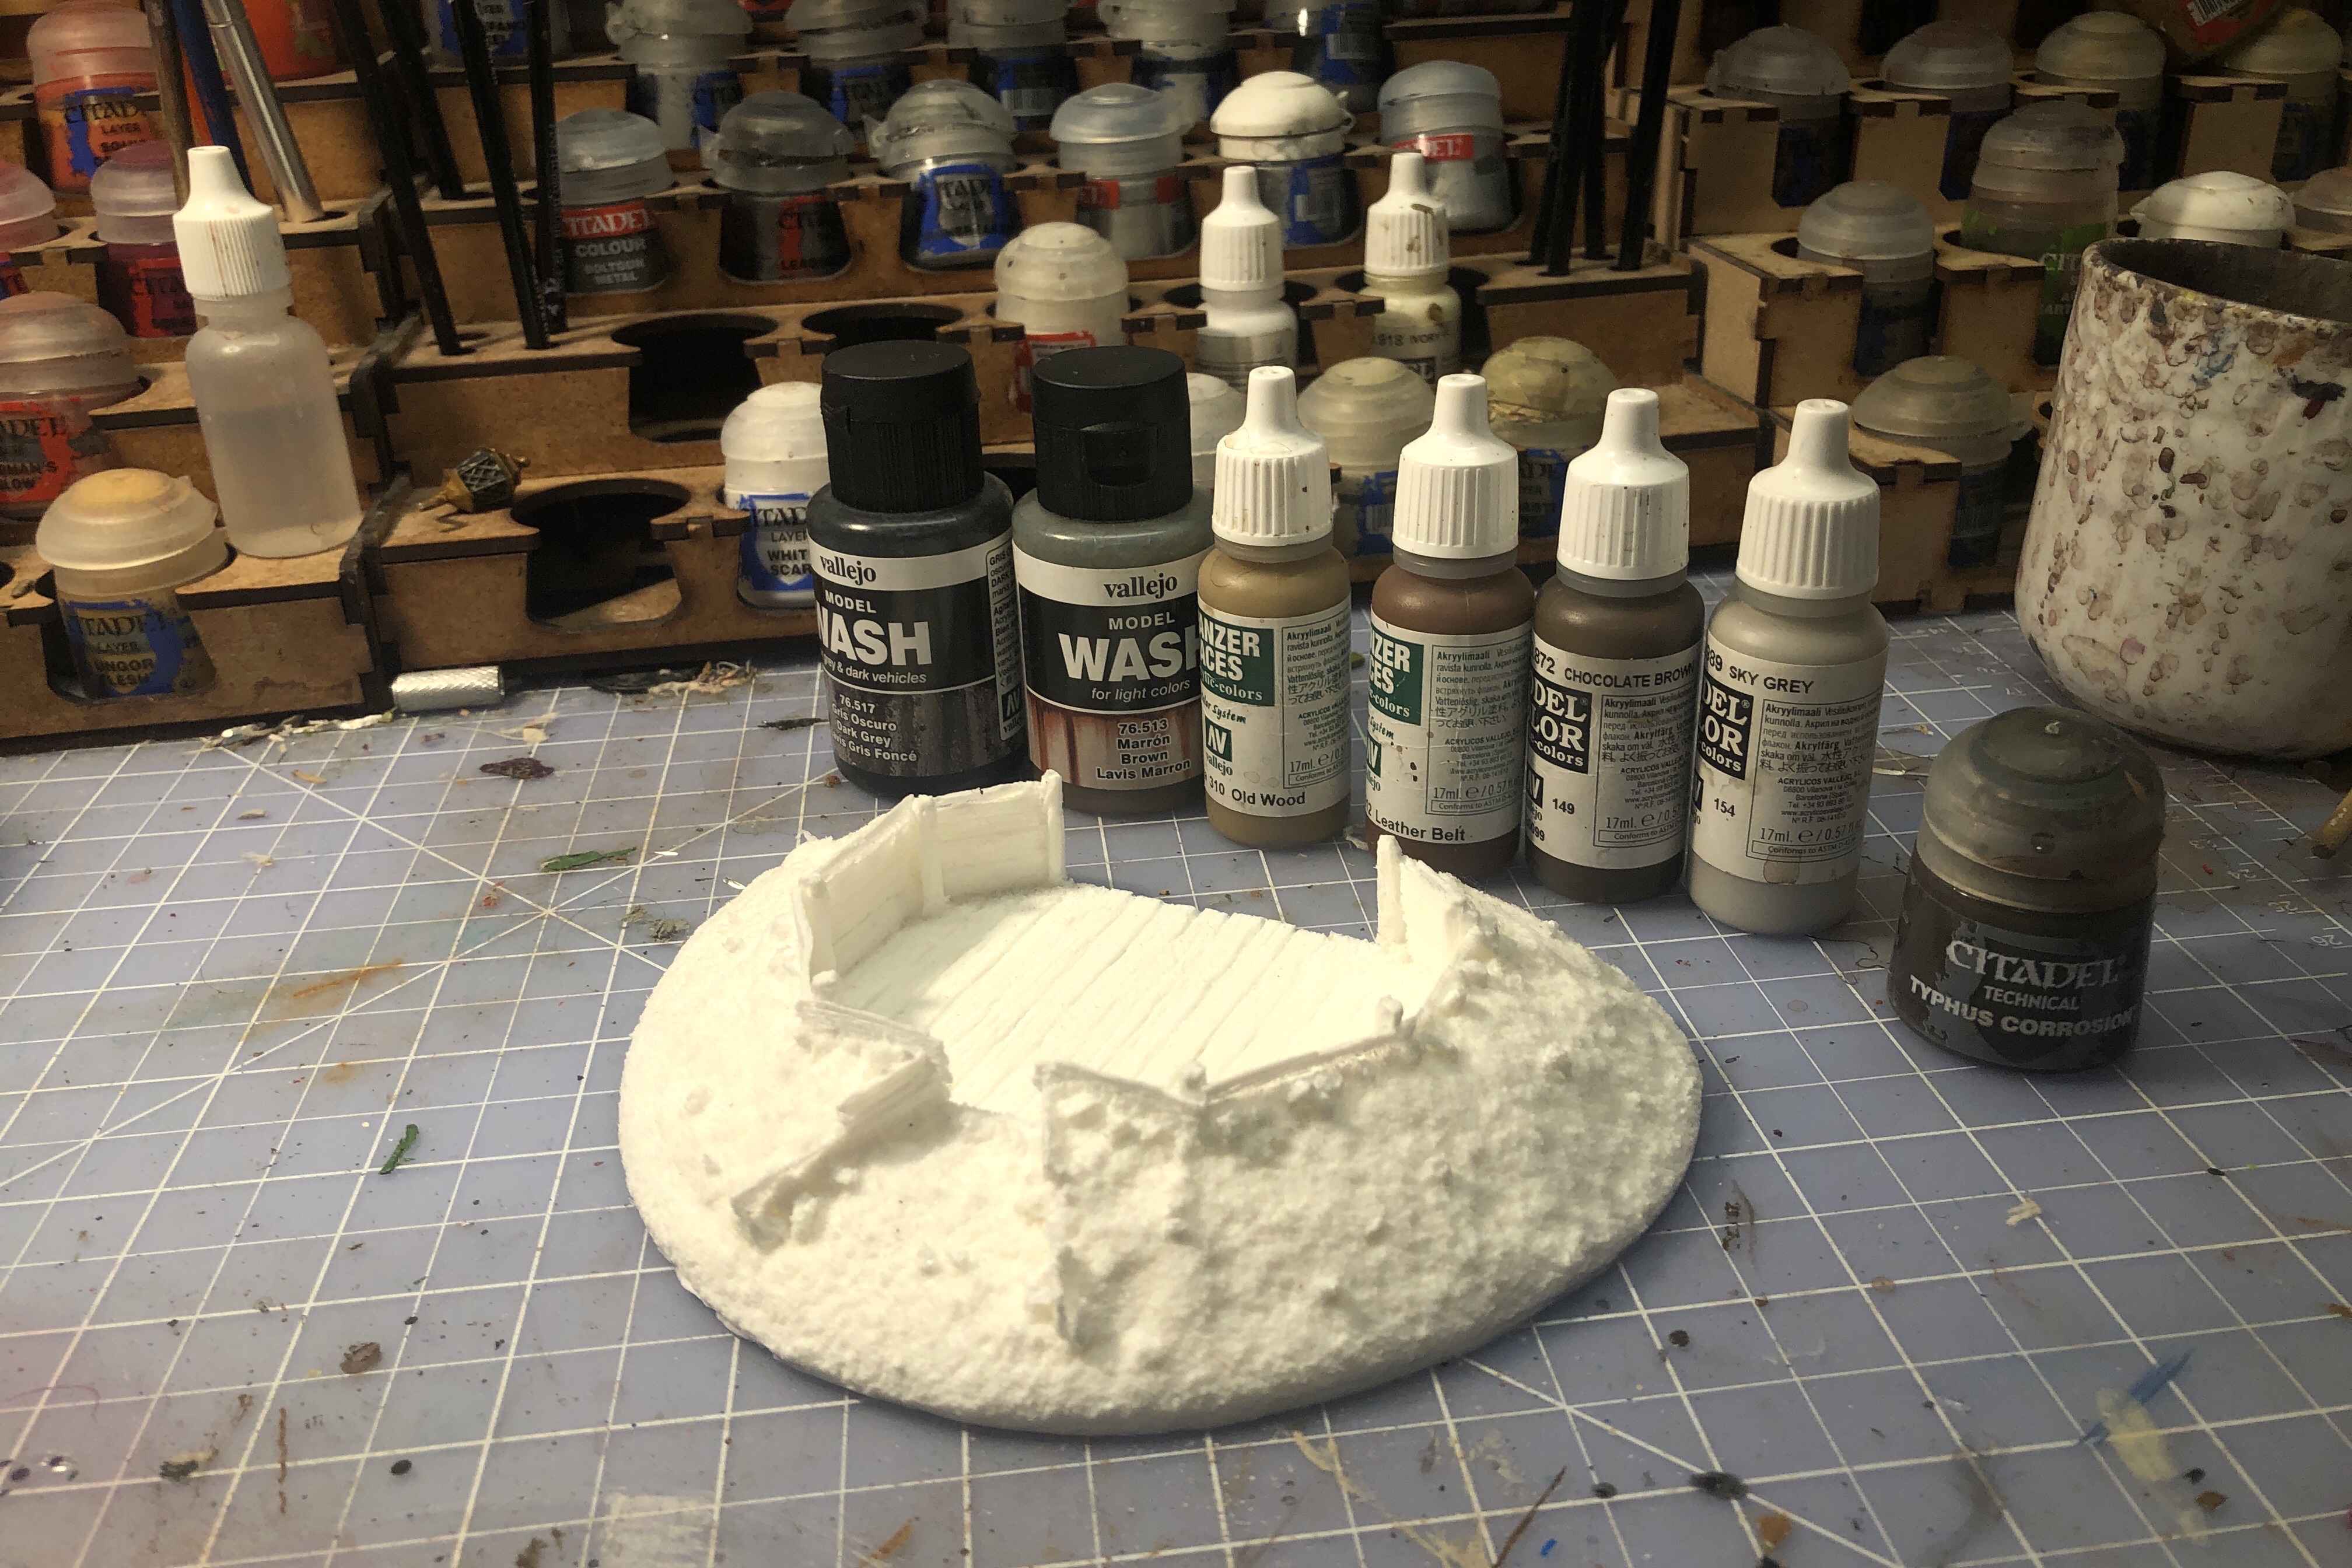
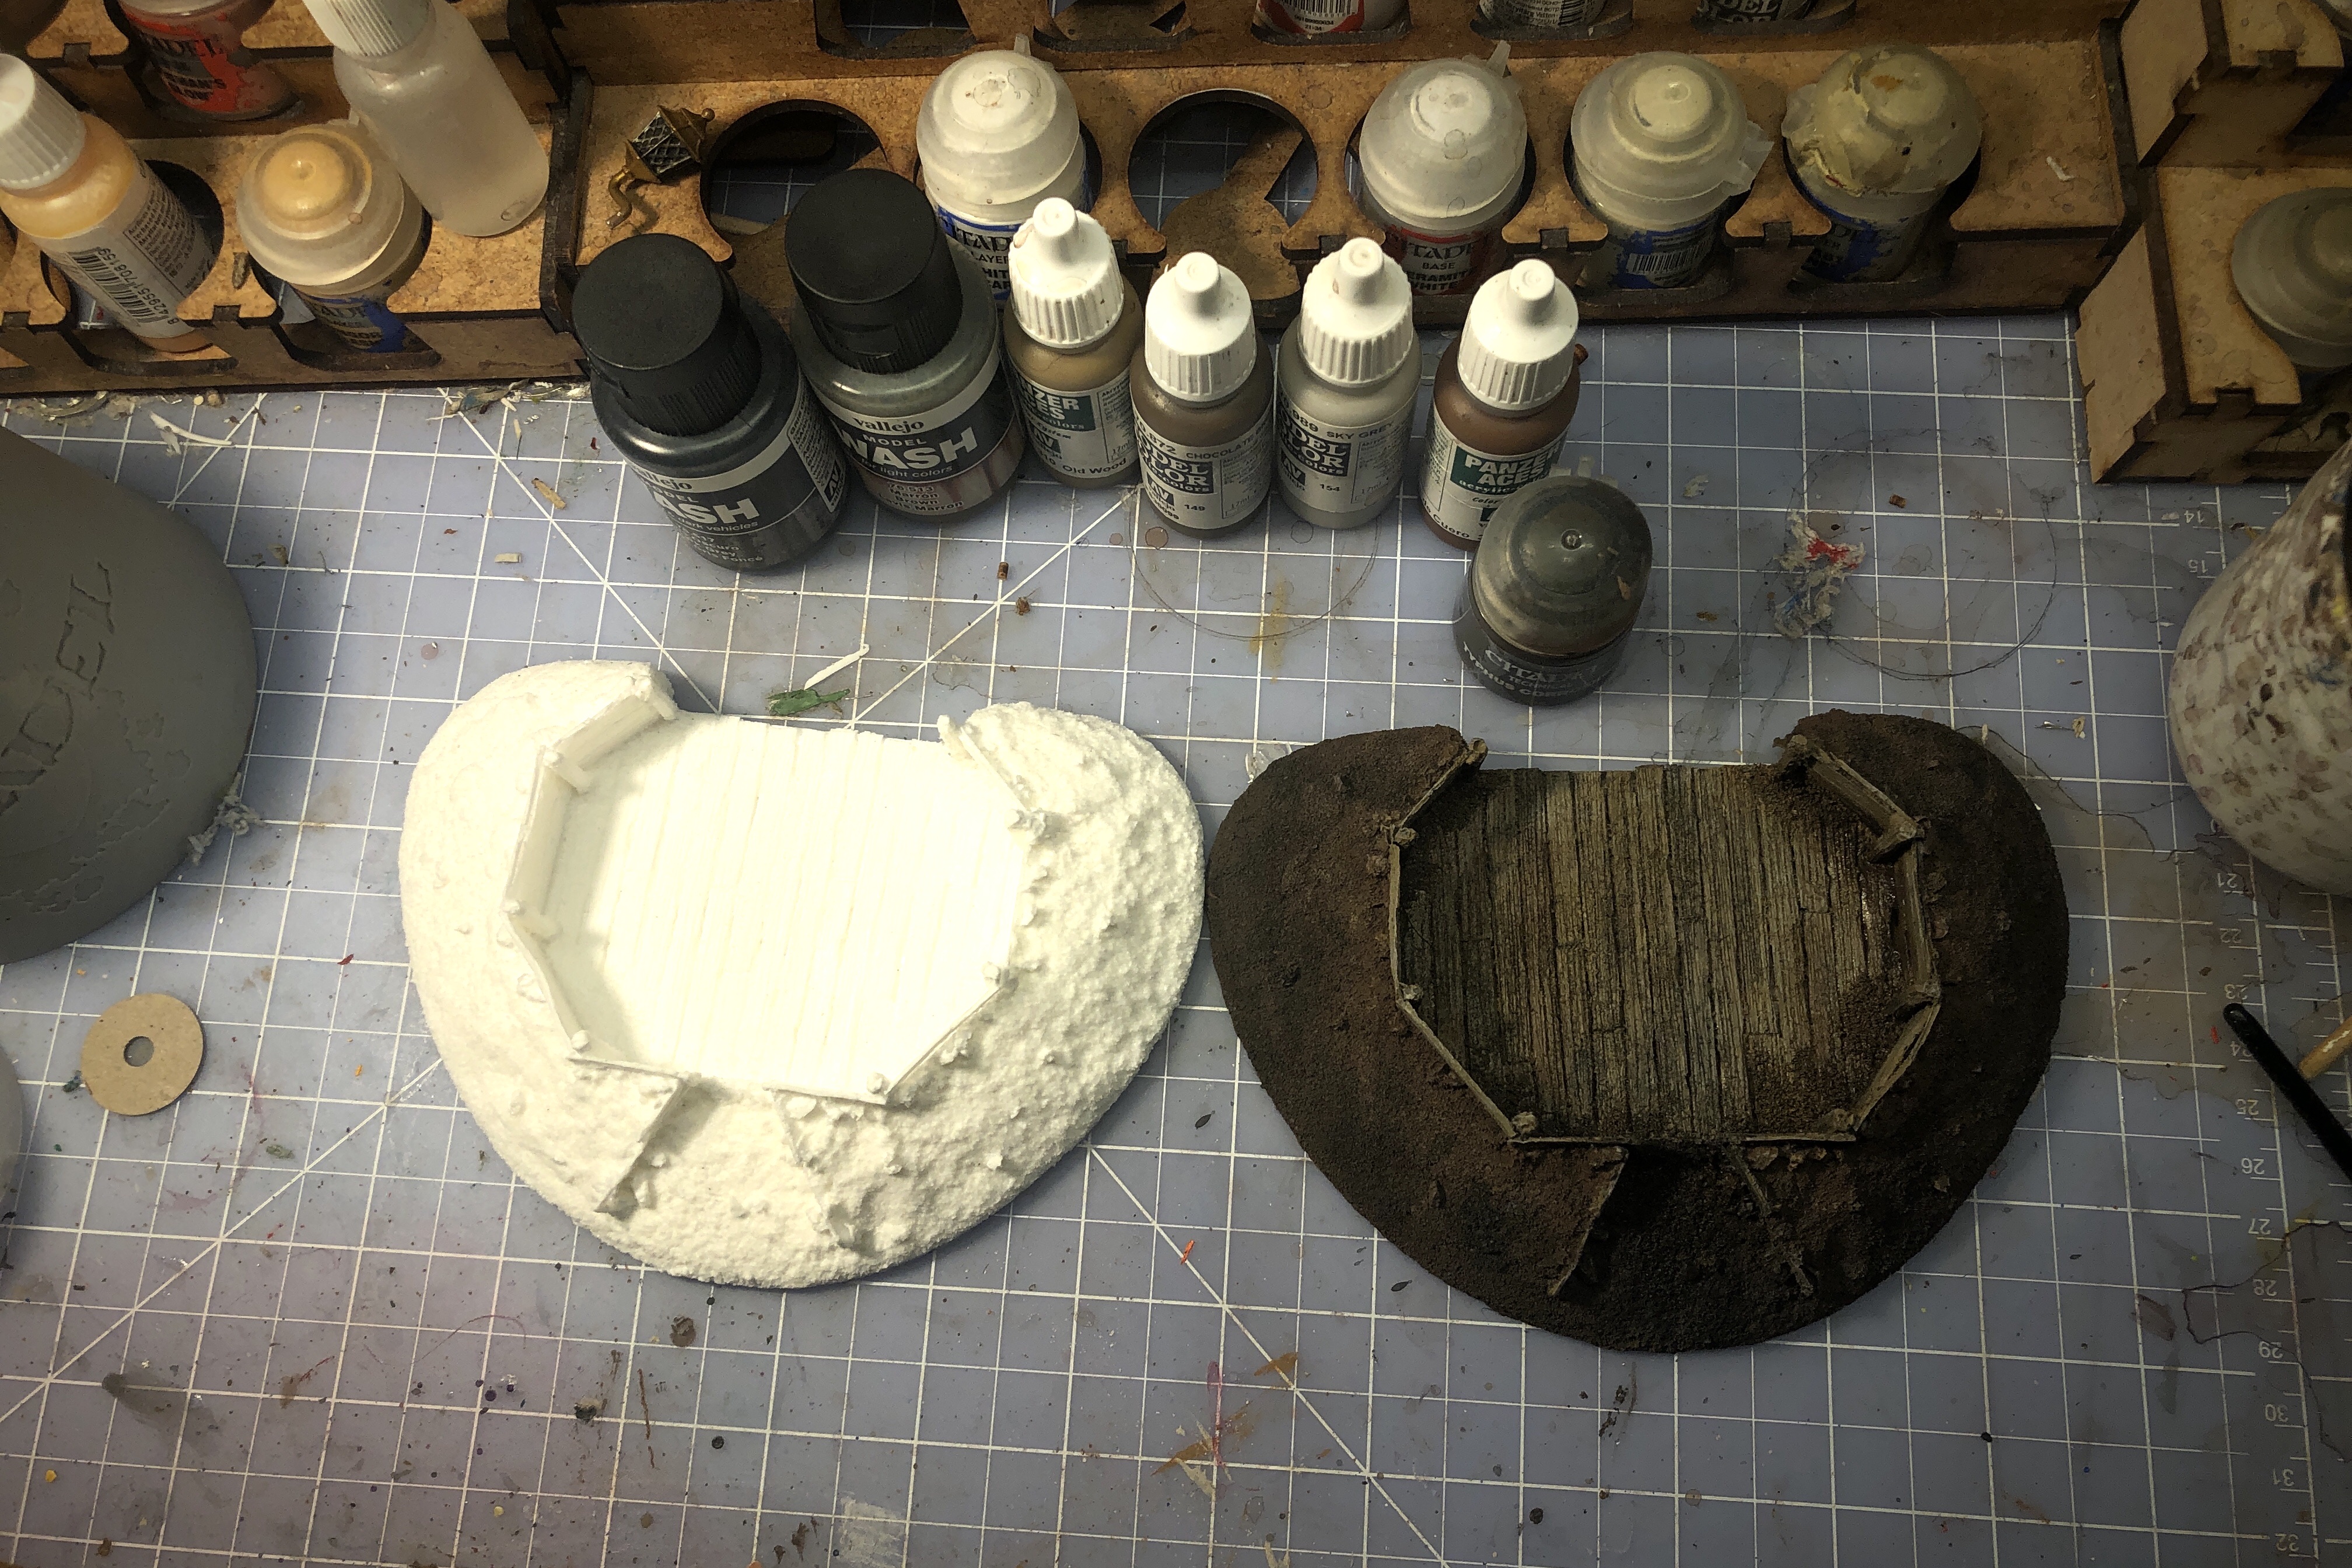
Step 1 – Prep and Prime
Like I said, there really wasn’t any prep work to do so I just spray primed it in Army Painter Uniform Grey. It would probably be smarter to prime it in a brown but Grey is my go-to and I didn’t think it through very well.
Priming was a little tough because the whole piece is so deeply textured it’s hard to get all the recesses covered so there’s no white showing through. I got it covered well with a couple of coats sprayed from different angles.
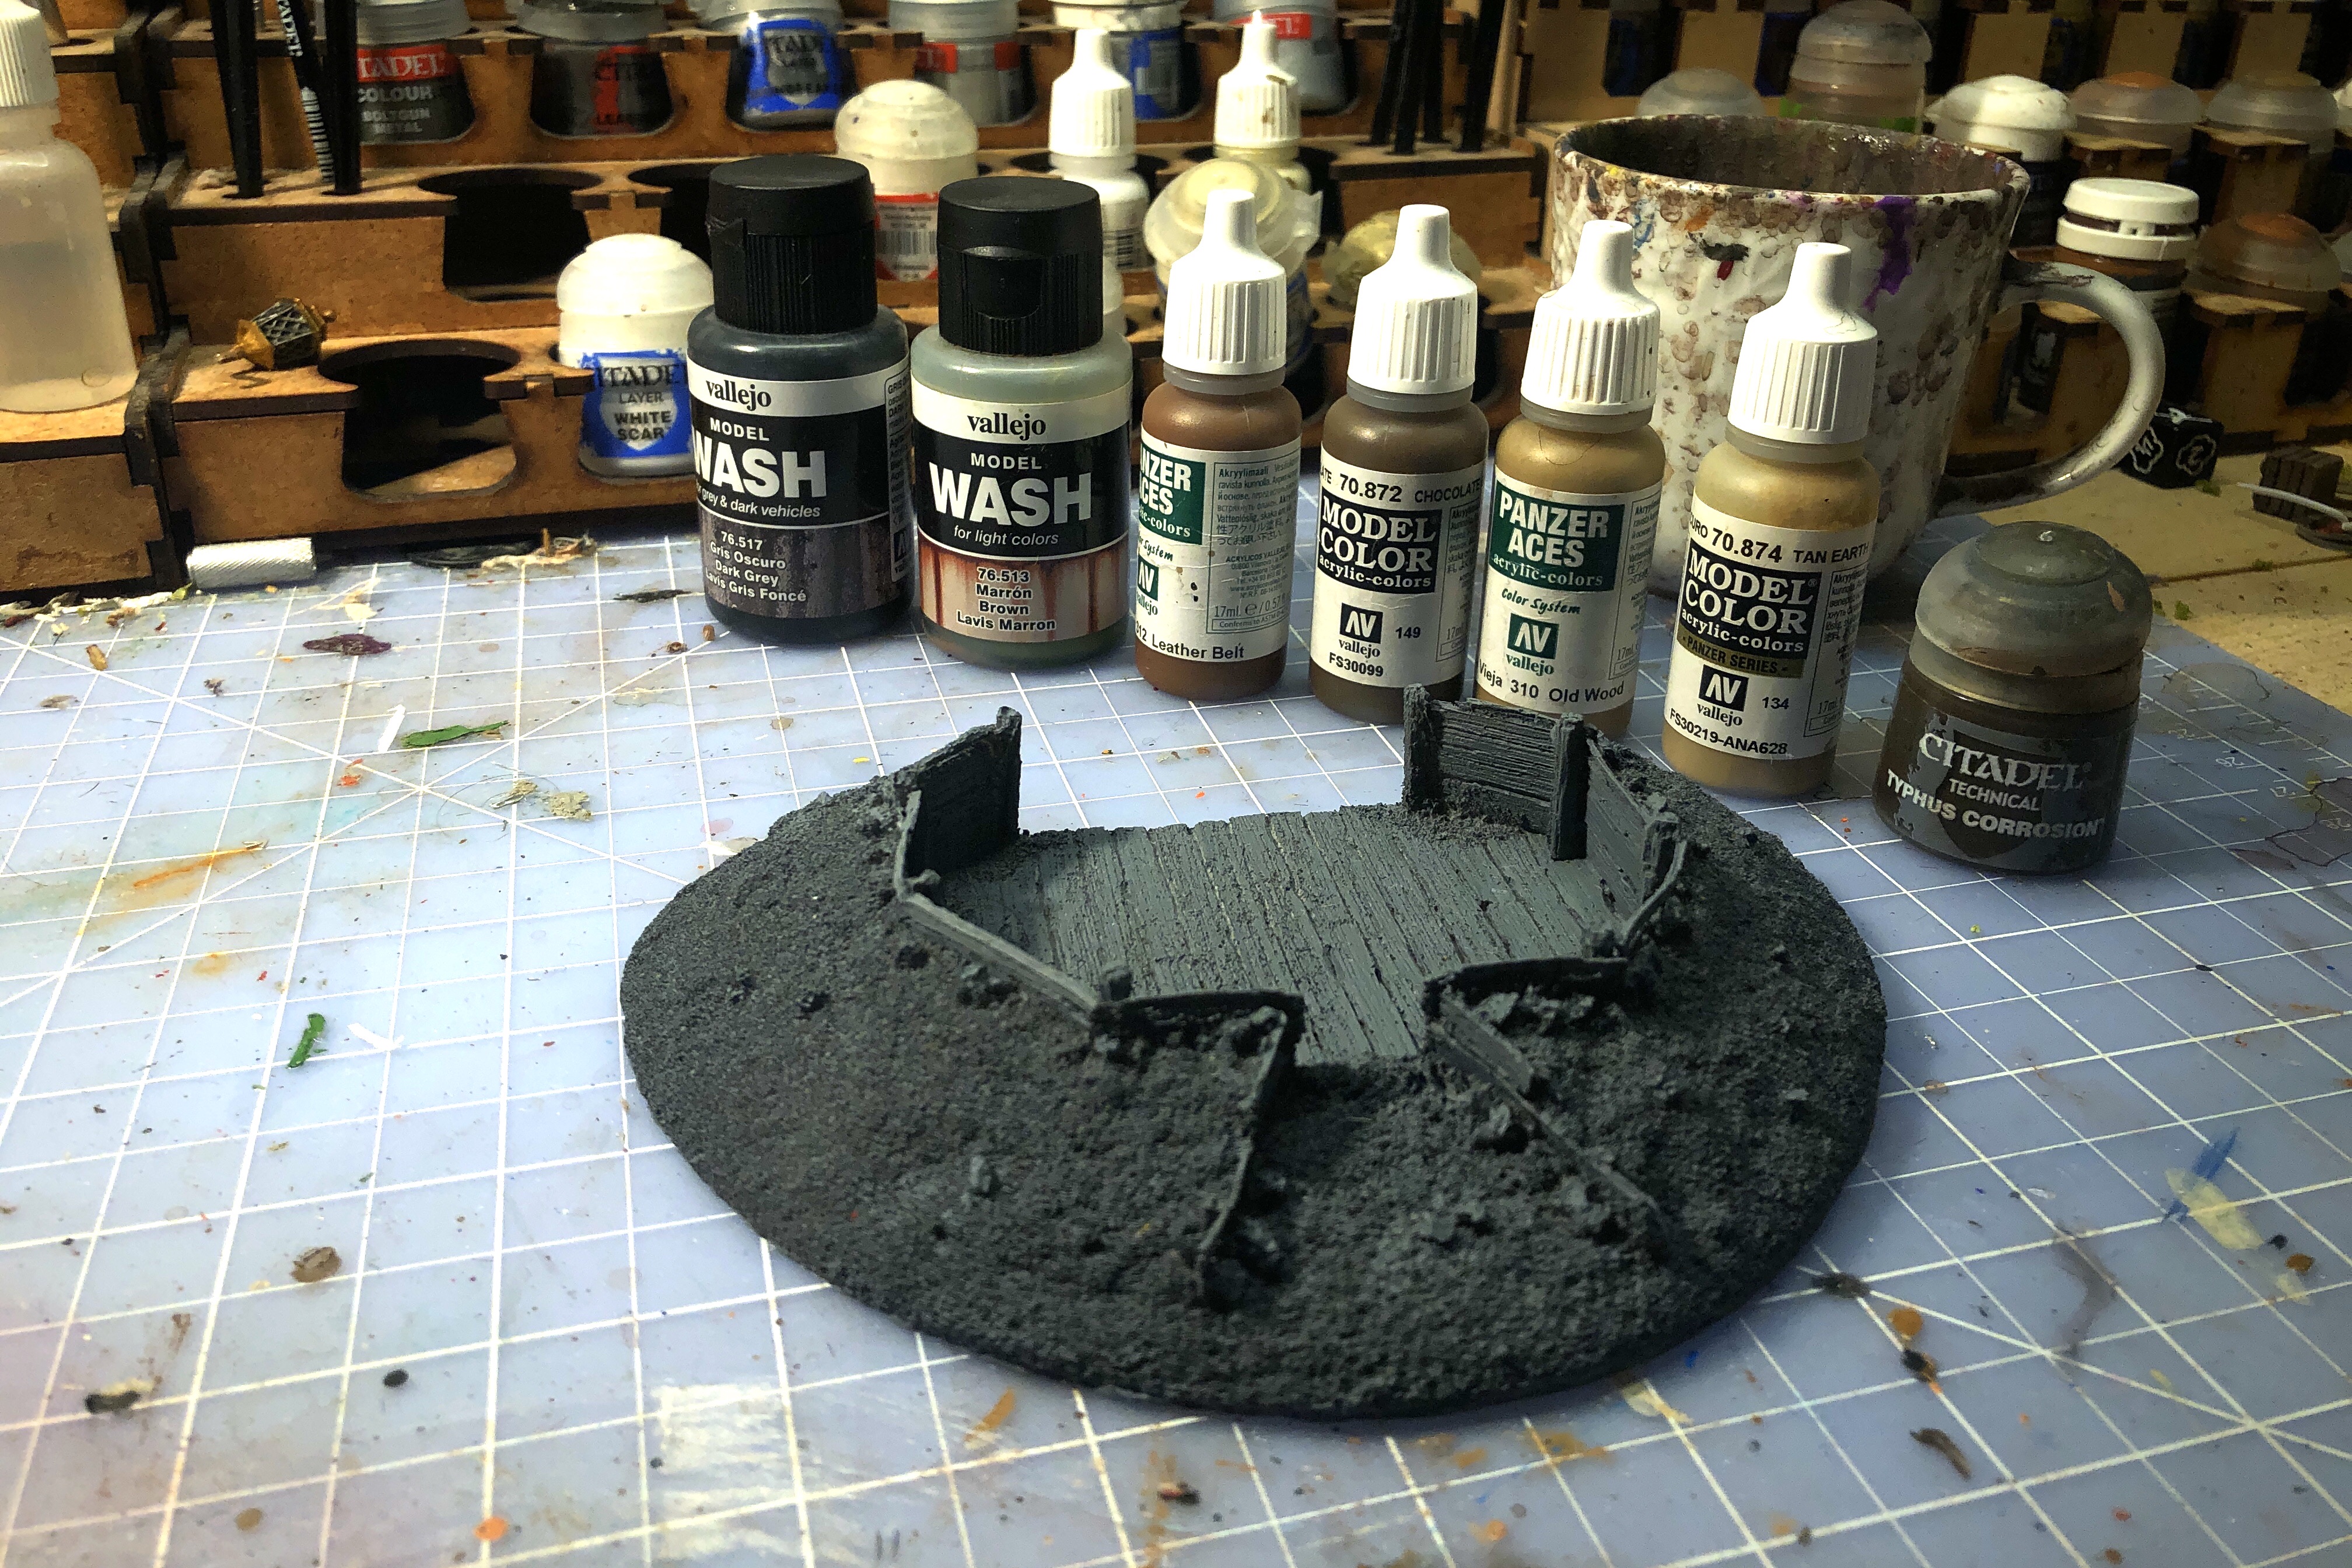
Step 2 – Base Colors
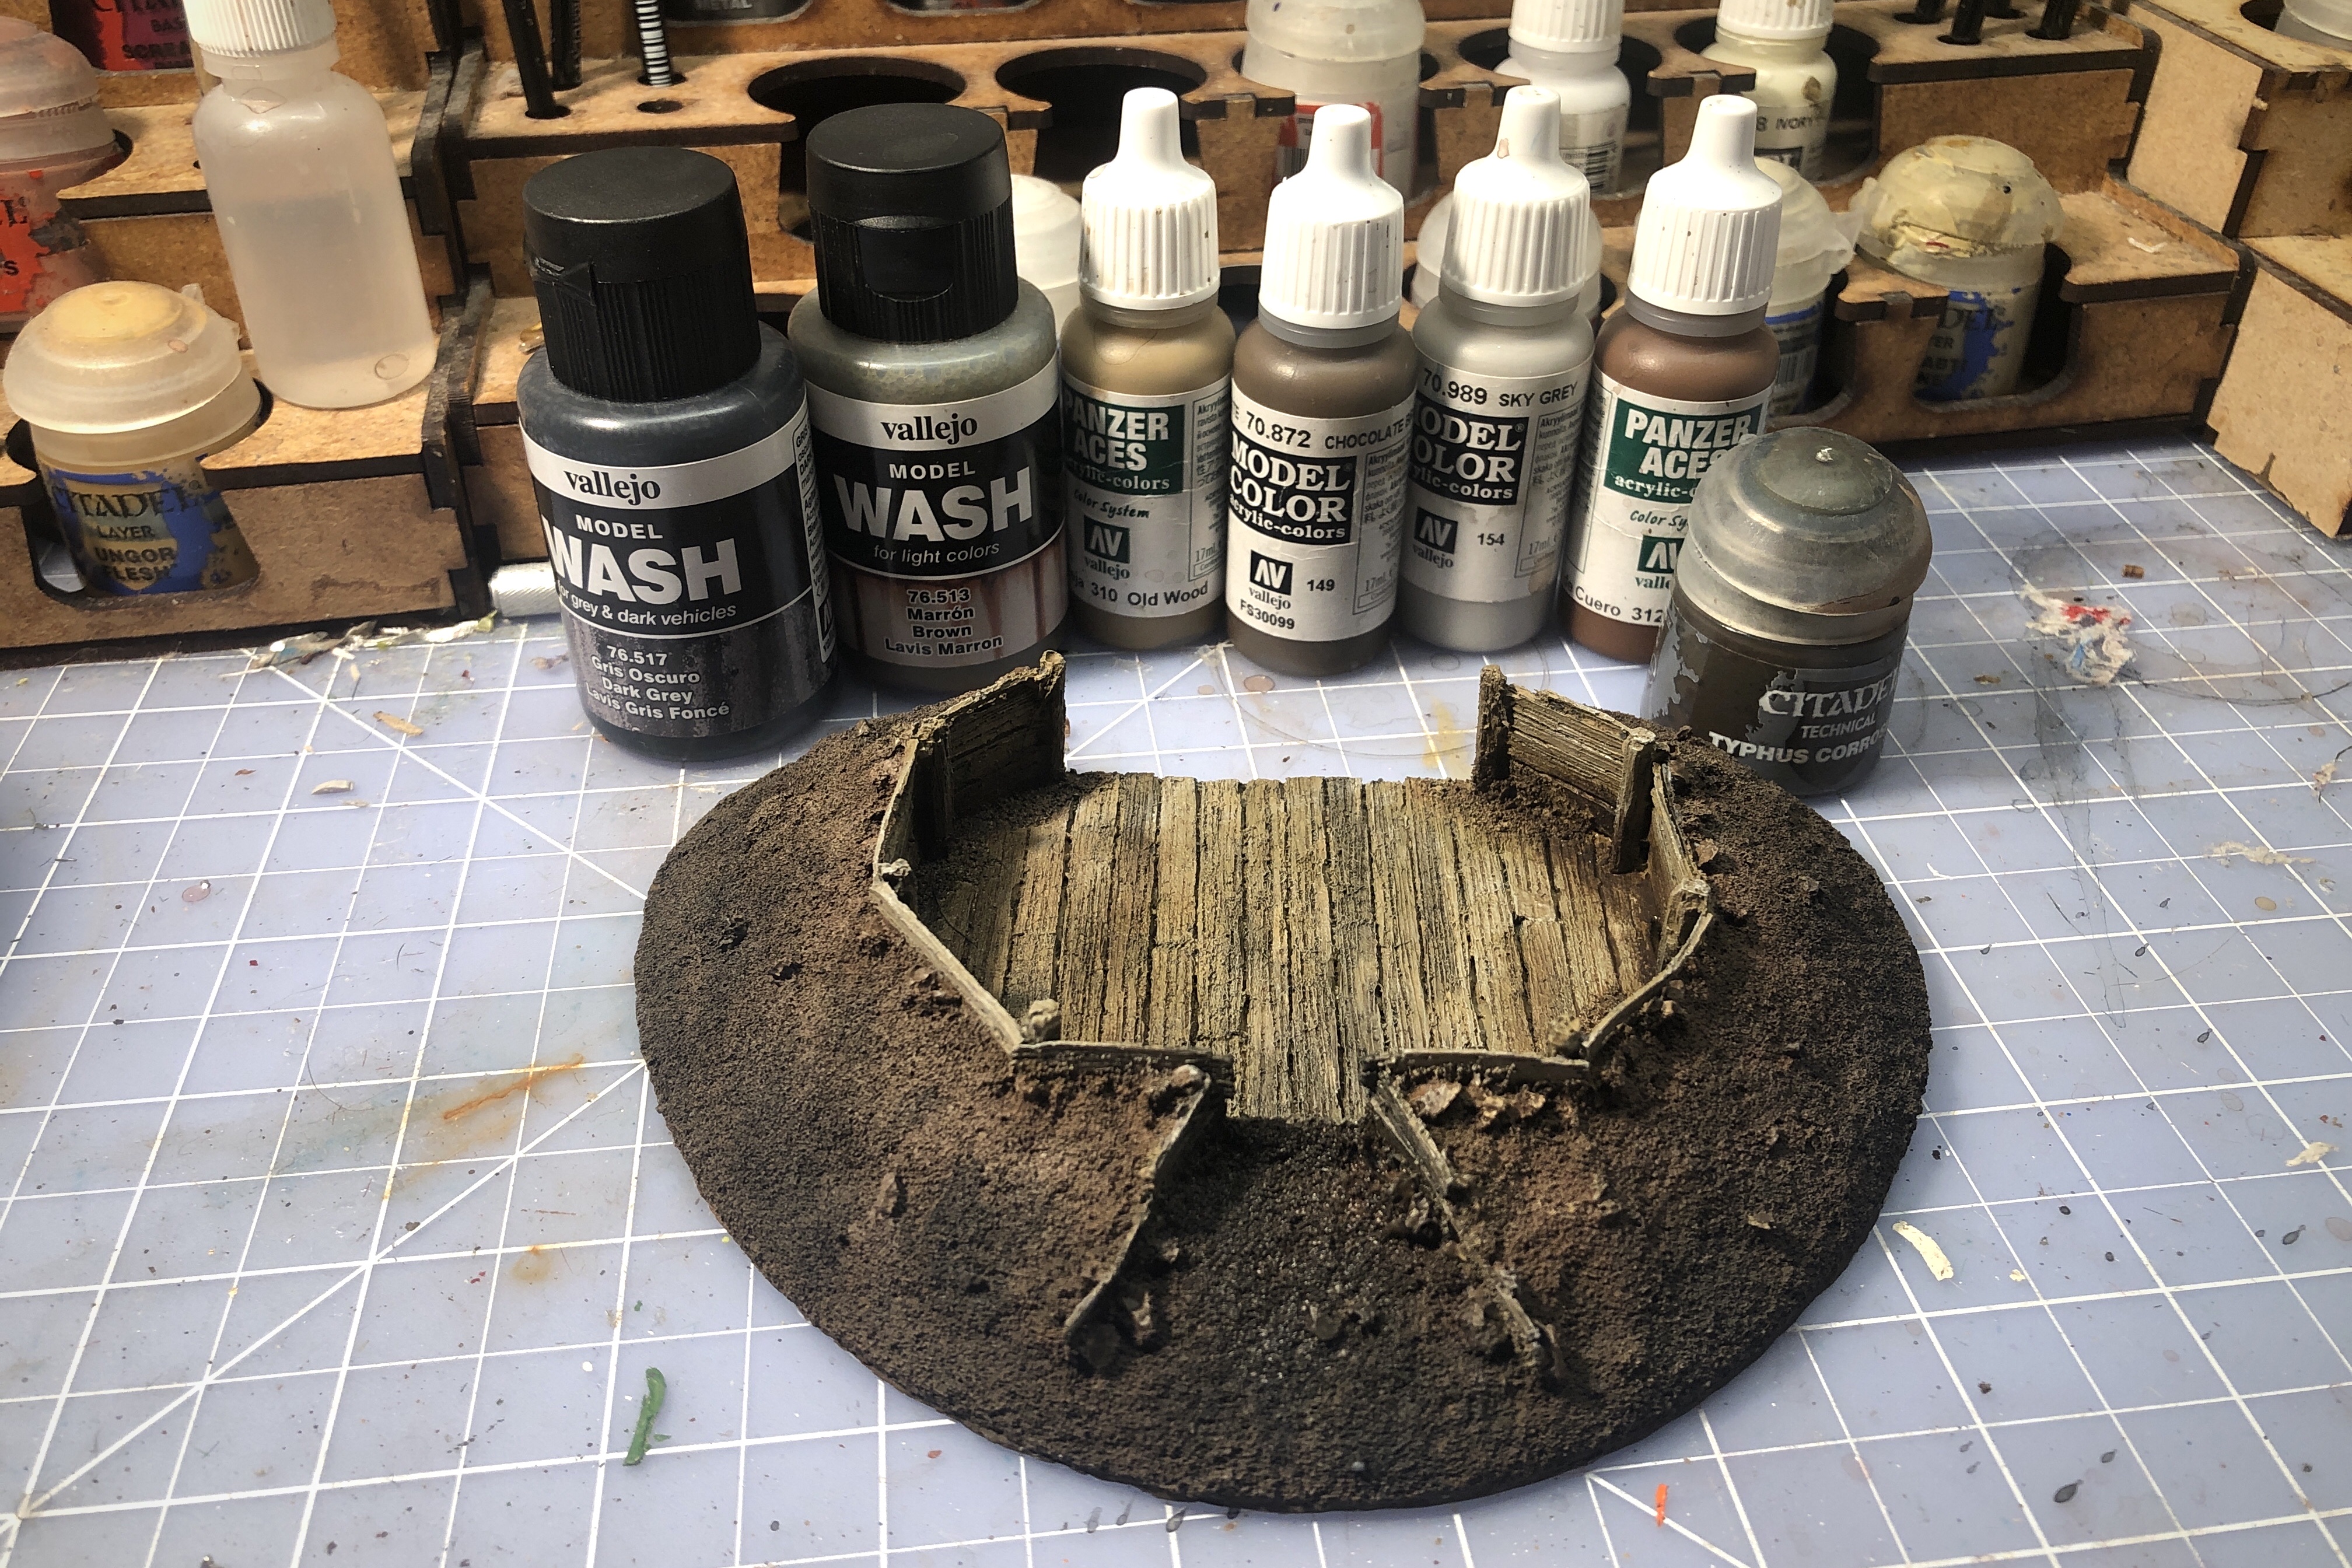
I’m trying to keep this simple so I’m sticking to no more than 7 paint products. And I’m trying to use (nearly) all Vallejo paints for this project.

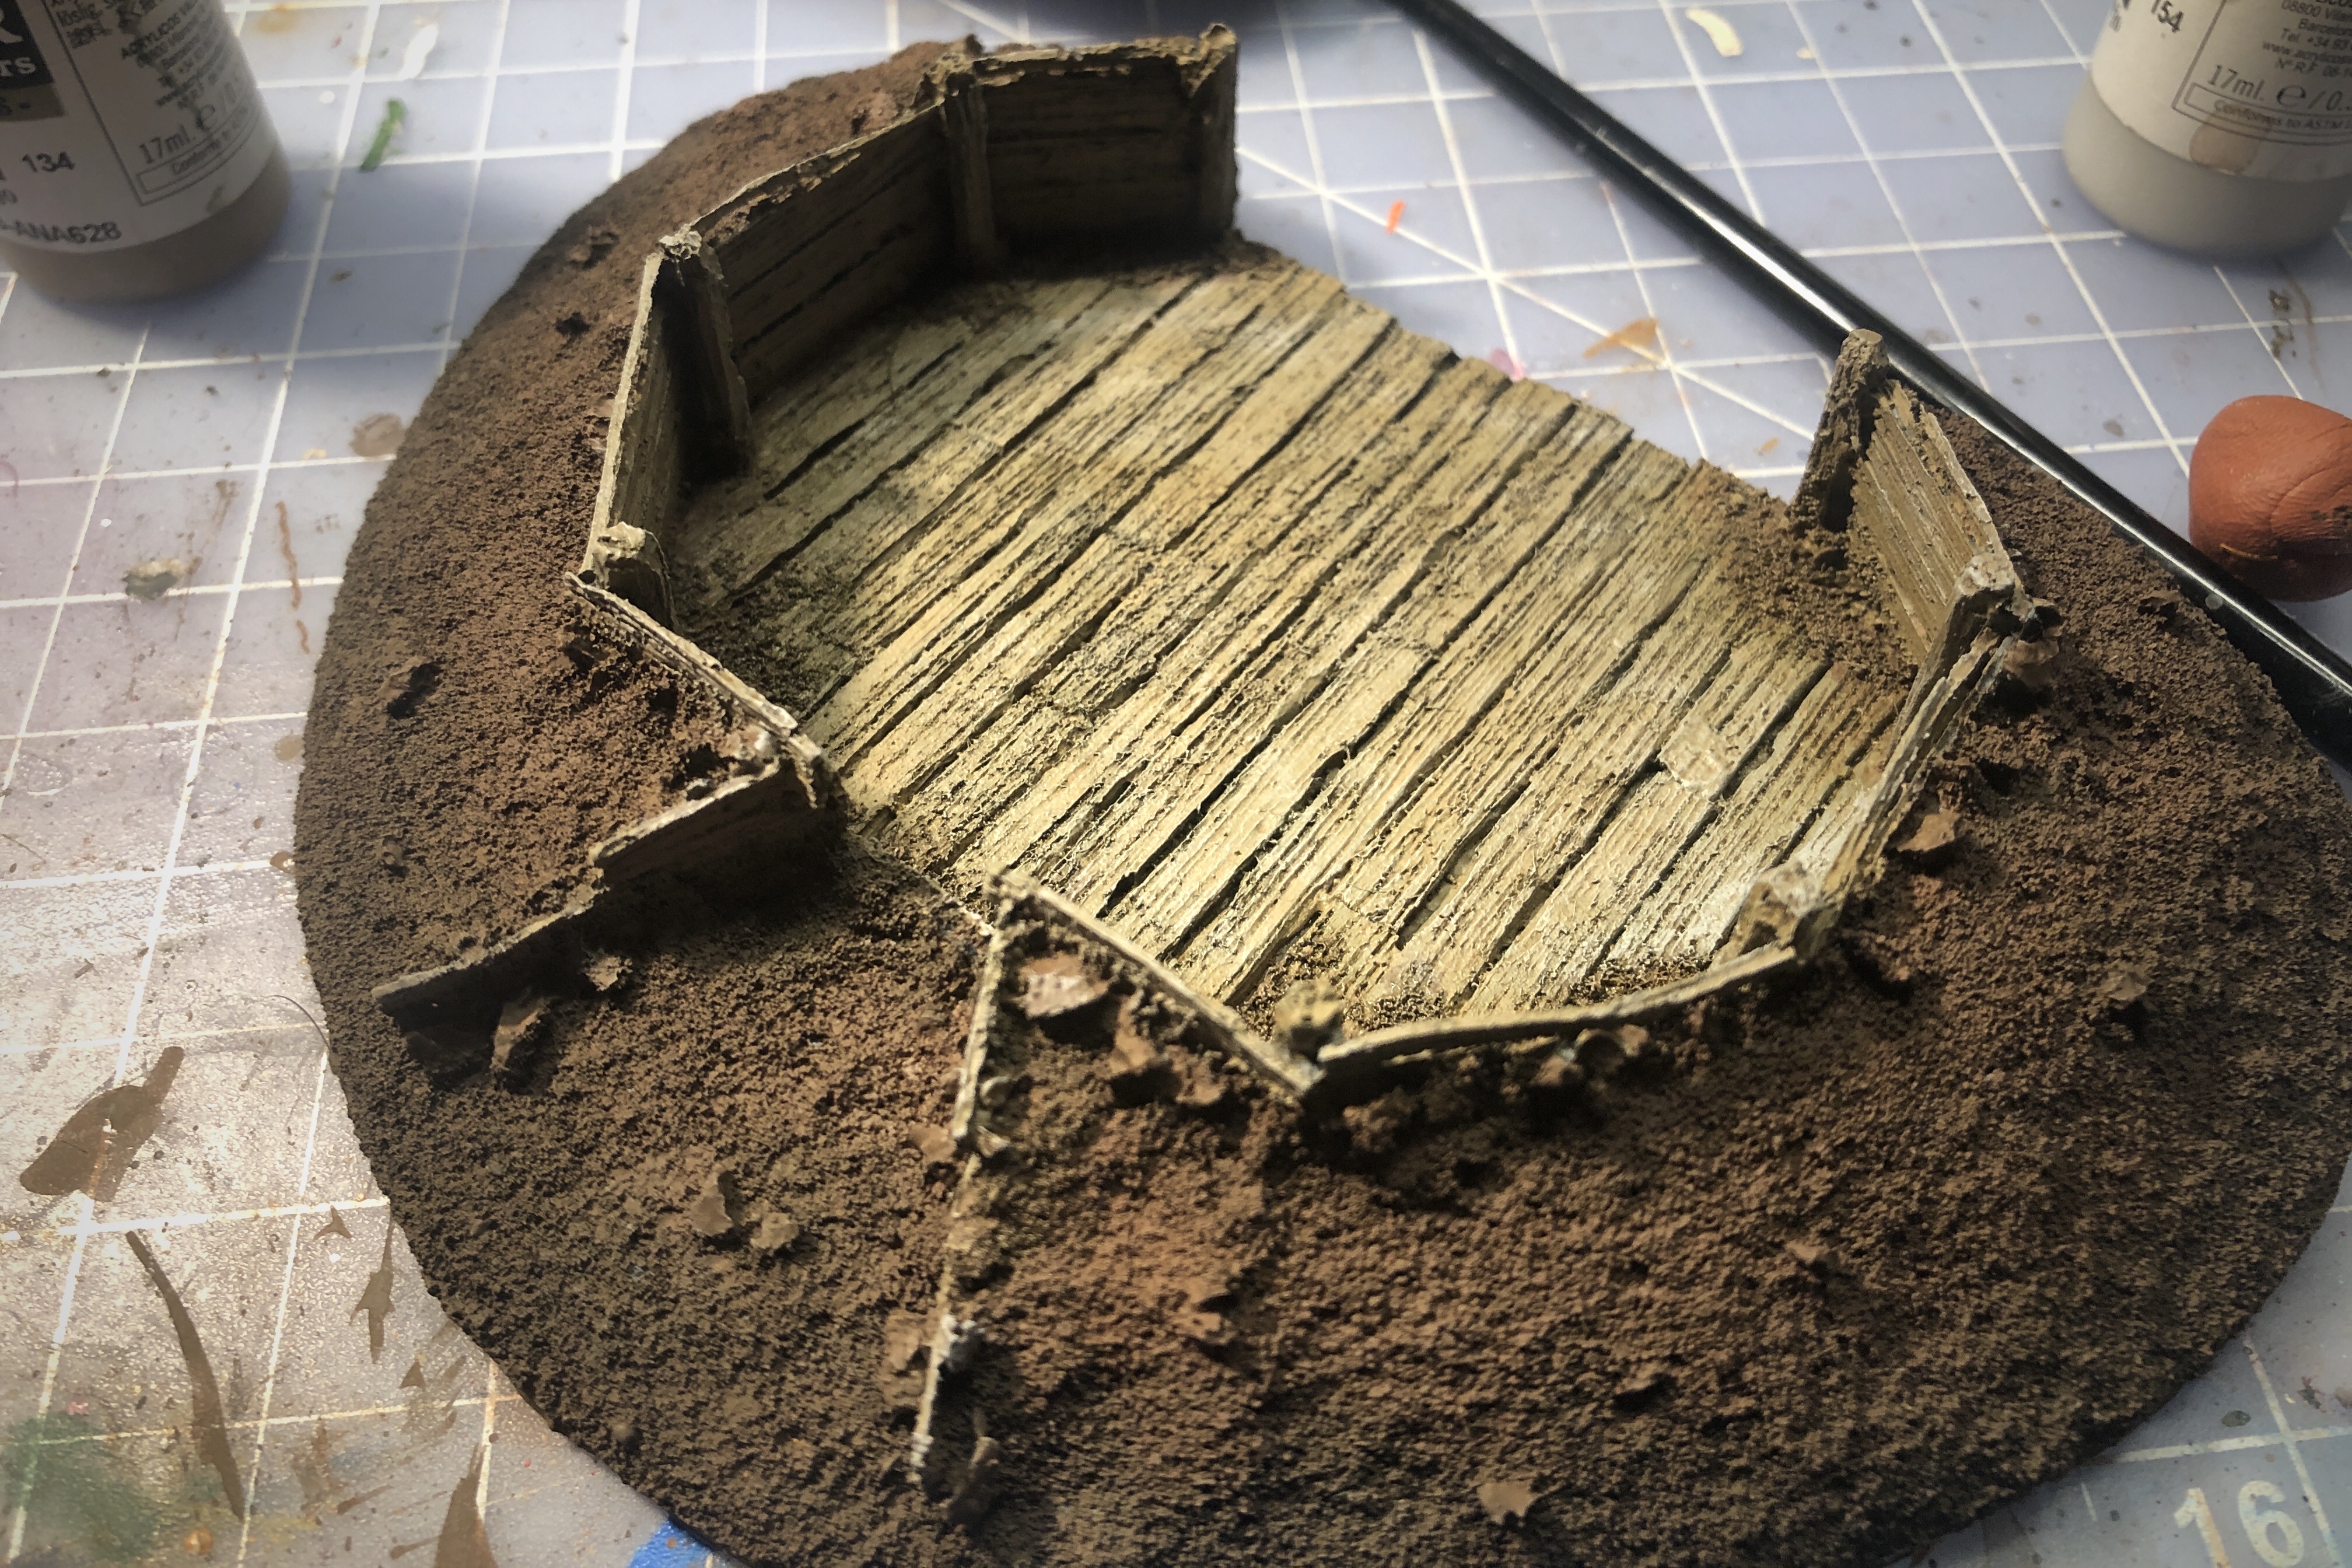
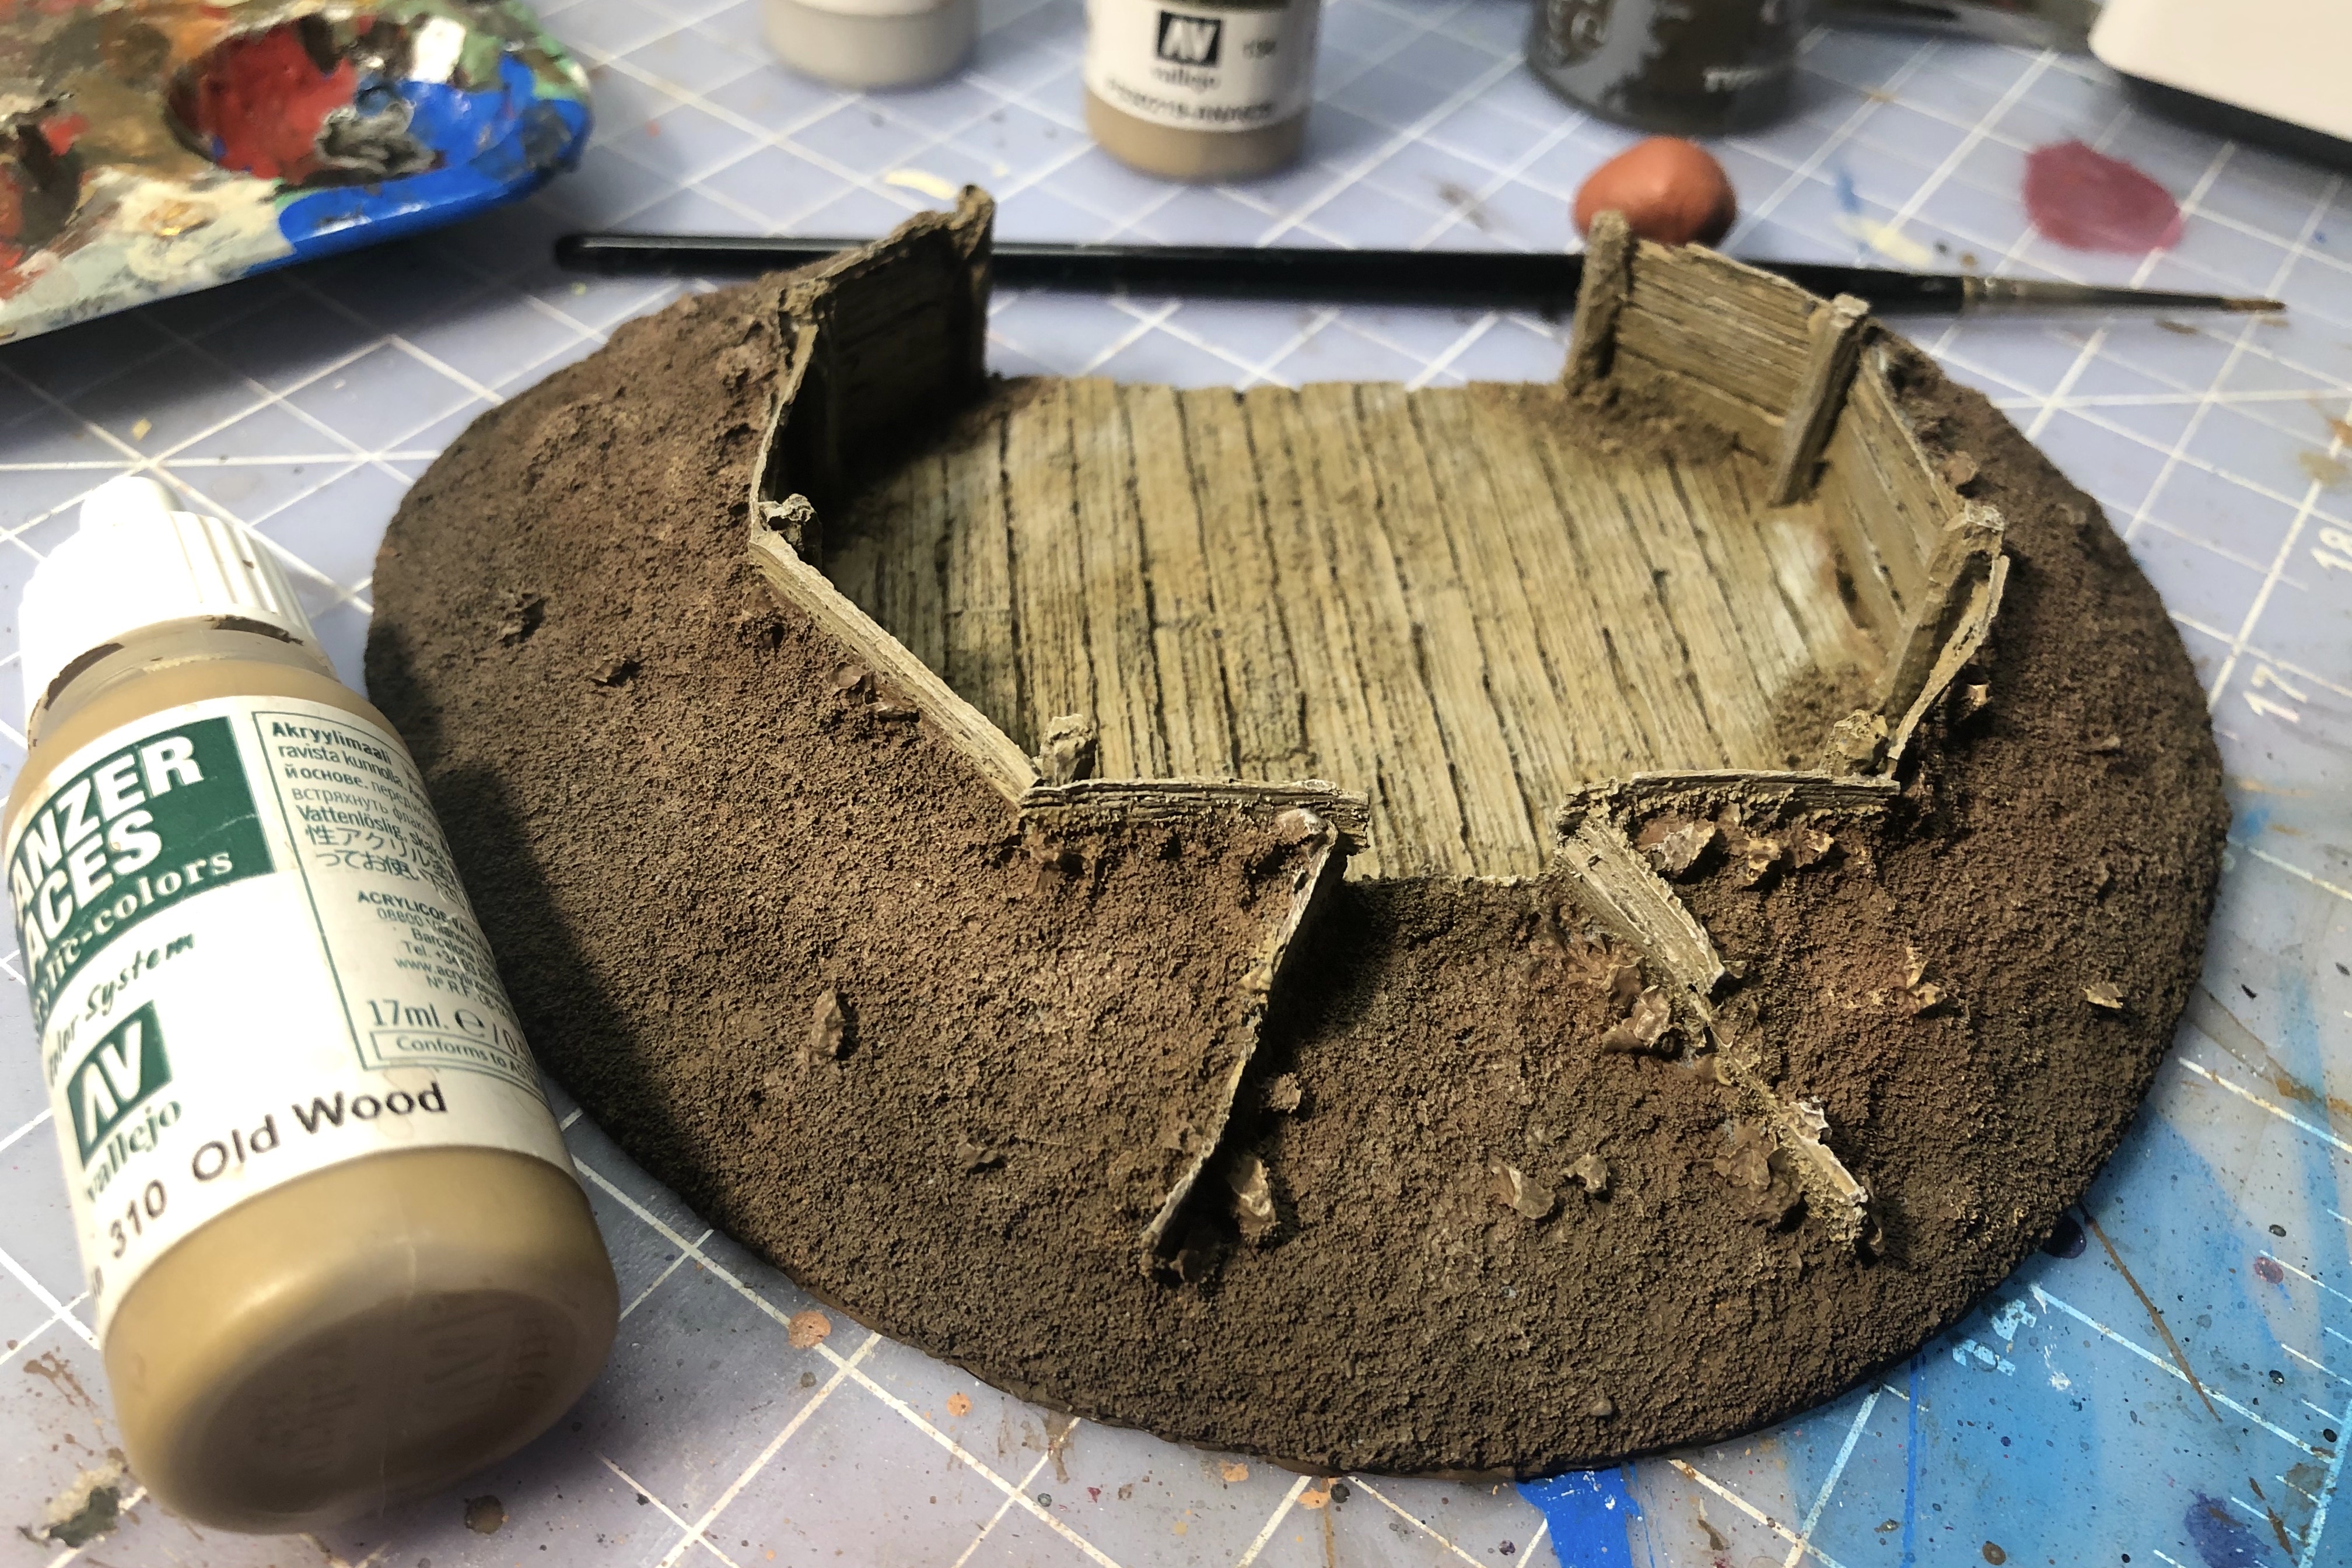
First I painted all the wood planks with Vallejo Old Wood from the Panzer Aces line.
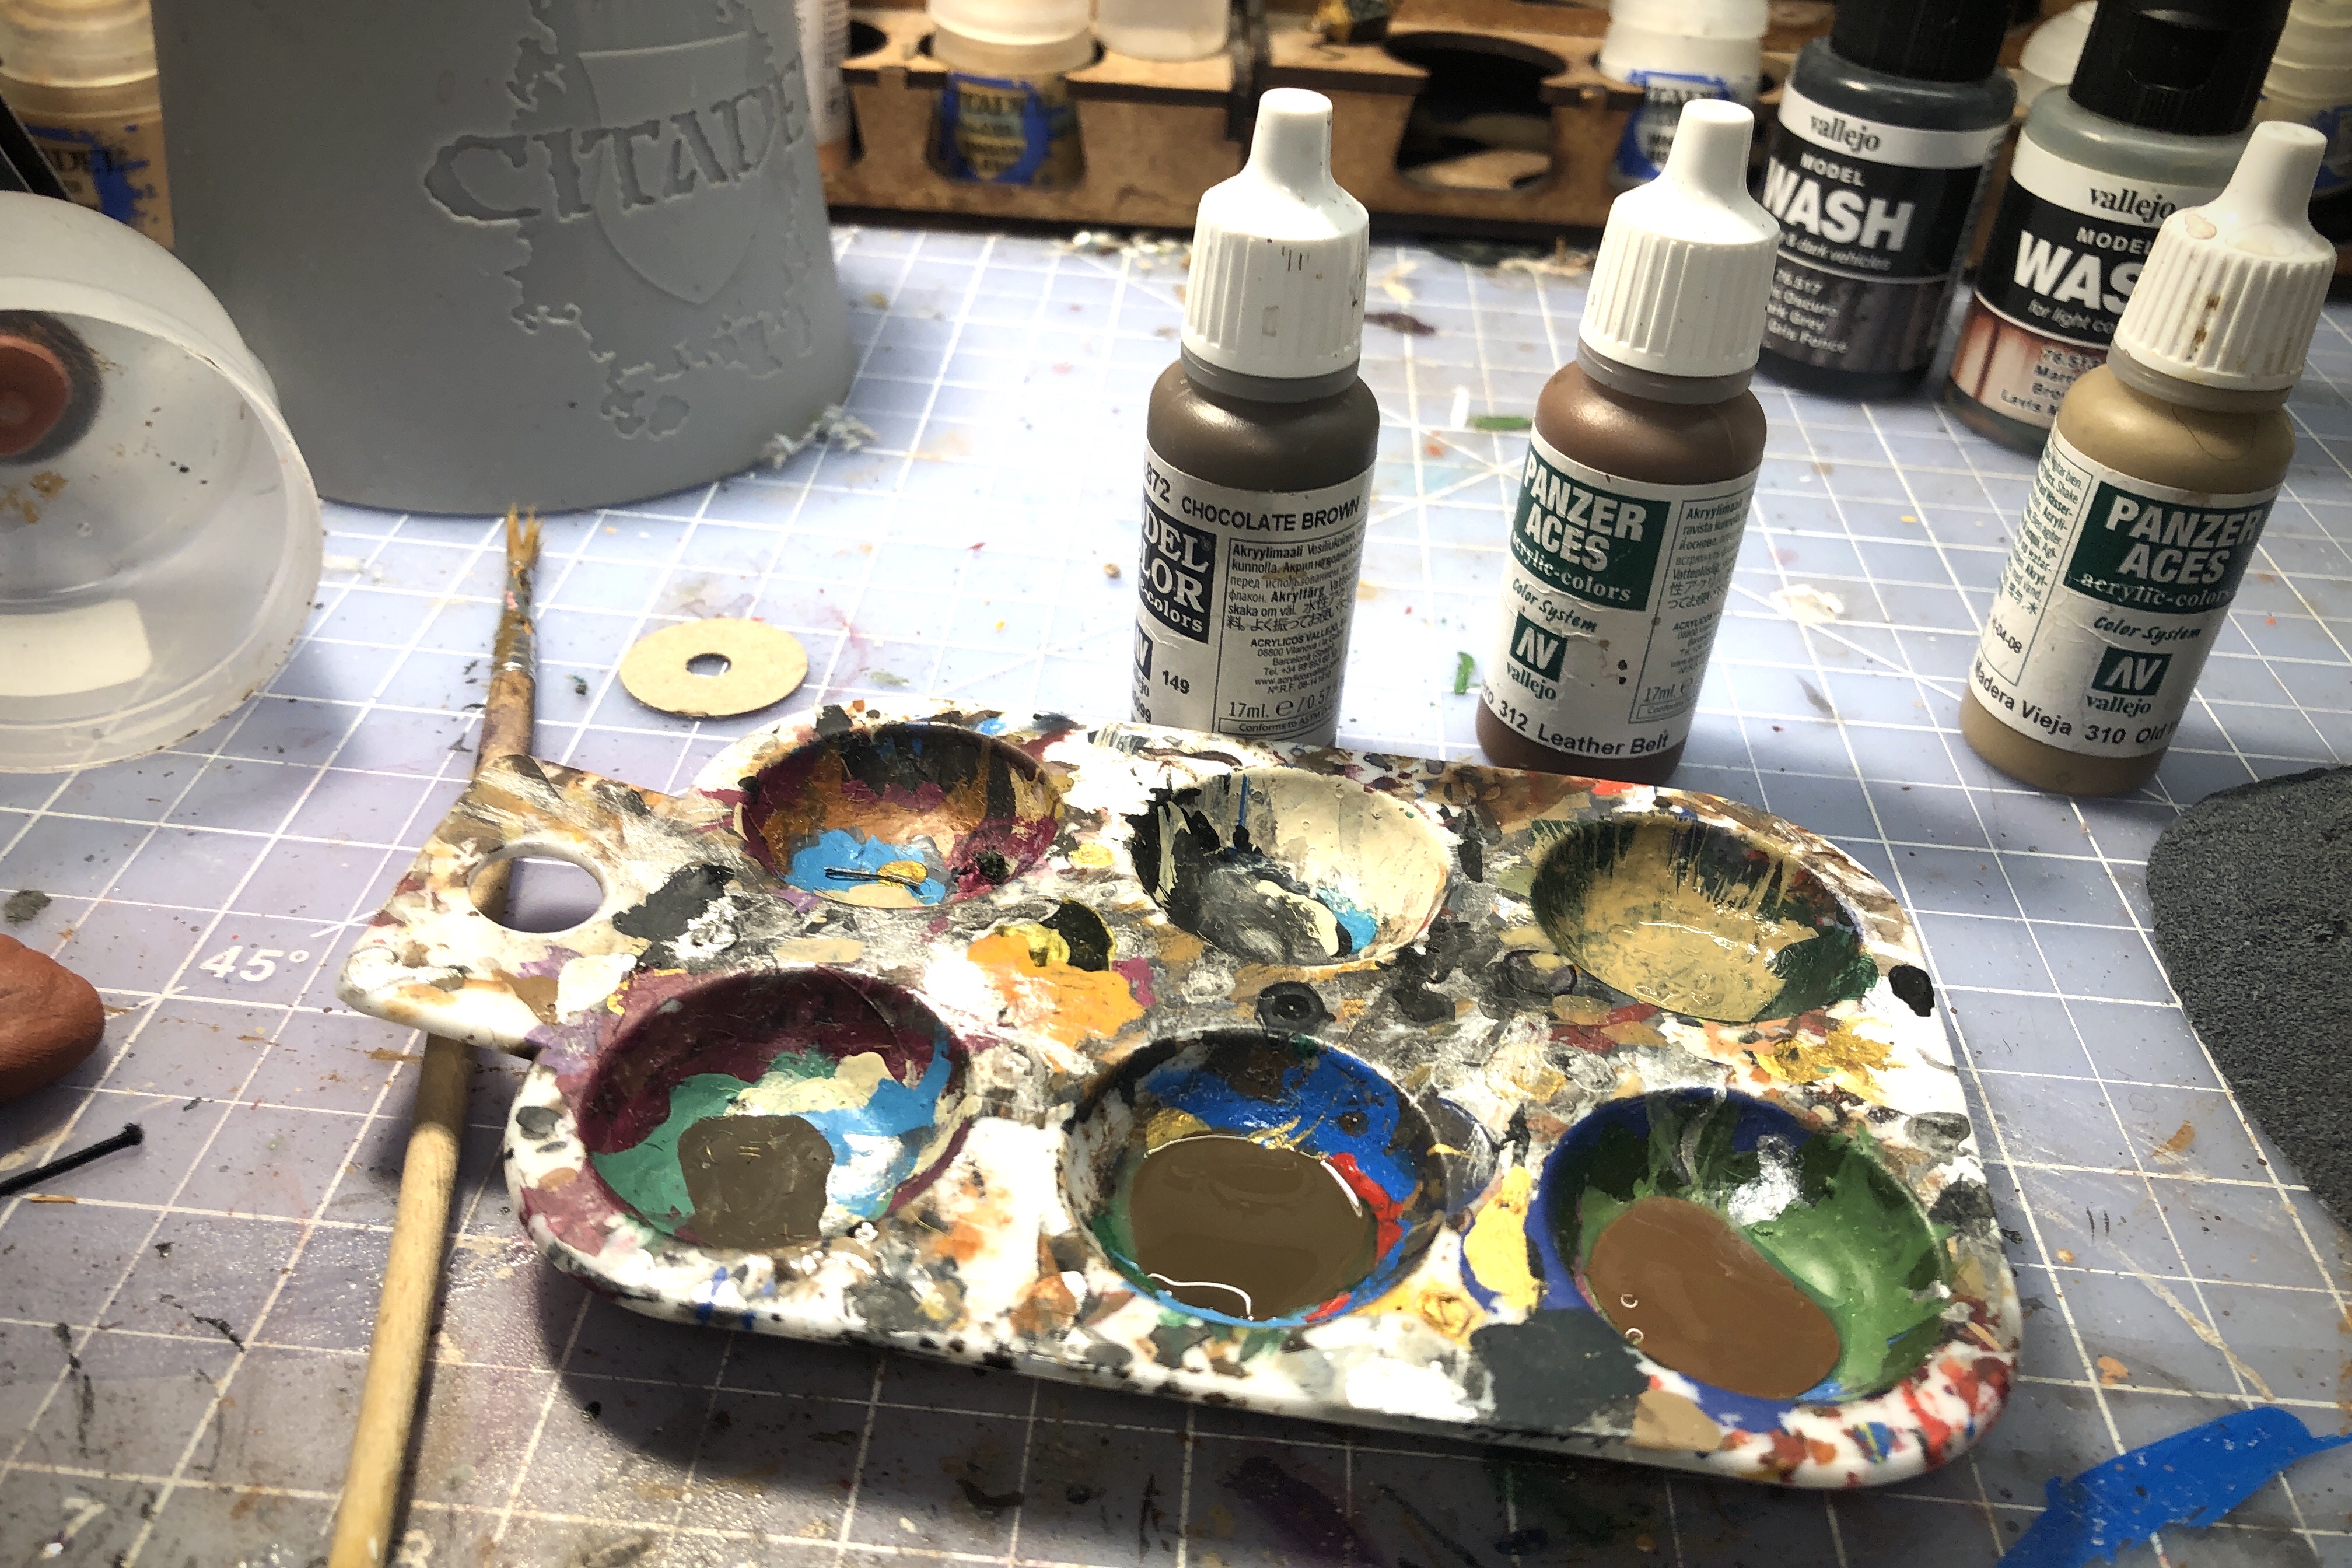
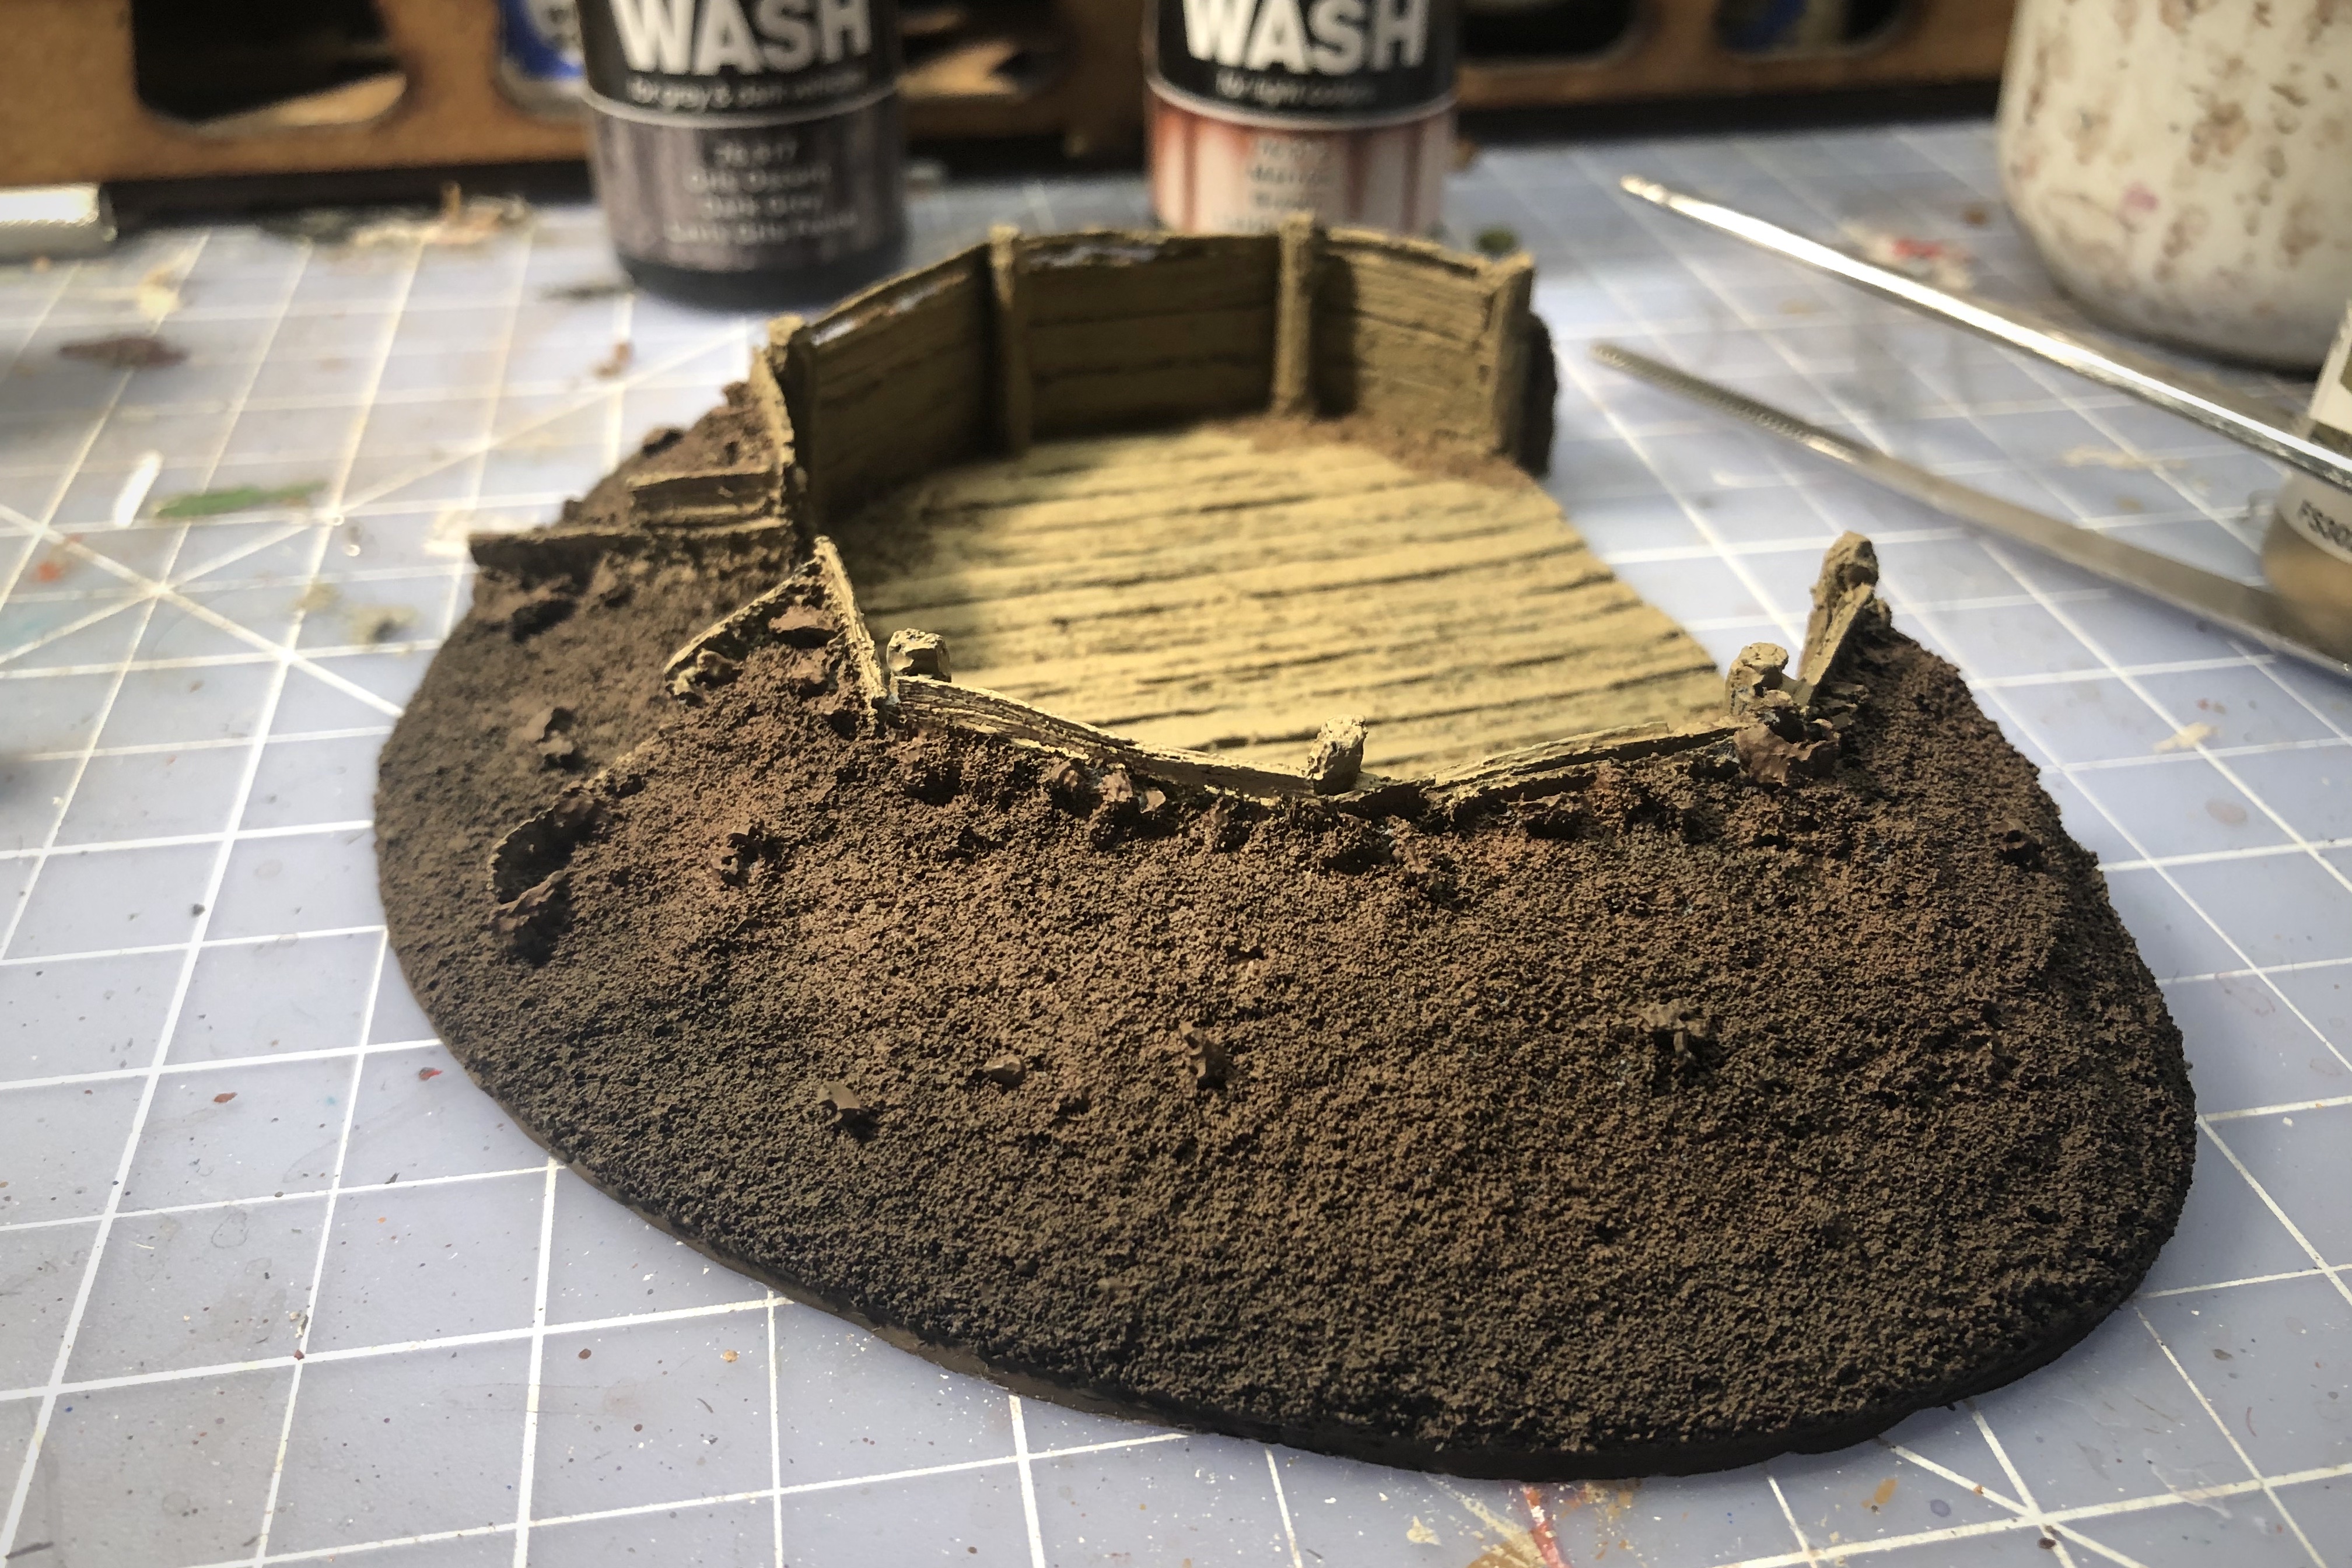
Next I painted all the dirt and here I used a wet blending technique to give the large areas of dirt some variety and interest.
I put generous portions of Chocolate Brown and Leather Brown in their own paint wells and thinned both with a good brush full of water.

Then, using one fairly large brush, I applied the Chocolate Brown to the lower half of the dirt and the Leather Brown to the upper half, blending the wet paint together where they meet.
I tried to make the line between the colors irregular and gradual.

I used more dark paint at the opening where the cannon would have been firing to reinforce some of the weathering ideas I will implement later.
I had to thin the paint a lot to get it watery enough to fill in all the deep texture but it dried perfectly.

Now the lower half of the dirt looks wetter while the upper half looks dry.
Before moving on to weathering I used my dirt colors to paint the areas in the fortification that have the same dirt texture.
Step 3 – Shades and Weathering
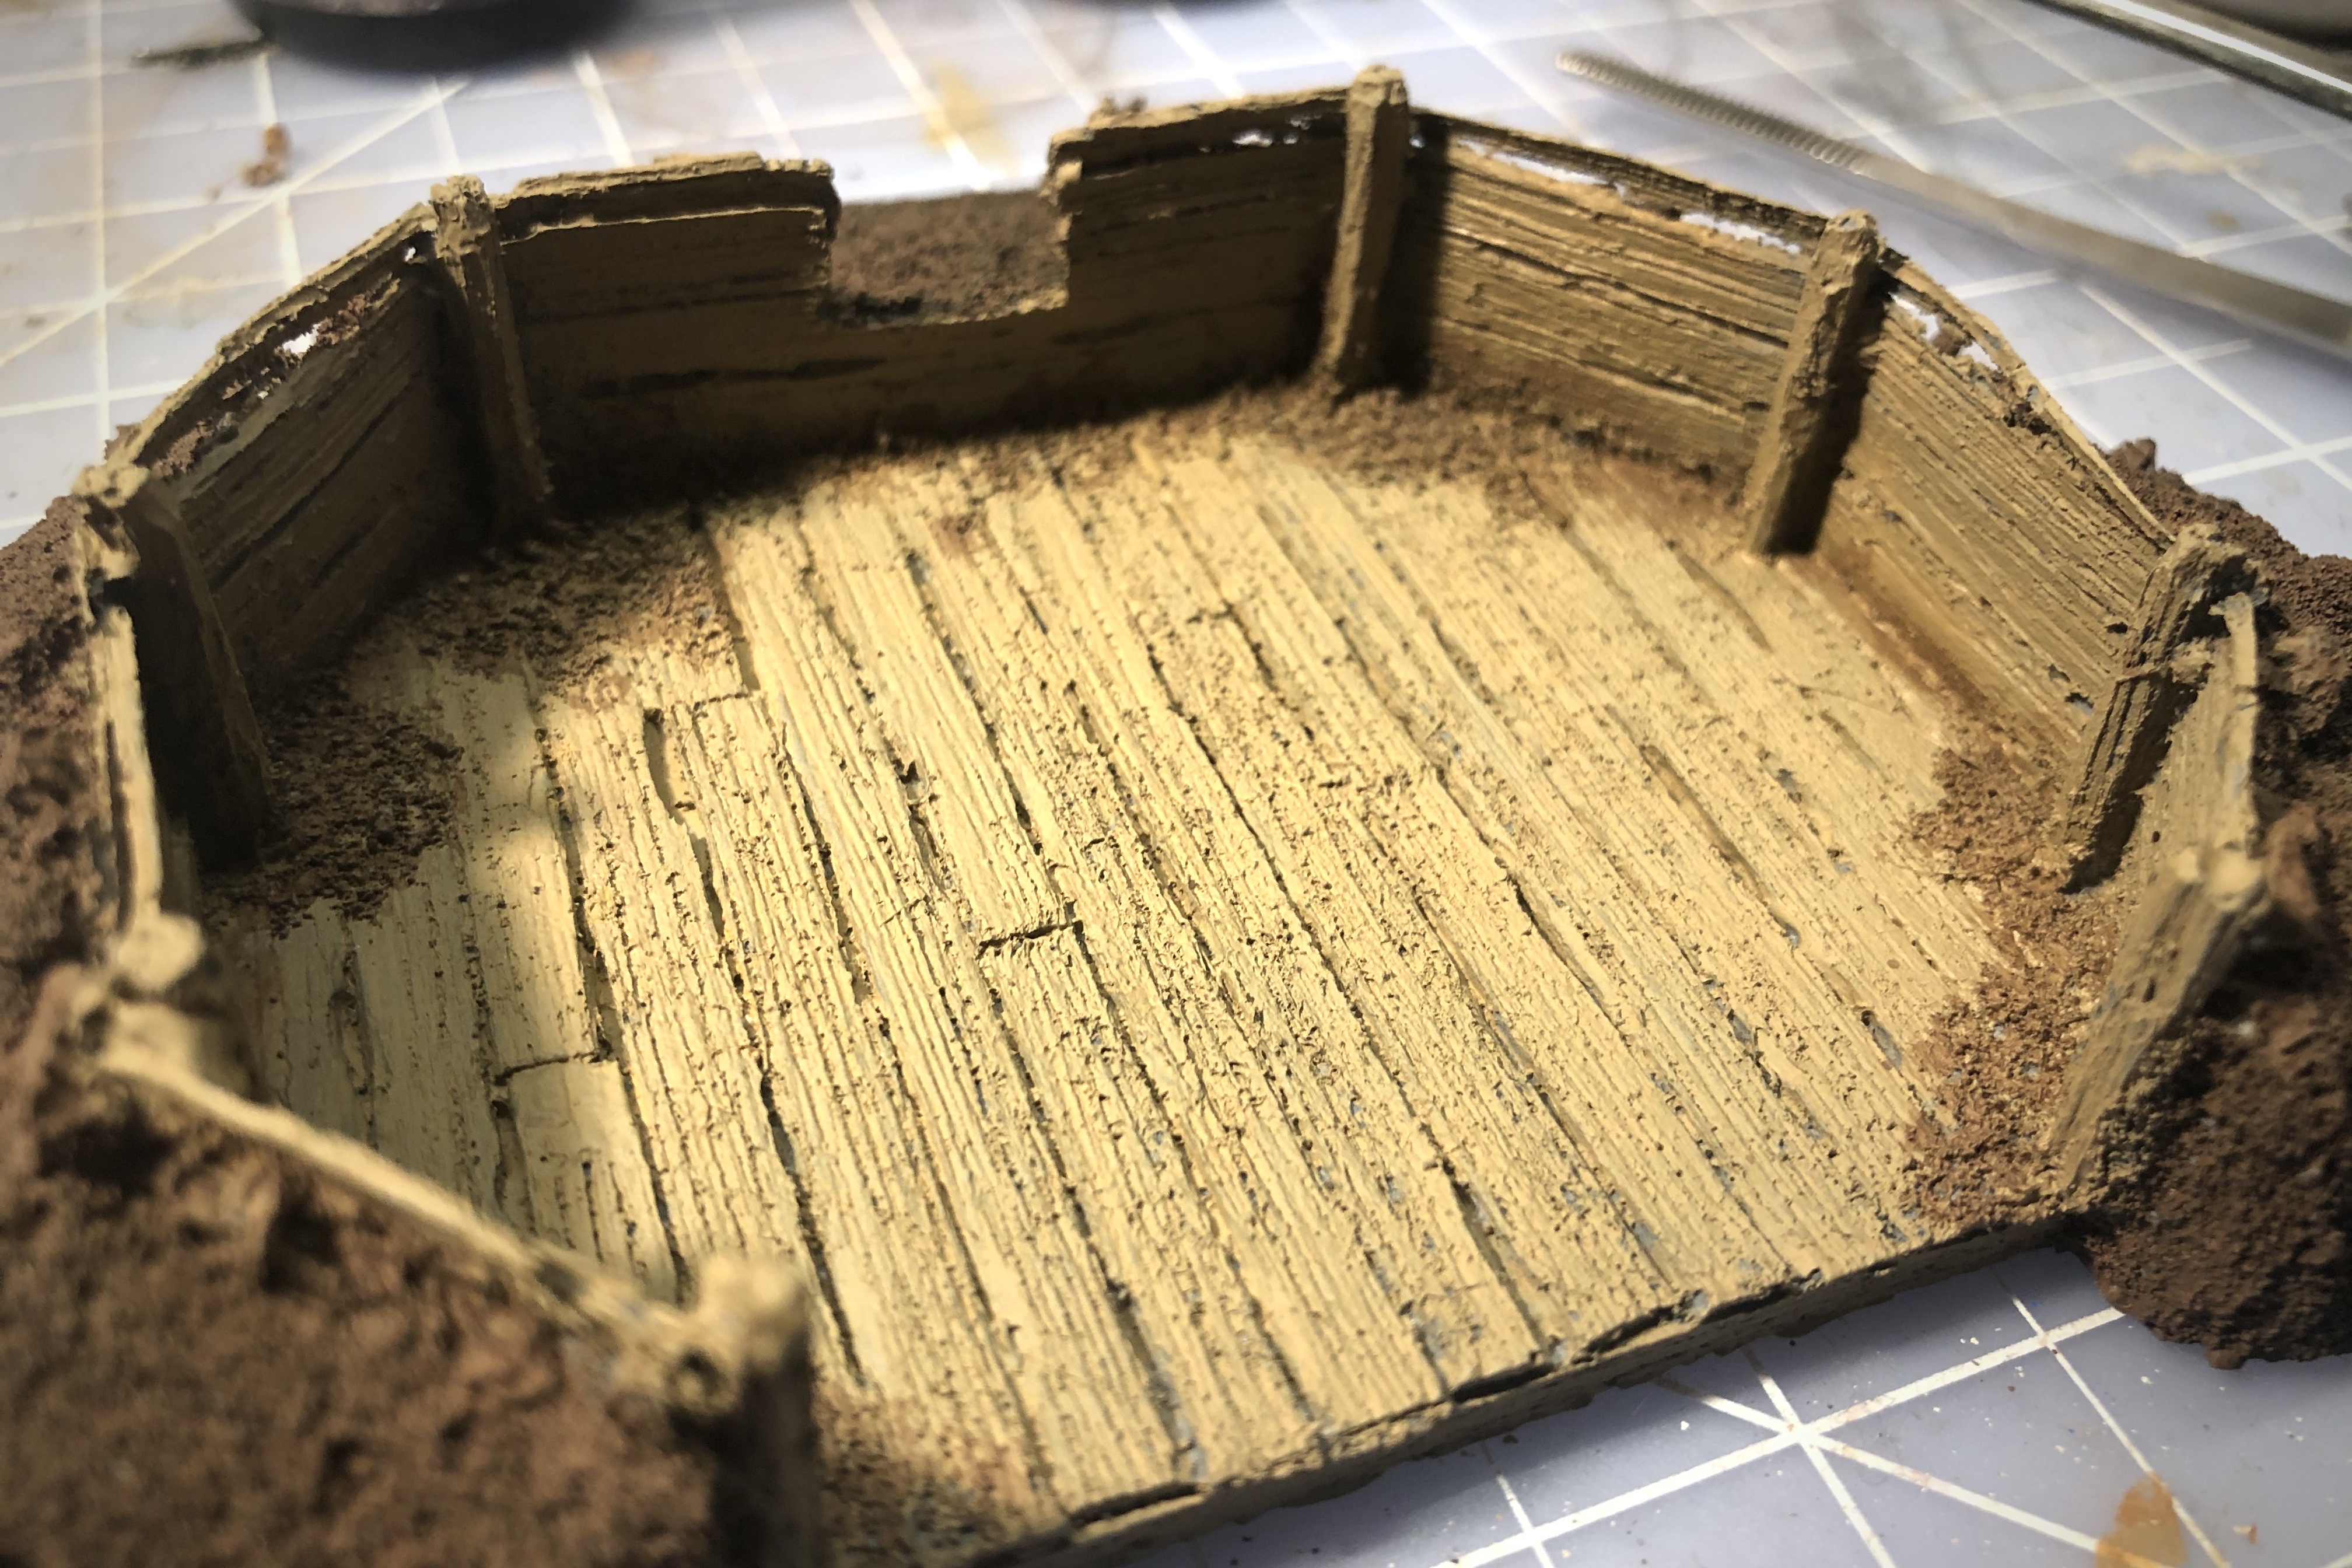
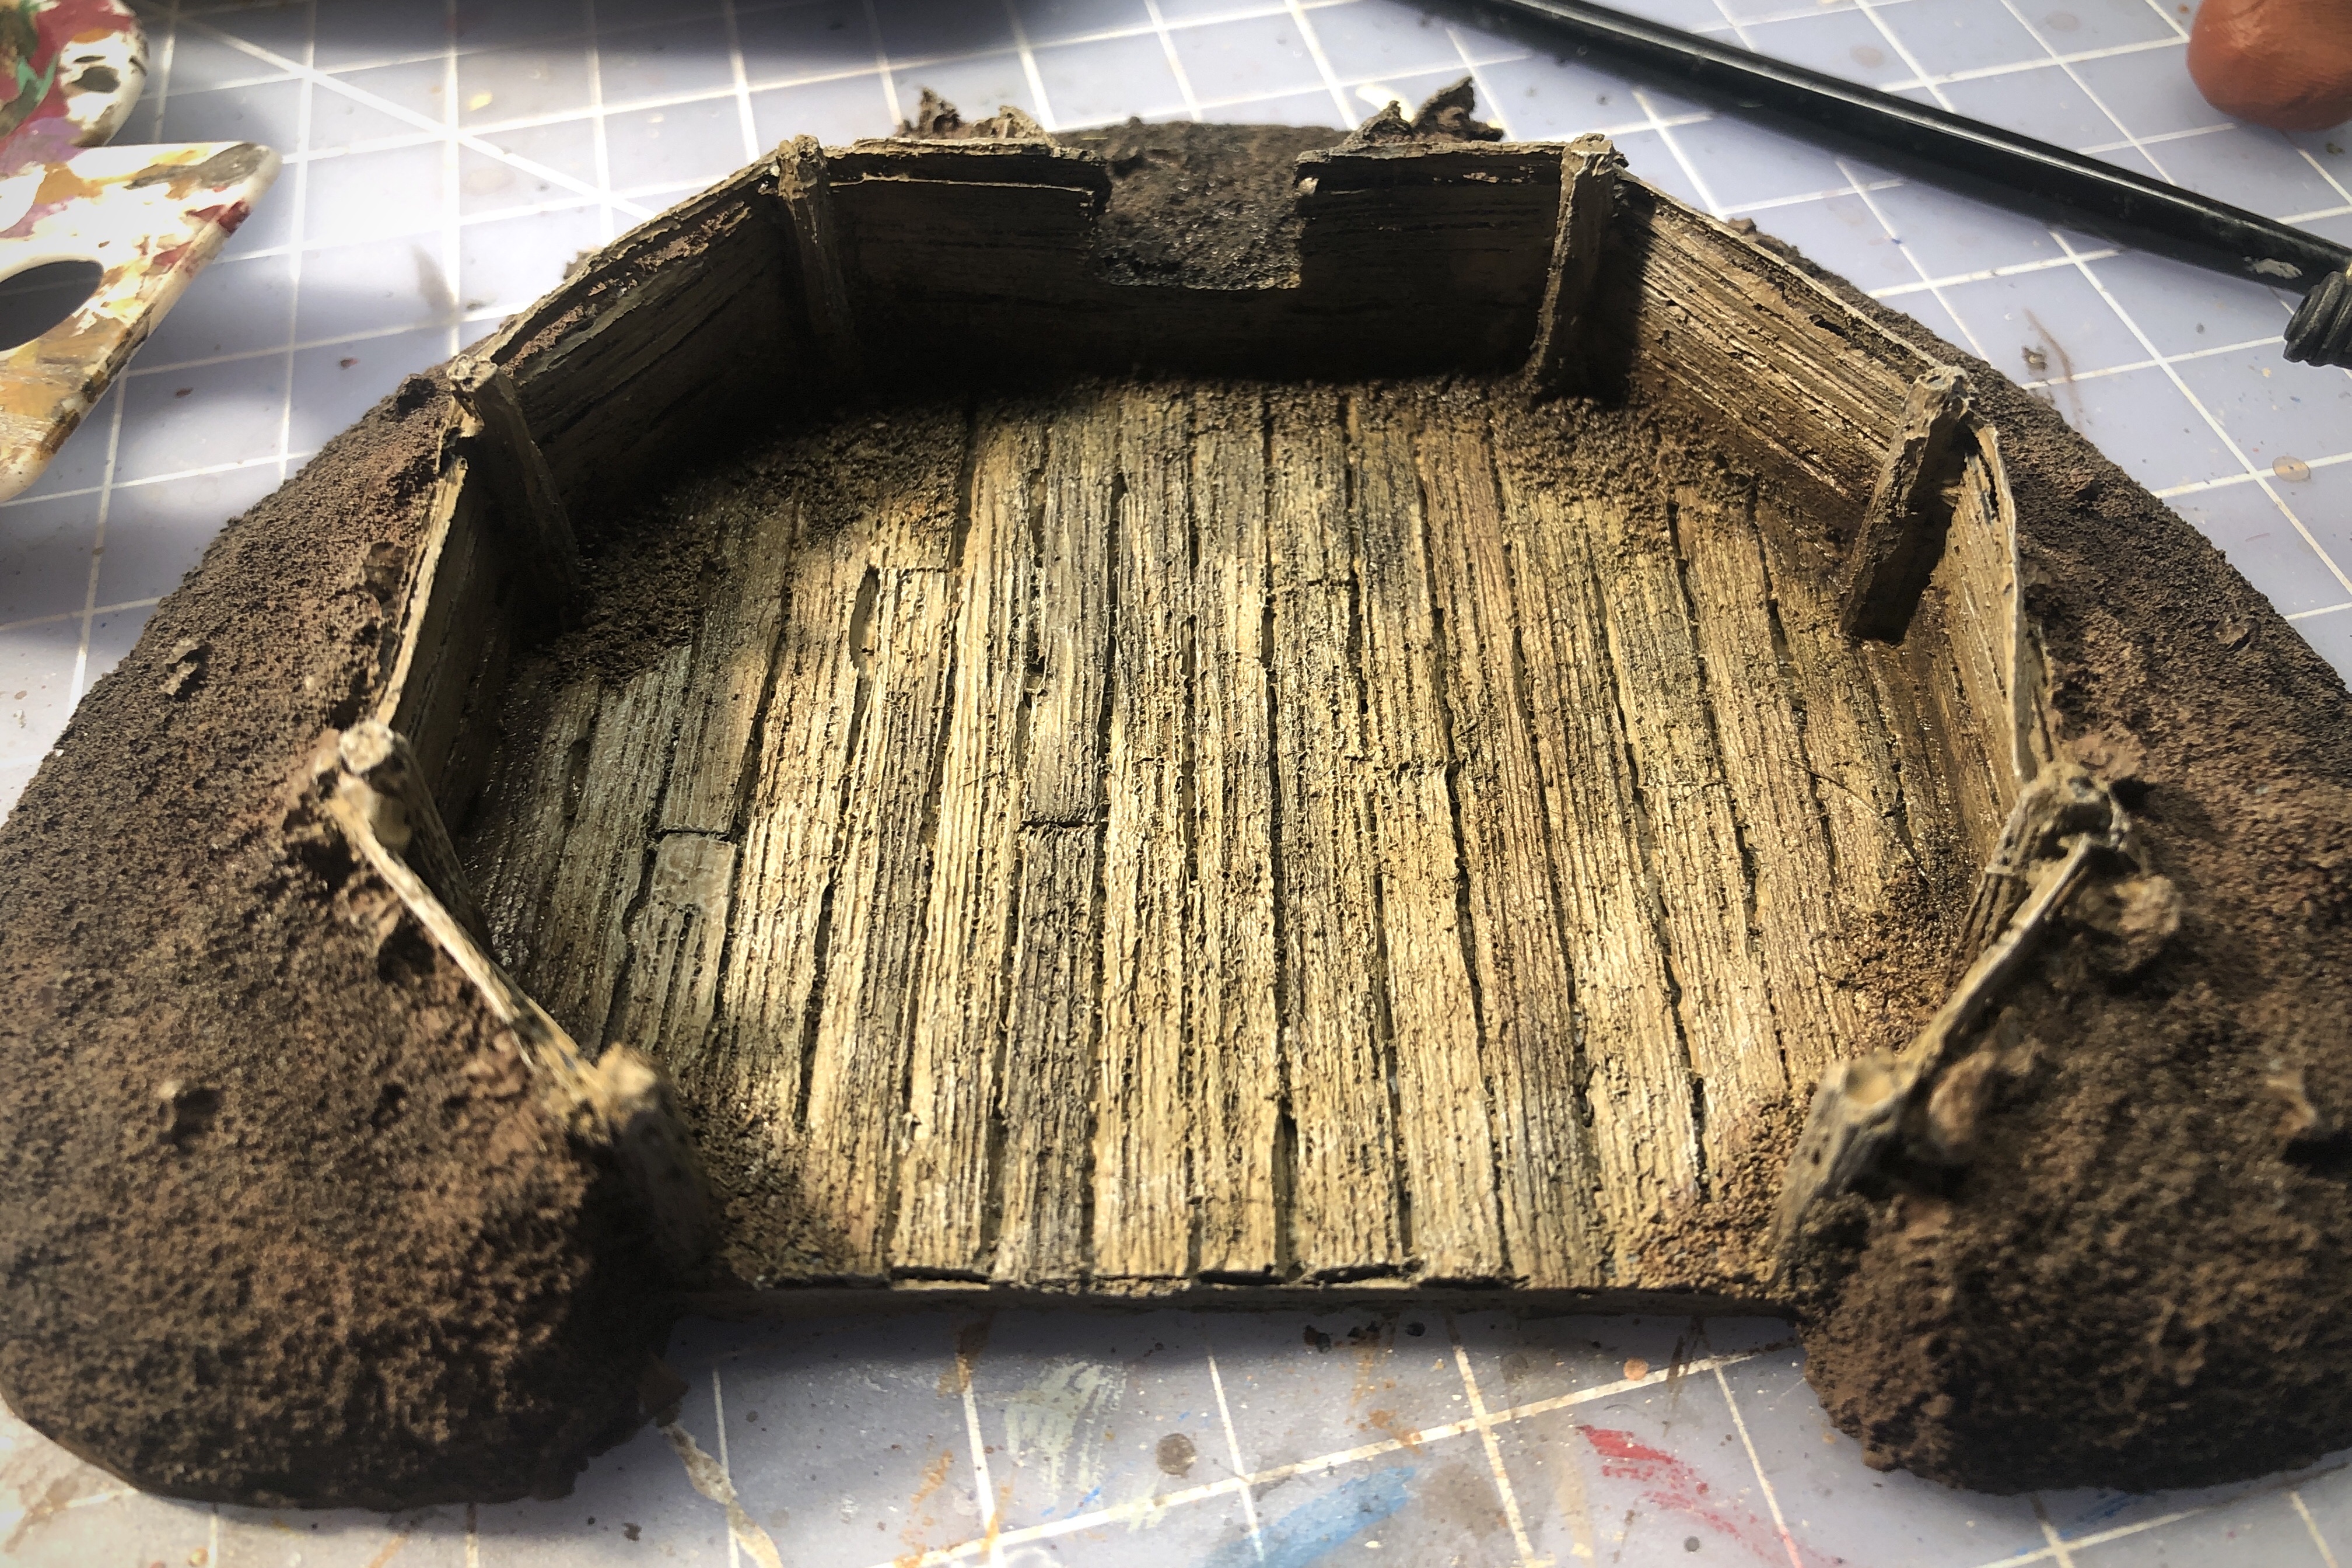
I’m trying to branch out in my paint selections so I’m making myself try the Vallejo washes. I covered the entire wood area with this Brown wash, let it completely dry, then applied a light drybrush of Sky Grey to all the boards.
This really brings out the texture and gives the wood a little of the bleached weathered look that happens in coastal areas.
Then I used the Old Wood paint again to apply some light dry brushing to the dirt areas, mostly hitting the larger clods and upper regions of the fortification. I also hit the dirty areas within the walled area.
Then I moved on to some heavier weathering. It’s not necessary as it’s already looking just fine, but I wanted to add some more.
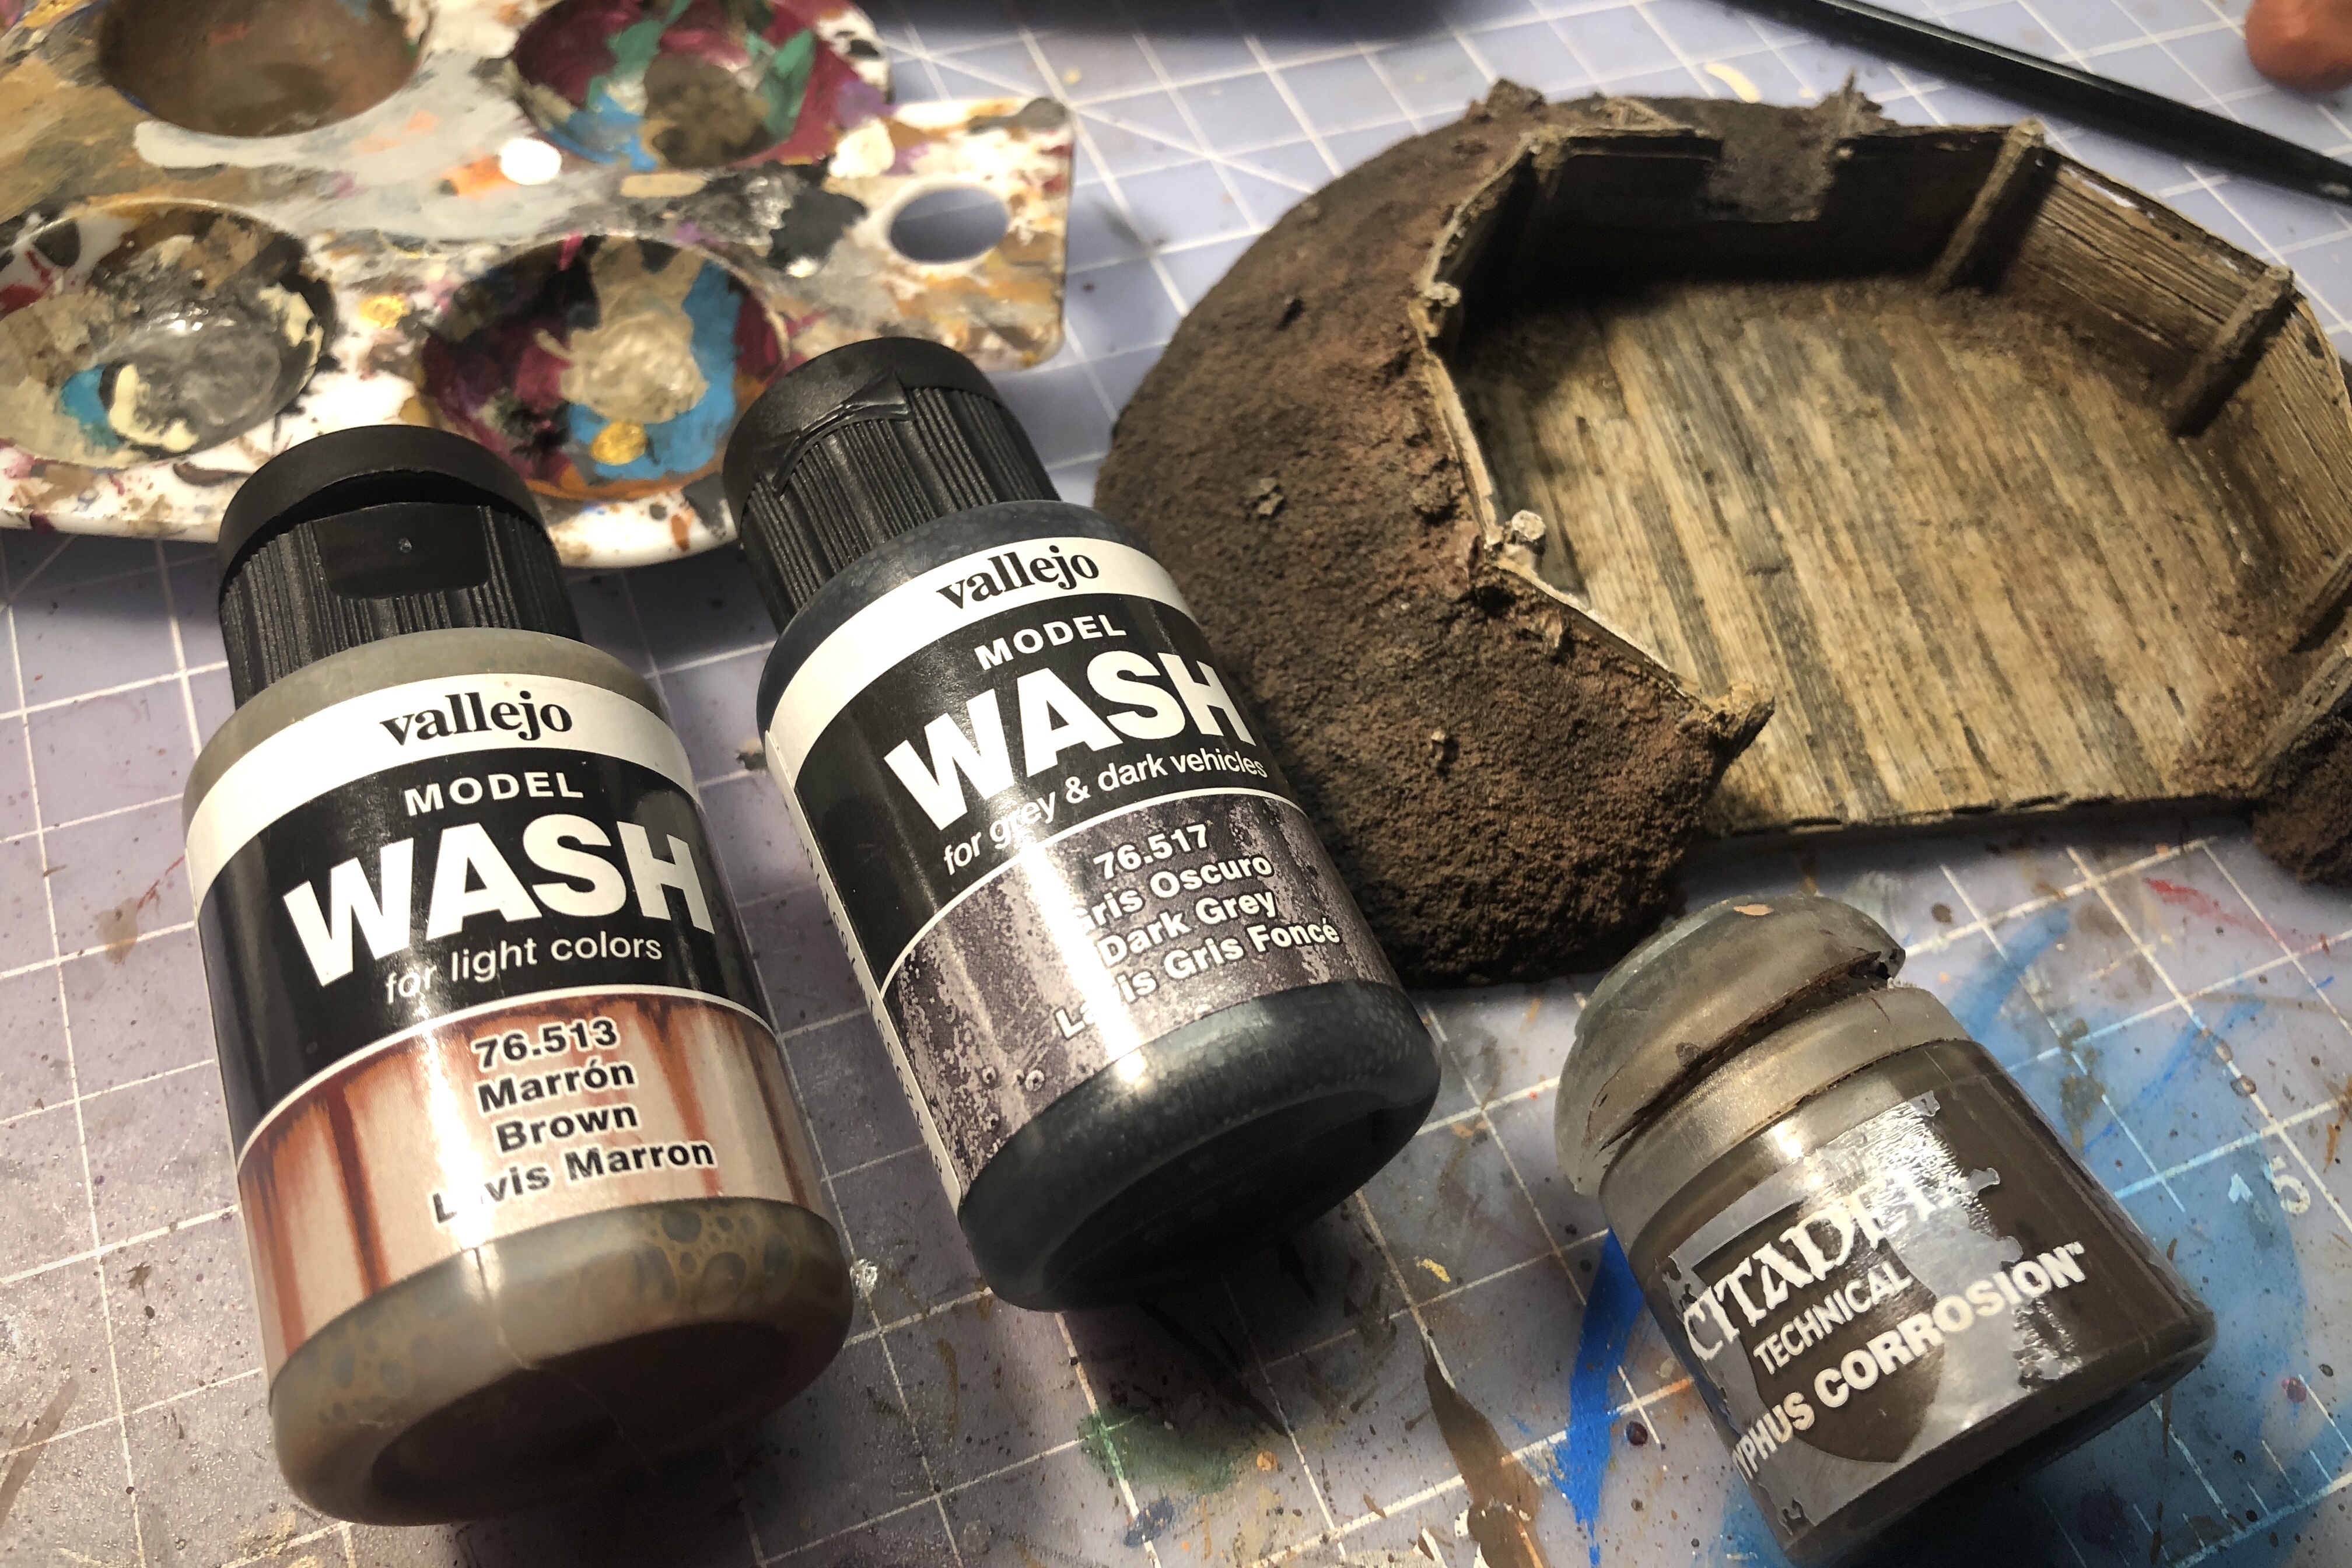
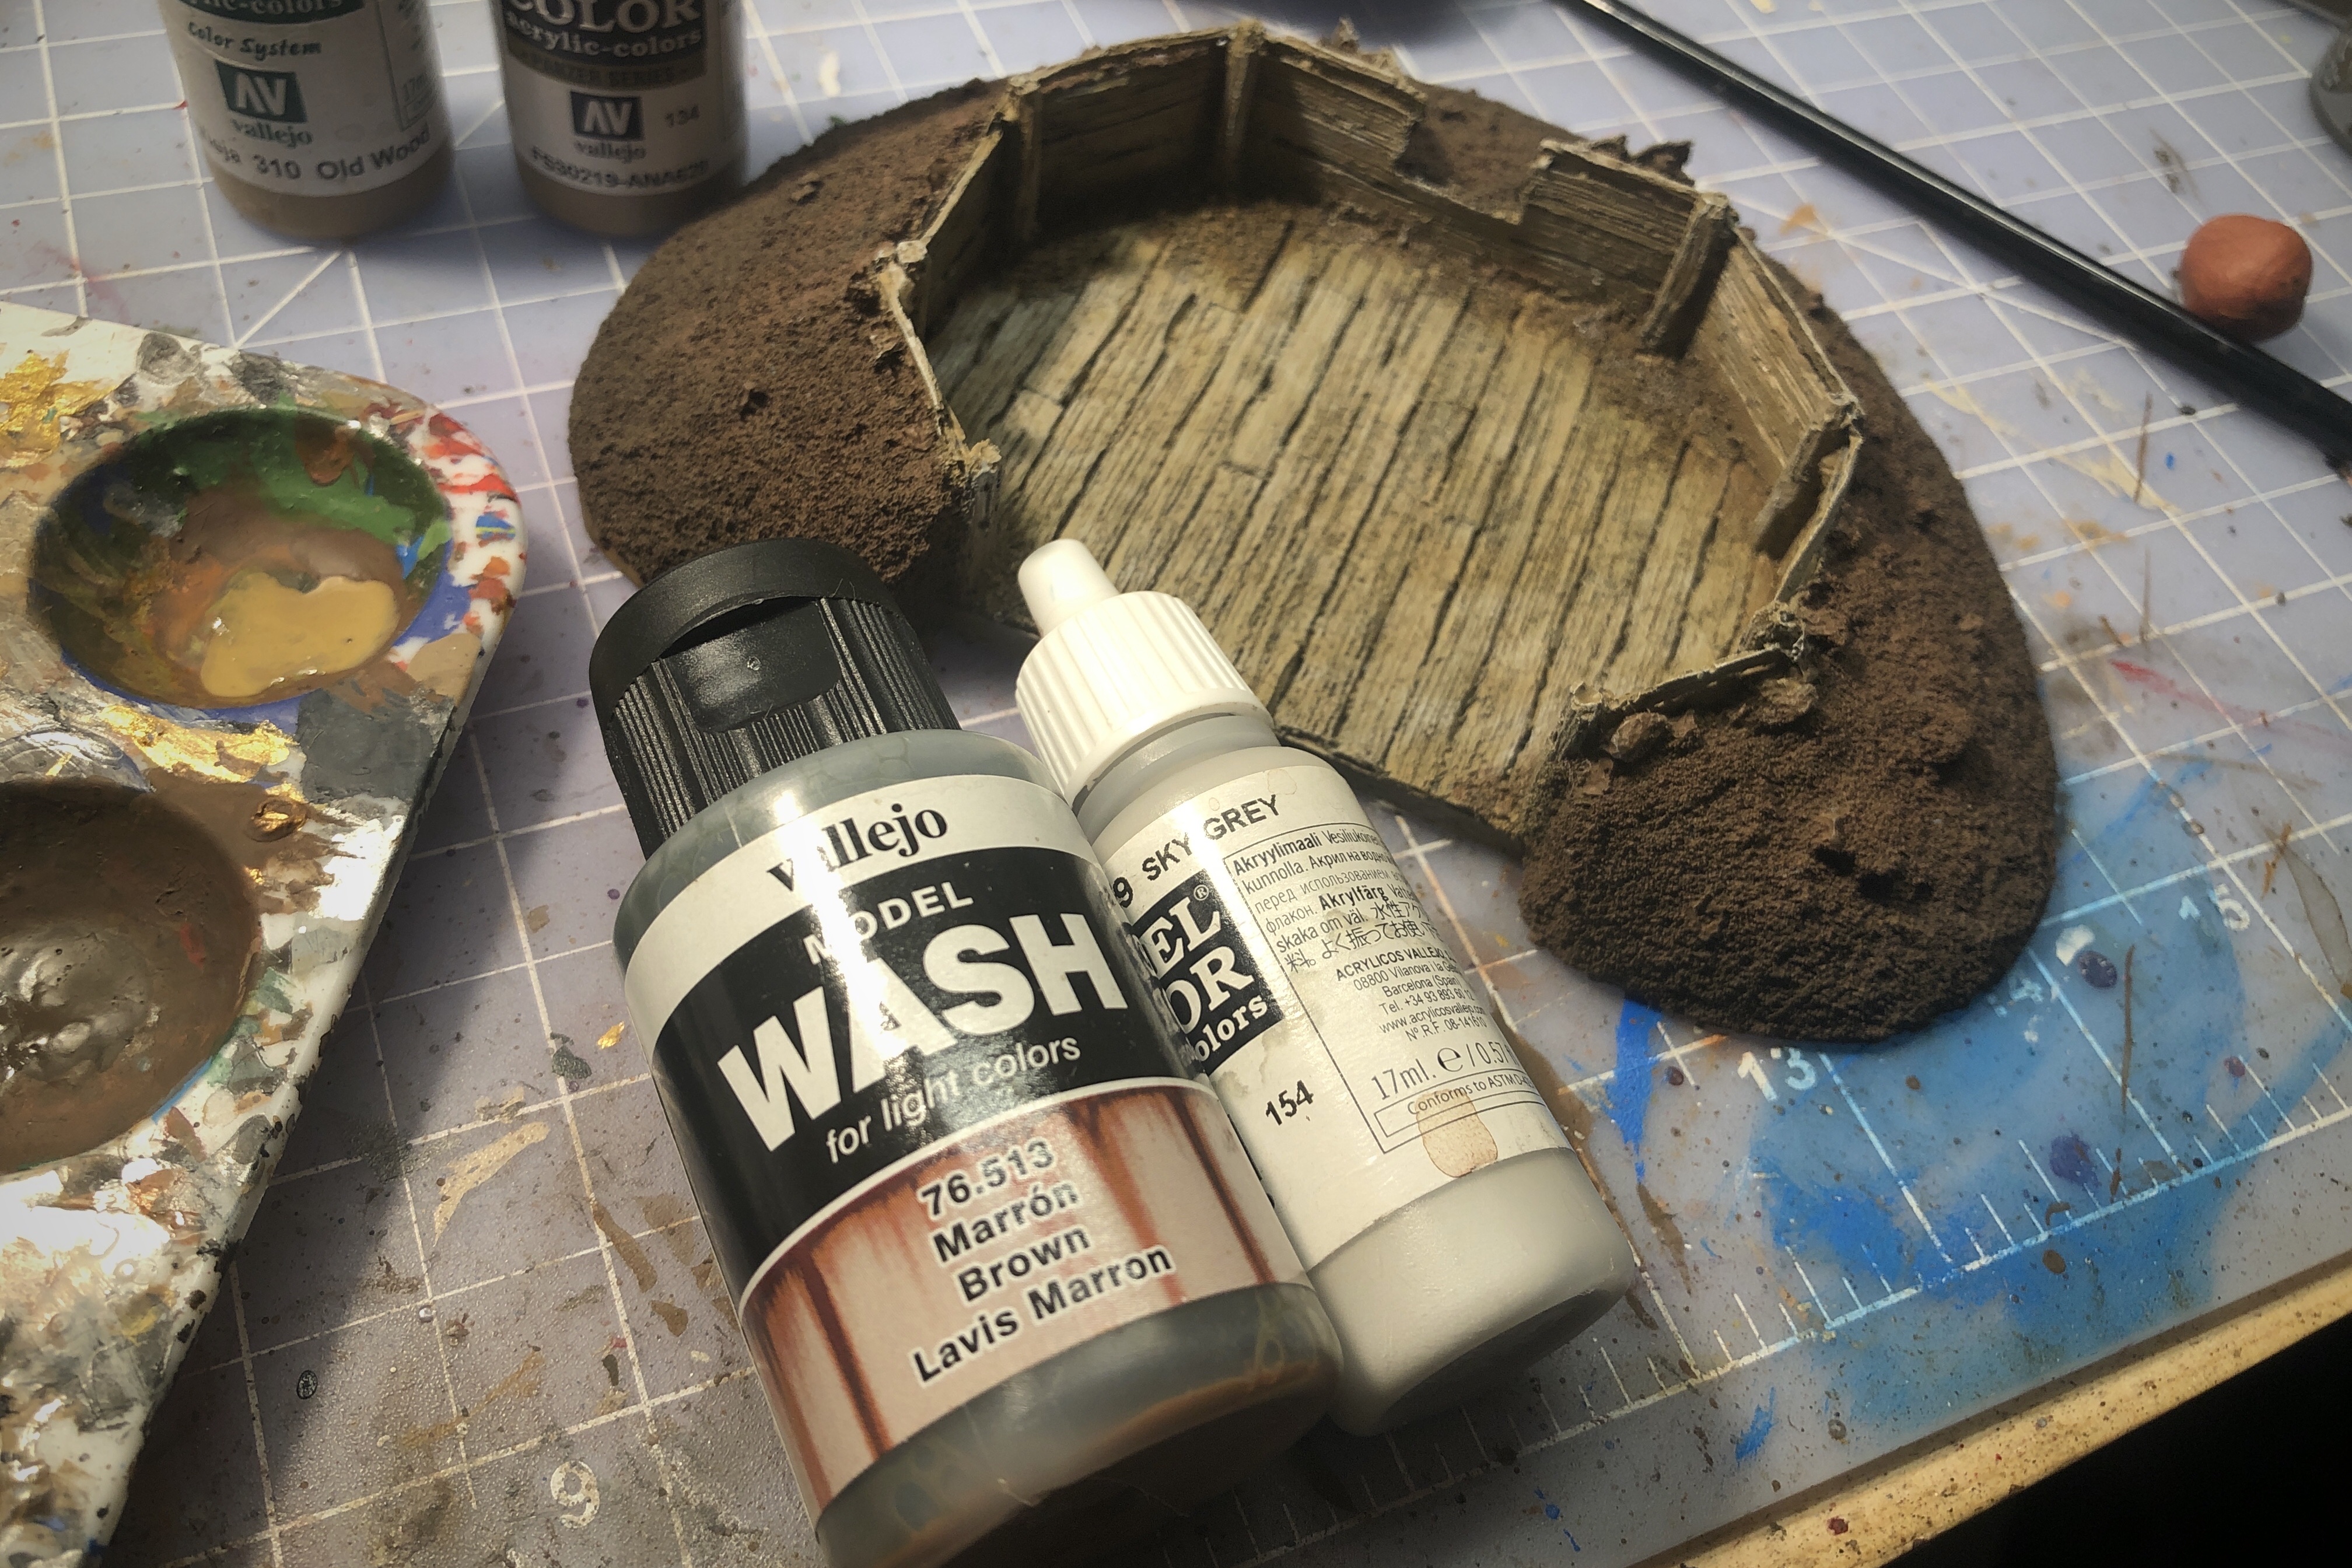
I mixed and approximately equal brew of the Brown and Dark Grey wash and applied patches of it to the dirt areas to give the ground more variation. Then I added more of the Dark Grey wash to make some powder stains on the floor, walls around the opening and the dirt right below the opening where the cannon would be firing.
I went over these areas a couple times, and in some cases I used pure Dark Grey wash to darken the areas that would get the most gunpowder smoke.
This was still wet when I took the photo but it dried nice and dark.
For my last step I used the 1:1 mix of the Brown and Dark Grey wash to darken the cracks between the floor and walls of the structure where the moisture and dirt would collect. I wanted some more grimy texture so I applied some Typhus Corrosion as well, which is one of my favorite weathering products.
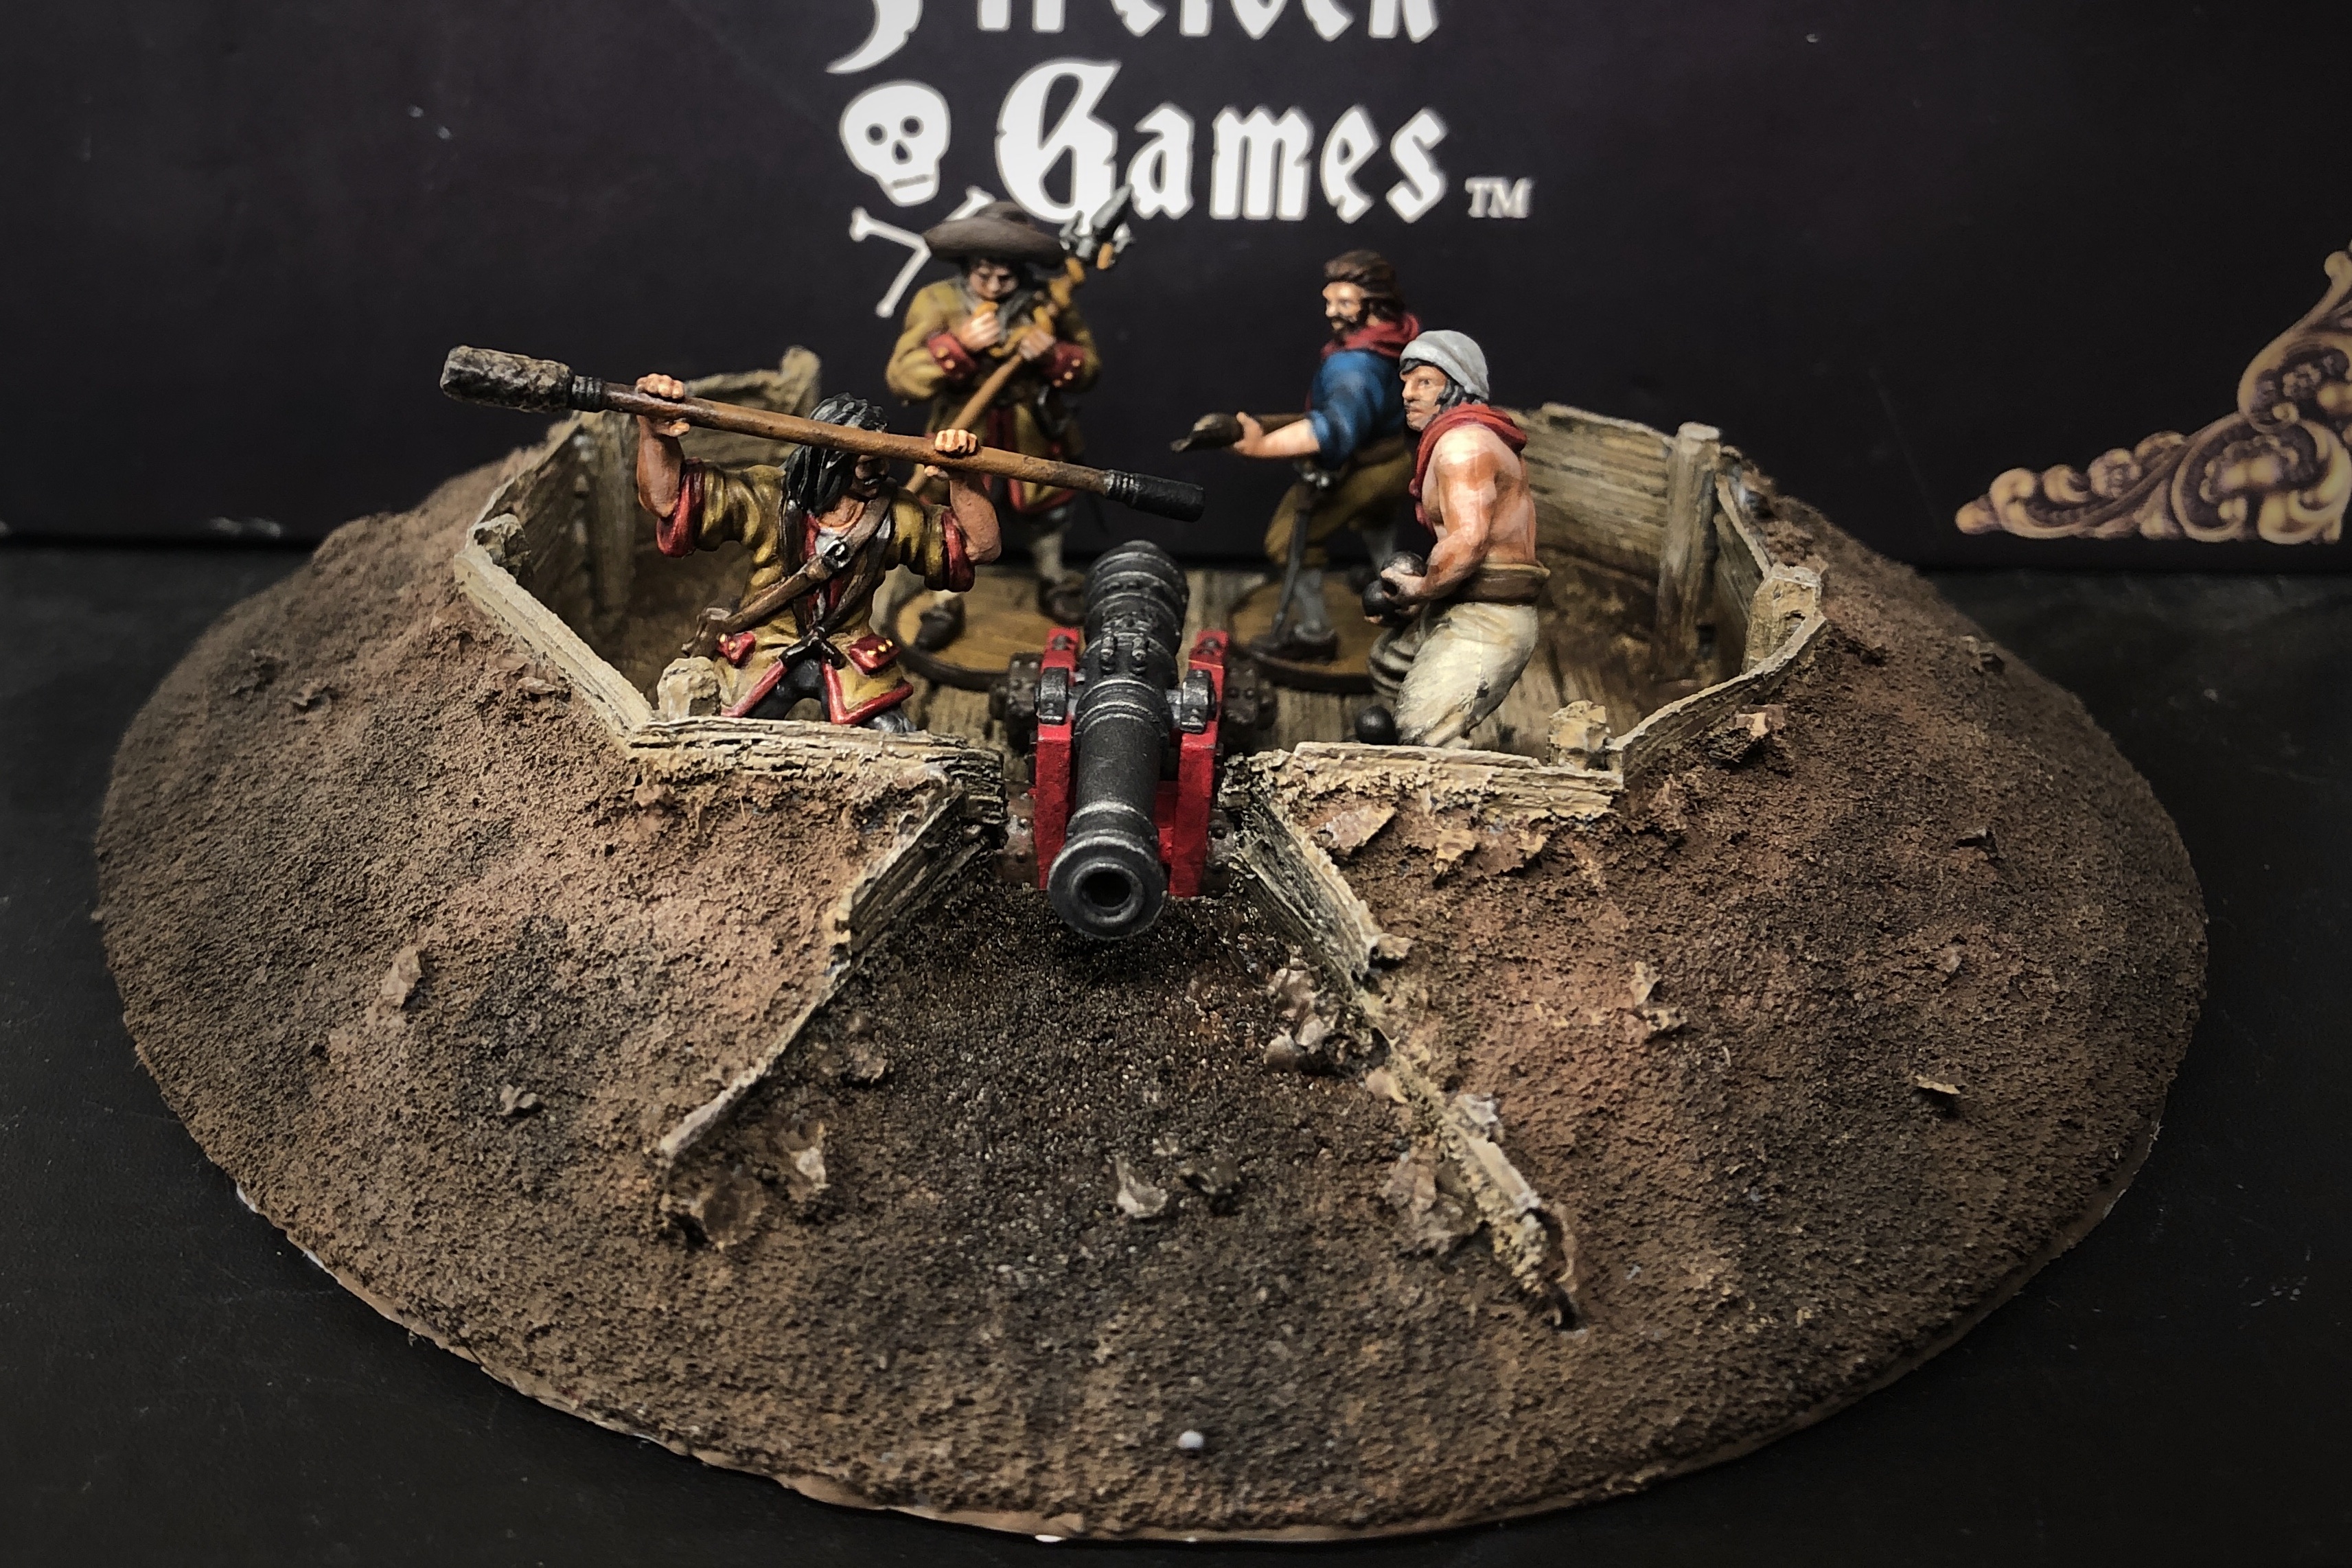
And that’s it! We’re done! This took two or three short sessions to complete because large areas of wet paint and washes had to dry but I don’t think it took more than 30 minutes of work. I sprayed it with a protective coat and it’s ready for the table!
I thought about adding some grass or moss in some areas but decided to keep it simple.
I think this is the fewest paints I’ve ever used on a project that I posted on this blog!
The complete paint list:
- Panzer Aces Old Wood
- Panzer Aces Leather Brown
- Model Color Chocolate Brown
- Model Color Sky Grey
- Model Wash Dark Grey
- Model Wash Brown
- Citadel Typhus Corrosion
I have yet to use one of these models in a game but I’ve played the amphibious Raze scenario so many times and it calls for a fortification just like this. I’ll be using this one next time!
For 3 points, they provide good protection and they’re very tough to break apart with cannons.
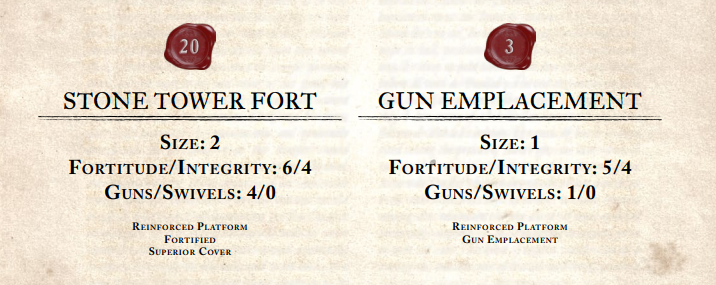
With a Fortitude of 5, you’ll have to get close and shoot a couple times to start doing a lot of damage to this structure and the men inside it. It’s Reinforced Platform means it can take Heavy Cannons and it’s Gun Emplacement trait means you can buy cheaper cannons for it and you don’t need the Field Gun trait on your crew to include them in a land game.
To take this fortification, a heavy cannon, grapeshot and a good crew you’re probably looking at around 25-30 points. 3 for the emplacement, 9 for the cannon, 1 for grapeshot, and at least 12 points for 6 Inexperienced cannon crew, and possibly another 4 for a master gunner if you want them to work harder.
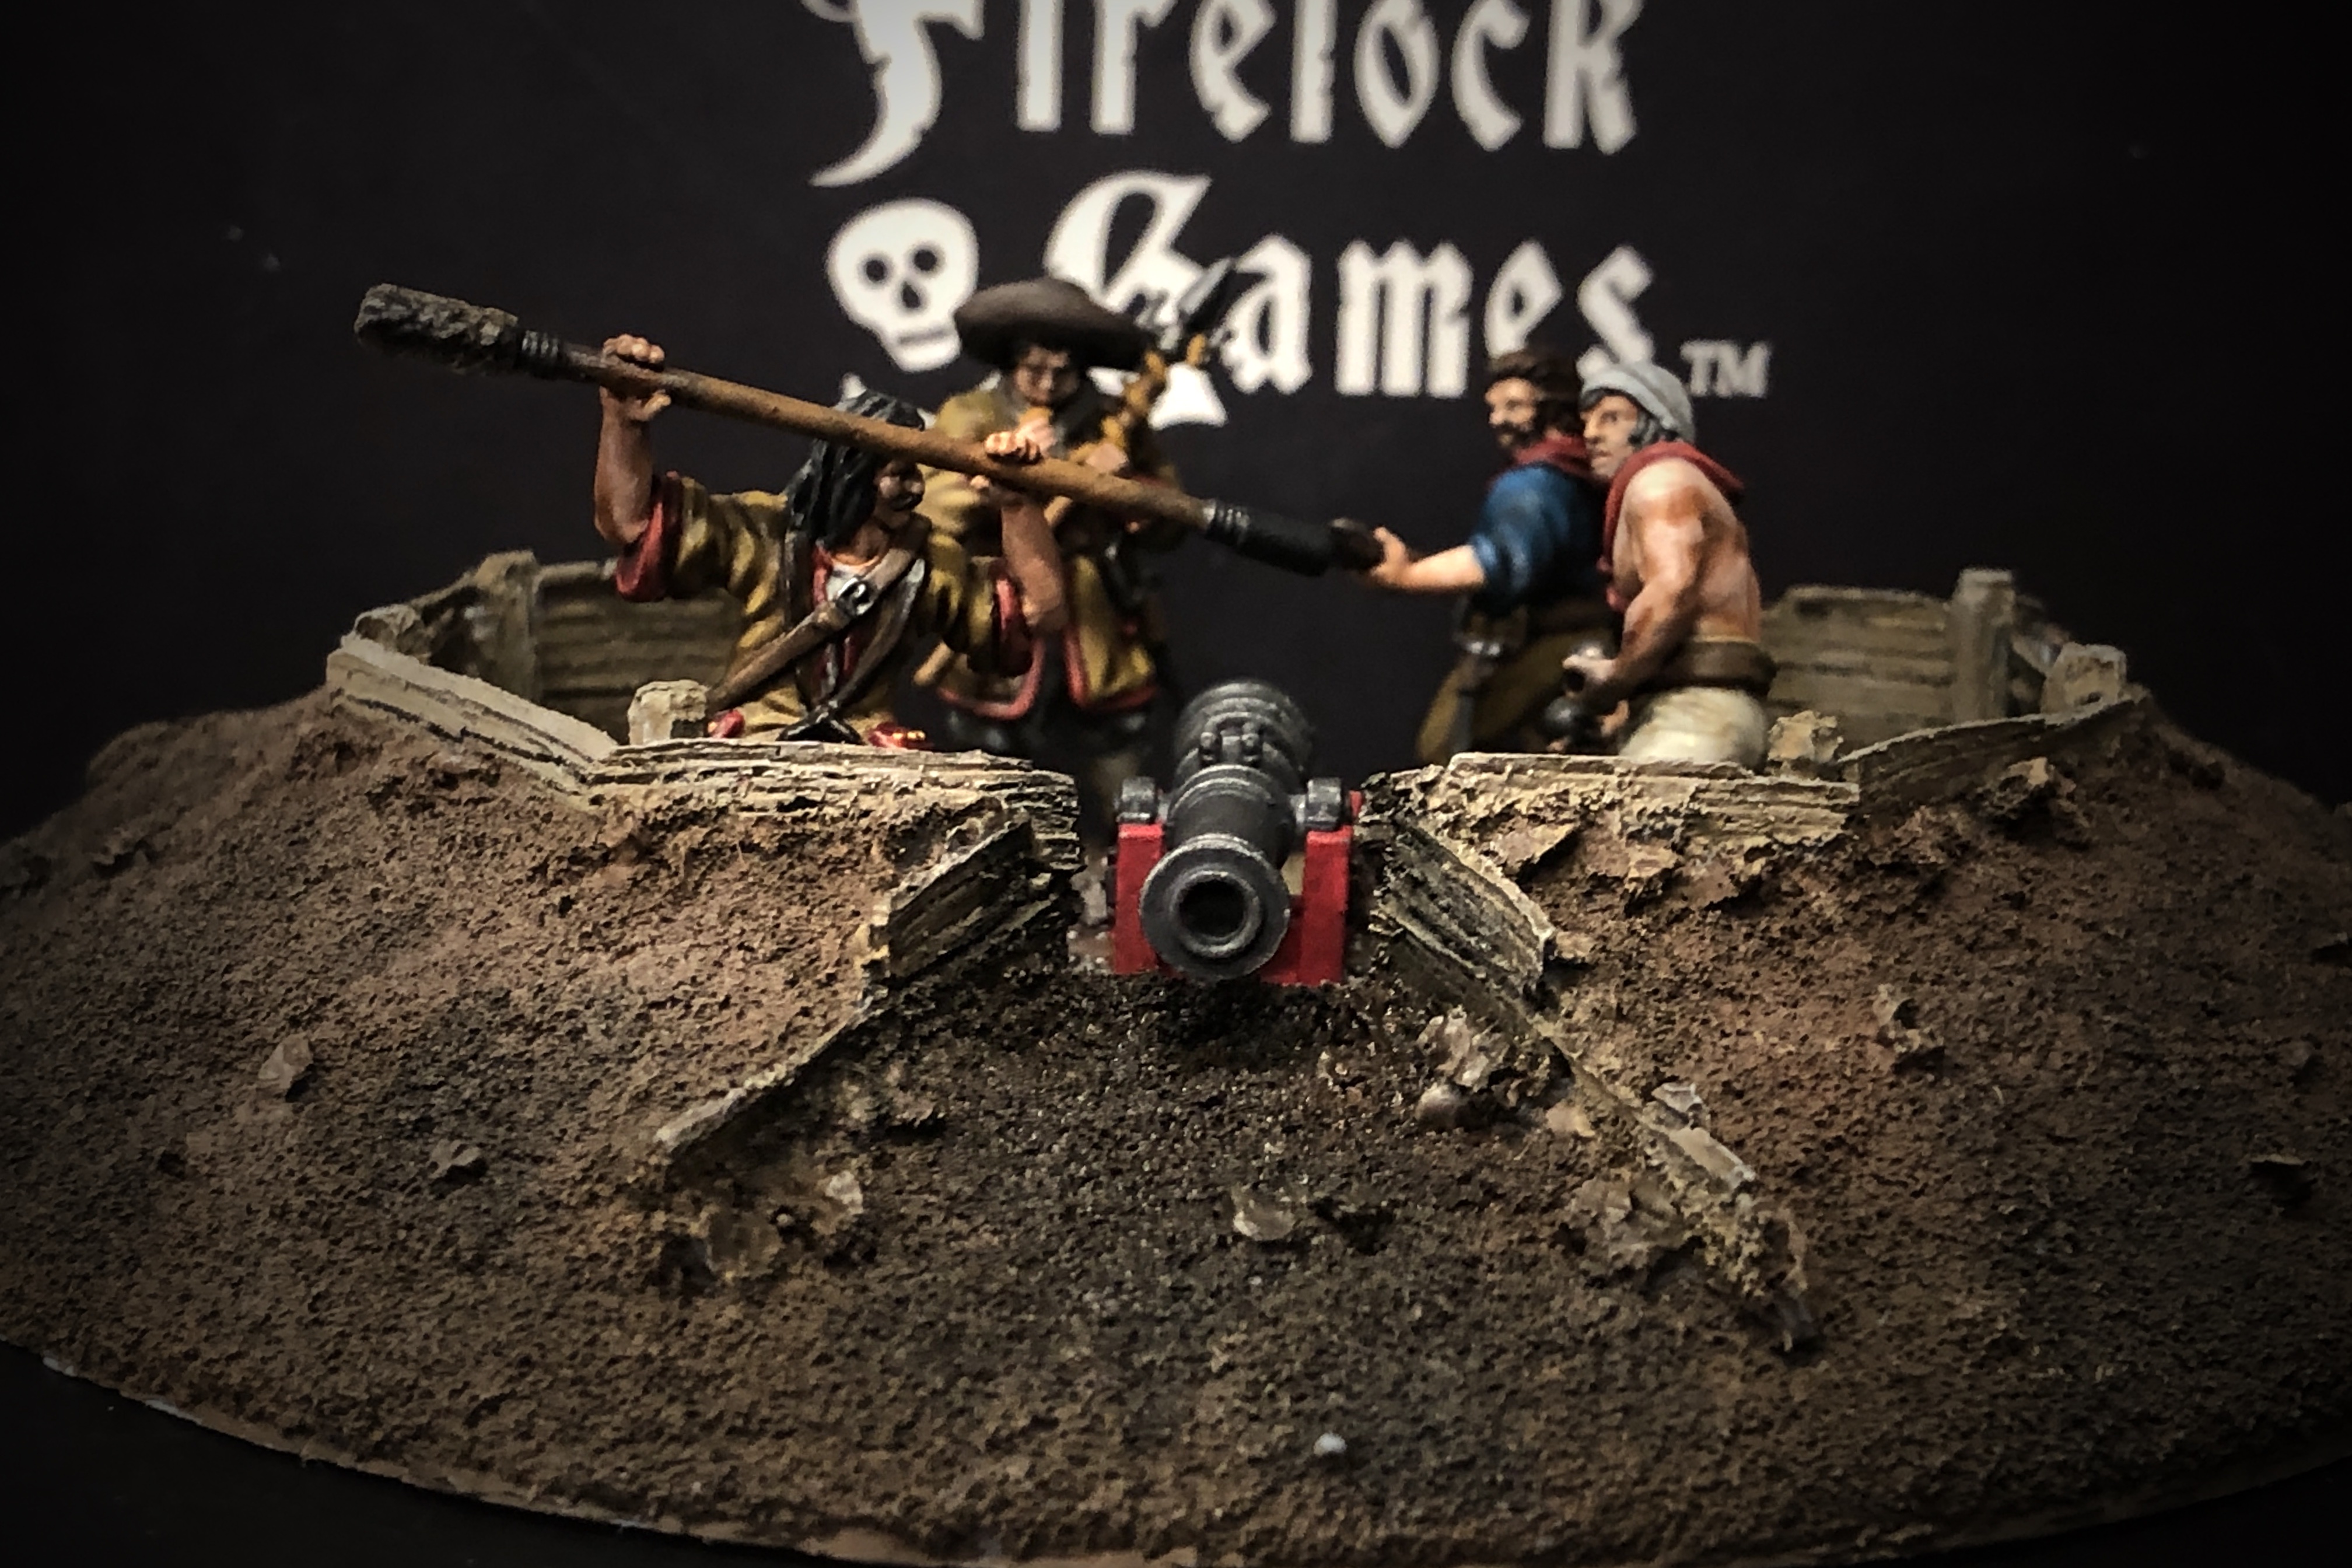
What a difference some pigment makes! I’ll be painting up my second emplacement soon and possibly even ordering a third so I have enough to use a complete set for the Raze scenario.
Thanks for reading!
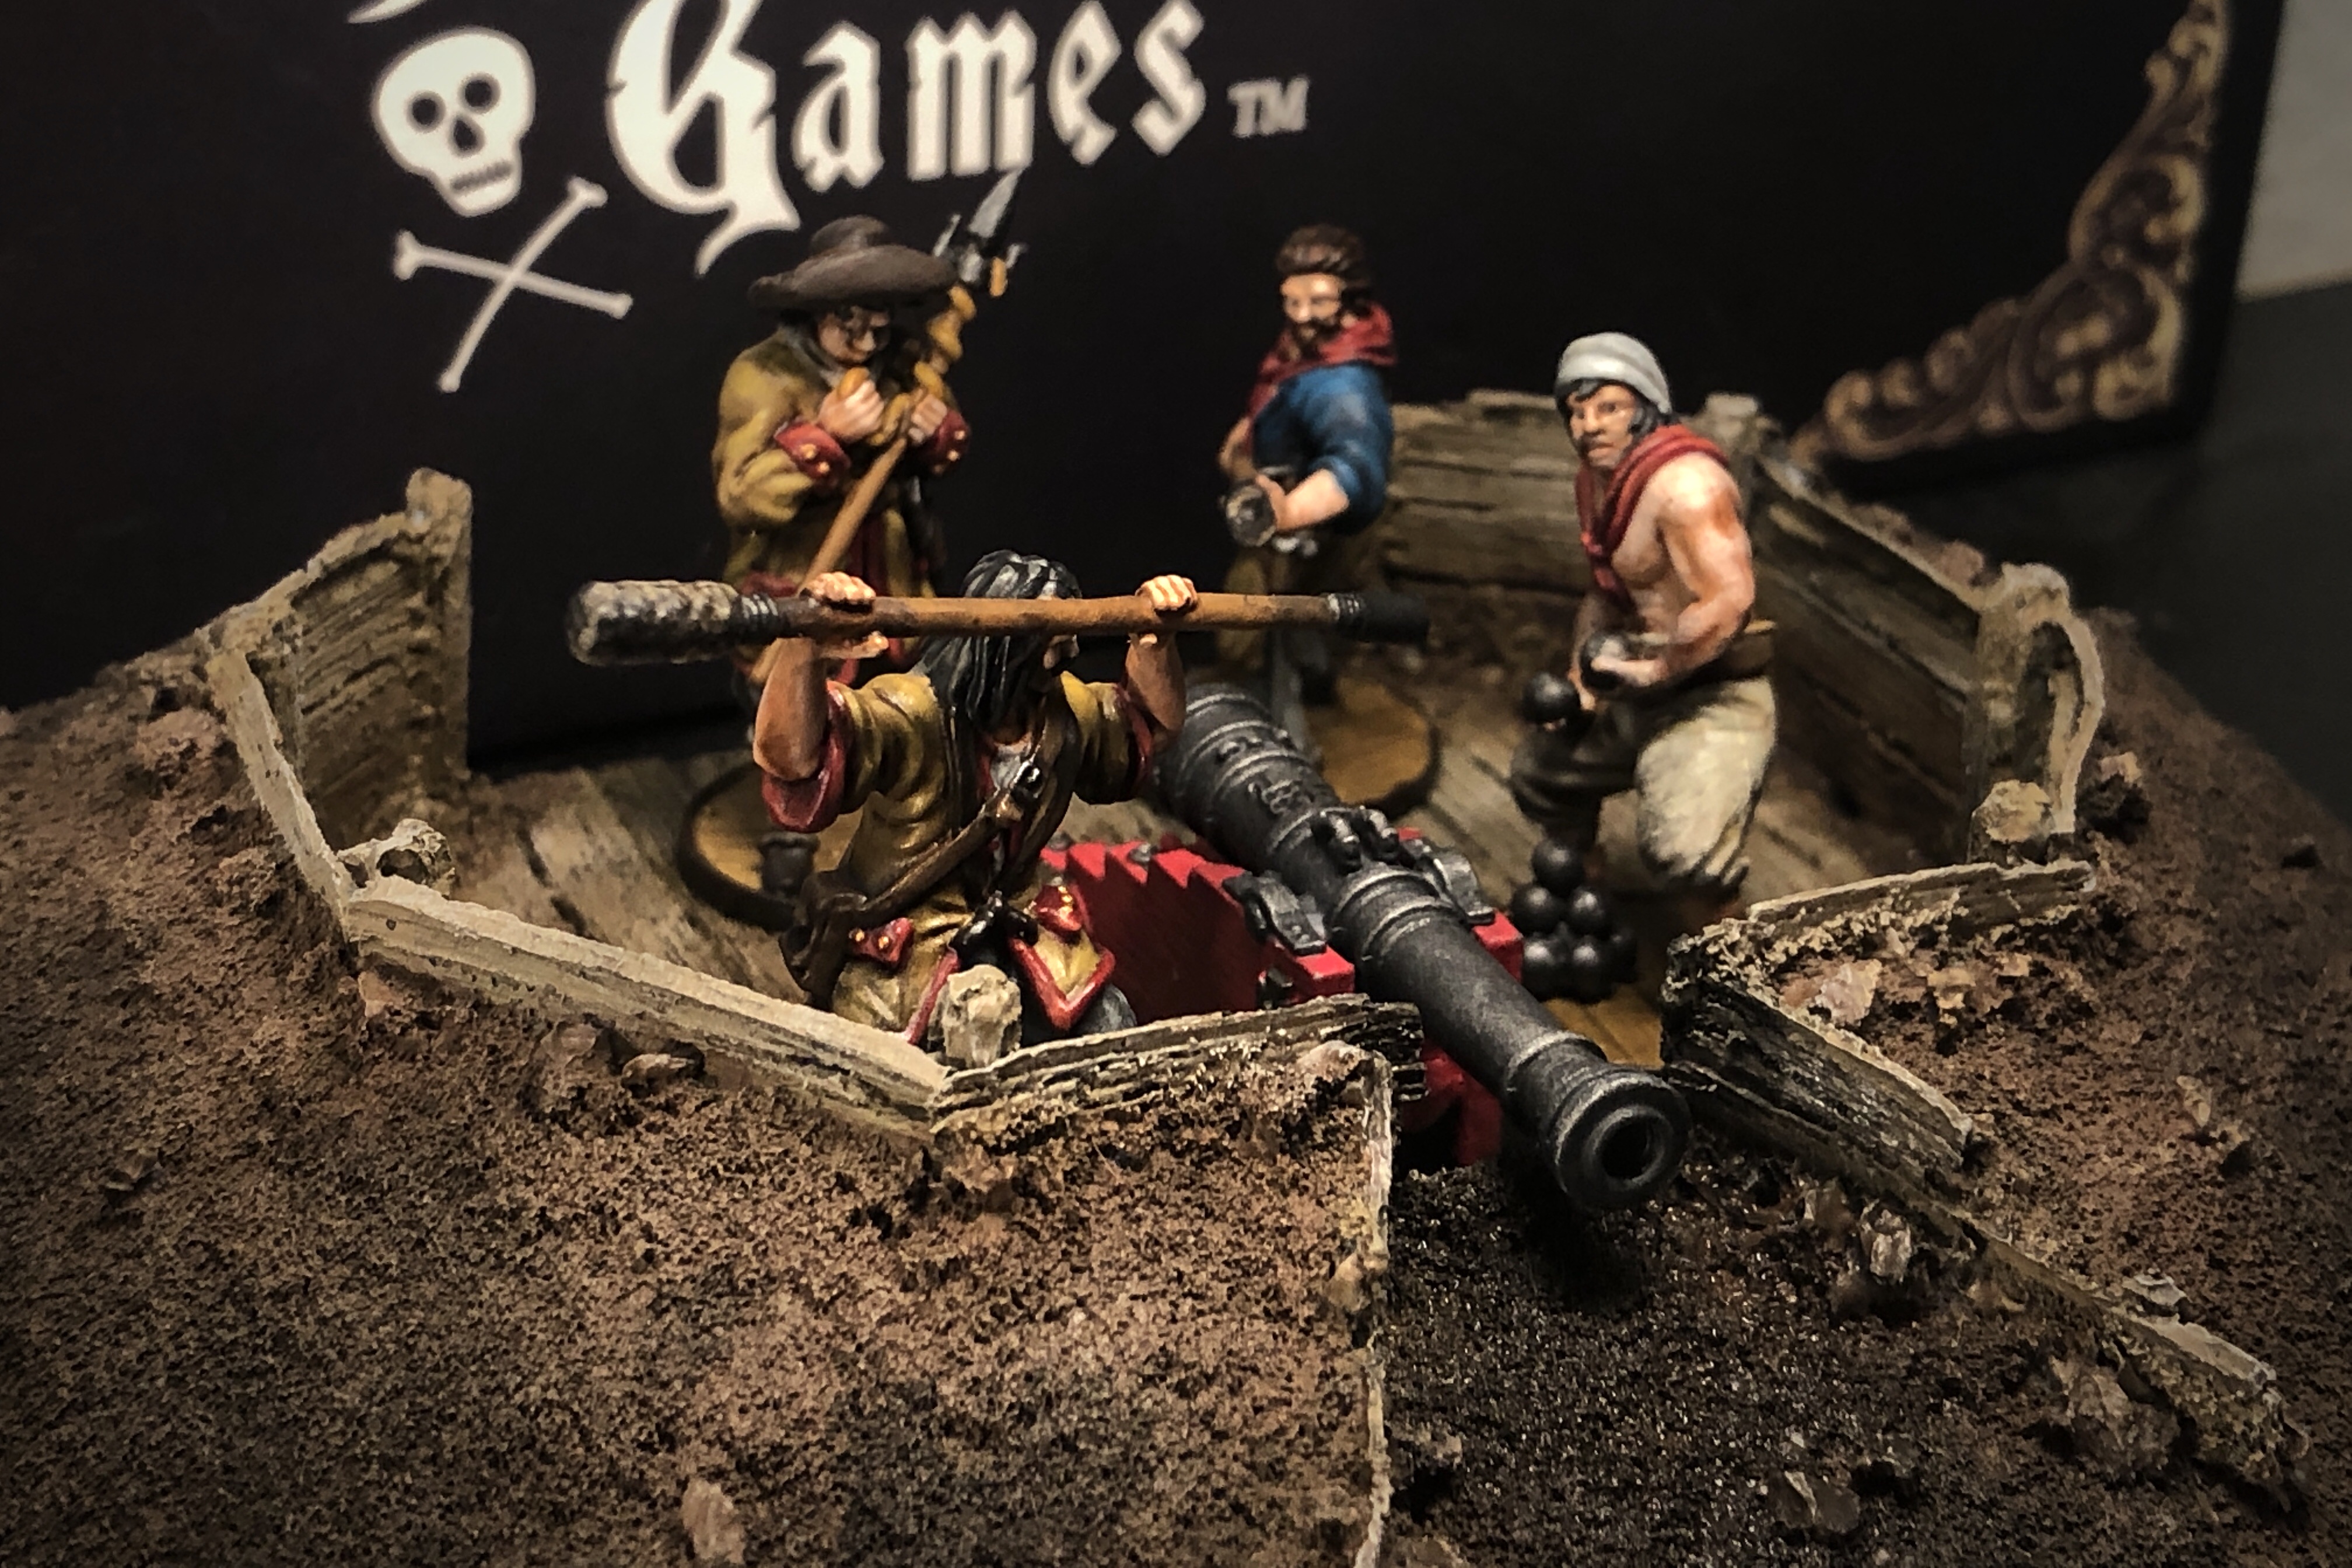
hey very nice work. very inspirational. so I’m having a difficulty with the Panzer Aces Old Wood 70.310. yours is a very nice almost tan/beige color, however what i received is a brown color. I think Vallejo made a bad batch. i did some research into their consistency and other people have reported issues as well https://www.reddit.com/r/minipainting/comments/9rujdi/can_i_have_some_goddamn_consistency_vallejo/. My old wood definitely looks nothing like yours in picture 4 of the cannon emplacement.
Pingback: Blood & Plunder Painting Guides - Blood & Pigment
Pingback: Fire on the Frontier - Blood & Plunder Expansion Book Review - Blood & Pigment