Local snow and cold weather slowed down our new campaign but my local group finally started our second game round.
The Forces
I am playing the South American Tribes faction for this campaign and against me today Mario is playing the Dutch Privateers.
Both of us went into this second round with 3xp so our commanders are still basically Inexperienced with starting abilities abilities.
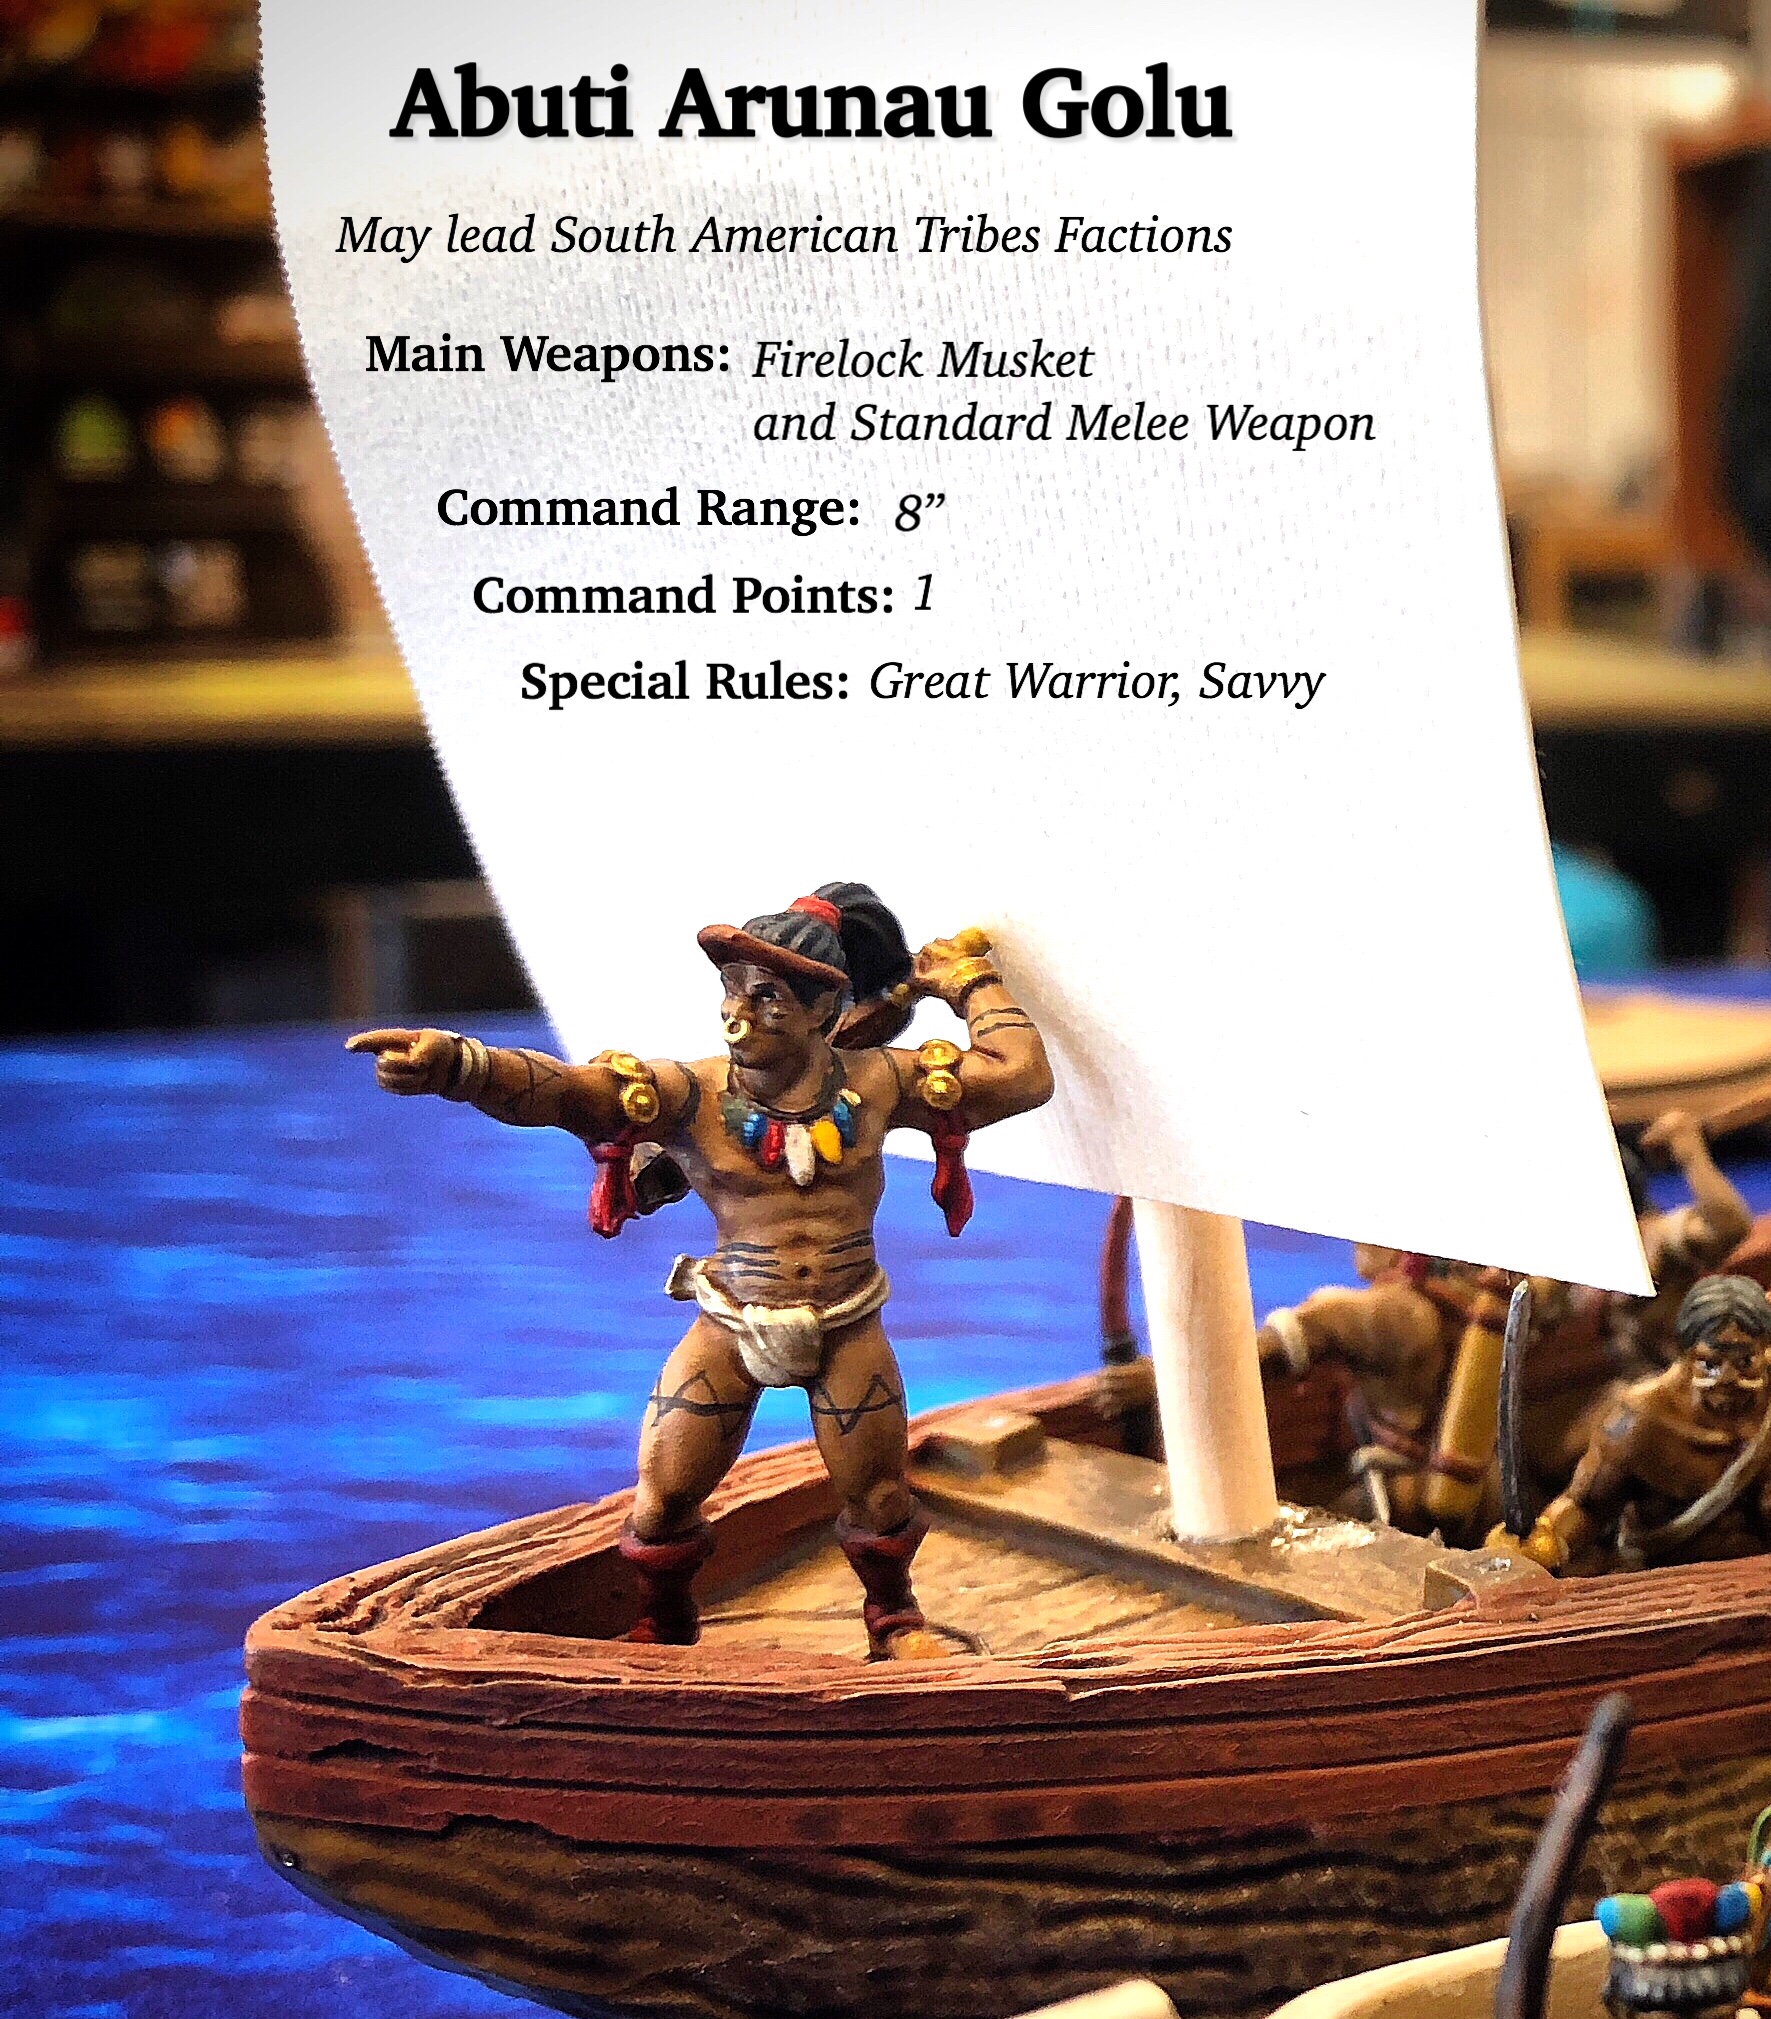
My force consisted of my command unit of 8 Warrior Musketeers, a group of 7 Warrior Archers with Poisoned Arrows and a Grizzled Veteran and a small unit of 4 Young Warriors with Poisoned Arrows as well. At 20 models, I will get a Strike Point at every 5 models lost.
Mario is a veteran wargamer but he has recently jumped into Blood & Plunder and this is only his second game (not counting the half demo we got in a few weeks back).
He was running a group of 8 Kapers with a Sharpshooter led by Commander Wolfgang Seewolf, a unit of 8 Inexperienced Dutch Militia with a Grizzled Veteran, and a group of 6 Enter Ploeg with a Blunderbuss and a Grenado. In our campaign we are giving the attacker an extra 10% to make it more competitive so this list comes a little over 100 points.
The Scenario
Raid was our suggested campaign game but since Mario had played Raid for his last (and only other game), we rolled again on the campaign scenario table and ended up with Breakthrough.

I like this scenario because it’s straightforward and not complicated but can have some dramatic moments. The attacker has to push forward and they will give the defender if they make it into the attacker’s zone. If they fail to even get within 4″ of the Defender’s deployment zone by the end of turn 3, the Attacker will gain a Strike Point. If the Attacker manages to get within 4″ of the Defender’s deployment zone but doesn’t get a unit within that zone, neither force takes a Strike Point
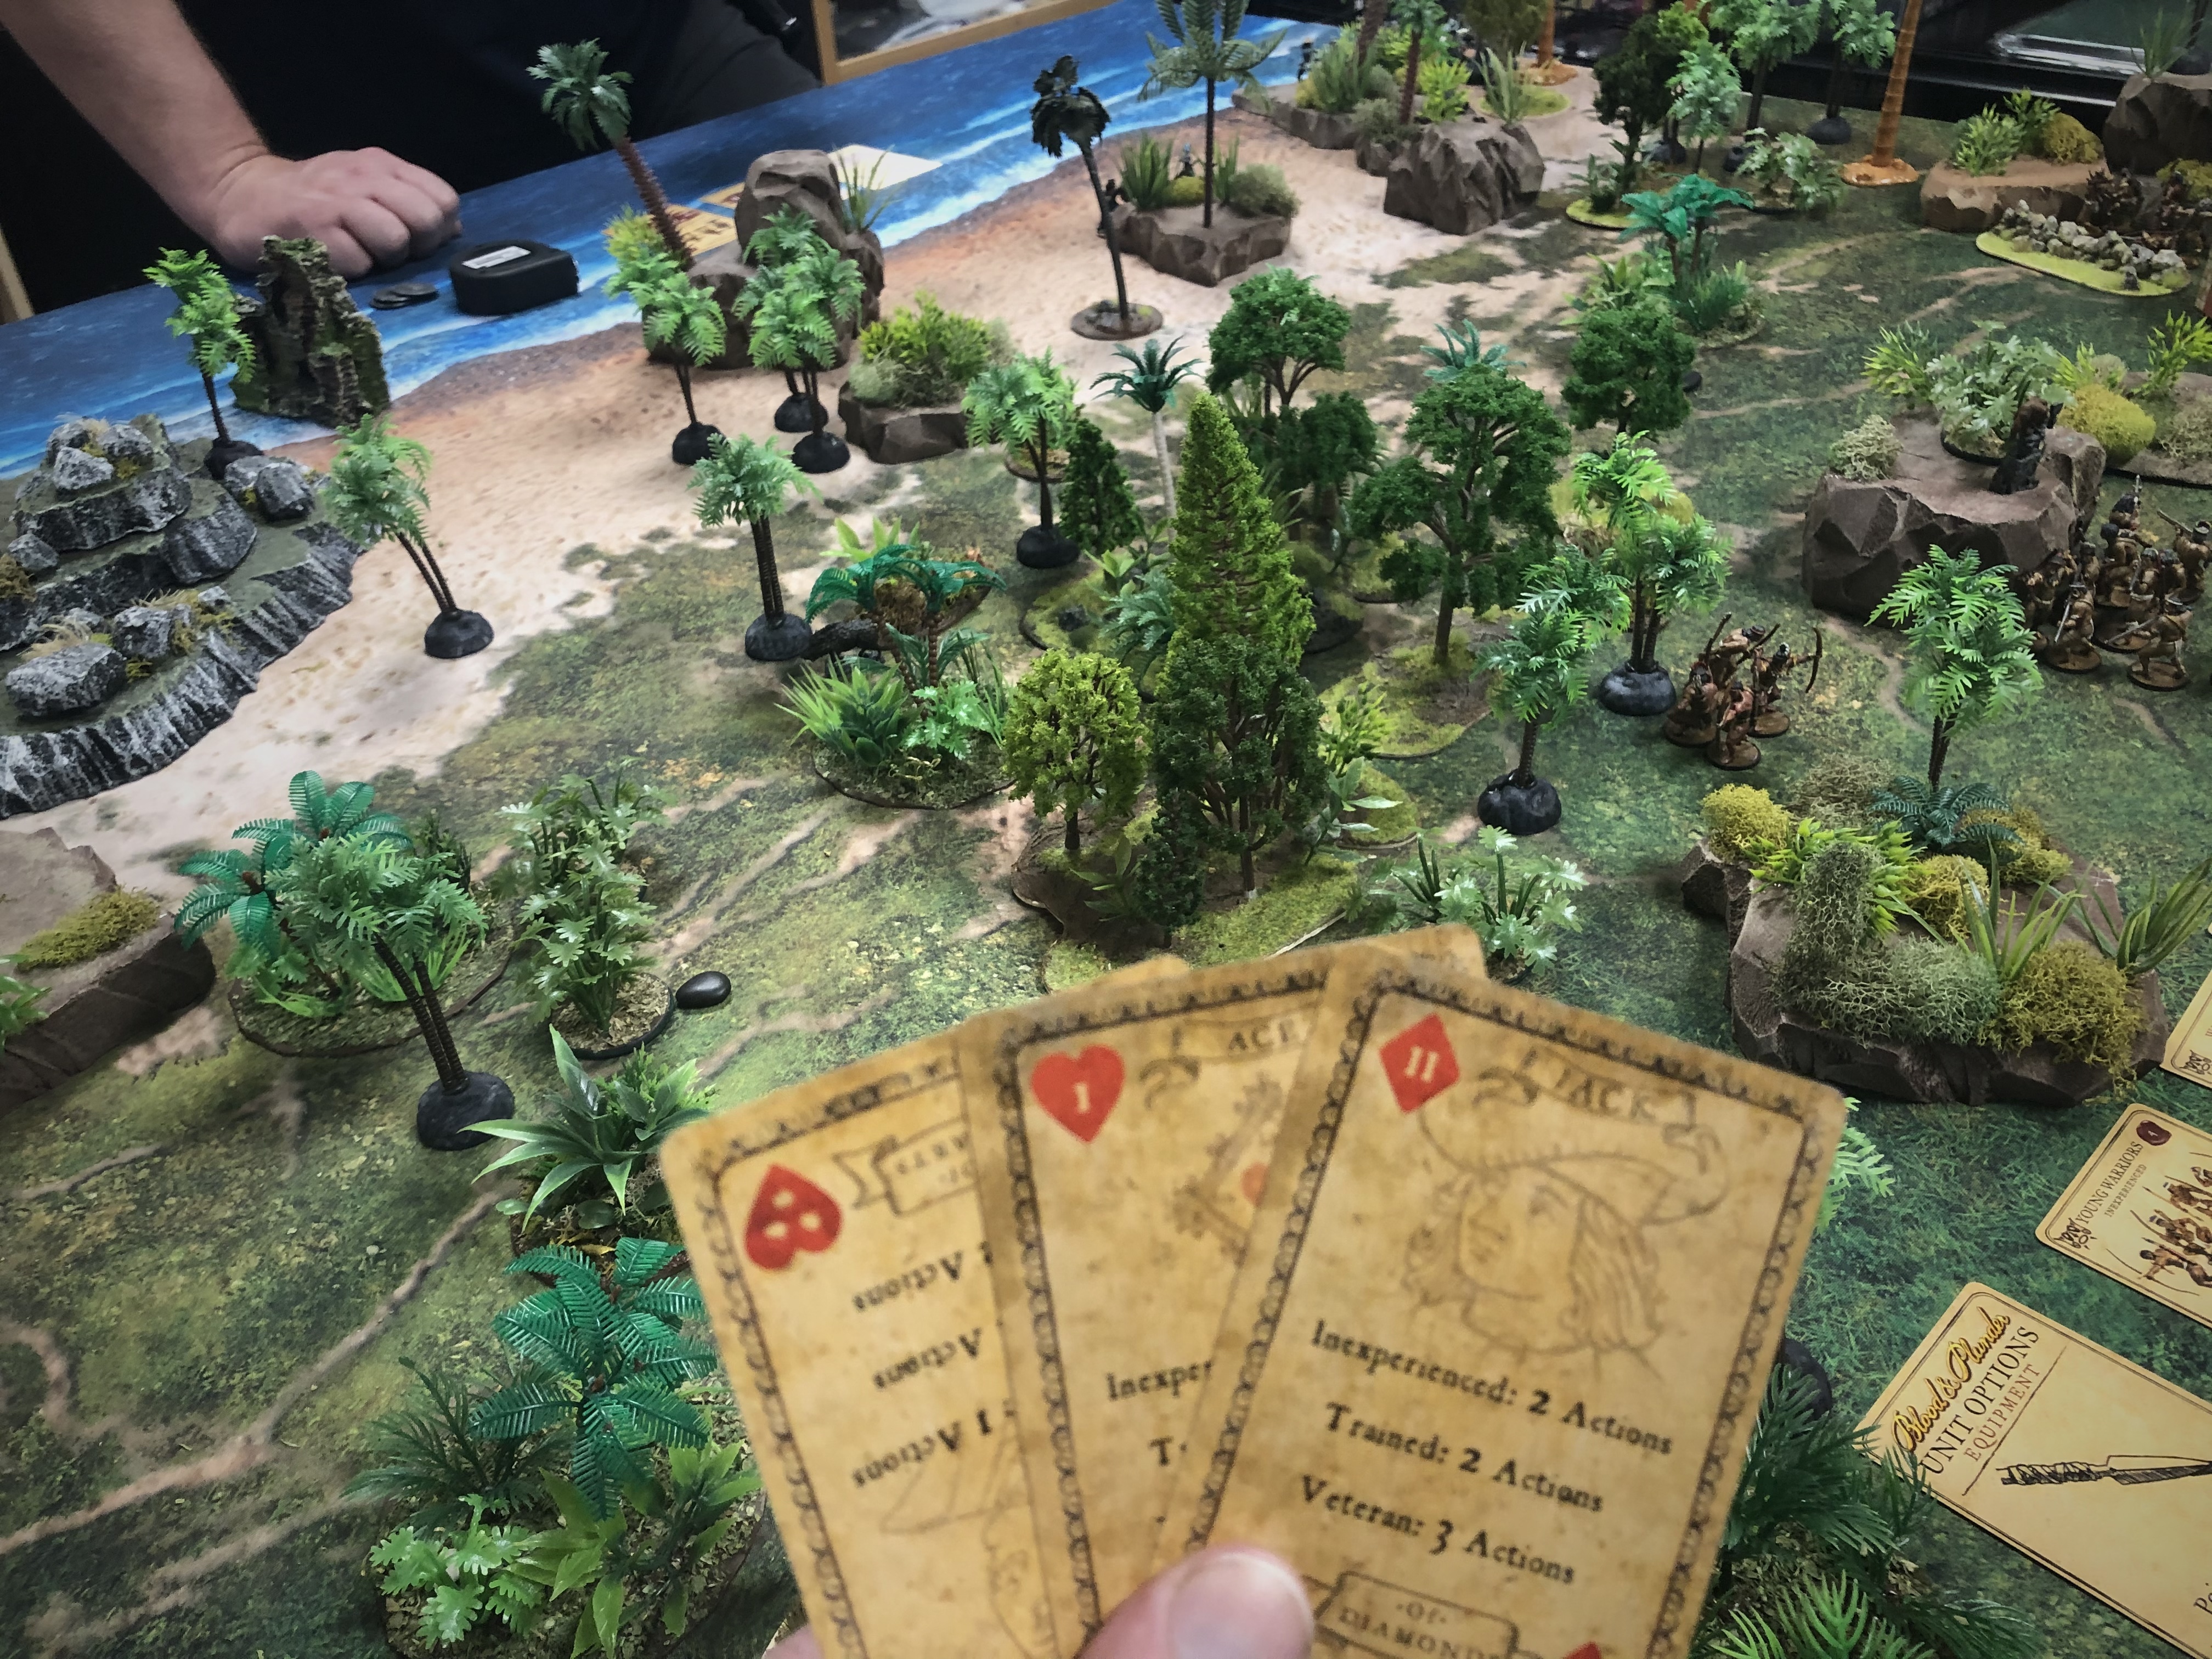
Before the game we both secretly selected our Tactics. Mario’s Heart initiative card gave him 1 Tactic and he chose Undisciplined Louts (because it’s the best!) and my Club gave me 3 so I chose High Tolerance (negates Drunk rules), Stalling Tactics (we started the game at dusk) and Ambush so I could place half my force using the Lay in Wait rules.

I had set up the board before we knew which scenario we were playing so hopefully I didn’t set it up in a way that favored myself. We played on a 4×6′ mat but only used a 3×4′ area. The waterline is right at 3′ on the short edge and we used 4′ of the long edge, using the remaining part of the table for our rule books, dice etc.
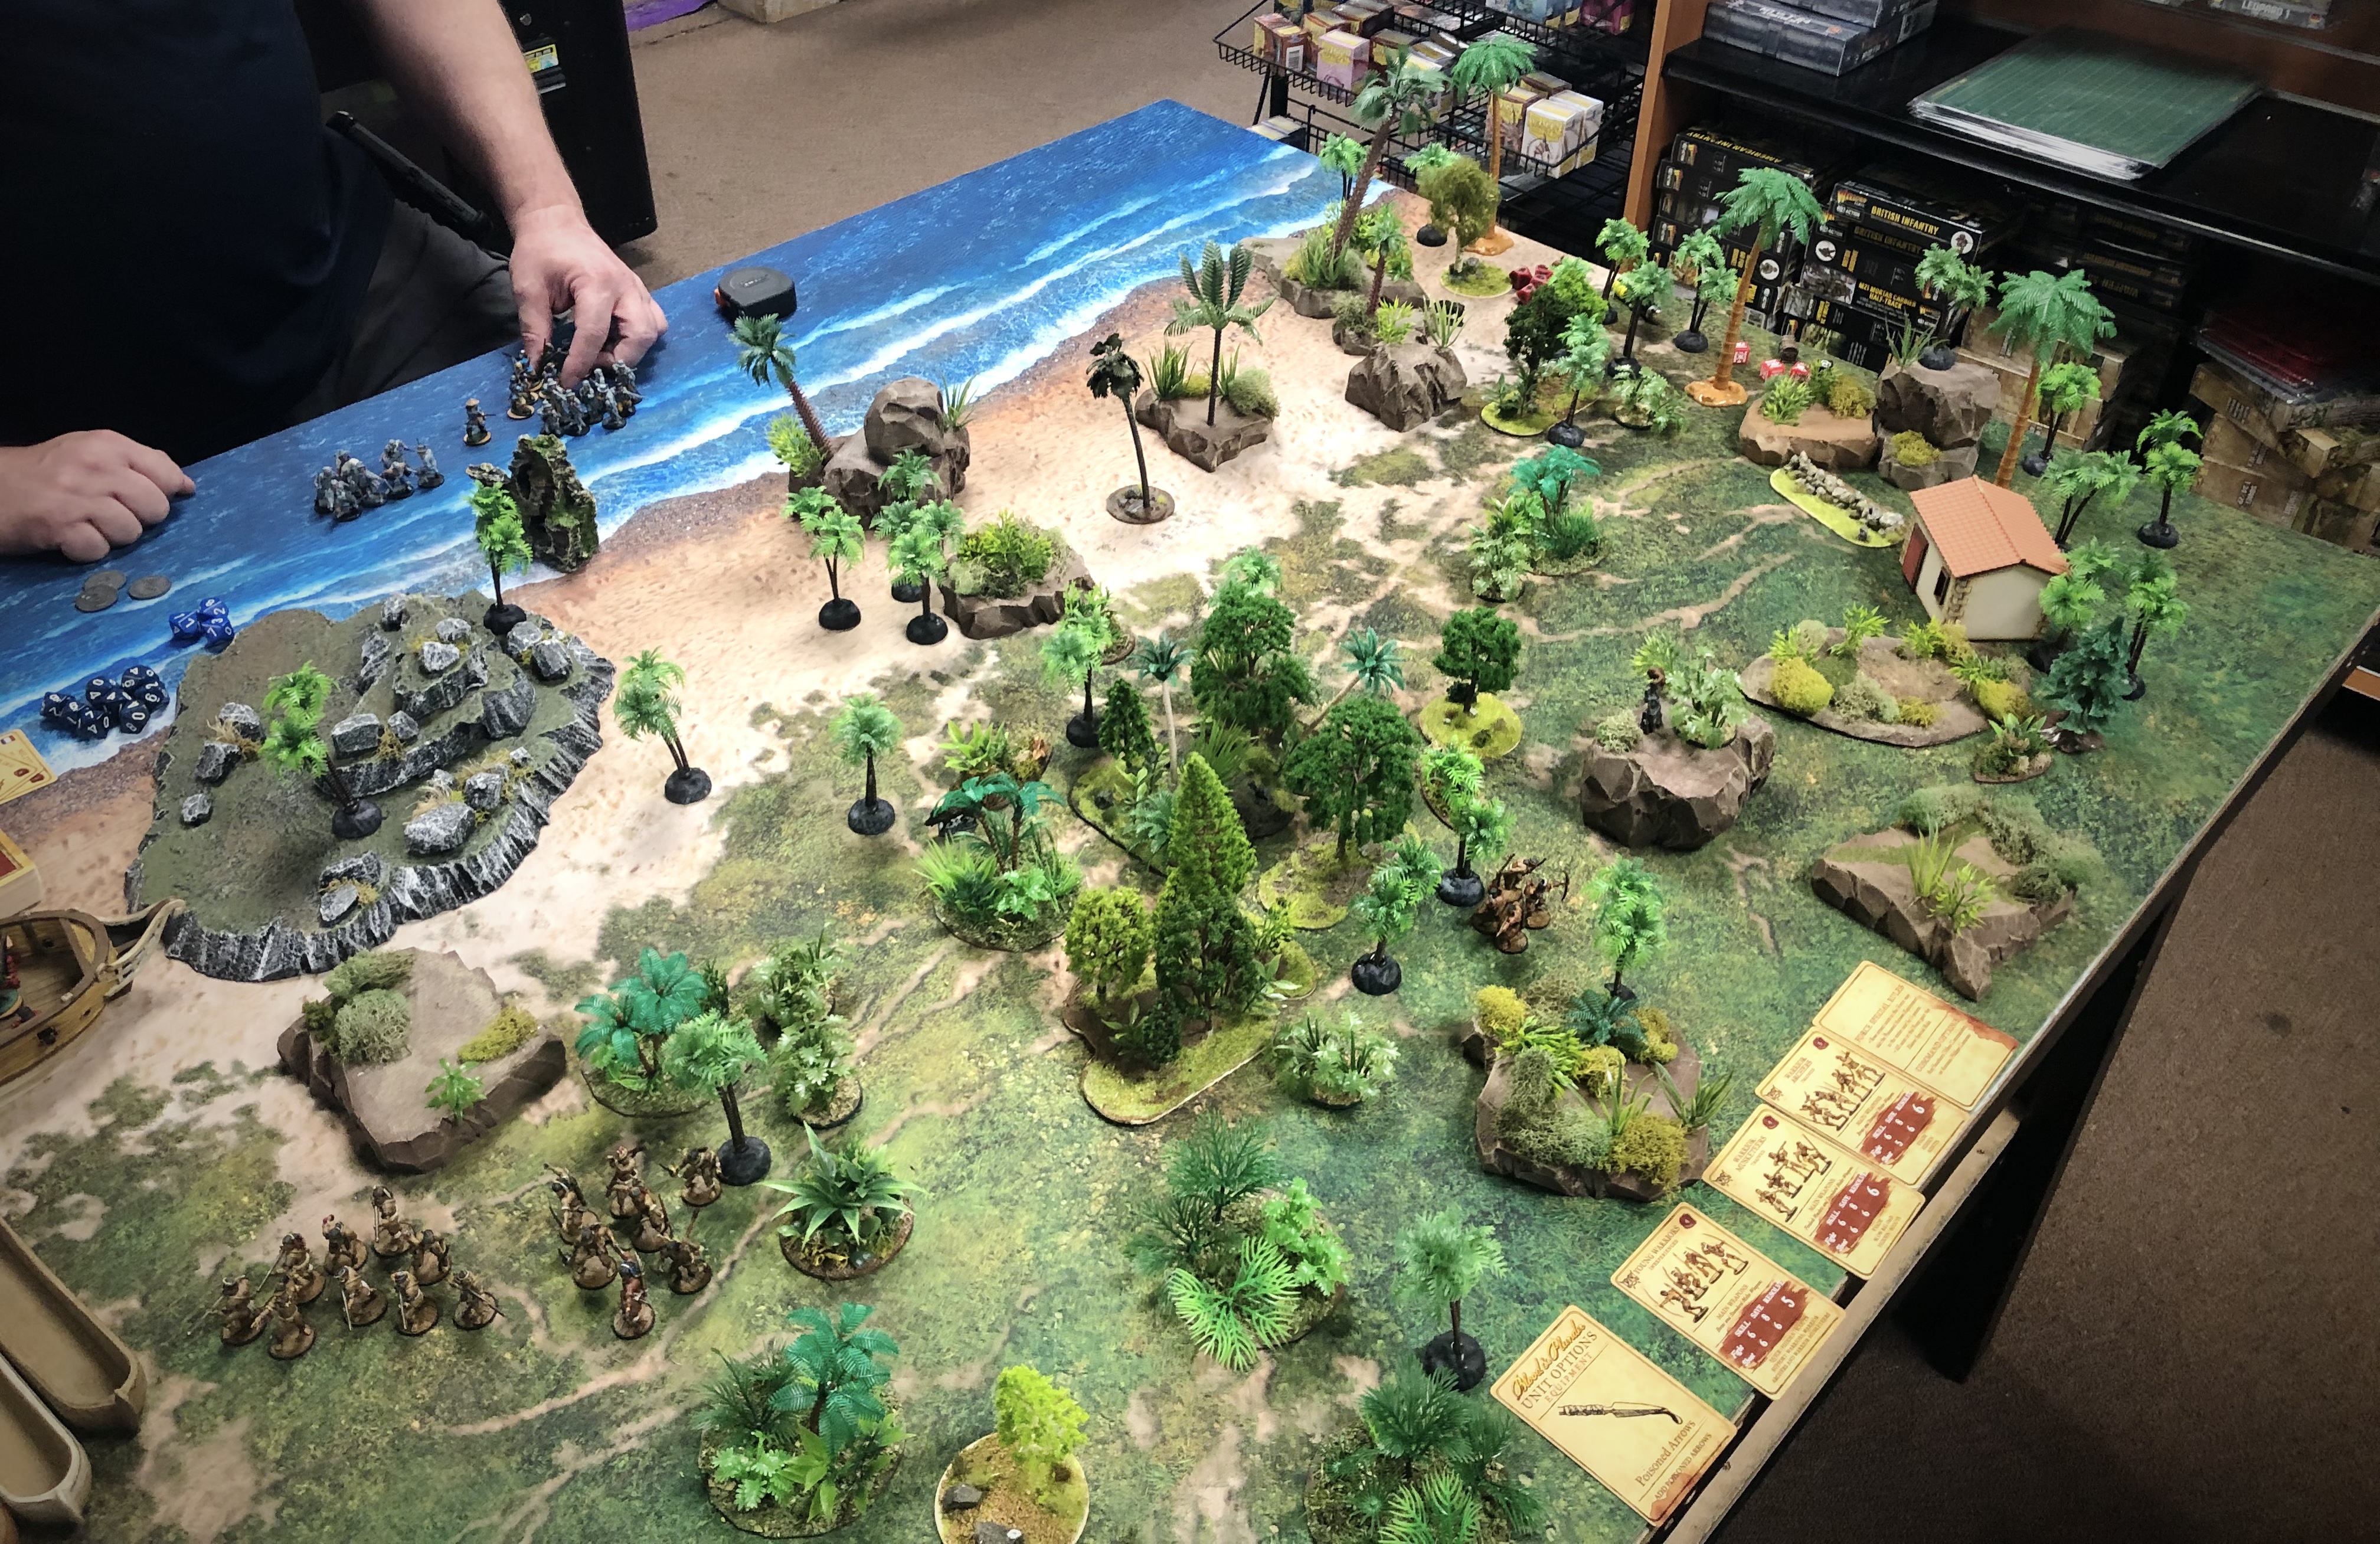
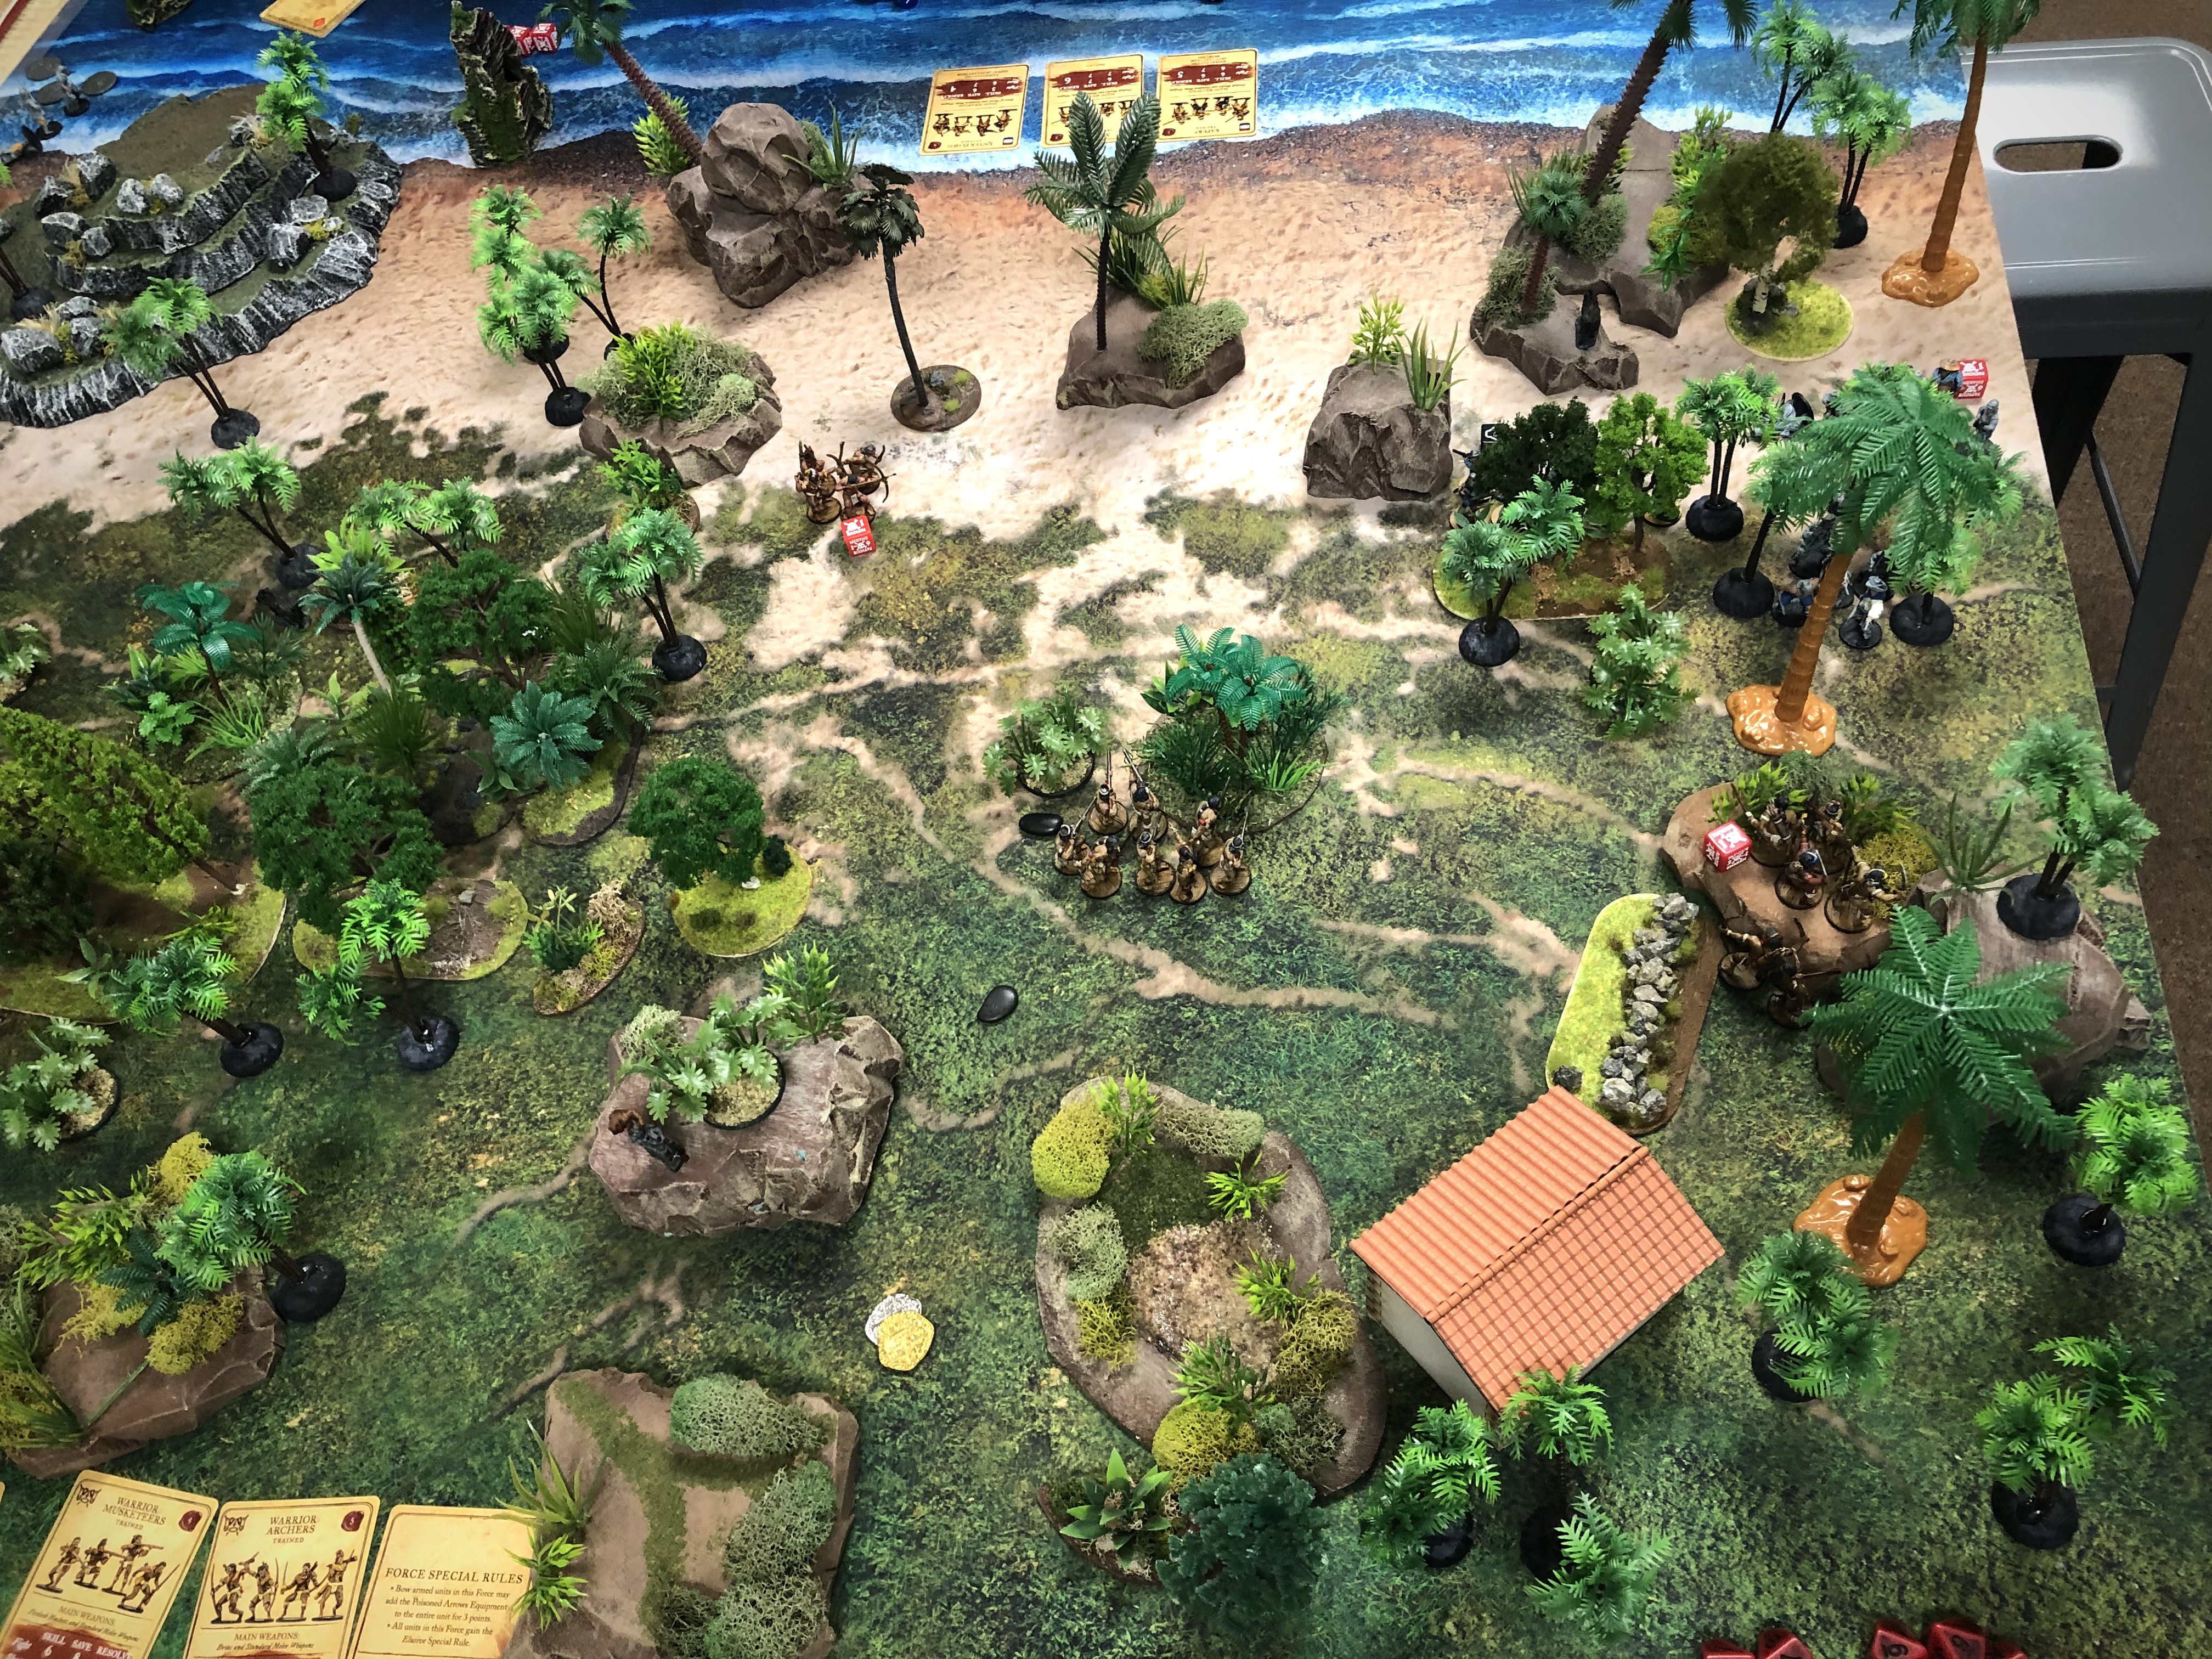
I filled the board up with terrain. There’s a denser forest in the middle, a building, some tall rocks and some nice open “killing fields.”
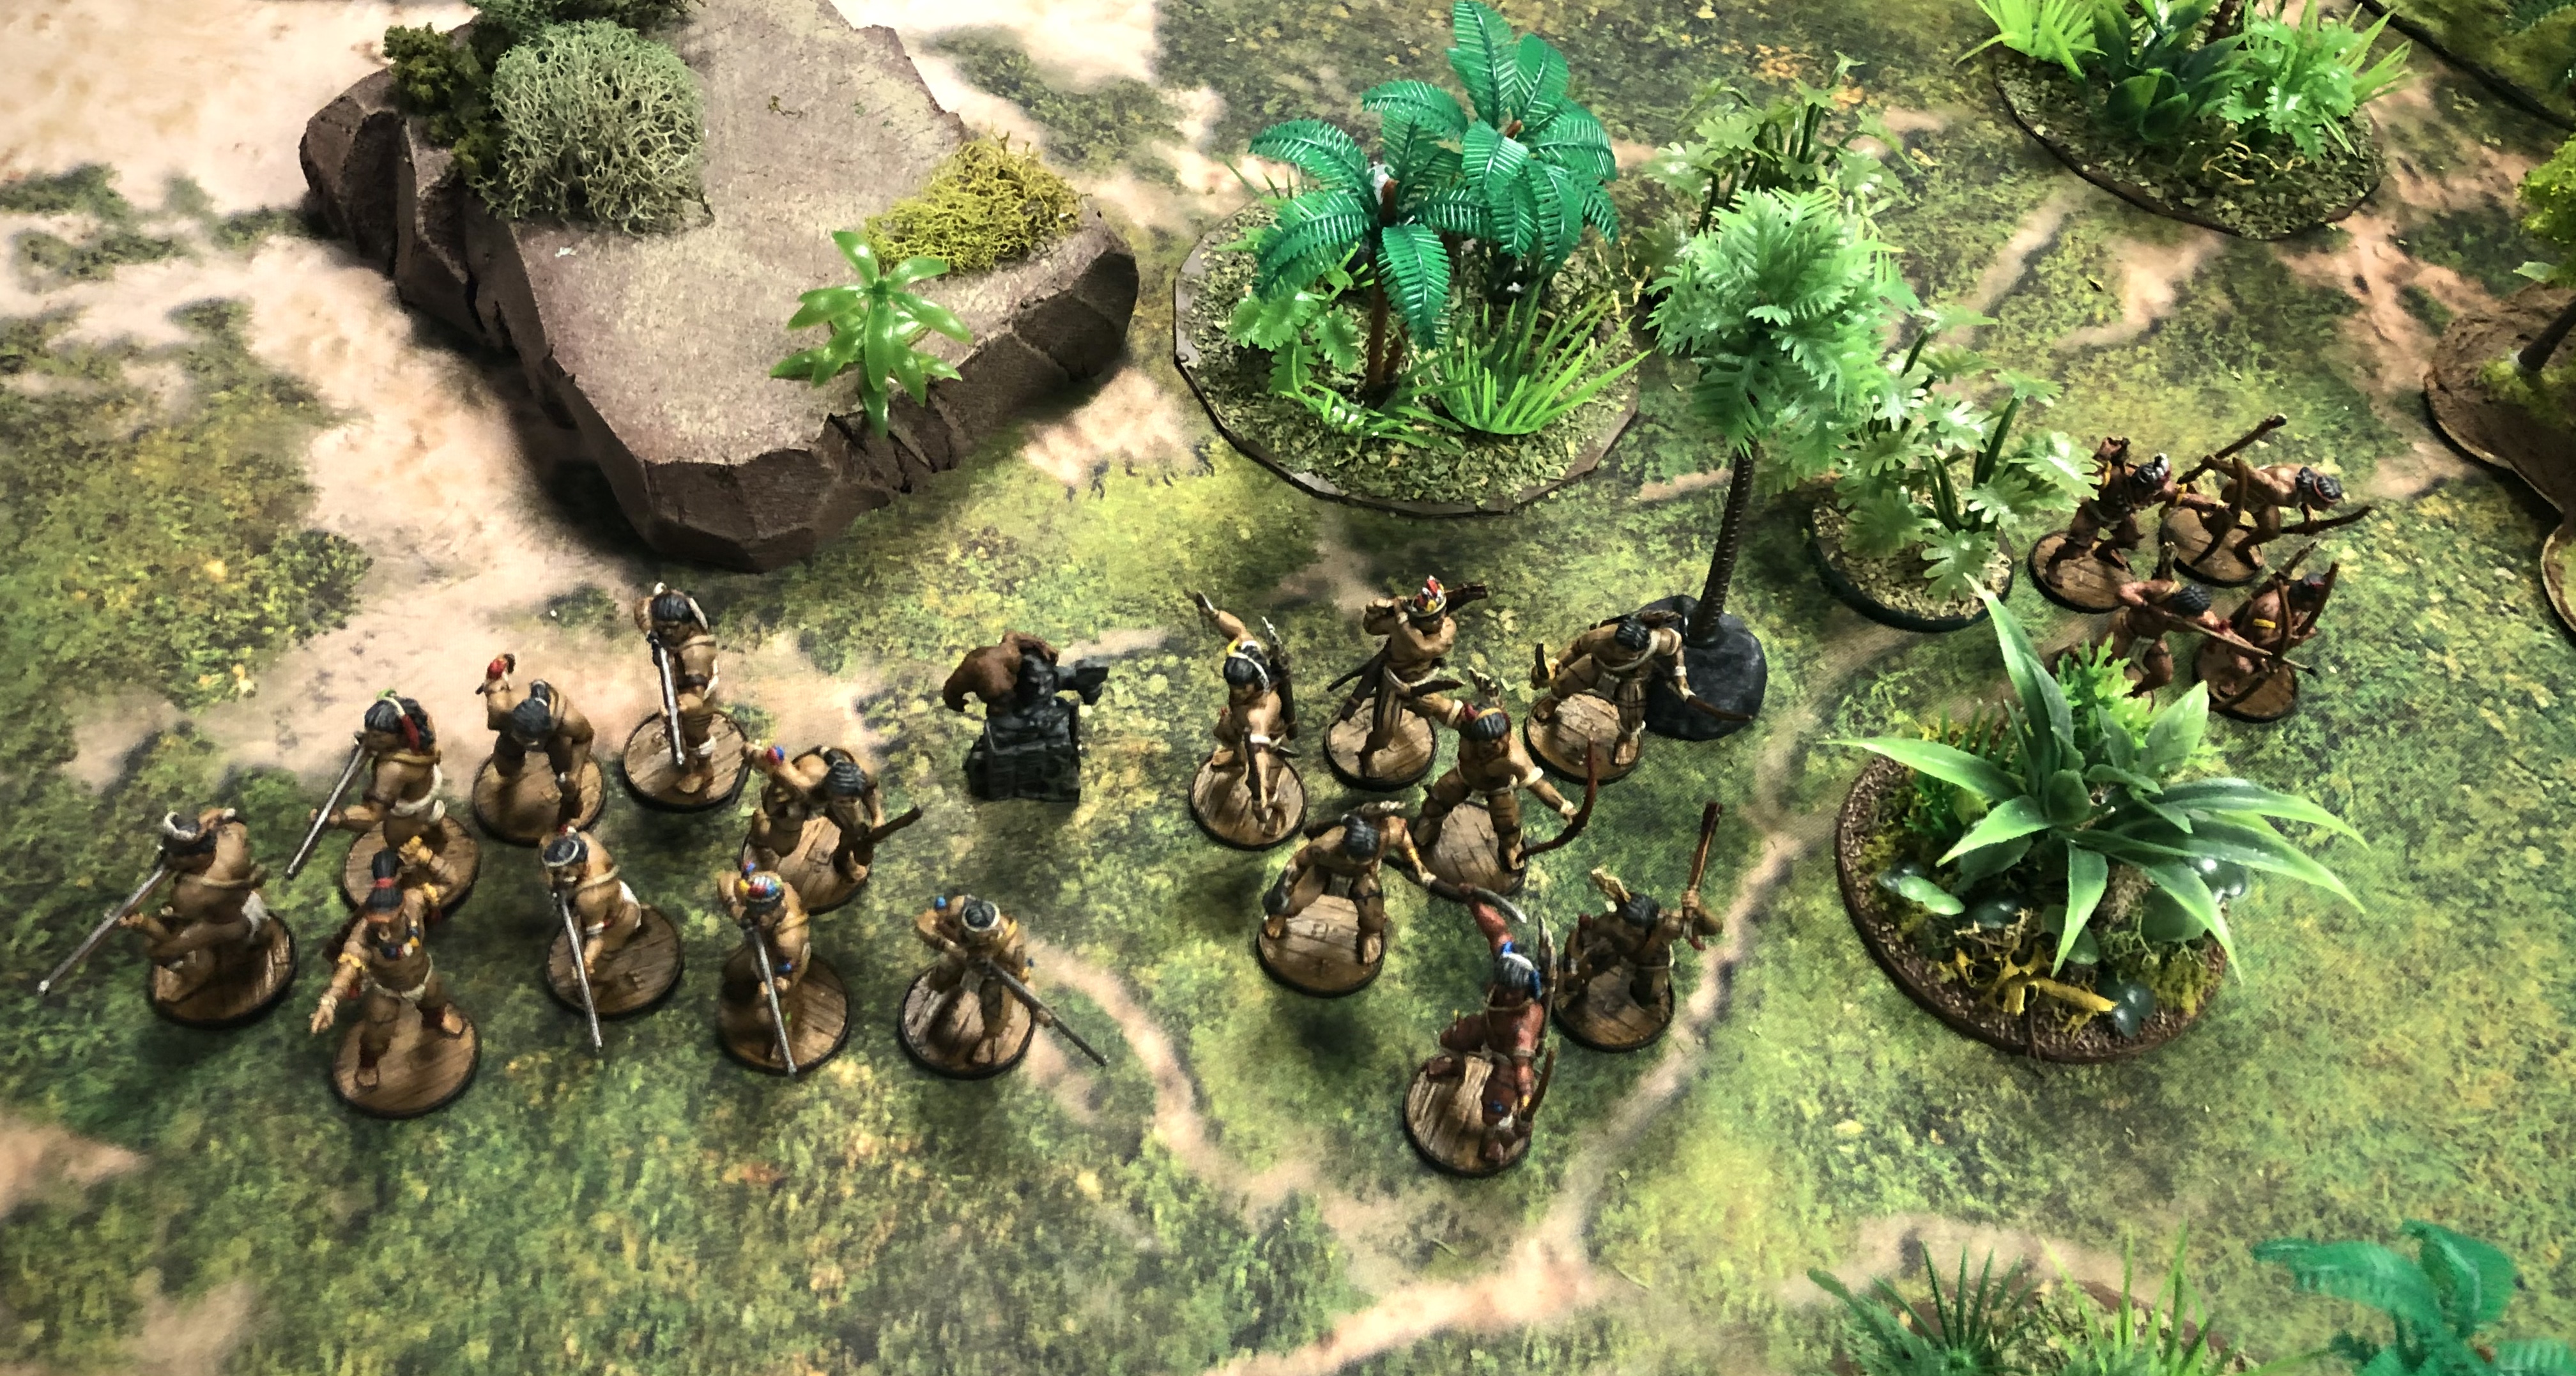
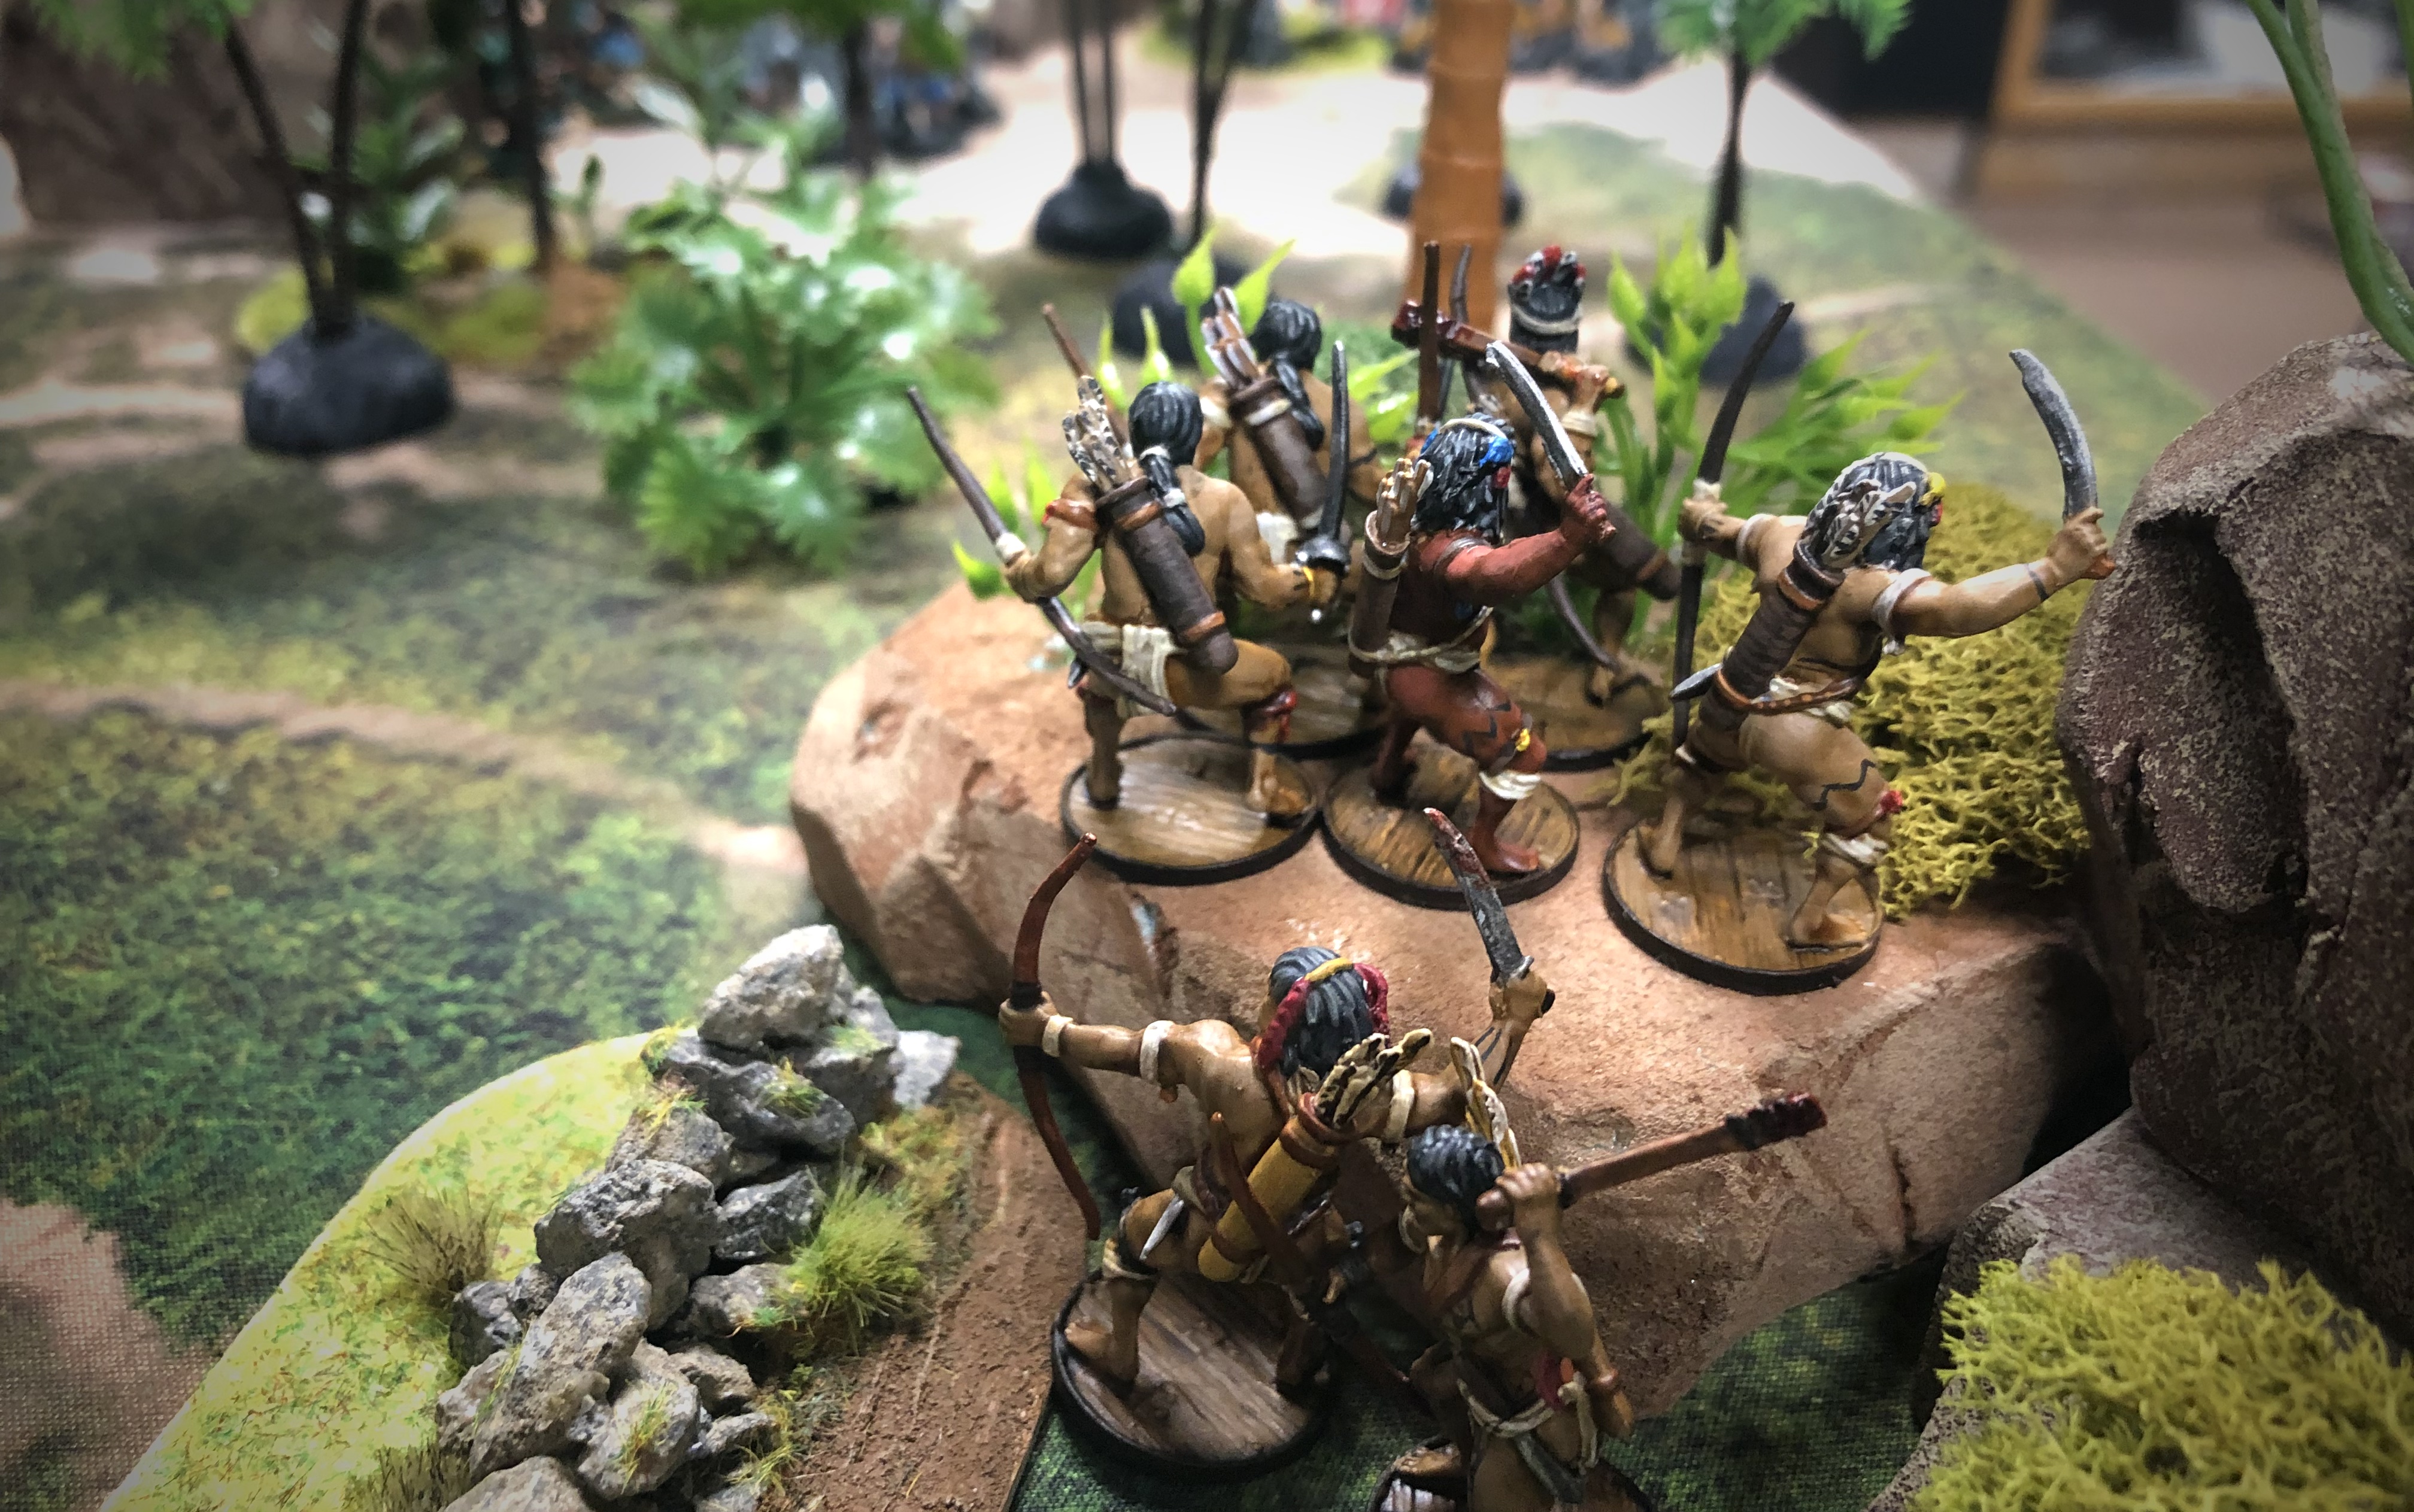
As the defender I deployed a unit first. I placed my small unit of Young Warriors near the center 12″ forward. Mario placed the 8 Militia further over to my Right behind a large rock. I countered with my command group of Warrior Musketeers over on my right but within 8″ of the Young Warriors so I could command them if necessary. He proceeded to place both his Kapers and Enter Ploeg further over on my Right. I placed my Warrior Archers prone on my far Right slightly out of my standard zone using the Lay in Wait rules.
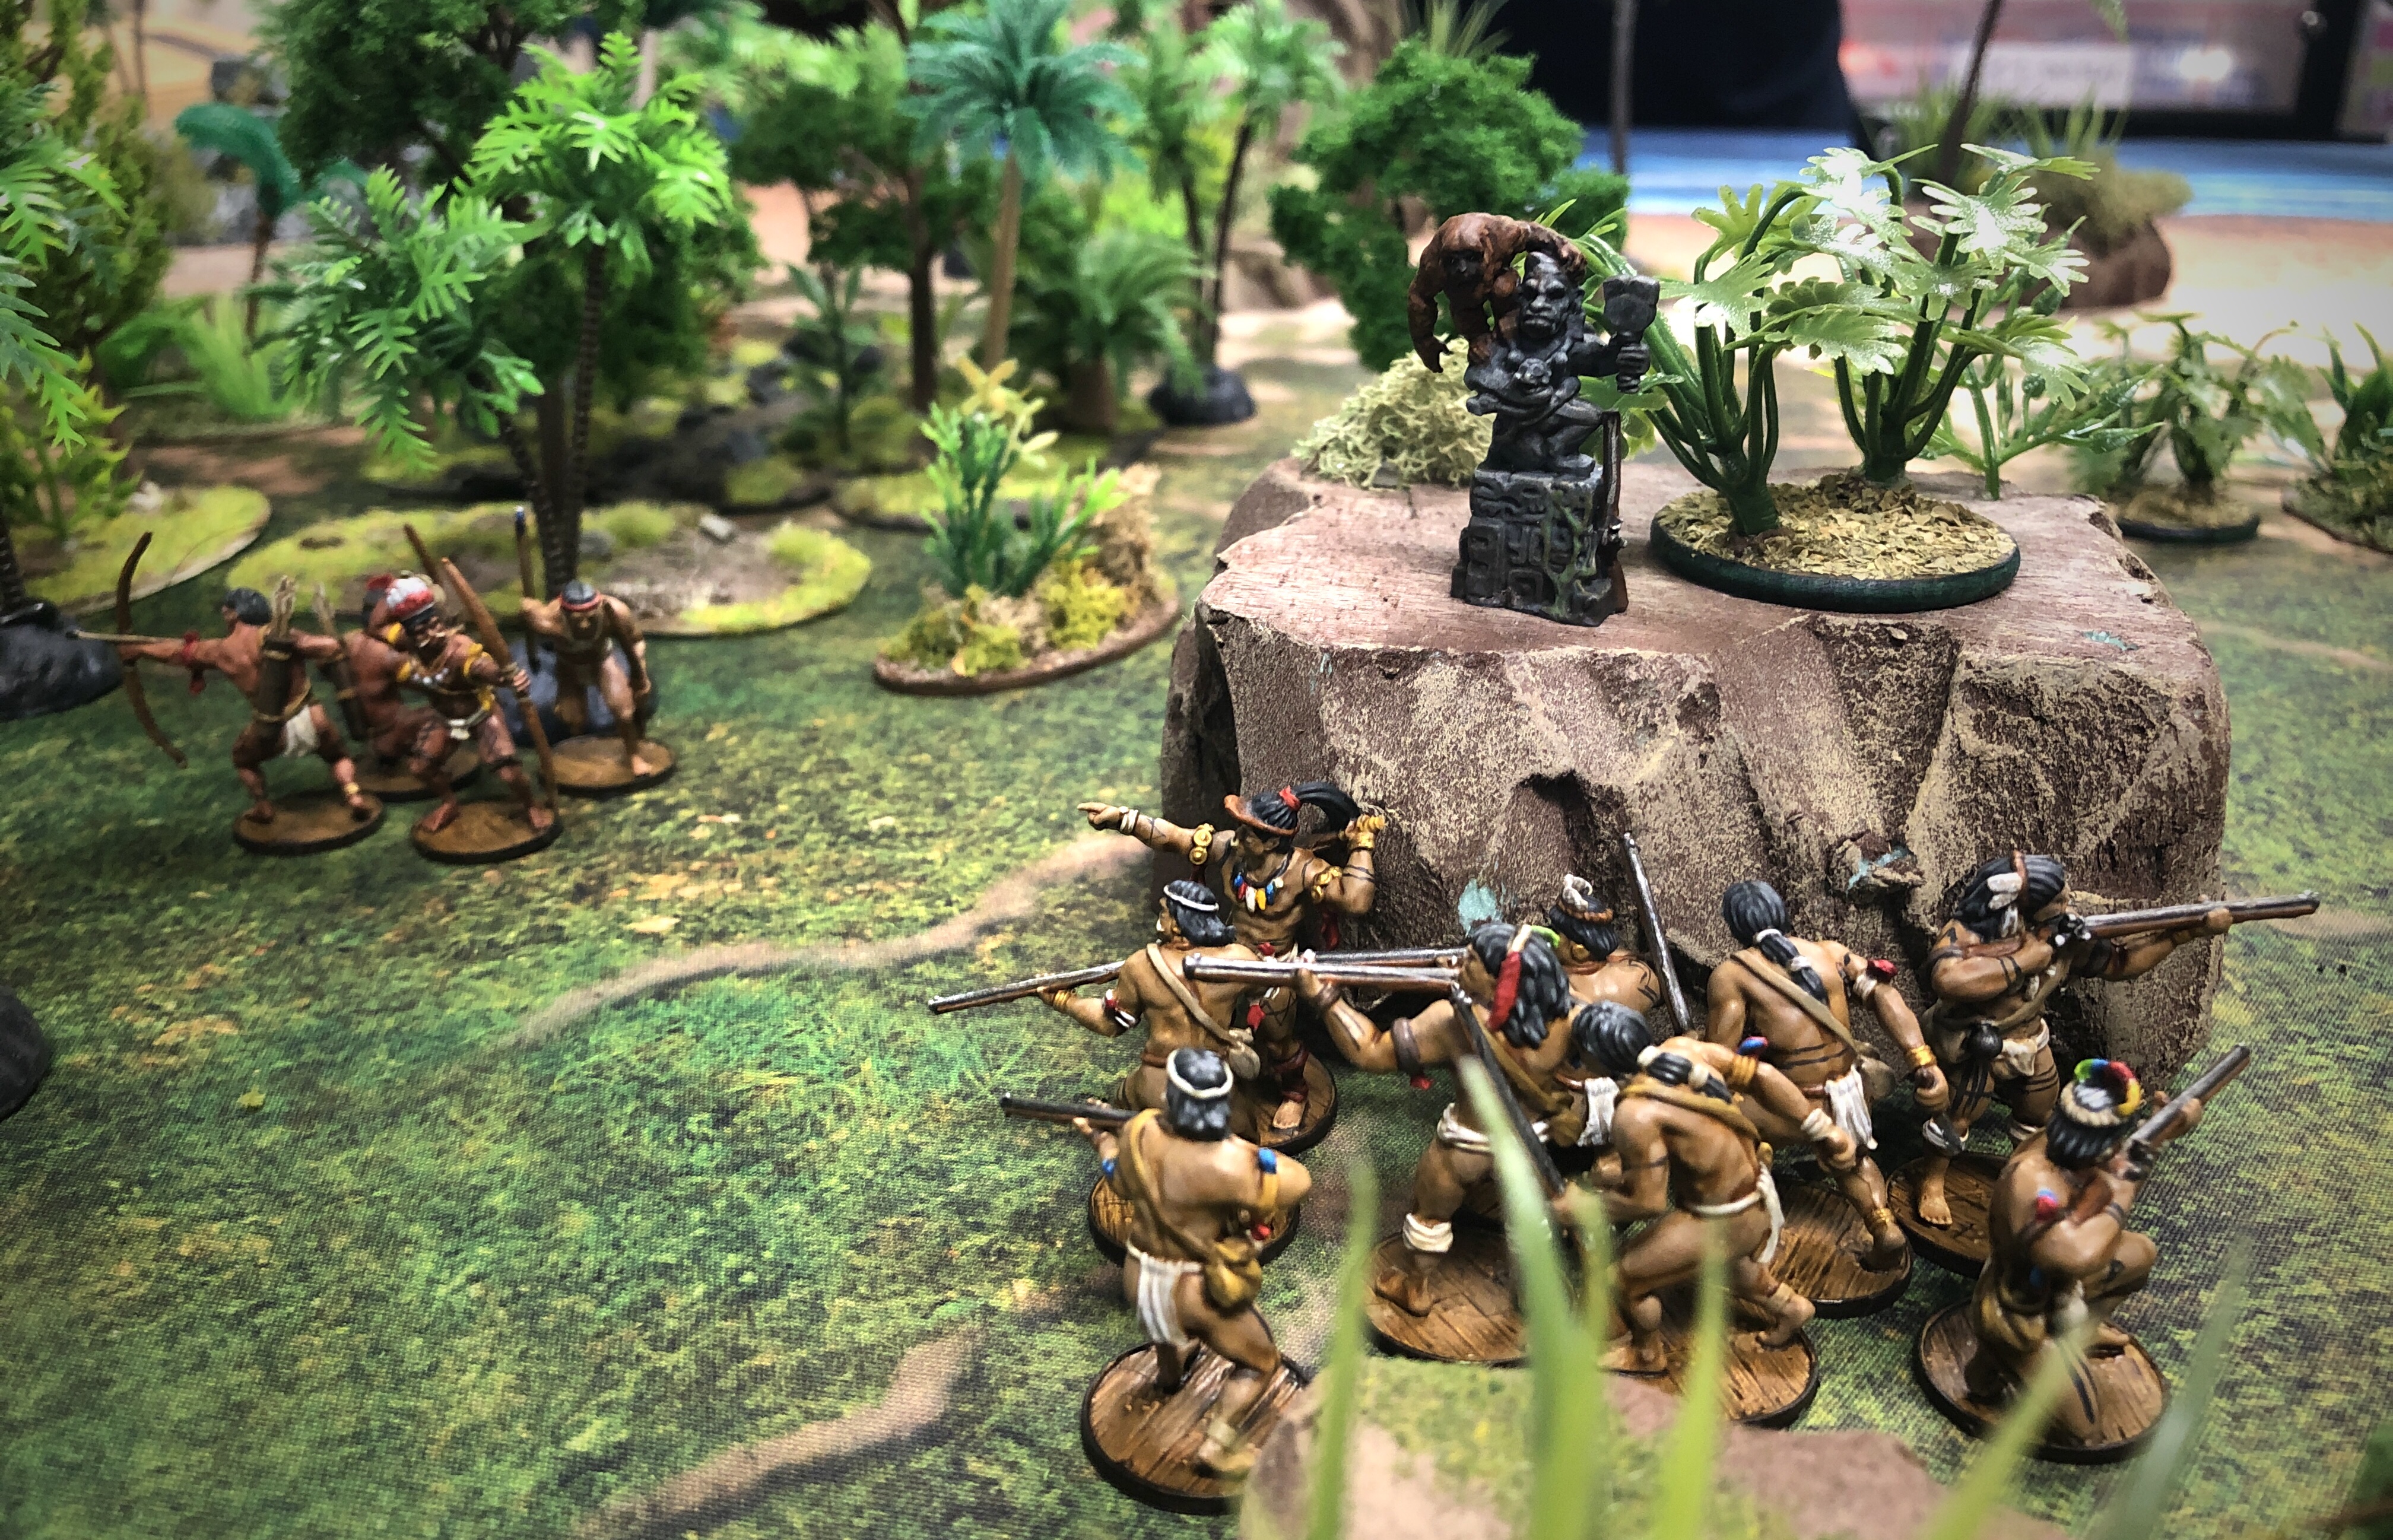
The blunder monkey couldn’t be left in the case!
The board is so full of terrain it’s hard to see the 6 units on the board!

You can see my Young and Musket Warriors near the center back and then the Archers are prone behind that small stone wall near the house. All three Dutch units are in the far lower Right corner.
The Game
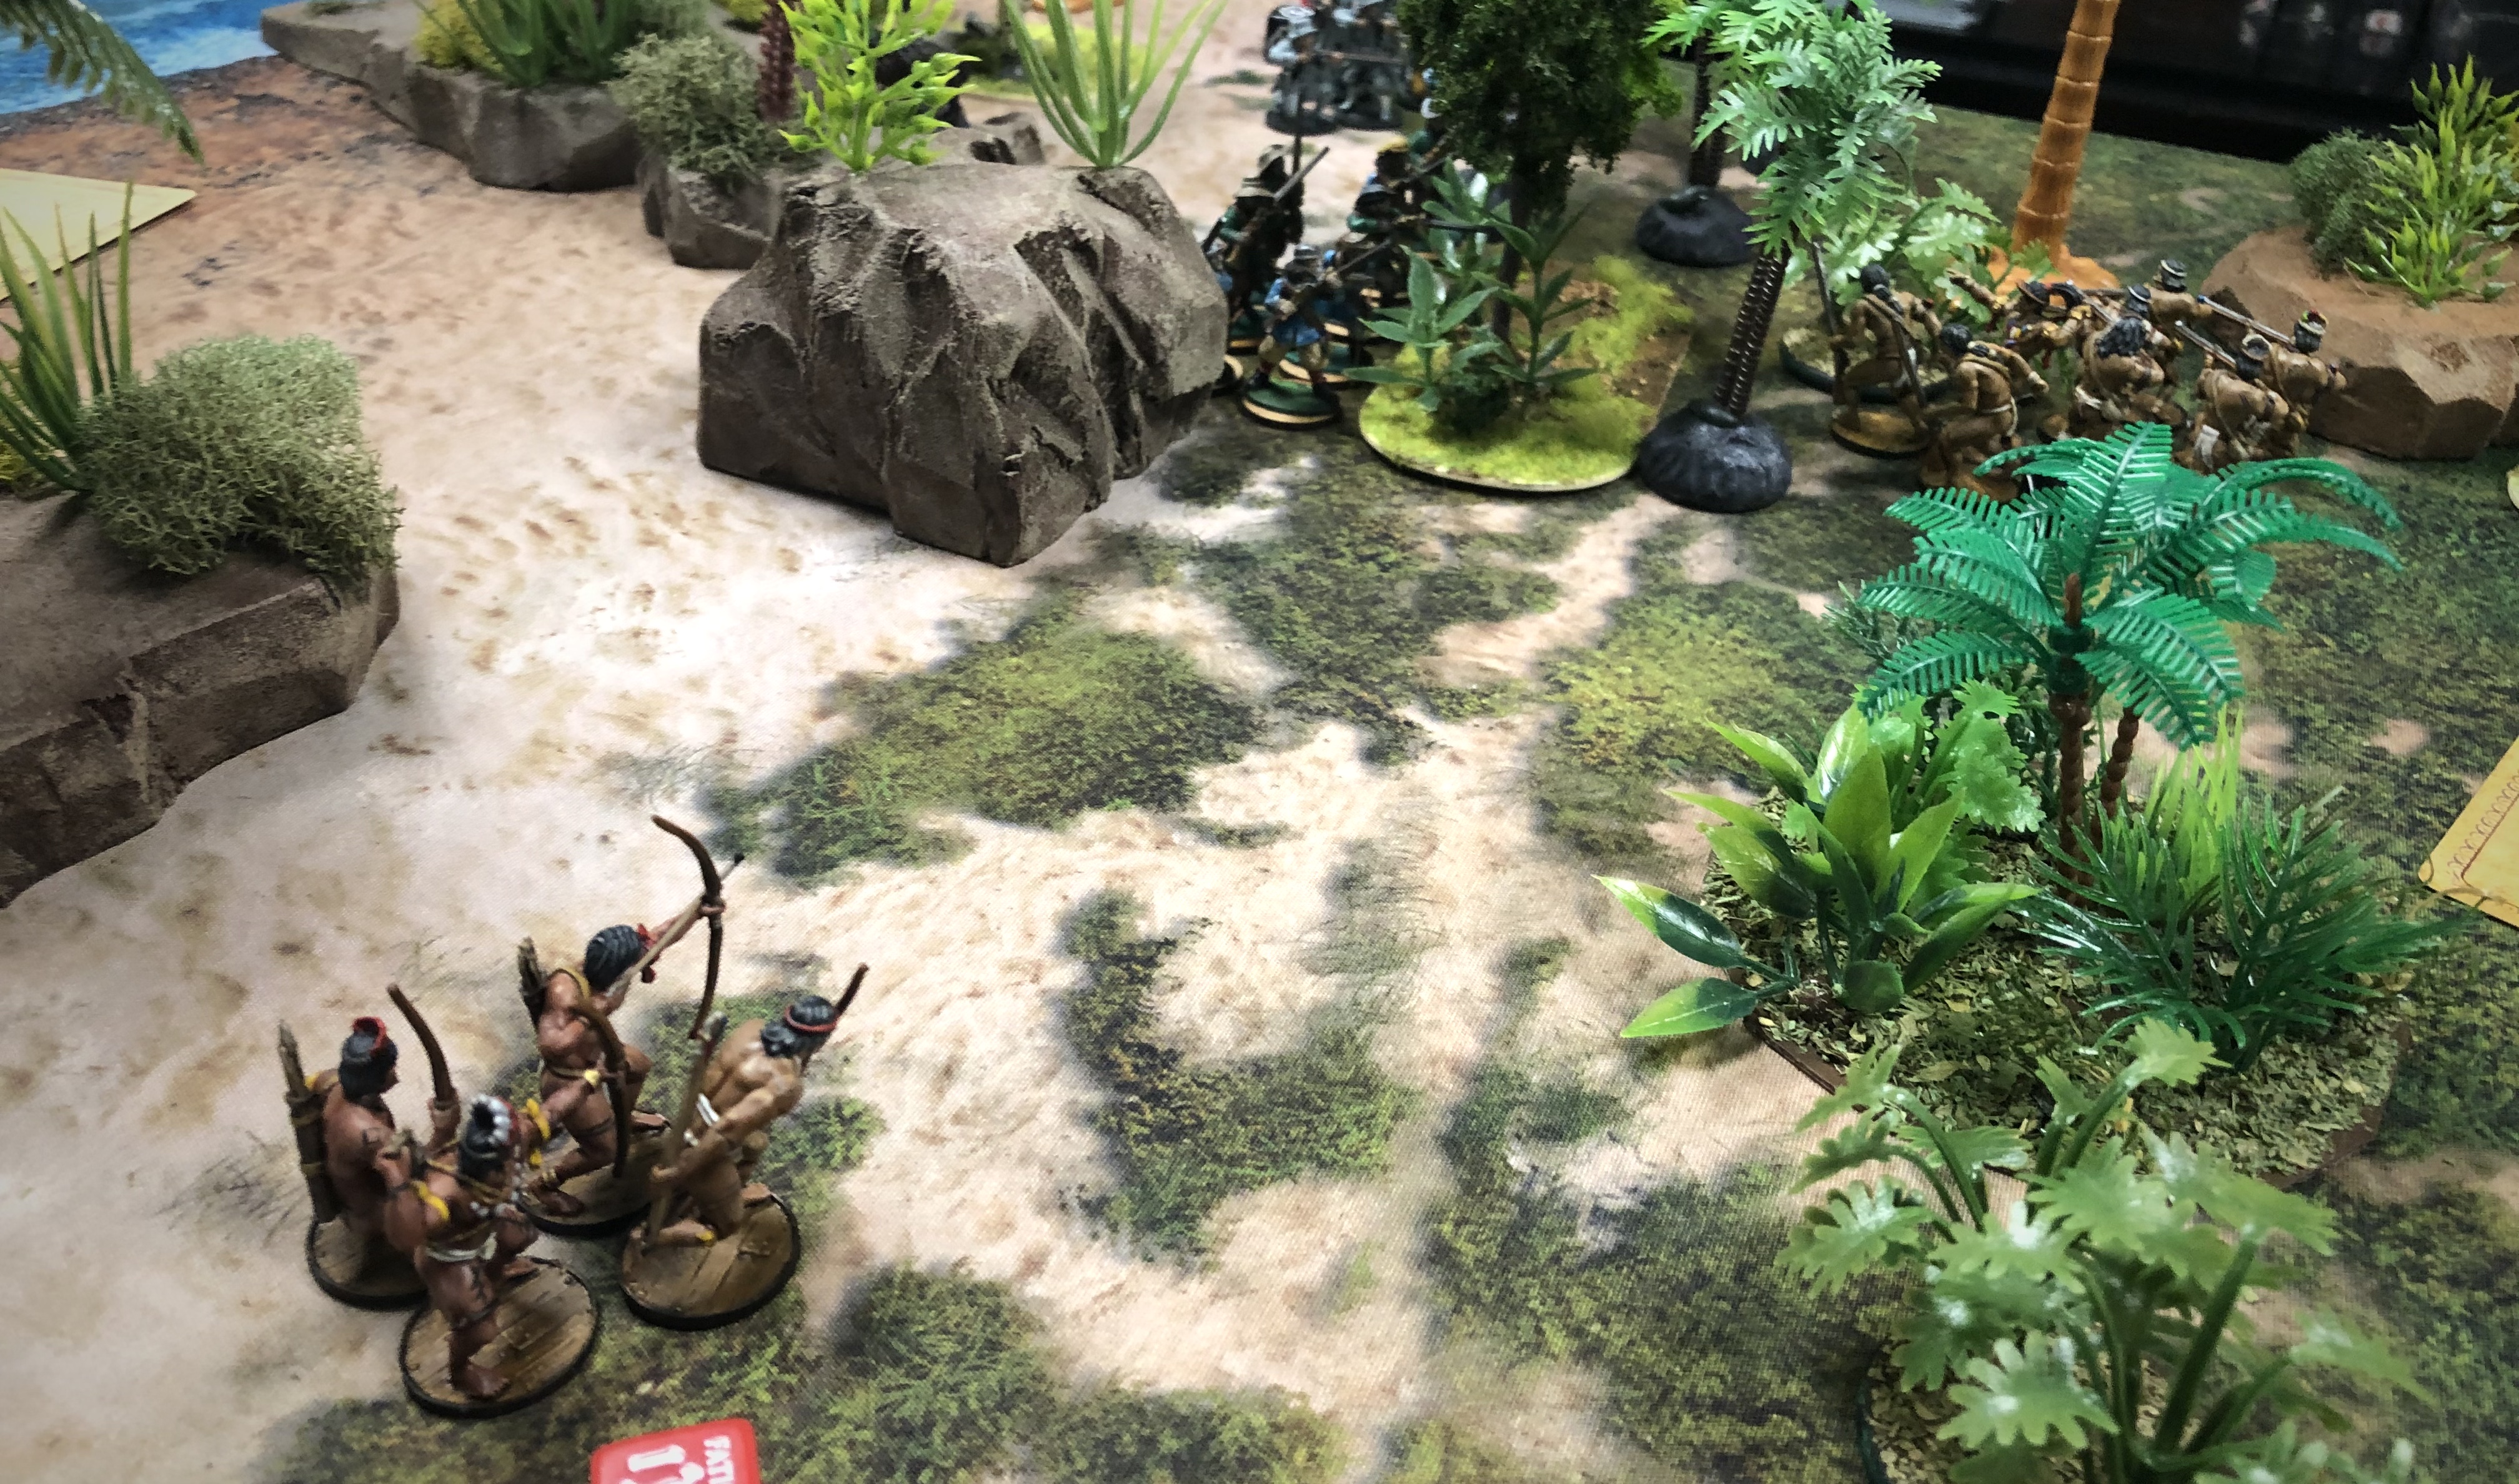
I bid low with my cards on the first turn so I could respond to what he might do. He moved forward and concentrated all his forces further towards my Right flank. I moved my Young Warriors towards the center of the board hoping to flank him and deprive him of cover as he advanced. My command unit moved into the swamp cover and ordered the Archers to stand. His Kapers moved up a full 8″ and looked for an early shot but with my Hidden rule, he couldn’t get a shot off at more than 12″.
I have to say (and I can guarantee Mario would agree) that defending still seems to be a considerable advantage in most of these scenarios. My Archers took up this position in cover and were able to shoot from there most of the rest of the game (until they became shaken).
Round 2 opened with the Kapers advancing further and firing off a volley at the Archers. The Sharpshooter landed a hit which denied me my cover and that killed an Archer while I successfully saved the other standard hit.
The archers responded by peppering the advancing Kapers and Enter Ploeg with poisoned arrows and killing 1 model in each group and giving them both a Fatigue and burning off some Dutch Fortune points to save models after a few terrible Save rolls.
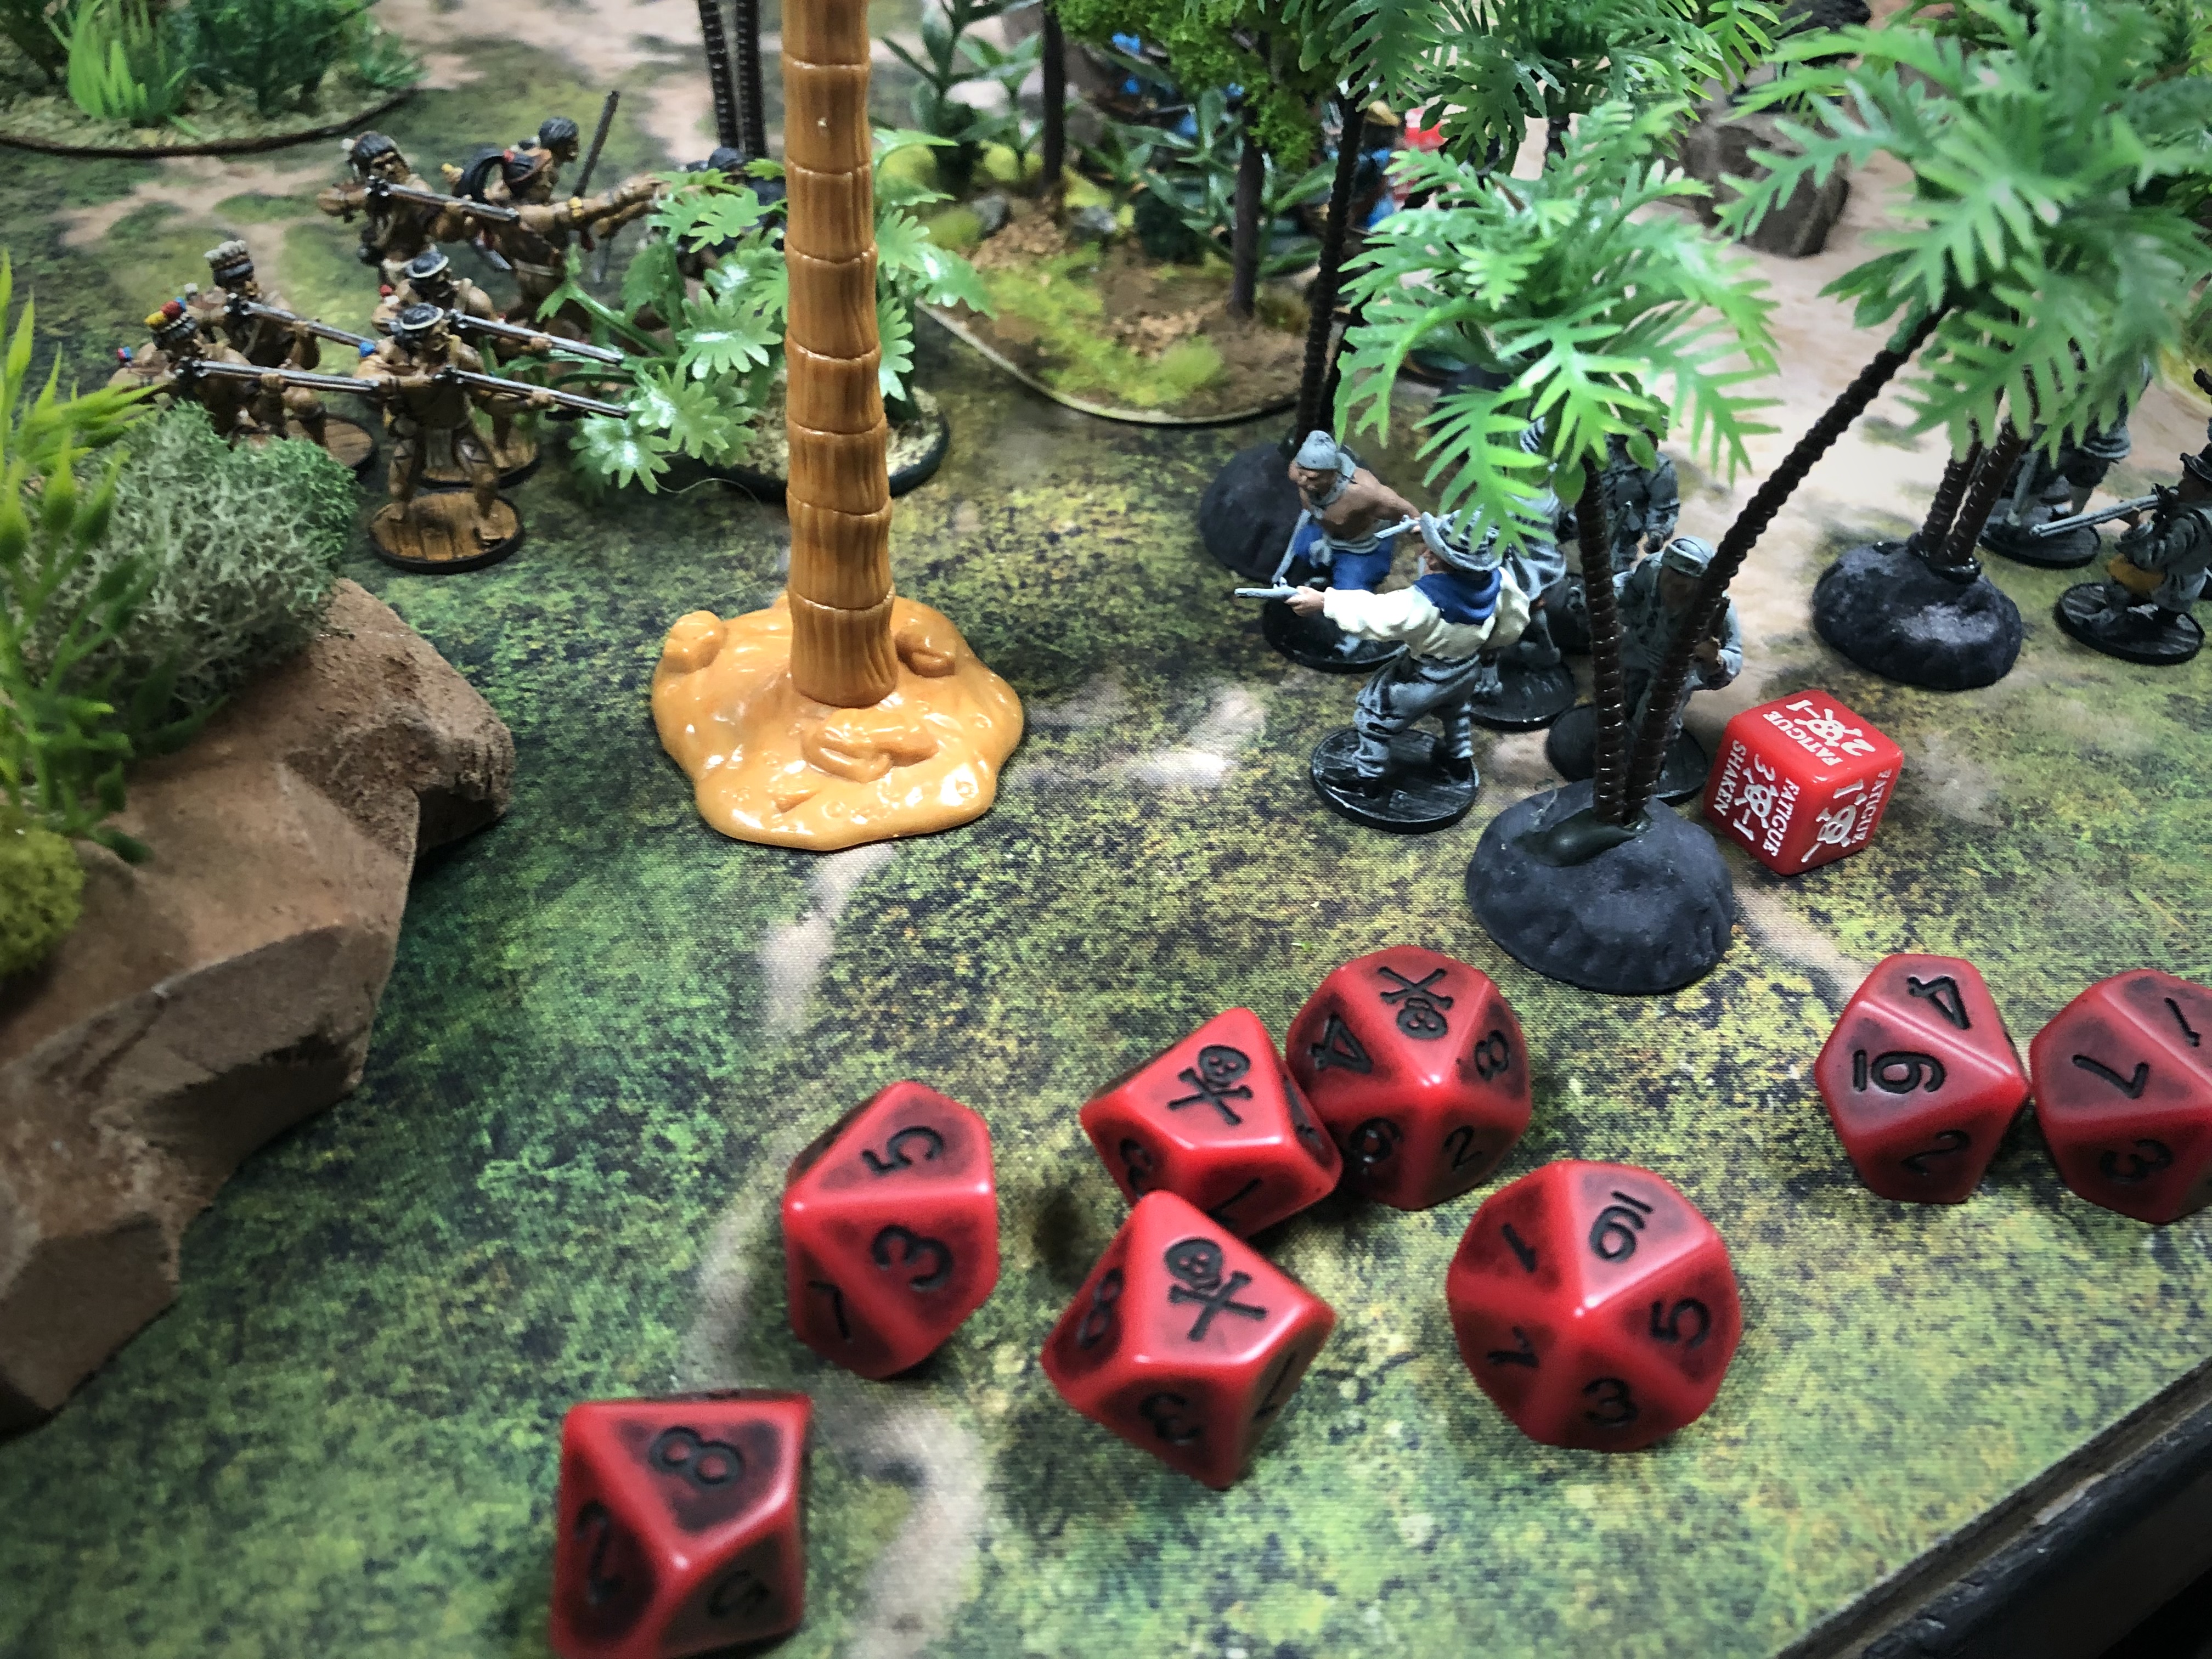
Near the end of turn 2 the Enter Ploeg got close enough to my Archers to throw their Grenades and fire off their pistols. Predictably, the Dutch fumbled the grenade but it off without harming the 10-thumbed Dutchmen. The pistol volley did land a couple hits and took out an Archer.
Fumble!
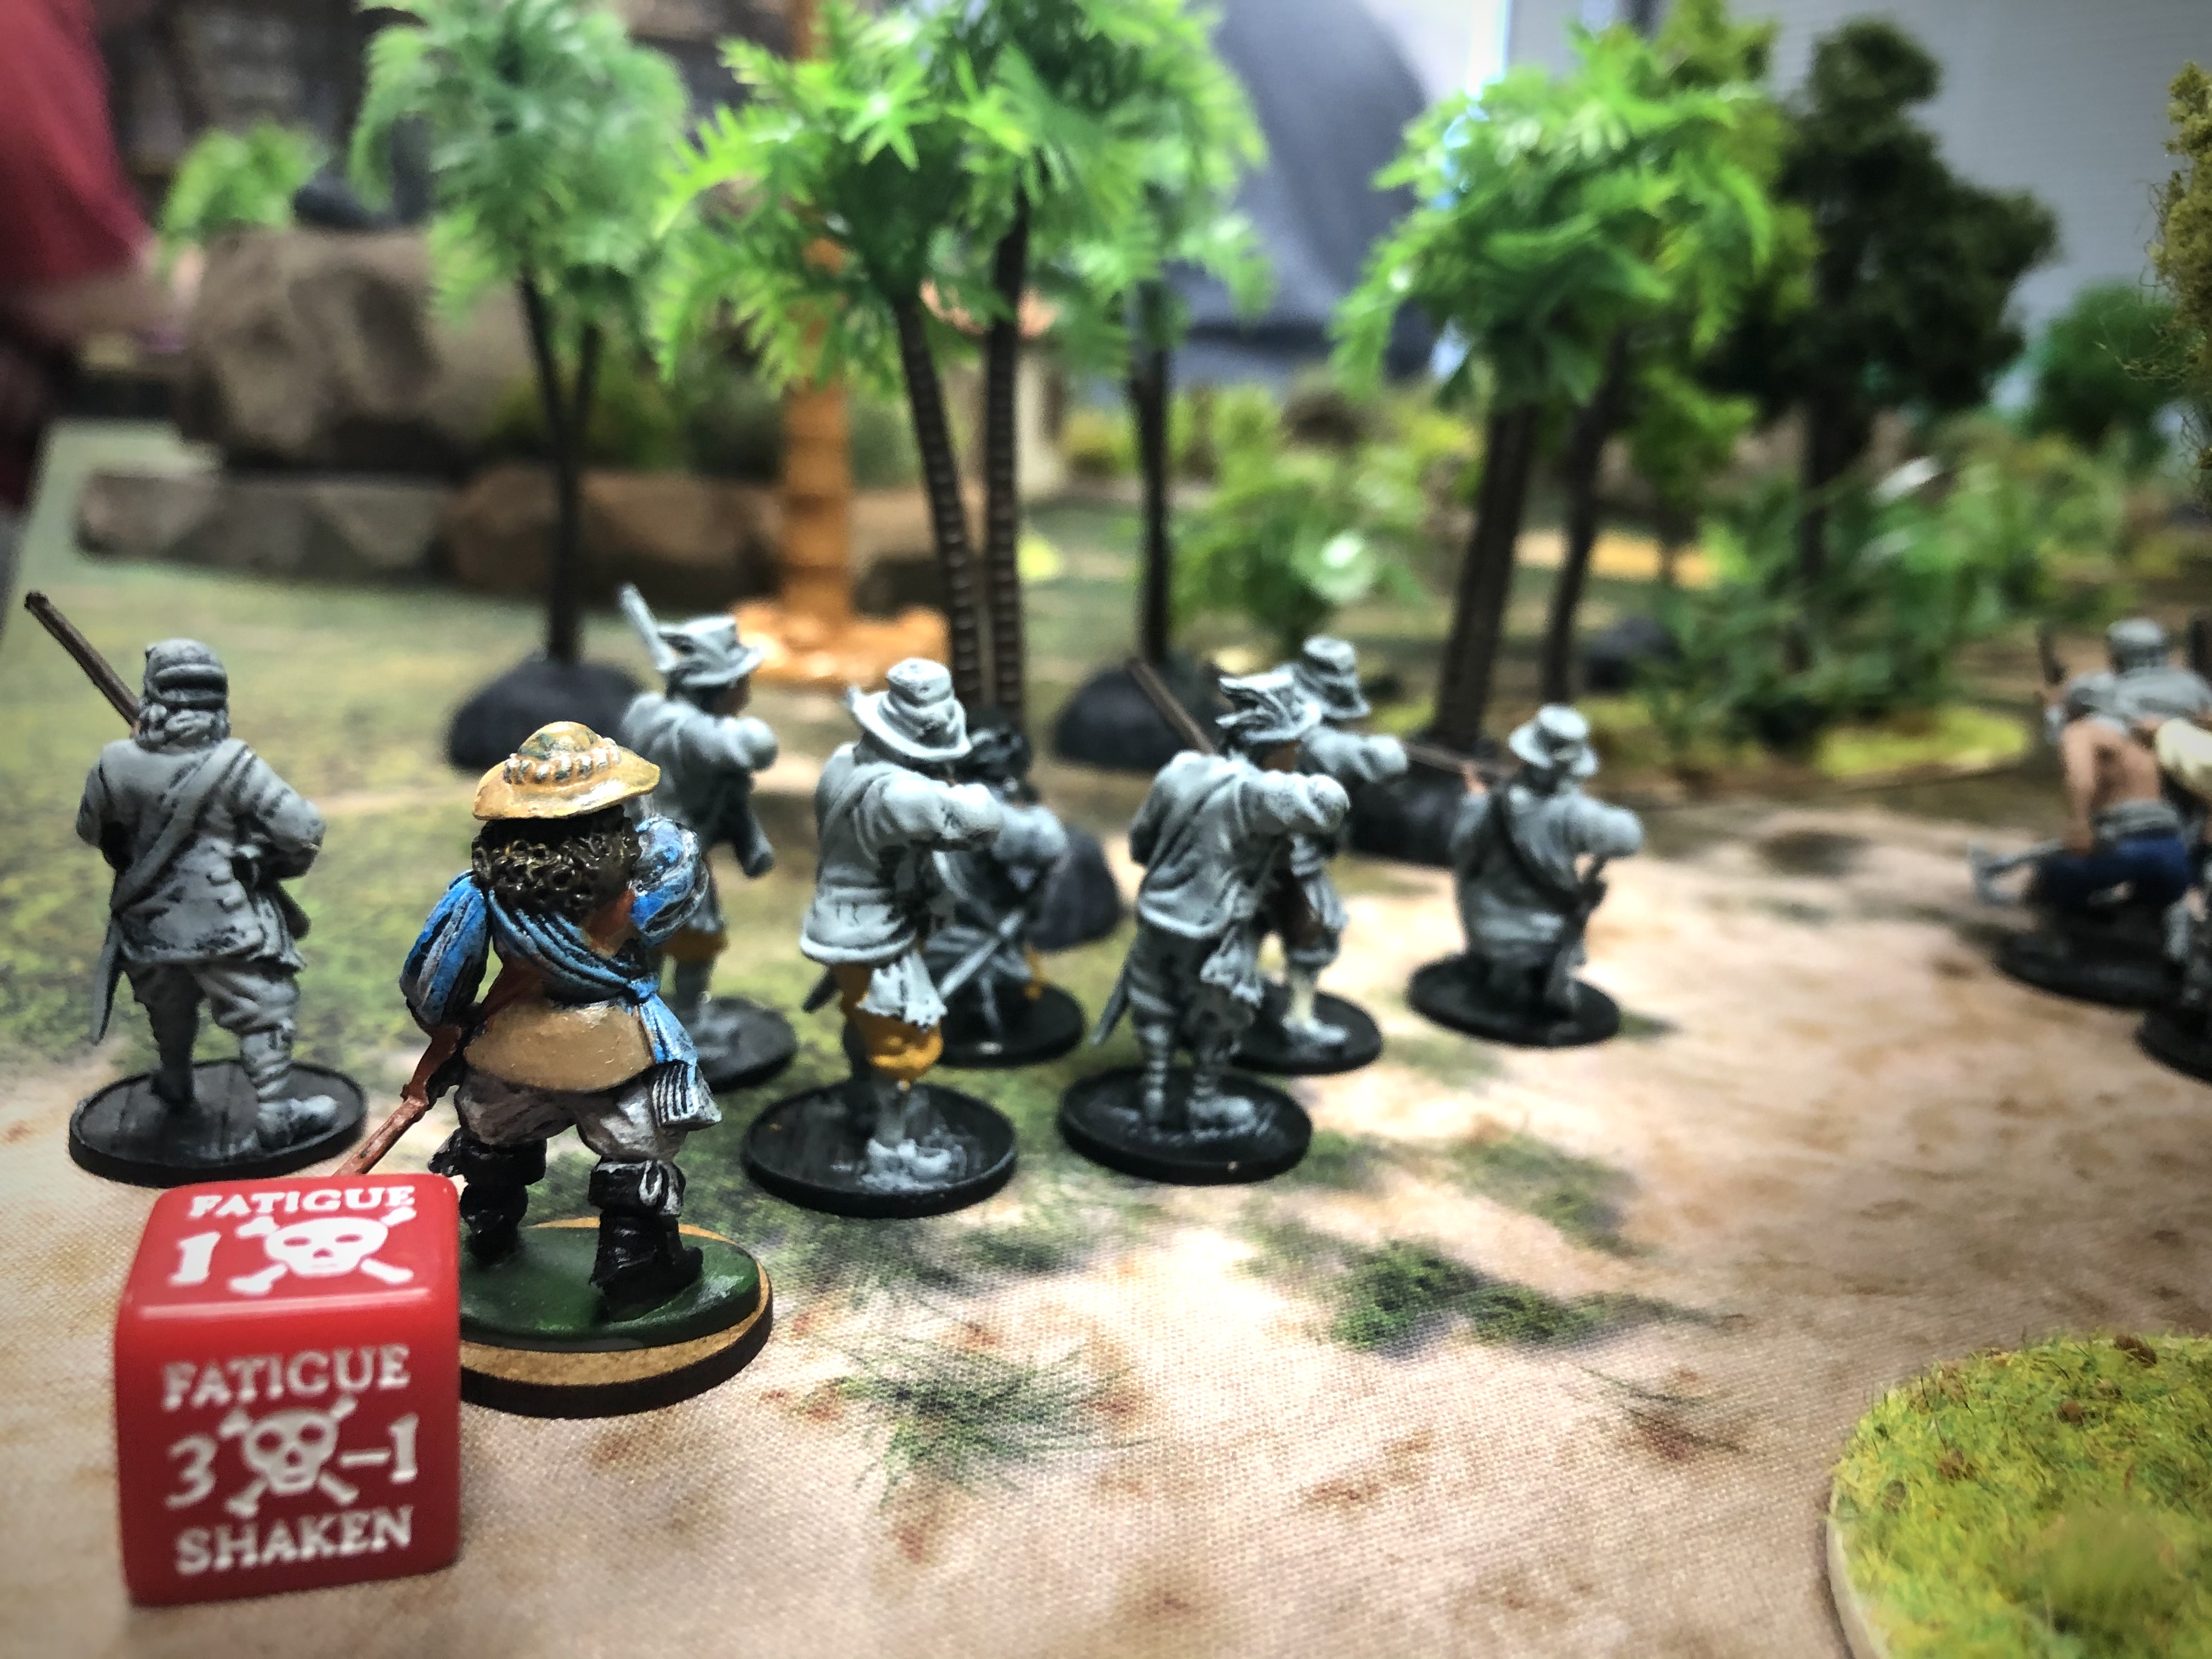
My command group moved further up and Abuti Arunau Golu commanded the Archers to shoot again but the Dutch Saves and Resolve came through and the poisoned arrows had no effect. The Dutch Militia moved forward and fired into the Musketeers at less than 12″ killing one and taking a Fatigue themselves for pushing to take the shot. With all the Dutch Muskets unloaded my Young Warriors got brave and started to sprint across the open space in an effort to flank the Dutch Militia.
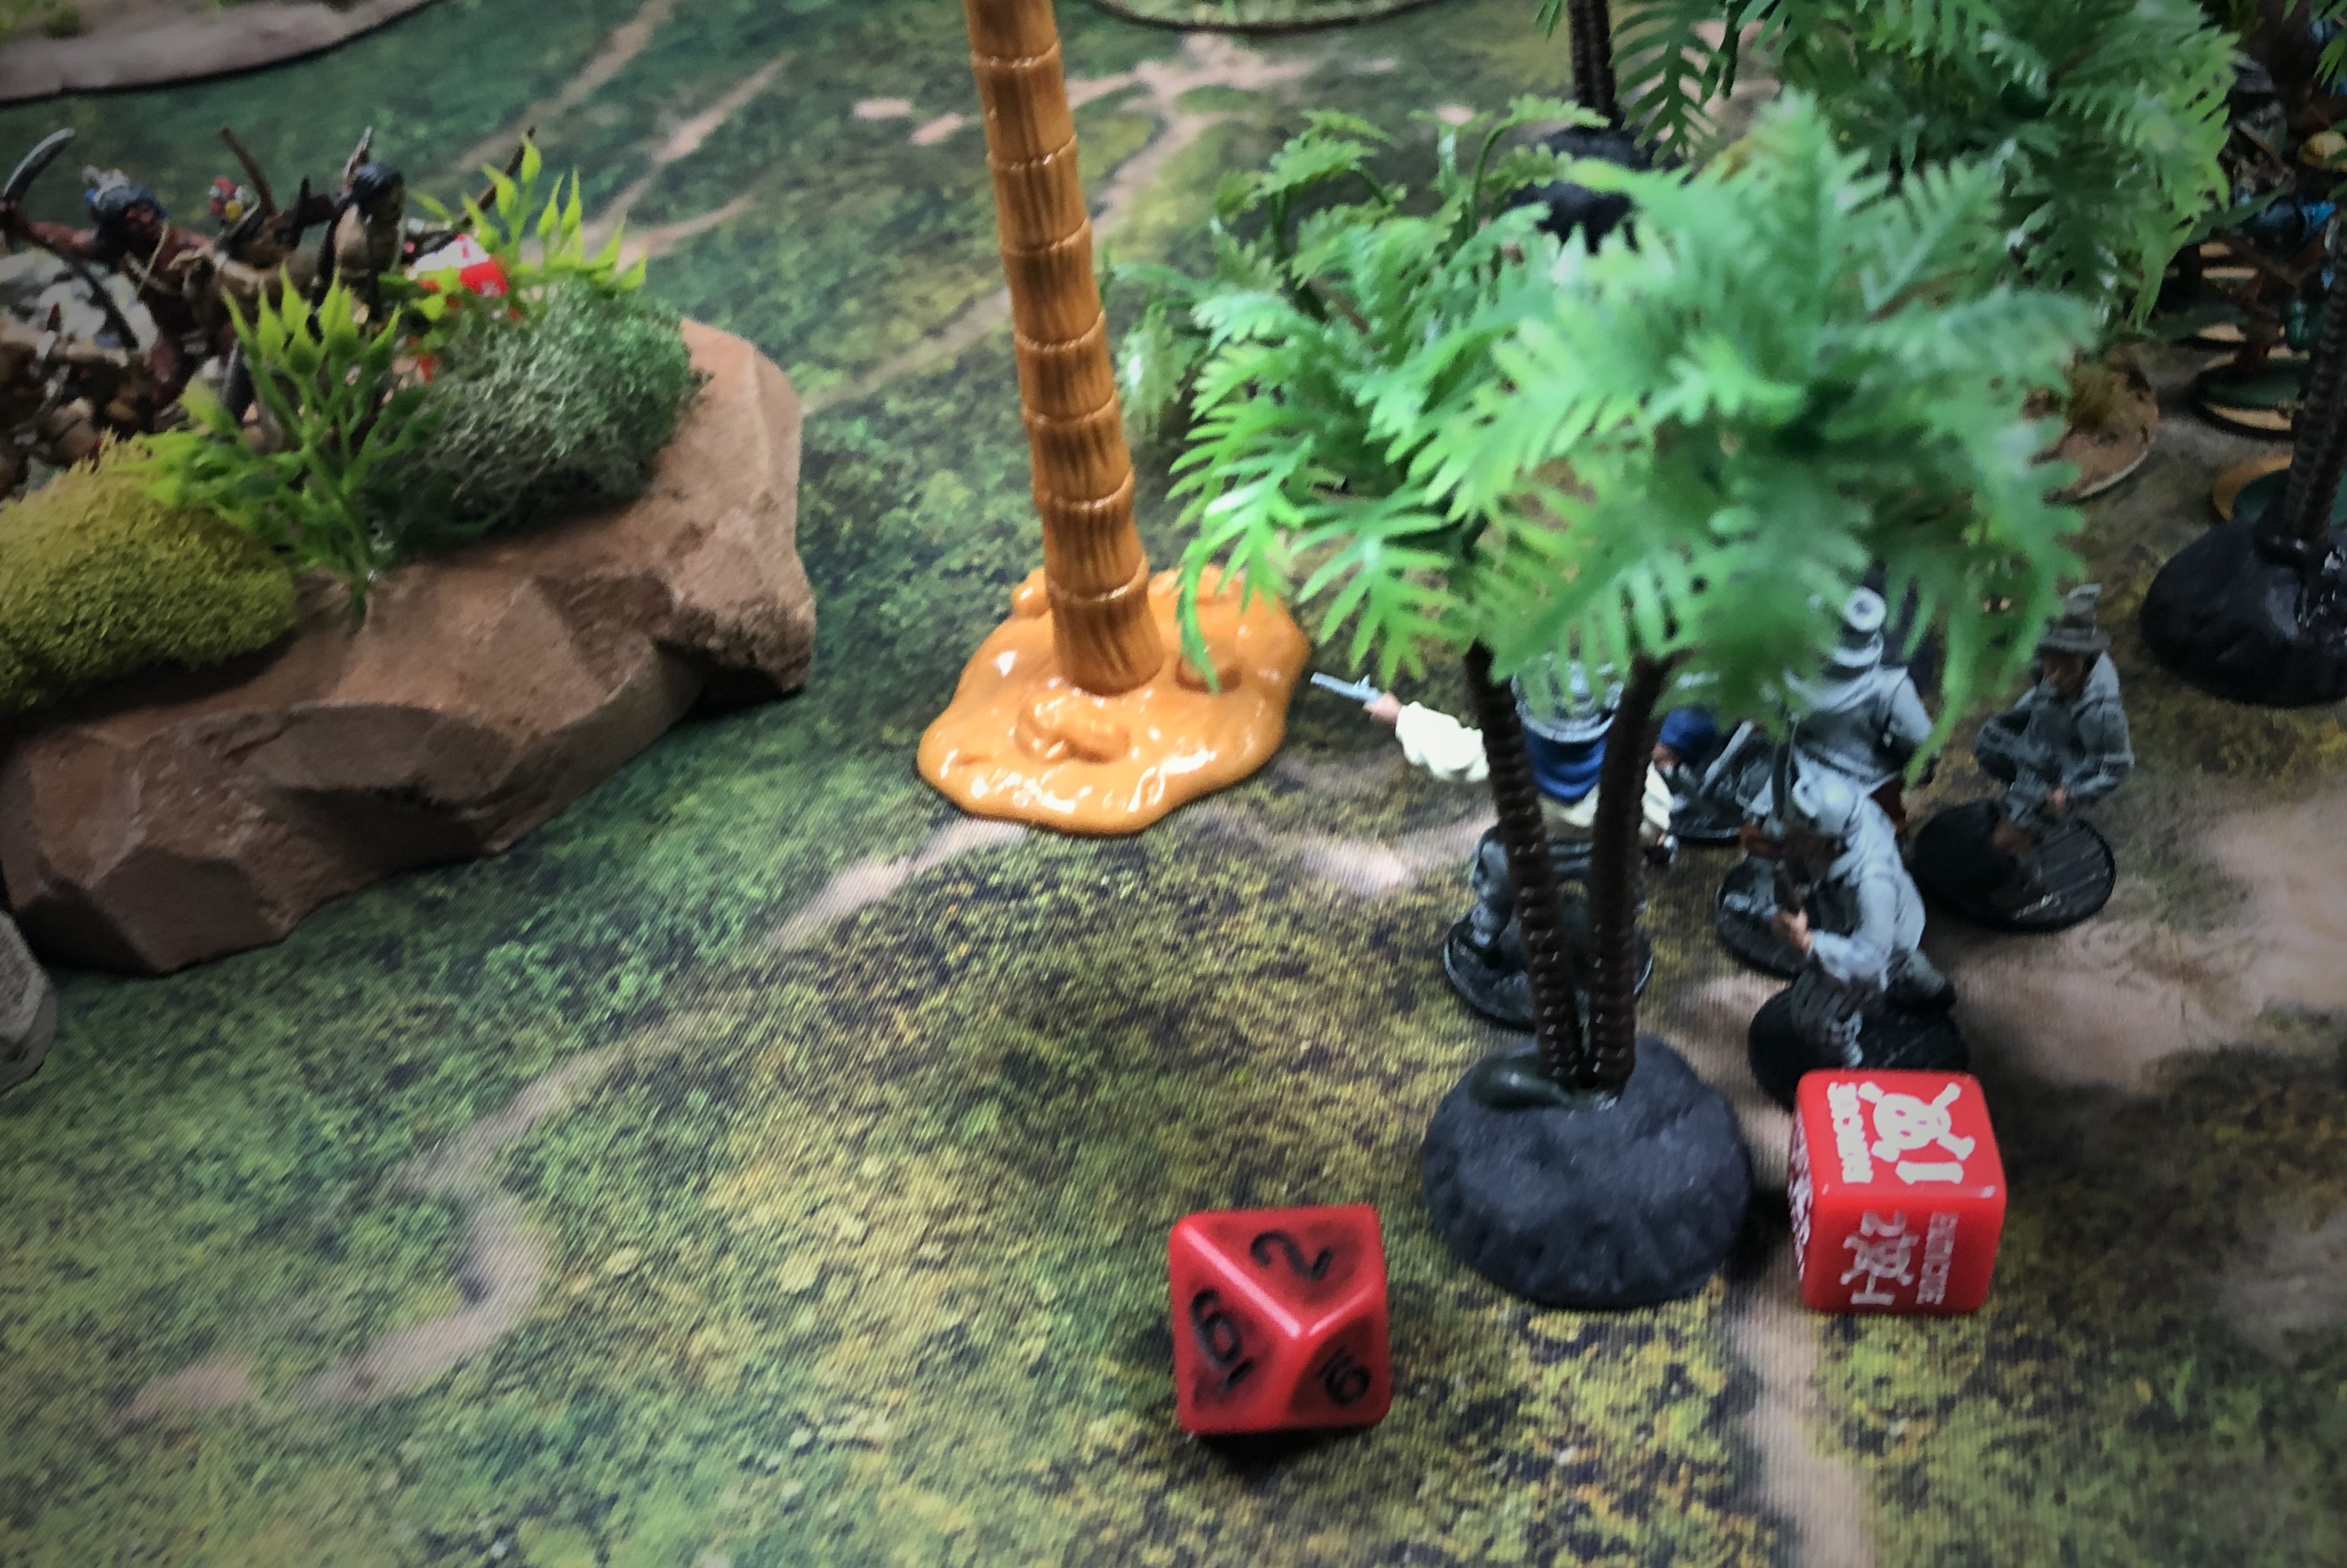
With some Fatigue on the Dutch and all their muskets unloaded, I figured I was OK bidding low for initiative for round 3 but it hurt! In spite of having 2 Fatigue, those incredible Enter Ploeg still got one action on a Spade and they threw their grenados again killing another Archer and shaking the unit.

Not having fired at all over the first two turns of the game, my Warrior Musketeers finally got some action! They moved up 8″ and fired into the Enter Ploeg at less than 4″ with the Great Warrior bonus and shot them all down.
Turn 3 ended with the Kapers rallying and removing a reload marker and the Young Warriors using a Quick movement on a Spade and dropping another Fatigue on the Militia with their poisoned arrows. They ended up shooting at the Militia 3 times and never killed a model, but the Fatigue they applied was effective. Inexperienced units really get slowed down by Fatigue!
At the end of round 3 the Dutch had enough casualties to give them 1 Strike Point and they were still not within 4″ of my deployment zone so they were forced to roll a Strike Test which they passed. Wolgang Seewolf wasn’t about to give up easily! Neither was King Golden Arm!
Moving into round 4 the Sunset rules brought visibility down to 24″ but with all our units in close quarters, that rule didn’t really effect the game at all.
Turn 4 started with the Dutch Militia valiantly rallying with their Veteran’s command point. They pushed themselves again to reload and fire a half shot into the pressing Natives but only managed to kill 1 model. Those Elusive South American Tribe Natives saving on 5’s are pretty tough to take down!
Having passed their Resolve test, the Musketeers charged into the wavering Militia using the Great Warrior bonus again and they retreated with 4 Fatigue. The Musketeers reloaded for their second action and fired a half shot at 4″ for their third action and that eliminated the remaining Militia.

The fourth round concluded with the Archers finally coming out of cover and shooting a final volley into Seewolf’s Kapers. With no cover, two of my hits took down models leaving 5 Dutchmen left on the board.

At the end of round 4 we calculated Strike Points:
- The Dutch had 3 Strike Points for 18 casualties of 23 starting models and 1 Strike Point for not pushing far enough into the board per the scenario rules.
- With only 4 casualties, the South American Tribe Natives had 0 Strike Points.
Mario voluntarily failed the Strike Test so as to not put his commander in unnecessary danger.
Final Thoughts
- This game went remarkably like my first campaign game. My opponent pressed one flank hard and the Archers held off the initial assault with their Fatigue Machine Poisoned Arrows and then the Musketeers came in with a nasty Great Warrior volley which tipped the game in my favor. The bows didn’t kill a lot of models but the constant firing rate and the reliable Fatigue really slowed down the opposition.
- Attacking still seems hard. We gave the Attacker an additional 10 points for their force to help, but the actions you lose moving and the risk you have to take when you’re between cover make attacking much more challenging than defending. I keep choosing defensive factions but as a more experienced player in my group, I should probably attack more so the new we players don’t have to do the hard work!
- I think Poisoned Arrows is worth every point. Last game I only gave them to 1 of my two units with bows but it did so much work I cut a model to make space to give it to the Young Warriors as well and while they didn’t actually kill anyone, the couple points of Fatigue they gave the Militia helped keep them from fighting as effectively.
- The Natives have solid Saves and gaining Elusive on all my units with the South American Tribes faction makes them really hard to kill. That being said, there are ways to work around that. Both the Sharpshooter and the Grenados deprived me of my lovely Saves and that’s when I started to lose models. Anything that deprives the target of their cover bonus is good tech vs the Natives.
- In standard games, the Savvy ability is hard to come by in Native commanders but you can choose it as a starting ability for your commander in the campaign which makes the Warrior Musketeer that much better. I only fired those muskets 1.5 times during the game, but being able to reload at the standard rate is so much better than gaining that 3rd reload.

- We did make a couple mistakes. Mario forgot to apply either the Zeelanders or West India Trading Company rules to his force and both those rules would have helped him at some point. We forgot to apply the Battle Hardened (from the Grizzled Veteran) rule to the Militia when they were charged by my Musketeers. We did remember to apply the Poorly Equipped rule to our forces this time!
- The Natives are good at defending. I’ve had good luck with them so far! The Dutch Privateer force is certainly more at home at sea than on land and my natives will likely not fare so well when they get in their canoes. Elusive and Hidden are two of the rules that really help the Natives and not only do they lose both of those at sea, but they don’t benefit from hard cover in their boats while most all their opponents will be enjoying hard cover from the larger ships and the arrows will just poison the oak.
- The Grizzled Veteran is so powerful. He helped the Militia stay in the game in spite of constant Poisoned Arrows and he helped my Warrior Archers keep up a steady stream of arrows into the advancing Dutchmen while under fire. Such a good character. It was fun to see the Sharpshooter do good work here but I still think he costs 1 point more than he might. He doesn’t seem to add the same amount of value to a force that the Veteran does!
- The South American Tribes seem strong in the early campaign. I’m interested to see if their power fades as the point level goes up and other factions start upgrading their forces or if they will stay strong.
Thanks to Mario for a good game! He played well for his second game ever! The dice were none to kind to the Dutch and I’m sure Wolfgang Seewolf will be happy to meet these Natives again on the open sea!

Pingback: South American Tribes – A Faction Breakdown | Blood & Pigment