I’ve been on the receiving end of the Boucaniers too many times over the past year and it’s about time I painted up some of these models so I can use the best marksmen in game.

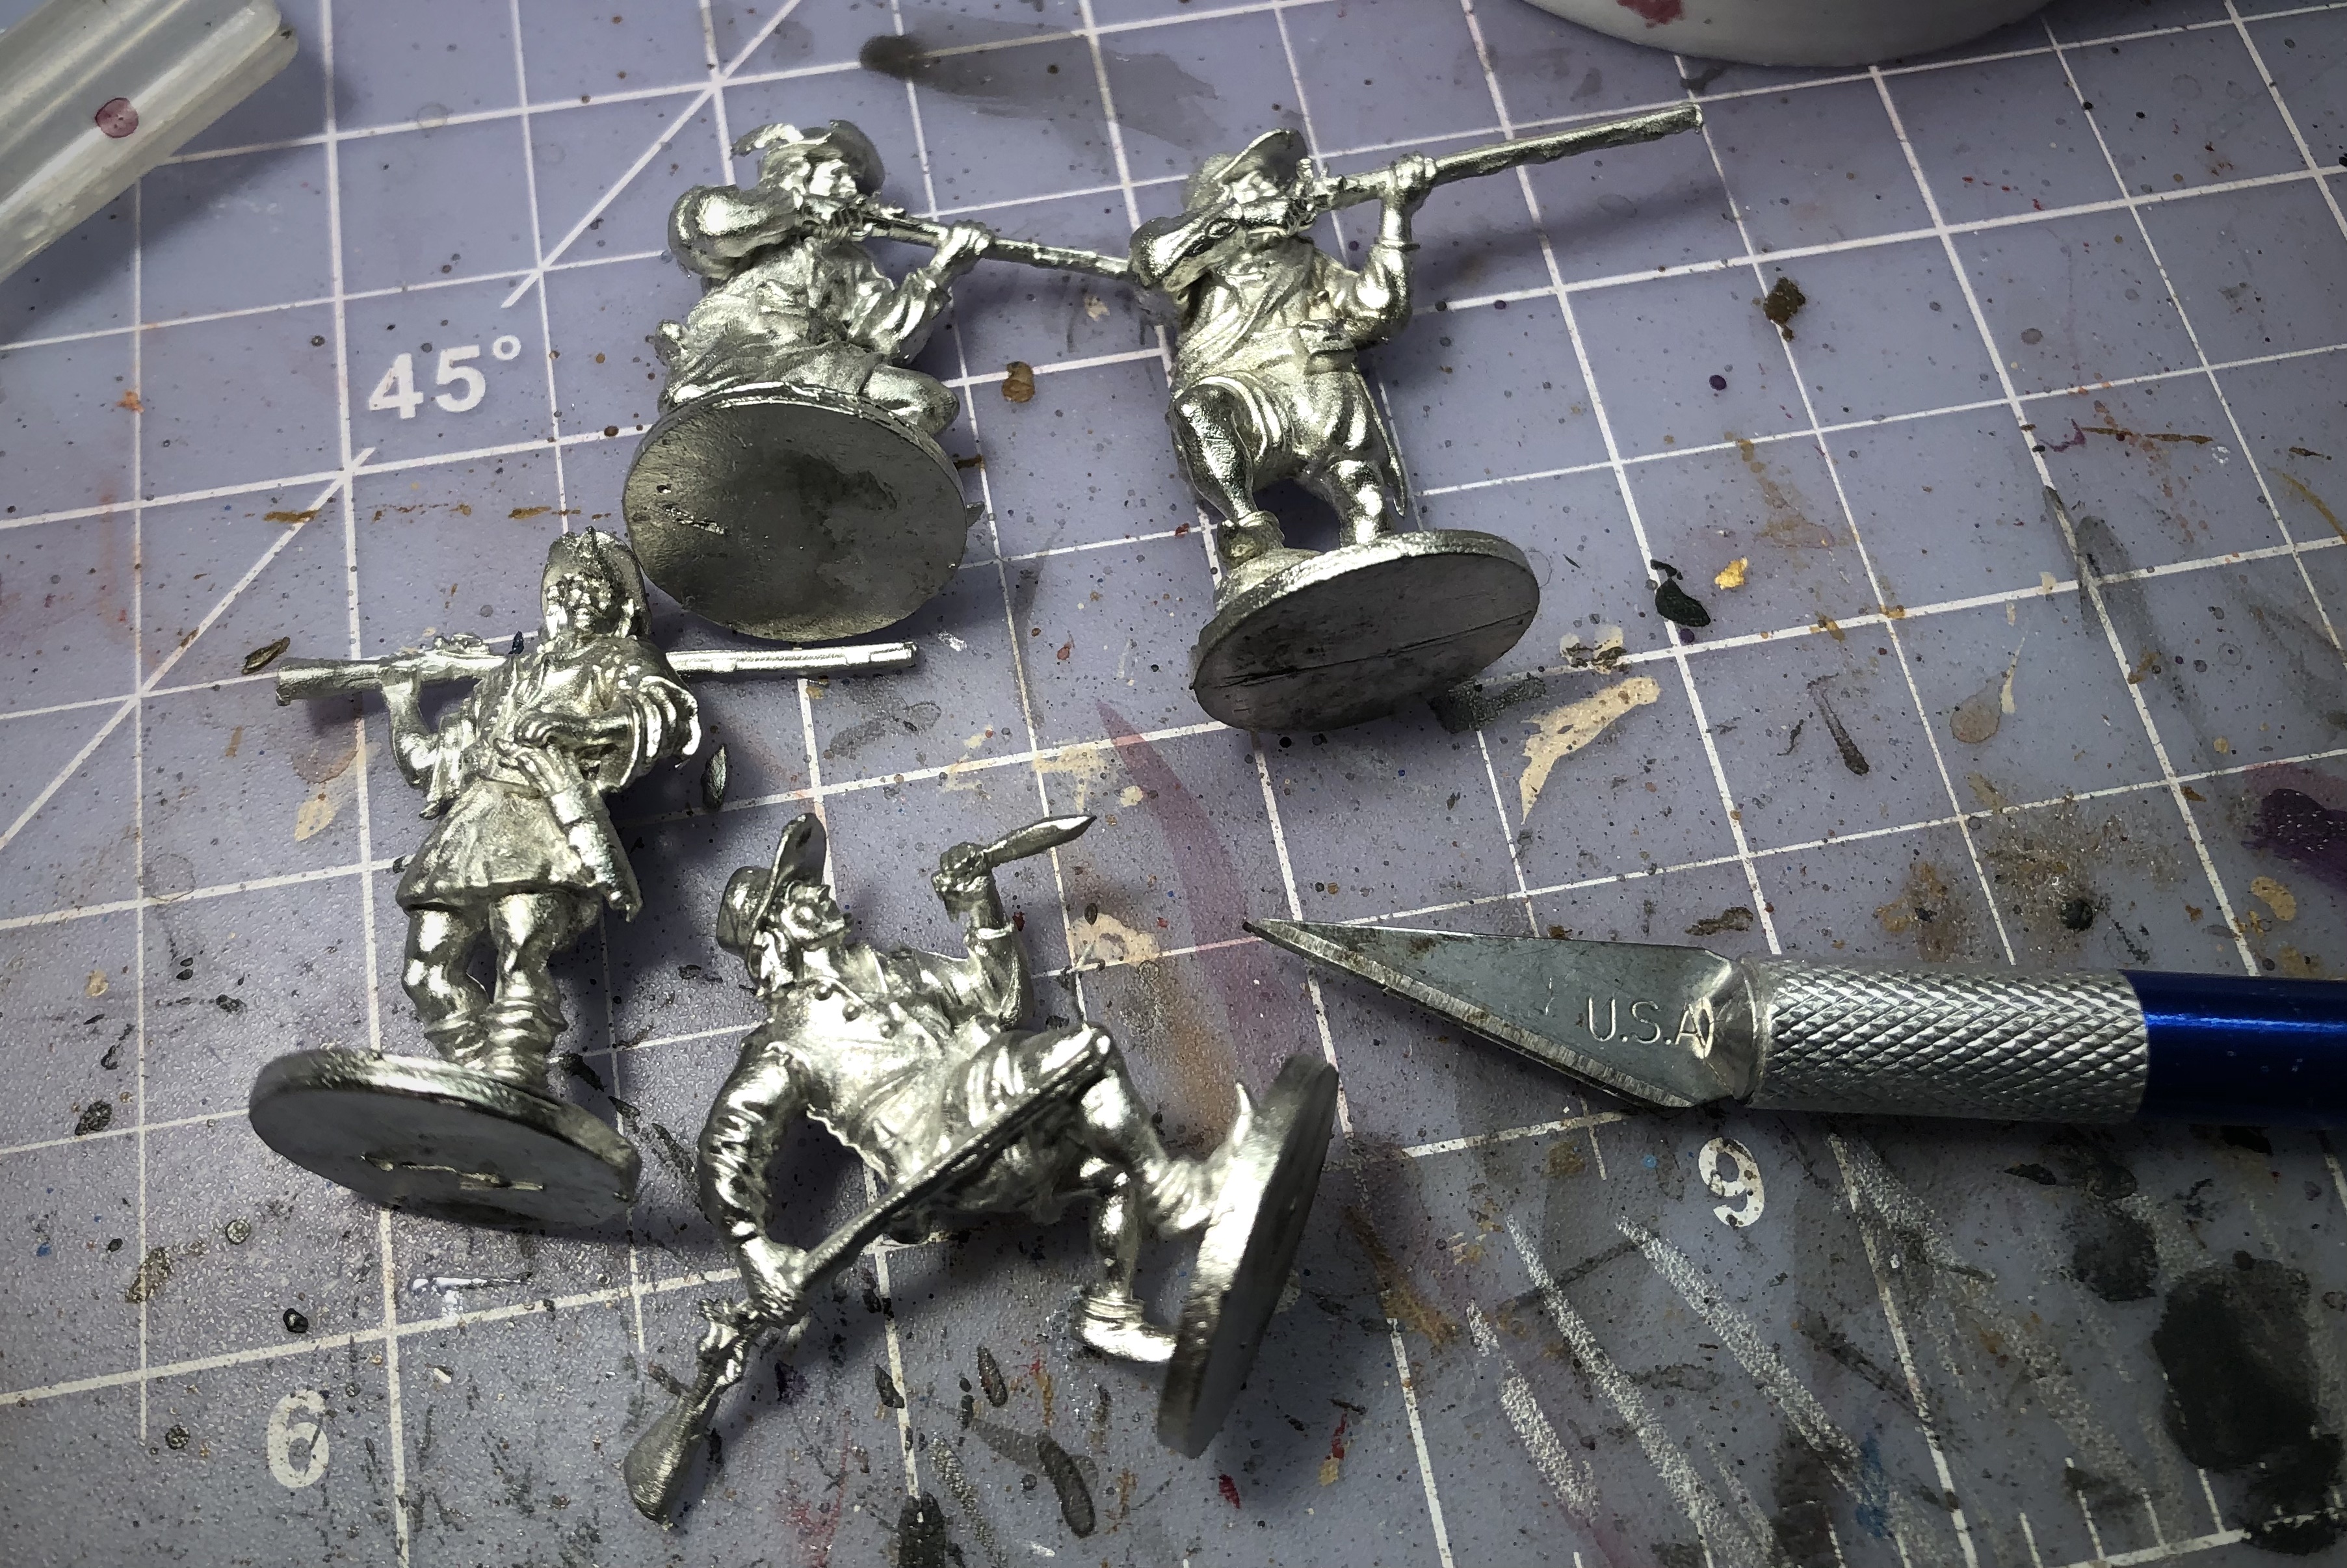
Step 1 – Prep, Clean and Prime
Overall these models weren’t too bad to clean up but there was a couple spots that had nasty blobs of extra metal.
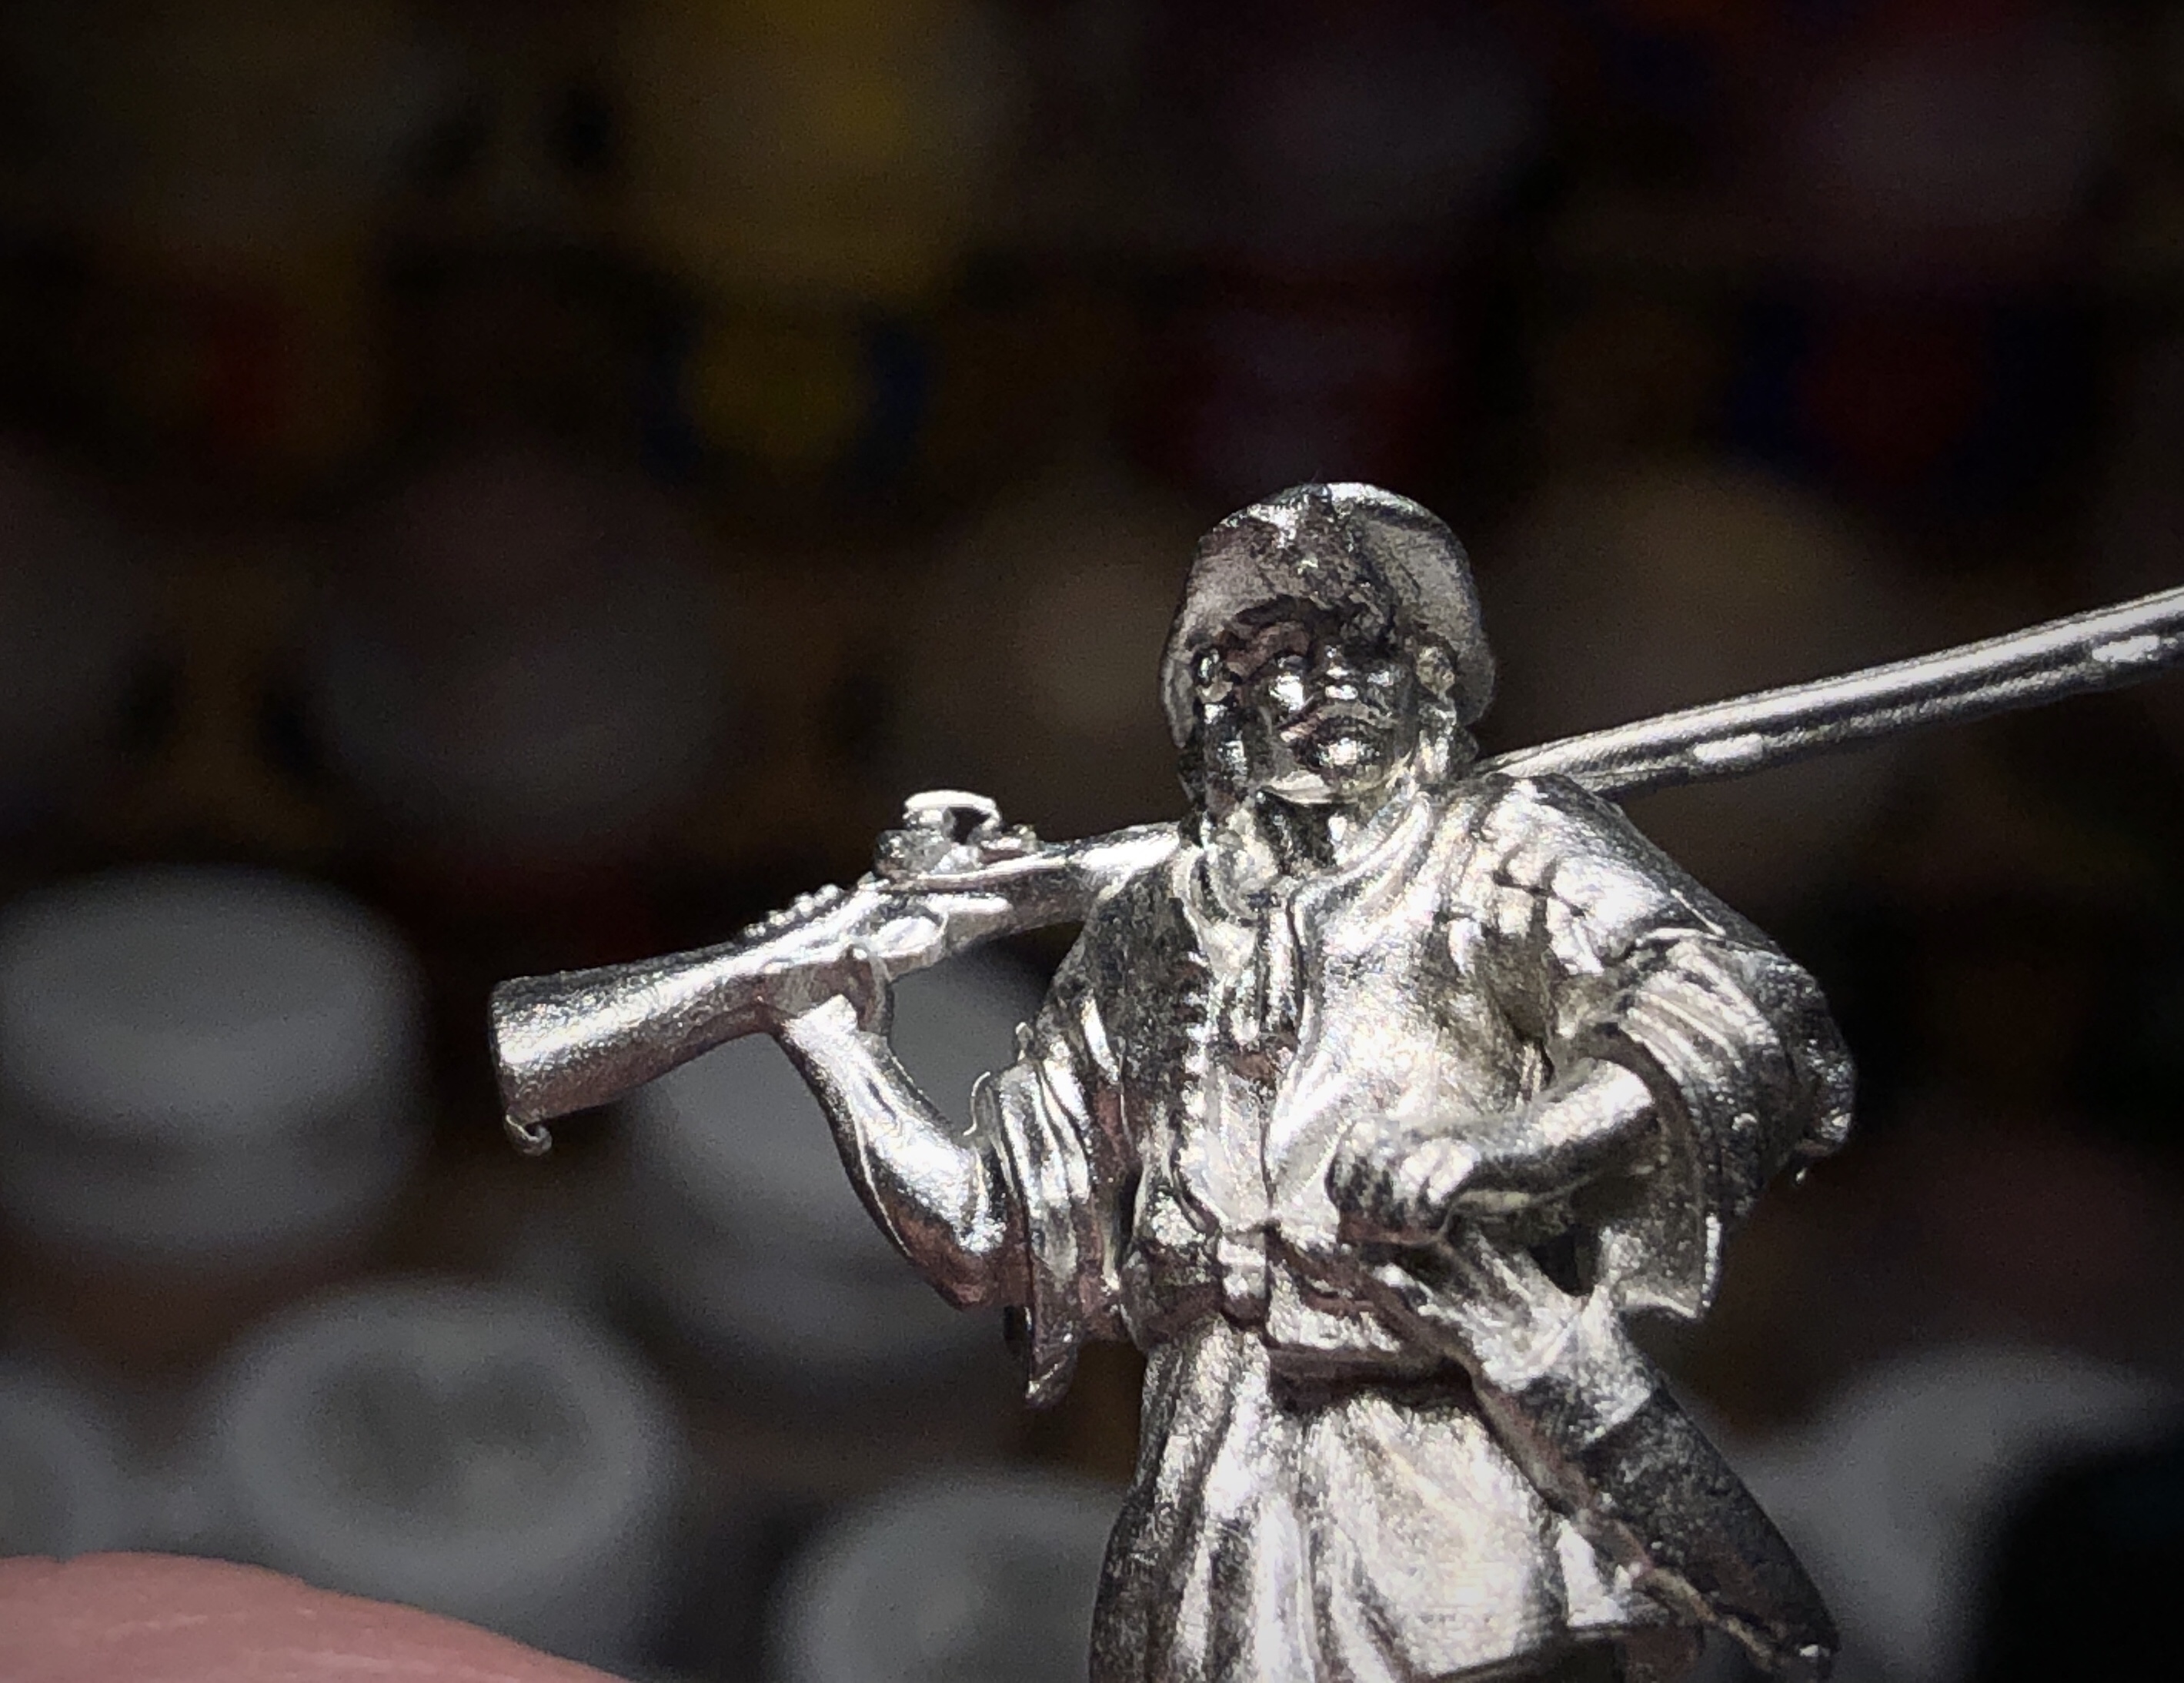
This figure’s hat was pretty messed up.
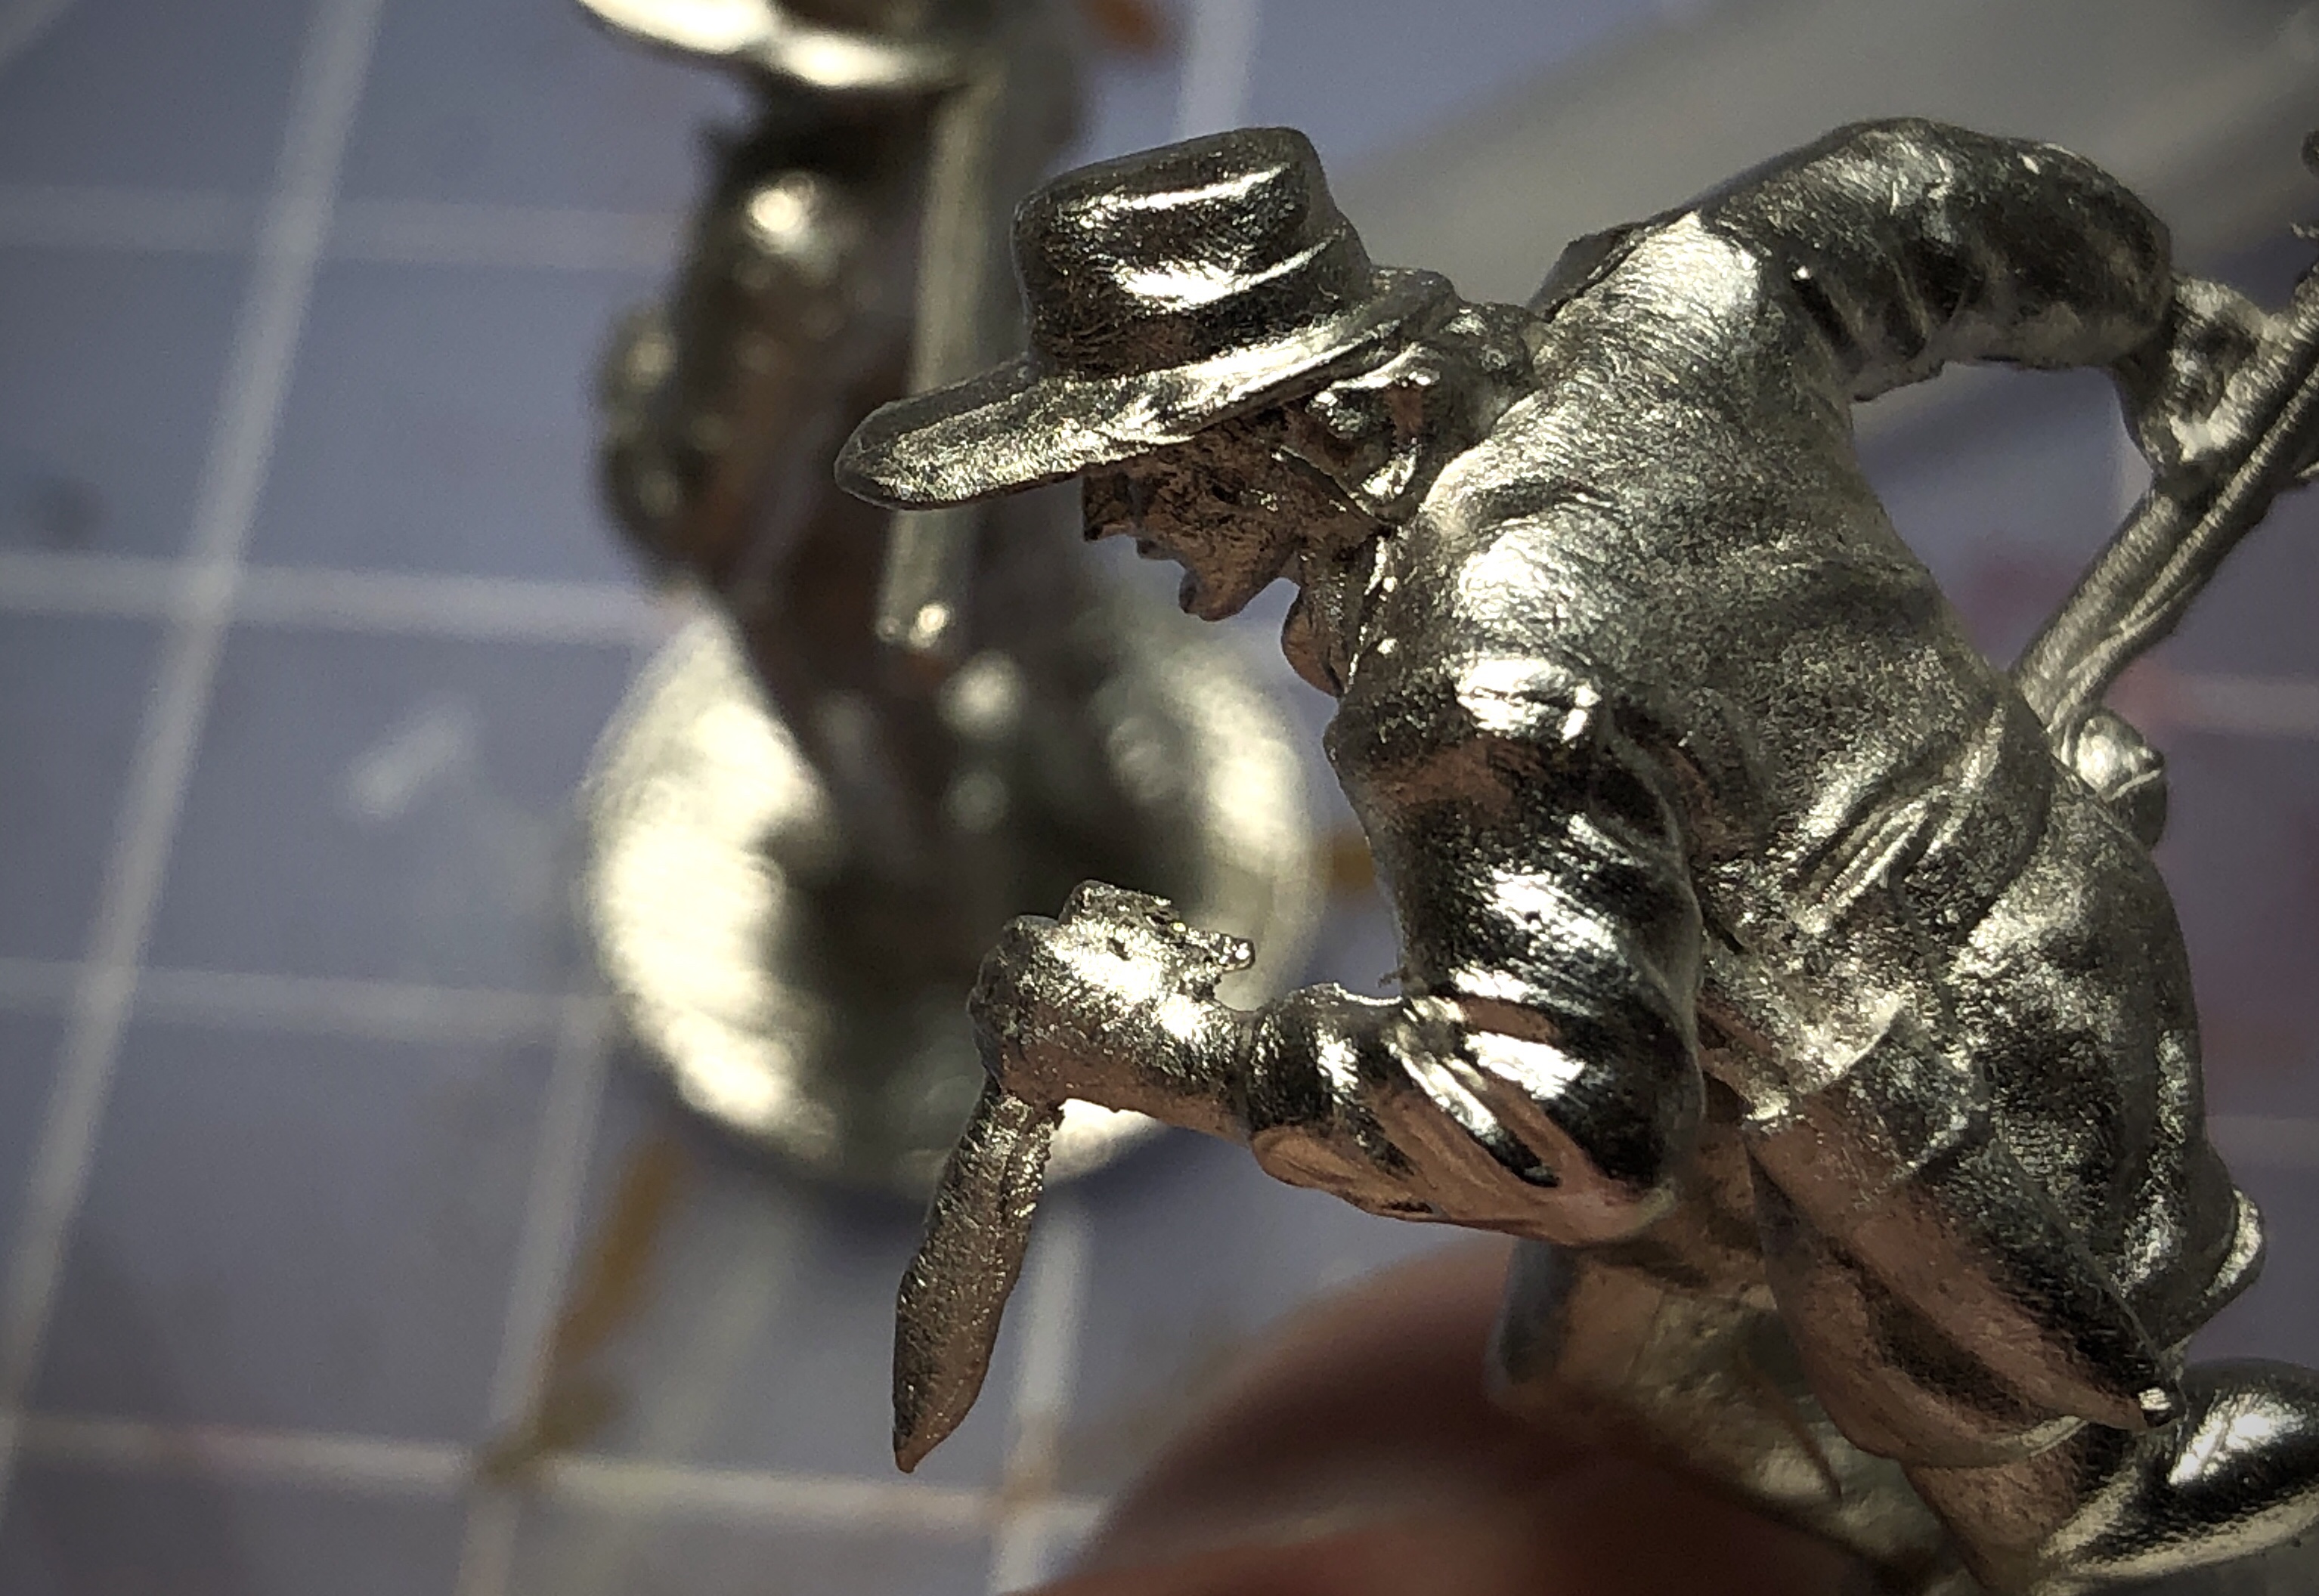
The hand holding the knife on this model was difficult to clean up.
Primed and ready for color!

You can find more tips and tricks for prepping models here.
Base Coats
I’m going to use a slightly more limited color than the examples in the rule book so I can make this group looks cohesive and cut down the paint list a little.
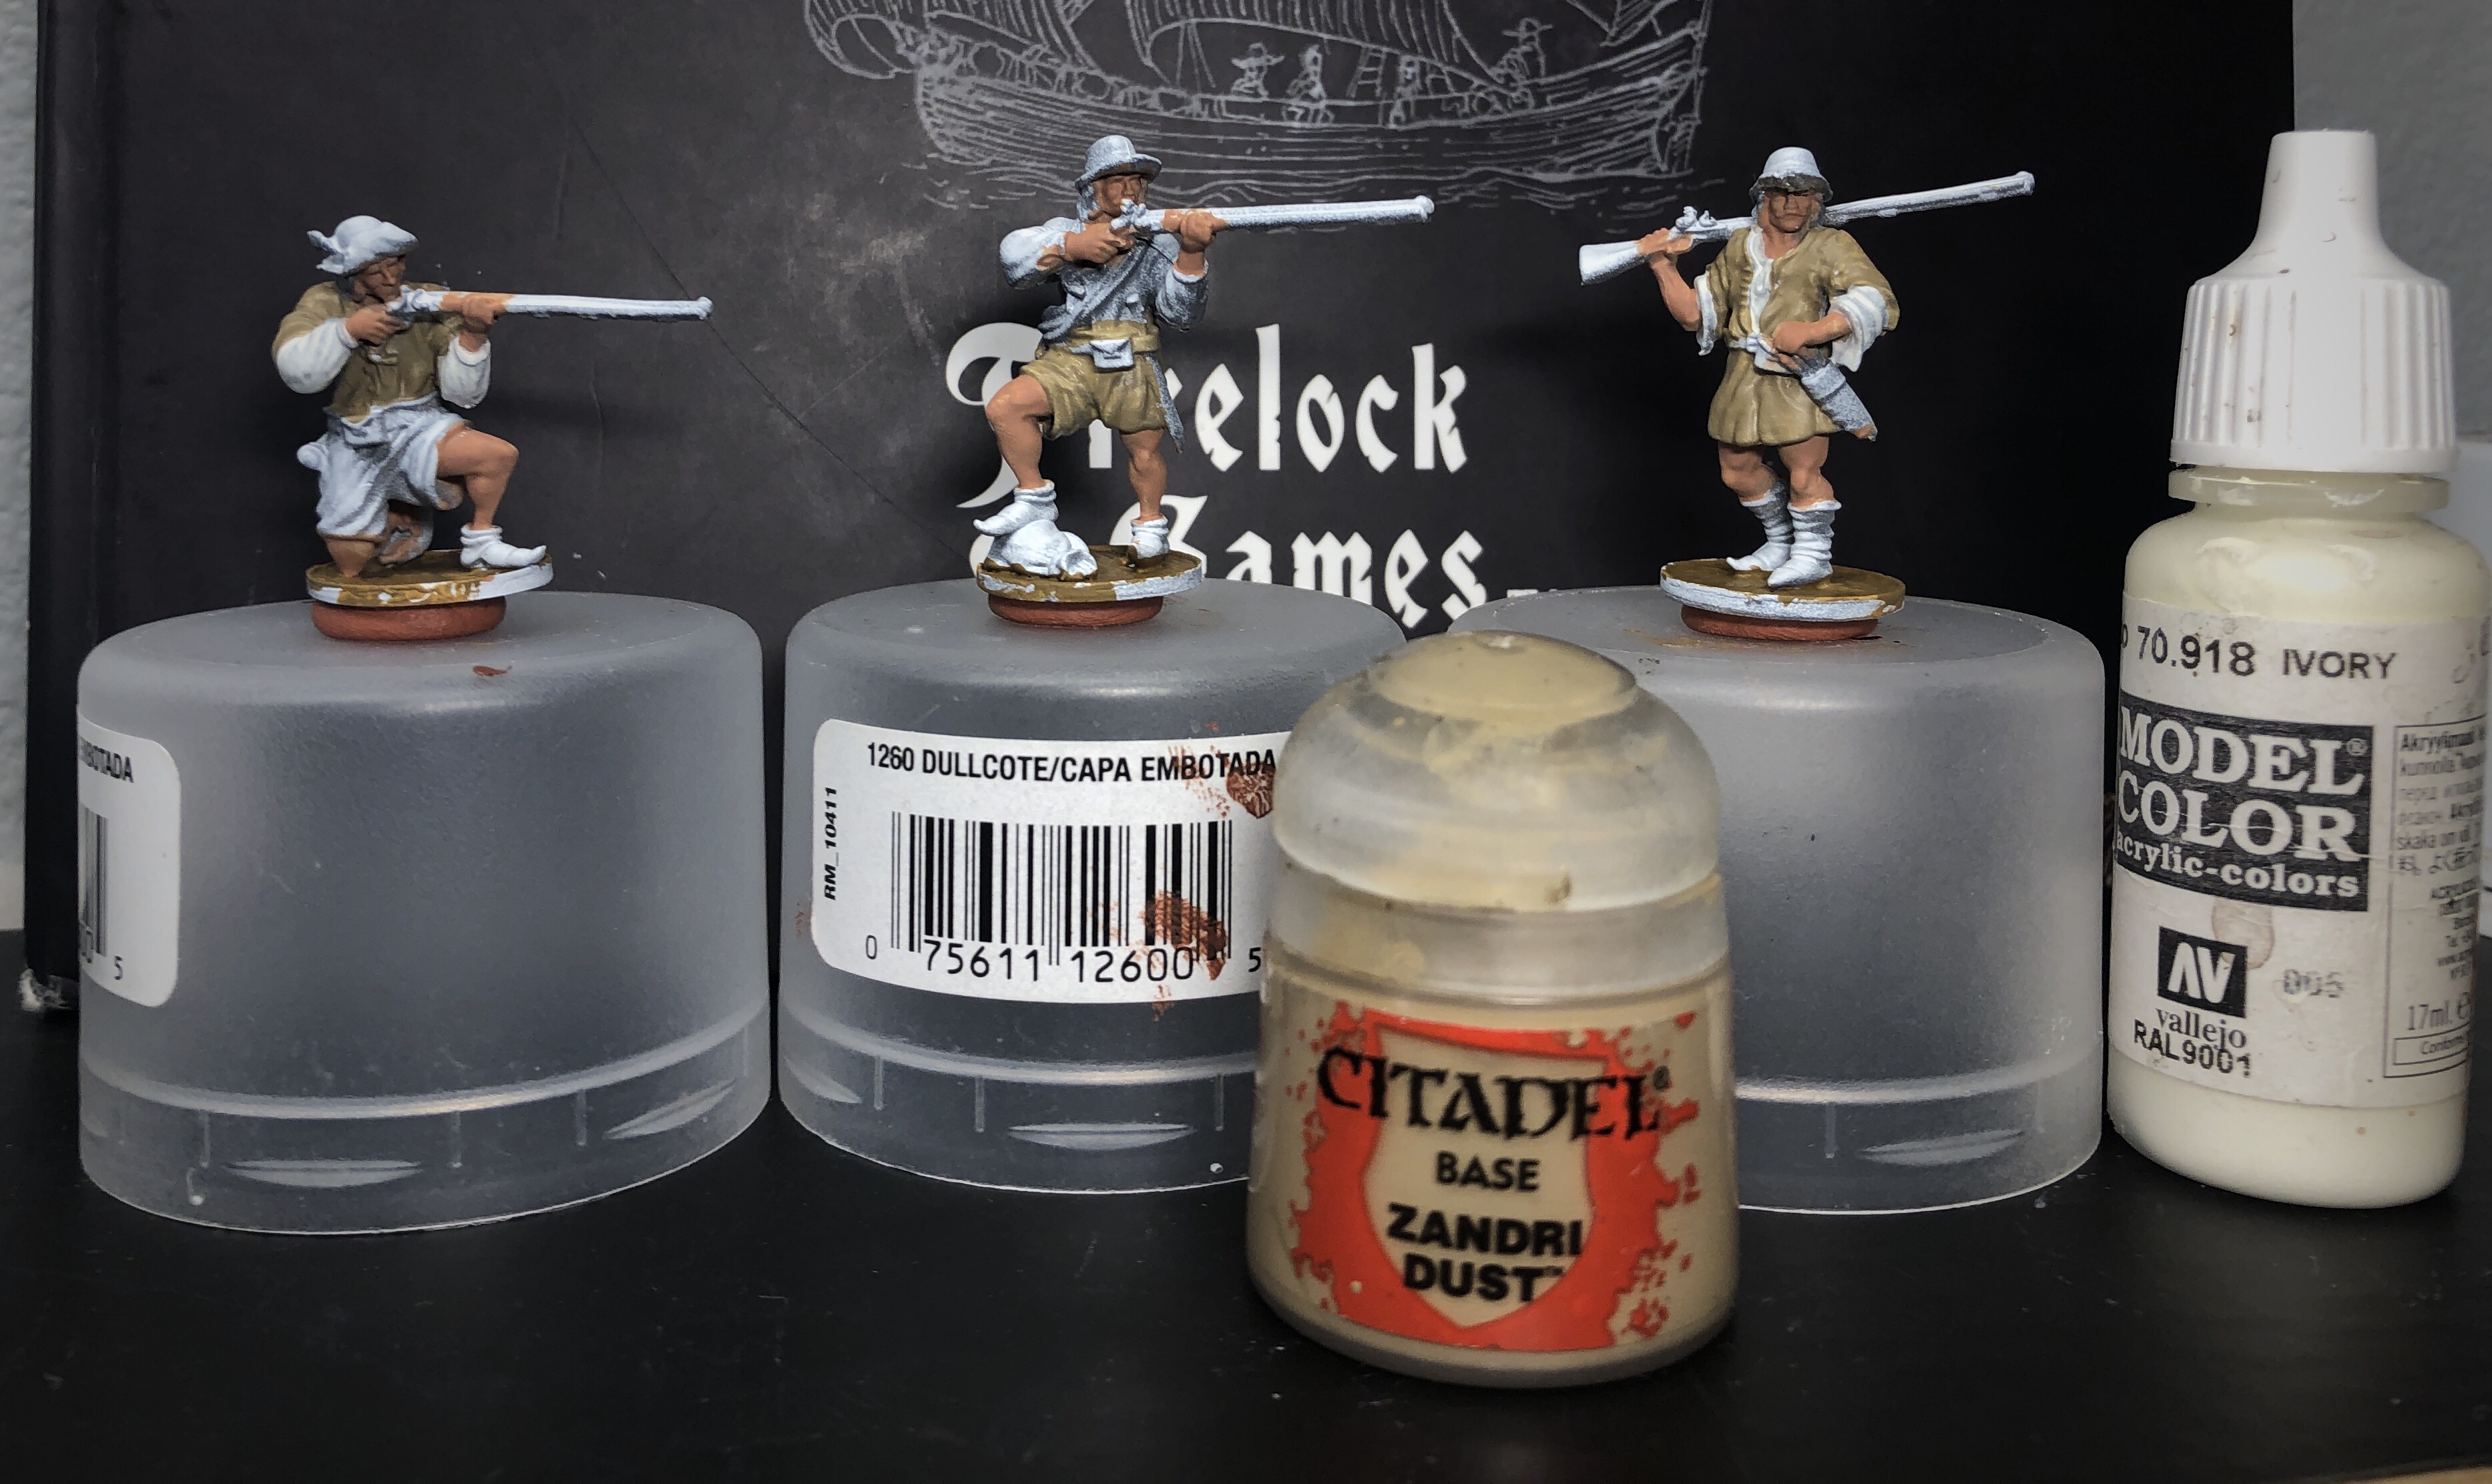
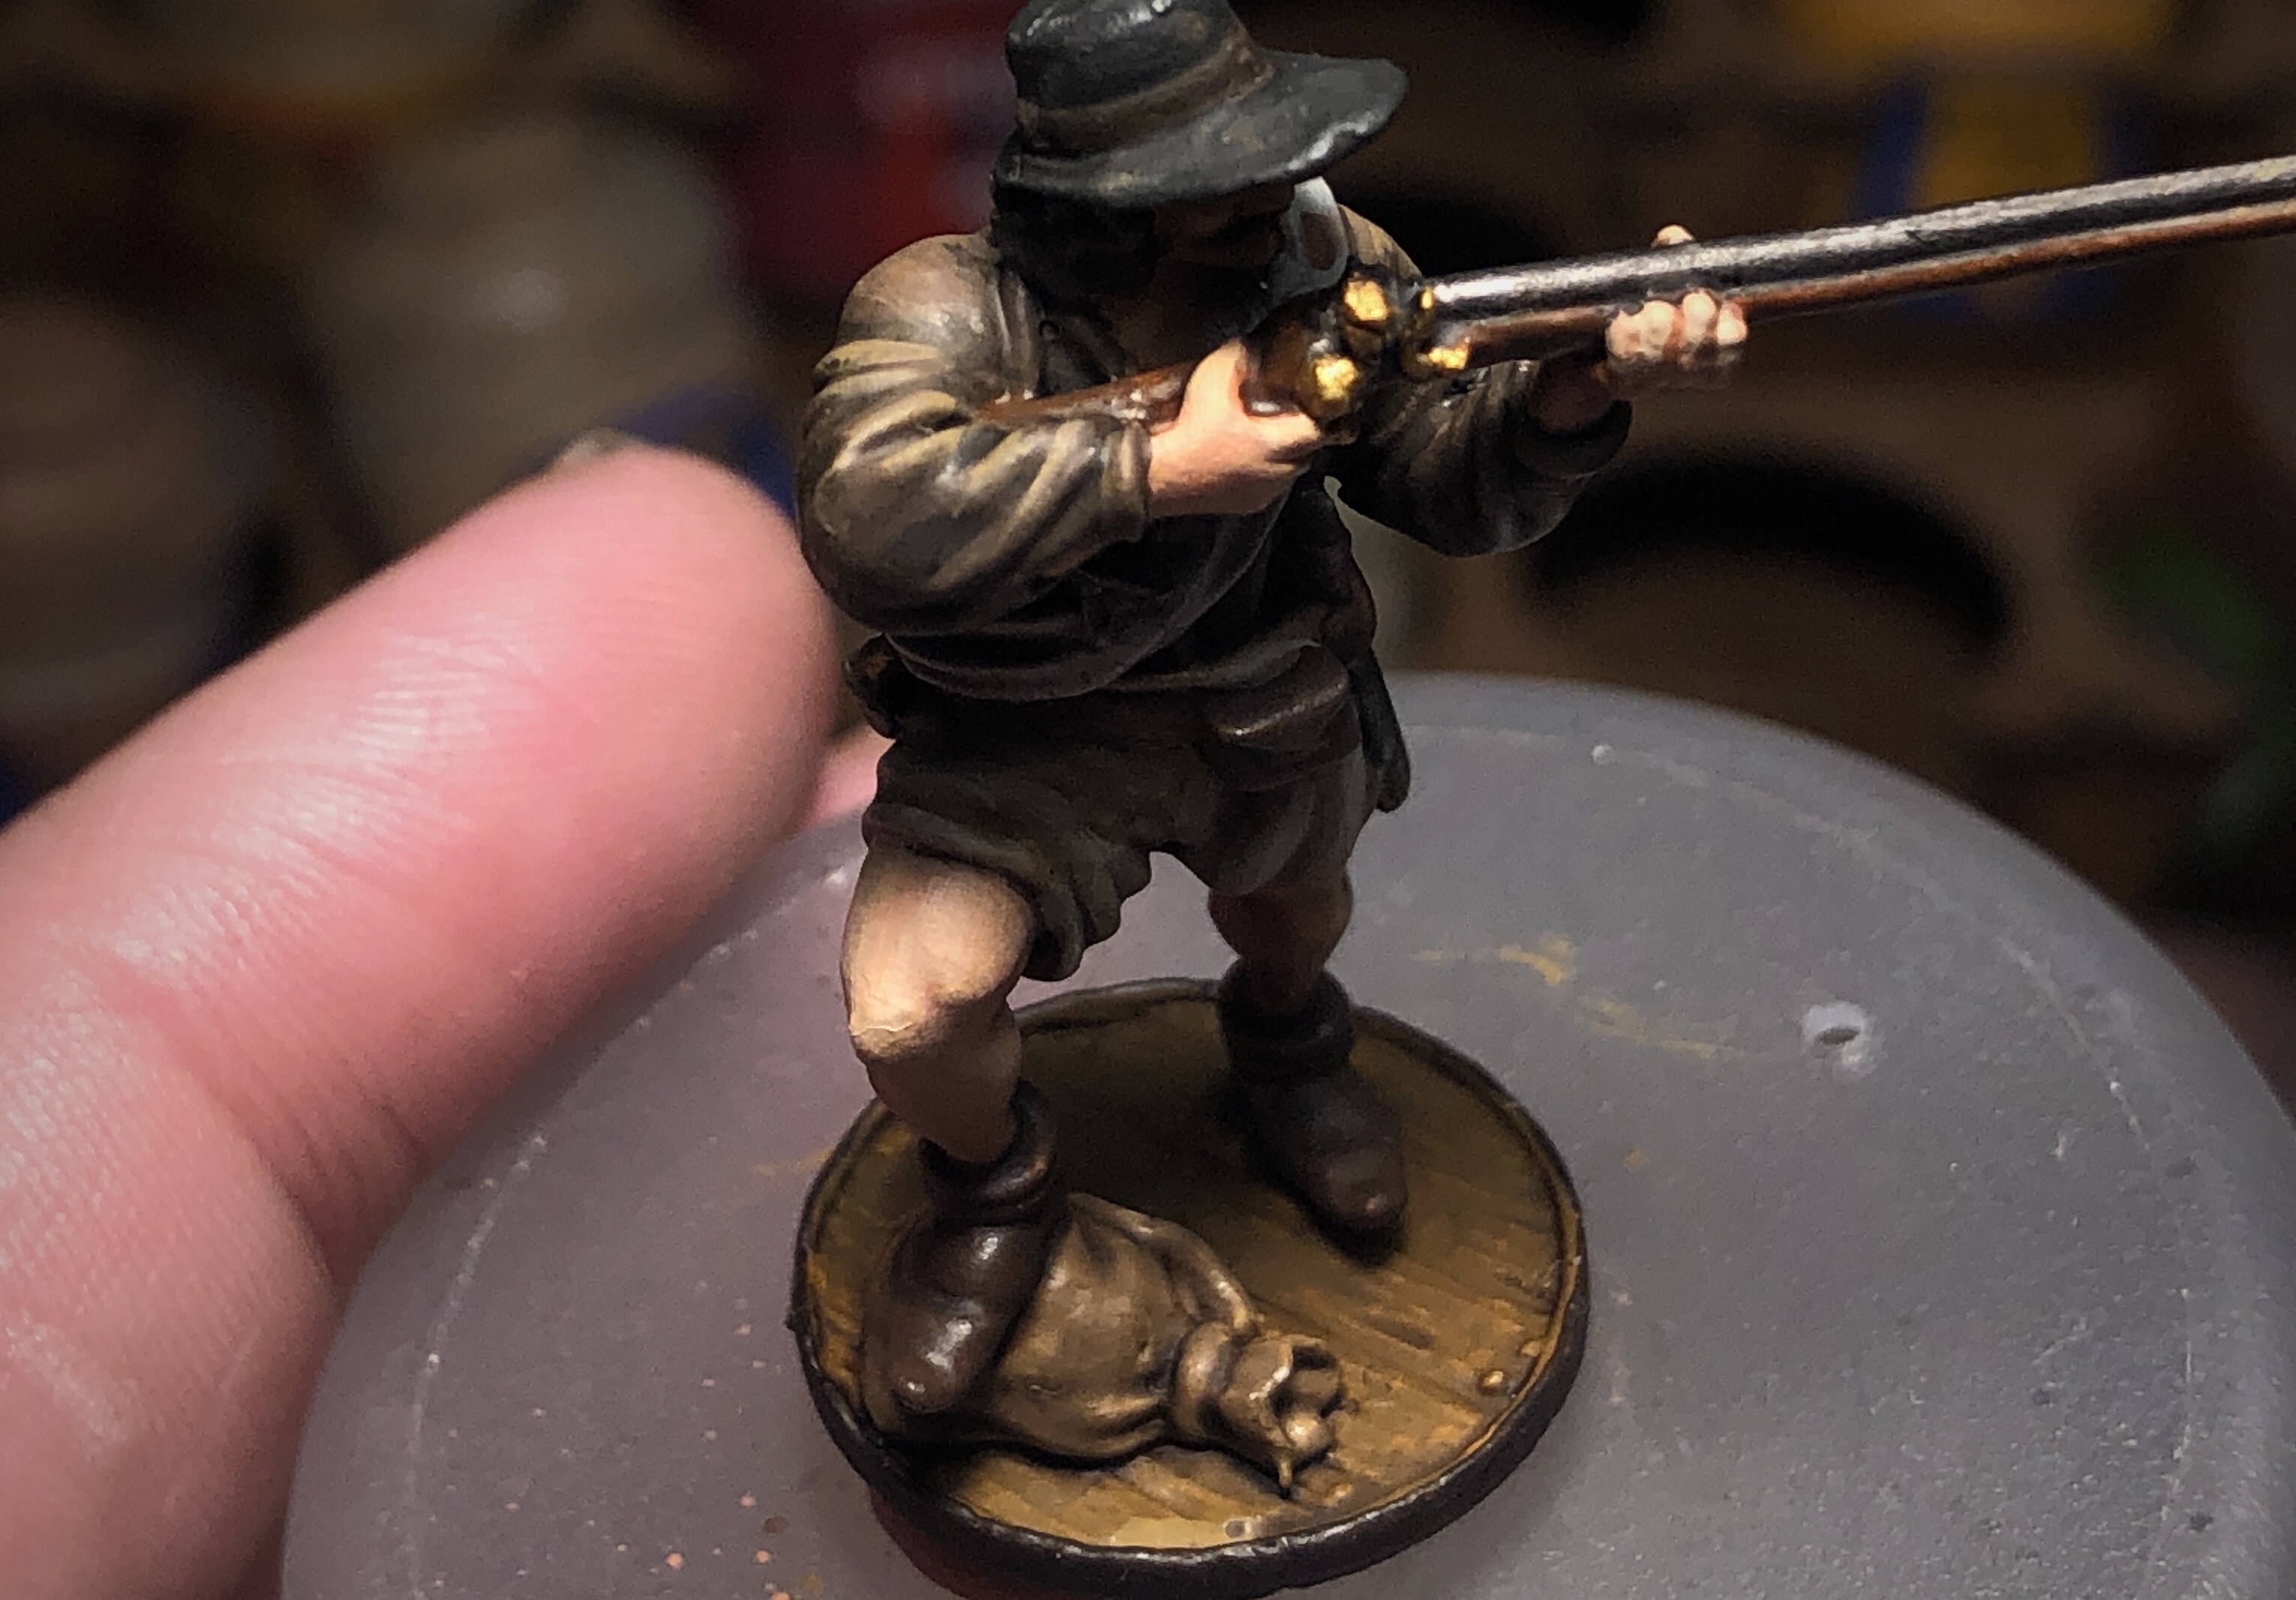
I started with the skin tone and bases. For the Flesh I used Cadian Fleshtone and I used my standard XV-88 for the wood bases.
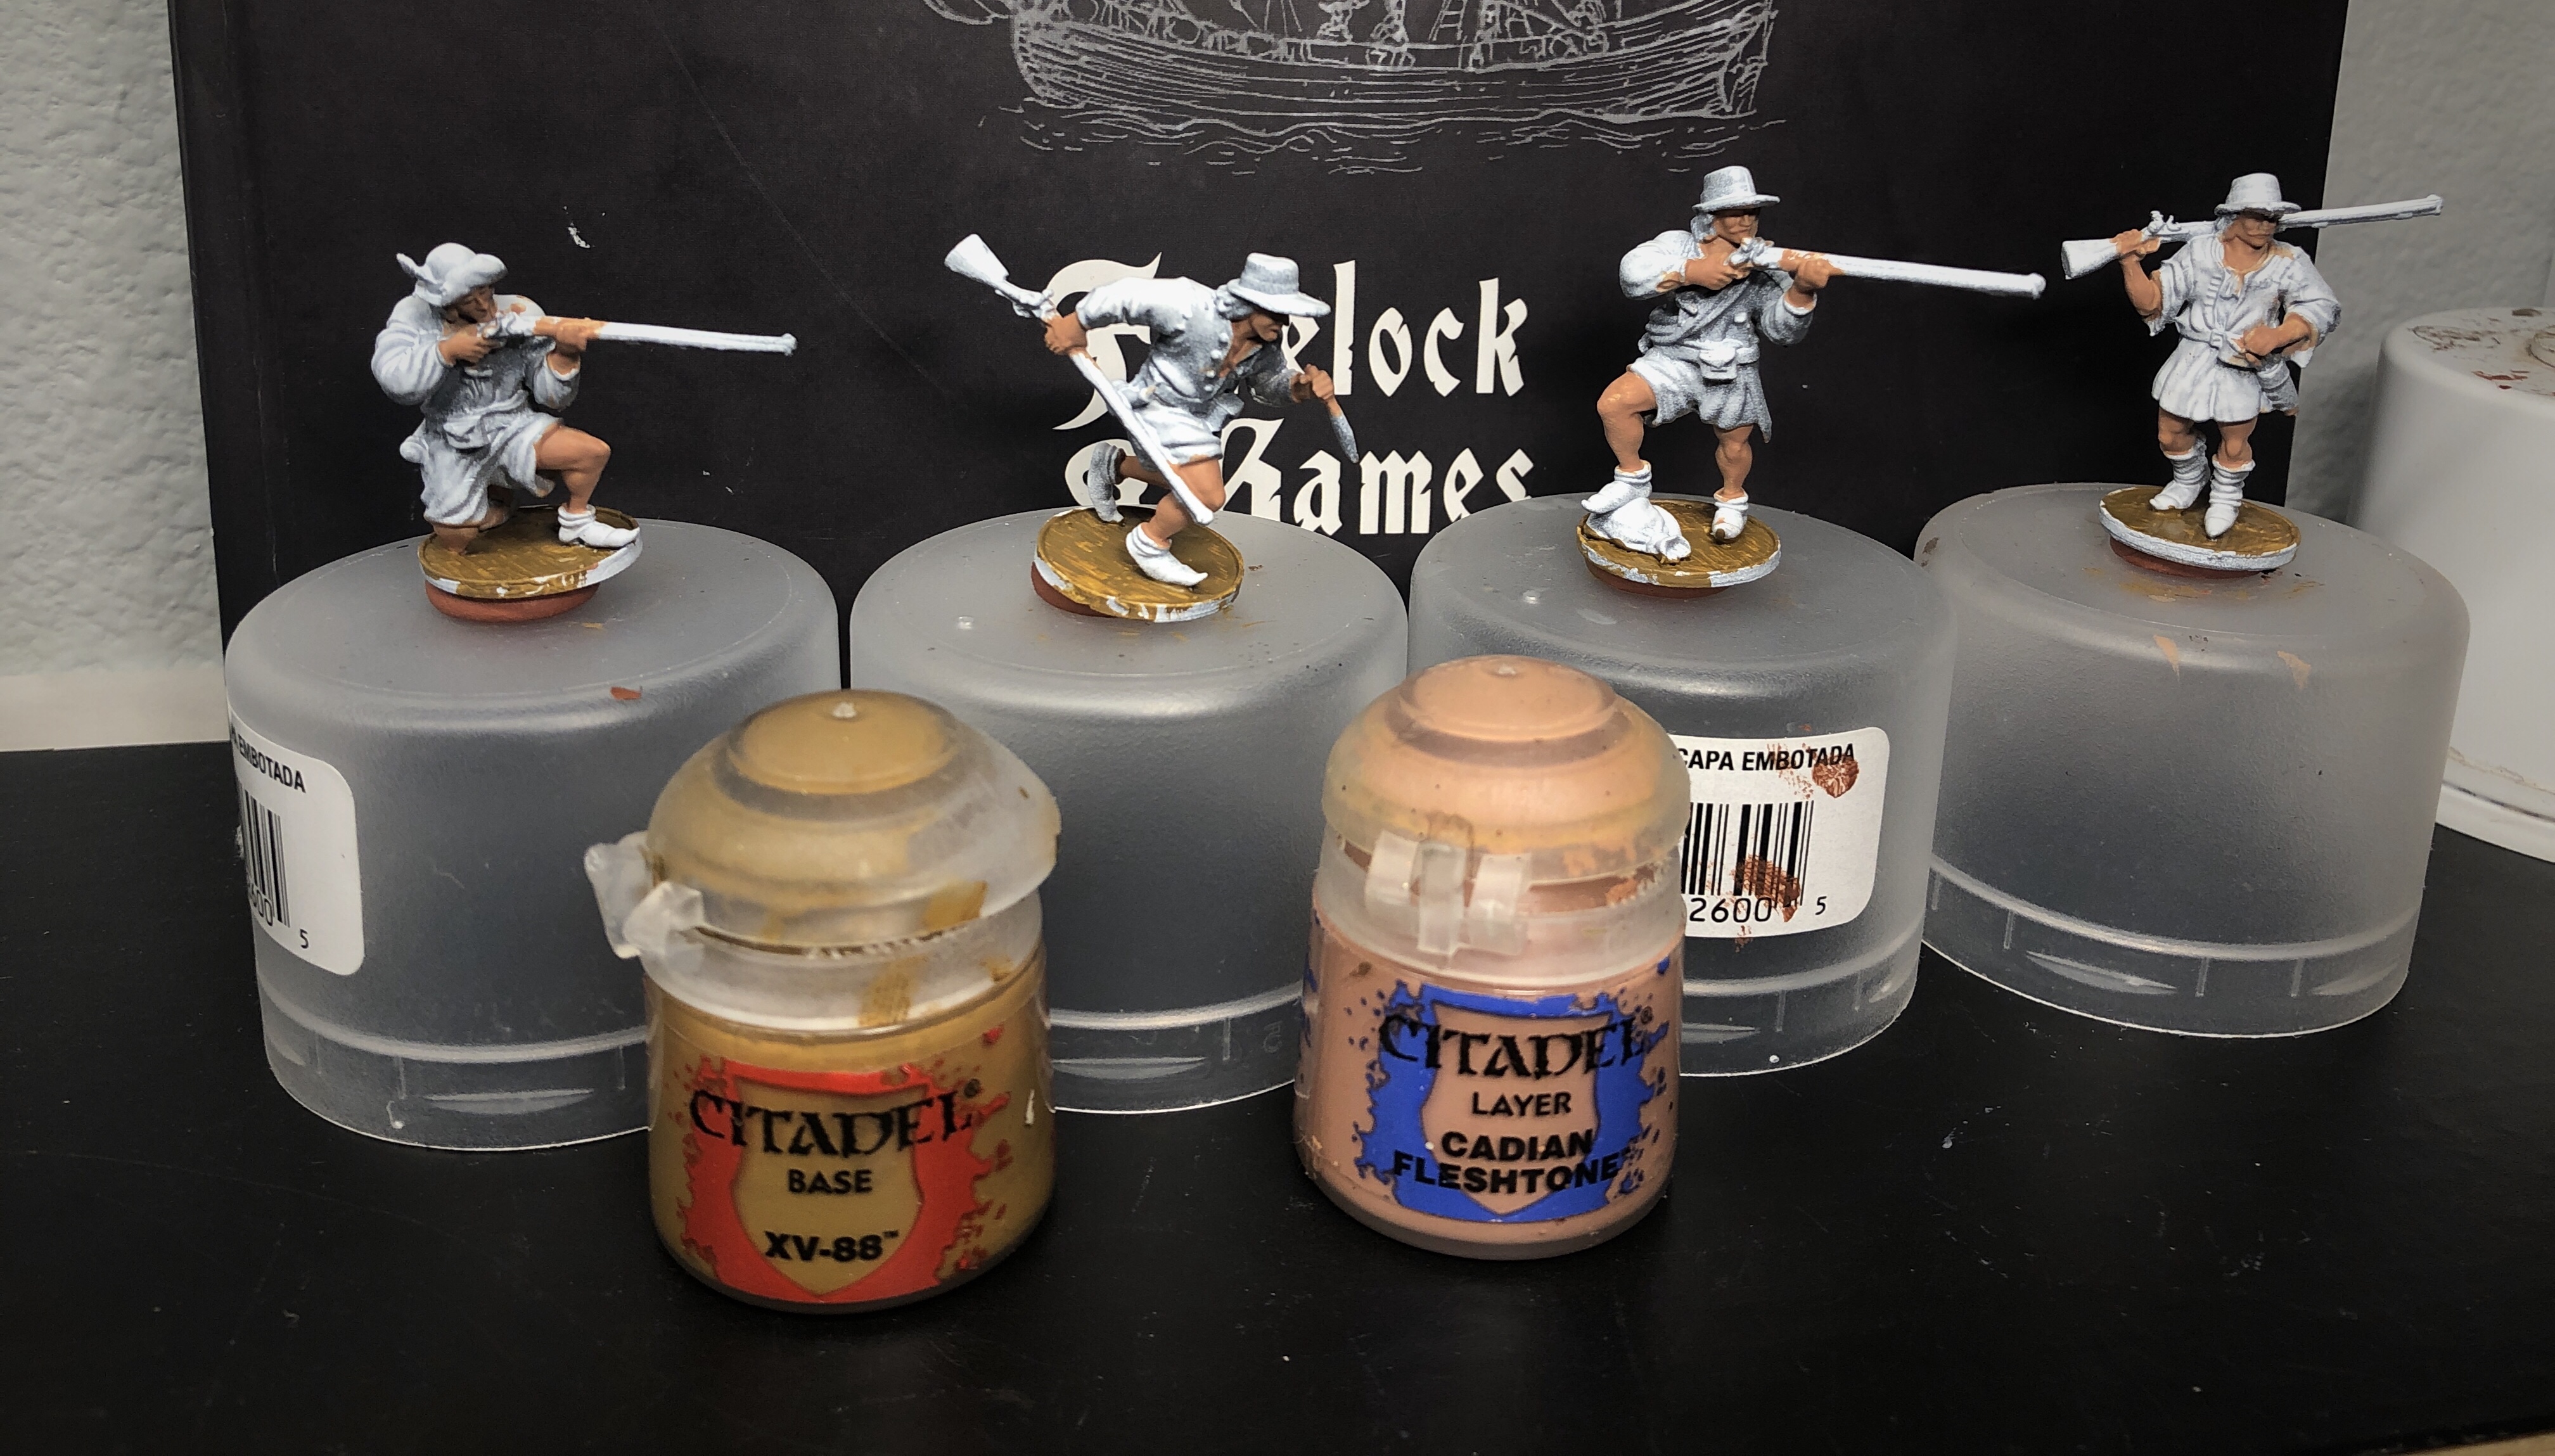
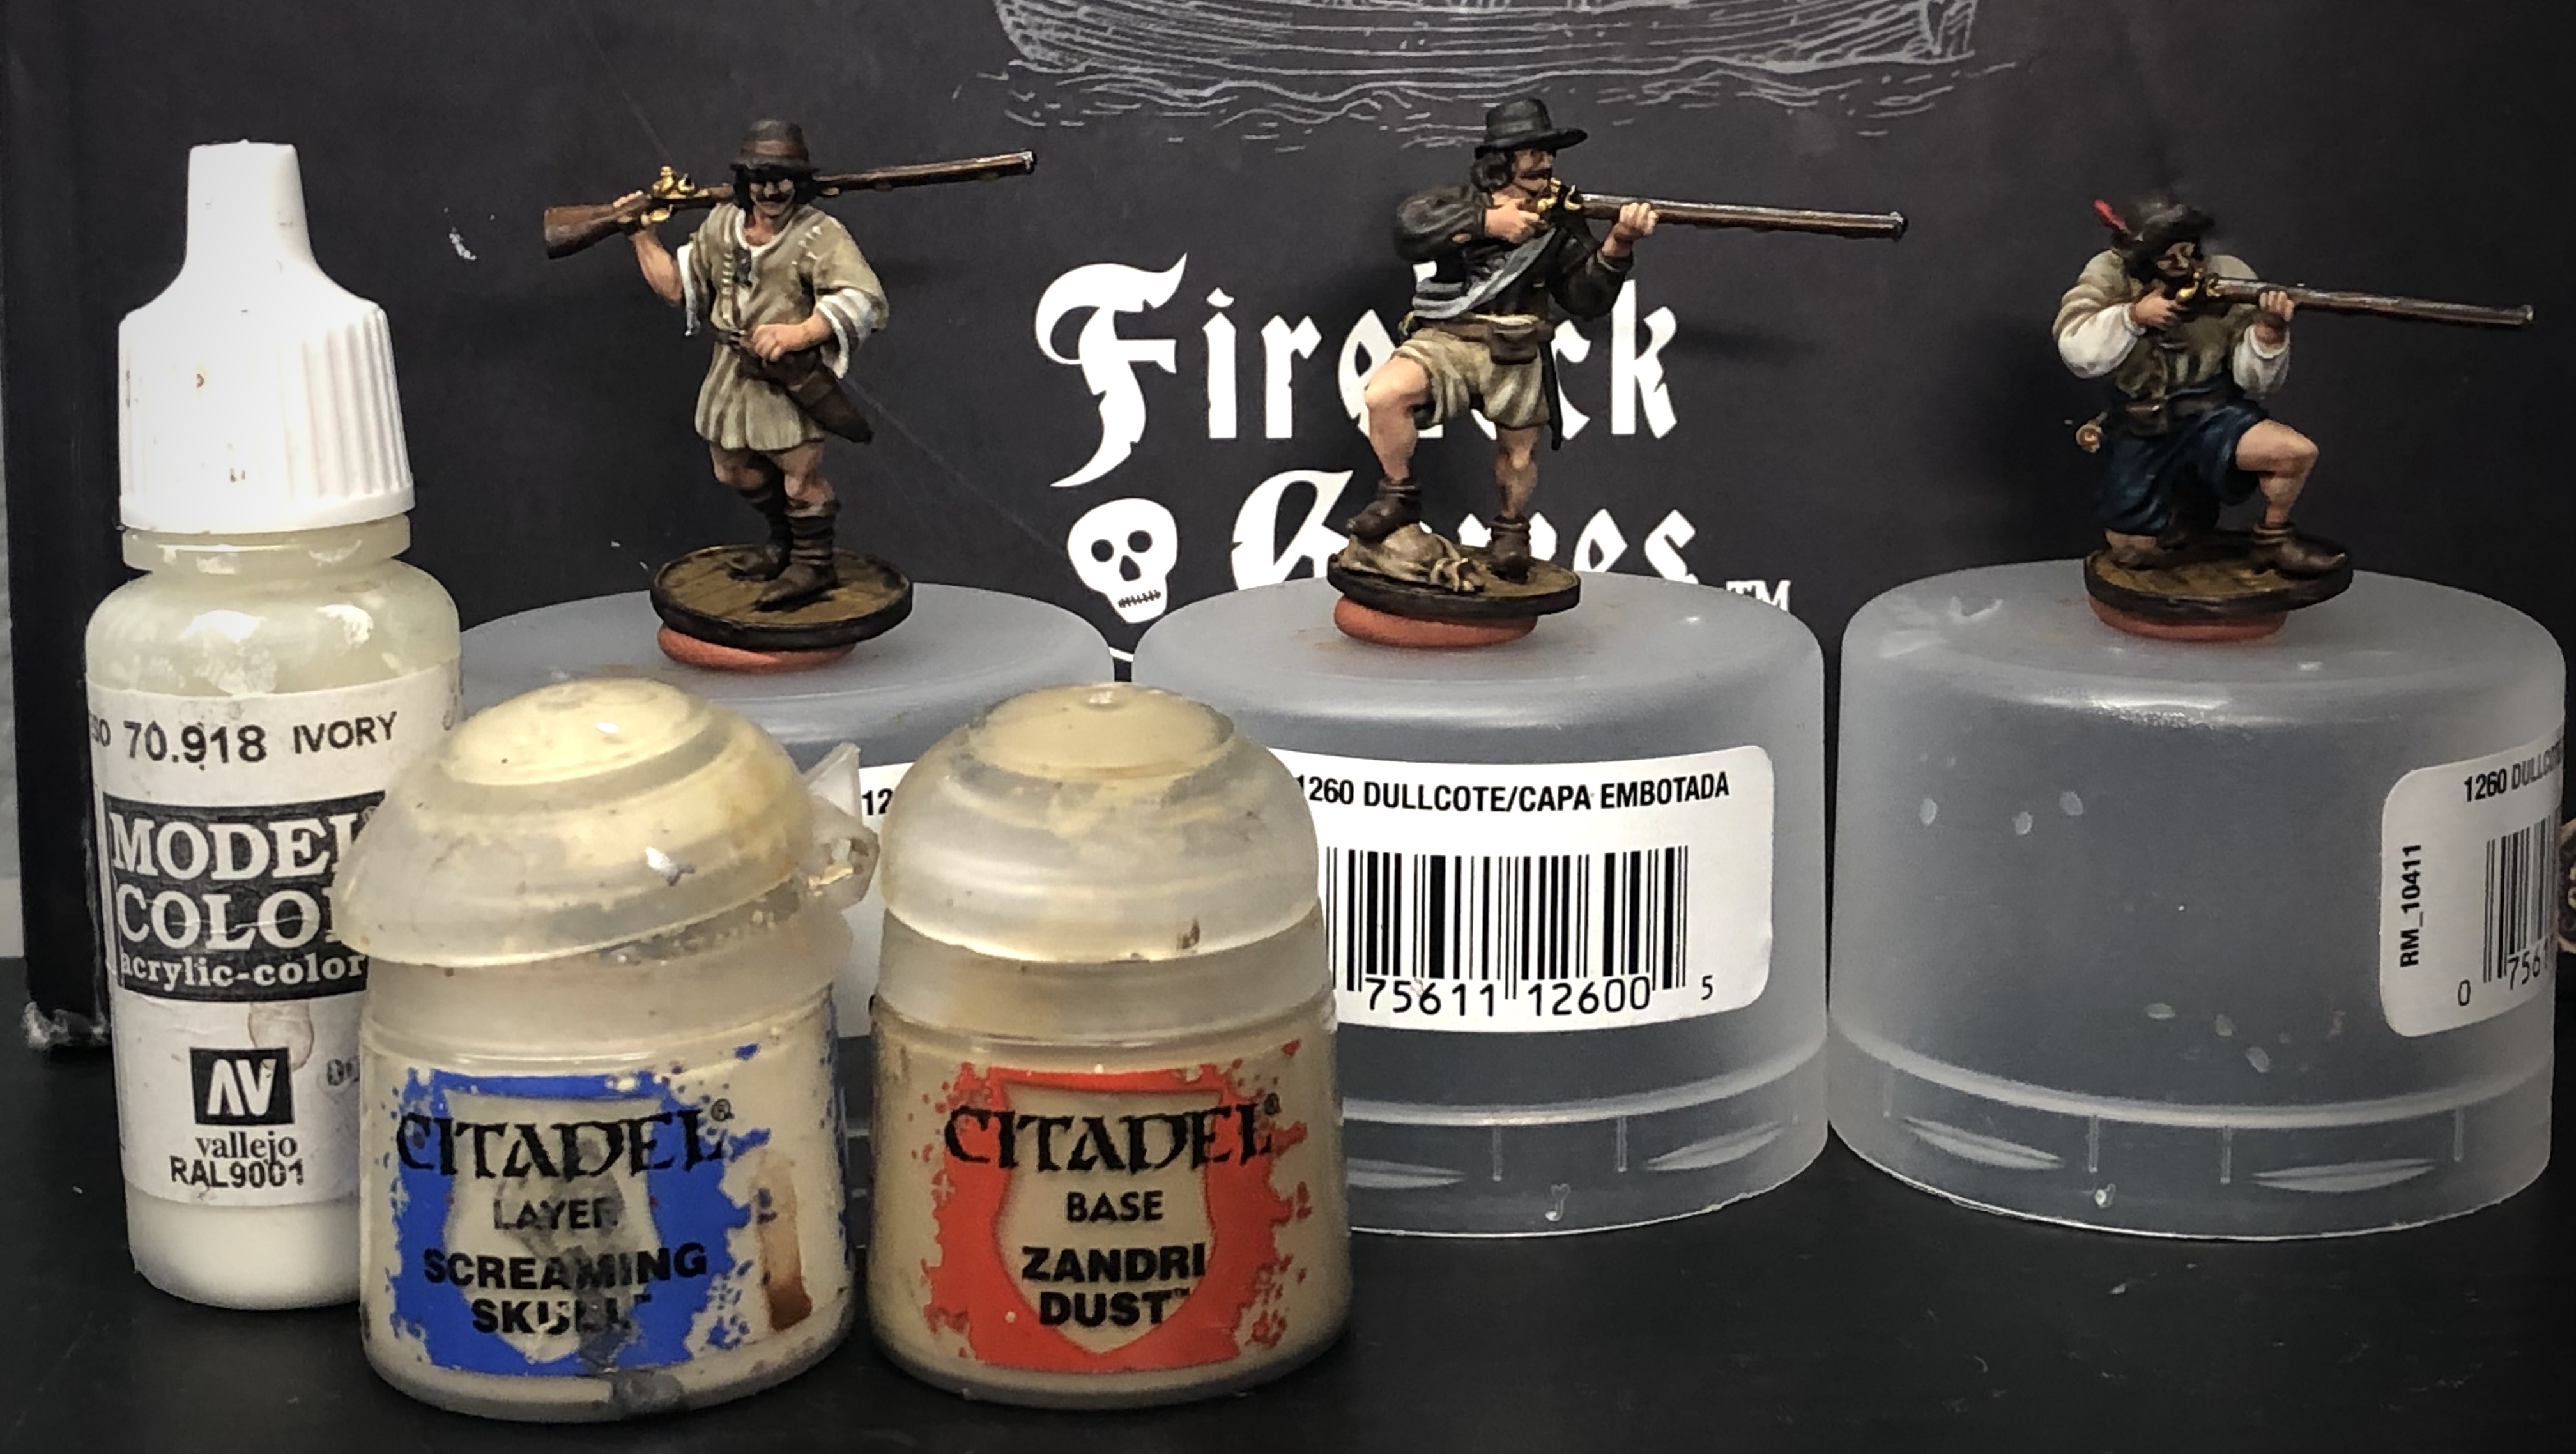
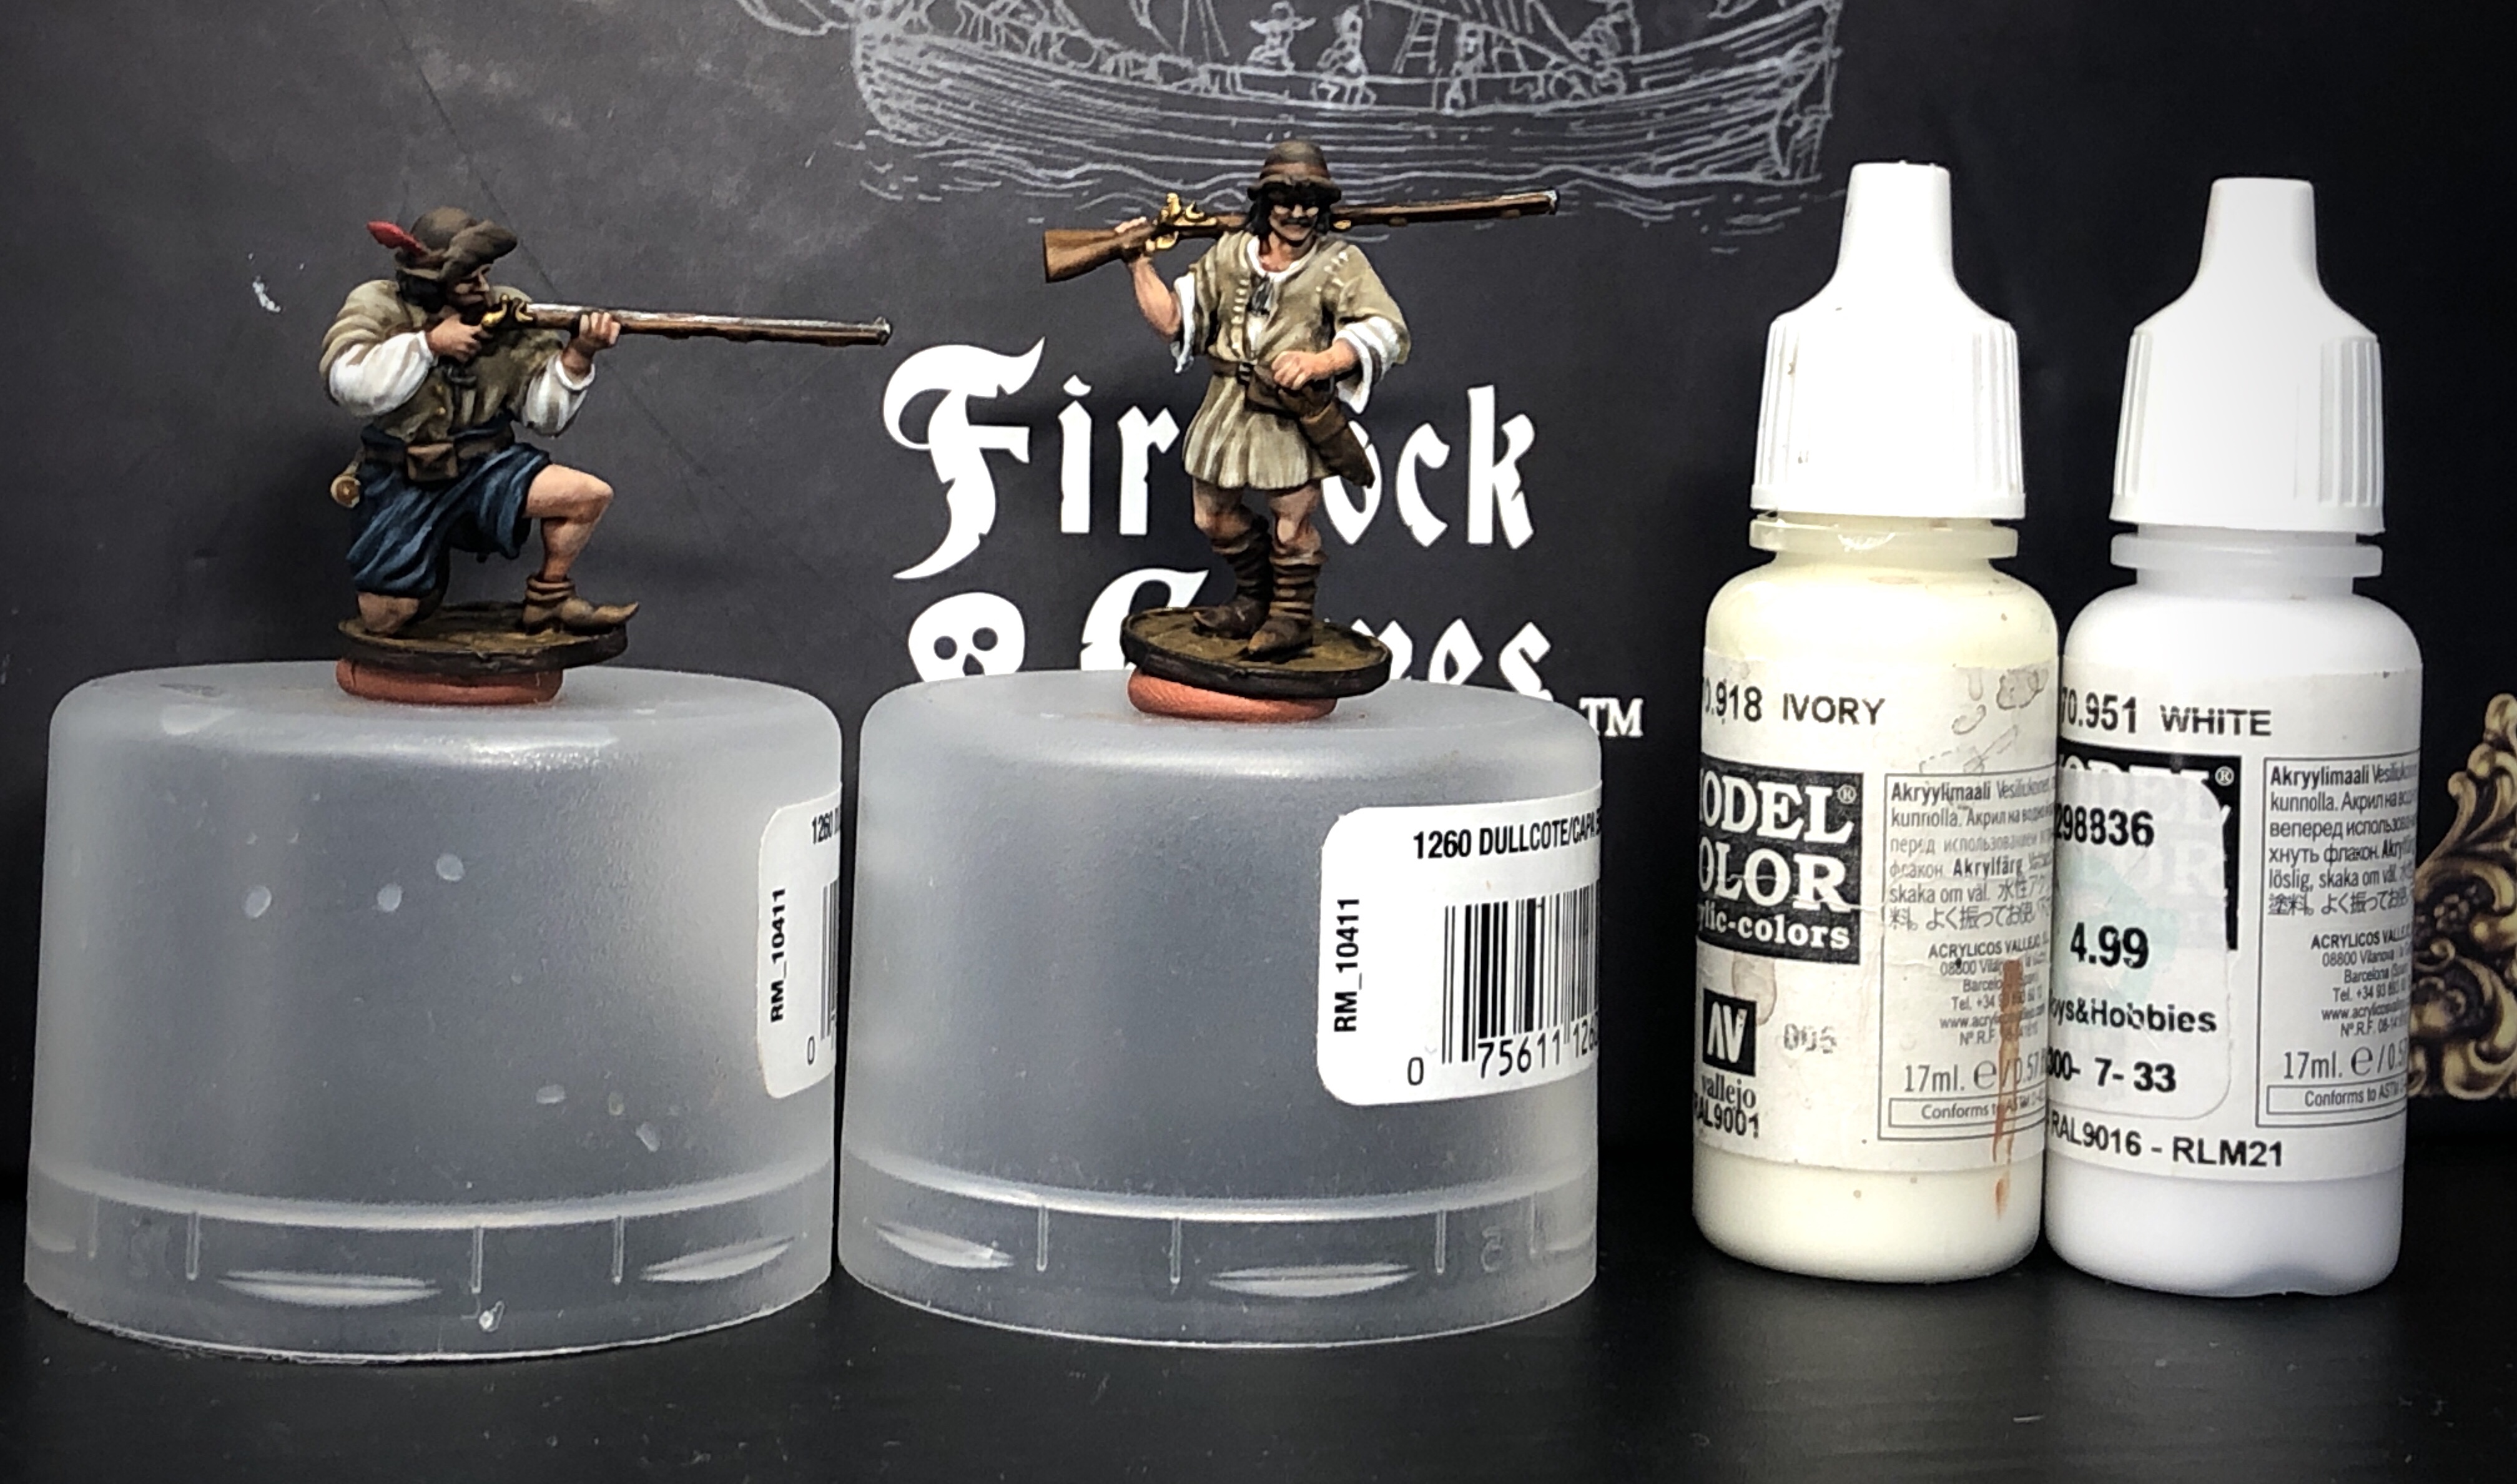
I used Zandri Dust as a base color for the overshirts on two models and the pants on another. I used two coats of Ivory for the undershirts for the models on the Right and Left.
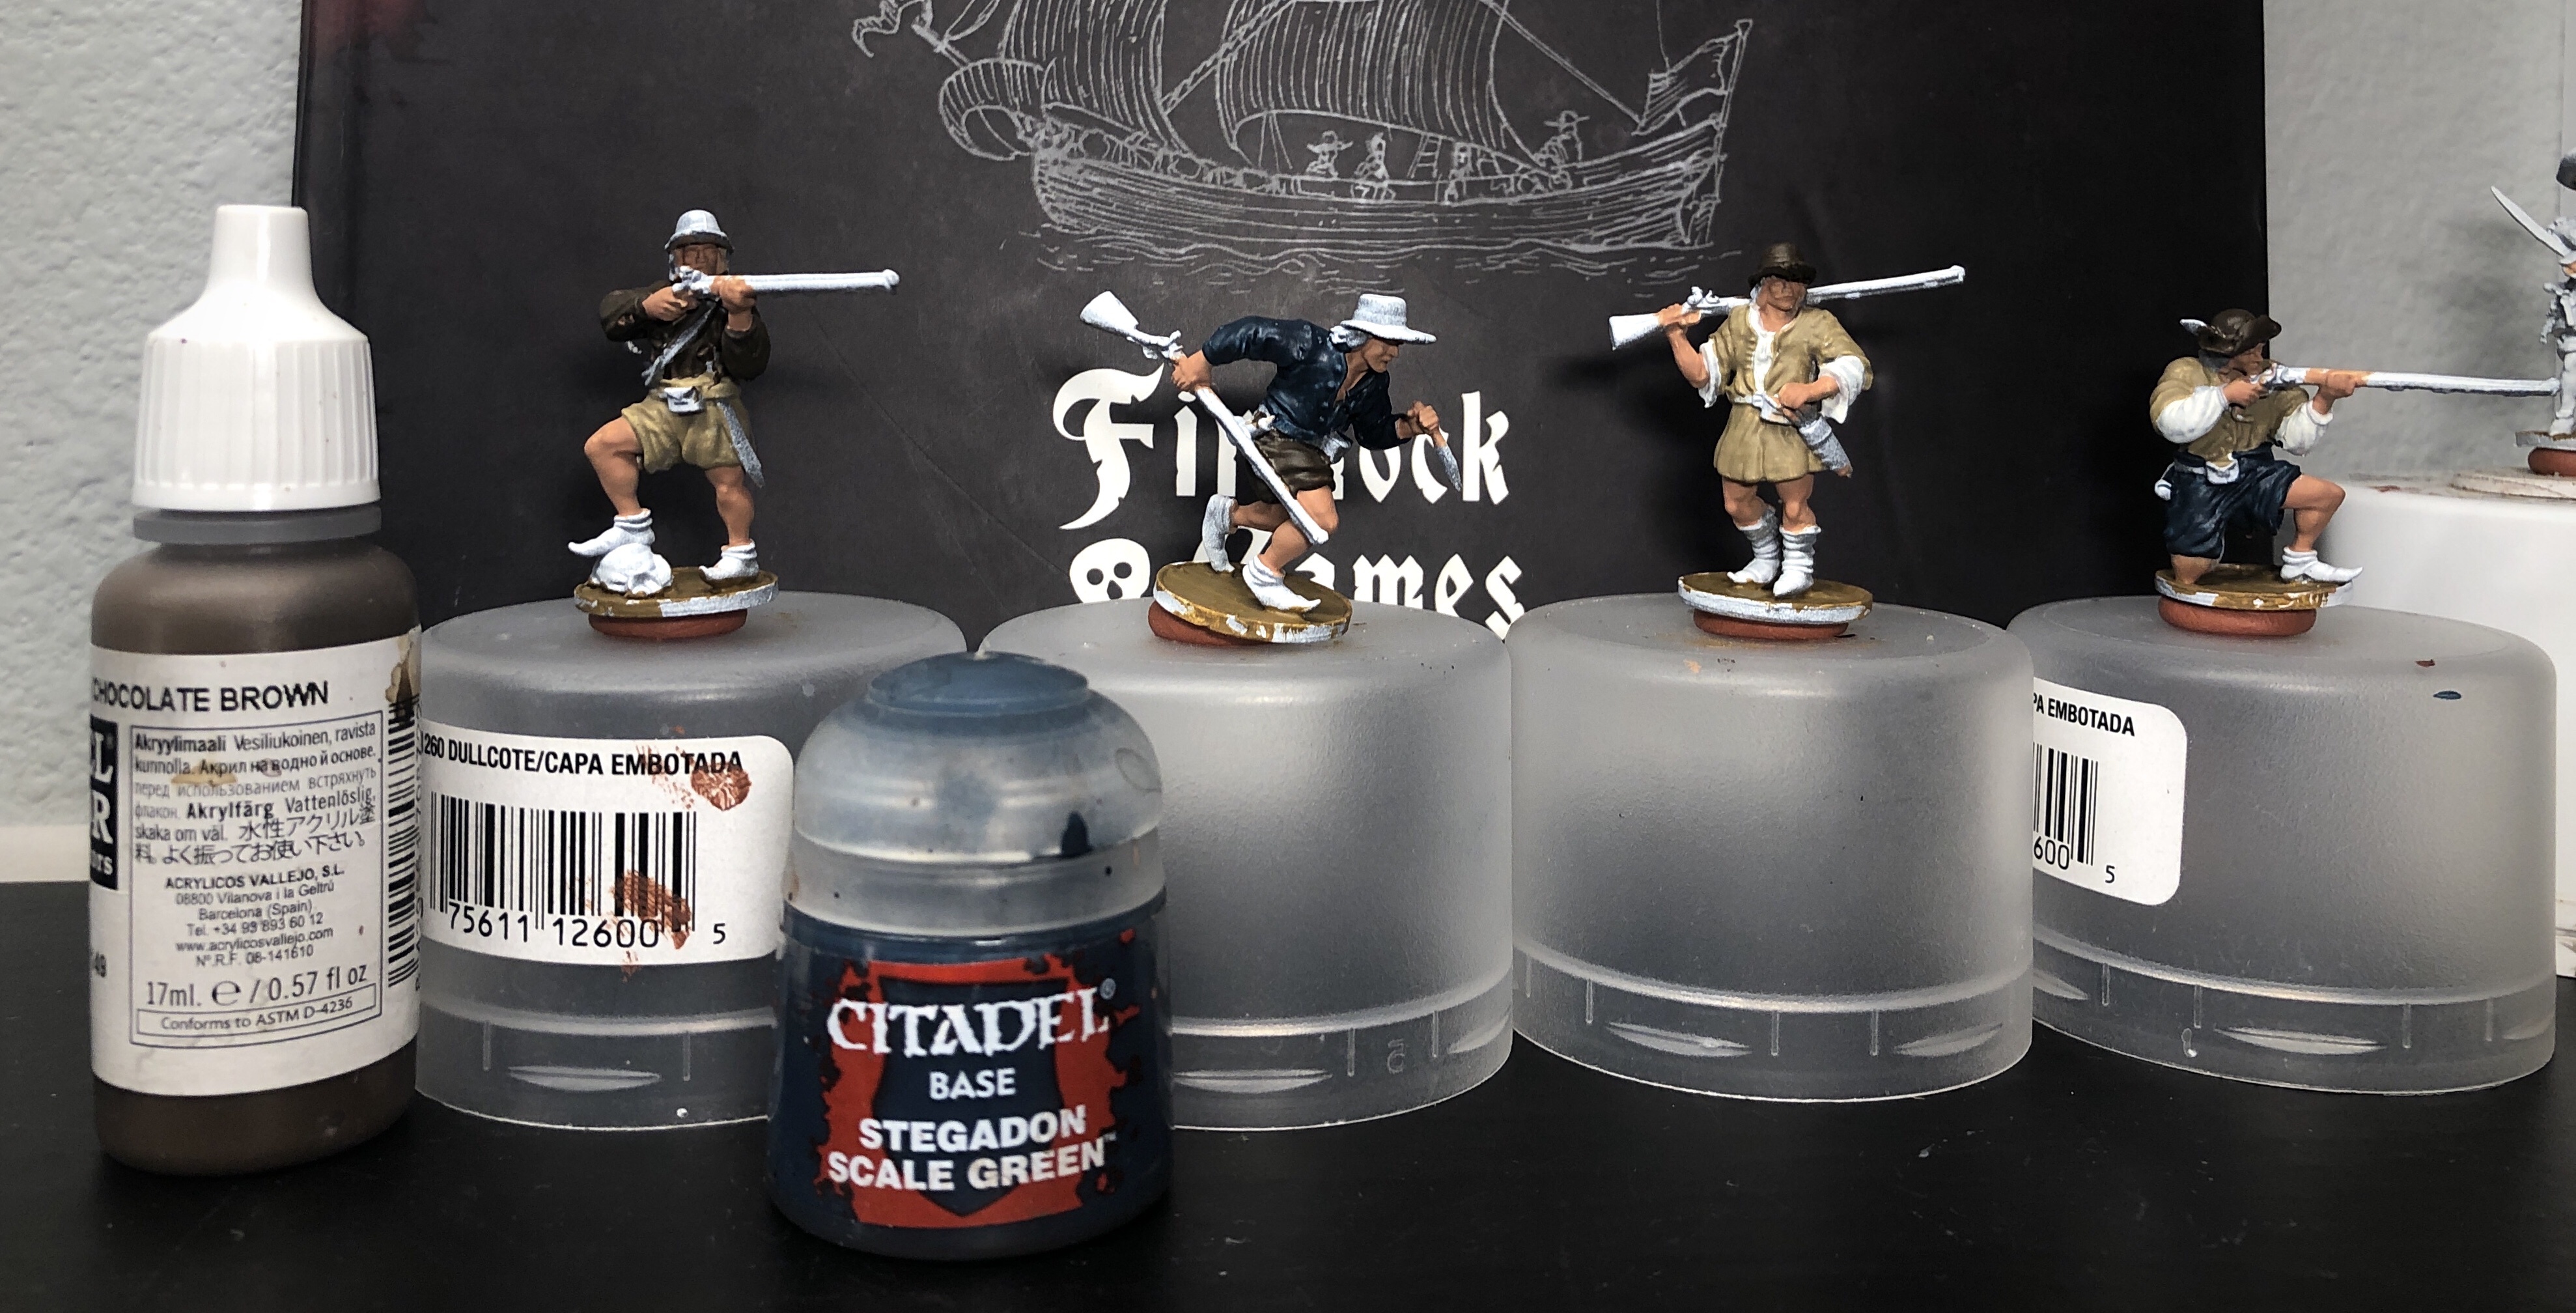
I used Stegadon Scale Green for the shirt on the running figure and the pants on the kneeling model. Vallejo’s Model Color Chocolate Brown went on the leftmost model’s shirt and the running figure’s pants and the other two figures’ hats.
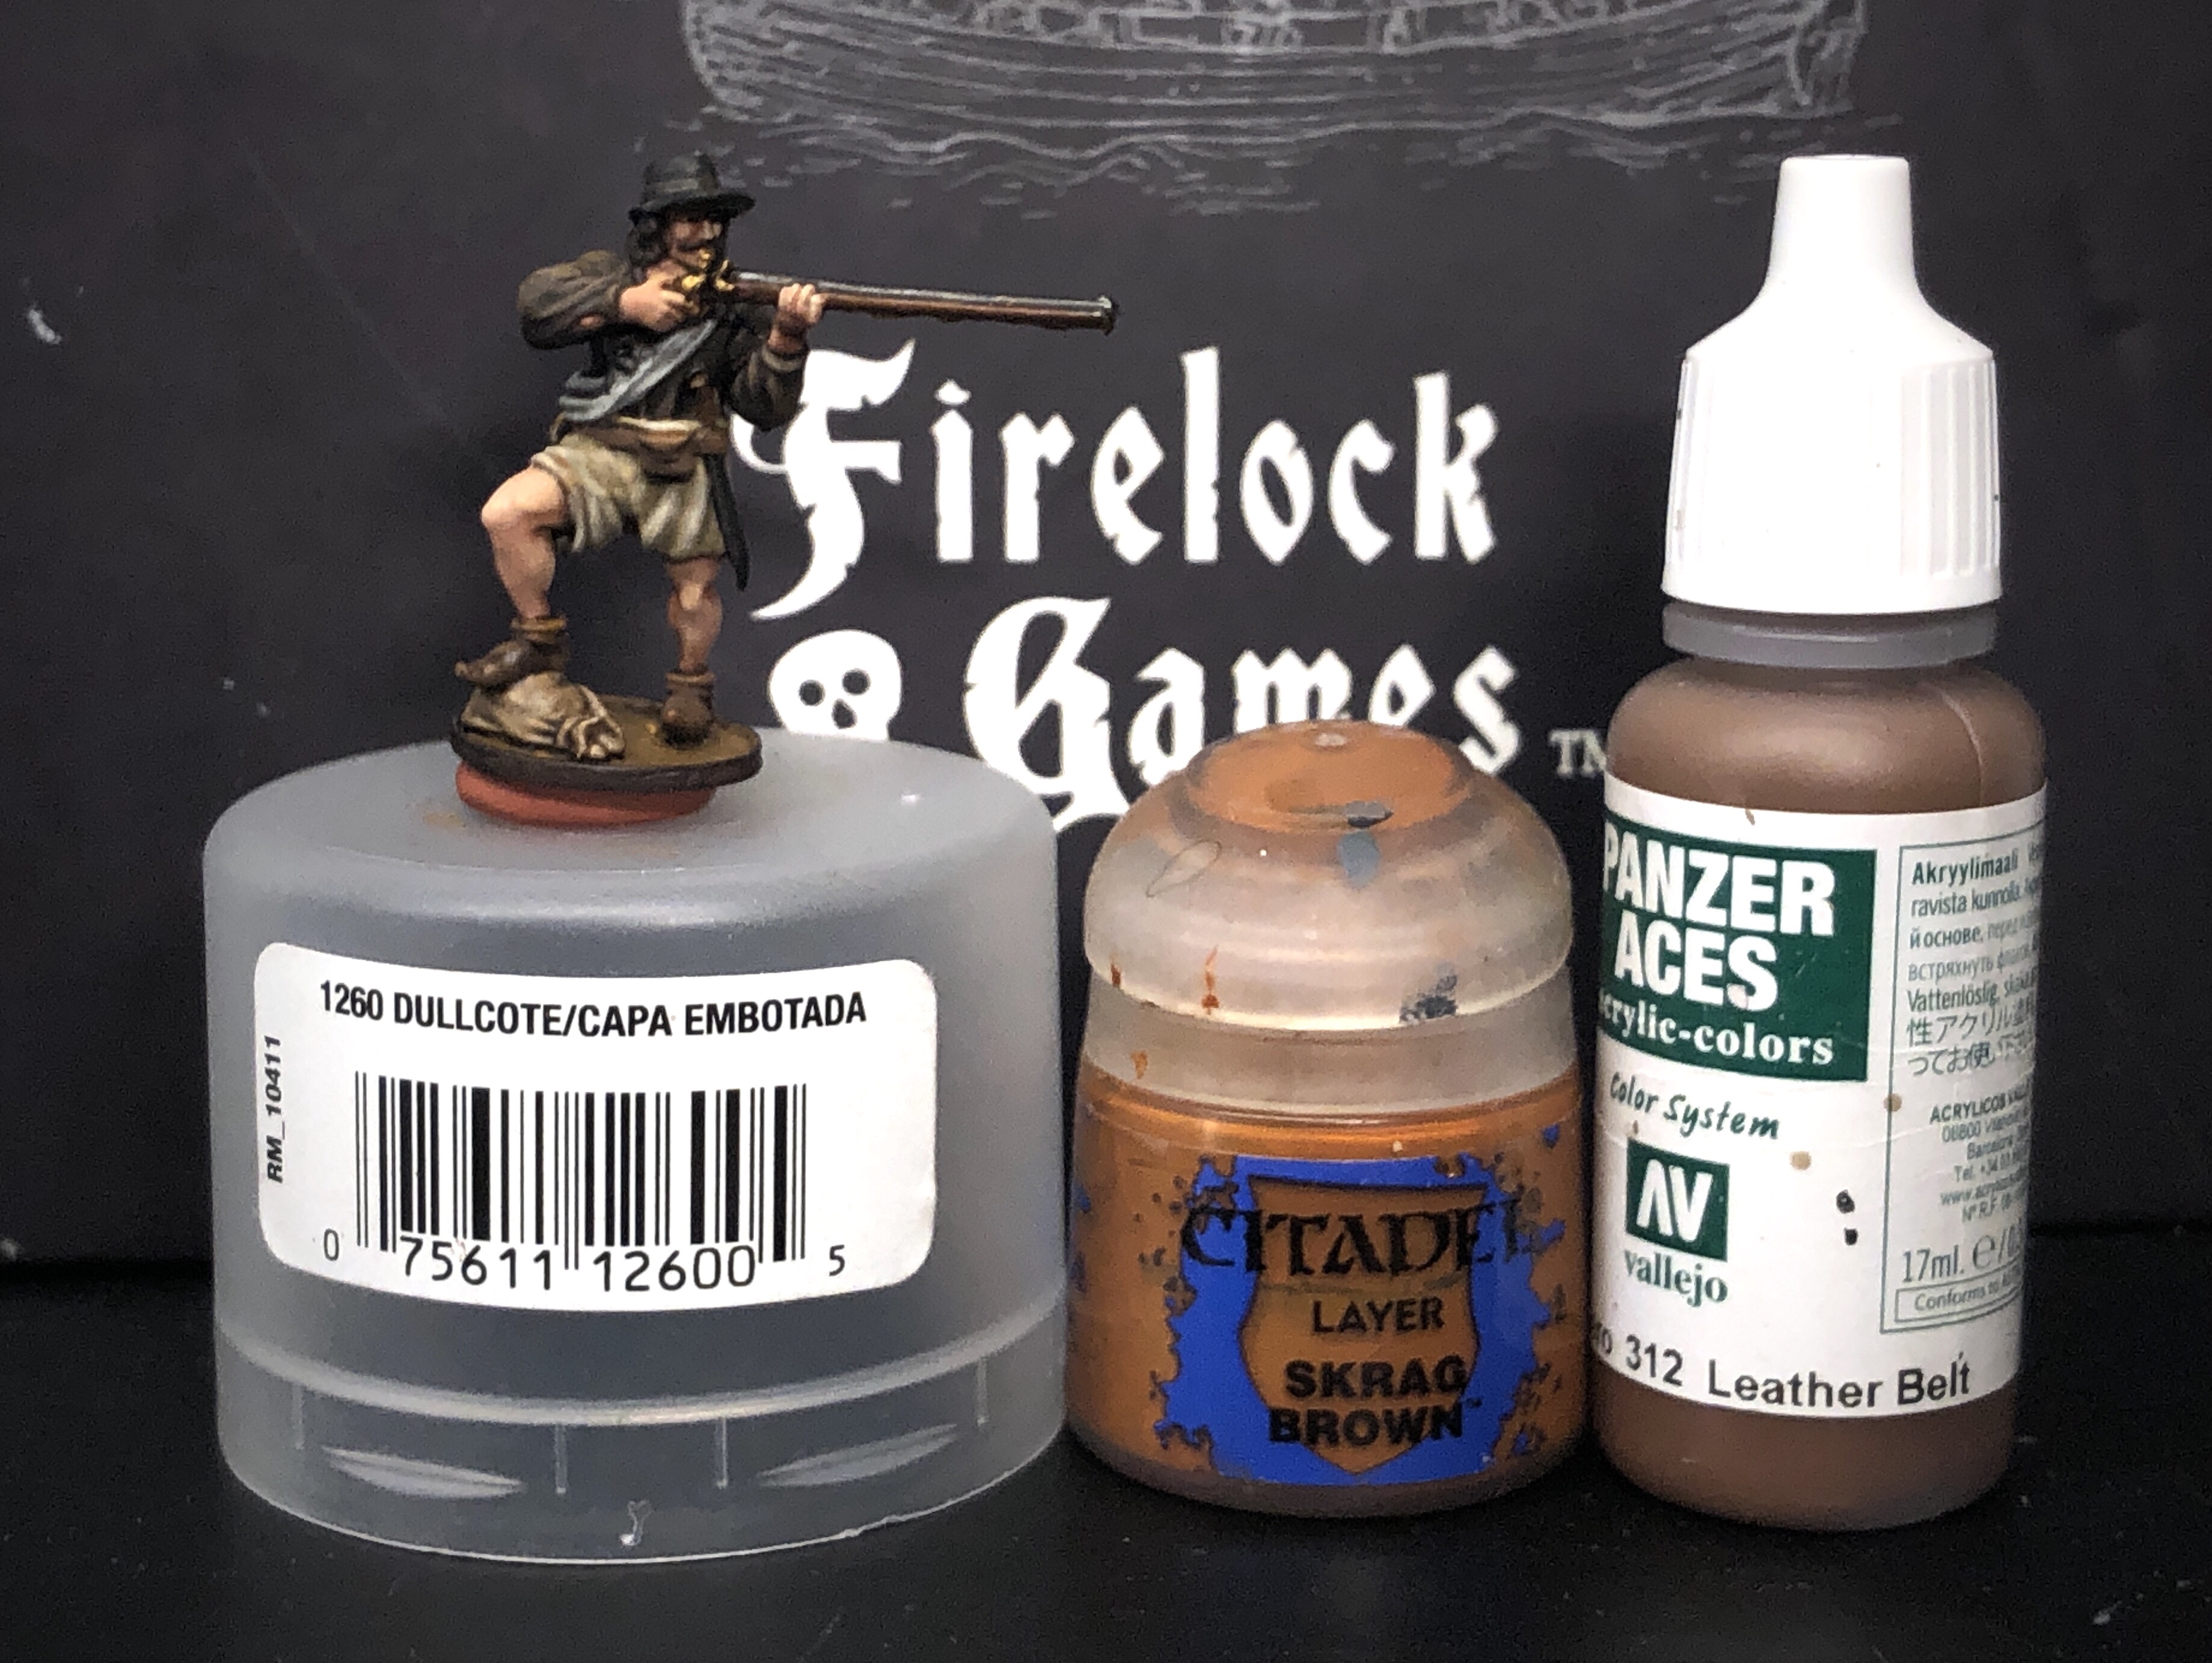
I used Vallejo’s Panzer Aces Leather Brown for all the belts, pouches, shoes and cartridge boxes and German Grey for the other two hats and the hair for the models with brown hats.

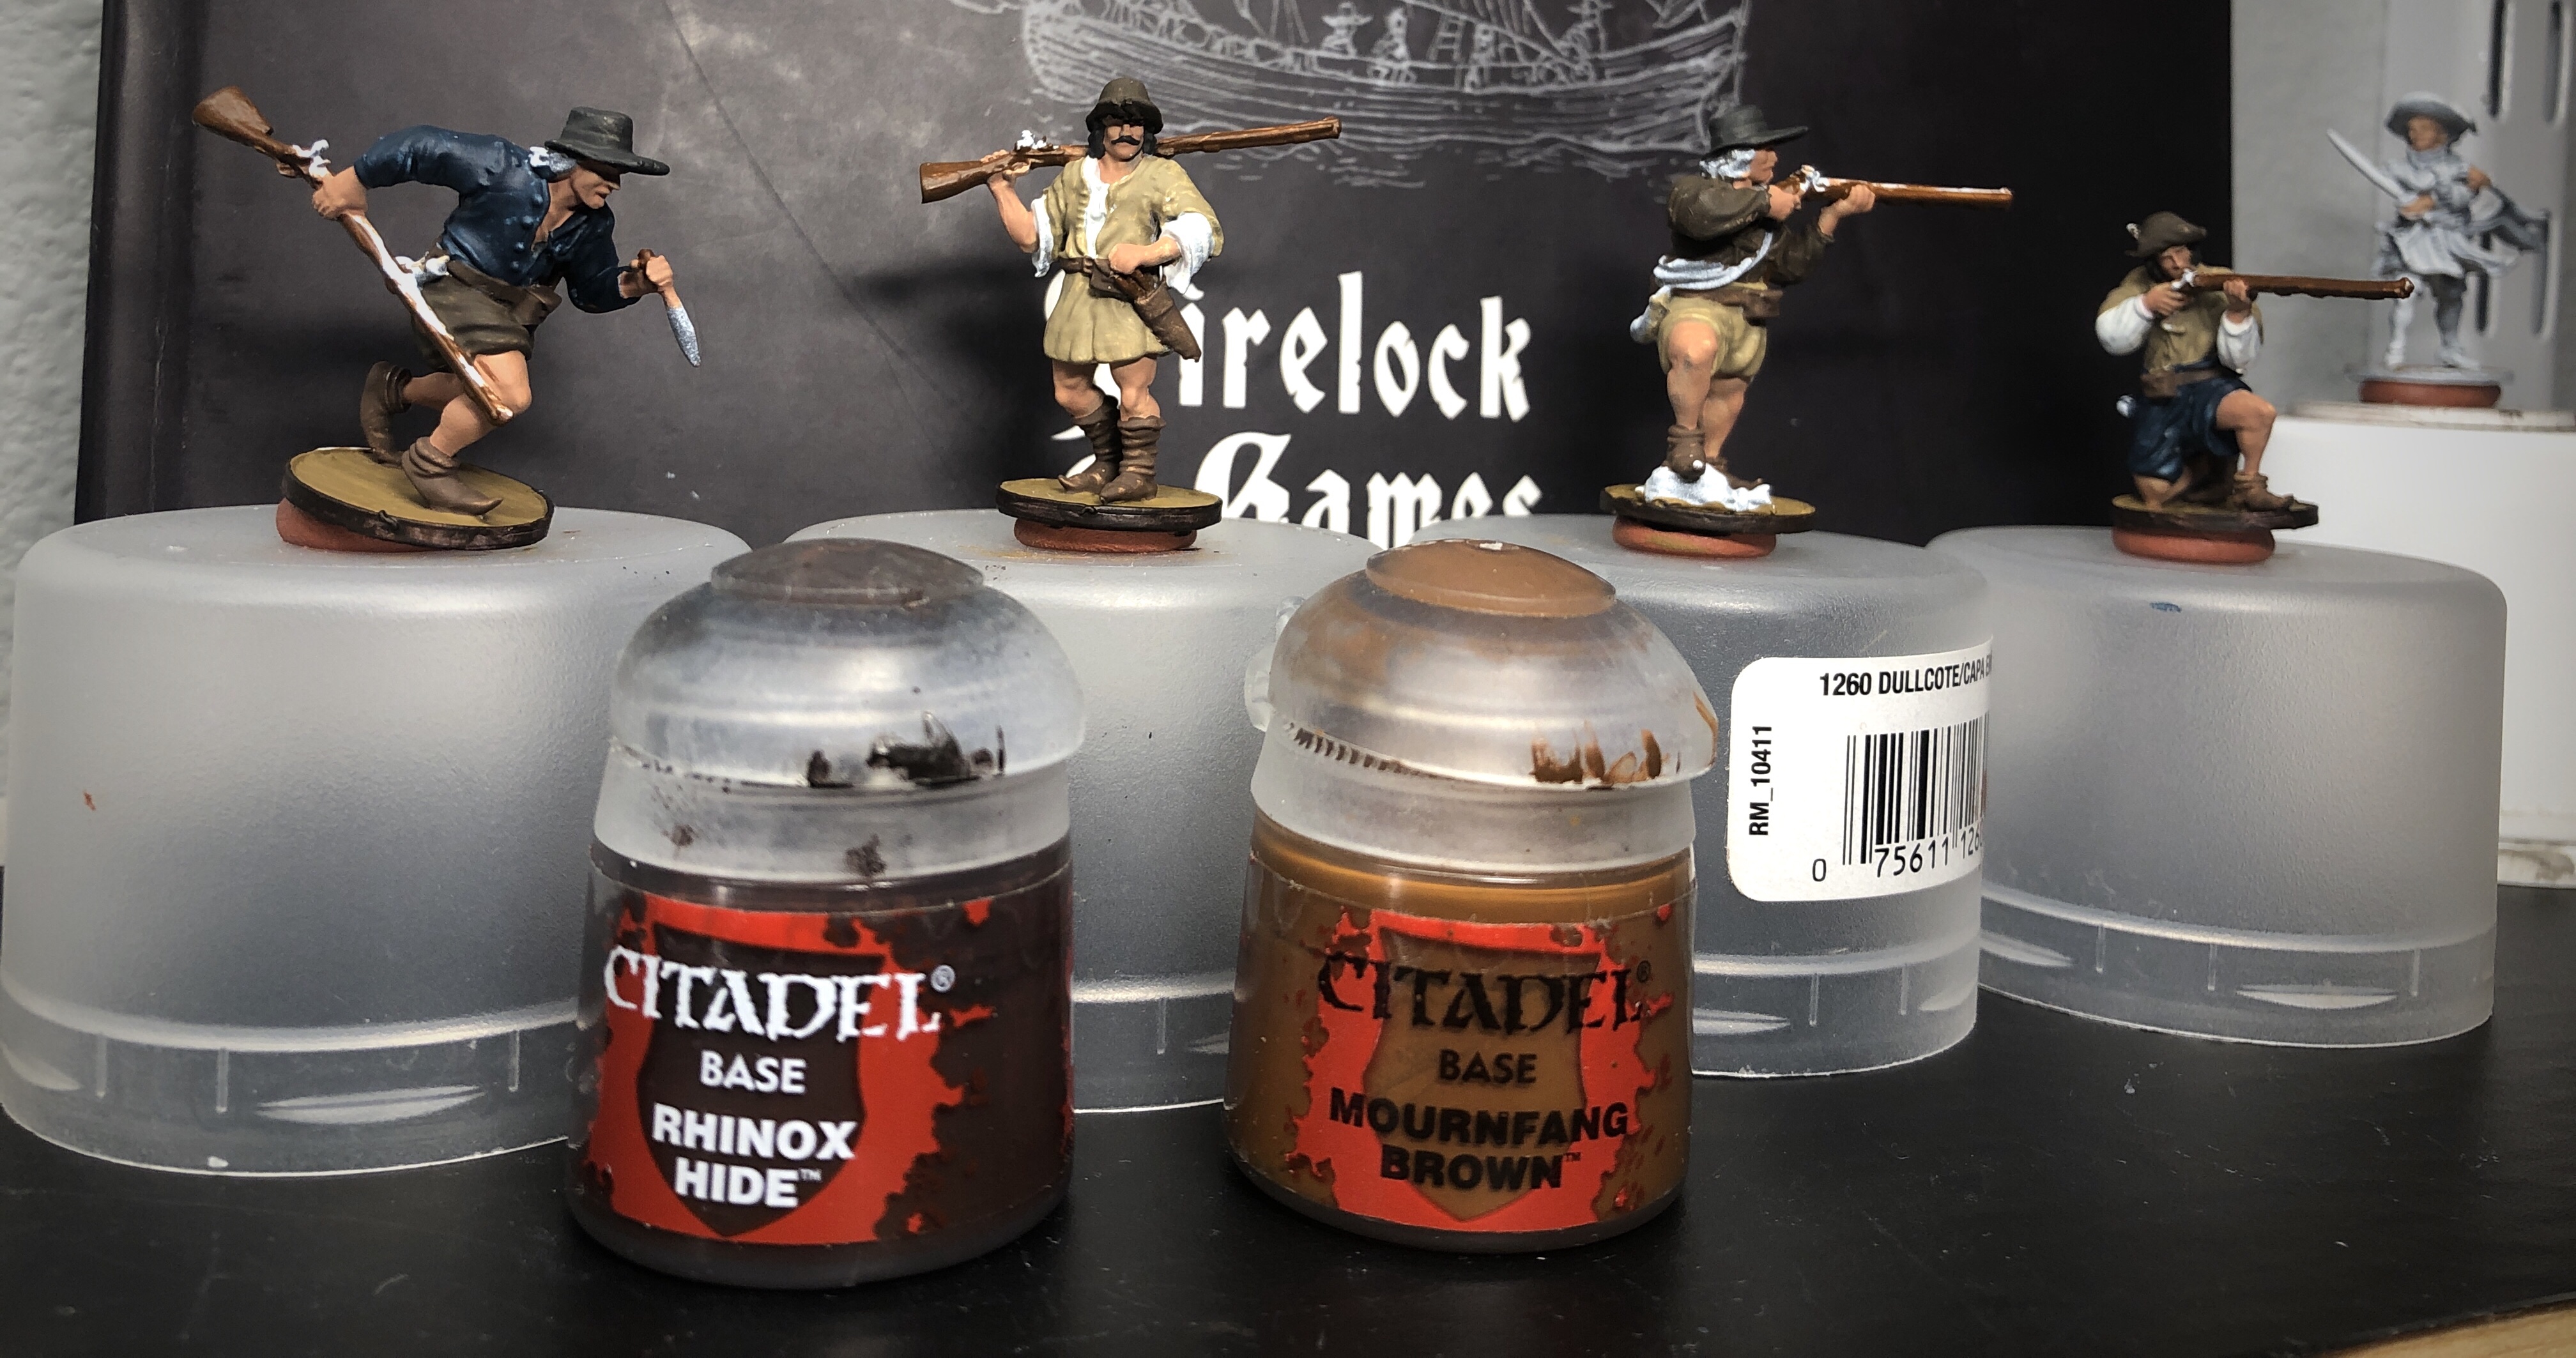
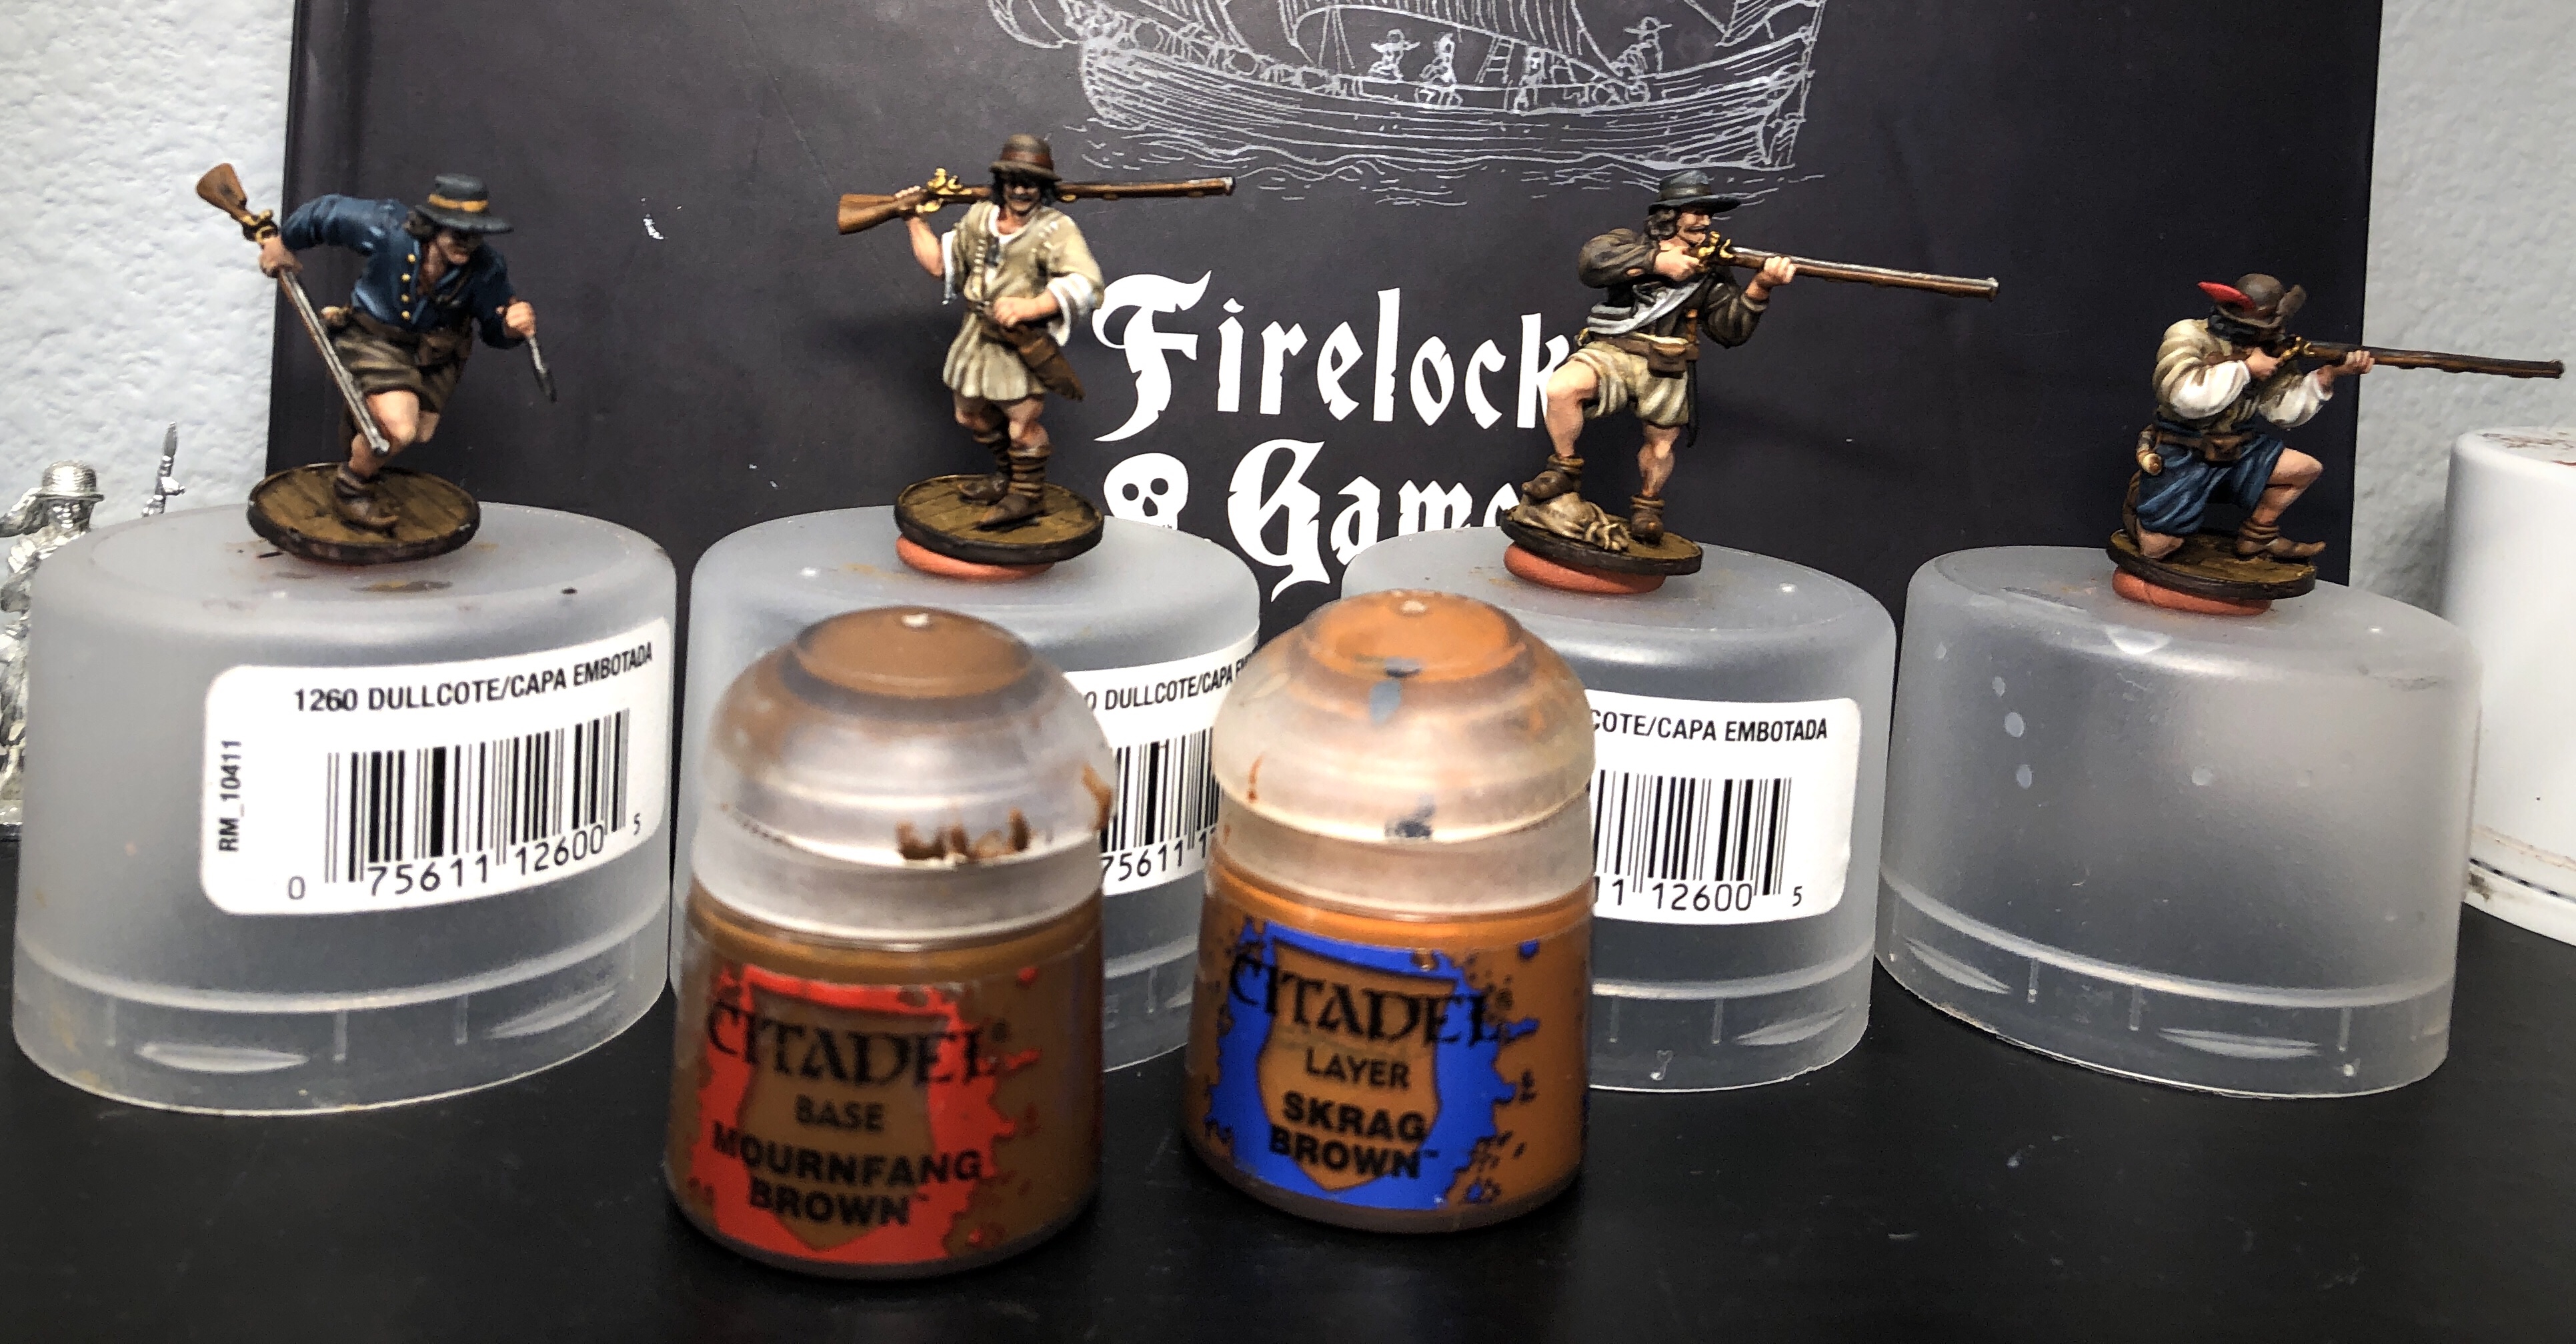
I used Mournfang Brown for the musket wood and just used Rhinox Hide for the rims of the bases.
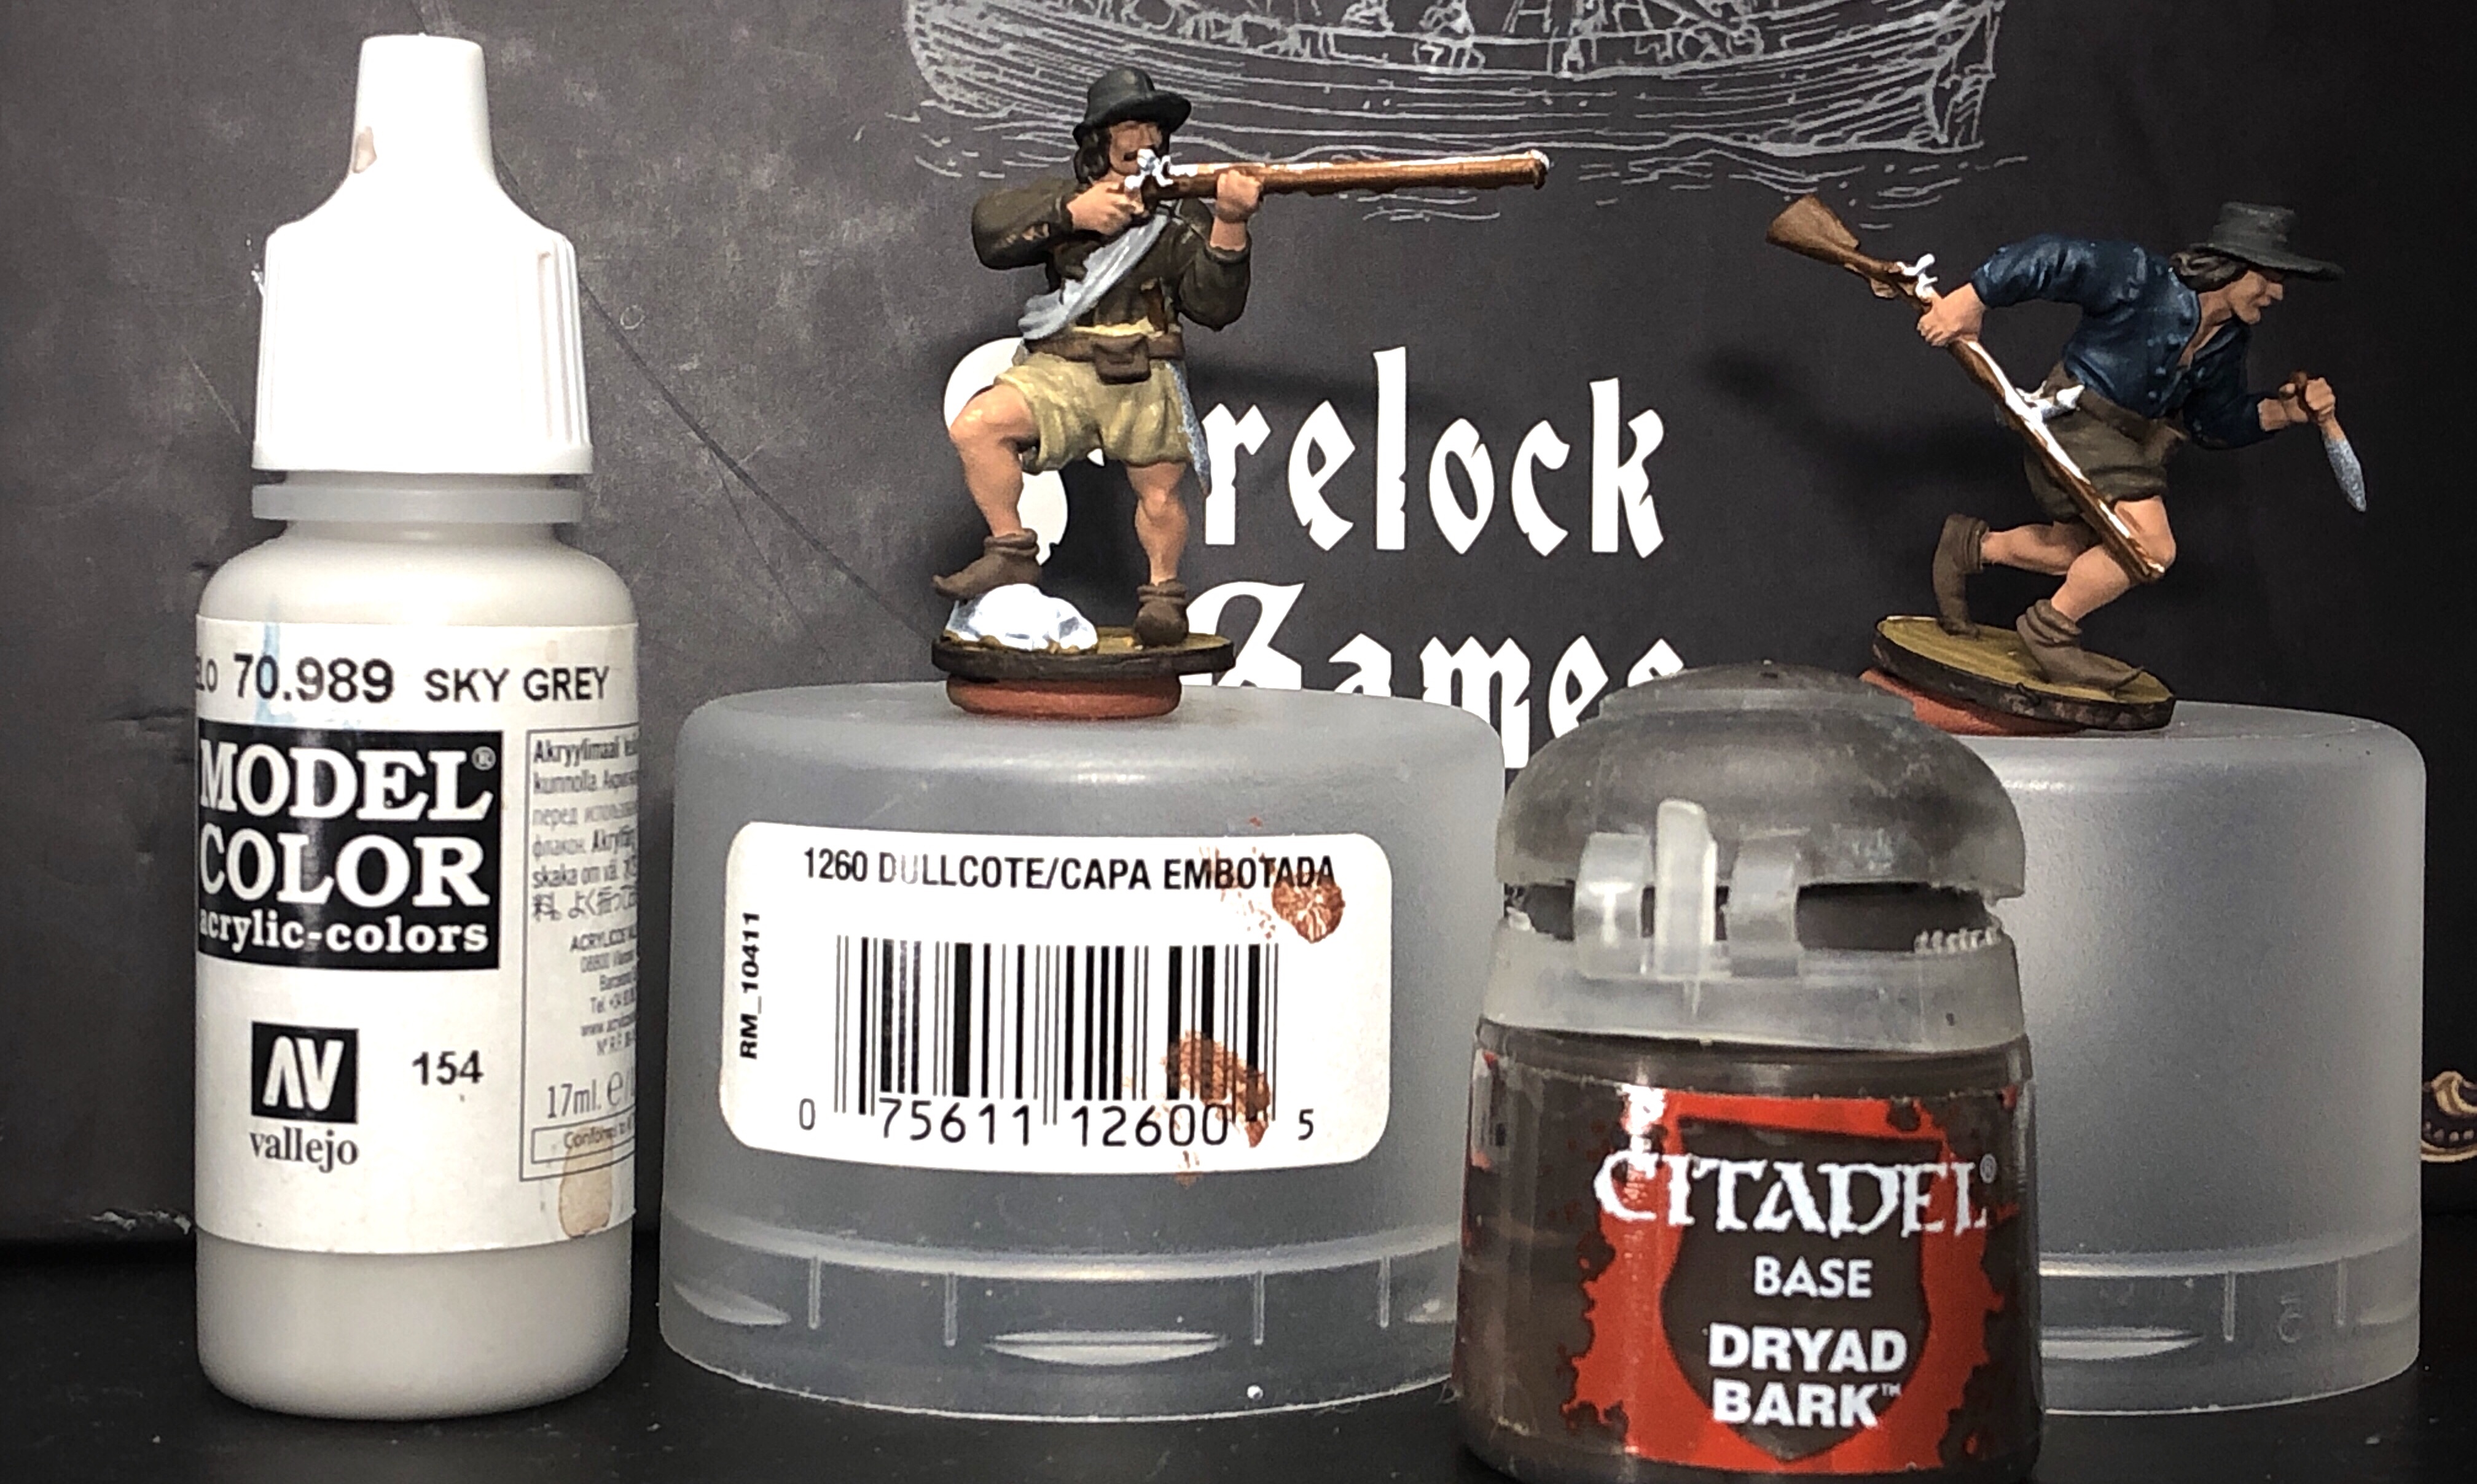
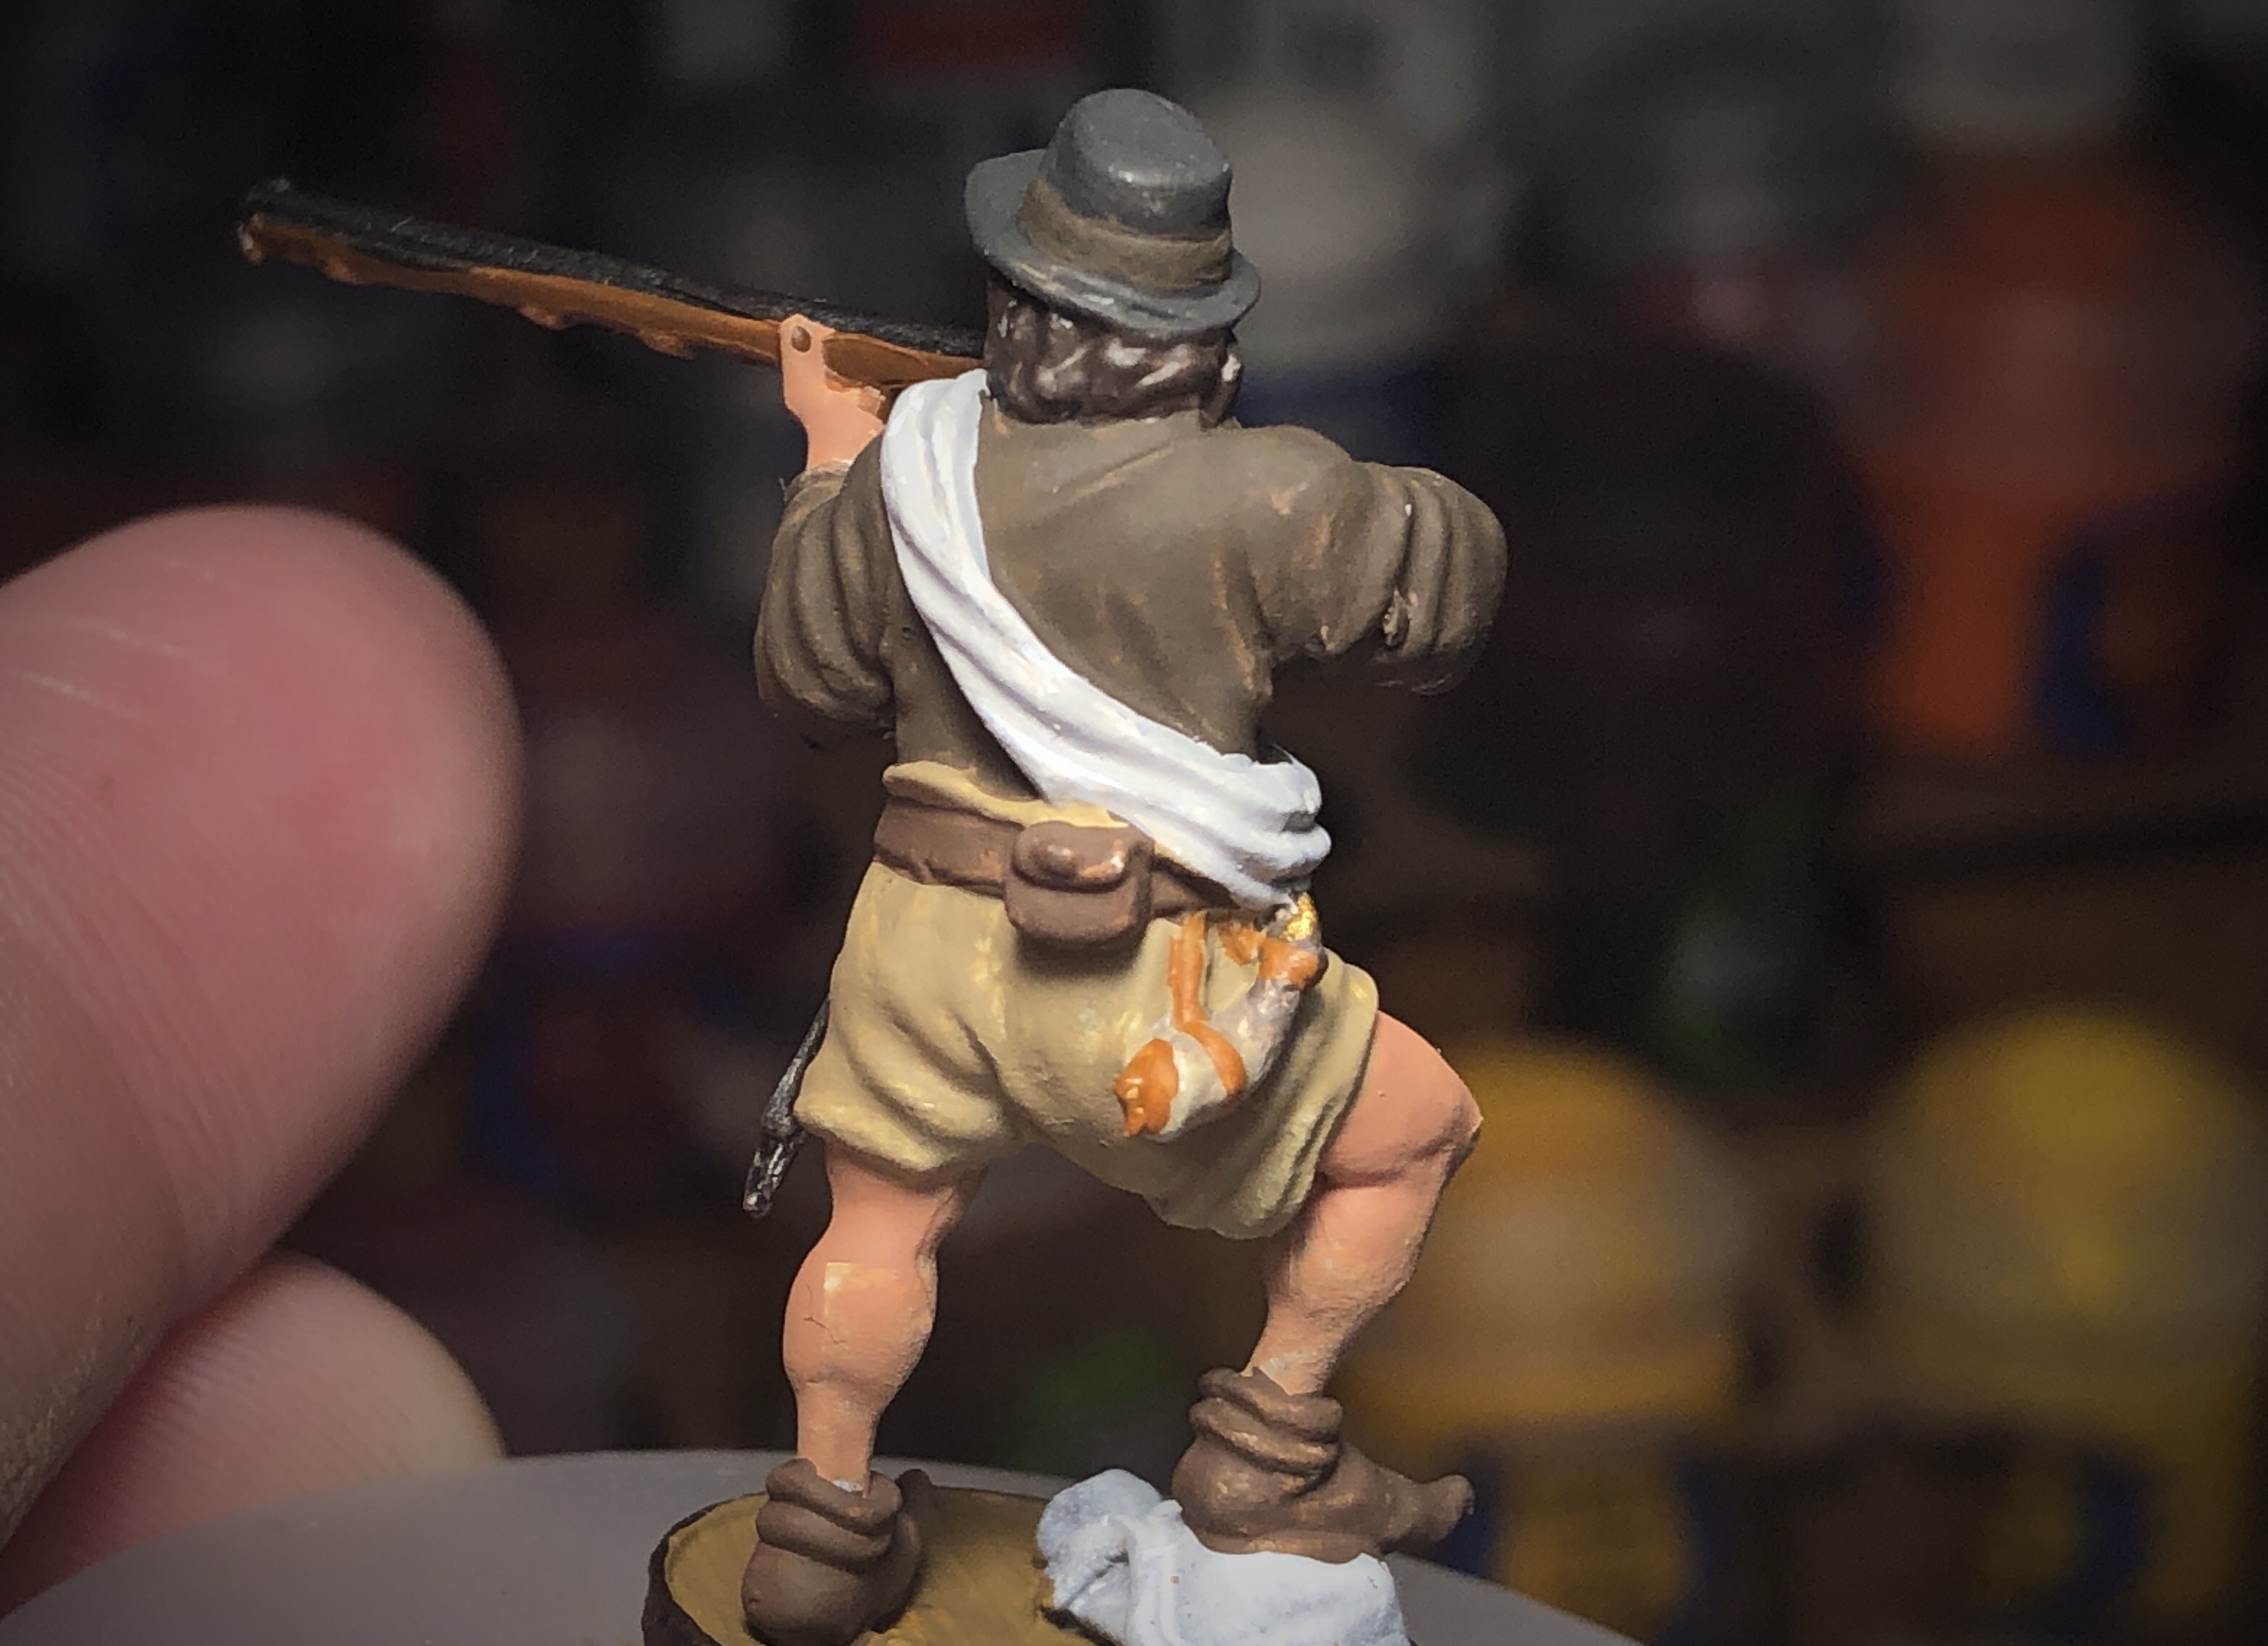
For the blanket roll I used Sky Grey but any light Grey would be fine. I used Dryad Bark for the hair on the models with the German Grey hats.
Dryad Bark hair.
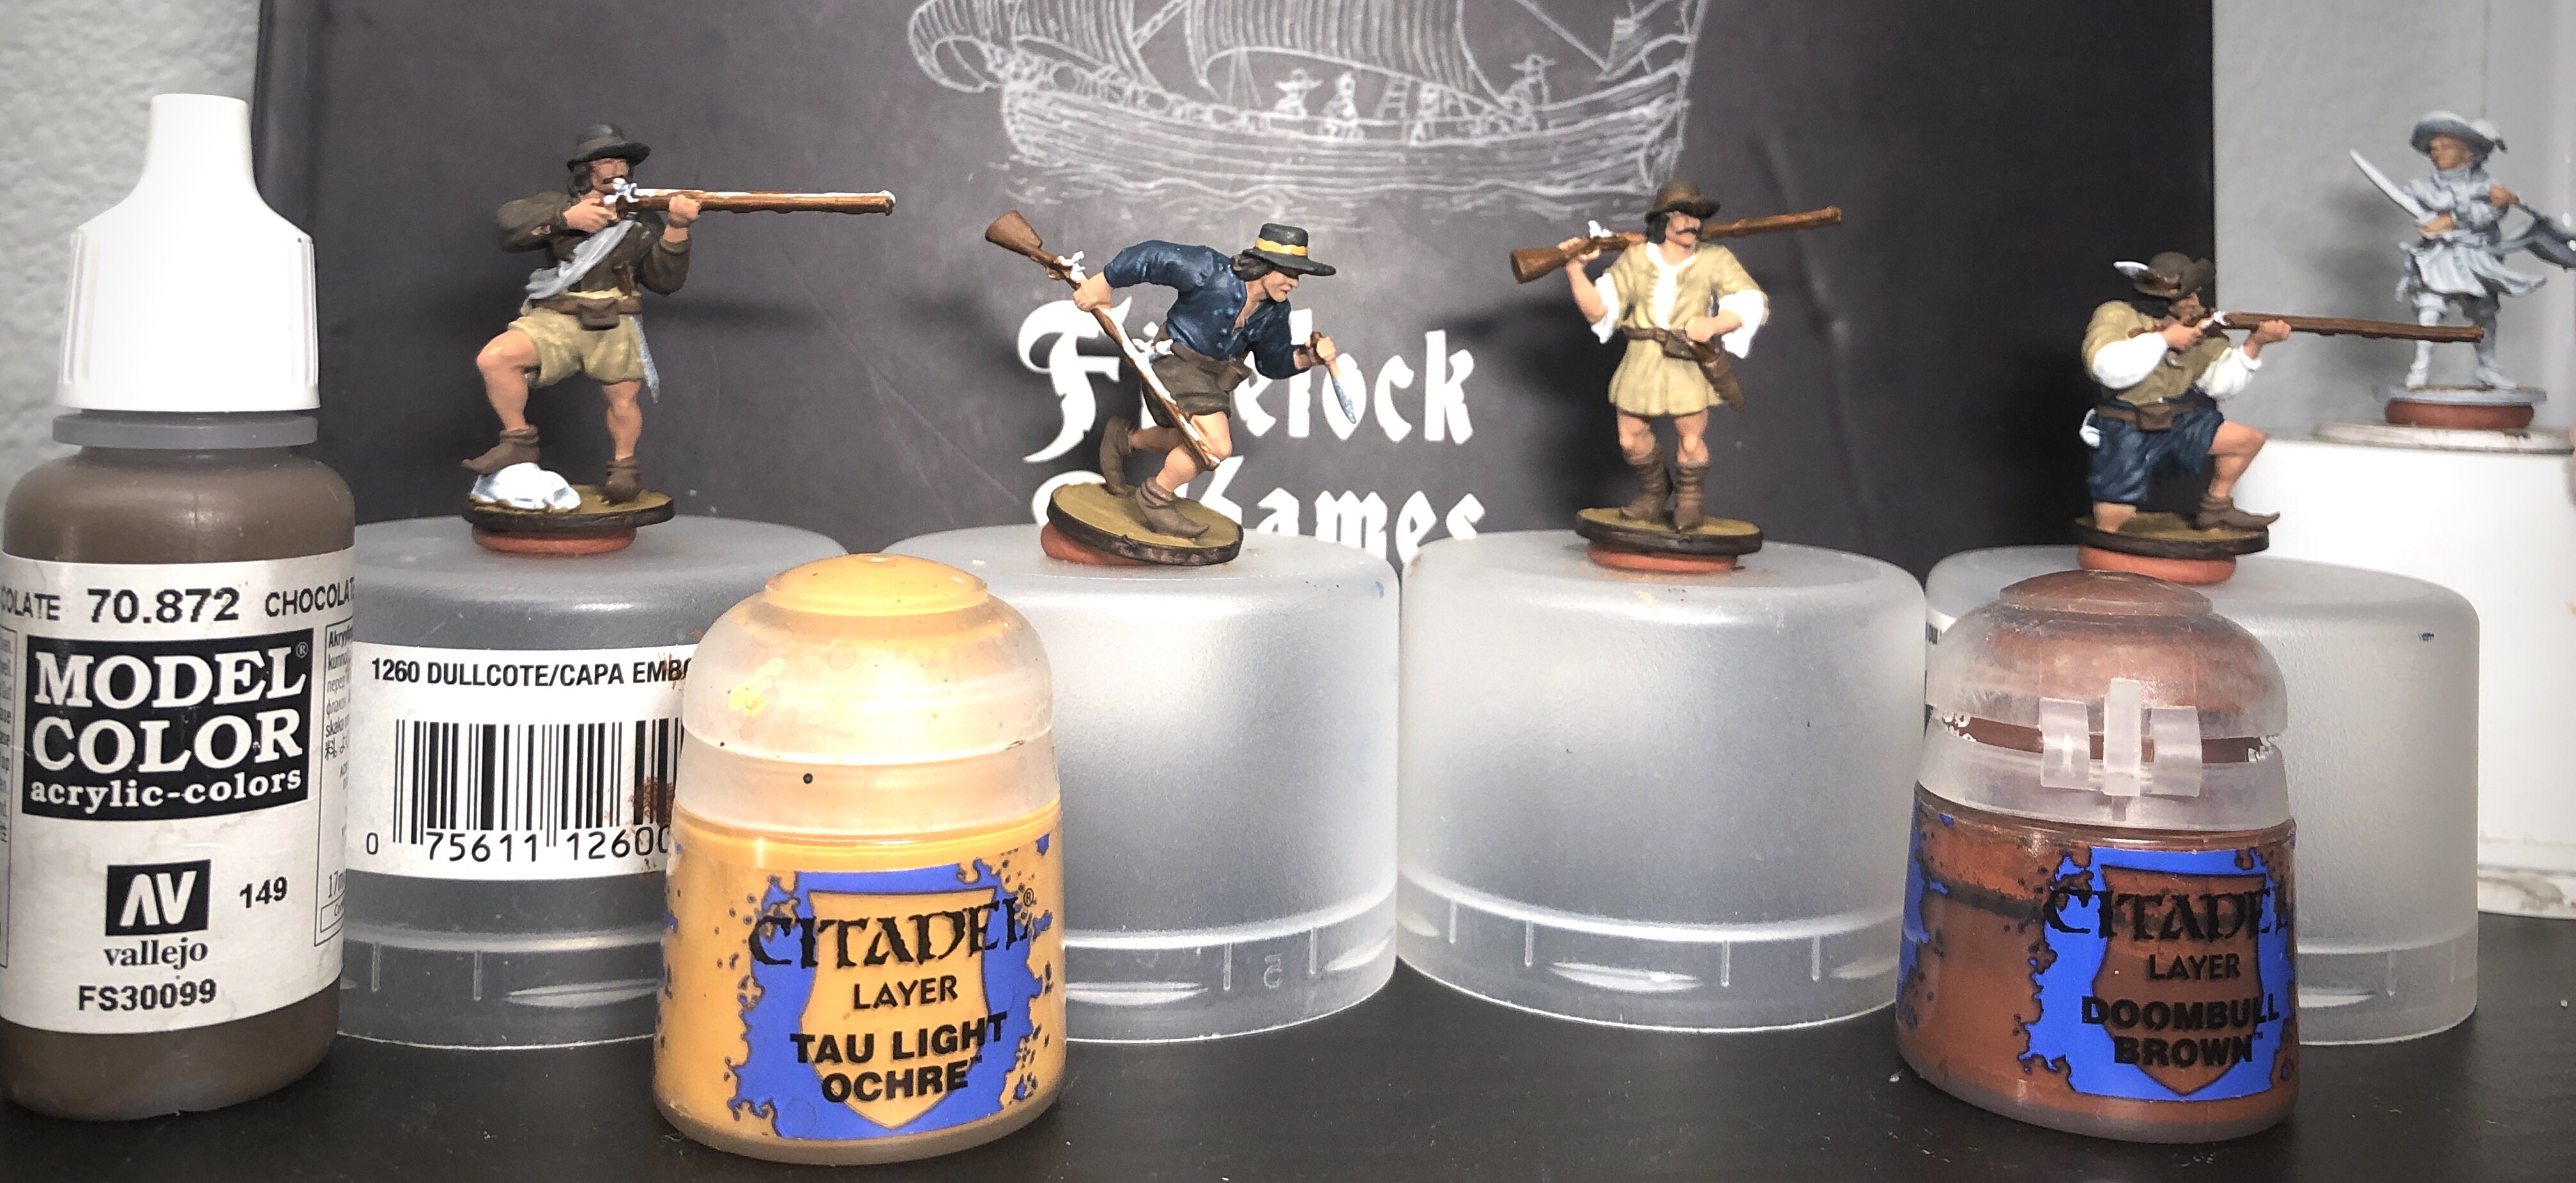
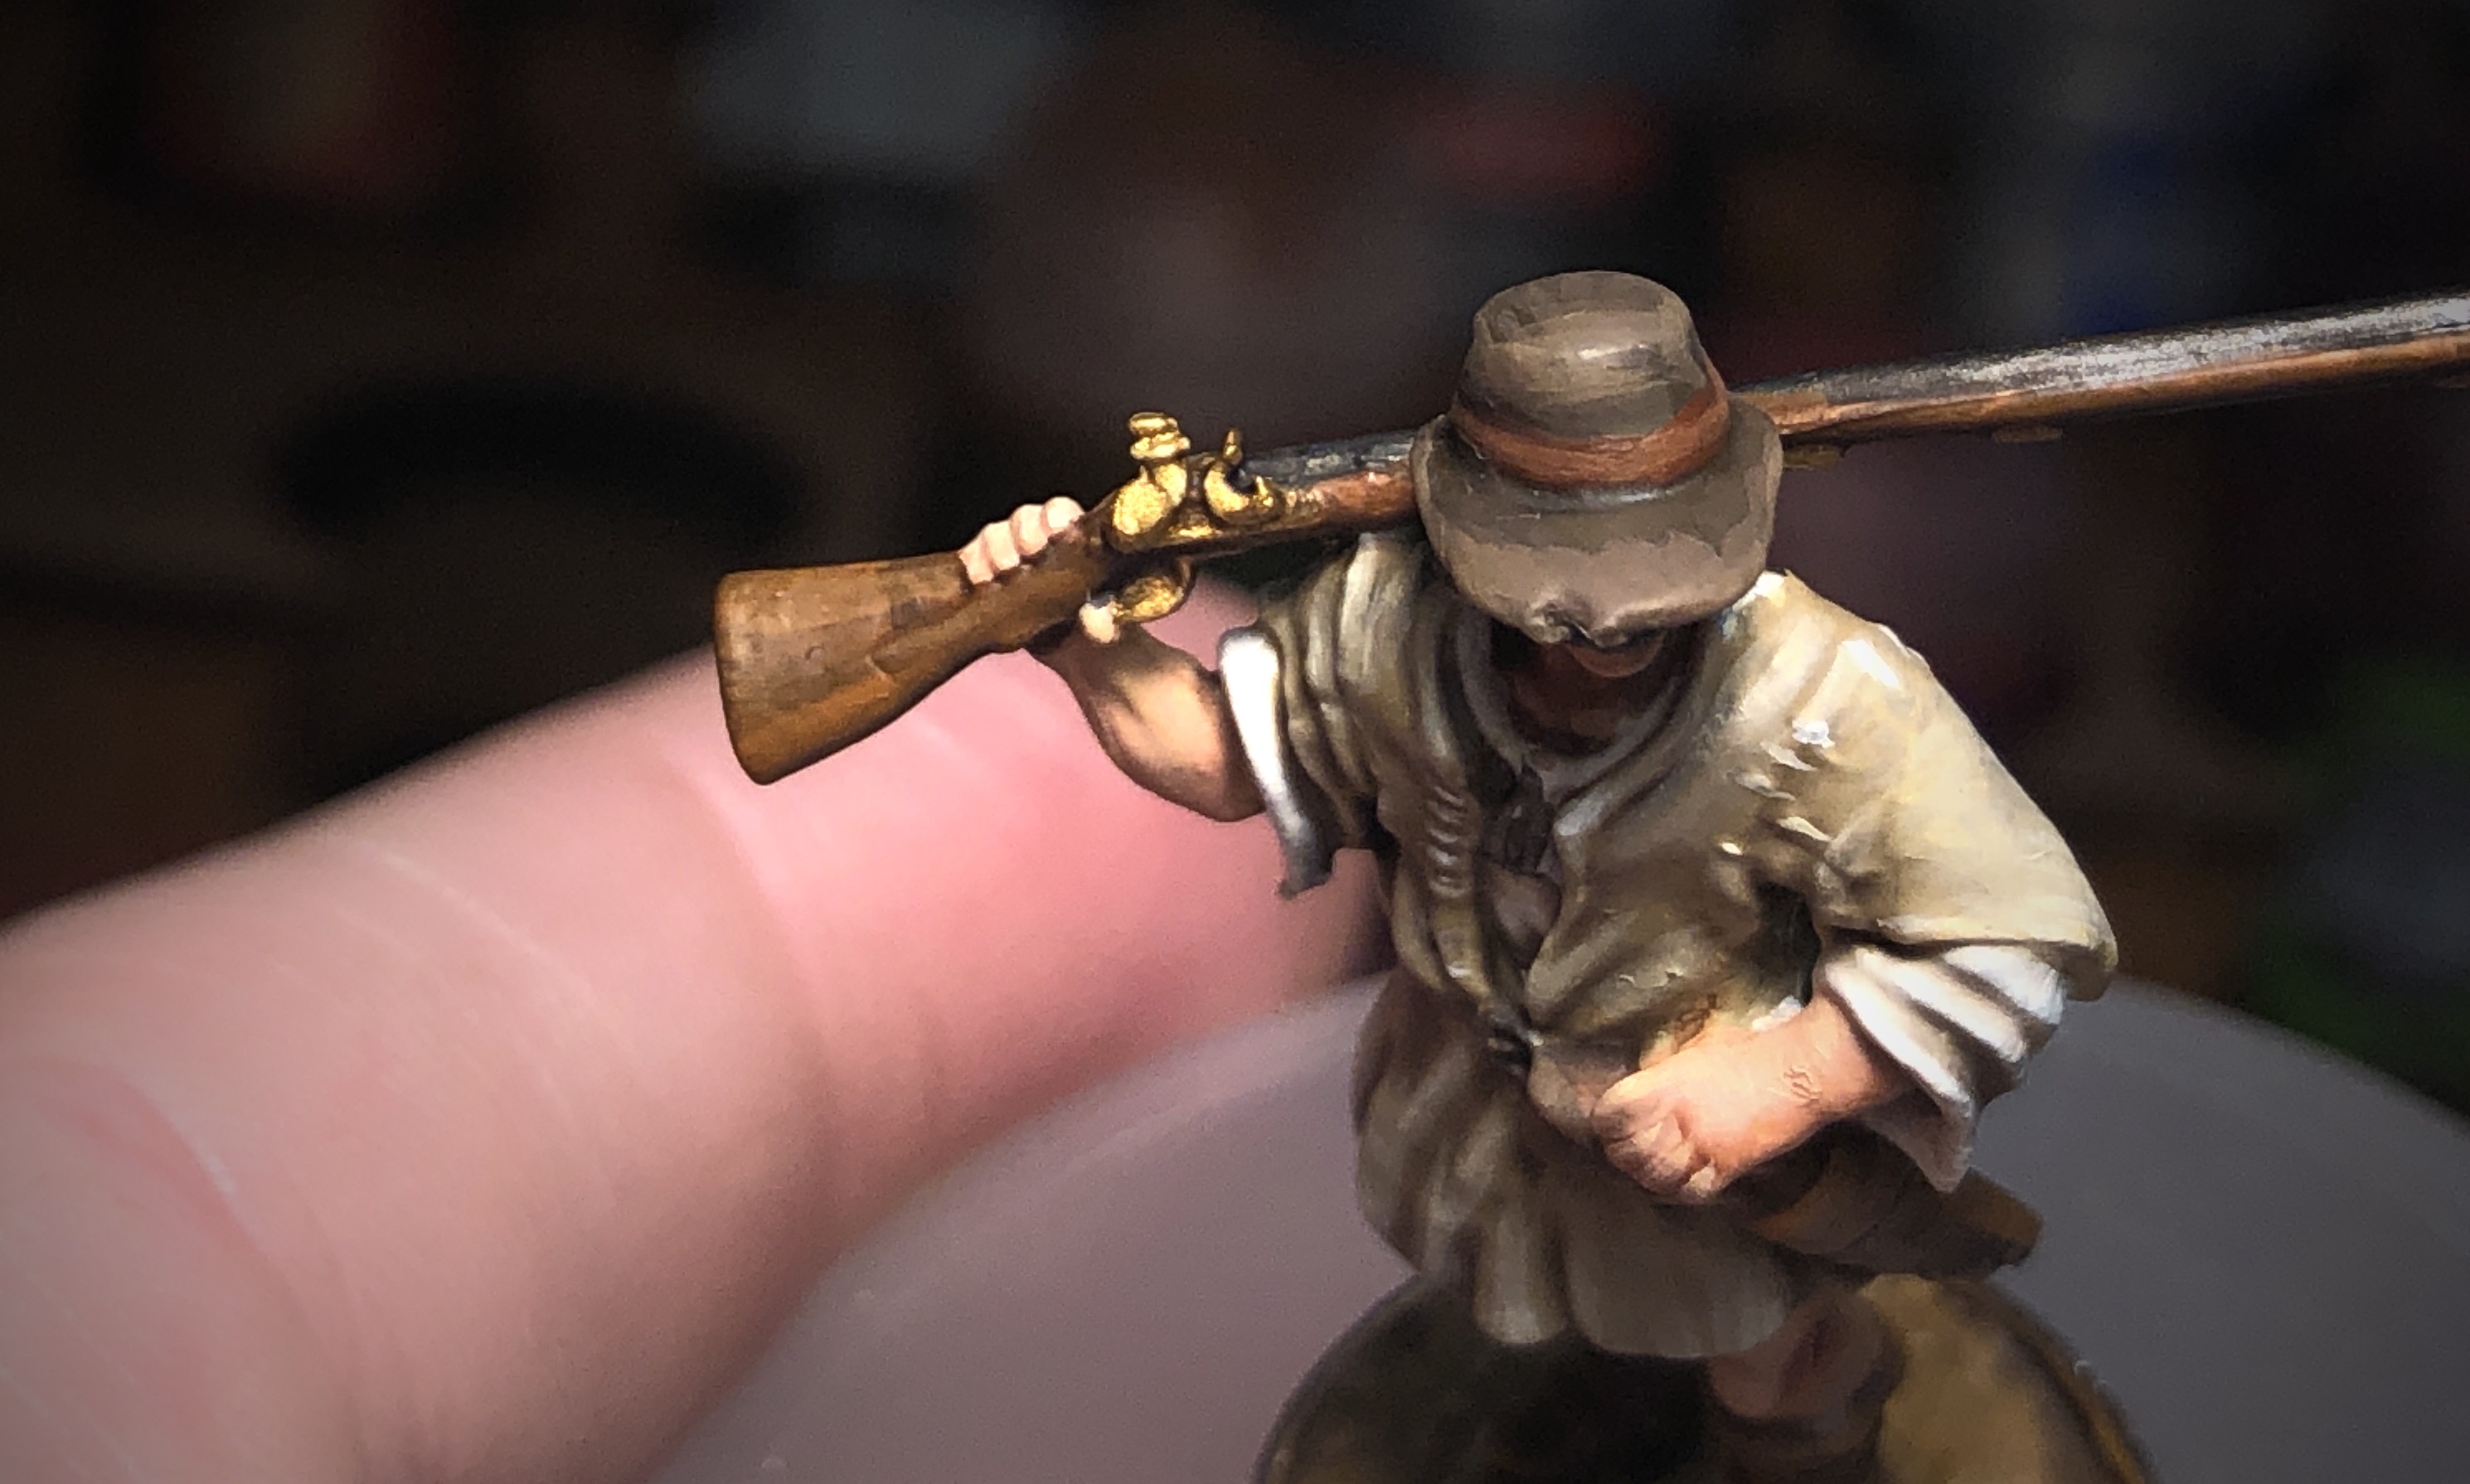
I used a variety of brown tones for the hatbands. I like the Doombill Brown on the brown hats and the Chocolate Brown on the black hats. I used Tau Loght Ochre on one black hat but I don’t really like it…
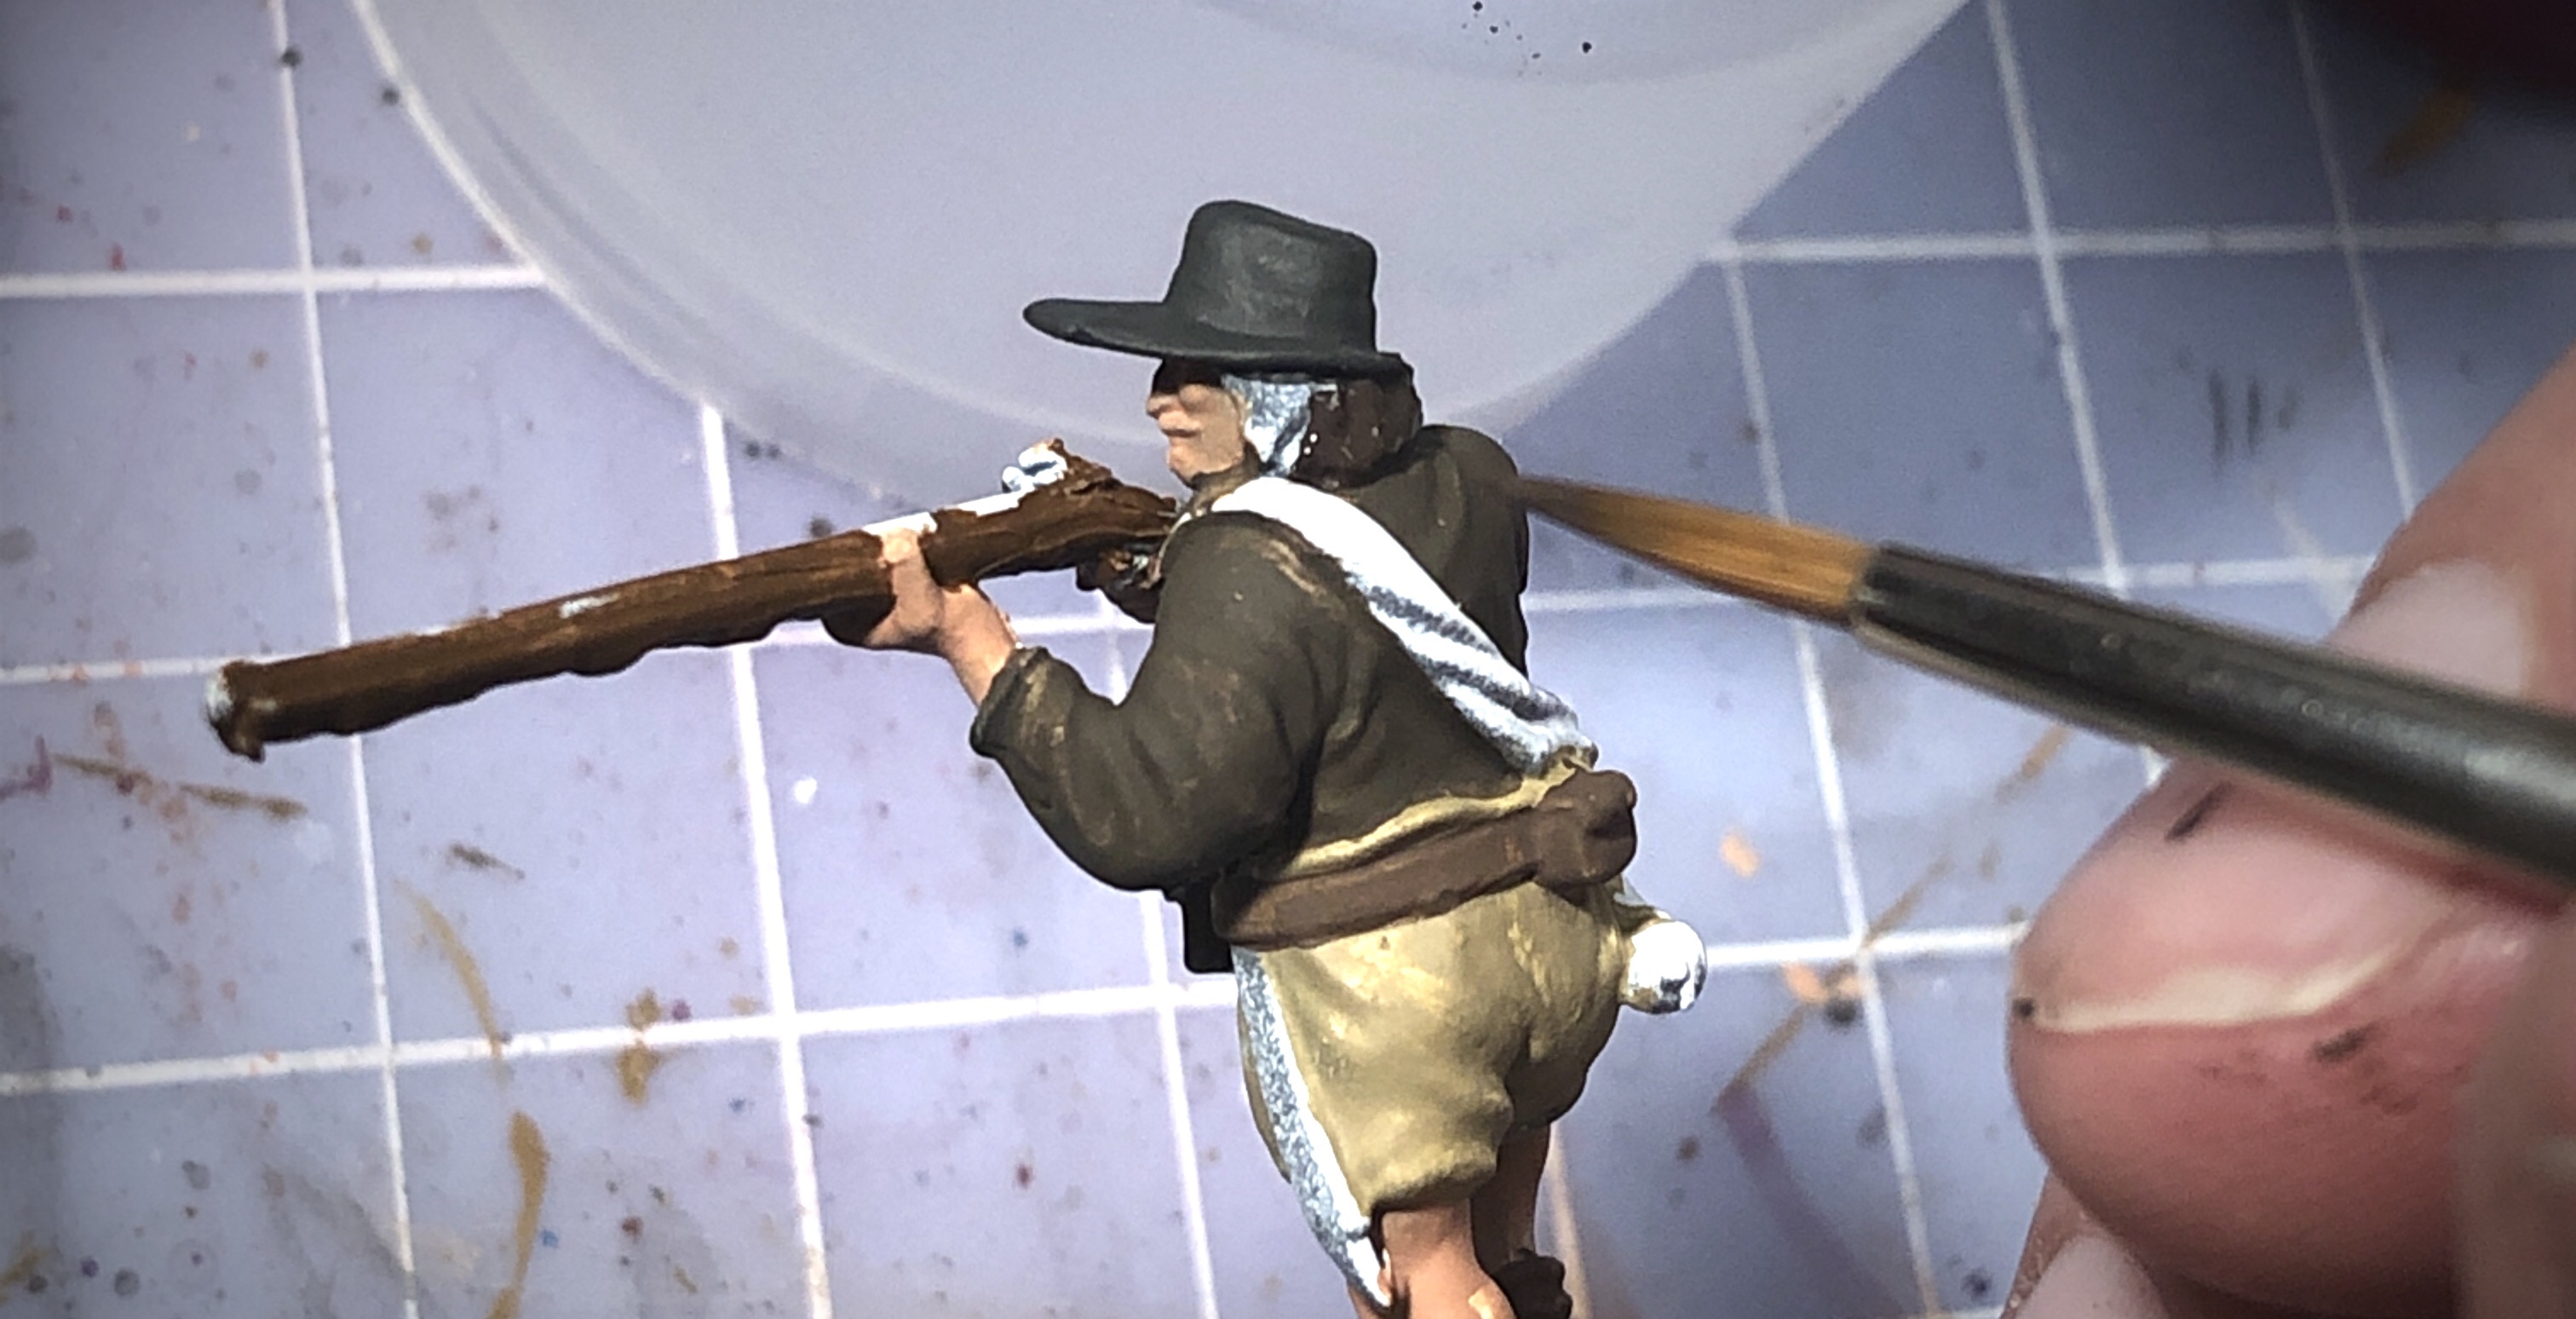
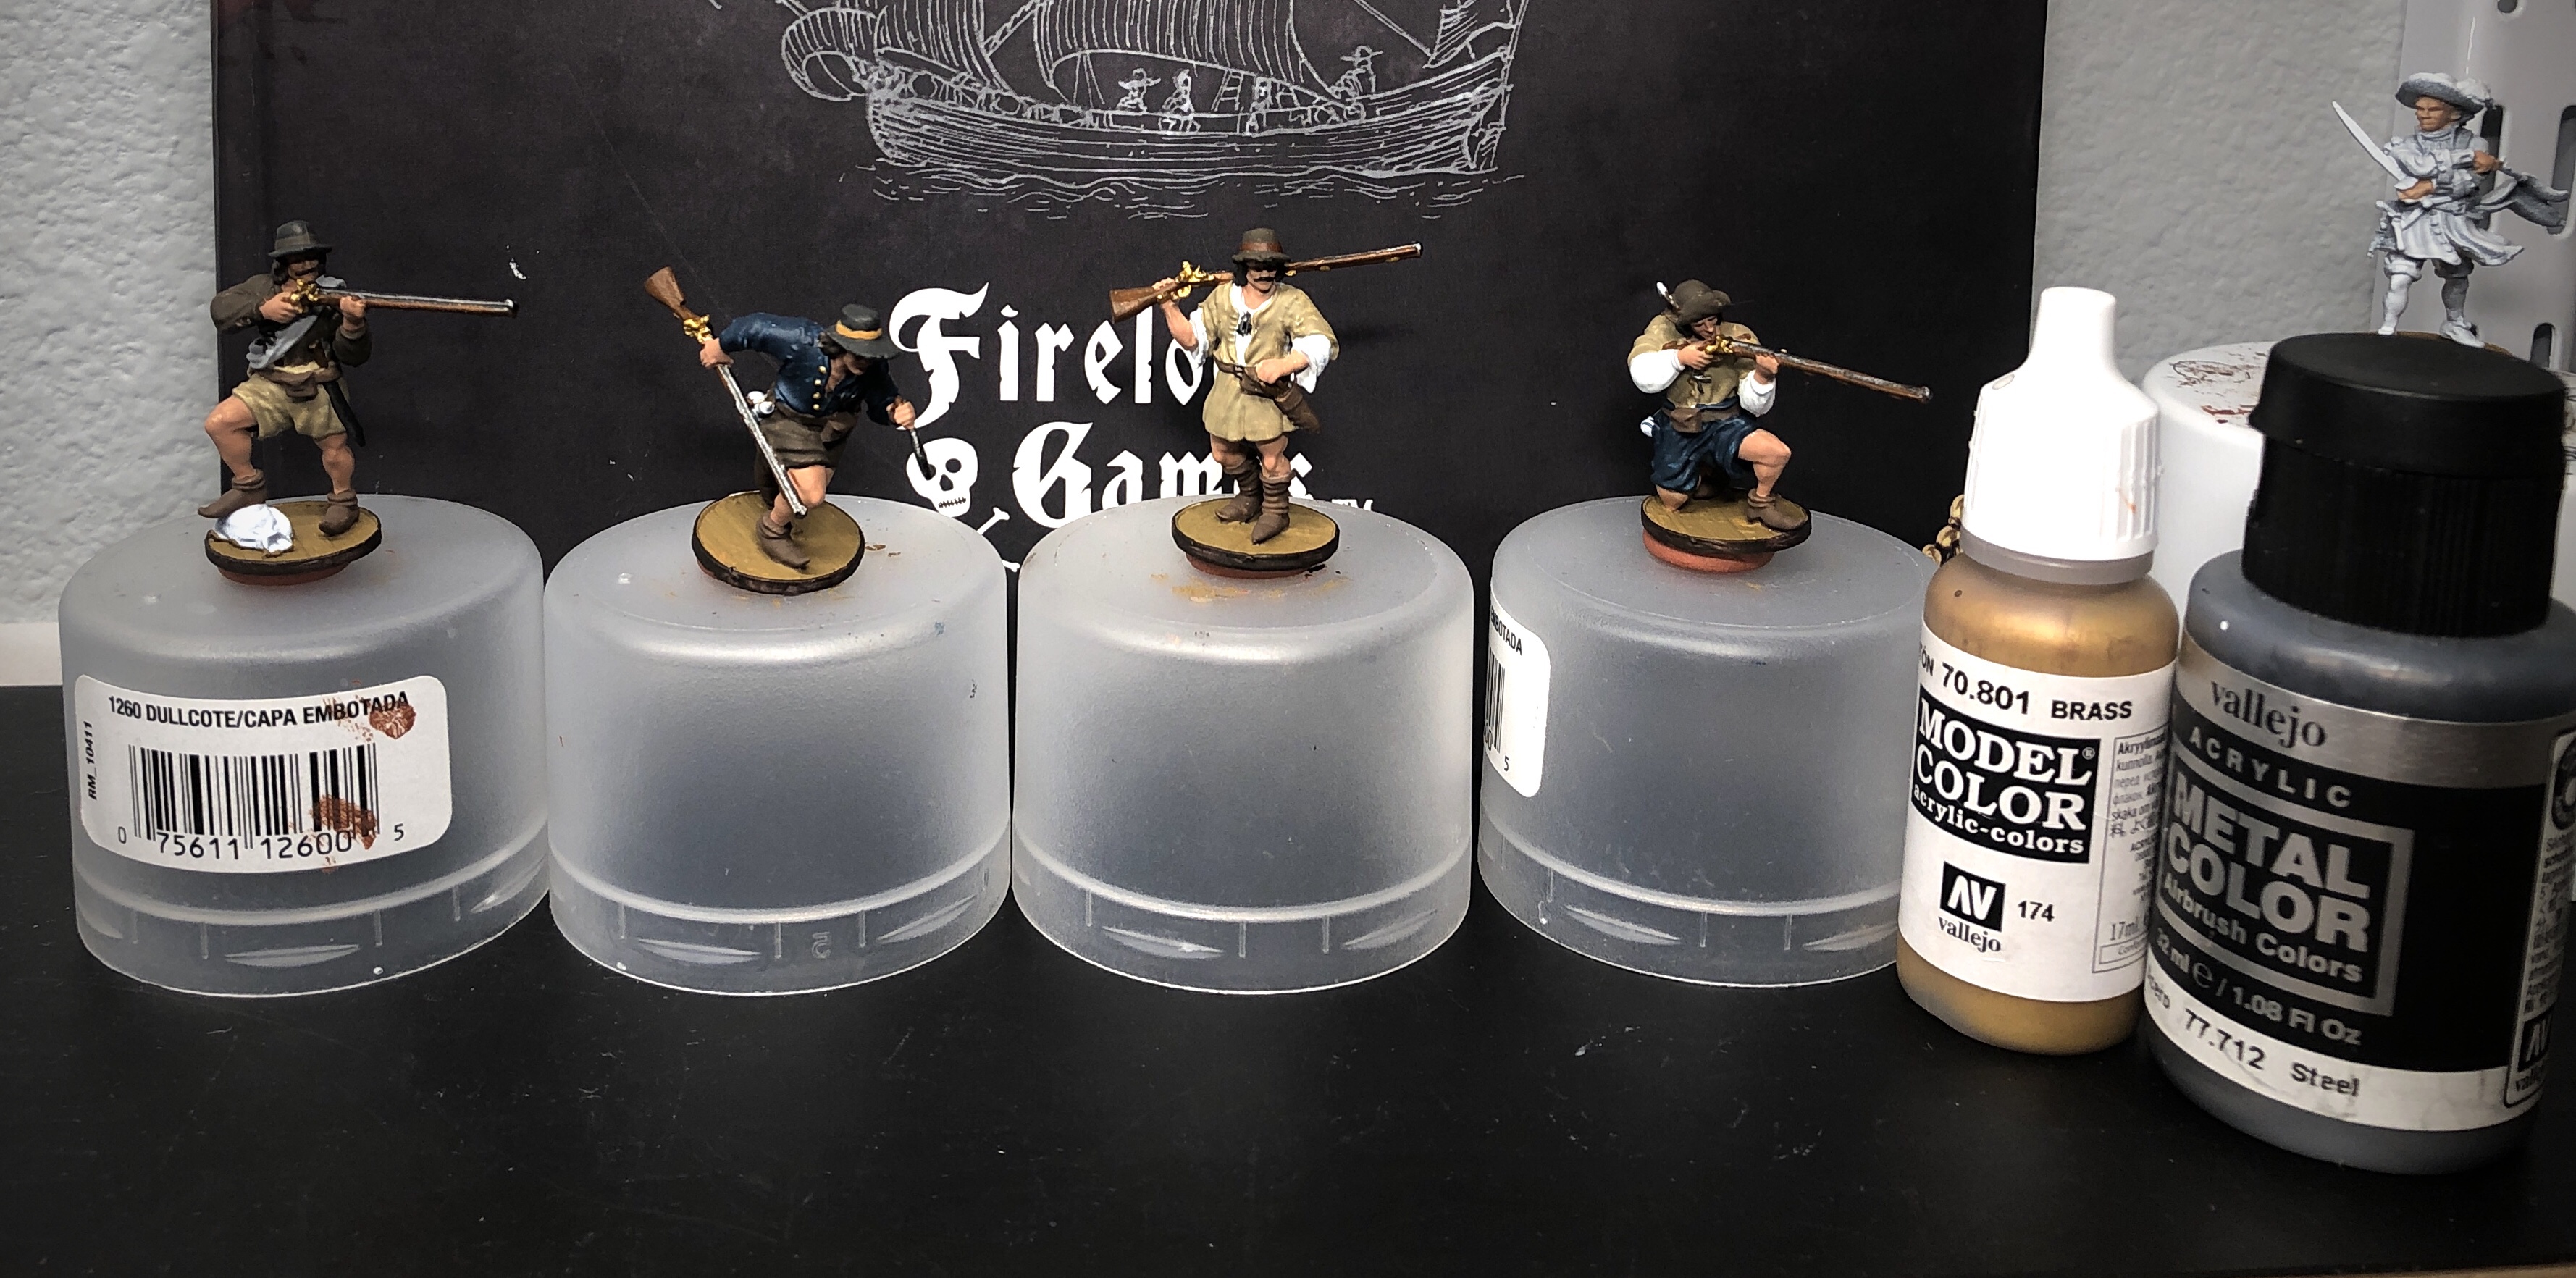
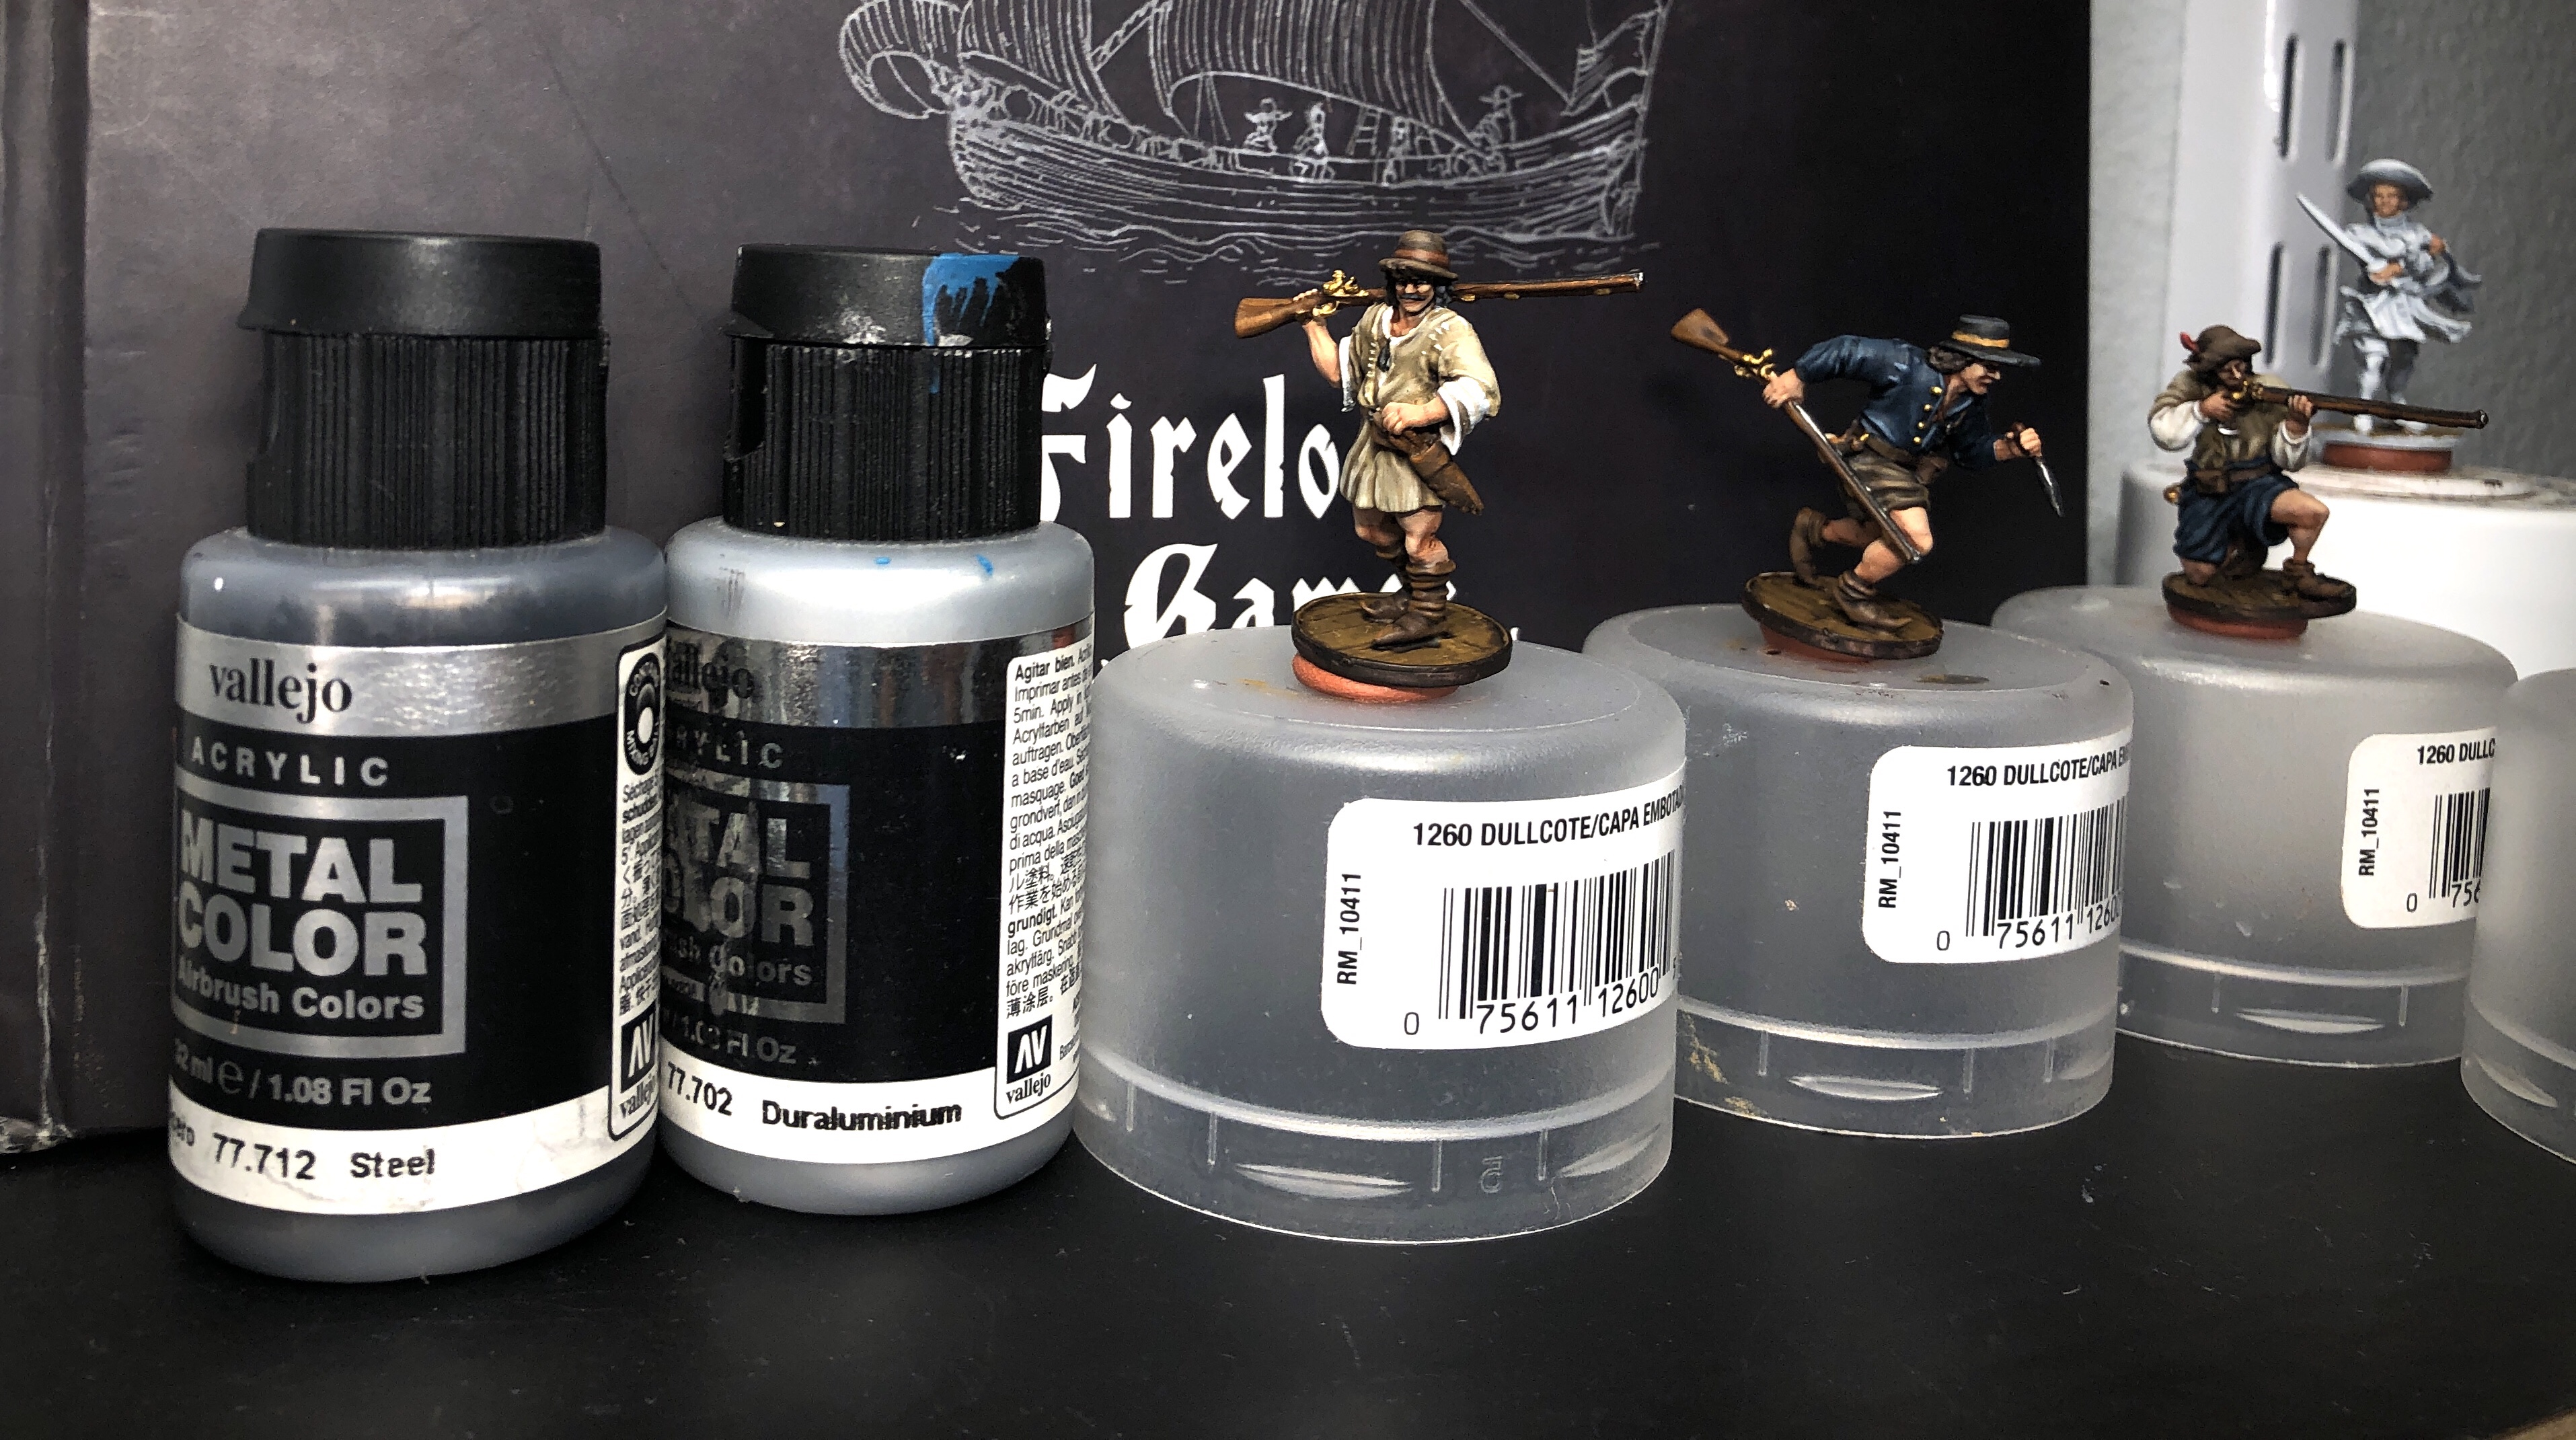
I used Vallejo Metal Color Steel for the musket barrels and Model Color Brass for the locks, bands under the barrels and buttons on a the jackets.
The last area to base is the powder horns.
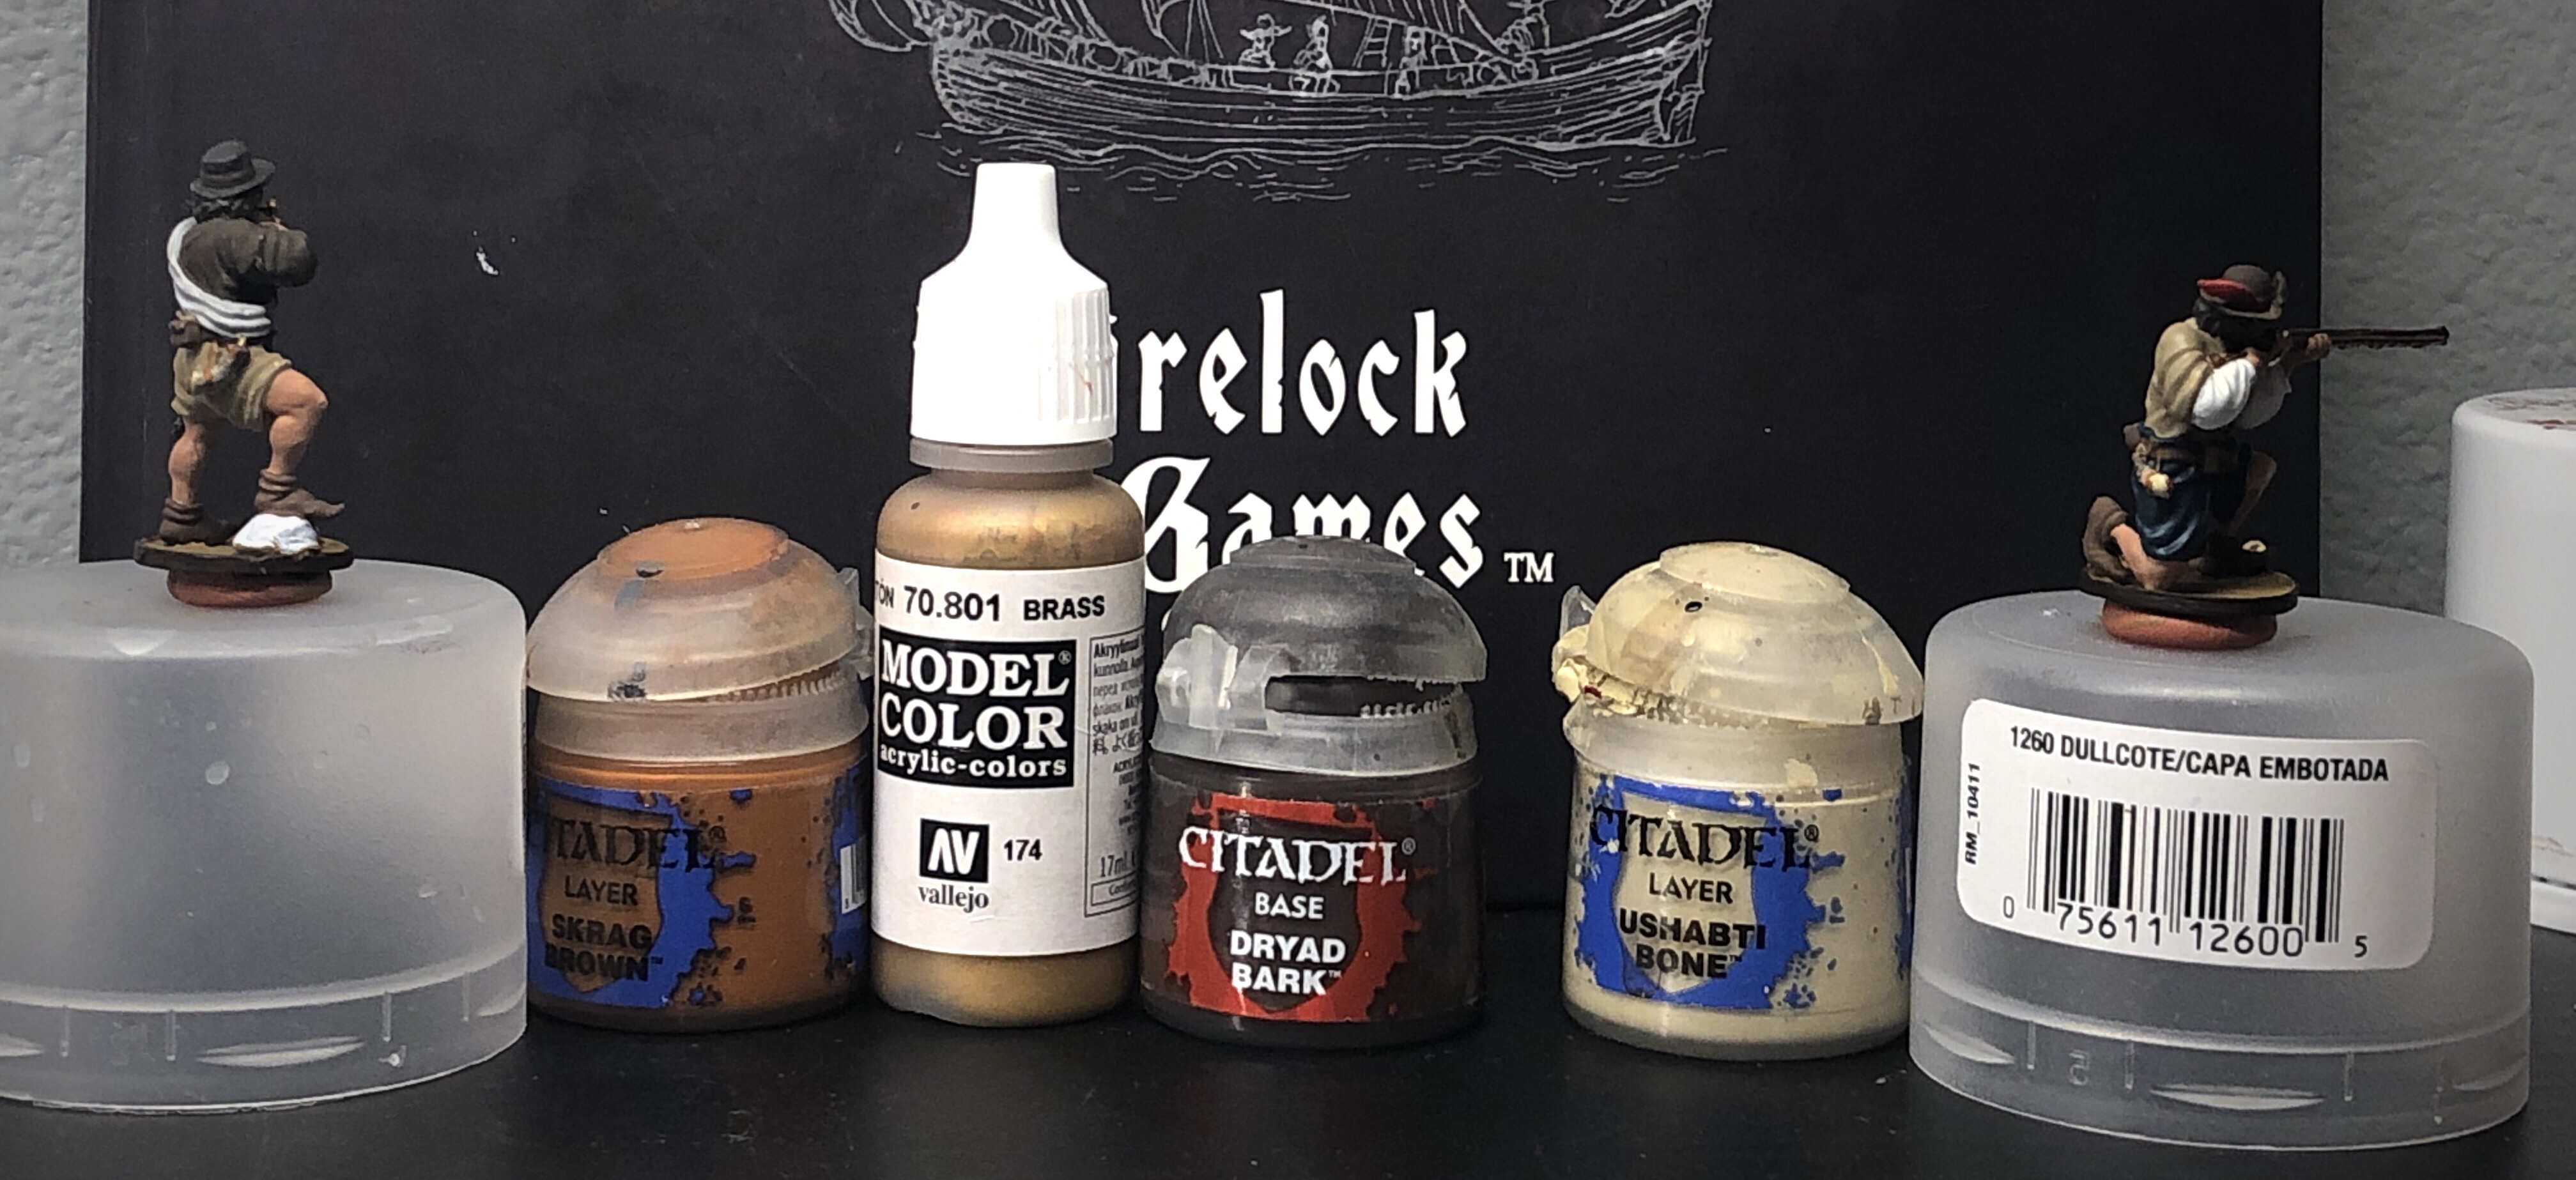
I did a rough wet blend of Ushabti Bone and Dryad Bark for the horn then used Skragg Brown for the straps and large end of the horn. I used a touch of Brass for the tip and trim.
These models are ready for shades!

Shades
There are lots of different browns on these minis so shading doesn’t take many paints, but mixing appropriately was a little tricky.
I used straight Agrax Earthshade for the bases, musket stocks, and darker browns like the dark Chocolate Brown shirt and pants, the shoes, belts, cartridge box, knife scabbard, brass parts of the muskets and brown hair. For the lighter brown pants and shirts, I made a diluted mix of Agrax Earthshade and Nuln Oil, either thinning it with Lahmien Medium or water. I diluted that same mix even further for the white undershirts.
Straight Nuln Oil will be fine for the black hair and hats as well as the Steel elements of the muskets. Drakkenhof Nightshade works well on the blue clothes and you can mix a little Nuln Oil in to make it darker if you like. I used Reikland Fleshshade for the skin.
It think I used Carroburg Crimson shade for the red feather, but you could probably use Agrax Earthshade for that as well if you wanted.
You could be finished here if you like! The highlights make the models more dramatic and lifelike, but you could spray you protective coat on now and be finished if you’re happy with the look.
Highlights
Before starting the highlights I always paint in the eyes. If you don’t like painting eyes, these minis don’t really need them painted in since all the eyes are either shaded under hat brims or are squinting while aiming. But I used my standard Ivory and German Grey combination and touched up the surrounding areas with the base flesh tone when I was done.
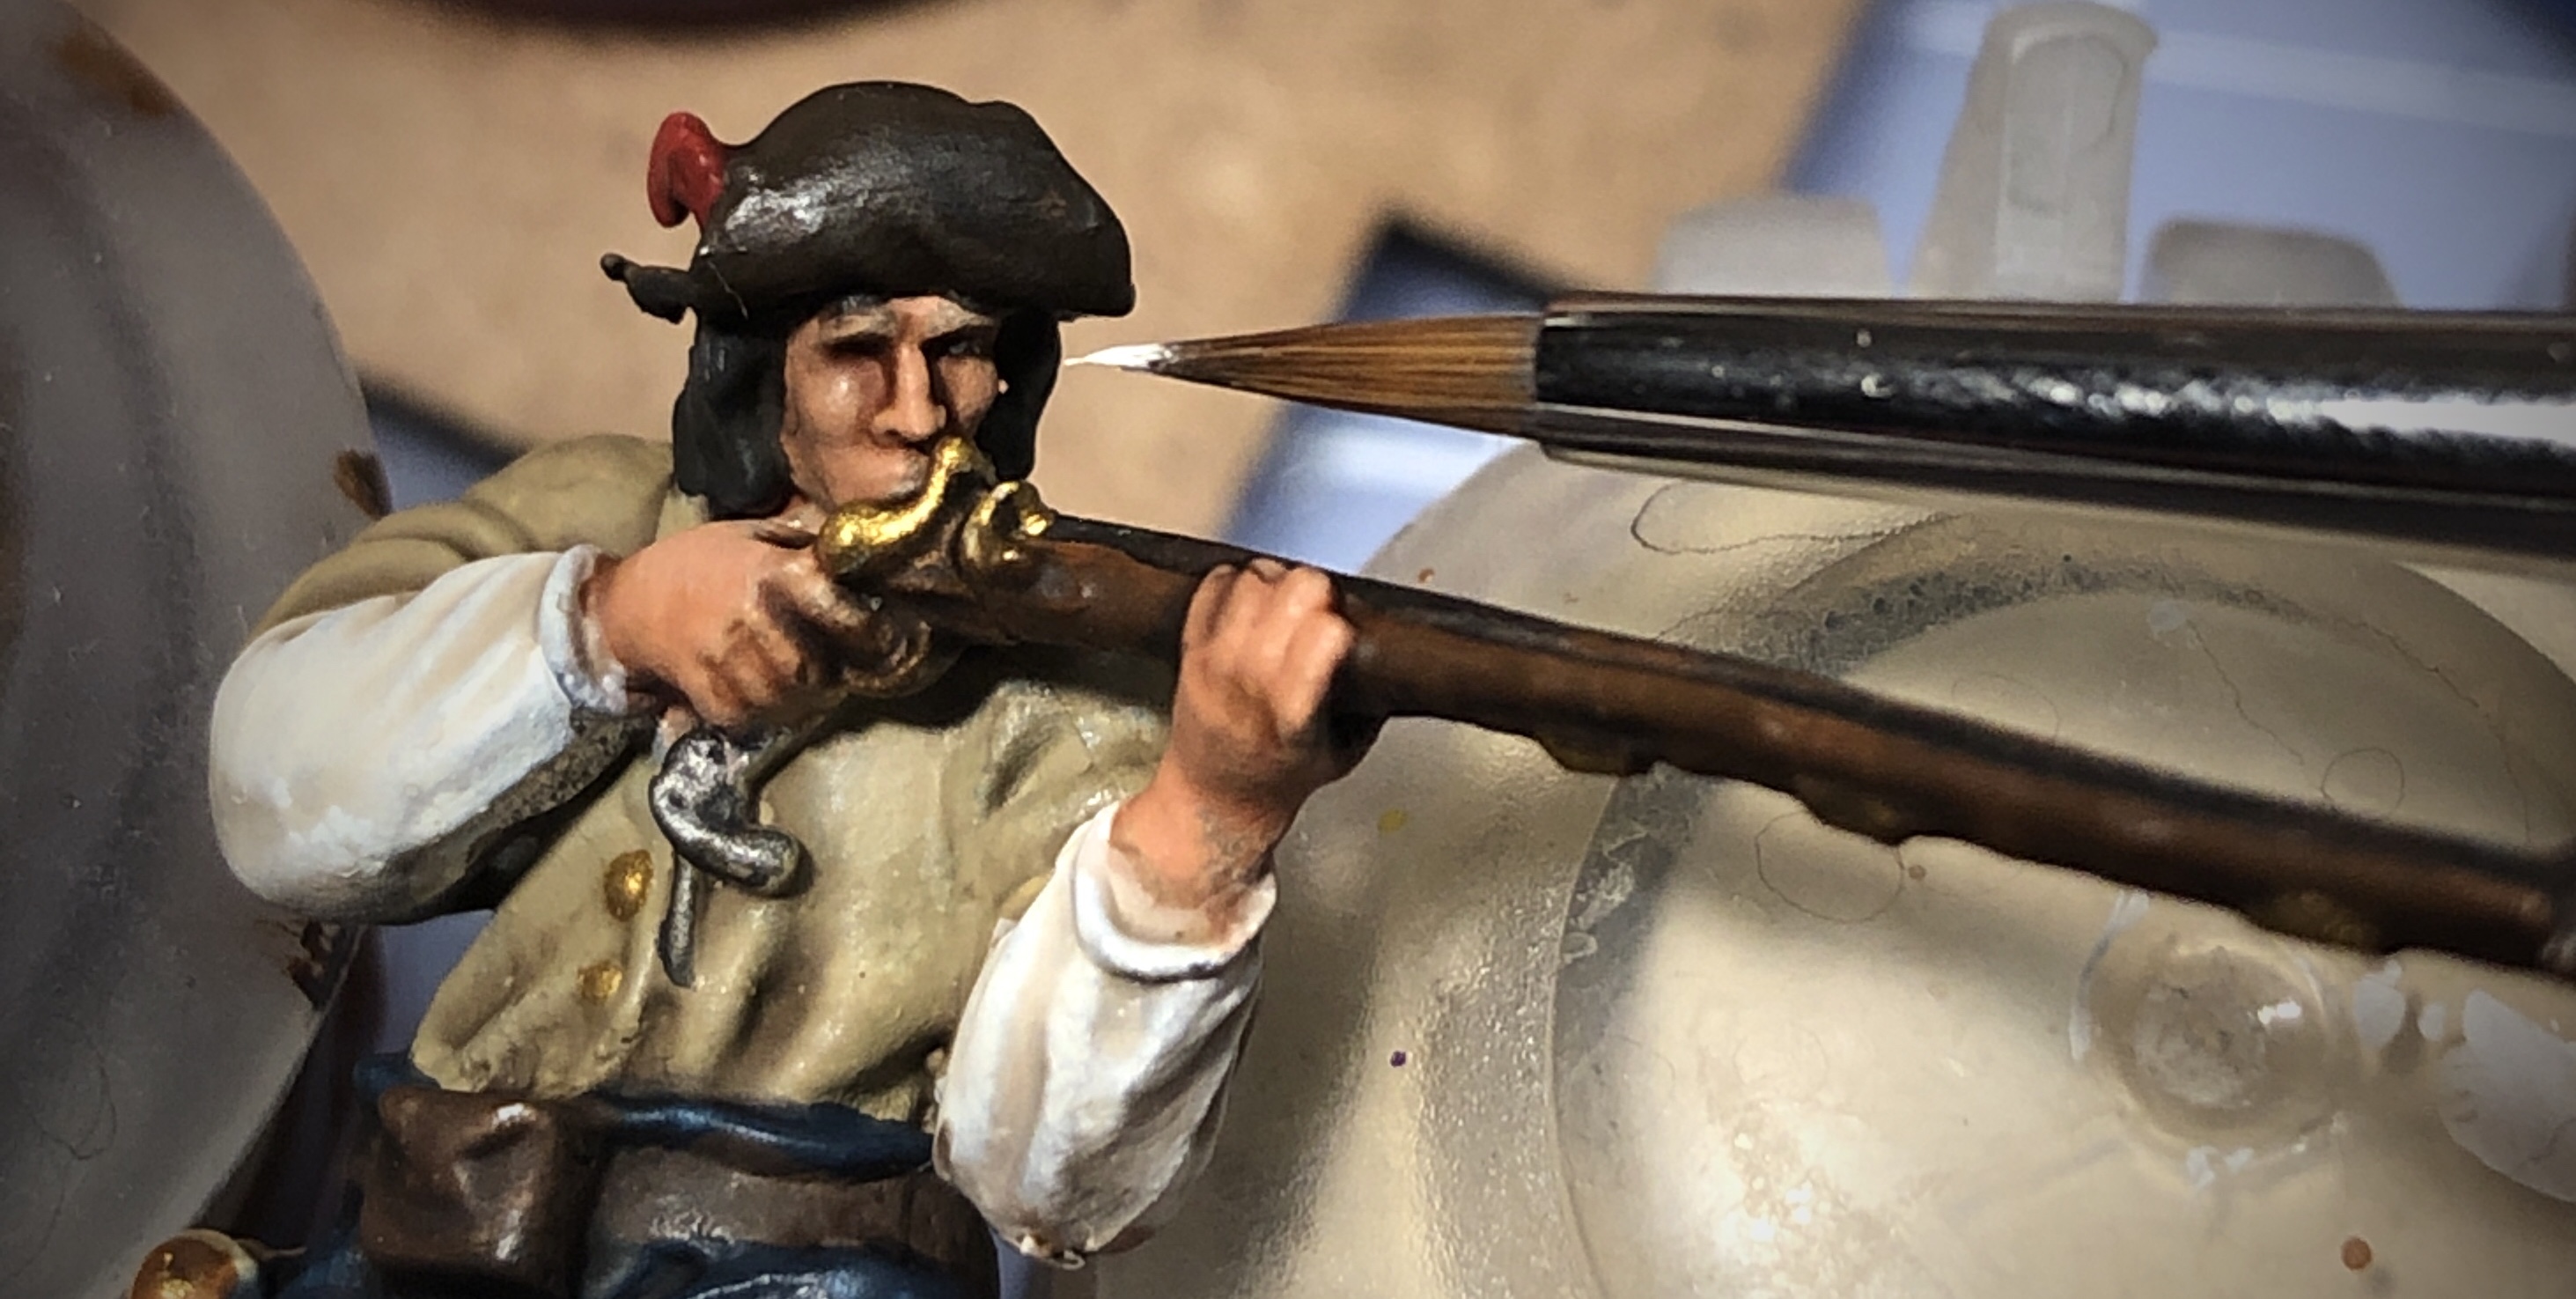
The most terrifying moment of the entire process…
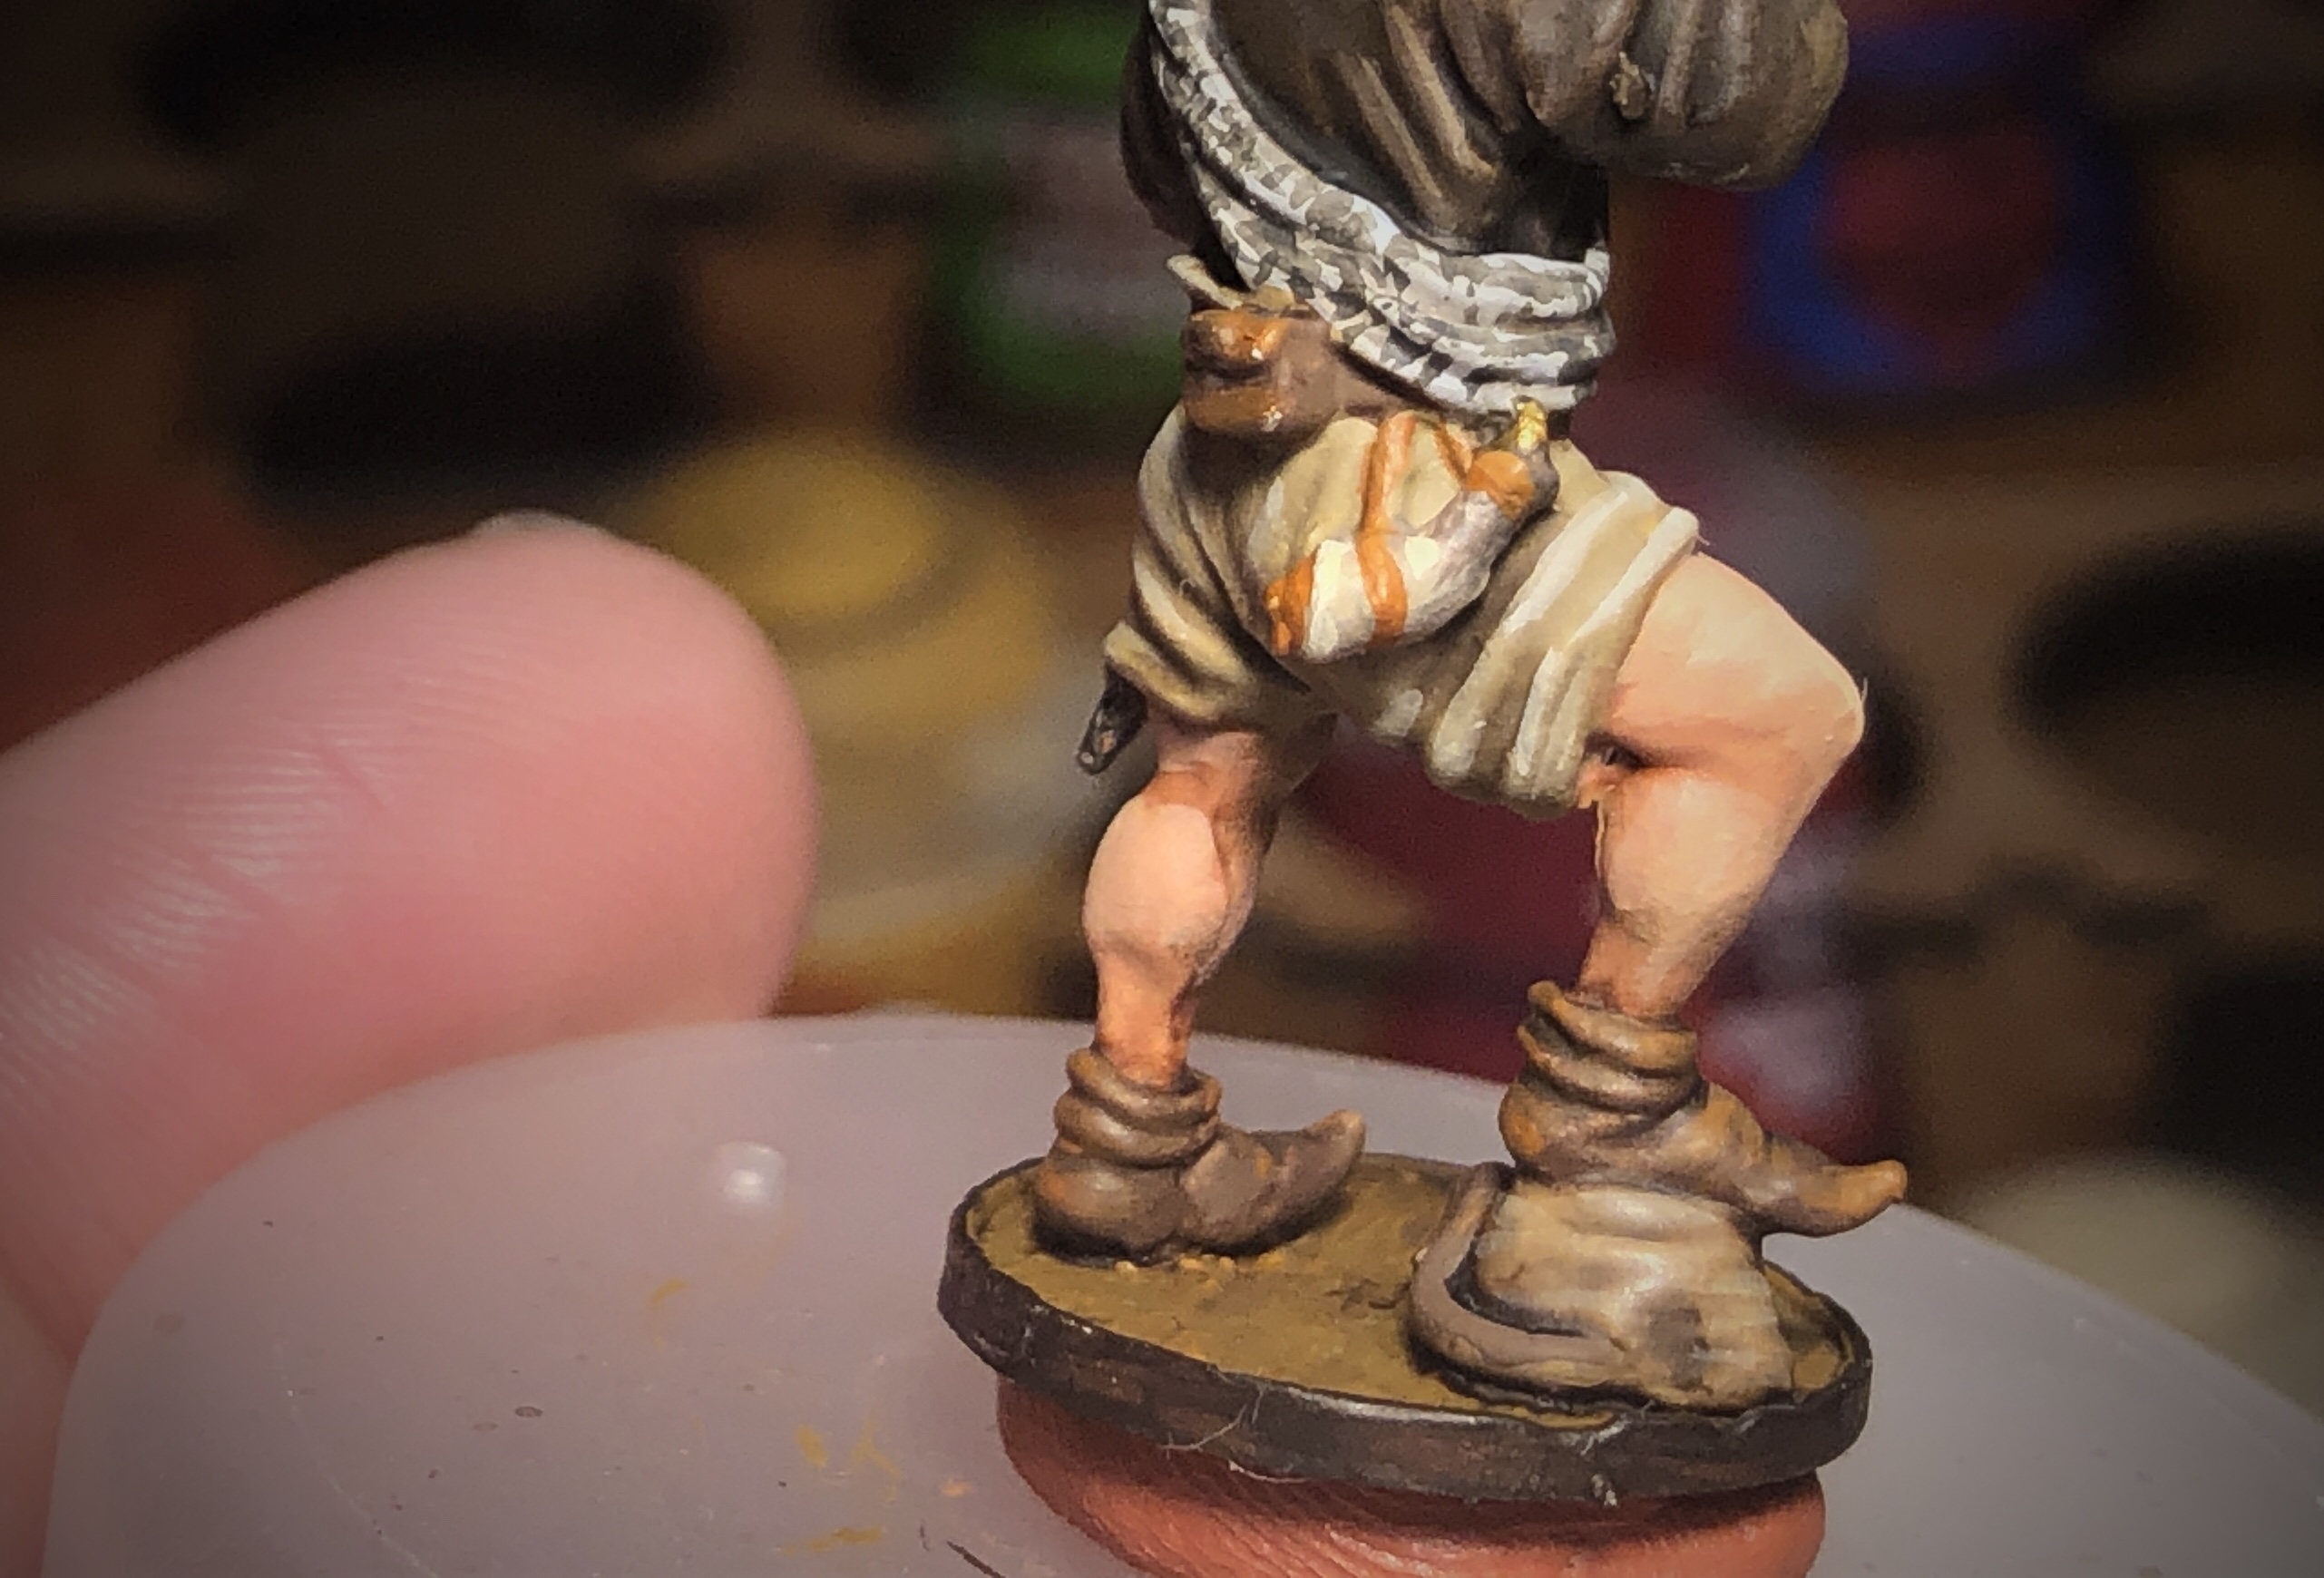
Next I highlighted all the skin with a progression of Cadian Fleshtone, Kislev Flesh and Flayed One flesh. I didn’t push the highlights too far on these guys.
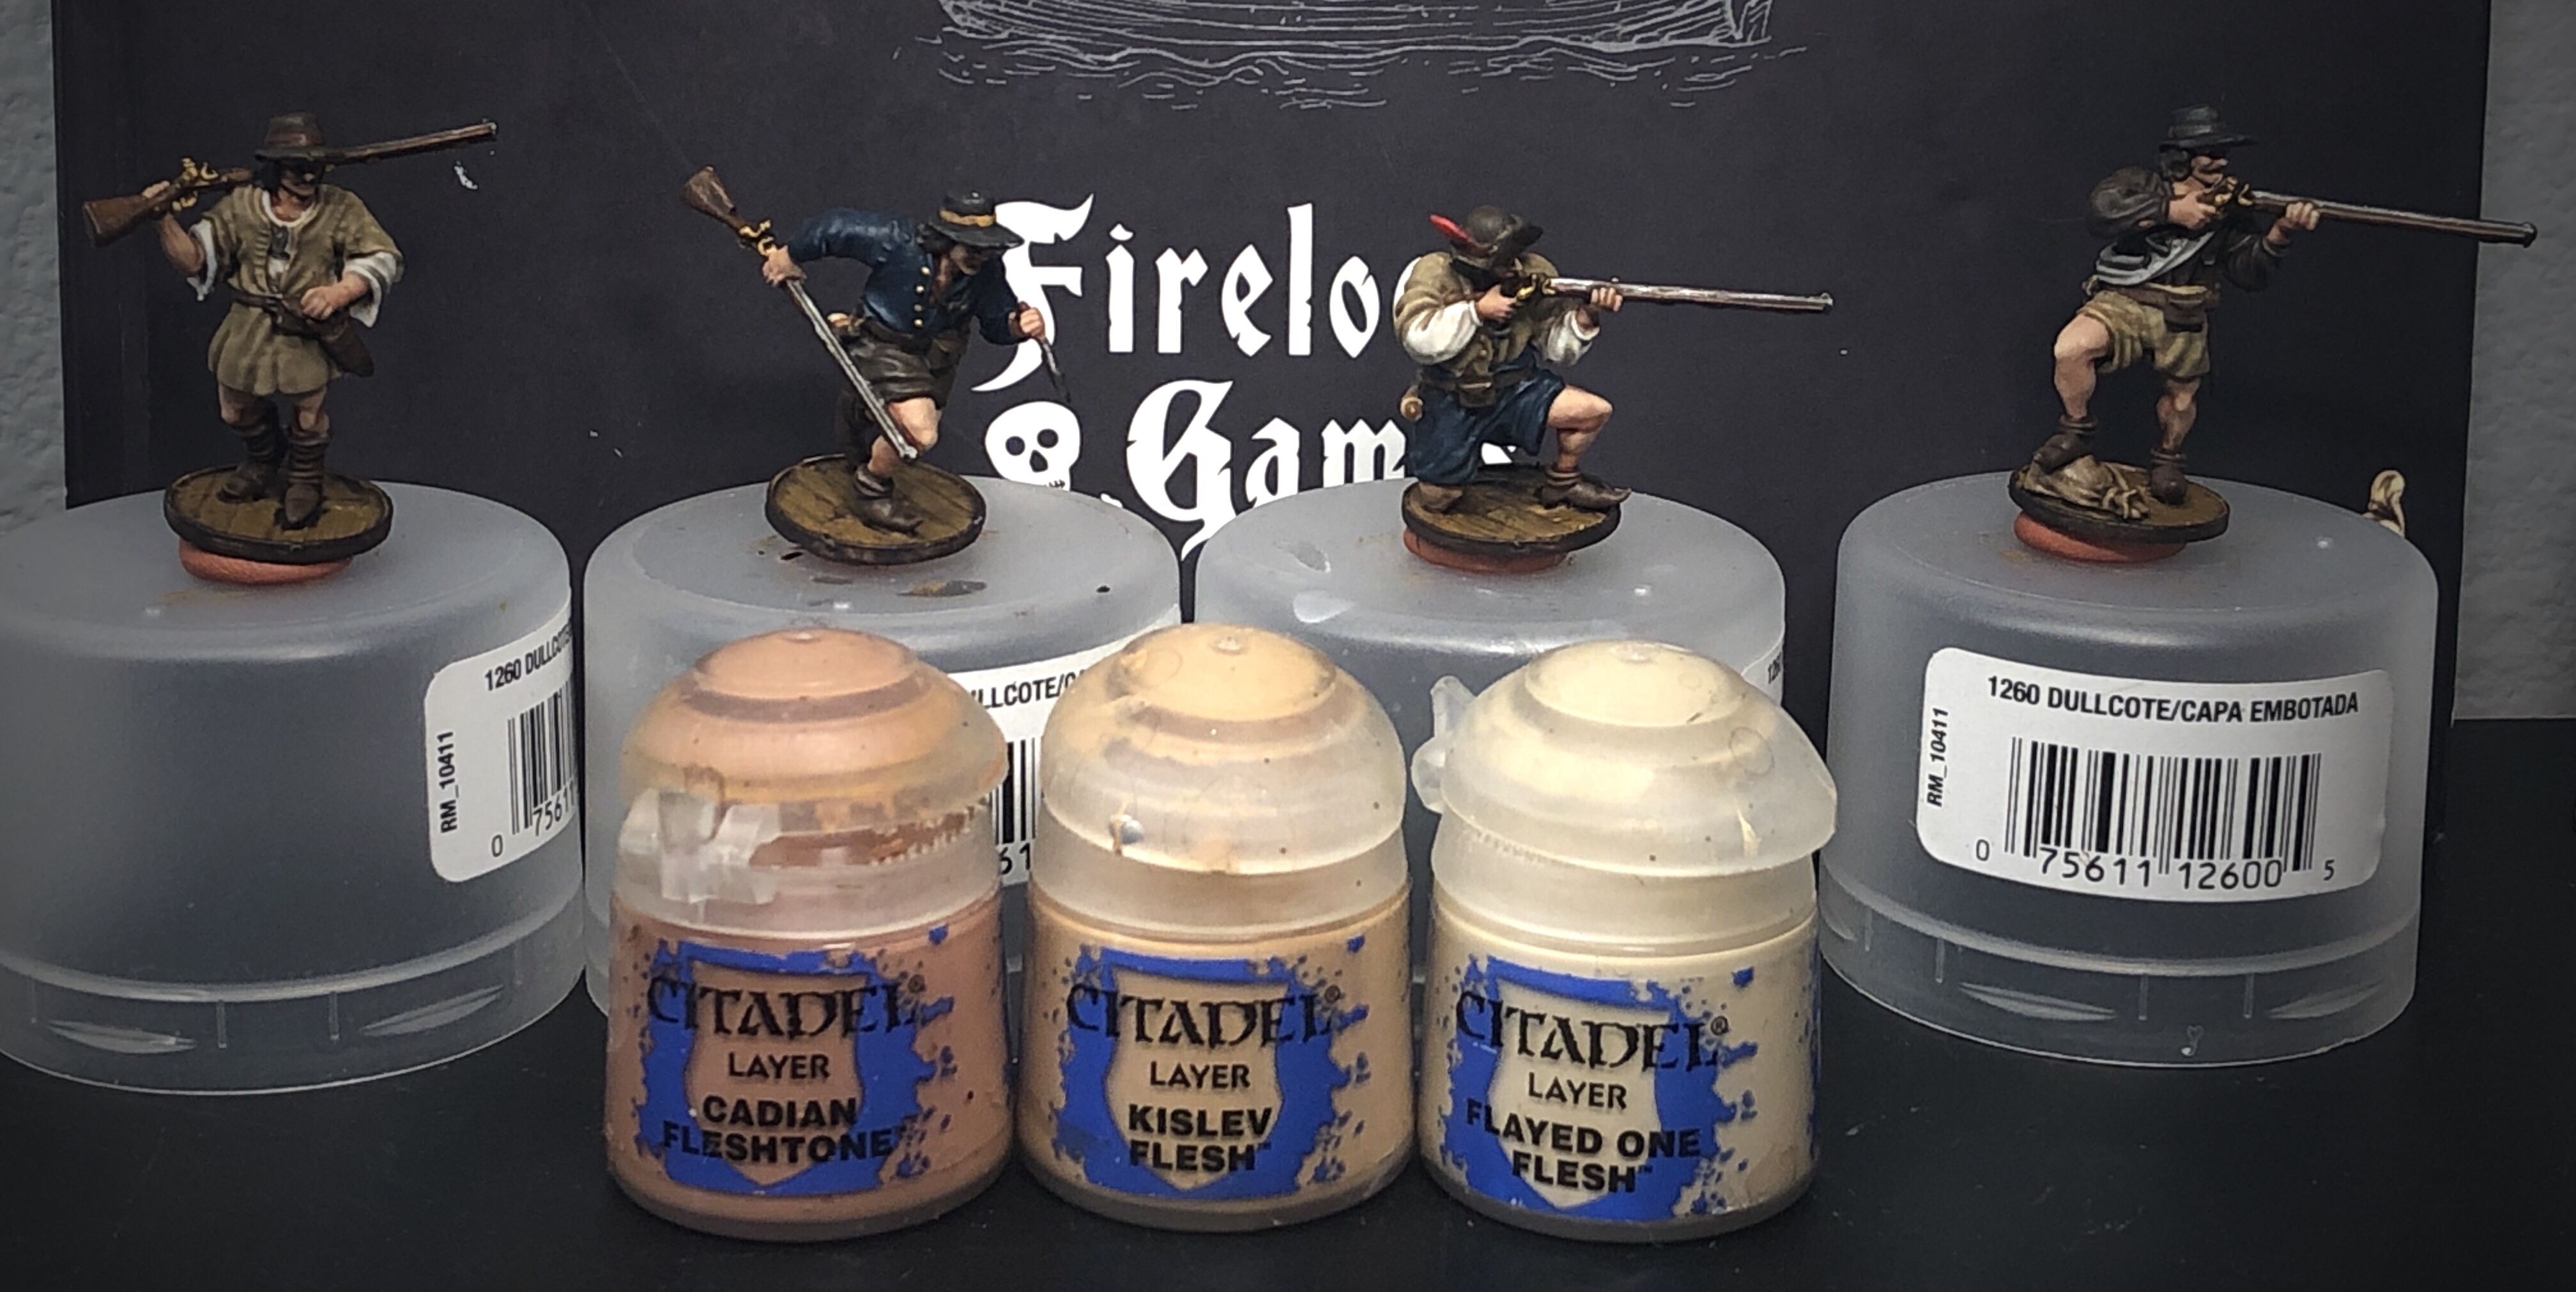
Cheekbones, noses and fingers are all good places to put the brightest skin highlight.

For the Zandri Dust overshirts and pants I mixed up a spectrum of Zandri Dust, Screaming Skull and Ivory.
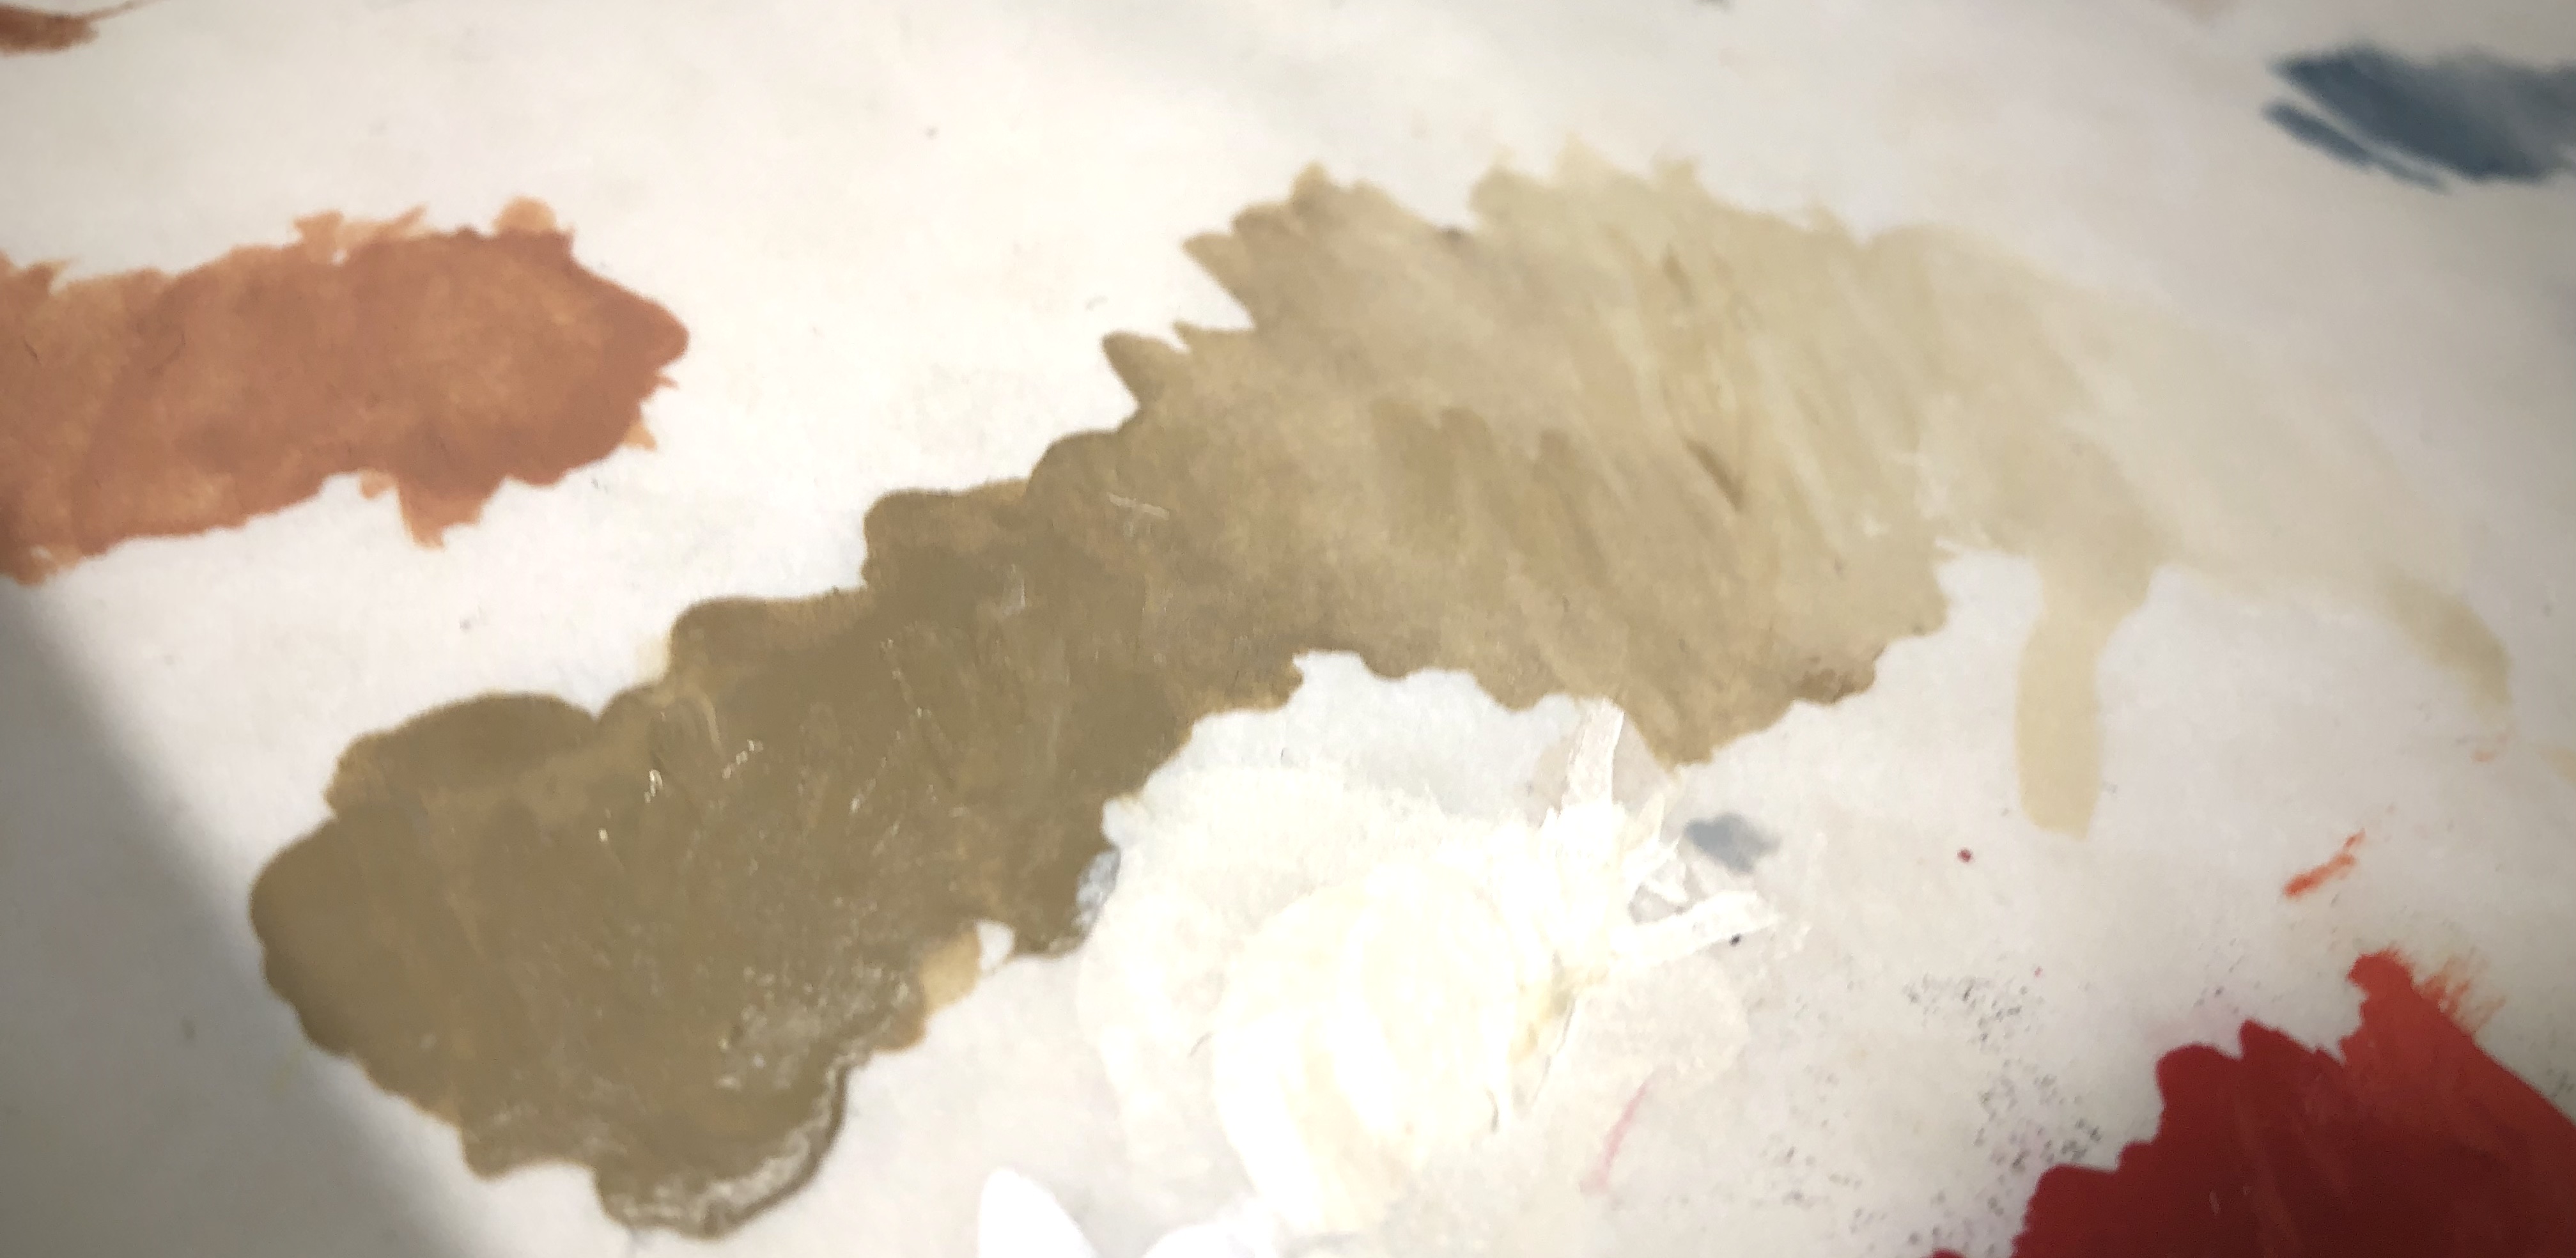
I find a wet pallet is extremely helpful for highlighting since you can mix the various tones and get better transitions between the base color and the highlights.
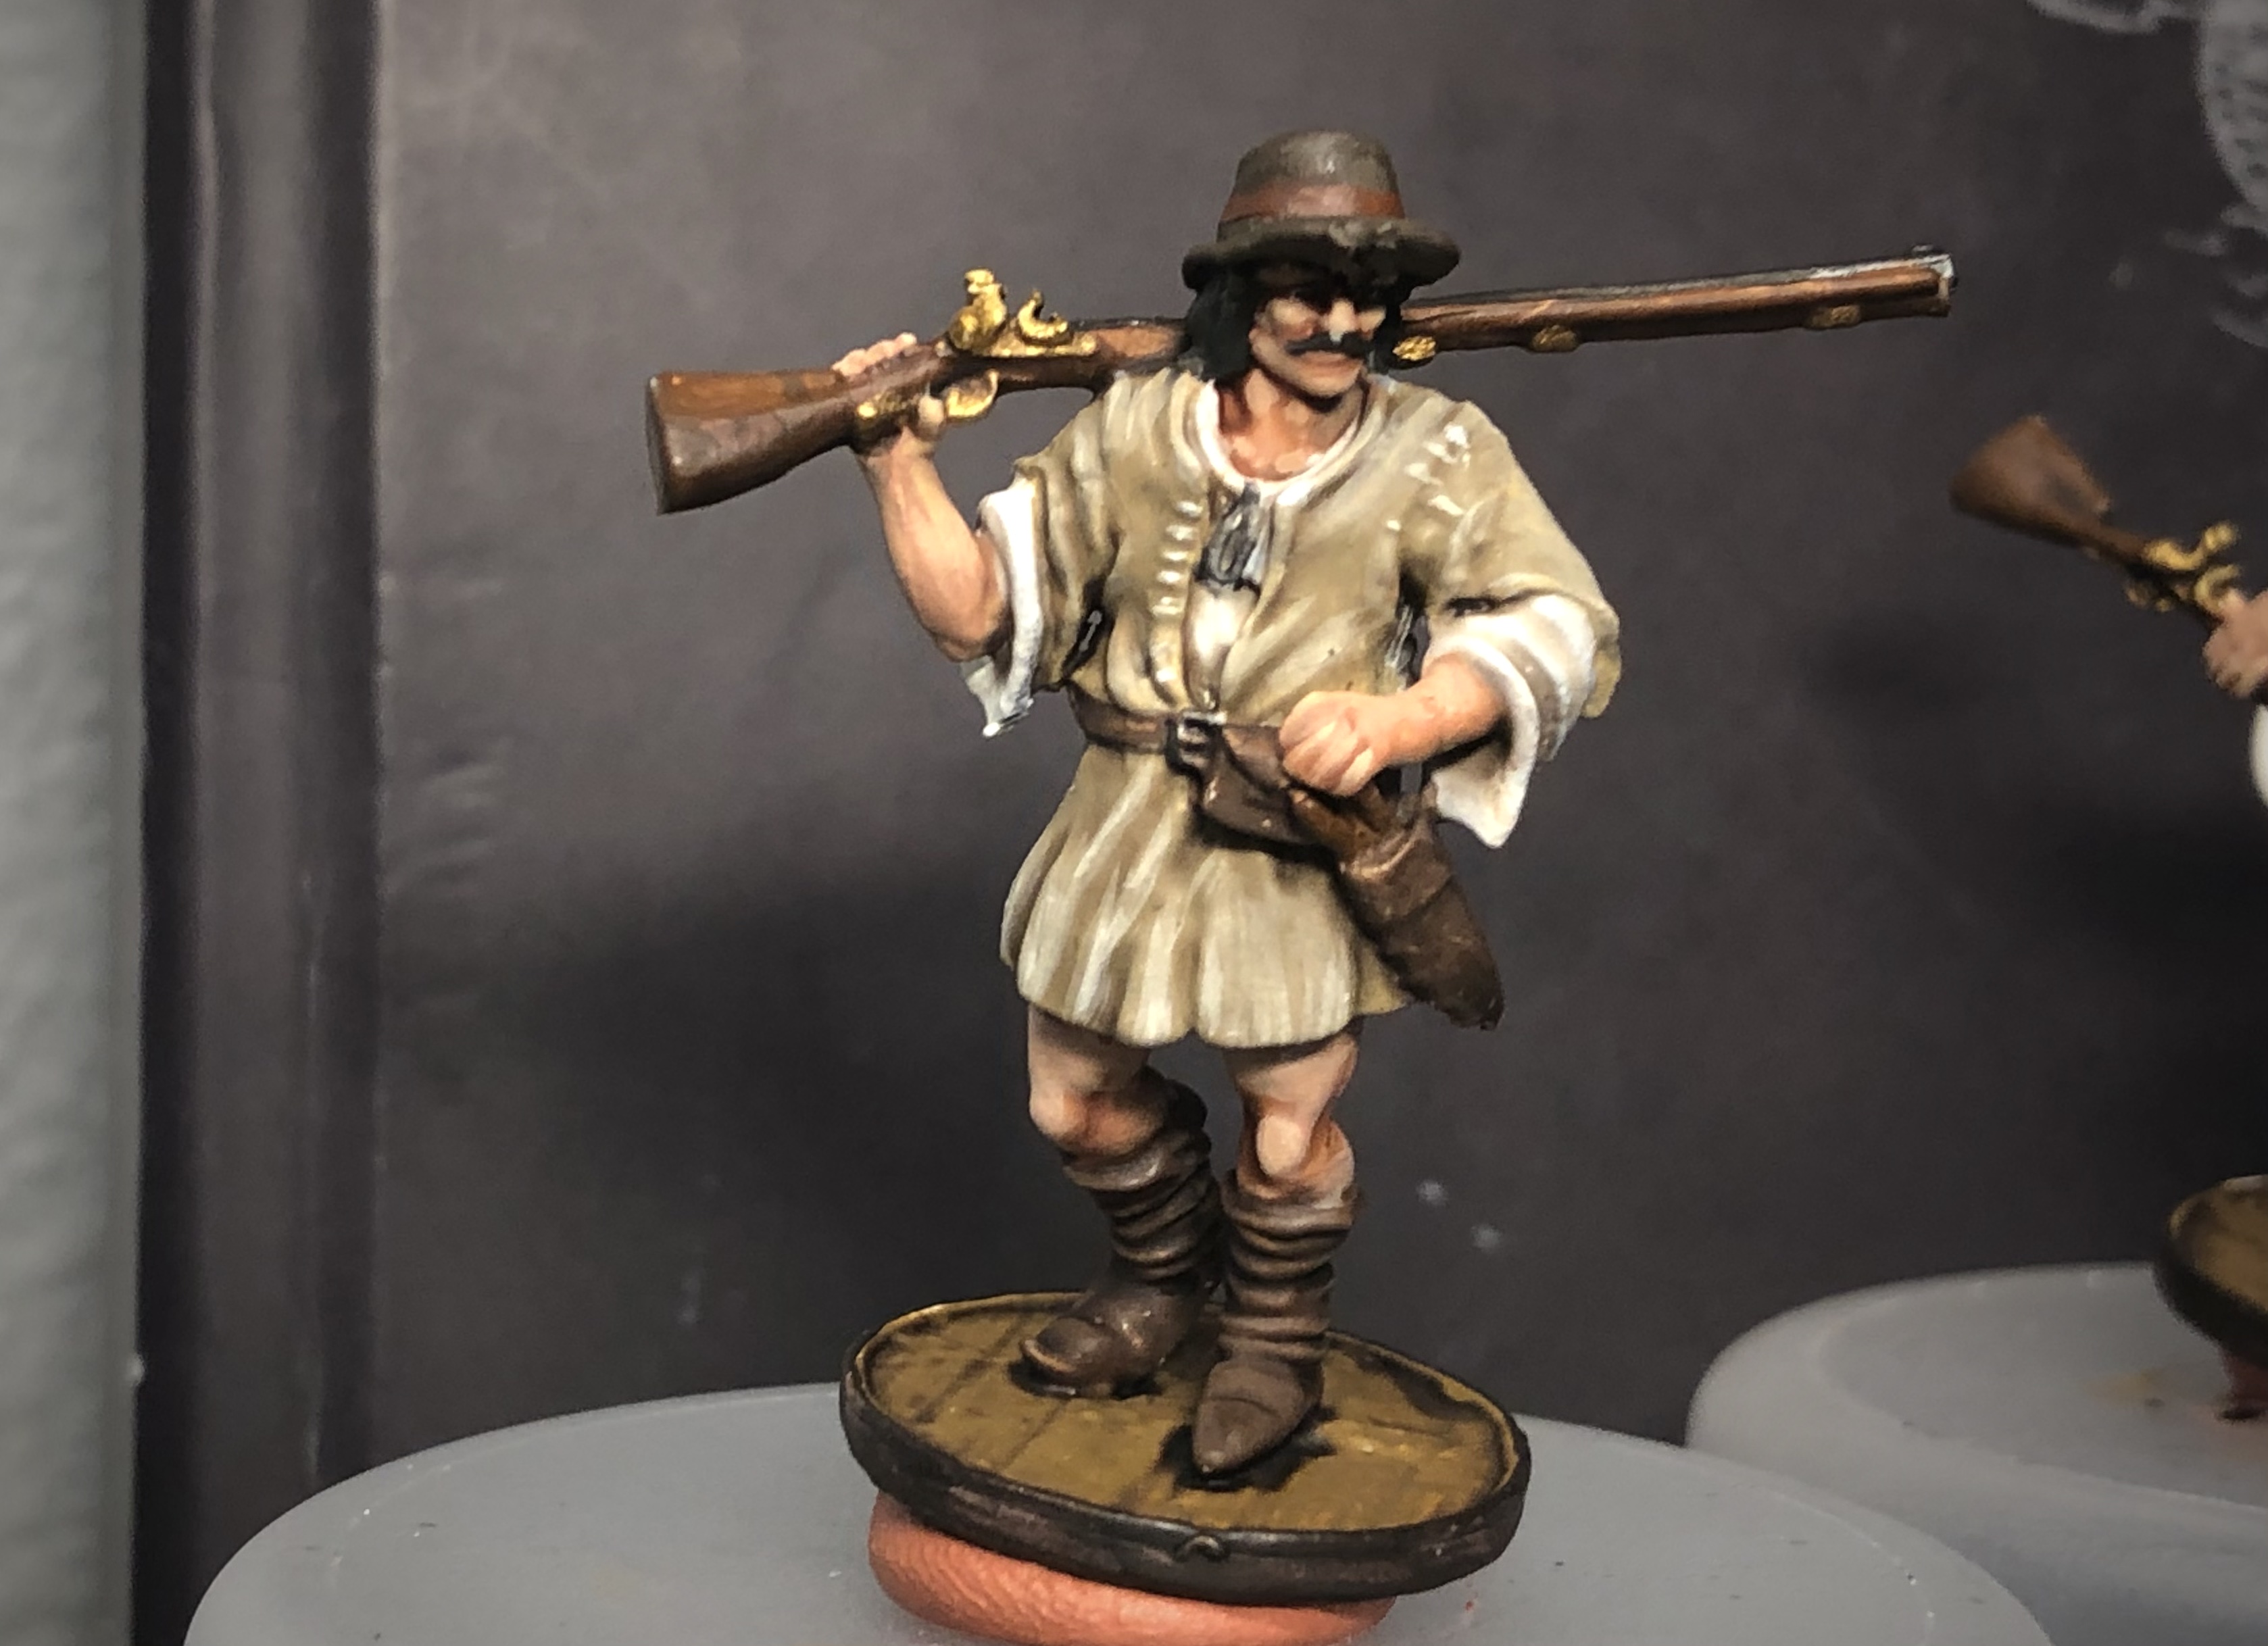
Give the stitching on the front and sleeves of the shirt the brightest highlight.
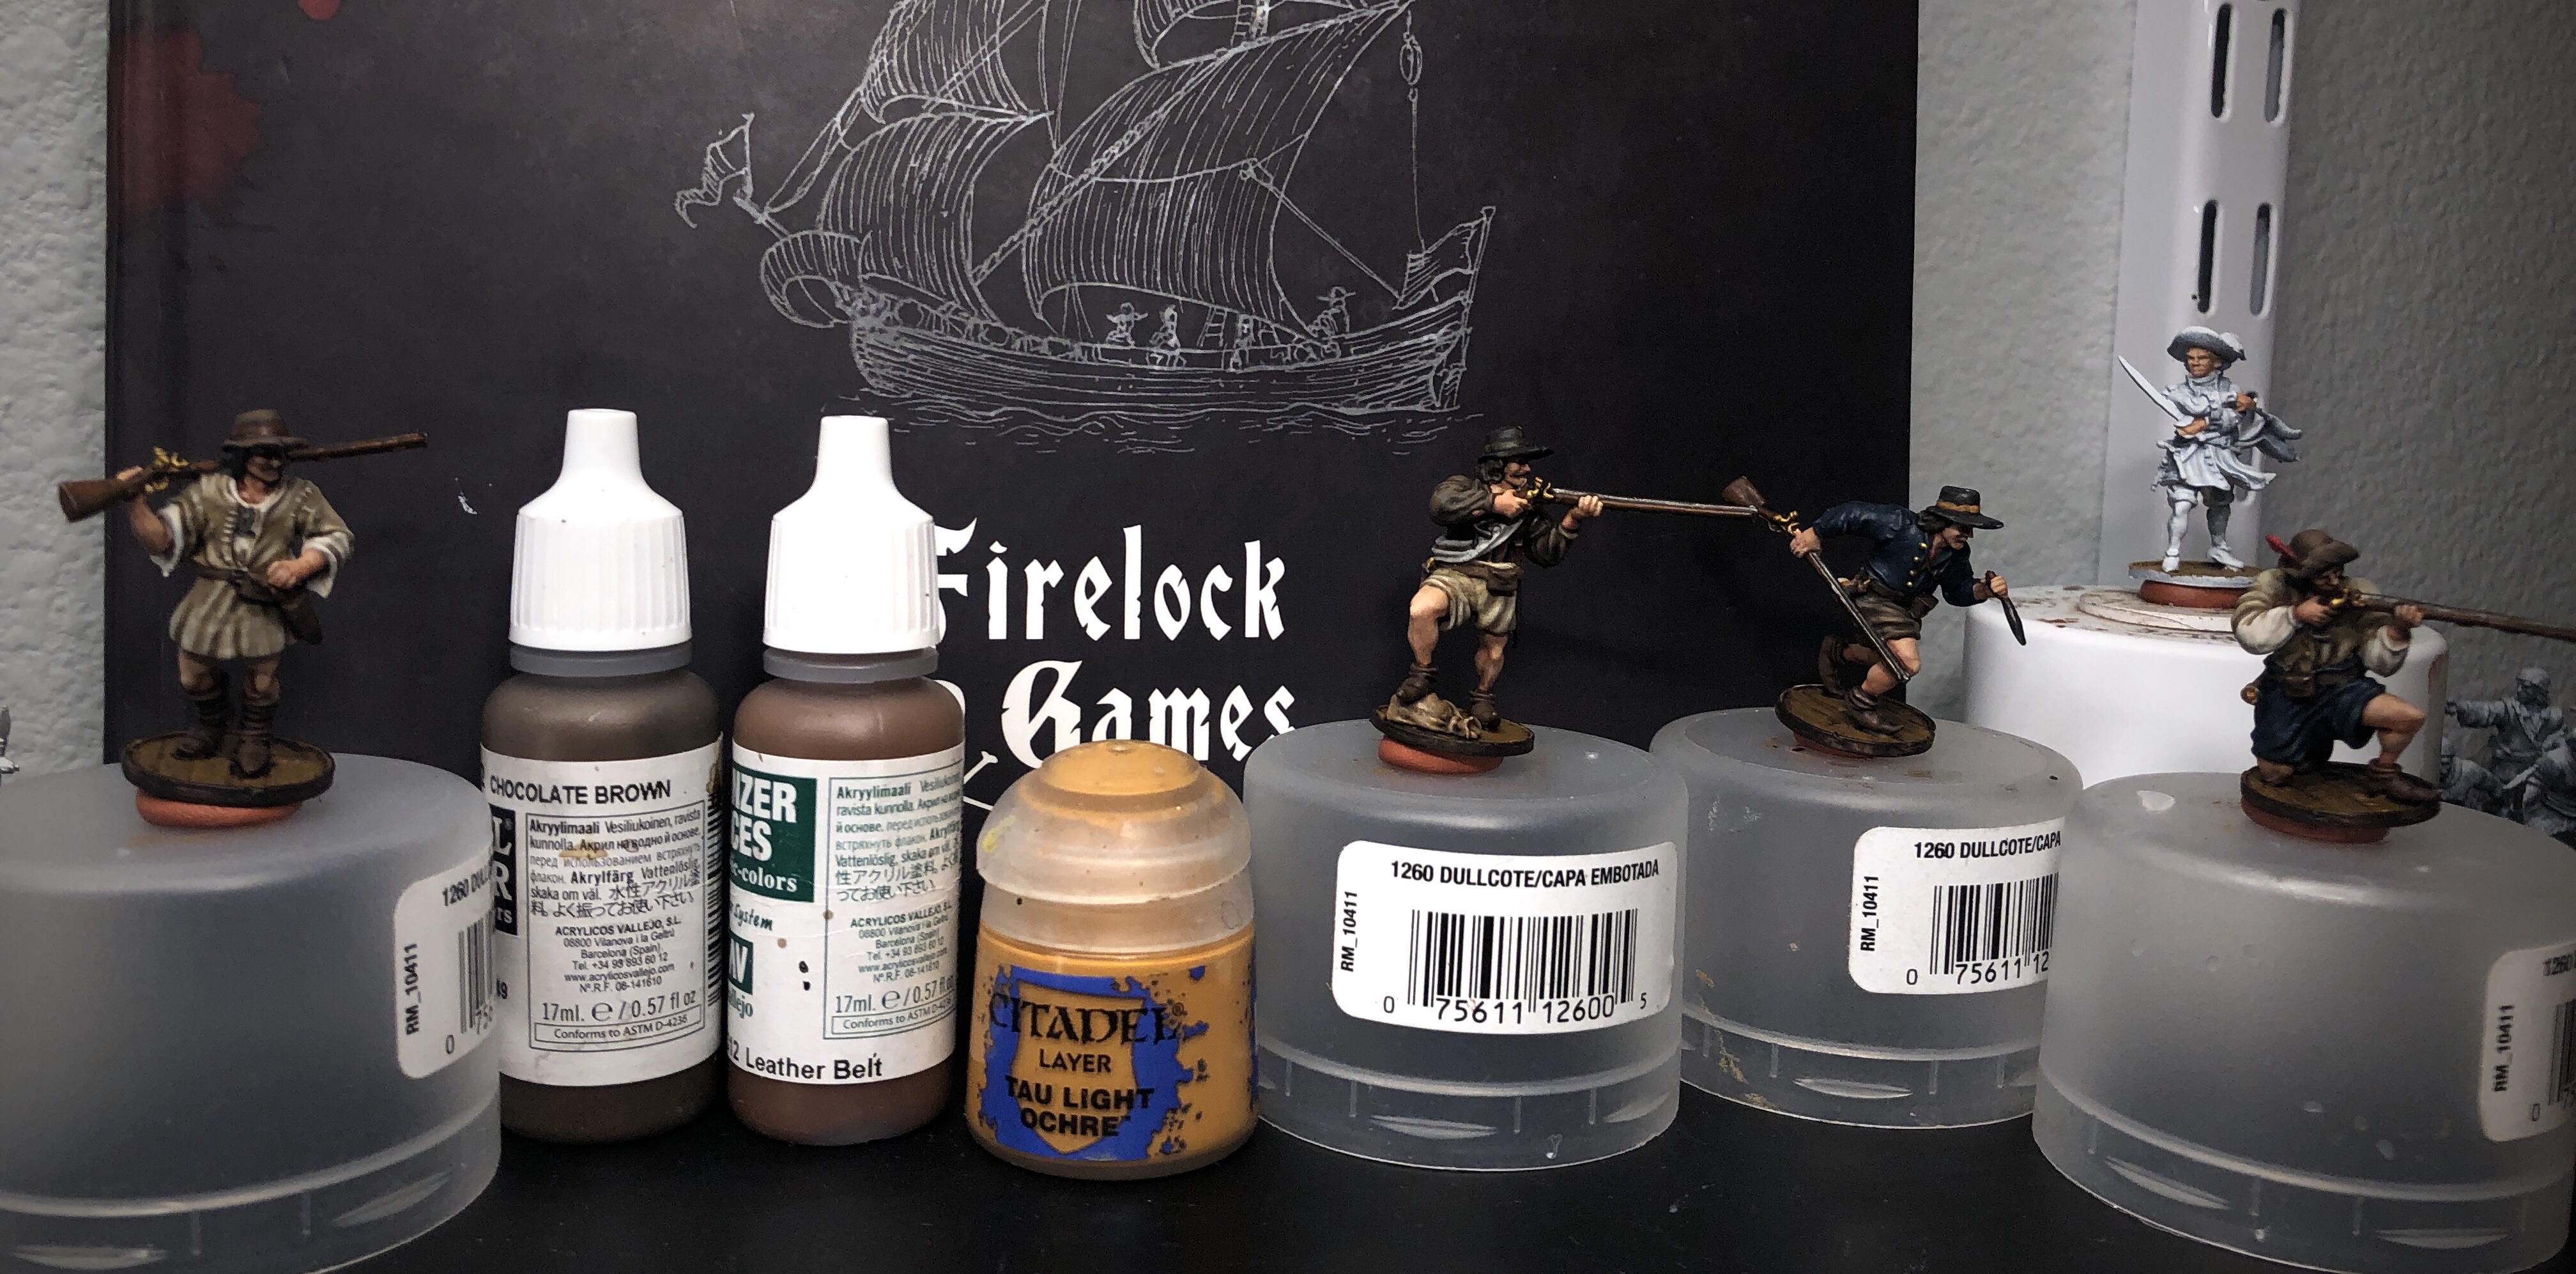
For the Chocolate Brown shirts and pants I used Chocolate Brown, Leather Belt and a little Tau Light Ochre.
I focused on the highest areas and the wrinkles.
I used the same set of paints for the brown hats.

For the leather shoes, belts and cartridge boxes used Leather Belt and Skragg Brown for the brightest highlights.
These are the weirdest shoes!

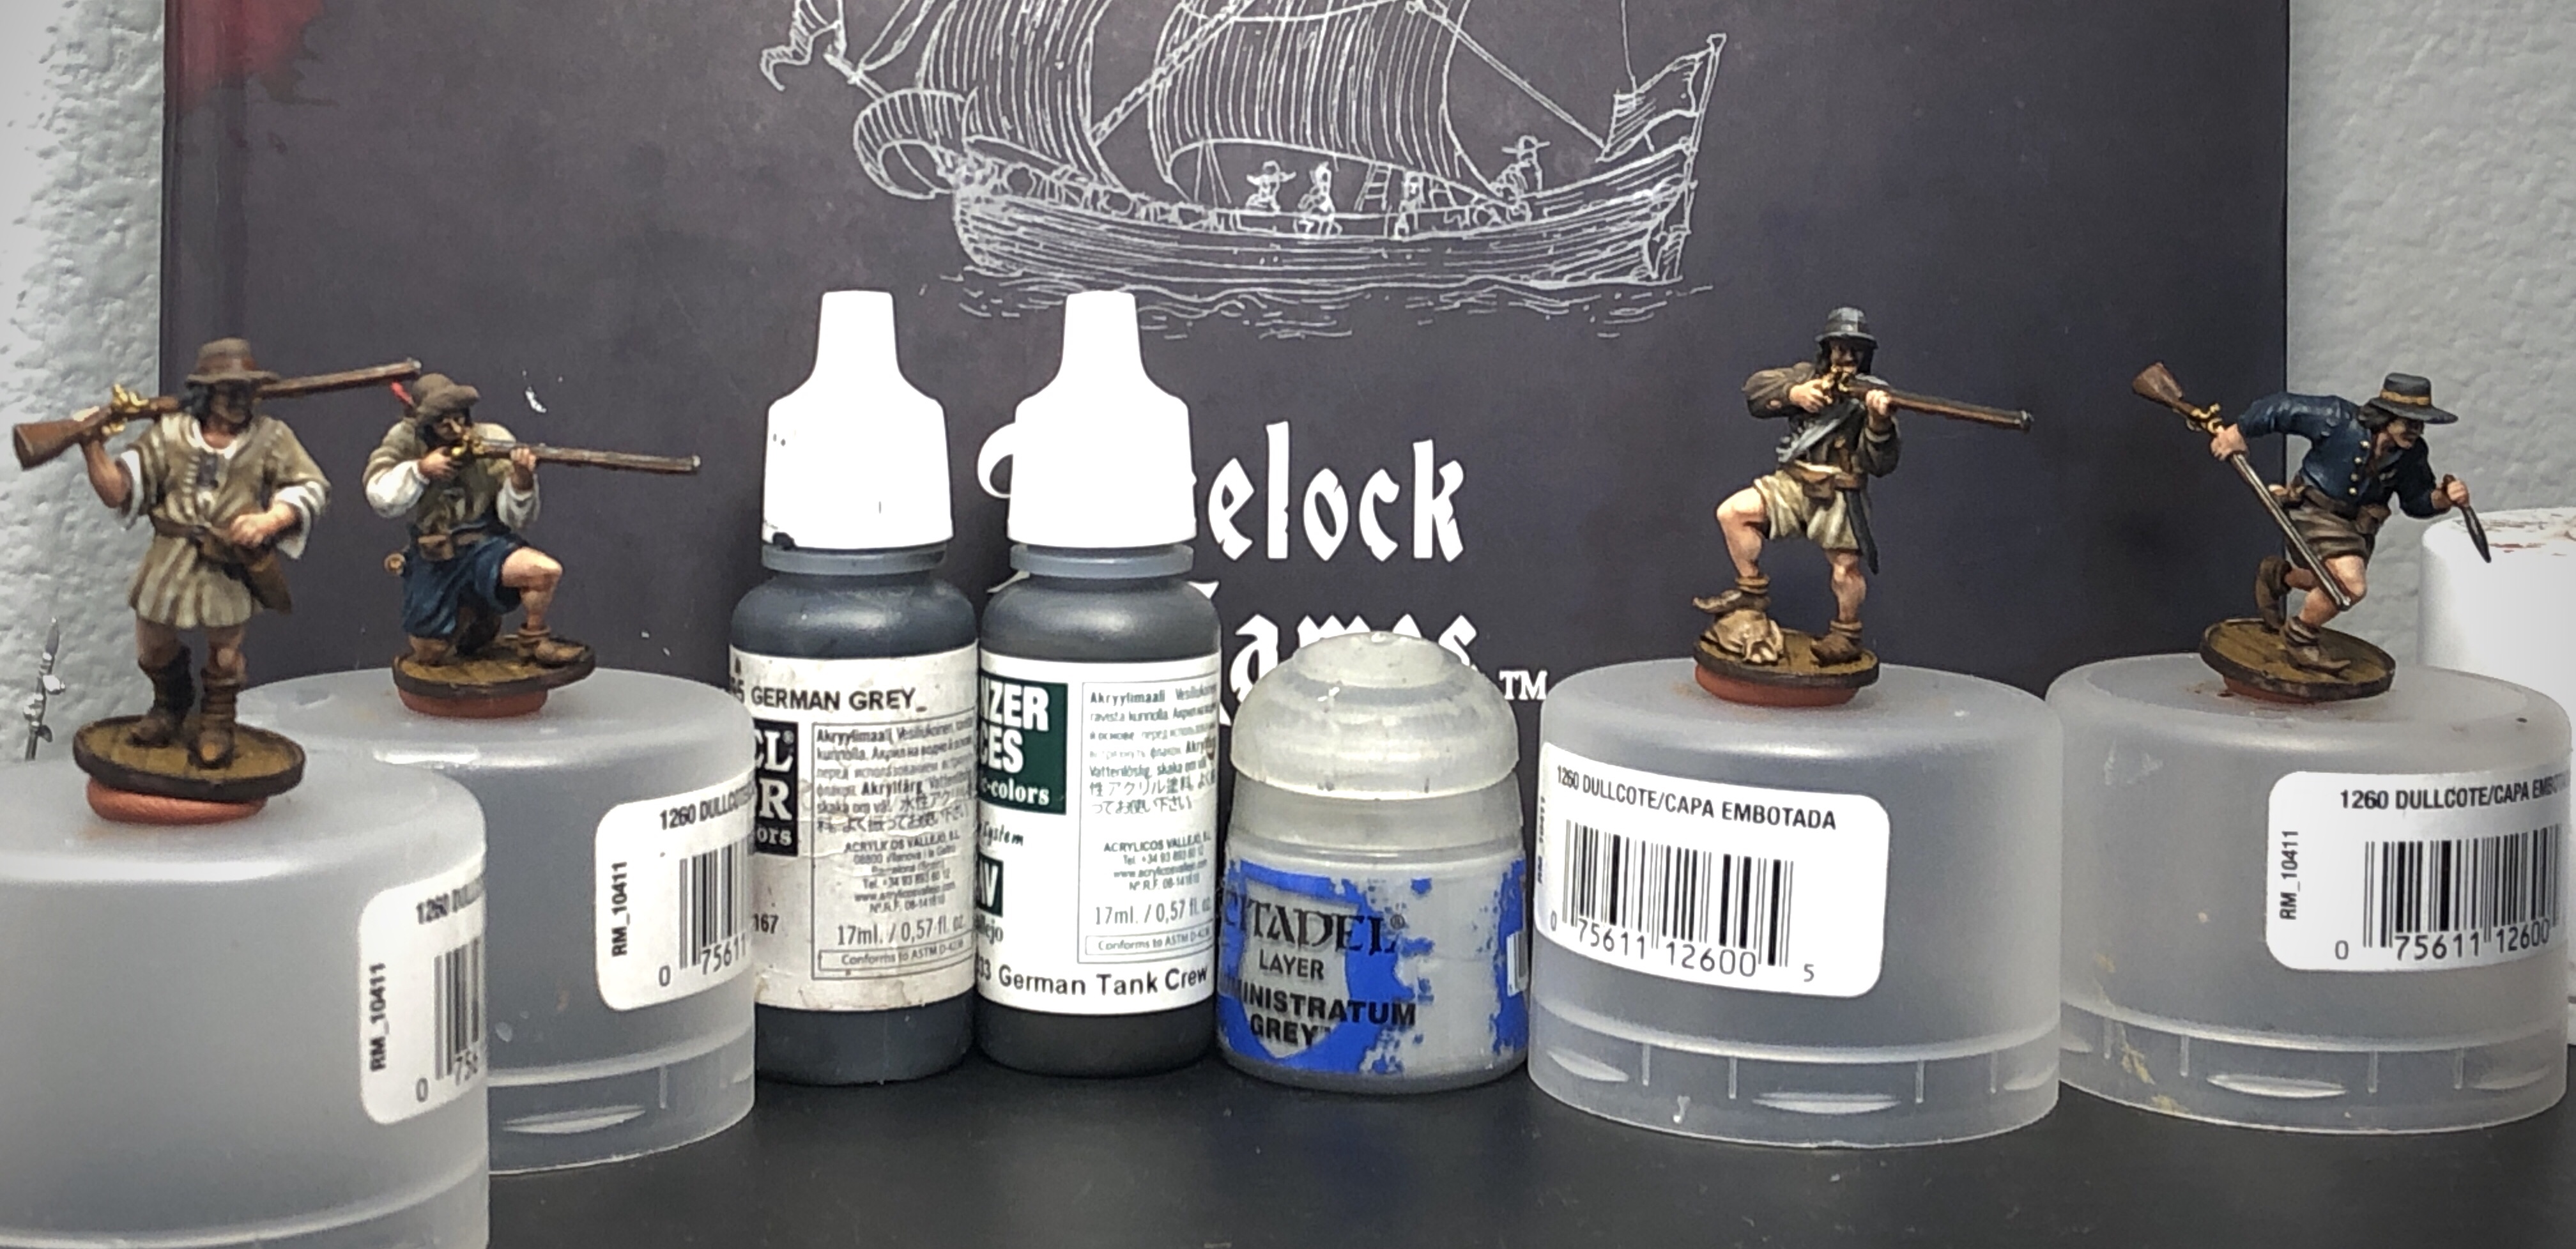
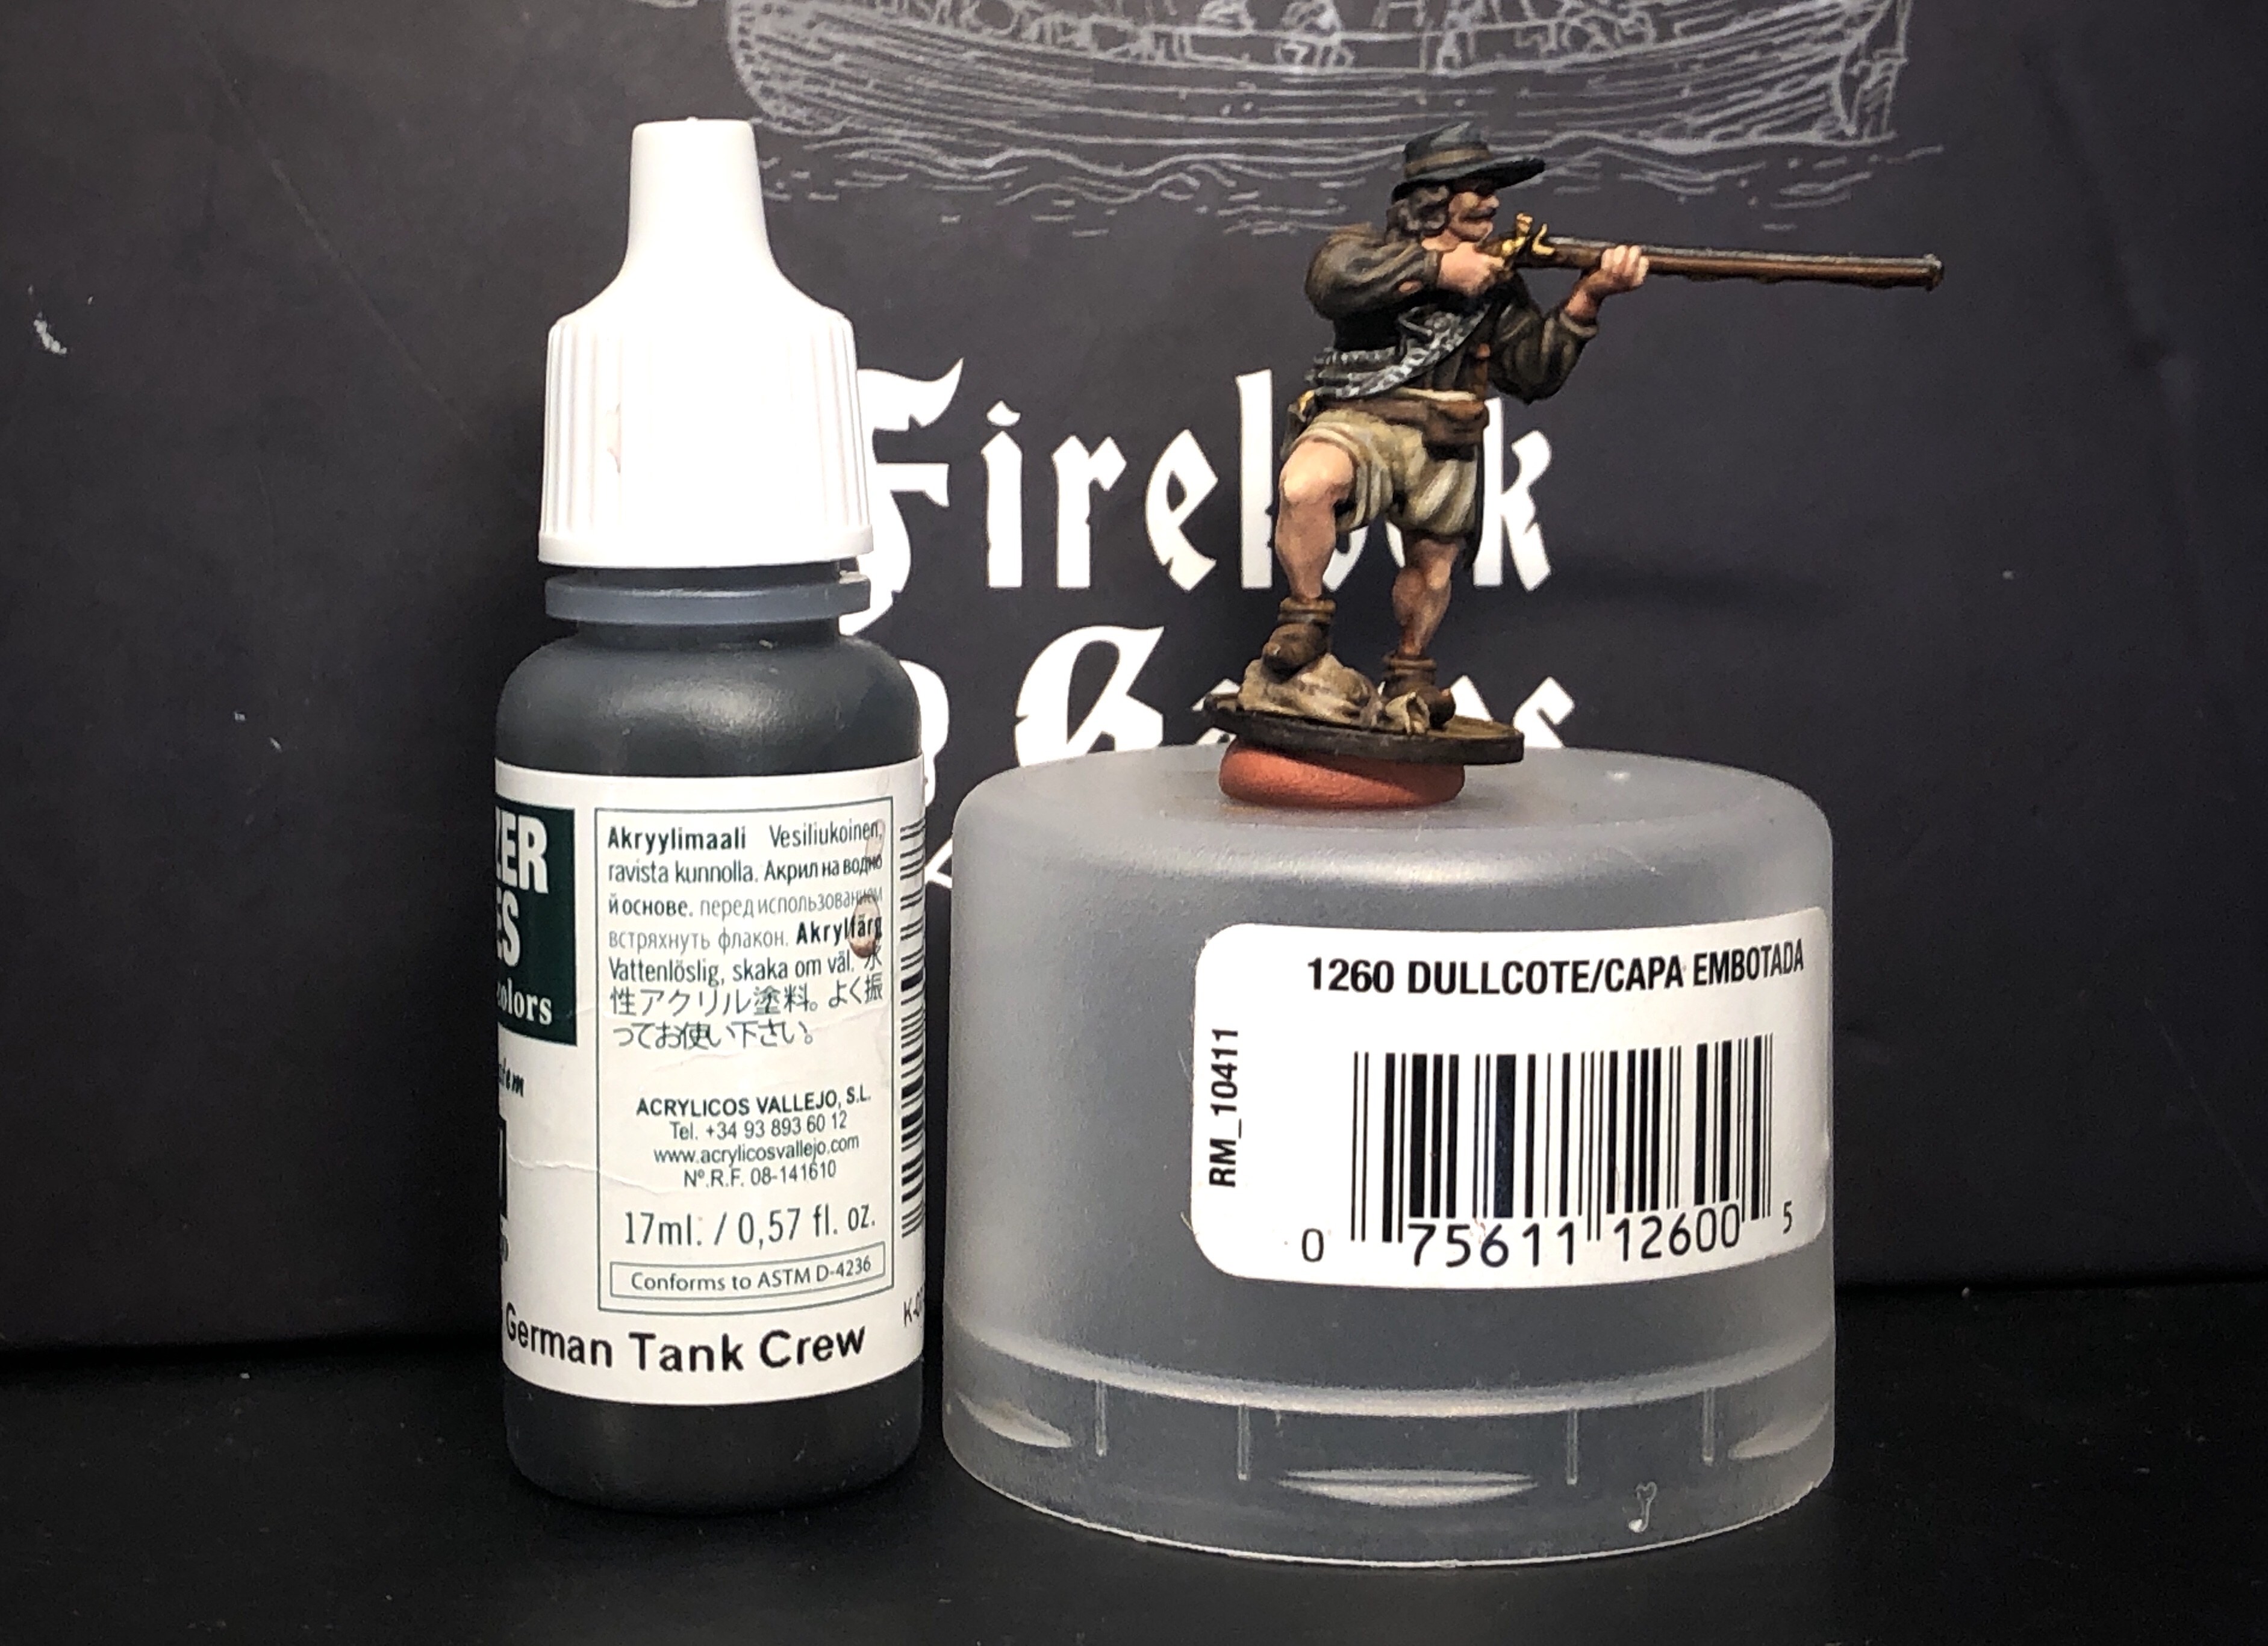
For the black hair and hats I started with the original German Grey and then moved to German Tank Crew and finally mixed in some Administratum Grey for the last highlights.
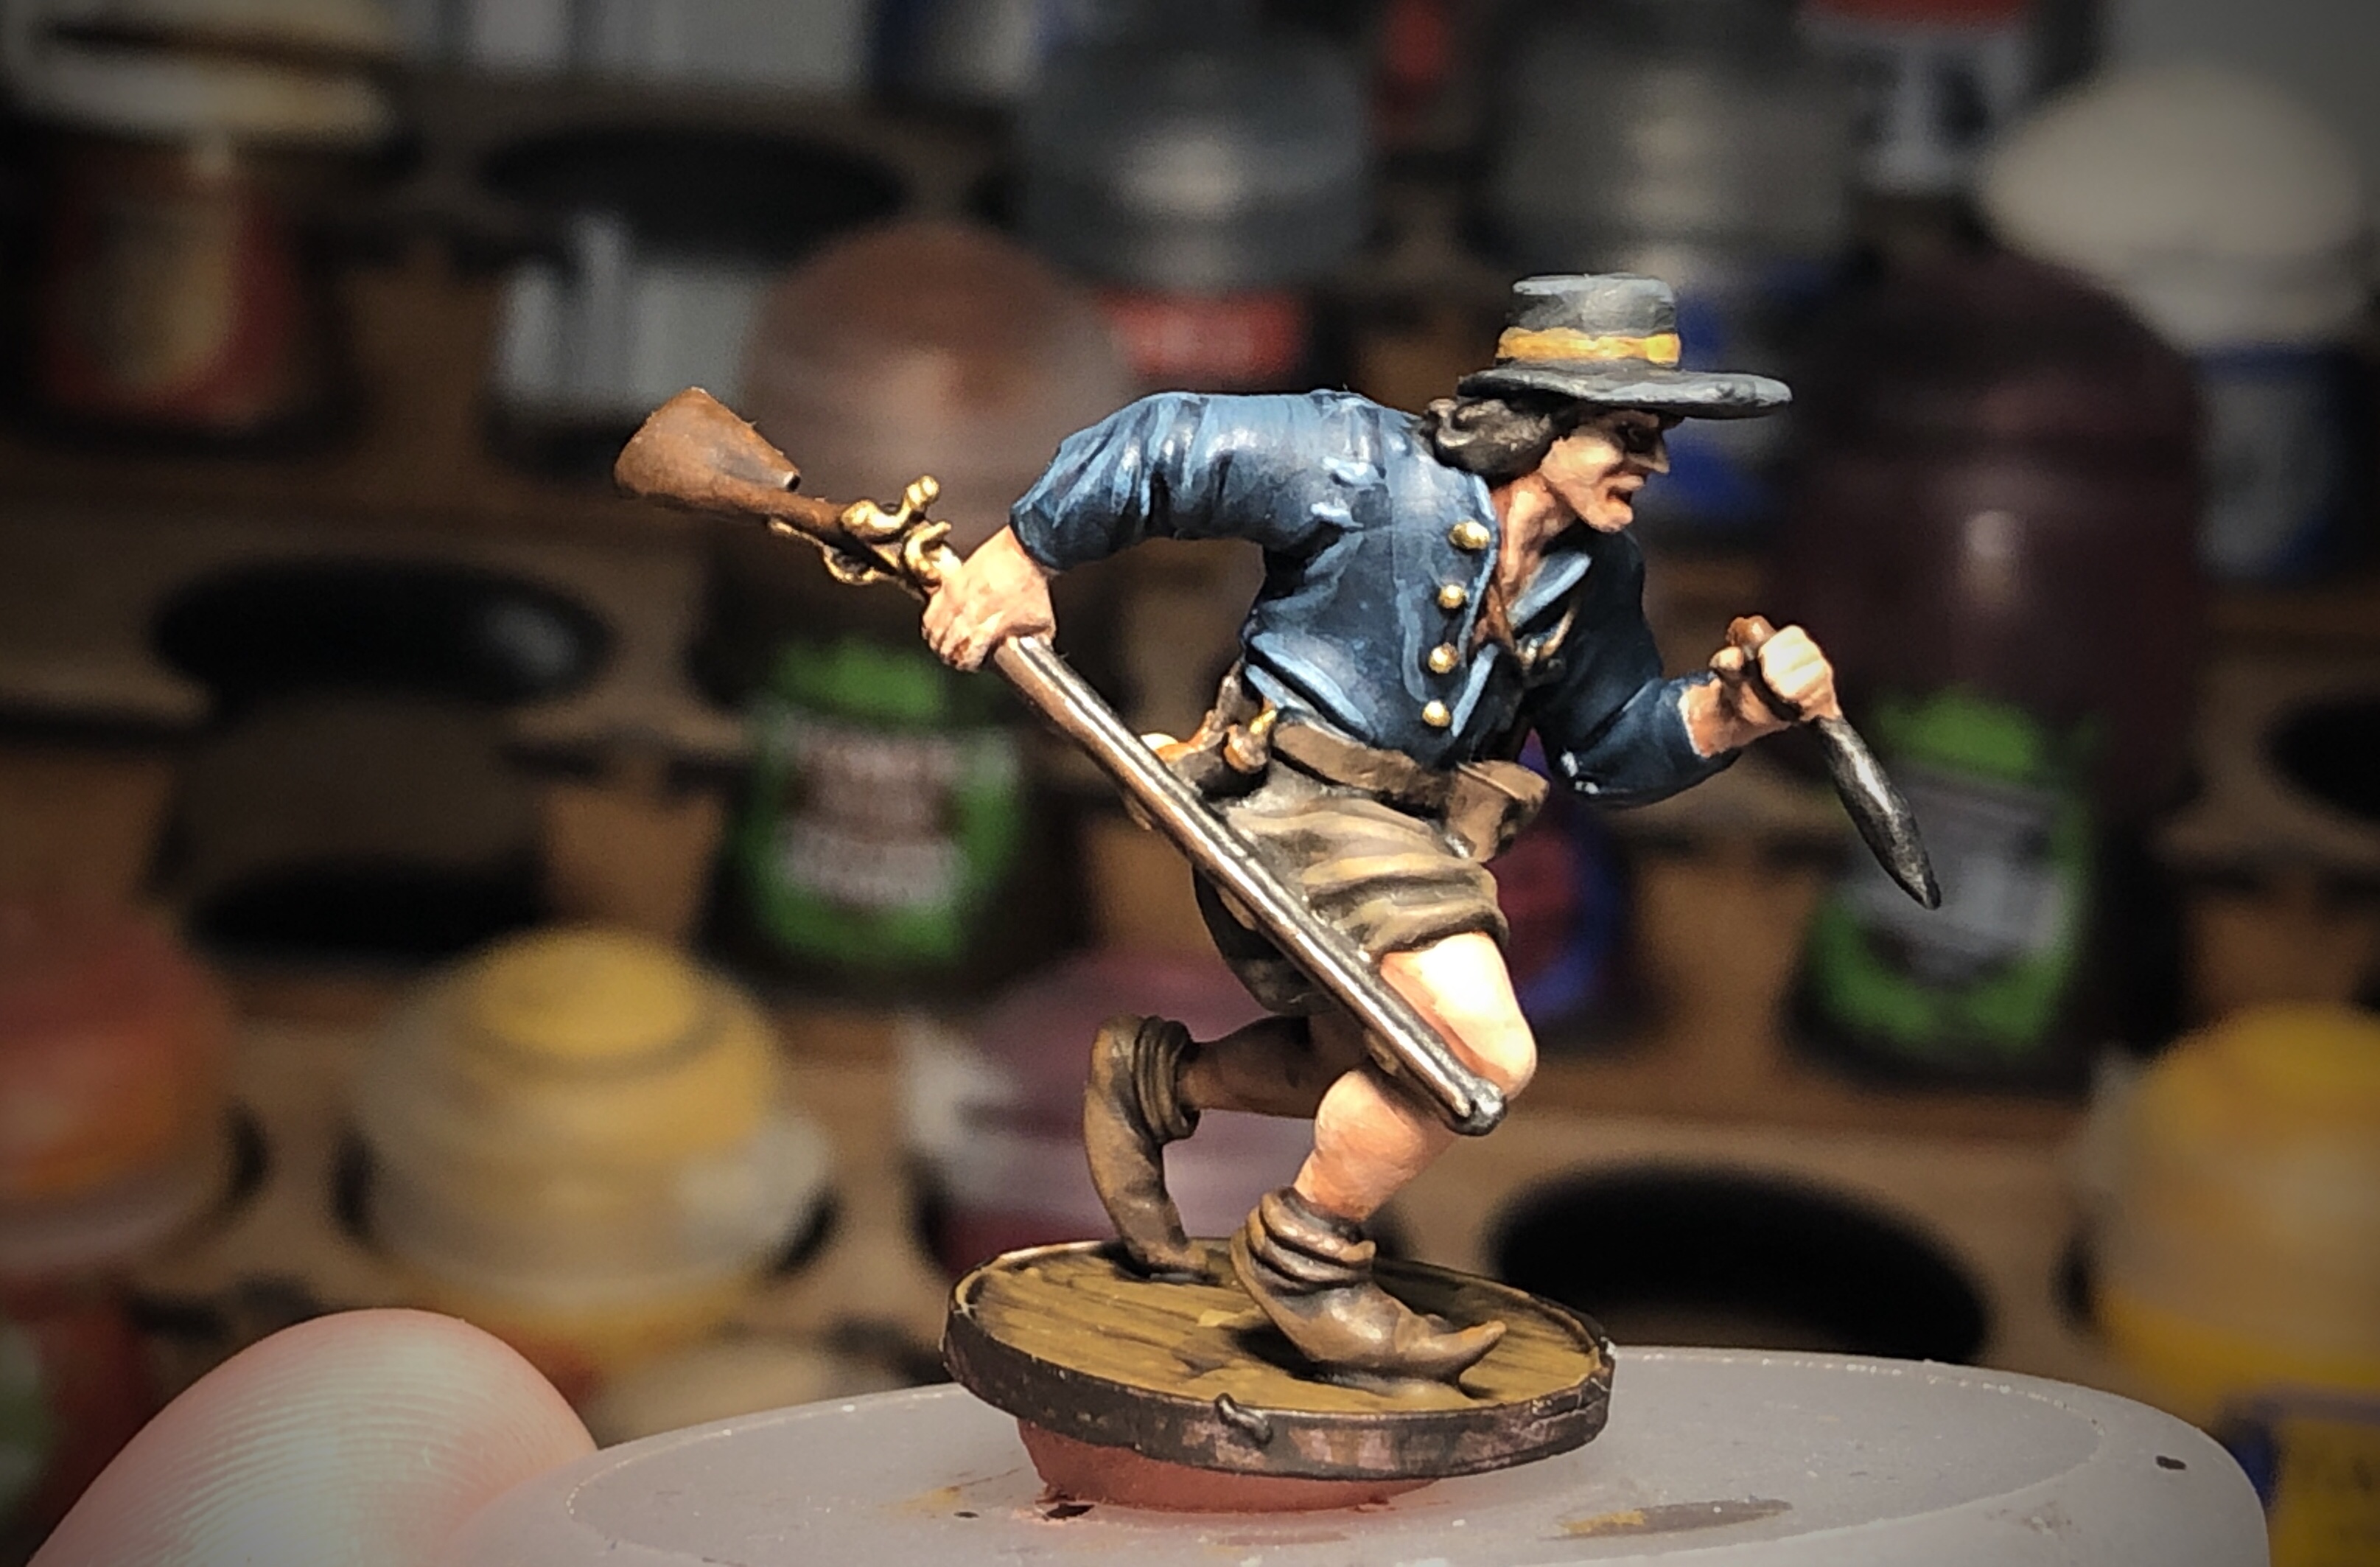
For the blue jacket and pants I reapplied the Stegadon Scale Green and gradually added Thunderhawk Blue.

Remember to bring out those patches/stitching holding the sleeves to the body.
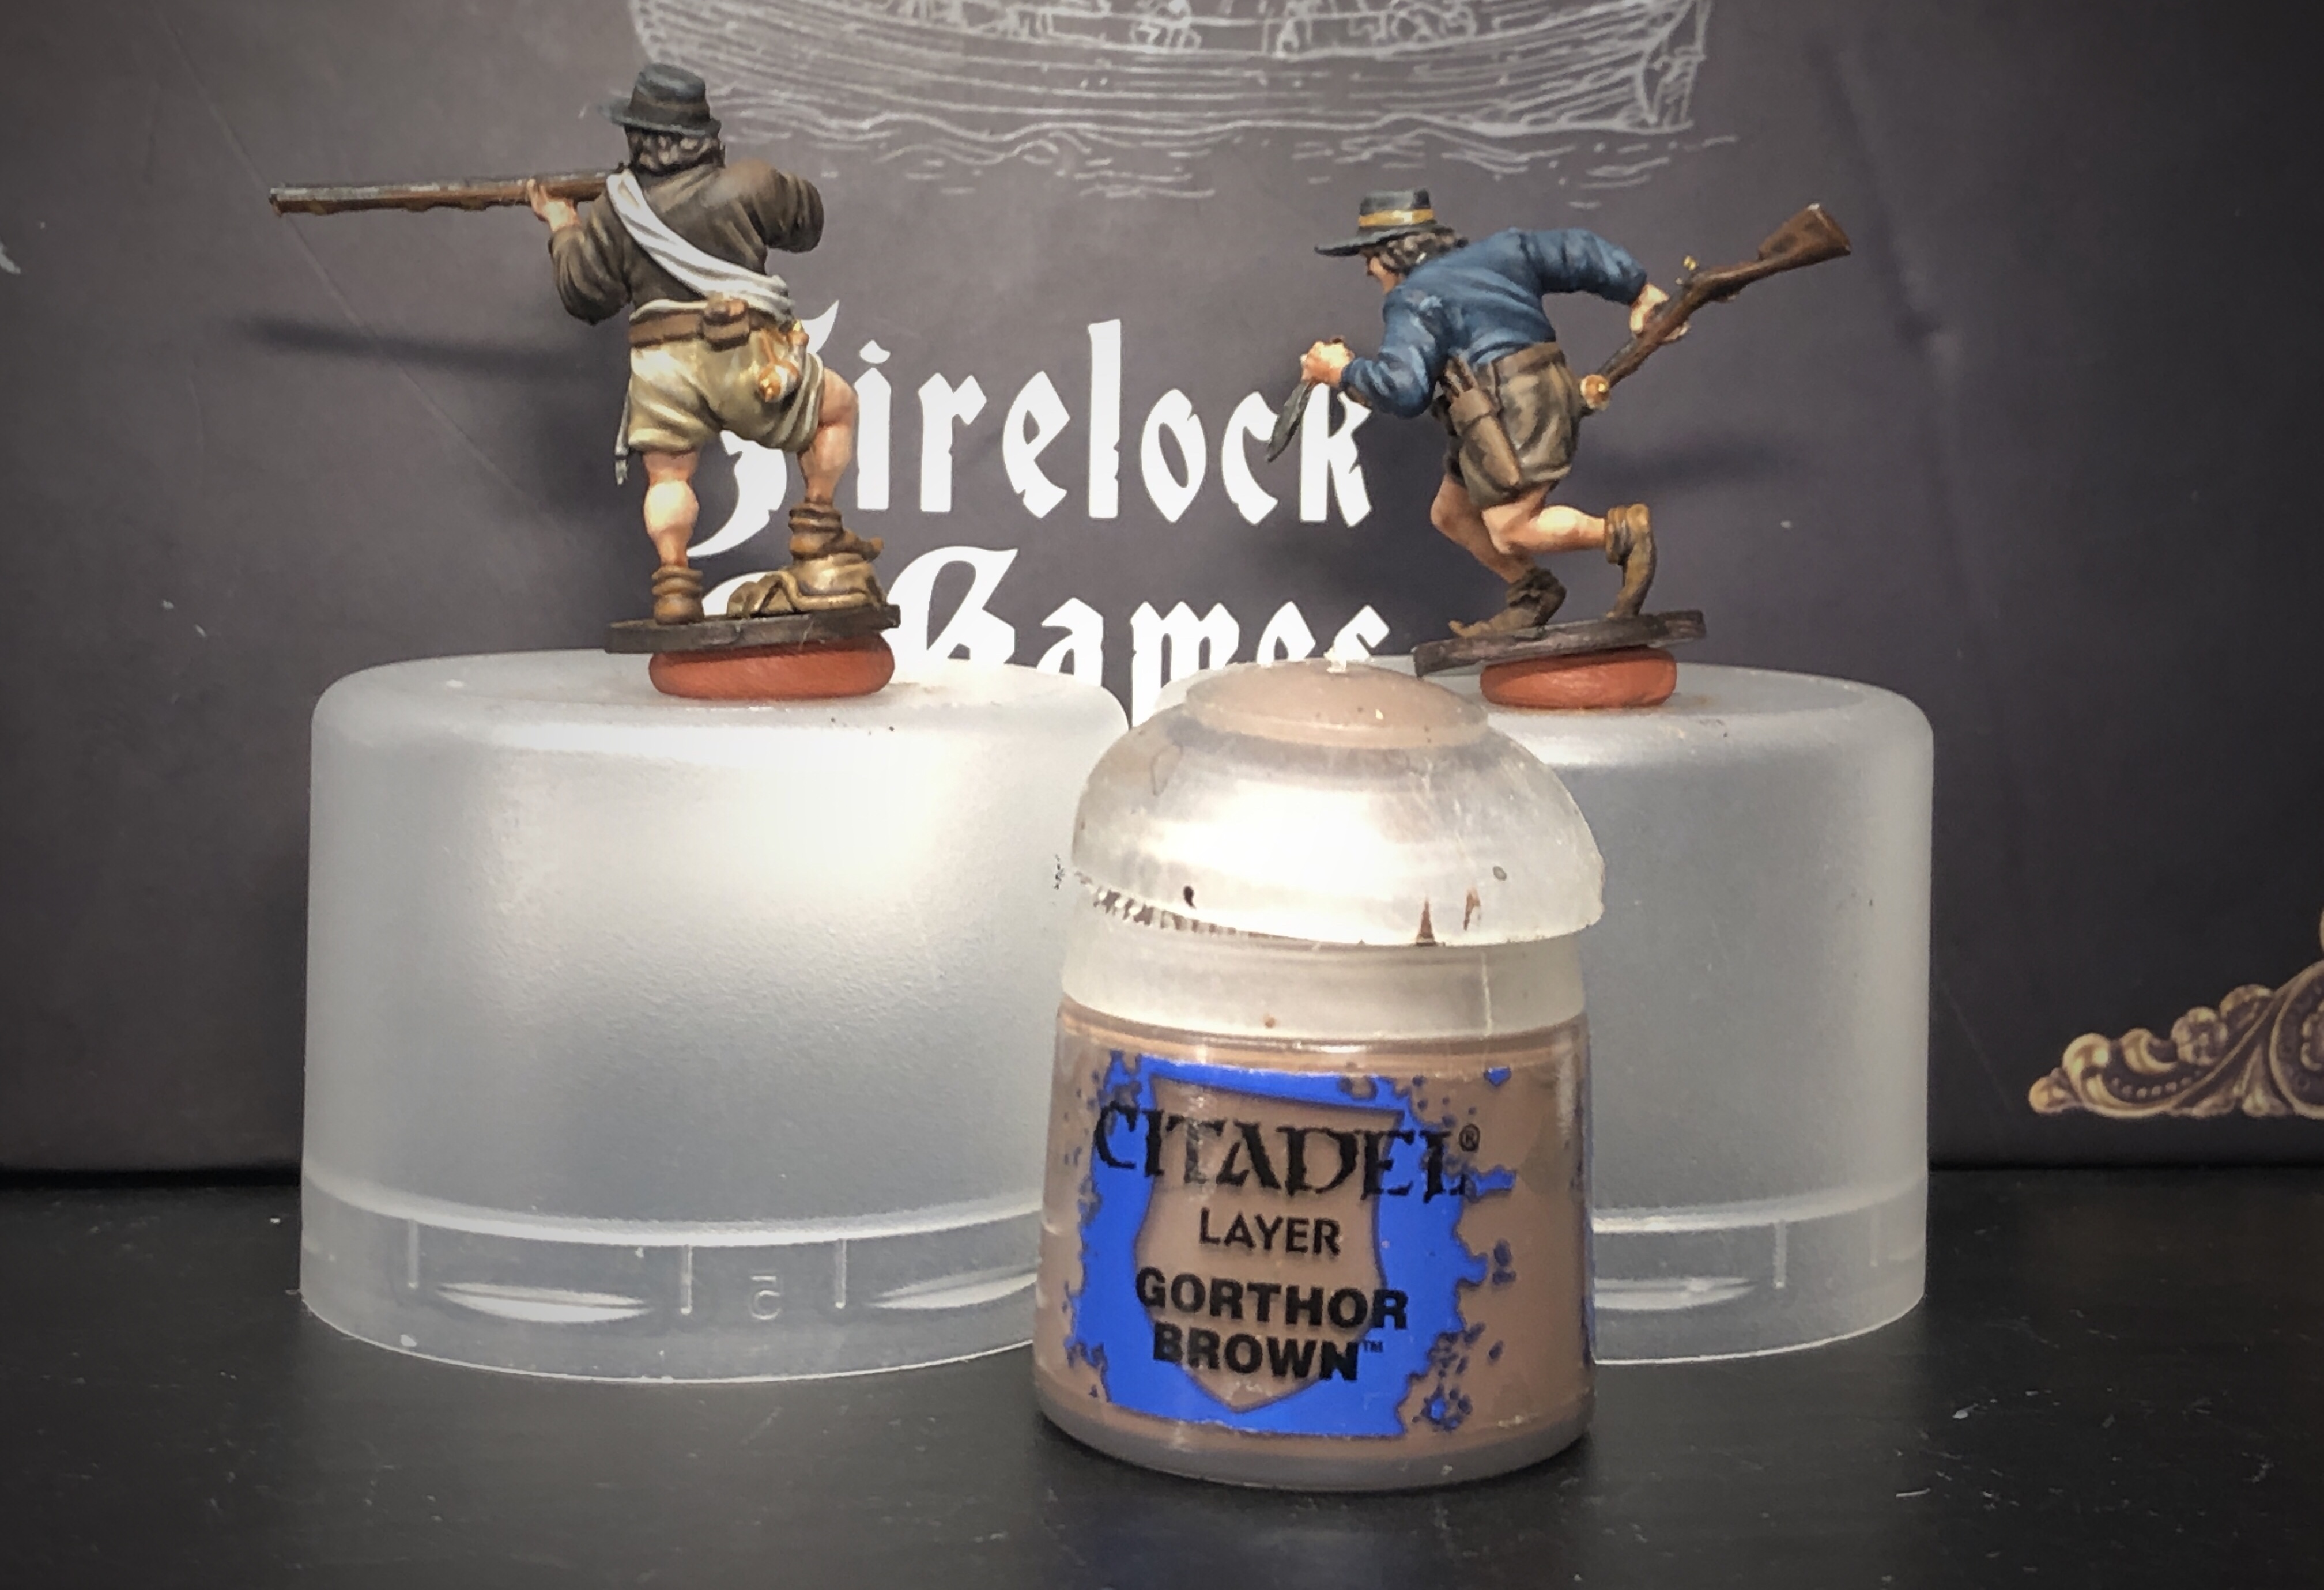
I used some straight Gorthor Brown to highlight the hair I based with Dryad Bark.
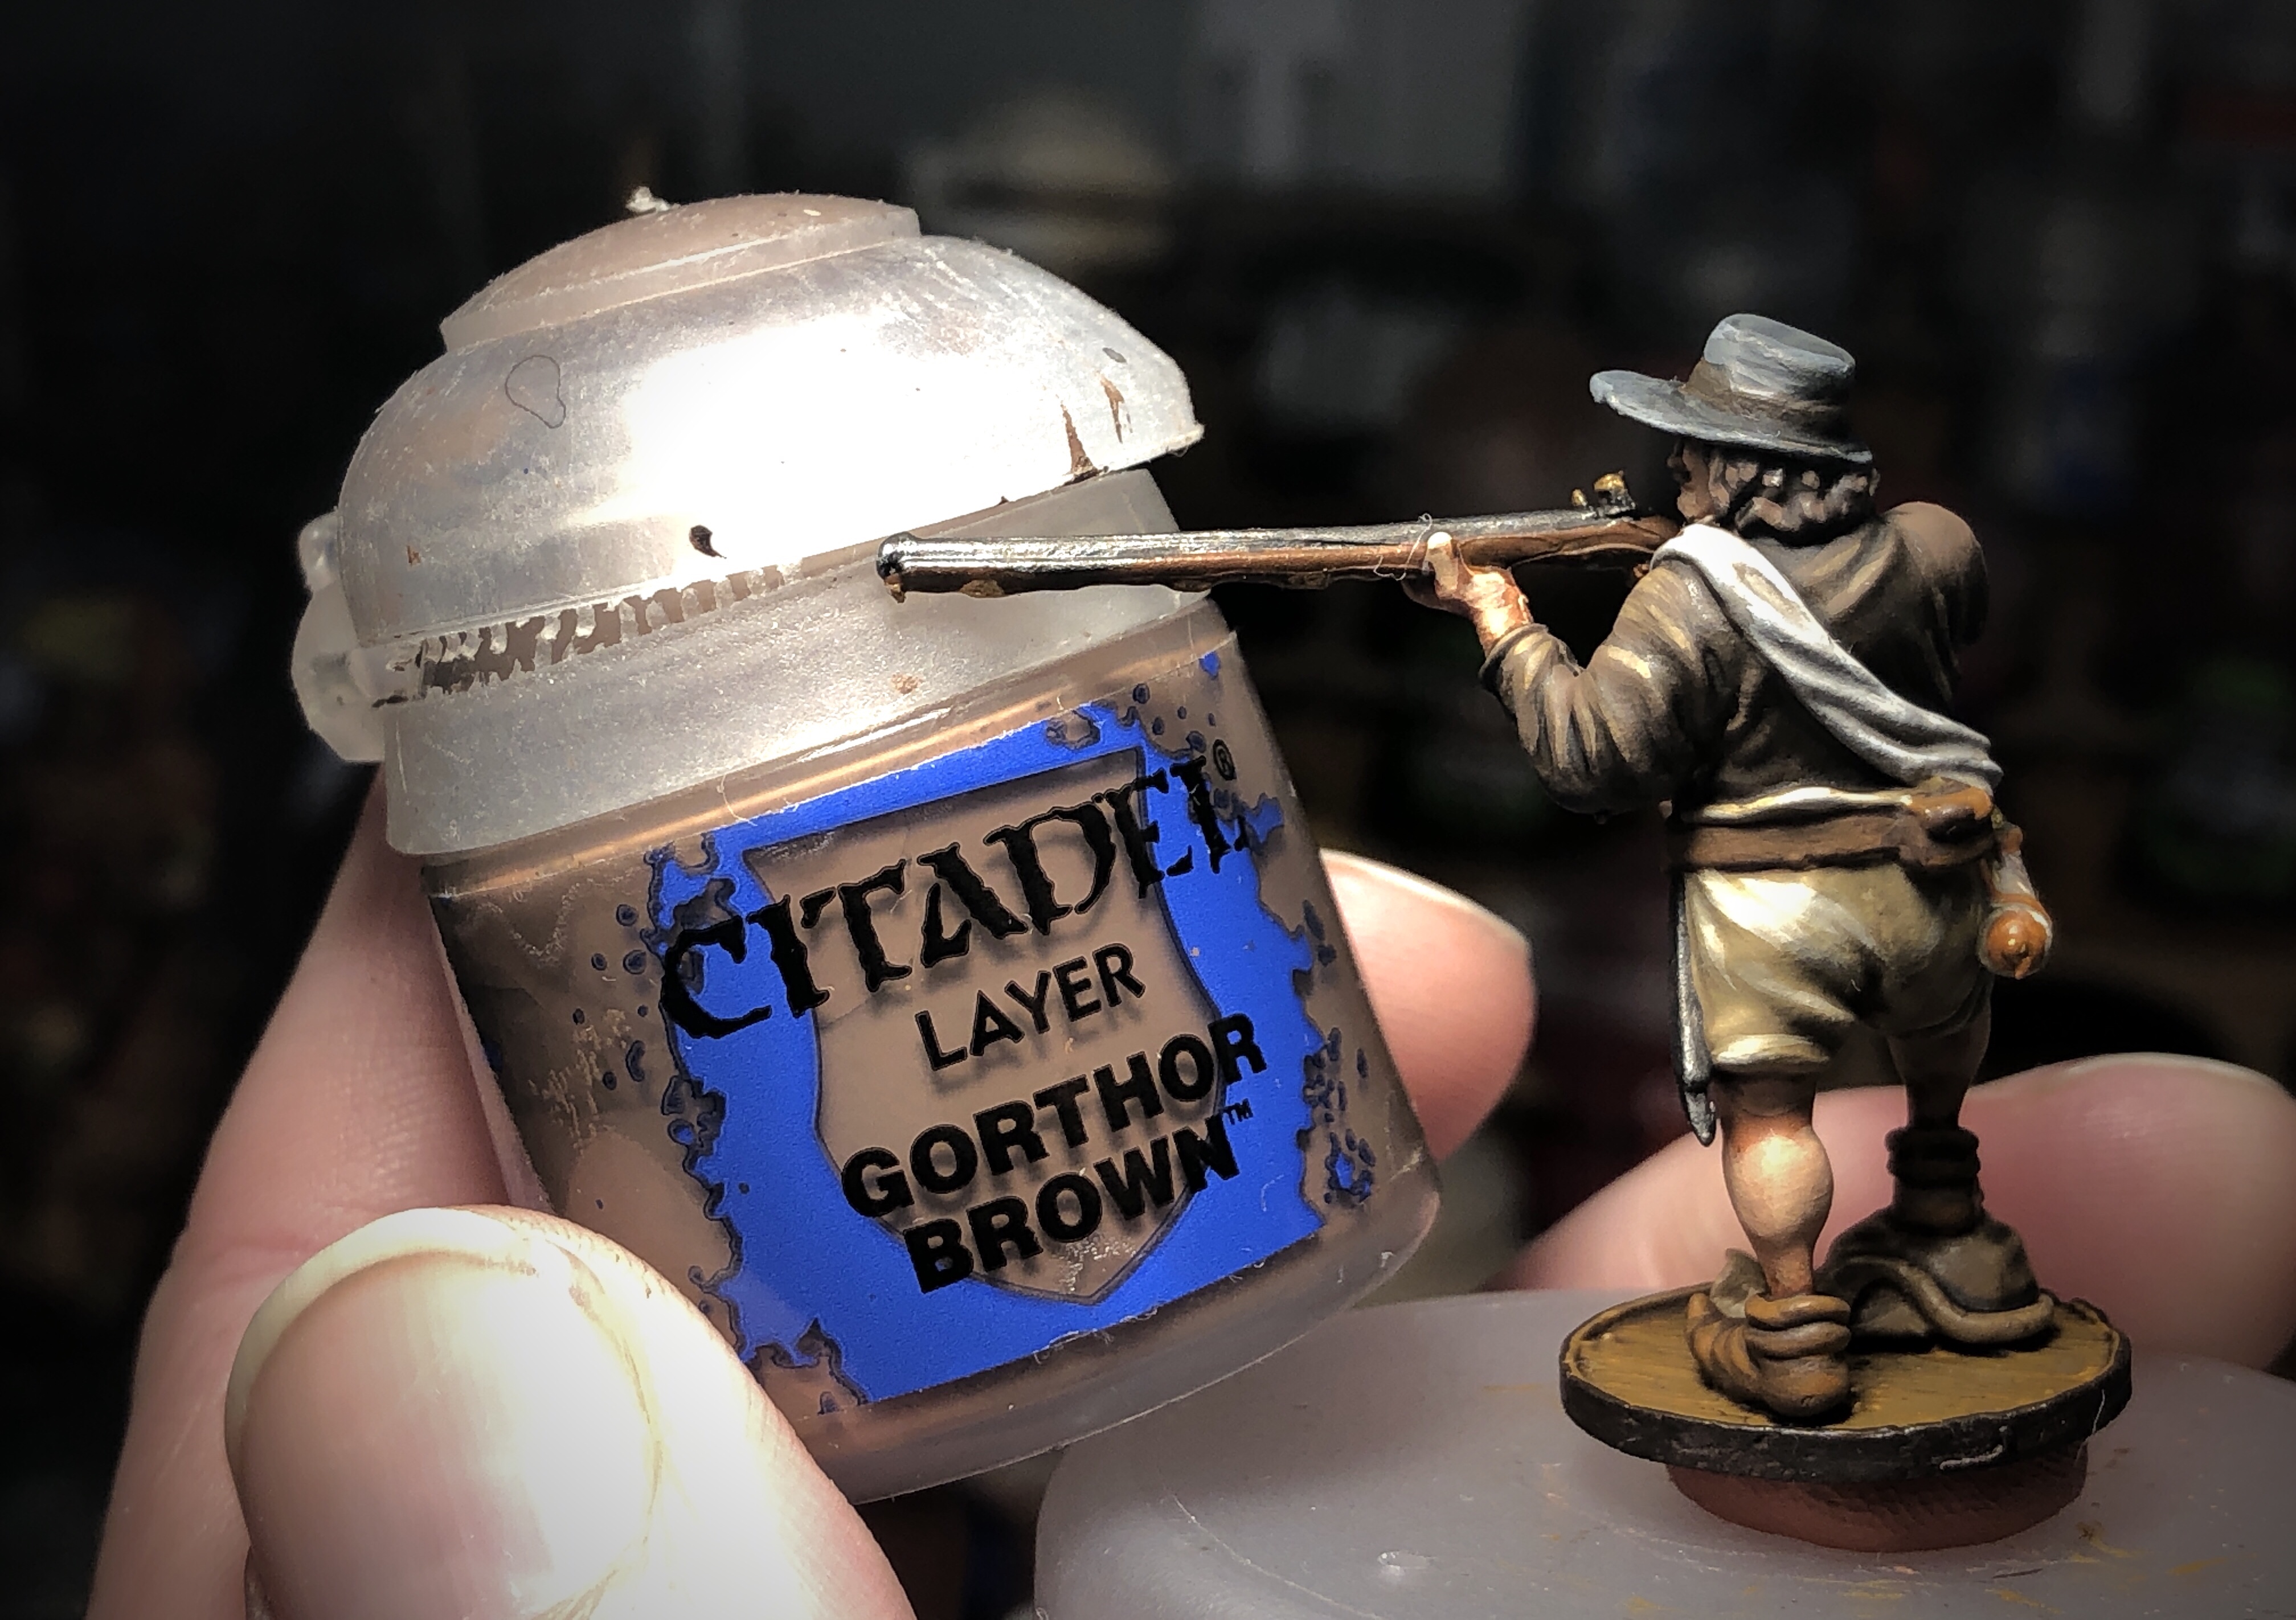
Getting close!
I used the original Mournfang Brown brightened with Skragg Brown for the musket stocks.
This didn’t come out great but it’s OK…
The hat bands don’t really need highlights but I went over them anyway with the same various colors I based them with.

The white undershirts can be highlighted with Ivory followed by small pure white highlights.
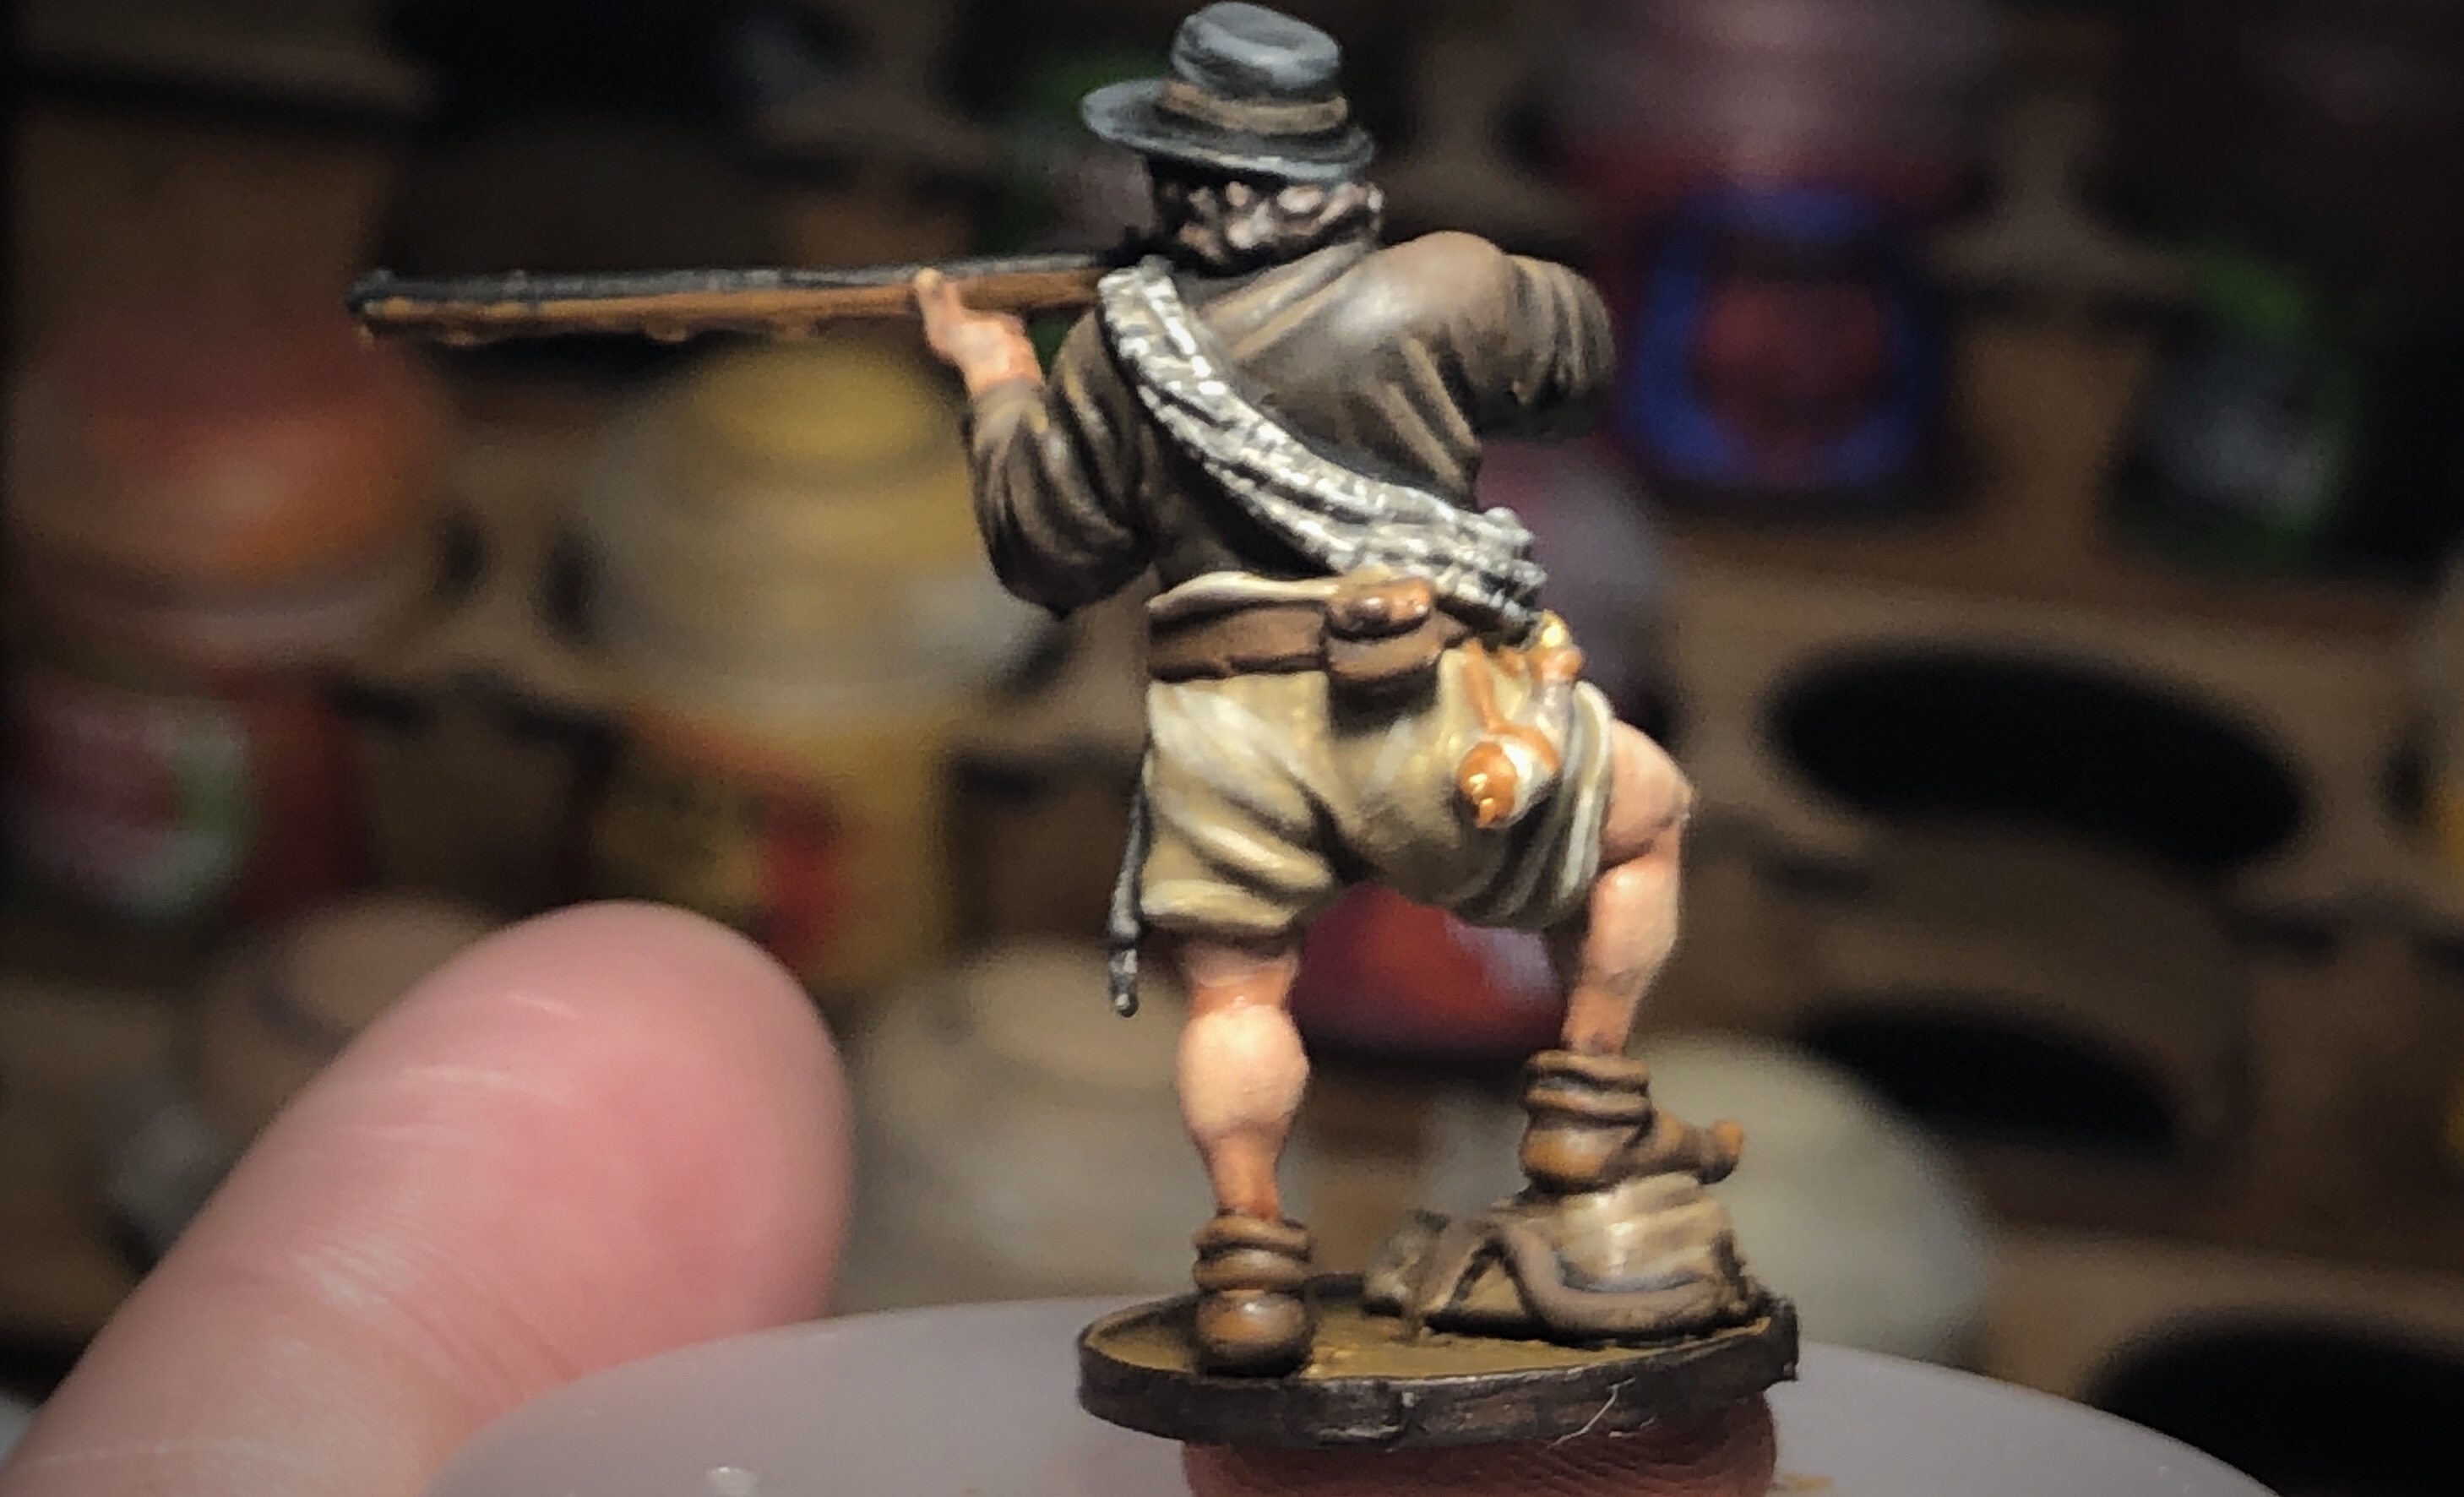
The blanket roll could be left alone but I highlighted it with the original Sky Grey with some Ivory mixed in and then gave it some texture just like the Firelock paint job. I used German Tank Crew and stippled all over the blanket to give it a checkered look.
I like the result!
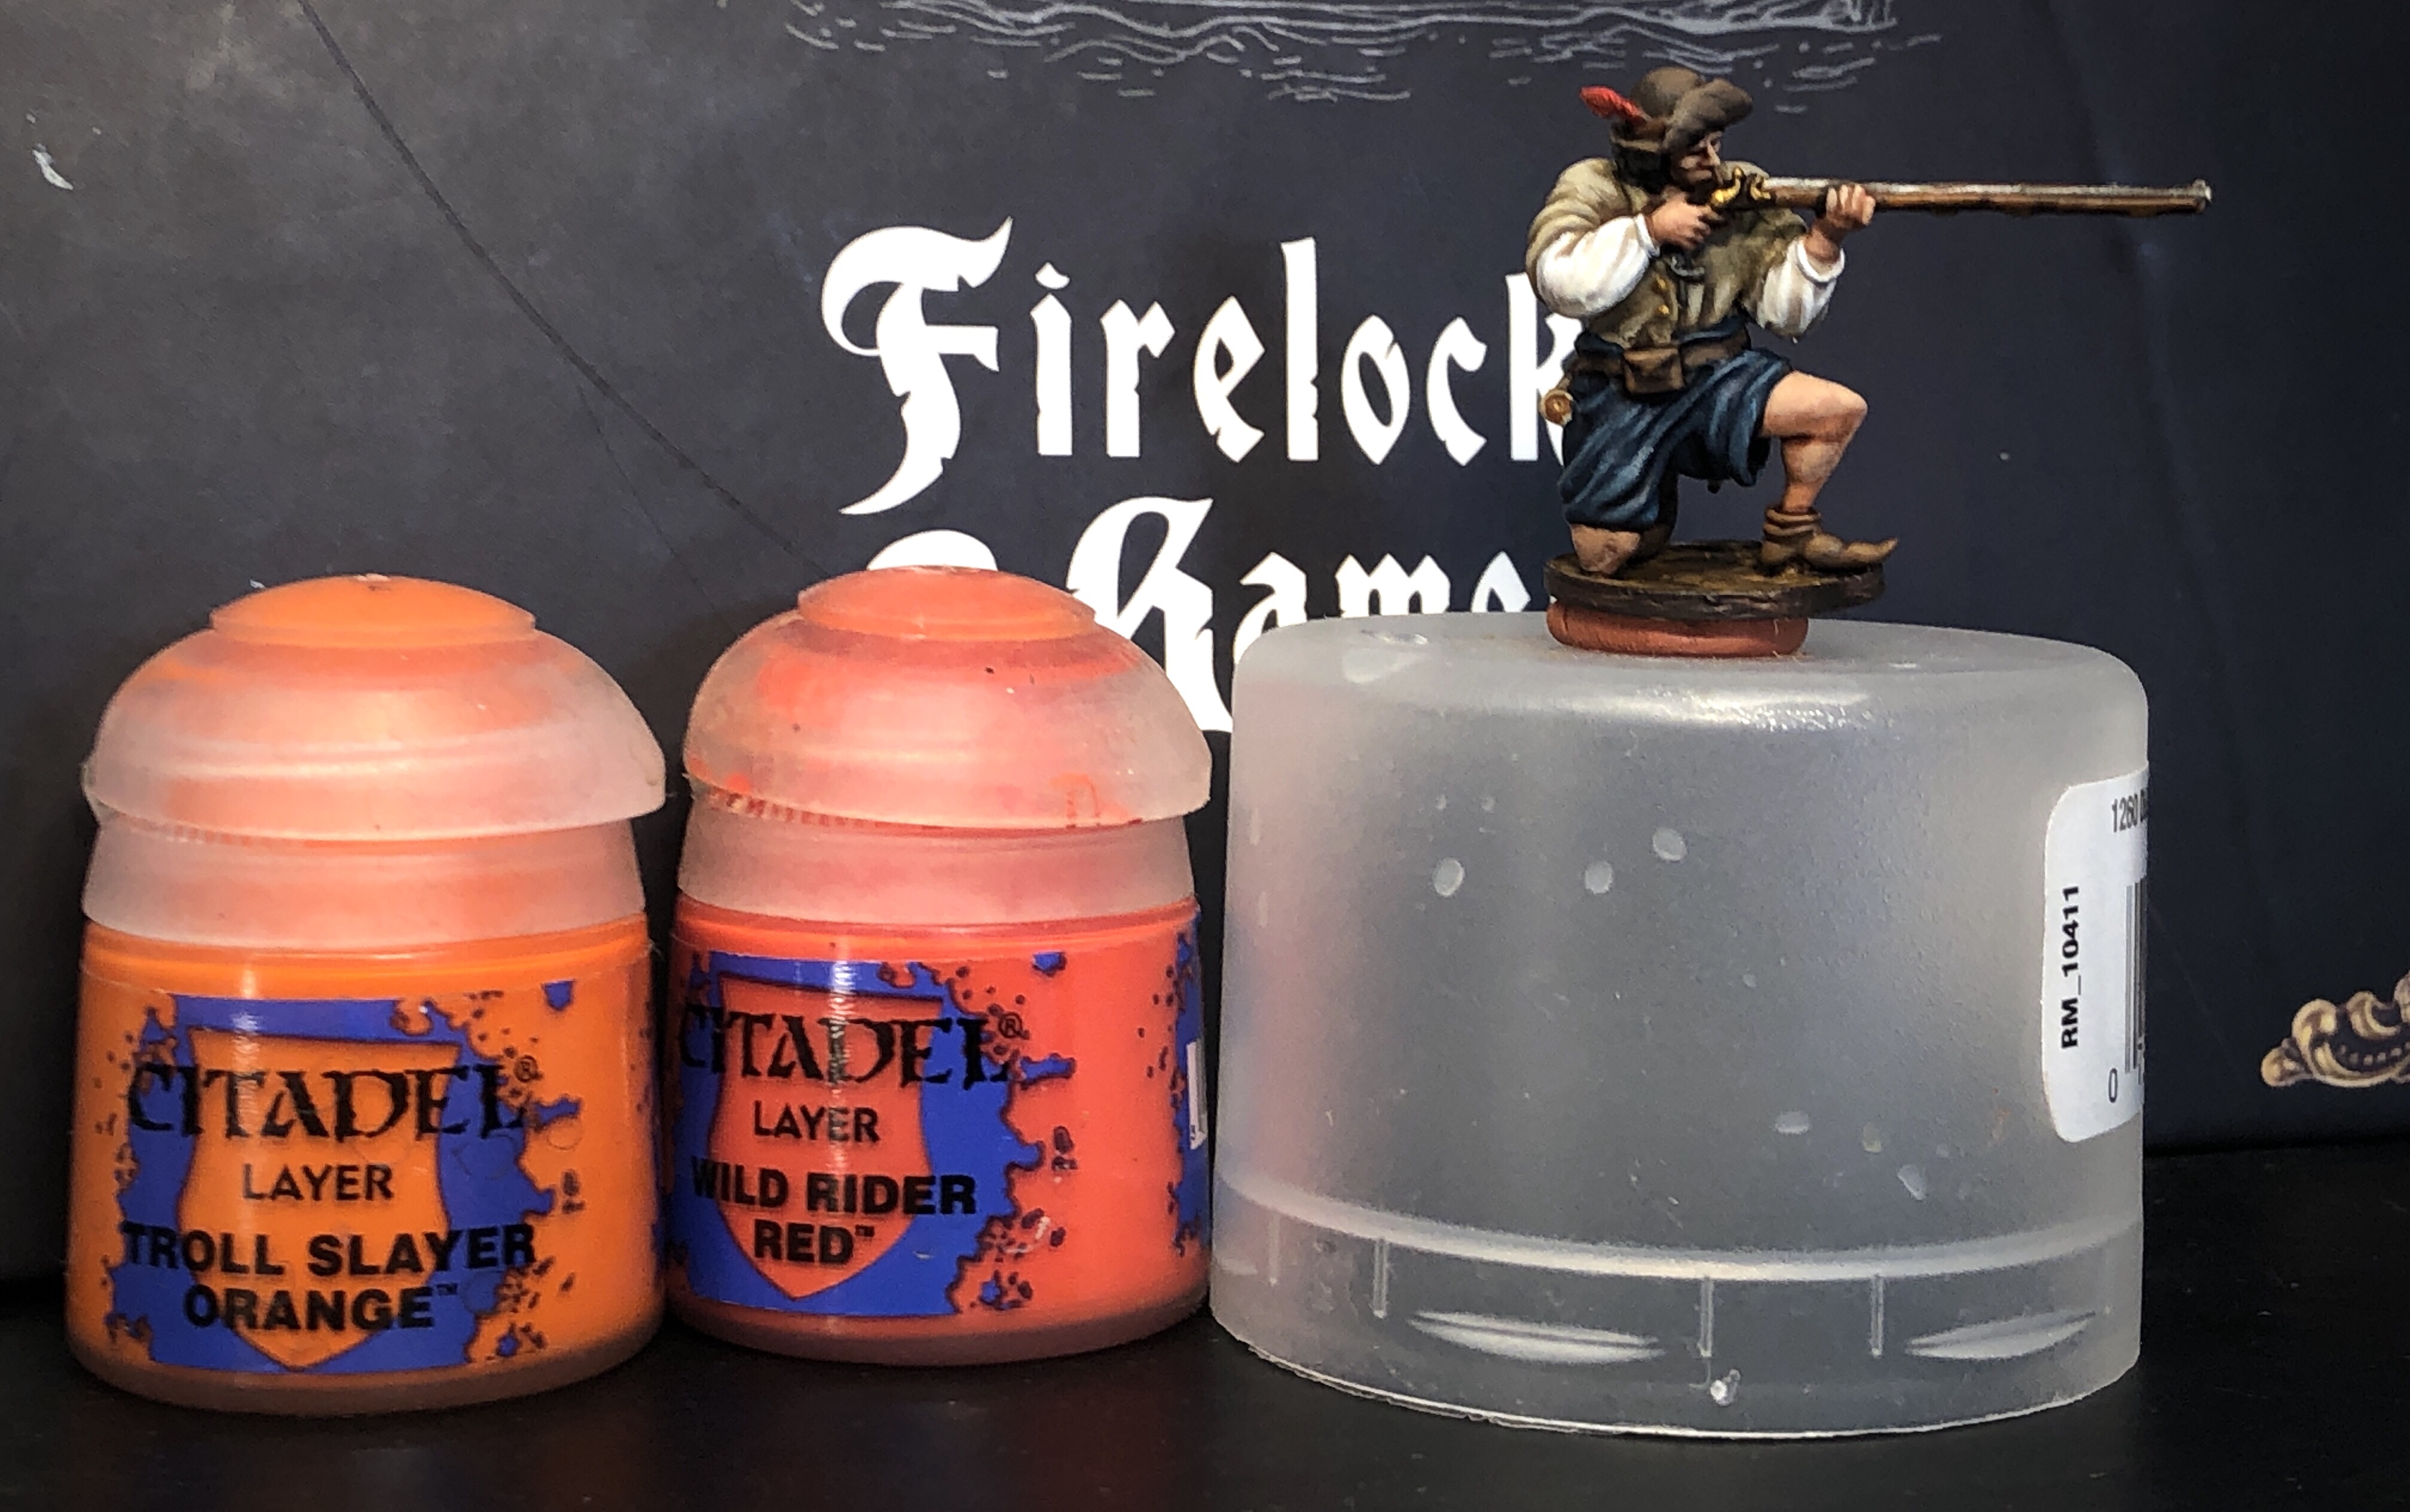
I gave the red feather a little texture by highlighting with Wild Rider Red and Troll Slayer Orange.
For the metals I highlighted the Steel with the original Steel again followed by Metal Color Duraluminum. This covers the musket barrels, the belt buckles, the machetes, the rivets on the machete handles and the nipple picks (I think that’s what they are) hung around their necks.
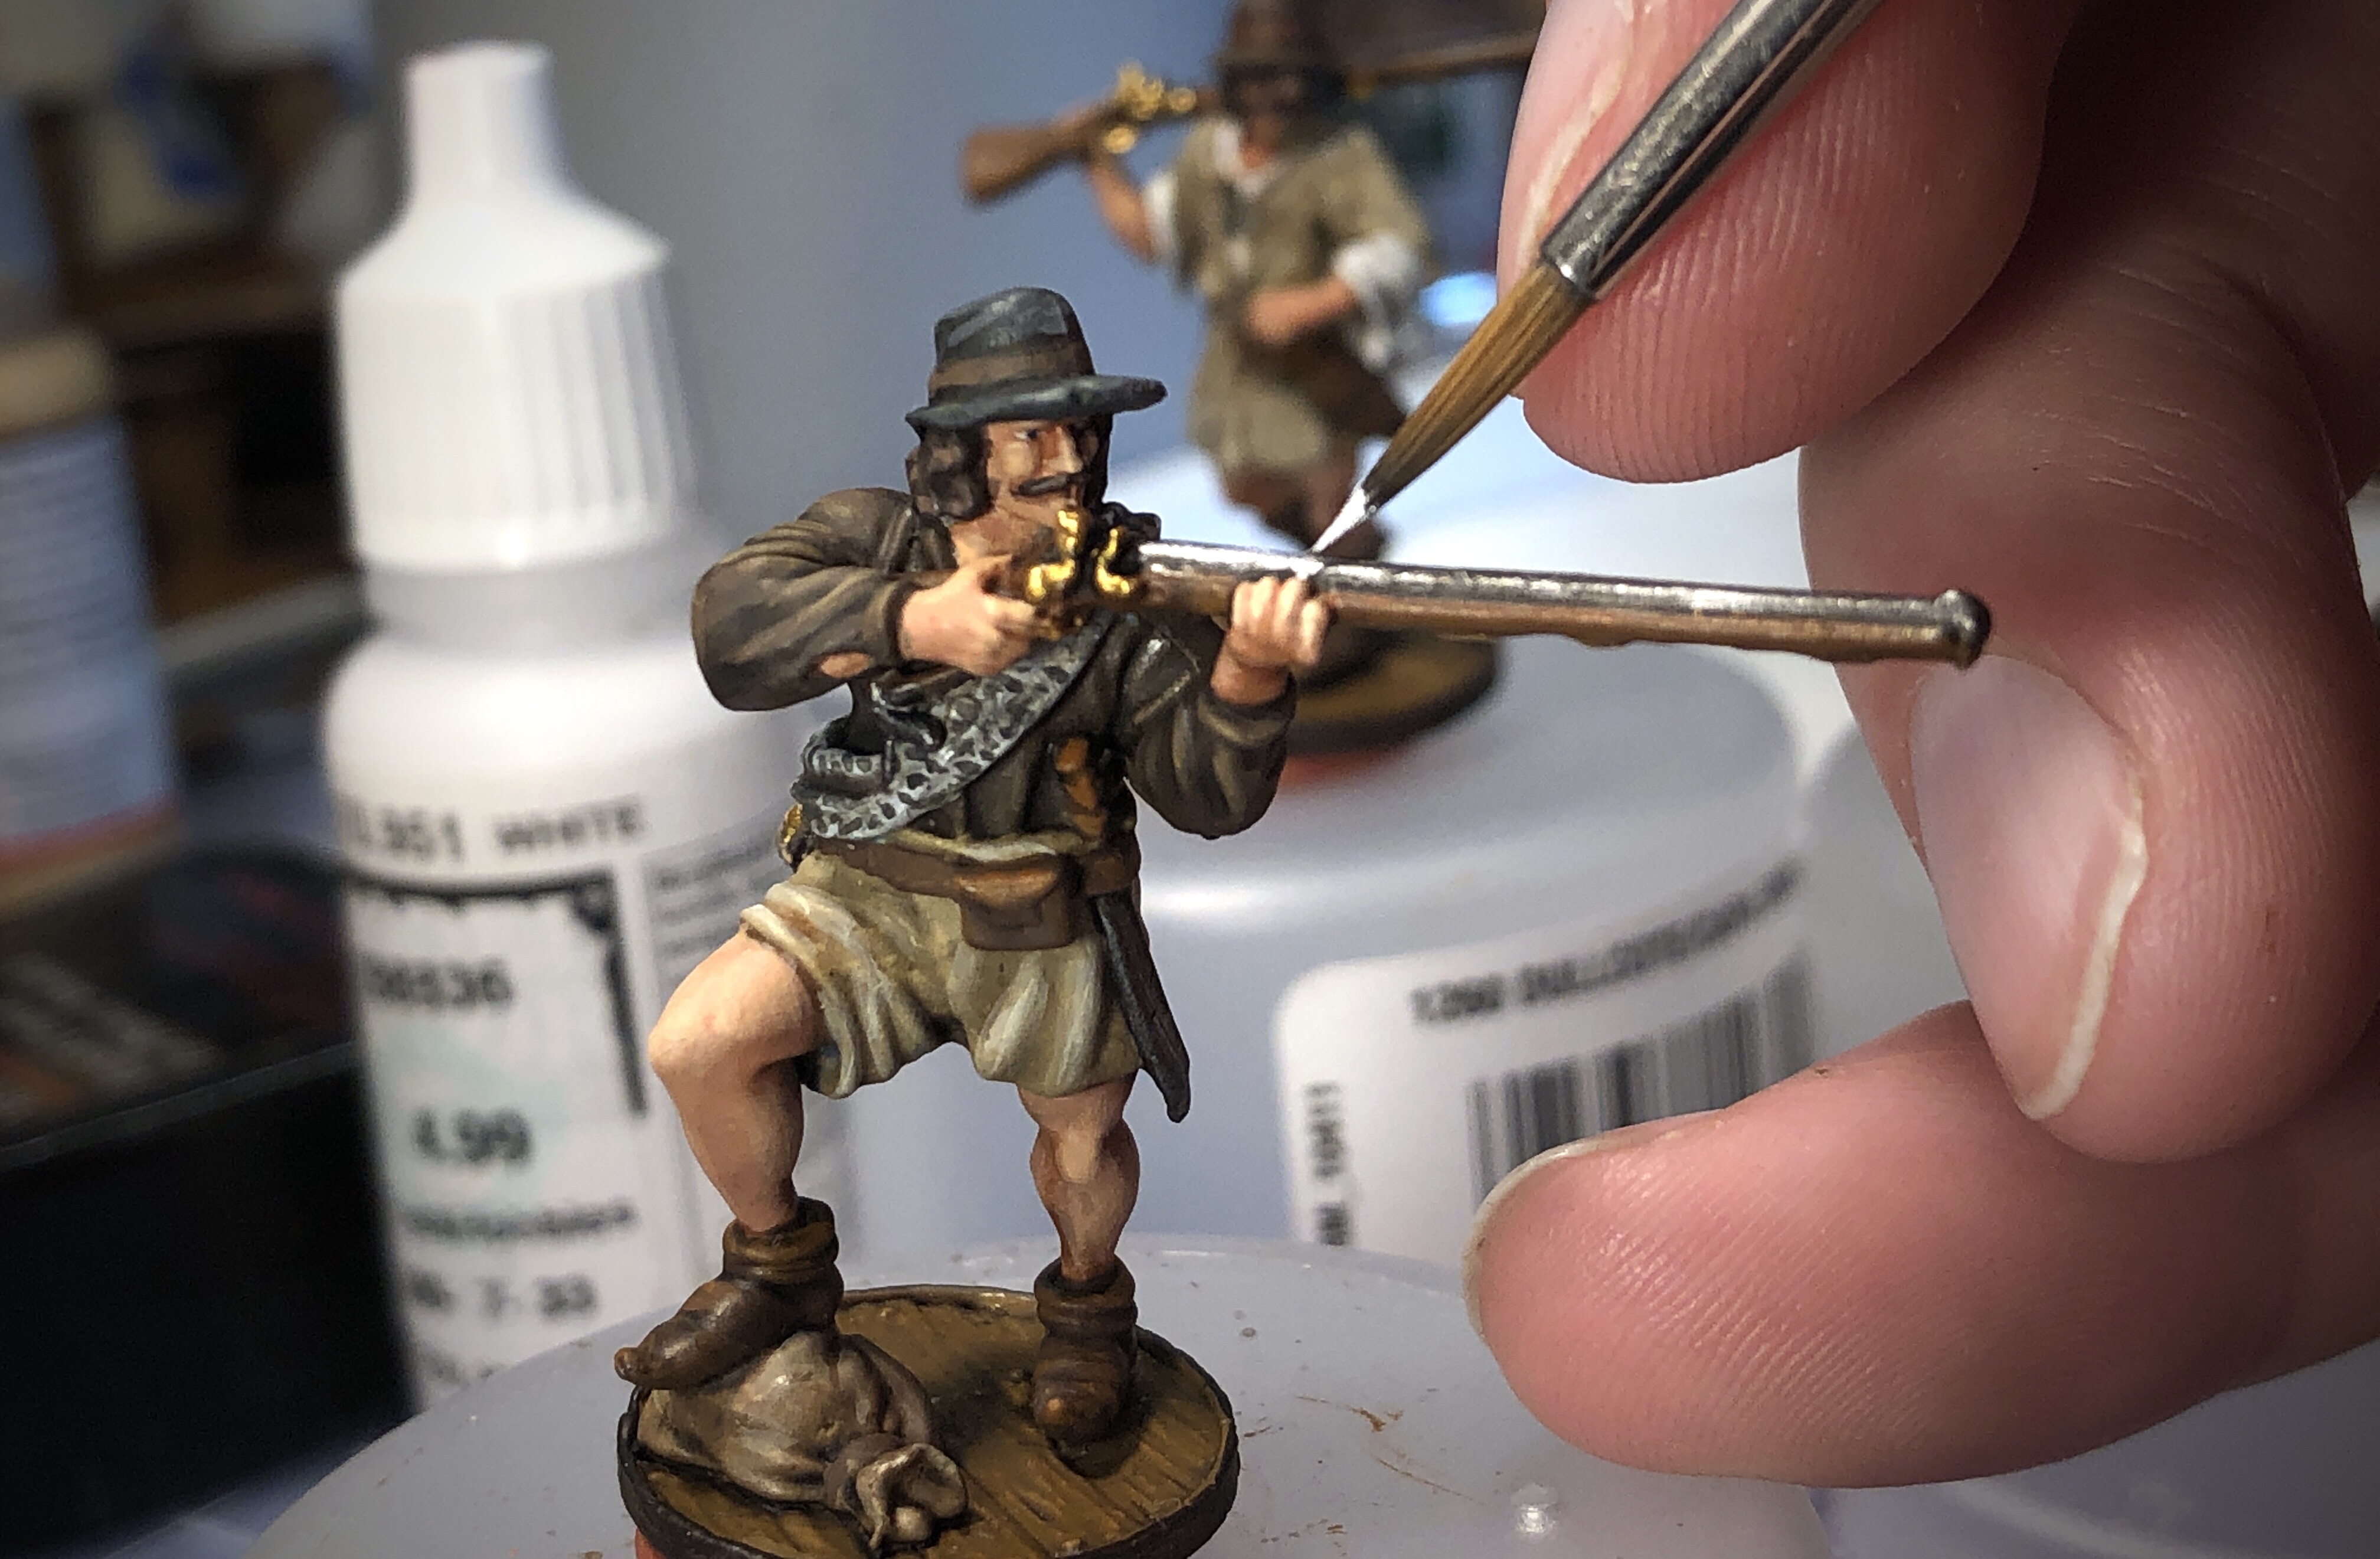
I used Gold to highlight the brass elements on the muskets and powder horns.
I did a quick highlight of Screaming Skull and Deathclaw Brown on the powder horns.

You could highlight the Dryad Bark tip of the horn as well but I didn’t feel it would add enough to be worth the effort.
This concludes the highlights!
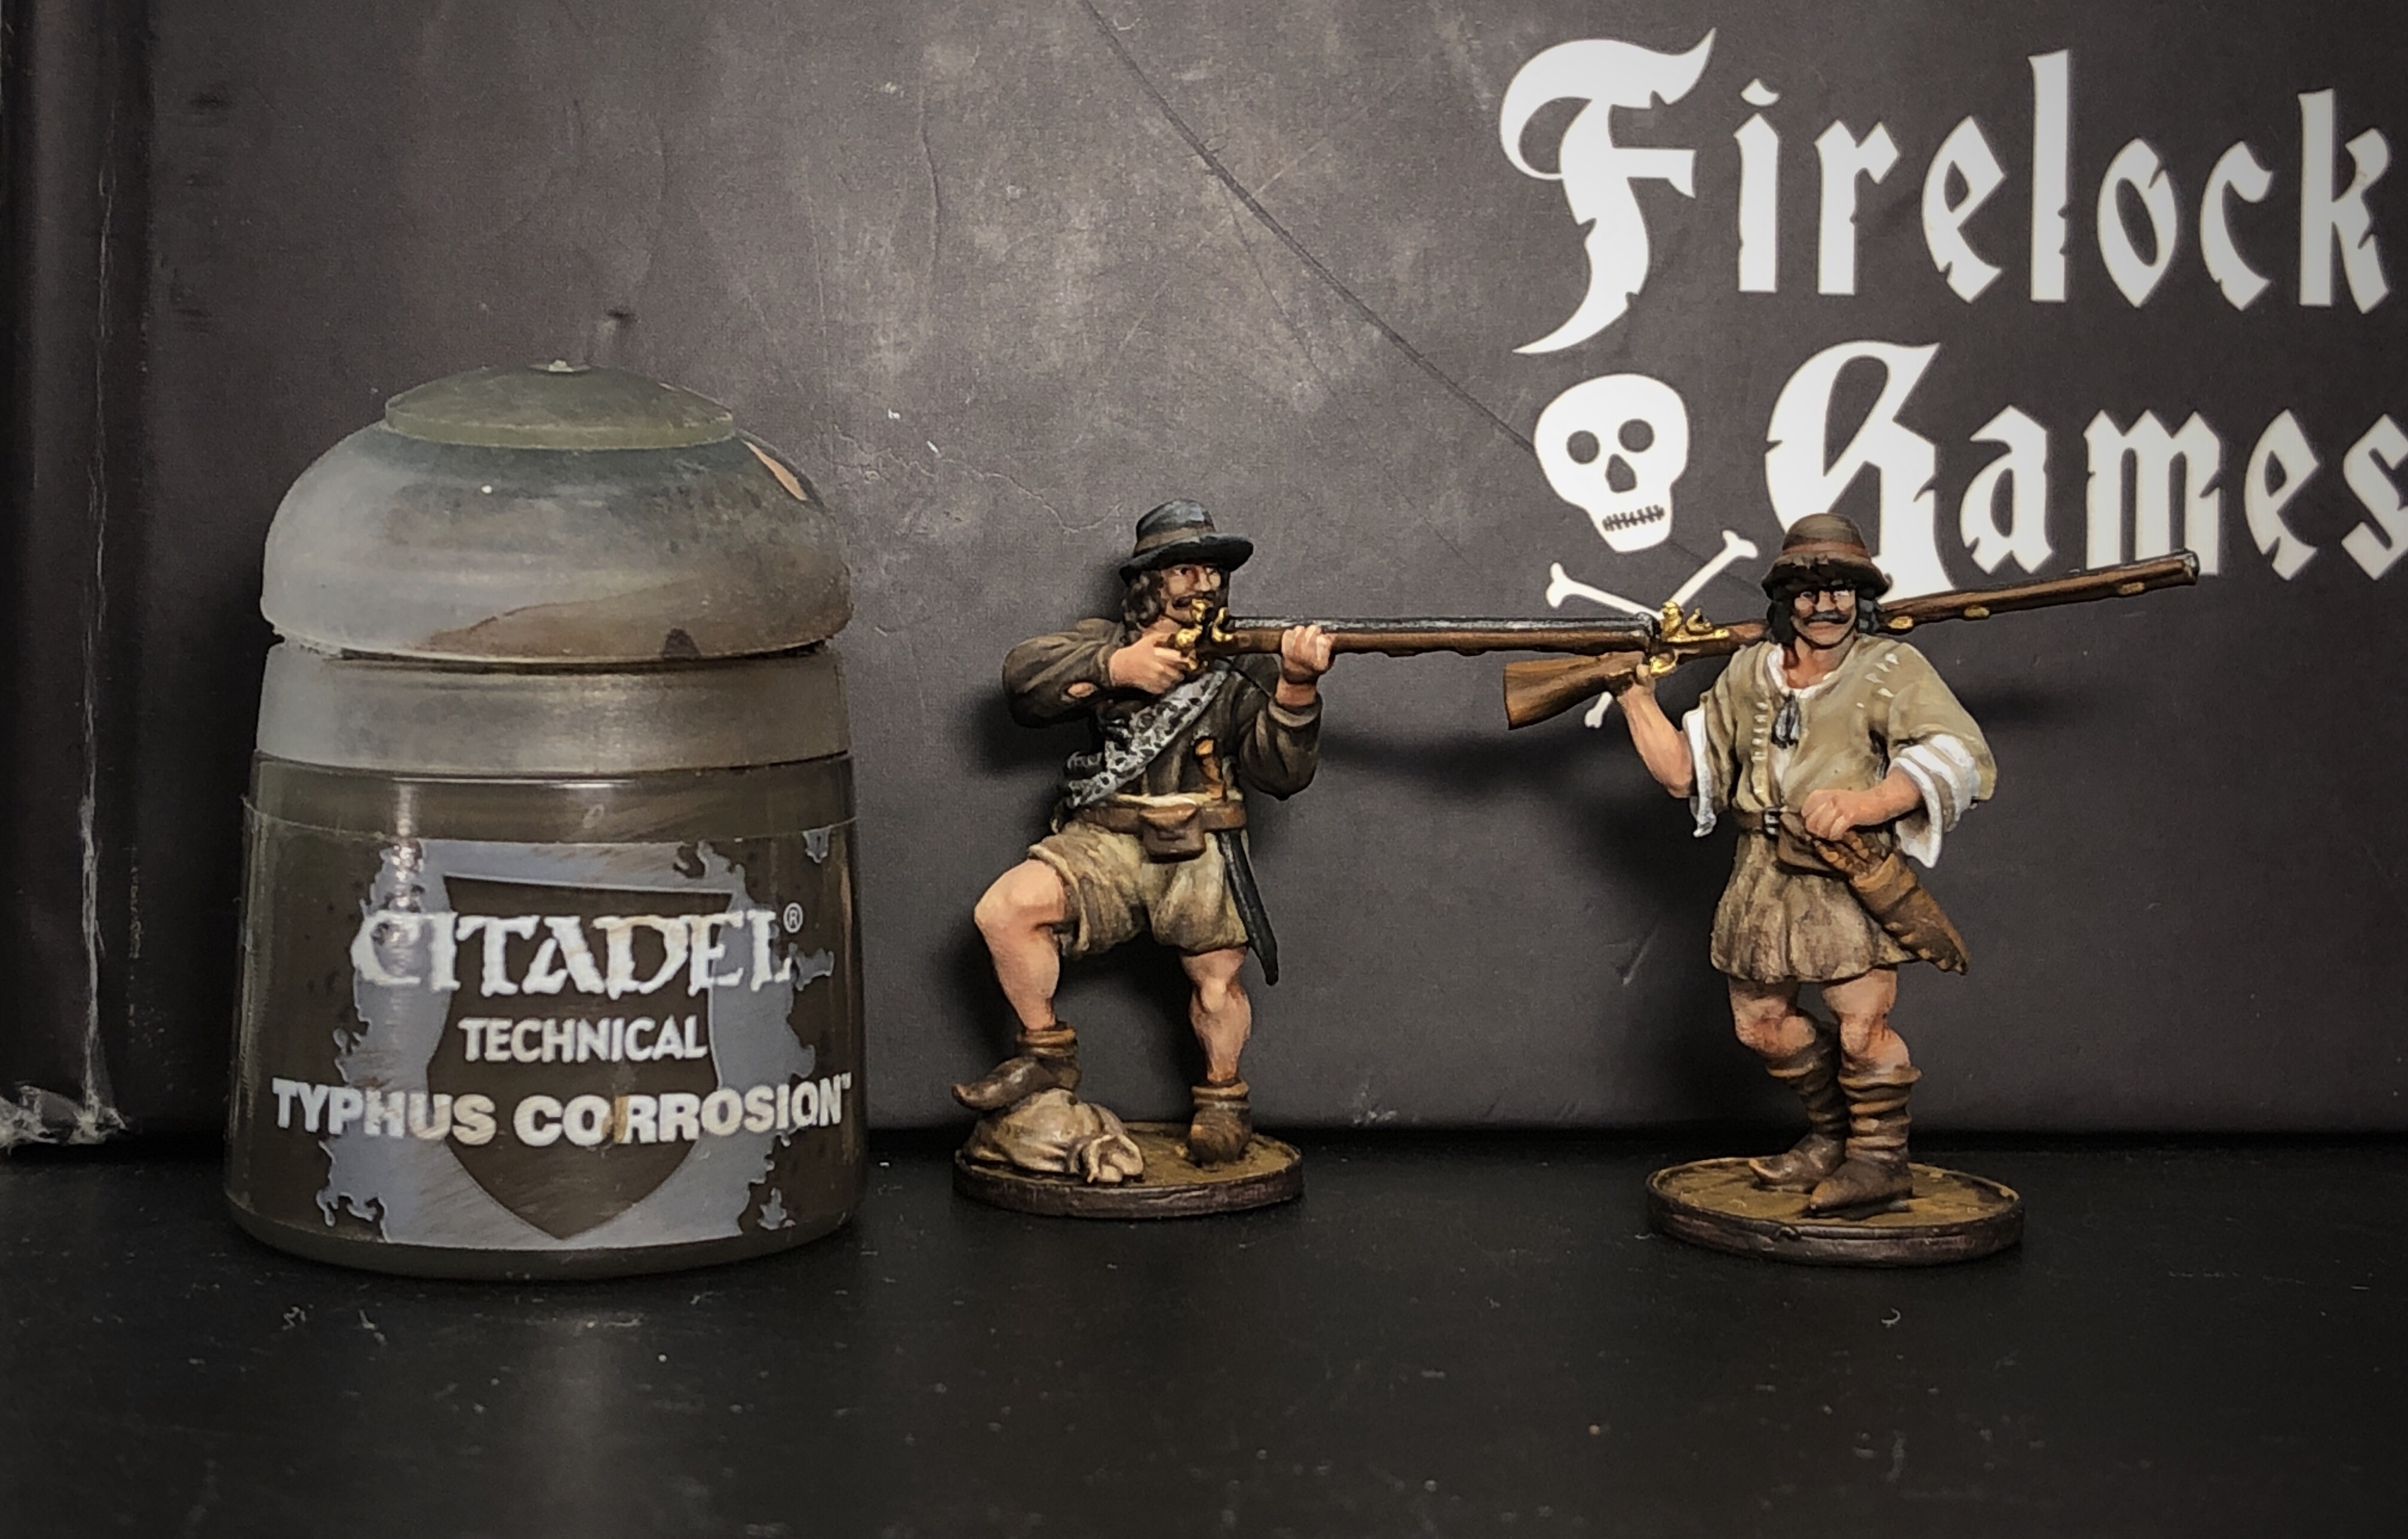
The Firelock models have stains all over the front of the clothes and I assume those stains were earned by working with hog and cattle skins.

I didn’t want to put blood all over their fronts so I just did some basic weathering with some Typhus Corrosion.
The last step is spraying them with a protective coat. I use Testors Clear Coat Spray Lacquer.

All finished!
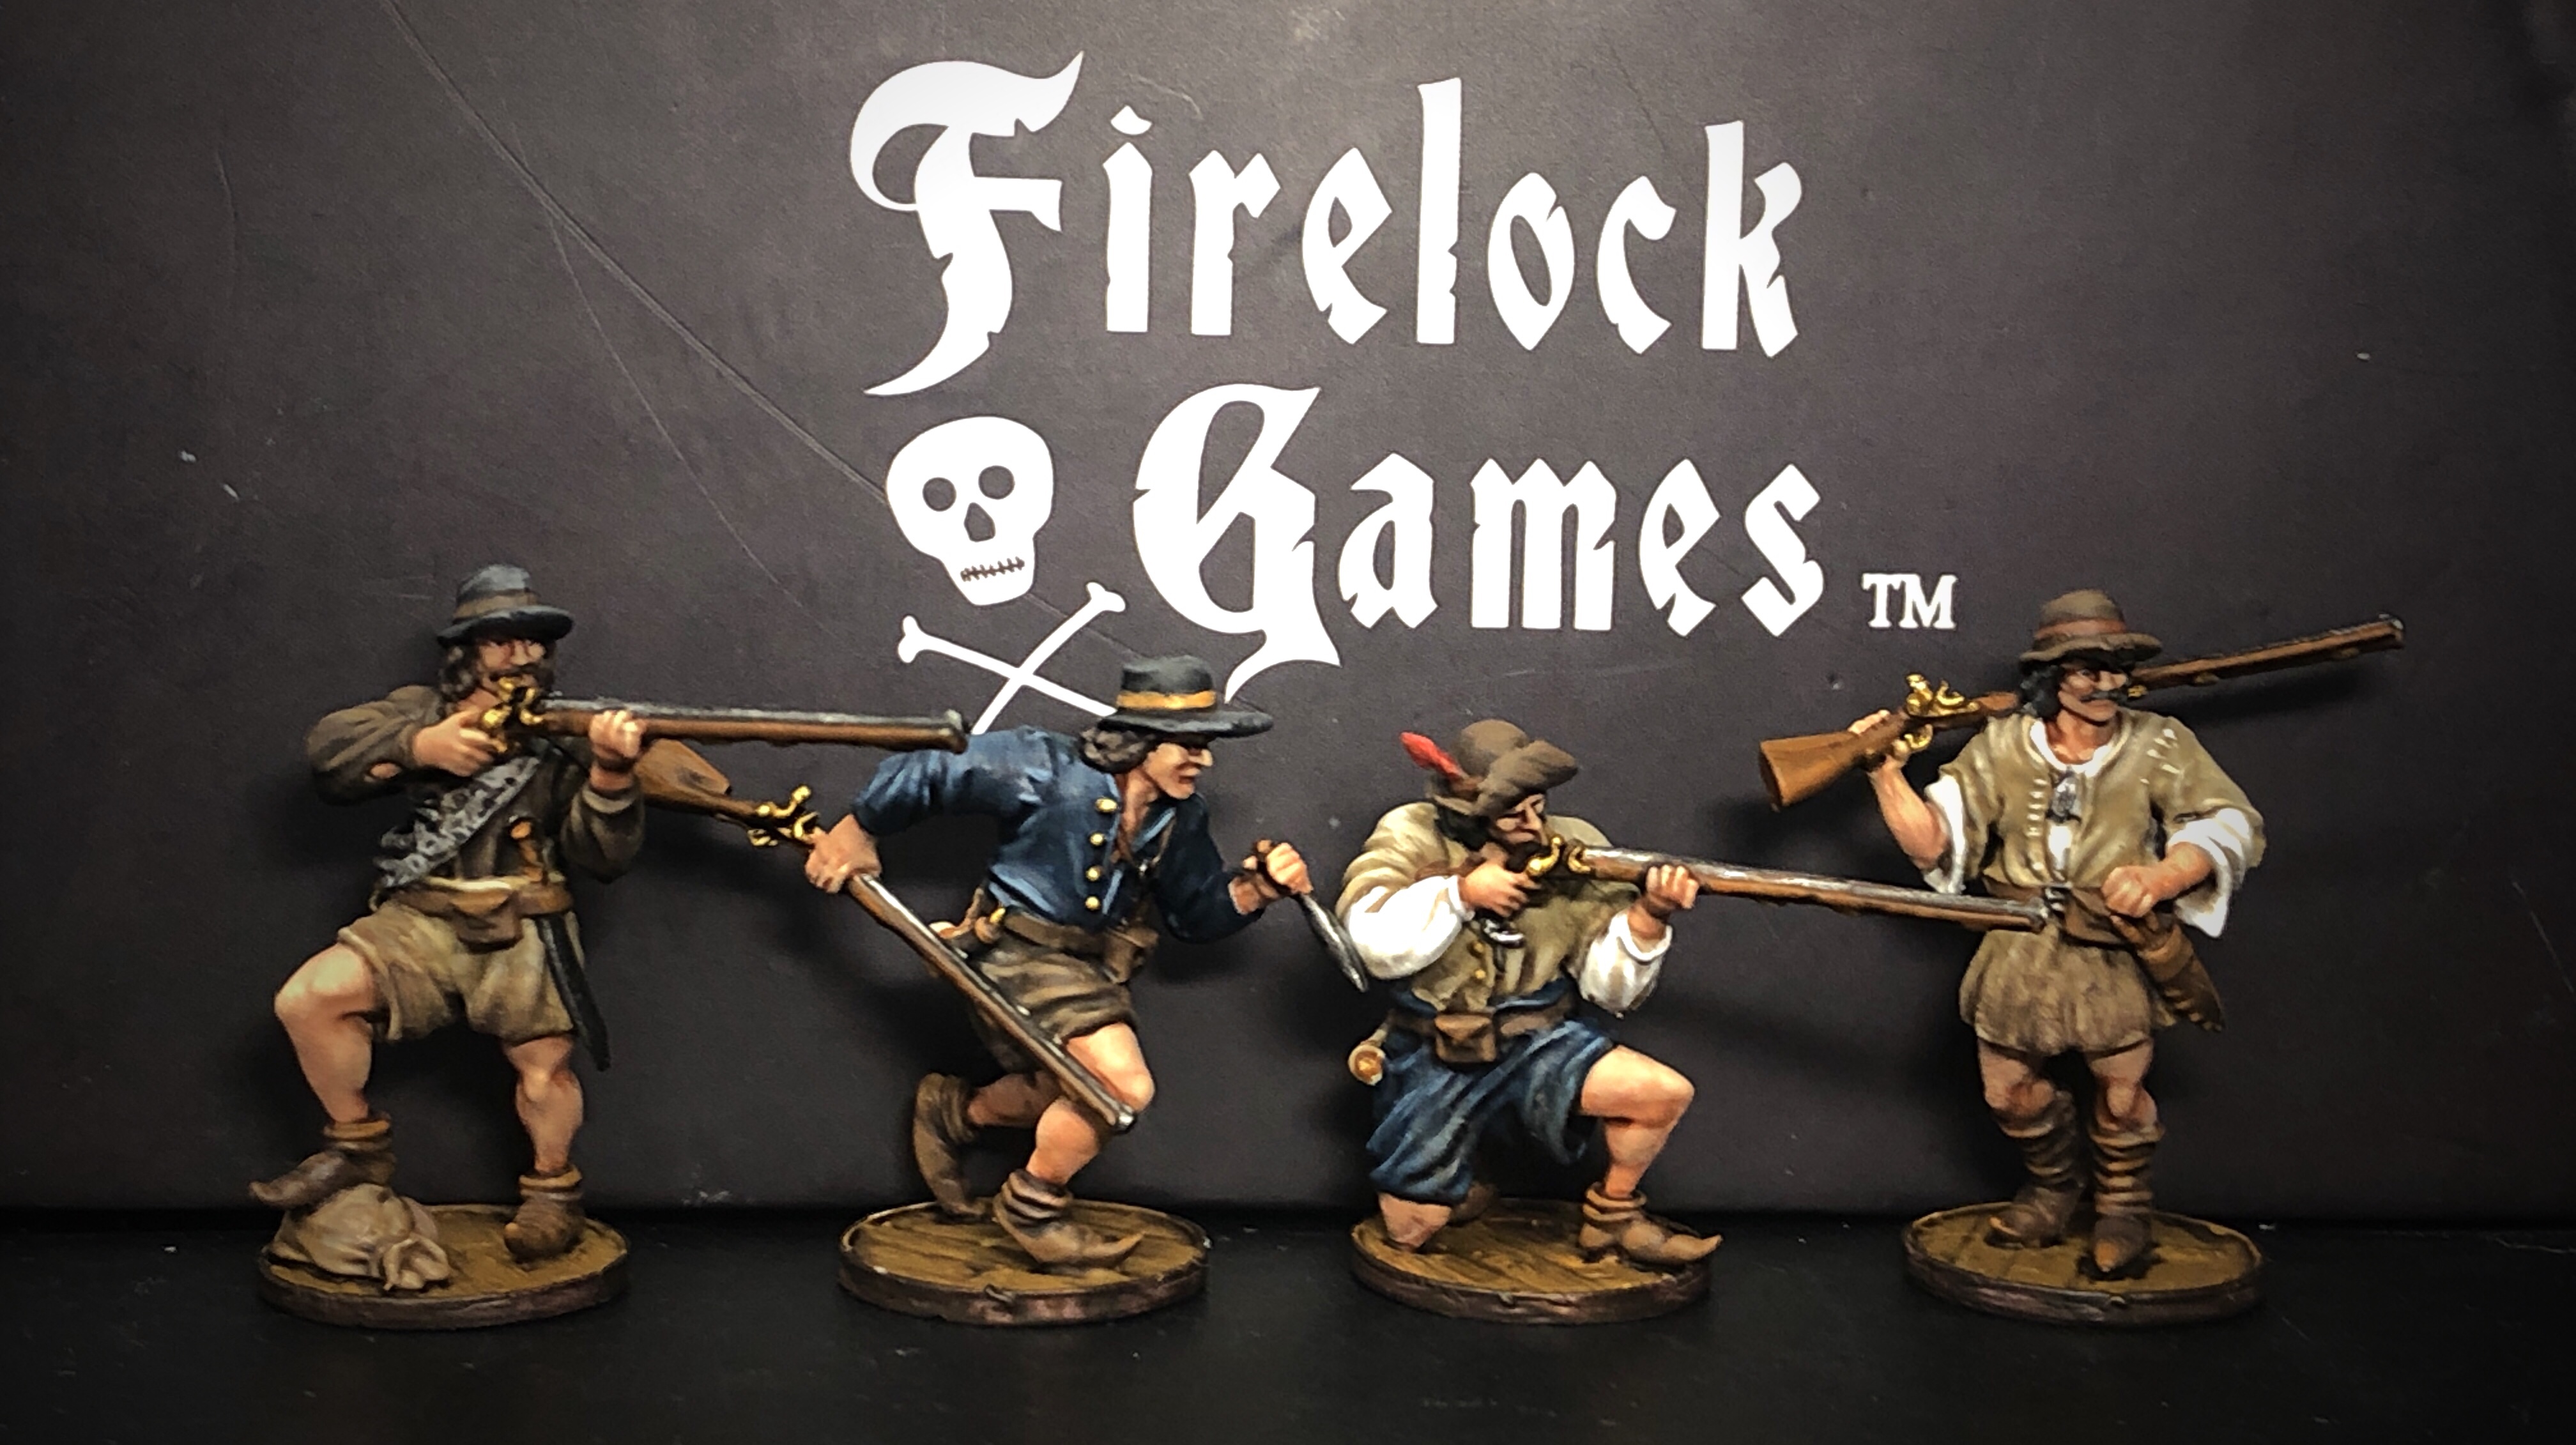
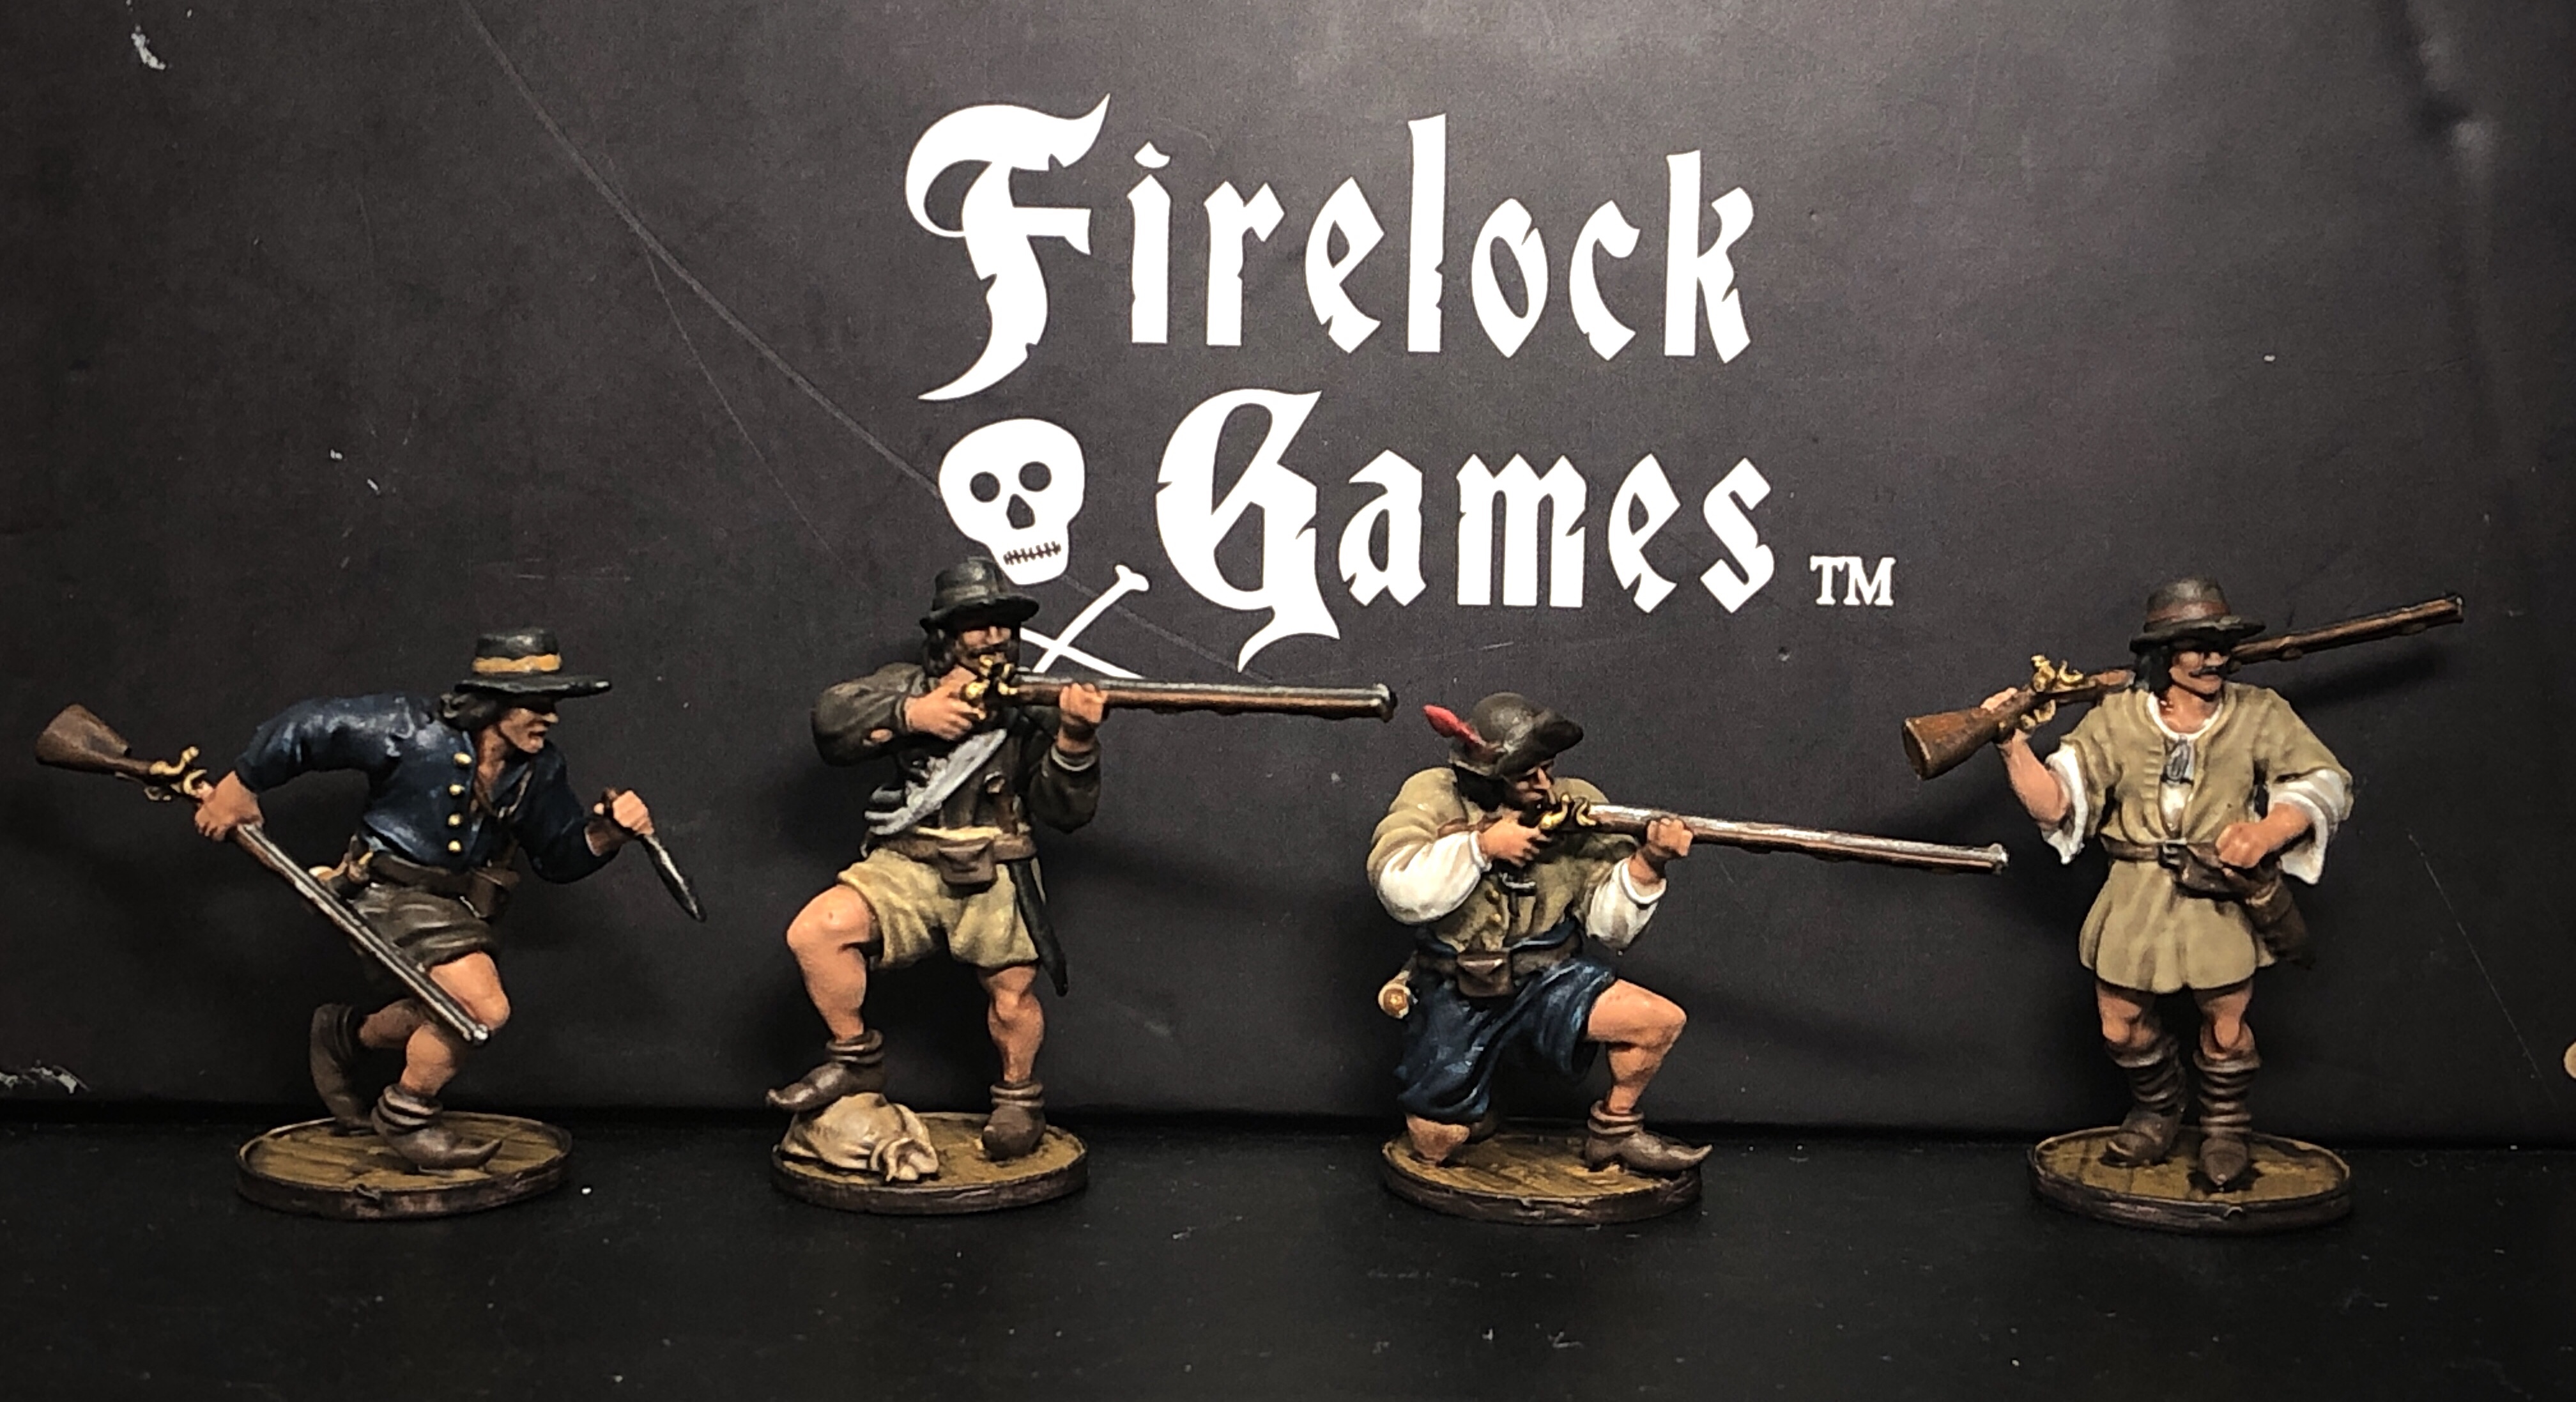
These Frenchmen are ready to cut down your enemies with precise musket fire!
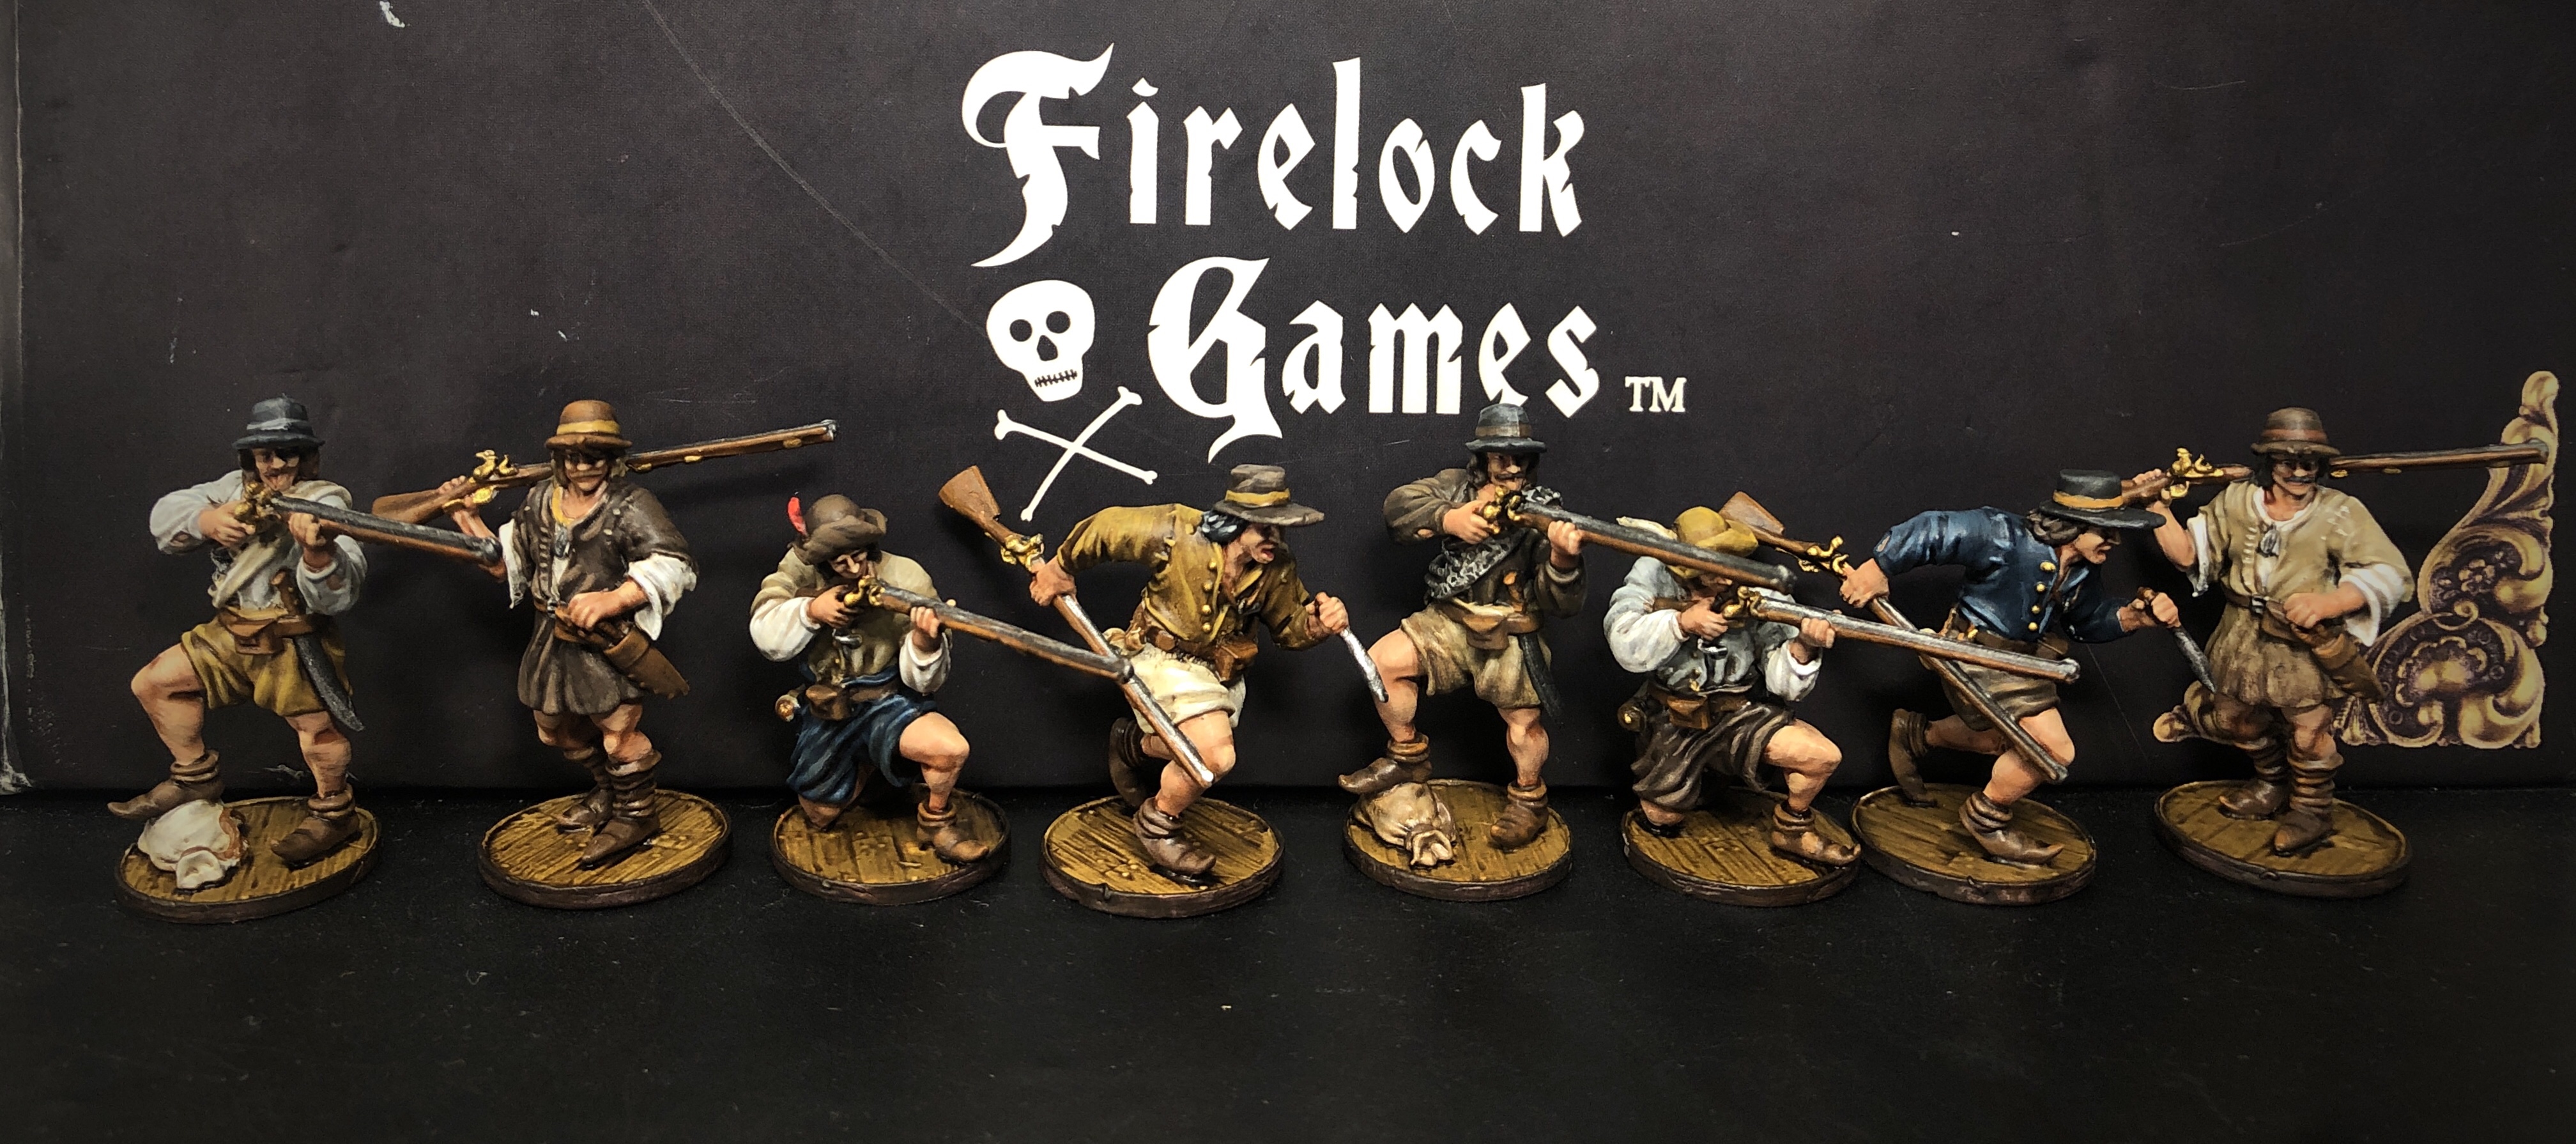
Here’s that set of four with another set with an alternate color scheme that keeps the same feel.
Paint List
Citadel
- XV-88
- Rhinox Hide
- Zandri Dust
- Stegadon Scale Green
- Mournfang Brown
- Dryad Bark
- Cadian Flesh
- Kislev Flesh
- Flayed One Flesh
- Glorthor Brown
- Administratum Grey
- Skragg Brown
- Deathclaw Brown
- Ushabti Bone
- Screaming Skull
- Wild Rider Red
- Troll Slayer Orange
- Doombull Brown
- Tau Light Ochre
- Thunderhawk Blue
- Agrax Earthshade
- Nuln Oil
- Drakkenhof Nightshade
- Carroburg Crimson
- Reikland Fleshshade
- Typhus Corrosion
Vallejo Paints
- Chocolate Brown
- Leather Brown
- Sky Grey
- Gold
- Brass
- Steel
- Duraluminium
- Ivory
- White
- German Grey
- German Tank Crew
Army Painter Paints
- Grey Primer
- White Primer