During the 17th and 18th Centuries, cannons were commonly cast both from iron and bronze during this era of history. It appears that the blackened iron was the most common type of naval gun used by both pirates and navies. Bronze had its advantages and sometimes they would leave them bare or polished for show. <a href=”https://youtu.be/I02BV5bPzlc”>I’ve found a painting method for black iron cannons that I’m pretty happy with and I’ve shared it on YouTube</a> but it’s taken me longer to find a recipe I like for bronze cannons. But I’ve finally settled on something and it’s not that complicated!

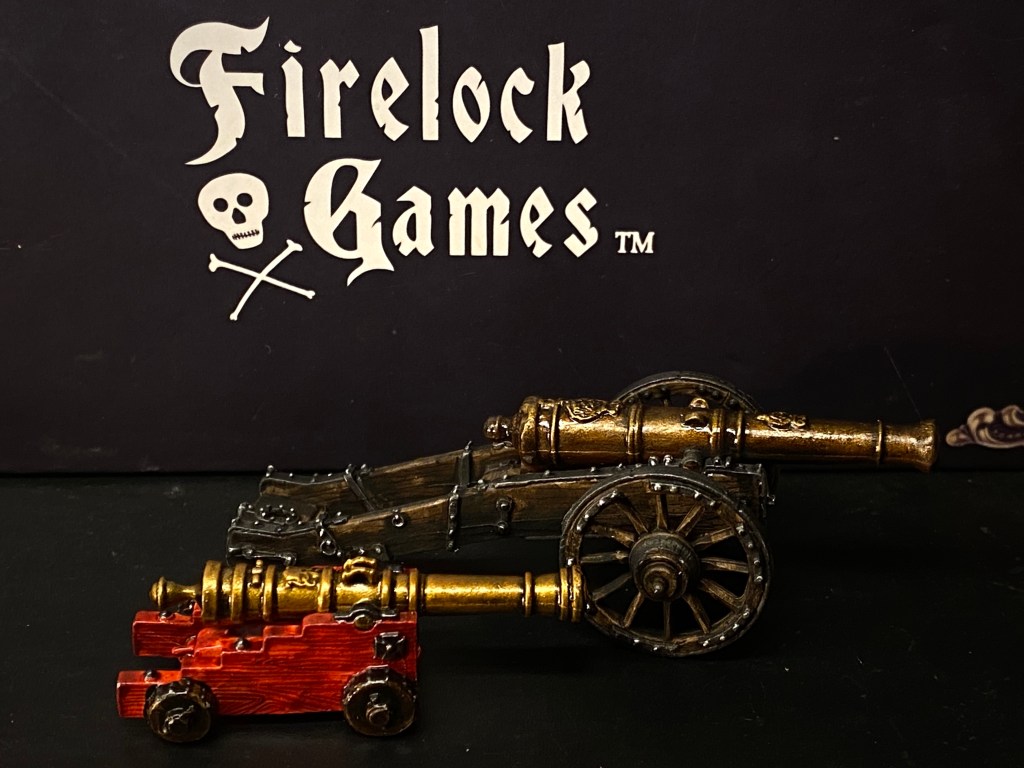
Here is a painting guide for painting bronze cannons, using the Firelock Heavy Cannons as examples
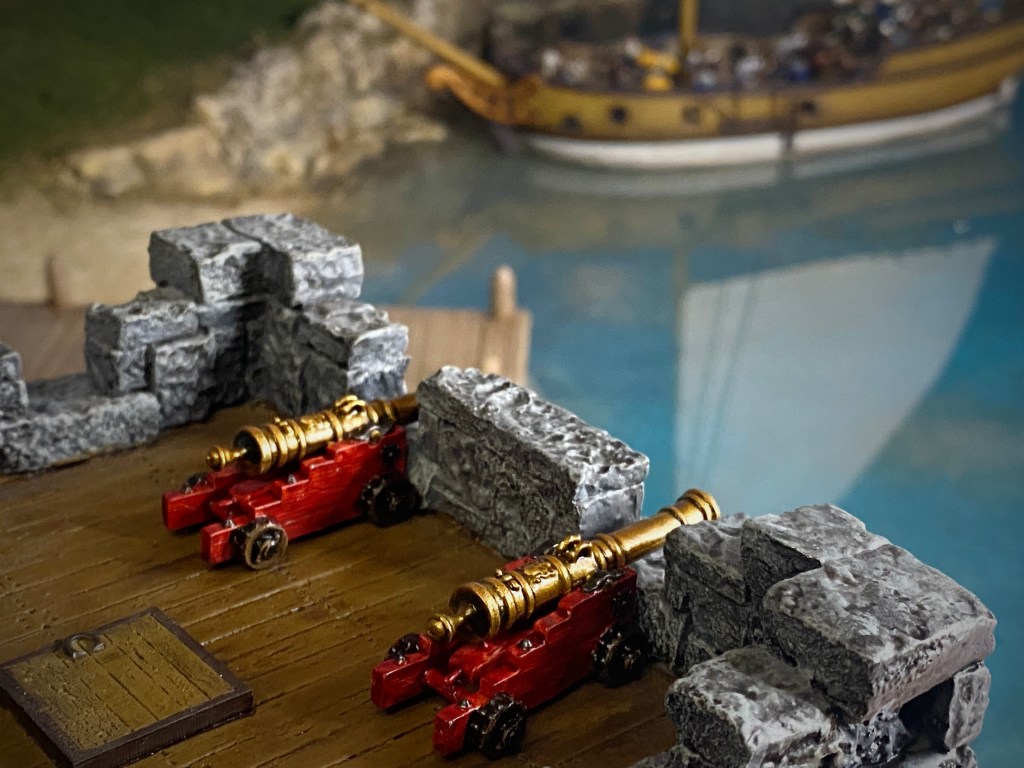
Step 1 – Prep and Prime Your Cannon Models
The first step is always to prep and prime your models and I primed with Vallejo white primer.
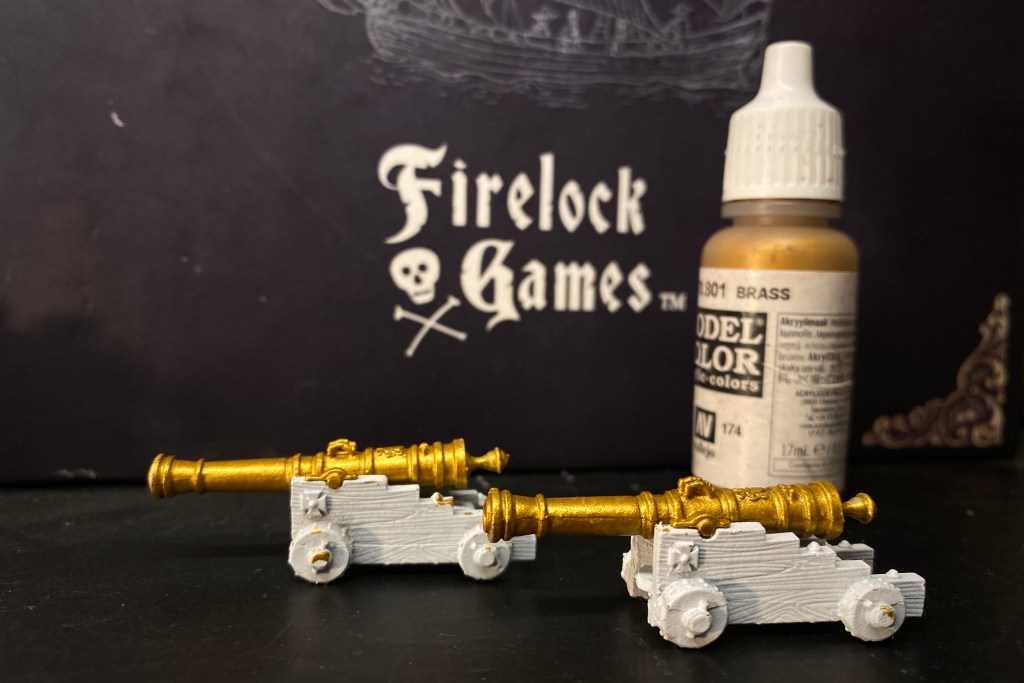
Step 2 – Base Coat the Cannon Barrel
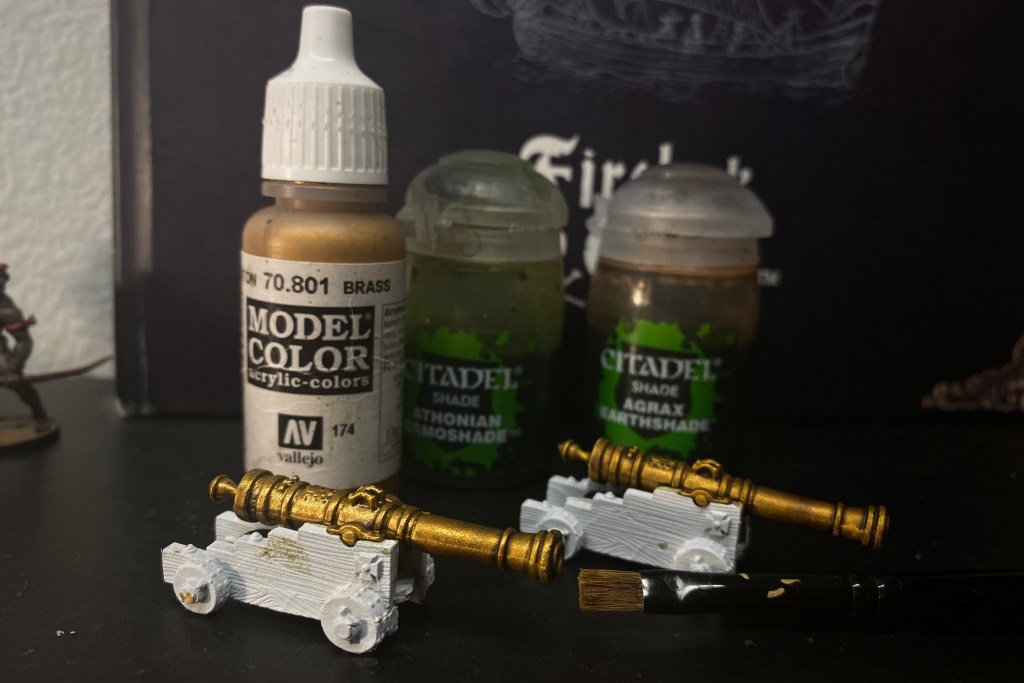
I based the barrels with Vallejo Model Color Brass. I applied two coats over an evening. Unlike a figure miniature, cannon barrels don’t have bases to secure to a old paint bottle or spray can top. I had to paint one half of the barrel while hold the opposite end, let it dry and the repeat for the opposite end. It took two coats of this process to get a good solid coat over the white primer.
Step 3 – Alternate Washes and Drybrush
This step takes a while. I alternated applying one of three Citadel Washes with applying a light drybrush over the cannon barrel to give it a rich, weathered and shaded appearance.
I started with Agrax Earthshade, applied a quick Brass drybrush, then repeated with Athonian Camoshade. Even after just a couple layers, the barrels look much more interesting.
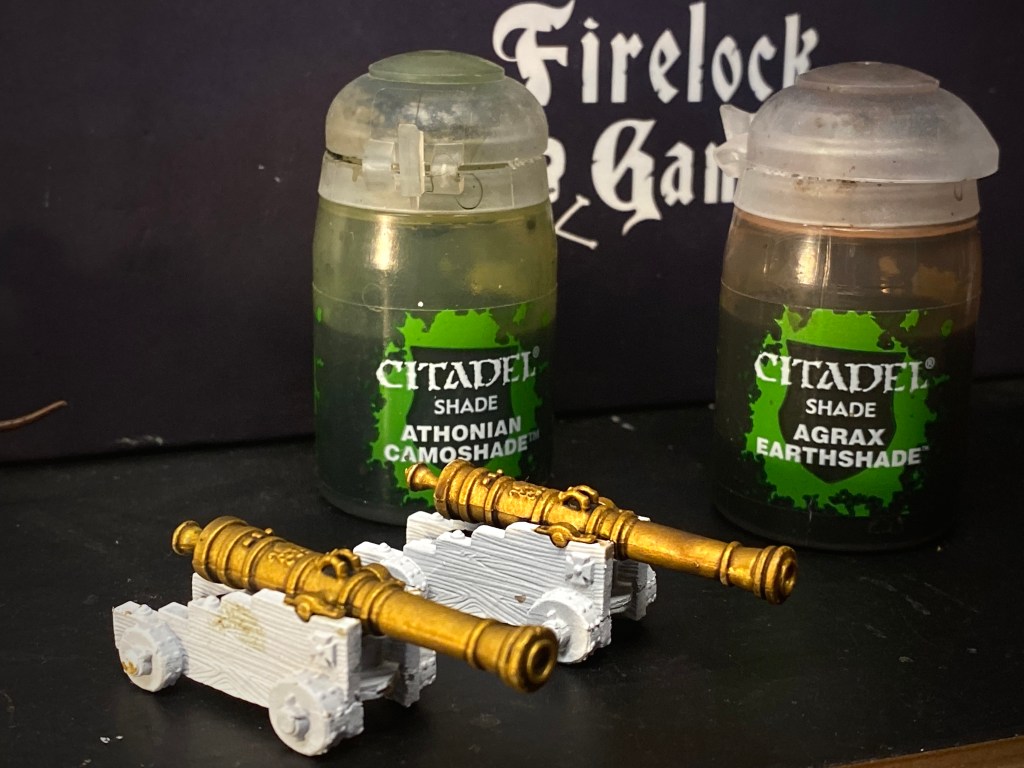
I repeated this process around 6 times, alternating between Agrax Earthshade, Athonian Camoshade and one layer of Nuln Oil. You can kind of adjust your tone as you go. Each layer doesn’t do a lot but after several applications, you get a rich finish. This process really takes a few days since those layers of wash have to dry completely before dry brushing over the top.

I used a Rusty Bronze paint for one layer of drybrush just to see how it looked. In the phot below, the upper cannon has the Rusty Bronze drybrush.

You can apply a couple layers of wash in a row without drybrushing as well but the repetition of this process really builds up some nice gradients.
Step 4 – Painting the Naval Cannon Carriage
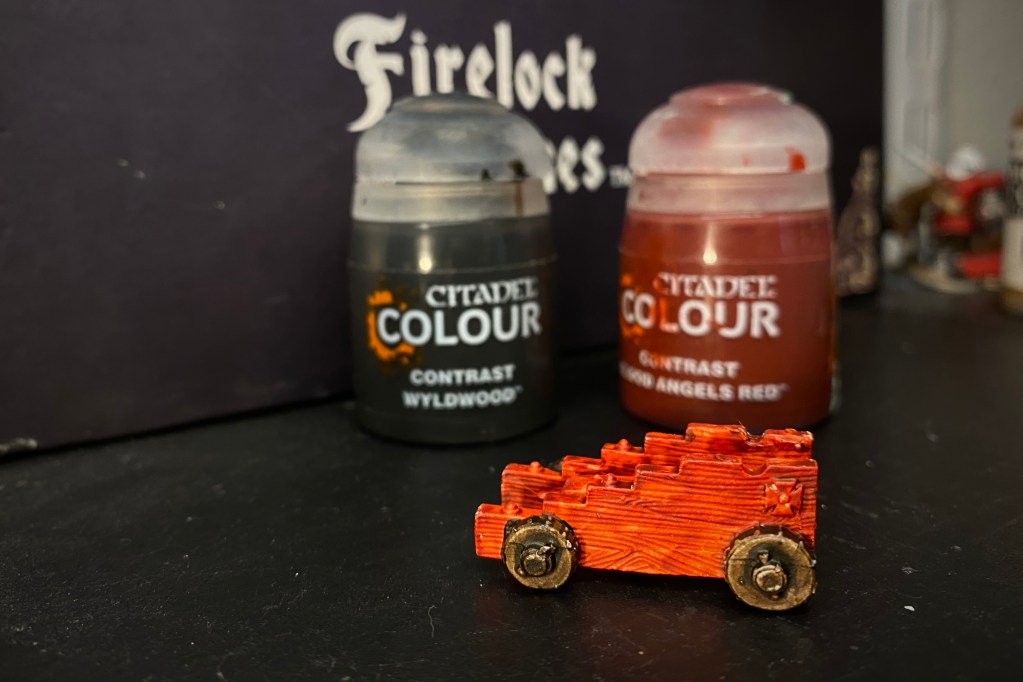
I’ve been getting lazy with cannon carriages by using Contrast Paints. A coat of Blood Angels Red over the main body and Wyldwood on the wheels is fast and effective. Be careful to not rub the delicate paint off while painting this. I did all the red while hold the wheels and then did two wheels at a time with dry time between applications.
I used Vallejo Metal Color Steel for the metal bits on the carriage. The wheels have metal studs all around. It looks like they could even be painted as having a metal hoop all the way around the wheel. That would actually be easier to paint.
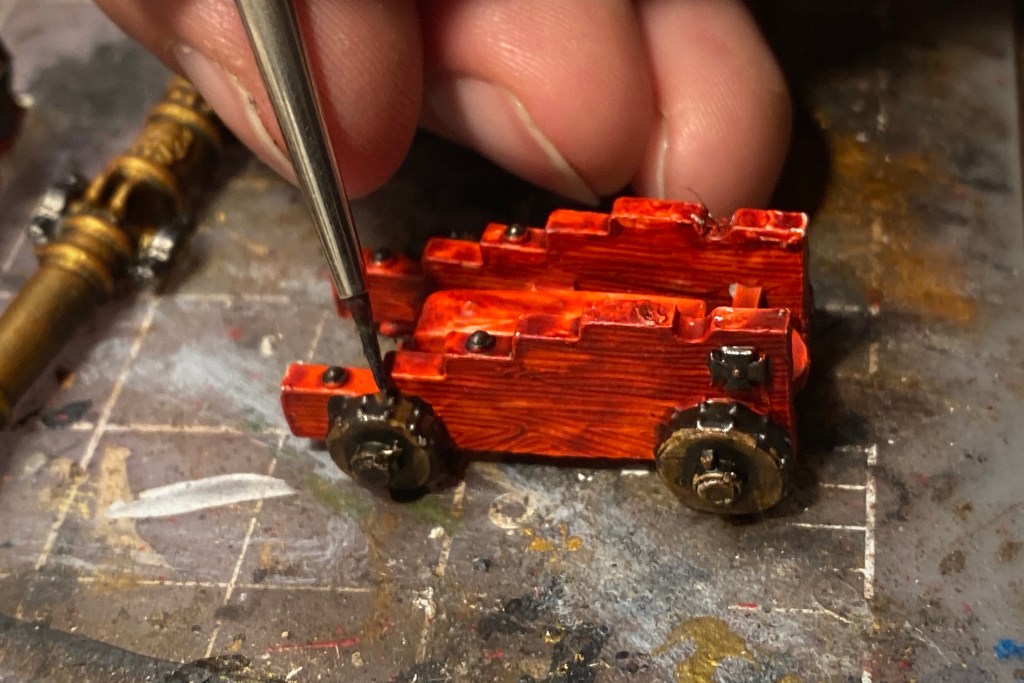
Use the same steel for the bands over the trunnions.
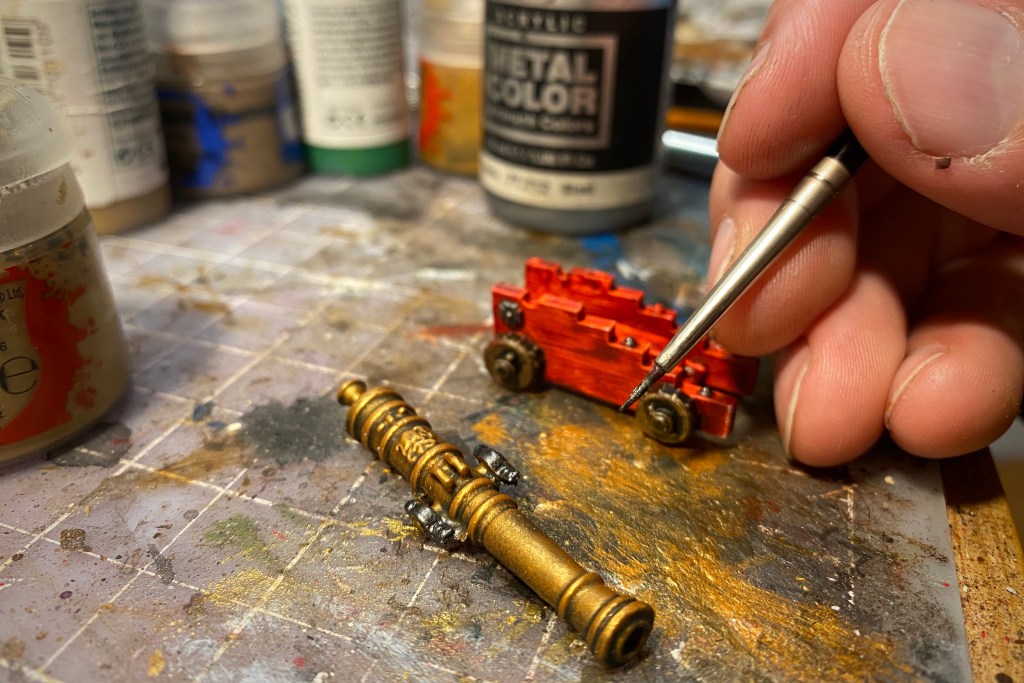
Step 5 – Assemble Your Cannon Models & Add a Final Drybrush
With the carriage complete, I glued the barrels on and then applied a final drybrush of a brighter color.
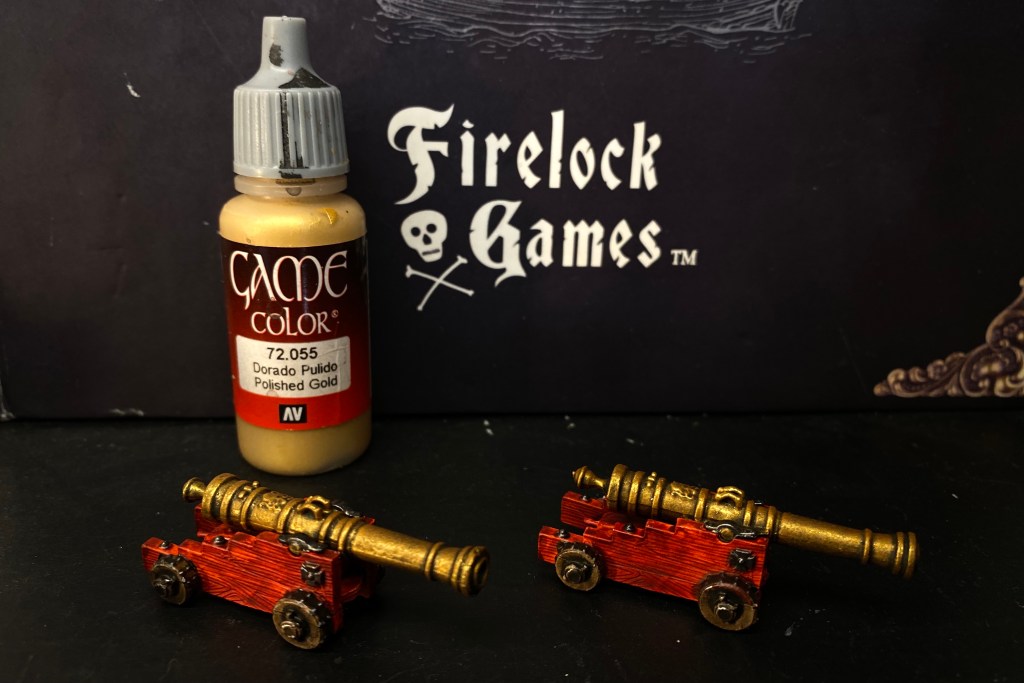
For this final, subtle highlight I used Game Color Polished Gold. I just wanted to hit the very top of the barrel and the highest parts of the handles near the middle of the barrel. If you want an old, tarnished look, don’t apply this highlight layer, and you can even apply 2 or 3 coats of wash after the final drybrush to give it a dull finish. You can fine tune your look really easily!
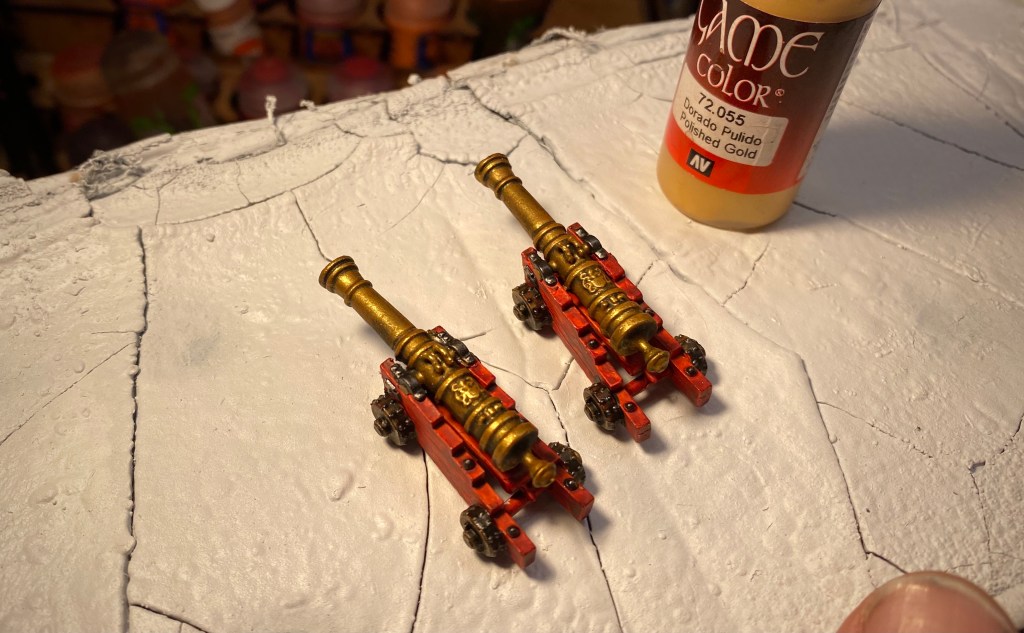
Here’s a heavy field gun where I used the same process but applied more layers of wash and backed off the drybrush near the end and it came out much darker.
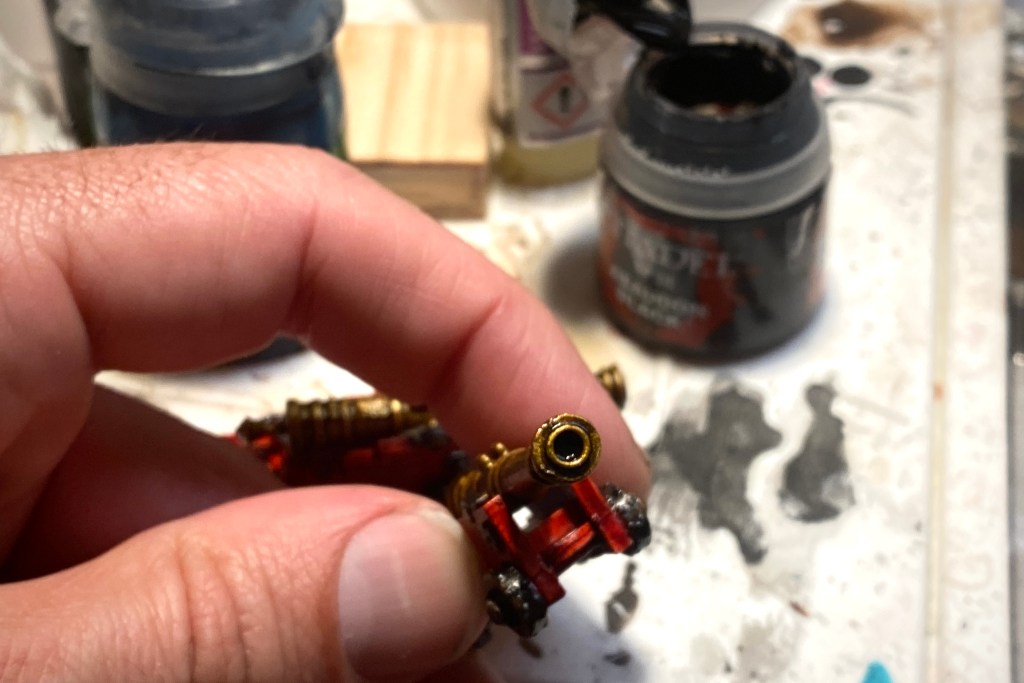
Before varnishing I remembered to paint the mouth of the cannon with Abaddon Black.
Step 6 – Apply a Protective Varnish to the Cannons
I applied two coats of Testors Clear Coat and then a Vallejo matte varnish after that. The Citadel Contrast paints are delicate and the sharp angles on these cannons tend to lose their paint and get silver corners if you don’t varnish them pretty heavily.
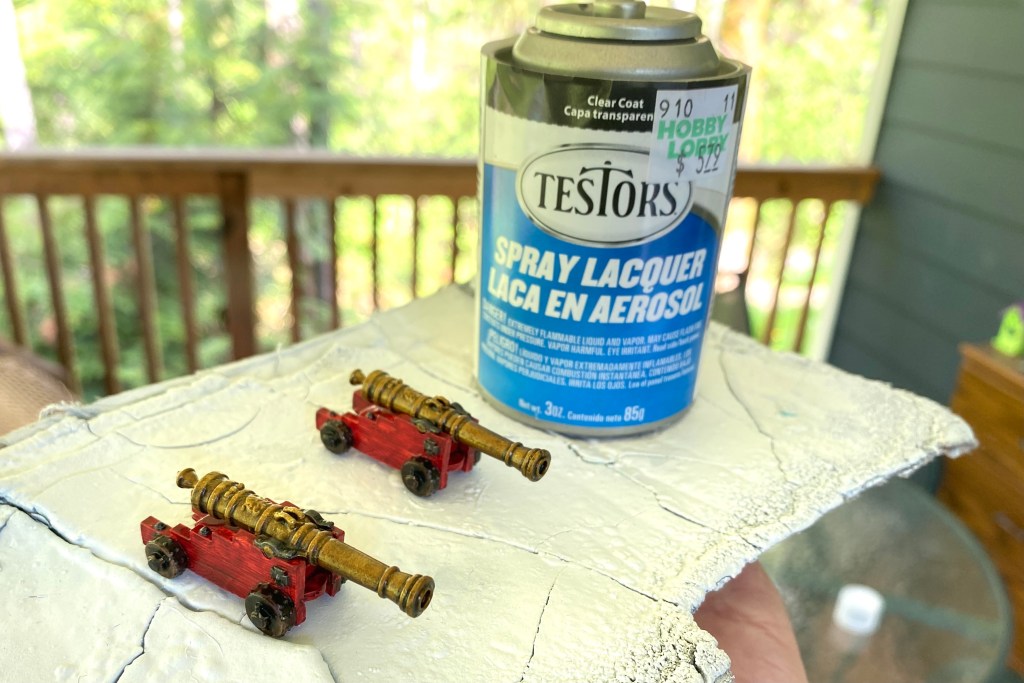
I found that if you use a really flat varnish the cannon barrels look fake and a layer of gloss varnish on the barrels only can bring them to life again.
How To Paint Bronze Cannons Conclusion
That’s it! It took a few sessions to bring these from start to finish but it wasn’t difficult work.
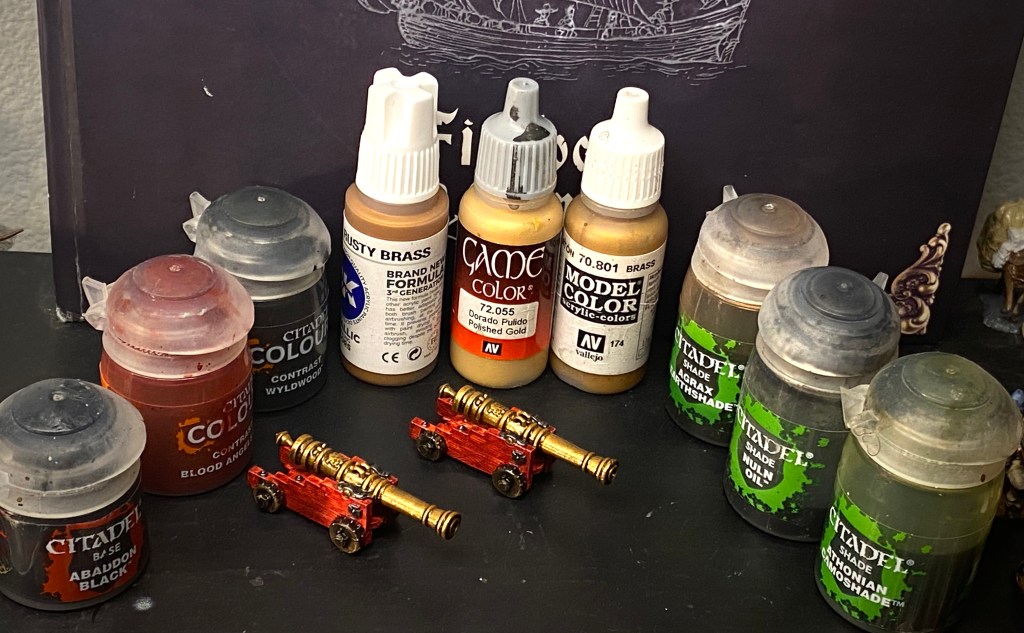
List of Model Paints I Used to Paint the Cannons
Here’s the complete paint list I used:
- Vallejo White Spray Prime
- Vallejo Model Color Brass
- Agrax Earthshade
- Athonian Camoshade
- Nuln Oil
- AK Rusty Brass
- Game Color Polished Gold
- Contrast Blood Angels Red
- Contrast Wyldwood
- Abaddon Black
- Testors Clear Coat
By Joseph Forster
Thanks for the extended colour experiment, really nice. Just a quick tip for handling those barrels: drill out the barrel a bit and stick it on a kebab skewer or other type of thin, pointed plastic/wooden stick. This gives you maximum free handling and also the possibility to dip the whole barrel in washes or even paint. After a short ‘twirl’ to shake of excess you have instant covering, without paint brush streaks. Dipping also prevents dried paint being damaged/lifted when you apply additional coats (Contrast Paints come of easy, as you mentioned). After you are done with the outer barrel, simple remove the stick and drop you dark paint or wash in the barrel mouth.
Pingback: How to Paint Miniature Naval Cannons w/Contrast Paints
Pingback: Blood & Plunder Painting Guides - Blood & Pigment