My current local campaign has progressed to round 5. This is a non-standard campaign with Guy Rhueark, our “Campaign Master,” playing NPC Spanish that players encounter if they fail to bump into another player’s ship in our campaign map of the Caribbean.
This round, my Pirate Hunters commanded by Thomas Clarke had the task of raiding a small Spanish port.
The Forces
Last campaign game I doubled down on cannons to fight the Spanish Corvette but for this amphibious game I cut back the cannons and boosted my Militia and small arms fire, anticipating getting off my ship and attempting to seize an objective on land.

My 200 point English Pirate Hunter force contained:
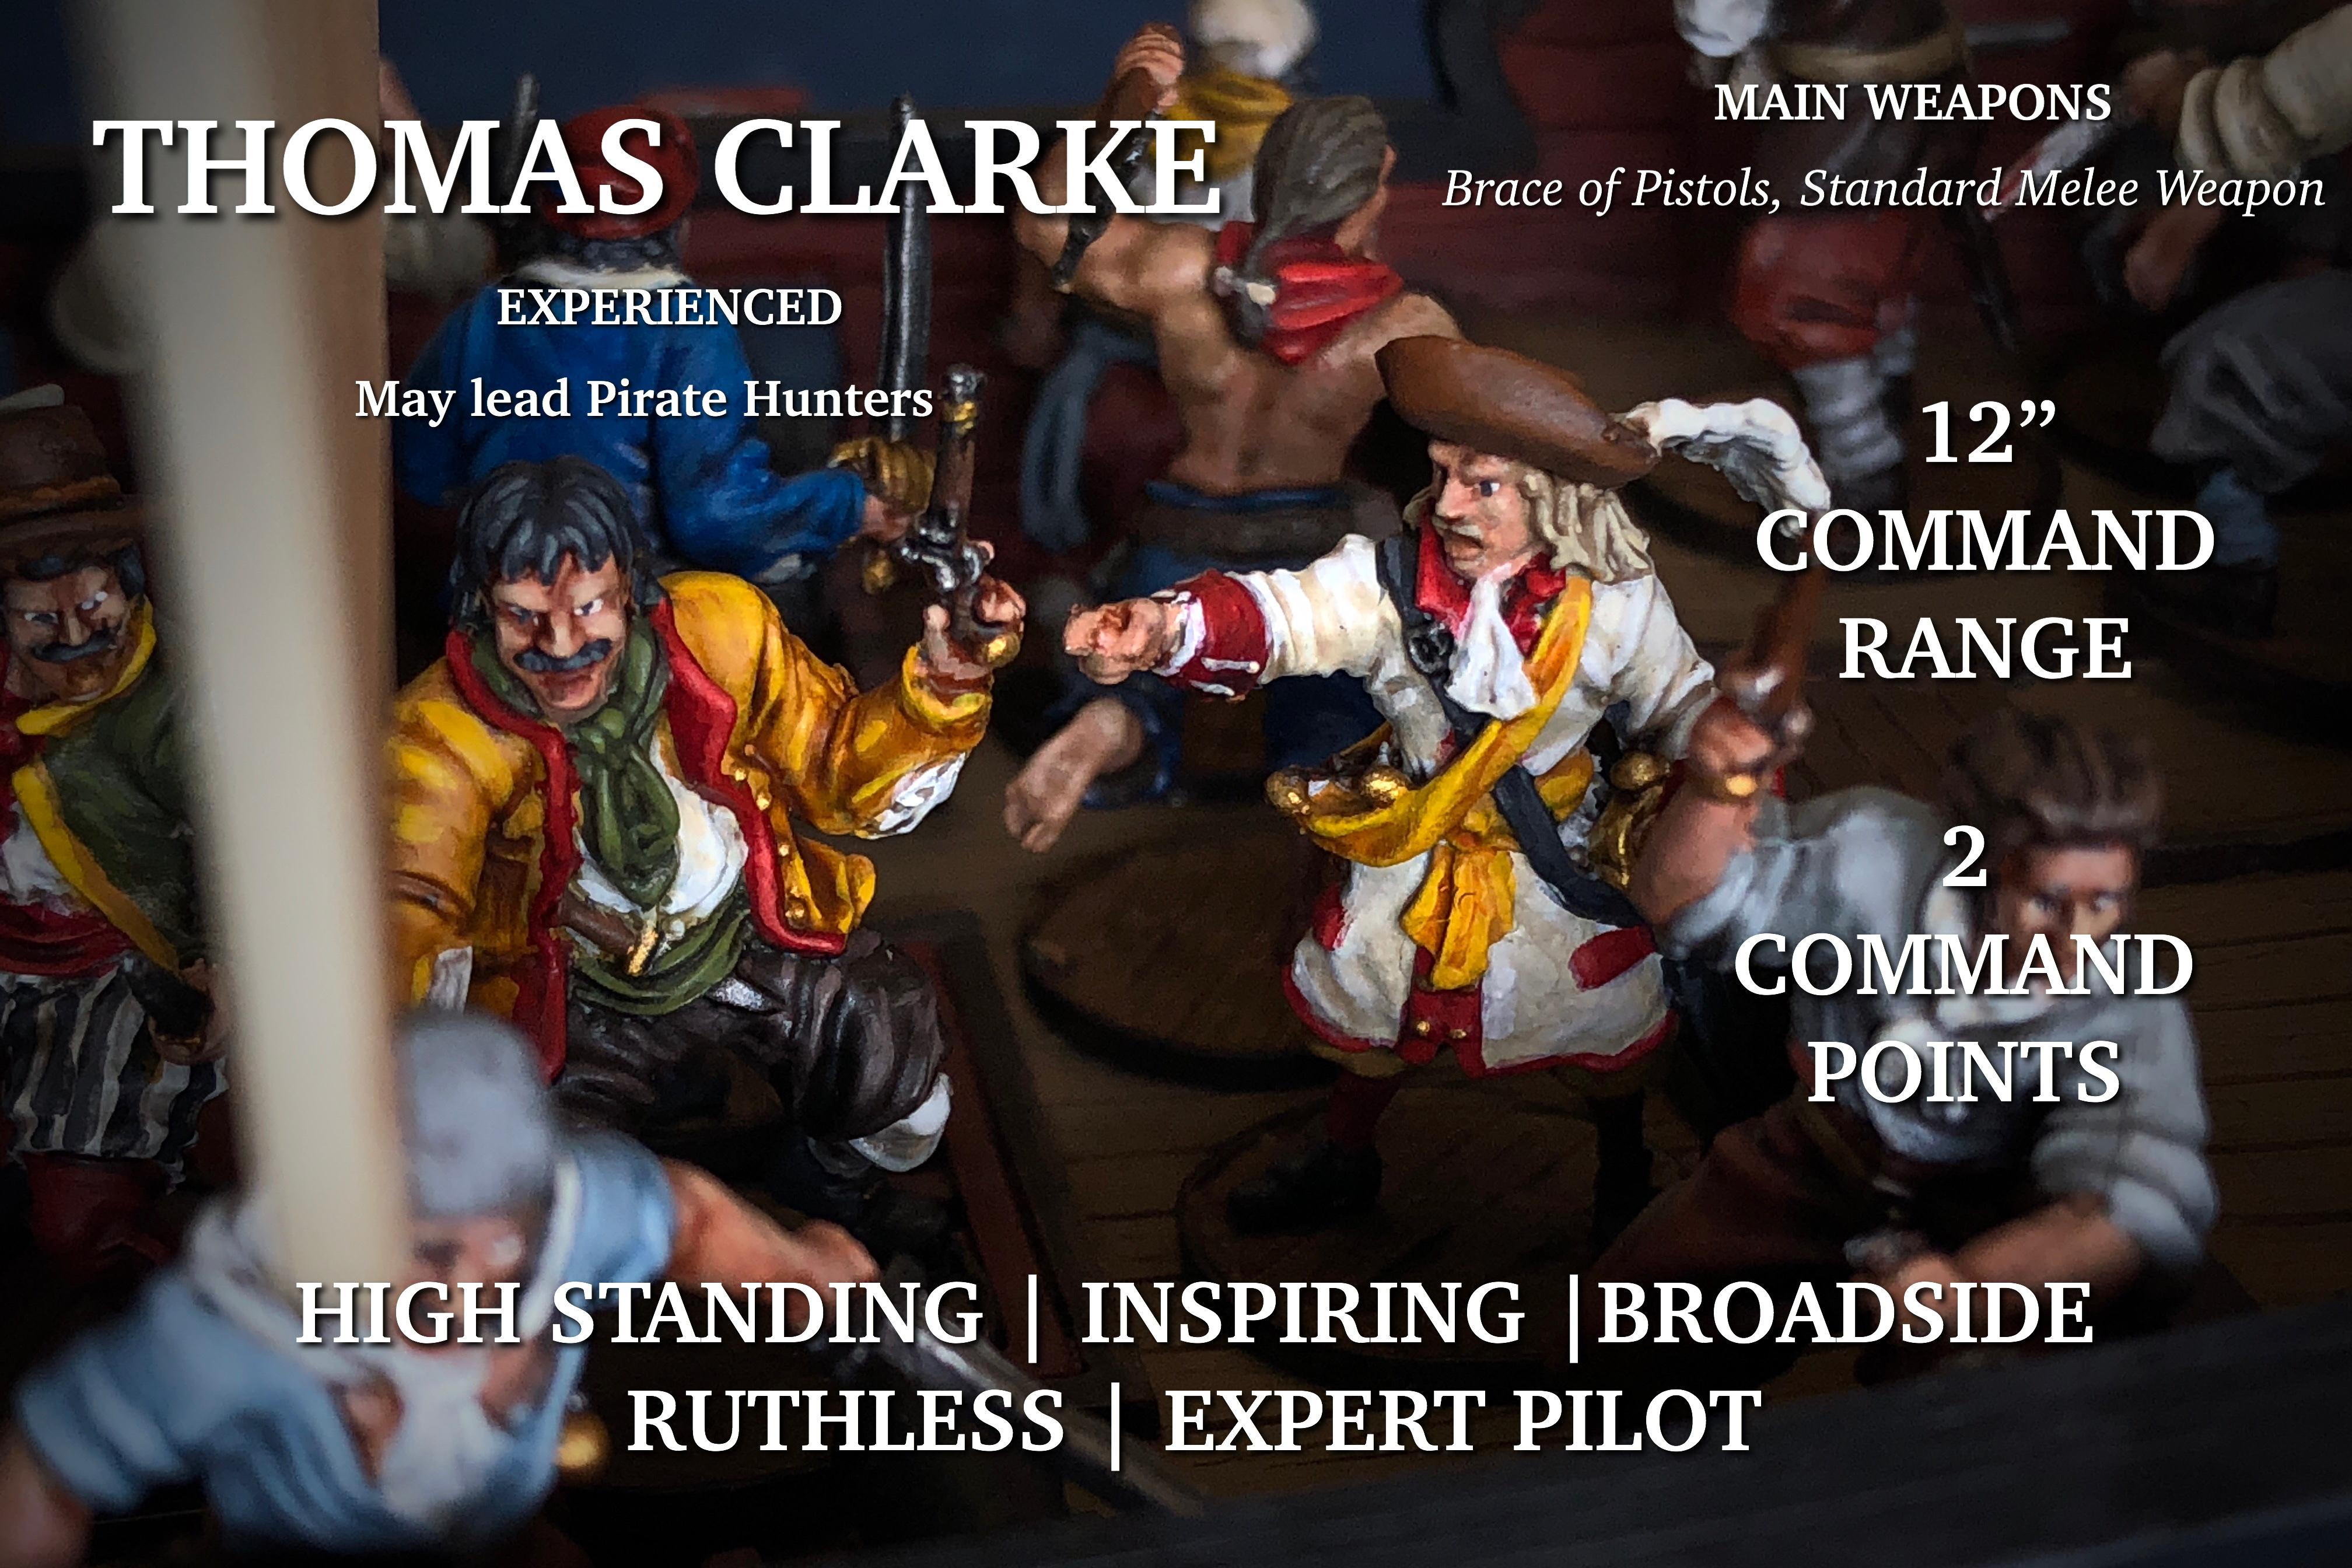
- A unit of 8 Trained English Militia with commander Thomas Clarke attached.
- A unit of 8 Trained English Militia.
- A unit of 7 Sea Dogs without pistols manning 2 pairs of Light Cannons with grapeshot on the mid deck.
- A unit of 10 Sea Dogs without pistols manning the 4 Swivels on the front deck.
- A unit of 6 Sea Dogs with Muskets manning the 2 Swivels on the back deck.
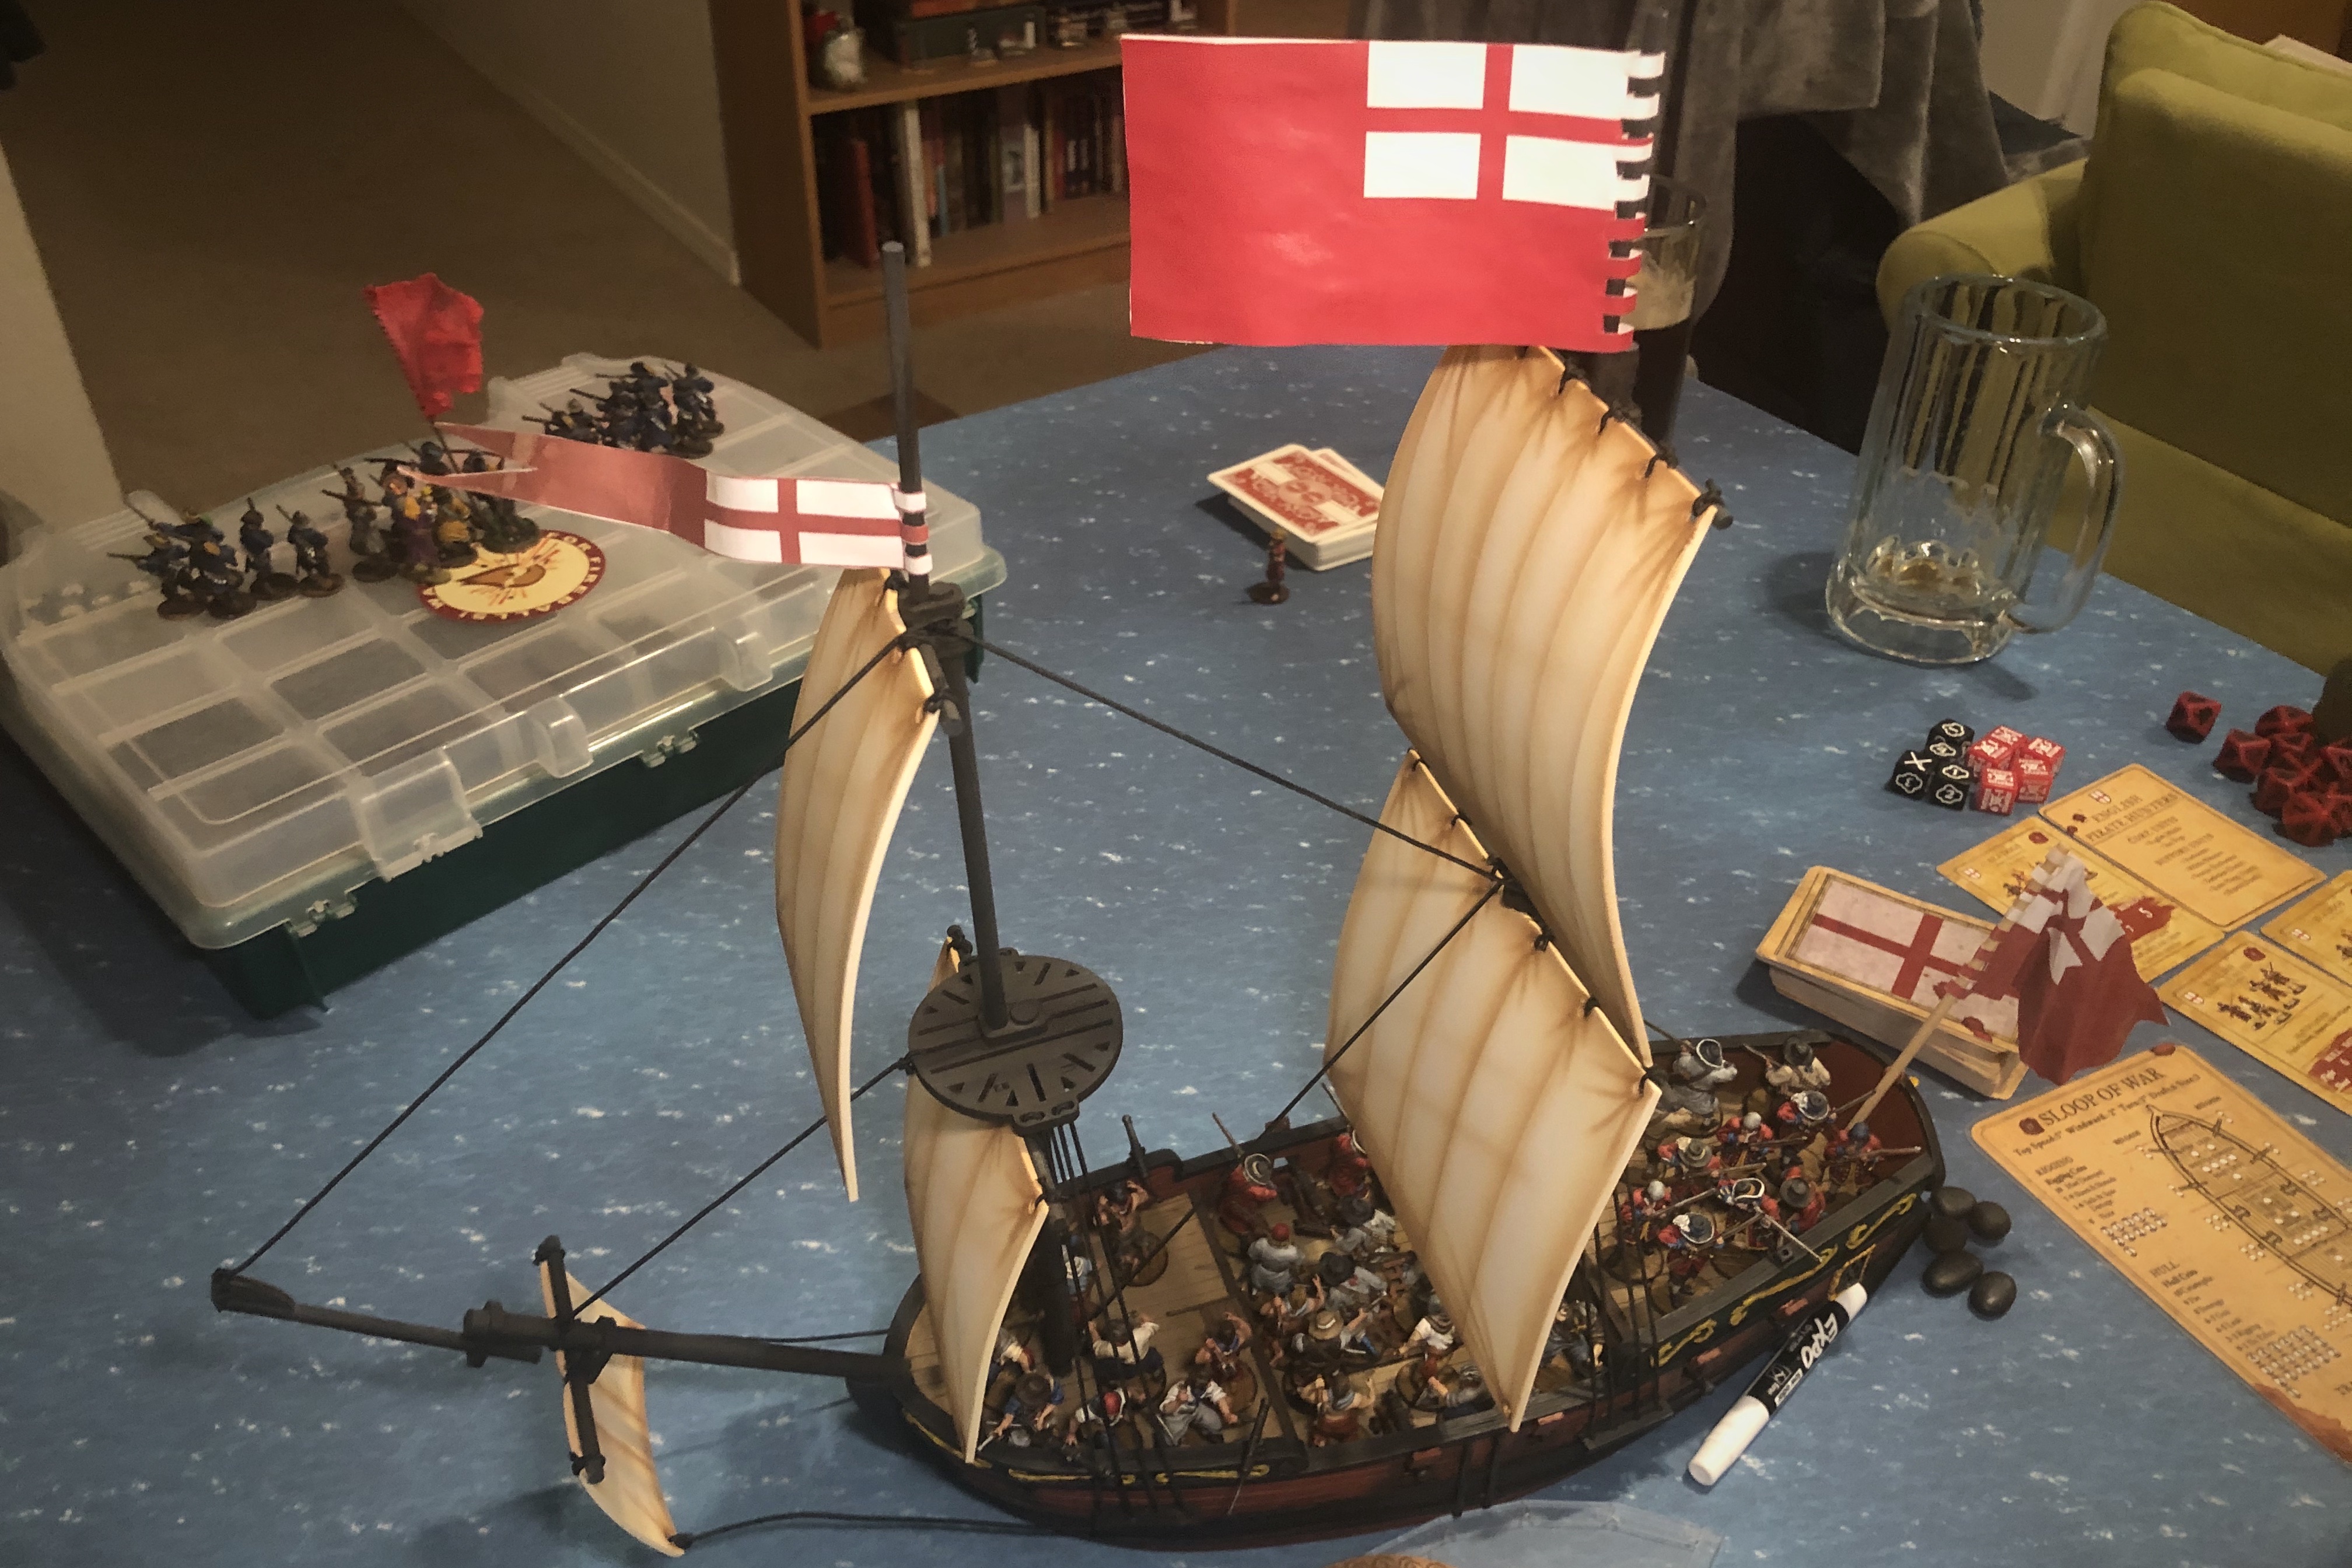
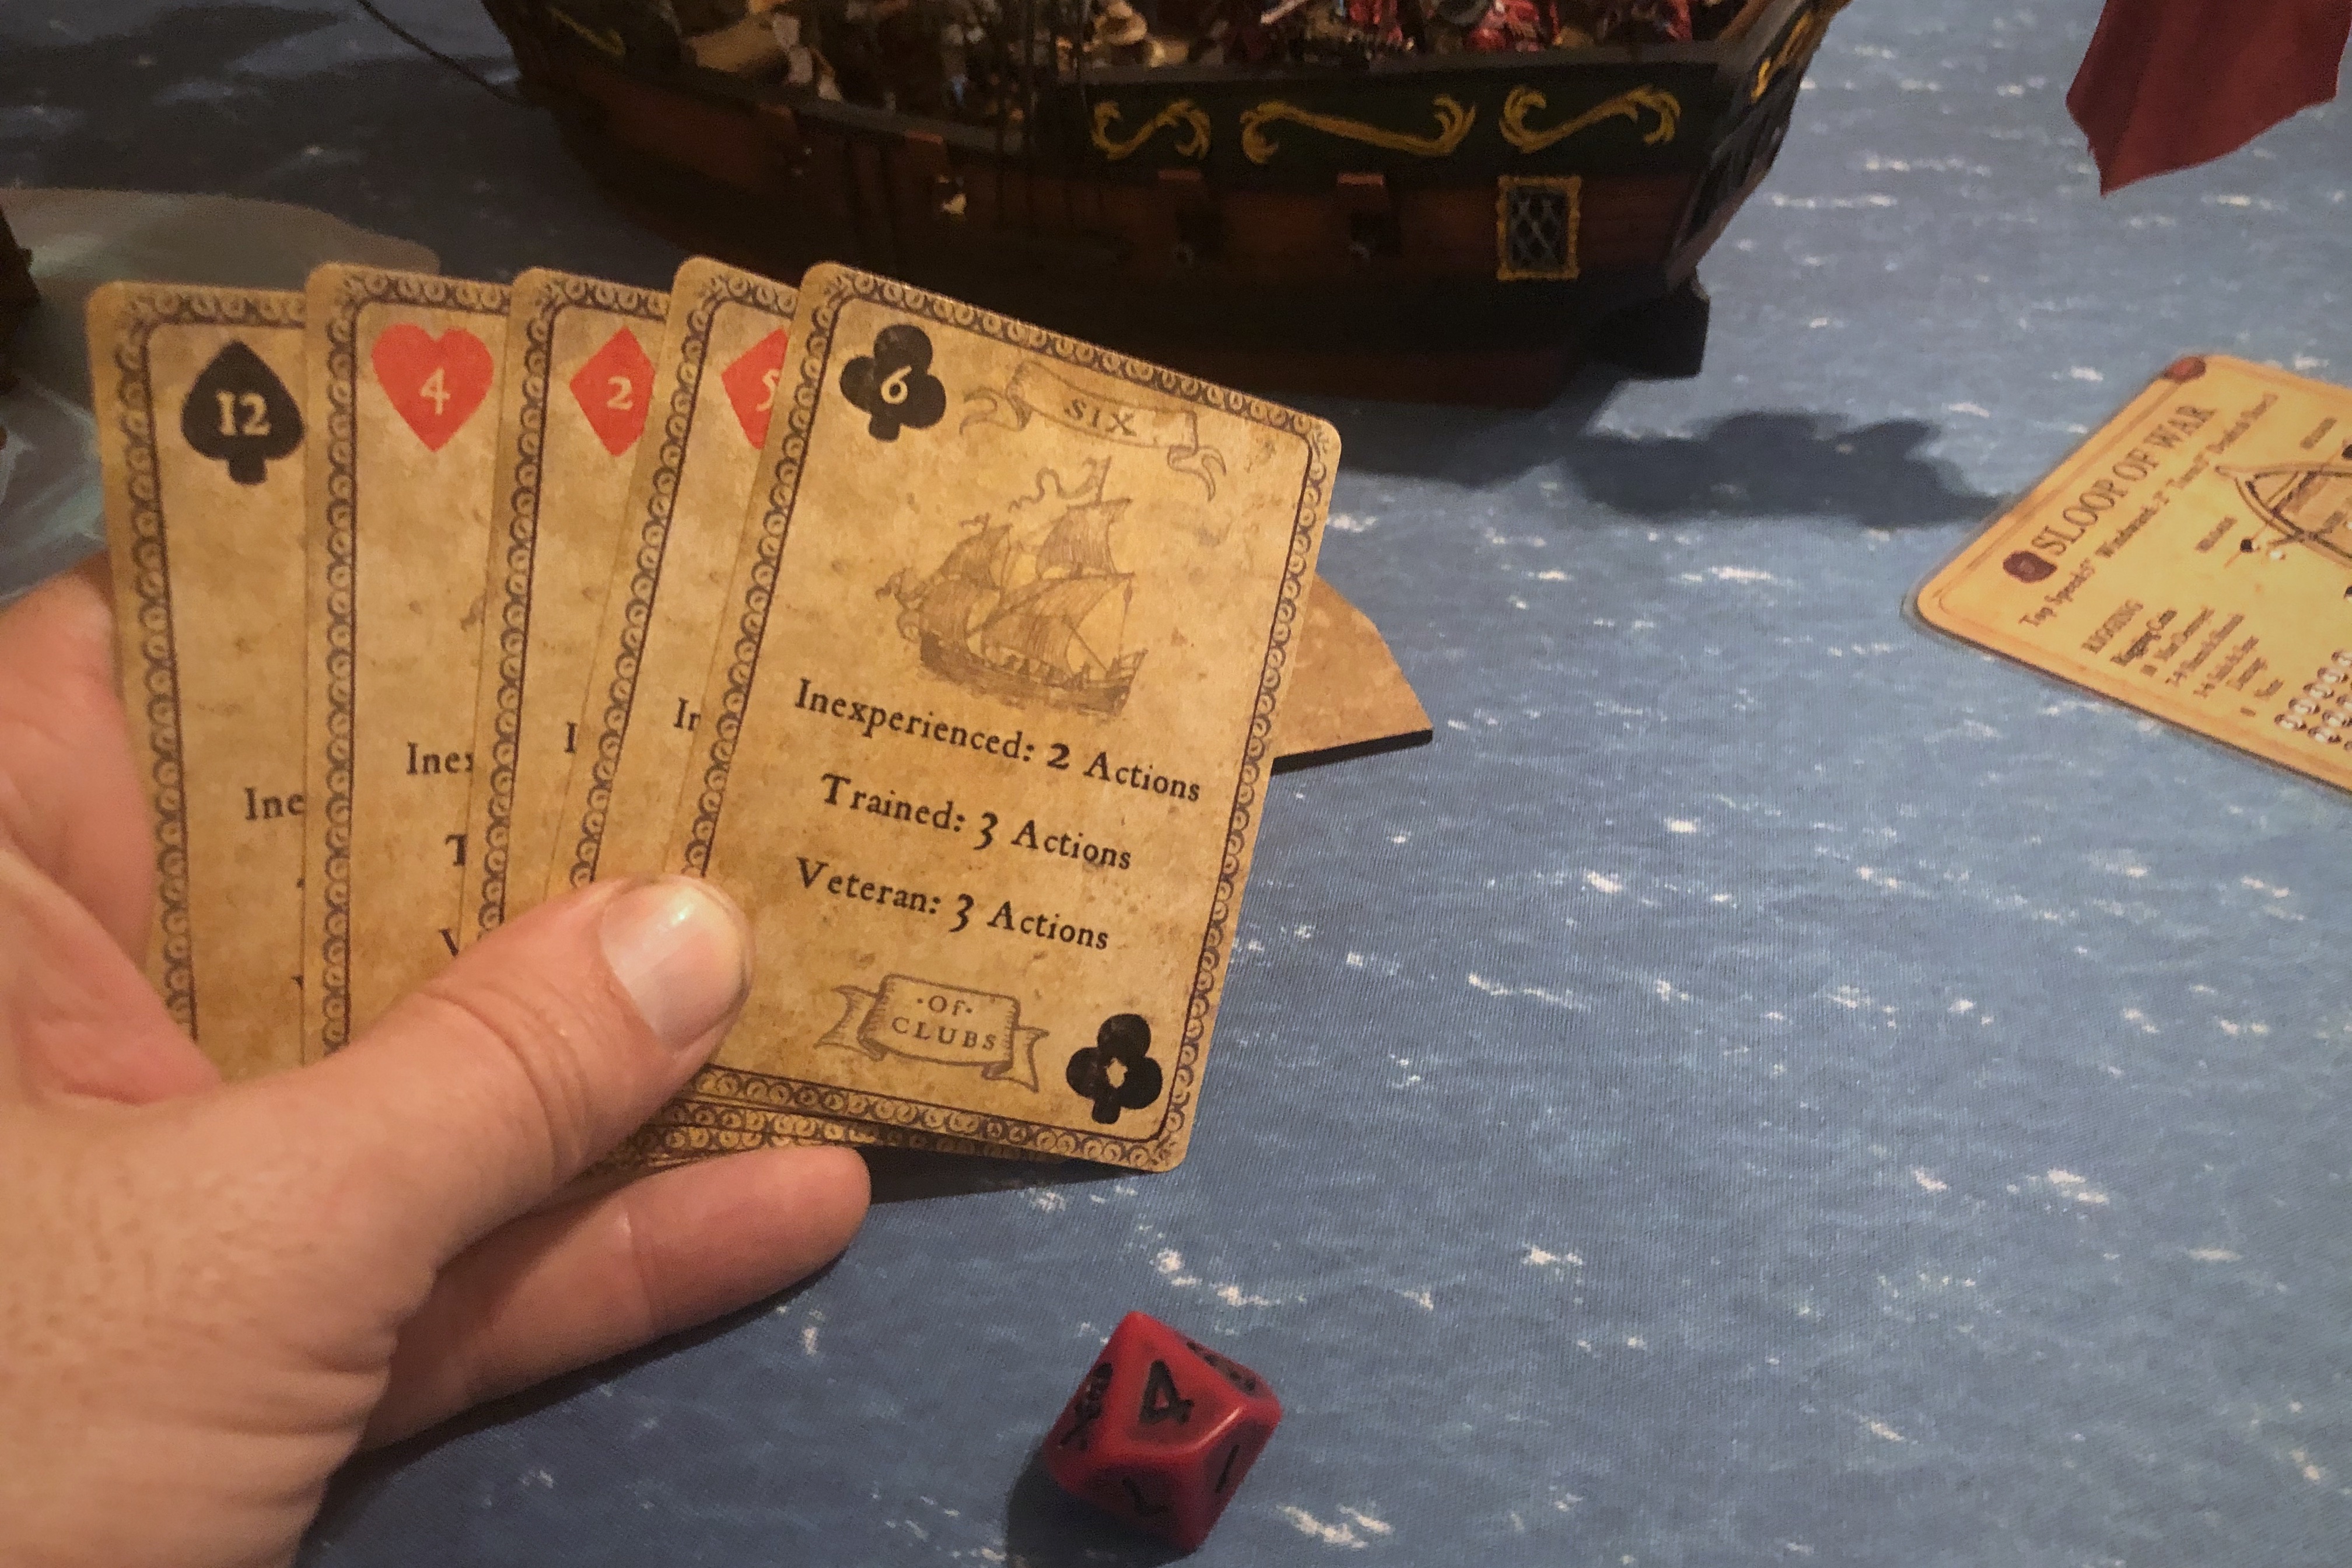
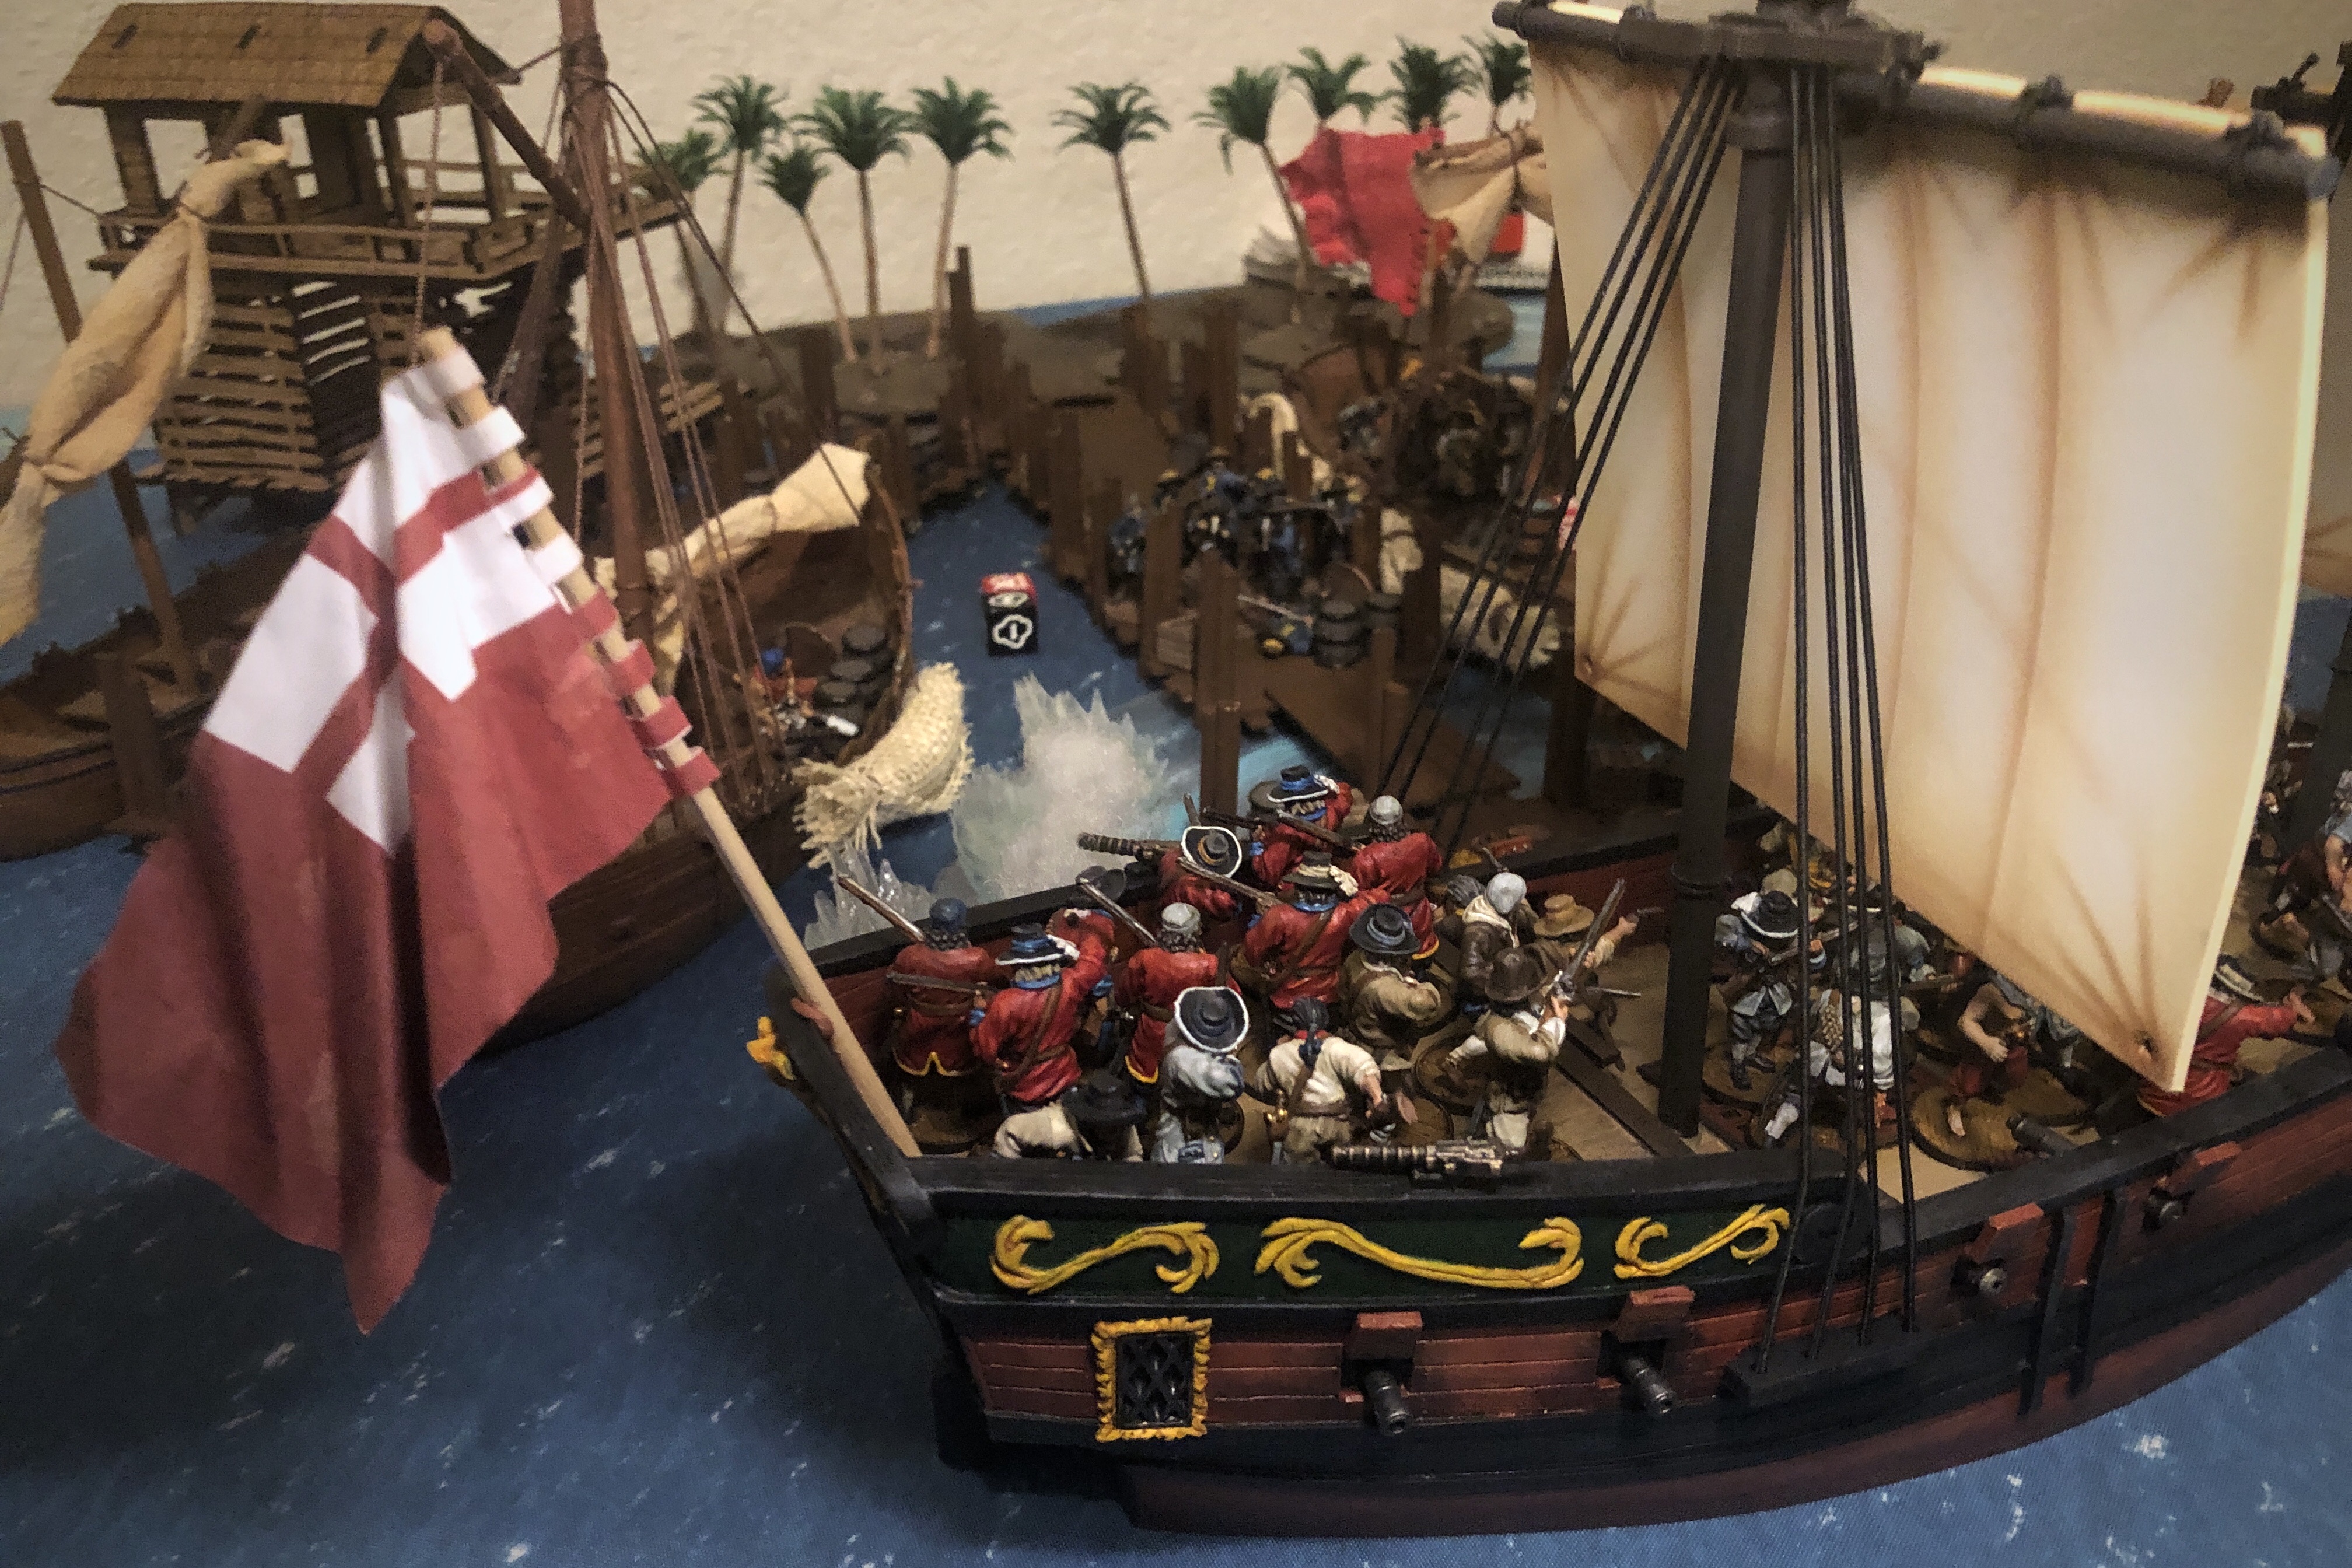
- A Sloop of War with 2 Light Cannons and 6 Swivel Guns.
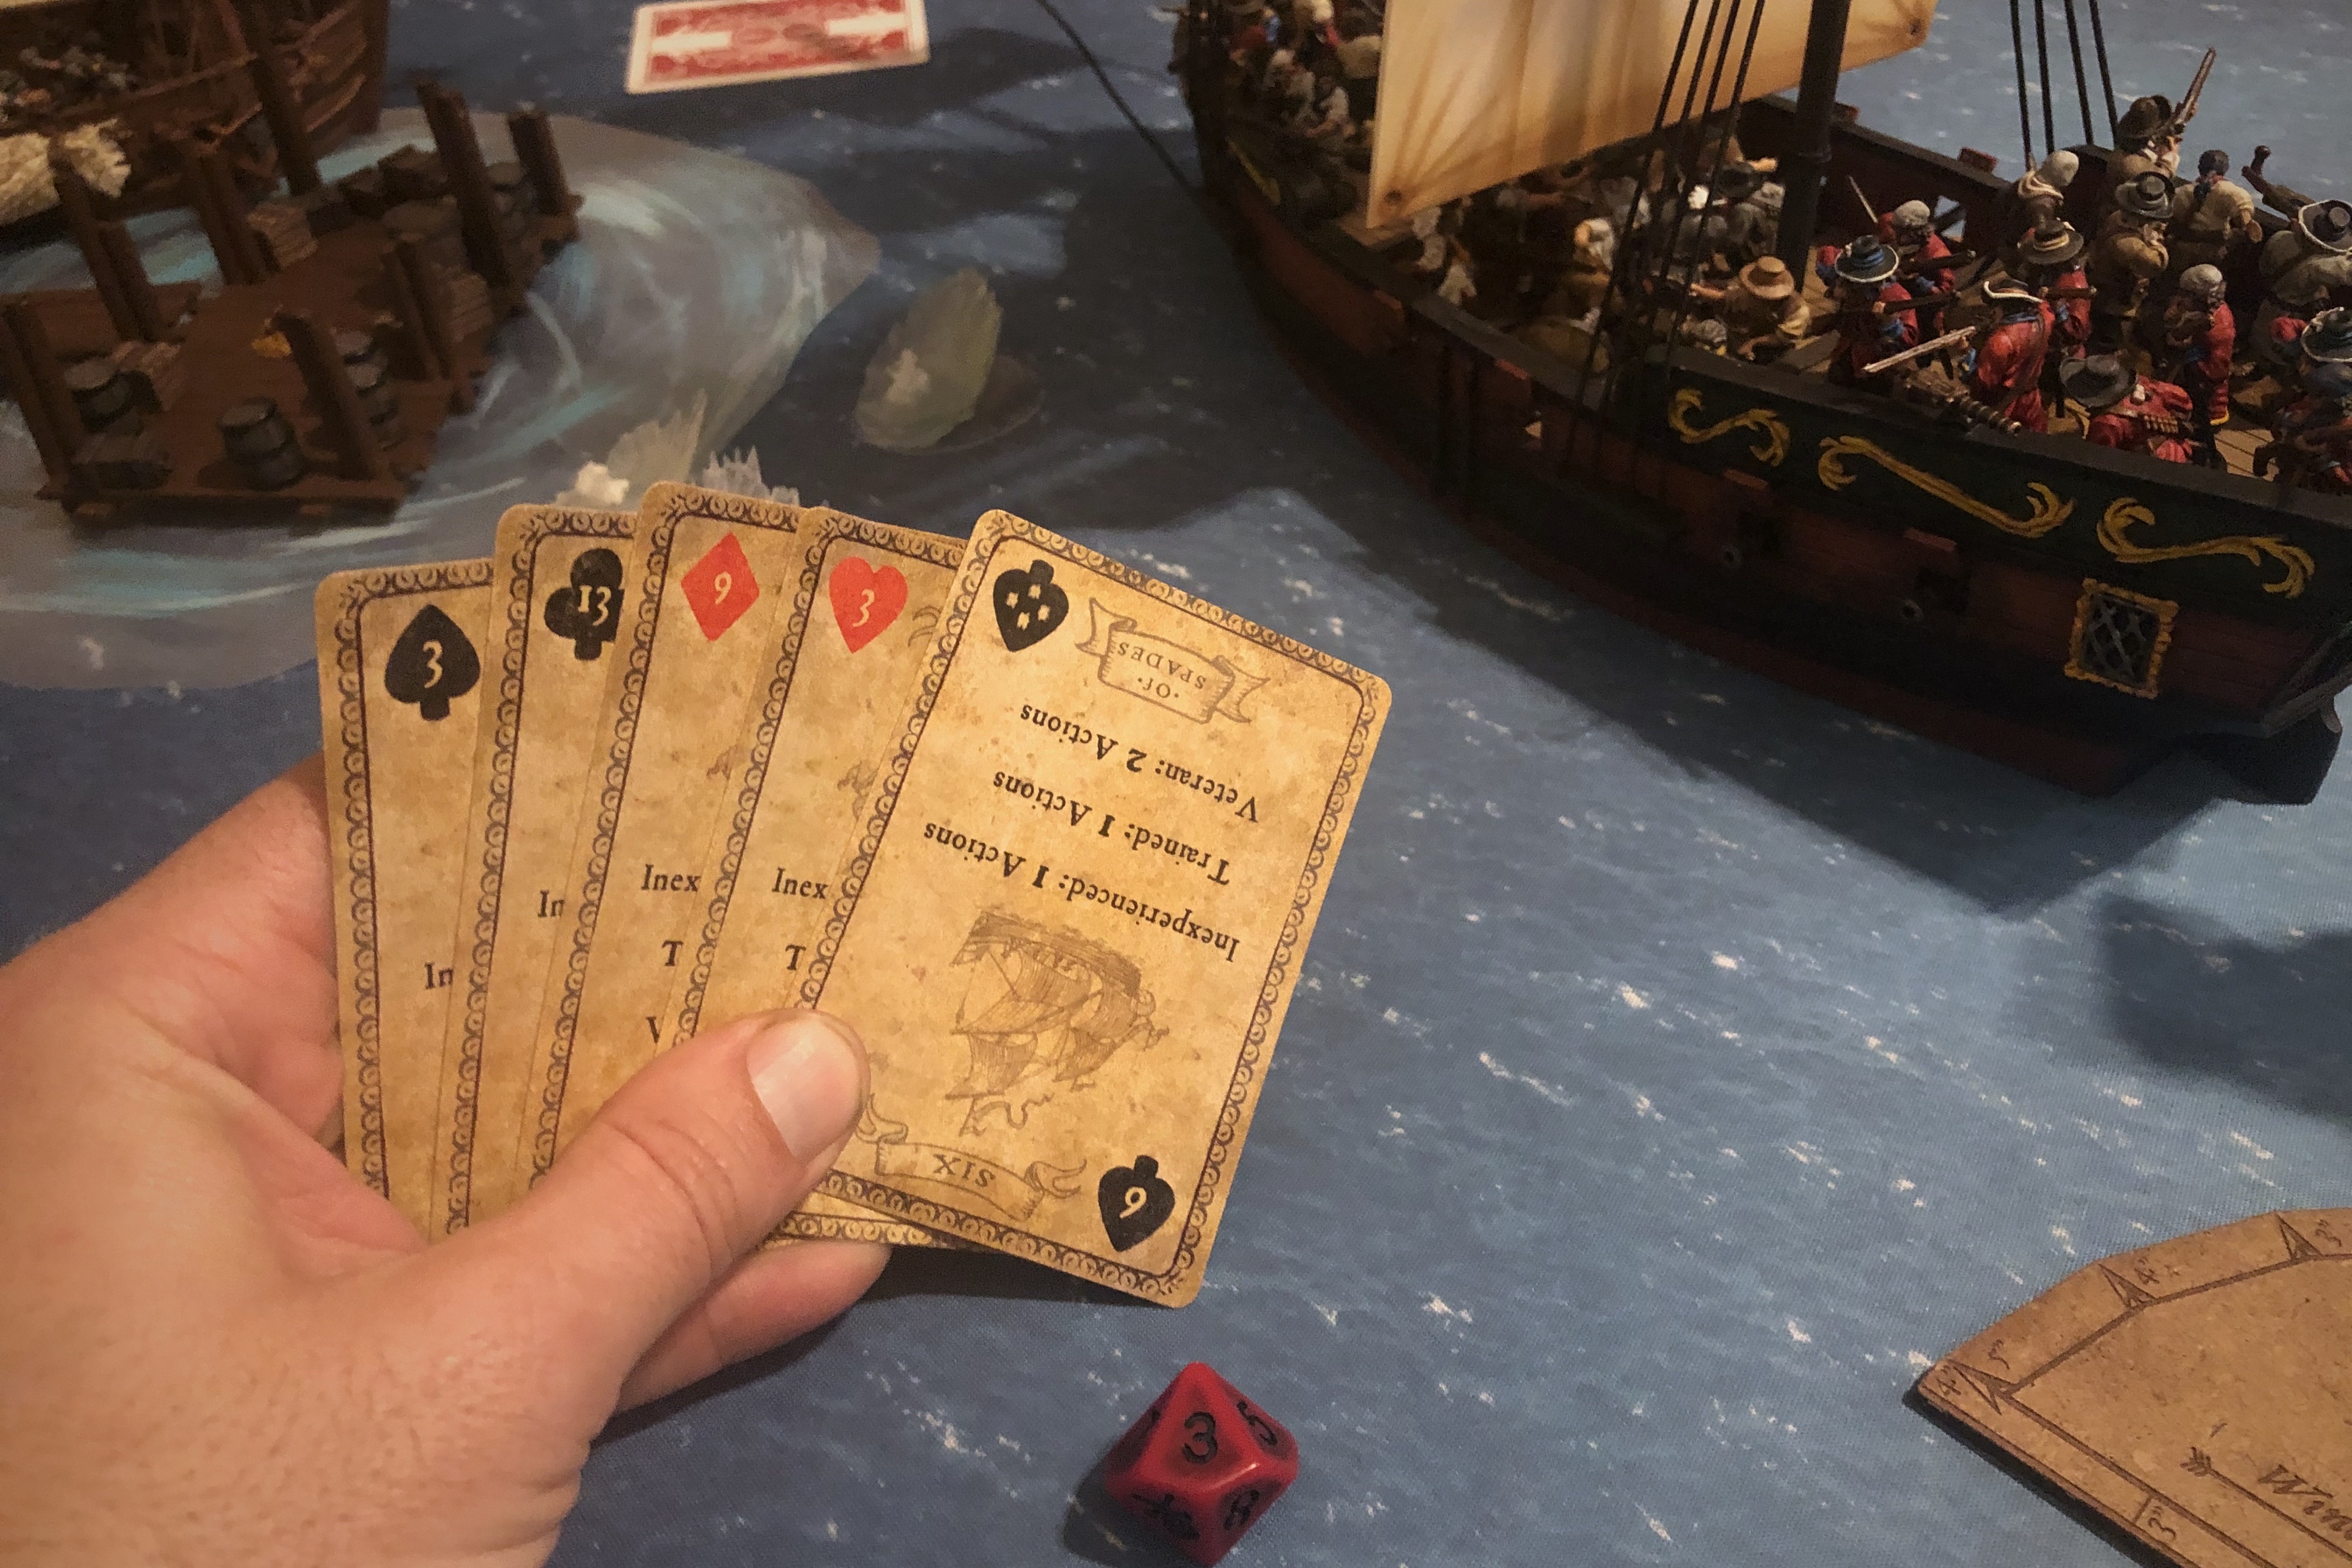
My campaign commander is up to 20 XP and looks like this:
Guy’s Spanish Militia force contained:
- A unit of 9 Lanceros with a custom commander, a Standard Bearer and Musician attached.
- A unit of 9 Hostigadores with a Grizzled Veteran attached
- A unit of 9 Hostigadores
- A unit of 8 Hostigadores
- A unit of 6 Milicianos Artilleros assigned to a Swivel Gun on a field carriage.
- A unit of 6 Milicianos Artilleros assigned to a Swivel Gun on a field Carriage
The Spanish commander was custom built using the campaign rules starting with 20XP. I don’t remember the details of all his abilities but I remember the command range had been maxed out at 16″.
The Scenario
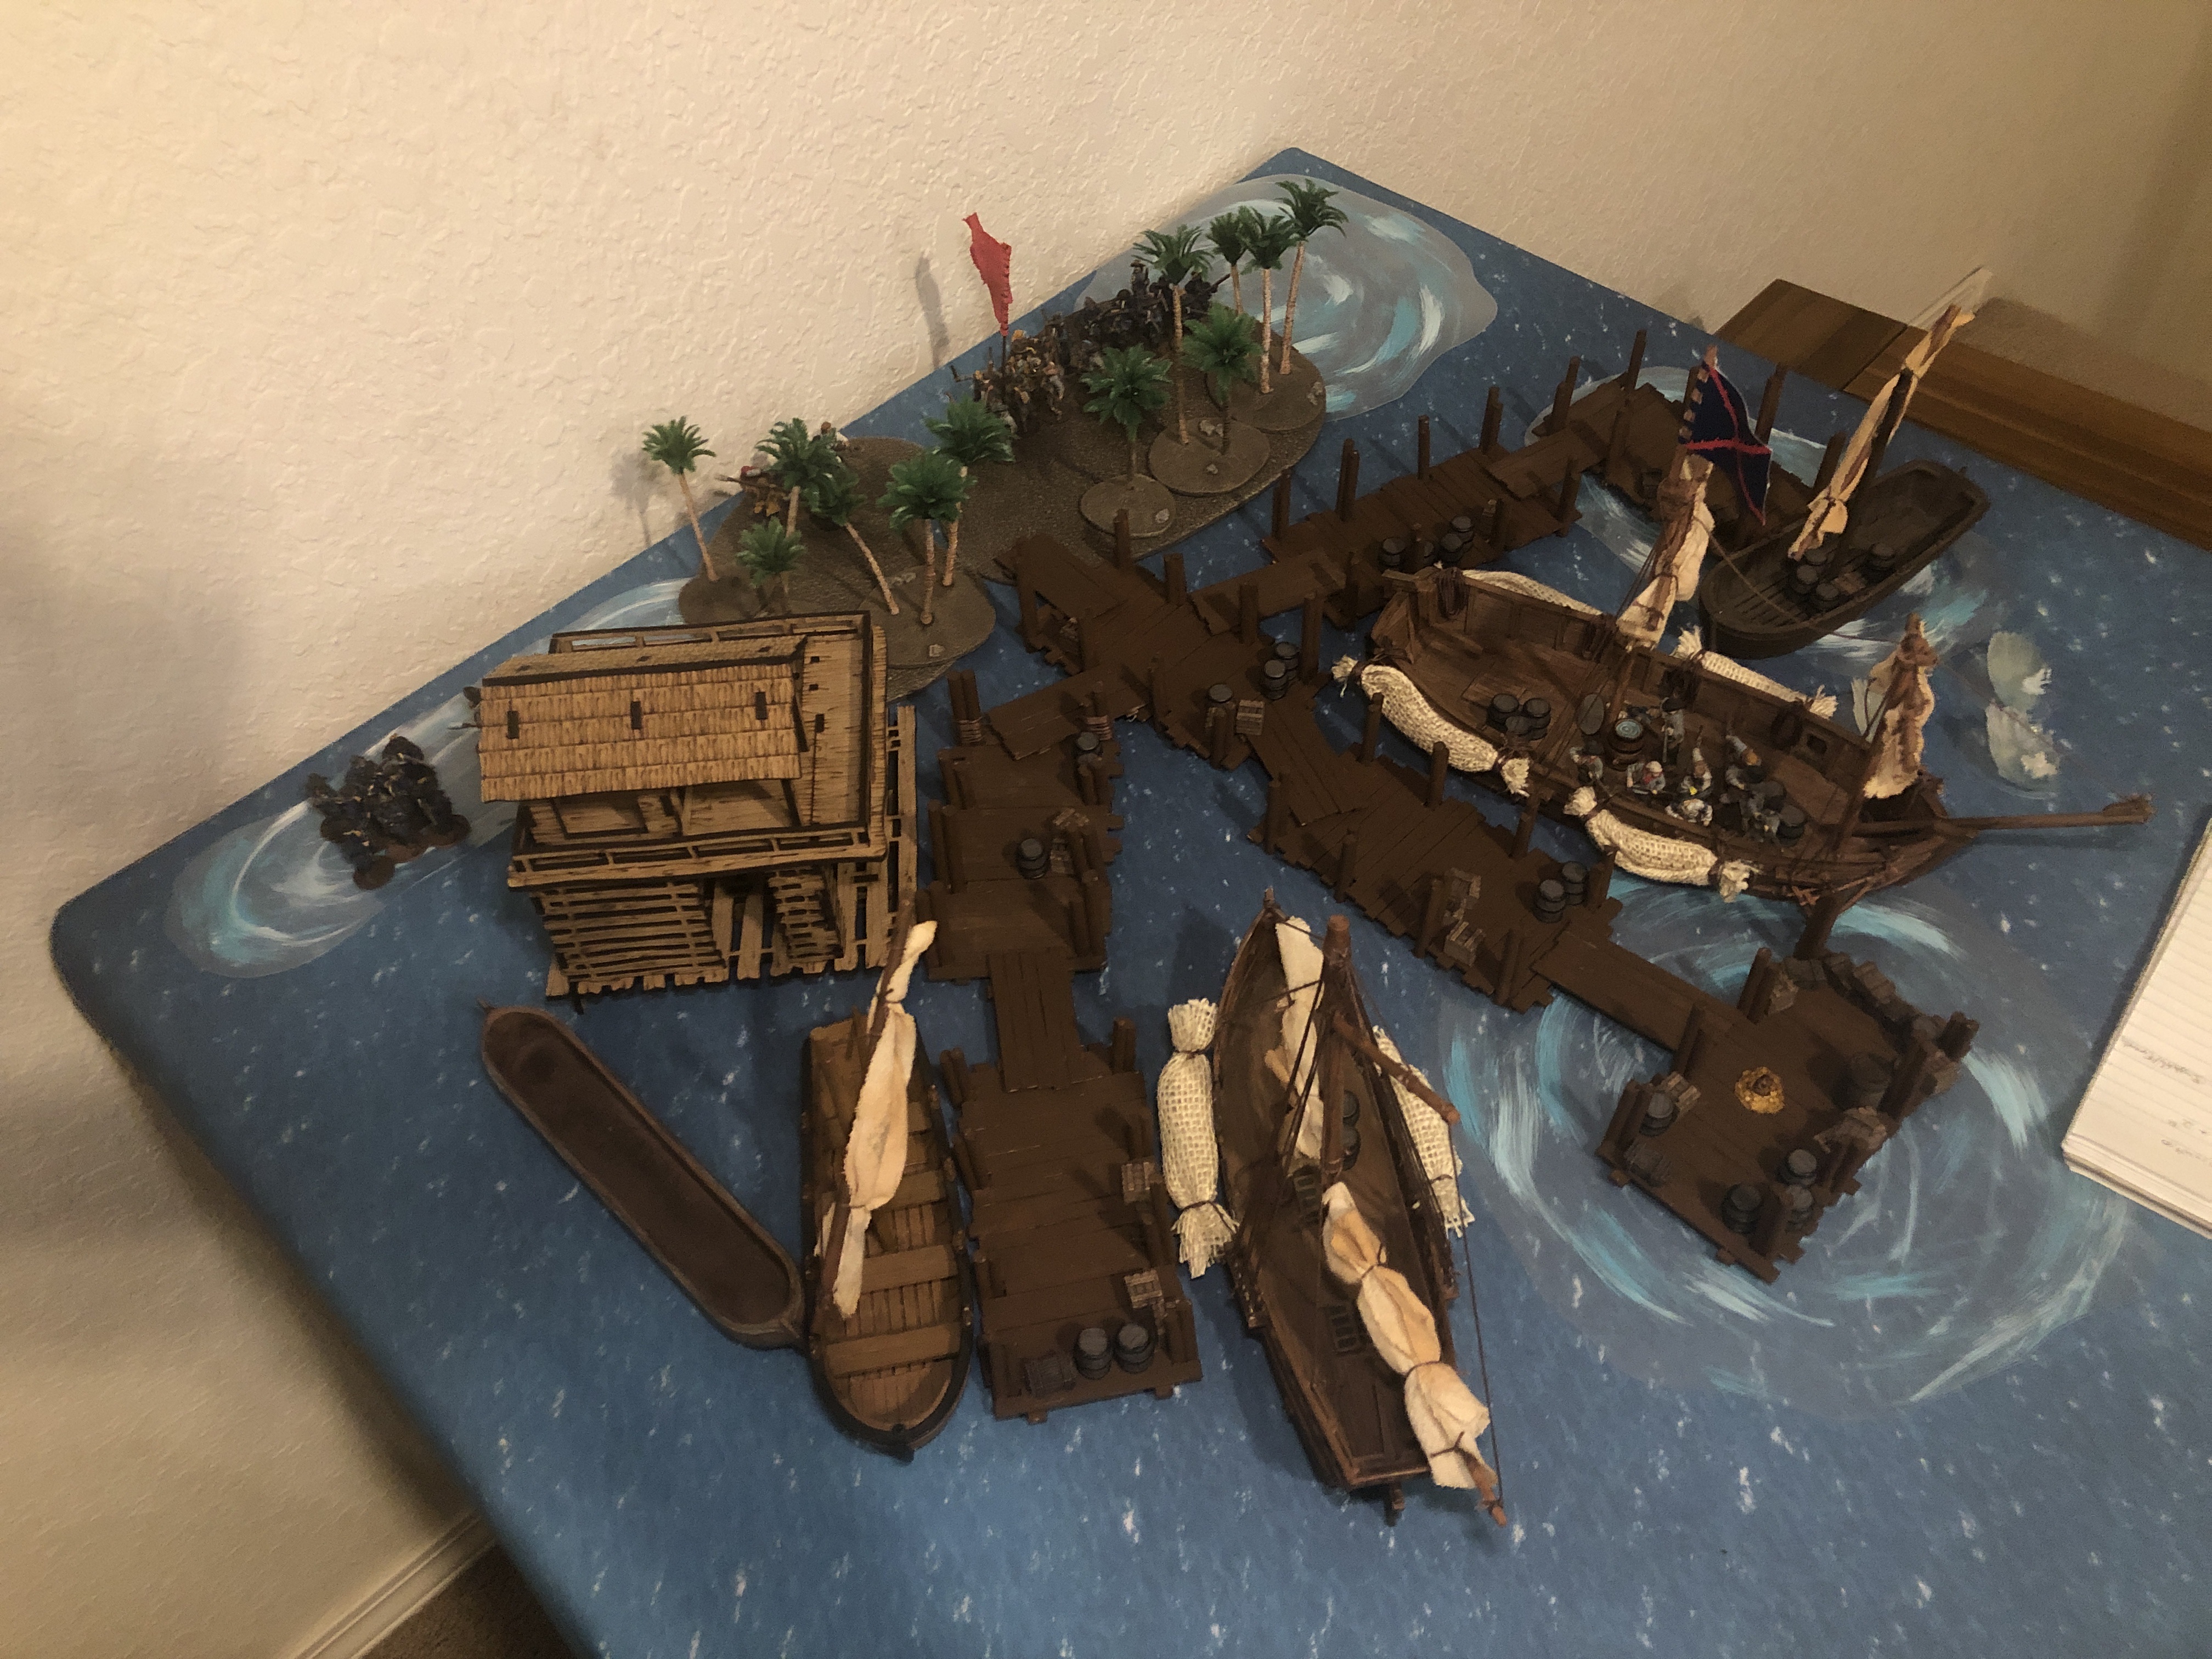
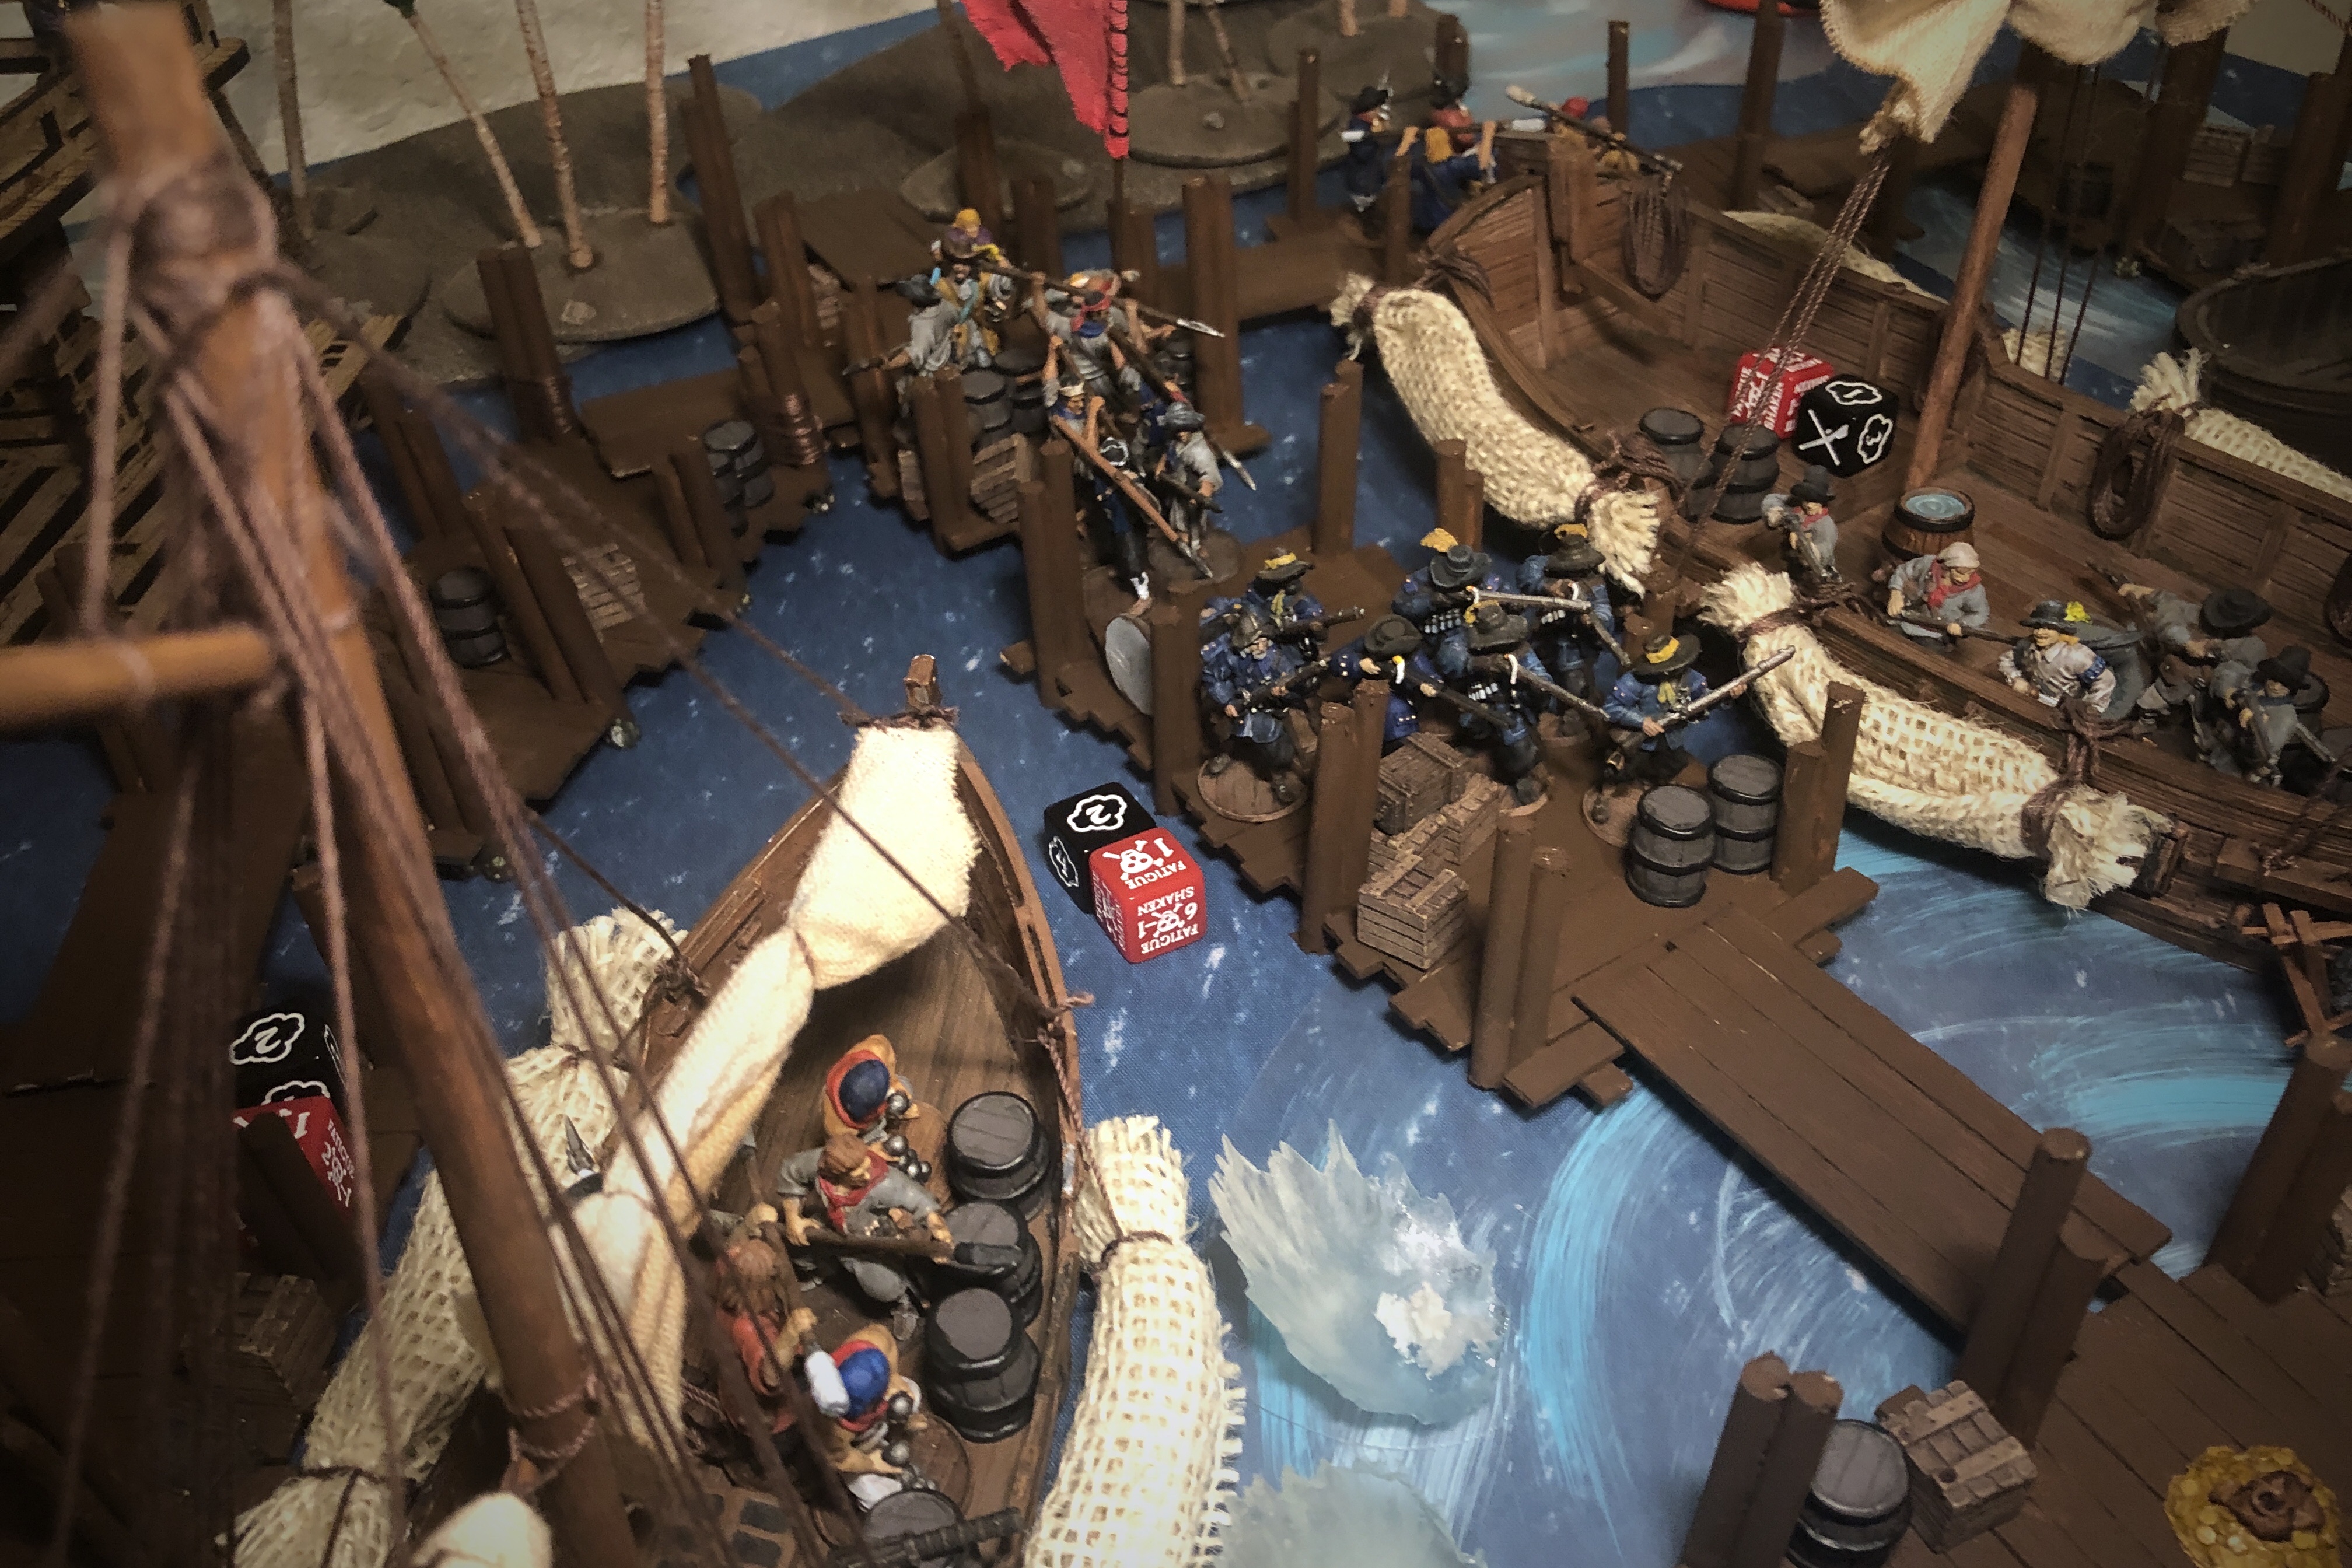
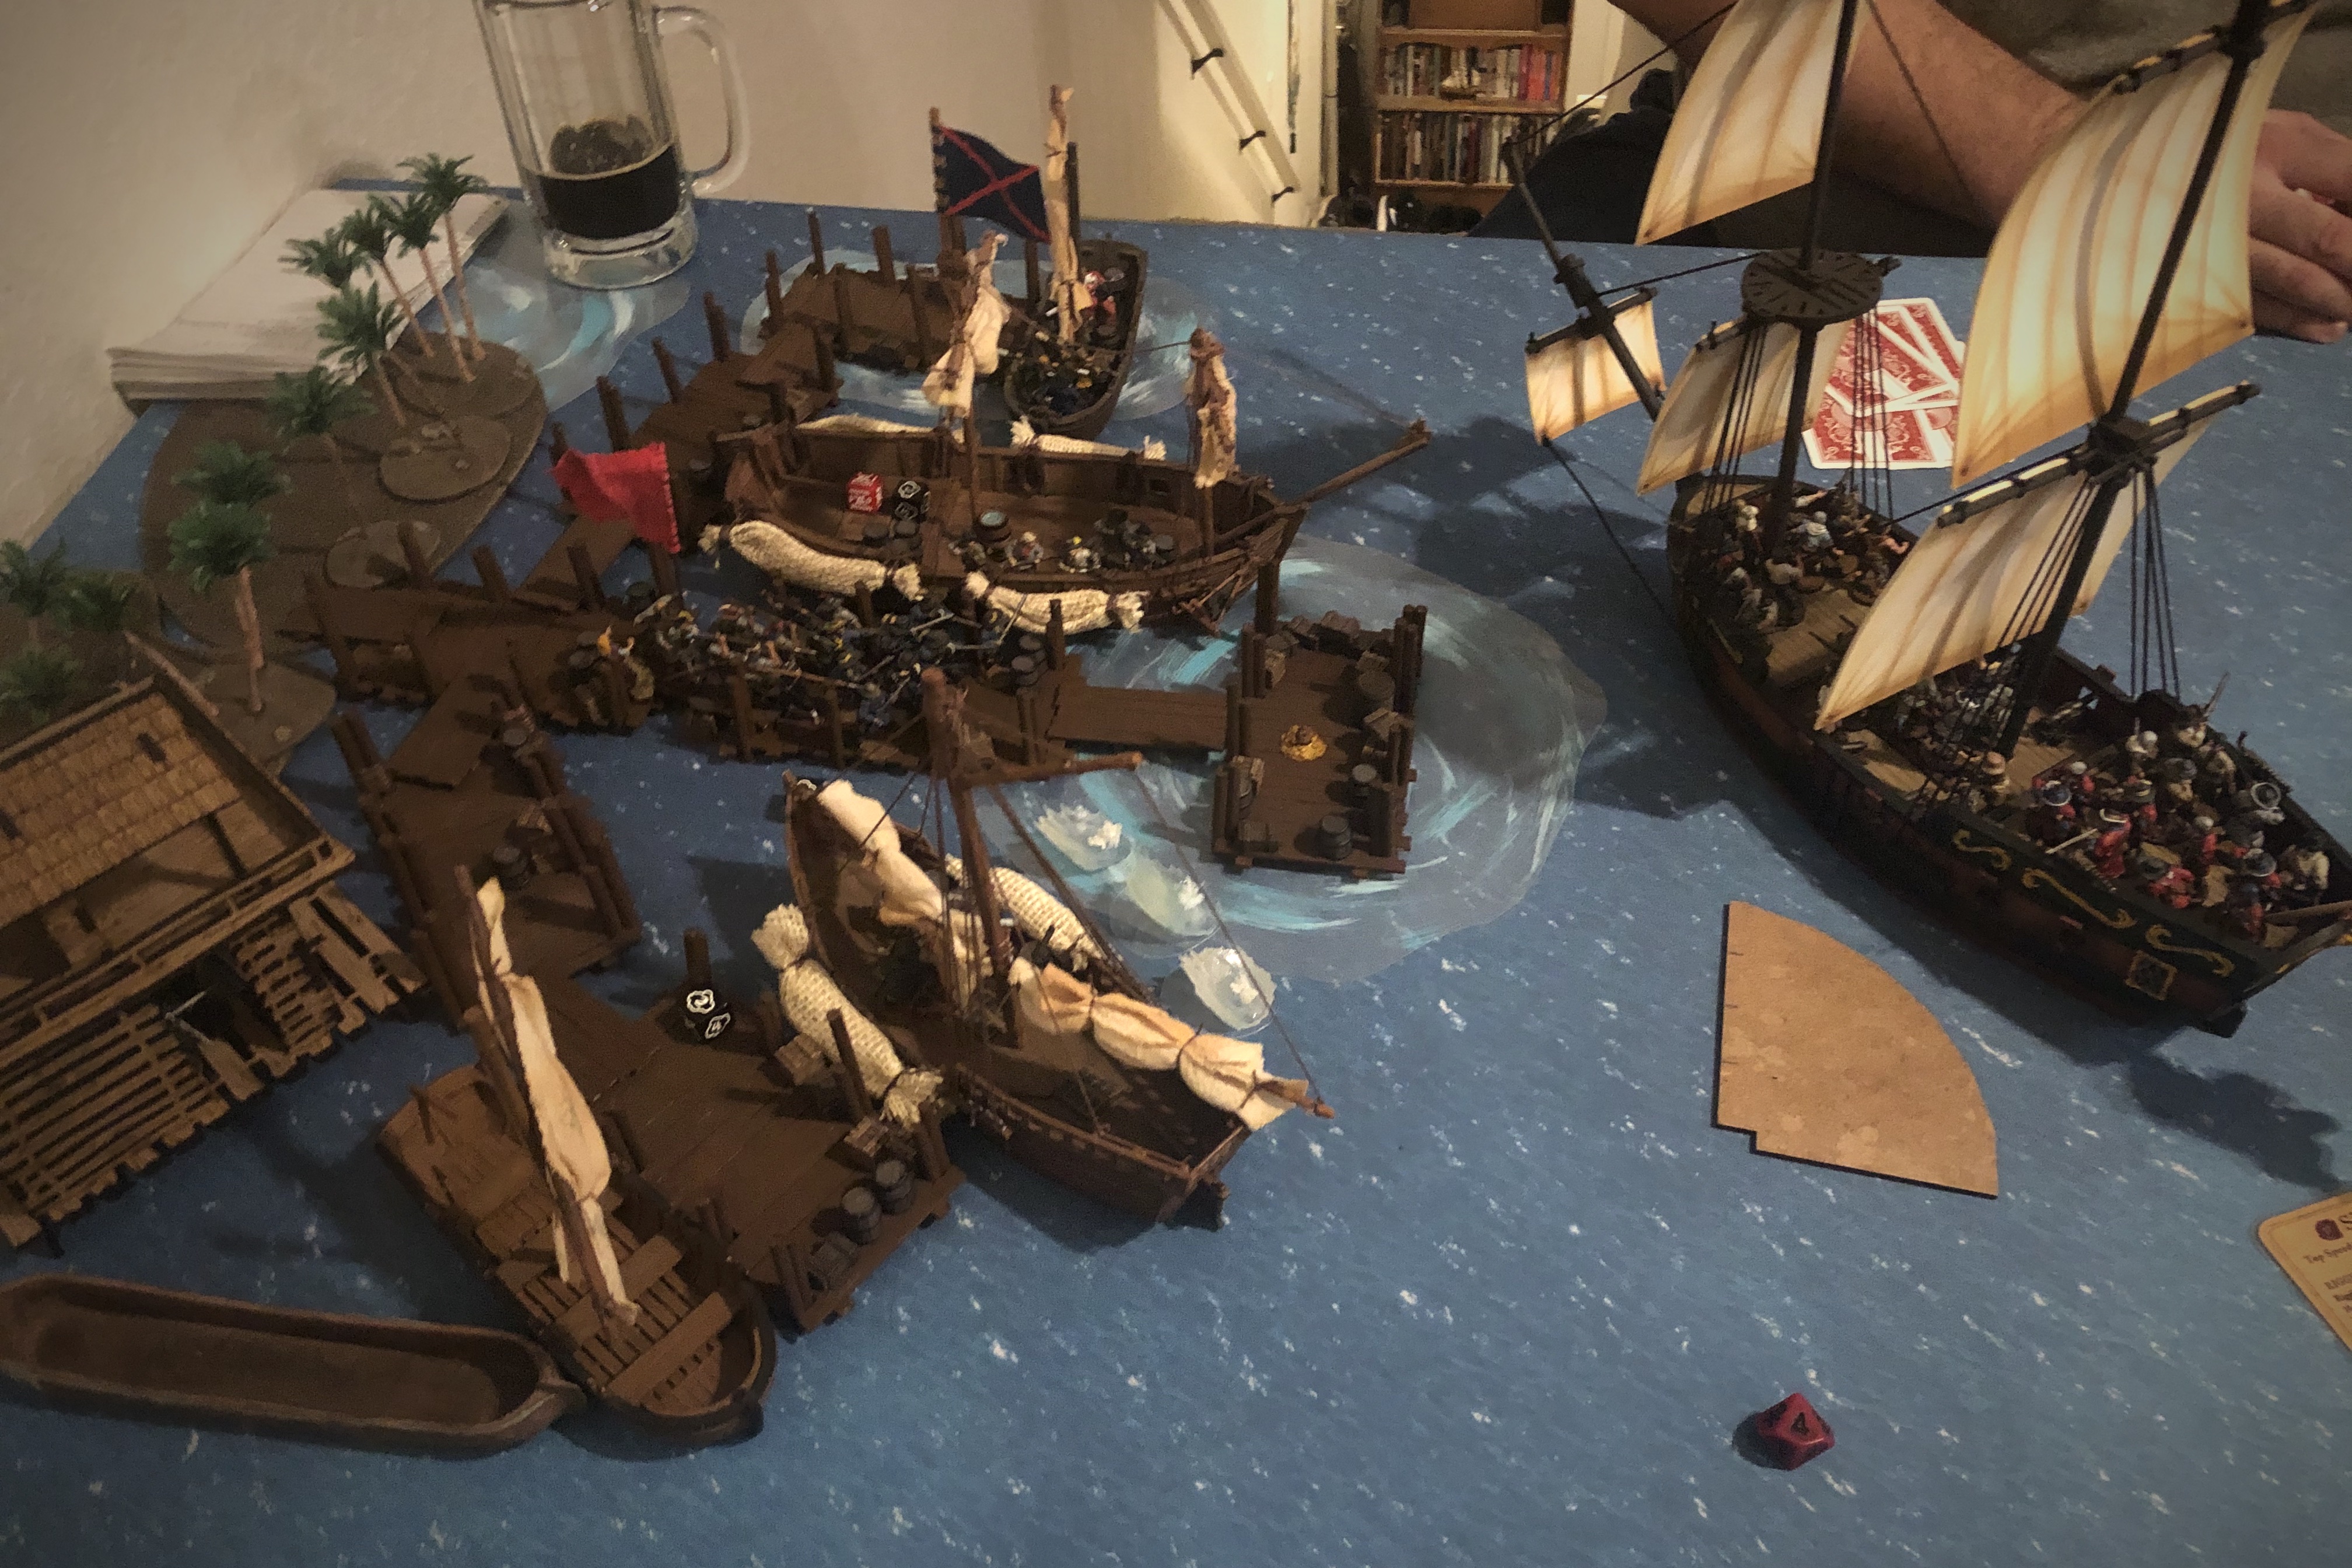
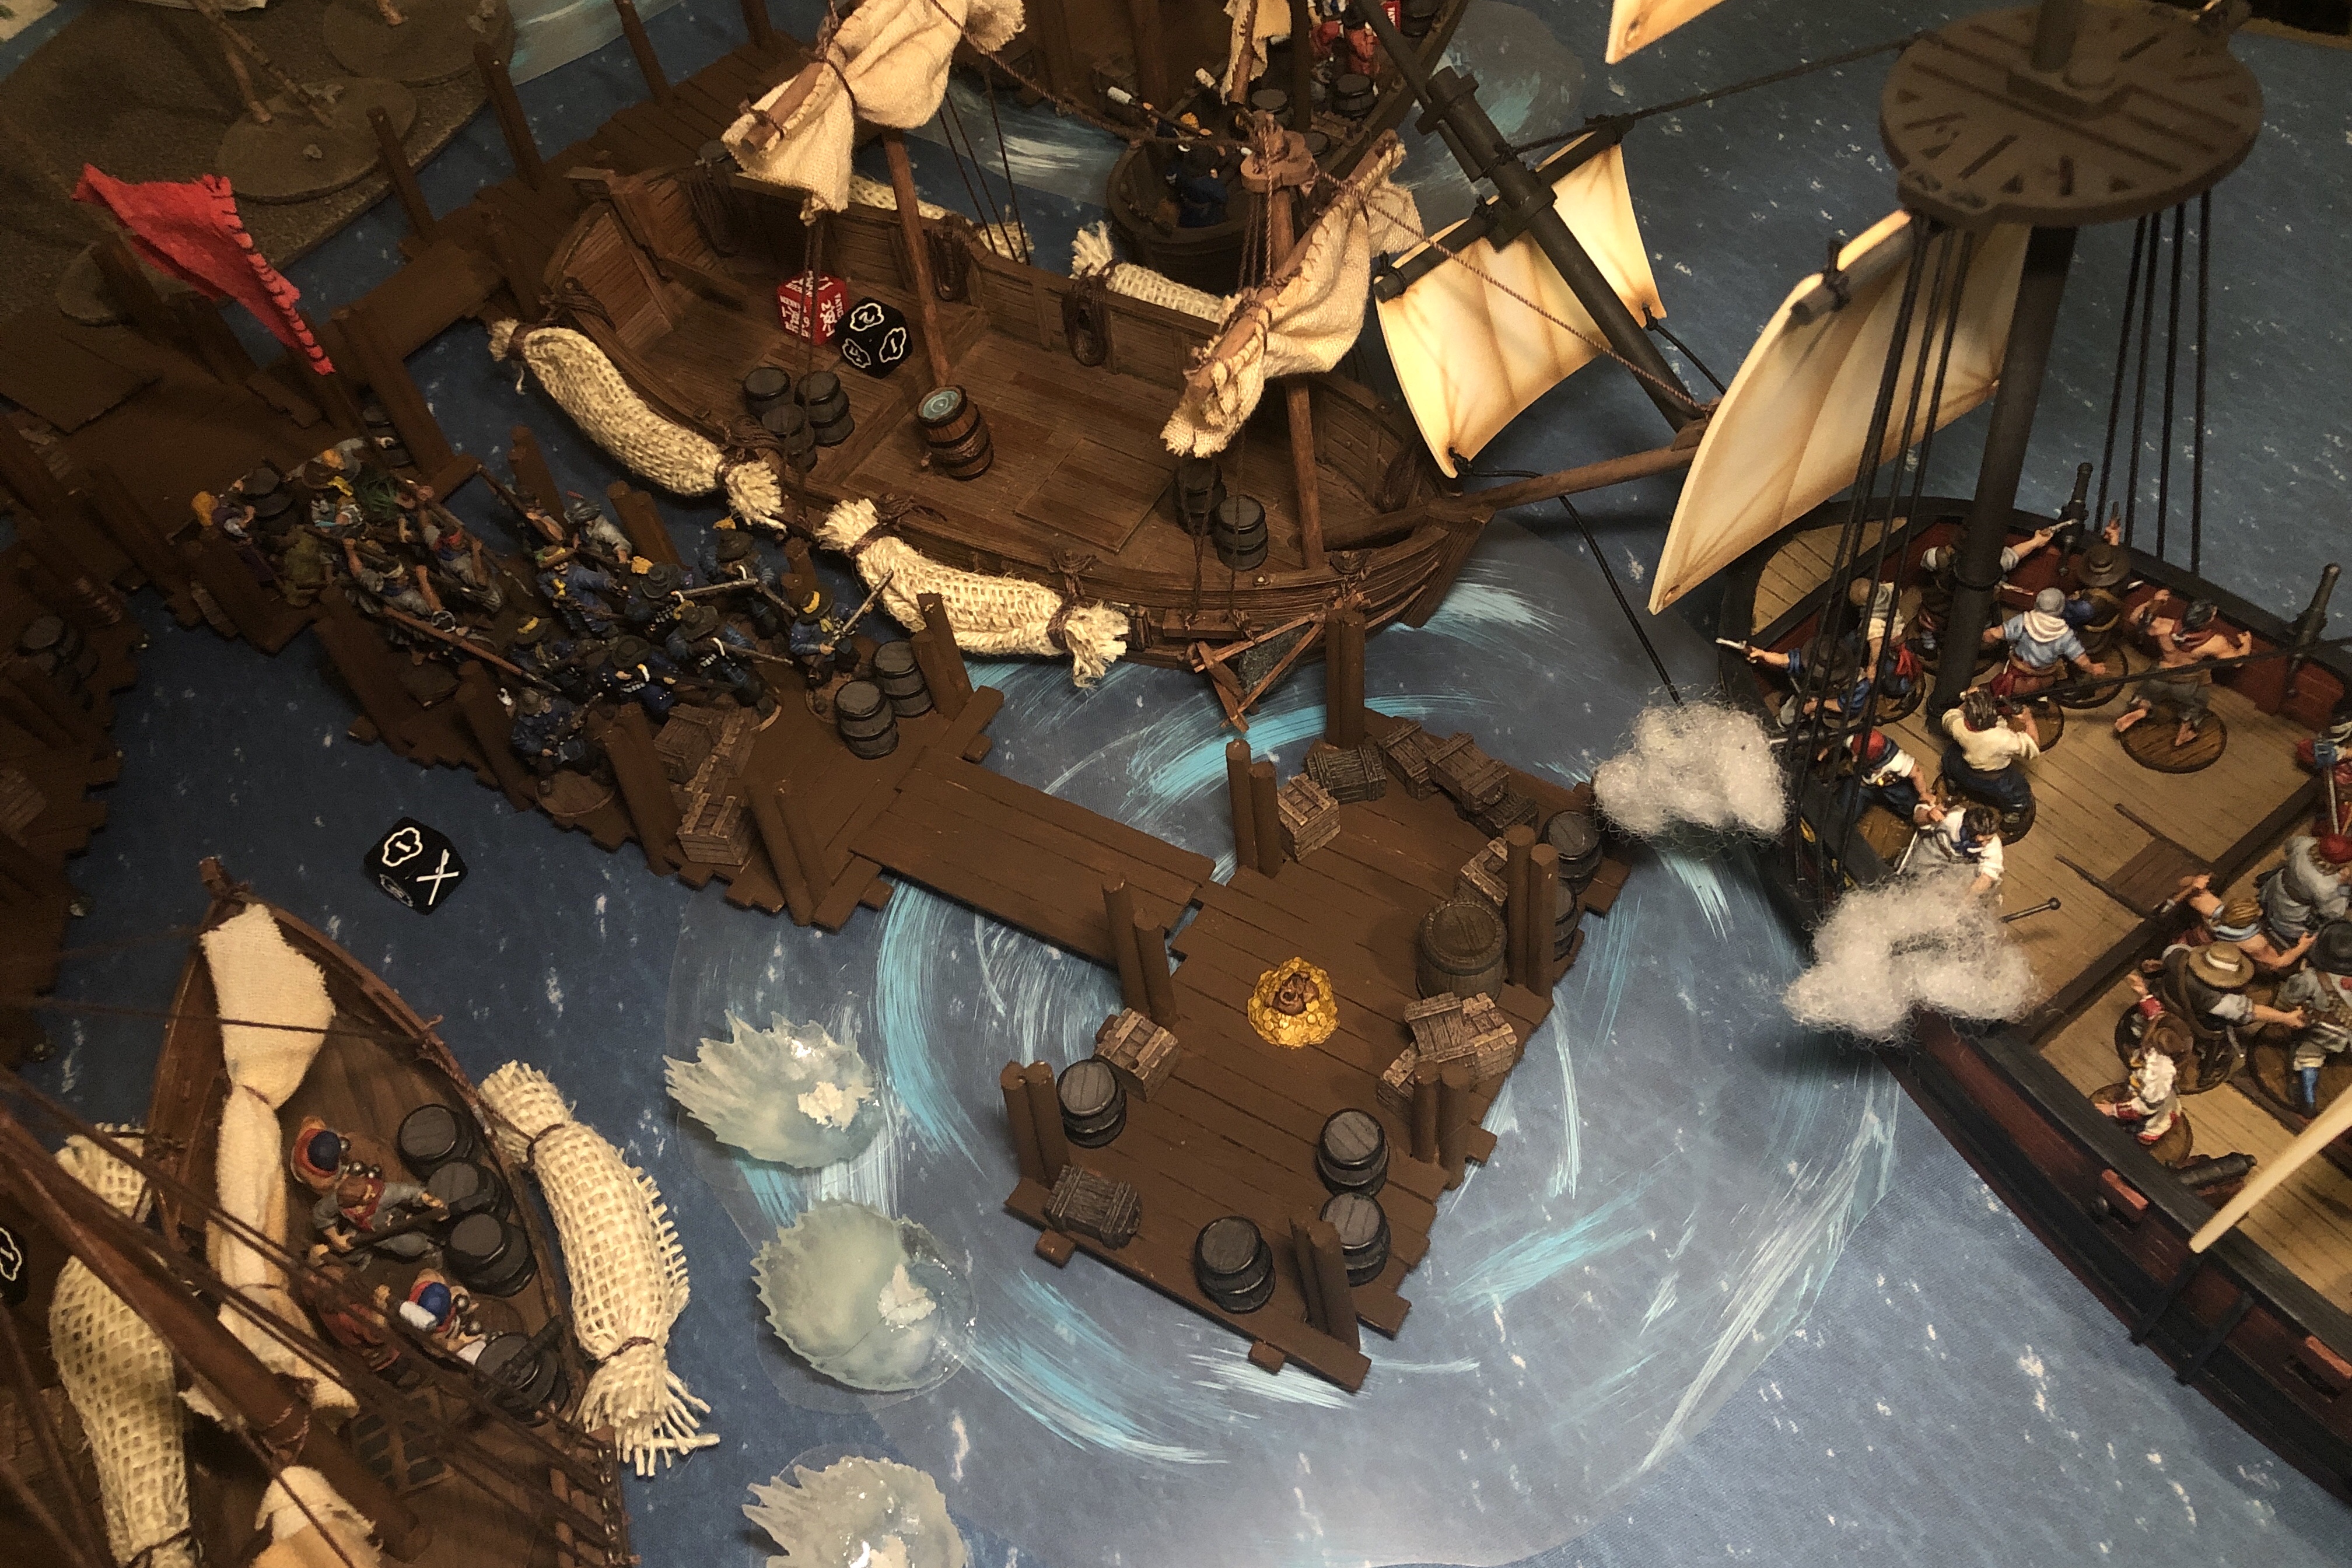
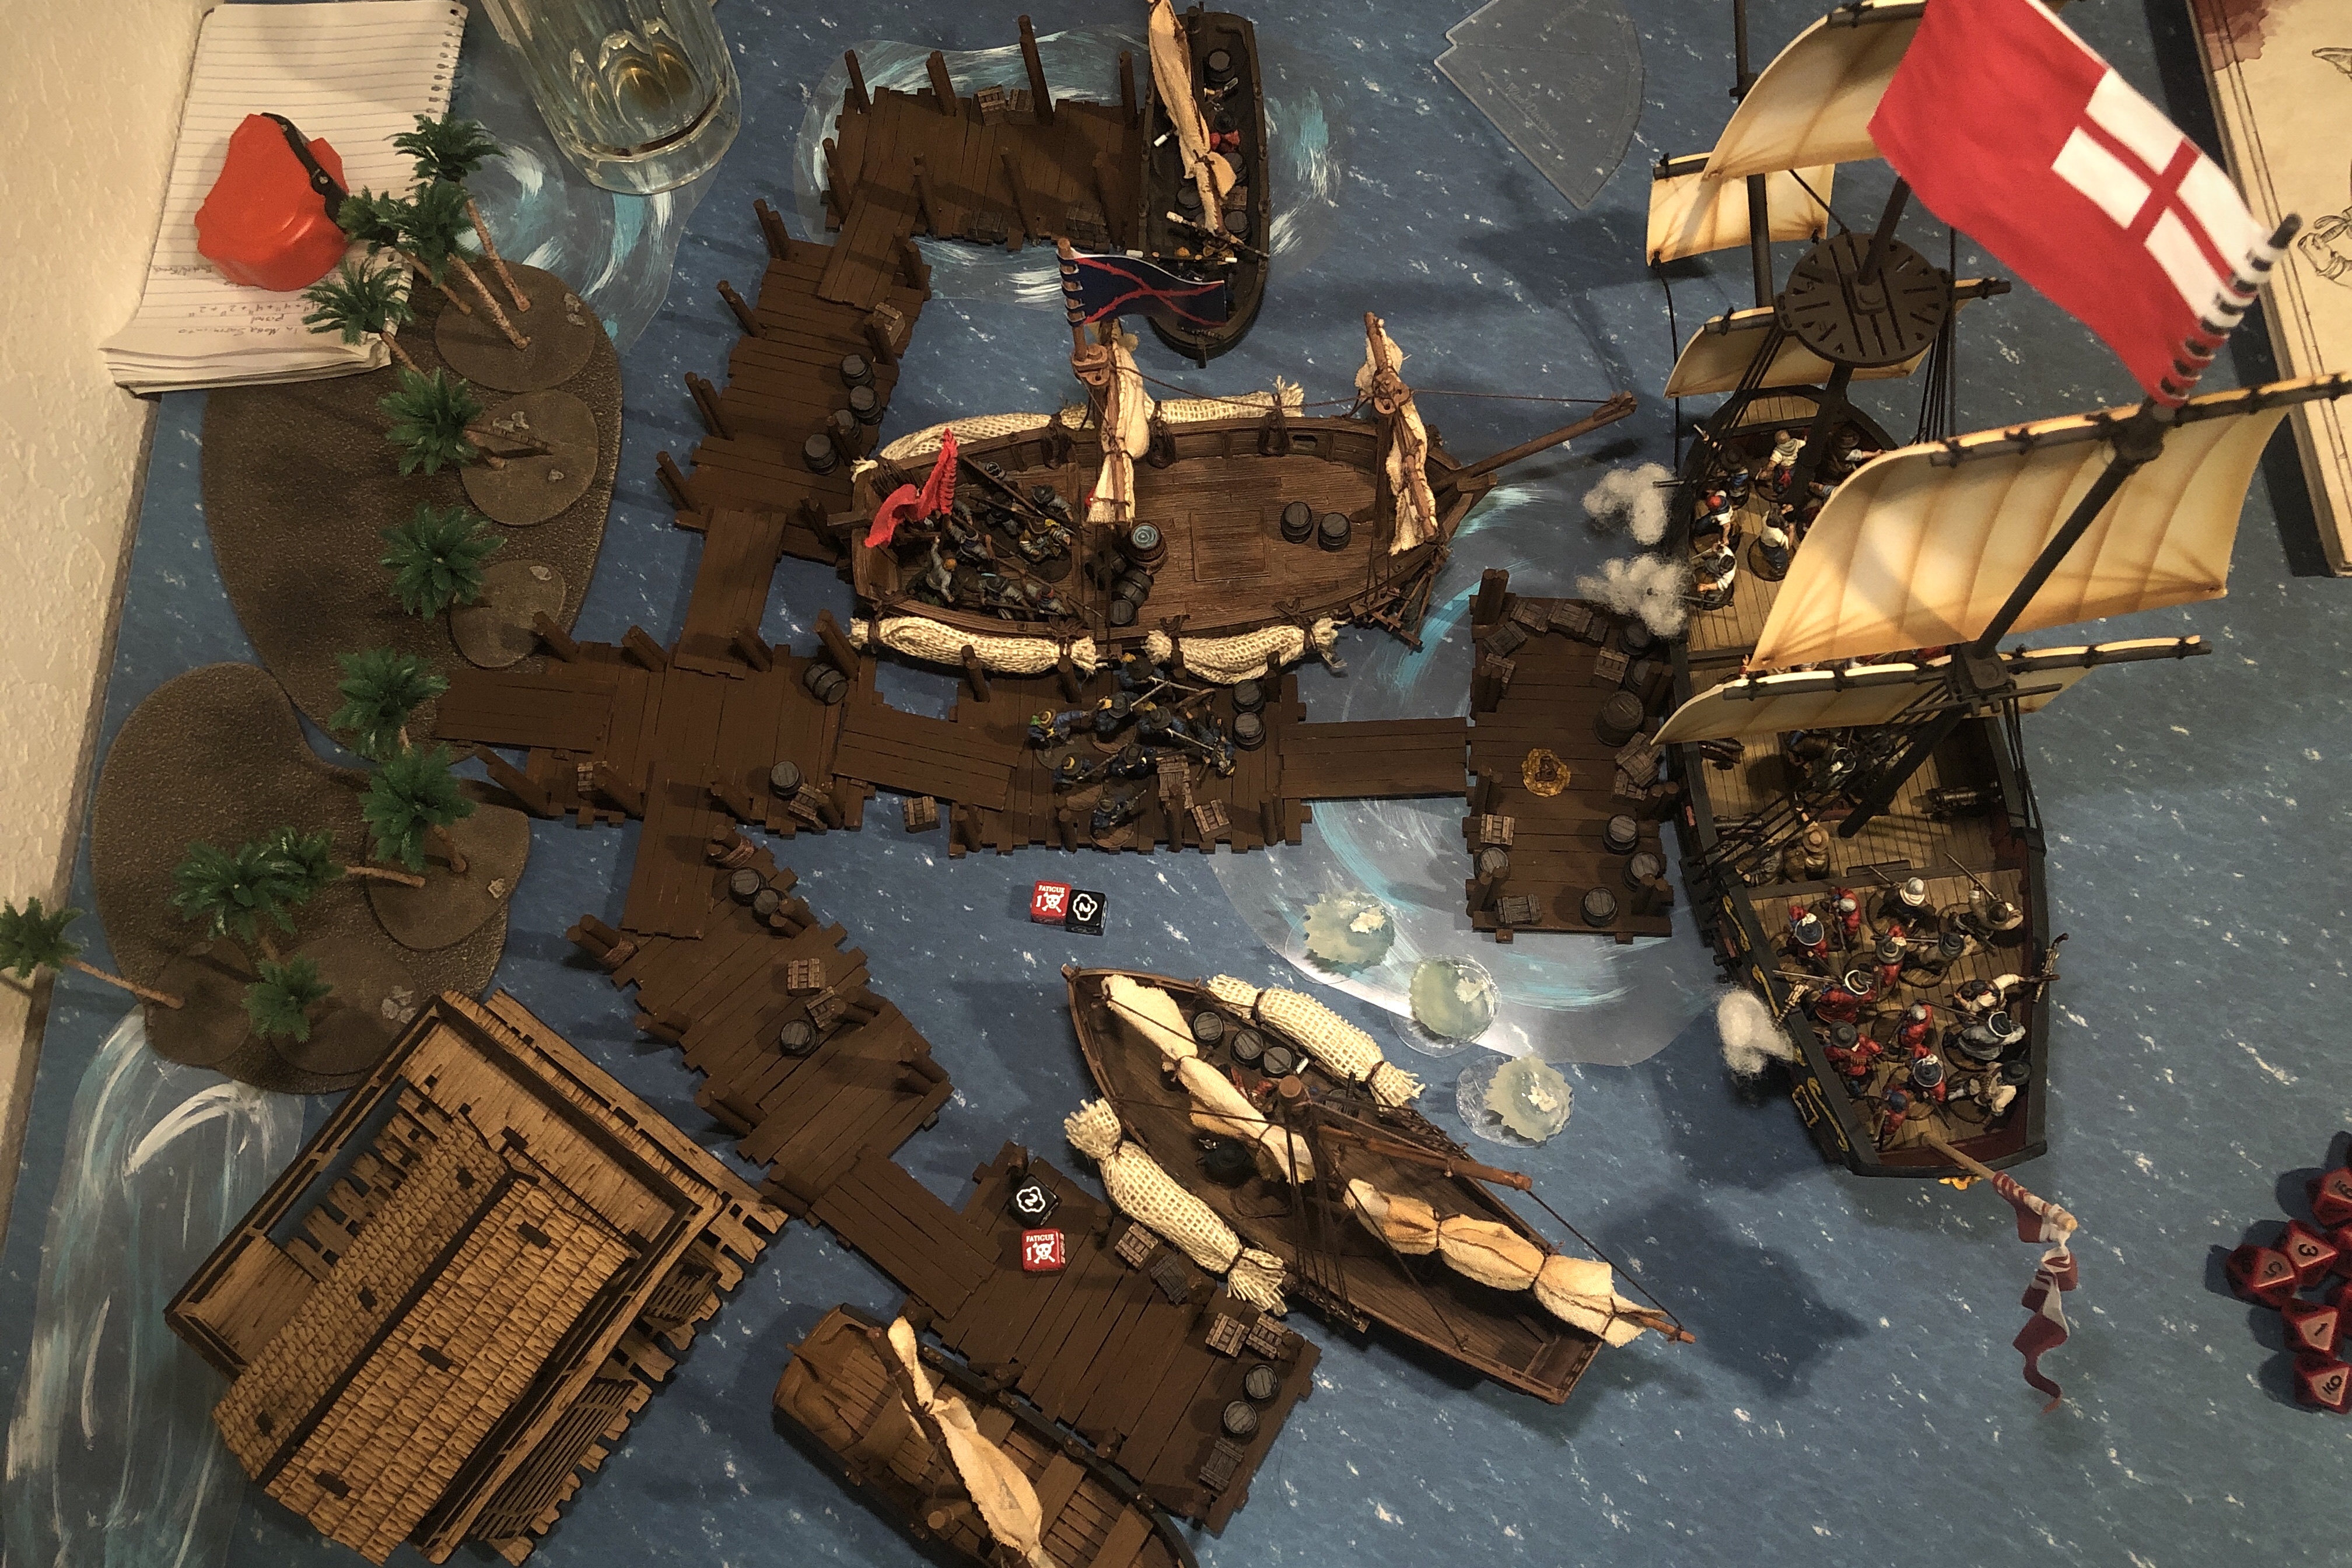
We’ve been using Encounter at Sea for this entire campaign at the 200 point level but we decided to break it up a little with a different scenario. Guy recently finished a large set of docks he was working on so we decided to do an amphibious game utilizing all the docks with various boats and ships available as terrain and using the Take and Hold scenario rules.
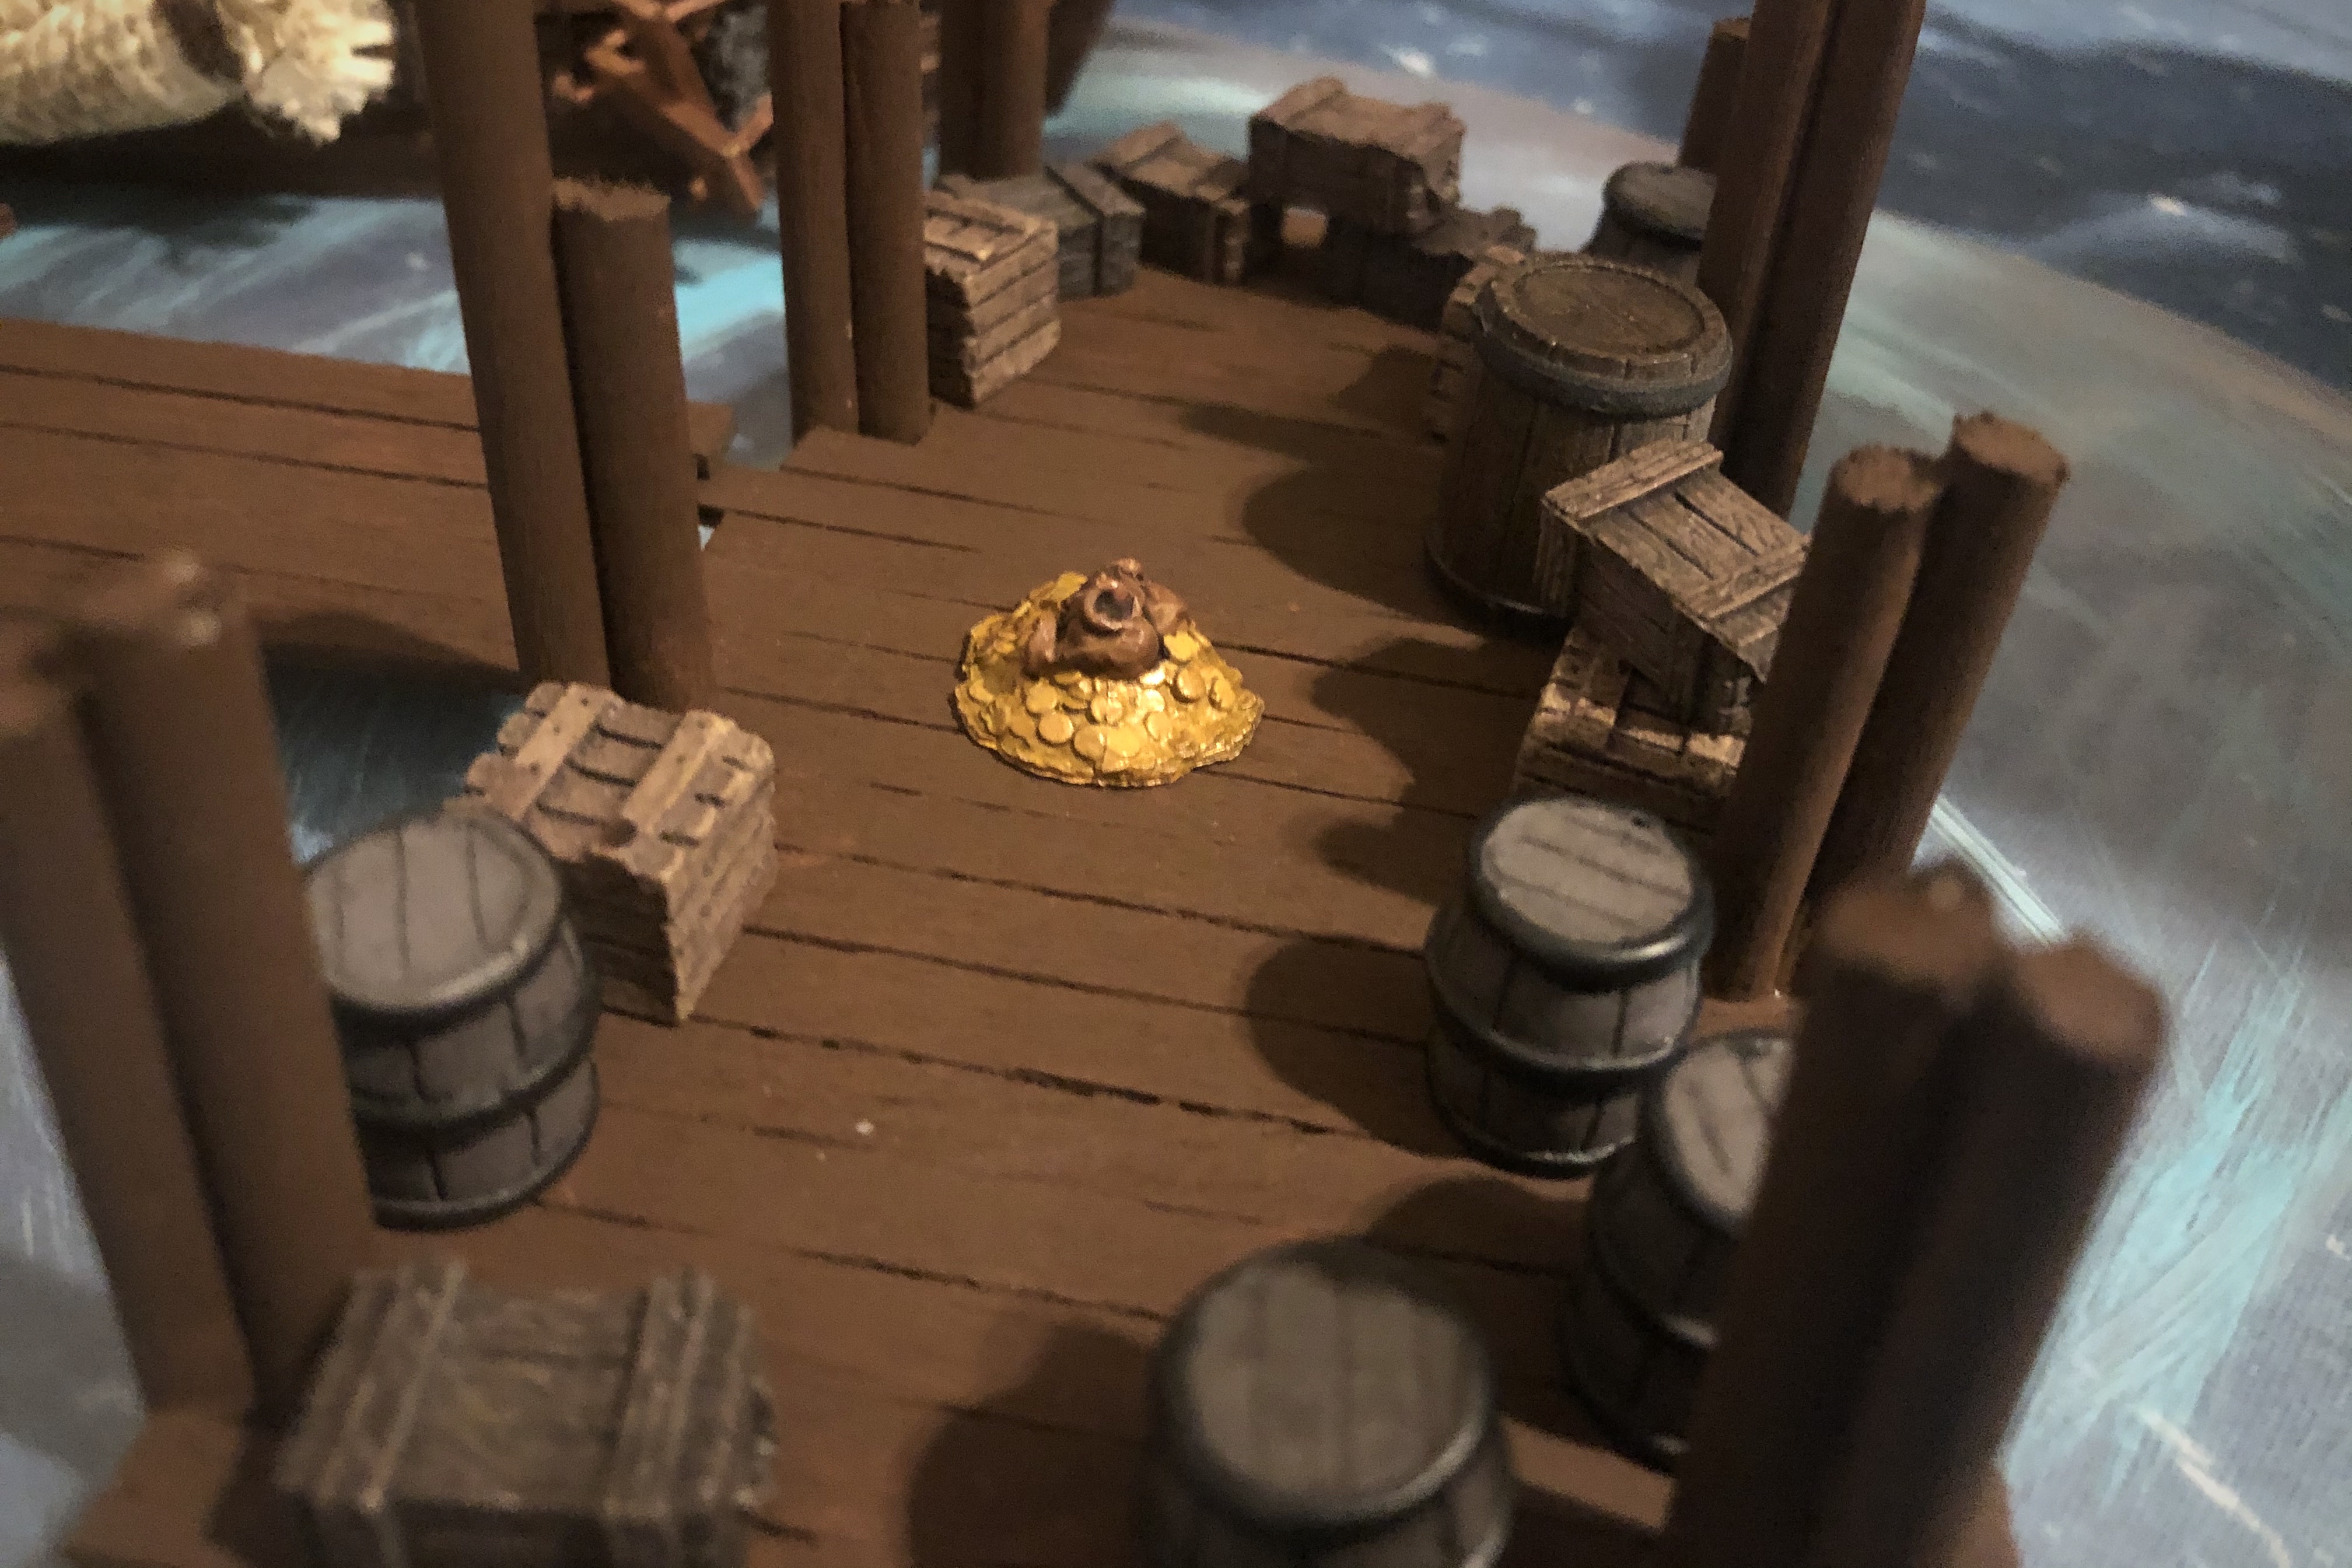
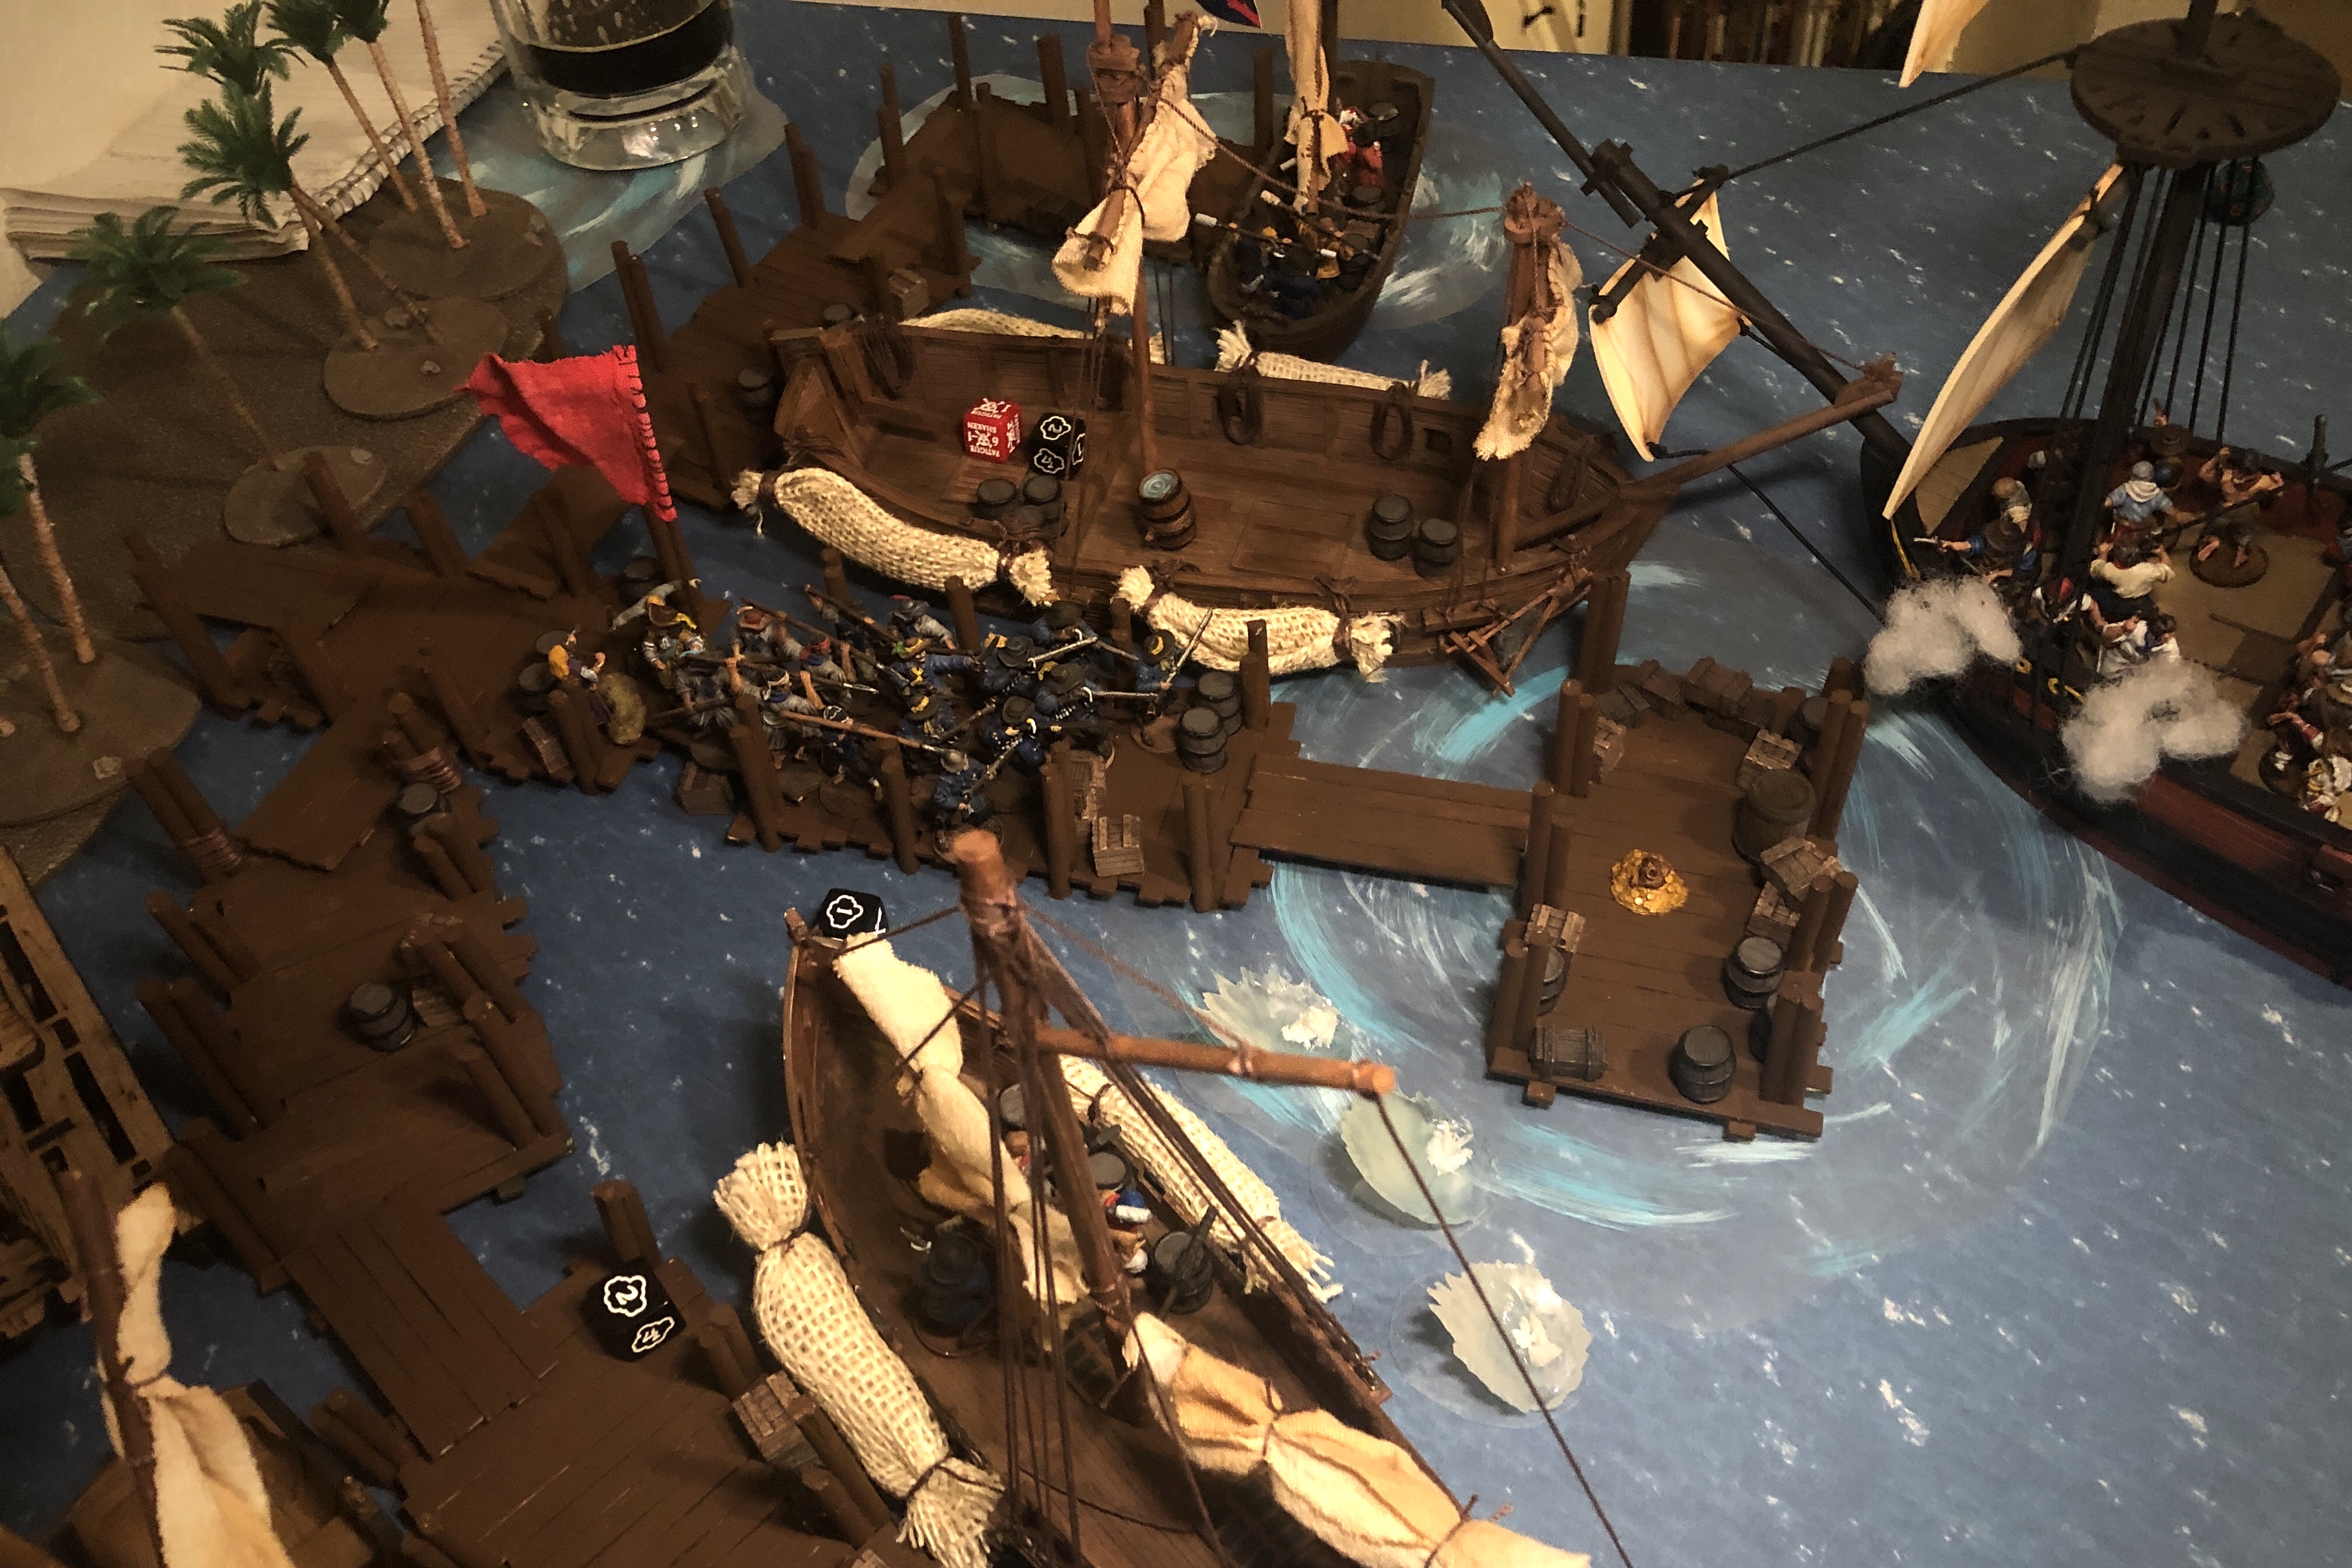
This scenario places an objective in the center of the board with both the Attacker and Defender deploying 20″ away. If the objective is controlled by a player and there are no enemy units within 4″, the opposing player gains a Strike Point.
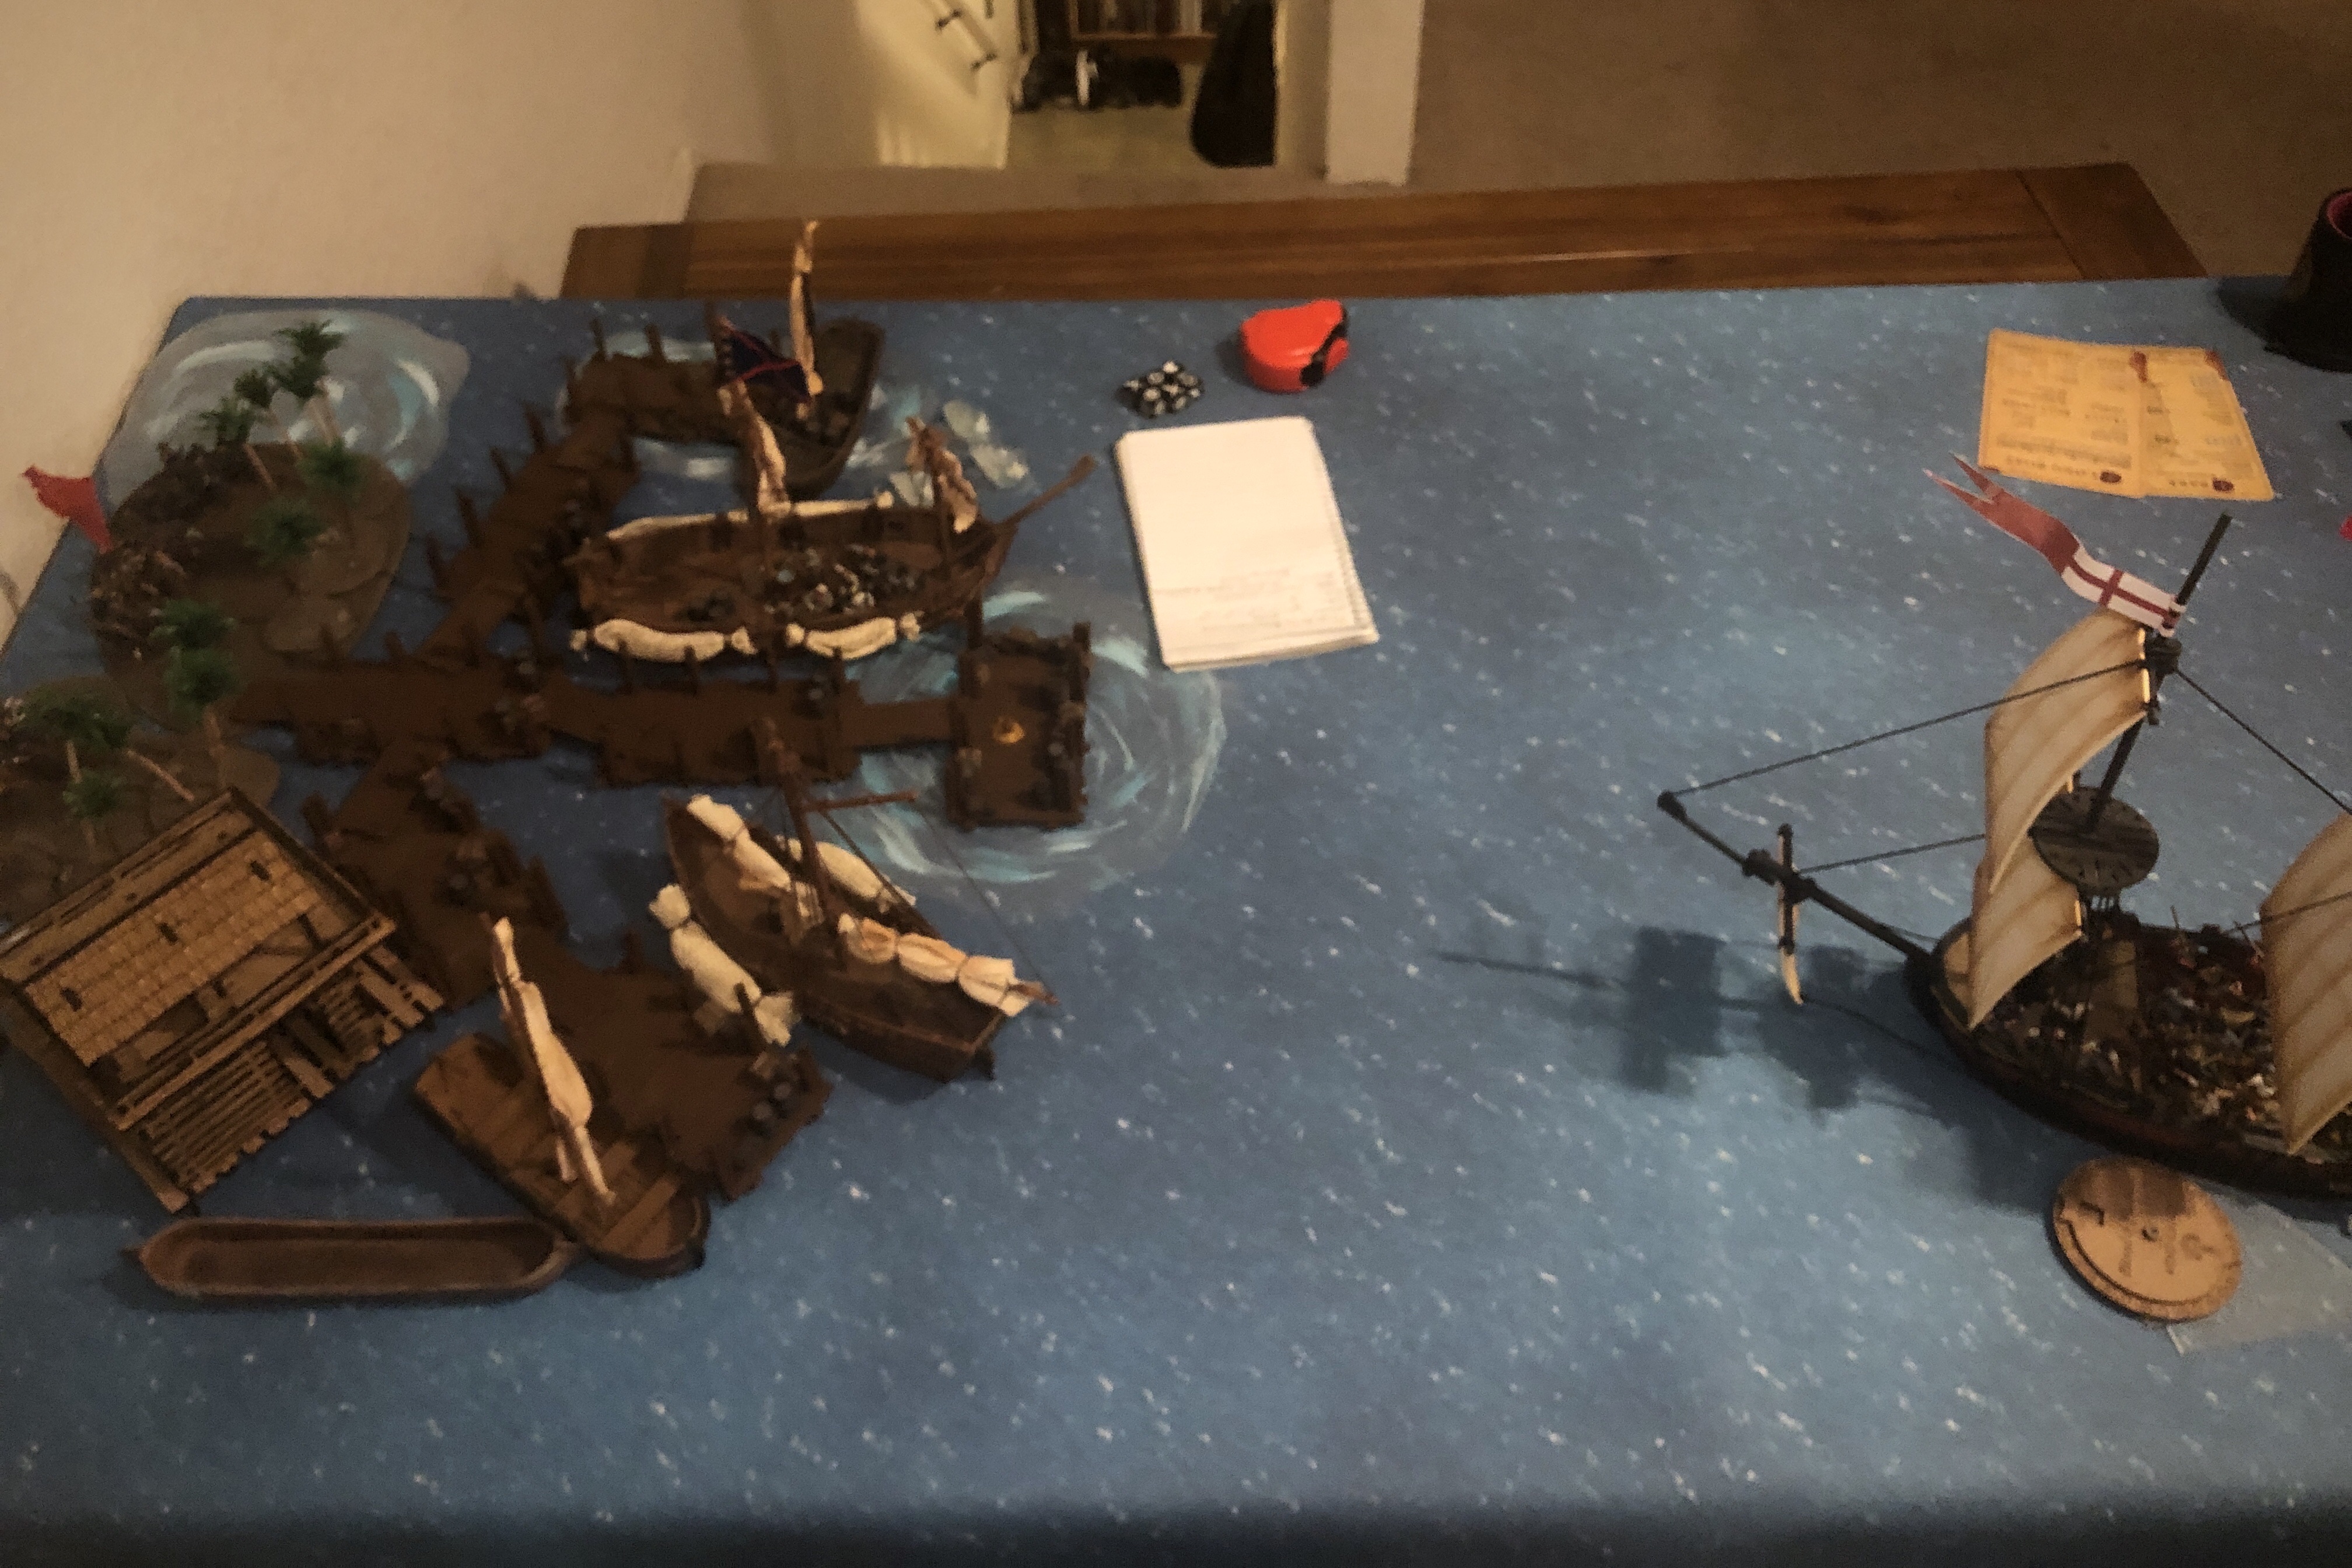
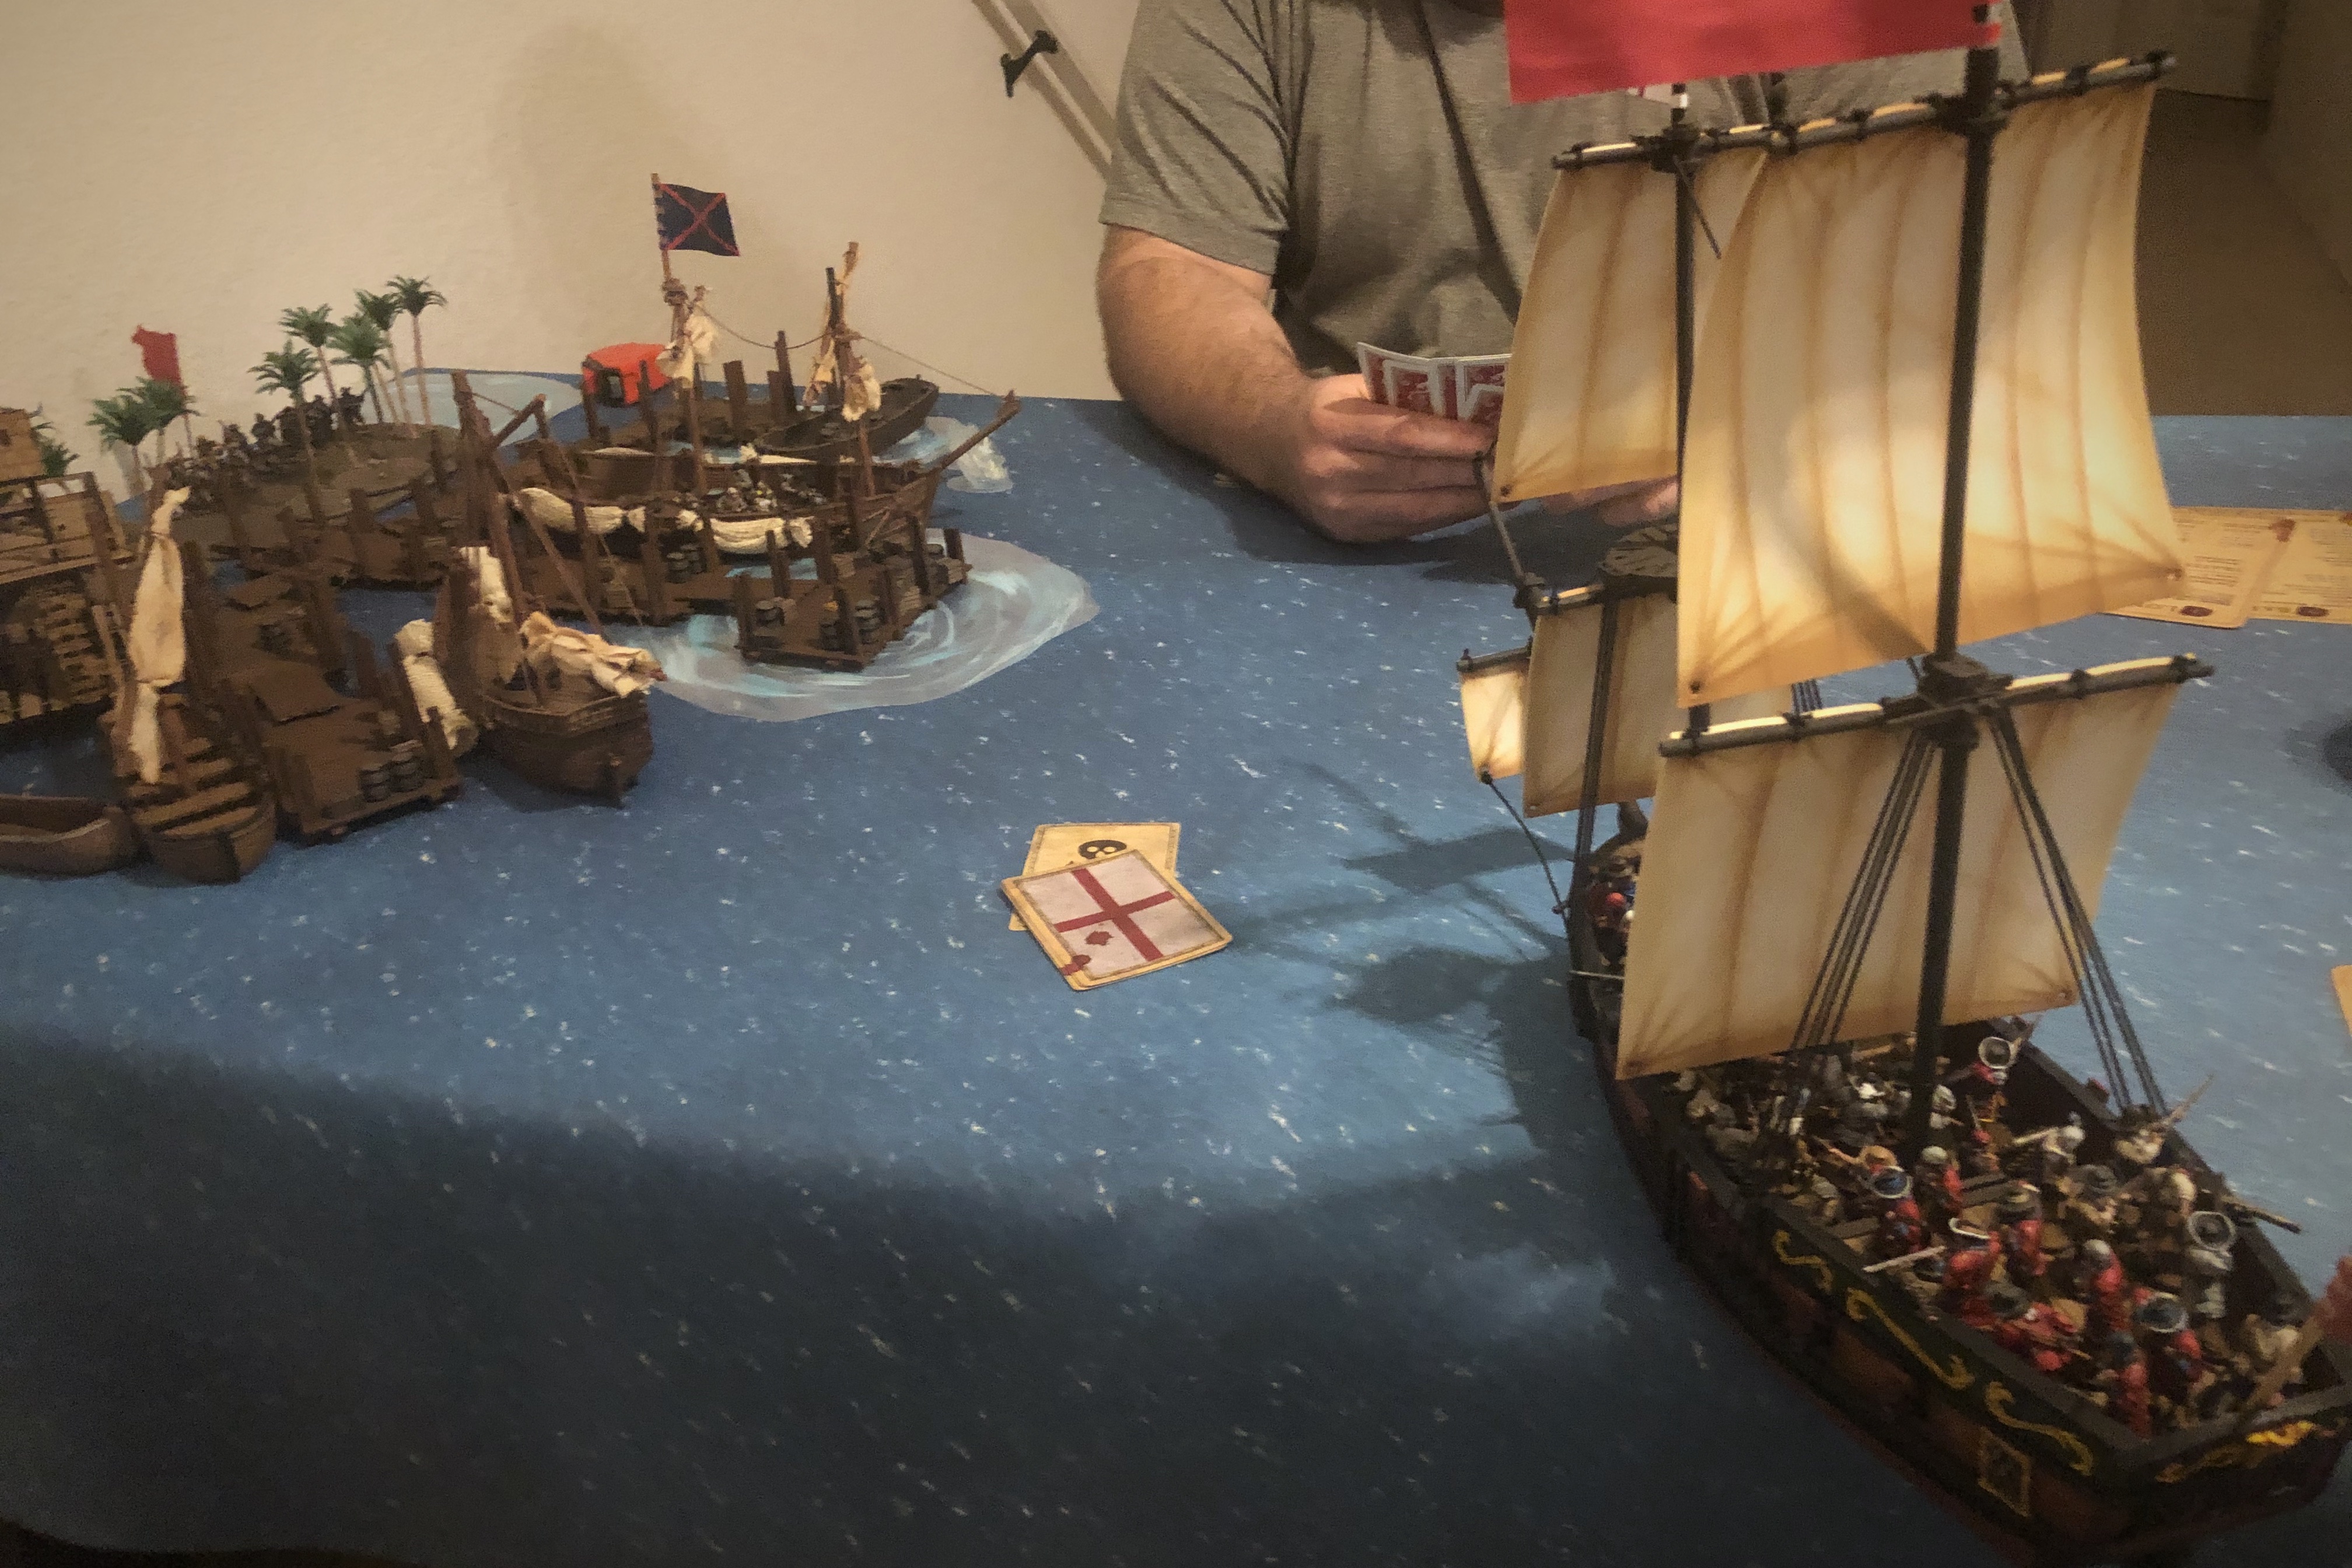
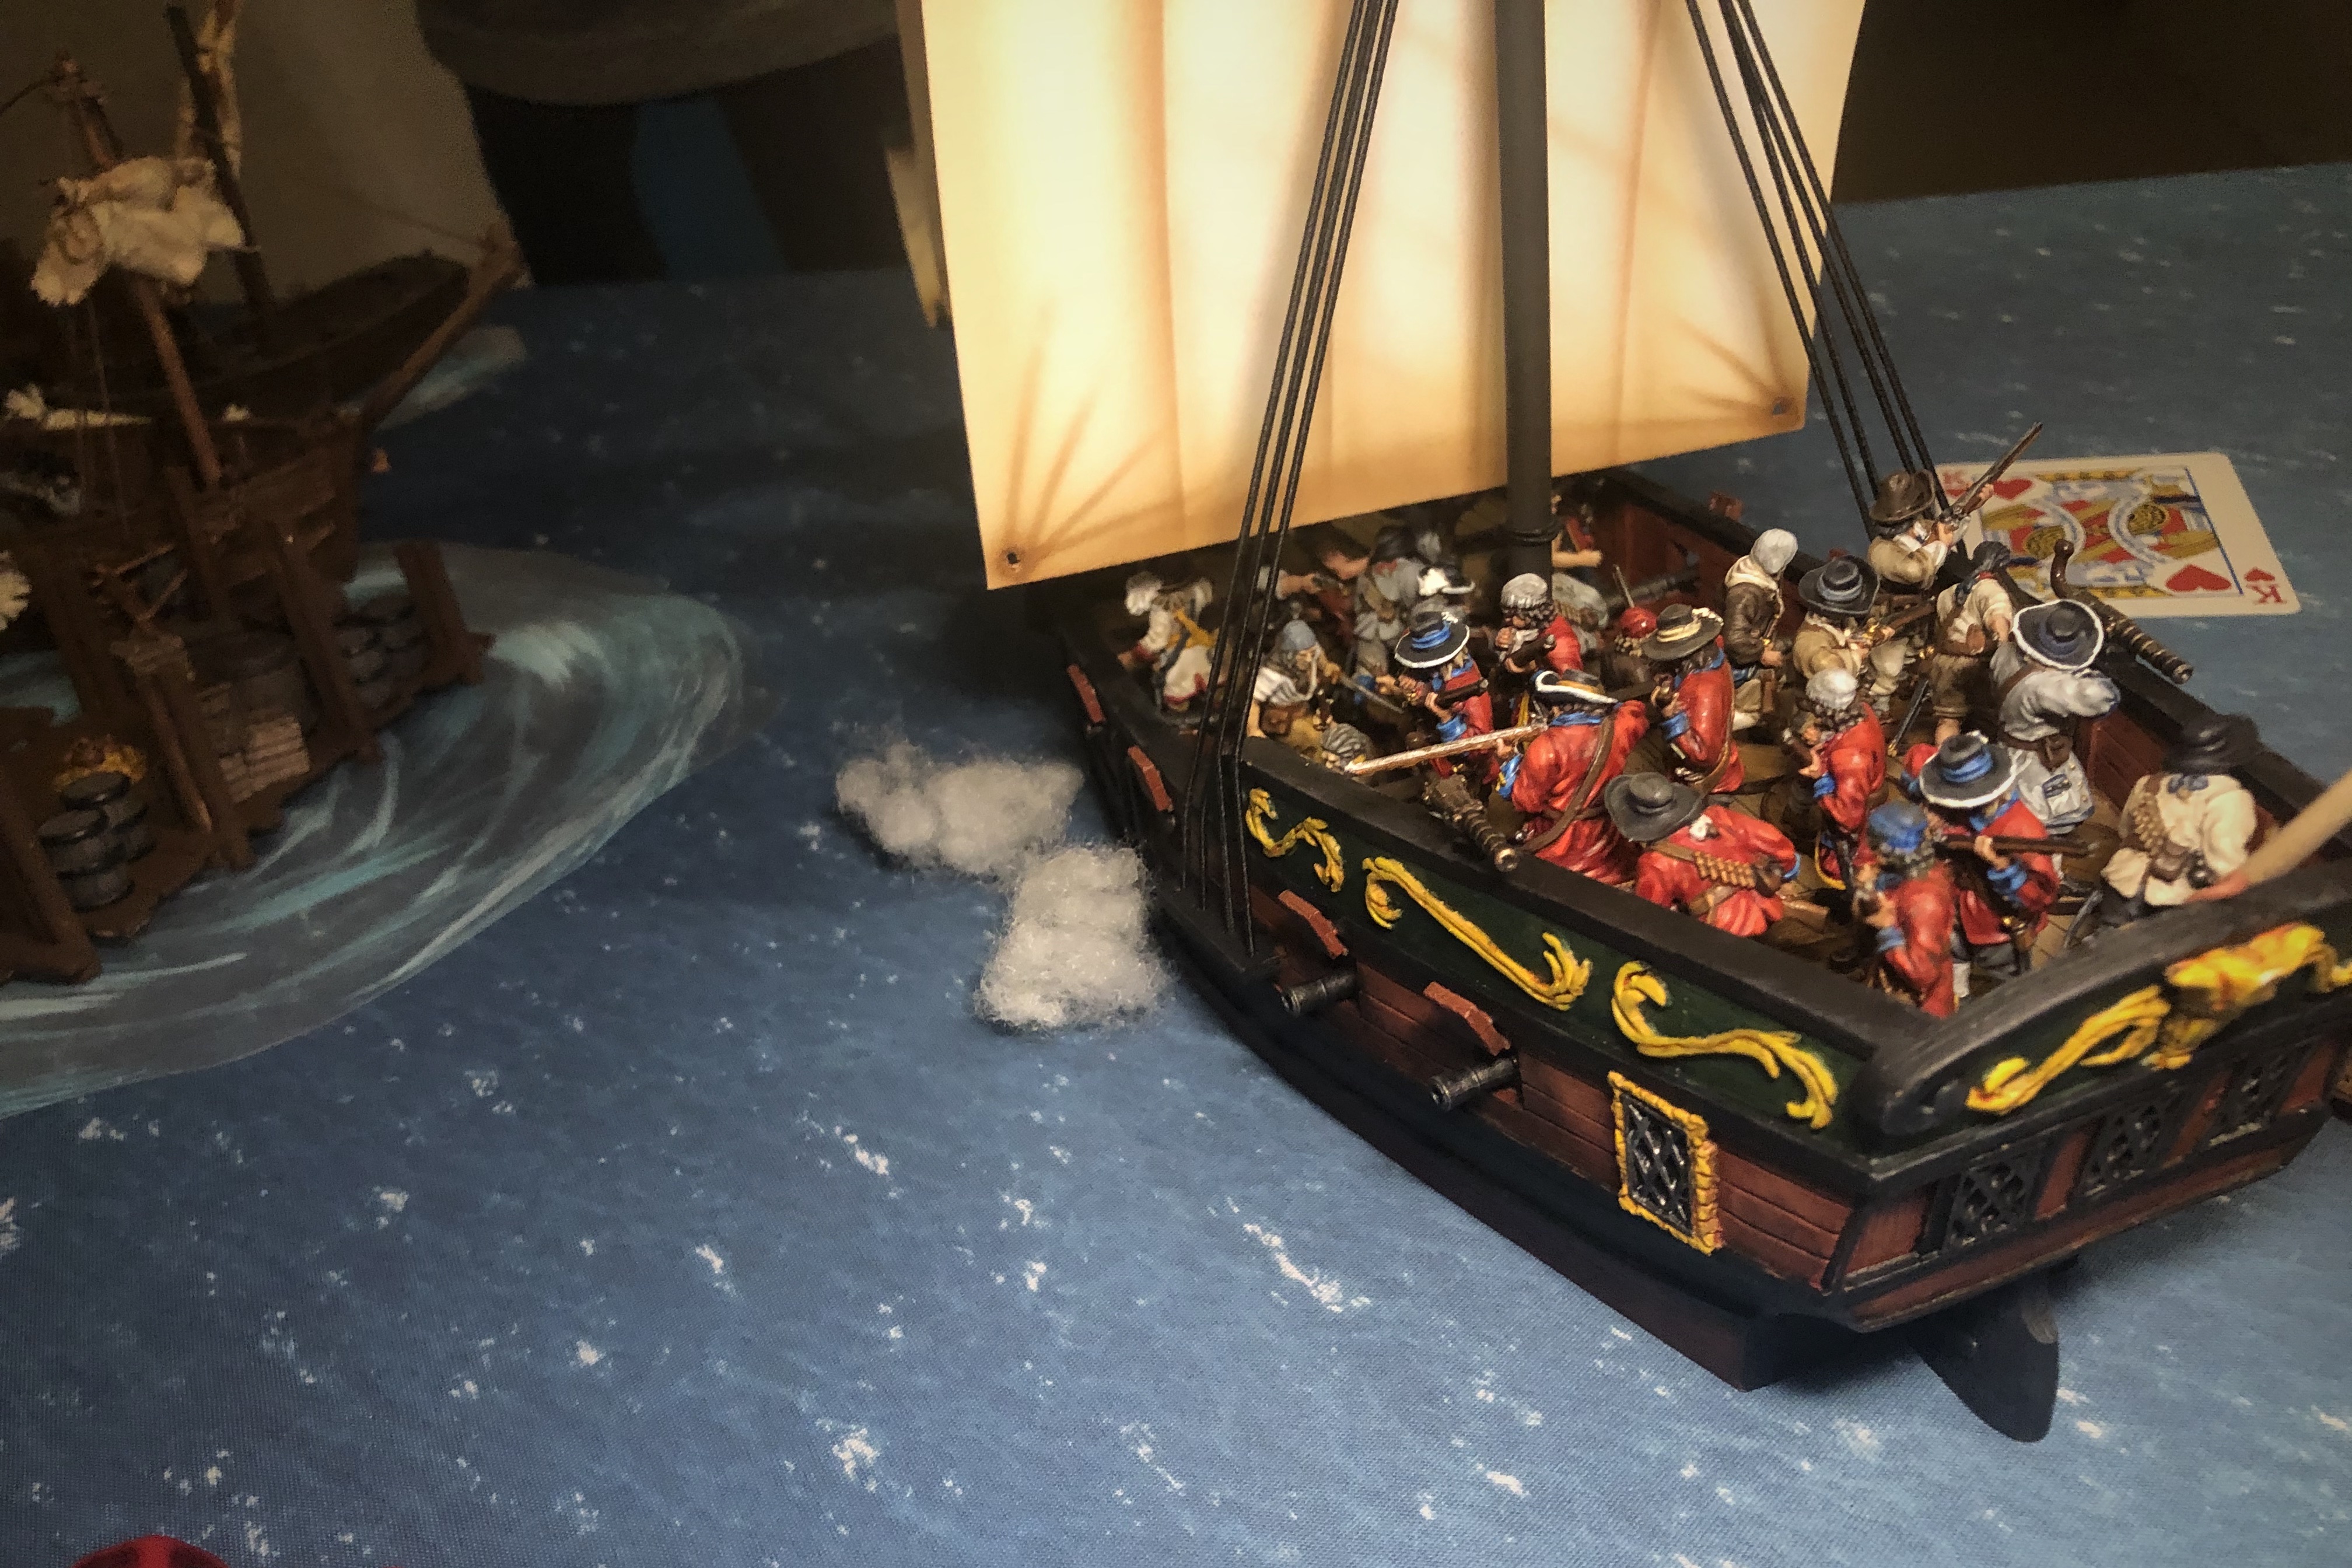
We placed the objective pile of gold on the dock in the center of the board and then placed our units 20″ away. The scenario specifies that we determine the wind direction randomly before units are placed. At the beginning of the game the wind was coming from the viewer’s direction in the picture above.

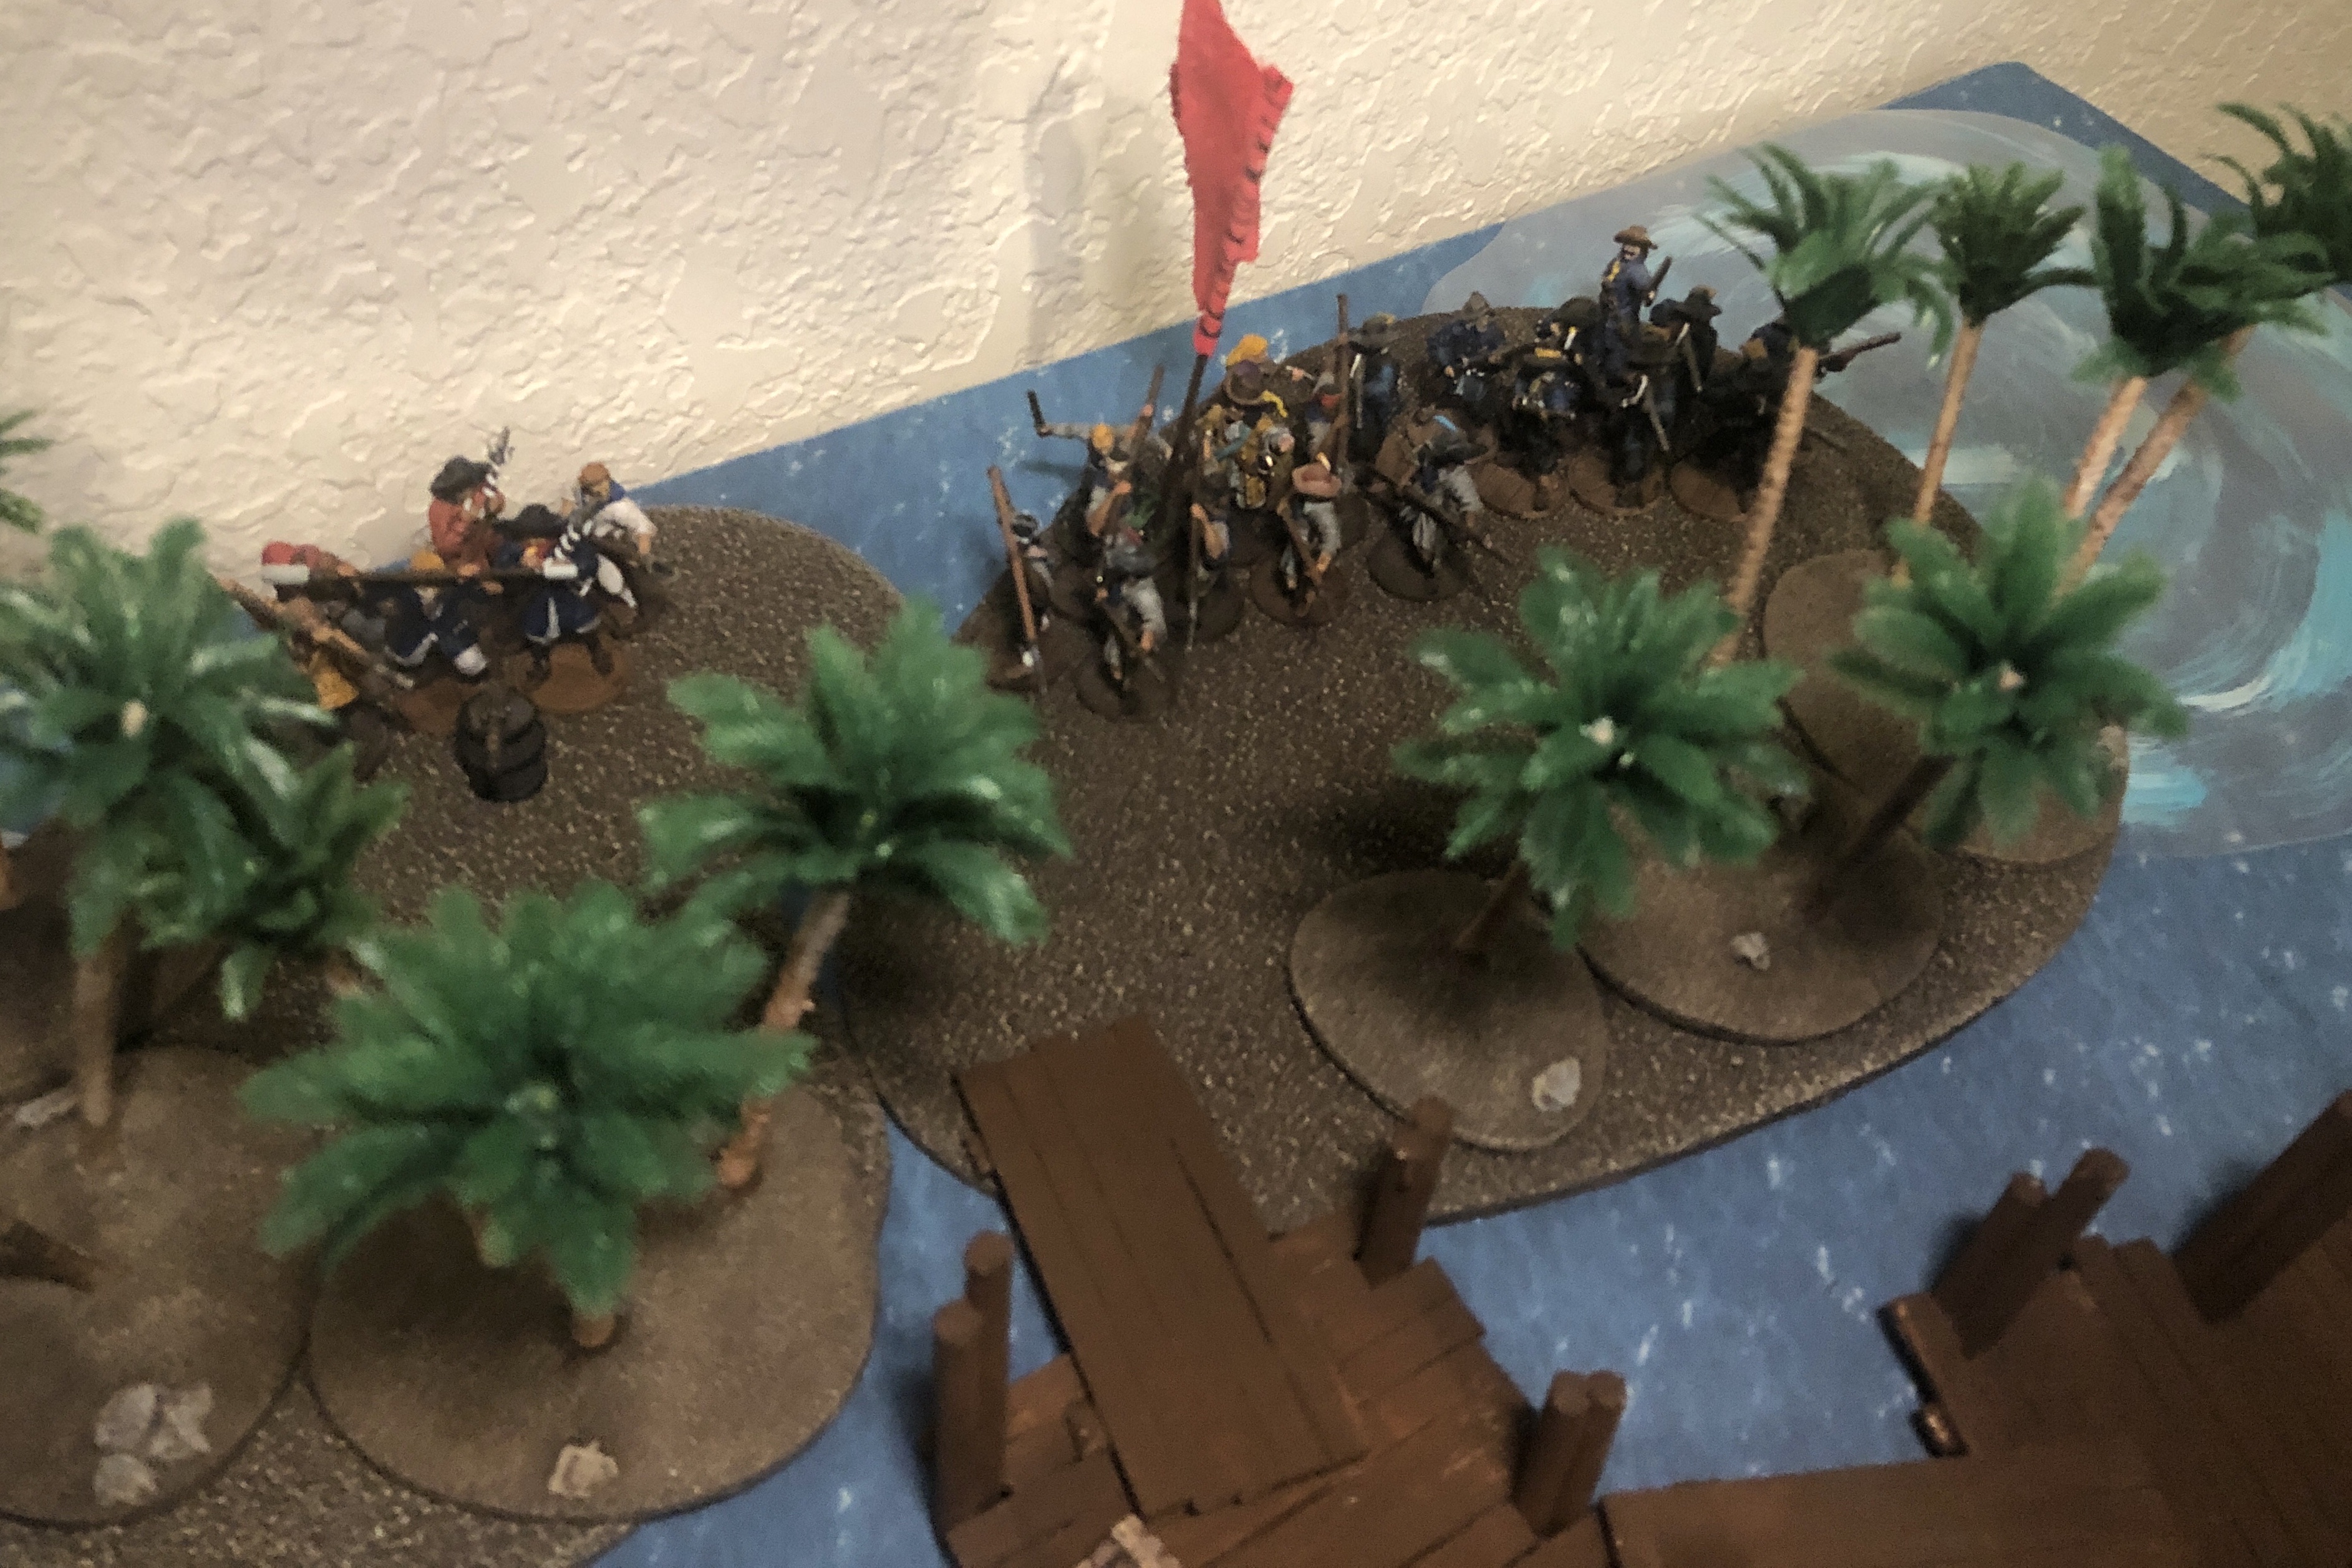
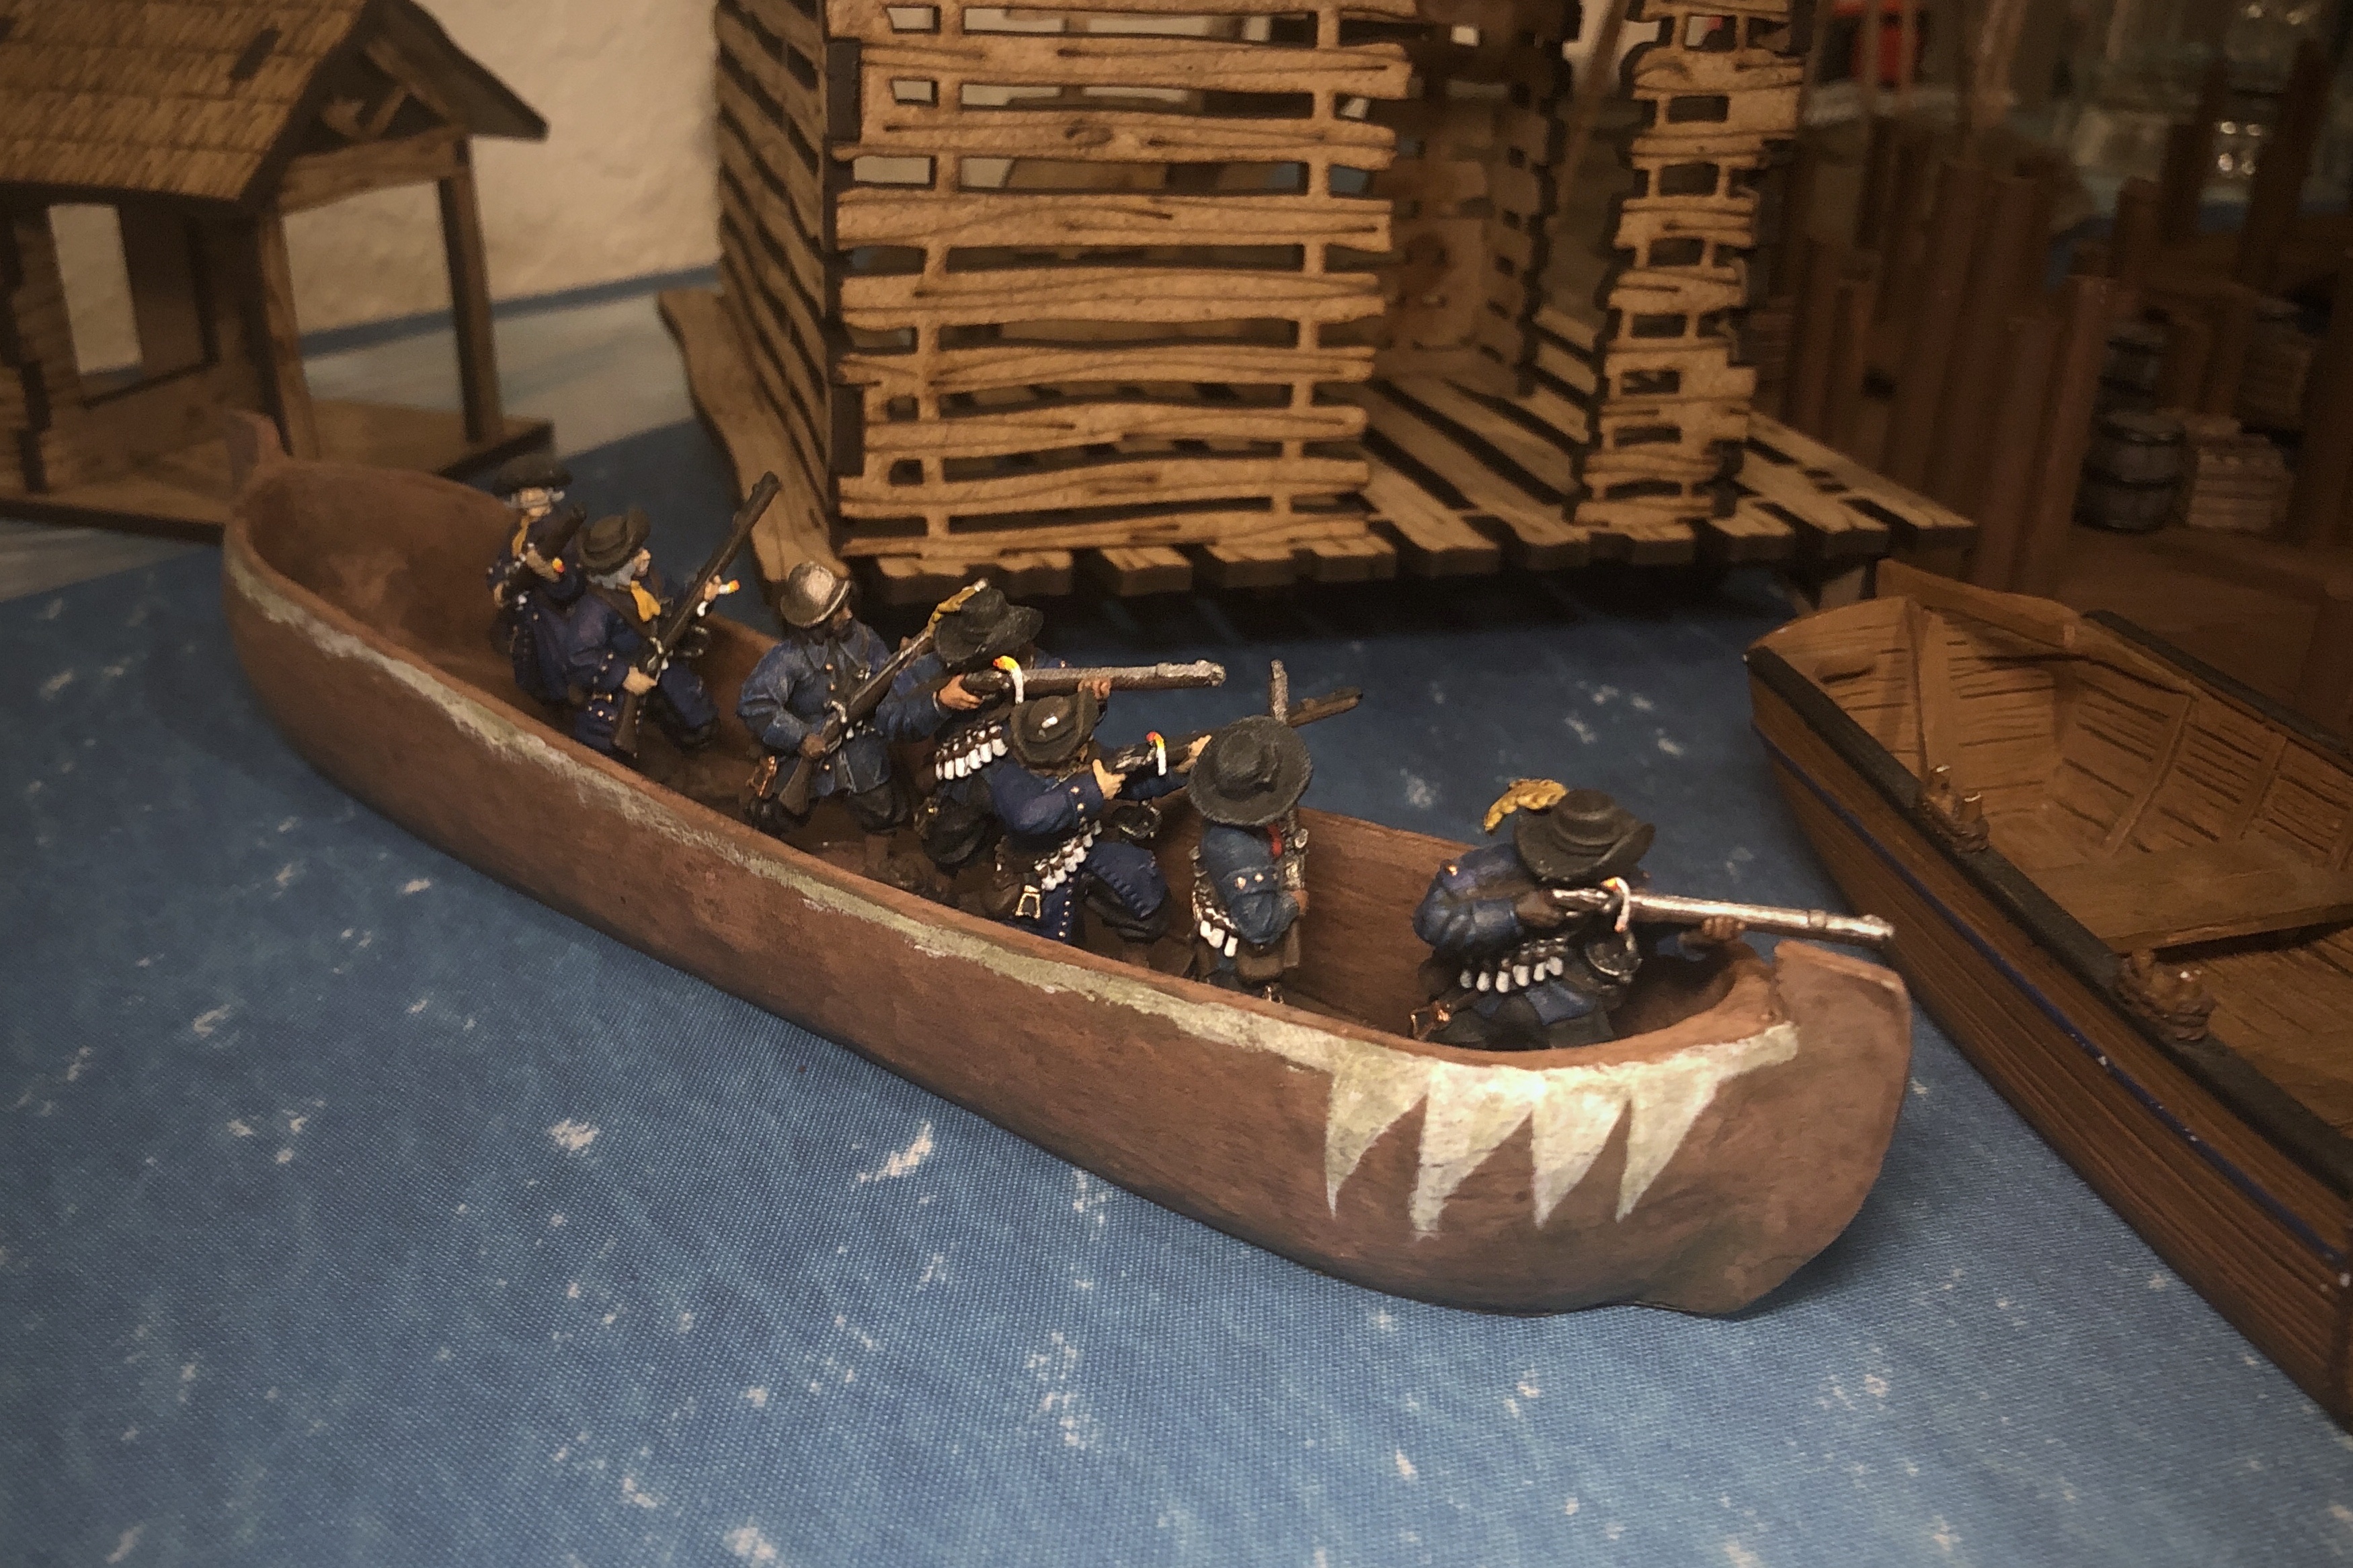
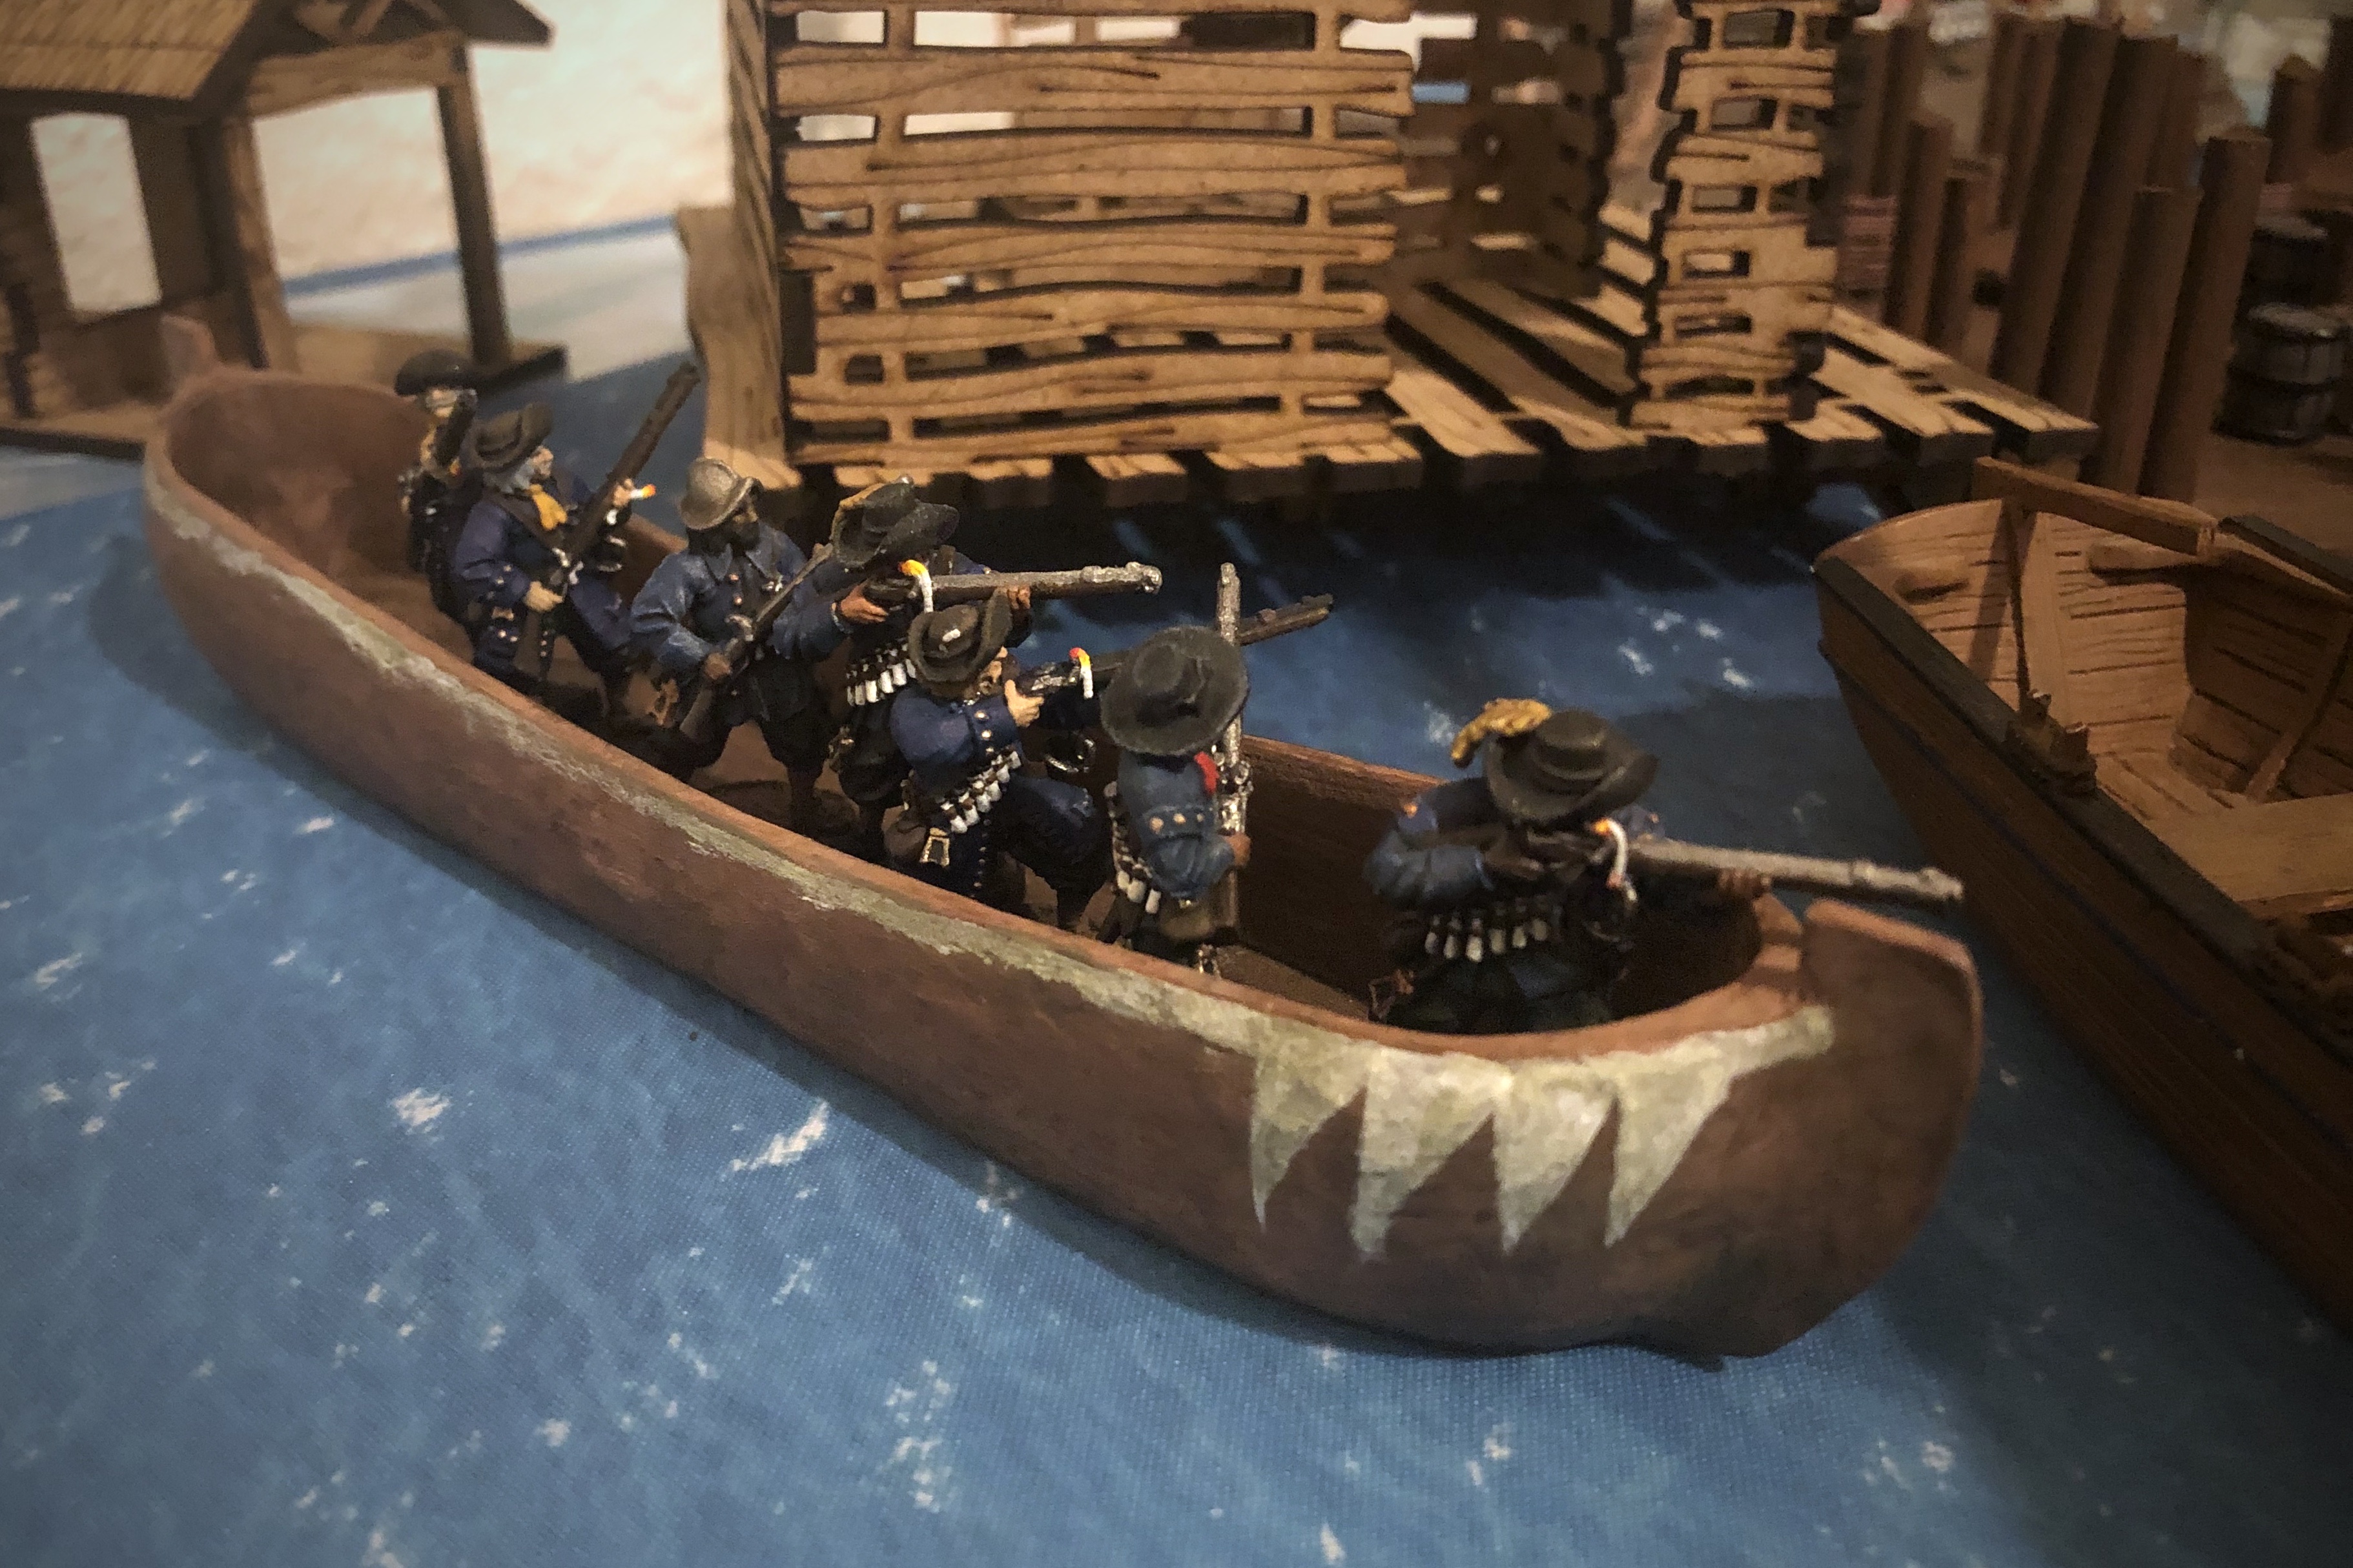
I forgot to bring my coastal land mat so we used these shoal terrain pieces for “land.”
The Game
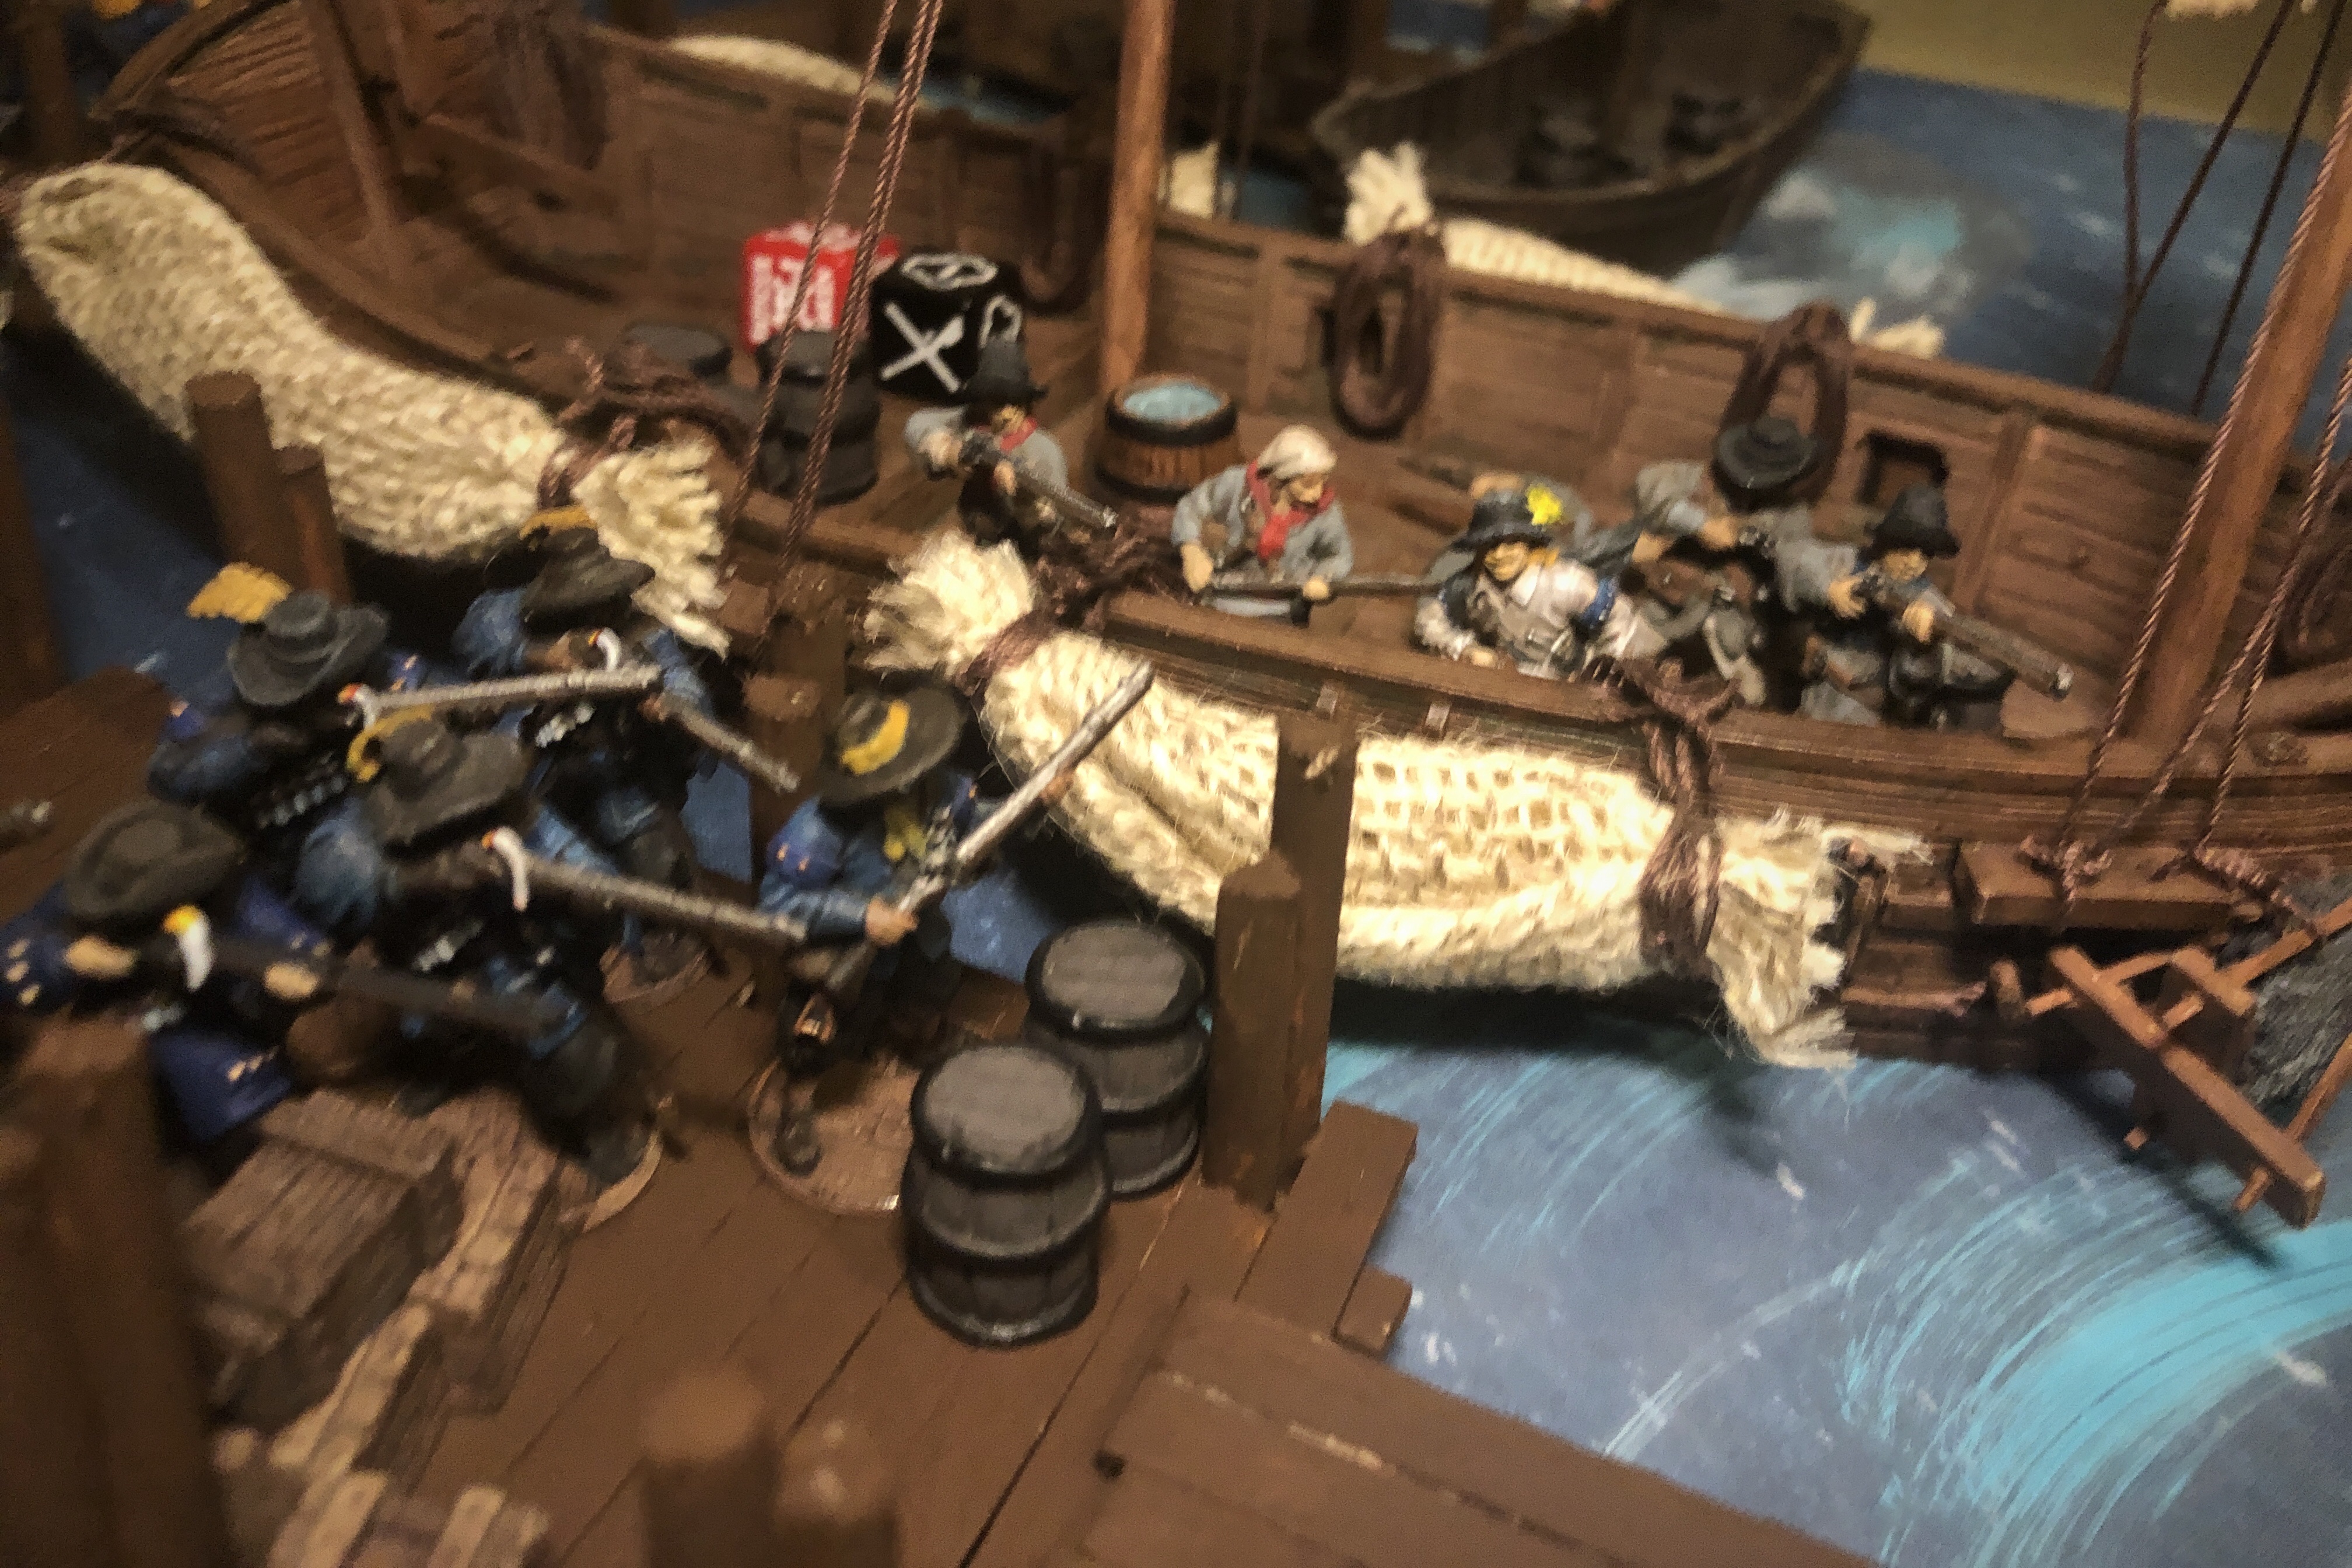
Guy deployed his Spanish along the back edge of the board and placed one unit of Hostigadores prone in the Bark using the Spanish Militia Lay in Wait rule.
I drew an event in my opening hand which triggered a wind and weather change. The weather remained the same but the wind moved one board edge clockwise which put me in the wind’s eye and forcing me to work my way up wind for the rest of the game! Not a nice start for me.
I had set my starting sail setting at 4″ at the beginning of the game but not that I had to take a 2″ windward penalty, that didn’t seem like such a good idea!

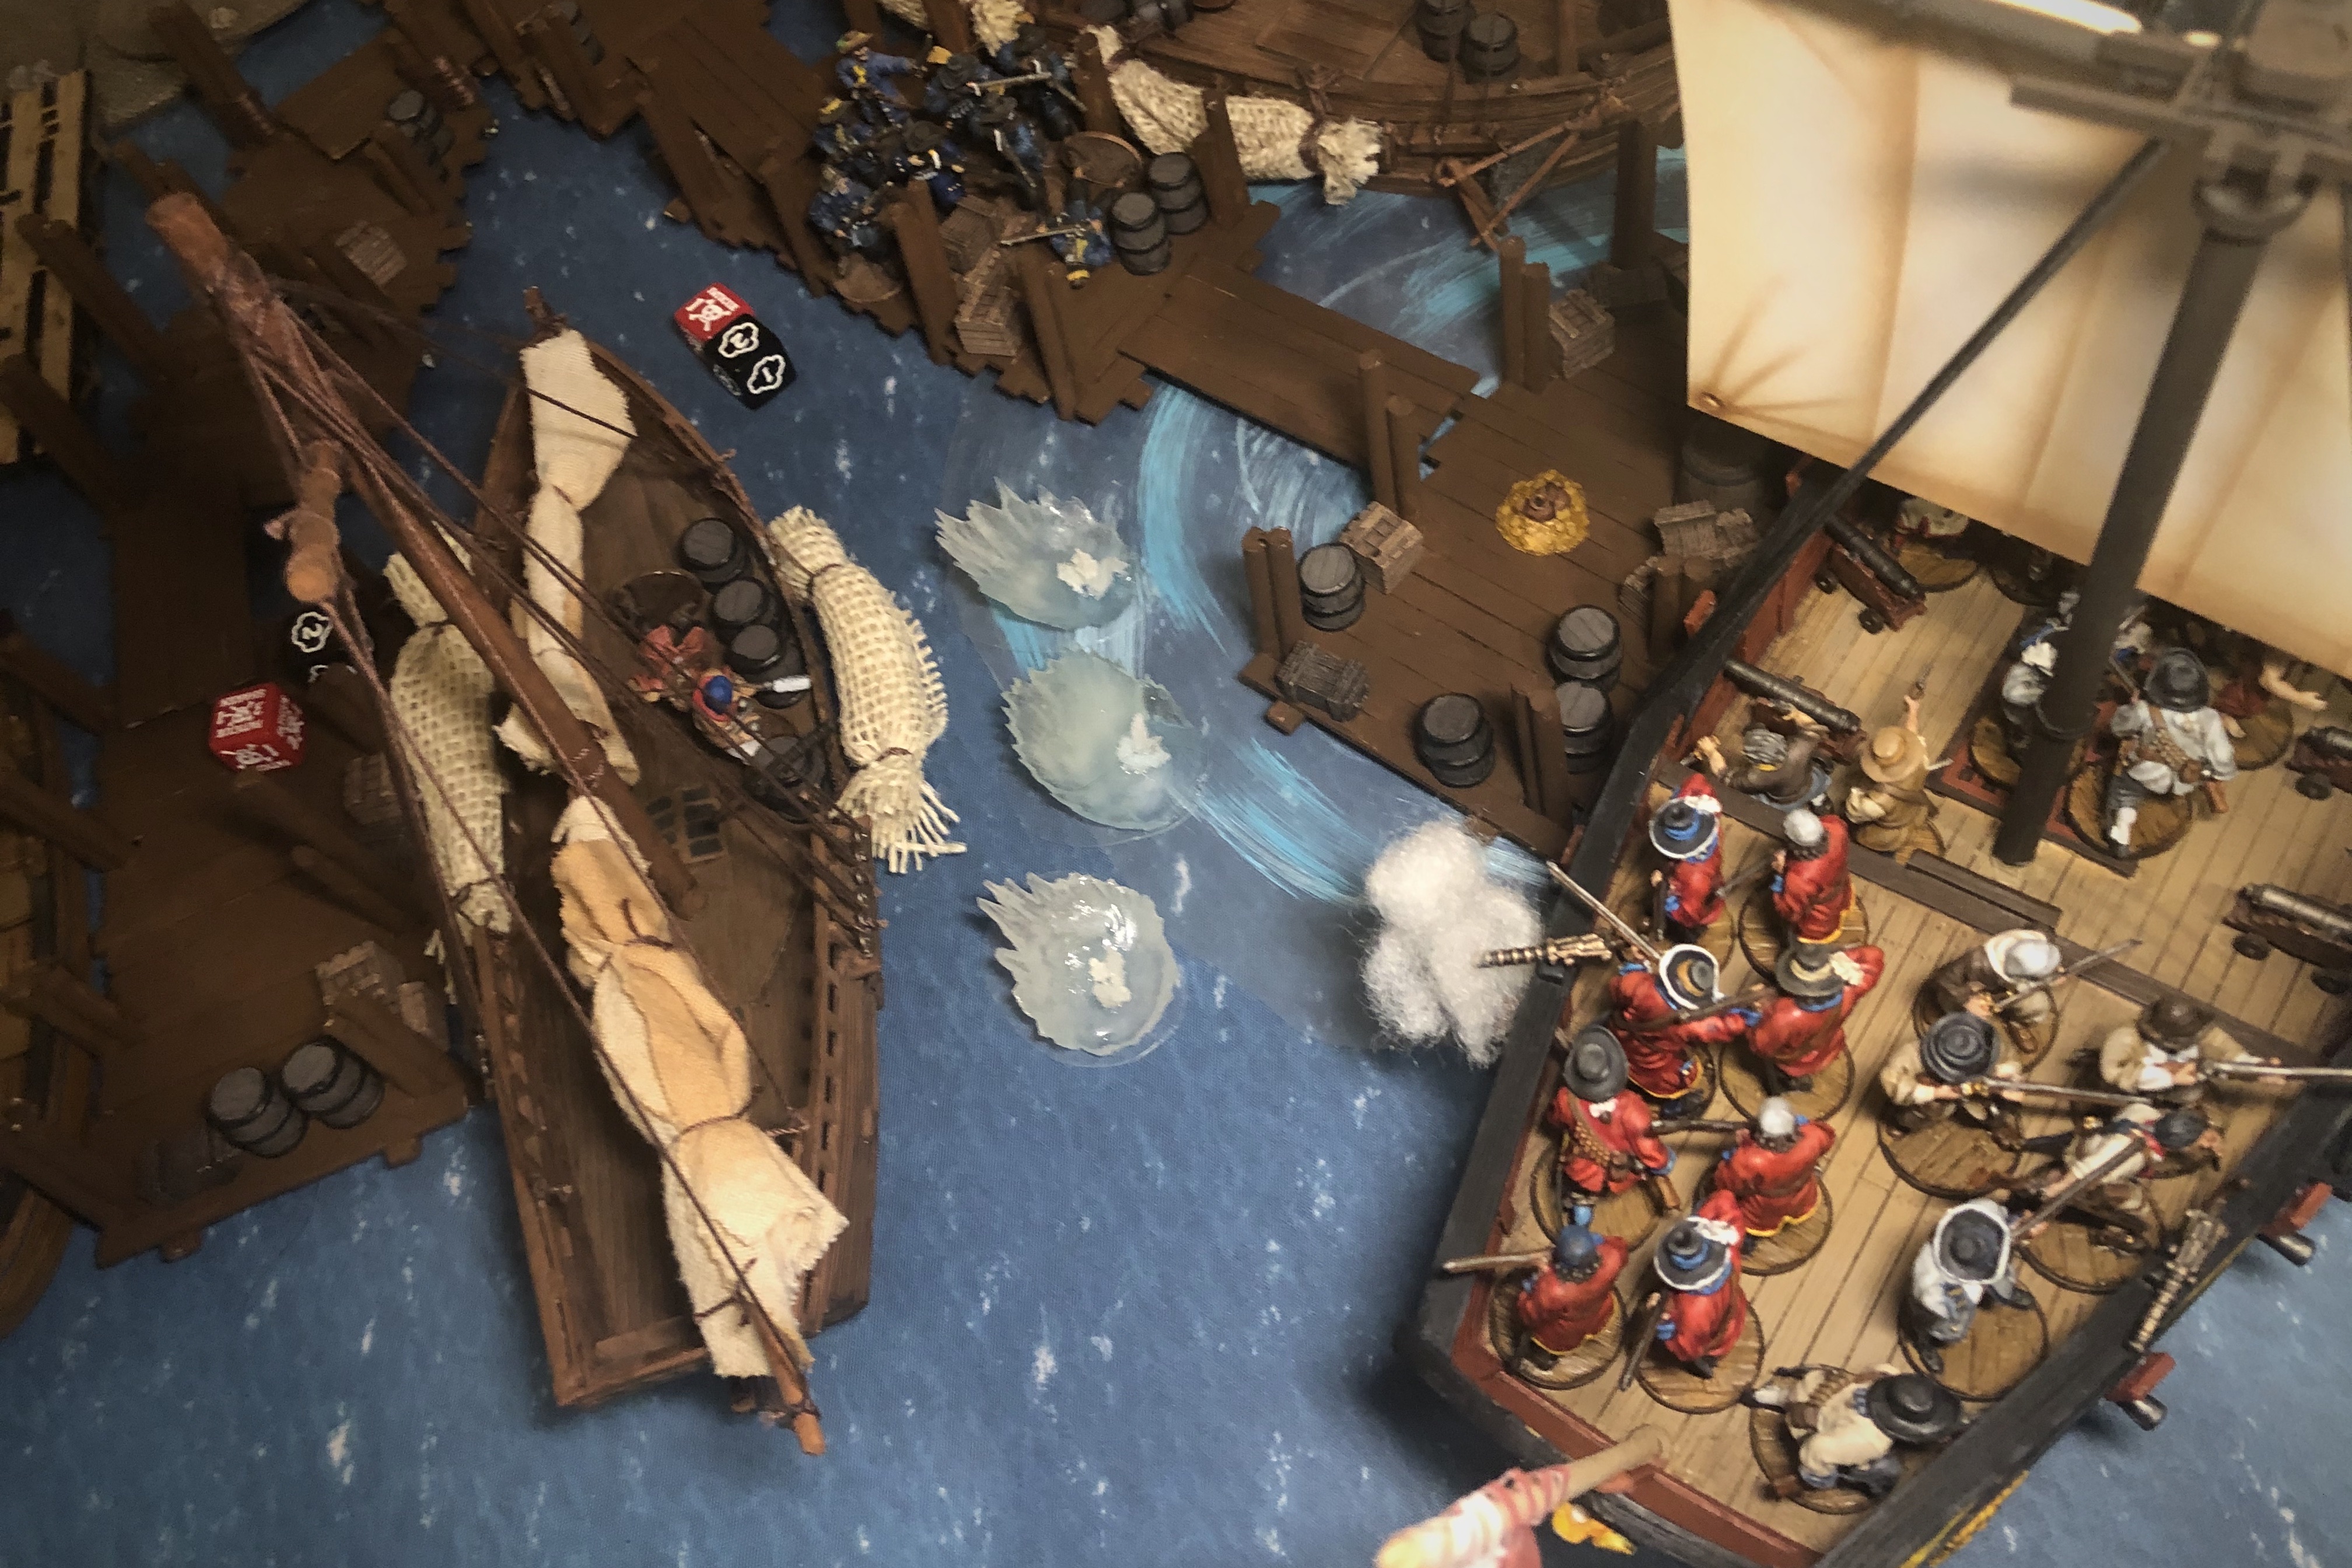
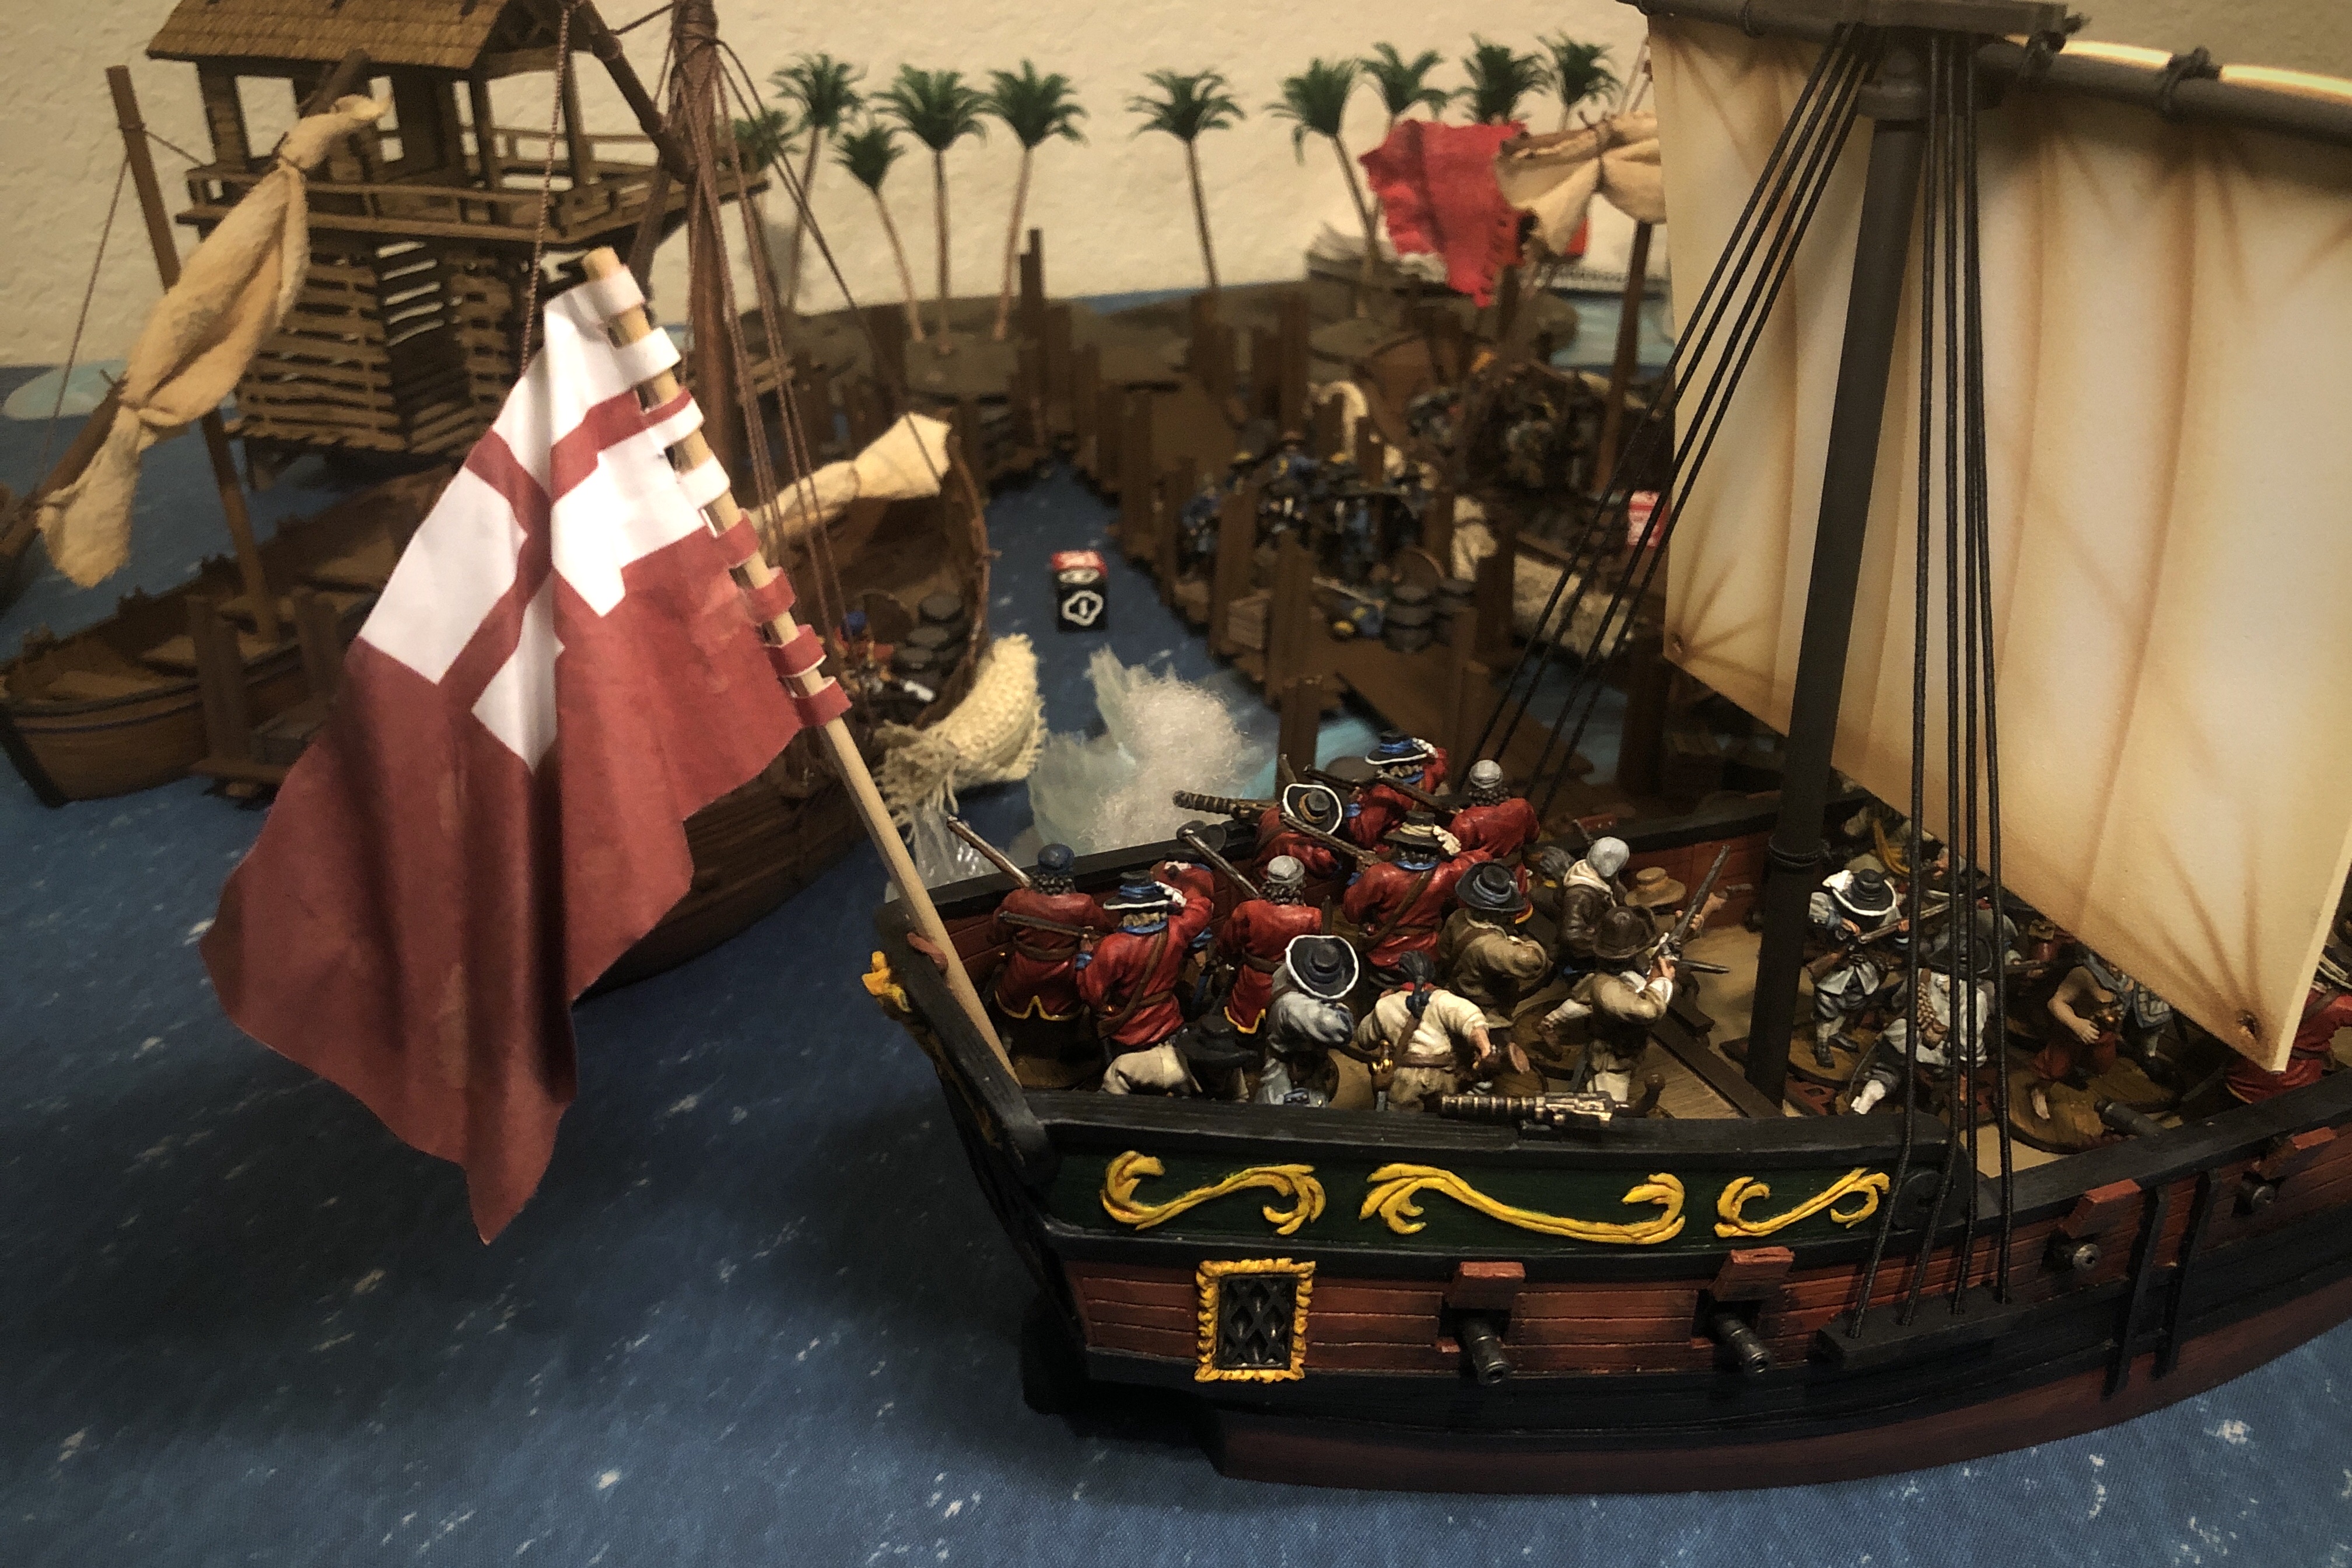
These flags are pointed backwards. The wind was coming from the opposite direction.
I worked my way upwind over the course of the first turn, alternating turning 2″ into the Wind’s Eye and Wearing away from the wind.
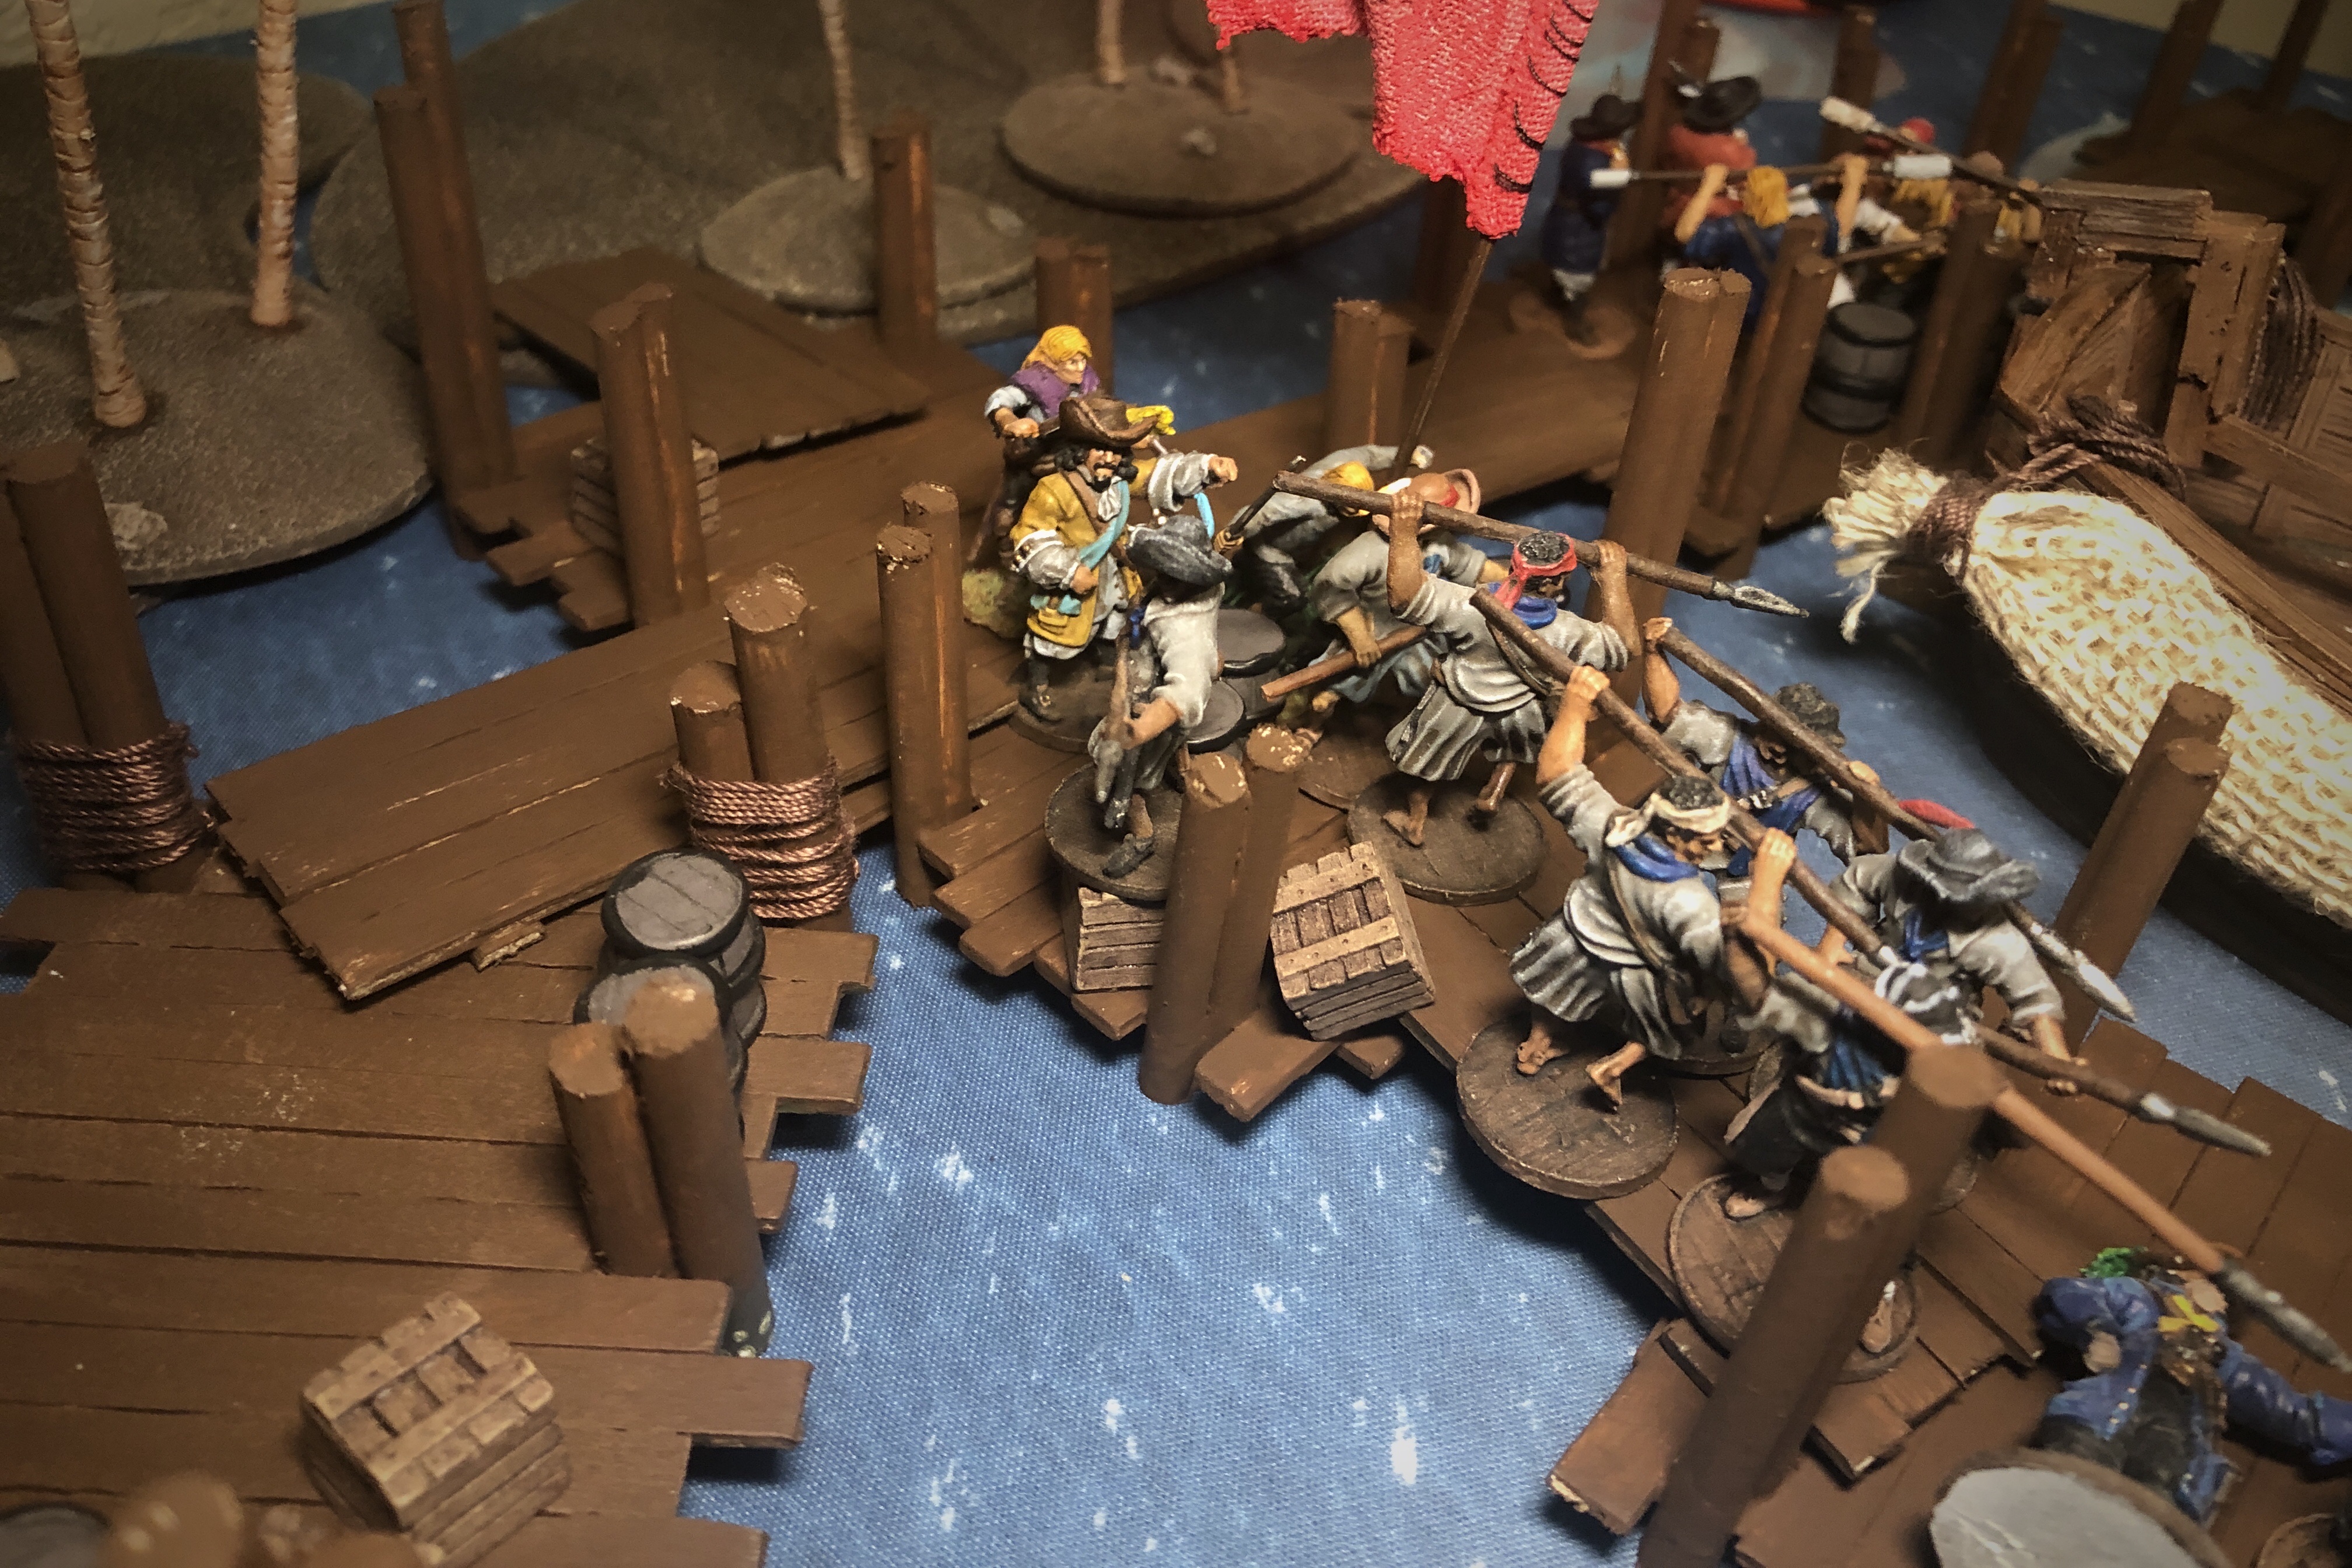
The Spanish worked their way forward with a couple units taking up positions in the building. The Hostigadores were able to get a shot off and killed a Sea Dog but I was able to return fire with my swivel guns and do a little damage to them as well.
I approached the dock on turn 2 but since I wasn’t really ready to grapple to a deck which was about to be swarming with Spanish soldiers, I managed to nearly stay in the same position for most of turn 2 as I turned 1″ to the Left and 1″ forward on the first movement, then drifted 1″ back out of the wind’s eye on the next movement, then moved and turned again on the third movement. I managed to move forward a couple inches while not needing to use a unit’s action to sail the ship. (I hope I’m doing this correctly…)
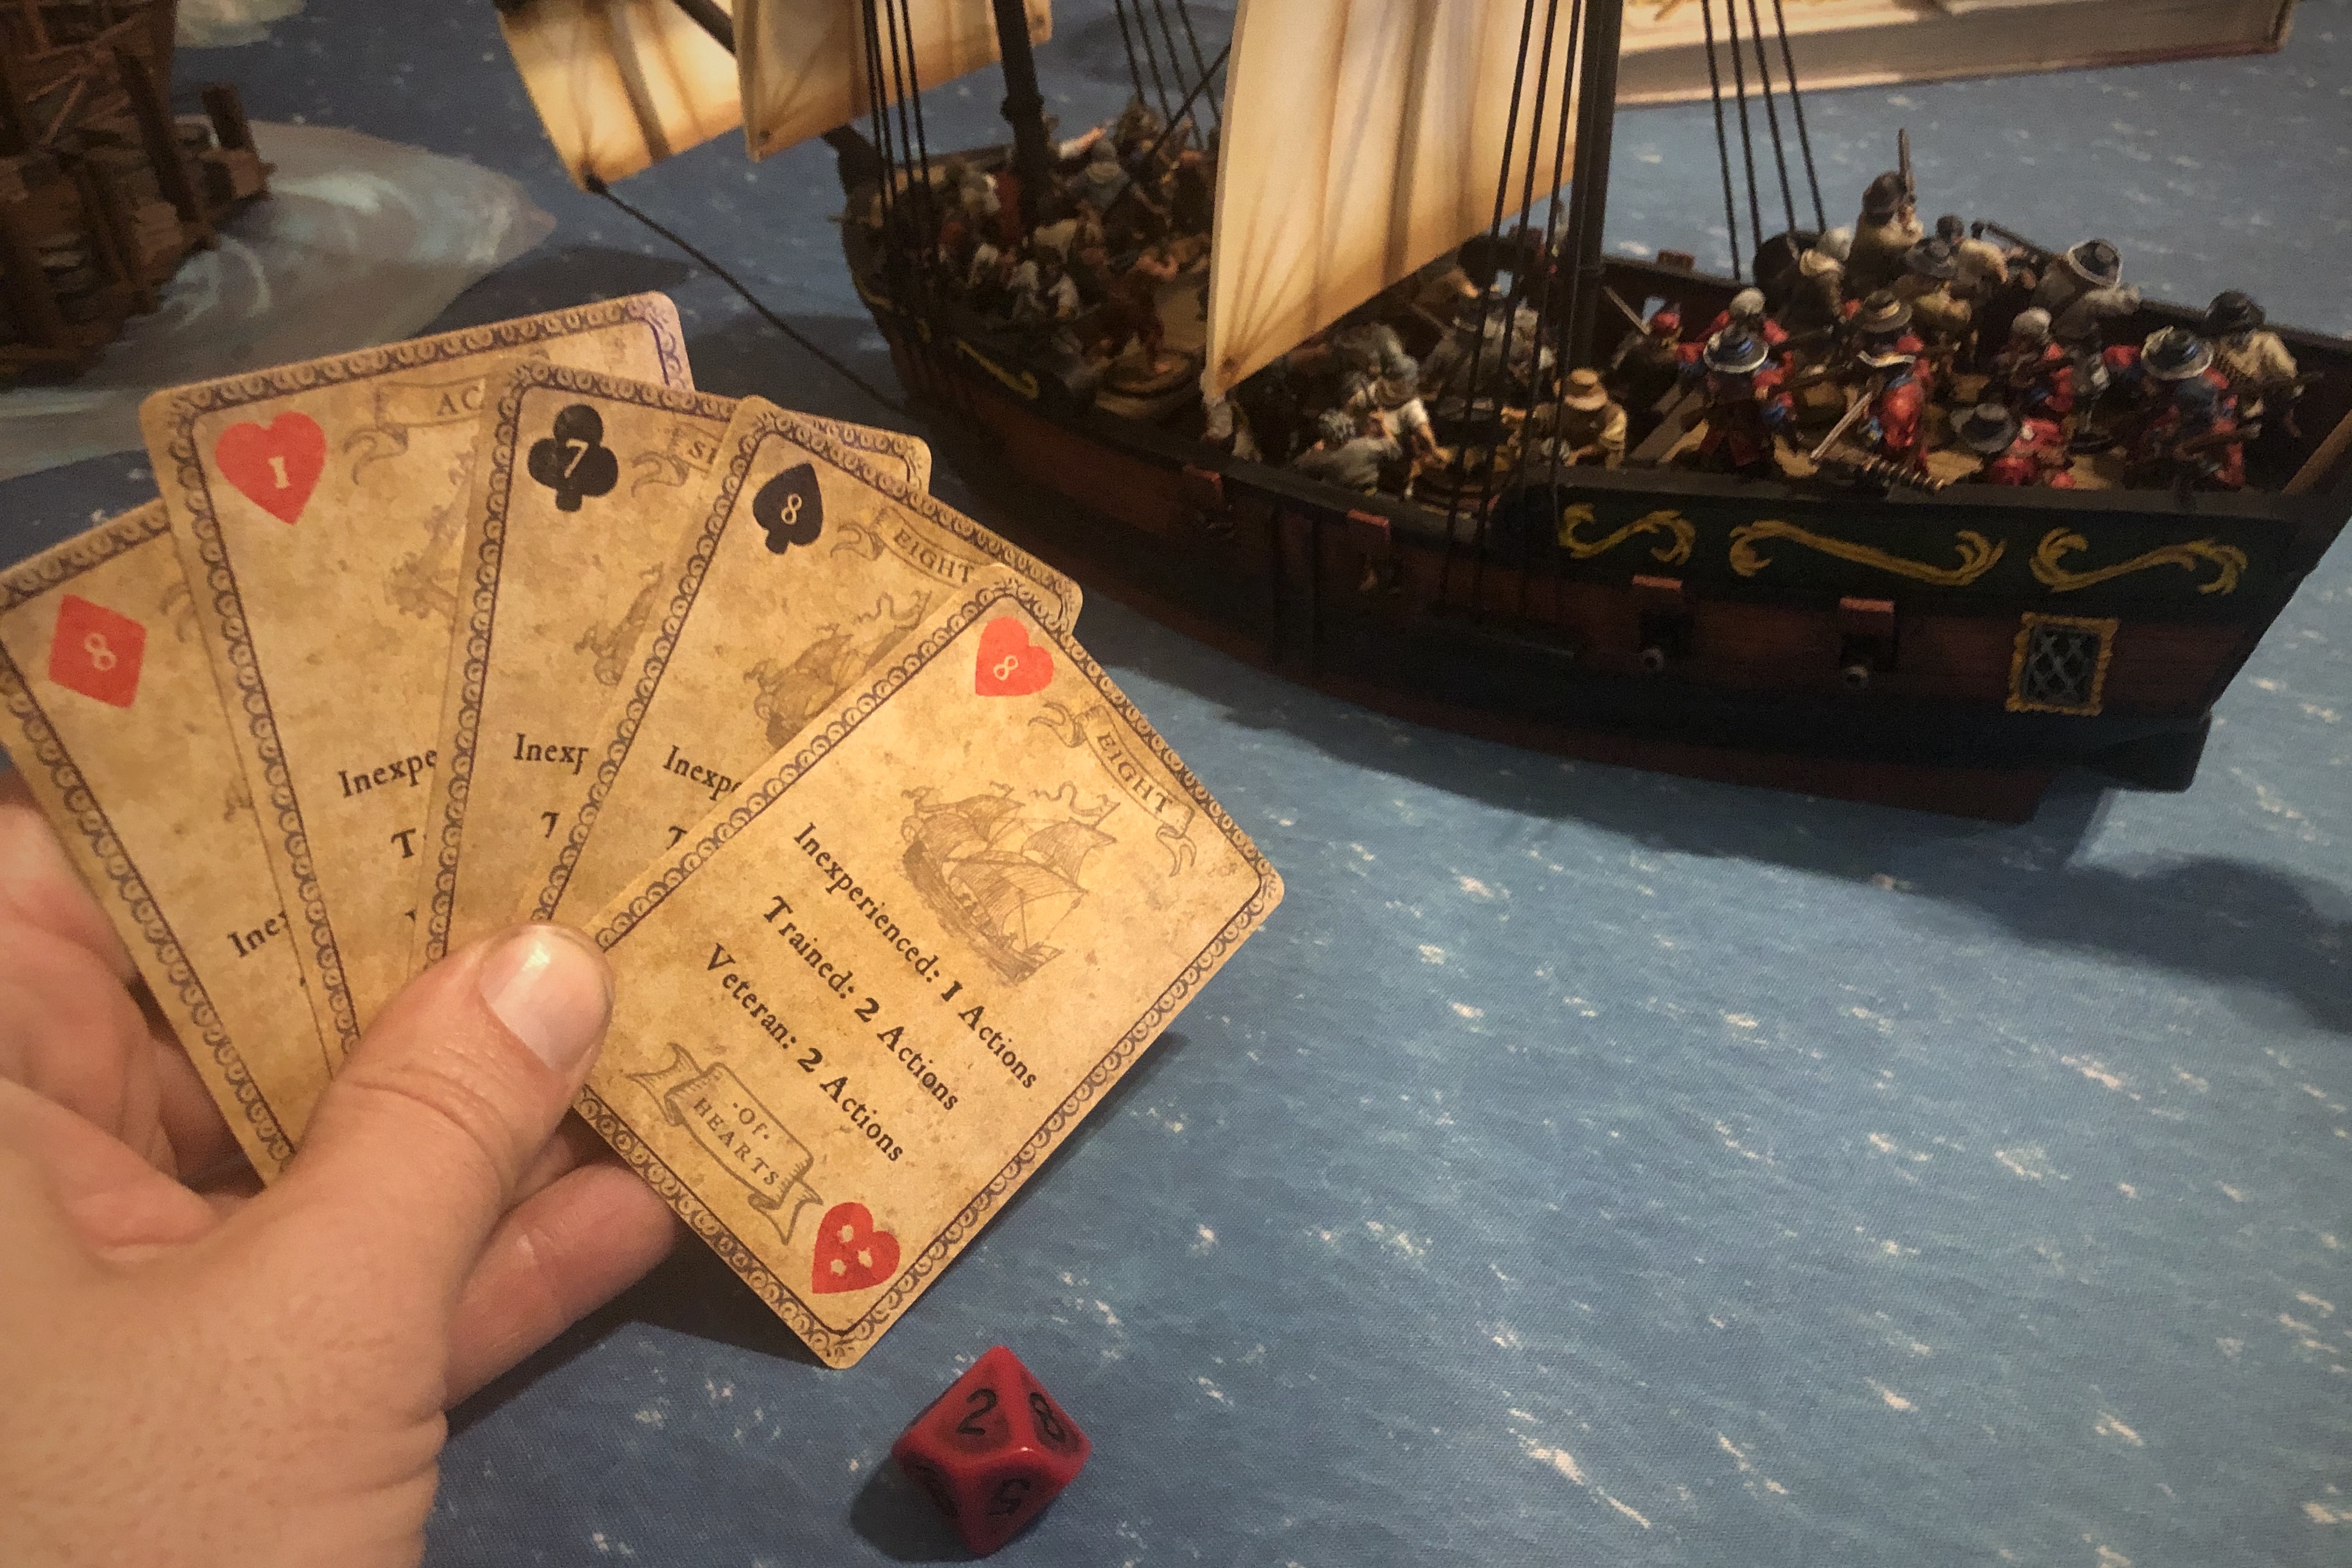
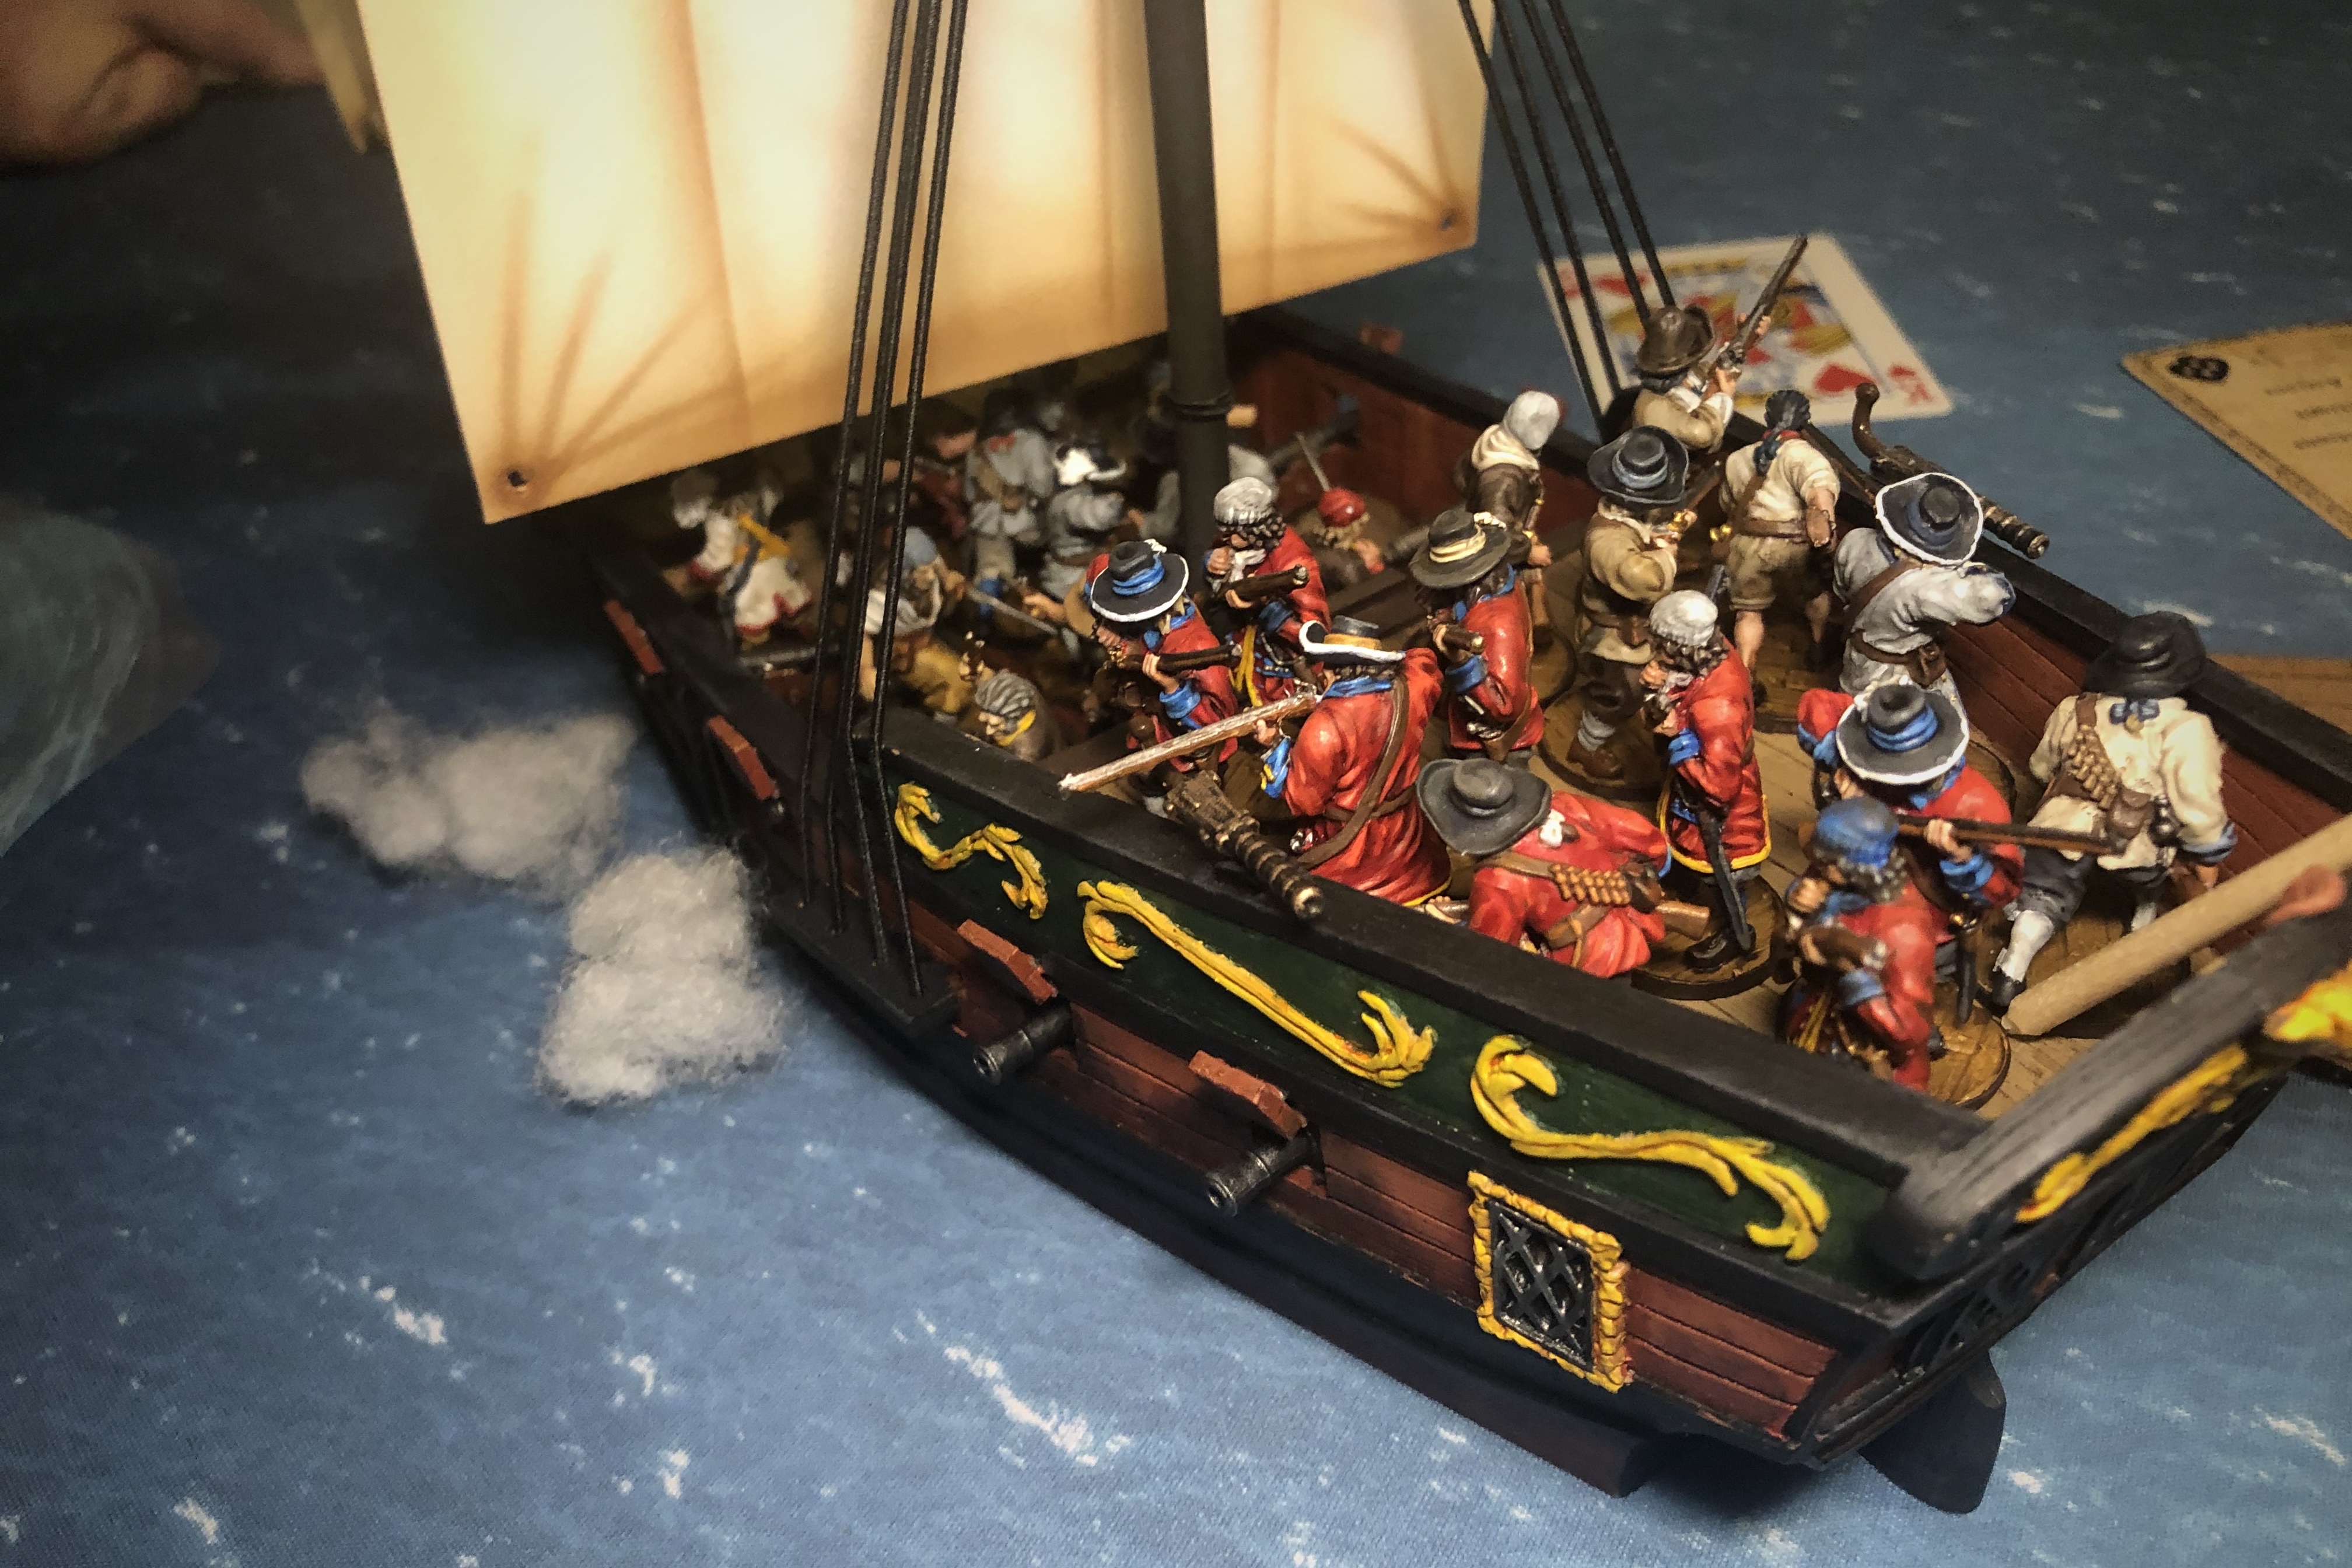
Nothing beats that set of 4 Swivel guns activating on a Heart with Expert Artillery crew. Fire off 12 dice and accomplish a full reload in once activation. I poured a good number of dice into that unit of Hostigadores that were placed in the Bark, but they were pretty resilient. I killed a couple but they Saved well over the course of this second turn.

One unit of Hostigadores pushes forward and too cover behind some barrels and crates. They fired into the Sea Dogs on the swivels guns but apparently the dockside air and dampened their powder and they scored no hits.
One of the units of Milicianos Artilleros moved forward with its swivel gun and set up position in a Bark where it could fire on my ship.
By the end of turn 2 we had both taken a few casualties but neither side had enough to count as a Strike.
I opened turn 3 with my first volley from my cannons. I fired 6 dice of grapeshot at the Milicianos Artilleros in the Bark. I got three hits but they saved all but one! I was really looking to take out a unit but my attempts were foiled by good Saves!

I kept up small arms fire while the Spanish continued to move forward.
The Spanish commander spent a few command actions rallying his men so they could effectively return fire.
The Lanceros moved up looking for an opportunity to get into melee combat but I kept my ship in a controlled flounder off the docks.
Turn 3 was rather uneventful overall. Mostly trading fire and the last of the Spanish troops moving up. Overall my English were getting a few more hits through and the Spanish casualties and fatigue started to build up.
By the end of turn 3 Guy’s Spanish had 1 Strike point for casualties but neither side had control of the objective.
I drew a nice spread of activation cards on nearly every turn over the course of this game.
Turn 4 is where things started to turn in my favor.
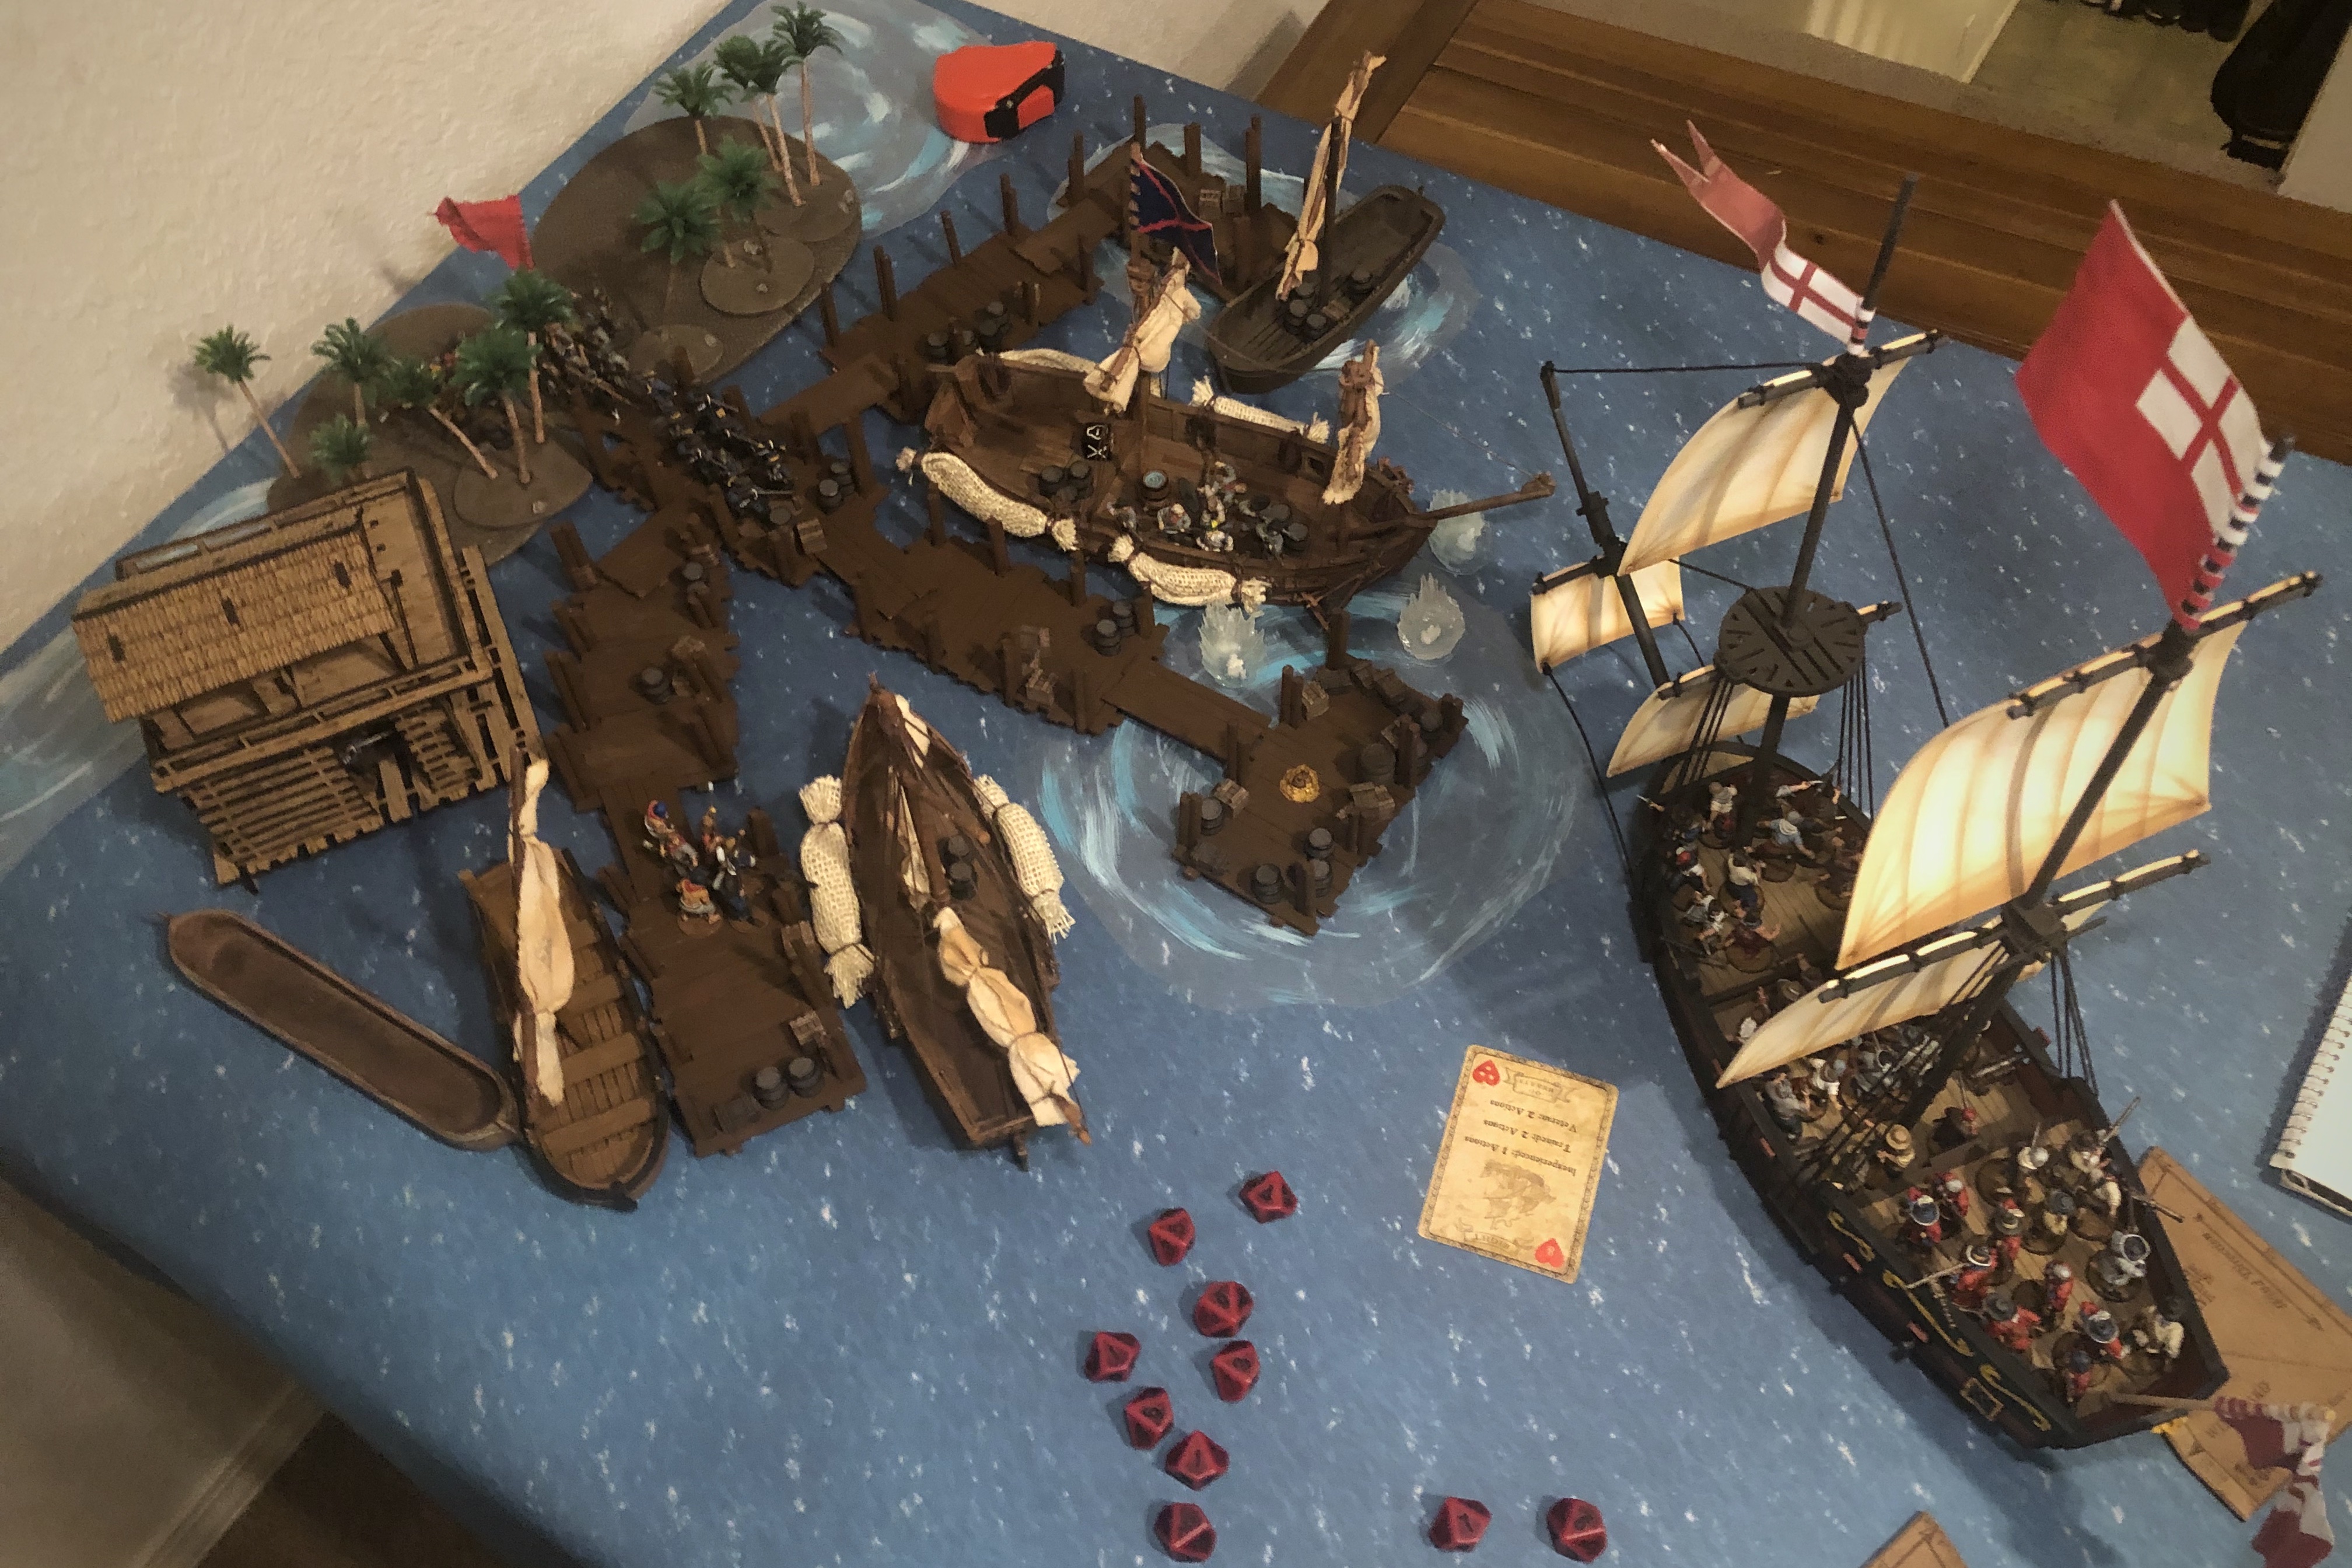
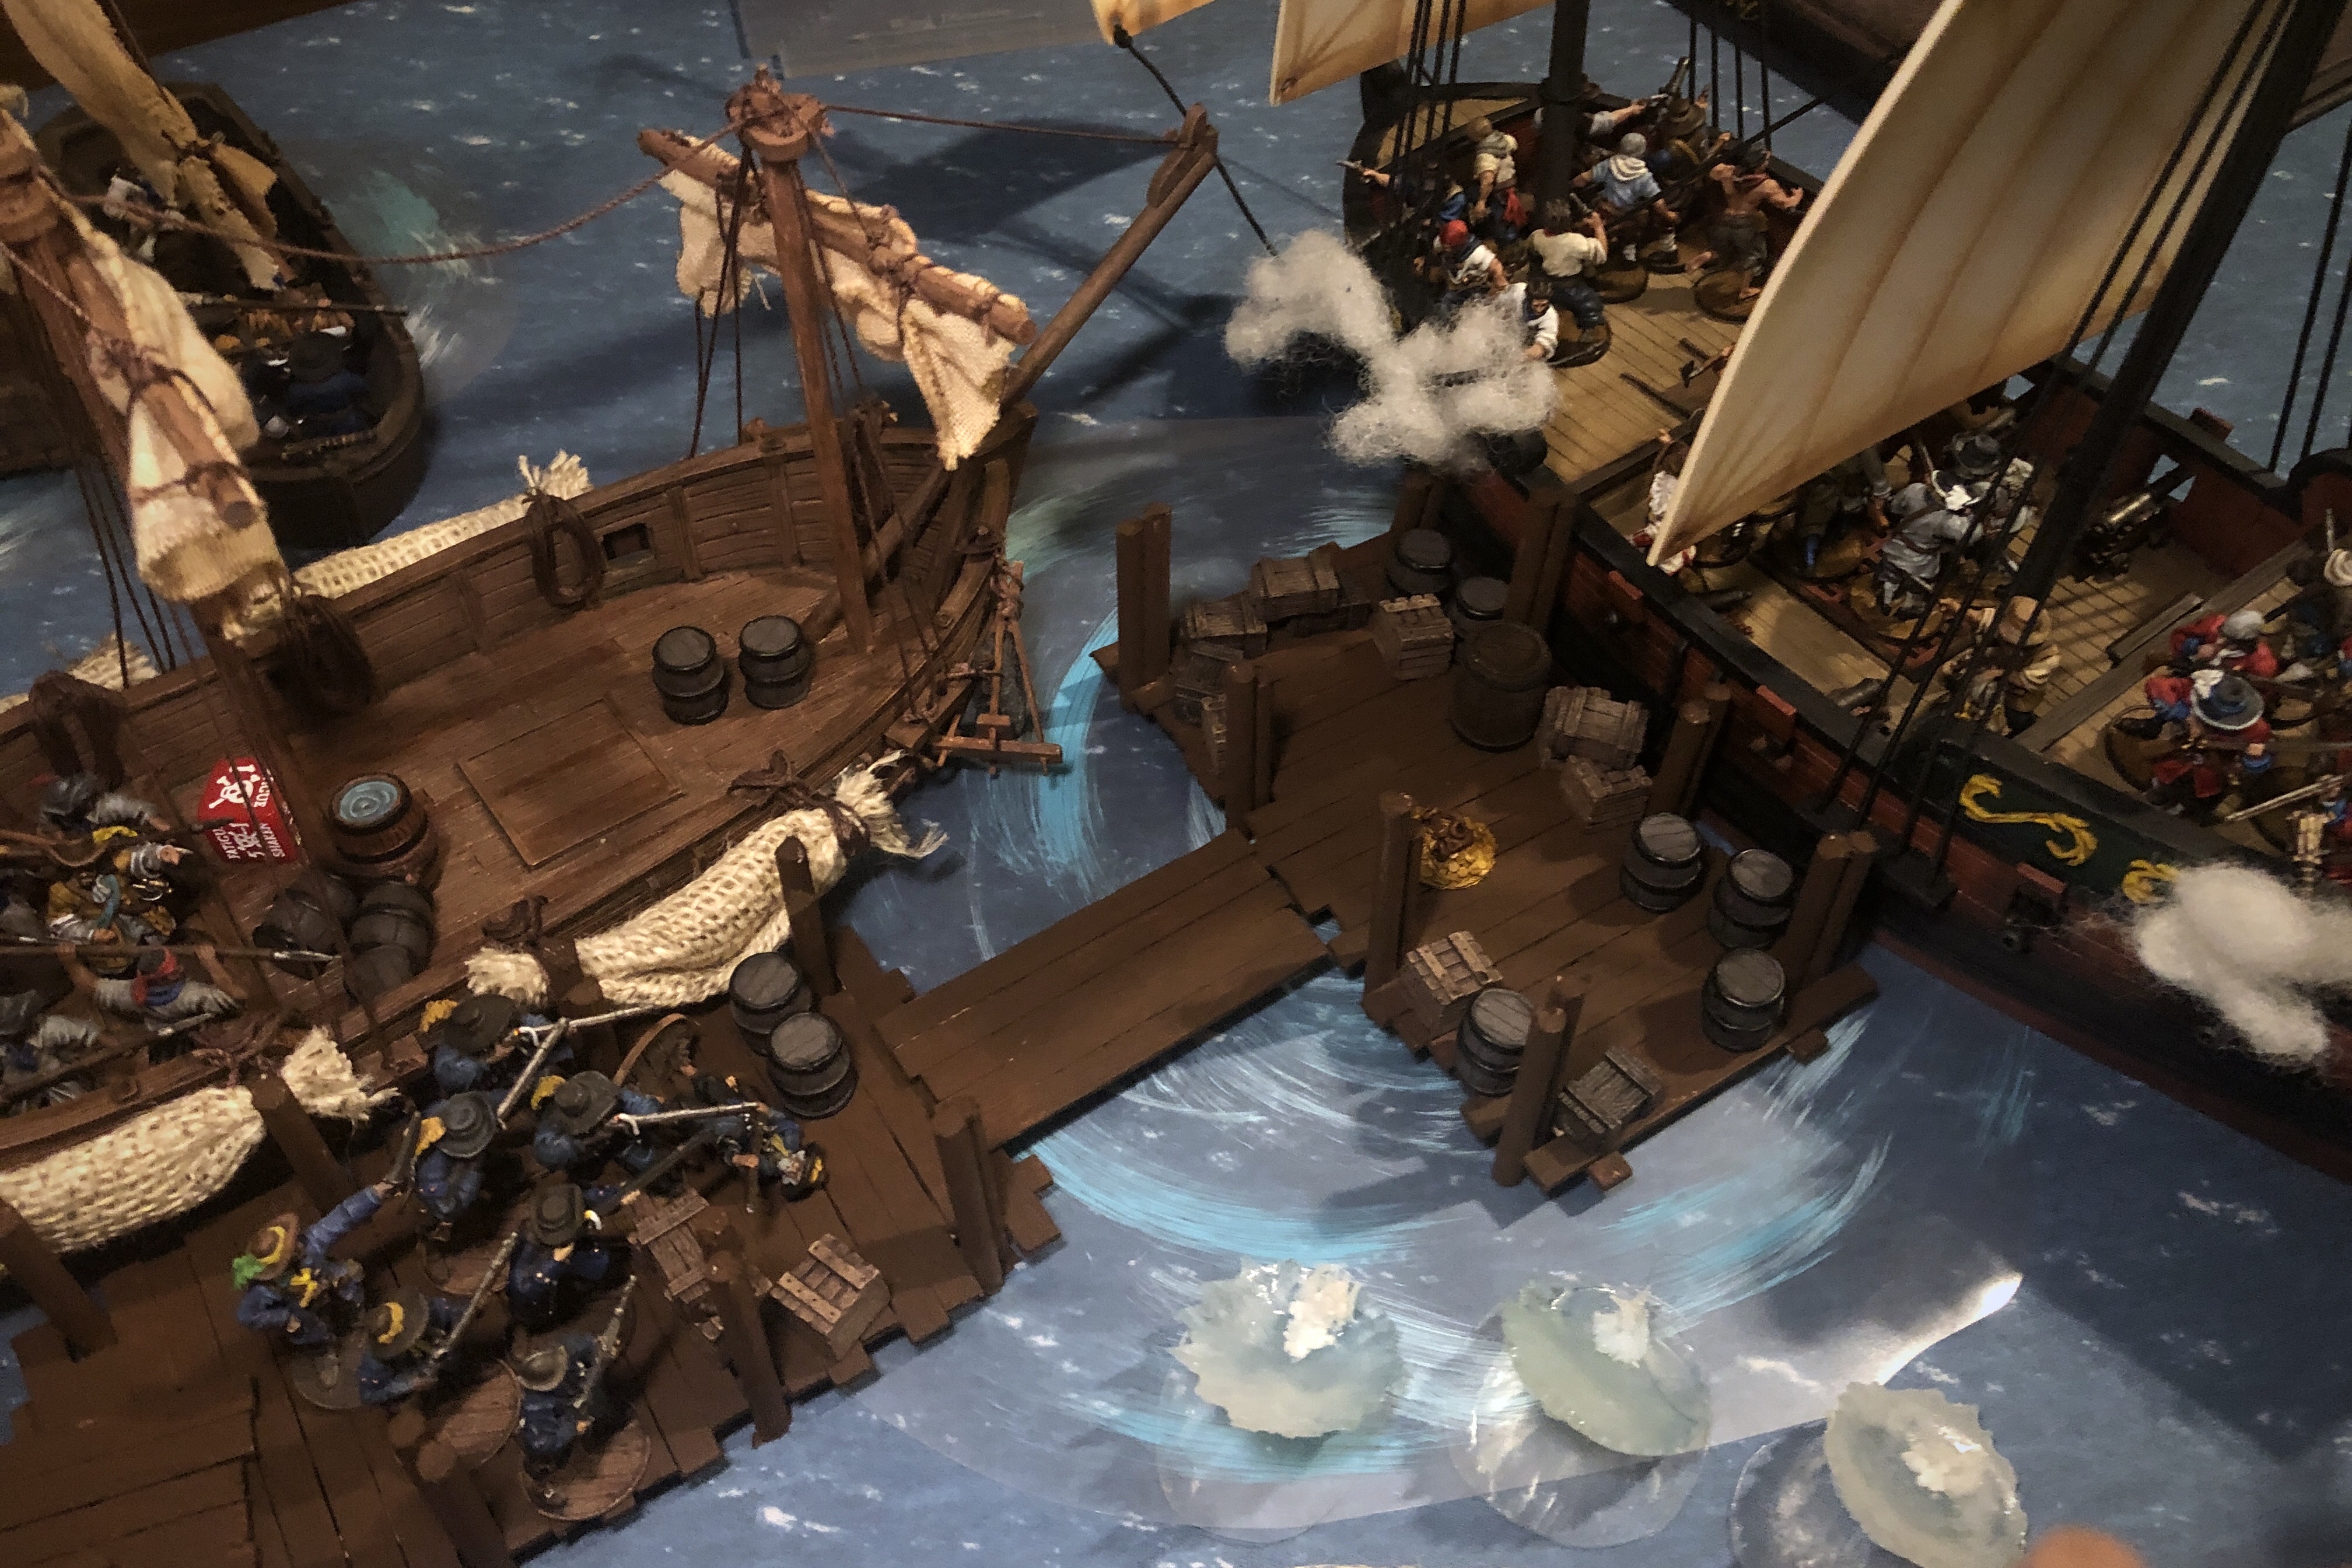
Just barely out of the wind’s eye, I was able to turn into the wind and get up close to the dock, ready to grapple and jump out and seize the prize if I had the opportunity.
Activating on a Heart, I fired my 12 forward swivel dice into the Hostigadores that had been in that Bark for the entire game. I killed a couple, but feeling I was gaining the upper hand, I wanted to push my men a little more! Using their Expert Artillery Crew, they got a free reload, they used their second action to fully reload their Swivels, then I pushed them for a third action to fire their guns again! Pushing for an extra action and firing twice gave them two points of Fatigue but firing off 24 dice hitting on 7’s was enough and it eliminated that unit of Hostigadores.
I lost a few of my Sea Dogs on my cannons to Spanish Swivel fire but not enough to reduce efficiency.
I finally decided to stop floundering in front of the dock and a successfully grappled the mid-deck to the dock, pulling my ship up to the dock. My commander ordered the swivels in the back to fire on the Spanish swivel gun and left them prone. My Inspiring commander cleared both Fatigue off the overworked Swivel crew.
The Hostigadores who had been sniping from the top level of the larger building came down and jumped in the canoa and put out to sea.
More fire from my ship left the other large unit of Hostigadores prone on the dock. Now I was within 4″ of the objective and had control of the prize!
Turn 4 ended and we calculated Strike Points:
- The defending Spanish Militia had one Strike for 14 (I think) casualties of their original 48 models and 1 Strike for the English having control of the objective.
- The attacking Pirate Hunters were still at 5 casualties of their 40 starting models so they had zero Strikes.
With two more Strike Points than the English, the Spanish Commander rolled for a Strike Test and failed. With no Fortune Points left, the game came to an abrupt end here at the end of turn 4.
Post-Game Thoughts
- This is one of the least bloody games of Blood and Plunder I’ve fought for a long time. Especially in this campaign! Most of my games, especially vs. Guy’s Spanish, have been wracking up 60%+ casualties and this game there was only 20 dead out of 88 models on the board.
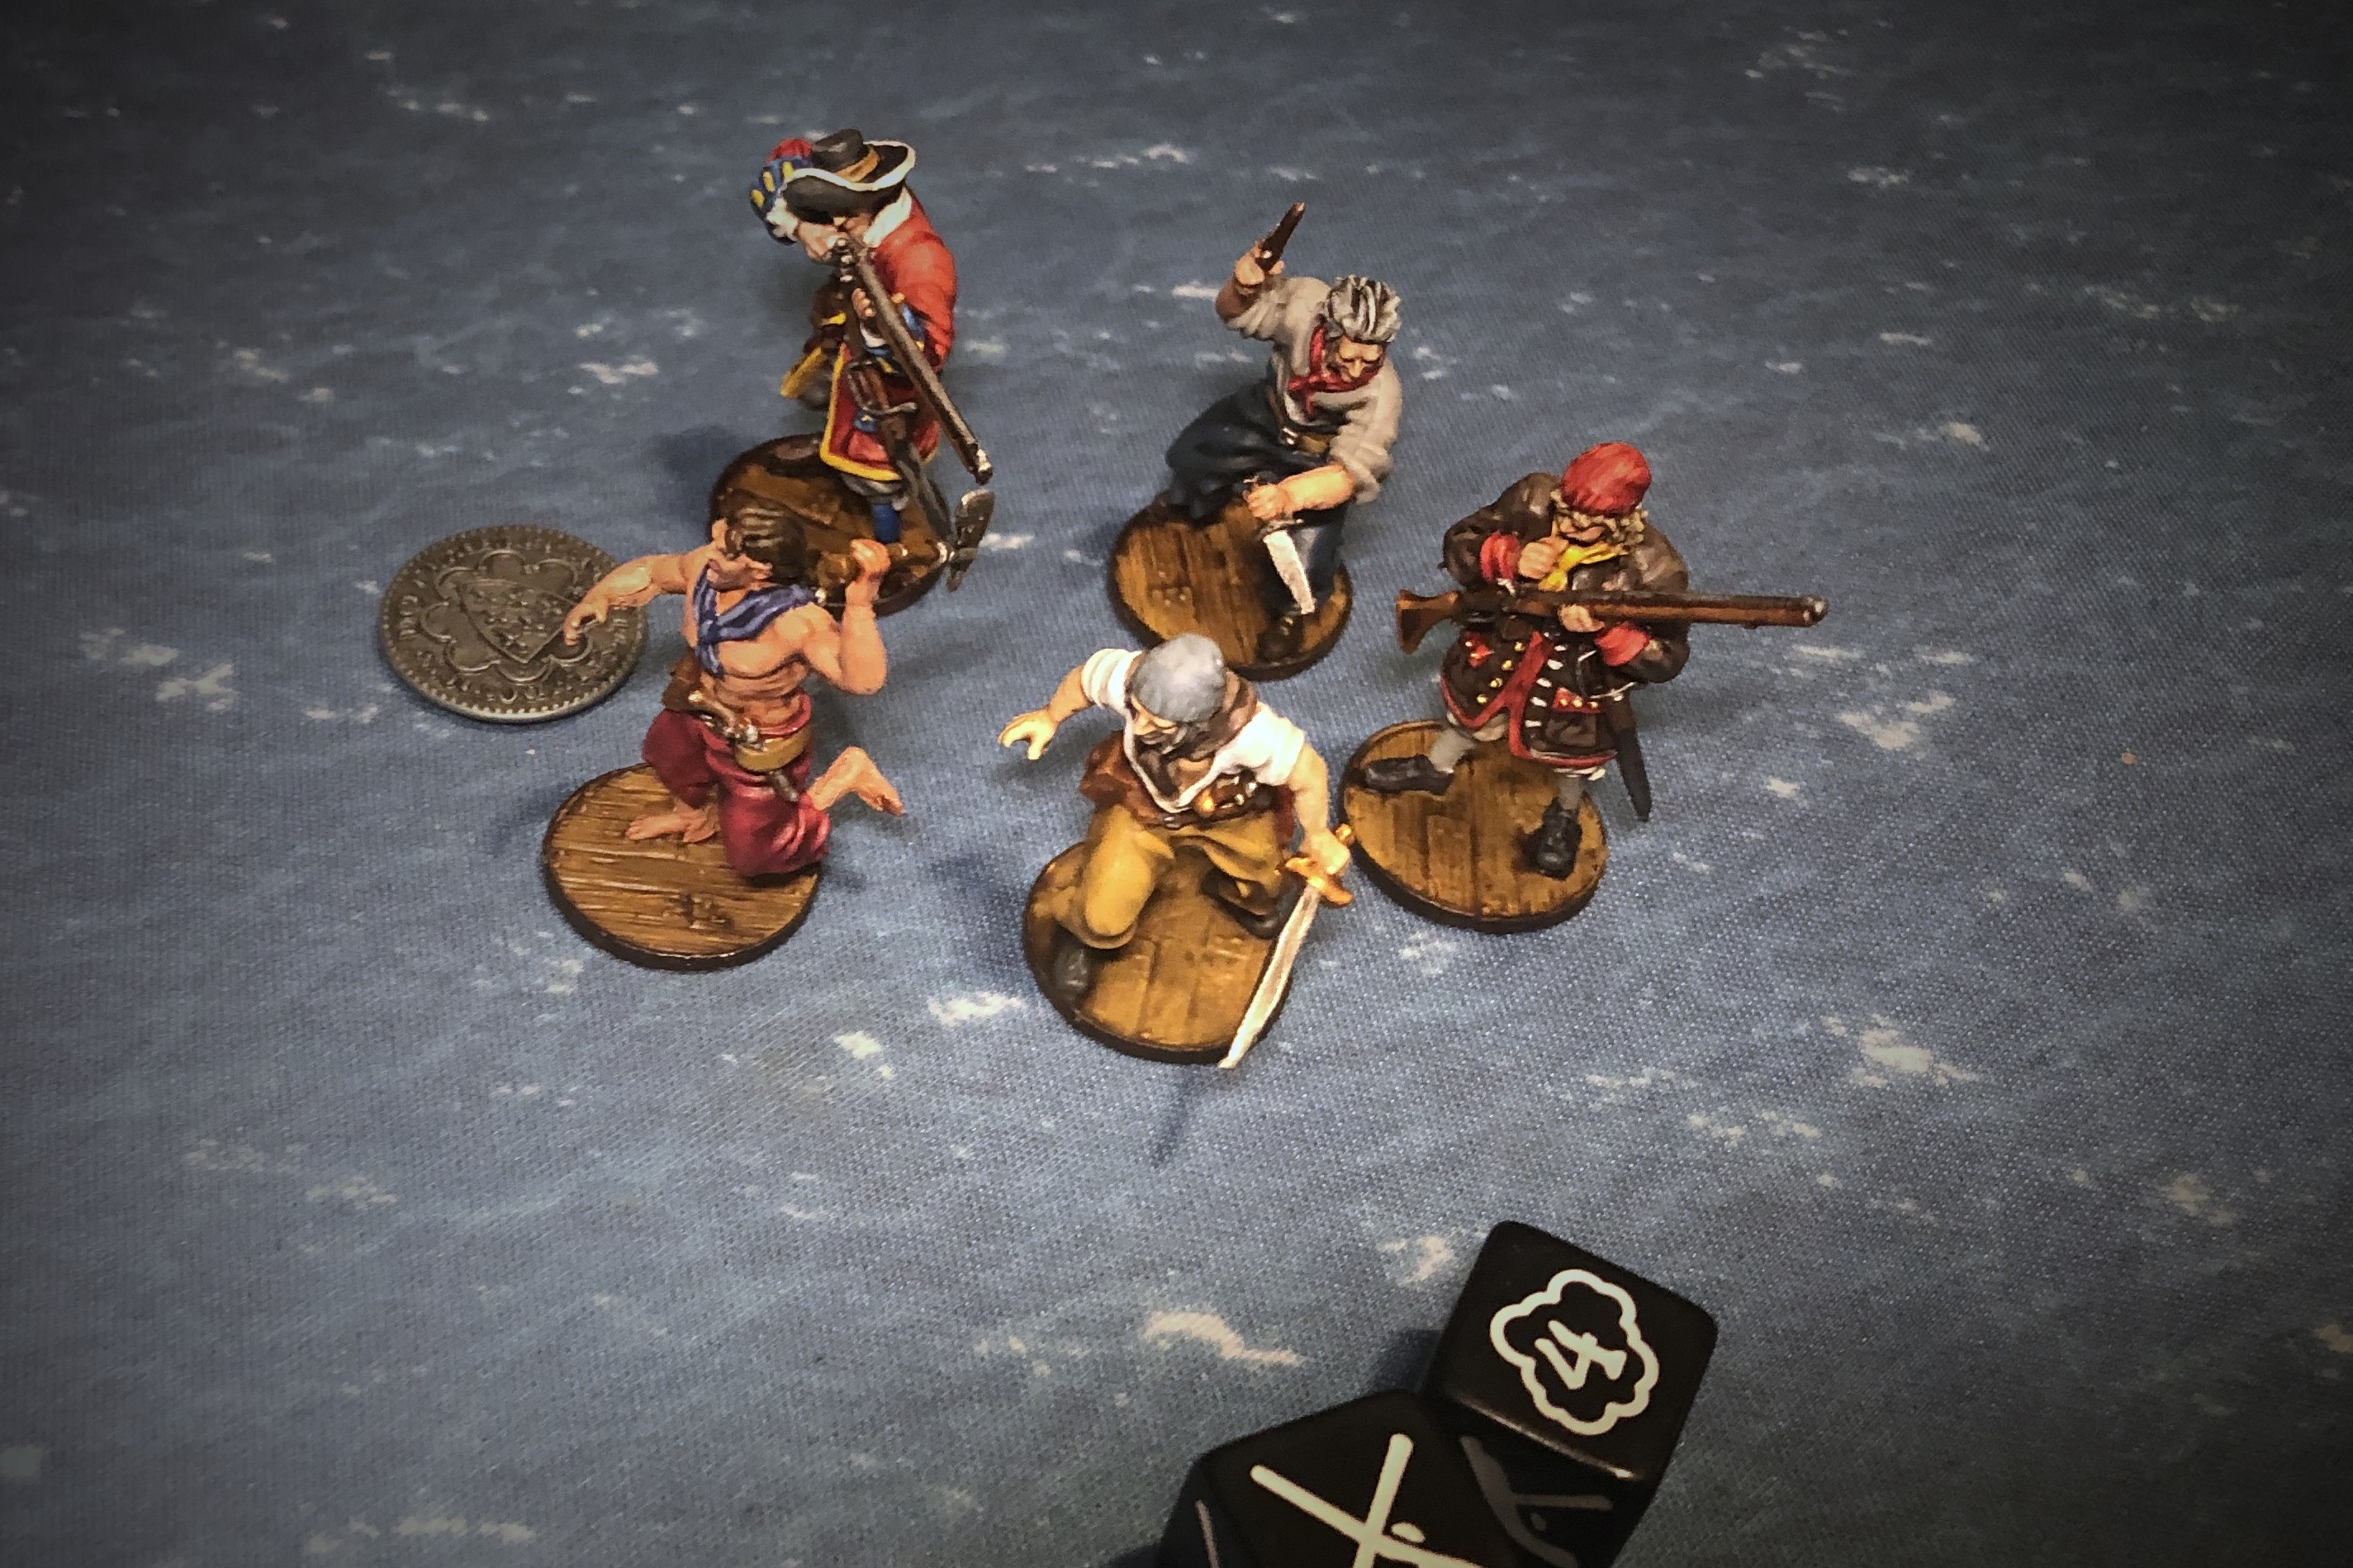
Total English Casualties
- I enjoyed the docks version of an amphibious game. It was a fresh look, provided plenty of cover for the defender and was easy to approach for the attacker.
- I think amphibious games are inherently difficult to balance. If the Attacker has to get on to the land, it seems to be very difficult for them, especially if the Defender gets a large deployment zone (Raid, Breakthrough), but if the Attacker can accomplish the objective while staying in their ship, that seems to give them a decent advantage. In this case, I was able to fire and reload with nearly every action with my troops while they 3 “free” move actions per turn in their ship while the Spanish had to spend the majority of the actions moving for the first 2-3 turns. The wind change helped even things out as I had to spend some energy just managing my ship and I lost some good attack opportunities with my cannons because I couldn’t angle my ship in an advantageous way, but overall, I felt the scenario gave me a bit of an advantage.

- Thomas Clarke, my campaign commander just leveled up to 26XP which gets him into the Seasoned bracket. I gfet to pick one new skill at the Seasoned level. My options include Expert Broadside, Commodore, Sailing Master, Very Inspiring, Tough and Elan. My current skills are Inspiring, Broadside, Ruthless, Expert Pilot and High Standing. I can’t decide which skill to add! Commodore isn’t valuable in our current campaign structure (you have to keep the same ship through the campaign), Expert Broadside adds a little to my existing Broadside skill as does Very Inspiring. Tough and Sailing Master basically are worth 3 points as you can purchase a character that adds the benefit (and more actually) for 3. I’m leaning towards Tough but haven’t totally decided yet. Sailing Master is pretty useful on the Sloop of War as well. Which do you think I should pick?
- The English Militia aren’t great at getting hits, but I sure appreciate their 5 Resolve. The Ruthless rule on my commander makes my command group a little more lethal but even so, I’m sort of tempted to just run more Sea Dogs with muskets instead of Militia. They have the same Resolve, Shoot and Fight Skill, but both their Fight and Shoot Save are better than the militia and they have brawlers. So for the 36 points you could get 8 Sea Dogs with muskets and have two better stats and Brawlers (and Expert Artillery Crew and Sailors) as opposed to 32 points for 8 Trained Militia with Drilled and inferior stats. I do like have the Drilled option, but the more I look at it, the more those Sea Dogs with muskets appeal to me. Sea Dogs can also take explosives and blunderbusses which make them even more interesting and flexible. I just got up to 17 painted English Militia and now I’m talking myself out of using them!
- Hostigadores are a solid unit. Their 6 Resolve and Poorly Equipped are their weak points but other than that, you’re paying a Militia price for them but they have Ruthless and an incredible 6 Shoot Save rather than the standard 8 Save on most militia units. And you get Skirmishers and some weapons options to boot! I kind of wish the Spanish had another sculpt for their soldiers. Right now the Miliciano, Hostigadore and Corsario all use the same model and it gets a little samey after a while.
- The game was too short for the Lanceros to get engaged. Lanceros are an awesome unit, but I’ve found that sometimes a game just doesn’t allow them to shine. If the game had gone to turn 5, they may have had a chance to charge into my ship and cause some real havoc.

- I’ve finally made friends with “controlled” drifting. If you’re careful, you can use it as a maneuver to your advantage (if I’m understanding it correctly). In this case I kept turning into the wind’s eye, then drifting for two moves to basically “flounder” in the same place over the course of an entire turn which was useful for me.
- Lastly, the Fortune mechanic in this game is so cool. I still haven’t made myself a “policy” for spending those Fortune Points. It seems you can spend them aggressively in the first couple turns to try to get some really good hits or saves to gain momentum into the rest of the game, or you can try hard to keep one for crucial rolls you know might come up later. But if you save them, you might miss an opportunity to really solidify your control of the board! In this game, Guy’s Spanish spent them fairly early to mitigate some nasty Saves, but then when it came to turn 4 and he was forced to roll a Strike Test, he had no recourse when he failed. I had few casualties to be sure, but it wasn’t a once sided-massacre by any means. It was still a very competitive game but taking the objective pushed it two Strikes and abruptly ended a game that wasn’t entirely decided if you were only looking at casualties. Fortune is cool. But it sure feels bad when you run out and wish you had saved one!
Thanks to Guy for a good game and for running this campaign. I’m looking forward to finding that stricken Spanish Galleon and attempting to take it as a prize!
Thanks for reading. I’d like to hear your opinion on which skill I should take next for my commander (keeping in mind that most of these campaign games are 200 point Encounters at sea and I’m limited to using this Sloop of War through the rest of the campaign).