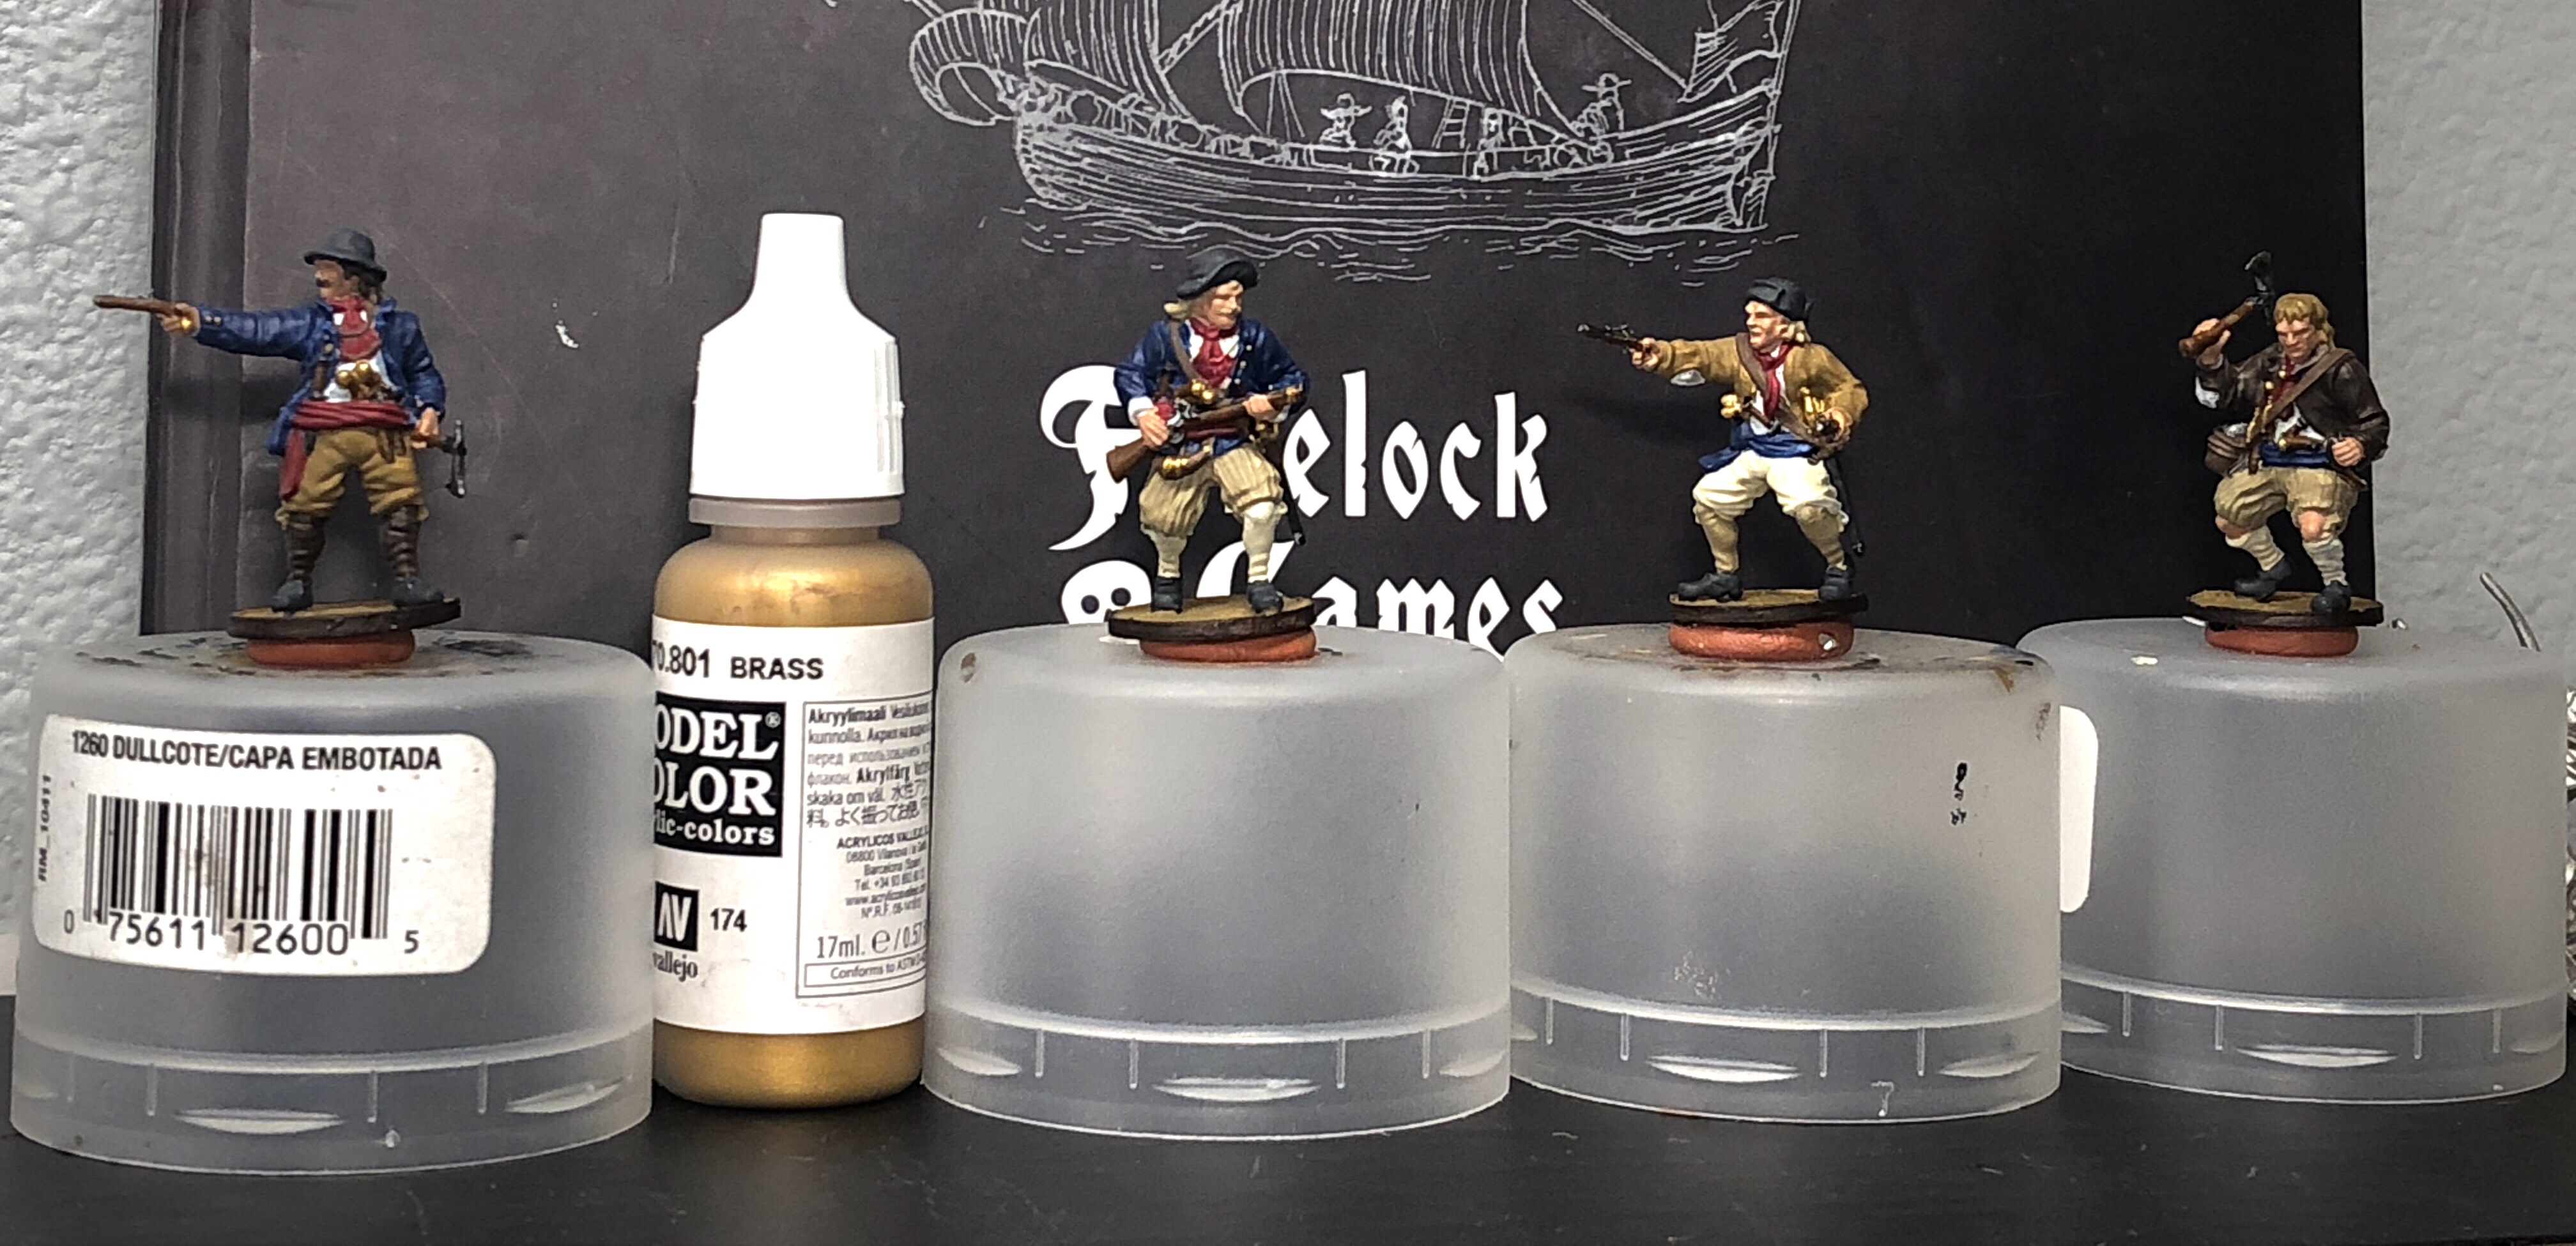
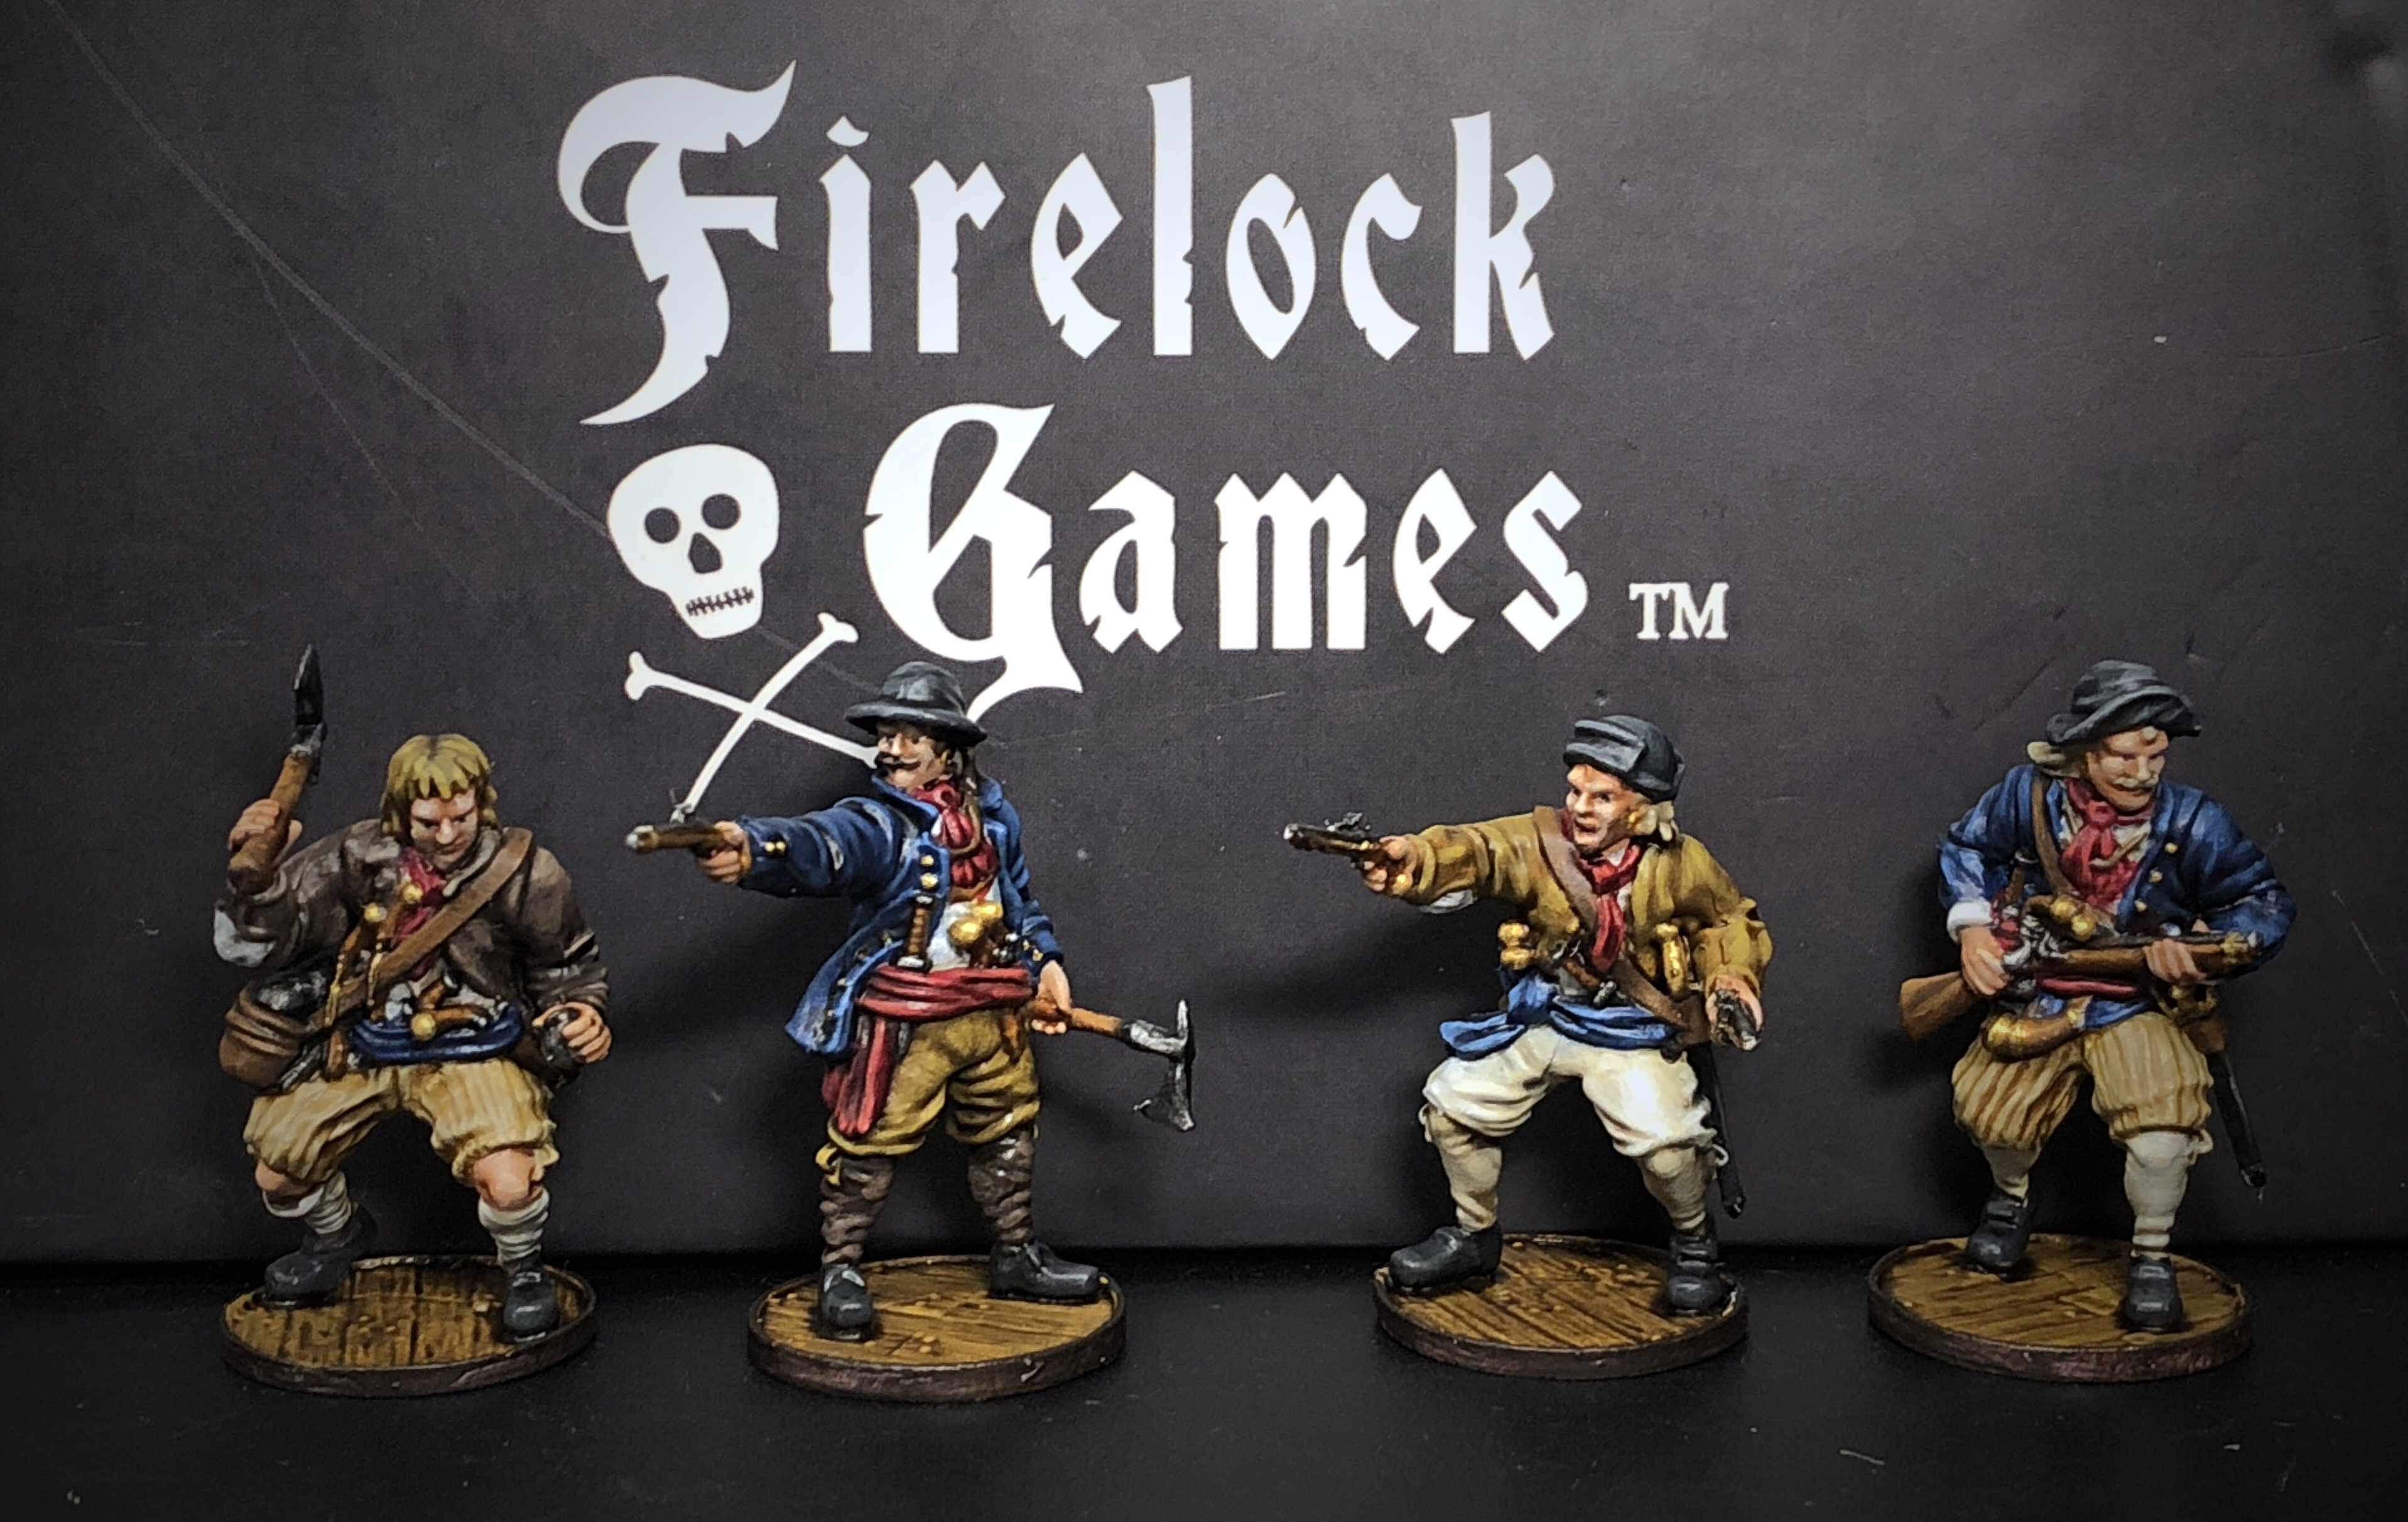
The Dutch Enter Ploeg is a new elite boarding party/artillery crew unit released in the No Peace Beyond the Line expansion. While found mostly in Dutch forces, this unit can be brought along as a support unit in 3 Spanish, 4 English, 3 French and 3 Unaligned factions as well!
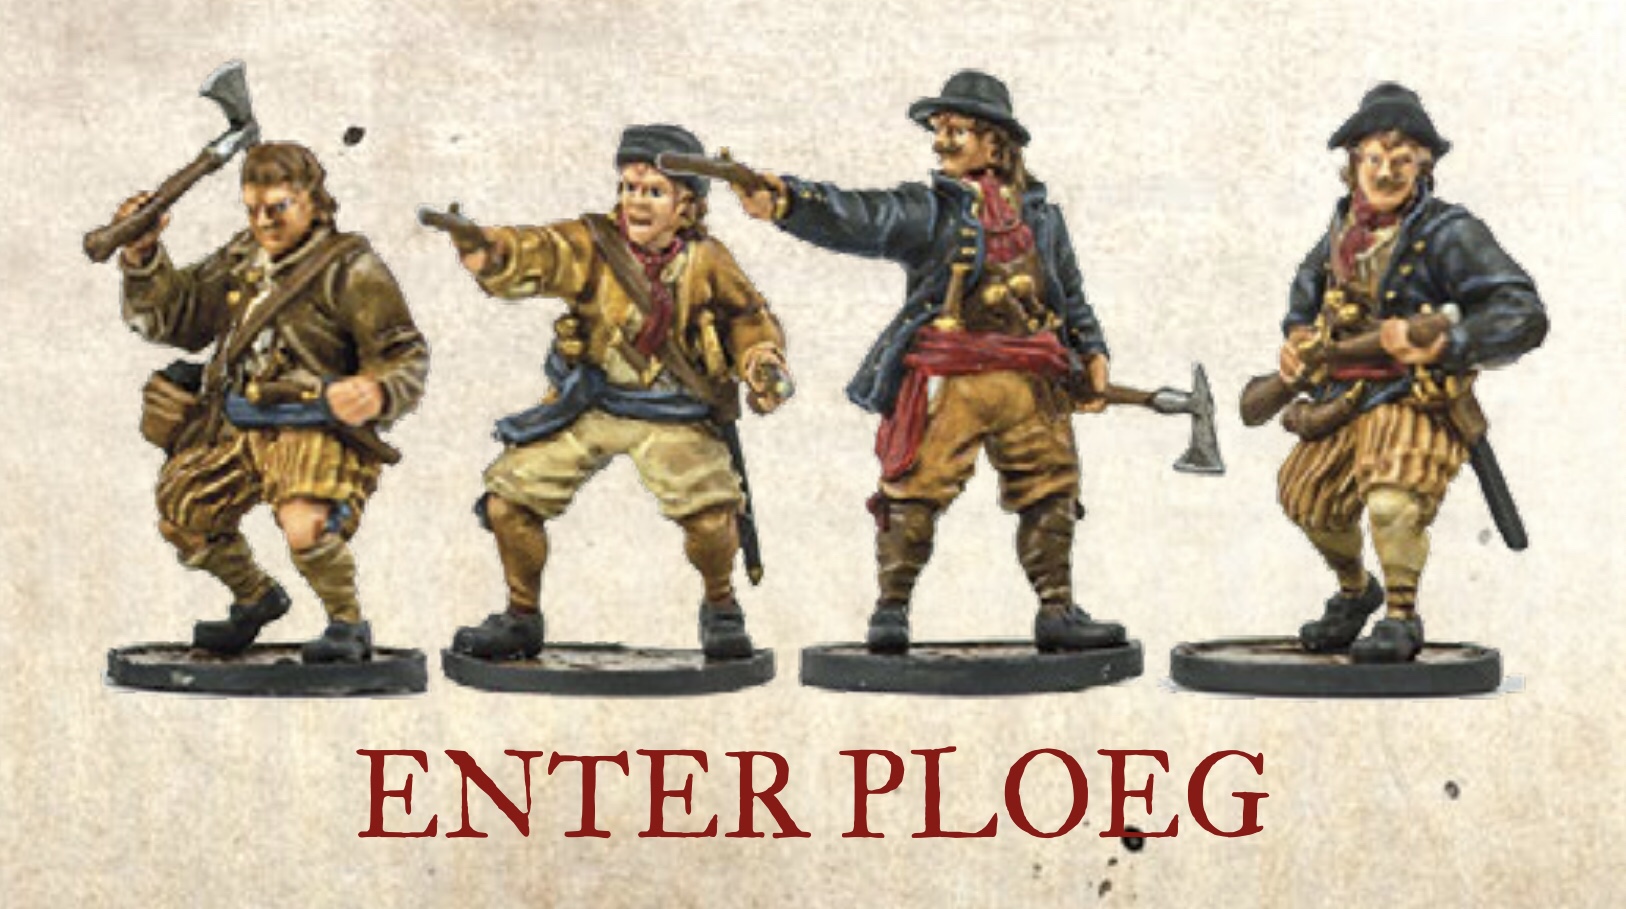
This was my first time painting this set of models so I kept close to the color schemes in the rulebook but mine ended up a little brighter.
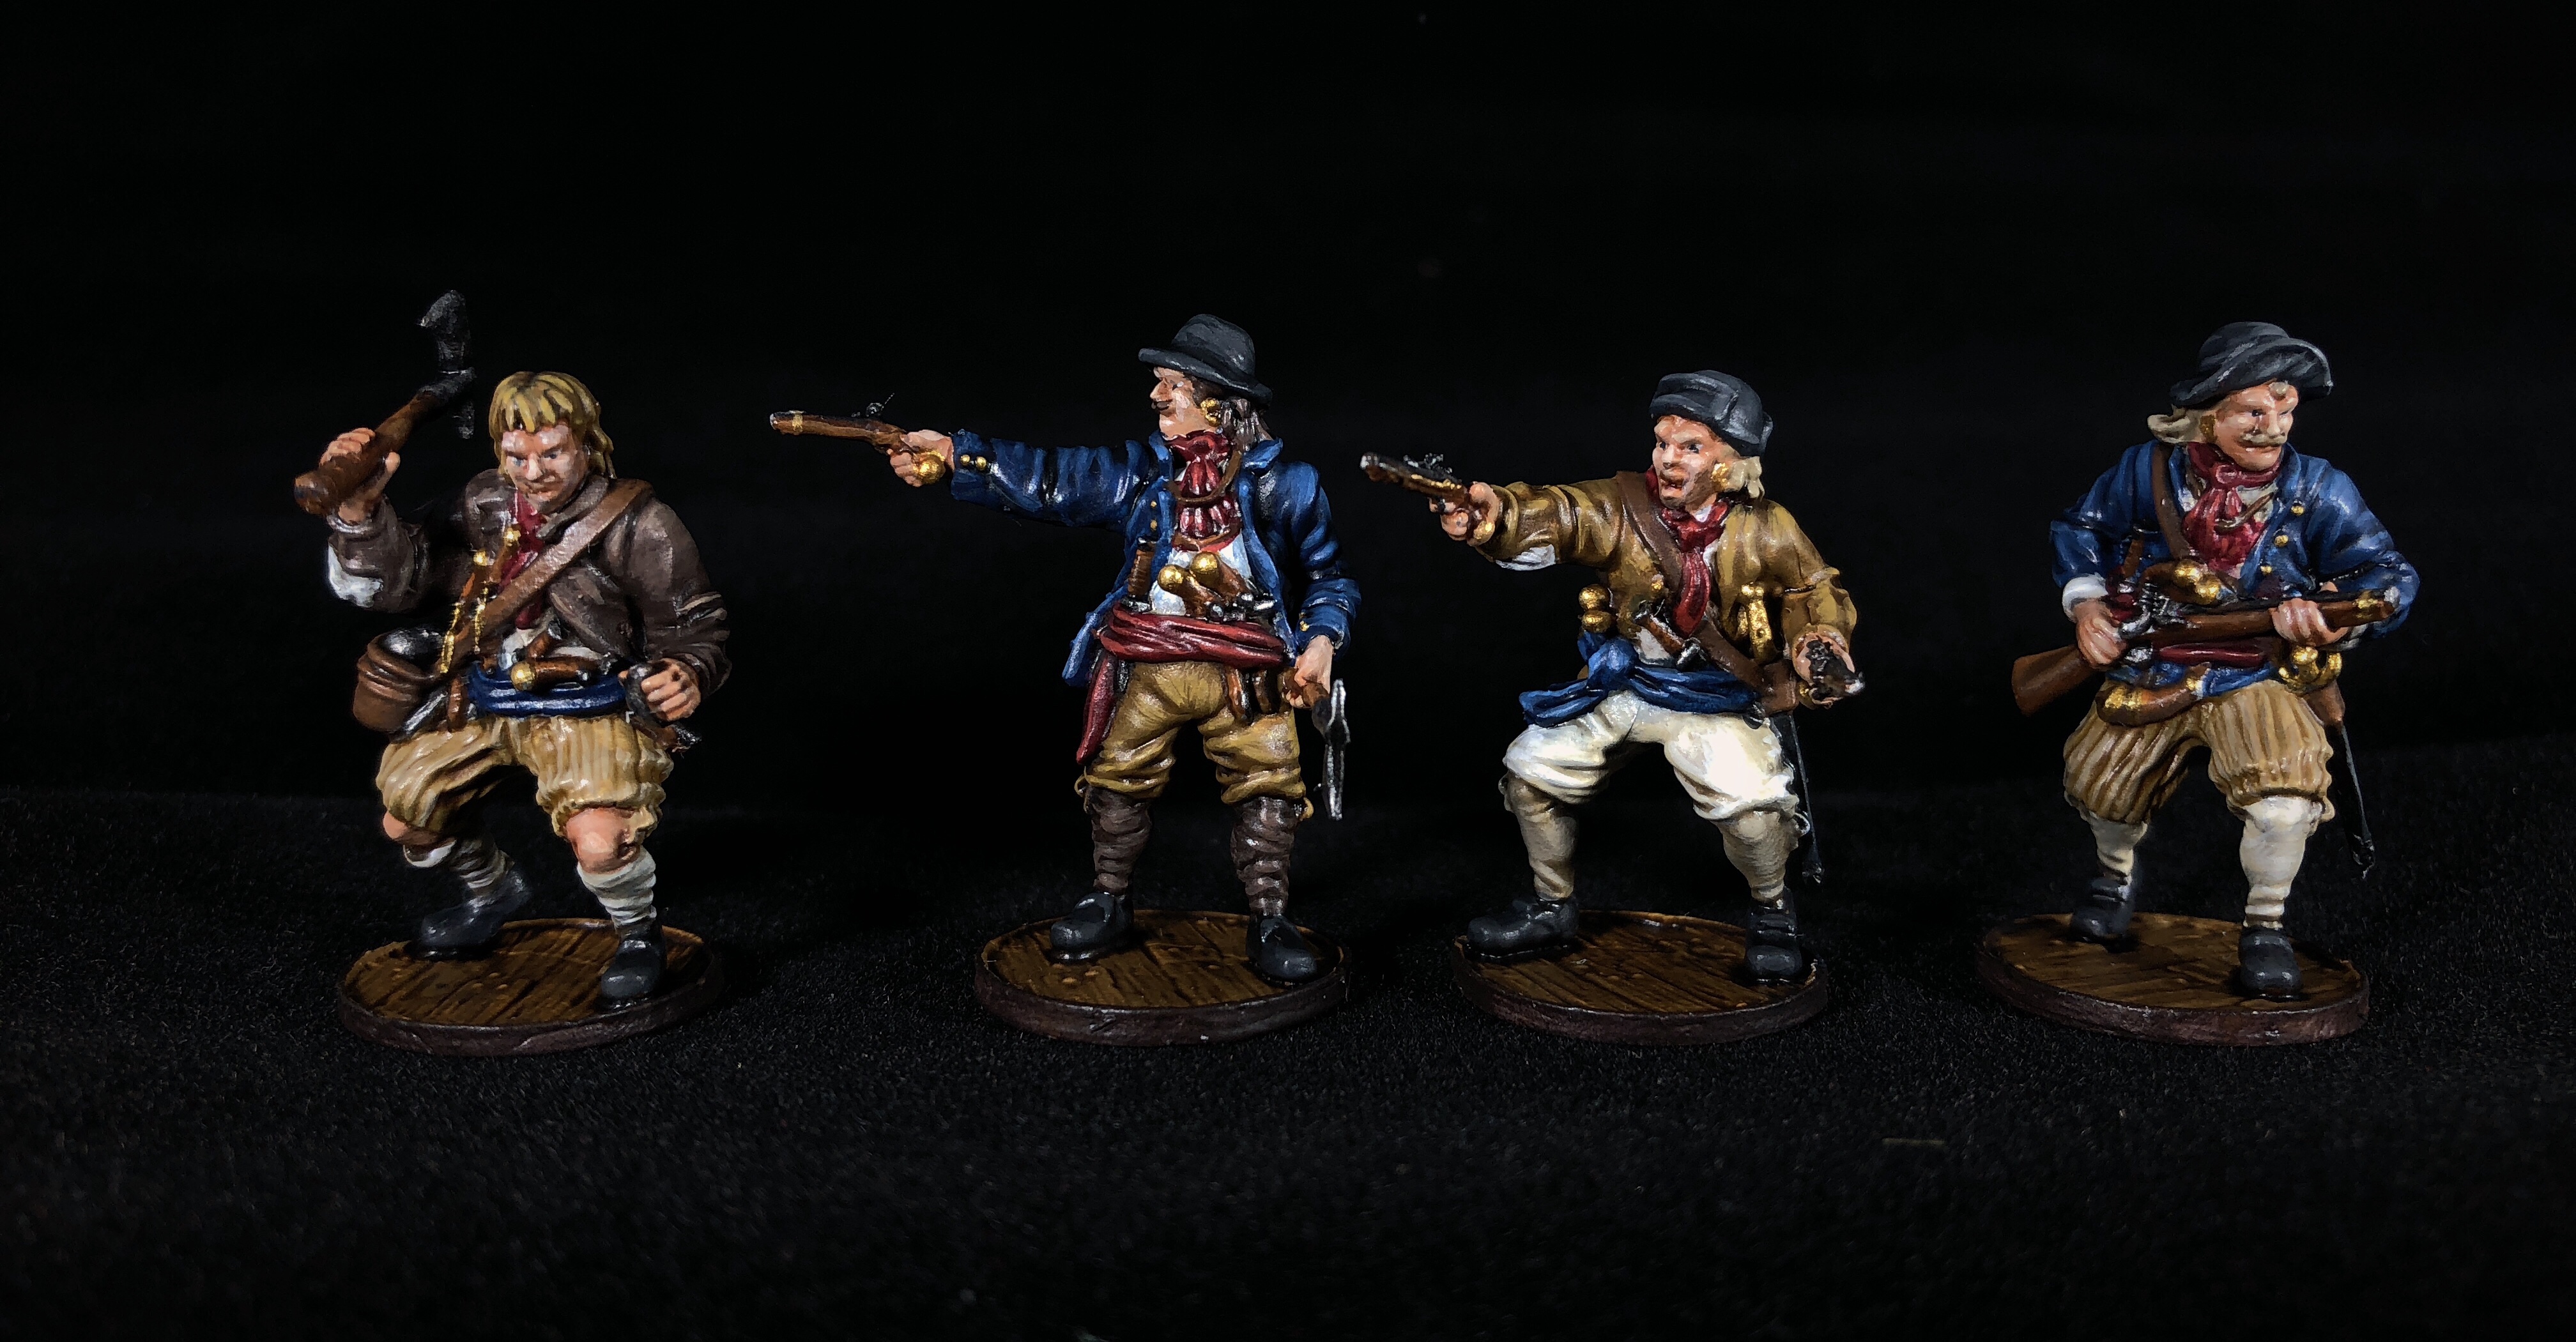
These models are large, well equipped and scruffy which makes them fun to paint. Let’s get into it!
Step 1 – Prep and Prime
I don’t know how these models are in general since this is my only set (so far), but my set needed a good bit of clean up and some of the hands and pistols were bad enough I couldn’t get them perfect.
I removed excess metal, rinsed and primed as described in my Preparing Models post.

I’ll be referring to these guys as Leader, Bomb, Blunder and Pistol.
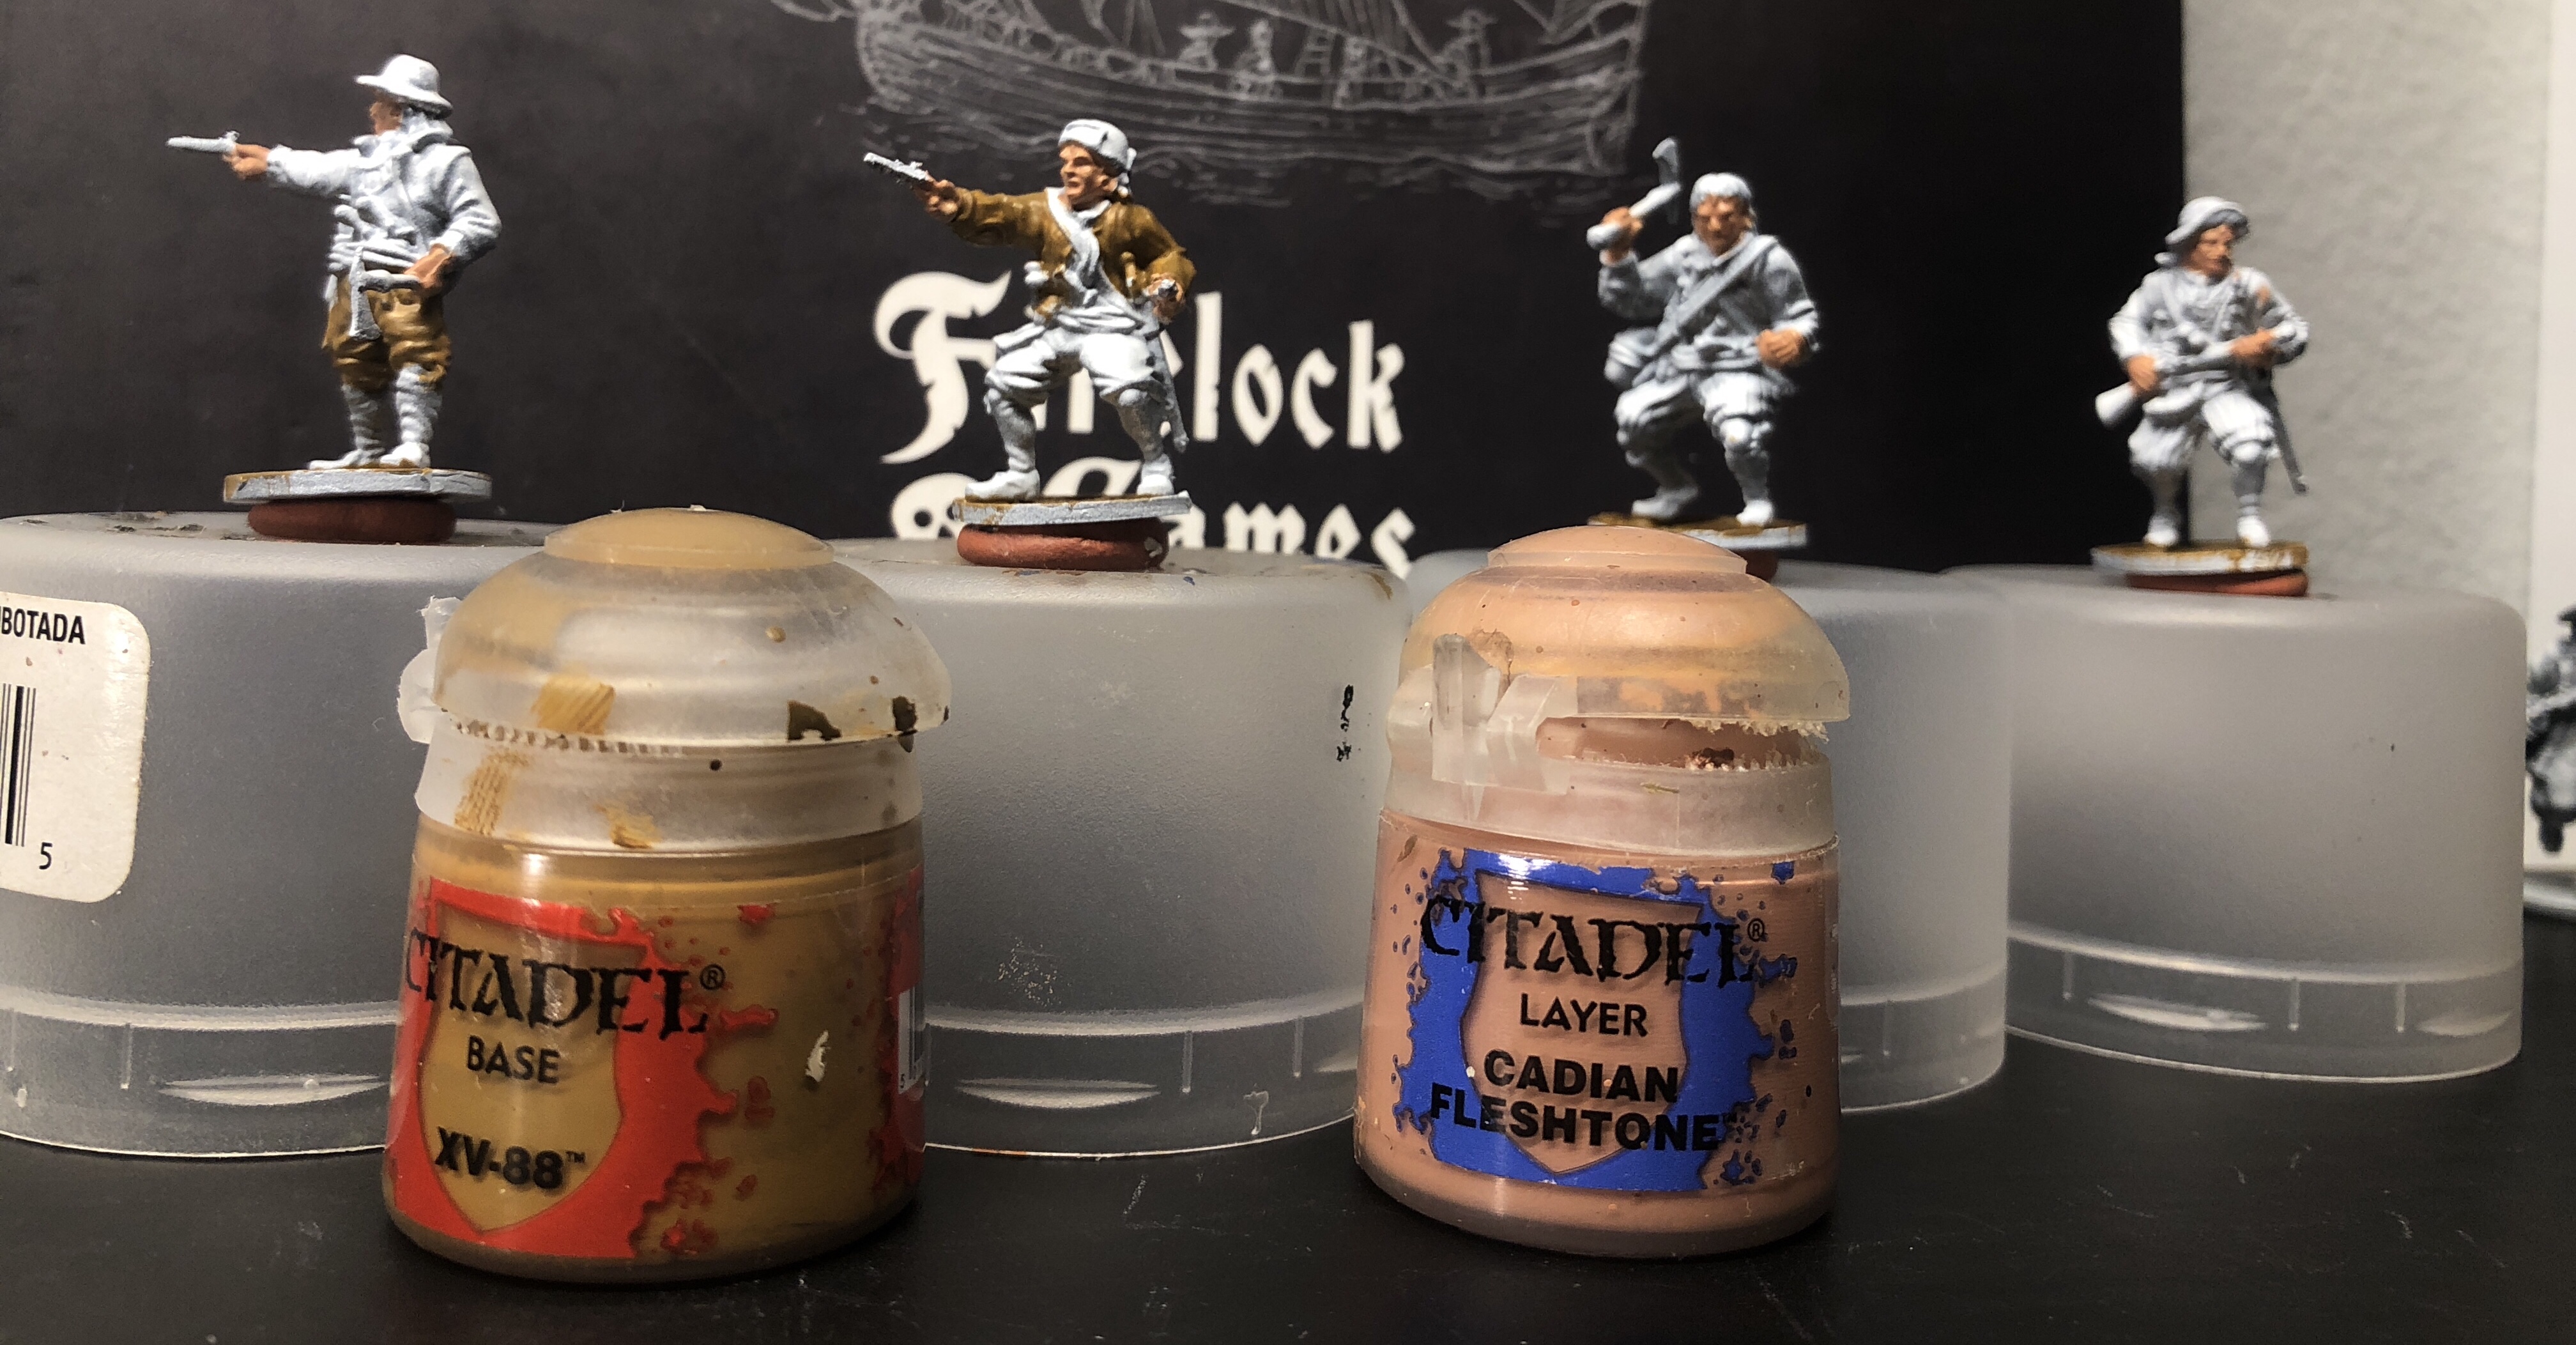
Step 2 – Base Coats
I’ll keep the color pallet pretty limited with a blue and brown being my primary colors.
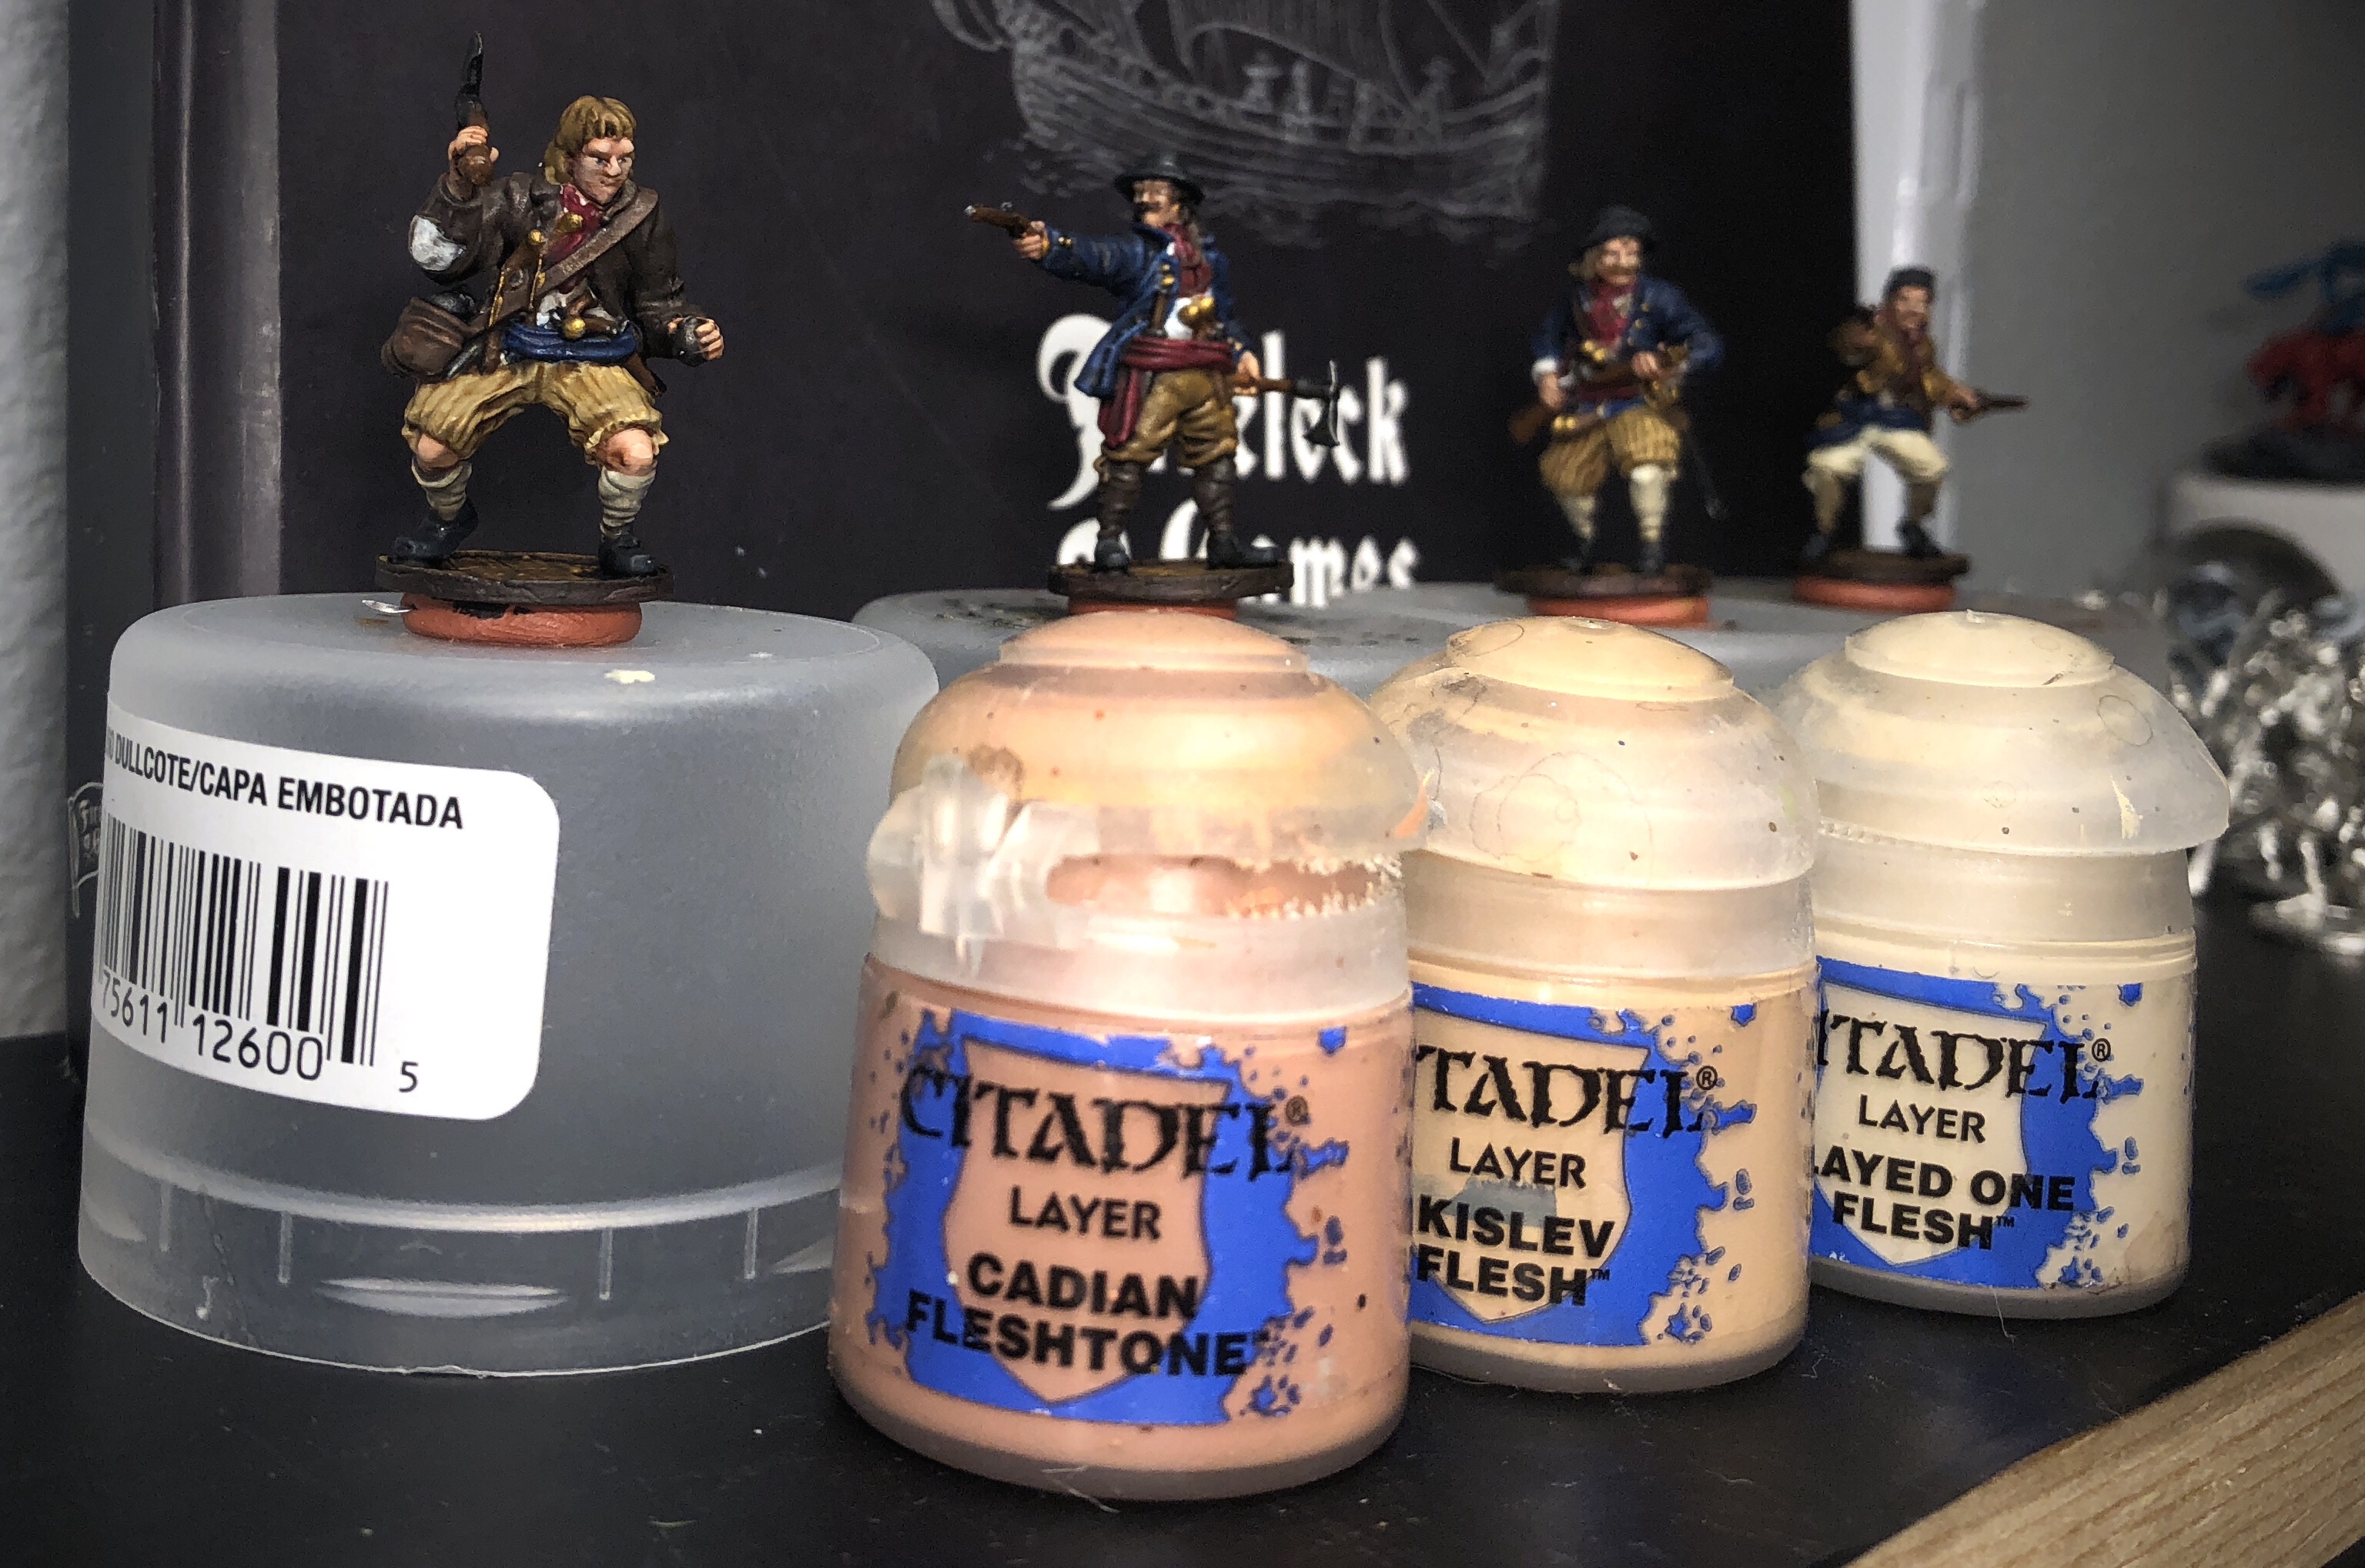
I started with skin and I used Cadian Fleshtone as a base. Don’t forget the knees on Bomb (like I did). I used XV-88 for the bases, Leader’s pants, Pistol’s jacket and eventually I used it for Bomb’s hair as well.
I used Kantor Blue for two jackets and two sashes ans Dryad Bark went on Leader’s hair and stockings and Bomb’s jacket.
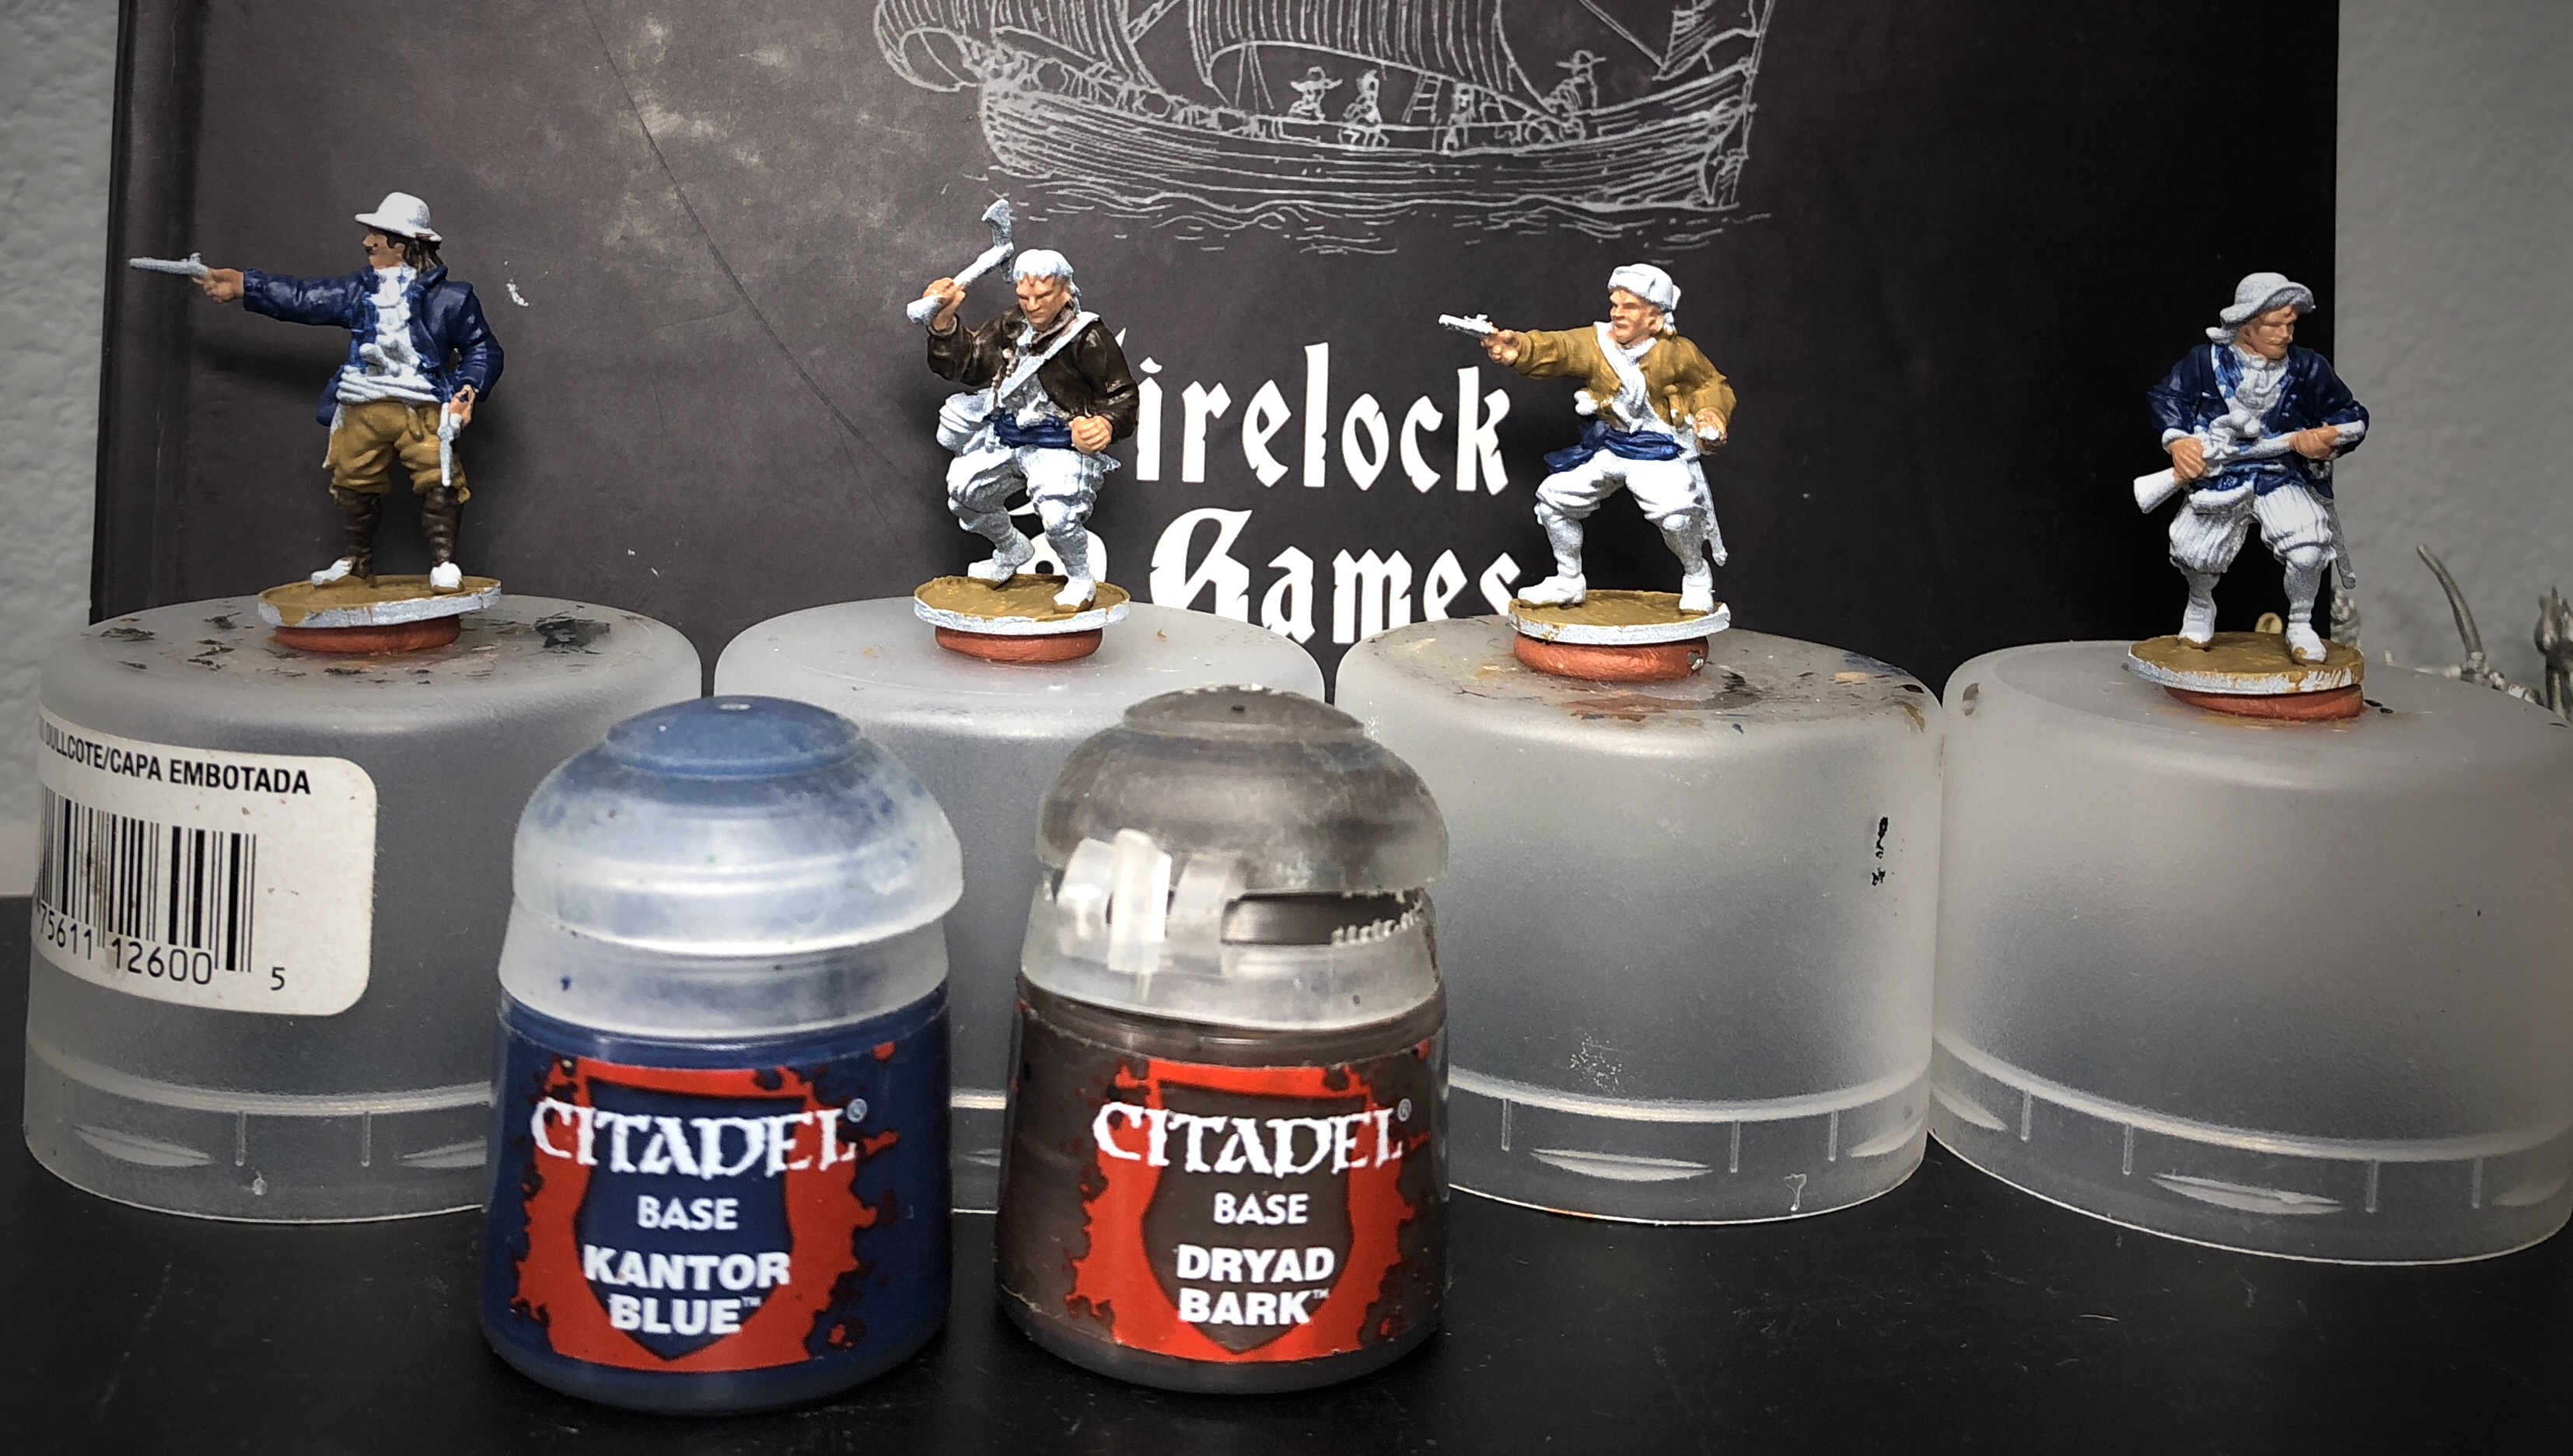
Next I used Zandri Dust on Blunder and Grenade’s pants, Blunder’s hair and Pistol’s stockings (I eventually use it for Pistol’s hair as well). Ivory covers the shirts fronts, collars, cuffs and the sleeves where the jackets are slashed. Those are easy to miss!

The mustache!

Three of the models have slashed sleeves that are easy to miss.

Next I used Screaming Skull on the remaining pair of pants and two sets of stockings. I used Rhinox Hide only for the edges of the bases.

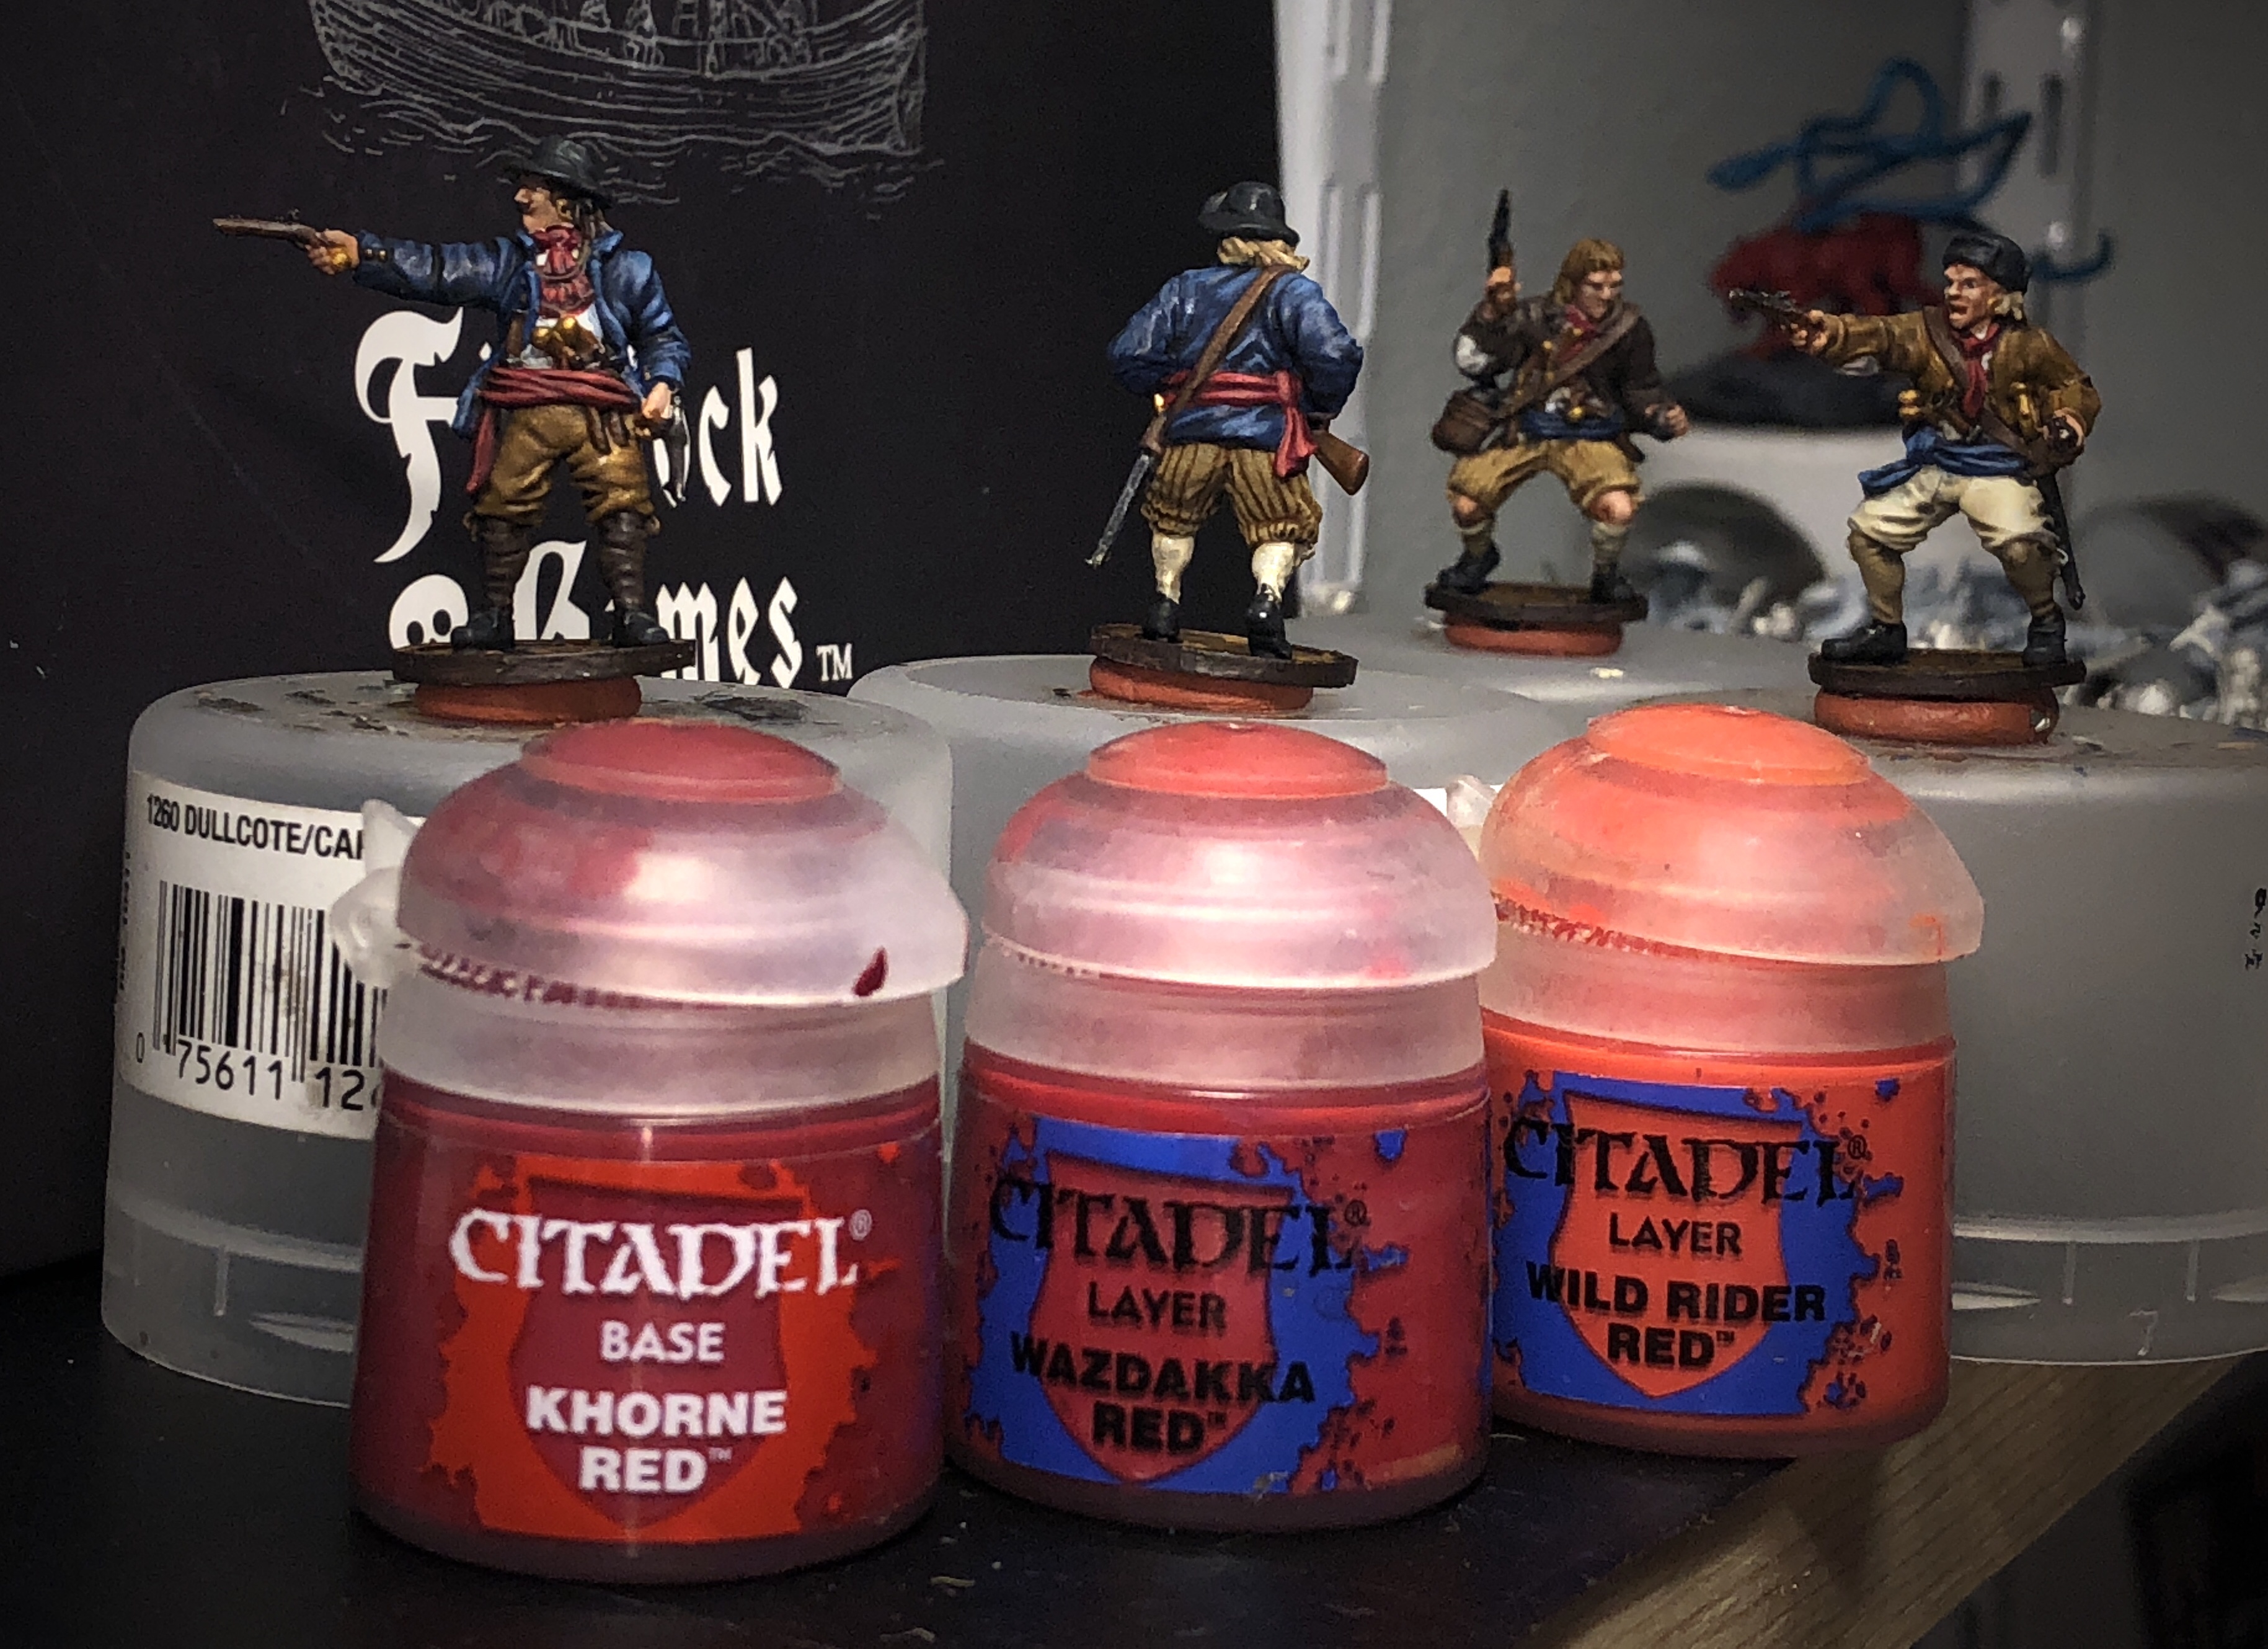
For the red sashes and cravats I used Khorne Red, which is slightly darker and pinker than my normal Mephiston Red. I used the darker tone in an effort to avoid the Americana or French “Red, White and Blue” look.
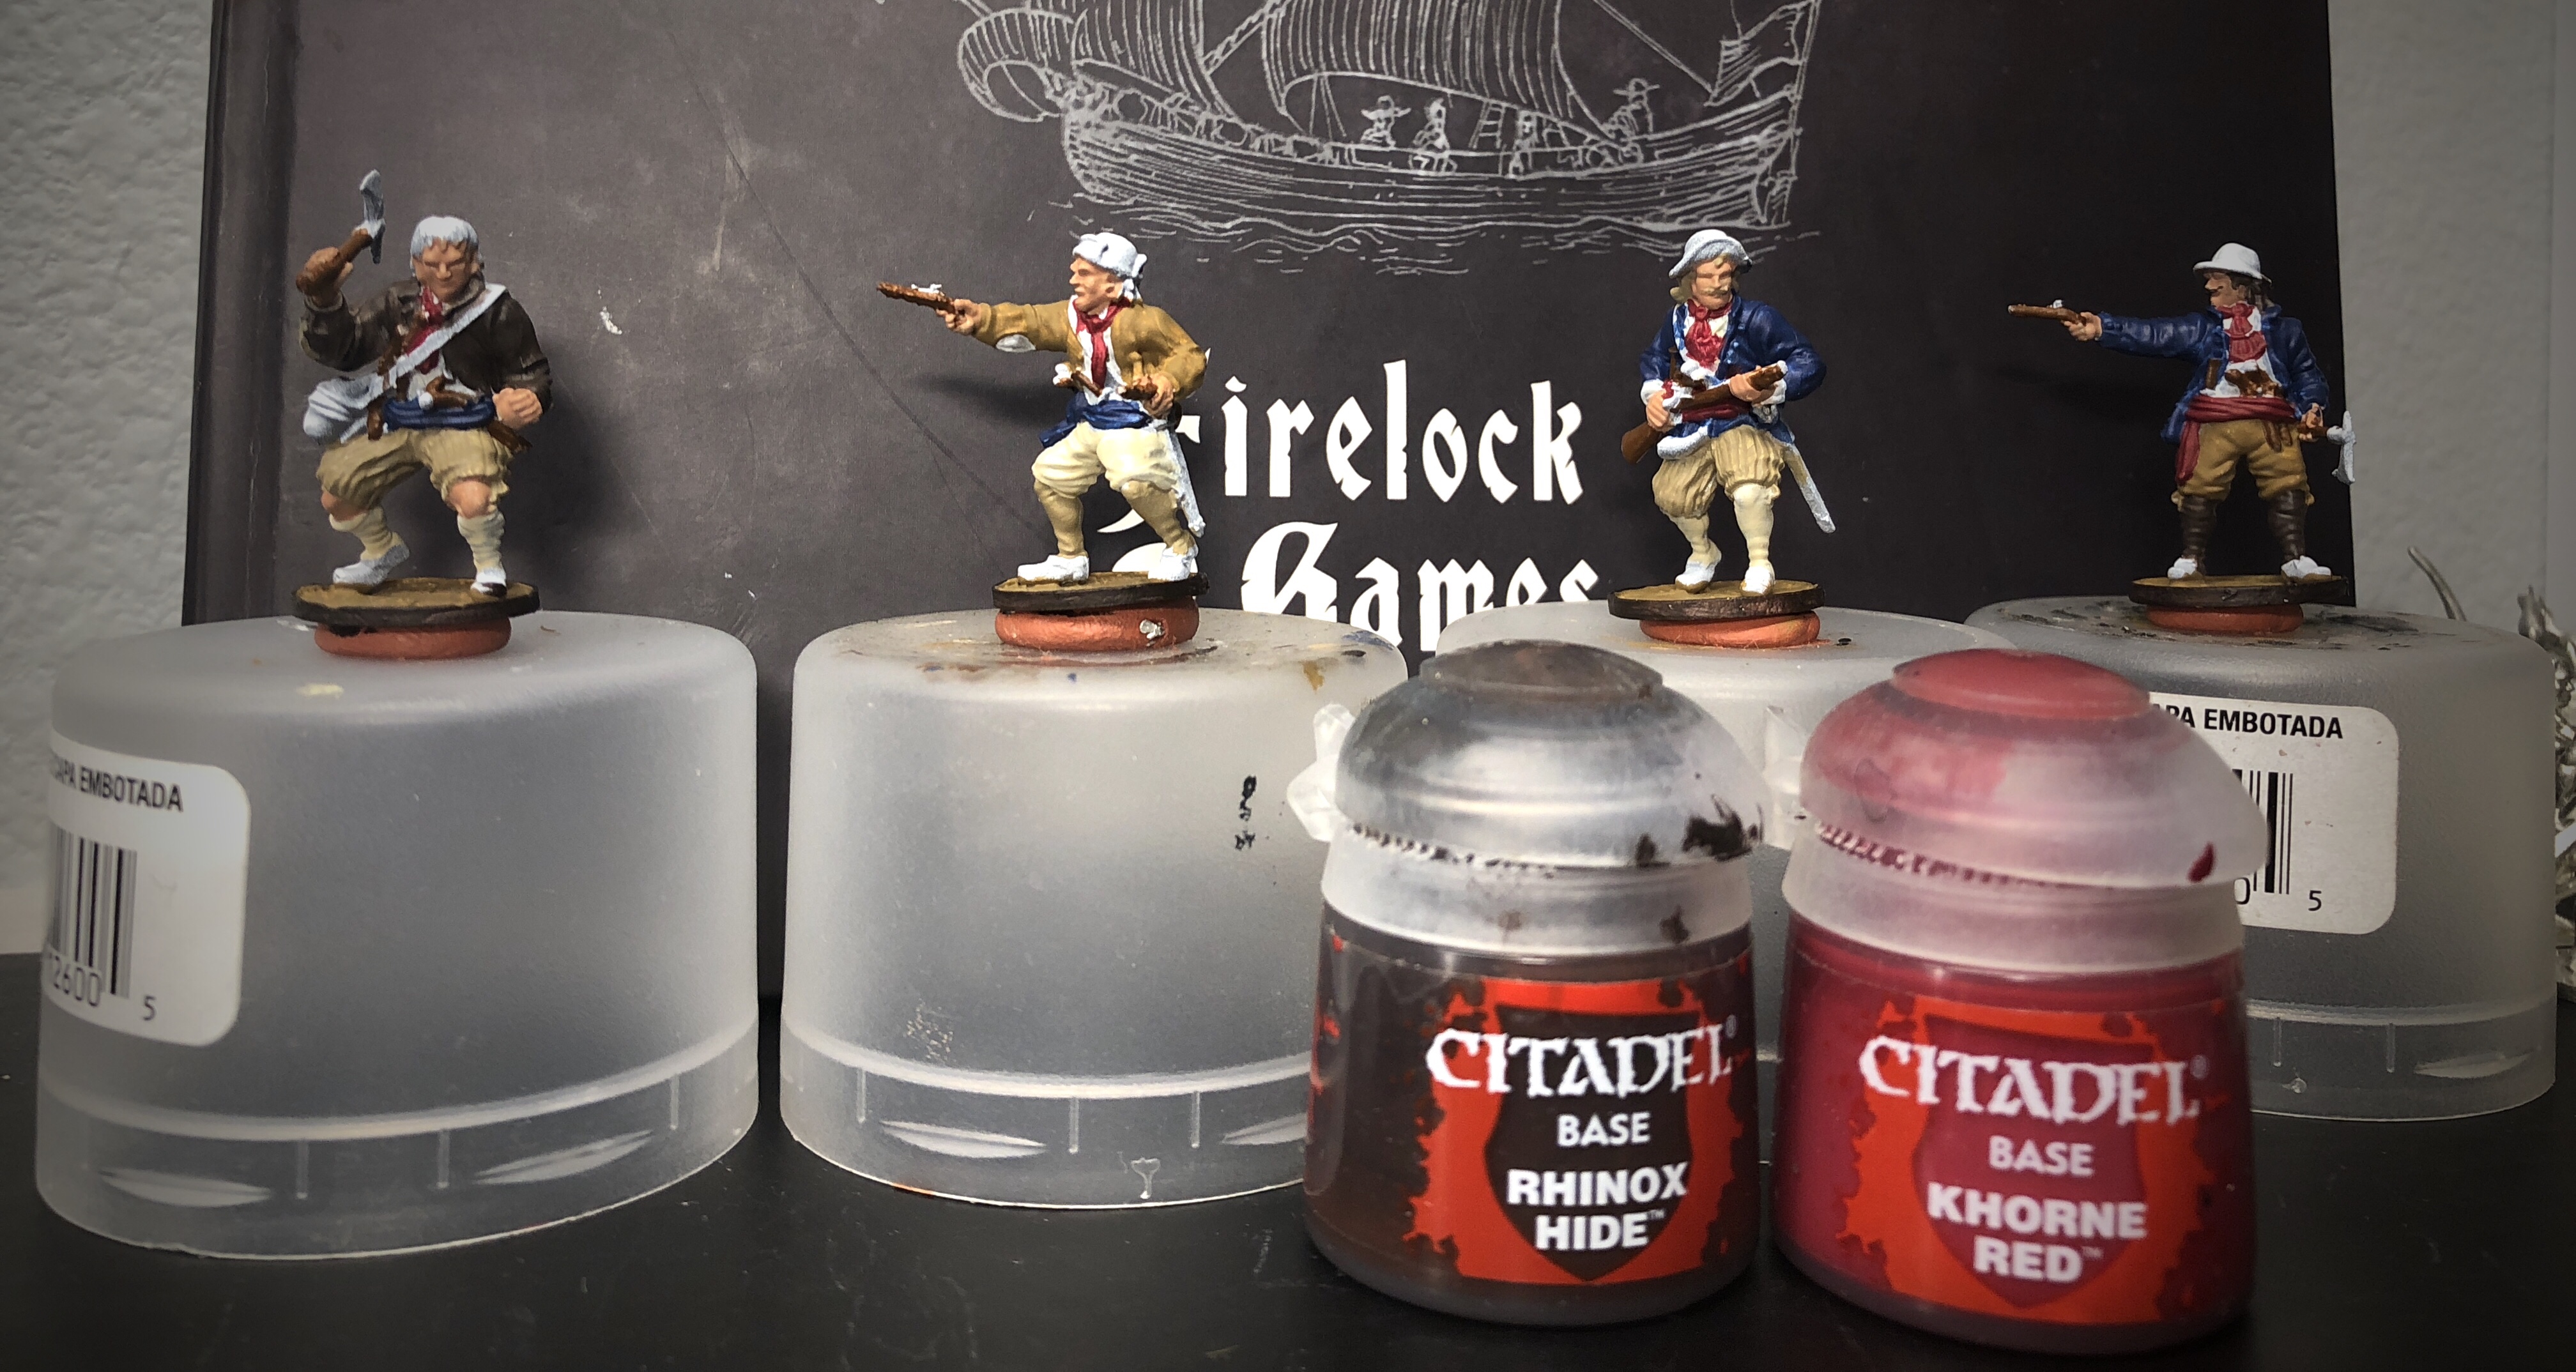
Rhinox Hide shouldn’t be in this pic…
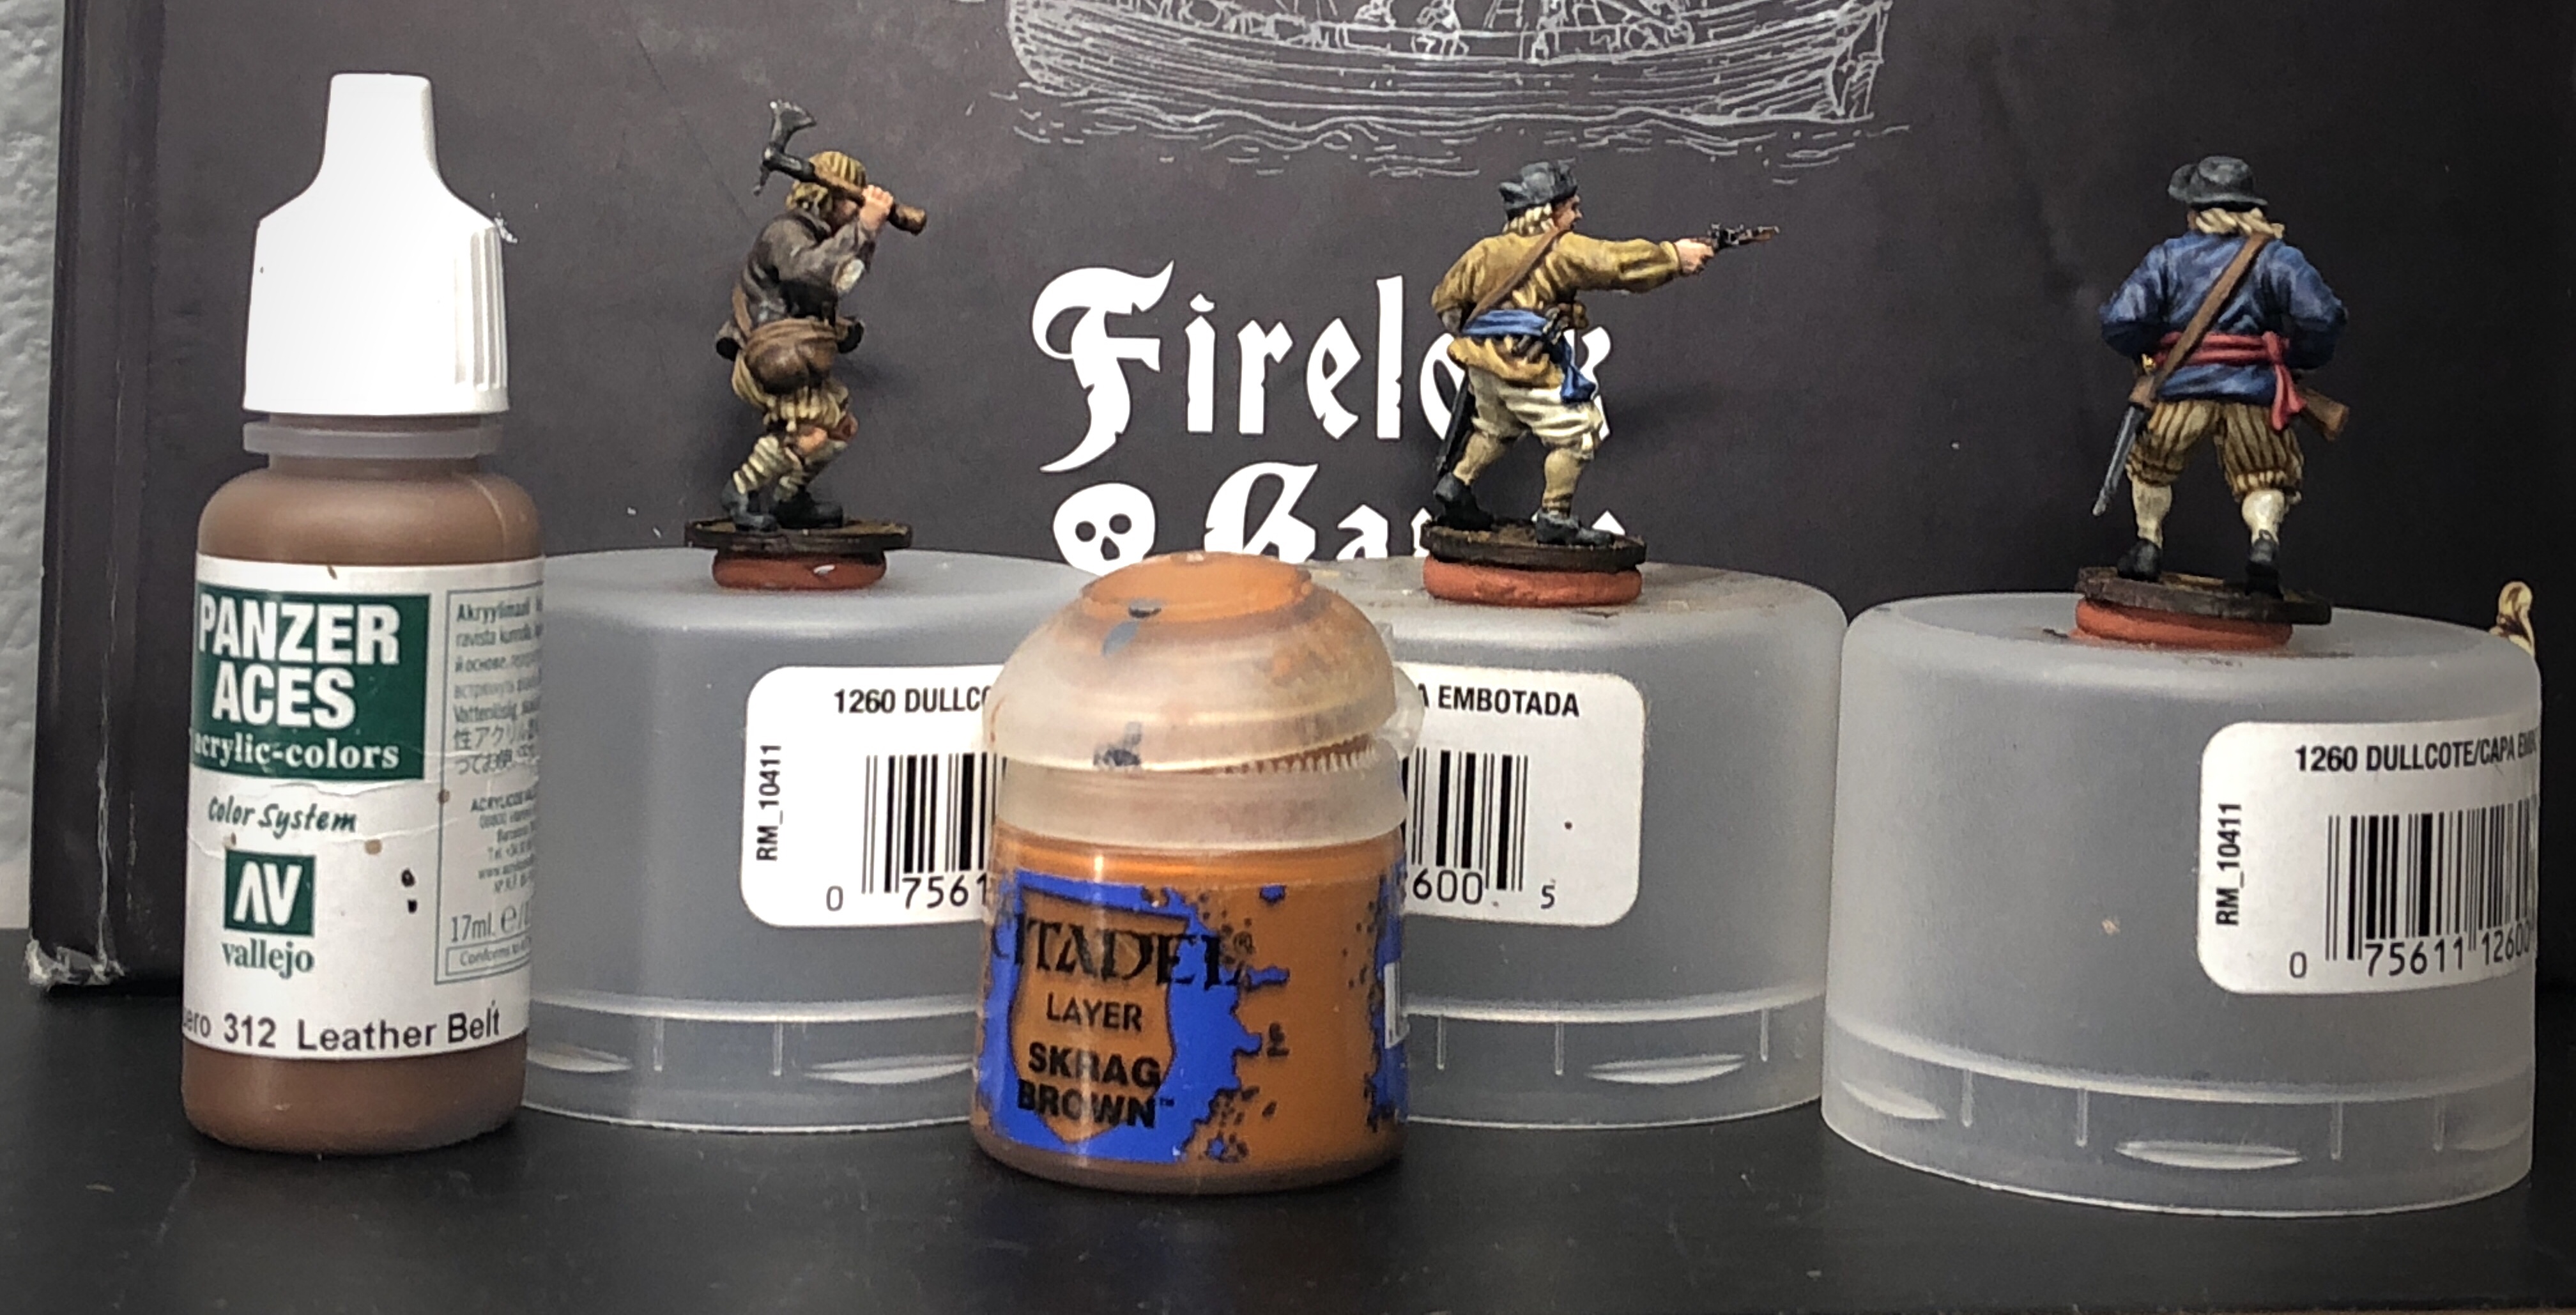
Next I painted all the weapons, straps and belts. I used Vallejo Panzer Aces Leather Belt for the sword straps, the grenade bag, the powder horn and the little tiny straps that pass across the chest under the coat. Mournfang Brown works well for the wood on the guns, the handles of the swords, knives and axes. I forgot to include the paint in the picture but I used German Grey for all 3 hats, the shoes and the scabbards.
Vallejo’s Metal Color line is the best! I highly recommend their Metal Color Steel. I used it for all the gun metallics, the tip of the scabbard, the dagger blades and the ax heads.

The last base color is Vallejo’s Brass which I used for the buttons, the balls of the ends of the pistols, the hilts of the swords and the trim on the powder horn.

Step 3 – Shades
The only unusual thing I did here was use a darker shade (Nuln Oil) on the blue jackets to produce a Navy Blue look.
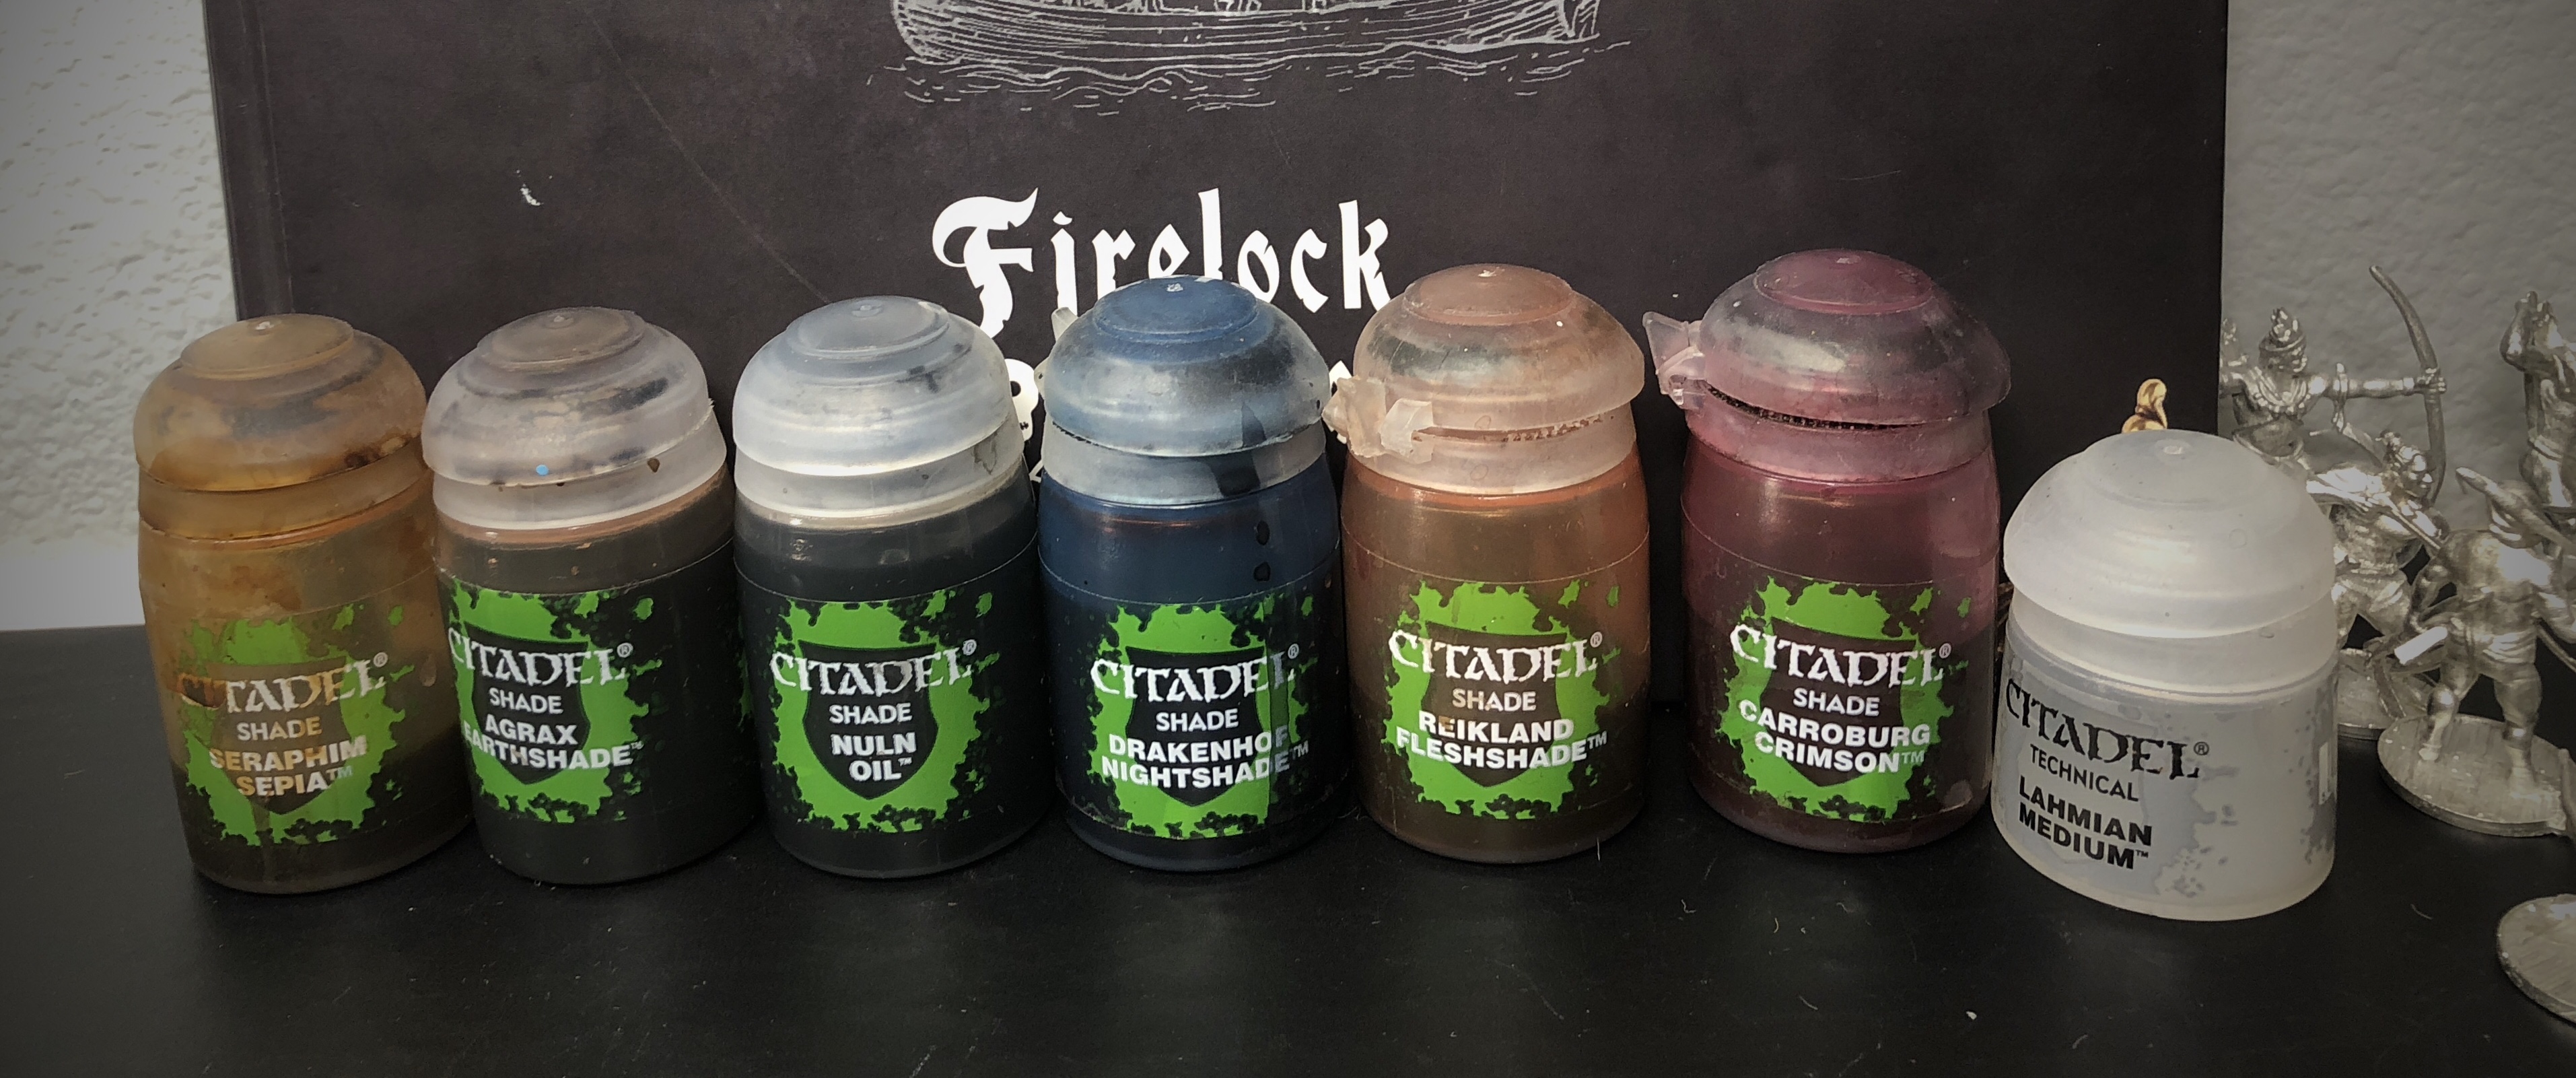
Nuln Oil – Shoes, scabbards, hats, blue jackets and all steel elements.
Drakkenhof Nightshade – Blue Sashes (you could use Nuln Oil instead)

Agrax Earthshade – Bases, brown jackets, Leader’s stockings, wood on the guns, knife and ax handles, the belts and grenade bag, all the hair and brass areas.
Reikland Fleshshade – All skin.
Agrax/Nuln/Water in a 1:1:2 ratio – All Ivory and Screaming Skull shirts, stockings and trousers.

Carroburg Crimson – All red sashes and neckerchiefs.
Seraphim Sepia – Both sets of striped trousers.
Step 3 – Highlights
Here comes the fun part! I usually start with the eyes before highlighting the skin.
I used Vallejo Ivory for the whites and a touch of German Grey for the pupils.

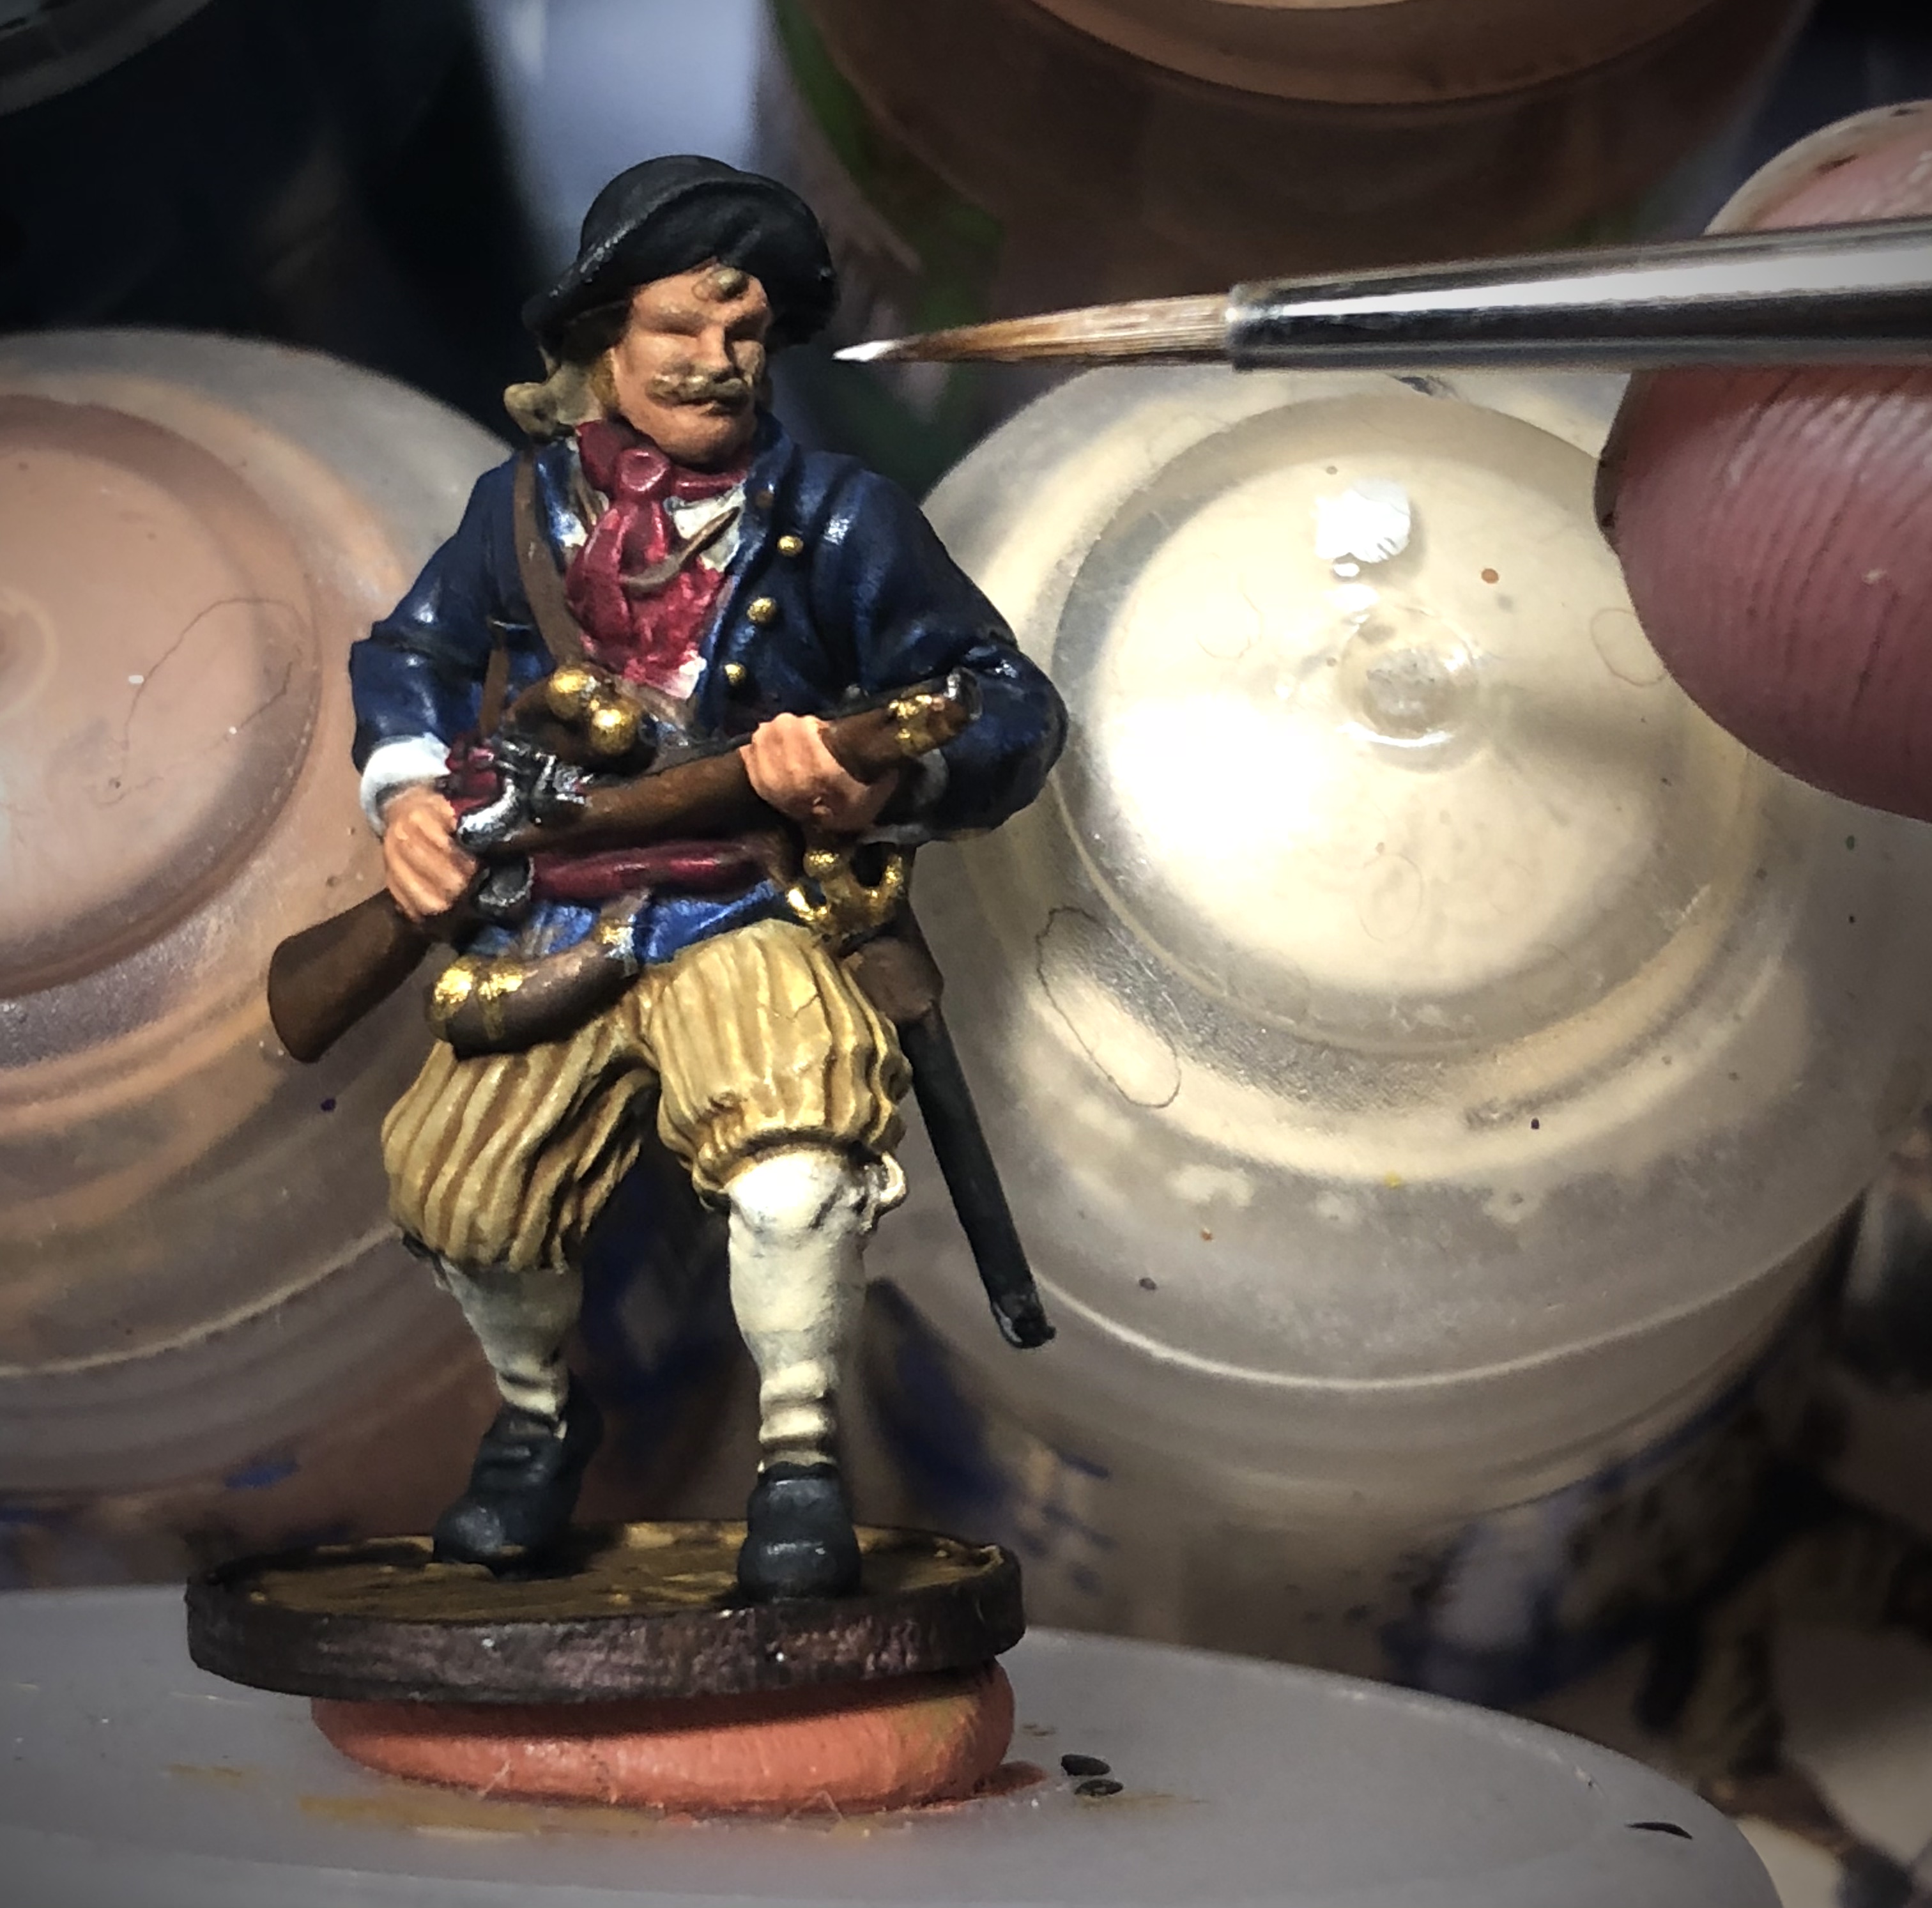
Next I used a progression of Cadien Fleshtone, Kislev Flesh and Flayed One Flesh to highlight all the skin areas. Don’t forget those knees!
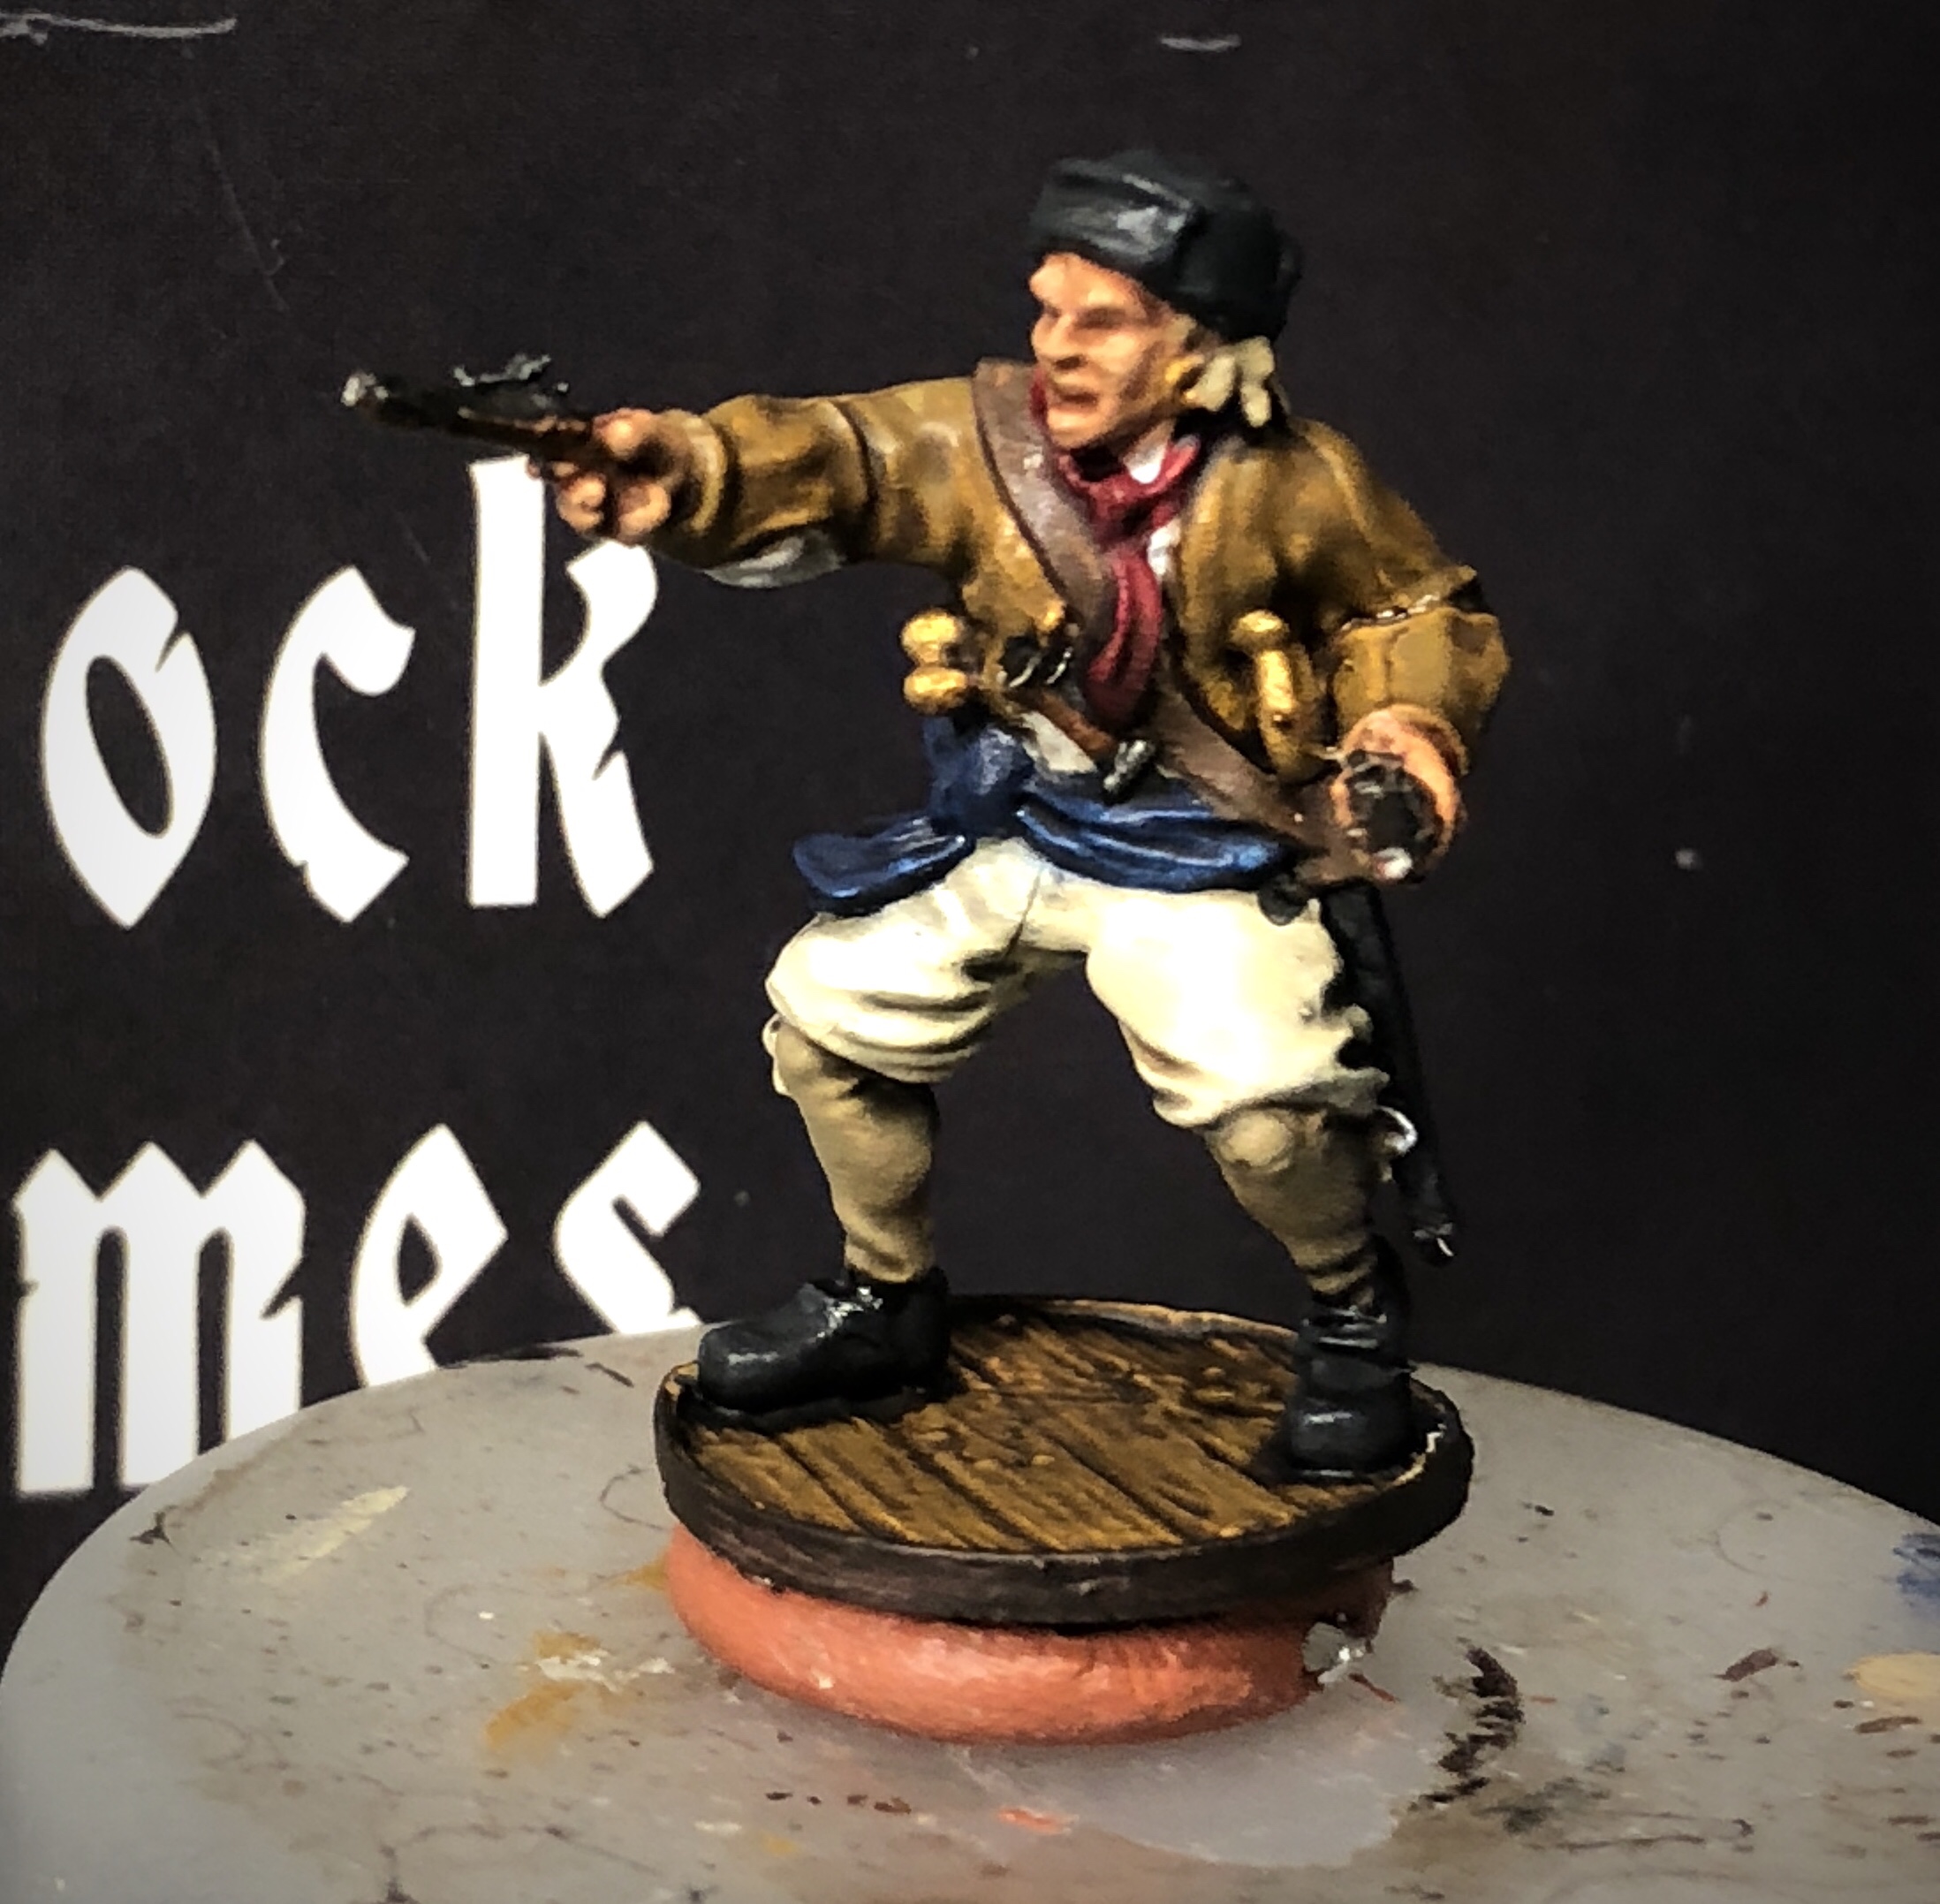
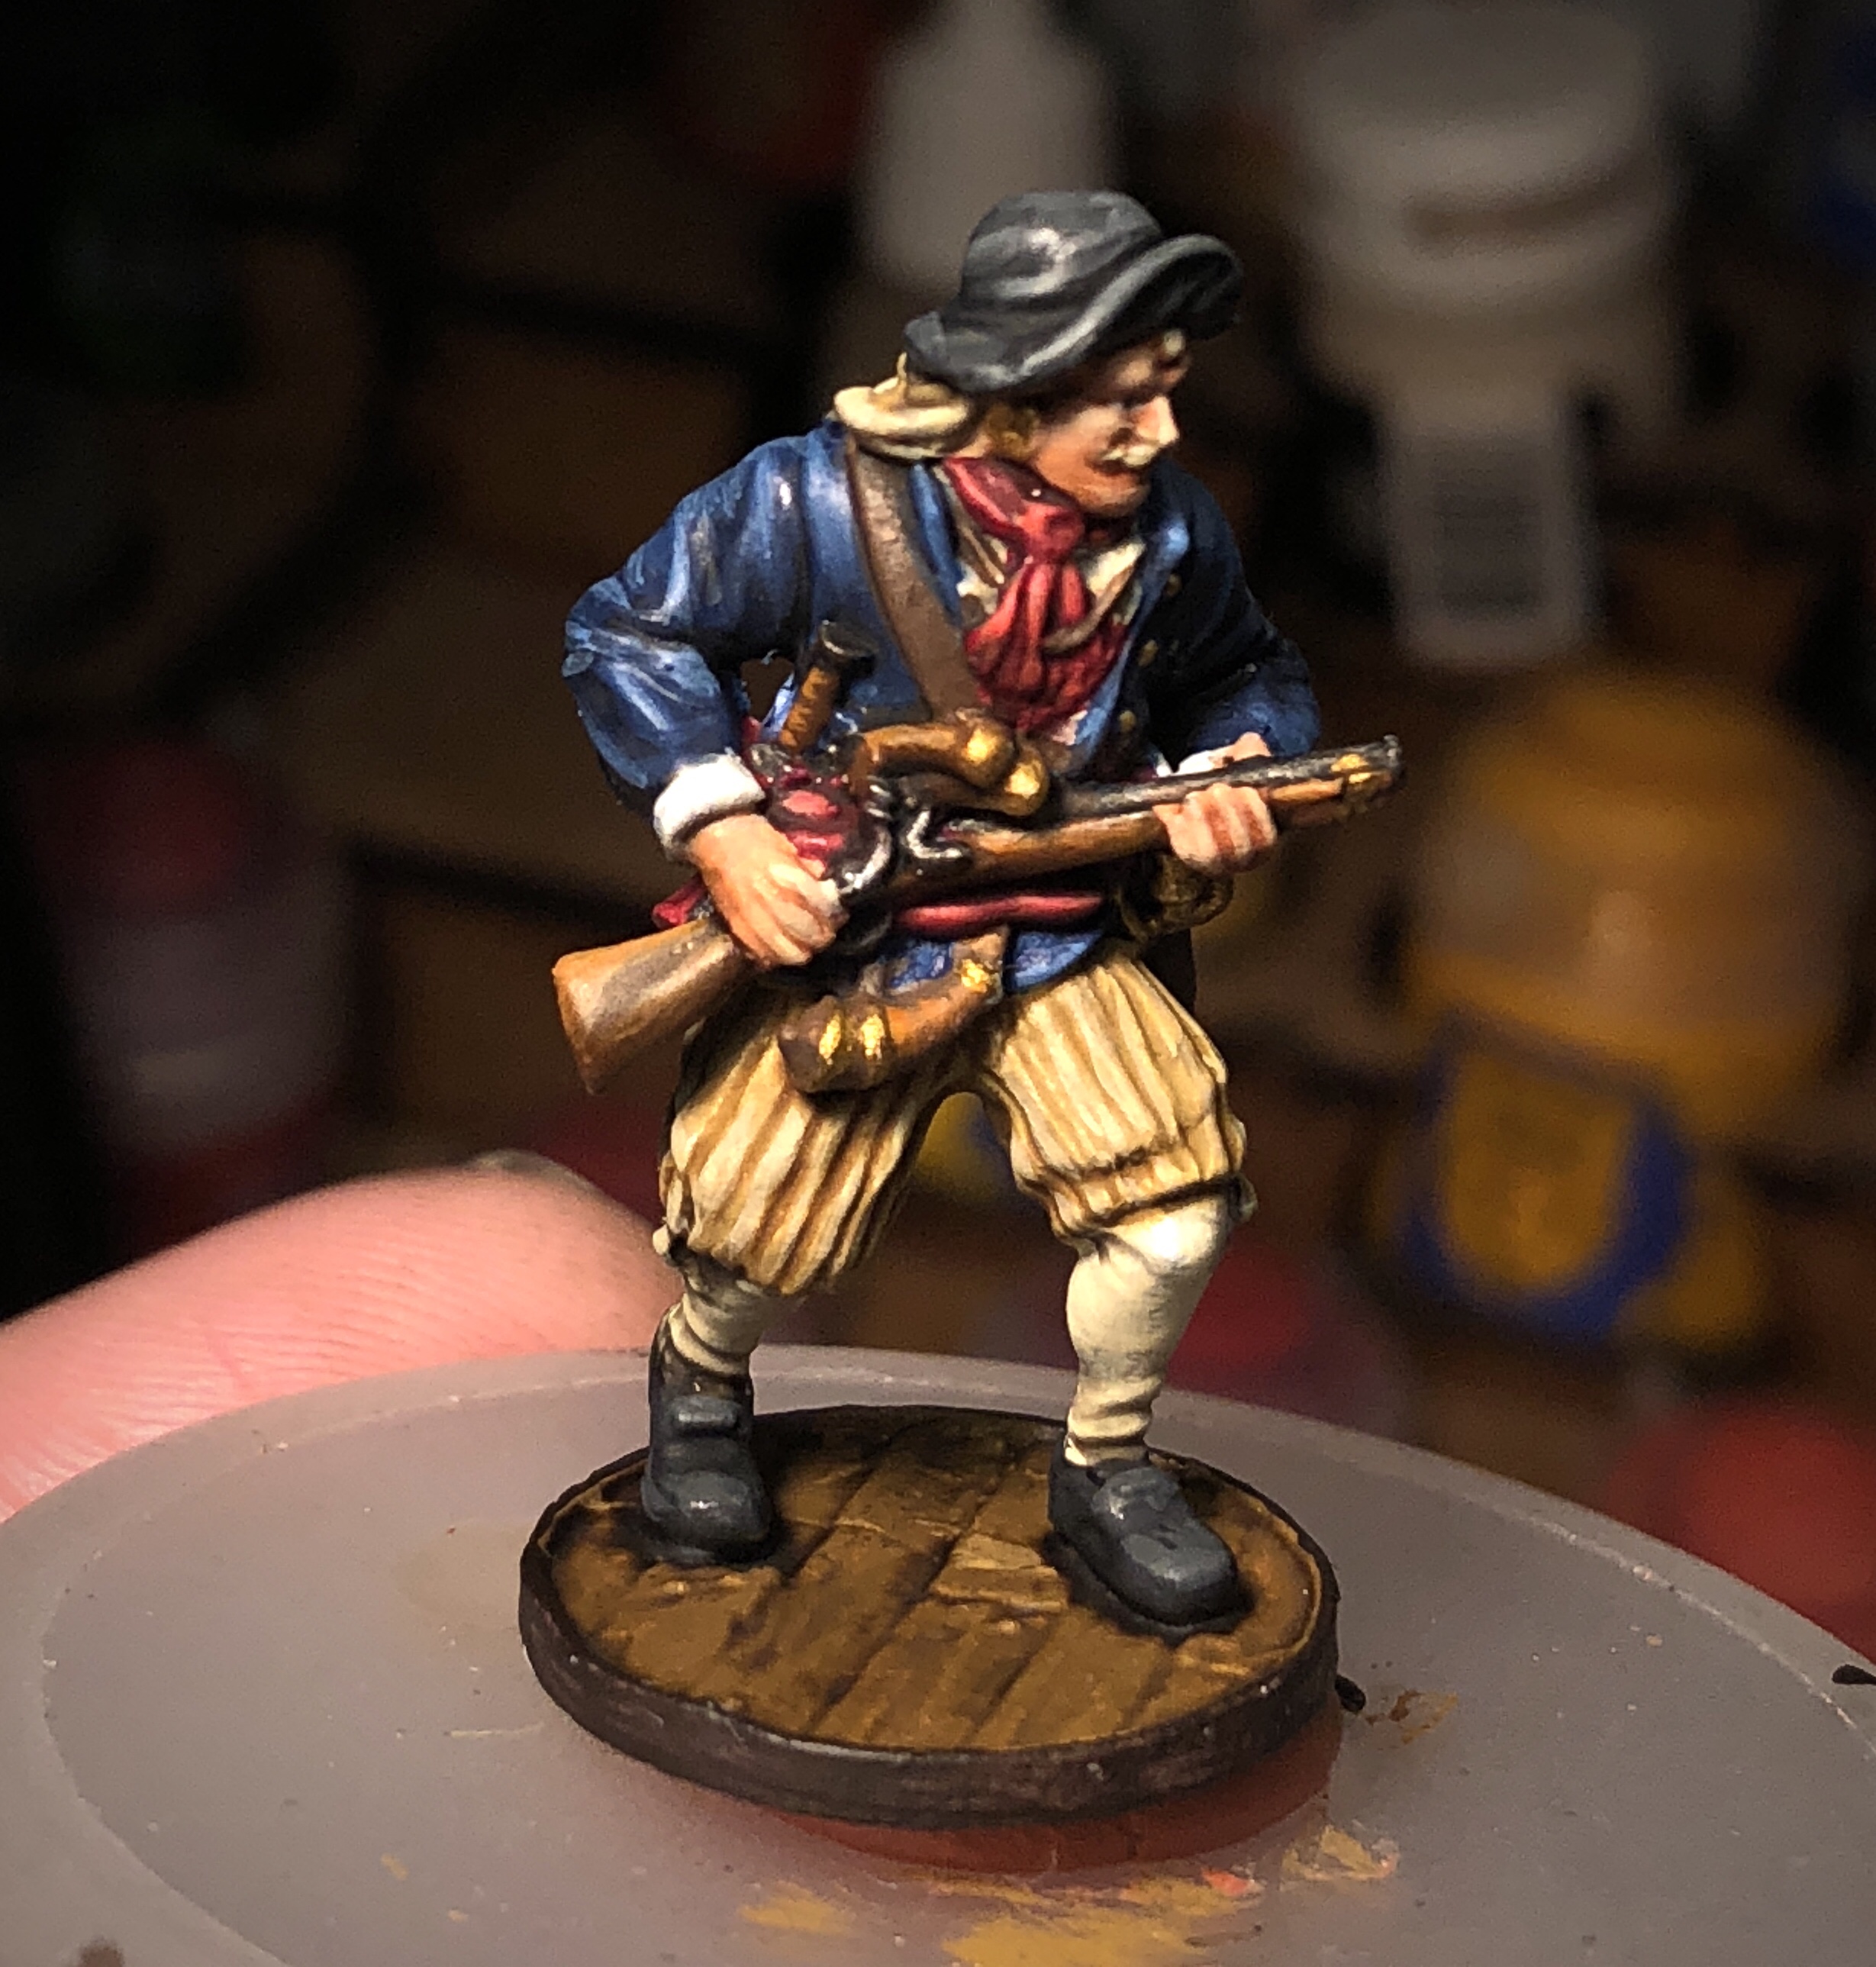
Next I worked over the blue jackets and sashes with a spectrum of Kantor Blue, Alaitoc Blue and Hoeth Blue. Take some extra time to get smooth transitions between the tones on the jacket because hard lines will be obvious with these colors.

Here’s my blend on my wet pallet. Excuse the stray grass the got blown all over my desk while basing a different miniature…

These guys have lots of nice little wrinkles to highlight.
Highlighted jacket on the Left, only shaded on the Right.
Next I work over the Red with a progression of Khorne Red, Wazdakka Red, and finally I mixed a bit of Wild Rider Red into the Wazdakka for a final highlight. Don’t overdo it with the Wild Rider. It’s much more orange than the other two colors so mix carefully.
For the XV-88 pants on Leader, jacket on Pistol and hair on Bomb, I used XV-88, Balor Brown and finally Zamesi Desert to brighten and highlight.

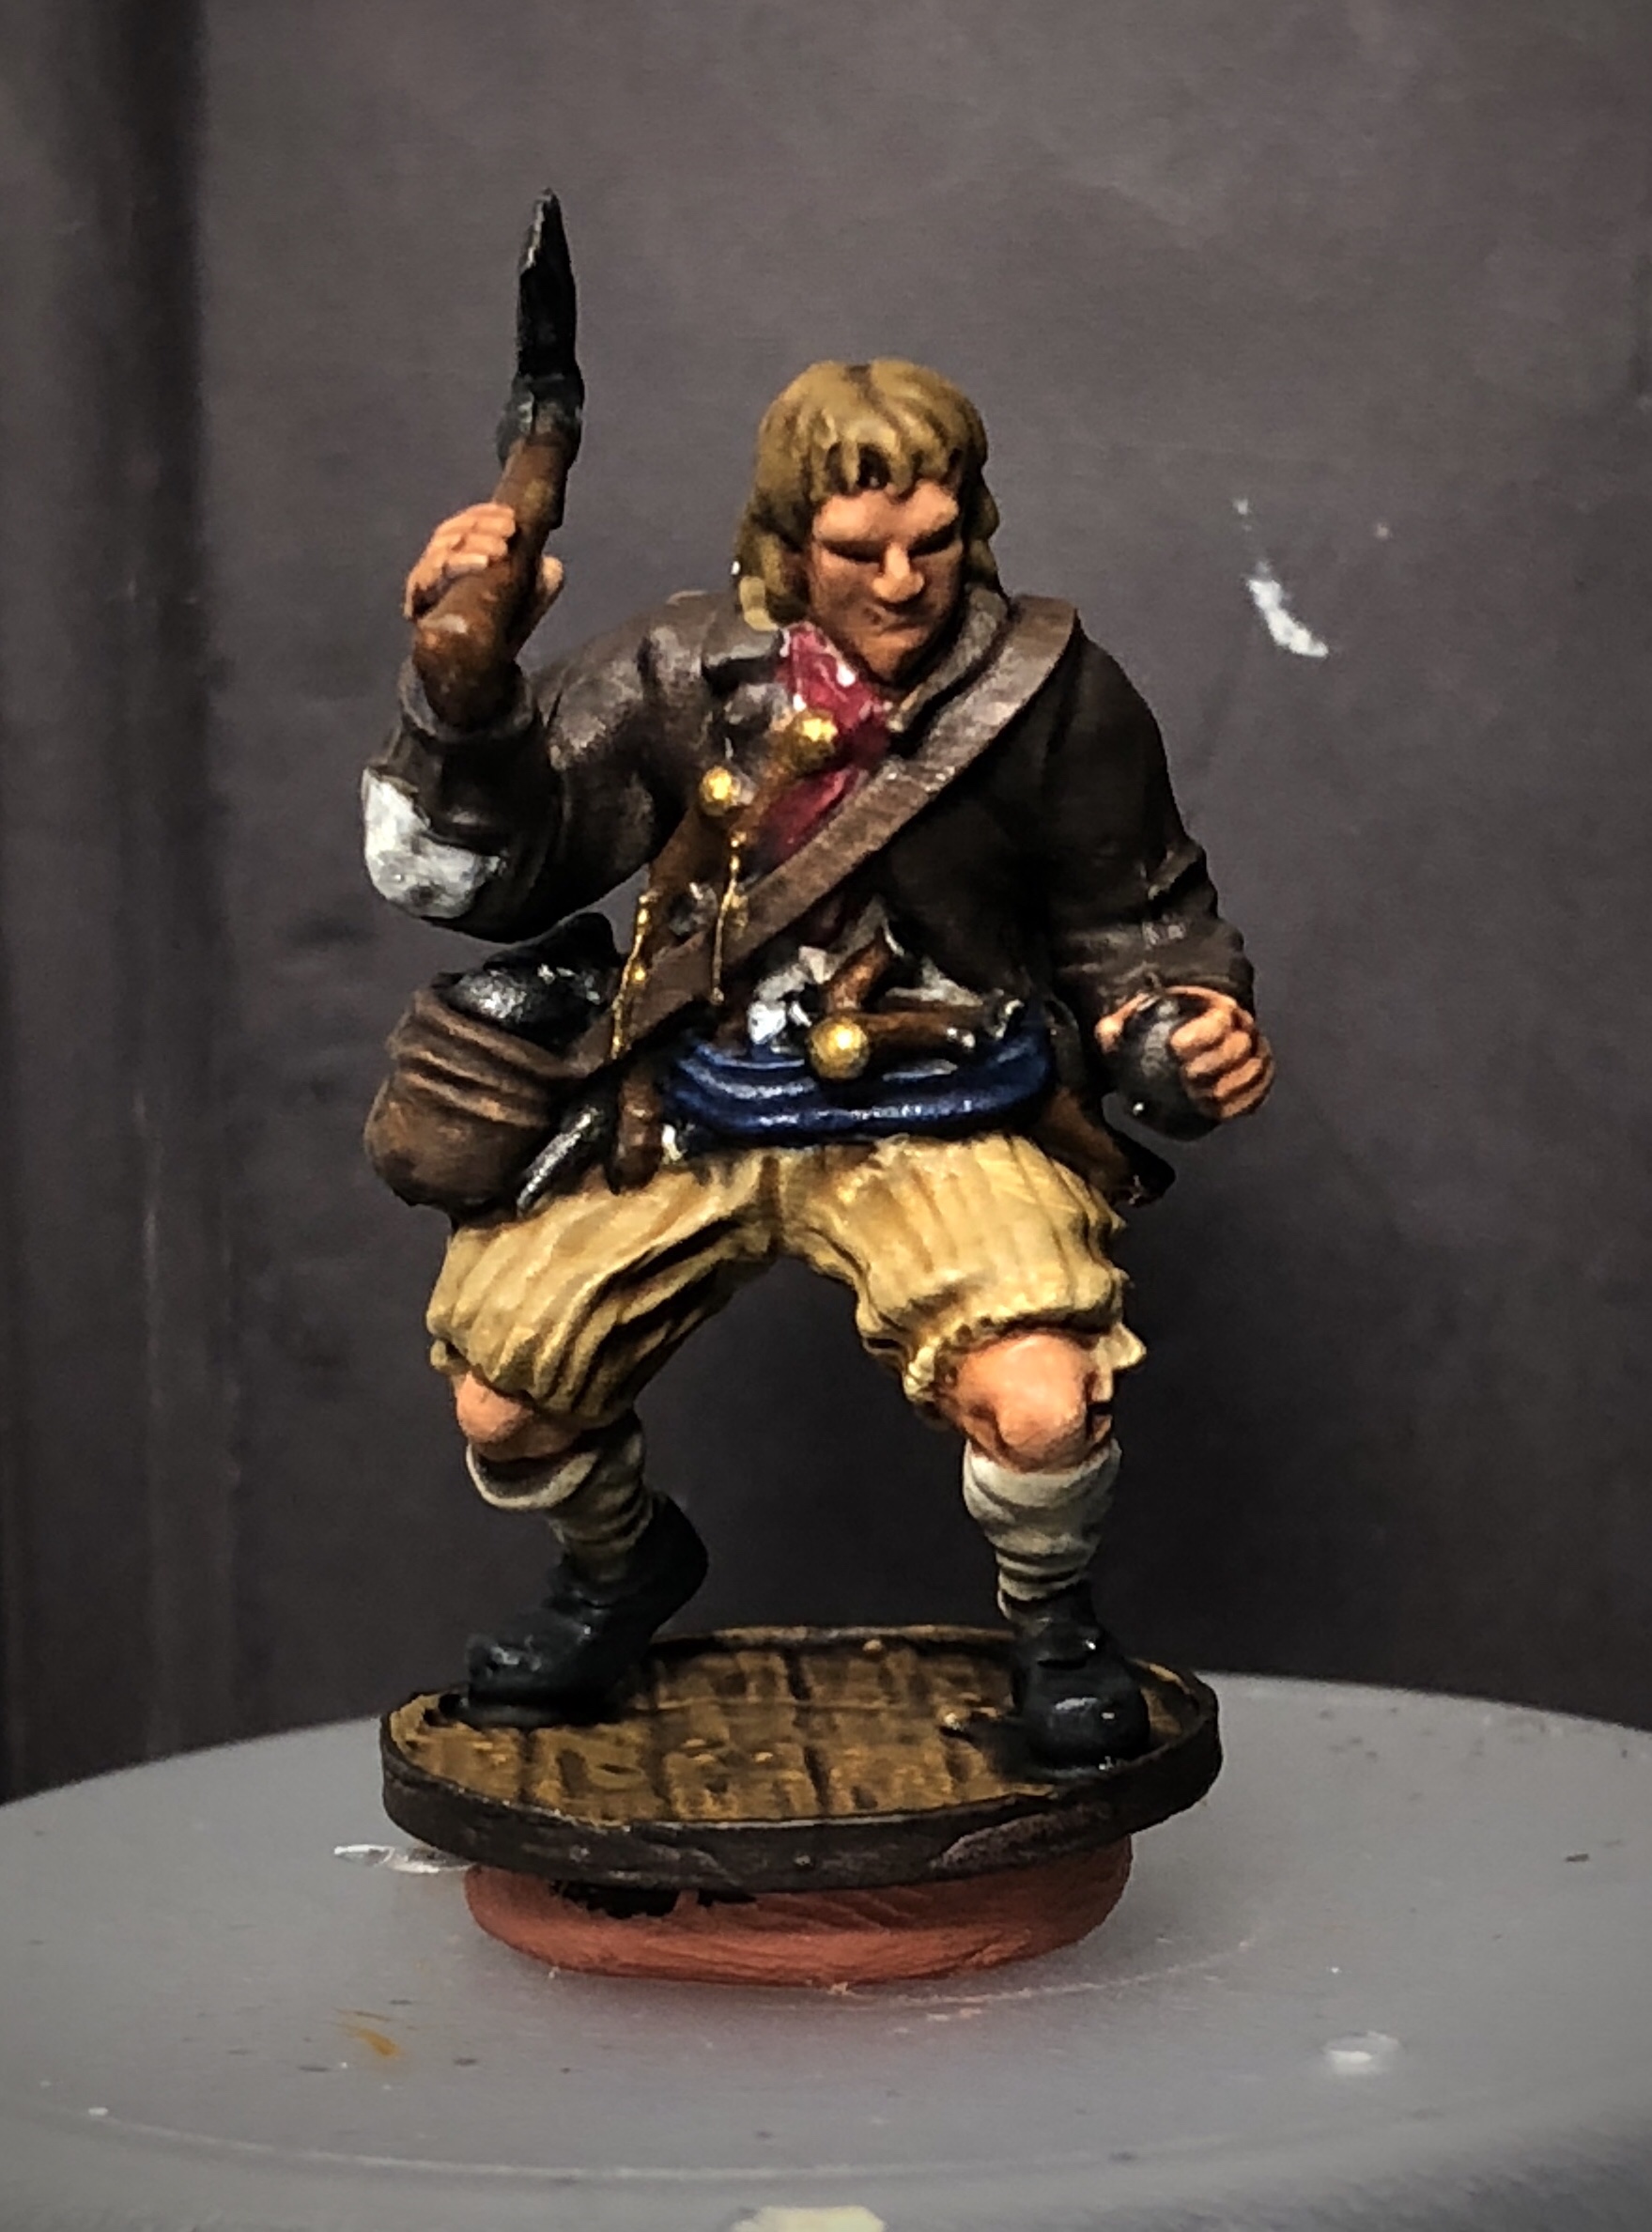
I like the scruffy hair on that grenade guy.

I used Gorthor Brown and Baneblade Brown to highlight the jacket and stockings we based with Dryad Bark in addition to Leader’s hair.


This is another set of paints that’s hard to get smooth transitions. I’m not proud of this jacket but I’m not redoing it either…

For the hats, scabbards, and shoes, I mixed up a spectrum of German Grey, German Tank Crew, and Administratum Grey (you could skip the German Tank Crew and just mix increasing amounts of Administratum into the Germany Grey) and used it to highlight the hats, shoes and scabbards.

Hats are always a bit tricky to make interesting but these have some nice folds and wrinkles.

These guys are getting close to being finished!

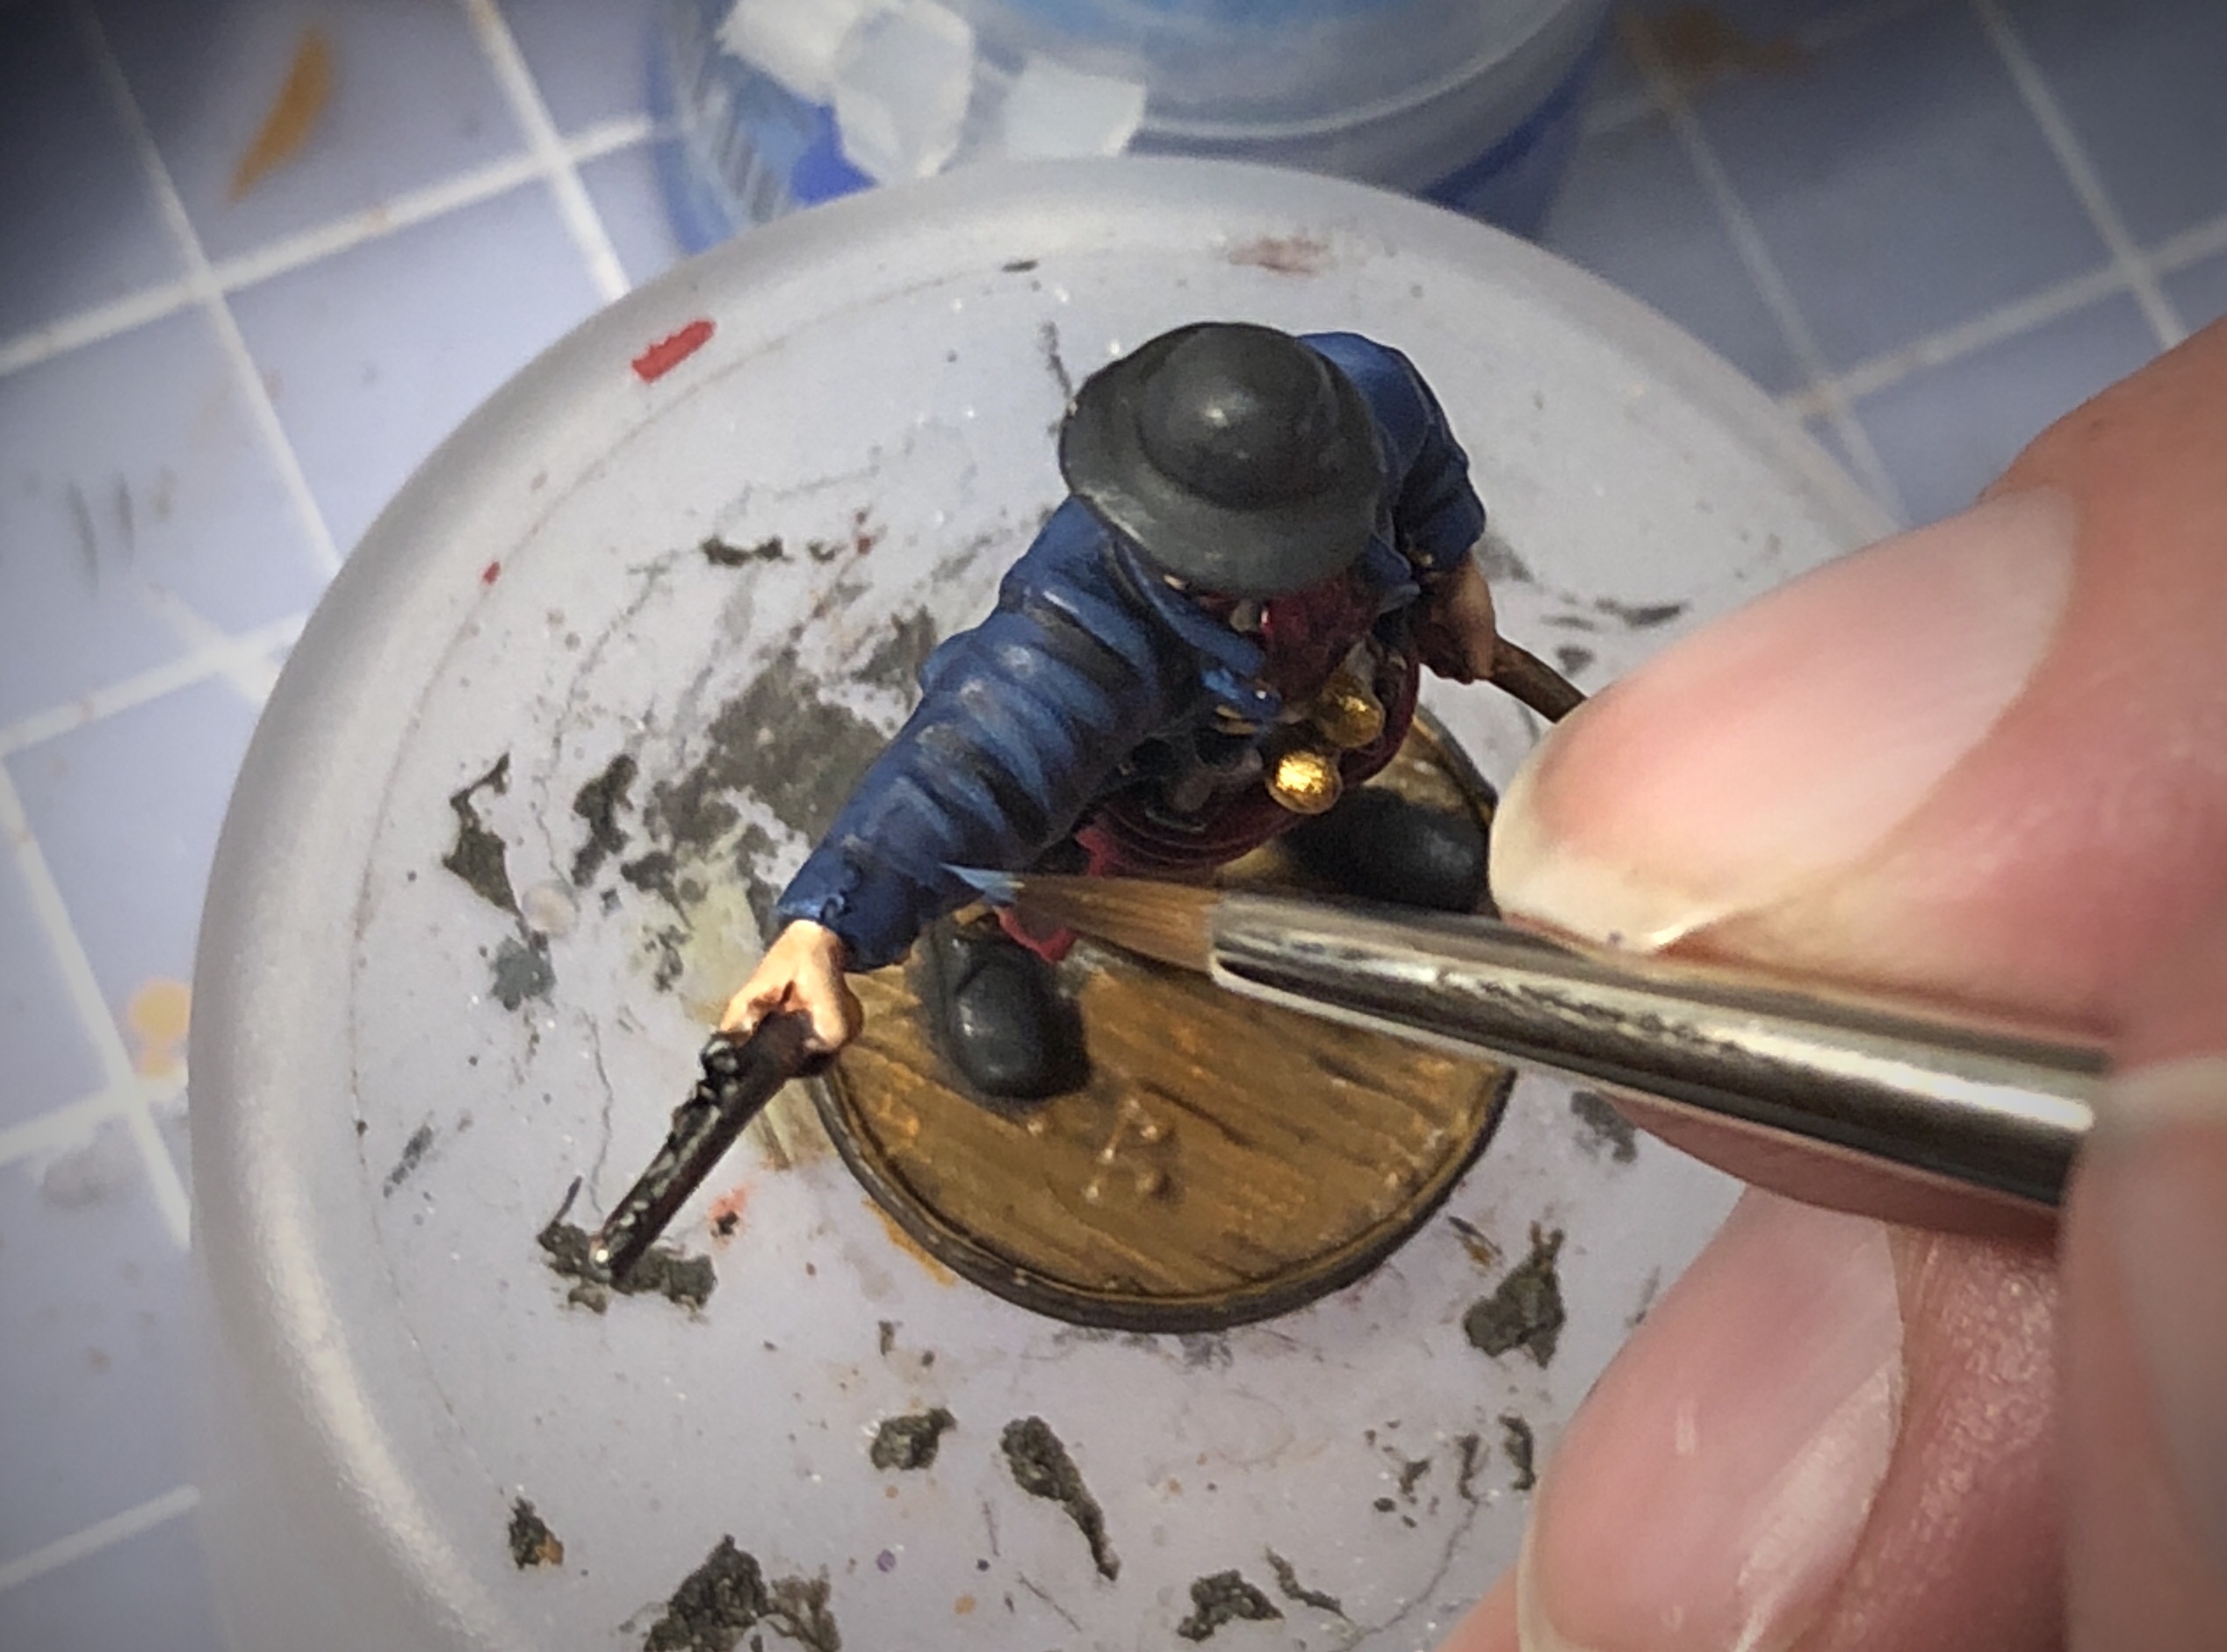
I used Skragg Brown and Deathclaw Brown to highlight the wood on the guns, ax and knife handles and I went back to highlight Leader’s hair with the Gorthor Brown since I missed it while using that color earlier.

Highlights on guns and knife handle.
For the straps and grenade bag I mixed some Skragg Brown into the original Leather Belt for the highlights. I use the same paints on the powder horn on Blunder.
The bag has some nice lines to brighten up.

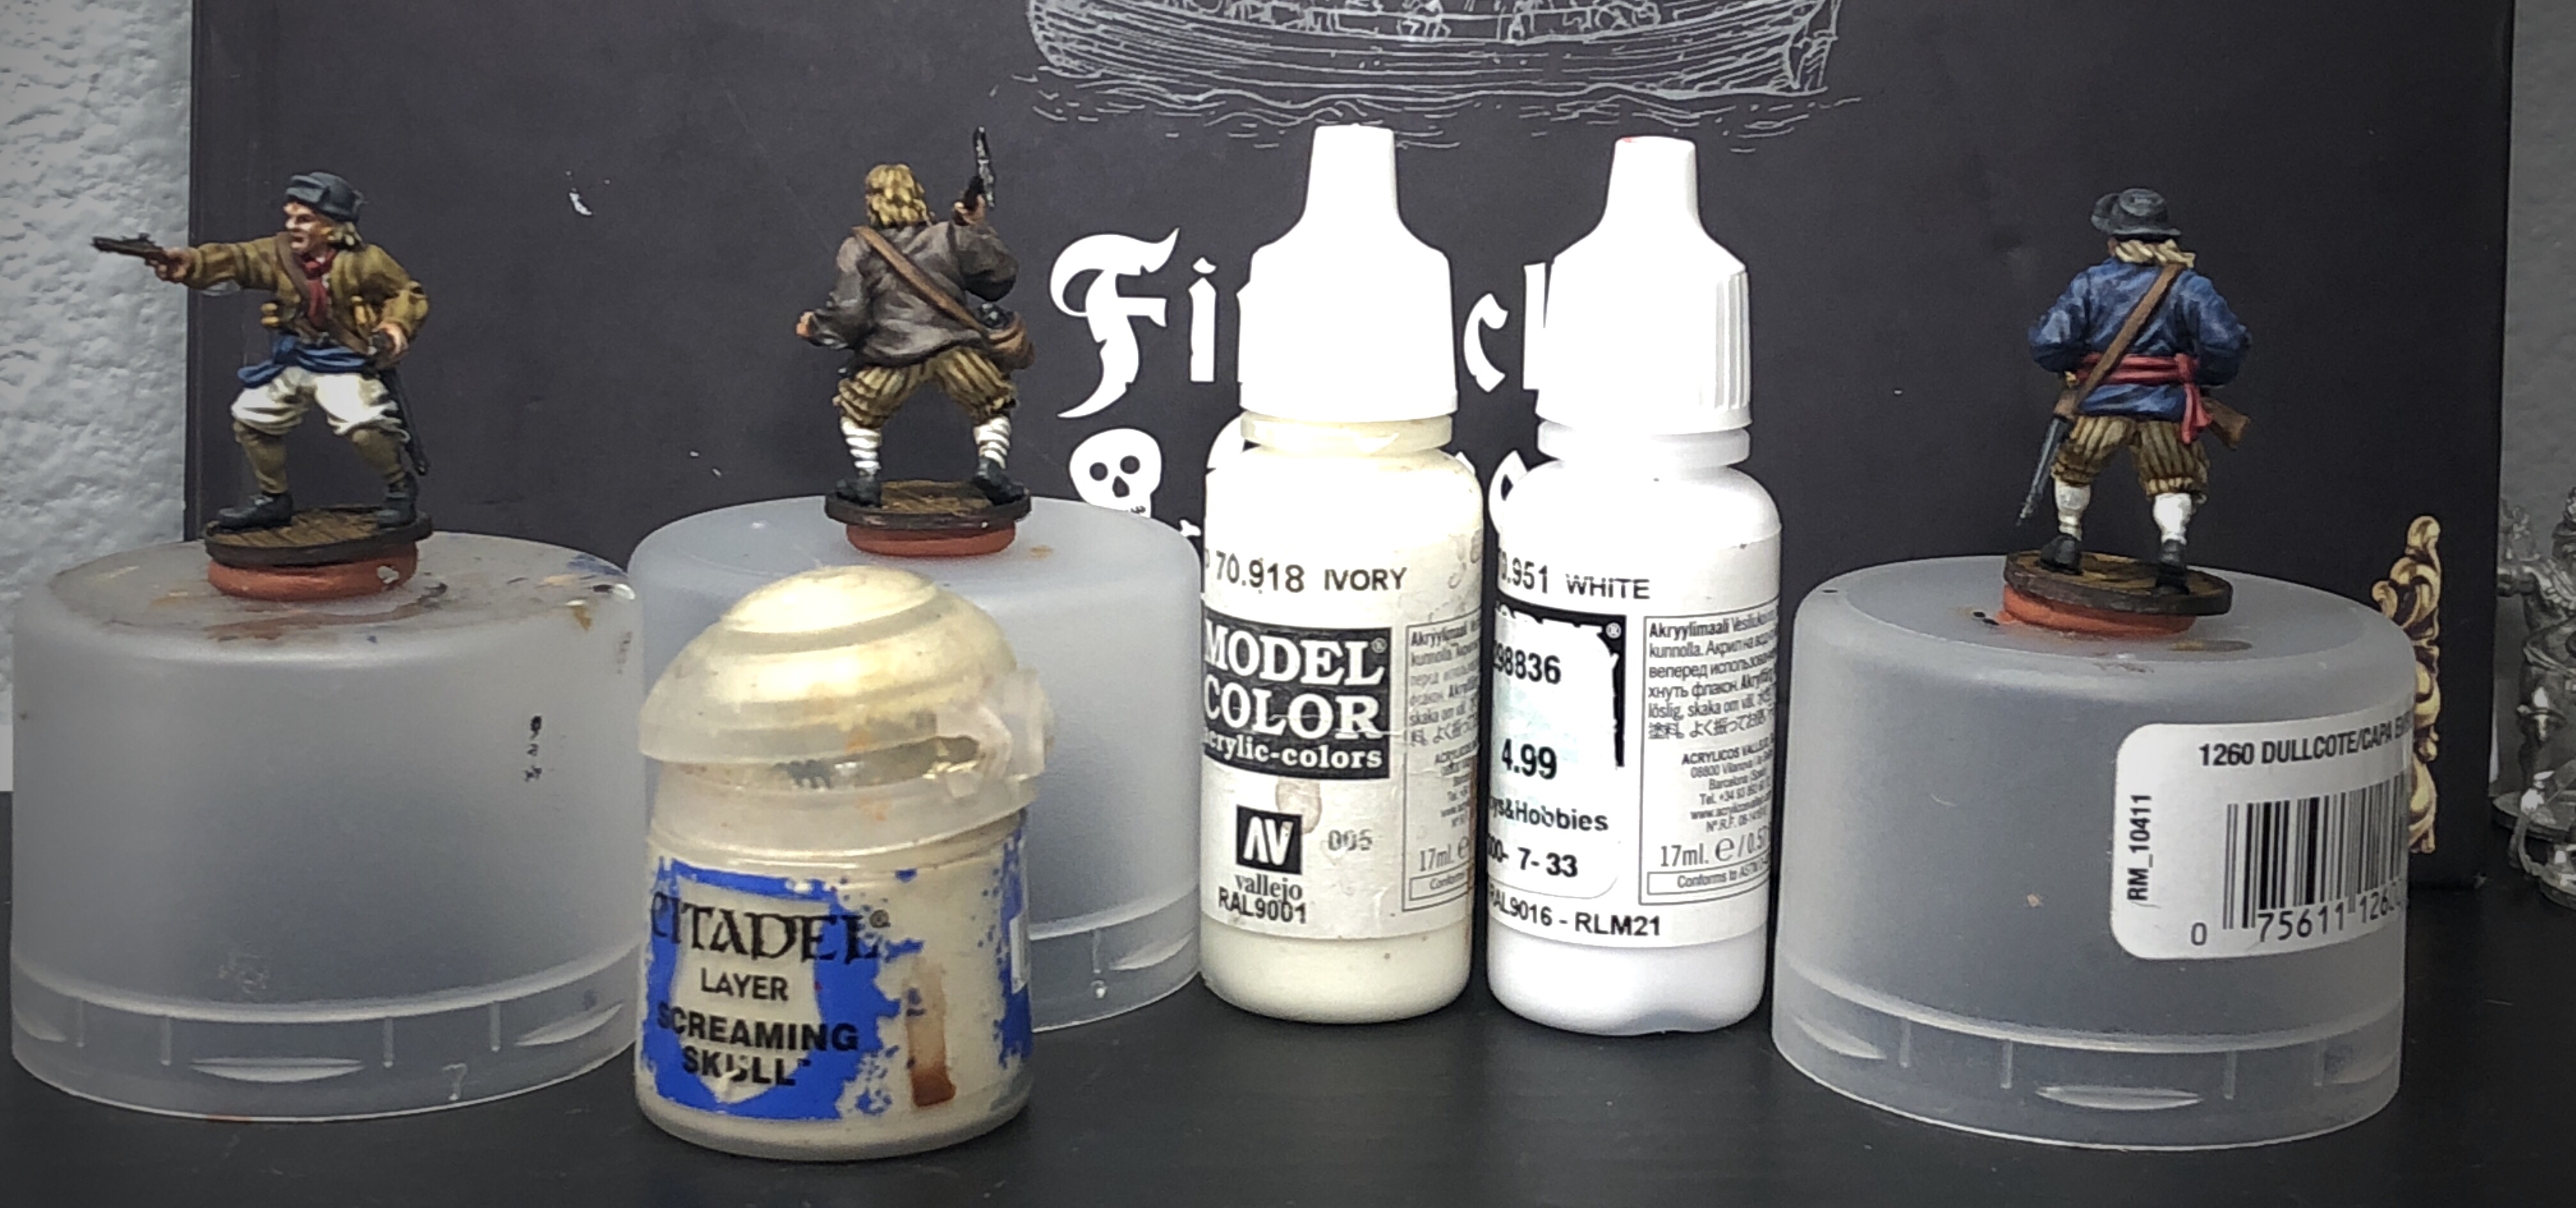
For the striped pants and lighter hair tones, I’m using the original Zandri Dust followed by adding an increasing amount of Ushabti Bone in a couple layers to bring out the stripes and highlight the hair on Pistol and Blunder.

Easy hair highlights.

For the shirt cloth, the pants on Pistol, and the stockings on Grenade and Blunder, I mixed up a spectrum starting with the original Screaming Skull, moving through Ivory and into pure White. I barely used the white on the pants but I got a couple bright spots on the knees.
I reapplied the Steel to the majority of the metallic areas, then highlighted with Metal Color Duraluminim and a couple touches of Chrome for the brightest spots.

The ax has a larger surface area that you can try to mimic the way light plays on metal. I was so tempted to add some blood to that ax but I restrained myself!

For the brass elements, I just did a touch of Vallejo’s Game Color Polished Gold for bright highlights. I could have reapplied a layer of the original Brass first but I felt it didn’t need it. This includes the buttons, pistol butts, and clips, sword hilts, and I painted a band over the barrel near the end of the blunderbuss and on a couple pistols.

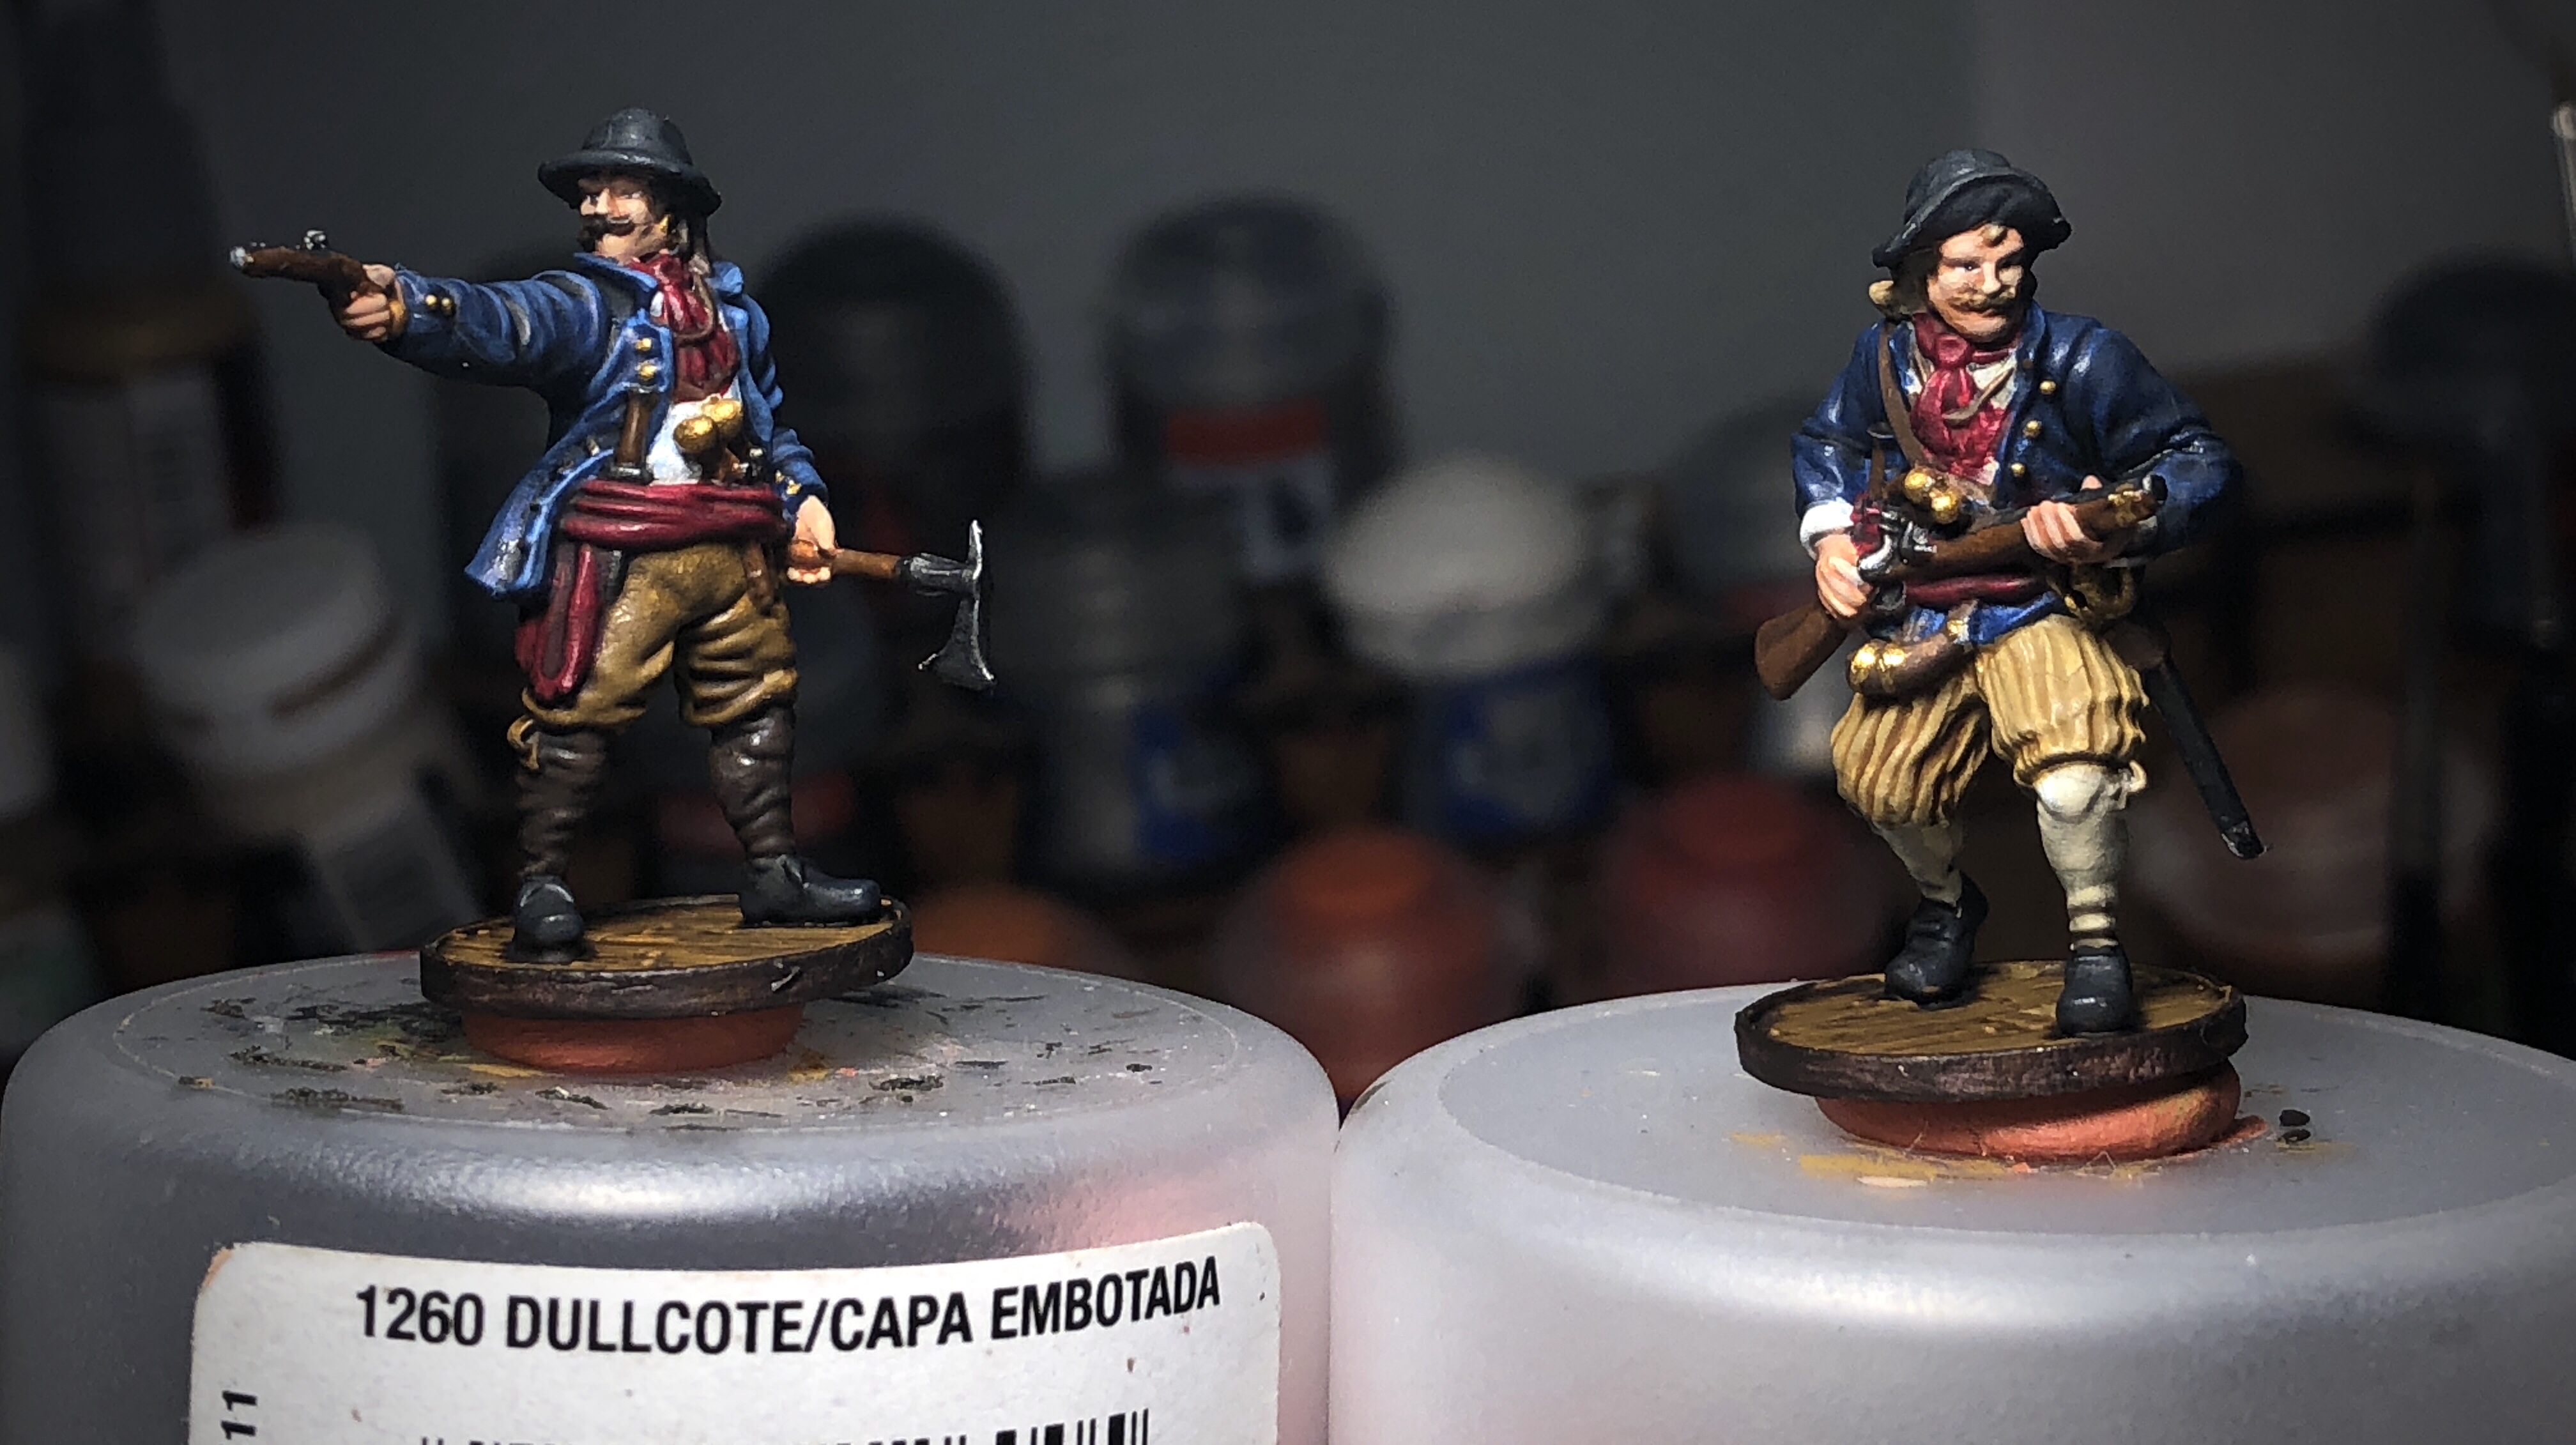
Just about done!

Step 5 – Protective Coat and Extra Details
I still wasn’t super happy with a couple of my faces so I gave the two figures without mustaches some beard shadow. I mixed a little Drakkenhof Nightshade in with some Nuln Oil and carefully applied a couple thin glaze layers over the lower jaw.

I considered adding some extra weathering like some powder stains and grime to their clothing or maybe some blood to those axes, but I decided I liked the look I had and since this was my first set of the Enter Ploeg, I kept them nice and clean. I covered a couple easy weathering effects near the end of my Marineros guide if you’re interested.
I gave them two coats of Testers Clear Coat Lacquer (I mistakenly got Clear Coat instead of Dullcote so they have a bit of a glossy look which I’d rather not have…) and they’re finished!
Thanks for reading! I hope this is helpful to some and please let me know if there’s a way I could improve these guides.
Paint List
Citadel Paints
- Cadien Fleshtone
- Kislev Flesh
- Flayed One Flesh
- Kantor Blue
- Altioc Blue
- Hoeth Blue
- XV-88
- Balor Brown
- Zamesi Desert
- Rhinox Hide
- Dryad Bark
- Gorthor Brown
- Baneblade Brown
- Zandri Dust
- Ushabti Bone
- Screaming Skull
- Khorne Red
- Wazdakka Red
- Wild Rider Red
- Administratum Grey
- Mournfang Brown
- Skragg Brown
- Deathclaw Brown
- Reikland Fleshshade
- Agrax Earthshade
- Nuln Oil
- Seraphim Sepia
- Drakkenhof Nightshade
- Carroburg Crimson
- Lahmian Medium
Vallejo Paints
- Ivory
- White
- German Grey
- Germany Tank Crew
- Polished Gold
- Leather Belt
- Brass
- Steel
- Duraluminum
- Chrome
Pingback: Completed European Sailor Musketeers | Blood & Pigment