I’ll be using an entirely different approach in this guide with an aim of producing good quality results in less time by utilizing a “quickshade” product. The finished minis won’t be as vibrant as my previous tutorials but they should take about half the time and considerably less colors of paint.
Our process here will be:
- Prep and clean
- Base with light colors
- Basic highlights
- Apply quickshade
- Flat varnish and final details
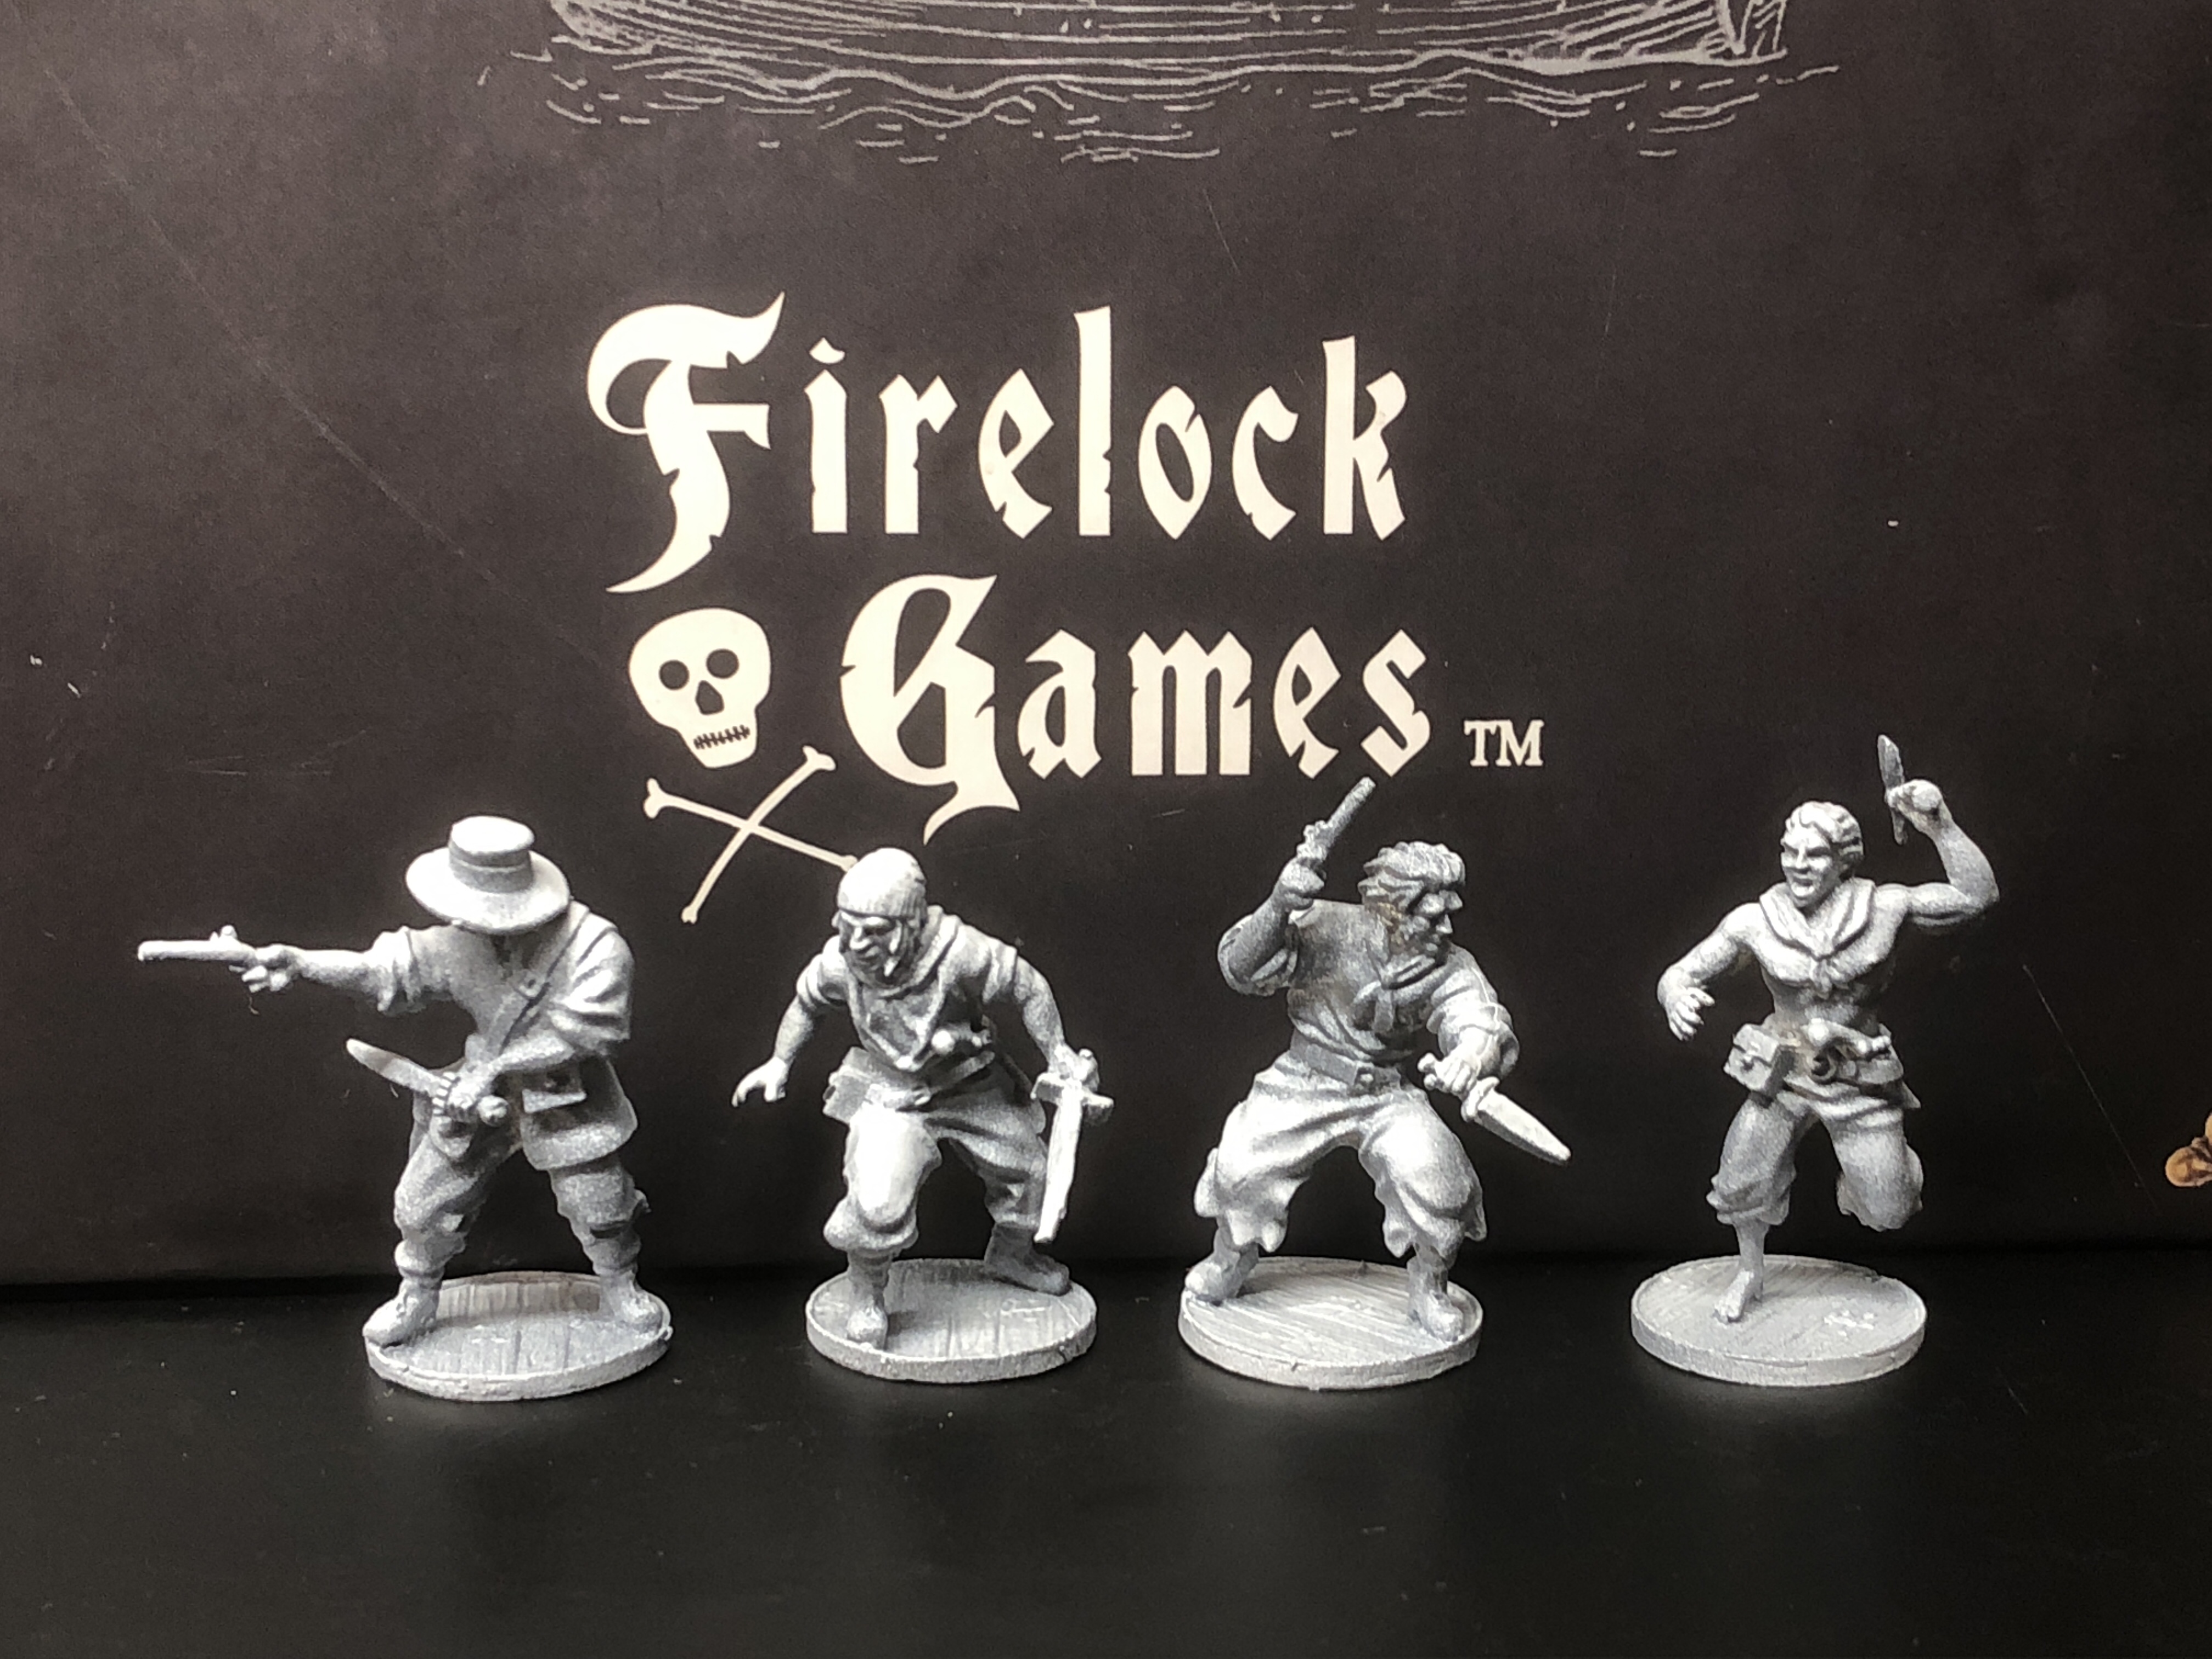
Step 1 – Prep and Clean
I used flush cutters, a craft knife and file to remove extra flash and mold lines. There are some nasty pieces on the hats and the sailor shooting his pistol has a pretty messed up face. There wasn’t much I could do for him…
You can find more details on prepping these models in my Preparing Models post.

The zenithal priming will be especially helpful to give us a head start on the highlights when we use this simplified method.
Step 2 – Base Coats
The quickshade product I’m going to use is going to darken the entire miniature so I’m going to start with lighter colors to compensate.
The drawback is that most of the lighter shades I’m using are Citadel’s Layer paints which need a couple layers since they aren’t meant to be used as a base coat.
As usual I start with the skin and I’m using Kislev Flesh. I always use XV-88 for the bases (I’m using it later for the pants on the figure 3rd from R as well).

Dryad Bark is a nice Brown I’ll use on the shirt for #1, hair for #2, neckerchief for #3 and vest for #4 (L to R).
Russ Grey covers the pants for #1, the neckerchief for #2, the hat for #3 and the shirt for #4. The XV-88 was used for 3’s pants (as mentioned above).

For the red on the Axe Man’s pants I’m mixing a 2:1 combination of Mournfang Brown and Evil Sunz Scarlet and I’ll use the same color on the sash for Mr Stocking Cap.

I used Mournfang Brown for the belts, cartridge boxes and pistols and Steel Legion Drab for #4’s pants and hatband.

Skavenblight Dinge goes on the broad-brimmed hat and the scabbard and I used the lighter Stormvermin Fur for the hair ok these 3 models.

I usually don’t use a pure white for a base tone but since the quick shade will be darkening everything, I’m using Ceramite White for the white shirt and all the socks.
I use Rhinox Hide for the rim of the bases.

In an effort to keep the paint list entirely within Citadel’s line for this post I’m using Leadbelcher for the swords, daggers, ax and belt buckles and using Retributor Armor for the hilts and pommels of the swords/daggers and the butts of the pistols. I prefer using Vallejo metallics, but these two Citadel paints are decent and easy to work with compared to most of their metallics.

I usually use Vallejo colors for the eyes as well but Ceramite White and Abaddon Black work just fine. The face on the model with the larger hat doesn’t really need eyes since his face is so messy.

The last foundation color is Averland Sunset for the neckerchief for this model. I would rather use a brighter tone but yellow has rough time covering whatever is beneath it so I’m using this Base paint to give the best chance I can.

Step 2 – Basic Highlights
Instead of applying shades then highlights, I’ll be adding rough and quick highlights now, then using the quick shade over the entire model as a final step (almost final).
I used Fenrisian Grey for all the blue highlights.

I used Gorthor Brown to highlight all the Dryad Bark and used a touch of Baneblade for some brighter edge highlights.
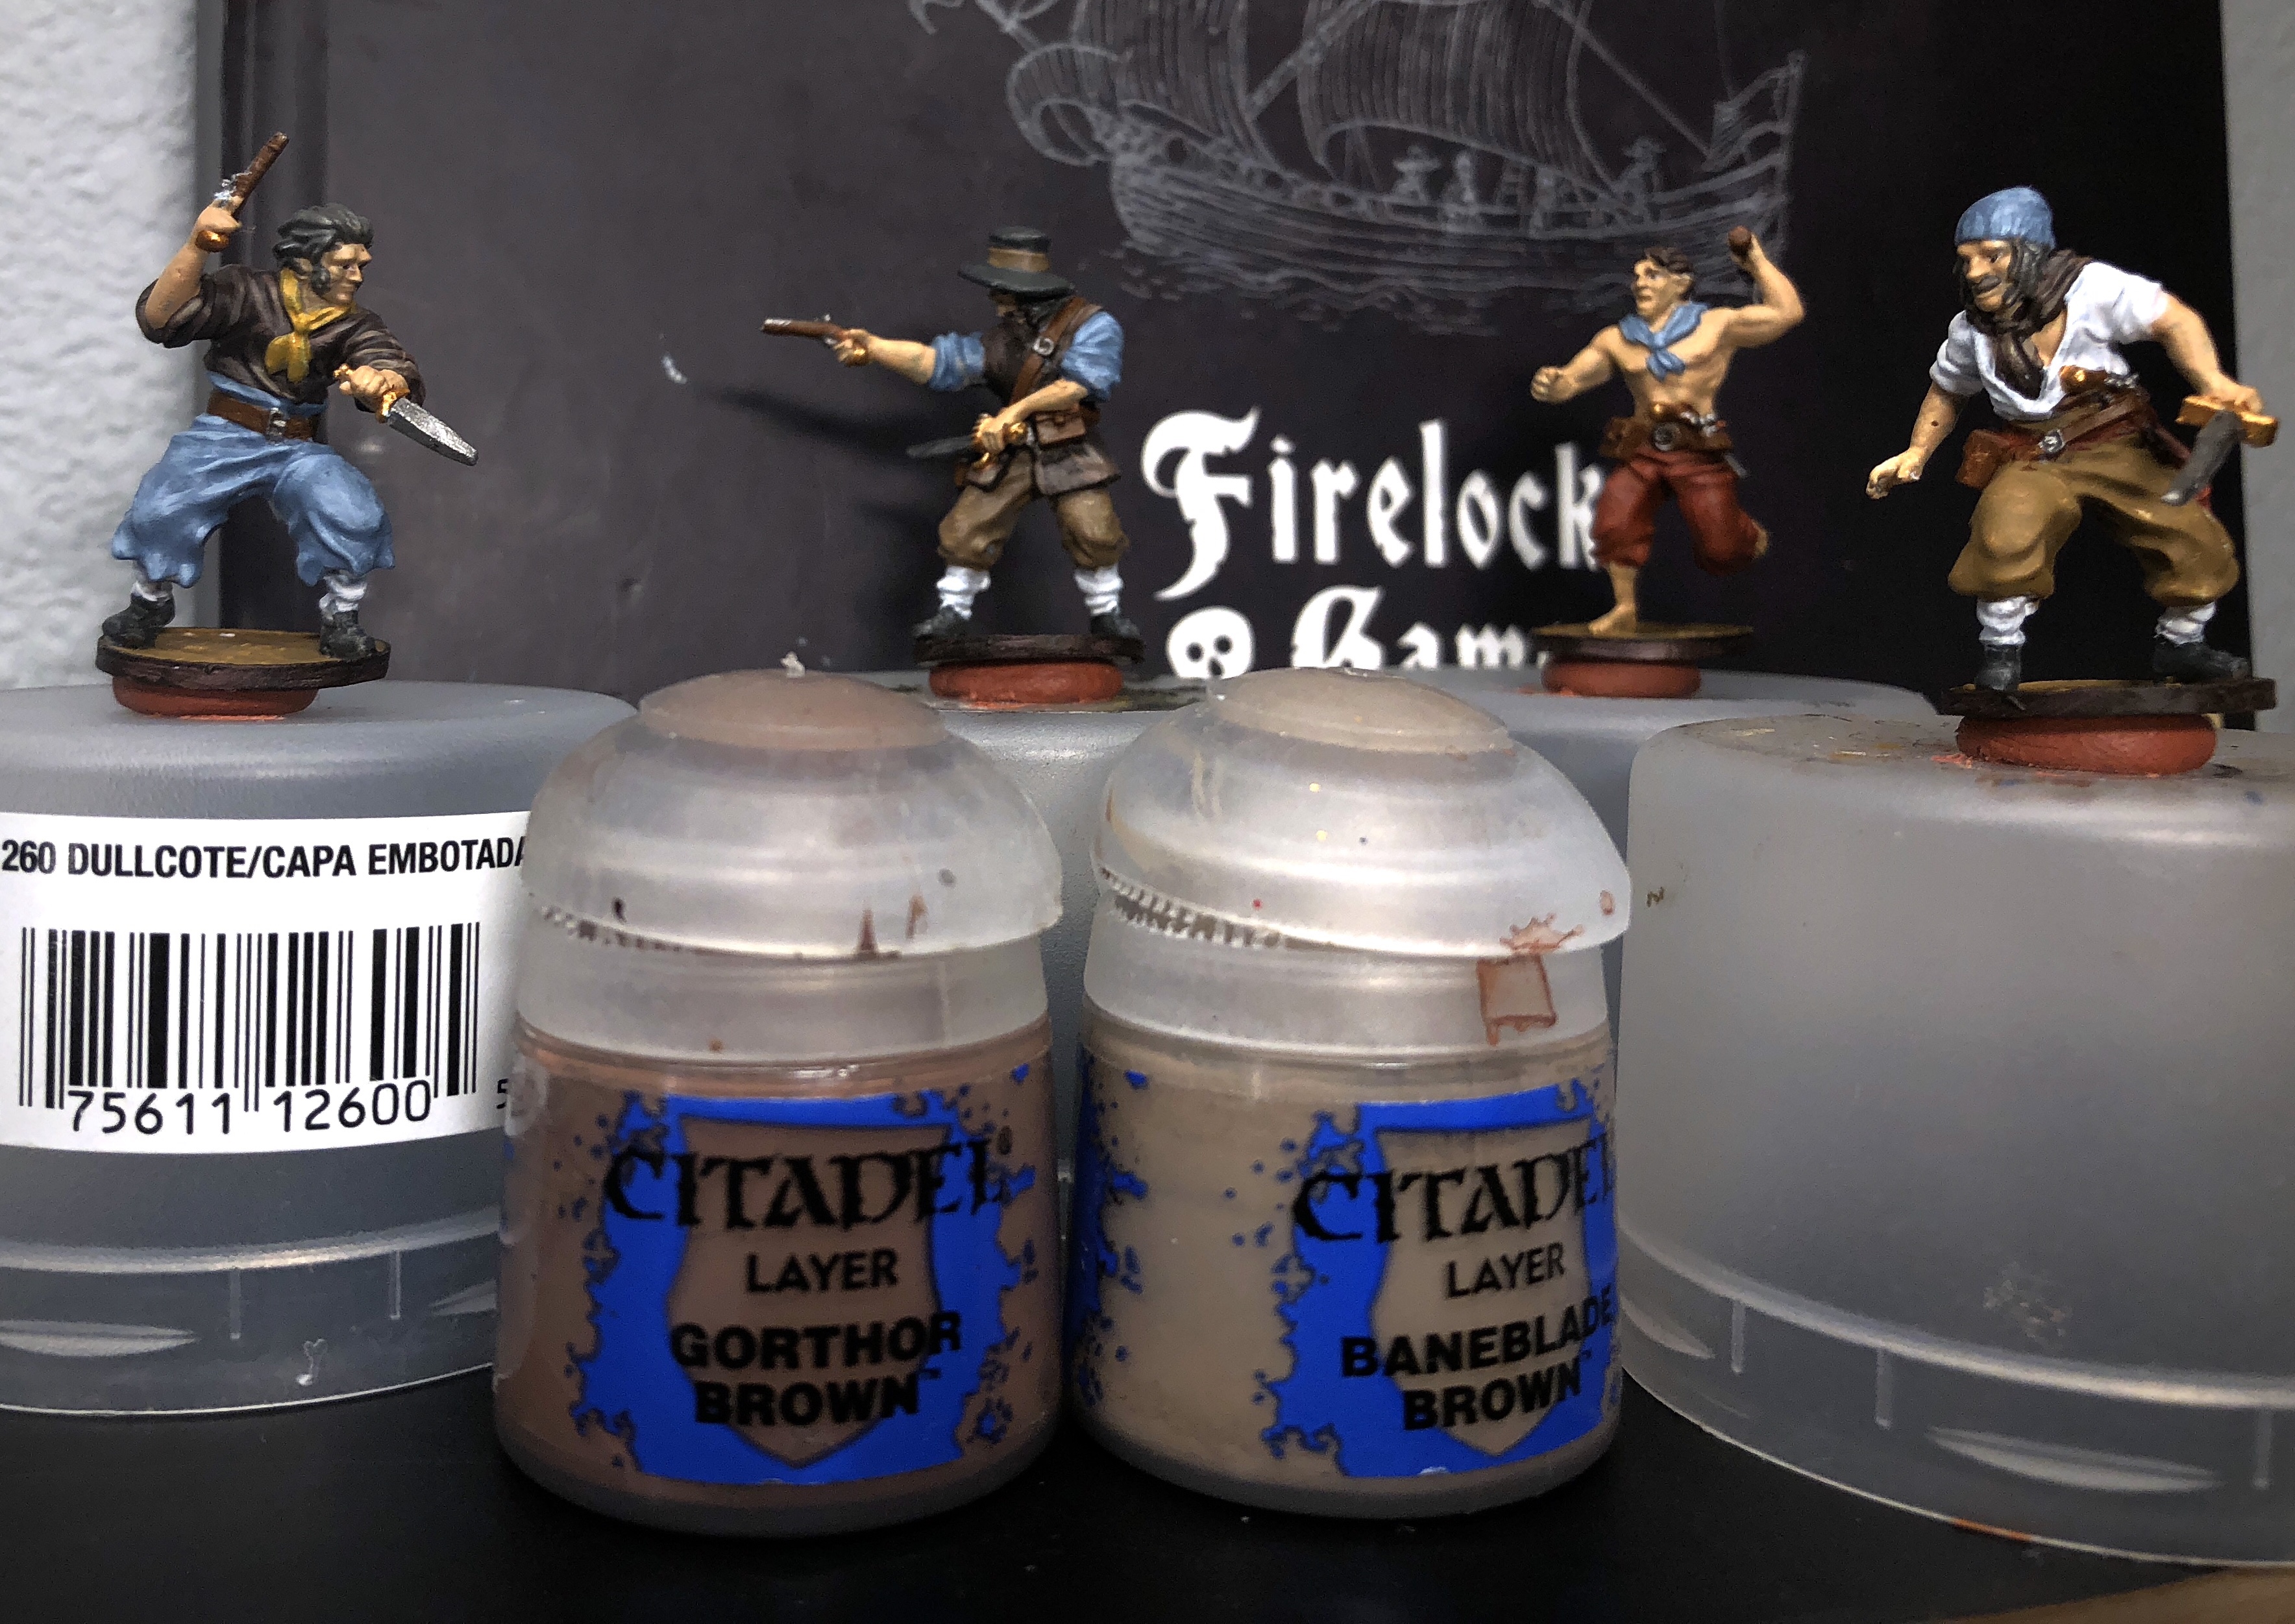
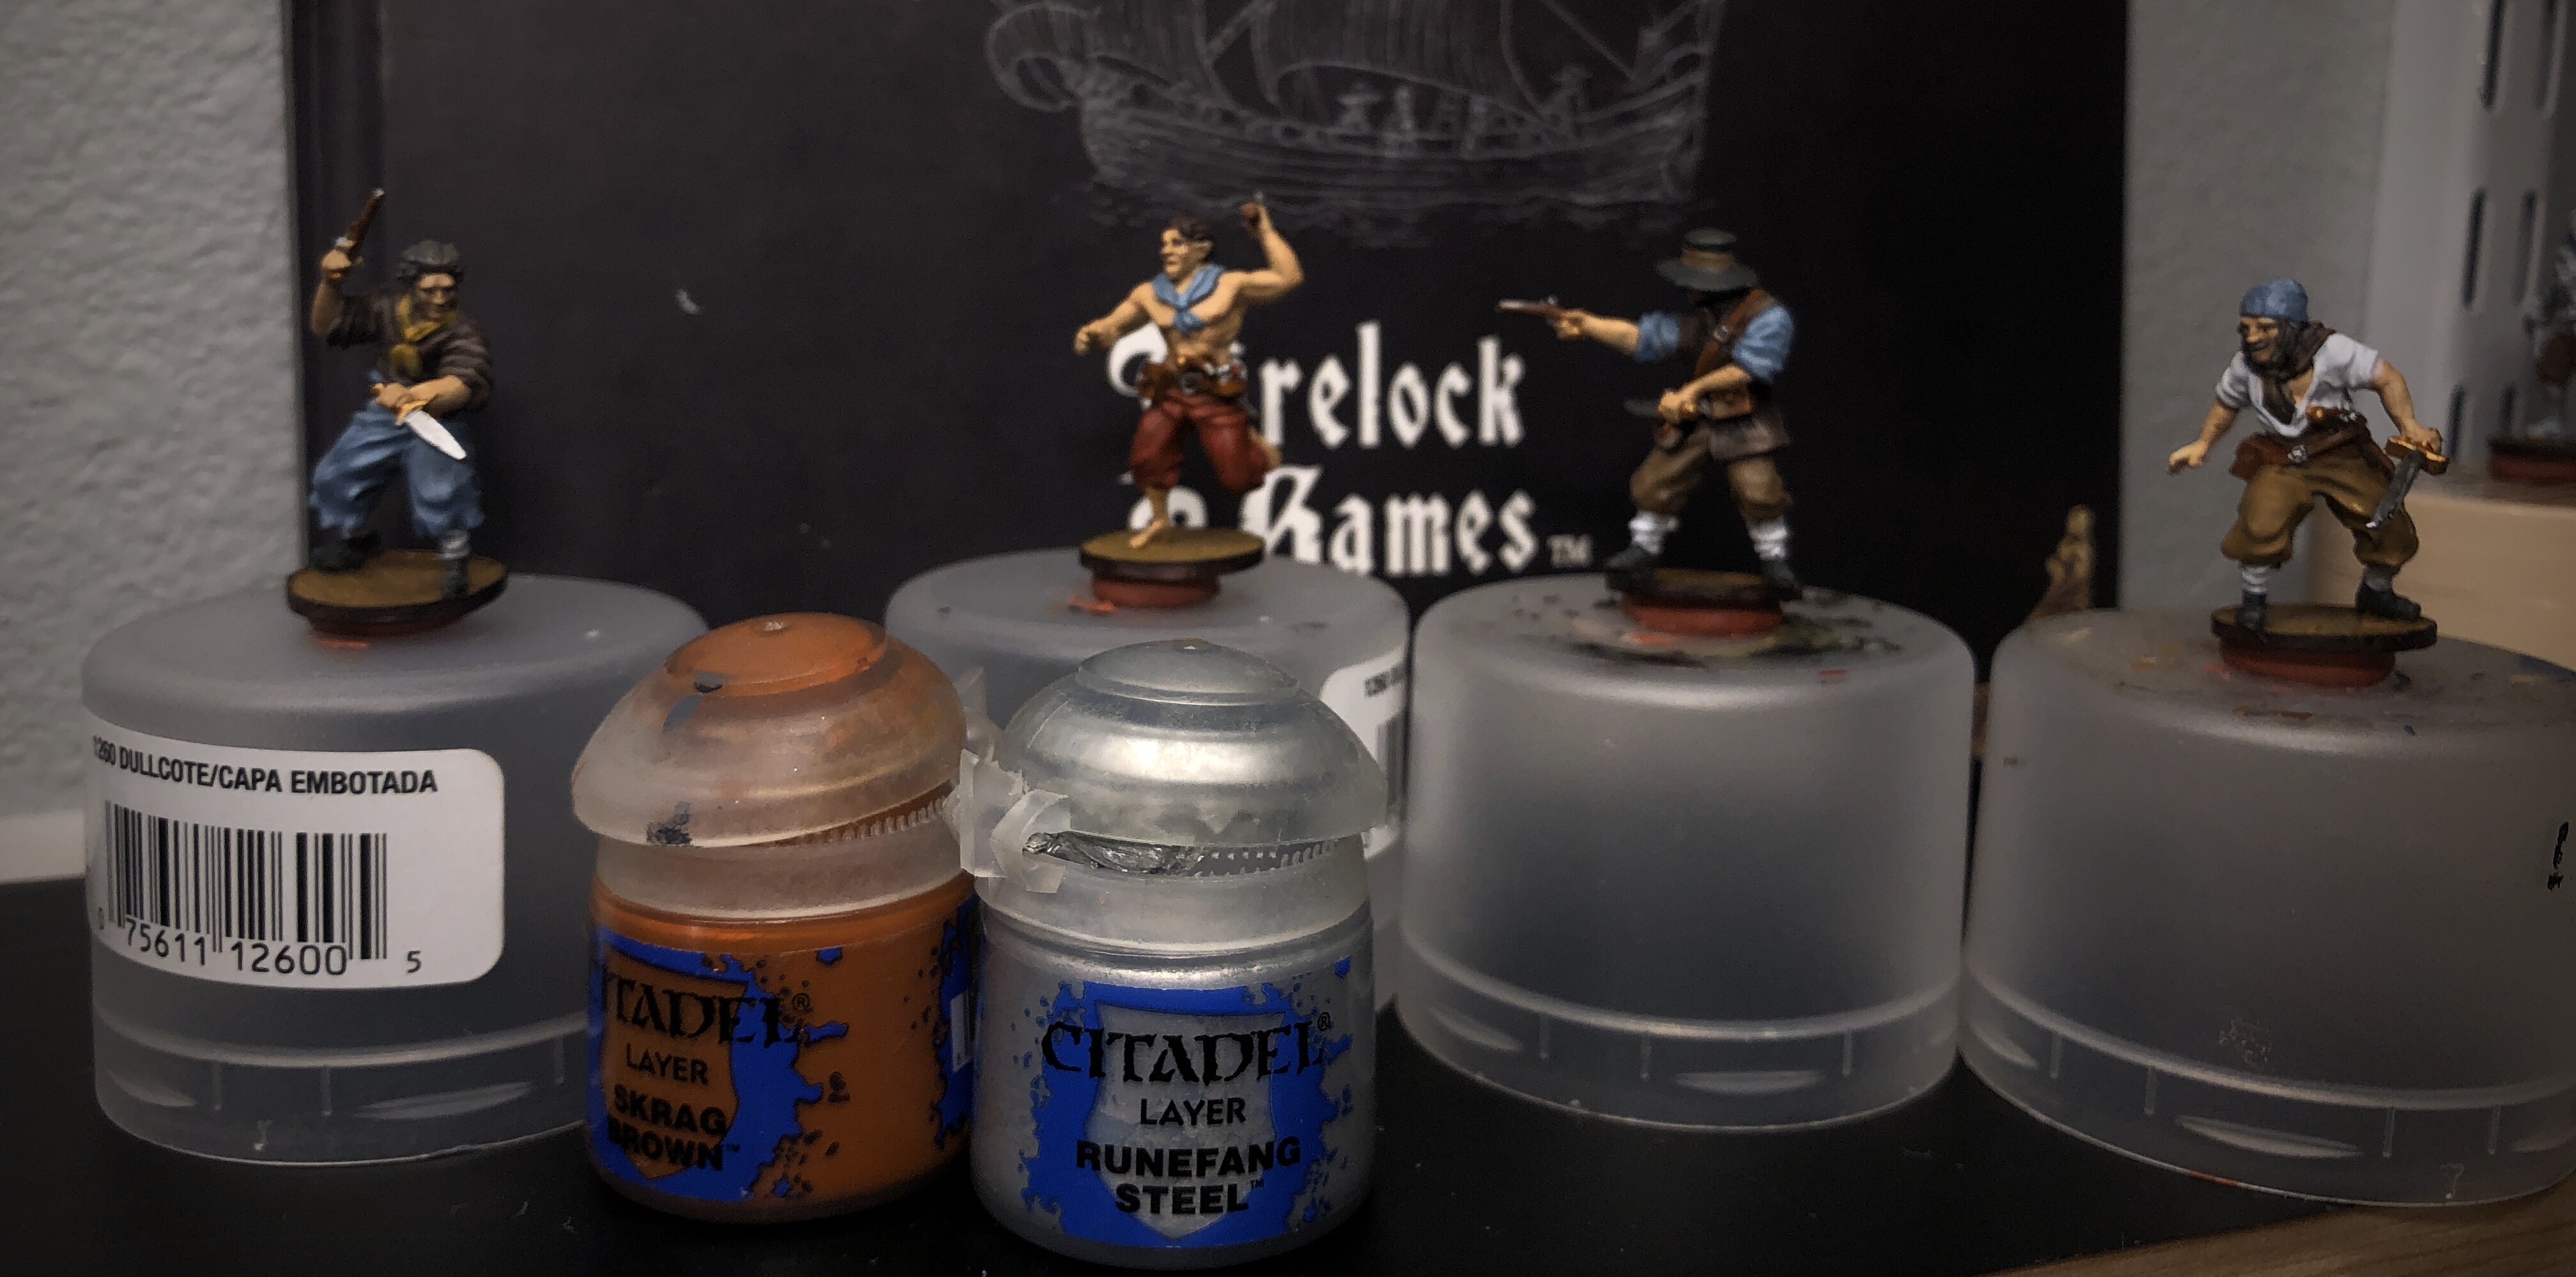
I used Skragg Brown for the all the Mournfang Brown areas and Runefang Silver for the metallics.
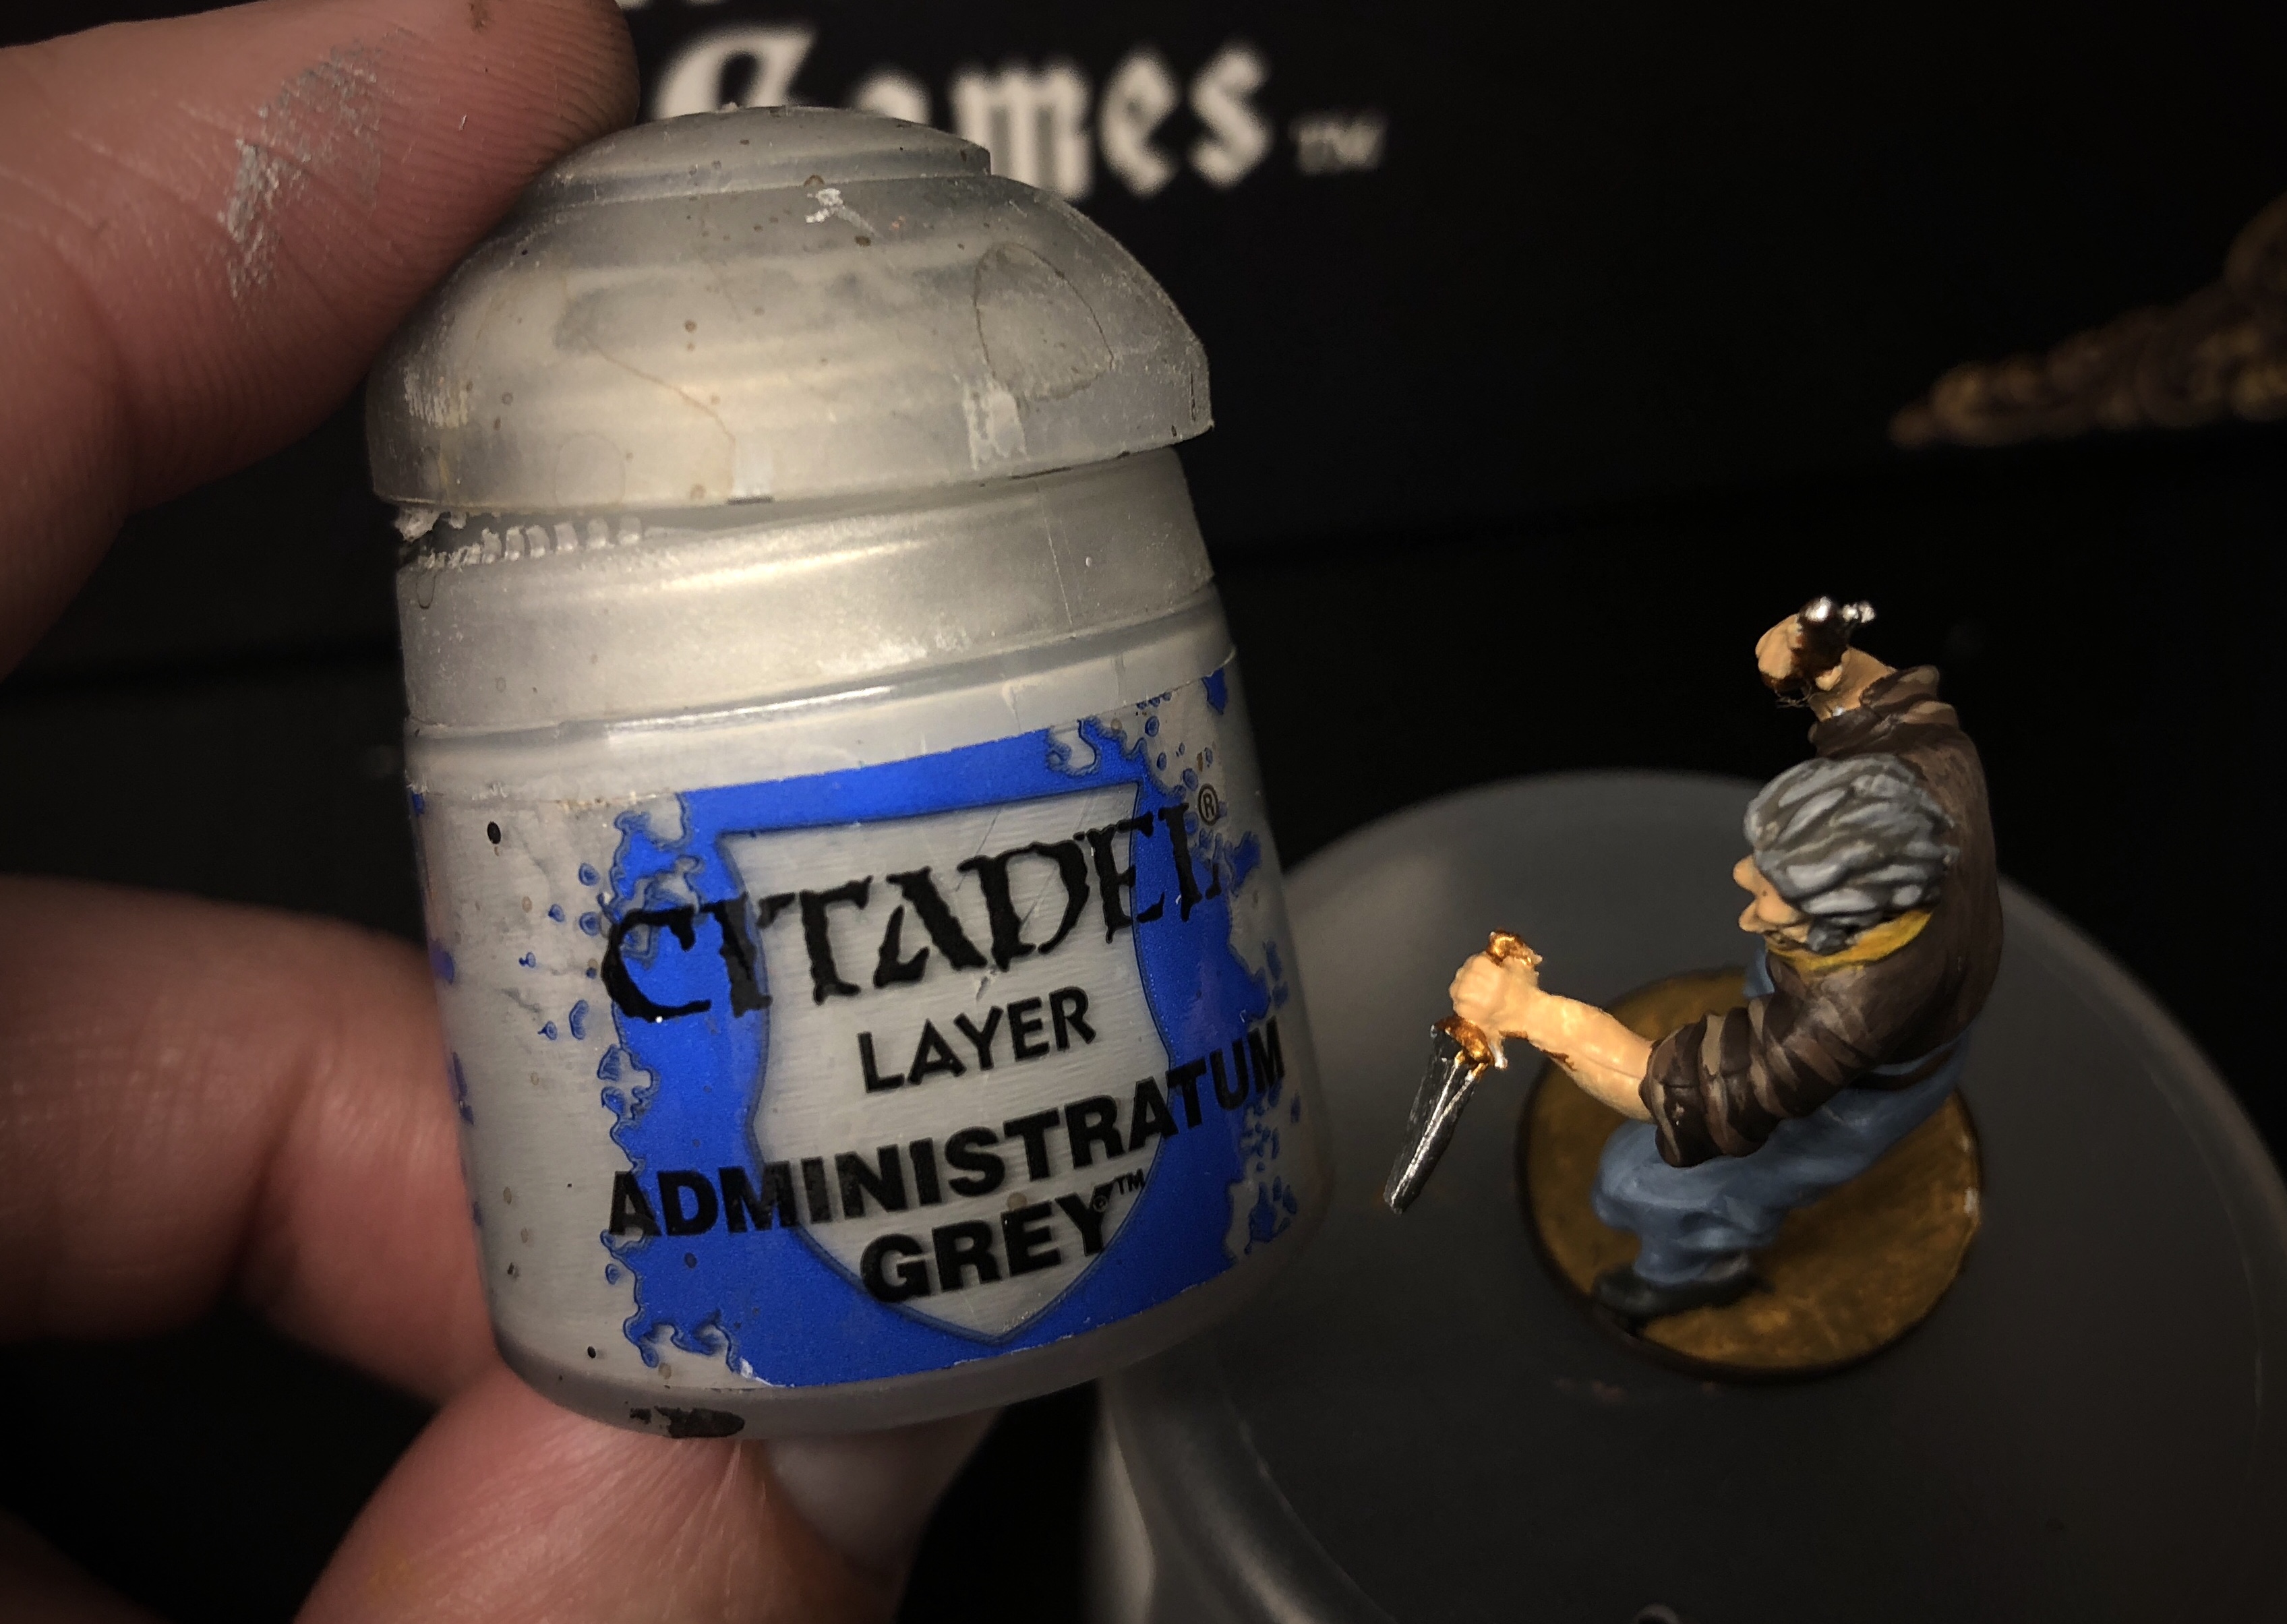
I brightened the lush wavy hair with touches of Administratum Grey.
I thinned Down Evil Sunz Scarlet and carefully highlighted the Mournfang/Evil Sunz Scarlet areas.

Balor Brown works well for highlighting both sets of brown pants and I put a couple coats of Yriel Yellow on the yellow neckerchief to brighten it up.


Balor Brown over XV-88 on the Left and Steel Legion Drab on the Right.
It might be unnecessary but I’m doing some skin highlights with Flayed One Flesh. I’m hitting the nose, cheeks, forehead, fingers, upturned arms and all of the models and the ribs and prominent muscles on the shirtless guy.

The highlights are finished!


Enter a caption

Don’t look under his hat. His face is mushy…

Step 4 – Apply Quickshade

Now comes the easy part! I’m using Army Painter’s Dark Tone Quickshade. This will provide generic shading to the entire miniature and protect it with an extremely tough varnish when it’s dry.
This is a nice product but you have to use it carefully. Don’t shake it or it will eventually turn into a brick. Stir it thoroughly then apply generously to the entire mini. Some people just dip the model straight into the pot. It’s supposed to save time but it takes longer removing the excess after you dip than it does to apply by hand. Use a brush you don’t care about because this will eventually ruin whatever it touches.

Apply a good coat all over but don’t go crazy because it will all slide down the miniature and collect at the base and you’re going to have to remove the excess.

Here we have too much so I’m just removing it with the brush.
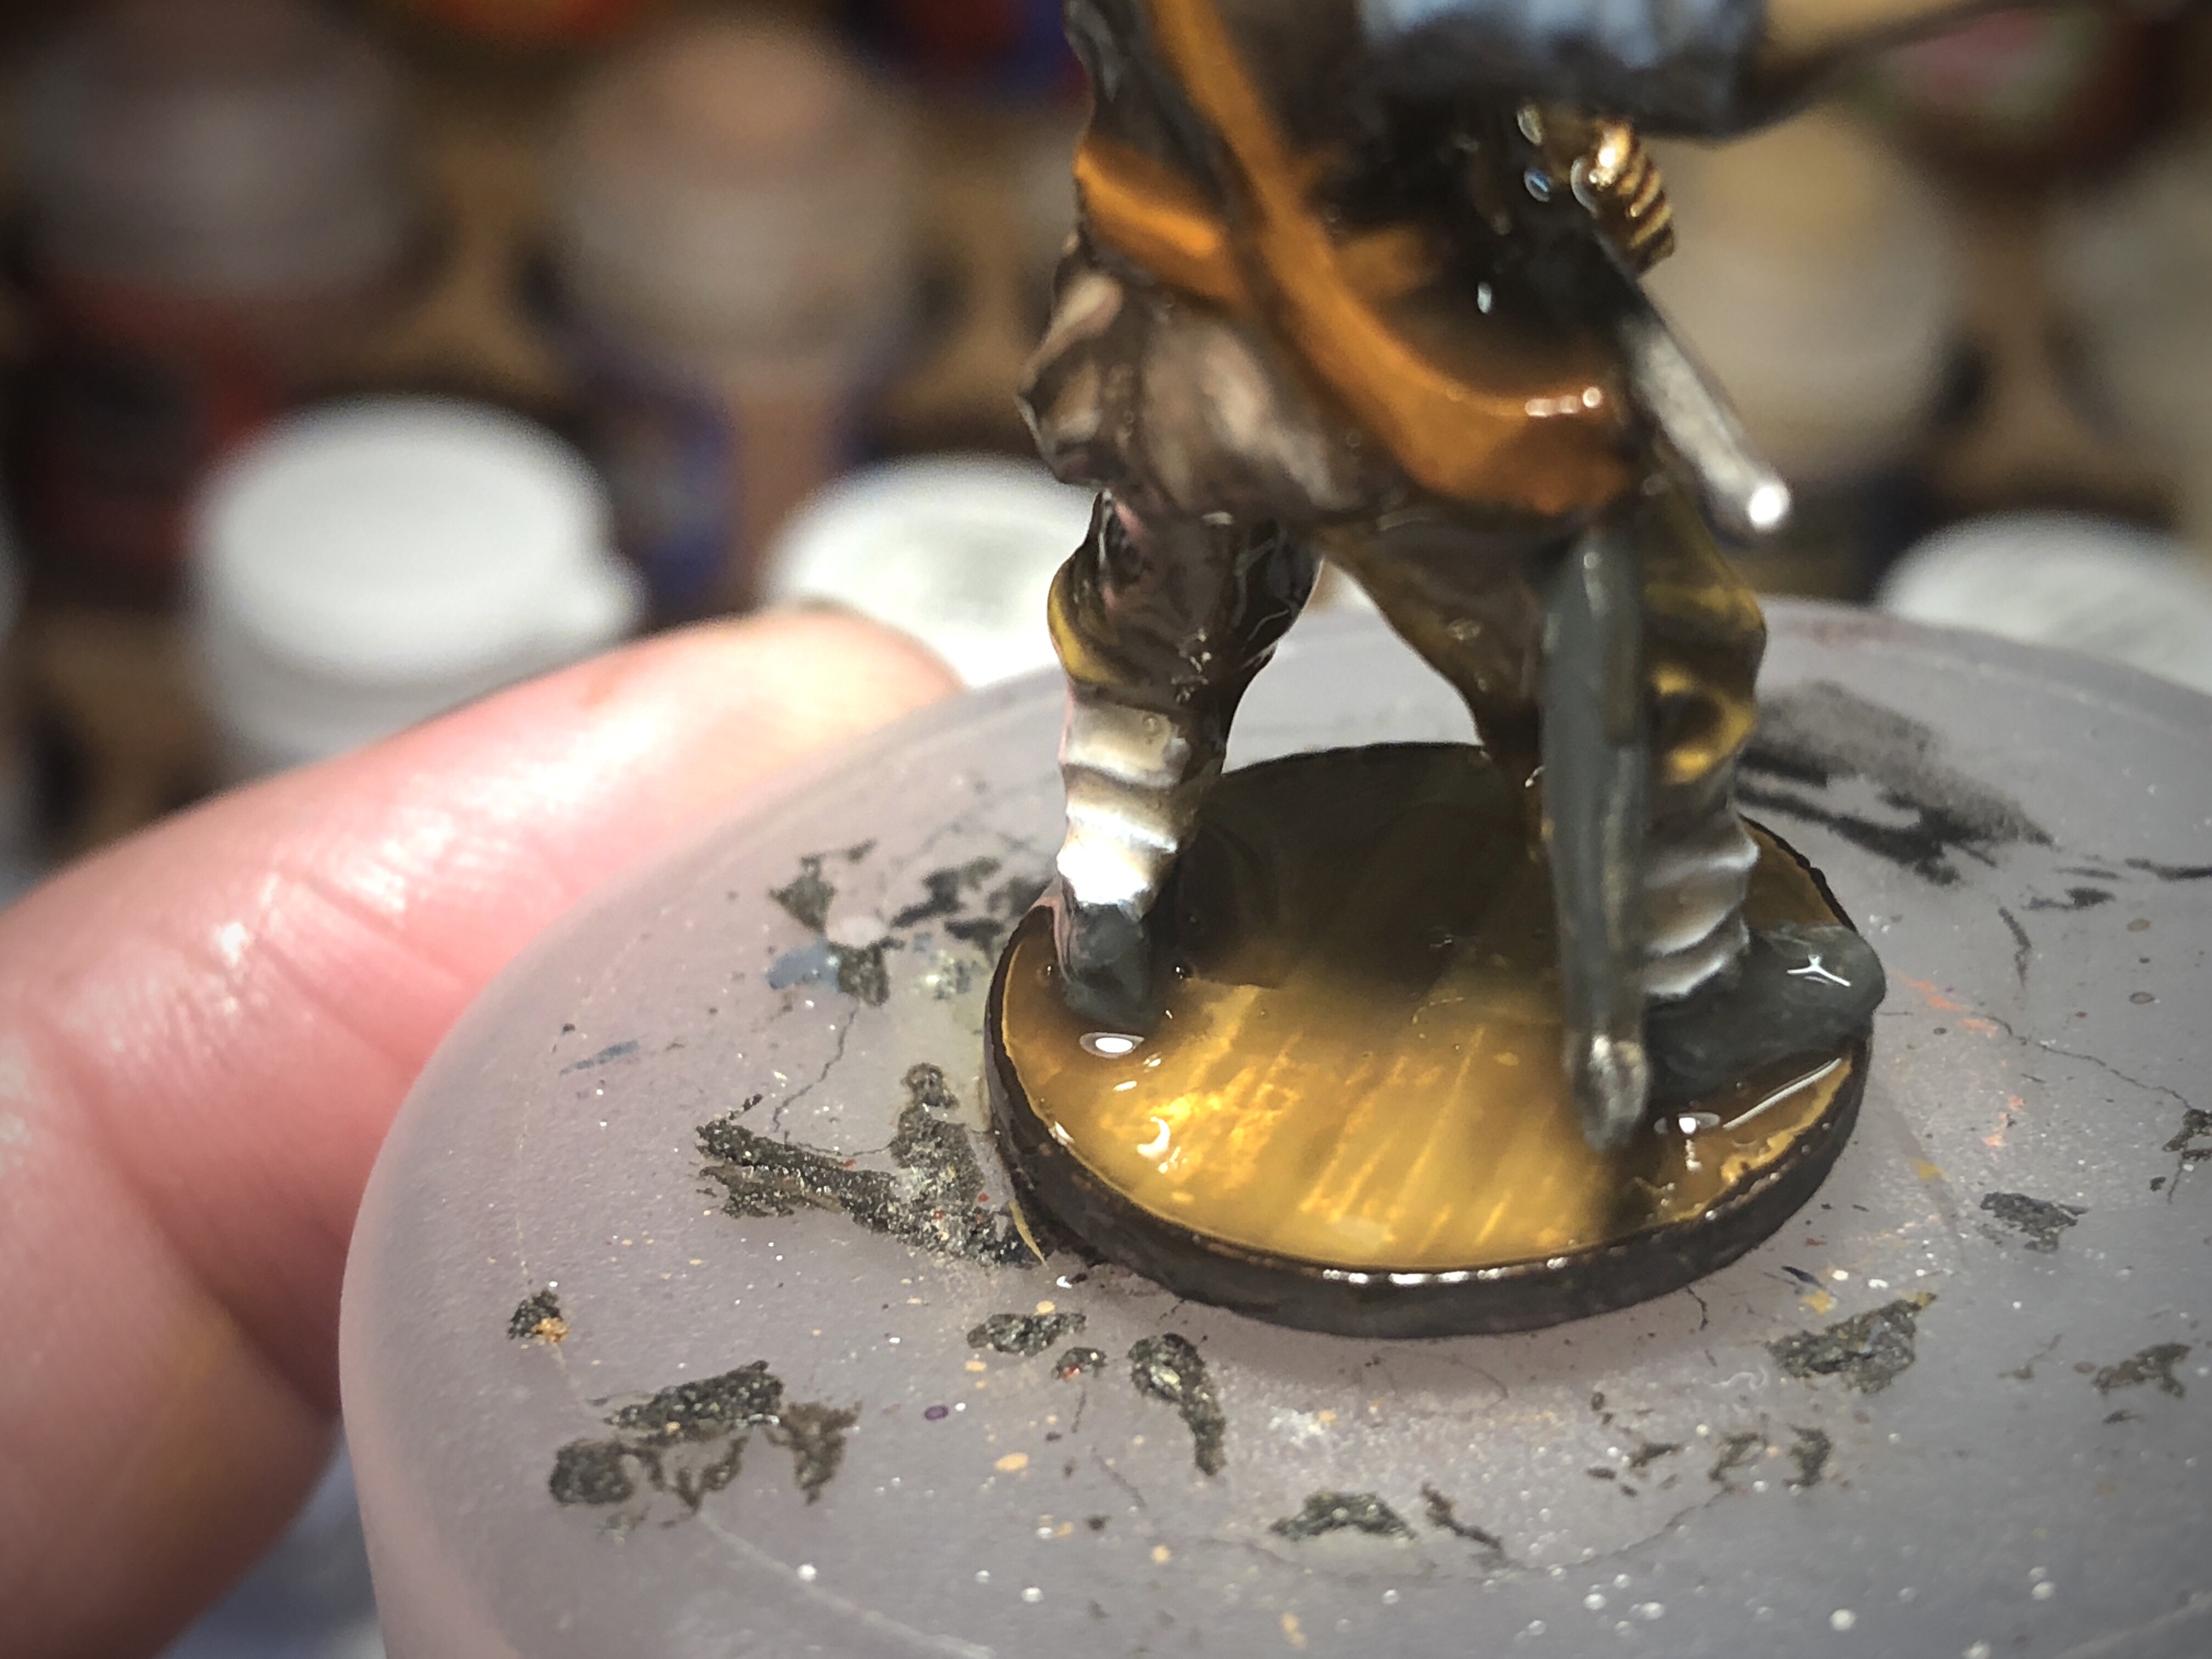
This only takes a few seconds and you’re done! Now you just have to wait. This shade takes at least 24 hours to dry. Don’t rush it.
It will dry with a high gloss finish which will look really bad but don’t panic. Our Testors spray varnish will give a nice flat finish.
7 hours later the Quickshade has dried and shrunk up a little but but it still looks wet and is really tacky (but don’t touch it).

Step 5 – Flat Varnish and Final Details
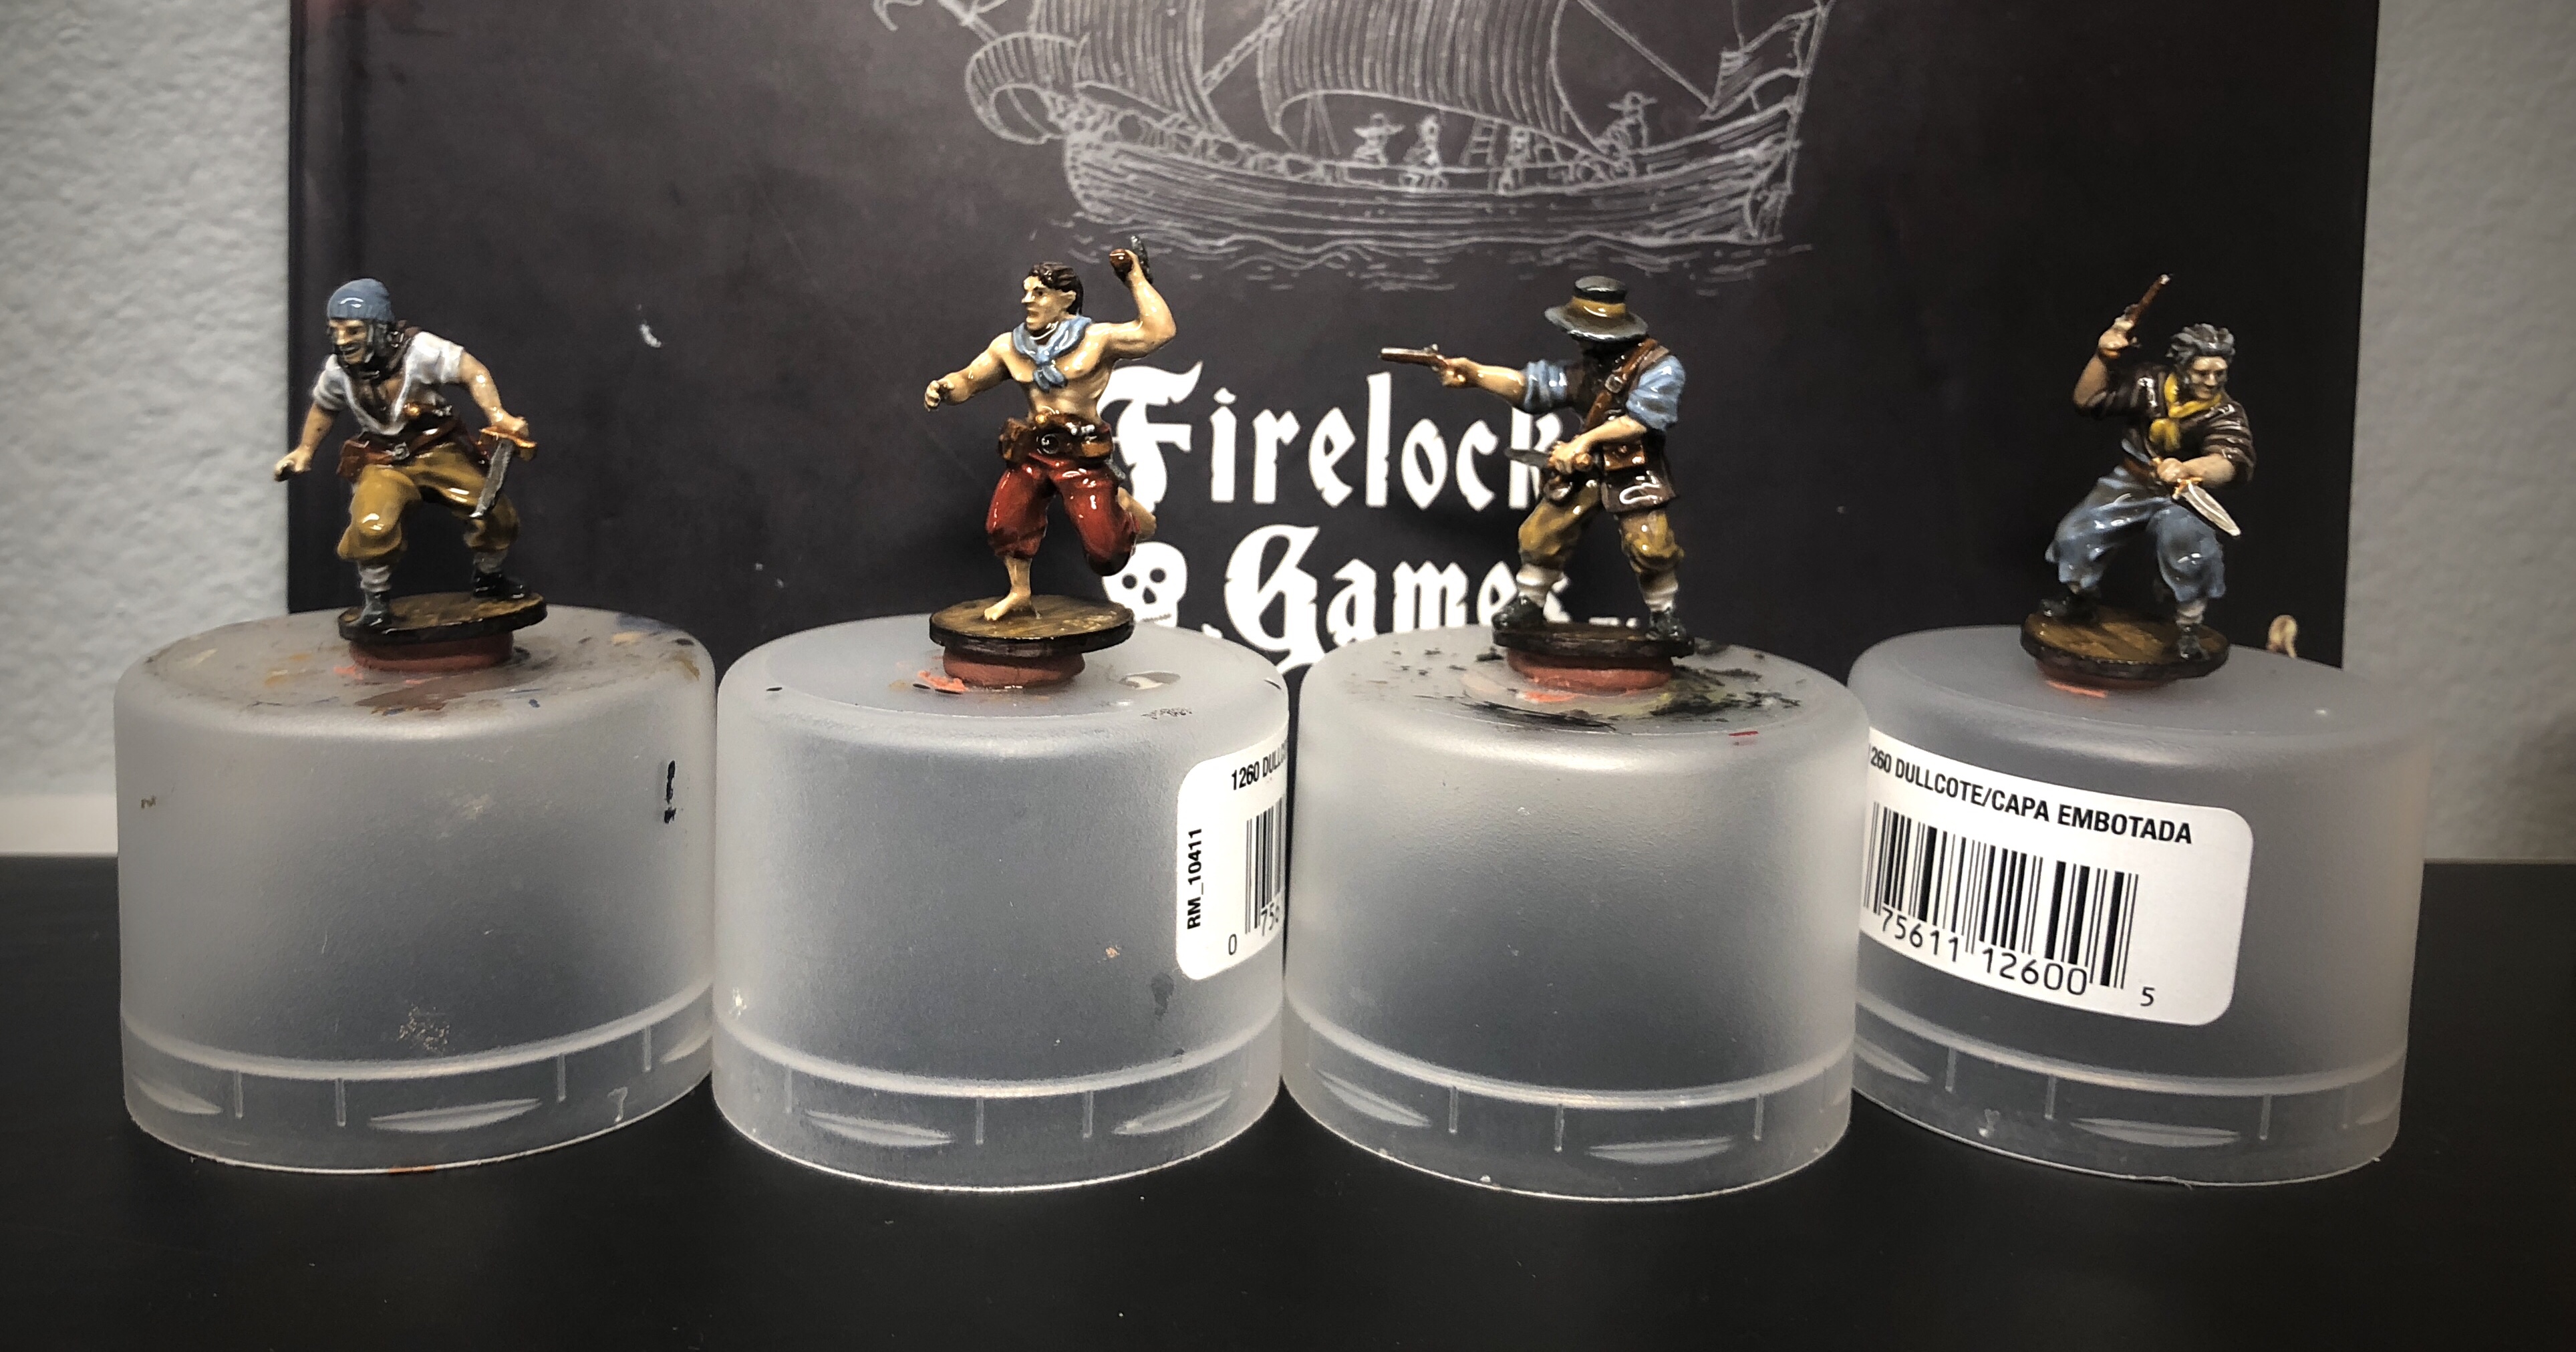
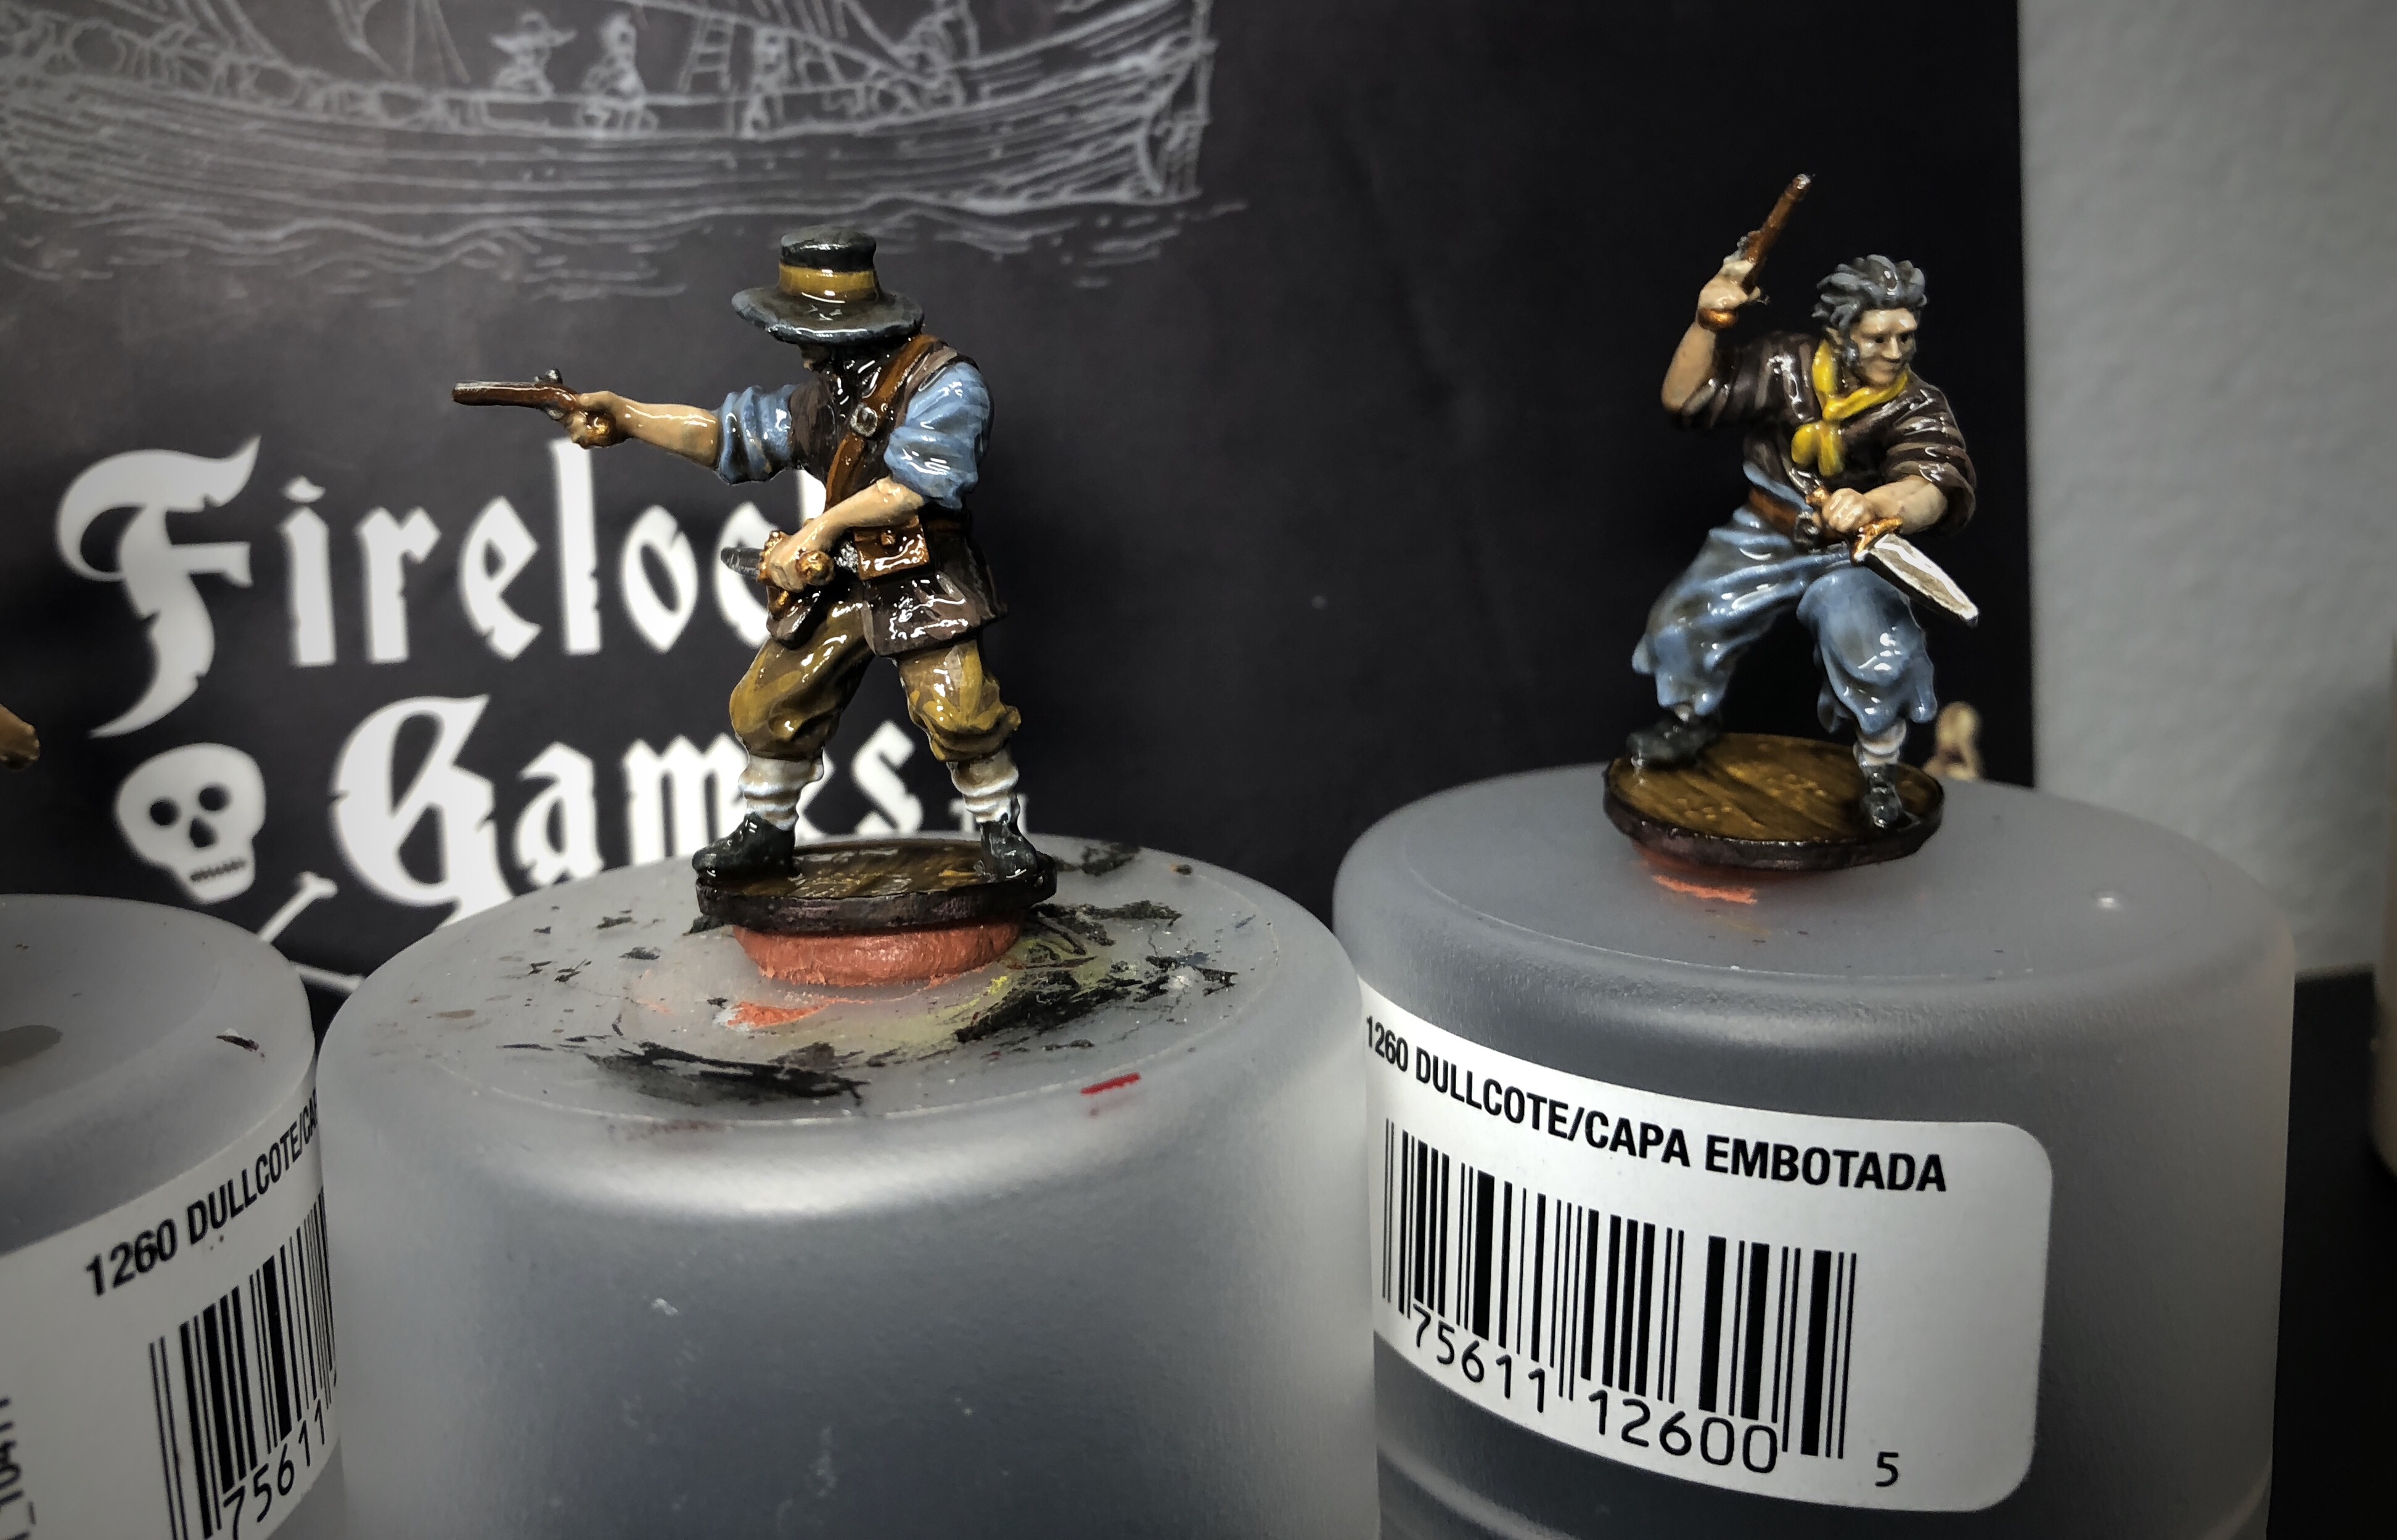
I let these minis set for 40 hours after applying the Quickshade. At this point they are dry but have a high gloss finish which I don’t like.

I used my standard Testors Clear Coat to give it a flat finish. It takes 2-3 good coats. If the Quickshade pooled heavily in a crack or corner, it may still have a semi-gloss look no matter how many coats of the Clear Coat you apply.

This massively improves the overall look of the minis.

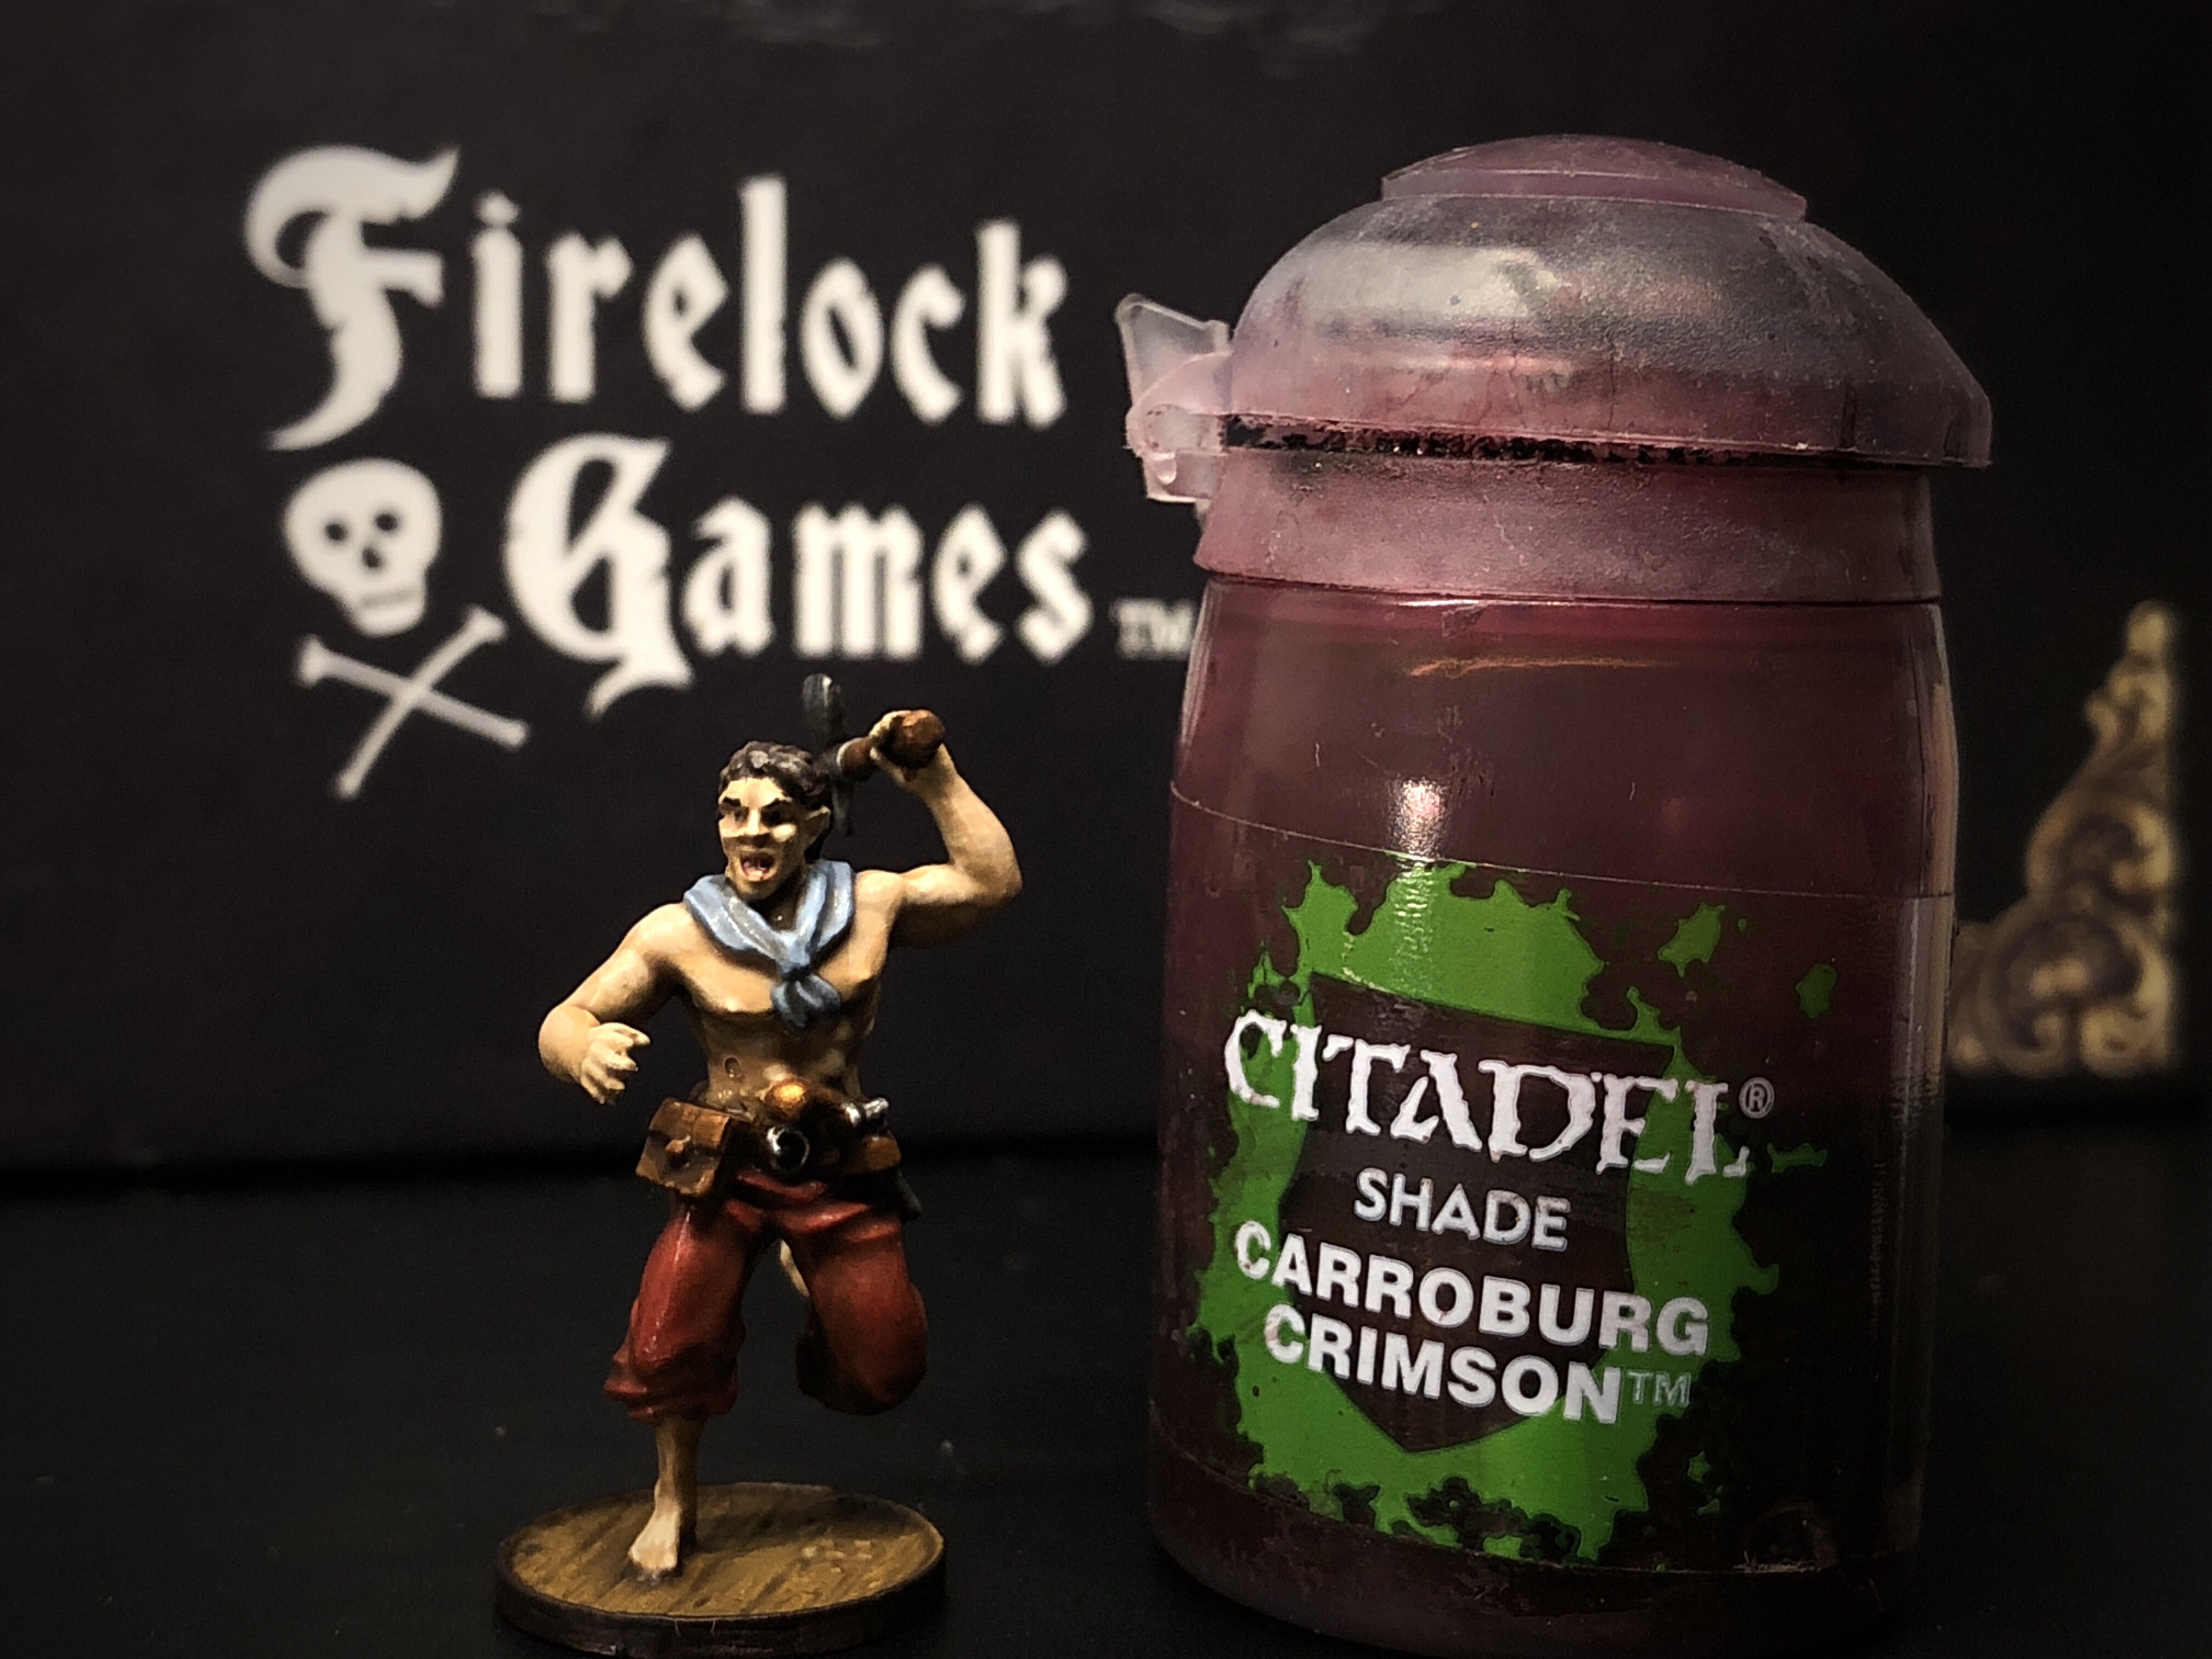
Finally I applied a couple details and touch ups.
I put a drop of Carroburg Crimson in the mouth of the axe guy to make his mouth darker. Don’t overdo it or it will look like a bloody mouth but a color variation is nice.
Last I’ll did final tiny highlights on the metallics to restore that glint that the Quickshade dulled.

I gave them one more coat of Clear Coat and I’m finished!

I tried hard to keep the paint count down for this tutorial!
Paint List
- XV-88
- Dryad Bark
- Mournfang Brown
- Rhinox Hide
- Steel Legion Drab
- Evil Sunz Scarlet
- Gorthor Brown
- Baneblade Brown
- Kislev Flesh
- Flayed One Flesh
- Russ Grey
- Fenrisian Grey
- Skragg Brown
- Skavenblight Dinge
- Stormvermin Fur
- Dawnstone
- Leadbelcher
- Runefang Steel
- Retributor Armor
- Ceramite White
- Abaddon Black
- Carroburg Crimson
- Army Painter Strong Tone Quickshade
- Testors
- Clear Coat

The Quickshade minis on the Right compared to another set of Sea Dogs I painted using my standard approach.
This method isn’t as nice as the Base/Shade/Highlight method, but it is certainly faster. I think I spent about 2.5 hours on this set of guys (counting taking pictures etc).
Pingback: Blood & Plunder Painting Guides - Blood & Pigment