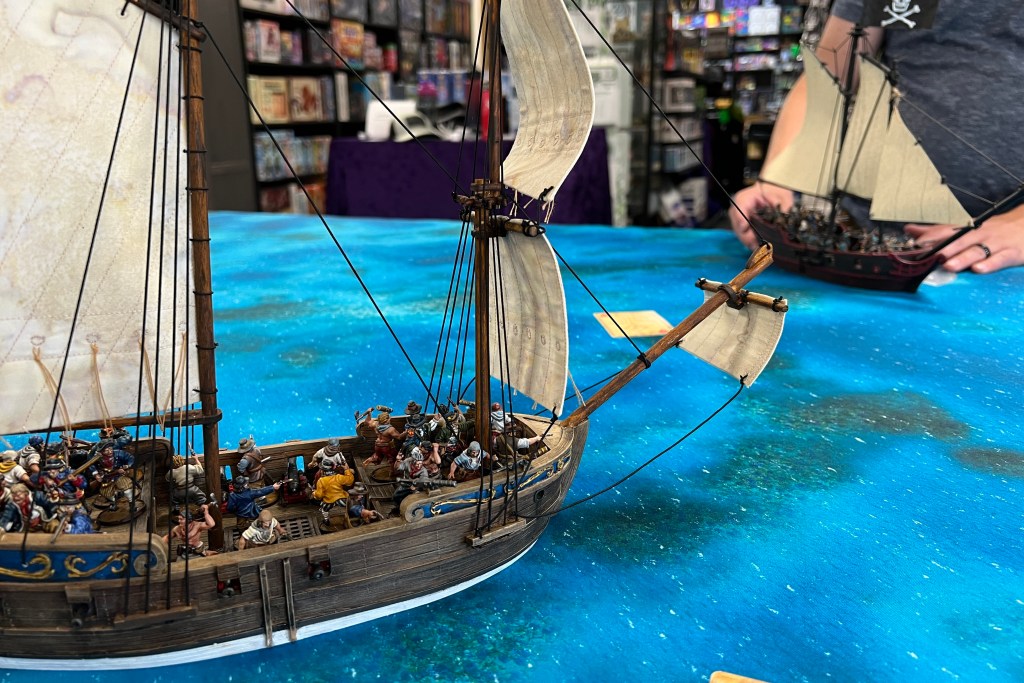
Time for another Blood & Plunder battle report! In this 200 point sea battle, my New England Privateers attempt to control the field and gain the weather gauge on Bryan’s Dutch Navy.
Forces
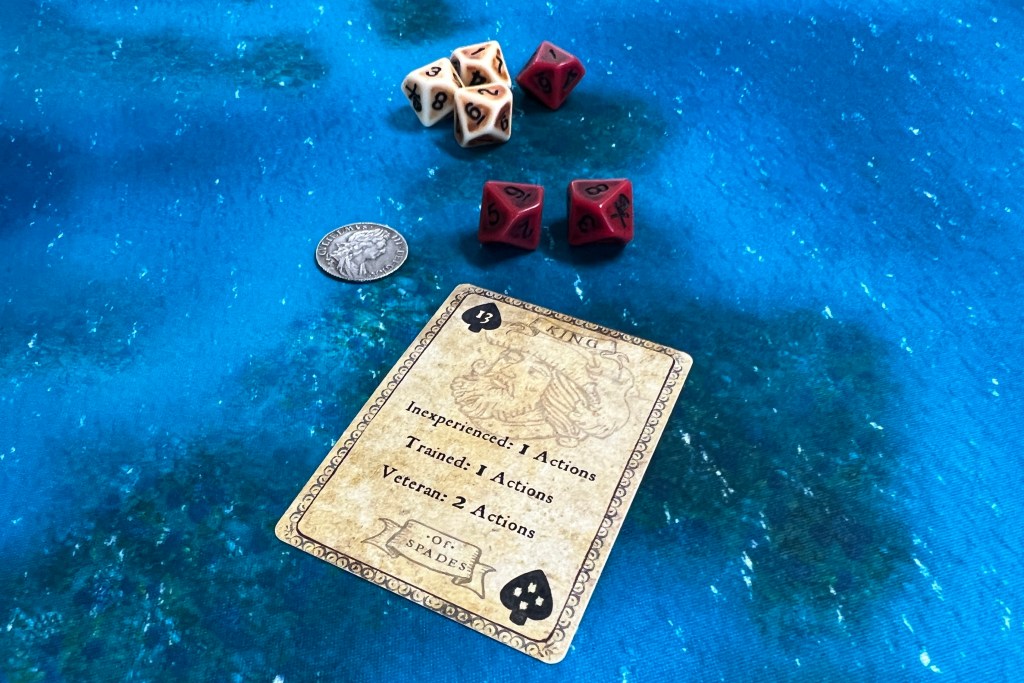
I used the New England Privateers force from Fire on the Frontier. This force rewards using Veteran models and upgrades the Officer Character with the Strict rule.

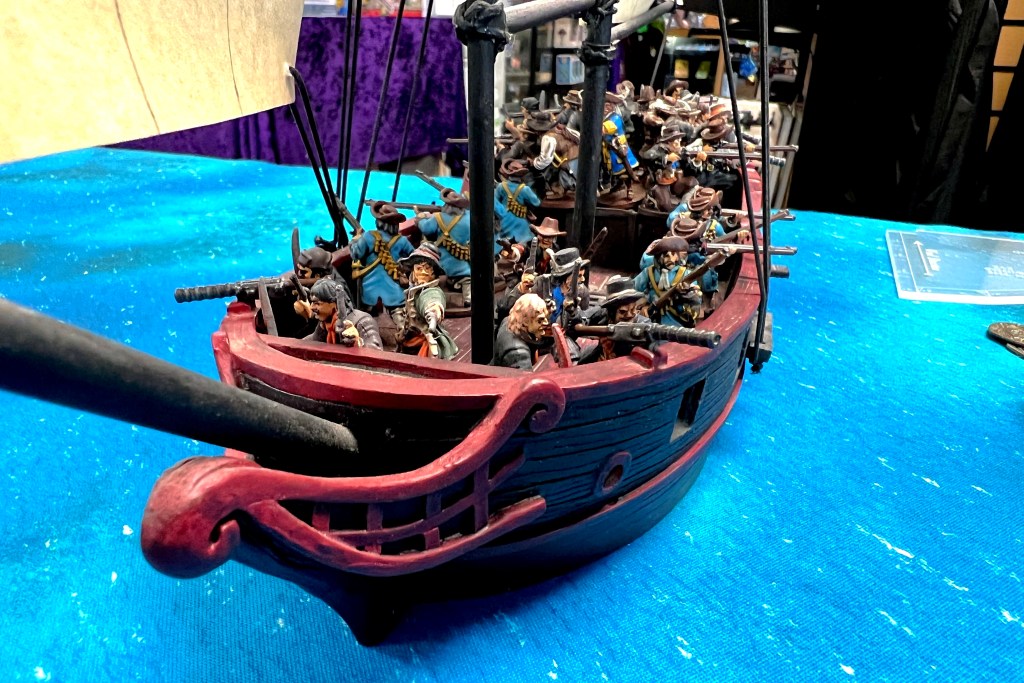
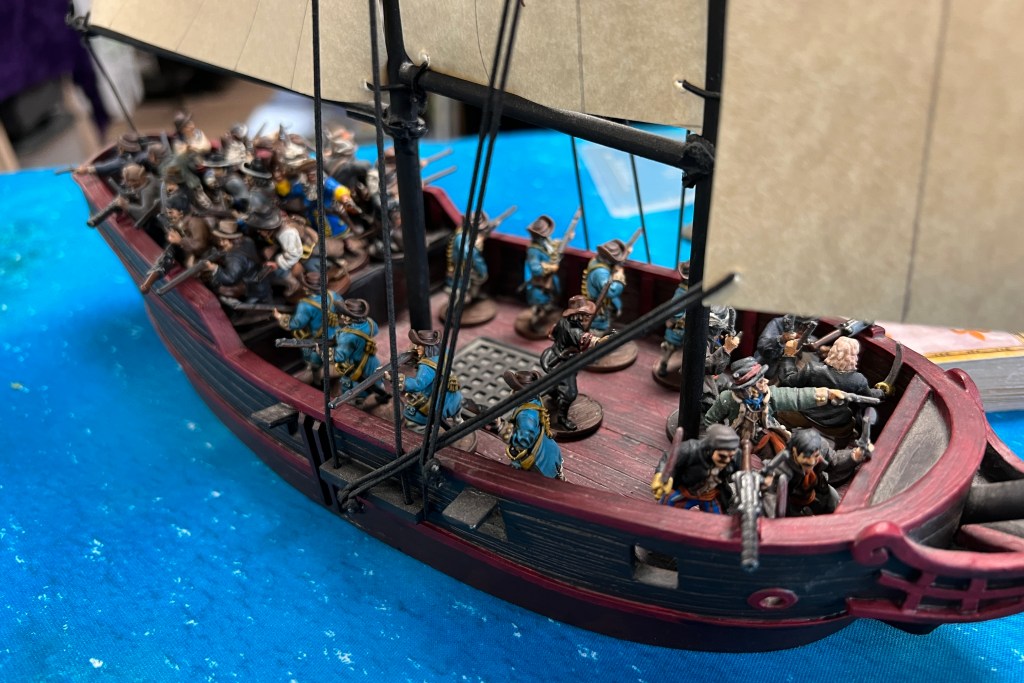
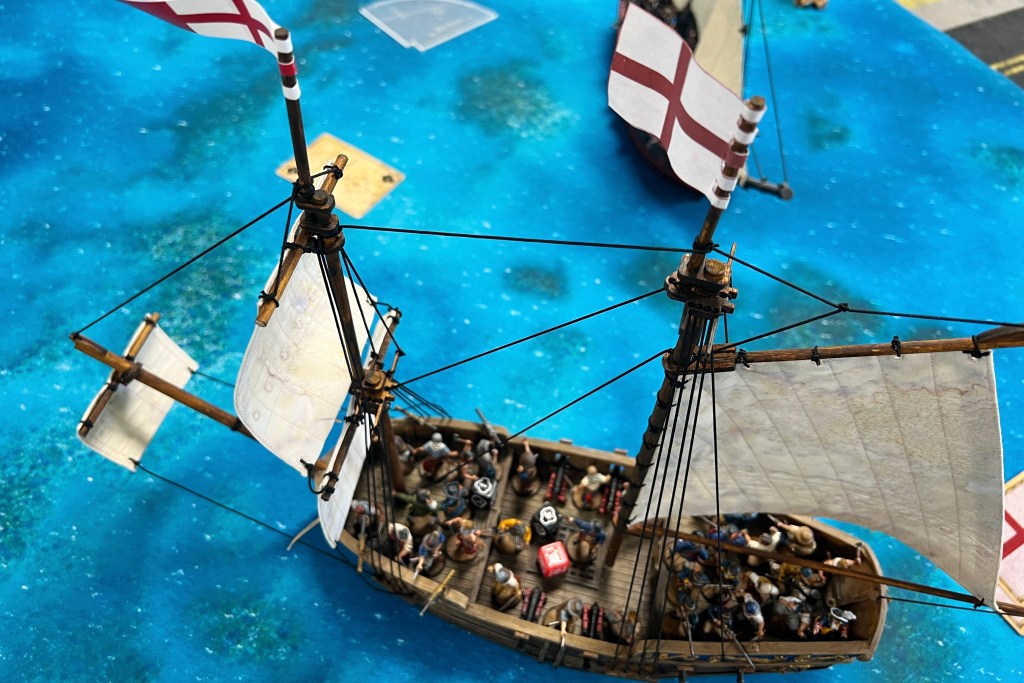
I used the Privateer Brigantine, filling it with its maximum of 4 pairs of Medium Guns maned by Sea Dogs with a Master Gunner, 4 Swivel guns in the front with Sea Dogs with the Strict Officer, and a unit of Kapers assigned to the Sheets and Braves in the back of the ship. You can find the full list here.
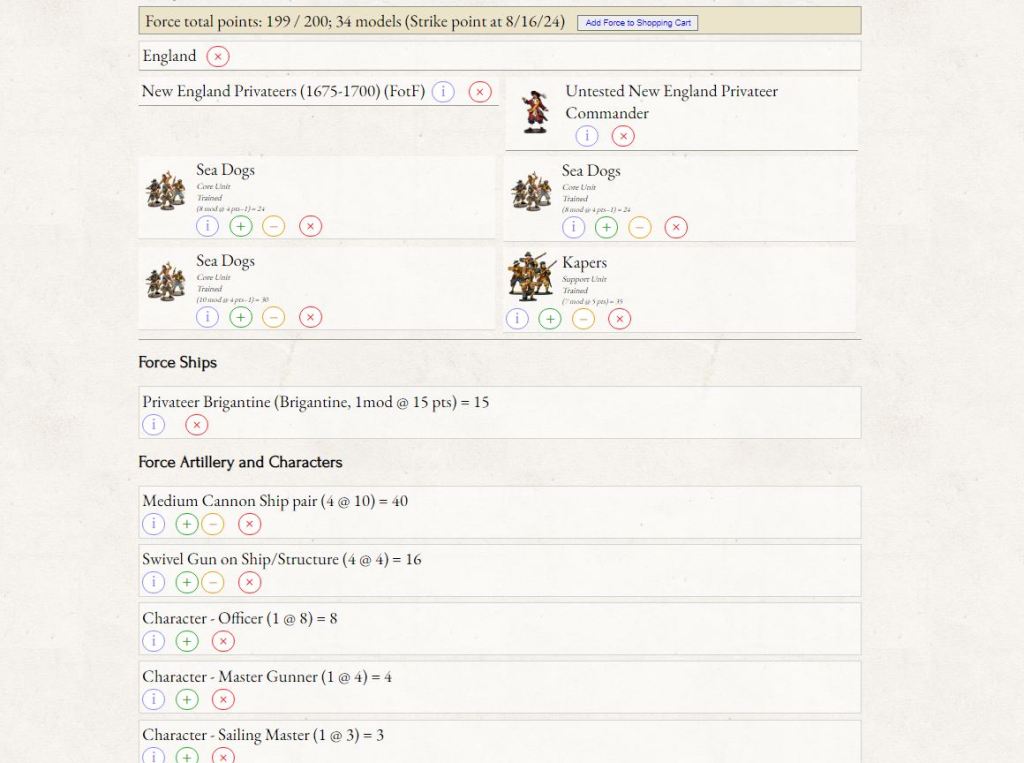
I went a little heavy on Characters, but for only 15 points, I have 4 Command Points, 1 of Strict firing, one for Sailing, one for Reloading and one generic Command Point from the Commander. That’s a lot to keep track of, but that’s a lot of utility for only 15 points.
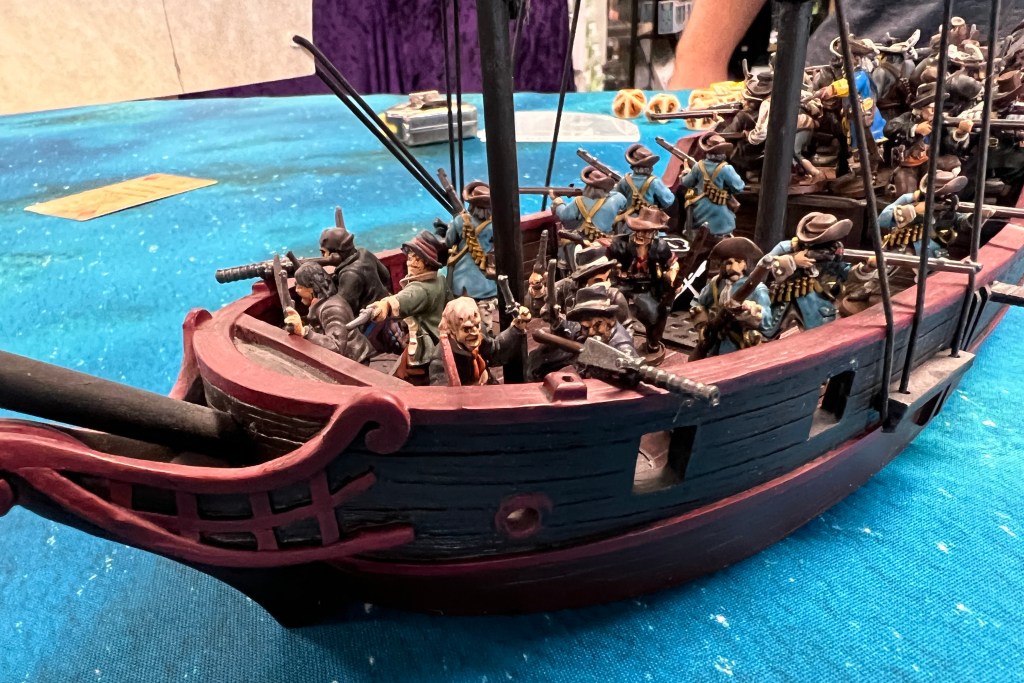
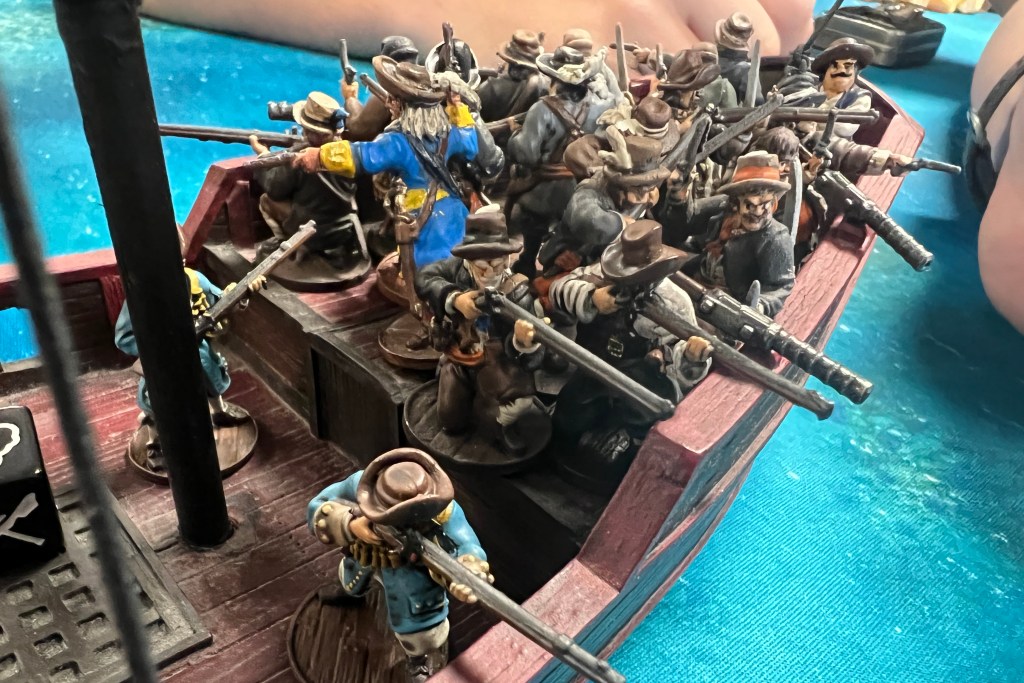
Bryan’s Dutch Navy focused on small arms fire, lacking guns at all.
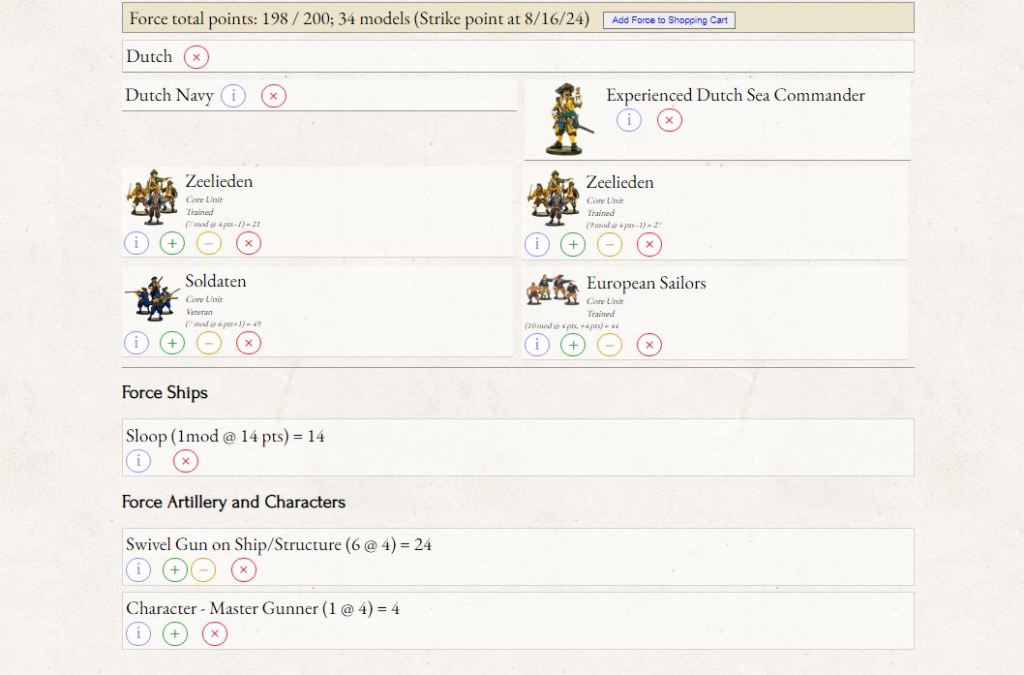
His Sloop was equipped with the full 6 Swivels split between the decks, but the rest was filled with Soldaten and European Sailors with muskets. That’s a lot of small arms!
Even without great guns, that Master Gunner is worth taking for the Reload action and he made an appearance in this Dutch Force.
The Scenario
Our roll for random scenario served us up Control the Field from the core rule book. In this scenario, the Defender starts downwind and attempts to take the weather gauge away from the Attacker.
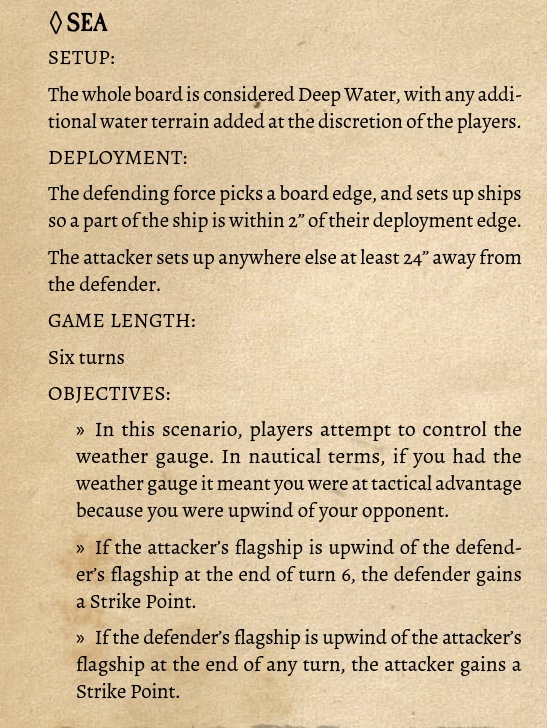
I rolled as the Defender, so I would have the difficult role of working my way upwind and attempting to seize the weather gauge from the Dutch. If Bryan’s Dutch ended turn 6 in control of the field, I would get a Strike while if I controlled the field at the end of any turn, that would give a Strike to the Dutch.
A poor sportsman can cheese this scenario by running upwind for the entire course of the game, then giving the “Defender” 1 Strike Point and winning the game. But that’s dumb so don’t do it. I like this scenario and have always had a good time with it.
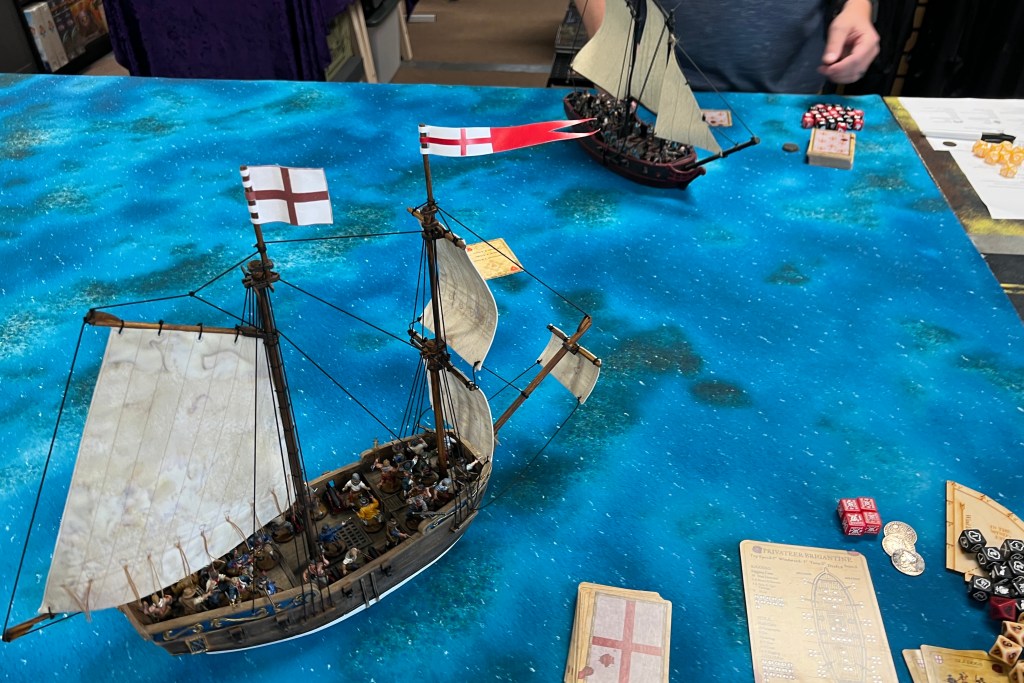
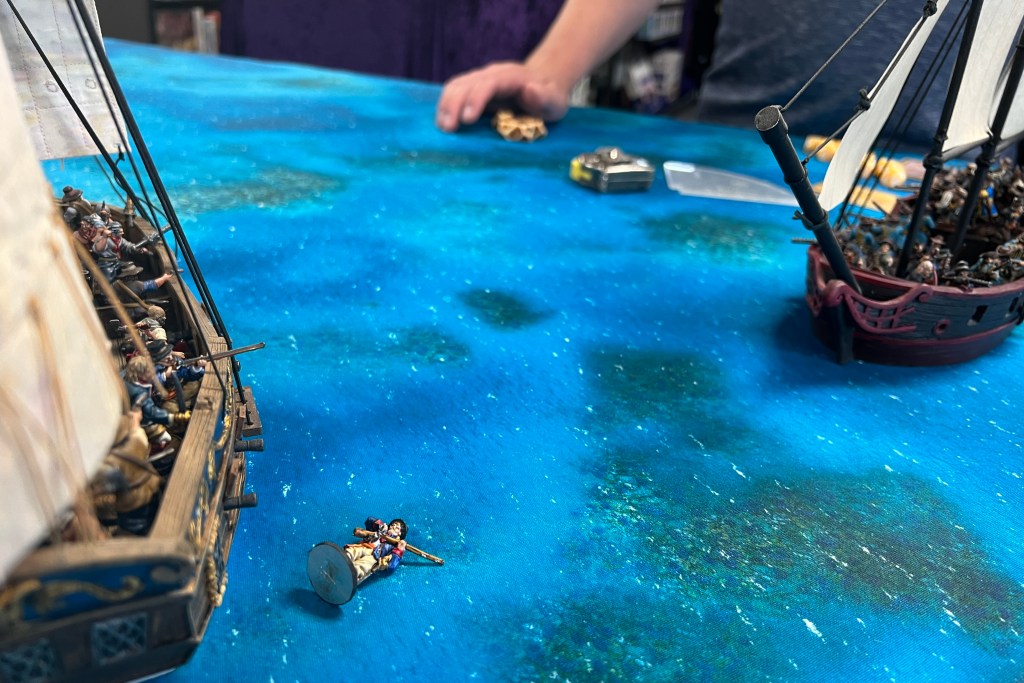
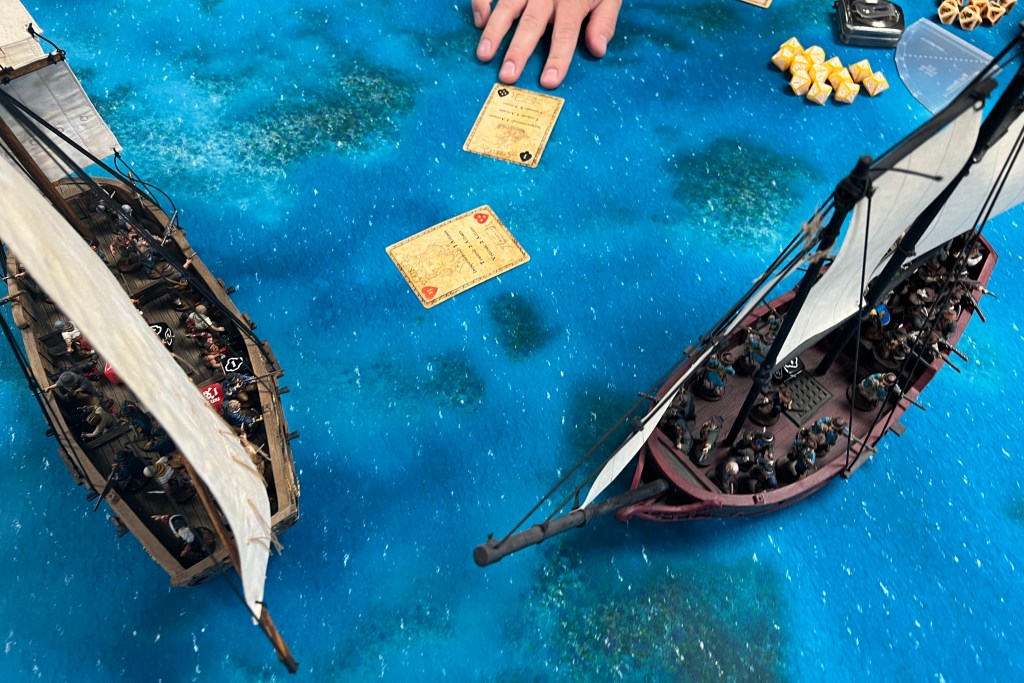
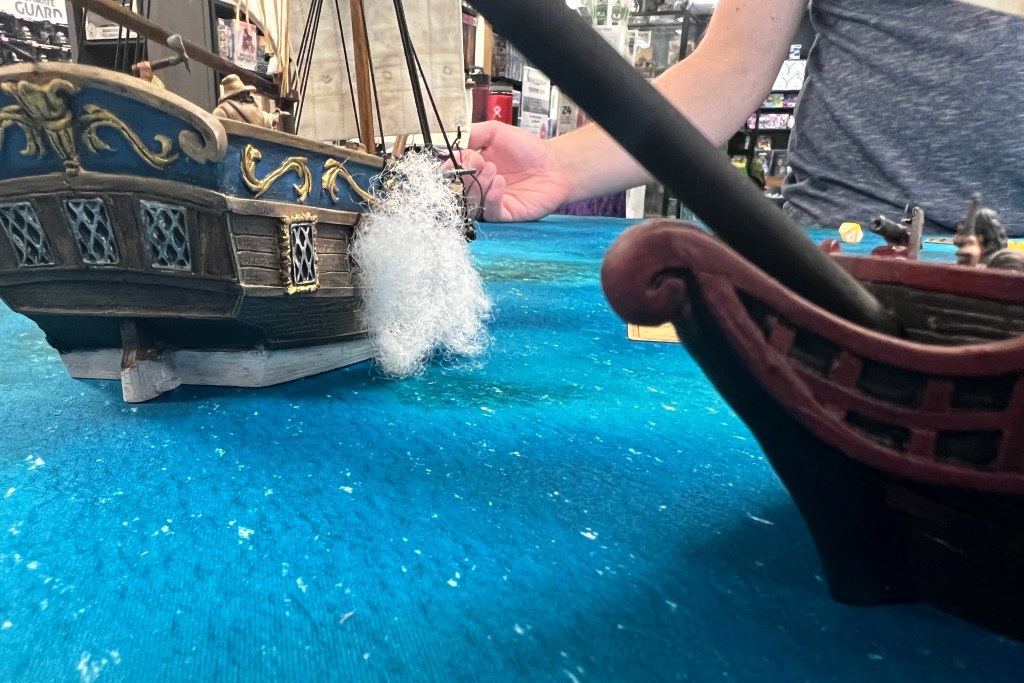
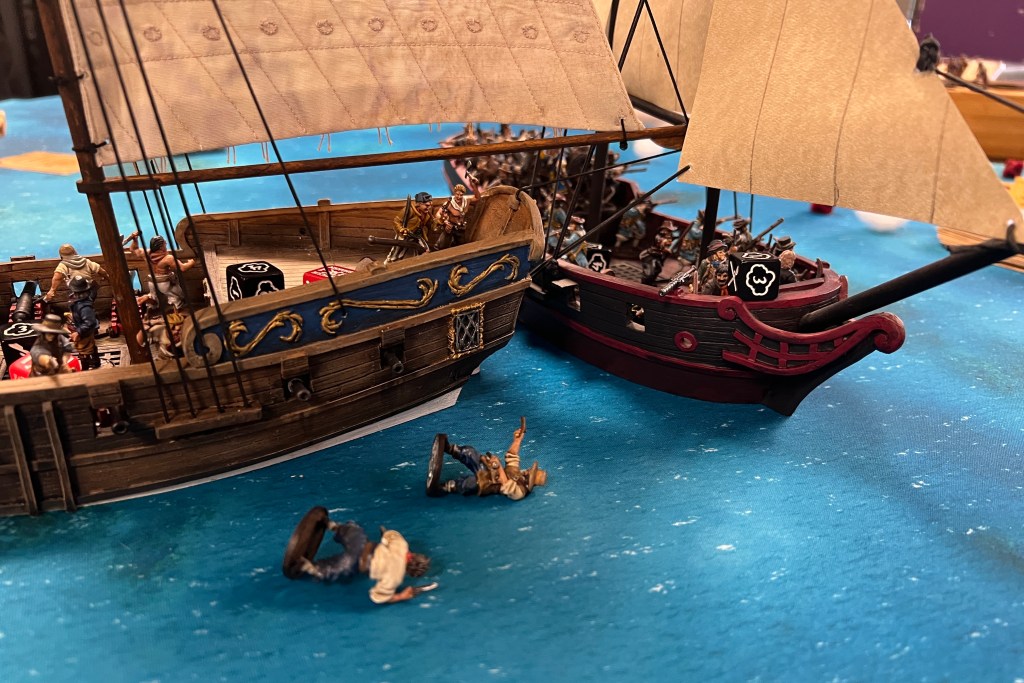
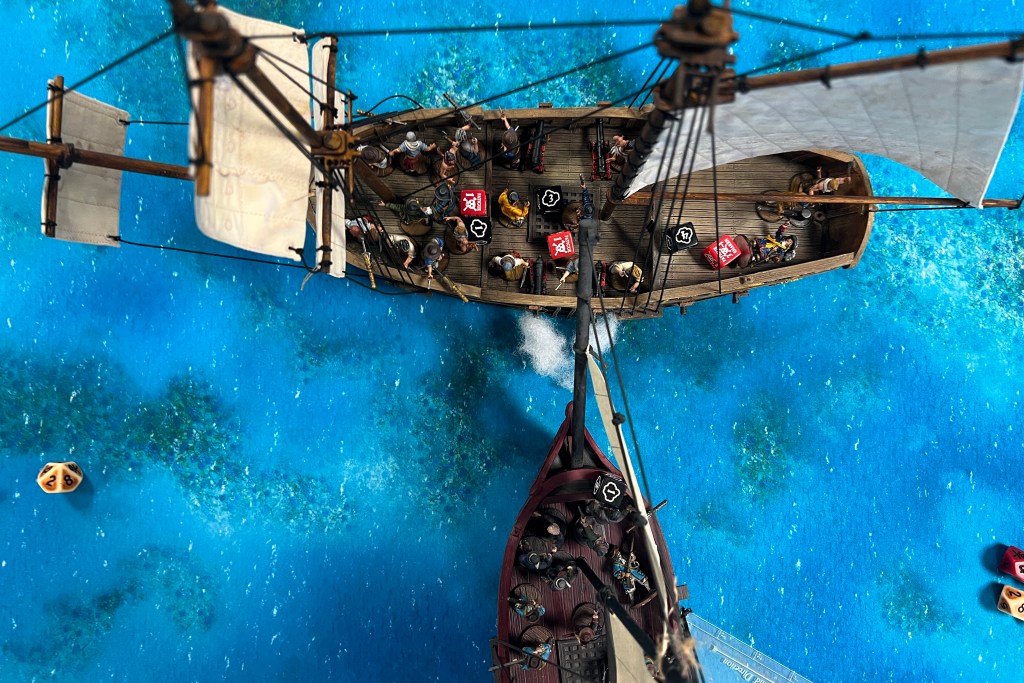
I deployed 2″ from my side of the board, Bryan deployed his Sloop a touch over 24″ away and we were ready.
The Game
Turn 1

Being windward and at the edge of the board, I maneuvered to get a shot off with my cannons on the first activation. Without in muskets, I actually couldn’t fire on the first couple turns until we came into swivel gun range.

Using my Officer to tell the main deck to fire their cannons, I got the Master Gunner’s (he’s attached to that unit) -1 bonus on the “to hit” dice, then I applied the Strict bonus to the damage dice. Double bonuses are TIGHT!
Both cannons made contact but I rolled terribly, missing with all 6 dice. I used a Fortune (can’t do a double bonus cannon shot and settle for nothing!), resulting in 2 hits. But two hits against a Dutch Navy ship results in 1 hit (after Heavily Built kicks in), so it was a rather poor way to spend a Fortune Point.
Muskets caused the first casualty on my ship. But then I had a chance to fire my cannons from the stern.
Three damage turned into 2 Damage but at least I got a Lucky Hit this time! But on they came!
My swivels flubbed badly. His did not. By the end of the first turn, I had taken 4 casualties and spent a Fortune while the Dutch had suffered no casualties and minimal damage to their ship (Lucky Hit was Sail and Spars).
Turn 2
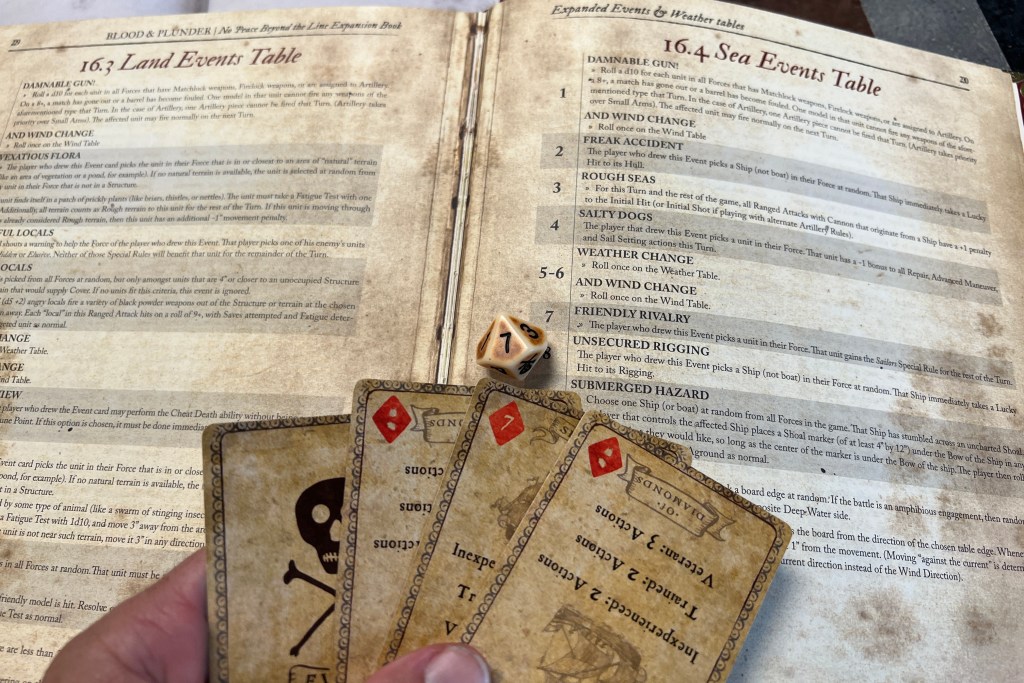
I drew an event on turn 2. It gave one of my units the Sailors rule for one turn, but that was useless since all my units were already sailors or better. I was just relieved it was the Submerged Hazard event!
I lost the initiative and on the Dutch came, firing so many swivel guns!
With all my units
I was trying to keep some distance between us so I could get more value out of my cannons so I turned and attempted to use my Sailing Master to increase my speed (but failed).
Bryan focused fire on my rear deck, quickly thinning the ranks of both my Kapers and Sea Dogs.

At closer range I fired my cannons again, but had to spend a Fortune to try to get any damage! Out of 6 dice, and looking for 6’s, I only got 2 hits which turned into 1 damage against that sturdy Dutch sloop. Heavily Built is so powerful in small games! I wish I had brought Grapeshot!
Turn 3
I spent my Fortune way too fast in this game! I felt I had to get some initial damage on the sloop, but I wasn’t too happy having spent all my Fortune when I drew a Diamond as my high card on turn 3. But Bryan’s high card was a Diamond as well, just happened to be one pip higher than mine! I lost initiative again, and that’s a big deal when there’s sure to be 12 swivel dice coming at you!

Those deadly swivels hit my poop back deck again, eliminating the Kapers (never fired a shot), and leaving my Command unit in a sad state.

But I doubled down on my cannons, applying two more hits (after canceling one), finally bringing the Onoverwinnelijk down to 3 Fortitude. Heavily Built is so good in small games! I also destroyed one of those hated swivel guns with a Lucky Hit!

And another round of 2 cannons! I’m thankful I had Medium Guns and not Light Guns. I wouldn’t have been able to make any progress at all with tiny cannons.
In spite of getting about 7 damage on the Dutch sloop, I had killed very few of the enemy. My only real progress was suppressing the Soldaten and taking out that one swivel gun.
Meanwhile, I had lost my only unit with small arms, my command unit was beat up with not even enough models left to reload my cannons, and the sloop was closing fast. Casualties were more than 2:1. This game was not going my way!
Turn 4
Maybe I’ll finally draw some Spades and get to fire my swivel guns!

“My crew must be a lot of godless villains for the Almighty God to visit us with such calamity!” (Just getting into my New England character)
More death from the Dutch muskets!
My poor command unit was almost entirely destroyed. But with 3 models and 3 Fatigue, I was still in the game! Time for my swivel guns at close range!
12 dice that only need 7’s to hit! This is my chance to actually take out some of his soldier and slow down his swivel guns!
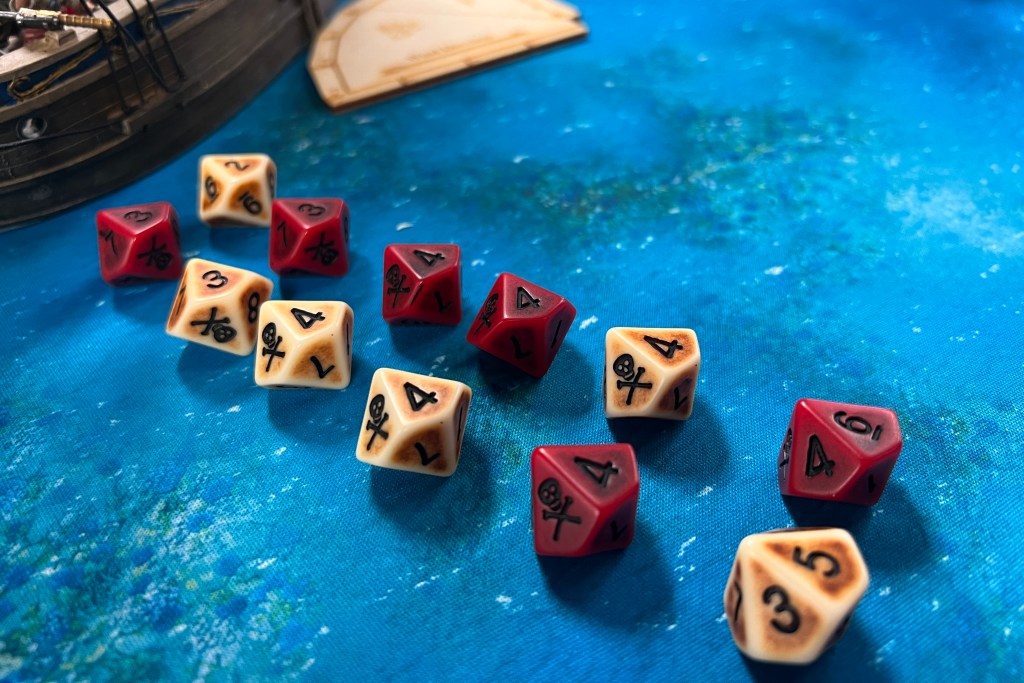
But no! Another disaster! 2, 3, 3, 4, 4, 4, 4, 4, 4, 5, 6! NO HITS WITH 12 SWIVEL DICE!
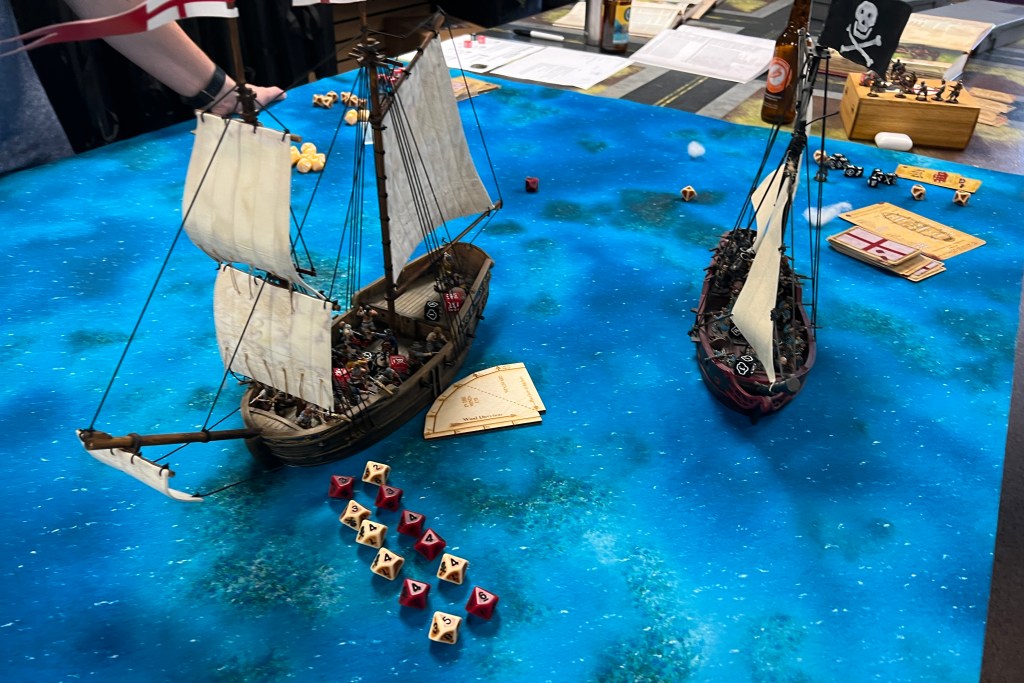
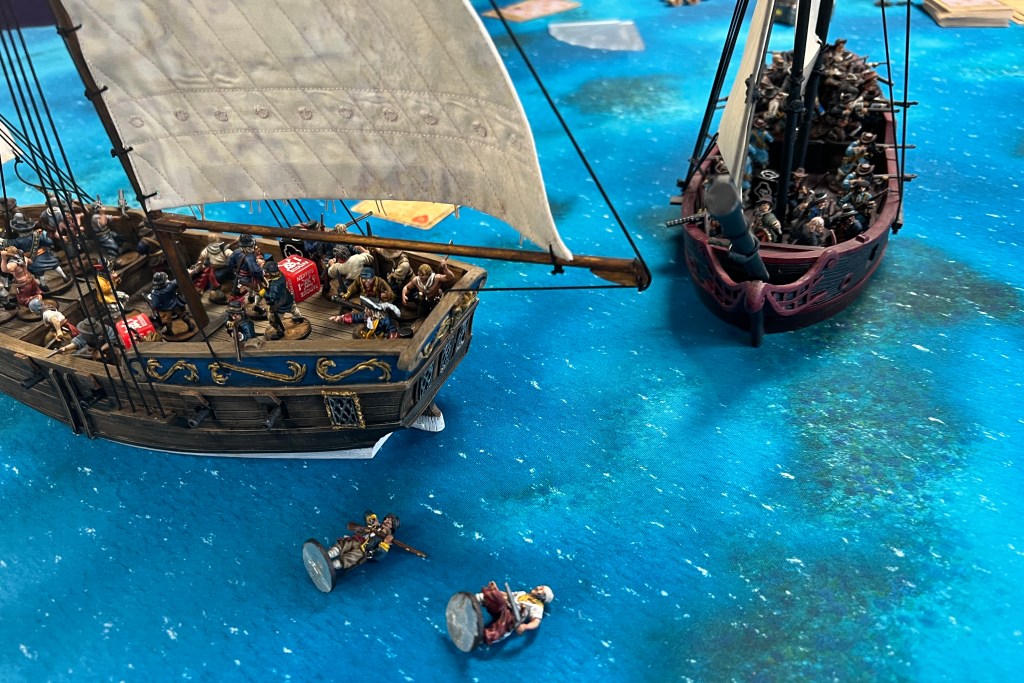
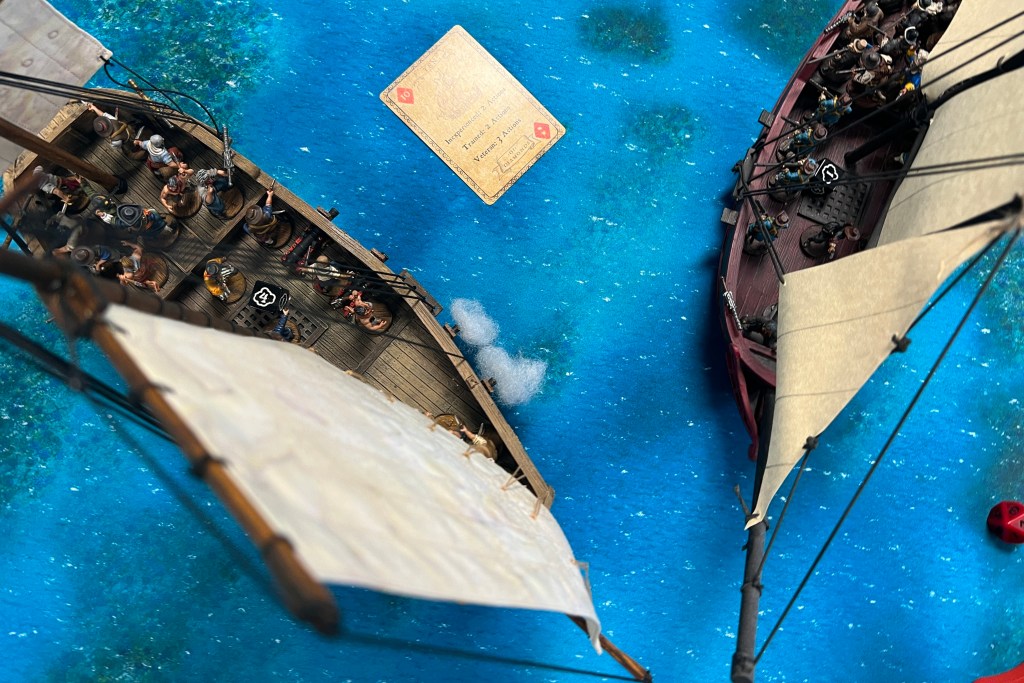
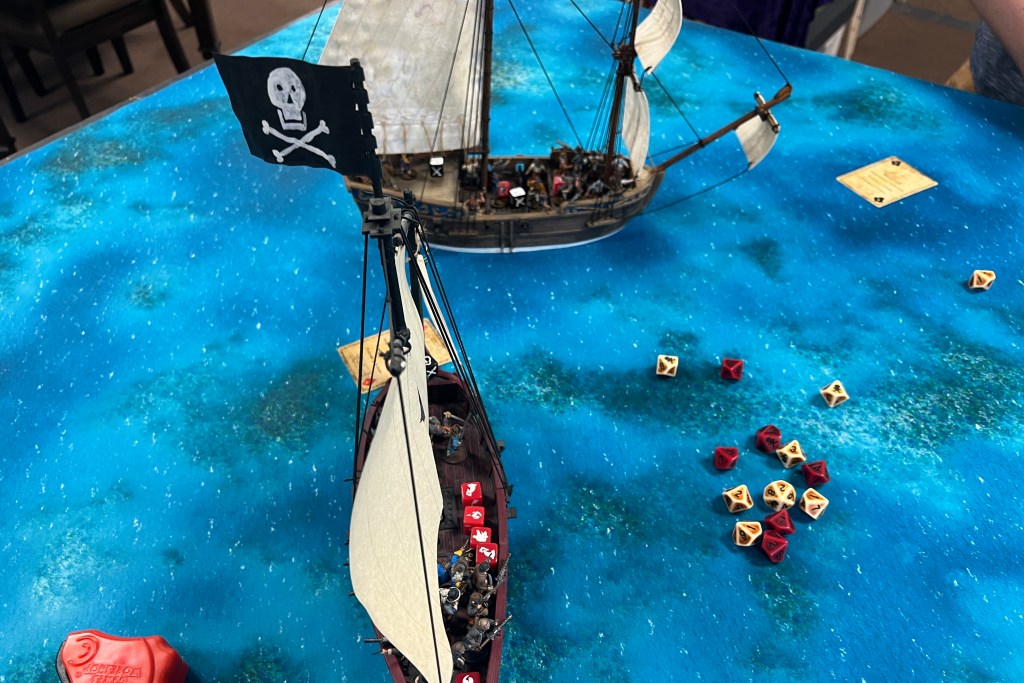
I must confess. I was “annoyed.” But in the meantime, Bryan’s sloop had actually passed me giving me the weather gauge (by the slightest of margins), and giving me chance to use my loaded larboard guns. And then my moment finally game!
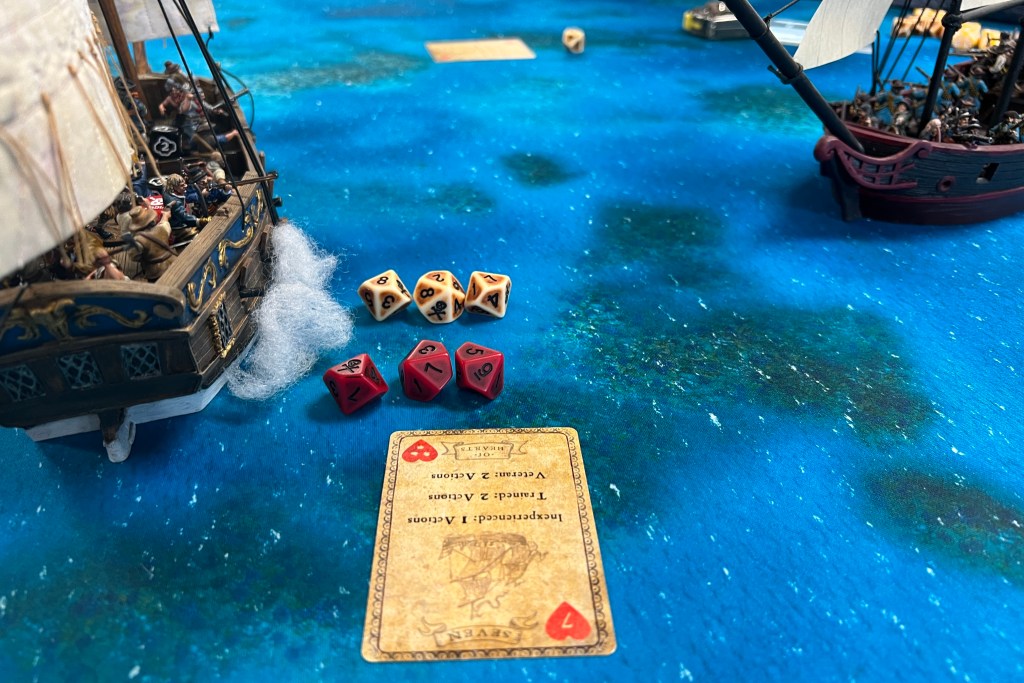
My brigantine was able to turn across the bow the sloop and get into position for a delicious broadside!
Cannon balls ripped through the length of the sloop, splintering wood and ripping through flesh and bone! Both medium guns hit, and all damage dice scored hits (only needed 3’s to damage)! With one die canceled, we doubled the the remaining 5 for the rake, totaling 10 damage. Dutch saves were reasonable, but this finally got Bryan to a Strike for casualties.

With a remaining hull Fortitude of 2, this applied 2 Critical Hits which came up as Fire and Leak. Both very dangerous
My crew was still in rough shape but that rake changed the game! In fact, circumstances had put my New England Privateers in the lead by 2 Strike Points by the end of turn 4.
Dutch Navy:
- 1 Strike for Casualties (9/??)
- 1 Strike for Hull Fortitude halved
- 1 Strike for being downwind of the Defending ship
New England Privateers
- 1 Strike of Casualties (13/34)
At the end of turn 4, both the Fire and Leak spread in the Dutch ship, putting it in a very bad situation. Bryan took a Strike Test and passed, pushing the game into turn 5.

Turn 5
The final gasp. The Dutch spent the entire turn trying to manage fires and leaks. Activating in a burning ship hurts! With fire burning across the length of the sloop, the swivel guns were finally silent for a turn. The Dutch crew finally got one fire and one leak repaired by the end of the turn.

Hoping I might be able to line up another raking shot on the struggling Dutch ship I tried my best. Ot was close, but not meant to be.
I did get off a final shot with my cannons, but it didn’t sink the sloop. I retained the control of the weather gauge by the end of the round.
Neither the fire or remaining leak spread at the end of turn 5 but the Strike Point situation had not changed, so Bryan was again obliged to take a Strike Test and this time it failed, ending the game.

Post Game Thoughts
- One raking shot can decide a game. That was certainly the turning point here. I was getting beat up until that moment, then the damage to crew combined with Critical Hits basically knocked out any chance of offensive actions for the entire next turn.
- Cannons are still the harder way to play, but they sure are fun in games like this. The Critical and Lucky Hits are thematic, unpredictable and have a huge impact on the game.
- Sailing well is essential for getting those game-deciding rakes. In this game, my opponent hadn’t played in nearly a near and was a little rusty and failed to keep that possibility in mind while making his moves. I was merciless and exploited that mistake.
Force Analysis
- The Dutch Navy is powerful! Heavily Built is OP (not really). But it sure does heavy work in these games of 200 points or less. When you’re rolling a maximum of 6 damage dice in each attack, it’s pretty likely that you’ll be seeing 3 or less successful hits. Canceling 1 of 3 over and over again is a big deal! That’s one of the weaknesses of the Brigantine. Only 2 cannons at once. I felt it in this game.
- Using a commander with the Broadside! Special Rule would have helped overcome that Heavily Built as well, but Samuel Moseley (27pts) is the only option for the New England Privateers have with Broadside!
- Swivels are still a trump card. They just shoot so many dice! Although my 100% miss with 12 dice was hardly overpowered…
- The Brigantine doesn’t stand out as a dominant ship, the Privateer version worked out OK in this game. Just the ability to have 4 Swivel Guns in the forecastle is worth something. I had a unit of Kapers assigned to the Sheets and Braces to take advantage of the Swift trait and move 5”, but I actually never got to do it! I was moving upwind most of the game, and by the time I actually was sailing large, my Kapers were all dead…
- Targeting a Command Unit is an effective (and dirty) tactic. My poor Commander was always rallying or laying on the ground! There are a few things you can do as the defender to mitigate this tactic, but it can just be rough. I guess the best thing you can do is try to take advantage of your other units not getting hit at all.
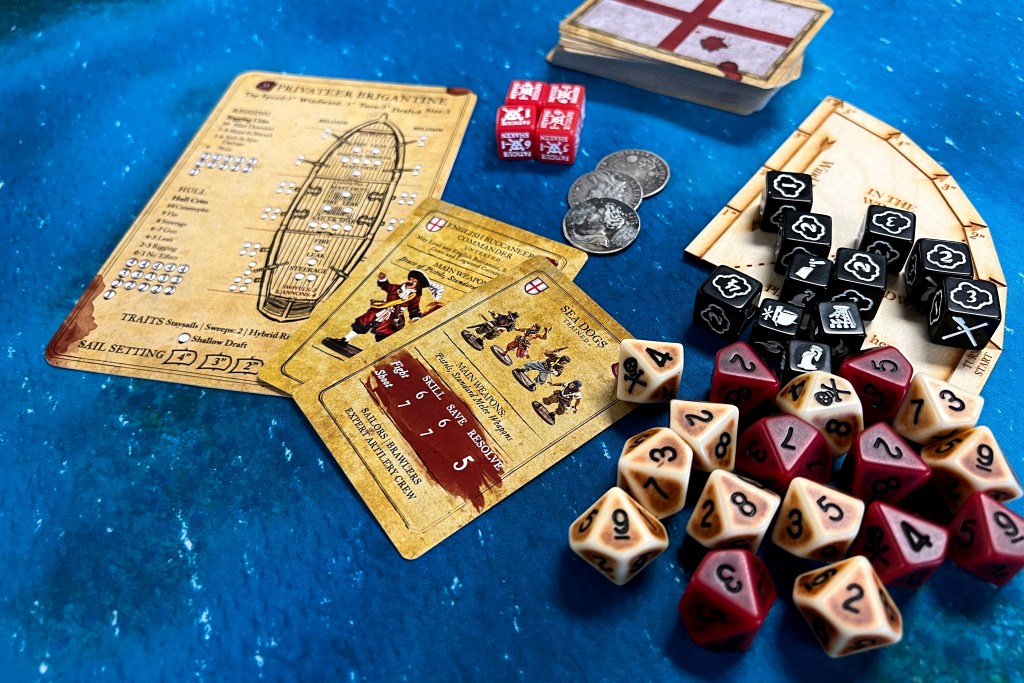
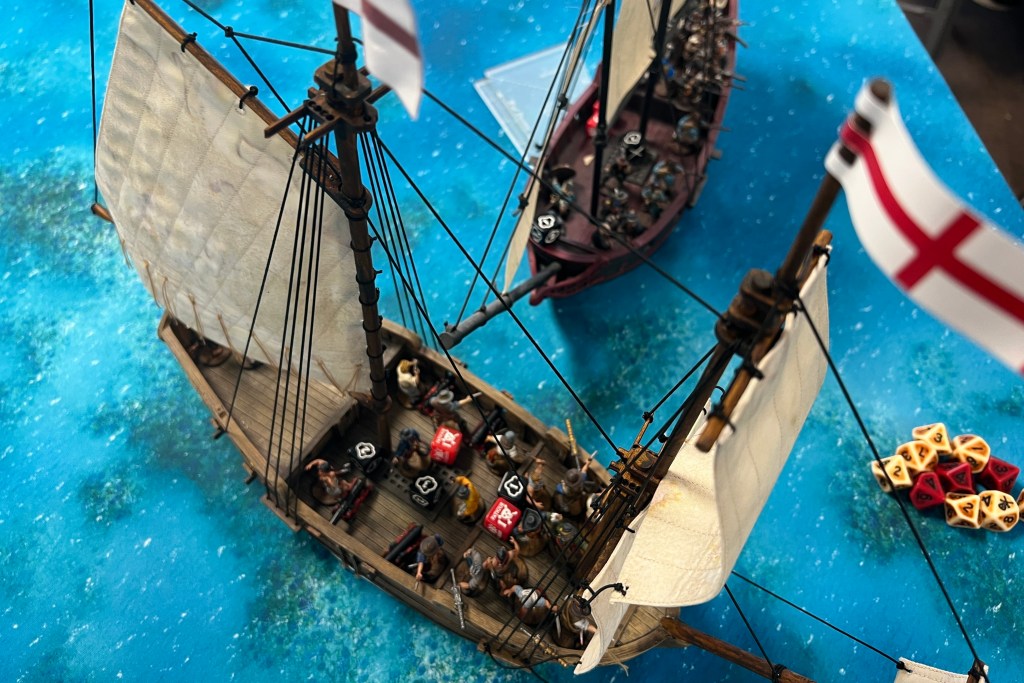
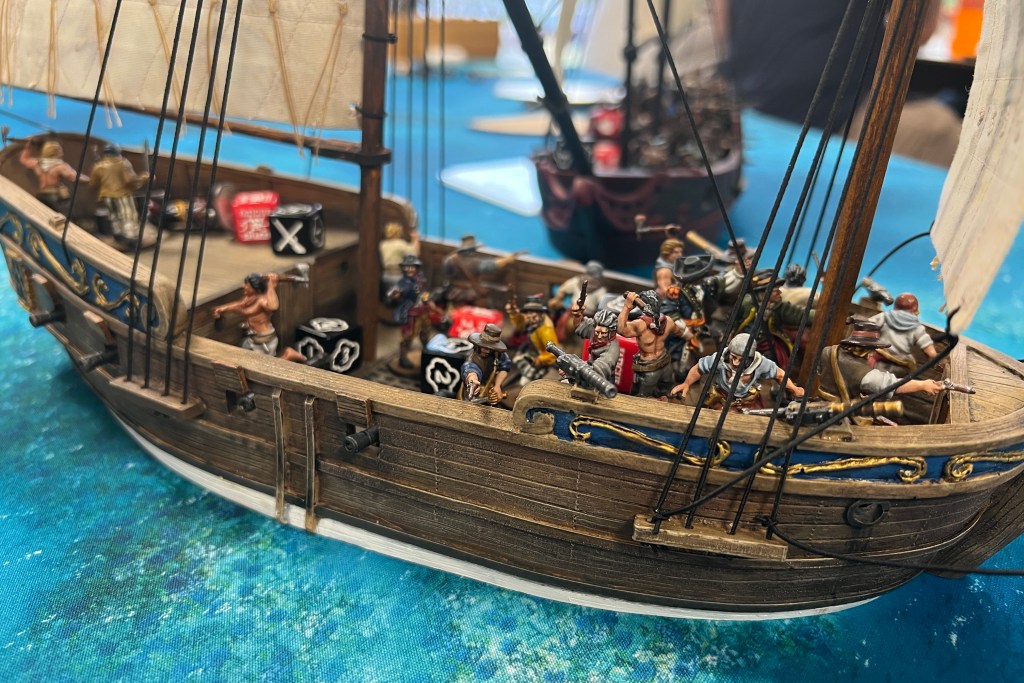
- This was my first battle with this “newly built” Brigantine featuring Seamon’s Quality Sails! These quilted cloth sails are great, best on the market in my opinion. Contact Guy Rheuark through Facebook or through the Contact page here on the blog if you are interested in getting some of these amazing sails.

Tactical Thoughts
- I should have taken grapeshot and relied on that instead of round shot against a Dutch Navy ship. The Strict Officer would be very effective on Grapeshot as well, bringing the base Shoot number down to 3. Firing 2 Medium Guns would produce 8 dice with a shoot of 3. That sounds pretty good! But the Strict Officer/Master Gunner combo does work well. Just not very well on a Brigantine without Broadside! against a Heavily Built ship. But overall I enjoyed the New England Privateers. Fun new twist for the English at sea.
- Characters are still good. I had 3 Characters in my list here, which totaled 4 Command Points counting the Commander. With careful management, I took advantage of all those command points every turn until the Kapers died, losing my Sailing Master. I’m starting to think that skillful use of Characters might be one of the best things you can do to up your Blood & Plunder game. If you understand the Actions limits, Command Point limits and rules, and know how to maximize activation card effeiciency, you can get 4 actions out of most units and you will often win the game by accomplishing the most actions (assuming you’re doing intelligent actions and your dice don’t stab you in back/face).
- Control the Field is a good scenario but there are some quirks to the sea version. For one thing, the “objective” in the list isn’t an objective but a description. It rewards the Attacker if they are able to stay upwind of the Defender at by the end of turn 6. It rewards the Defender at the end of any that they have been able to fight their way upwind and take the weather gauge from the Attacker. Those positions and objectives make sense, but it puts the burden of attacking on….the Defender? They have to fight their way upwind. They have to chase the Attacker if the Attacker would rather not fight. And I have heard of people doing that. It’s’ a cheeeesy play, but the “Attacker could just sail as close as they can to the eye of the wind and leave the Defender in the dust for 6 turns. They have a 24” head start on the Defender, and they don’t have to deploy sailing large or anything. Cheesy, but technically legal. But don’t do it.
- I got to stop spending all my Fortune in the first 2 turns! I wrote an entire article on Fortune Points which admonished players to keep at least one Fortune Point into turn 5, but I have such a hard time doing it. Those cannons make me spend Fortune like a drunken pirate. That chance for a Lucky Hit, all those reloads I have to accomplish before I can fire again. The stakes are just so high! And I know that if I get a good cannon shot off early, that could change the course of the game! But I sure when I had a Fortune left when I rolled 12 misses with my swivel guns near the end of the game!
Final Thoughts
I focused on cannons in this game and it was tough until I got that providential raking shot. But, big news! The cannon rules are getting (another) overhaul in the new rule book coming out with Raise the Black! The new rules have been posted already and you can check the entire artillery chapter here! One of the weird parts about cannons right now is that they pretty much can’t do any damage at long range, but then become super deadly at close range. These new cannon rules do a lot to smooth that out, making cannons more dangerous from turn 1. With cannons dangerous at longer ranges, a list like mine should have a few more tactical options. But you should check out that new chapter on artillery. It’s been reorganized to make it a little easier to pick up, and there are updates to shot types that should fun as well.
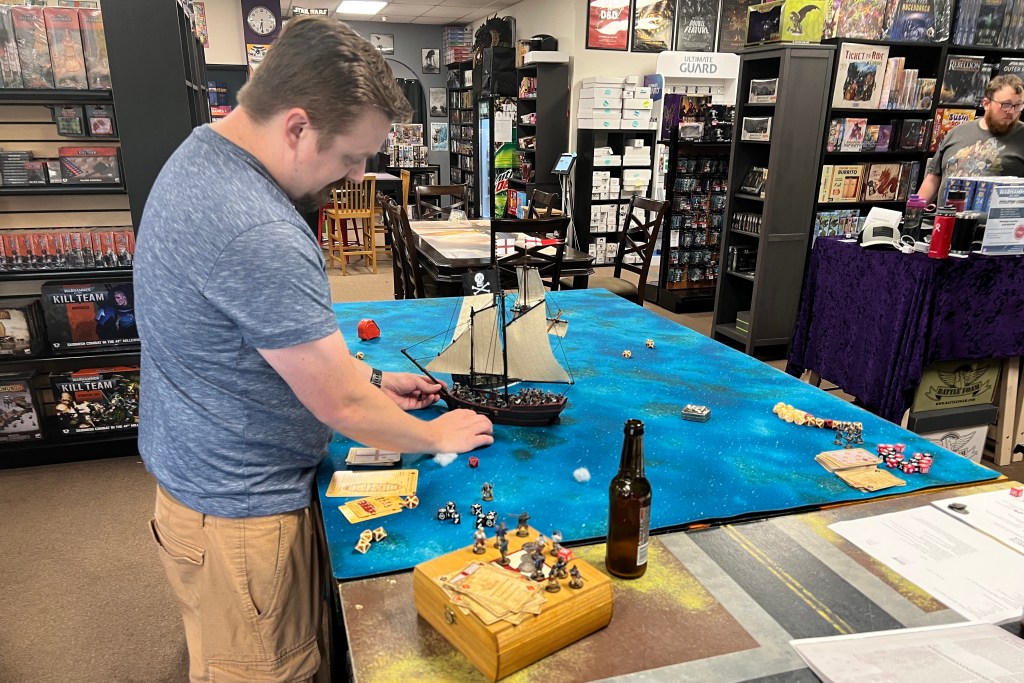
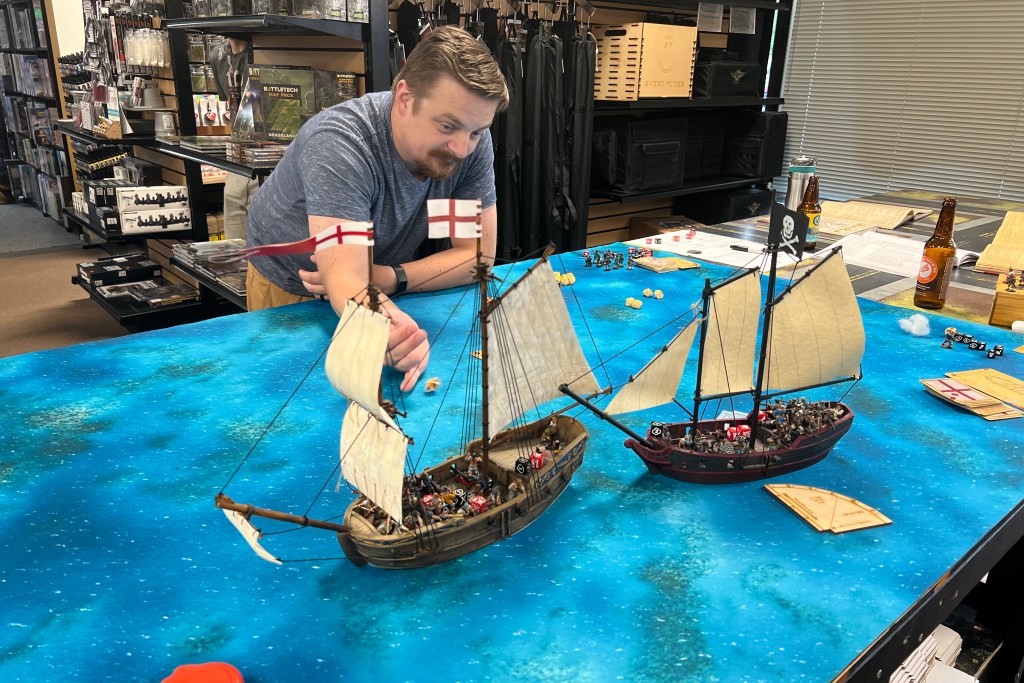
Thanks to Bryan for playing a good and challenging game and thanks to Geeks and Games for providing the gaming space and supporting Blood & Plunder. Thanks to you for reading this battle report!