By Joseph Forster
No matter how much terrain I collect or create, it seems like there’s always something else I could use. Or something else I need. In all seriousness I don’t need any more terrain but a new piece always adds interest to a board and it’s nice to have options. I’ve been meaning to buy the modular Gale Force Nine river set but I haven’t seen it in stores lately so I decided to try making my own river on the cheap.
In this article I’ll use some of the same ideas and techniques I used for making shoals to make a simple and cheap river terrain piece.
Supply List
- 1 yard Clear Vinyl Tablecloth Material
- Two shades of blue paint
- Two shades of brown paint
- PVA glue
- Static Grass or Turf Mix
- Grass Tufts
Step 1 – Cut Vinyl
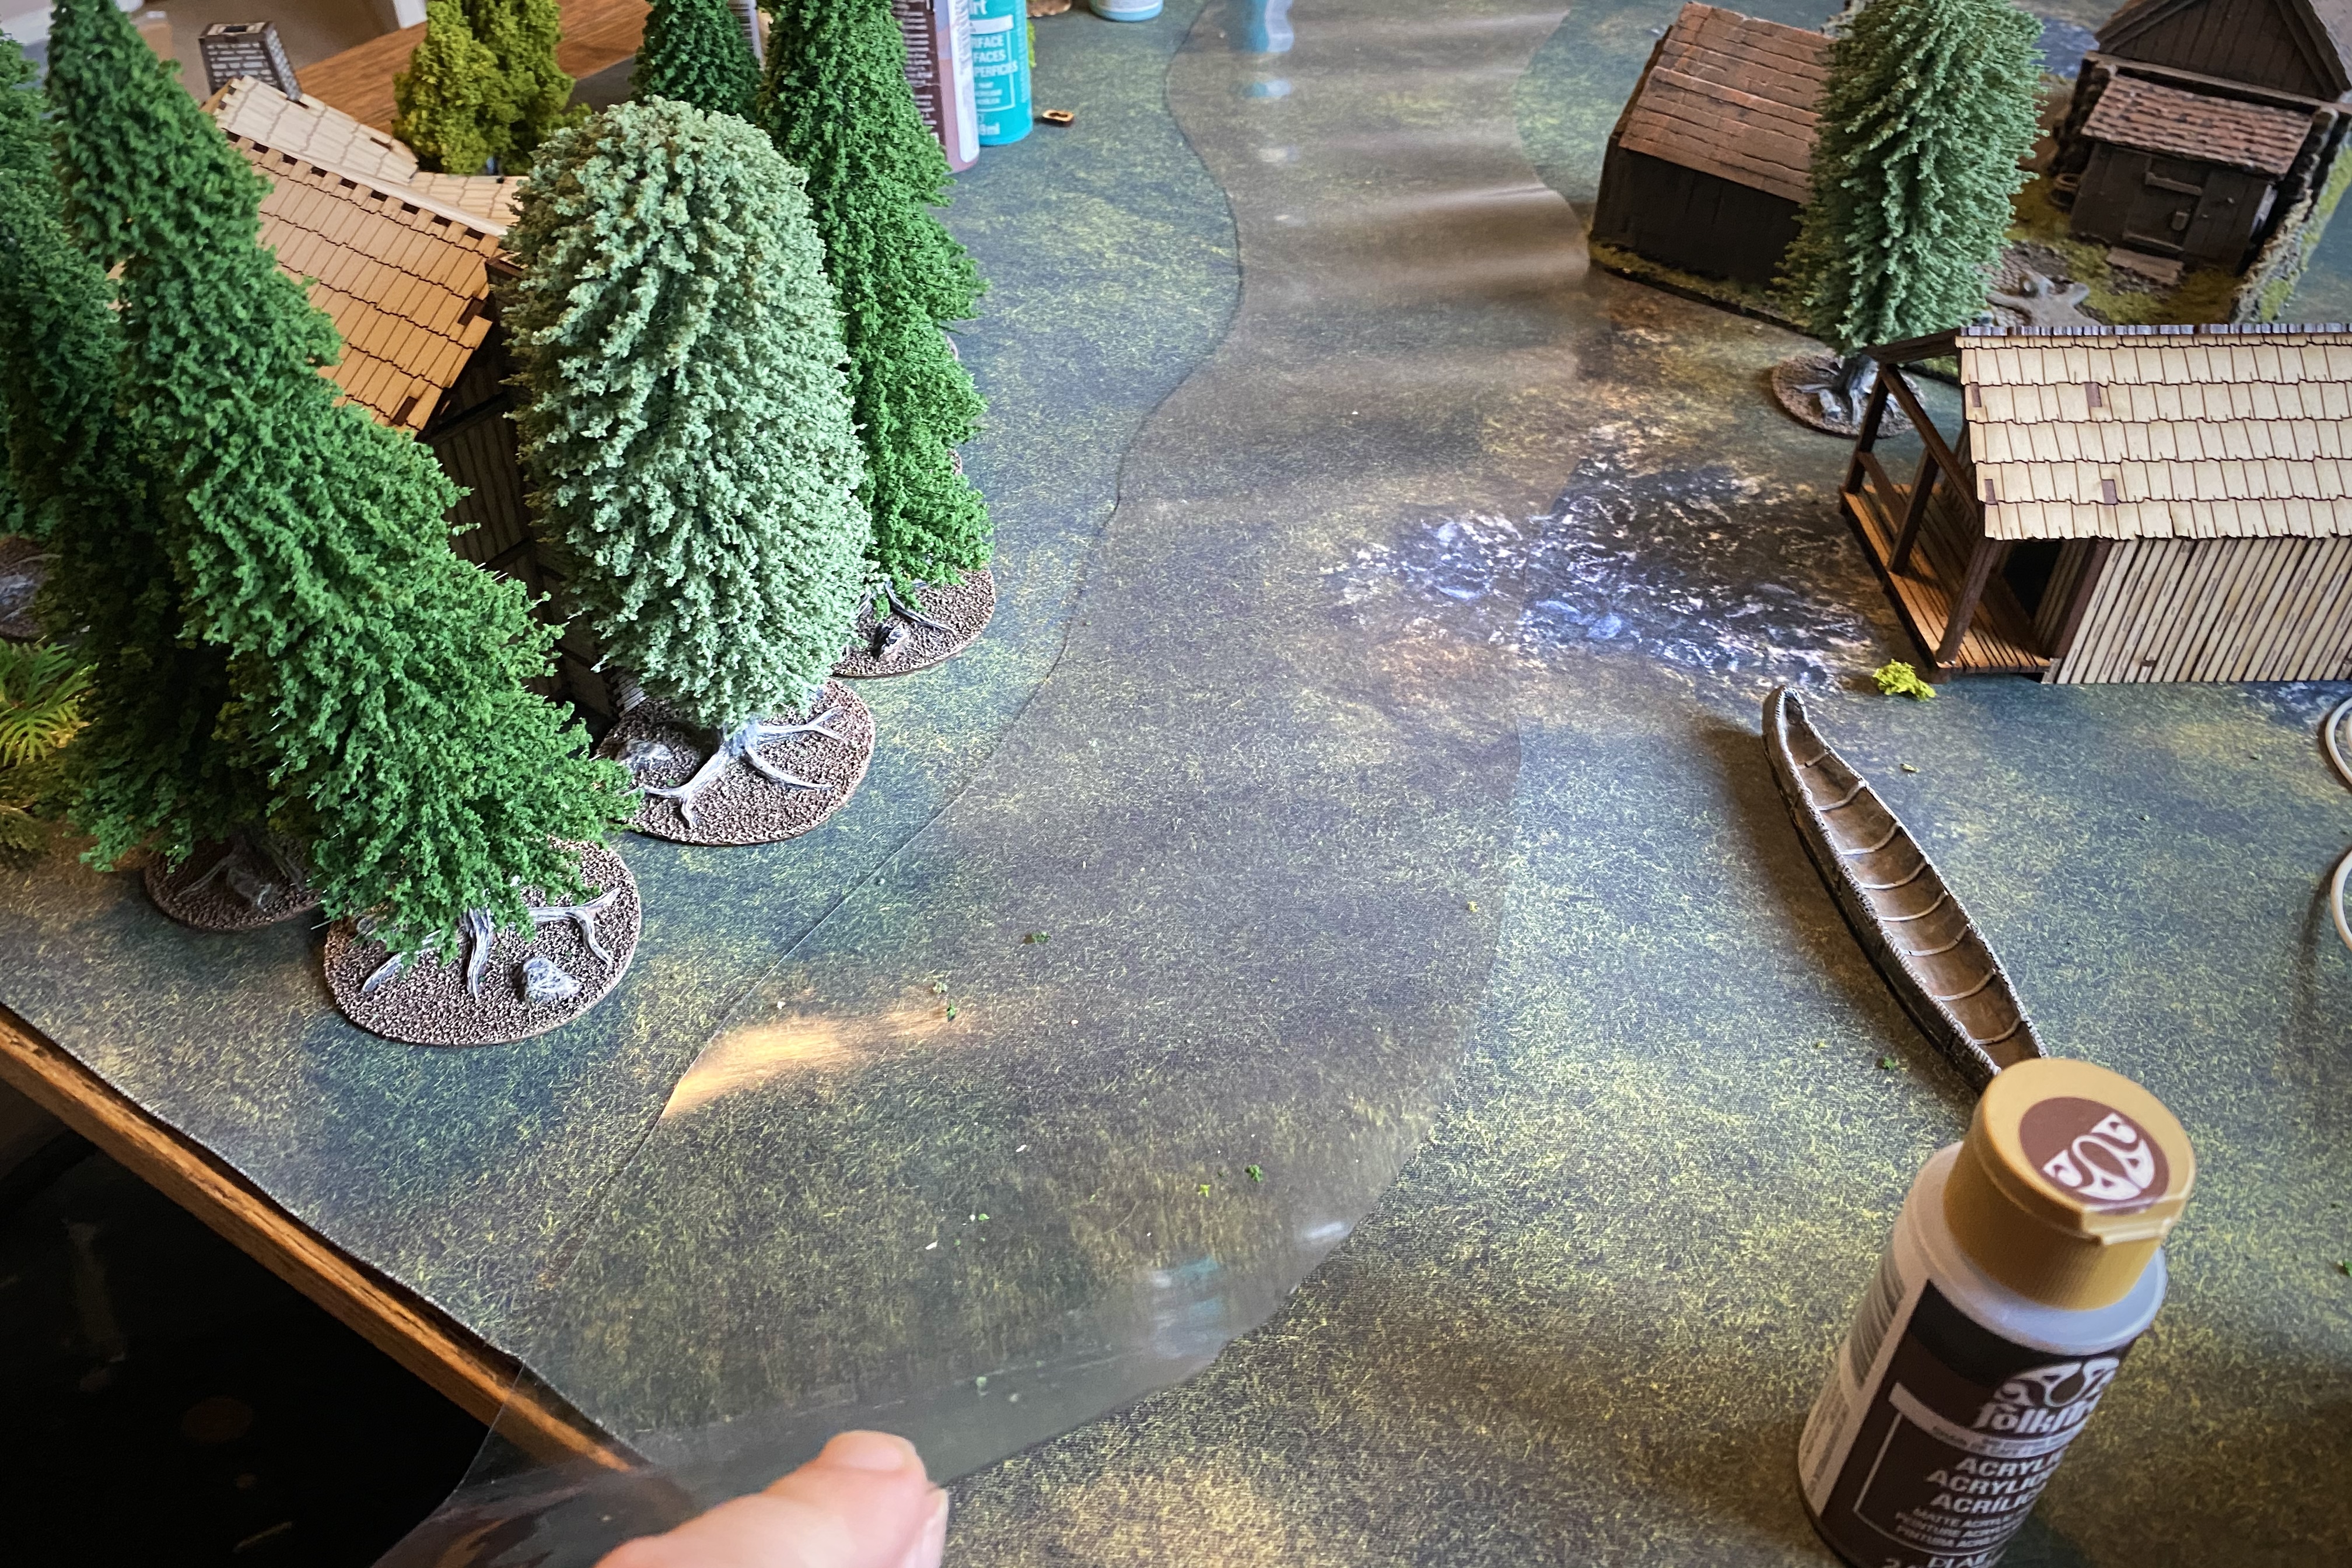
I cut the vinyl with a natural looking shape at around 6″ wide. This ended up making this a medium sized stream and you could make it a lot wider if you want a decent sized river which would be useful for boats. I trimmed it to run across a 36″ board at a bit of an angle.
Step 2 – Paint River Water on Underside of Vinyl
(I should not have been working on my game mat. I had the mat on the table to play a game with my son and I decided to make a river so I used the table without cleaning up. I didn’t get any paint on my mat but it is not smart to work with blue paint right on top of a nice game mat. Don’t do what I did.)
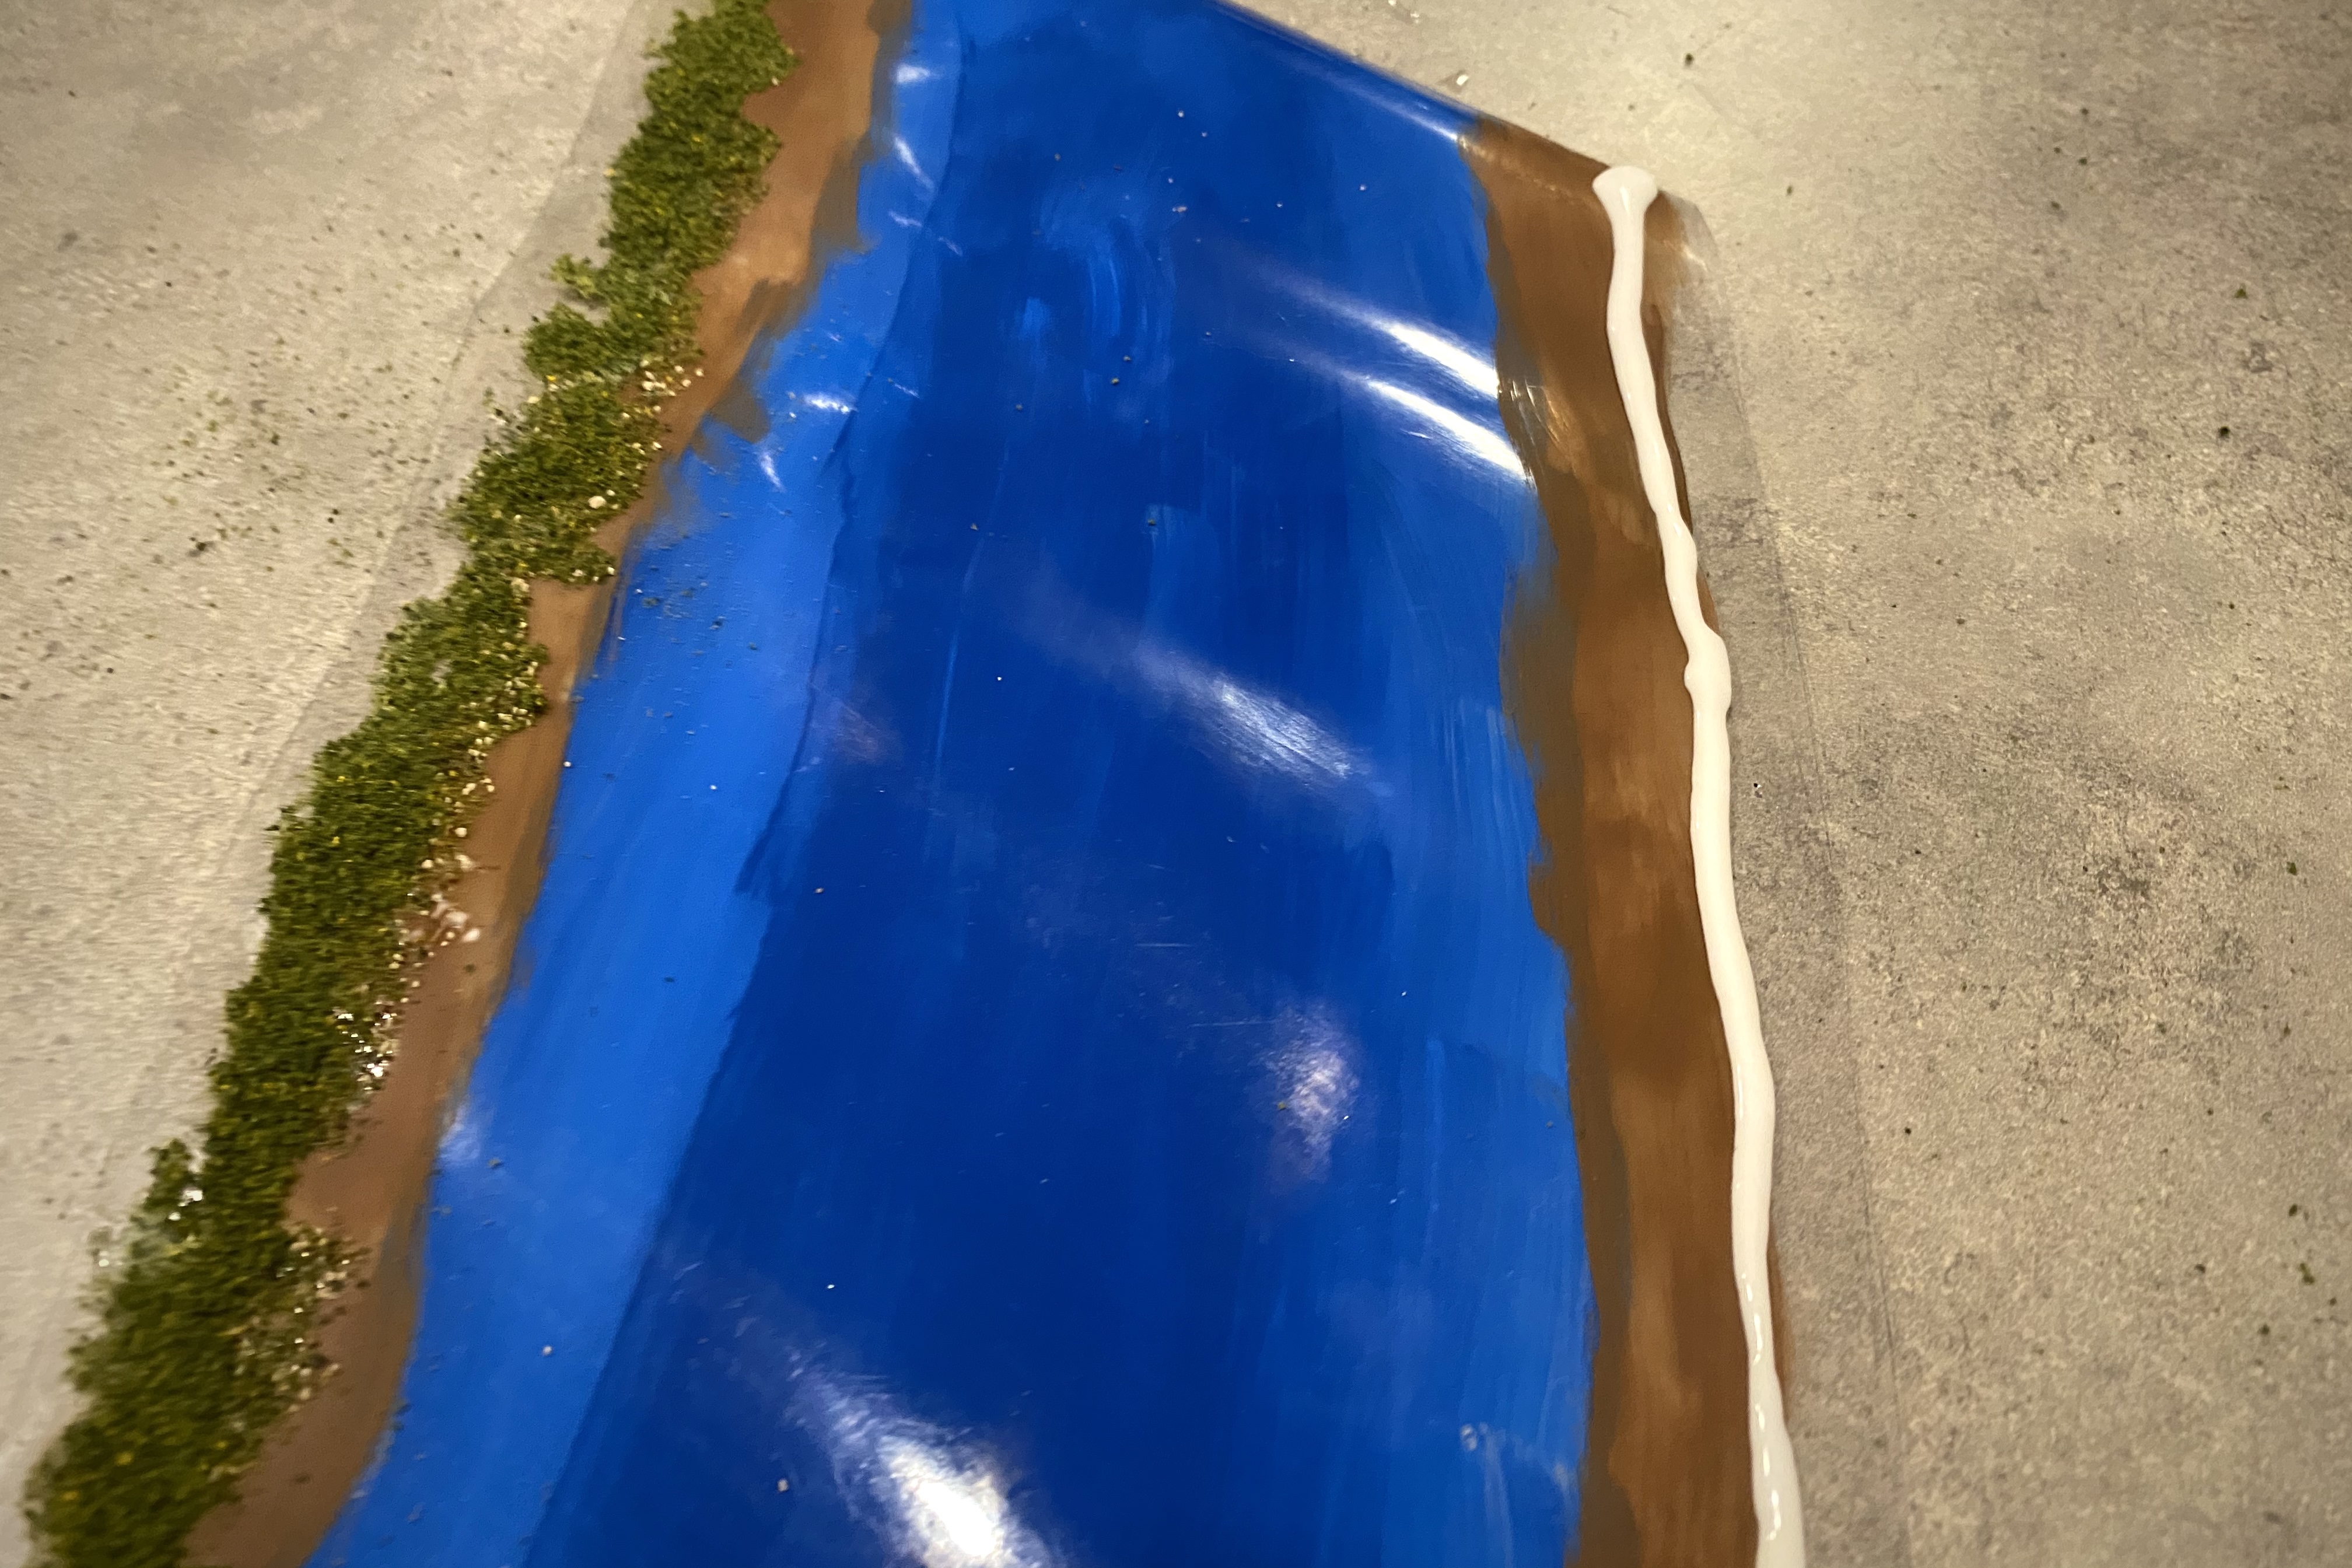
For large areas like this I use basic acrylic craft paint. I squirted a line of paint all the way down the length of the vinyl and then spread it with a 1/2″ brush.

Before the darker blue dried, I put lines of lighter blue along both edges.

Then I spread it and blended it into the still wet edges of the darker blue. I also used the lighter blue to patch some of the gaps and thin areas of the darker blue .

I let this dry a good long time (thick areas of paint can take a long time to dry on the vinyl which doesn’t absorb anything).
I realize this is much too brilliant of a blue to realistically represent water but a muddy brown river just wouldn’t look good! It’s stylized.
Step 3 – Paint the Banks on the Top of the Vinyl
Using a light and darker shade of brown, I painted along both edges of the water, blending the colors while still wet.

With the blue on the underside, it appears glossy sort of like water but the brown paint on top of the vinyl has flat finish.
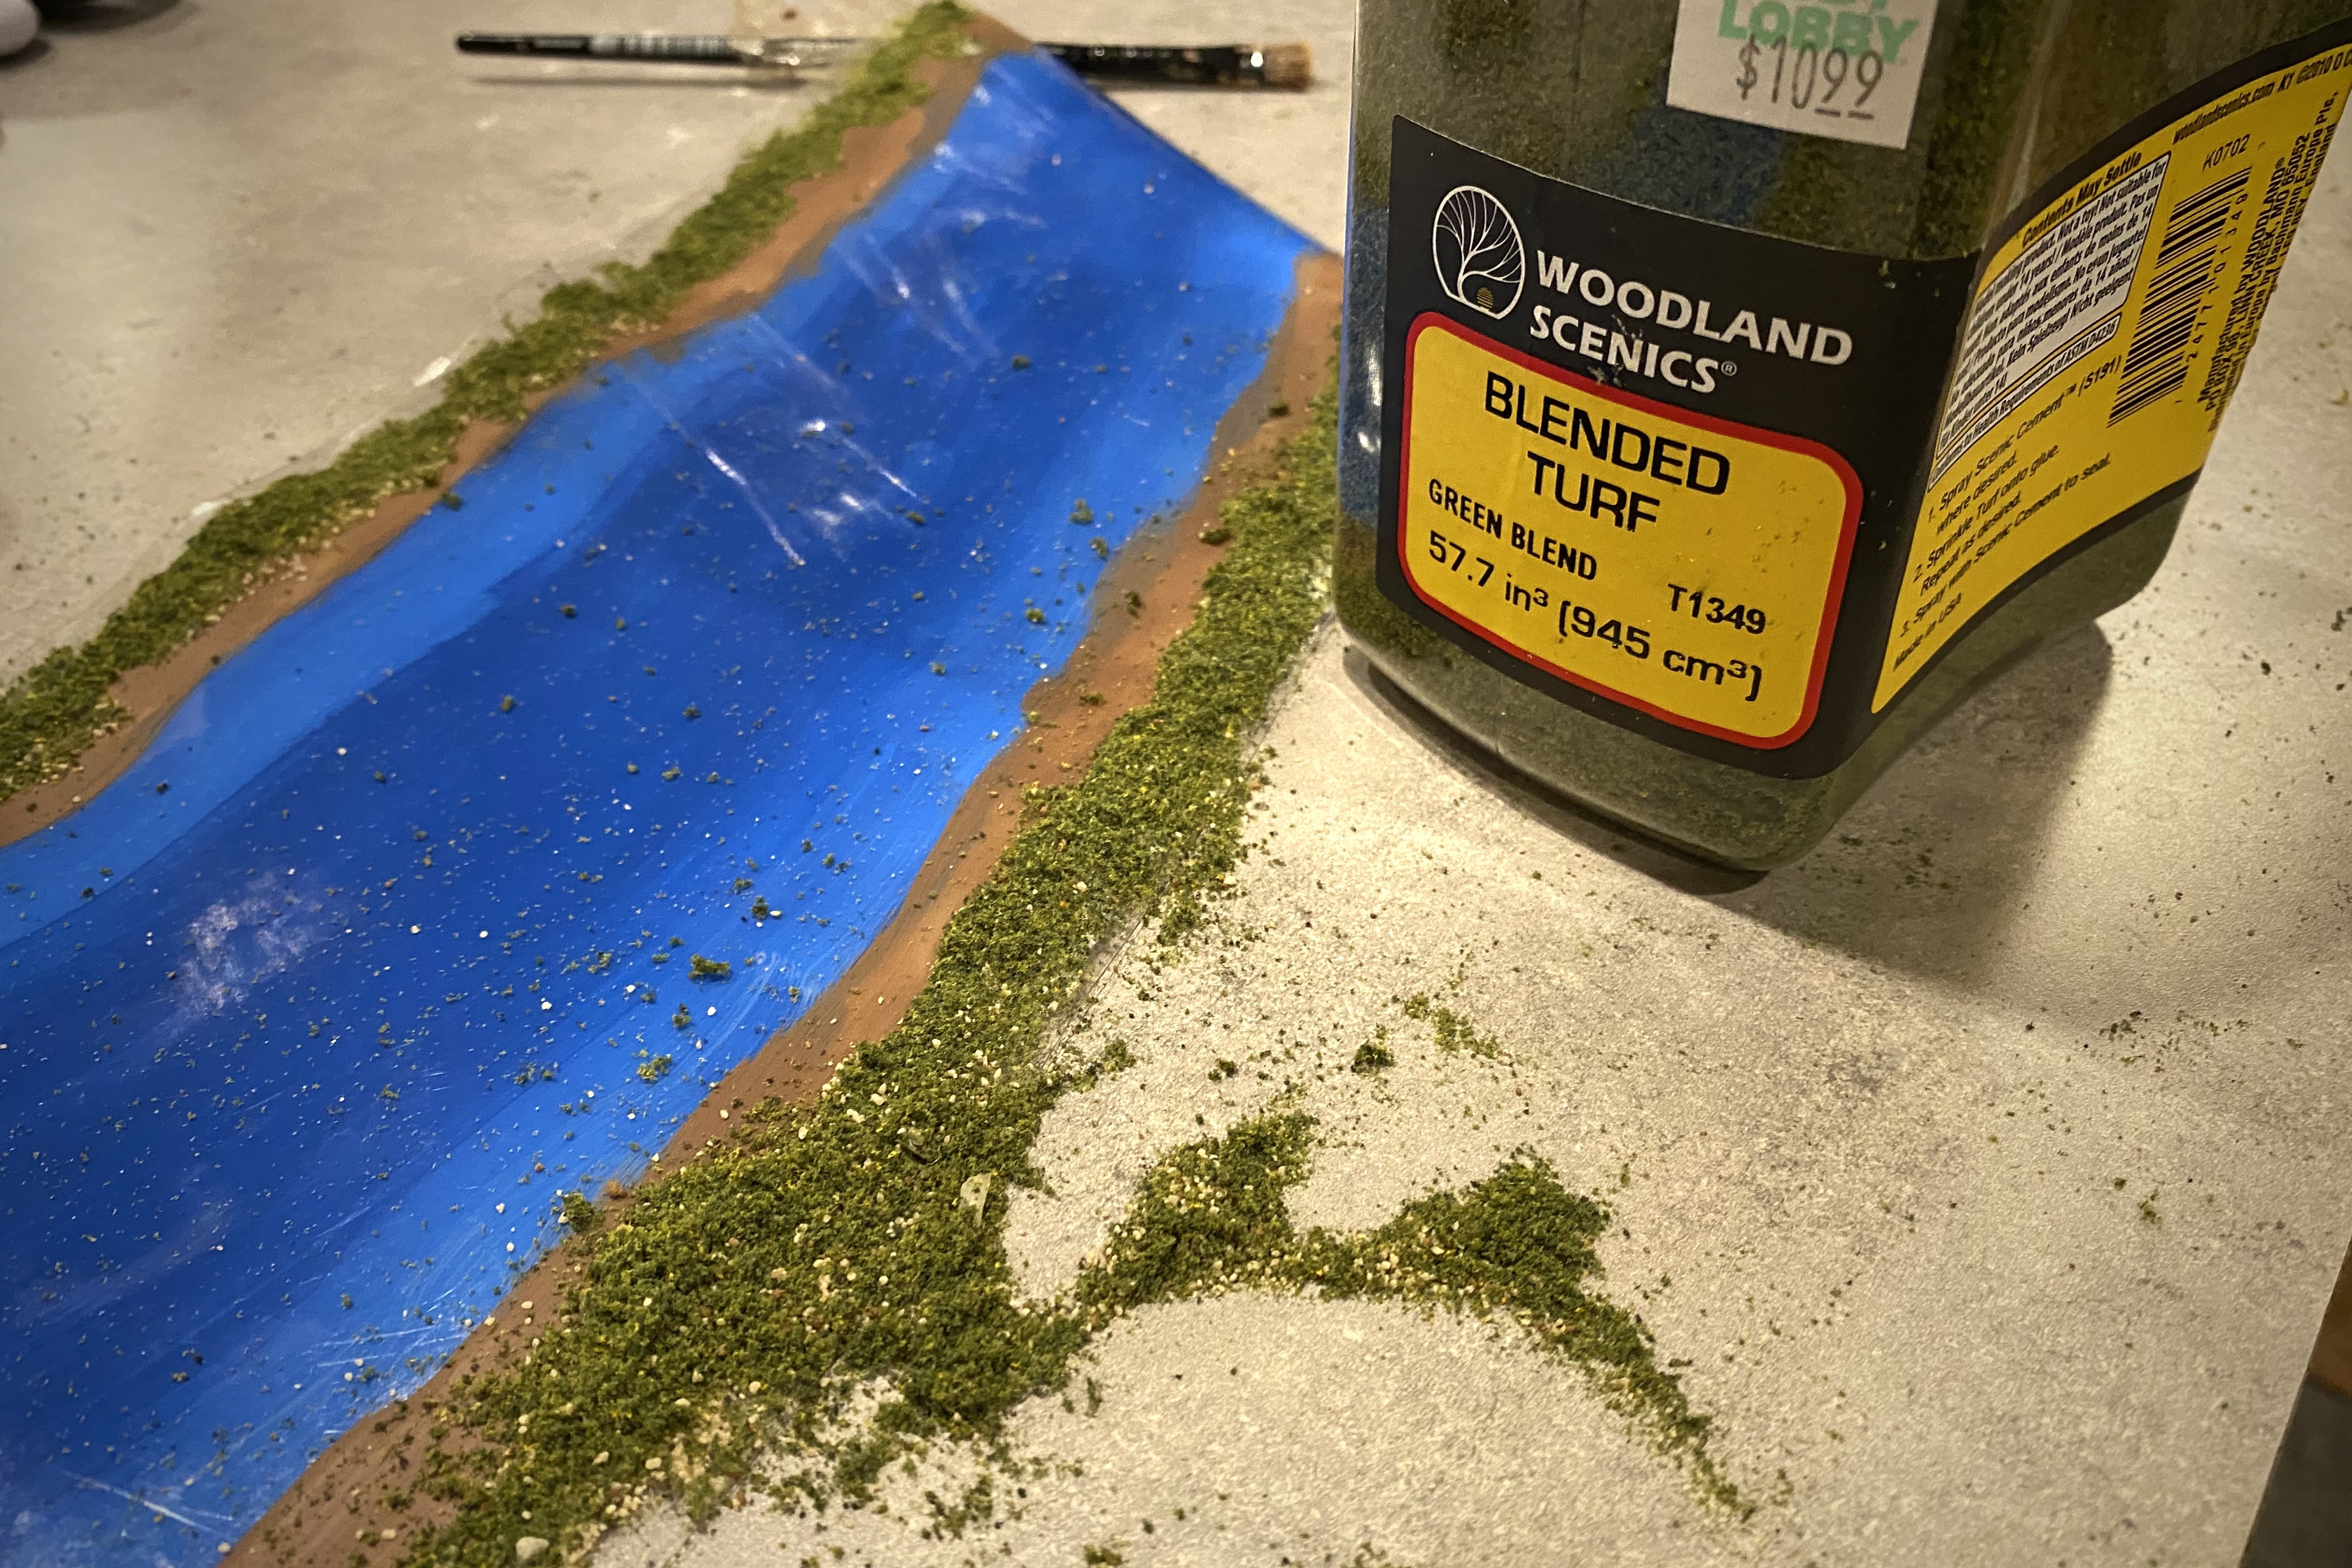
Step 4 – Add Turf and Grass Tufts
I ran a line of glue down the edges, spread it around into irregular areas with my finger, then sprinkled some sandy grit over some areas before covering all the edges with a grass. I used Woodland Scenics Blended Turf but any hobby grass product will do.
After shaking the turf over the glue, I press it down into the glue with my fingers.
After letting it sit for a while to dry, I picked up the whole river and shook off the excess.
Next I added a variety of grassy tufts to the bank.

I used a bunch of different types for variety but you would only need to purchase one pack of these if you don’t already have some in your hobby supplies.

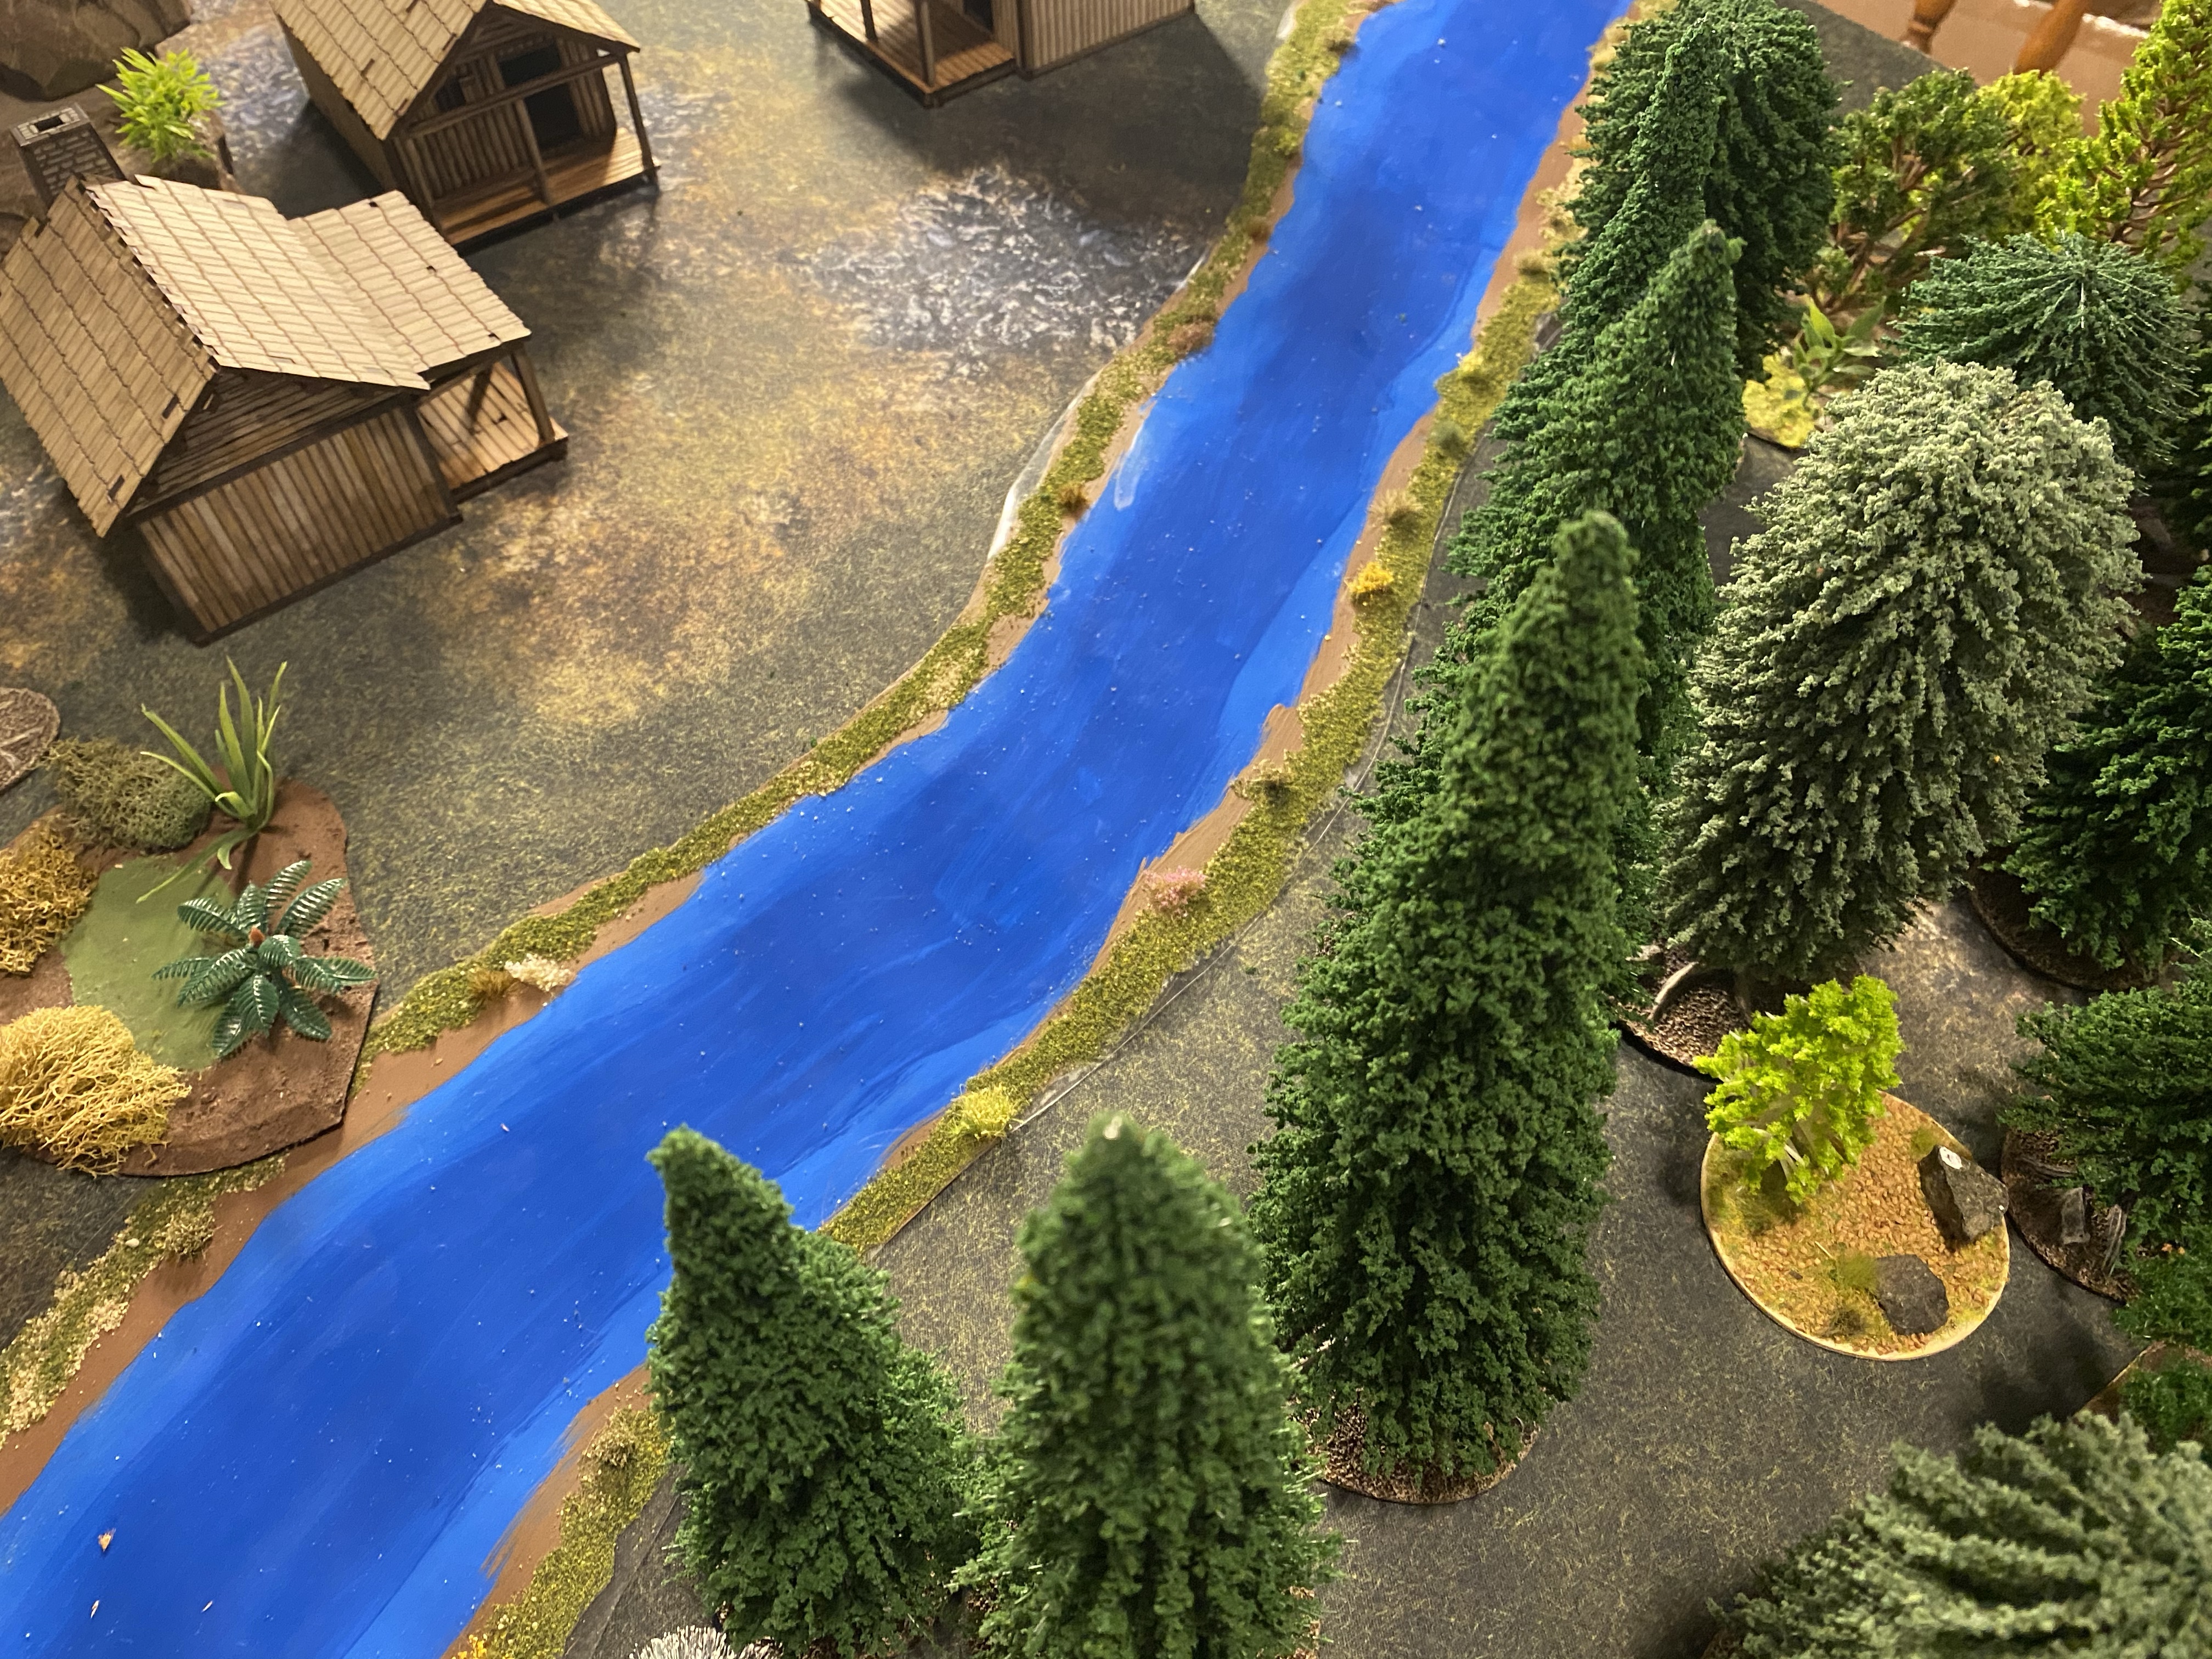
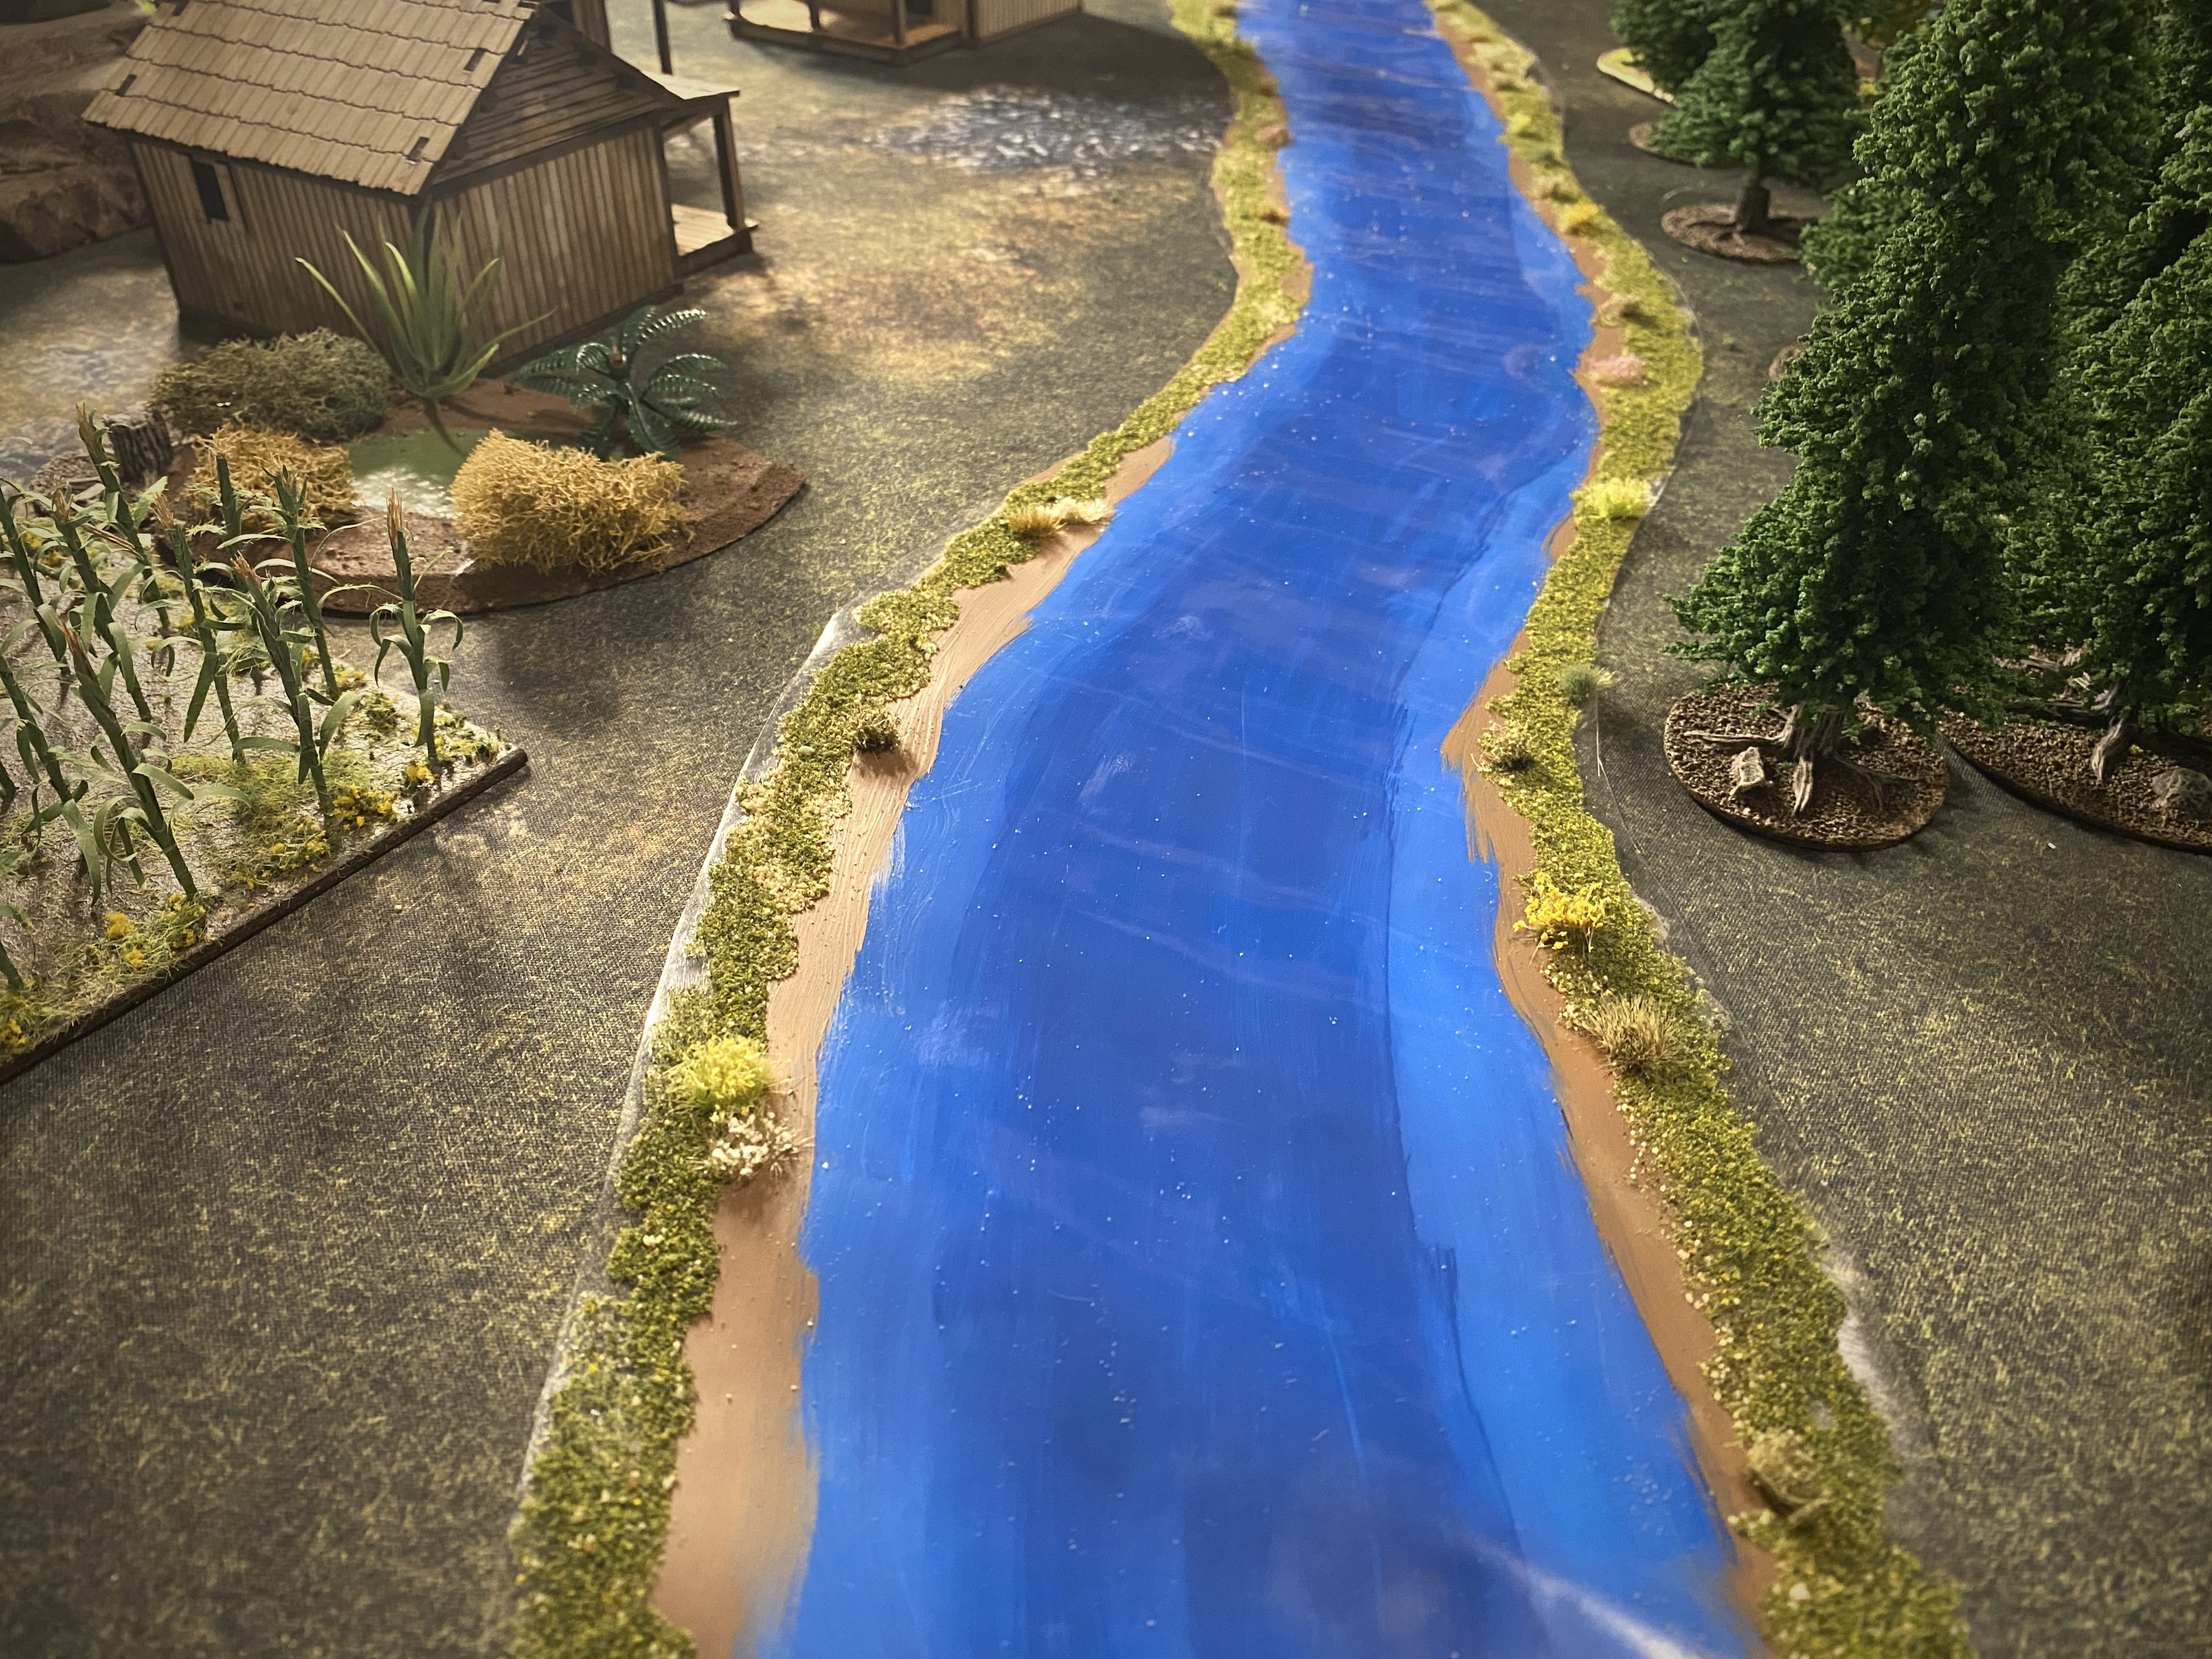
All finished. I worked on it throughout an afternoon and evening but I don’t think it took me more than 60 minutes of actual work time.
The vinyl can be purchased by the yard at a craft of fabric store and it’s not expensive. The craft paint can be purchased at the same locations for $1 or $2 a bottle. That makes the turf and grass tufts the most expensive elements of this project! Buying all the supplies for this project would cost about $20 but that would give you material to make several shoal terrain pieces as well and leave you with leftover paints, grass and possibly some tufts.

It’s a smaller “river” at 6″ wide and the canoa looks huge in it, but I think I’ll be using it as more of a stream than can be forded my models and count as rough terrain.

For minimal cost and effort, I’m happy with the results! It’s not as nice as the Gale Force Nine modular river but it’s cheaper and its a nice little project.

Storing this limp river is a little annoying but I think I’ve found a home for it on top of a bookshelf (where my wife can’t see). I just slide my shoals between the pages of my rulebook but this is a little larger and more awkward.

I have some Vallejo water texture paint that I was considering putting over the top of the blue, but I’m afraid it will break and crack on the flexible vinyl. I’ll do some experimentation and see if that can increase the realism of the water without making it too fragile.
Thanks for reading!