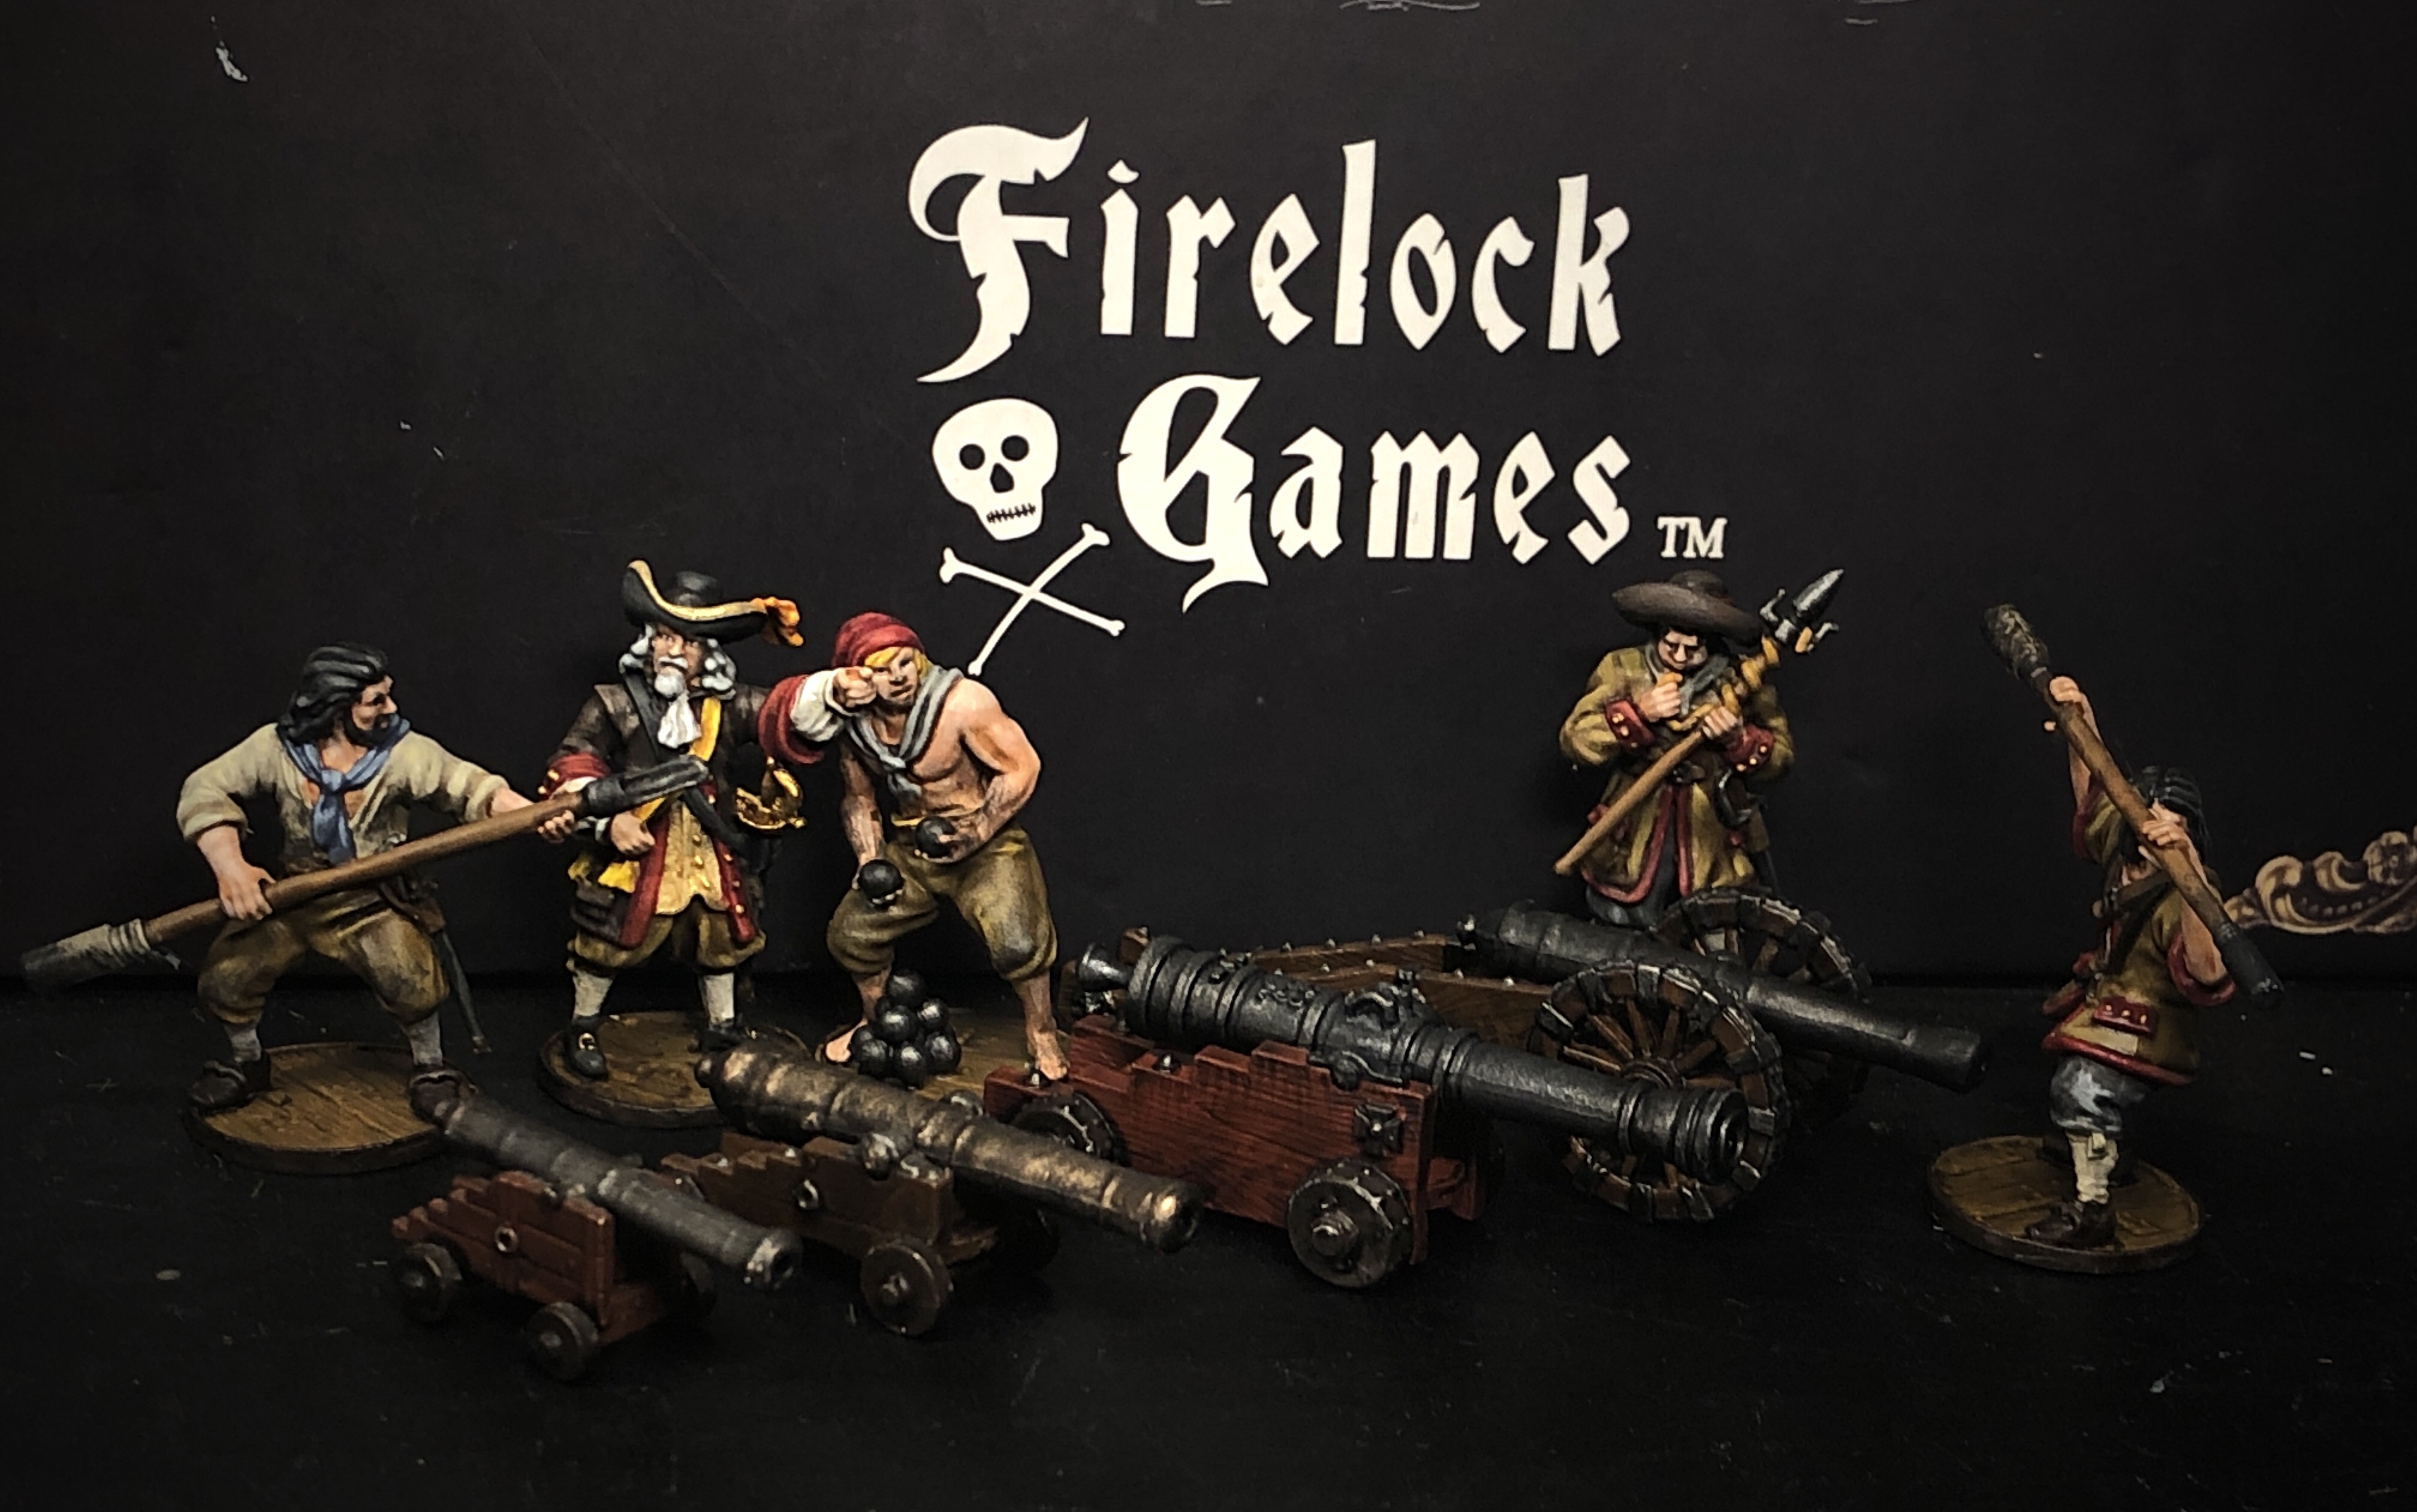
By Joseph Forster
Cannons are an exciting part of historical naval warfare and they will be central to many games of Blood & Plunder. In this article we will be looking at how cannons function in the game and going over some tactics that will help you get the most out of your big guns.
In Blood & Plunder there are four sizes of cannons that can be used, various ways to mount each size of gun, and then a variety of settings or scenarios in which these cannons can be used. But before we look at the various cannons in detail, let’s go over some of the rules for how cannons work.

How do Cannons Work?
Firing on Ships & Structures
Cannons are basically the only way you can damage ships’ hulls or structures (like houses, forts, etc.) within the Blood & Plunder rule system. Using the “optional” rules found in No Peace Beyond the Line (which are better, more fun and probably destined to become standard rather than optional), each cannon being fired rolls one dice as a “ranging shot” with a target number of only the range penalty. If a cannon succeeds this ranging shot, it will roll between 2-4 dice (depending on size) combining the Range penalty and Fortitude numbers for a new target number to actually damage the target. If there are men inside the target structure/ship, you score a hit against those models for every successful hit on the structure
Example:
A Light Cannon mounted on a Piragua fires on a Sloop at a distance of 13″. One dice is rolled looking for a 3+ (1 for each full 4″). If a 1 or 2 is rolled, that is the end of the attack as the cannon has missed entirely. If a 3+ is rolled, the attacking player would roll 2 dice to check for damage. For these damage dice, both the range penalty of 3 and the Sloop Fortitude of 4 are combined for a target number of 7.
A Light Cannon will roll 2 damage dice for every successful ranging shot, a Medium Cannon will roll 3 and a Heavy Cannon will roll 4. Those numbers are also the minimum number of models it takes to reload the various sizes of cannons. It only takes one model to fire a cannon, no matter the size.
Swivel Guns, Grapeshot and firing solid shot at troops work differently but that’s the majority of your cannons will be firing at ships/structures and using the system outlined above.
The old version of the cannon rules found in the original book is similar but that ranging shot also takes the Fortitude into account which makes it harder to actually make contact, but successful ranging shots count as one point of damage instead of simply “making contact.” I will be using the “new rules” for cannons from here on.
Firing Grapeshot

Grapeshot is a deadly way to target men either in the open or in structures but it won’t damage structures like standard Solid Shot. Instead of rolling a ranging shot and damage dice separately, all the dice are rolled together with a base target number of 4 plus any range penalties. Cannons don’t come equipped with Grapeshot automatically but it can be purchased for 1 point per pair of cannons in a ship, or 1 point per cannon anywhere else.
Firing Solid Shot at Models Outside a Structure
Firing at models inside a structure is effective and deadly as shattered pieces of wood, stone or brick act as shrapnel. Shooting solid shot at models outside of a structure isn’t as deadly but is very accurate. Your target number to hit is only the range penalty and the model that is hit doesn’t even get a chance to roll a Save! Instant death. Apparently cannon balls to the head are bad news…
Firing Chain Shot
We don’t know how this will work yet but it will include some bonus for hitting and damaging rigging and we can expect this new style of cannon shot in the Raise the Black expansion book.
Firing Swivel Guns
Swivel Guns work the same as firing Grapeshot from the larger guns but their base number to hit is 6 plus the range penalty. While Light, Medium and Heavy Cannons take 4 Reload Markers after firing, Swivel Guns only take 2 making them extremely fast and deadly anti-personnel weapons. Reloading Swivel Guns takes 2 models per gun.
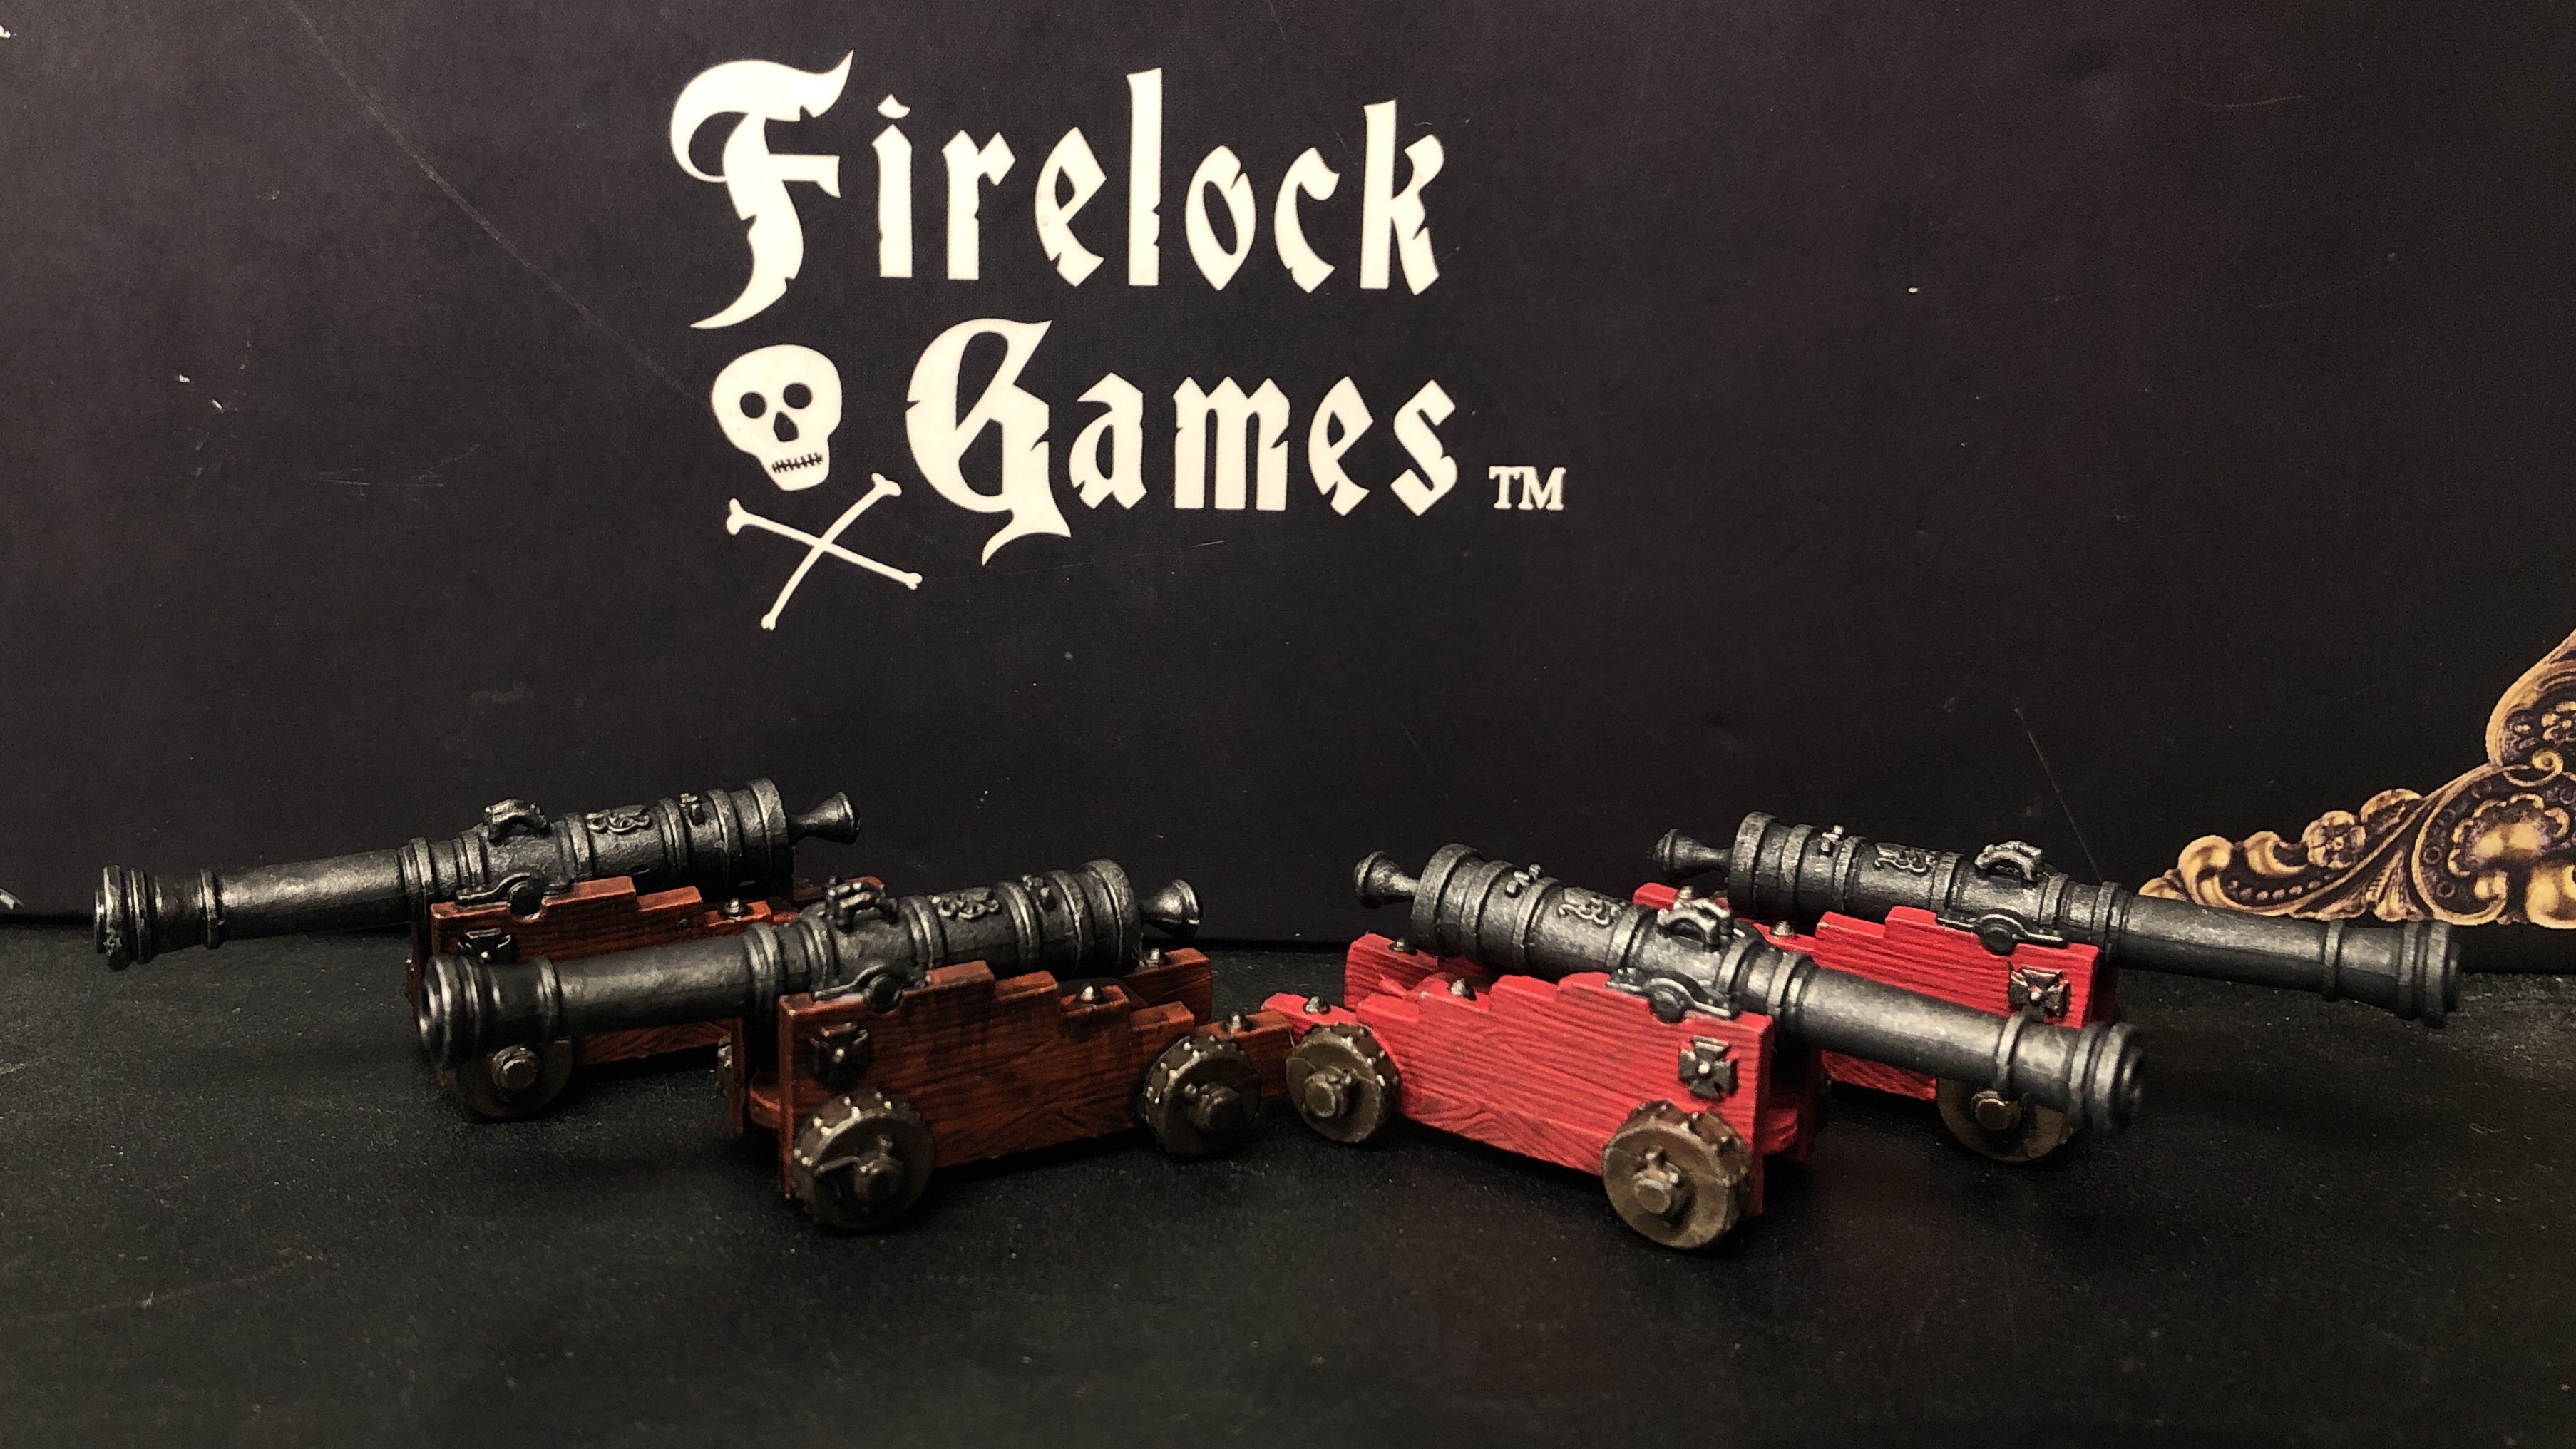
Carriage Variations
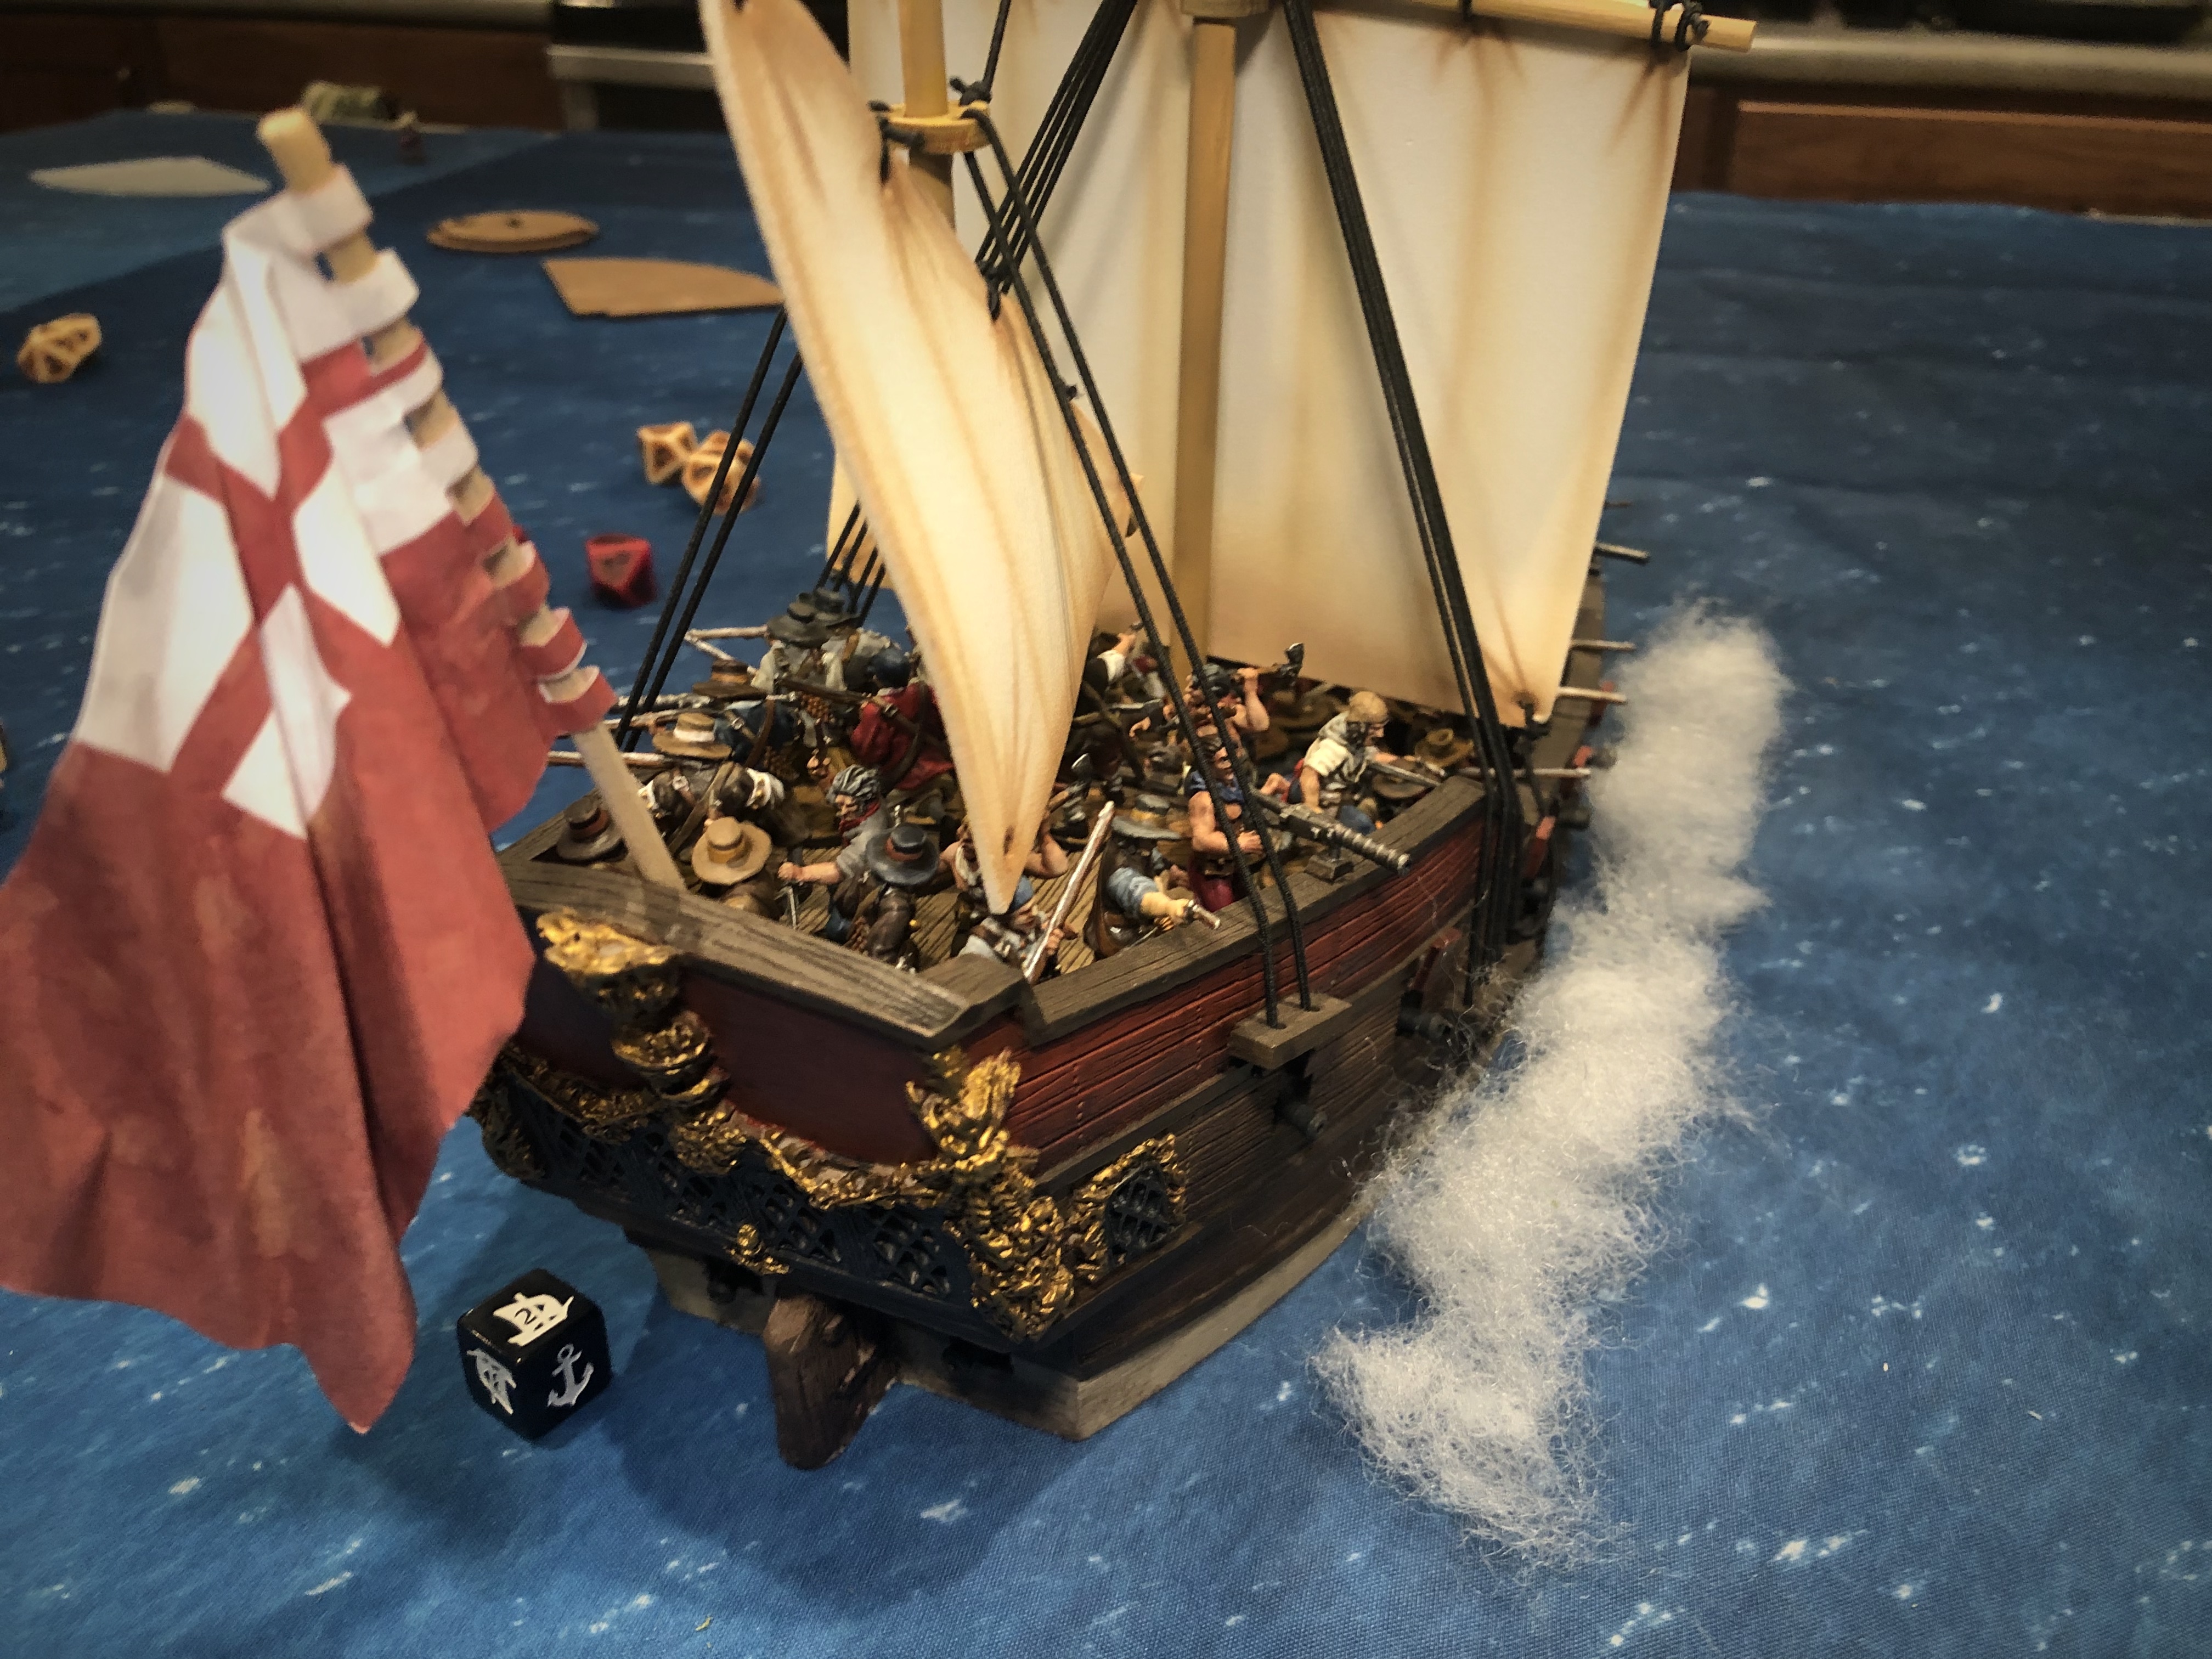
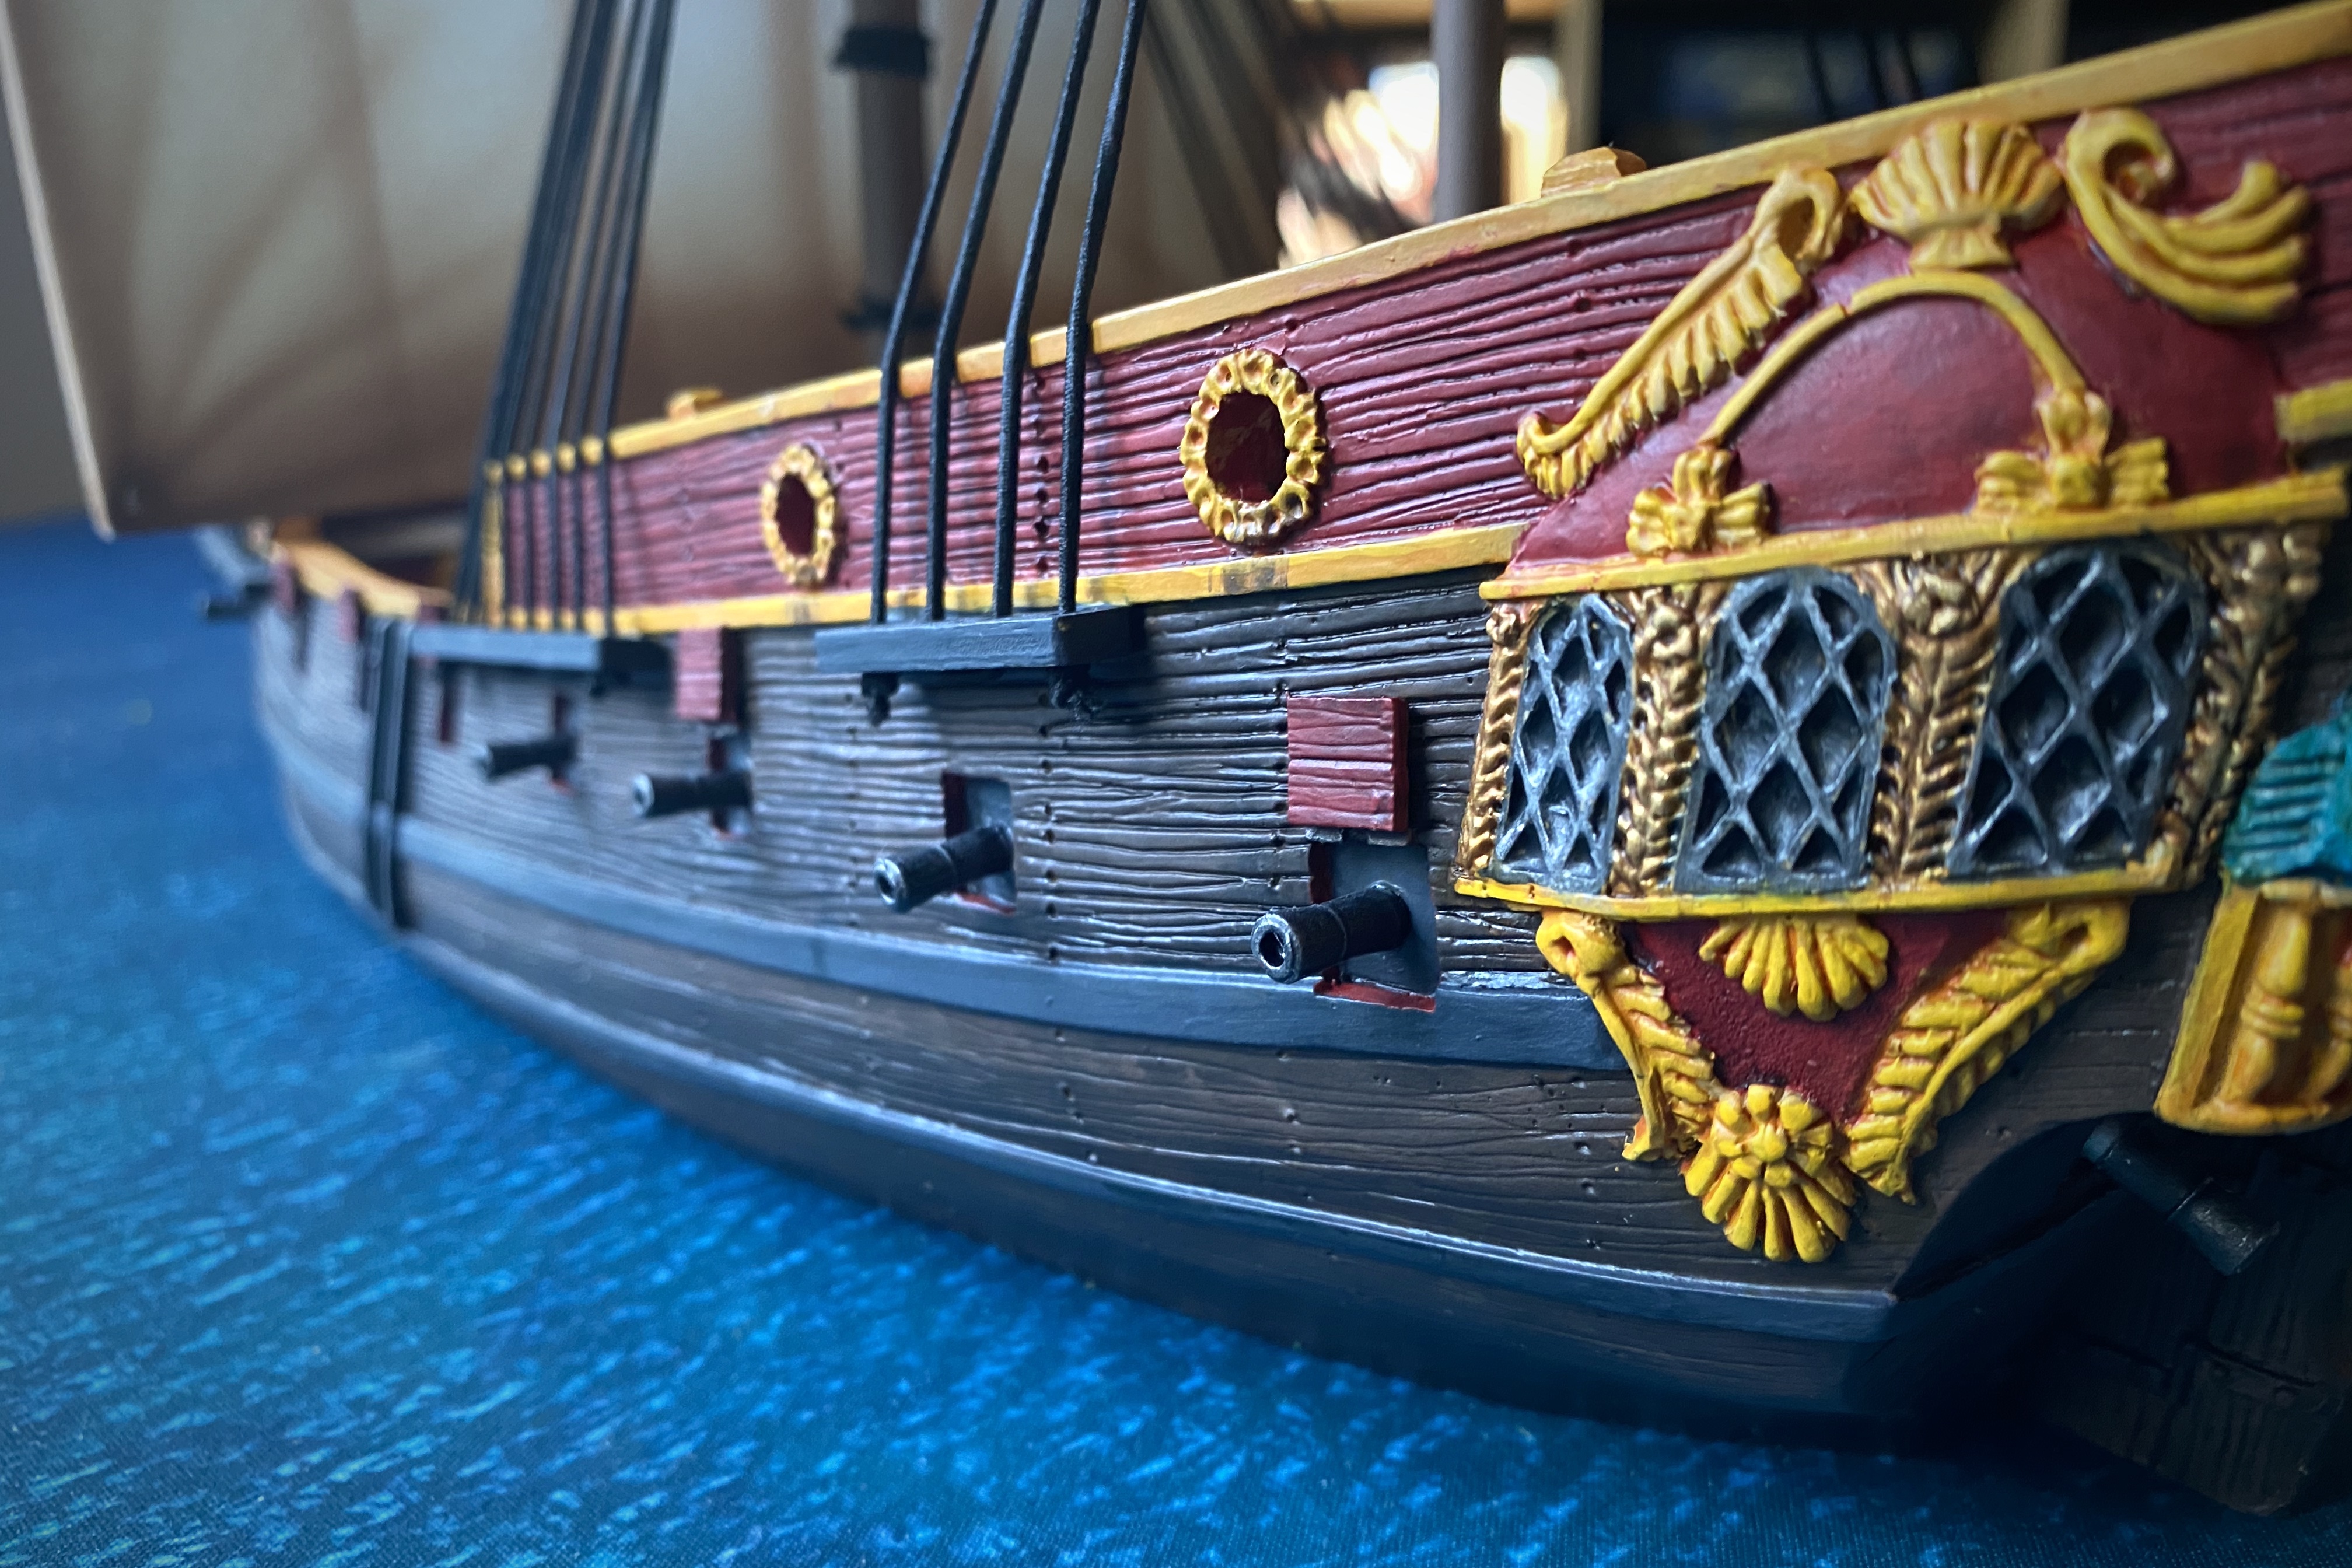
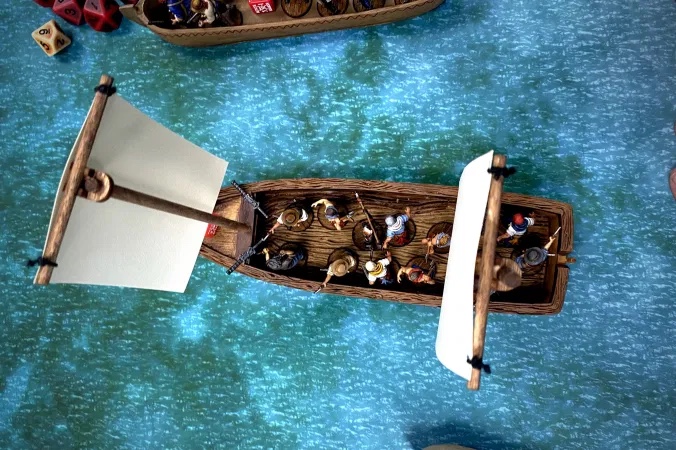
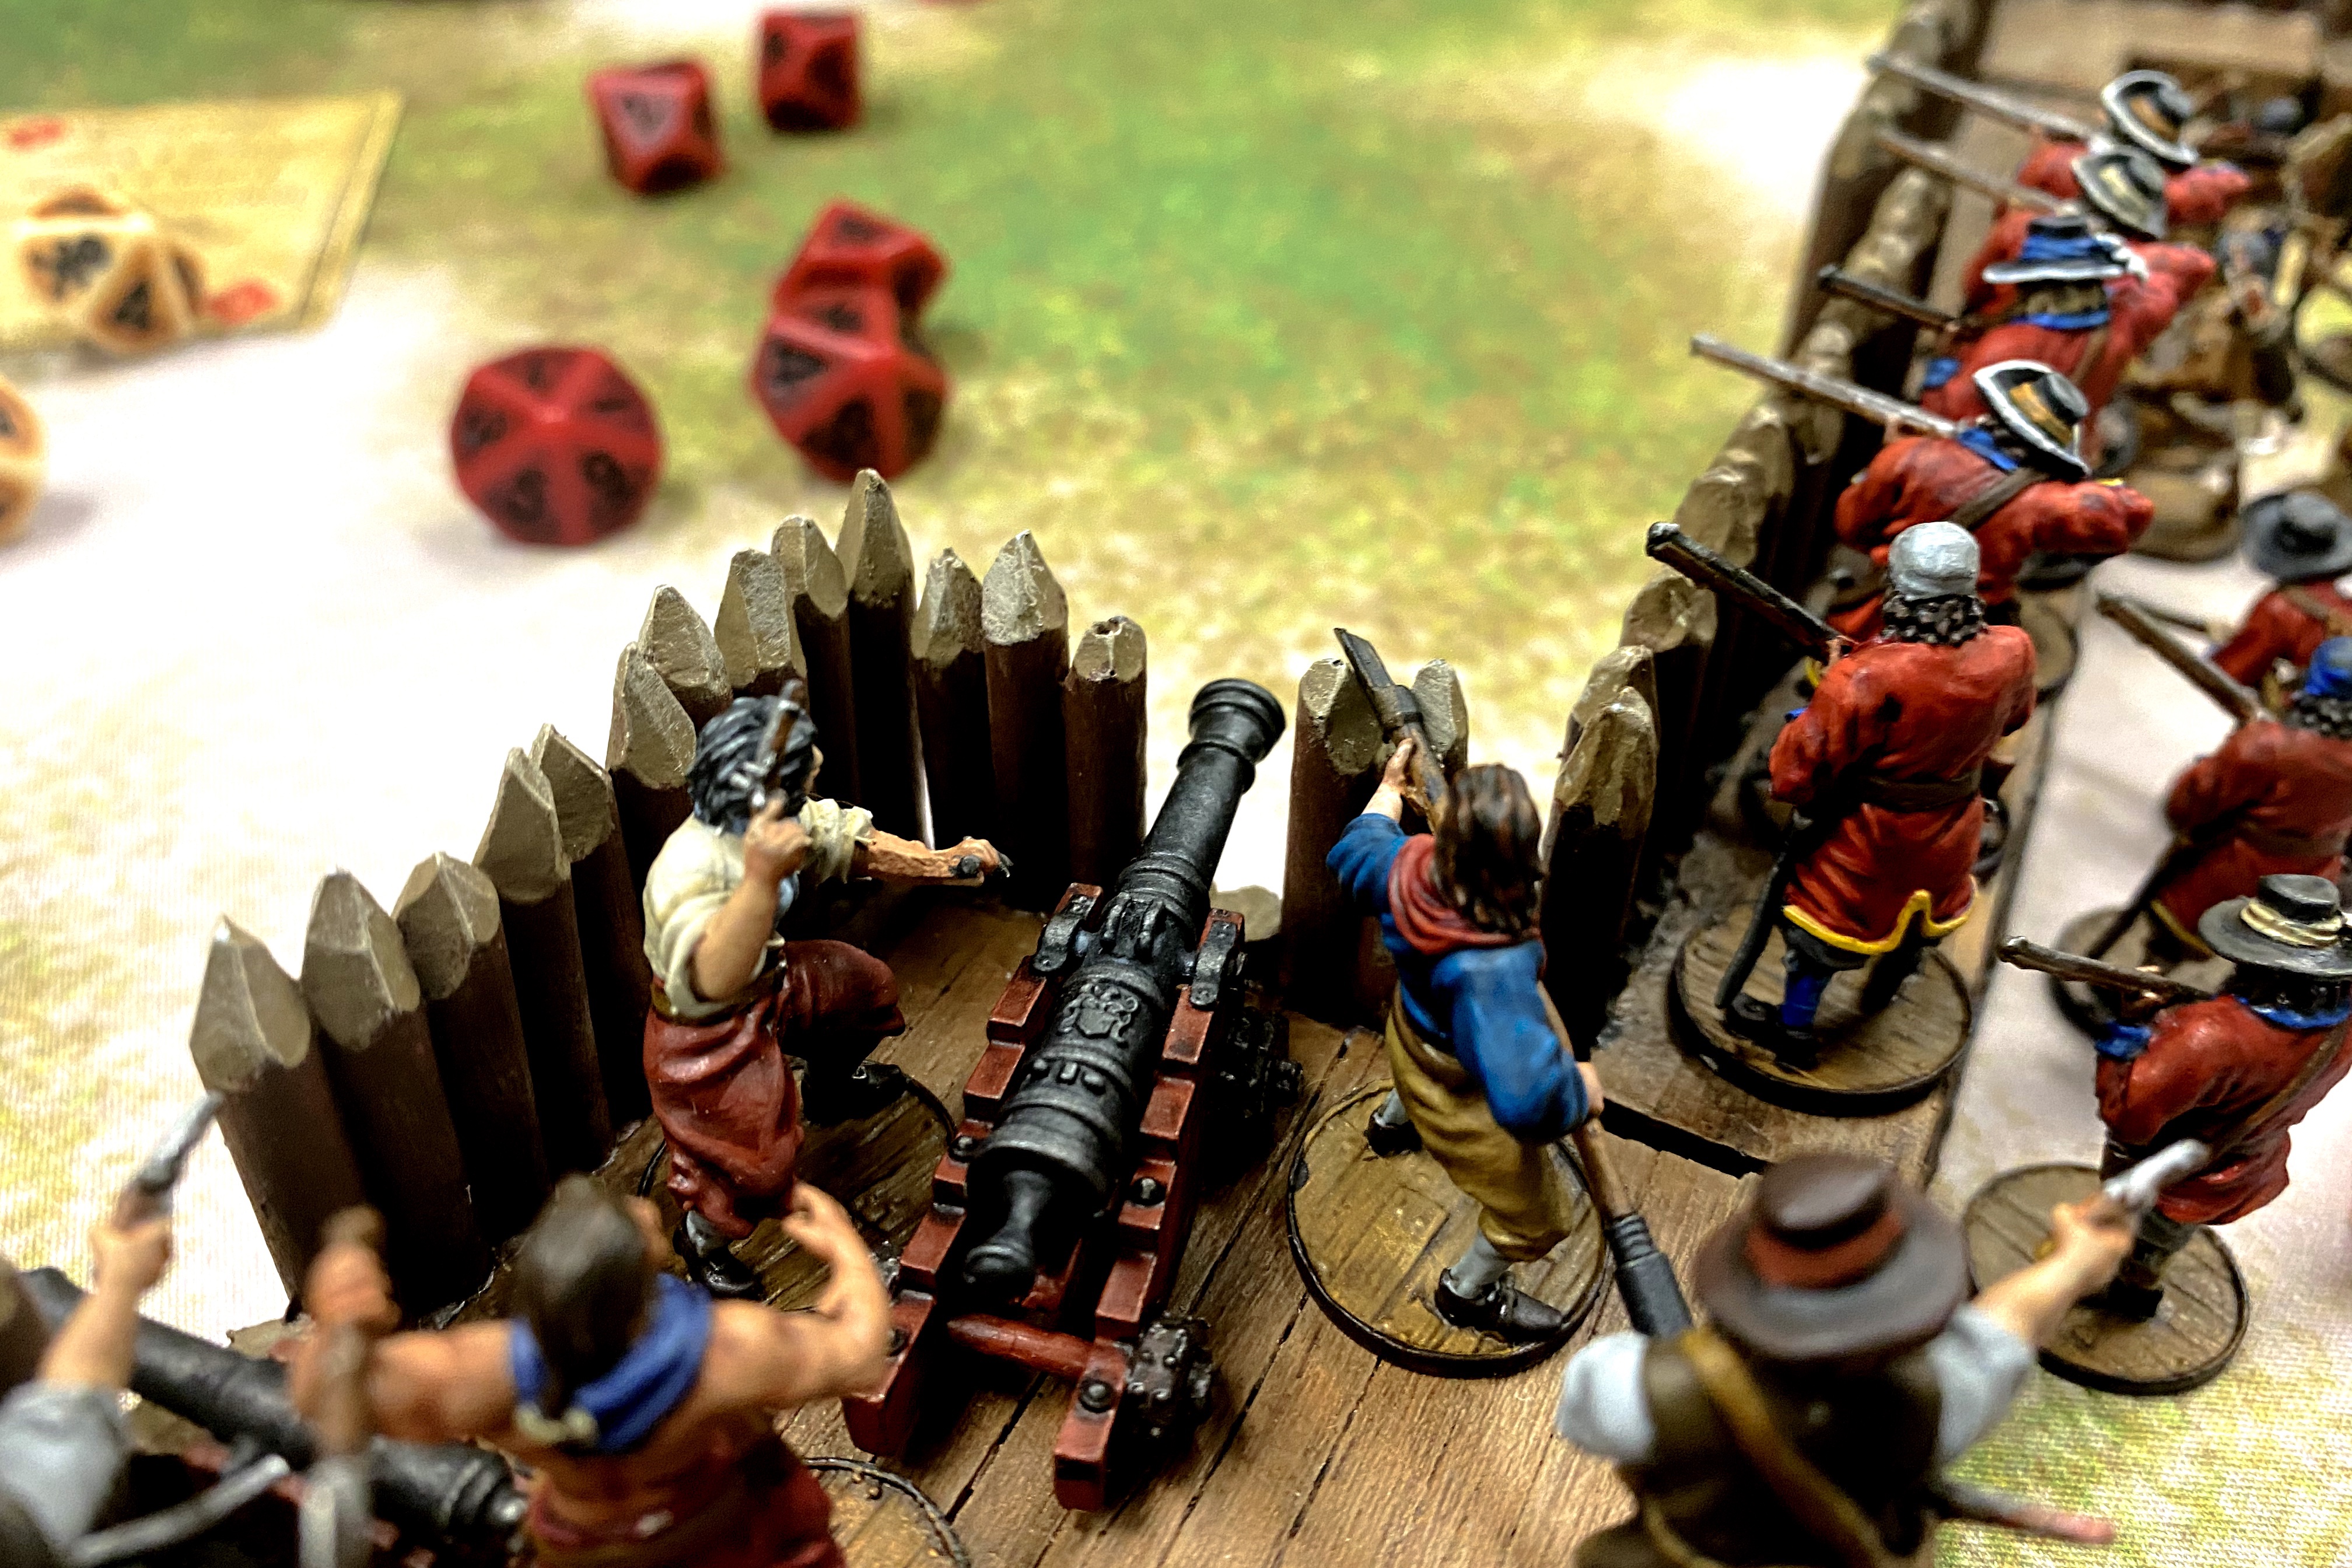
When used in ships or fortifications, cannons will be mounted on “Naval Carriages” which are low and stout carriages with relatively small wheels. This style of cannon works well on heavy wood or stone floors but cannot be taken out in the field over rough terrain. Light, Medium and Heavy Cannons are most frequently mounted on Navel Carriages in Blood & Plunder. You’ll be using lots of this type of cannon in all sizes of ships, gun emplacements, fort bastions, and blockhouses.
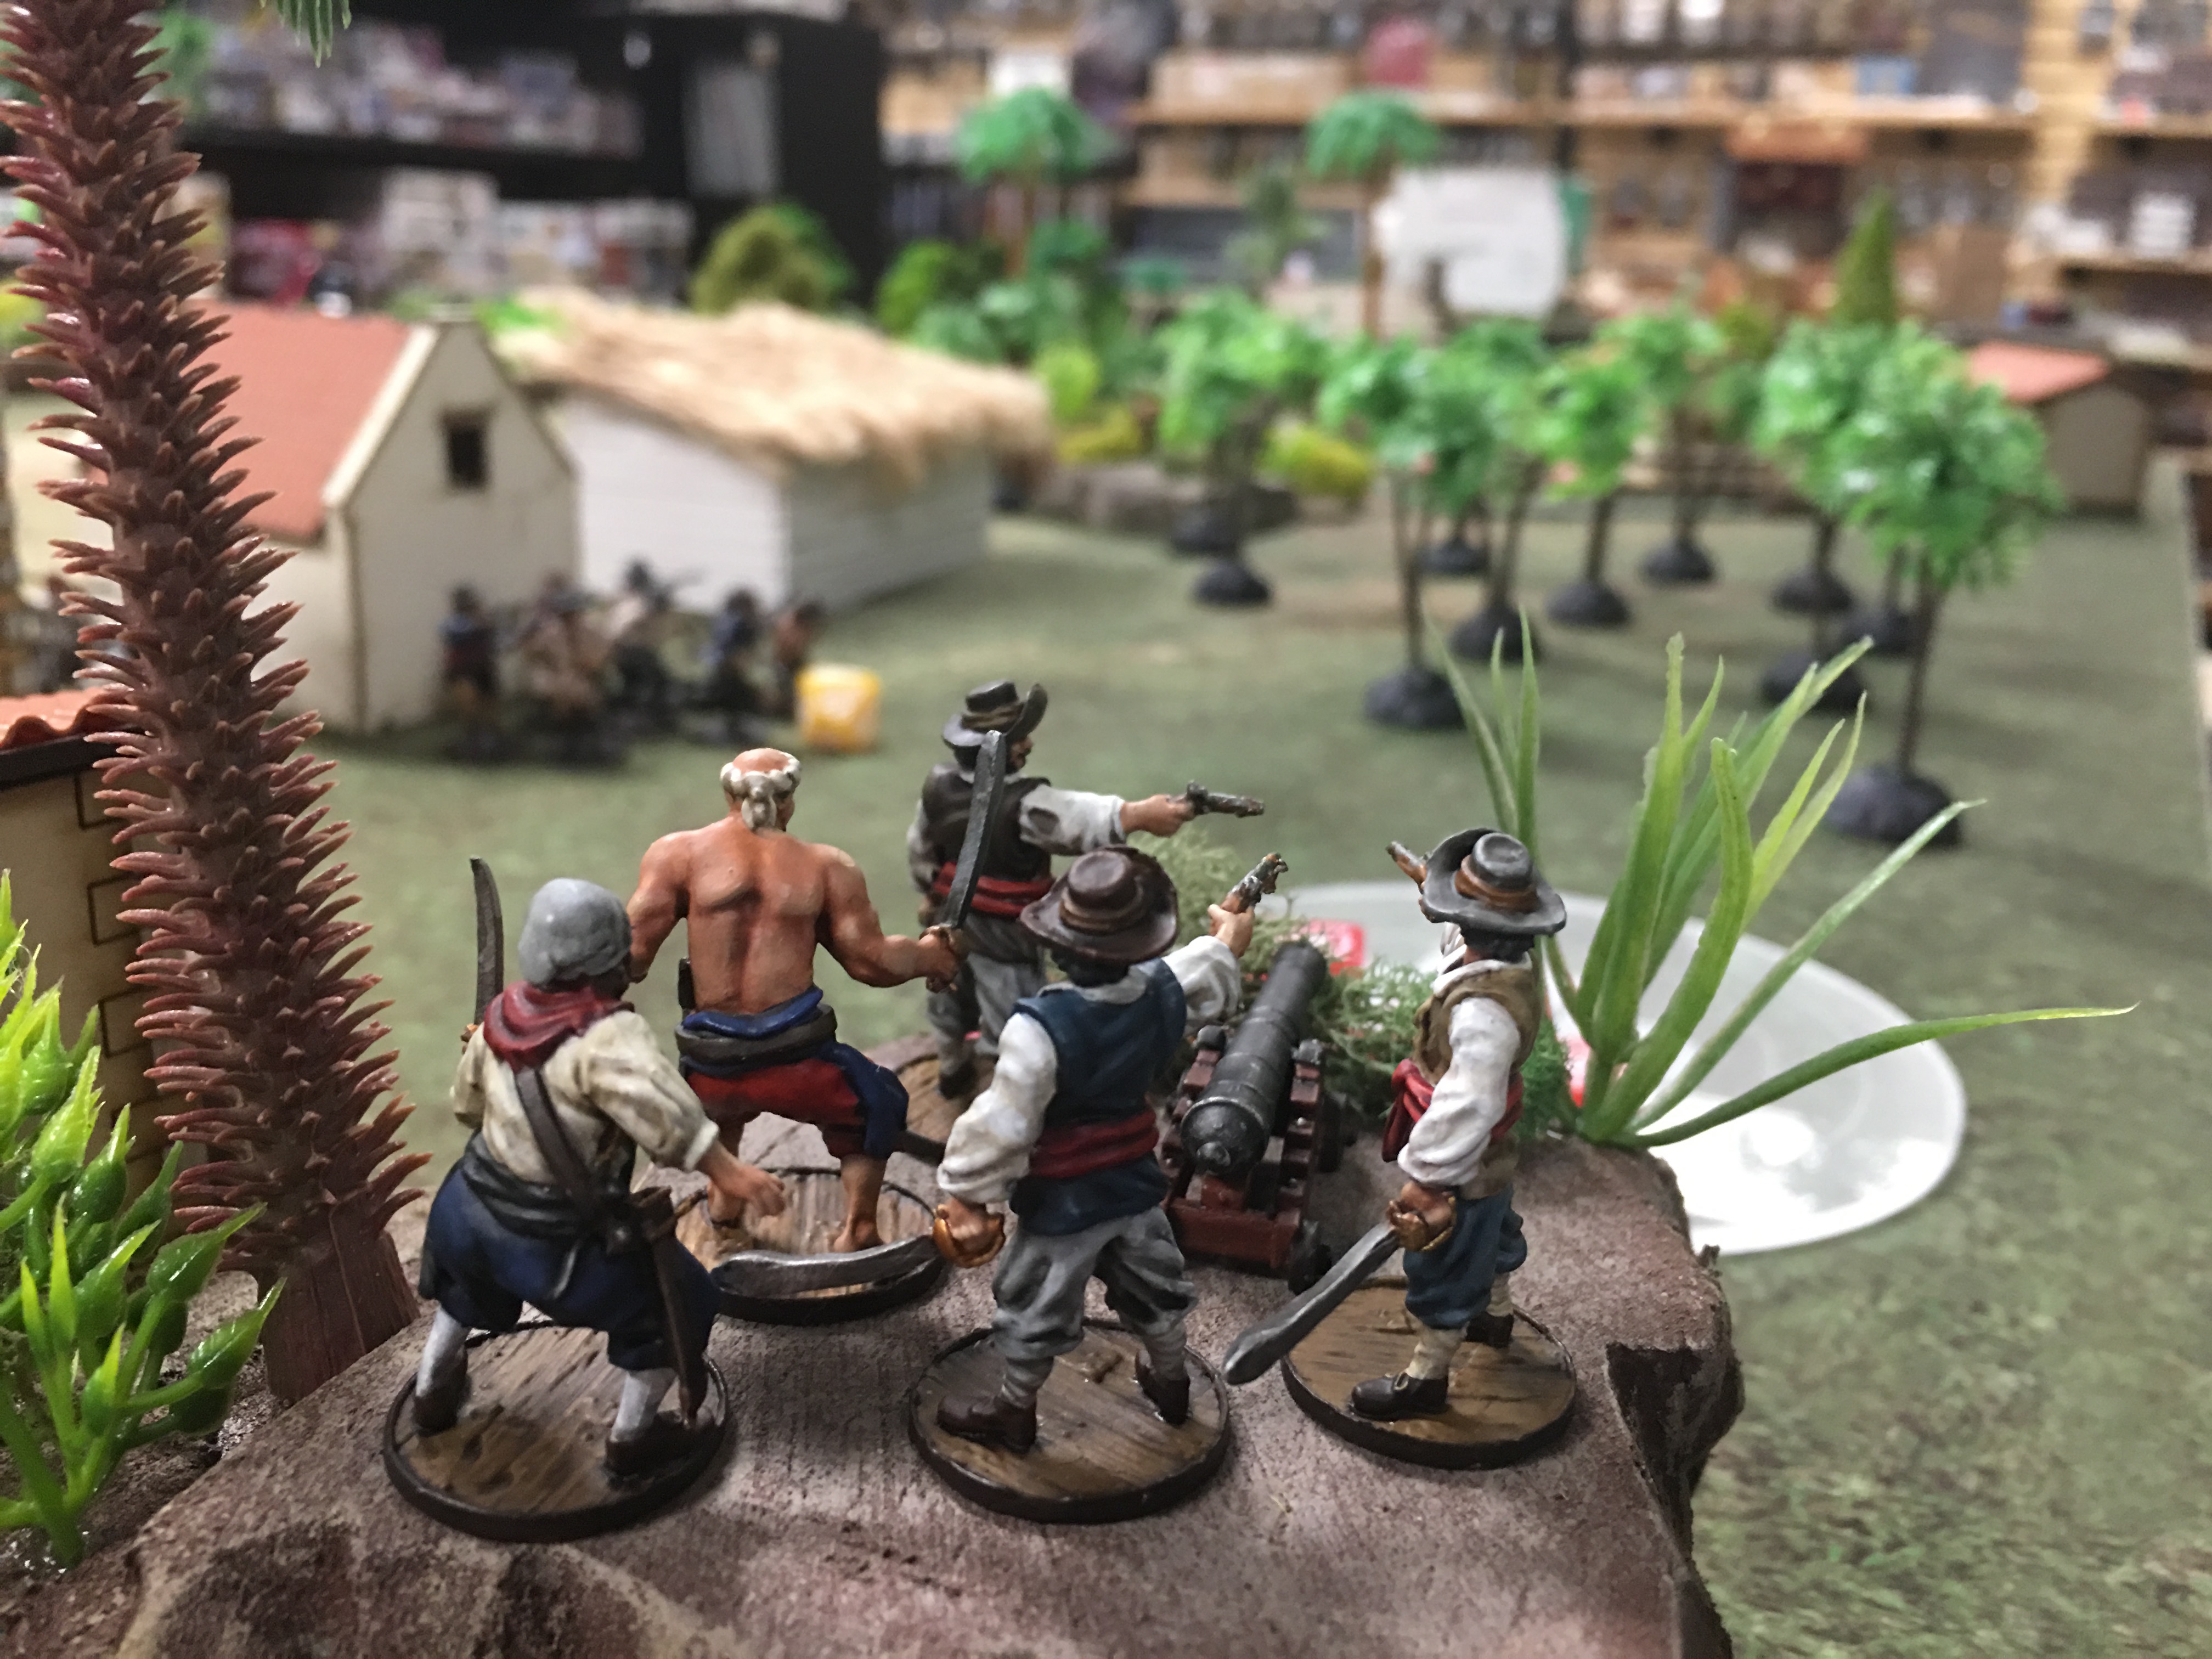
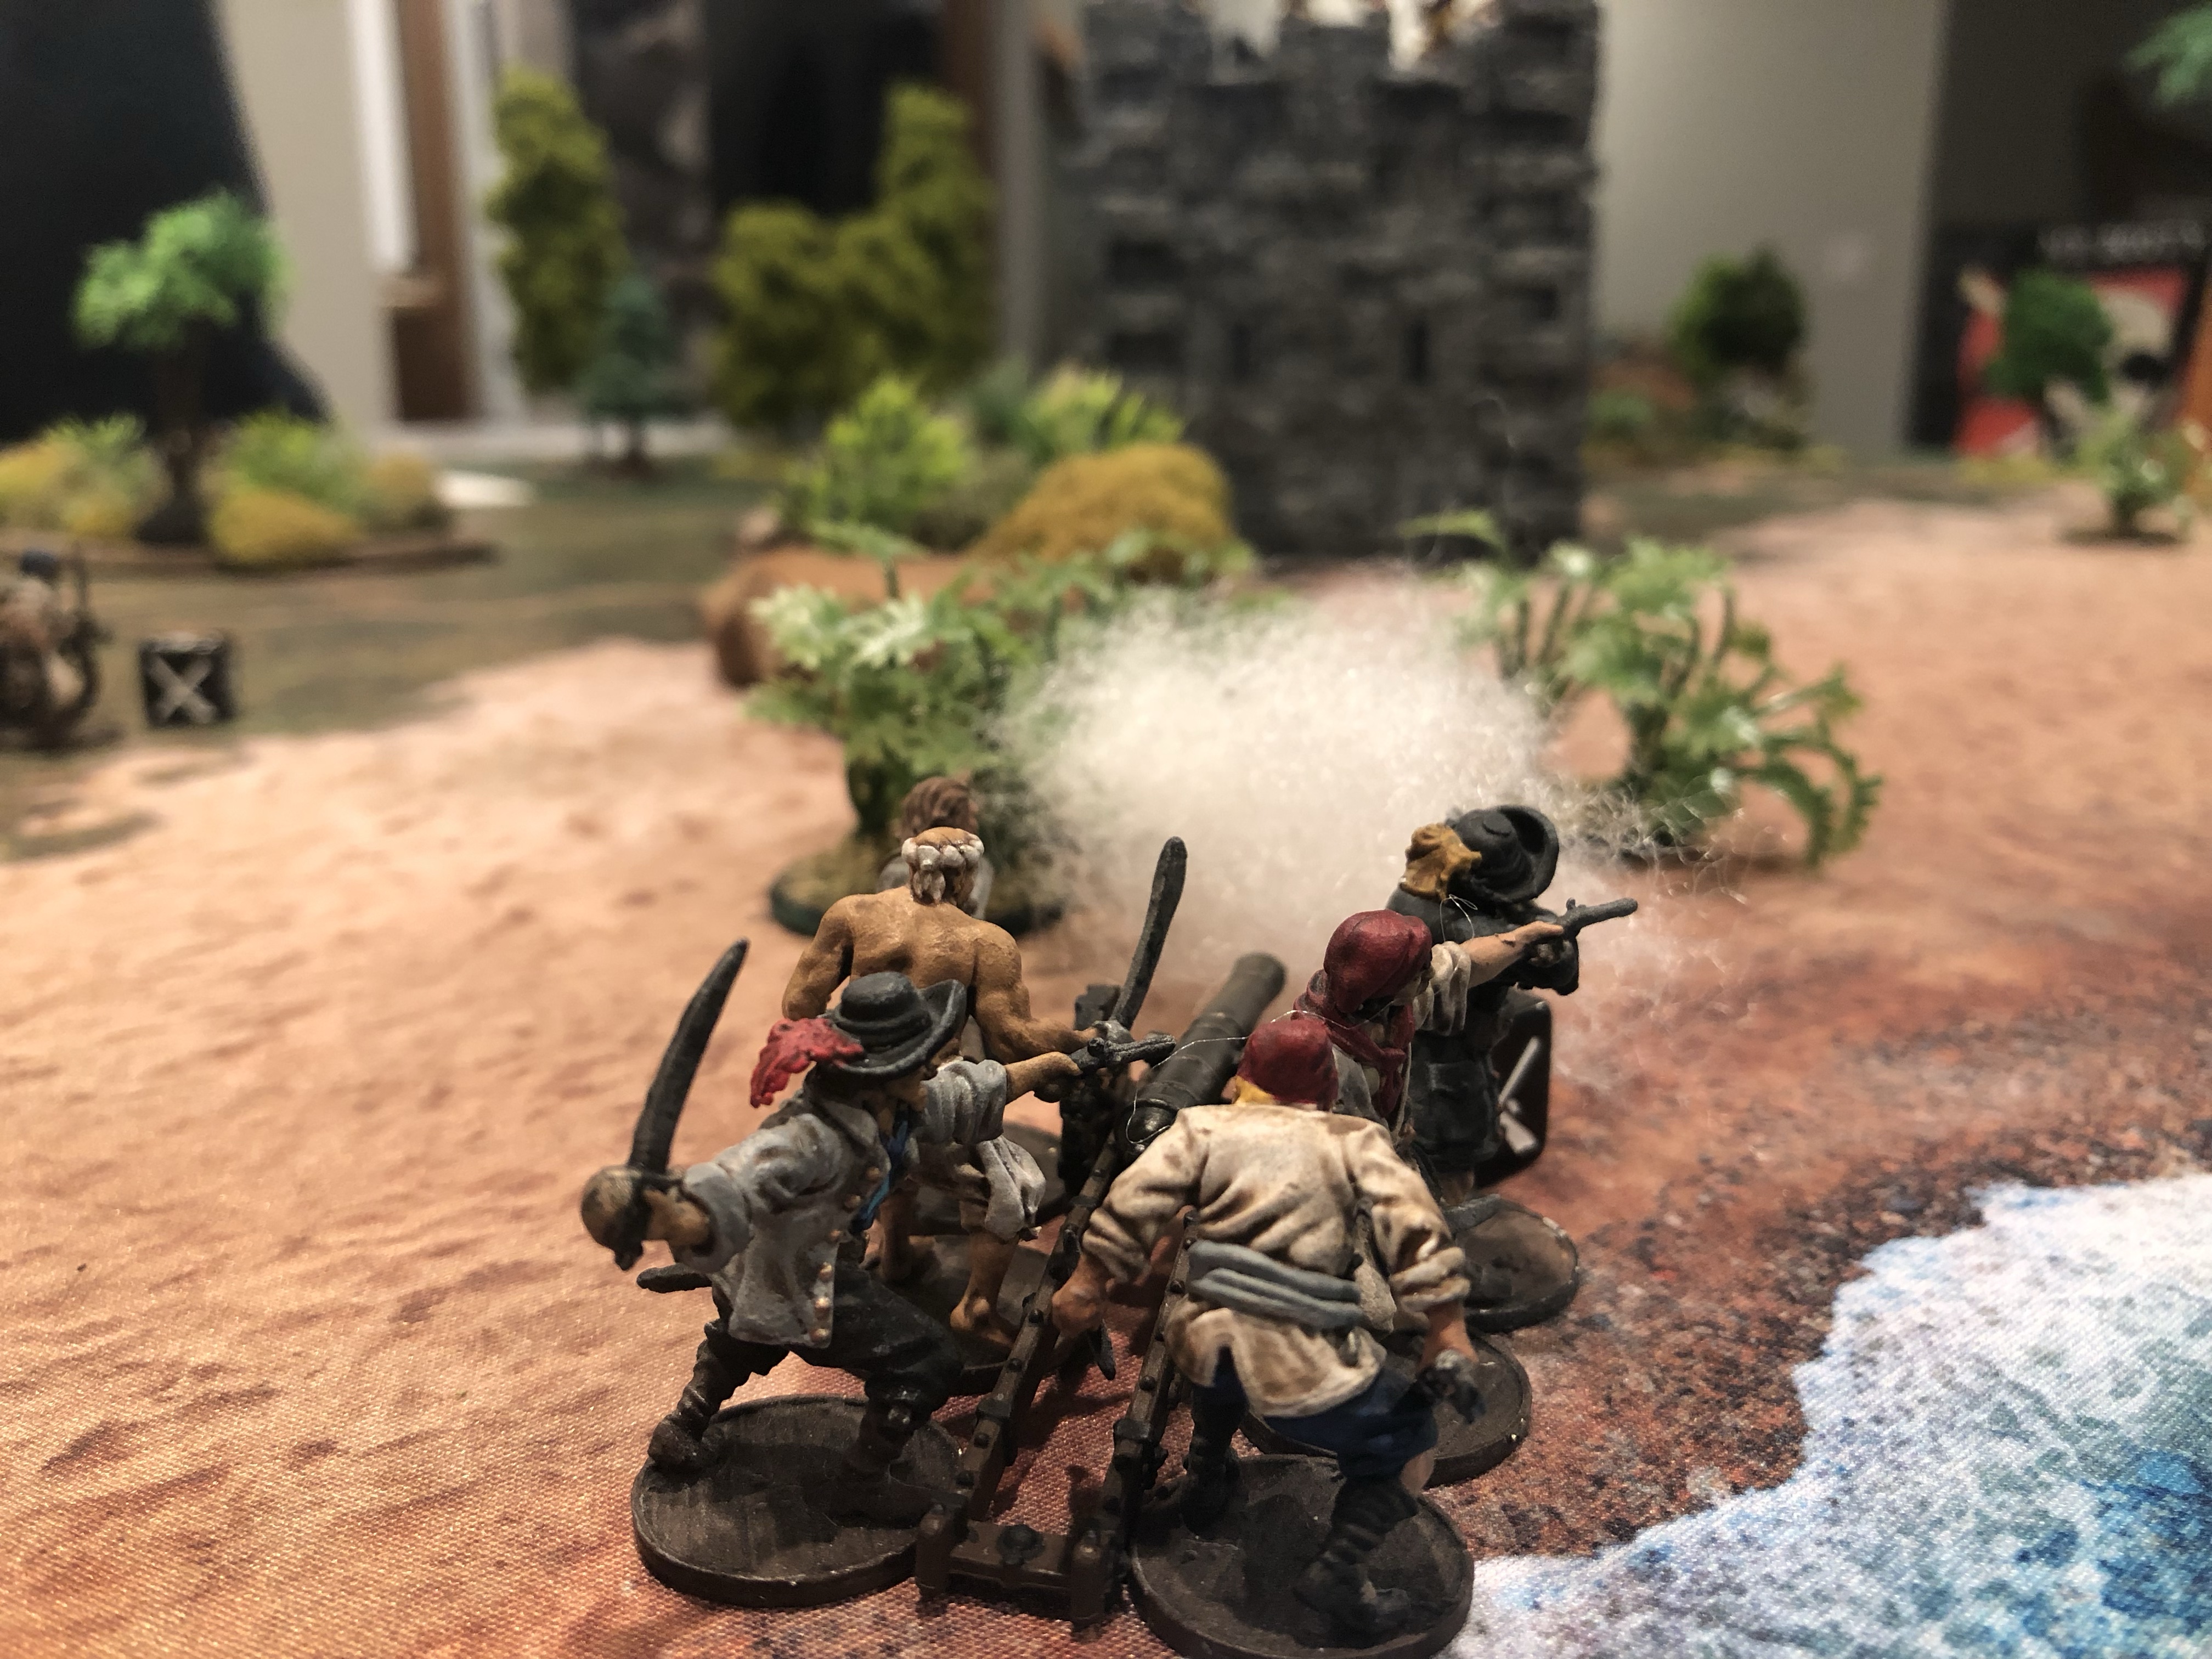
If you want to roll an artillery piece out onto the field to support your infantry, you’ll need to mount it on a Field Carriage. Cannons mounted on Field Carriages cost more points than cannons on Naval Carriages but they are moveable and more flexible. Even so, pushing a 600-1000 pound cannon around is tough work and there are movement penalties. The Light Cannon on a Field Carriage can move up to 3″ per move (instead of the standard 4″), the Medium Gun only 2″ per move and the Heavy Cannon on a Field Carriage (there currently is no model for this option) is entirely immobile. Field Carriages have the useful perk of always providing cover for their crew but there is a very limited number of units in the game that can give you access to Field Guns. Most of the Militia, Army and Tercio factions have a unit that gives them access to Field Guns, but it’s still limited as a Support Unit in most cases.

A Swivel Gun can be mounted on a Field Carriage and has a move speed of 3″. They don’t technically have a Naval Carriage option but can be mounted on ships or fortifications as each structure allows. While the 3 larger sized cannons have a 45* firing arch while on Field Carriages or within Fortifications, Swivels Guns always have a full 360* firing arch.
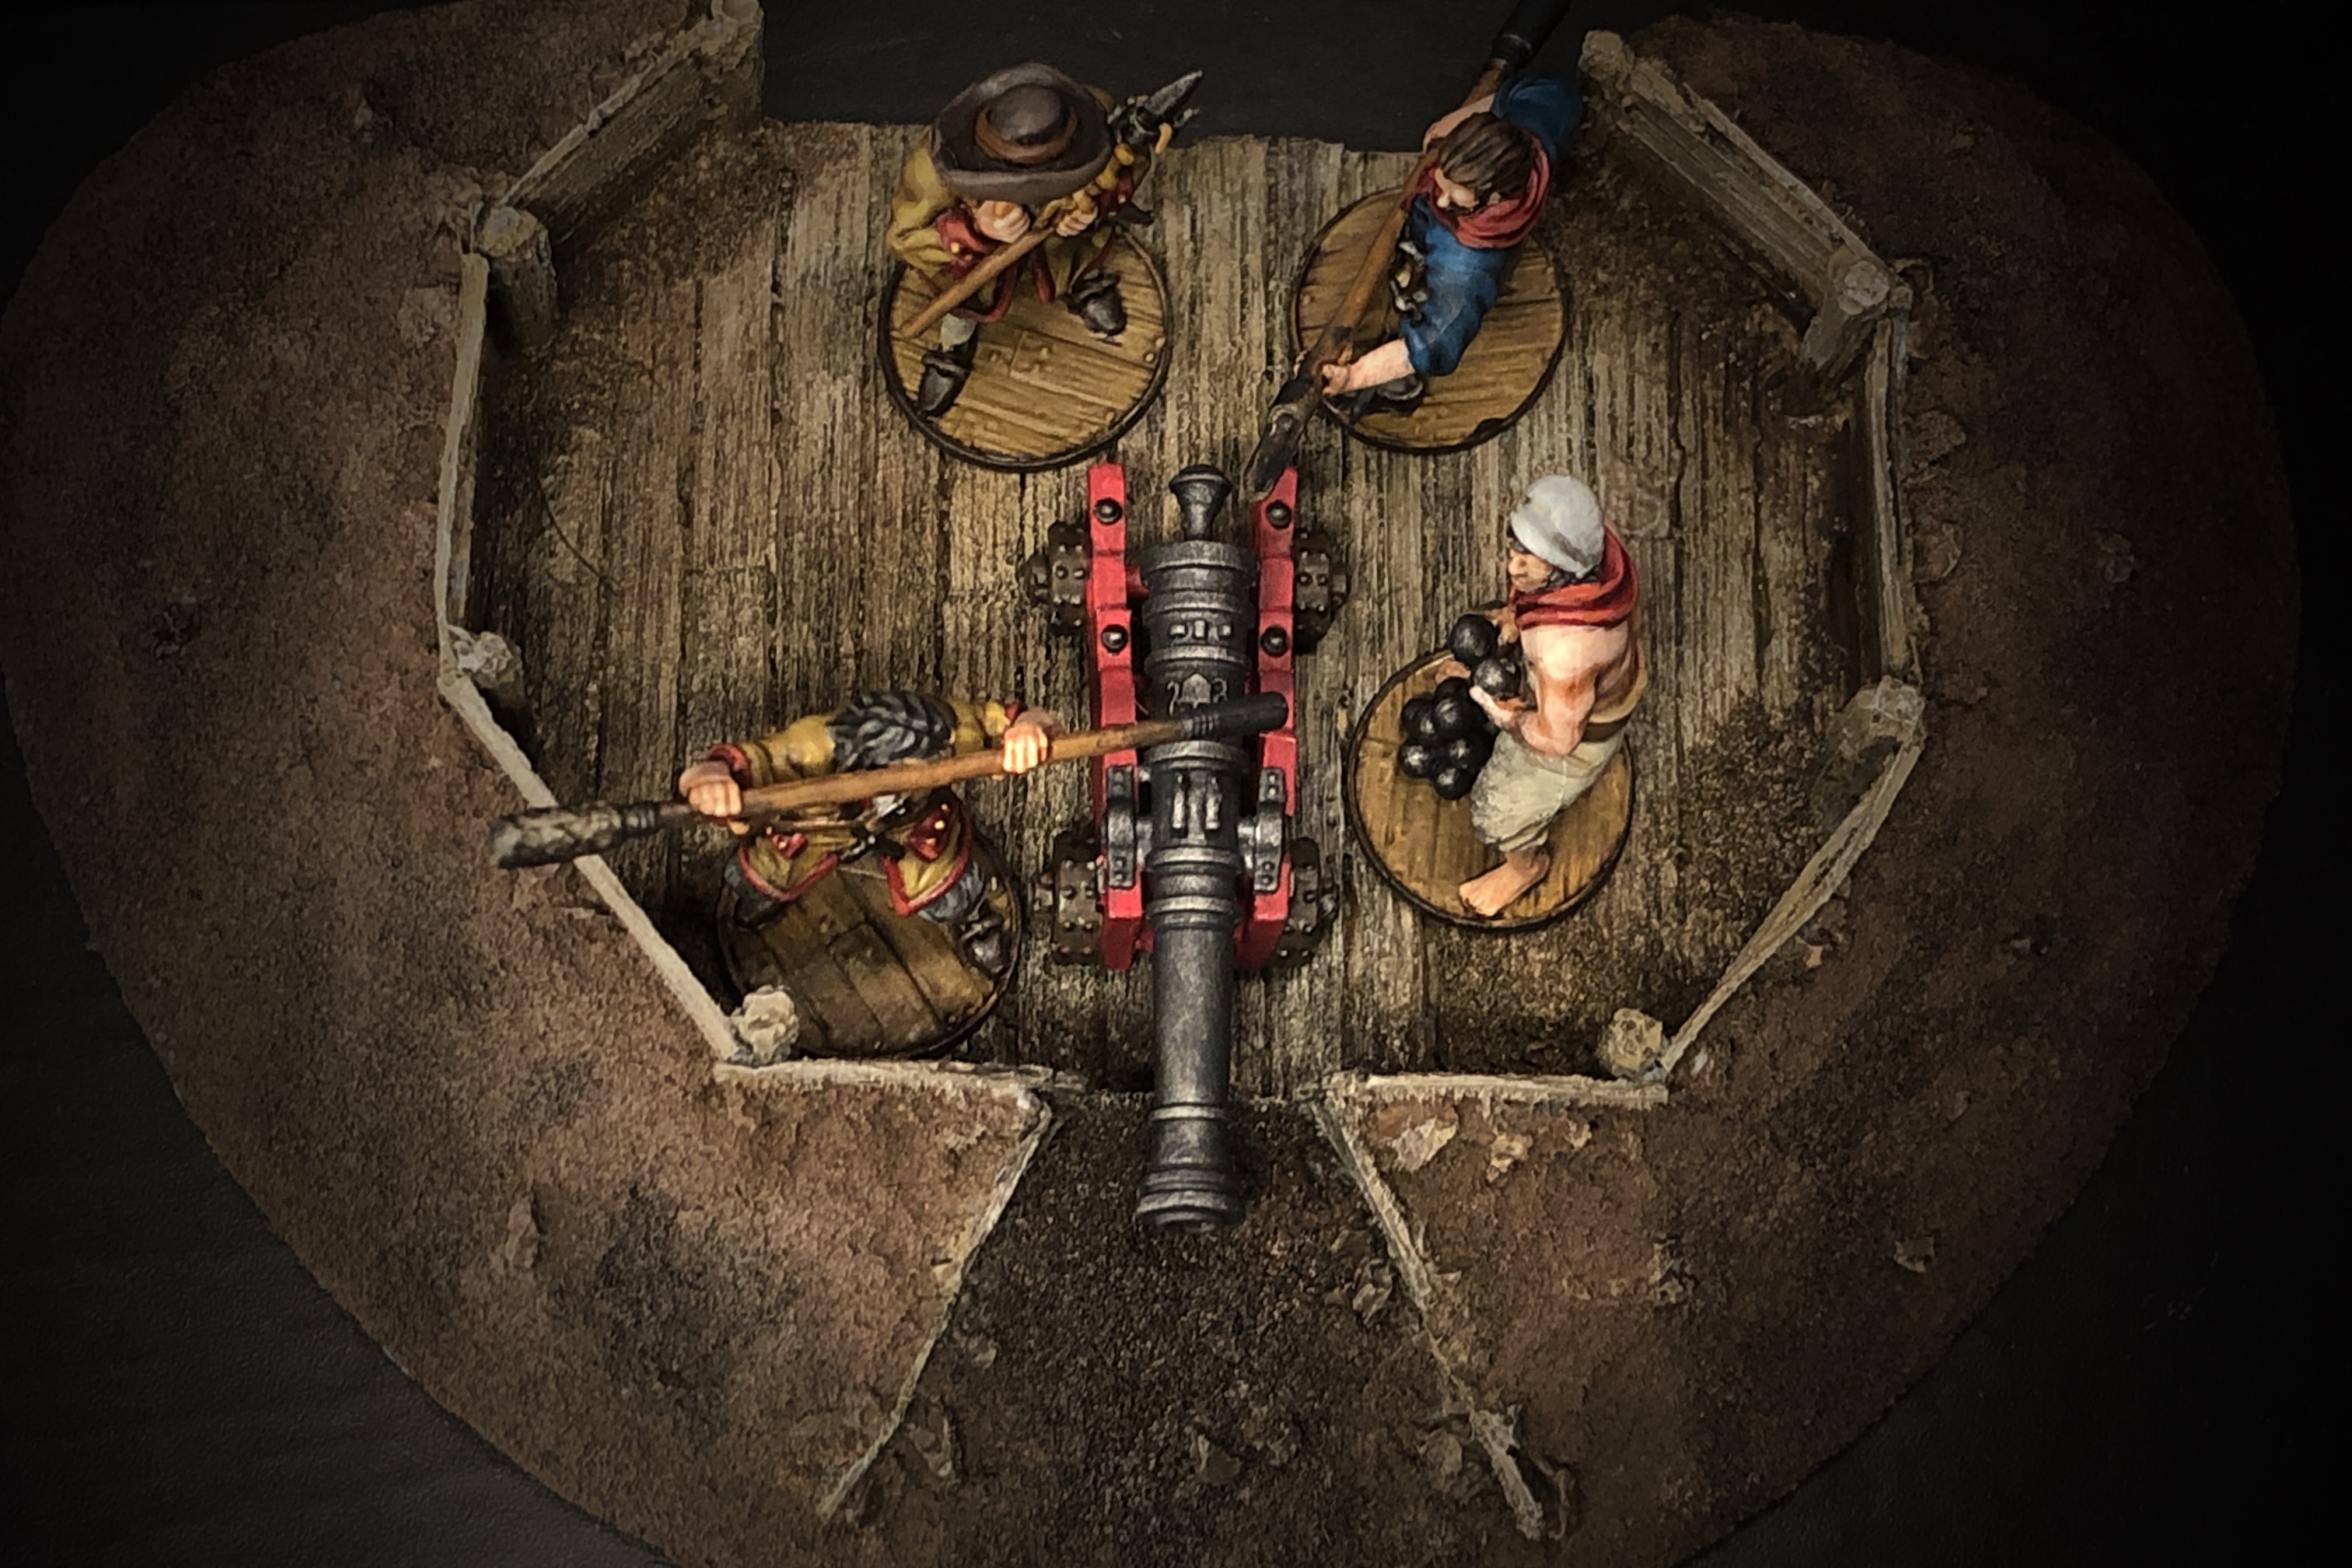
Manning the Guns
When using cannons in Blood & Plunder, you must assign a unit to a gun or set of guns. A unit of models can only load, fire and move the guns when they have been assigned which means that can’t really do anything else until they take an action to leave the guns. Any unit can be assigned to cannons but each nationality (except the Natives) has a two variations on artillery crew that have special perks that make them more efficient on cannons than other units. These units are fairly cheap and when activated with high initiative cards, they get a free reload action which help your guns fire faster and fire more times over the course of a game. All sea-focused factions of the main European powers have access to a sailor-artillery crew unit which will be the core of any force that uses a lot of guns at sea. These 4-point models all have some basic traits in common but they all specialties as well. The English and Dutch have the most skilled cannons crews and those nations would be good choices if you know you want to focus on cannons in your games. The core rulebook doesn’t include this option but the rules (in No Peace Beyond the Line) allow you to strip your cannon crew of their pistols to reduce their cost to 3 points per model which brings the overall cost of using cannons down considerably. This option is usually considered very prudent and is used more often than not. You can also pay an extra point per model to increase the experience level of all these units from Trained to Veteran to make you cannons fire a bit faster but that makes you cannon crew cost 5 points each and this option is rarely taken. You unfortunately can’t take both the training upgrade and the weapons downgrade at the same time.

If you plan to use cannons either in Fortifications or on Field Carriages, this usually happens within a Militia or Army faction and you will have to take a lesser quality Artillery Crew unit that starts out Inexperienced, with no weapon beyond a basic melee weapon and only costs 2 points per model. This style of unit is available to all the various European land factions but there is not as much individuality between the variations as there is within the naval gunner units. Here the English and Dutch don’t have an advantage like they do when at sea.
The Master Gunner Fighting Man Character can be added to any unit with the Artillery Crew rule and he will increase your efficiency by a considerable margin. He grants 3 abilities that increase the power of the cannons in your game. First, he gives the unit the Expert Artillery Crew ability instead of the basic Artillery Crew ability. Artillery Crew gives the unit a free Reload action on a Spade while the Expert Artillery Crew ability grants that free reload on a Spade or Heart. This is a big deal because the Heart activation card gives a Trained unit 2 actions while a Spade only gives one action. The Master Gunner also has a Command Point which can only be used as a Reload action. These two abilities combine to make a huge difference in how often you can fire your cannons over the course of a game. A unit of basic Spanish cannon crew (Marineros), can get 2 Reload actions out of a Spade, Heart or Diamond. With a Master Gunner, that number moves up to 3 Reloads on a Spade or Diamond and an incredible 4 actions out of Heart (2 actions from the Heart, one from the Command Point and one more free action from Expert Artillery Crew). A Veteran crew with a Master Gunner can get a full 4 actions out a Spade or Heart and this is pretty much the most powerful artillery crew option.

There’s on more trick you can do to get a 5 actions out of an artillery crew per turn and that is Push an Expert Artillery Crew on a Heart so they’re taking 3 standard actions (and taking 1 Fatigue from the Push) and one free action. Then you can give the unit a 5th action with a command point later when it isn’t their activation.
The Master Gunner also gives the cannons under his command a -1 bonus on the ranging shot when firing at structures giving you a better chance of rolling those damage dice.
If you want your artillery crew to be a major part of your force and plan to try to shoot your cannons at maximum speed, the Master Gunner character is a vital part of this strategy and should be taken on your unit assigned to the largest set of cannons in your force. At 4 points, he is worth it. Before the errata was published and balanced him out by limiting characters to 1 of each king per force, it was common to gun-focused ship forces with multiple Master Gunners and it was worth it!
Let’s get down to the nitty gritty and the hard numbers! When using the Militia Artillery Crew unit in the various nations’ land based factions, you have to decide what training level you want your crews. They come as Inexperienced for 2 points and at that level, they can get 2 Reloads on a Spade, Diamond or Club but only 1 on a Heart (I will write this out shorthand as 2, 1, 2, 2 actions, in suit order). If you upgrade them to Trained for an additional 1 point each, they gain another action on both the Heart on Club so they have effectively 2, 2, 2, 3 actions instead of 2, 1, 2, 2. Adding a Master Gunner to a Inexperienced crew is usually cheaper or at least the same cost even for a single gun. With a Master Gunner, that Inexperienced crew increases their action count to 3, 3, 3, 3 which is massively better than the base 2, 1, 2, 2. Increasing the training level to Trained and adding a Master Gunner brings that action count up to 3, 4, 3, 3 which is only marginally better than Inexperienced with a Master Gunner. I think an Inexperienced crew with a Master Gunner is the best and cheapest option for manning guns in a fort or gun emplacement. If you have several guns that need to be manned, it can become worth it to upgrade all your cannon crew to Trained since you can’t put a Master Gunner on them all but for fortifications like the Stone Tower Fort, all the cannons are in one structure section so you can have a single unit manning them all.
A final note on cannon crews: some land factions have the option to take either the 2 point Inexperienced Militia Artillery Crew unit or the 4 point Sailor/Artillery Crew unit (which you can downgrade to no pistols for 3 points) as a support unit. If you plan to upgrade to Trained anyway, it’s smart to take the naval artillery crew in every case because they have better Resolve, stats and rules all around. For example, if you’re playing Spanish Militia you can take either Milicianos Artilleros for 2 points at Inexperienced or 3 points for Trained or you can take Marineros for 3 points without pistols. Milicianos Artilleros have a 7/7/-/7 set of stats with 6 Resolve while the Marineros have 5/7/7/7 with 5 Resolve. The Dutch Militie Artillerie has a 7/8/-/7 stat list while the Zeelieden has a 6/6/7/7 stat list along with Expert Artillery Crew and Hard Chargers. If you’re planning on paying 3 points for a gun crew model, take the naval version if you can because they’re always better.
Cannon Sizes
Let’s look at the various sizes of cannons and when and where you might want to use them within your forces in Blood & Plunder.
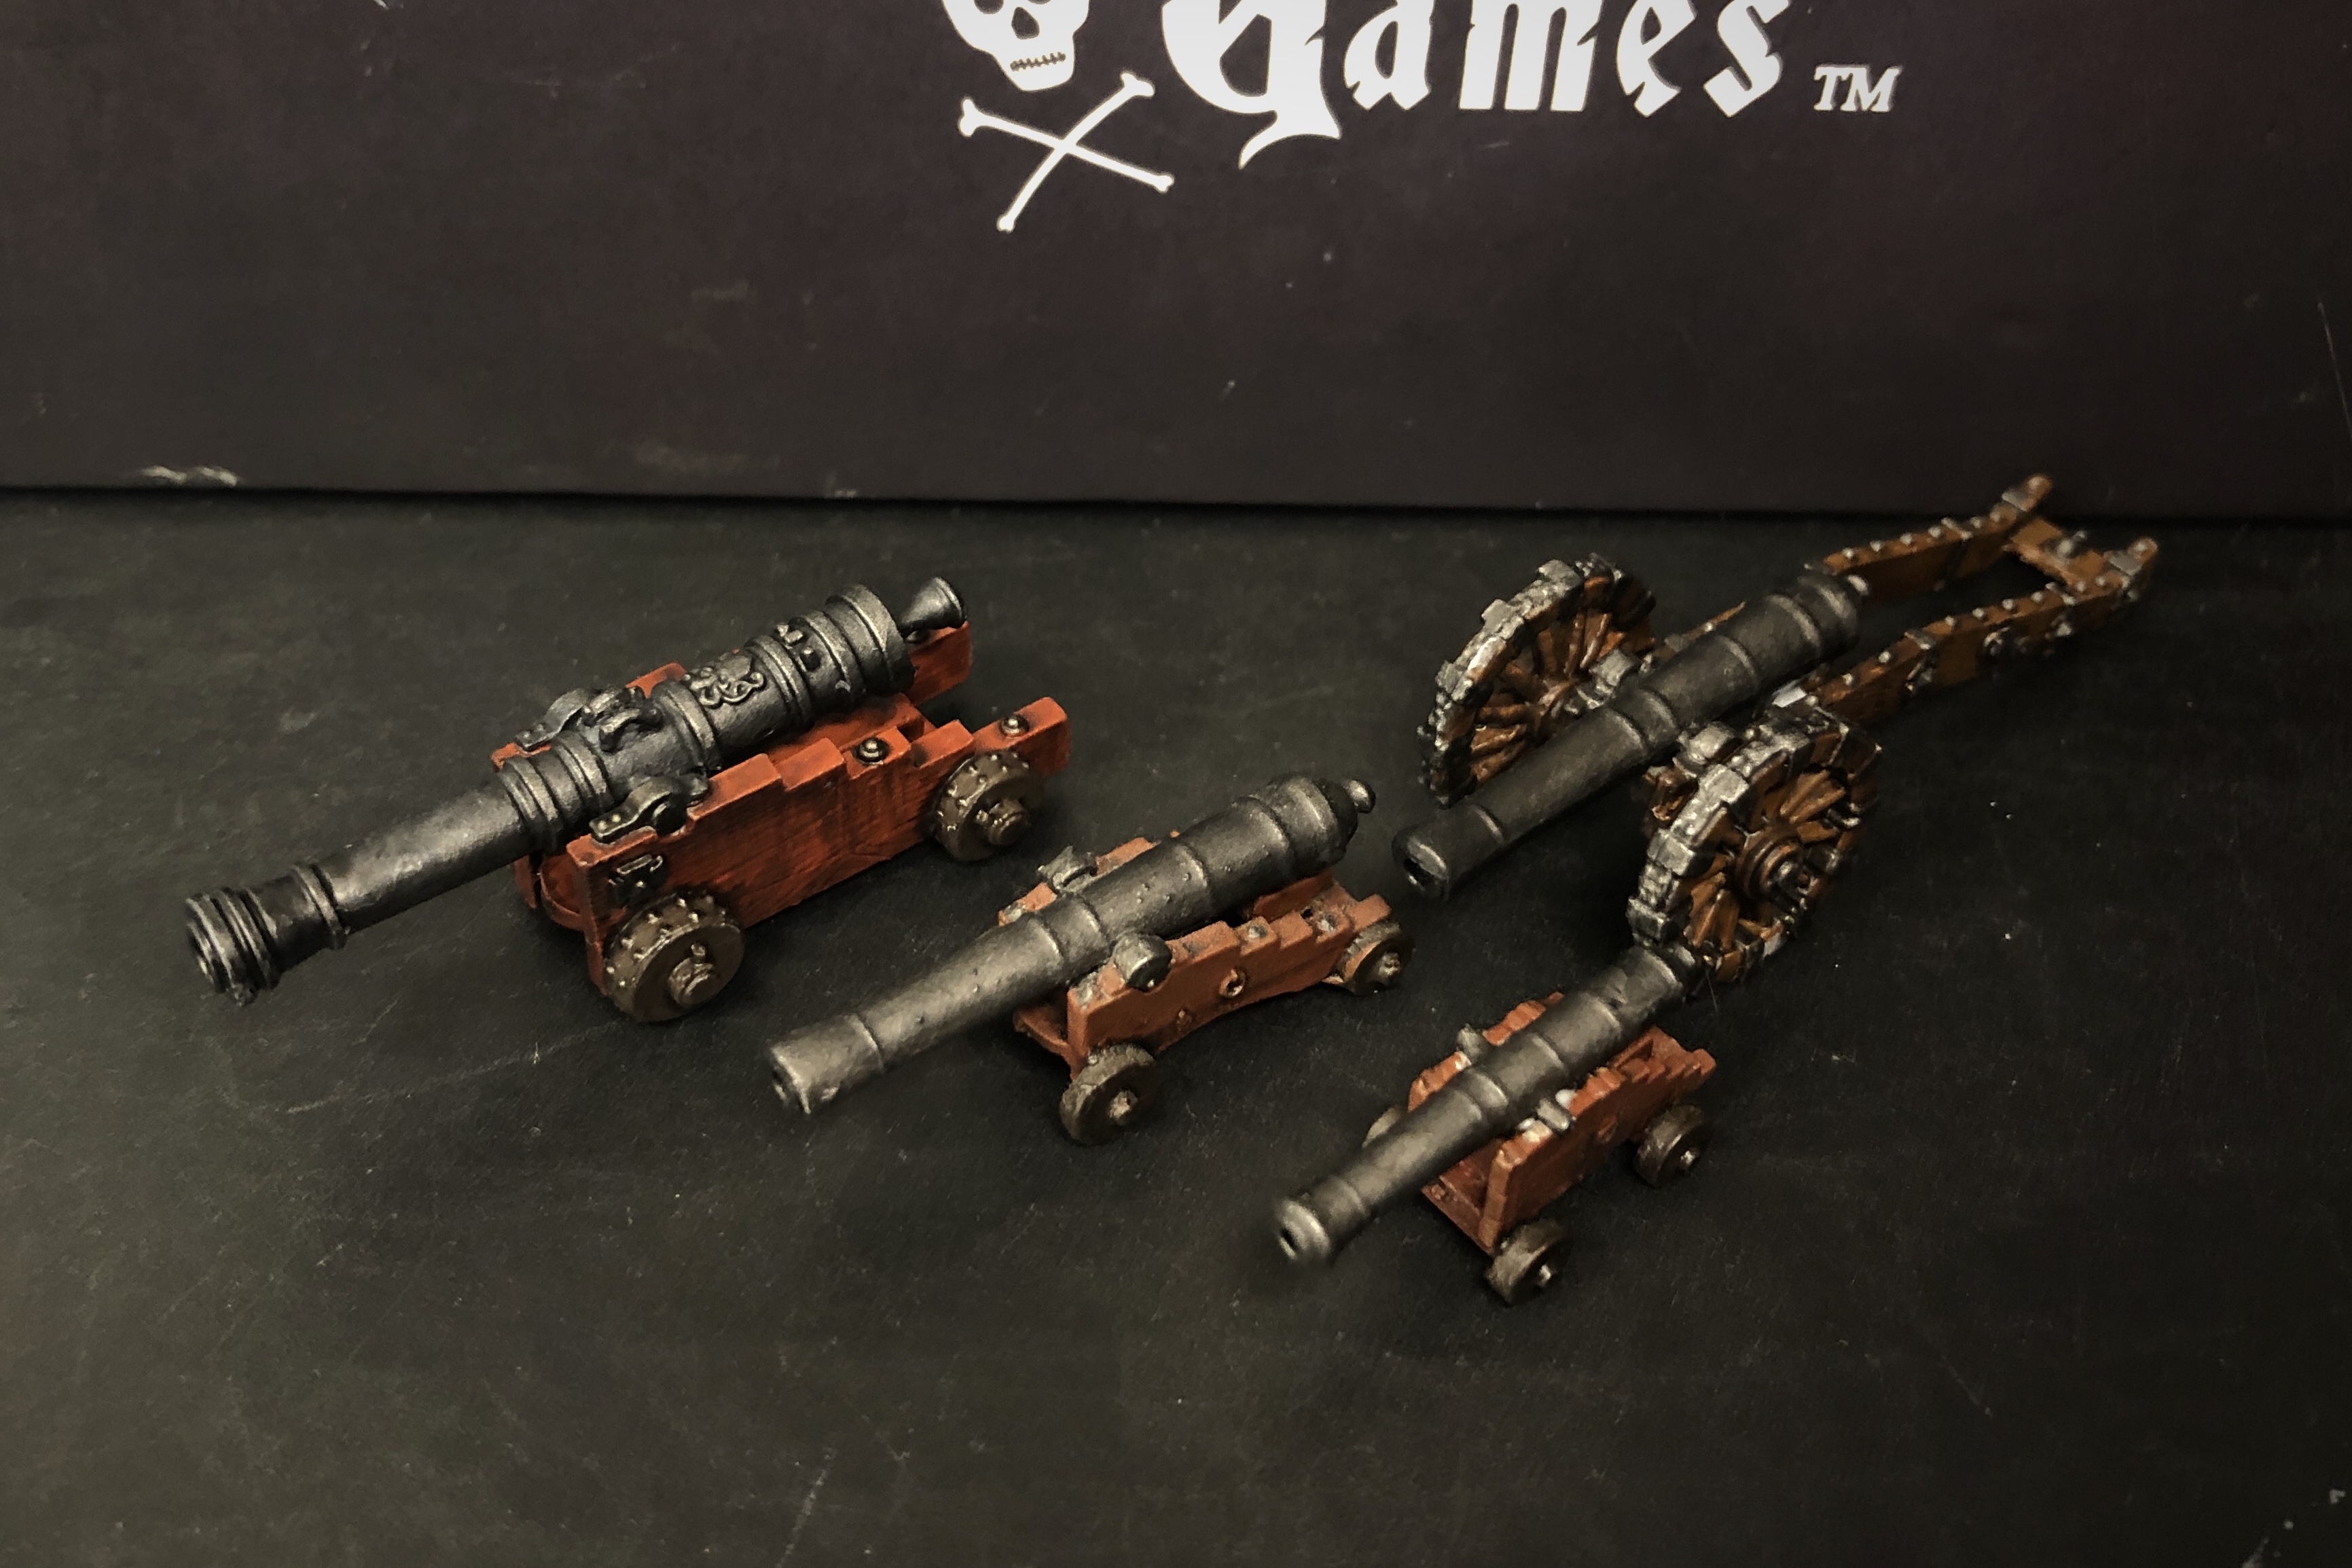
Light Cannons
These cannons represent “very small” naval guns using a solid round shot of 2-3 pounds. Even so, the barrel would weigh upwards of 400lbs so it’s a serious piece of equipment. Every ship from Firelock comes with a full compliment of Light Cannons so this is likely the cannon you will start with. These cannons take 2 men to reload and roll 2 damage dice. These are great cannons for games at lower point levels (around 50-150 points) but they can still be useful in higher point level matches. They cost 7 points per pair on a ship, 5 points each when adding them to a structure like a fortification and 10 points when used as a Field Gun.

The first home for a Light Cannon is a small ship. If you’re playing at around 100 points at sea in a Bark, Tartana or Sloop, this cannon will still do some meaningful damage to your enemy and will leave you some other points to play with for the rest of your force. The Lightly Built Bark is prohibited from taking anything larger than a Light Cannon as is the Piragua if you decide to mount a cannon on bow. You can add 2 pairs of Light Cannons and a crew of 6 Trained crew without pistols to a ship for a combined cost of 32 points or 36 with a Master Gunner and you can add grapeshot for 2 points if you want to focus on killing crew rather than damaging a ship. If you divide that cost by the dice your roll that’s about 8 points per die with 4 reloads per shot. That’s the same cost as a Veteran Boucanier, one of the most accurate sharpshooters in the game so you aren’t getting awesome value per dice, but you do get damage on the opponent’s ship and their crew.
The other way I like to use Light Cannons at sea is to run a massive amount of them on a larger ship. You can fully load a 6th Rate Frigate with Light Cannons and crew for 200 points and that will surprise most opposing forces at that point level. Even though they only have 2 damage dice per gun, the sheer number of dice you get to throw will ensure you cause some trouble! And having the guns spread out like that means the enemy can’t focus on you single cannon crew and knock out your cannons. Having your firepower spread out has its advantages on some levels.
A Light Cannon is a good choice for a Field Gun in most cases since it can still move reasonably well. If using solid shot, using a smaller size is no penalty as you’re limited to one kill anyway. If using grapeshot, you’re basically looking at 3 dice with a base shoot of 4 for around 20-25 points.
Medium Cannons
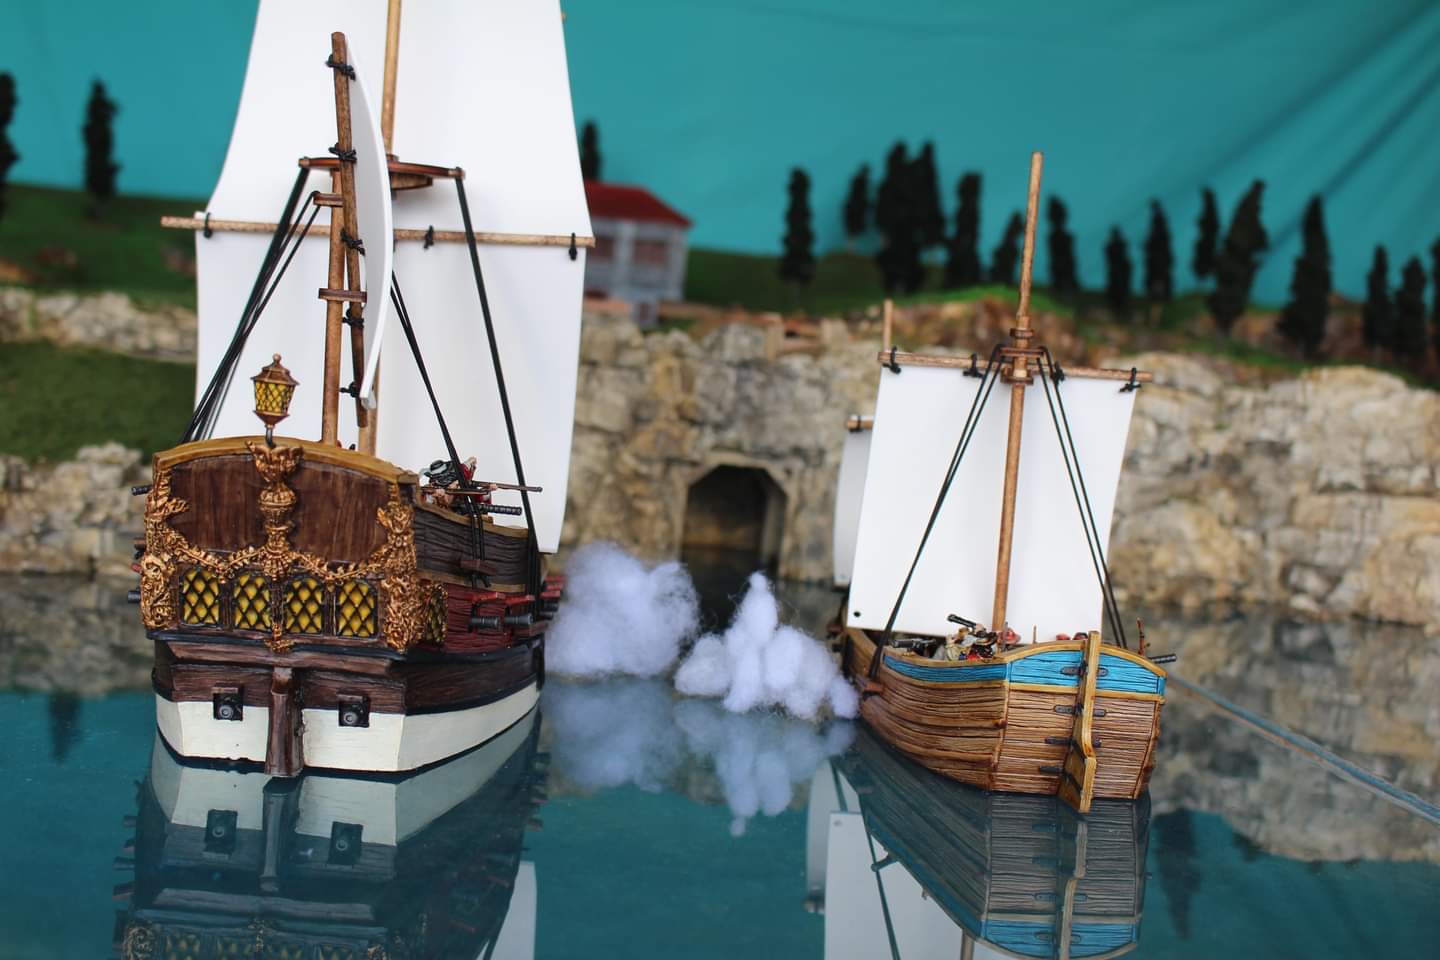
This is the favored size for most 200+ point games in my experience. These cannons roll 3 dice each after a successful ranging shot and require 3 men each to reload. Increasing your damage output by 50% is a big deal and if you’re up against the sturdier ships you might see in larger sea games, that extra hitting power is essential. You can even fit a few Medium Cannons on a Tartana or Sloop in smaller games and you could do some serious damage to some of the lighter ships you could be up against in games under 200 points.
A full load of Medium Cannons on a Light Frigate is pretty scary to anything but the largest of ships!

The Medium Cannon is best as a Field Gun if you know you won’t have to push it around much during the battle. If you’re likely to be the defender, have a very large deployment zone, or if you know there won’t be a lot blocking terrain on the board, you can just sit and fire at long range and still get some hits. With the natural cover provided by the gun, it’s hard for enemies to shoot you back at the long range the cannon can work at. A Medium Cannon with 5 Inexperienced crew comes in at 24 points or 25 with Grapeshot. With trained crew and a Master Gunner that increases to 33-34 points.
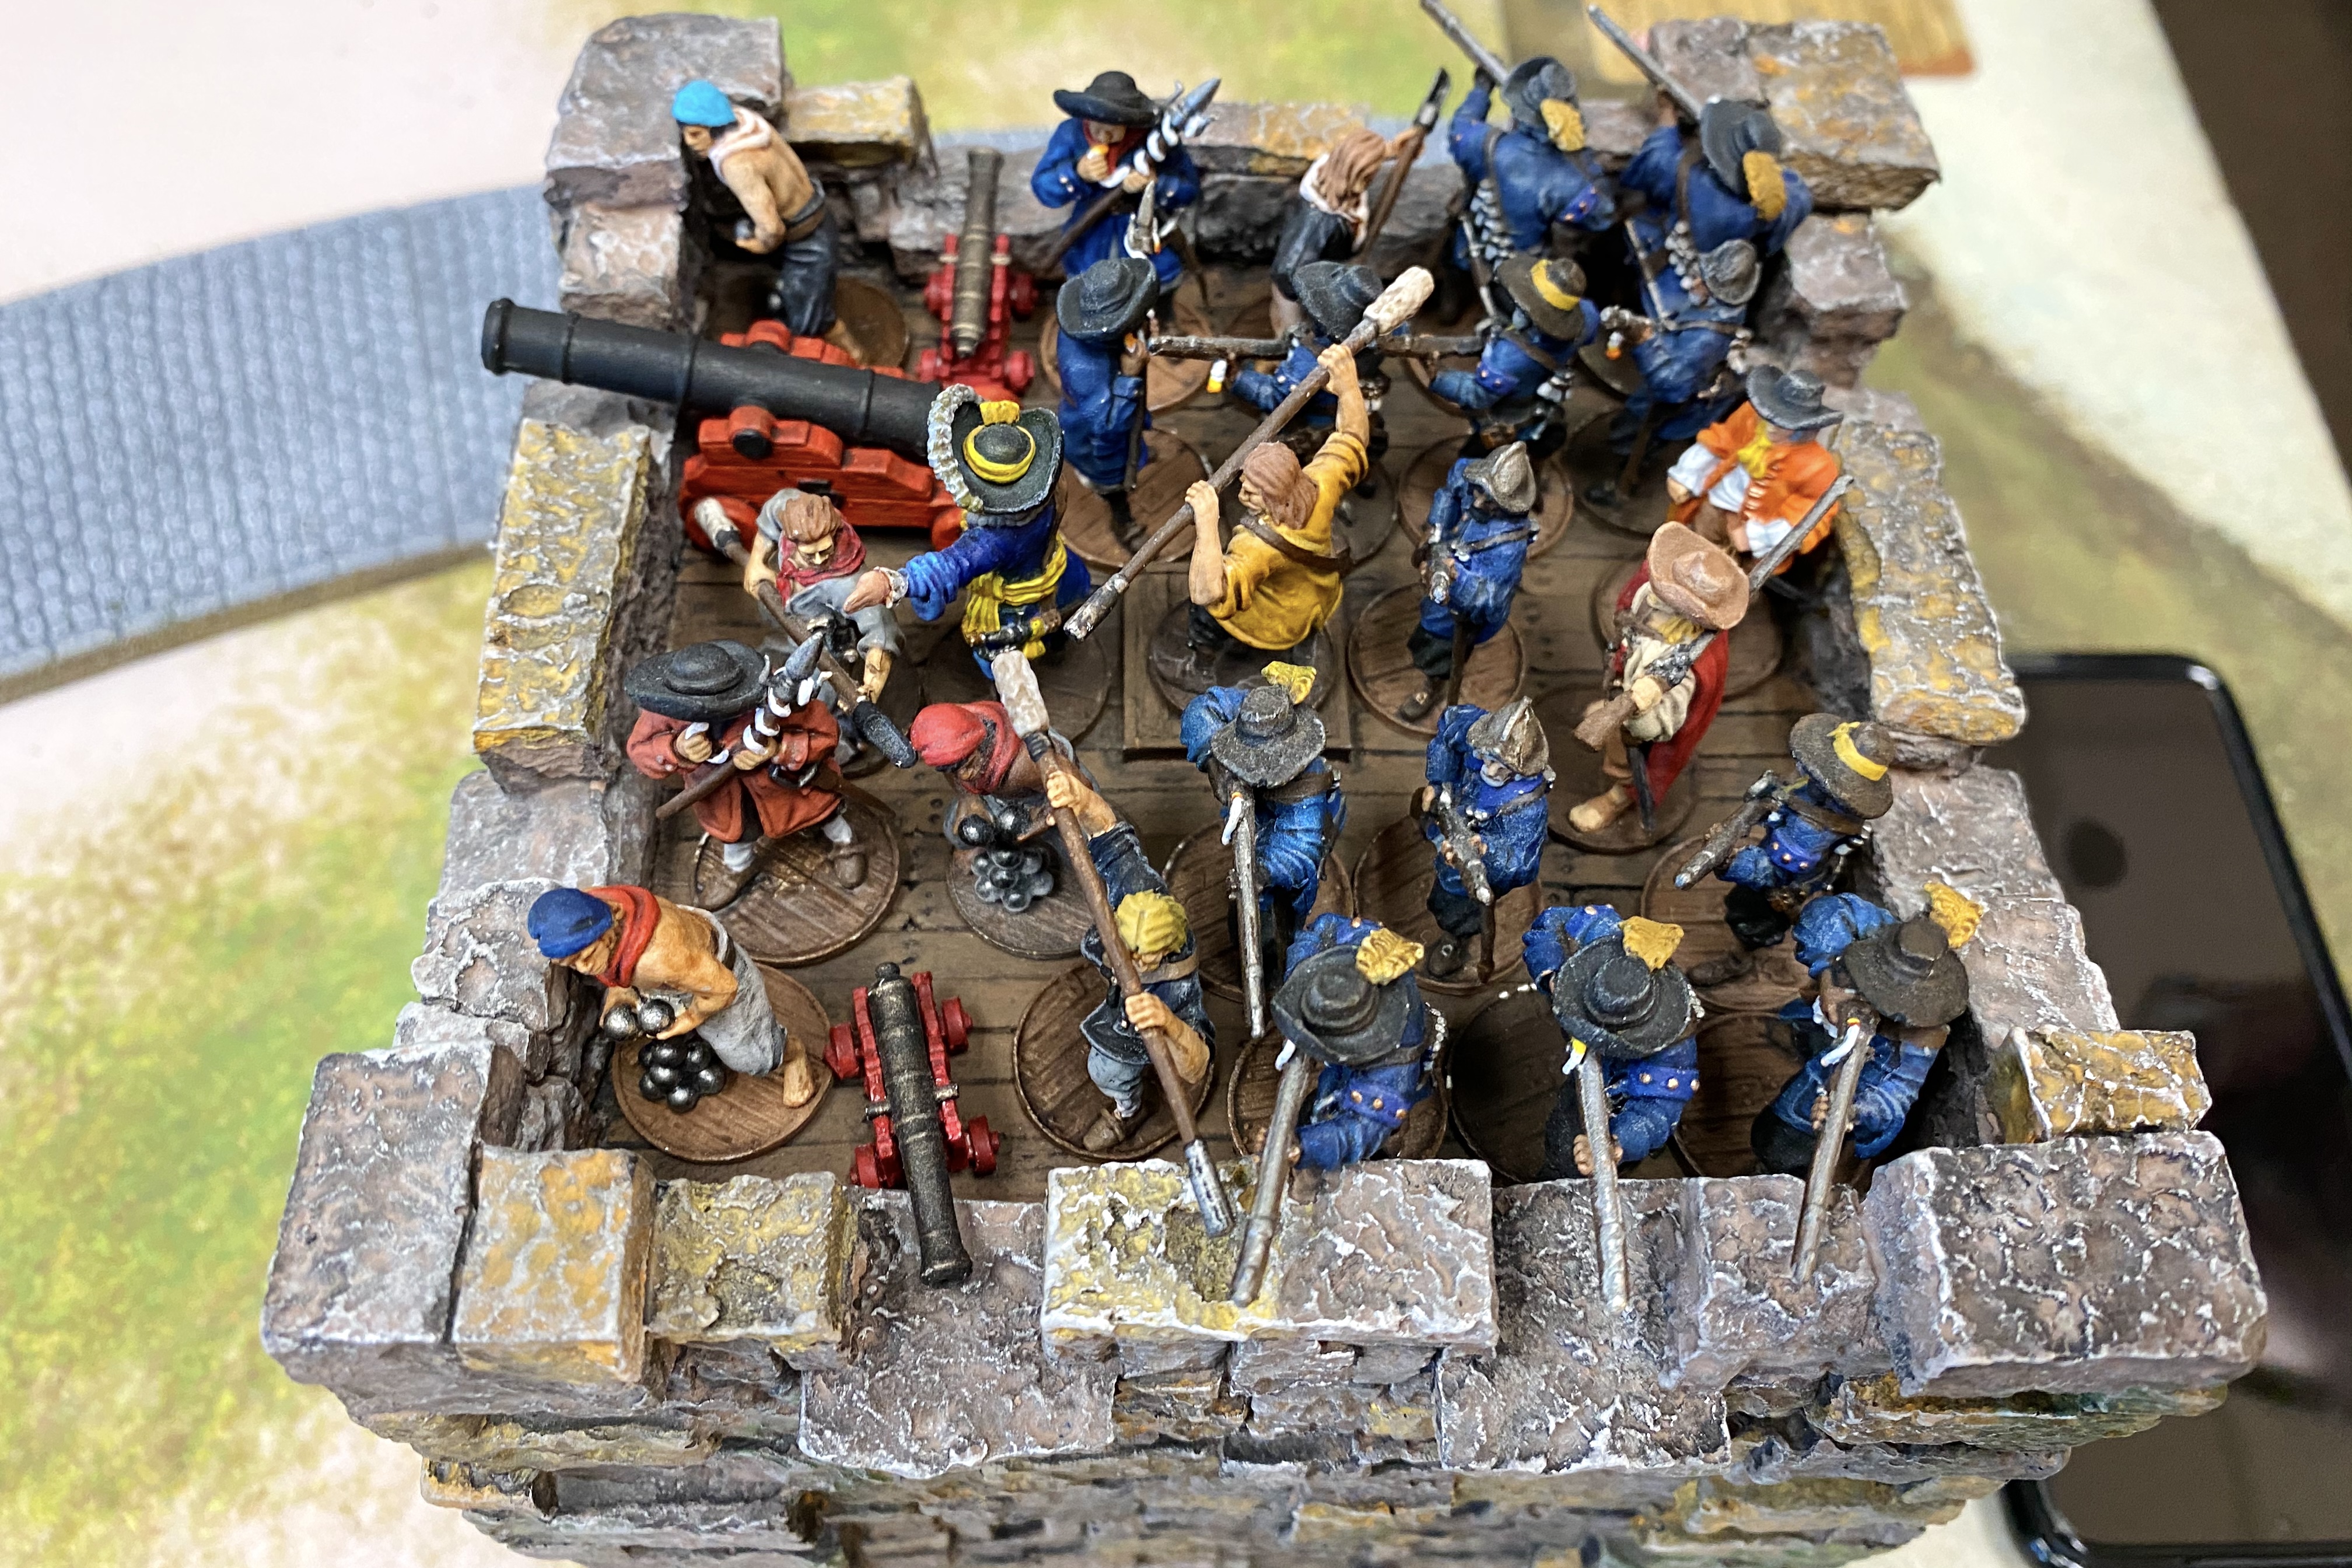
The Medium Cannon is a good choice for several fortifications as well. A couple Medium Cannons go well in a Blockhouse and possibly in the Gun Emplacement, Stone Tower Fort or Palisade Fort Bastions (when they become available).
Heavy Cannon
These cannons mean serious business. These cannons require 4 men each to reload and roll 4 damage dice each after a successful ranging shot. Only size 4 ships can take these behemoths aboard and 6th Rate Frigate can only take a few and they bring a speed penalty. The Galleon is the the main viable place to use them at sea. These are only really useful in higher point level games where you have more points and larger units to work with. You can fully load a Galleon with Heavy Cannons but it costs a lot! A full broadside of Heavy Cannons is terrifying and can basically sink another galleon in two shots. All the Galleon’s Gun decks are below so you don’t actually need any Heavy Cannon models to use them with the Galleon. The 6th Rate Frigate can take them on deck so you can actually see the beautiful models there, but you have to come to terms with slow speed they bring with them on this ship.

A Heavy Cannon as a Field Gun is entirely immobile and is rarely used in my experience.
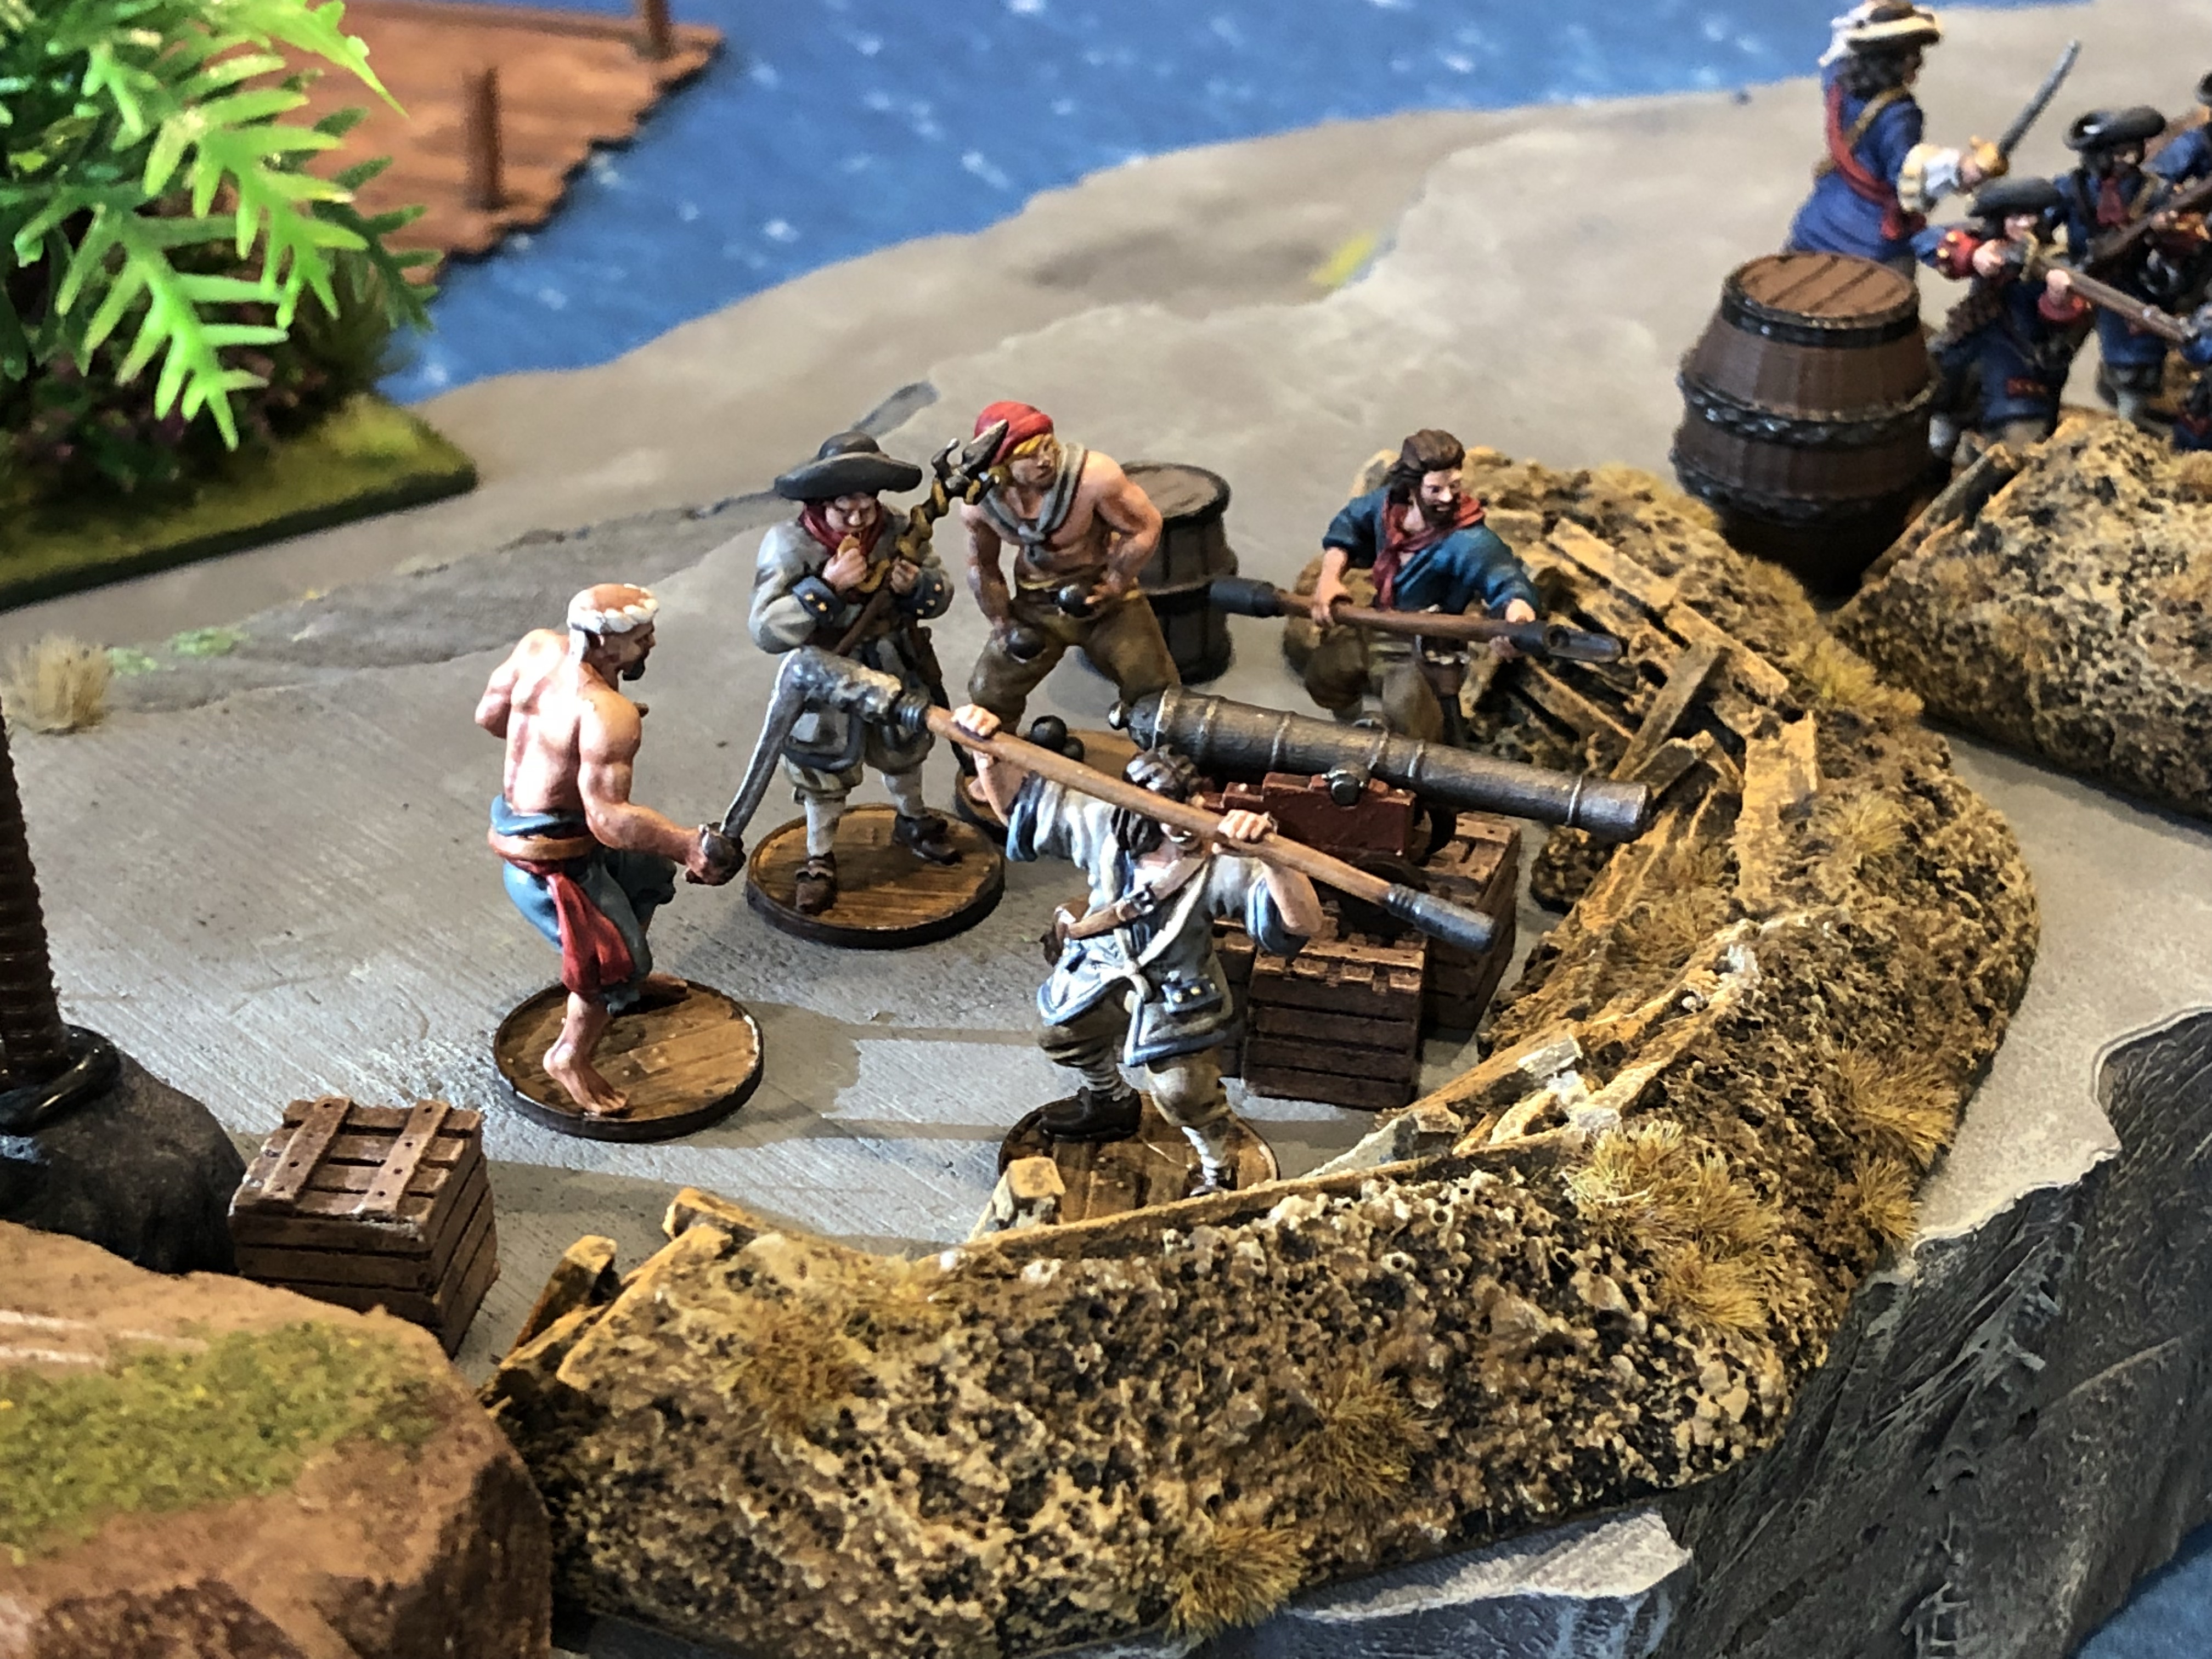
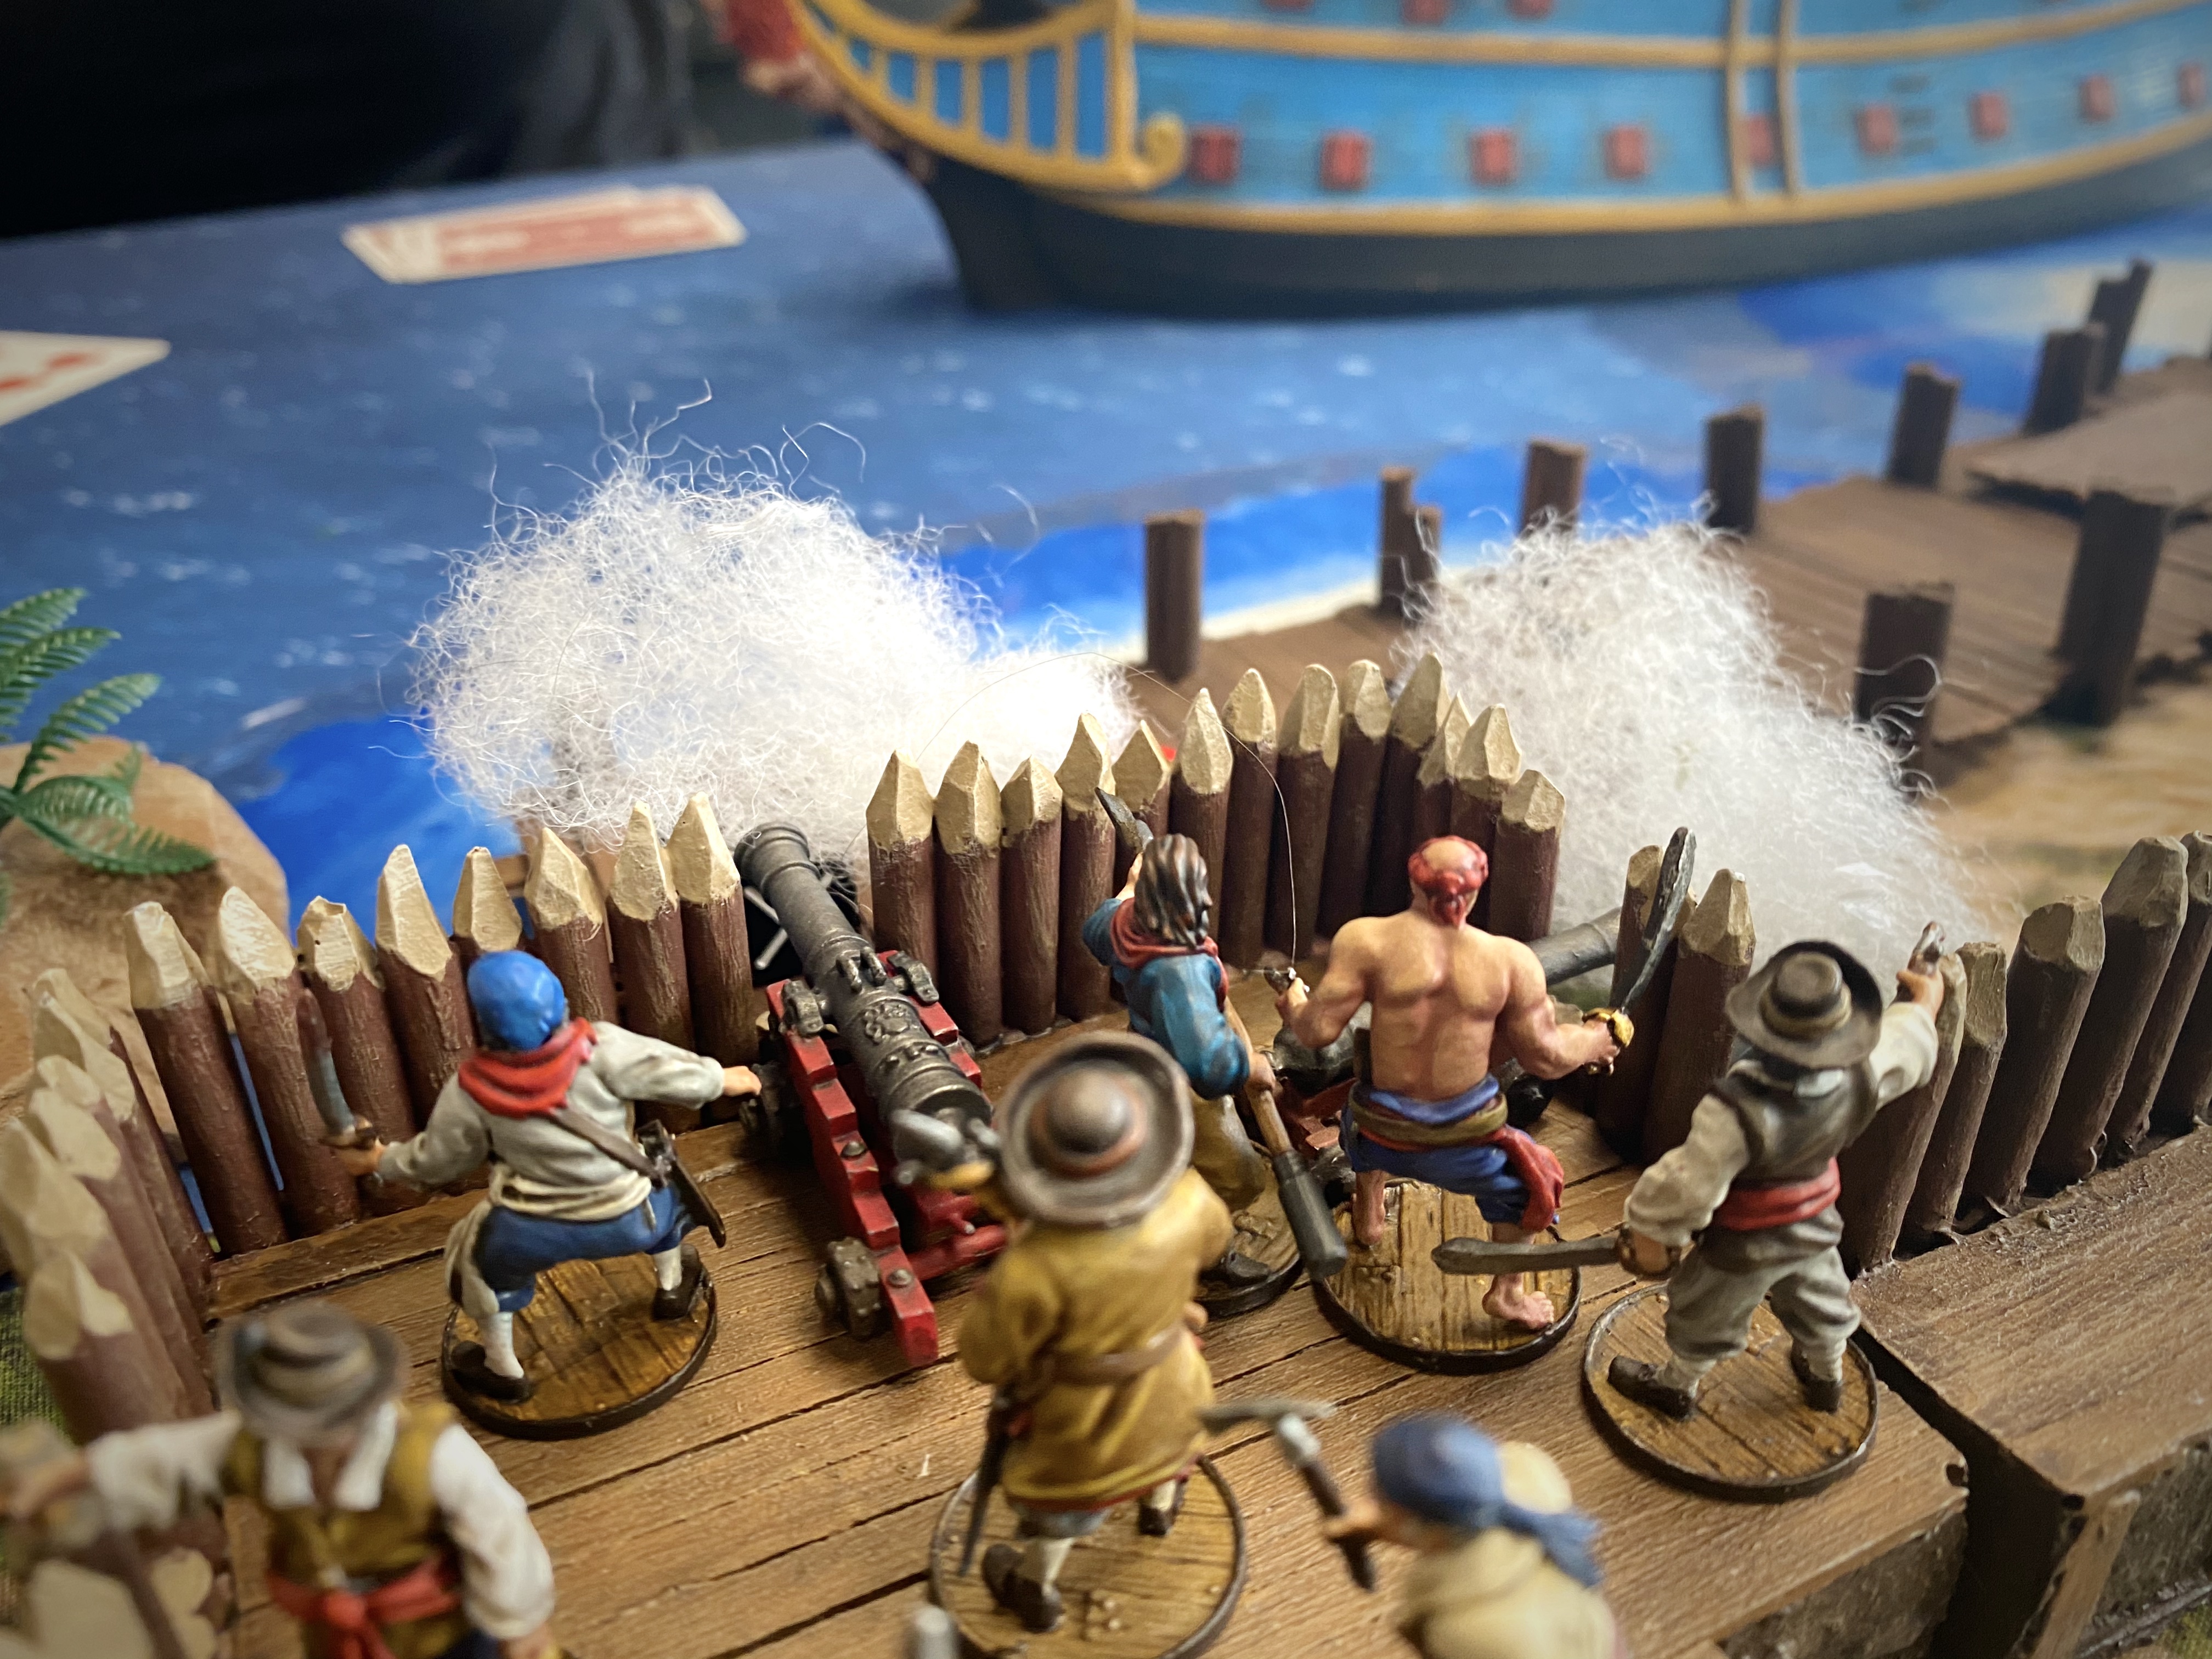
Heavy Cannons shine on fortifications. Cannons are harder to mass in forts (compared to ships), so bringing that big cannon helps it pack enough punch to be intimidating. I love to run Heavy Cannons in the Stone Tower Fort, Gun Emplacements and the Palisade Fort Bastions. With grapeshot each gun shoots 5 dice at a base of 4 shoot and that is enough to slow down any approaching assault party. When purchased for fortifications, they only cost 9 points each which is much easier to fit into a list than paying the points for a Field Gun. Add 6 men for the crew and you’re looking at 22-32 points for the gun and crew depending on how you kit it out.
The larger cannon you run the more it hurts if it’s knocked out or the crew gets whittled down to below the minimum crew number so sometimes it’s worth it to pad that unit with a few more models to ensure it keeps firing as long as possible.
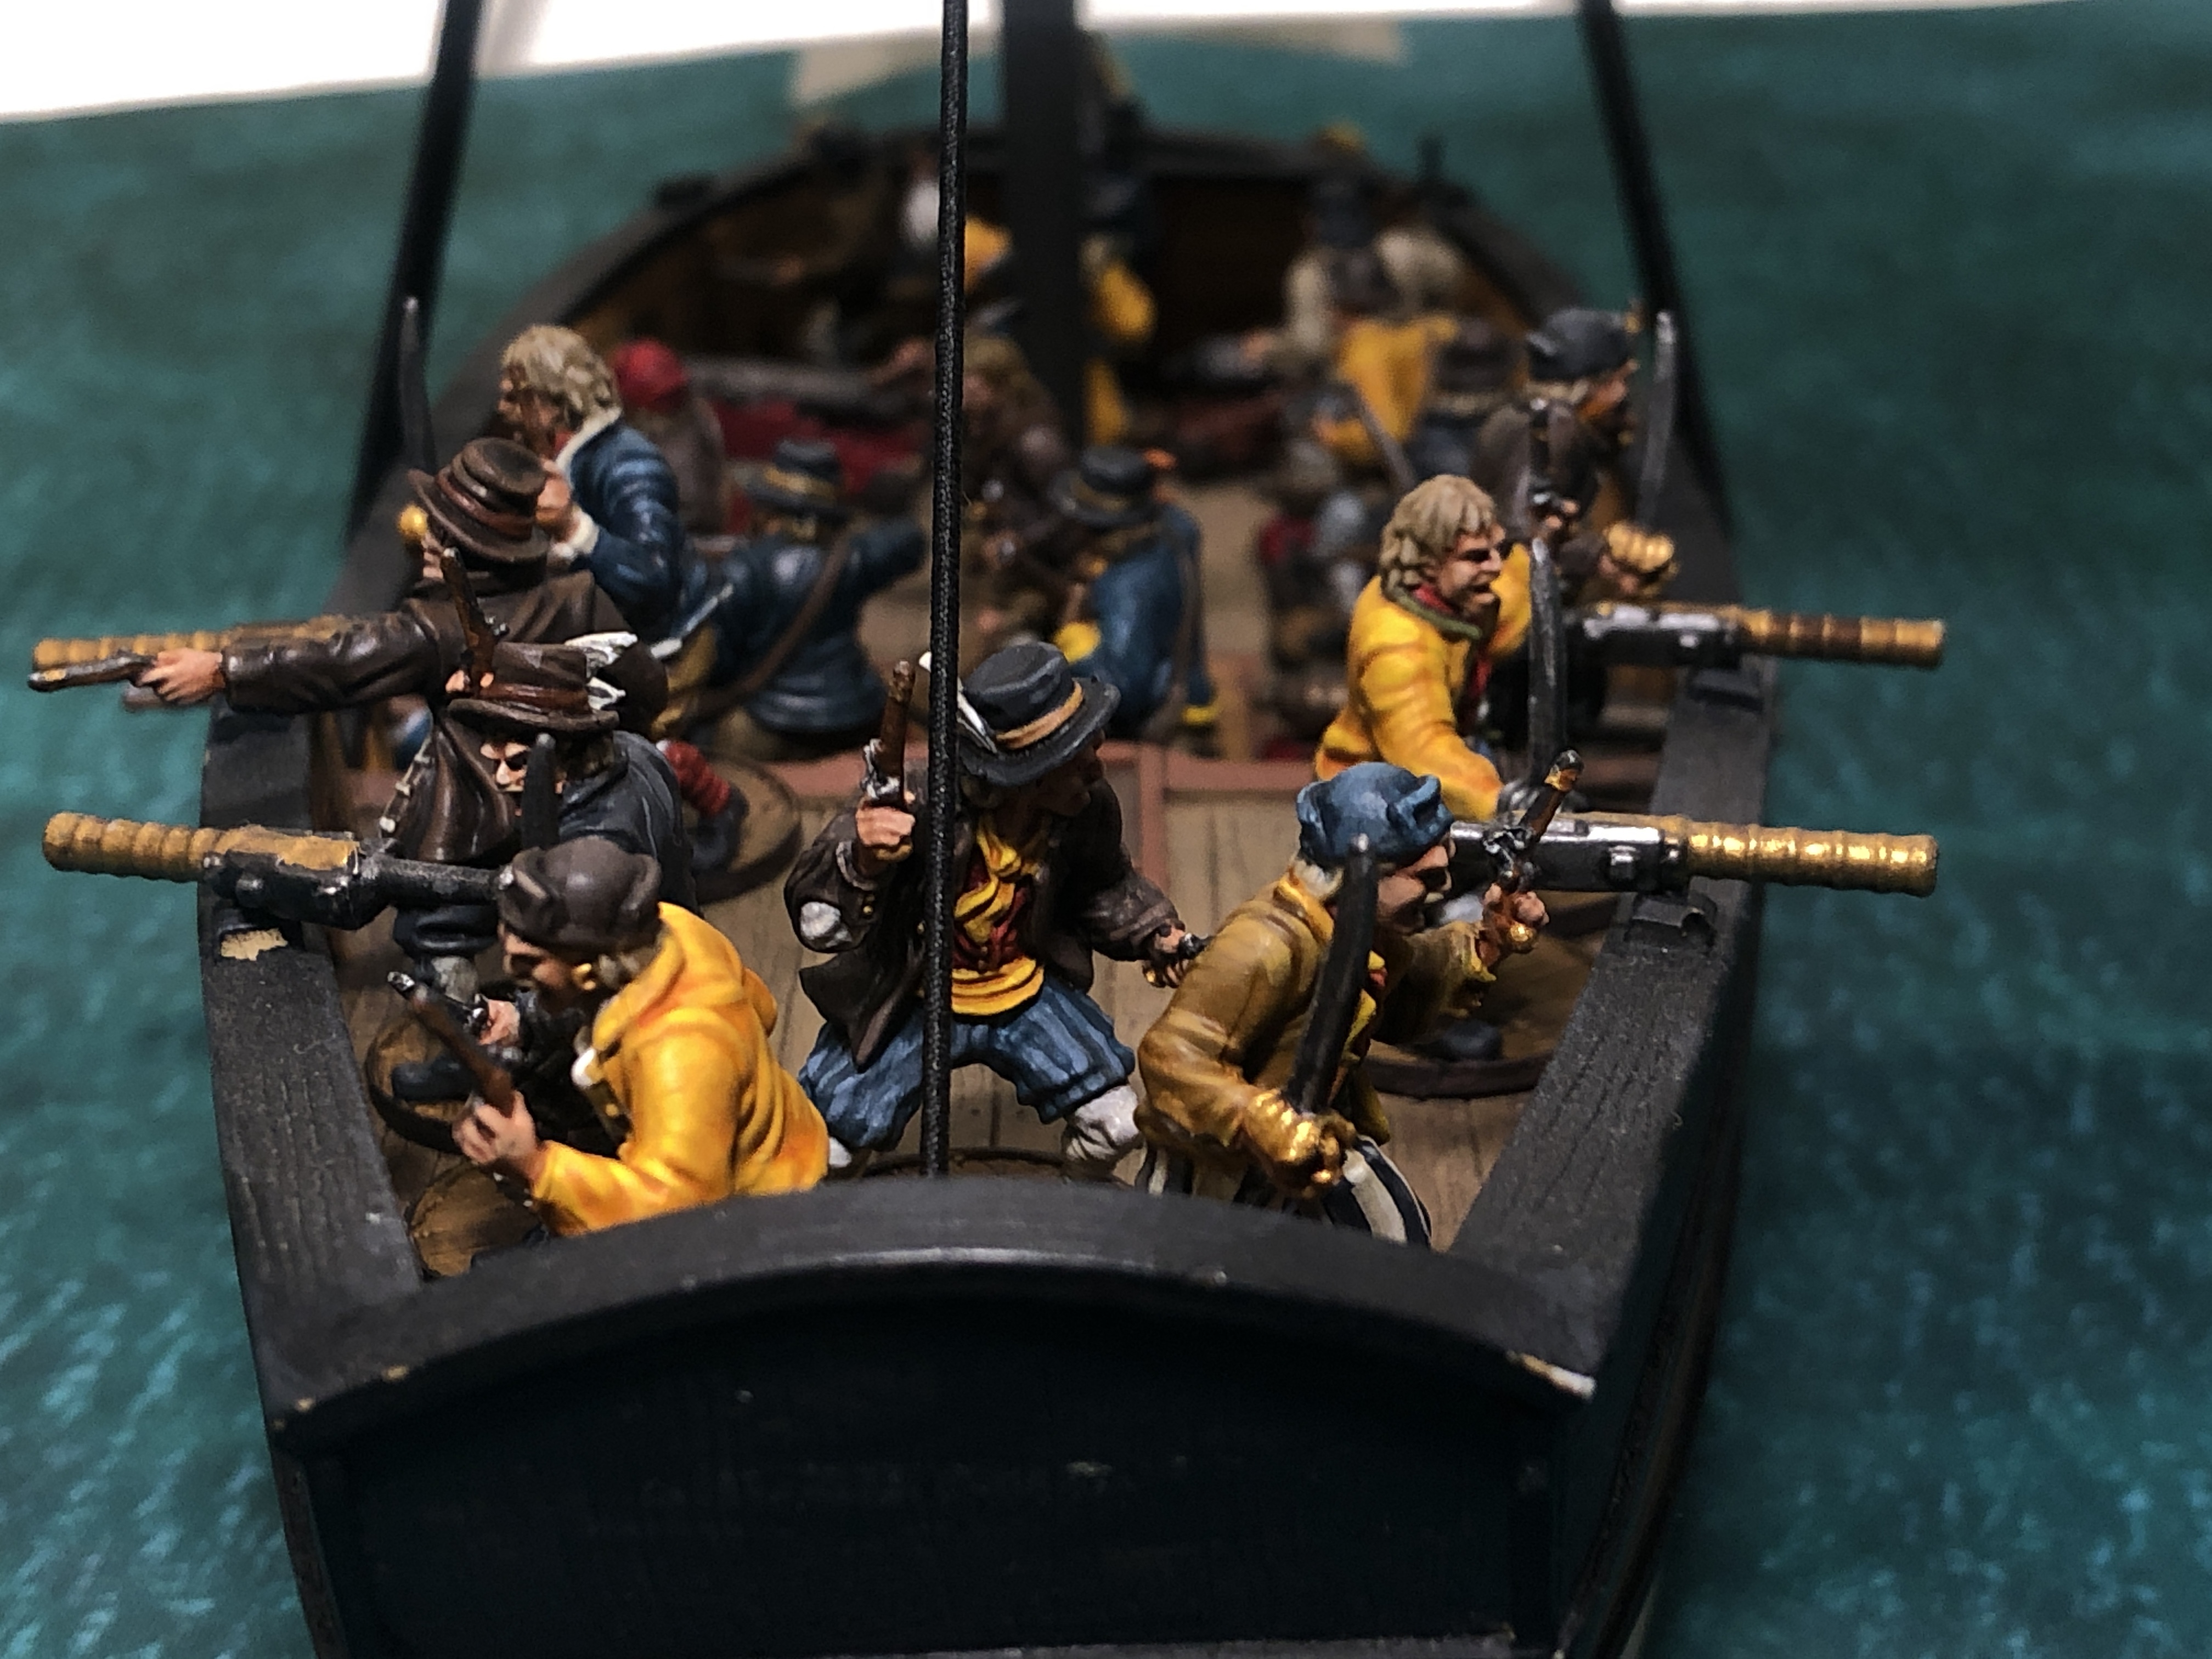
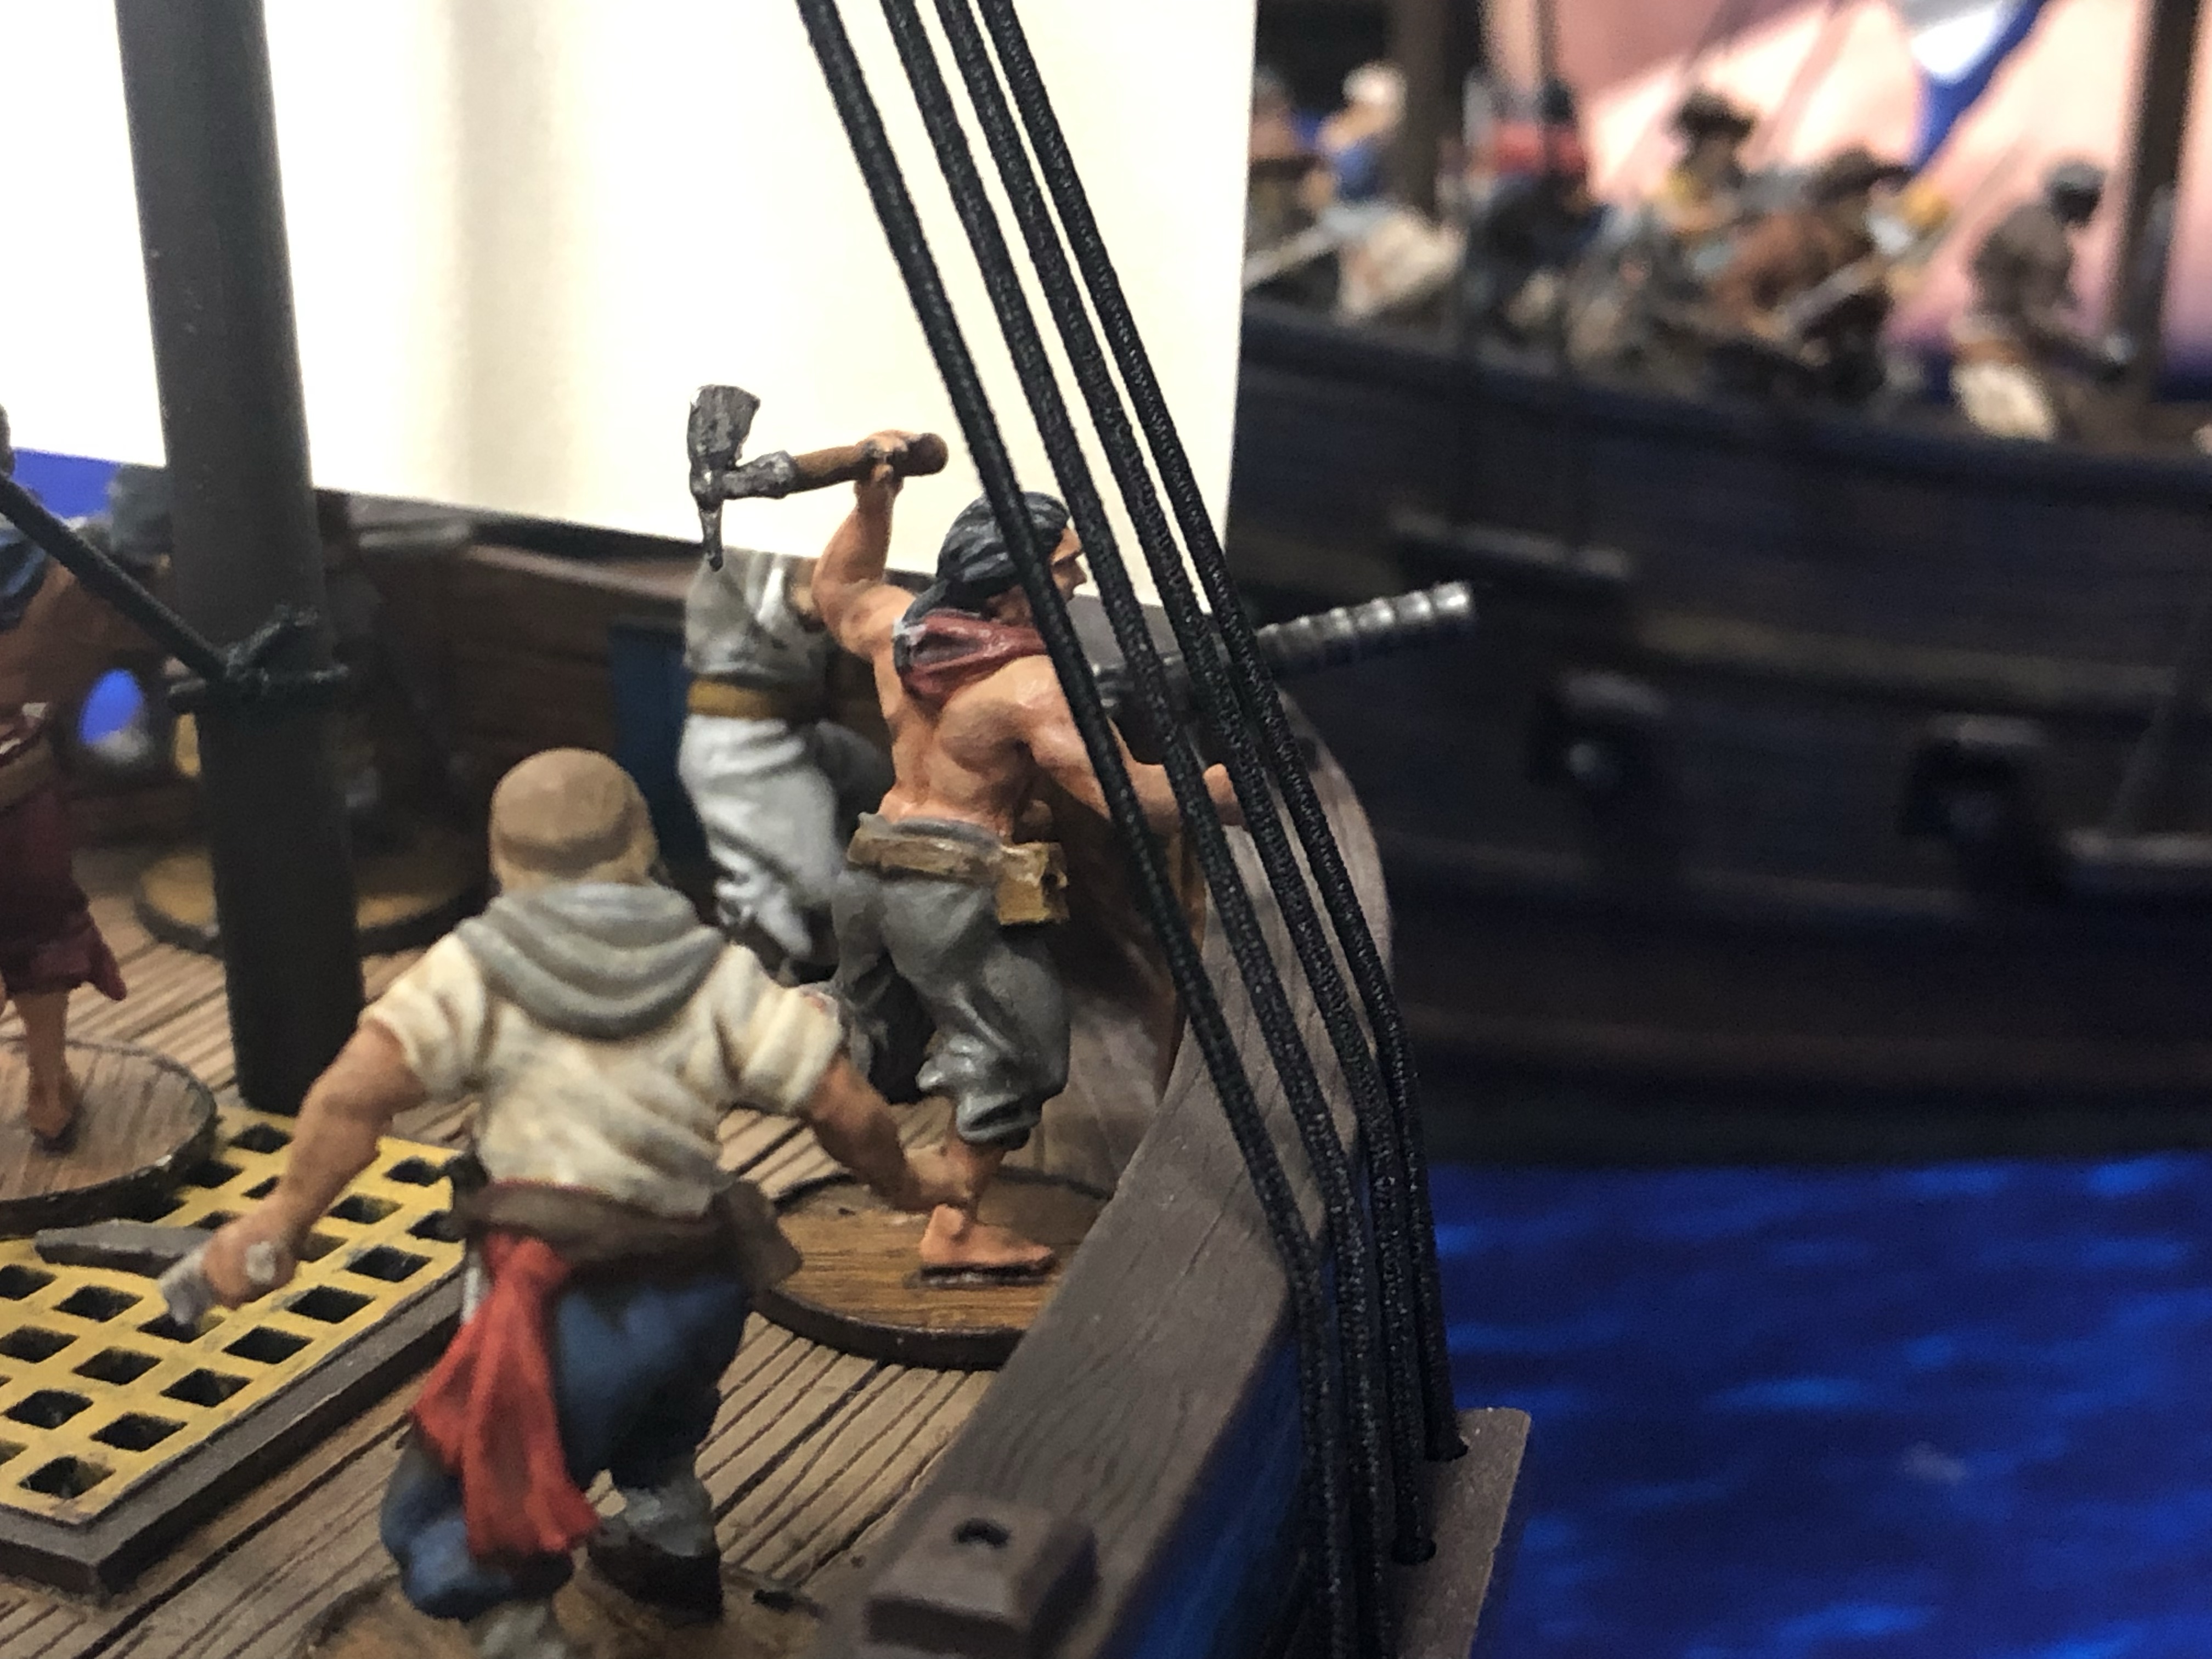
Swivel Guns
In a class all of their own, Swivel Guns share some rules with the other standard cannons but are very different in meaningful ways. They can’t fire on or damage structures, but they very cost efficient and deadly when it comes to sweeping the enemy’s decks or stopping a charge on a fort or a boarding action between ships.

Each swivel gun on a ship or structure costs 4 points (changed from 2 points each in the Errata) and fires 3 dice with a base Shoot of 6. Each gun needs 2 models to reload it and only takes 2 reloads instead of the standard 4. They also very flexible in that they have a 360* firing arch and can be “moved around” on your ship so you can fire any and all Swivel Guns on a section from any point in that section (the Sloop has 1 swivel on both sides of the main deck but both can shoot from either side, unlike standard cannons). Their flexibility, cost and ease of reloading make them excellent in almost any situation where they can be deployed.
Let’s crunch some numbers and look at why Swivel Guns are so good. On a ship (or fort) a Swivel Gun costs 4 points. It needs two models to crew it and let’s assume we use standard artillery crew models (Marins, Marineros, Sea Dogs, Zeelieden, European Sailors) without pistols at 3 points each. That’s 10 points for 3 dice with a 6 Shoot. Realistically, you want to buy some extra models so your gun doesn’t go out of service as soon as you take any casualties so you’ll usually be looking at bringing 3 models per gun (my rule of thumb). That’s still 13 points for 3 dice at 6 Shoot. That’s already good since you’d usually be paying 15-18 points for 3 Trained models with a 6 Shoot skill. Then you factor in the free reloads from the Artillery Crew ability when activated on a Spade or Heart (Expert Artillery Crew on the Sea Dogs, Zeelieden and any unit with a Master Gunner grants a free reload on a Spade and a Heart) and you are reloading faster than a musket up to half the time. It is very possible for a Swivel gun to fire twice in a turn with a crew of 3 points models but that is nearly impossible for models with muskets and can only be done by the most elite and veteran marksmen in the game. And these Swivel Gun crews have access to the Master Gunner which allows a cheap Command Point for extra Reload actions (while the Sharpshooter character is the same cost but much less powerful). If you’re looking for the best cost per dice for decently accurate shooting, Swivel Guns deliver on an incredible scale.
But they do have a couple disadvantages when compared to muskets which help balance them a little. Your cannon crews must be assigned to Swivel Guns which means they can’t easily be redirected to accomplish something else during a battle (repair, countercharge, change sail etc) while a unit of Freebooters is much more flexible and useful in more situations. They are also stuck in one section of of your ship or fortification and can’t be taken along when boarding the enemy’s ship or landing in an amphibious game. Swivel Guns are also limited to the rules of the ship or structure which you’re using while you can always bring good musketry in any ship you choose to you. Swivel Guns also lack any form of extended range. A Firelock/Matchlock Musket can still get a hit on a 10 at up to 24″ (and Buccaneer Guns and Heavy Matchlocks can do better) no matter the actual target number, the swivel gun has a hard range cap at right under 20″. No modifying bonus abilities like Ruthless will trigger on a Swivel Gun which also gives the small arms some extra value there (but the updated Strict rule can modify Swivel Gun dice!).
The power of Swivel Guns makes any ship with a deck that mounts 4 of them a strong choice. Ships with 4 Swivel in the front deck tend to be especially deadly, including the Tartana, Brigantine, 6th Rate Frigate and Fluyt. The ability to mount 4 Swivel guns makes the Piragua the best boat in the game as well (in my opinion). A Piragua with 4 Swivel Guns, 12 models and a Master Gunner costs a total of 63 points or 5.25 points for each dice rolled with a 6 Shoot (and the fast reload gained by Artillery/Expert Artillery Crew). The only way to get a similar value for your points is to use European Sailors with Muskets (not as readily available to most factions) and they still lack the speed on reloading (48 points for 12 European Sailors, 4 points for muskets and 7 points for a Piragua comes to 59 points). You can get slightly better numbers with the Native Warrior Musketeer but instead of a reload bonus, they have a reload penalty with Slow Reload so you’ll be firing them almost half as often.
Raking Shots, Lucky & Critical Hits and Broadside

There are several special rules that make cannons even more exciting and deadly!
Critical and Lucky Hits make cannons especially interesting in sea games. Any time you roll at least twice as many cannon hits as the Fortitude of the target ship/structure (after applying damage), the target has to roll a d10 and take the a nasty penalty from the appropriate Critical Hit table.
Example:
A Tartana with 2 Medium Cannons gets lucky and gets 6 hits on a Bark. This reduces the Bark’s Fortitude to 3. Six hits doubles that Fortitude so the Bark receives a Critical Hit off the ship table on page 69 of the rule book. If the Bark was reduced to 1 Fortitude by those 6 damage, it would take 3 Critical Hits.
These critical hits can range from anything from a Catastrophic Damage on a 10 to a Leak or Fire, to No Effect on a 1. Critical Hits can really change the course of the game!

During a cannon attack, if a 10 is rolled on the damage dice, the target will take a Lucky Hit (in addition to any possible Critical Hits). A Lucky Hit is exactly the same as a Critical Hit except you negate 1 from the roll on the Critical Hit table. You can only score 1 Lucky Hit per attack so if your roll 2+ 10s, you still only get a single Lucky Hit. In the example above, if any tens were rolled, in addition to any Critical Hits, you would roll again on the Critical Hit table but subtract one from the rolled number.

There are several Critical Hit tables in the rule book including lists for ships, rigging, boats, fortifications and buildings.
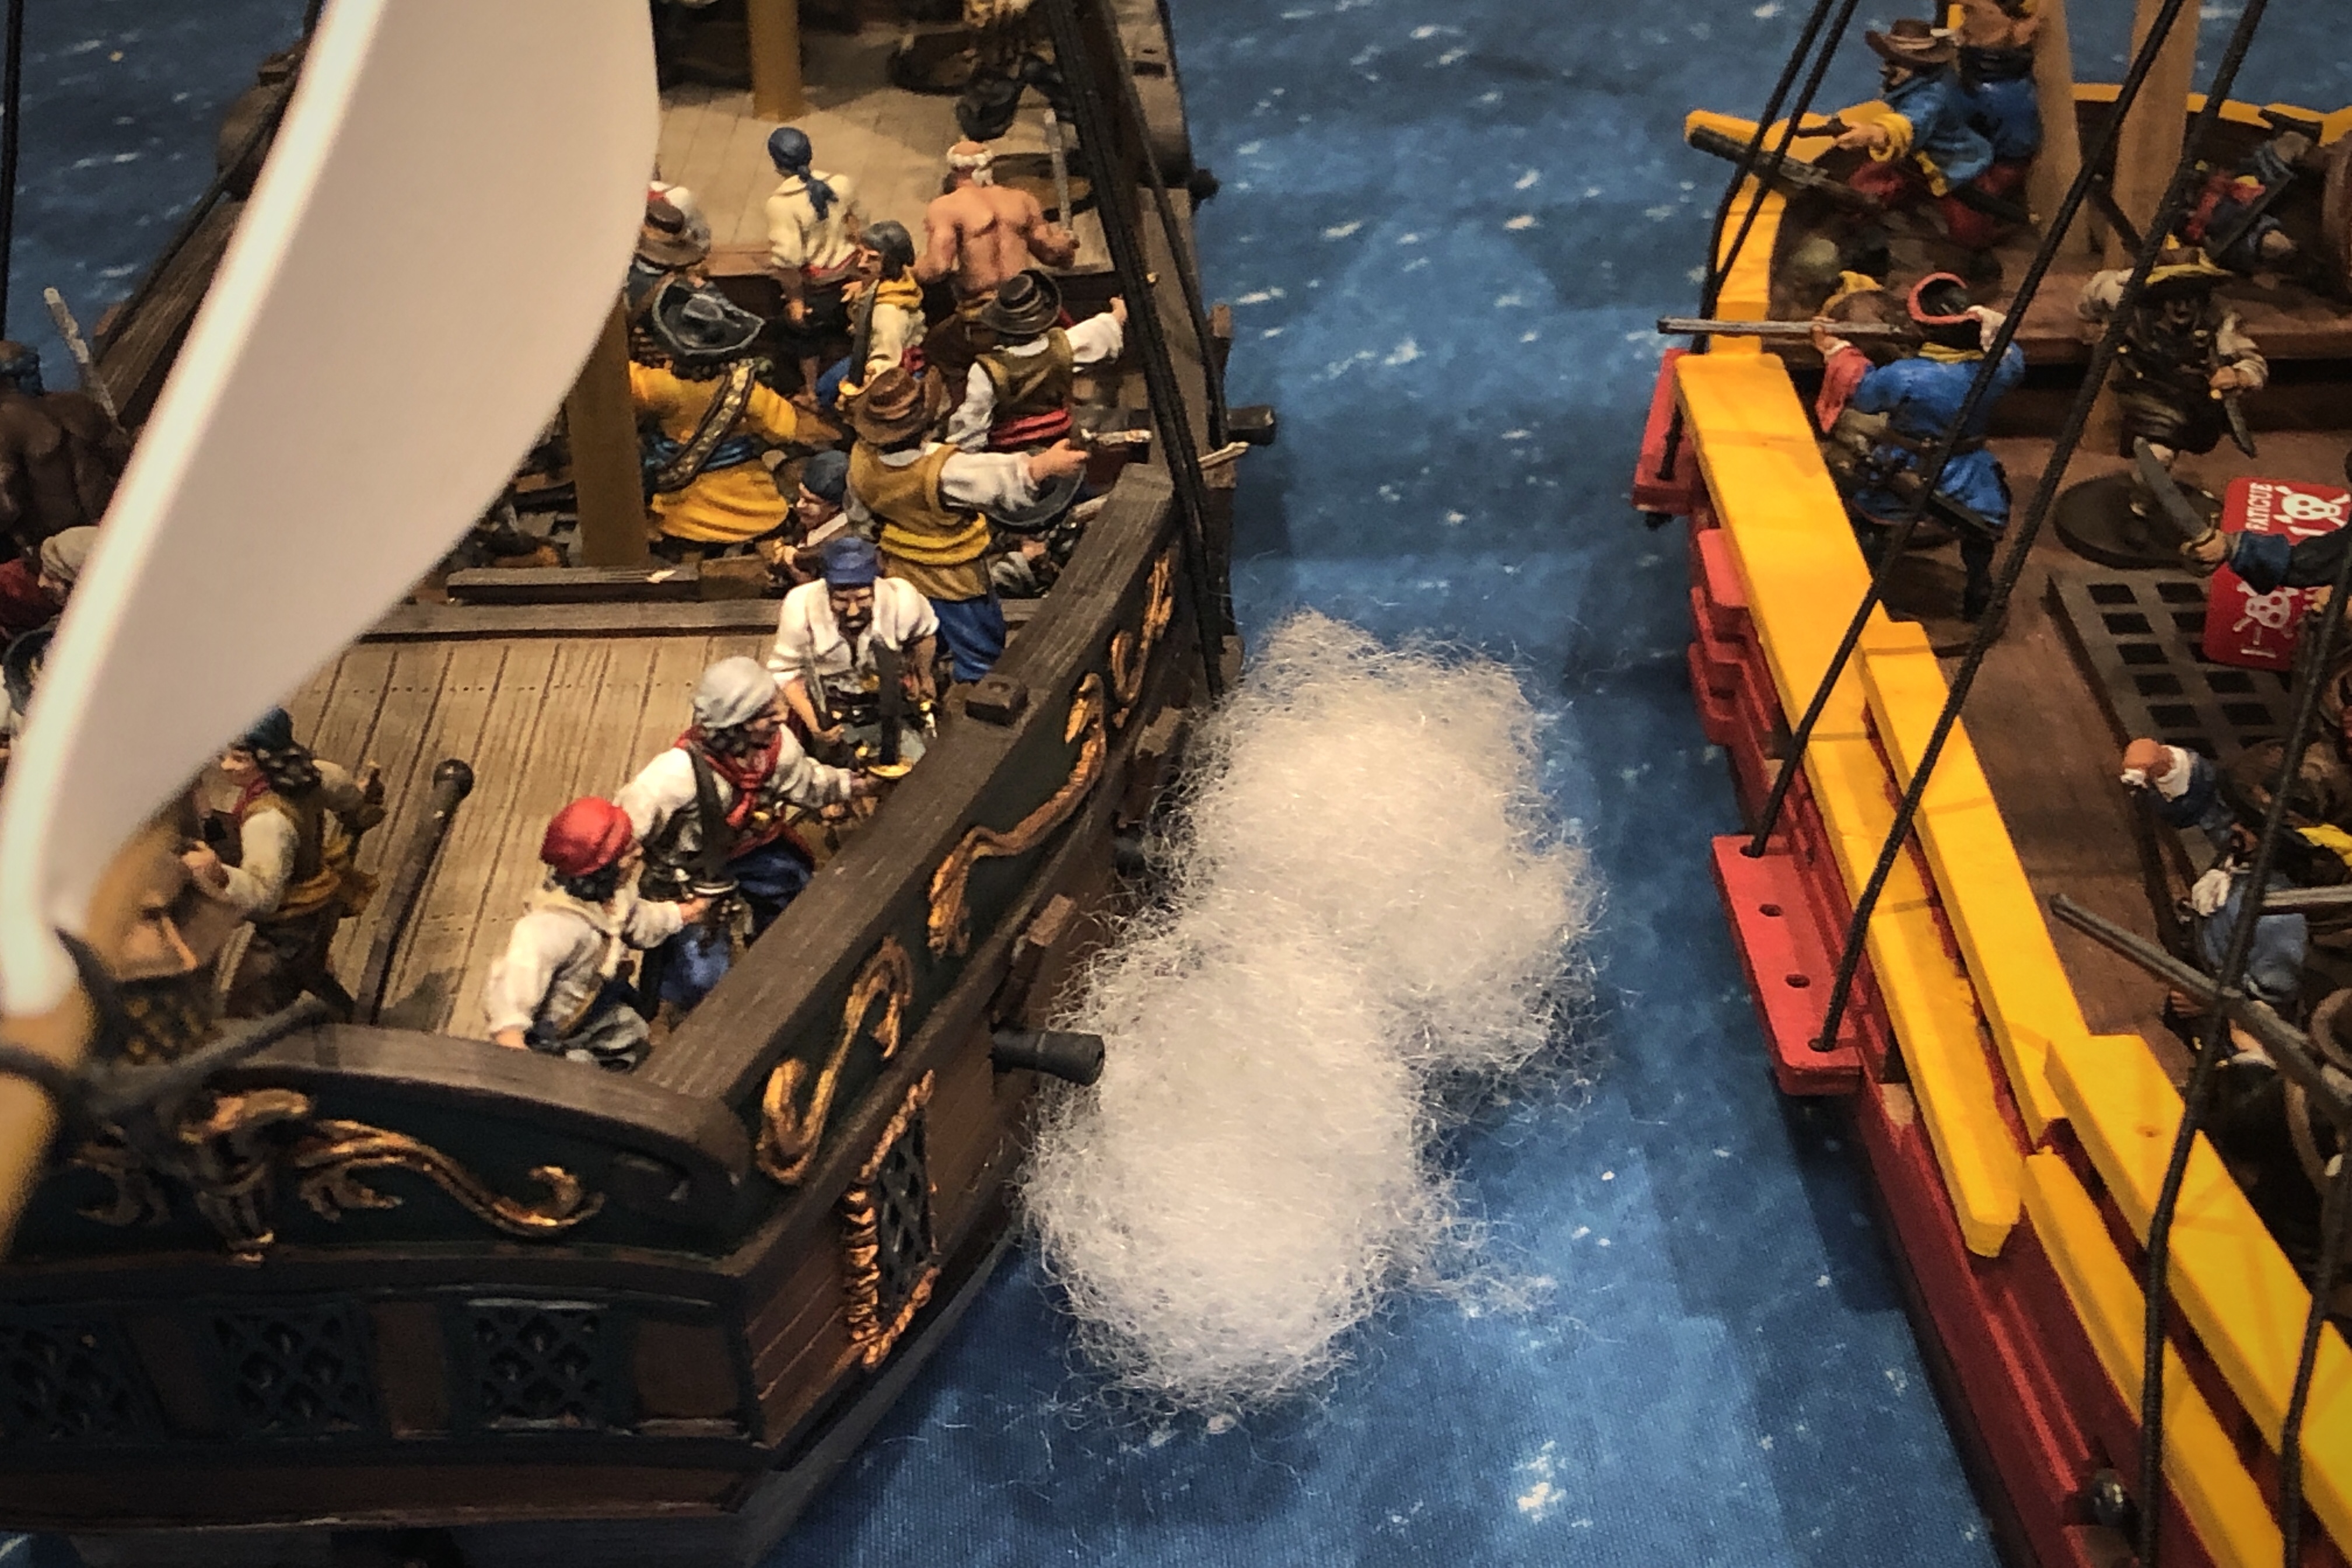
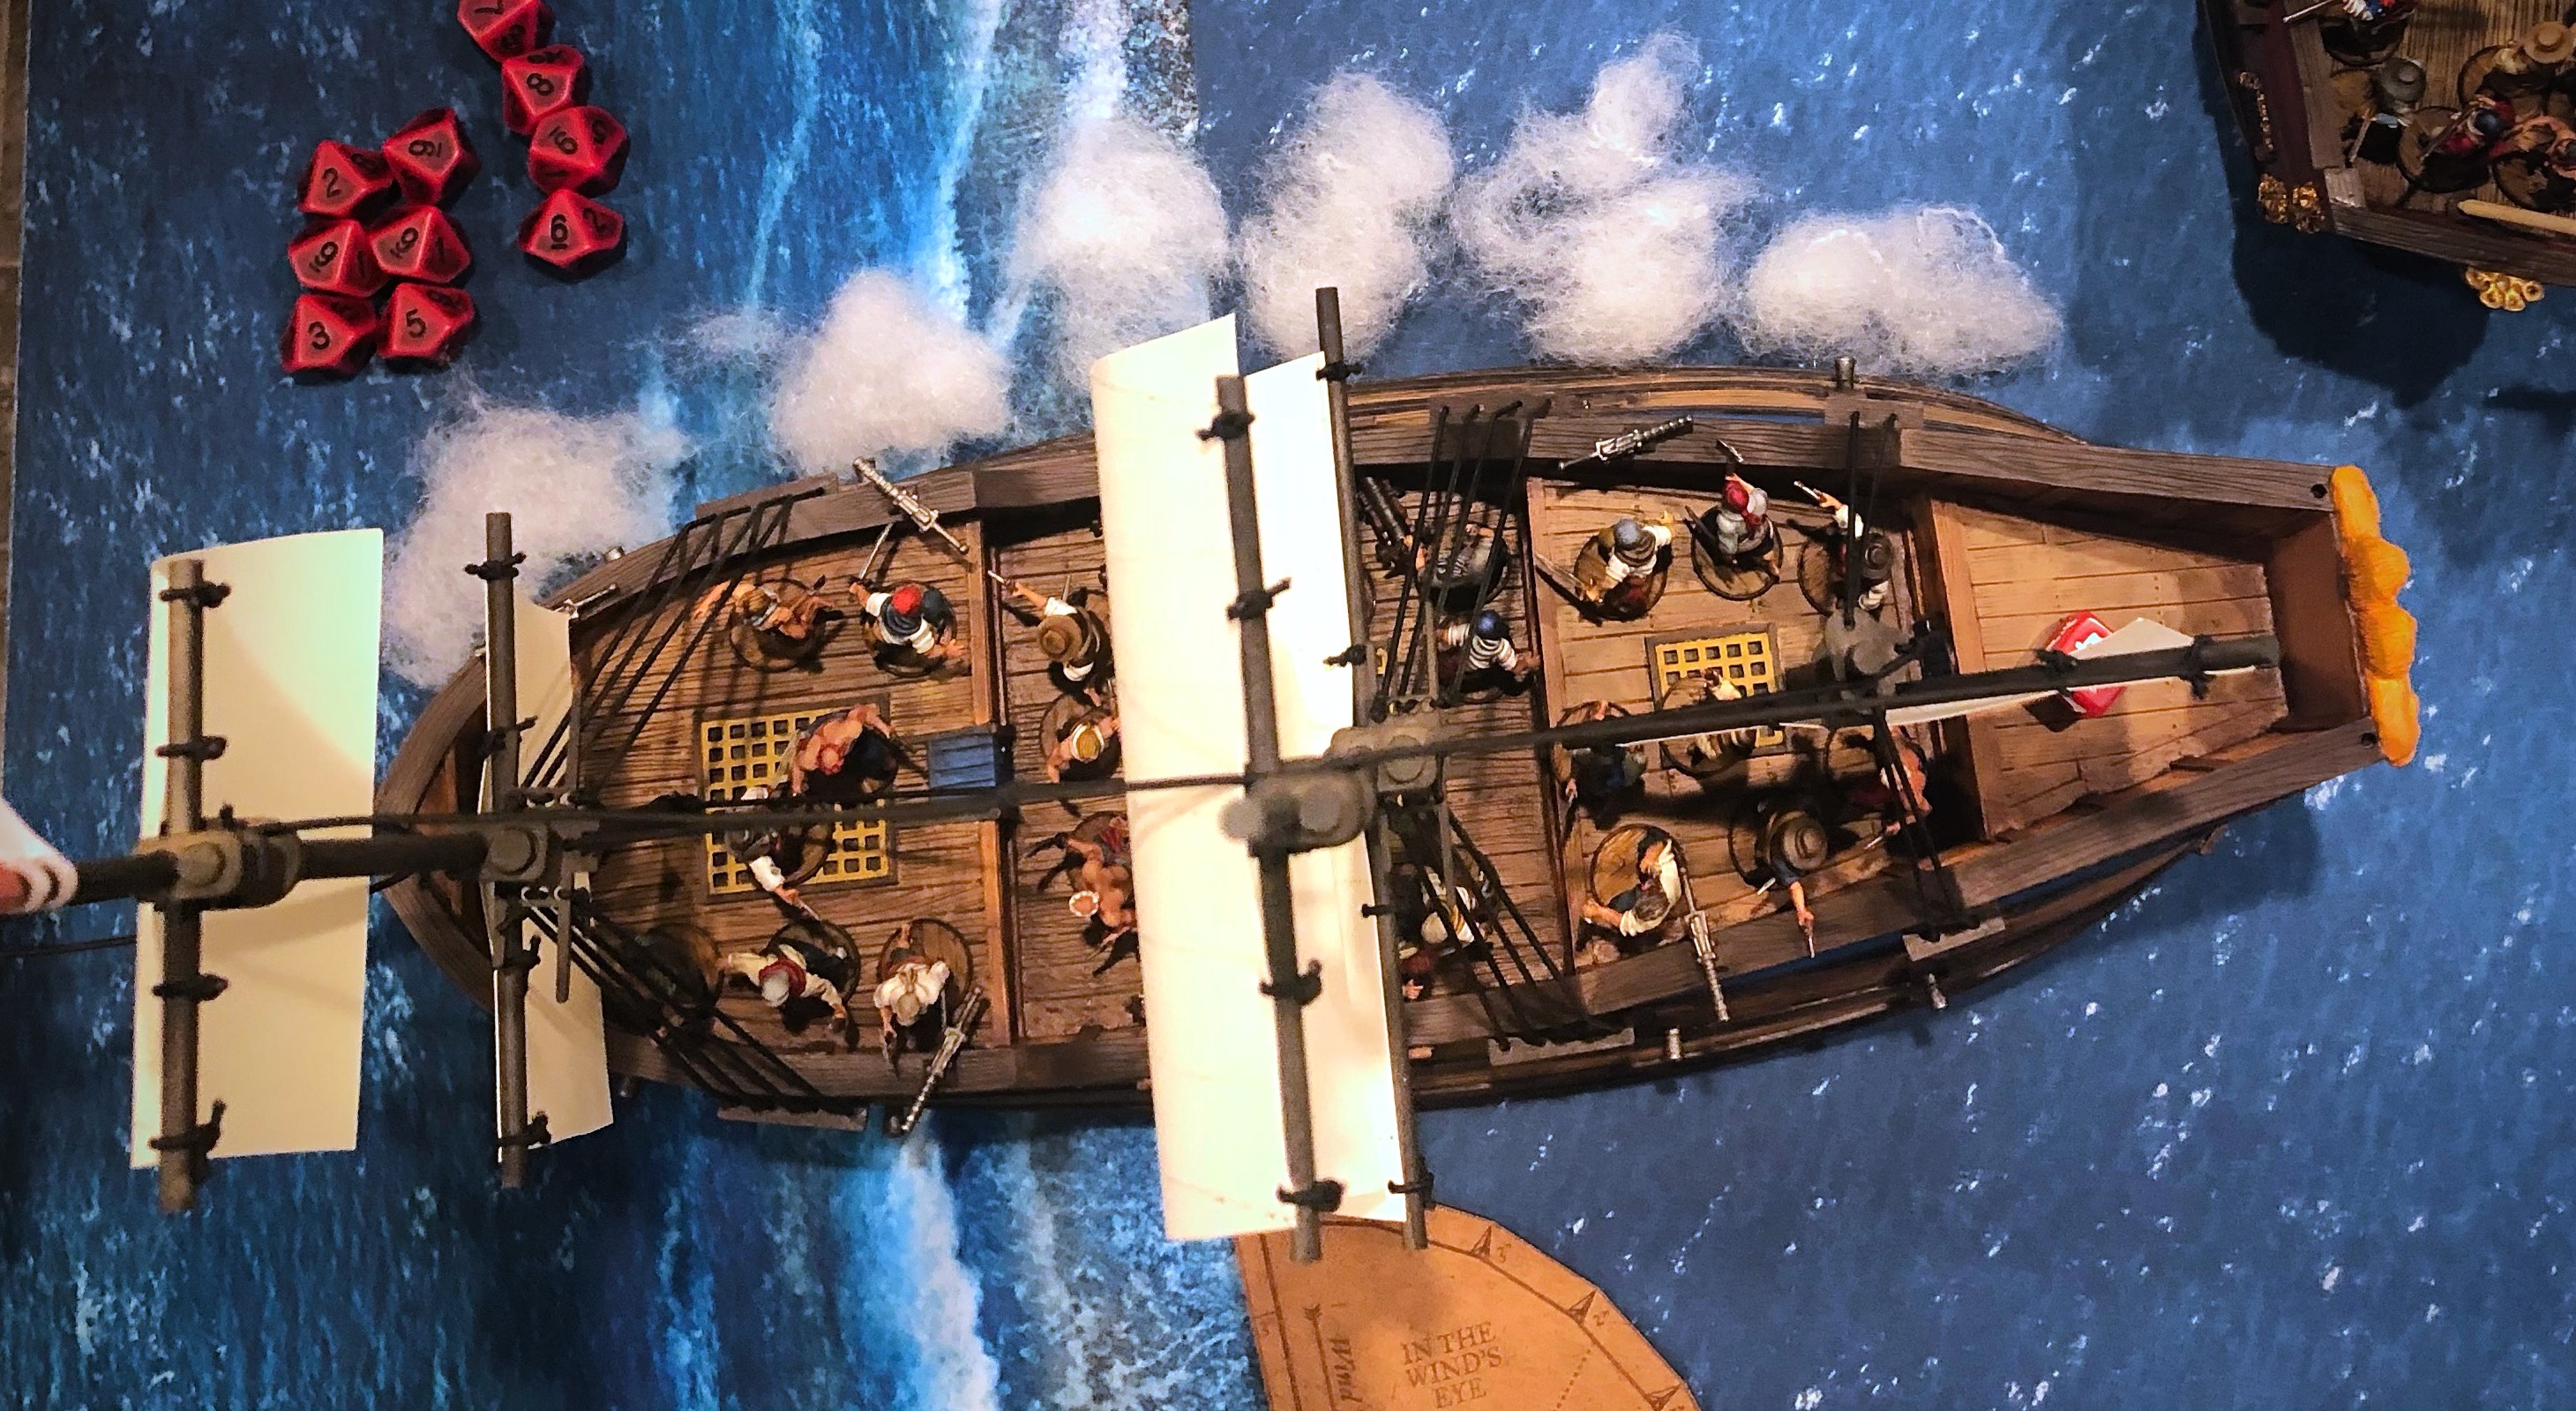
Lining up a Rake on an enemy ship can be one of the most satisfying moments in a sea game of Blood & Plunder. To Rake a ship you have to line up your gun deck so you draw a straight line straight through your ship and through both ends of the target ship. All hits count twice when raking a ship and if you rake from the stern you reduce the Fortitude by 1 as well. All those hits have to distributed to units in all decks so it can disrupt an entire crew as well as often applying a Critical Hit.
Many sea focused commanders have the Broadside! special rule. This rule lets you count all cannons fired during his activation (via command points or through his own unit) to count as one attack. This can dramatically increase your chances of applying a Critical Hit when firing at a ship or structure. This is a great ability, especially when firing guns from a ship like the Fluyt or Brigantine that only has 2 guns per deck.
While a good ability, there are some situations where Broadside! isn’t going to help and it’s actually mathematically better to not use it. If you run the numbers in your head (number and size of cannons, range, Fortitude of target) and it’s statistically unlikely for apply a critical hit, attacking separately with your various decks of cannons has two small advantages: it increases Fatigue output and it slightly increases the chance of Lucky Hits. Every time a unit is hit by an attack, it has to take a Fatigue check of 1 d10 + the number of dead from the attack. Attacking twice will force the defender to roll one additional fatigue dice, no matter the number of hits (unless you get 0). When firing on ships, there is often two units in a deck so both units will have to roll twice which doubles that advantage. The rules for Lucky Hits limit them to 1 per attack so a Broadside of 10 guns can still only score 1 Lucky Hit while firing decks of cannon independently can score up to one per attack. If you’re firing on a very tough target, not using Broadside! is usually best, until your whittled it down. Broadside! is also bad with Grapeshot unless it’s likely the target units will go prone after the first attack.
Tactics, Tips and Tricks
I’ve mentioned a lot of ways to use cannons and methods of getting the most out of the during a game but here a some more ideas.
- Always bring a few extra models beyond the minimum for your cannon crews. The exact number of extra models you might want can vary widely with circumstances. A crew manning the Heavy Guns in a gun deck on a Galleon is pretty safe from attacks and won’t need many extras while a unit manning the 4 Swivel Guns on the forward deck has less cover, will likely be nearest the enemy and will be perceived as a threat and targeted right away by your opponent. Plan accordingly.
- If you can keep your cannons firing through a game, they get exponentially better as the Fortitude of the enemy ship/structure goes down. This makes a focused cannon force very effective if it can fire every turn and make it all the way into the late game. You just have to avoid getting boarded because your cannon crew can’t make defensive attacks while assigned to your guns!
- If you manage your gun crew correctly and don’t get bad cards, you can get 4 actions (including a Command Action) every turn which means you can fire your cannons every turn for the first 4 turns (assuming you crew isn’t disrupted by enemy fire…). That’s a lot of cannon fire and by the 4th turn, both the range and Fortitude should have been reduced enough that those late game shots should be very deadly!
- If you have a good shot, don’t be shy about shooting your Swivel Guns twice in a turn! This is possible on a Heart for units with Expert Artillery Crew for a cost of 2 Fatigue or for only 1 Fatigue if the crew has a Master Gunner. Throwing 12 dice (assuming 4 swivels) twice in one activation can decide a game.
- Field Guns are fun but are pretty expensive for what they bring to a force (in my opinion). The limit on bringing them only with the Militia Artillery Crew units means it’s very hard to bring more than 1 in a force. Tackling fortifications with Field Guns is very difficult because of this limit so assault seems to be the better approach in most cases.
- The French can bend the rules for cannons on land with two of their commanders. Le Sieur De Grammont can give the ability to take Field Guns to Marins in the French Buccaneer faction so you can run as many cannons as you want. Jean Bernard Desjeans can take the Miliciens Artilleurs as core units as well within the French Expeditionary Force. French are the best option for attacking any fortifications because of these two leaders.
- Always bring a Master Gunner if you can squeeze his 4 point cost into your list. He dramatically increases the effectiveness of your cannons and can potentially free up your Commander’s Command Points for other units.
- You can shoot at a ship’s rigging in the game but it’s a hard path to success! Some sort of Chain or Bar shot is coming in the Raise the Black expansion but right now, shooting at rigging seems inferior to targeting a ship’s hull in nearly all circumstances.
- Cannons are good anti-native weaponry. If you can make contact in spite of the Low Profile rule on both Canoas and Piraguas, hitting boats with cannons is very effective. Canoas are especially touchy about this since they have the Unstable trait that could kill several more models just by throwing them out of the boat after the cannon hits! Solid shot (errata version) from a fixed gun is a sure fire way to kill at least one model from that vexatious unit of Natives in the bushes that you can’t hit because of their super Save number. Field Guns providing natural cover means that any arrows thrown at the crew will only hit on a 1-3 Save throw.

Well there was a lot more to say about cannons than I initially thought! They are a fun and dramatic part of Blood & Plunder and I hope this overview has been helpful. Please chime in with your thoughts on using cannons and artillery in Blood & Plunder.
Pingback: Faction Review – English Royal Navy | Blood & Pigment
Pingback: A Complete Guide to Blood & Plunder Characters
Pingback: Adepticon 2023 Blood & Plunder Tournament Report