How to Make Piers for Blood & Plunder the Easy (Slow) Way
By Guy Rheuark

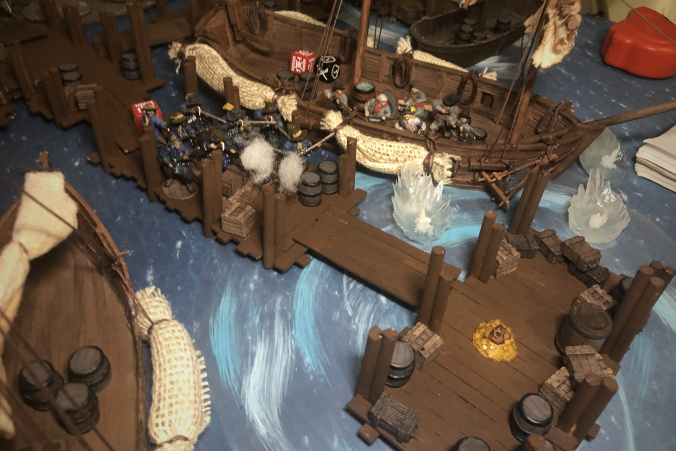
With a full third of the game scenarios being amphibious, it is important to have places ships can dock. While you might think your sloop can just belly up to a sandbar, drop anchor, and throw grapples, it cannot. Any ship that comes within 3” of land runs aground and gives you a strike point. You need a pier, and luckily, they are easy to make.
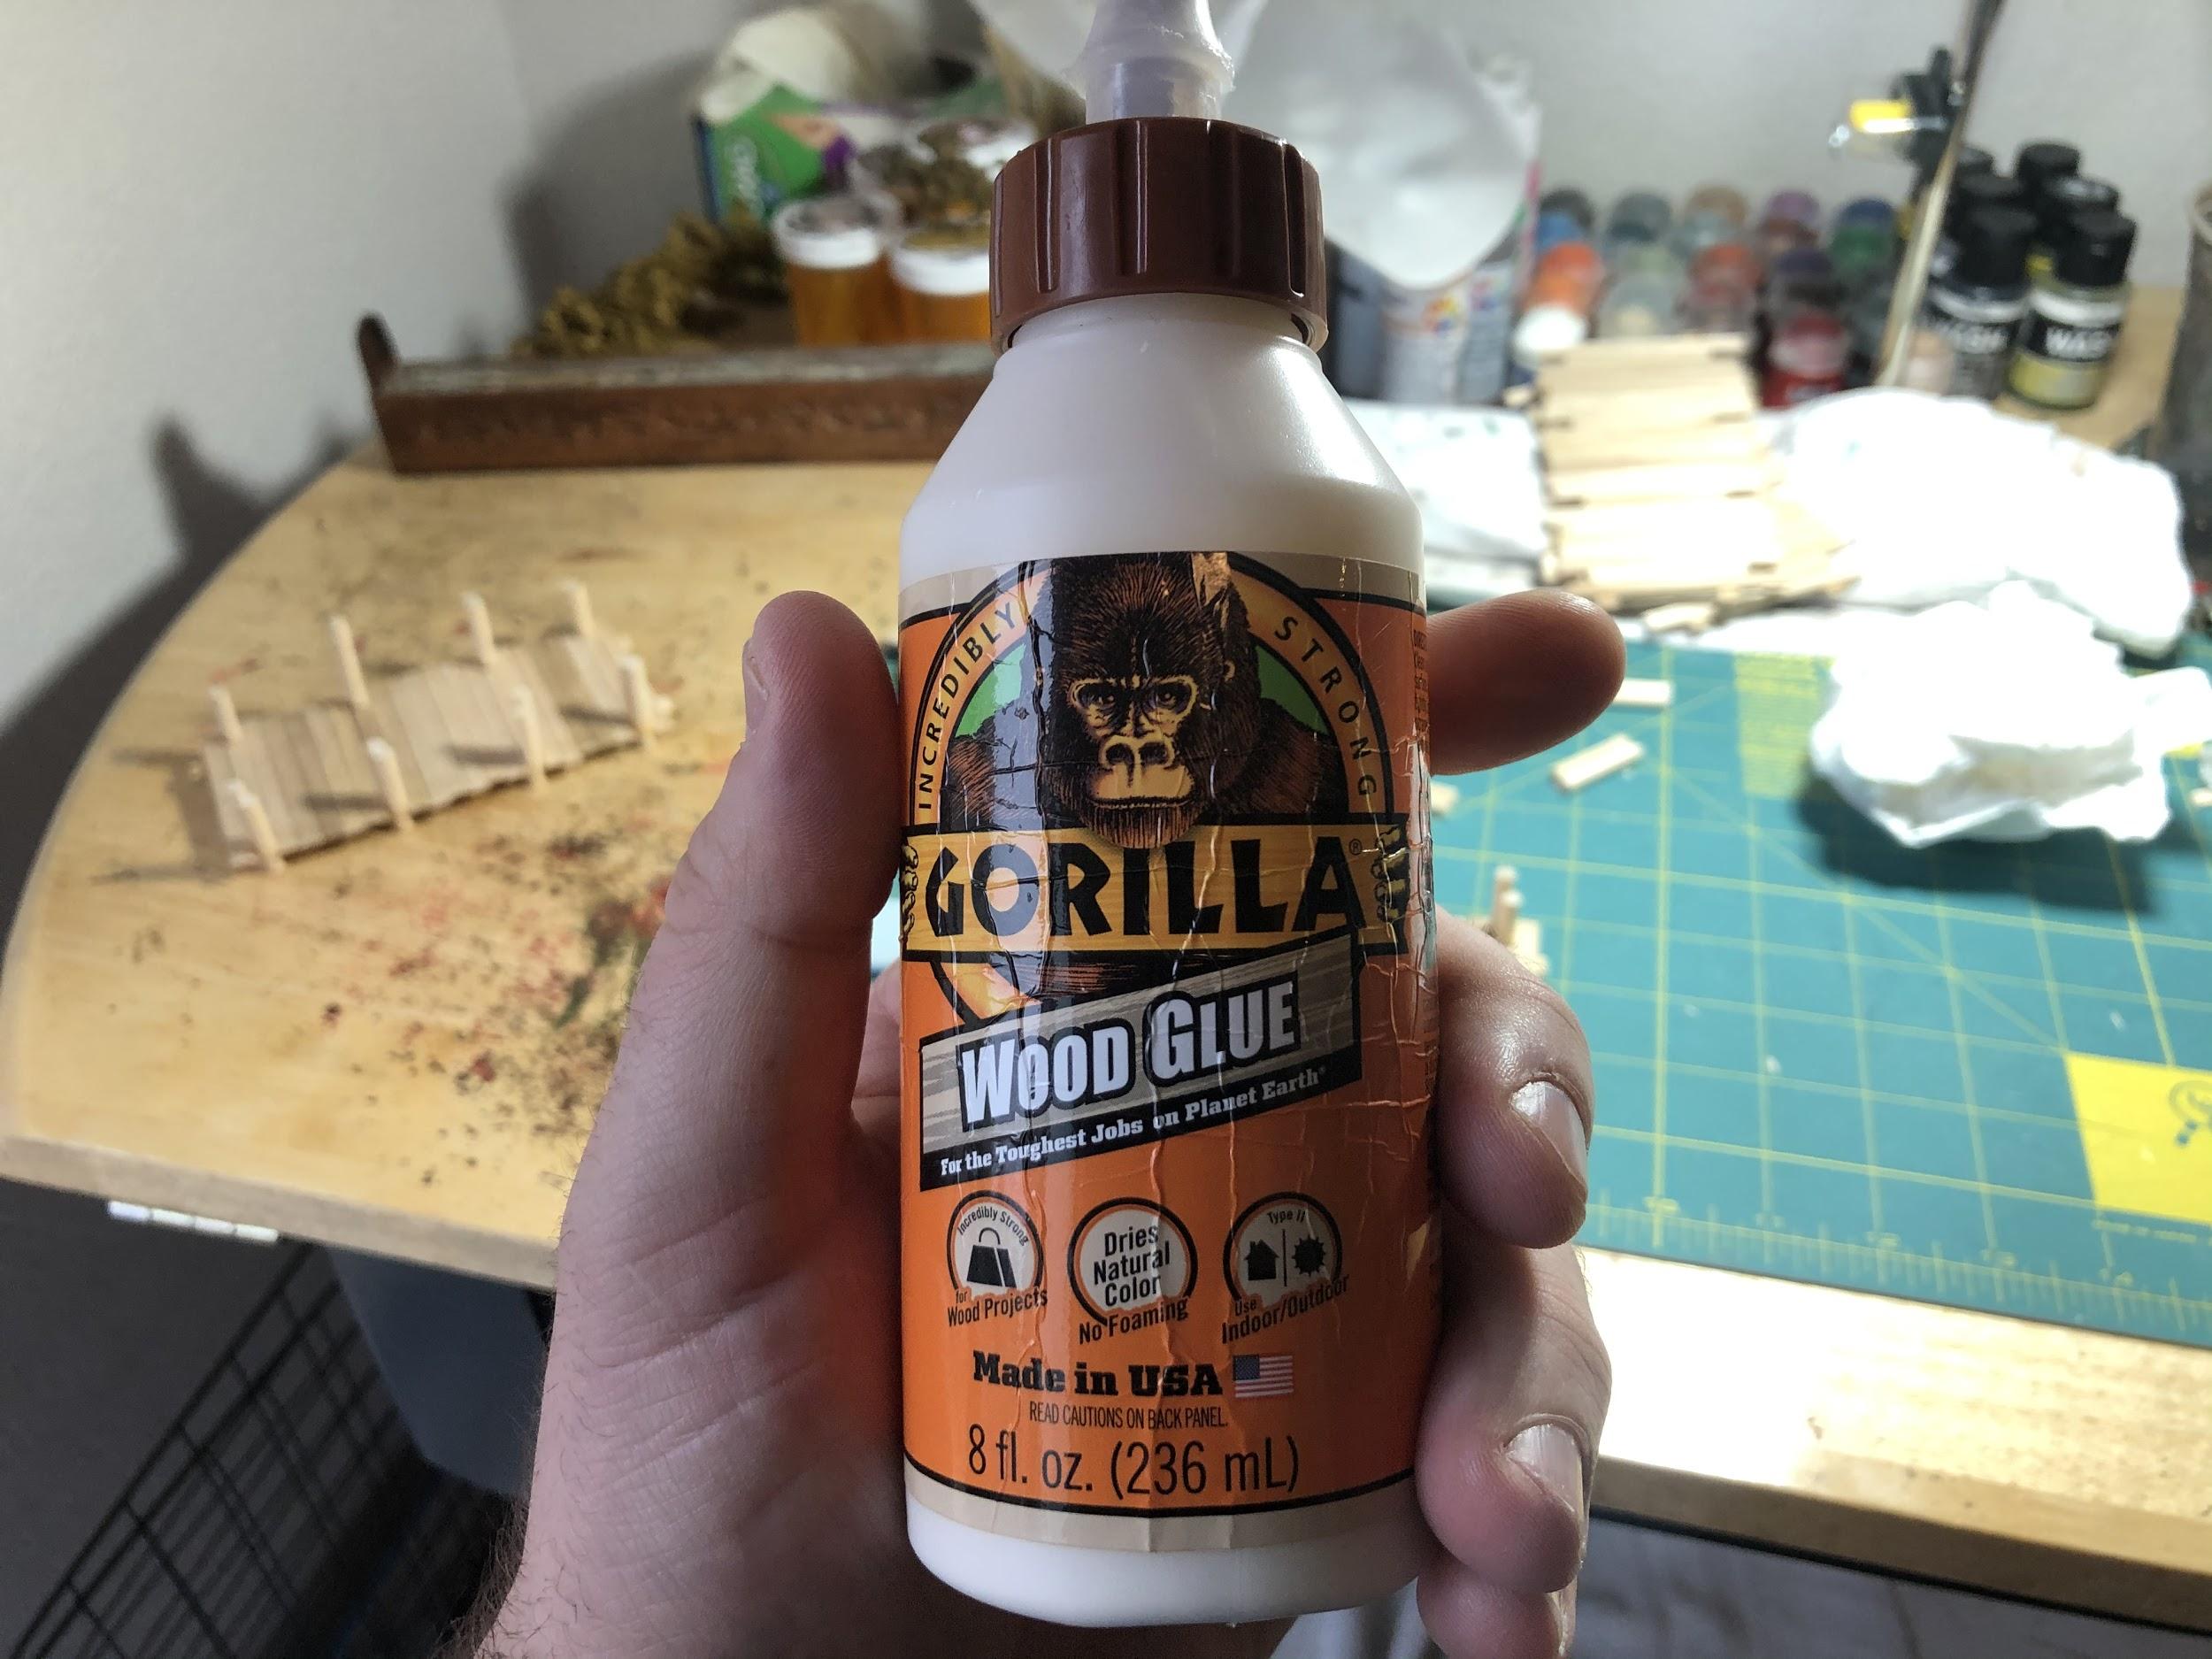
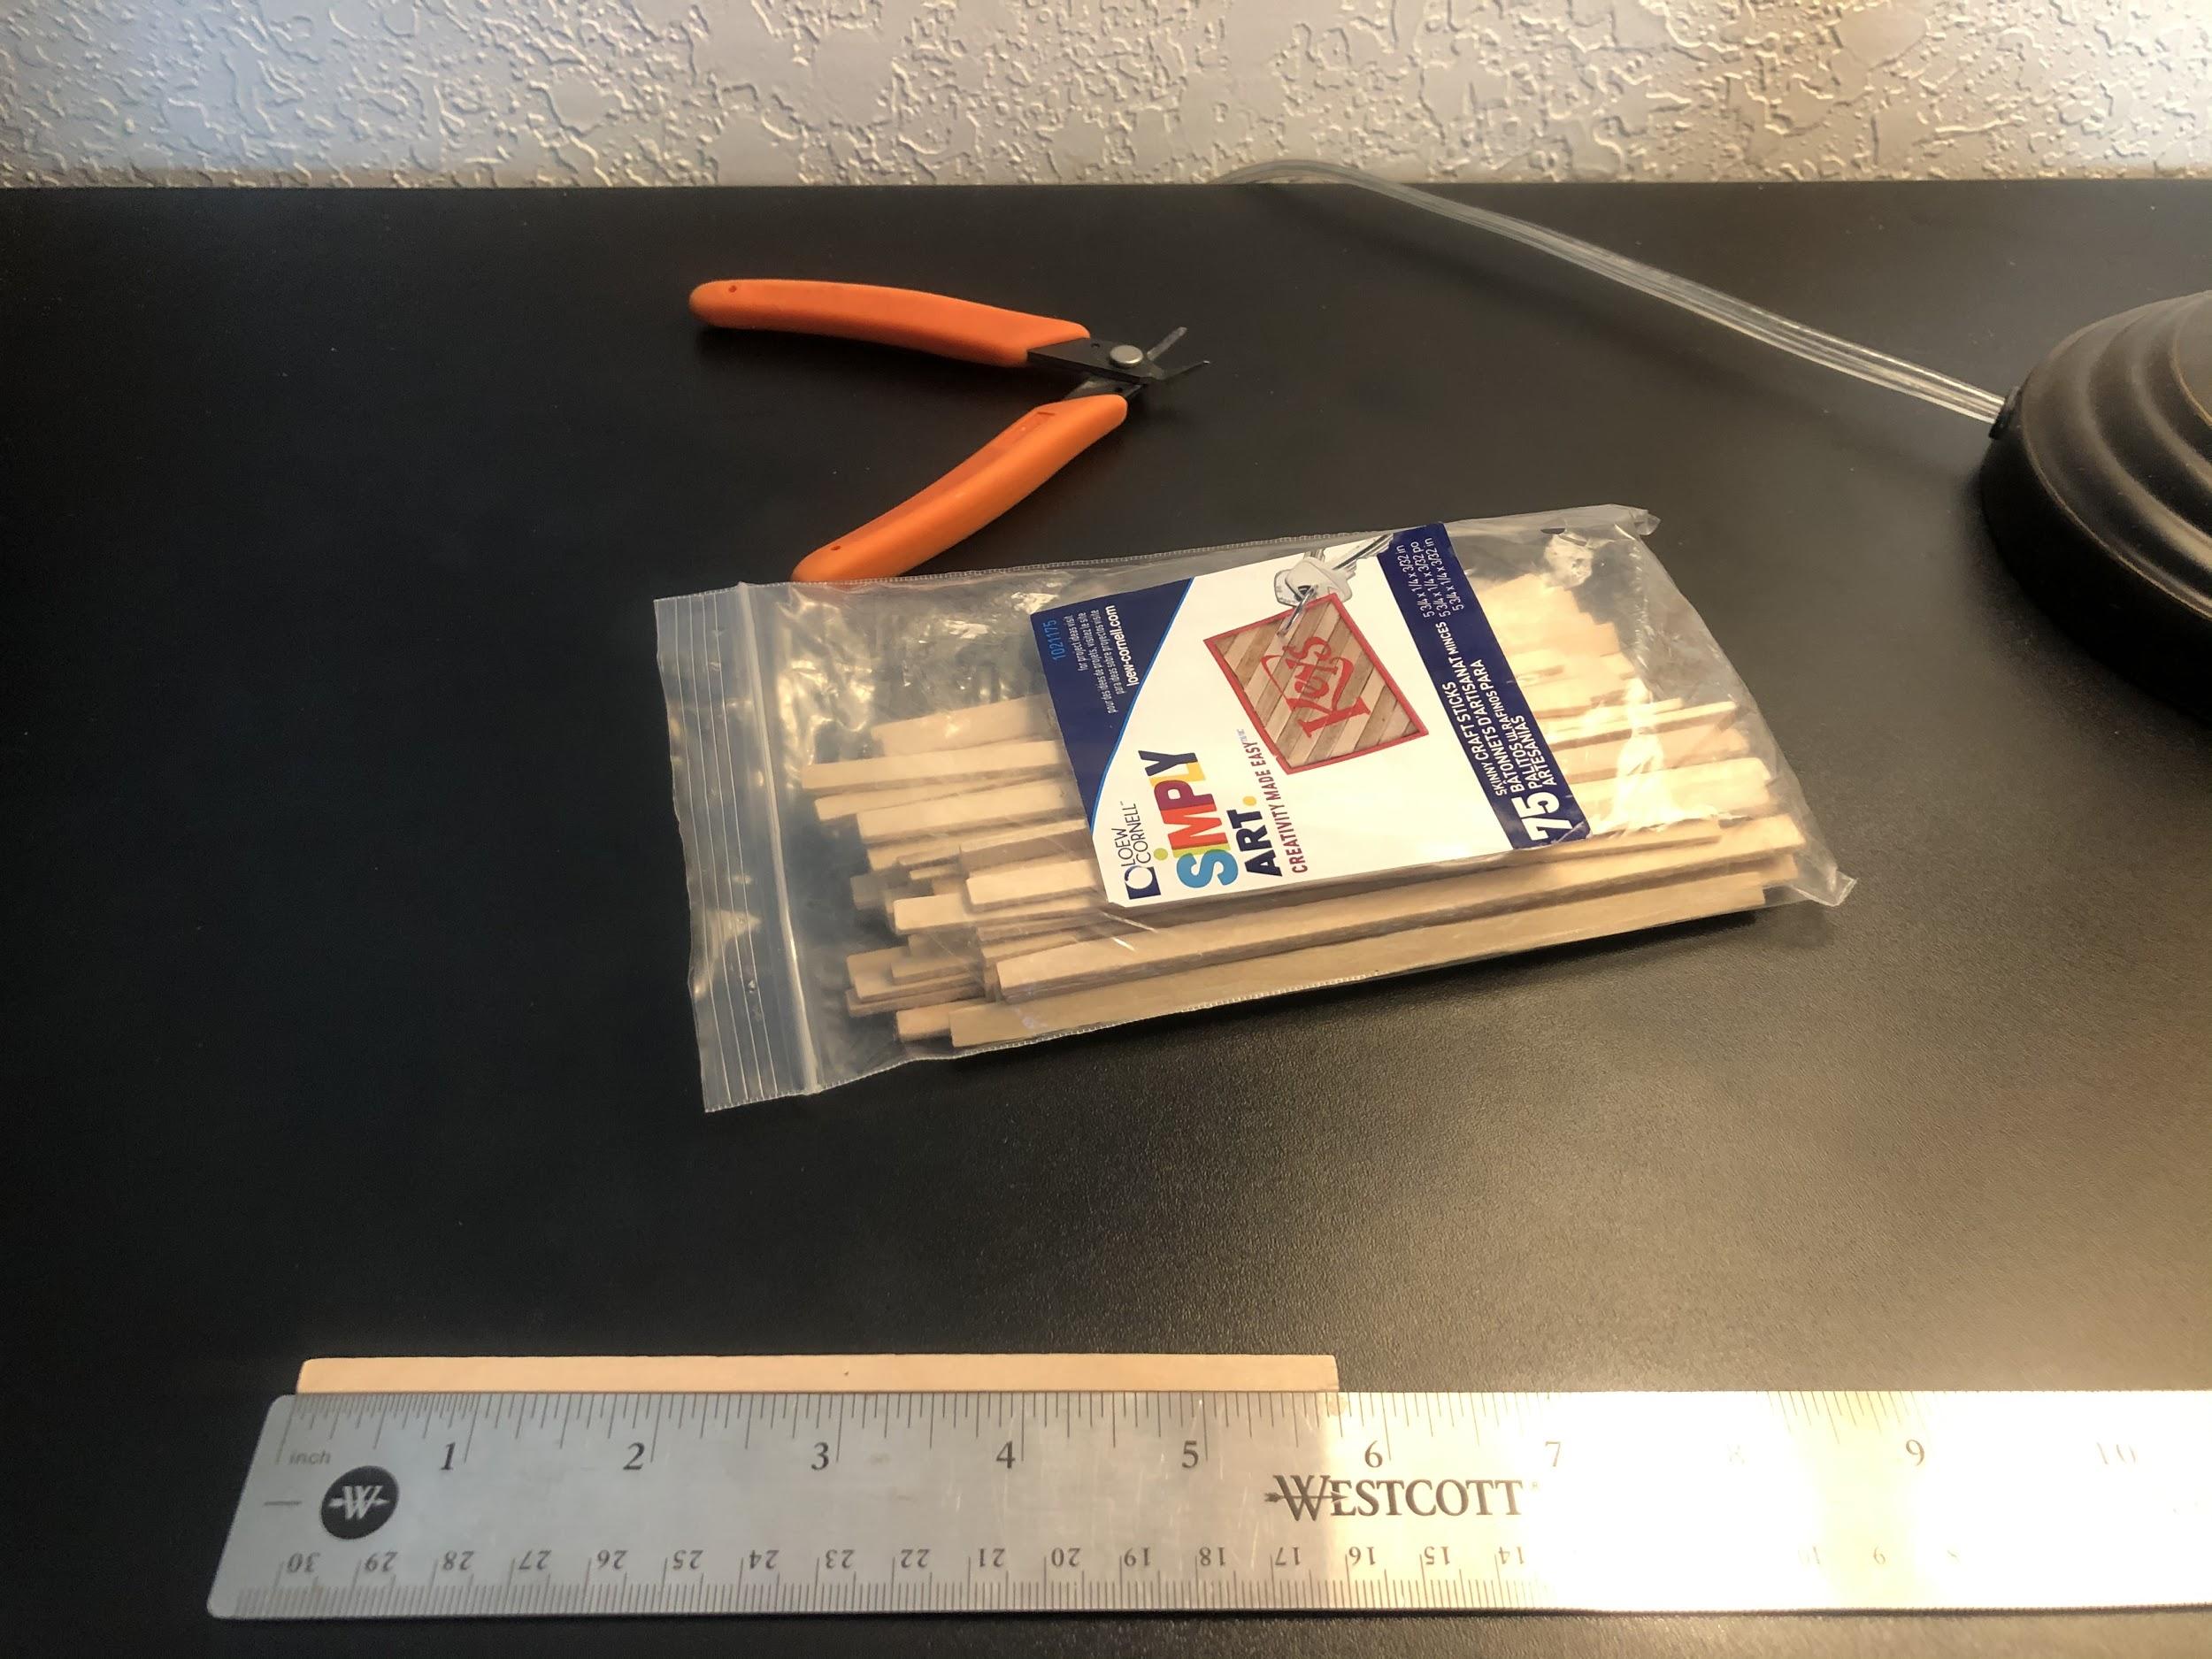
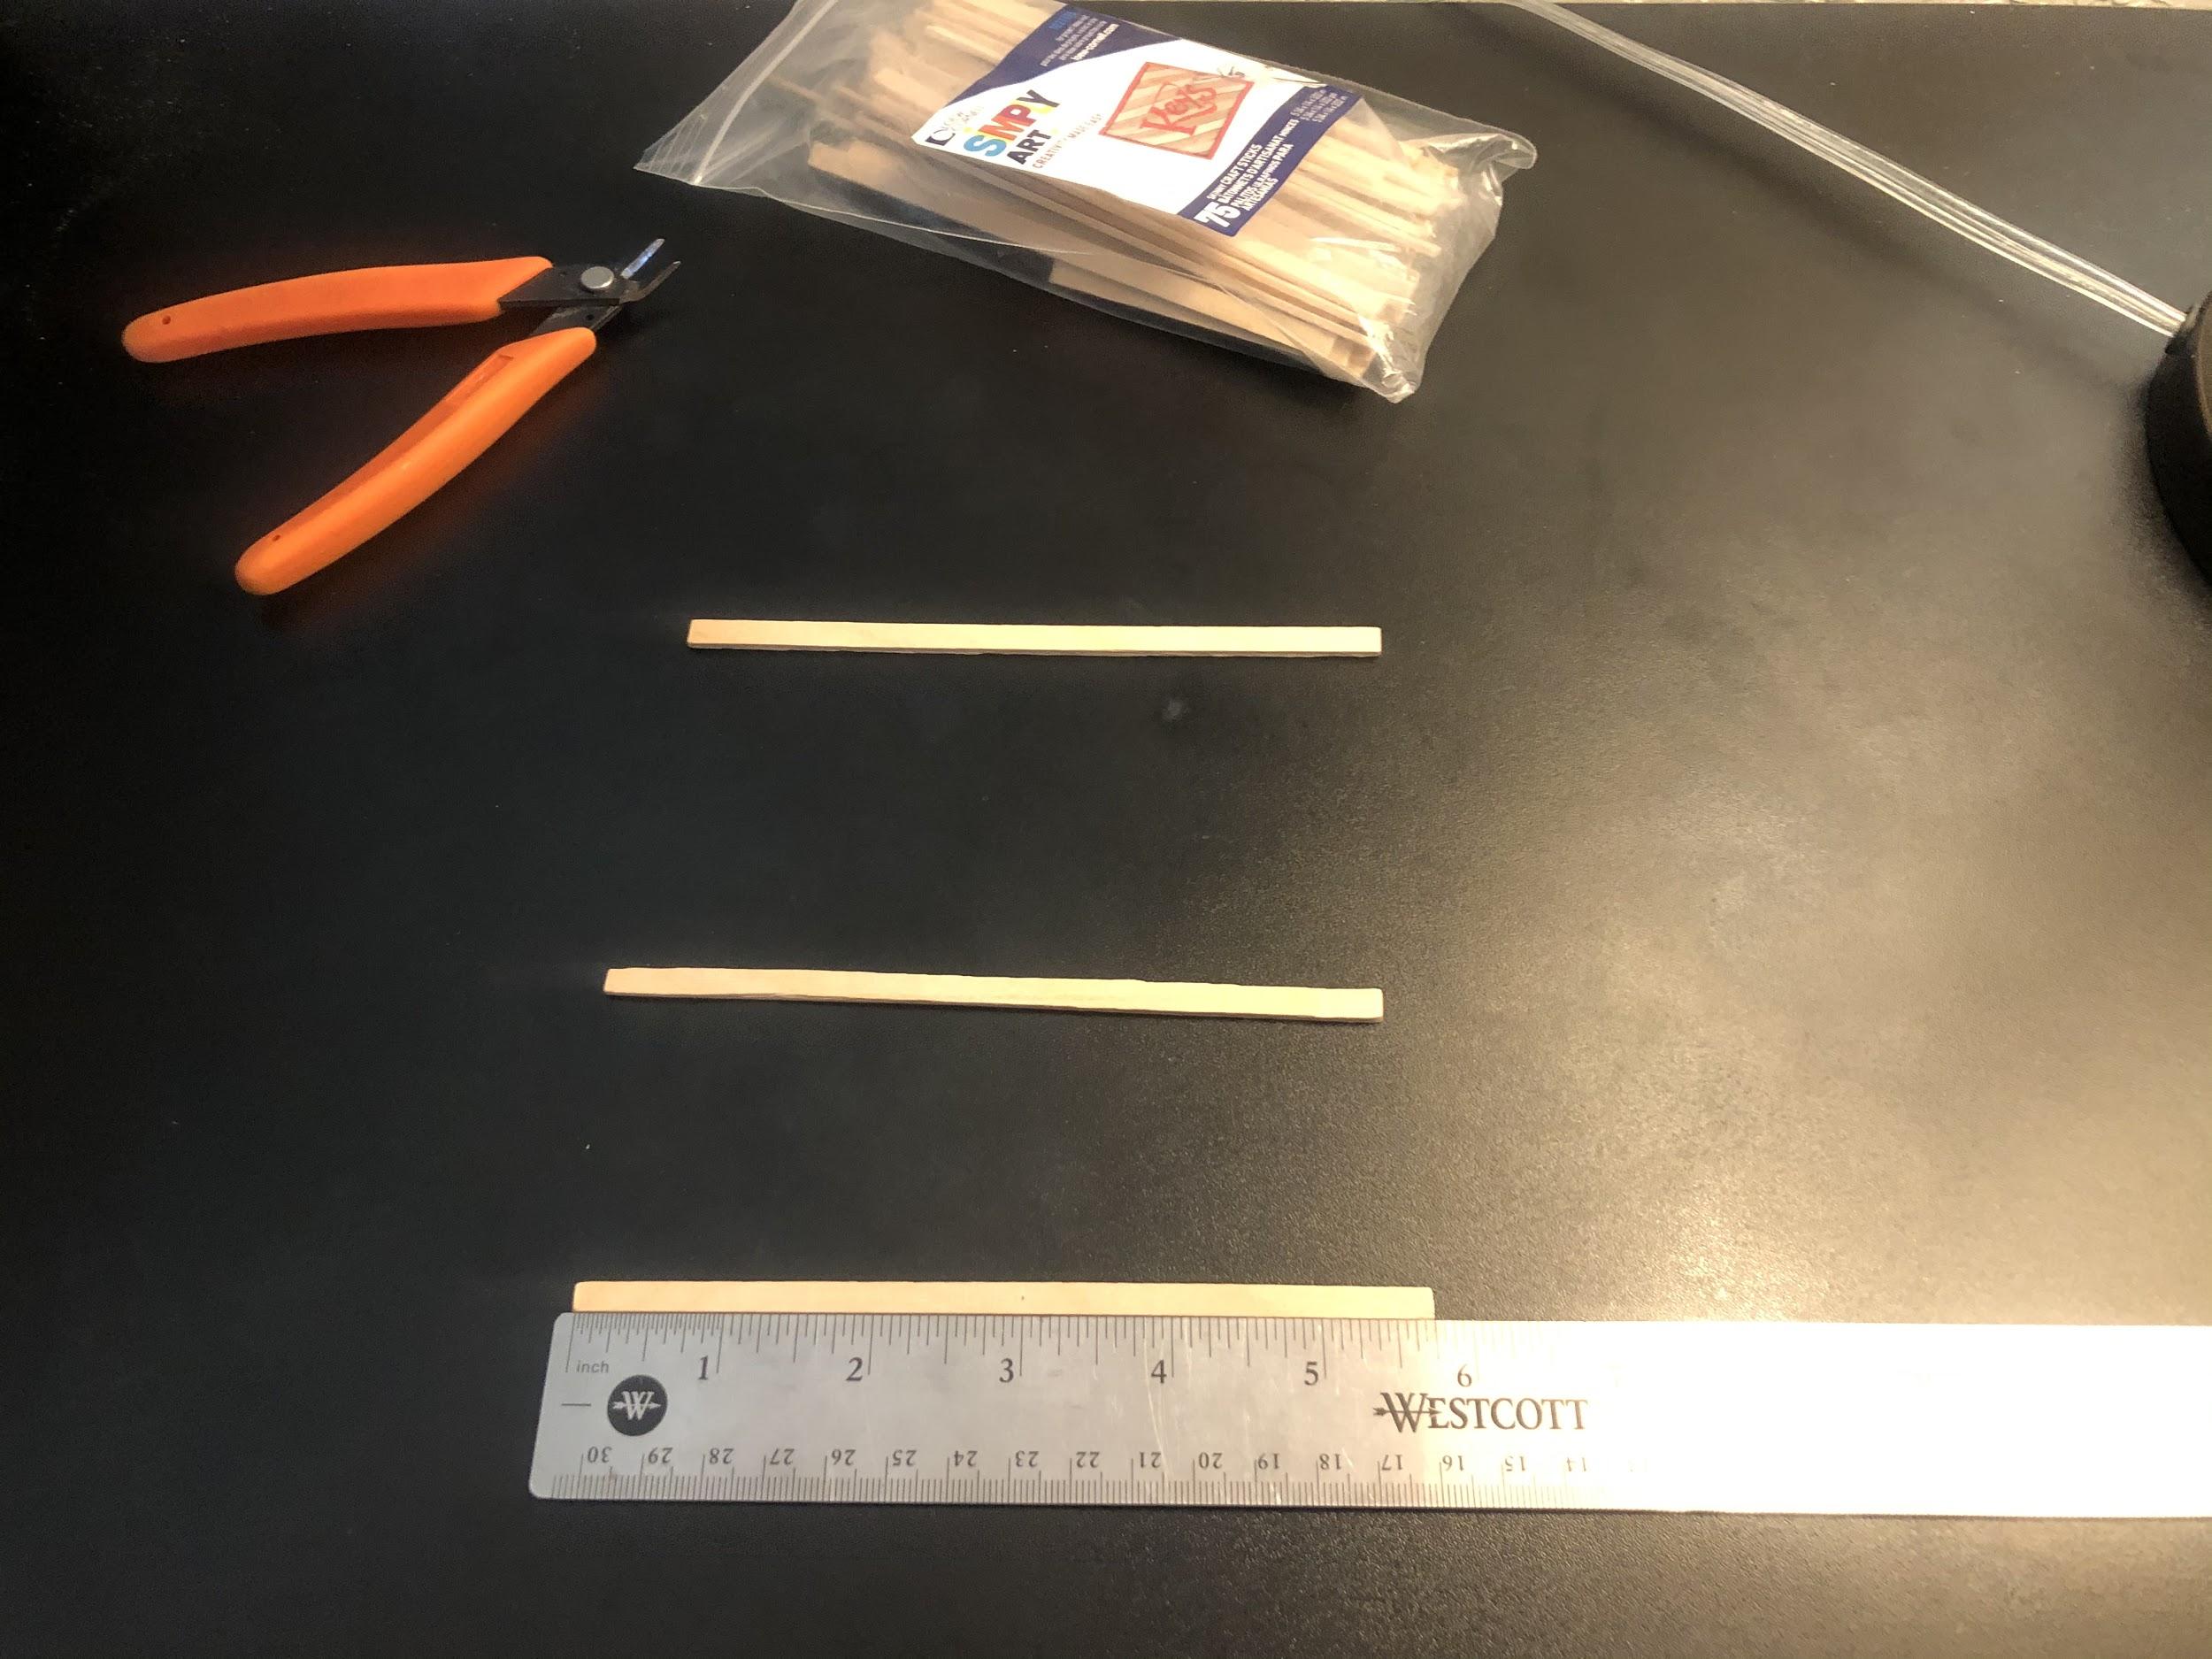
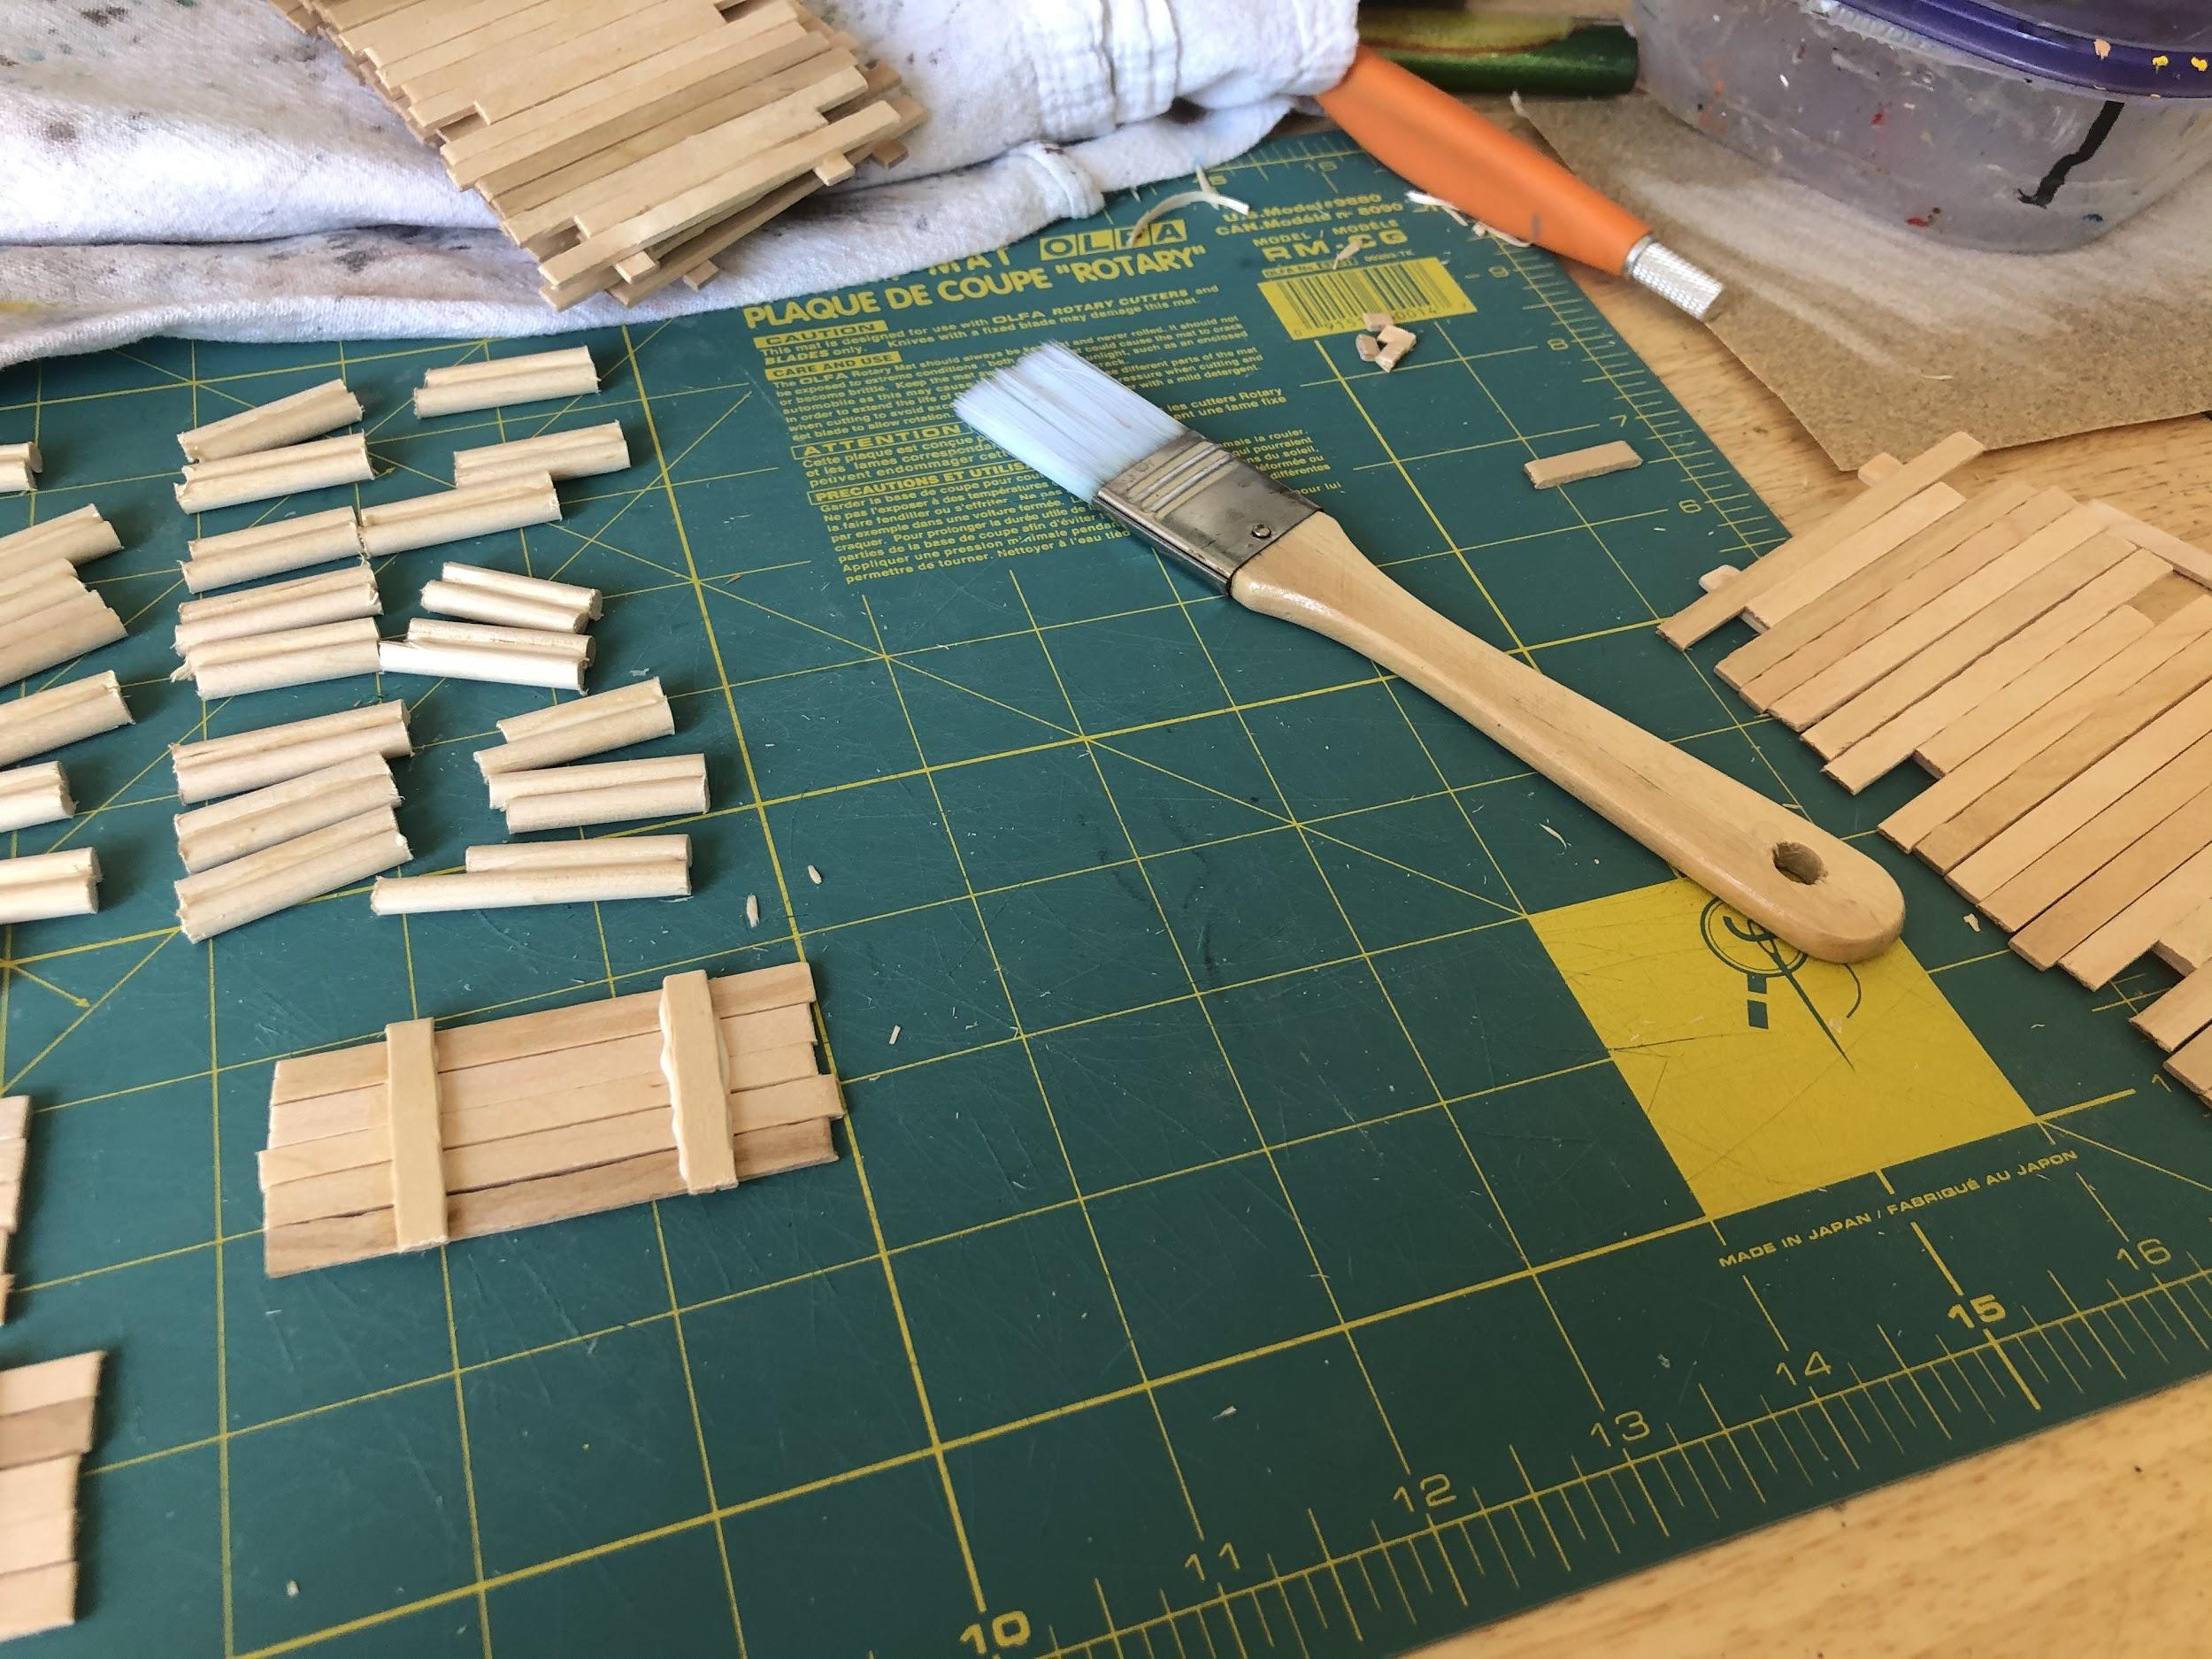
You need to assemble several basic supplies to make these. These are mainly constructed of something called “coffee stir sticks”; a wood stick, flat on both ends, about 5.5” long. For the posts I used ⅛” wood dowels for a double post look, but you can use larger dowels for a single, as long as the diameter of the dowel is not more than the width of the stick. You will also need wood glue. Here’s a picture of the type I used.
You also need something to cut the sticks with. I used some clippers I use for sprues, but anything that can cut a straight line will do. You will also need a hacksaw to cut the dowels. Lastly you will need a non-porous workstation to let the parts dry.
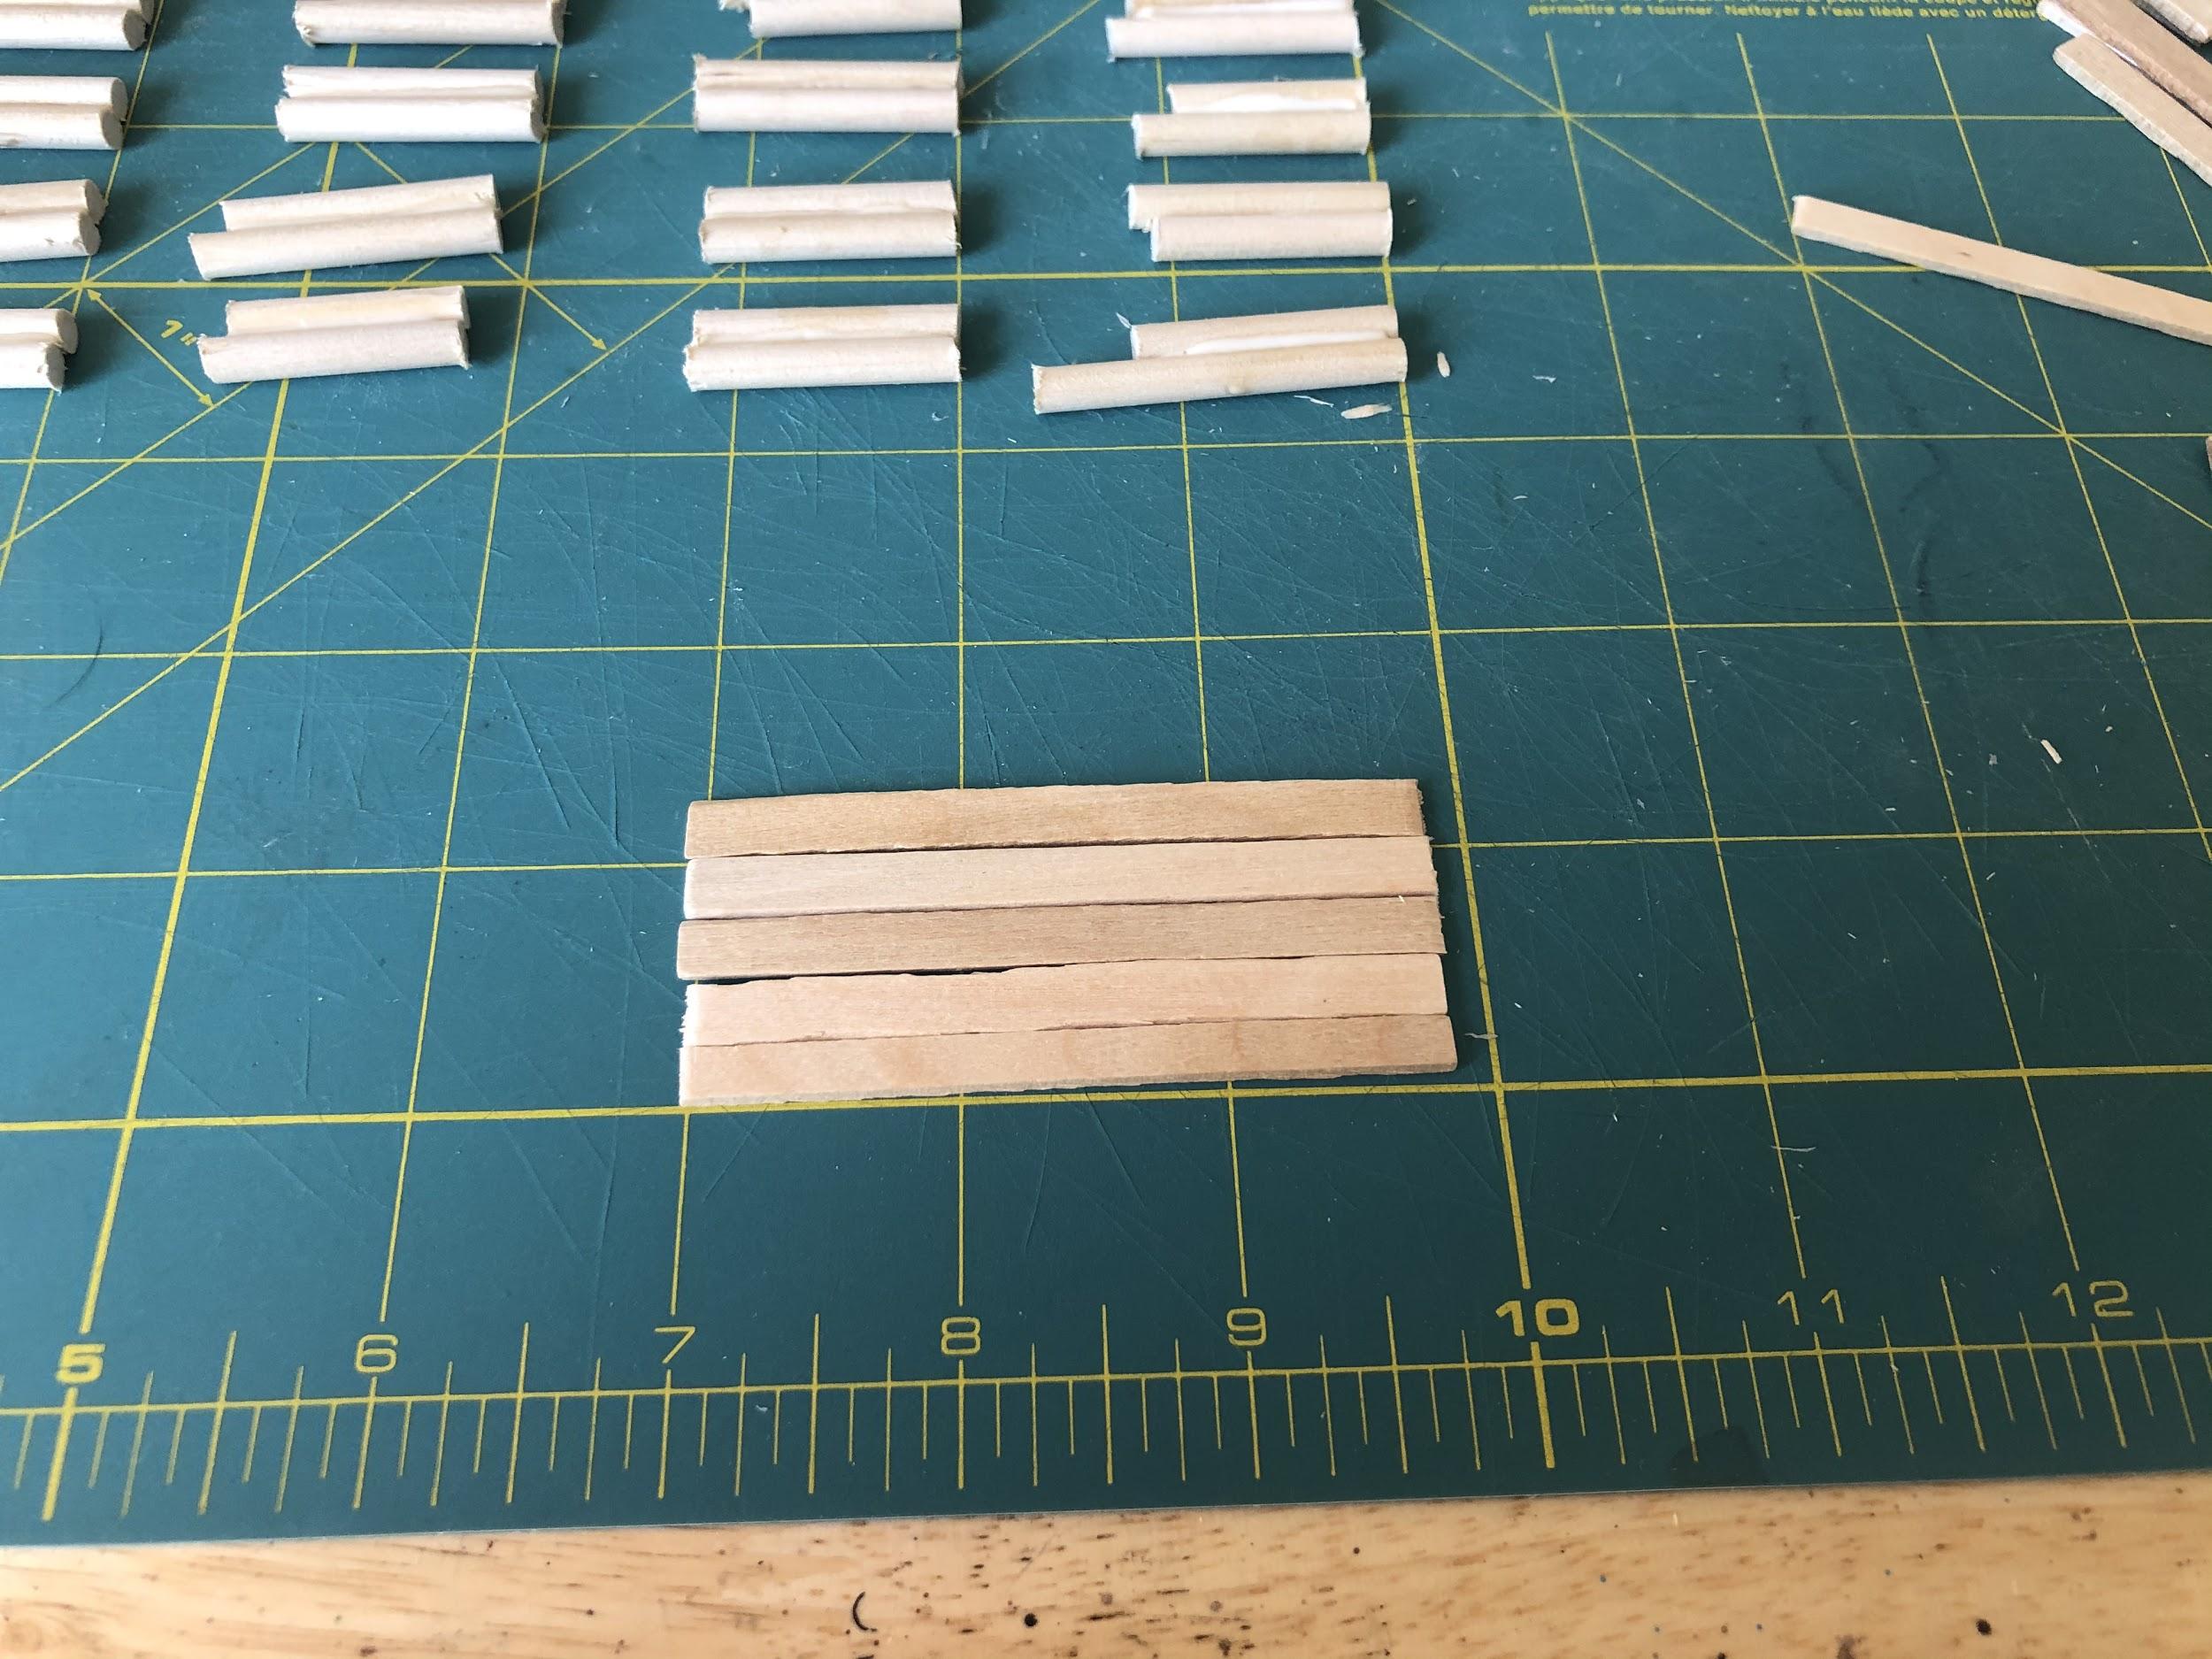
Step 1: Planning
Lay out two sticks. Make sure they are straight, and free of any major warping. These will determine how long your pier is.
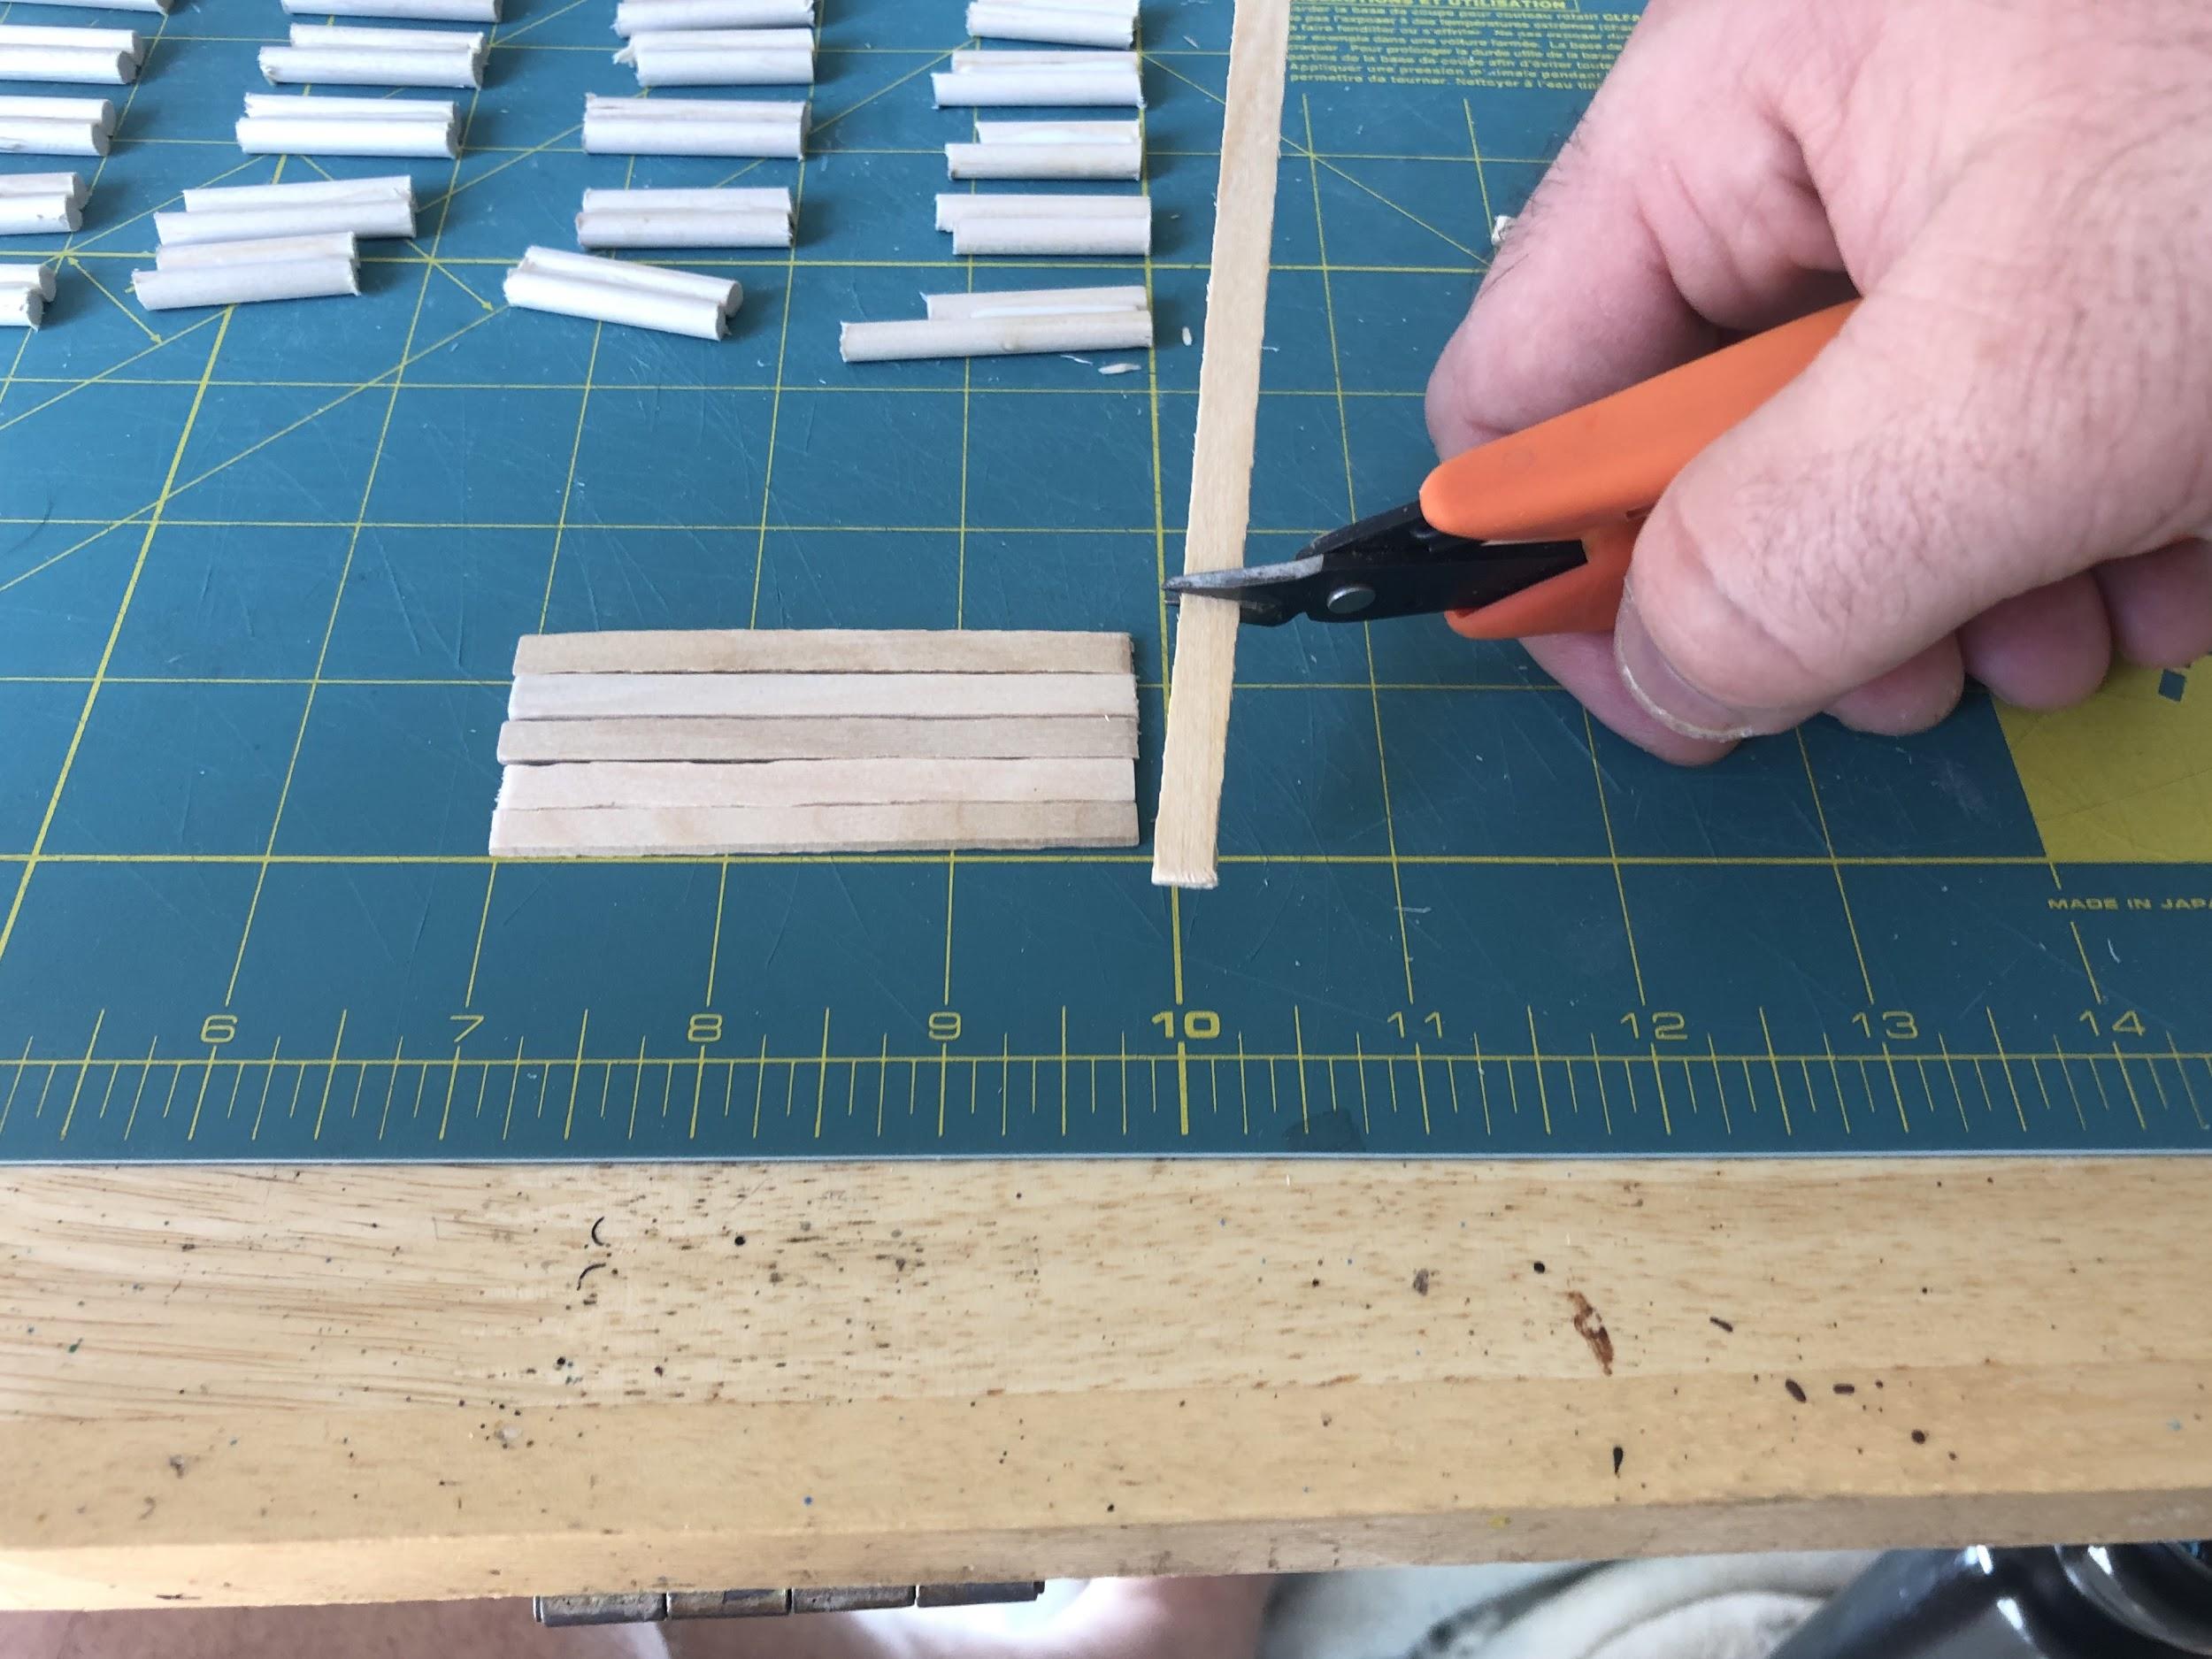
Step 2: Cut the sticks in half
Measure a stick and figure out where the middle is. Cut it in the middle. Then lay the two small sticks you made perpendicular to the sticks from step 1.
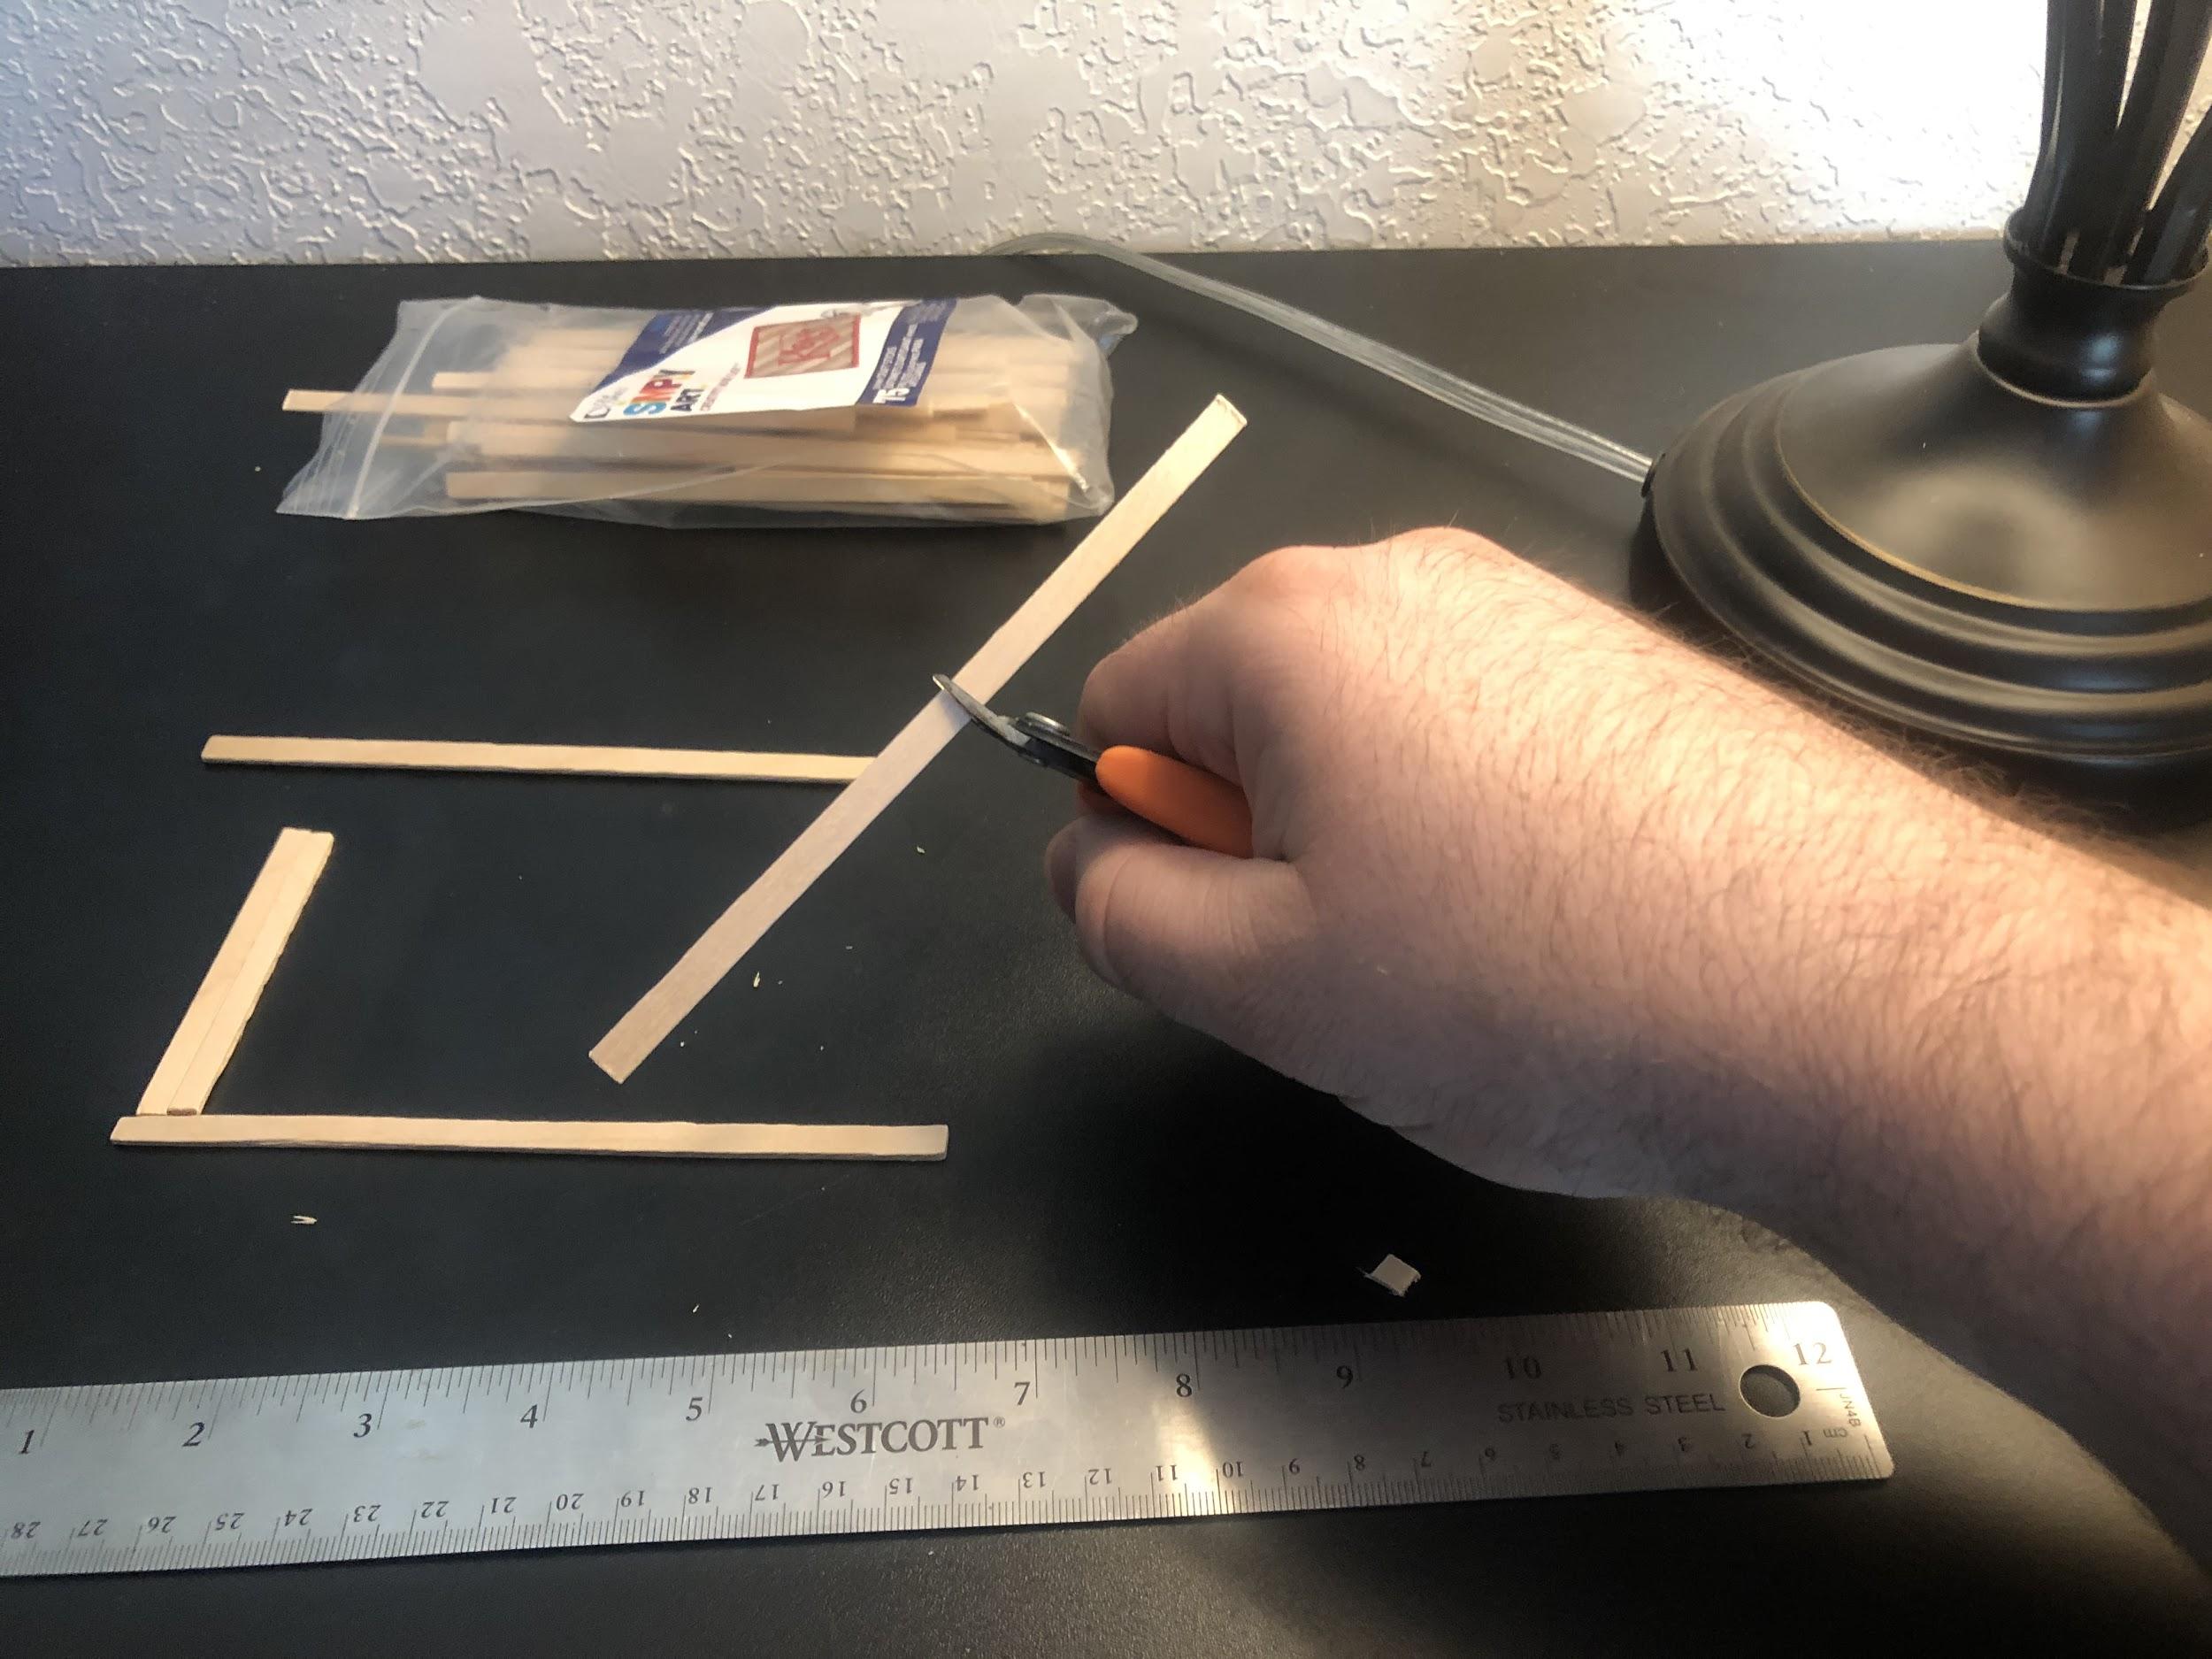
Step 3: Keep doing Step 2!
Cut more sticks. After a while you can eyeball the center of the stick. I believe it’s OK to have some a little longer or shorter; wood piers in the 17th century were not built to stand the test of time. Cut and line up sticks until they are almost as long as the two sticks you laid out in step 1.
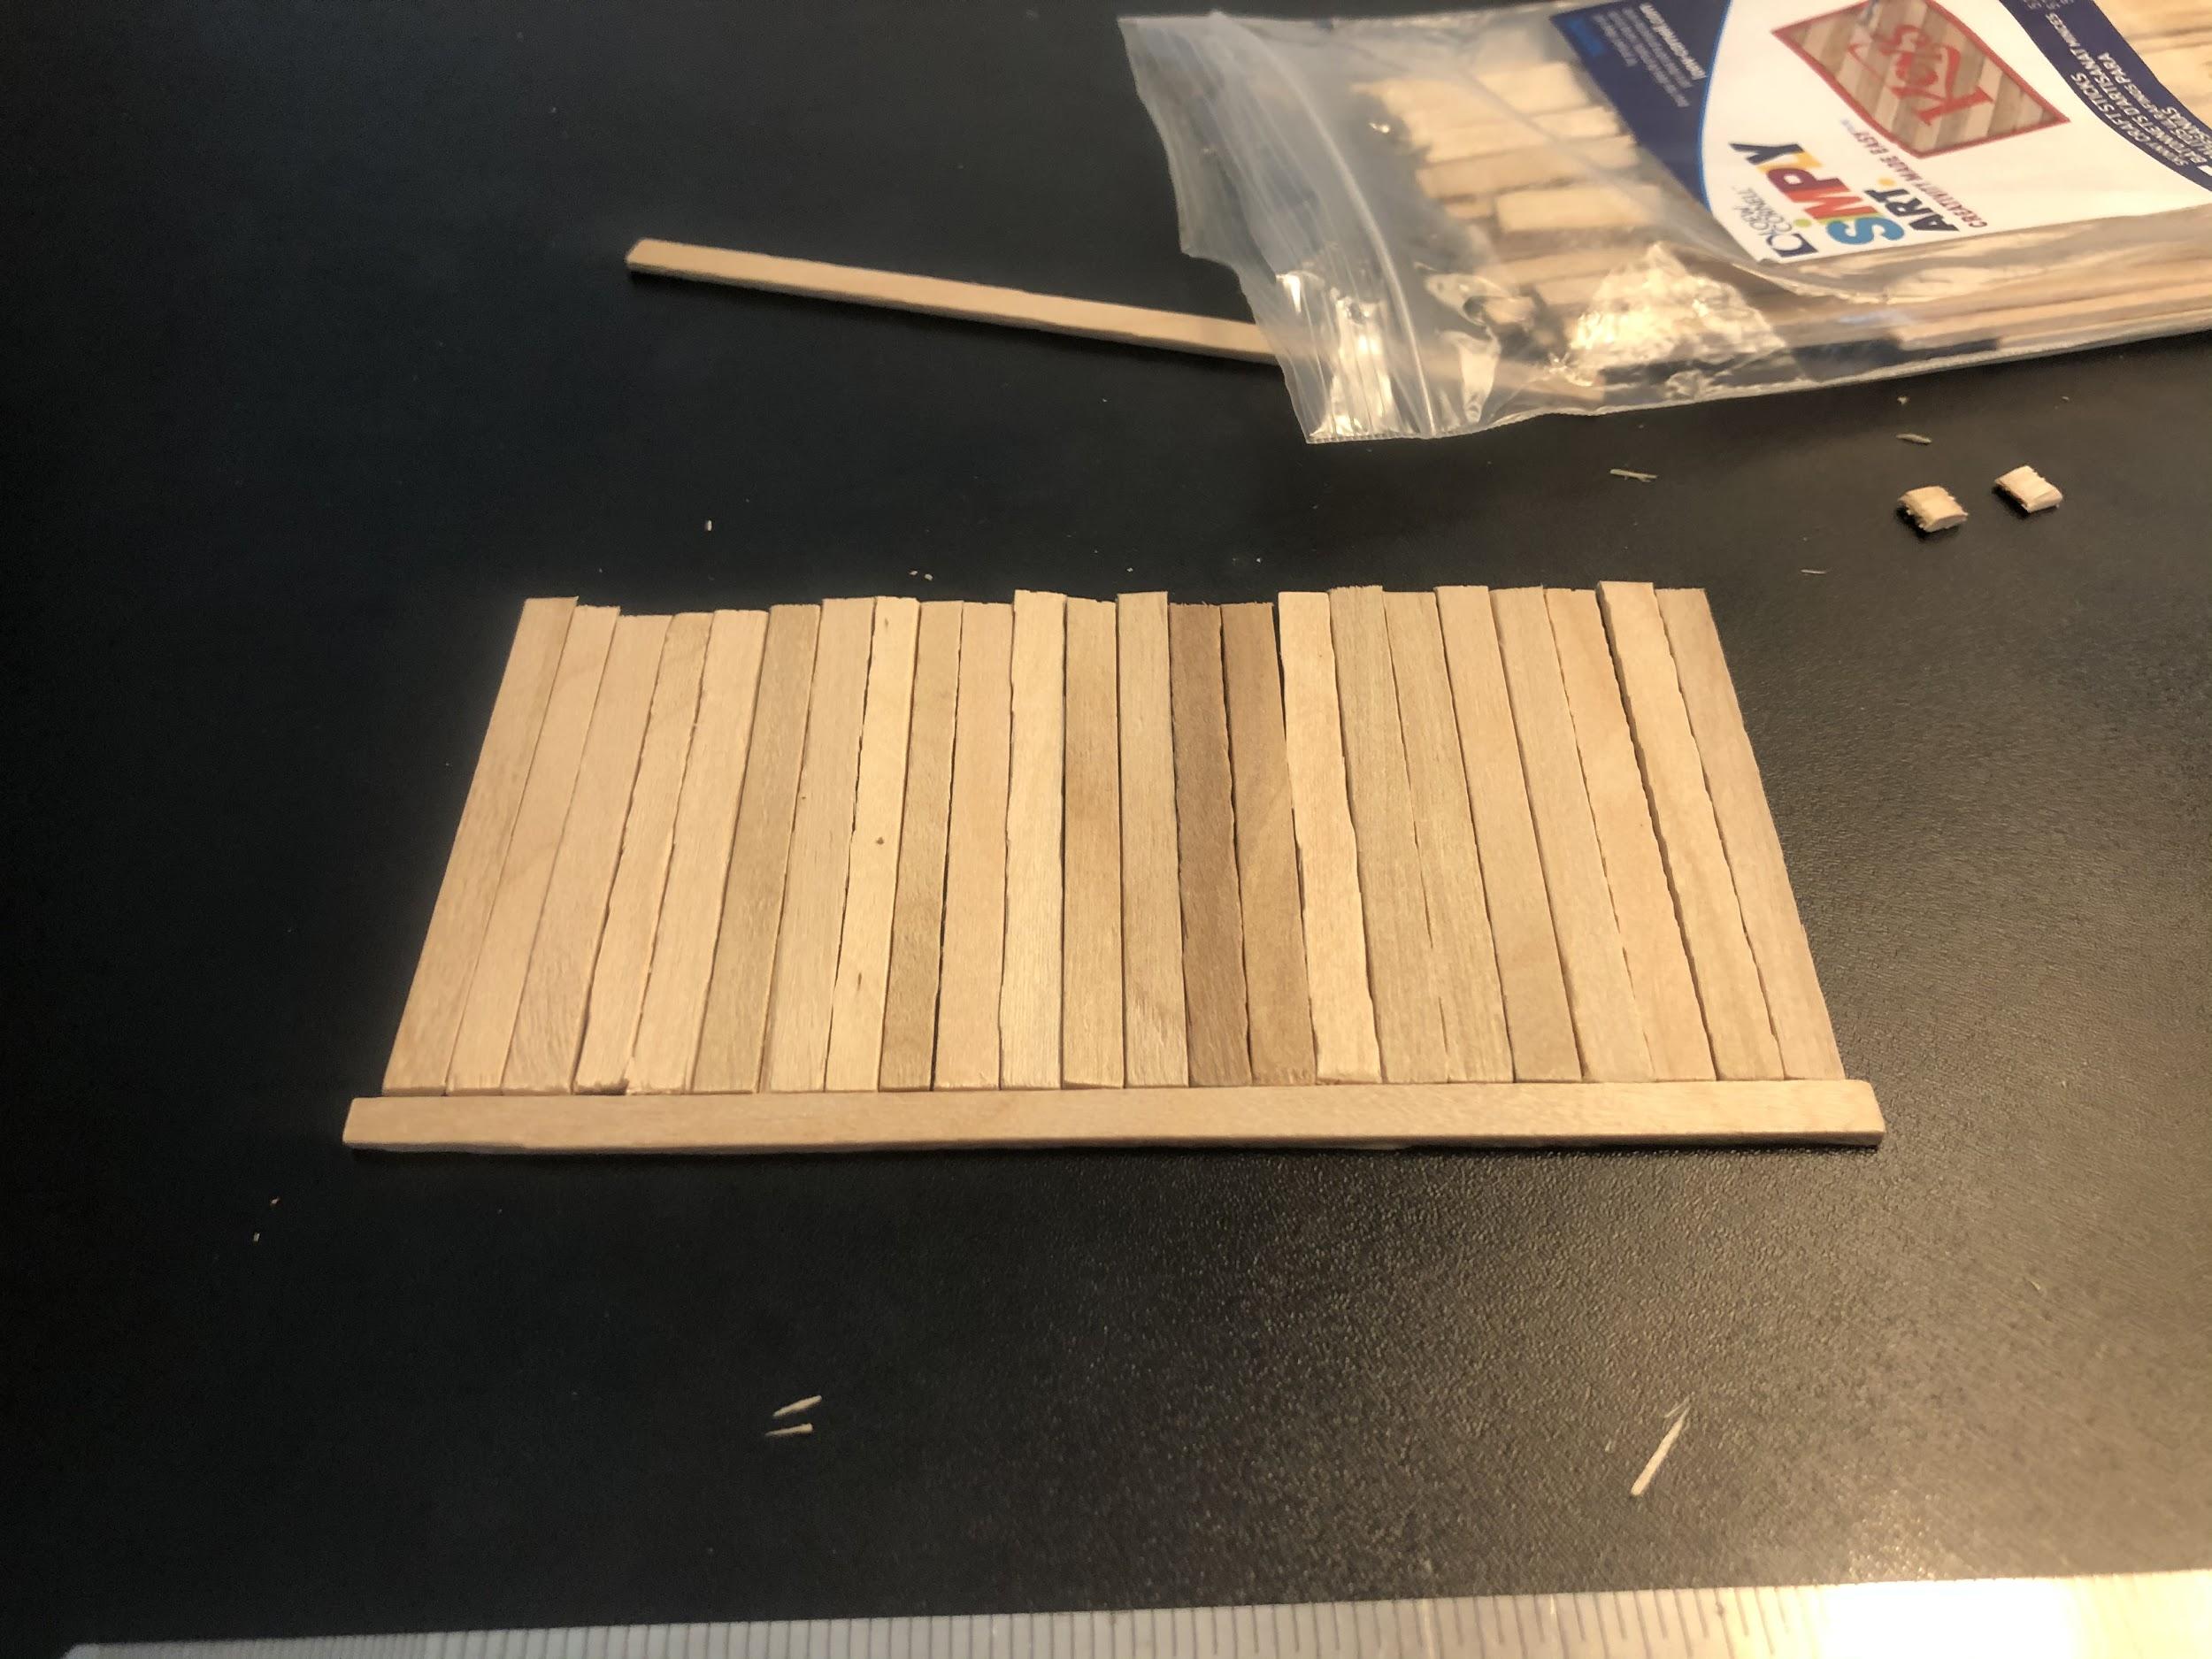
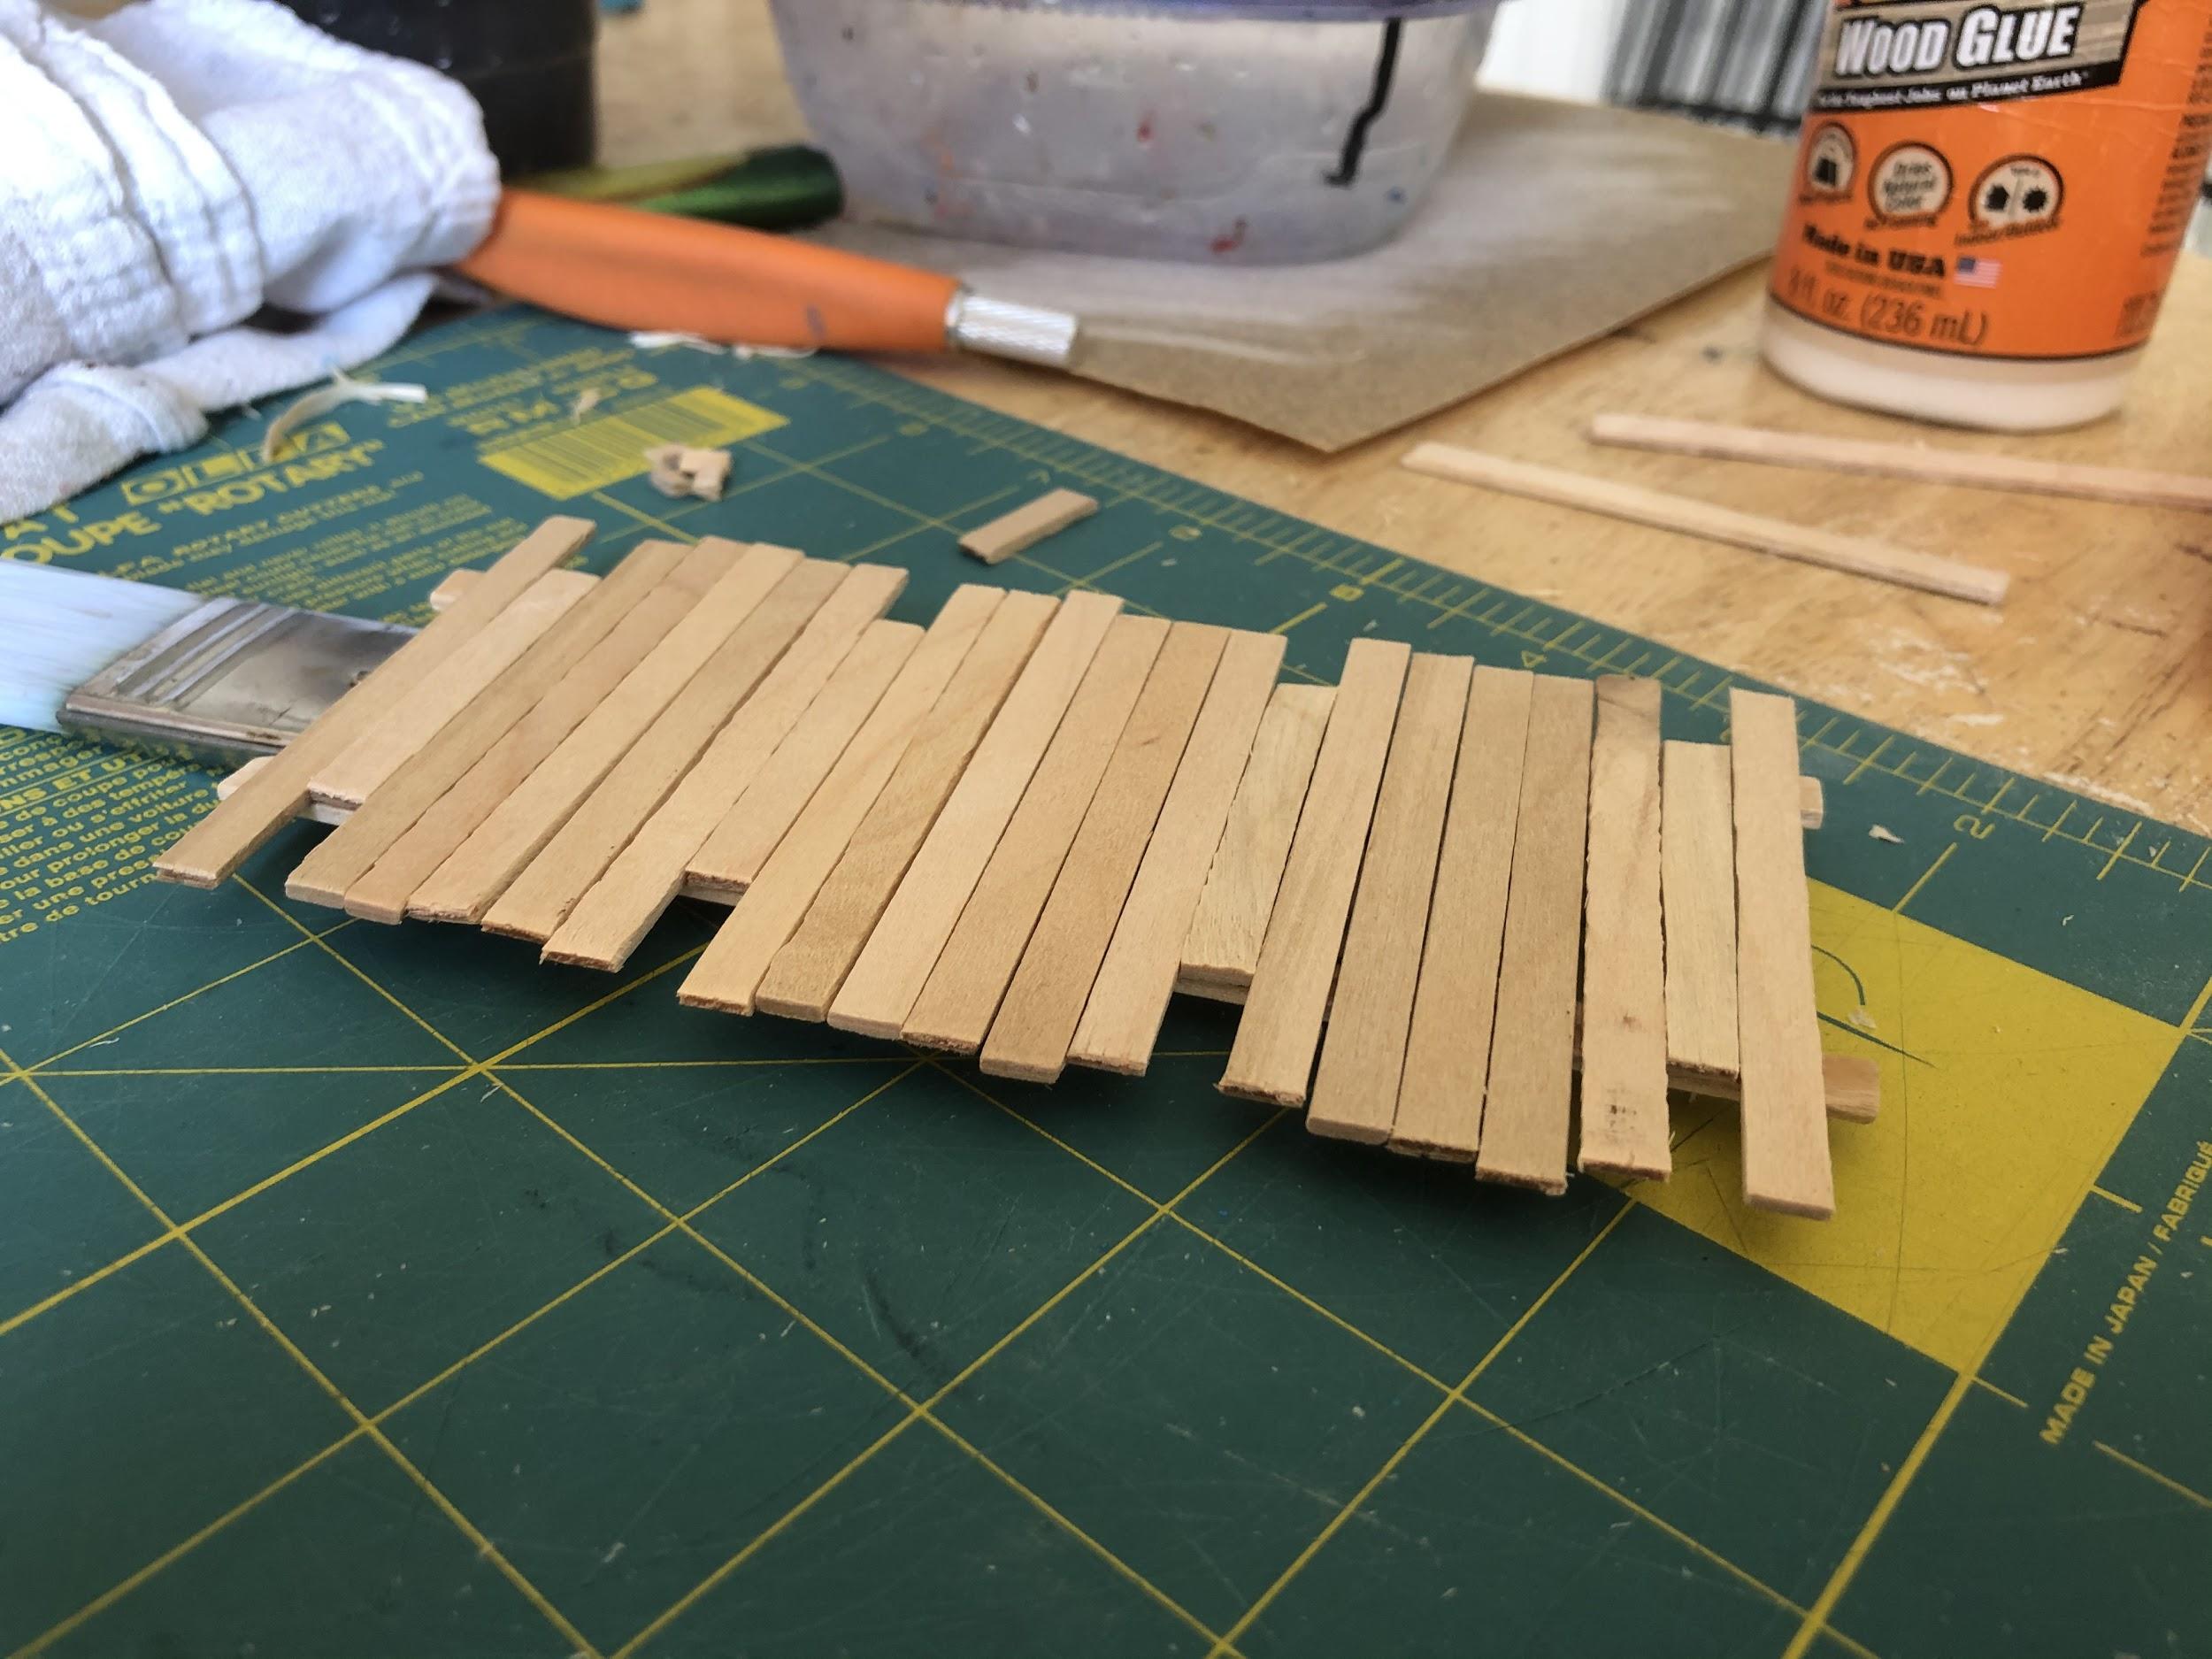
Step 4: Push all the parts together
Line up all the sticks and make sure there are not any large gaps between them. I also take the time to even put the two sides of the pier.
When it looks good to you, put the two long pieces on top of the smaller sticks.
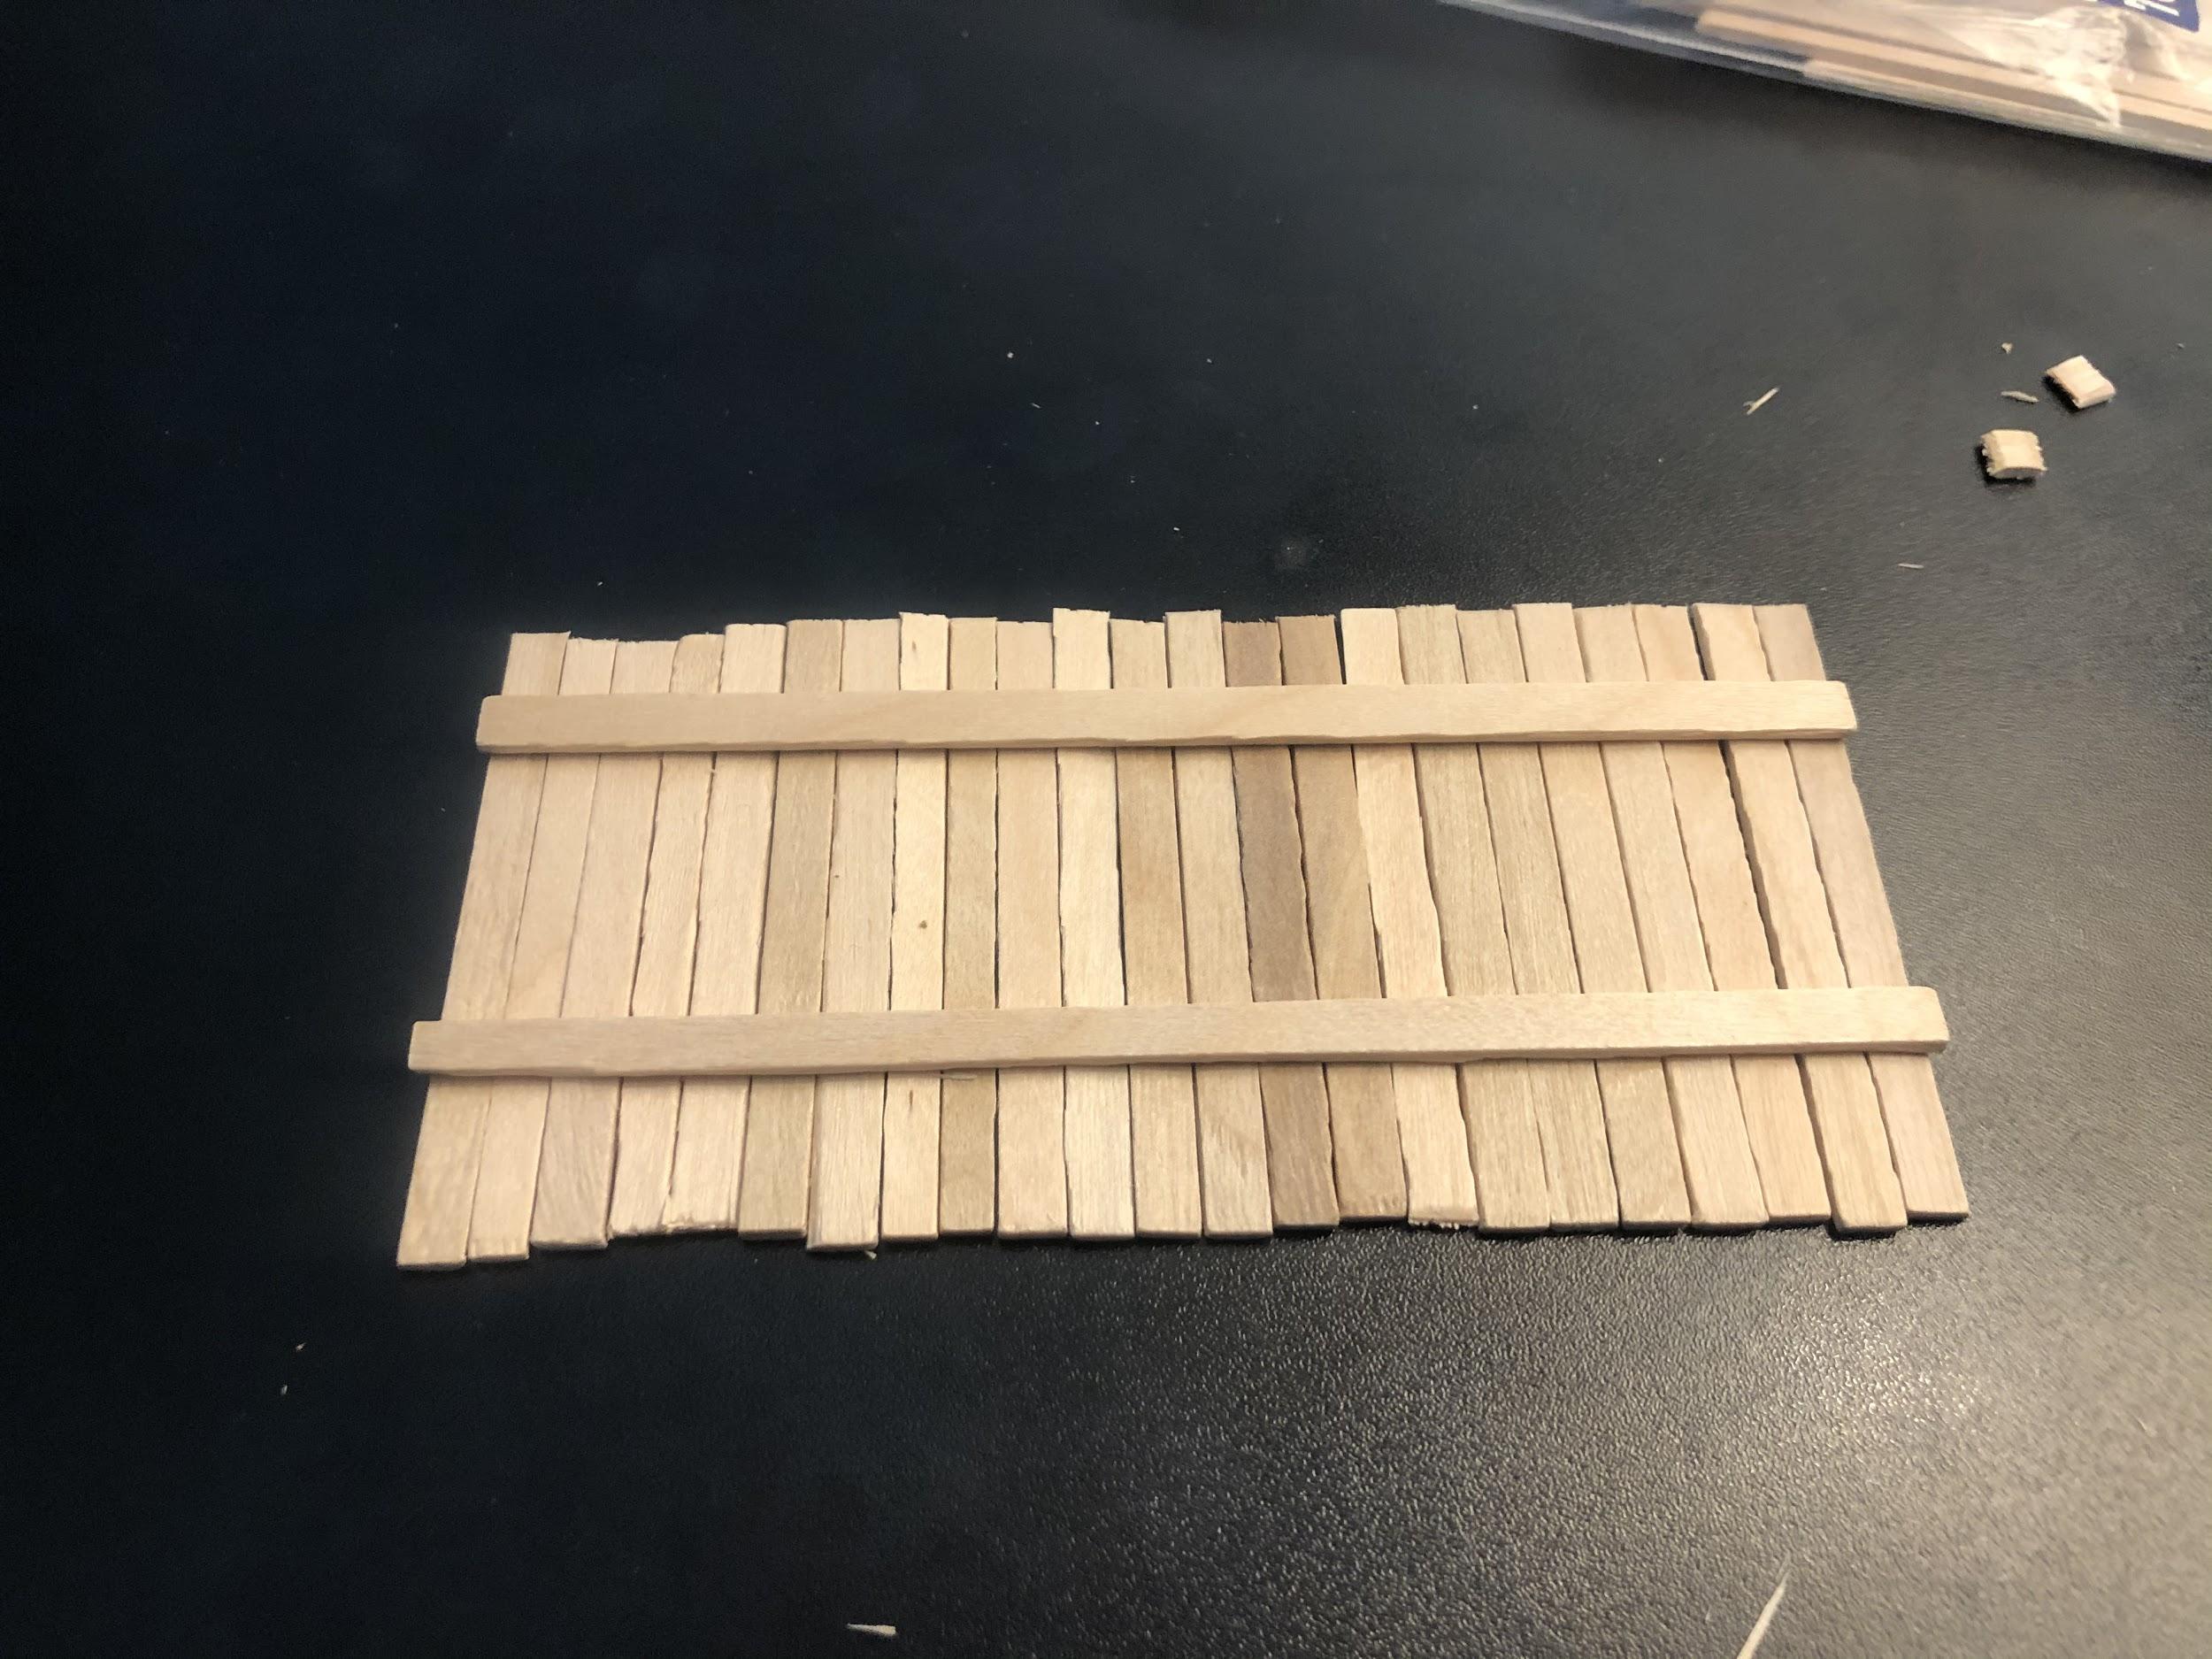
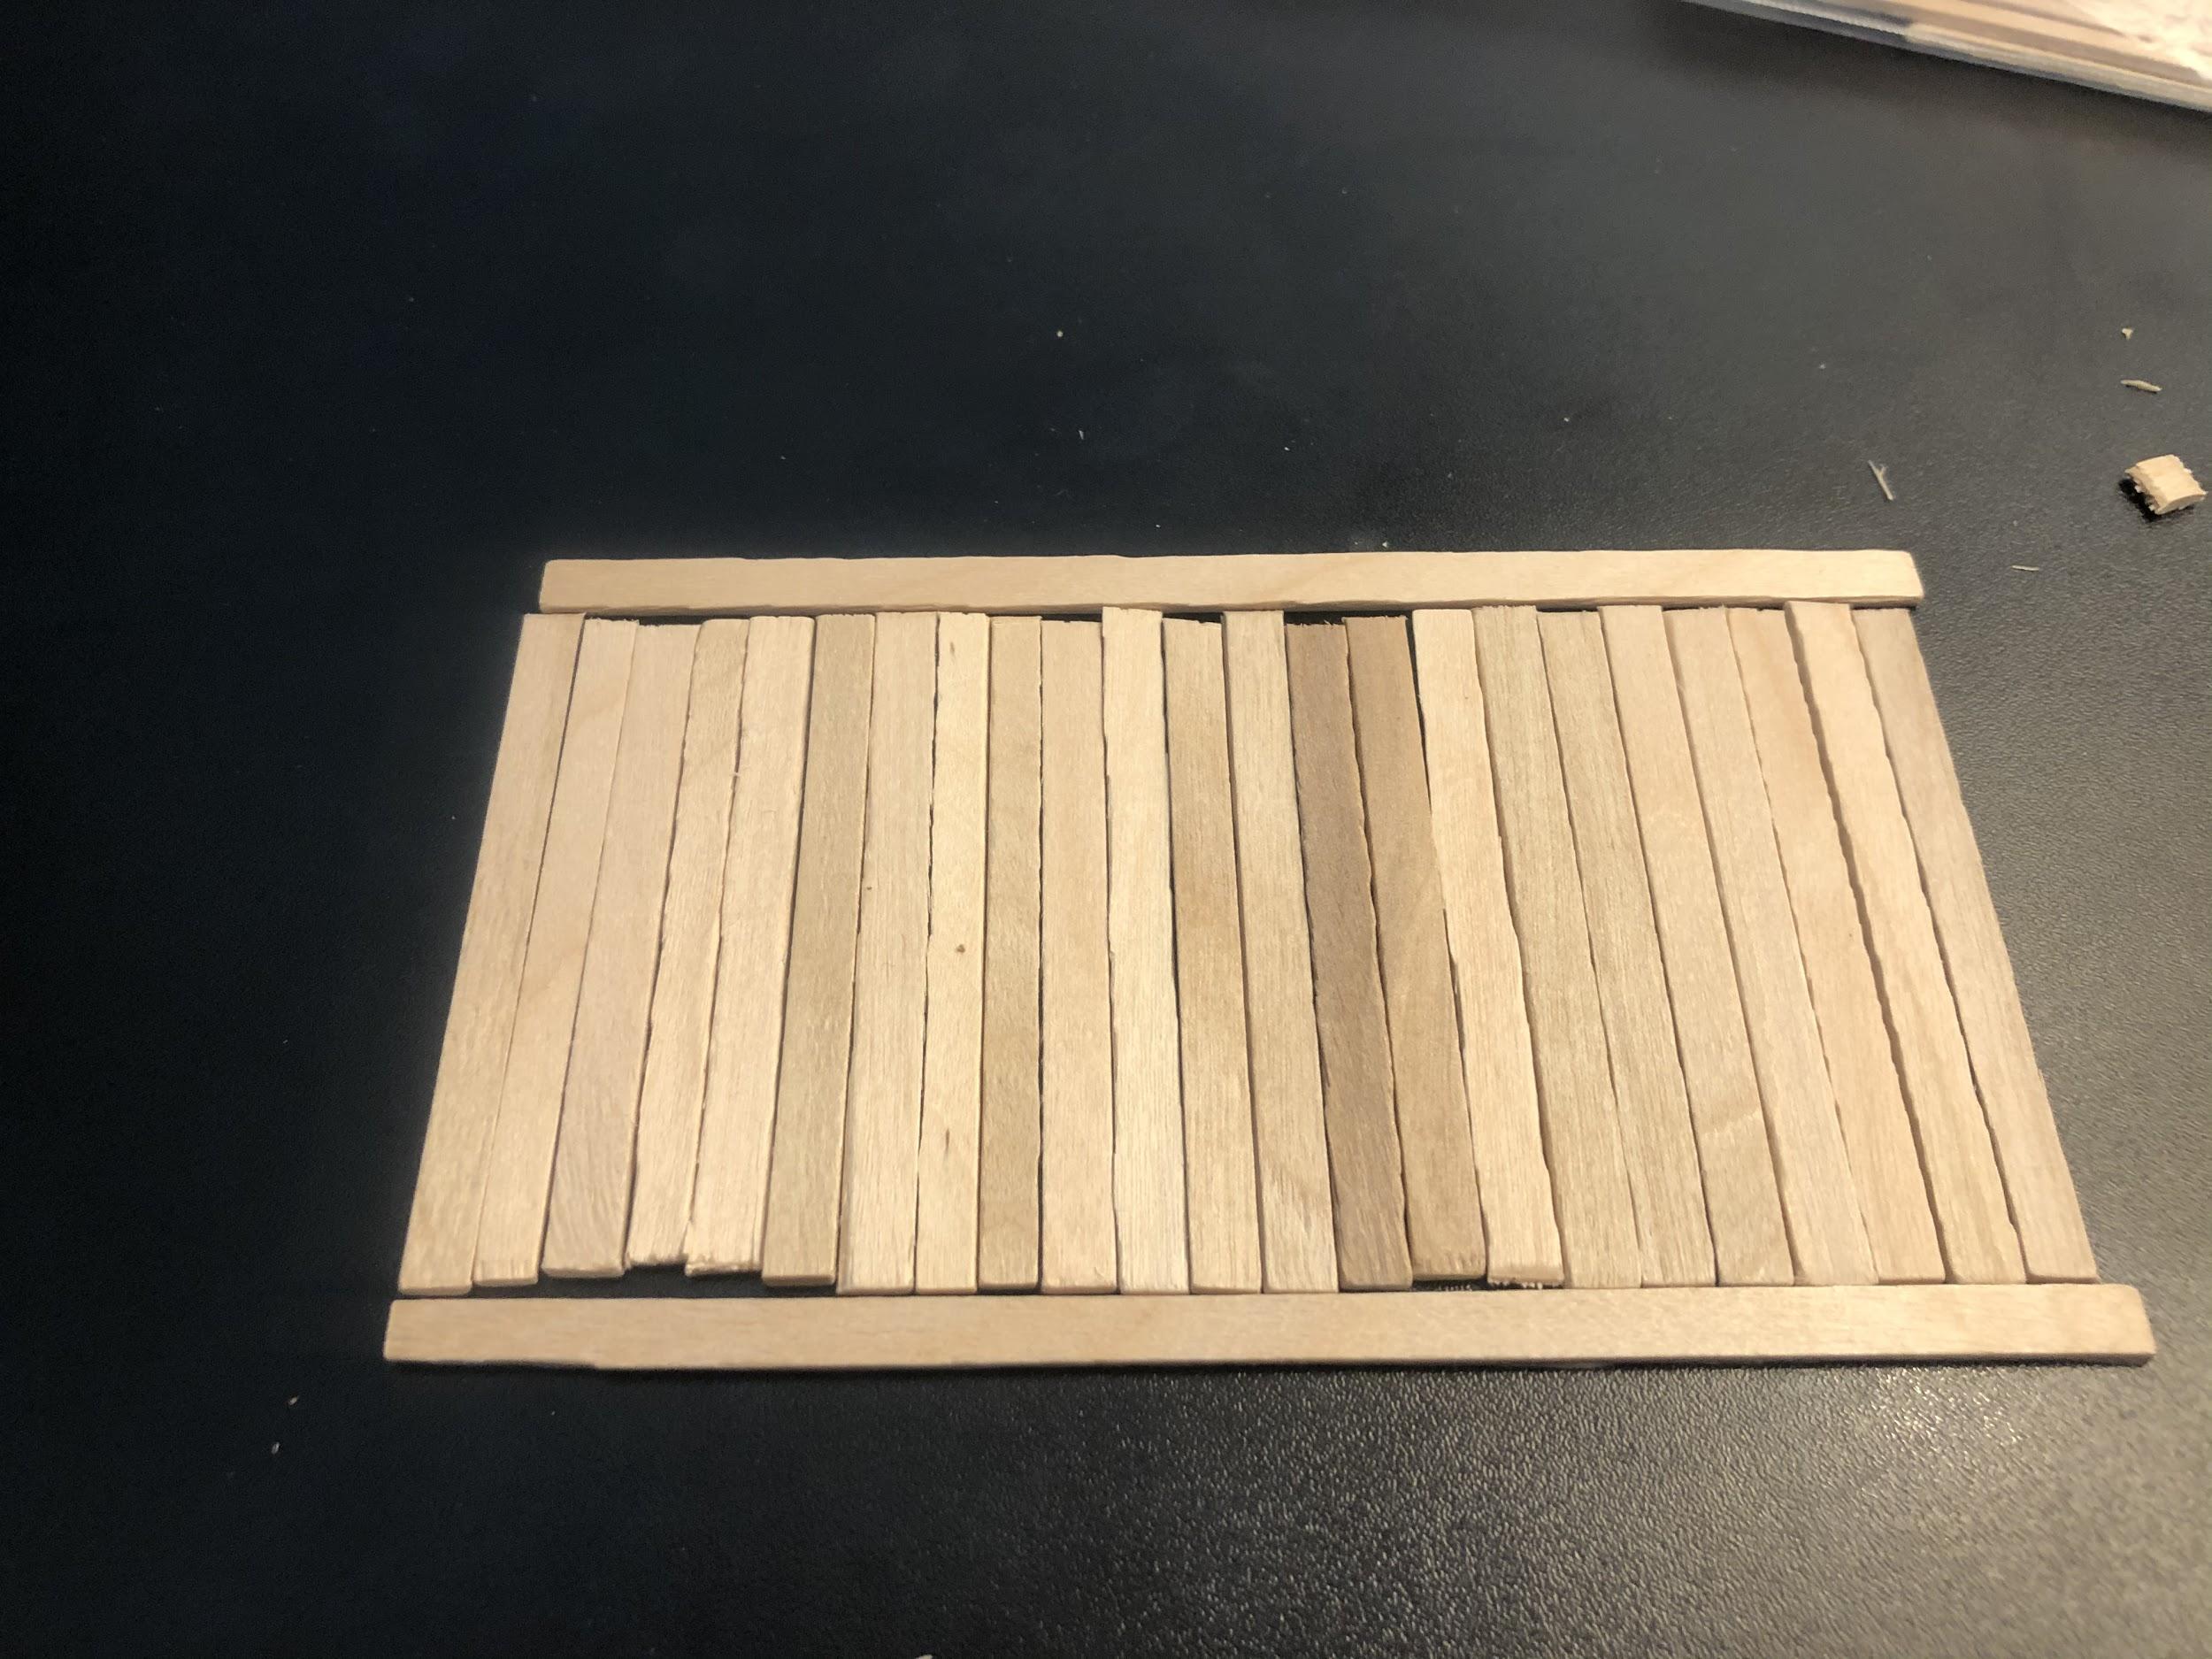
Step 5: Initial Gluing of one side
Move partially up the second stick on each side, and either one in the middle, or two evenly spaced ones from the center.
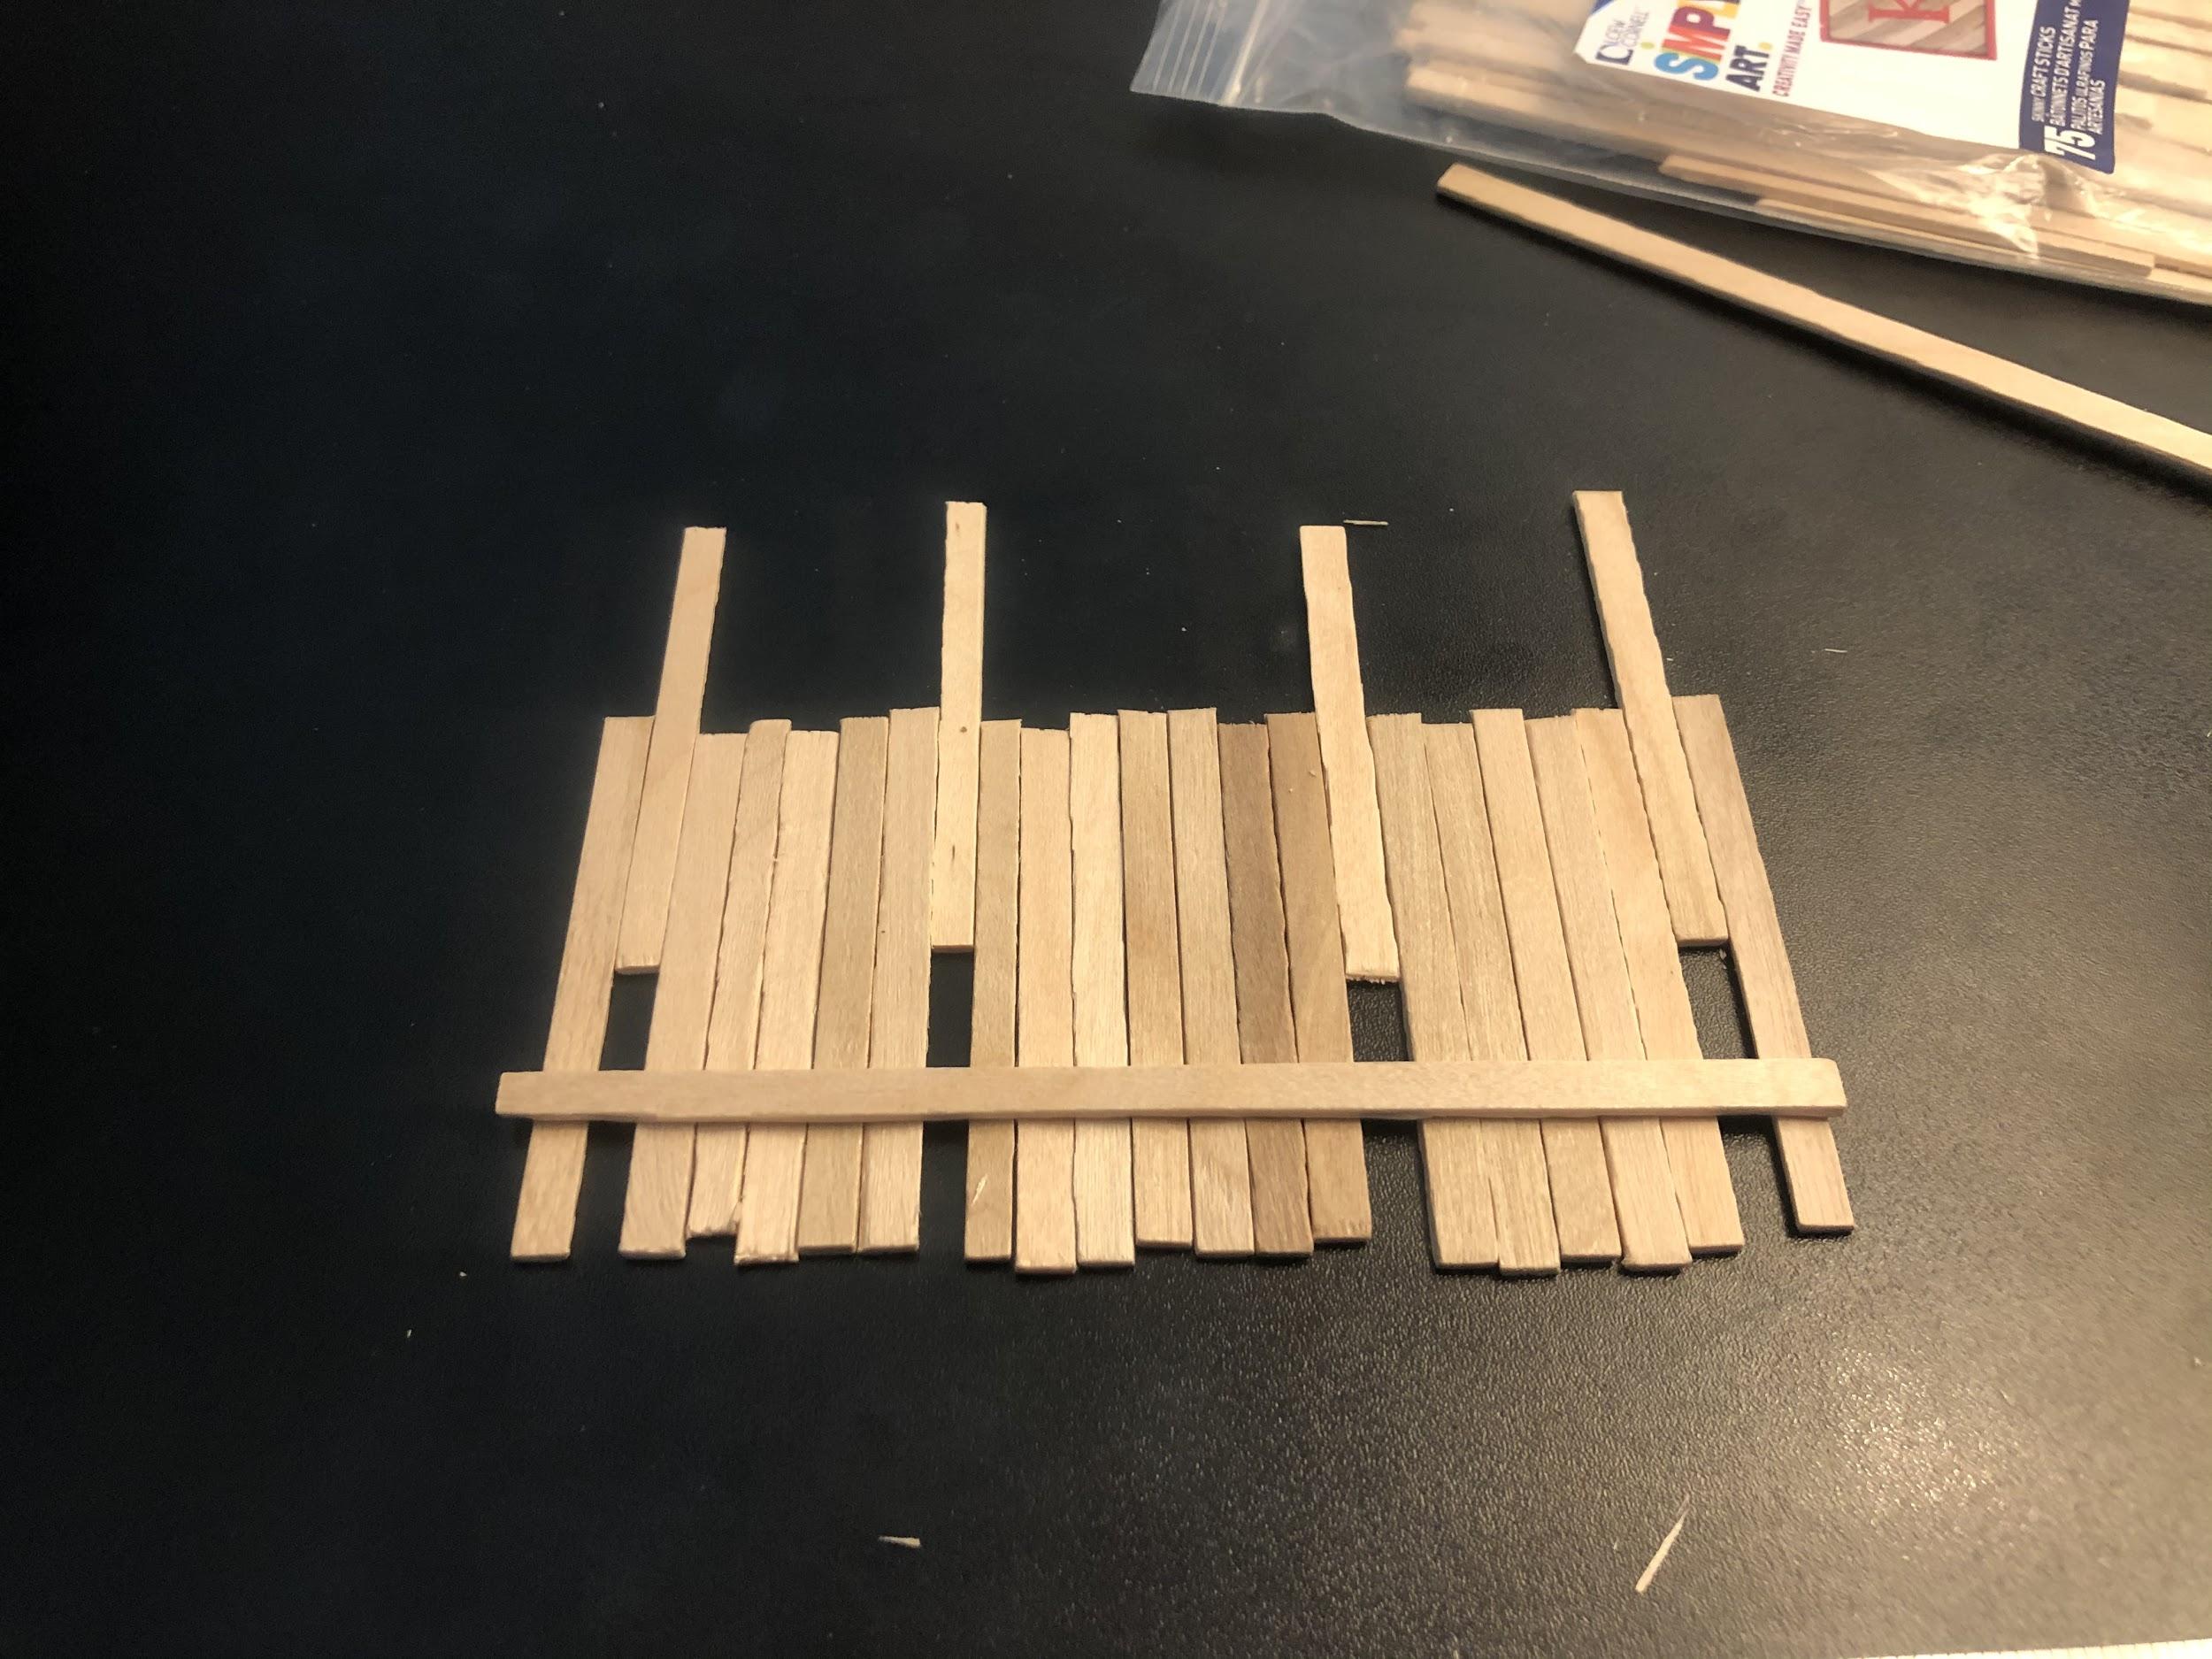
You are doing this because when we glue, we need to maintain spaces for where the posts will attach to the pier. Once you have the proper spaces, apply a thin layer glue to the long stick, and glue it to the smaller sticks. Make sure that you maintain spacing, while still keeping the sticks tightly packed.
Now wait 3-24 hours. Check your project after 30 mins to make sure you are not gluing it to your table or anything else by moving it slightly.
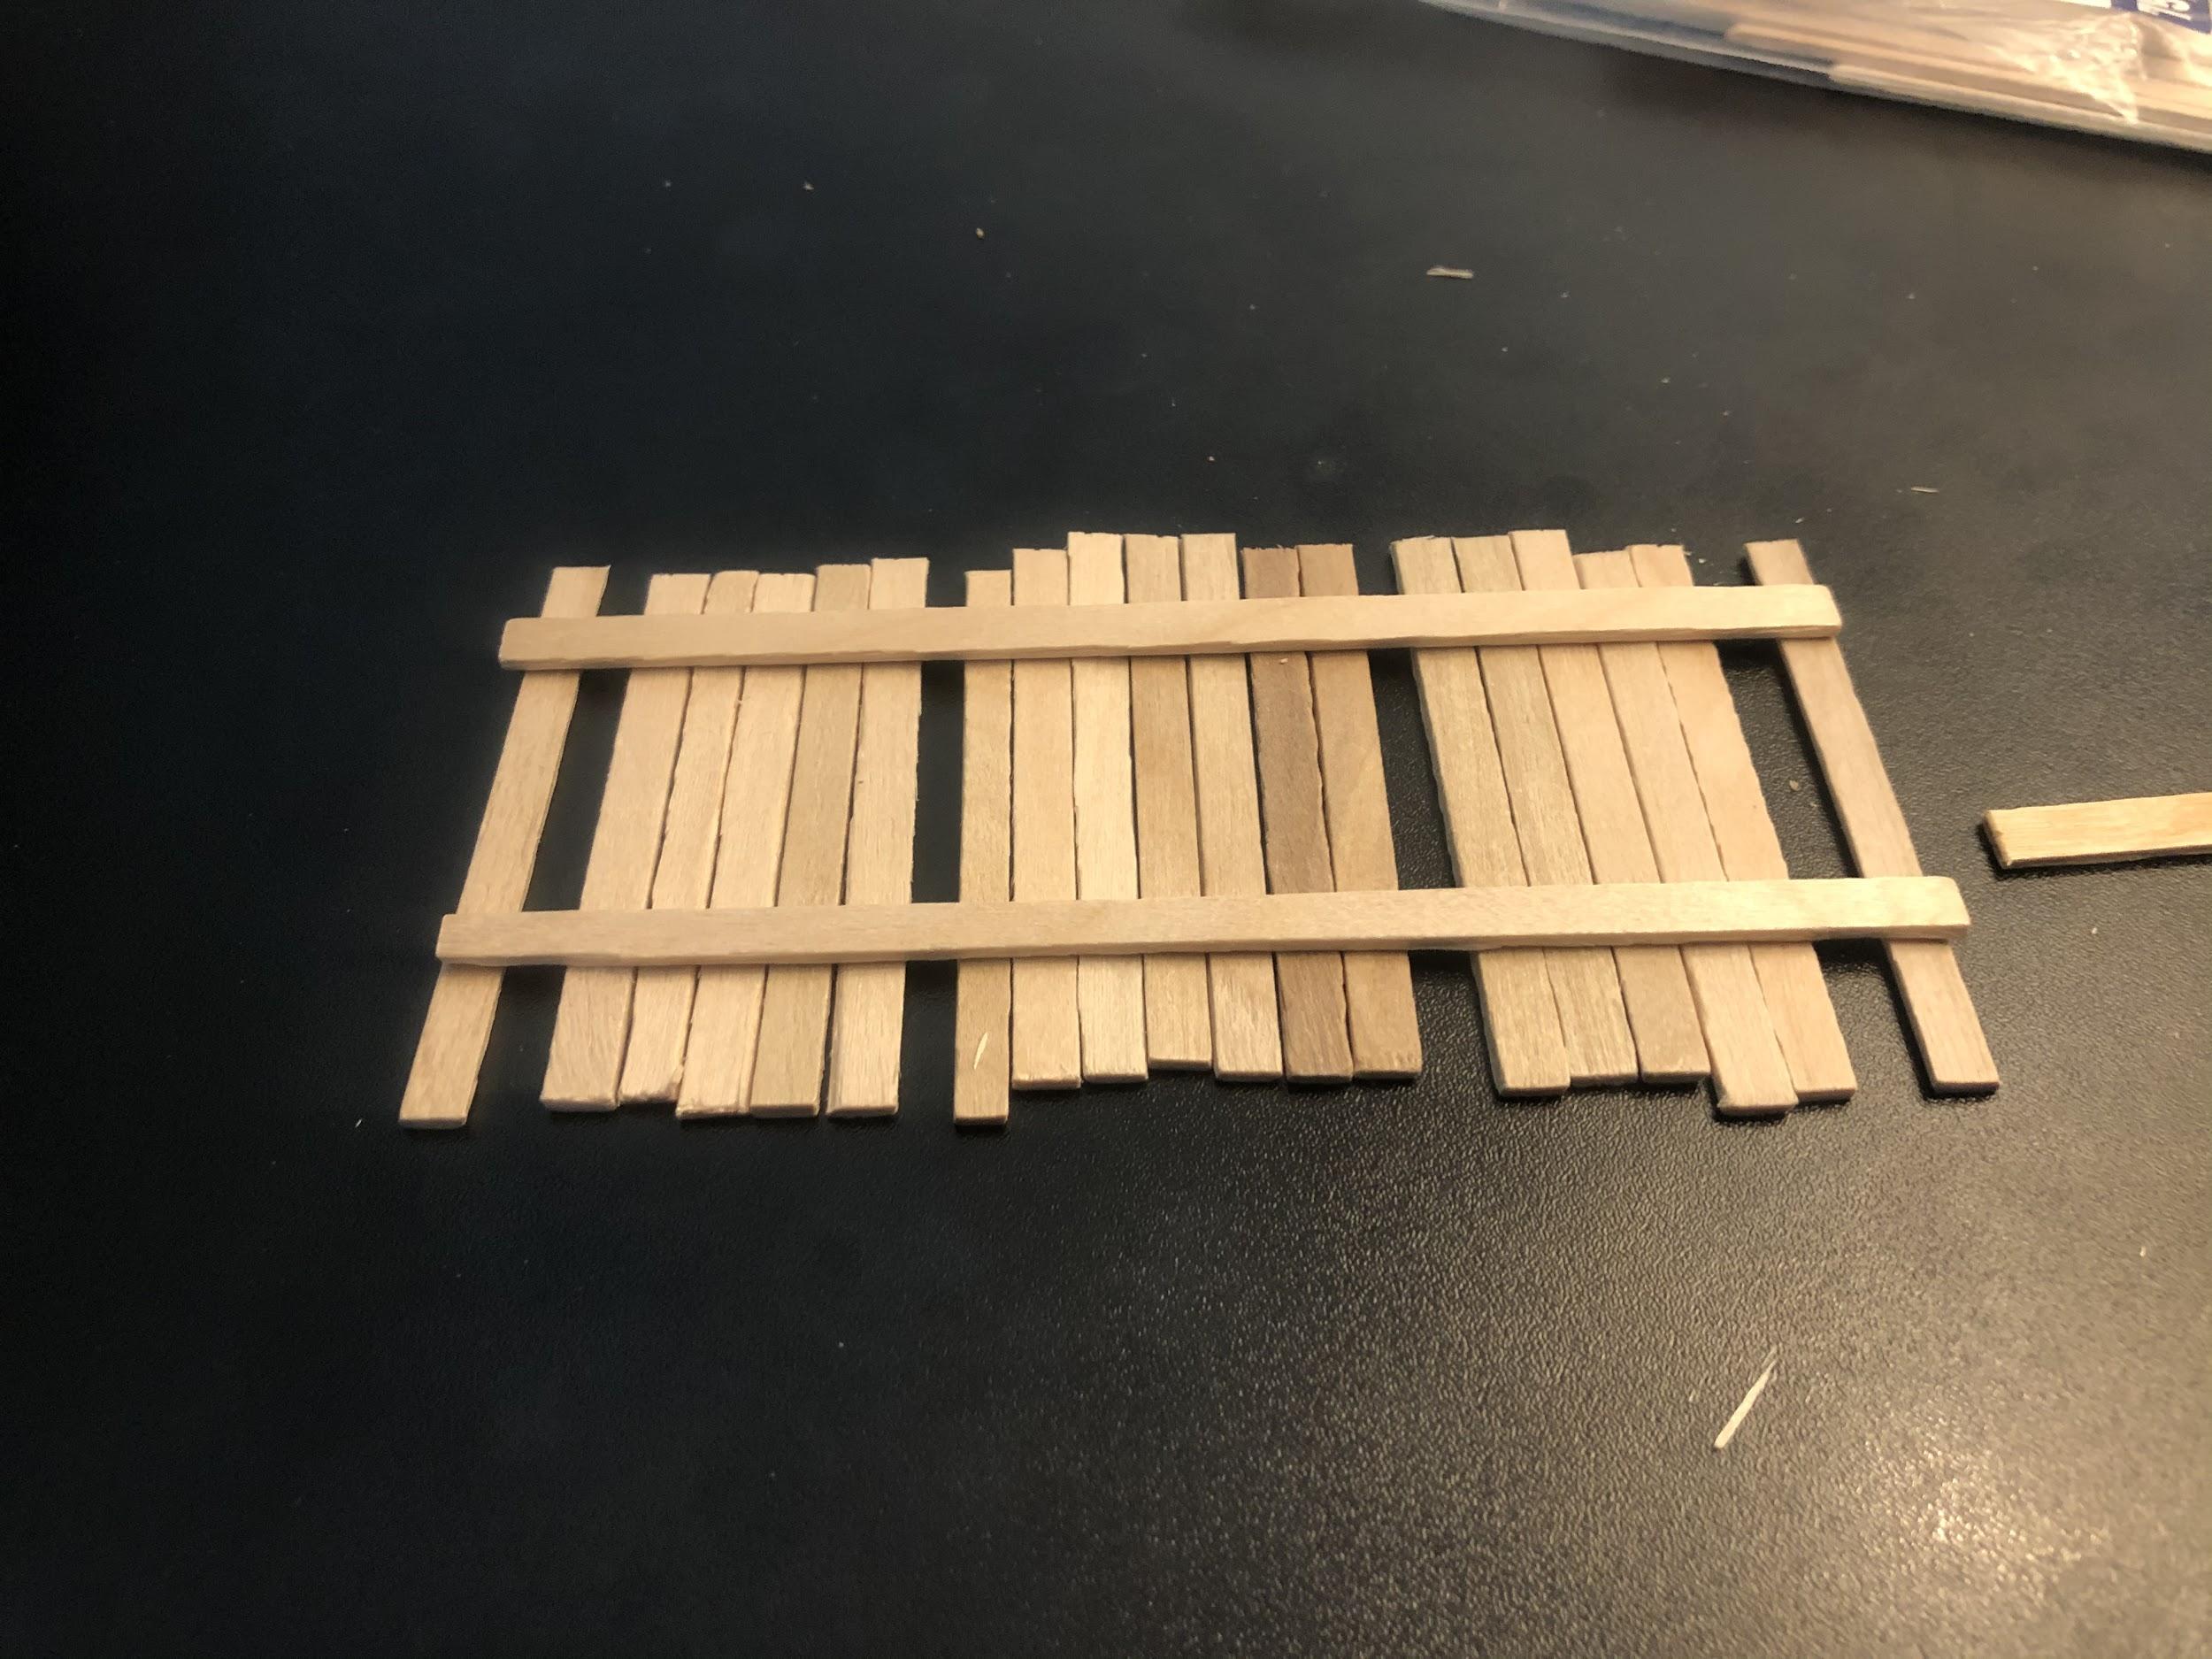
Step 6: Glue the Other Board
Check your work and remove the small sticks from where the posts will go. Apply a thin layer of glue to the other long stick and glue it to your new pier.
Now wait 3-24 hours. Check your project after 30 mins to make sure you are not gluing it to your table or anything else by moving it slightly.
Step ?: What Day Is It?
Check on your project. It should be all glued together now. Take the boards that you removed earlier, and cut them to fit, so they are not longer than the long support boards.

Make sure the new smaller sticks fit in the gaps. You might have to use a tool to scrape glue off the longer boards.

Sometimes you have to trim the width of the small boards to get them to fit. When they fit, go ahead and glue them in, then set the piers aside.

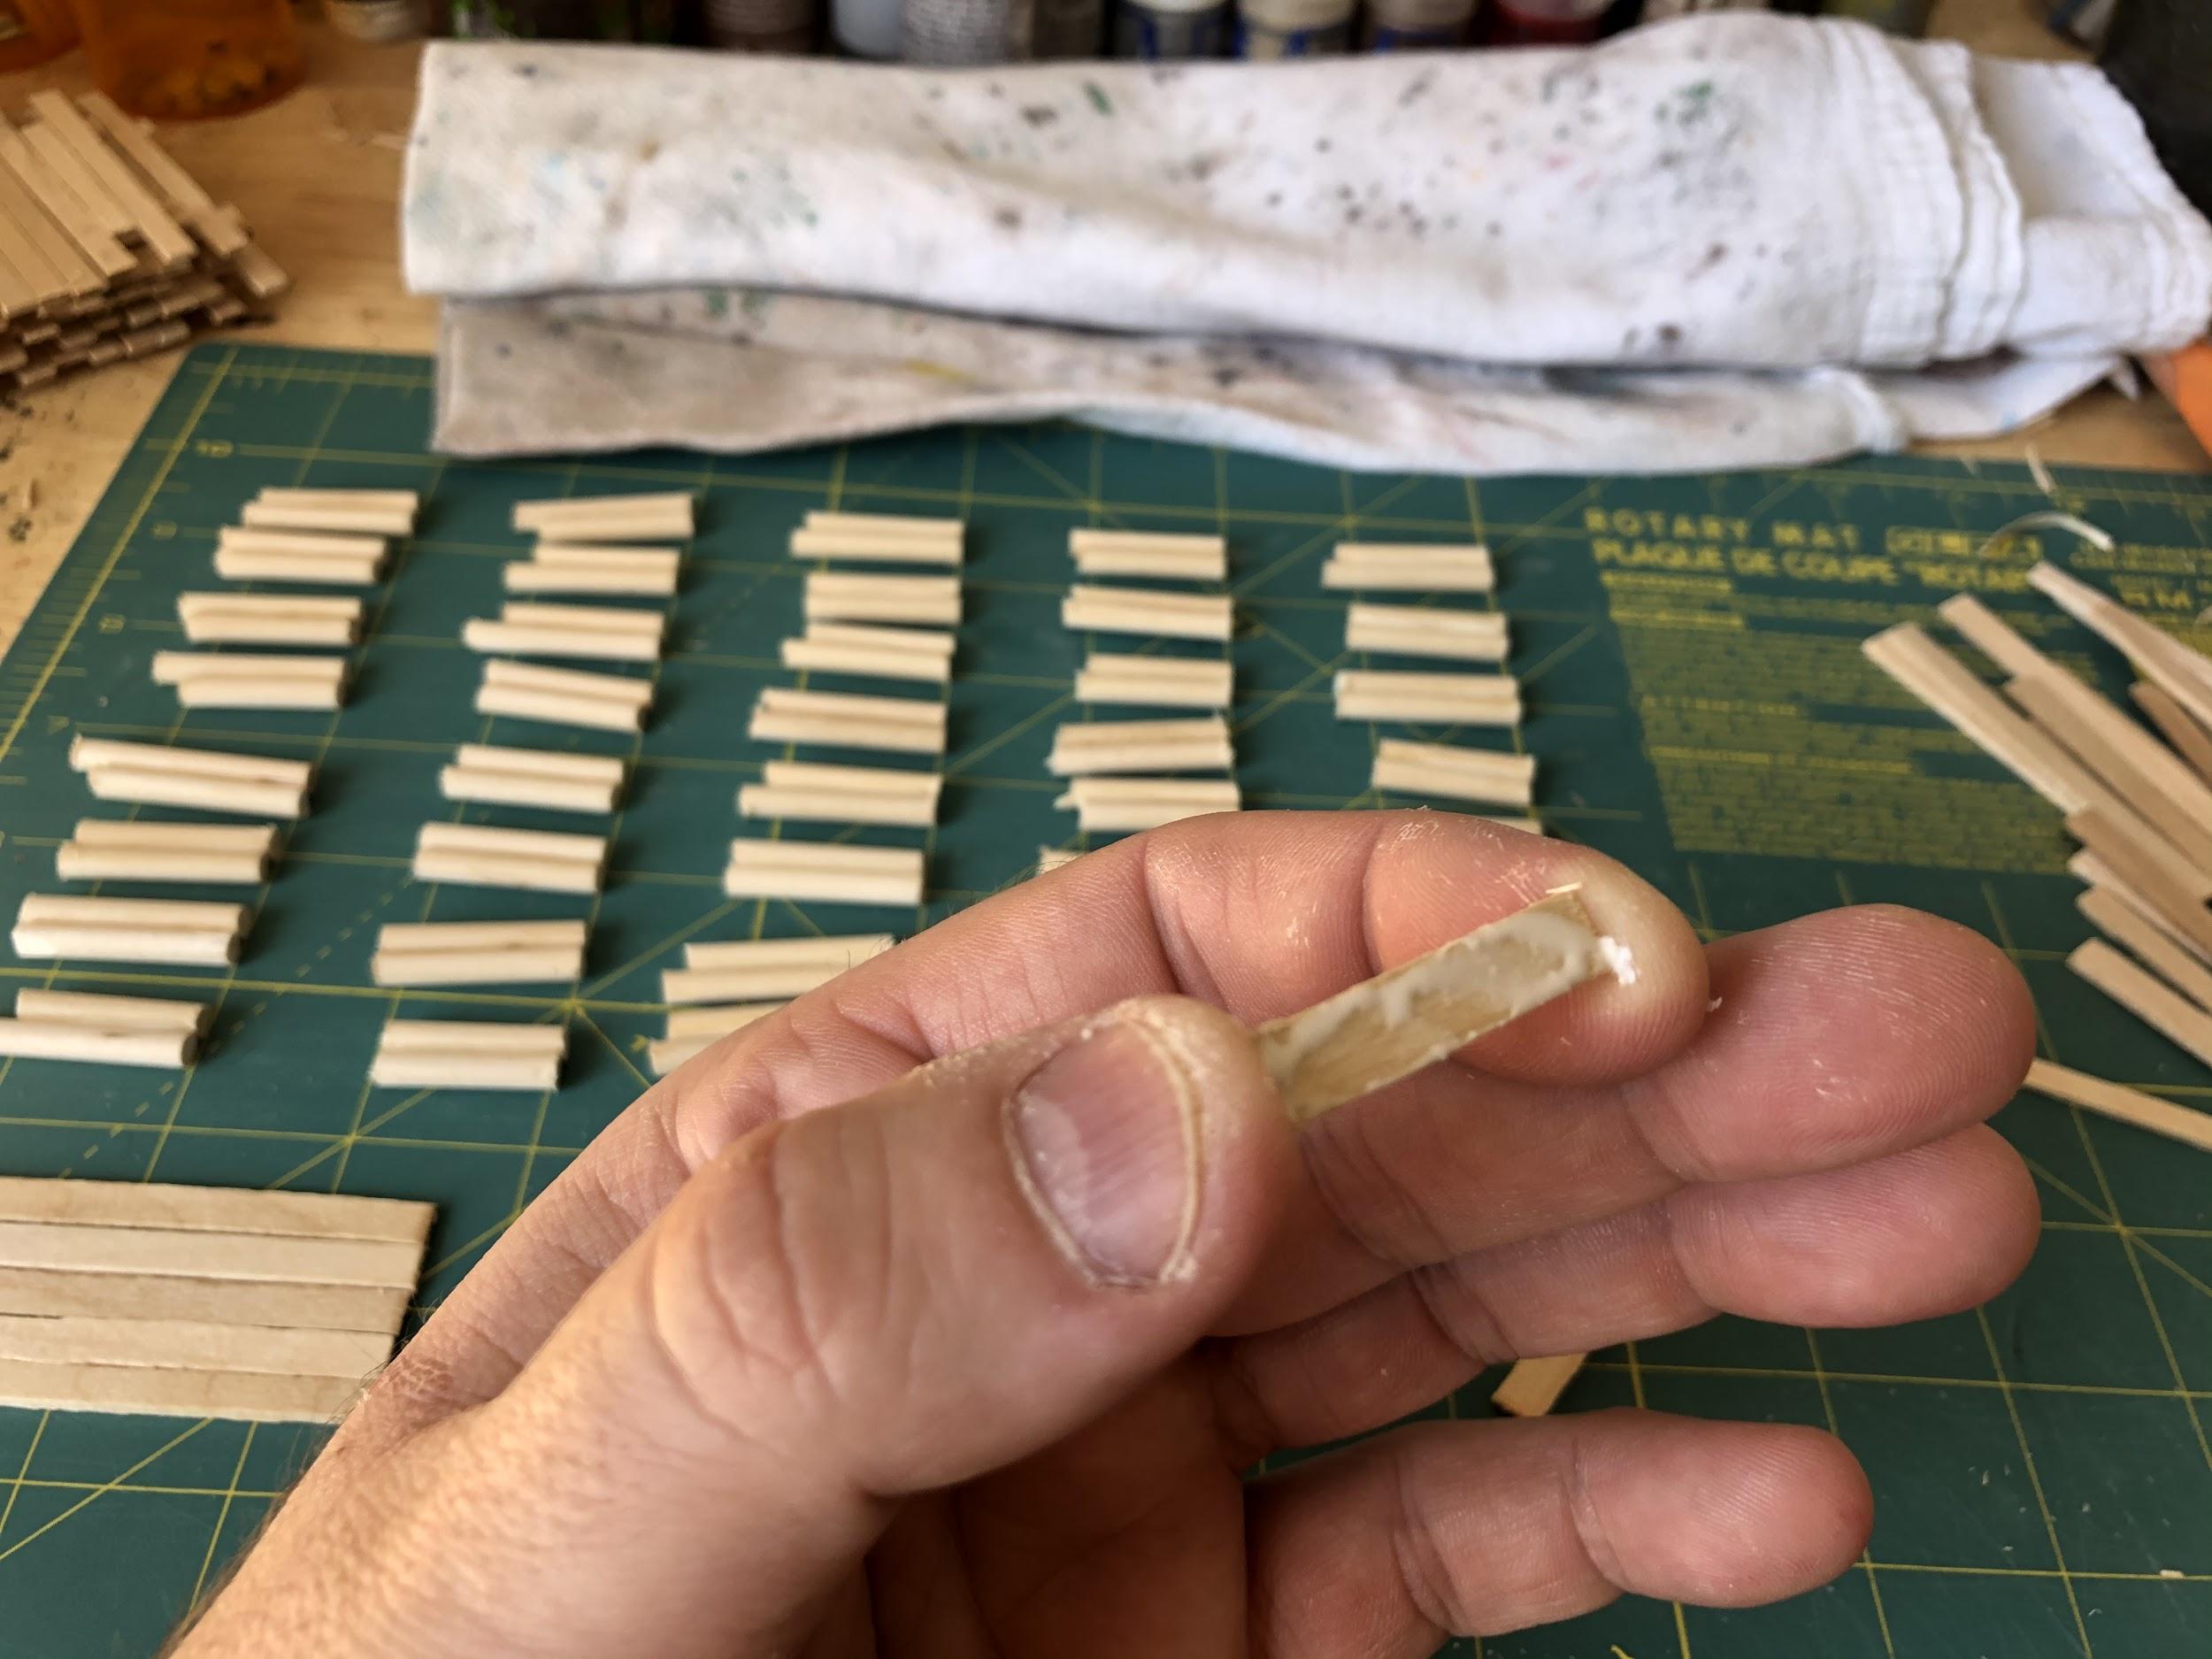
Step 8: The Things I Sawed
I made five piers at once this time. Each pier has 8 post holes. Each post hole will have two posts in it. I needed to make eighty 1” long dowel posts. You can make the dowels longer, like I did for my first few piers.
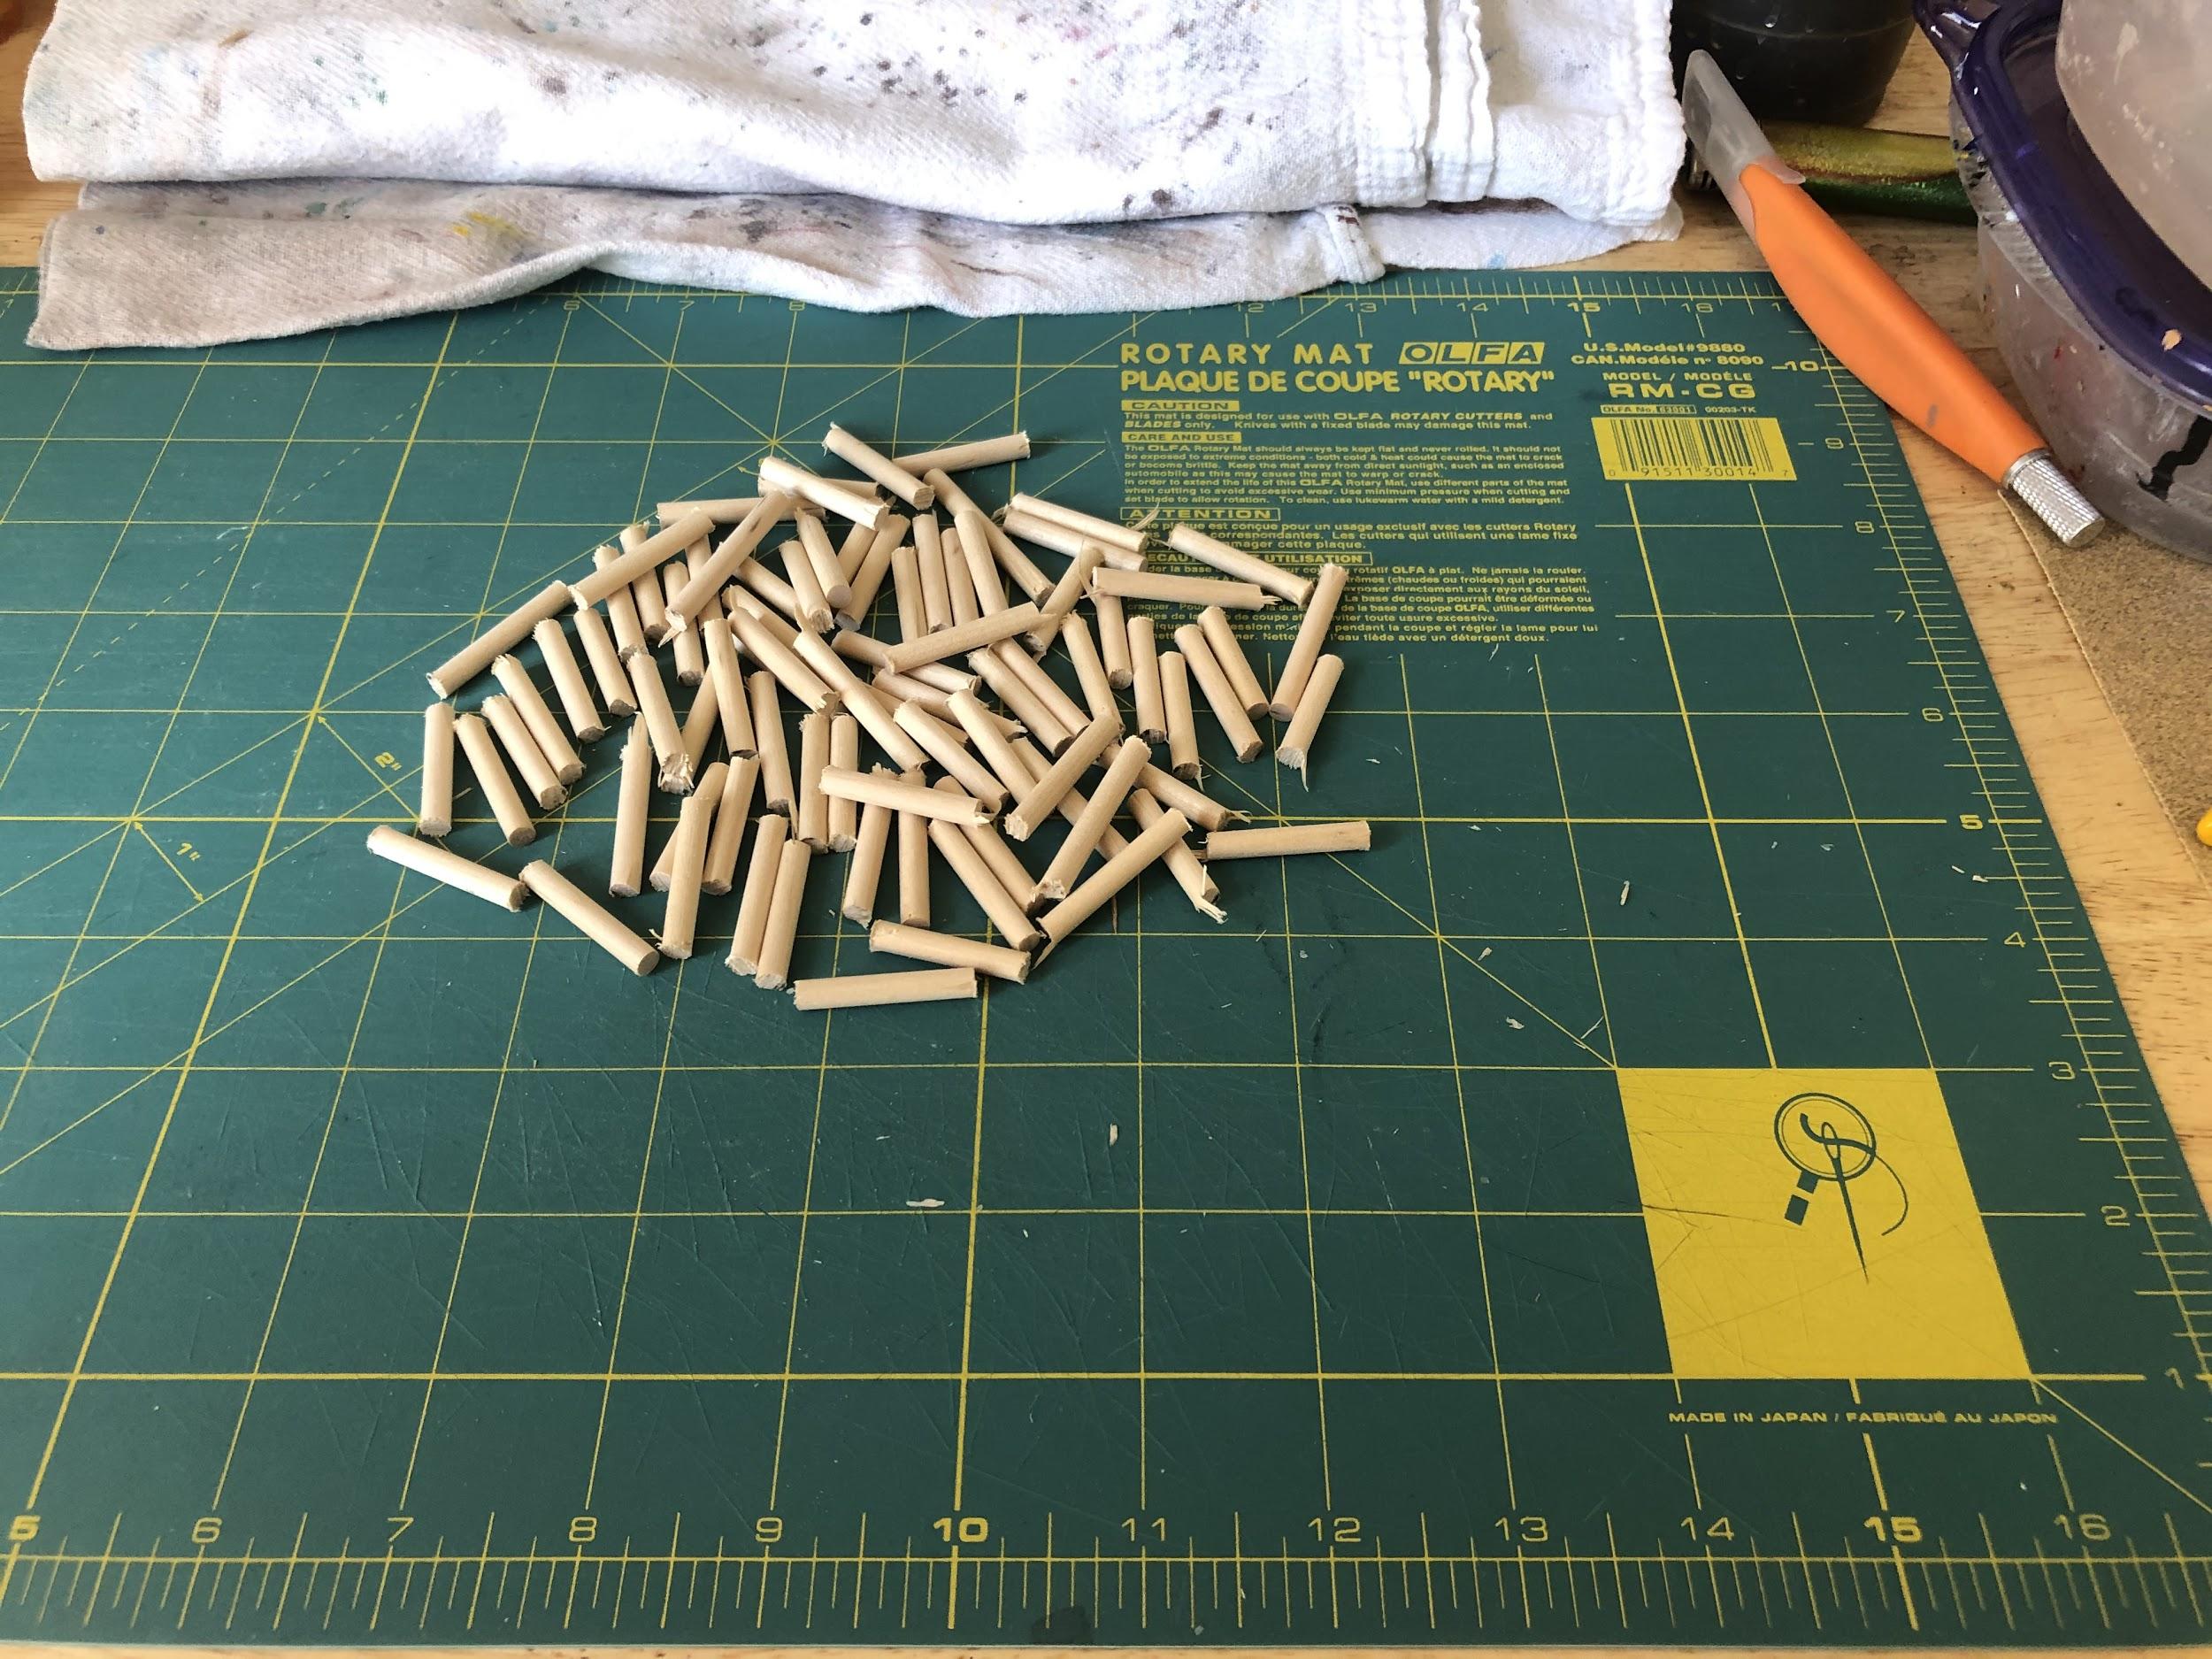
It doesn’t really look like 80 dowels, huh?
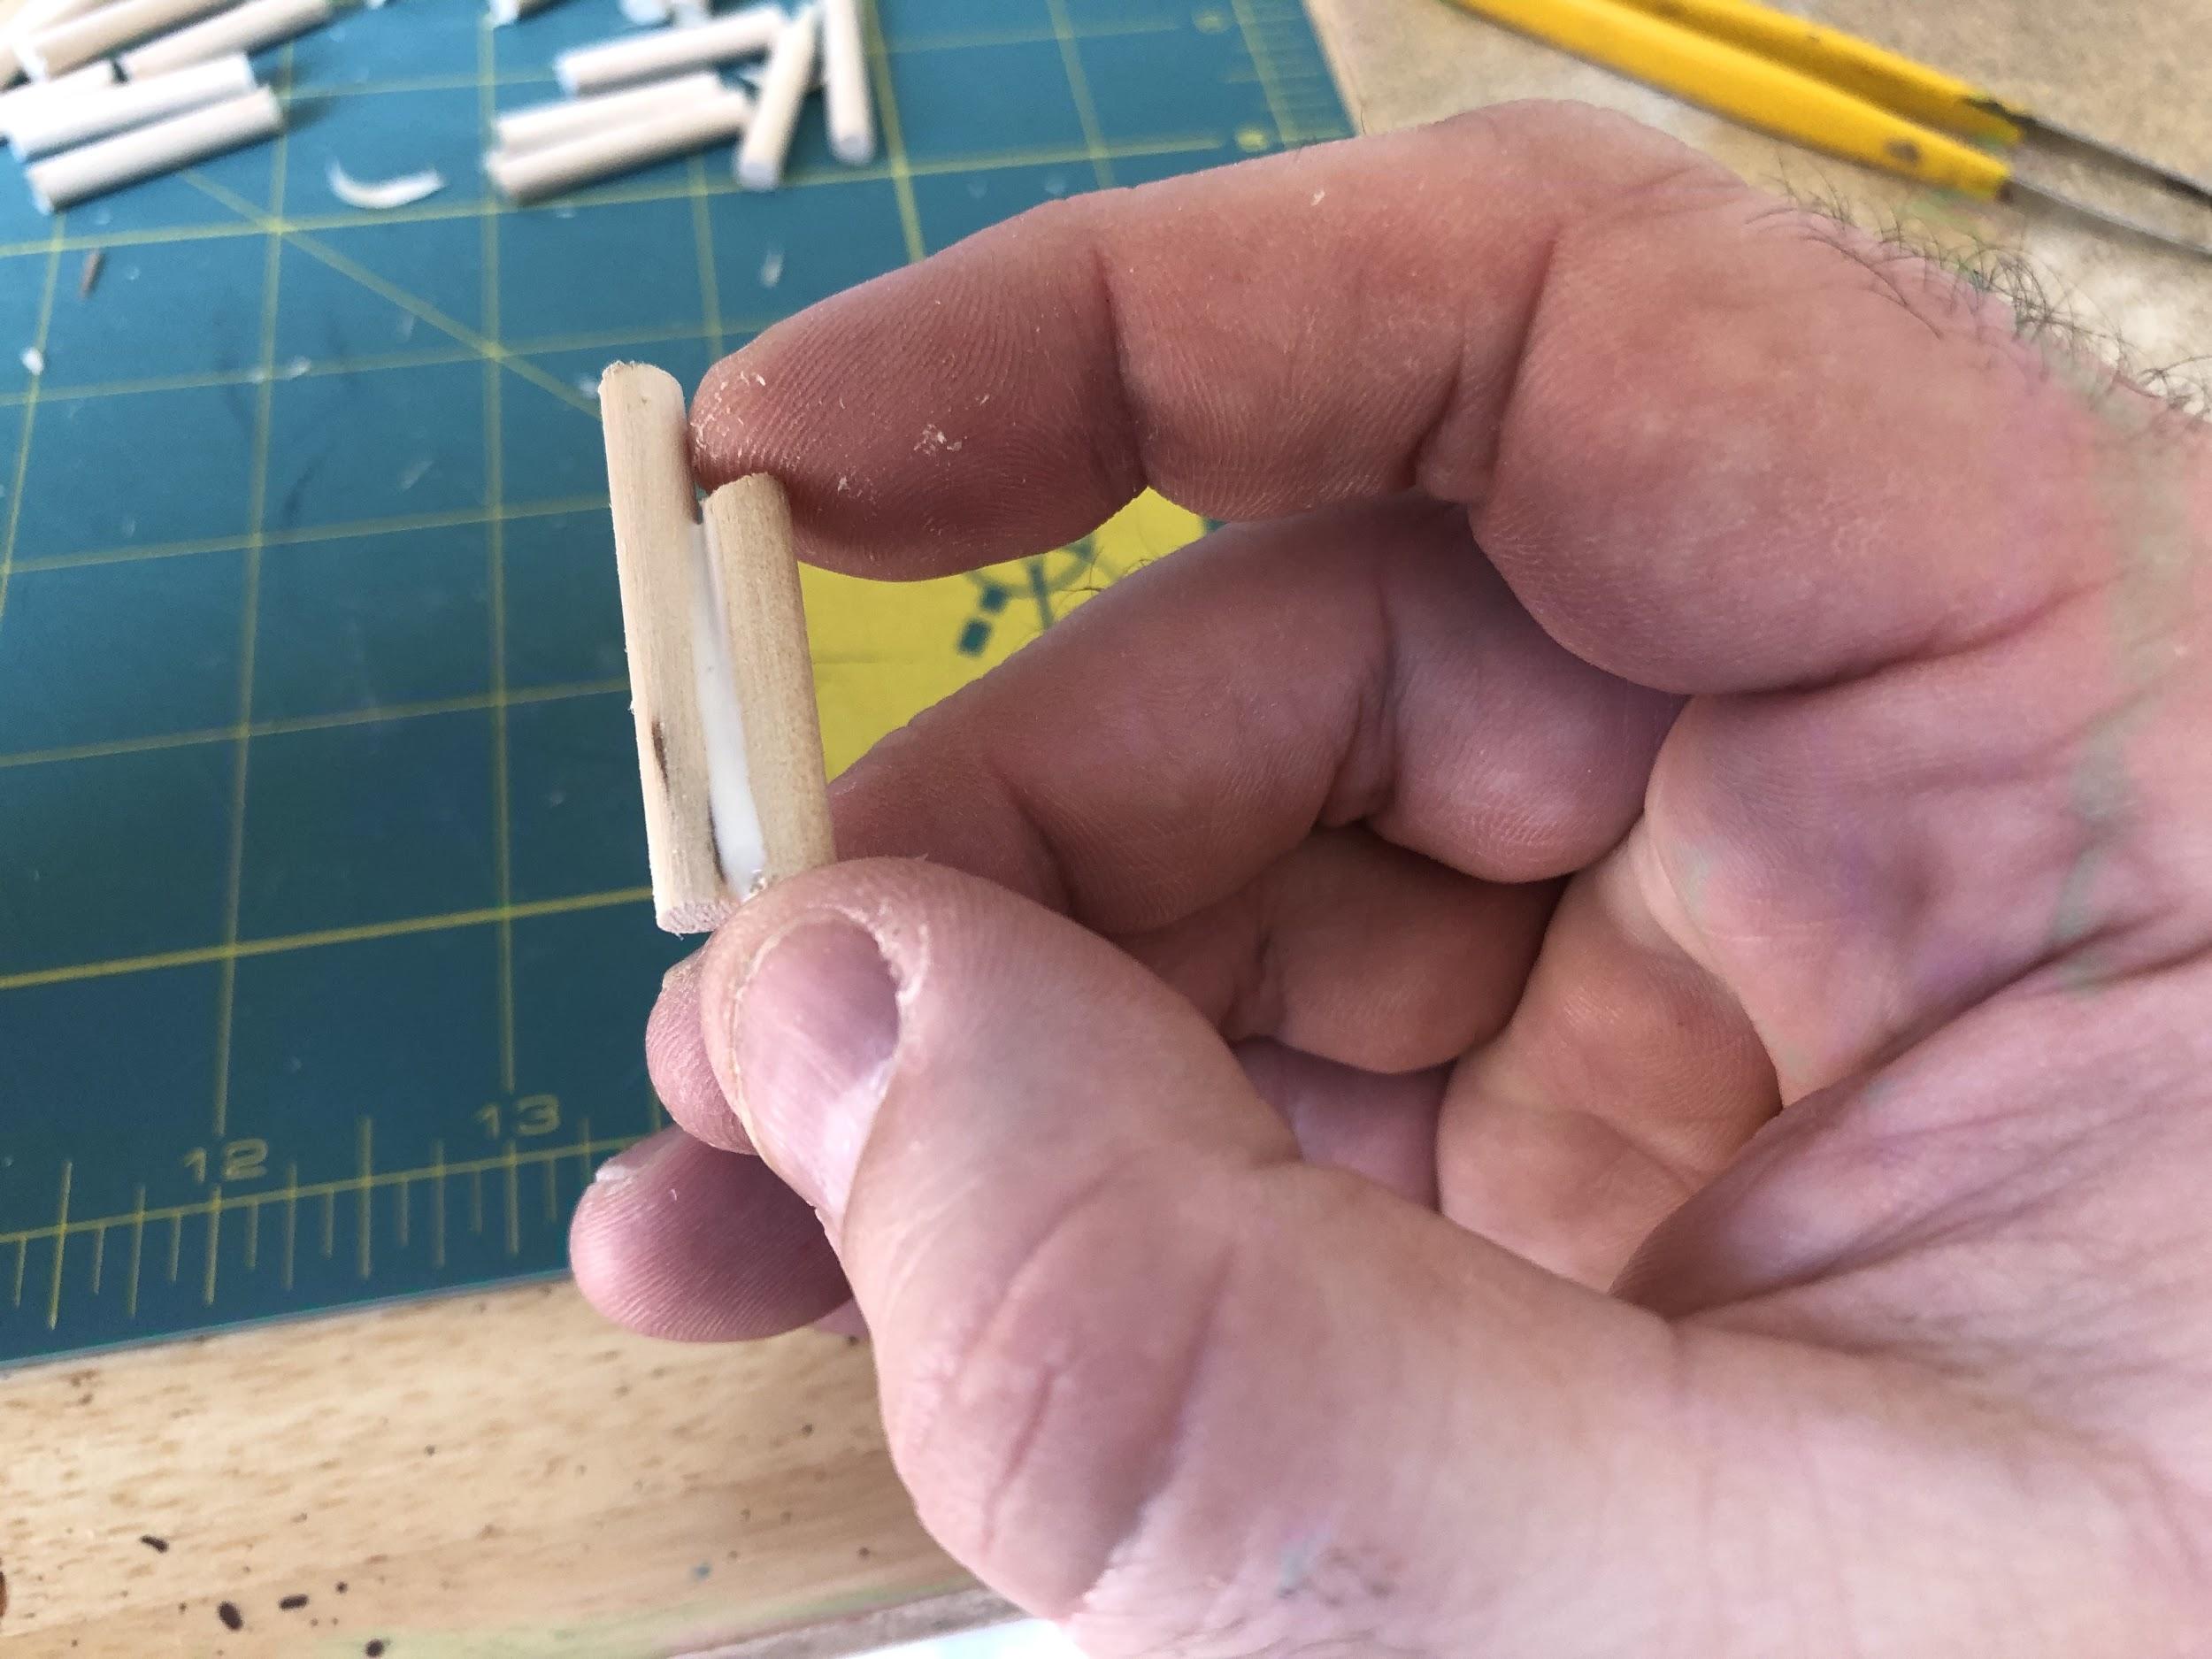
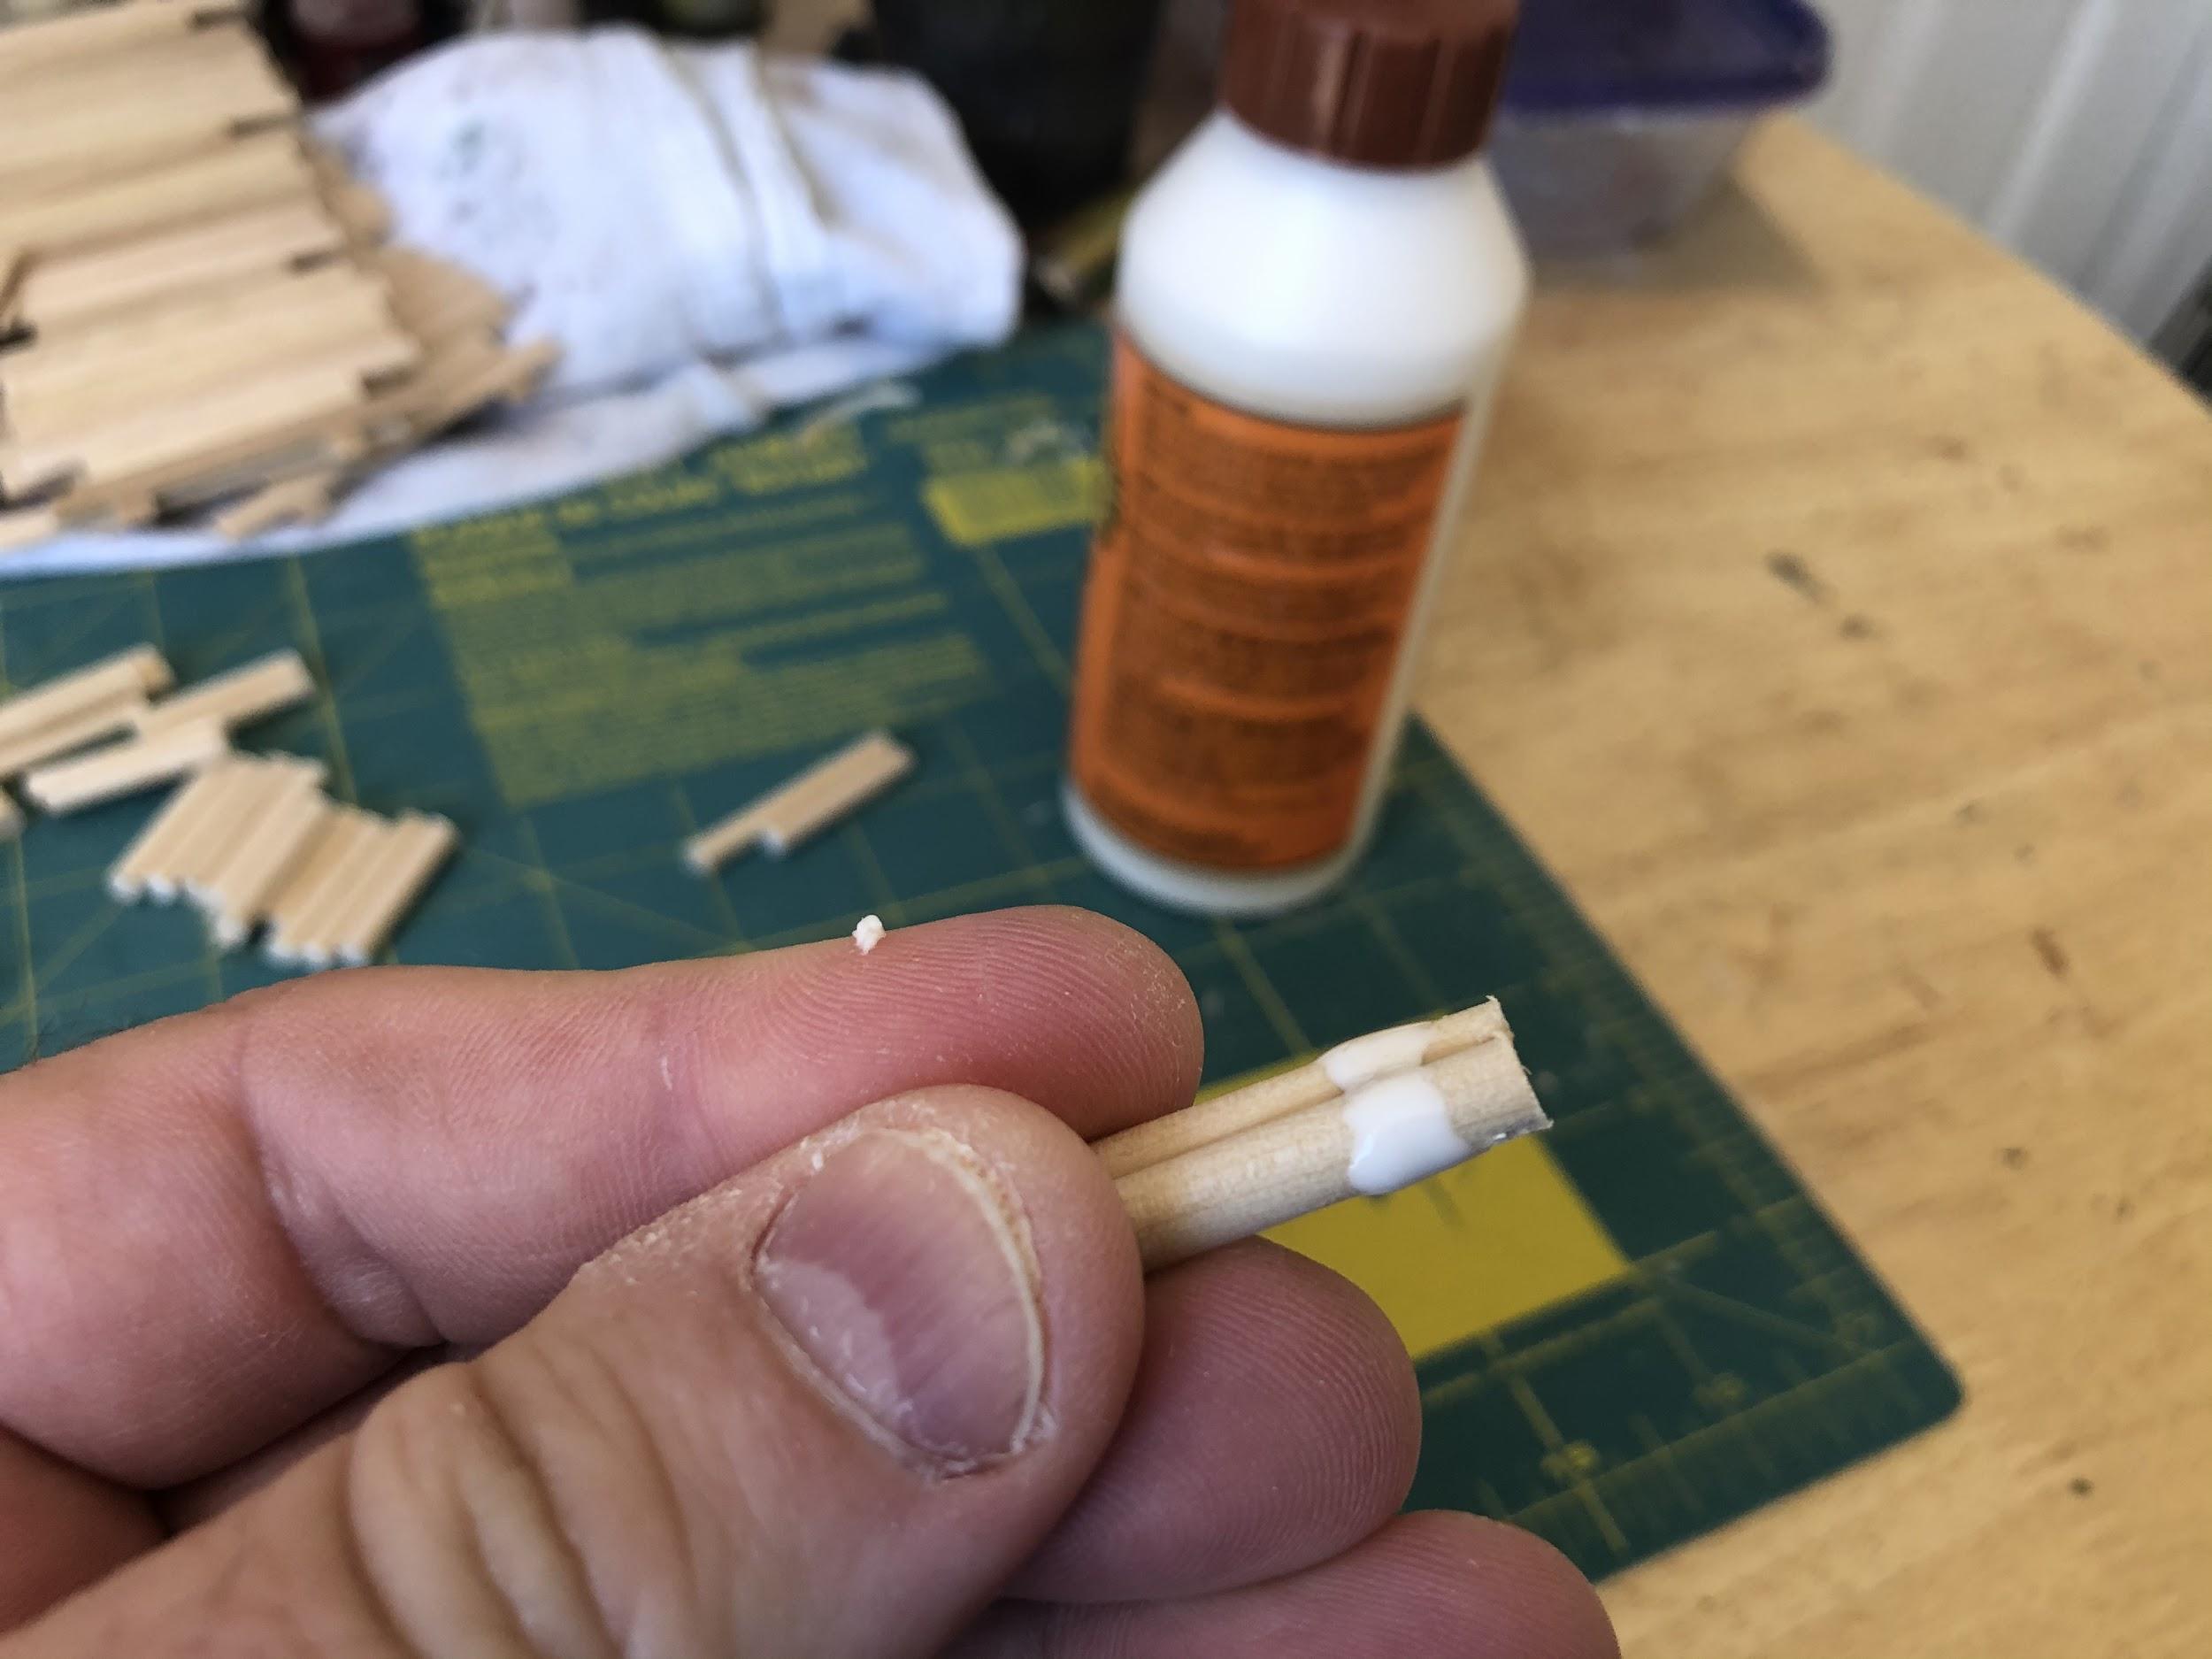
Step 9: Glue the Posts Together
Use sandpaper to flatten the cut side of a post. You don’t have to use sand paper, as long as each post has a flatter cut side. Do this to two of them and then glue them together.
Do this until you have glued all your posts together.

Now wait 3-24 hours. Check your project after 30 mins to make sure you are not gluing it to your table or anything else by moving it slightly.
Step 10: Make Some Gangplanks
While waiting for everything to dry, make some gangplanks to connect the pier sections to ship and shore.
Cut sticks in half until you have about five of them. In period images the gangplanks seemed very narrow, about the width of a man’s shoulders, but I wanted to make it wider to make it less likely a metal model will tip off. Next, cut a stick to the width of the five boards you laid out.
Glue it to the other boards.
Then make as many more gangplanks as you want. I’ve found it’s nice to have the same number as piers.

Now wait 3-24 hours. Check your project after 30 mins to make sure you are not gluing it to your table or anything else by moving it slightly.
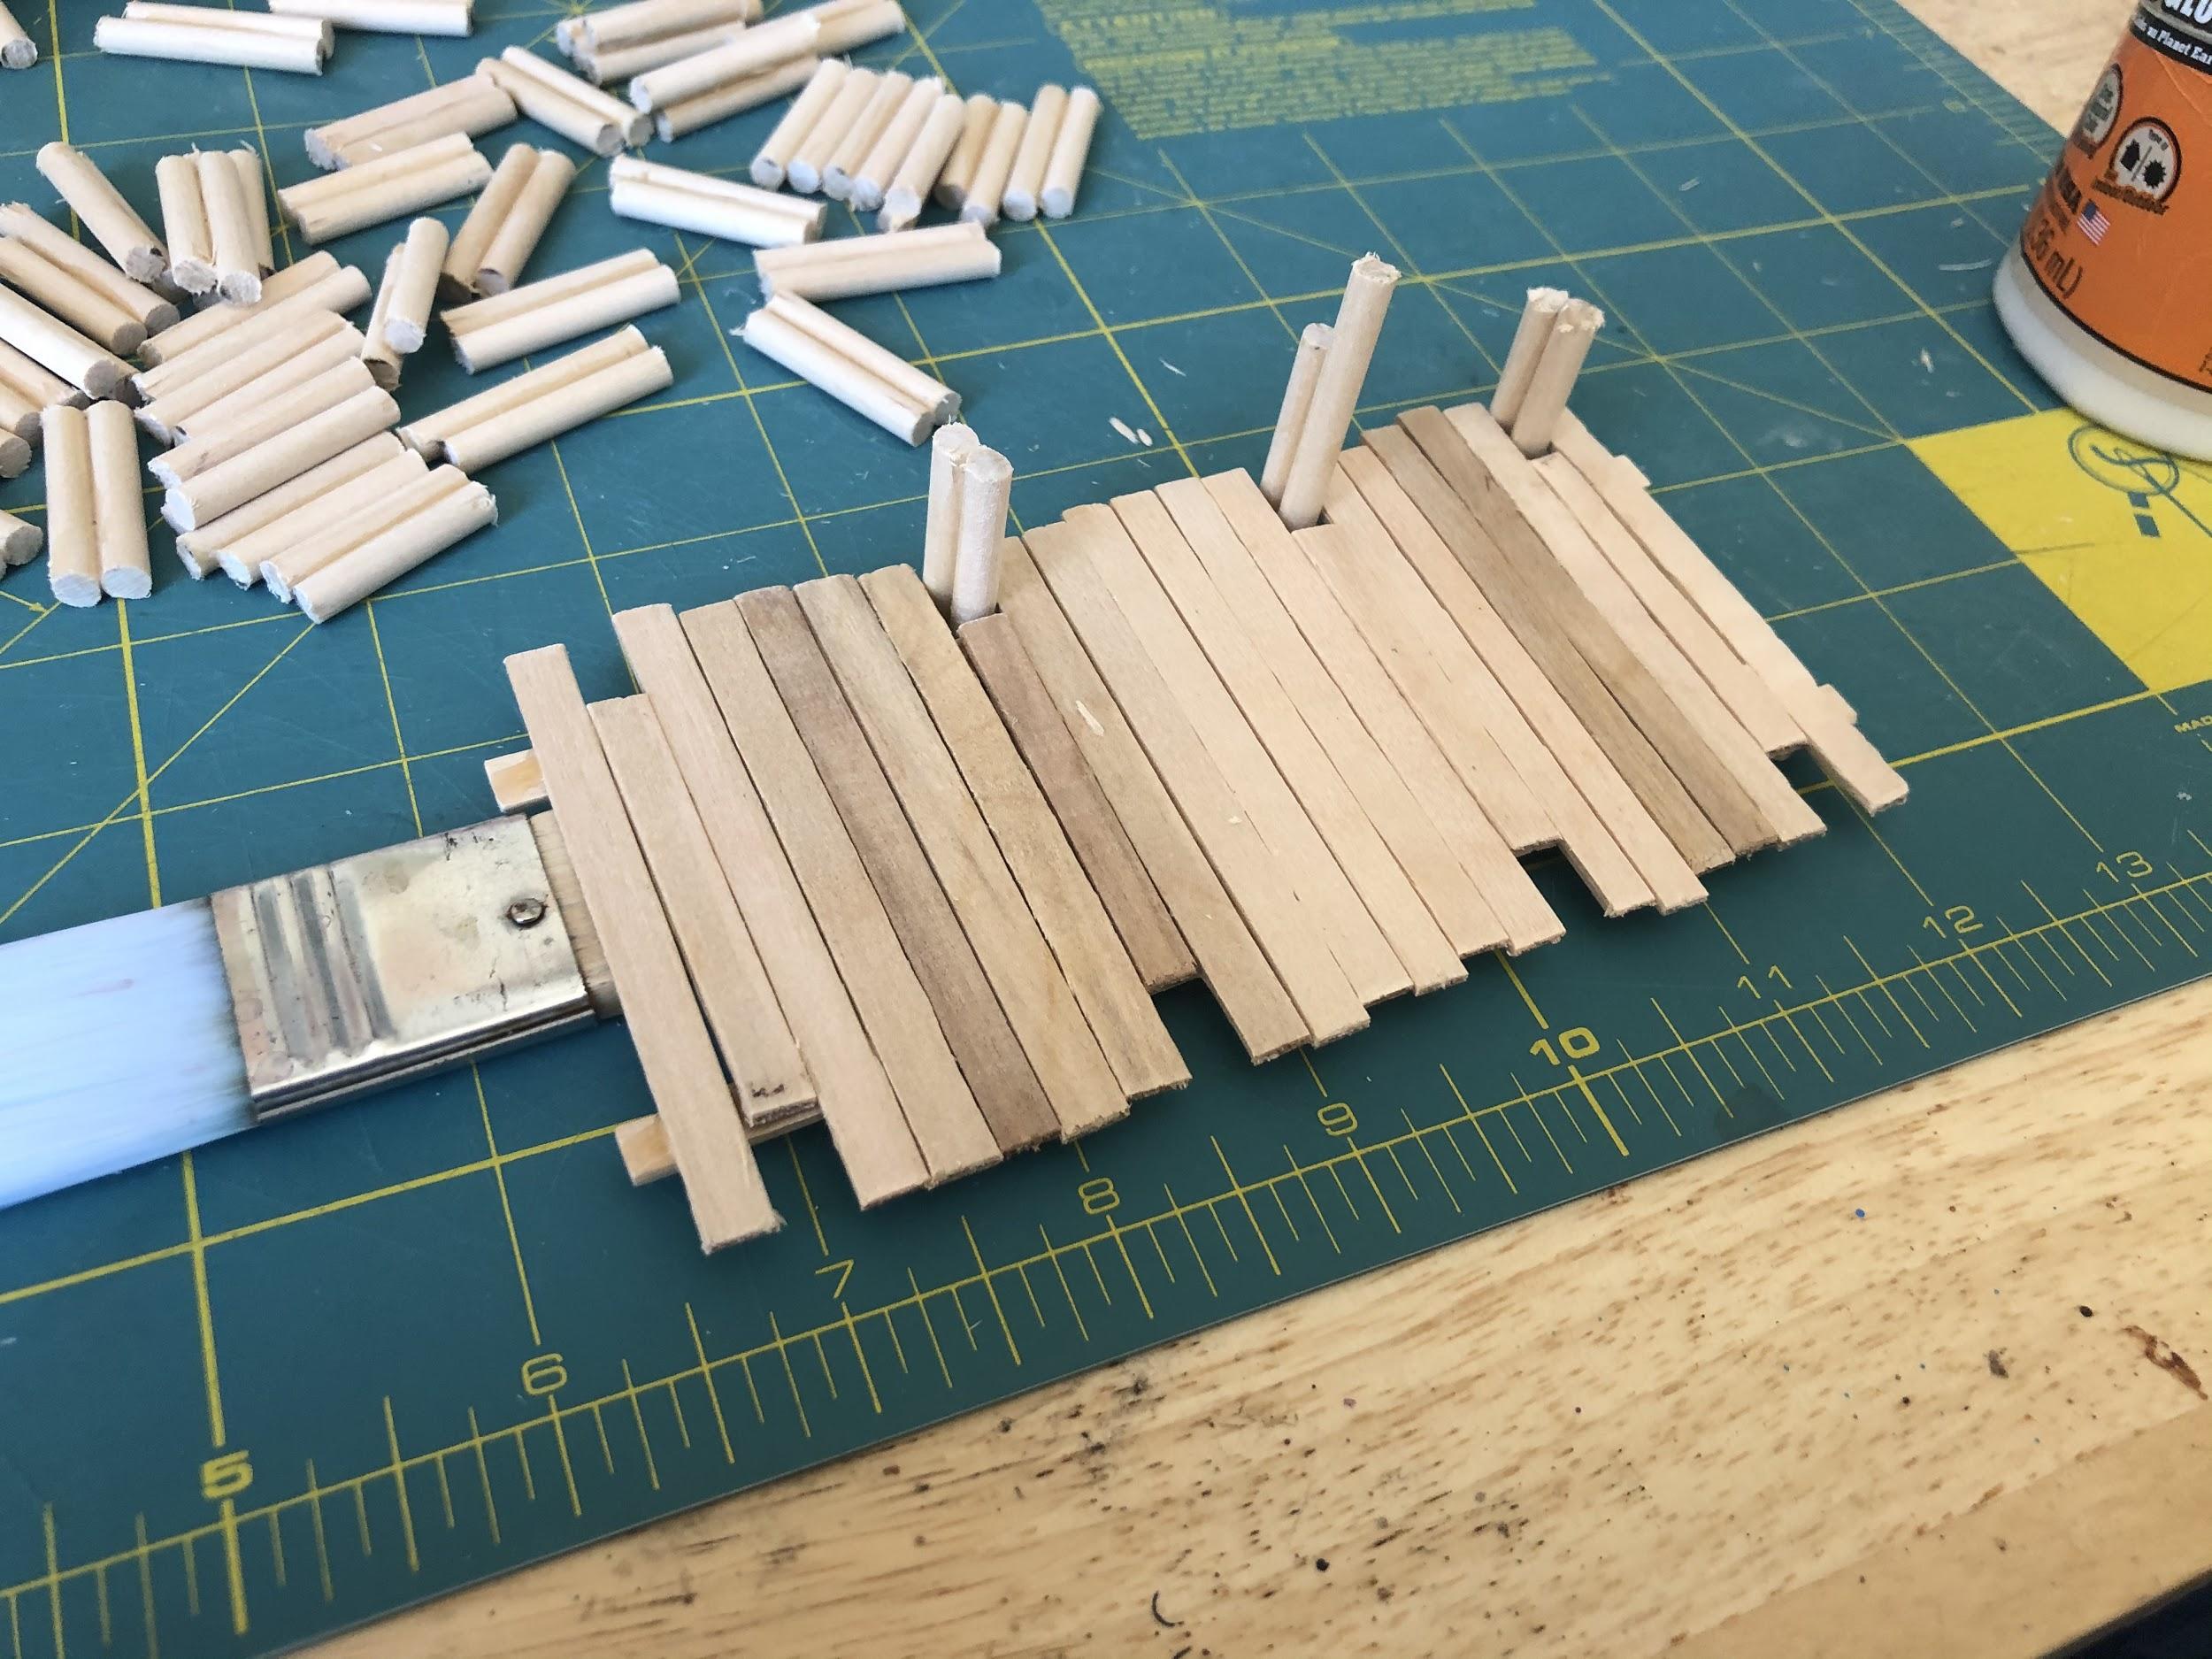
Step 11: Putting It All Together.
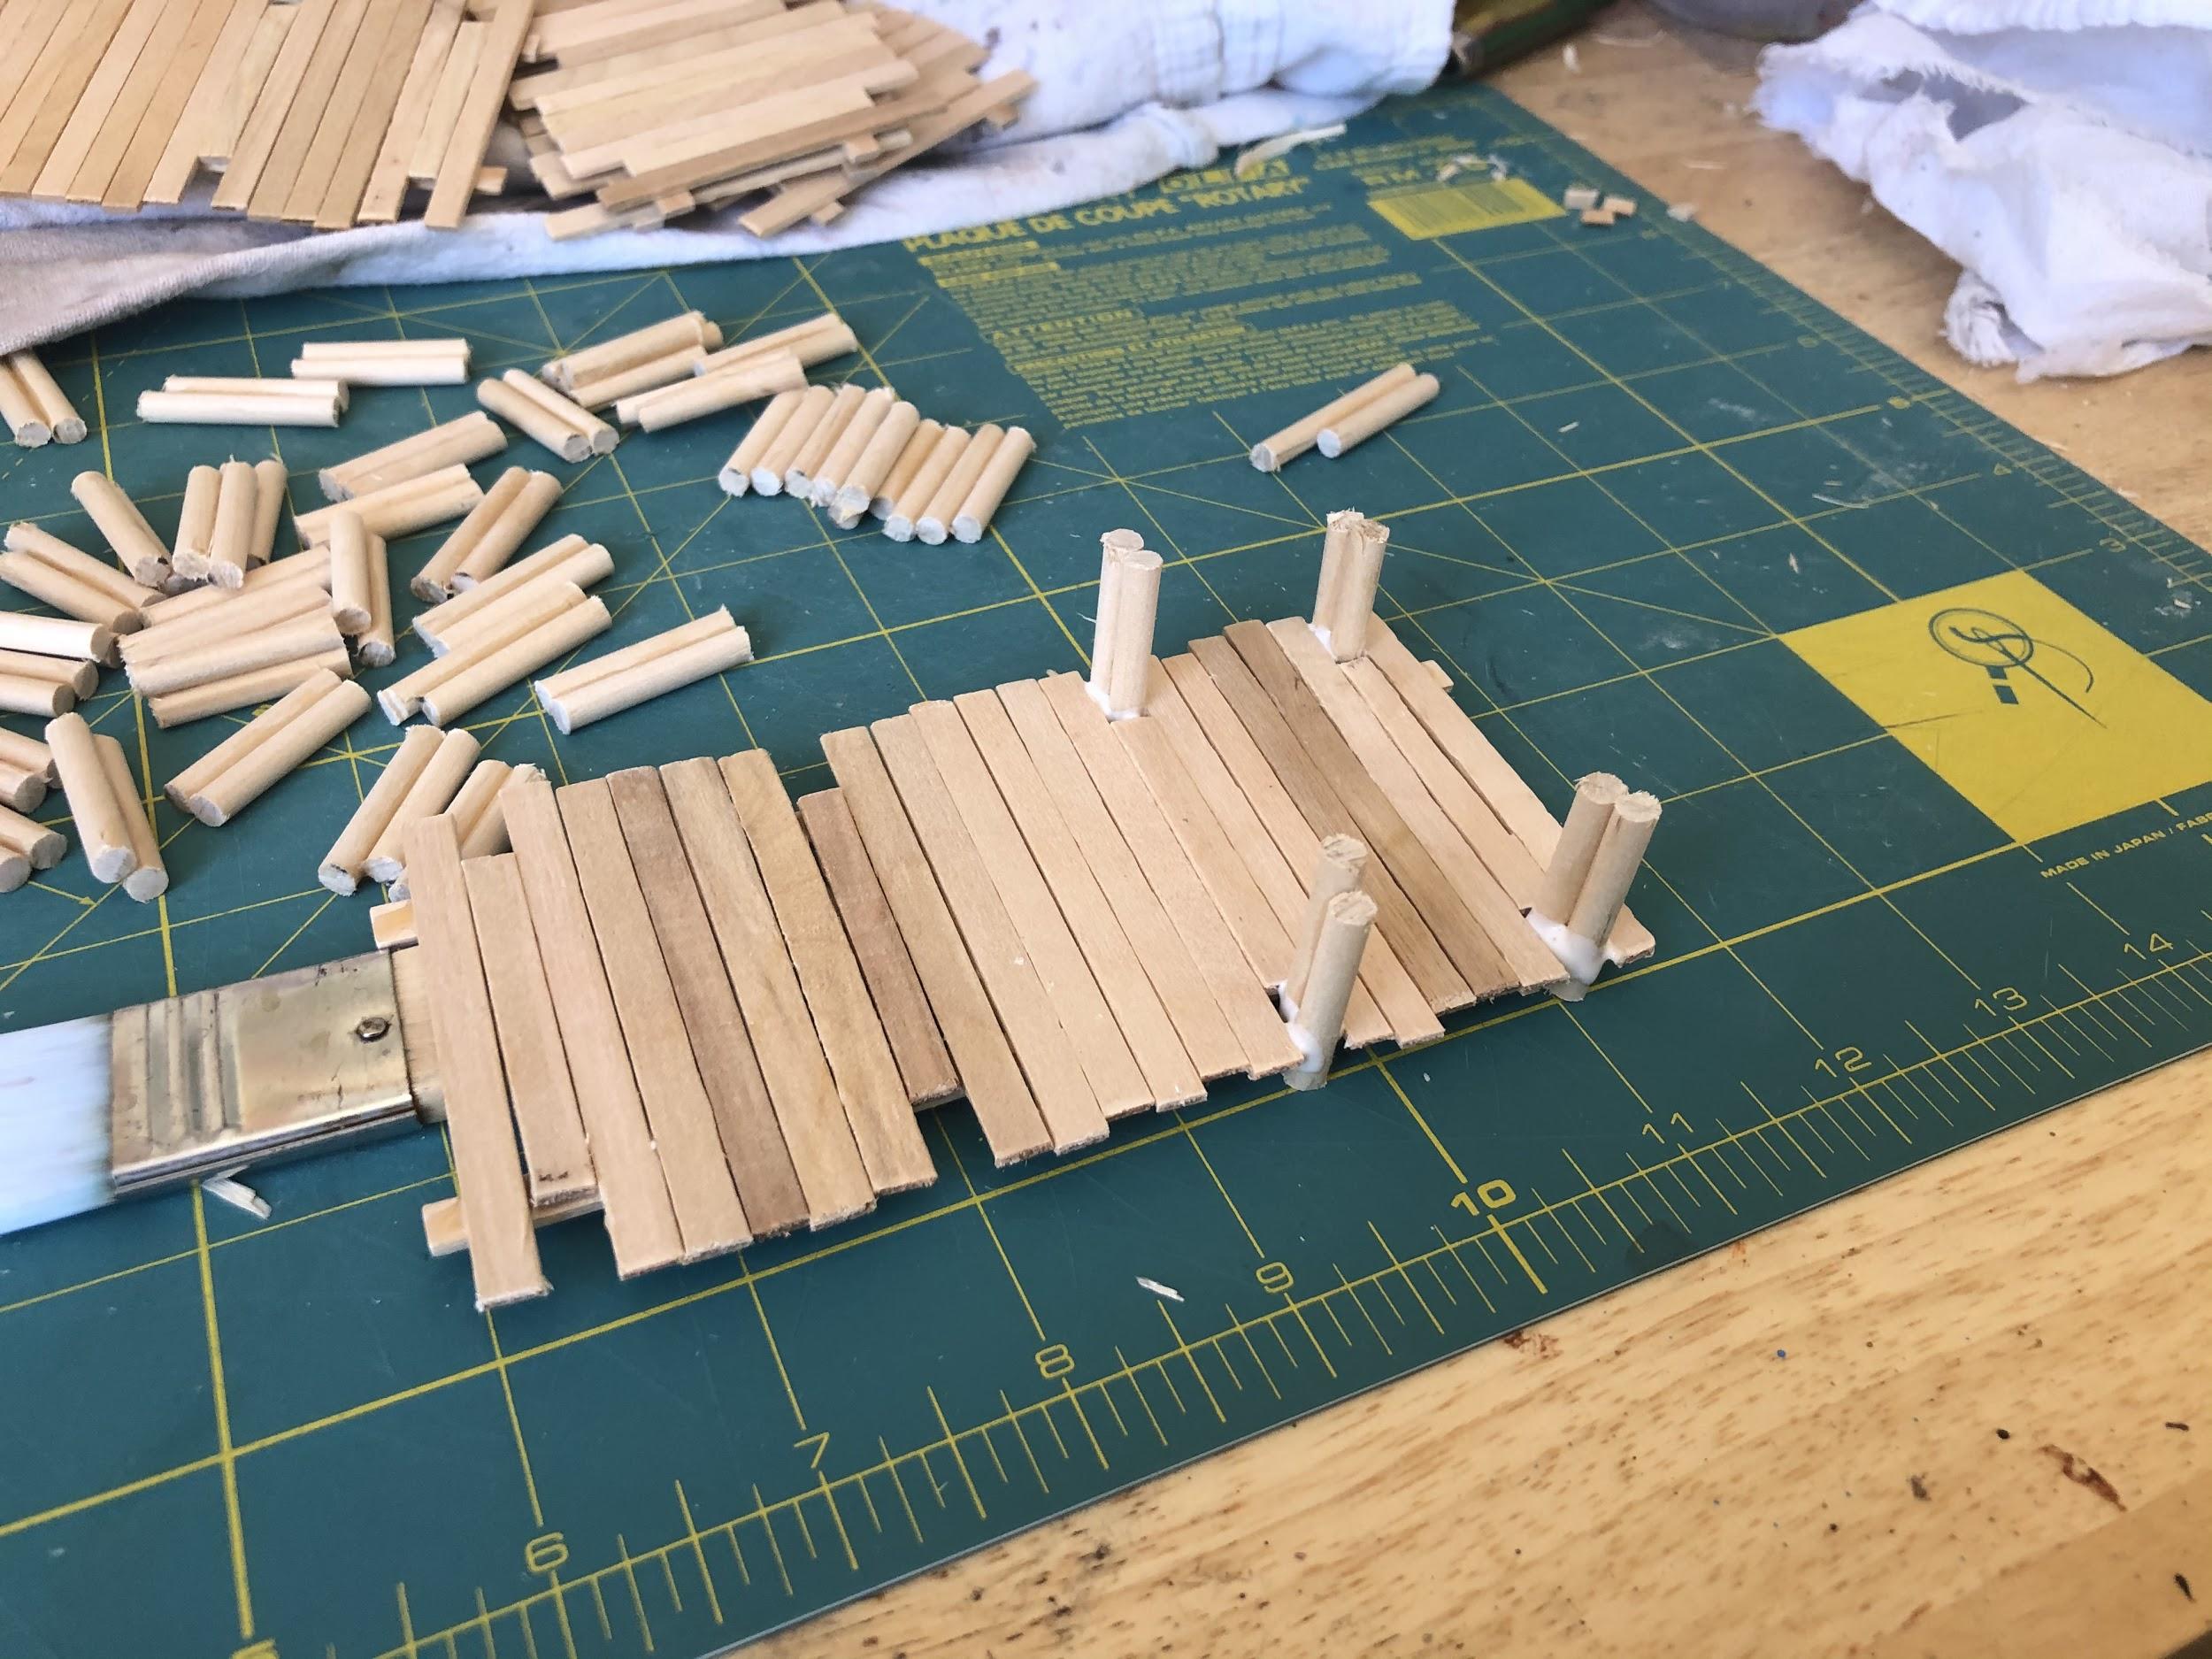
Find a flat thing that fits under the middle of your pier, and places it at about the height you want. I found this brush, but you can also use two of the gangplanks from the previous step stacked together.
Put the pier on top of the brush and make sure it’s mostly flat. Check your posts and make sure they fit in the side holes.
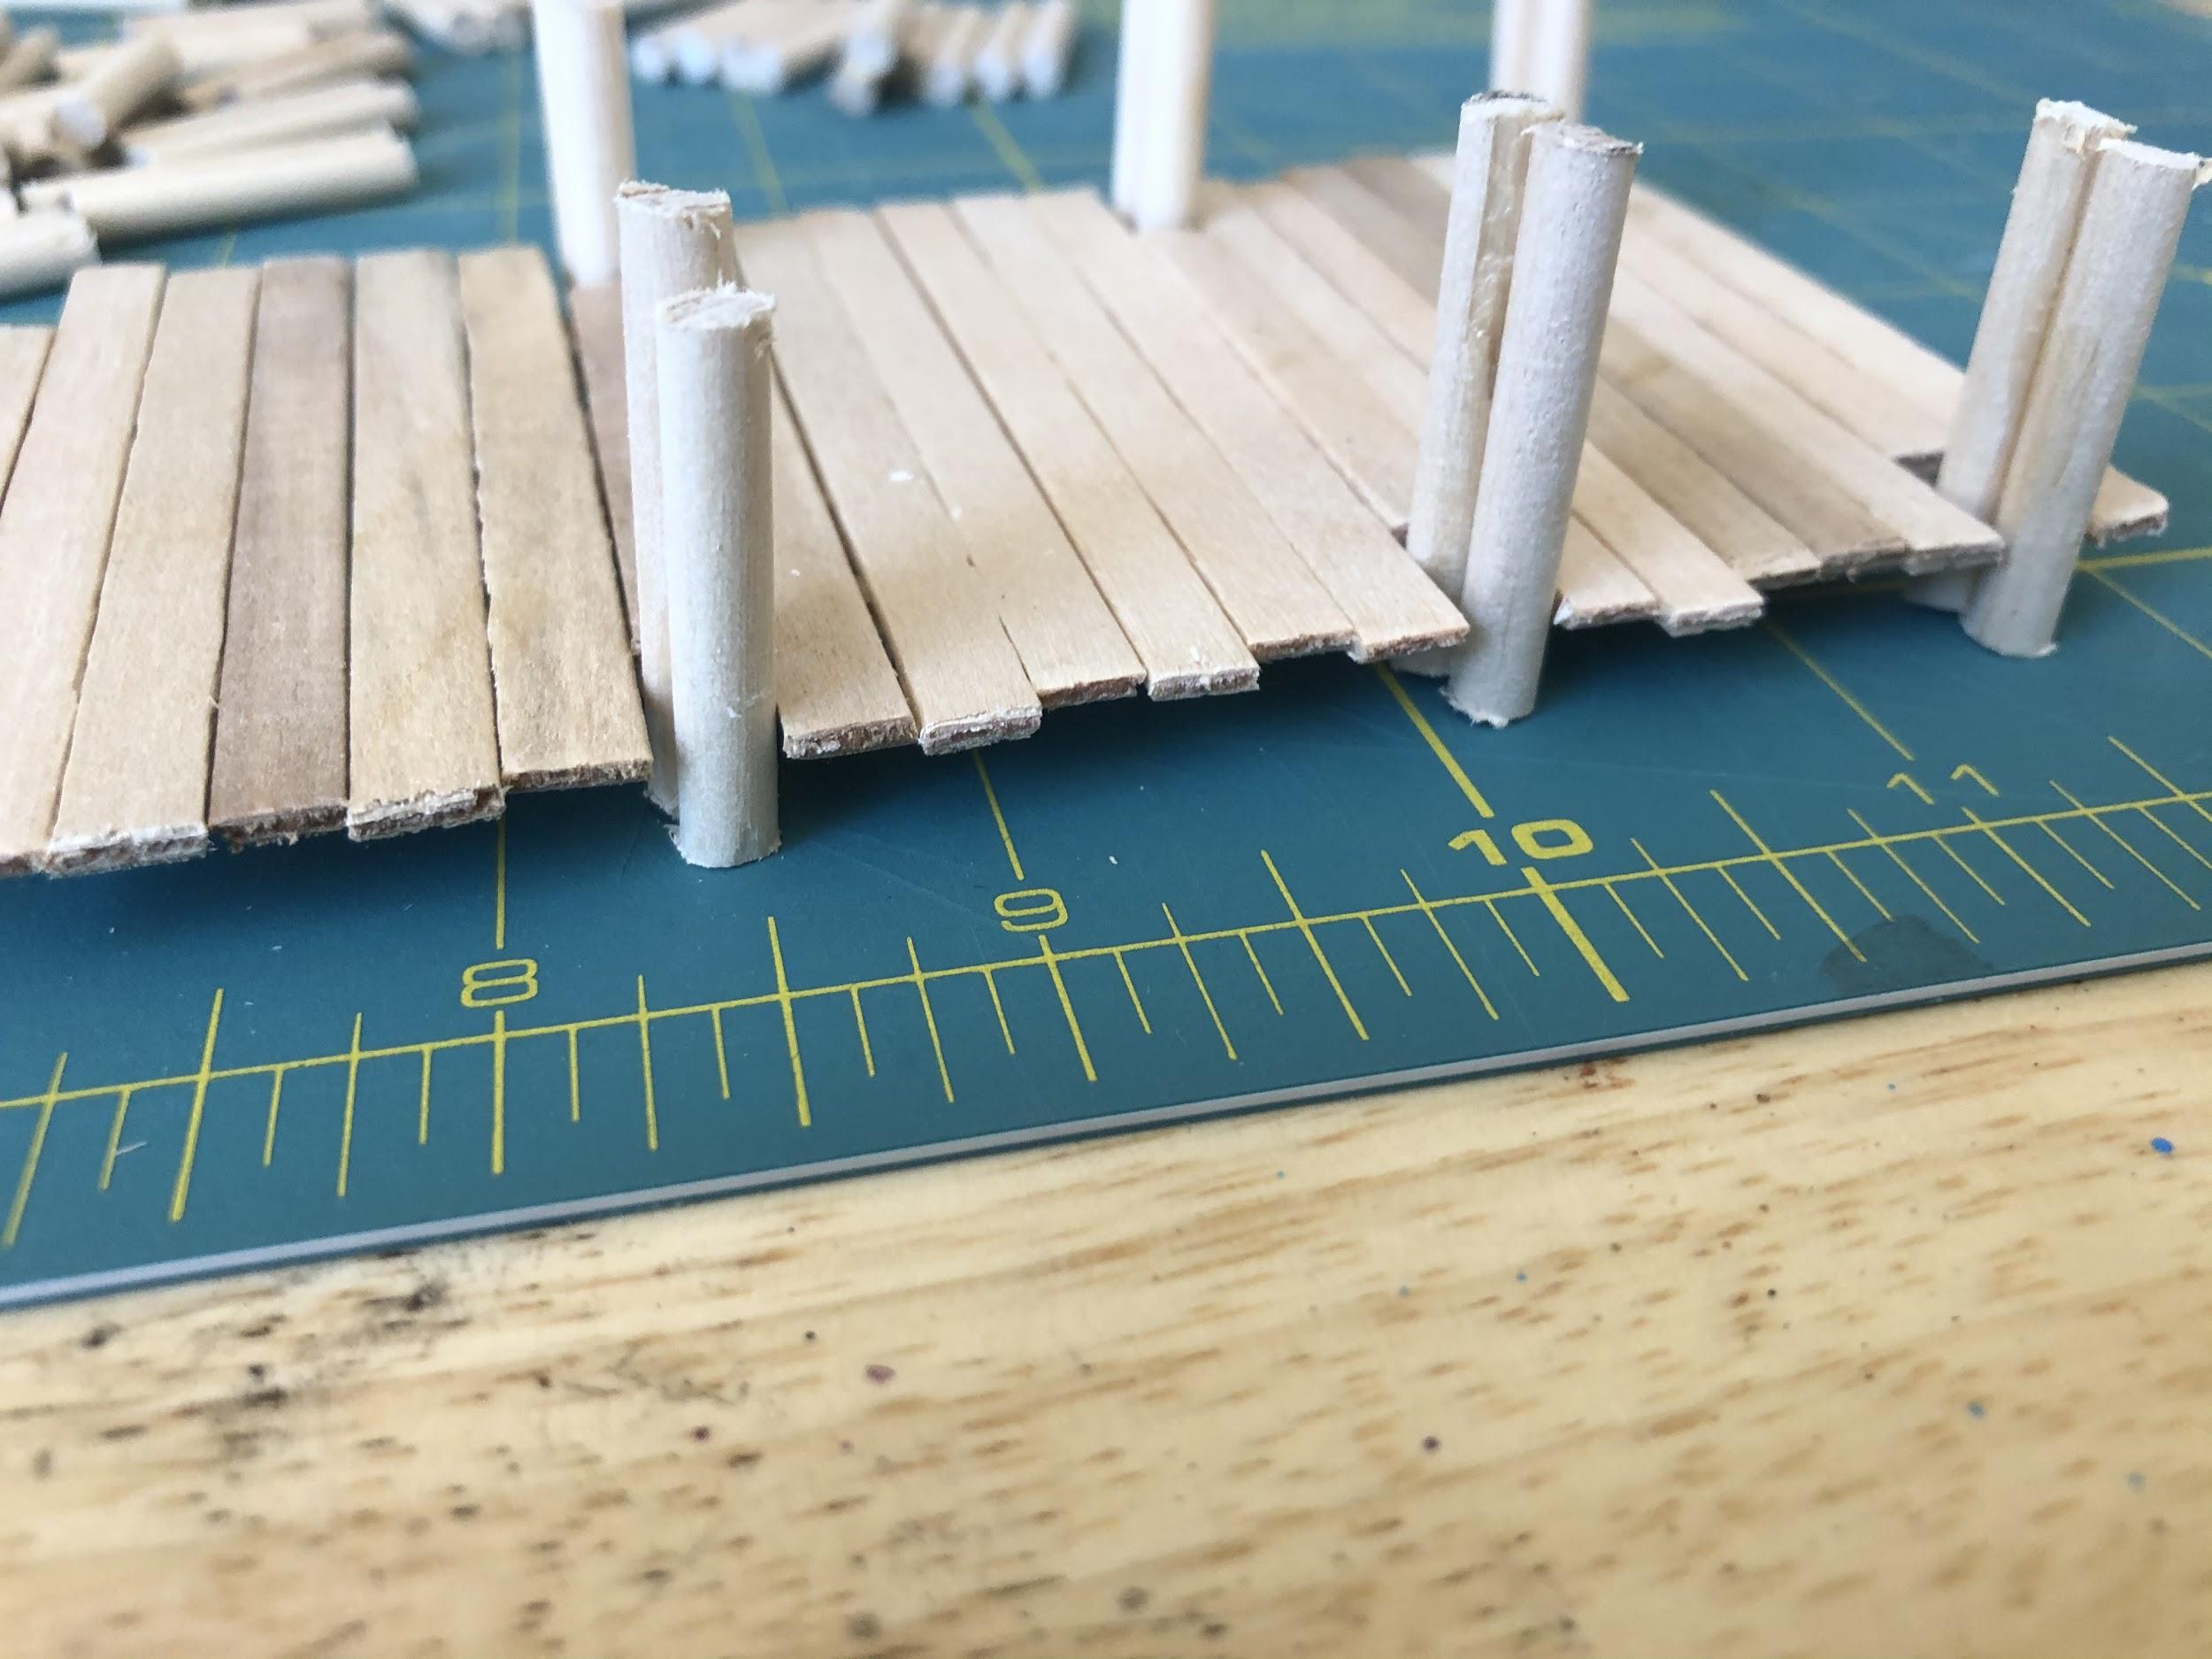
At the height the post touches the side of the pier, add glue.
Put the post in the hole of the pier, making sure the glue coated sides are touching the pier, and the post is flat against the ground. Do this as many more times as you feel comfortable. I only do four at a time because you have to retouch all of them every time you add a post.
Now wait 3-24 hours. Check your project after 30 mins to make sure you are not gluing it to your table or anything else by moving it slightly.
Step 12: do the other side
Do the other side.
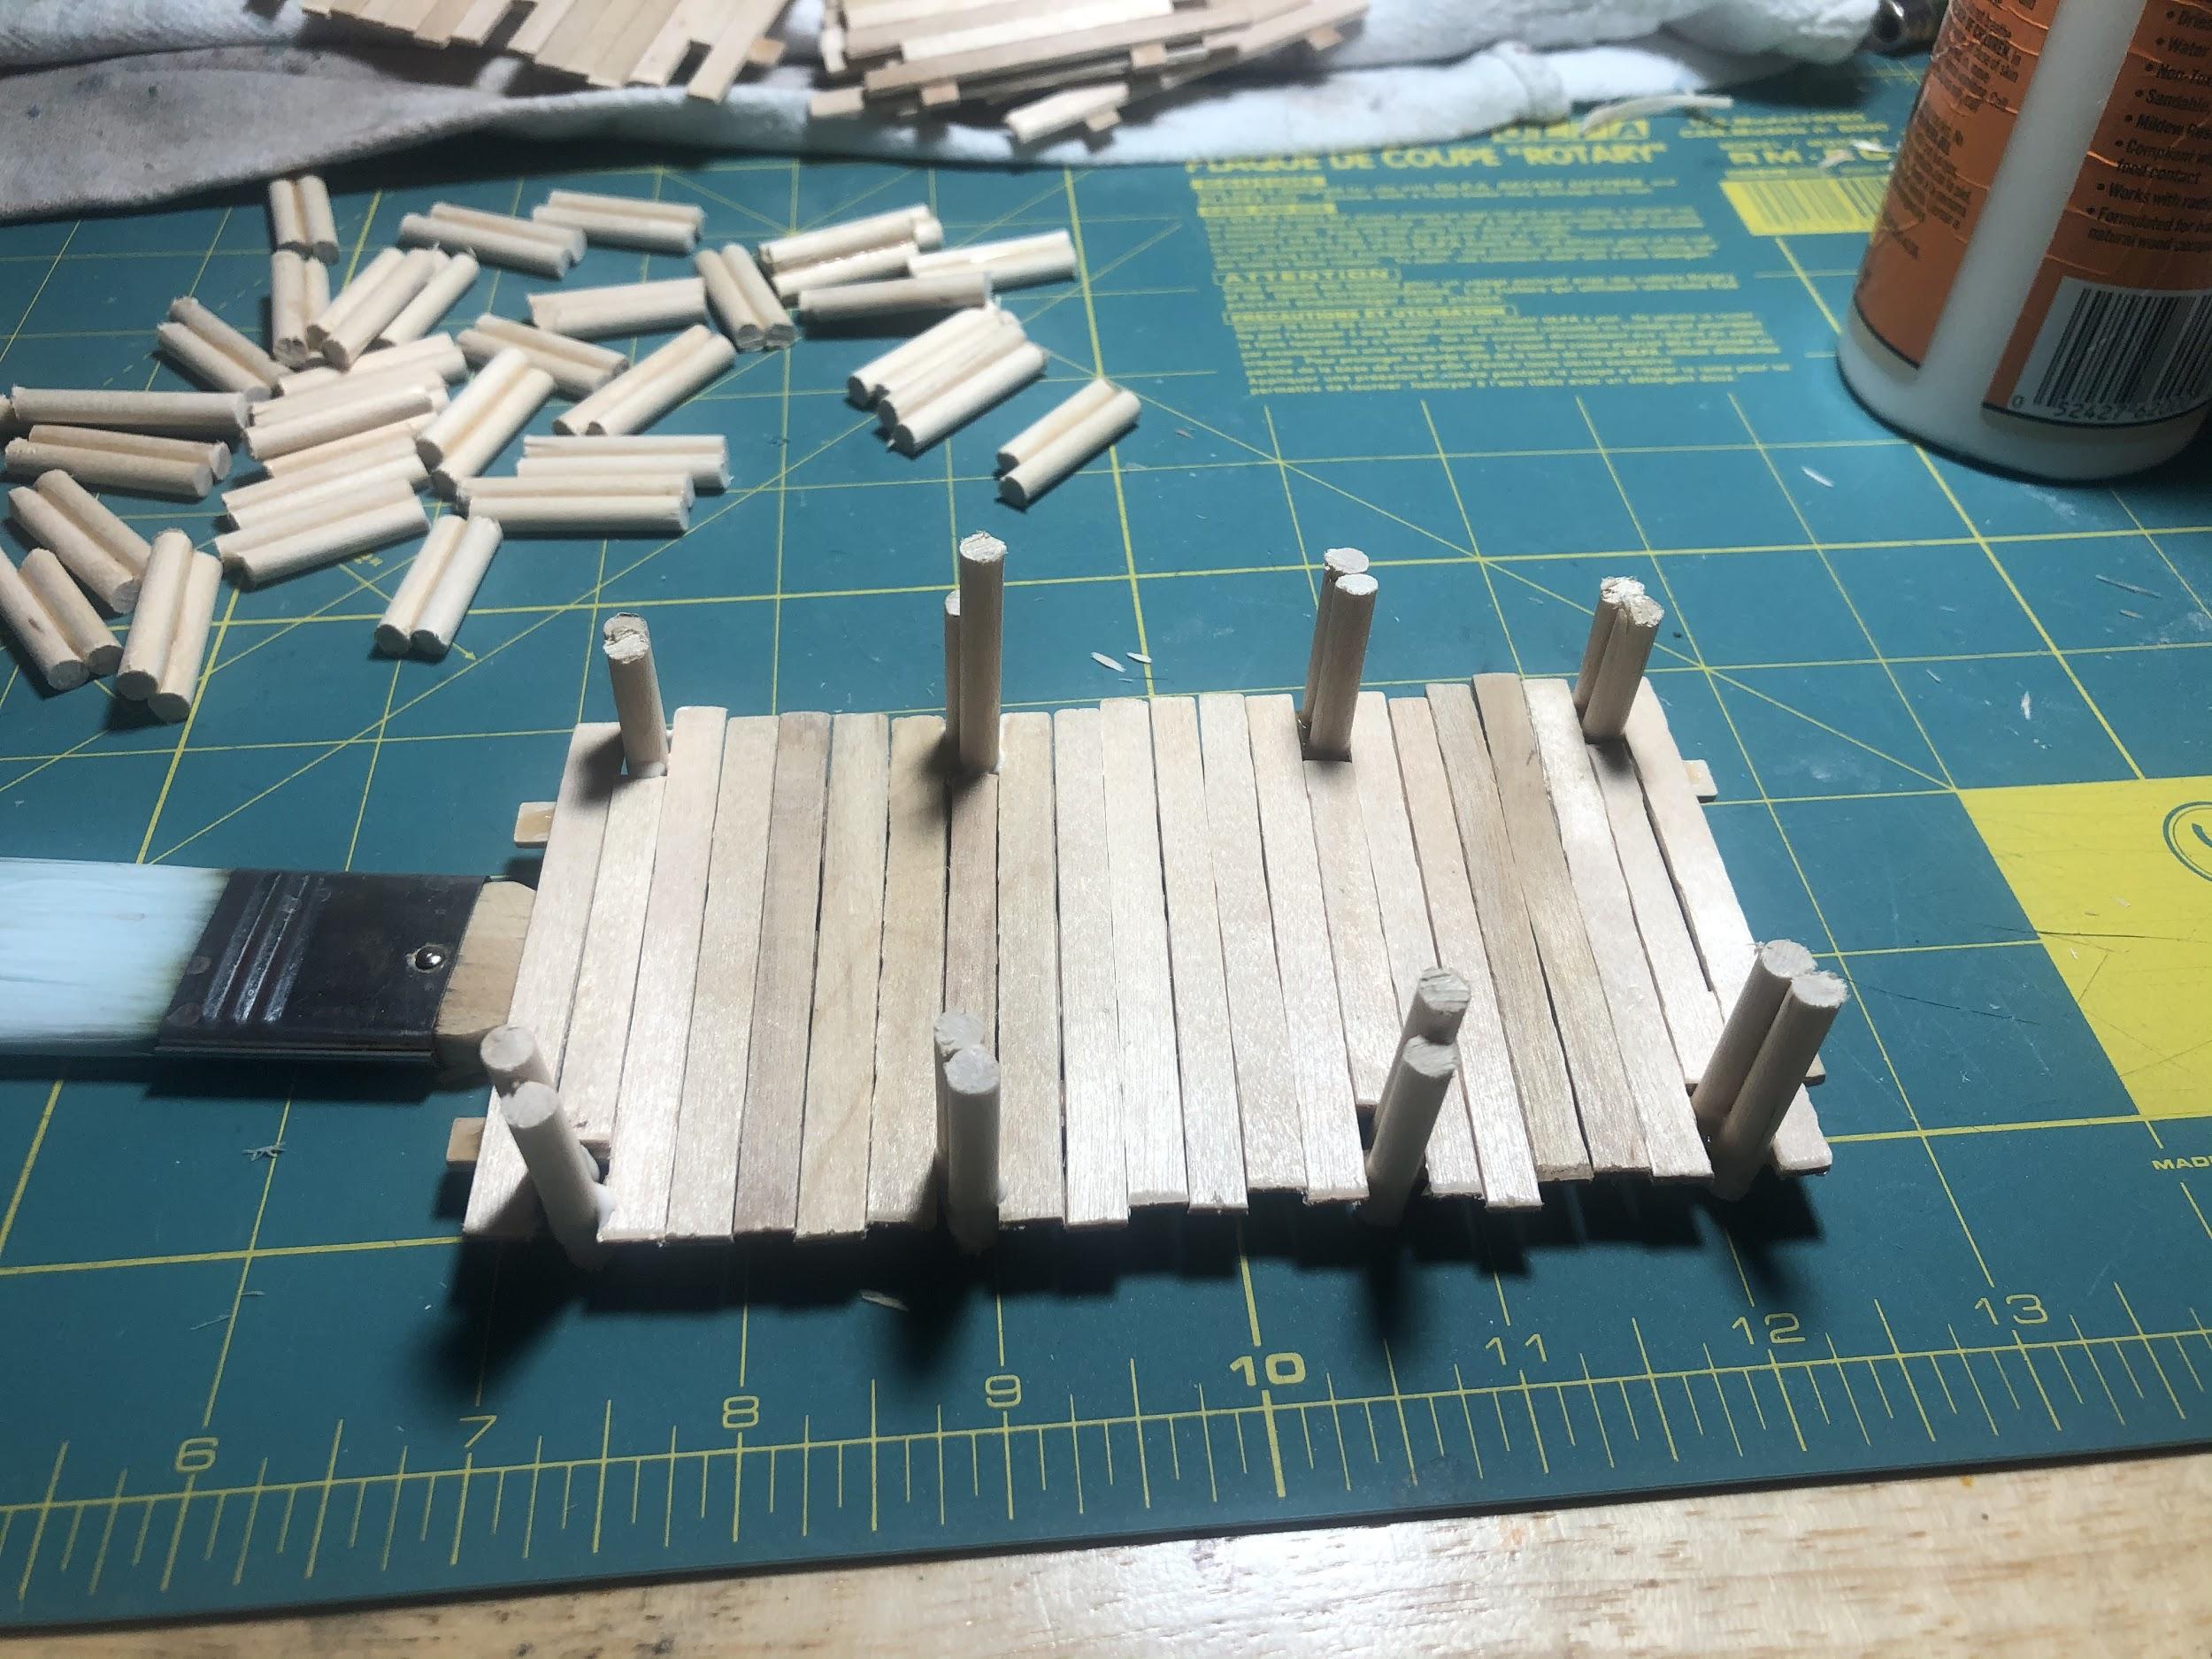
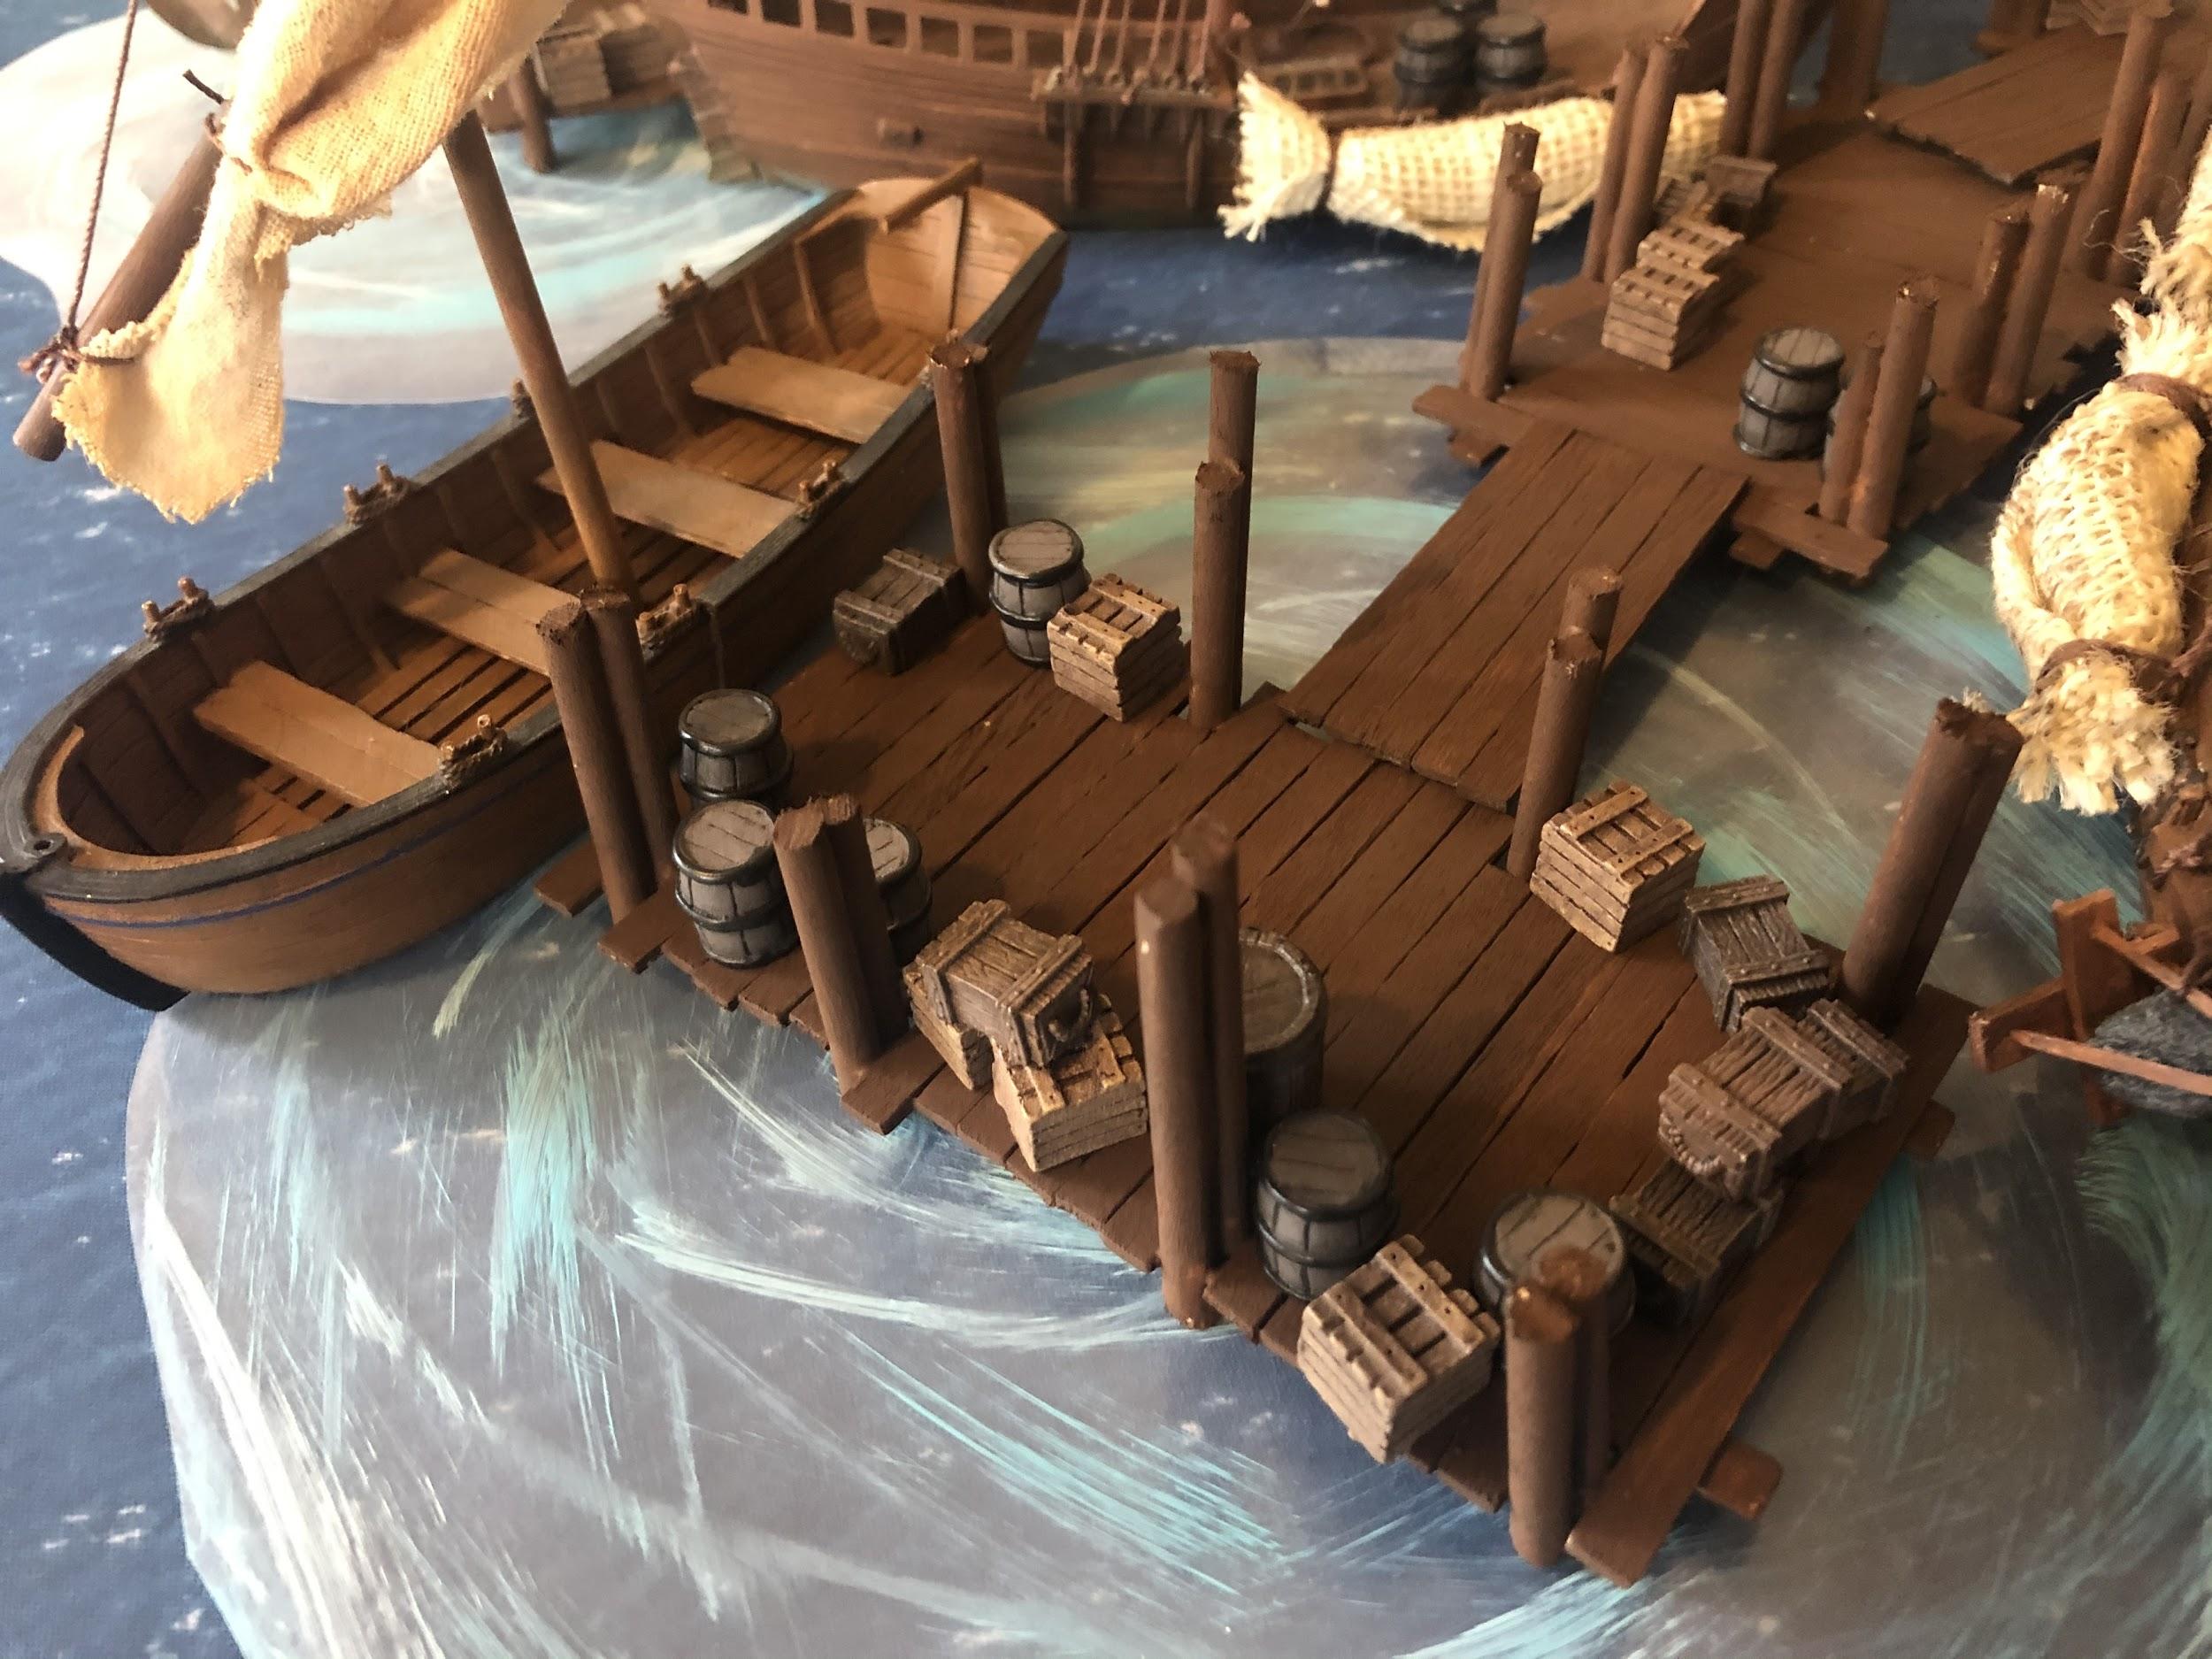
Your pier is now complete!
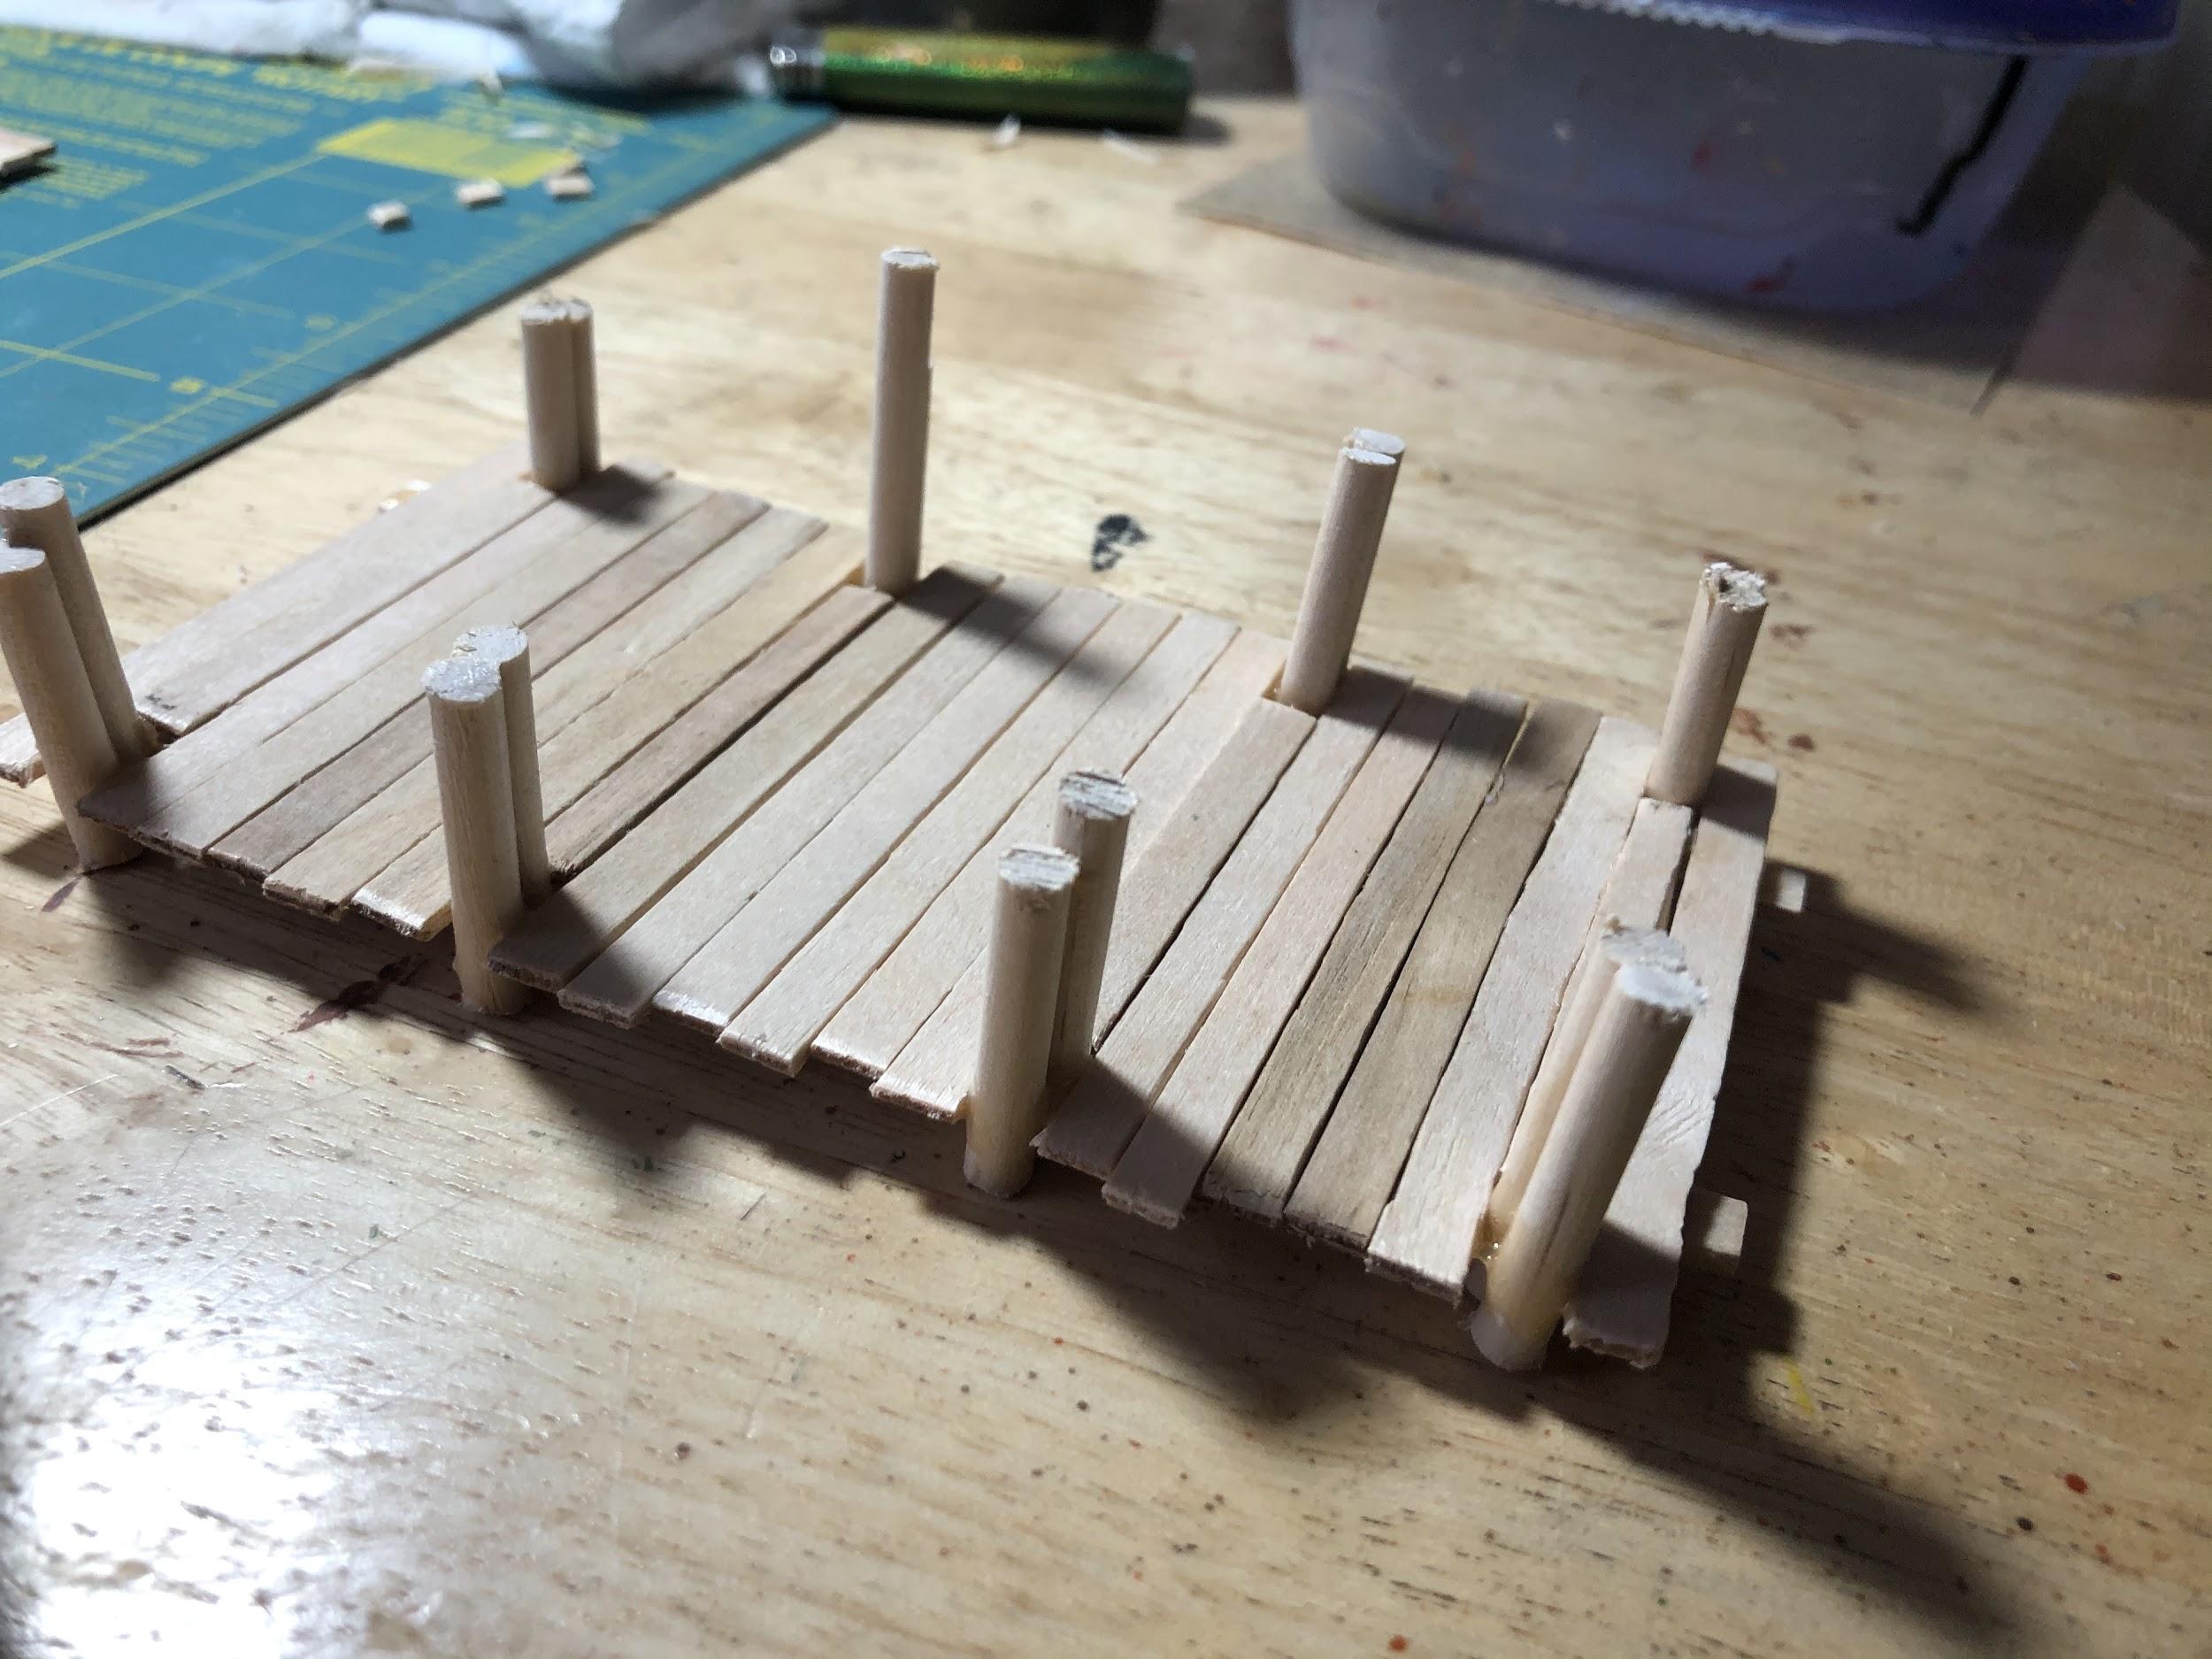
You can paint this up any color you want and it’s ready to go. Just be sure to prime it first so your paint will stick to the glue.