This is my third report on the Tower Fort Ambush Scenario! After seeing the Attacker roundly beaten twice in two previous games I felt I had a better idea how to approach the scenario as the Attacker. In this game I load my English up with explosives and try to burn down the stubborn French fort!

Scenario
I’ve already summarized this scenario in my last two reports so I won’t go into detail again. This new scenario isn’t in the rule book but can be found for free in the download section of the Firelock website.

The Attacker basically has either destroy or take the fort while not letting the Defender escape. The Defender needs to hold out in the fort stop it from being destroyed and possibly run units off the table to get help.
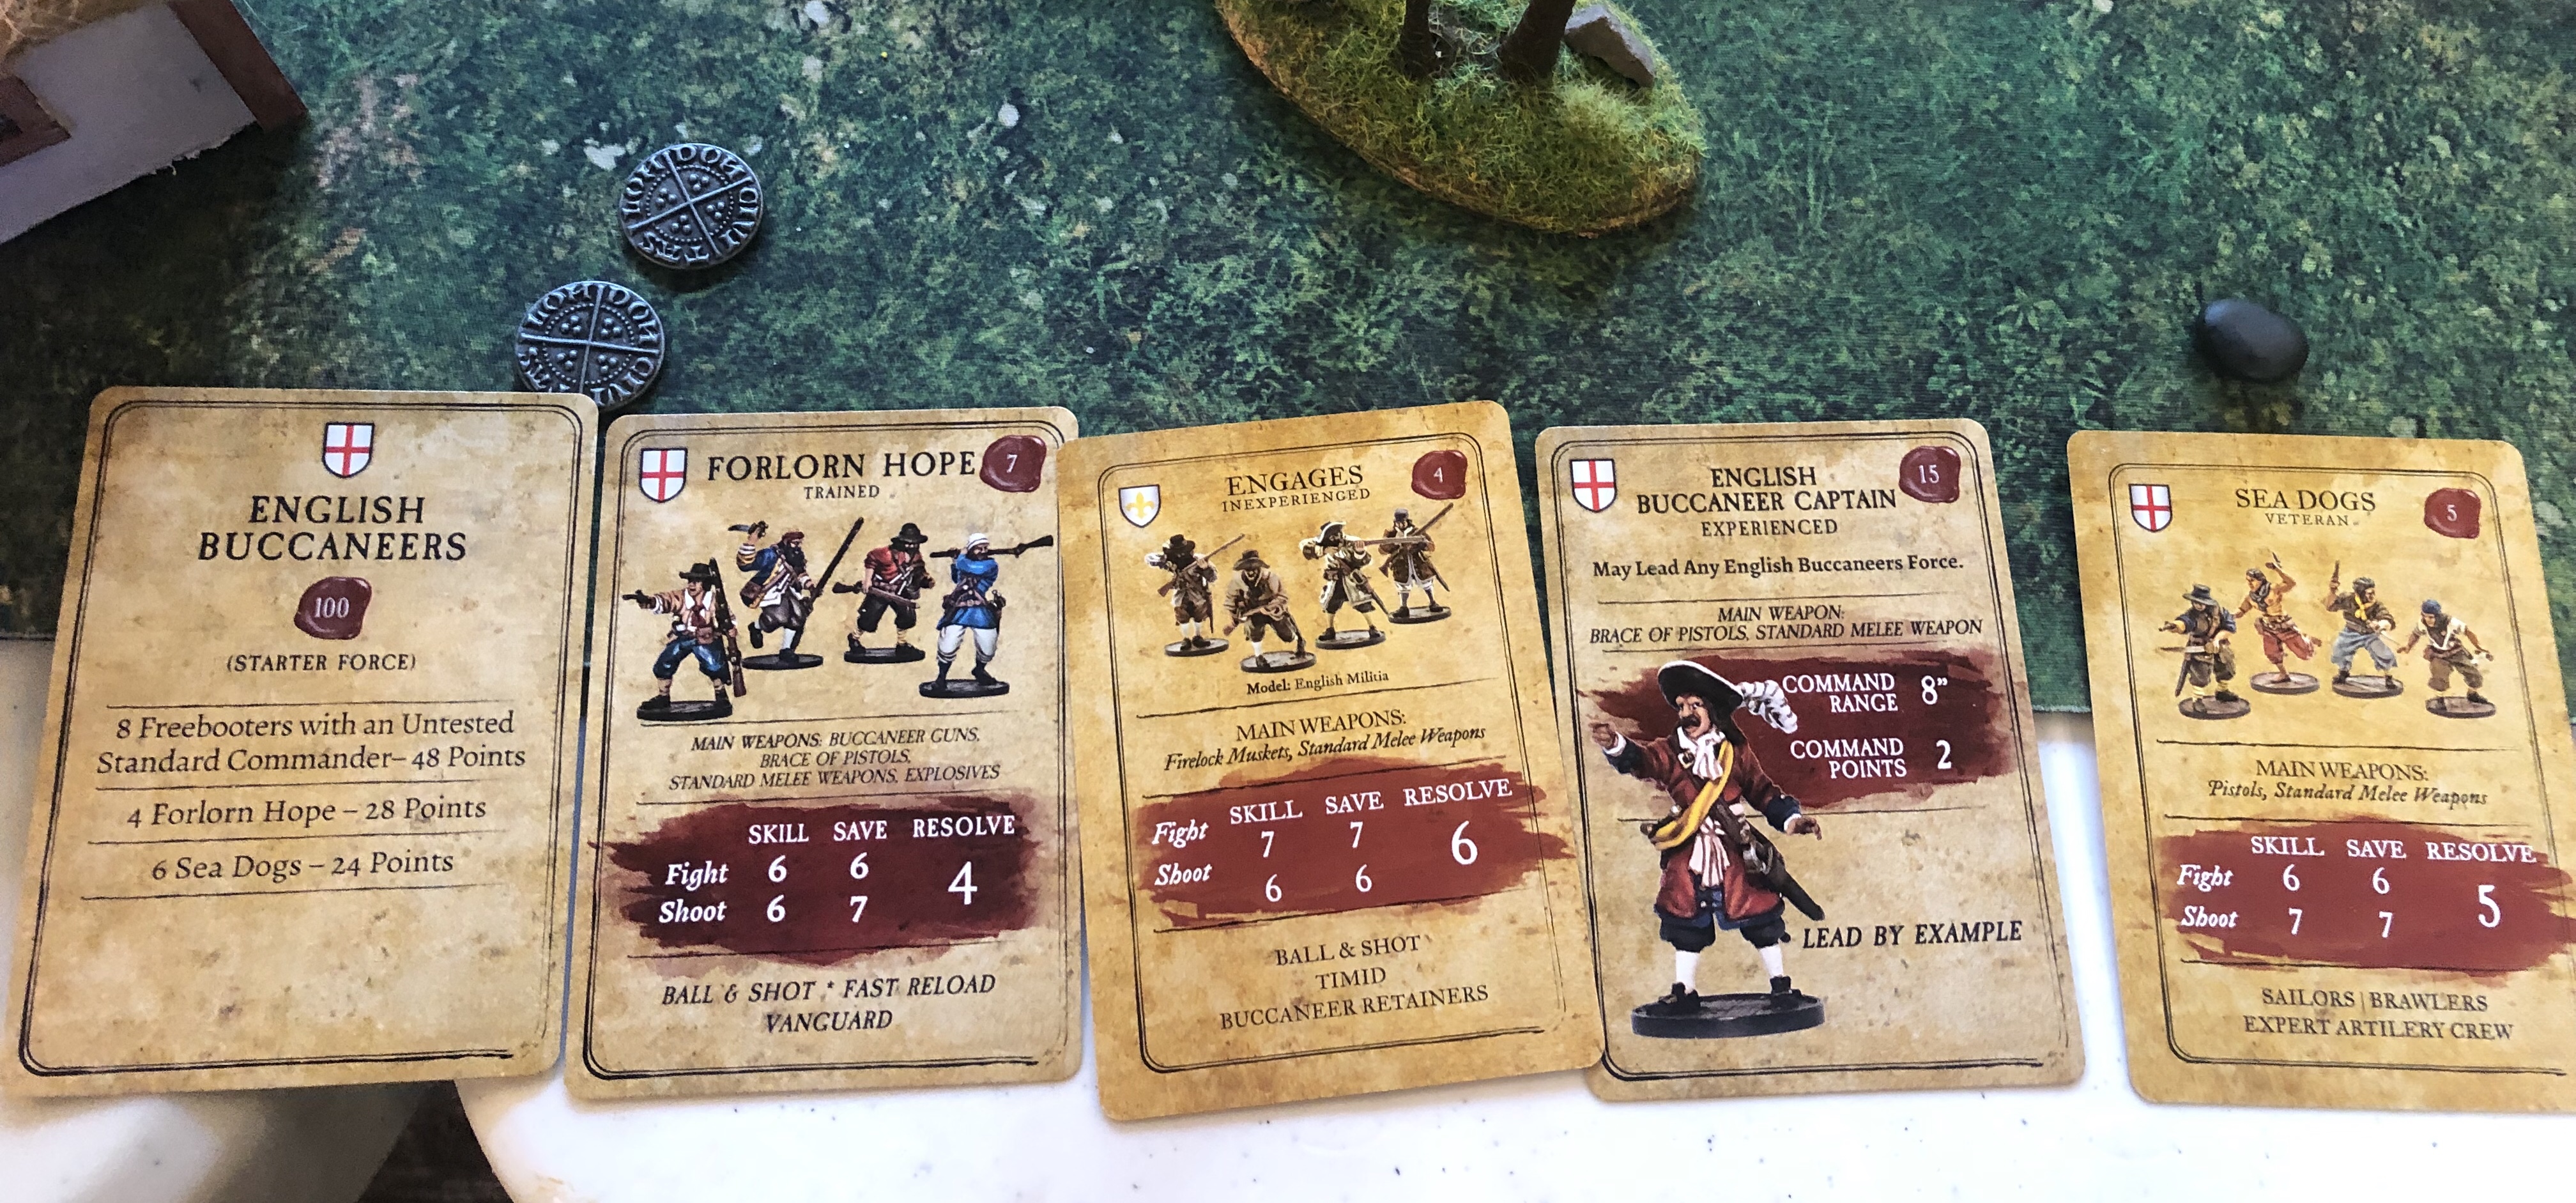
The Forces
I went all in for explosives! My force contained:
- 8 Veteran Forlorn Hope with a Firepot and Grenade with an Experienced Commander and a Local Guide attached.
- 8 Inexperienced Engages
- 8 Sea Dogs with no Pistols and a Firepot
- 8 Sea Dogs with no Pistols and a Firepot
- 8 Sea Dogs with no Pistols and a Firepot
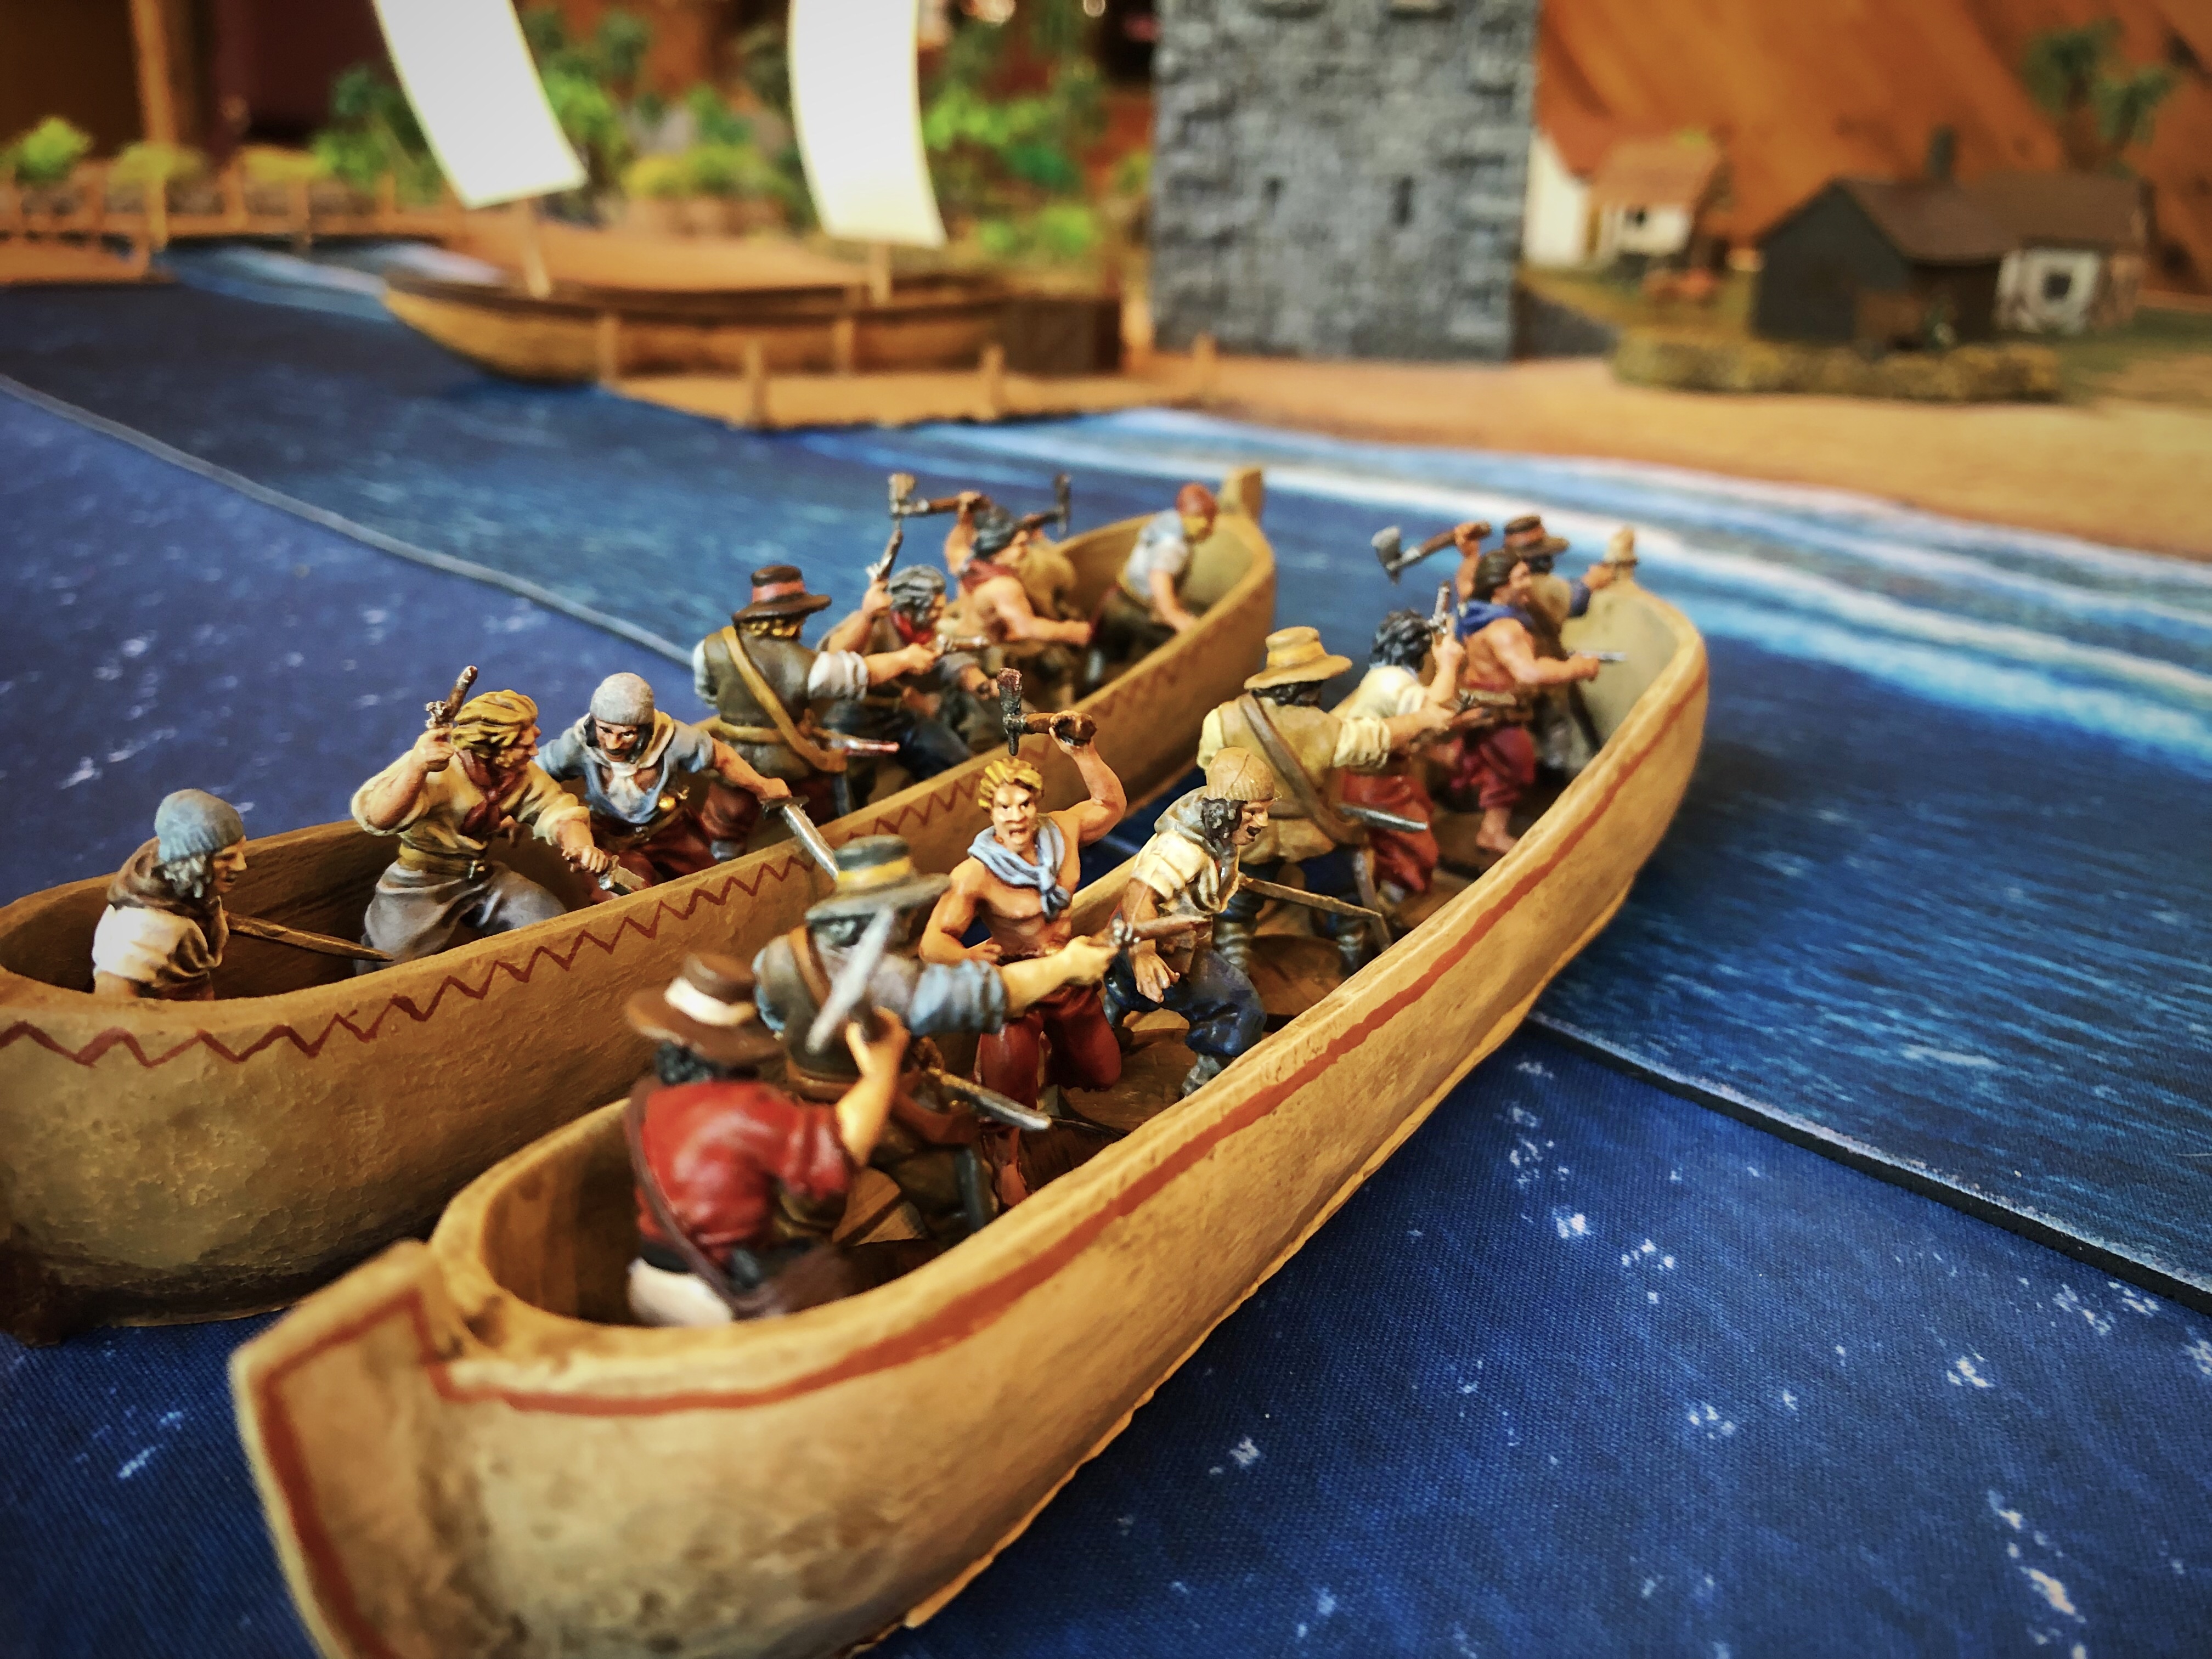
- 2 Canoe
My goal with the Forlorn Hope was to cover that 12″ killing zone as fast as I could to and start throwing explosives through the windows in the lower level. The Local Guide would give them Quick which could let them cover 12″ with their two actions and the free move then they could still shoot with a command action.
The Sea Dogs were more cheap grenades that wouldn’t die too fast and the Engages were to torment the enemy units on the top level of the fort.
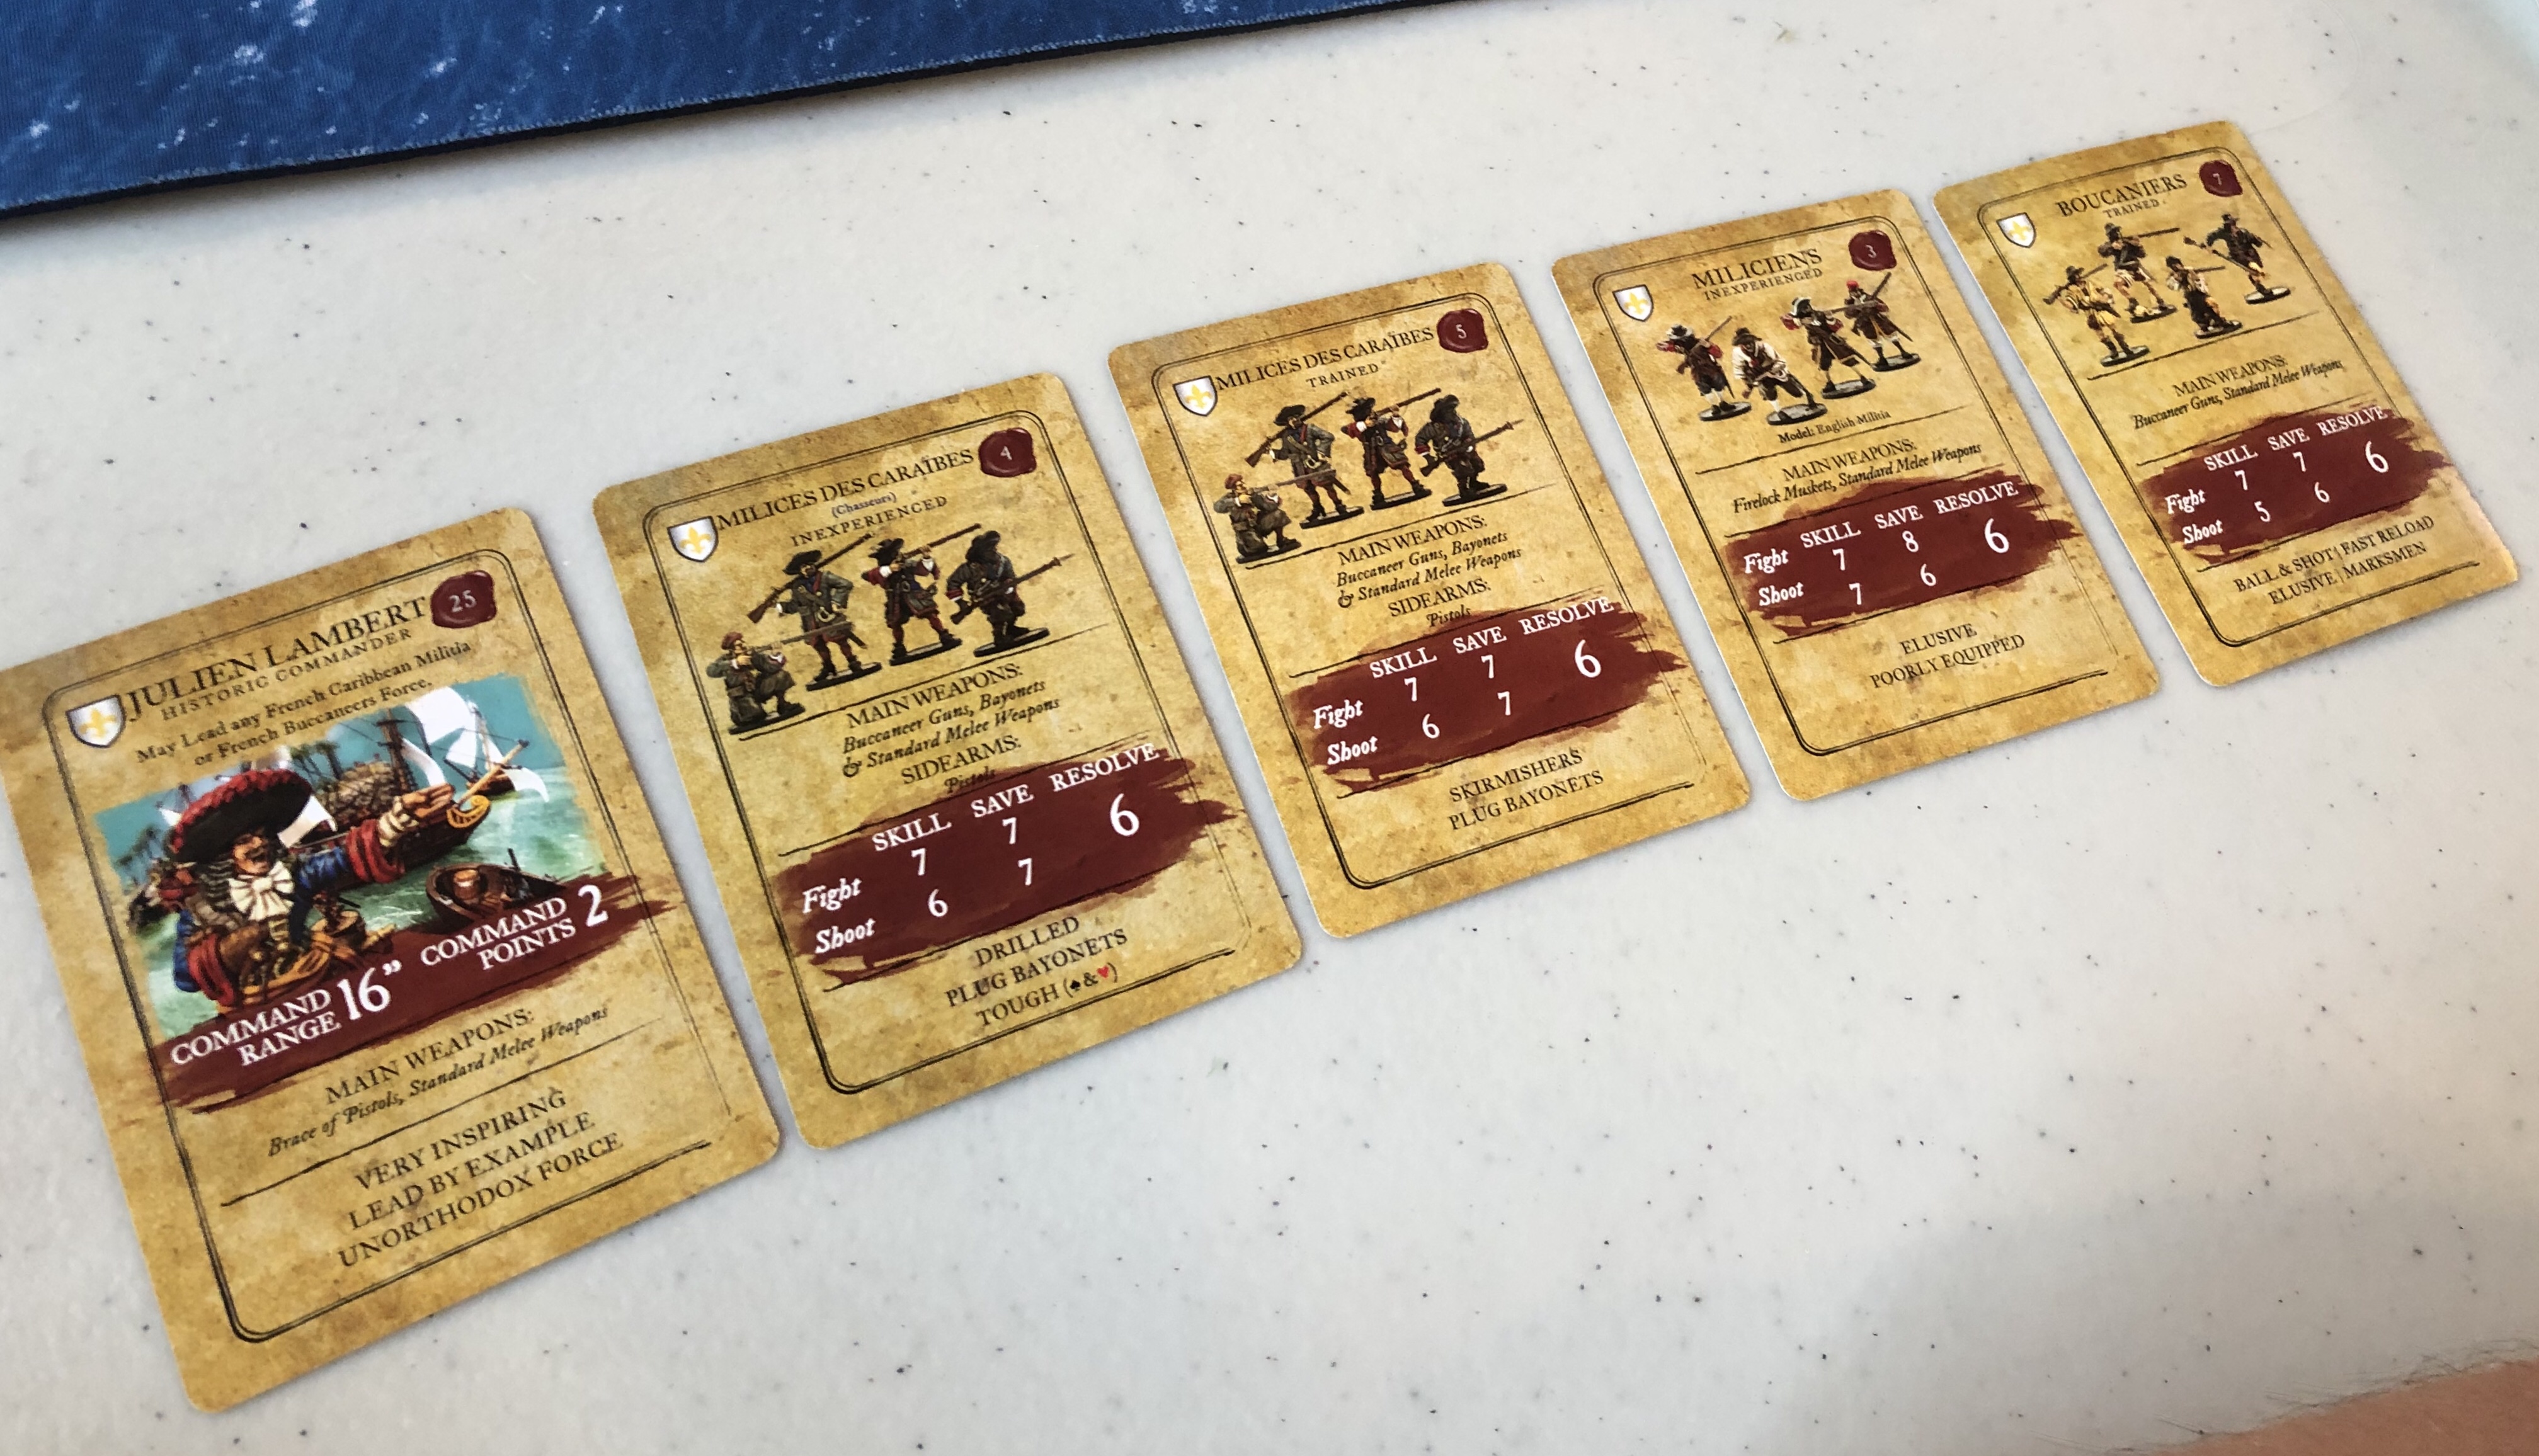
Bryan’s French focused on musketry and left all cannons out of the list this time. His force consisted of:
- 8 Trained Milices des Caraibes with Julien Lambert attached.
- 8 Trained Milices des Caraibes
- 6 Inexperienced Miliciens
- 8 Trained Boucaniers
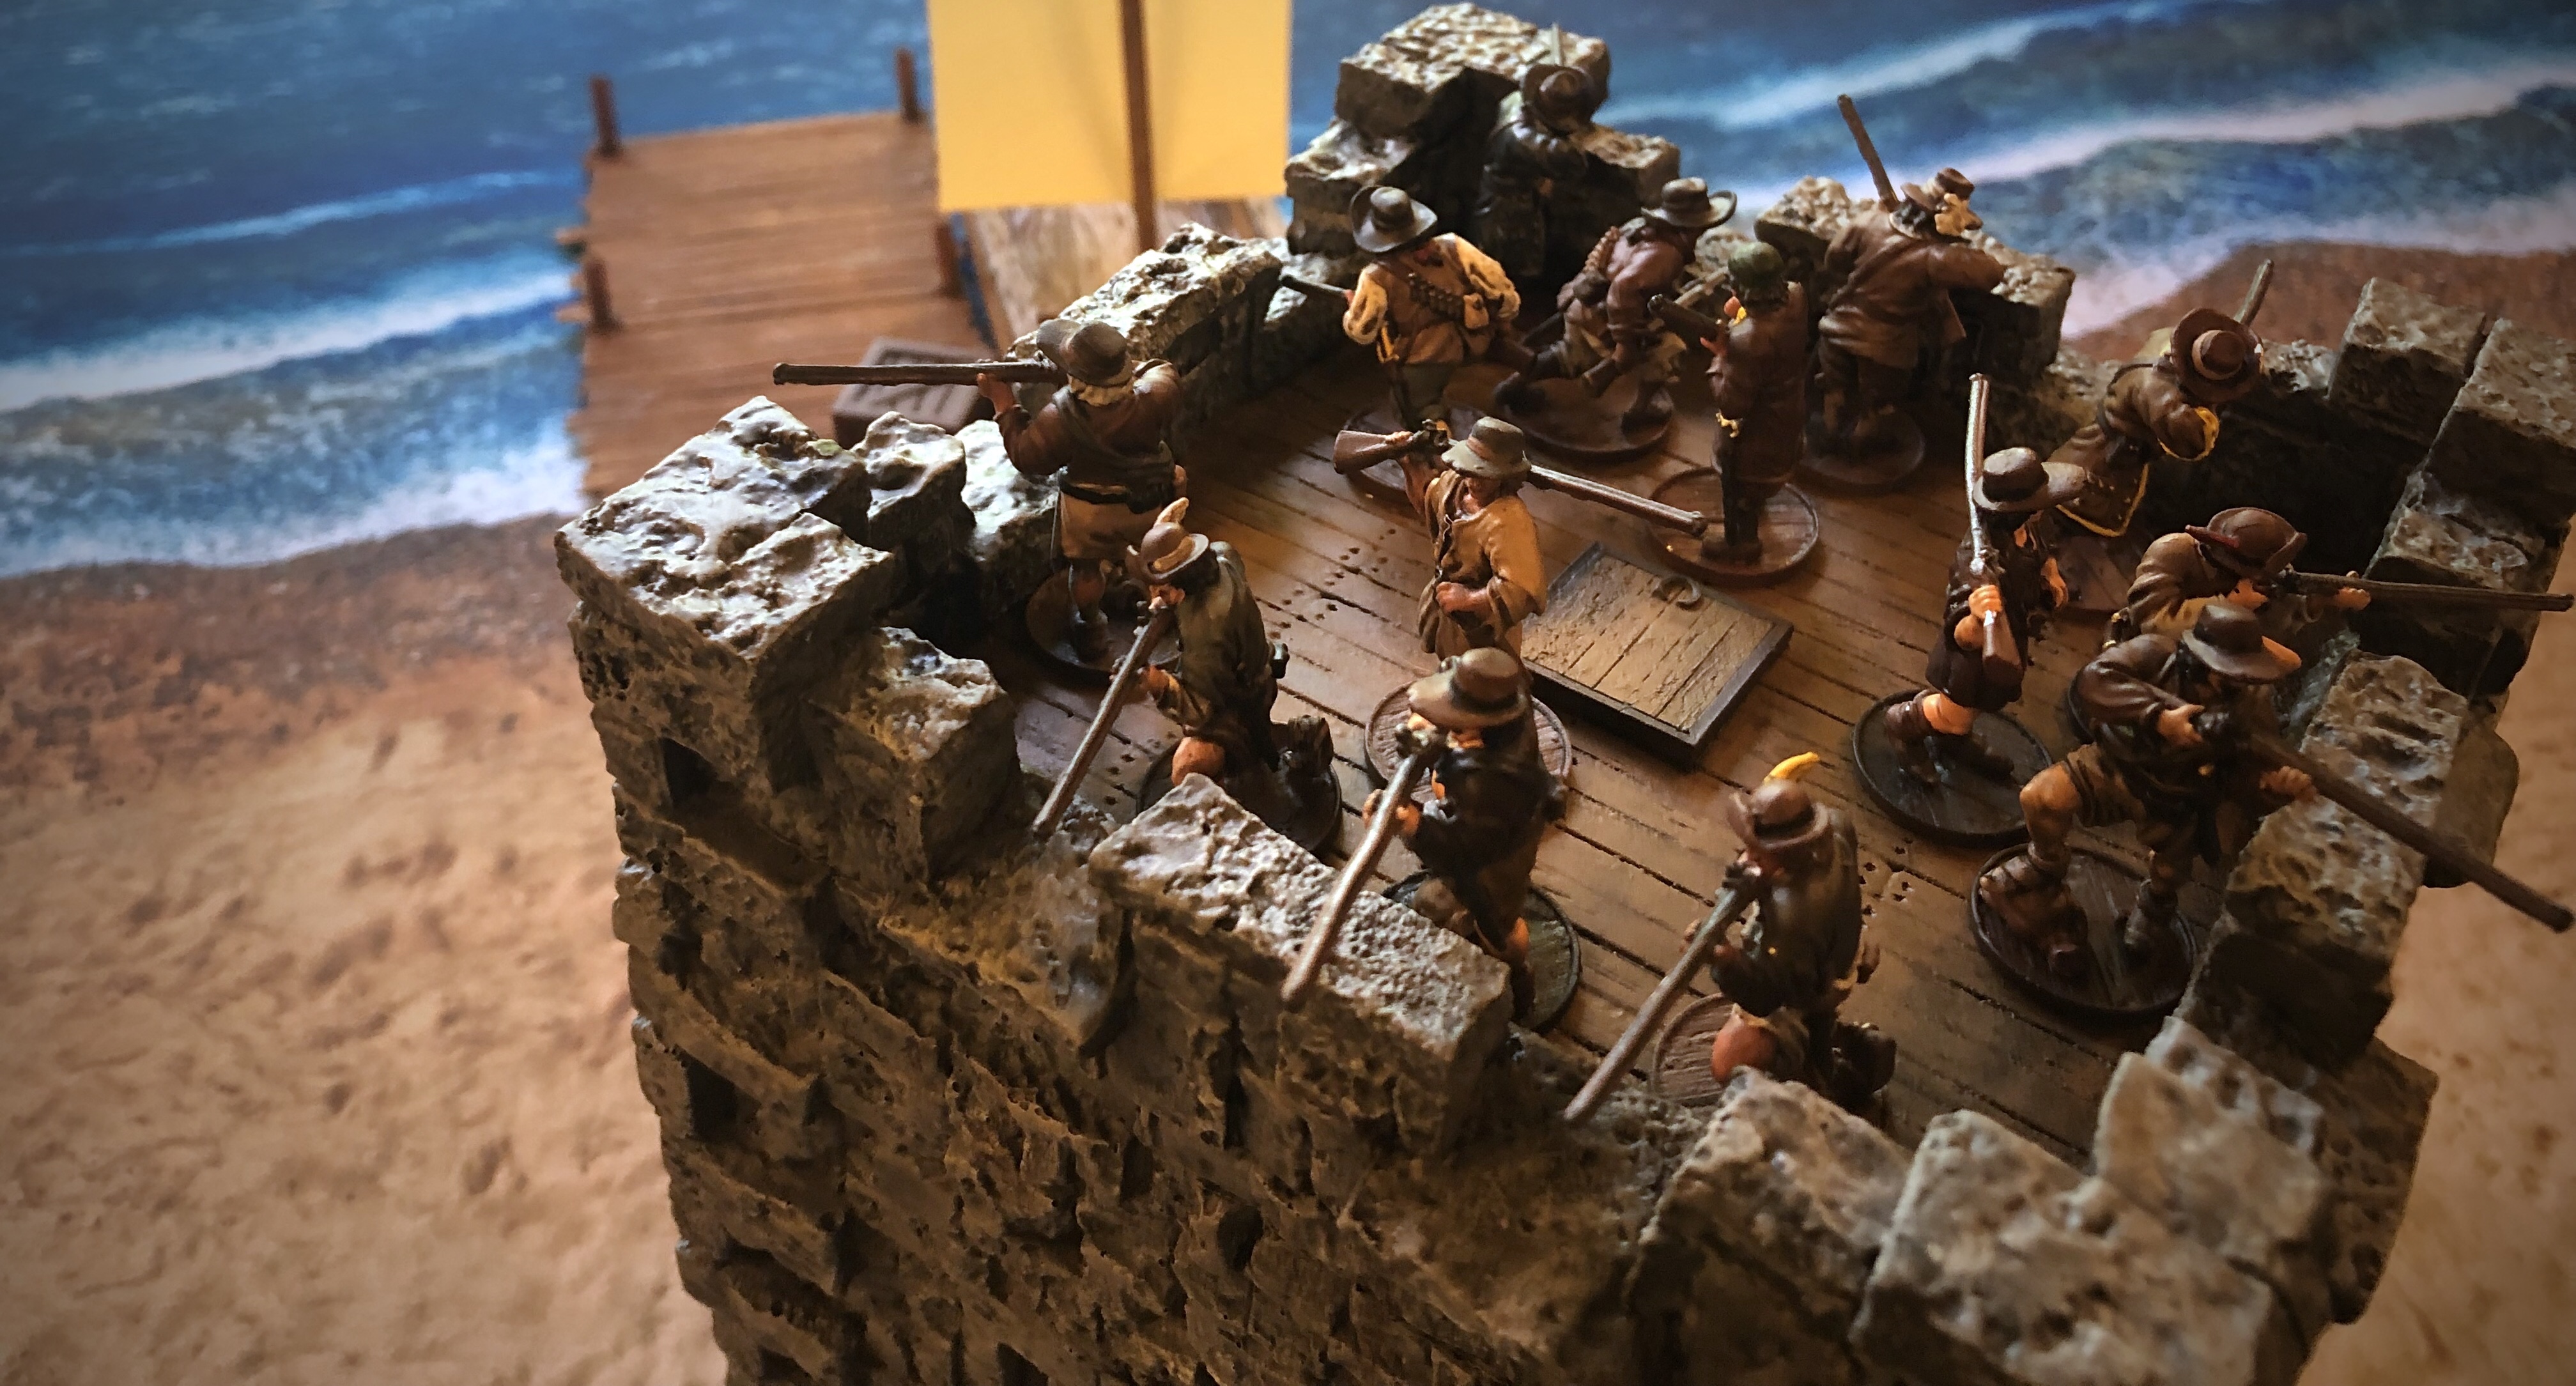
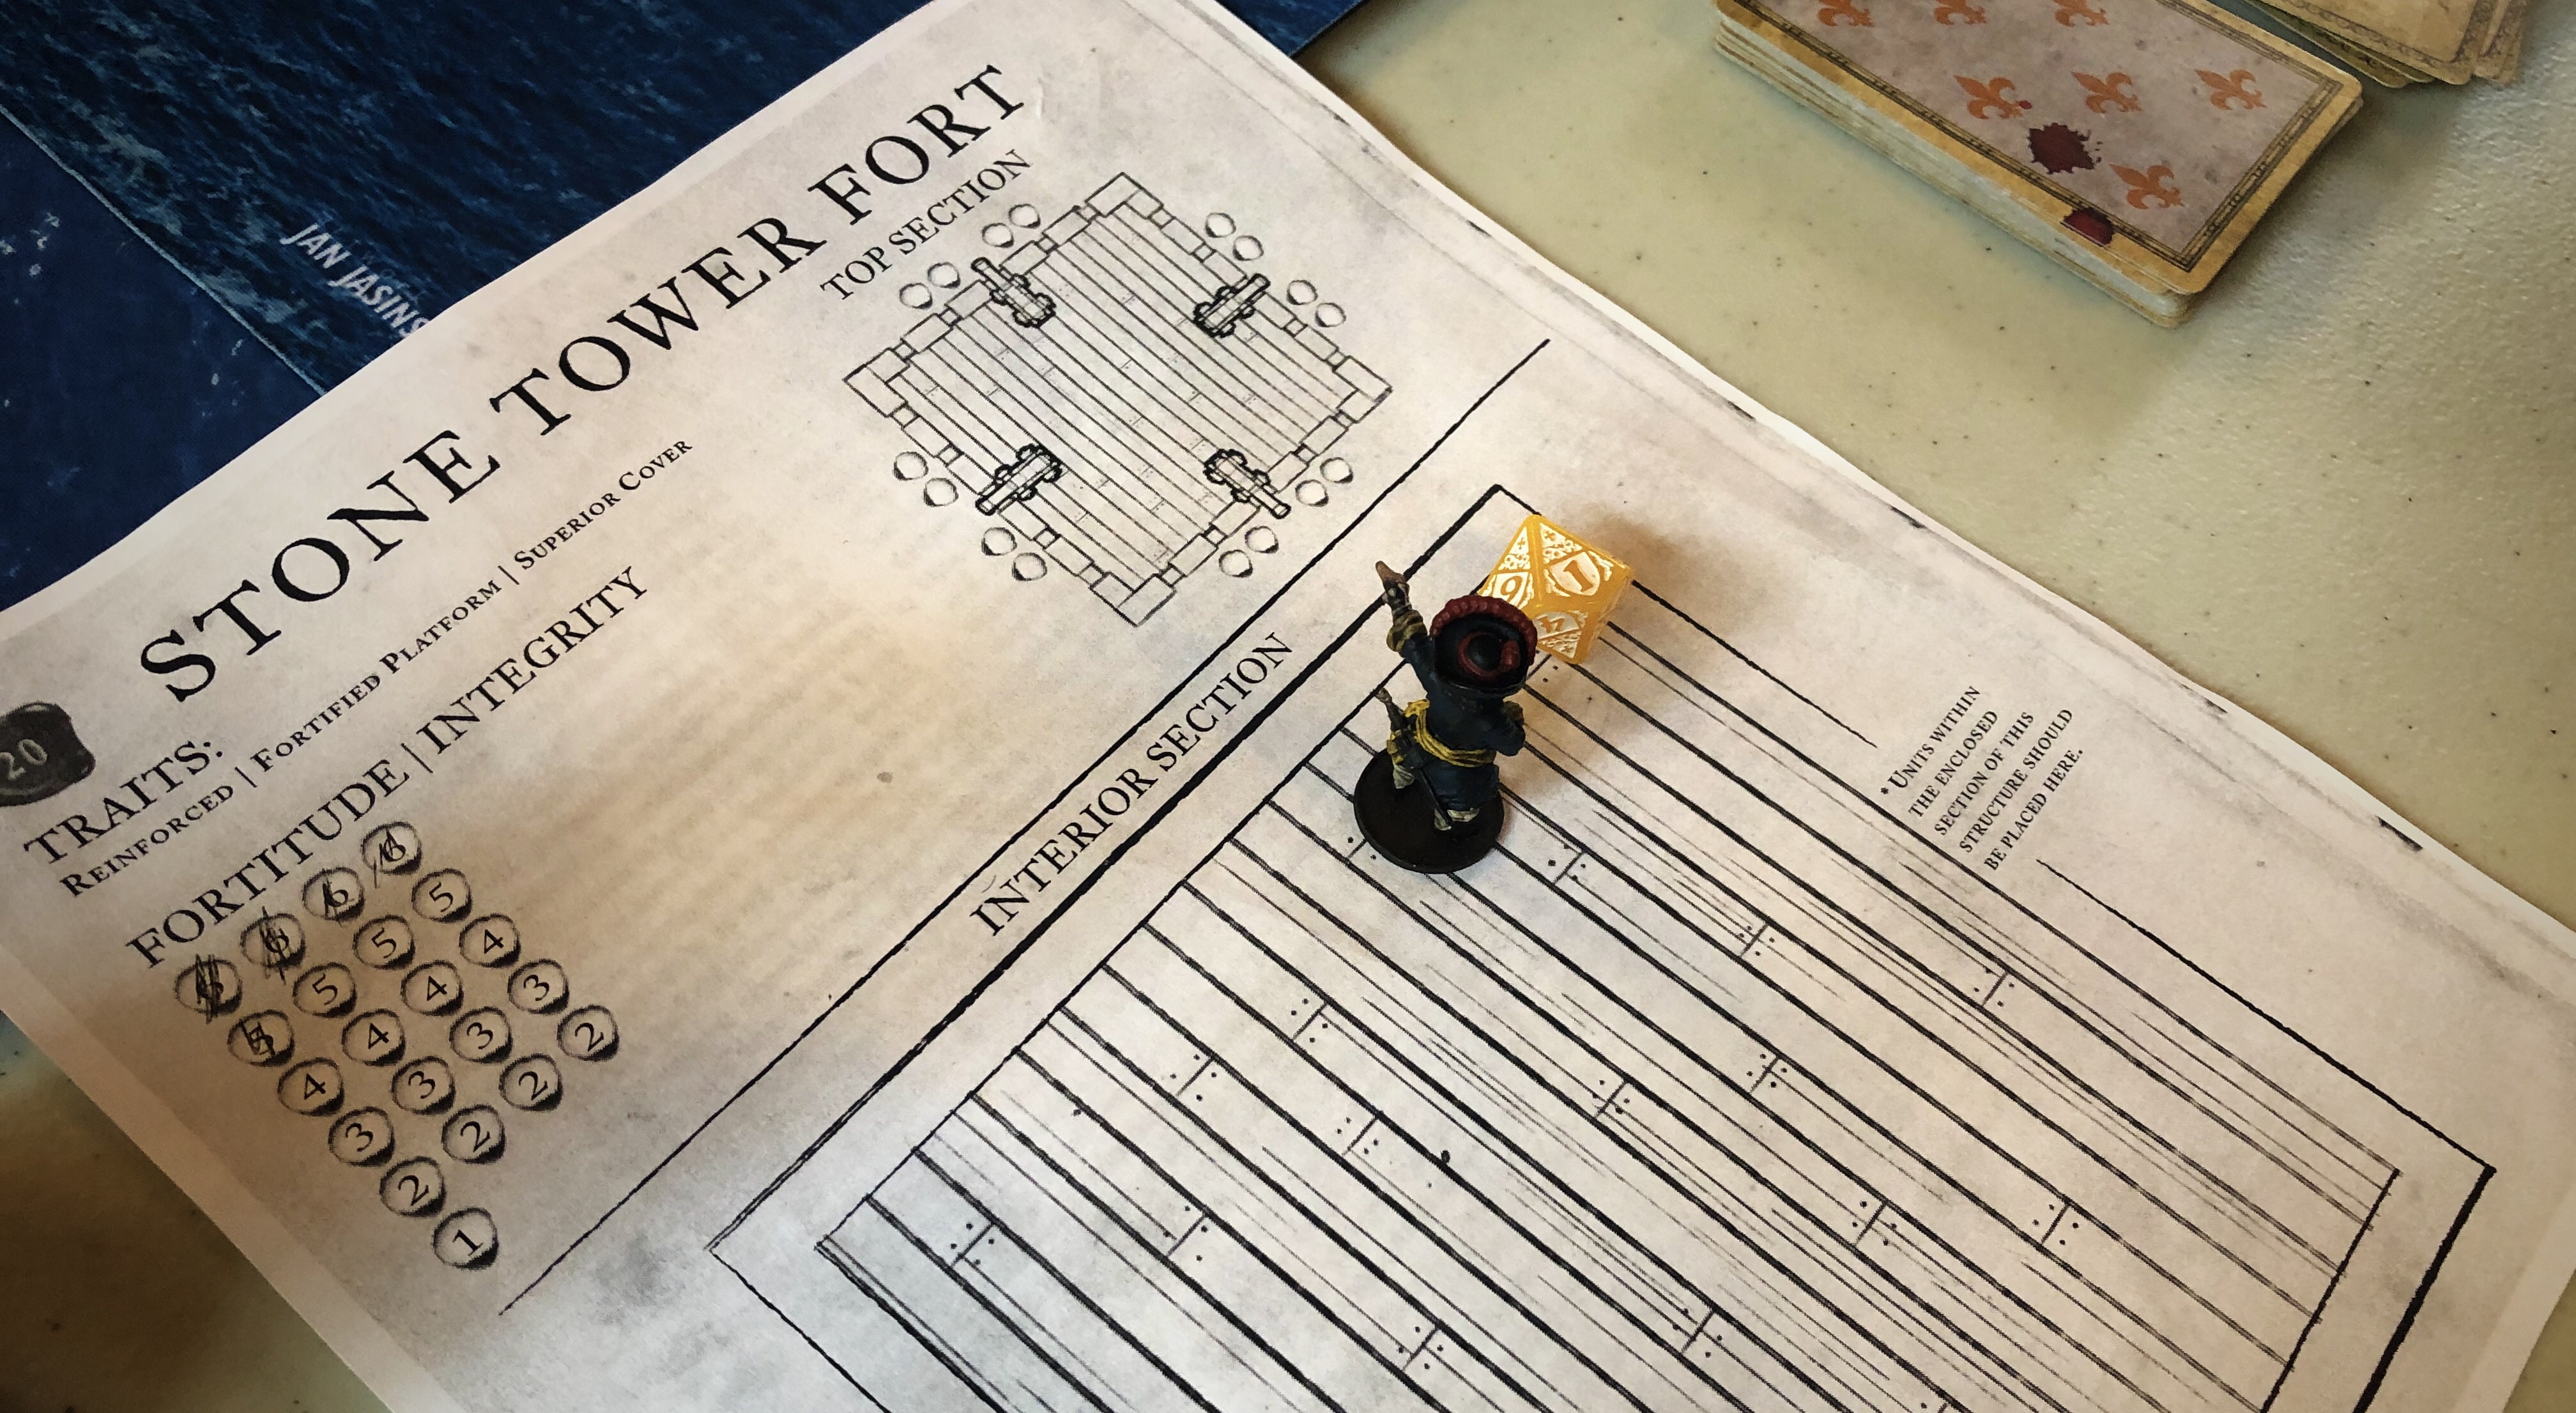
- Tower Fort
We used the same board as the game we played immediately prior to this.

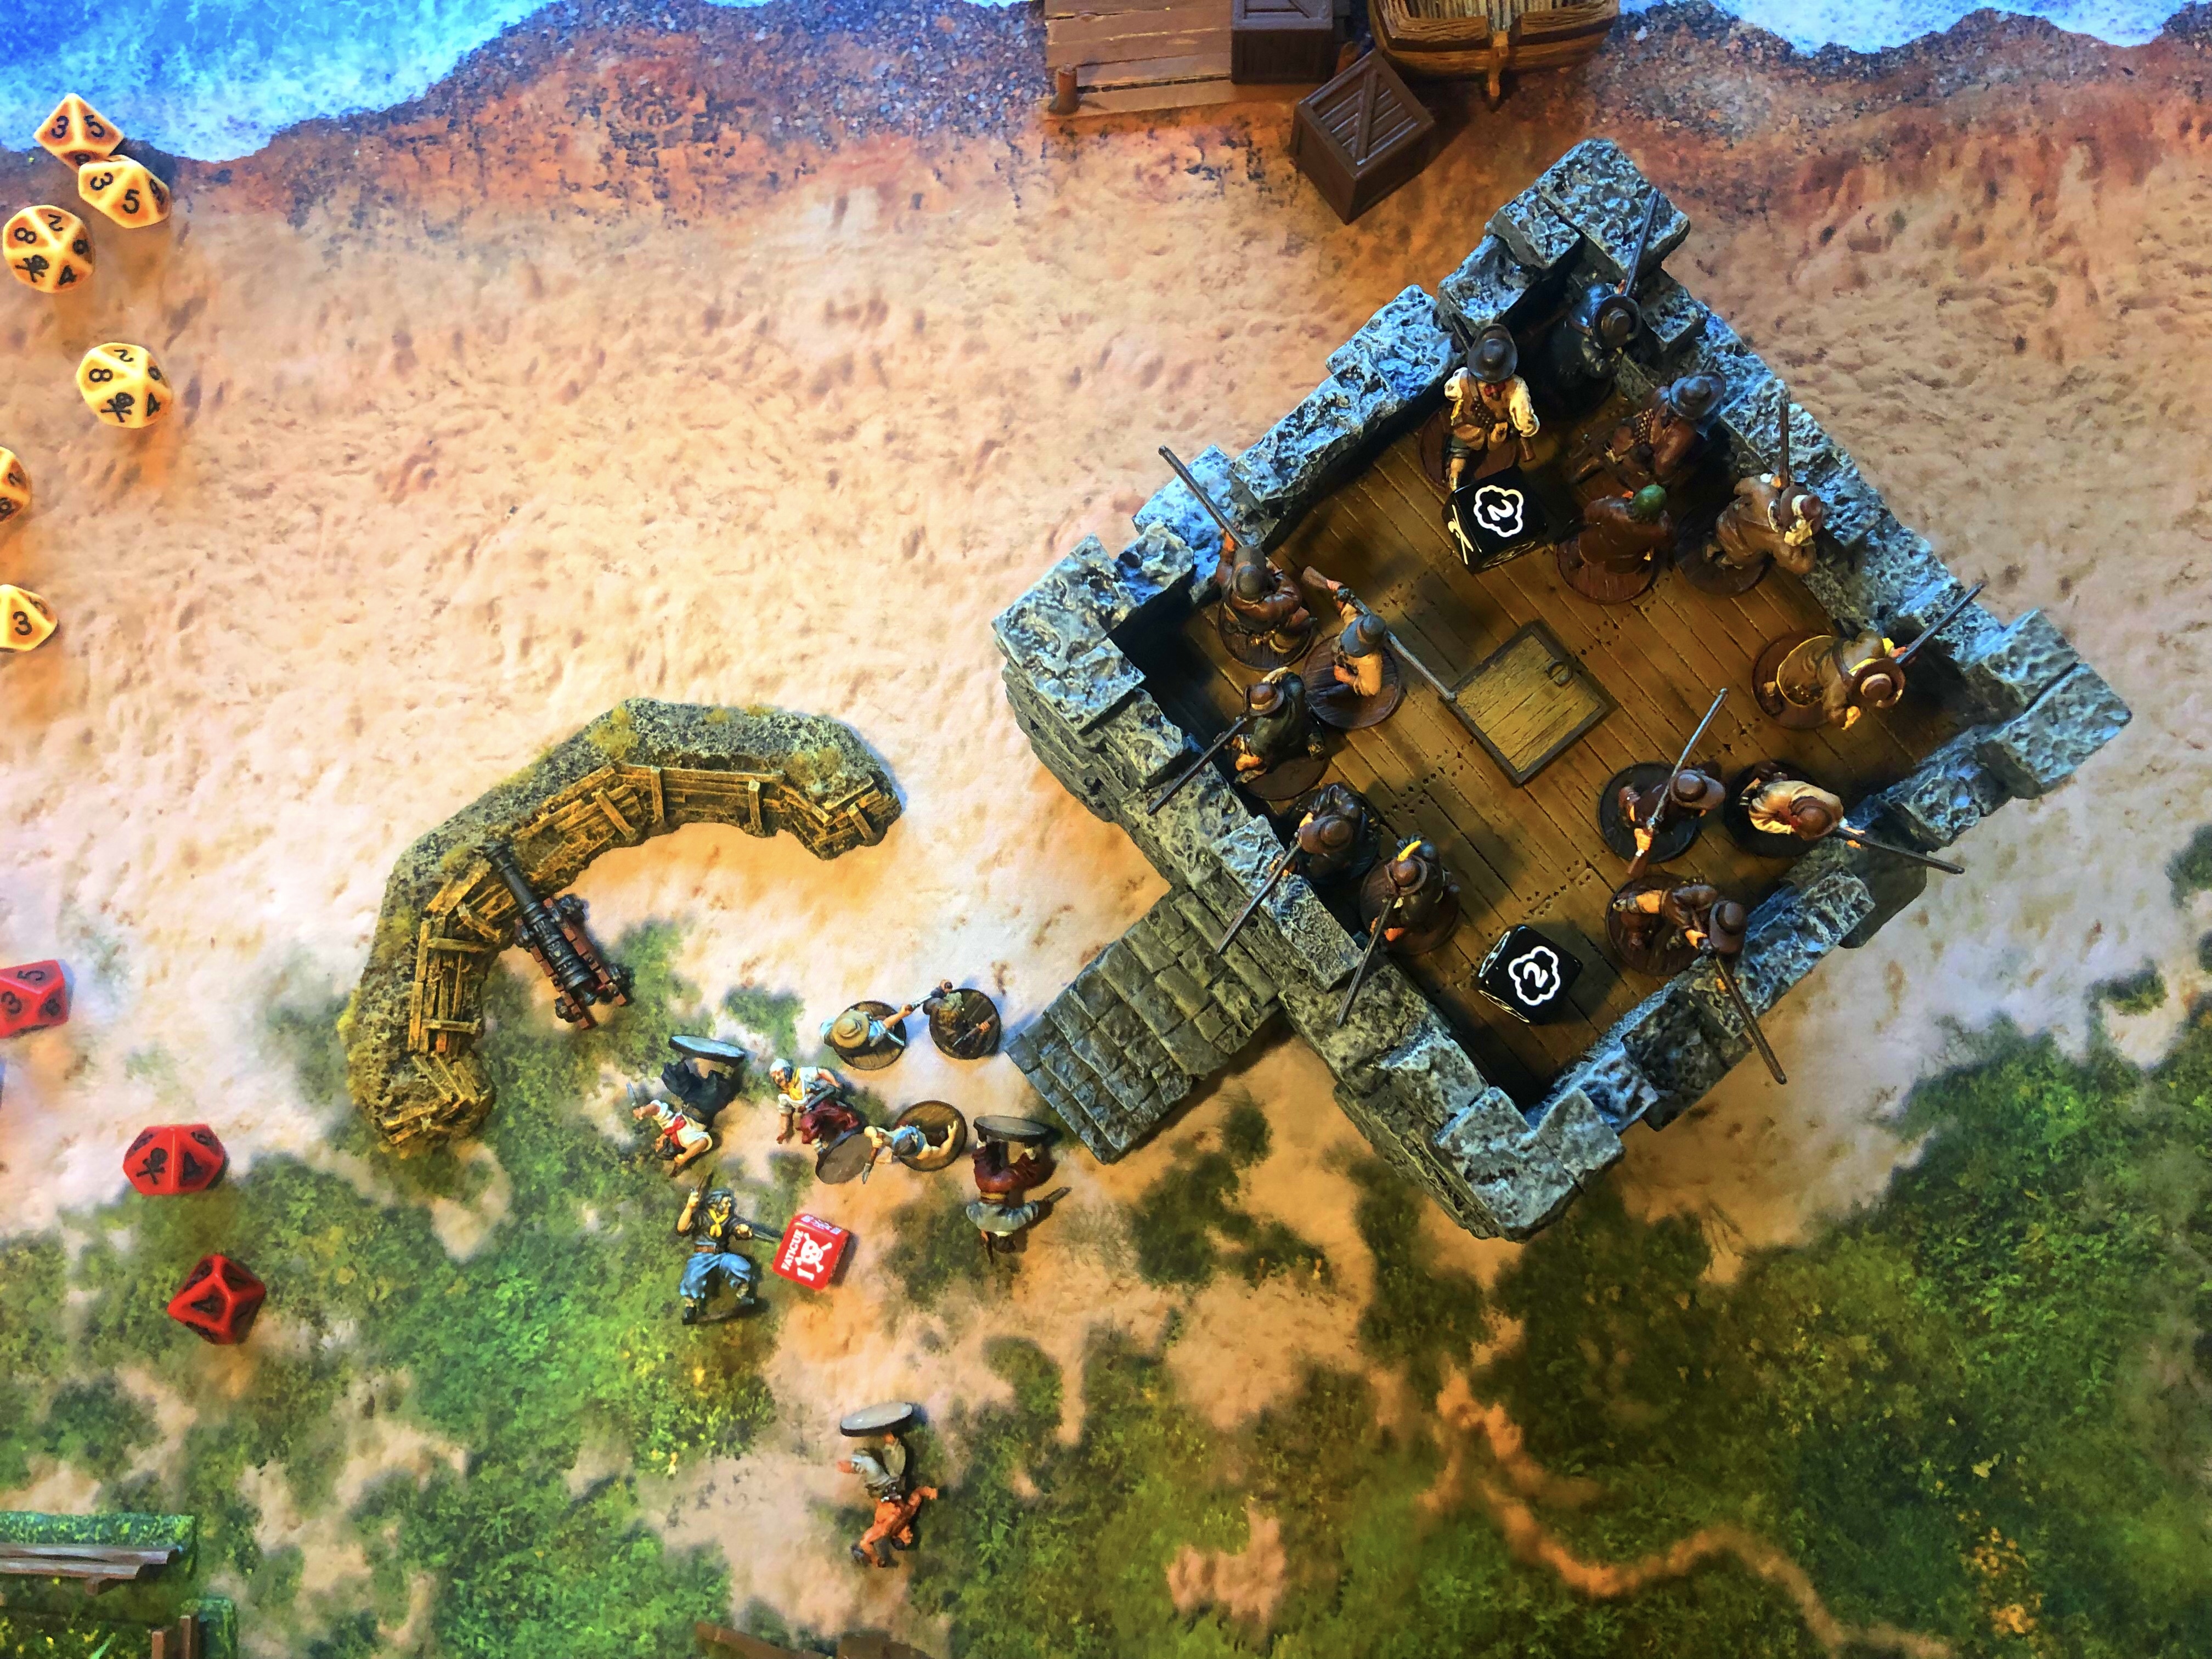
Bryan placed all 4 of his units in the fort with the Milices des Caraibes on the bottom and the Boucaniers and Miliciens on the top.

I put my Canoes of Sea Dogs in place on the Left side of the map along with my Forlorn Hope and 3rd unit of Sea Dogs hiding in the cornfield. My Engages started on the right side of the board with the intent of taking up a firing position in one of the town buildings and discouraging any units fleeing off that side of the board.
The Game
I rolled well for control of the crucial sentries and my troops weren’t spotted over the entire first round.
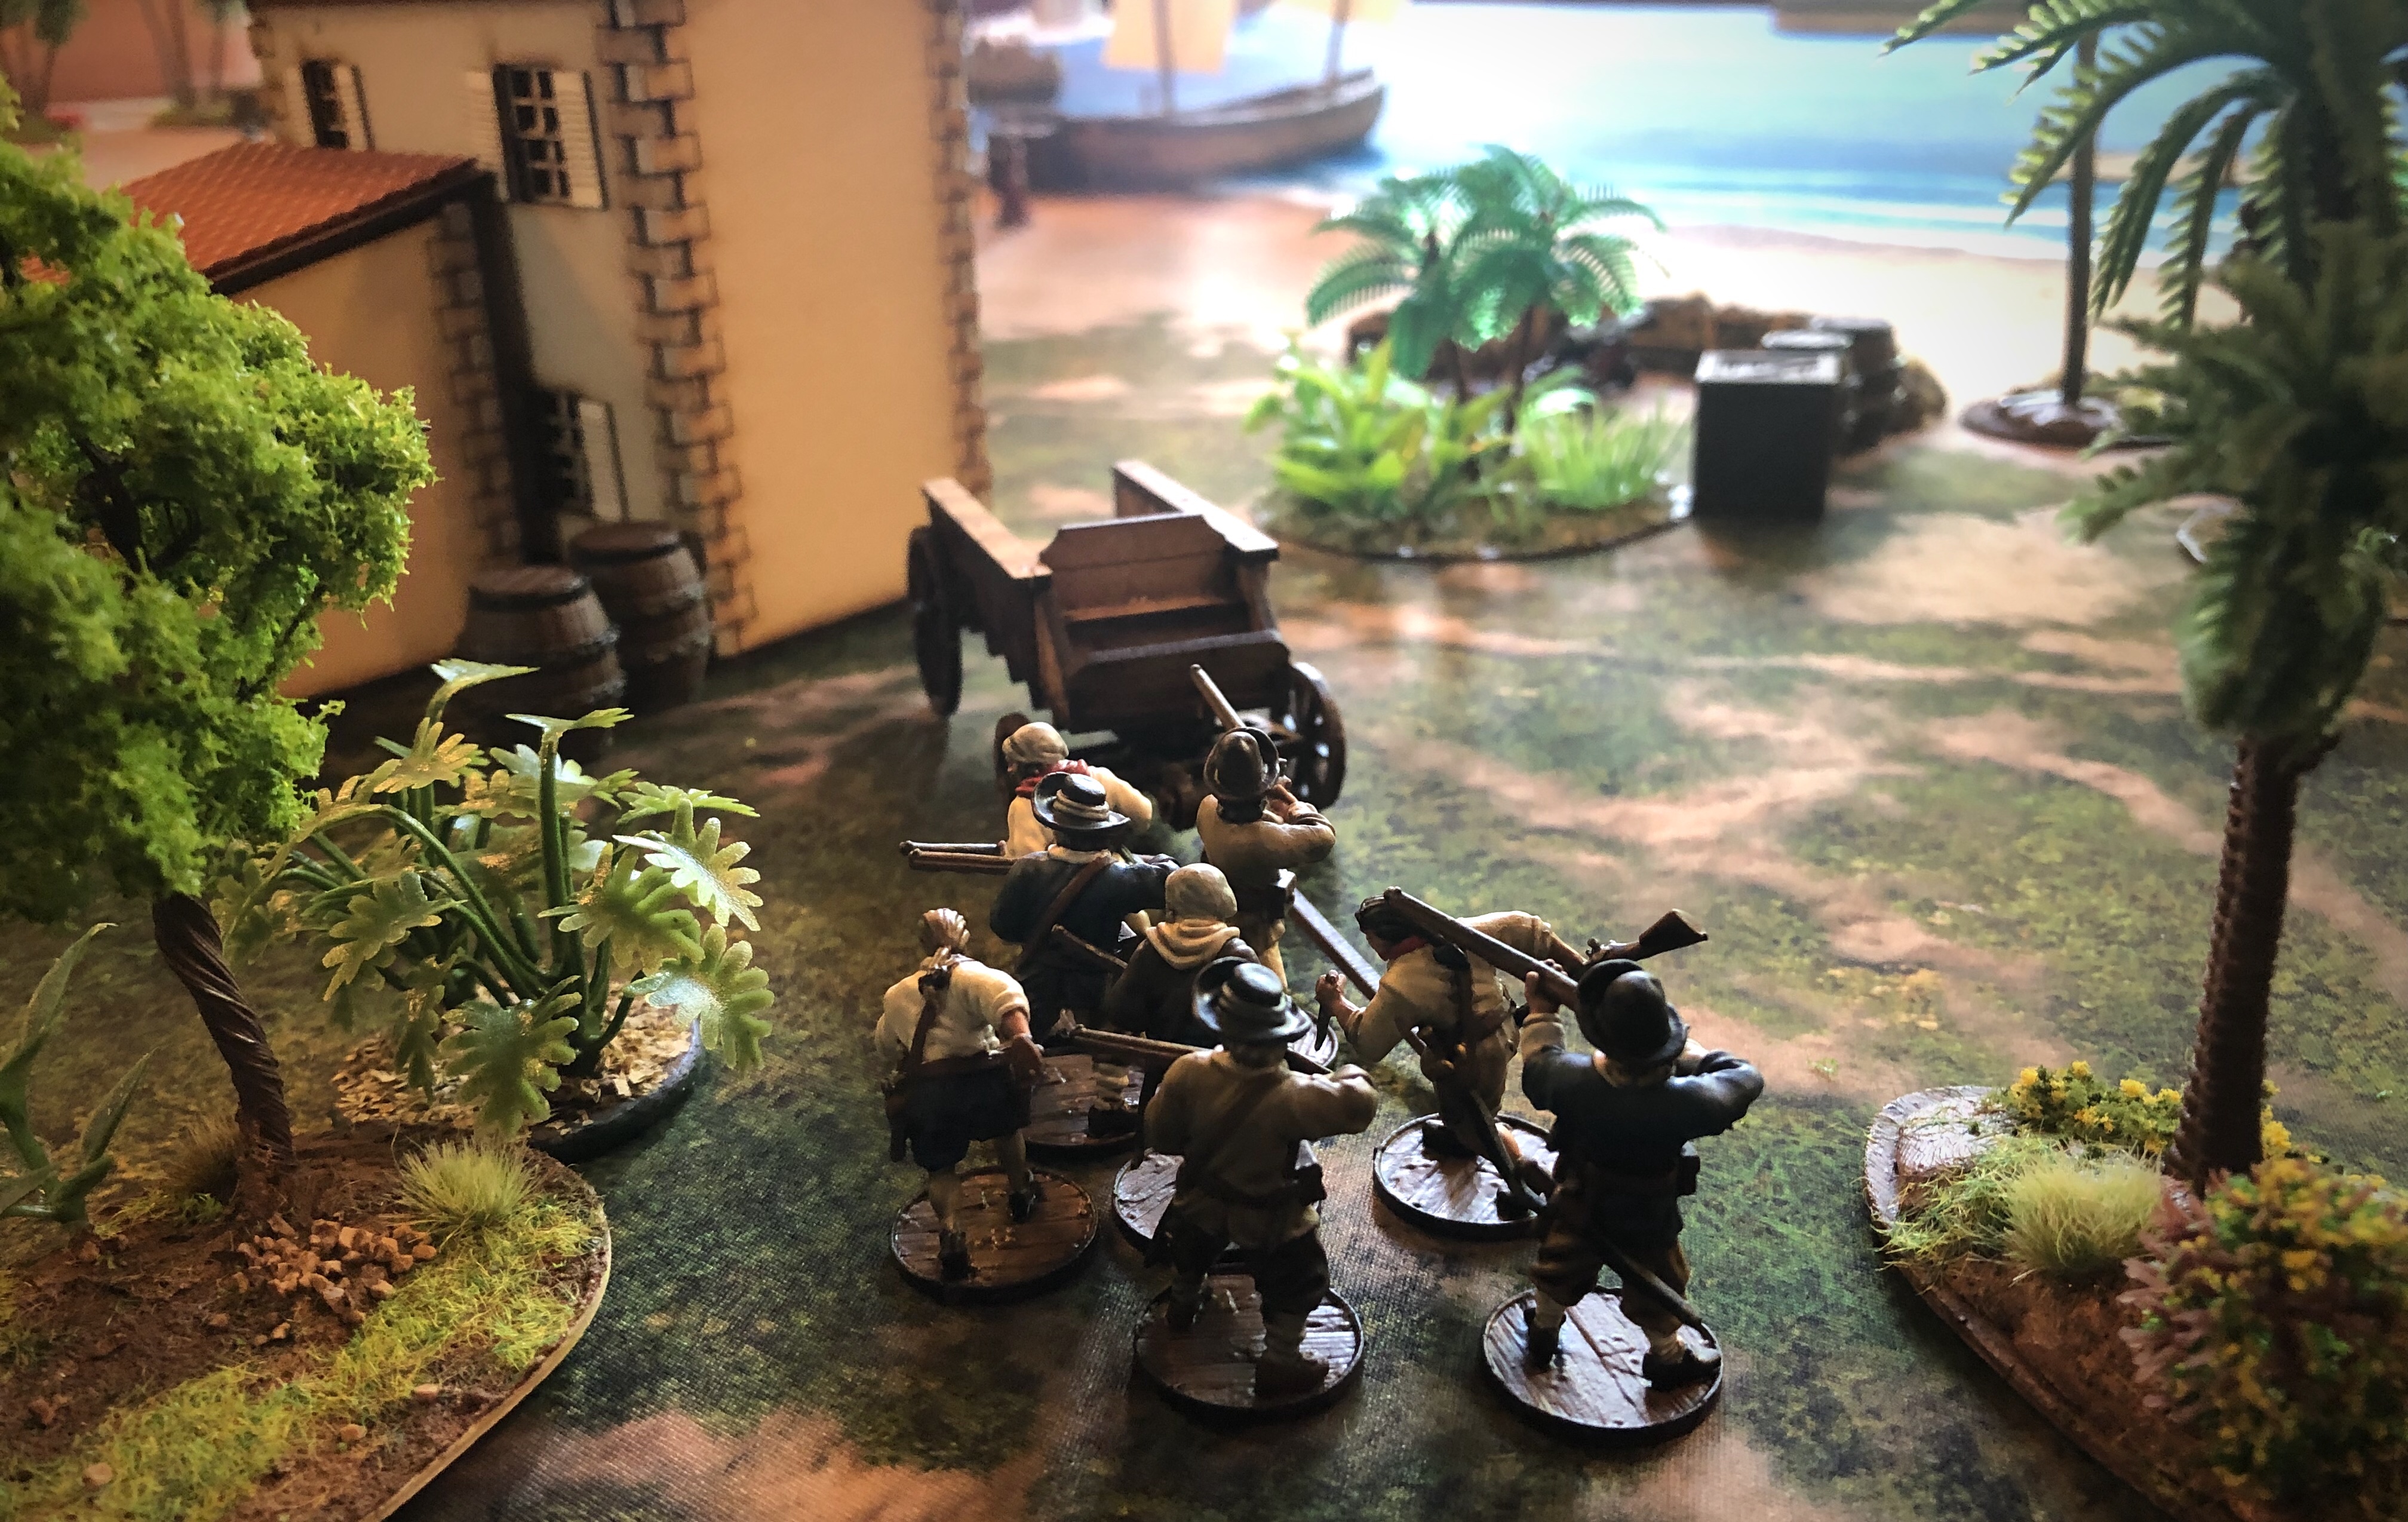
My Engages moved up towards the 2-story building while the French snoozed.
My Sea Dogs quietly paddle through the night in their Canoes.
All my units moved up while the French burned their first hand of cards.

I planned to use all of turns 1 & 2 to put my troops as close as possible without alerting the French so I could rush the fort with all my units in a coordinated manner.

Still undetected after the sentries moved on then 2, I tried to quietly eliminate the most troublesome sentry. If I was able to kill him, I could get inside 12″ of the fort and still be blocked from view by the structure.
Unfortunately, the sentry verbally objected to being hacked and clubbed to death and the alarm was sounded!

The sentry raised the alarm and the French were in the game!

I managed to keep all my men out of line of sight form the fort until the last activation of turn 2 when I was a little careless with my canoes and the Boucaniers killed 2 Sea Dogs for my mistake.

On turn 3 I started to engage the Fort. The Engages moved into the building and then pushed to shoot at the units in the top of the fort doing some damage to the Miliciens.

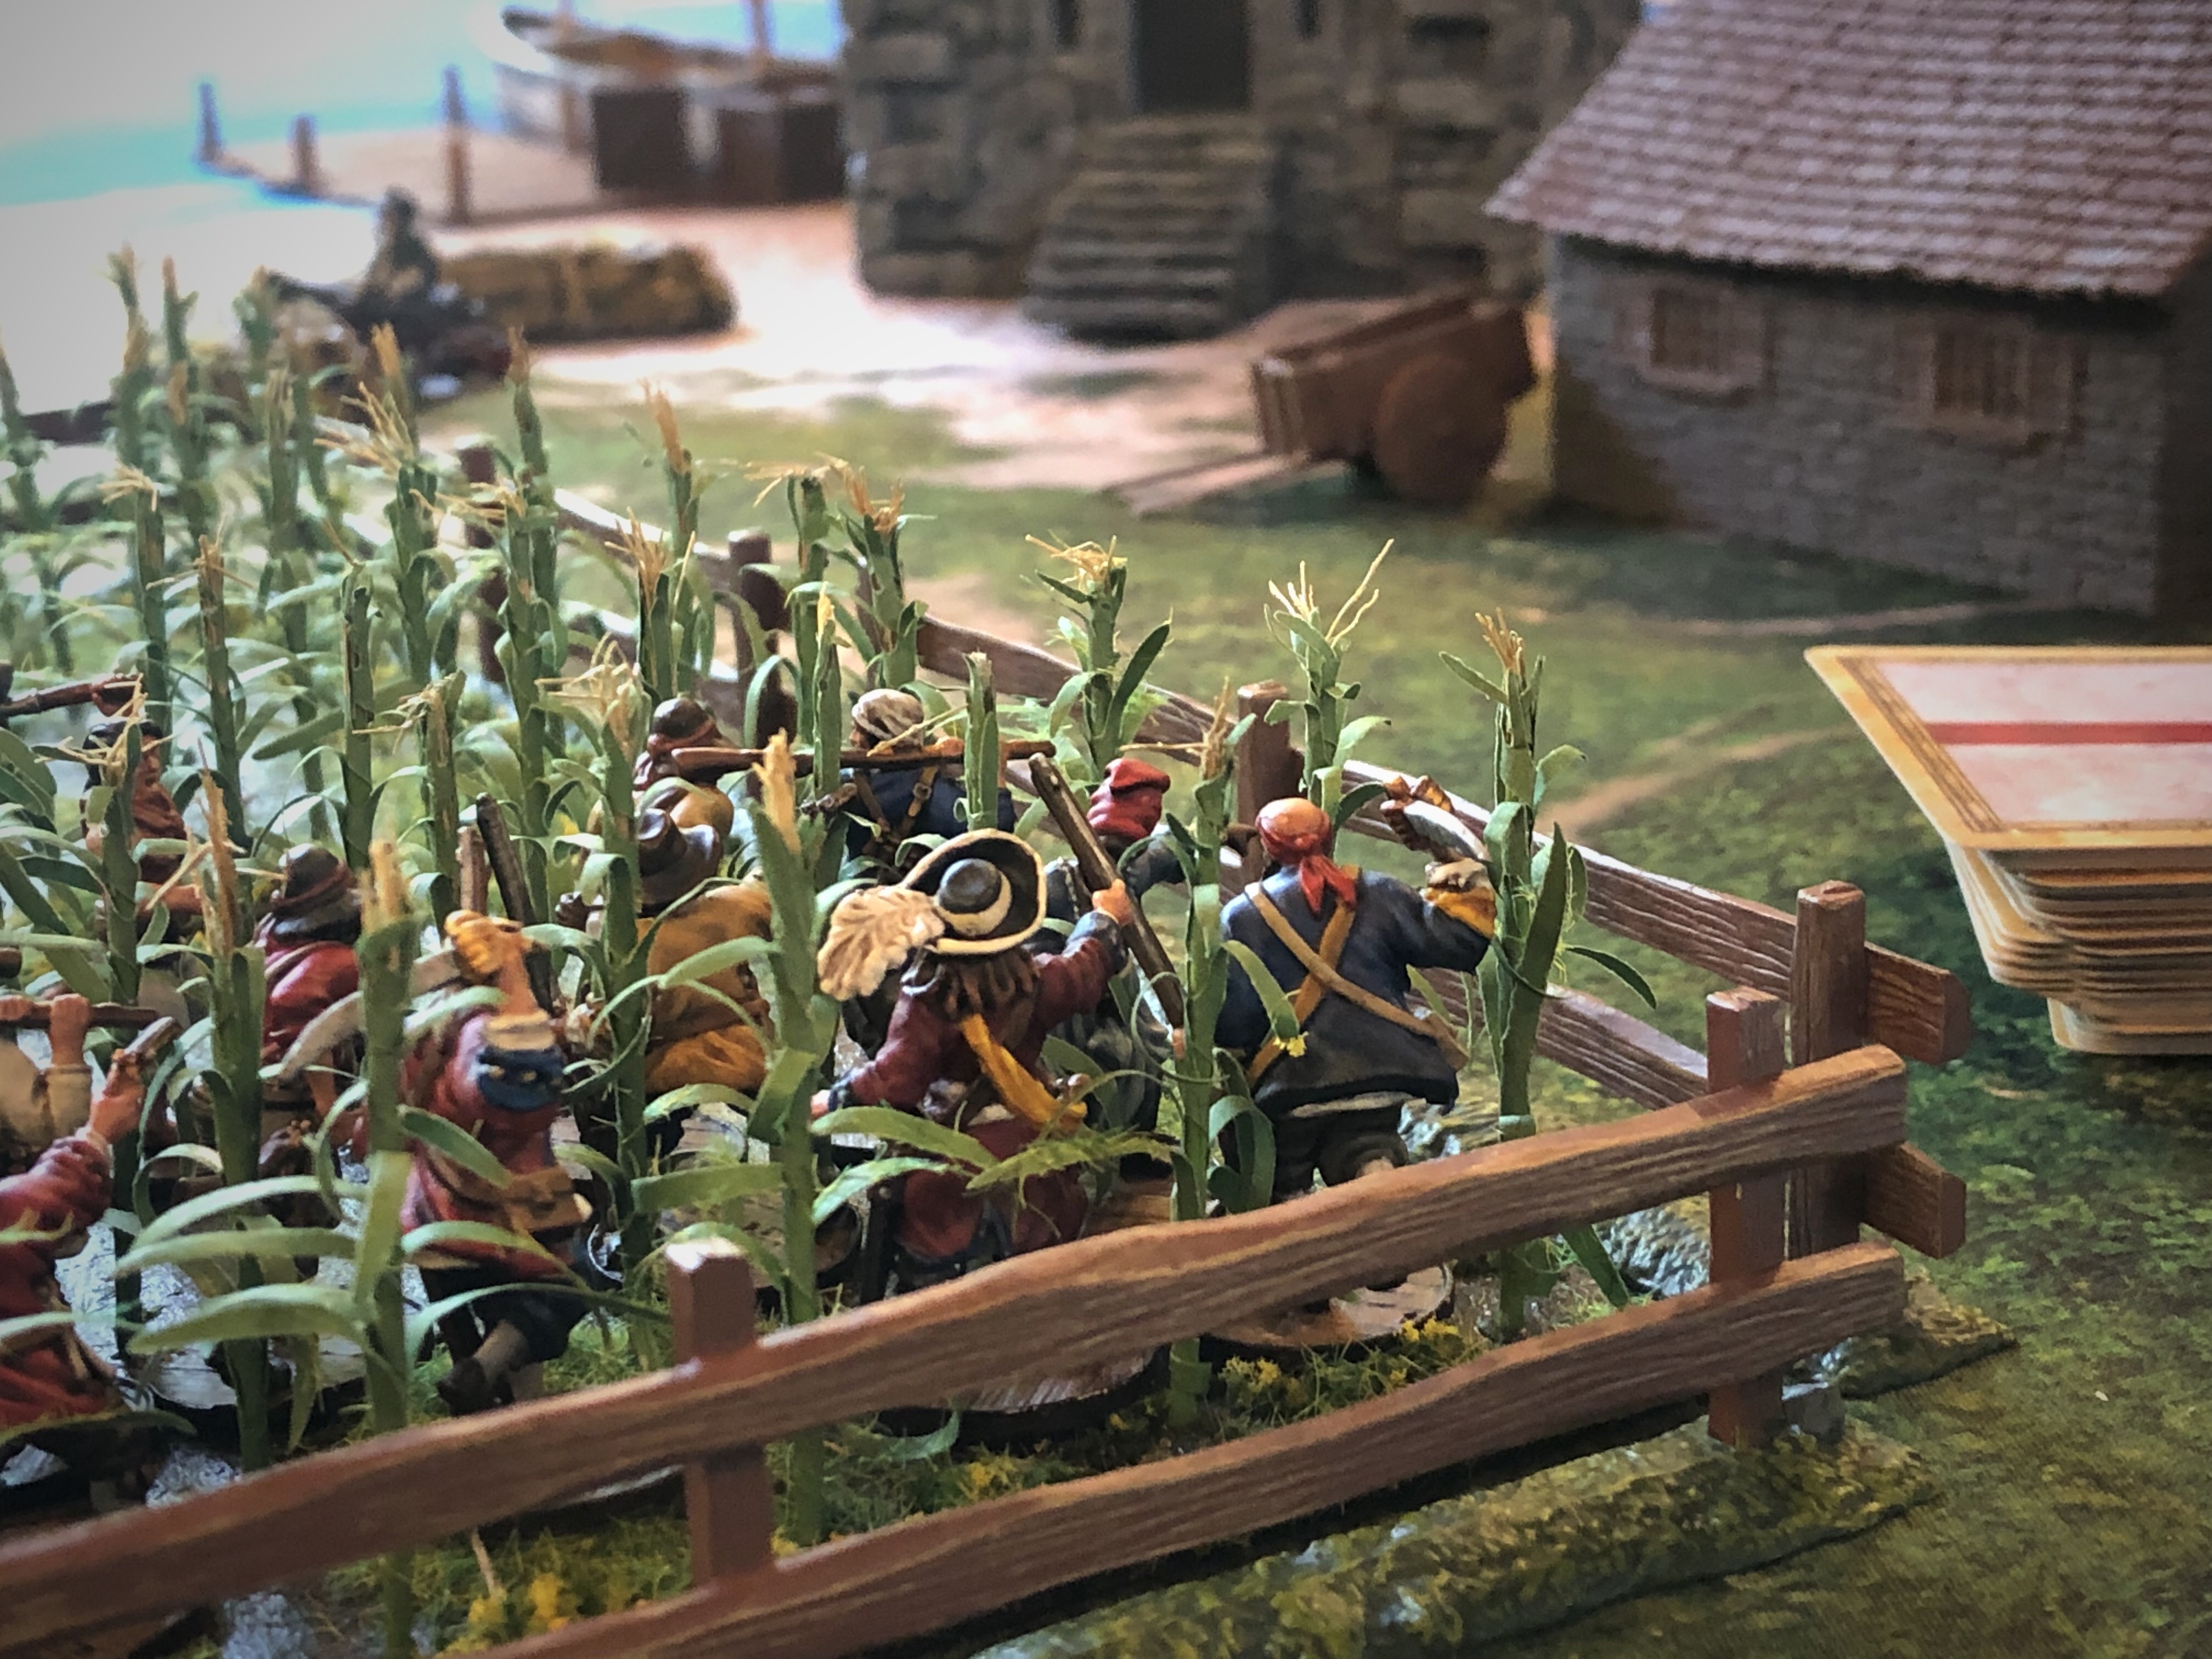
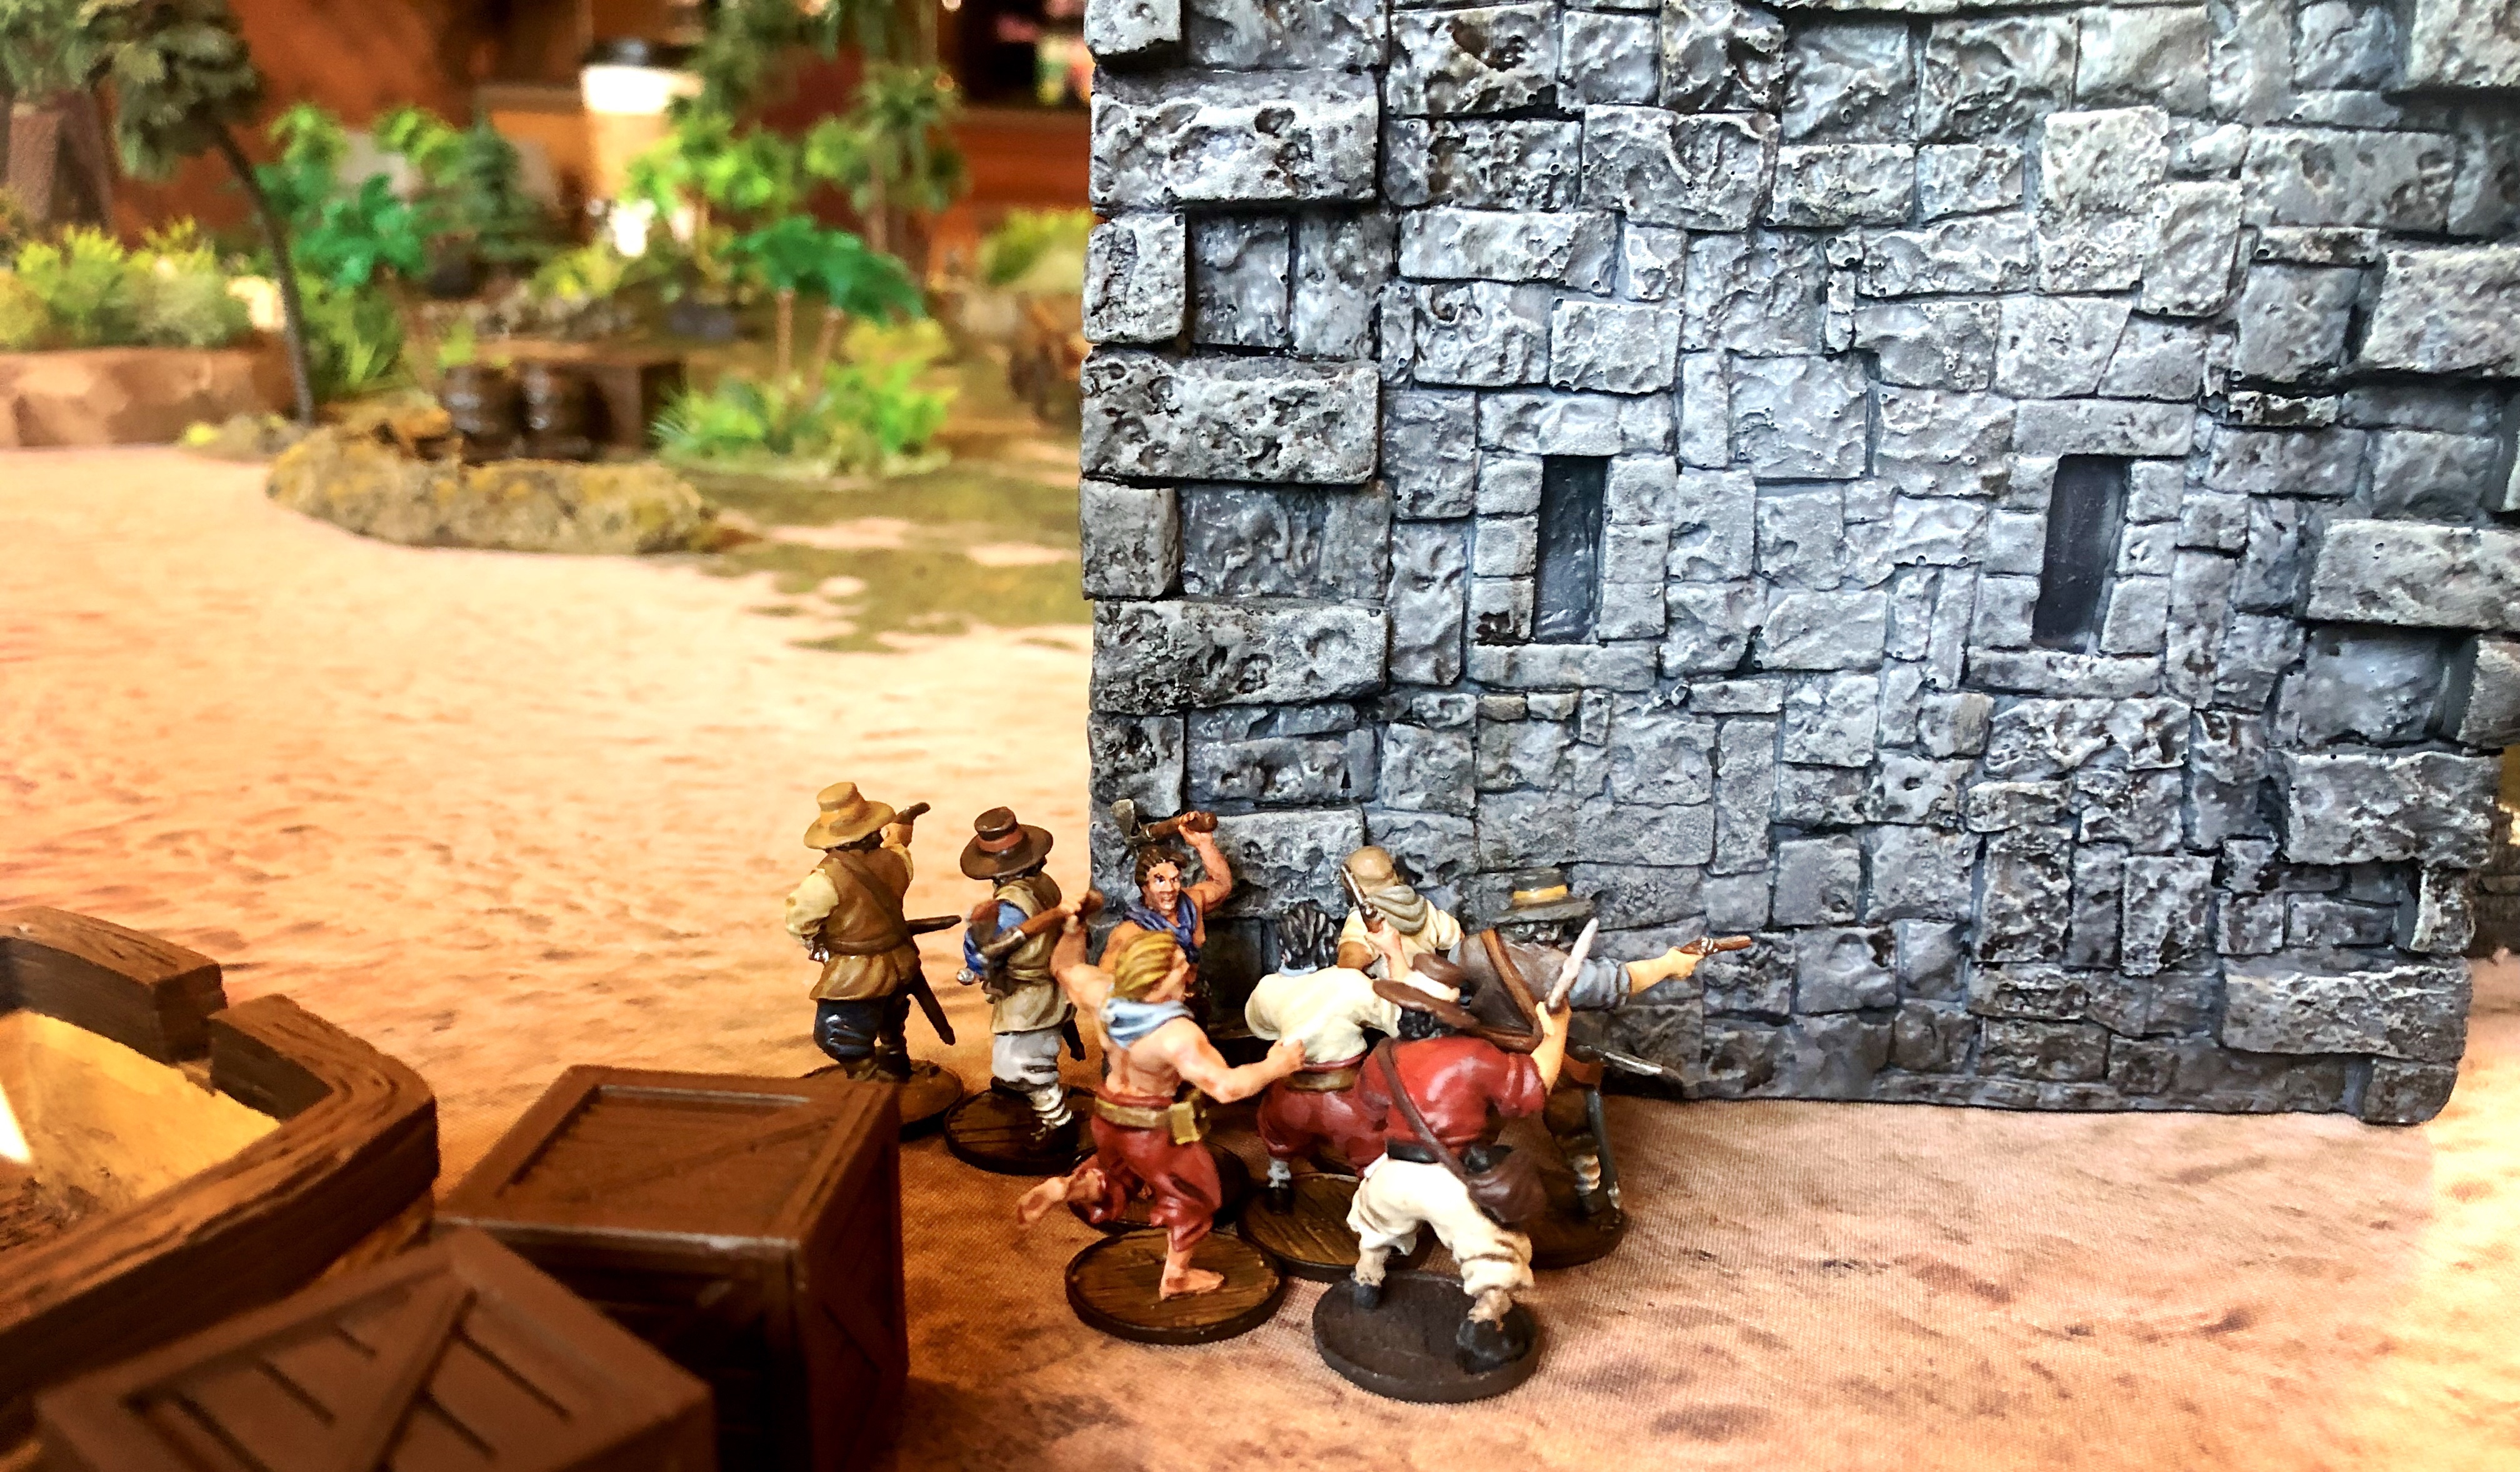
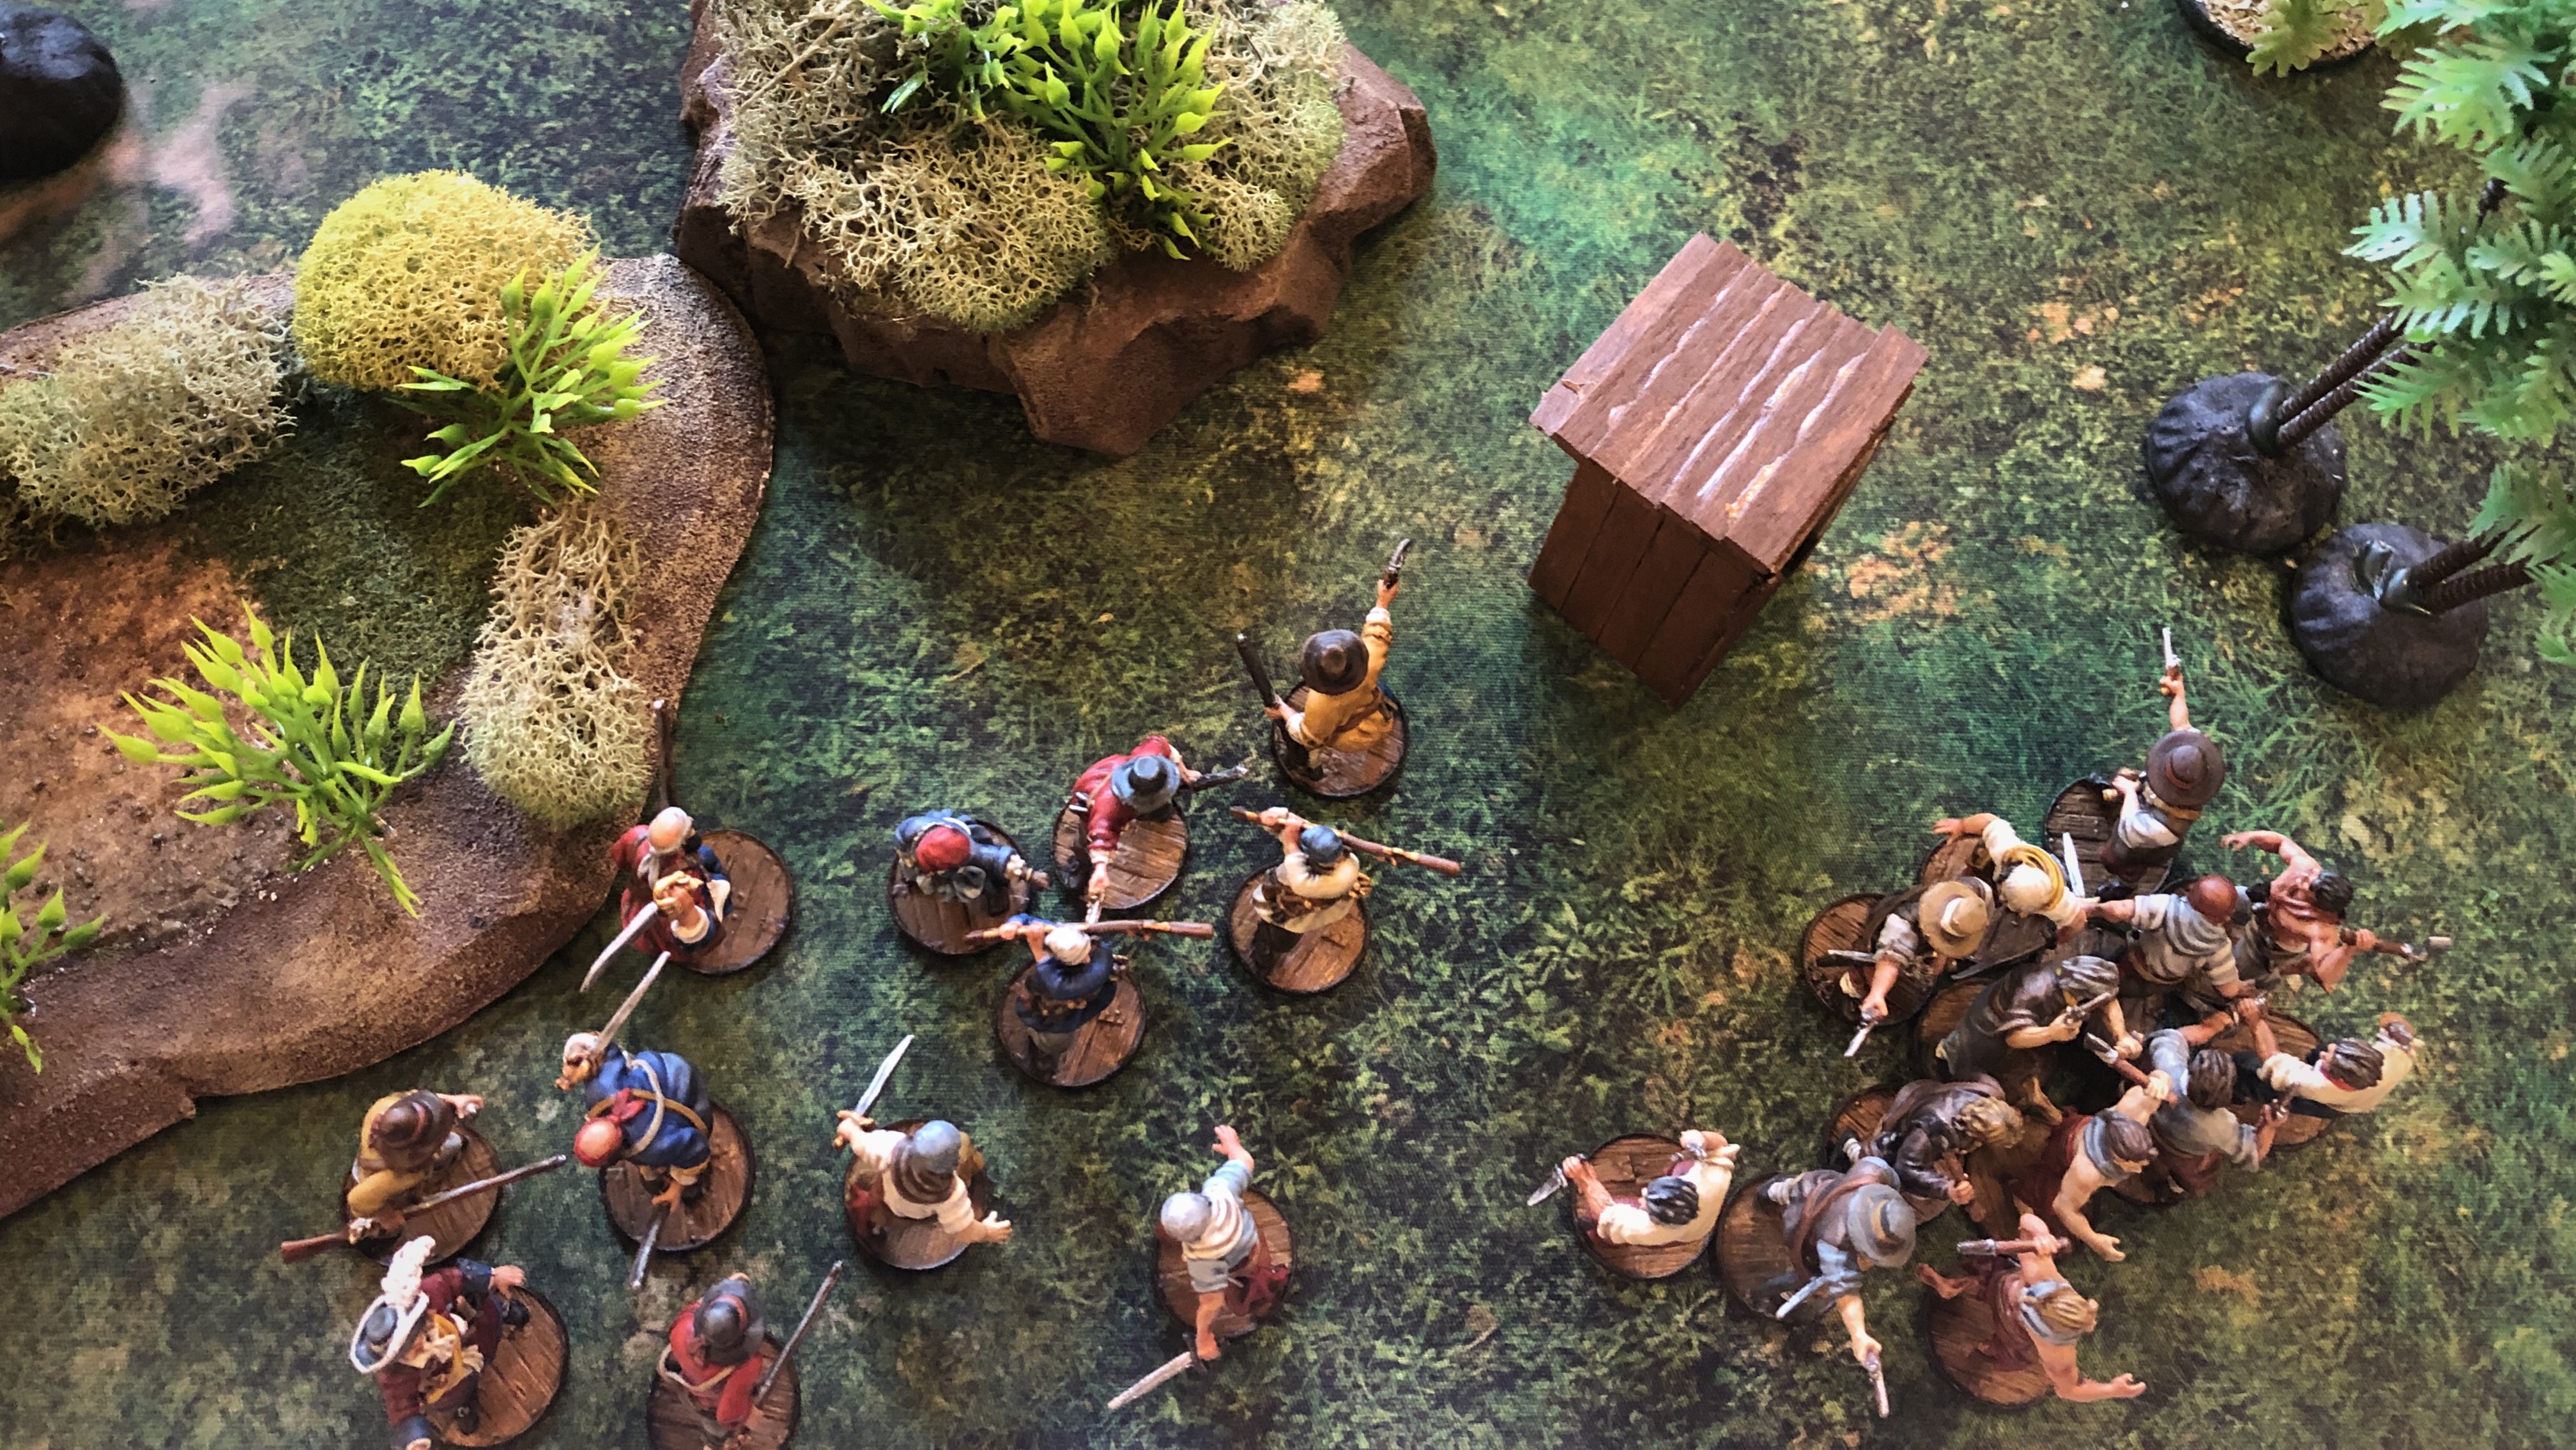
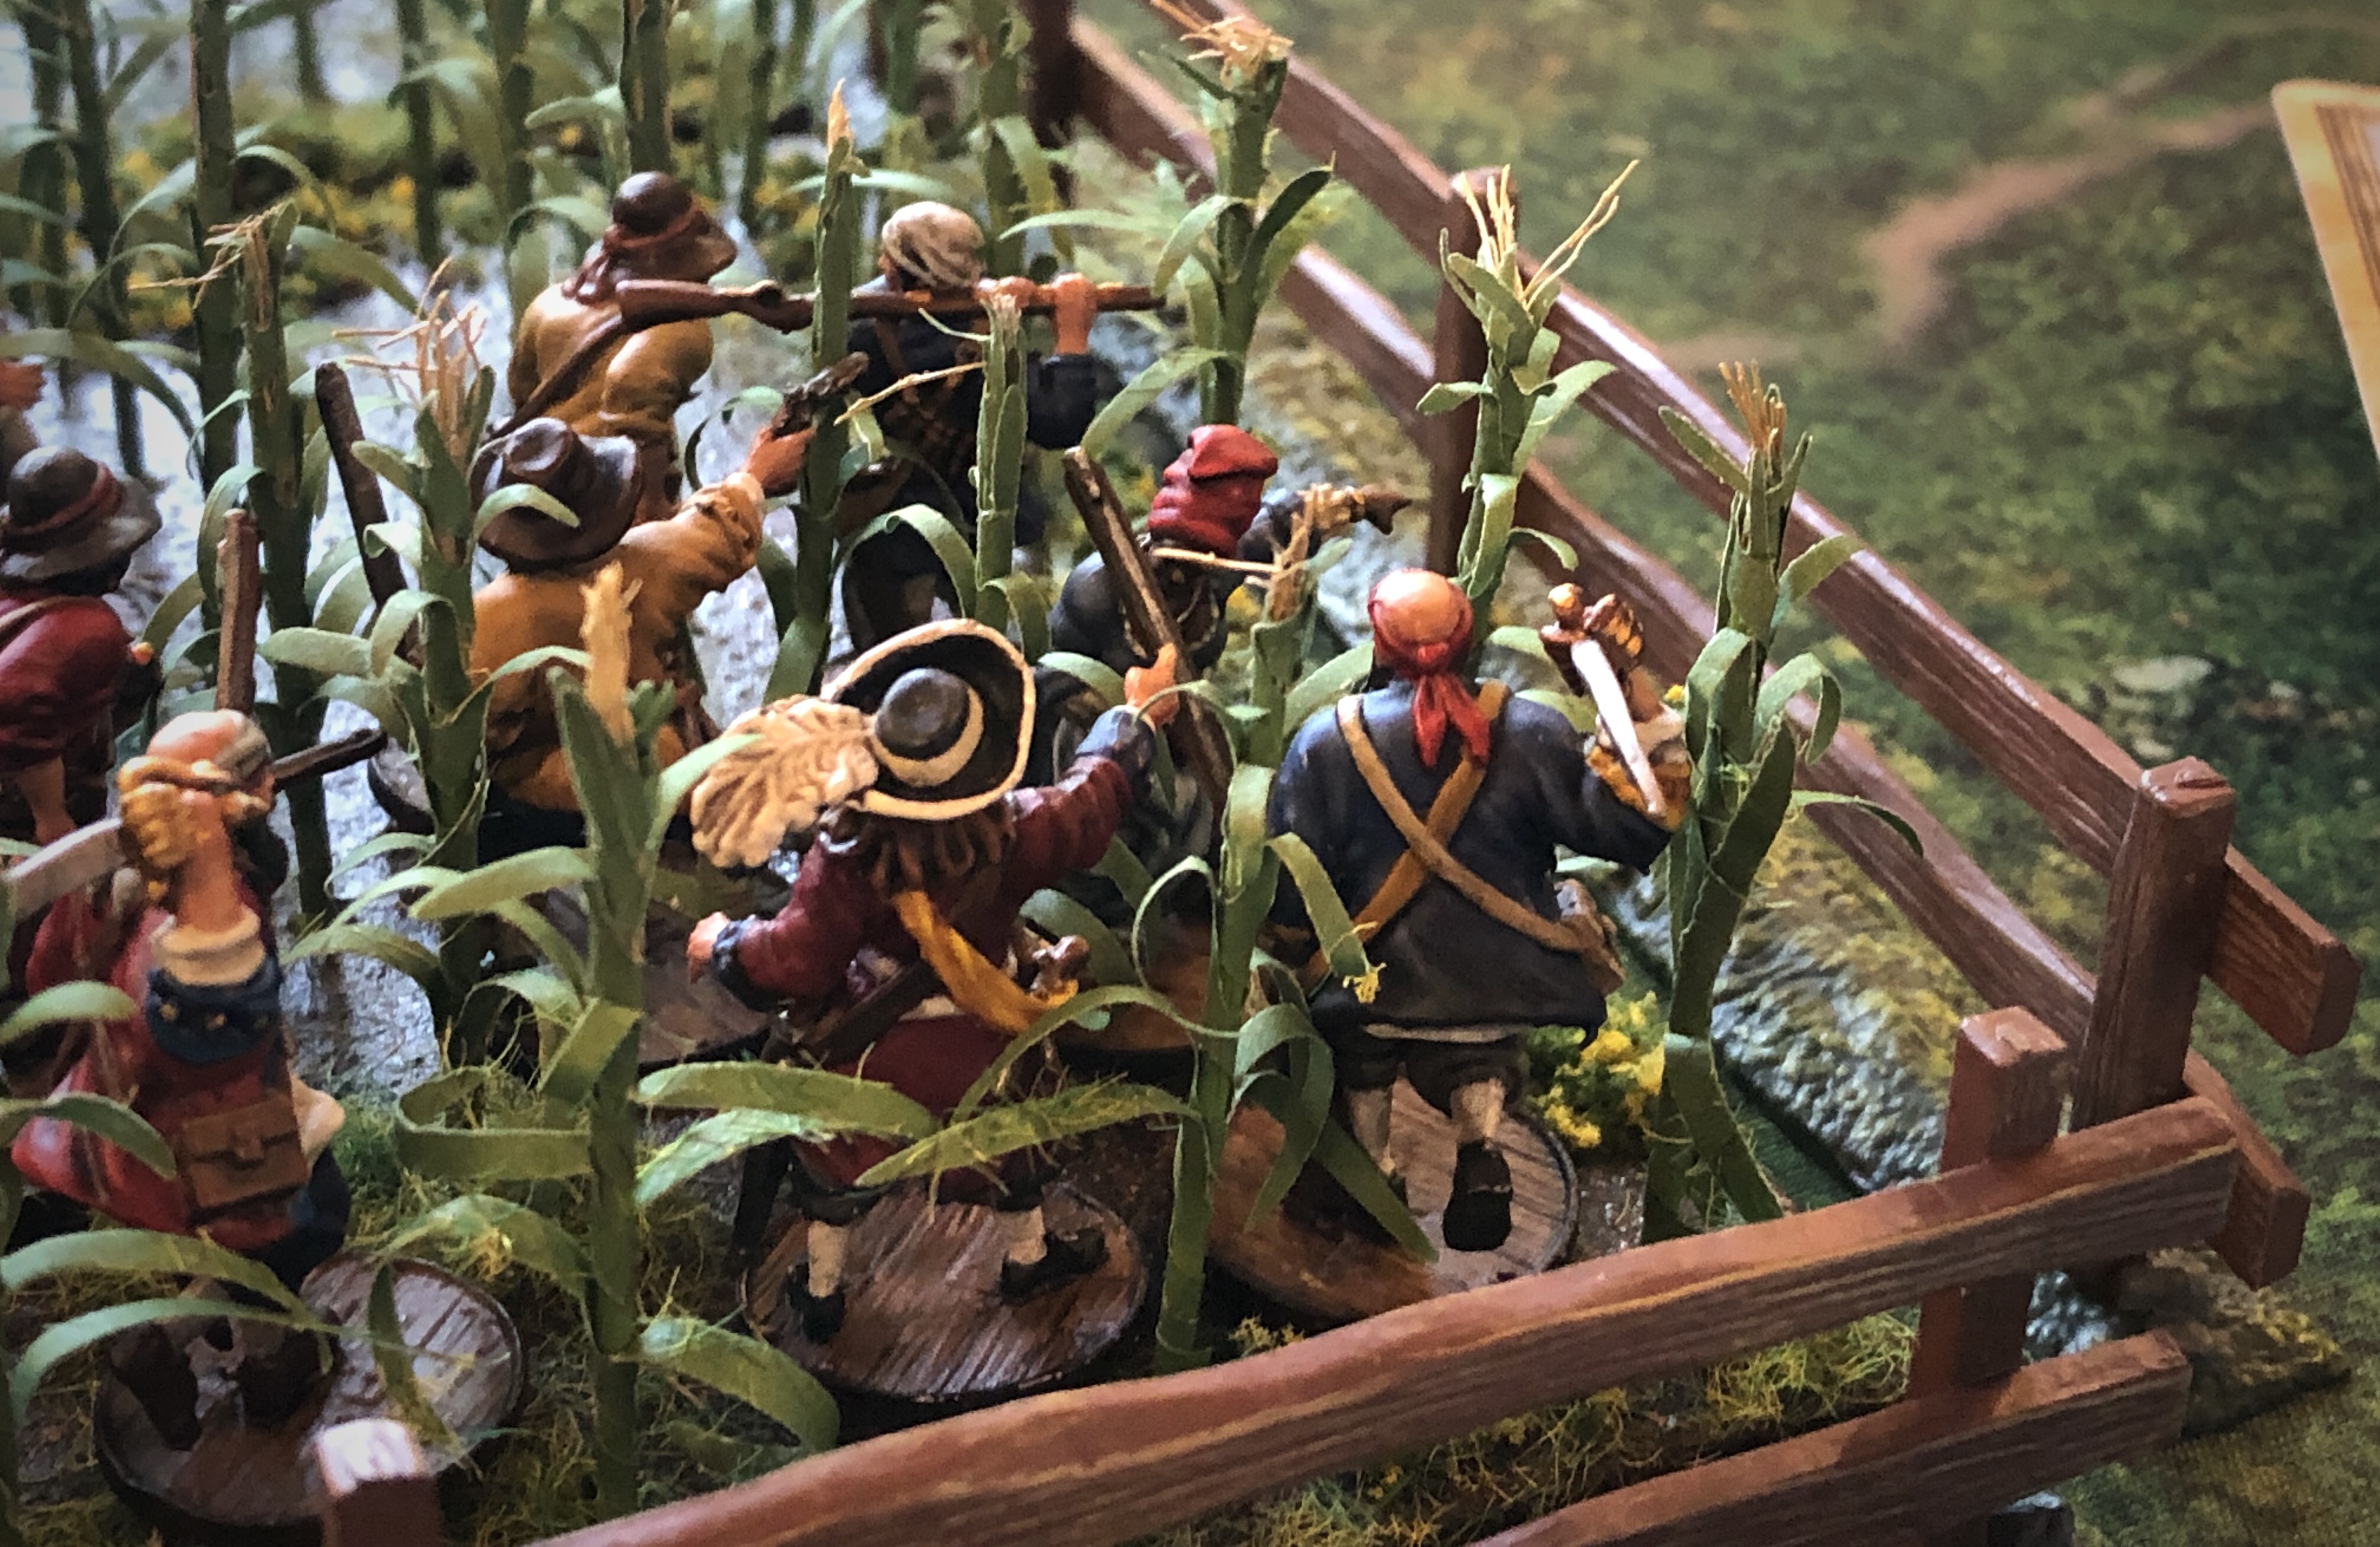
The Sea Dogs in the cornfield started the rush and paid dearly for it. I took a Fatigue to give them 3 move actions so they would be within grenade distance for turn 3.
Somebody had to go first!
Close up of the foremost Sea Dog with his Firepot.
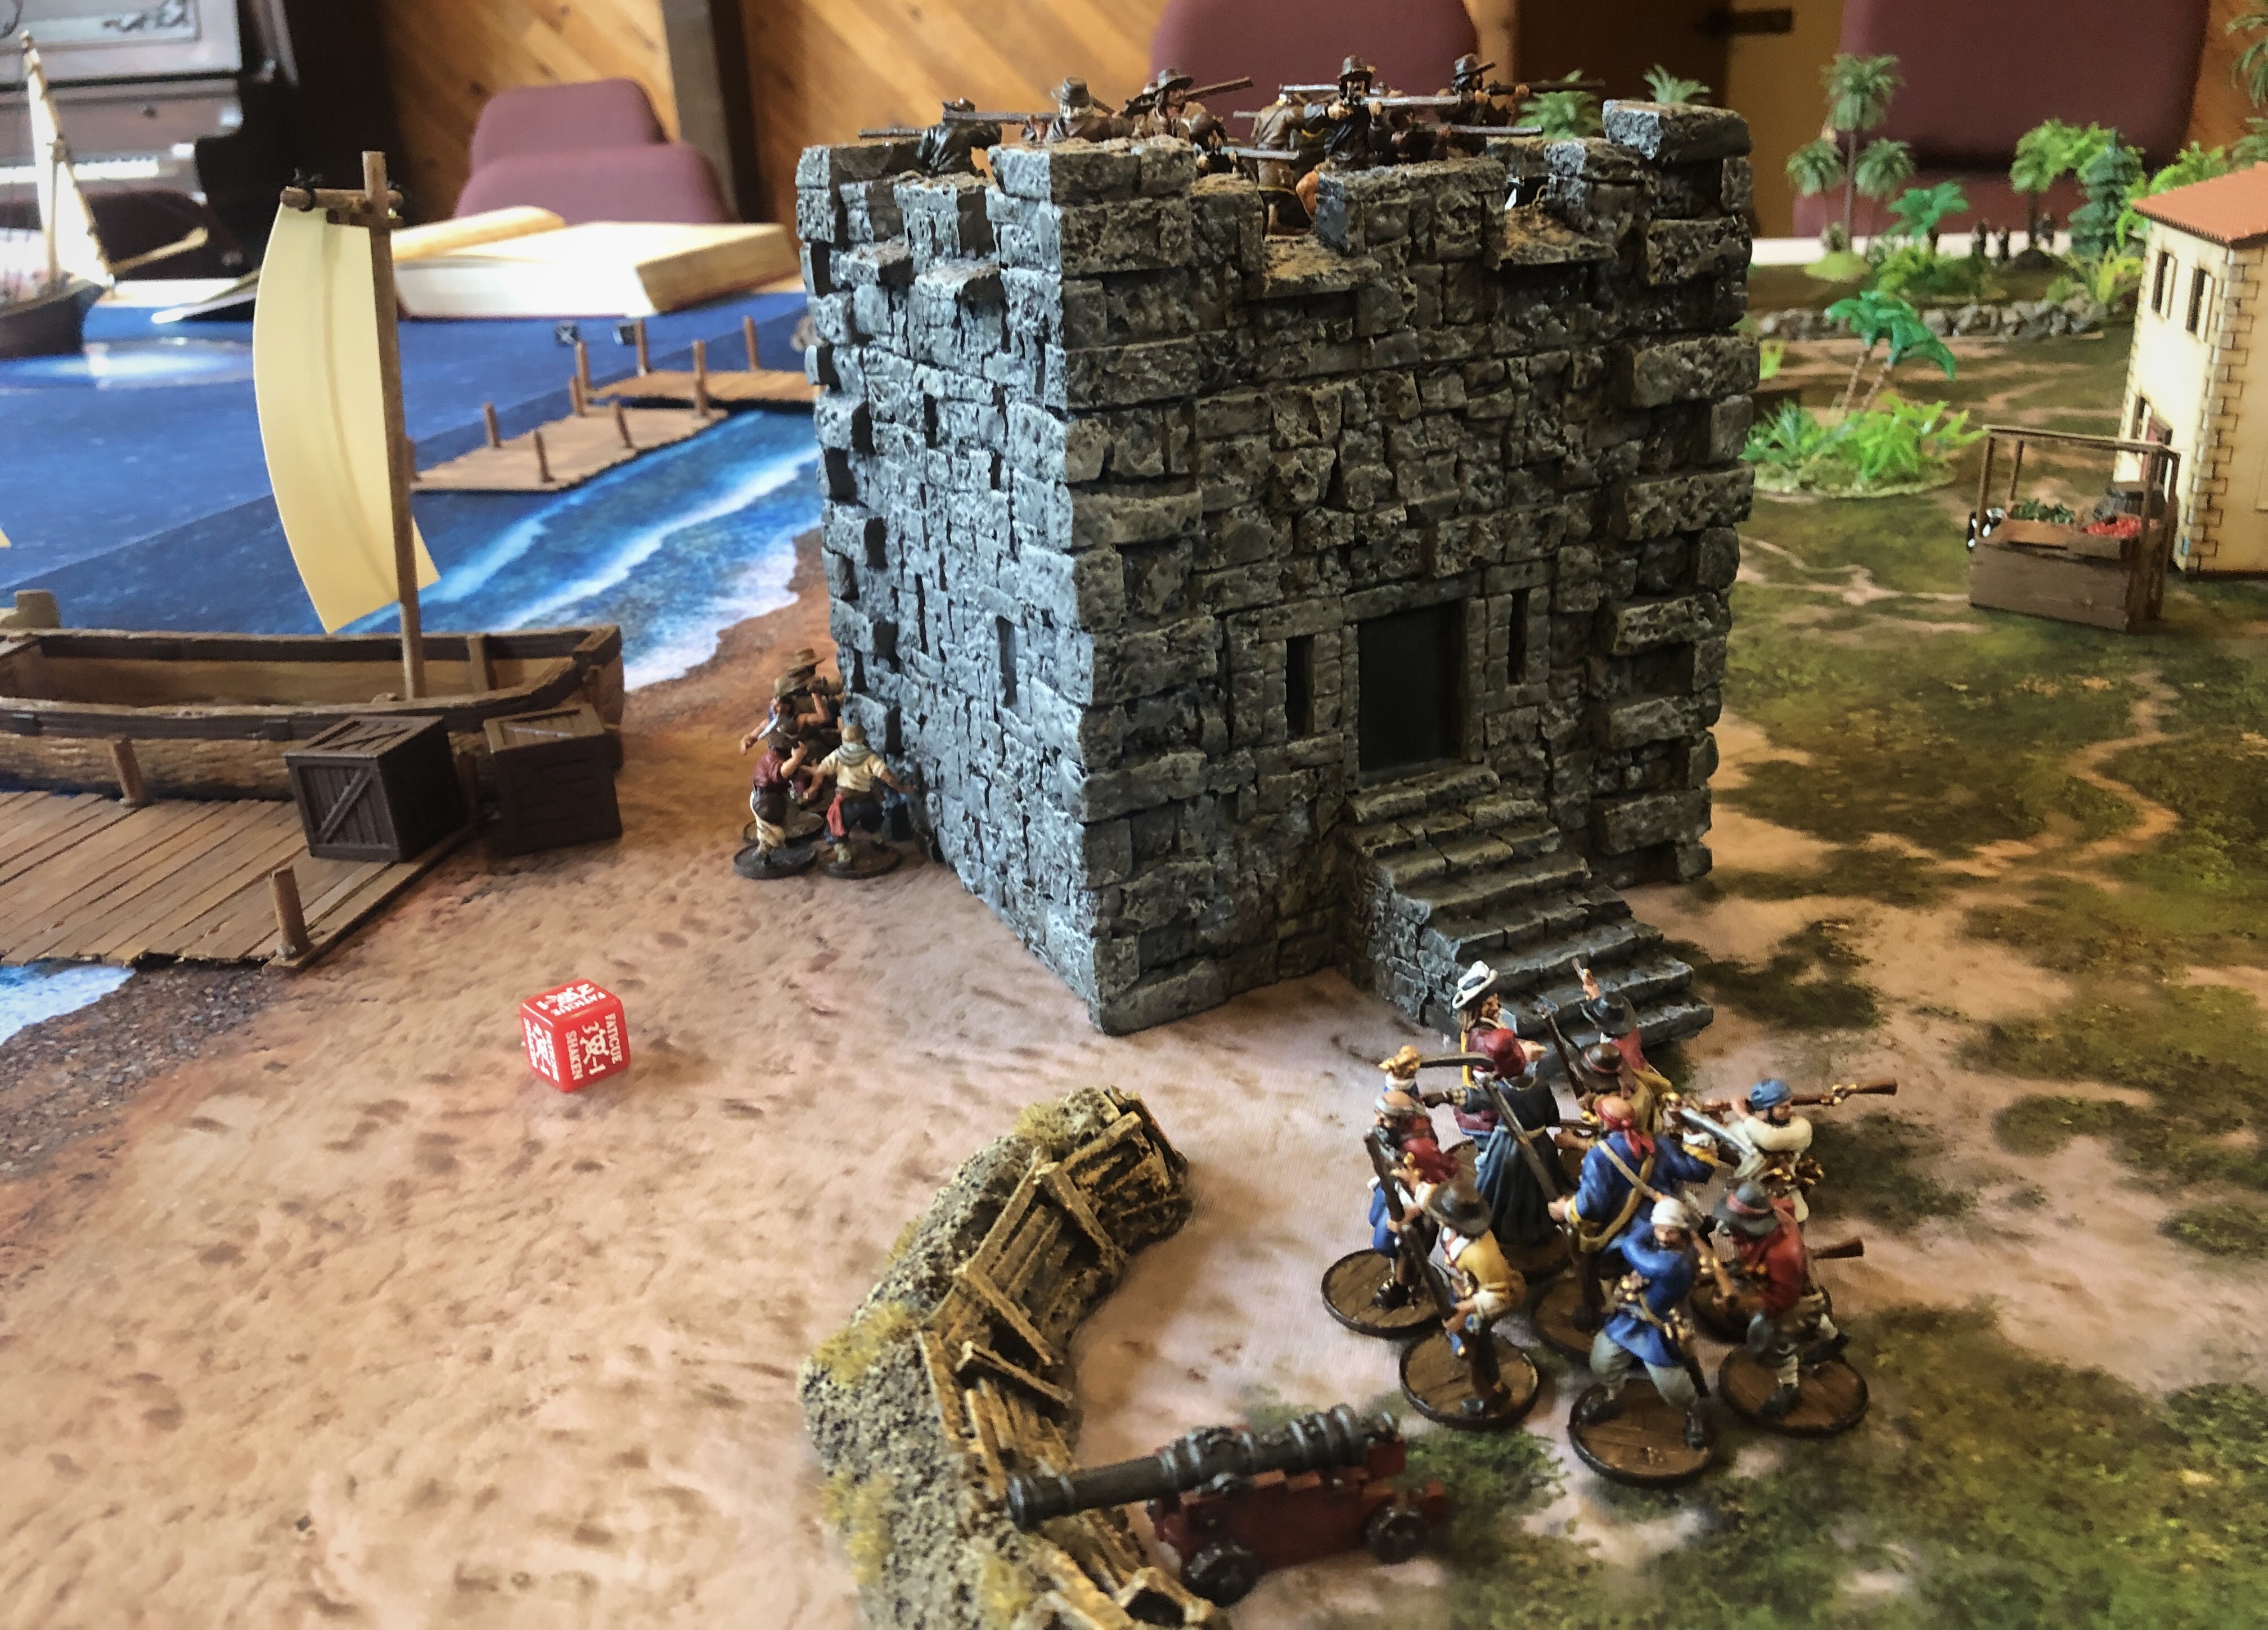
The musketry from the top of the fort was deadly! With the height advantage, they only Saved on 10’s. Half my Sea Dogs were shot down in one volley.
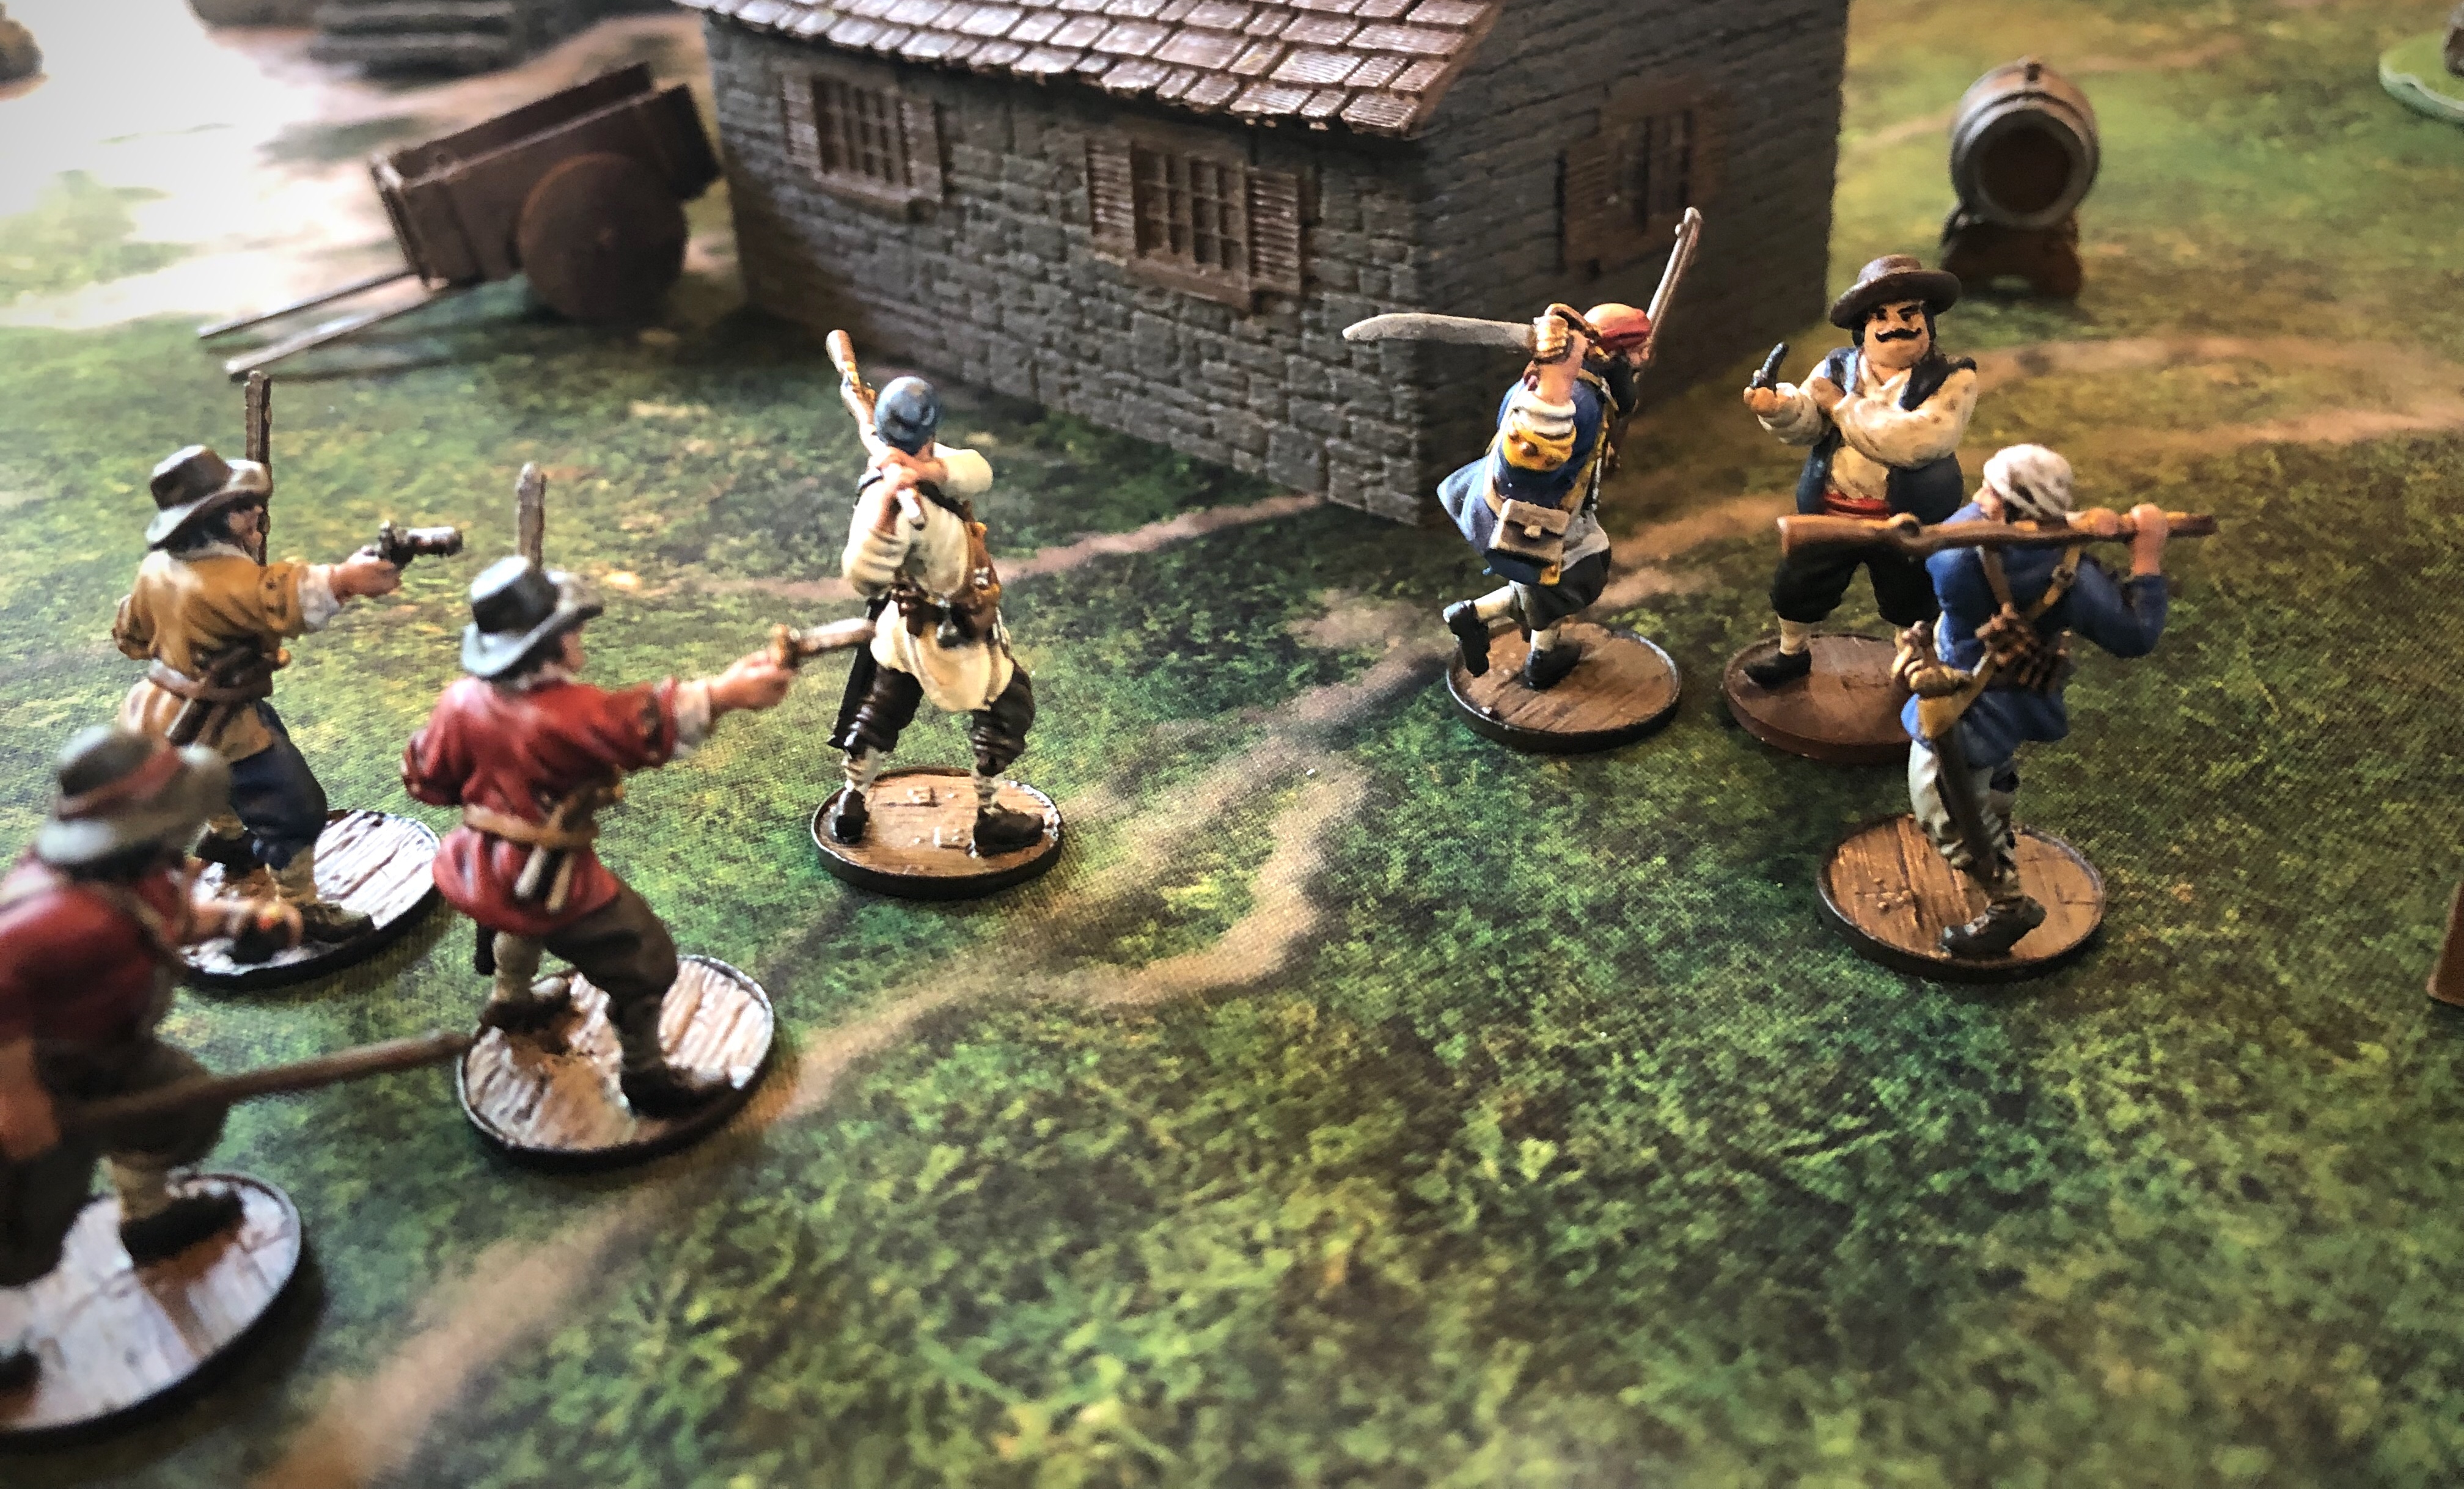
Time for the next wave of men!
One of the units of Sea Dogs in the canoes had to rally after being shot by the Boucaniers but the other jumped into the grappled Piragua and used it as an “autowalk” to move 11″ towards the fort in two actions (the length of the boat counts as one move action in spite of being around 7″ long). Being adjacent to the fort, I was able to throw one Firepot into the lower level of the fort (the fort is higher than 5″ tall so you can’t toss explosives up to the top level.) and I think it killed one Frenchman but didn’t set the fort on fire.
I activated last after Bryan’s 4 units had gone and moved my Forlorn Hope up 12″ with Quick/2 Moves and fired my Buccaneer Guns into the upper level killing a couple more French.
With 77 points worth of Forlorn Hope standing out in the open and French Boucaniers loaded and ready to fire from above, the initiative going into round 4 would be crucial!

I didn’t draw any Spades so I used my Buccaneer faction ability to draw a new hand which gave me the first action of the round!
Activating on a Spade, my local guide very helpfully pointed out the huge fort right in front of their faces and they moved into contact with their free Quick move. I then proceeded to shoot 3 times in a row (using the 2 actions as Veterans plus the Command Point). Every shoot action included 3 Grenade dice hitting on 7’s, 3 Firepot dice hitting on 8’s and 7 Pistol dice hitting 7’s (I just realized I was using a target number of 8 for those pistol dice for some reason! I cheated myself out of some kills!). Some of the explosives missed but and the pistol fire was largely ineffective due to the flat 3 Save and my arbitrary +2 penalty instead of the real +1 but every attack wore down the defending French and the 3rd attack eliminated one unit of Milices des Caraibes which triggered my Lead By Example which was massively helpful to my force which had been pushed to the limit.
I threw all those grenades with one action each so I had to roll for misfires. One misfired but I used my last Fortune Point to re-roll it. All three firepots scored hits but failed to start the fort on fire. With my second Command Point I commanded a unit of Sea Dogs to throw another Firepot and they finally set the lower level on fire! All told I threw 42 attack dice in that one activation. Forlorn Hope for with win!
Unfortunately for me, the Boucaniers were unimpressed by the mayhem beneath their feet and they shot the Forlorn Hope to pieces and the Miliciens finished them off along with my Commander and Guide.

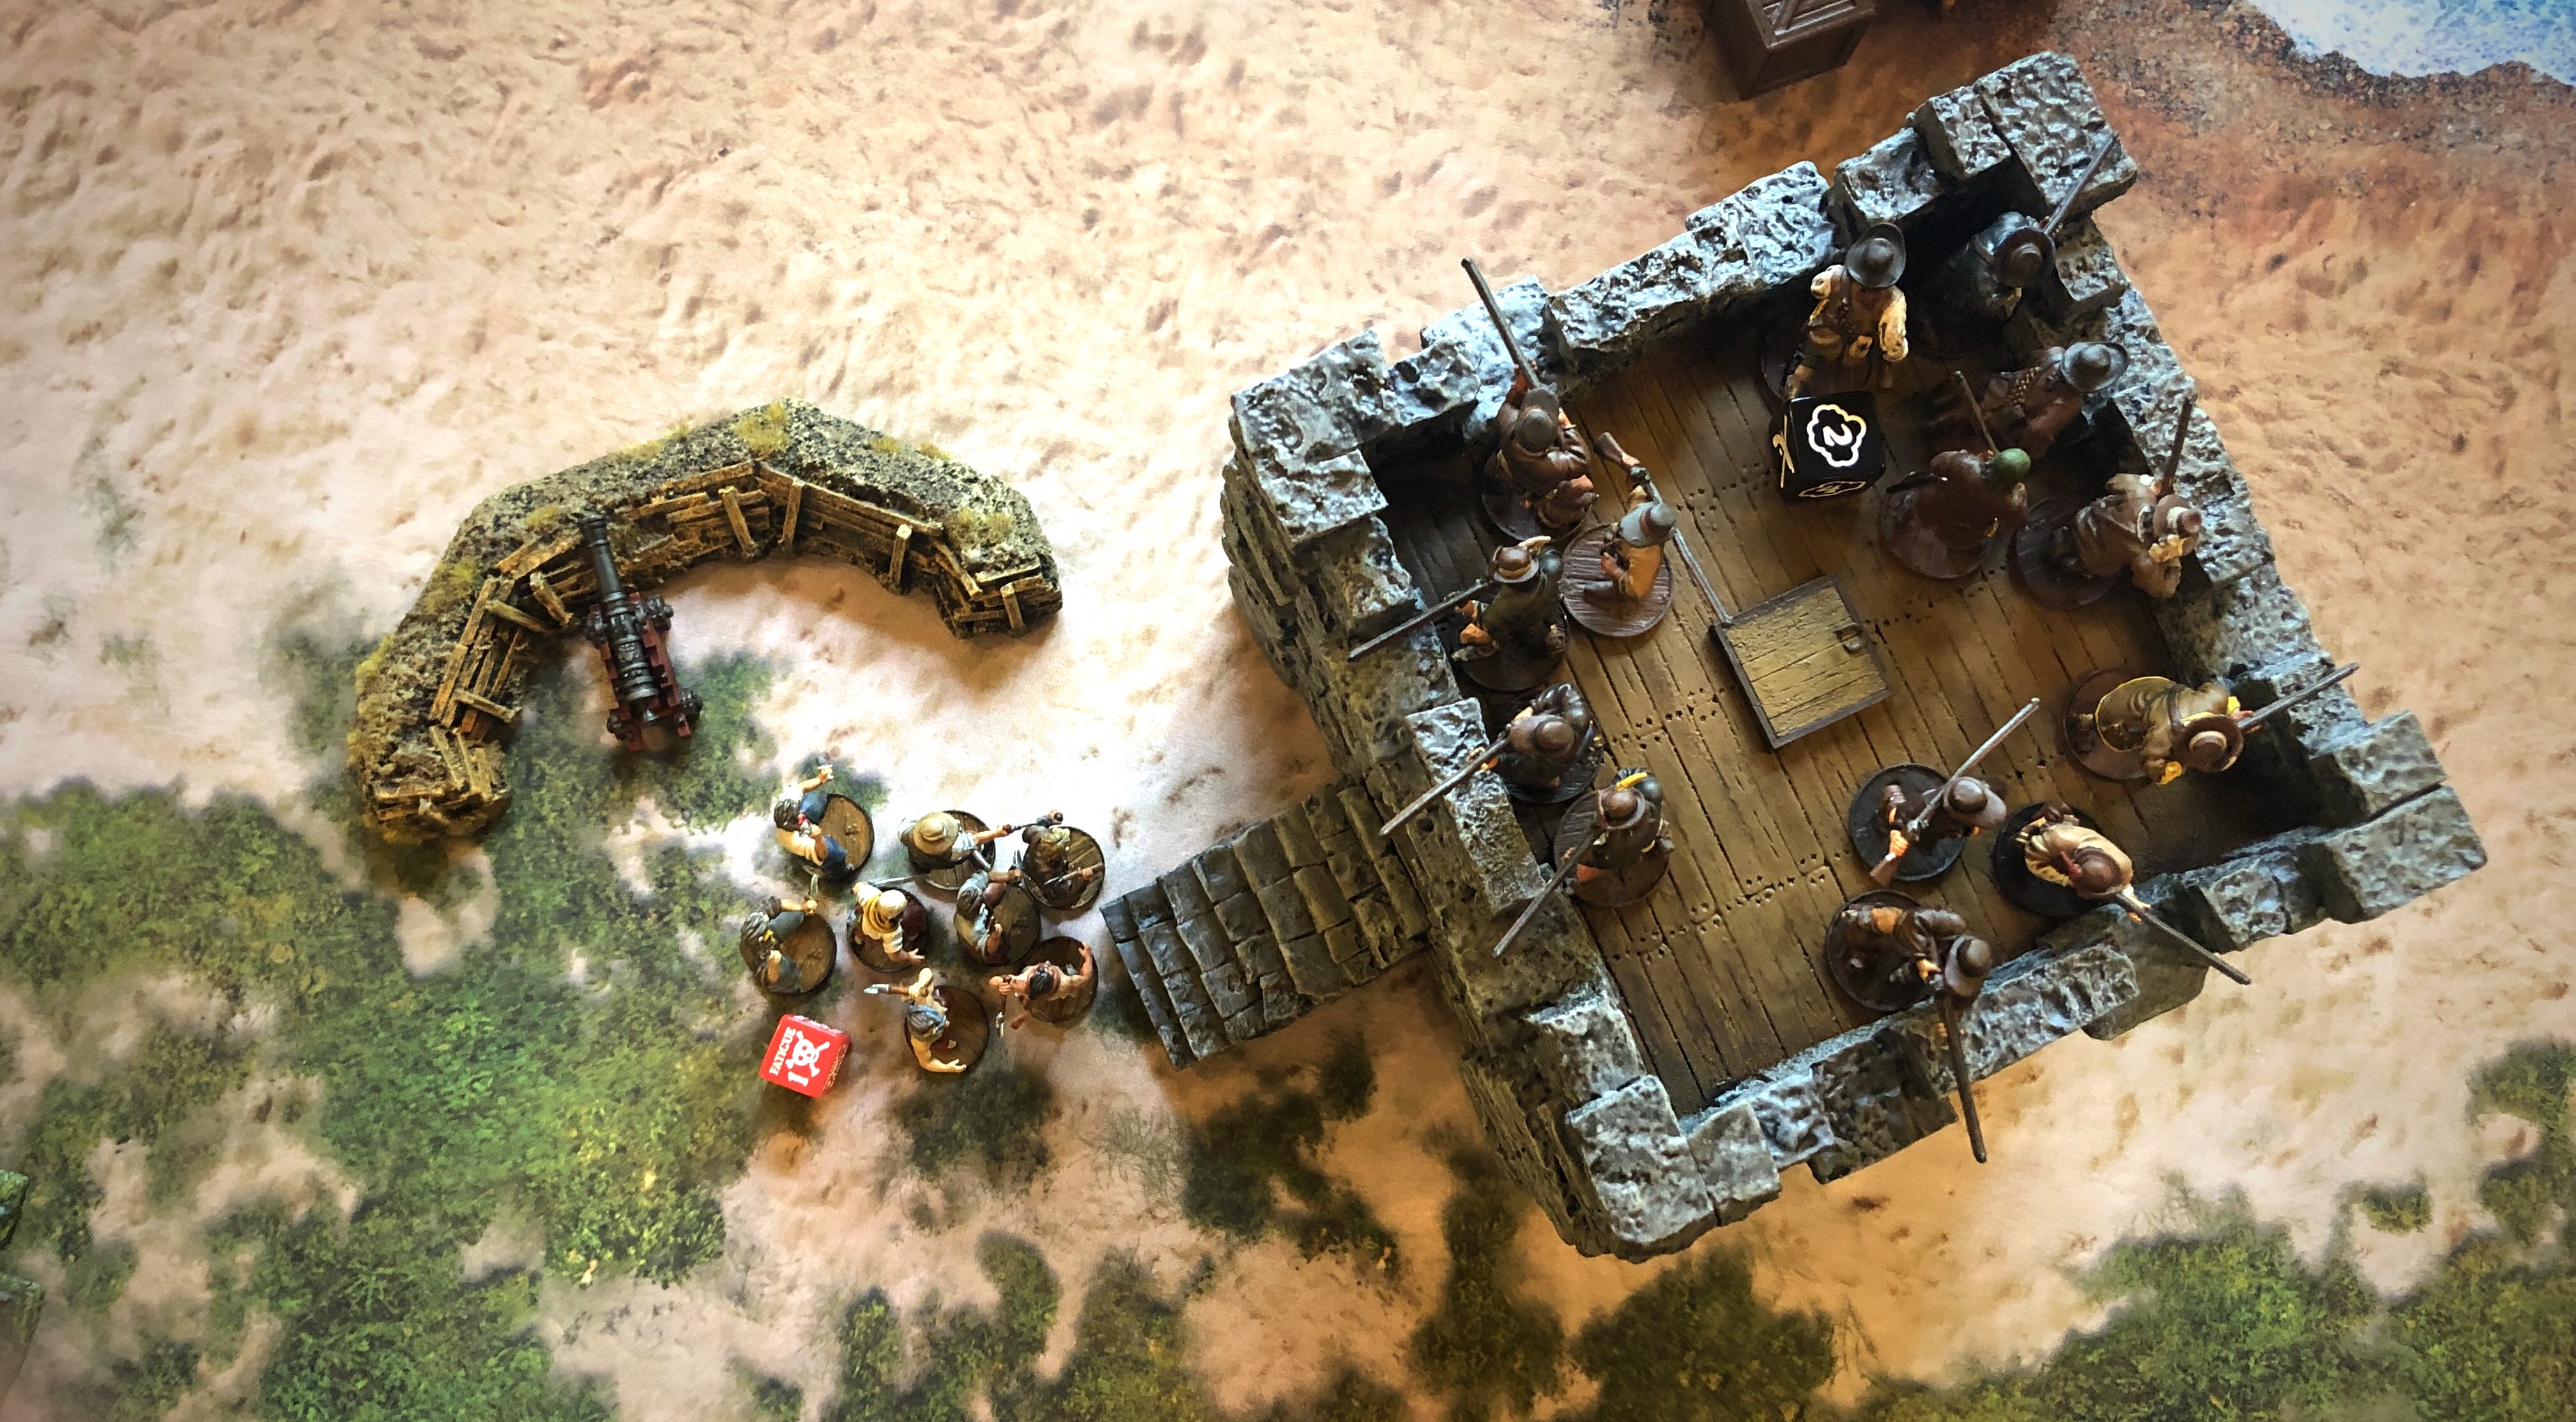
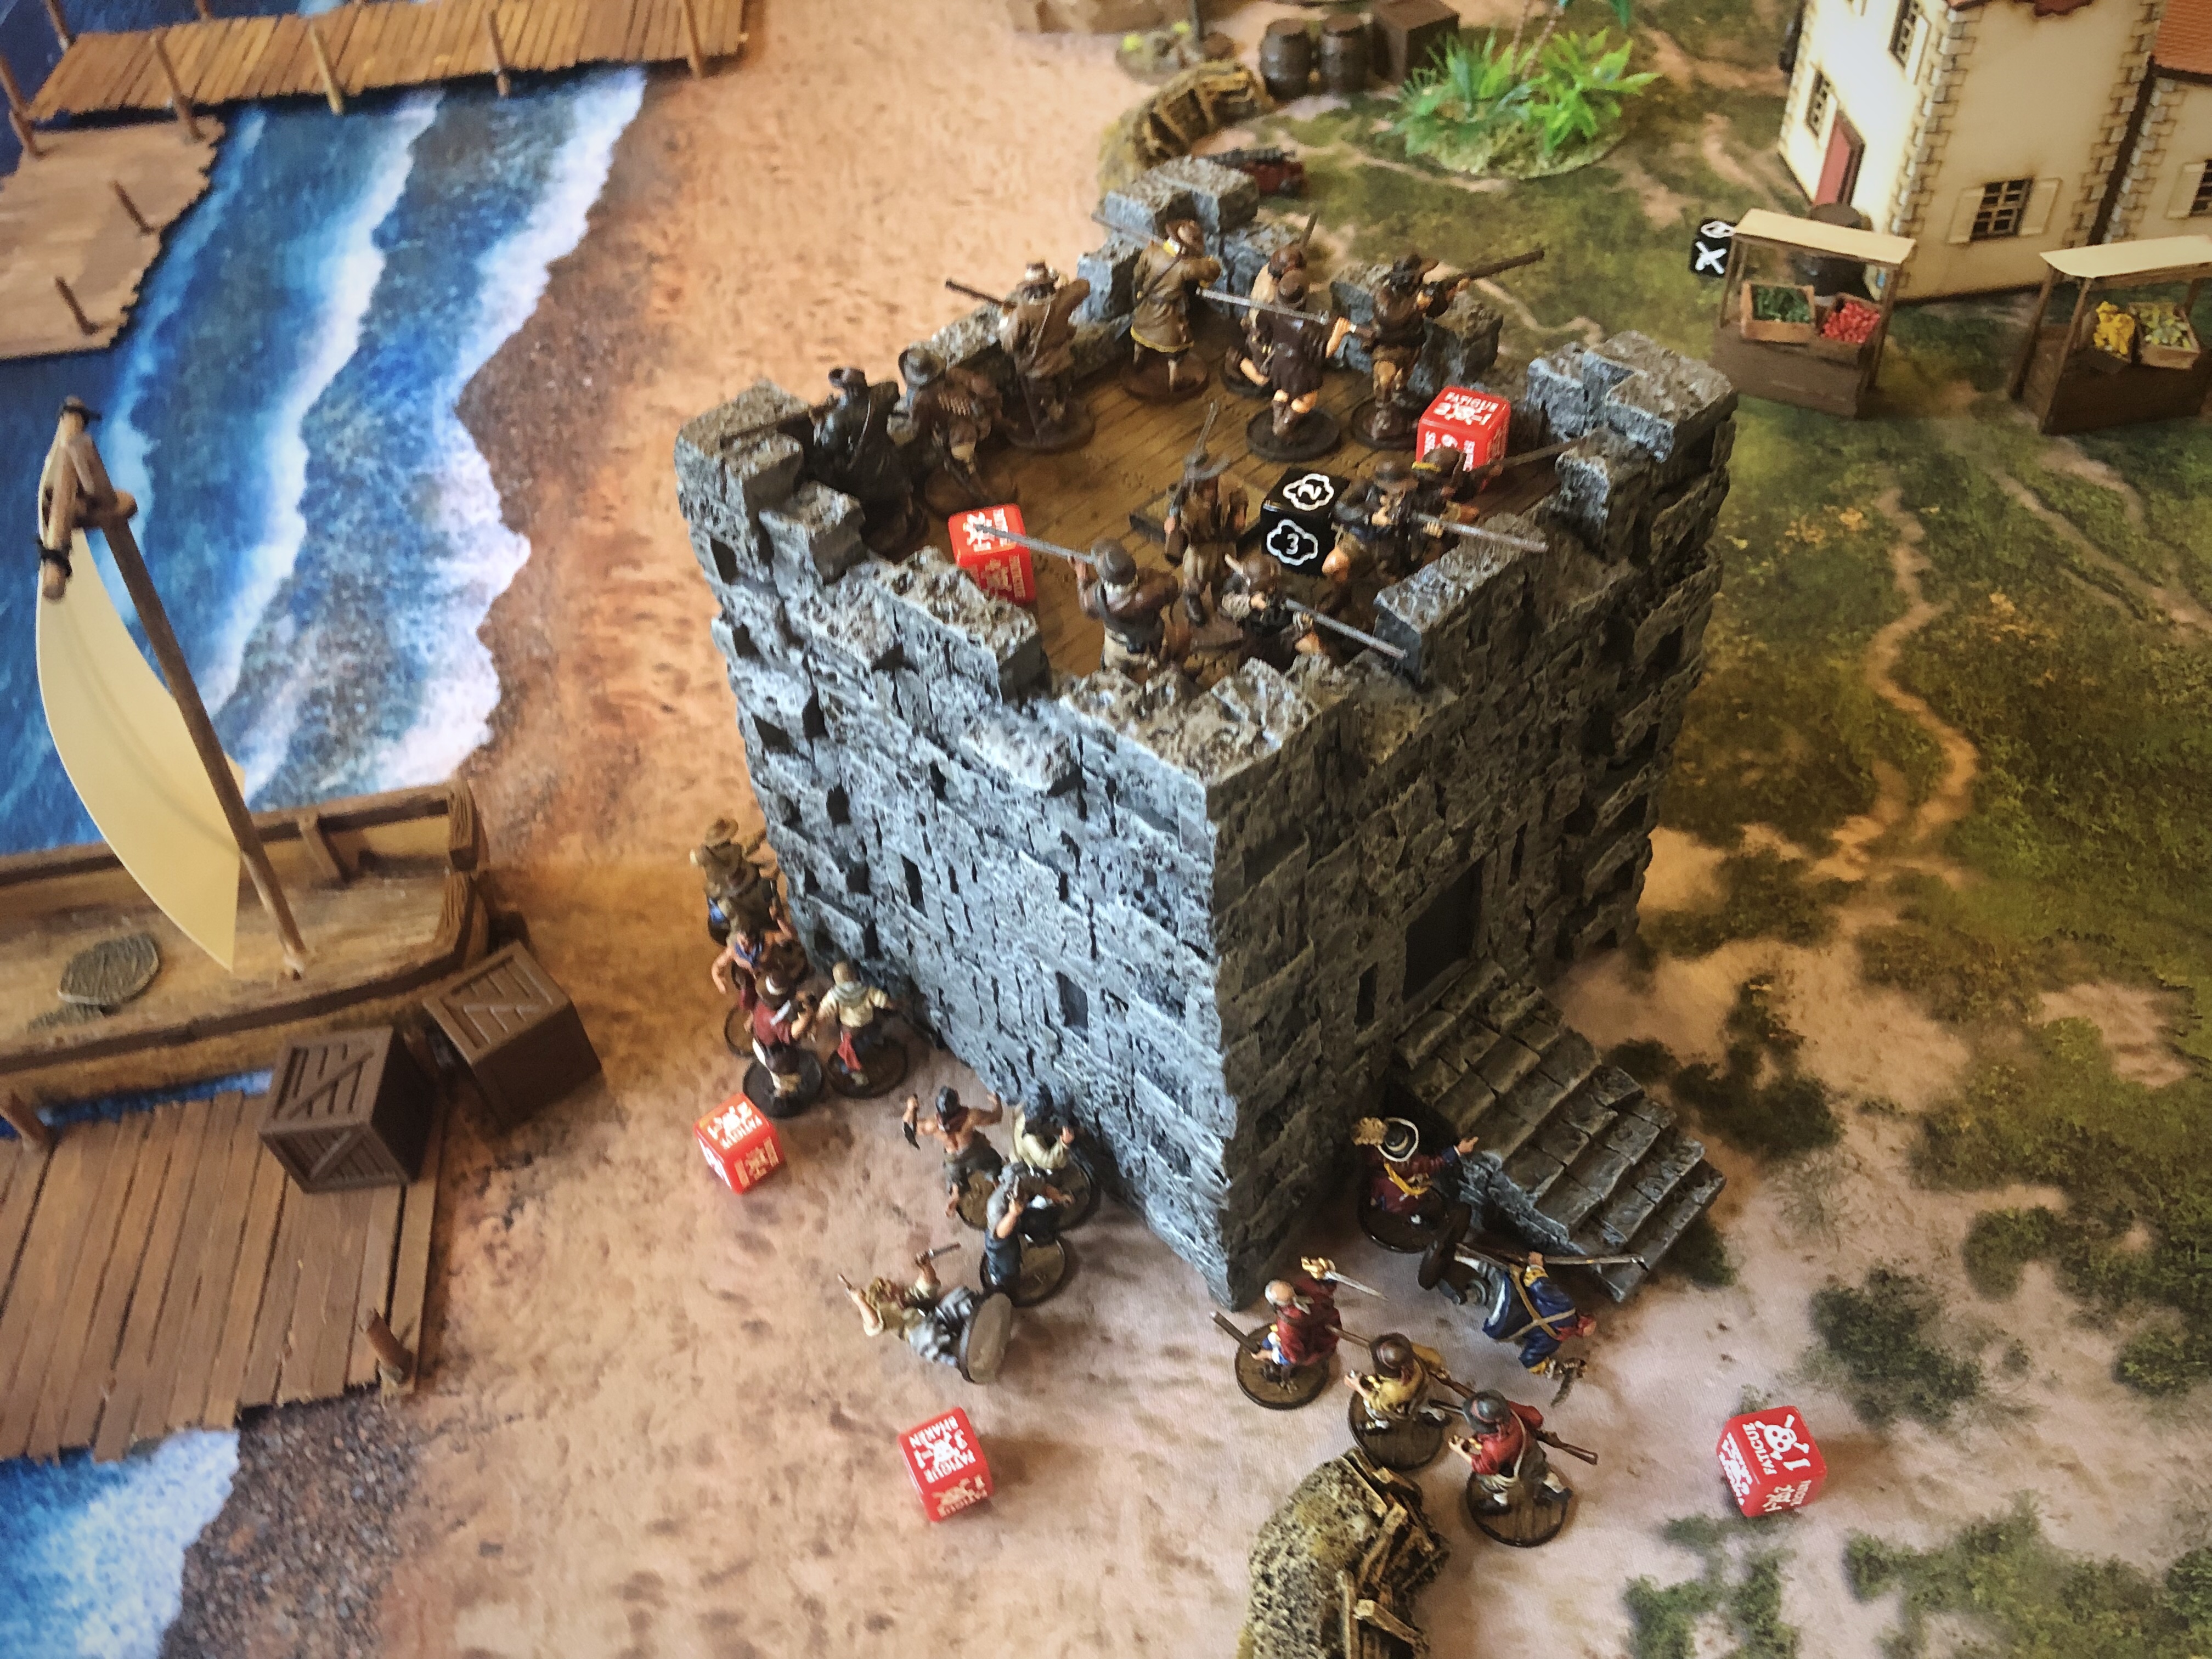
Board state at the end of the game.
My two remaining units of Sea Dogs proceeded to throw another 4 Firepots (one of which blew up in my face but scored no hits!) which left the Julien Lambert the last remaining soul on the lower level.
The fire didn’t spread at the end of turn 4 and neither of us had 2 more Strikes than the other! Going into turn 5 both sides were pretty beat up at this point but I was able to throw enough Firepots to get the second story burning then I gotta which point Bryan’s French couldn’t even fire back at me as they battled the flames.

Near the end of round 5 another Firepot succeeded in adding a 3rd Fire market and the entire fort and all the French inside were destroyed!

My English had suffered 26 casualties of the 43 starting models.
English Casualties
Post-Game Thoughts
- Explosives are really strong vs fortifications! It’s still a challenge getting close enough to deliver the explosives but once you get there, the damage output and possibility of setting the structure on fire is much more efficient than trying to cut through a Save of 3 with small arms fire or getting damage through a Fortitude of 6 with cannon fire.
- The Local Guide proved helpful here! Getting that free move was strong, especially on Veterans, so they could fire as well as move considerable distances.
- If I had been really lucky, I could have destroyed the entire fort during that one Forlorn Hope attack. If all 3 Firepot attacks had caught the structure on fire, that would have blown the whole thing up. That means it would have been much smarter to bring 2 Firepots on the Forlorn Hope rather than a Firepot and Grenade.
- In my last two games of this scenario, it seemed best to leave most (if not all) defending units in the fort. The danger of explosives could make it worth it to have a unit or two outside the fort to make it even harder to approach the fort.Forlorn Hope are brutal when they get close! 39 attack dice from that one unit in one activation! It’s actually amazing that anything in that fort survived!
- My Engages did decent work in this game. They weren’t amazing but they did solid work for 4 points each and a nice 6 Save. They did the most to hinder the musket fire coming from the top of the fort. Even at Inexperienced, I was able to get 2-3 actions out of them every turn. I pushed them in three successive turns to get more out of them and I was lucky to get that Lead By Example Fatigue removal to keep them going.

- French Musketry is so nasty. 6 Shoot skills on most of their units, Boucaniers hitting on 4’s at one point during this game and Ball & Shot increasing damage output! Those Boucaniers killed a lot of my men!
- It was fun to see Lead by Example trigger. Removing a point of Fatigue from each of your units can be a big deal. For some reason I don’t see it happen very often but I’m going to see if I can make more use of it in the future.
- Per usual, I made some mistakes. I applied a +2 penalty for my Forlorn Hope pistol shots when I should have only applied a +1 since I was within 4″. Also, after I initially set the bottom story of the fort on fire, I stopped checking for the the Firepots causing fire again, but I should have because that will set the adjoining section on fire. I retroactively rolled those checks after we re-read that rule but they all failed.
Thanks to Bryan for playing this scenario twice in a row with me! I found the Attacker’s role pretty difficult and I would like to see how other people have approached it and what the end result has been.
Thanks for reading!
Pingback: Force Building IV: Building for Amphibious Games | Blood & Pigment