My fort arrived! It took me a while to get around to ordering it but it arrived last week and I’ve been pecking away at it in the little time I’ve had for painting recently. I did a very quick and simple paint job that probably took less than 2 hours from start to finish.
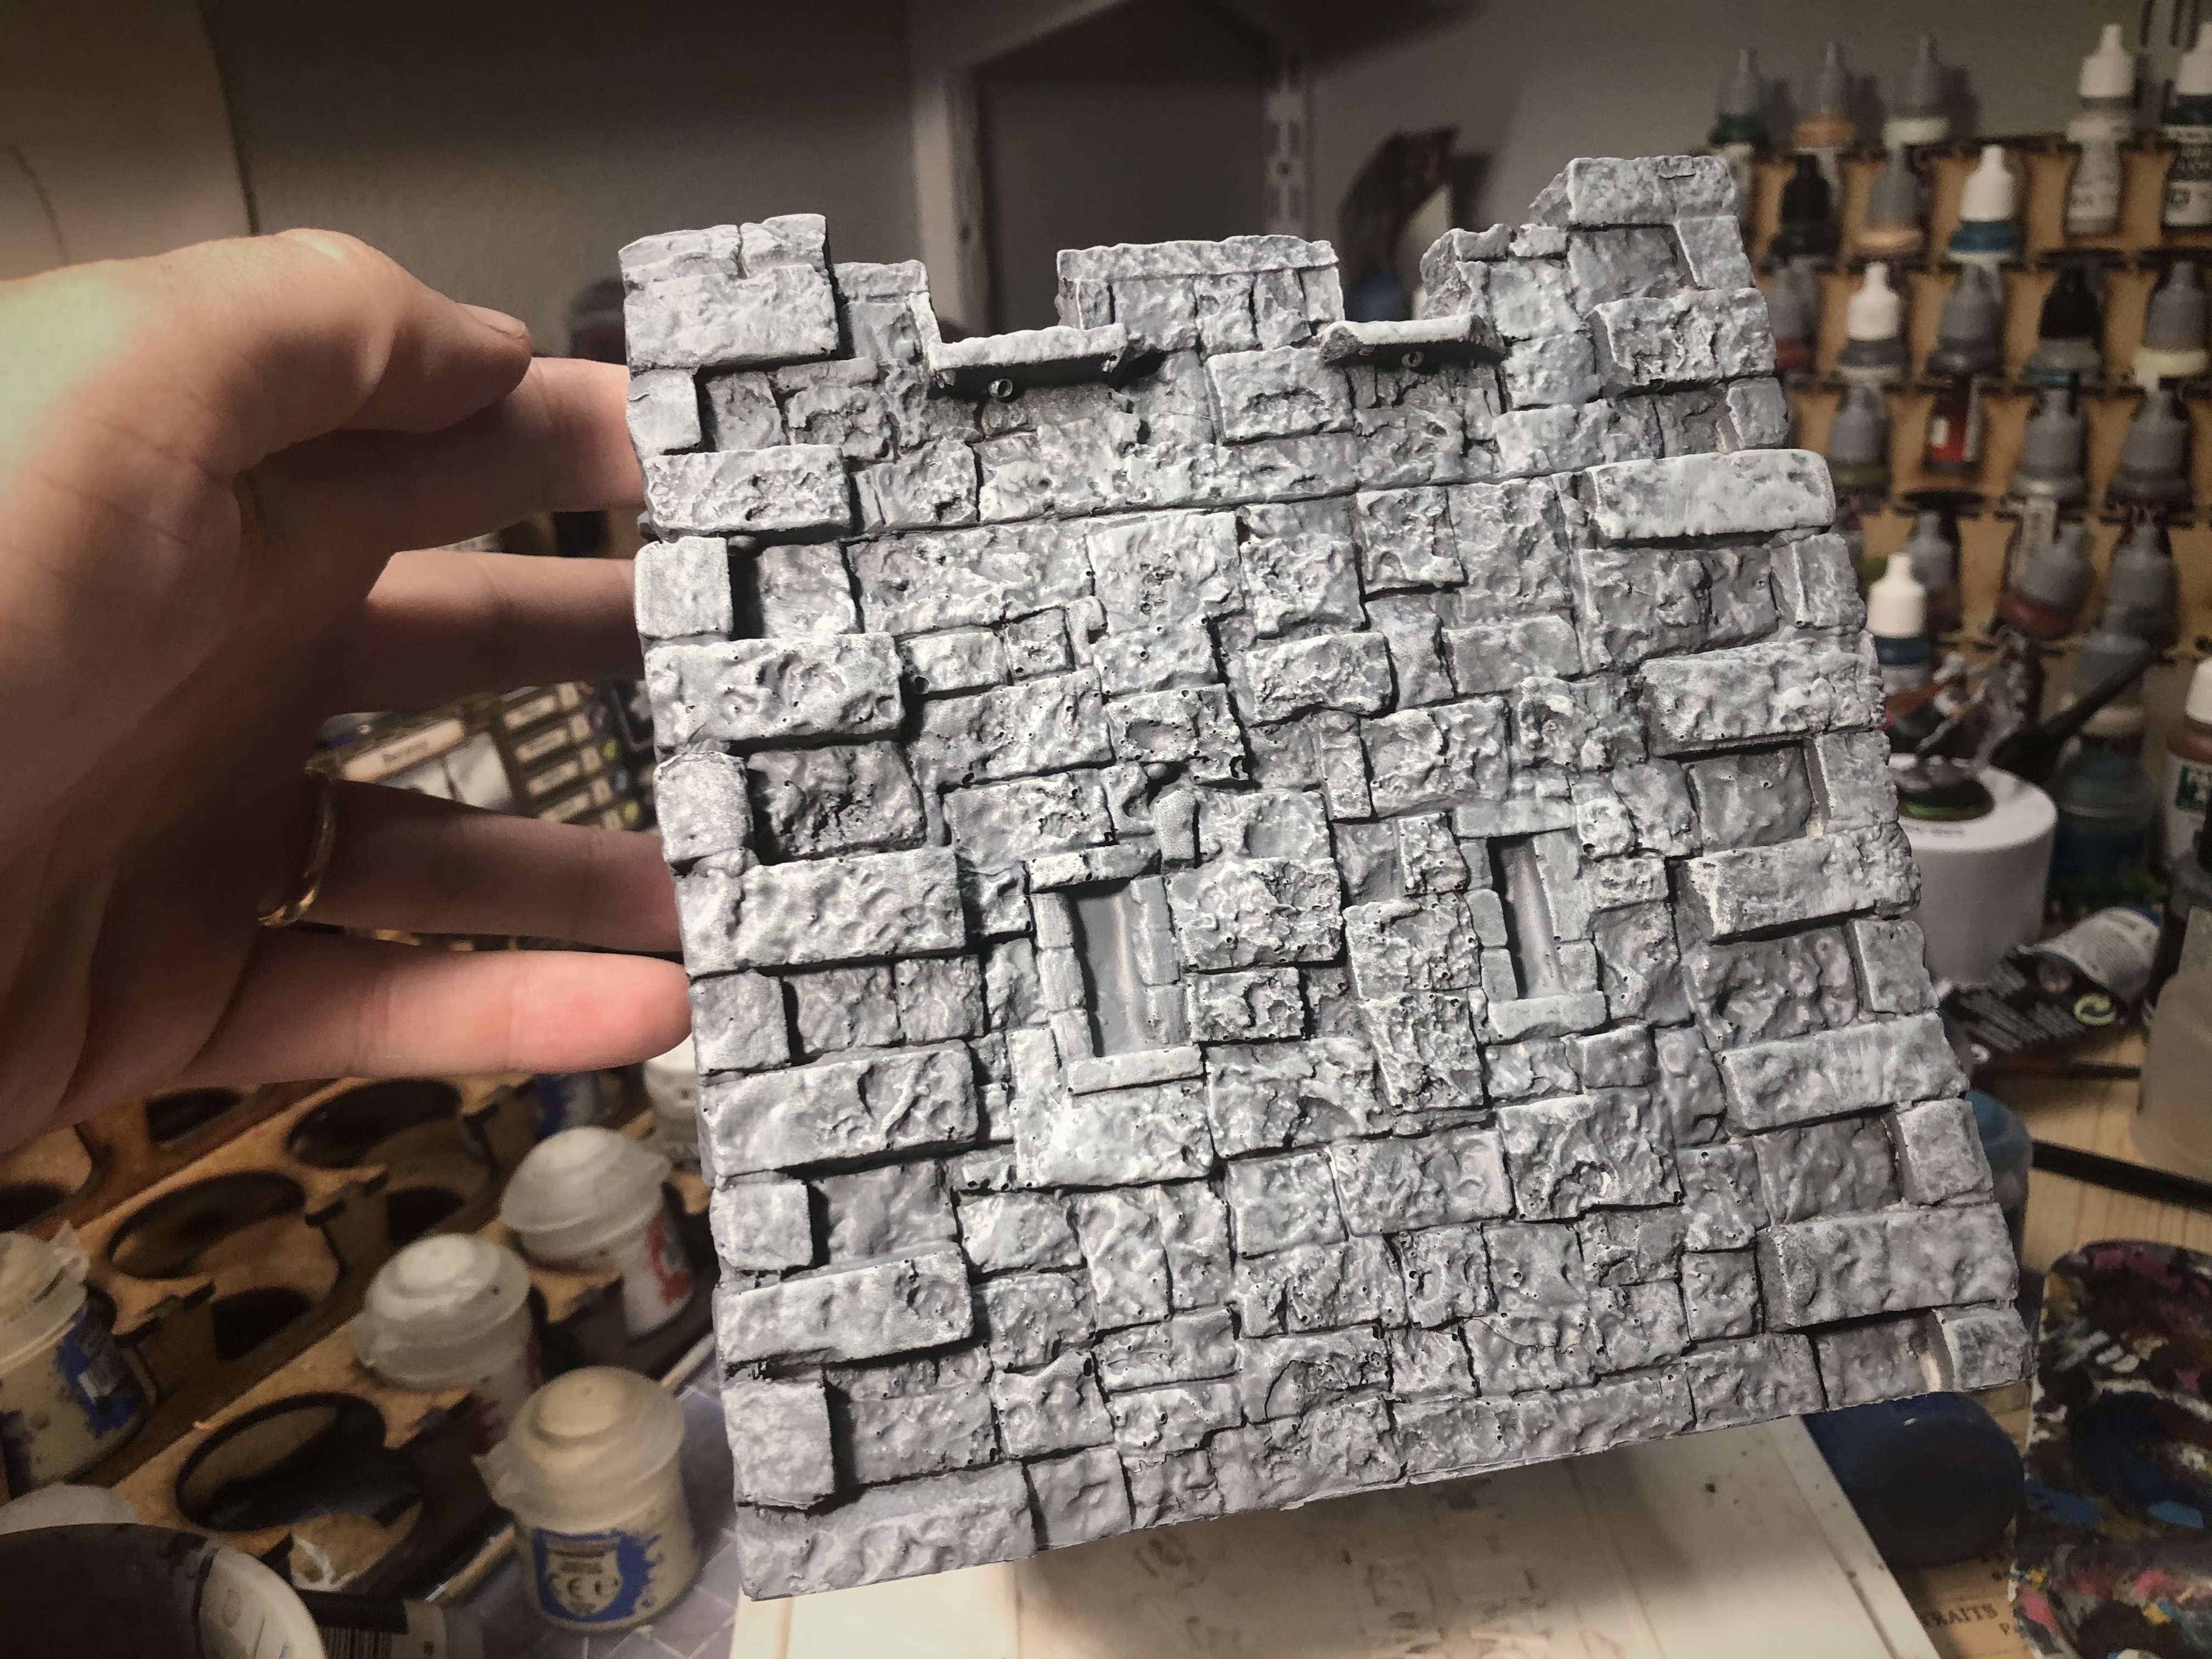
This fort is larger than I anticipated. My daughters was impressed that it was bigger than her head! The quality is good but as is often the case with resin, it had some pitting and bubbles here and there. The walls were straight and there was no warping or concave walls so I didn’t really do any cleanup to it. I just washed it and started painting.

I primed with a black spray paint at an angle from below then used Army Painter grey primer from above. Priming was a bit of a trick with all the crevices and cracks between the stones. I had to go back with a brush and get paint into the deepest recesses by hand.

While I was touching up the priming by hand, I colored a few stones slightly darker with the grey citadel paint I was using.
Next I went over the entire body of the fort with a light grey drybrush (Citadel Celestra Grey) to bring out the texture. I tried to use a primarily downward stroke with the brush to weather stones from the top.
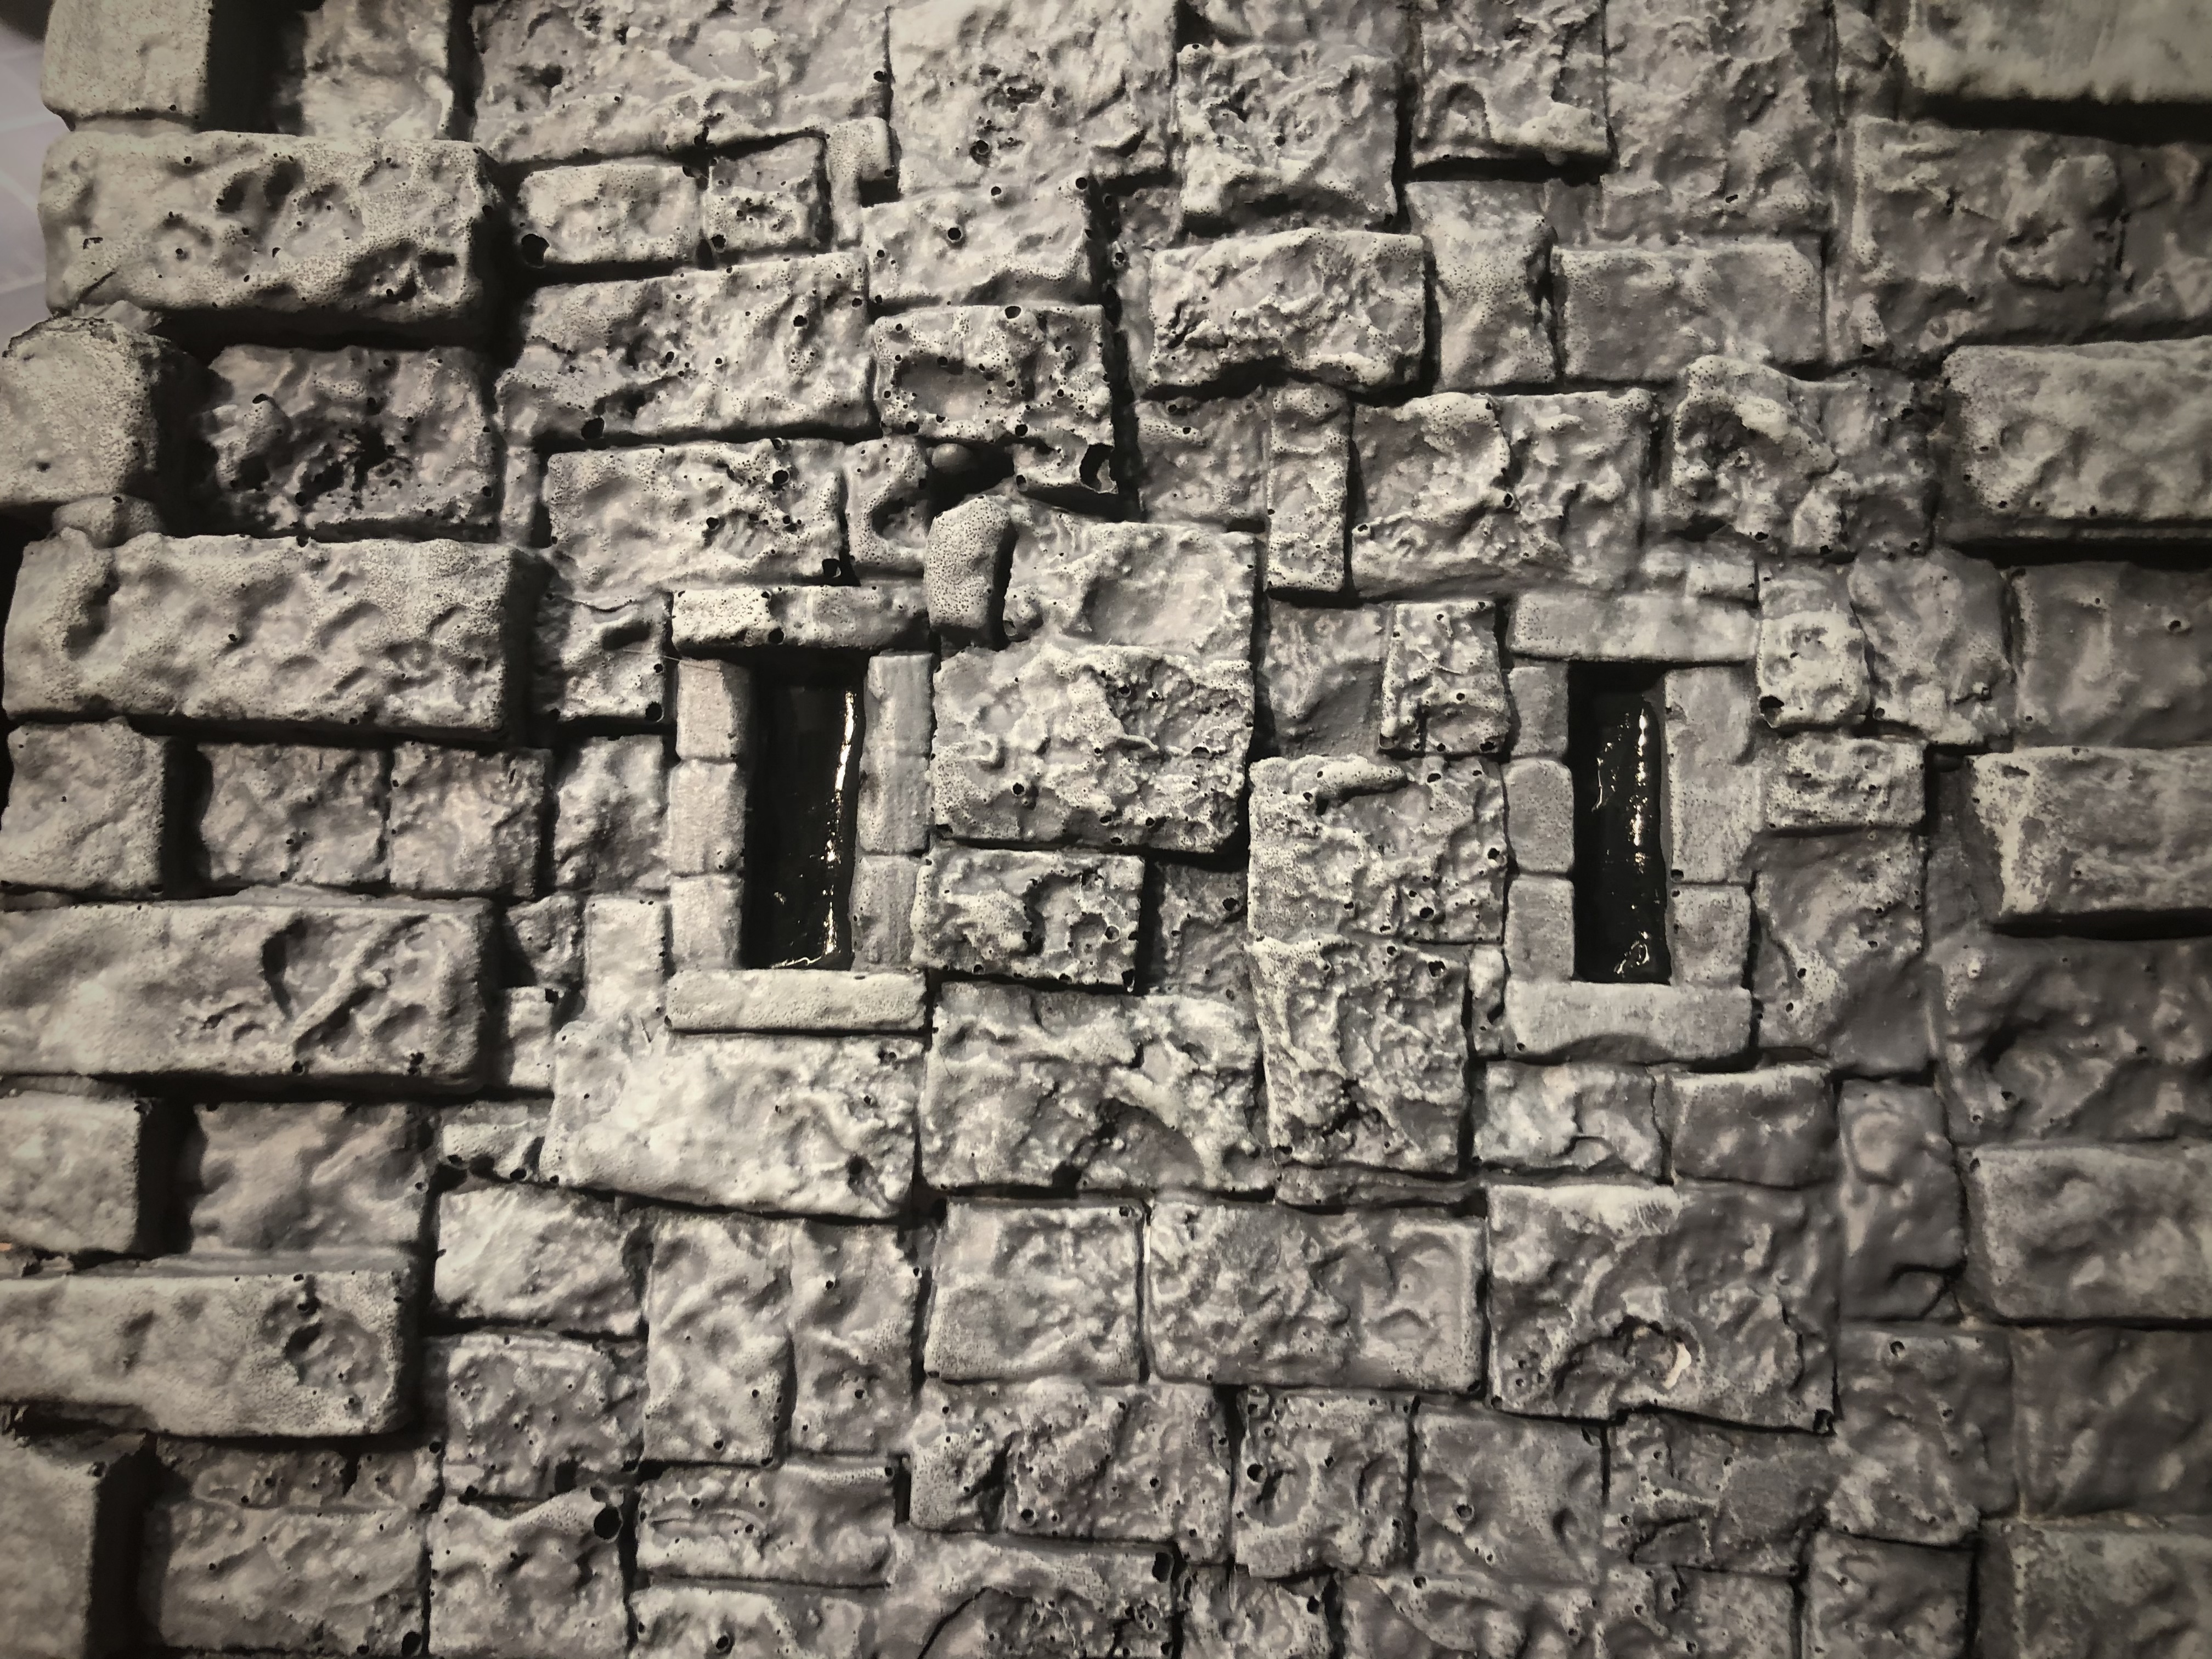
For the slit windows and doors I used some black and German Grey using a wetblend technique. You can’t really tell from the picture but it gave it a little depth with the variation in color.
I went over the body of the fort again with a lighter grey (Ulthean Grey) drybrush to give it some highlights and vary the color a little.
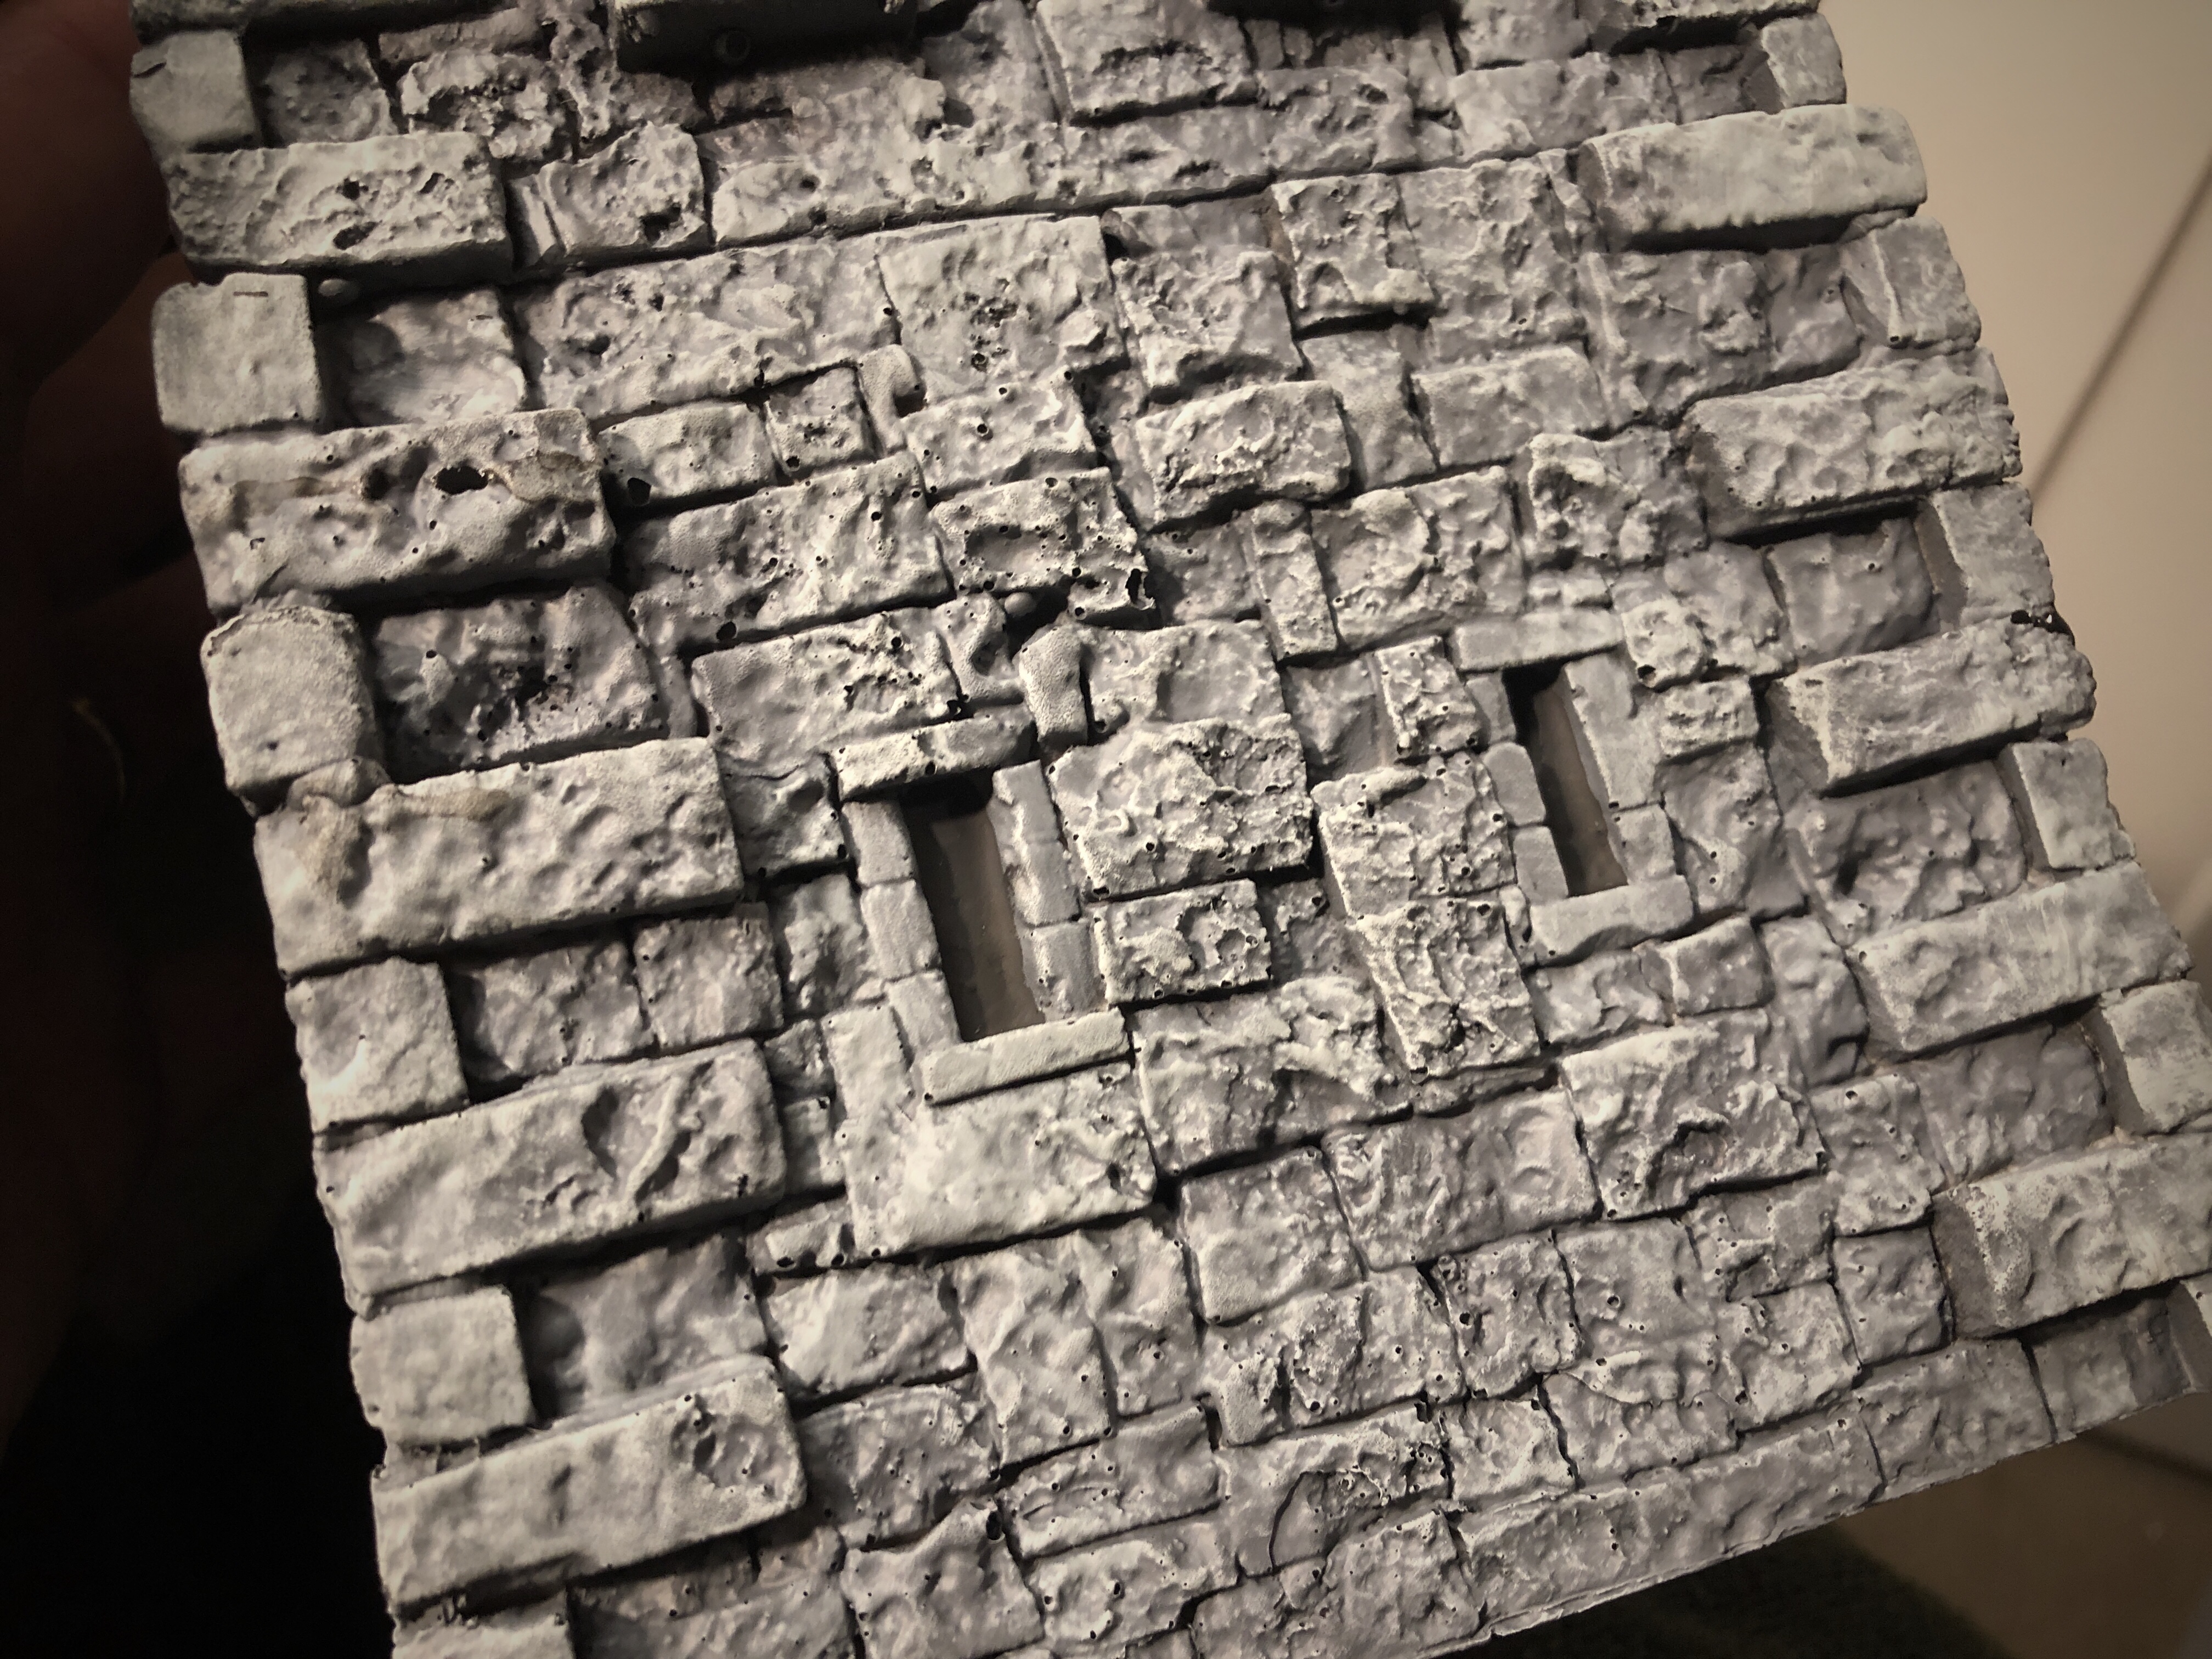
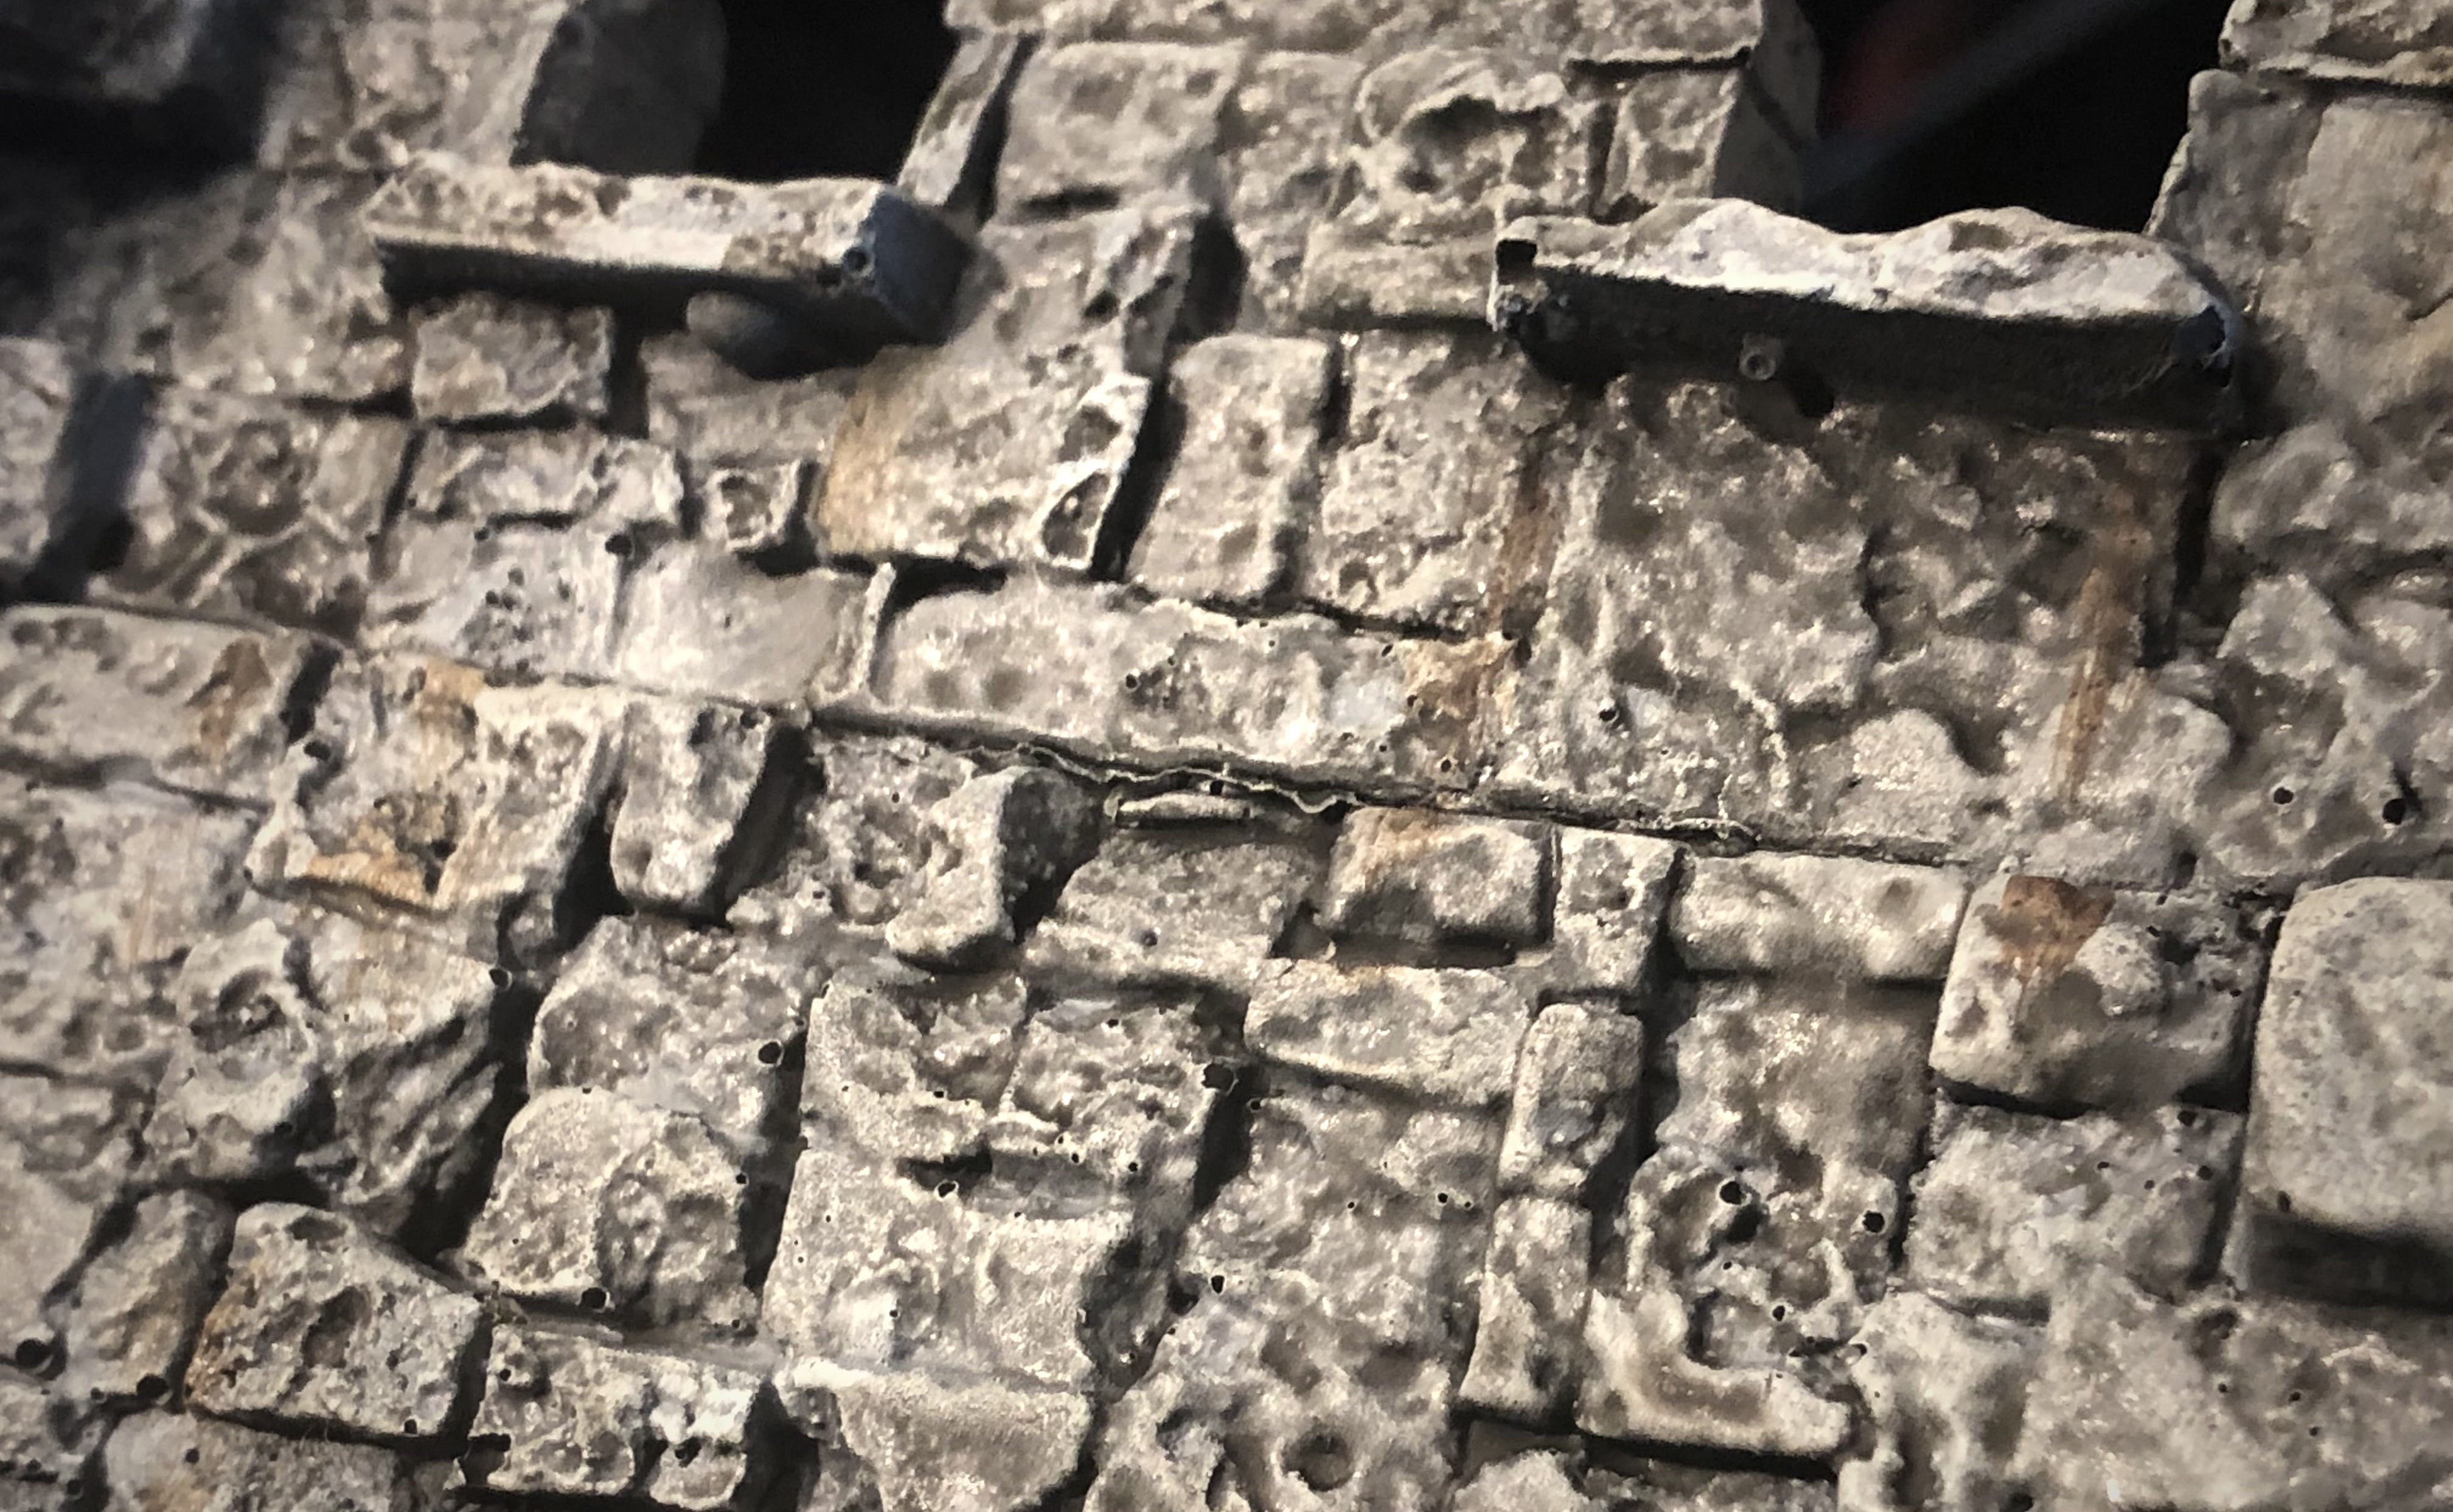
If you look carefully you can see some of the slight pitting in the center of this wall.
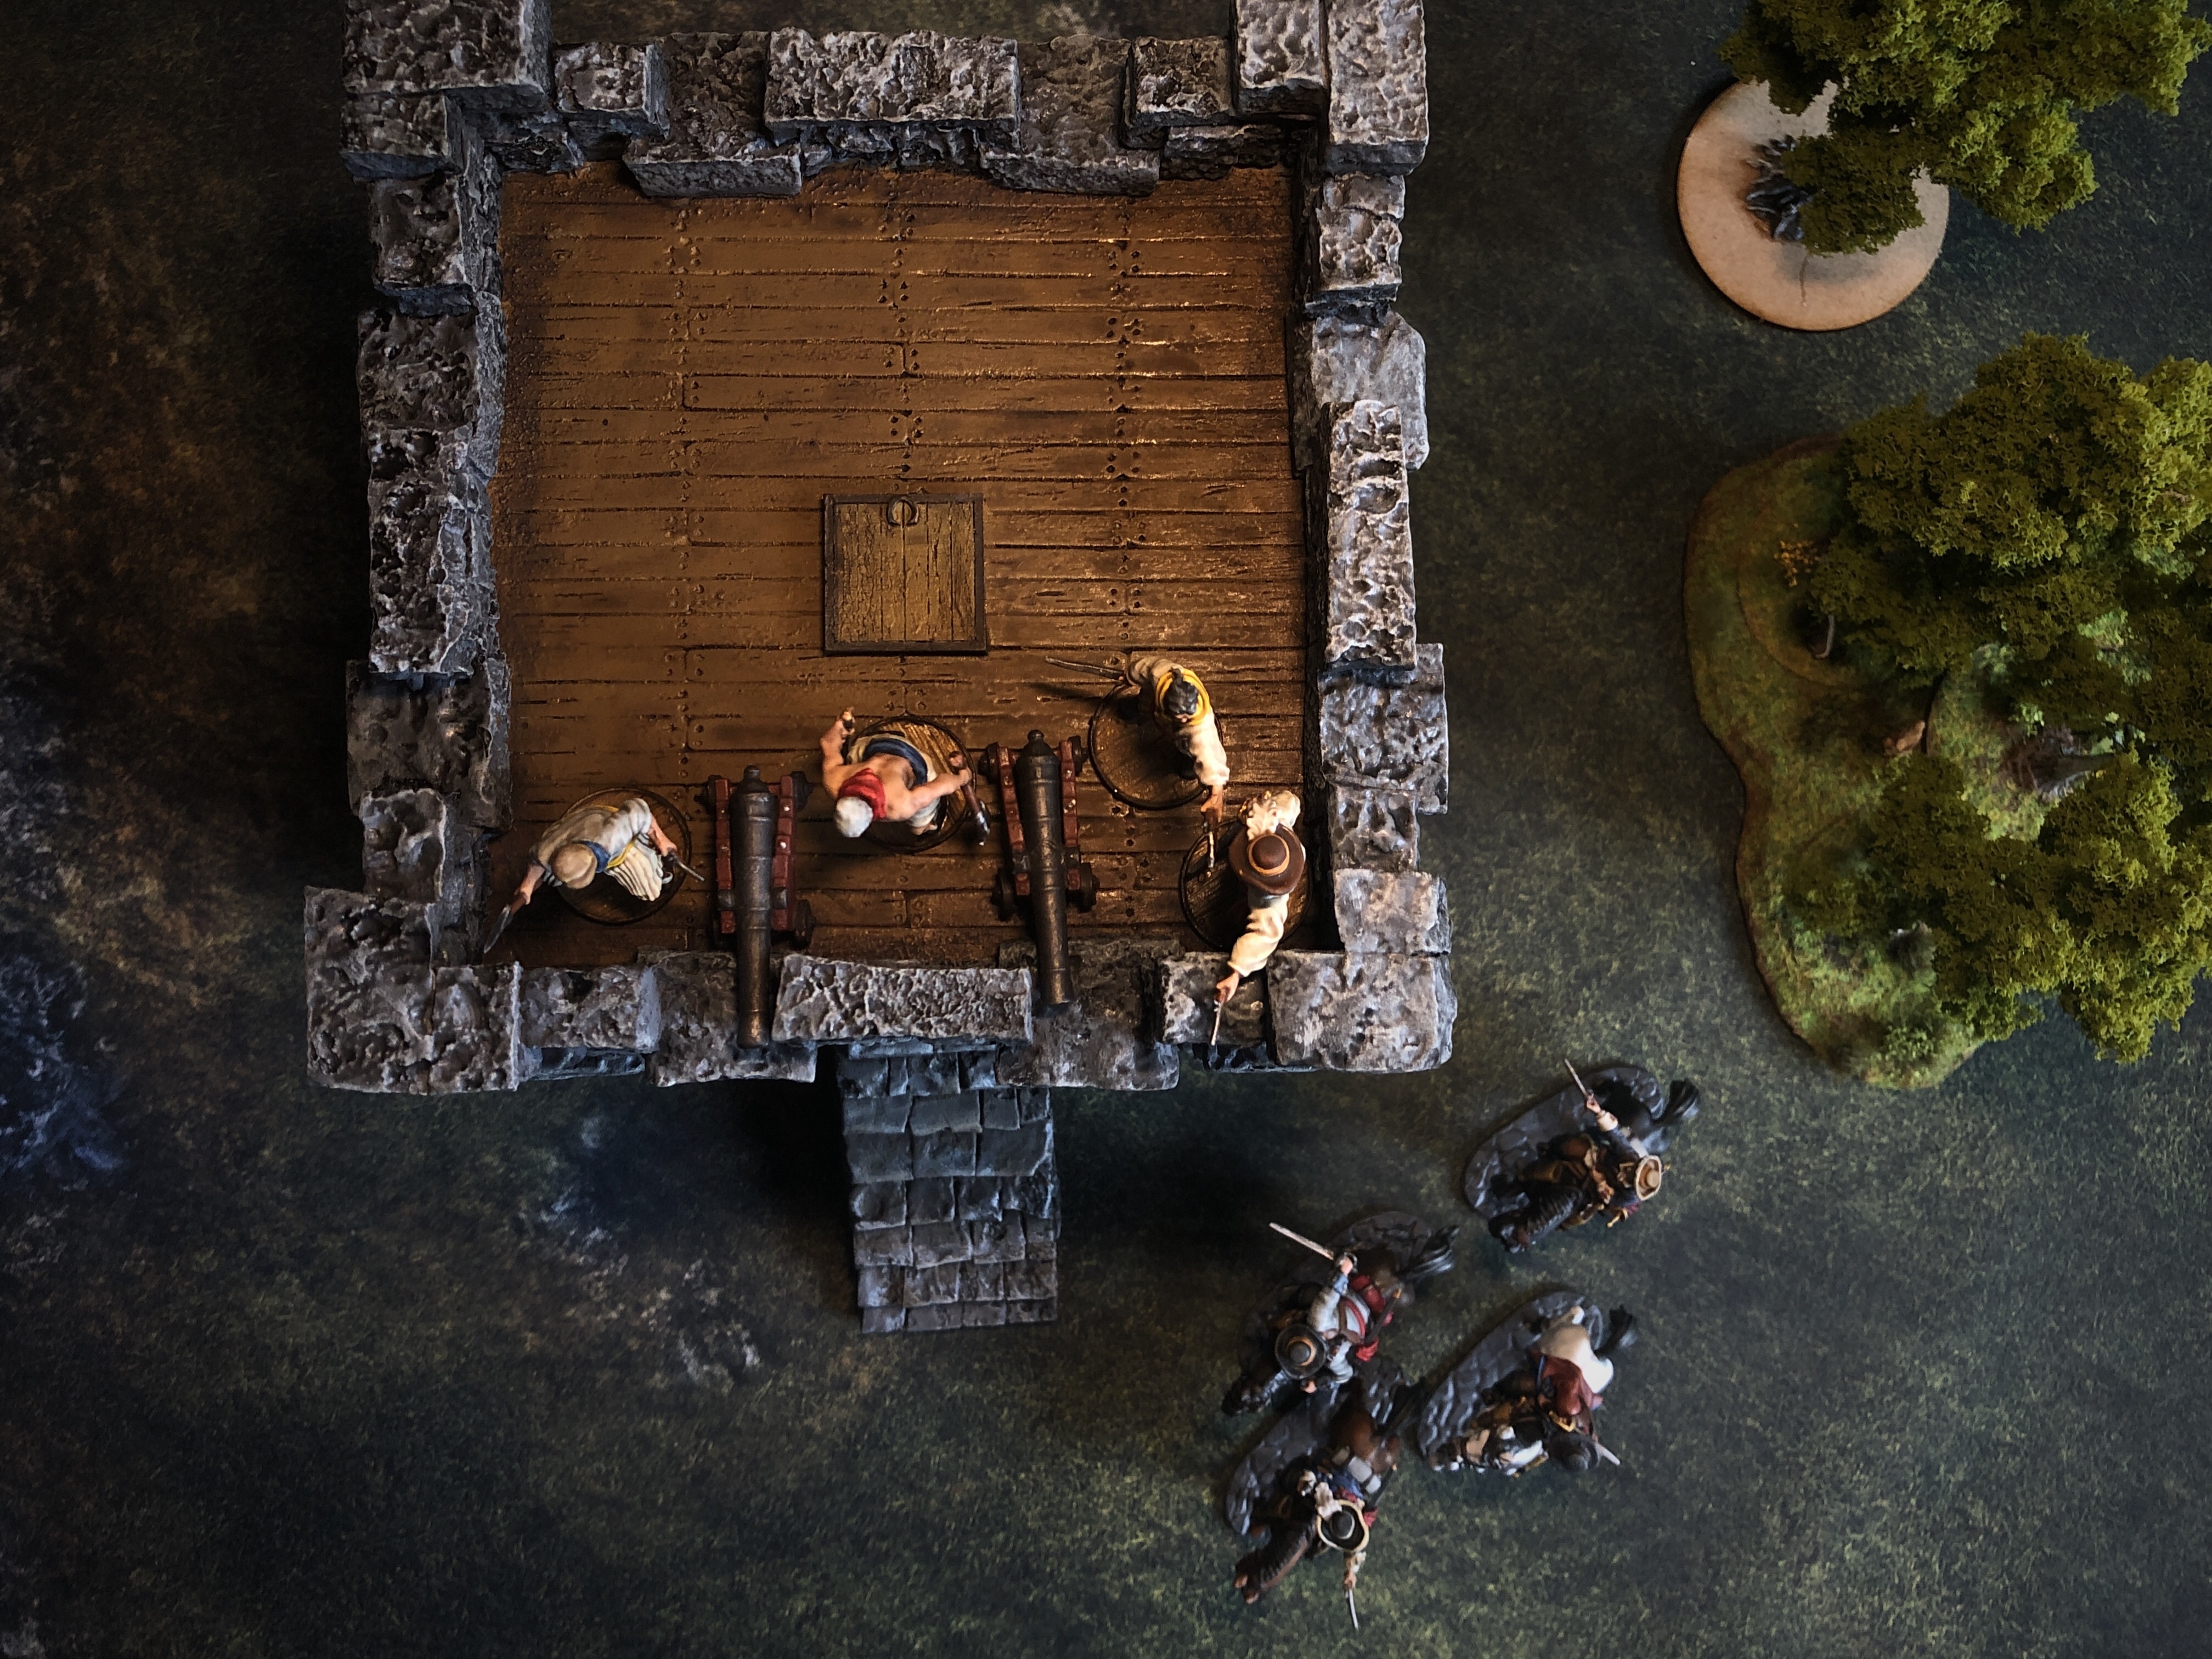
I used Citadel XV-88 for the wood platform. It isn’t the best wood color but I’ve used it on all my models’ bases so I wanted to match that color. I used Dryad Bark for the trapdoor frame.

I could have made the door fancier but this was good enough for me.

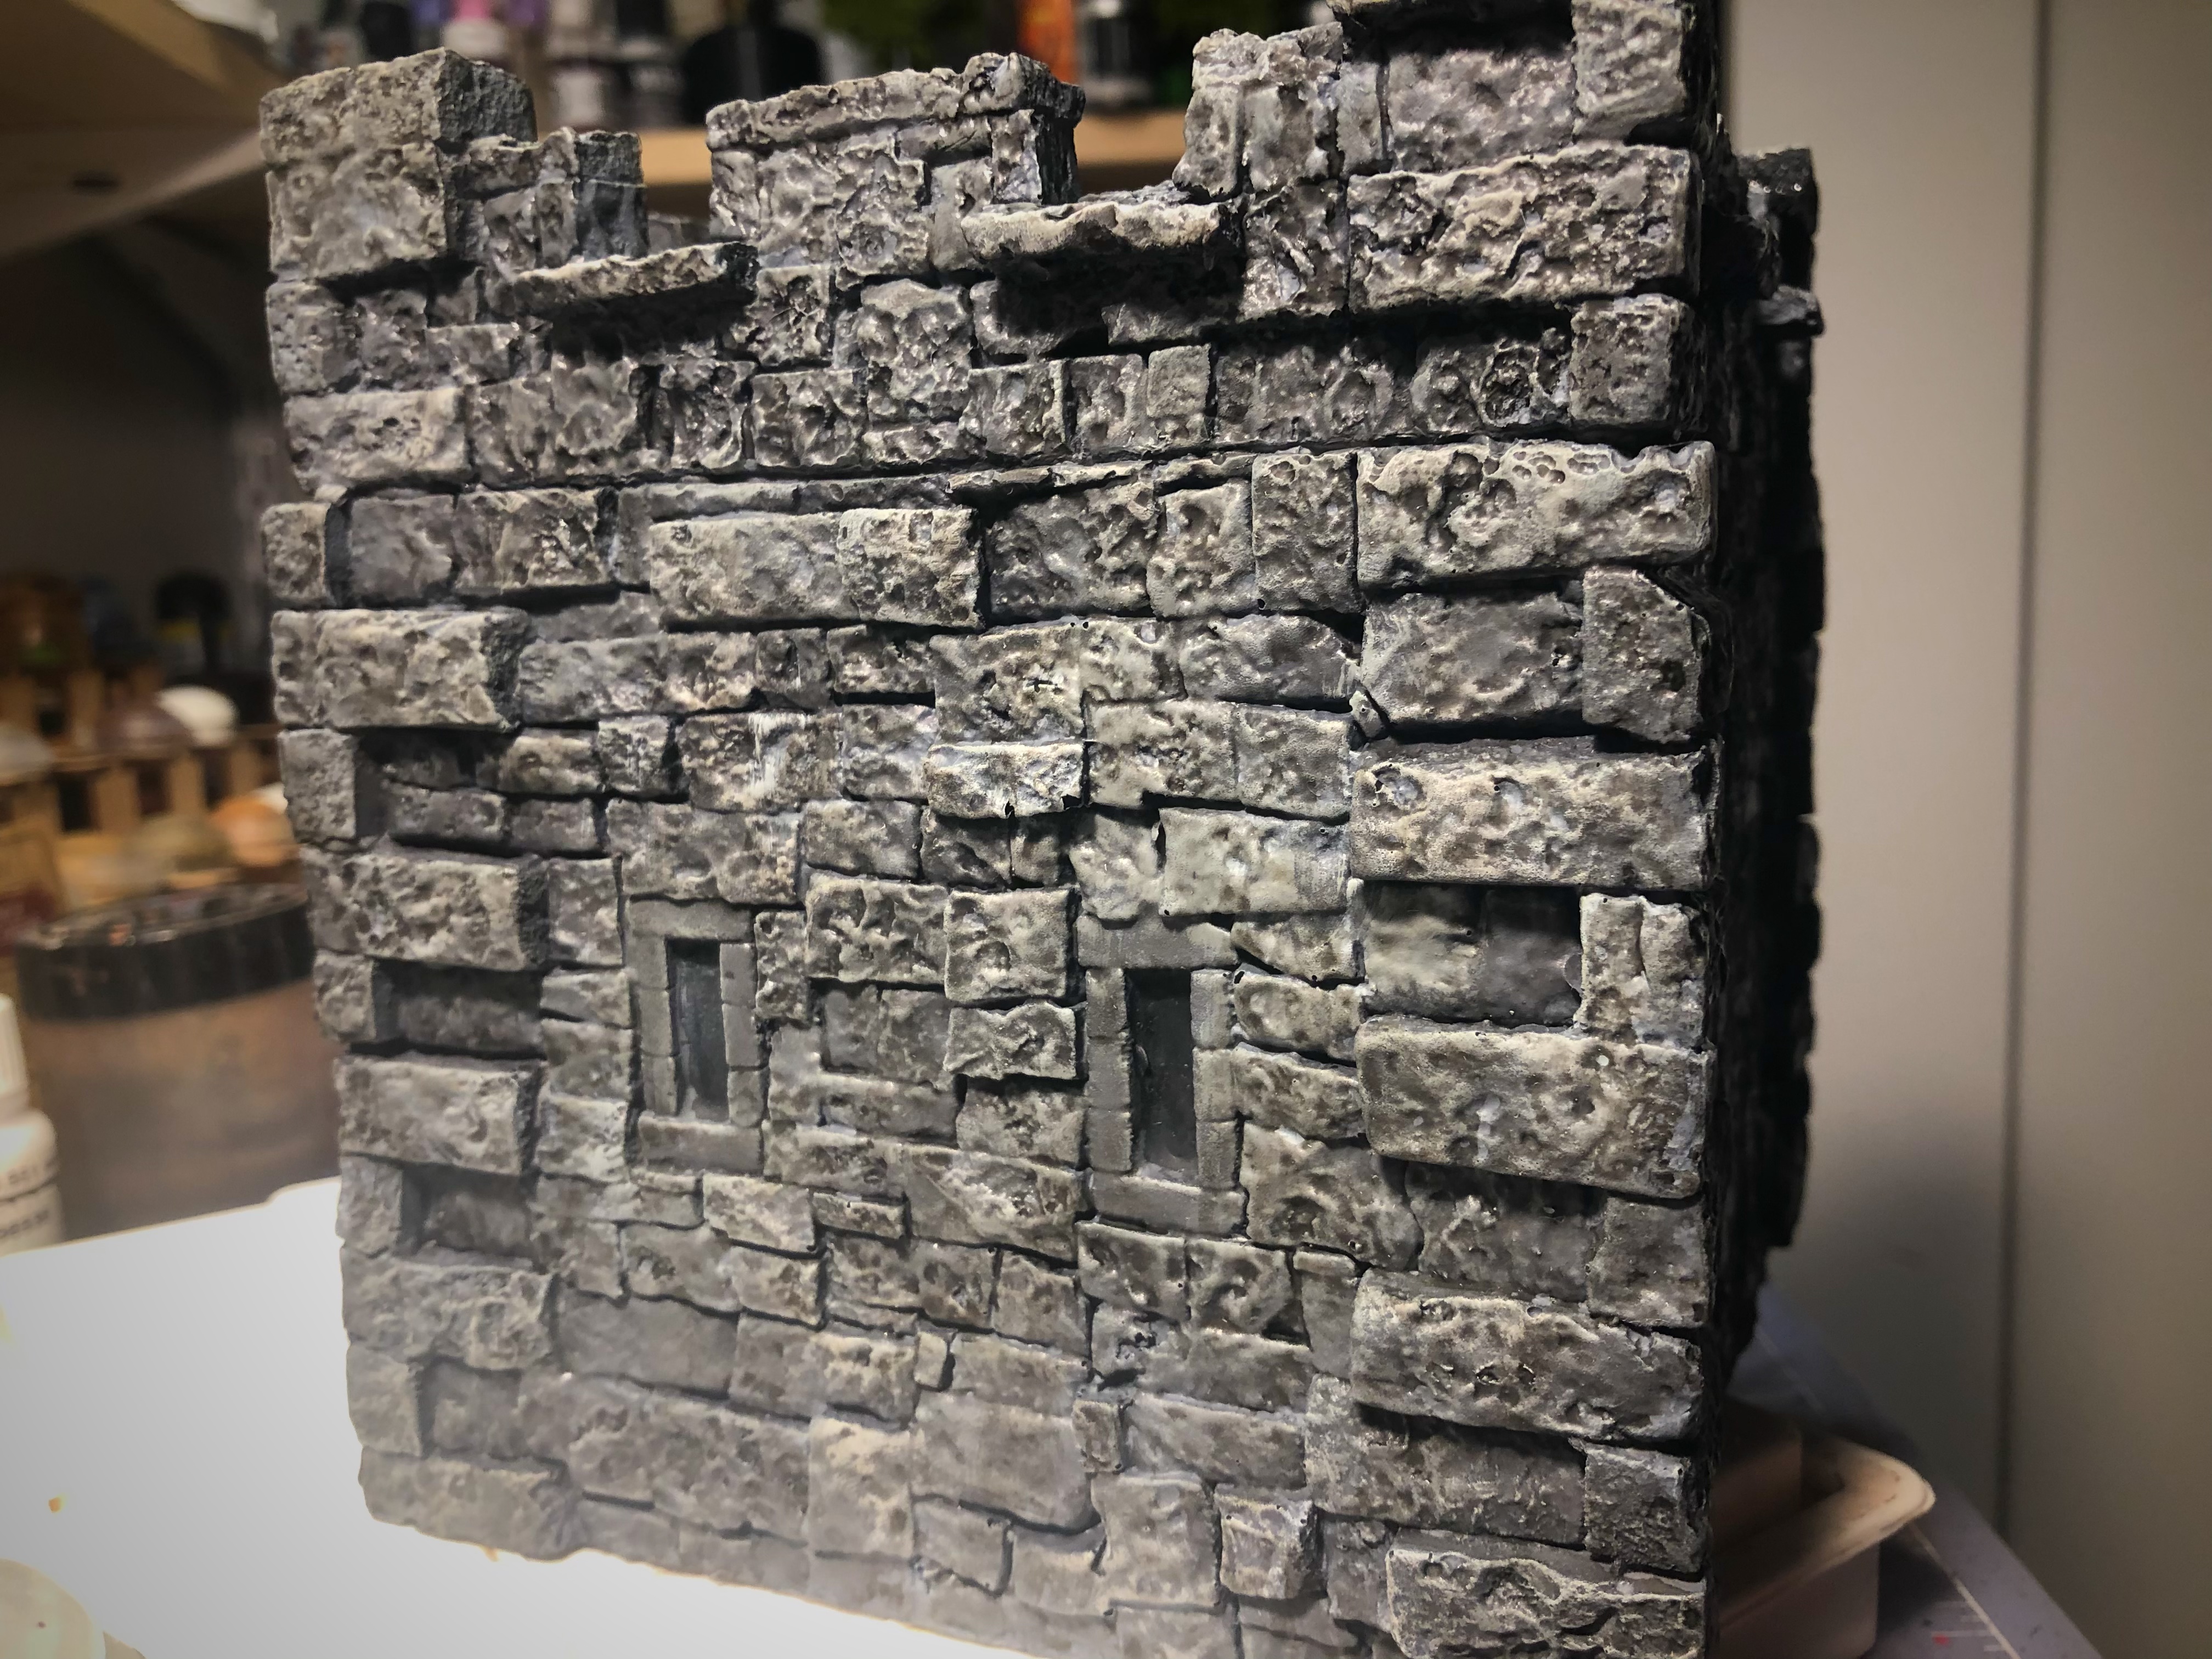
Next I covered all the stonework with my trusty Nuln Oil. Used up half my bottle…
I used Agrax Earthshade for the wooden platform.

For some additional weathering and variation in color, I used Typhus Corrosion to dirty up the stairs and add some dirty streaks to the walls.
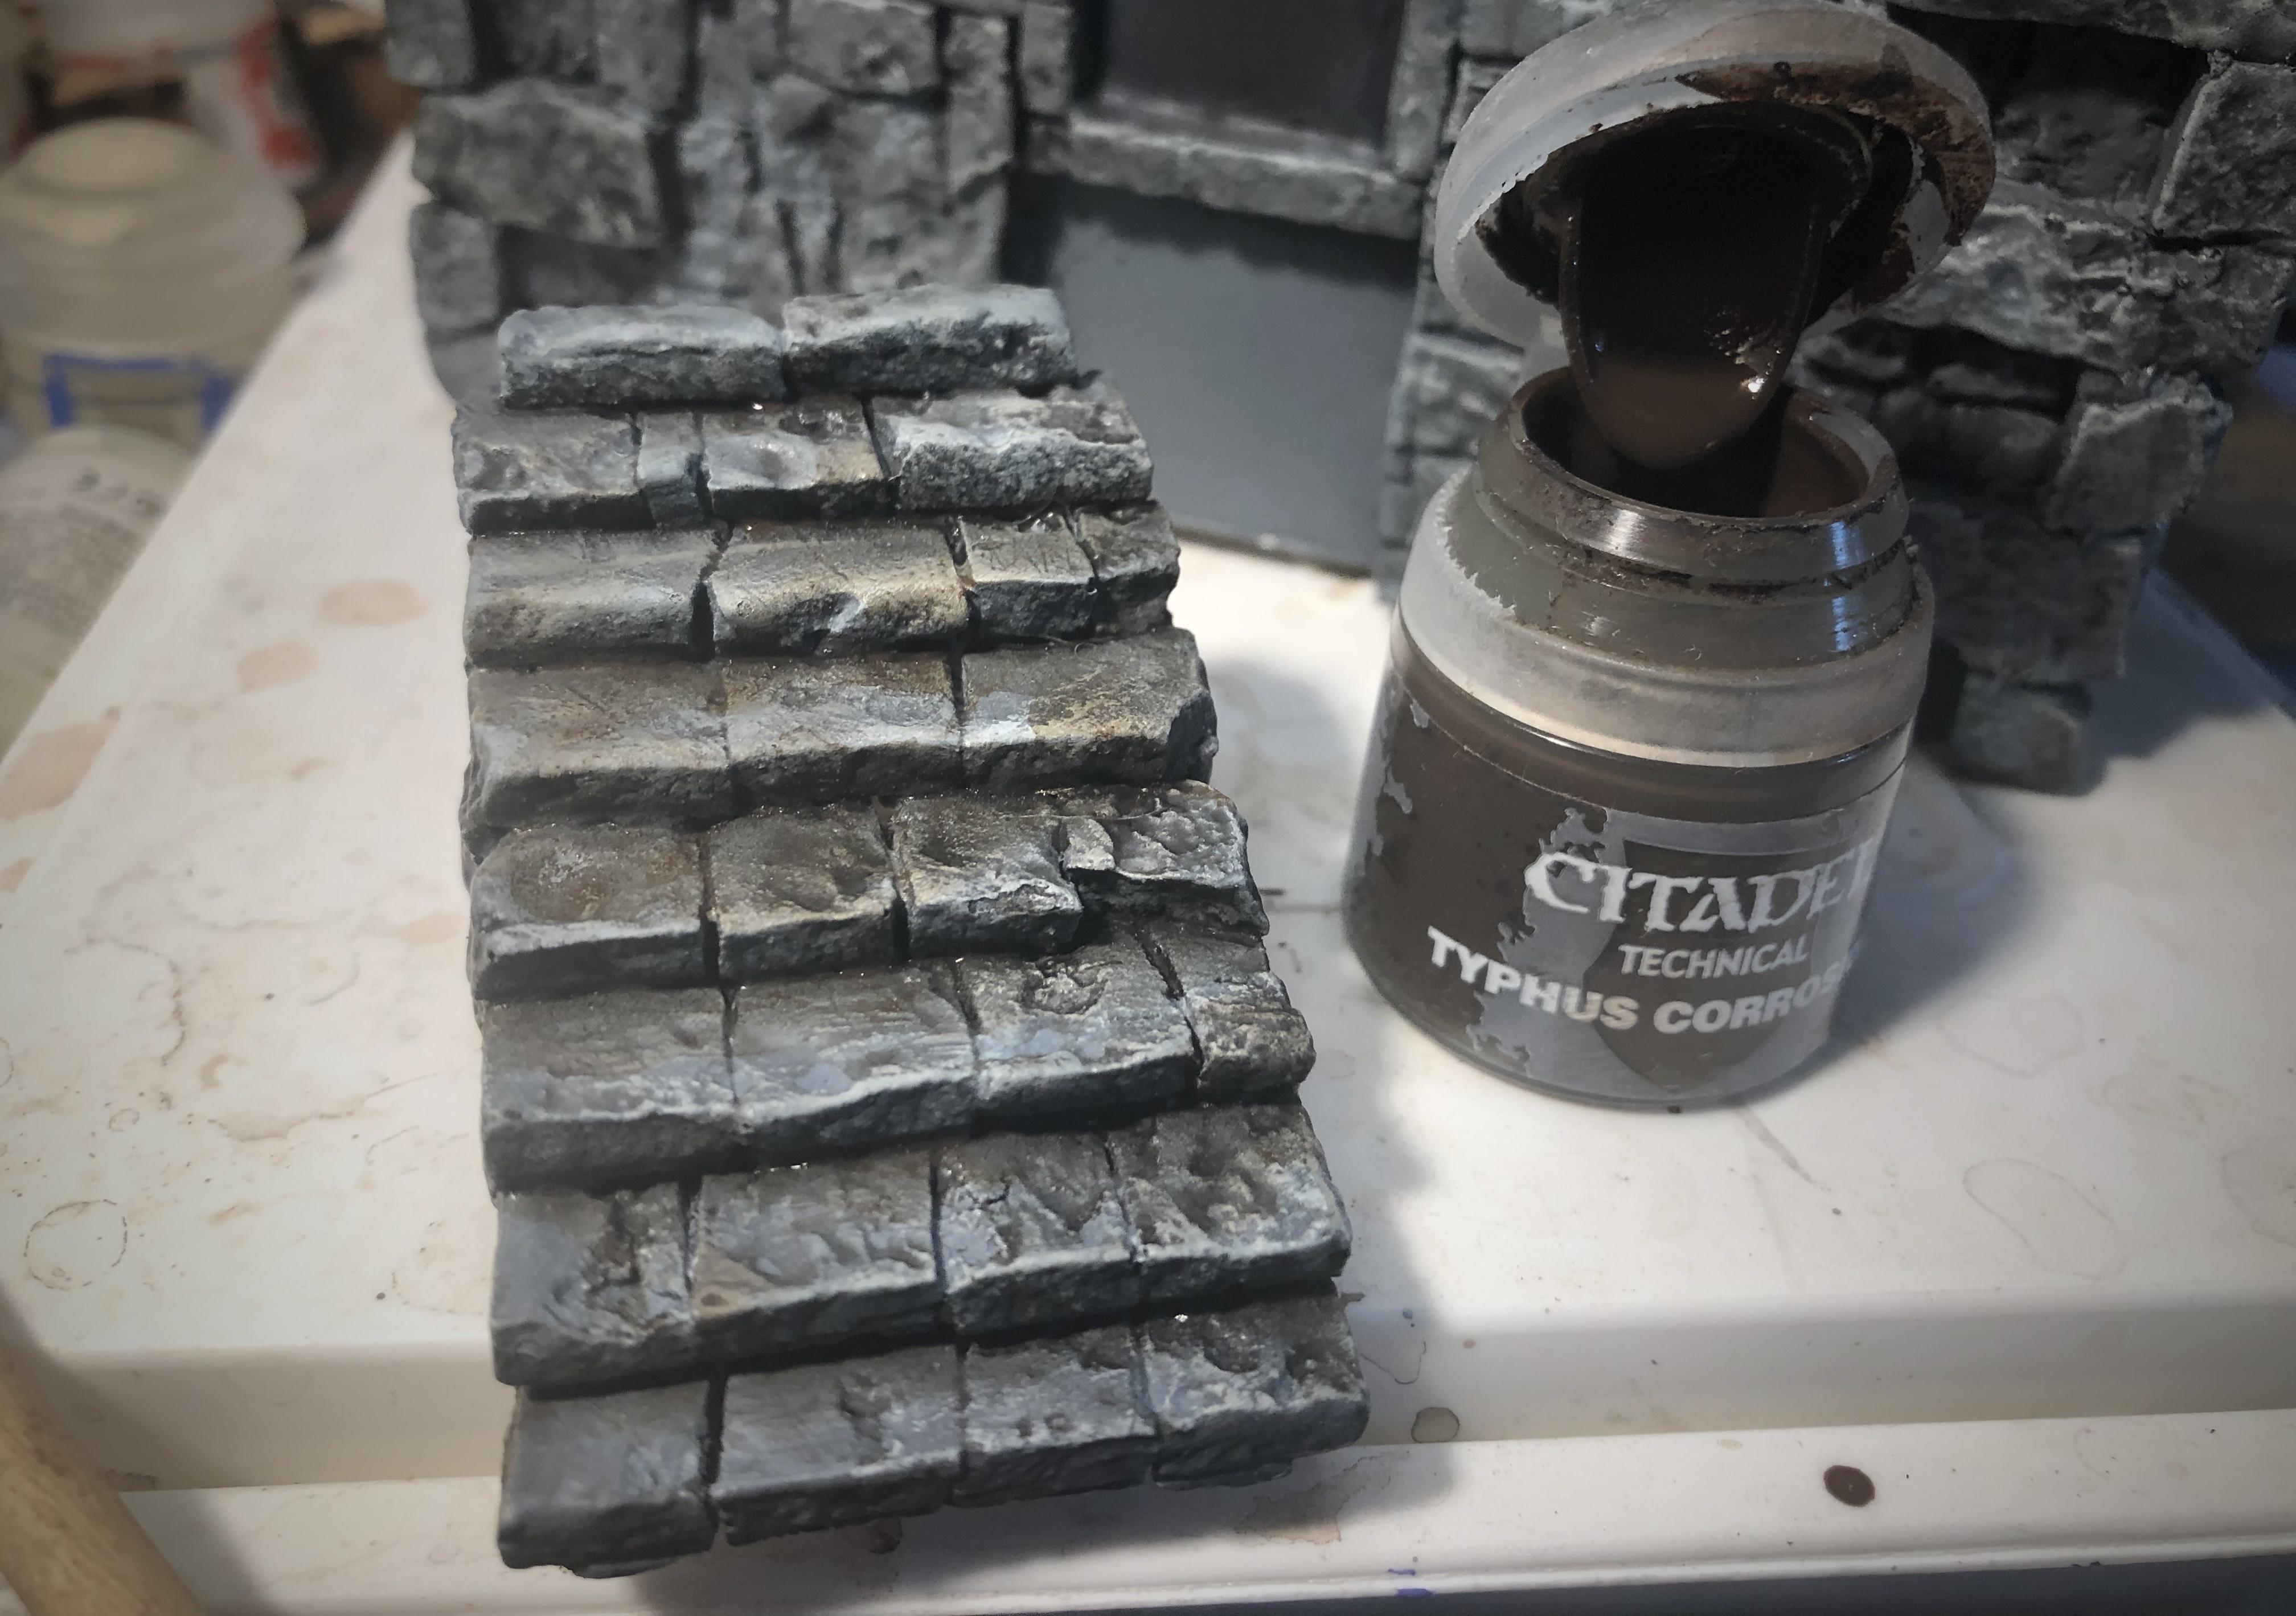
I usually thin this a little so it’s not to dark. I applied it using quick downward strokes.
I applied some thinned Typhus Corrosion to the edges of the platform floor for some more variation in color.

Those Heavy Cannons are going to look cool up there! They really dwarf the Light Cannons!

I gave it a couple coats of Testors flat varnish and this fort is complete! I didn’t glue the stairs to the front just for ease of transportation.
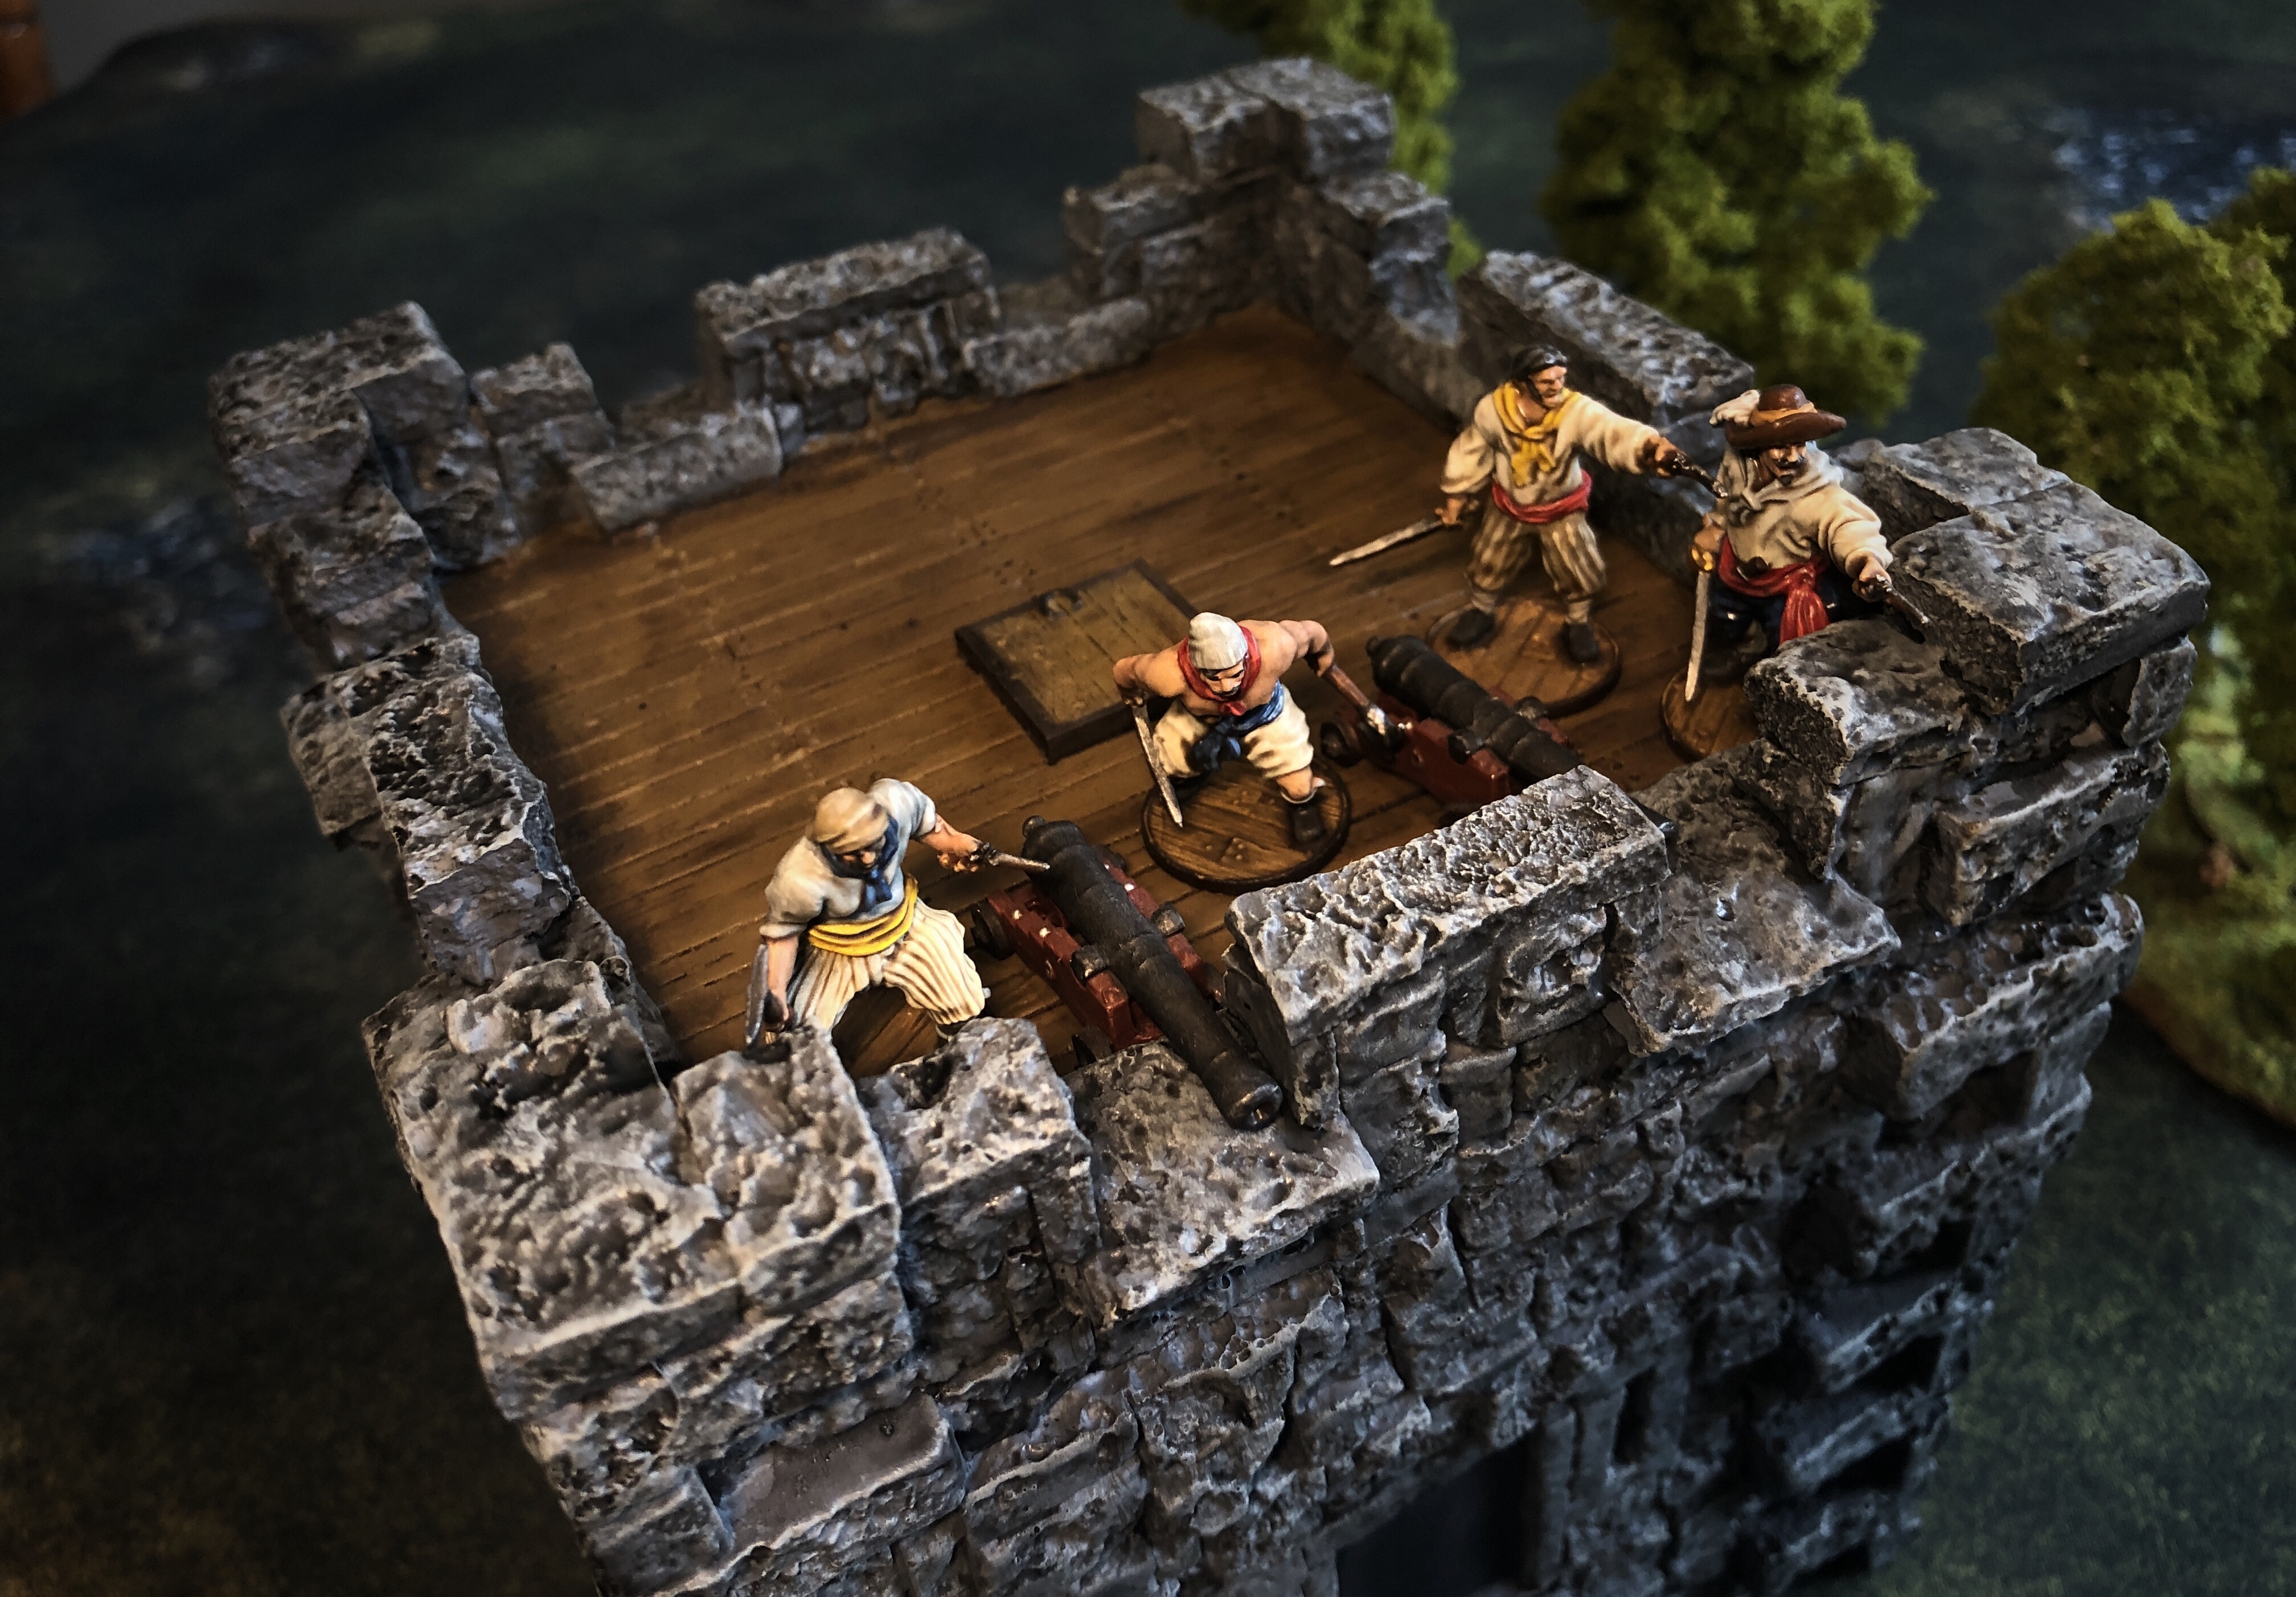
It doesn’t look huge but I’m pretty sure you can fit 20+ models on the top of this fort. Maybe less with cannons.
Medium Cannons
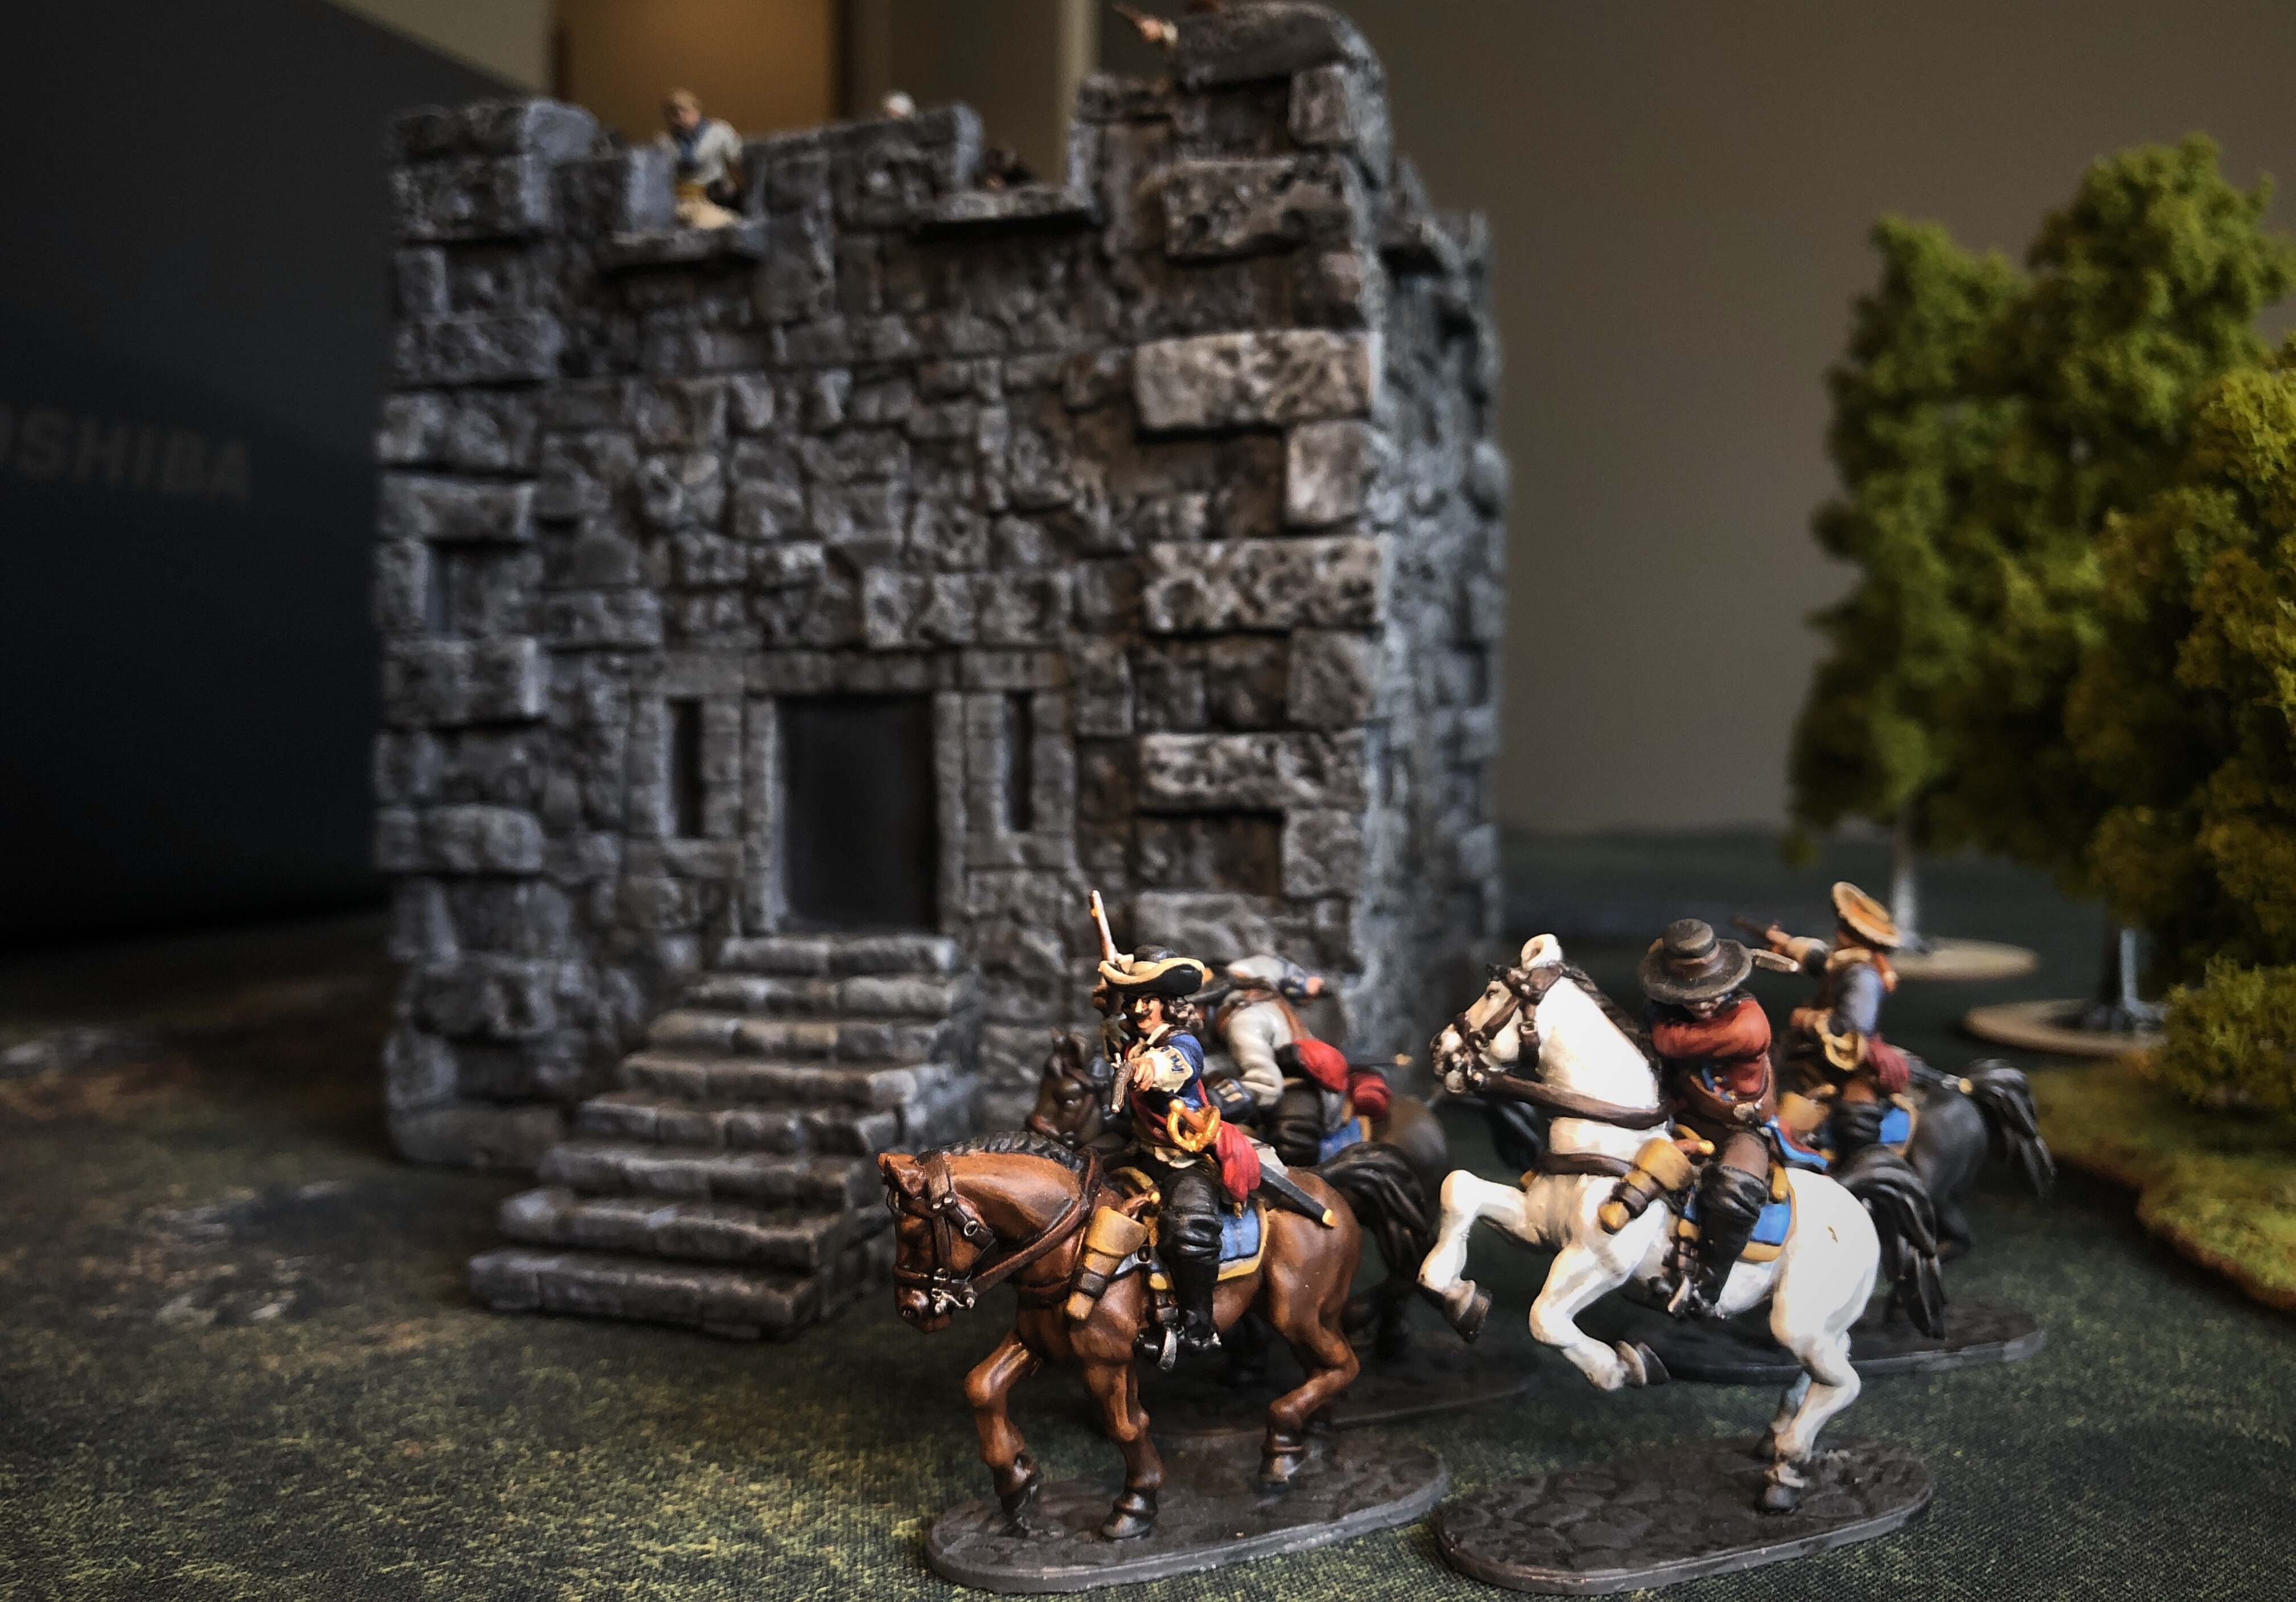
The fort is big enough to make the large cavalry models look tiny!

You can find the “stat card” for the fort here in the Firelock downloads section. I’m really eager to play the scenario for the fort and I’ll make sure to post a battle report as soon as I’m able to try it.
Pingback: A Complete Guide to Blood & Plunder Characters
Pingback: Fire on the Frontier - Blood & Plunder Expansion Book Review - Blood & Pigment
Pingback: Fire on the Frontier - Blood & Plunder Expansion Book Review