Our escalation campaign entered it’s third round and we had the option of playing a 2 vs 2 game this round. I had the opportunity to have my South American Tribes help the French Militia defend New Orleans against the invading Ostend Privateers and English Buccaneers.
The defenders got 150 points per player and the the attackers got 165 points each.
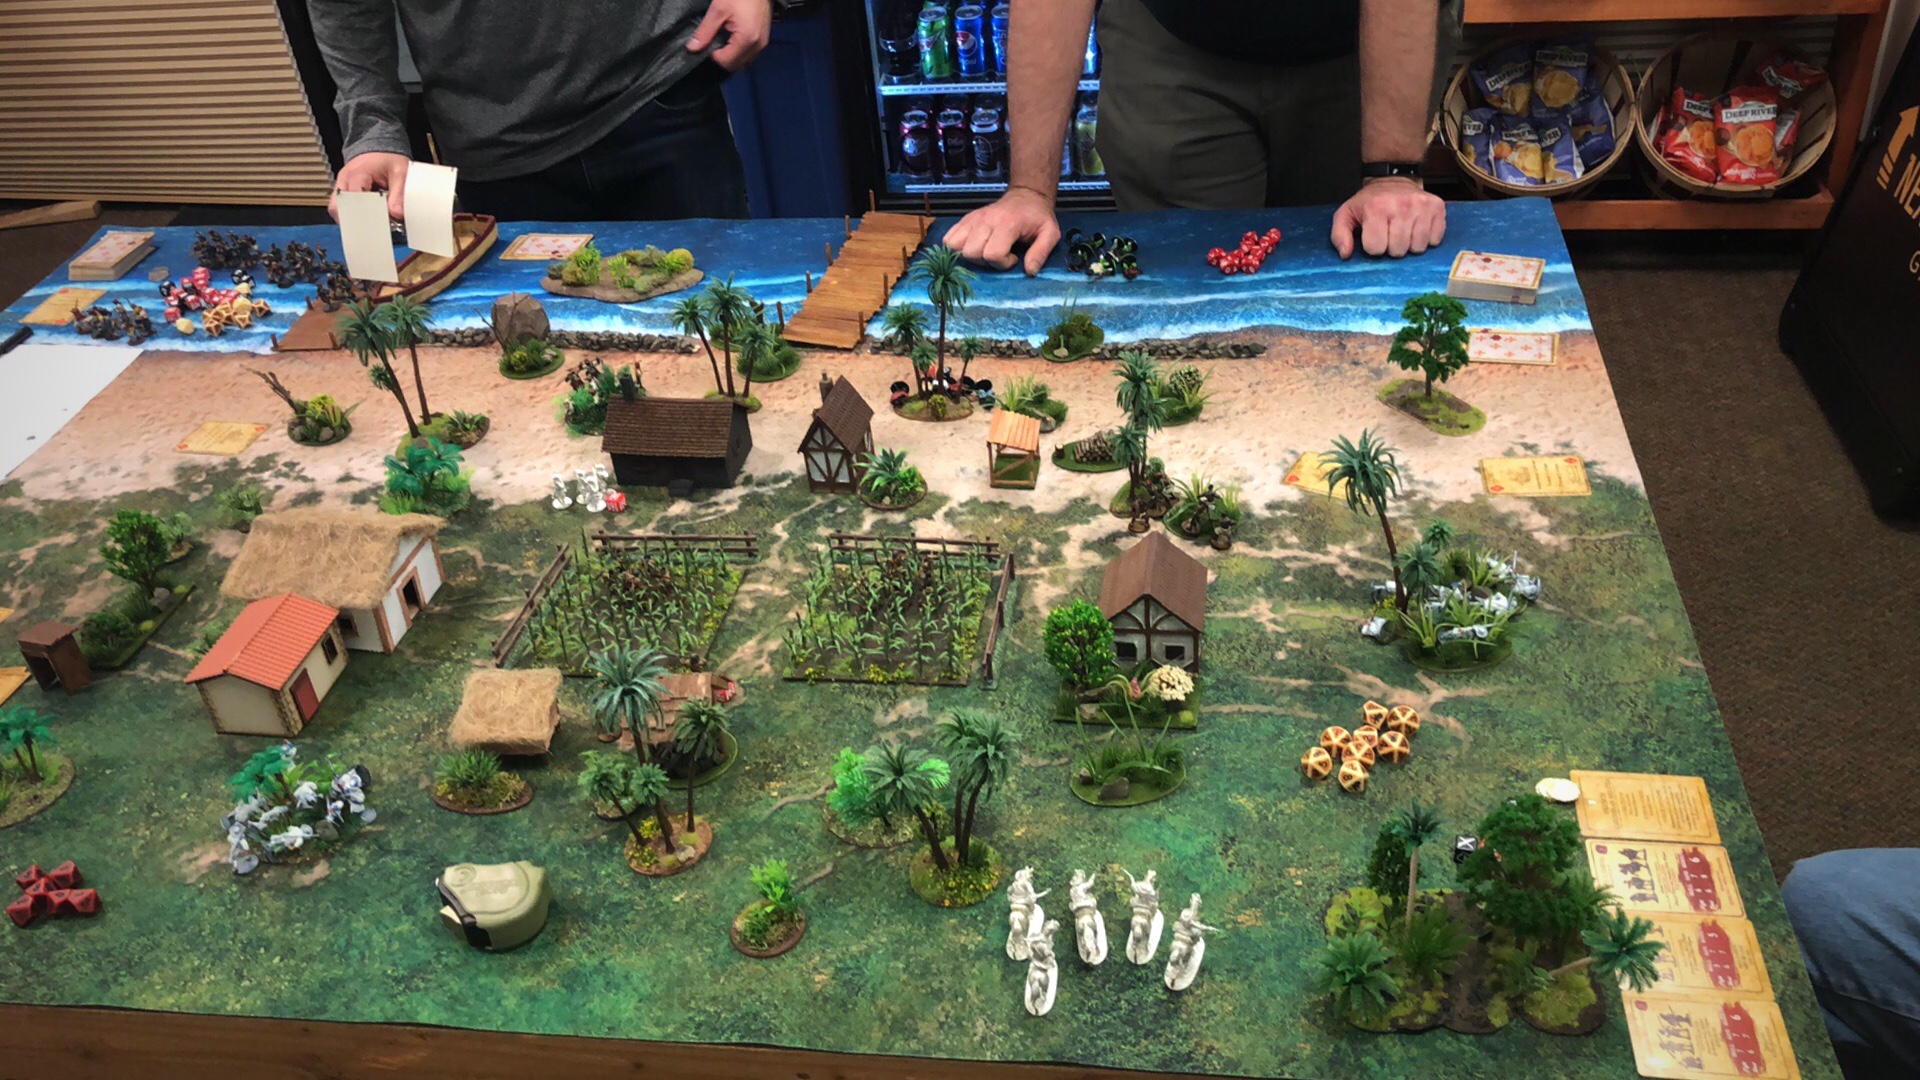
The Forces
My ally, Jeff was running French Caribbean Militia and as the Defenders, we had 150 points each.
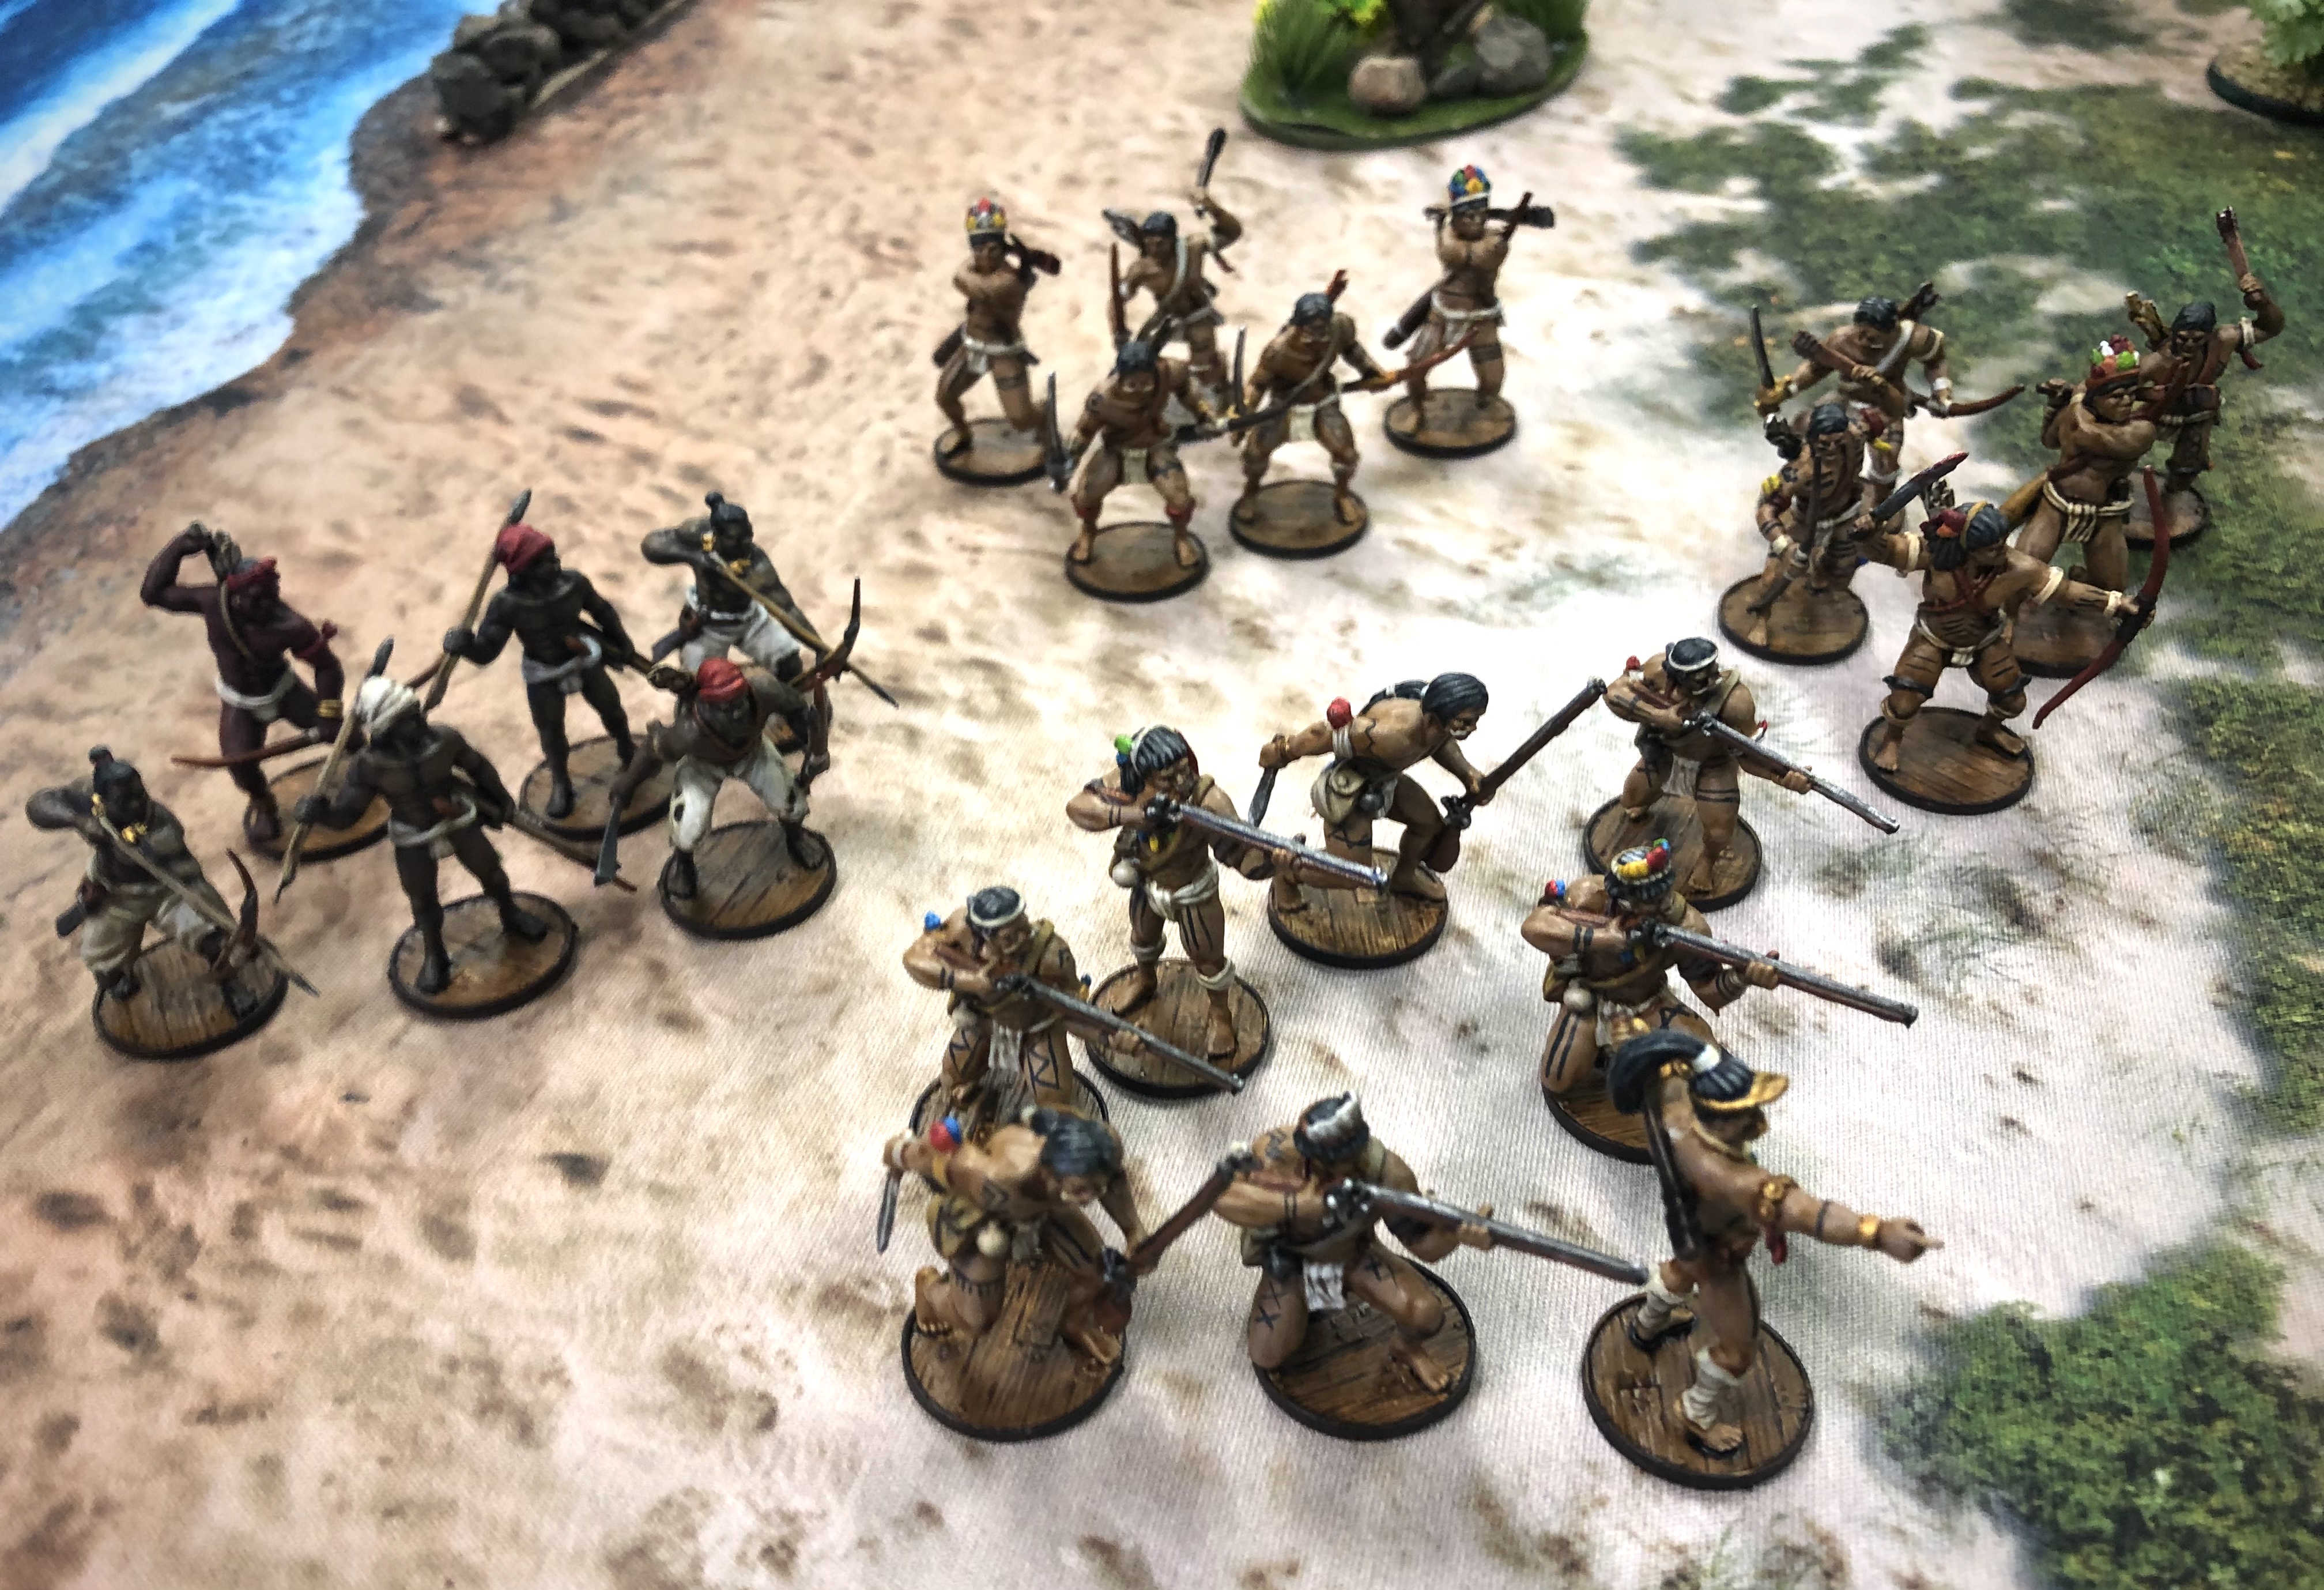
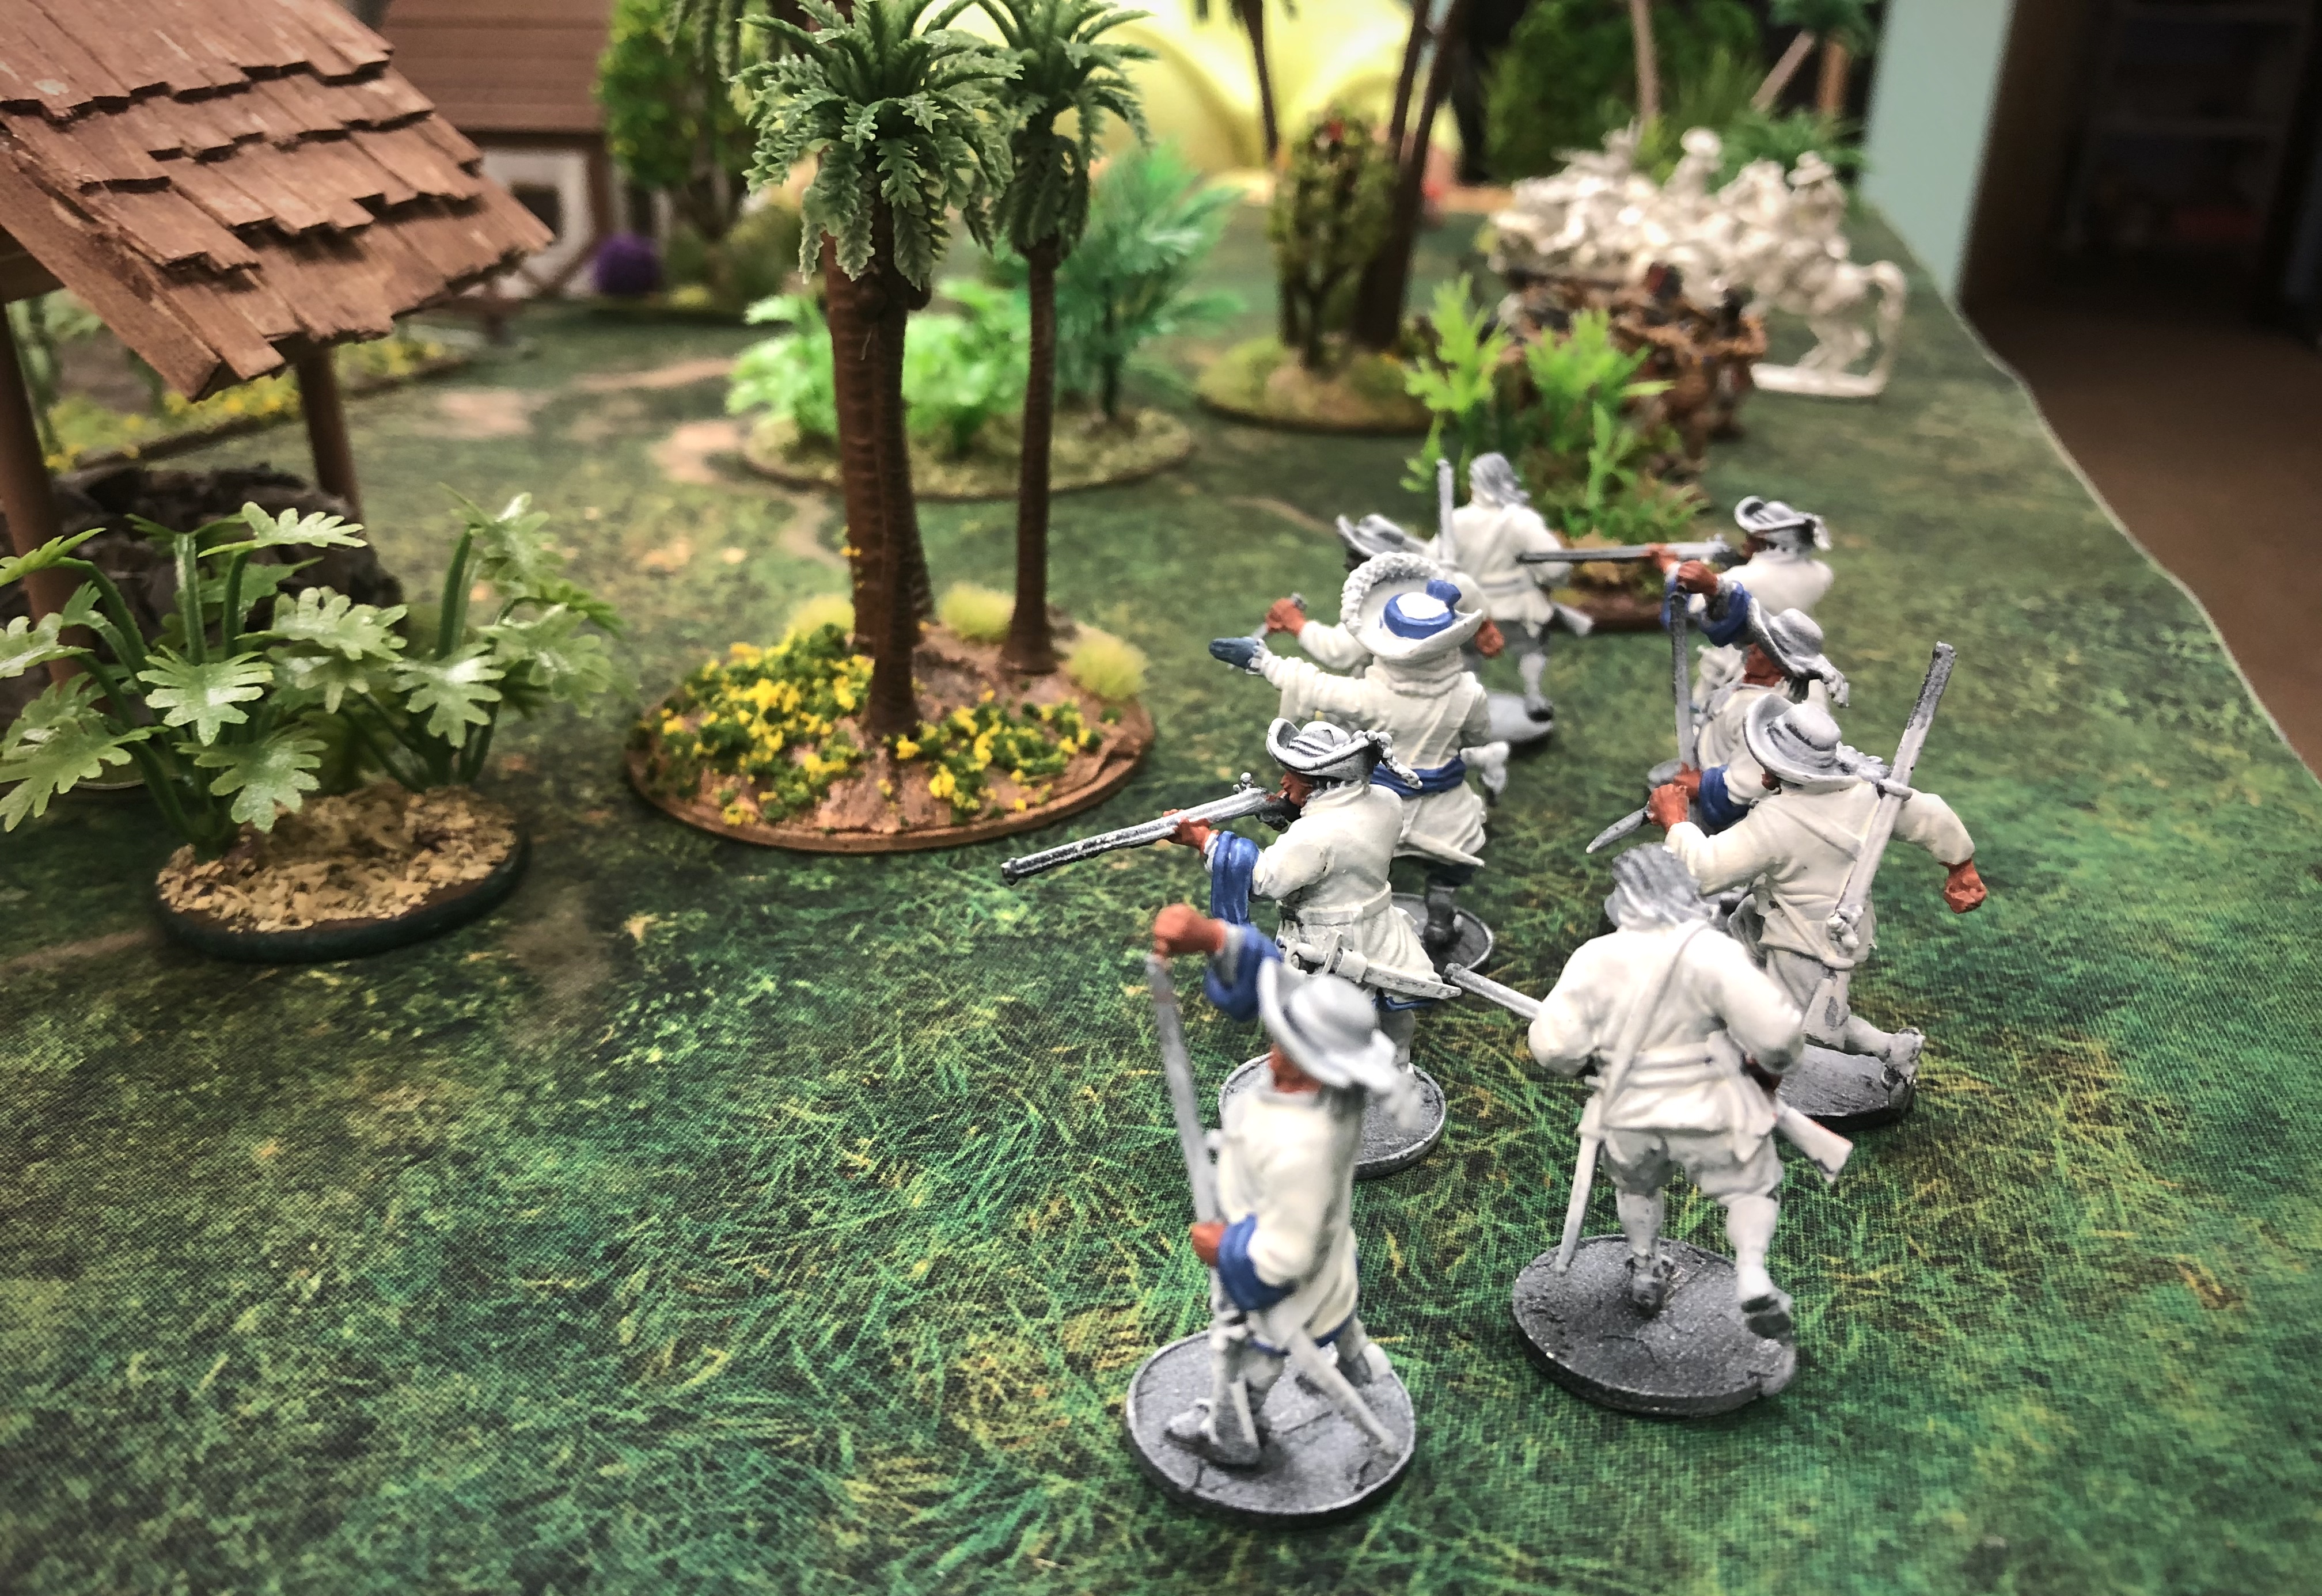
The French Force consisted of two units of 8 Inexperienced Milices de Caraibes, a unit of 5 Inexperienced Milices a Chavel with an Officer character attached and a unit of 8 Flibustiers with the Commander attached. One of the Militia units had a Grizzled Veteran attached as well. With 30 models, Jeff’s force would take a Strike Point for every 7 models.
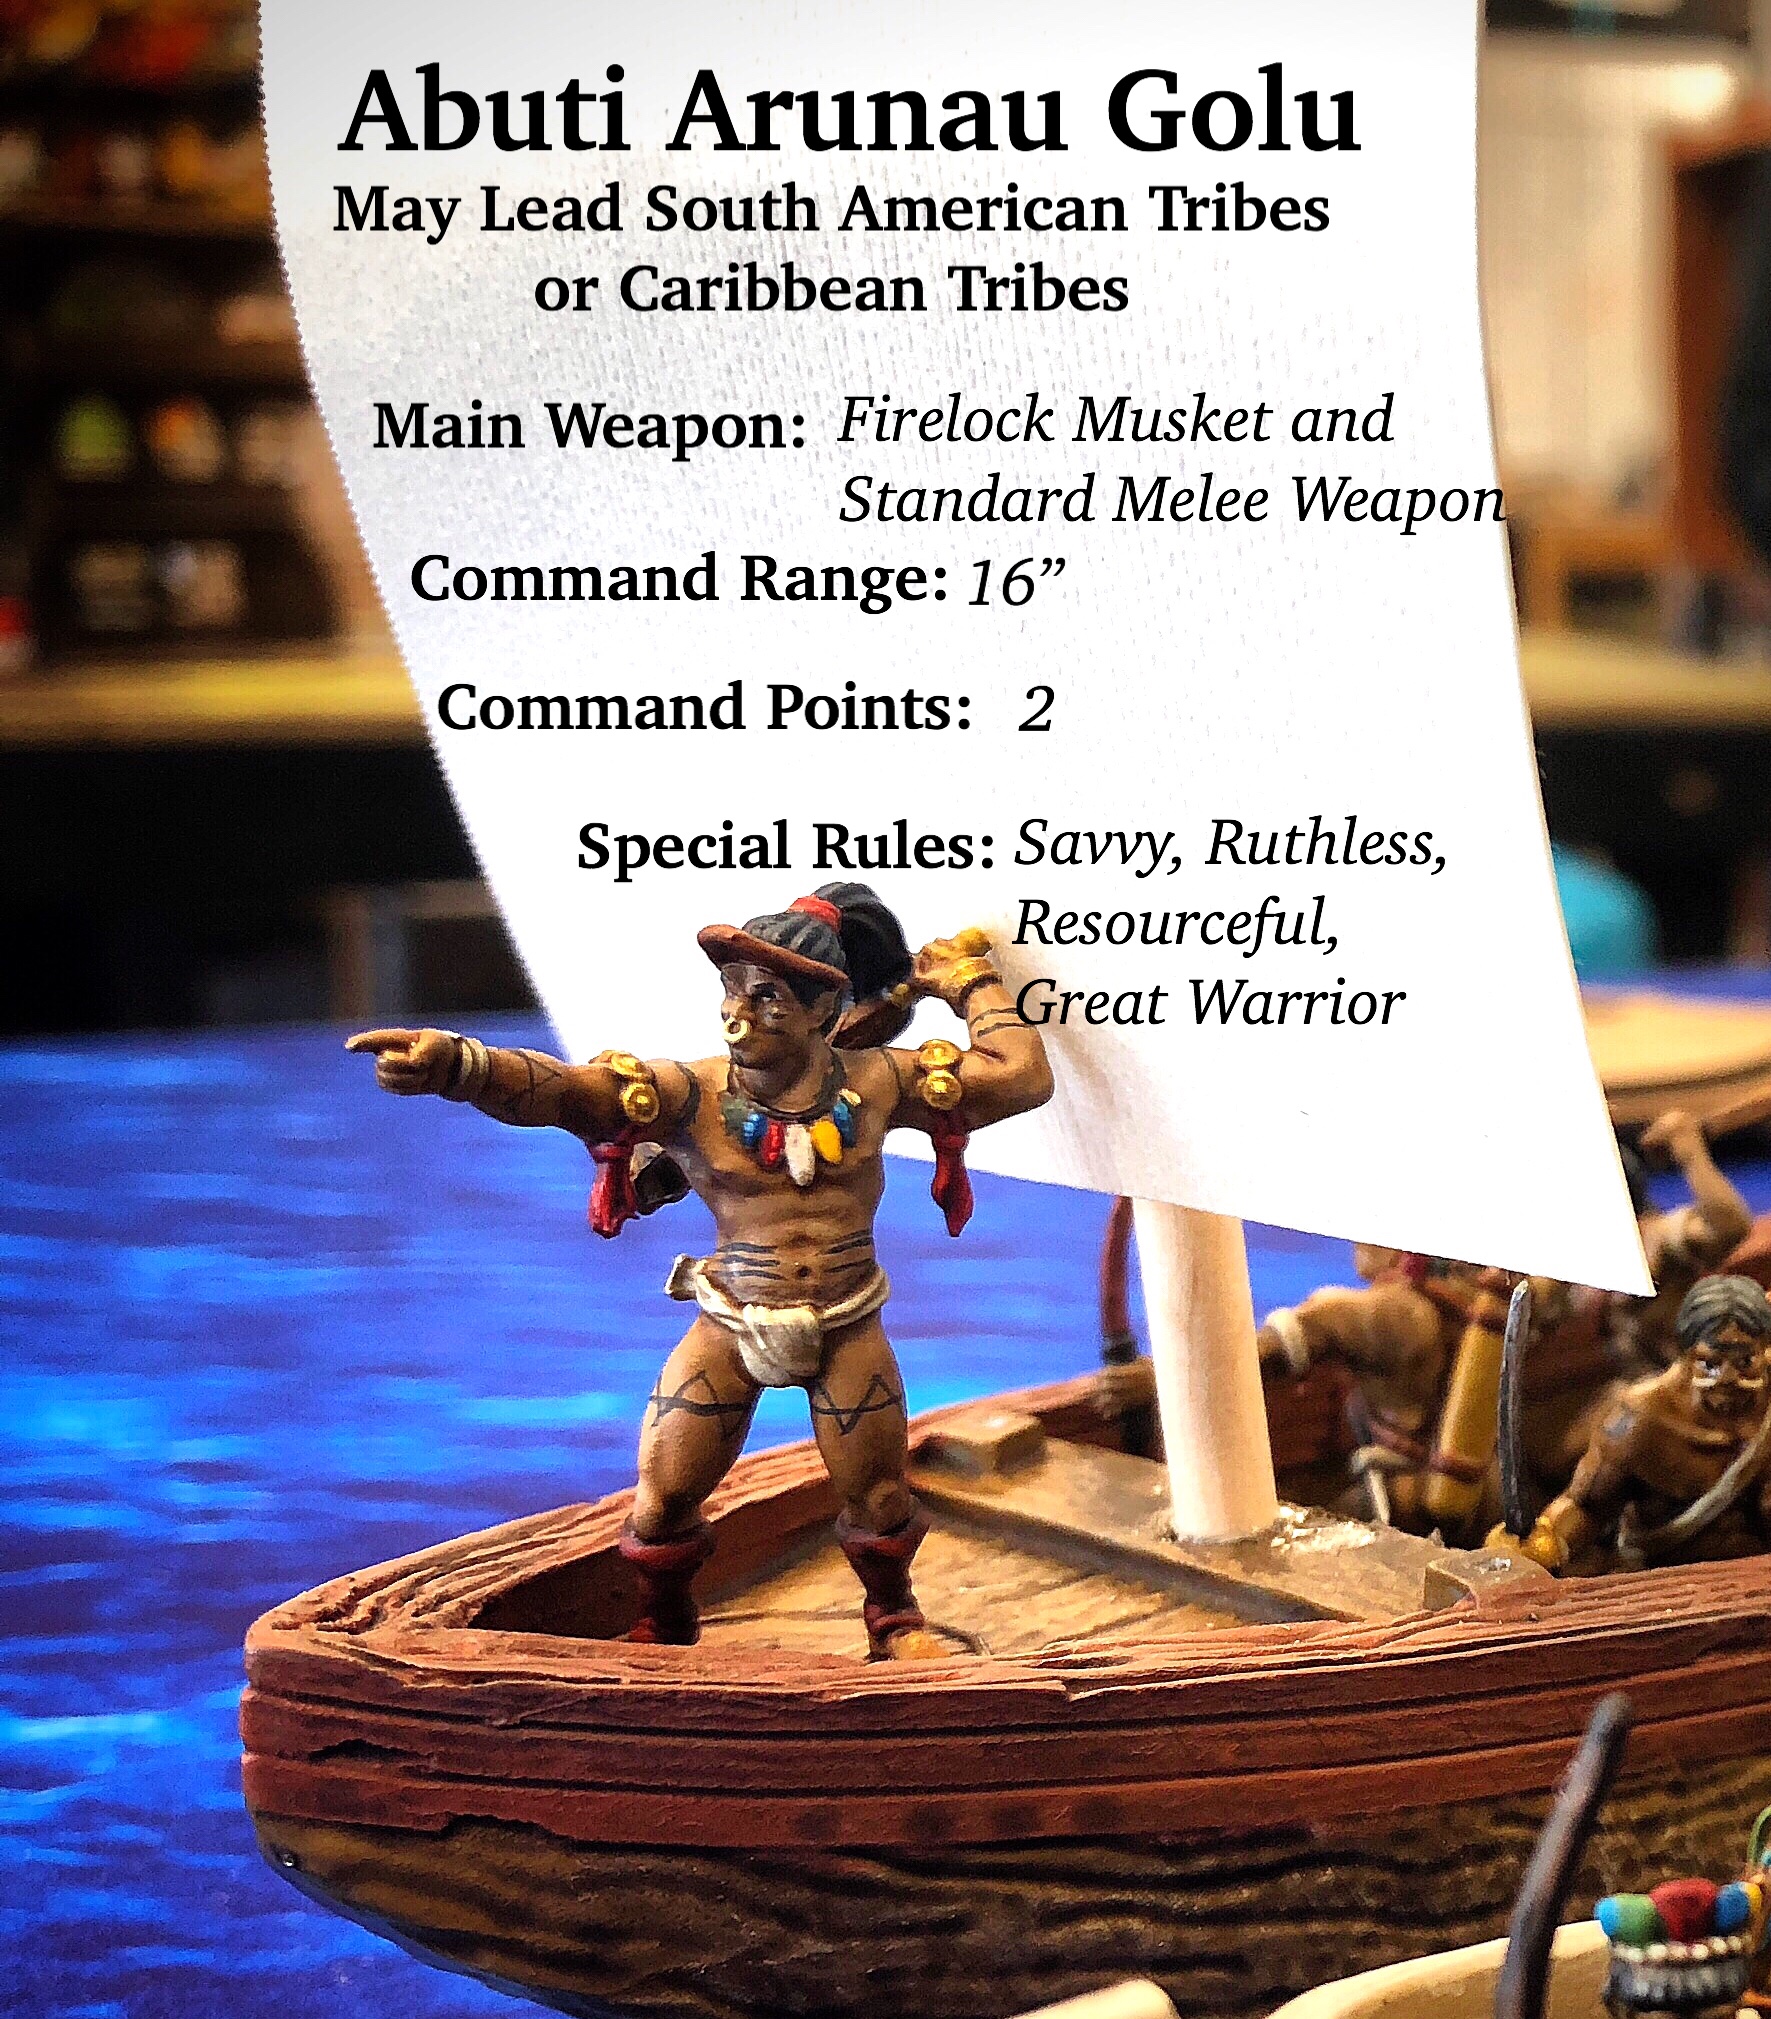
My South American Tribe force had a lower model count at 24. The command unit had 7 Veteran Warrior Musketeers with a Sharpshooter attached. My commander had been leveled up to 10xp which brought him up to 2 Command Points, a 16″ command range, and the Great Warrior, Savvy, Ruthless and Resourceful abilities.
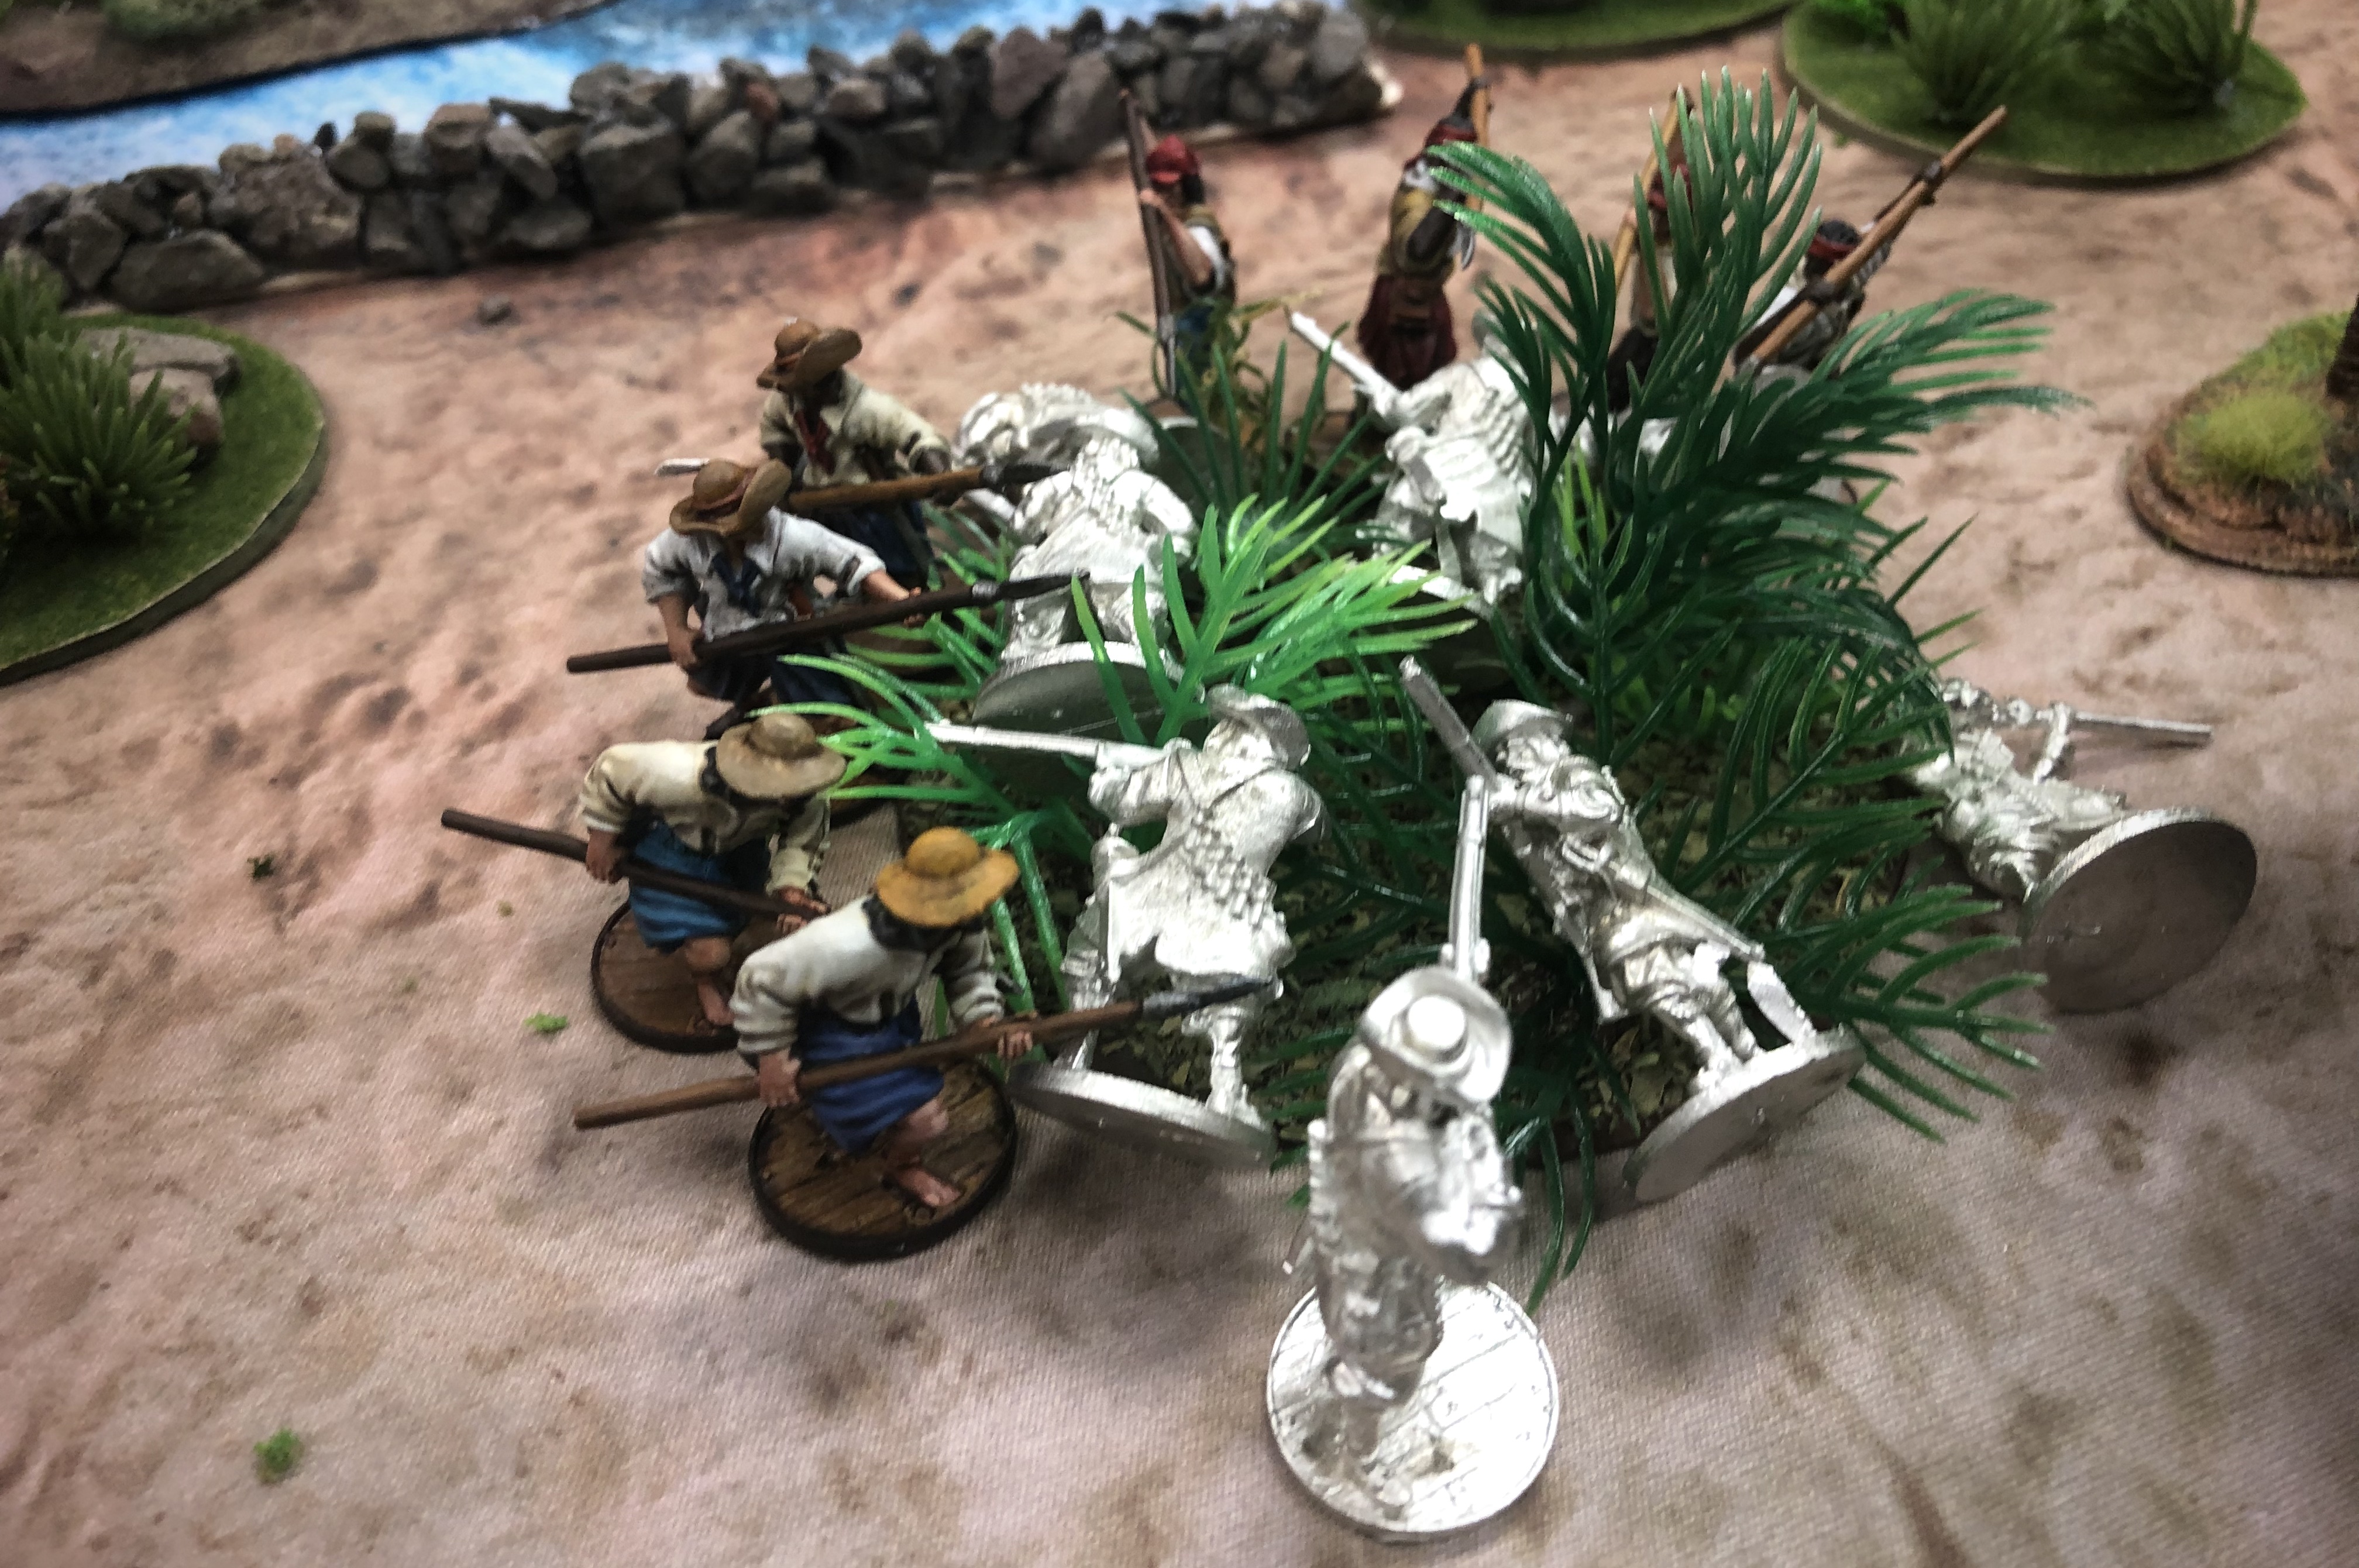
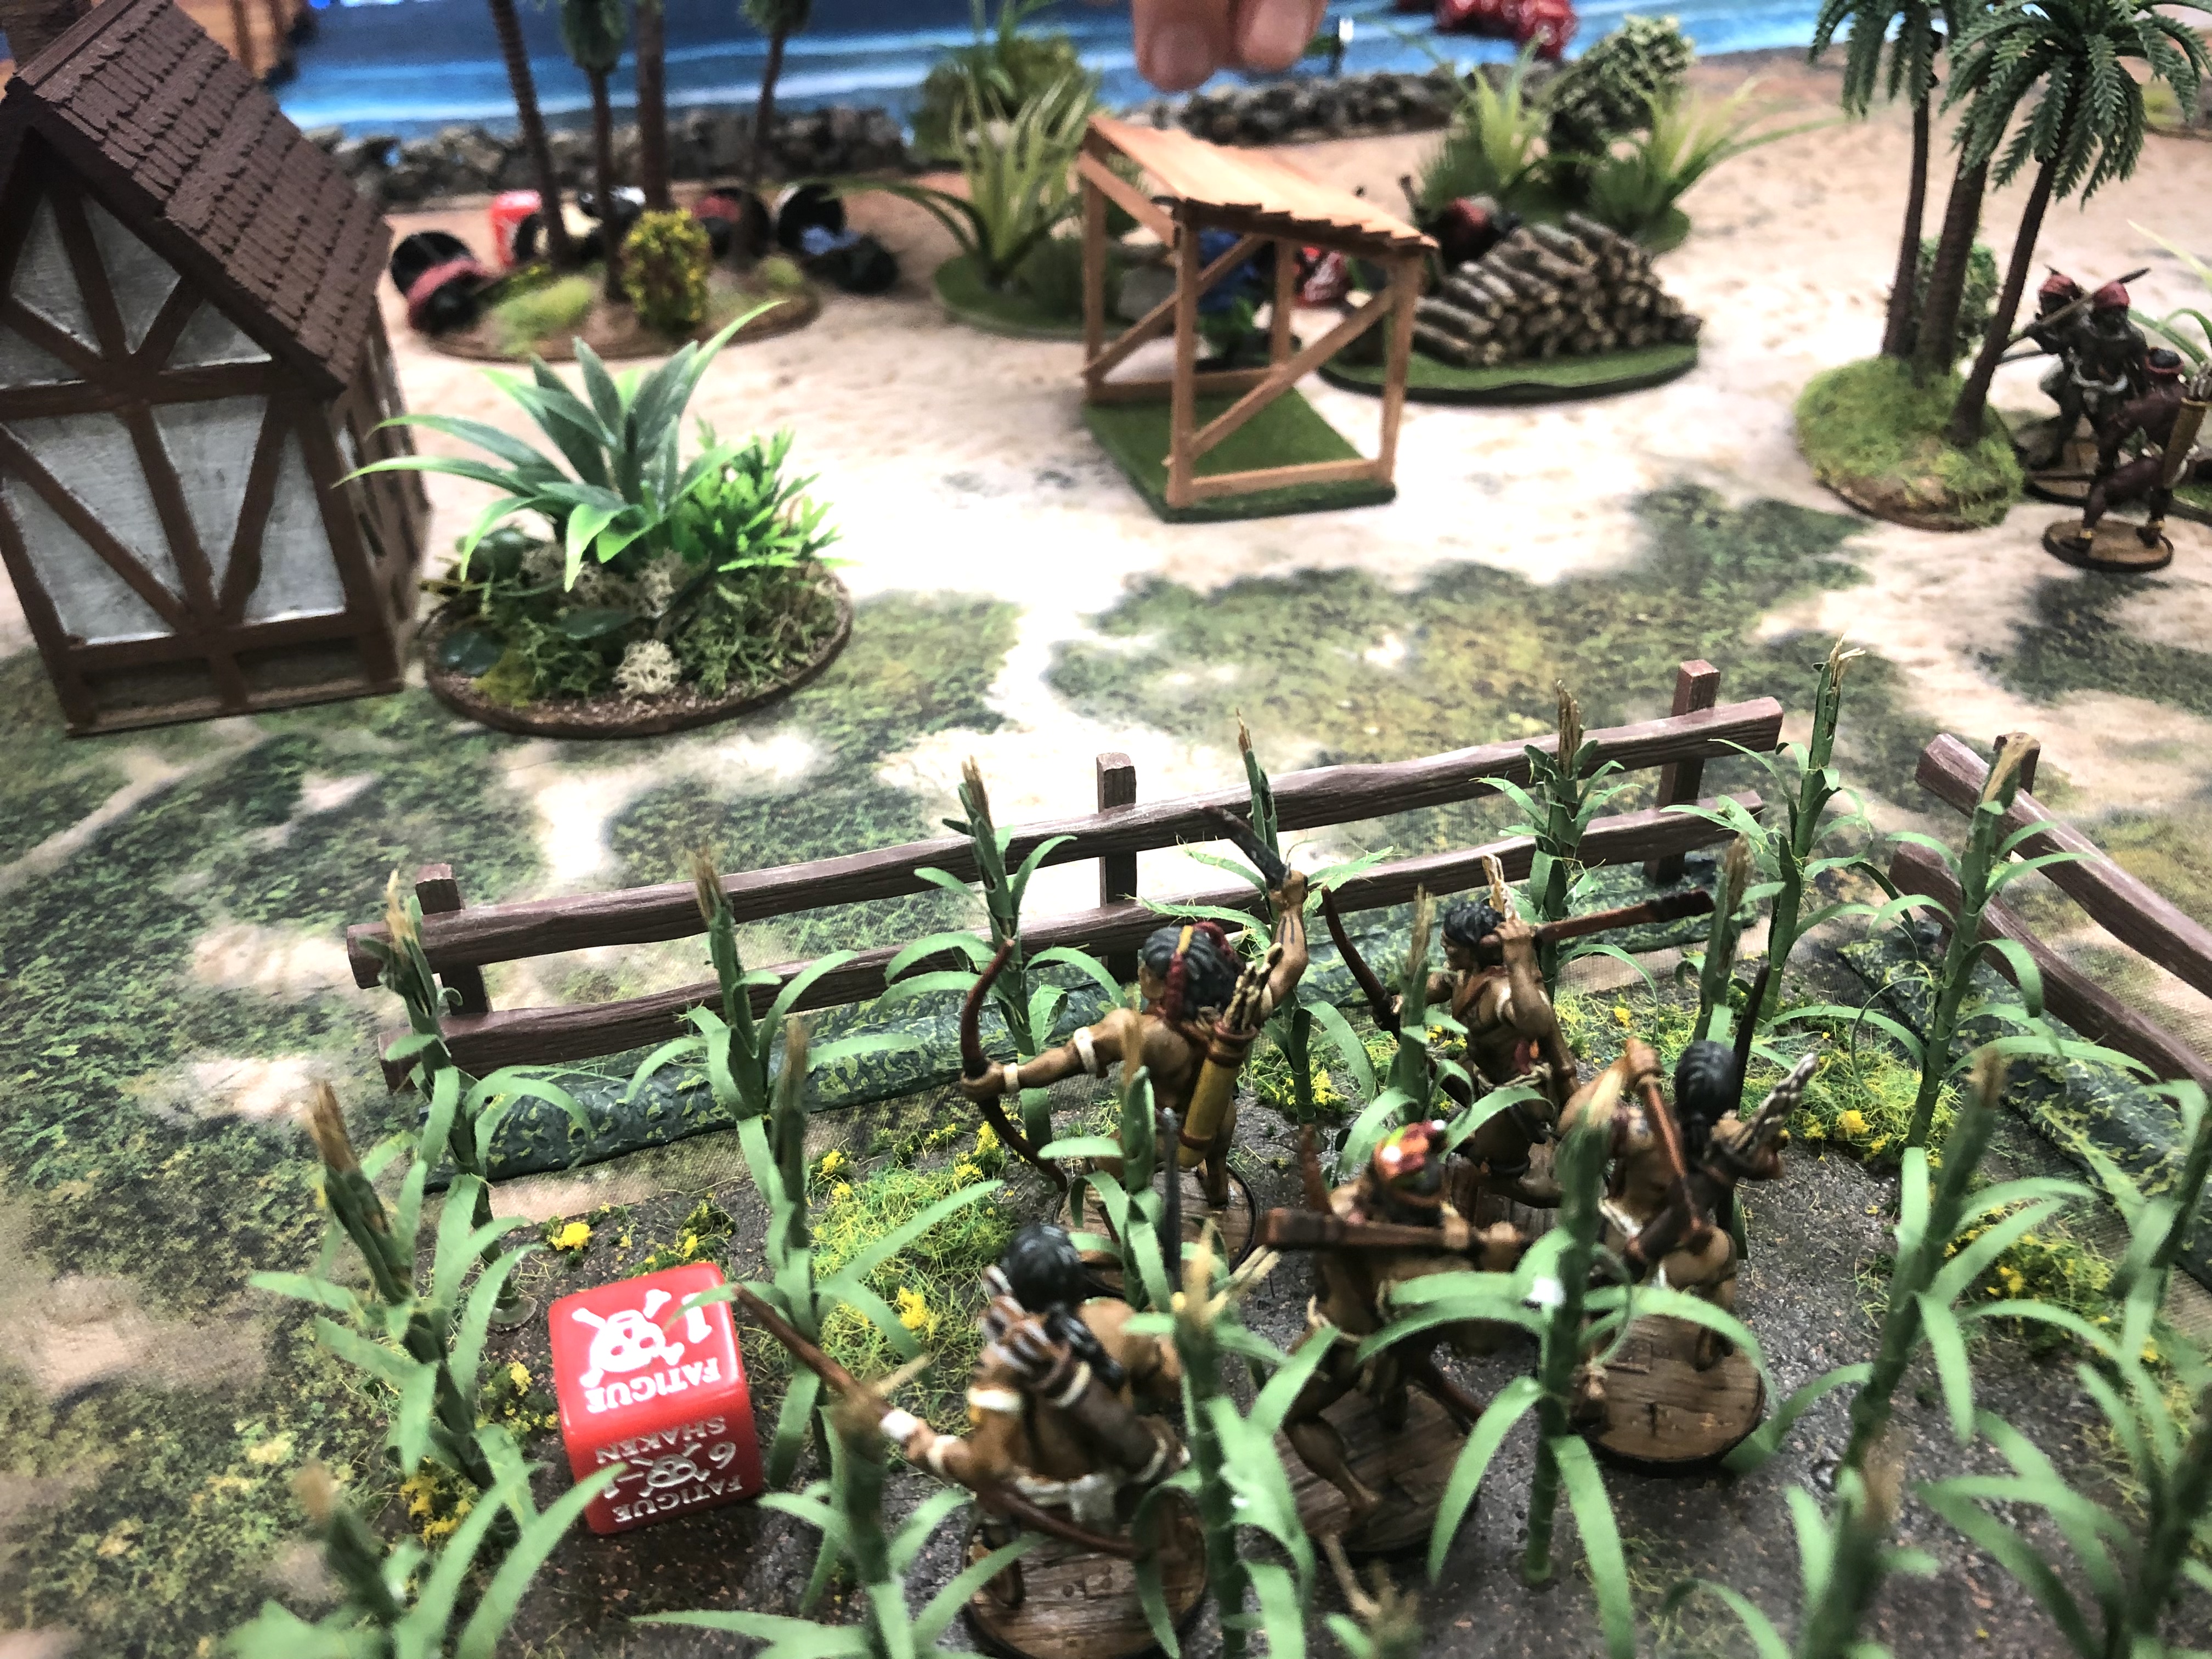
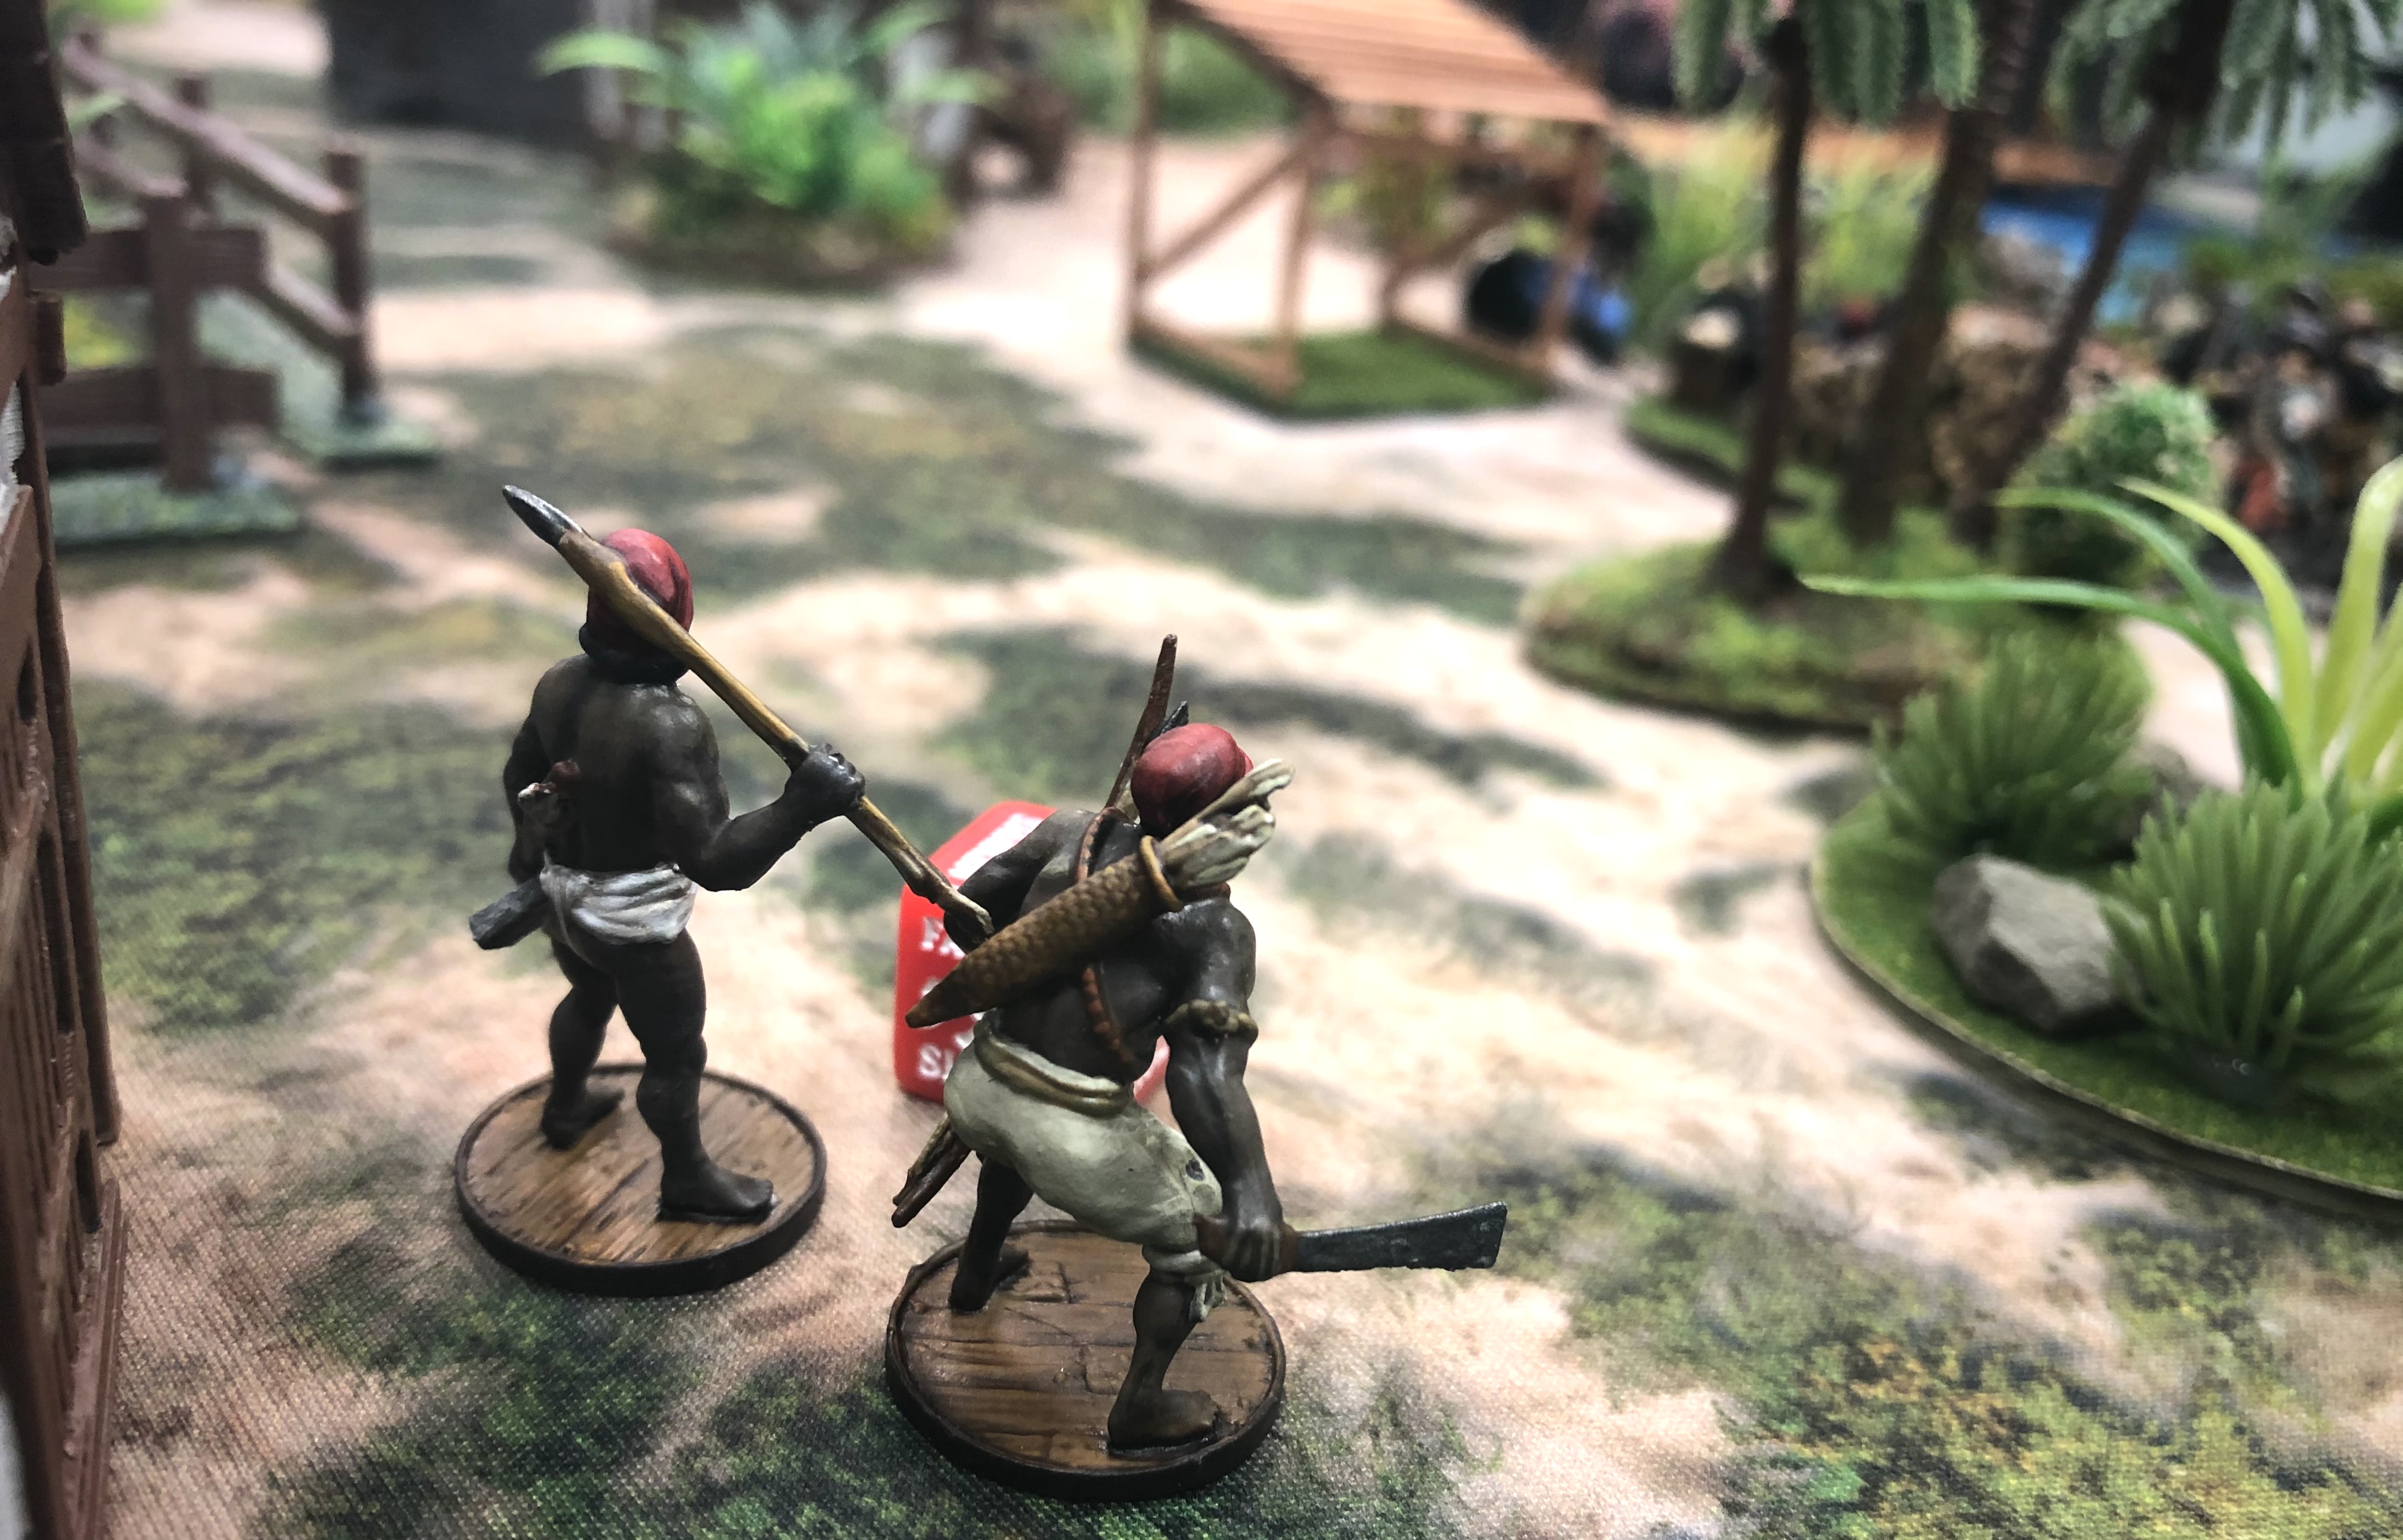
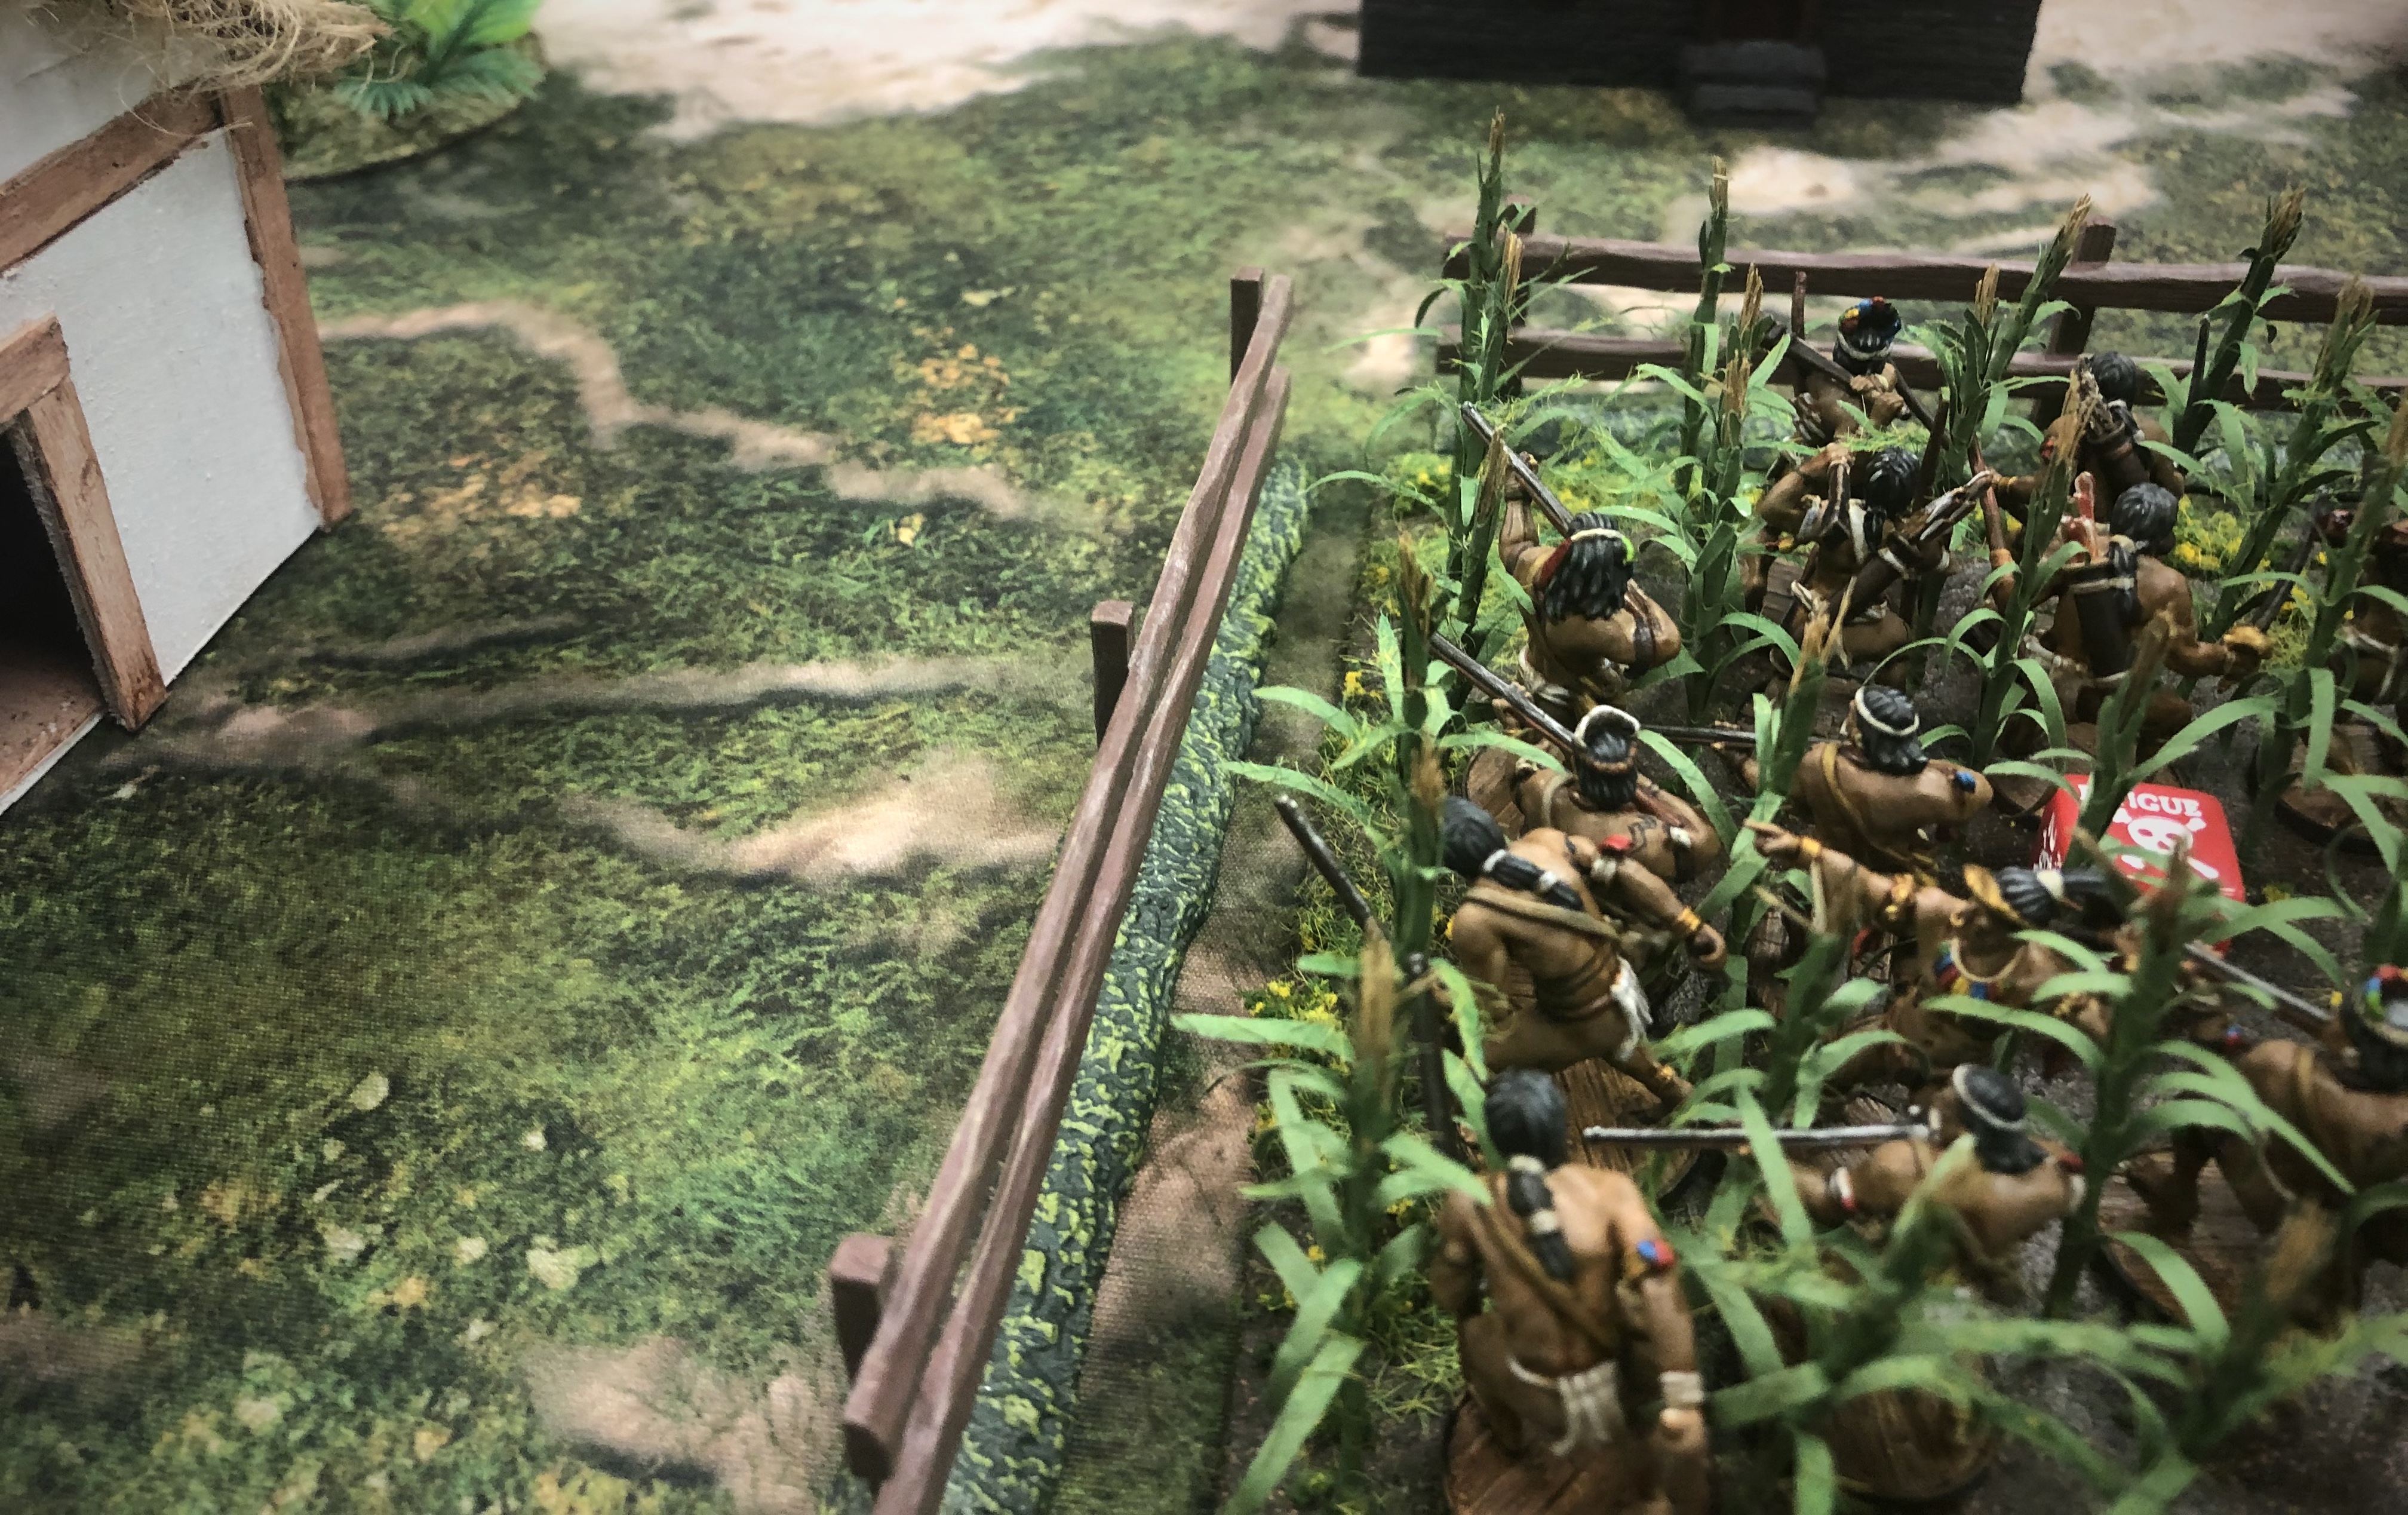
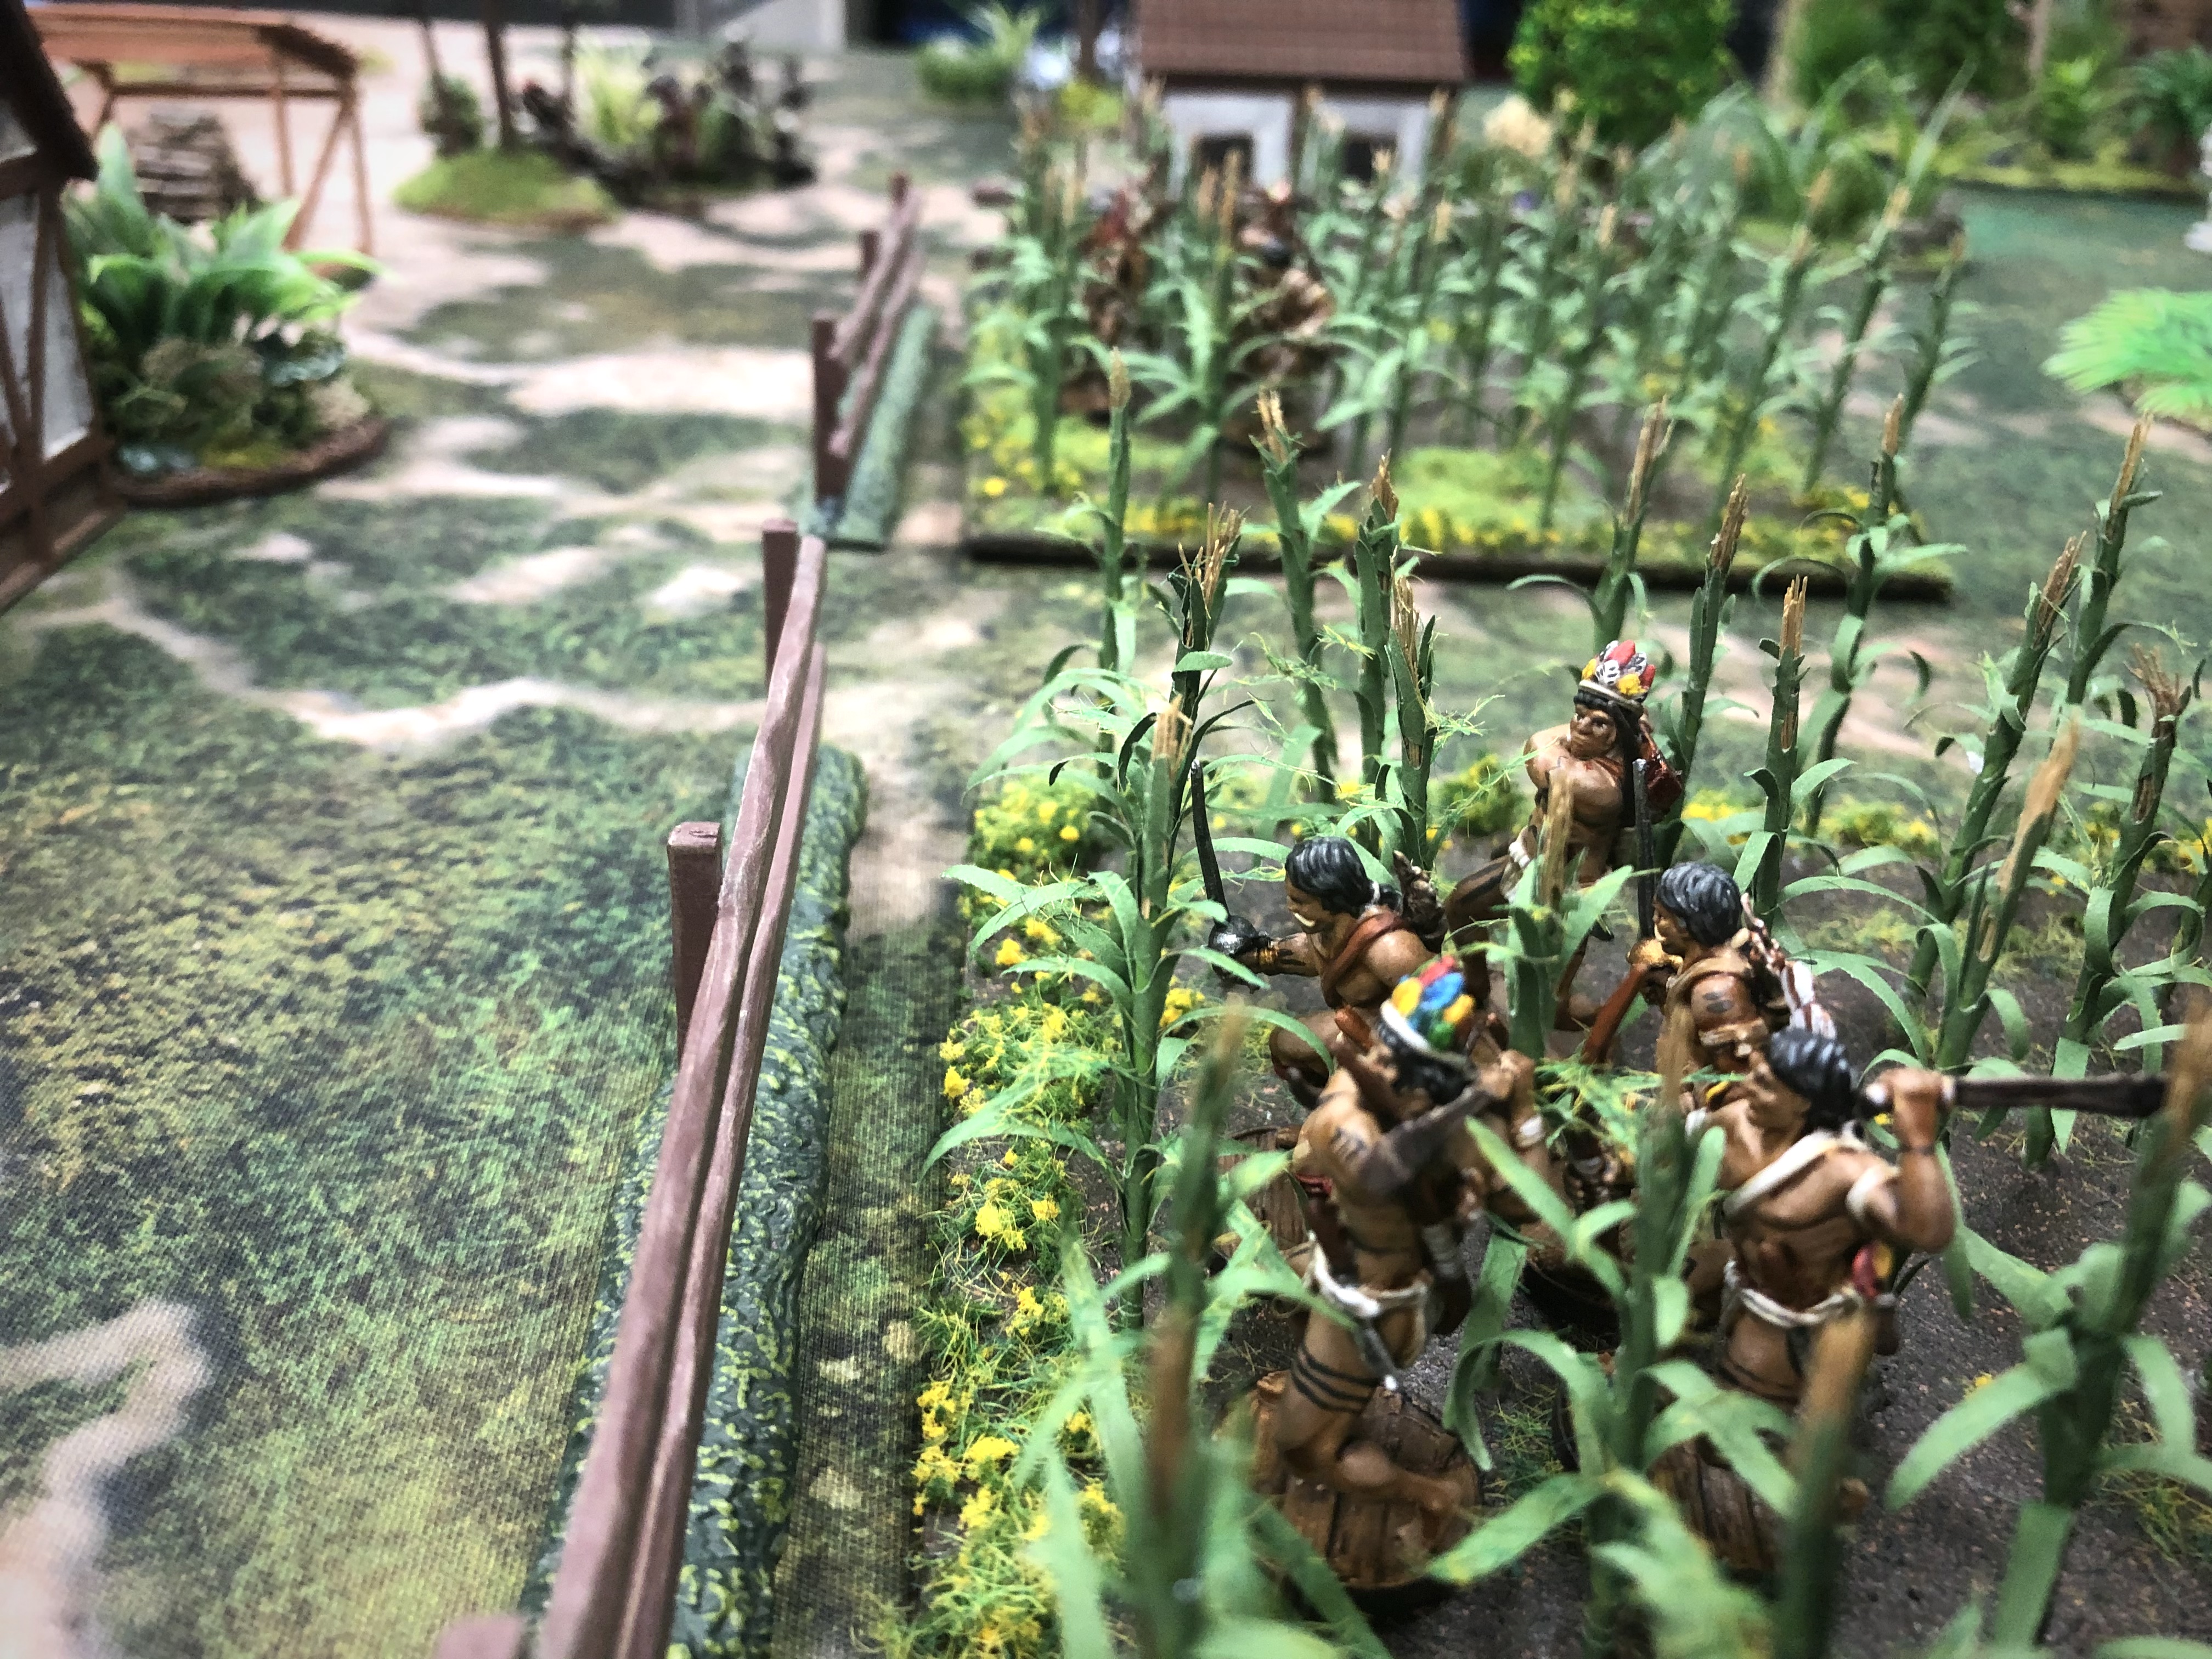
The other main piece of my force was two units of 5 Trained Warrior Archers with Poisoned Arrows. The last unit was a group of 7 Veteran African Warriors with a Grizzled Veteran attached and Poisoned Arrows equipped as well.
Somehow I forgot I had a Sharpshooter on the Command Unit and I never used him!
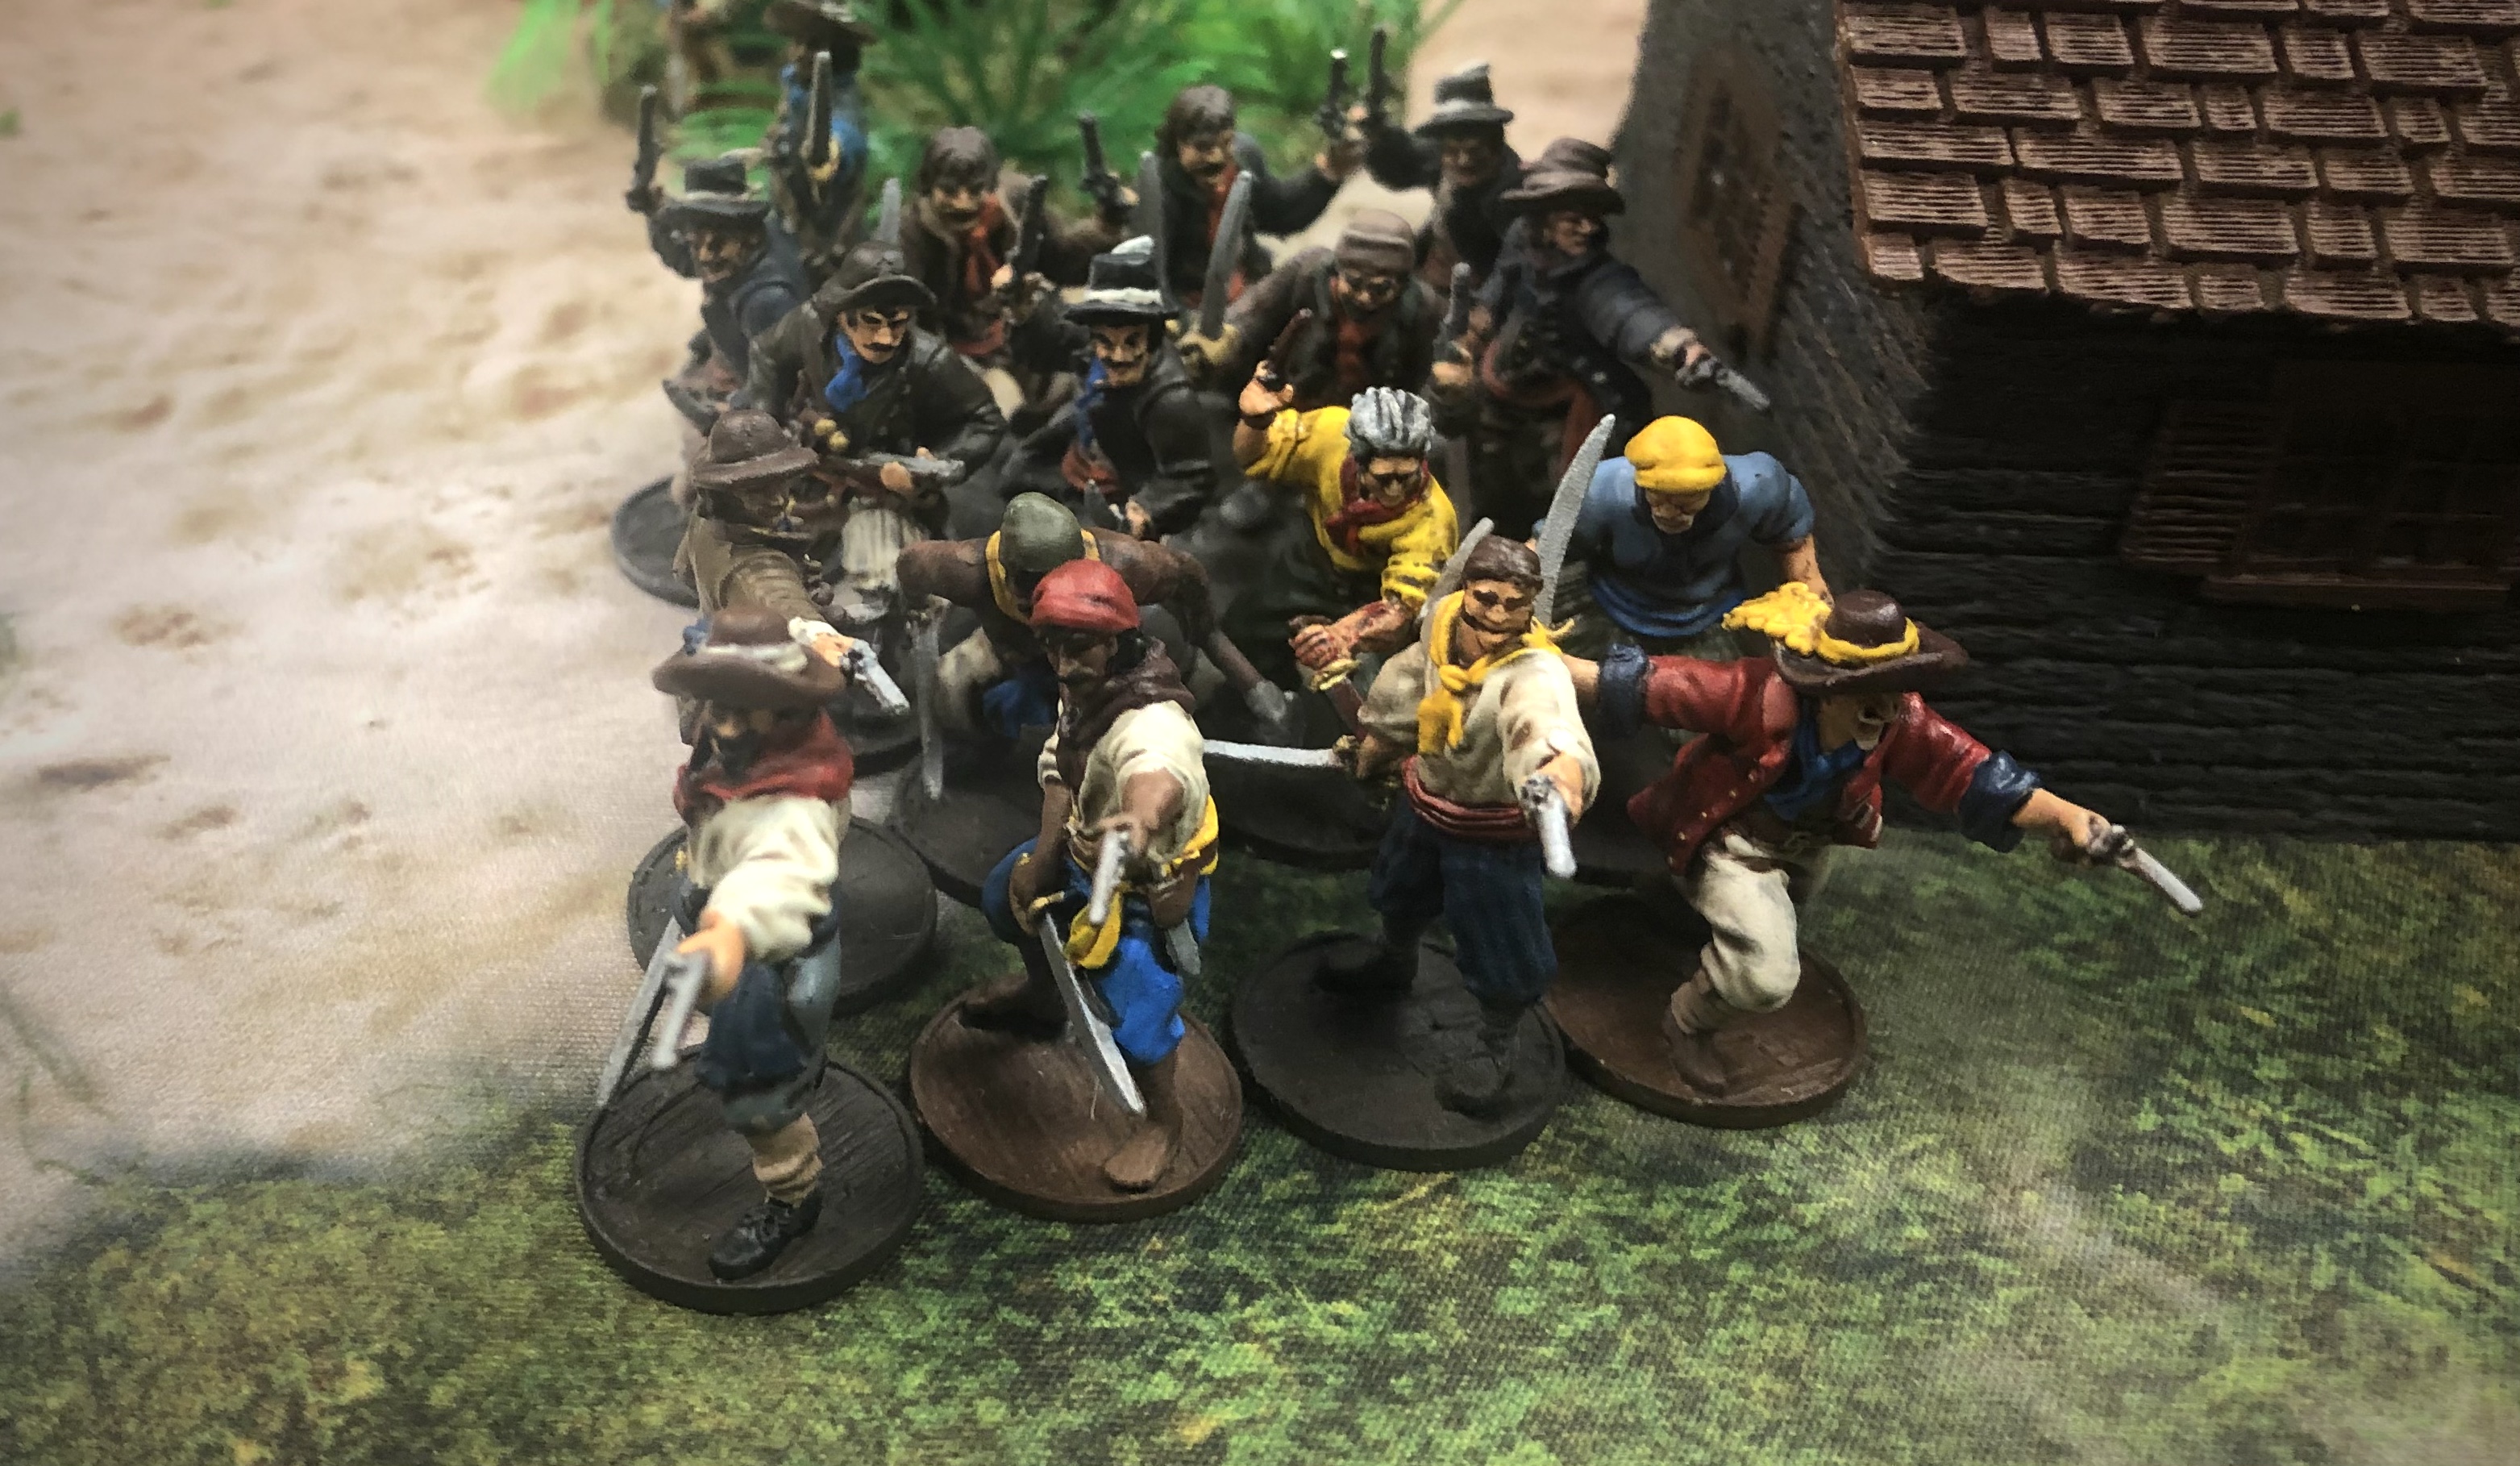
Bryan played a swarm of sailors! His Ostend Privateer list had 3 units of 8 Zeelieden, two with a Firepot, a unit of 8 European Sailors, and a unit of 8 Marineros Piqueros. All the sailors were equipped with a couple Blunderbusses as well. At 41 models his list was the largest and only took a Strike Point at every 10 casualties.

Bryan’s ally Lawrence ran an elite list of English Buccaneers. His command unit had 7 Freebooters at the Veteran level, he had a second unit of 7 Freebooters with a Grizzled Veteran and a unit of 8 Veteran Forlorn Hope with 2 Firepots. With 23 models, his force would take a Strike Point for every 5 casualties.
The Scenario
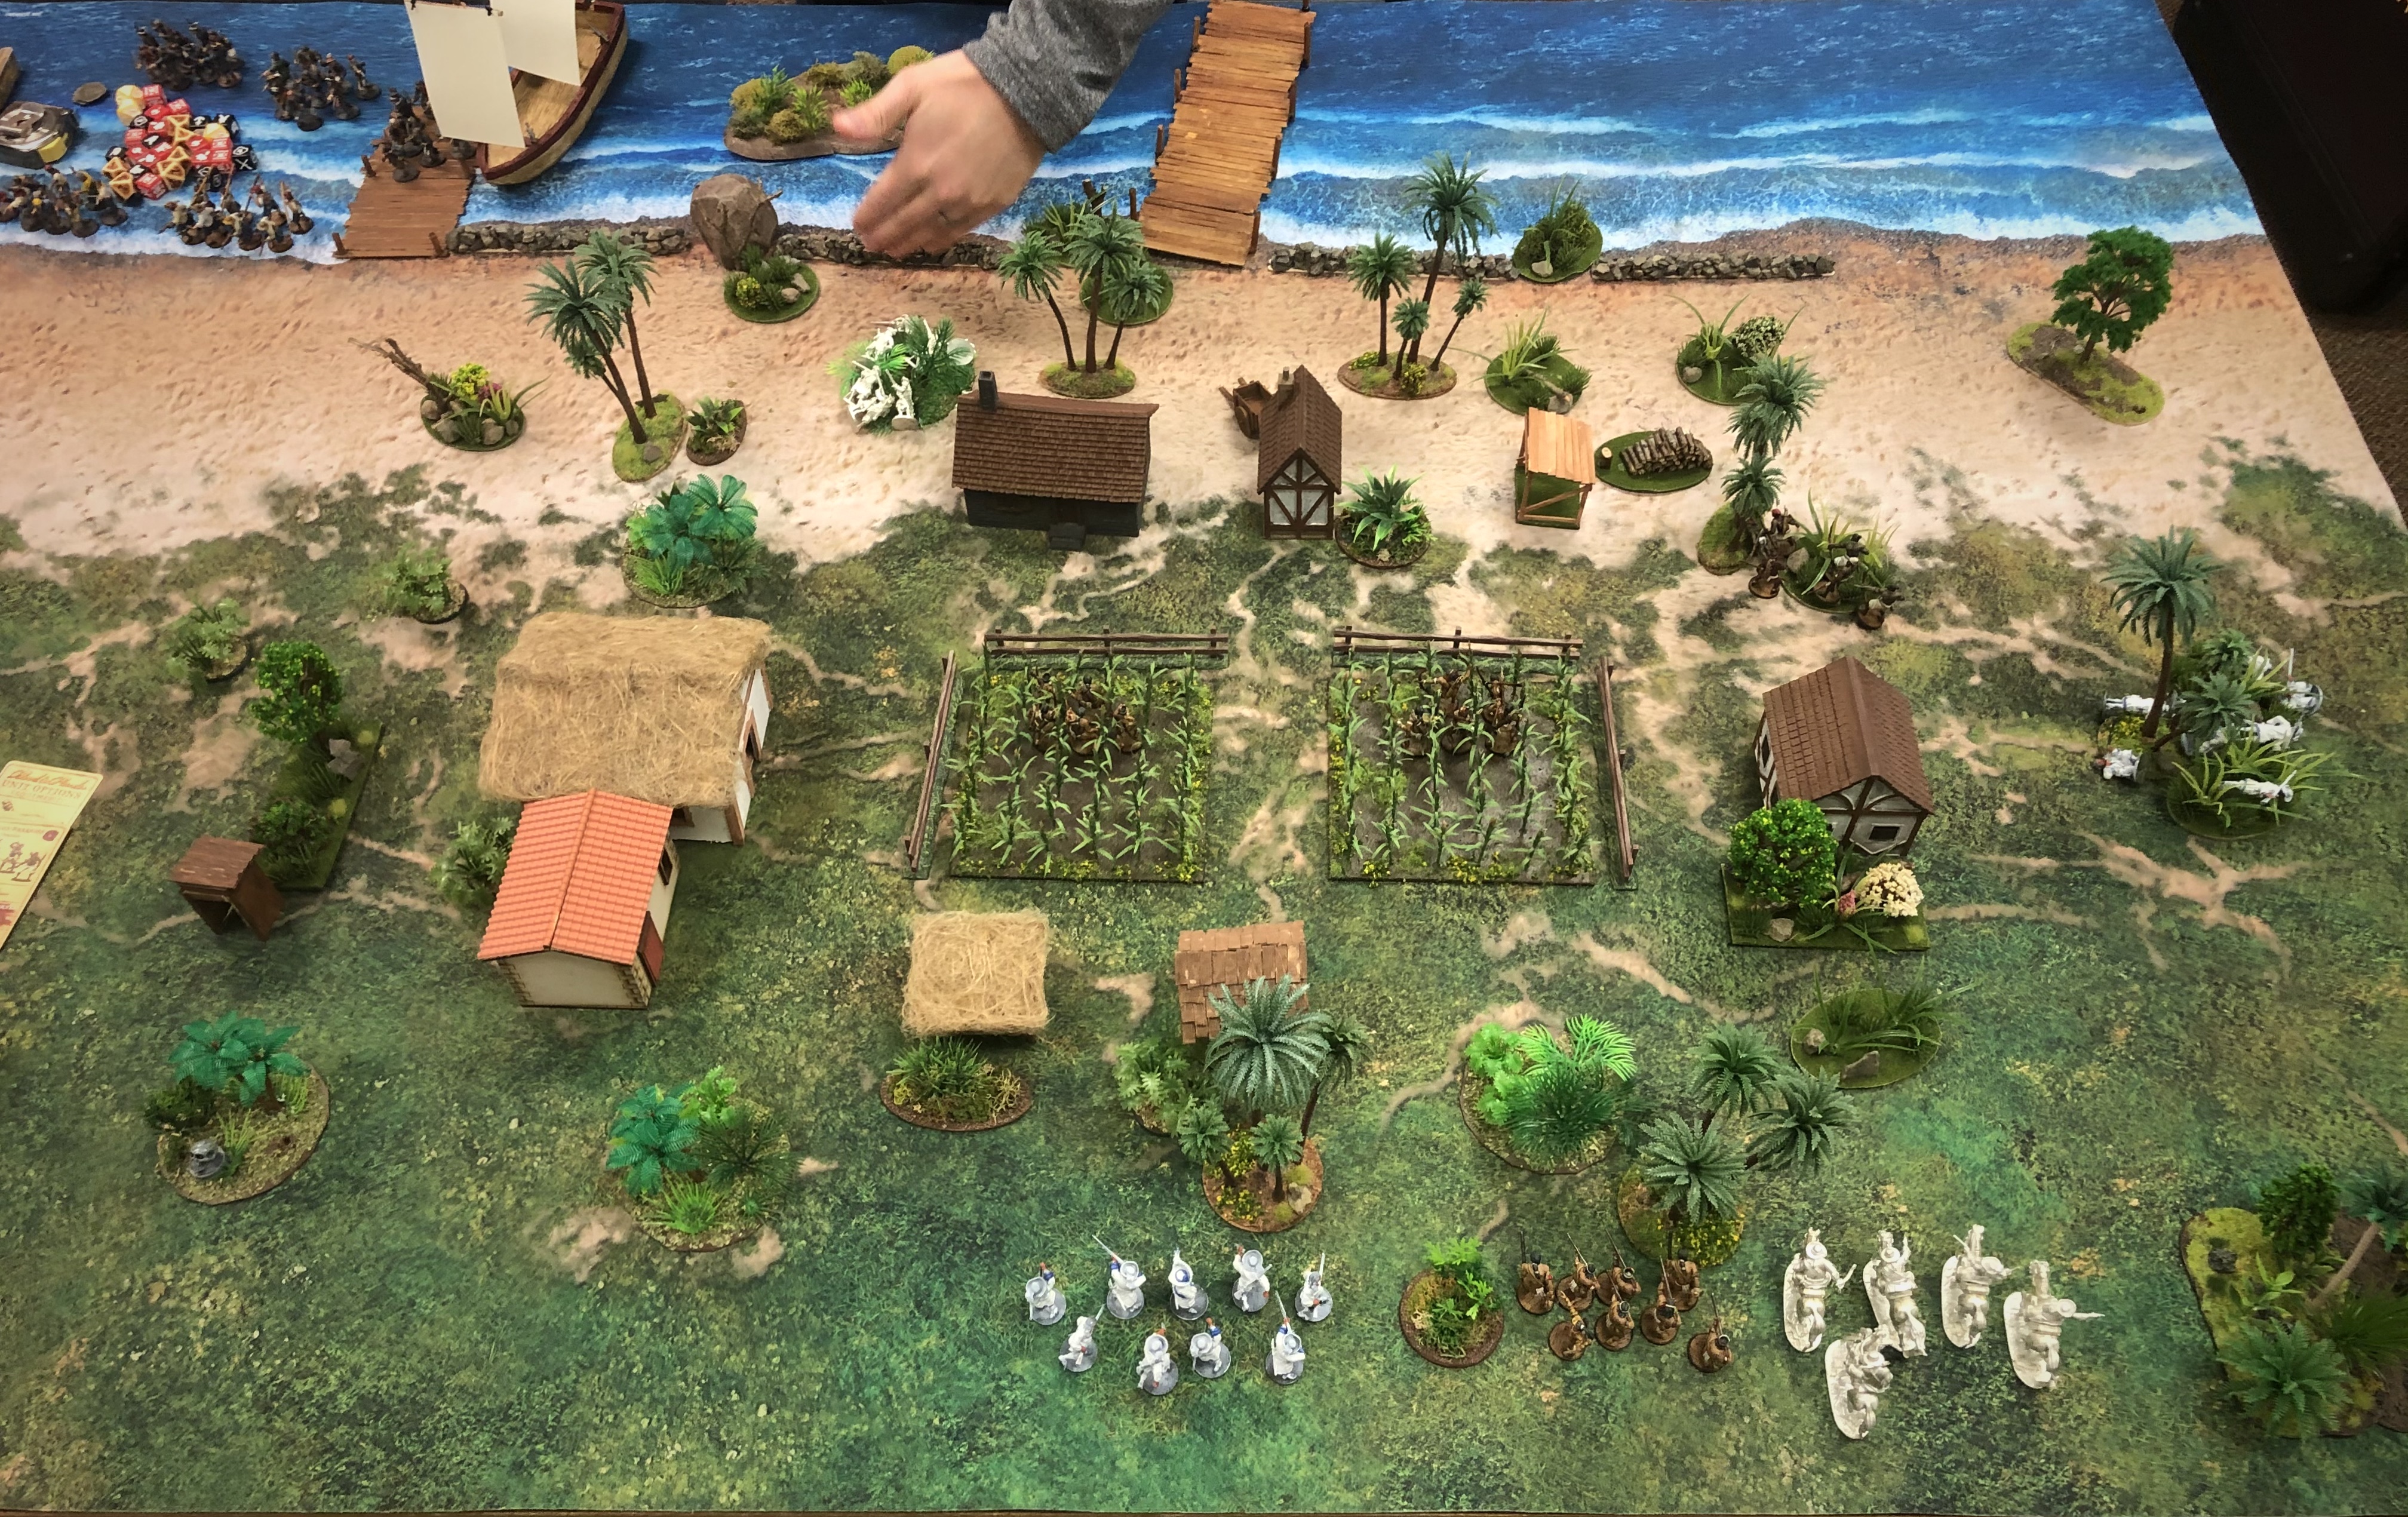
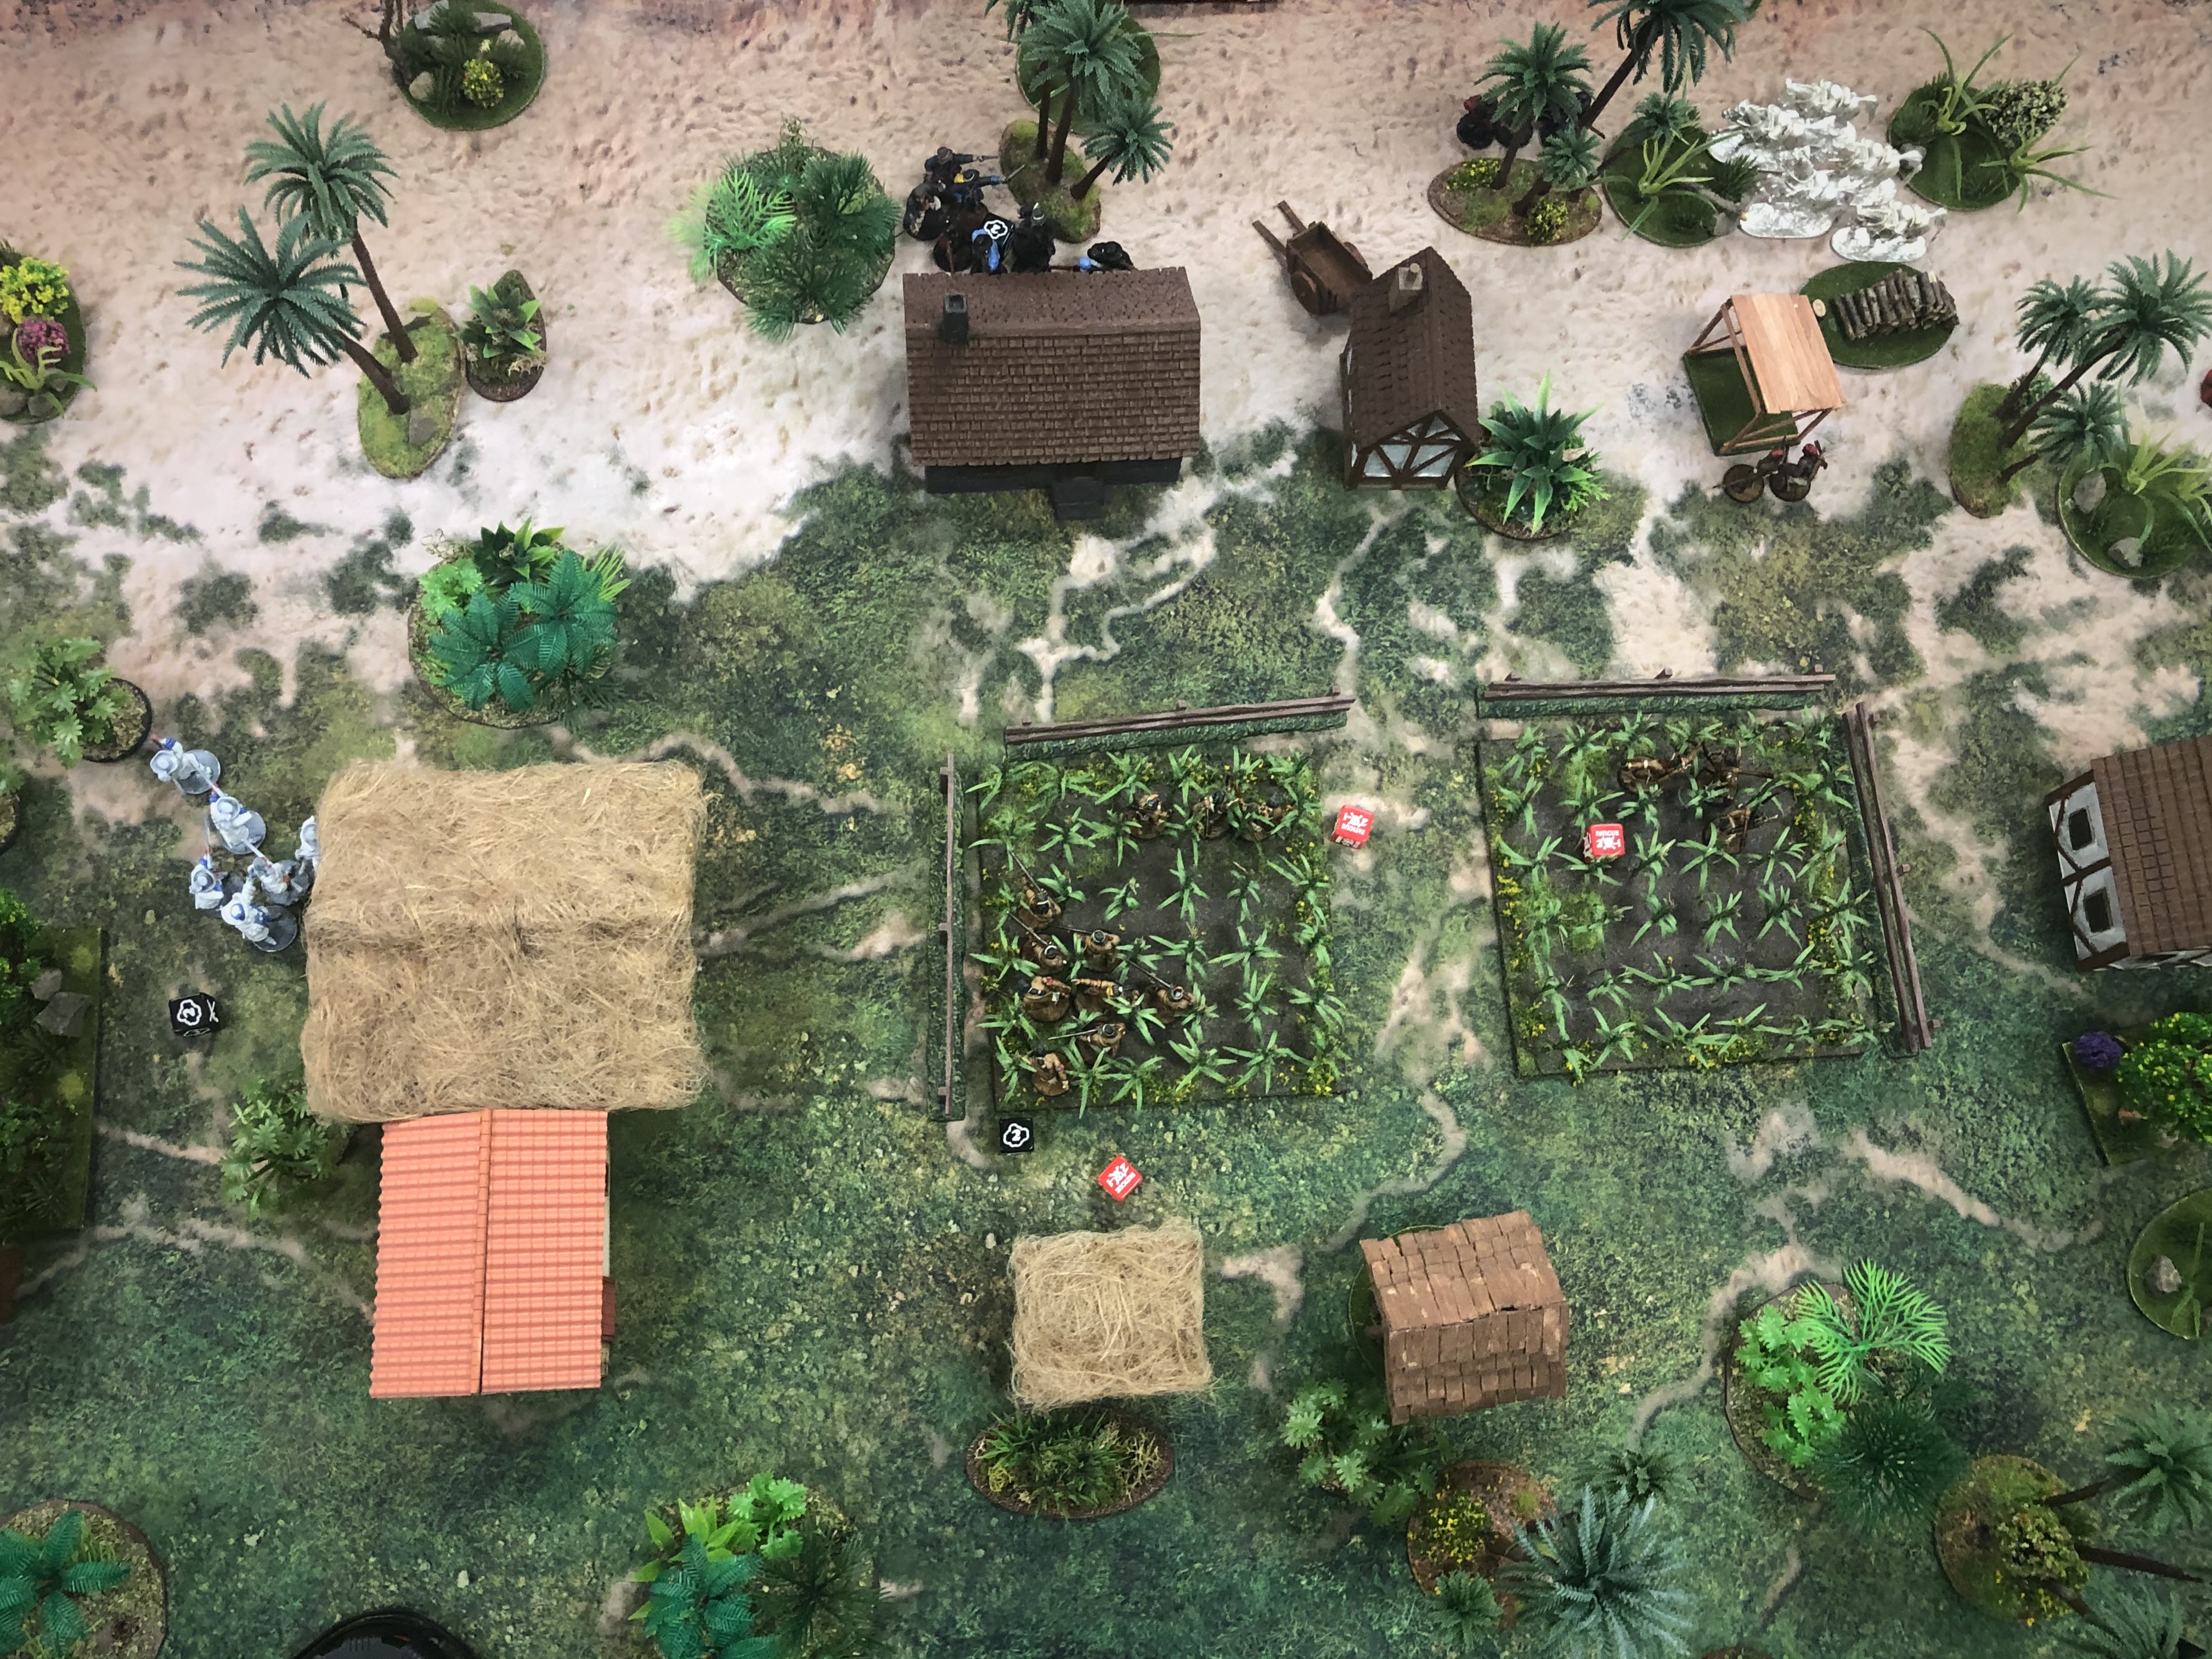
We were assigned Raze as our scenario. On a 3×4 board, the two buildings on the center line of the board were objectives. If one of the buildings were set on fire or destroyed, the Defenders get a Strike Point and if neither building was burning or destroyed by the end of turn 3, the Attacker receives a Strike Point. The other fun part of this scenario is the setup. The defenders are supposed to set up along the back few inches of the board and the Attackers start off the board and can deploy on the opposite edge on the first turn.
The campaign lets players choose a number of Tactics abilities before the game.
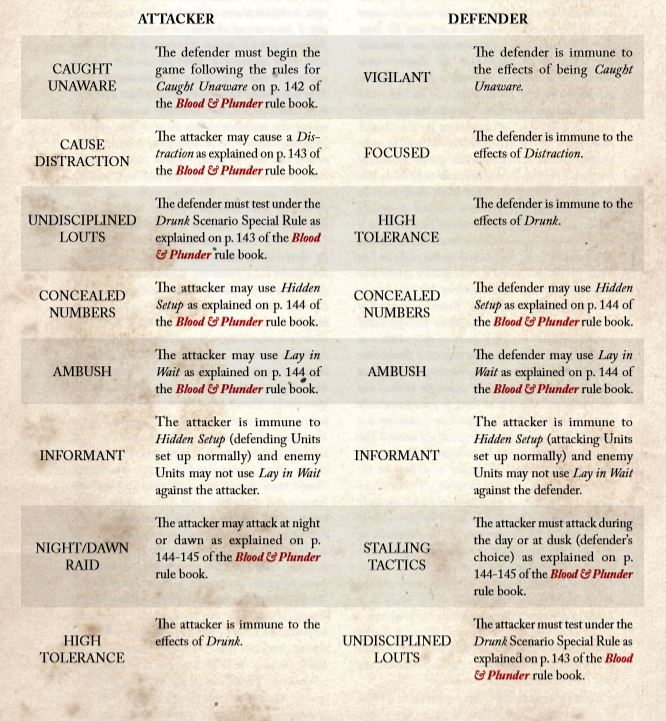
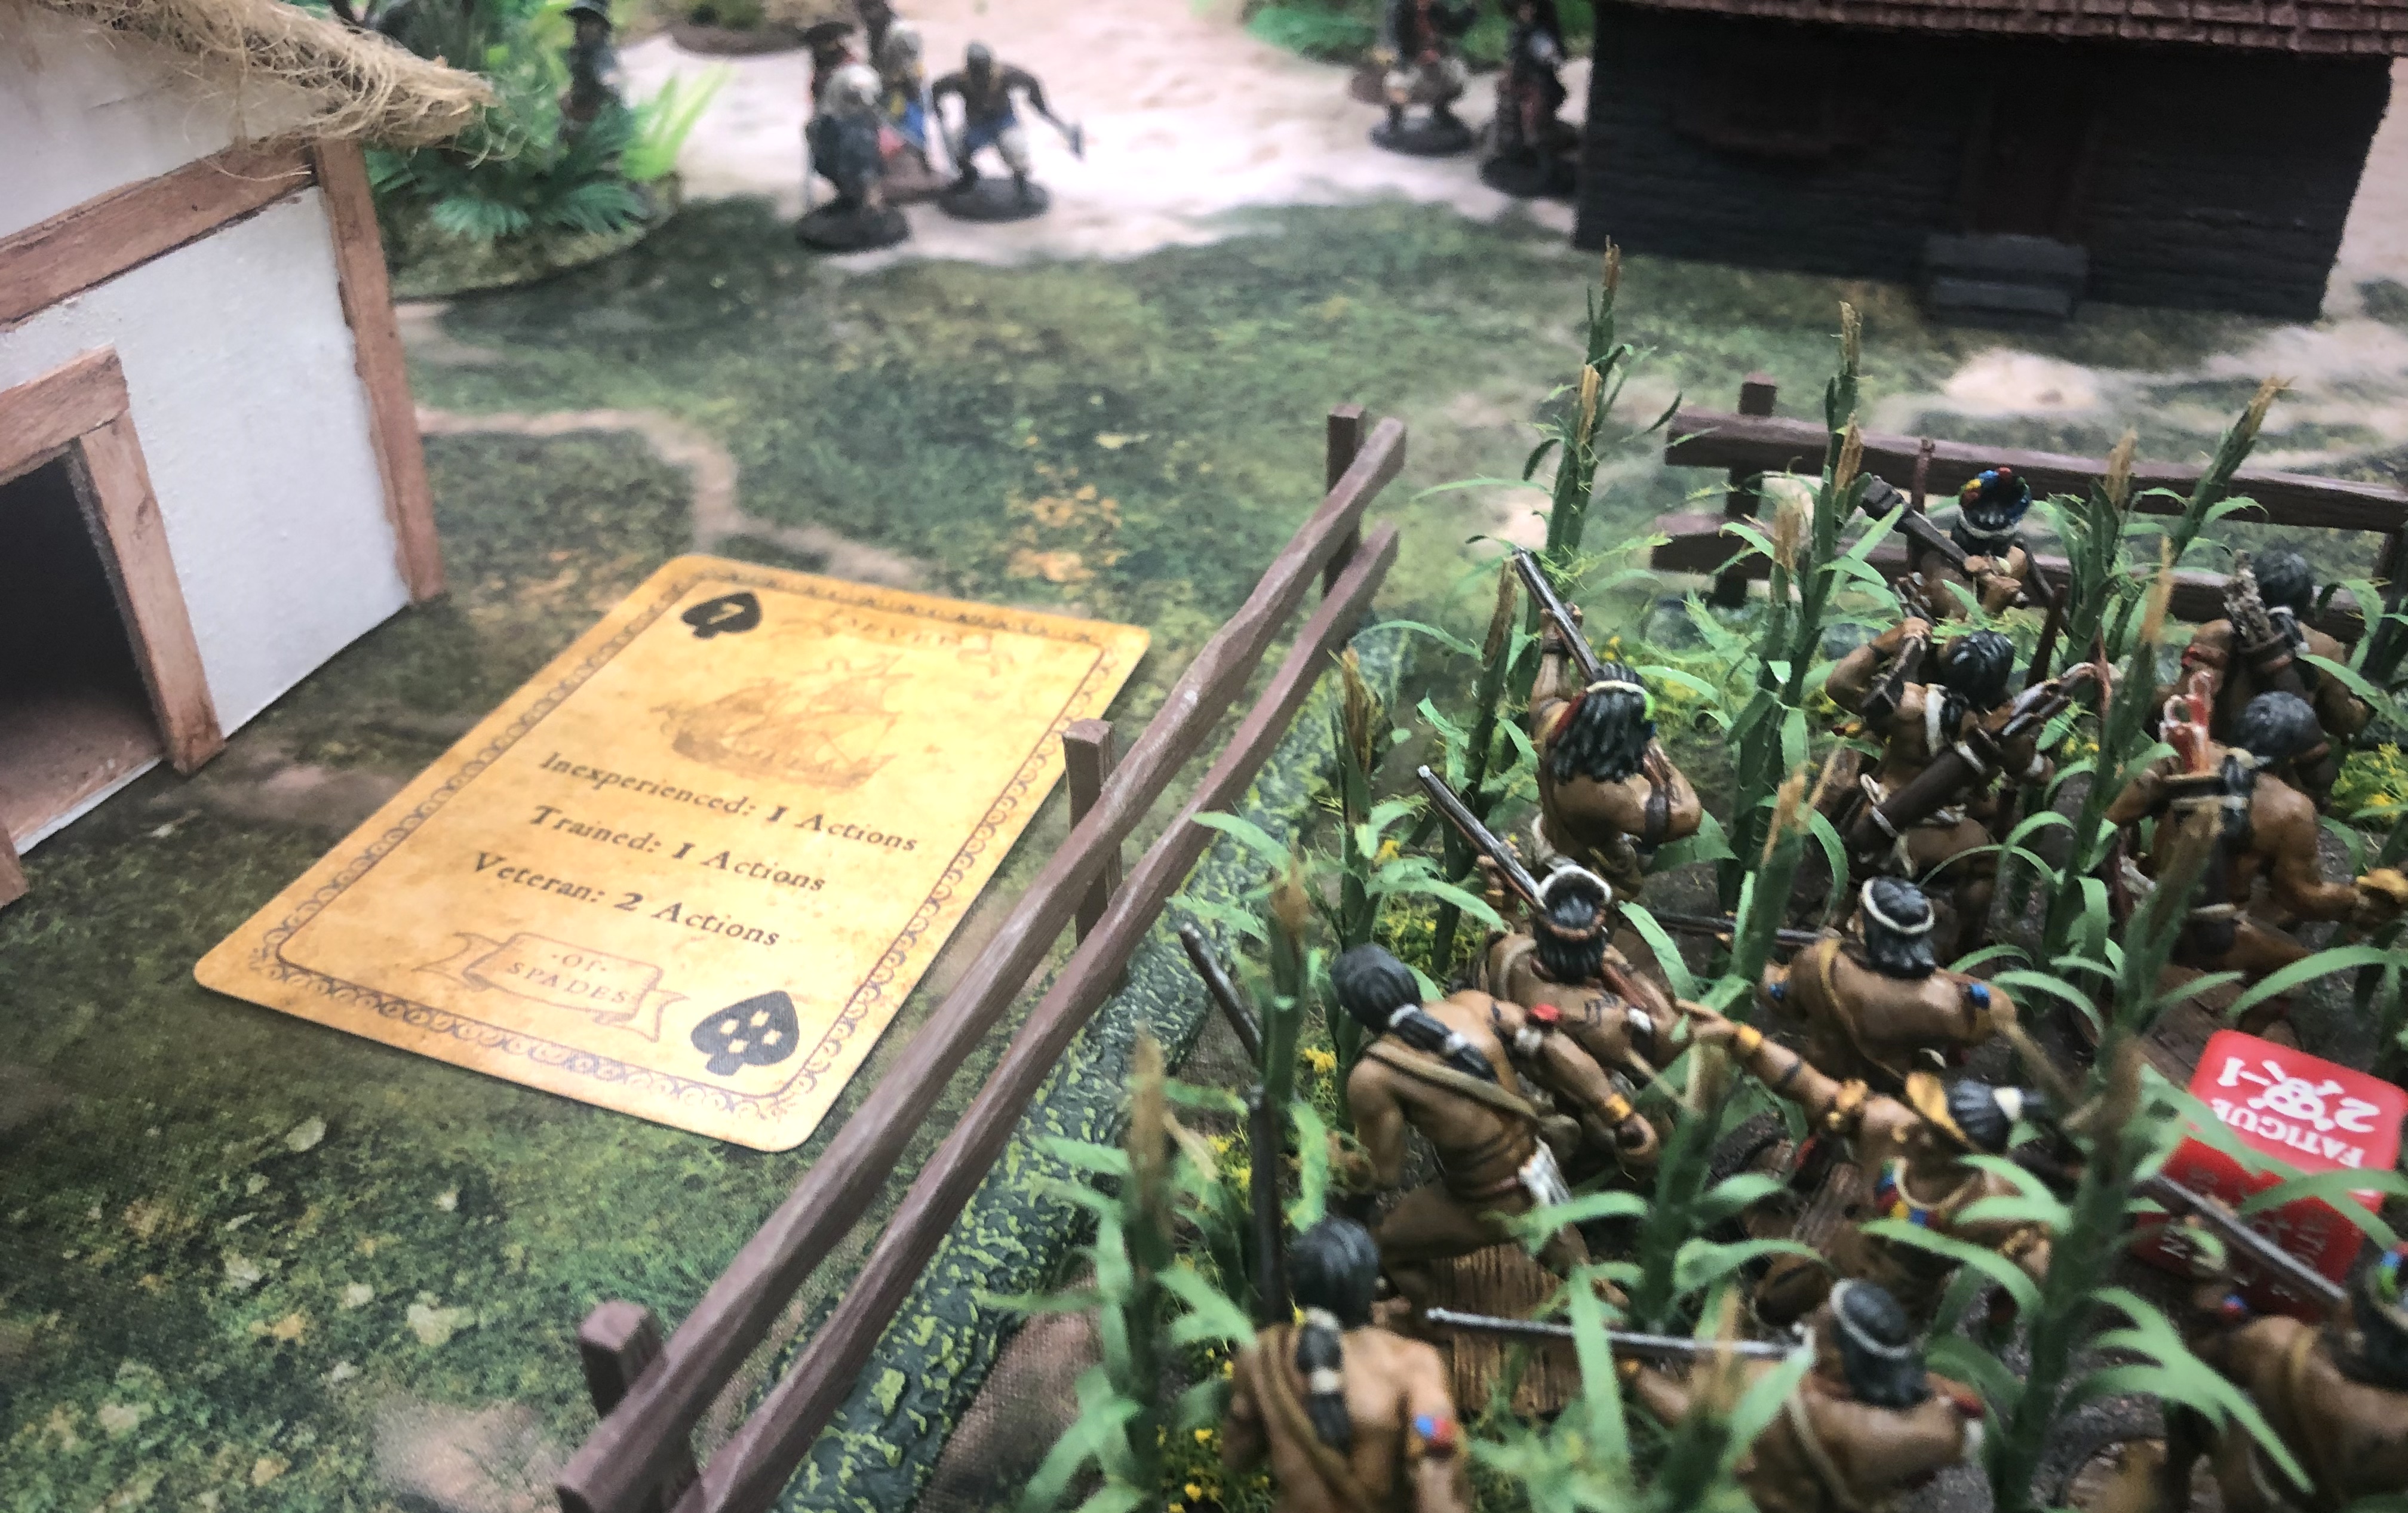
The Attackers chose Undisciplined Louts which would apply Drunk to the Defenders, and we chose High Tolerance (which cancels Drunk) and Ambush which let us deploy using the Lay in Wait rule.

We deployed across the board with French Militia, Warrior Archers and African Warriors using Lay in Wait and the Flibustiers, Cavalry and Warrior Musketeers in the standard deployment zone. We soon found out that we had to be more careful with our Lay in Wait deployment…
The Game
With four of us, we just each selected a card just as in a two player game and resolved activations in initiative order. Bryan played the high card on the first turn and launched a brutal charge against a unit of the prone French Militia. This resembled a “napping on the job” scenario more than a “lay in wait” ambush.
Jeff was using European Soldier models for one unit of Militia. They didn’t last long.
This was a nasty opening for the defenders as the French lost 5 models and took 3 Fatigue and retreated. Jeff rallied the battered Militia unit but the English moved onto the board and unloaded into them getting a massive amount of hits and destroying the last 3 models.

My command unit moved up a full 12″ on the first turn and I used my two command points to make both units of Archers stand. Jeff’s Flibustiers moved towards our Left flank as well and let off a long range volley at the despised Marineros Piqueros but didn’t get any kills.
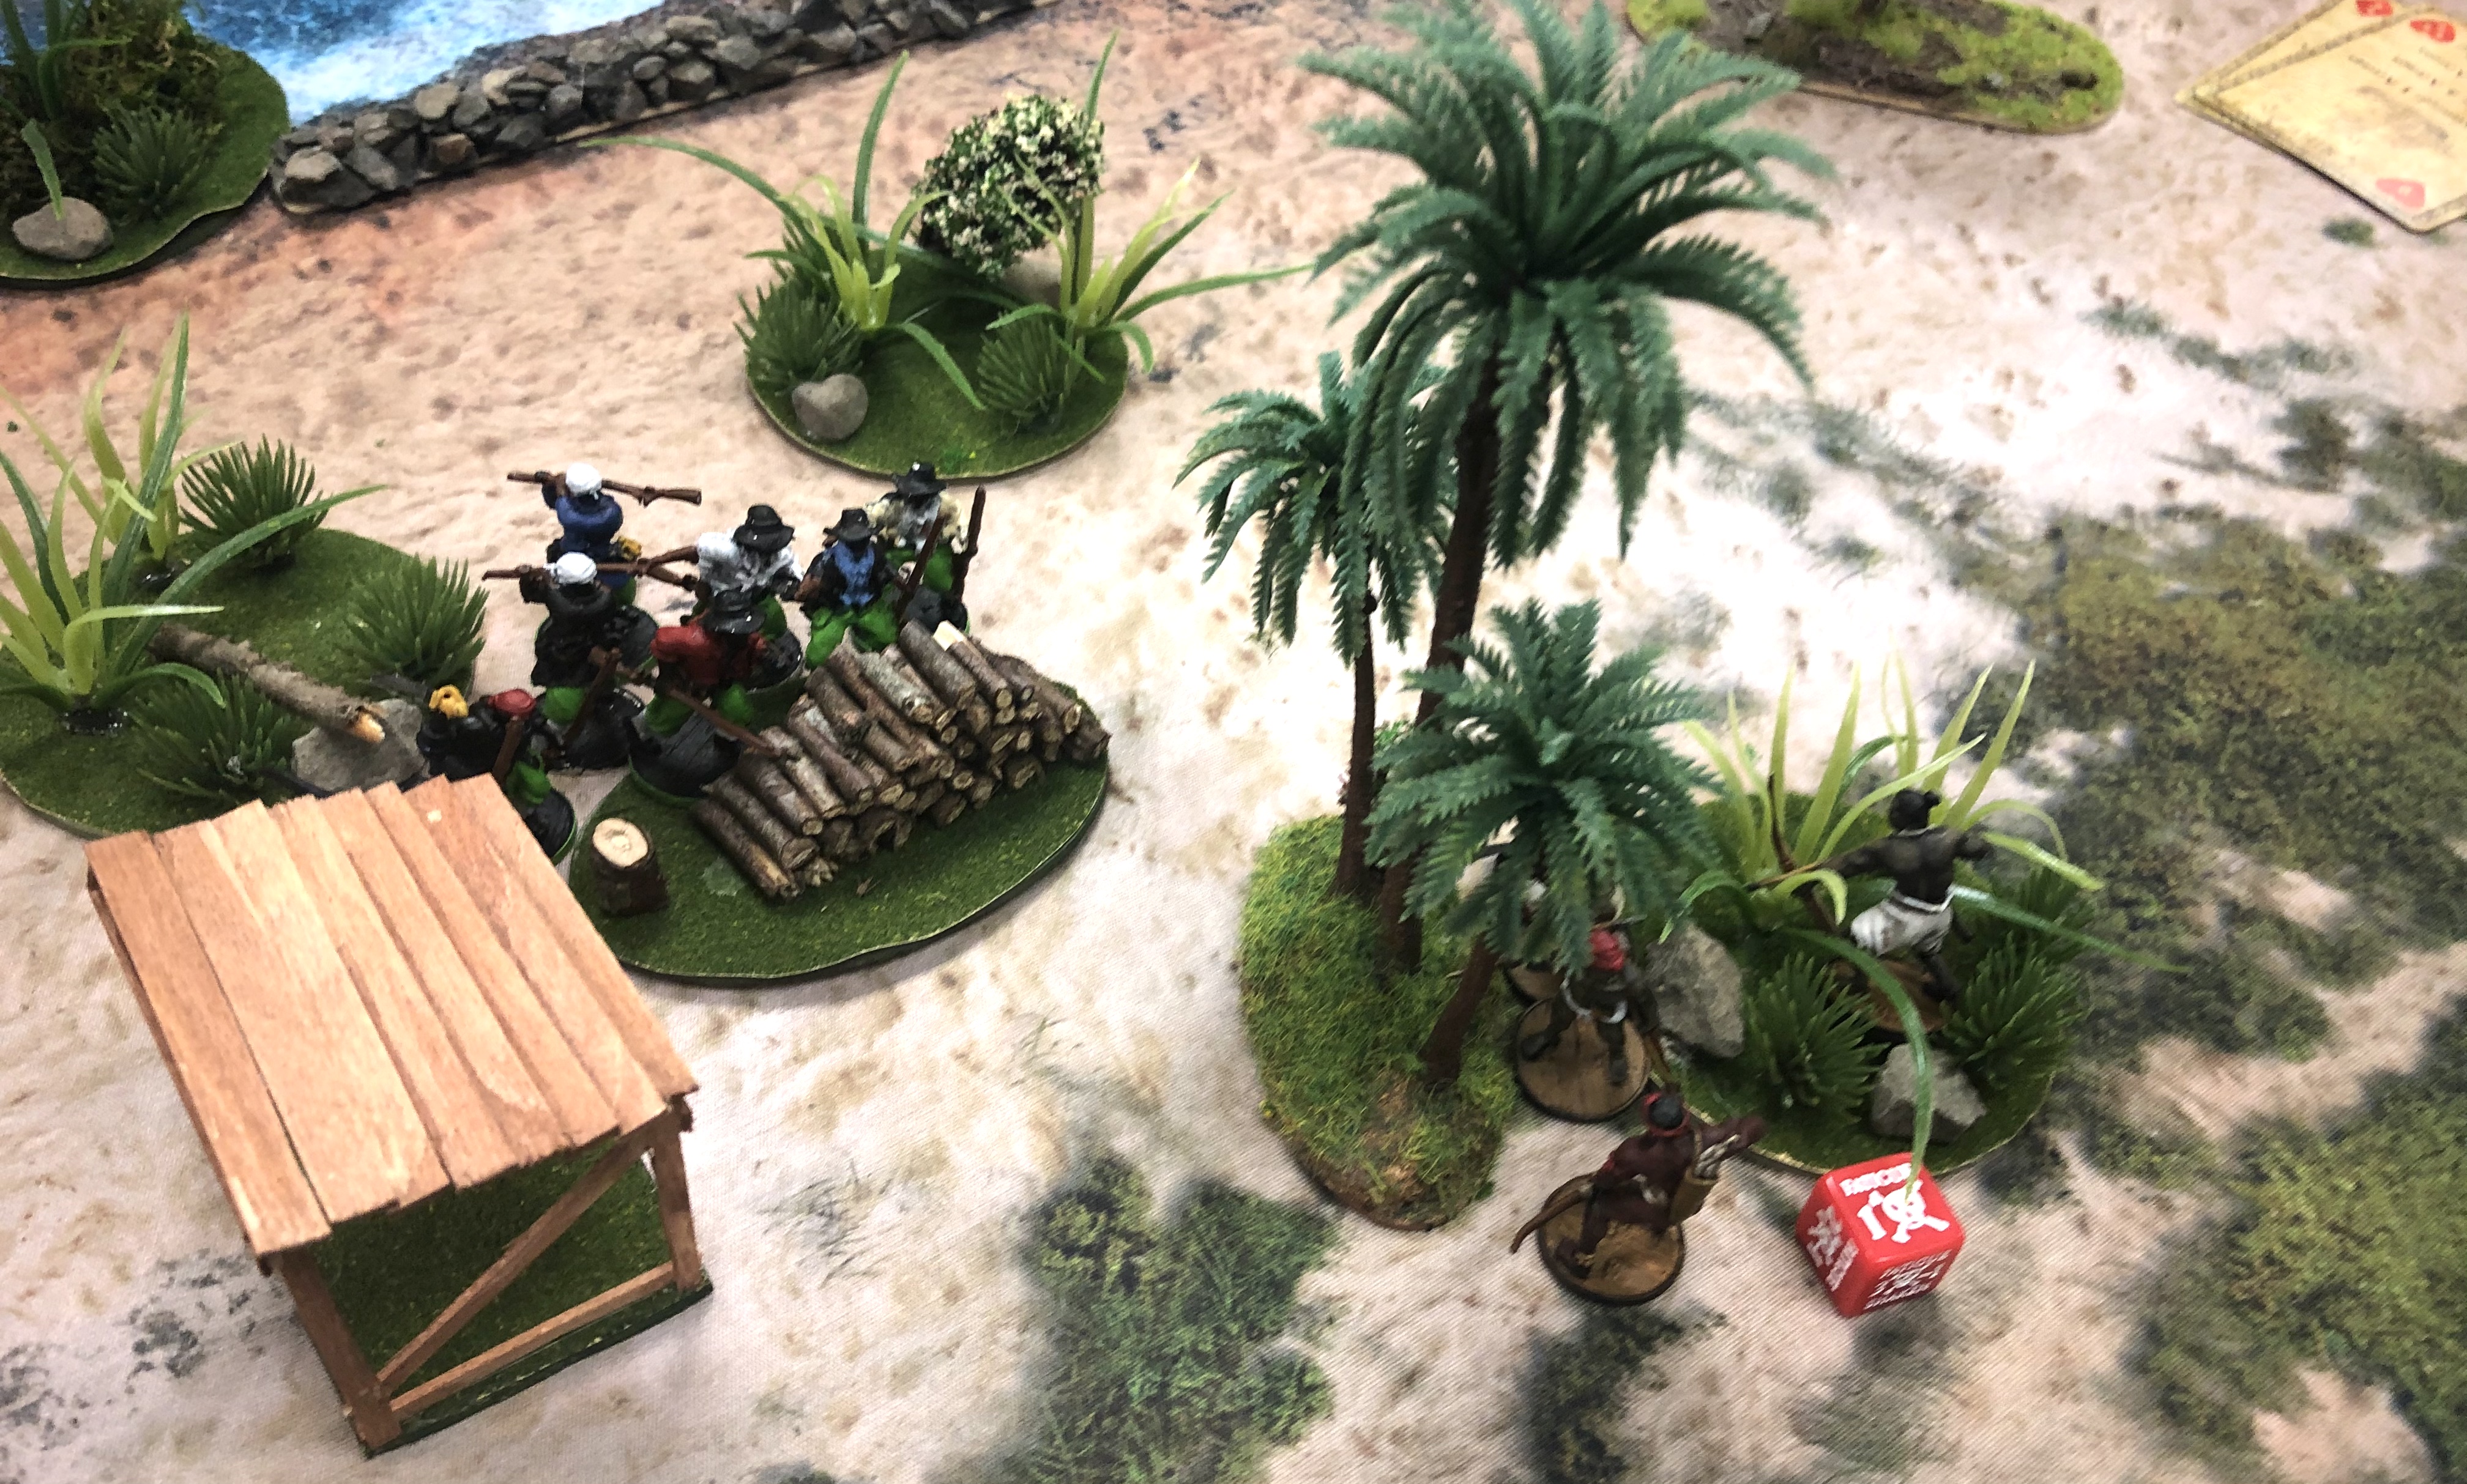
My Veteran African Warriors were within 12″ of the board edge and I didn’t want them charged either so I activated them early and got a lucky kill on some Freebooters.
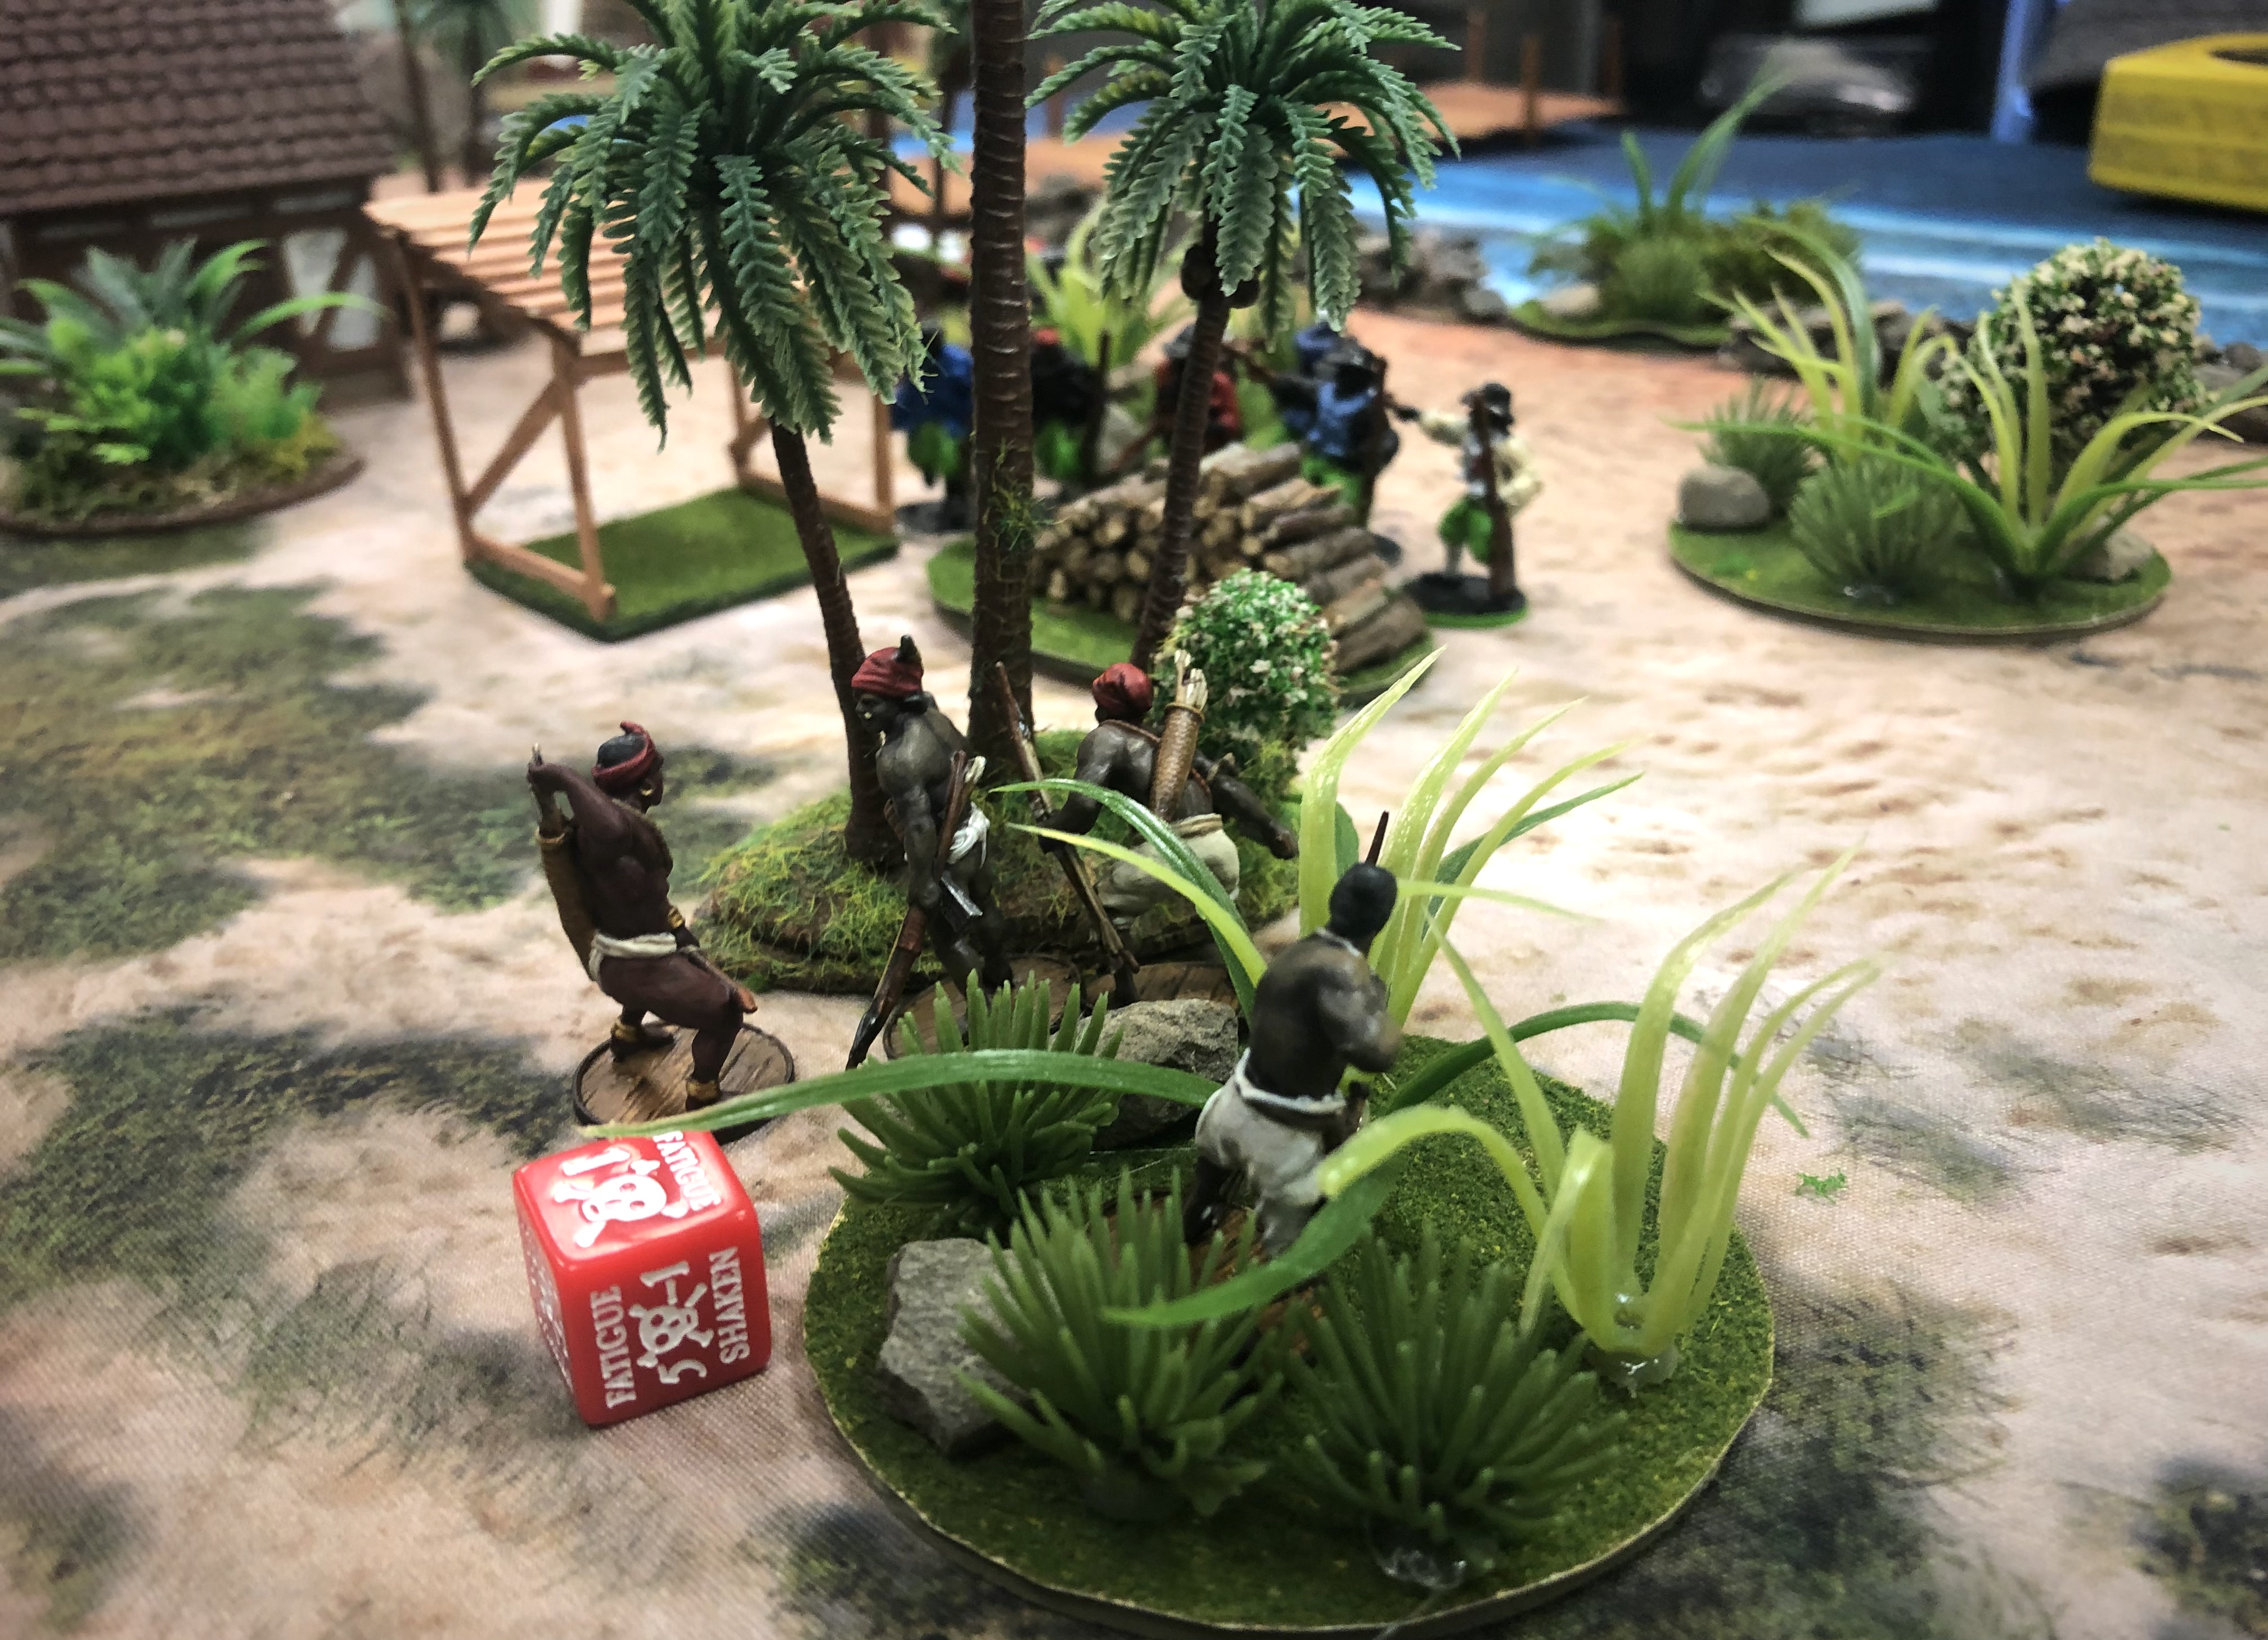
The 8 Forlorn Hope moved onto the board and fired at my Africans with Muskets and Firepots. Any sort of grenade are nasty vs Natives since it deprives them of their strong saves. I lost 3 models but didn’t take much Fatigue.
I activated my two groups of Archers late in the round and fired twice with each getting a kill or two and applying a lot of Fatigue through Poisoned Arrows.
The attackers had planned to concentrate on our Left flank since we had less troops there and they only needed to burn one building to complete the objective but the various opportunities to attack either prone or activated units made them spread more evenly across the board.
The Dutch pressed the attack on the second round while the English spent much of this turn rallying after taking several points of Fatigue on the first turn.

A unit of Zeelieden advanced on my battered Africans and threw grenades and fired their pistols killing another couple models leaving them routed with only 2 models left.
I fired twice again with both Archer units on their activations then used both of them again with my command points spreading a lot of Fatigue across the Ostend Privateer swarm. By the time they had shot 6 times there was enough Fatigue around to trigger my Ruthless command unit of Musketeers. Ruthless combined with Great Warrior meant I could shoot remarkably accurately at fairly long range.
Near the end of the second round the Dutch prepped for a charge on the cornfield the Natives had settled in.
We they ended the round primed for a charge and we drew cards, knowing that initiative would be vital going into round 3. Lawrence used the Buccaneer ability to draw a new hand.

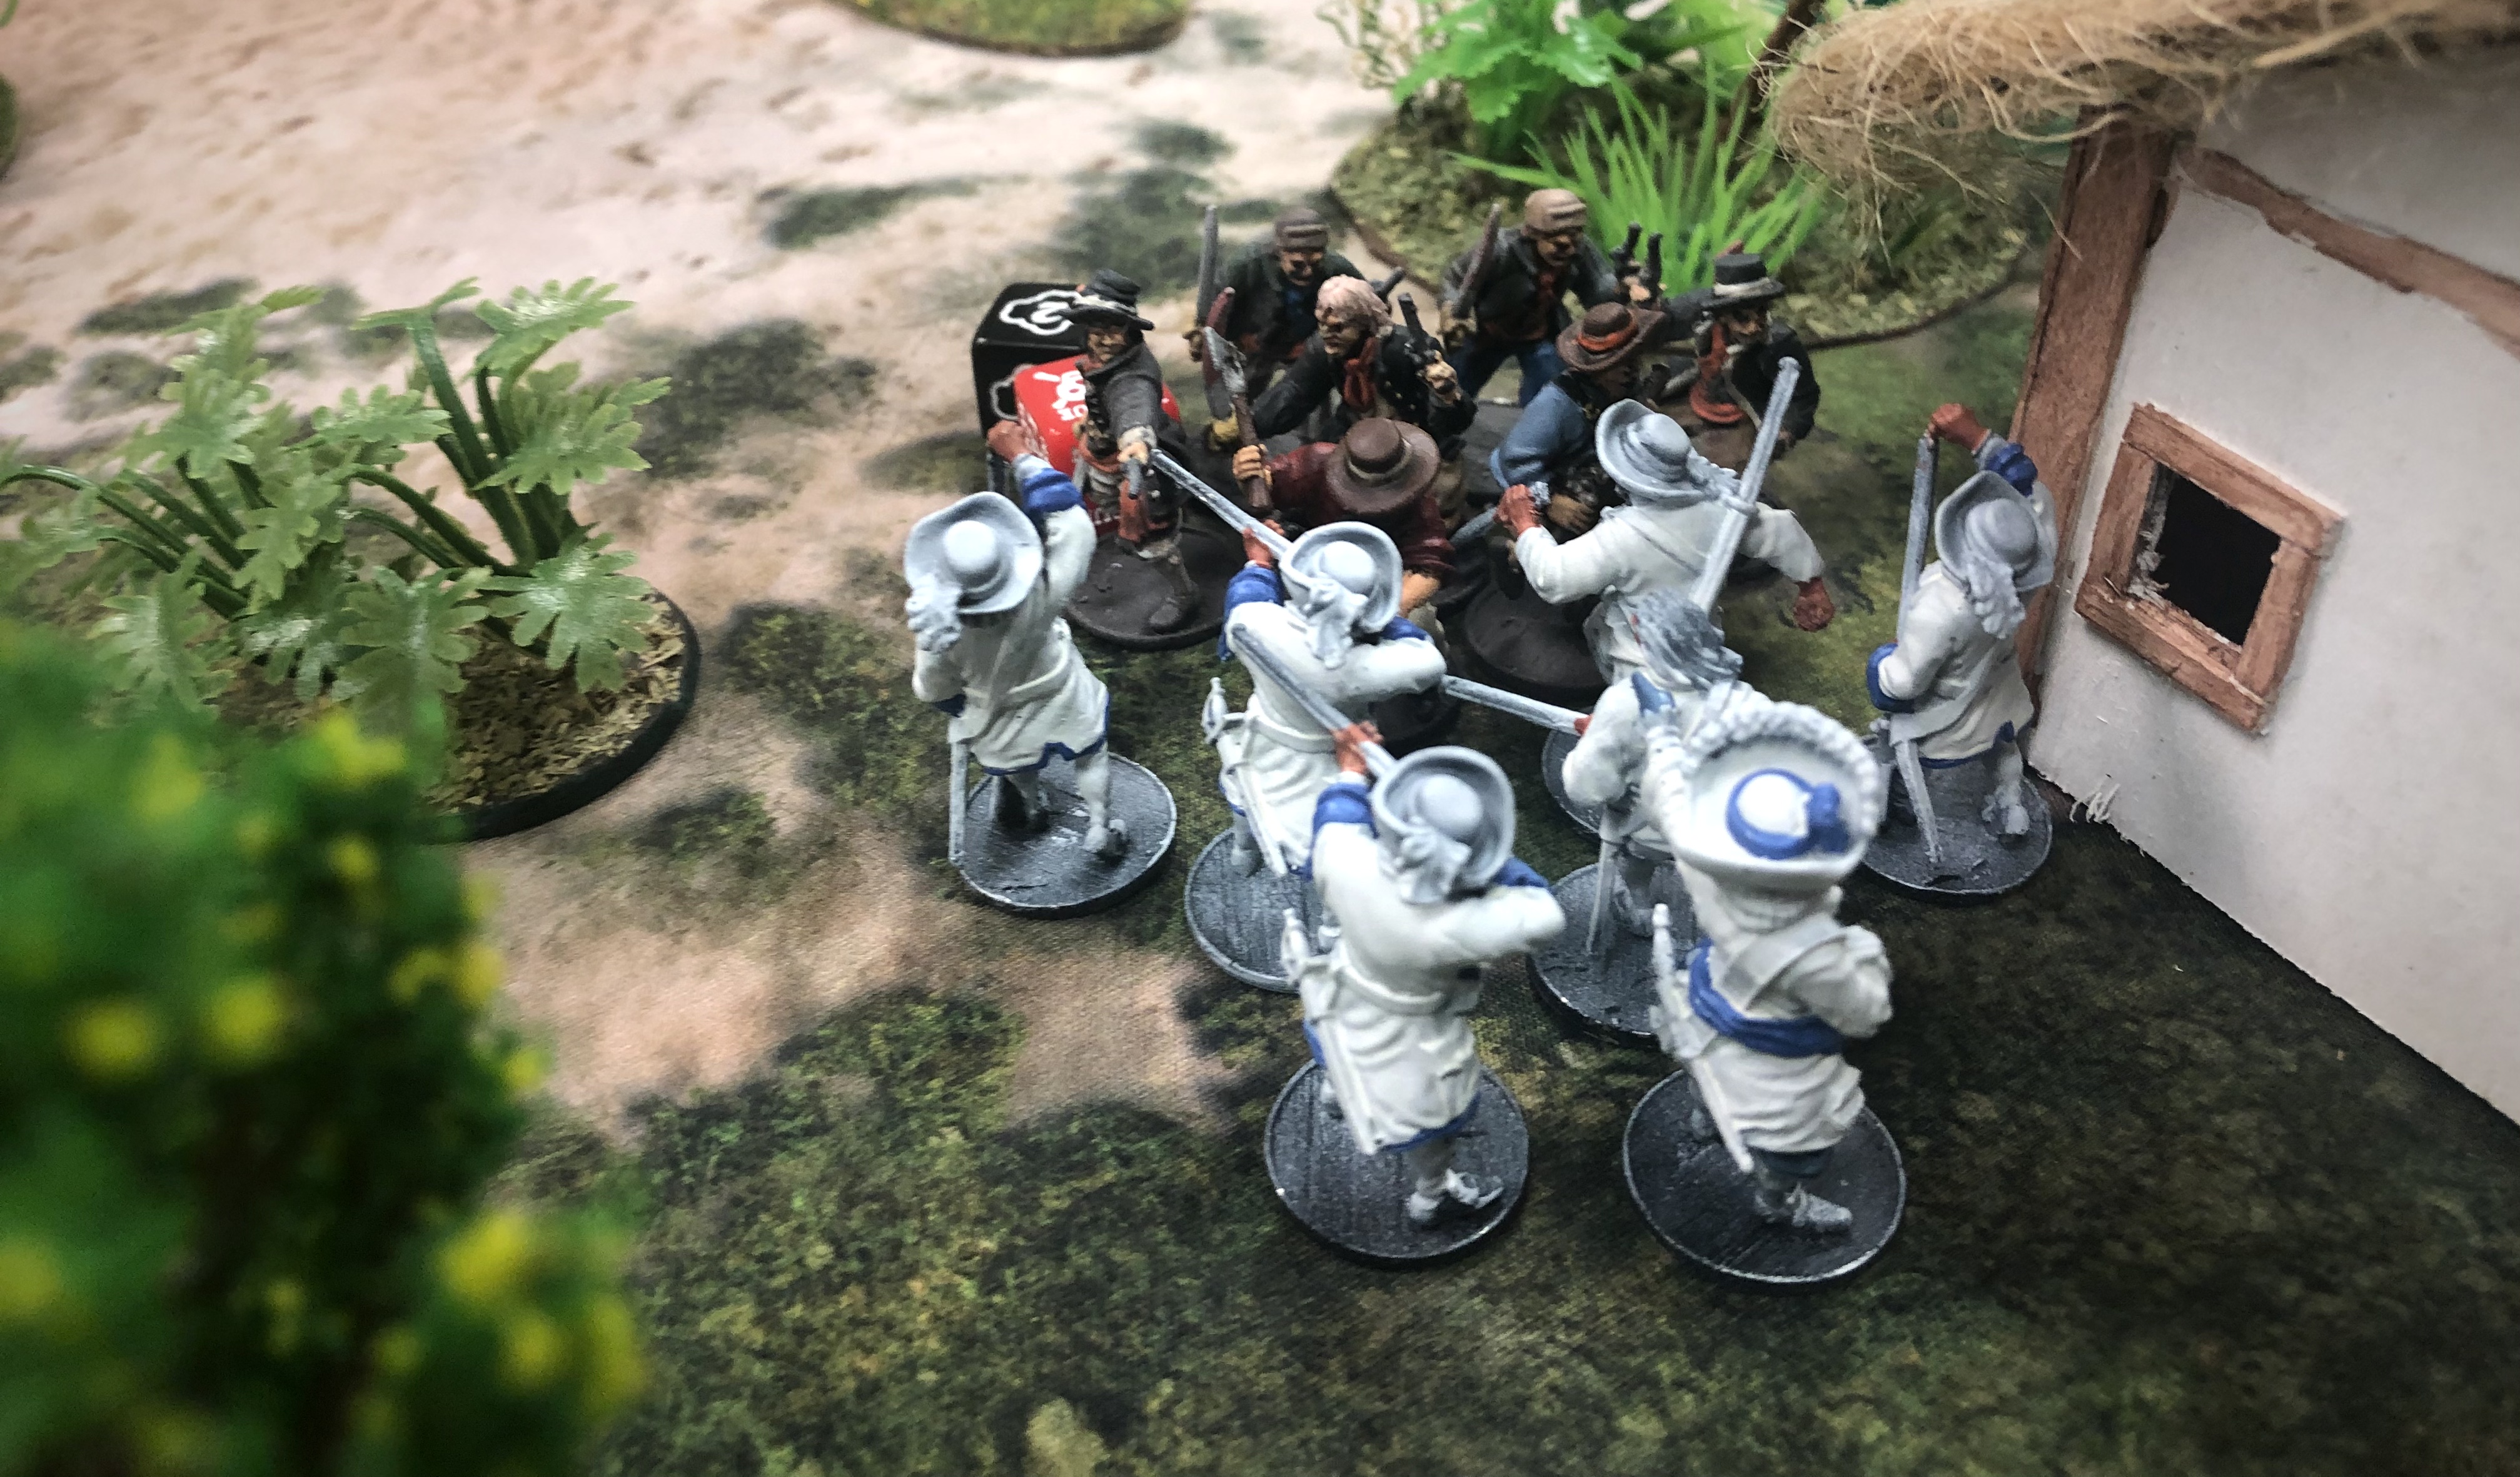
Three out of 4 of the cards played on this first activation were Spades but I was fortunate enough to have the highest card. I activated my Commander and had him command the Archers to shoot into the European Sailors at point blank range. The Attackers used most of their Fortune on the first round and had nothing left to re-roll some disastrous Save rolls here. The European Sailors took 4 casualties from 5 Archers and broke. The second unit of Archers put some Fatigue on his Command unit preparing them for another Ruthless/Great Warrior volley hitting on 6’s at 11″. With no cover this killed 5 more models.
This single activation blunted the assault and probably decided the game.
- Jeff’s Miltia got a solid shot off and suppressed the Forlorn Hope which gave the Cavalry a chance to charge them while they were prone and eliminate the unit. I have to say the Attackers had some rough luck on Save and Resolve checks. I was consistently getting a kill on nearly every bow shot while they were saving on 4’s. They would roll 2 Fatigue dice, fail one, re-roll the second one from the Poisoned Arrows and fail it as well. It seemed like every shot now shot killed a model and applied 2 Fatigue which was way more deadly than the odds dictate.
Near the end of the 3 round the last full-sized unit of Zeelieden threw their Firepots at one of the buildings and set it on fire which gave us Defenders a Strike Point. On the next activation Jeff’s Flibustiers took a repair action with their command point and put out the fire much to the consternation of the attackers.
This turn swung the game heavily to the defenders’ favor. I think the defenders took 1-3 casualties in this round while the attackers took at least 15.

With the fire put out and heavy casualties on both forces both attackers had 2 more Strike Points than the defenders and took and passed a Strike Test.

The Freebooters behind the building in the upper middle moved into the building but since the building was solid and the roof wasn’t removable, we kept them there for practical purposes.
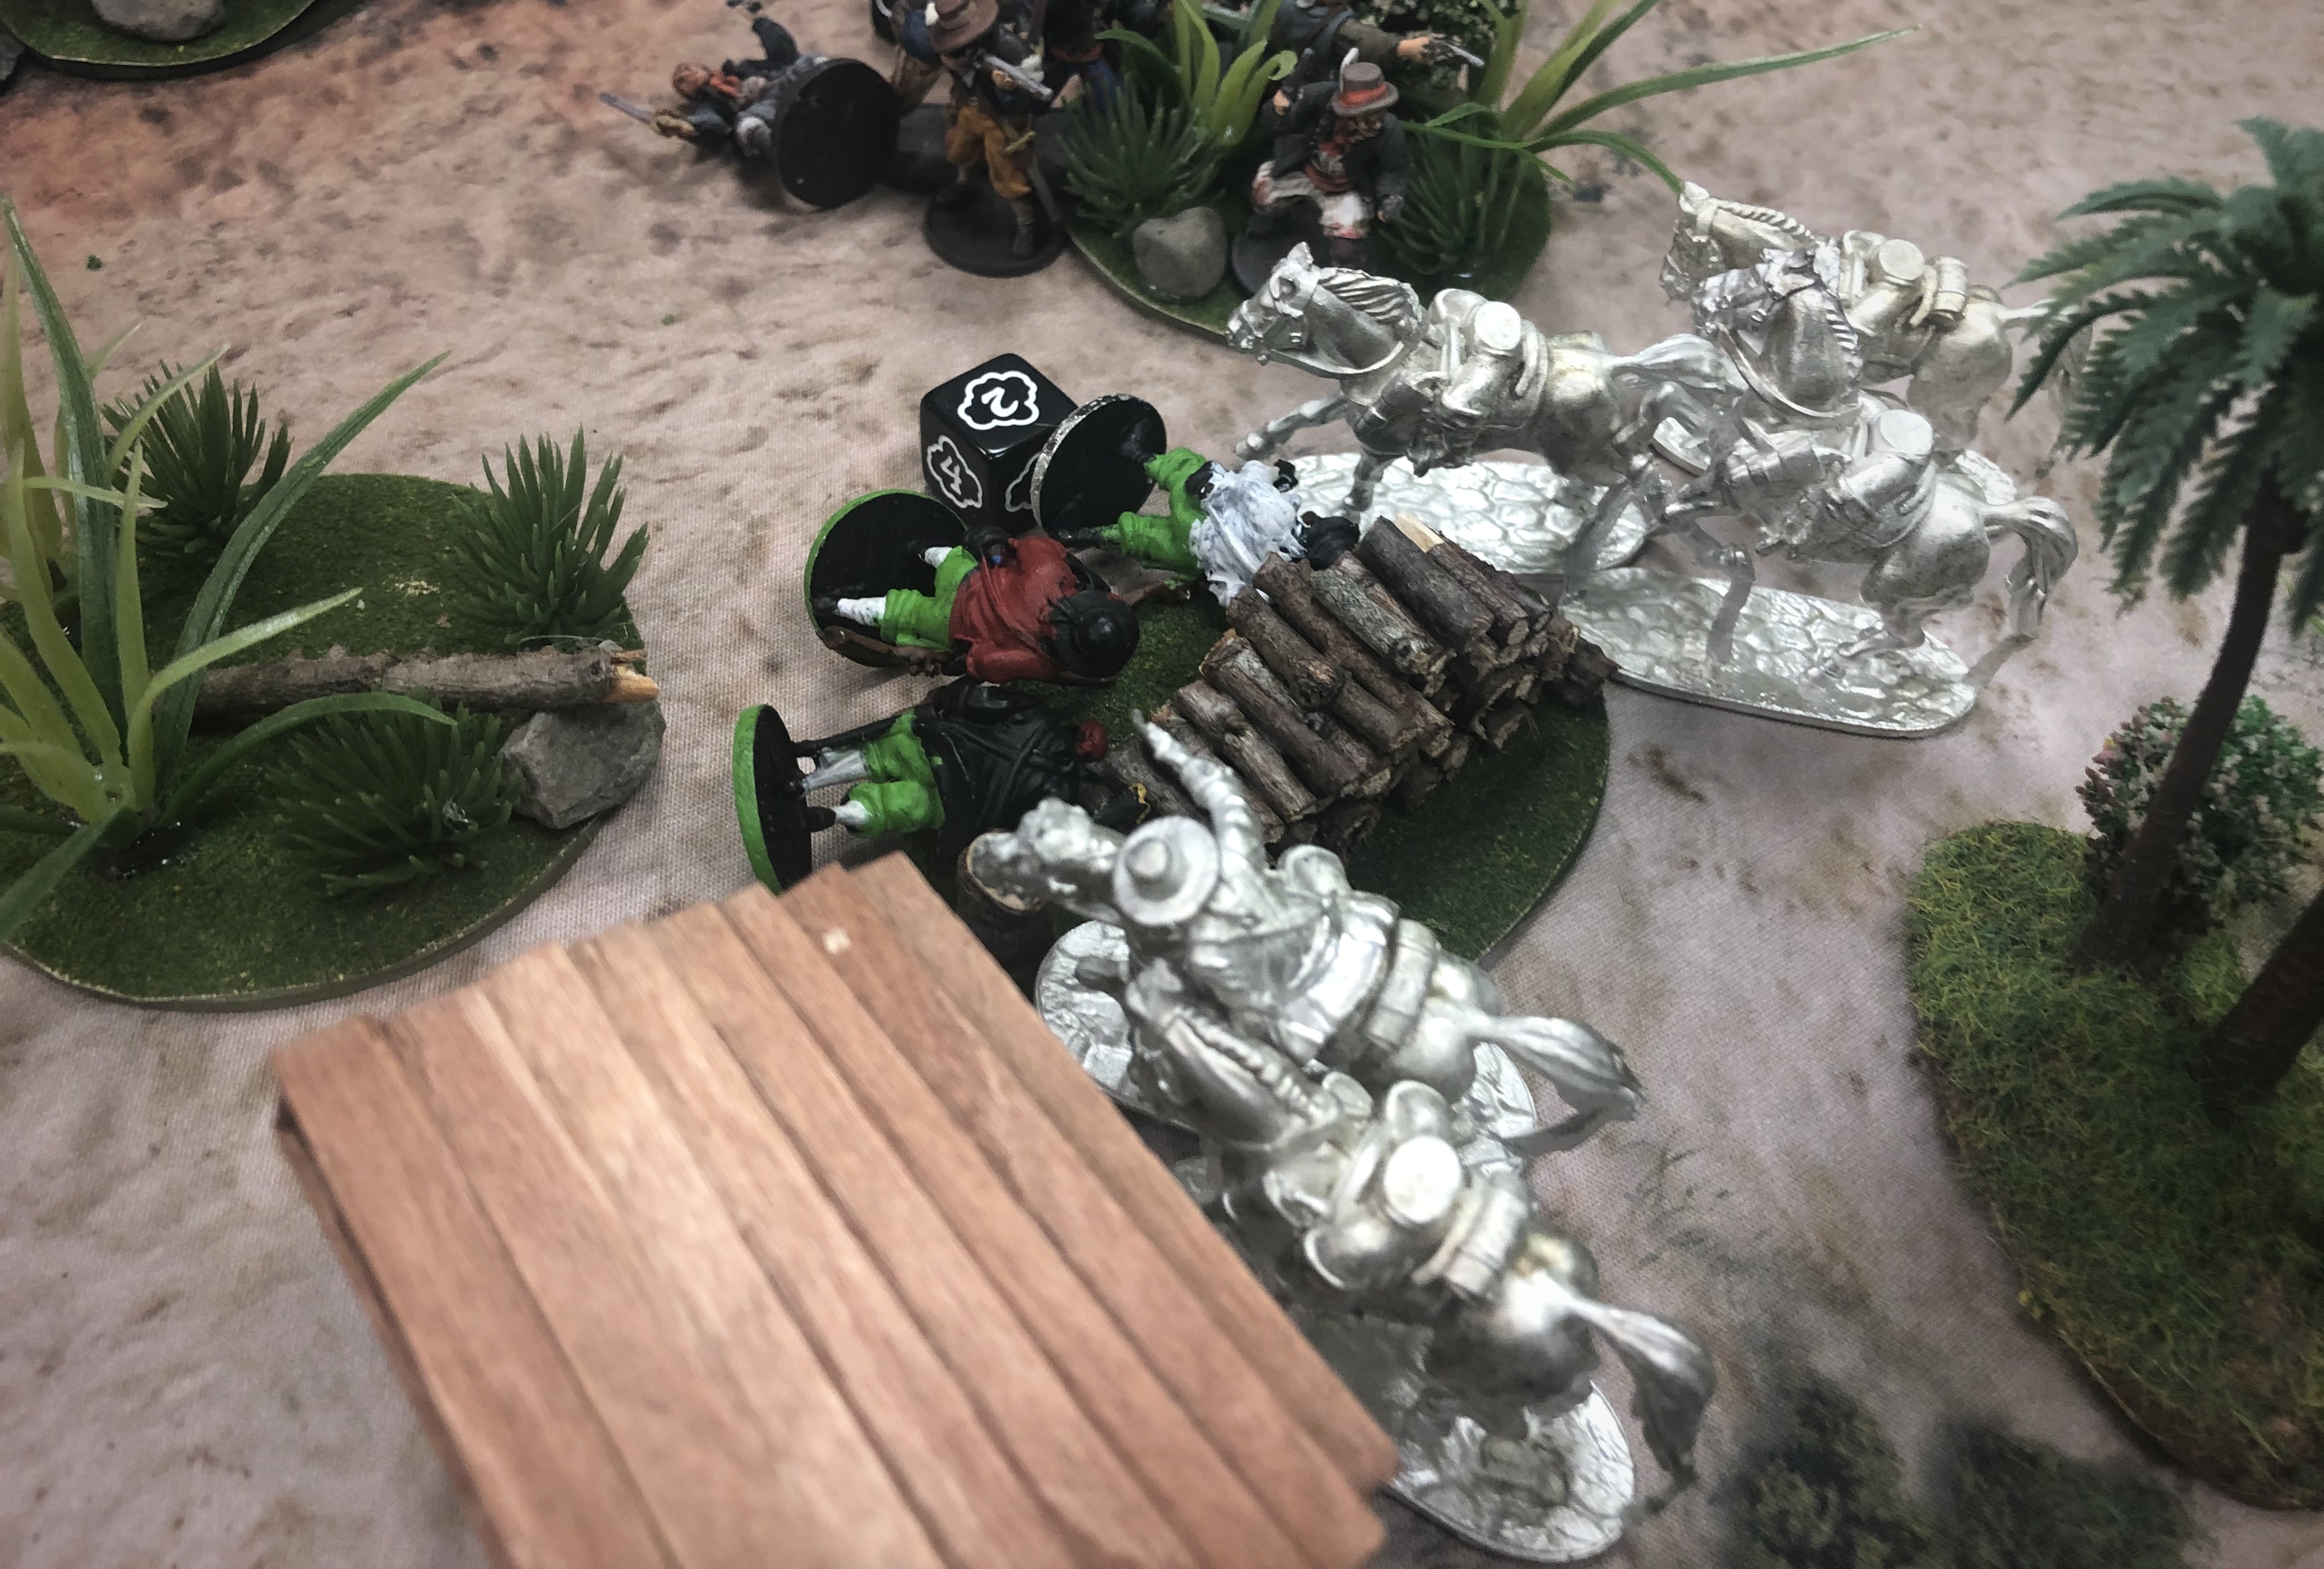
The Zeelieden weren’t about to go down without a fight so they advanced on Jeff’s command unit of Flibustiers and killed one with a combined attack of Blunderbusses, Pistols and Firepots. The Flibustiers counter-charged and no one survives a Flibustier charge! Desperate for some measure of revenge the last two Marineros Piqueros charged headlong into the pistols of the Flibustiers but they were both shot down and didn’t complete their charge.
The fresh command unit of English Freebooters fired a Marksmen shot into the cornfield and killed two Warrior Archers and they fell back with 3 Fatigue. The Dutch Sailors on our Right flank rallied and removed most of their Fatigue but remained prone and the Milice a Cheval fired their pistols into the prone men and then charged them down and eliminated the 4th unit of Ostend Privateers leaving 4 of the original 41 models on the board. The remaining 3 Freebooters fired into the cavalry hoping for revenge but failed all 3 shots looking for 7’s. My Natives had worn themselves down with extra shots and had to spend most of their energy rallying on the last turn.
At the end of turn 4 we calculated Strike Points:
- Jeff’s French Militia had 1 Strike Point for 9 casualties of their original 30 models. They only lost one Flibustier after the initial loss of the entire group of 8 Milices de Caraibes.
- My South American Natives had one Strike Point from 8 casualties of my original 24 models. My Africans lost 4 models and both units of Archers lost 2.
- Bryan’s Dutch had 3 Strike Points from 37 casualties of their original 41 models and 1 Strike Point from failing to burn down or destroy a building.
- Lawrence’s English had 2 Strike Points from 10 casualties of their original 23 models and 1 Strike Point from failing to burn down or destroy a building.
Both attackers rolled a Strike Test and failed and the game was over.

Post Game Thoughts
- This was a bit of a slaughter! The attackers had a strong opening on the first turn, the game balanced on the second turn, the tide dramatically swung in the defender’s favor on the third turn. The final casualties were 47 for the attackers and 17 for the defenders.
- The Natives and French worked well together. The Fatigue piled up fast with the Poisoned Arrows and then the French Cavalry and Flibustiers were able to destroy units once they were prone. It was kind of amazing and horrifying to see how fast the Fatigue accumulated across the table. There were so many lost actions. My Natives were consistently lucky and the Attackers were extremely unlucky in their Saves and Resolve checks.
- I think the South American Tribes faction is really strong compared to the other Native factions. No Sound of Thunder is a huge boon and then Elusive for all their units is so strong! They’re extremely difficult to kill. It’s weird because you end up paying a lot for troops and you certainly don’t run the largest army on the board, but they’re just hard to kill. There were some “broken” and “OP!” remarks being made regarding the Natives.
- I like scenarios that have forces start off the board. I initially thought it was a disadvantage to start off the board but I can see how its actually a real advantage. Seeing where all the opposing troops are placed before committing to one part of the board. We tried to place our troops fairly evenly across the board but still, the attacker could focus on on far flank and overwhelm the defenders if things went well. Deploying onto an active battlefield is fun.
- Lay in Wait has to be handled carefully. We were overly aggressive with it and it led to some bad situations. It was a strange combination of conditions that let us deploy the way we did and it made for a wild first turn!
- The French Cavalry has some real advantages. It doesn’t have some of the advantages the Spanish cavalry has, but the 6 Shoot skill instead of the standard 7 for cavalry makes them considerably more useful for shoot and run tactics. French Milice a Cheval also have Skirmishers so even a Inexperienced unit can get two moves, an attack and a retreat off a Spade. Having an Officer attached made them even more powerful.
- I’m afraid we forgot some rules again. I know no one ever took a 3rd reload from Poorly Equipped per the campaign rules, but maybe no one shot with a Club. I forgot I had paid for a Sharpshooter and never used any of his abilities on my command unit. It’s hard to remember every single thing but I feel like we get closer every game.
- Looking through the different nationalities, I think the English and Dutch are actually weakest when it comes to fighting the Natives. Both the Spanish and French have units with stronger saves, Elusive and Skirmisher to get closer to matching the Natives tactics but the Dutch and English have less of those tricks. The English North American Militia and Dutch North American Militia factions have some Indian Fighters and Boslopers that would get close to matching the Natives land tactics, but the Ostend Privateers and English Buccaneers don’t really have many advantages on land. When in cover a standard unit with a 7 Save will save on 4’s vs bows which means they’ll lose a model on about every 3rd hit. Adding Elusive or changing that basic Shoot Save to a 6 brings that Bow Save down to a 3 which helps a lot. Some of the French units even have a 6 Save and Elusive which means they will only die on a Save roll of 1! All that Fatigue on the Ostend Privateers really nerfed their Ruthless rule as well.
- The campaign makes for some interesting situations. My commander now has Savvy, Great Warrior and Ruthless which makes his Warrior Musketeers extremely accurate. That Sharpshooter could have made them even crazier! I had a couple volleys that hit on 6’s at 11″. Getting Savvy for free on that command unit and upgrading the Musketeers to Veteran makes them a 6 point unit with high accuracy, decent reload speed and plenty of tricks on land.
- The rulebook doesn’t really outline how to play a 4-player game, but the initiative system works fine with 2 or 4 players. There was one turn in this game when 3 player all played the 13 of Hearts at the same time!

Thanks to Bryan, Jeff and Lawrence for playing! I’m looking forward to continuing the campaign and seeing how the forces play in the late campaign with developed leaders and more resources and upgrades.