By Joseph Forster
Blood & Plunder is a pretty simple game at its heart. The activation system is easy to understand, you move, you shoot, you reload. It’s not a super difficult game to pick up and enjoy. But it’s a big game with lots of possibilities and I’m still finding things in the rules that I have been playing incorrectly!

In this article I’m going to highlight some rules that I consider easy to overlook, or play incorrectly. Most of these are rules that I played incorrectly so I’m hoping other people have missed them too so I don’t feel dumb. Some are rules that I’ve seen others consistently play incorrectly. This isn’t aimed at brand new players, but more the experienced player who understands the basics of the game well.
There are a few rules that are “easy to miss” merely because they are part of the current errata (which can be found here and NPBTL here).
#1 “Destroying” a Structure, or a Ship’s Hull or Rigging Doesn’t Actually Destroy that Structure.
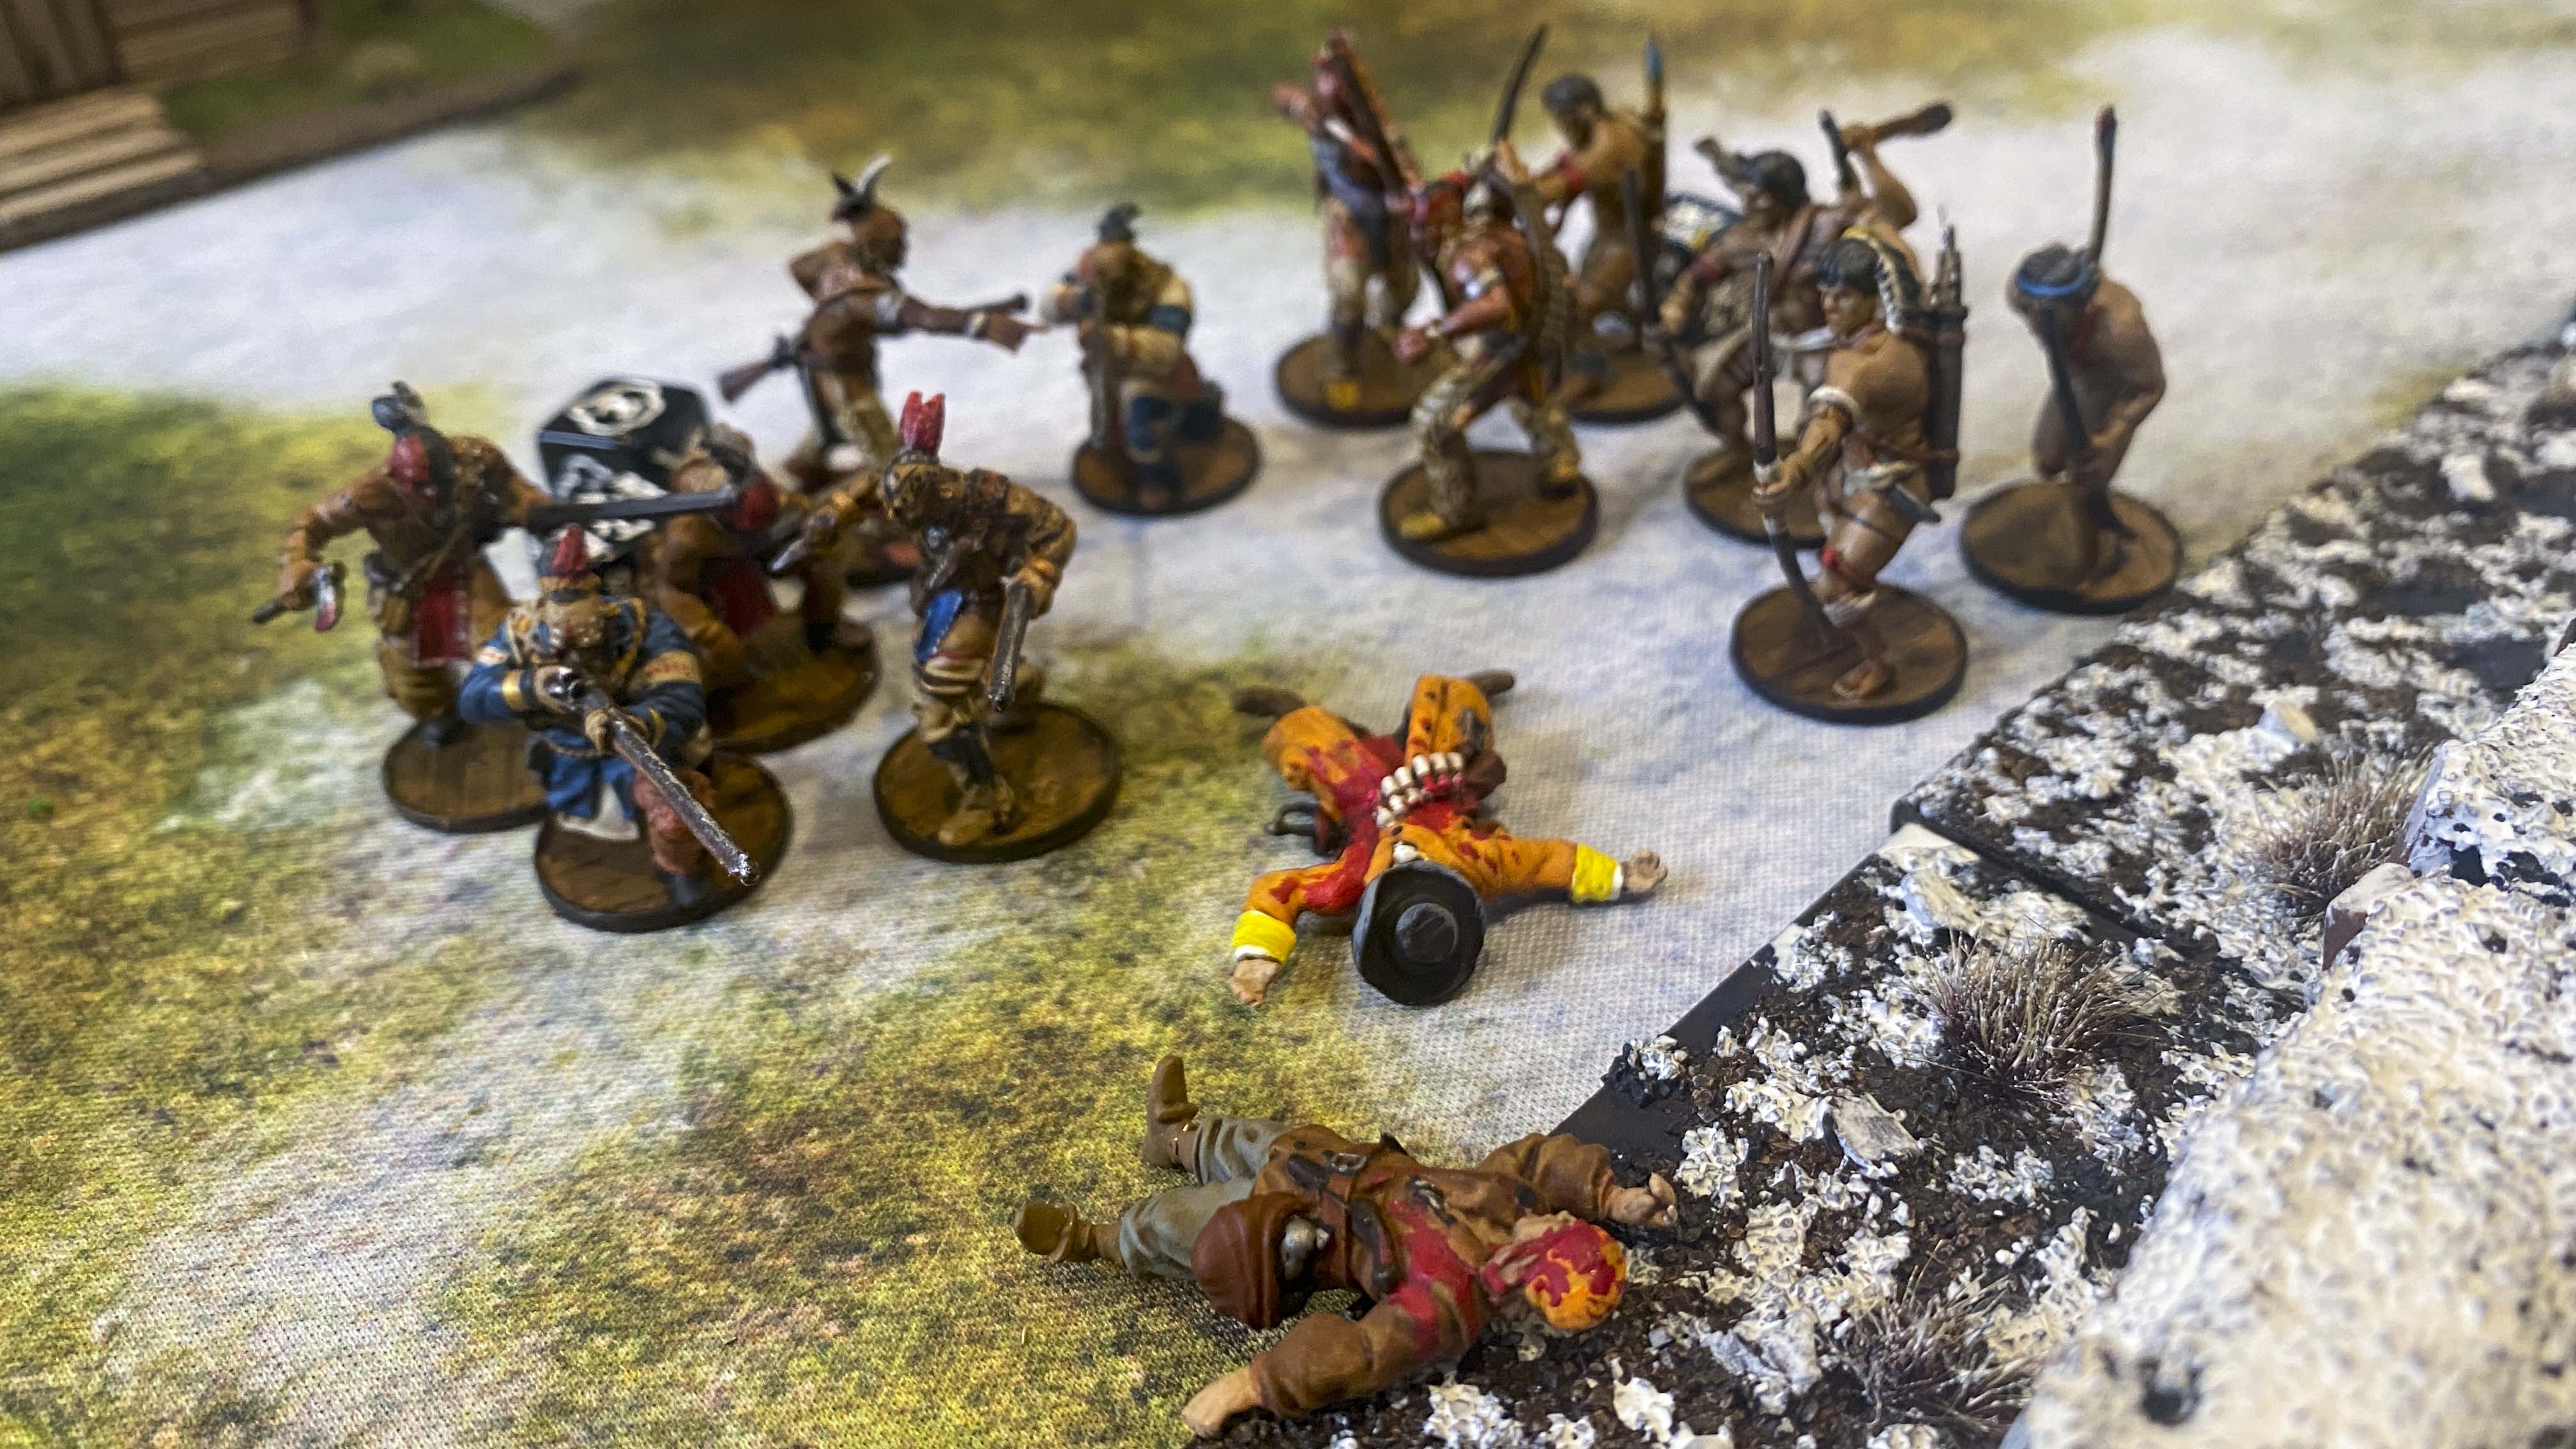
The Fortitude and Integrity mechanism is very clever and works well, but there are some common pitfalls in interpreting how it works. It’s easy to see the “hitpoints” on a ship as you have a series of bubbles to fill in as the ship is damaged. The strange thing is that last “1” bubble doesn’t ever get filled it. You can’t destroy a structure with raw damage. You can reduce it to splinters or rubble, but just filling in all the bubbles won’t destroy a ship/structure. Once all but the last bubble are filled in, you’ll be scoring a Critical Hit for every two damage during an attack, and Critical Hits can destroy a ship/structure in a variety of ways. The same goes for Rigging. The first time my ship’s rigging was reduced to 1 Fortitude, I was unsure what happened next. Was I dead in the water? Was my ship incapacitated or immobilized? No, it has no effect beyond all the Critical and Lucky hits that are already scored (and can be easily scored in the future).
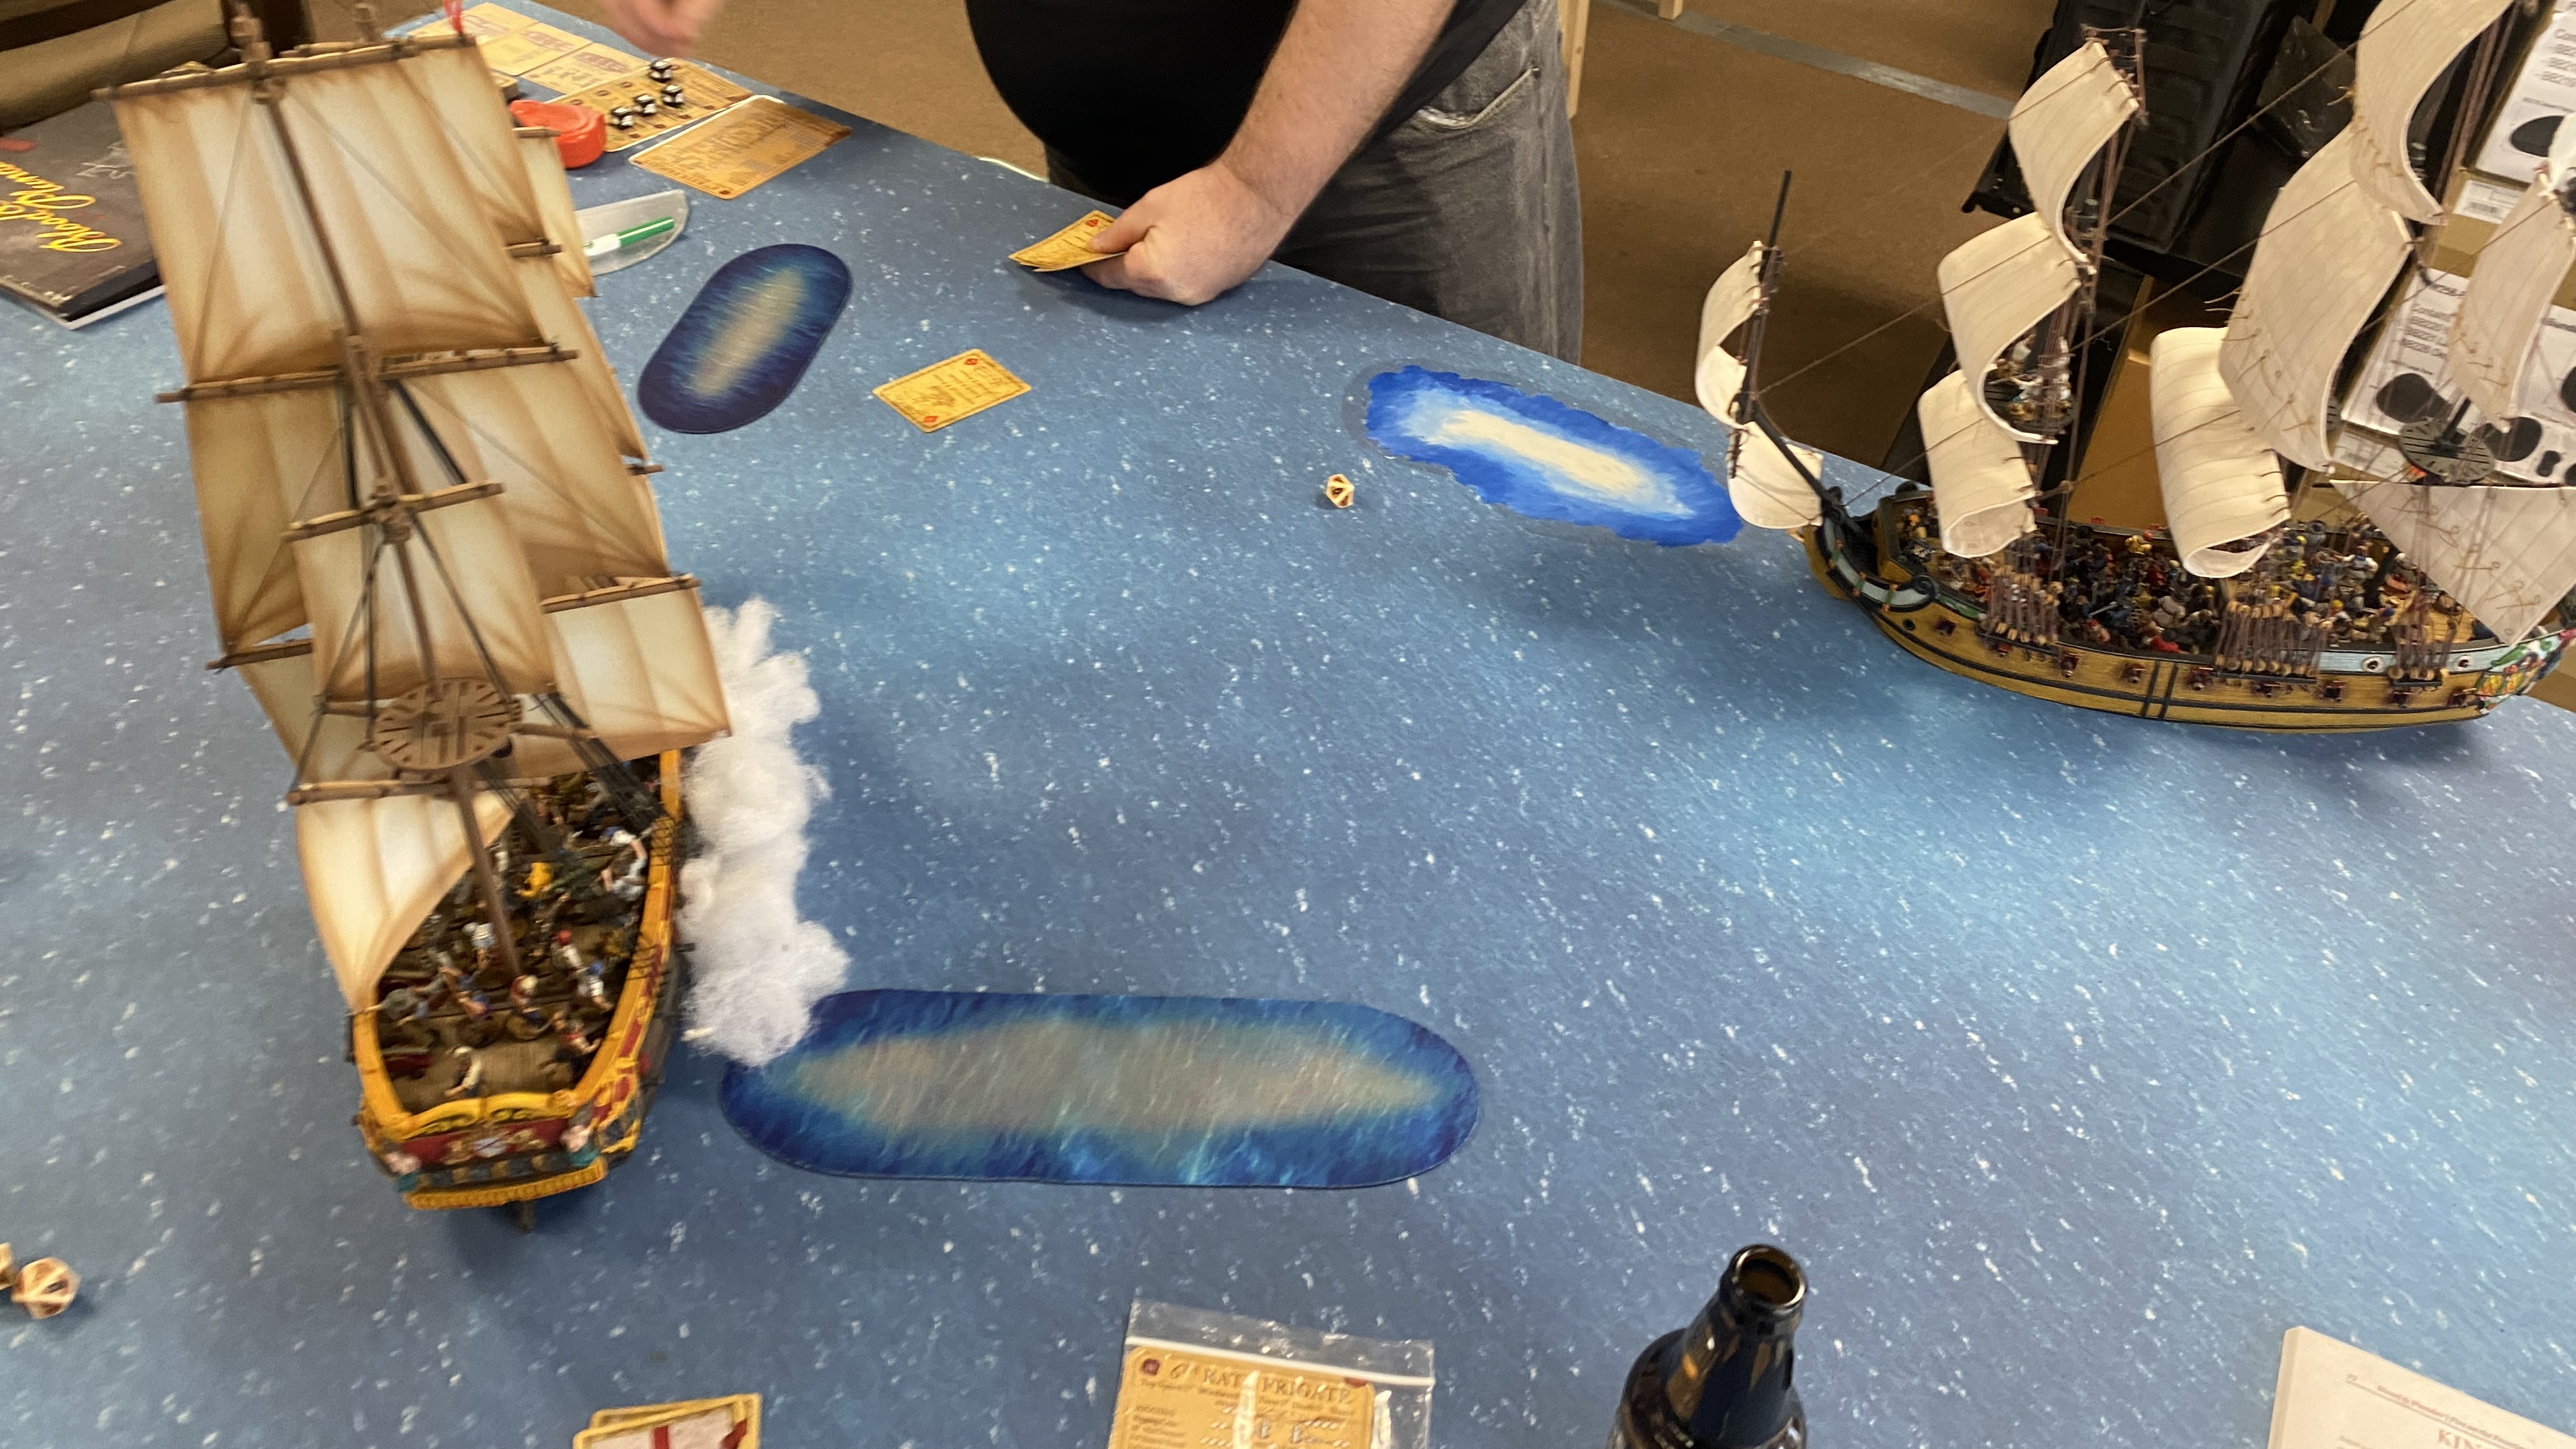
The Total Collapse and Catastrophic Damage (followed by another 10) results can instantly destroy a structure of ship, as can a sequence of Fires or Leaks, but simple damage will never actually destroy a structure (or fill in that last Fortitude 1 bubble (if it did fill it in, it would cause an infinite/undefined number of Critical Hits).
One slight exception to this is a boat’s rigging. On the Boat Critical Damage table, there is a “Rigging Destroyed” result that actually destroys your rigging and you can’t move under sail power with that boat for the rest of the game.
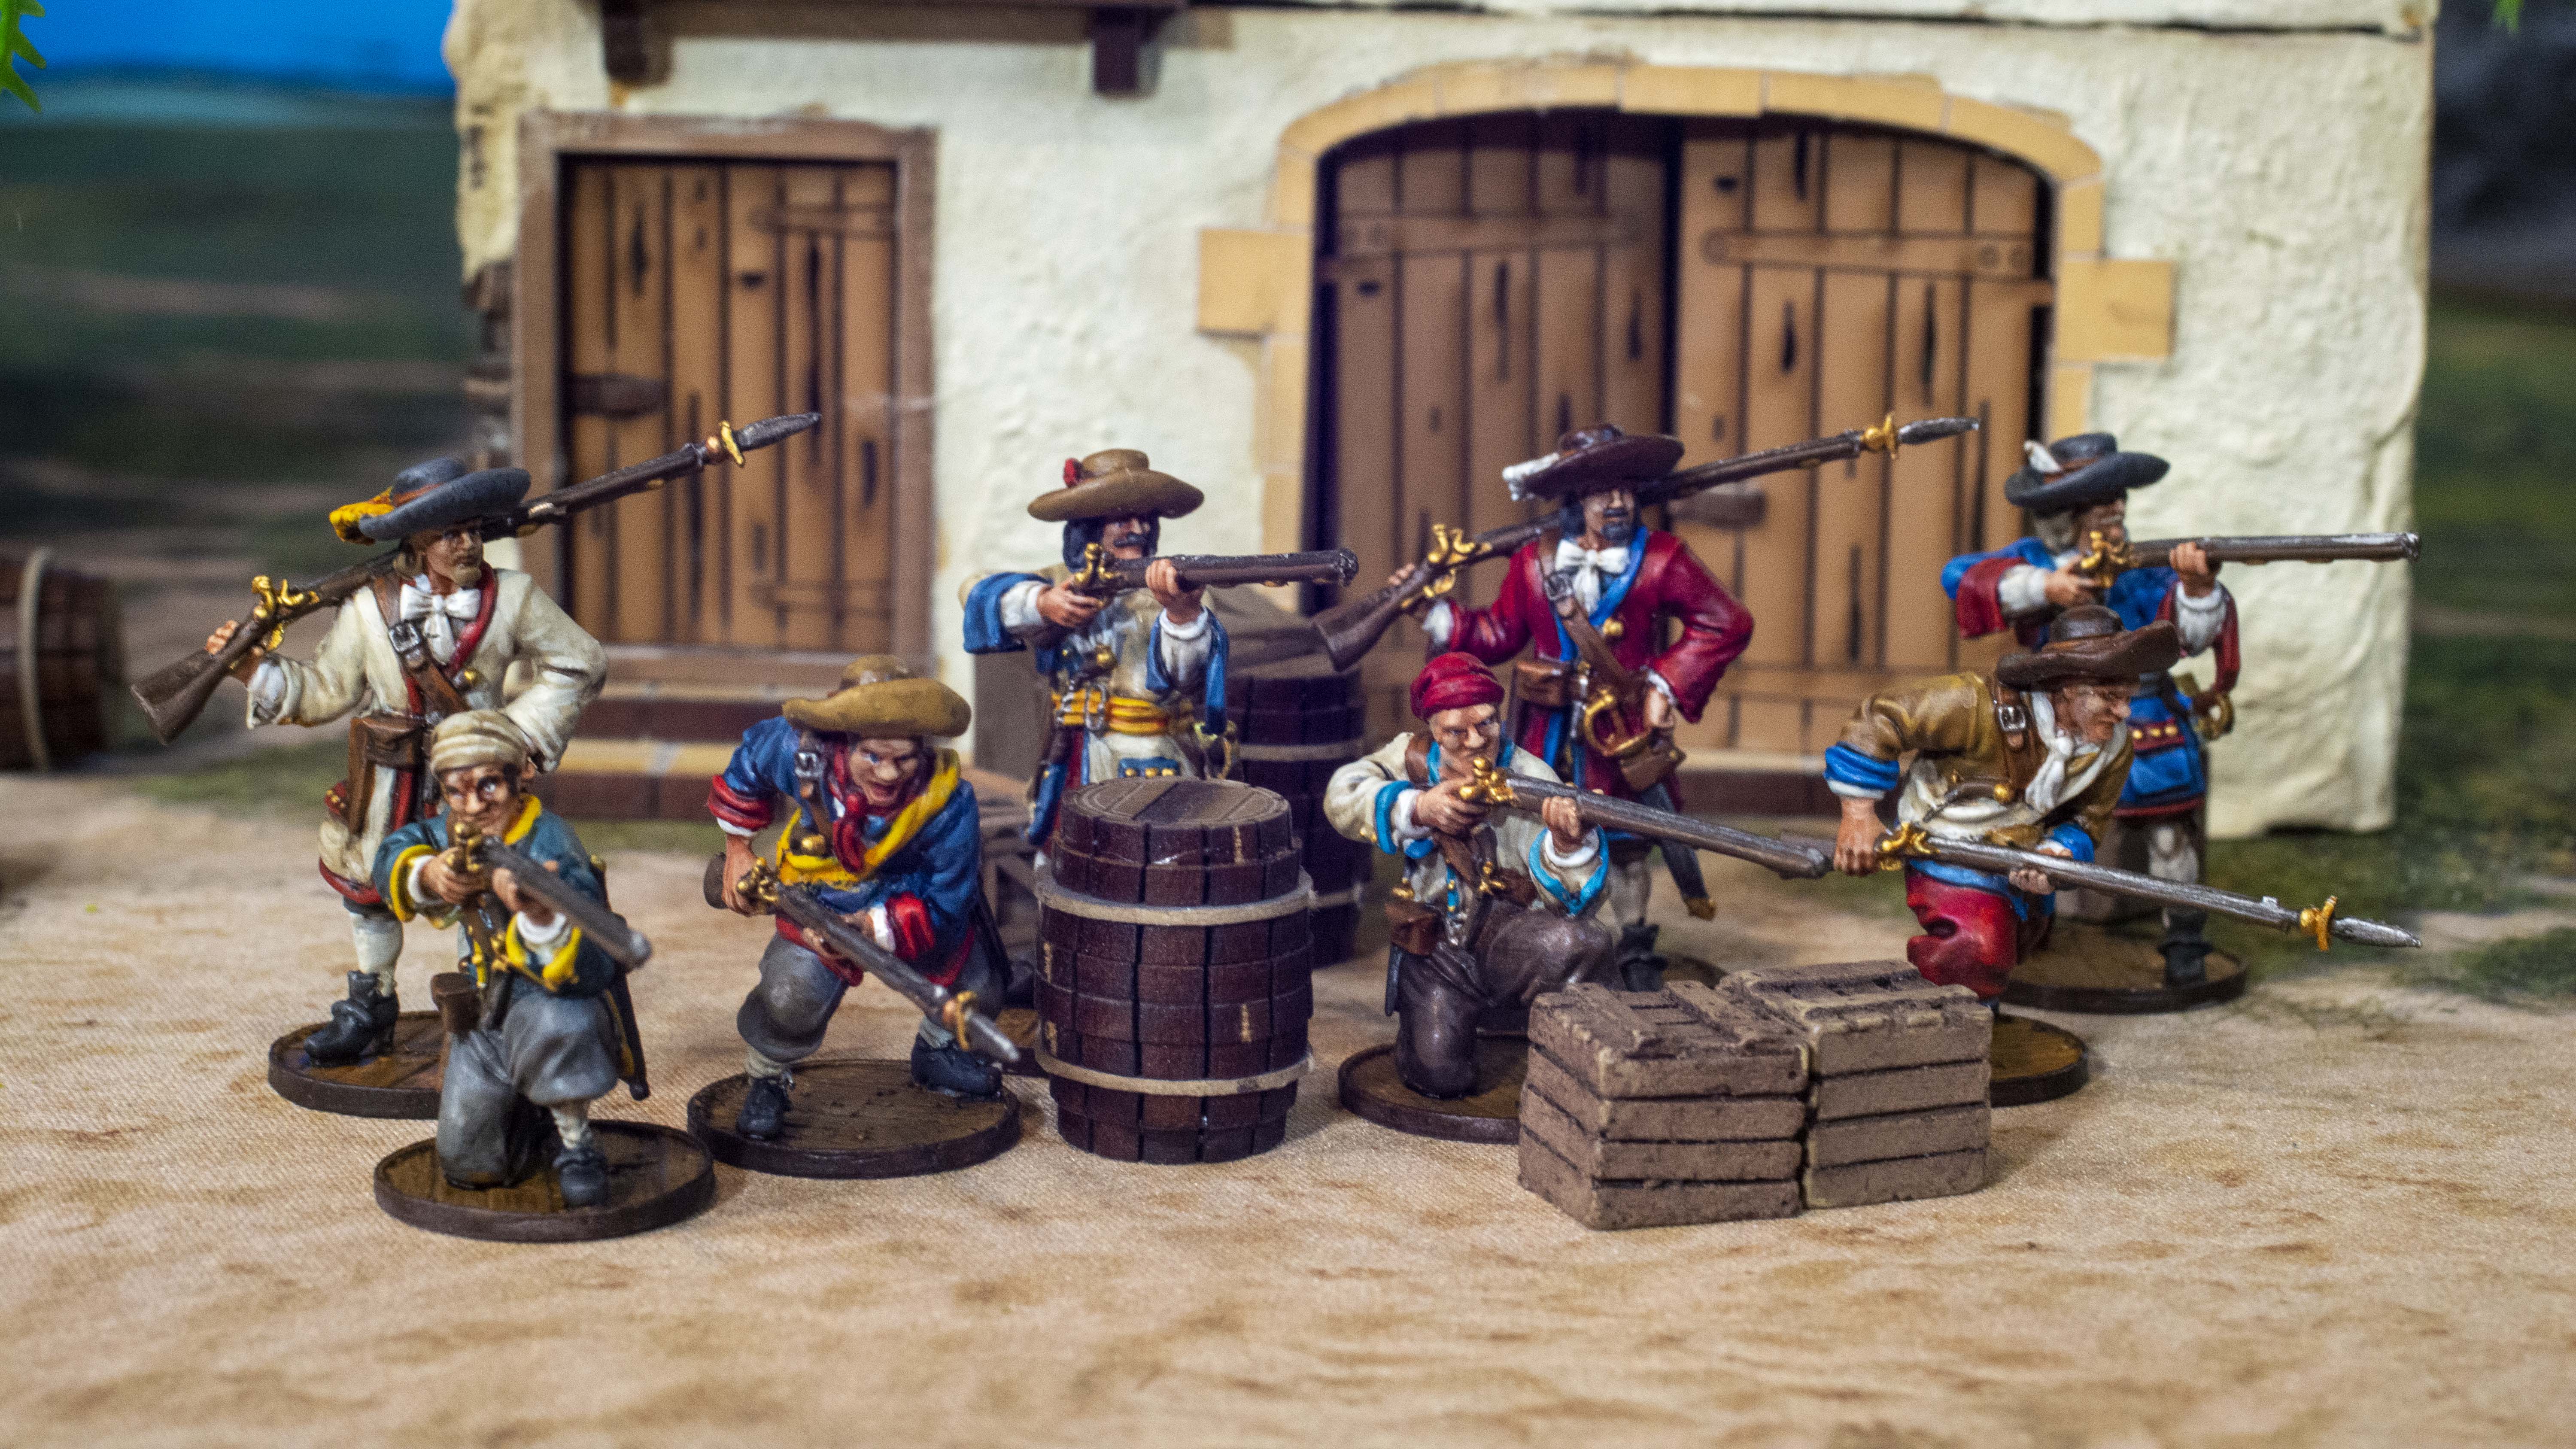
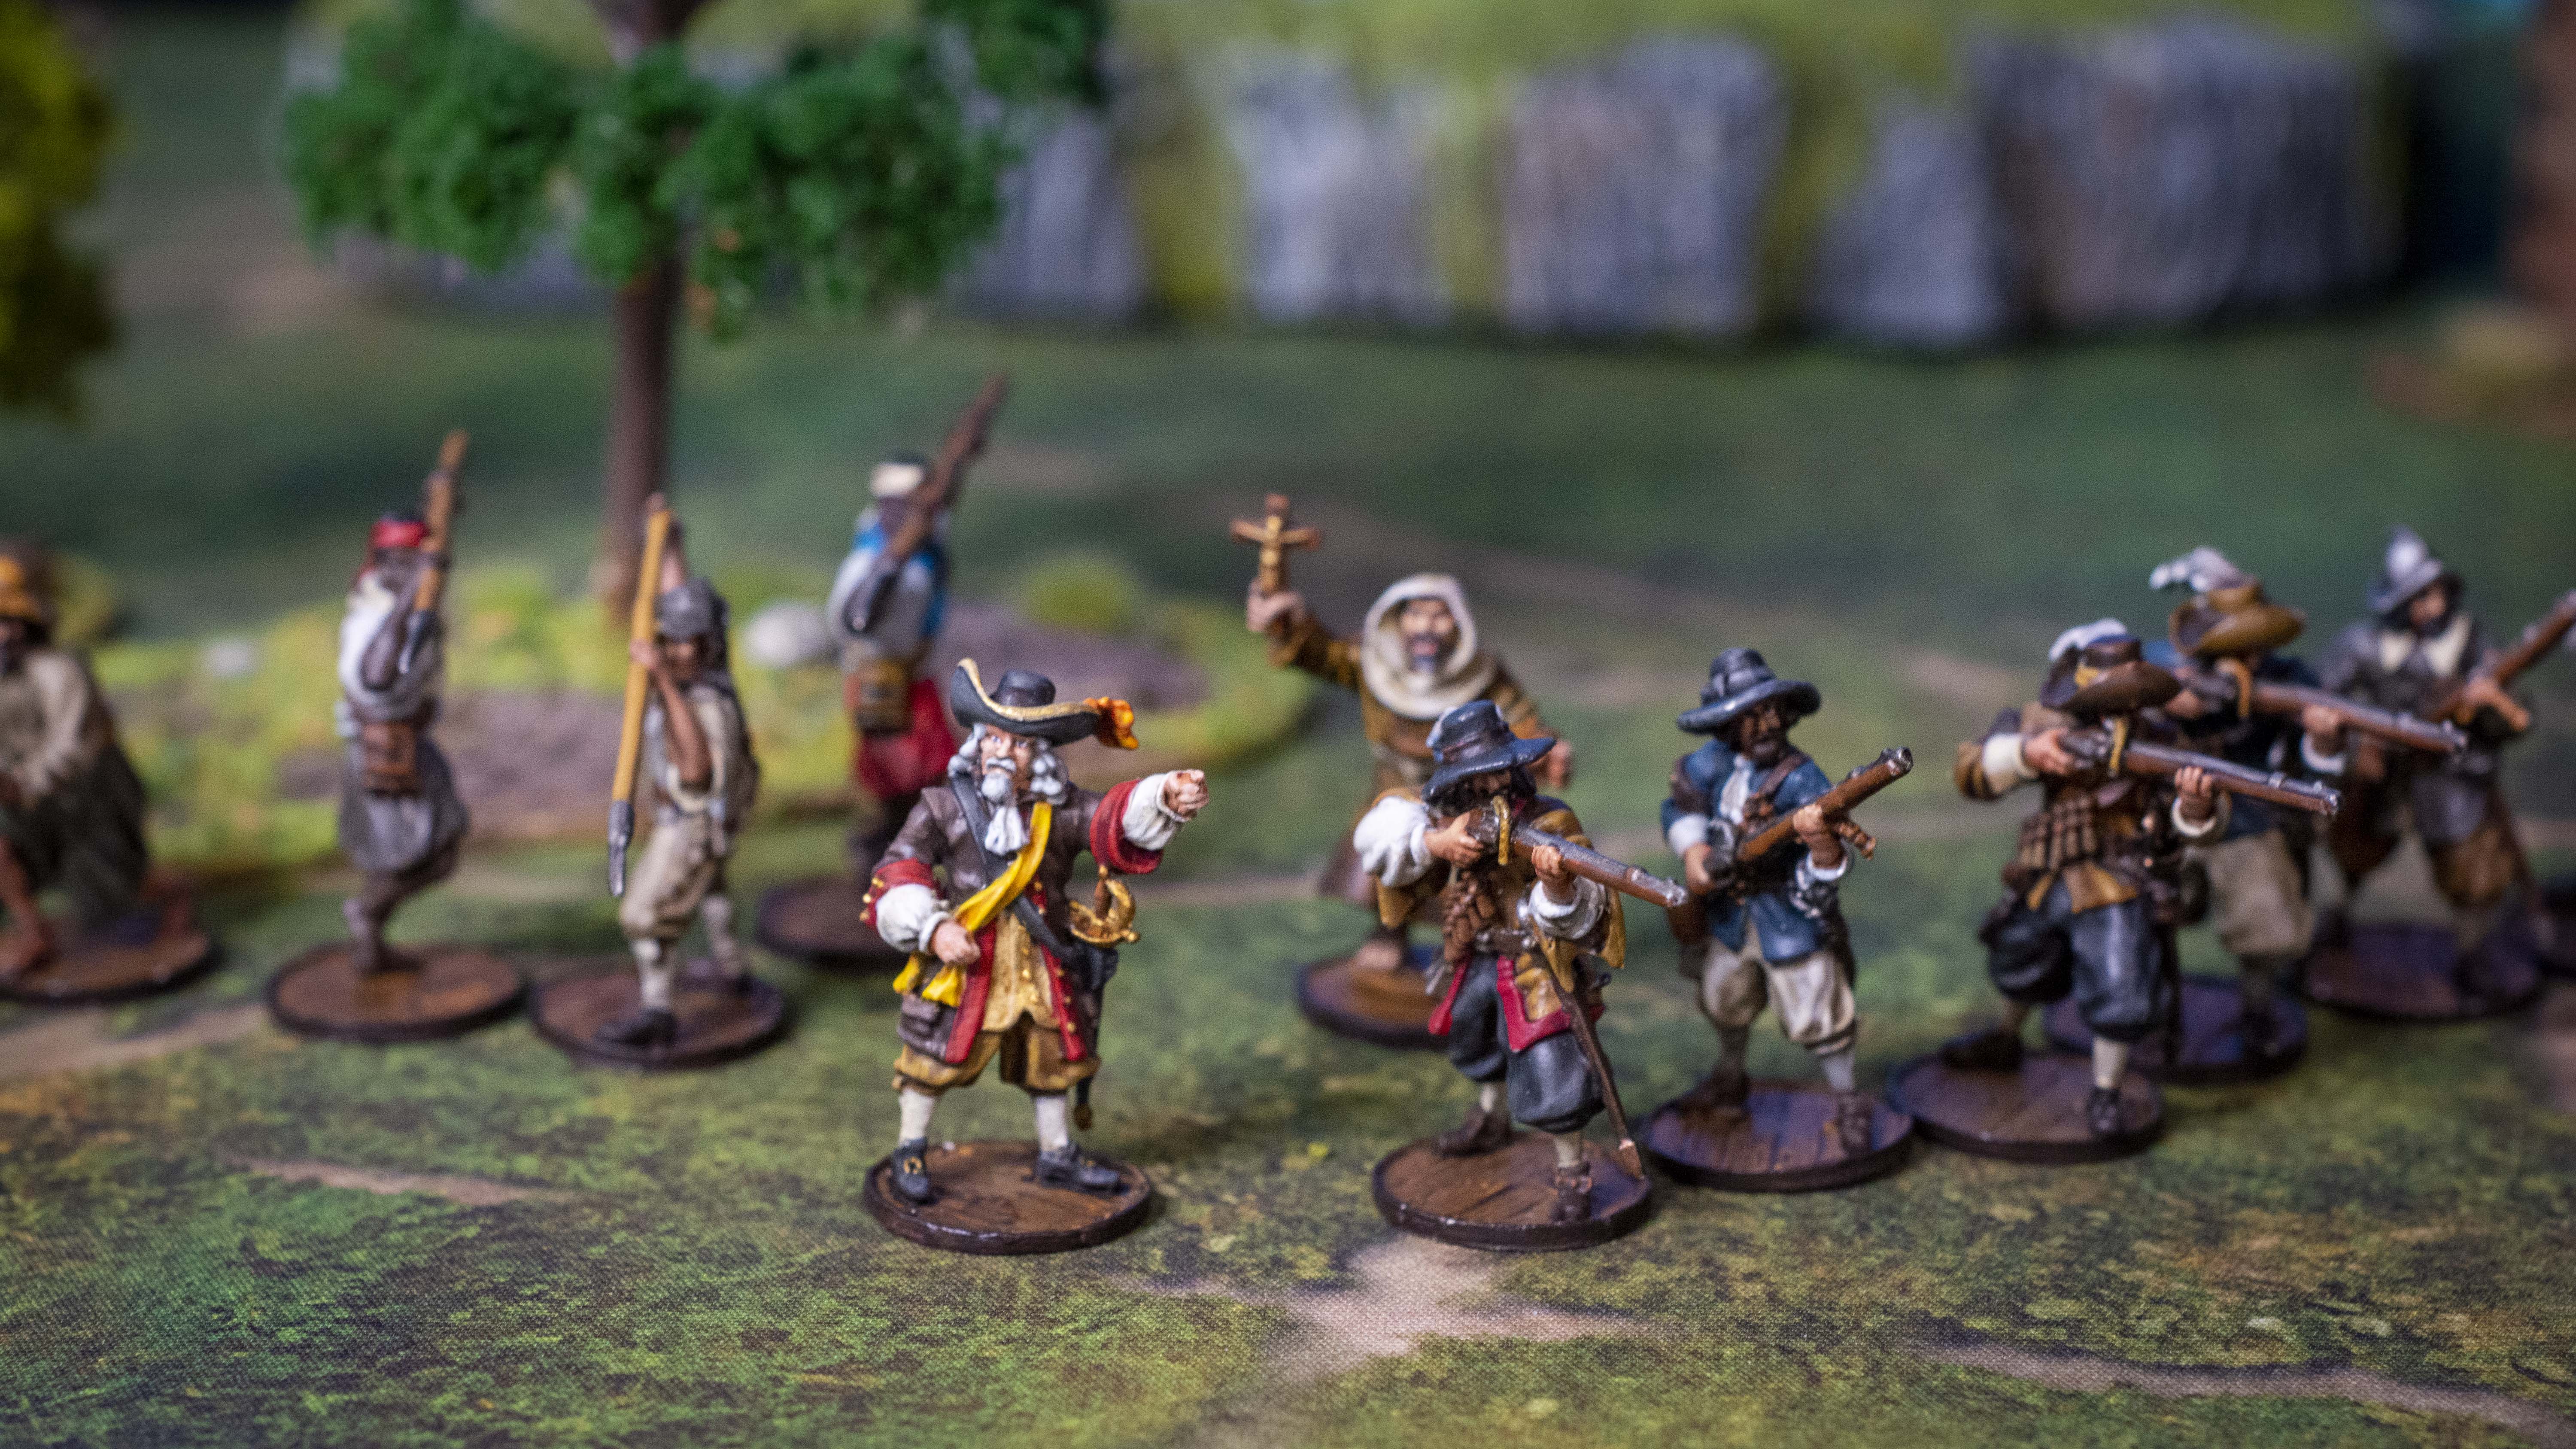
#2 A Fight Save Can Benefit from Hard Cover
This is right in the rules, but I missed it for years! The rules for Saves are kind of spread around in the rulebook and it can be easy to miss some of their subtilities . Maybe many players already play this correctly, but I my anecdotal evidence says it’s commonly misplayed.

It is mentioned in the section on Melee Combat on page 51 as well, but for some reason, everyone seems to miss it.

Applying that -1 bonus to a unit’s Fight Save can stop melee combat from being too instantly decisive. With that bonus, all those units like Sea Dogs and Freebooters will be saving a full 60% of the time which makes melee combat feel a little more fair (especially if you’re being charge by those nasty hard charging Marins!).
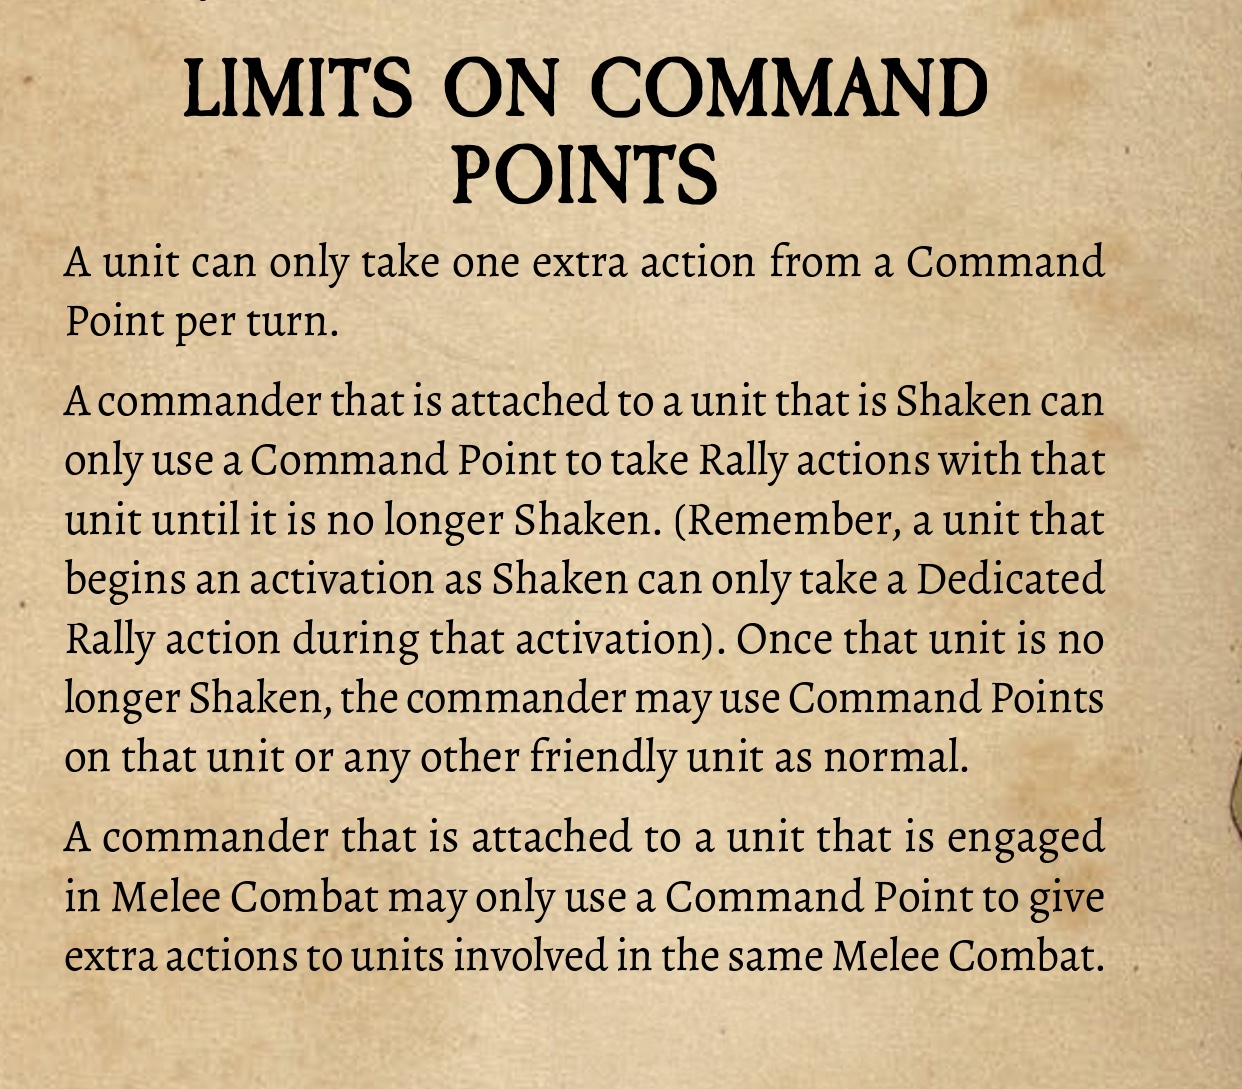
#3 A Unit Cannot Receive More Than One Command Point Per Turn.
This isn’t really an issue at all in when you’re first learning the game but when you start layering Characters into the game, the opportunity for giving units Command Points from multiple sources arises. This is a very potent but illegal tactic! If you make a huge unit of high quality models like Boucaniers or Veteran Freebooters, you can activate them on their activation, then give them a Command Point with both a Commander and Officer, easily making them shoot twice per turn.
If you have a Characters like an Officer, Master Gunner, Grizzled Veteran or Reformado, just keep track of which unit you give Command Points to early in the round and make sure to not give that unit an additional Command Point.
#4 Shaken Units Don’t Get Melee Saves But They May Make Normal Ranged Saves (optional)
This is a weird one for me. If a unit is Shaken (more than 2 Fatigue), it won’t even get a chance to make Saves from a Fight action. But if the unit is Shaken and running through the brush, it can take normal Ranged Saves, including applying Cover, Hard Cover, or even the Elusive Special Rule. No such luck for Shaken units in melee. If they get hit again with a melee attack while Shaken, they going to be a world of hurt.
UPDATE: There’s an optional rule tucked away on pg 188 of No Peace Beyond the Line that allows players to save on 9-10 in melee while Shaken. I was sure that existed somewhere, but it wasn’t in the Errata. It’s an optional rule and I suggest you use it. No Saves is death.
#5 All Units of the Same Name in a Force Must Be At the Same Experience Level
The online Force Builder actually helps reinforce this rule. Many units have the option of upgrading or downgrading experience levels. If you change the experience level of one unit of Sea Dogs within your Force, all units of Sea Dogs must follow suite. You can’t have one unit of Experienced Sea Dogs and another of Veteran. They must all be at the same level. I think there’s one odd exception to this rule if you play the Logwood Cutters faction.

#6 Characters Don’t Count Towards Maximum Unit Size (NO LONGER TRUE!)
[UPDATE 2025 – This has been changed in Errata 1.4, and now Fighting Men do count towards maximum unit size, but Hostage/Advisor characters do not count towards that number.]
This isn’t a rule that people get wrong, it’s just an easy rule to miss. It’s not a huge deal, but since Character models don’t count towards max unit size, you enjoy some big unit shenanigans. This can be pretty useful in small games when the max unit size is very small. In larger games, you could even go a little crazy and use the Musician and Standard Bearer that allow for more than one Character in a unit and actually go 4 models over the standard max unit size (Commander, Standard Bearer, Musician and any other Character).
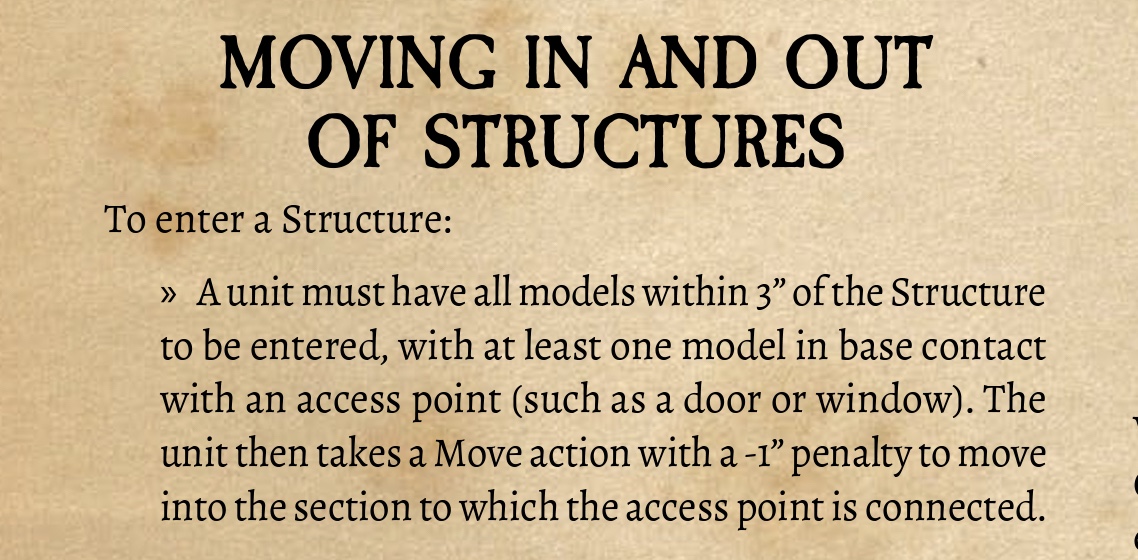
#7 Entering an Empty Structure Works Differently than Entering a Enemy-Occupied Structure
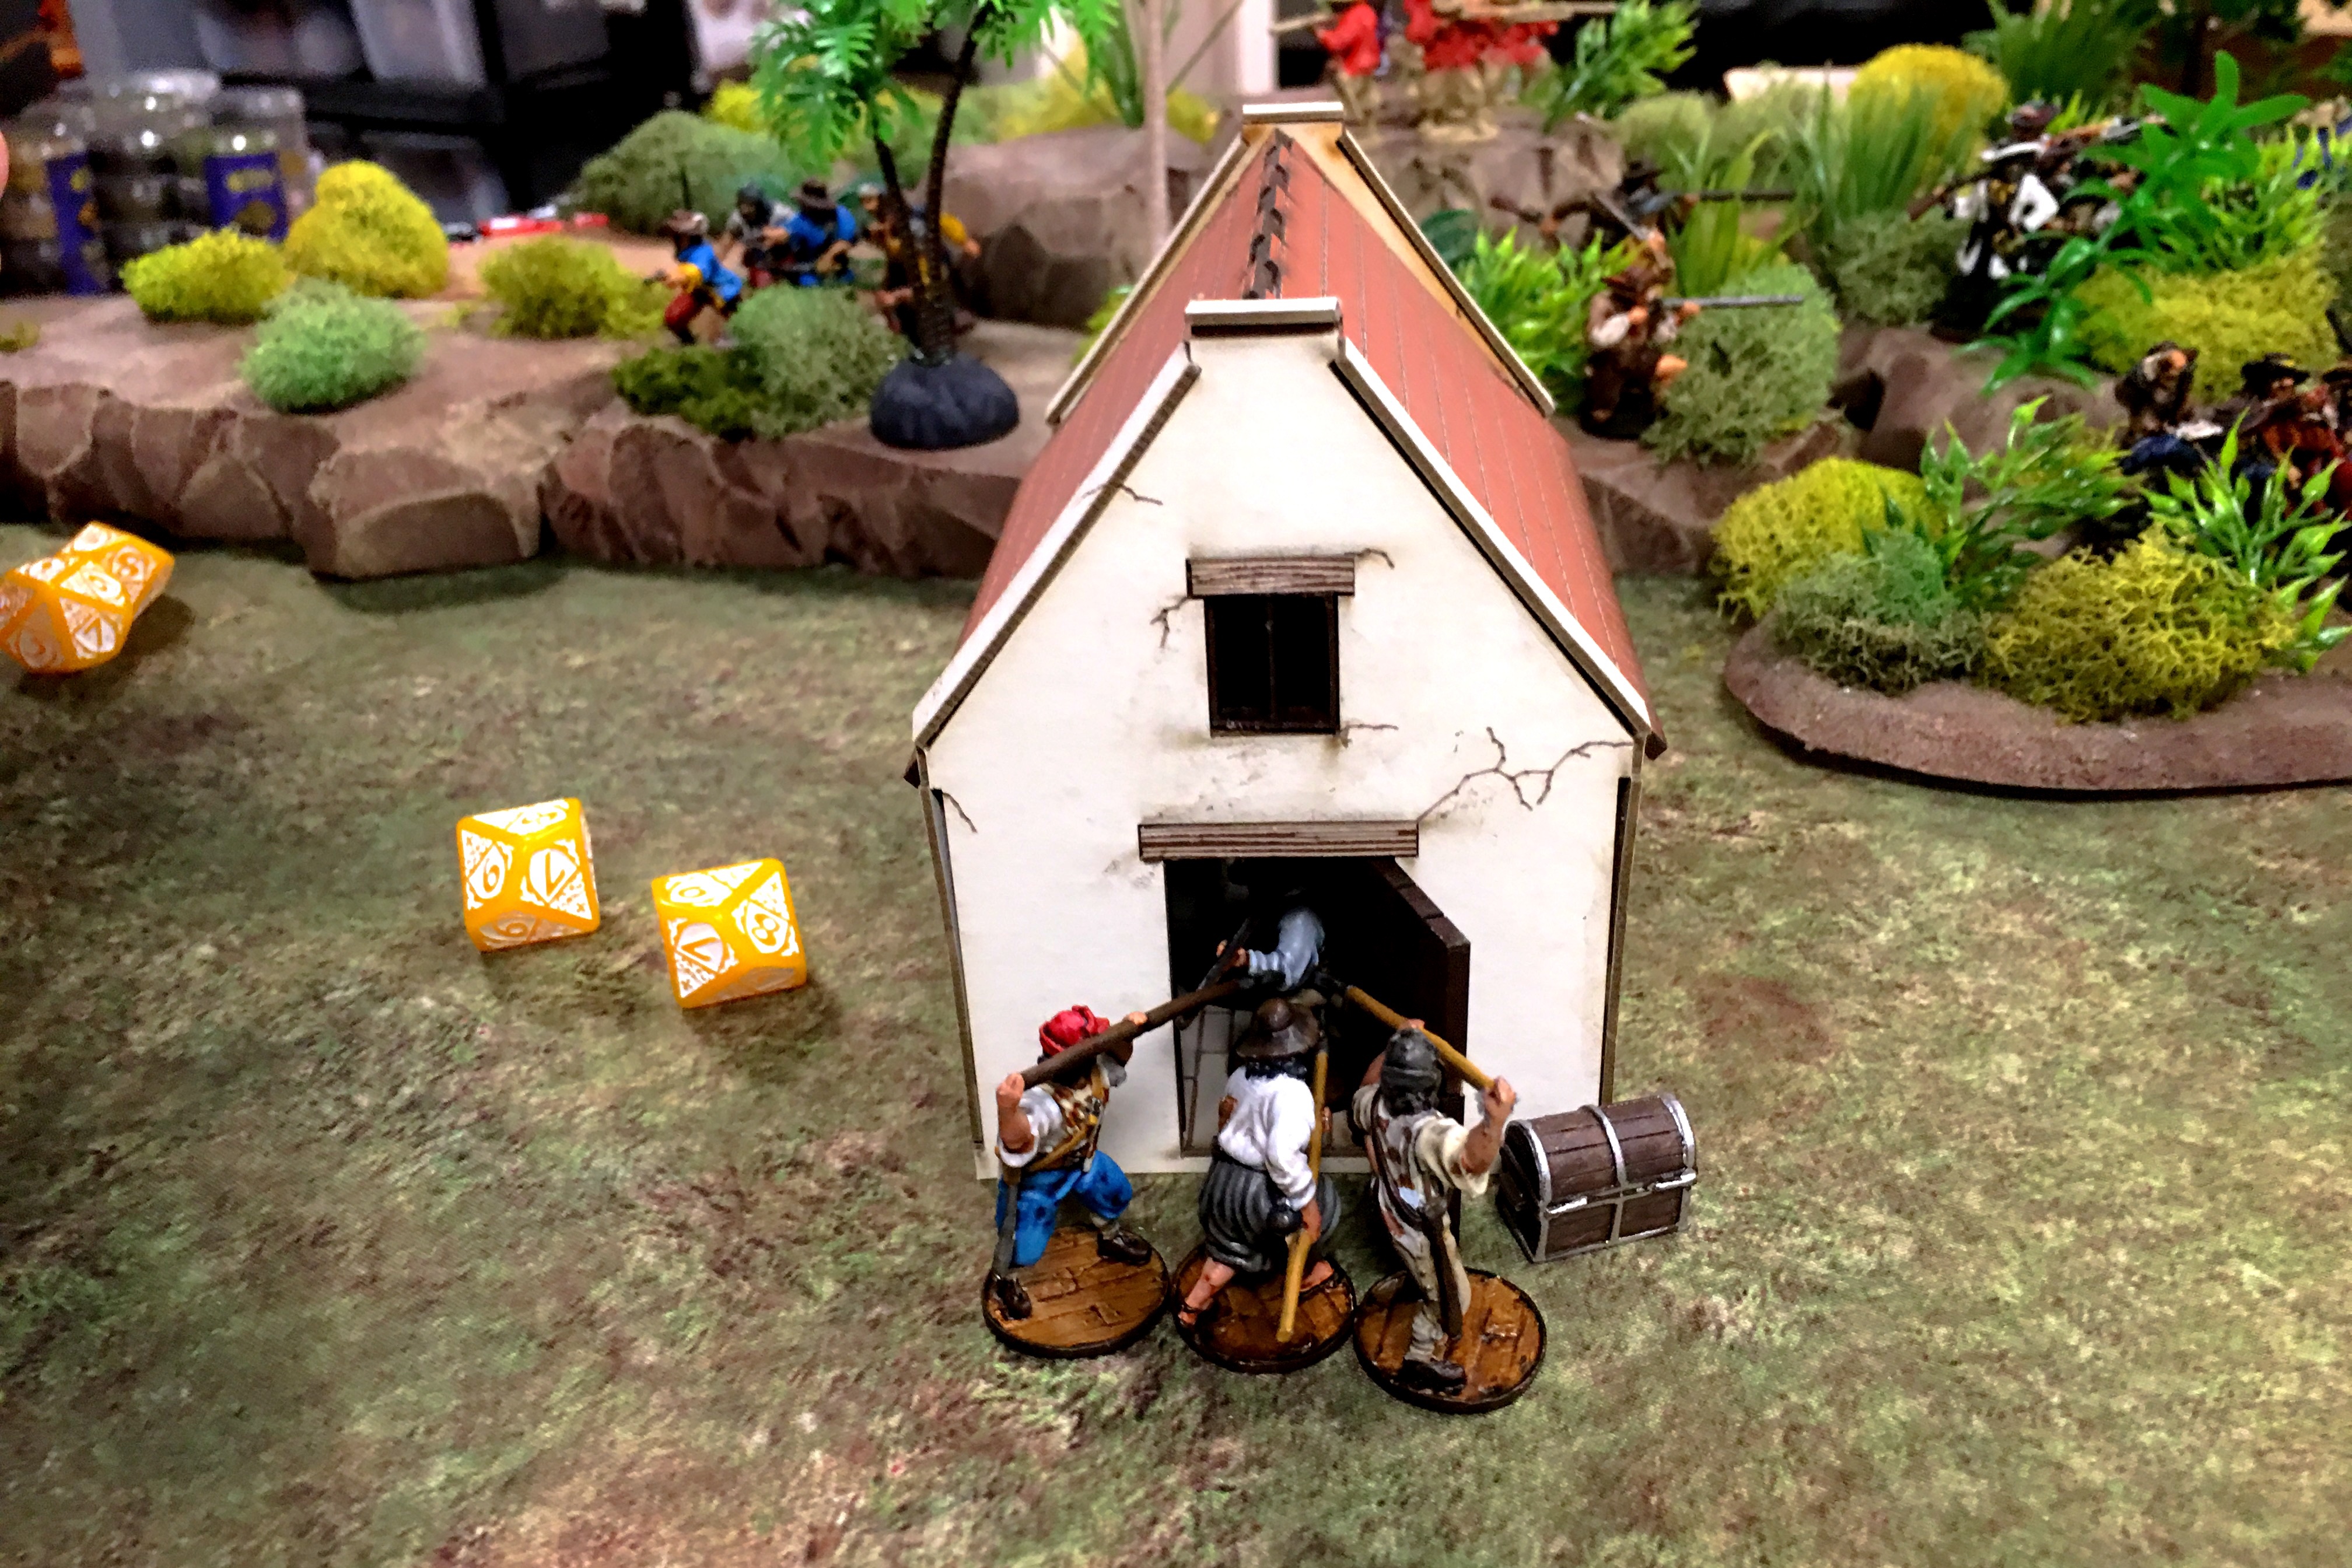
If a building is empty, a unit must have a model in base contact with an entry point to initiate a move into the building. If the building has an enemy unit inside, you can charge straight in from up to 3″ away. This seems a little counterintuitive, but you can imagine them needing to “clear the room” if it appears empty. If you can see the enemy there, you know there’s danger and you might get hurt doing it, but you can charge headlong into the fray.
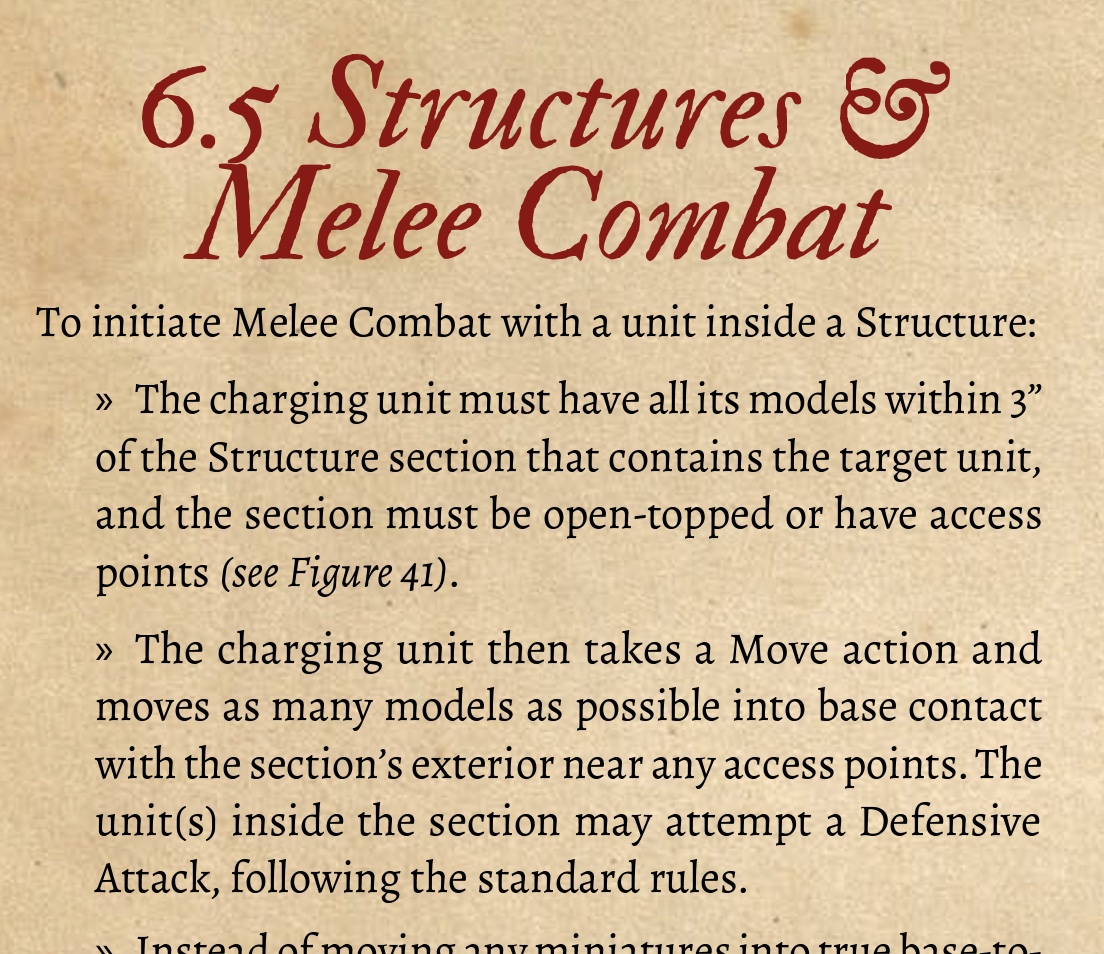
Being within 3″ of an occupied structure doesn’t invade the enemy’s control zone because units in a structure don’t have a control zone! It works, but it easy to miss! At least it was easy for me to miss….
#8 If Your Command Unit Starts with 2 Fatigue, it Gets -1 Action for the Turn, and You Cannot “Regain” that Action by Rallying With a Command Point First
An 8th final rule, inspired by a recent Facebook thread. Command Points are awesome, but there’s still some things they can’t do. The relevant rule states that if you start your activation with 2 or more Fatigue, you lose one action when activated. You can’t get around that by activating your Commander first. You can’t activate your Commander independently from your unit. The unit activates, then you choose to either use the unit’s actions or the Command Points first.
This gets slightly trickier if you start an activation Shaken. A unit can only perform a Dedicated Rally Action if they start their activation Shaken. In the case of a Command Unit, it’s possible to use a Command Point as the first action, then they won’t be Shaken when they start using “their action,” but they would still have to perform only a Dedicated Rally Action. So don’t do that. Use the Dedicated Rally action, then you can use your Command Point to make them do something useful! There’s some subtlety around that idea that’s easy to miss.
Final Thoughts
It’s always good to reread or skim the rulebook again to pick up details you may have missed before. I’m not assuming everyone plays all these rule incorrectly, but I’ve seen these come up as questions several times, or I’ve played them incorrectly or seen others play them incorrectly. Hopefully that’s a helpful list and you picked up something new so you can enjoy the game a little more next time you play!
Thanks for reading! I’d love to hear from readers if you’ve come across rules that are commonly ignored or played incorrectly.

I have lost ships a few times not knowing that first one
Pingback: 8 MORE Blood & Plunder Rules You’re Playing Incorrectly (Maybe) - Blood & Pigment