By Guy Rheuark
After my last experiences building 4Ground Publishing’s terrain, notably the Treadwheel Crane, I was eager to build some more. My terrain collection is mostly from Gale force 9, and my own crafted woodland terrain, and sorely lacked buildings of any sort. Luckily, 4Ground sent bloodandpigment.com some of their terrain to try out. I choose pieces from the Mediterranean Village series to build, play, and write about. I’ll take you through my experiences building these, how they feel to play with, and end with a review of each piece.
UPDATE: All 4Ground product is now produced and sold by Tymeagain. Blood & Pigment readers can use the BNP10 coupon code at checkout for 10% off their entire order.
Ports of Plunder: Wild Beast Shipping Crates
Available now through Firelock Games
Cost: $18.00 plus shipping
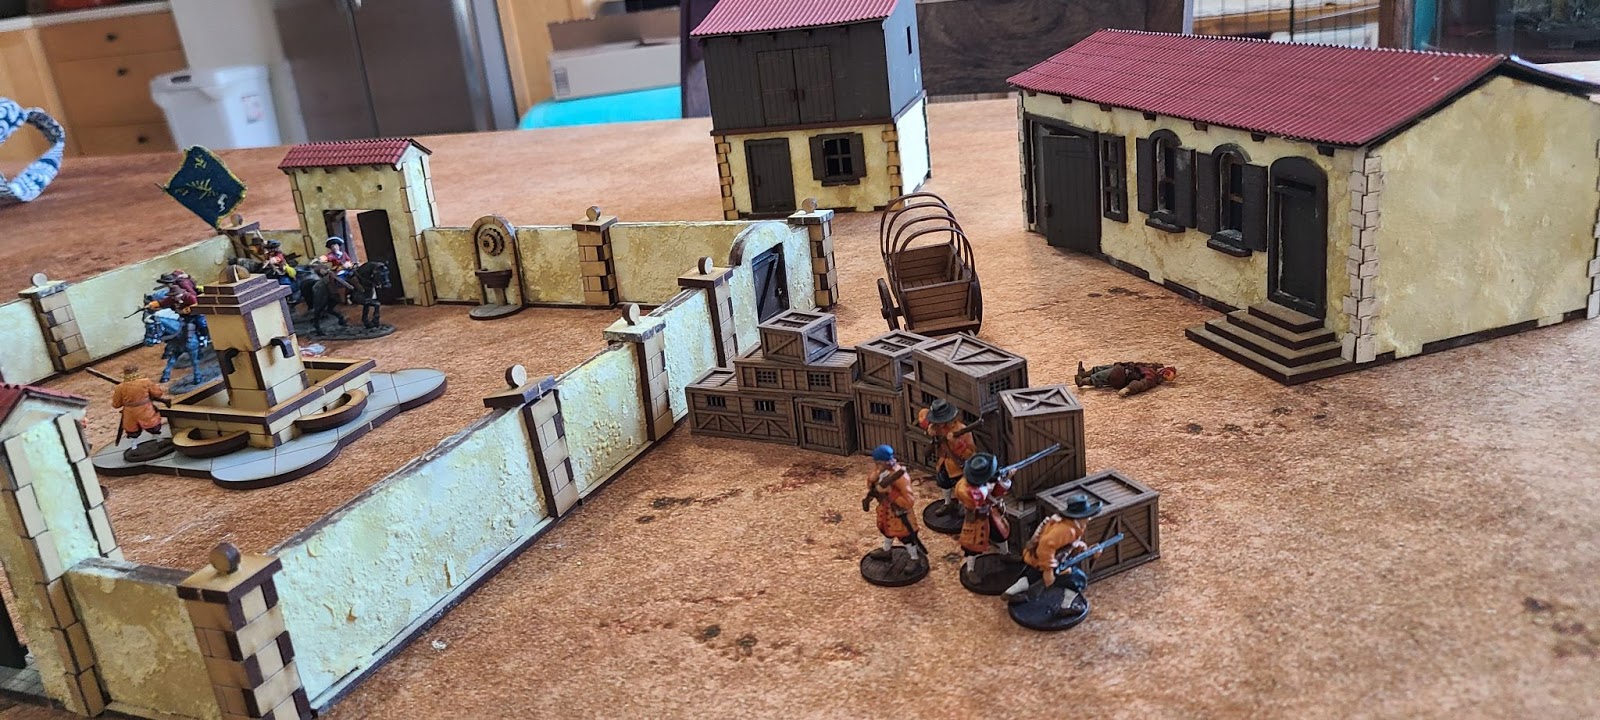
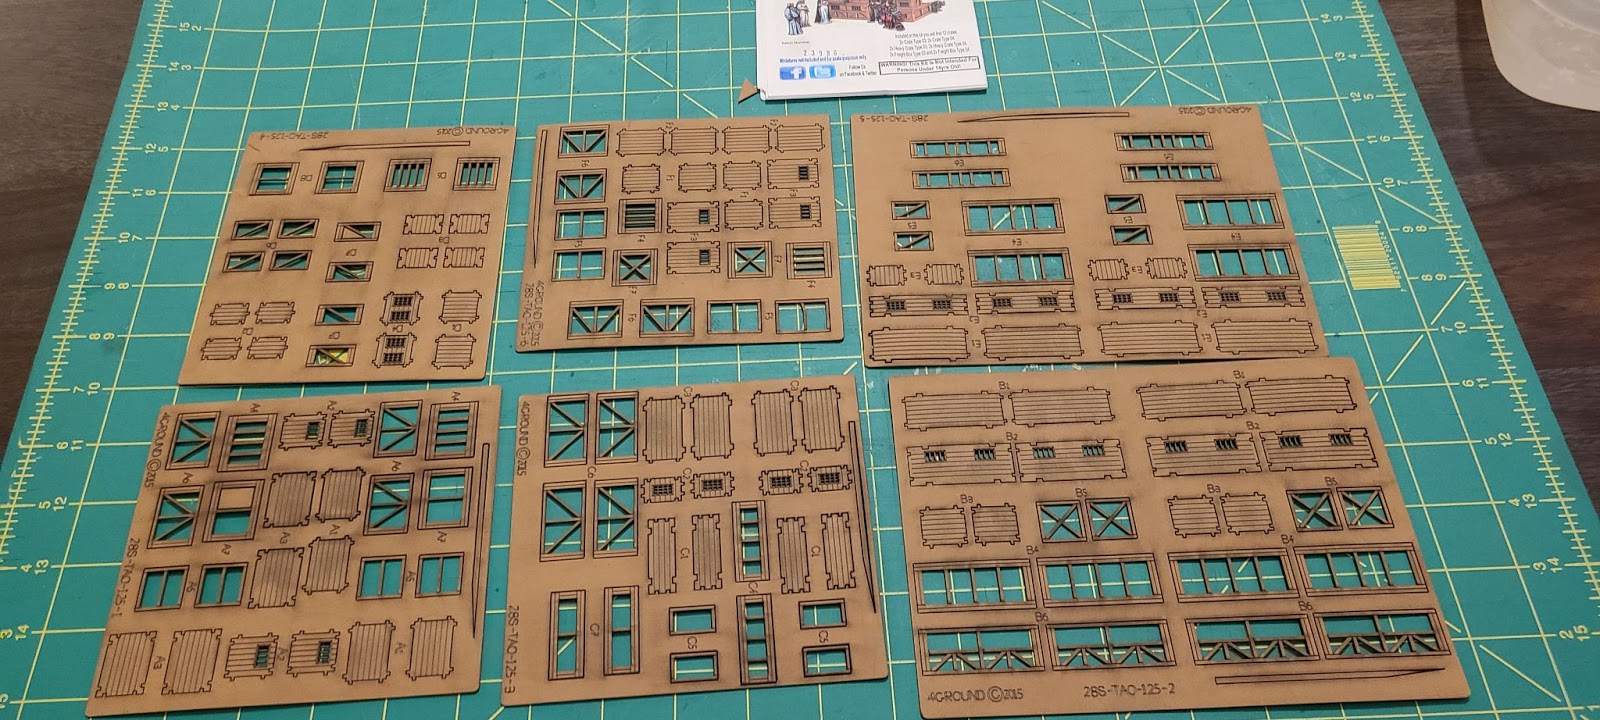
I started by building the only kit that is part of the Ports of Plunder, the Wild Beast Shipping Crates. This kit contains a dirty dozen boxes that you can use as object terrain (terrain that gives cover) or scatter terrain (terrain elements that are only for looks).
These cages offer more detail than most of the other terrain in the Port of Plunder series, owing to the tiny size and the fact you are not expected to put models on them.
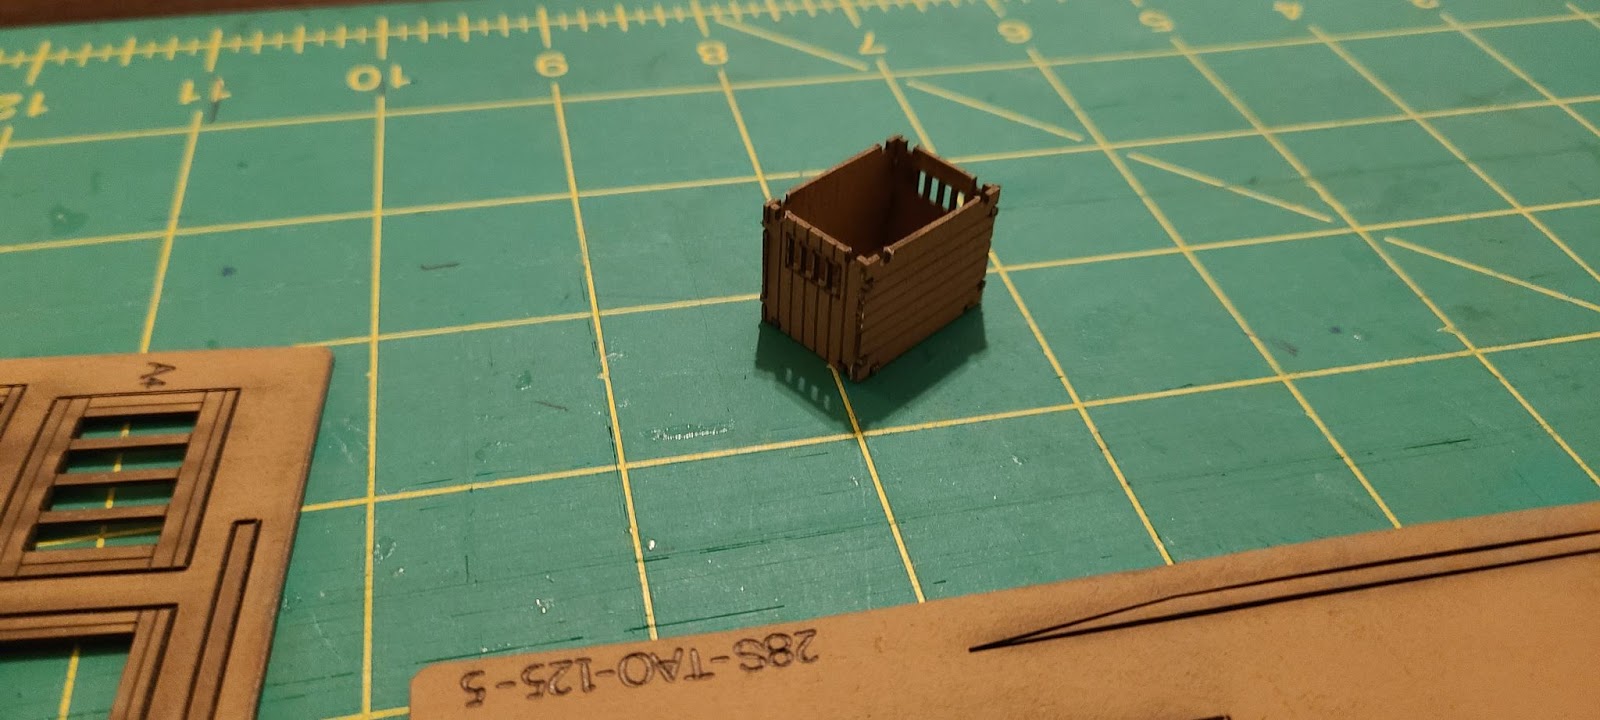
Each cube goes together quite easily, though you have to have a tender hand to not crush anything. I used plain white glue, as these are printed on what looks and feels like cardboard.
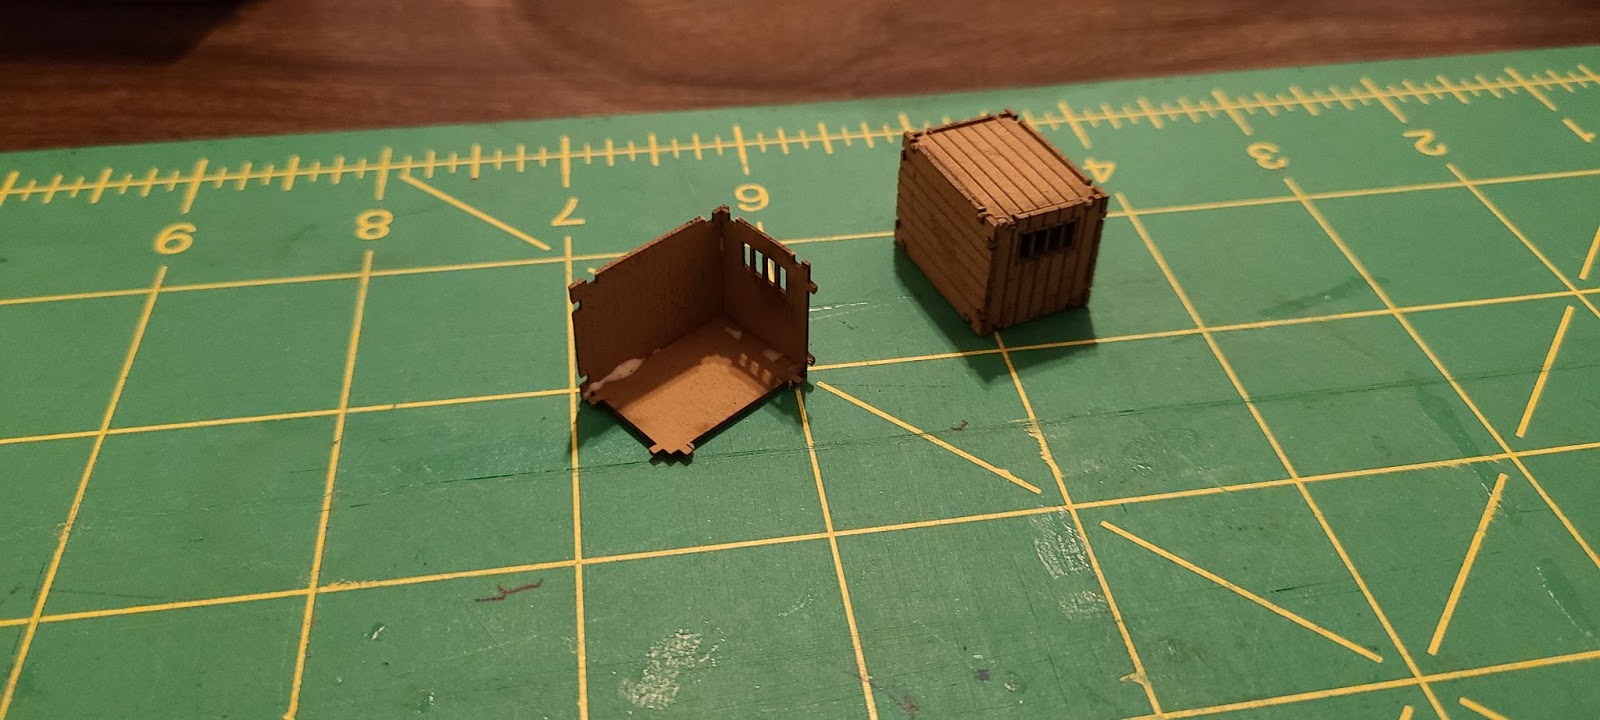
The six sheets each have two copies of the same enclosure, and they go together quickly. I suggest working from one sheet at a time.

The second part of the construction is to add the box details to the outside of the crate. This is essentially a box you form around your box. I did crush one while building it, but the damage is mostly unnoticed on the finished product. After about two hours all crates were built and ready to transport the wealth of the Amazon to a Spanish wet market.
Covered Baggage Cart
Cost: Approx $7.62 plus shipping

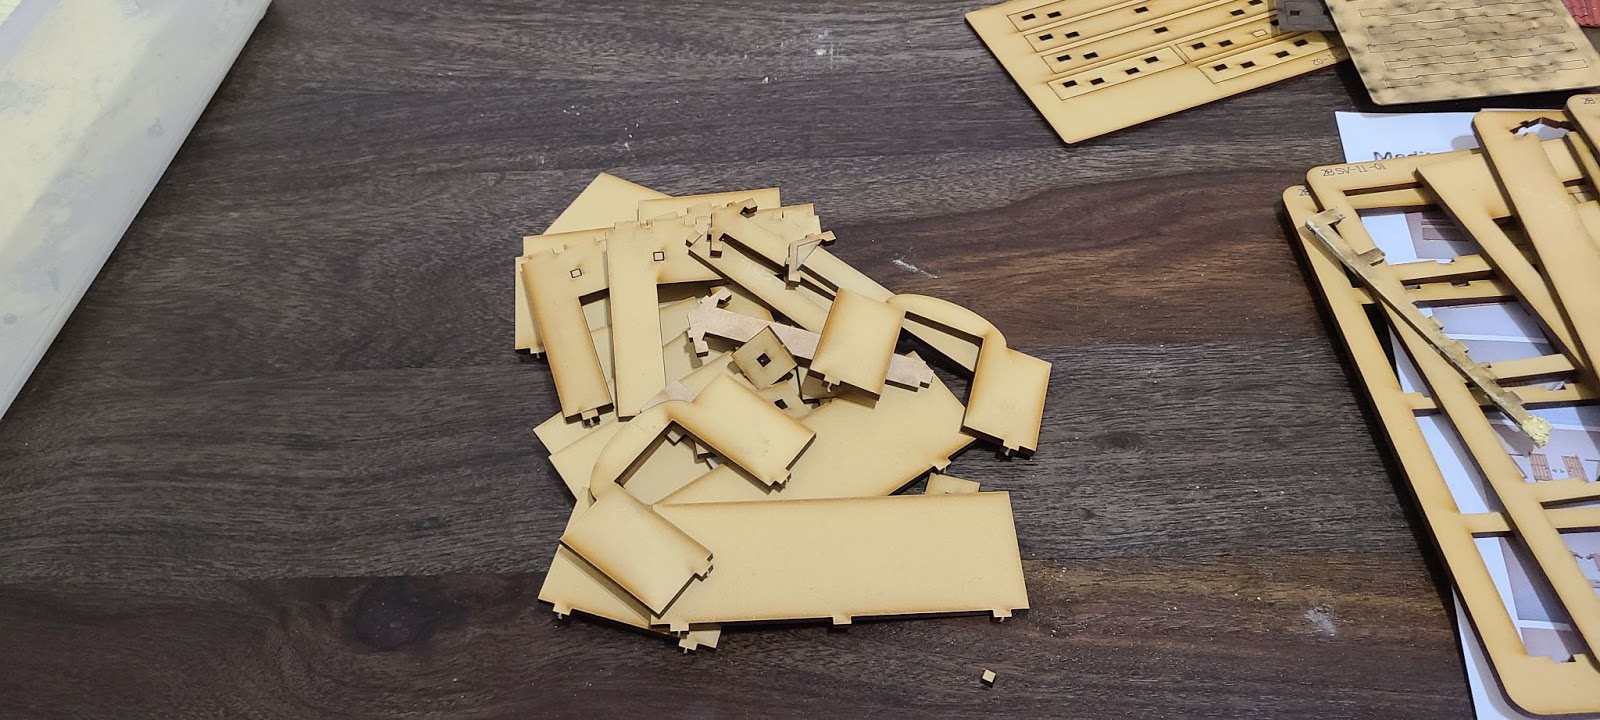
Wagons and carts have been around since the invention of the wheel. This kit is of a hand cart, and though its design makes me think of the American westward migration, it’s a simple design that I think would have been in use throughout the Spanish Empire.
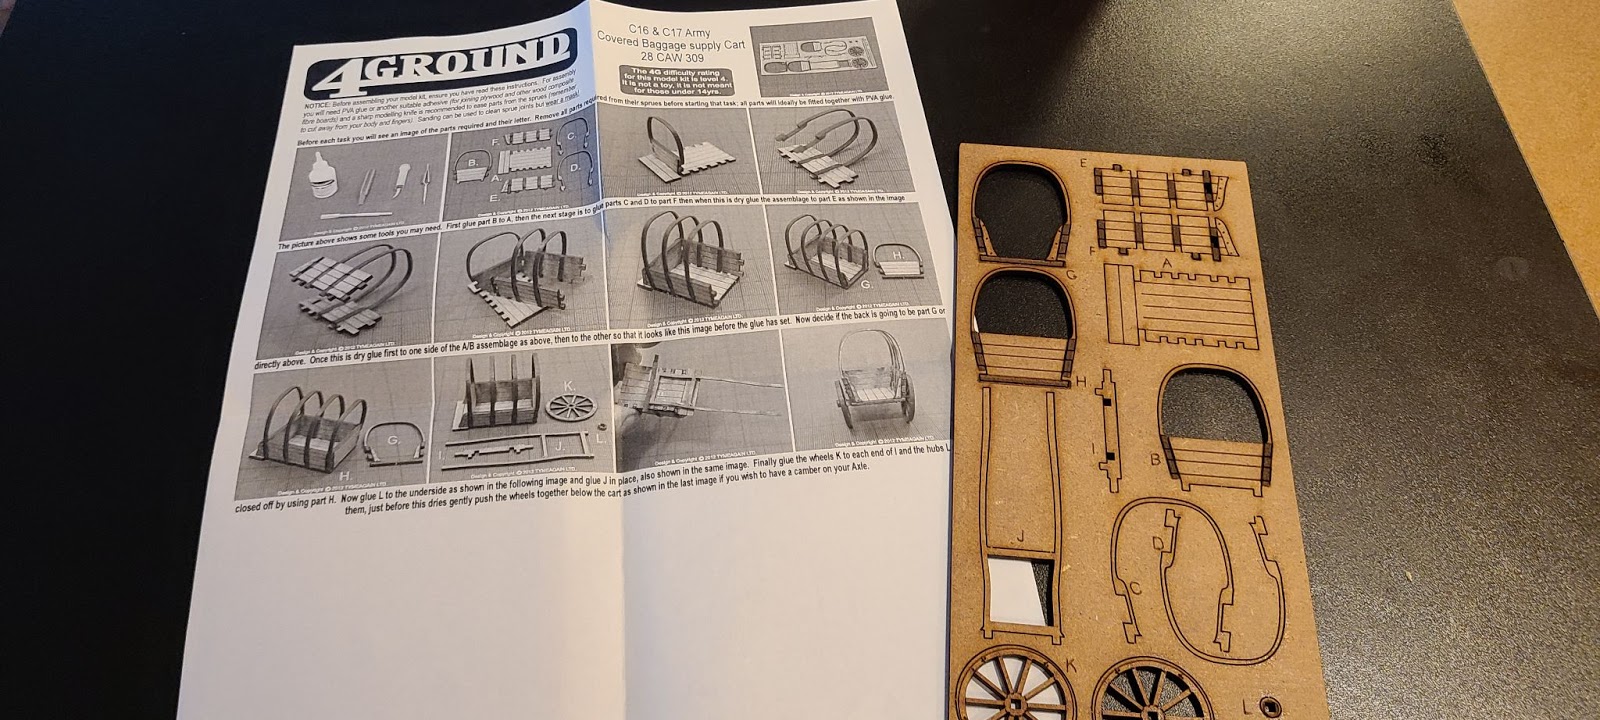
This kit is on one sheet of MDF. At this point I felt I was a little spoiled by the crates, as each piece here has less etching and detail. It isn’t a deal breaker though, as the designers used the dark wood tones of the burn marks very well.

I noticed when looking over the instructions that this was a 4 difficulty! The highest I’ve tried yet. The cover lists this at 3, but with the difficulty I had, I think this was a 4.

I used wood glue this time, once I saw what they wanted me to do. After this step I let the parts dry for about two hours.
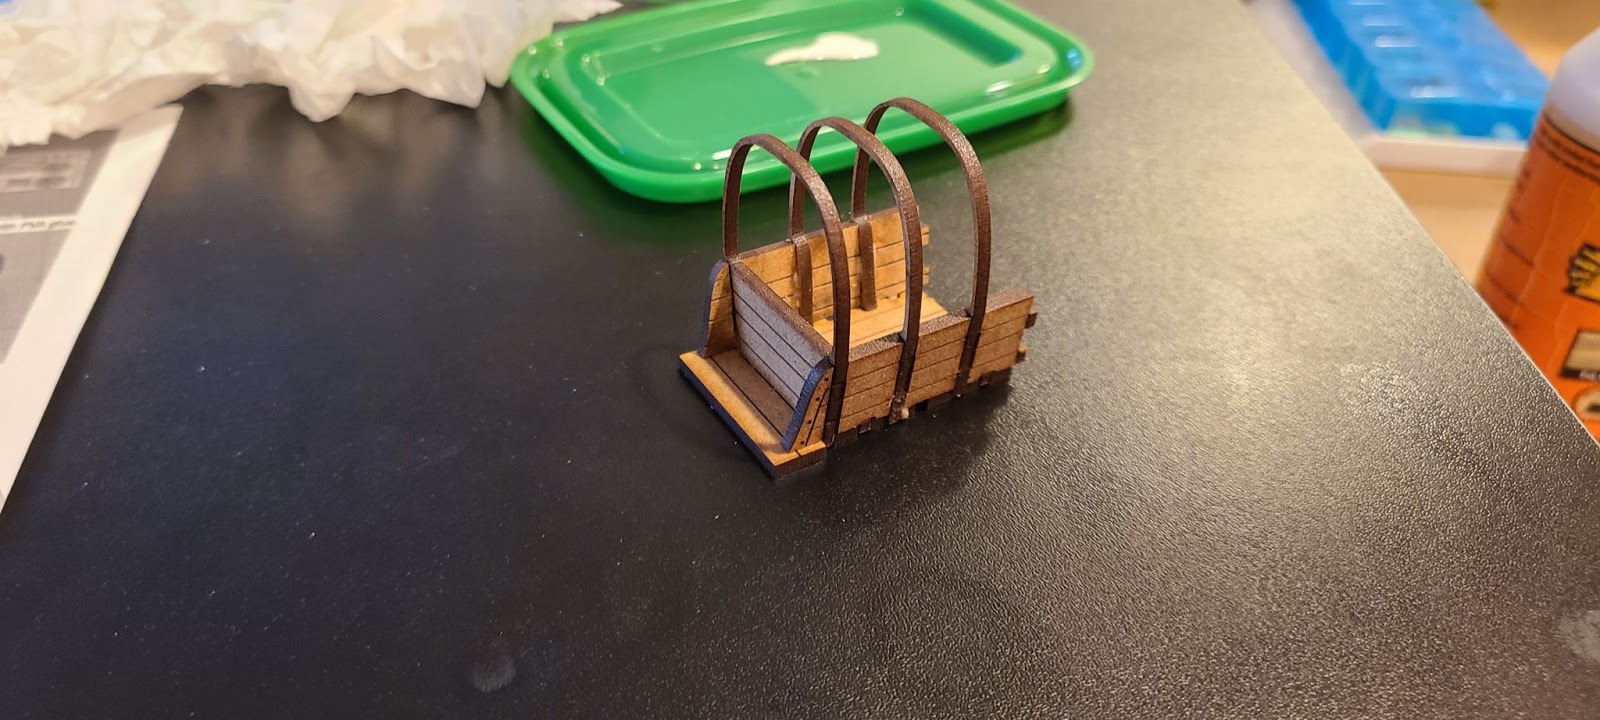
When putting the parts together you have to squeeze the base with the sides. I broke one of the ribs at this point, but was able to glue it back together. Gotta be more careful with these kits.
As you see here the burned coloration of the MDF works well in defining the ribs of the cart. You also have the option of having an open back for the hand cart, to make it easy to slide barrels or crates in the back, or even a crouching model. I went with the closed back because I saw myself using this as scatter terrain.

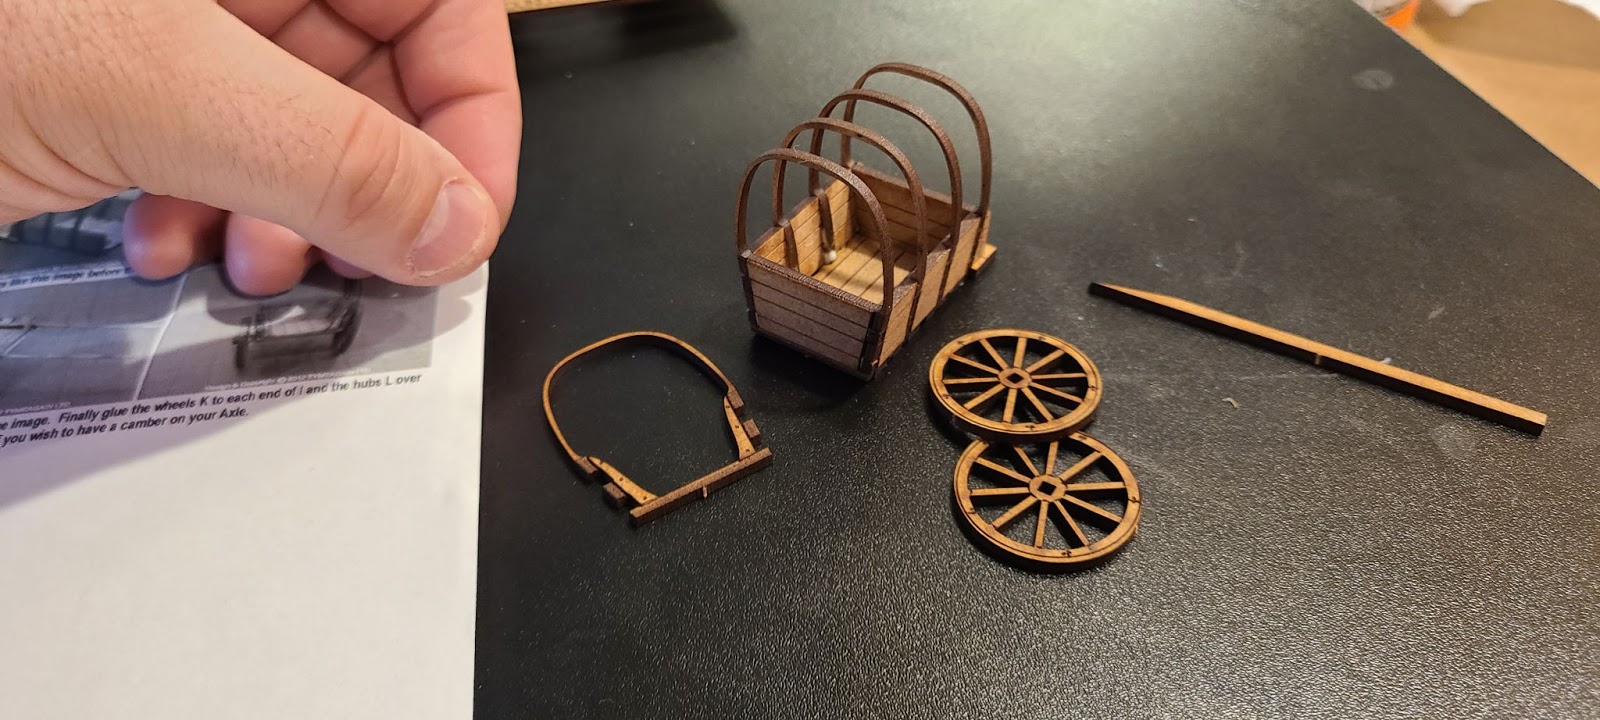
Attaching the handles and axle is quite easy. They also suggest pinching the wheels together to give it positive camber. Positive camber will help with heavy loads and uneven terrain, also known as daily use for this hand cart.
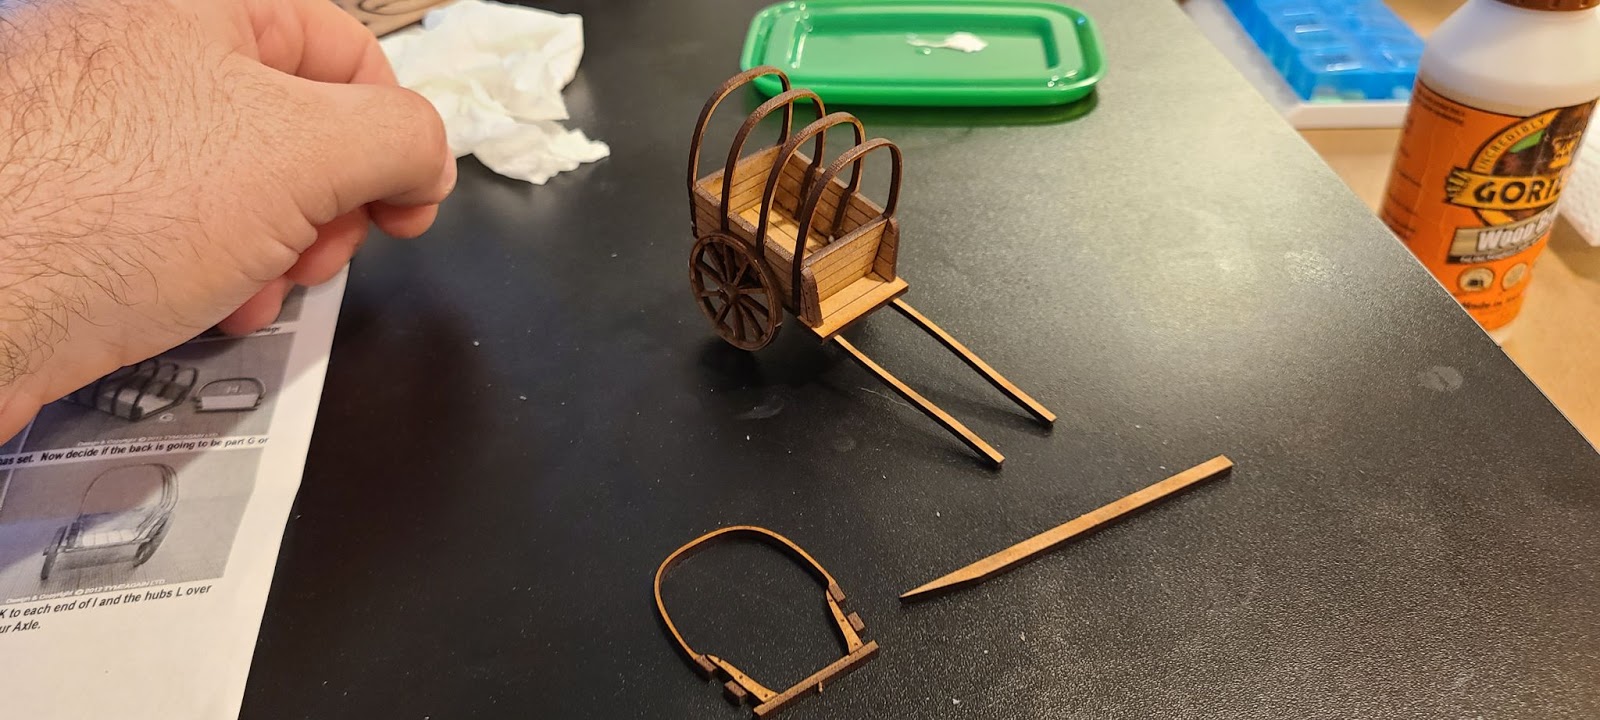
Building this one only took about an half an hour, not counting the time I waited for it to dry.. It ended up looking nice, and it’s easy to get crates and barrels into even with a closed back.
Small House with Workshop
Cost: Approx $40.00 plus shipping

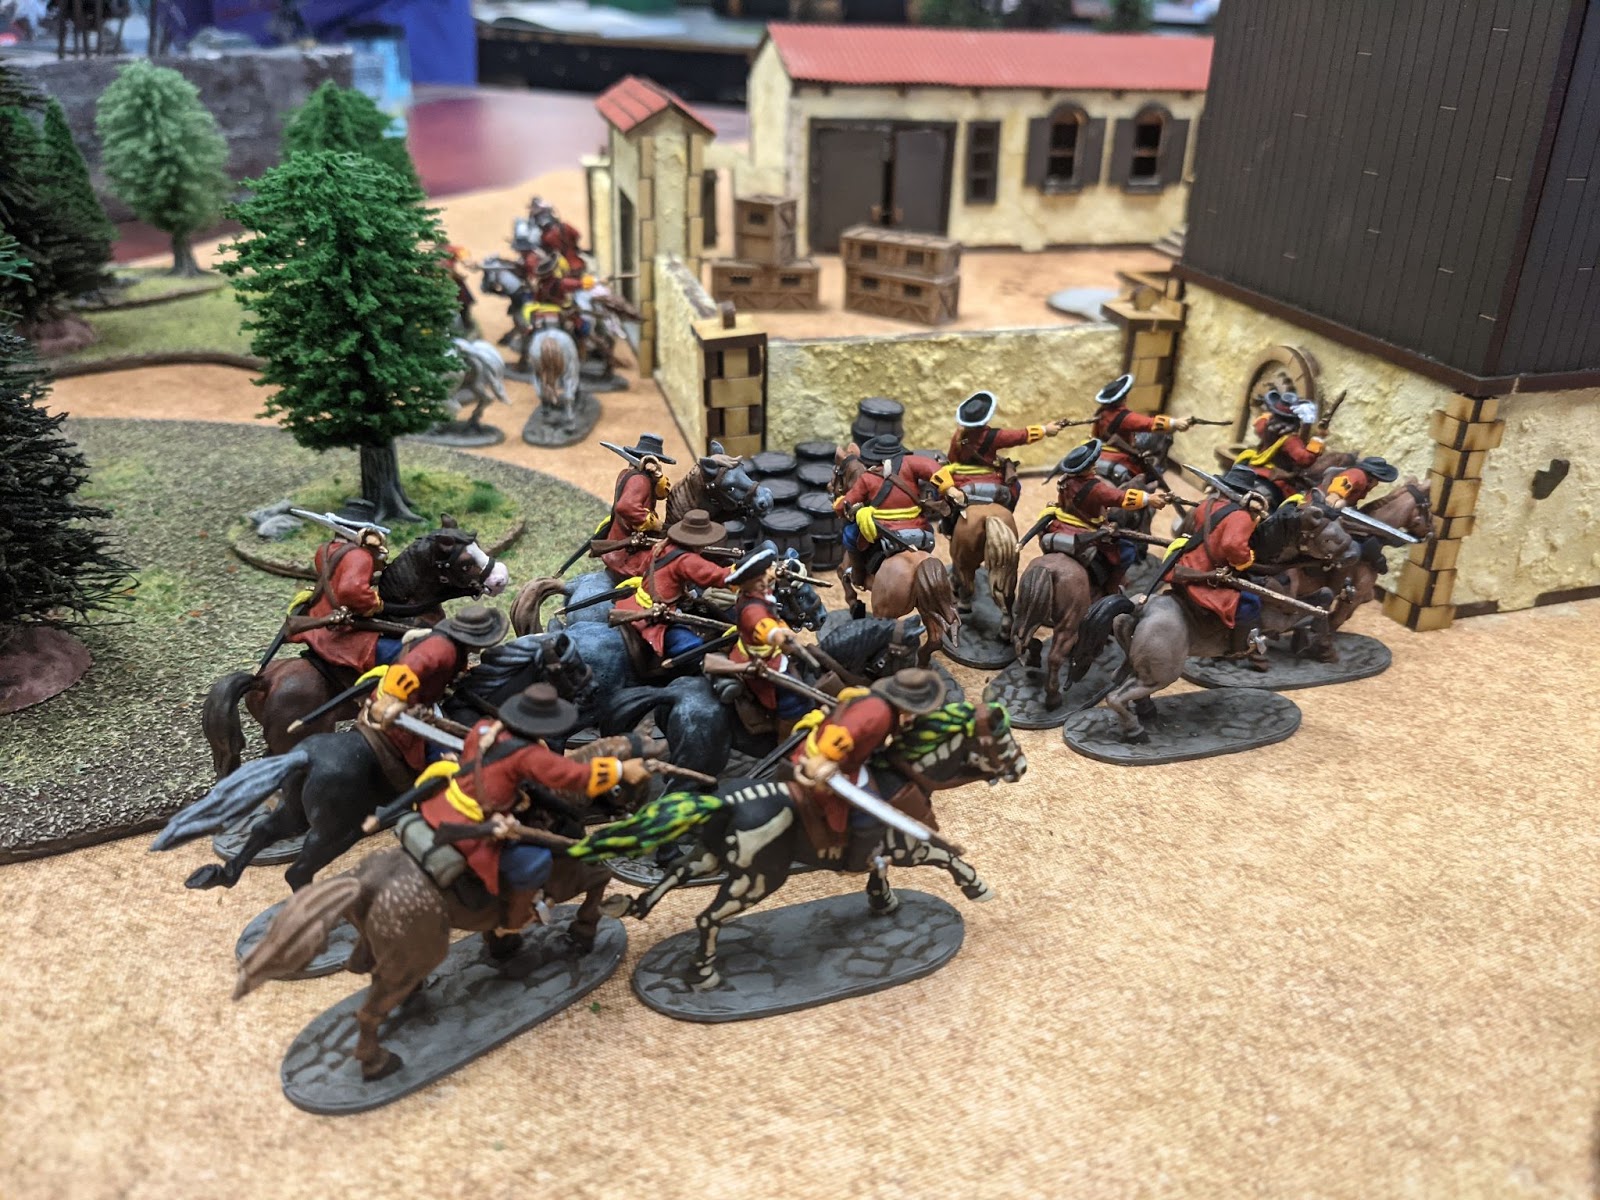
This was the first larger 4Ground kit, and it is a lot to take in. It consists of seven different types of MDF, and is pre painted. The Small House with Workshop is a good structure for Blood & Plunder because the two rooms of the house are not connected, so unit’s can’t move between them easily. This stops the Warp Drive effect that other multi room buildings have, where a unit entering one side, moves through rooms, and exits the other side, covering more ground than the unit could outside of the building. The top of the building is also removable, so you can put your units in the rooms.

Each of the next few kits also come with render powder, color instructions, and generic render powder instructions.
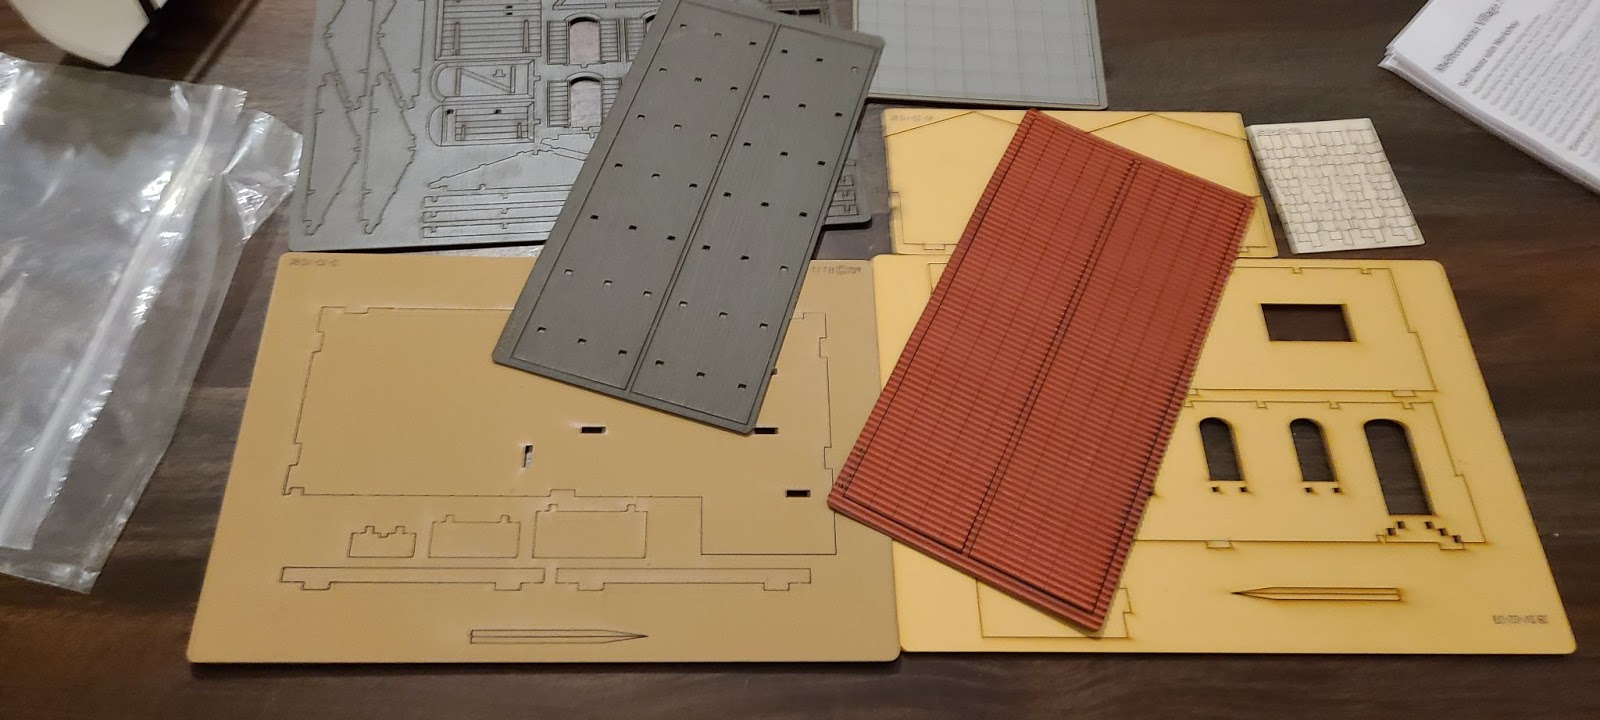
This kit really feels like a premium product. I like the TerraCotta roof, as it’s textured and looks pretty good. Also don’t worry about any anachronisms, as TerraCotta has been used extensively, even by pre-Columbian civilizations.
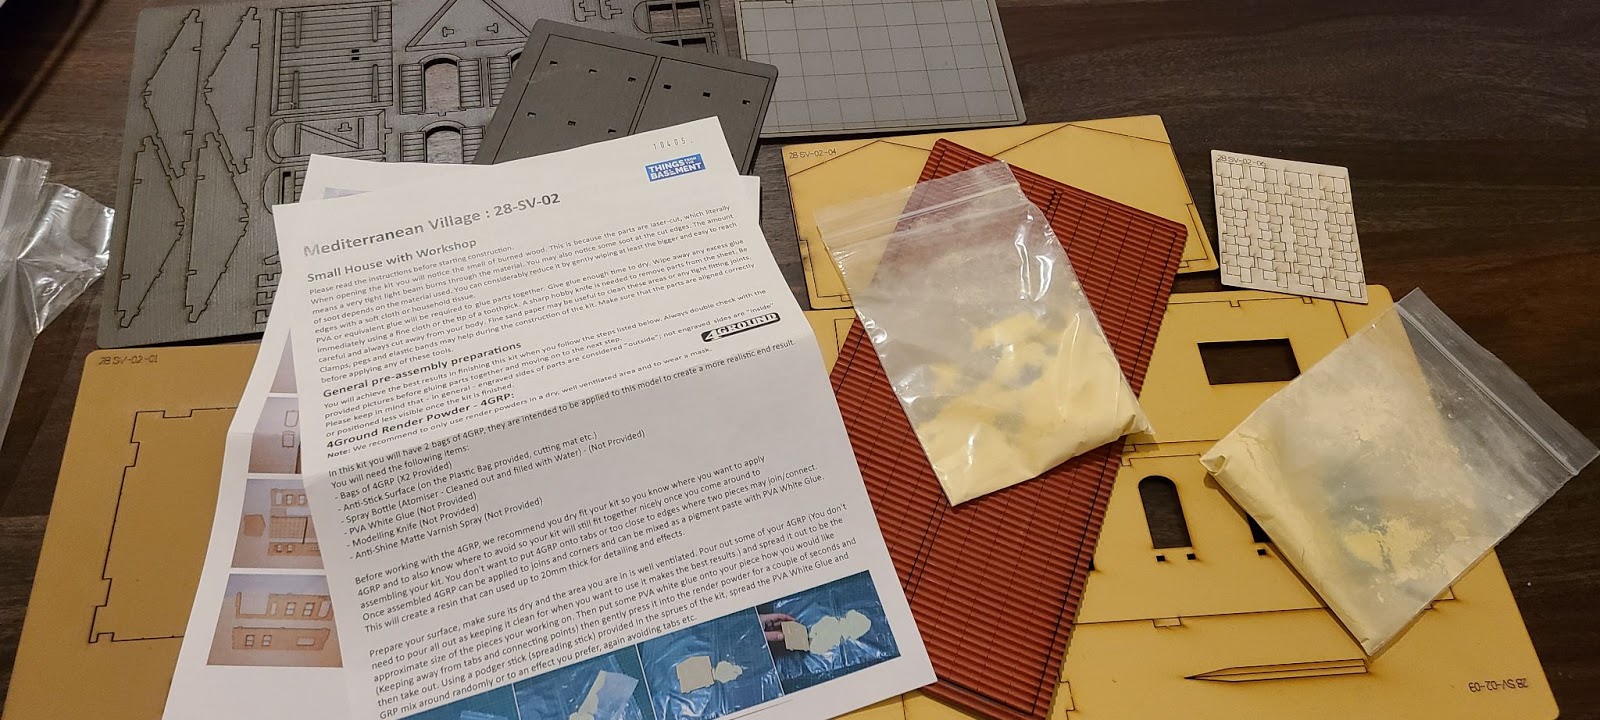
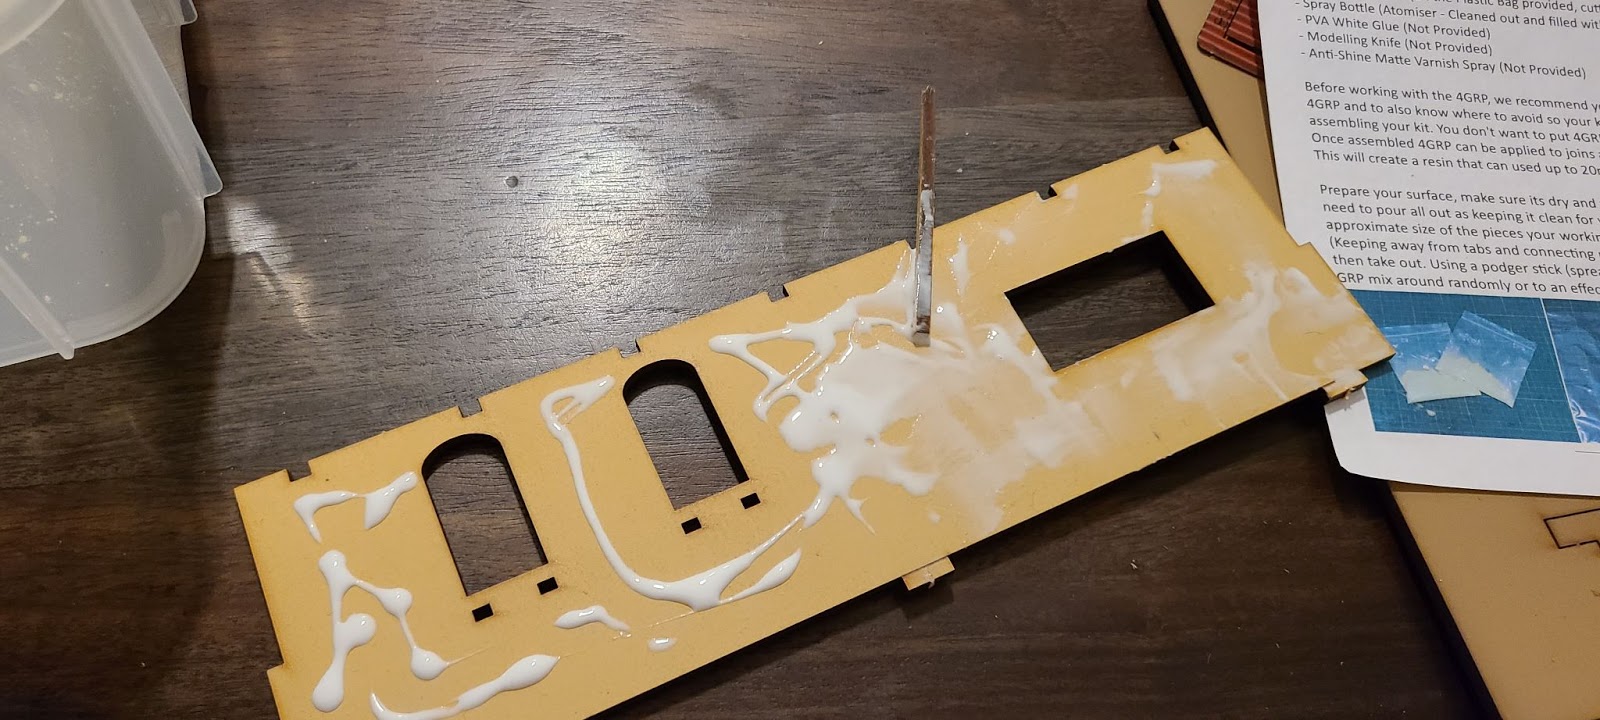
After looking over the instructions, I decided to apply the render powder to my pieces before I assembled anything. This went against Joseph’s advice he gave in this article.
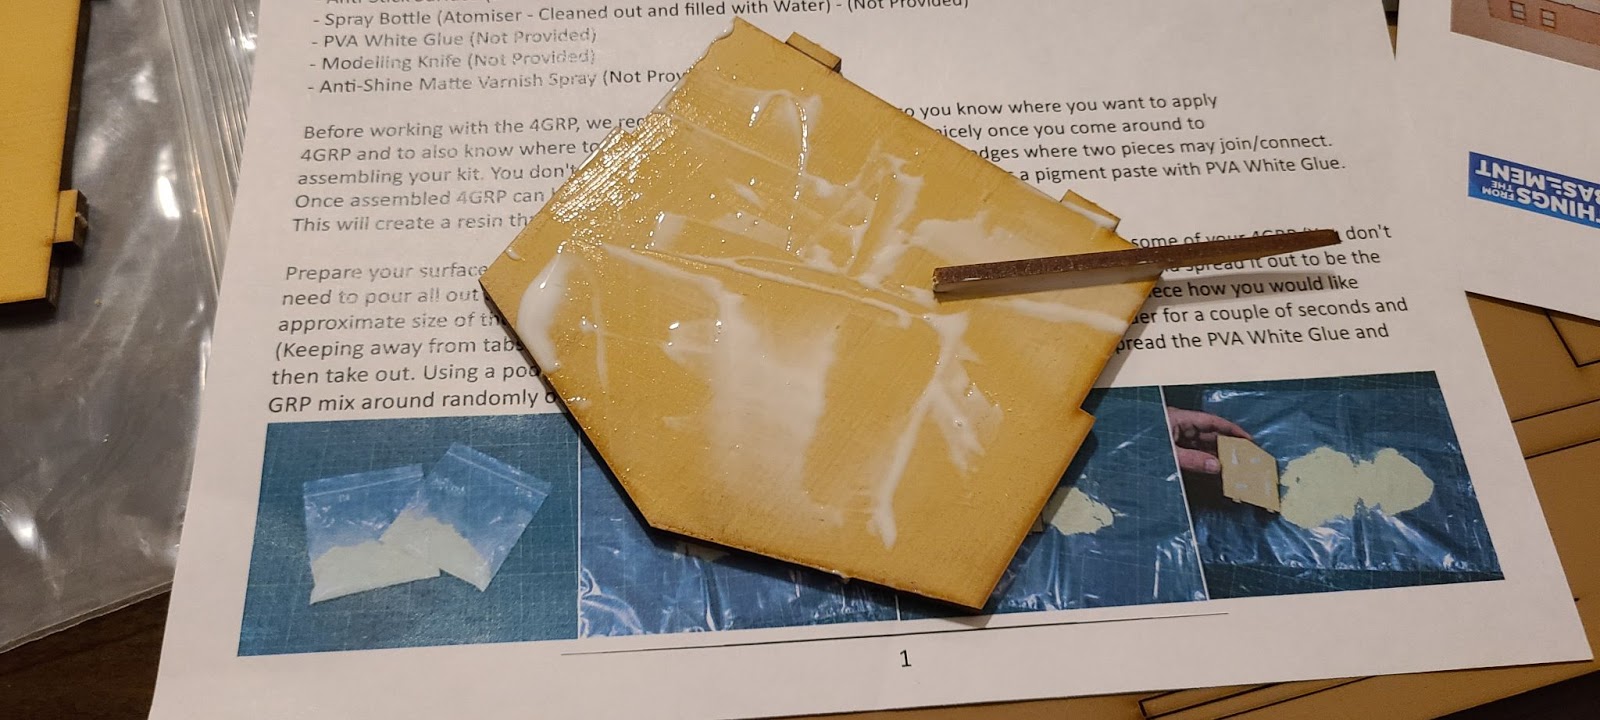
This kit came with several sticks to spread glue around with.
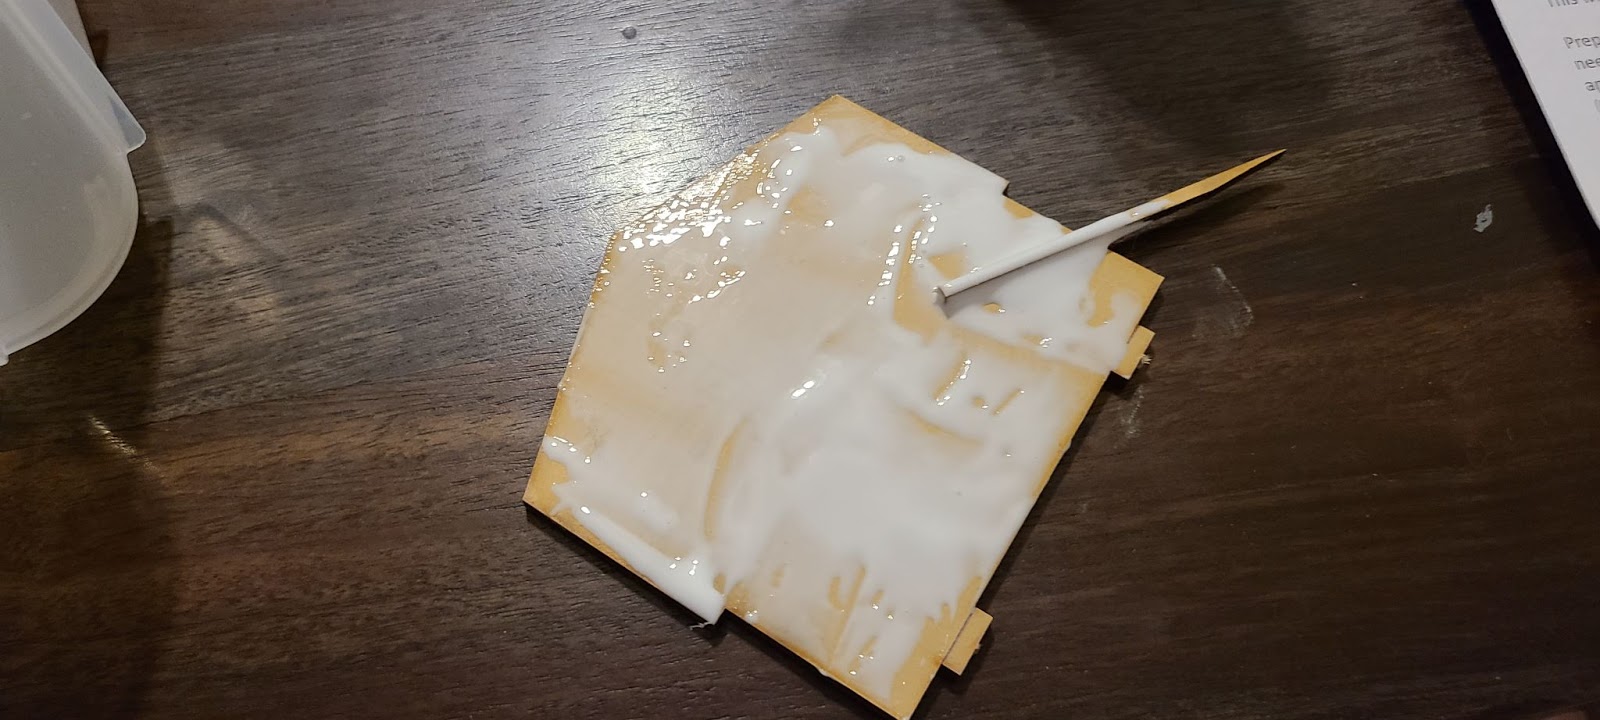
As you see, I was a little devil-may-care with how much glue I put on.
And too light on other parts.
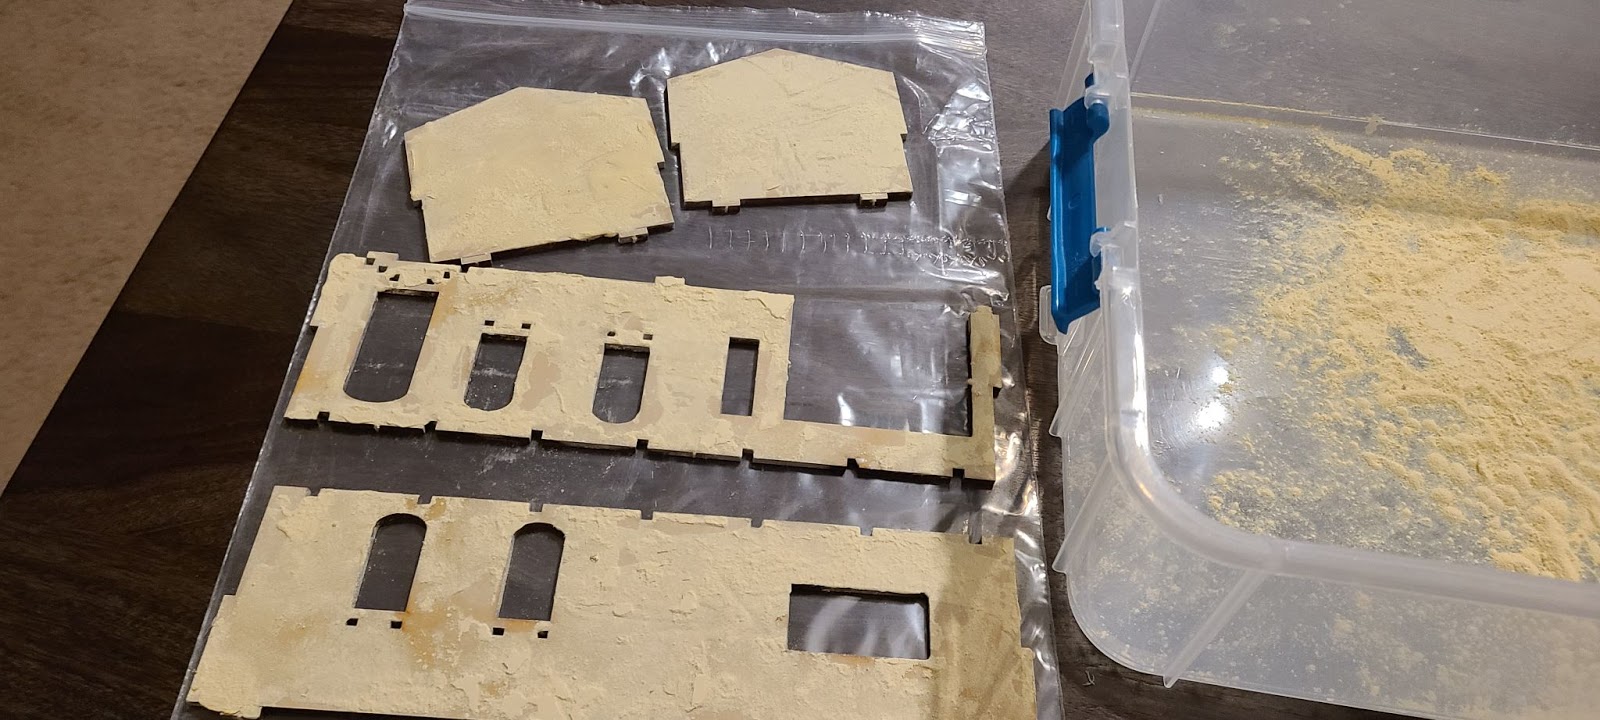
From reading Joseph’s article, I used a spare container for my render powder. I use this same container for this whole review, and reusing the powder saved me about two bags of it by the end.
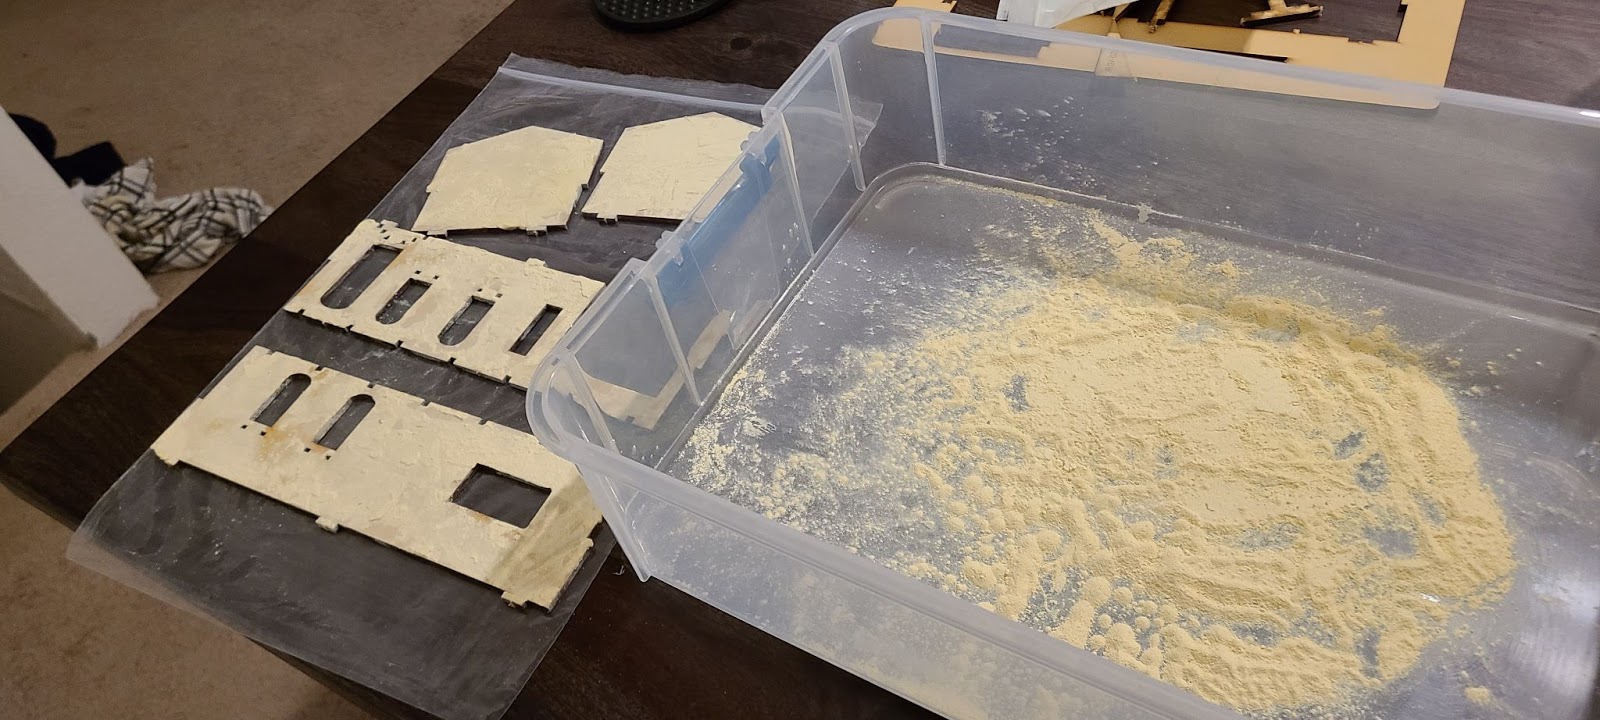
I let my pieces dry for about a day before adding the second layer of render powder, and then another day of drying before assembling them. You do not have to take this much time, but I kind of enjoy working on a project for an hour or two, and then coming back to it the next day.

The finished project was a little bit of a learning experience for me and how 4Grounds come together. Render powder is a fine dust that gets everywhere and is very yellow. They seem to lean into the render powder dusting that the brown and red parts might get while handling in their product pictures. Frequently washing my hands helped in latter kits. The only other thing I don’t like about this kit is that the attached workshop reminds me of a garage.
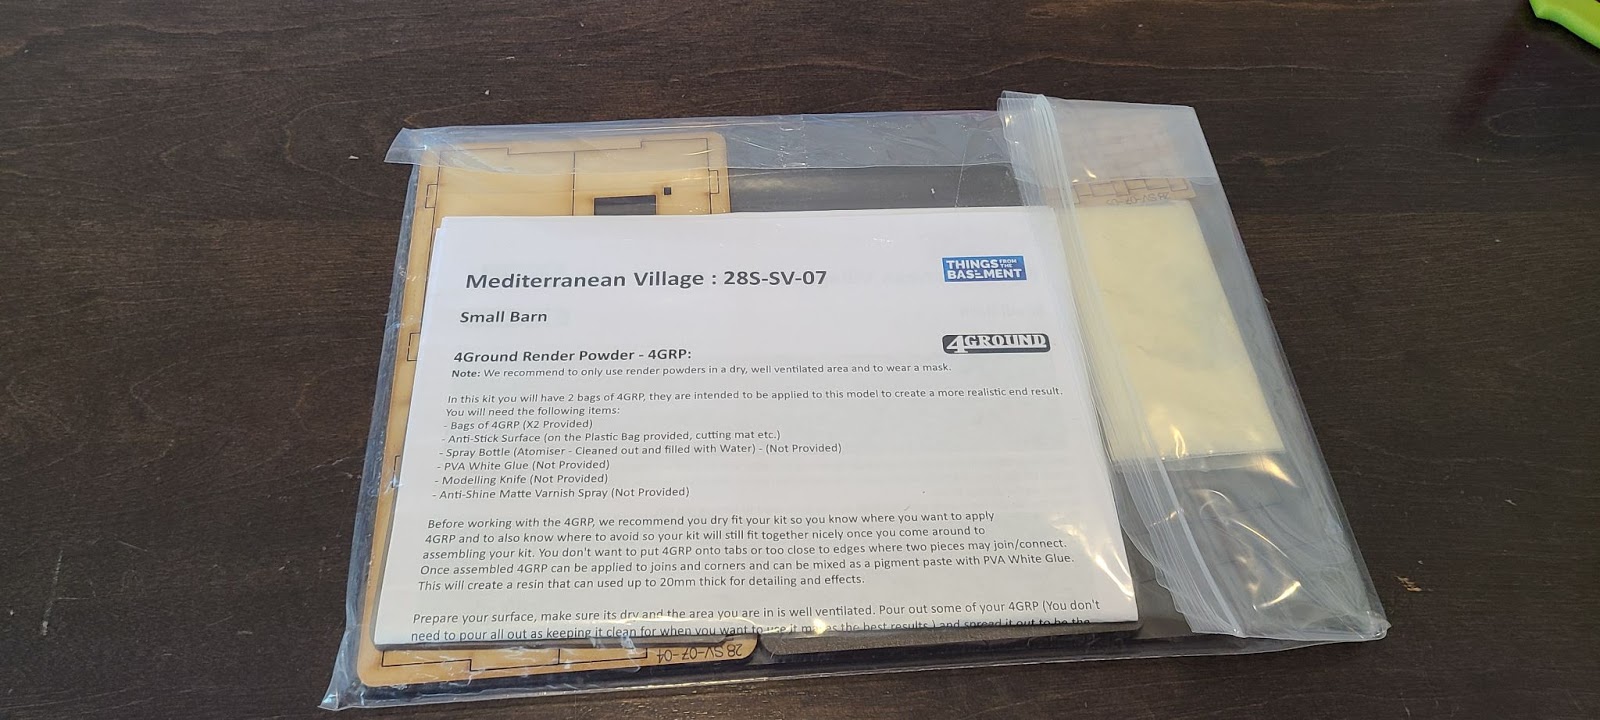
Small Barn
Cost: Approx $33.22 plus shipping

This Small Barn is in about the same style as the Small House with Workshop. This is a two story building, and like the last building, the two rooms are not connected internally. This also comes with a ladder to get to the top barn. When I played with this, I decided that the second story is too far up to climb without climbing equipment, and positioned the ladder leading to the top barn. Like the last building, the roof is removable. The whole second story also lifts off, letting you put models on the ground floor as well.
Like the other kits with render powder, this one comes in a large bag that is intended as a work area for the render powder. If you’re careful the bag is big enough, but a container is better.

Color instructions again!

The MDF has the same amount of quality that we are used to, and looks good. I haven’t run into any printing errors yet.
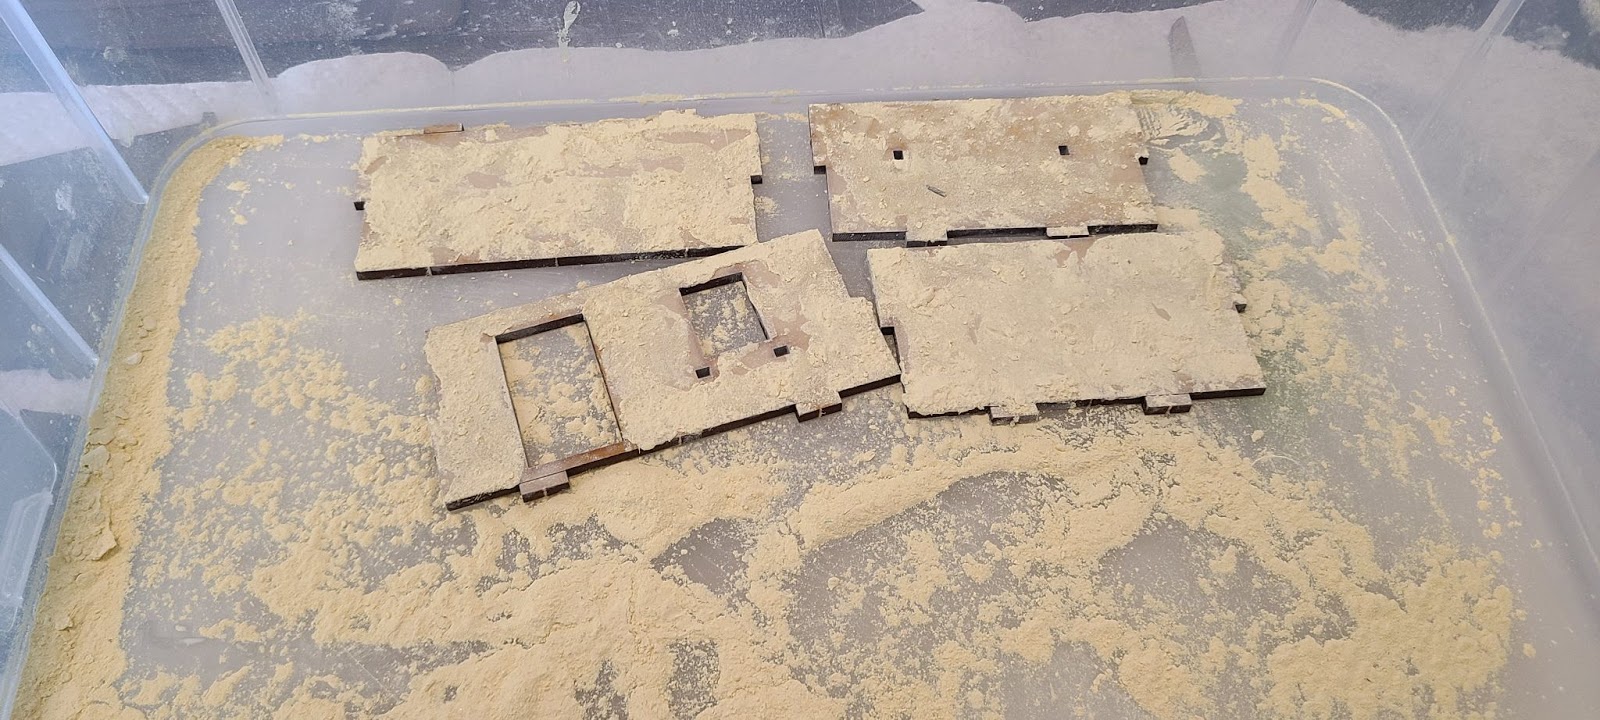
Like the last building, I applied the render powder before assembling the bottom story.

While the render powder dried I assembled the top barn. The dark brown paint blends into the burned edges perfectly.
The edges of the roof on the last building curled up while drying, so this time I applied light pressure to the whole thing while it dried.

With this small barn being three separate pieces, the whole thing only took about an hour to put together. I don’t know how common second story barns were in the Americas, or where this style of building came from, as it is a little hard to even describe what it is, and history shows a lot of apathy towards provincial stowage.
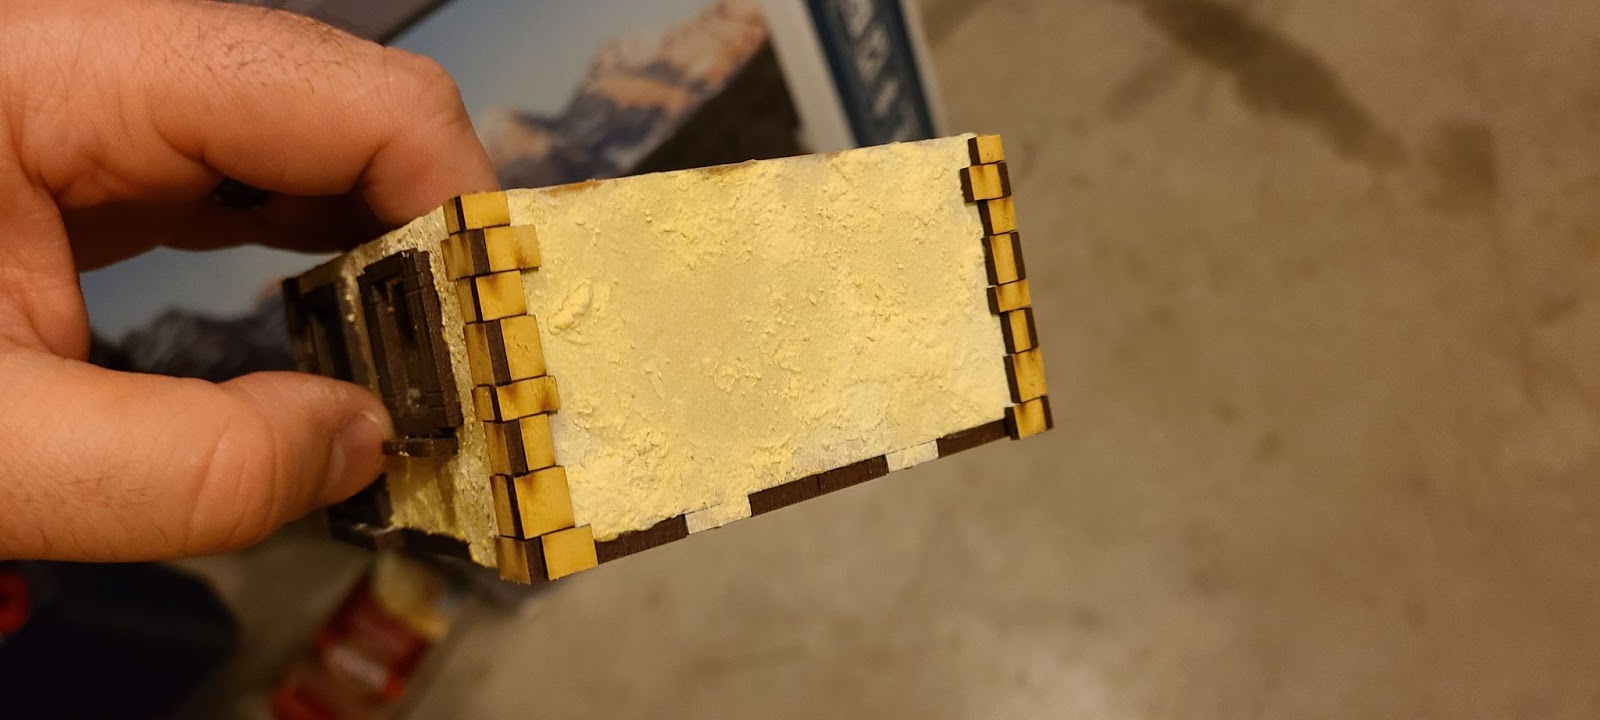
If you take your time with the render powder, it ends up looking really believable.
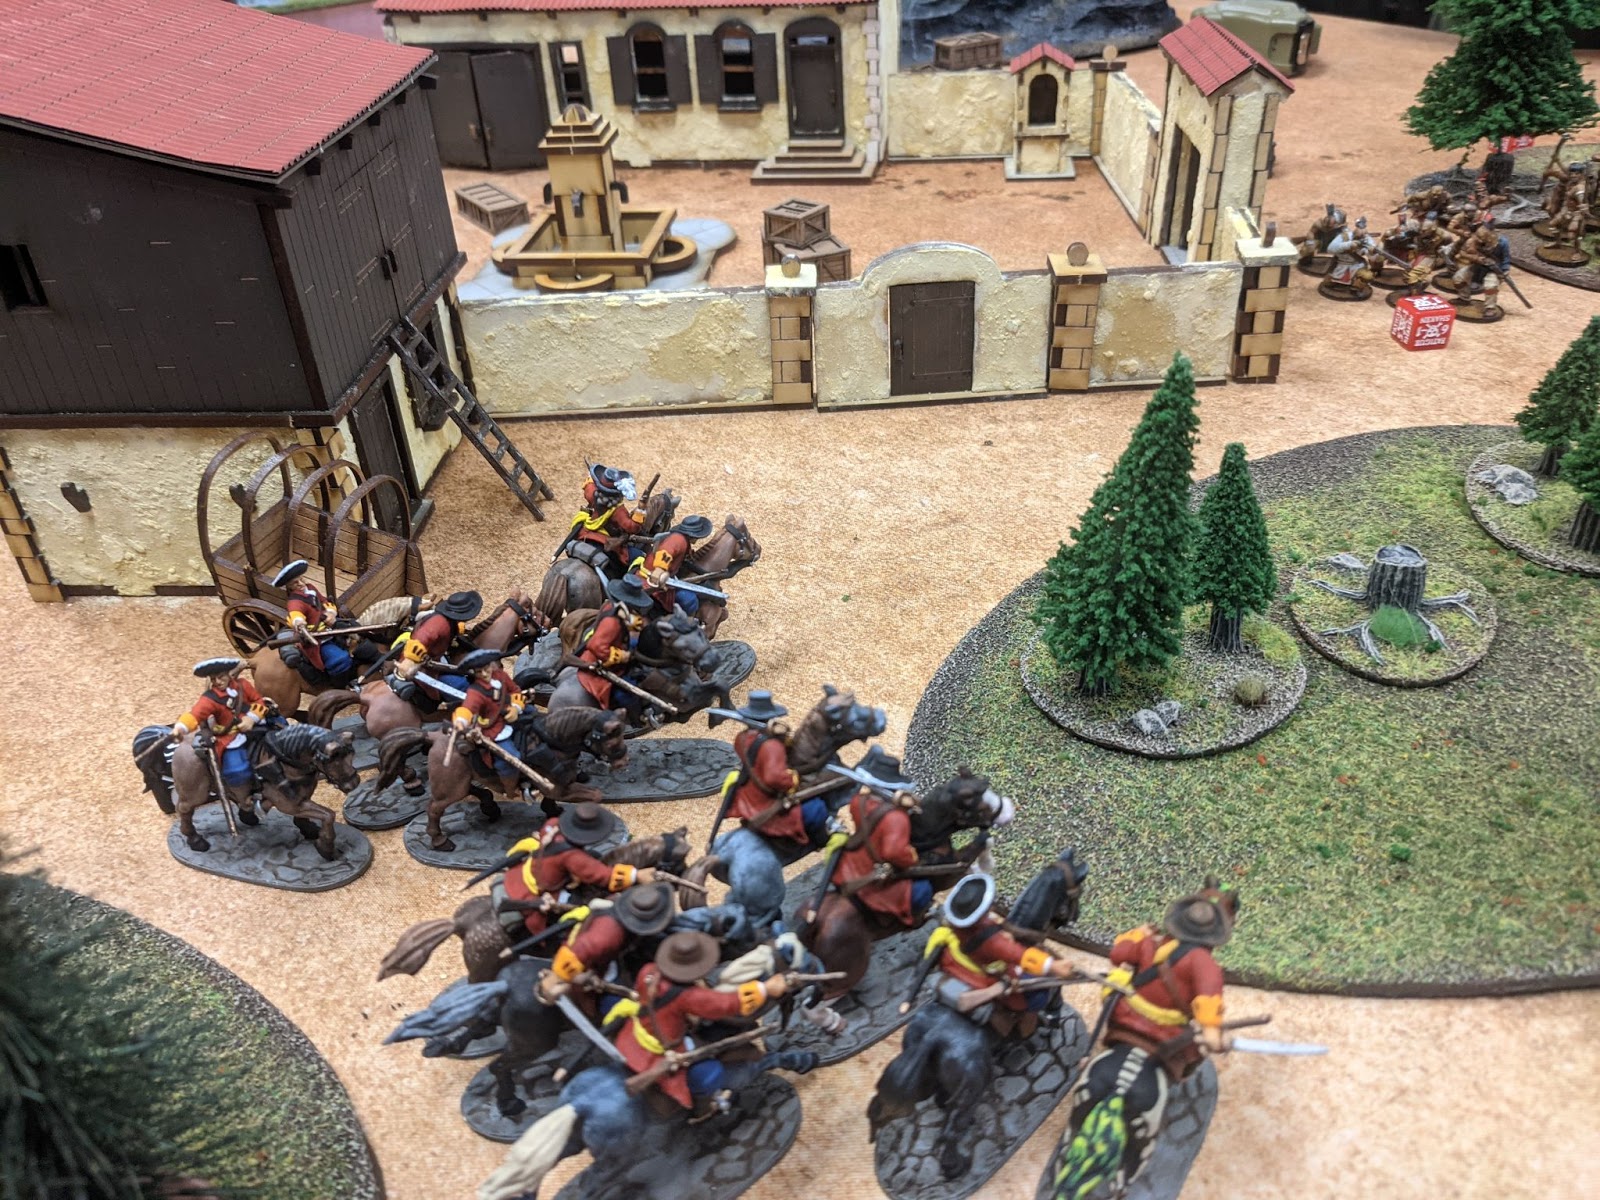
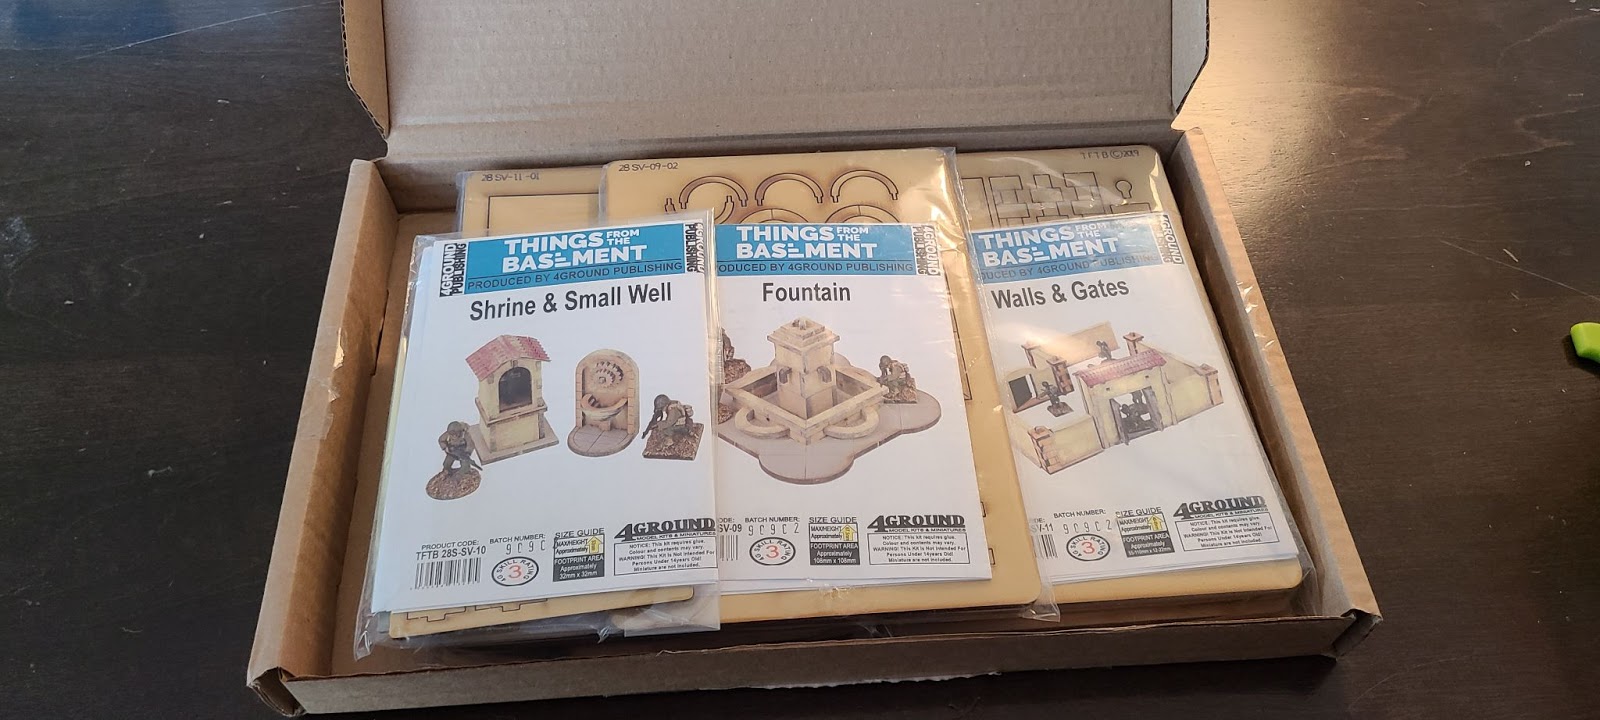
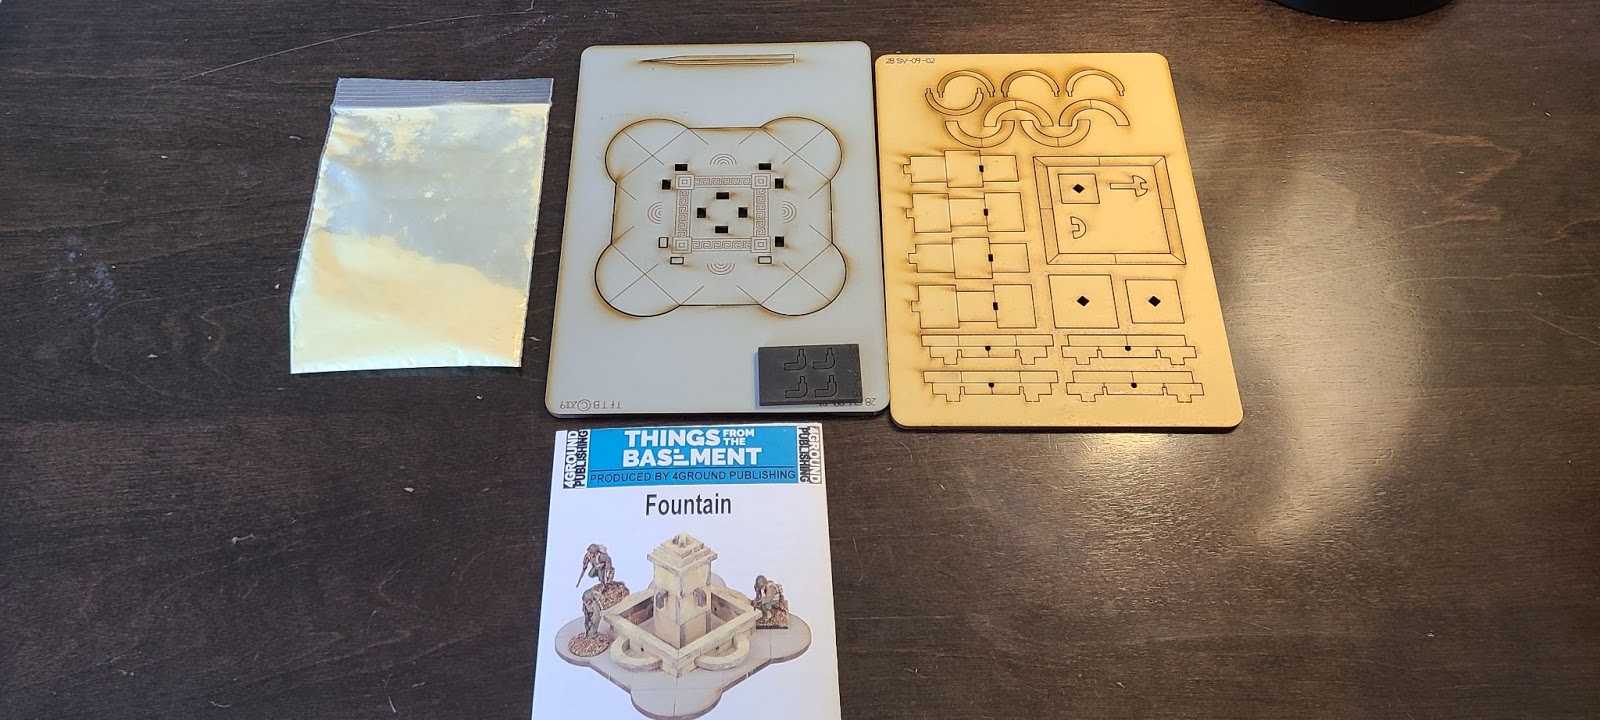
Large Village Courtyard Set
Cost: $77.29 plus shipping

This is the largest set I was given for review. It builds a large walled courtyard, with a fountain, four gates, and a shrine. The kit is modular, allowing you to make the courtyard in a variety of shapes and sizes. In Blood & Plunder, the walls would block line of sight, and I think would be climbable, but would need a dedicated climb action to scale. From spending time around stucco walls, they rarely offer hand holds, but have great friction for feet. The Fountain is a cool looking centerpiece that is large enough to work as object terrain. The shrine and small well would usually be object terrain, giving cover to at least one model that is hiding behind it.
Each of the components of the large village courtyard come in their own package.
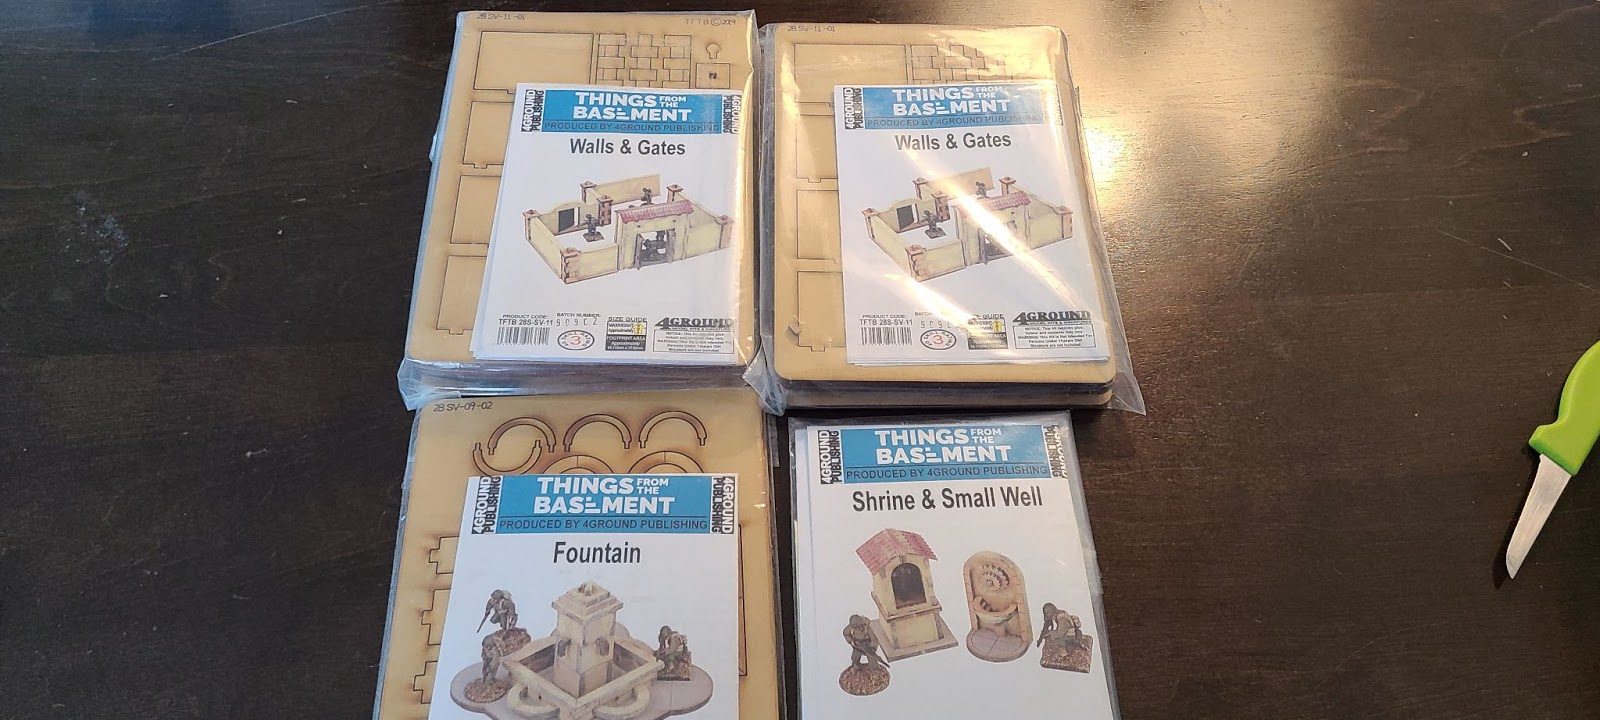
Here is another view of the four packages you get.
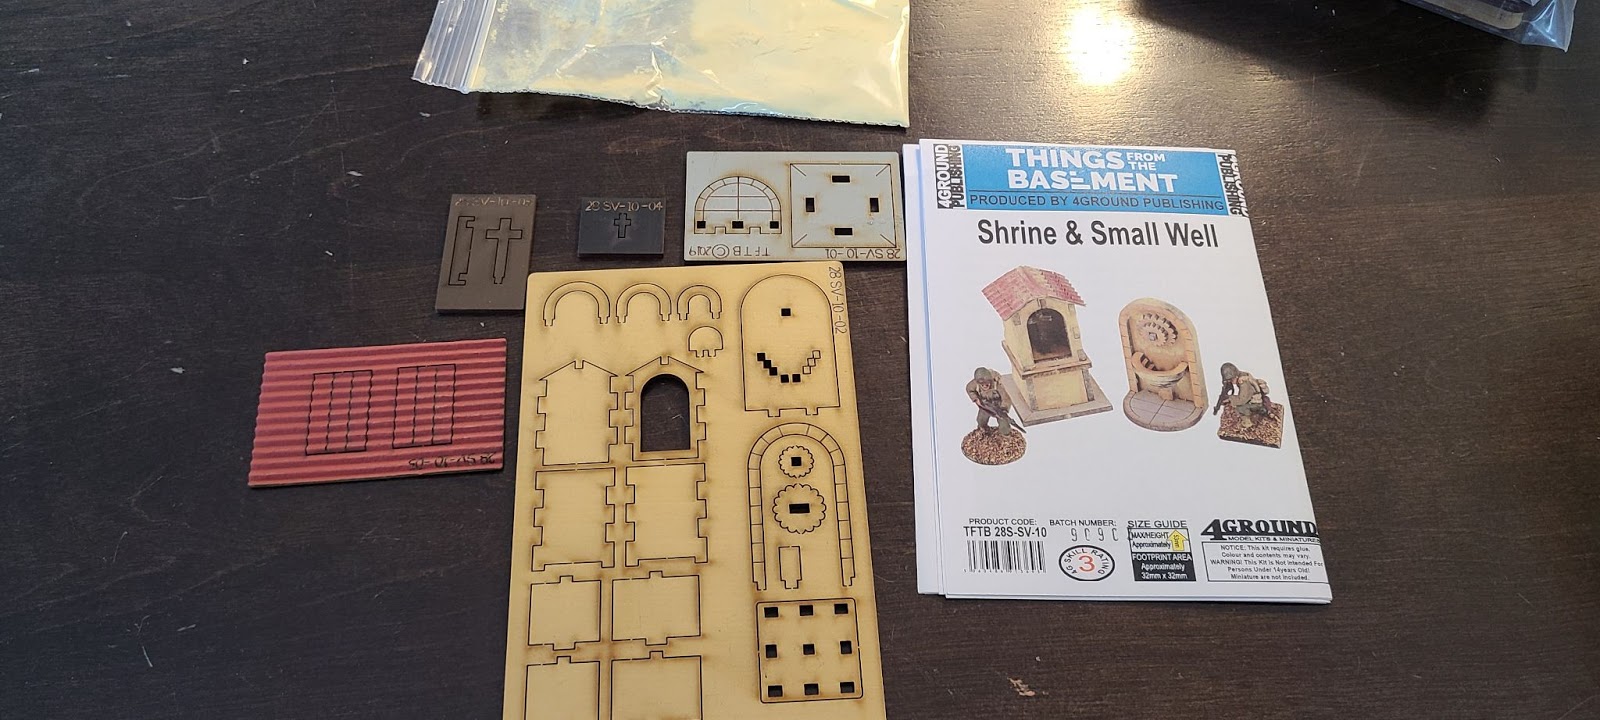
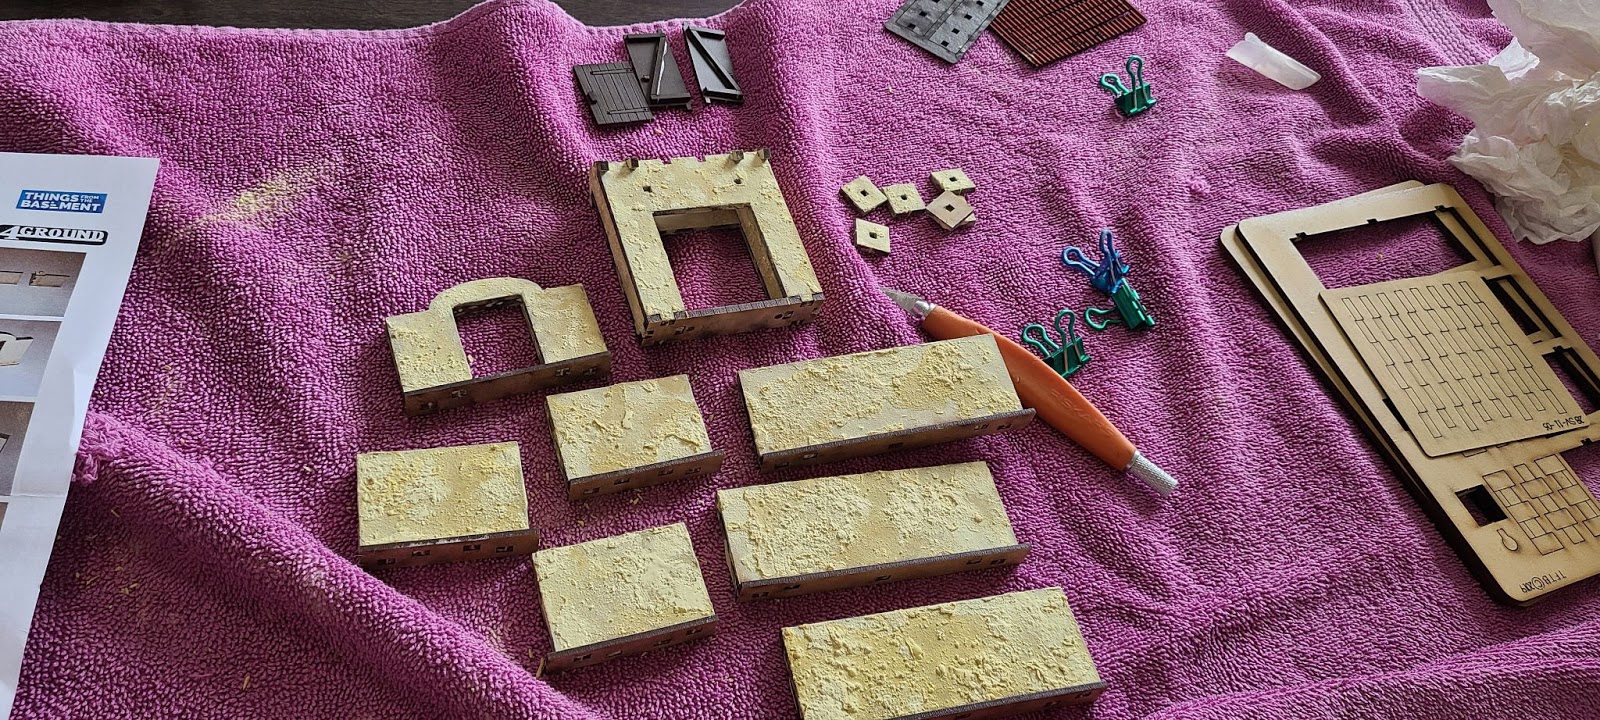
I decided to start with the Shrine and Small Well as it seemed the easiest. The shire is built like a even more miniature house.

The instructions come on one page this time. I have heard people frequently complain about pictorial instructions without any written context, like the ones you get from Ikea. I think that written instructions are mostly unneeded here, as the images are not crude drawings or pictographs, but pictures of the thing you are assembling.
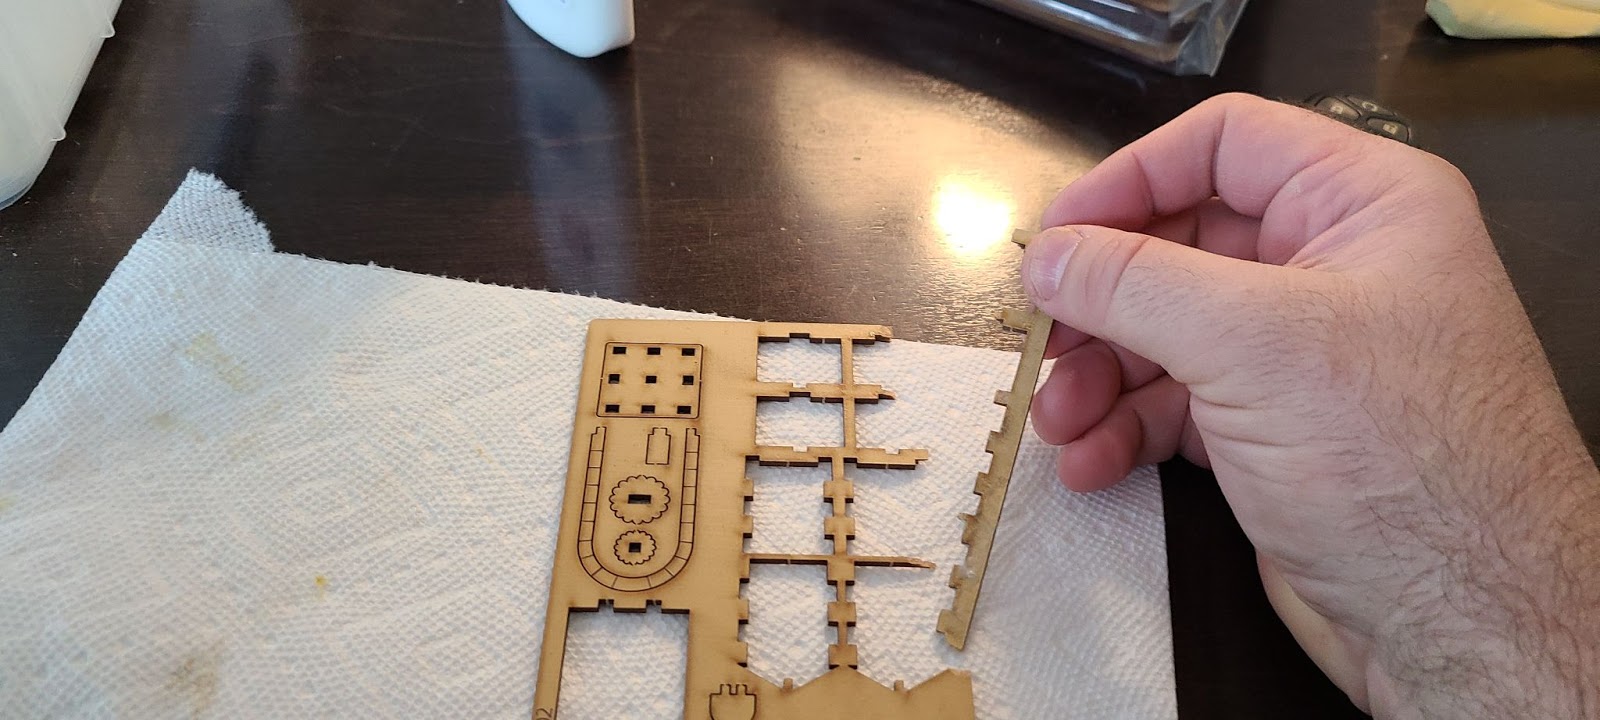
The other kits came with disposable tools to spread glue on the MDF, but the smaller kits in this collection do not have them. As a replacement I used a straight unused section.

I was an old hand at renser powder now, and quickly coated the small parts, making sure not to have much glue around the small well back.
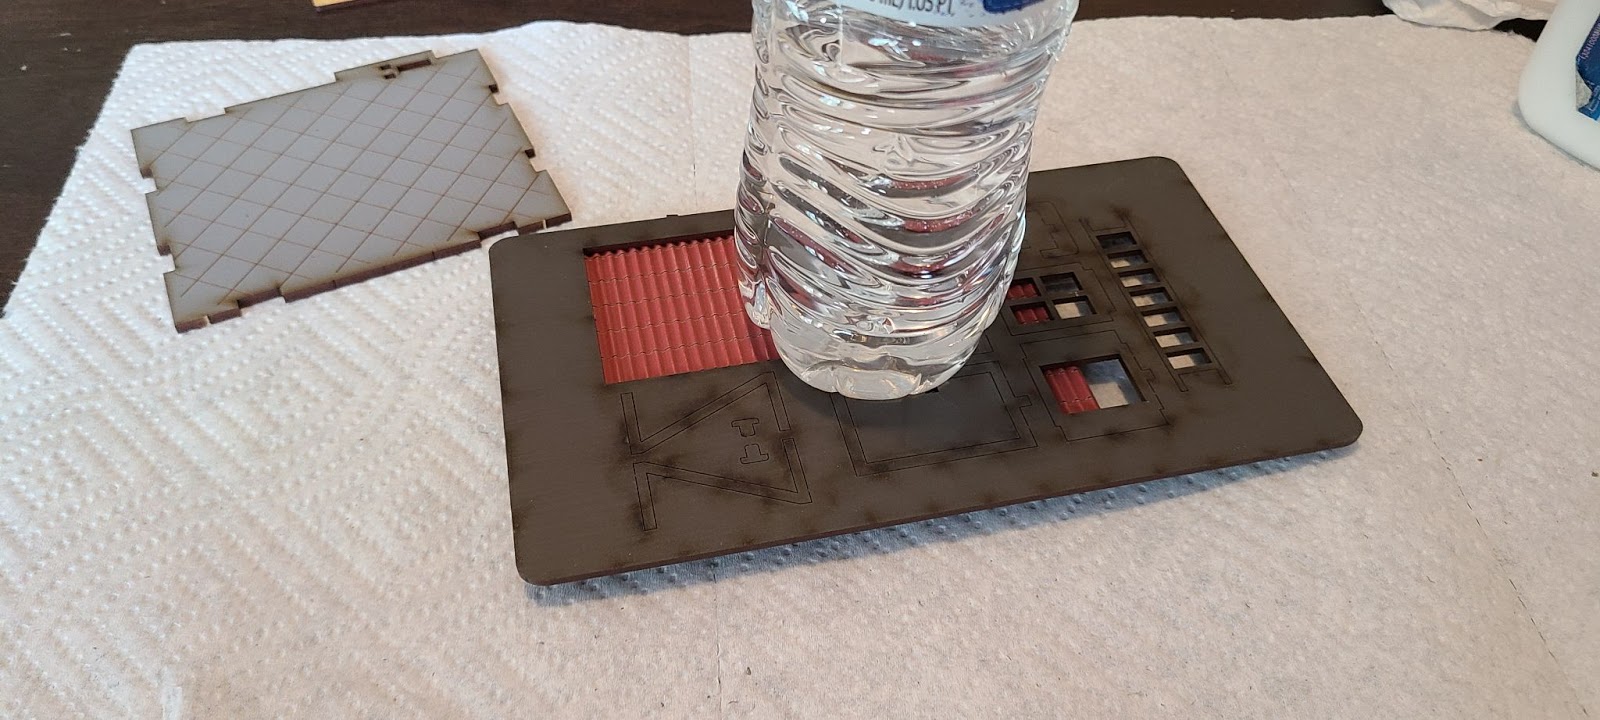
While the render powder dried, I opened up the large fountain. While it does come with render powder, the large tan pieces also look like tiles, so I choose to omit the render powder for the fountain.
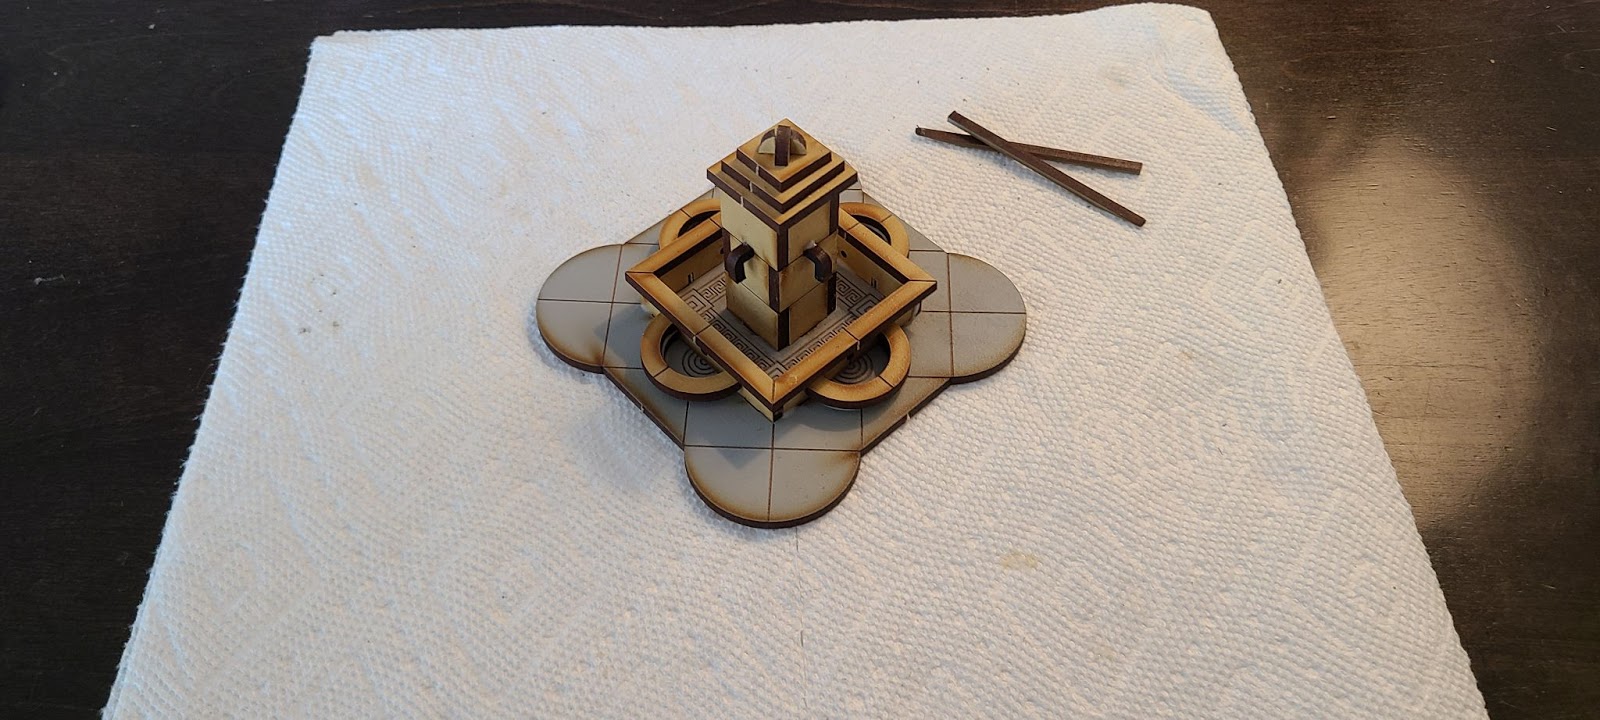
This took about fifteen minutes to complete. When working on it, make sure you place the parts with the “fired” side up.
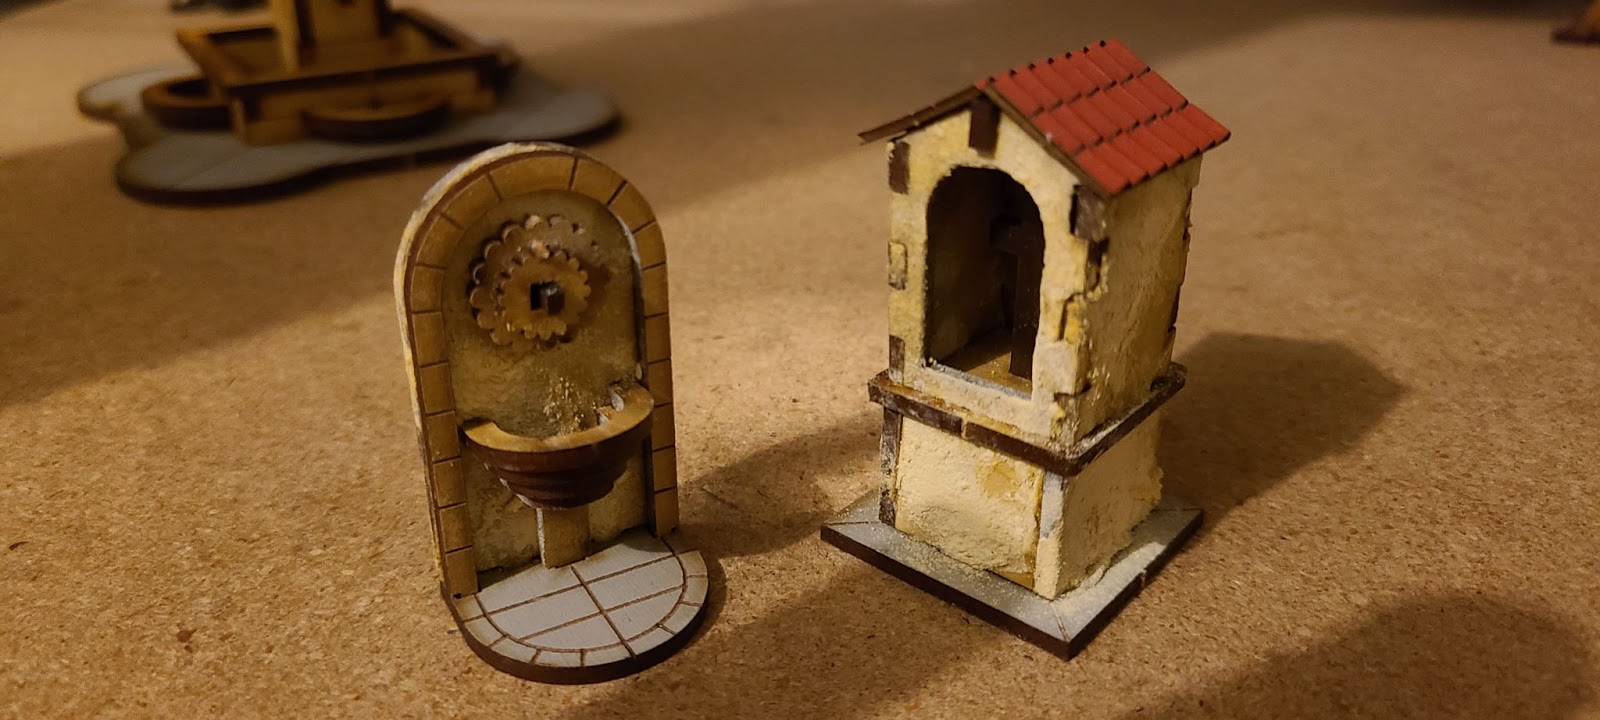
The small well and shrine also went together quickly. I used paper clips on the roof to make it dry flat. The most difficult part was getting the cross inside the shrine to stay upright.

The fountain also turned out well, and I’m happy I skipped the render powder, as it now acts more like a centerpiece. I plan on adding some resin to the basin in the future.

The last component of the courtyard pack is two packages of walls and gates. Each of these makes one large gate, one small gate, three long wall segments, and three short wall segments.
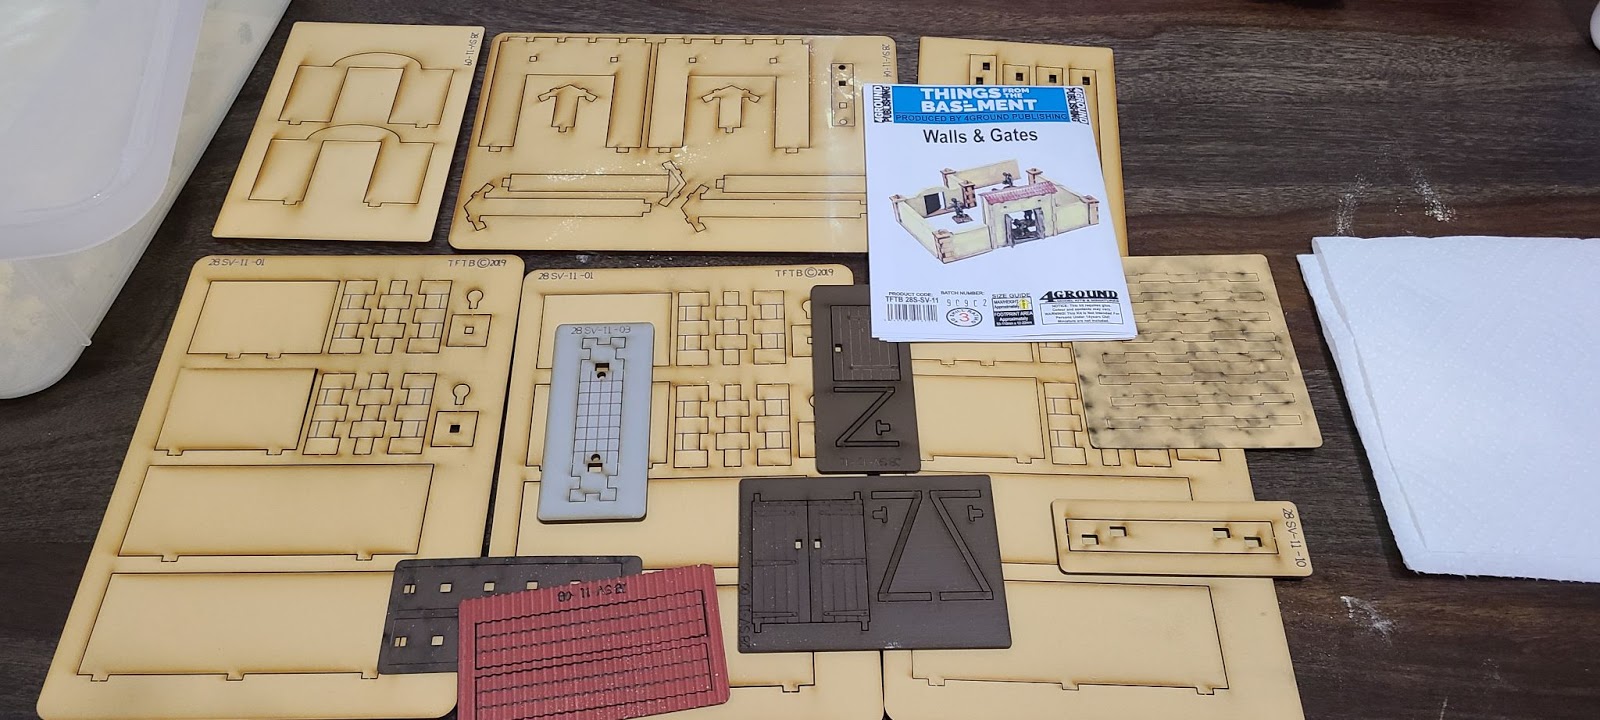
This is a big kit, and you get two of them in this box.
This is also the most surface area you will ever need to cover with the render powder.

One of these kits filled up my box of render powder.
At this step I realized that I should have assembled the parts before putting render powder on them. Each wall segment is intended to be capped on one end by a brick pillar, and the pillar does not fit if it has any dried render powder underneath it.
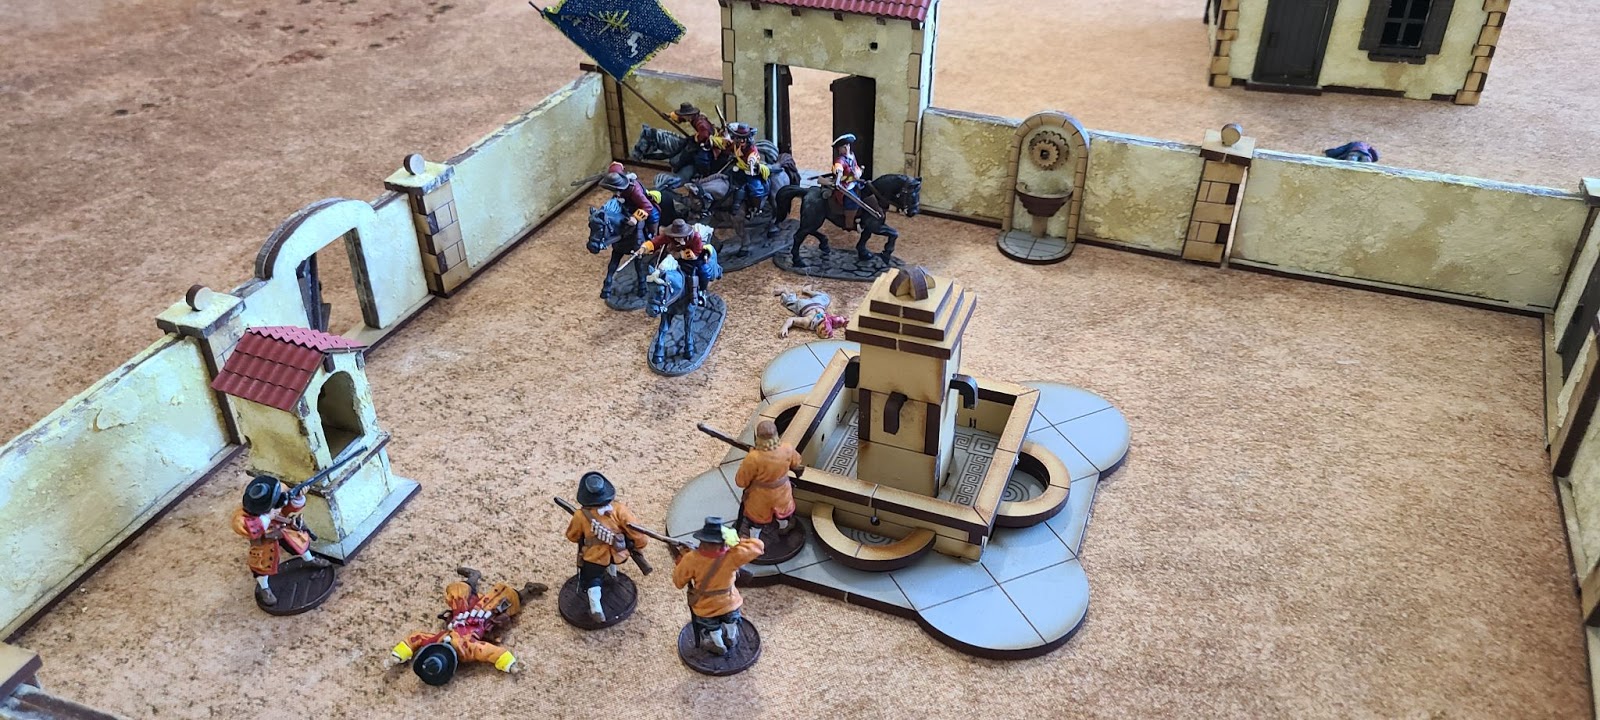
Here is the completed courtyard. It surrounds a huge space, and can really shake up the usual town fights by creating choke points, but letting crafty players break the choke points by climbing the walls or shooting into courtyard from bear by two story buildings.
I’ve only played two games with this terrain package so far, but I like the variety it gives me, and the chance to use the desert side of my neoprene mat.
Here are my reviews summarized as Back of the Box reviews.
Wild Animal Shipping Crates 5/5
“A great alternative to barrel scatter terrain!”
Covered Baggage Cart 5/5
“Adds life to any settlement!”
Small House with Workshop 5/5
“Fits well in the Blood & Plunder system.”
Small Barn 4/5
“The bottom floor only has entry points on one side.”
Large Village Courtyard 3/5
“I like how this looks, but it takes a lot of work to assemble and is easy to mess up. Also the rules to make it work in Blood & Plunder are only inferred.”