We made it to the end! This is the last of the six scenarios in the Organized Play Buccaneers’ Companion campaign that follows the English Pacific Adventure over 1680 and 1681. Guy and I have played all these scenarios choosing to play them in a variety of ways, sometimes using the suggested force lists, sometimes making our own lists at the point recommendations and sometimes expanding the game to represent the battle as closely to history as possible.
It’s been a fun adventure! Read on to see if the English finish their adventure with a glorious victory over the Spanish or if they aimlessly attack, get battered and ingloriously retreat as they actually did in 1681.
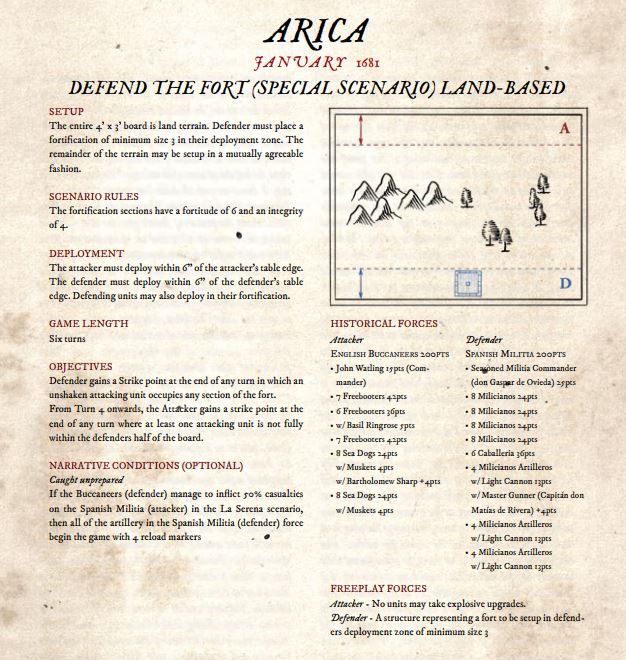
The Scenario
This final Battle of Arica scenario isn’t based on any of the standard 10 scenarios from the rule books but it’s pretty basic: take the fort!

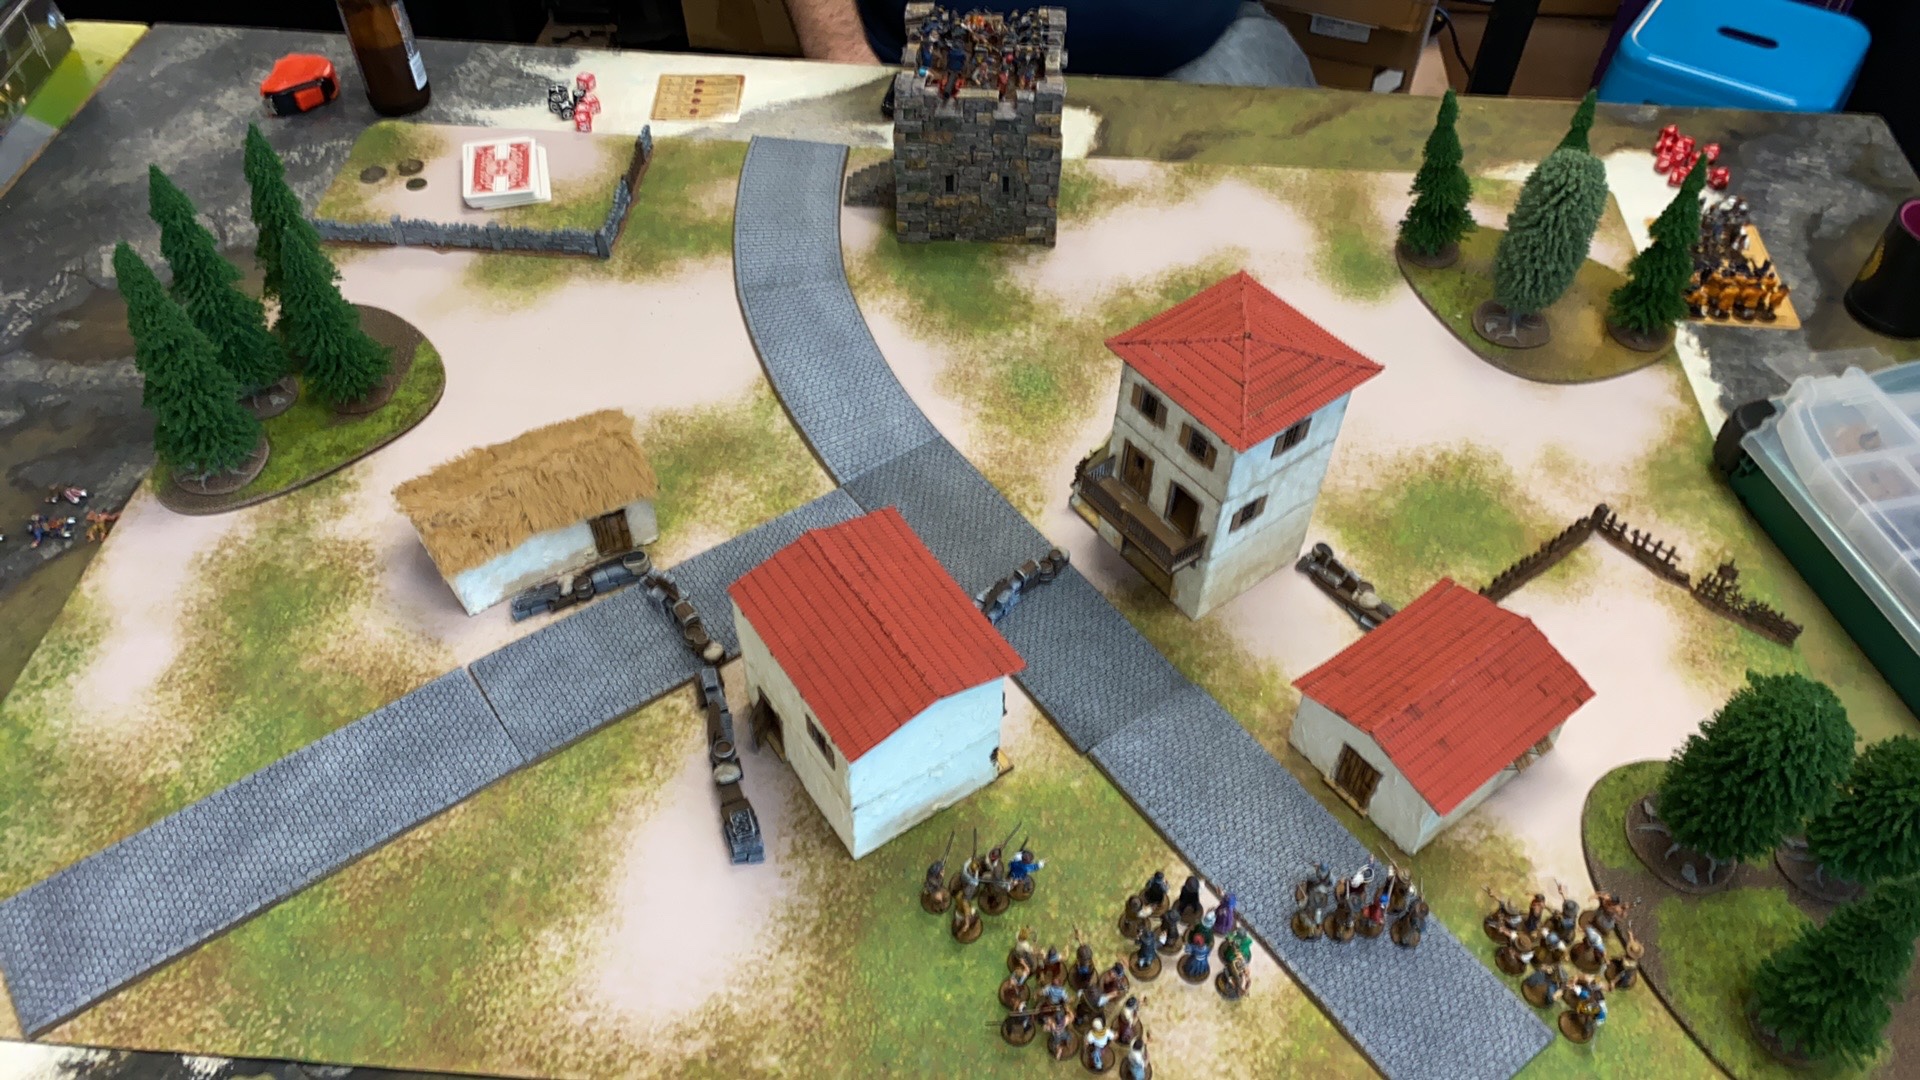
The attacker deploys within 6″ of their long side of the 3×4′ board and the Defender deploys within 6 of their side of the board. The Defender also receive some free fortifications. The scenario specifies at size 3 Fortification with each section having a 4/6 Fortitude/Integrity. The image shows the Stone Tower Fort and since Firelock doesn’t make a size 3 Fortification, we used the Tower with the standard stats and rules.
The scenario objectives gives the Defender a Strike Point if there are unshaken Attacking units within the fort at the end of a turn. The Attacker gets a Strike Point at the end of turn 4 and after if they don’t have a unit on the Defender’s half of the board.
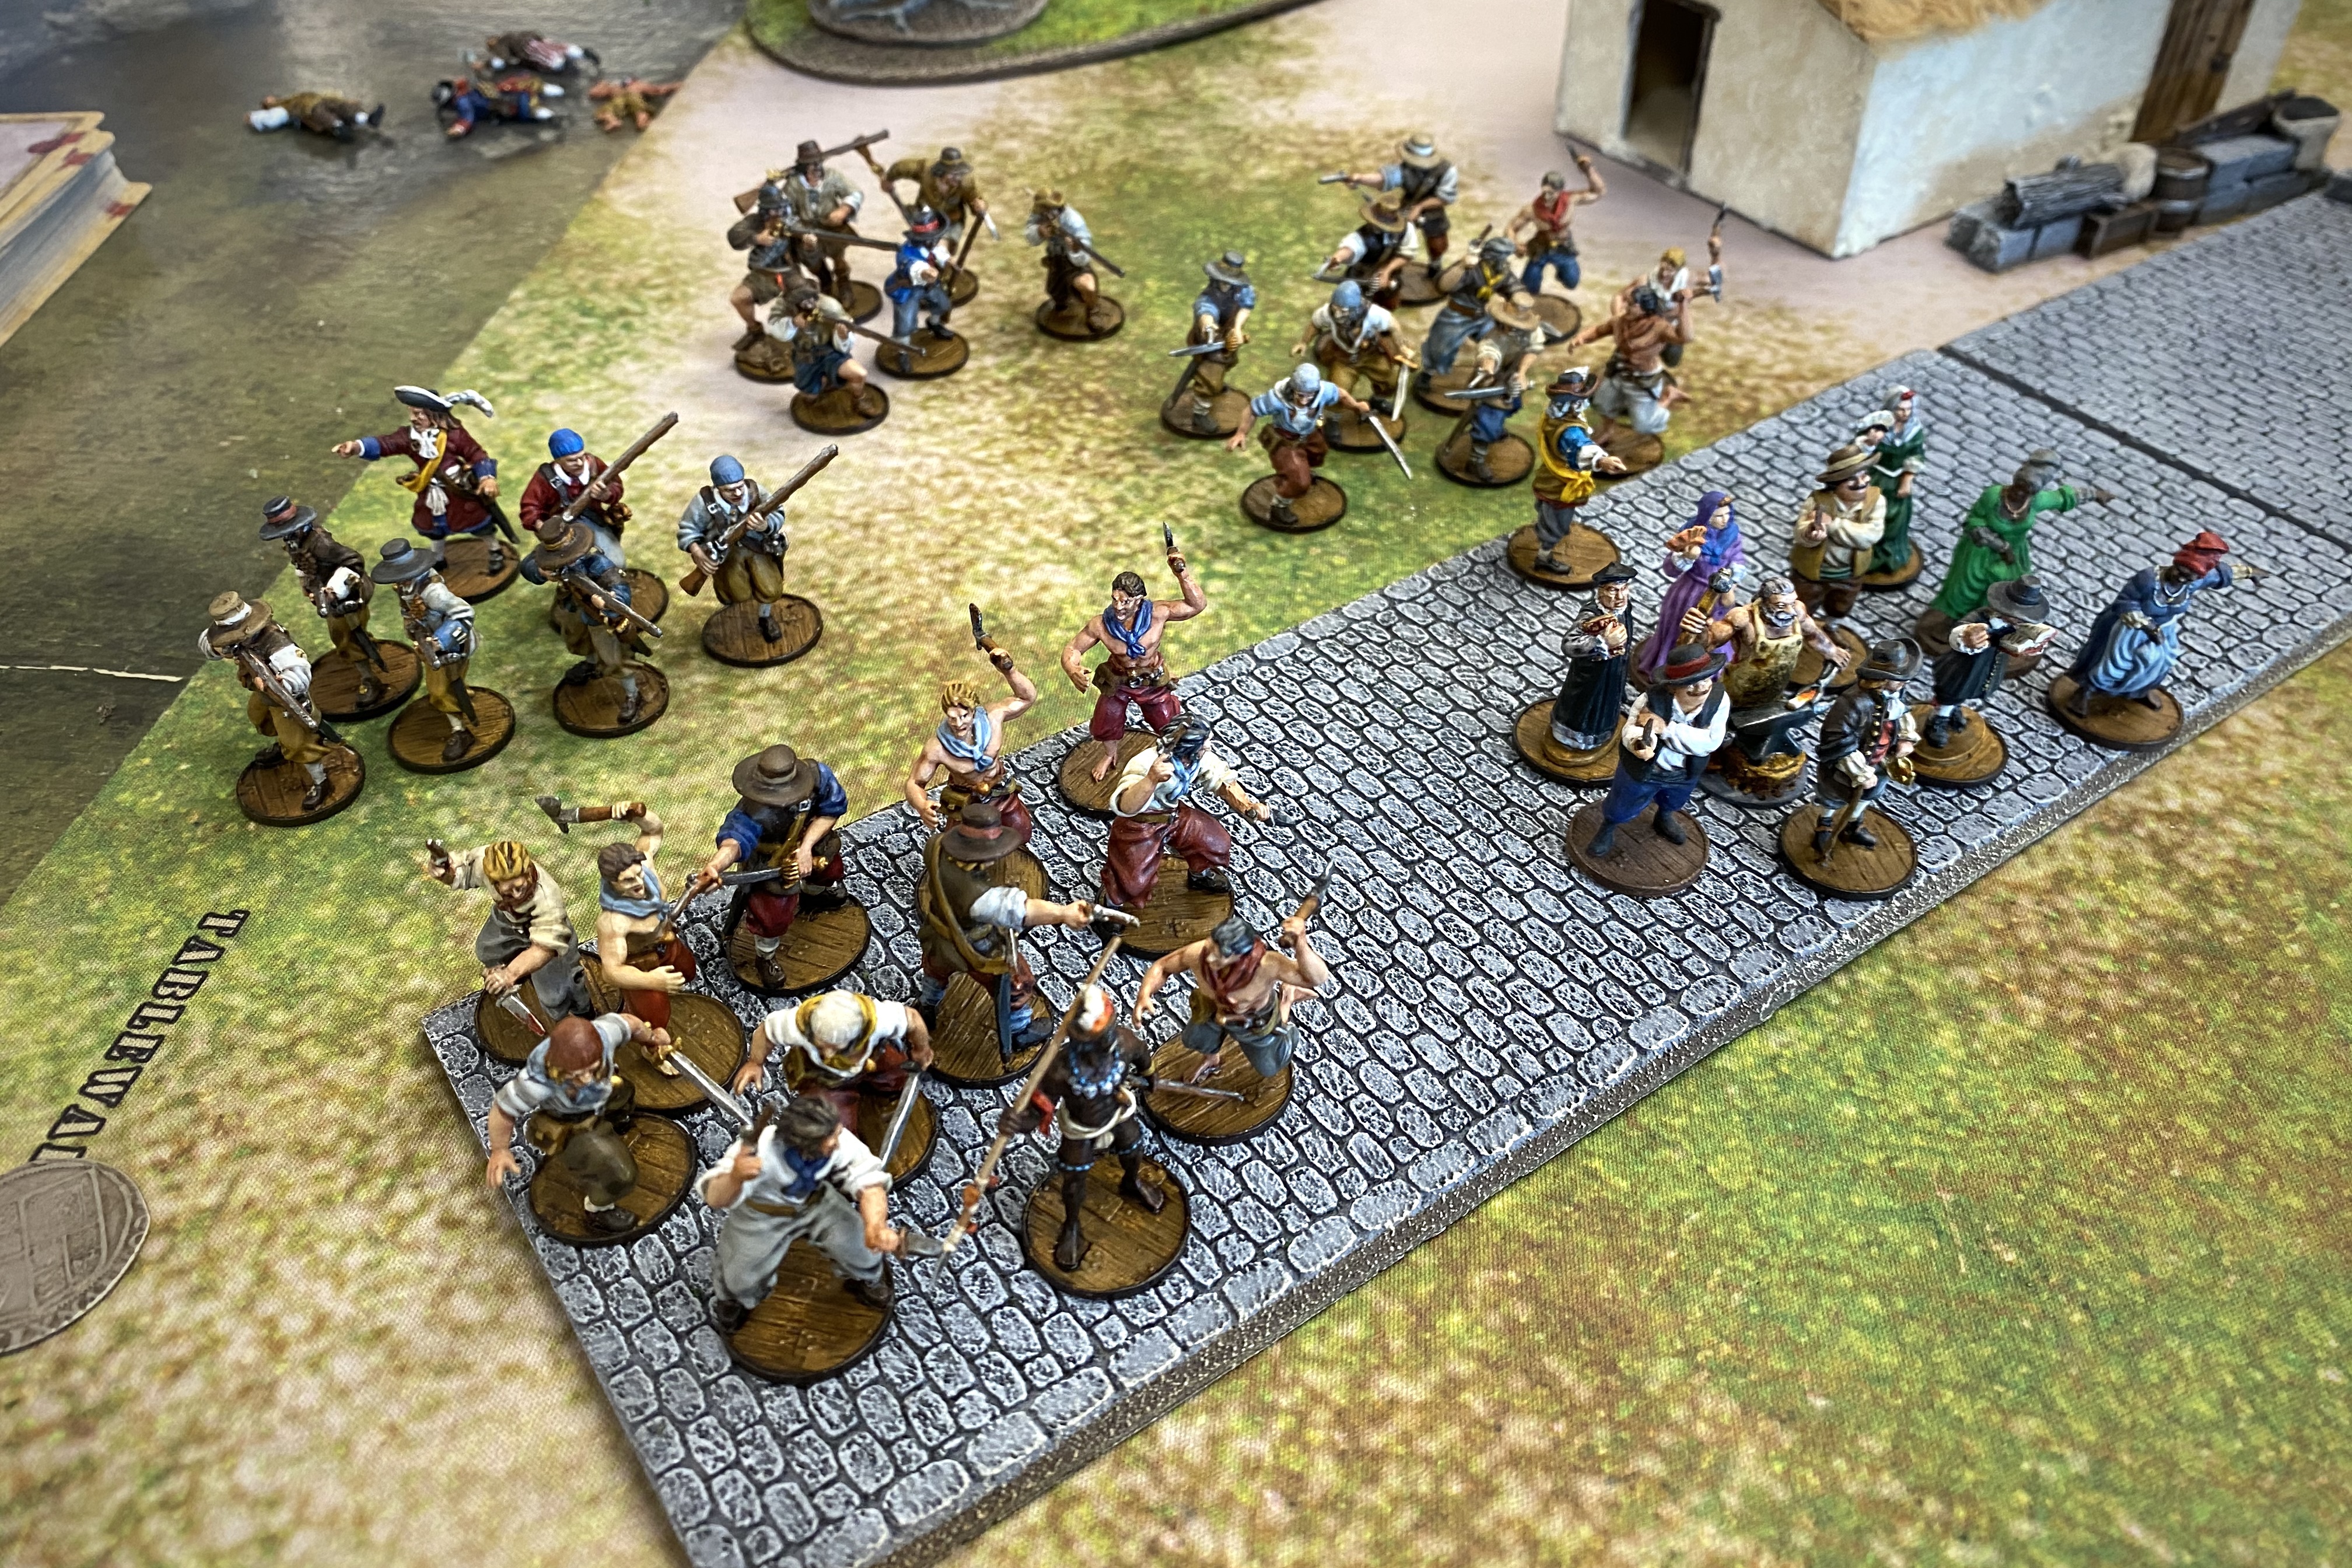
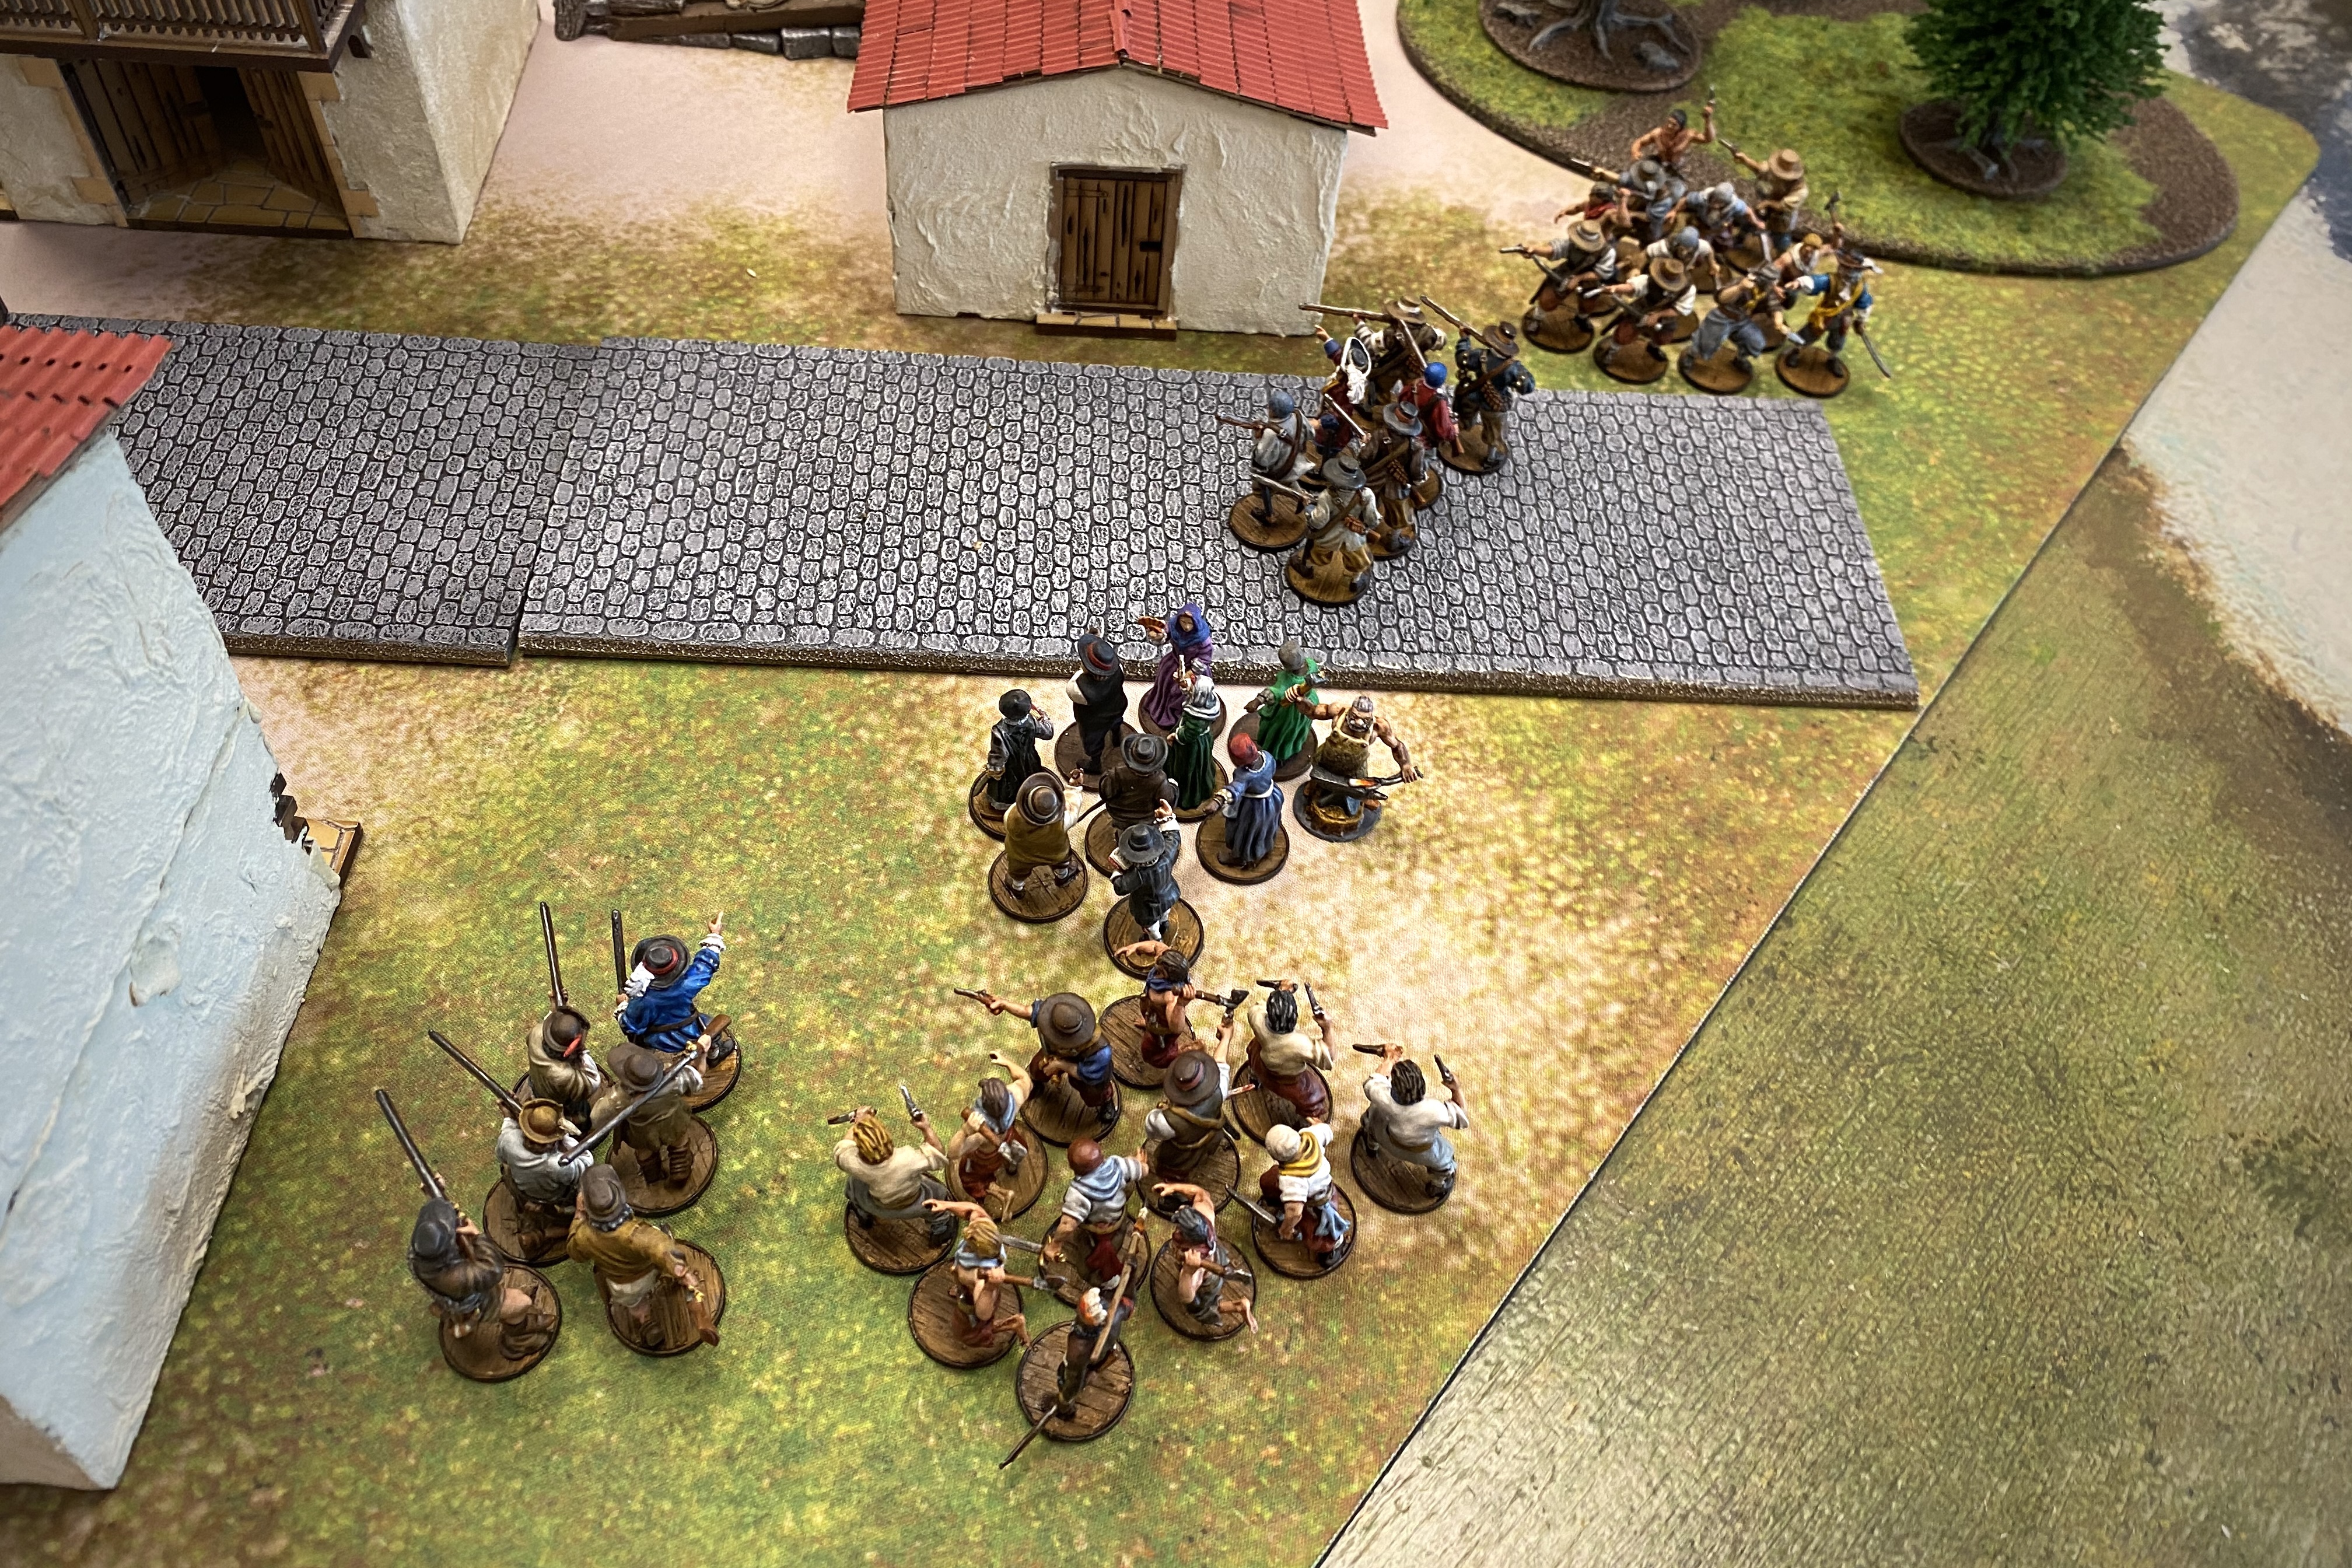
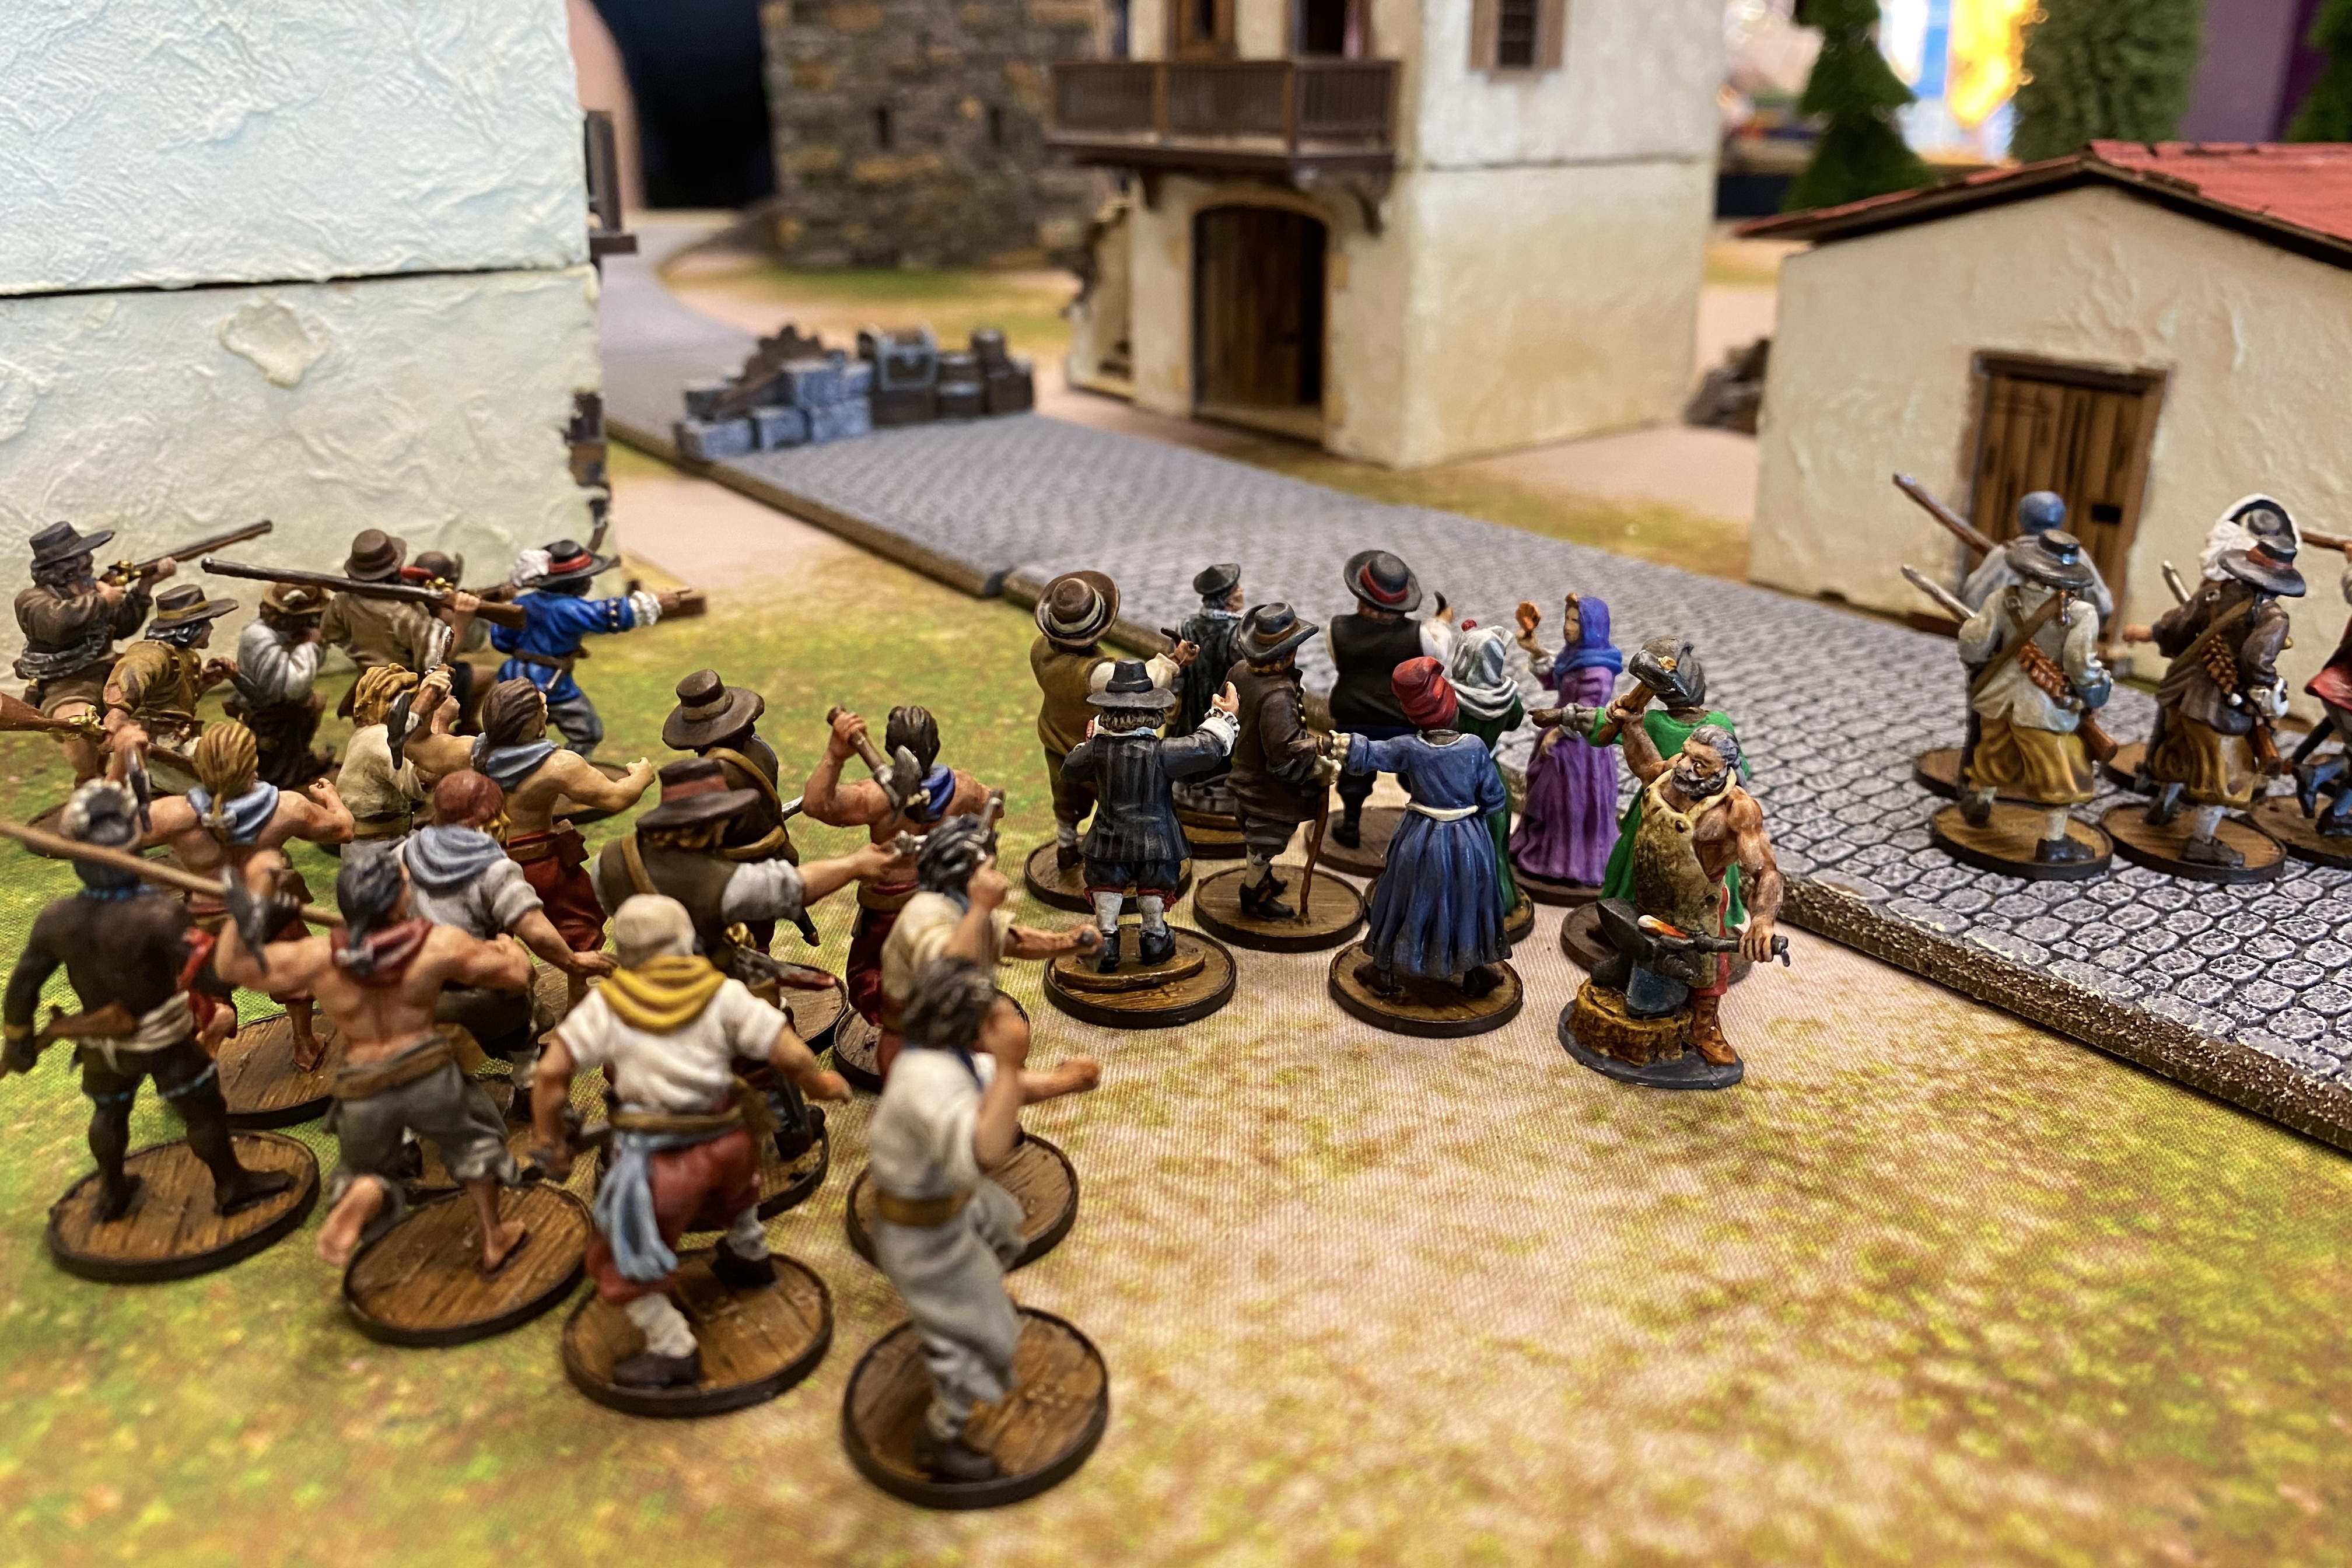
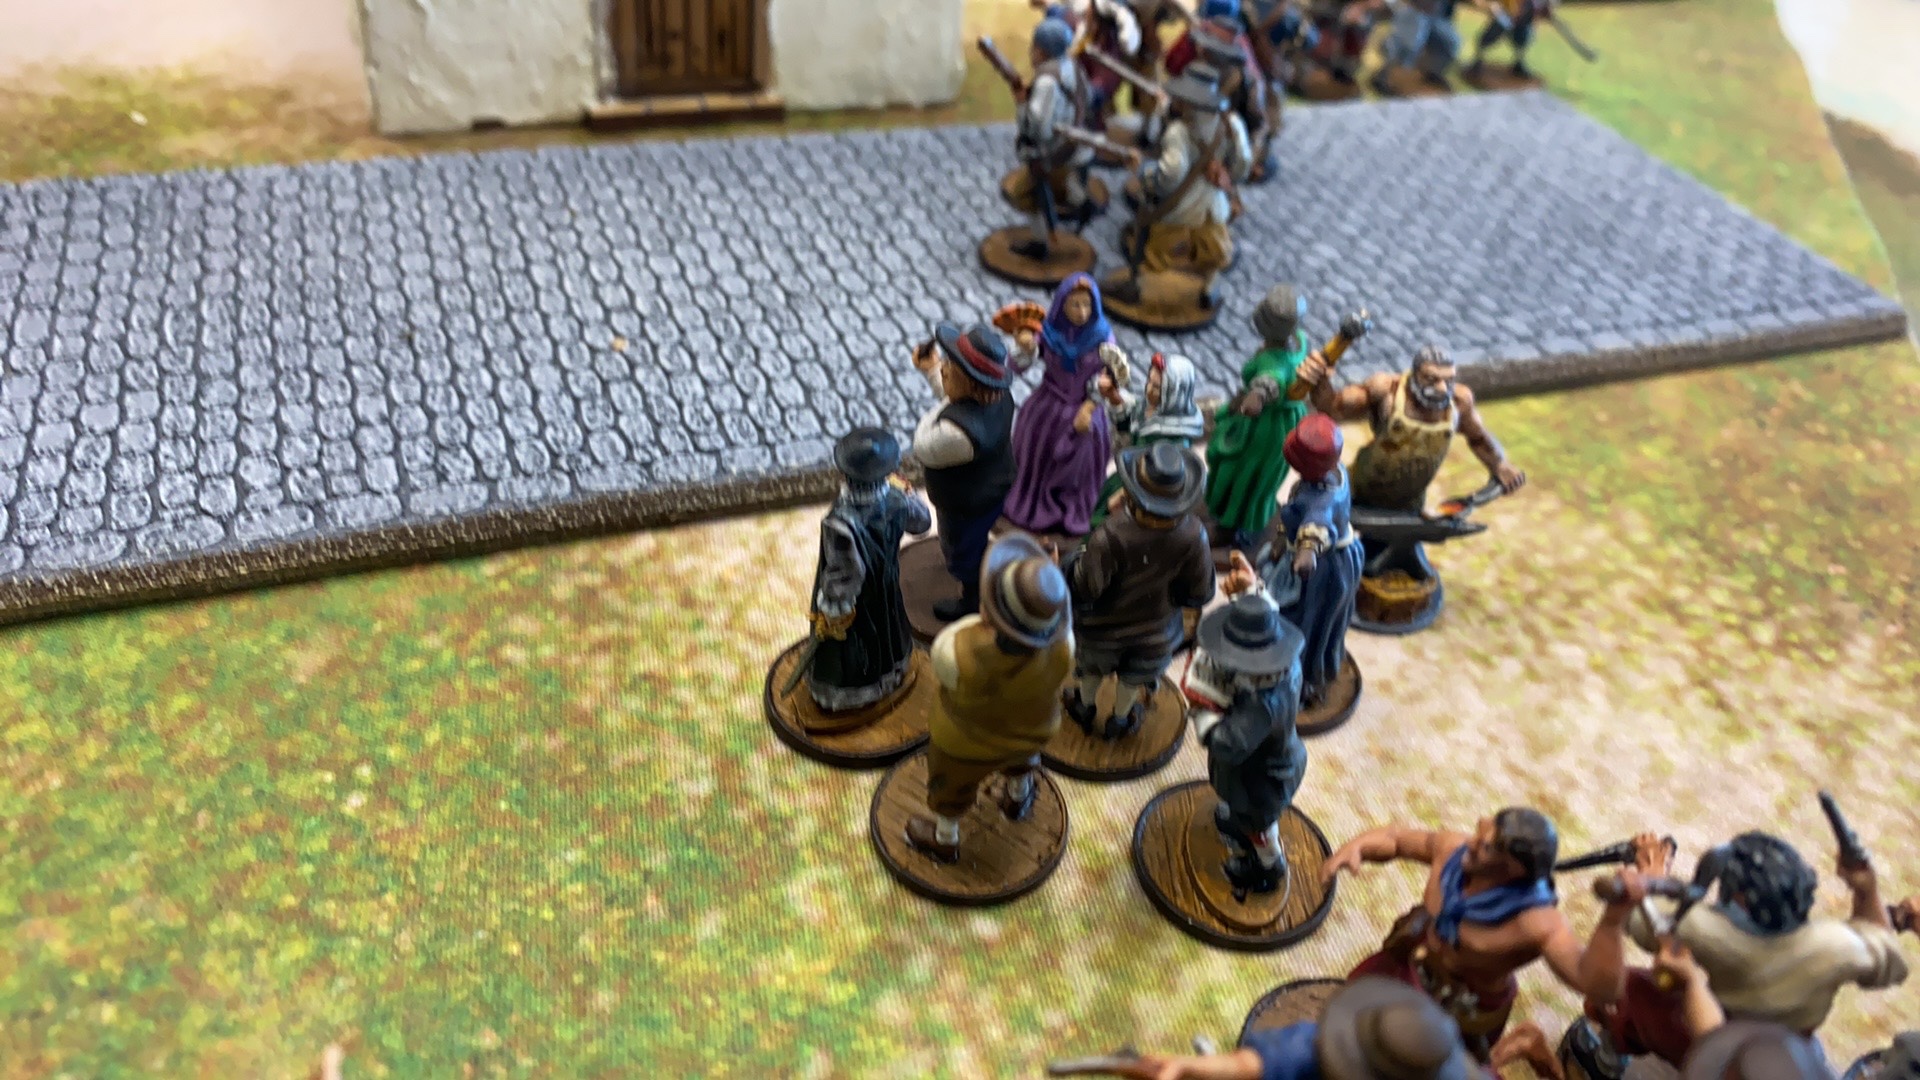
Looking over Benerson Little’s historical overview of the battle gave us some more ideas for force composition and board setup. The Free Play rules prohibit the use of explosives of any kind (the English had grenades but they were damp and ruined). Another notable part of the action involved the English using Spanish civilians and prisoners as a human shield as they advanced on the fort and we decided to incorporate that into our game.

Since the Spanish get a free 20 point Fort, it only seemed fair to give the English a little help as well. We put together a unit of 10 civilians with Pressed Men stats. They were controlled by the English until they became Shaken and could never rally. Once Shaken, they would run 8″ toward the fort at the end of every turn until they reached the fort when they would be taken off the table.

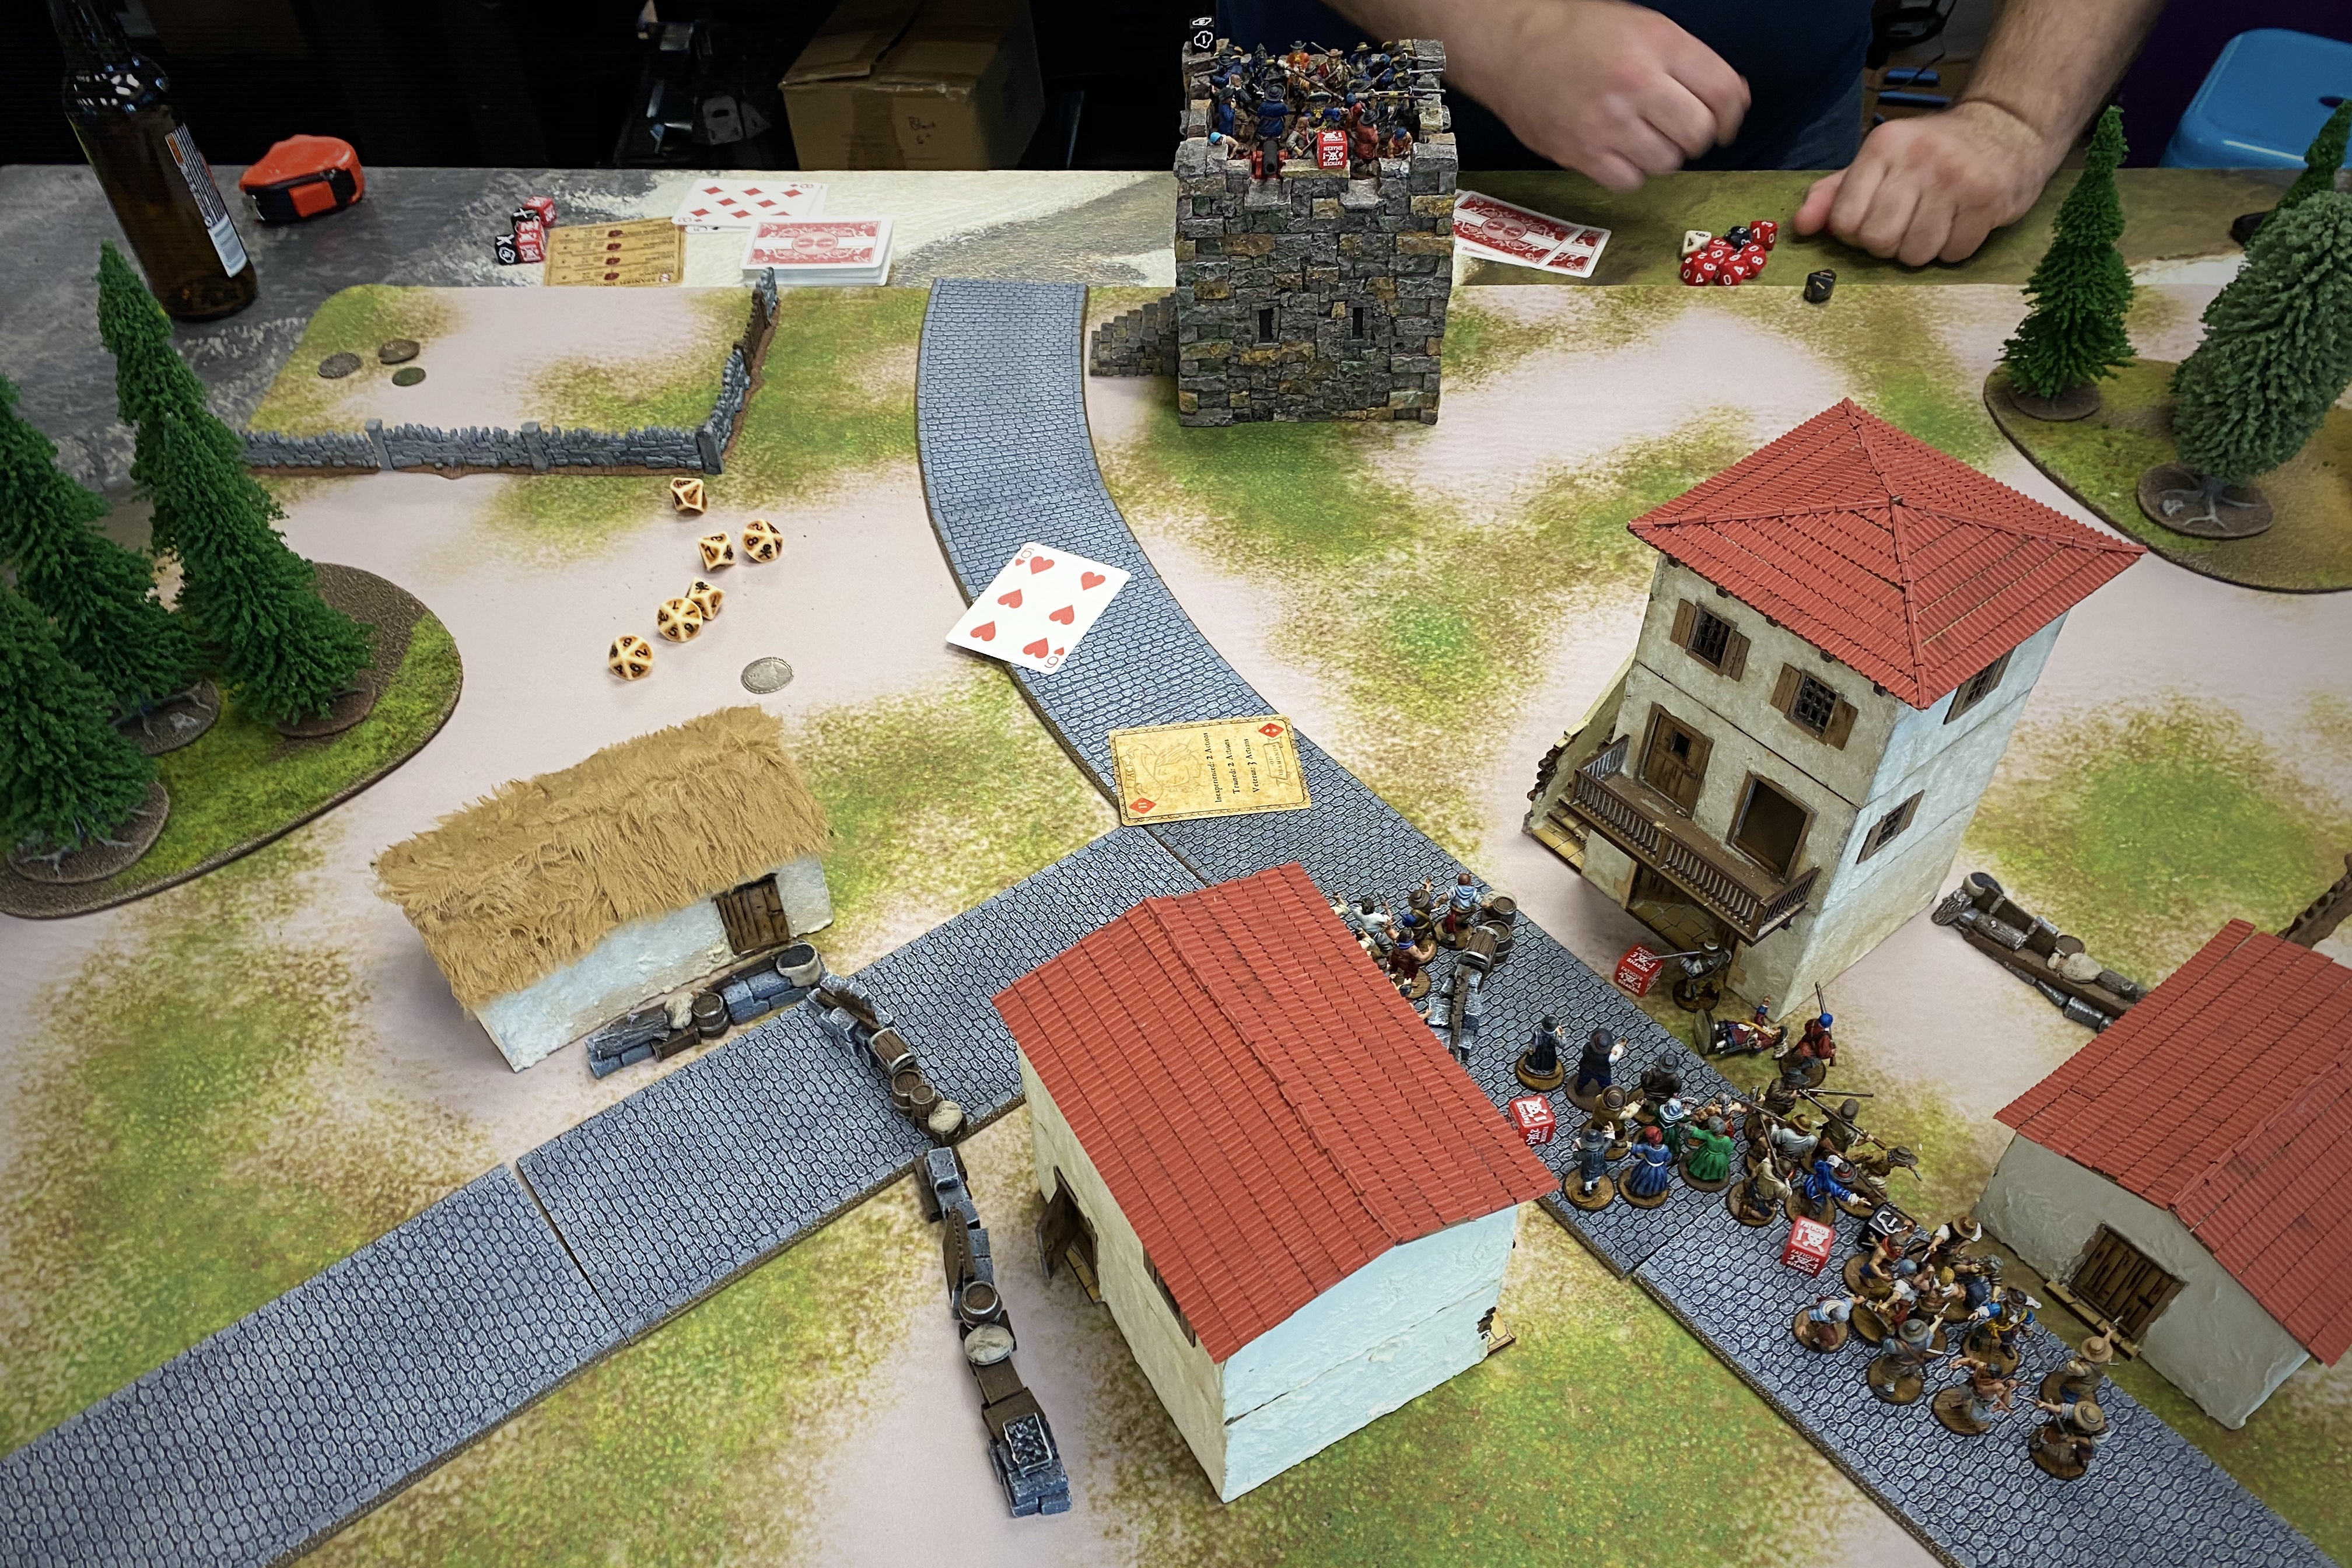
The historical description of the engagement mentioned that the battle occured in a town so we set up the board with several houses and streets but we made sure not to put any buildings or terrain with 8″ of the fort, per the Fortification rules.
The Forces
We played at 200 points, and then basically added 20 points per side for the fort and prisoner unit.

Guy’s Spanish Militia list included:
- 12 Milicianos with don Gaspar de Ovieda and a Captured Merchant attached.
- 8 Marineros with no pistols and a Master Gunner assigned to a Medium and two Light Cannons (with grapeshot) on top of the fort.
- 11 Milicianos
- 11 Milicianos
- Stone Tower Fort with Additional Defenses (per the Fortification Supplement)
With 46 models, a powerful commander, a hostage character, a fort and cannons, this looked like an imposing list to me!
I tried hard to get my number of models up for this assault by bringing a lot of cheap Sea Dogs.
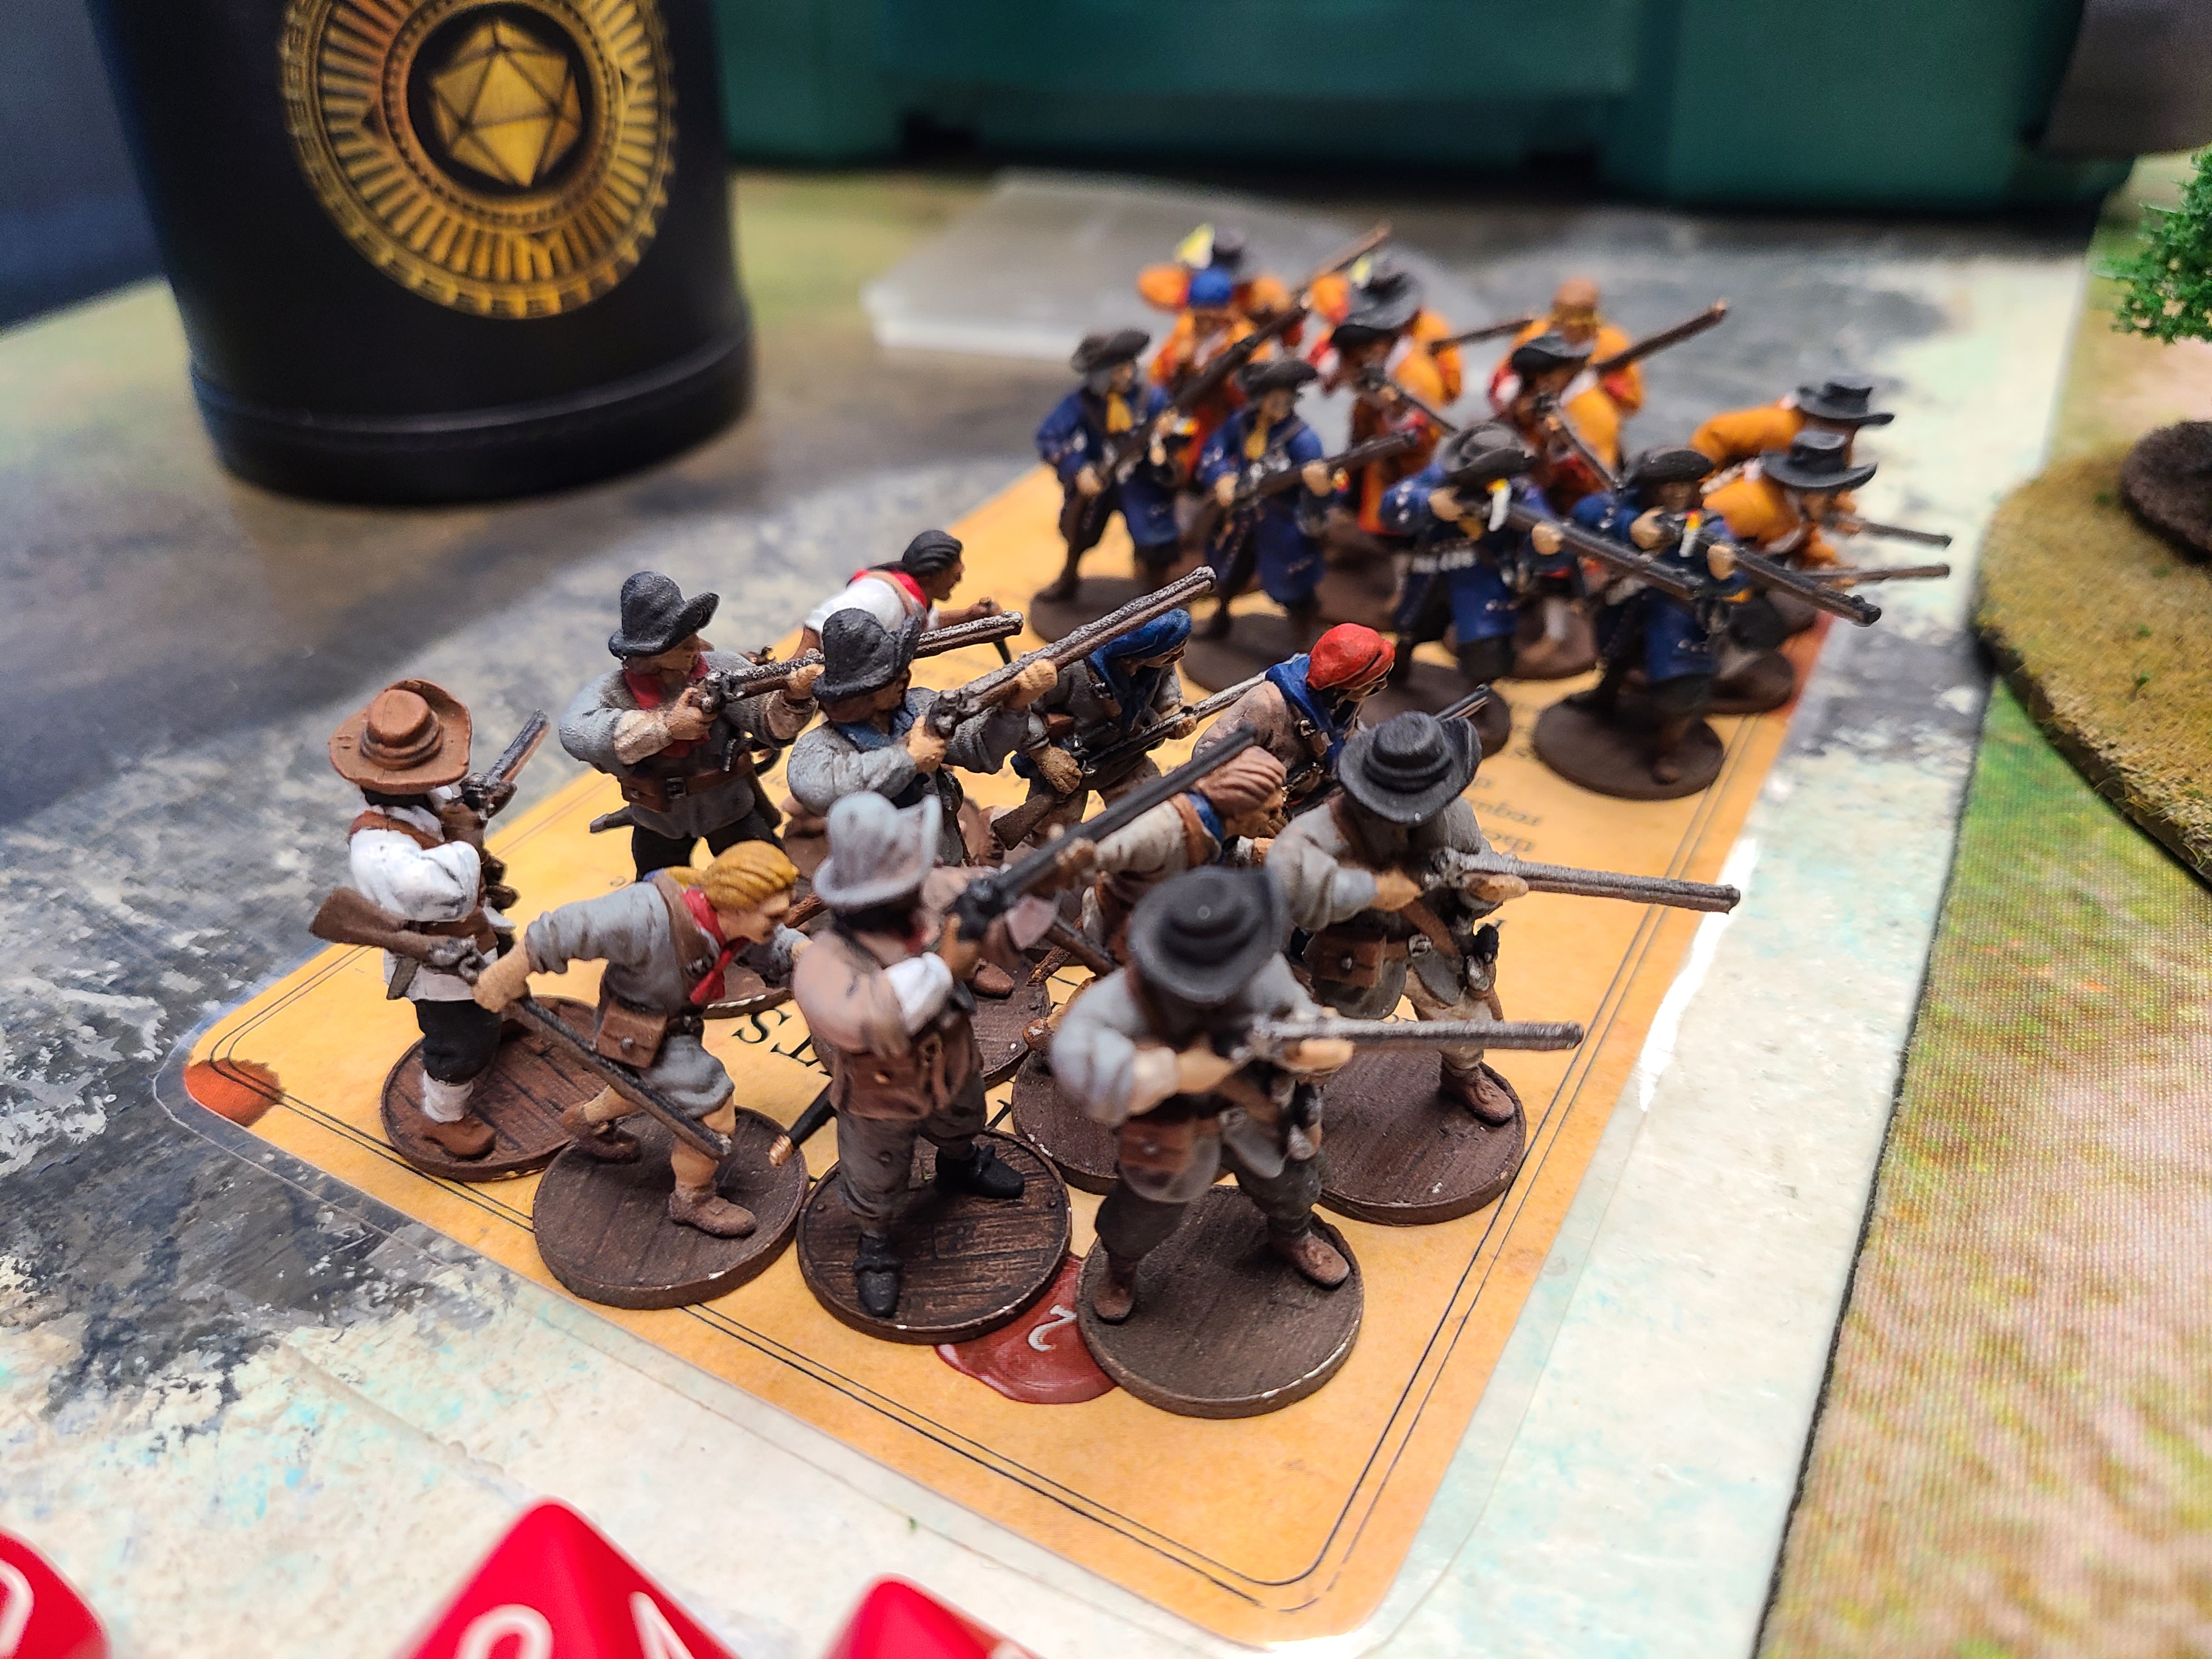
My English Buccaneer force contained:
- 6 Freebooters with commander John Watling attached (per history)
- 12 Sea Dogs with John “Zombie” Coxon attached as a Character and Climbing Equipment.
- 11 Sea Dogs with the Unnamed African
- 6 Boucaniers with Bartholomew Sharp attached as a Character
- 10 Pressed Men civilian models with the “No Rally then Run Away” restrictions
I was outnumbered, my commander was outmatched and I had no fort or cannons. But I had Buccaneer Guns and English grit! My plan was to try to suppress at least some of the Spanish force with the Freebooters and Ruthless Boucaniers before sending the Sea Dog brute squads in for the assault.
The Game
We set up our forces within 6″ of our respective sides and started the game. I fulfilled the bonus requirement of the previous scenario by killing at least half the Spanish cavalry at La Serena so all the Spanish cannons started with 4 Reload Markers on them.
Turn 1
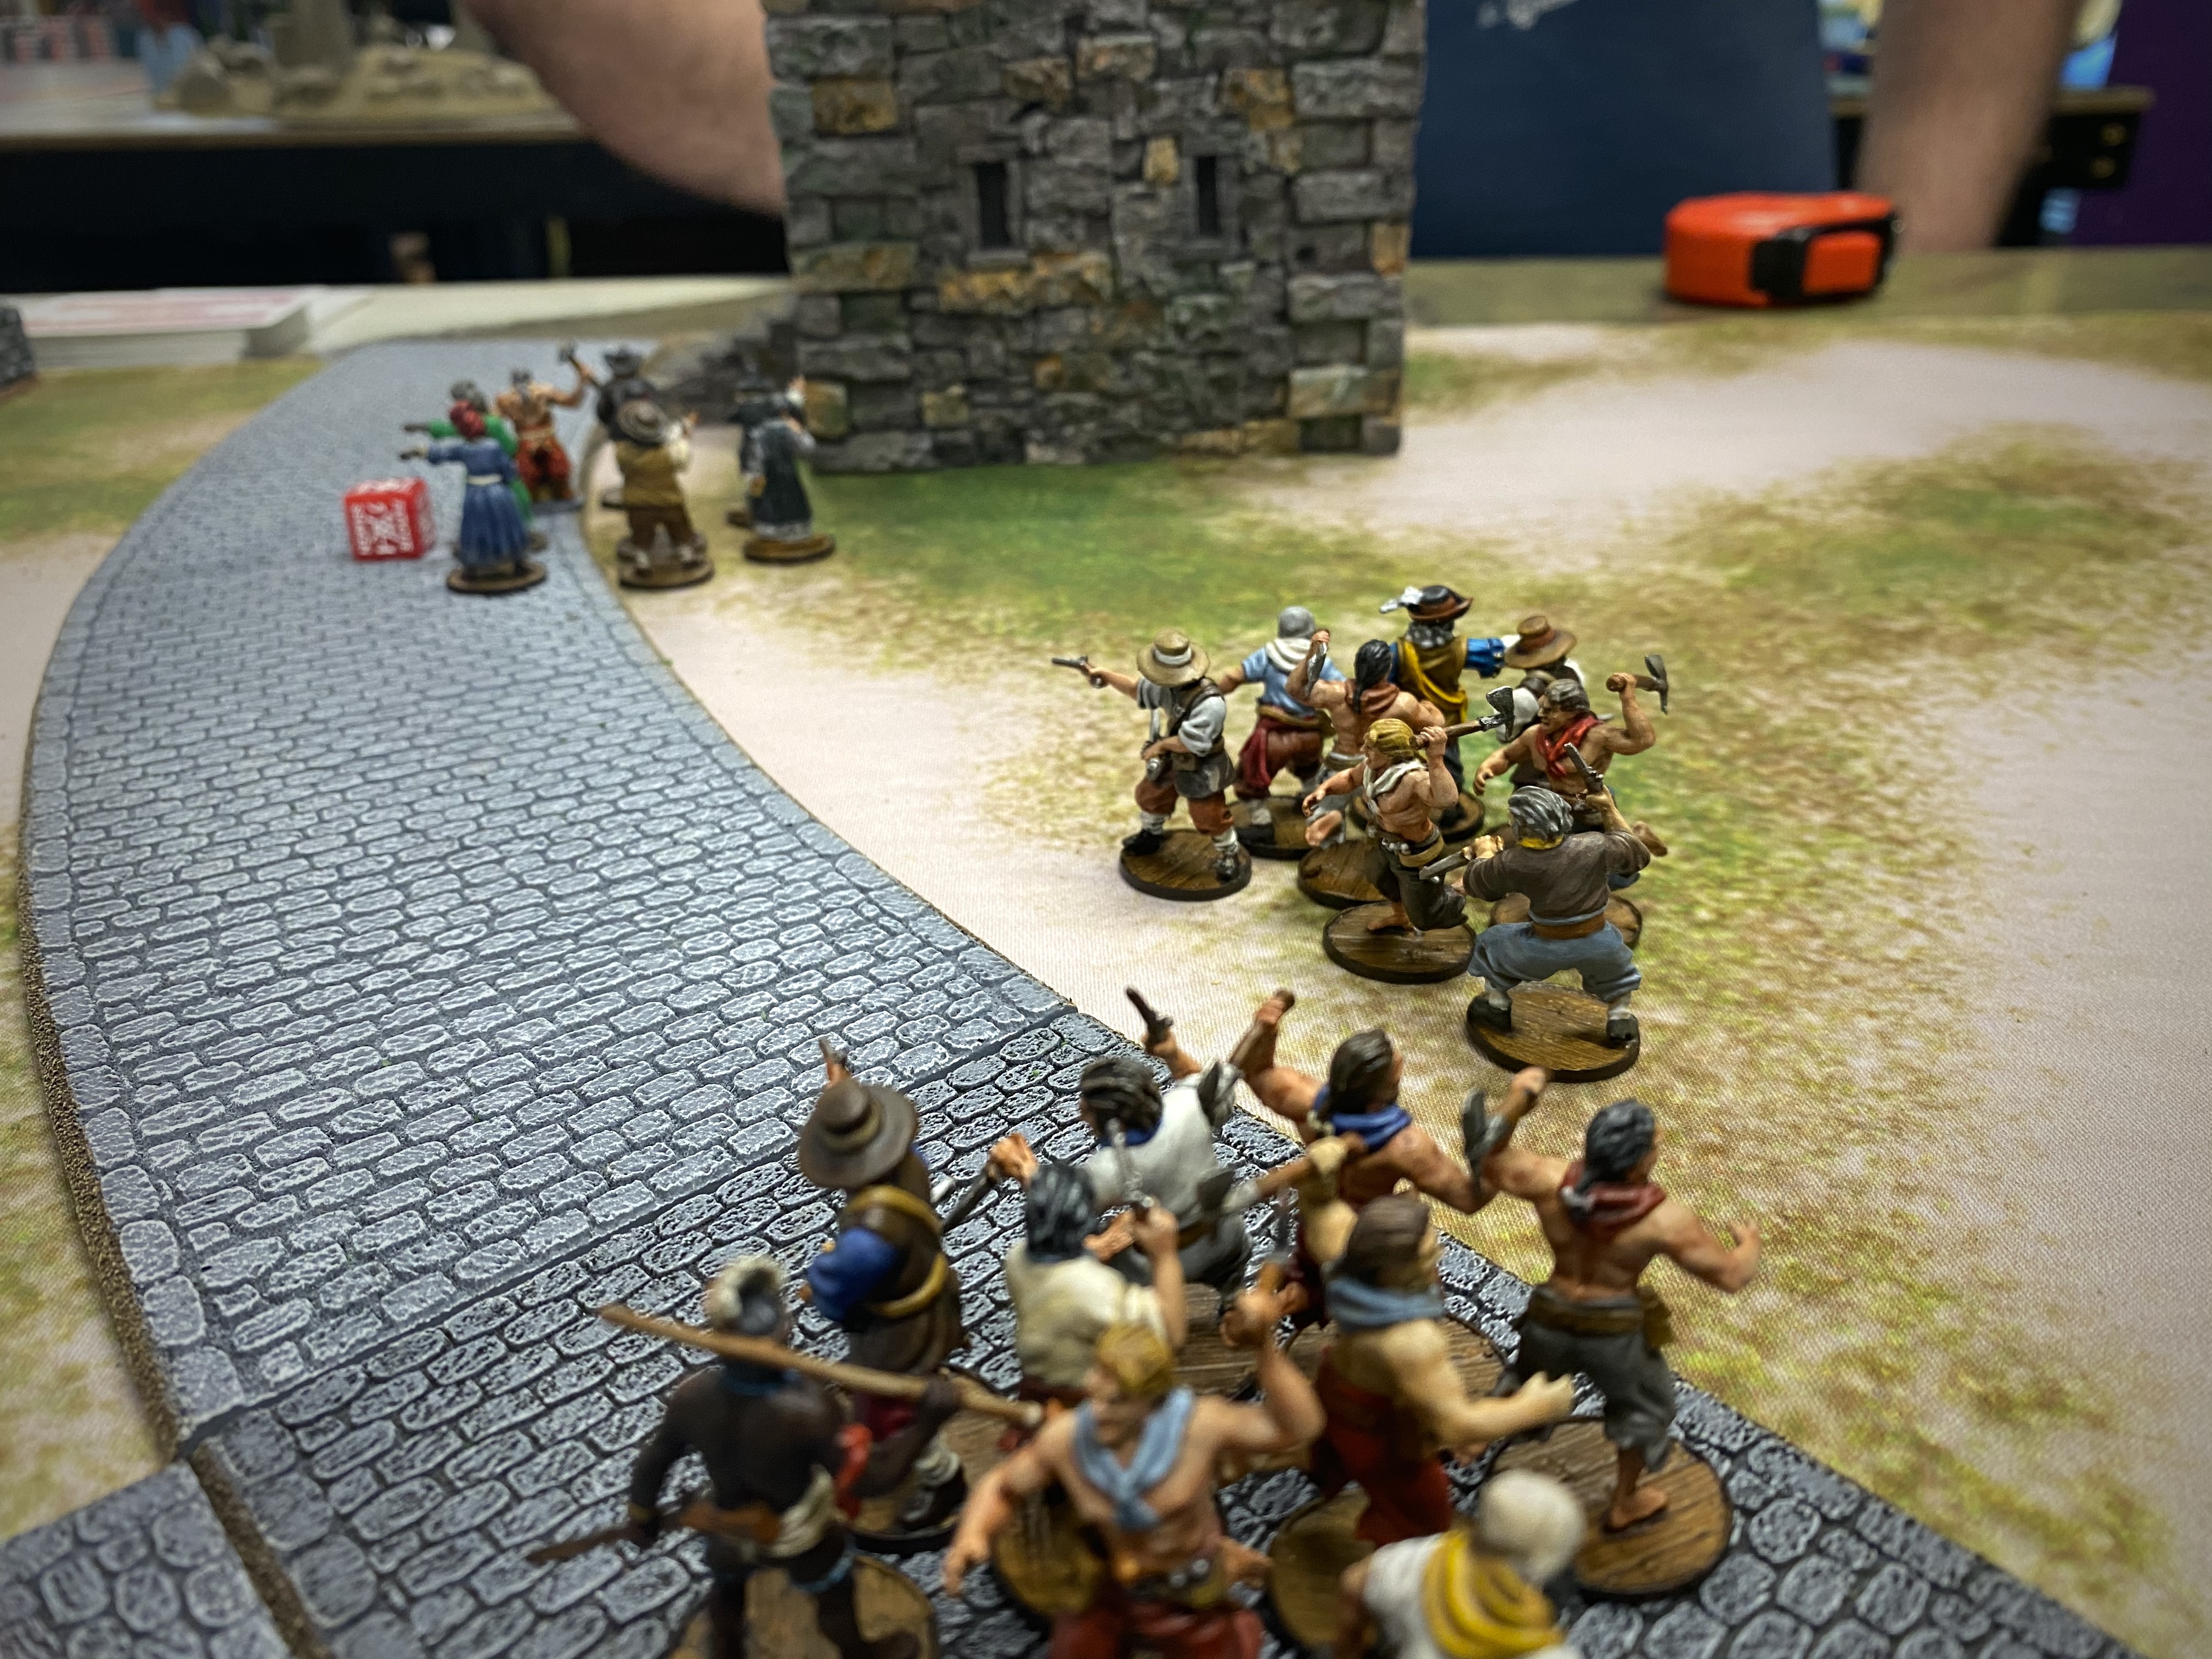
Over the course of the first turn I moved all my units forward, trying to stay either behind houses so I couldn’t be hit by the elevated Spanish muskets or behind my poor Spanish captives.

The ruthless Spanish lived up to their reputation and fired on the civilians, killing one and giving them one Fatigue.

I tried to keep my force fairly well bunched so I could rush the fort with all my men together. Even moving 8-12″ in a round, it was going to take a while to reach the fort!
I got a shot off with my Freebooter command unit but only hitting on 10’s (accounting for the Captured Merchant) and the hard cover given by the fort walls, my attempt was ineffectual.
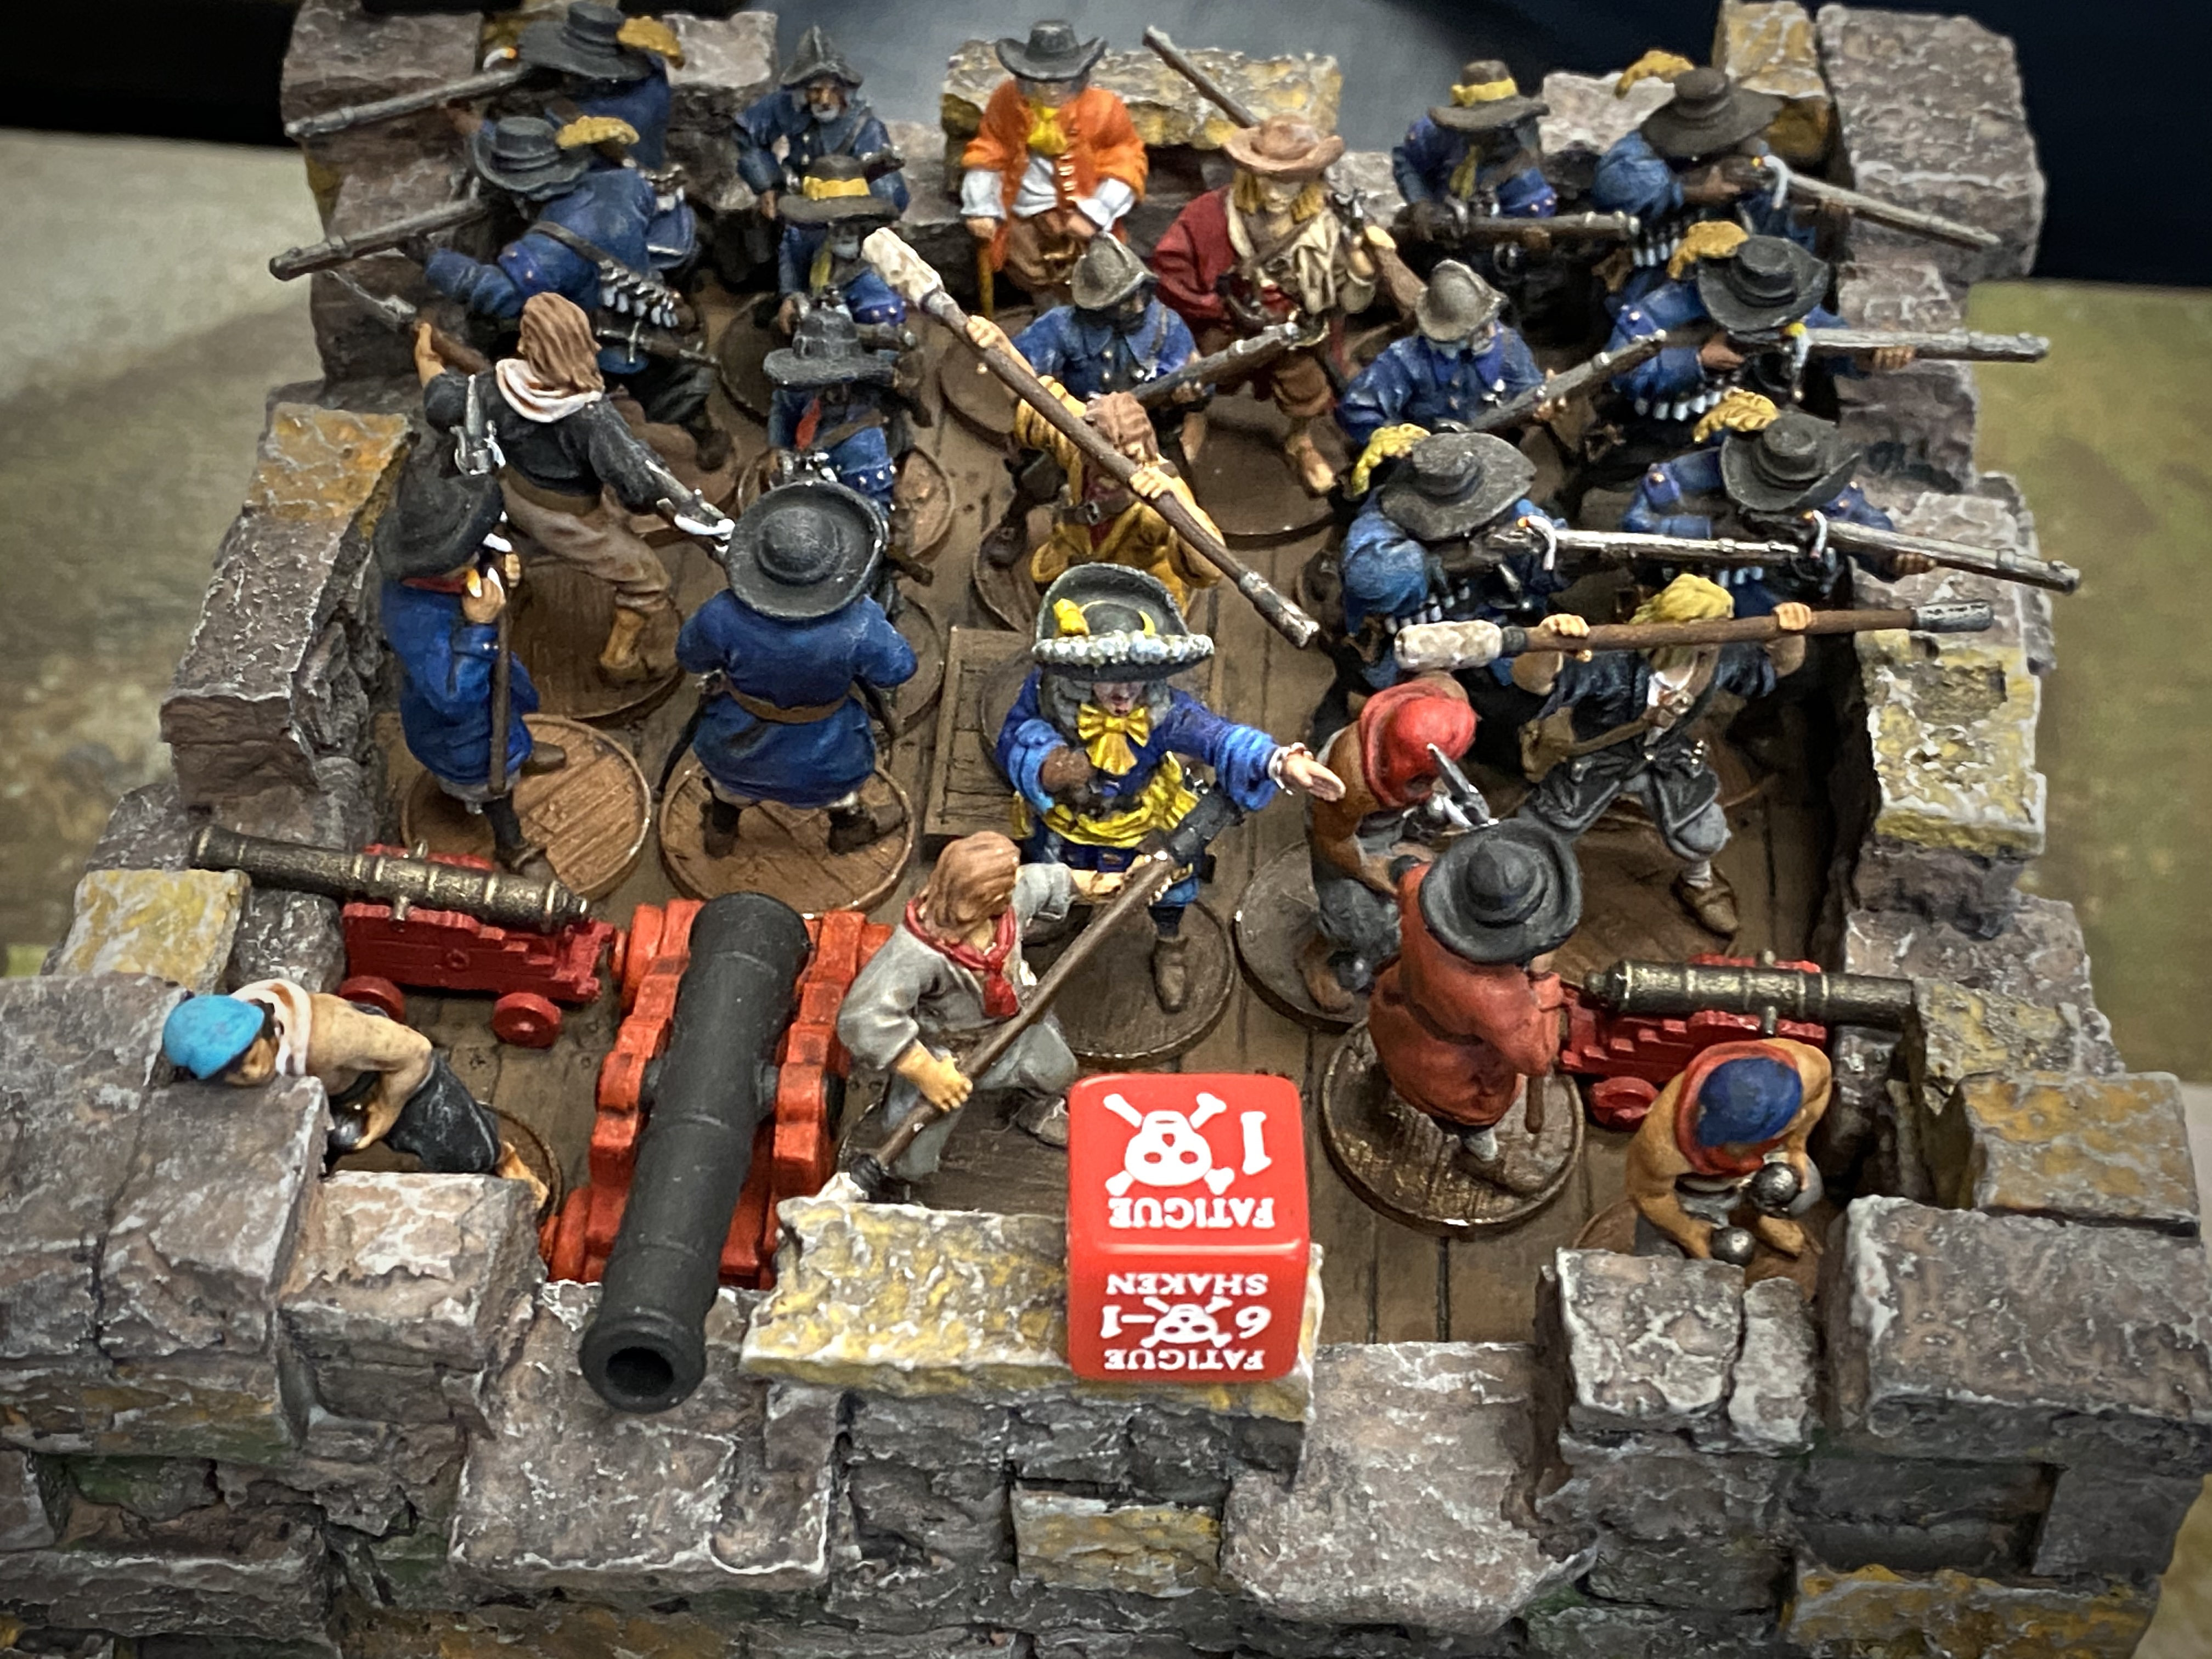
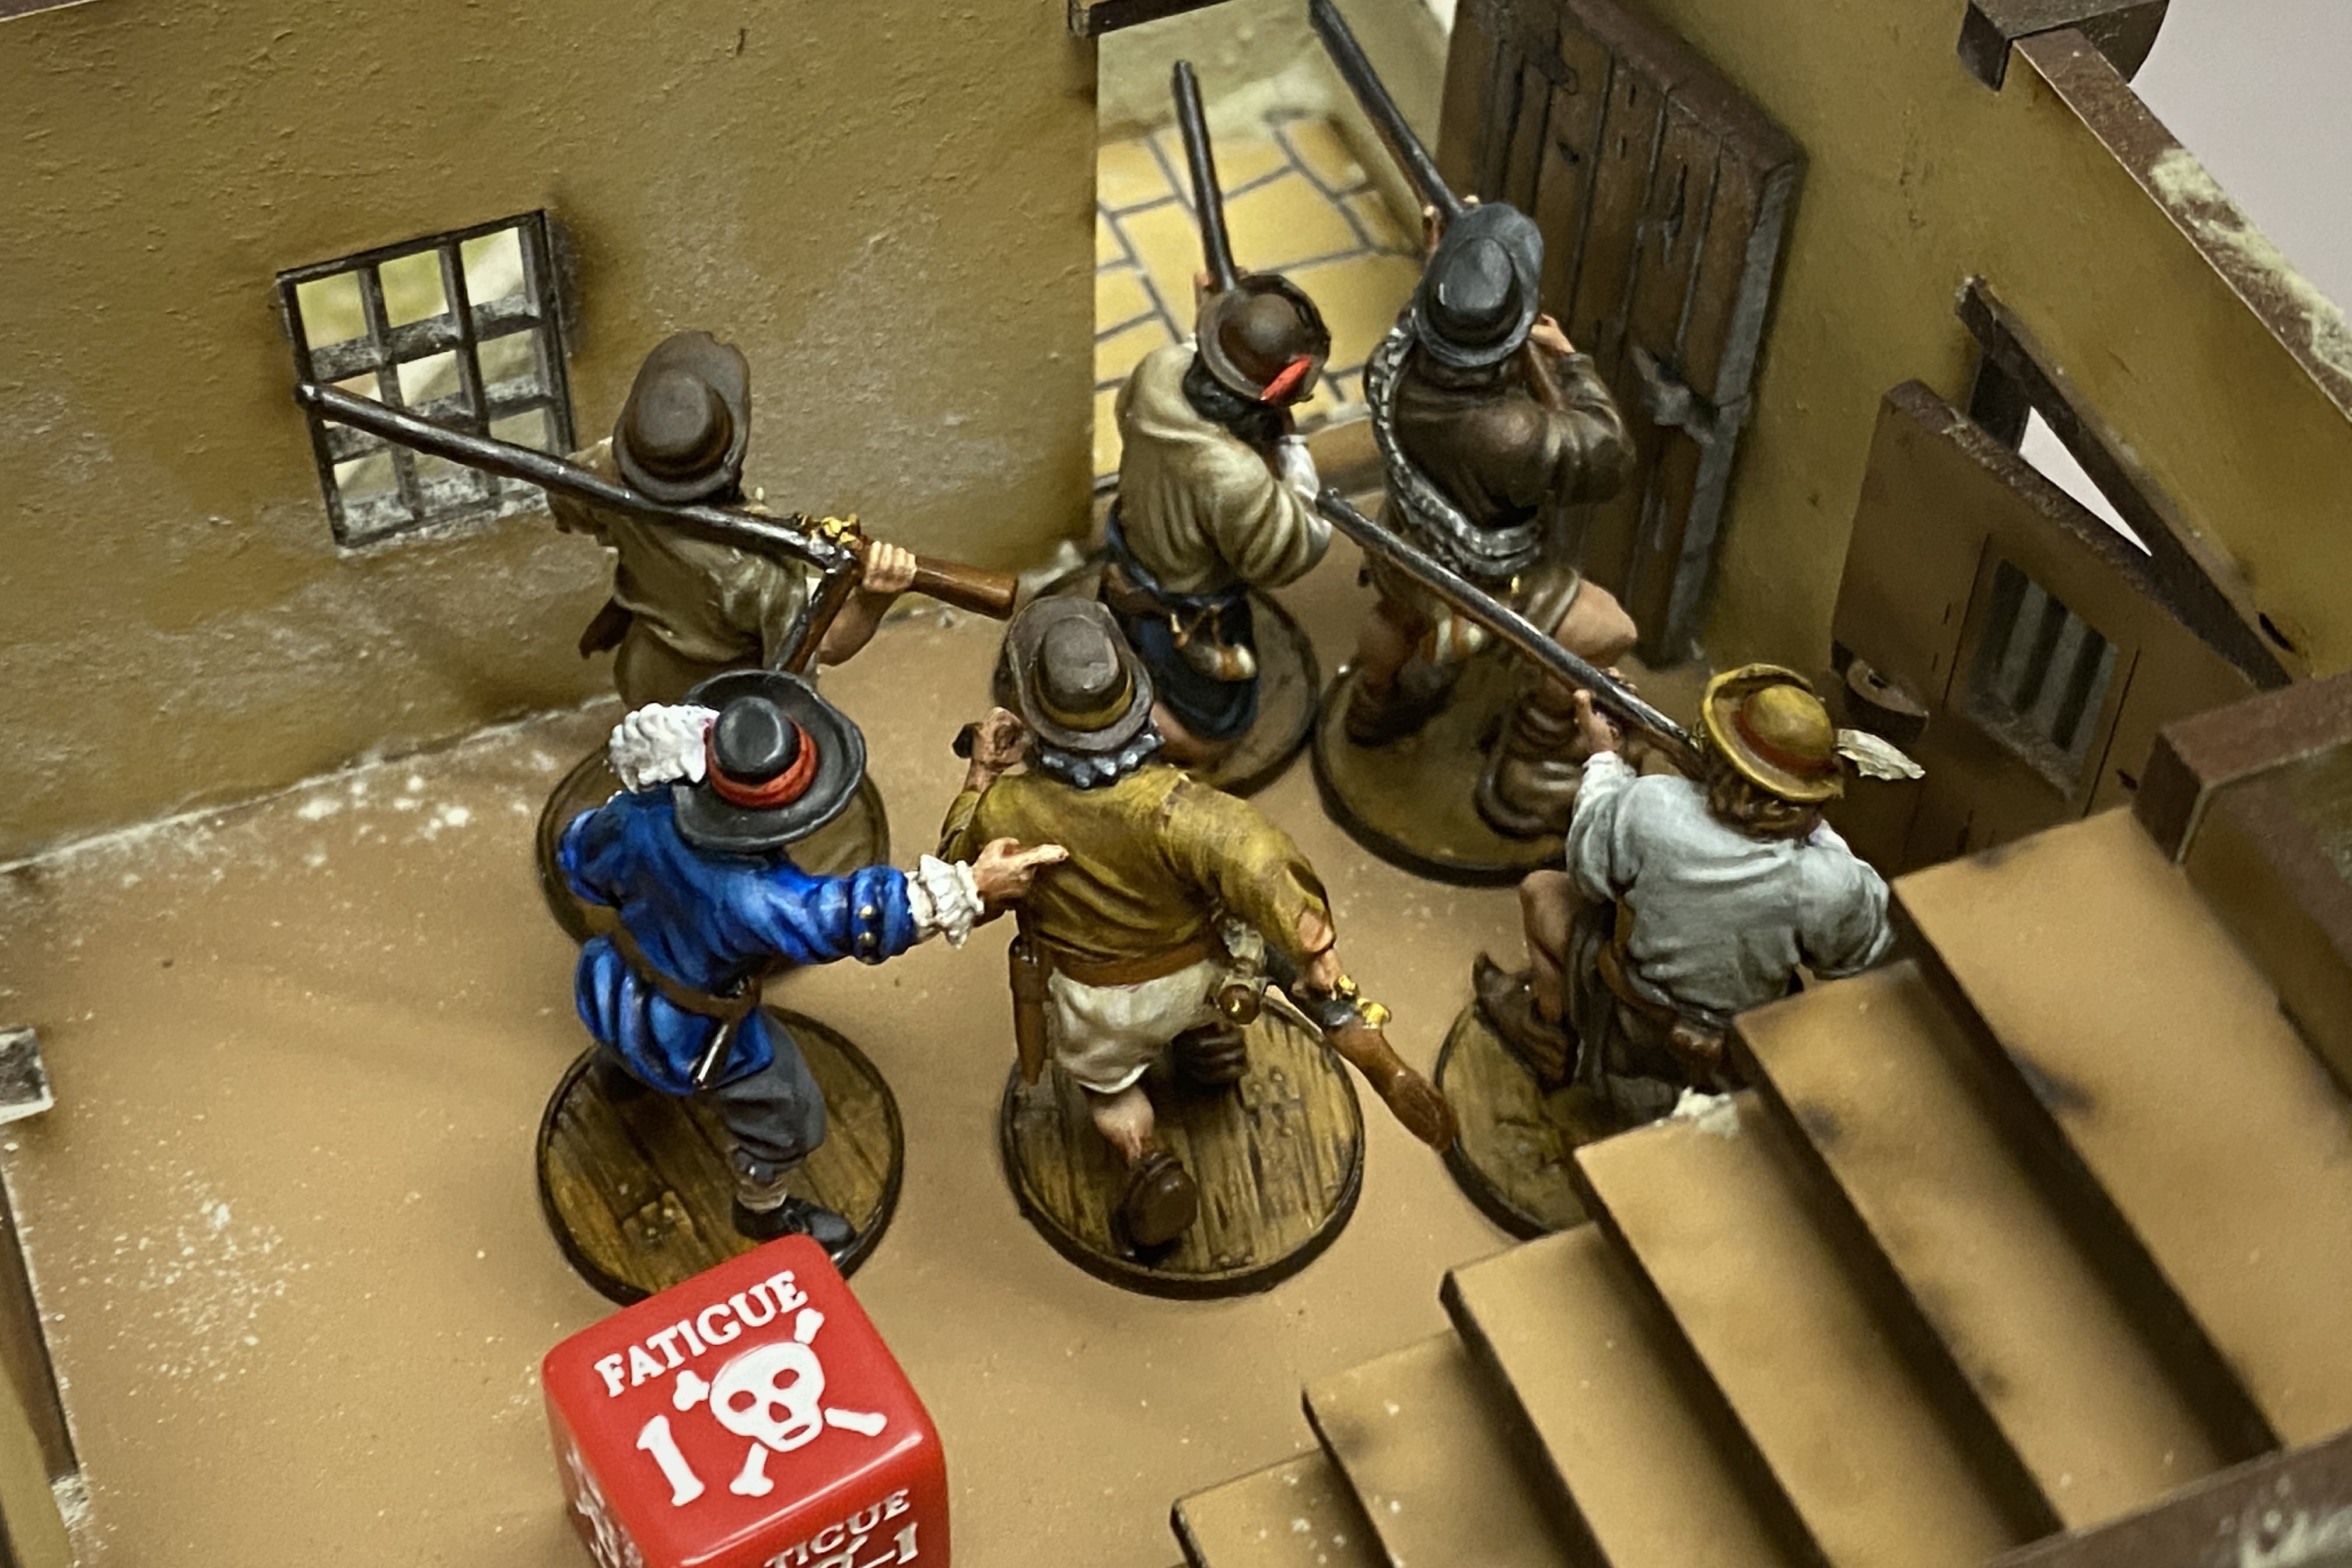
The Marineros with their Master Gunner managed to fully load all three cannons, then fire on my men with a command point.

With a ruthless Drilled action, Oviedo’s Milicianos actually got their shoot target number down to an 8 and they pounded my command unit hard, leaving them prone and shaken in the shade of the 3 story house.
Turn 2
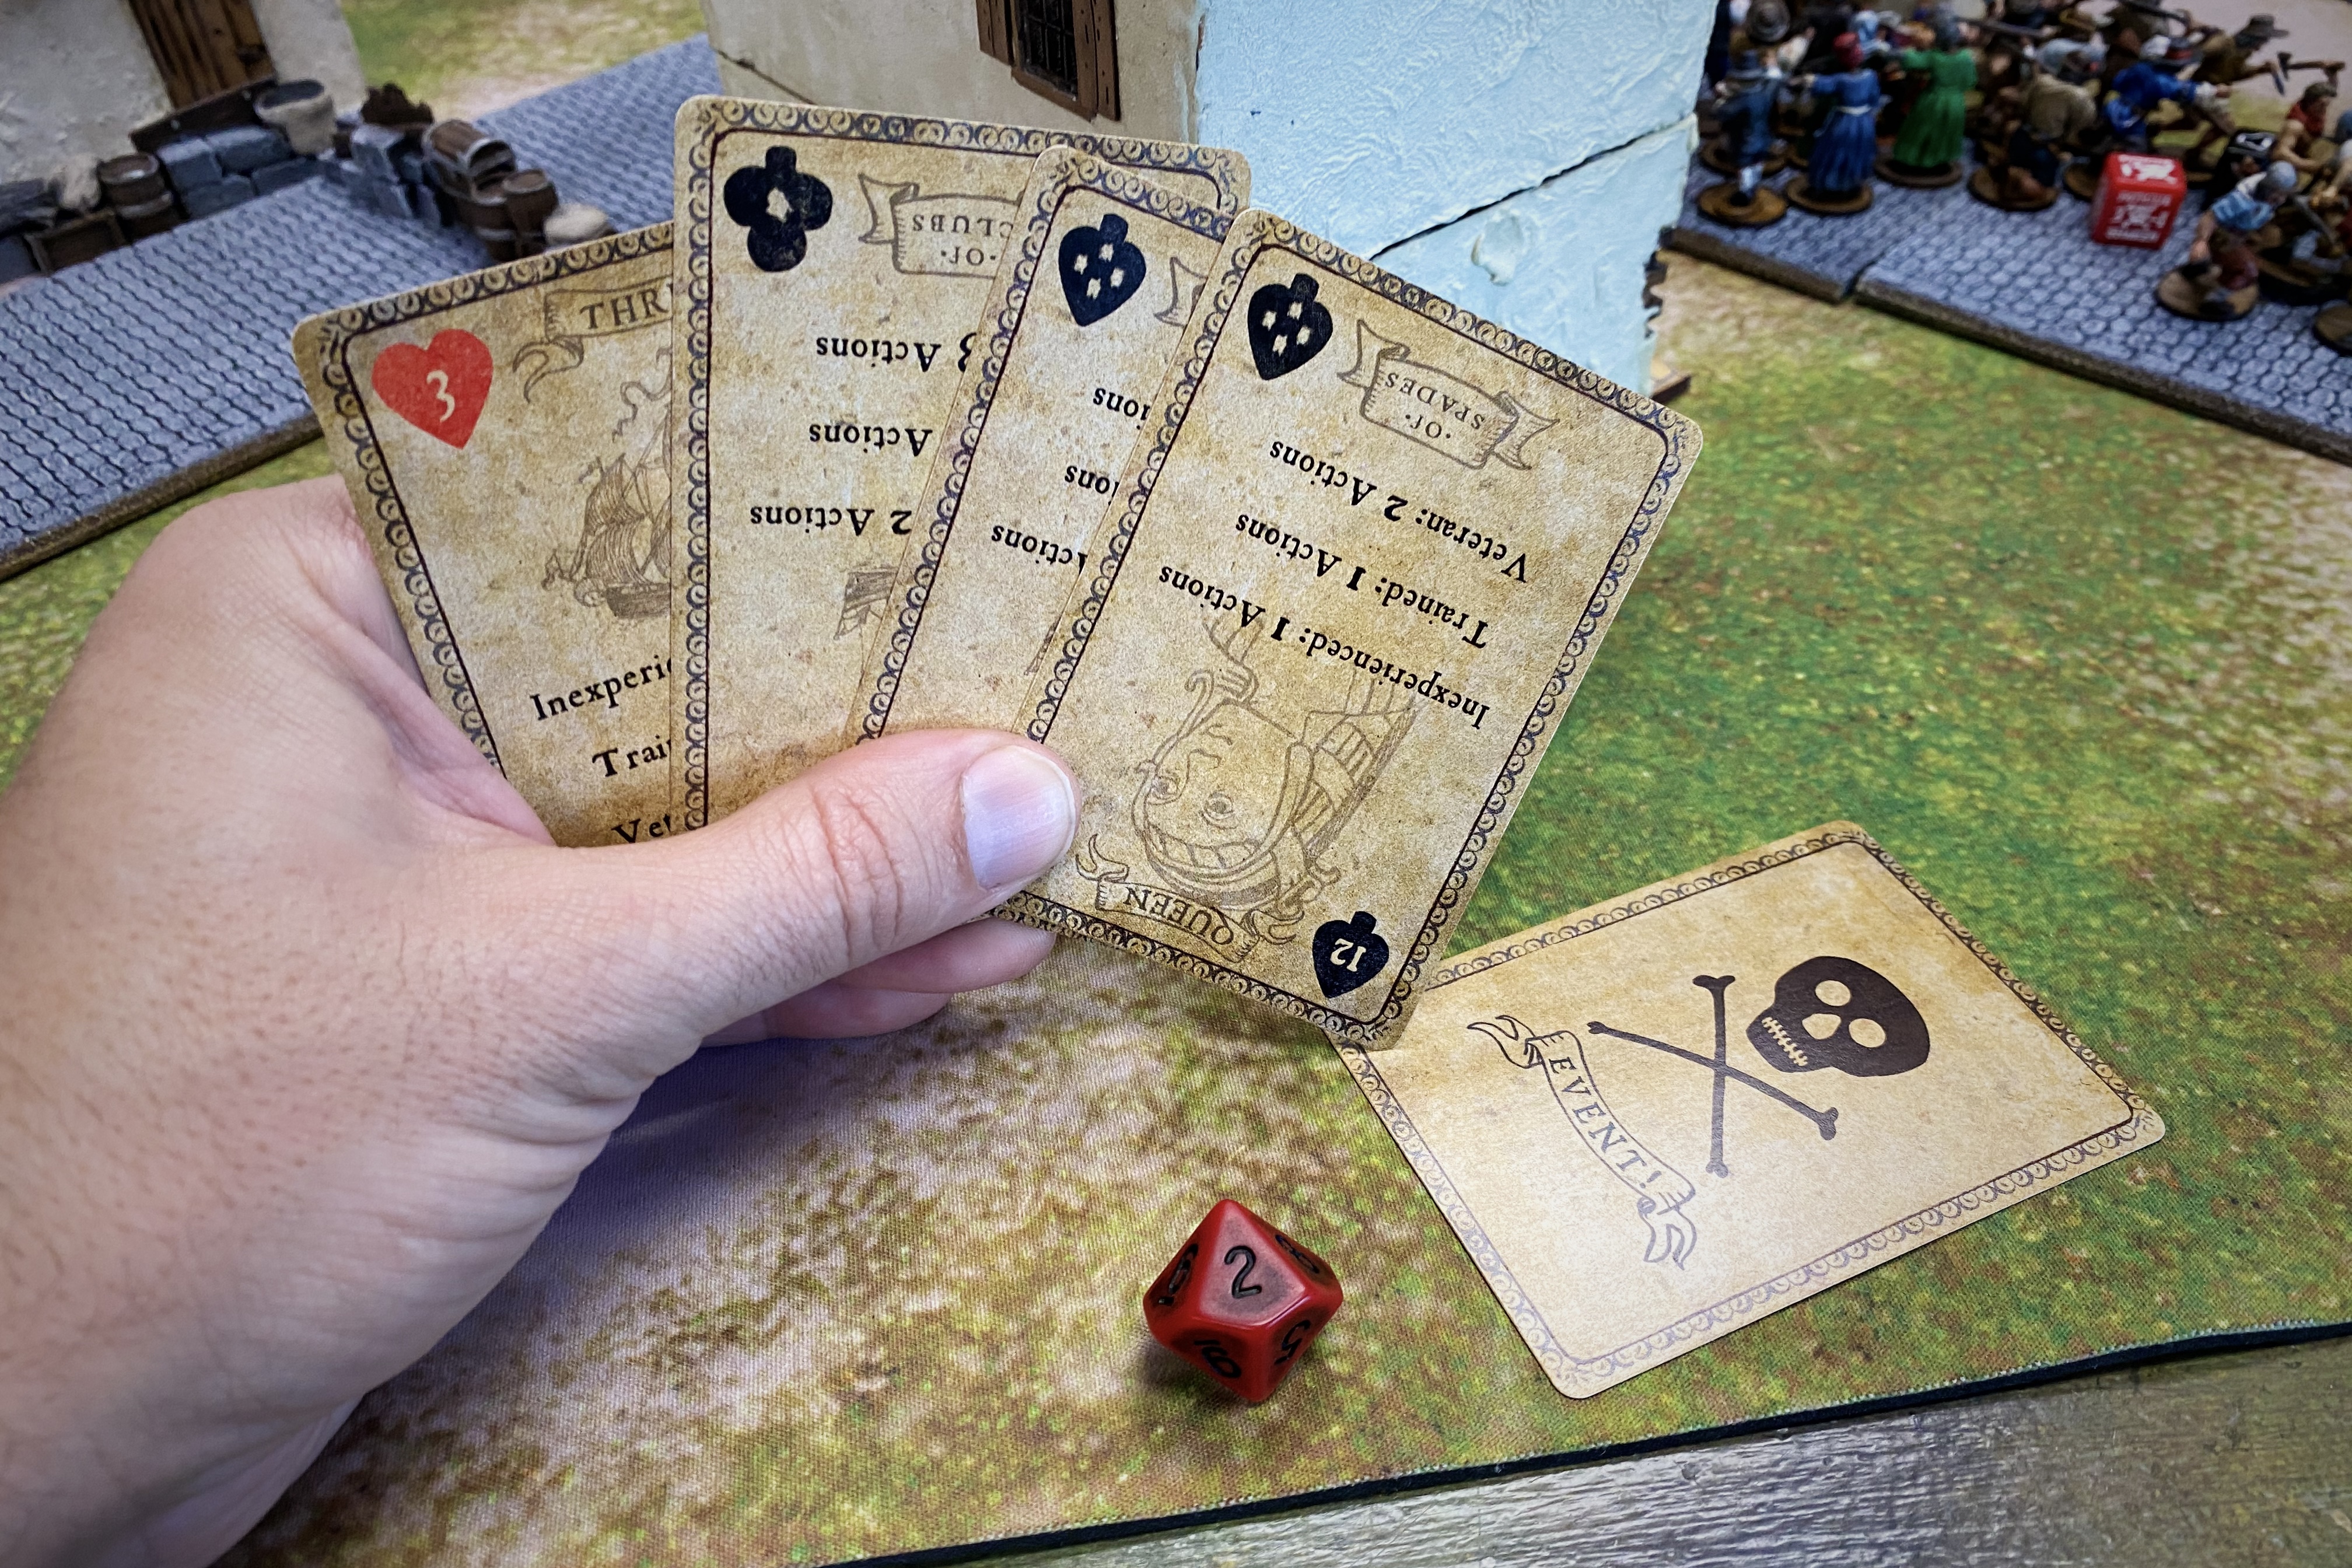
I drew an event on turn which would could have stopped one of my cannons from firing over the course of the turn but I didn’t have any cannons…
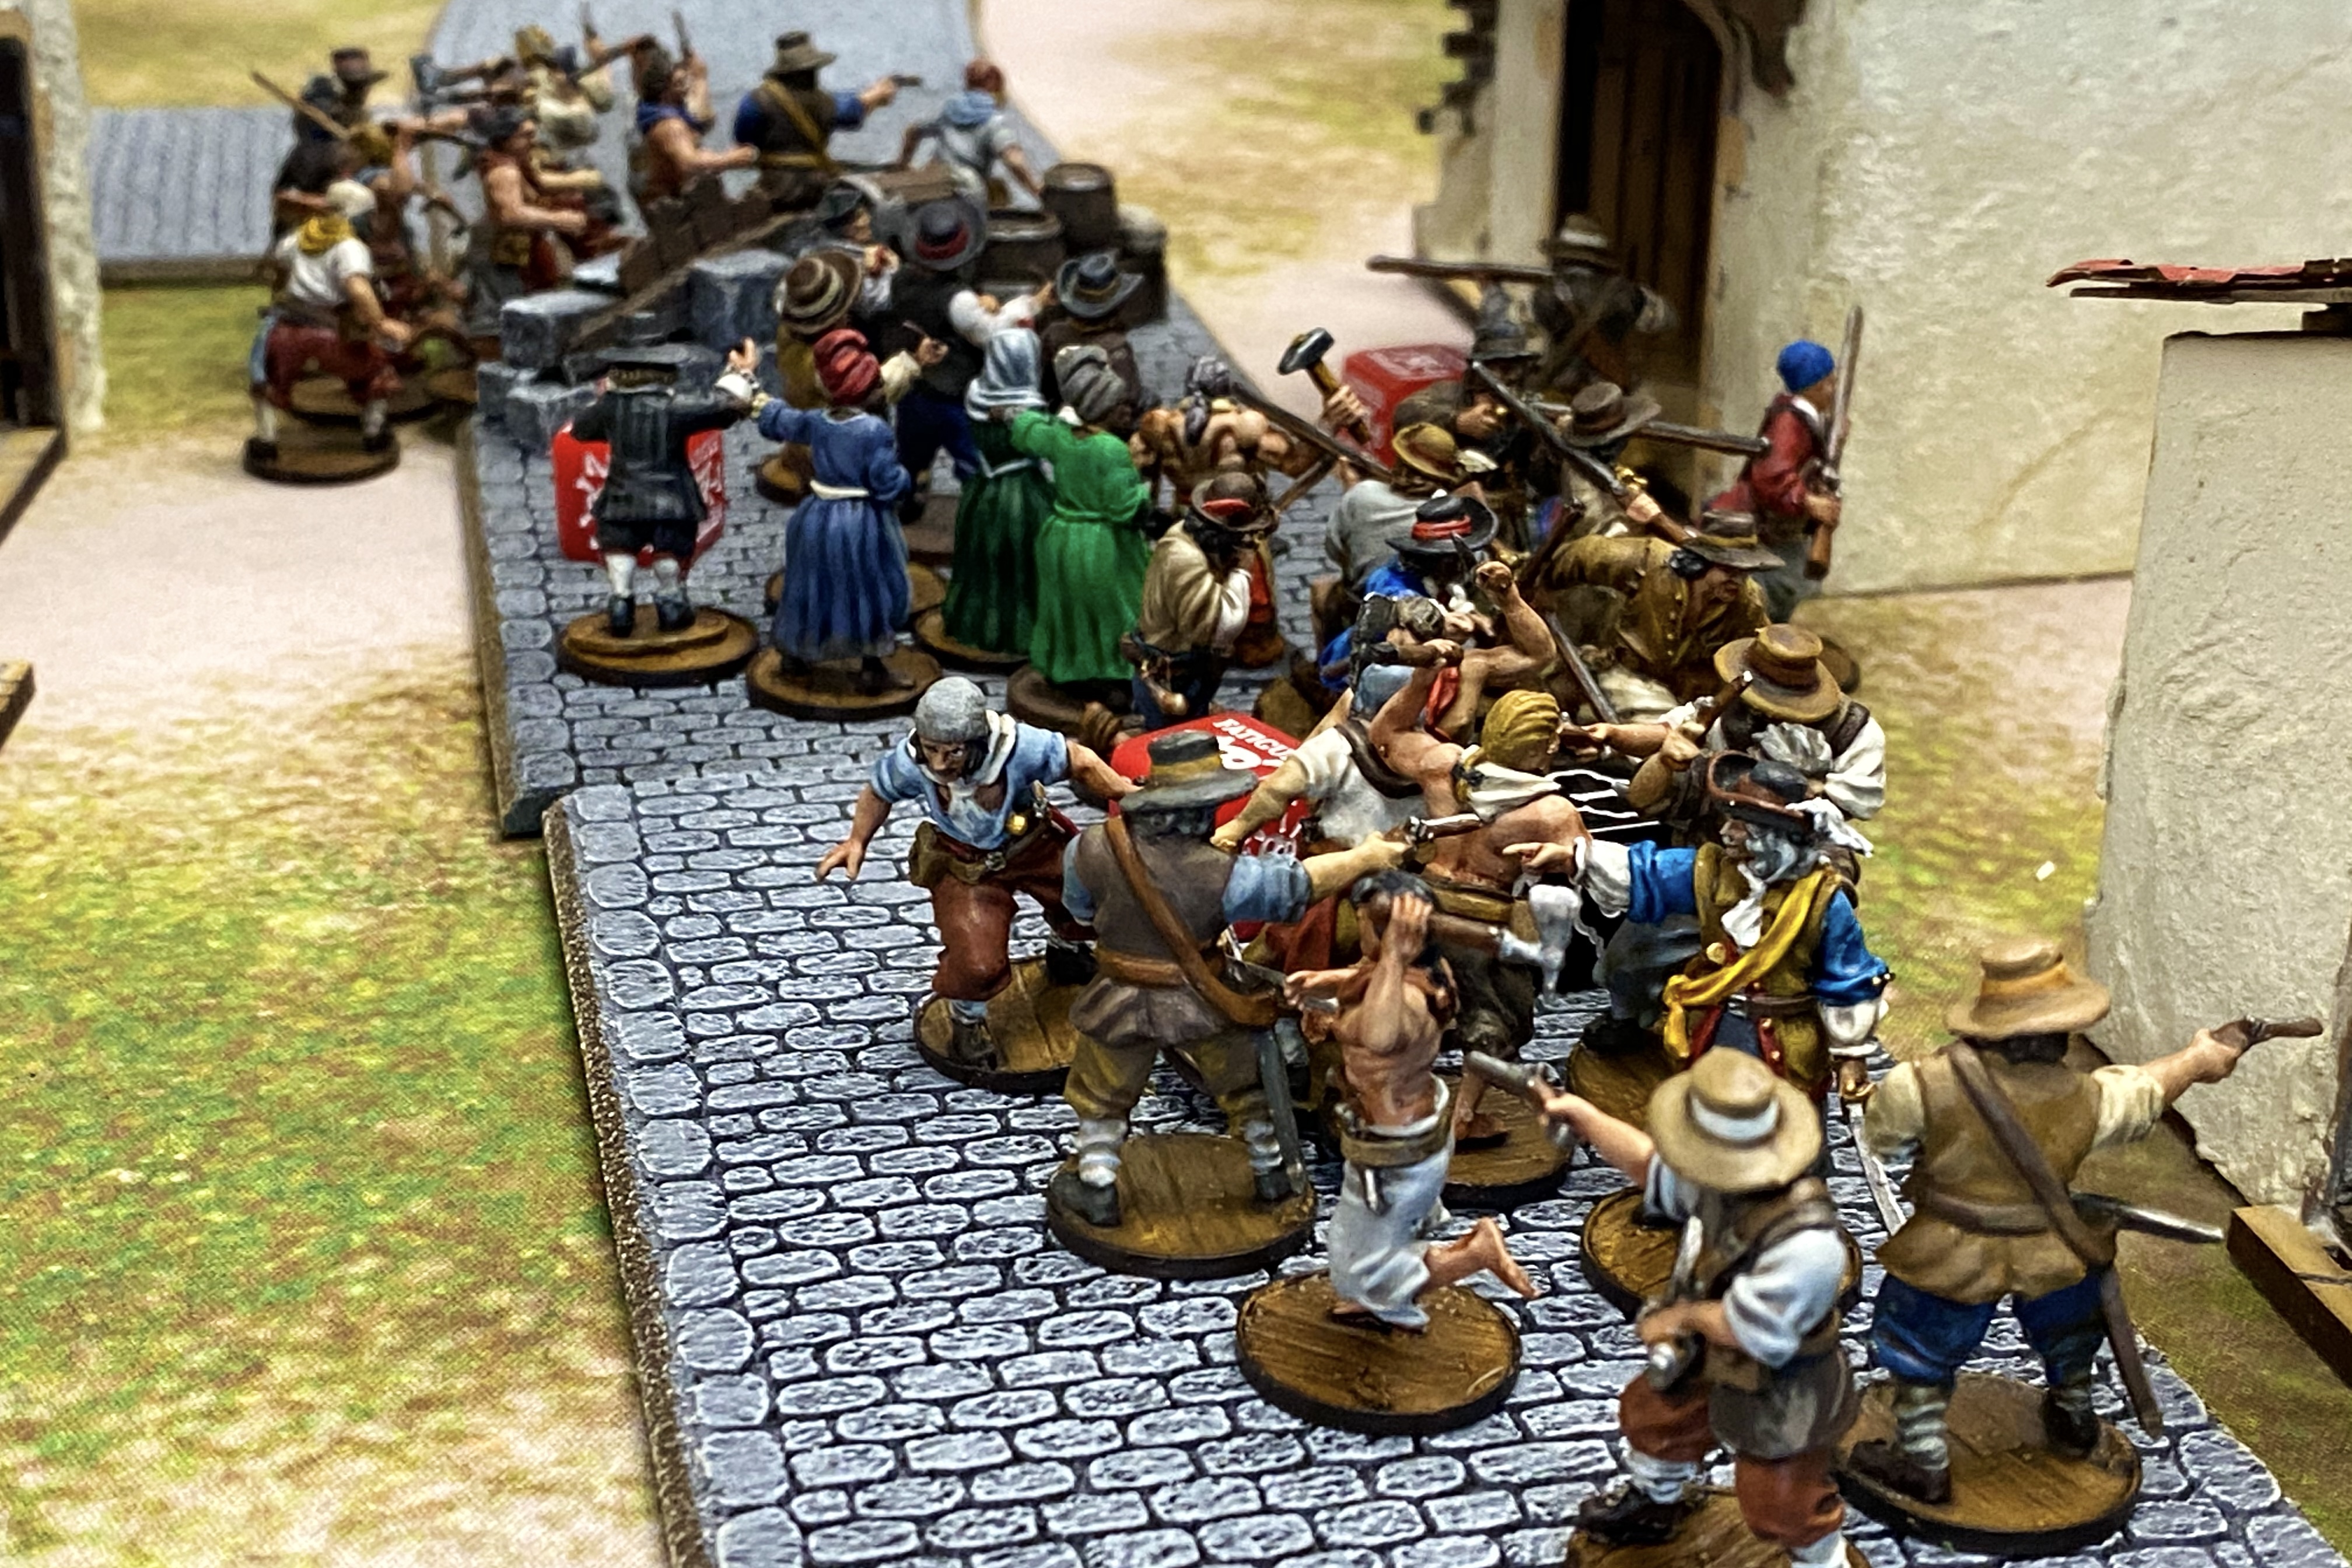
The English pushed forward, trying to keep the hapless prisoners in front of them as they went.
The Spanish, secure behind their stone walls shot away!
Another couple shots broke the Spanish civilians and they started their panicked dash to the fort.

My Sea Dogs started taking casualties as they advanced but there was no better option than to move forward as fast as possible to try to make the assault! Their Resolve held incredibly well.
By the end of turn 2 I had lost 4 Freebooters and 6 Sea Dogs. No Spanish casualties yet… But I had my brute squads running and my Boucaniers ensconced in the upper floor of the tall building, ready to take shots at that mean old cannon crew!
We made the now uncontrolled civilians run for the fort as turn 2 ended.
Turn 3
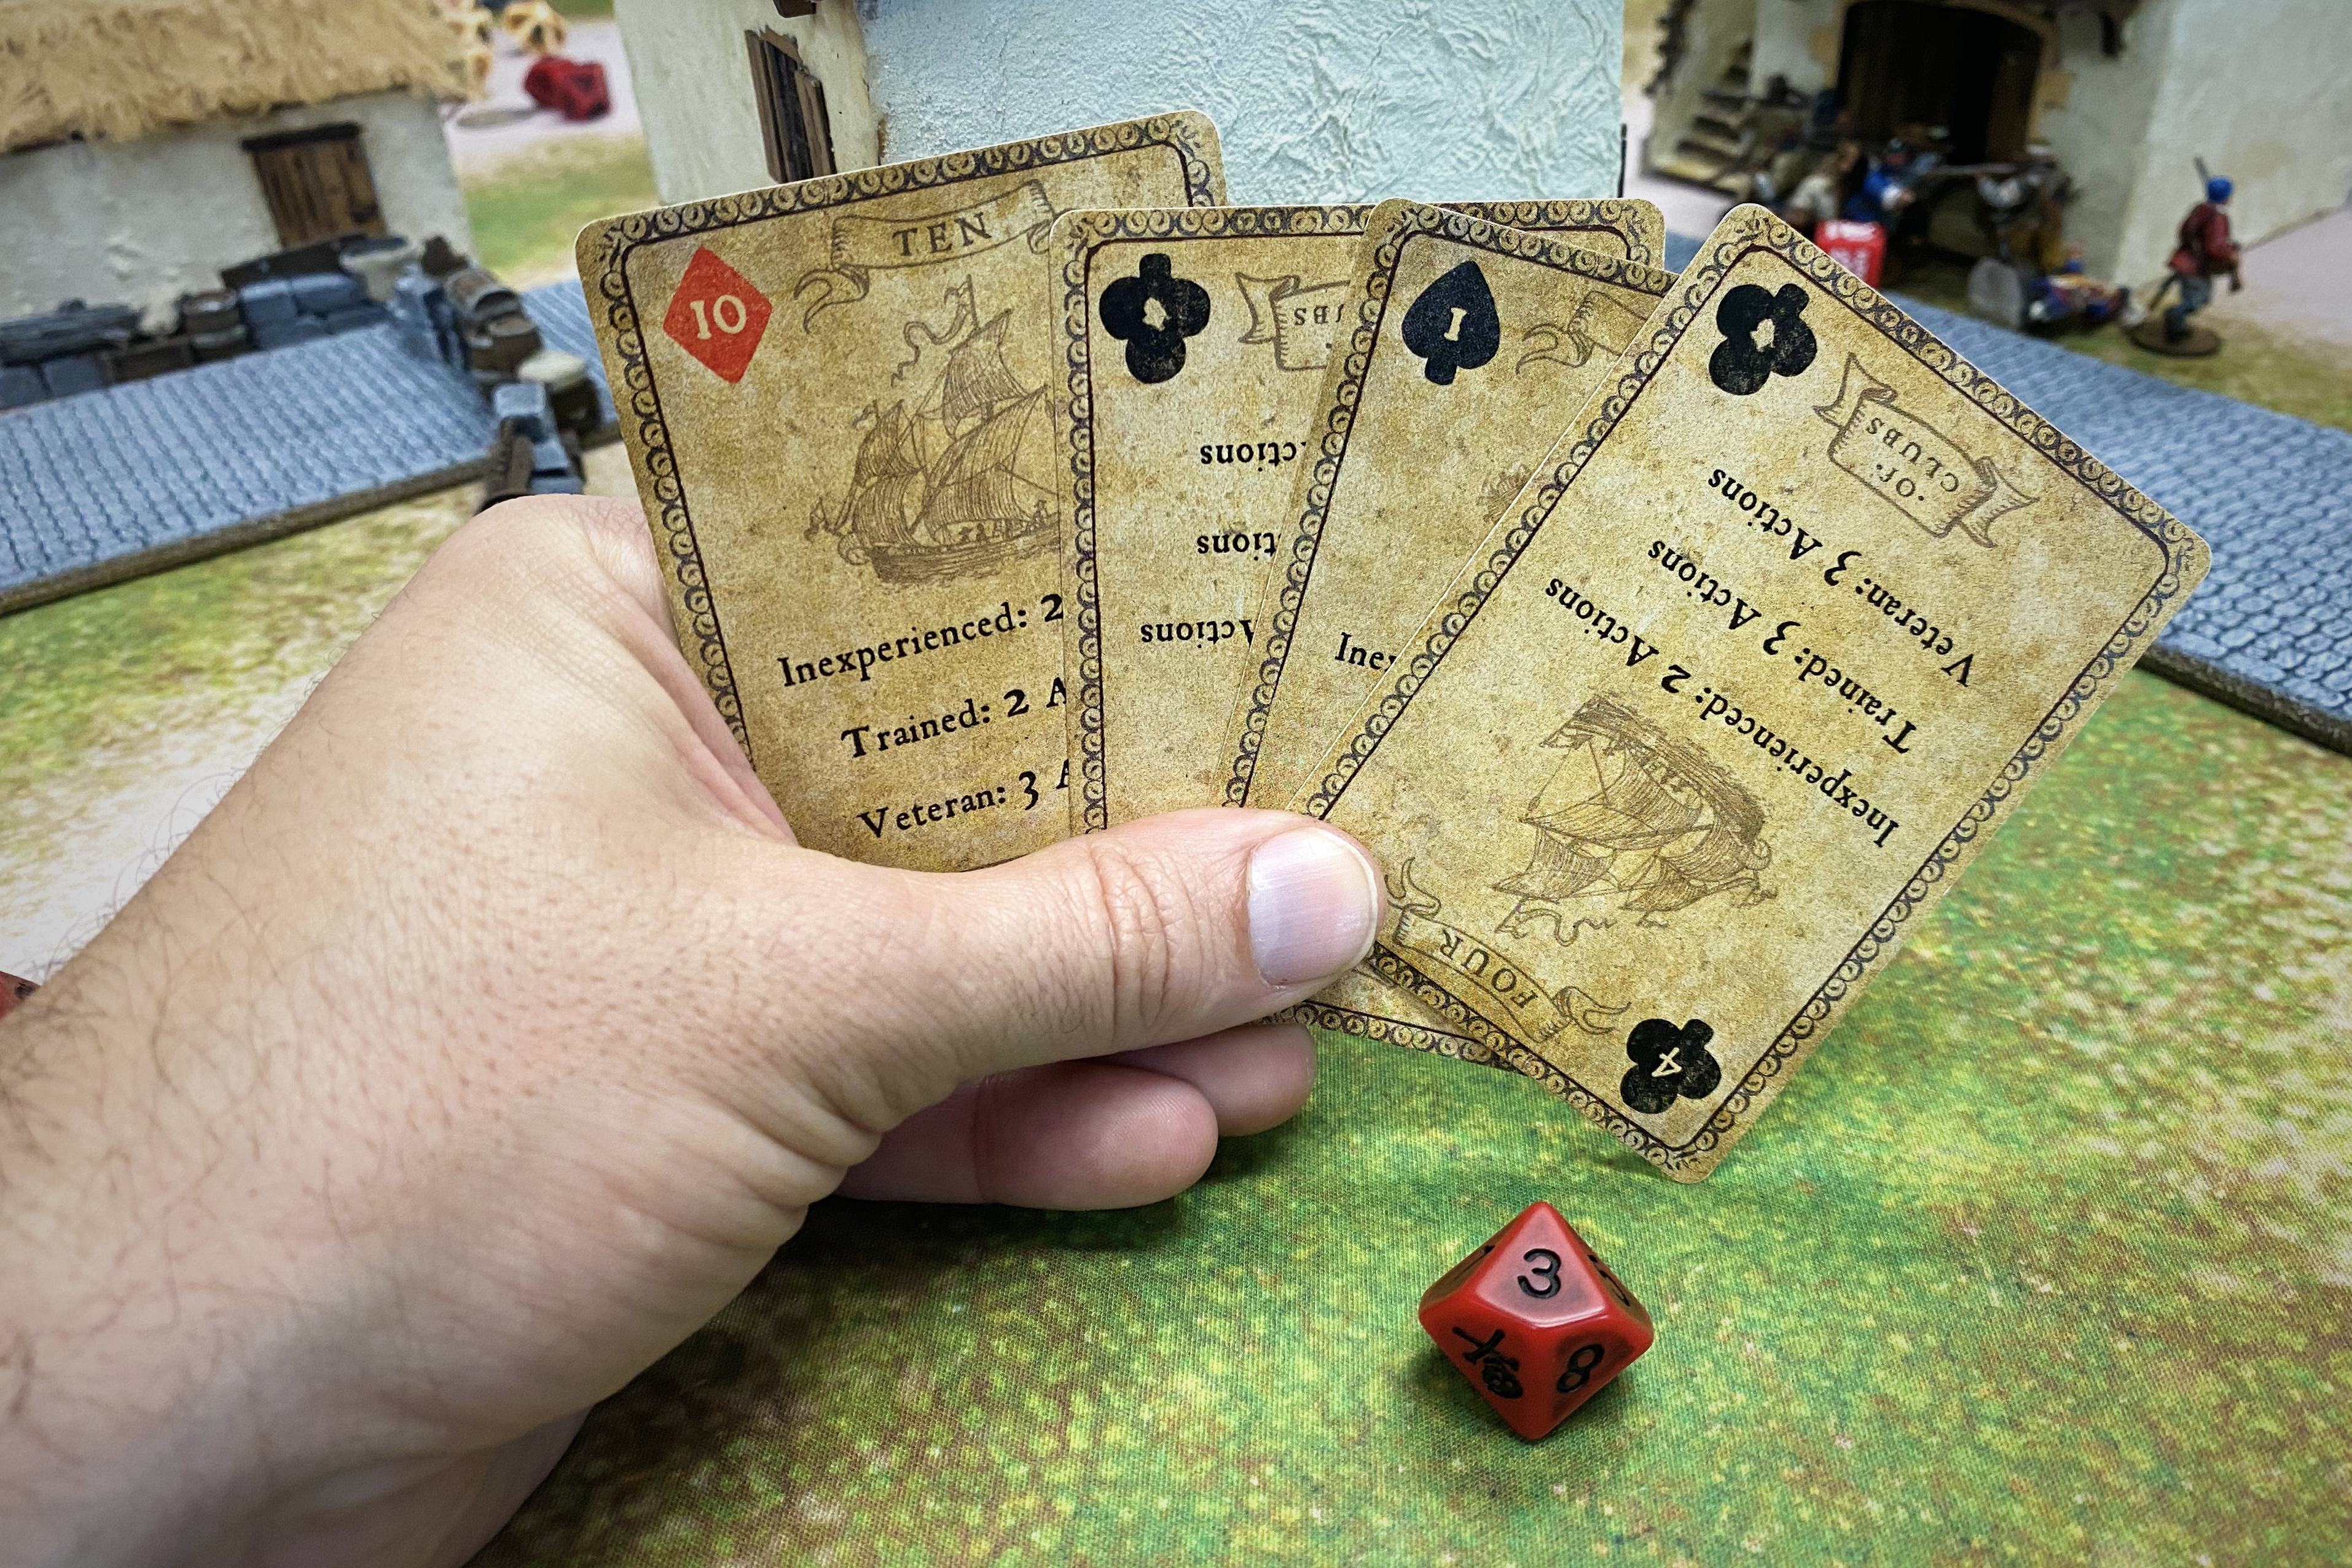
I didn’t like my hand on turn 3 so I used my faction ability to draw a new hand but it didn’t come up much better.
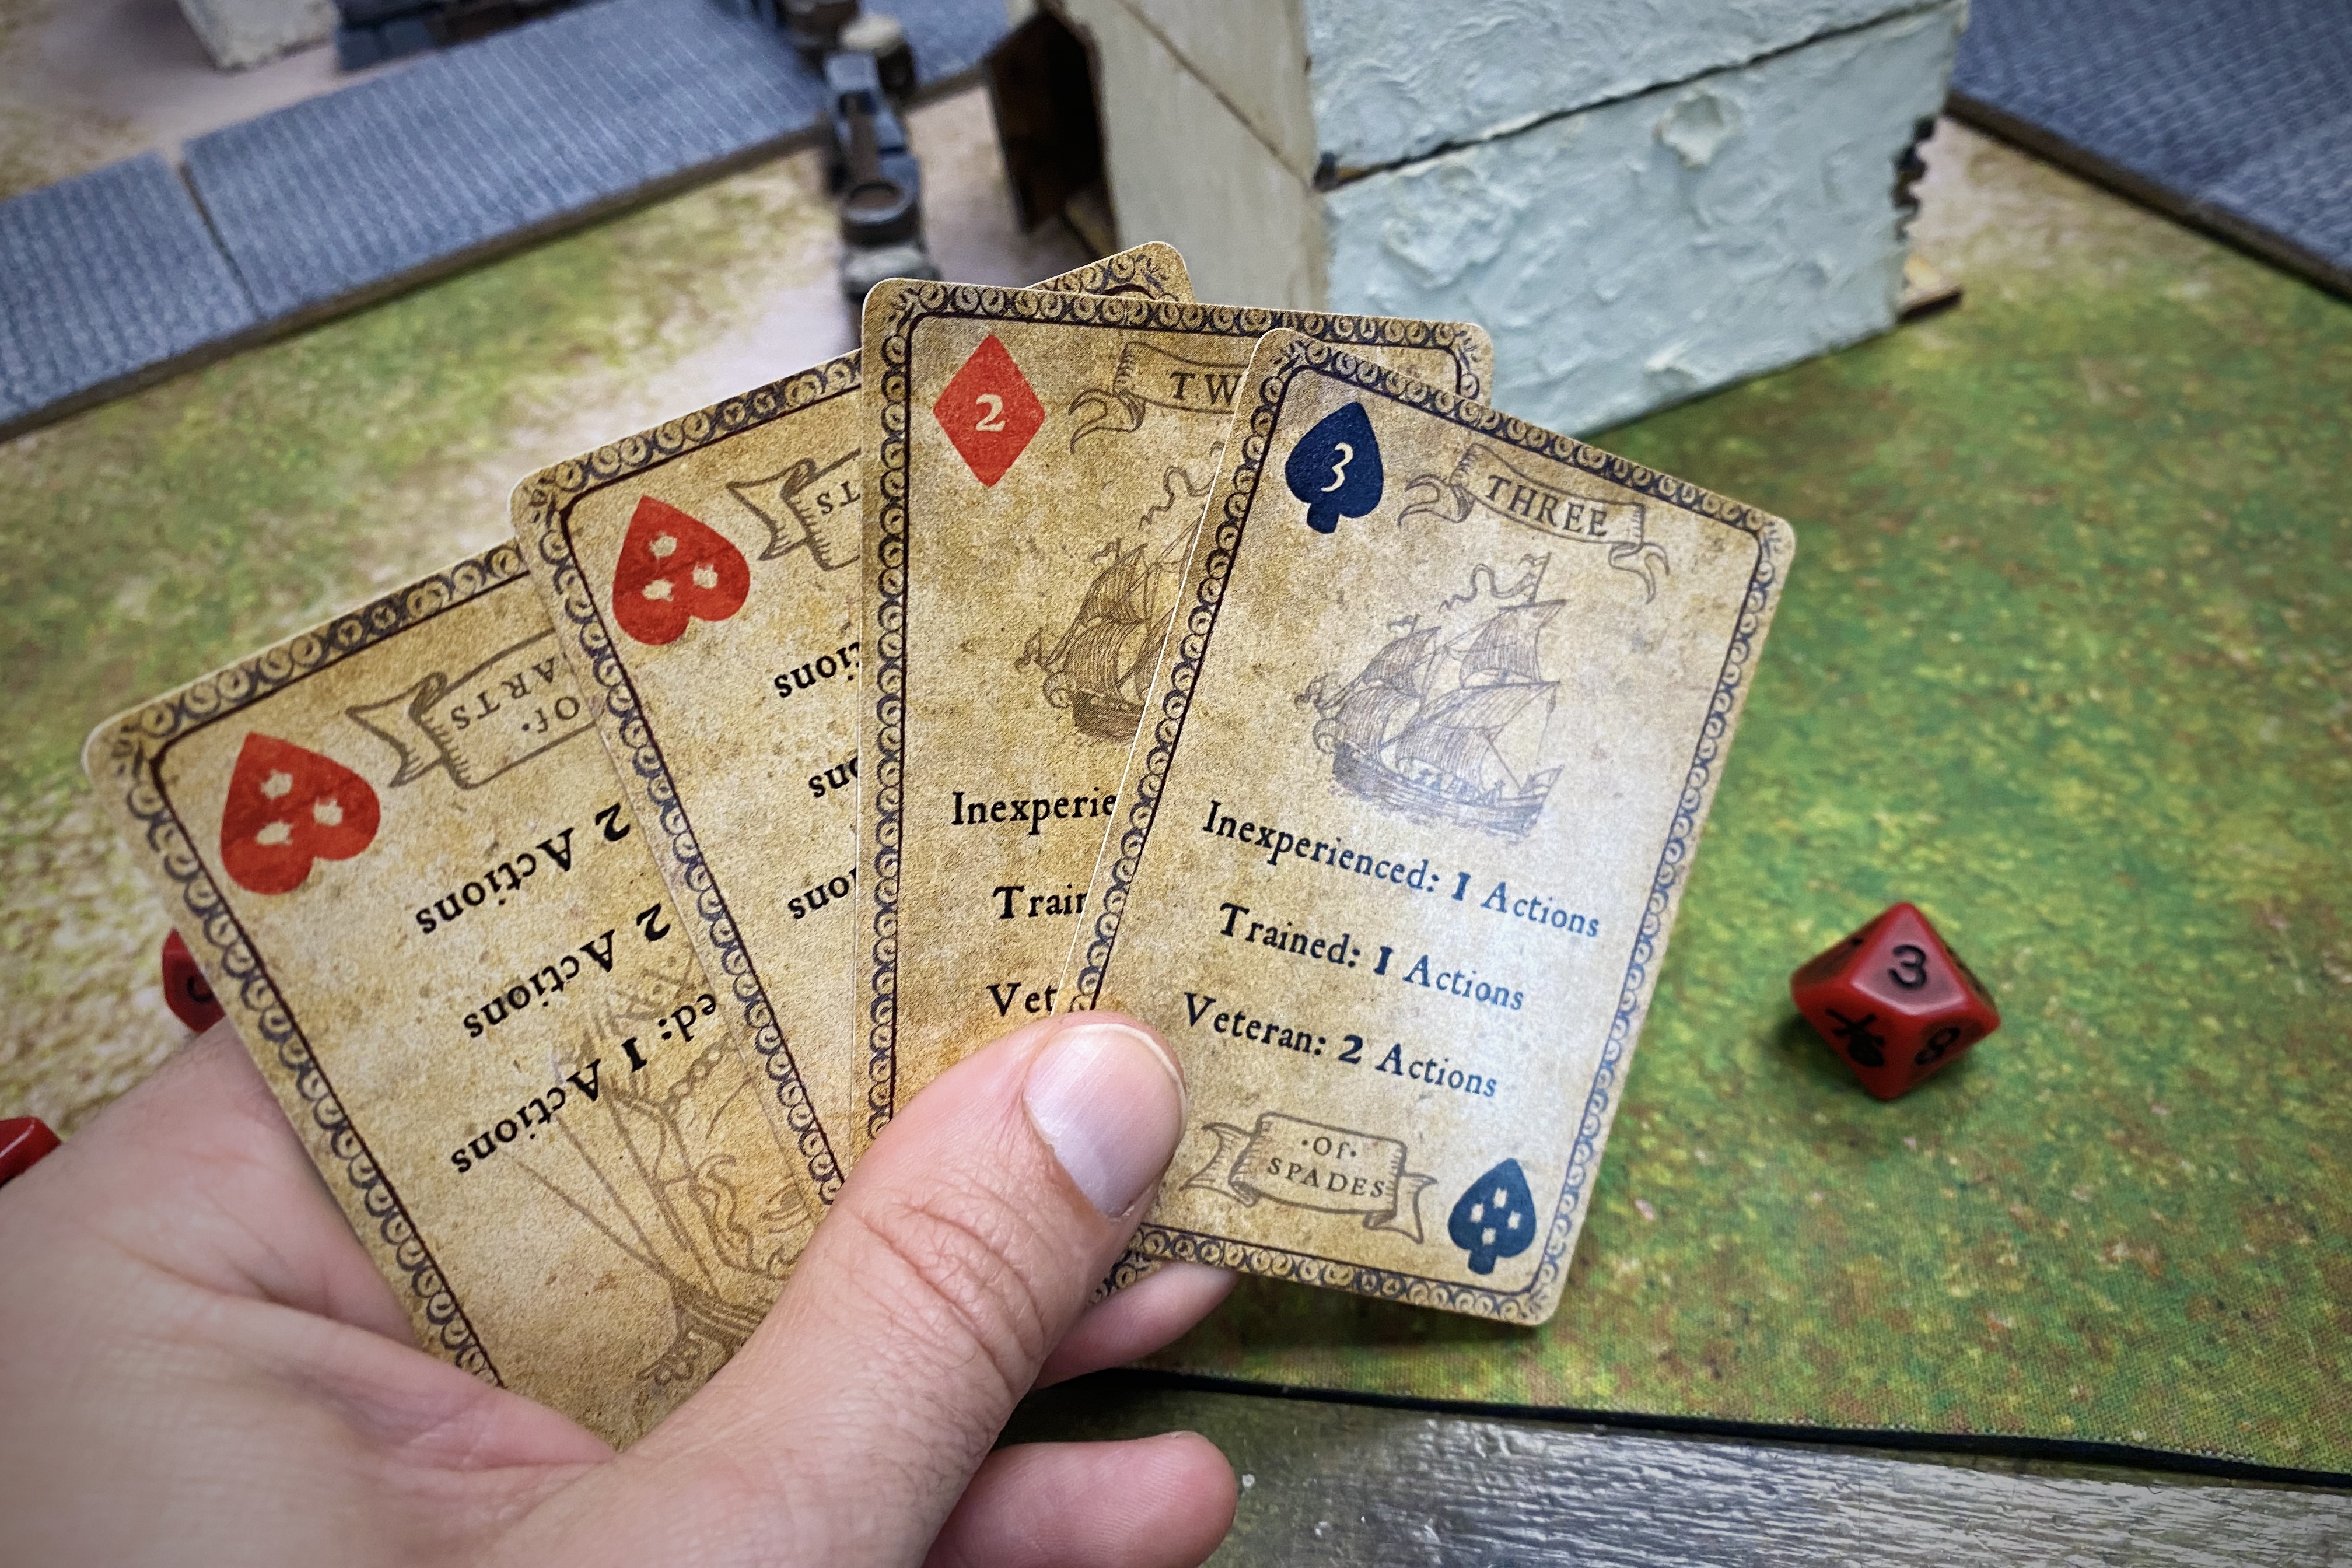
Guy beat my 3 with a 10 of Spades and poured more pain on my approaching Sea Dogs but they

But the stout Englishmen didn’t break! On they came with the brave “Zombie” Coxon at their head!

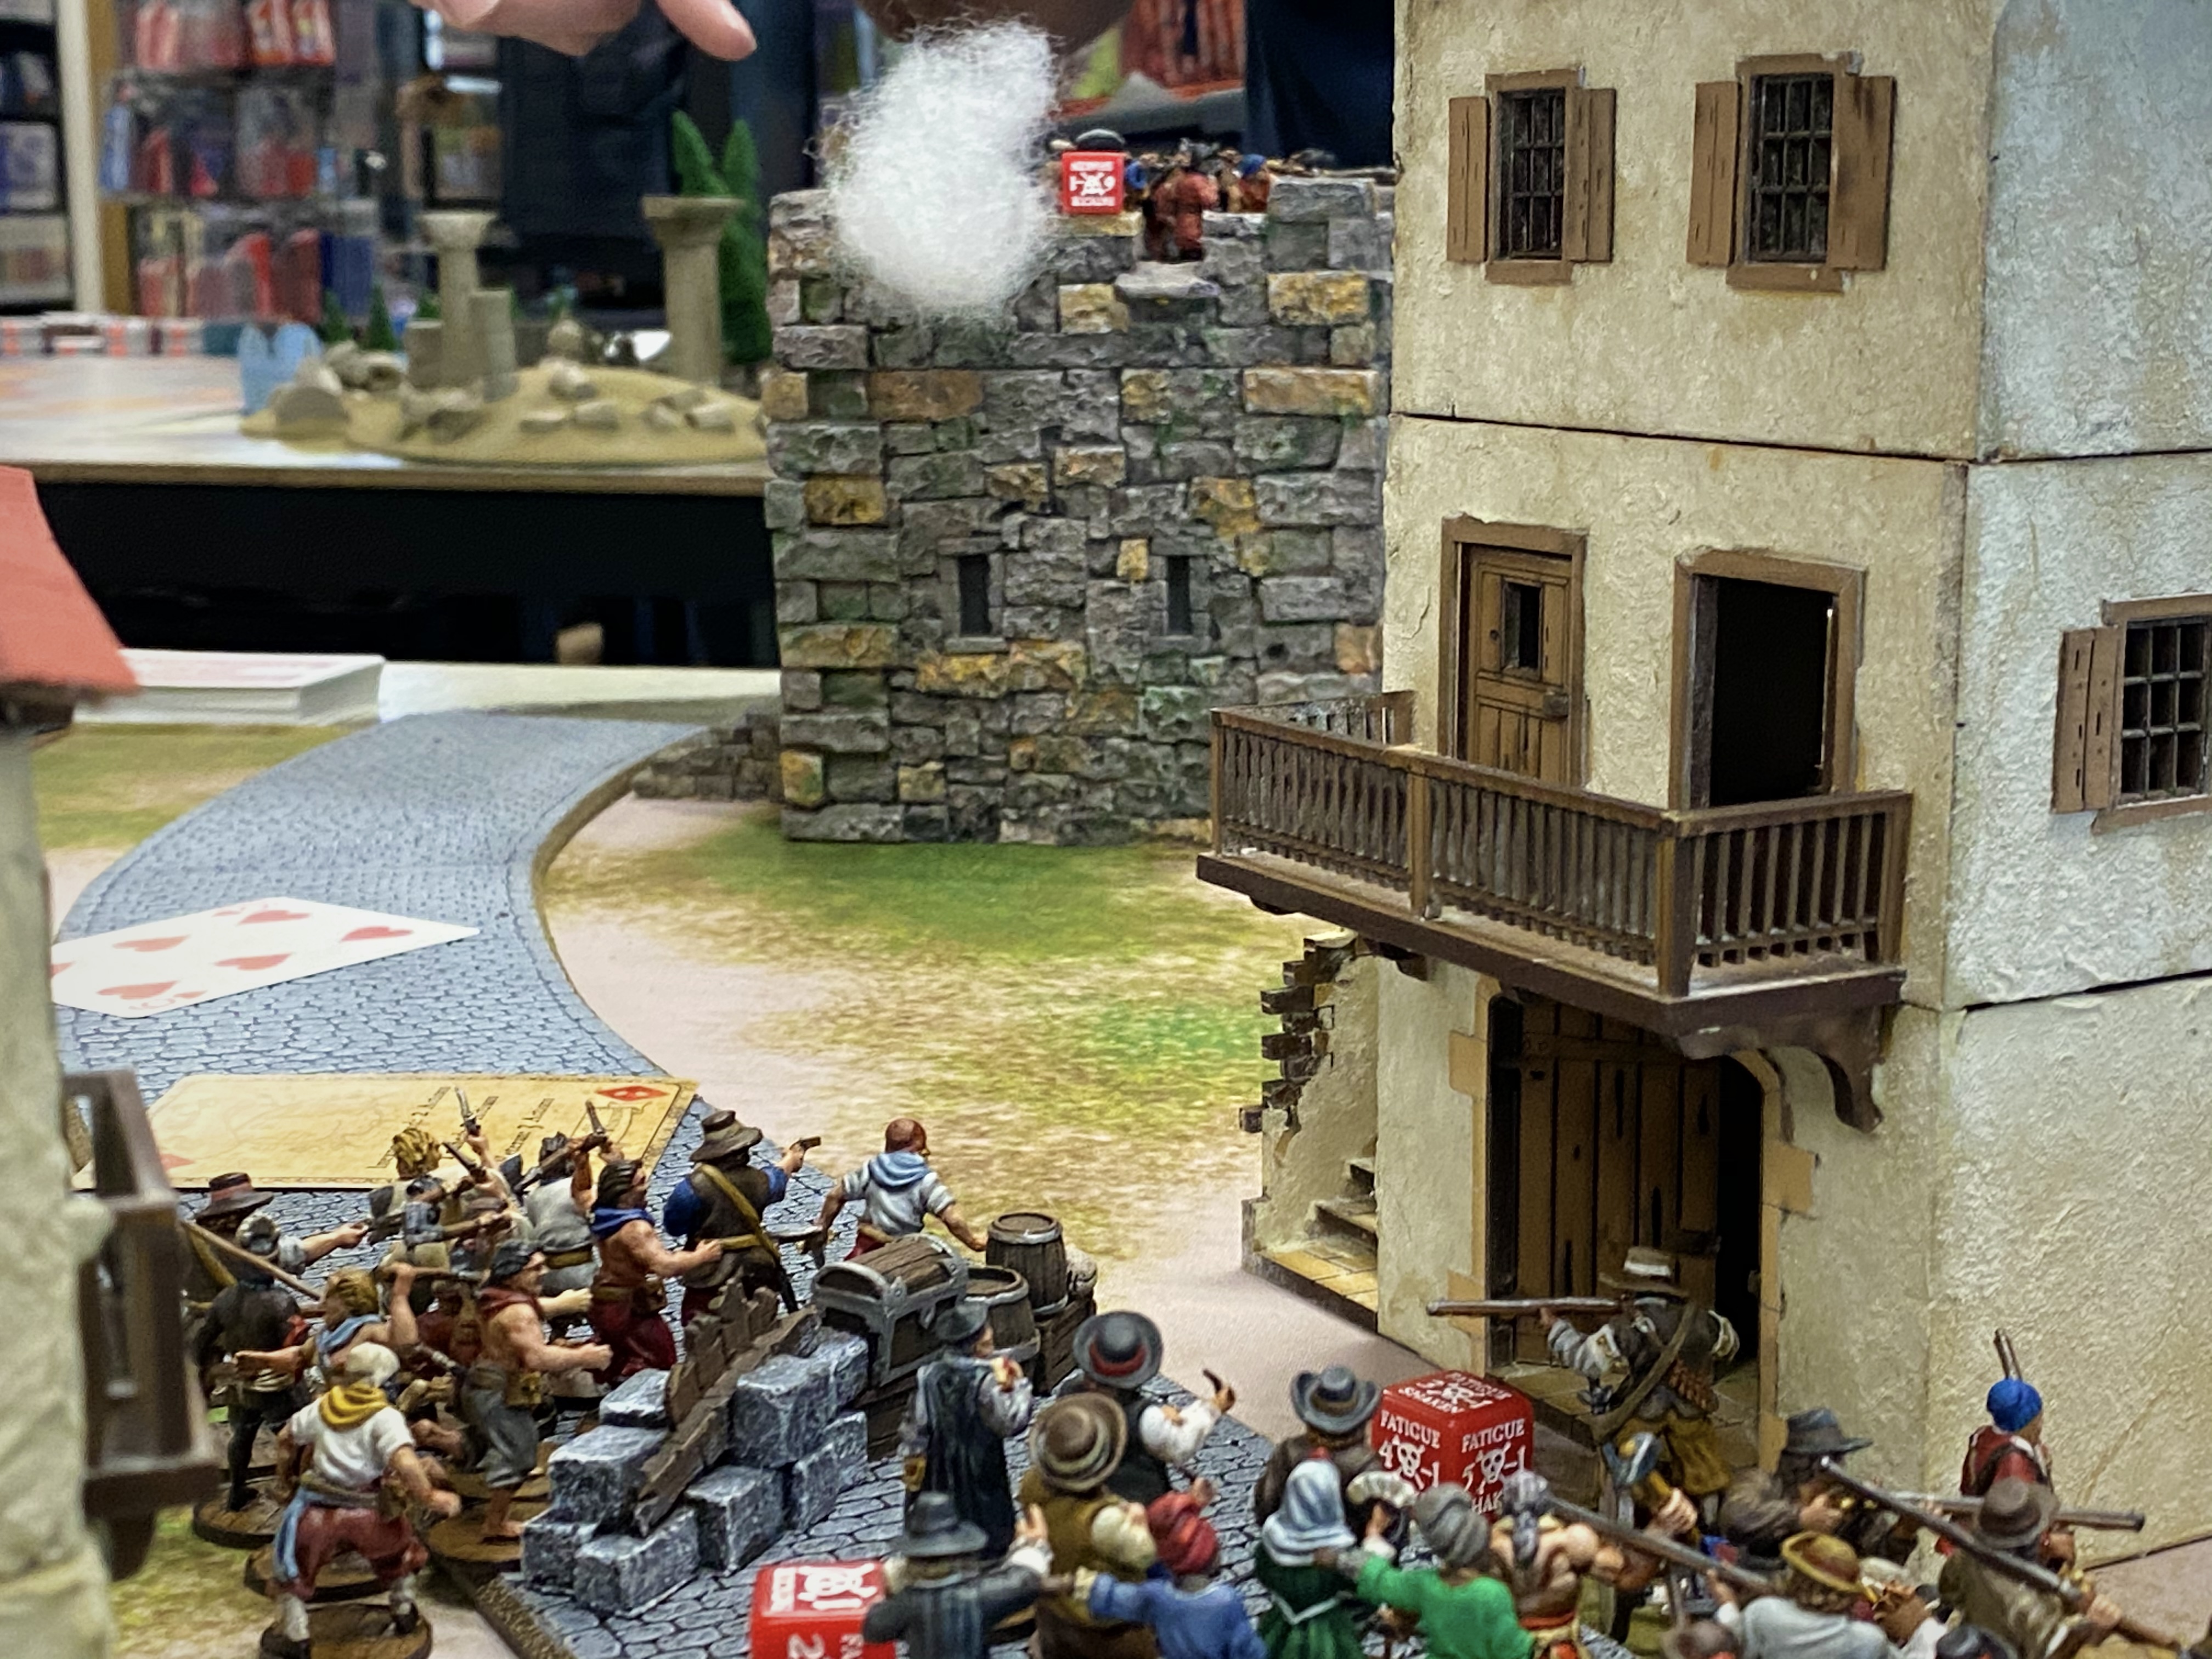
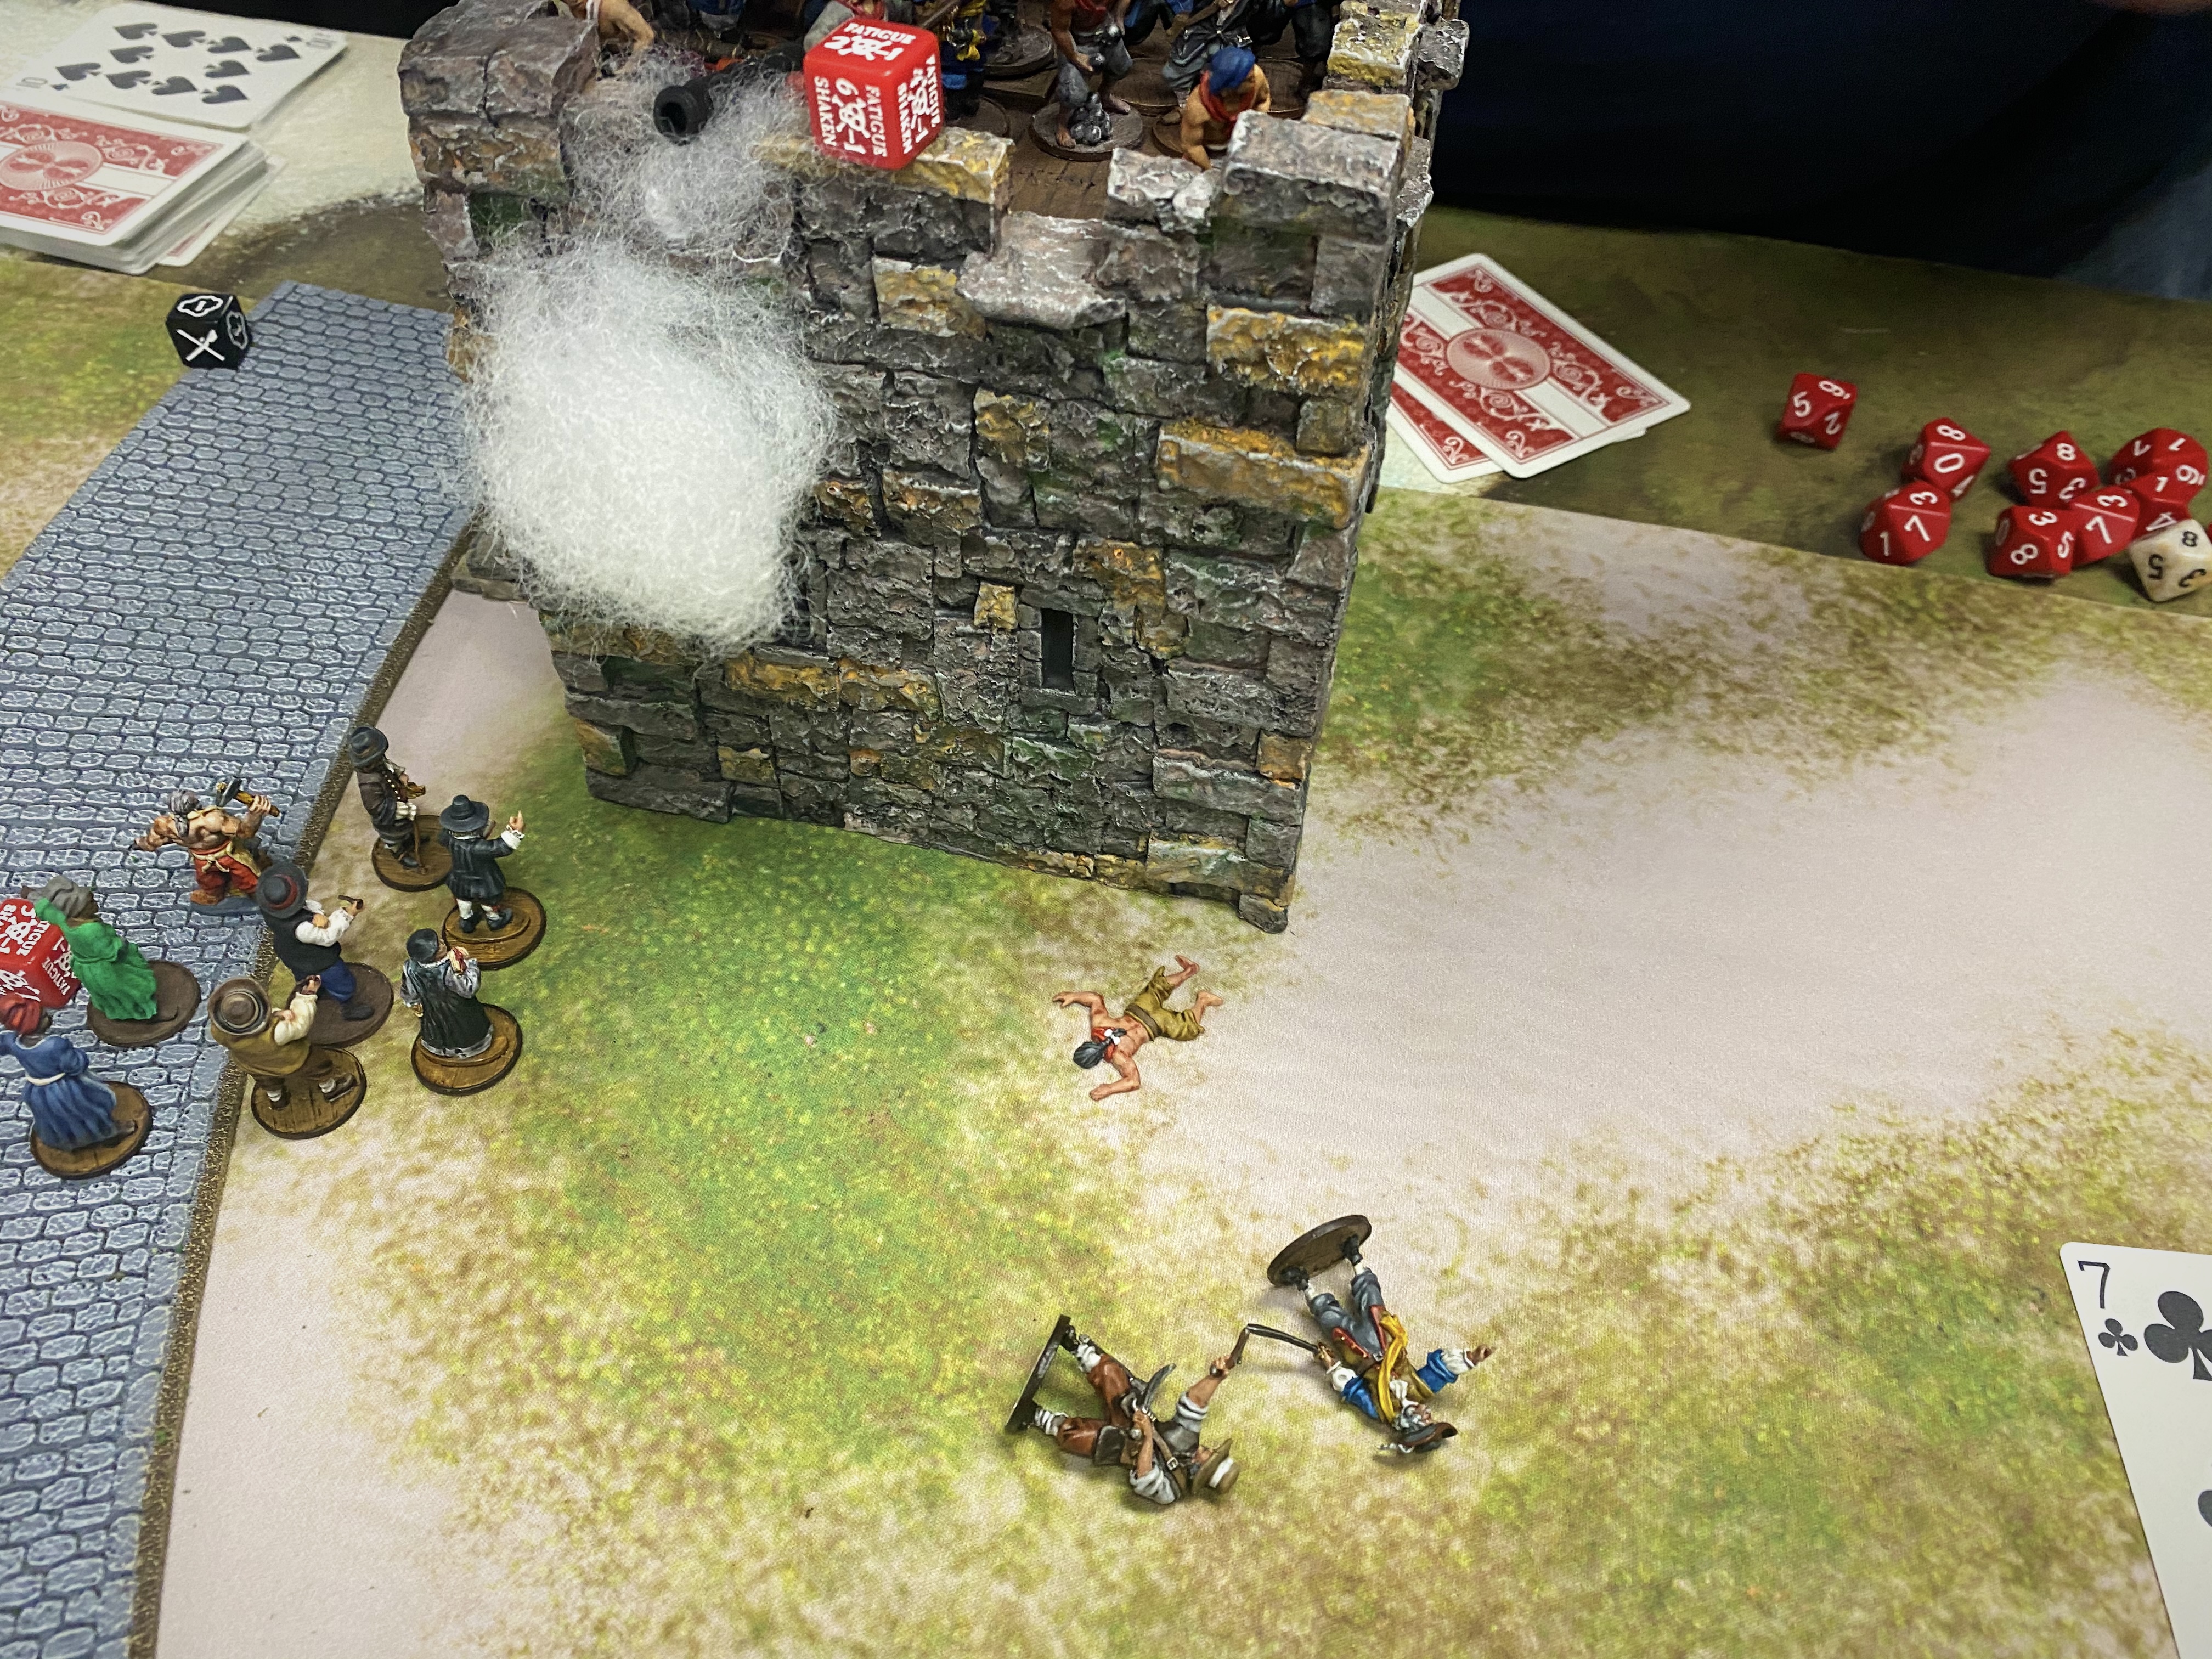
I got them up to base contact with the fort and with climbing equipment and Coxon’s command point, they made the charge! But the Spanish were ready with their defensive shot and it hurt. A lot. I lost 4 of 6 models to defensive shot but Coxon came on undeterred!

Coxon and his last faithful companion scored a grand total of 1 hit and between the Milicianos’ solid Fight Save of 6 and the re-roll of all failed Saves granted by the Additional Defenses, the Spanish were supremely unimpressed by the Englishmen’s desperate assault. But I made the assault and that was my goal!

With that “threat” resolved, we focused on the other units. My Boucaniers were finally set up and ready to start shooting but there wasn’t really a great choice for who to shoot. The upper floor of the fort had the Captured Merchant which gave me a +1 penalty and I couldn’t even choose to fire on them while Coxon made his heroic fight. If I shot at the Milicianos in the lower level, they have a flat Save of 3 which was also discouraging!
But they had to do their part! They started shooting at the lower level and they had some hot dice!

I rolled 3 tens out of 6 dice and I wished I was at less than 12″ so Ball & Shot would kicked in! I got a kill! First kill of the game for the English.
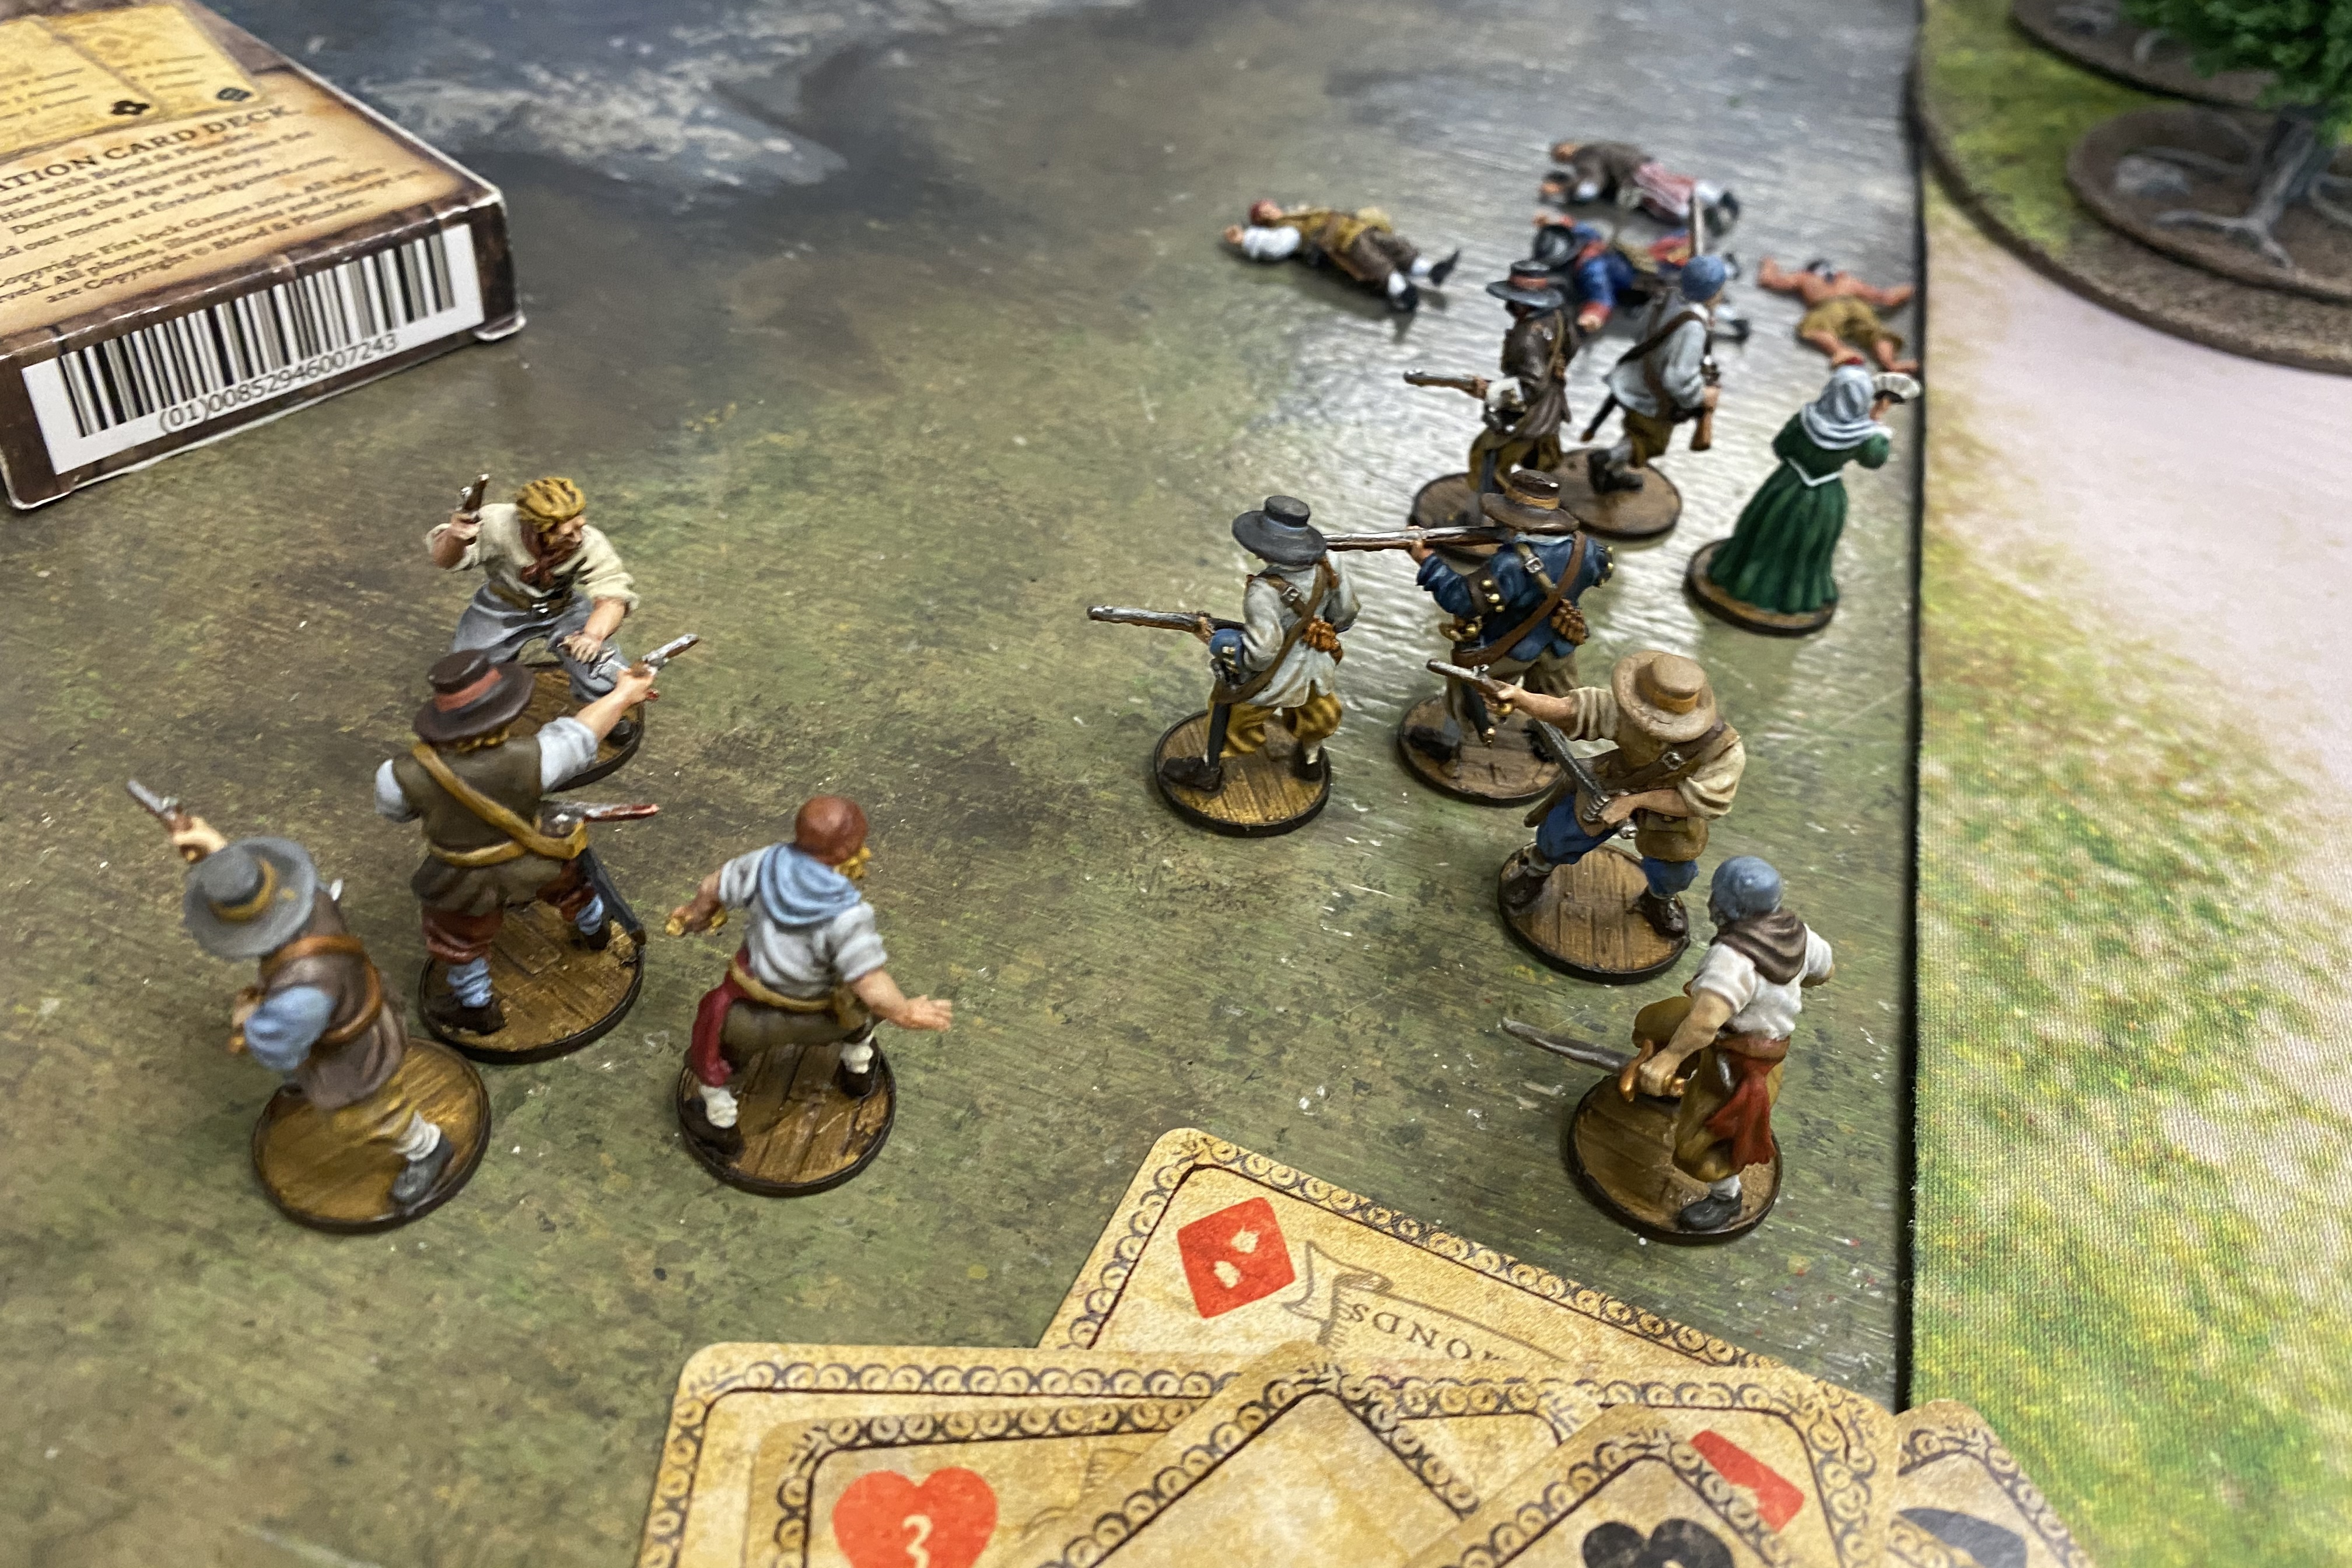
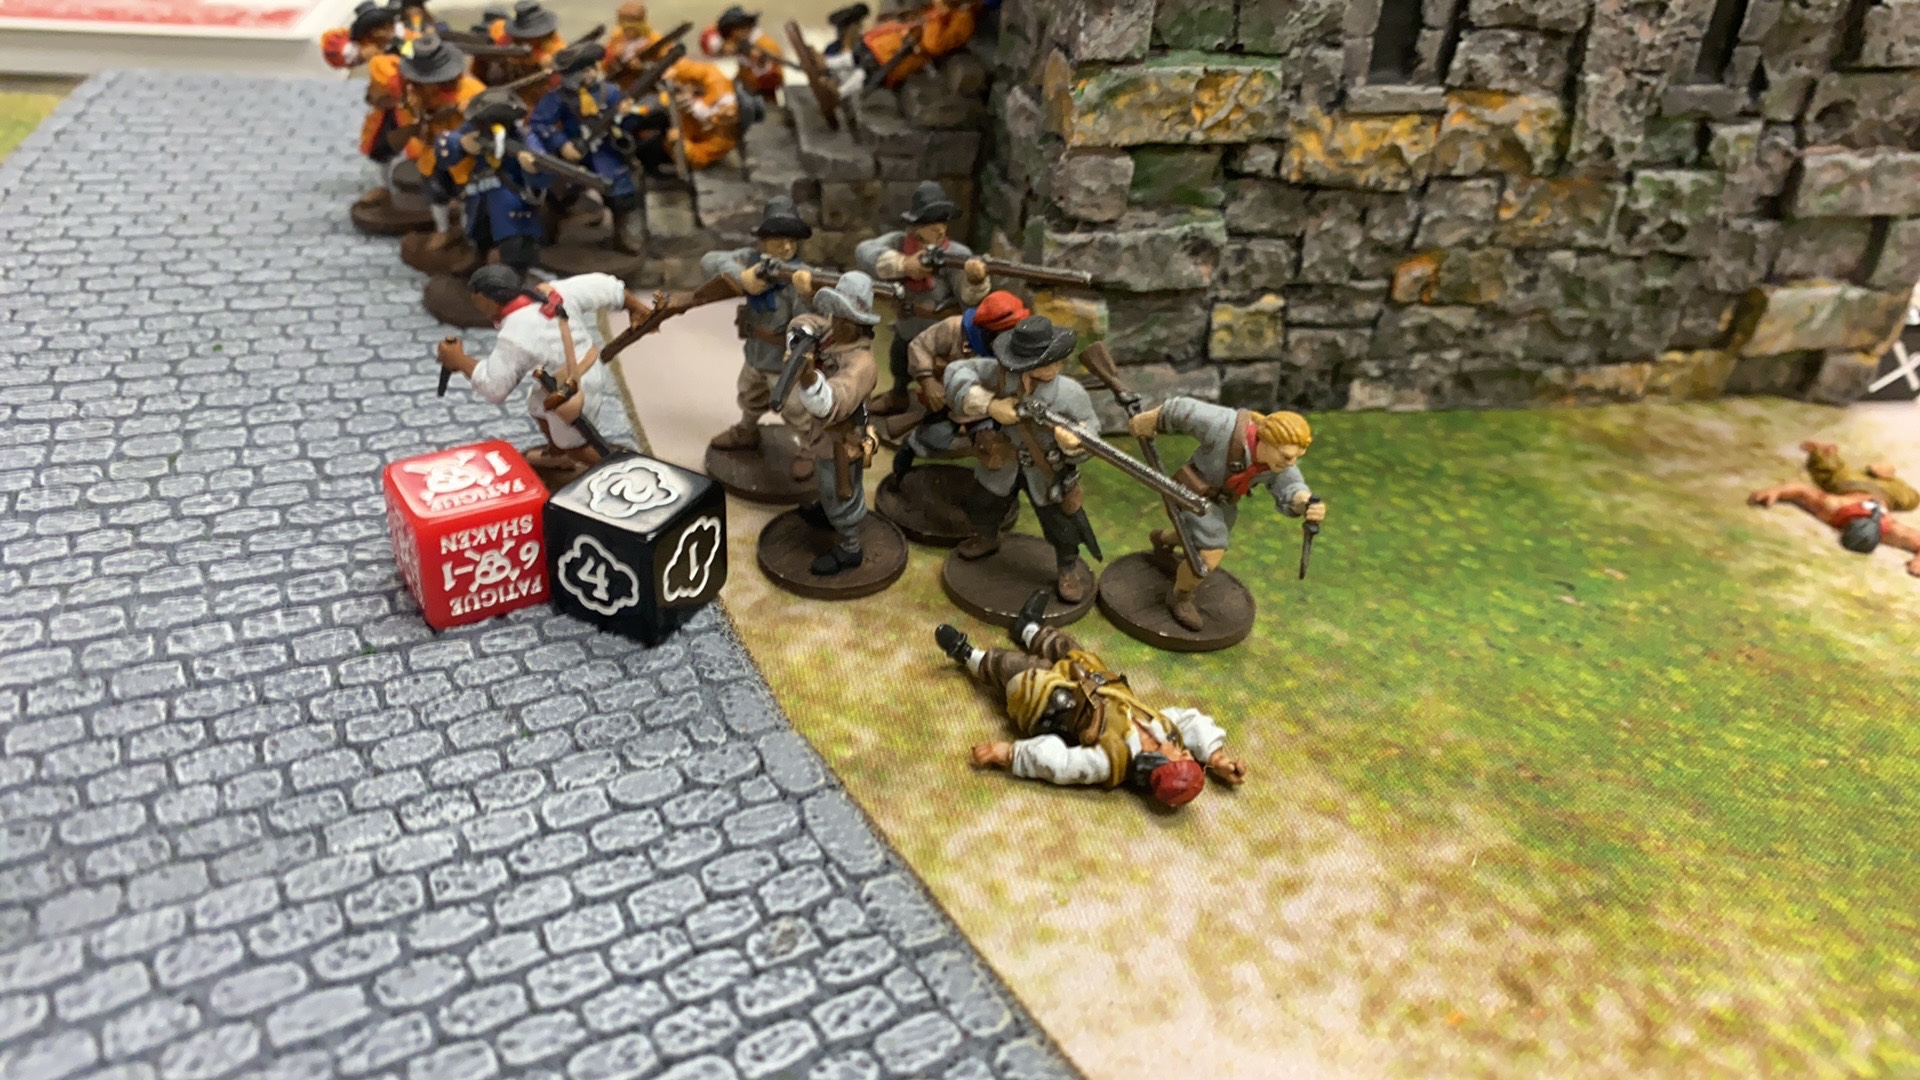
When the Spanish got around to counterattacking Coxon, it was brutally over in a matter of seconds. 12 Milicianos with Ruthless made quick work of poor Coxon. I think this was the 3rd time Coxon died over the course of the campaign.
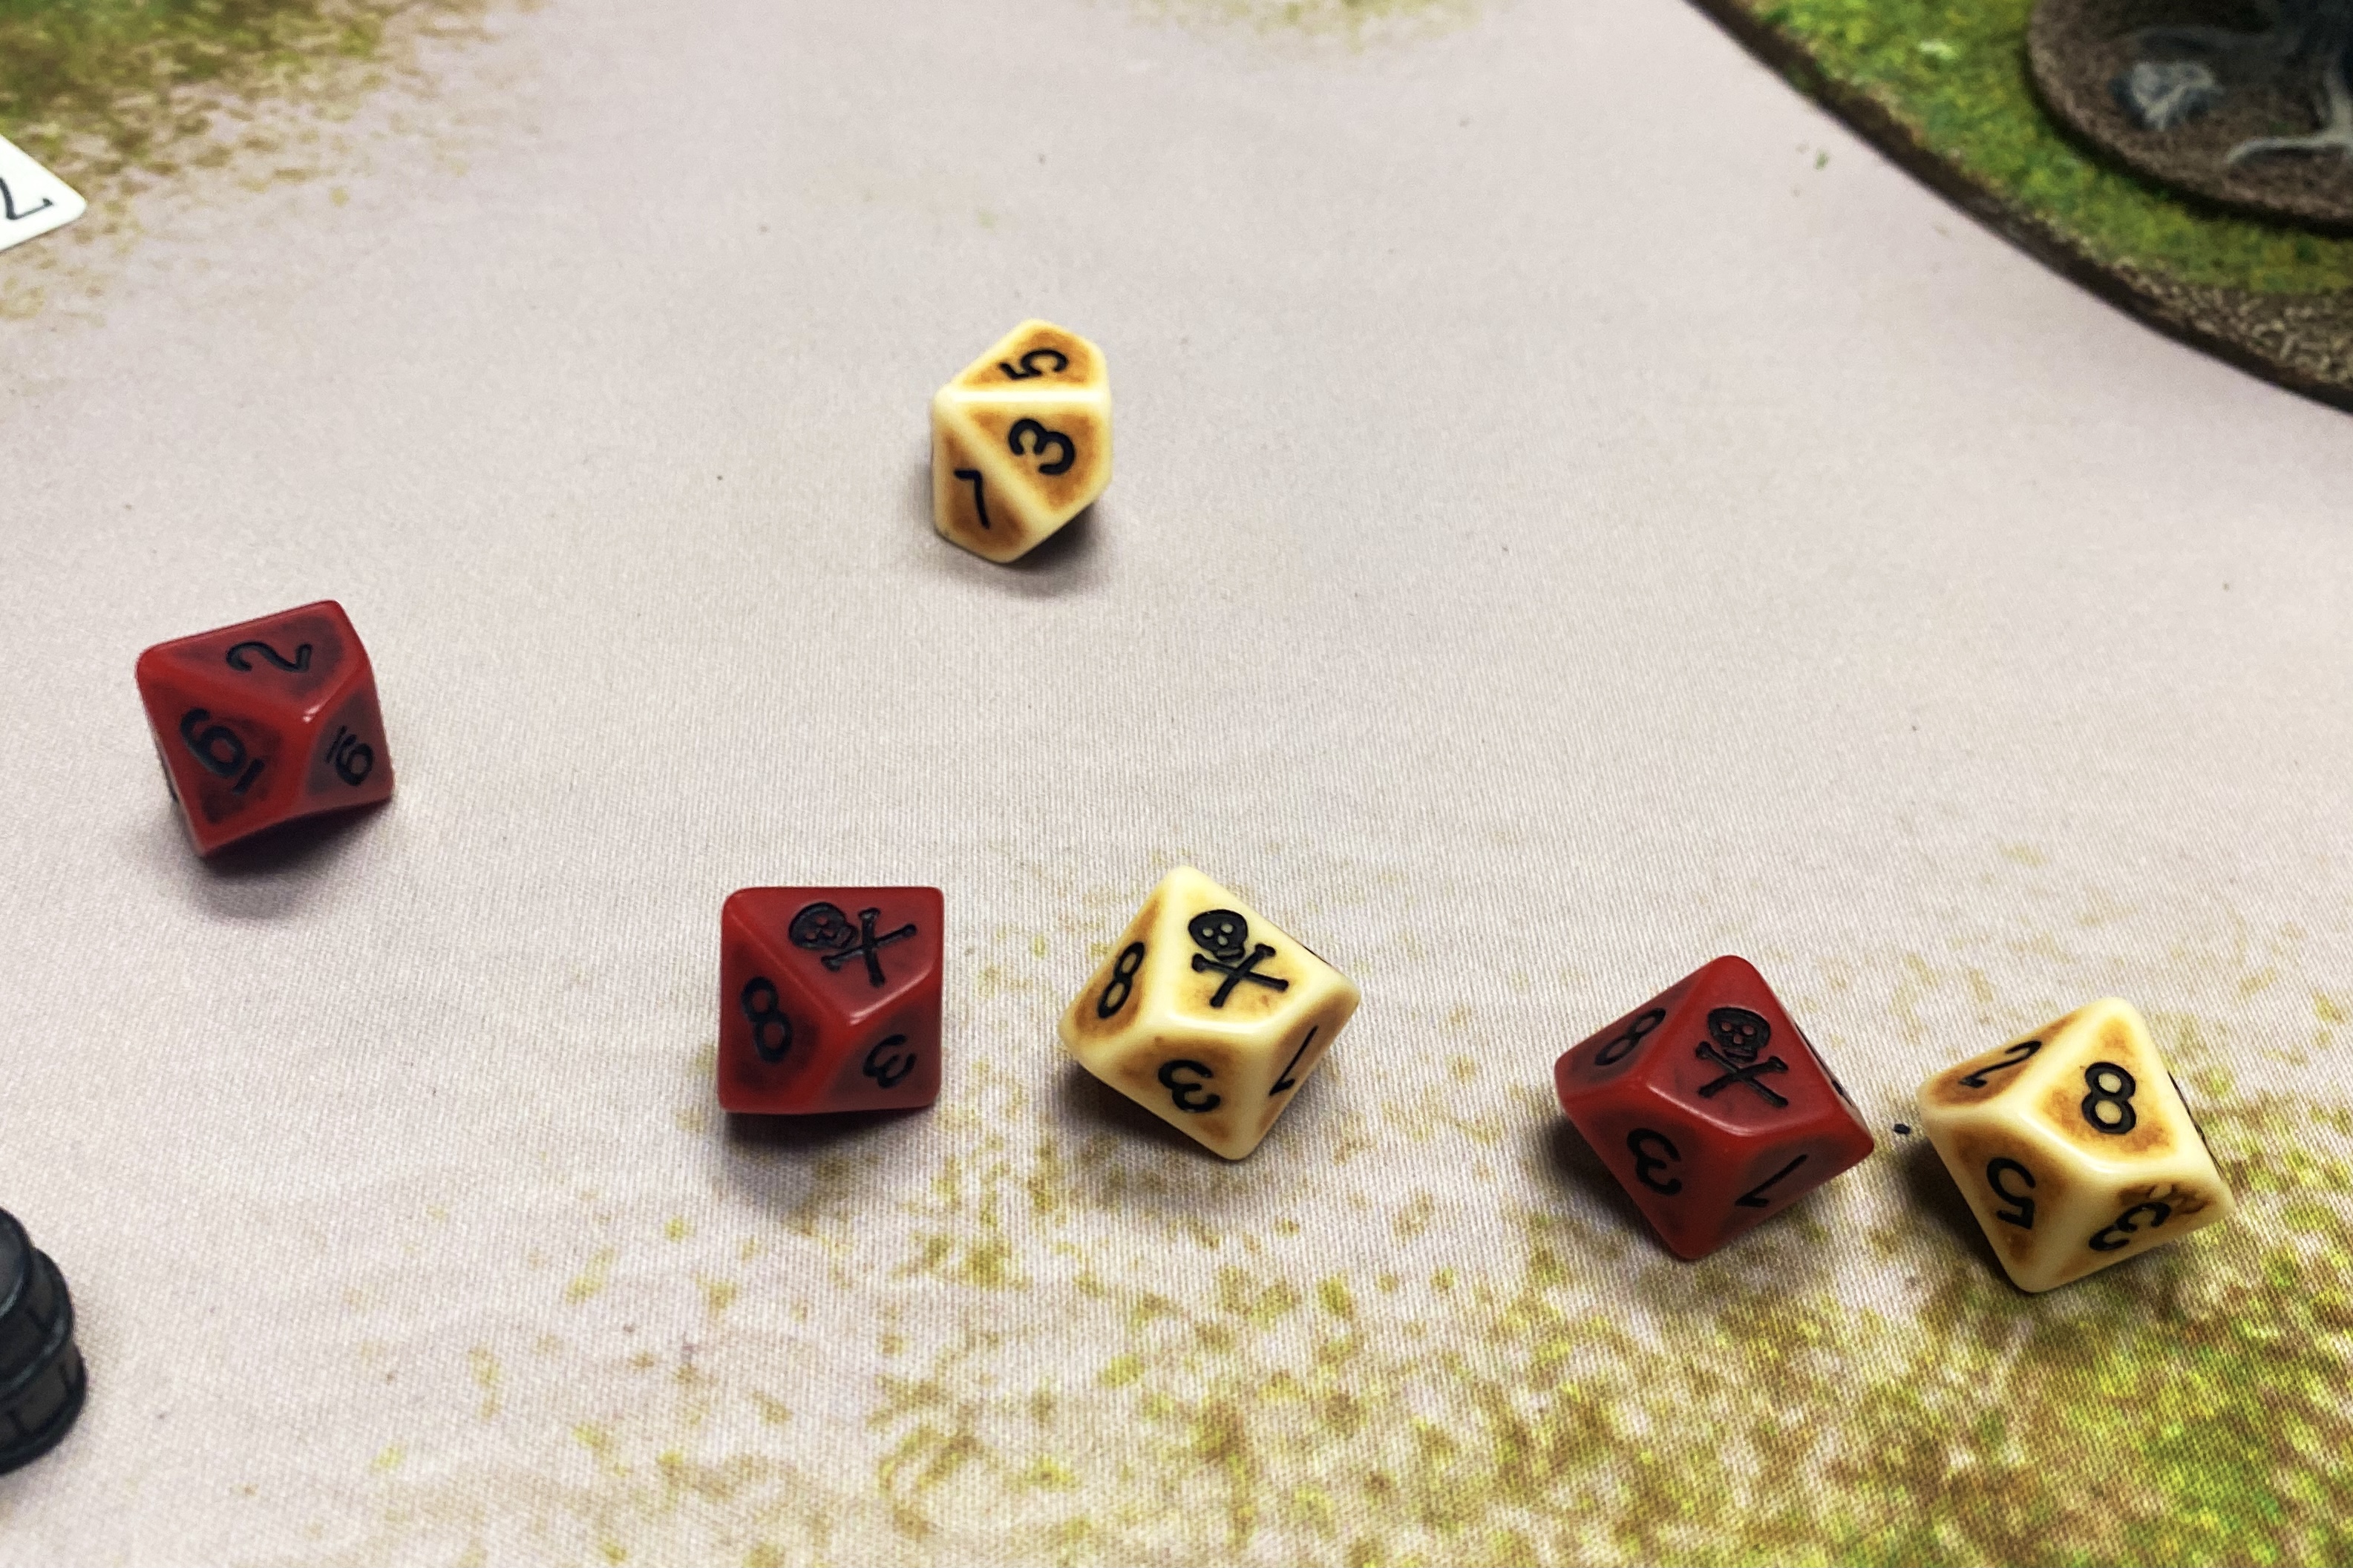
This was rather exciting that a unit died so we could use my freshly painted casualty minis and brand new (non official) casualty rules.

That impact must have hurt…

Casualties stood at 20 English models for a combined total of 100 points to….

One Spanish casualty… A single Miliciano for a “total” of 3 points.
Turn 4
But it wasn’t over yet! I had the second wave coming in with the Unnamed African at their head!
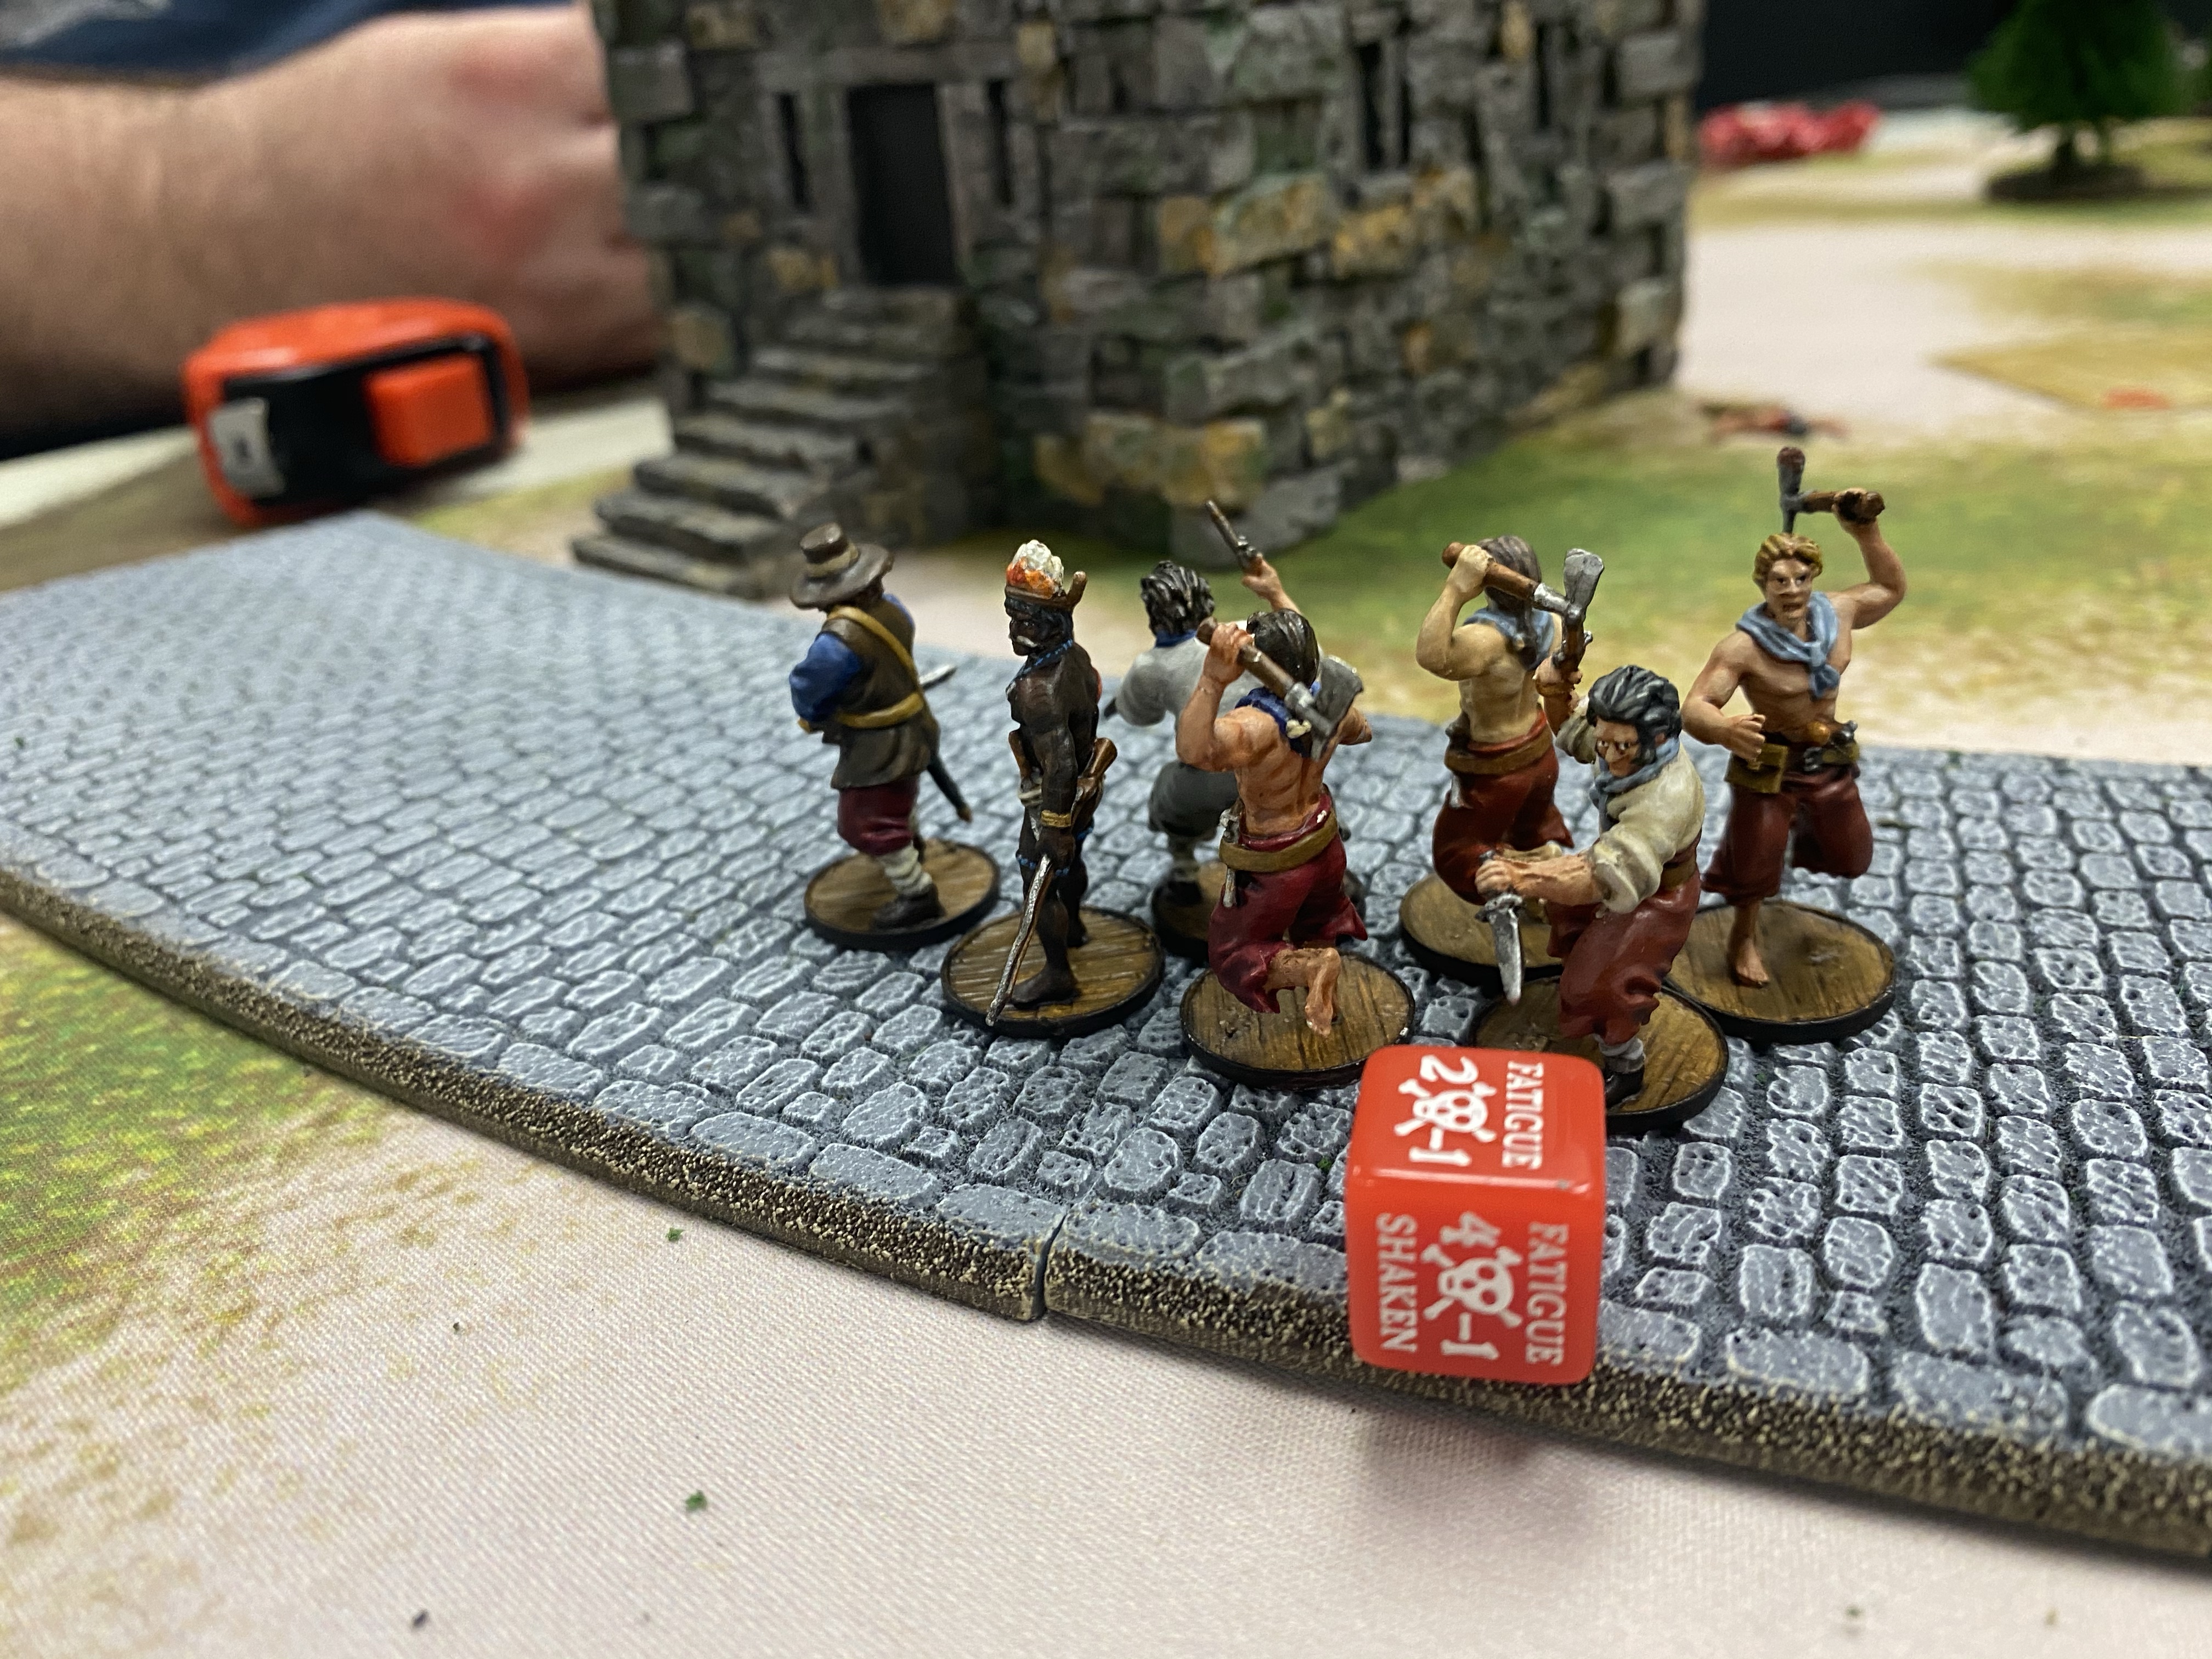
With no climbing equipment, this unit was planning to try to breach the fortified door.
But that took some work! I had to move them up 8″ which was only possible with the African’s Indomitable rule. I moved up into contact with the door on their activation but without a character with a command point, I had to make crippled Freebooters dash forward so Watkins could provide the Command Point from all the way across the field to attempt to breach the door. The target number for a breach is 4+ the Fortitude of the structure. In this case, the Fortitude was 6 so my target number was 10 (this would have been a bit easier if we had used the stats in the scenario, but with the numbers I rolled, it wouldn’t have helped anyway).

I rolled a 7 which wasn’t good enough so I used my last Fortune Point to try again. Certainly not a prudent use of a Fortune Point when you’re fishing for a 10 on one die, but I would rather die trying! Queen Anne re rolled that die but it came up a 3 and that was pretty much the end of my assault.

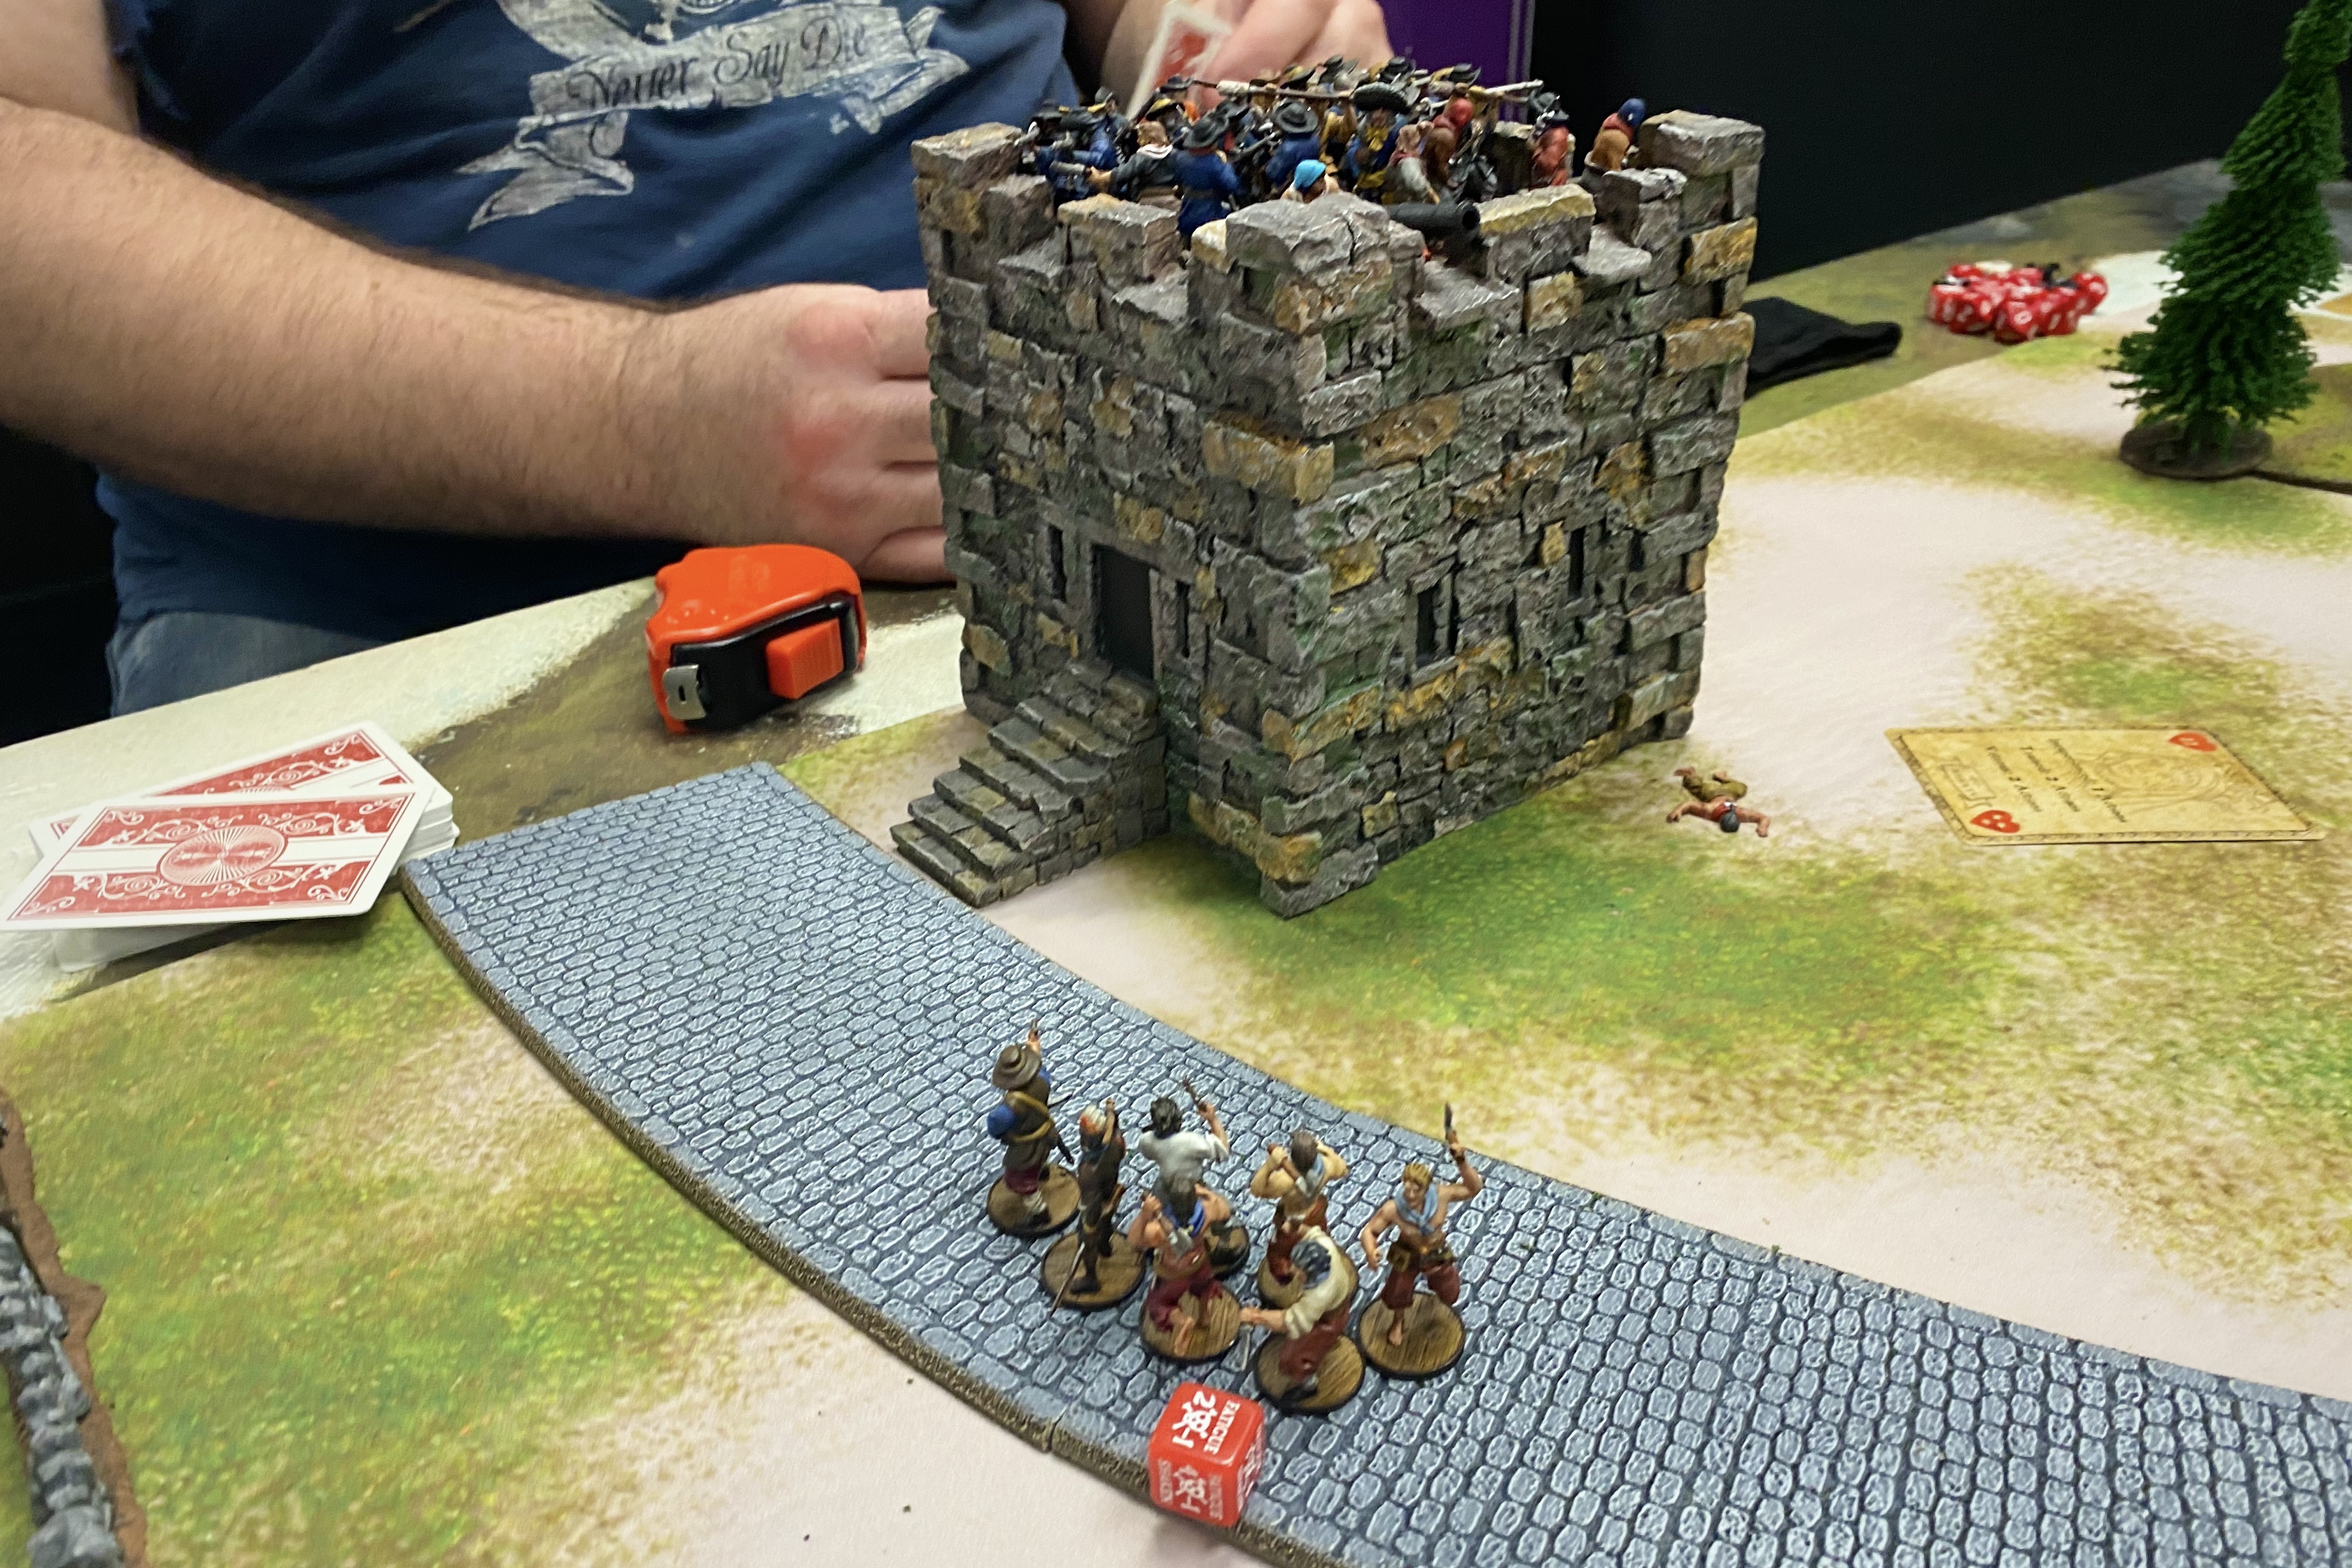
The Spanish, realizing they outnumbered the attackers (just as they did in the historical battle) sallied forth and between both of those massive units, they cut down the Sea Dogs to a man.
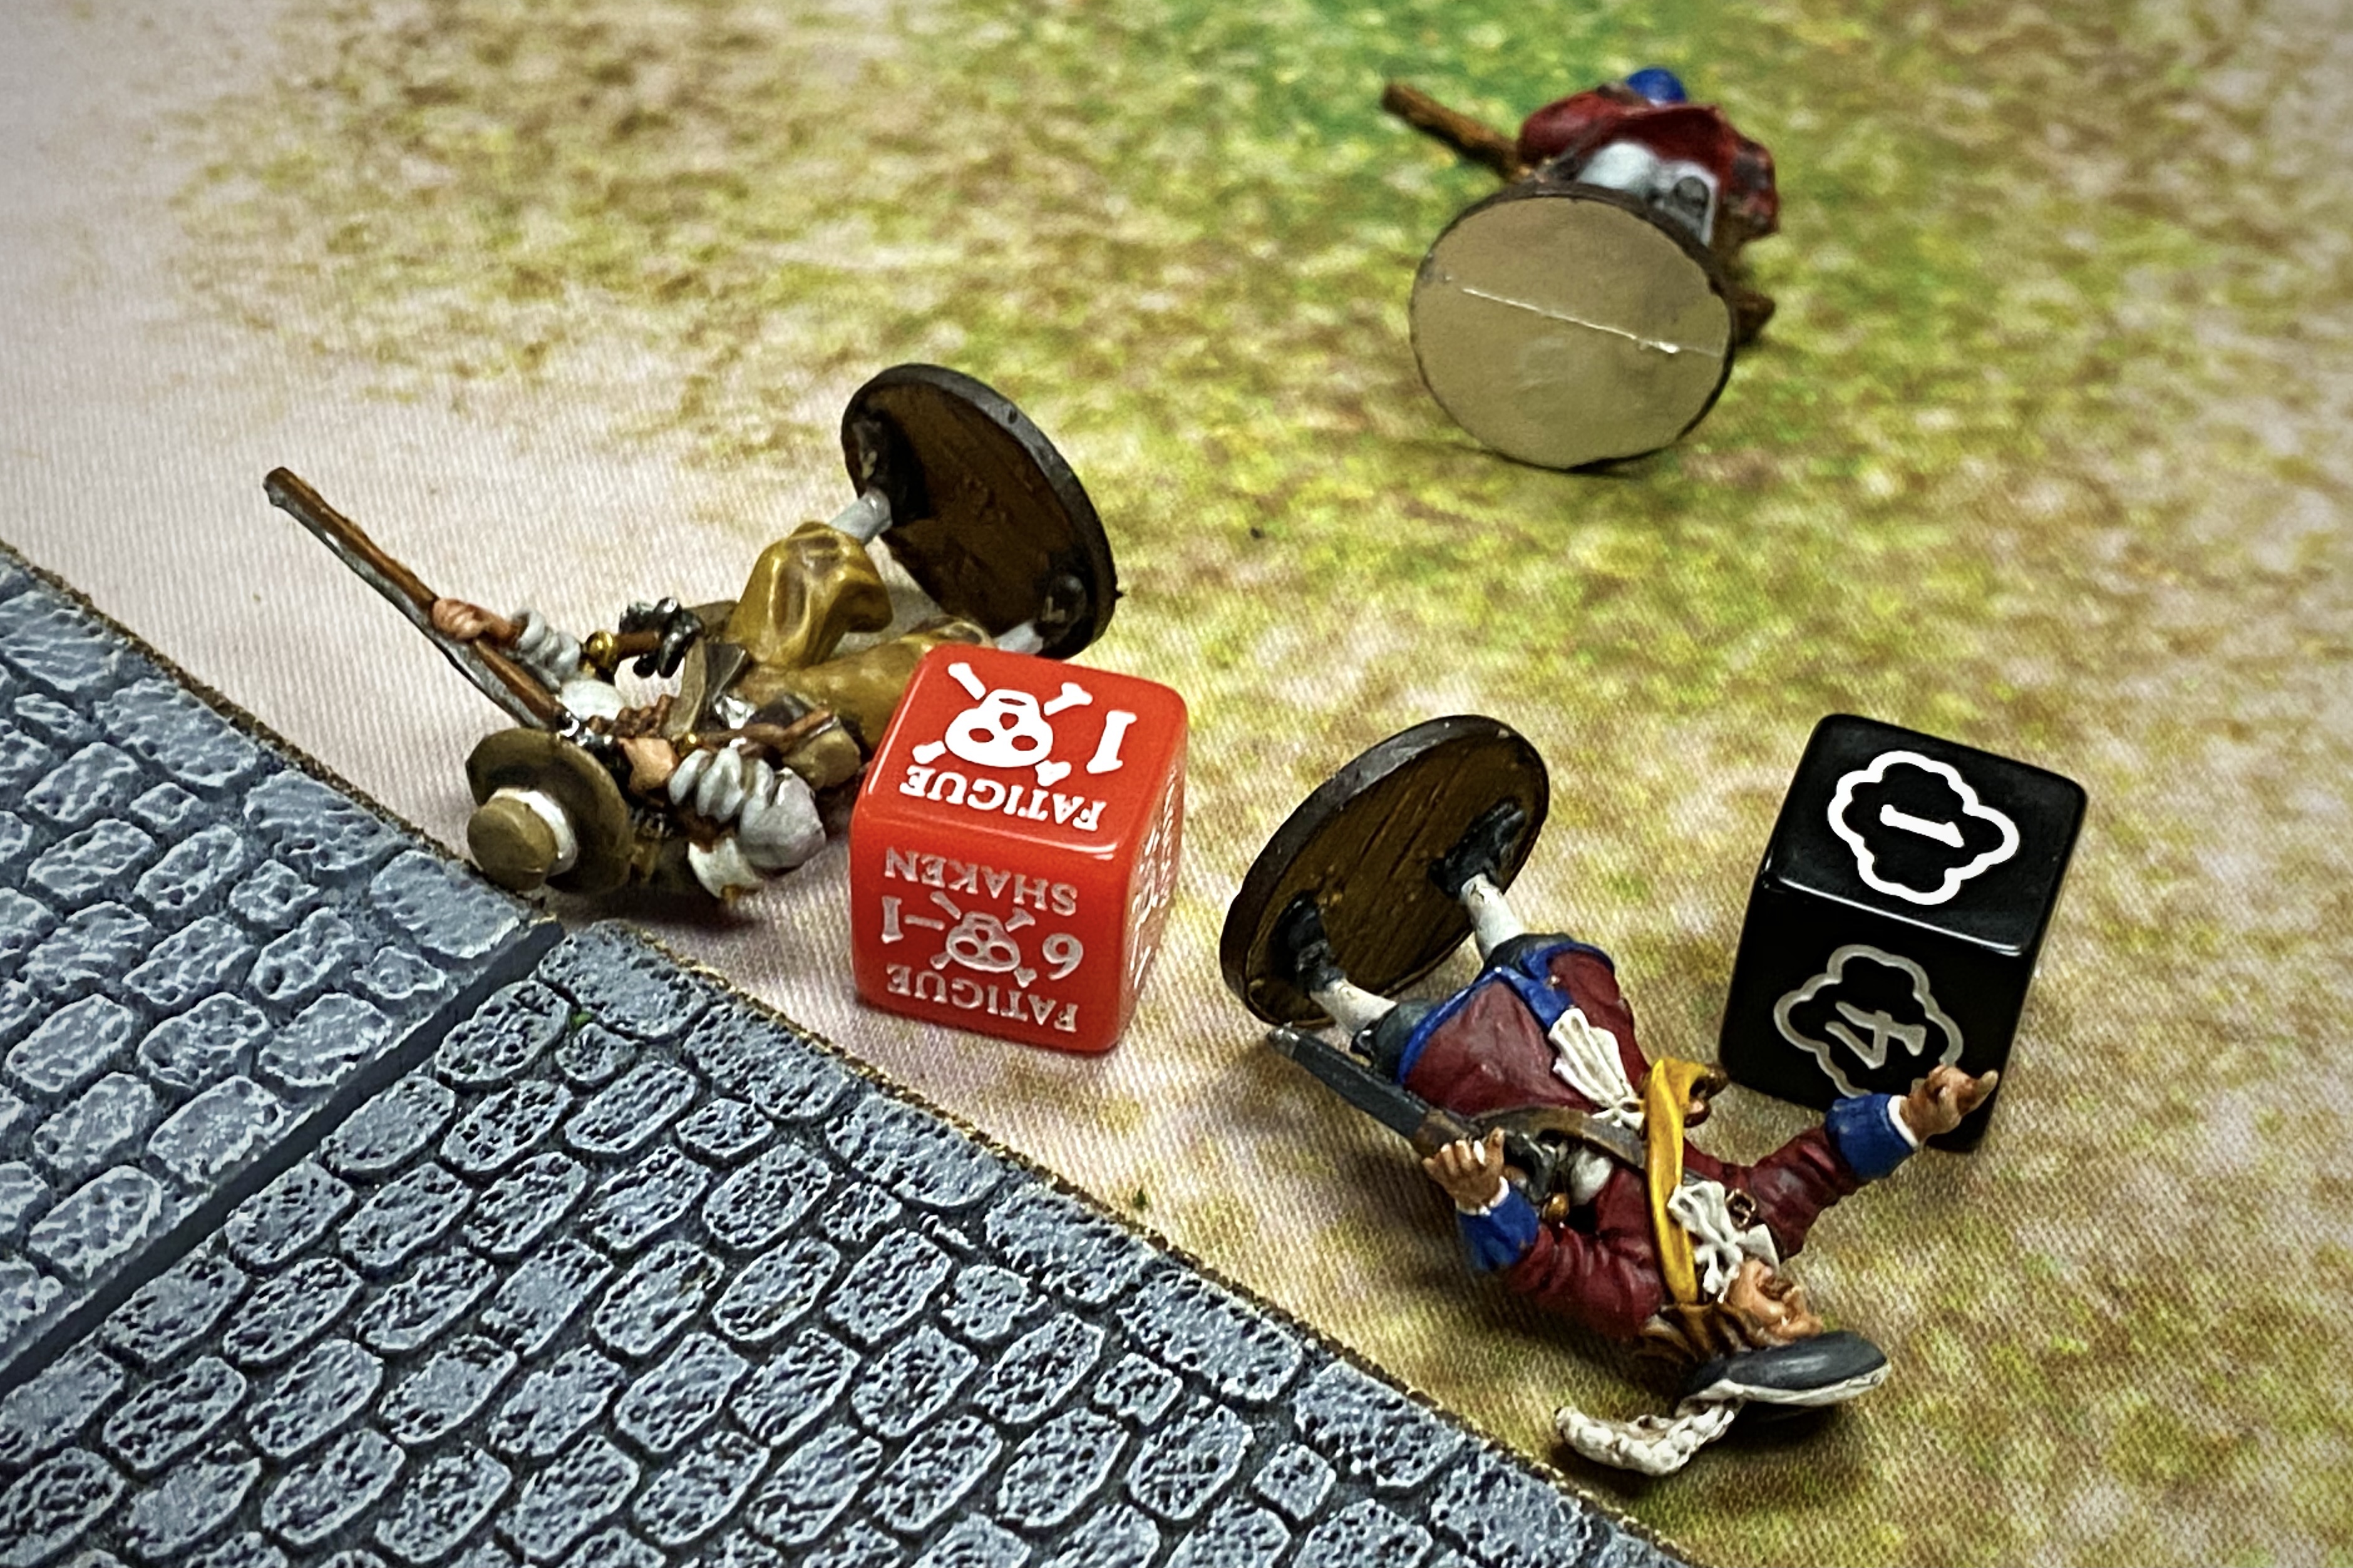
Another casualty marker hit the ground!

By the end of turn 4 the English casualty pile was massive.
Turn 5
With Watkins out in the open after his desperate attempt to help the Sea Dogs breach the fortress, he was an easy target for the guns on top of the fort. With no cover and being fired on from an elevated position, they only saved on 10’s and that just didn’t happen.
Then the Spanish got even meaner! Using the casualty token rules we made up, the Milicianos scalped my poor dead Sea Dogs! Thy passed the Resolve test which made my last remaining unit, the Boucaniers in the house, to take a second Fatigue.

I tried another shot but at that point it was just an act of defiance. The English assault had failed.

It had failed badly. Bartholomew Sharp lead the tattered remnant of the once proud English force back to their ship and the Pacific Adventure came to an end.

The Buccaneer’s Companion ended with a resounding and glorious Spanish victory!

Post Game Thoughts
We’re planning to do a post dedicated to looking at this campaign as a whole soon so I won’t reflect on the campaign much at this point.
- This was a brutal game. I knew it was going to be rough going into it but Guy did a fantastic job building a killer force for this game and he managed it well. I haven’t seen such a lopsided game for a long time. The final tally was 34 English dead to 4 Spanish. 150 points of English models to 12 points of Spanish.
- Assaulting a fort is hard. So hard! My only trick for taking down this Stone Tower Fort is lots of Grenades and this scenario specifically prohibited explosives. I felt I did my best but it just didn’t happen. Charging across open ground, saving on 10’s, shooting at men behind stone walls, climbing to charge, trying to bash through oak doors and finding your units whittled down to a point where you couldn’t even compete with the garrison even if you made it through the doors! It’s just murder! Fortifications are good! The scenario rules pushed me to actually make the assault so I would have probably lost on strike points if I had just sat back and shot away with a more heavily weighted ranged list. I think this is a very challenging scenario for the English player and that well represents the historical situation.
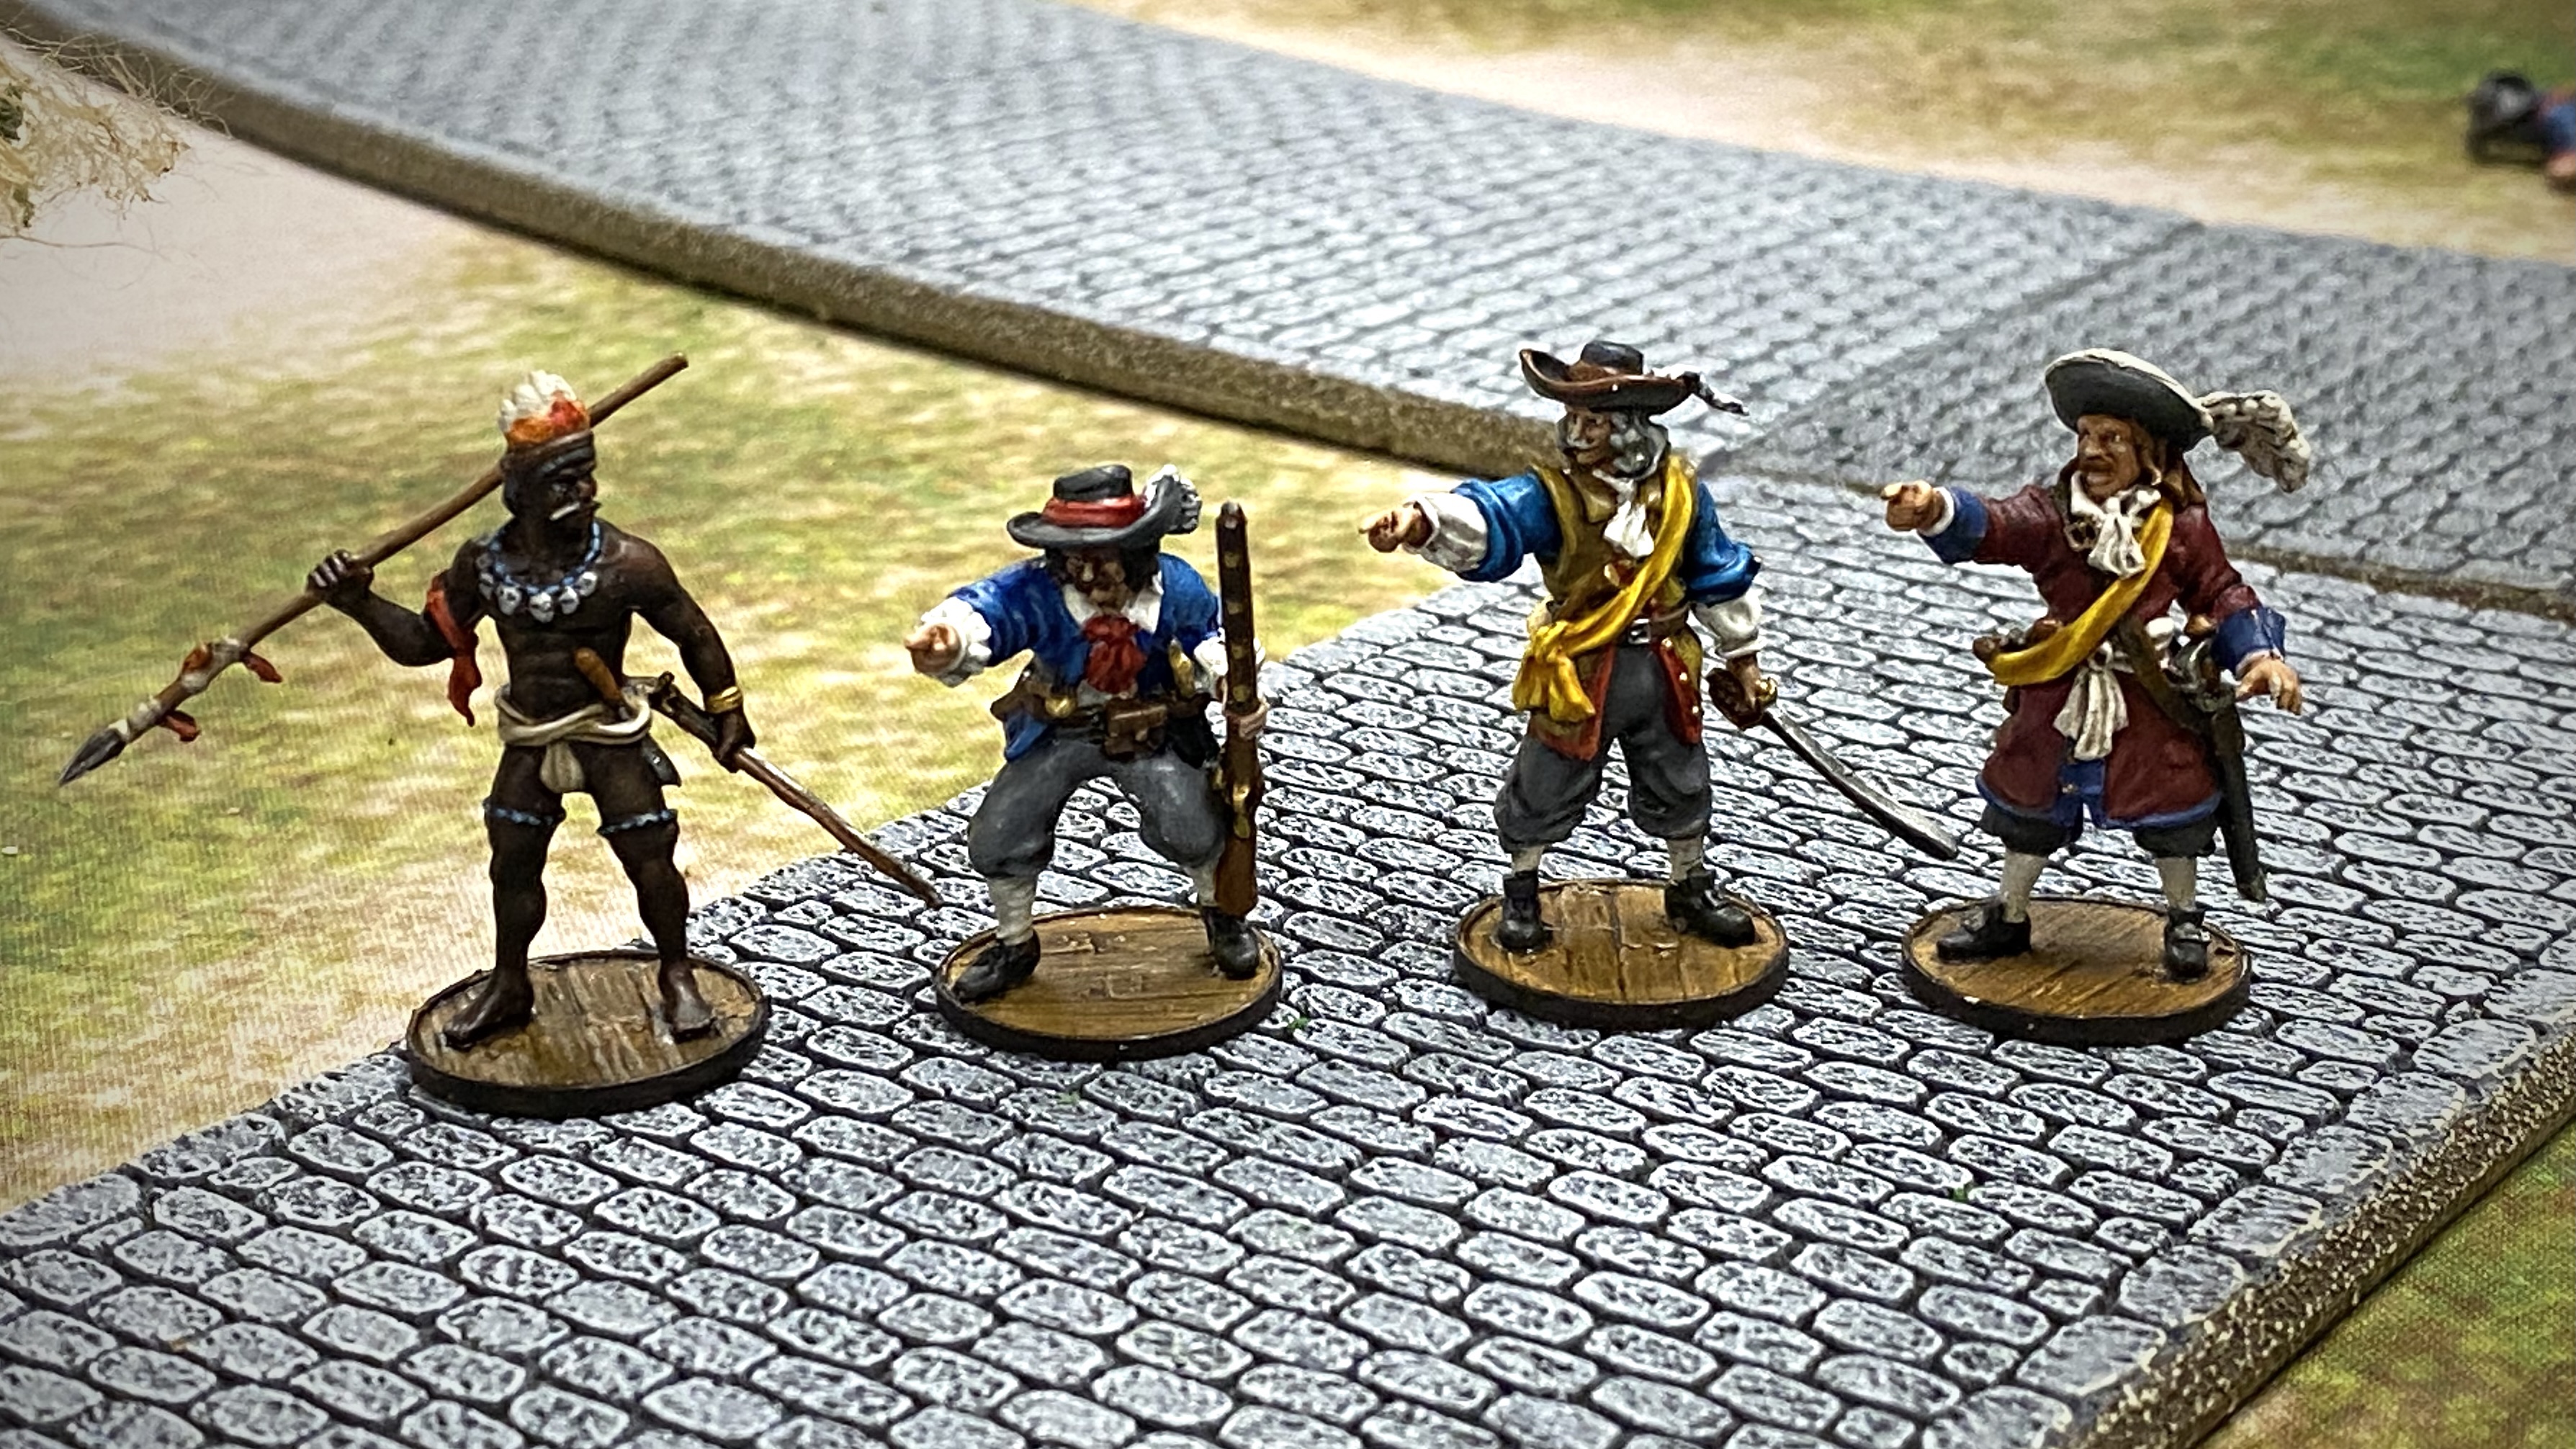
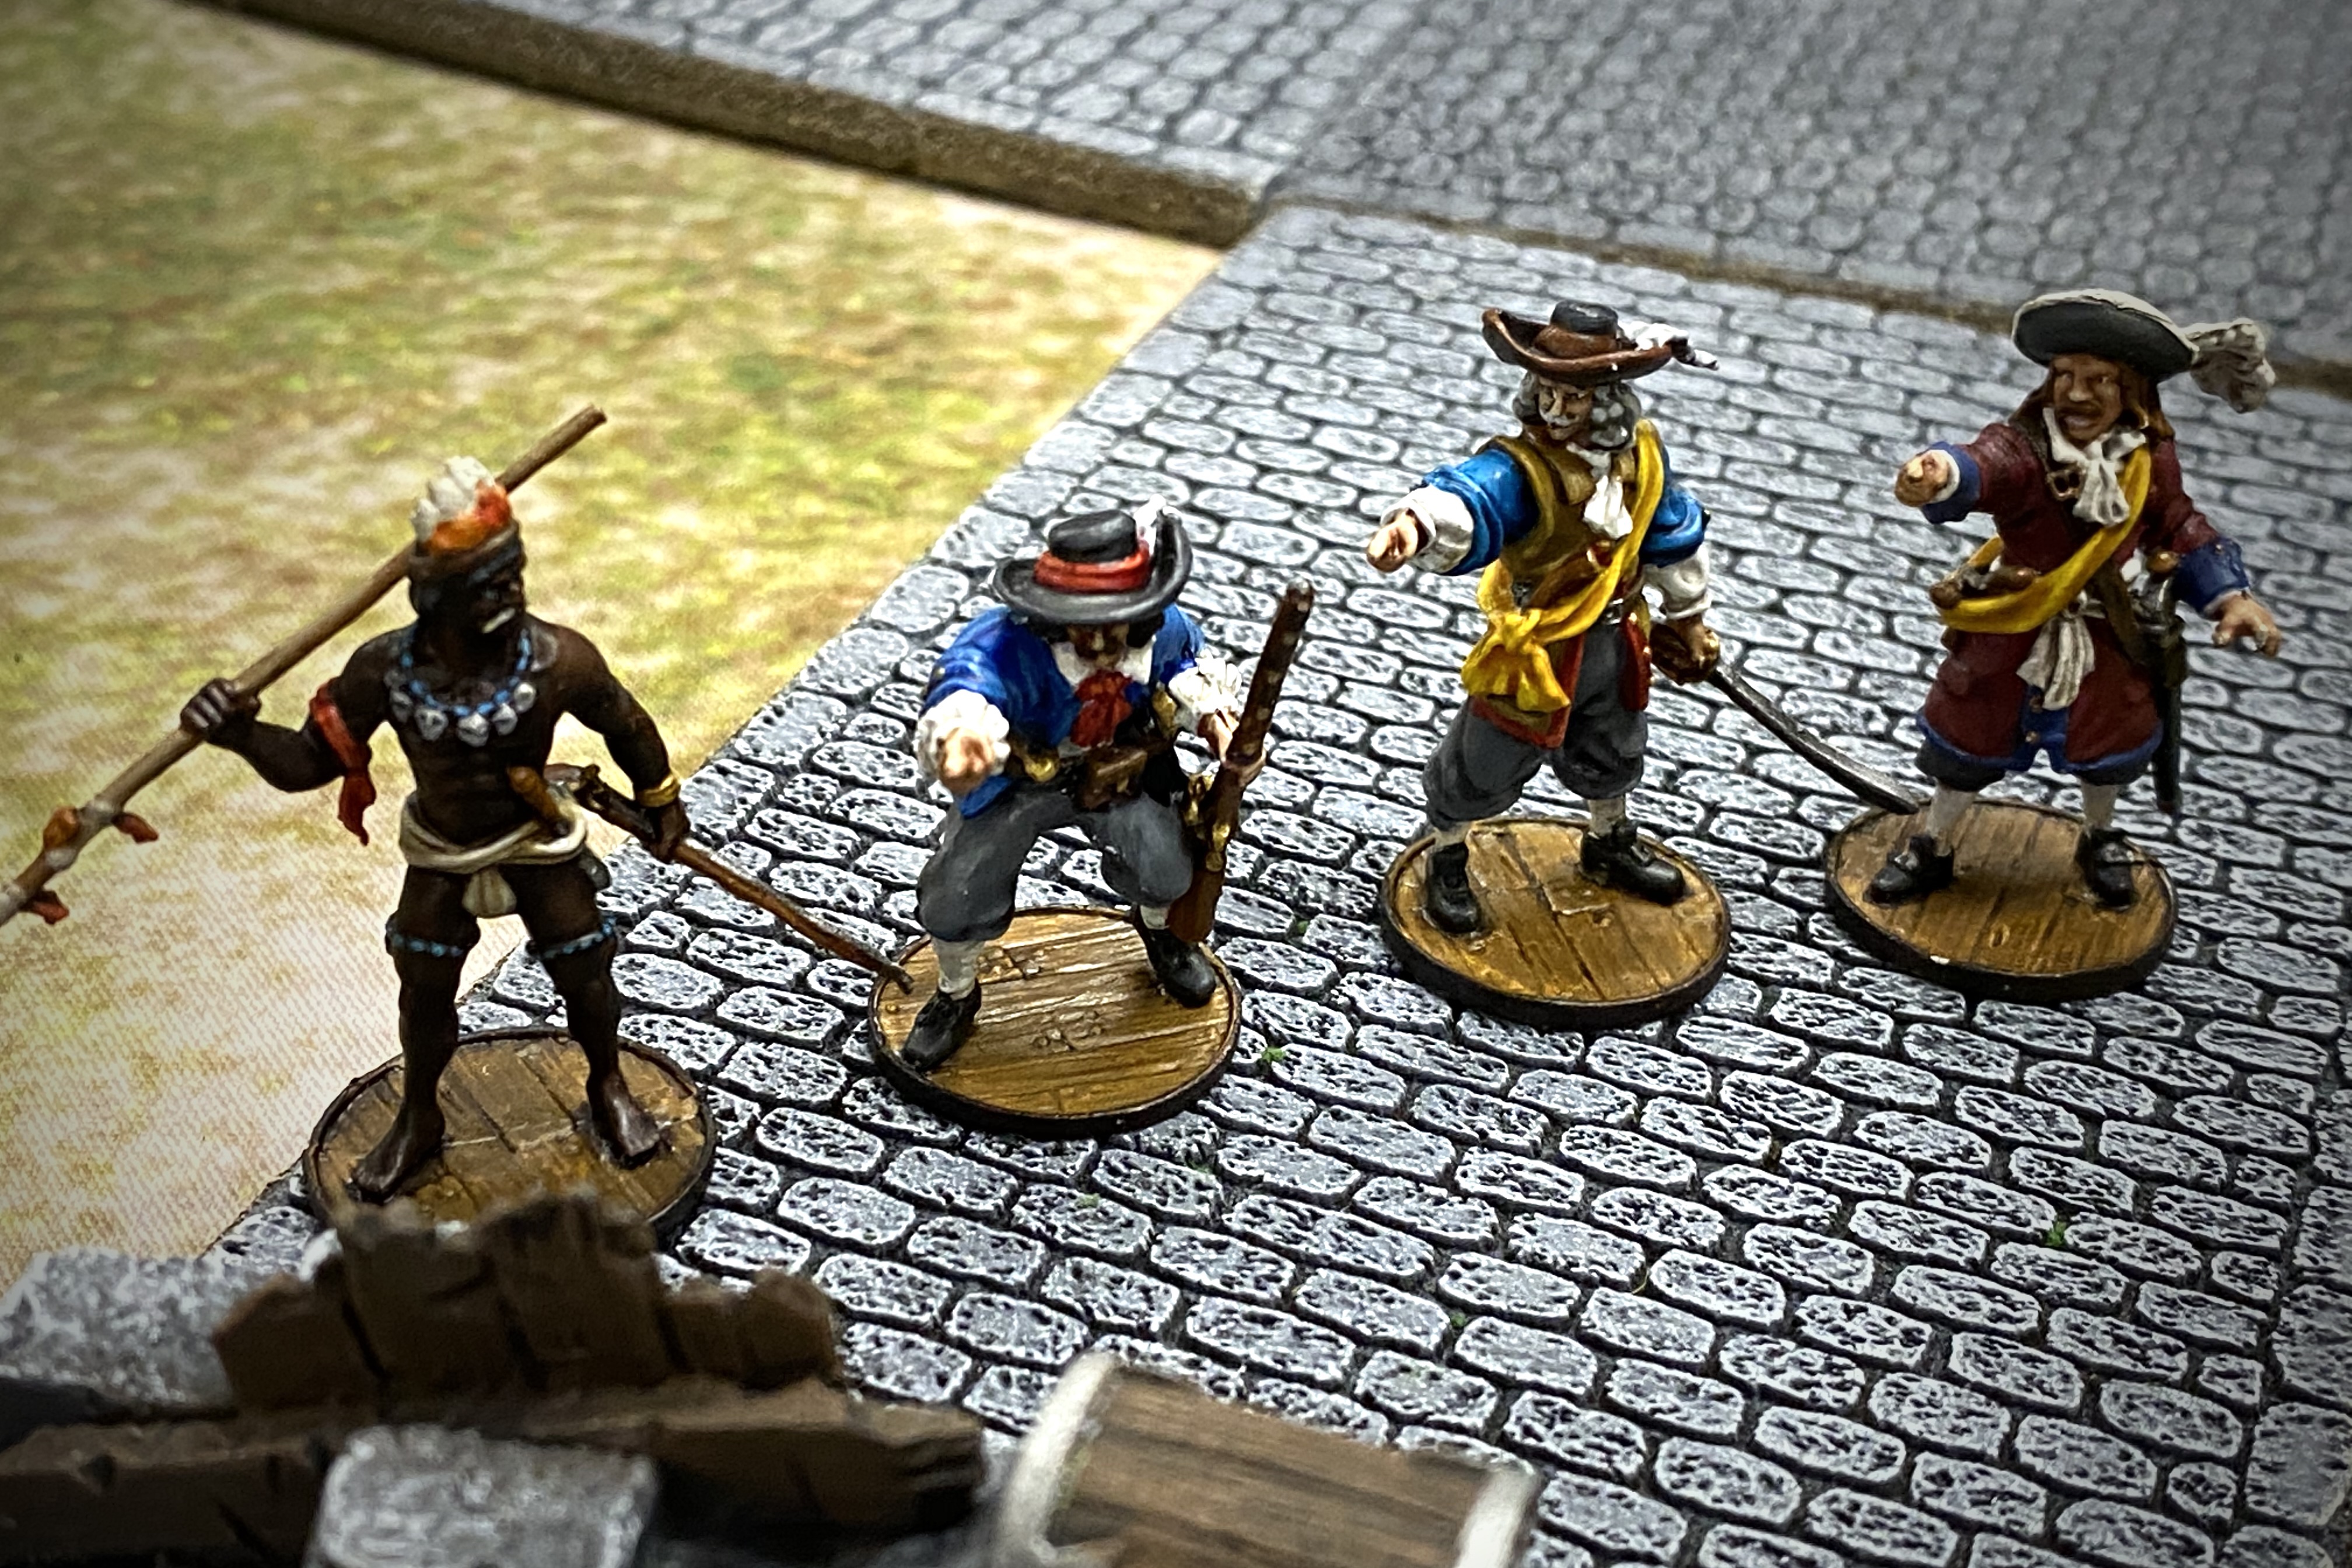
- I enjoyed using all these fun English characters! I had a character in every unit in this game and it is powerful. Sharp is a great deal at 6 points with his Very Inspiring, Ruthless and a Command Point. Coxon is also good for 4 points with Inspiring and the Unnamed African is a champion. I found his unit got mauled in almost every game I played but I realized that was because I always added him to the unit which was going to be in the thickest fighting! It was a lot of fun having these new models to use for these characters as well. I did feel a little sorry for Guy playing the Spanish because they get nothing unique or special!
- Some of the new commanders in this document are just bad. John Watling for 15 points with 2 Command Points and no special rules is just depressing. He has a slightly larger command range than the 15 point English Buccaneer Commander but he is just worse! I used him for history’s sake but I won’t ever use him again!
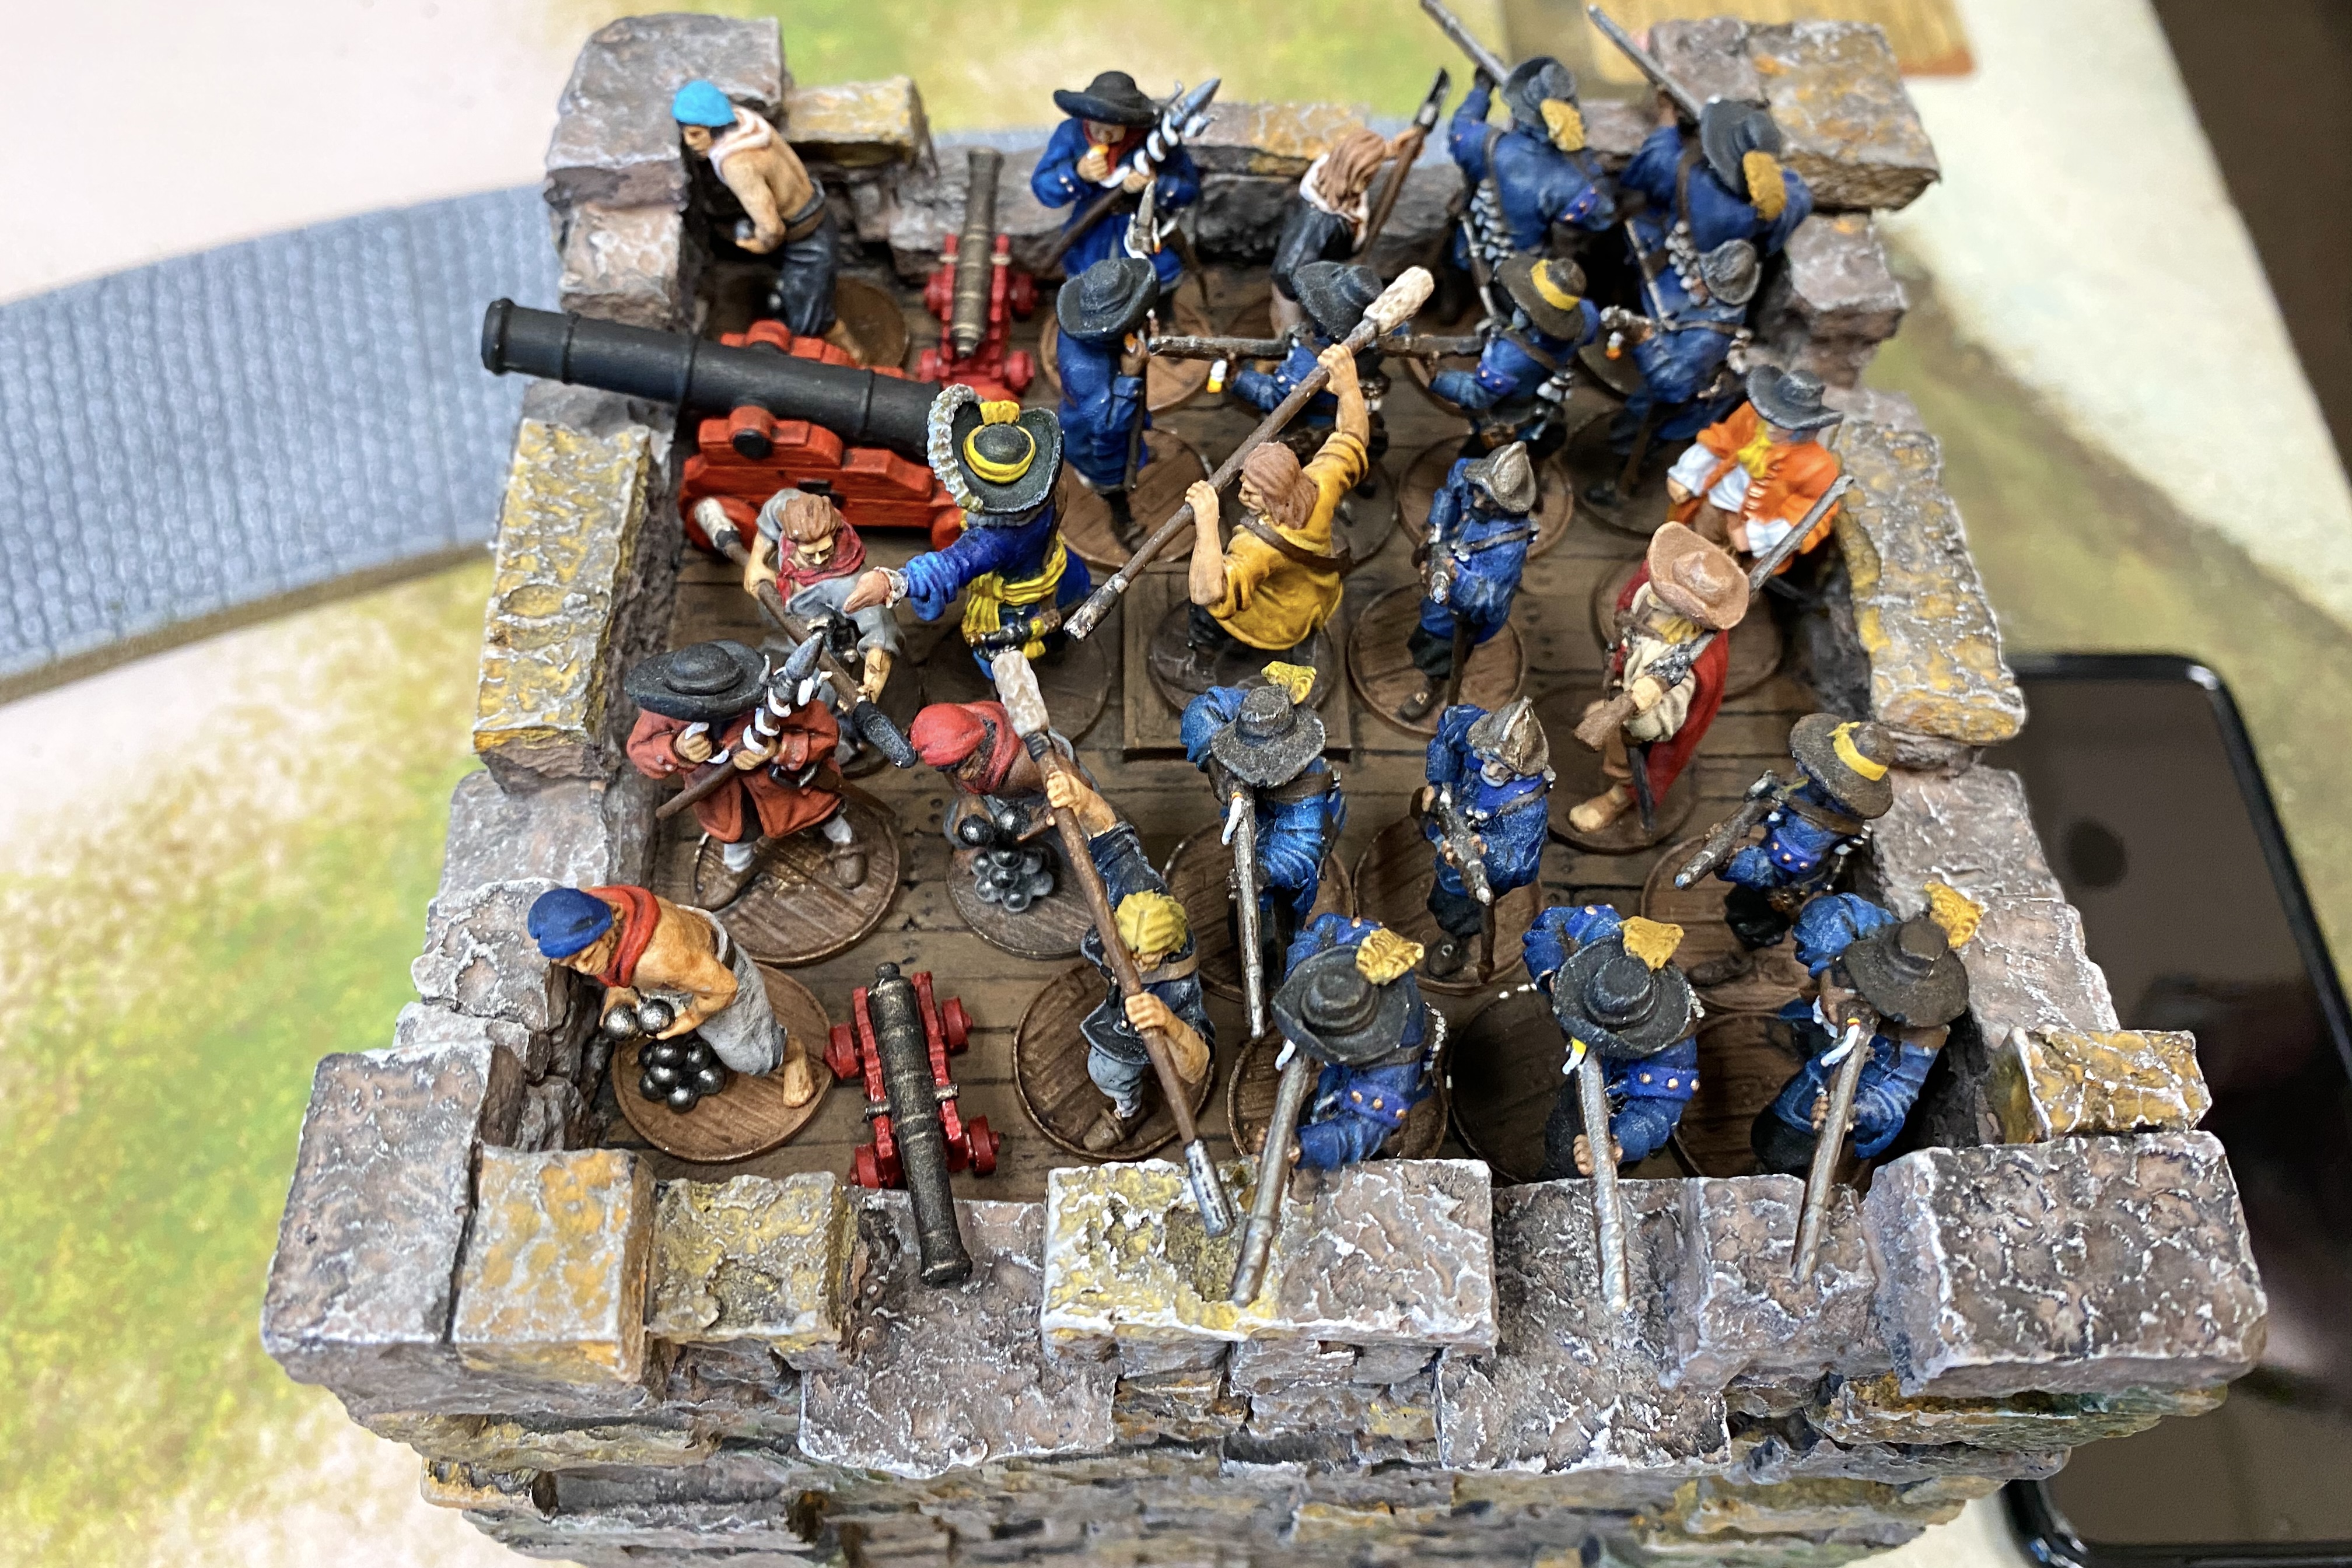
- I love the Stone Tower Fort. It looks so awesome on the table and its so imposing to fight against. Guy did an impressive paint job on his fort! Check out those variations in stone shades!
- The Superior Cover rule is very good for Milicianos. Their 8 Ranged Save makes them pretty bad in a Palisade or even on top of the Stone Tower Fort, but bringing their Save down to a flat 3 covers that huge weakness. And if they’re just sitting there reloading a shooting, their Inexperienced training level doesn’t hurt as badly.

- I highly recommend adding those Spanish captives to this scenario! That made a challenging scenario more entertaining while adding historical flavor to the game. I can’t believe the Spanish just shot them down!

- Still liking this 4Ground terrain! These houses are great.
- I don’t really have any advice for English players out there who might be getting ready to play this scenario. It’s hard and you will be challenged/die. Good luck!

- Playing a campaign was a lot of fun! I’ve played the NPBtL campaign a couple of times but this is a totally difference experience. I enjoyed having a long term set of games to work through with my friend.
Thanks to Guy for playing through the whole campaign with me! We both won 3 games and we had a nice mix of close games, careful games, and massacres. Thanks to Firelock Games for producing and releasing this product to us for free and thanks specifically to Nate Zettle for designing the campaign.

Love the cobblestone roads. Where can I purchase these?
These are from Gale Force 9. Here’s a link: https://www.gf9.com/Default.aspx?tabid=225&art_id=7099
These are from the Gale Force 9 Battlefield in a Box series.