This was a 200 point naval Encounter with Nick, used as a “warm up” for an upcoming campaign.
My local club is about to start its third full campaign and we’ve taken liberties with the campaign rules. This time were simplifying it a bit and adding some story elements. I love the campaign as it’s presented in the NPBtL but the way it’s structured it seems to favor land-based, especially at the beginning. For this upcoming campaign we’re taking away all the force restrictions that are put in place at the beginning and really focusing on the commander’s growth through the course of the campaign. All battles will be 200 point Encounters at sea and each commander has to use the same ship throughout the course of the campaign.
All that to say this is a 200 point sea game where we’re practicing/polishing our intended campaign forces.
The Forces
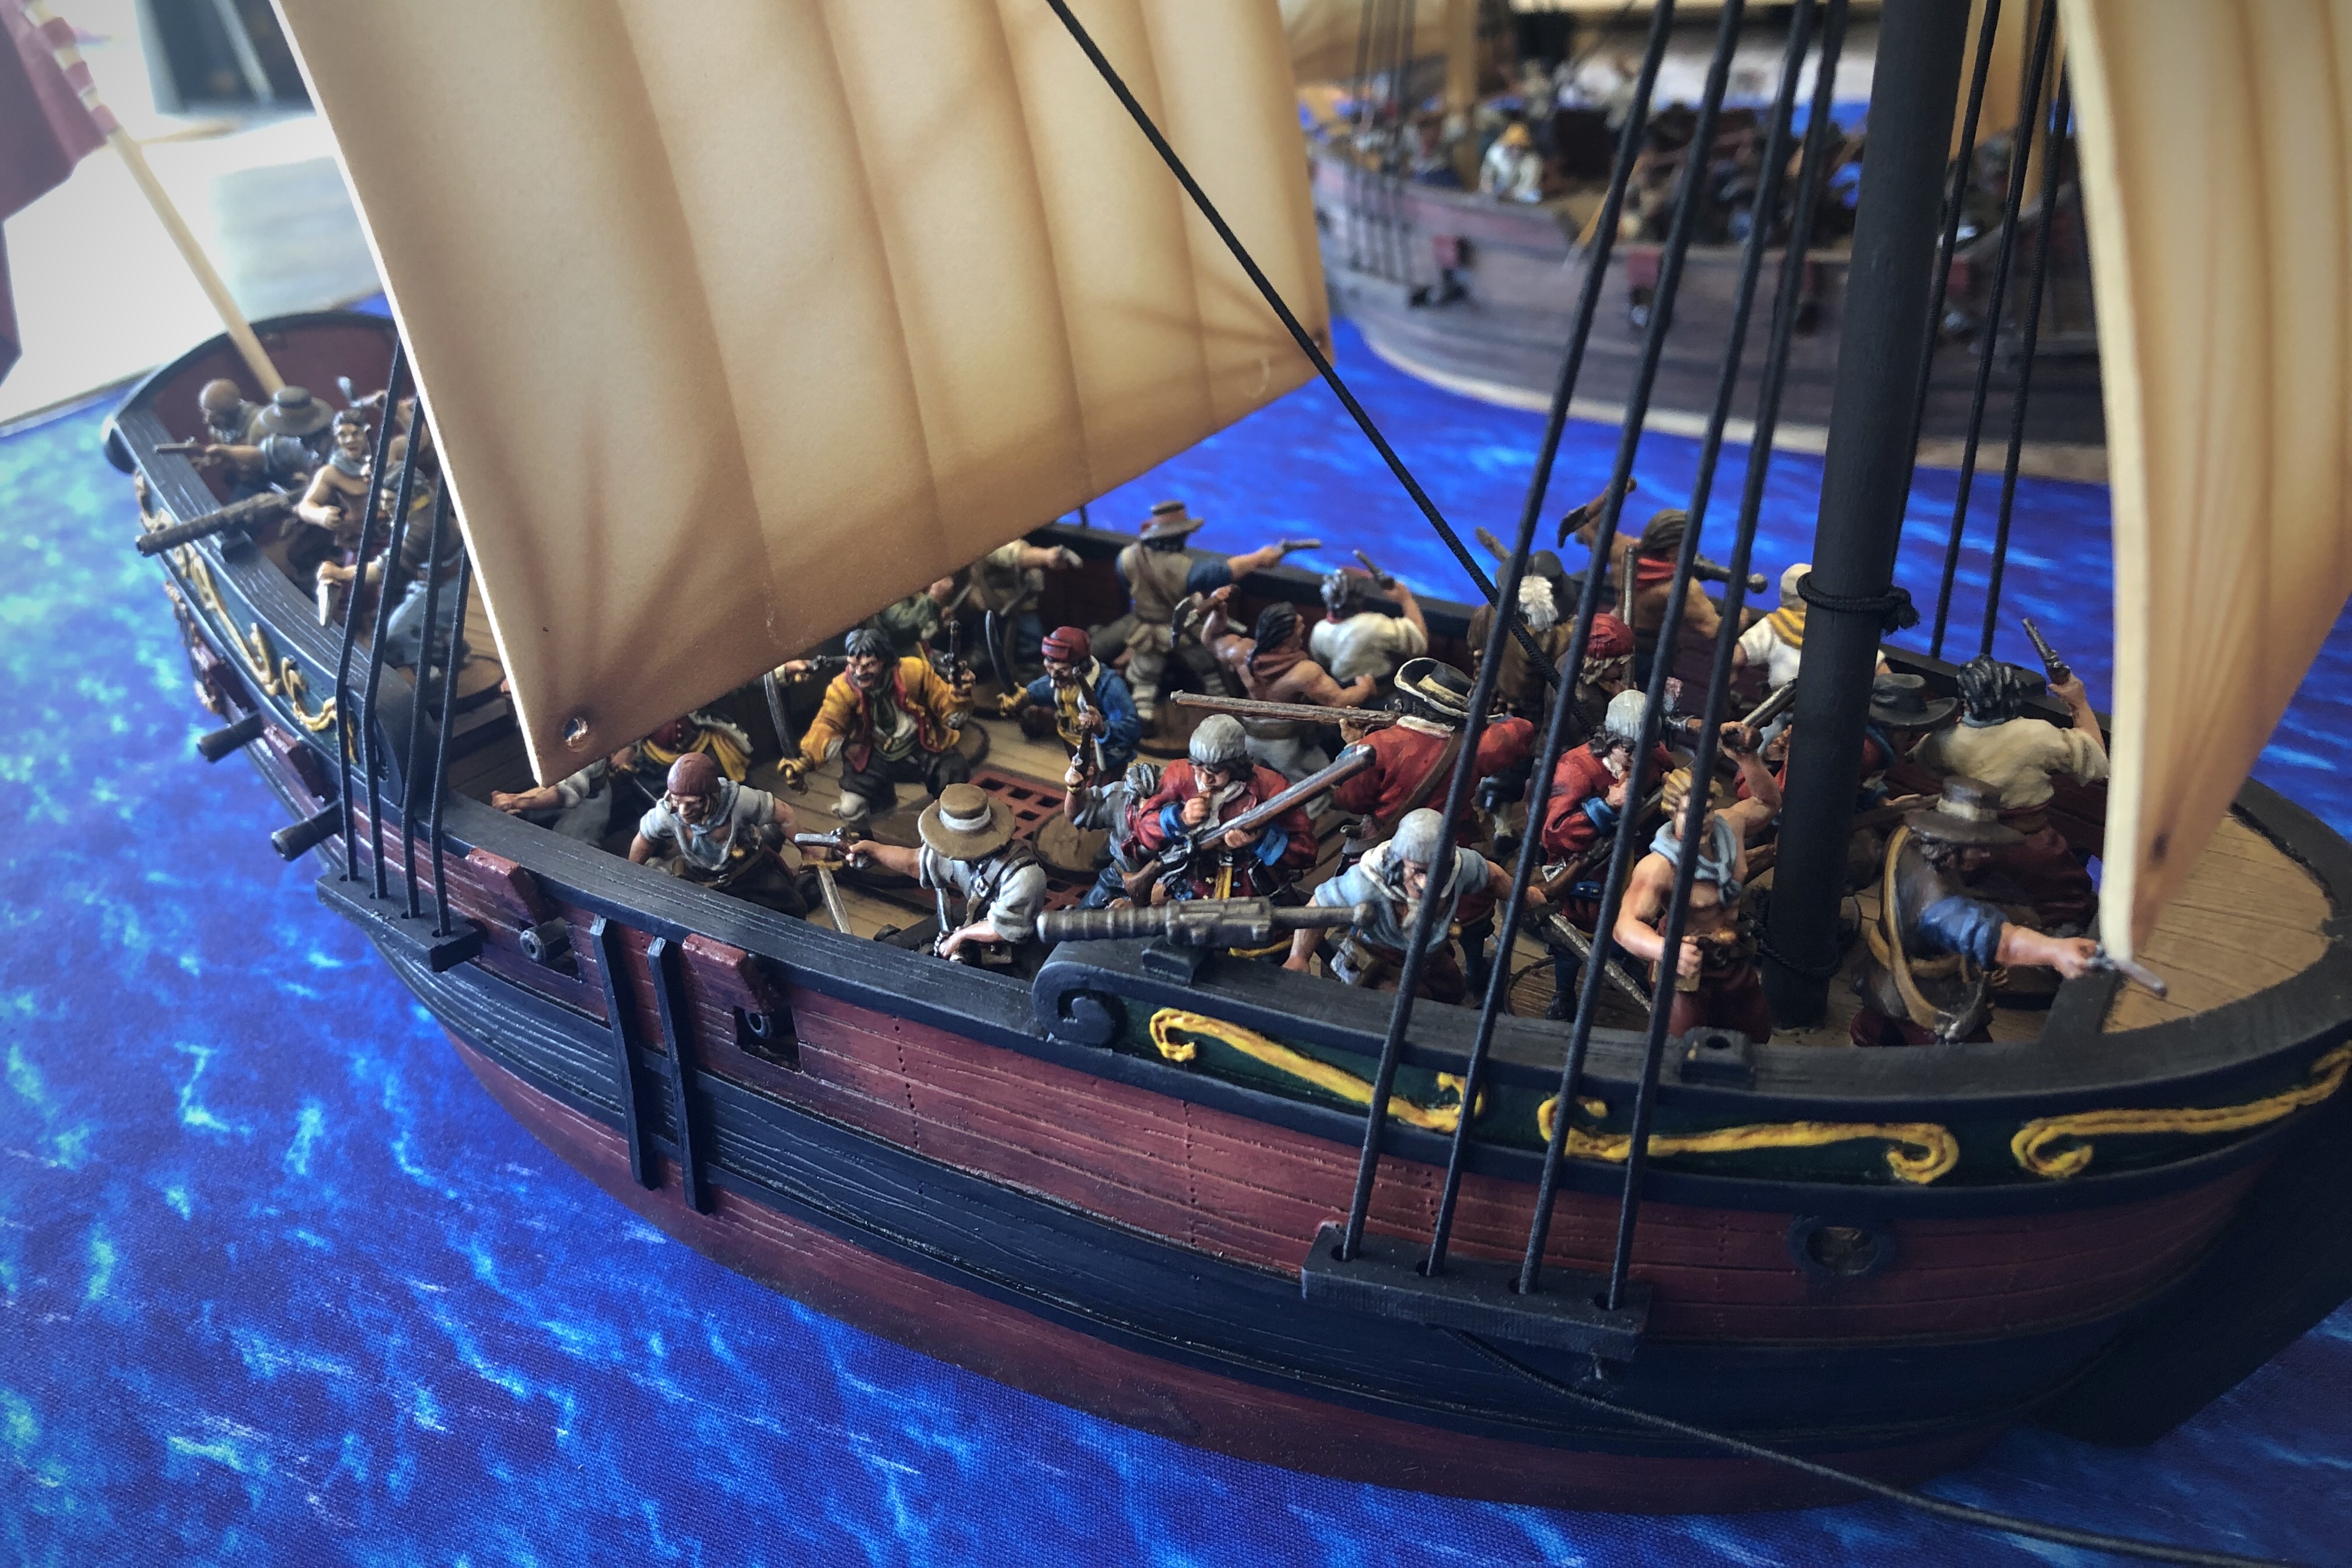
I’m used the English Pirate Hunters faction. This faction isn’t the most diverse of the seagoing options out there but I’ve played the English Buccaneers a lot and I wanted to try something new. With Hard Chargers granted to most of their units, this faction opens up good possibilities for a boarding strategy as well as a cannon strategy.
My English Force consisted of:
- A unit of 8 Sea Dogs without pistols with an Inexperienced English Naval Commander attached.
- A unit of 8 Sea Dogs without pistols with a Master Gunner attached.
- A unit of 4 Zeelieden without Pistols with a Sailing Master attached.
- A unit of 6 Sea Dogs without pistols.
- A unit of 6 Trained English Militia
- A unit of 4 Trained English Militia
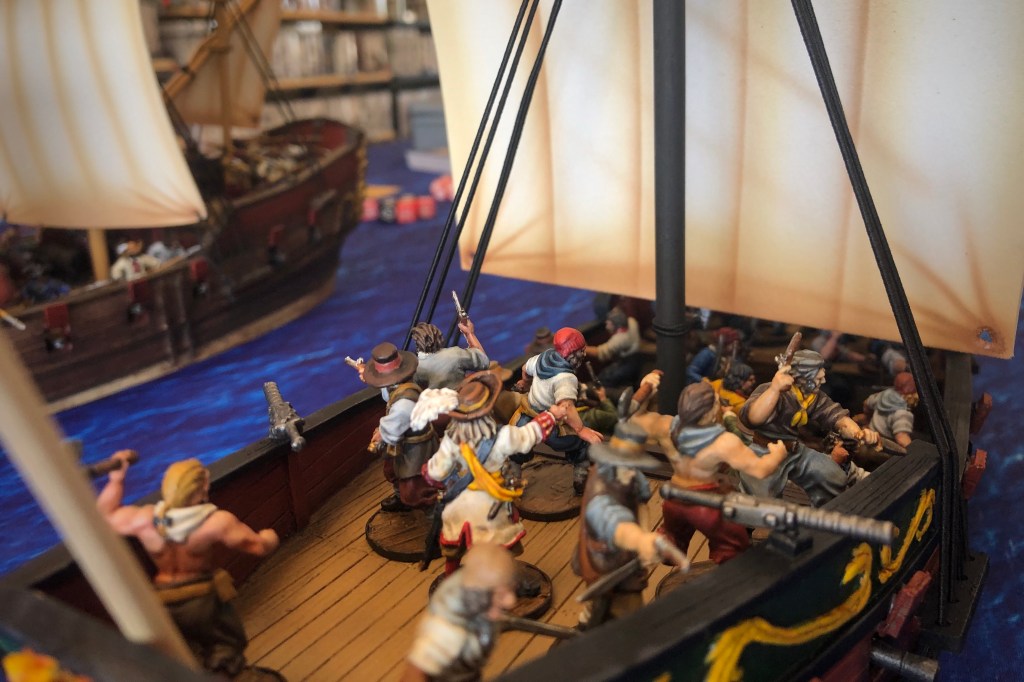
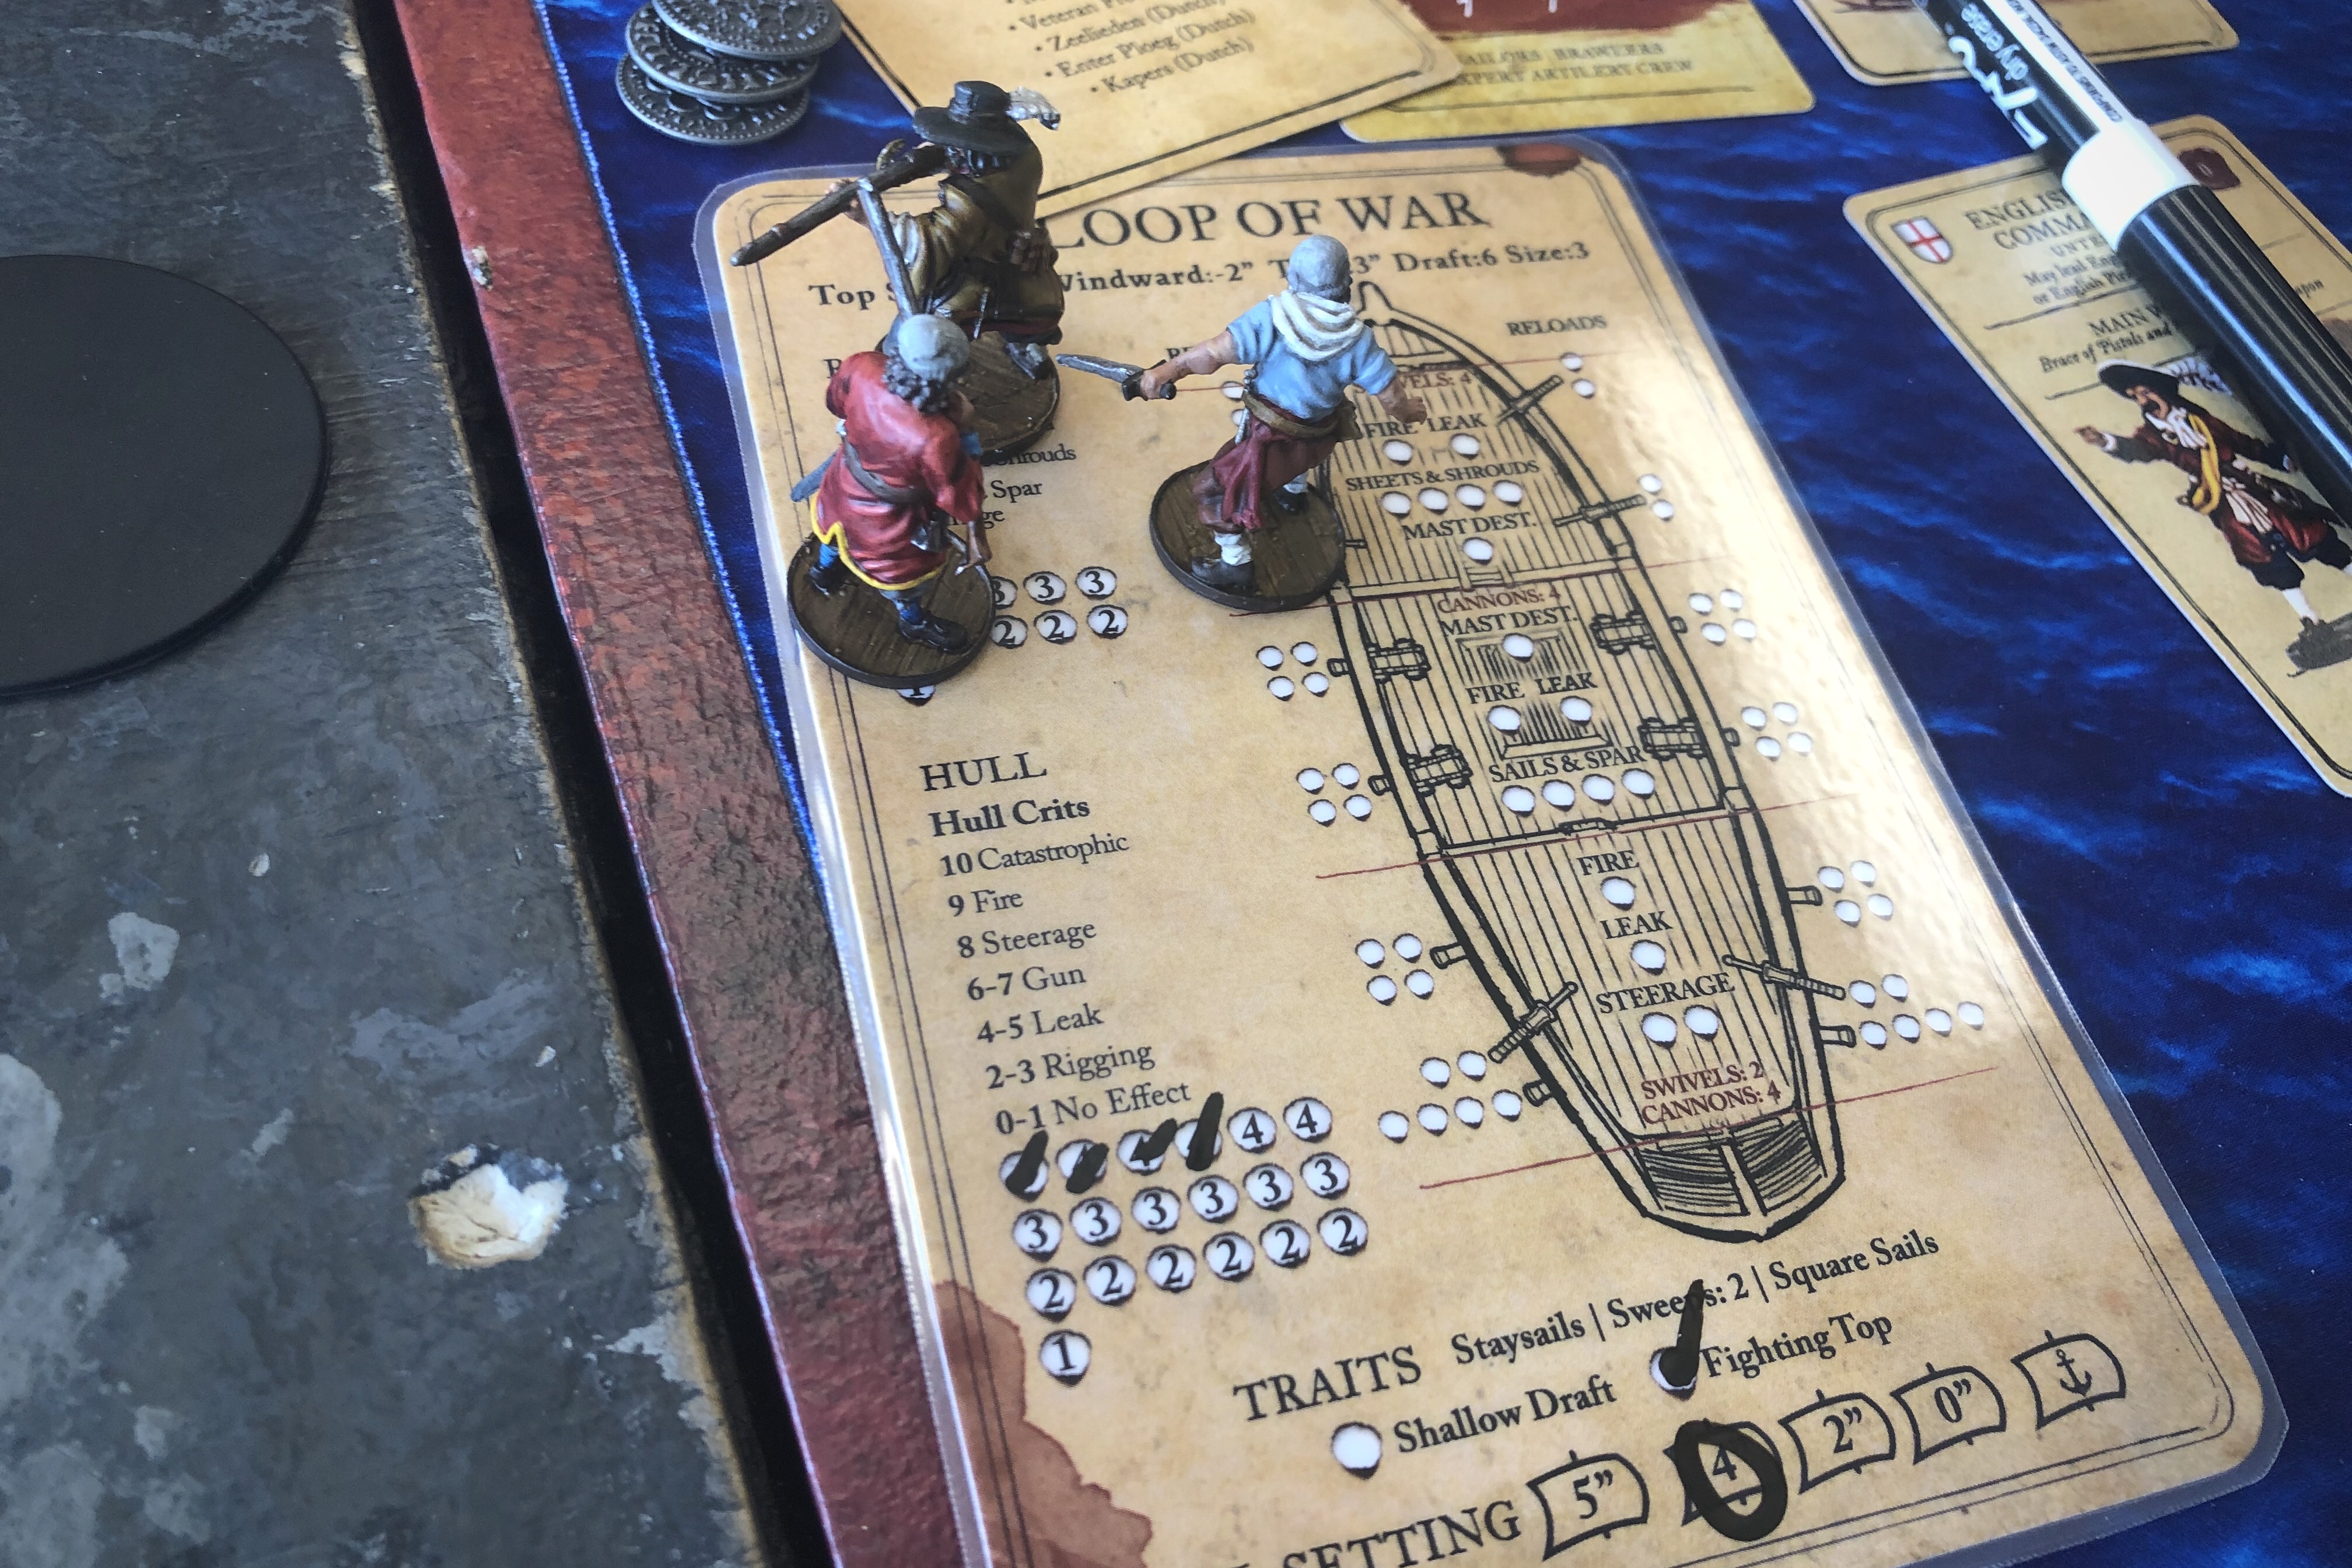
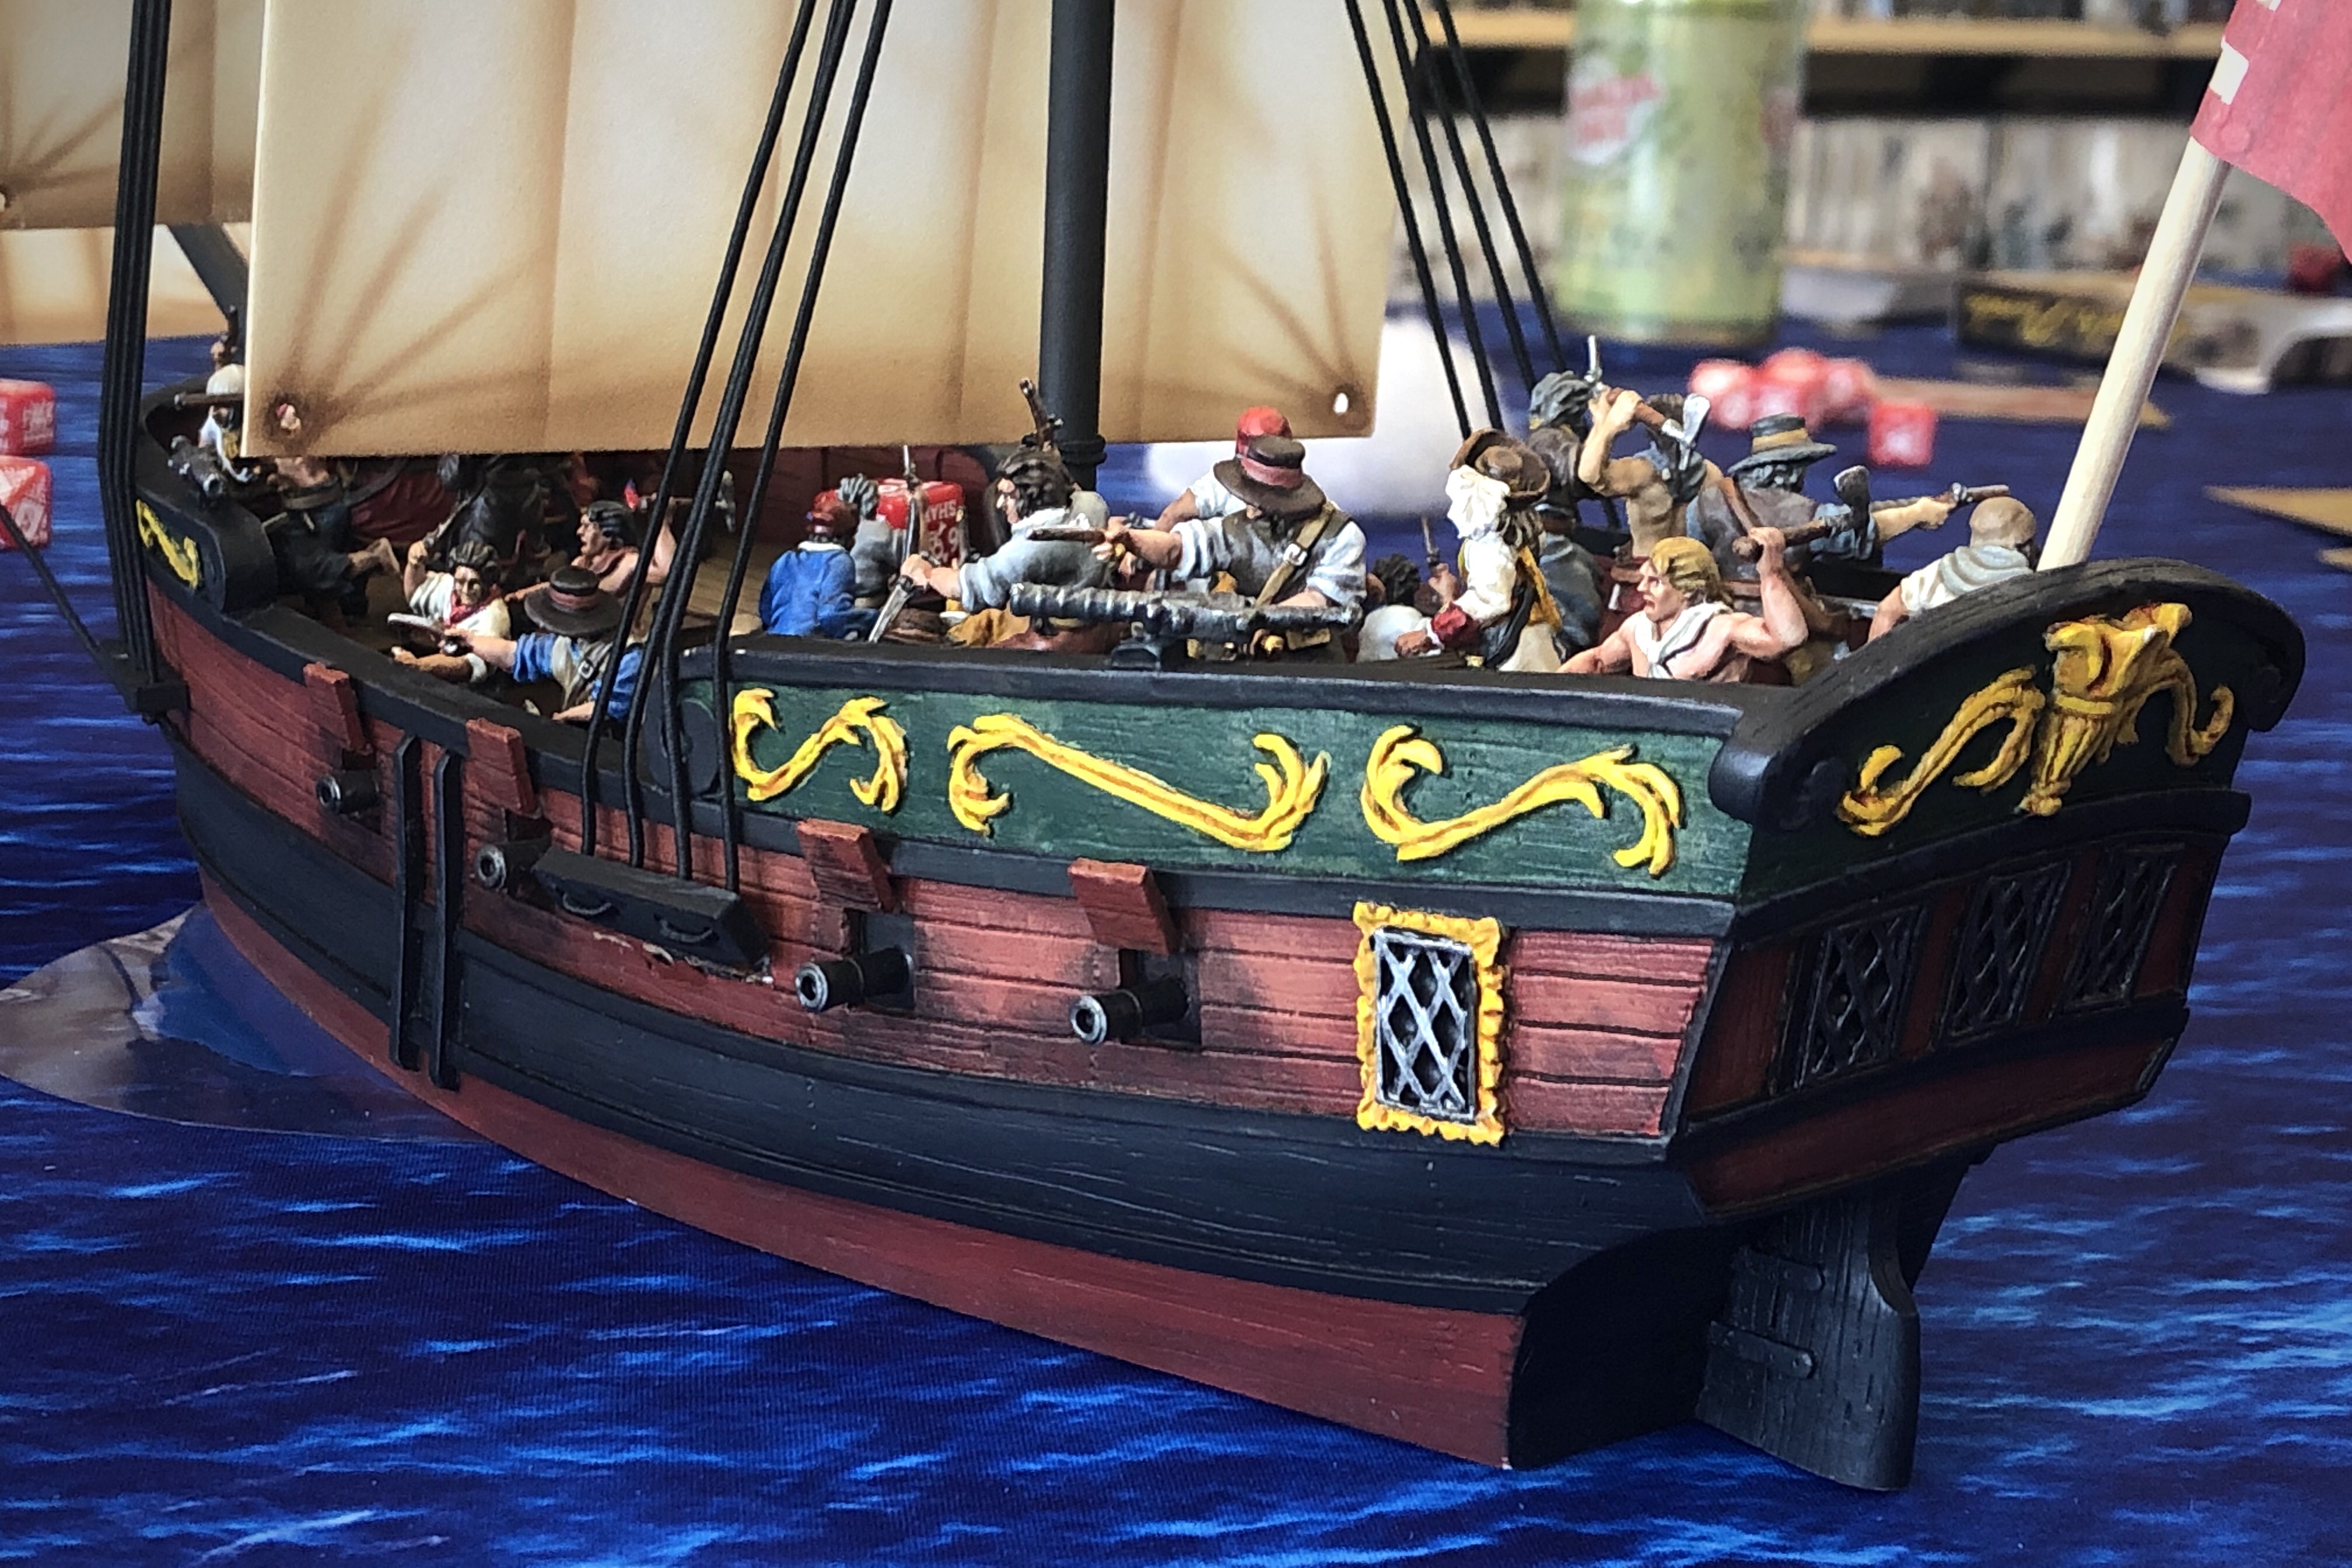
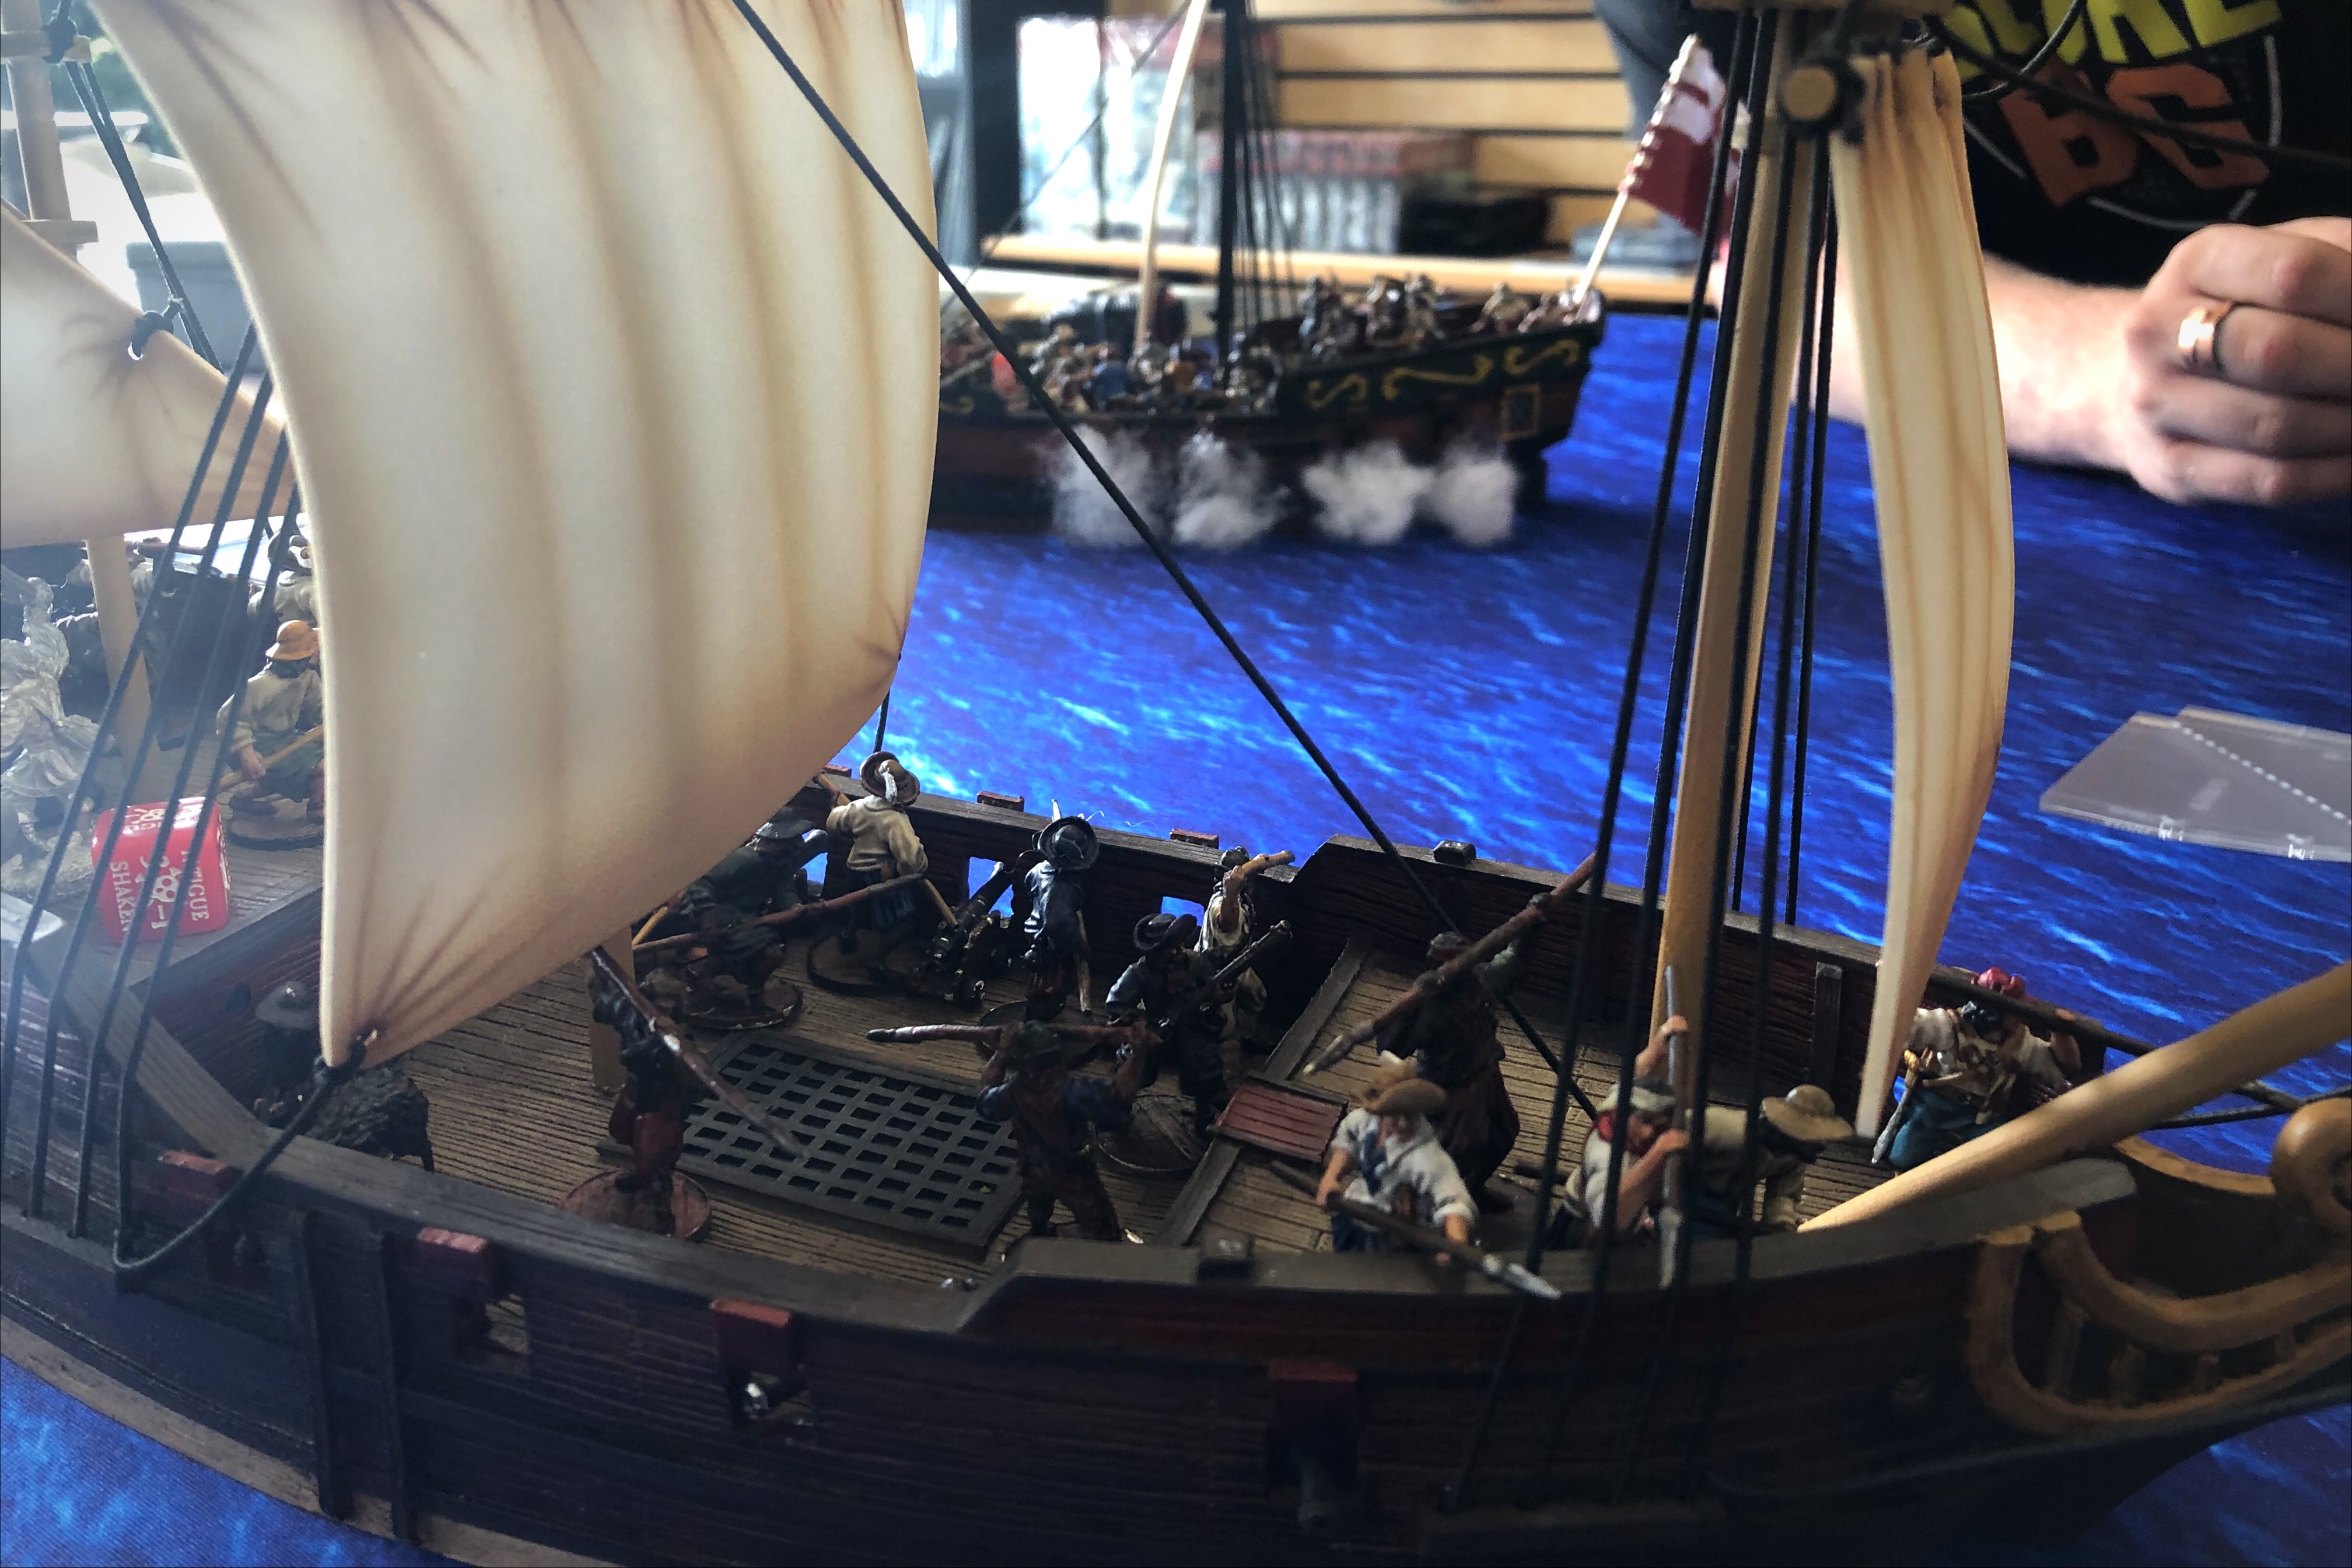
- A Sloop of War with a Fighting Top, 4 pairs of Medium Cannons and 4 Swivel Guns.

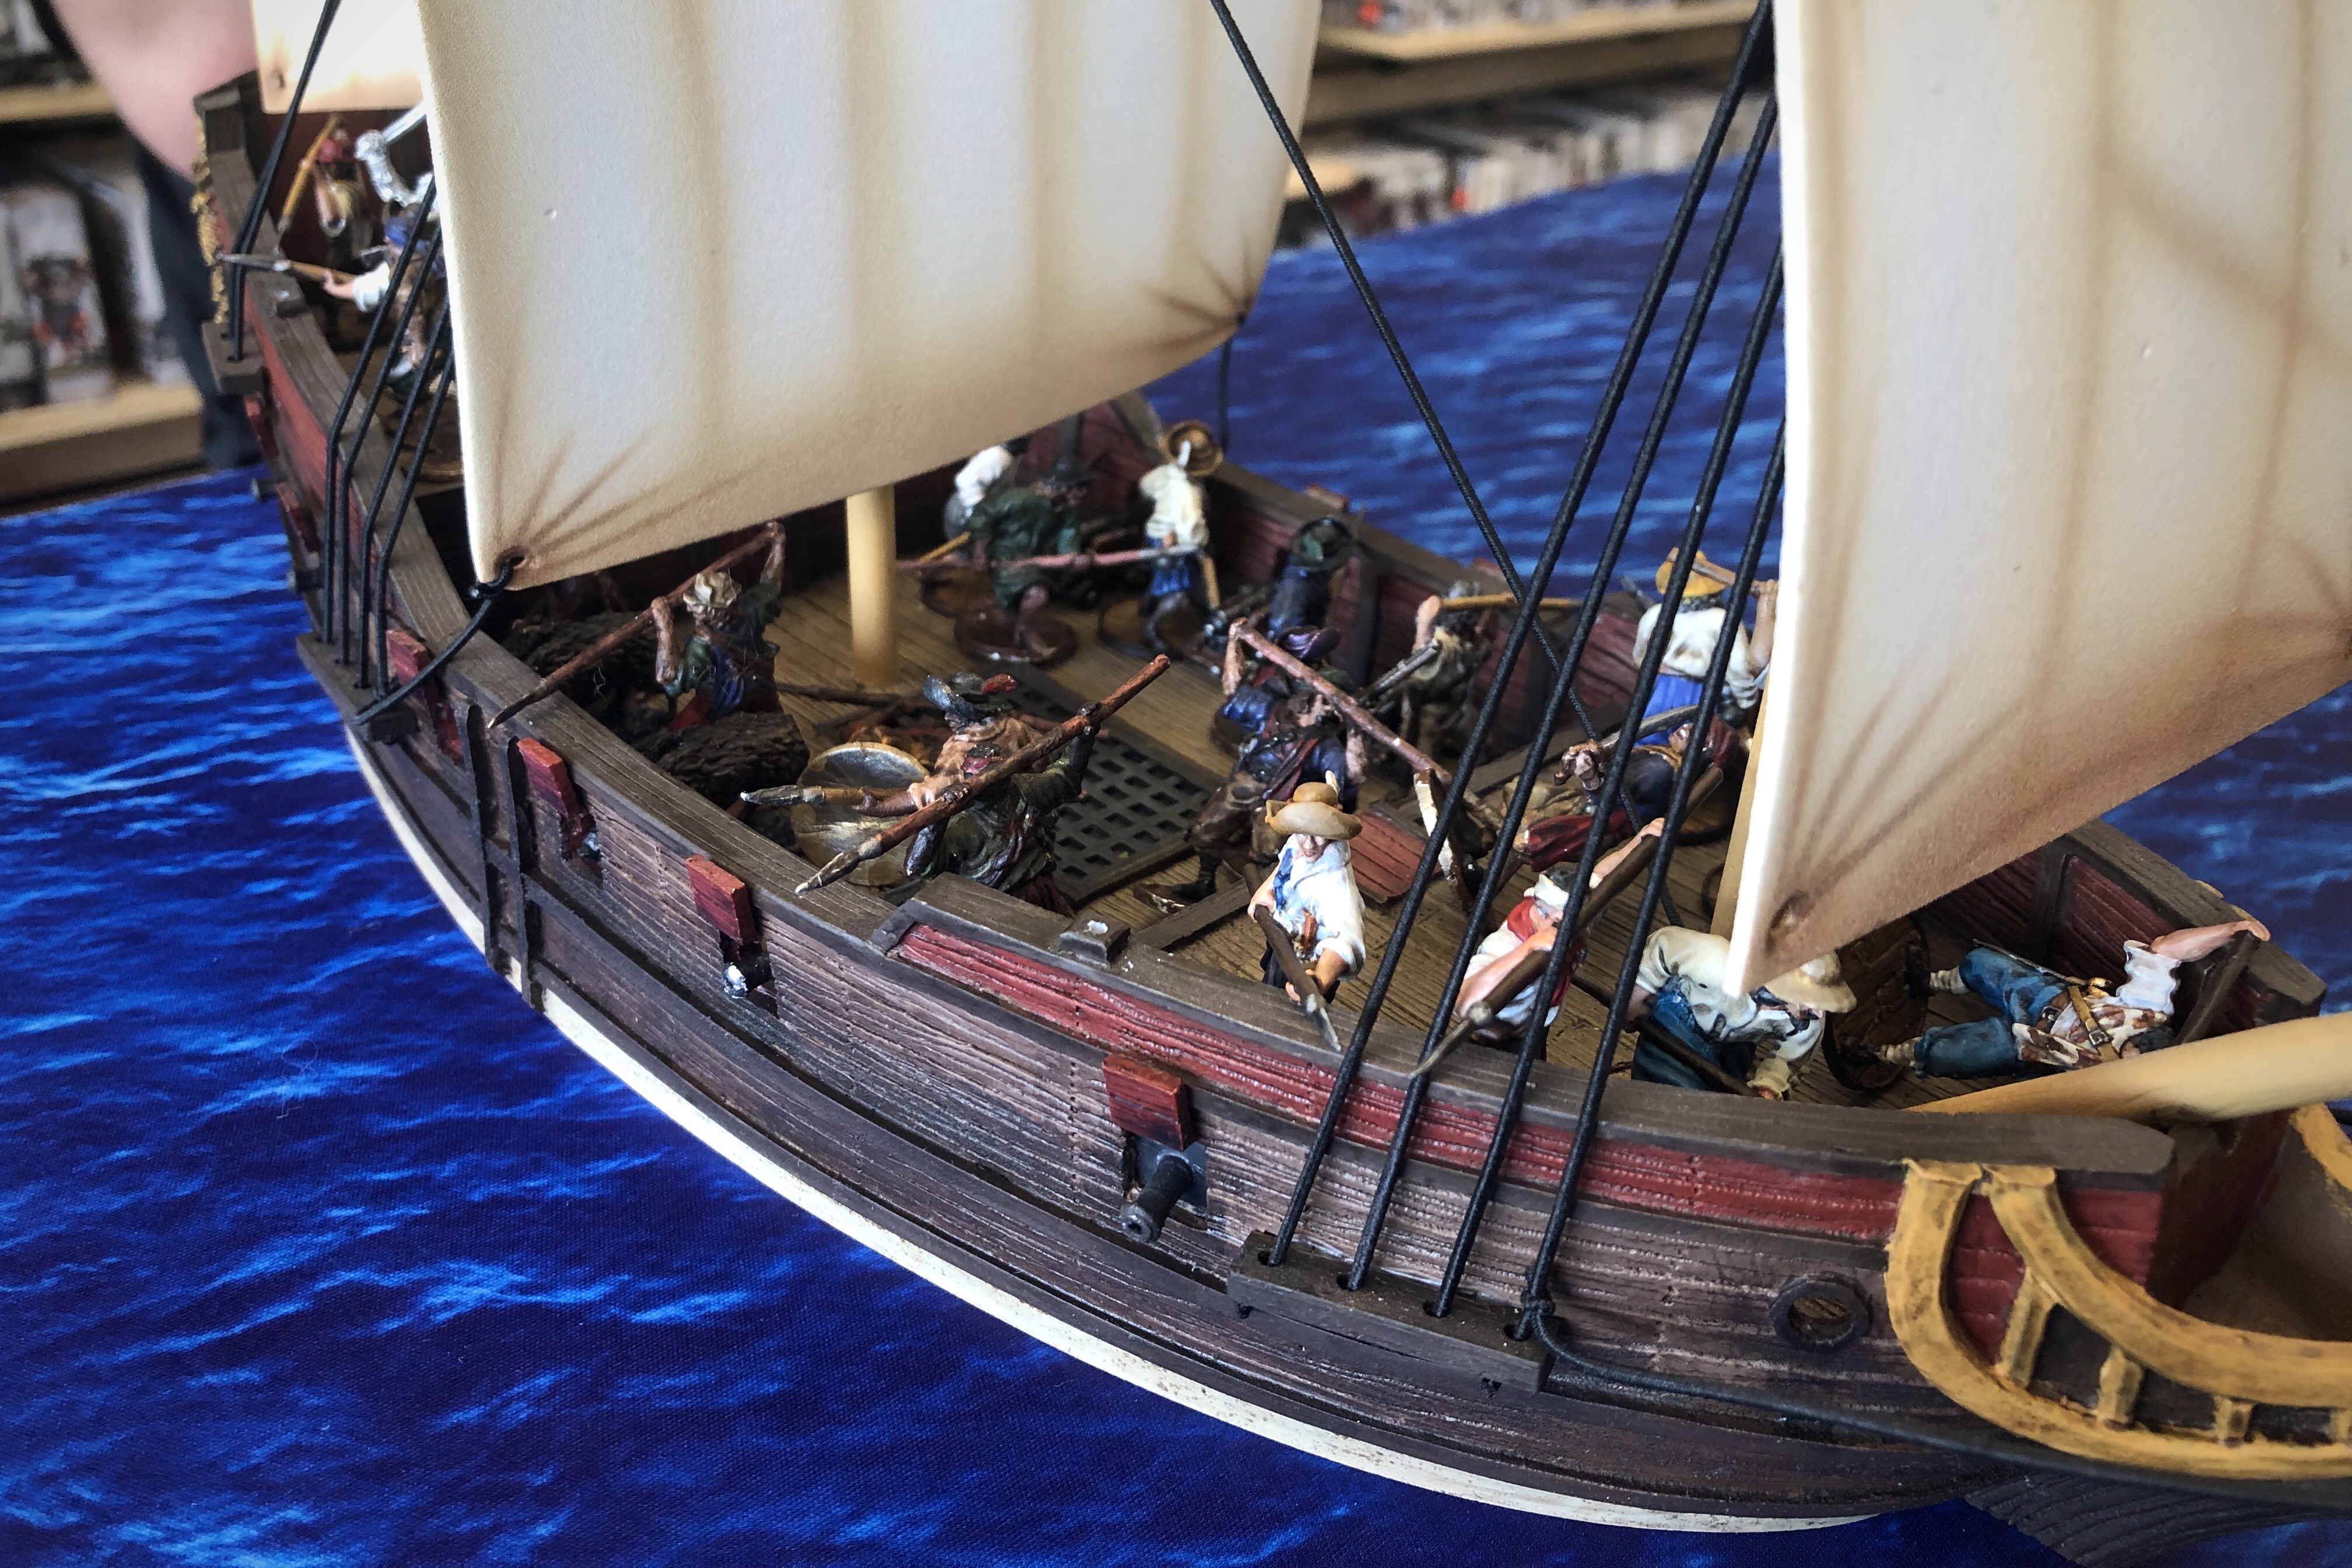
While my list was rather convoluted Nick’s was simple and focused:
- A unit of 9 Marineros Piqueros with an Inexperienced Armada Commander and a Musician attached.
- A unit of 12 Marineros Piqueros with a Master Gunner attached.
- A unit of 6 Marineros Piqueros.
- A Light Frigate with 6 pairs of Medium Cannons.
The Scenario
Encounter is as basic as it gets. Inflict the most harm on your foe!
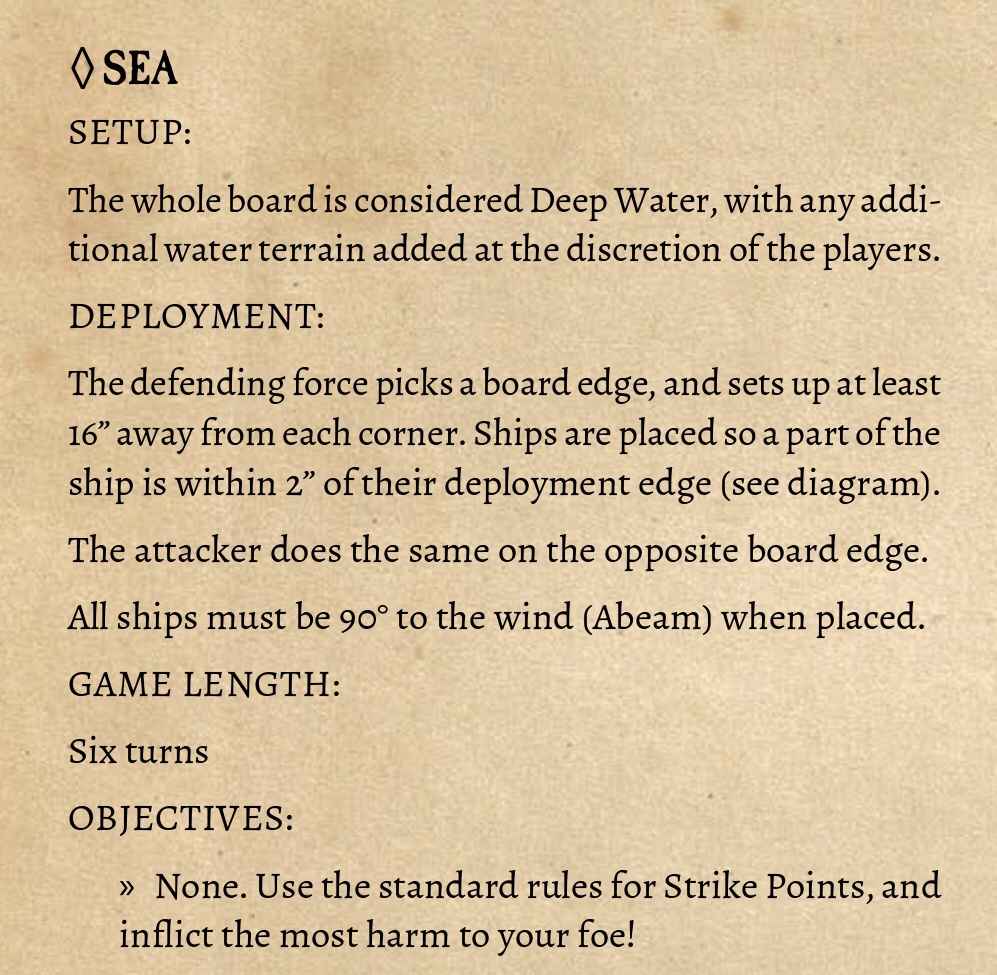
In spite of the +4 bonus for the Attacker roll, Nick rolled low and my Pirate Hunters became the Attackers.
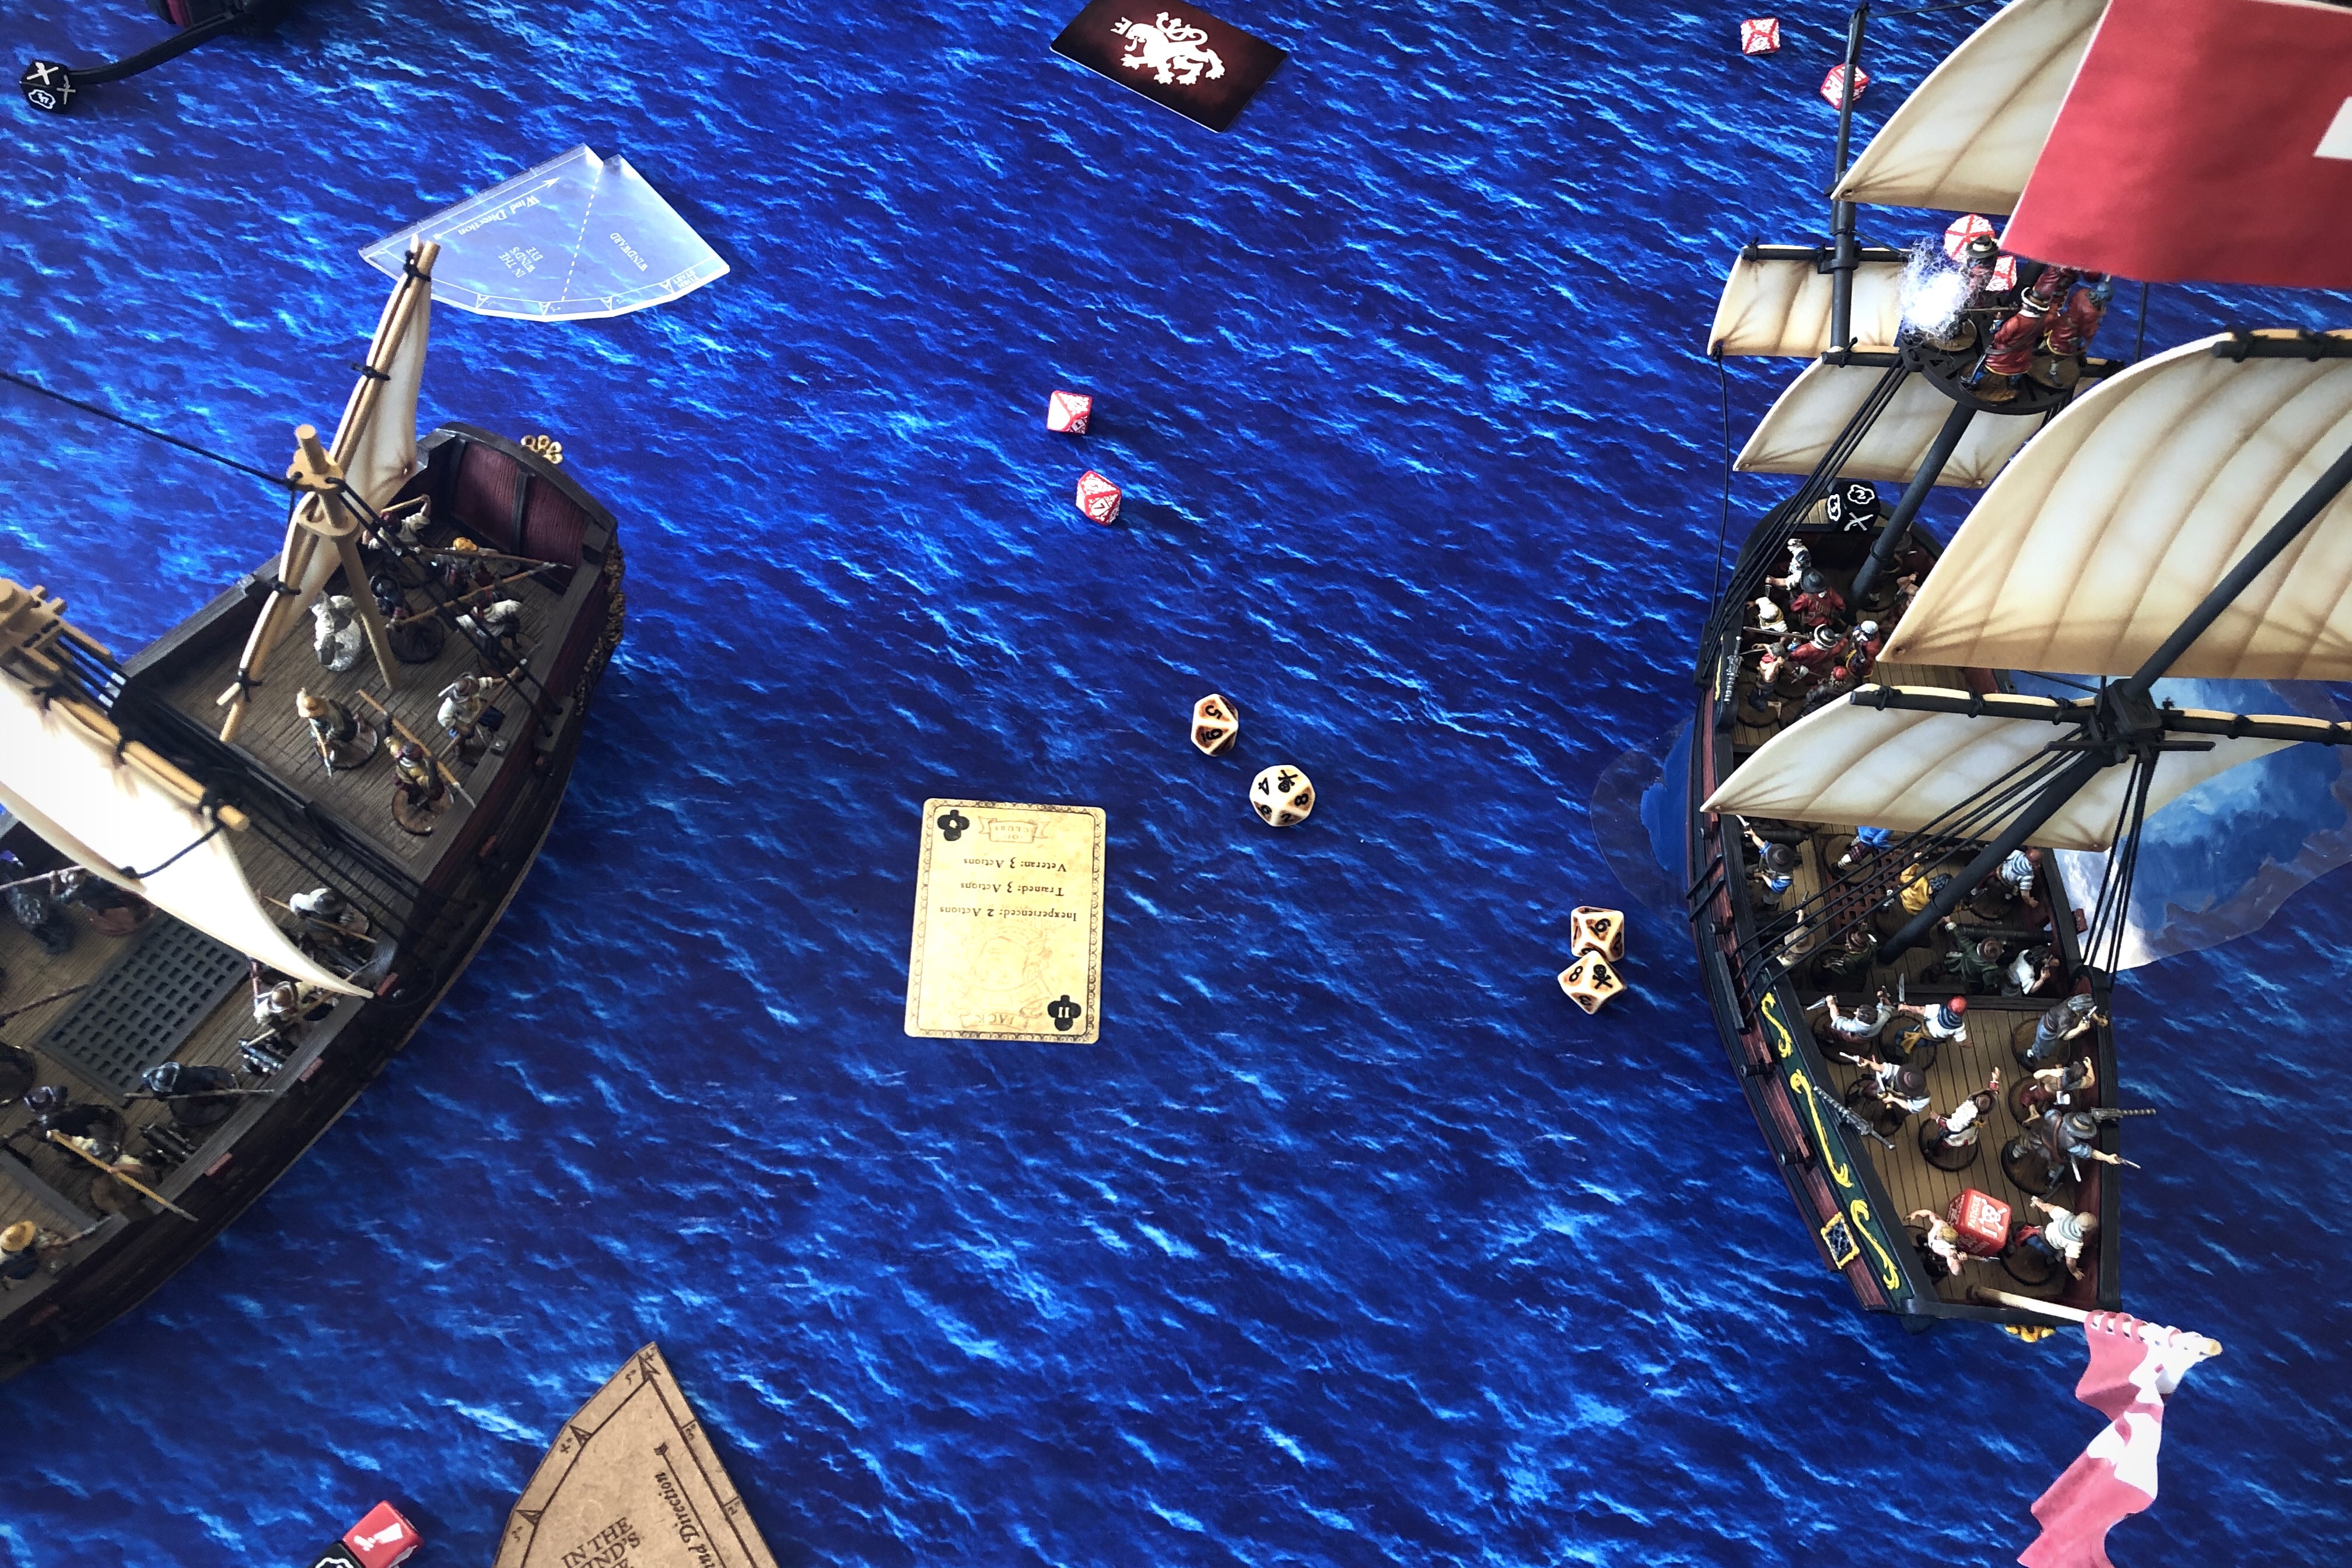
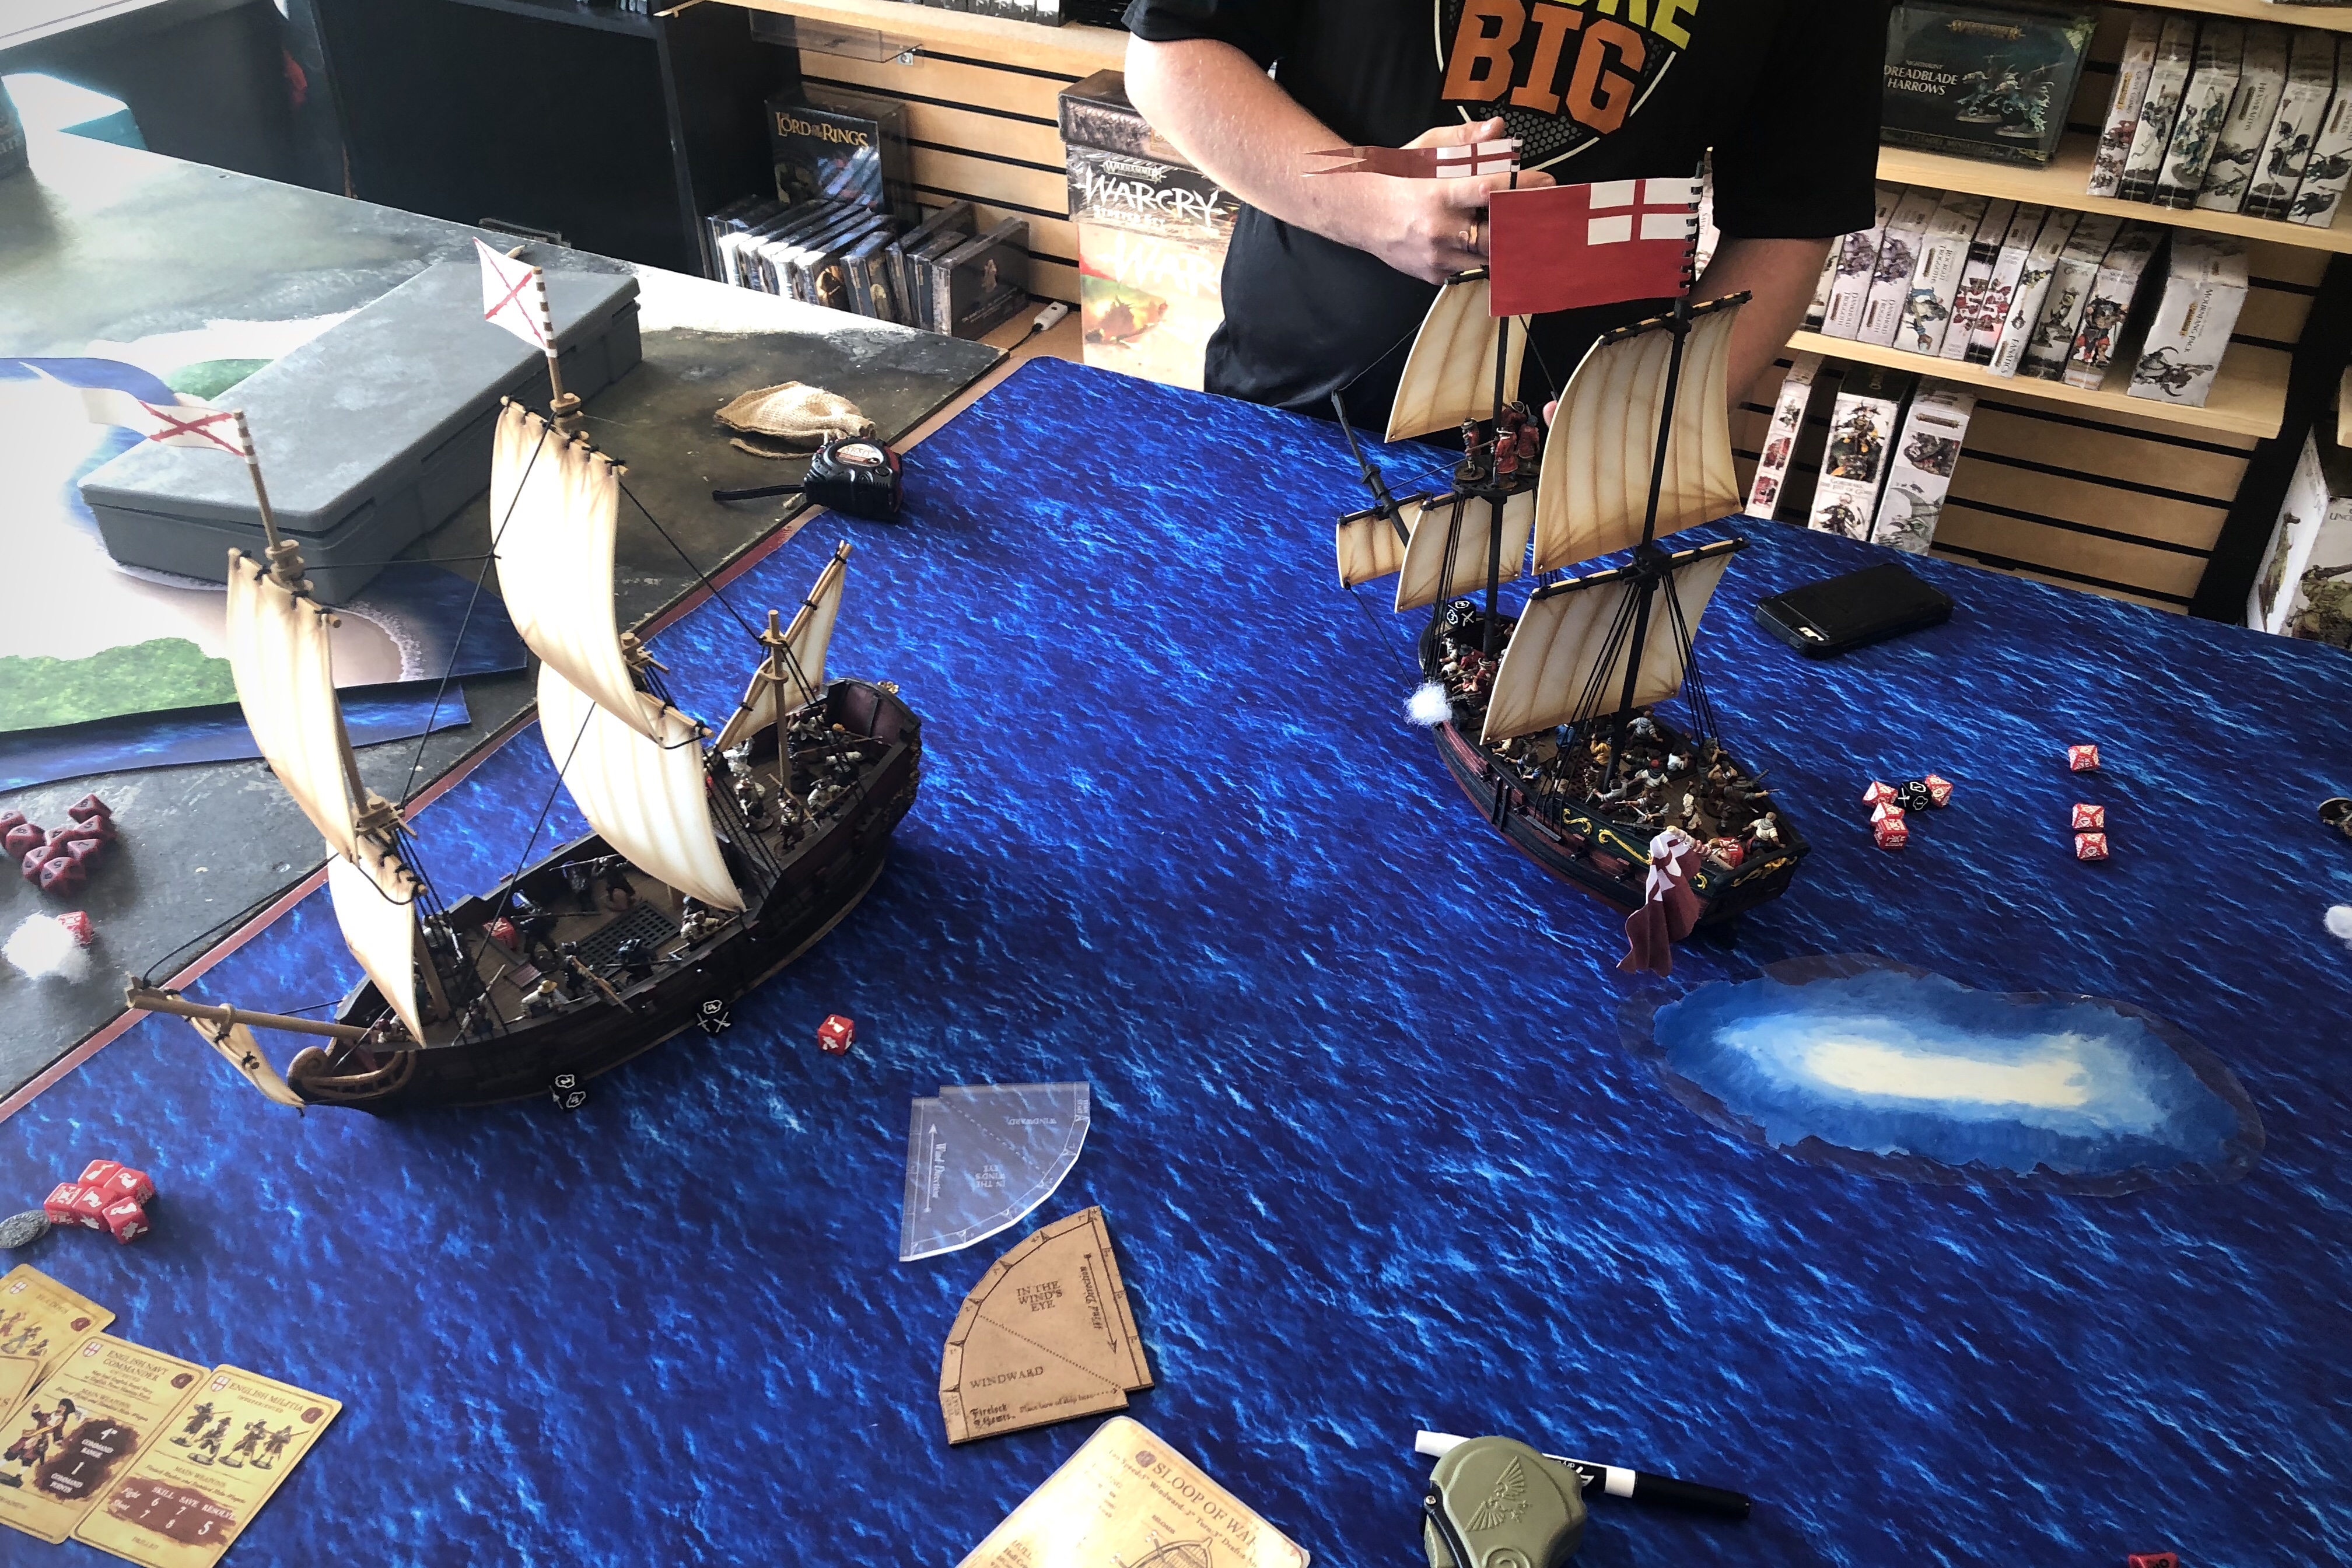
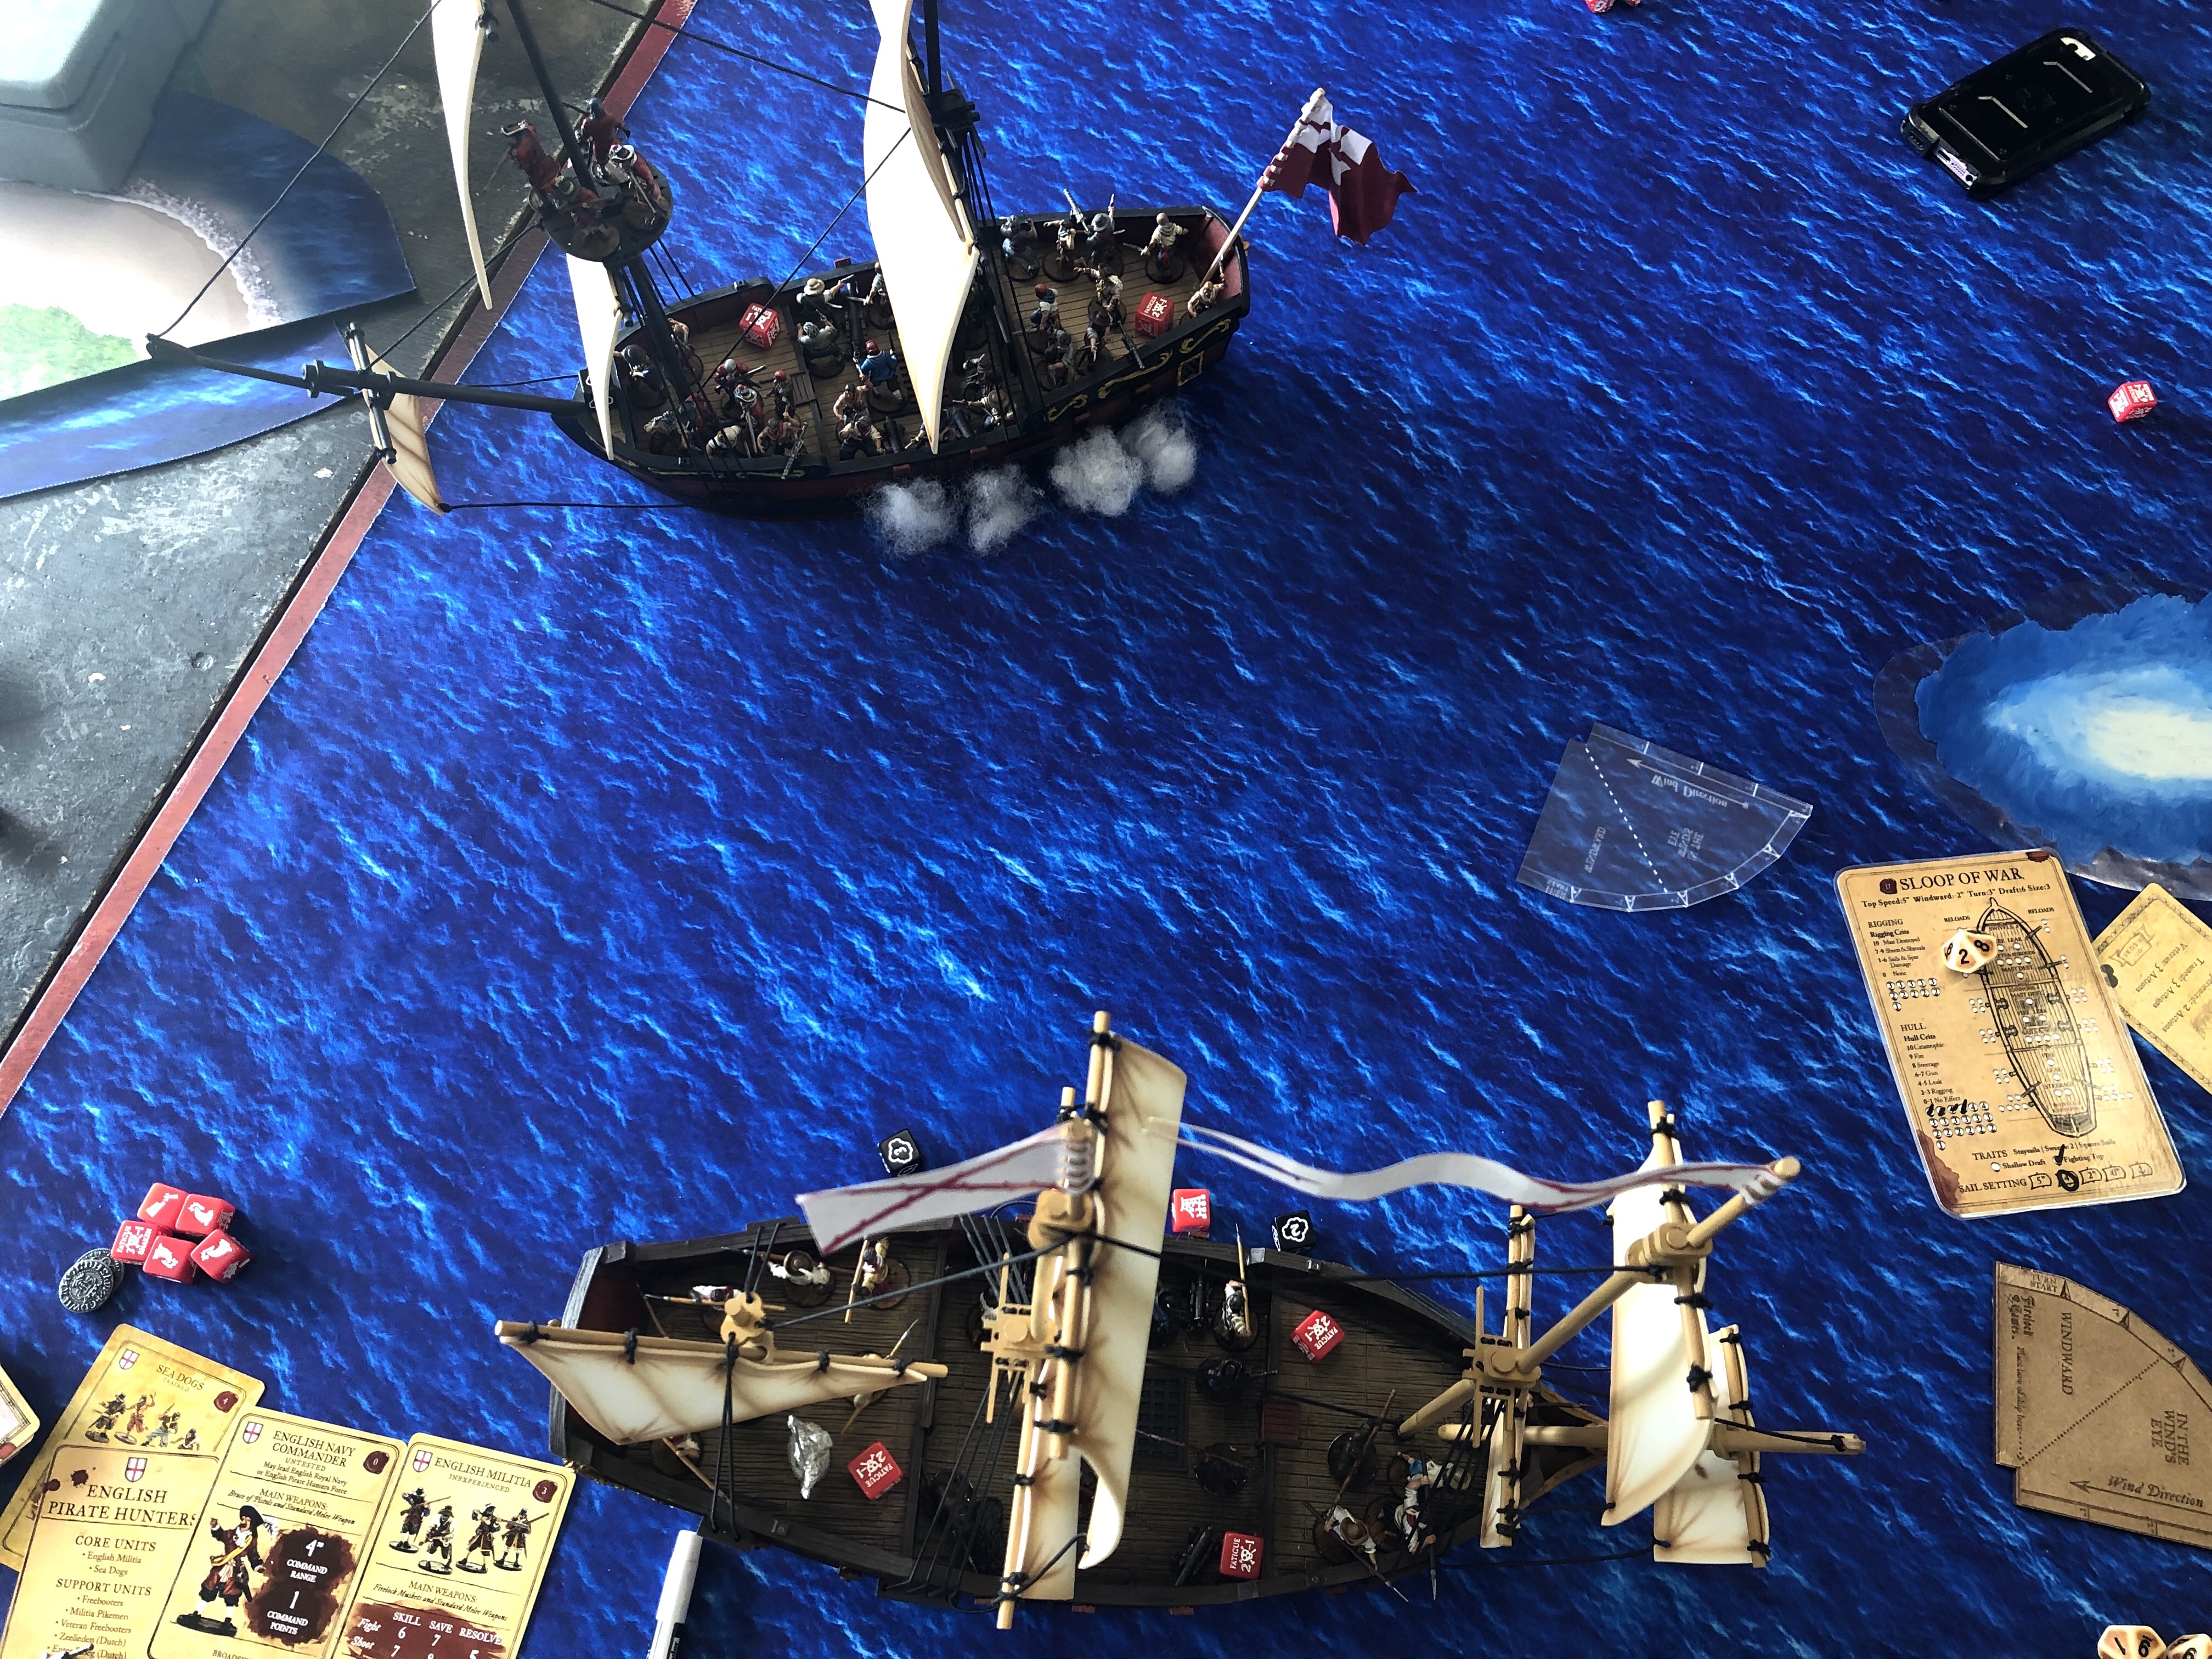
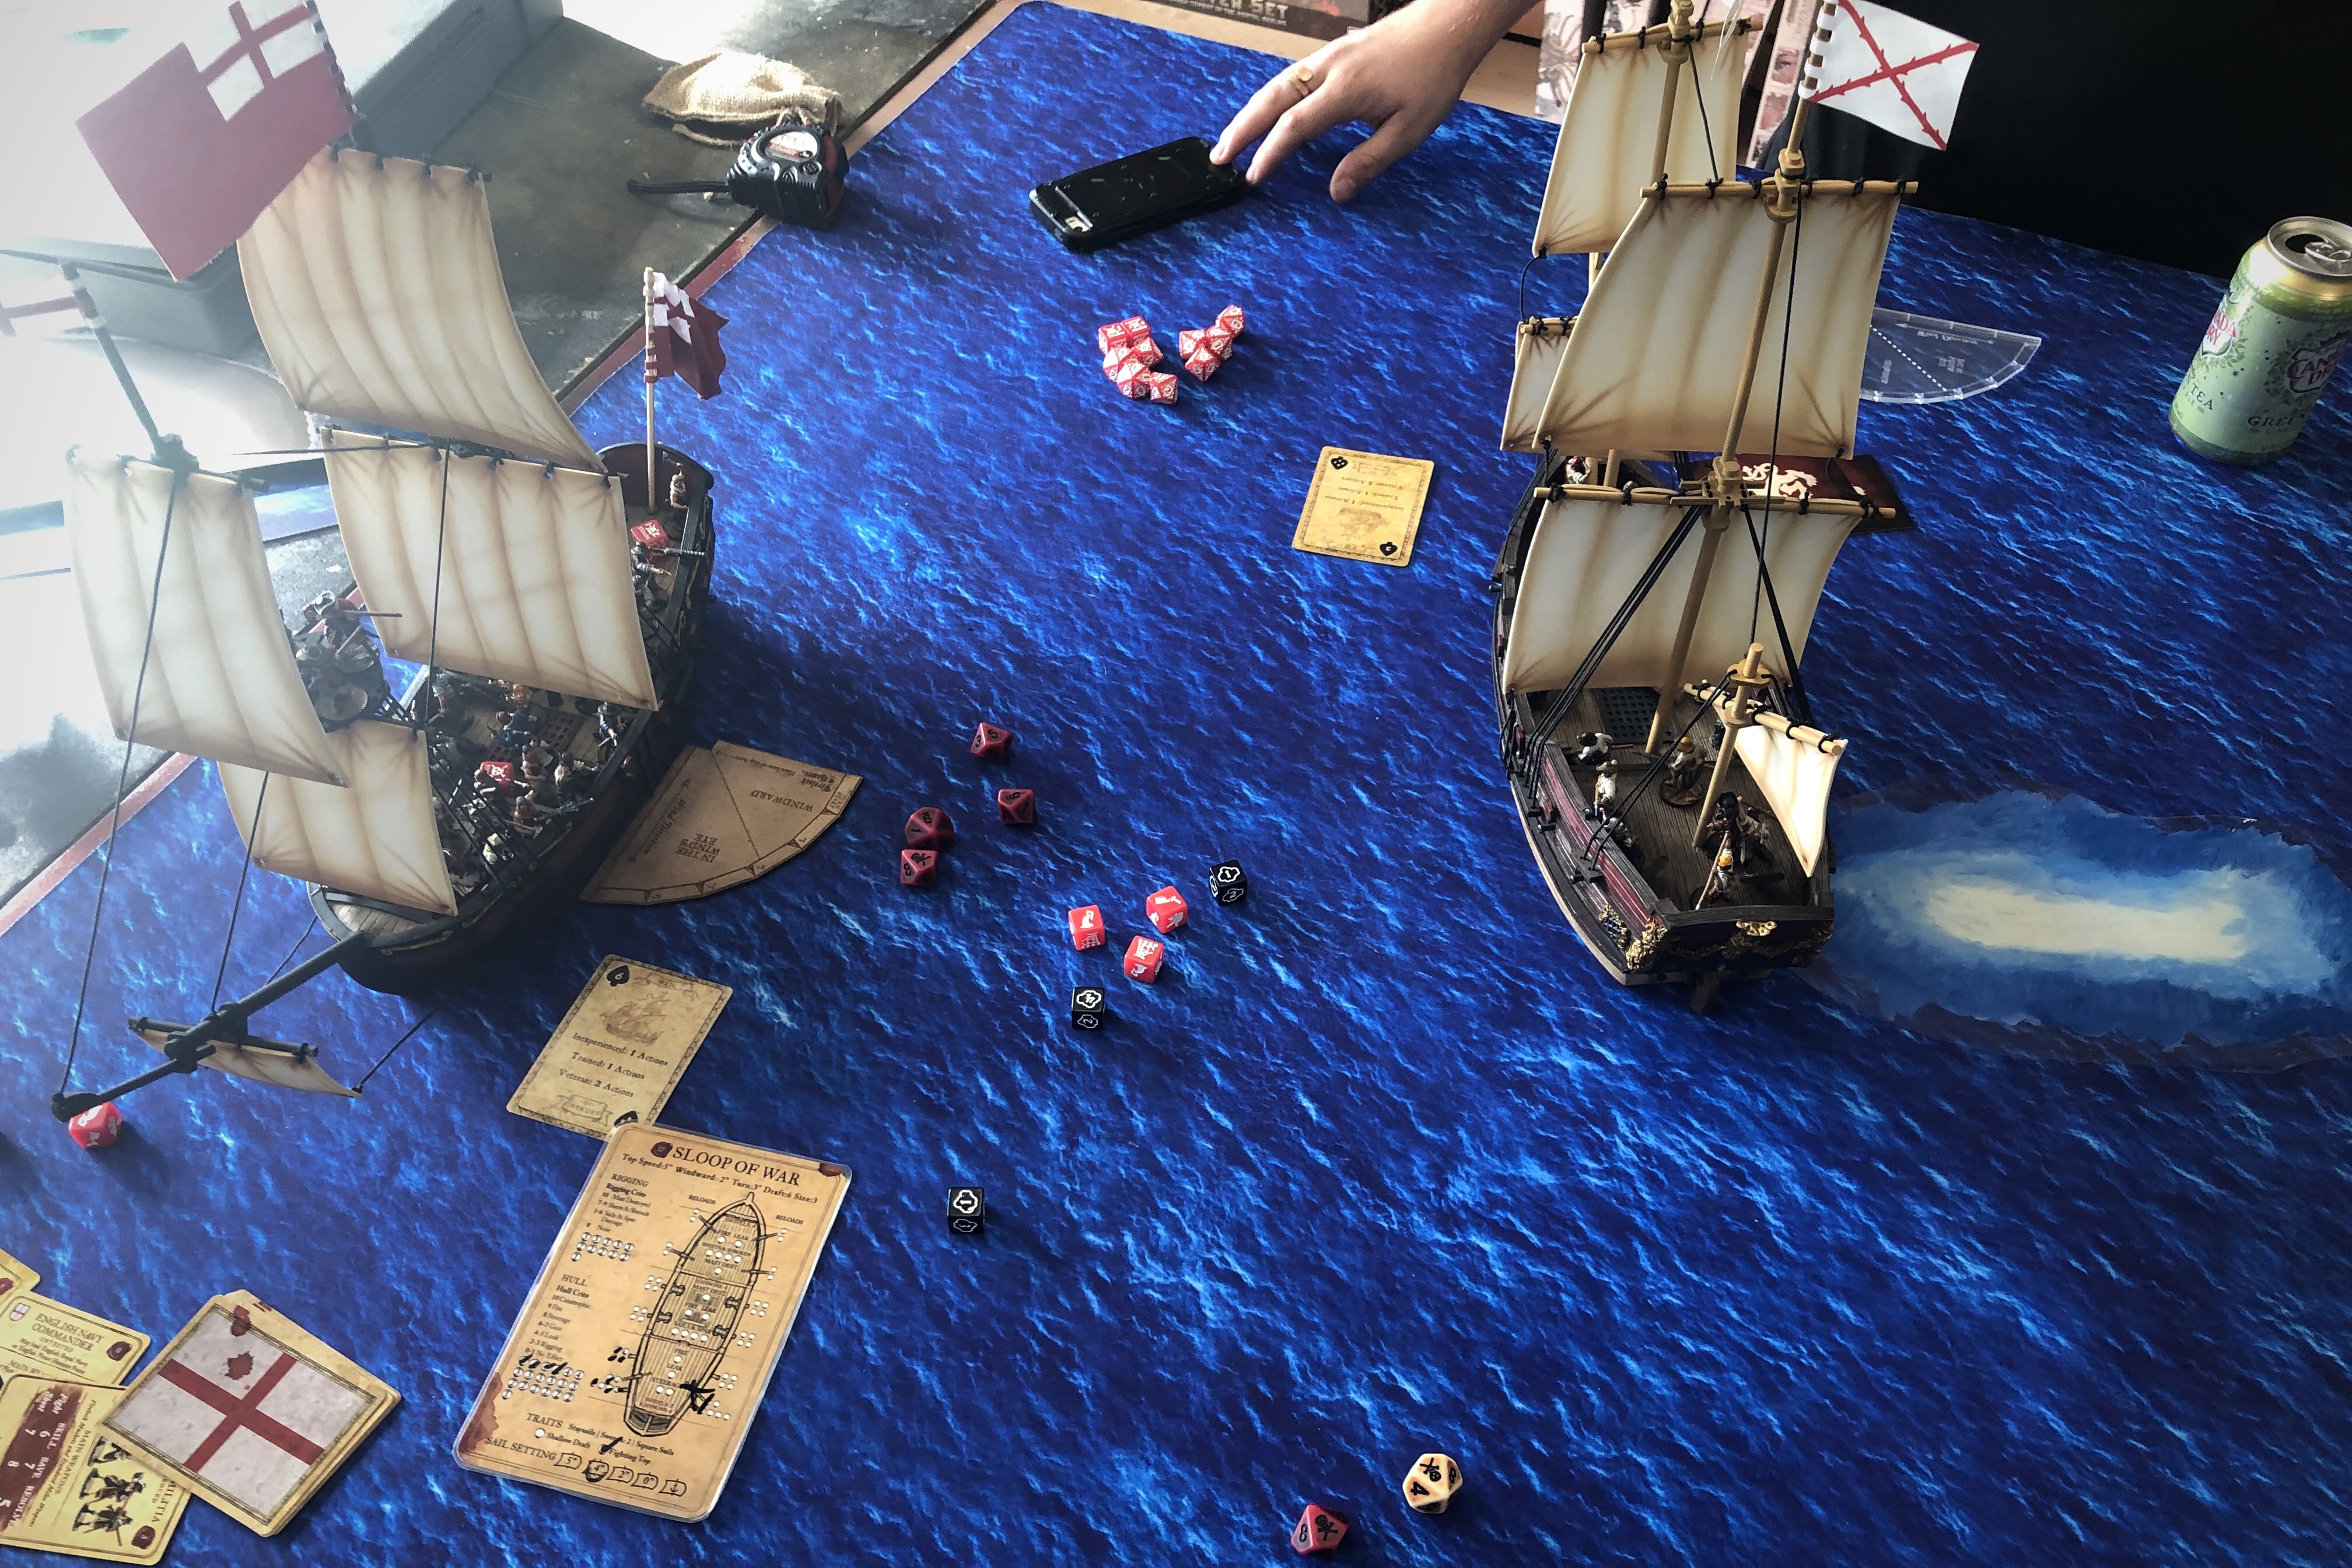
Nick placed his Frigate near the center of the back of the table with the wind abeam with sails at the full 5″.
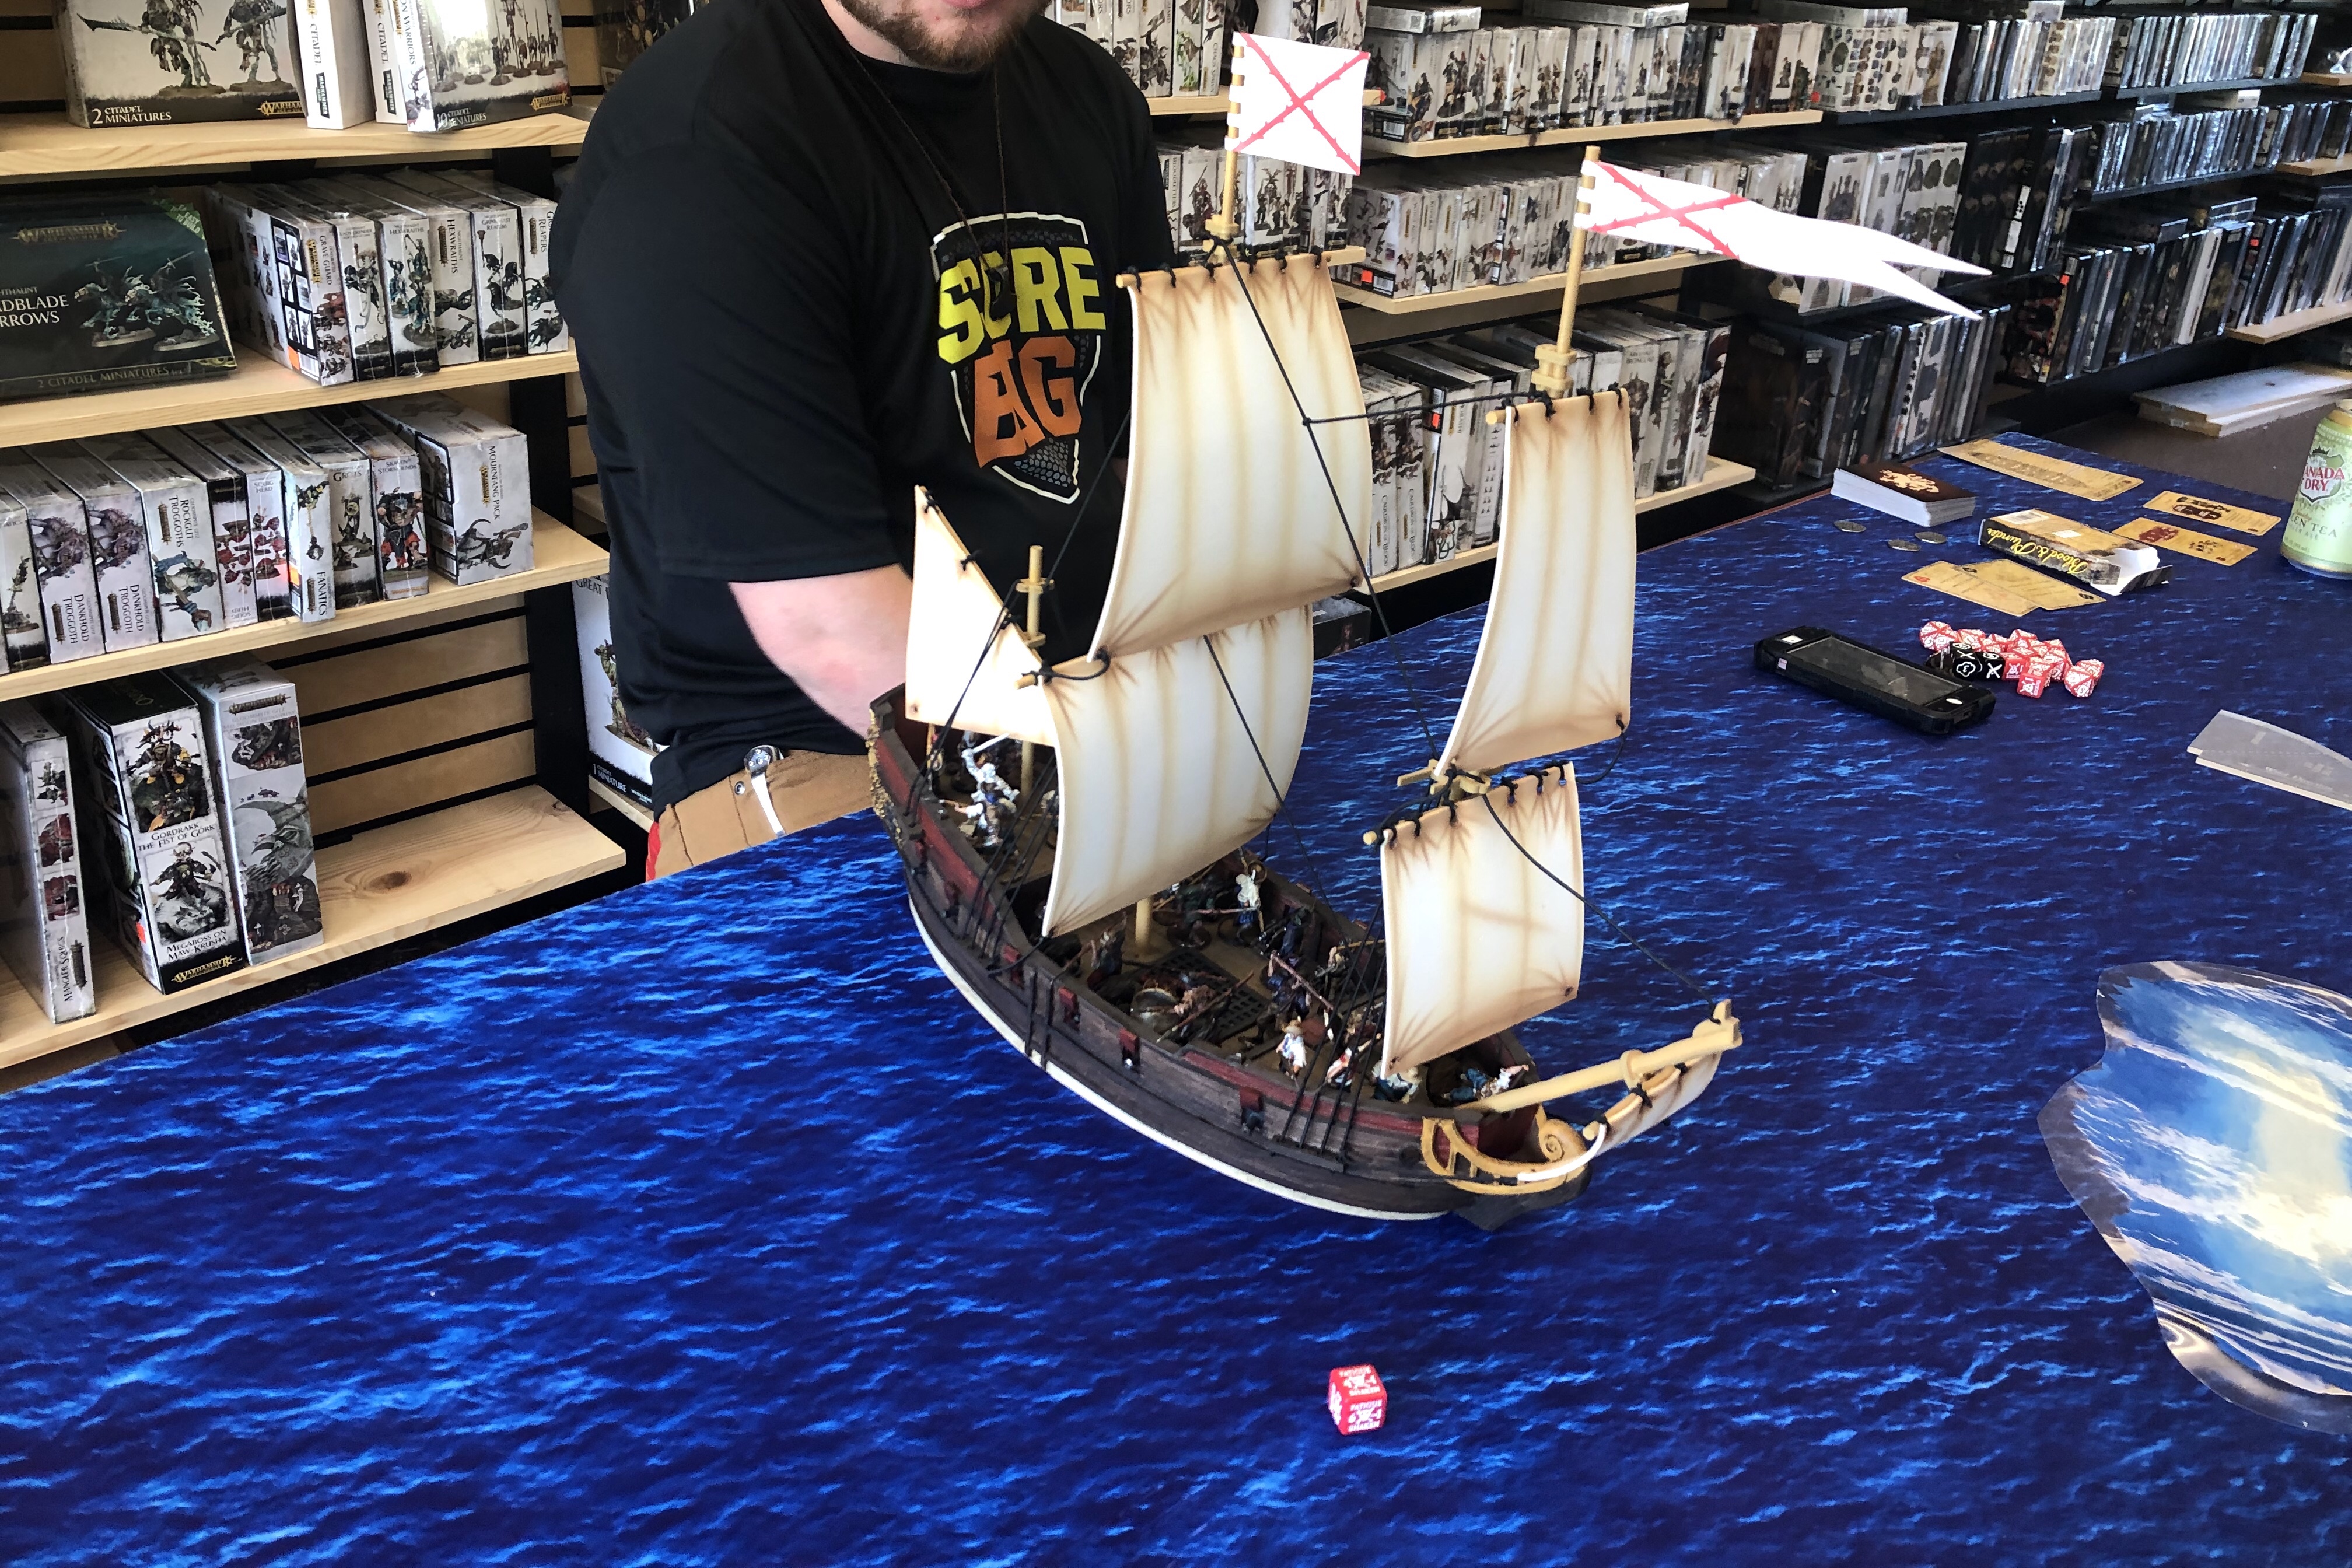
I placed my Sloop of War across the table and slightly upwind sailing at 4″.

Ready for the game!
The Game
Before the game started I rolled for the Musician Terror and took Fatigue on 2 of my 6 units. I drew an event in my opening hand that triggered the Rough Seas effect which gives a +1 penalty to all Initial Shots on cannons for the rest of the game. Both our ships were basically gunships so this was a major event!
Nick took the first activation and turned away from the wind and shot off the forward cannon on the Frigate. It made contact but didn’t do any damage. A ranging shot across the bow!

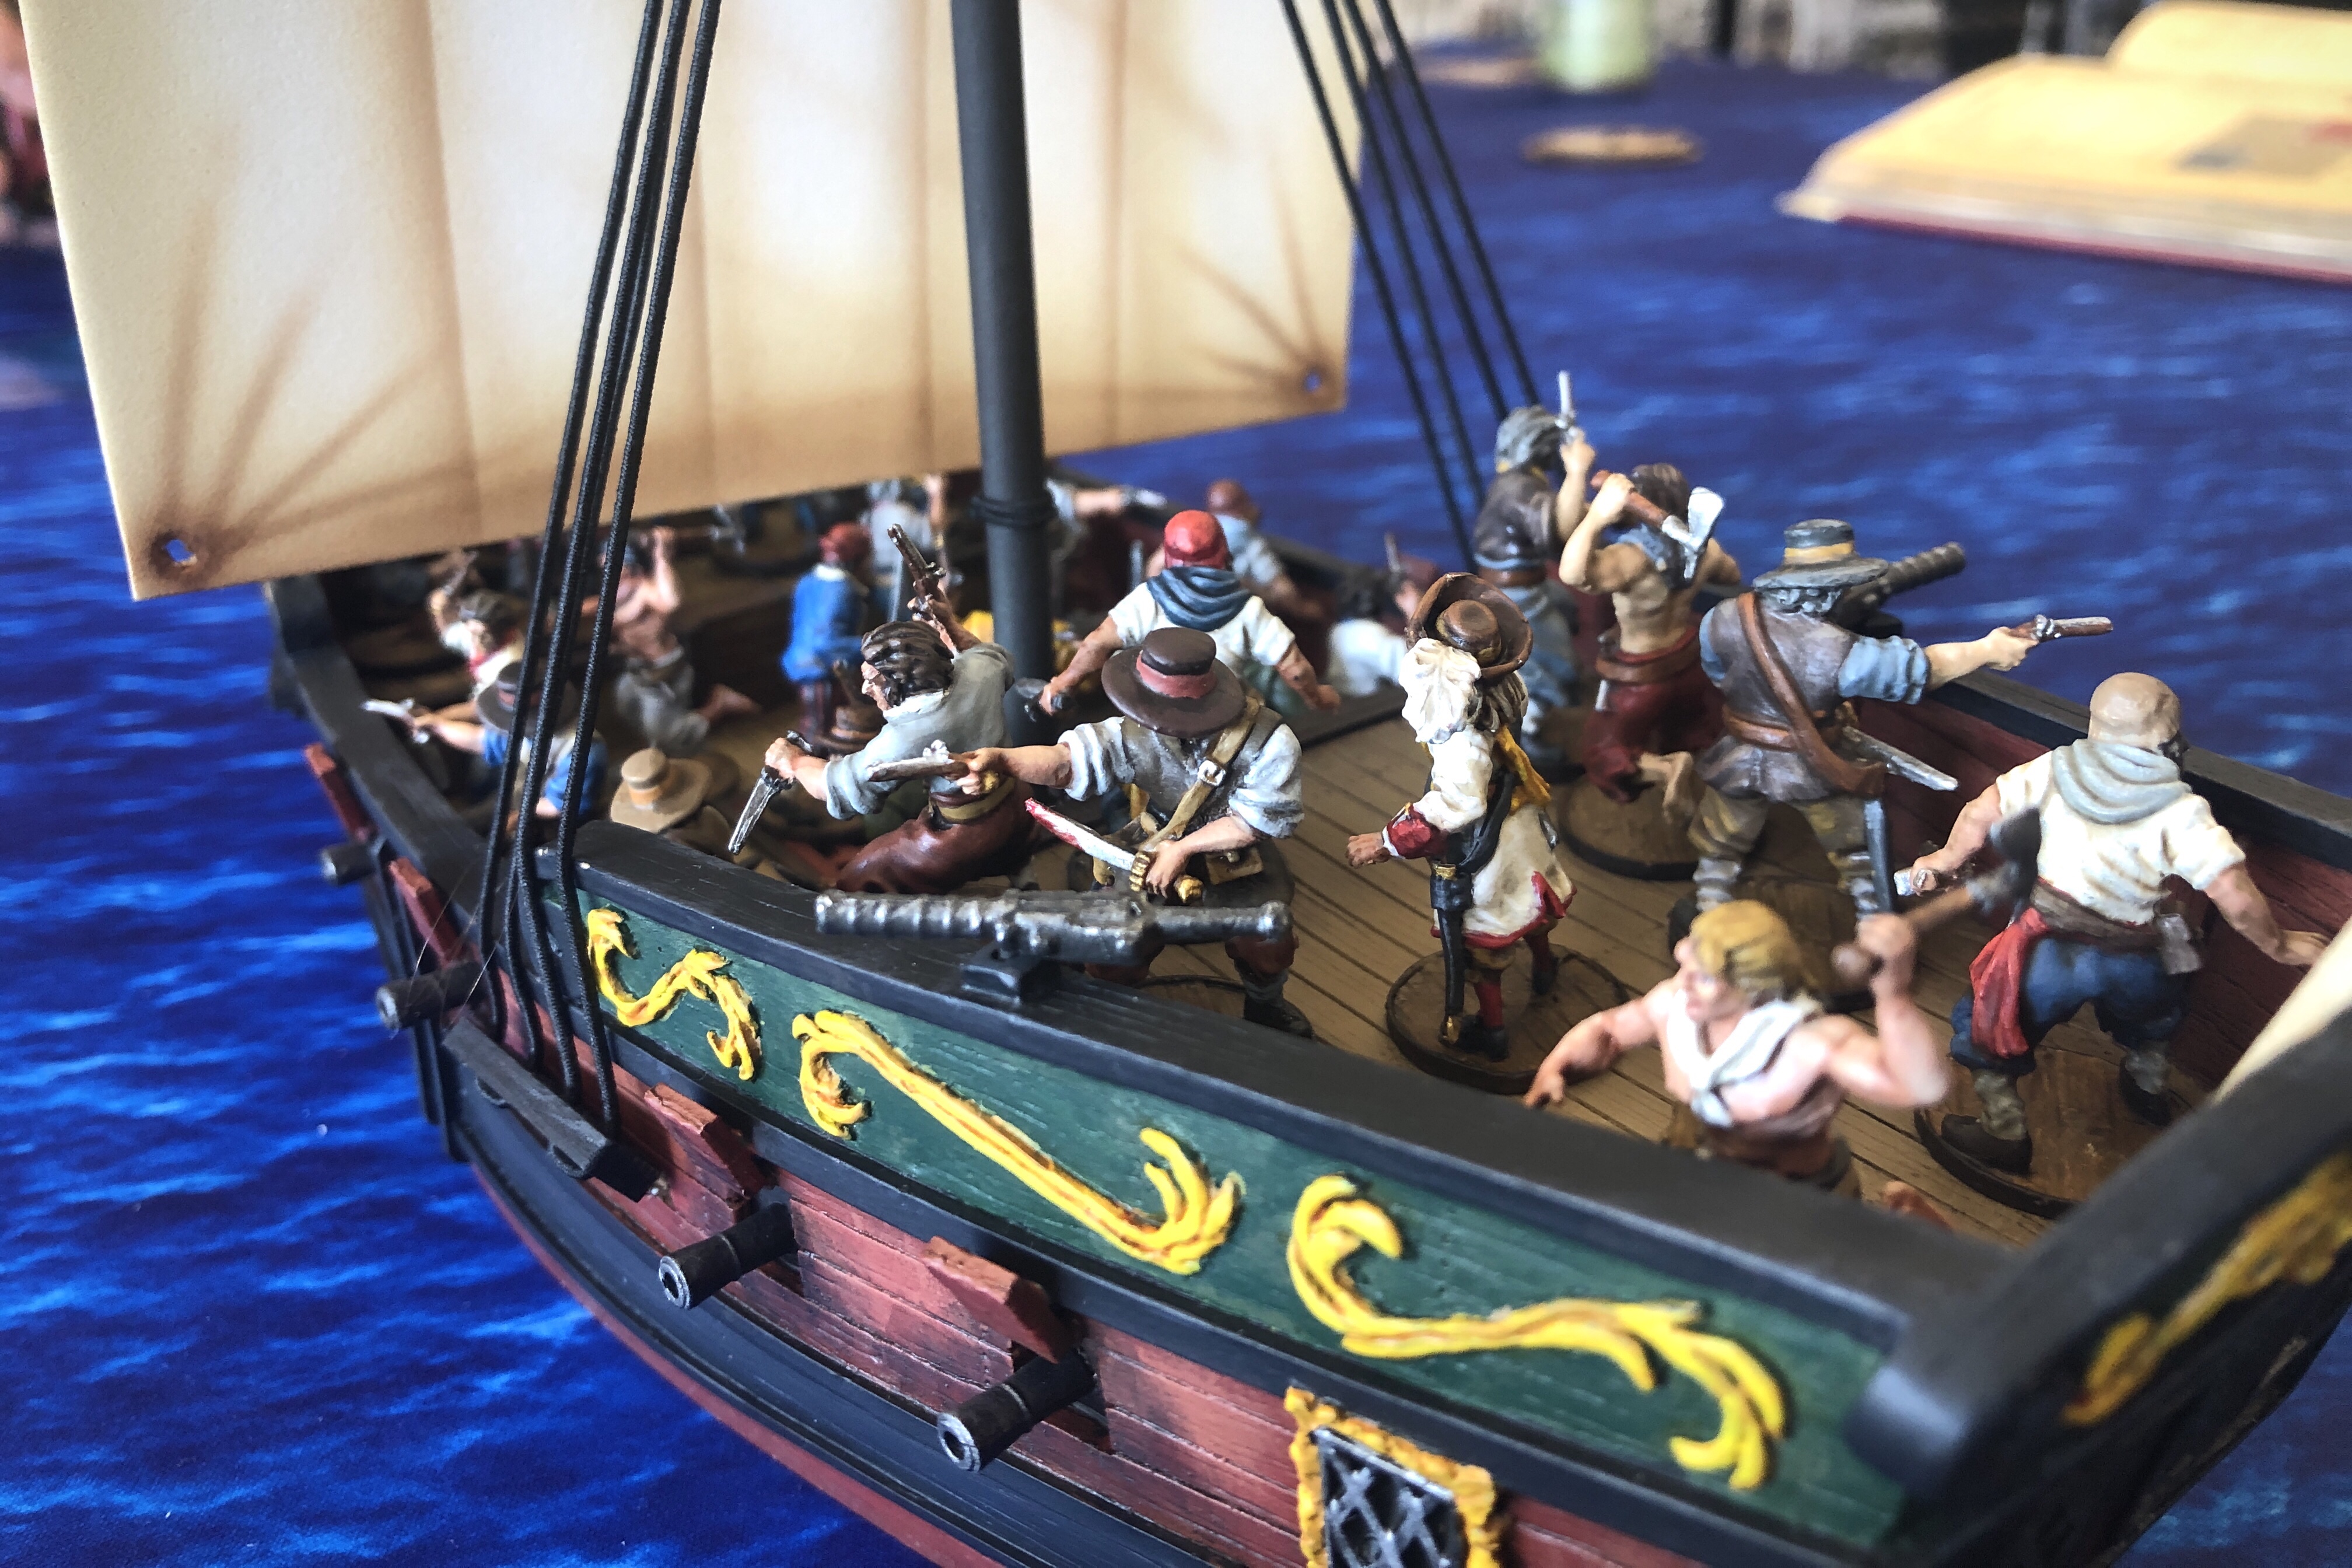
I had my Militia fire off a volley but they missed, as usual on the long range first turn.
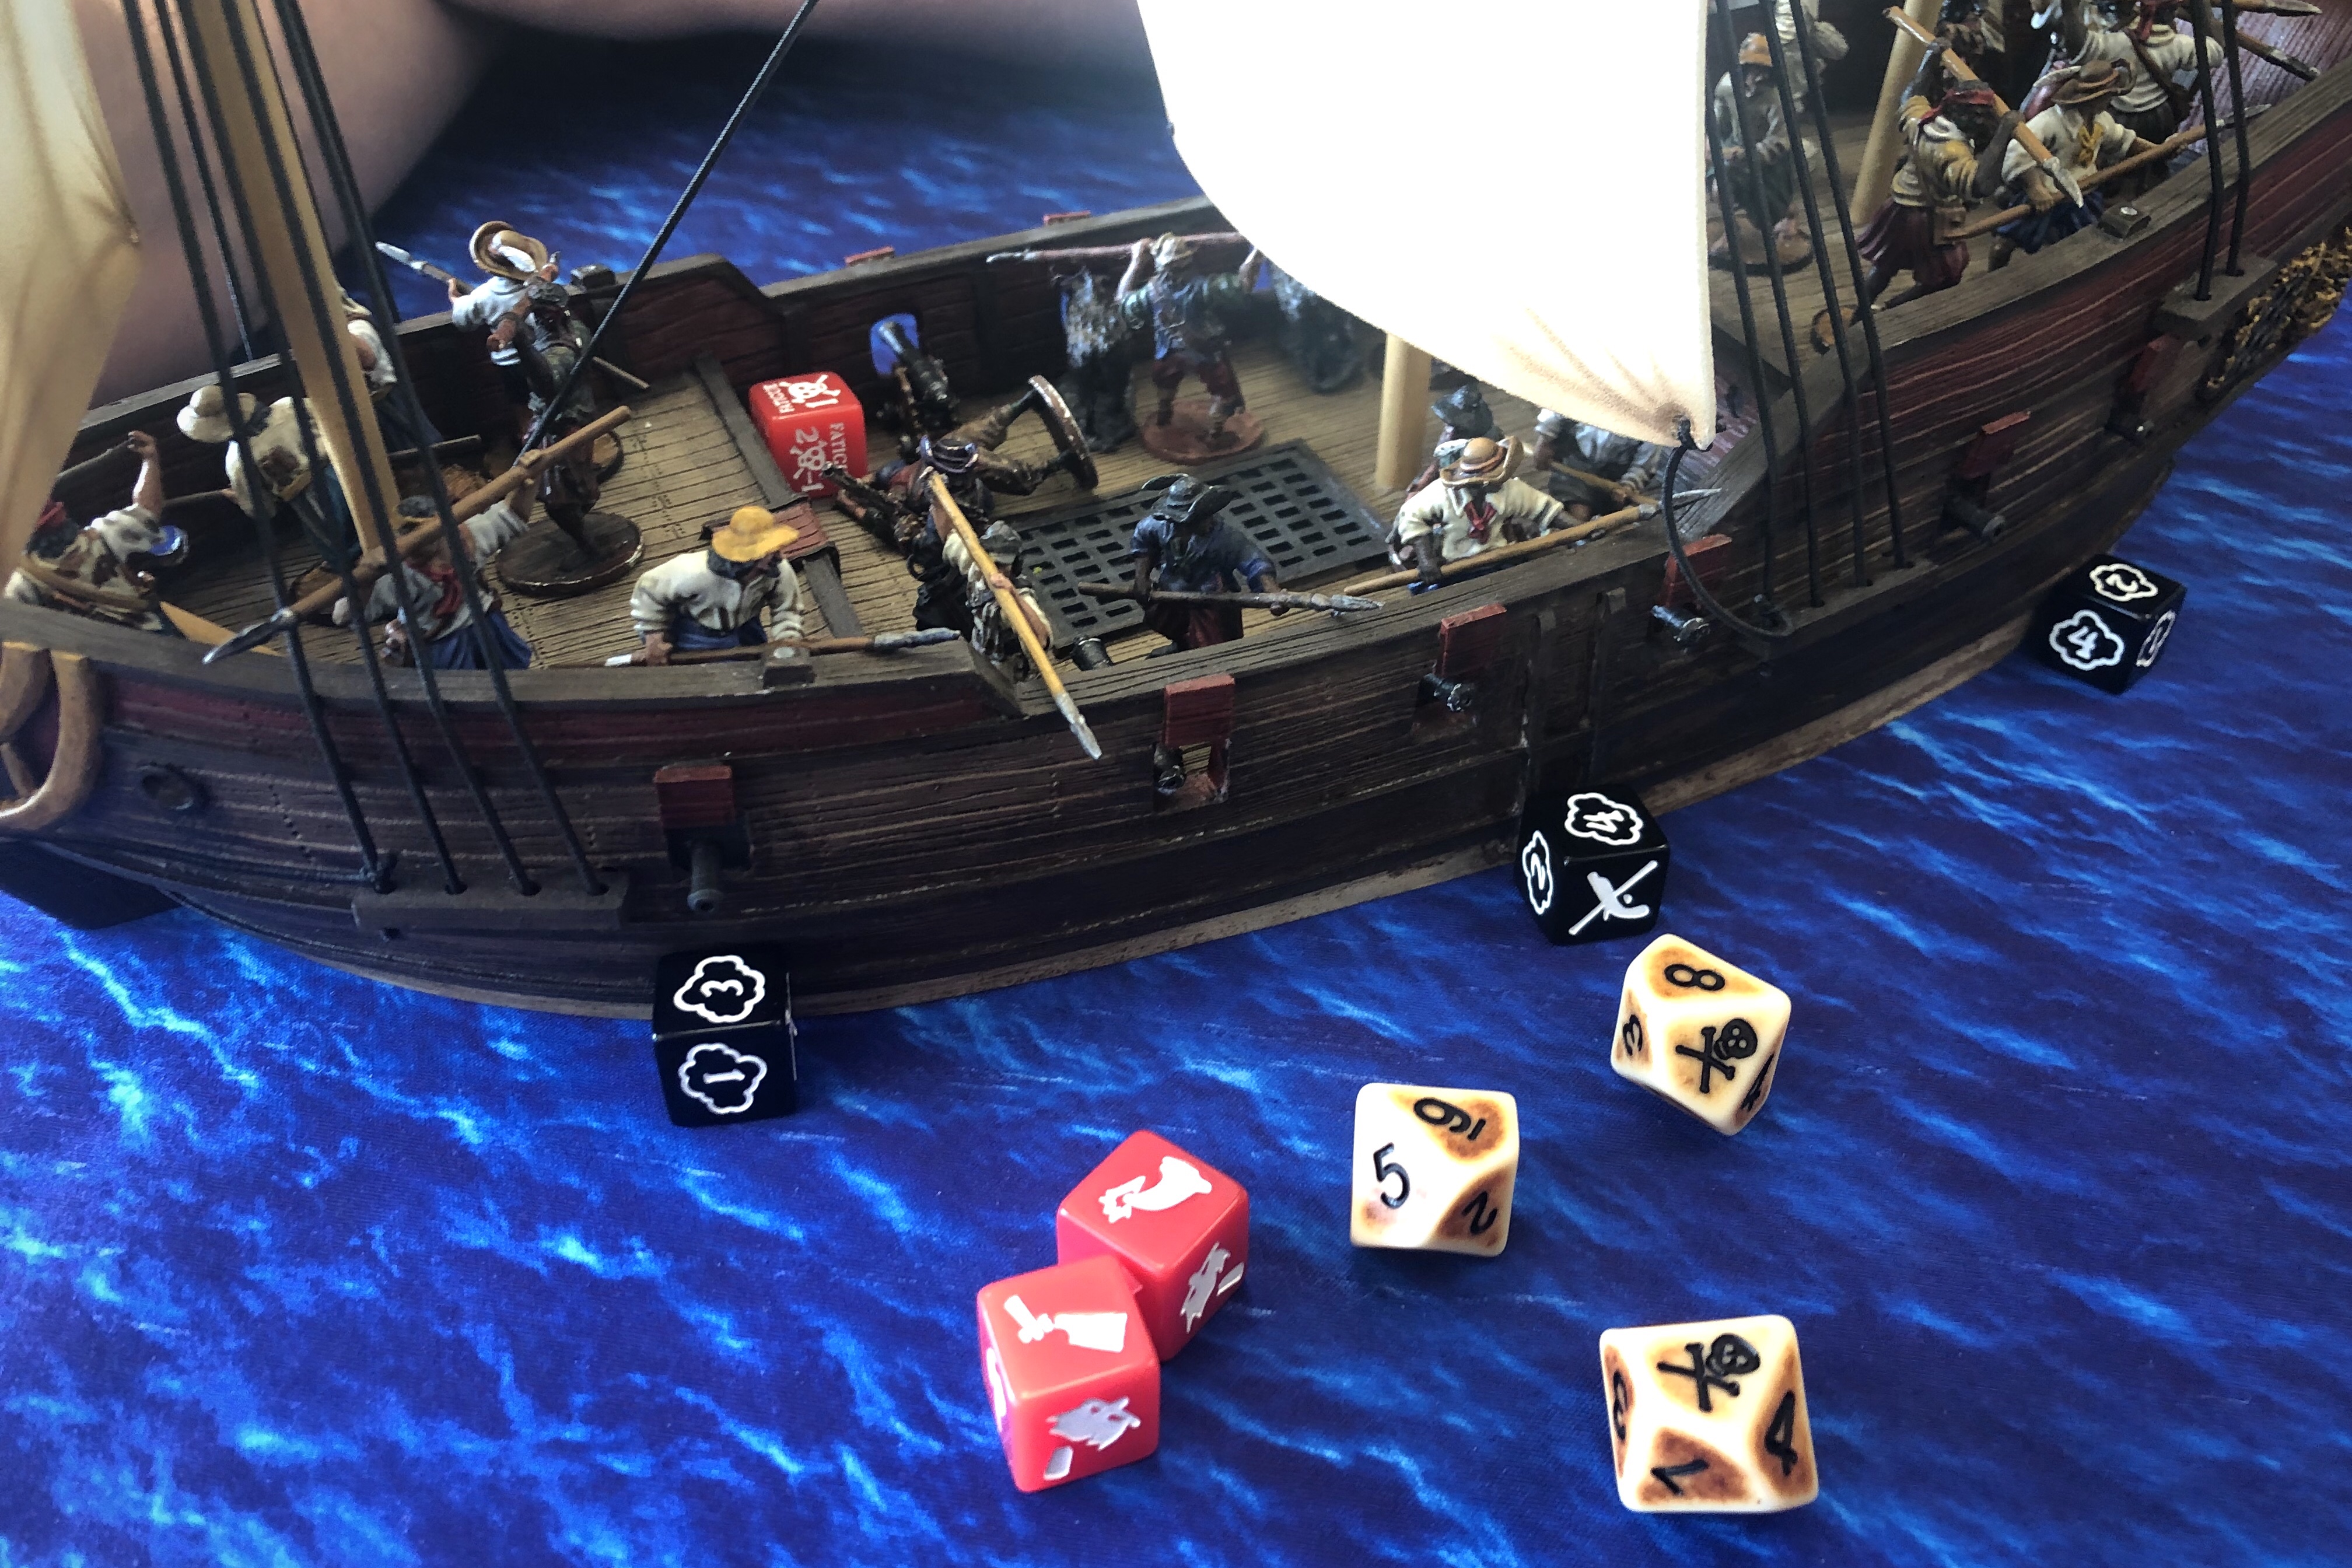
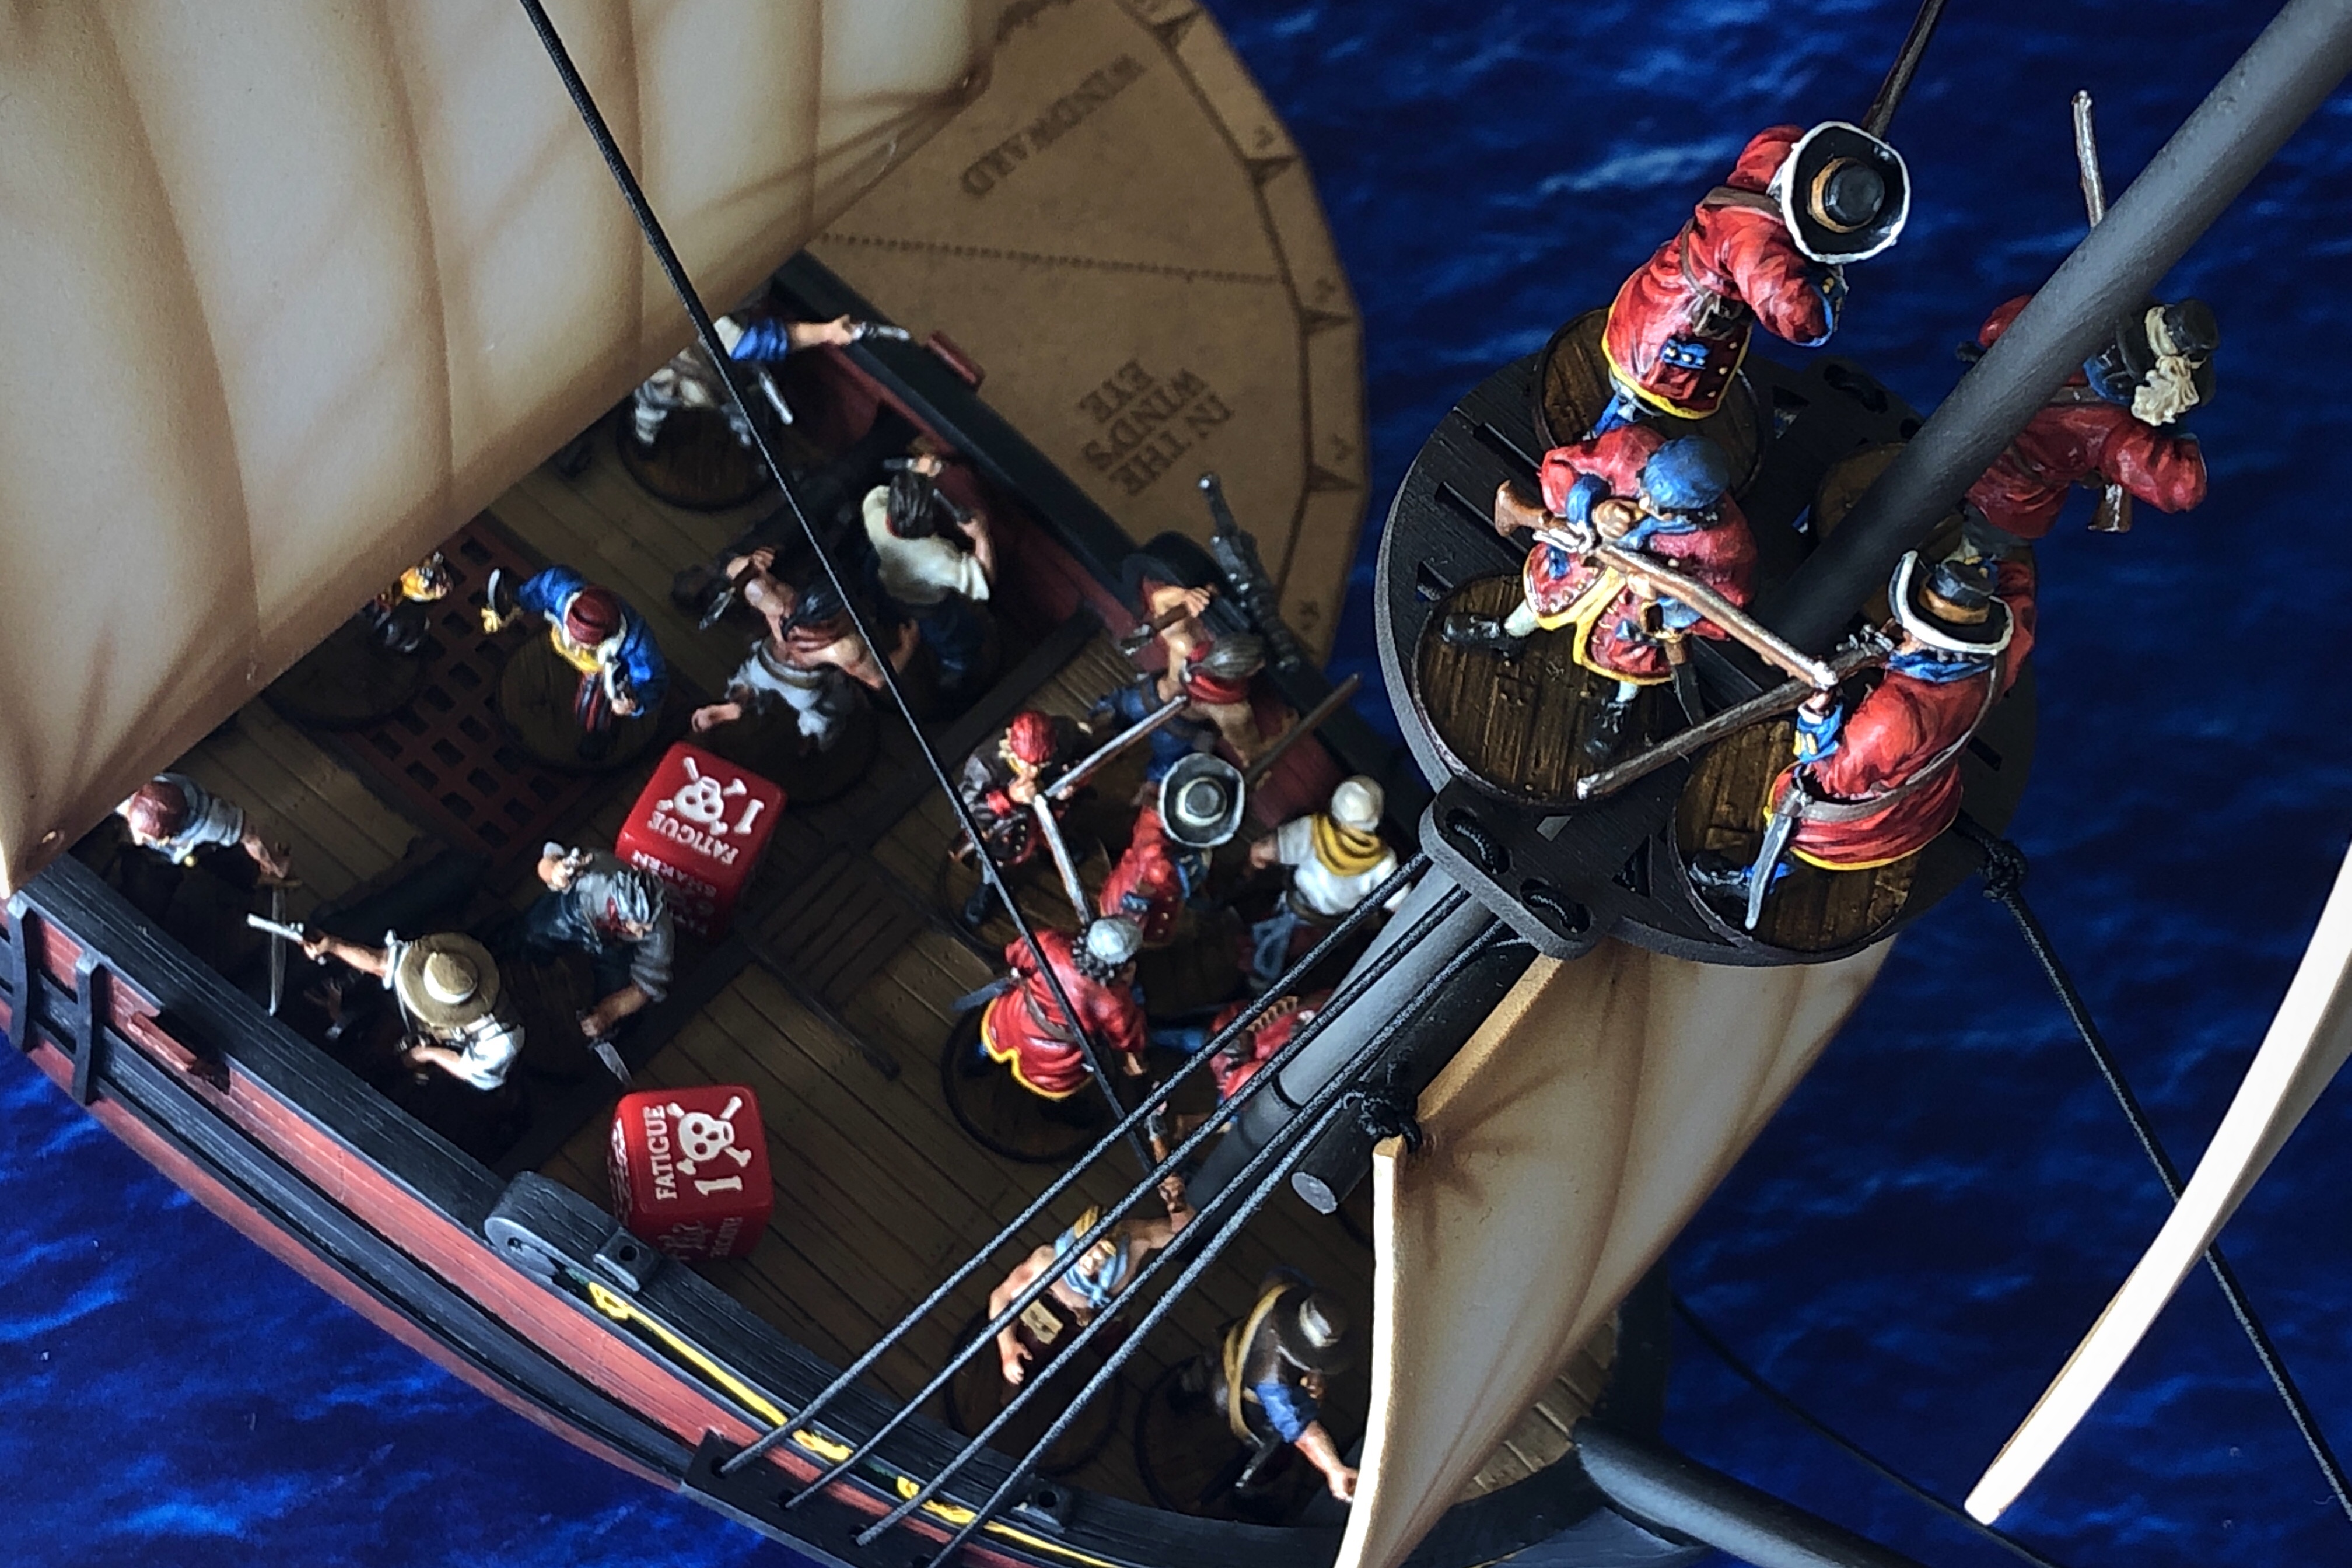
By the second activation the Spanish were able to fire the other five cannons. These cannons made contact and roughed up my crew in the focsle.
With four hits on my Sloop of War, I failed all 4 Saves but spent a Fortune to re-roll the Militia Save and ended up saving 1. Bit of a waste of a Fortune but I had to keep up morale at the opening of a battle!

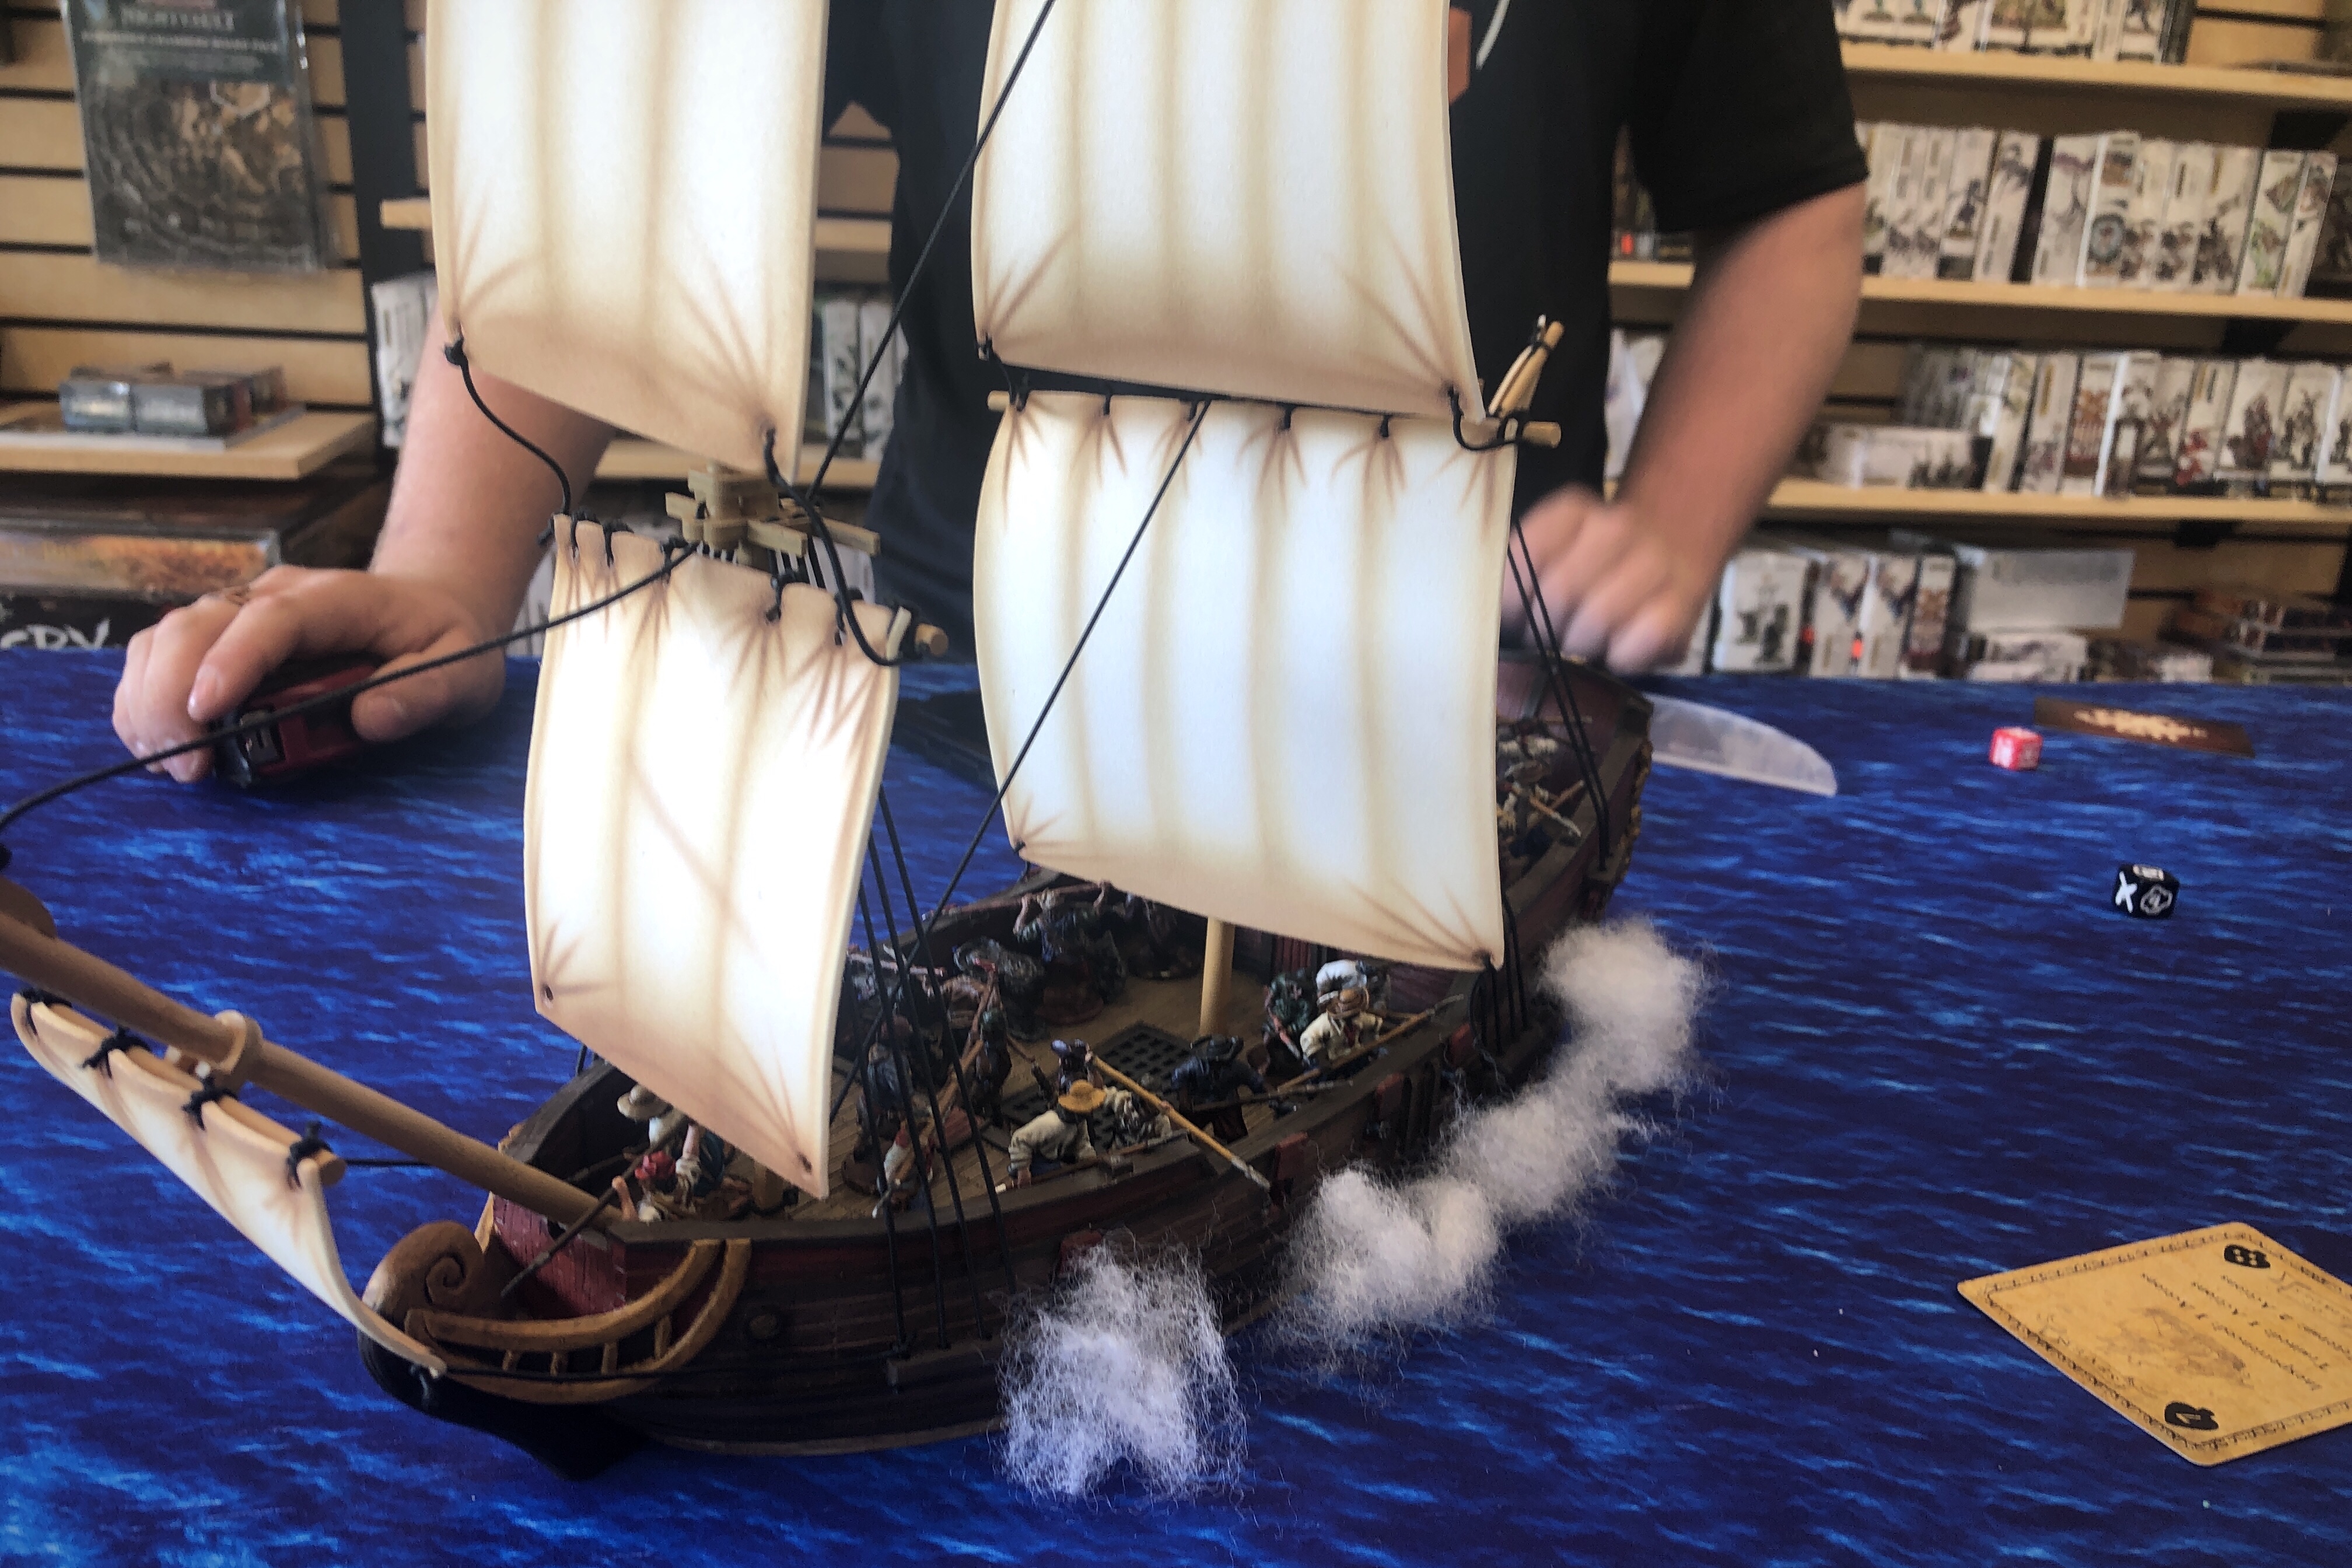
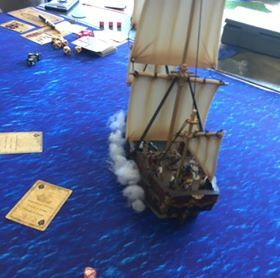
I took a Lucky Hit as well which knocked off one of my Swivel Guns on the front deck.

To line up my broadside I had to turn into the wind which wasn’t good for my speed and I had to sail right over the shoal which could potentially beach me which would be extremely bad.

I got my shot lined up and fired off my 4 guns, two at a time. I got three damage on the Spanish Frigate out of that shot which isn’t bad when working against the 5 Fortitude of a fresh Frigate. I also got a Lucky Hit which turned into a Steerage Crit so the Frigate’s turn was reduced to 1″. I removed three reload markers on the middle deck cannons on my last activation of the first turn, making those cannons almost ready for fire going into turn 2.
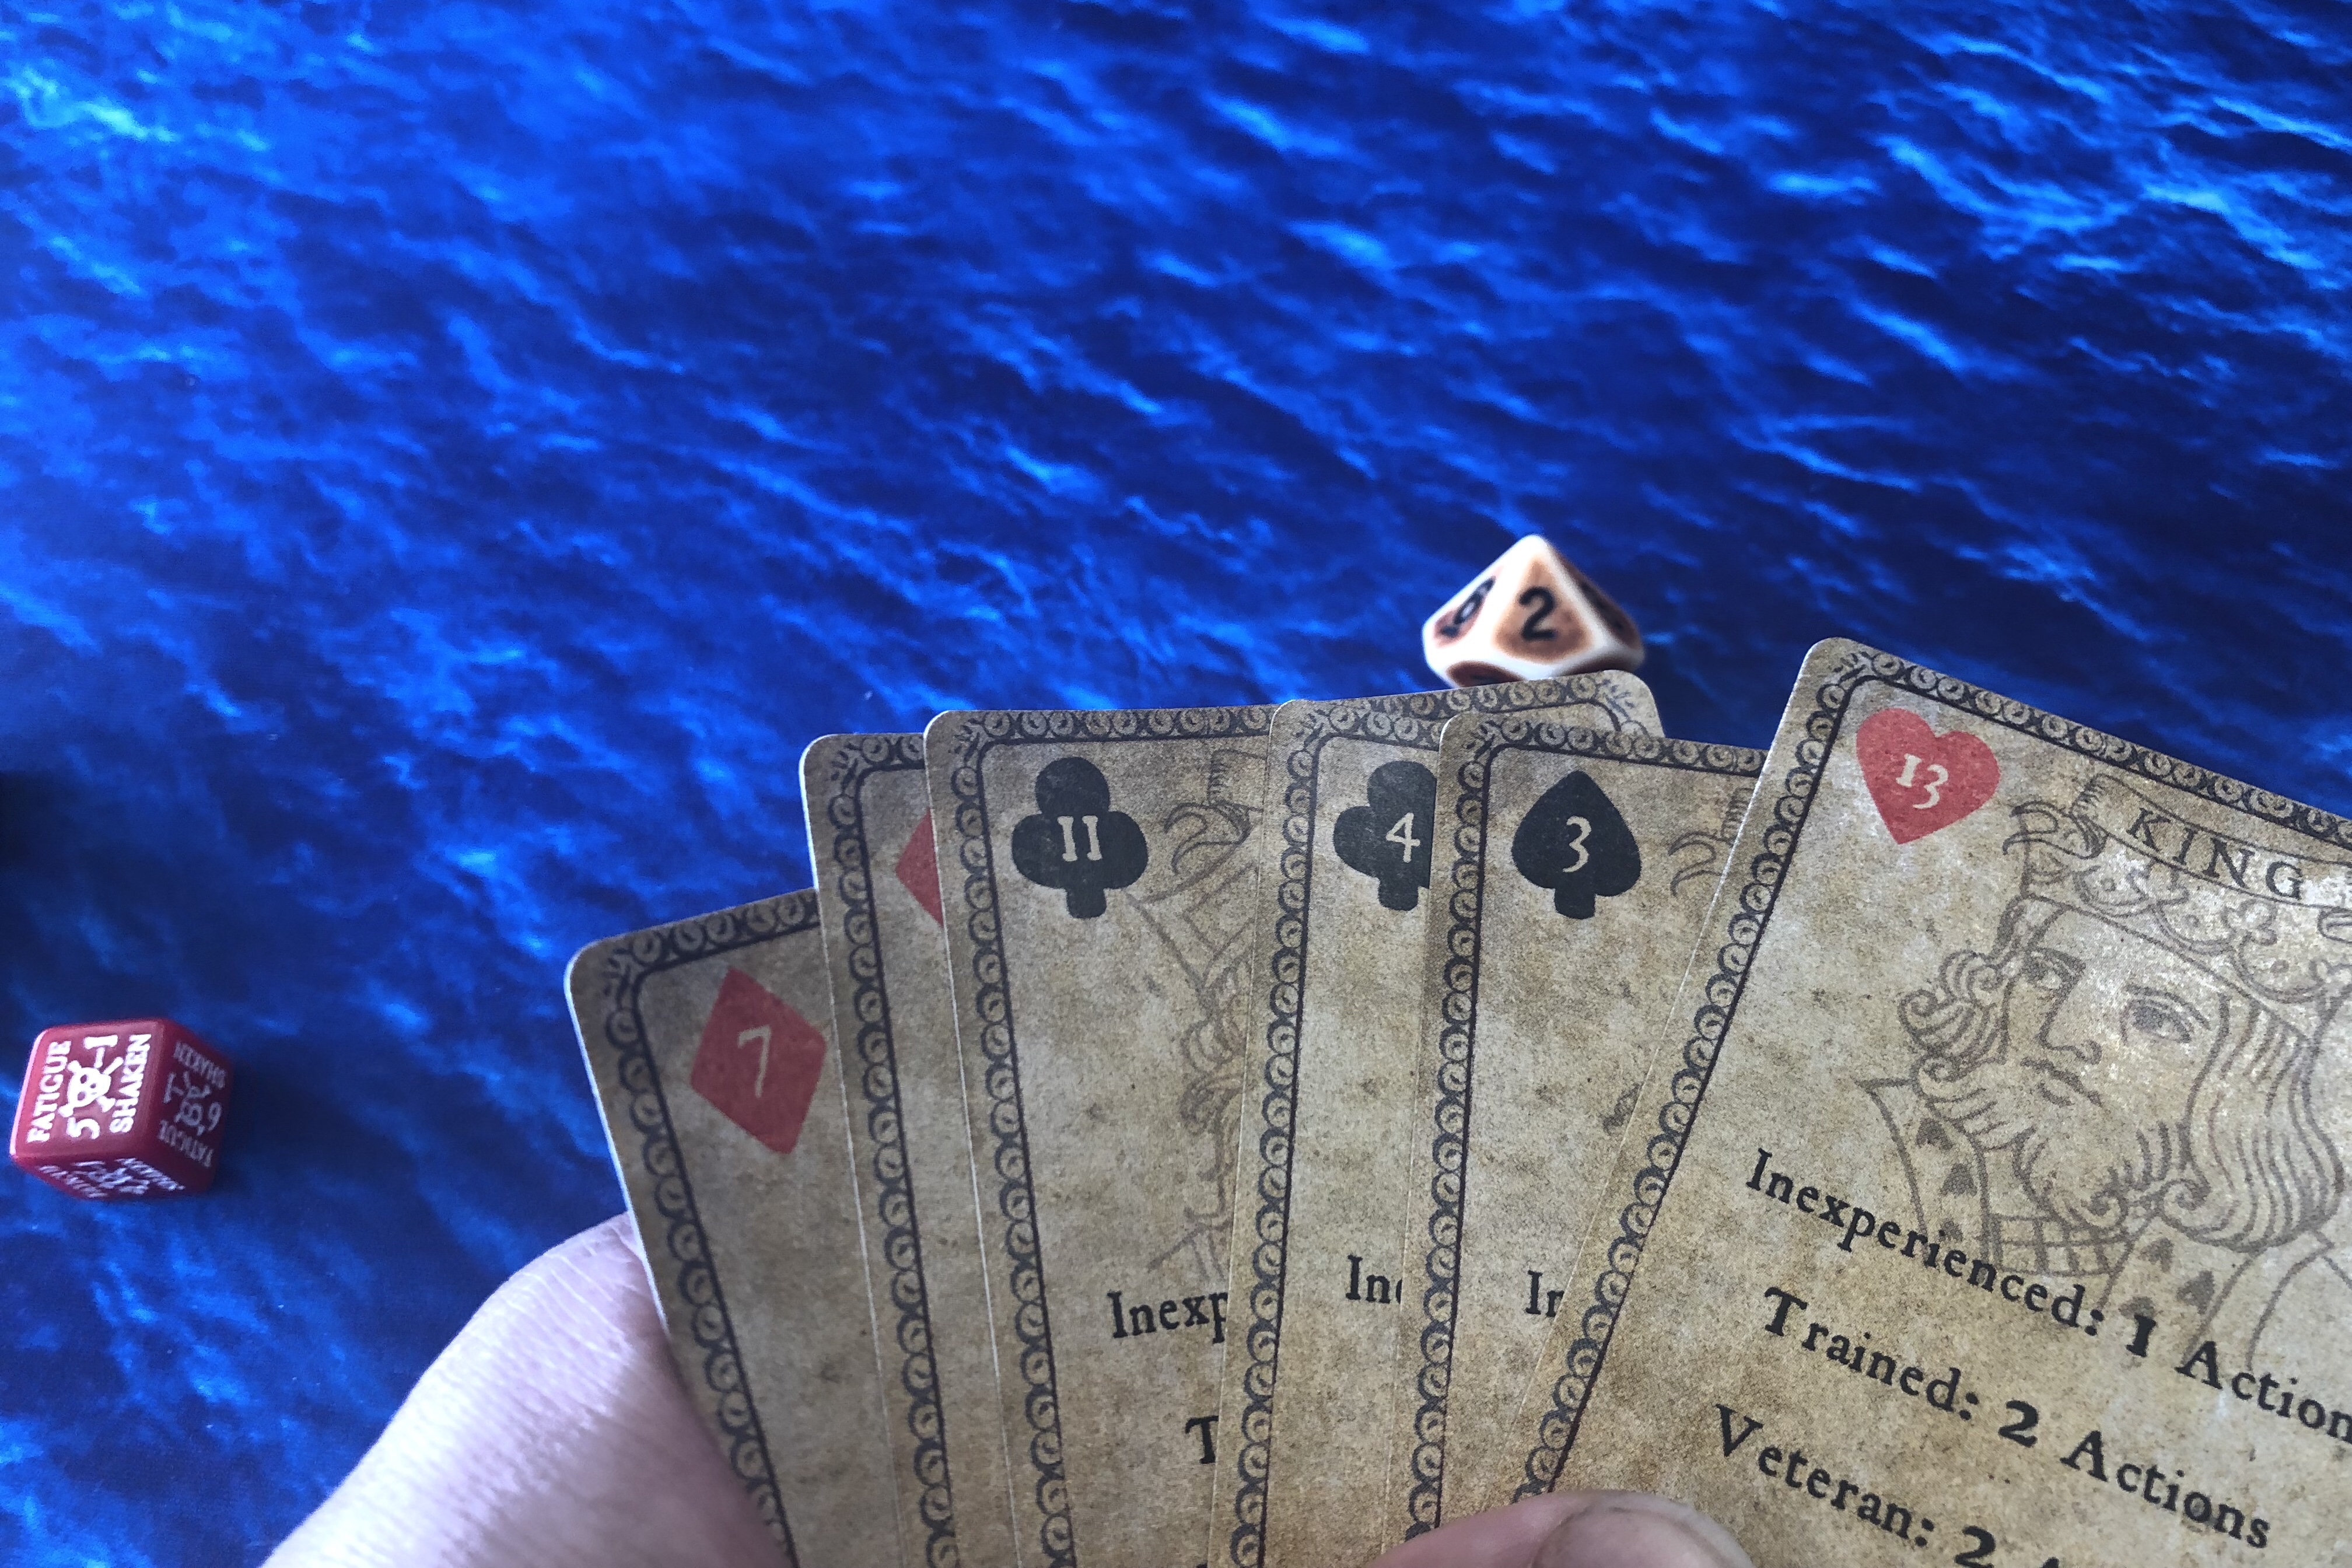
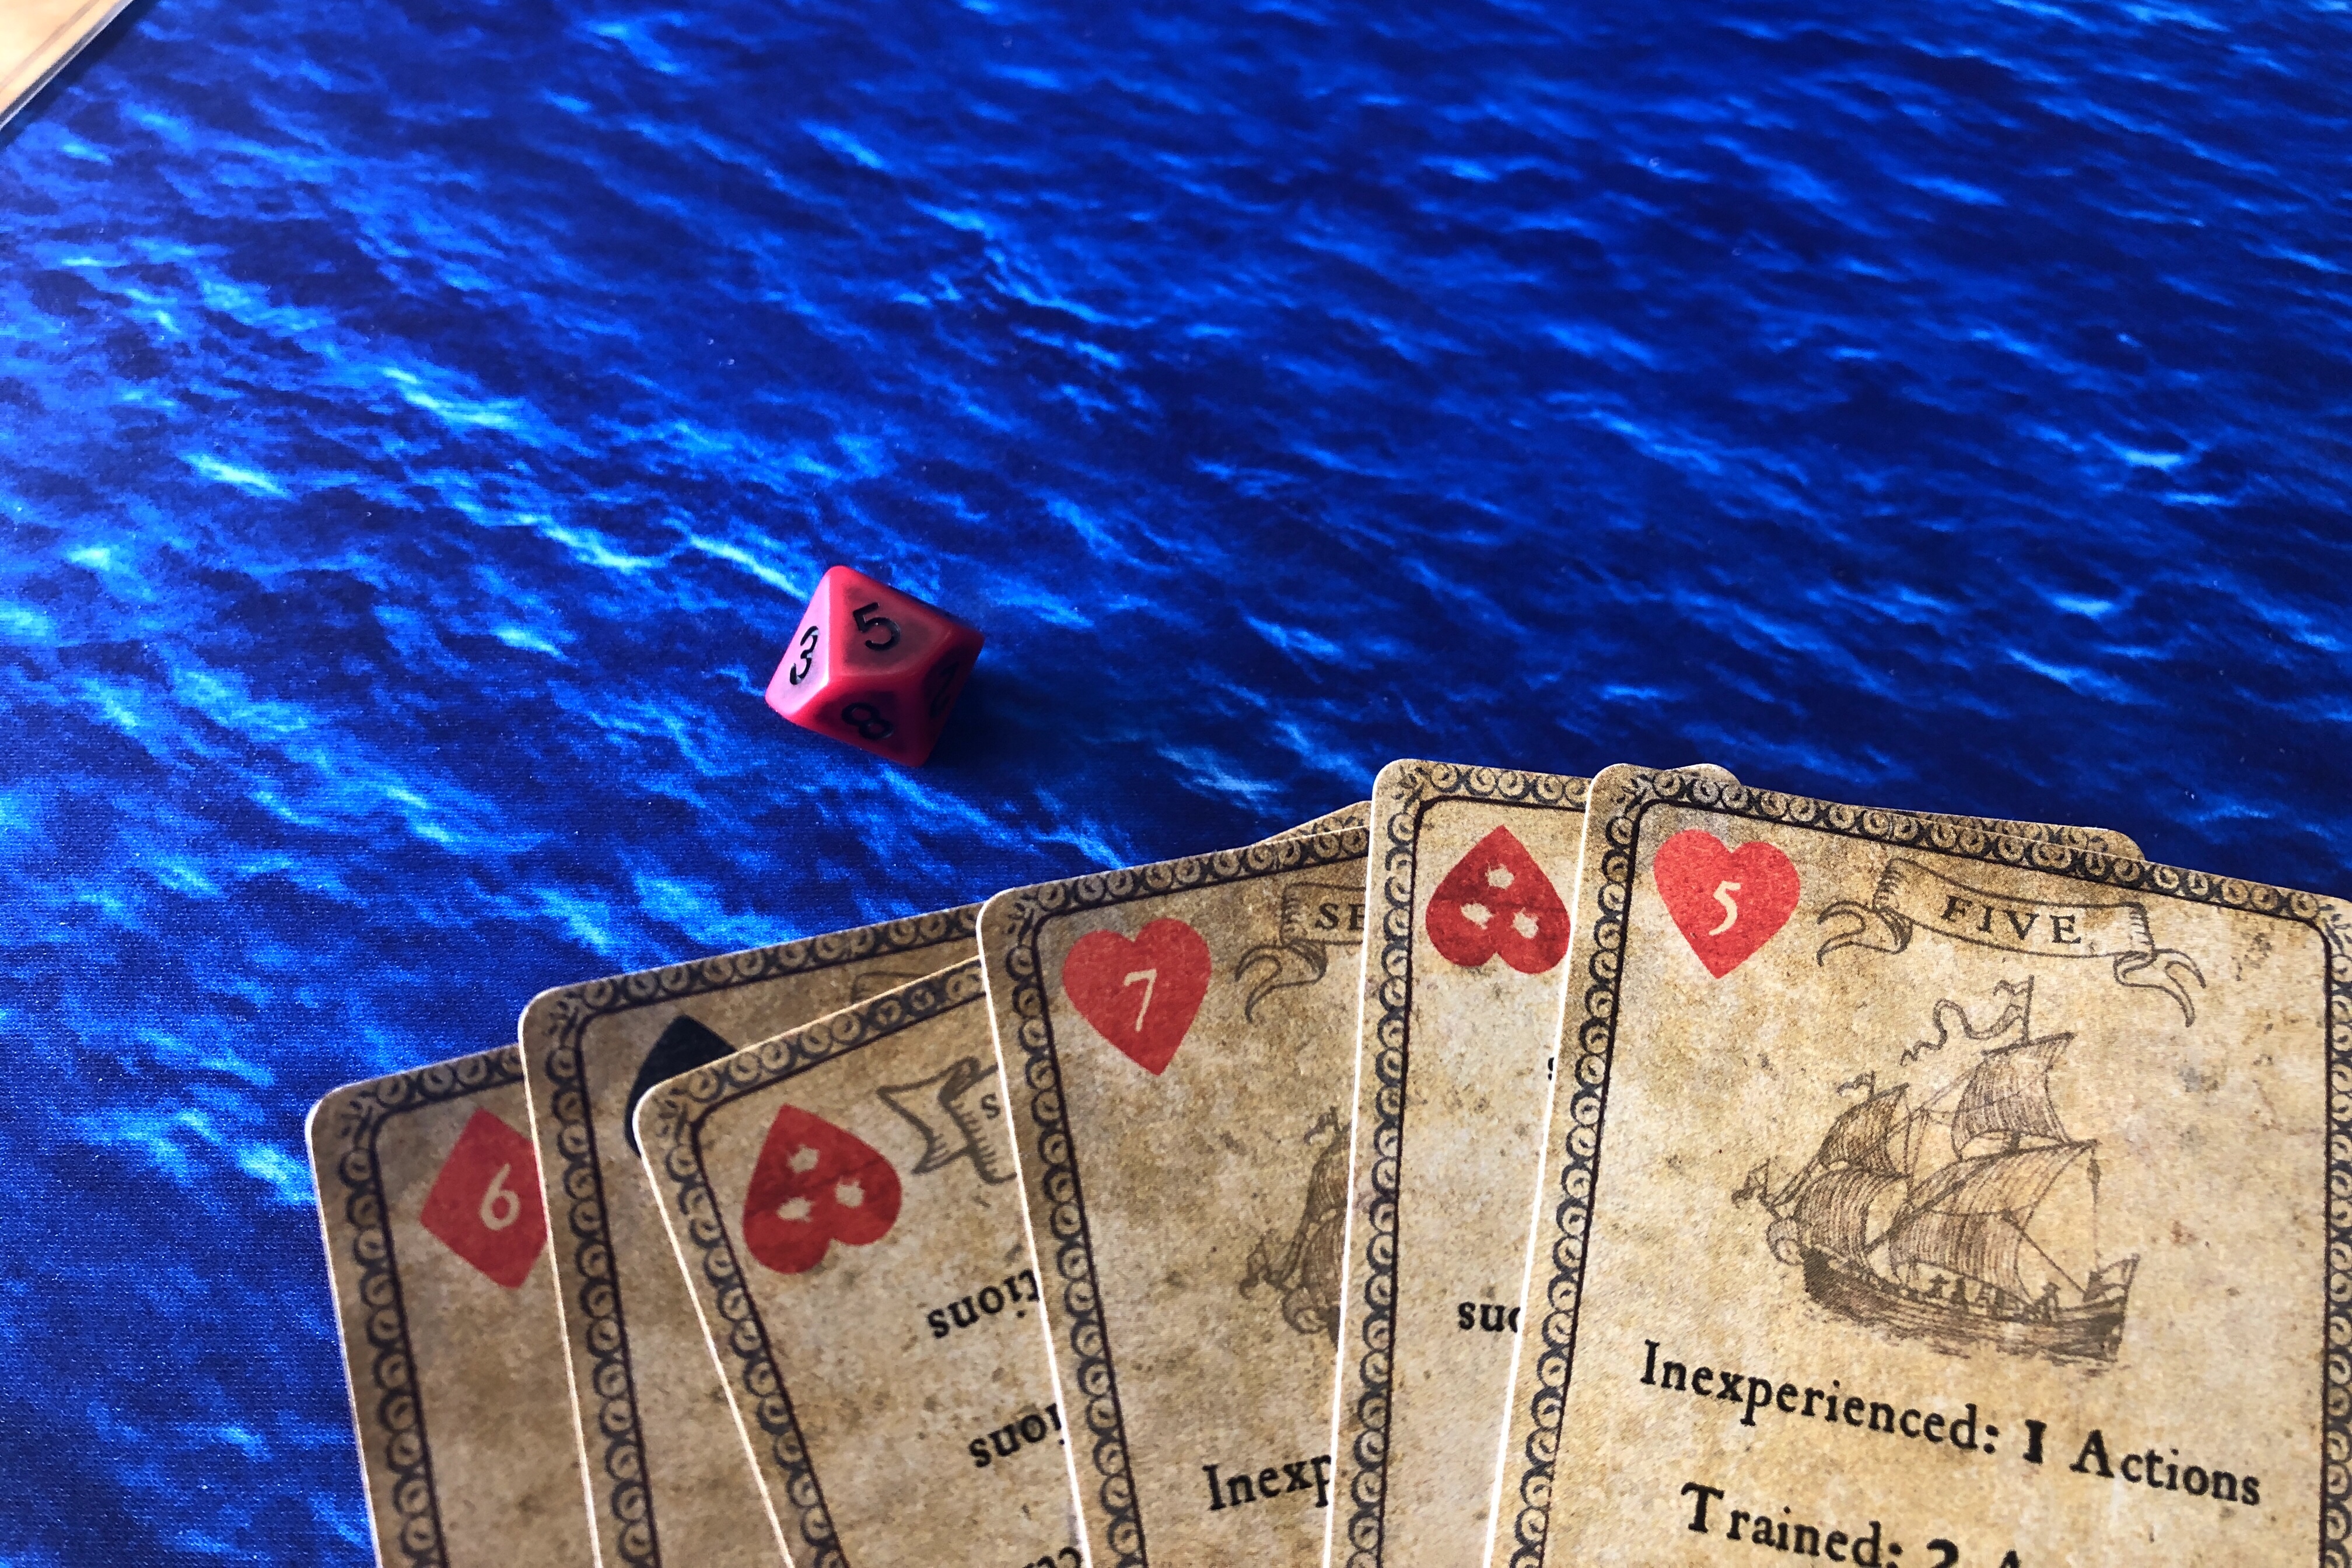
My units weren’t huge but I enjoyed that large hand size. Six cards to choose from every turn was very helpful.
Going against the wind, I used my Zeelieden with the Sailing Master on the first activation to try to get some extra speed out of my ship but the Sailing Master failed. The first of many fails for this Sailing “Master” in this game.
With a Draft Value of 6, a roll of a 9 or 10 would beach my Sloop of War on the shoal. I was lucky on the first roll!
But I just had to keep rolling every time I moved again as it took me several moves to actually clear the shoal!
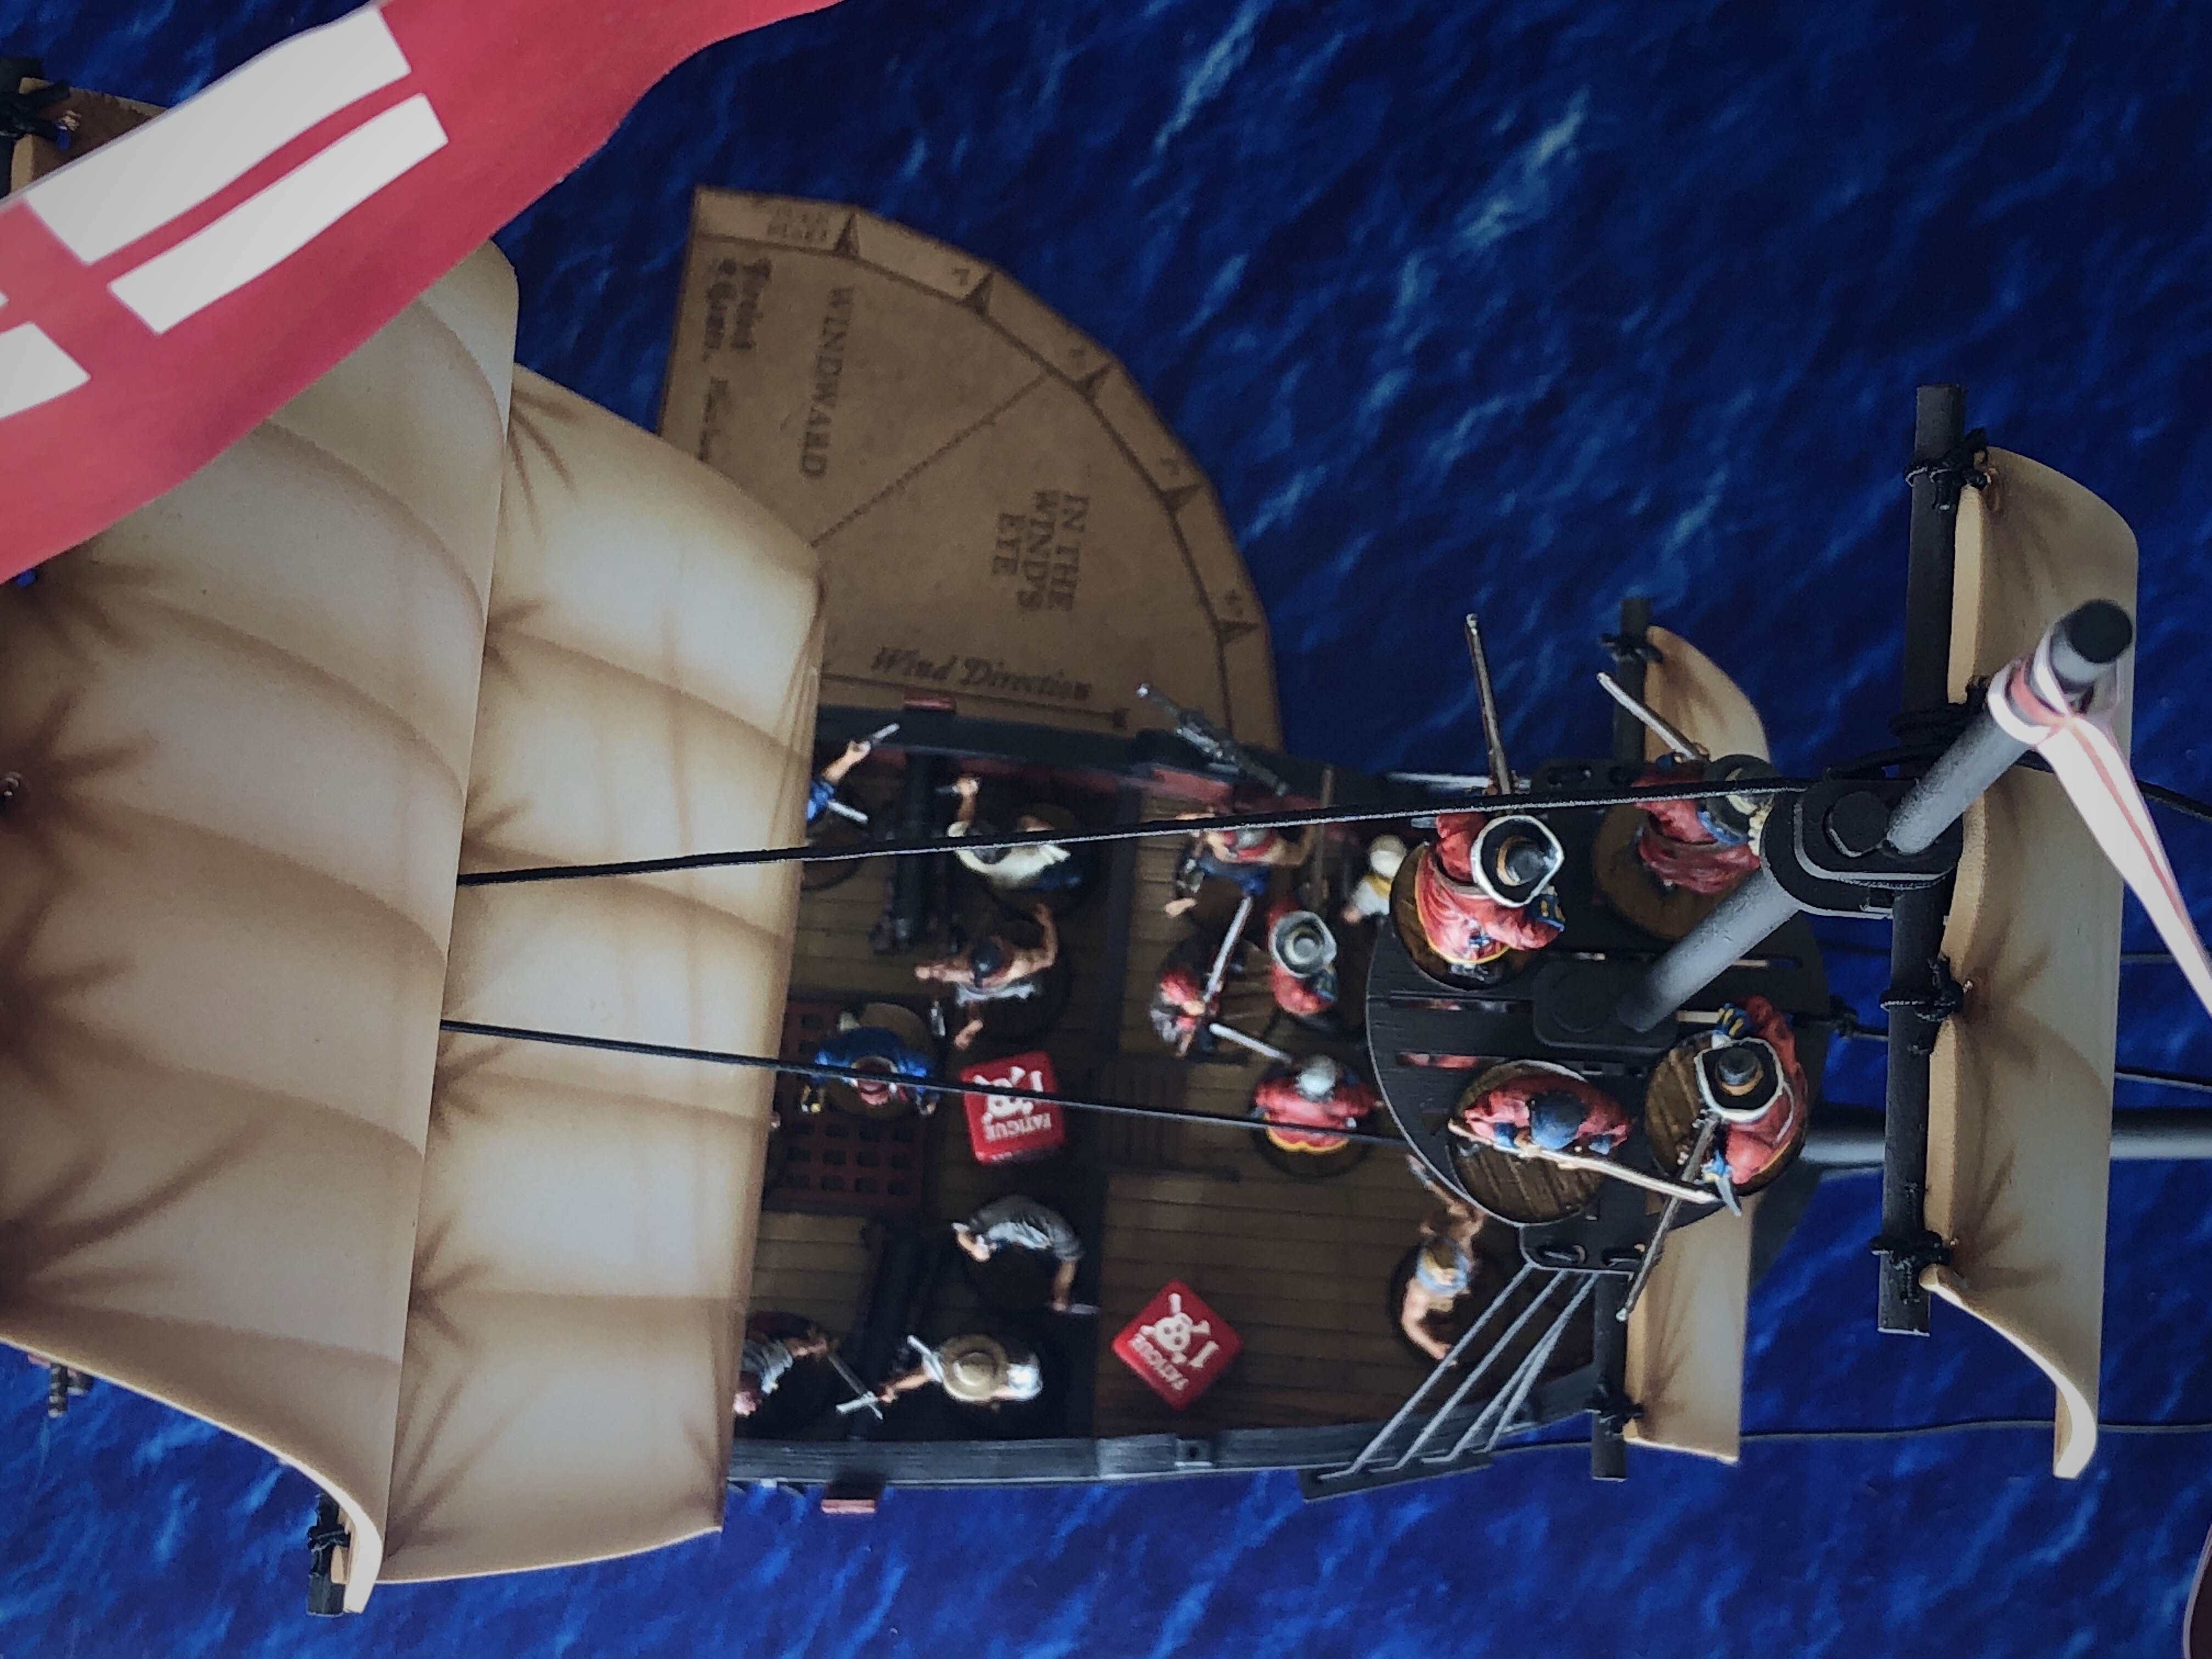
I was able to fire off my mid deck cannons again early in round 2 and landed three more hits on the mid deck, including a Leak Lucky Hit. The Marineros Piqueros have an excellent Shoot Save and they should have been saving 60% of the time but the Spanish dice were cold. Nick rolled more 3’s than I’ve ever seen in a game! The Piqueros in the mid deck took a 3rd Fatigue from this attack and went prone.
I fired off my other set of cannons and got the Frigate’s Fortitude down to 4.

The silver mini is the Musician, an old school D&D mini.
The Inspiring ability granted to the Spanish Commander by the Musician proved very helpful in getting the unlucky Piqueros back to their posts.
My Militia kept up a pretty constant rate of fire. While we were further apart in these first turn, I did some Drilled shots to make my fire effective, and through the rest of the game I tried to activate them on a Club so I could fire and fully reload.

The Save penalty from firing from the Fighting Top came into play at least once and I was able to take down a sneaky Spaniard that would have otherwise ducked behind a bulkhead.
Nick had to Rally and take one unit of Piqueros off their cannons to repair the Leak and Steerage damage.
He repaired the Leak on the first attempt but didn’t get a chance to try and repair the Steerage damage on this turn. I picked up speed as I began sailing large again and I luckily never beached myself on any of the 3 moves over the shoal this turn.

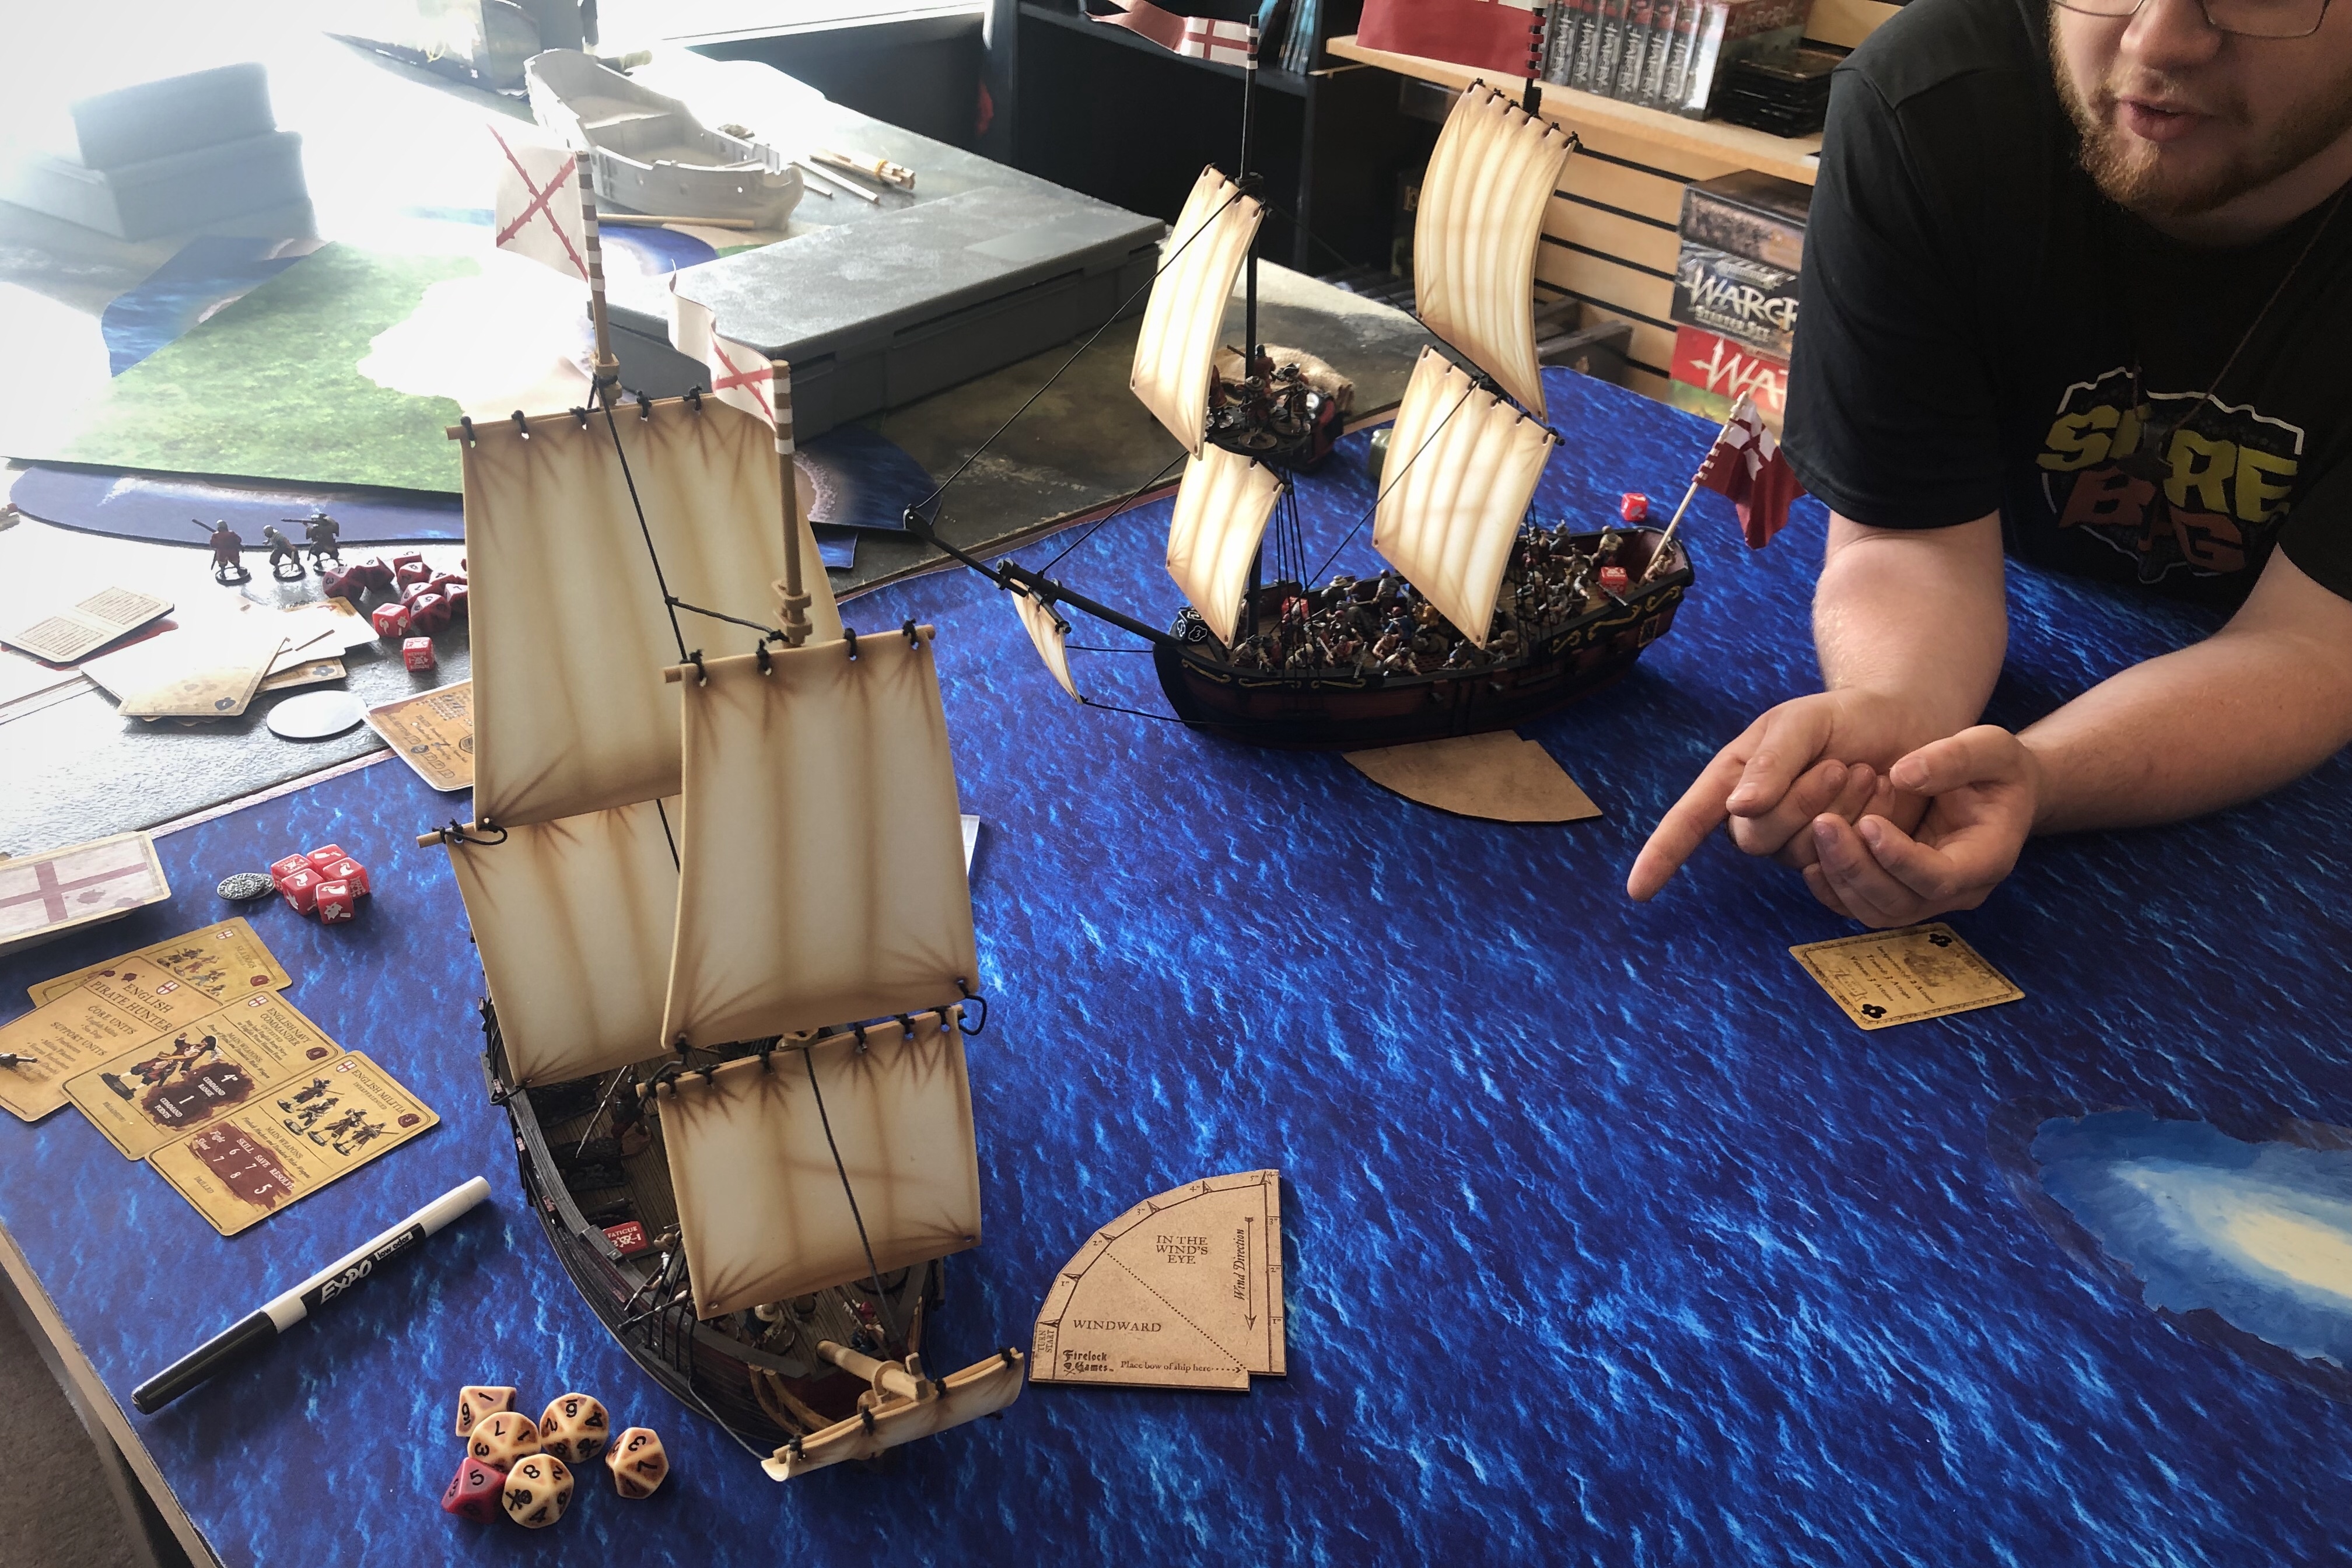
Turn 3 was largely spent repairing damage on the Spanish ship and reloading cannons on the English Sloop of War.

I was maneuvering for a Raking shot but Nick repaired the Steerage crit and was able to deprive my guns of that opportunity.
I kept up some small arms fire as we circled each other and prepared to re-engage.
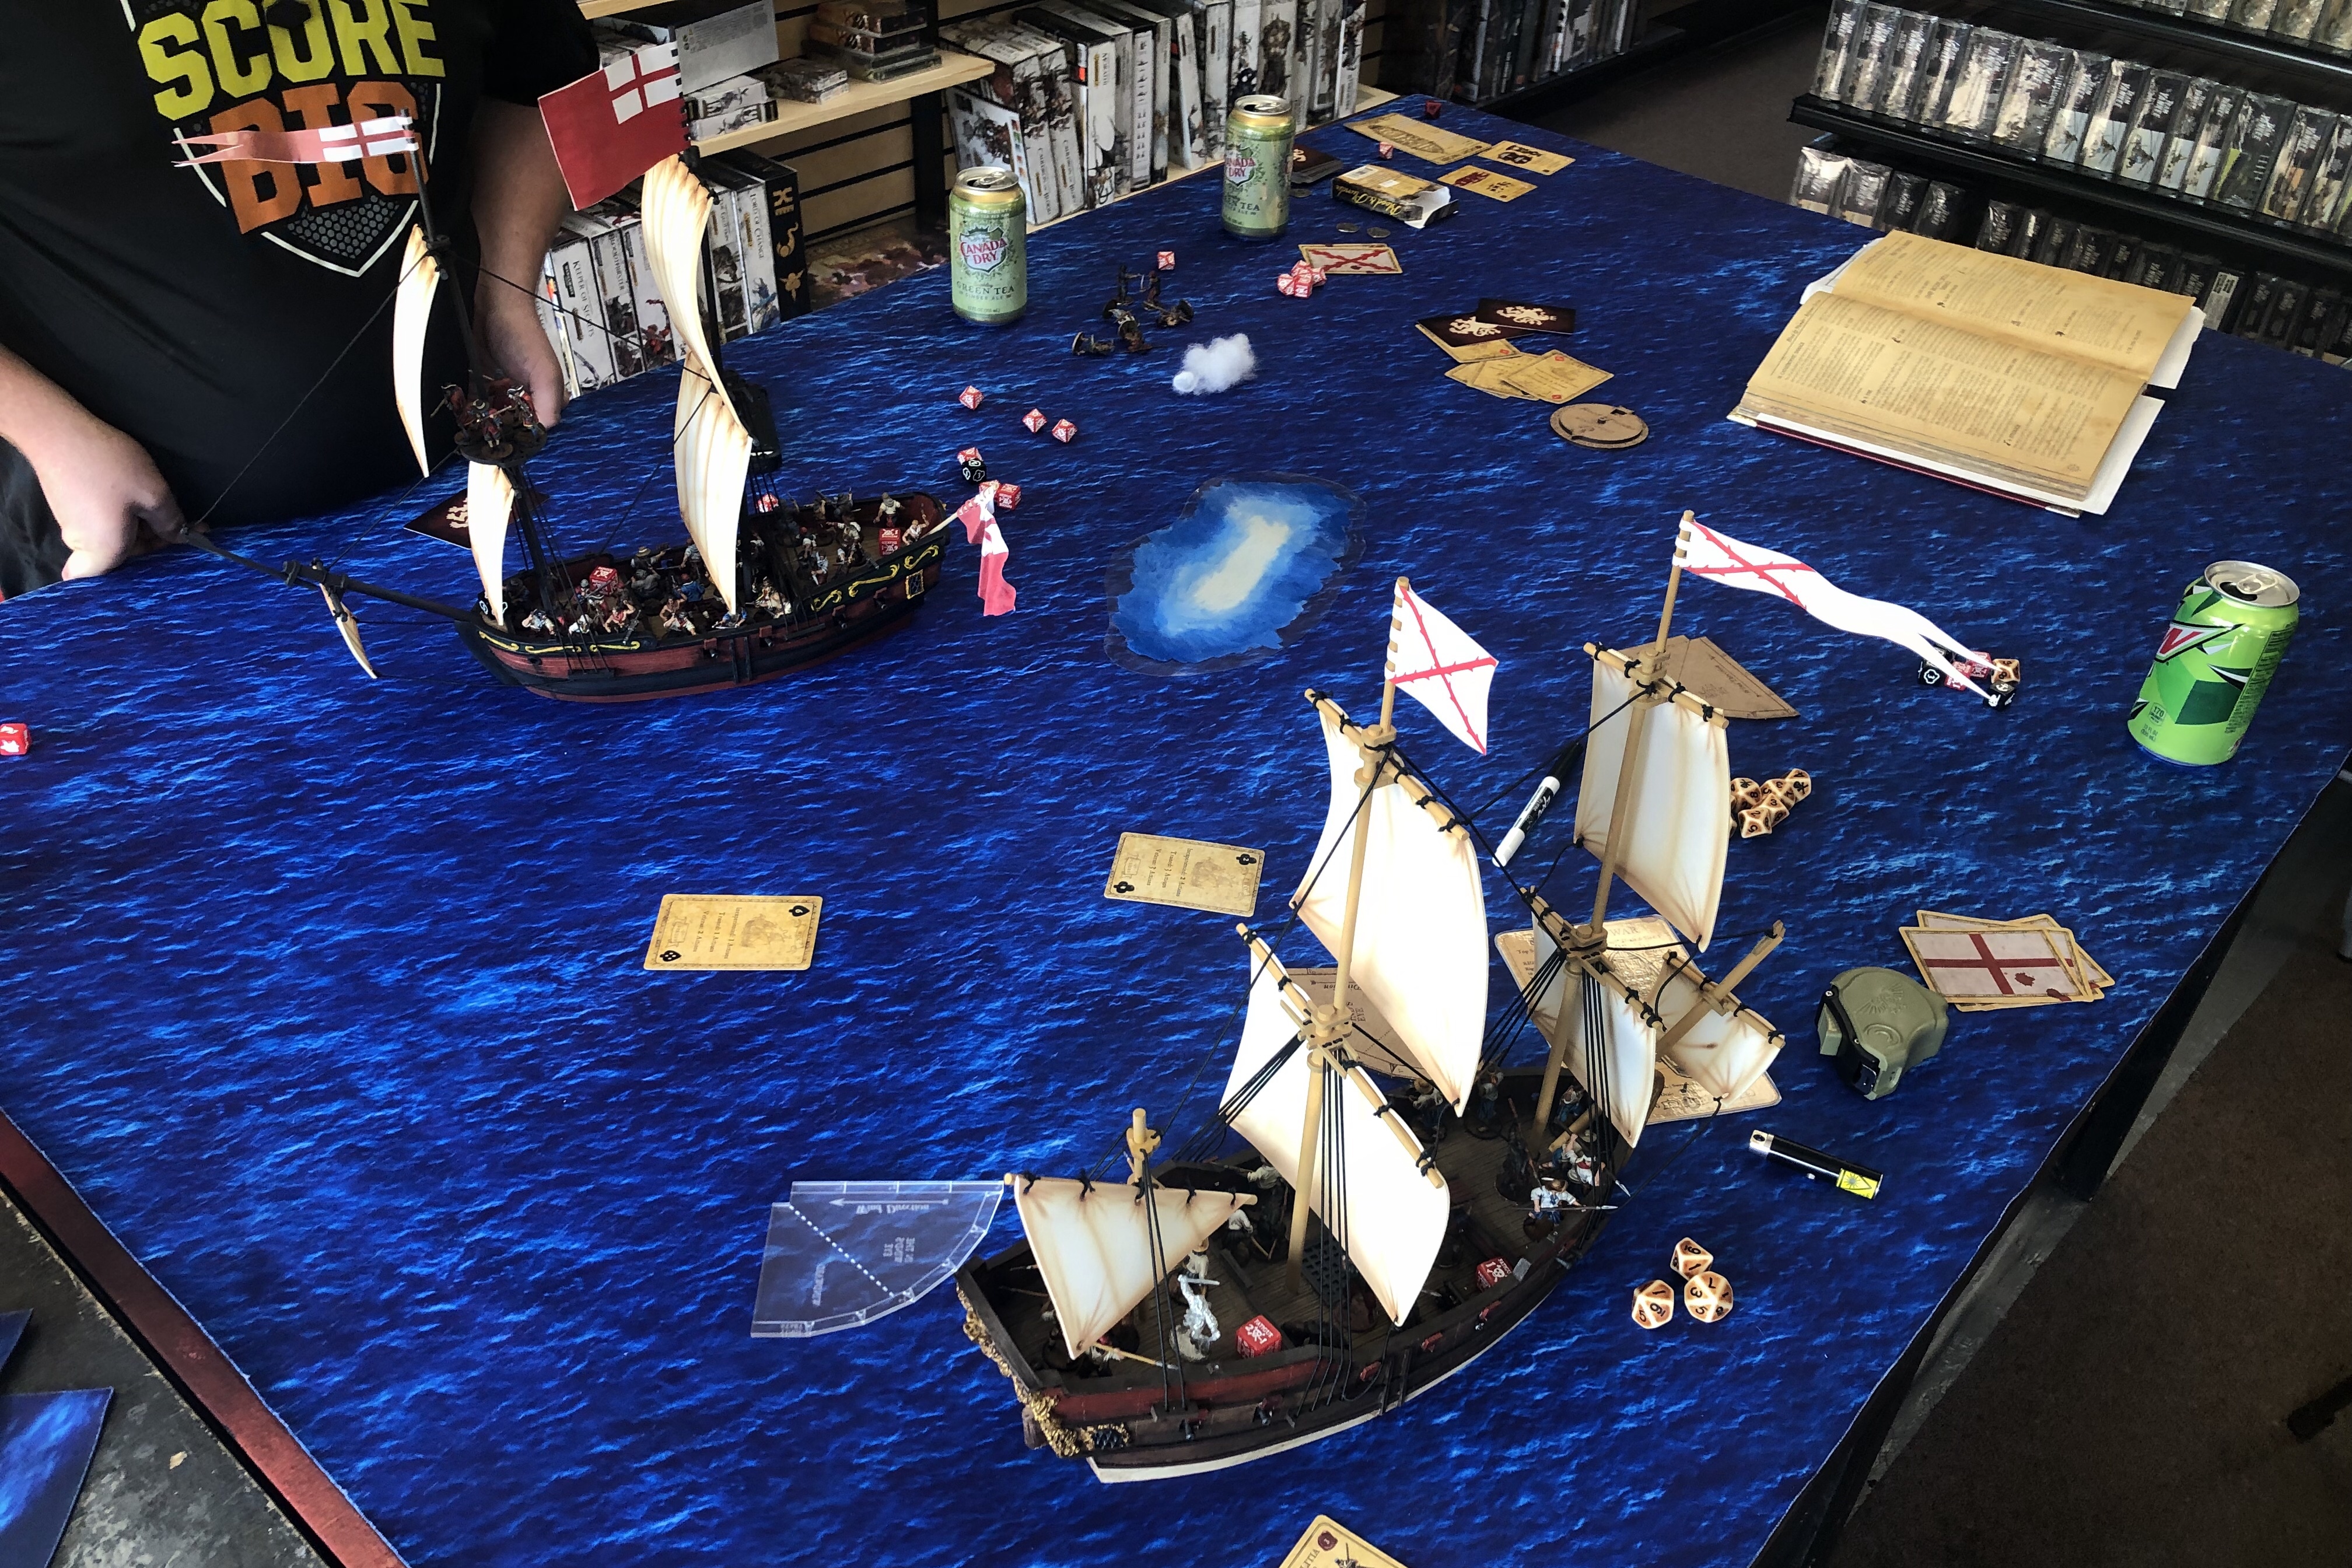
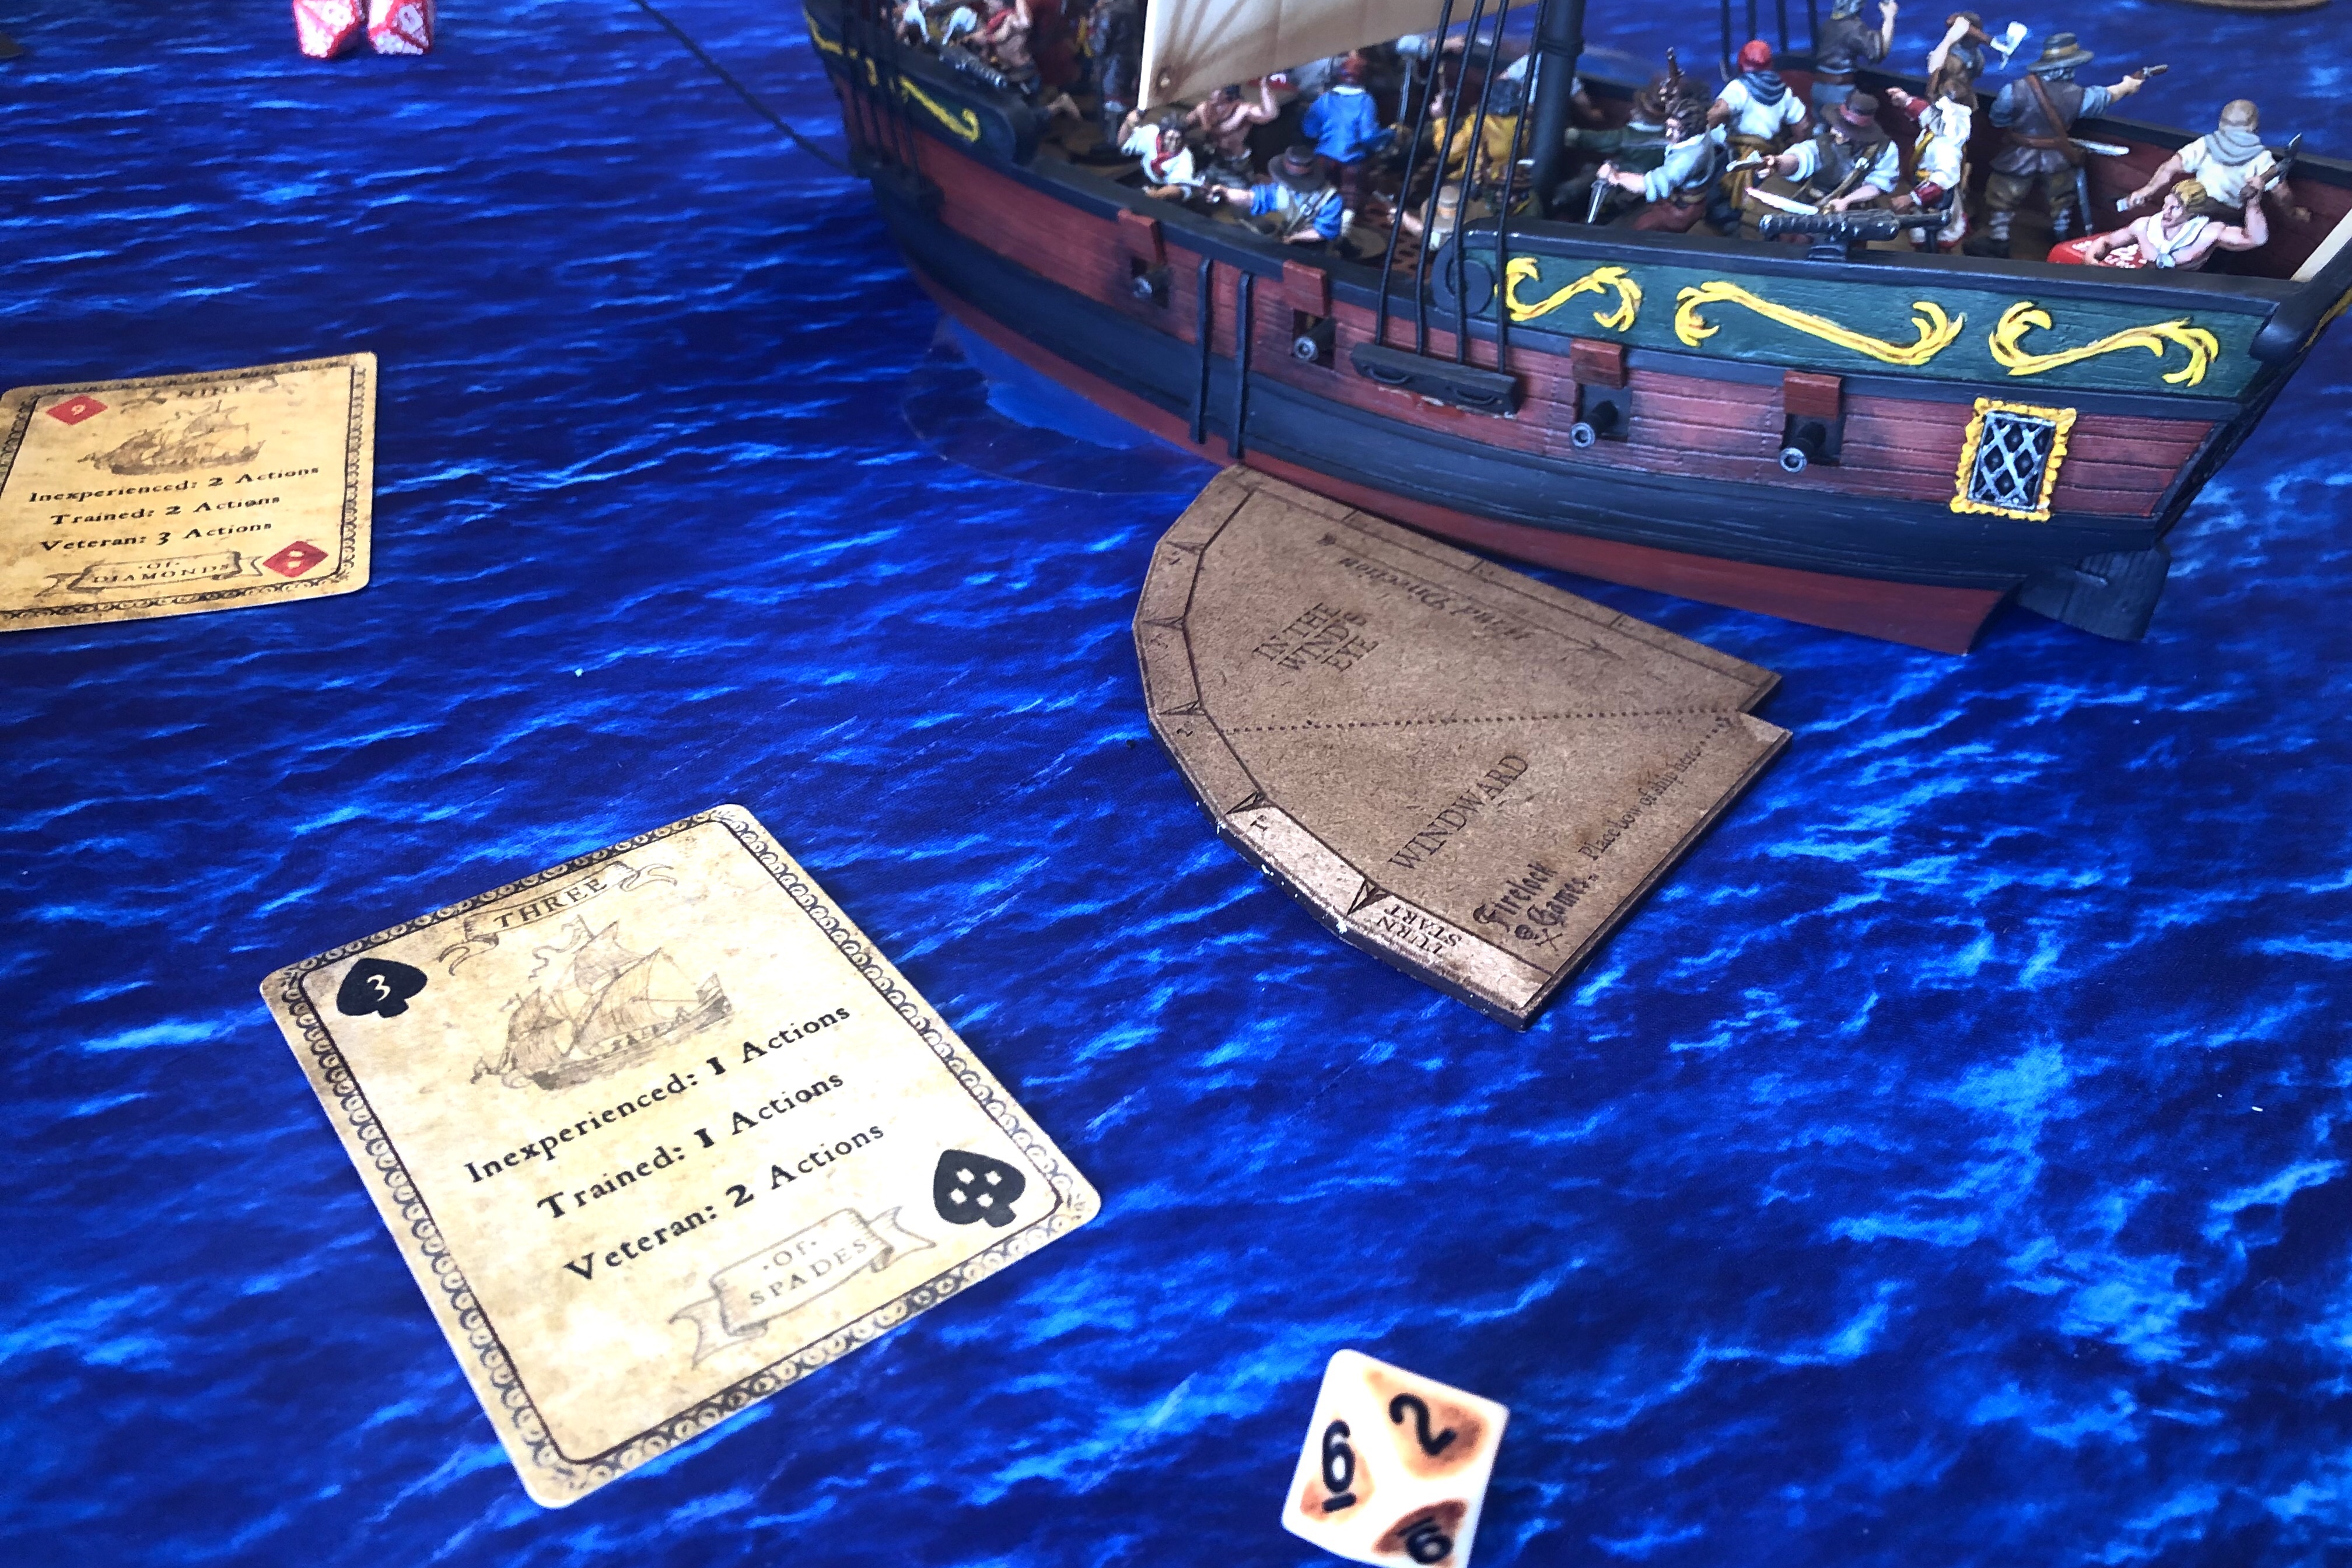
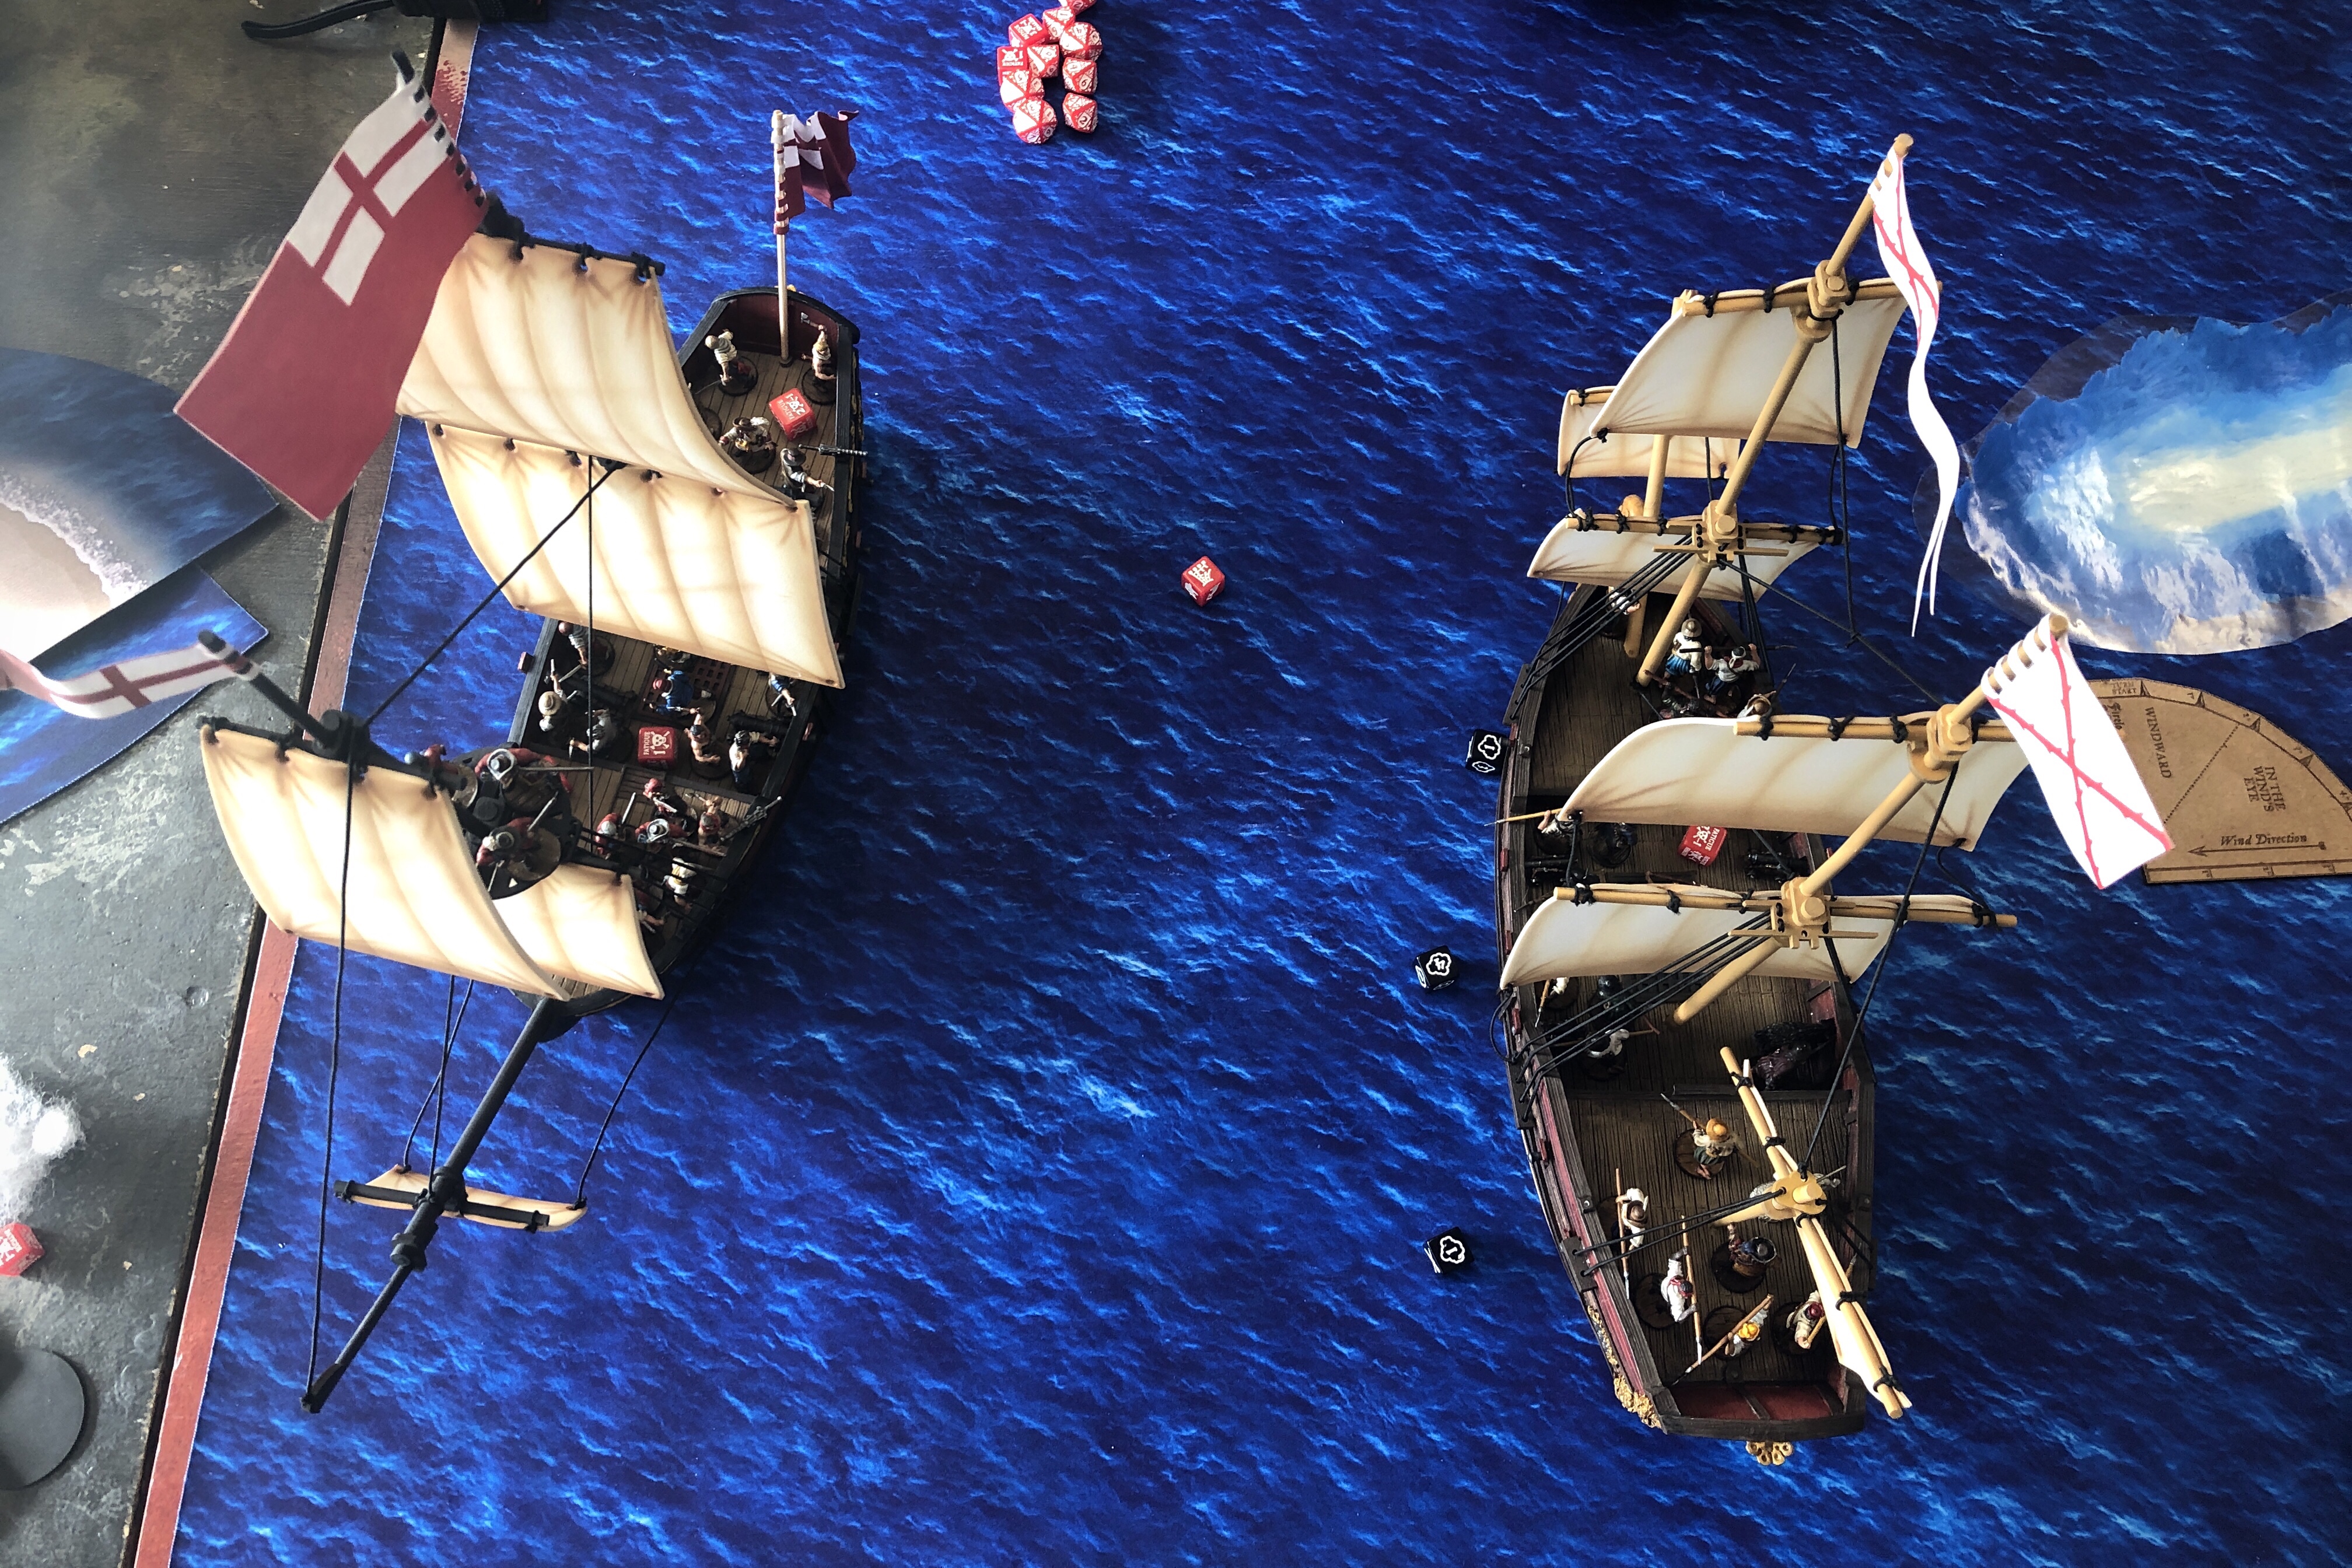
The turn ended with the Spanish Frigate turning into the wind’s eye. Nick took a second unit of Piqueros off guns to help with the upcoming Advanced Maneuver to Tack into the wind.
Going into turn 4 I drew an event which slackened the wind by 1″ and gave us Sleet.
The Spanish passed the Tacking test and kept control of their ship on the first activation.
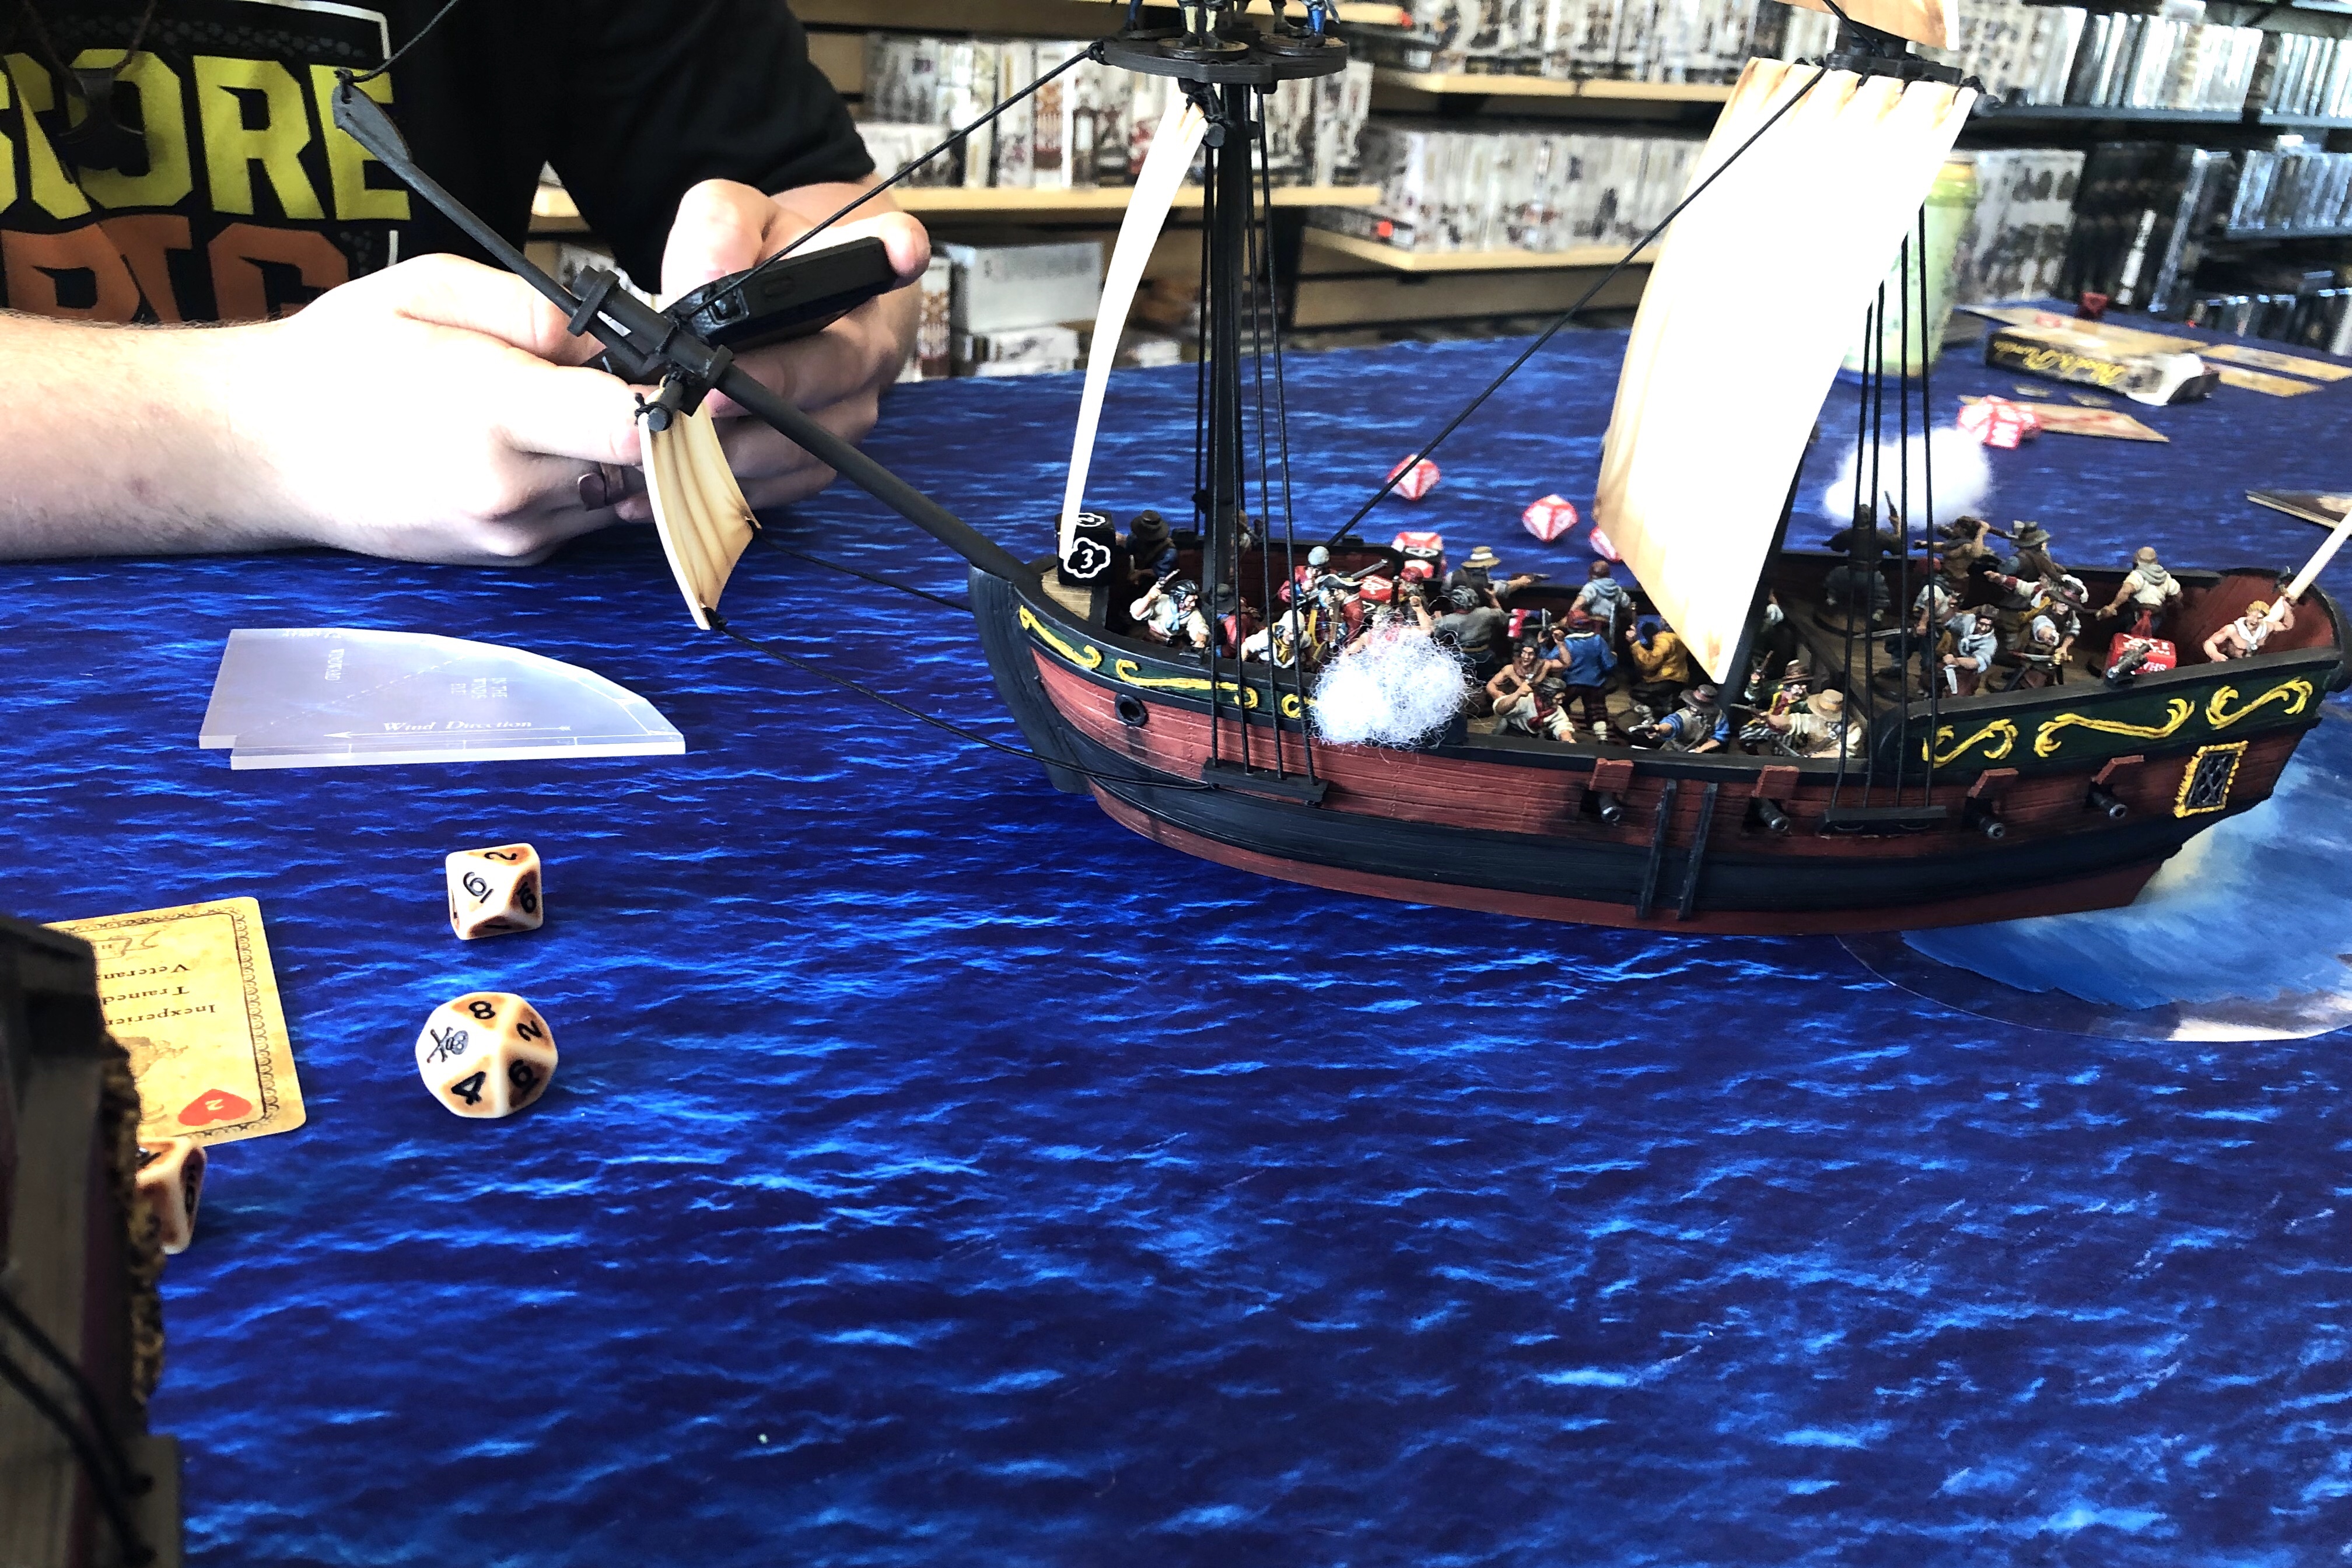
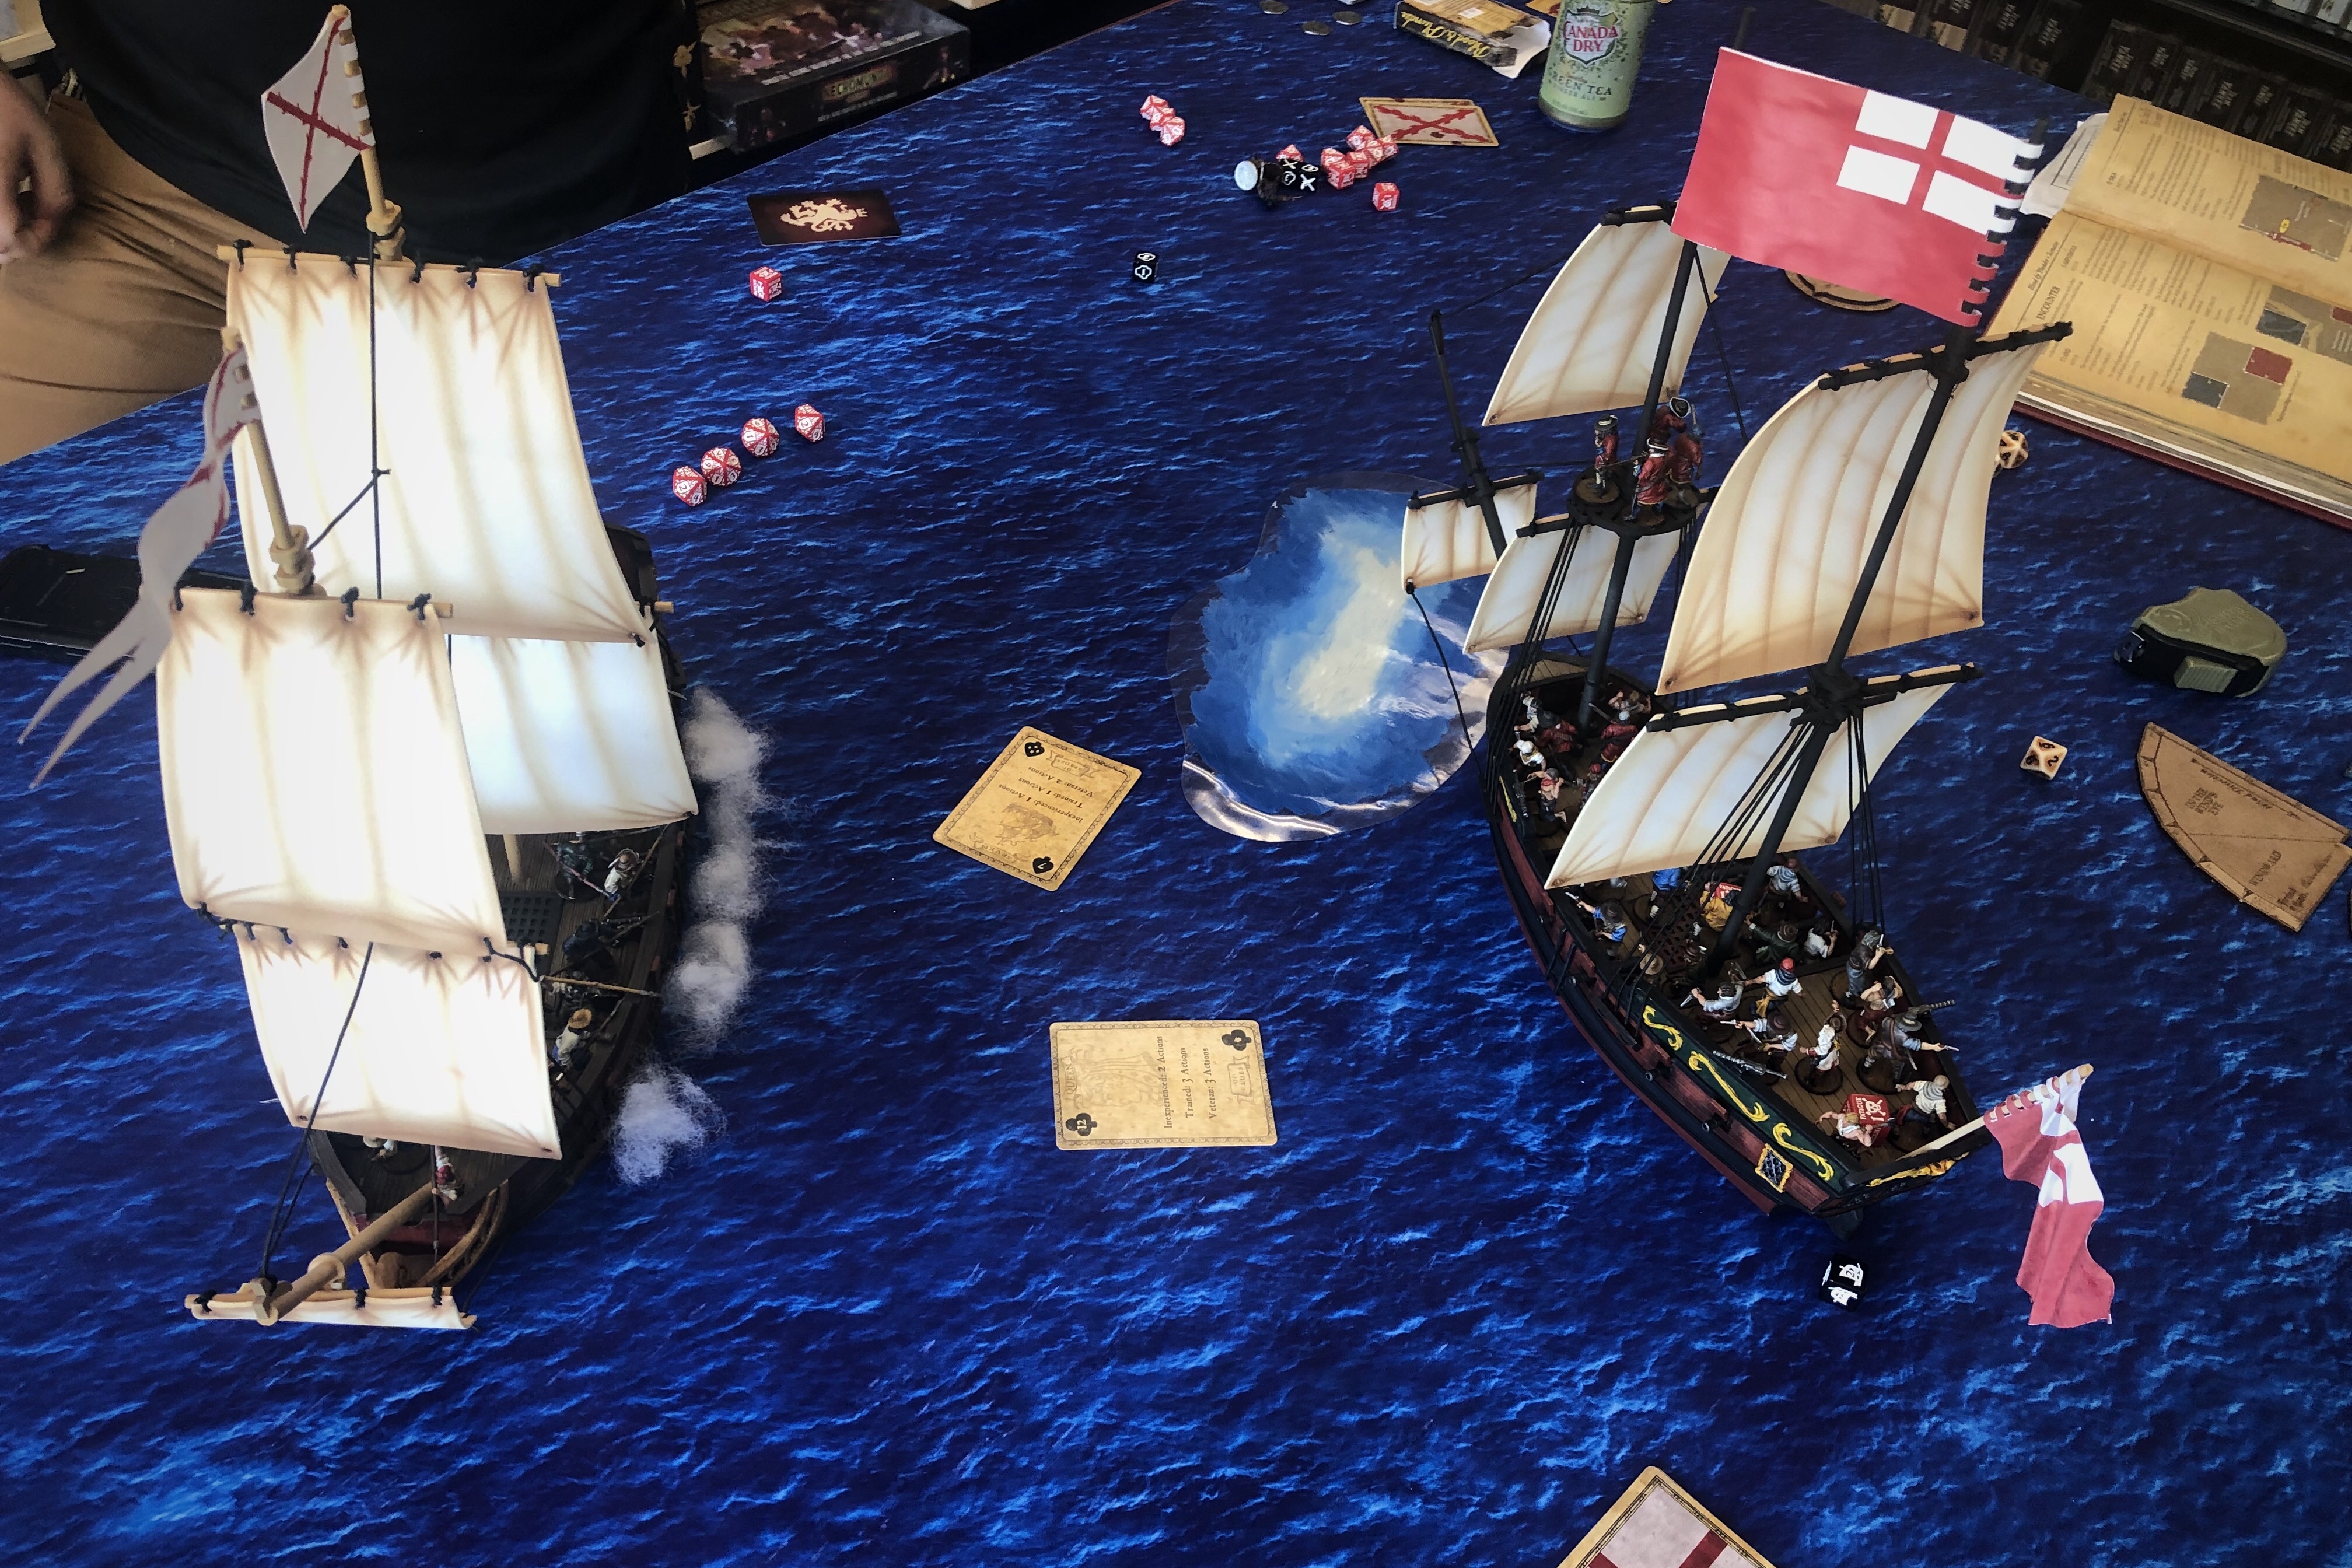
With all my cannons loaded and the Frigate’s Fortitude down to 4, I let off a true Broadside which landed a miraculous 8 hits!
This brought the Frigate’s Fortitude down to 3 and gave it another Steerage Crit and a Sheets and Shrouds Lucky Hit. My cannons were basically firing as fast as possible and it was starting to take a toll on the Frigate.
I used my Sailing “Master” again to try to make up for the wind lessening but he failed. Again. I used the “Expert” Sailor Zeelieden to try to raise my sail speed from 4″ to 5″ to make up for the lessening wind. I just needed a 3. They failed. Apparently the English weren’t paying these Dutch Sailors enough!
With repairs to make, sailing actions to accomplish and Fatigue to remove, the return fire from the Armada had drastically slowed.
Moving into turn 5 neither of us had lost a unit but the Spanish casualties were building up while I was still at 3 dead from the initial Spanish broadside.
I had pushed my Sea Dogs hard the previous turn to reload as quickly as possible and I had another Broadside ready midway through turn 5. Three of my cannons made contact and started to tear the Frigate apart. I think I got mostly hits on 9 dice which reduced the Frigate down to 2 Fortitude and gave it another Critical Hit and a Lucky Hit.
The Critical Hit came up as a 10, Catastrophic Damage! The Frigate took a Leak marker and then rolled again on the Critical hit table for the Catastrophic Damage. Another 10! The powder magazine exploded, destroying the entire ship and sending all the pious Spanish home to their Maker. What a dramatic ending!
Post Game Thoughts
- Well, the first thing that has to be said is the dice were on the English side this game. Through the first half of the game the Marinos Piqueros saved extremely poorly which put them behind for the rest of the game. They I rolled pretty well on my Lucky and Critical Hits every single time. The 2 Steerage Crits really crippled the Frigate for entire middle of the game. And rolling two 10’s in a row for the final Critical Hit had a 1% chance! I’ve never seen that happen before!

- The Frigate is tough, but if you can keep up a fast rate of fire with a decent amount of cannons, you can chew through that massive amount of “health.”
- With the new Assignment rules, it was very dangerous for the Spanish to have no unassigned units on their decks. As it was, all 3 units were assigned to cannons so when that first set of Crits came in, guns had to be abandoned to get the ship functional again which gave me time to shoot again which turned into a vicious cycle. The Spanish fired that first broadside which hurt, then after that, they just got a couple of 2 and 3 gun shots for the remainder of the game while I was firing all 4 guns nearly every turn. Having one more unit on deck that wasn’t assigned to guns would have helped a lot but points are really tight when you’re equipping an entire Frigate with Medium Cannons for 200 points.
- I thought I was smart by having those Zeelieden available to keep my ship moving but they failed every single task I gave them. I think I used the Sailing Master 3 times and he never succeeded and I tried to raise my sail once and they failed that as well! I guess even the experts can fail!

- I created my force on the Force Builder and I used the Commander stat card and both of those sources say that an English Naval Commander can command a Pirate Hunter force. But as I looked at the faction in the rule book after the game, I noticed that the rule book doesn’t allow for that Naval Commander. The only commanders listed as available to the Pirate Hunter force are historical commanders and the Pirate Hunter commanders. This isn’t a huge deal except that the 0 point Naval Commander has Broadside and the 0 point Pirate Hunter commander has no special ability. I’m not sure which is correct but I have a feeling the rule book is probably correct and the stat card and Force Builder are wrong which means I wouldn’t have had the Broadside rule which I used to good effect on that final turn. It would be unfortunate to invalidate that powder magazine explosion! I’ve inquired about that rules question but haven’t heard back yet.
- I’ve said this before, but I’ll mention it again: Broadside (assuming your commander actually has it) should be used carefully. I’m not sure if this is intentional, but it’s actually bad to use it in the first shot or two if you’re up against a tough ship like the Frigate. If you combine all those dice, you still aren’t likely to get a real Critical Hit, but you limit yourself to getting a maximum of 1 Lucky Hit (each shoot test is limited to scoring 1 Lucky hit, no matter how many 10’s you roll.). If you fire your groups of cannons separately you force the targets to roll more Fatigue for starters and you give yourself the chance to score more Lucky Hits. As the game progresses, that Broadside can be decisive, but it can be hard to coordinate as the game starts to get messy.
- The Sloop of War seems like a nice ship. If the game had gone another turn I would have had to attempt a Tacking maneuver with square sails with totally incompetent Zeelieden sailing my ship. The Square Sails would have forced me to roll 2 dice for the Tacking test and take the worst number. I could have got that test number down to a 2 with a 3 action Dedicated test, but with their track record, I had no trust in those Dutchmen. Other than that, the ship worked well. I didn’t get to enjoy the superior speed, again, because of the lame Dutchmen, but I do like having that option of 5″ speed.
- The Fighting Tops were fun! I paid for Fighting Tops in my last naval game but I forgot to even consider the Save penalty on my targets through the entire game because I didn’t physically have a Fighting Top on my ship and without a visual reminder, I never remembered. This time I was constantly reminded of the presence of the Fighting Top when I gingerly moved my ship as to not knock down the Militia perched up there. Only twice did a model fall and they didn’t chip either time!
- Expert Artillery Crew with that extra reload from the Master Gunner can really keep those guns hot! Activating on Hearts, I was consistently able to get 4 “actions” out of both of my units of gun crew nearly every turn. They get 2 actions from the Heart, a free Reload from Expert Artillery Crew (which doesn’t count towards that limit of 3 actions), then a reload action from either the Commander or Master Gunner. And if you want to really max out their efficiency for a turn or two, you can push them for that 3rd reload action (not counting the free one) and then the Commander and Master Gunner can grant their Command Points to the other unit which basically lets you get 5 actions out of each unit every turn. That means you can fire and totally reload for a couple turns until the Fatigue builds up from Pushing or other combat. It sounds cheaty but it’s all legal!
- Having a hand of 6 cards let me use all my units very effectively in this game. I had Hearts for my Sea Dogs, Clubs for my Militia, and I used Spades and Diamonds for my Zeelieden and Sea Dogs on the front Swivels. If the Spanish cannons had been more active, it wouldn’t have worked out so well, but I enjoyed having those 6 cards to work from every turn. I just had to be careful to keep track of which units I had already activated…
Thanks to Nick for a good game. This one was a little rough for the Spanish with the “blowing up and all” but he was a good sport about it. He heavily modified his campaign force after this game and we’re hoping to play again soon.
We played a quick 100 point land game after this game and his hordes of Spanish Milicianos took revenge on my elite Enough Buccaneer force, killing every last man I had put on the field. My phone was down to 1% battery so I didn’t take enough pictures to do a good battle report for that game, but it was a lot of fun. I’ll drop a couple pictures at the end here.

Land Encounter
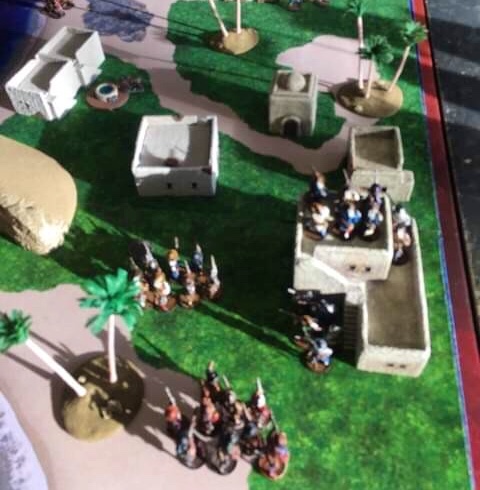
28 Milicianos with an Experienced Commander
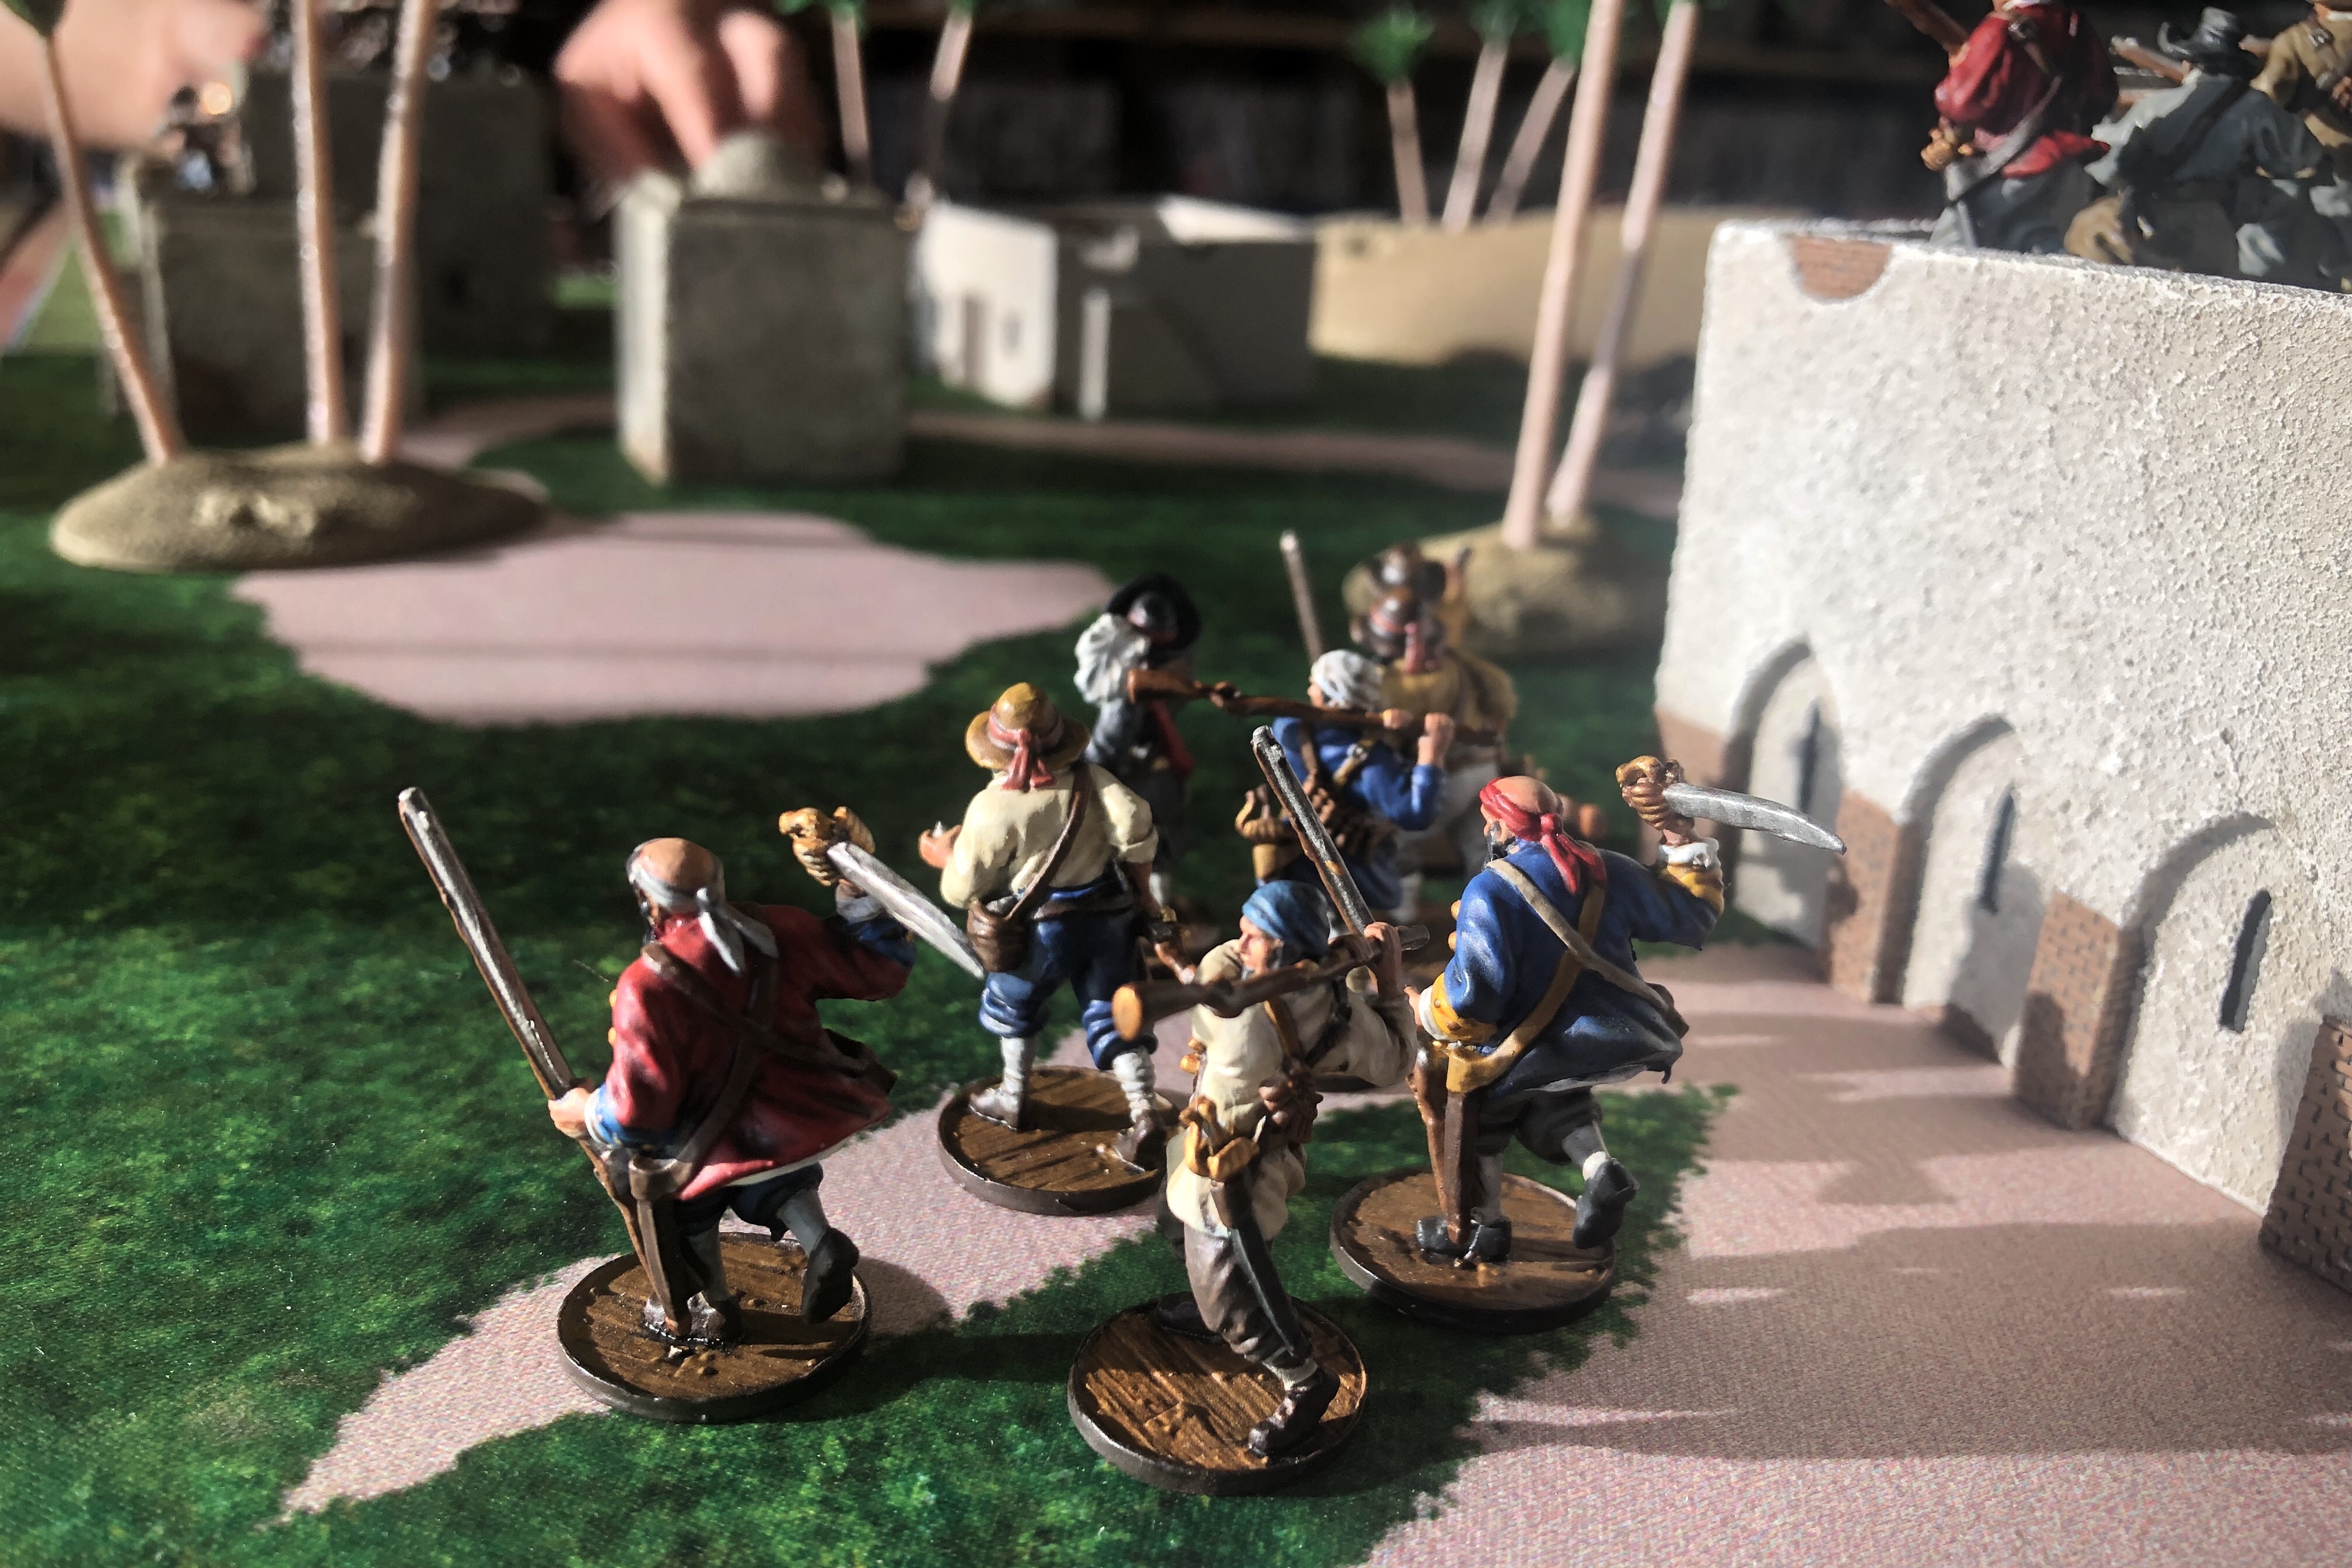
My Forlorn Hope blew up some of them with Grenades, but they came on too quick and too numerous!

This makeshift set of Flames of War terrain was undersized but worked just fine for a quick game.